June 16th 1940: Western Desert
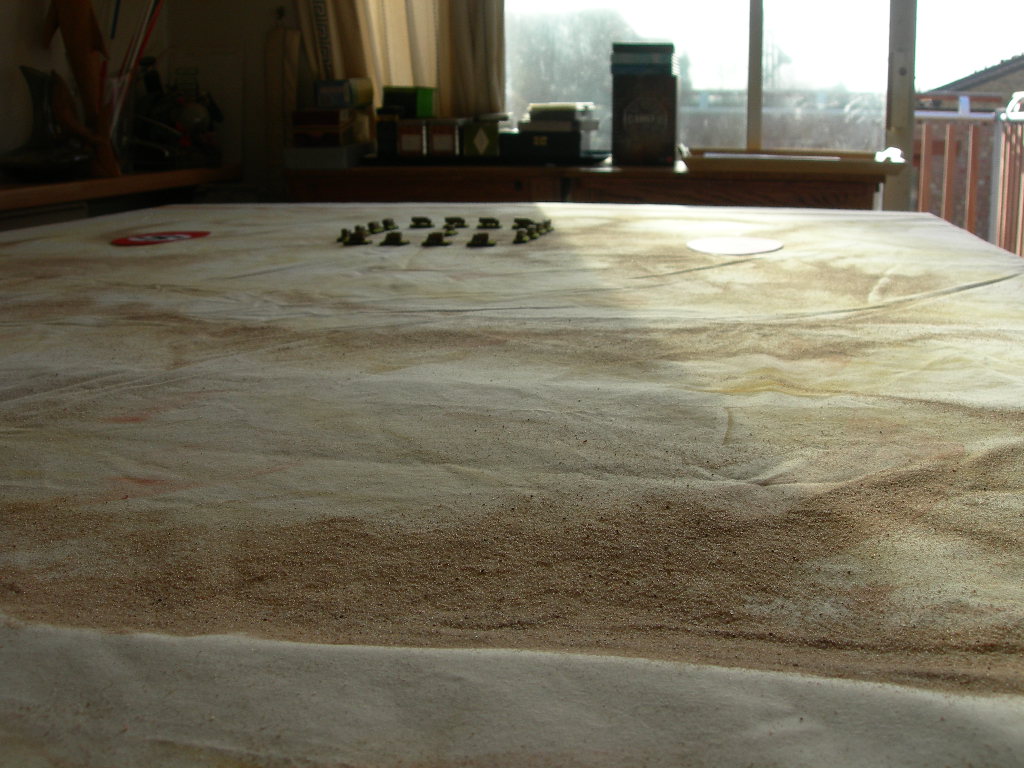
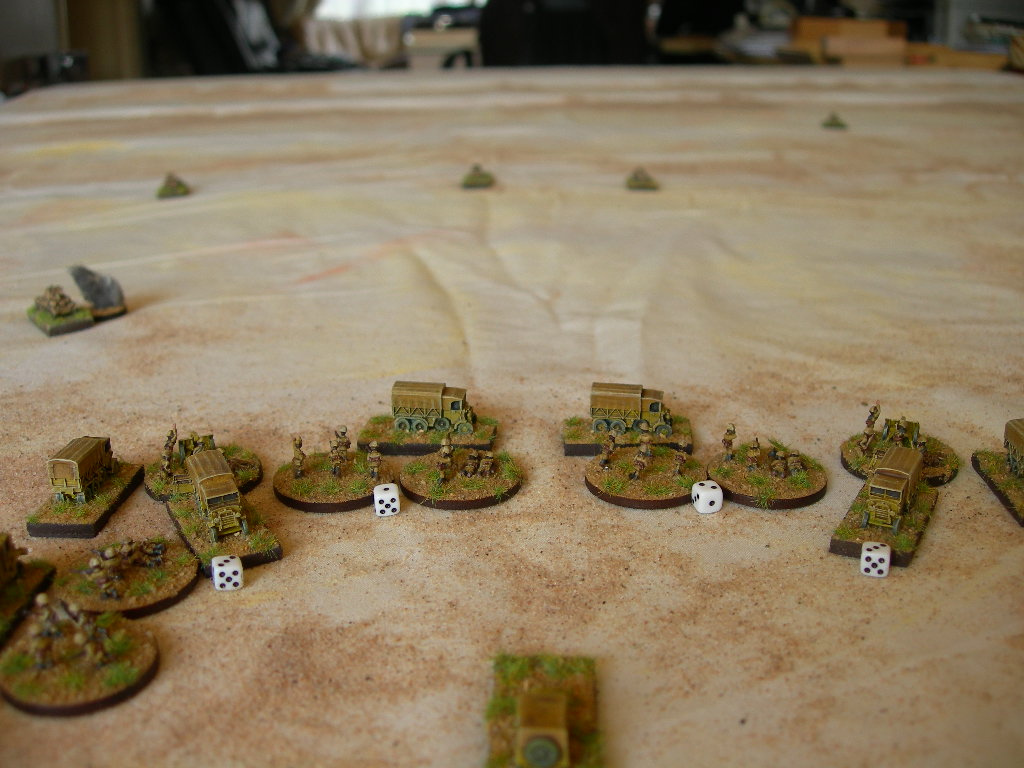
The gaggle of British officers clustered on the ridge could scarcely credit their eyes, below on an open plain the lorries of the column Lieutenants Dier and Gape (11th Hussars) had attacked earlier were drawn up in some kind of wild west wagon-train laager whilst around them swirling dust clouds indicated the presence of those pathetic tin-cans the Italians called tanks.
Two thoughts crossed Lt Colonel Combe’s mind as he surveyed this remarkable scene – “Who do they think they’re fighting, and do they have any concealed artillery?” Turning to Lieutenant Seymour-Evans (7th Hussars) he ordered “Take your chaps down there and stir up a hornets’ nest but keep your eyes peeled for any concealed guns”.

Inside the Italian laager Colonello D’Avanso was in a bit of a state: since the attack by swarms of British armoured cars (valiantly chased away at some cost by the attached armour of IX Battalion) his column had fragmented into at least two, possibly more parts, with lorries requiring repairing and his Libyan troops in need of a respite he had little option but to halt and attempt to collect his scattered Raggruppamento together.
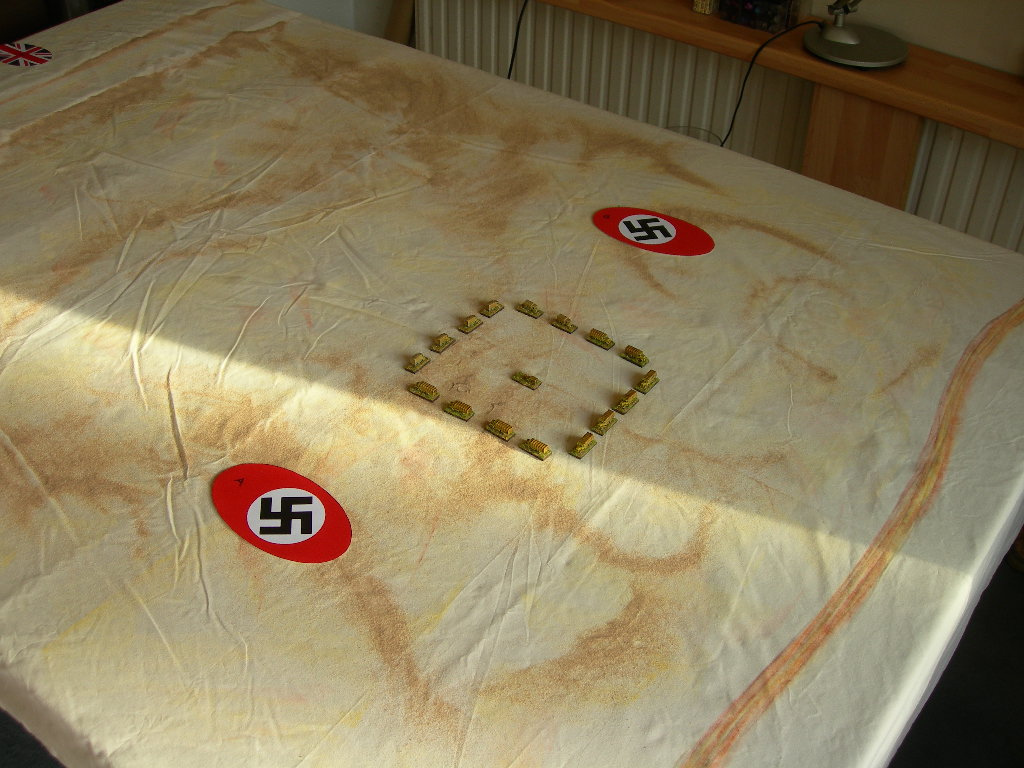
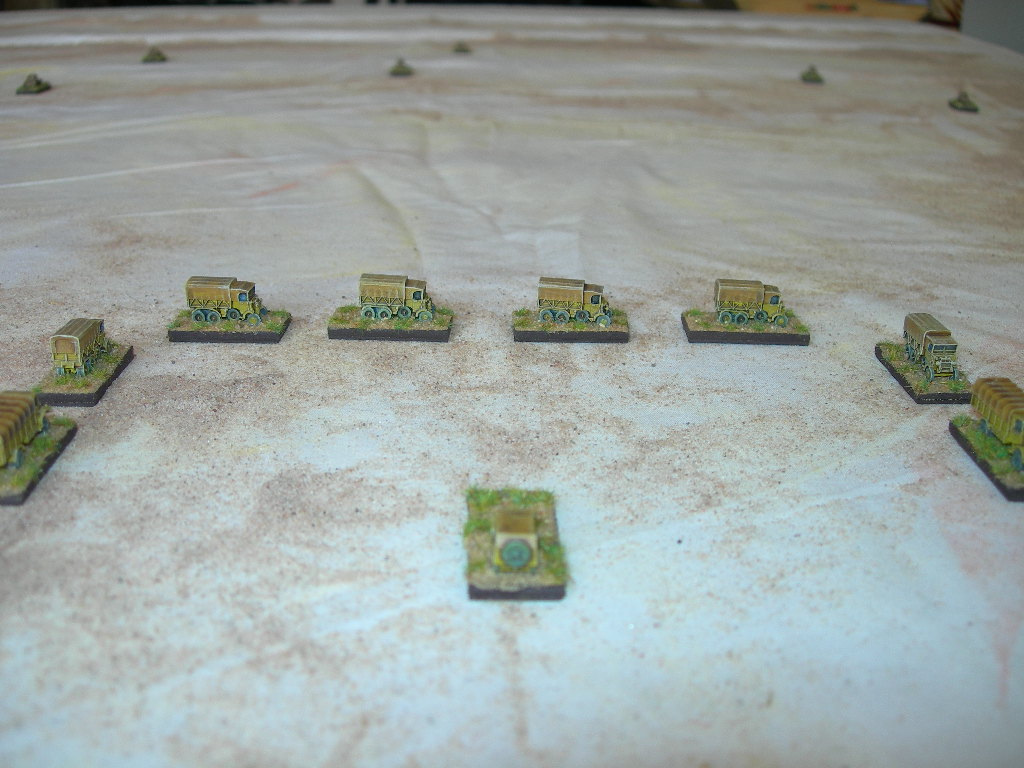
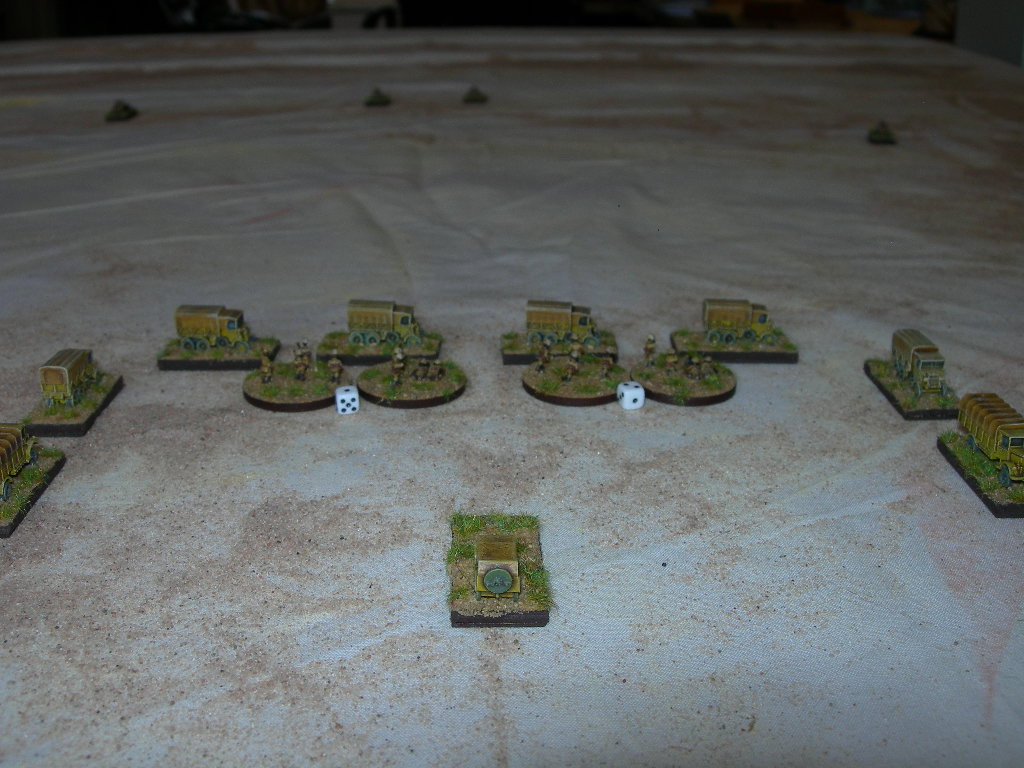
The utterly flat and featureless terrain offered no protection and in order to lend some semblance of a defendable position he formed the transport column into a laager box for his anxious and alarmed infantry to reorganise themselves behind – in reality it offered no defence whatsoever but it provided a morale boost to the Libyans. The only real defence against any renewed attack by the British was the armour of IX Battalion and the guns of 17th Battery (carefully concealed at the corners of the laager). Now he sweated and waited – who would arrive first; the rest of his column or those damned British armoured cars!
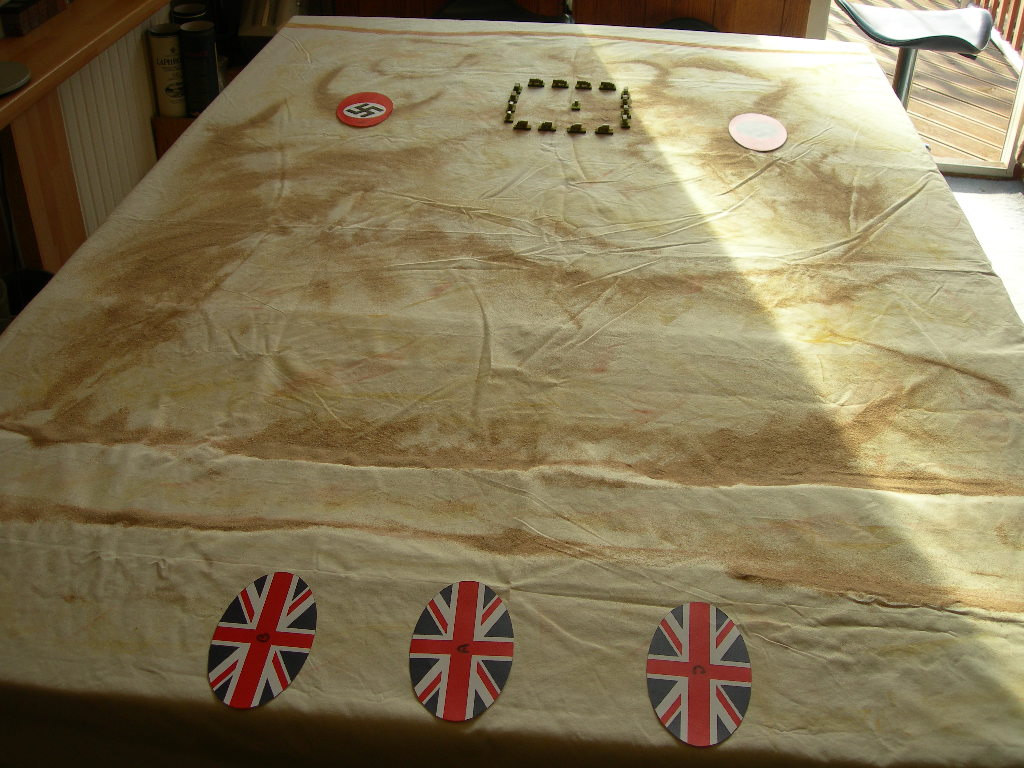
With a roar and generating the usual clouds of dust Lt Seymour-Evans tanks crested the ridge and began the descent into the plain below – to his left was B Troop (2 Mk VI light tanks), to the right C Troop (2 A9 Cruisers), in the centre his own Mk VI was accompanied by a Marmon Herrington from 11th Hussars to act as a radio net vehicle.
Reacting promptly to their appearance the Italian armour advanced to meet them, closing rapidly and then at the last moment turning and haring off again (the Italians in their L3s had been expecting more armoured cars – they advanced, spotted the heavier British tanks and sensibly immediately withdrew without being spotted in turn). Situation at Tea Break One.
The British armour continued to advance but was making slow progress over the rough ground; visibility was poor as they bounced around at full speed, although C Troop did identify the armour to their front as 3 Italian L3 tankettes, the other mobile Italian force retired to the rear of the laager – the British HQ Troop was also spotted and placed on table. Situation at Tea Break Two.

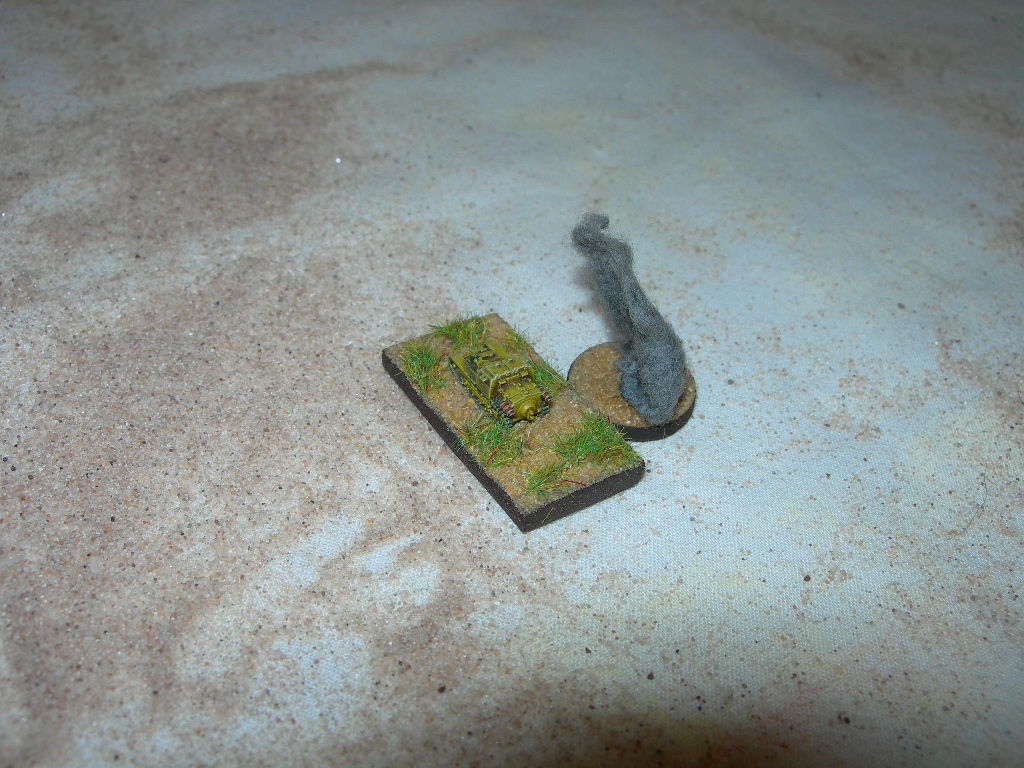
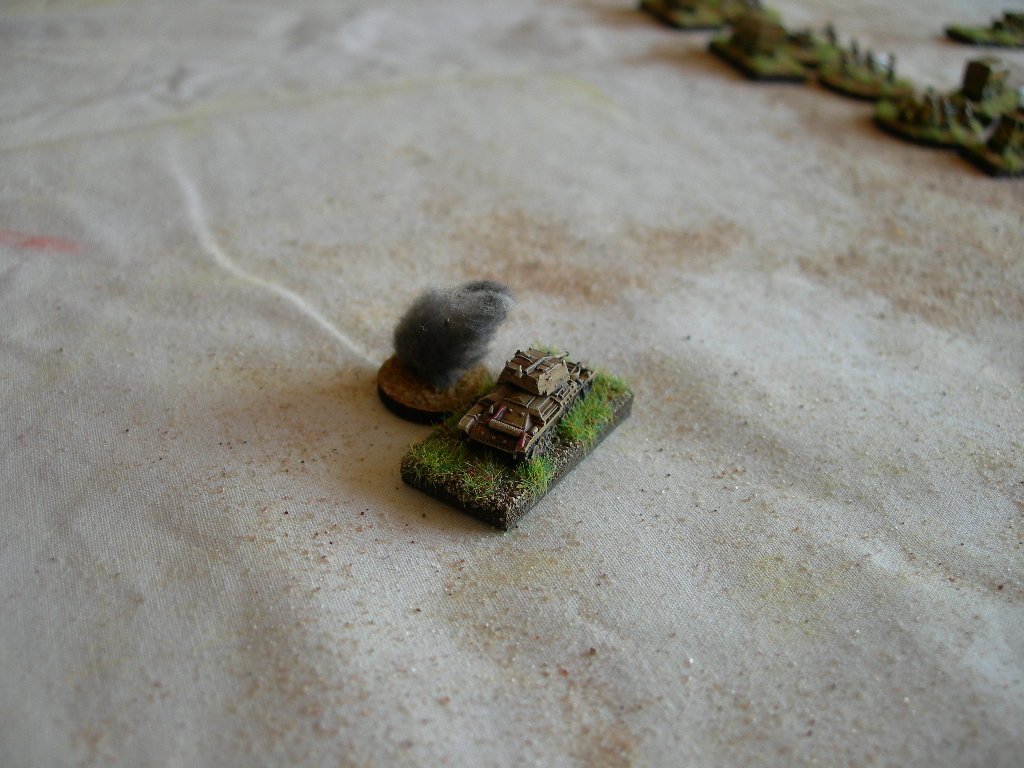
Slowing the headlong rush, Lt Seymour-Evans peered closely at the laager wall facing him, identifying infantry flattening themselves under the trucks – no sign of any heavy weapons, B troop promptly sprayed the line of trucks and infantry (causing minor amounts of shock and some KIA among the Libyan infantry of the two CHQ squads). The lead A9 (the severe terrain had caused some straggling) opened up on the nearest L3, missed, tried again and saw it explode into flame, the other A9 opened up causing engine damage to another L3. Situation at Tea Break Three.
The Cruisers of Troop C activated and with two shots destroyed the remaining L3s to their front, the lead A9 full of confidence charged forward towards the laager. But here the Italian Poor Fire Discipline worked in their favour, enabling them to deploy both field guns in the southern corners of the laager, needing 1 dice to reveal their position, the first gun had one aimed and one snap shot at the A9 sitting at point blank range – and missed both times, the other gun also performed poorly, failing to get a hit on the Mk VI tanks (although it did force a retirement by one). A short burst of activity – Situation at Tea Break Four (the retiring Mk VI rolled a spectacular 18 and disappeared back almost to the ridge).
An even shorter “turn”, with only three cards being drawn: on the Italian Blinds card elements of 1st platoon deployed and assaulted the close A9, forcing it back (but not very far) on its activation – the other A9 sprayed the gun crew, causing KIA and shock. The next (and final) activation was the Italian guns who between them managed finally to knock out the A9 – this was to be the high water mark for the Italians. Situation at Tea Break Five.
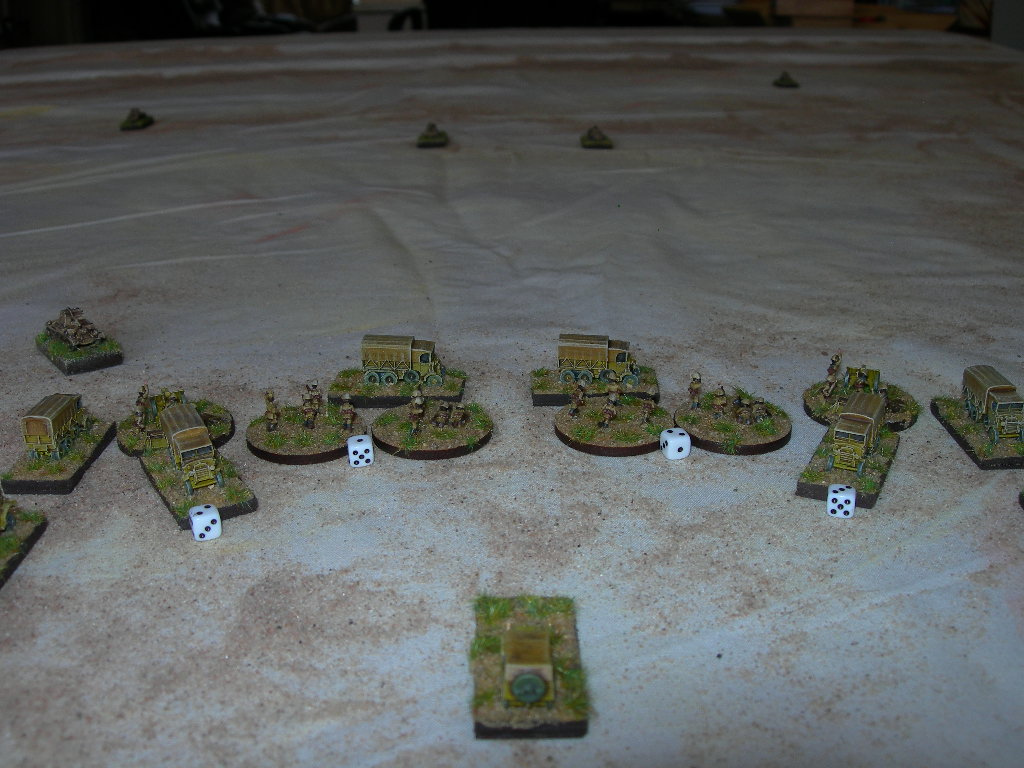
As is the way in IABSM two very short “turns” were followed by one where every last card had to be played through. On the Italian side more infantry were spotted or voluntarily deployed (including finally the Big Man D’Avanzo himself), some shock was removed from the gun crews, who were suffering terribly out in the open, and they were all but silenced by concentrated British MG fire. The remaining L3s emerged on the western side of the laager and opened up on the MK VI opposite (the retired MK VI was making slow progress in recovering from its head-long flight – Lt Seymour-Evans was furious at their conduct!) to no effect. Situation at Tea Break Six.
From here we played through to Tea Break Ten, when the real-life clock meant we had to bring the game to a close. The remaining L3s were shot up badly, one had a turret jam and engine damage, another was immobilised and abandoned, the third knocked out in the dual with the Mk VI’s of B Troop. The HQ MARC and Mk VI together with the remaining A9 concentrated on sweeping the enemy guns (who quickly disappeared) and infantry causing considerable losses.

Long before we actually ceased playing it had become very apparent that there was absolutely nothing the Italians could do, although it was quite surprising how long it was taking to break the Libyan infantry, even with only one D4 Big Man to assist. The armour was reluctant to close into close range as the resultant infantry fire all too often caused a retirement which ate up time and dice, so most of the engagement was conducted at effective range – the A9 though we discovered could really lay on a hideous amount of fire with all three MGs (it benefitted on several occasions from the Armour Bonus card to move and then activate and remain stationary on its own card, which allowed the third, driver’s, MG to be used).
Comments
Well it was an odd game – in that it genuinely reflected the hopelessness of the Italian situation the scenario should be considered accurate, however as a game it was less appealing – once the guns were silenced there just wasn’t a game to be played anymore and credit goes to both players for persevering through what had quickly become an academic exercise. That said the Italians did knock out an A9 thus diminishing the quality of the British Victory and with better dice when the guns were revealed could have caused acute embarrassment.
So as a historical scenario it was fine, but as a game I’m not so convinced – if (and that’s a big if!) I were to play it again I’d be seriously tempted to allow the L3s to have their normal MMG factors; this would at least allow them to engage the British armour. On the other hand the concealed field gun ploy couldn’t have worked better – and if they had hit four times instead of missing four times when revealed (it sucks not to get a single 5 or 6 on 24 dice!) this AAR would read rather differently.
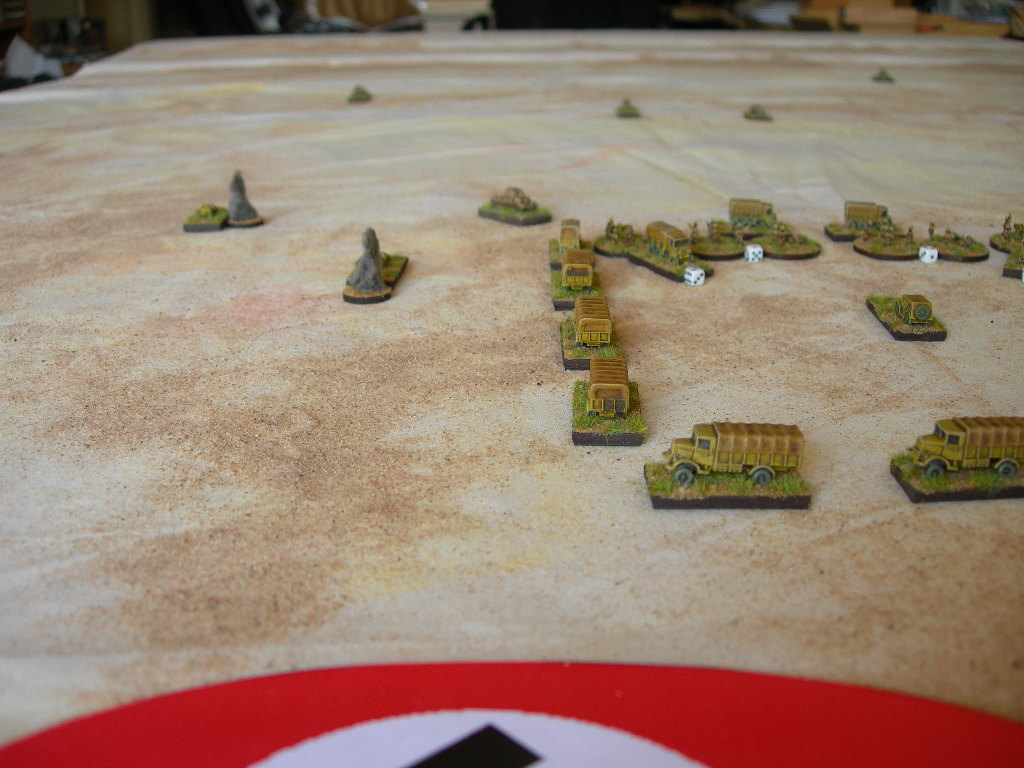
Given that we played in 6mm on a 6’ x 4’ table – I do wonder (despite this being accurate scale wise) how much of a different game it would be in 15mm. Not least the footprint of the Italian laager would be very considerably larger – I managed to fit 16 trucks, 1 car, 2 field guns and 14 sections into a 6” or 7” square, which meant quite a lot of manoeuvre room. Not sure how big a square 16 15mm trucks would be but I’d expect it would comfortably fill the centre of the table!
We did make some errors, for which I take full responsibility – this mostly involved the ‘desperate straits’ small arms attacks by infantry weapons to force morale effects on armour. Given that the L3s had been degrade to LMG so had no AT capability, I had decided to allow them to roll for the morale effect at whatever range – this at least allowed them a use, and I figured the British had no way to know that the fire couldn’t penetrate...unfortunately, somehow, we managed to translate this to the infantry fire as well and it wasn’t until the after-game analysis that we realised/remembered that it should be limited to close range! And this despite several comments from all involved during the game that the effect seemed odd!
Oops, mea culpa! Not that this had a ‘major’ effect but I think it did extend the game a bit as the British armour kept having to make up unnecessary ground – anyway it wouldn’t be IABSM if we didn’t screw something up!
Zippee
Gallery: click on the picture to begin.