Australians fail to take post 41
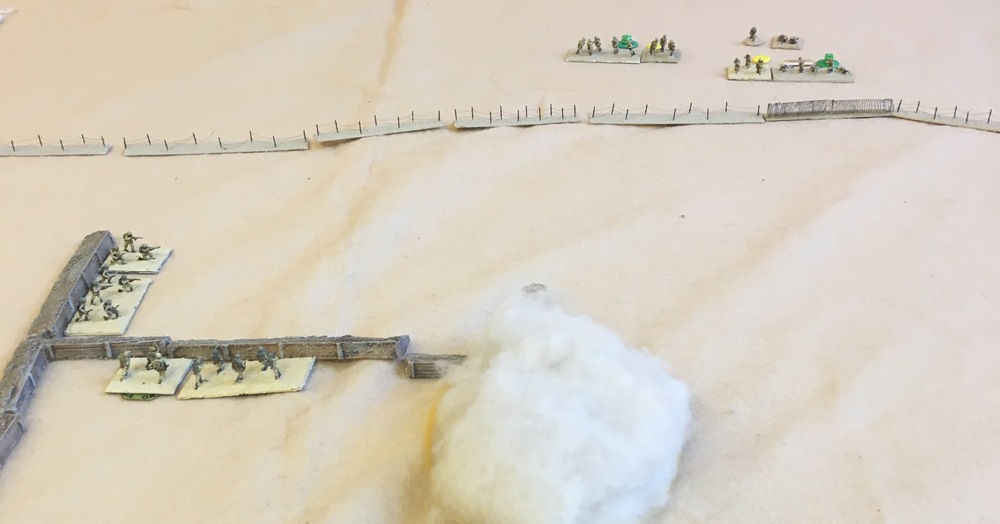
First picture shows the layout of defended area with barbed wire, anti-tank ditch, trenches and dugouts.
The defences are set up repel an attack from beyond the barbed wire barrier to the west. The Australians are unsportingly attacking from the north.
This scenario pits four sections of Australian infantry and two tanks against ten Italian sections, an MG and two artillery pieces, all dug into defences.
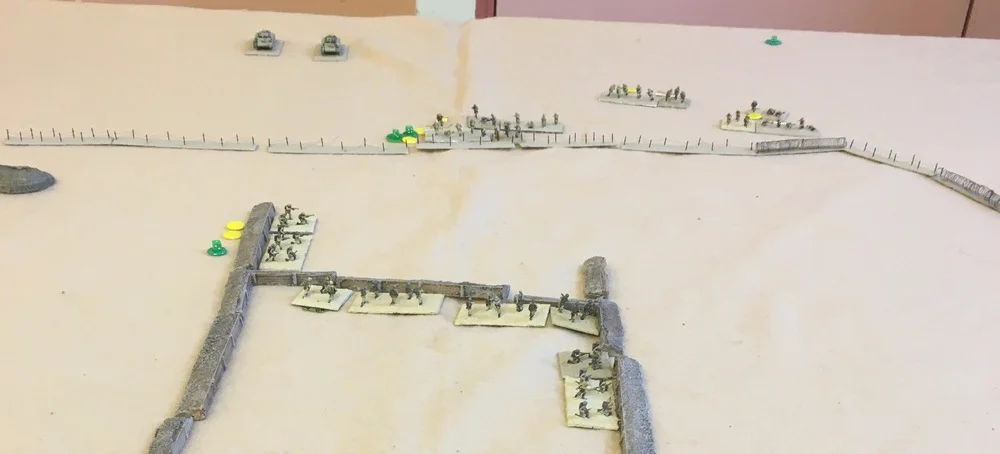
The Australians came onto the table showing no concern for the possible quality of the defenders. Perhaps the last post attacked fell so easily that they were expecting a similar walkover. The Australians did not even bother to use their Dummy Blind to attempt the spot the defenders.
The leading sections were spotted by the Italians, who then opened up with a hail of small arms fire.
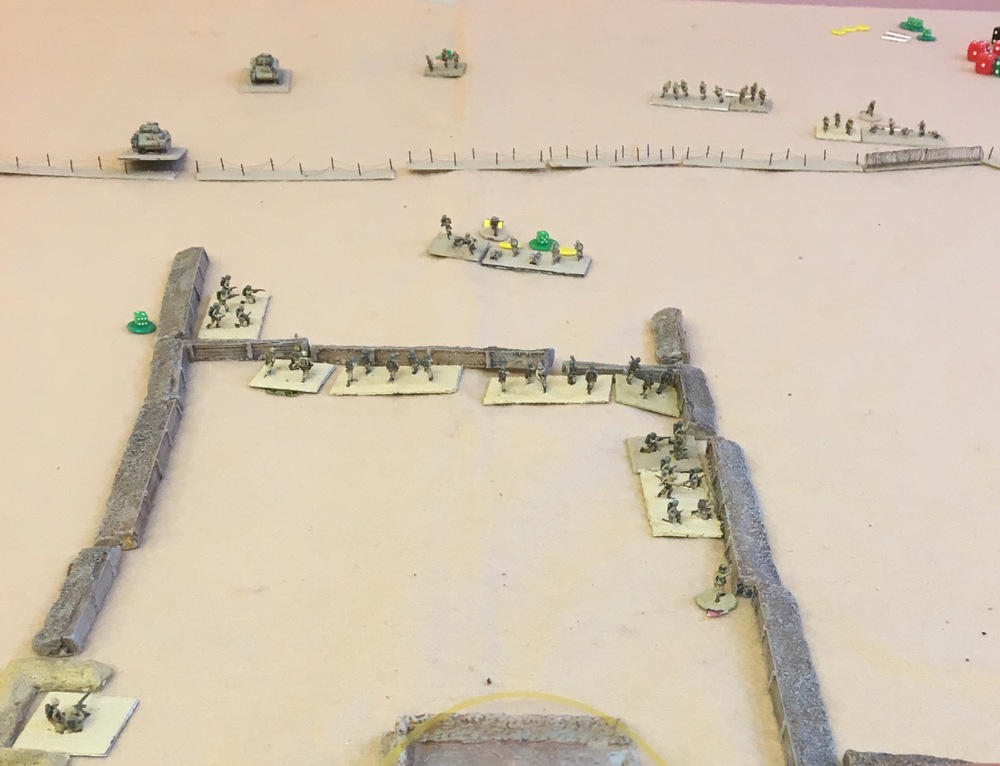
The leading section would soon retire, a spent force, having taken effective fire from four Italian sections.
Eventually the Australians charged the nearest trenches and, while they took the position and threw back the remnants of two Italian sections, the Australians were also down to about half strength.
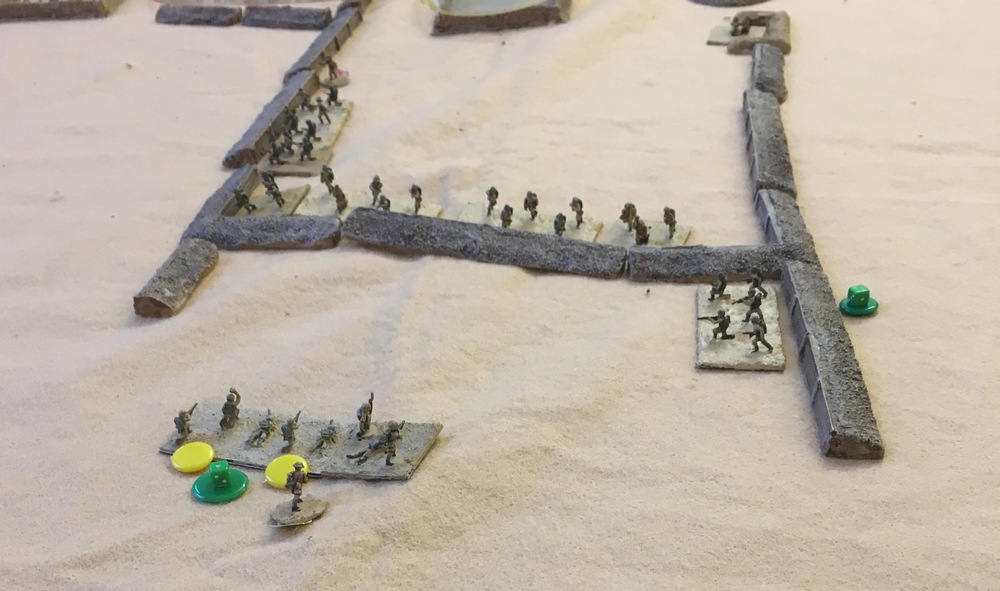
Seeing that so few troops had broken into their positions, the Italians decided on a quick counter attack. They soon found that green troops attacking entrenched aggressive troops, with two big men adding to the defence, was a recipe for disaster, even with twice as many attackers.
What remained of the Australian infantry made one further charge and eliminated a further section of Italians. But they were now a completely spent force.
As for the tanks, well they arrived late, survived being attacked by every weapon the Italians could bring to bear. Even three possible breakdown events were survived. They had started to damage the support weapons in the centre of the defences, but it was too little too late.
Without infantry support the tanks would probably withdraw, and, with the poor fire dice results they were generating, it would take them a long time to eliminate all the defenders.
Better tactics by the Australians would have completely changed the outcome. Leading with the tanks would have resulted in the Italians being spotted and the sting taken out of the initial fire from the trenches. They would also have gapped the wire and allowed easy access for the infantry.
The photographs, below, were taken after each Tea Break card.
Tony Cane