Vis Lardica
  • New & Updated
  • Introduction & Details Scorecard 2025 Gallery: Burt, Steve Gallery: Cooper, Nick Gallery: Douglas, Mervyn Gallery: Emmett, John Gallery: Flint, Carole Gallery: Helliwell, Andrew Gallery: Luther, Mark Gallery: Plowman, Ralph Gallery: Sapper Gallery: Stumpy Gallery: Vis Bellica
  • Introduction to IABSM Video: How To Play IABSM, Part One Video: How to Play IABSM, Part Two Video: How to Play IABSM, Part Three After Action Reports (IABSM) Army Galleries (IABSM) Buy IABSM Scenario Packs Buy IABSM Theatre Supplements Figure Manufacturers (IABSM) Figure Reviews (IABSM) Game Aids (IABSM) IABSM Facebook Group
  • Introduction to CDS After Action Reports (CDS) Army Galleries (CDS) The Arab-Israeli Six Day War The Arab-Israeli Yom Kippur War After Action Reports (Arab-Israeli Wars) Army Galleries (Arab-Israeli Wars) After Action Reports (Moderns)
  • Introduction to Q13 After Action Reports (Q13) Army Galleries (Q13) Army Lists for Q13 Buy Q13 and/or Five Planets Figure Manufacturers (Q13) Figure Reviews (Q13) Points System Spreadsheets
  • Introduction to 19th Century Army Galleries (19th Century) Army Lists After Action Reports Articles & Essays Quick Guide to the Wars of the 19th Century
  • Introduction and AAR FK&P: The Eastern Front
  • Introduction to Vis Bellica The Rules: Amendments The Rules: Frequently Asked Questions The Rules: Optional Rules After Action Reports (Vis Bellica) Army Lists Articles about Vis Bellica Scenarios for Vis Bellica Other After Action Reports: WRG 6th Other After Action Reports: TTS
  • The Rules: Optional Rules After Action Reports
  • Scorecard 2024 Gallery: Burt, Steve Gallery: Cooper, Nick Gallery: Darkin, Des Gallery: Davenport, Jonathan Gallery: Douglas, Mervyn Gallery: Emmett. John Gallery: Flint, Carole Gallery: Helliwell, Andrew Gallery: Kay, Chris Gallery: Luther, Mark Gallery: Plowman, Ralph Gallery: Sapper Gallery: Scott, David Gallery: Slade, Matt Gallery: Stumpy Gallery: Vis Bellica
  • Scorecard 2023 Gallery: Bowler, Lloyd Gallery: Burt, Steve Gallery: Cooper, Nick Gallery: Douglas, Mervyn Gallery: Emmett, John Gallery: Flint, Carole Gallery: Helliwell, Andrew Gallery: Hodge, Derek Gallery: Kay, Chris Gallery: Luther, Mark Gallery: Plowman, Ralph Gallery: Pollard, Ashley Gallery: Sapper Gallery: Scott, David Gallery: Slade, Matt Gallery: Stumpy Gallery: Vis Bellica
  • Scorecard 2022 Gallery: Bowler, Lloyd Gallery: Burt, Steve Gallery: Cooper, Nick Gallery: Douglas, Mervyn Gallery: Emmett, John Gallery: Flint, Carole Gallery: Goodrick, Pete Gallery: Haines, John Gallery: Helliwell, Andrew Gallery: Hodge, Derek Gallery: Kay, Chris Gallery: Luther, Mark Gallery: Plowman, Ralph Gallery: Pollard, Ashley Gallery: Sapper Gallery: Scott, David Gallery: Slade, Matt Gallery: Stumpy Gallery: Vis Bellica
  • Scorecard 2021 Gallery: Anzani, Joe Gallery: Bowler, Lloyd Gallery: Burt, Steve Gallery: Cooper, Nick Gallery: Douglas, Mervyn Gallery: Duffell, Andy Gallery: Emmett, John Gallery: Flint, Carole Gallery: Haines, John Gallery: Helliwell, Andrew Gallery: Hiett, Travis Gallery: Hodge, Derek Gallery: Kay, Chris Gallery: Luther, Mark Gallery: McGinn, Joe Gallery: Melville, Doug Gallery: Plowman, Ralph Gallery: Pollard, Ashley Gallery: Ralls, Jason Gallery: Sapper Gallery: Scott, David Gallery: Slade, Matt Gallery: Stoesen, Chris Gallery: Stumpy Gallery: Vis Bellica
  • Scorecard 2020 Gallery: Bloggs, Fred Gallery: Bluemoose Ken Gallery: Bowler, Lloyd Gallery: Burt, Steve Gallery: Cornwell, Chris Gallery: Douglas, Mervyn Gallery: Duffell, Andy Gallery: Emmett, John Gallery: Flint, Carole Gallery: Haines, John Gallery: Helliwell, Andrew Gallery: Hiatt, Travis Gallery: Hodge, Derek Gallery: Hooge, Neil Gallery: Kay, Chris Gallery: Luther, Mark Gallery: McGinn, Joe Gallery: Melville, Doug Gallery: Plowman, Ralph Gallery: Pollard, Ashley Gallery: Ralls, Jason Gallery: Sapper Gallery: Scott, David Gallery: Slade, Matt Gallery: Stoesen, Chris Gallery: Stumpy Gallery: Vis Bellica
  • Scorecard 2019 Gallery: Bloggs, Fred Gallery: Blue Moose Ken Gallery: Bowen, Ed Gallery: Bowler, Lloyd Gallery: Burt, Steve Gallery: Clarke, Richard Gallery: Cornwell, Chris Gallery: Davenport, Jon Gallery: Douglas, Mervyn Gallery: Duffell, Andy Gallery: de Terre Neuve, John Gallery: Emmett, John Gallery: Fat Wally Gallery: Flint, Carole Gallery: Haines, John Gallery: Helliwell, Andrew Gallery: Hiett, Travis Gallery: Hodge, Derek Gallery: Hooge, Neil Gallery: Johnston, Owen Gallery: Kay, Chris Gallery: Luther, Mark Gallery: McGinn, Joe Gallery: Melville, Doug Gallery: Plowman, Ralph Gallery: Ralls, Jason Gallery: Sapper Gallery: Scott, David Gallery: Slade, Matt Gallery: Stoesen, Chris Gallery: Stumpy Gallery: Vis Bellica Gallery: Yuengling, Jon
  • Scorecard 2018 Gallery: Bloggs, Fred Gallery: Blue Moose Ken Gallery: Bowen, Ed Gallery: Bowler, Lloyd Gallery: Burt, Steve Gallery: Cornwell, Chris Gallery: Davenport, Jonathan Gallery: de Terre Neuve, John Gallery: Douglas, Mervyn Gallery: Duffell, Andy Gallery: Fat Wally Gallery: Flint, Carole Gallery: Freerange Egg Gallery: Haines, John Gallery: Helliwell, Andrew Gallery: Hiett, Travis Gallery: Hodge, Derek Gallery: Hooge, Neil Gallery: Johnston, Owen Gallery: Kay, Chris Gallery: Lampon, Steven Gallery: Luther, Mark Gallery: McGinn, Joe Gallery: Melville, Doug Gallery: Plowman, Ralph Gallery: Ralls, Jason Gallery: Sapper Gallery: Scott, David Gallery: Slade, Matt Gallery: Stoesen, Chris Gallery: Stumpy Gallery: Treadhead Gallery: Vis Bellica Gallery: Yuengling, Jon
  • Scorecard Gallery: Bond, Geoff Gallery: Bowen, Edward Gallery: Bowler, Lloyd Gallery: Burt, Steve Gallery: Cabey Cabey Gallery: Catchpole, Jim Gallery: Davenport, Jon Gallery: Davies, Keith Gallery: de Smedt, Kohn Gallery: de Terre Neuve, John Gallery: Douglas, Mervyn Gallery: Duffell, Andy Gallery: Fat Wally (Kev) Gallery: Flint, Carole Gallery: Freerange Egg Gallery: Gatzemeyer, Garrett Gallery: Gilbride, Chris Gallery: Haines, John Gallery: Helliwell, Andrew Gallery: Hodge, Derek Gallery: Hooge, Neil Gallery: Humm, Dave Gallery: Kay, Chris Gallery: Lampon, Steven Gallery: Luther, Mark Gallery: MacNeill, Craig Gallery: McCarthy, Andrew Gallery: The Mad Padre Gallery: McGinn, Joe Gallery: Melville, Doug Gallery: Naylor, Richard Gallery: Nissvik, Thomas Gallery: Old Pivot Gallery: Owen Gallery: Pollard, Ashley Gallery: Plowman, Ralph Gallery: Ralls, Jason Gallery: Sapper Gallery: Scott, David Gallery: Slade, Matt Gallery: Stoesen, Chris Gallery: Stumpy Gallery: Treadhead Gallery: Vis Bellica Gallery: Weathersby, Brian Gallery: WillieB Gallery: Yuengling, Jon
  • Scorecard 2016 Gallery: Baldwin, Paul Gallery: Blankenship, Paul Gallery: Bloggs, Fred Gallery: Bond, Geoff Gallery: Bowen, Ed Gallery: Bowler, Lloyd Gallery: Burt, Steve Gallery: Catchpole, Jim Gallery: Clarke, Richard Gallery: Davenport, Jon Gallery: Davies, Keith Gallery: de Smedt, Koen Gallery: Douglas, Mervyn Gallery: Duffell, Andy Gallery: Egg Gallery: Fitch, Doug Gallery: Flint, Carole Gallery: Gatzemeyer, Garrett Gallery: Gilbride, Chris Gallery: Helliwell, Andrew Gallery: Hodge, Derek Gallery: Hooge, Neil Gallery: Humm, Dave Gallery: I Am Bruce Gallery: Lowth, Kev (Fat Wally) Gallery: Luther, Mark Gallery: The Mad Padre Gallery: McCarthy, Andrew Gallery: Melville, Doug Gallery: Naylor, Richard Gallery: Nissvik, Thomas Gallery: Oracle Gallery: Owen Gallery: Plowman, Ralph Gallery: Pollard, Ashley Gallery: Ralls, Jason Gallery: Sapper Gallery: Slade, Matt Gallery: Stoesen, Chris Gallery: Stumpy Gallery: Treadhead Gallery: Vis Bellica Gallery: Willie B Gallery: Yuengling, Jon
  • Scorecard 2015 Gallery: AJH Gallery: Bairos, Vidal Gallery: Baldwin, Paul Gallery: Bax, Dick Gallery: Blankenship, Paul Gallery: Bloggs, Fred Gallery: Bond, Geoff Bond Gallery: Bowler, Hat Gallery: Burt, Steve Gallery: Corbett, Wulf Gallery: Danziger, Richard Gallery: Davies, Keith Gallery: de Smedt, Koen Gallery: de terre neuve, john Gallery: Douglas, Mervyn Gallery: Duffell, Andy Gallery: Egg, Freerange Gallery: Eggman Glass Gallery: Eriksson, Leif Gallery: Fat Wally Gallery: Flint, Carole Gallery: Gilbride, Chris Gallery: Hedglin, Nils Gallery: Helliwell, Andy Gallery: Hodge, Derek Gallery: Hooooge, Neil Gallery: Humm, Dave Gallery: I'm Bruce Gallery: Luther, Mark Gallery: The Mad Padre Gallery: Maerk Gallery: McCarthy, Andrew Gallery: Melville, Doug Gallery: Miller, Andrew Gallery: Miller, Steve Gallery: Milne, Neil Gallery: Mikkola, Topi Gallery: Mr Nouveau Gallery: Naylor, Richard Gallery: Nissvik, Thomas Gallery: Owen Gallery: Pedivere Gallery: Pingu Gallery: Pollard, Ashley Gallery: Plowman, Ralph Gallery: Ralls, Jason Gallery: Sapper Gallery: Skelton, Dom Gallery: Slade, Matt Gallery: Stapells, Tony Gallery: Stoesen, Chris Gallery: Strom, Joakim Gallery: Stumpy Gallery: Topyob Gallery: Treadhead Gallery: Vera, Benito Gallery: Vis Bellica Gallery: Willie B Gallery: Yuengling, Jon Gallery: Catchpole, Jim
  • Scorecard Gallery: Alexandros Gallery: Ambler, Craig Gallery: Armstrong, Keith Gallery: Bailey, Dave Gallery: Bairos, Vidal Gallery: Bax, Dick Gallery: Bloggs, Fred Gallery: Bond, Geoff Gallery: Burt, Steve Gallery: Carnegie, Ron Gallery: Carole Gallery: Catchpole, Jim Gallery: Clarke, Richard Gallery: Corbett, Wulf Gallery: Danziger, Richard Gallery: De Smedt, Koen Gallery: de Terre Neuve, John Gallery: Deeks, Jon Gallery: Douglas, Mervyn Gallery: Duffell, Andy Gallery: Egg, Free Range Gallery: Erikson, Leif Gallery: Fat Wally (Kev) Gallery: Fiene, Ben Gallery: Gilbride, Chris Gallery: Hodge, Derek Gallery: Humm, Dave Gallery: Llano, Manuel Gallery: Luther, Mark Gallery: Melville, Doug Gallery: Mikkola, Topi Gallery: Miller, Andrew Gallery: munsterfan8 Gallery: Murray, Jim Gallery: Nissvik, Thomas Gallery: Owen Gallery: The Mad Padre Gallery: PatG Gallery: Pingu Gallery: Plowman, Ralph Gallery: Pollard, Ashley Gallery: Ralls, Jason Gallery: Slade, Matt Gallery: Stoesen, Chris Gallery: Strom, Joakim Gallery: Stumpy Gallery: Thomas, John Gallery: Treadhead Gallery: Vera, Benito Gallery: Vis Bellica Gallery: Warrior in the Attic Gallery: Weir, Jim Gallery: Whitaker, Mike Gallery: WillieB Gallery: Yuengling, Jon
  • TooFatLardies
Vis Lardica
  • New & Updated/
  • TFL Painting Challenge 2025/
    • Introduction & Details
    • Scorecard 2025
    • Gallery: Burt, Steve
    • Gallery: Cooper, Nick
    • Gallery: Douglas, Mervyn
    • Gallery: Emmett, John
    • Gallery: Flint, Carole
    • Gallery: Helliwell, Andrew
    • Gallery: Luther, Mark
    • Gallery: Plowman, Ralph
    • Gallery: Sapper
    • Gallery: Stumpy
    • Gallery: Vis Bellica
  • I Ain't Been Shot, Mum! (WW2)/
    • Introduction to IABSM
    • Video: How To Play IABSM, Part One
    • Video: How to Play IABSM, Part Two
    • Video: How to Play IABSM, Part Three
    • After Action Reports (IABSM)
    • Army Galleries (IABSM)
    • Buy IABSM Scenario Packs
    • Buy IABSM Theatre Supplements
    • Figure Manufacturers (IABSM)
    • Figure Reviews (IABSM)
    • Game Aids (IABSM)
    • IABSM Facebook Group
  • Charlie Don't Surf! (Vietnam/Arab-Israeli/Moderns)/
    • Introduction to CDS
    • After Action Reports (CDS)
    • Army Galleries (CDS)
    • The Arab-Israeli Six Day War
    • The Arab-Israeli Yom Kippur War
    • After Action Reports (Arab-Israeli Wars)
    • Army Galleries (Arab-Israeli Wars)
    • After Action Reports (Moderns)
  • Quadrant 13 (Sci-Fi)/
    • Introduction to Q13
    • After Action Reports (Q13)
    • Army Galleries (Q13)
    • Army Lists for Q13
    • Buy Q13 and/or Five Planets
    • Figure Manufacturers (Q13)
    • Figure Reviews (Q13)
    • Points System Spreadsheets
  • Vis Imperica (19th Century)/
    • Introduction to 19th Century
    • Army Galleries (19th Century)
    • Army Lists
    • After Action Reports
    • Articles & Essays
    • Quick Guide to the Wars of the 19th Century
  • Vis Lucii (Pike & Shot)/
    • Introduction and AAR
    • FK&P: The Eastern Front
  • Vis Bellica (Ancients)/
    • Introduction to Vis Bellica
    • The Rules: Amendments
    • The Rules: Frequently Asked Questions
    • The Rules: Optional Rules
    • After Action Reports (Vis Bellica)
    • Army Lists
    • Articles about Vis Bellica
    • Scenarios for Vis Bellica
    • Other After Action Reports: WRG 6th
    • Other After Action Reports: TTS
  • Vis Magica (Fantasy)/
    • The Rules: Optional Rules
    • After Action Reports
  • TFL Painting Challenge 2024/
    • Scorecard 2024
    • Gallery: Burt, Steve
    • Gallery: Cooper, Nick
    • Gallery: Darkin, Des
    • Gallery: Davenport, Jonathan
    • Gallery: Douglas, Mervyn
    • Gallery: Emmett. John
    • Gallery: Flint, Carole
    • Gallery: Helliwell, Andrew
    • Gallery: Kay, Chris
    • Gallery: Luther, Mark
    • Gallery: Plowman, Ralph
    • Gallery: Sapper
    • Gallery: Scott, David
    • Gallery: Slade, Matt
    • Gallery: Stumpy
    • Gallery: Vis Bellica
  • TFL Painting Challenge 2023/
    • Scorecard 2023
    • Gallery: Bowler, Lloyd
    • Gallery: Burt, Steve
    • Gallery: Cooper, Nick
    • Gallery: Douglas, Mervyn
    • Gallery: Emmett, John
    • Gallery: Flint, Carole
    • Gallery: Helliwell, Andrew
    • Gallery: Hodge, Derek
    • Gallery: Kay, Chris
    • Gallery: Luther, Mark
    • Gallery: Plowman, Ralph
    • Gallery: Pollard, Ashley
    • Gallery: Sapper
    • Gallery: Scott, David
    • Gallery: Slade, Matt
    • Gallery: Stumpy
    • Gallery: Vis Bellica
  • TFL Painting Challenge 2022/
    • Scorecard 2022
    • Gallery: Bowler, Lloyd
    • Gallery: Burt, Steve
    • Gallery: Cooper, Nick
    • Gallery: Douglas, Mervyn
    • Gallery: Emmett, John
    • Gallery: Flint, Carole
    • Gallery: Goodrick, Pete
    • Gallery: Haines, John
    • Gallery: Helliwell, Andrew
    • Gallery: Hodge, Derek
    • Gallery: Kay, Chris
    • Gallery: Luther, Mark
    • Gallery: Plowman, Ralph
    • Gallery: Pollard, Ashley
    • Gallery: Sapper
    • Gallery: Scott, David
    • Gallery: Slade, Matt
    • Gallery: Stumpy
    • Gallery: Vis Bellica
  • TFL Painting Challenge 2021/
    • Scorecard 2021
    • Gallery: Anzani, Joe
    • Gallery: Bowler, Lloyd
    • Gallery: Burt, Steve
    • Gallery: Cooper, Nick
    • Gallery: Douglas, Mervyn
    • Gallery: Duffell, Andy
    • Gallery: Emmett, John
    • Gallery: Flint, Carole
    • Gallery: Haines, John
    • Gallery: Helliwell, Andrew
    • Gallery: Hiett, Travis
    • Gallery: Hodge, Derek
    • Gallery: Kay, Chris
    • Gallery: Luther, Mark
    • Gallery: McGinn, Joe
    • Gallery: Melville, Doug
    • Gallery: Plowman, Ralph
    • Gallery: Pollard, Ashley
    • Gallery: Ralls, Jason
    • Gallery: Sapper
    • Gallery: Scott, David
    • Gallery: Slade, Matt
    • Gallery: Stoesen, Chris
    • Gallery: Stumpy
    • Gallery: Vis Bellica
  • TFL Painting Challenge 2020/
    • Scorecard 2020
    • Gallery: Bloggs, Fred
    • Gallery: Bluemoose Ken
    • Gallery: Bowler, Lloyd
    • Gallery: Burt, Steve
    • Gallery: Cornwell, Chris
    • Gallery: Douglas, Mervyn
    • Gallery: Duffell, Andy
    • Gallery: Emmett, John
    • Gallery: Flint, Carole
    • Gallery: Haines, John
    • Gallery: Helliwell, Andrew
    • Gallery: Hiatt, Travis
    • Gallery: Hodge, Derek
    • Gallery: Hooge, Neil
    • Gallery: Kay, Chris
    • Gallery: Luther, Mark
    • Gallery: McGinn, Joe
    • Gallery: Melville, Doug
    • Gallery: Plowman, Ralph
    • Gallery: Pollard, Ashley
    • Gallery: Ralls, Jason
    • Gallery: Sapper
    • Gallery: Scott, David
    • Gallery: Slade, Matt
    • Gallery: Stoesen, Chris
    • Gallery: Stumpy
    • Gallery: Vis Bellica
  • TFL Painting Challenge 2019/
    • Scorecard 2019
    • Gallery: Bloggs, Fred
    • Gallery: Blue Moose Ken
    • Gallery: Bowen, Ed
    • Gallery: Bowler, Lloyd
    • Gallery: Burt, Steve
    • Gallery: Clarke, Richard
    • Gallery: Cornwell, Chris
    • Gallery: Davenport, Jon
    • Gallery: Douglas, Mervyn
    • Gallery: Duffell, Andy
    • Gallery: de Terre Neuve, John
    • Gallery: Emmett, John
    • Gallery: Fat Wally
    • Gallery: Flint, Carole
    • Gallery: Haines, John
    • Gallery: Helliwell, Andrew
    • Gallery: Hiett, Travis
    • Gallery: Hodge, Derek
    • Gallery: Hooge, Neil
    • Gallery: Johnston, Owen
    • Gallery: Kay, Chris
    • Gallery: Luther, Mark
    • Gallery: McGinn, Joe
    • Gallery: Melville, Doug
    • Gallery: Plowman, Ralph
    • Gallery: Ralls, Jason
    • Gallery: Sapper
    • Gallery: Scott, David
    • Gallery: Slade, Matt
    • Gallery: Stoesen, Chris
    • Gallery: Stumpy
    • Gallery: Vis Bellica
    • Gallery: Yuengling, Jon
  • TFL Painting Challenge 2018/
    • Scorecard 2018
    • Gallery: Bloggs, Fred
    • Gallery: Blue Moose Ken
    • Gallery: Bowen, Ed
    • Gallery: Bowler, Lloyd
    • Gallery: Burt, Steve
    • Gallery: Cornwell, Chris
    • Gallery: Davenport, Jonathan
    • Gallery: de Terre Neuve, John
    • Gallery: Douglas, Mervyn
    • Gallery: Duffell, Andy
    • Gallery: Fat Wally
    • Gallery: Flint, Carole
    • Gallery: Freerange Egg
    • Gallery: Haines, John
    • Gallery: Helliwell, Andrew
    • Gallery: Hiett, Travis
    • Gallery: Hodge, Derek
    • Gallery: Hooge, Neil
    • Gallery: Johnston, Owen
    • Gallery: Kay, Chris
    • Gallery: Lampon, Steven
    • Gallery: Luther, Mark
    • Gallery: McGinn, Joe
    • Gallery: Melville, Doug
    • Gallery: Plowman, Ralph
    • Gallery: Ralls, Jason
    • Gallery: Sapper
    • Gallery: Scott, David
    • Gallery: Slade, Matt
    • Gallery: Stoesen, Chris
    • Gallery: Stumpy
    • Gallery: Treadhead
    • Gallery: Vis Bellica
    • Gallery: Yuengling, Jon
  • TFL Painting Challenge 2017/
    • Scorecard
    • Gallery: Bond, Geoff
    • Gallery: Bowen, Edward
    • Gallery: Bowler, Lloyd
    • Gallery: Burt, Steve
    • Gallery: Cabey Cabey
    • Gallery: Catchpole, Jim
    • Gallery: Davenport, Jon
    • Gallery: Davies, Keith
    • Gallery: de Smedt, Kohn
    • Gallery: de Terre Neuve, John
    • Gallery: Douglas, Mervyn
    • Gallery: Duffell, Andy
    • Gallery: Fat Wally (Kev)
    • Gallery: Flint, Carole
    • Gallery: Freerange Egg
    • Gallery: Gatzemeyer, Garrett
    • Gallery: Gilbride, Chris
    • Gallery: Haines, John
    • Gallery: Helliwell, Andrew
    • Gallery: Hodge, Derek
    • Gallery: Hooge, Neil
    • Gallery: Humm, Dave
    • Gallery: Kay, Chris
    • Gallery: Lampon, Steven
    • Gallery: Luther, Mark
    • Gallery: MacNeill, Craig
    • Gallery: McCarthy, Andrew
    • Gallery: The Mad Padre
    • Gallery: McGinn, Joe
    • Gallery: Melville, Doug
    • Gallery: Naylor, Richard
    • Gallery: Nissvik, Thomas
    • Gallery: Old Pivot
    • Gallery: Owen
    • Gallery: Pollard, Ashley
    • Gallery: Plowman, Ralph
    • Gallery: Ralls, Jason
    • Gallery: Sapper
    • Gallery: Scott, David
    • Gallery: Slade, Matt
    • Gallery: Stoesen, Chris
    • Gallery: Stumpy
    • Gallery: Treadhead
    • Gallery: Vis Bellica
    • Gallery: Weathersby, Brian
    • Gallery: WillieB
    • Gallery: Yuengling, Jon
  • TFL Painting Challenge 2016/
    • Scorecard 2016
    • Gallery: Baldwin, Paul
    • Gallery: Blankenship, Paul
    • Gallery: Bloggs, Fred
    • Gallery: Bond, Geoff
    • Gallery: Bowen, Ed
    • Gallery: Bowler, Lloyd
    • Gallery: Burt, Steve
    • Gallery: Catchpole, Jim
    • Gallery: Clarke, Richard
    • Gallery: Davenport, Jon
    • Gallery: Davies, Keith
    • Gallery: de Smedt, Koen
    • Gallery: Douglas, Mervyn
    • Gallery: Duffell, Andy
    • Gallery: Egg
    • Gallery: Fitch, Doug
    • Gallery: Flint, Carole
    • Gallery: Gatzemeyer, Garrett
    • Gallery: Gilbride, Chris
    • Gallery: Helliwell, Andrew
    • Gallery: Hodge, Derek
    • Gallery: Hooge, Neil
    • Gallery: Humm, Dave
    • Gallery: I Am Bruce
    • Gallery: Lowth, Kev (Fat Wally)
    • Gallery: Luther, Mark
    • Gallery: The Mad Padre
    • Gallery: McCarthy, Andrew
    • Gallery: Melville, Doug
    • Gallery: Naylor, Richard
    • Gallery: Nissvik, Thomas
    • Gallery: Oracle
    • Gallery: Owen
    • Gallery: Plowman, Ralph
    • Gallery: Pollard, Ashley
    • Gallery: Ralls, Jason
    • Gallery: Sapper
    • Gallery: Slade, Matt
    • Gallery: Stoesen, Chris
    • Gallery: Stumpy
    • Gallery: Treadhead
    • Gallery: Vis Bellica
    • Gallery: Willie B
    • Gallery: Yuengling, Jon
  • TFL Painting Challenge 2015/
    • Scorecard 2015
    • Gallery: AJH
    • Gallery: Bairos, Vidal
    • Gallery: Baldwin, Paul
    • Gallery: Bax, Dick
    • Gallery: Blankenship, Paul
    • Gallery: Bloggs, Fred
    • Gallery: Bond, Geoff Bond
    • Gallery: Bowler, Hat
    • Gallery: Burt, Steve
    • Gallery: Corbett, Wulf
    • Gallery: Danziger, Richard
    • Gallery: Davies, Keith
    • Gallery: de Smedt, Koen
    • Gallery: de terre neuve, john
    • Gallery: Douglas, Mervyn
    • Gallery: Duffell, Andy
    • Gallery: Egg, Freerange
    • Gallery: Eggman Glass
    • Gallery: Eriksson, Leif
    • Gallery: Fat Wally
    • Gallery: Flint, Carole
    • Gallery: Gilbride, Chris
    • Gallery: Hedglin, Nils
    • Gallery: Helliwell, Andy
    • Gallery: Hodge, Derek
    • Gallery: Hooooge, Neil
    • Gallery: Humm, Dave
    • Gallery: I'm Bruce
    • Gallery: Luther, Mark
    • Gallery: The Mad Padre
    • Gallery: Maerk
    • Gallery: McCarthy, Andrew
    • Gallery: Melville, Doug
    • Gallery: Miller, Andrew
    • Gallery: Miller, Steve
    • Gallery: Milne, Neil
    • Gallery: Mikkola, Topi
    • Gallery: Mr Nouveau
    • Gallery: Naylor, Richard
    • Gallery: Nissvik, Thomas
    • Gallery: Owen
    • Gallery: Pedivere
    • Gallery: Pingu
    • Gallery: Pollard, Ashley
    • Gallery: Plowman, Ralph
    • Gallery: Ralls, Jason
    • Gallery: Sapper
    • Gallery: Skelton, Dom
    • Gallery: Slade, Matt
    • Gallery: Stapells, Tony
    • Gallery: Stoesen, Chris
    • Gallery: Strom, Joakim
    • Gallery: Stumpy
    • Gallery: Topyob
    • Gallery: Treadhead
    • Gallery: Vera, Benito
    • Gallery: Vis Bellica
    • Gallery: Willie B
    • Gallery: Yuengling, Jon
    • Gallery: Catchpole, Jim
  • TFL Painting Challenge 2014/
    • Scorecard
    • Gallery: Alexandros
    • Gallery: Ambler, Craig
    • Gallery: Armstrong, Keith
    • Gallery: Bailey, Dave
    • Gallery: Bairos, Vidal
    • Gallery: Bax, Dick
    • Gallery: Bloggs, Fred
    • Gallery: Bond, Geoff
    • Gallery: Burt, Steve
    • Gallery: Carnegie, Ron
    • Gallery: Carole
    • Gallery: Catchpole, Jim
    • Gallery: Clarke, Richard
    • Gallery: Corbett, Wulf
    • Gallery: Danziger, Richard
    • Gallery: De Smedt, Koen
    • Gallery: de Terre Neuve, John
    • Gallery: Deeks, Jon
    • Gallery: Douglas, Mervyn
    • Gallery: Duffell, Andy
    • Gallery: Egg, Free Range
    • Gallery: Erikson, Leif
    • Gallery: Fat Wally (Kev)
    • Gallery: Fiene, Ben
    • Gallery: Gilbride, Chris
    • Gallery: Hodge, Derek
    • Gallery: Humm, Dave
    • Gallery: Llano, Manuel
    • Gallery: Luther, Mark
    • Gallery: Melville, Doug
    • Gallery: Mikkola, Topi
    • Gallery: Miller, Andrew
    • Gallery: munsterfan8
    • Gallery: Murray, Jim
    • Gallery: Nissvik, Thomas
    • Gallery: Owen
    • Gallery: The Mad Padre
    • Gallery: PatG
    • Gallery: Pingu
    • Gallery: Plowman, Ralph
    • Gallery: Pollard, Ashley
    • Gallery: Ralls, Jason
    • Gallery: Slade, Matt
    • Gallery: Stoesen, Chris
    • Gallery: Strom, Joakim
    • Gallery: Stumpy
    • Gallery: Thomas, John
    • Gallery: Treadhead
    • Gallery: Vera, Benito
    • Gallery: Vis Bellica
    • Gallery: Warrior in the Attic
    • Gallery: Weir, Jim
    • Gallery: Whitaker, Mike
    • Gallery: WillieB
    • Gallery: Yuengling, Jon
  • TooFatLardies/
Vis Lardica

IABSM AAR

Vis Lardica
  • New & Updated/
  • TFL Painting Challenge 2025/
    • Introduction & Details
    • Scorecard 2025
    • Gallery: Burt, Steve
    • Gallery: Cooper, Nick
    • Gallery: Douglas, Mervyn
    • Gallery: Emmett, John
    • Gallery: Flint, Carole
    • Gallery: Helliwell, Andrew
    • Gallery: Luther, Mark
    • Gallery: Plowman, Ralph
    • Gallery: Sapper
    • Gallery: Stumpy
    • Gallery: Vis Bellica
  • I Ain't Been Shot, Mum! (WW2)/
    • Introduction to IABSM
    • Video: How To Play IABSM, Part One
    • Video: How to Play IABSM, Part Two
    • Video: How to Play IABSM, Part Three
    • After Action Reports (IABSM)
    • Army Galleries (IABSM)
    • Buy IABSM Scenario Packs
    • Buy IABSM Theatre Supplements
    • Figure Manufacturers (IABSM)
    • Figure Reviews (IABSM)
    • Game Aids (IABSM)
    • IABSM Facebook Group
  • Charlie Don't Surf! (Vietnam/Arab-Israeli/Moderns)/
    • Introduction to CDS
    • After Action Reports (CDS)
    • Army Galleries (CDS)
    • The Arab-Israeli Six Day War
    • The Arab-Israeli Yom Kippur War
    • After Action Reports (Arab-Israeli Wars)
    • Army Galleries (Arab-Israeli Wars)
    • After Action Reports (Moderns)
  • Quadrant 13 (Sci-Fi)/
    • Introduction to Q13
    • After Action Reports (Q13)
    • Army Galleries (Q13)
    • Army Lists for Q13
    • Buy Q13 and/or Five Planets
    • Figure Manufacturers (Q13)
    • Figure Reviews (Q13)
    • Points System Spreadsheets
  • Vis Imperica (19th Century)/
    • Introduction to 19th Century
    • Army Galleries (19th Century)
    • Army Lists
    • After Action Reports
    • Articles & Essays
    • Quick Guide to the Wars of the 19th Century
  • Vis Lucii (Pike & Shot)/
    • Introduction and AAR
    • FK&P: The Eastern Front
  • Vis Bellica (Ancients)/
    • Introduction to Vis Bellica
    • The Rules: Amendments
    • The Rules: Frequently Asked Questions
    • The Rules: Optional Rules
    • After Action Reports (Vis Bellica)
    • Army Lists
    • Articles about Vis Bellica
    • Scenarios for Vis Bellica
    • Other After Action Reports: WRG 6th
    • Other After Action Reports: TTS
  • Vis Magica (Fantasy)/
    • The Rules: Optional Rules
    • After Action Reports
  • TFL Painting Challenge 2024/
    • Scorecard 2024
    • Gallery: Burt, Steve
    • Gallery: Cooper, Nick
    • Gallery: Darkin, Des
    • Gallery: Davenport, Jonathan
    • Gallery: Douglas, Mervyn
    • Gallery: Emmett. John
    • Gallery: Flint, Carole
    • Gallery: Helliwell, Andrew
    • Gallery: Kay, Chris
    • Gallery: Luther, Mark
    • Gallery: Plowman, Ralph
    • Gallery: Sapper
    • Gallery: Scott, David
    • Gallery: Slade, Matt
    • Gallery: Stumpy
    • Gallery: Vis Bellica
  • TFL Painting Challenge 2023/
    • Scorecard 2023
    • Gallery: Bowler, Lloyd
    • Gallery: Burt, Steve
    • Gallery: Cooper, Nick
    • Gallery: Douglas, Mervyn
    • Gallery: Emmett, John
    • Gallery: Flint, Carole
    • Gallery: Helliwell, Andrew
    • Gallery: Hodge, Derek
    • Gallery: Kay, Chris
    • Gallery: Luther, Mark
    • Gallery: Plowman, Ralph
    • Gallery: Pollard, Ashley
    • Gallery: Sapper
    • Gallery: Scott, David
    • Gallery: Slade, Matt
    • Gallery: Stumpy
    • Gallery: Vis Bellica
  • TFL Painting Challenge 2022/
    • Scorecard 2022
    • Gallery: Bowler, Lloyd
    • Gallery: Burt, Steve
    • Gallery: Cooper, Nick
    • Gallery: Douglas, Mervyn
    • Gallery: Emmett, John
    • Gallery: Flint, Carole
    • Gallery: Goodrick, Pete
    • Gallery: Haines, John
    • Gallery: Helliwell, Andrew
    • Gallery: Hodge, Derek
    • Gallery: Kay, Chris
    • Gallery: Luther, Mark
    • Gallery: Plowman, Ralph
    • Gallery: Pollard, Ashley
    • Gallery: Sapper
    • Gallery: Scott, David
    • Gallery: Slade, Matt
    • Gallery: Stumpy
    • Gallery: Vis Bellica
  • TFL Painting Challenge 2021/
    • Scorecard 2021
    • Gallery: Anzani, Joe
    • Gallery: Bowler, Lloyd
    • Gallery: Burt, Steve
    • Gallery: Cooper, Nick
    • Gallery: Douglas, Mervyn
    • Gallery: Duffell, Andy
    • Gallery: Emmett, John
    • Gallery: Flint, Carole
    • Gallery: Haines, John
    • Gallery: Helliwell, Andrew
    • Gallery: Hiett, Travis
    • Gallery: Hodge, Derek
    • Gallery: Kay, Chris
    • Gallery: Luther, Mark
    • Gallery: McGinn, Joe
    • Gallery: Melville, Doug
    • Gallery: Plowman, Ralph
    • Gallery: Pollard, Ashley
    • Gallery: Ralls, Jason
    • Gallery: Sapper
    • Gallery: Scott, David
    • Gallery: Slade, Matt
    • Gallery: Stoesen, Chris
    • Gallery: Stumpy
    • Gallery: Vis Bellica
  • TFL Painting Challenge 2020/
    • Scorecard 2020
    • Gallery: Bloggs, Fred
    • Gallery: Bluemoose Ken
    • Gallery: Bowler, Lloyd
    • Gallery: Burt, Steve
    • Gallery: Cornwell, Chris
    • Gallery: Douglas, Mervyn
    • Gallery: Duffell, Andy
    • Gallery: Emmett, John
    • Gallery: Flint, Carole
    • Gallery: Haines, John
    • Gallery: Helliwell, Andrew
    • Gallery: Hiatt, Travis
    • Gallery: Hodge, Derek
    • Gallery: Hooge, Neil
    • Gallery: Kay, Chris
    • Gallery: Luther, Mark
    • Gallery: McGinn, Joe
    • Gallery: Melville, Doug
    • Gallery: Plowman, Ralph
    • Gallery: Pollard, Ashley
    • Gallery: Ralls, Jason
    • Gallery: Sapper
    • Gallery: Scott, David
    • Gallery: Slade, Matt
    • Gallery: Stoesen, Chris
    • Gallery: Stumpy
    • Gallery: Vis Bellica
  • TFL Painting Challenge 2019/
    • Scorecard 2019
    • Gallery: Bloggs, Fred
    • Gallery: Blue Moose Ken
    • Gallery: Bowen, Ed
    • Gallery: Bowler, Lloyd
    • Gallery: Burt, Steve
    • Gallery: Clarke, Richard
    • Gallery: Cornwell, Chris
    • Gallery: Davenport, Jon
    • Gallery: Douglas, Mervyn
    • Gallery: Duffell, Andy
    • Gallery: de Terre Neuve, John
    • Gallery: Emmett, John
    • Gallery: Fat Wally
    • Gallery: Flint, Carole
    • Gallery: Haines, John
    • Gallery: Helliwell, Andrew
    • Gallery: Hiett, Travis
    • Gallery: Hodge, Derek
    • Gallery: Hooge, Neil
    • Gallery: Johnston, Owen
    • Gallery: Kay, Chris
    • Gallery: Luther, Mark
    • Gallery: McGinn, Joe
    • Gallery: Melville, Doug
    • Gallery: Plowman, Ralph
    • Gallery: Ralls, Jason
    • Gallery: Sapper
    • Gallery: Scott, David
    • Gallery: Slade, Matt
    • Gallery: Stoesen, Chris
    • Gallery: Stumpy
    • Gallery: Vis Bellica
    • Gallery: Yuengling, Jon
  • TFL Painting Challenge 2018/
    • Scorecard 2018
    • Gallery: Bloggs, Fred
    • Gallery: Blue Moose Ken
    • Gallery: Bowen, Ed
    • Gallery: Bowler, Lloyd
    • Gallery: Burt, Steve
    • Gallery: Cornwell, Chris
    • Gallery: Davenport, Jonathan
    • Gallery: de Terre Neuve, John
    • Gallery: Douglas, Mervyn
    • Gallery: Duffell, Andy
    • Gallery: Fat Wally
    • Gallery: Flint, Carole
    • Gallery: Freerange Egg
    • Gallery: Haines, John
    • Gallery: Helliwell, Andrew
    • Gallery: Hiett, Travis
    • Gallery: Hodge, Derek
    • Gallery: Hooge, Neil
    • Gallery: Johnston, Owen
    • Gallery: Kay, Chris
    • Gallery: Lampon, Steven
    • Gallery: Luther, Mark
    • Gallery: McGinn, Joe
    • Gallery: Melville, Doug
    • Gallery: Plowman, Ralph
    • Gallery: Ralls, Jason
    • Gallery: Sapper
    • Gallery: Scott, David
    • Gallery: Slade, Matt
    • Gallery: Stoesen, Chris
    • Gallery: Stumpy
    • Gallery: Treadhead
    • Gallery: Vis Bellica
    • Gallery: Yuengling, Jon
  • TFL Painting Challenge 2017/
    • Scorecard
    • Gallery: Bond, Geoff
    • Gallery: Bowen, Edward
    • Gallery: Bowler, Lloyd
    • Gallery: Burt, Steve
    • Gallery: Cabey Cabey
    • Gallery: Catchpole, Jim
    • Gallery: Davenport, Jon
    • Gallery: Davies, Keith
    • Gallery: de Smedt, Kohn
    • Gallery: de Terre Neuve, John
    • Gallery: Douglas, Mervyn
    • Gallery: Duffell, Andy
    • Gallery: Fat Wally (Kev)
    • Gallery: Flint, Carole
    • Gallery: Freerange Egg
    • Gallery: Gatzemeyer, Garrett
    • Gallery: Gilbride, Chris
    • Gallery: Haines, John
    • Gallery: Helliwell, Andrew
    • Gallery: Hodge, Derek
    • Gallery: Hooge, Neil
    • Gallery: Humm, Dave
    • Gallery: Kay, Chris
    • Gallery: Lampon, Steven
    • Gallery: Luther, Mark
    • Gallery: MacNeill, Craig
    • Gallery: McCarthy, Andrew
    • Gallery: The Mad Padre
    • Gallery: McGinn, Joe
    • Gallery: Melville, Doug
    • Gallery: Naylor, Richard
    • Gallery: Nissvik, Thomas
    • Gallery: Old Pivot
    • Gallery: Owen
    • Gallery: Pollard, Ashley
    • Gallery: Plowman, Ralph
    • Gallery: Ralls, Jason
    • Gallery: Sapper
    • Gallery: Scott, David
    • Gallery: Slade, Matt
    • Gallery: Stoesen, Chris
    • Gallery: Stumpy
    • Gallery: Treadhead
    • Gallery: Vis Bellica
    • Gallery: Weathersby, Brian
    • Gallery: WillieB
    • Gallery: Yuengling, Jon
  • TFL Painting Challenge 2016/
    • Scorecard 2016
    • Gallery: Baldwin, Paul
    • Gallery: Blankenship, Paul
    • Gallery: Bloggs, Fred
    • Gallery: Bond, Geoff
    • Gallery: Bowen, Ed
    • Gallery: Bowler, Lloyd
    • Gallery: Burt, Steve
    • Gallery: Catchpole, Jim
    • Gallery: Clarke, Richard
    • Gallery: Davenport, Jon
    • Gallery: Davies, Keith
    • Gallery: de Smedt, Koen
    • Gallery: Douglas, Mervyn
    • Gallery: Duffell, Andy
    • Gallery: Egg
    • Gallery: Fitch, Doug
    • Gallery: Flint, Carole
    • Gallery: Gatzemeyer, Garrett
    • Gallery: Gilbride, Chris
    • Gallery: Helliwell, Andrew
    • Gallery: Hodge, Derek
    • Gallery: Hooge, Neil
    • Gallery: Humm, Dave
    • Gallery: I Am Bruce
    • Gallery: Lowth, Kev (Fat Wally)
    • Gallery: Luther, Mark
    • Gallery: The Mad Padre
    • Gallery: McCarthy, Andrew
    • Gallery: Melville, Doug
    • Gallery: Naylor, Richard
    • Gallery: Nissvik, Thomas
    • Gallery: Oracle
    • Gallery: Owen
    • Gallery: Plowman, Ralph
    • Gallery: Pollard, Ashley
    • Gallery: Ralls, Jason
    • Gallery: Sapper
    • Gallery: Slade, Matt
    • Gallery: Stoesen, Chris
    • Gallery: Stumpy
    • Gallery: Treadhead
    • Gallery: Vis Bellica
    • Gallery: Willie B
    • Gallery: Yuengling, Jon
  • TFL Painting Challenge 2015/
    • Scorecard 2015
    • Gallery: AJH
    • Gallery: Bairos, Vidal
    • Gallery: Baldwin, Paul
    • Gallery: Bax, Dick
    • Gallery: Blankenship, Paul
    • Gallery: Bloggs, Fred
    • Gallery: Bond, Geoff Bond
    • Gallery: Bowler, Hat
    • Gallery: Burt, Steve
    • Gallery: Corbett, Wulf
    • Gallery: Danziger, Richard
    • Gallery: Davies, Keith
    • Gallery: de Smedt, Koen
    • Gallery: de terre neuve, john
    • Gallery: Douglas, Mervyn
    • Gallery: Duffell, Andy
    • Gallery: Egg, Freerange
    • Gallery: Eggman Glass
    • Gallery: Eriksson, Leif
    • Gallery: Fat Wally
    • Gallery: Flint, Carole
    • Gallery: Gilbride, Chris
    • Gallery: Hedglin, Nils
    • Gallery: Helliwell, Andy
    • Gallery: Hodge, Derek
    • Gallery: Hooooge, Neil
    • Gallery: Humm, Dave
    • Gallery: I'm Bruce
    • Gallery: Luther, Mark
    • Gallery: The Mad Padre
    • Gallery: Maerk
    • Gallery: McCarthy, Andrew
    • Gallery: Melville, Doug
    • Gallery: Miller, Andrew
    • Gallery: Miller, Steve
    • Gallery: Milne, Neil
    • Gallery: Mikkola, Topi
    • Gallery: Mr Nouveau
    • Gallery: Naylor, Richard
    • Gallery: Nissvik, Thomas
    • Gallery: Owen
    • Gallery: Pedivere
    • Gallery: Pingu
    • Gallery: Pollard, Ashley
    • Gallery: Plowman, Ralph
    • Gallery: Ralls, Jason
    • Gallery: Sapper
    • Gallery: Skelton, Dom
    • Gallery: Slade, Matt
    • Gallery: Stapells, Tony
    • Gallery: Stoesen, Chris
    • Gallery: Strom, Joakim
    • Gallery: Stumpy
    • Gallery: Topyob
    • Gallery: Treadhead
    • Gallery: Vera, Benito
    • Gallery: Vis Bellica
    • Gallery: Willie B
    • Gallery: Yuengling, Jon
    • Gallery: Catchpole, Jim
  • TFL Painting Challenge 2014/
    • Scorecard
    • Gallery: Alexandros
    • Gallery: Ambler, Craig
    • Gallery: Armstrong, Keith
    • Gallery: Bailey, Dave
    • Gallery: Bairos, Vidal
    • Gallery: Bax, Dick
    • Gallery: Bloggs, Fred
    • Gallery: Bond, Geoff
    • Gallery: Burt, Steve
    • Gallery: Carnegie, Ron
    • Gallery: Carole
    • Gallery: Catchpole, Jim
    • Gallery: Clarke, Richard
    • Gallery: Corbett, Wulf
    • Gallery: Danziger, Richard
    • Gallery: De Smedt, Koen
    • Gallery: de Terre Neuve, John
    • Gallery: Deeks, Jon
    • Gallery: Douglas, Mervyn
    • Gallery: Duffell, Andy
    • Gallery: Egg, Free Range
    • Gallery: Erikson, Leif
    • Gallery: Fat Wally (Kev)
    • Gallery: Fiene, Ben
    • Gallery: Gilbride, Chris
    • Gallery: Hodge, Derek
    • Gallery: Humm, Dave
    • Gallery: Llano, Manuel
    • Gallery: Luther, Mark
    • Gallery: Melville, Doug
    • Gallery: Mikkola, Topi
    • Gallery: Miller, Andrew
    • Gallery: munsterfan8
    • Gallery: Murray, Jim
    • Gallery: Nissvik, Thomas
    • Gallery: Owen
    • Gallery: The Mad Padre
    • Gallery: PatG
    • Gallery: Pingu
    • Gallery: Plowman, Ralph
    • Gallery: Pollard, Ashley
    • Gallery: Ralls, Jason
    • Gallery: Slade, Matt
    • Gallery: Stoesen, Chris
    • Gallery: Strom, Joakim
    • Gallery: Stumpy
    • Gallery: Thomas, John
    • Gallery: Treadhead
    • Gallery: Vera, Benito
    • Gallery: Vis Bellica
    • Gallery: Warrior in the Attic
    • Gallery: Weir, Jim
    • Gallery: Whitaker, Mike
    • Gallery: WillieB
    • Gallery: Yuengling, Jon
  • TooFatLardies/
March 22, 2017 March 22, 2017/ Robert Avery


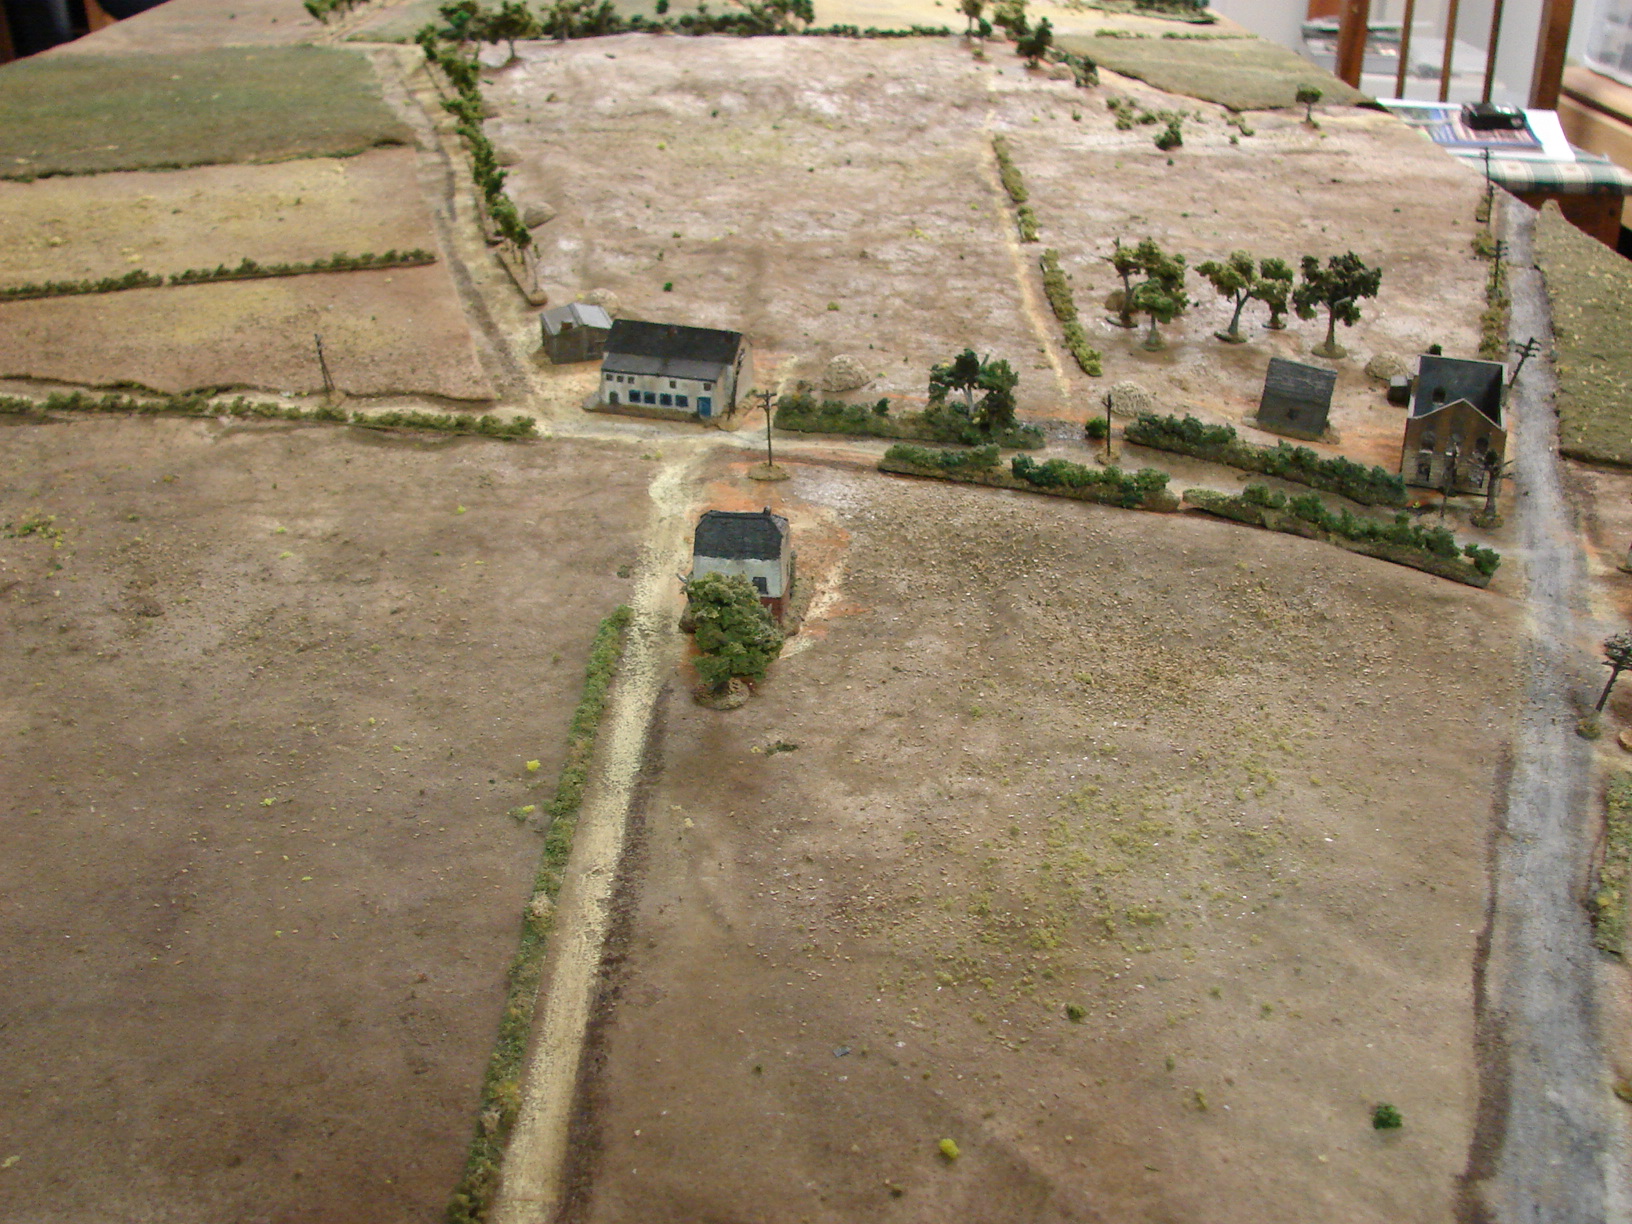
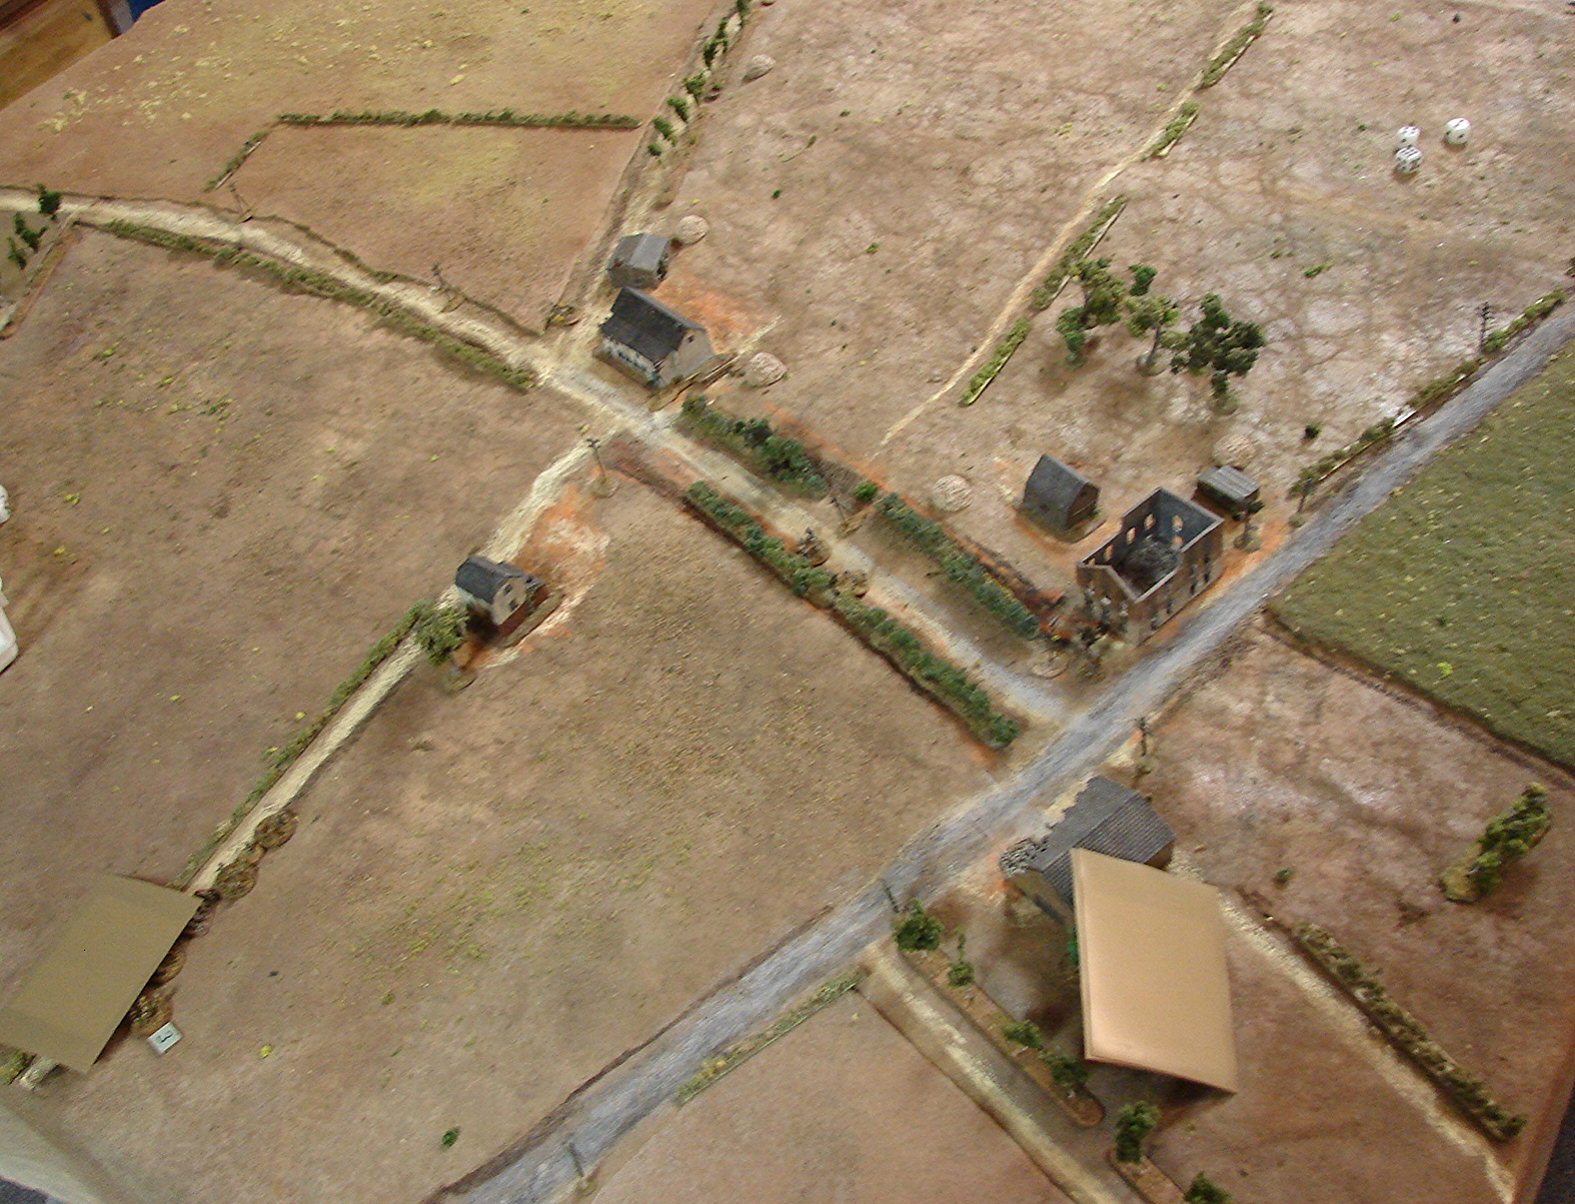
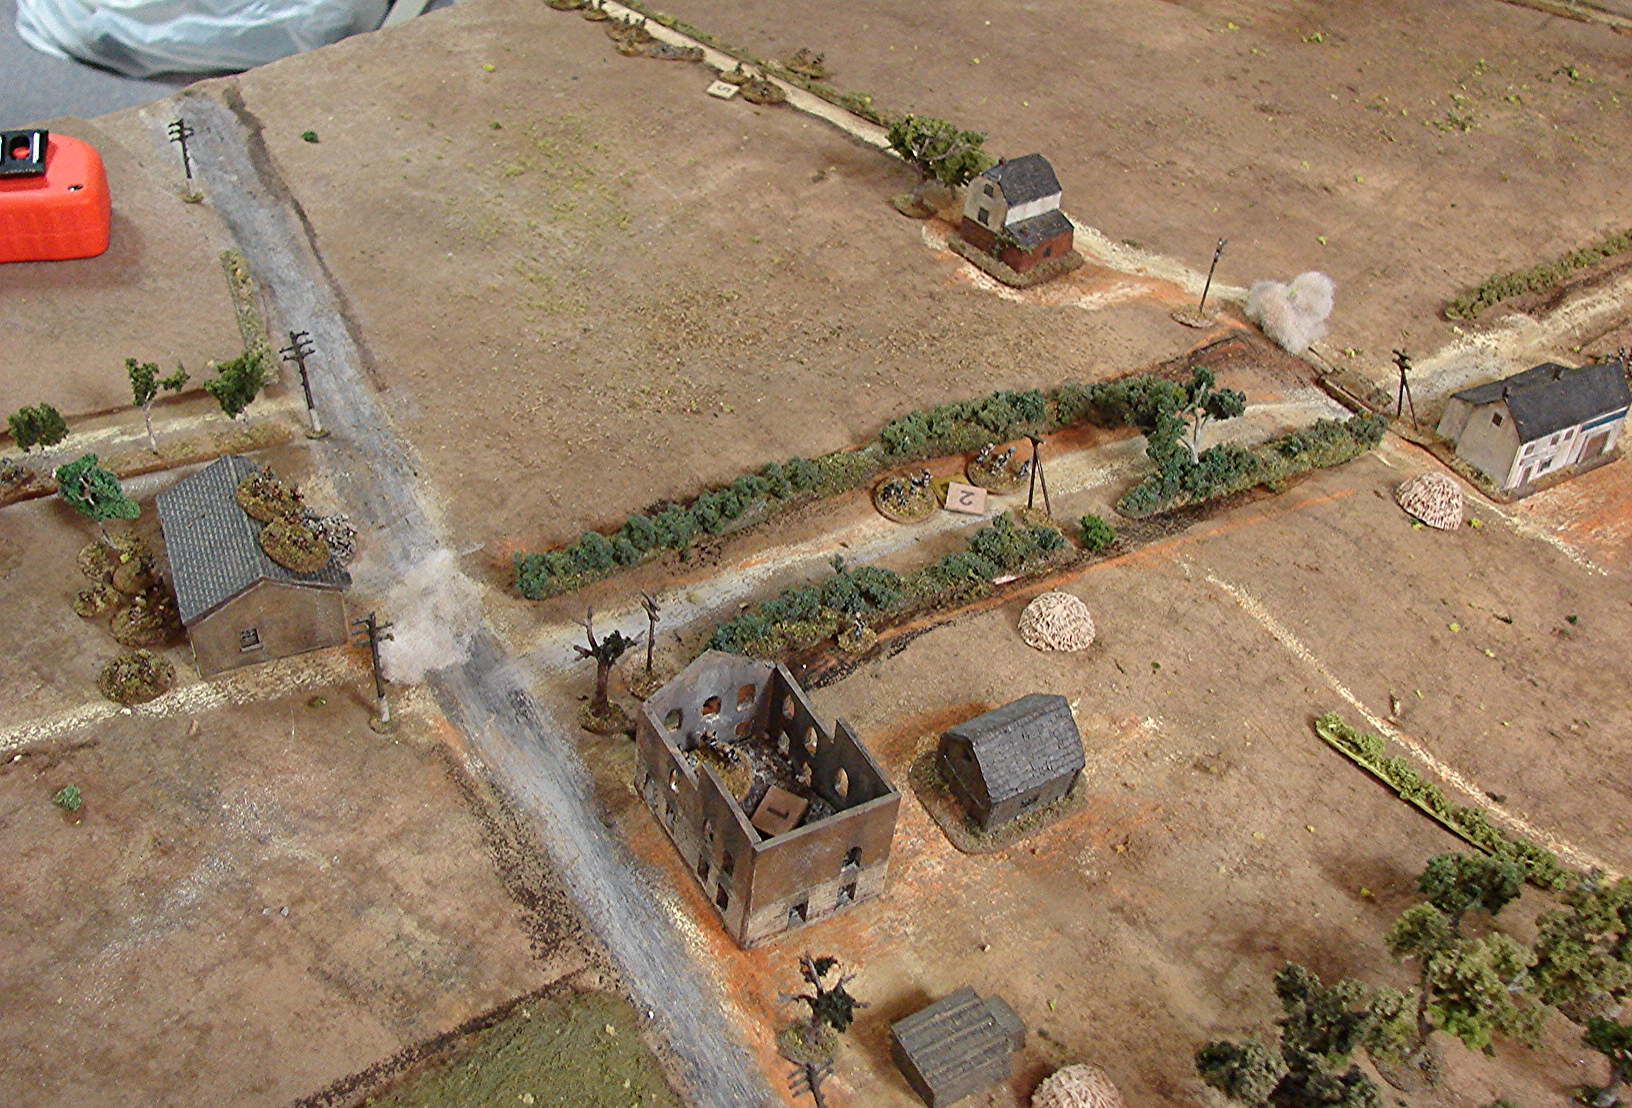
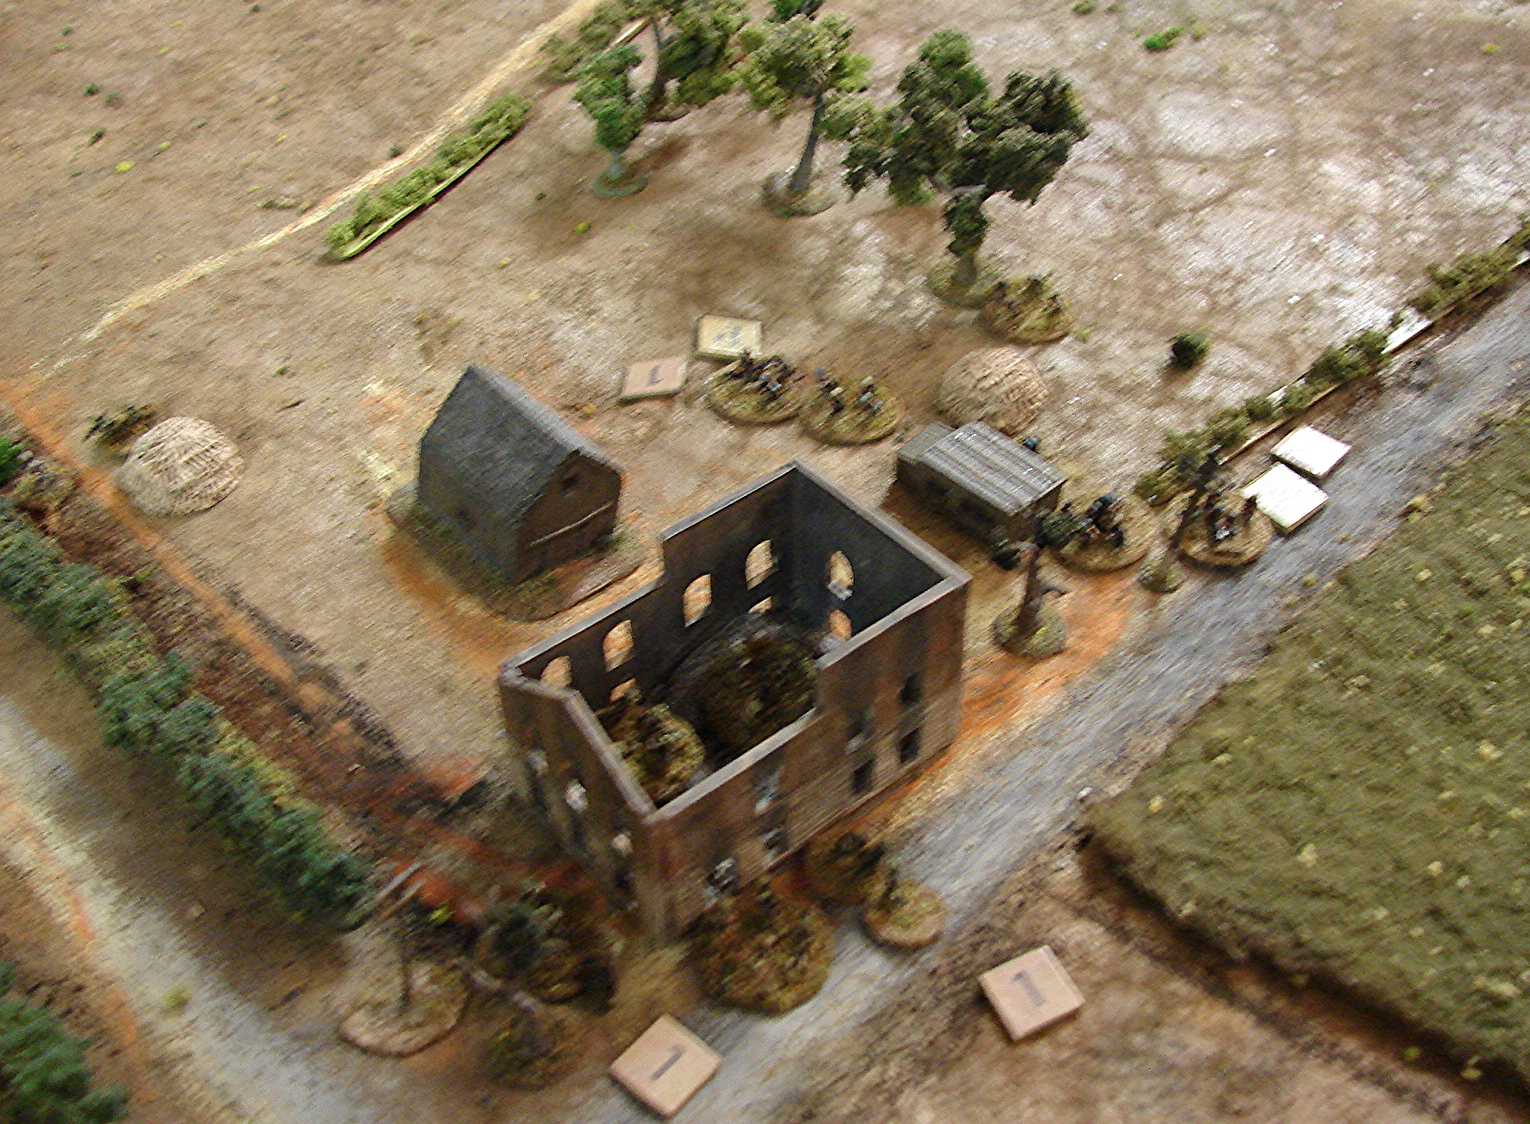
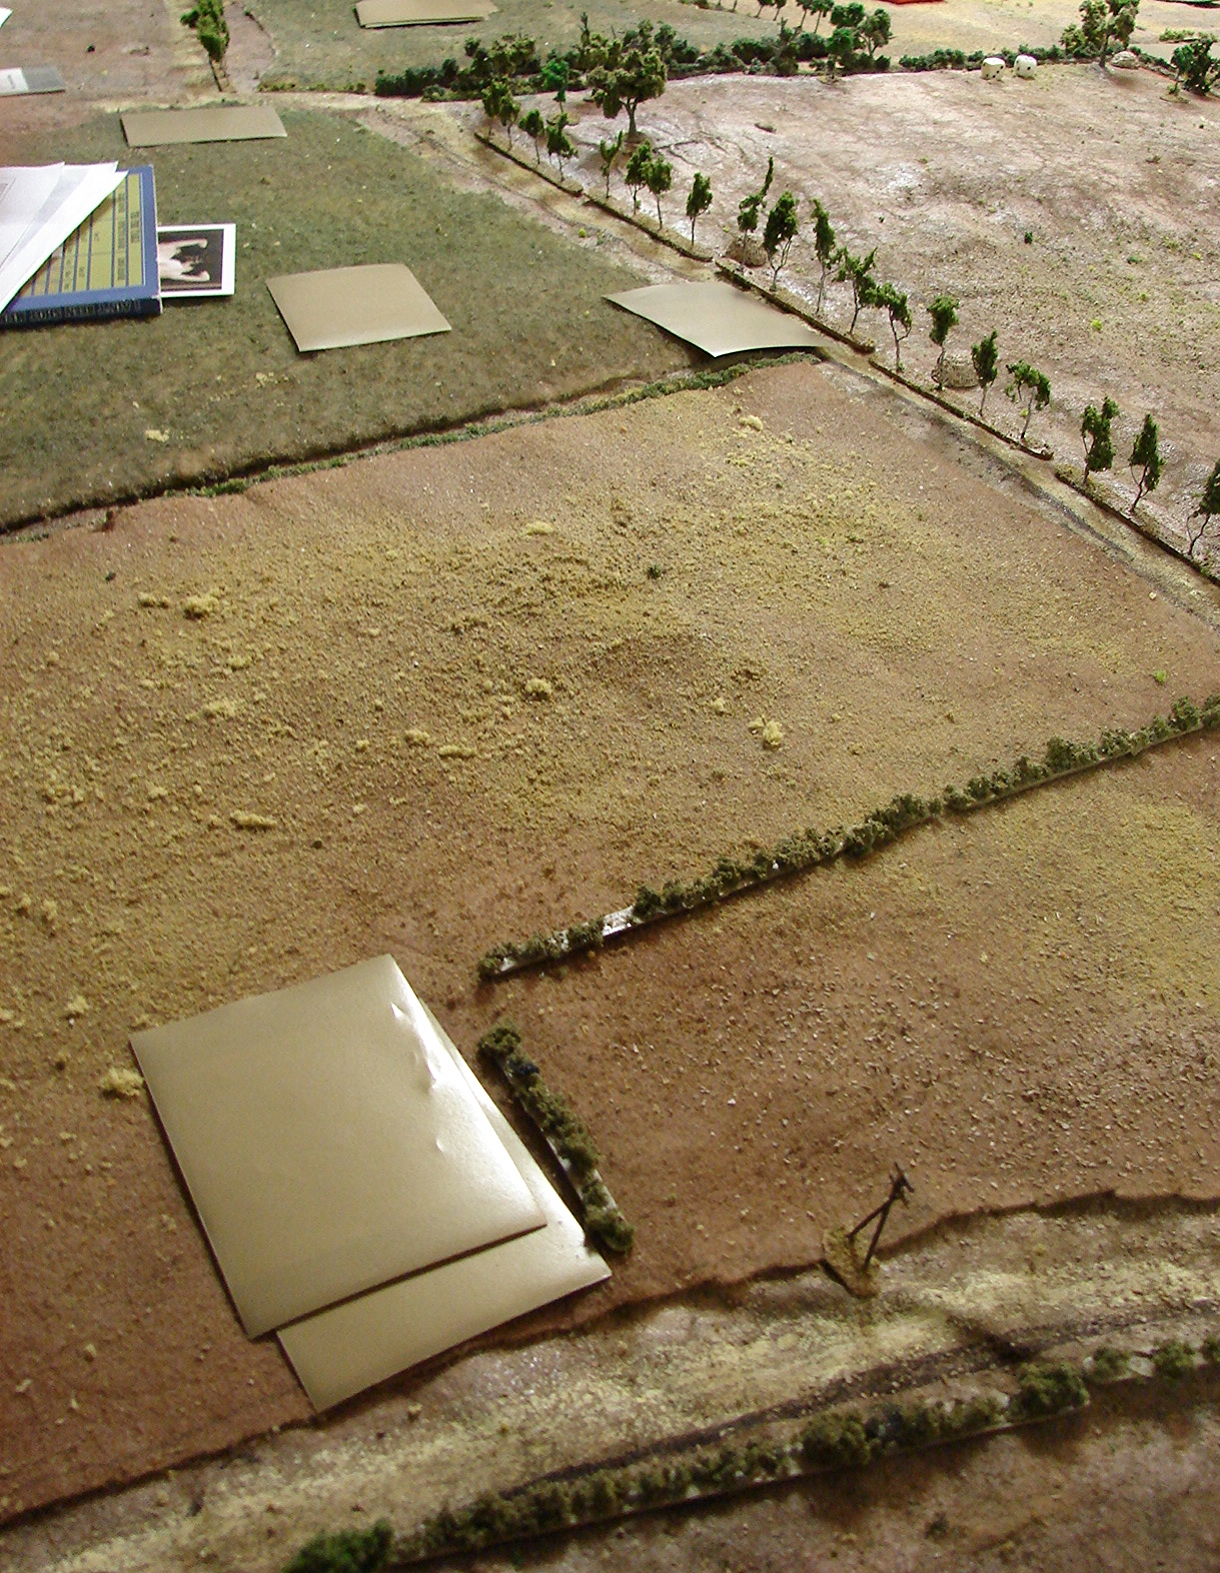
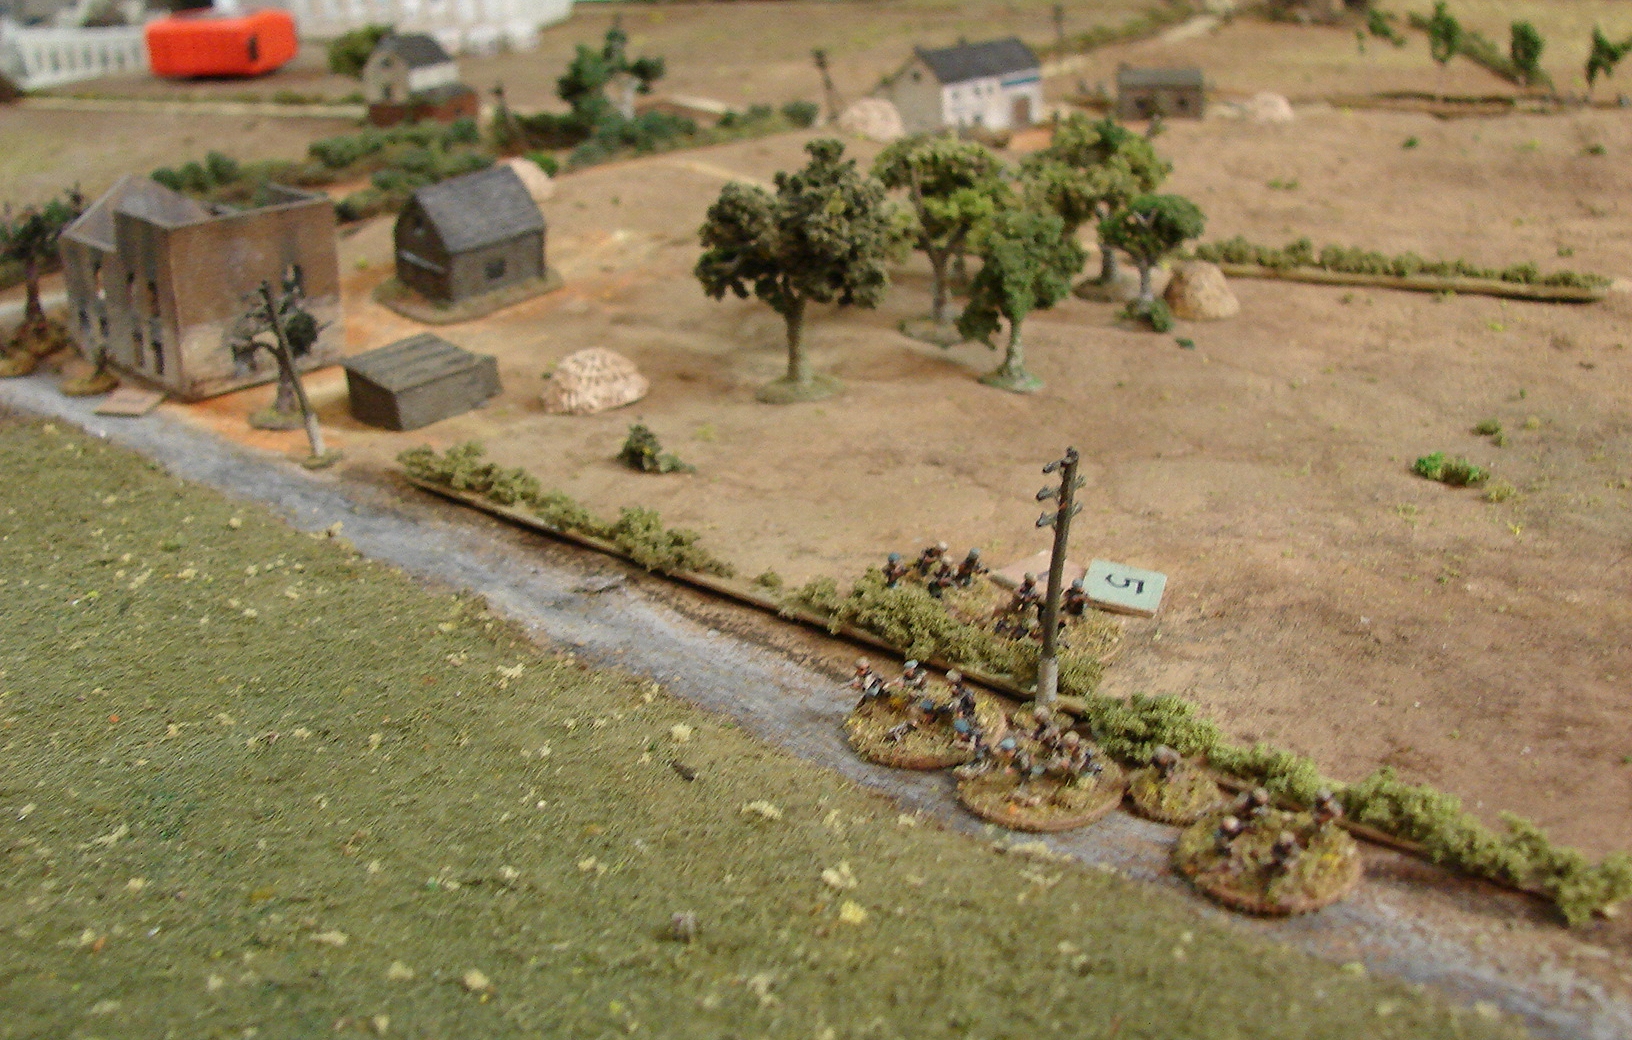
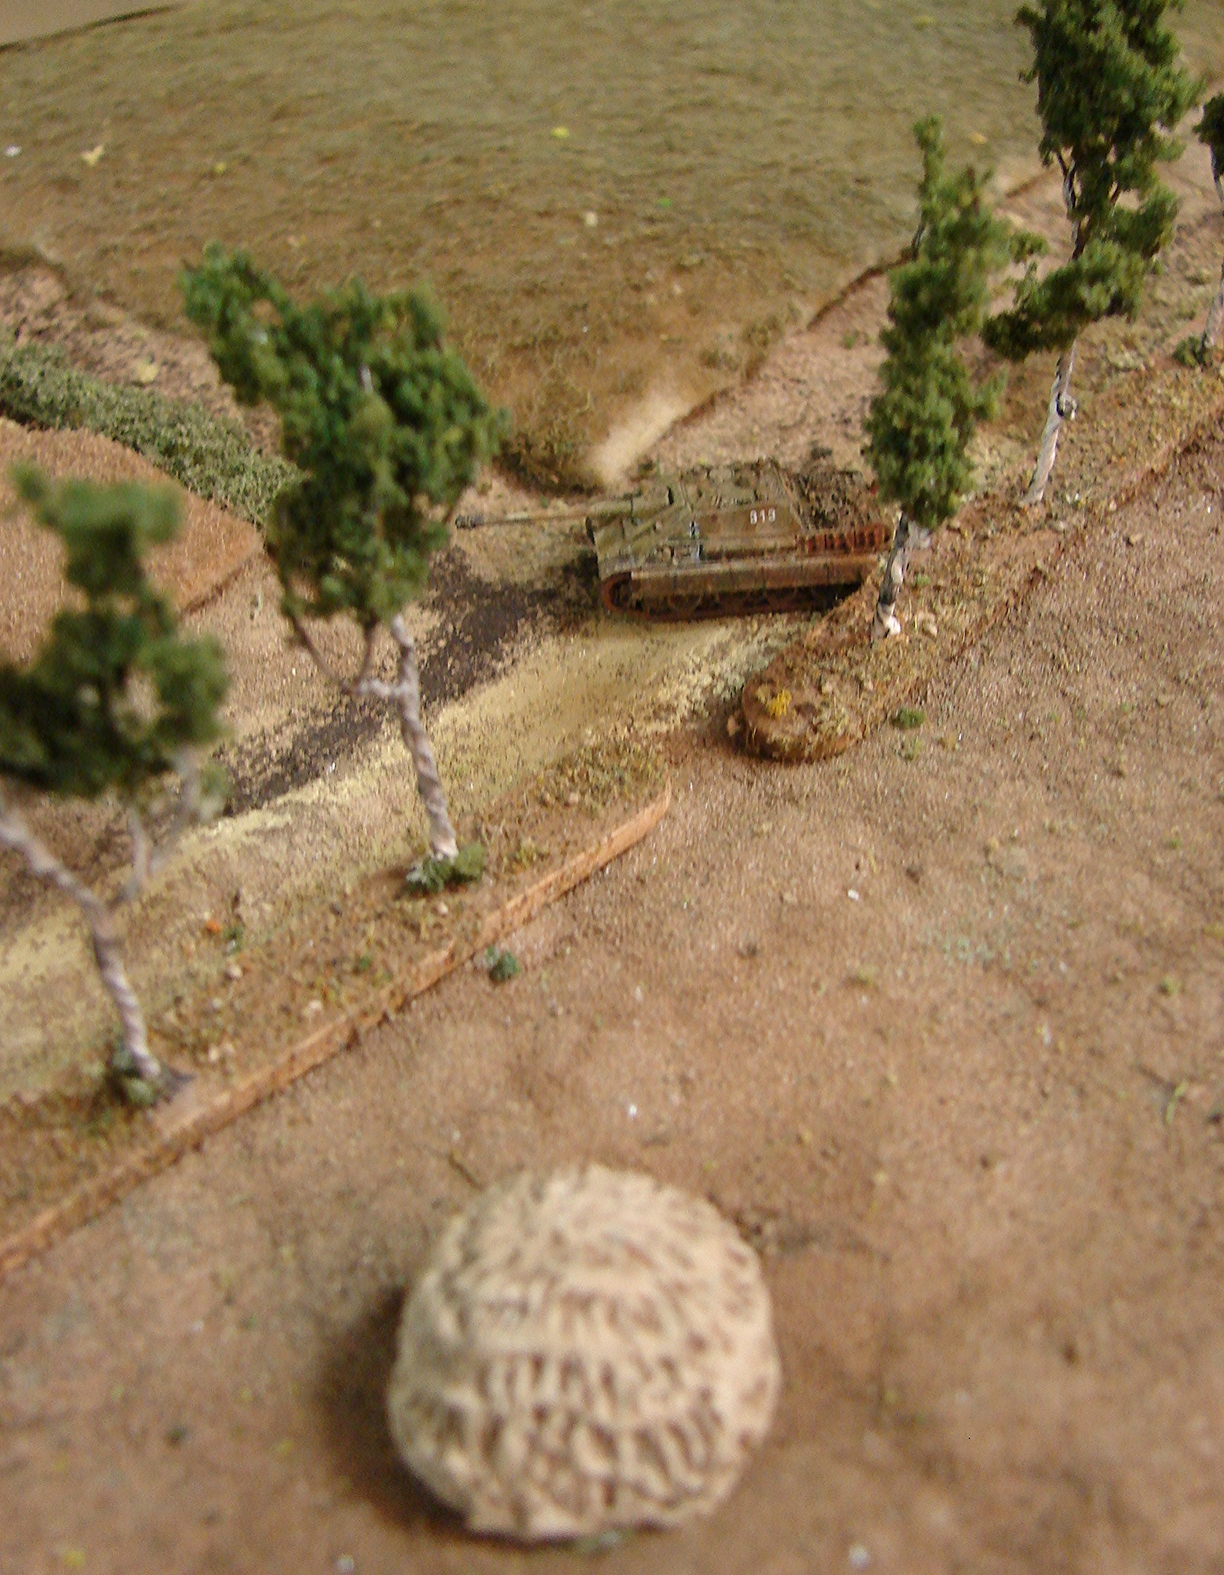
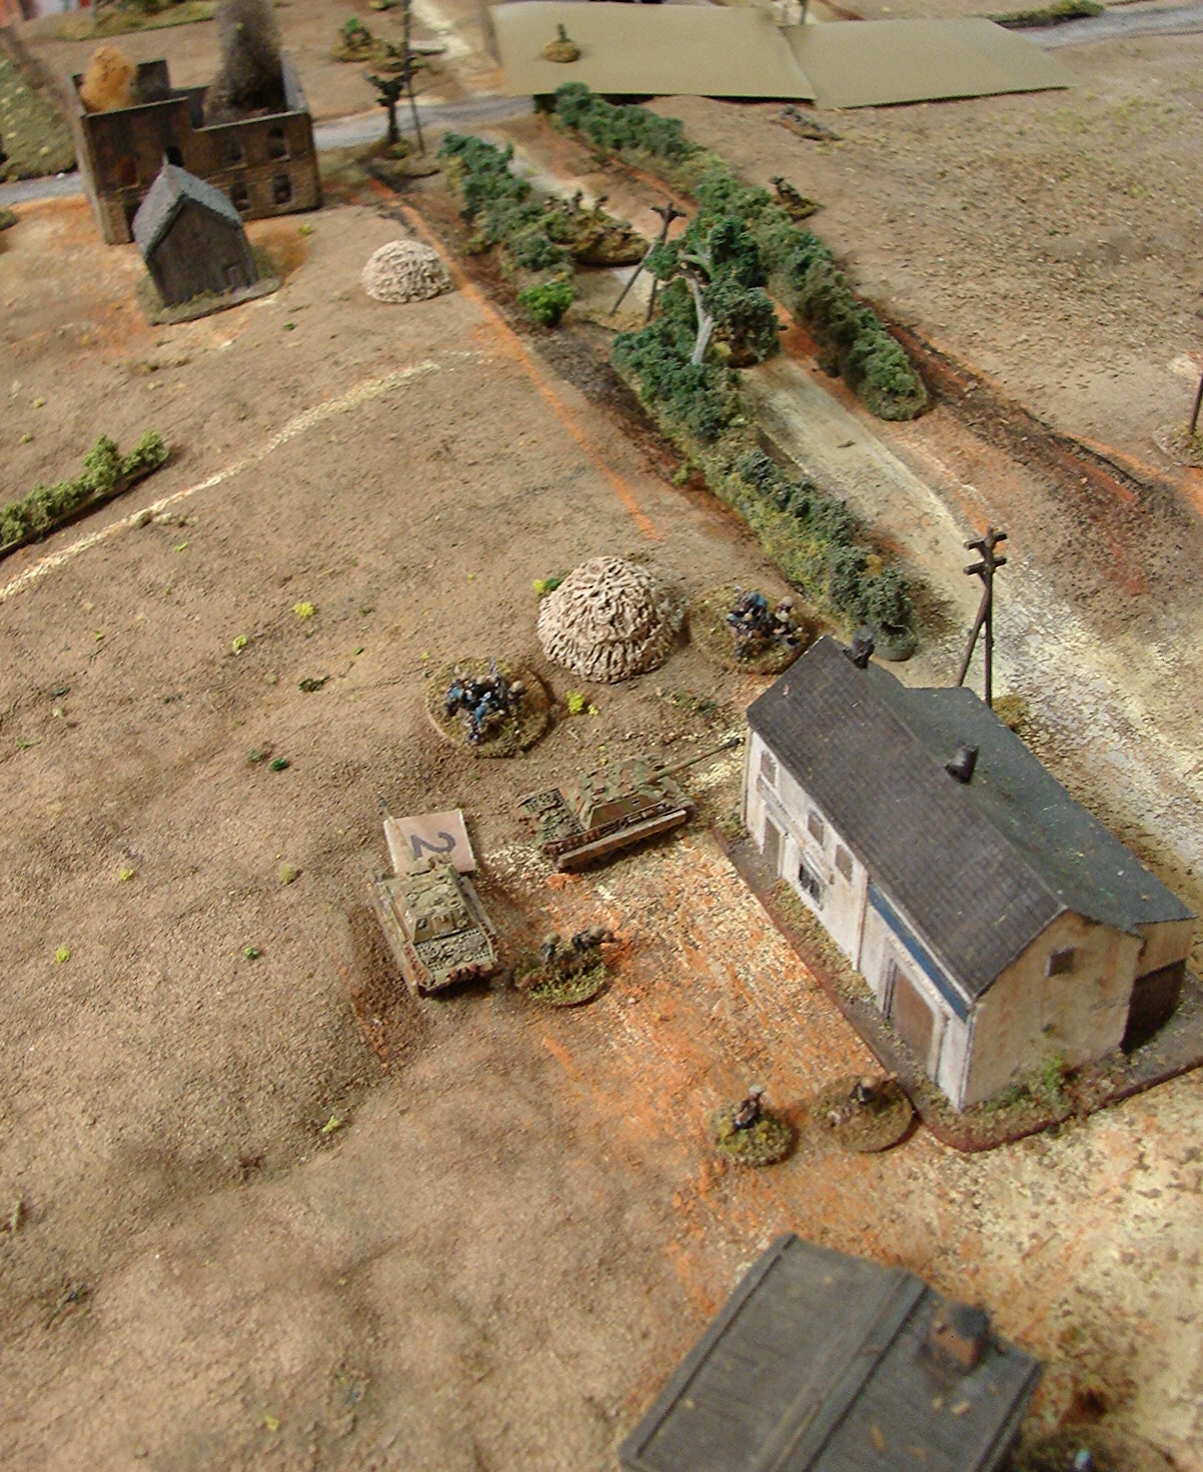
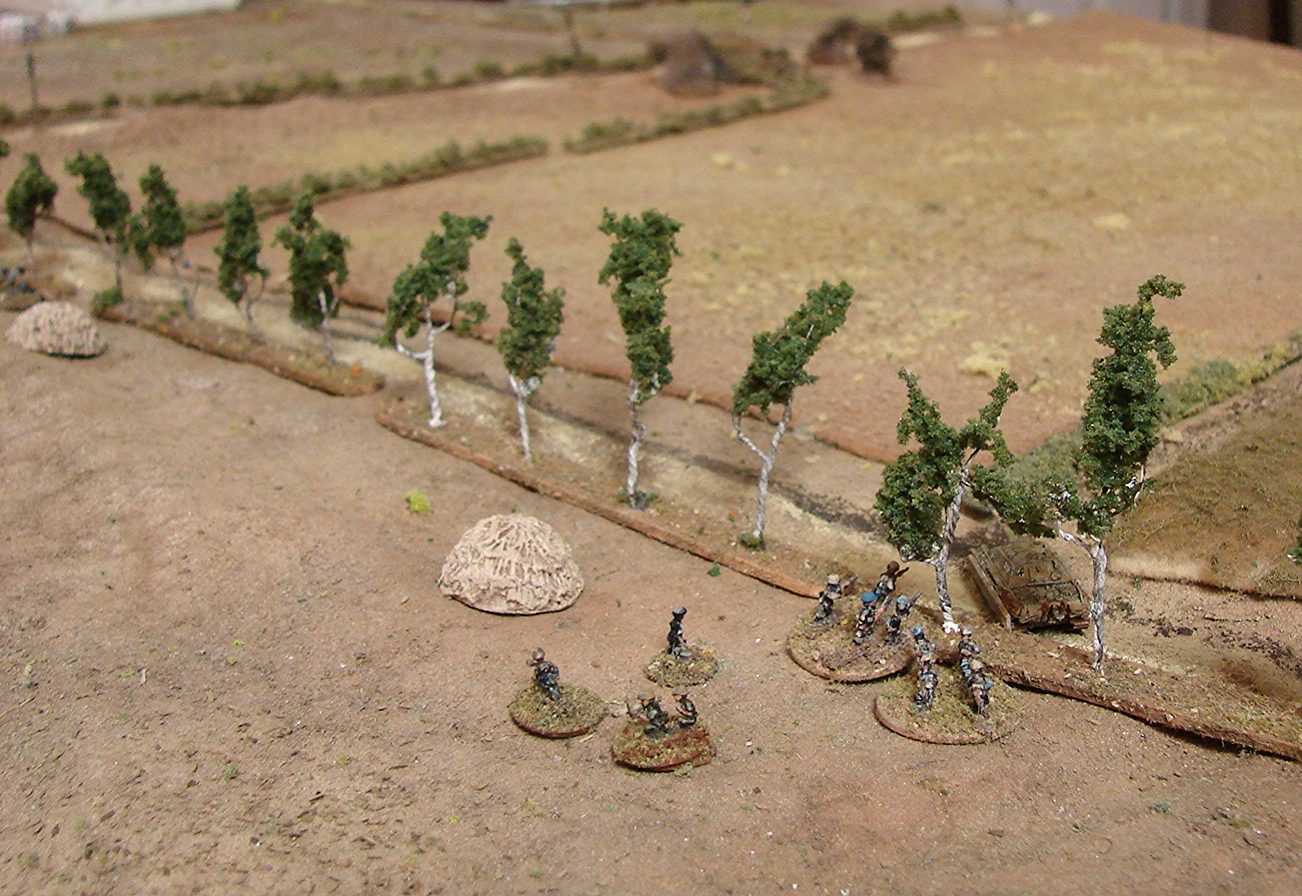
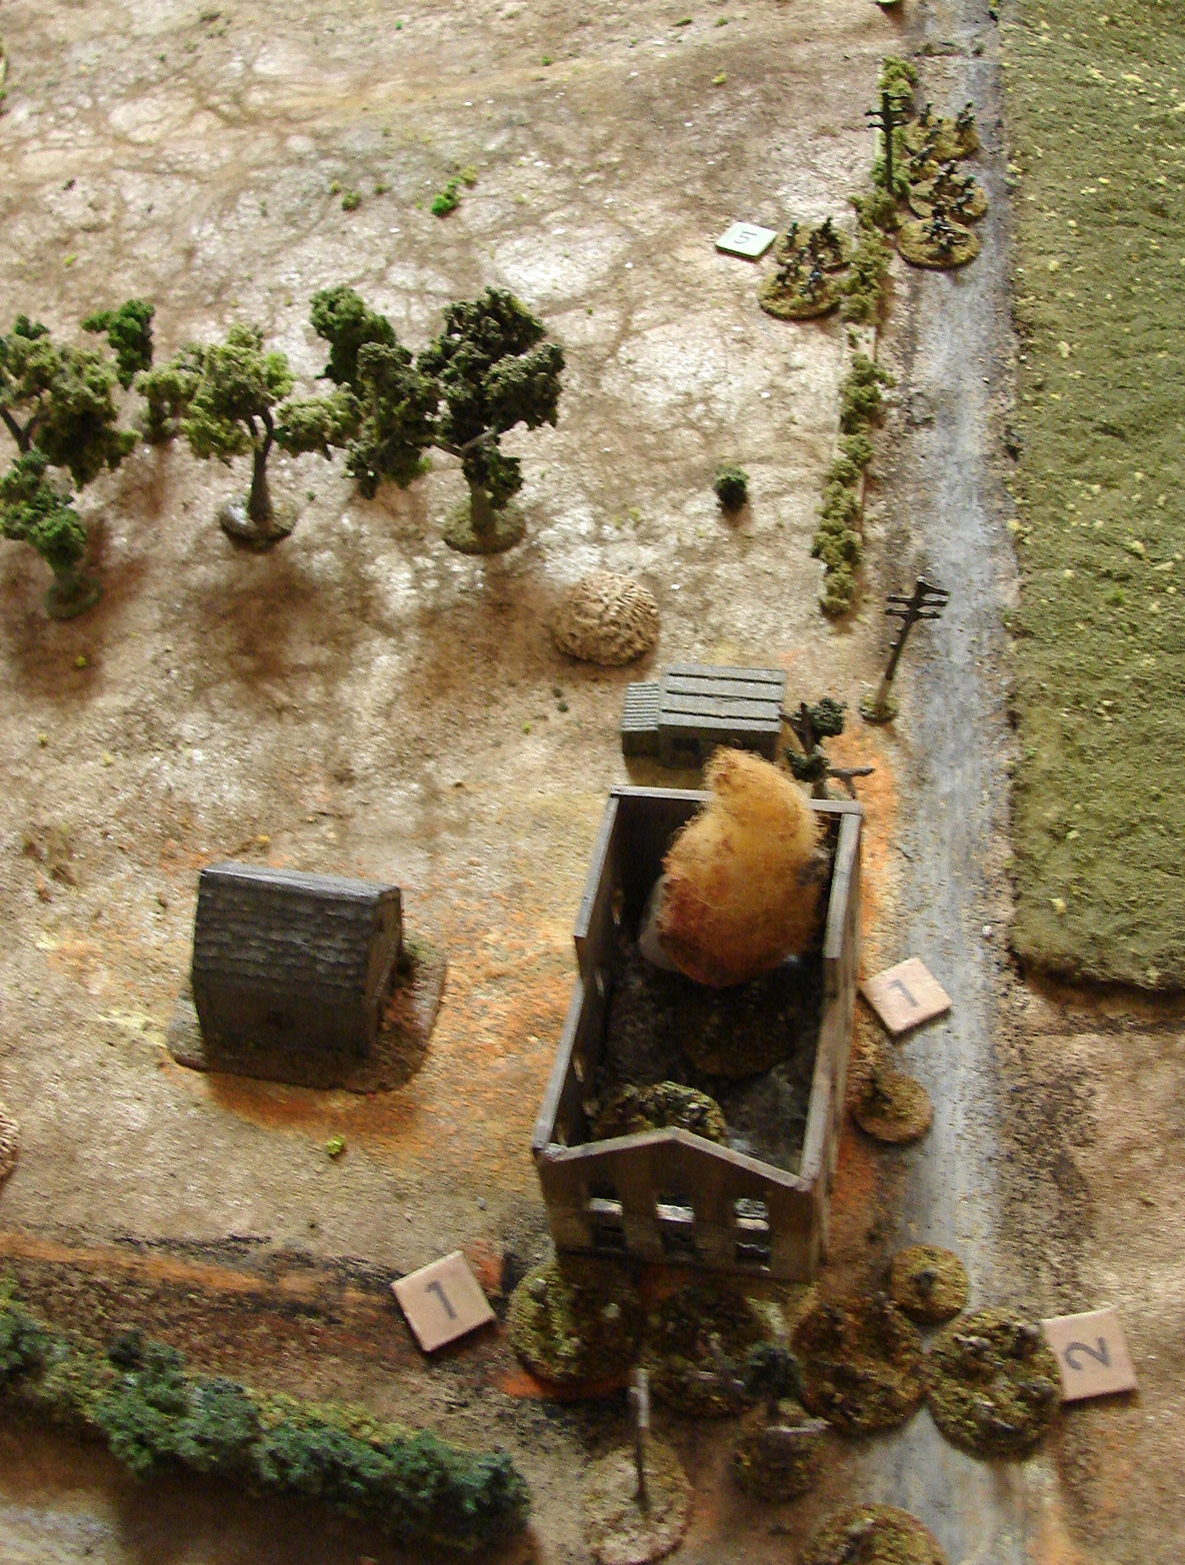
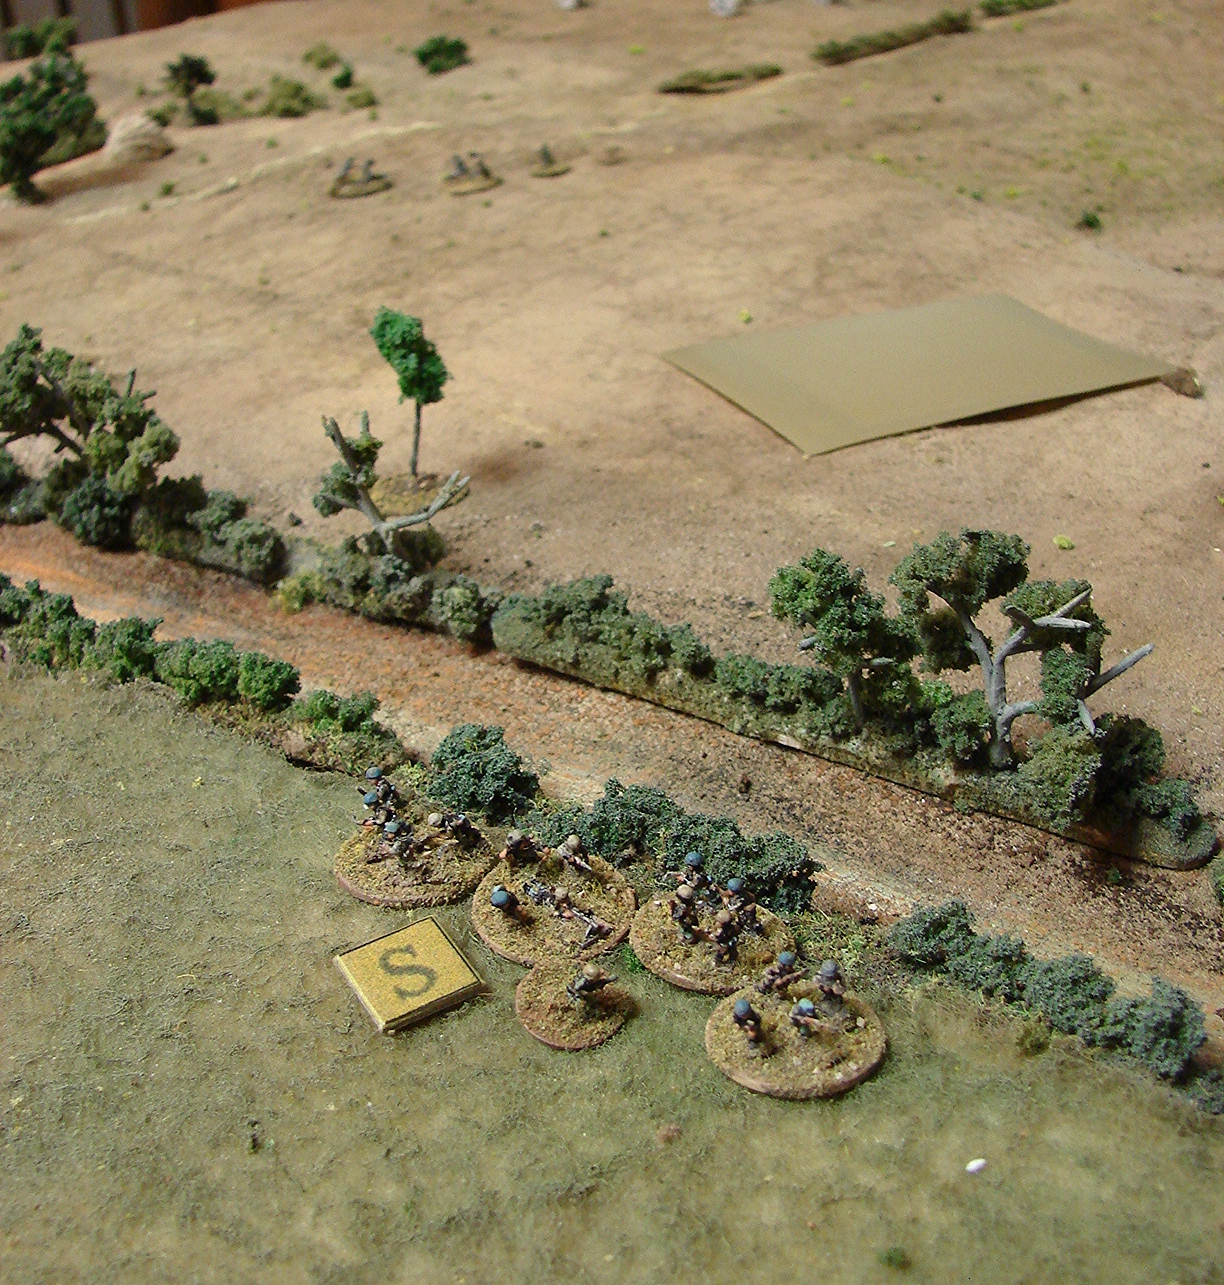
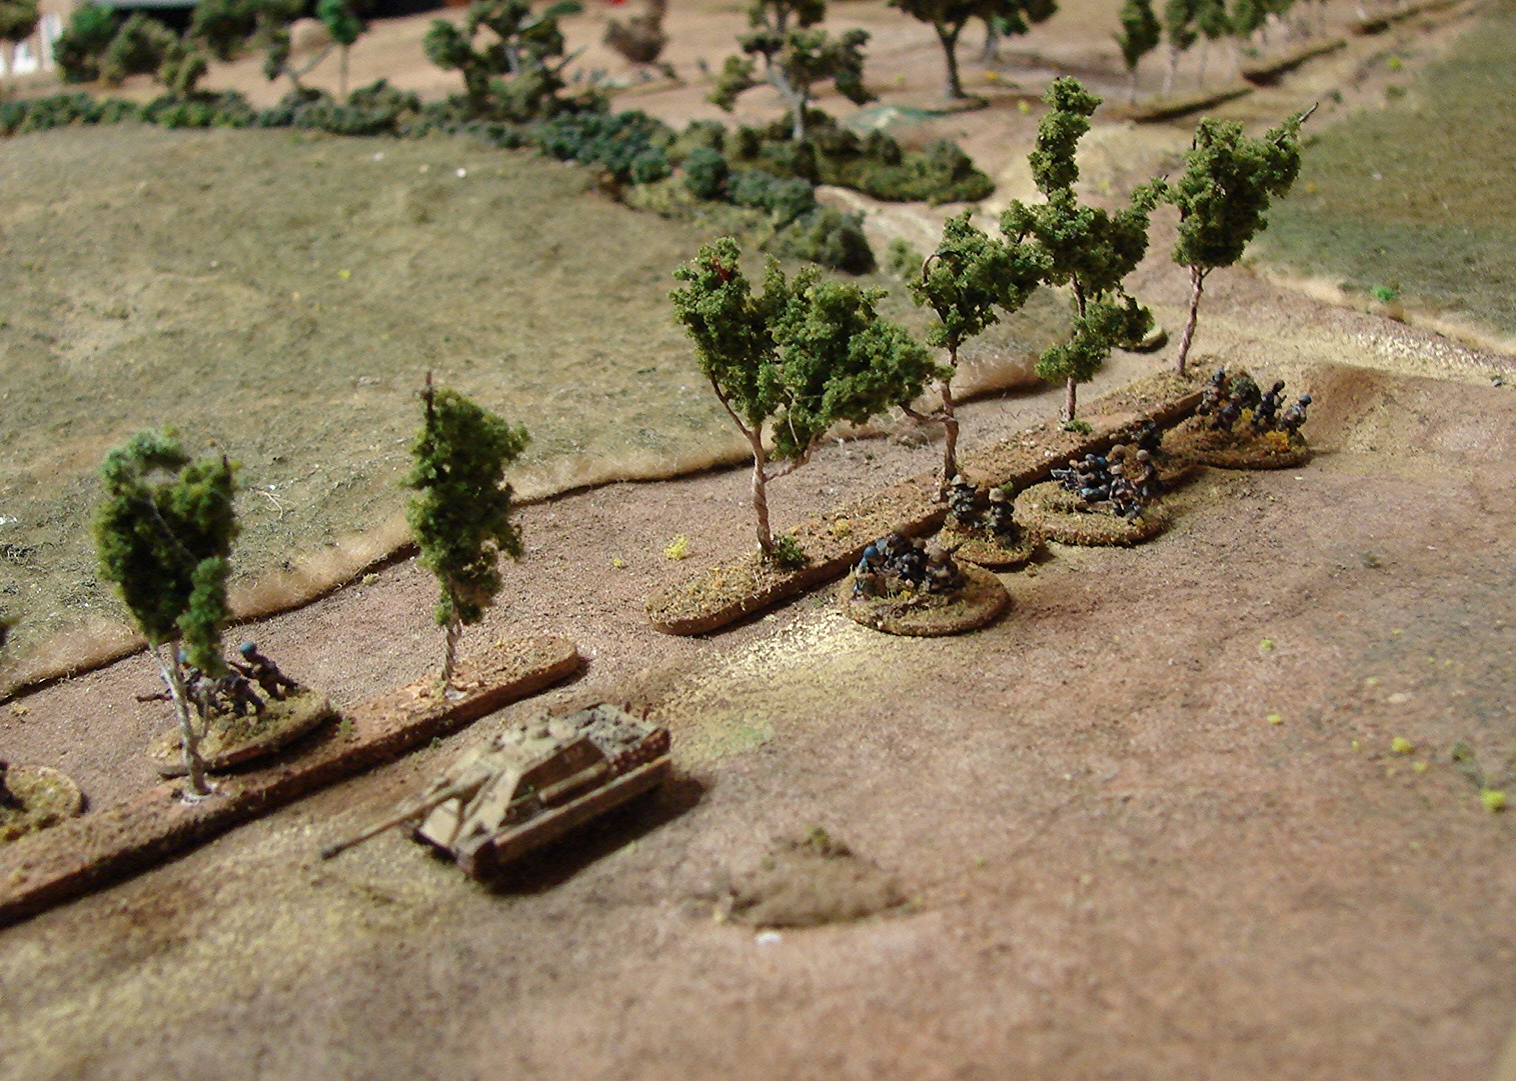
An I Ain't Been Shot 6mm game played at my home in June 2015 between Martin, Rick, Matt and myself.

Mark Luther

View fullsize The Doornboom Crossroads
View fullsize North Corner of the Table
View fullsize Now Imagine the Whole Area is Covered in Fog
View fullsize Initial British Advance
View fullsize Firing from the Sunken Lane
View fullsize More Fire Down the Ditch
View fullsize Ditch of Doom
View fullsize Overview of First Contact
View fullsize Right hand Platoon into some Buildings
View fullsize Firefight Between Buildings
View fullsize Smoke in front of the Jagdpanther
View fullsize Close Assault
View fullsize Jagdpanther Creeps Up Some More
View fullsize More Movement
View fullsize Germans move up more units
View fullsize Running to the Right
View fullsize Spotted and Taking Hits
View fullsize Matt Finds Something To Shoot At
View fullsize Jagdpanther Retreats Back To Cover
View fullsize View from Matt's position
View fullsize Fighting along the Geel road
View fullsize The Jagdpanther is Still Lethal!
View fullsize Moving out of the line of sight ASAP
View fullsize Germans moving back towards Geel
View fullsize Continuing to pound on the left most platoon
View fullsize No Place to Hide
View fullsize Securing the right flank
View fullsize What to do with a busted Jagdpanther
View fullsize Fire!
View fullsize Germans starting to move back from the canal and crossroads
View fullsize Nice shot of Second Jagdpanther
View fullsize Another Close Assault
View fullsize Moving Towards a Rendez-vous
View fullsize Hooking Up
View fullsize DLI forcing the Luftwaffe troops back towards Geel
View fullsize Still Sorting Things Out
View fullsize Okay, on 'Three'
View fullsize More Shermans
View fullsize Ongoing Firefight
View fullsize At The Back Edge
View fullsize Sealing the Back Door
View fullsize Firing Down the Geel Road
View fullsize When In Doubt, Start Shelling!
View fullsize Fortunately for Rick and Matt the fire is pretty ineffective
View fullsize Middleton's section still moving
View fullsize We Just Want To Leave!
View fullsize And They Bottle Back Into Cover
View fullsize The Chase Is On!
View fullsize But They Are Now Out Of Sight
View fullsize Good Thing They Didn't Have To Face That Jagdpanther
View fullsize Kossack Escapes Along With Some Fleiger Troops
 
March 22, 2017/ Robert Avery/ Comment

Robert Avery