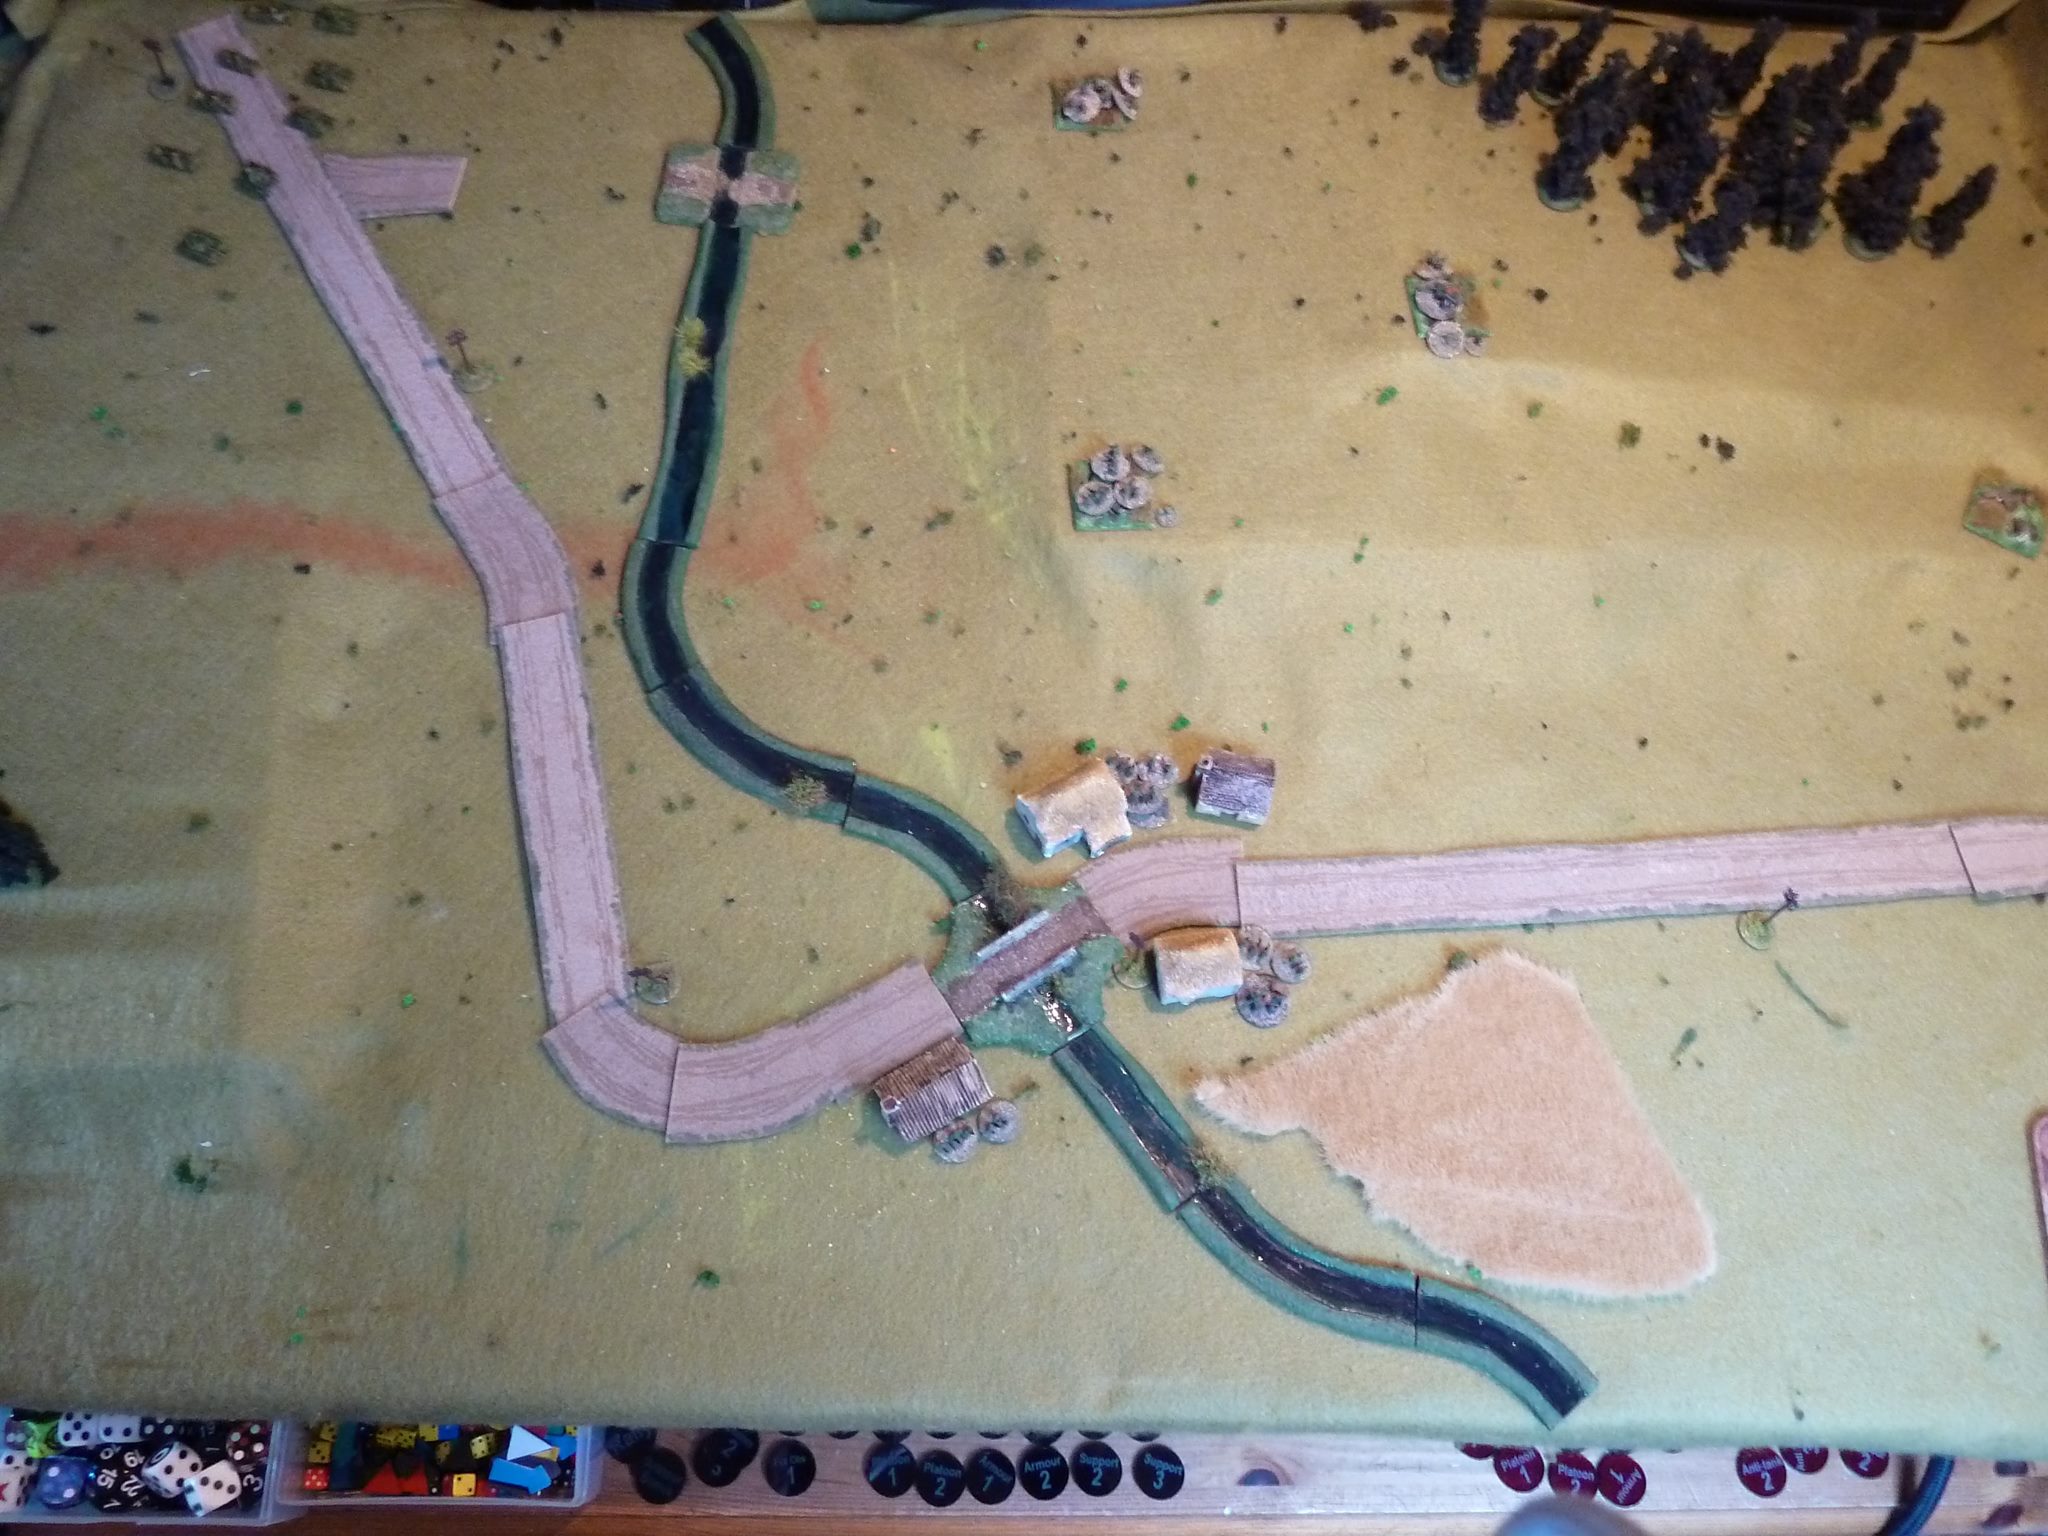

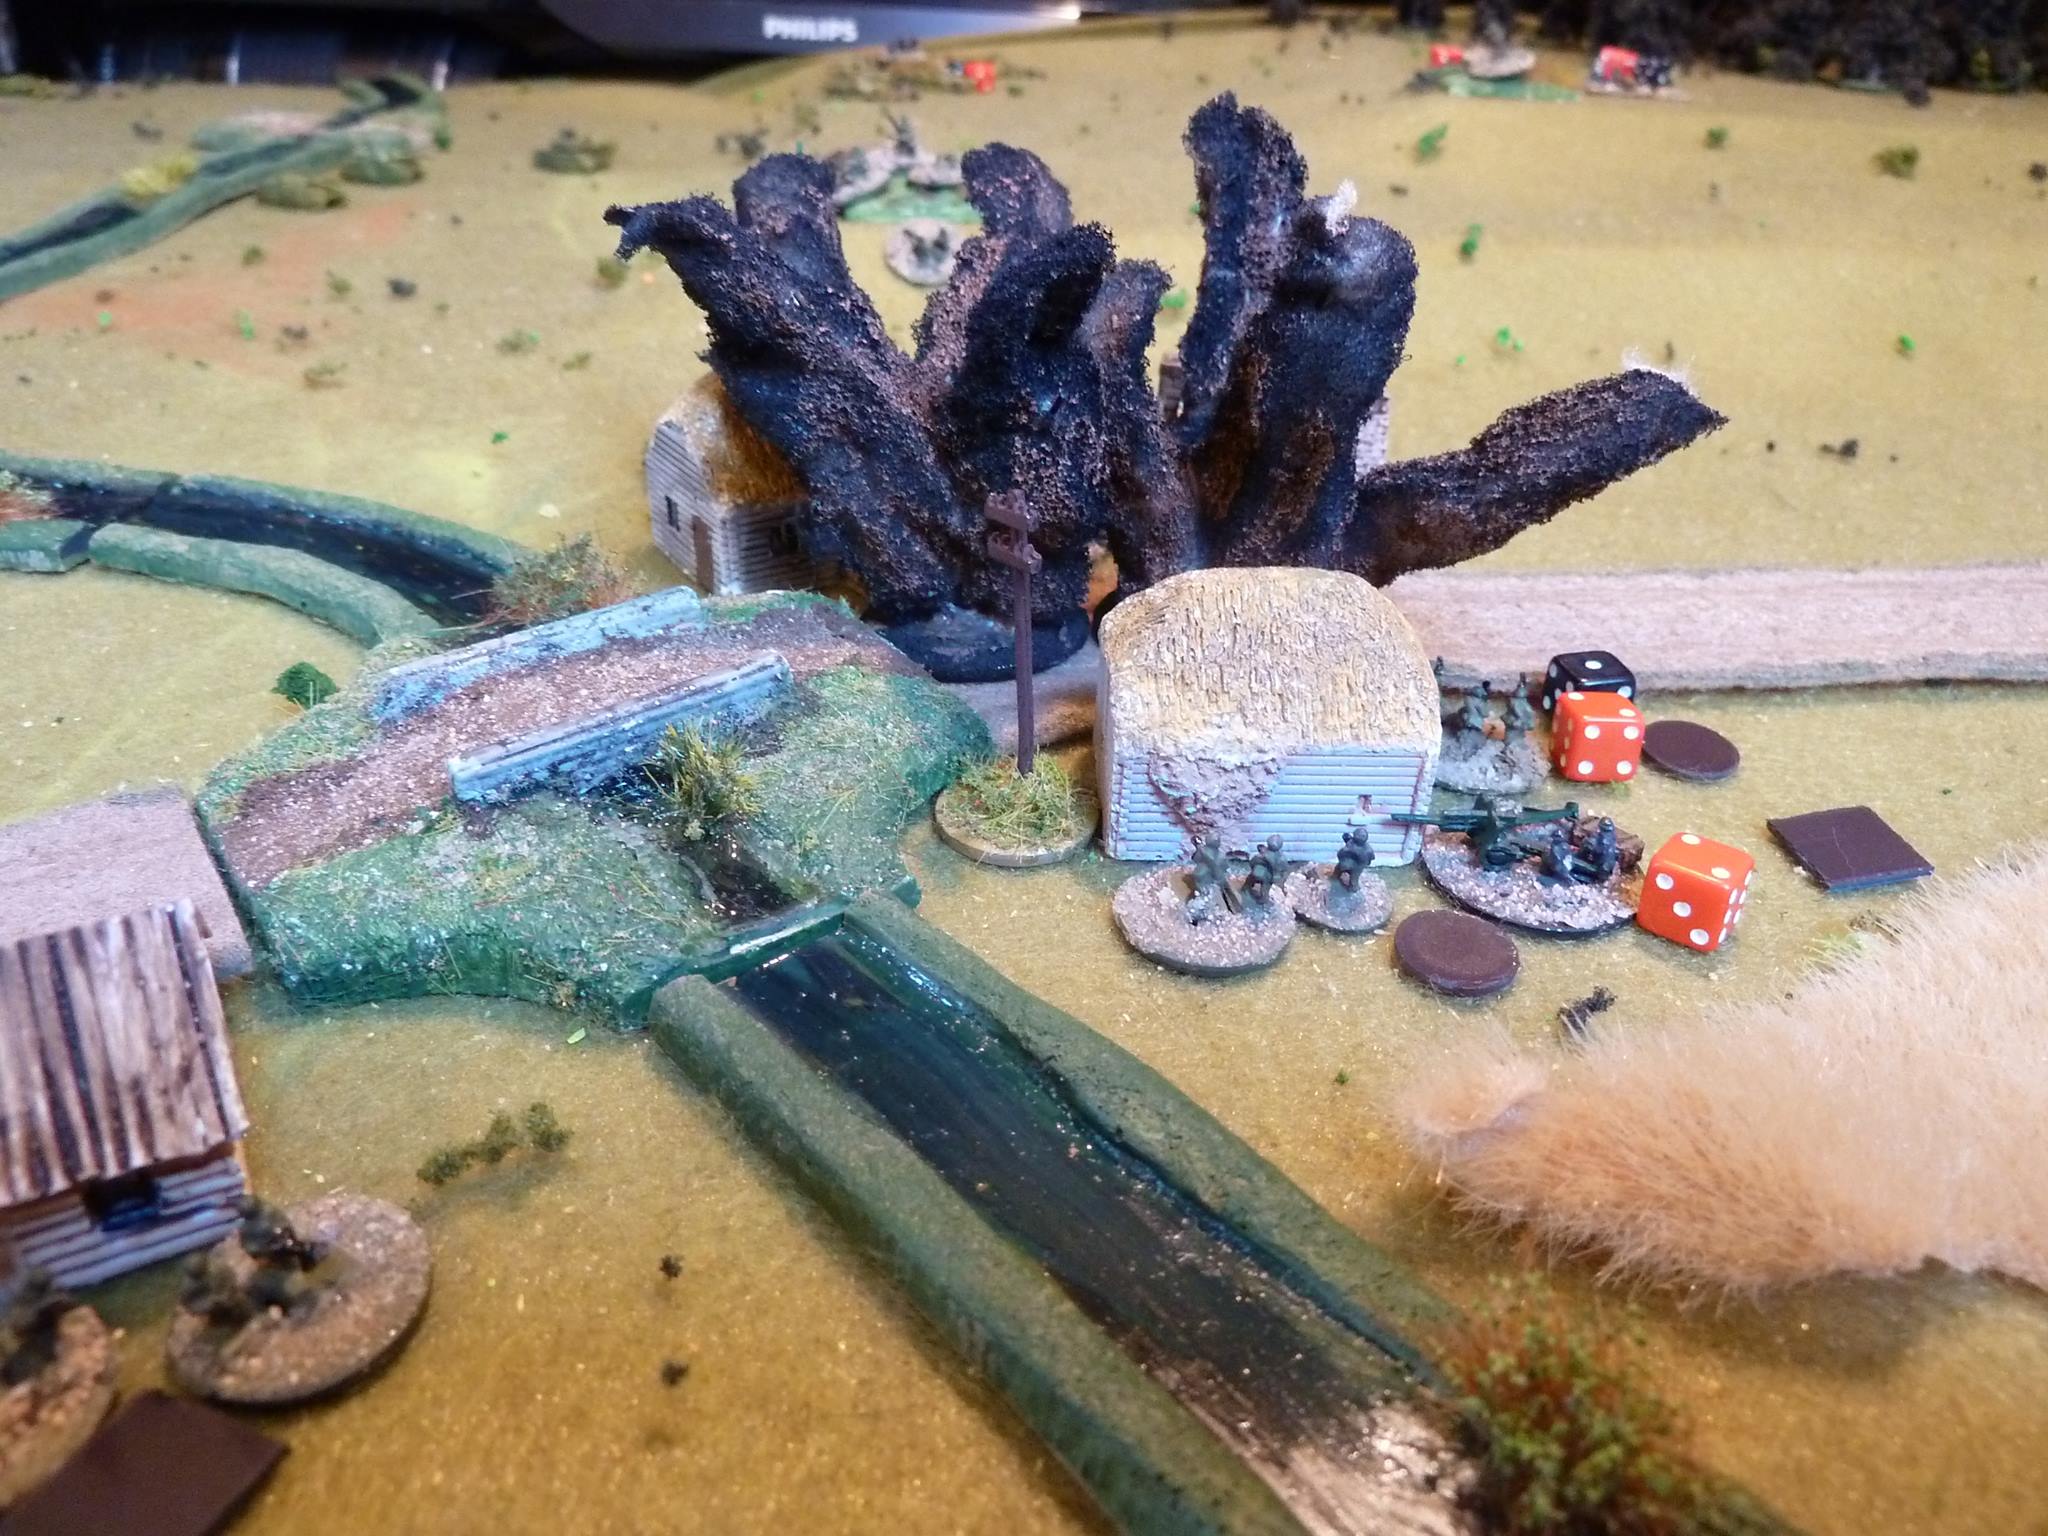
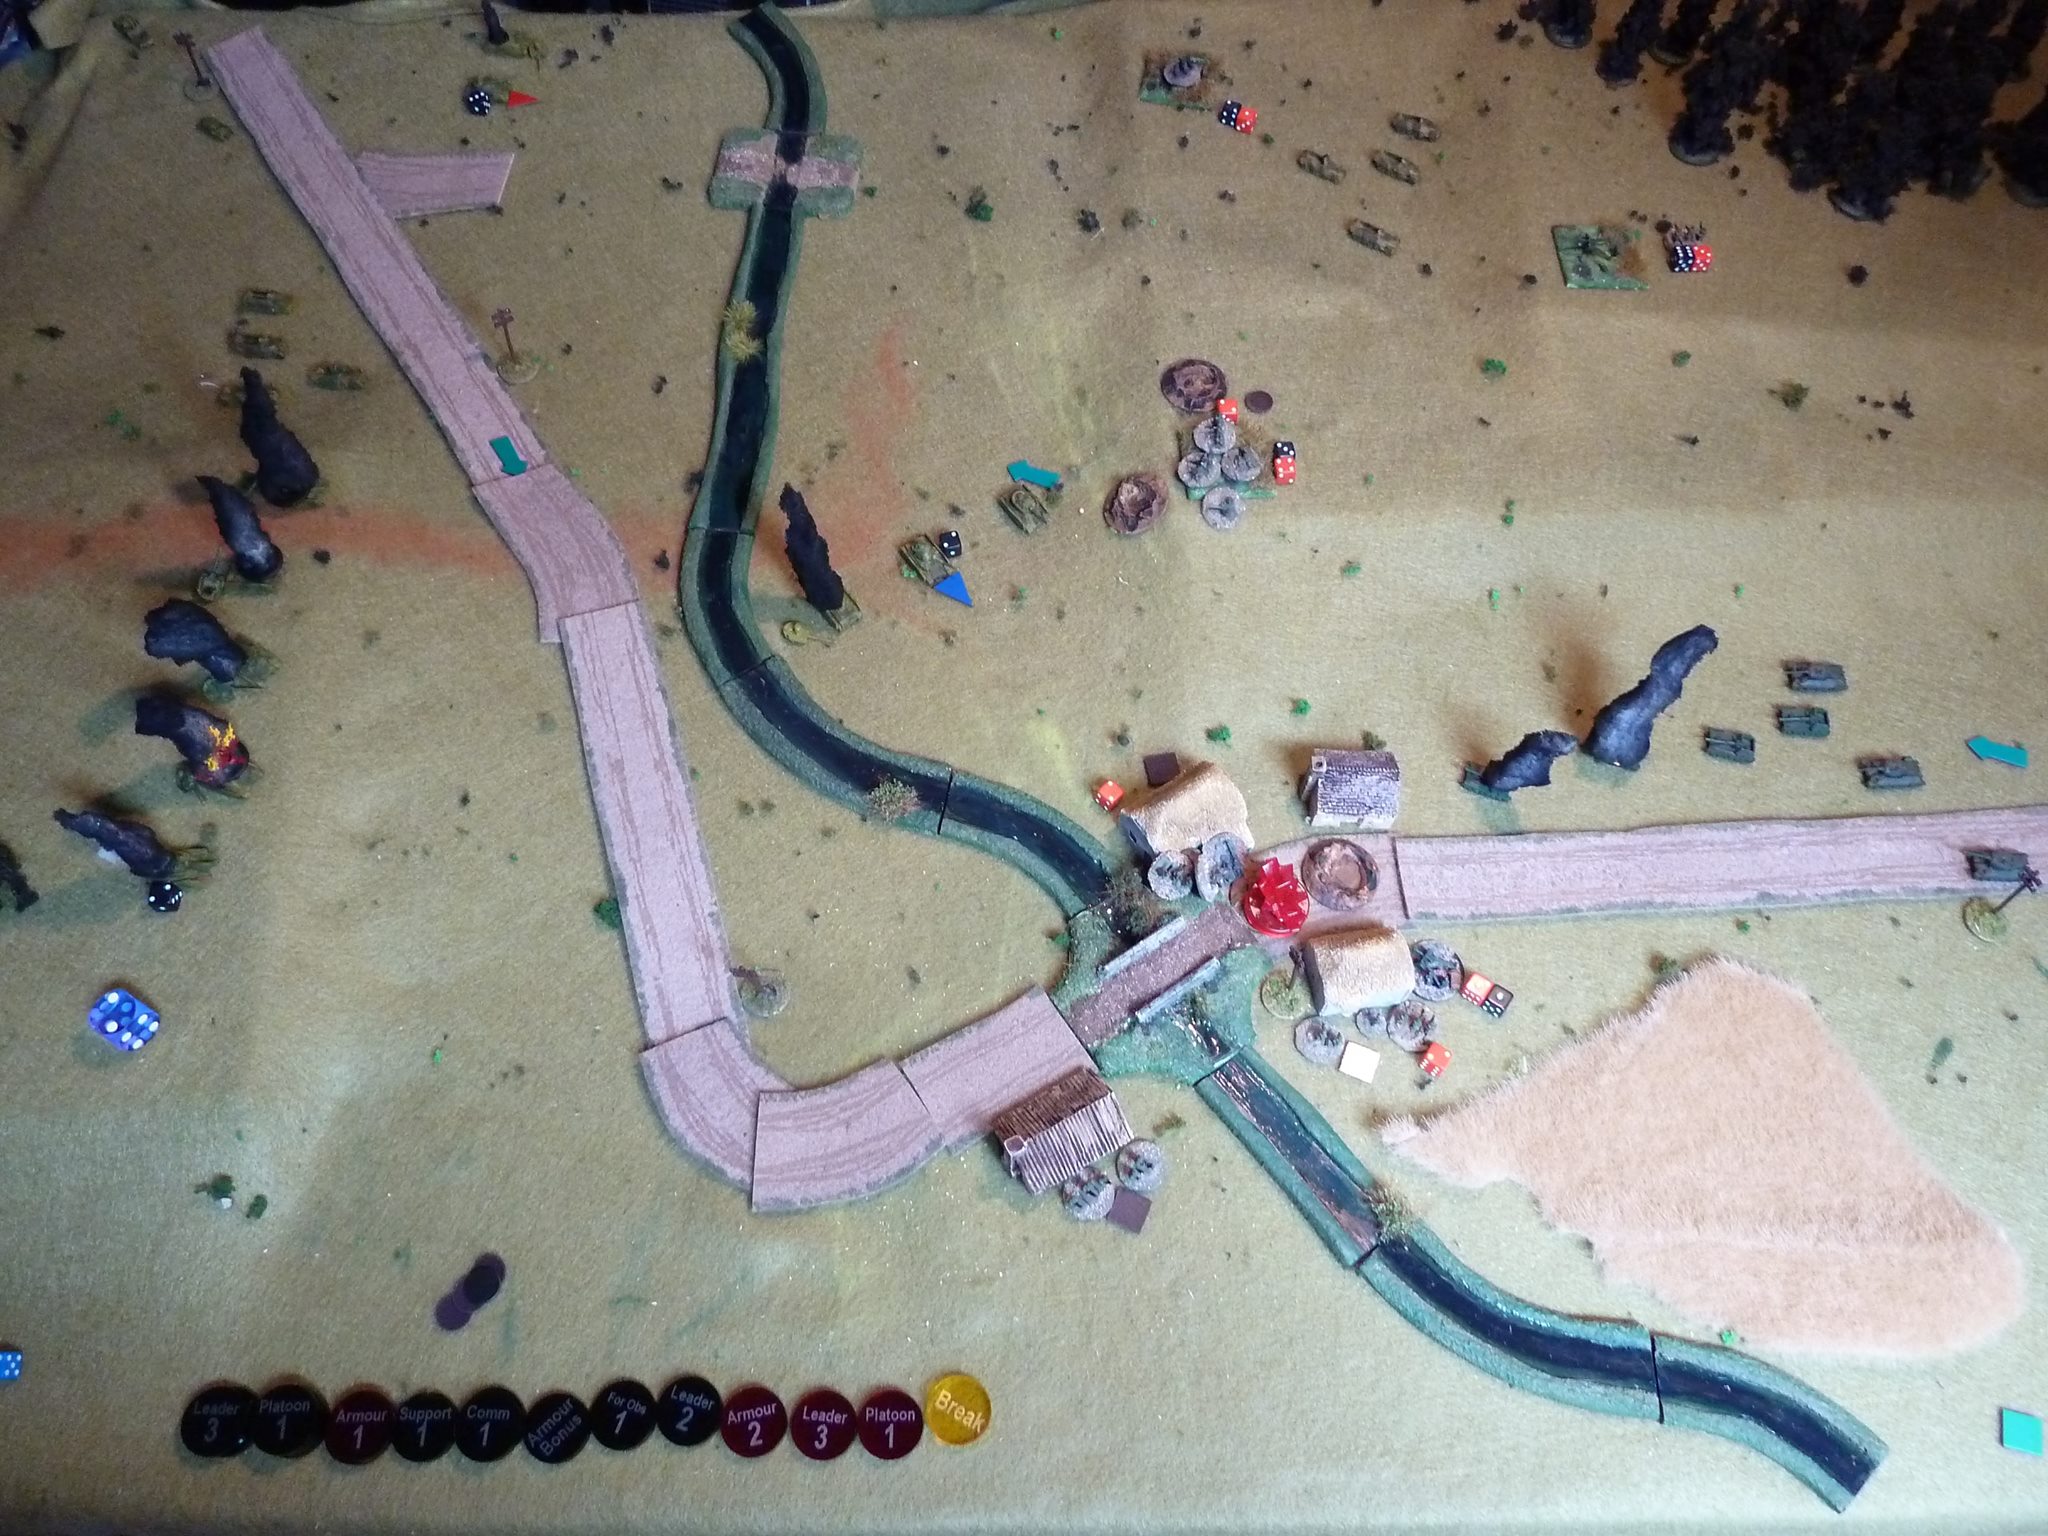


My first Panzer IV platoon and first Grenadier platoon in SdKfz 251s move onto the table heading for the ford at the foot of the hill. The hill in front has a a couple of trenches with a platoon of Soviet infantry (with ATRs) and a 45mm ATG on the top of the hill.
The hamlet has a further platoon of infantry in the buildings and another ATG covering the bridge. All Soviets are under Blinds.
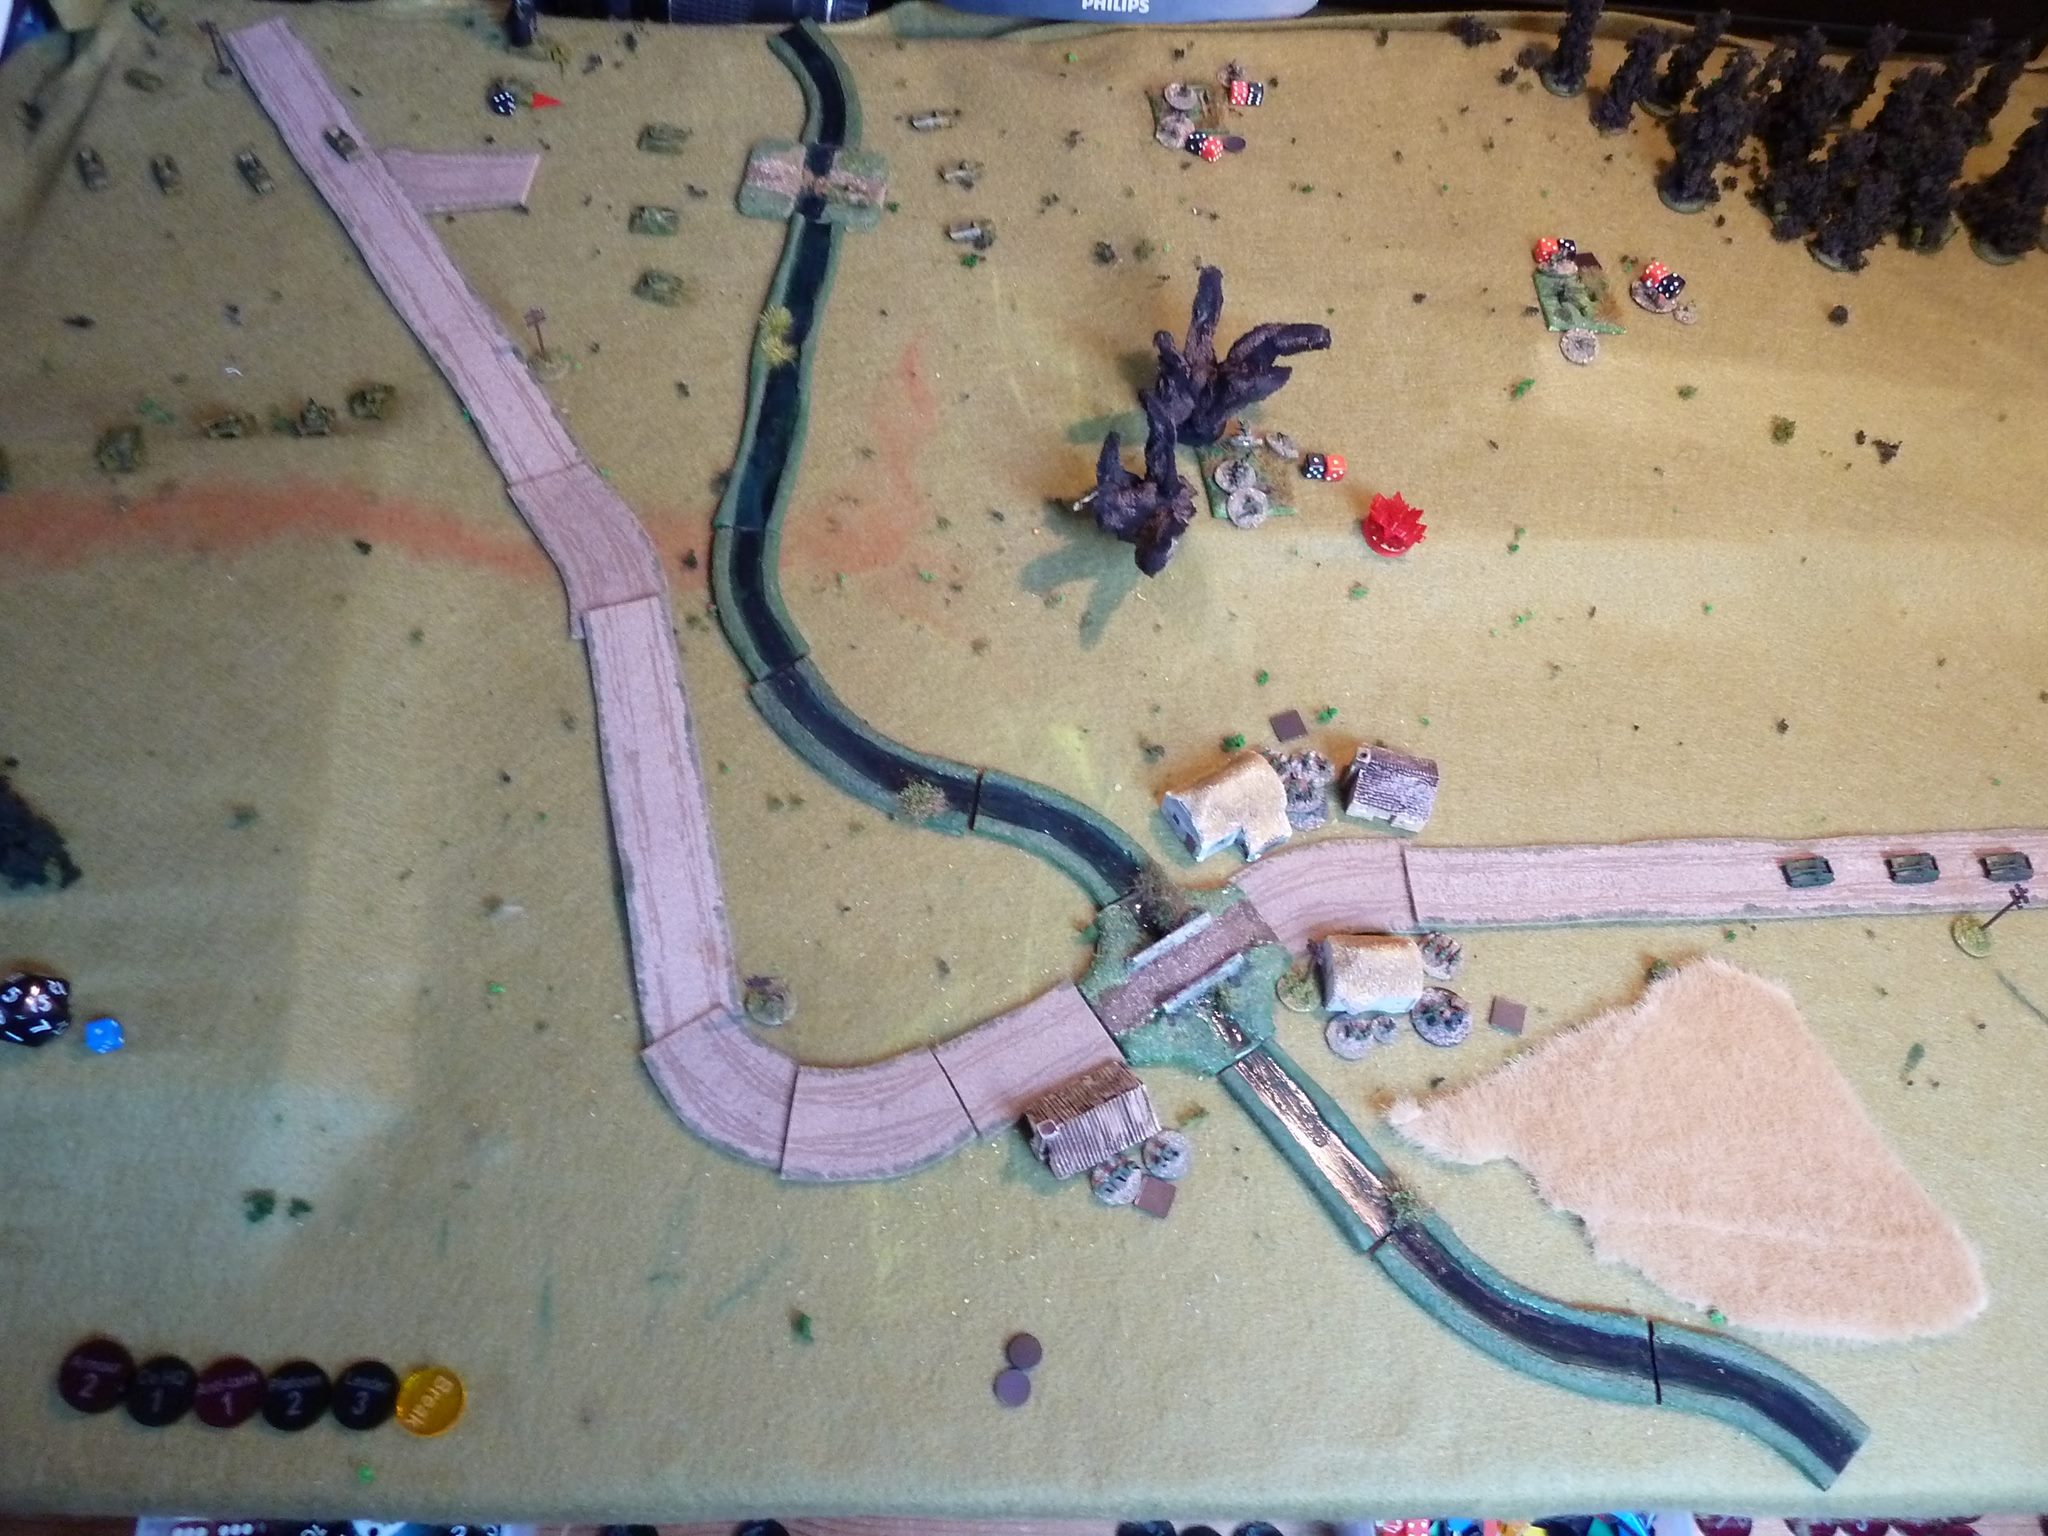
The ATG gets lucky and knocks out a Panzer IV and damages another badly: the crew bail. Suppressive fire from the 251s and tanks whittle down the defenders, but the mortar spotting round onto the ATG misses by miles! Right in the top left corner is a Flakvierling ... handy for long range suppression :)
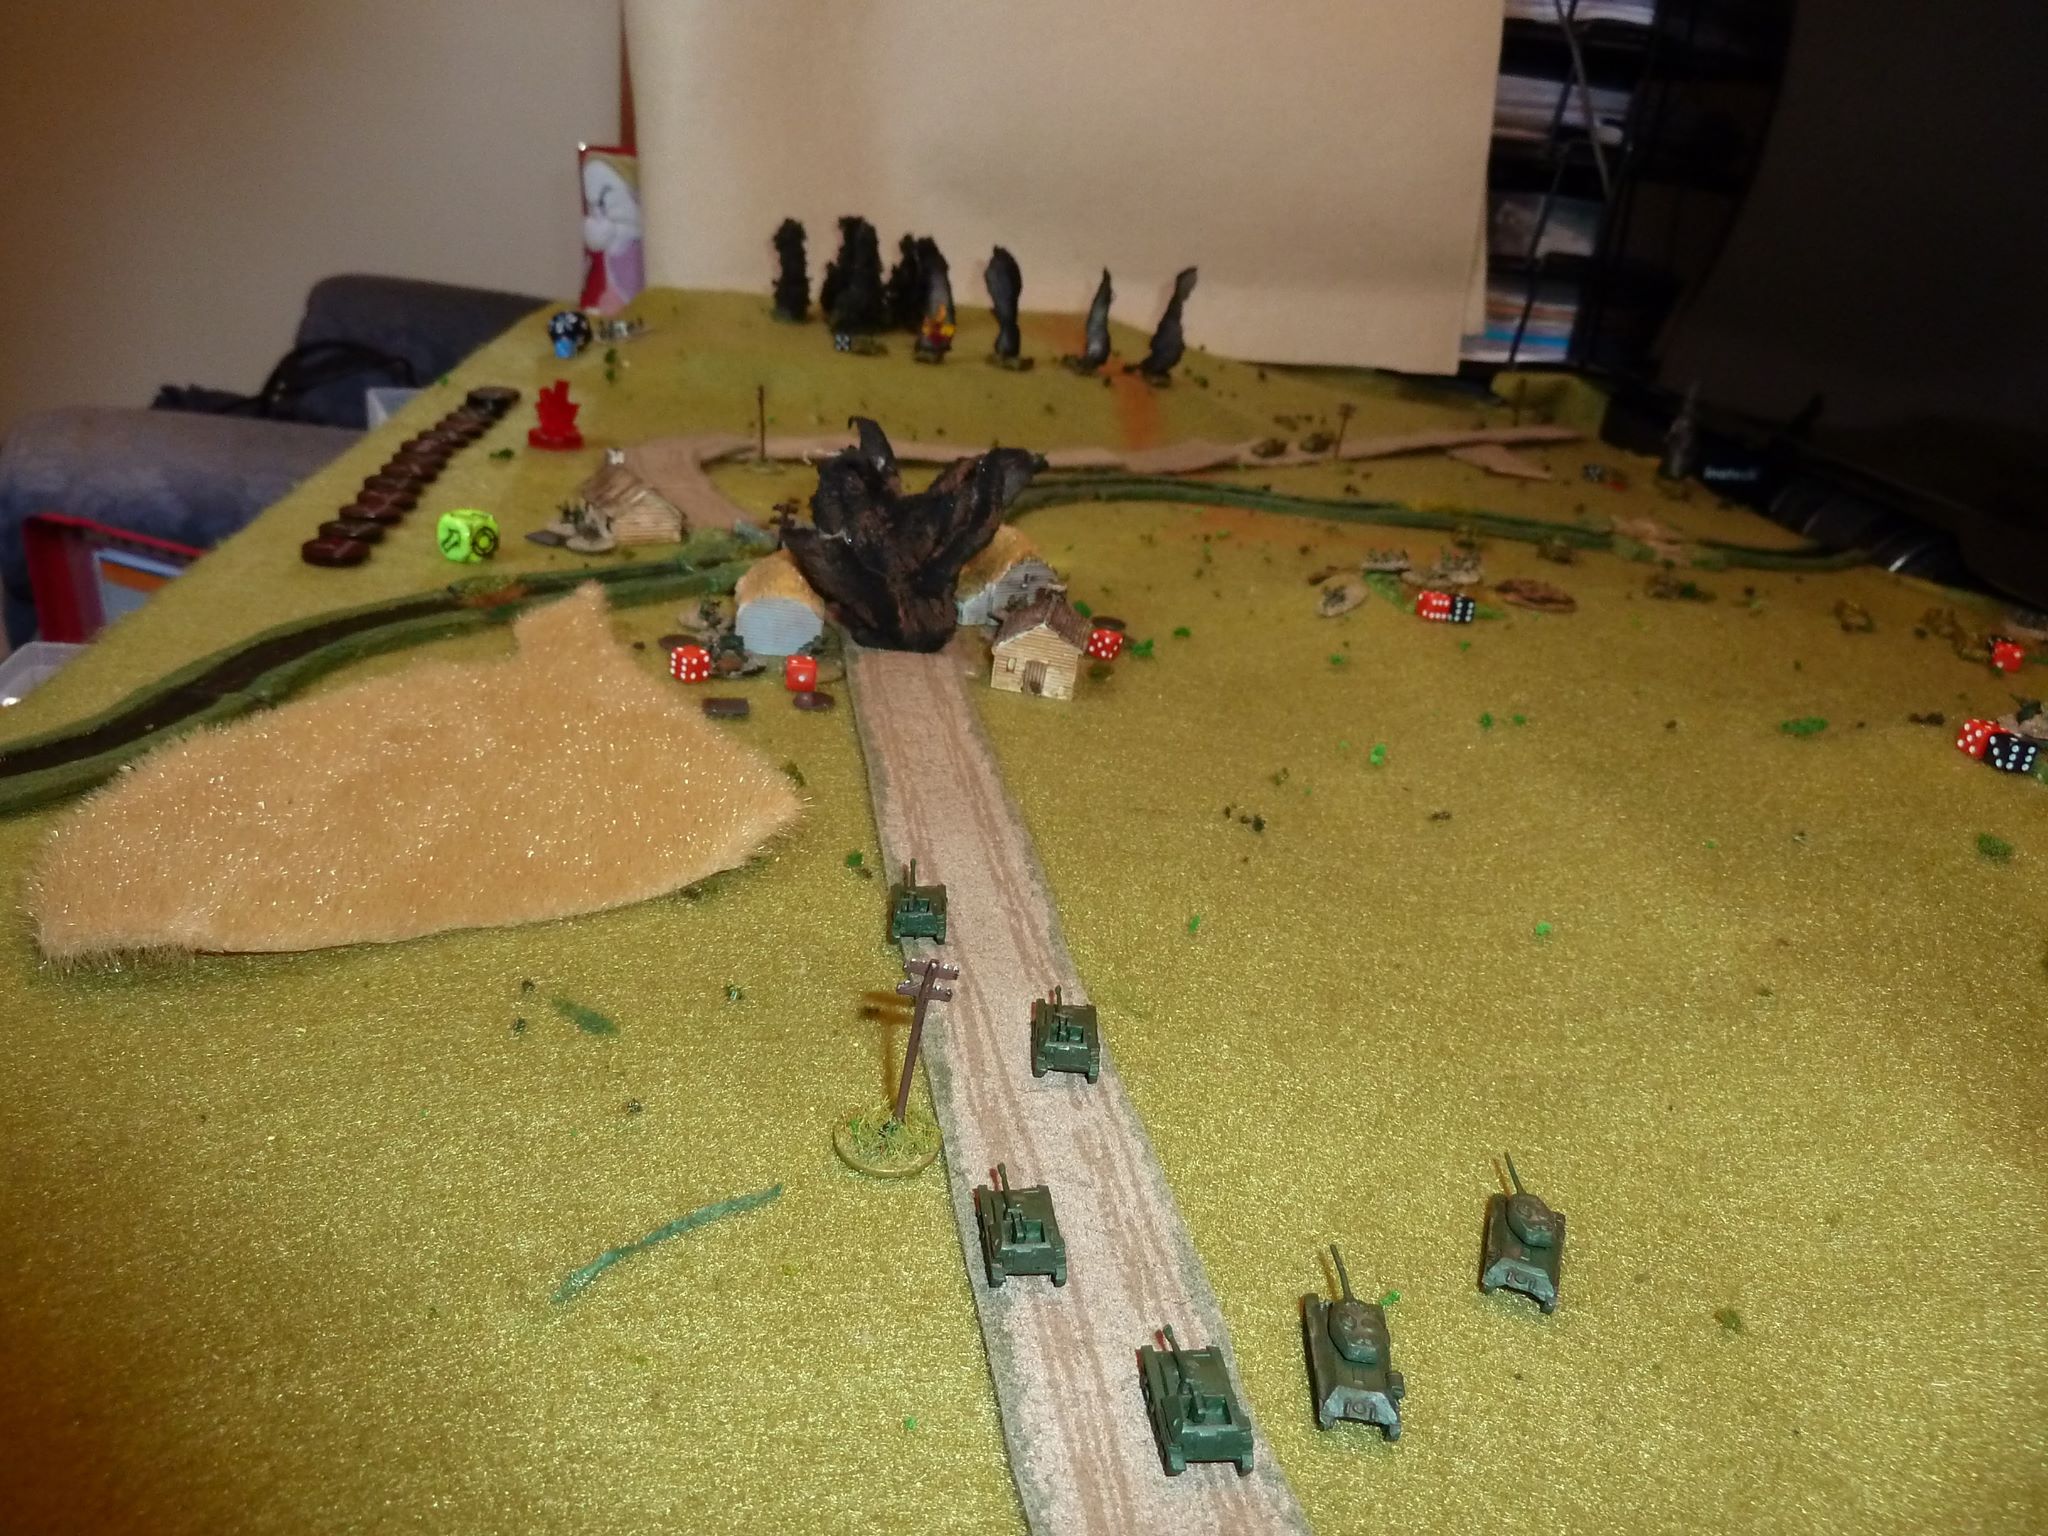
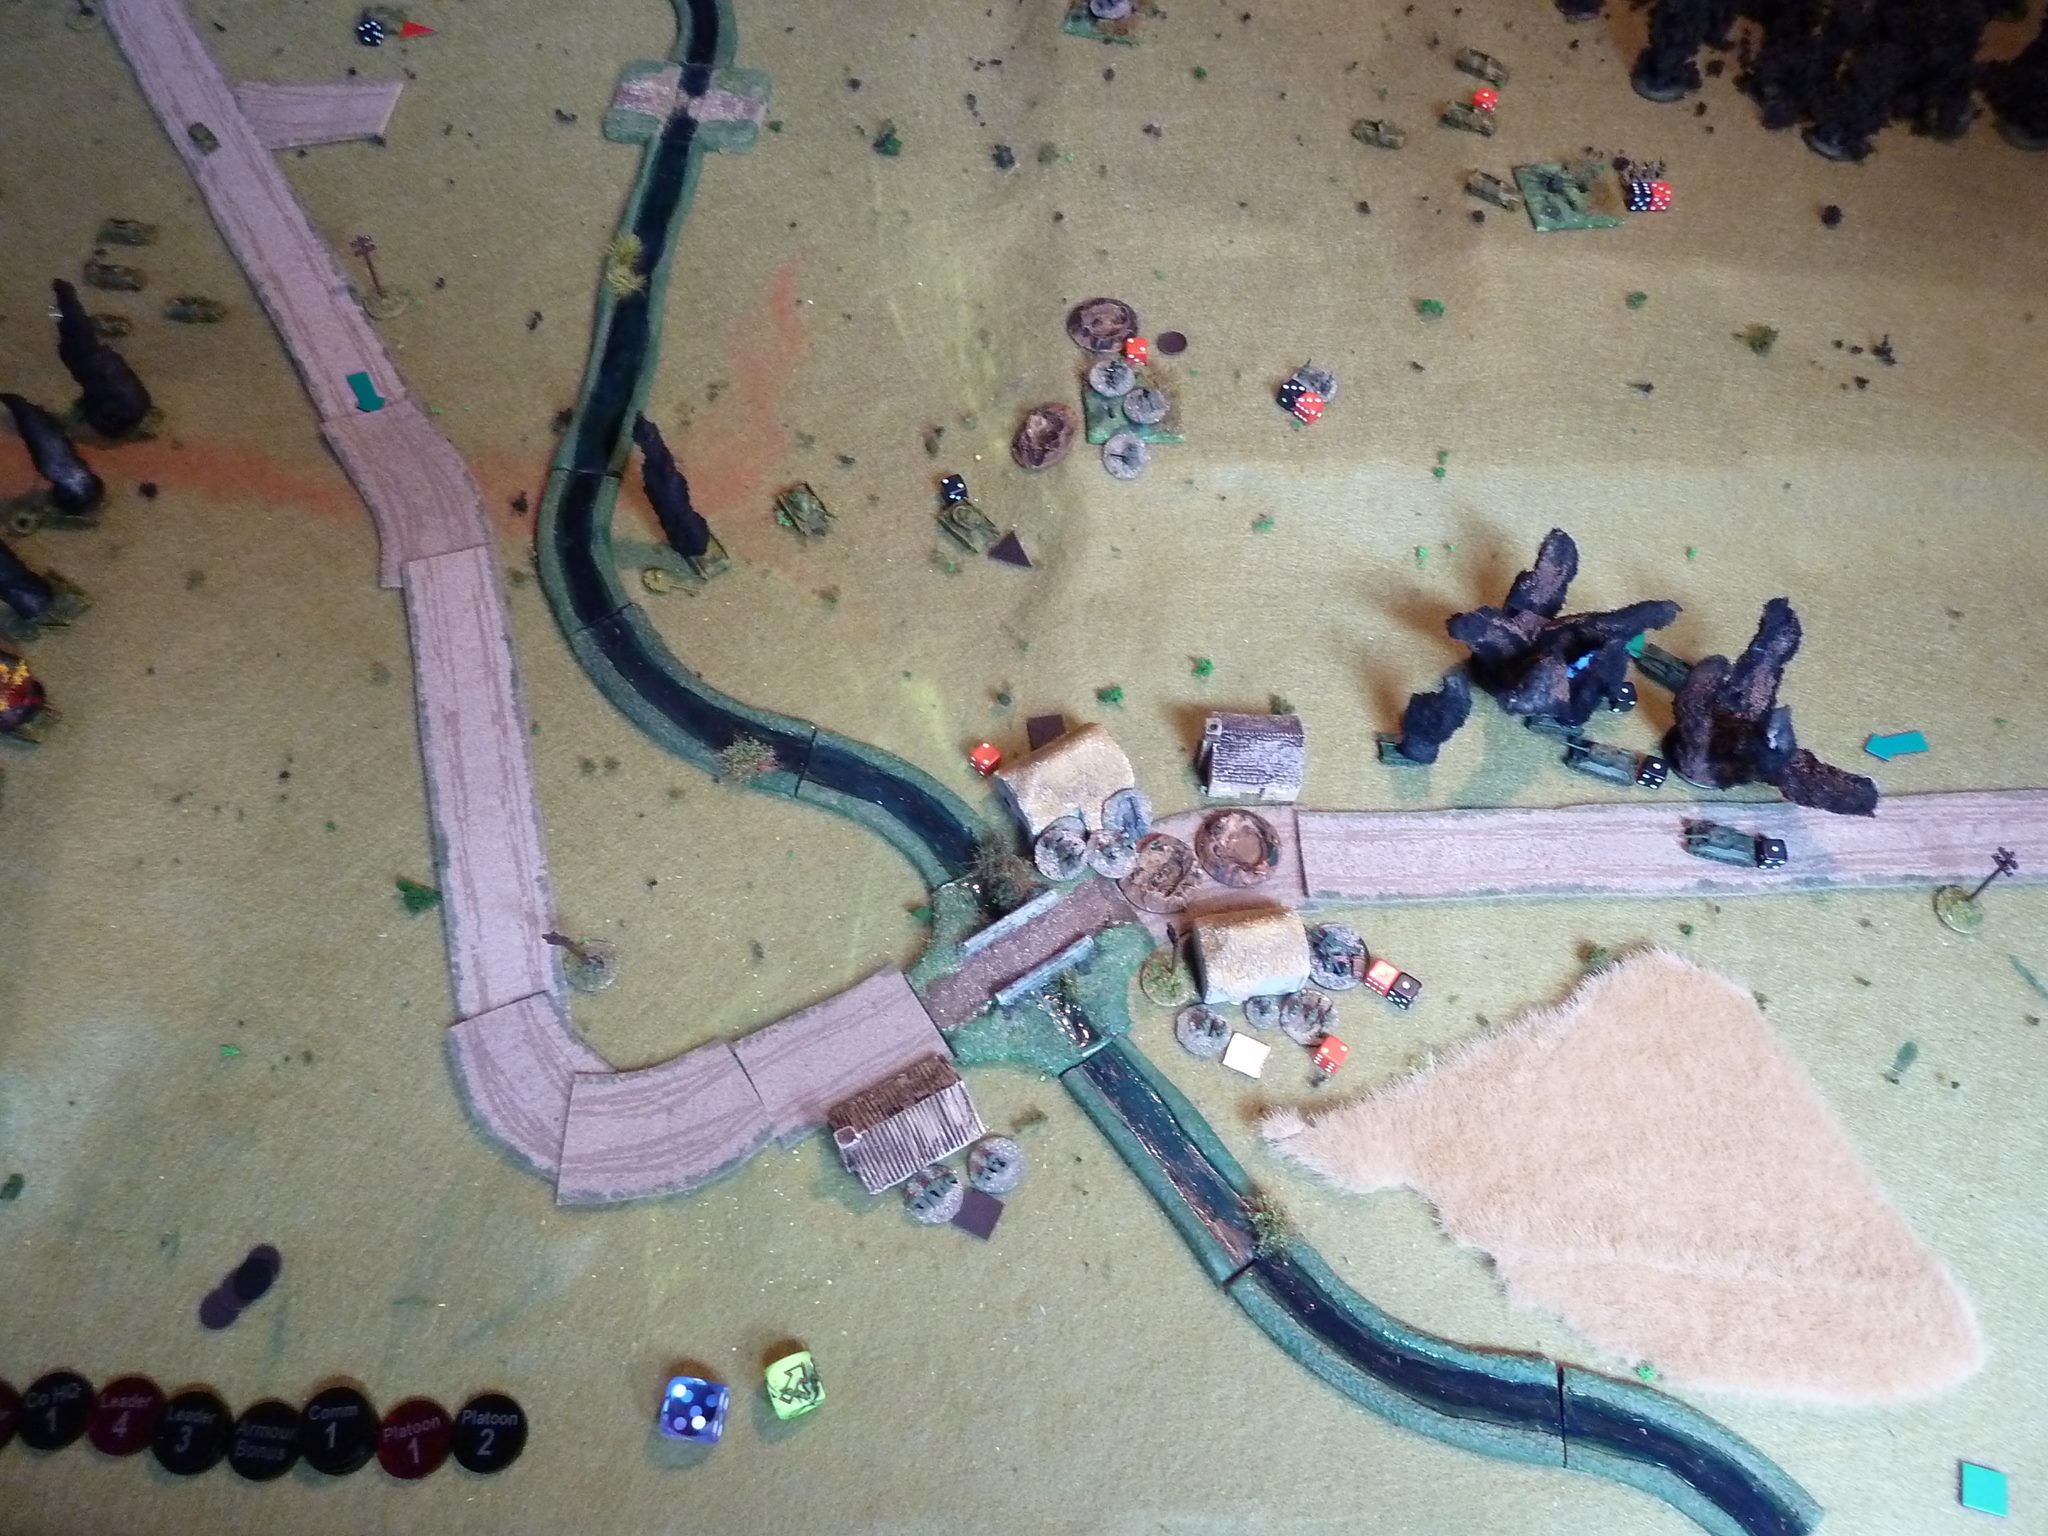
The second Panzer IV platoon and 2nd Grenadier Platoon head down the road for the buildings
Su-76s come rushing up the road to the aid of the infantry. They are under the Blinds and with all the other chits, theirs never seems to come up!
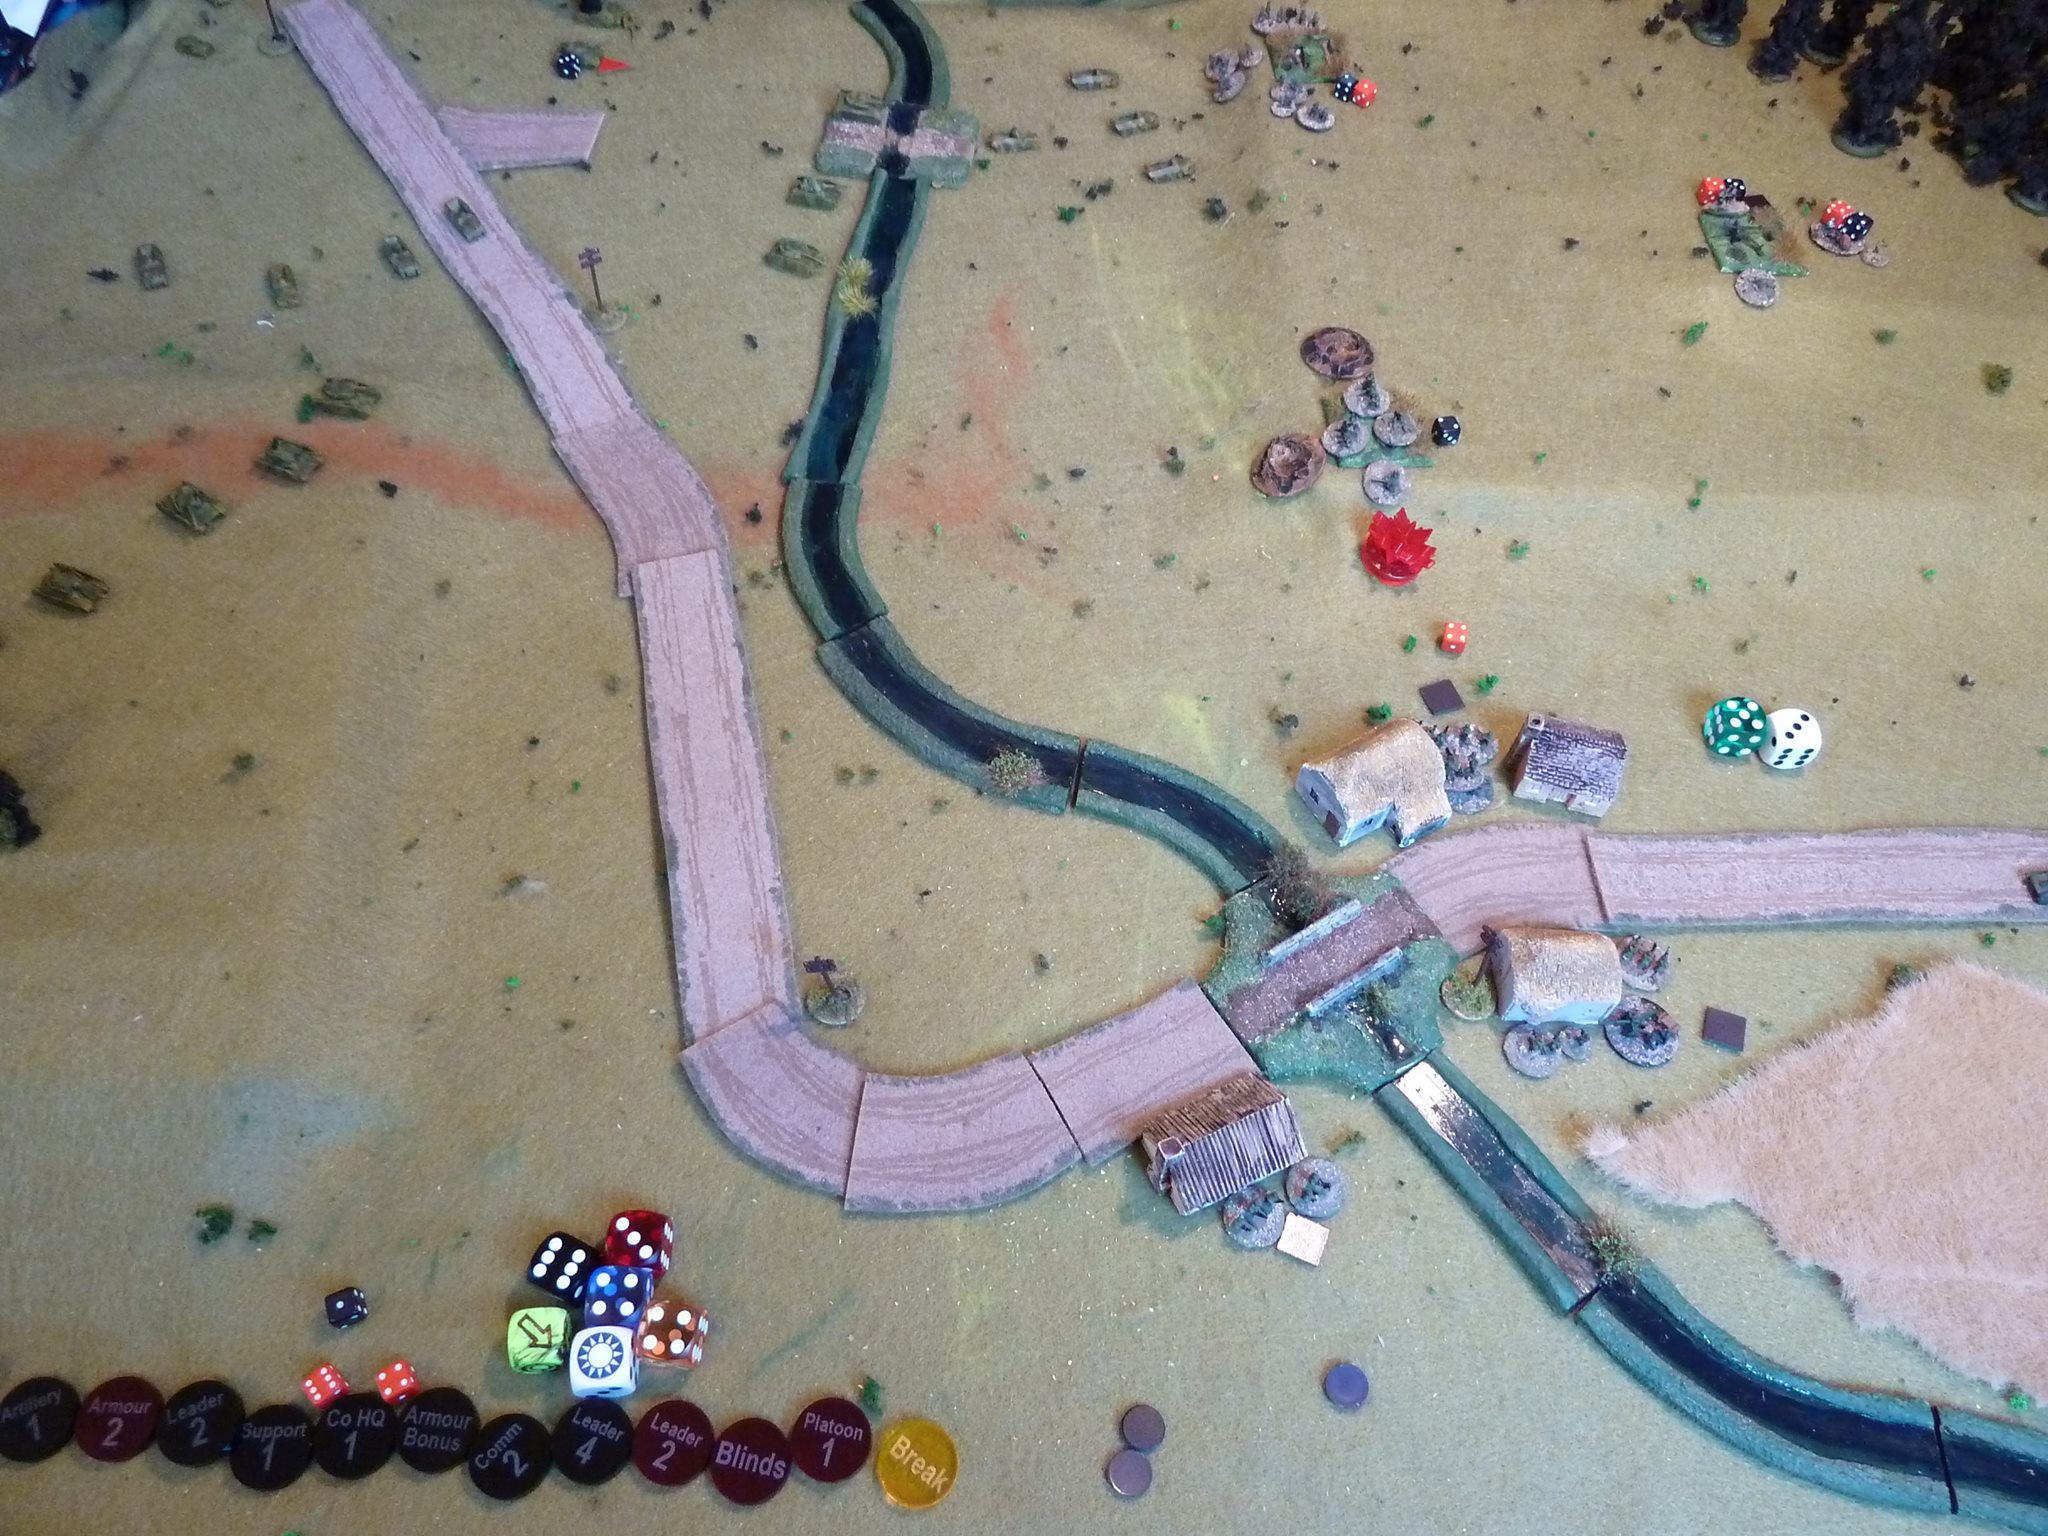
The ATGs remaining crewman has had enough and runs for the trees.
The mortars at last land on a target!
The second Panzer IV platoon is dashing for the high ground on the left to take up position to suppress the hamlet.
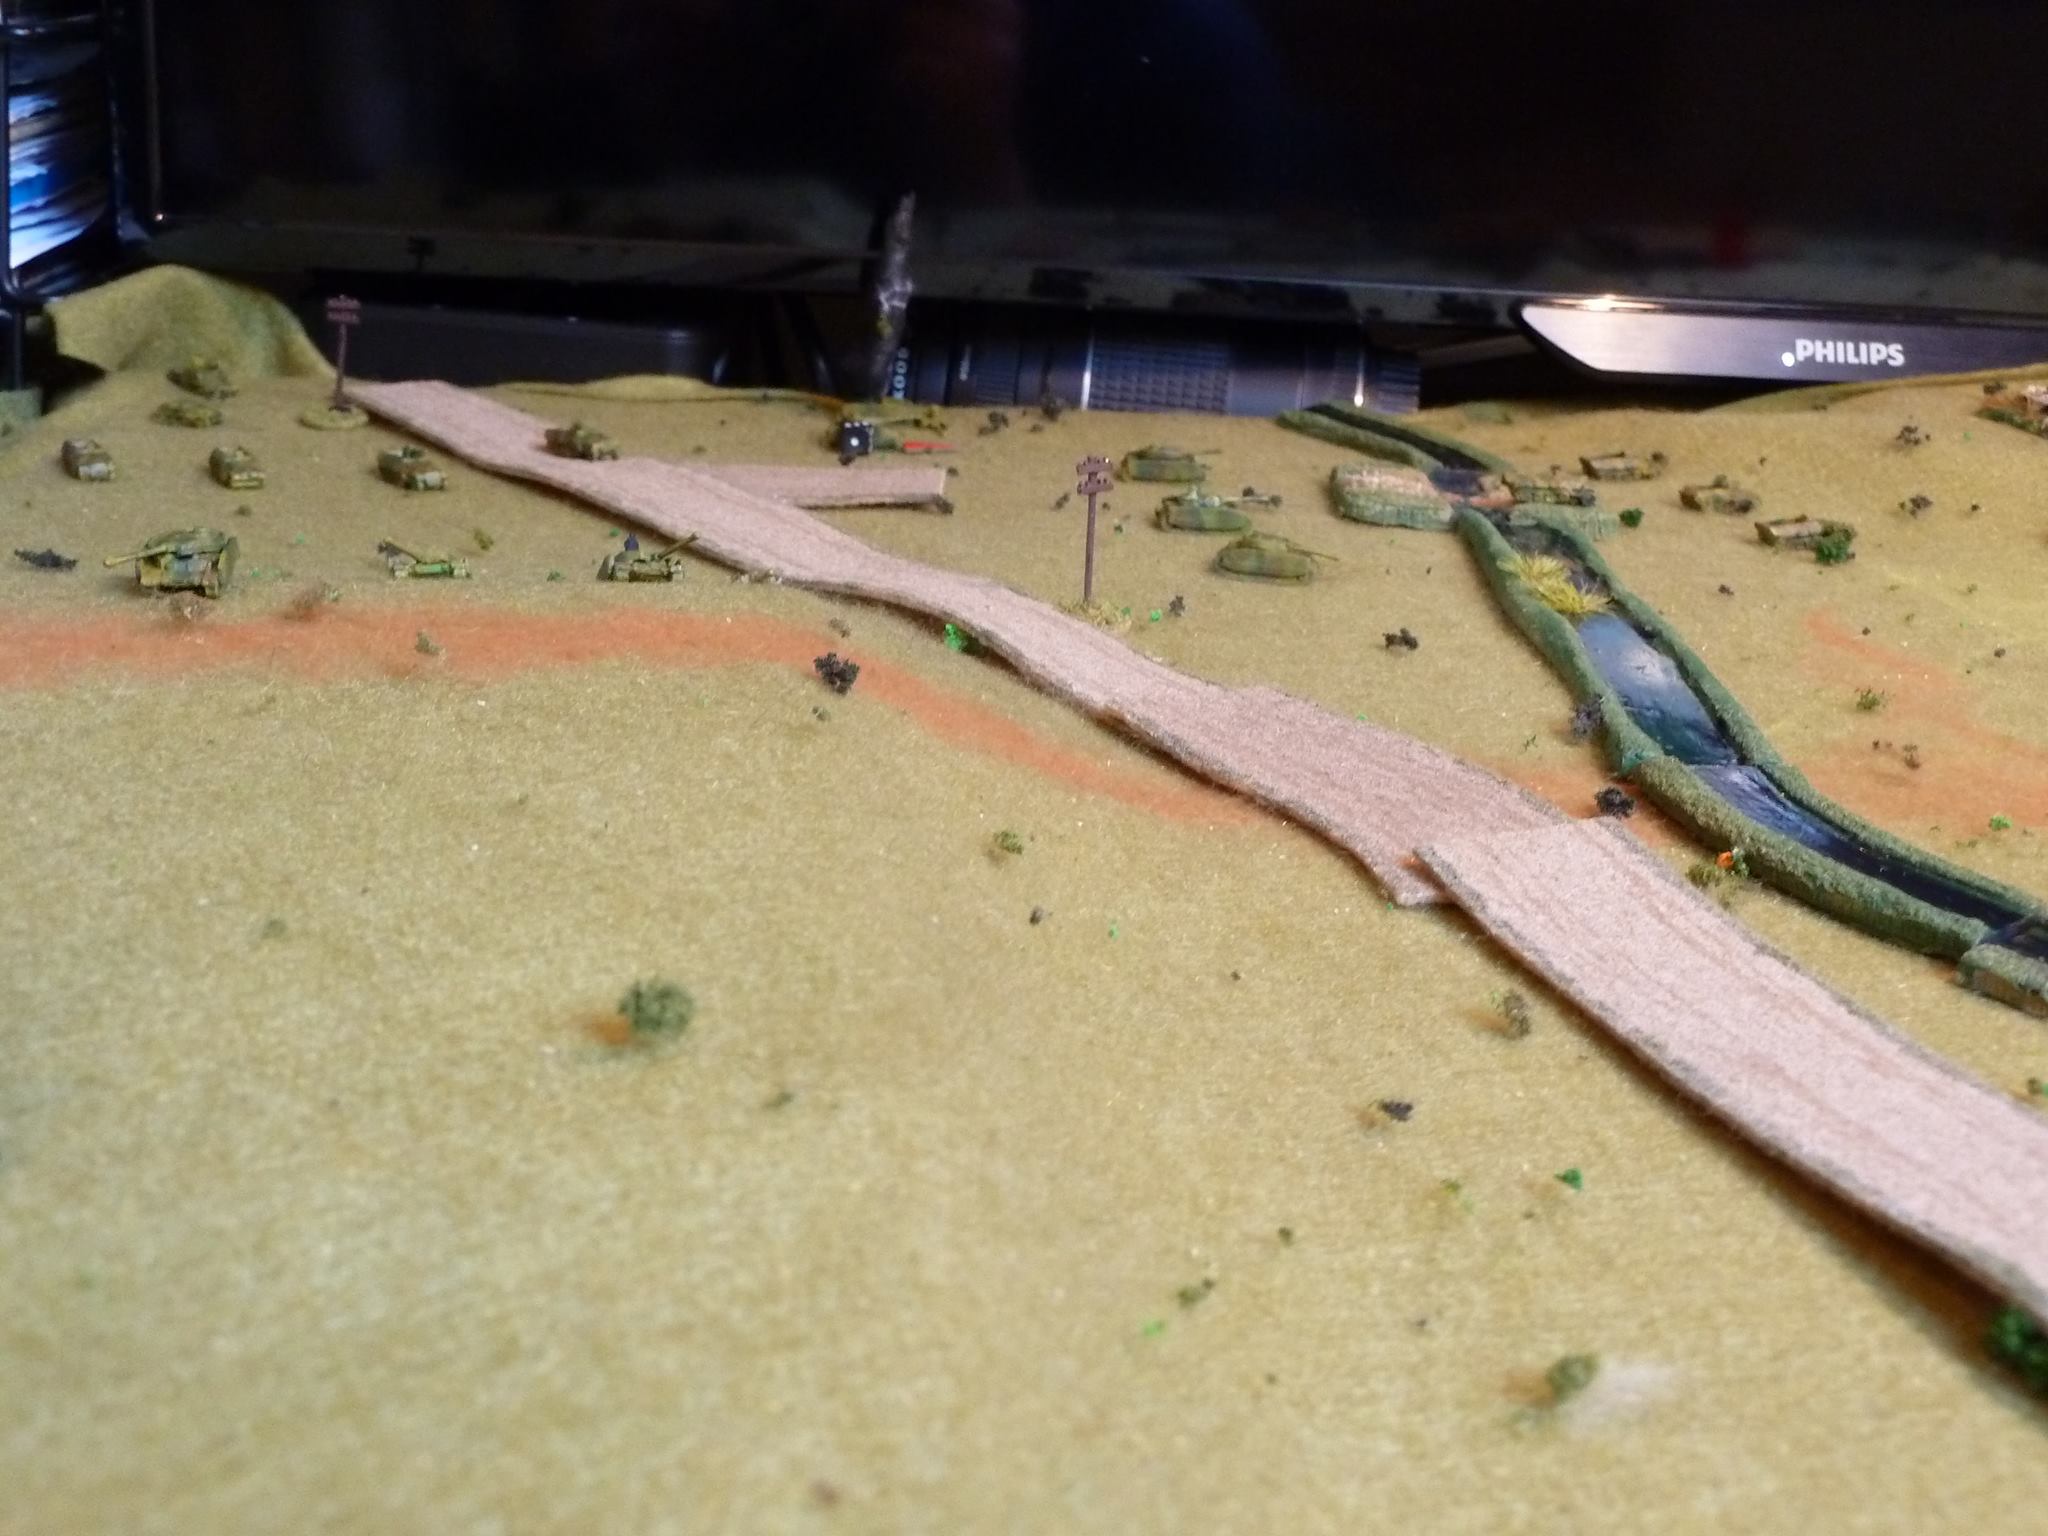
The view of the German attack. Dividing my forces?
The Grenadiers at the top jump out of the 251s and close assault the nearly empty first trench position.
The second Panzer IV platoon manoeuvre for an overwatch position on the hill while the second Grenadier platoon gets ready to charge the village.
Mortar fire shifts to the hamlet (still not sure how to represent troops in solid buildings - perhaps need to put a marker on them, rather than putting them alongside)
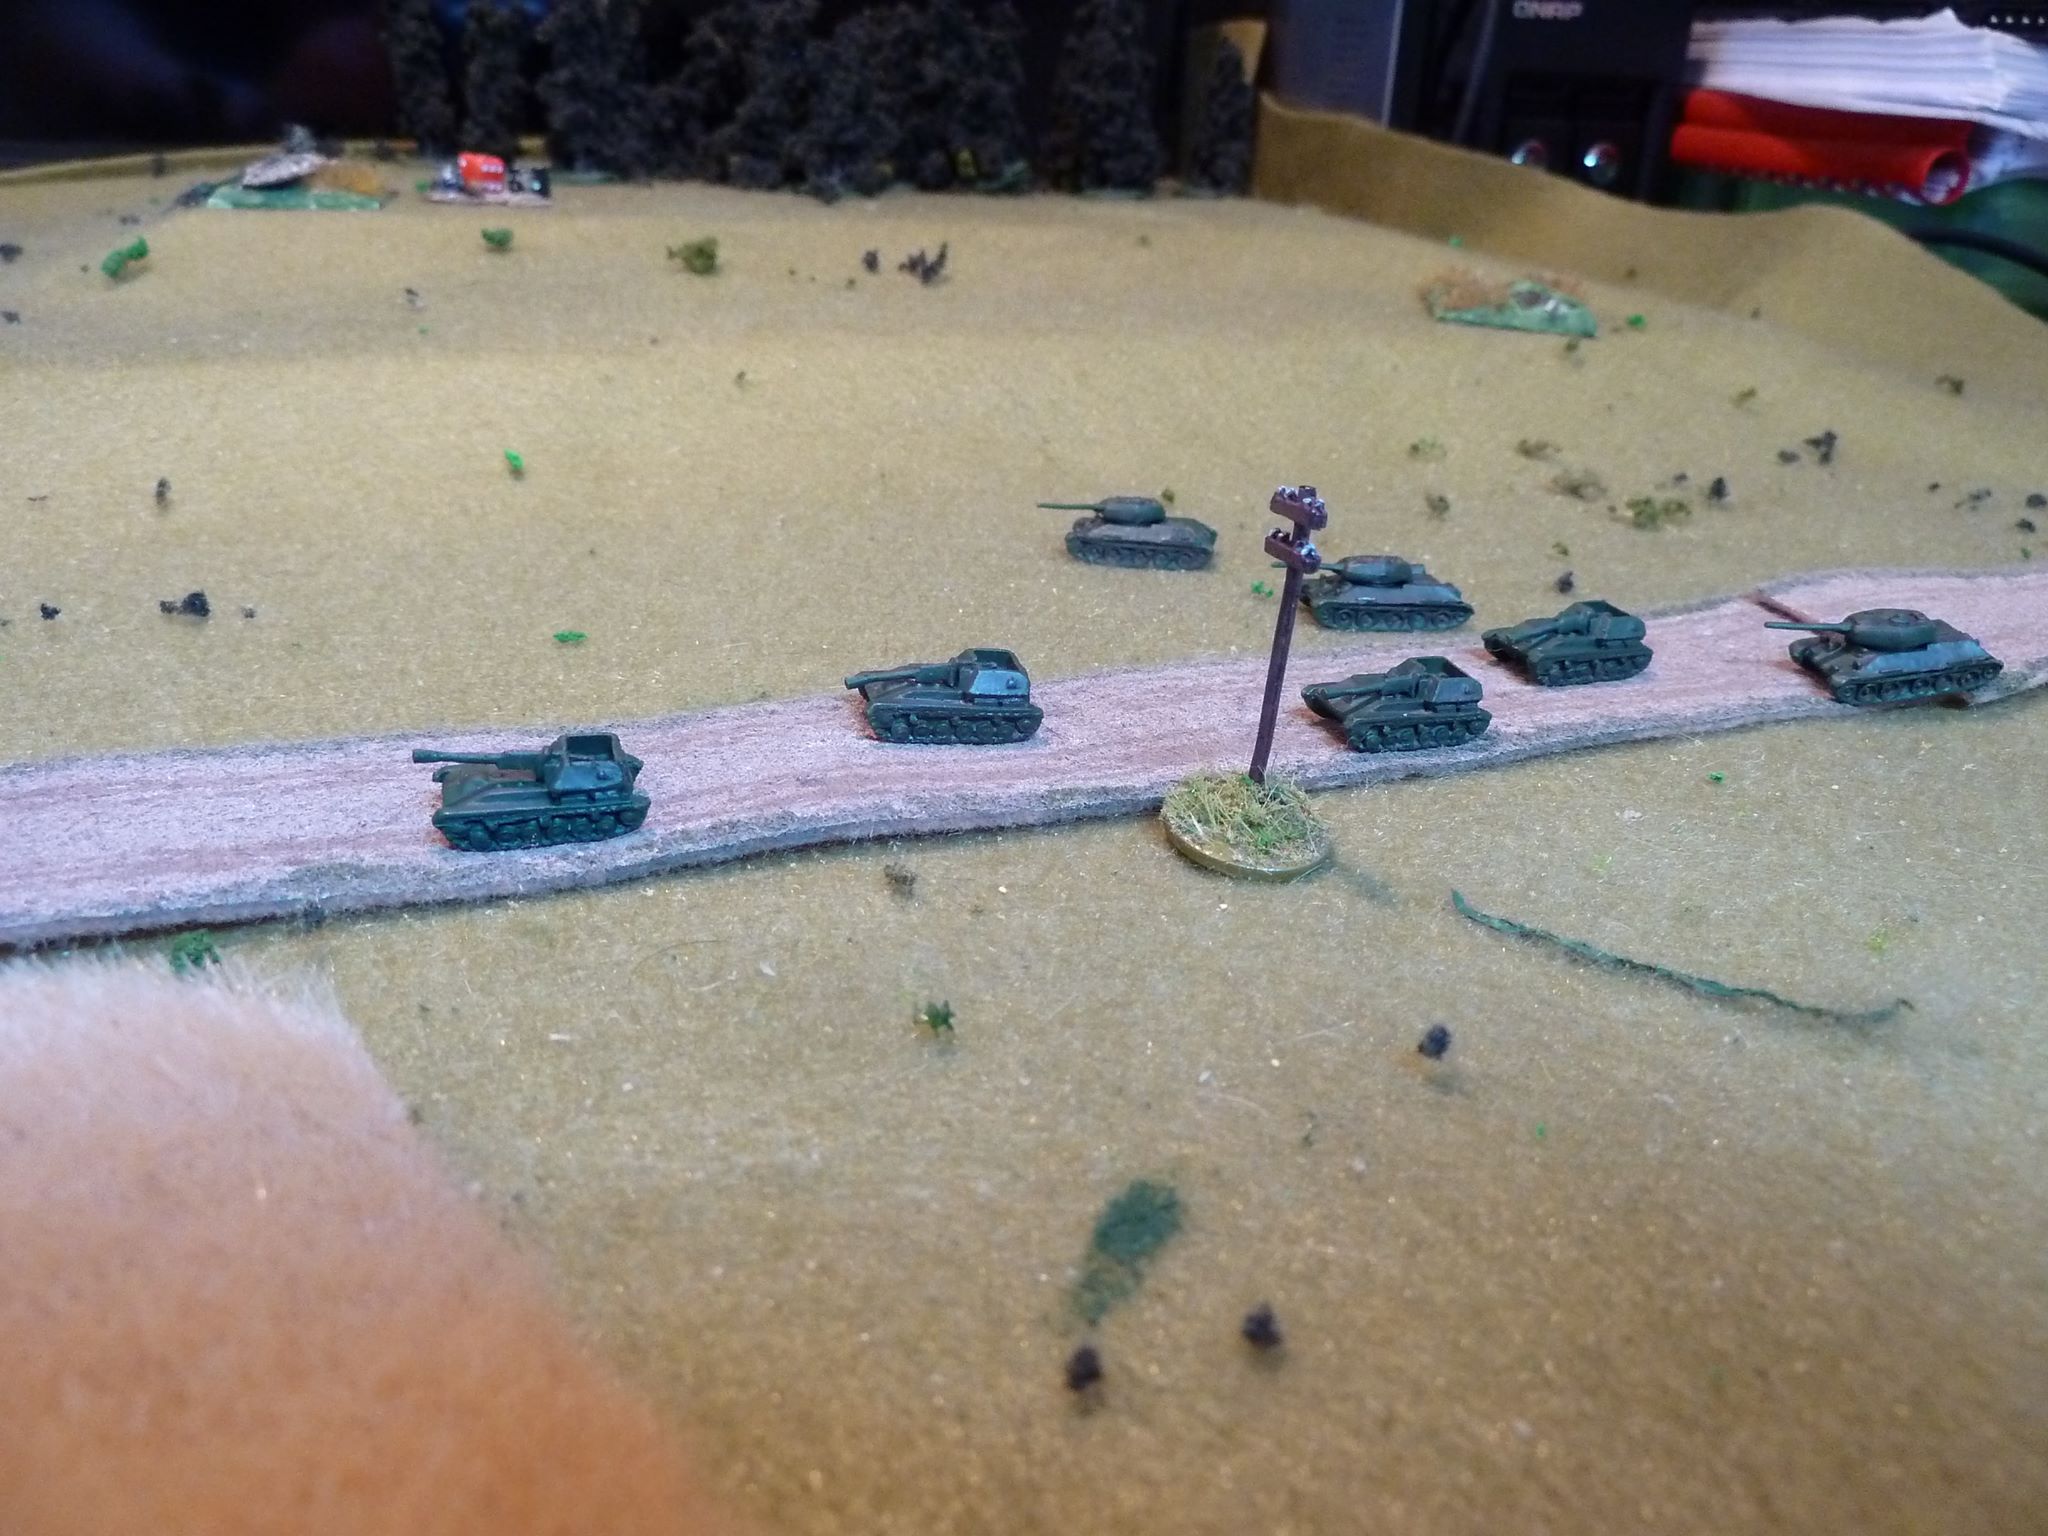
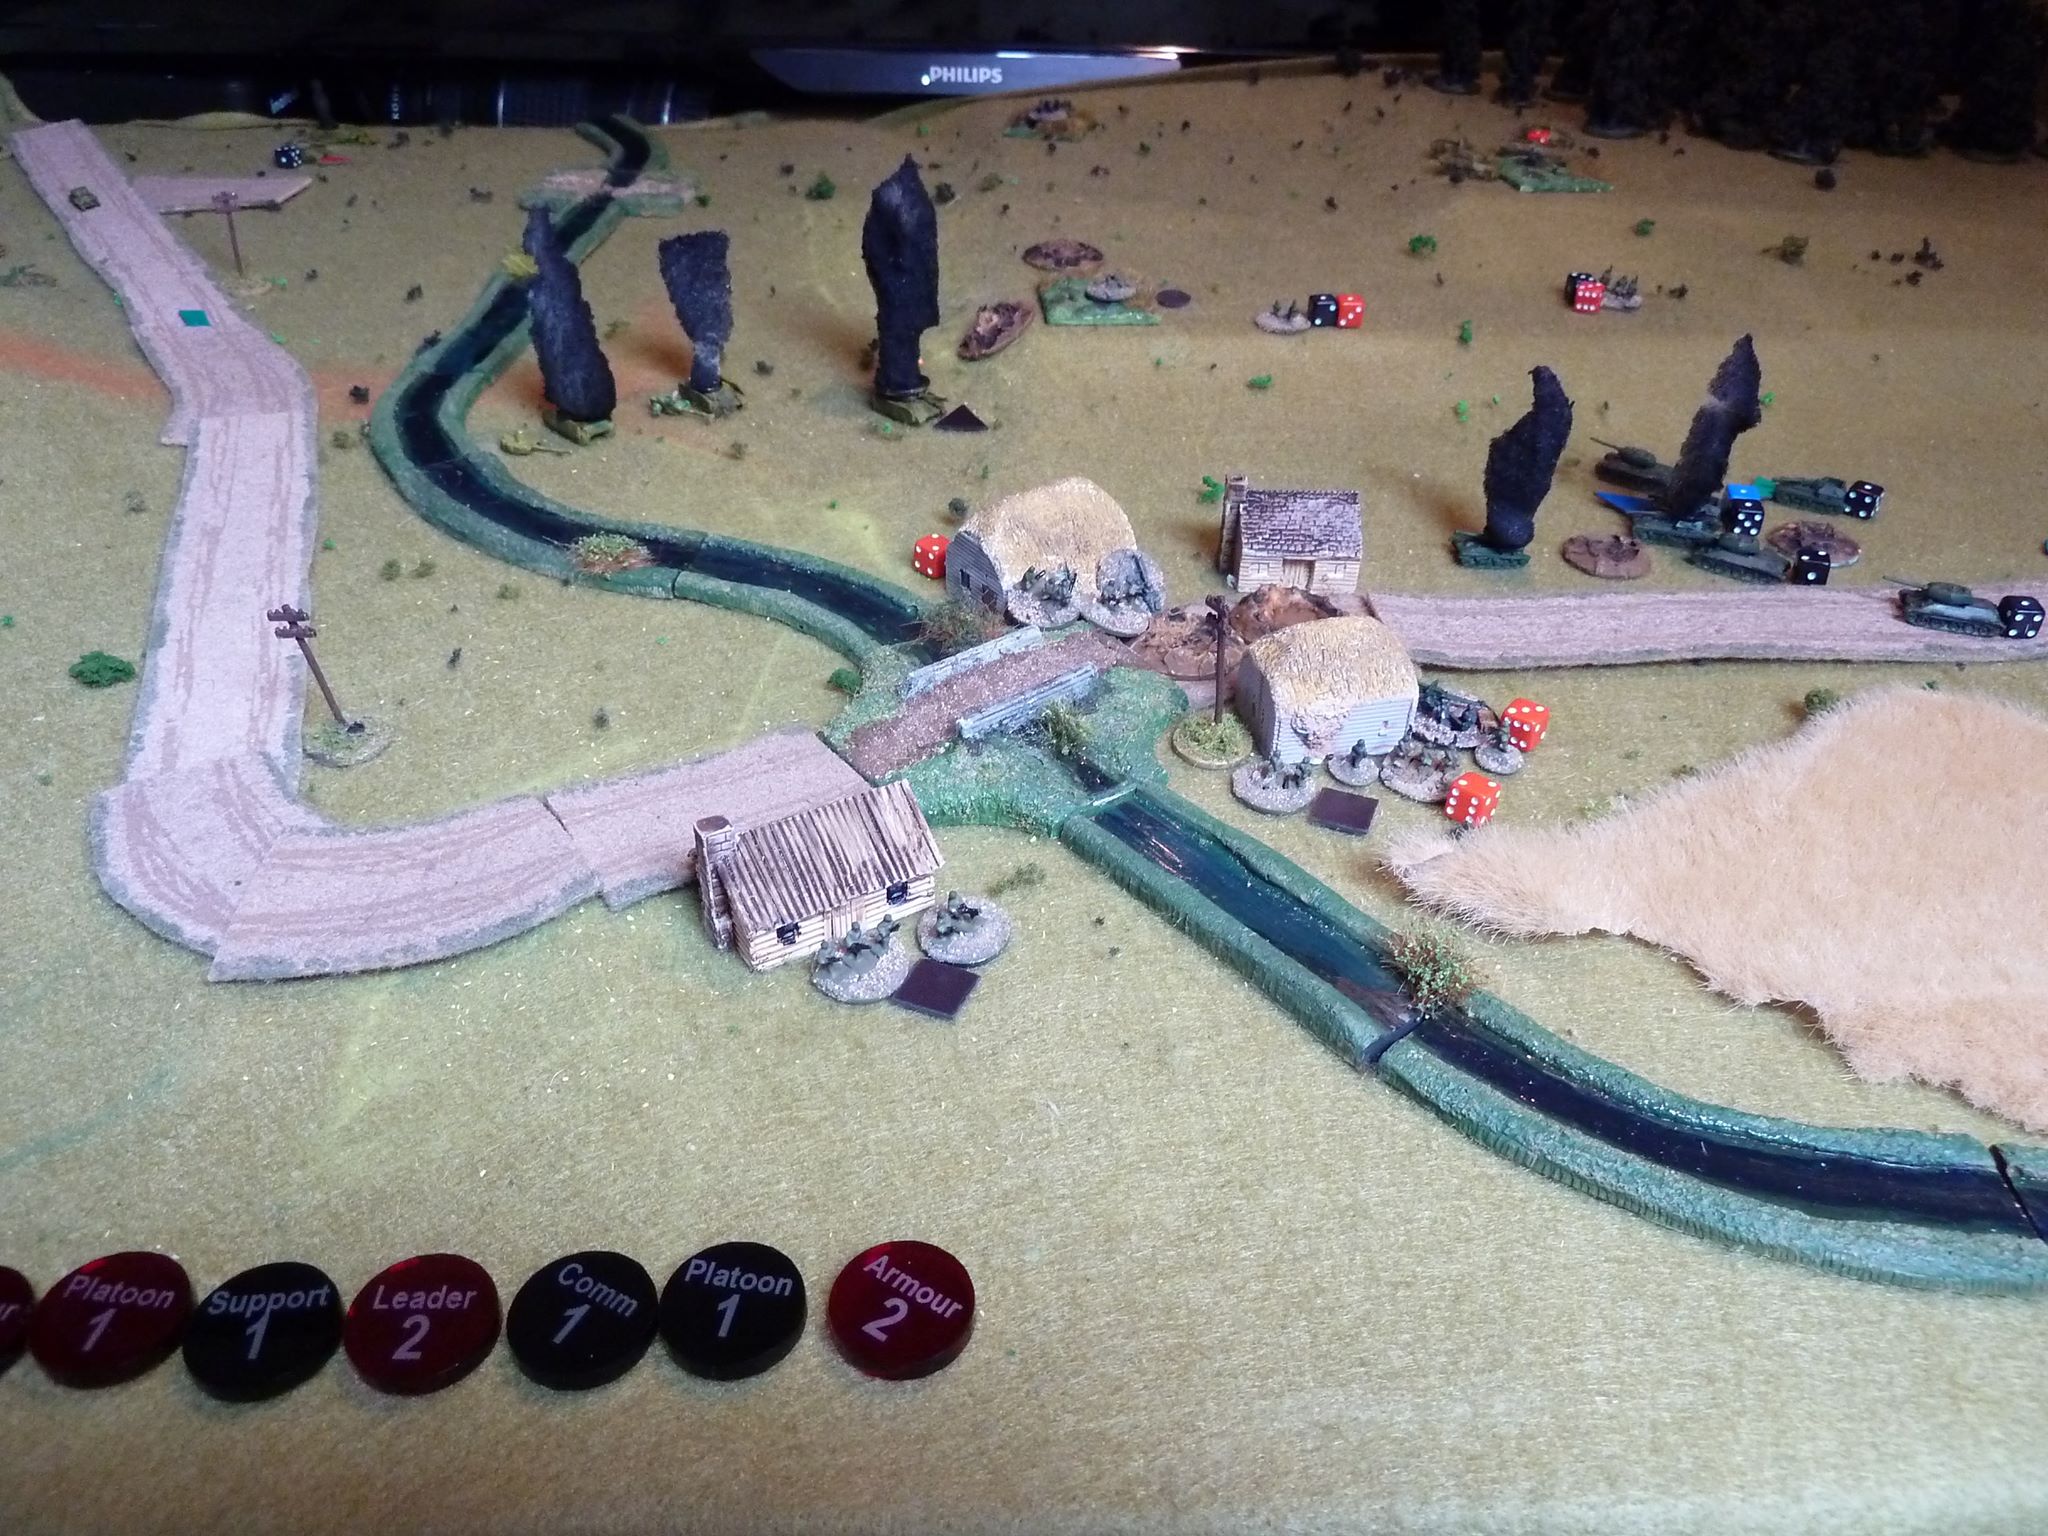
The T-34/85s arrive on the table and dash forward, catching up with the slow moving Su-76s.
BOOM!
The Su-76s get seven hits on the five Panzer IVs and kill four of them :(
Wow, those 76mm guns really over-match the old Panzer IV armour!
The final Pz IV on the hill is heavily hit and takes lots of shock.
The leader from the Soviet first platoon in the central trench decides to go and try to rally the remaining ATG crewman at the top of the hill. He made it, but they were both then wiped out by quad 20mm fire.
The remains of the first Panzer IV platoon crawls around the hill and pops a couple of the Su-76s, but the remaining ATG in the hamlet is re-positioned to take shots and gets hits.
Down to one undamaged Panzer IV...things are not going well.
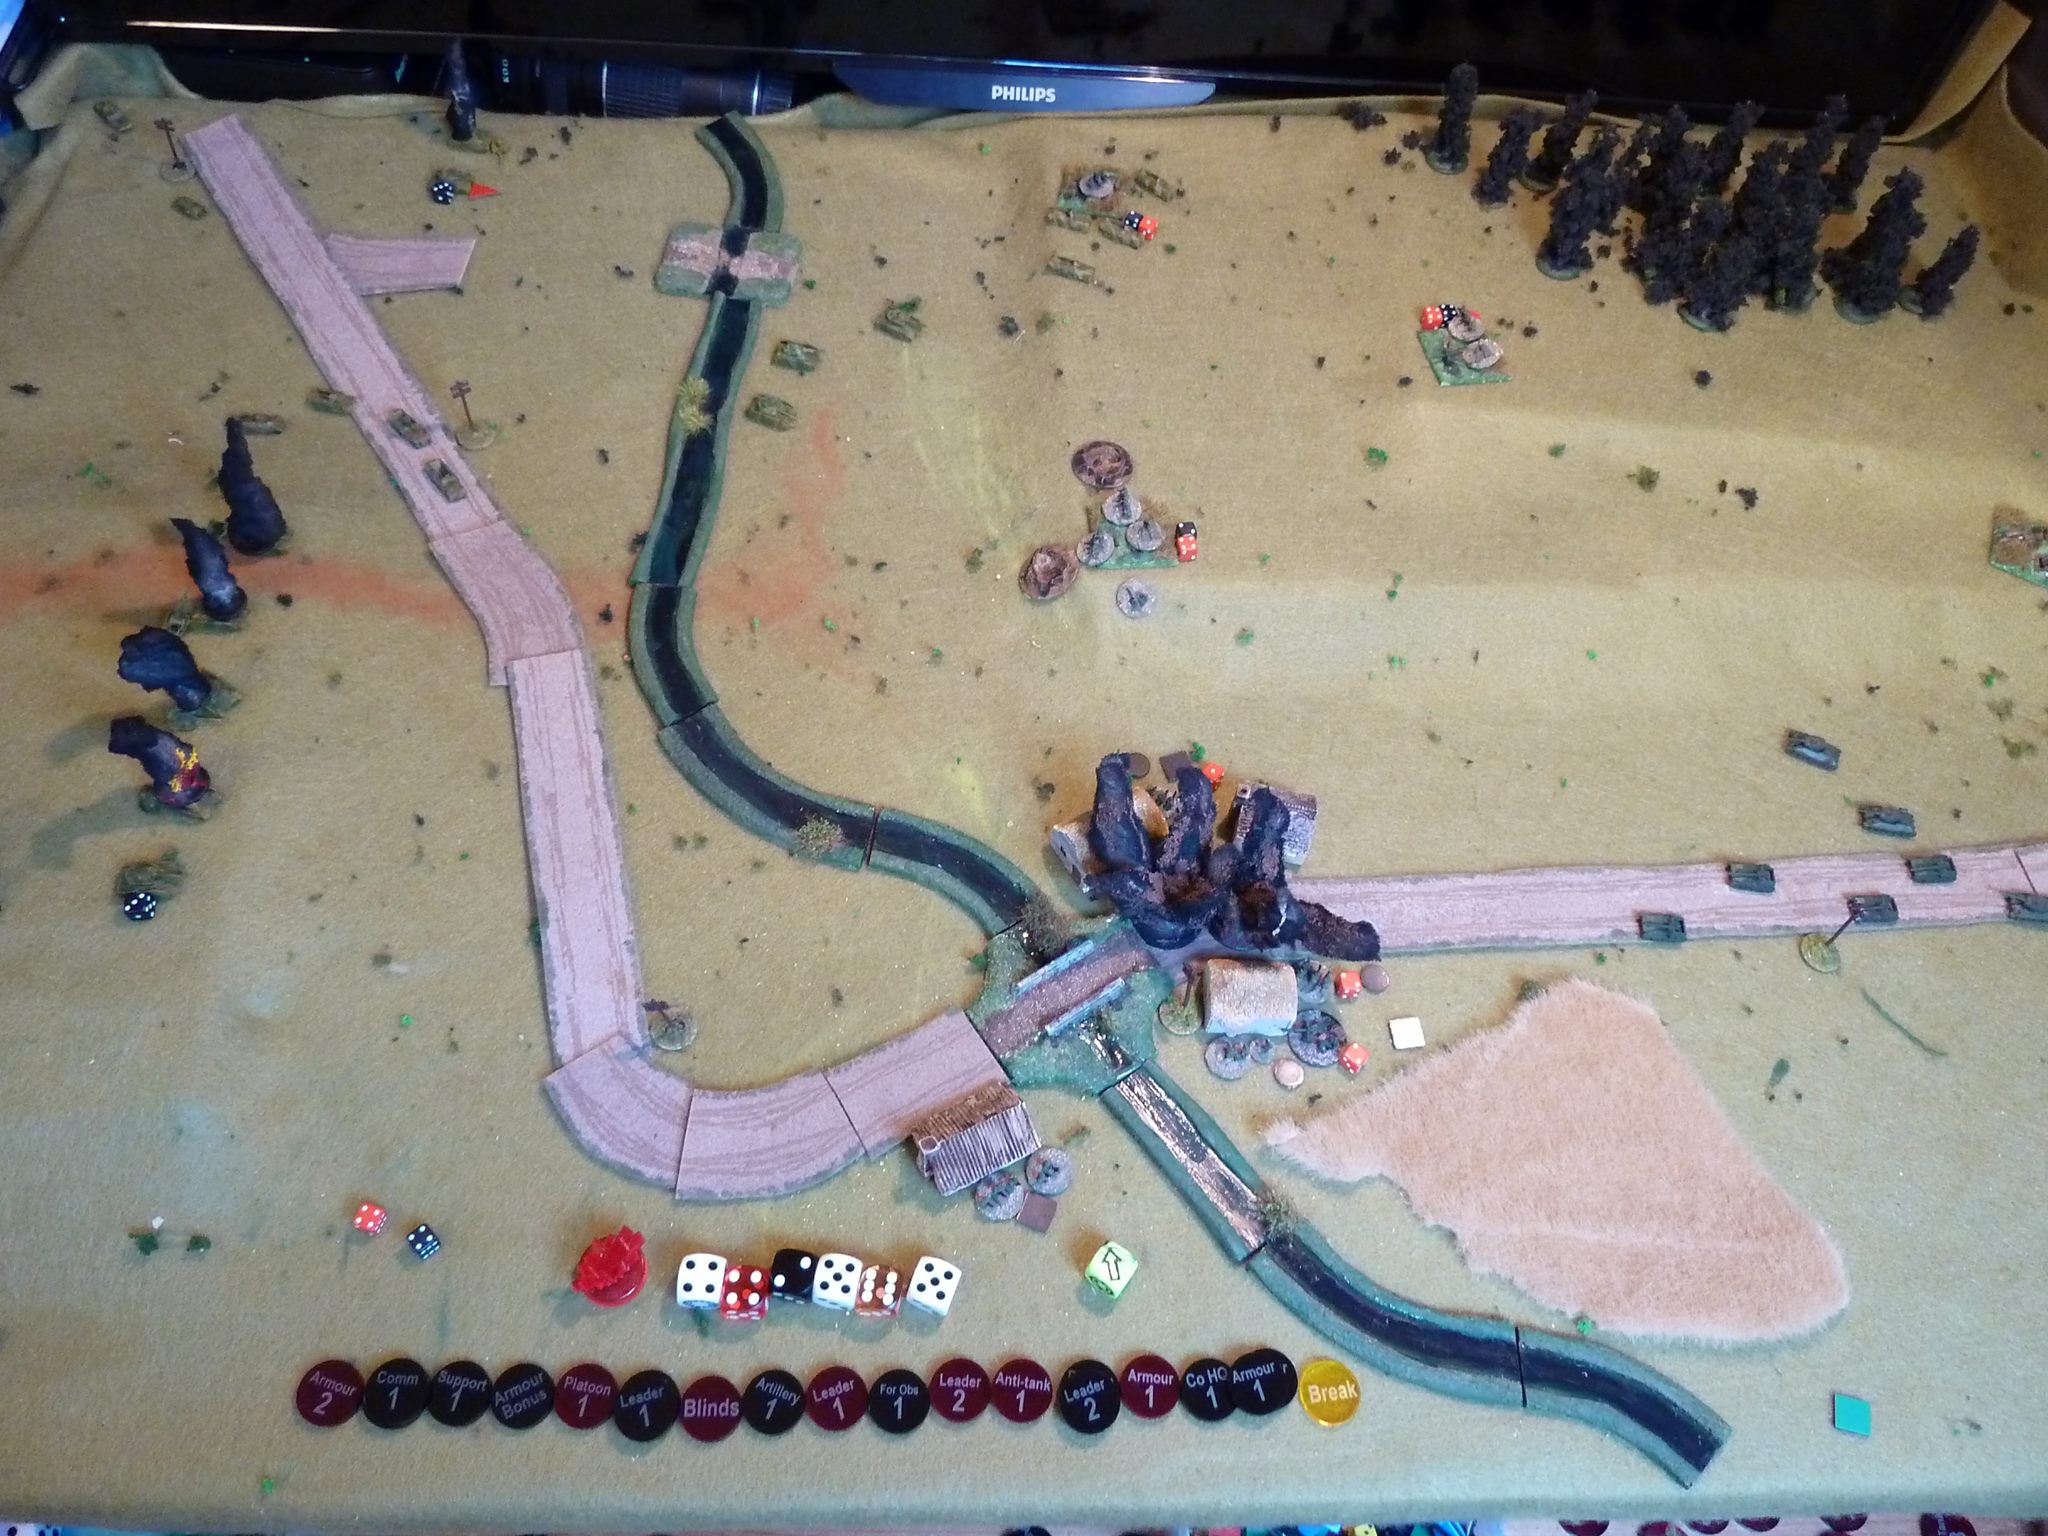
The last of the available mortar barrage is switched to fire on the Soviet tanks. It adds a bit of Shock, but isn't big enough to do enough damage quickly. Things don't look good for Germans.
A close-up of the mortar fire landing on the Soviet armour
It's all over: even with the Shock from the mortars, the remaining Soviet tanks, Su-76s and ATG finish off the two remaining Panzer IVs.
Interesting game. The loss of the second Panzer IV platoon was the key moment. Against 45mm ATGs, the Panzer IV can hold its own, but the 76mm just slices through them!