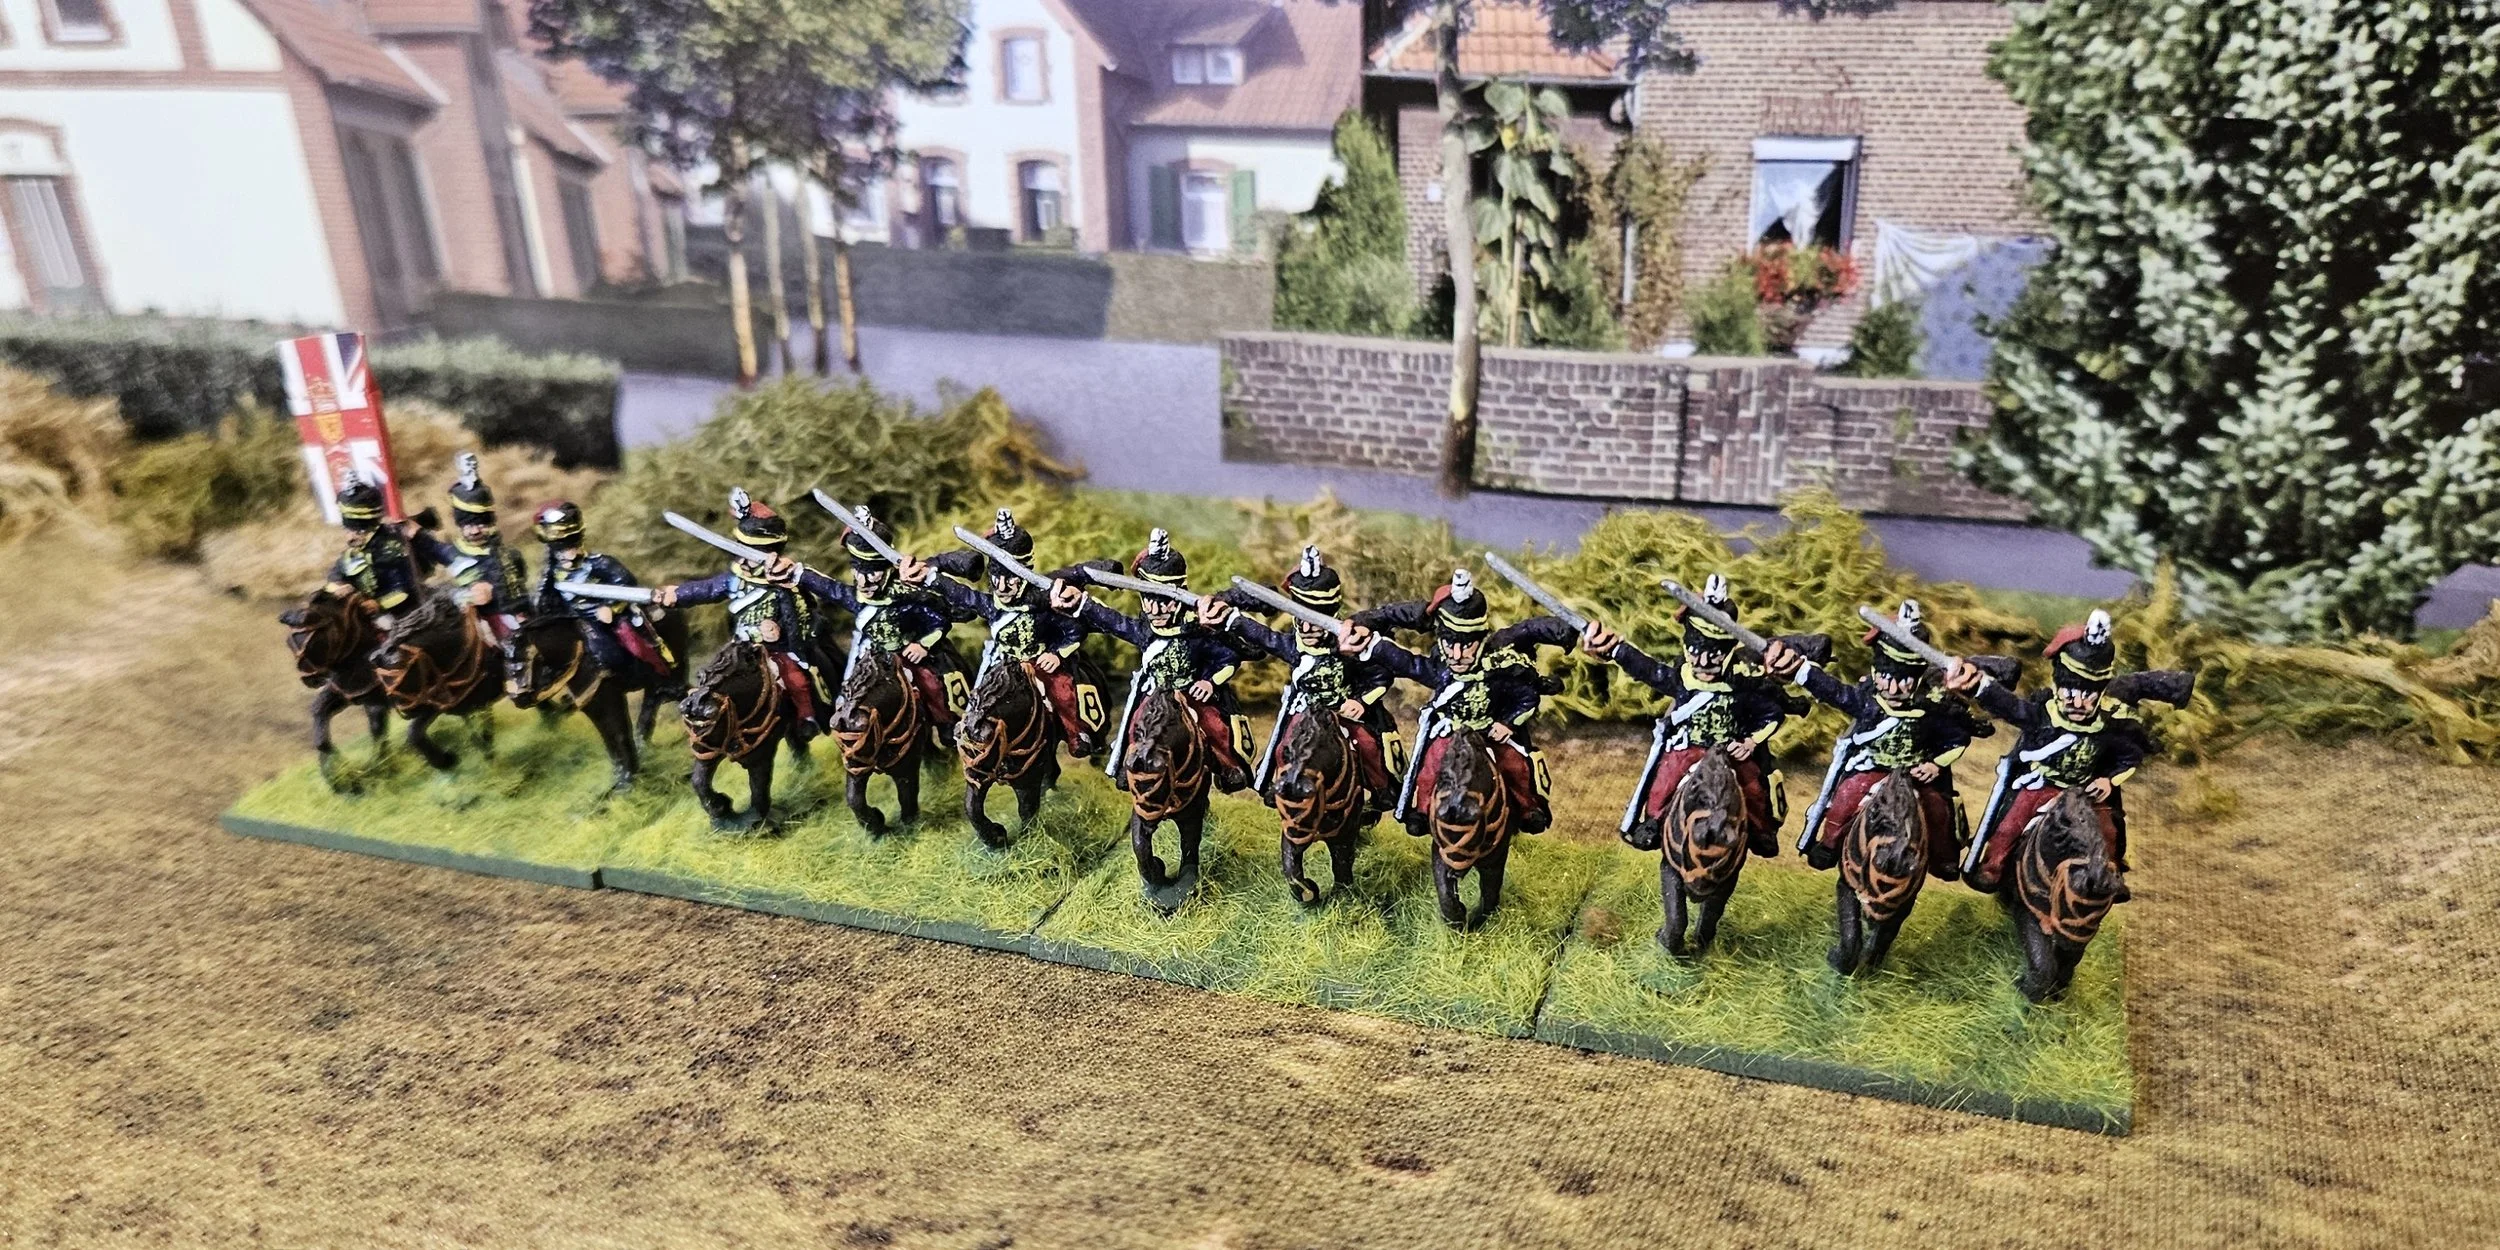
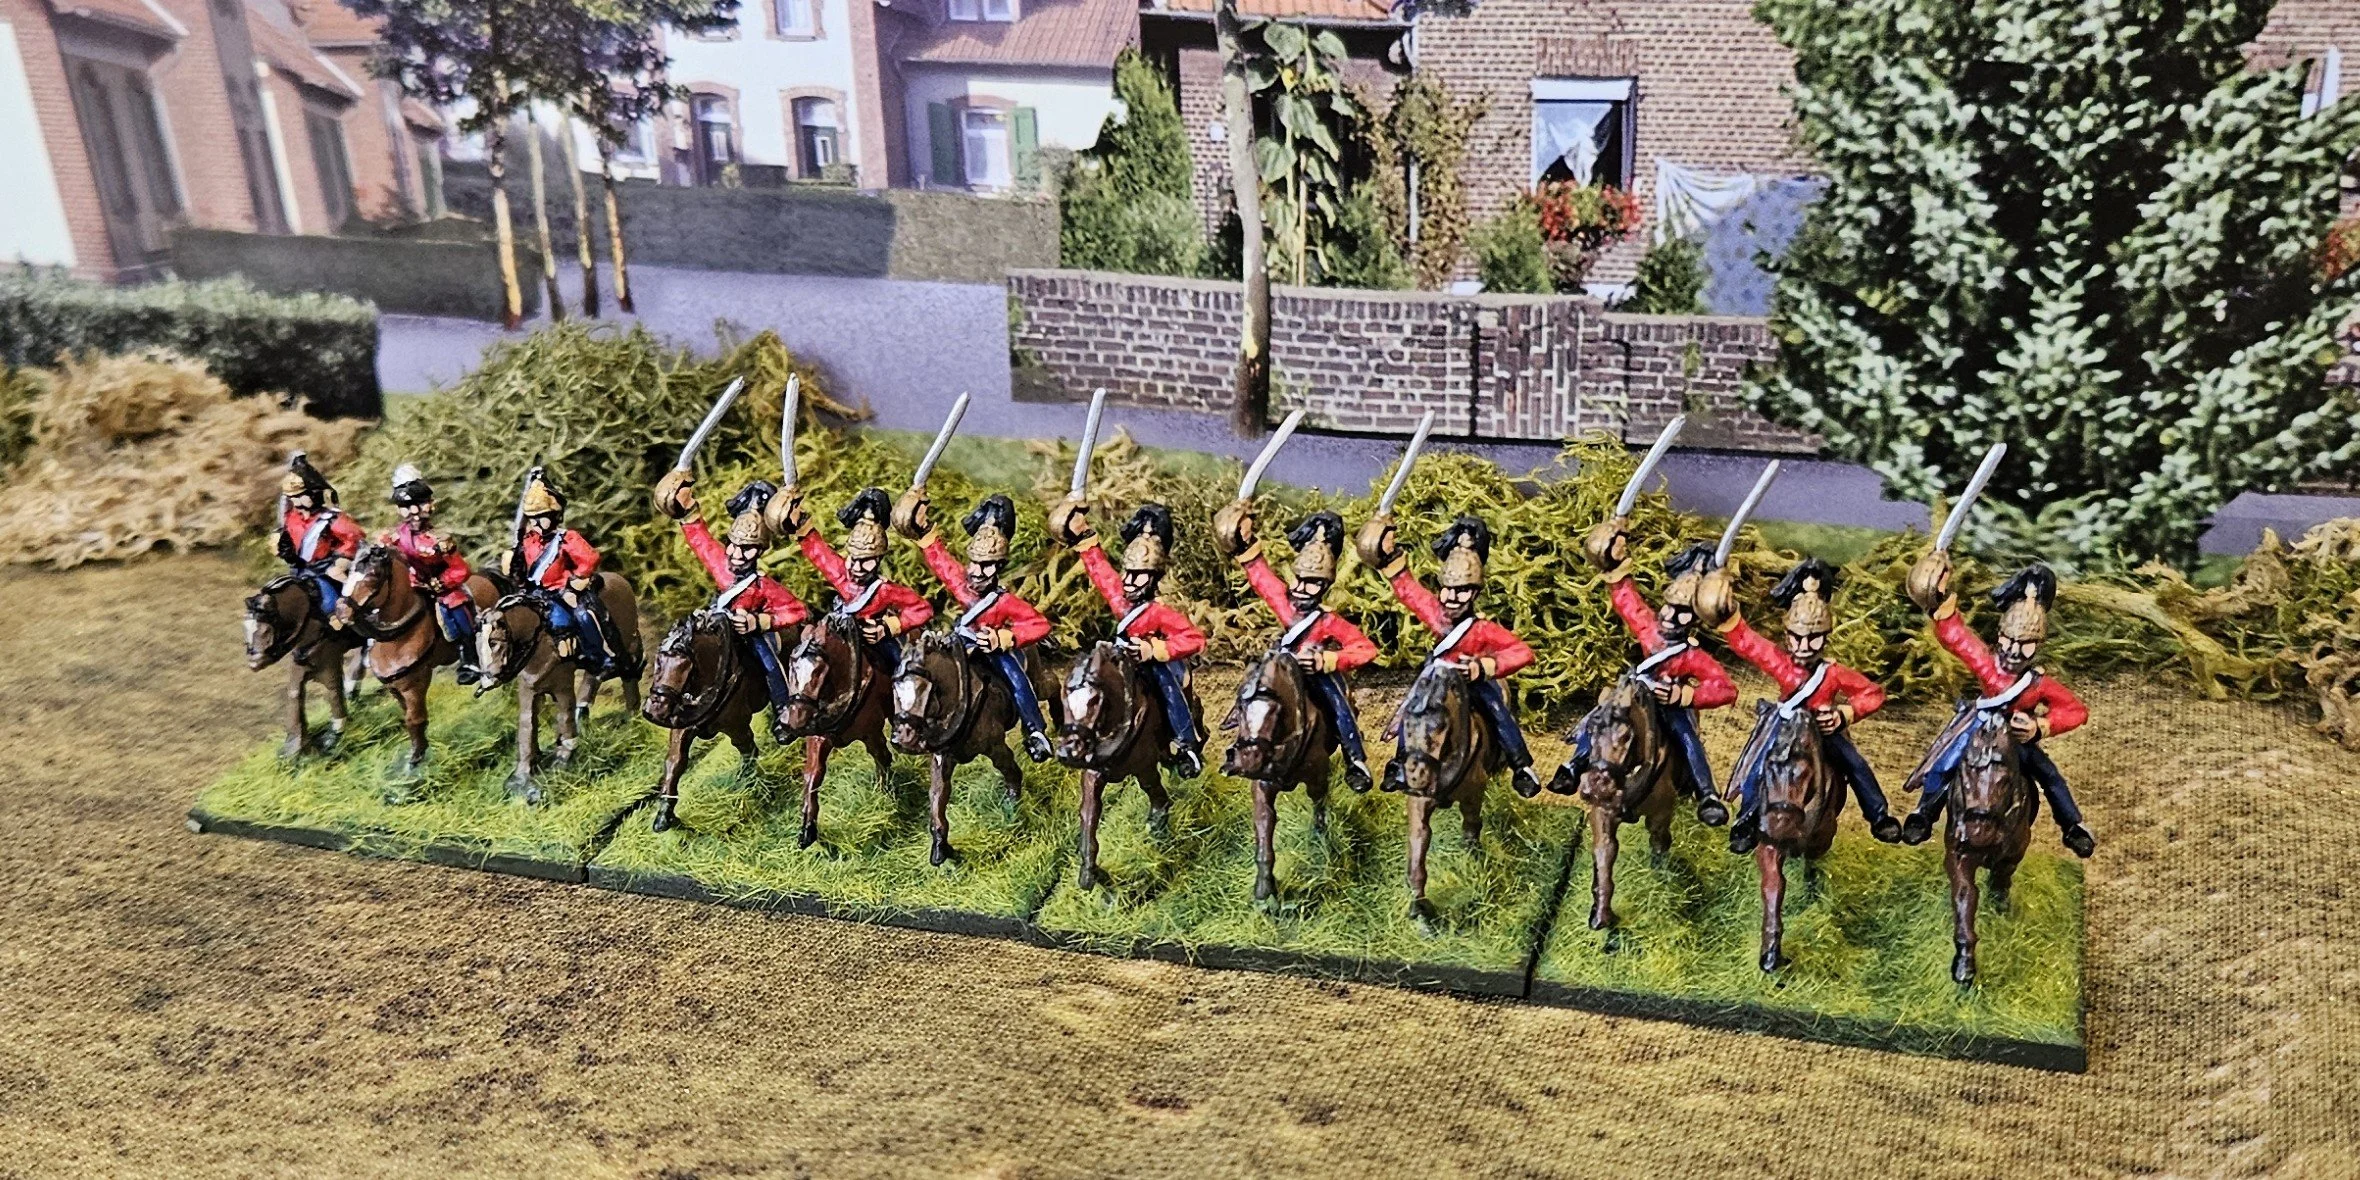
Austrian Army of 1859

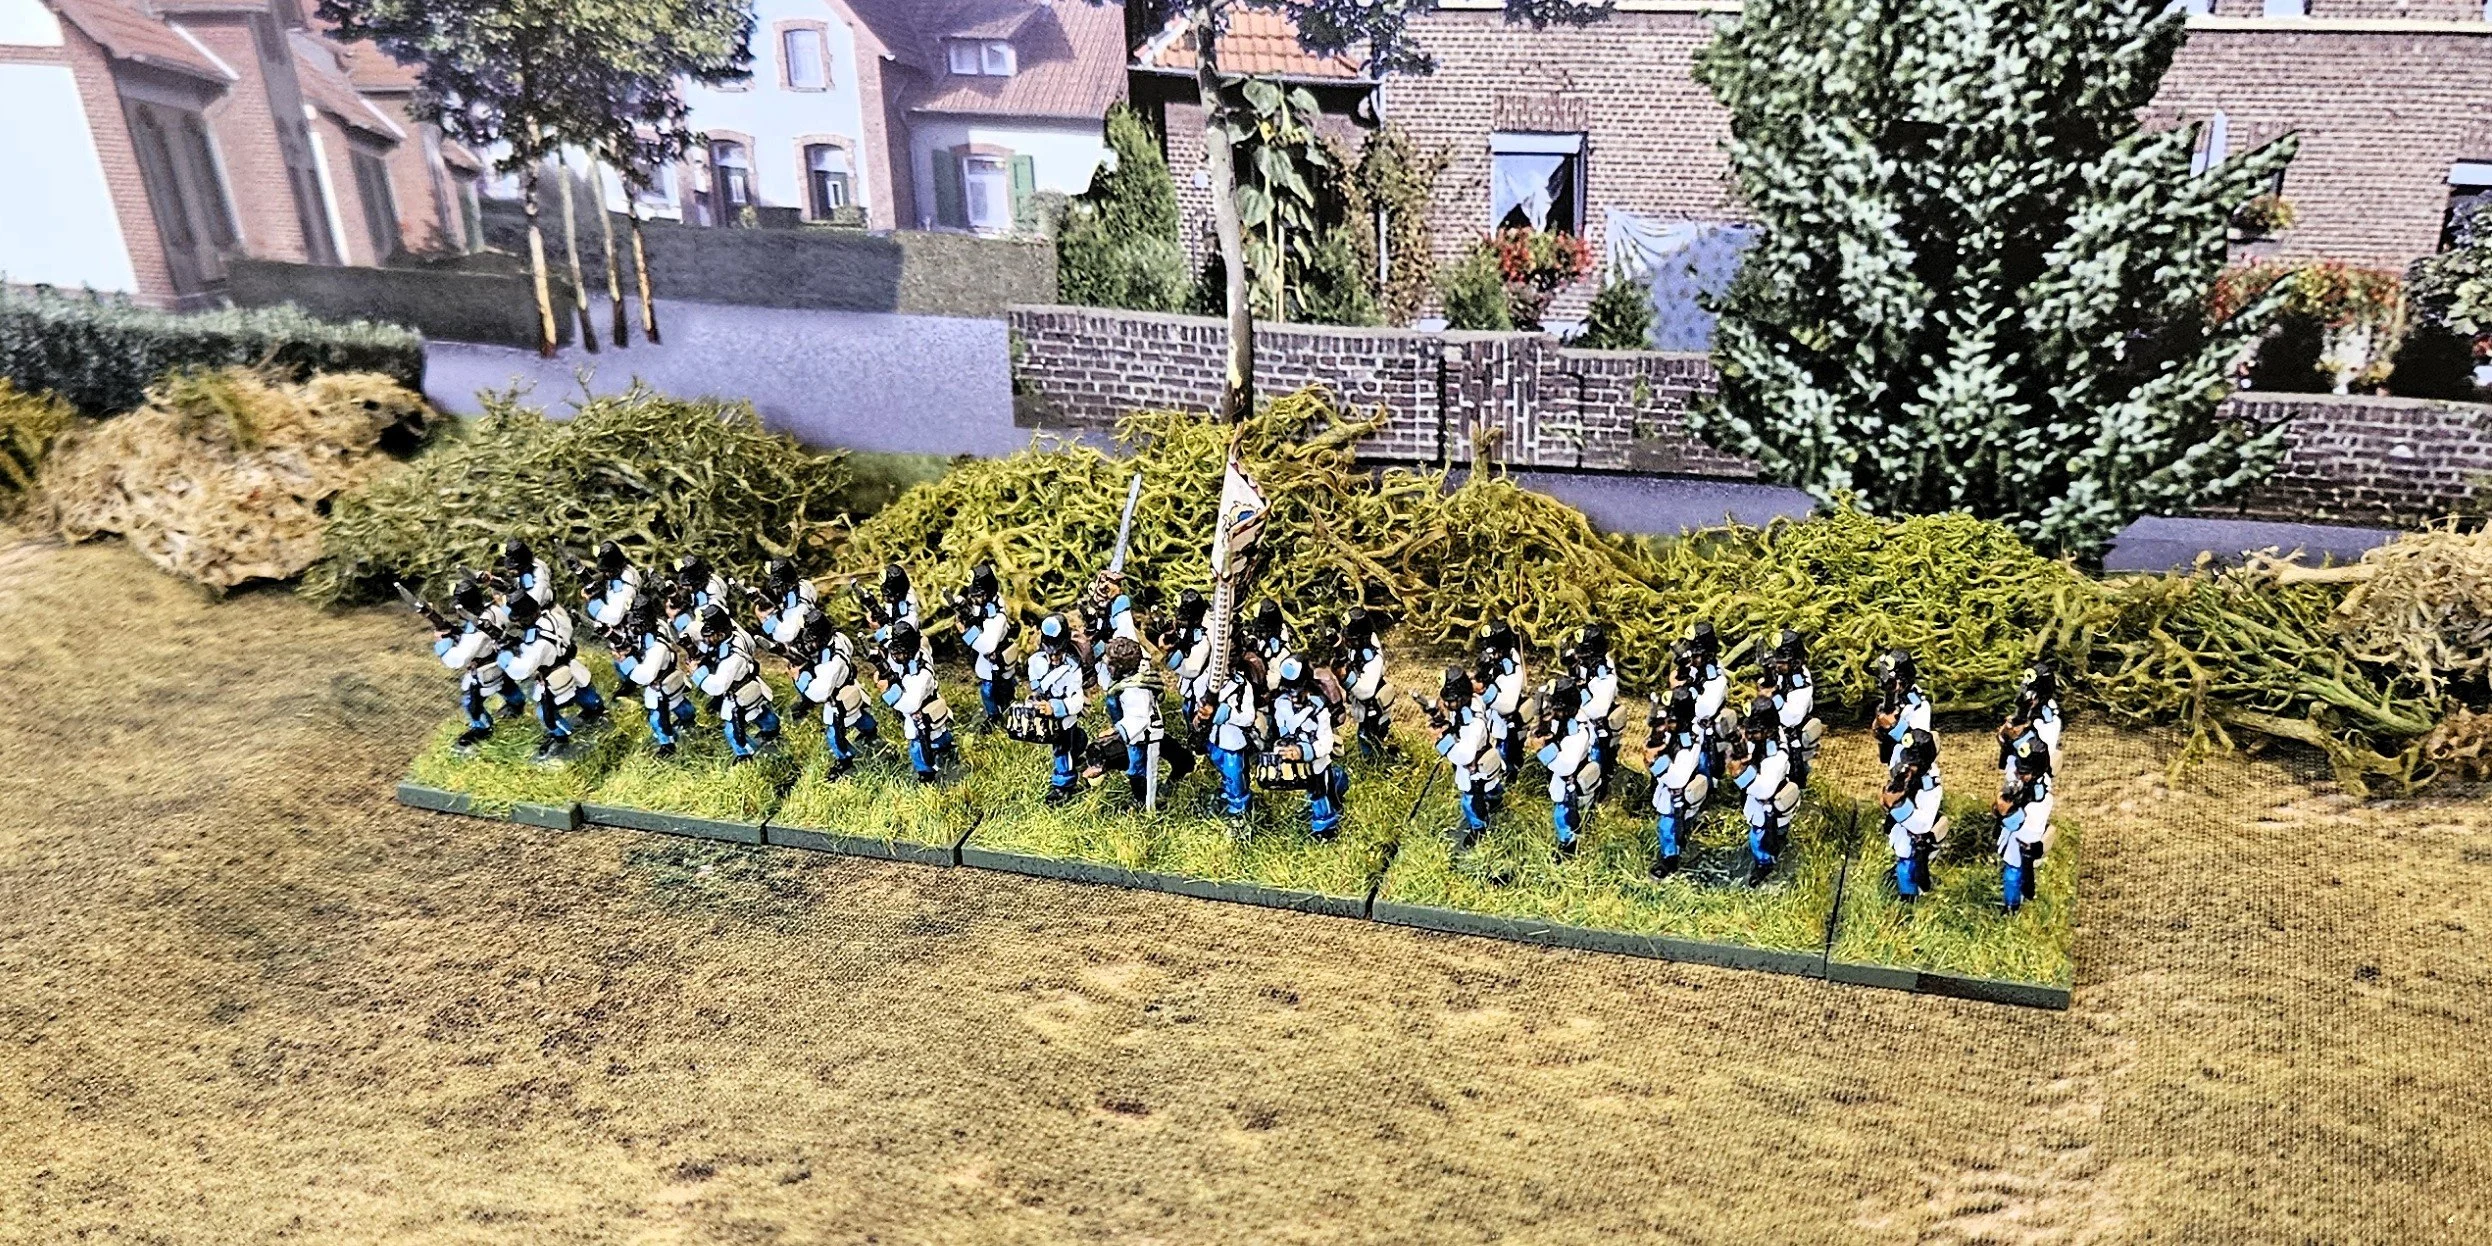
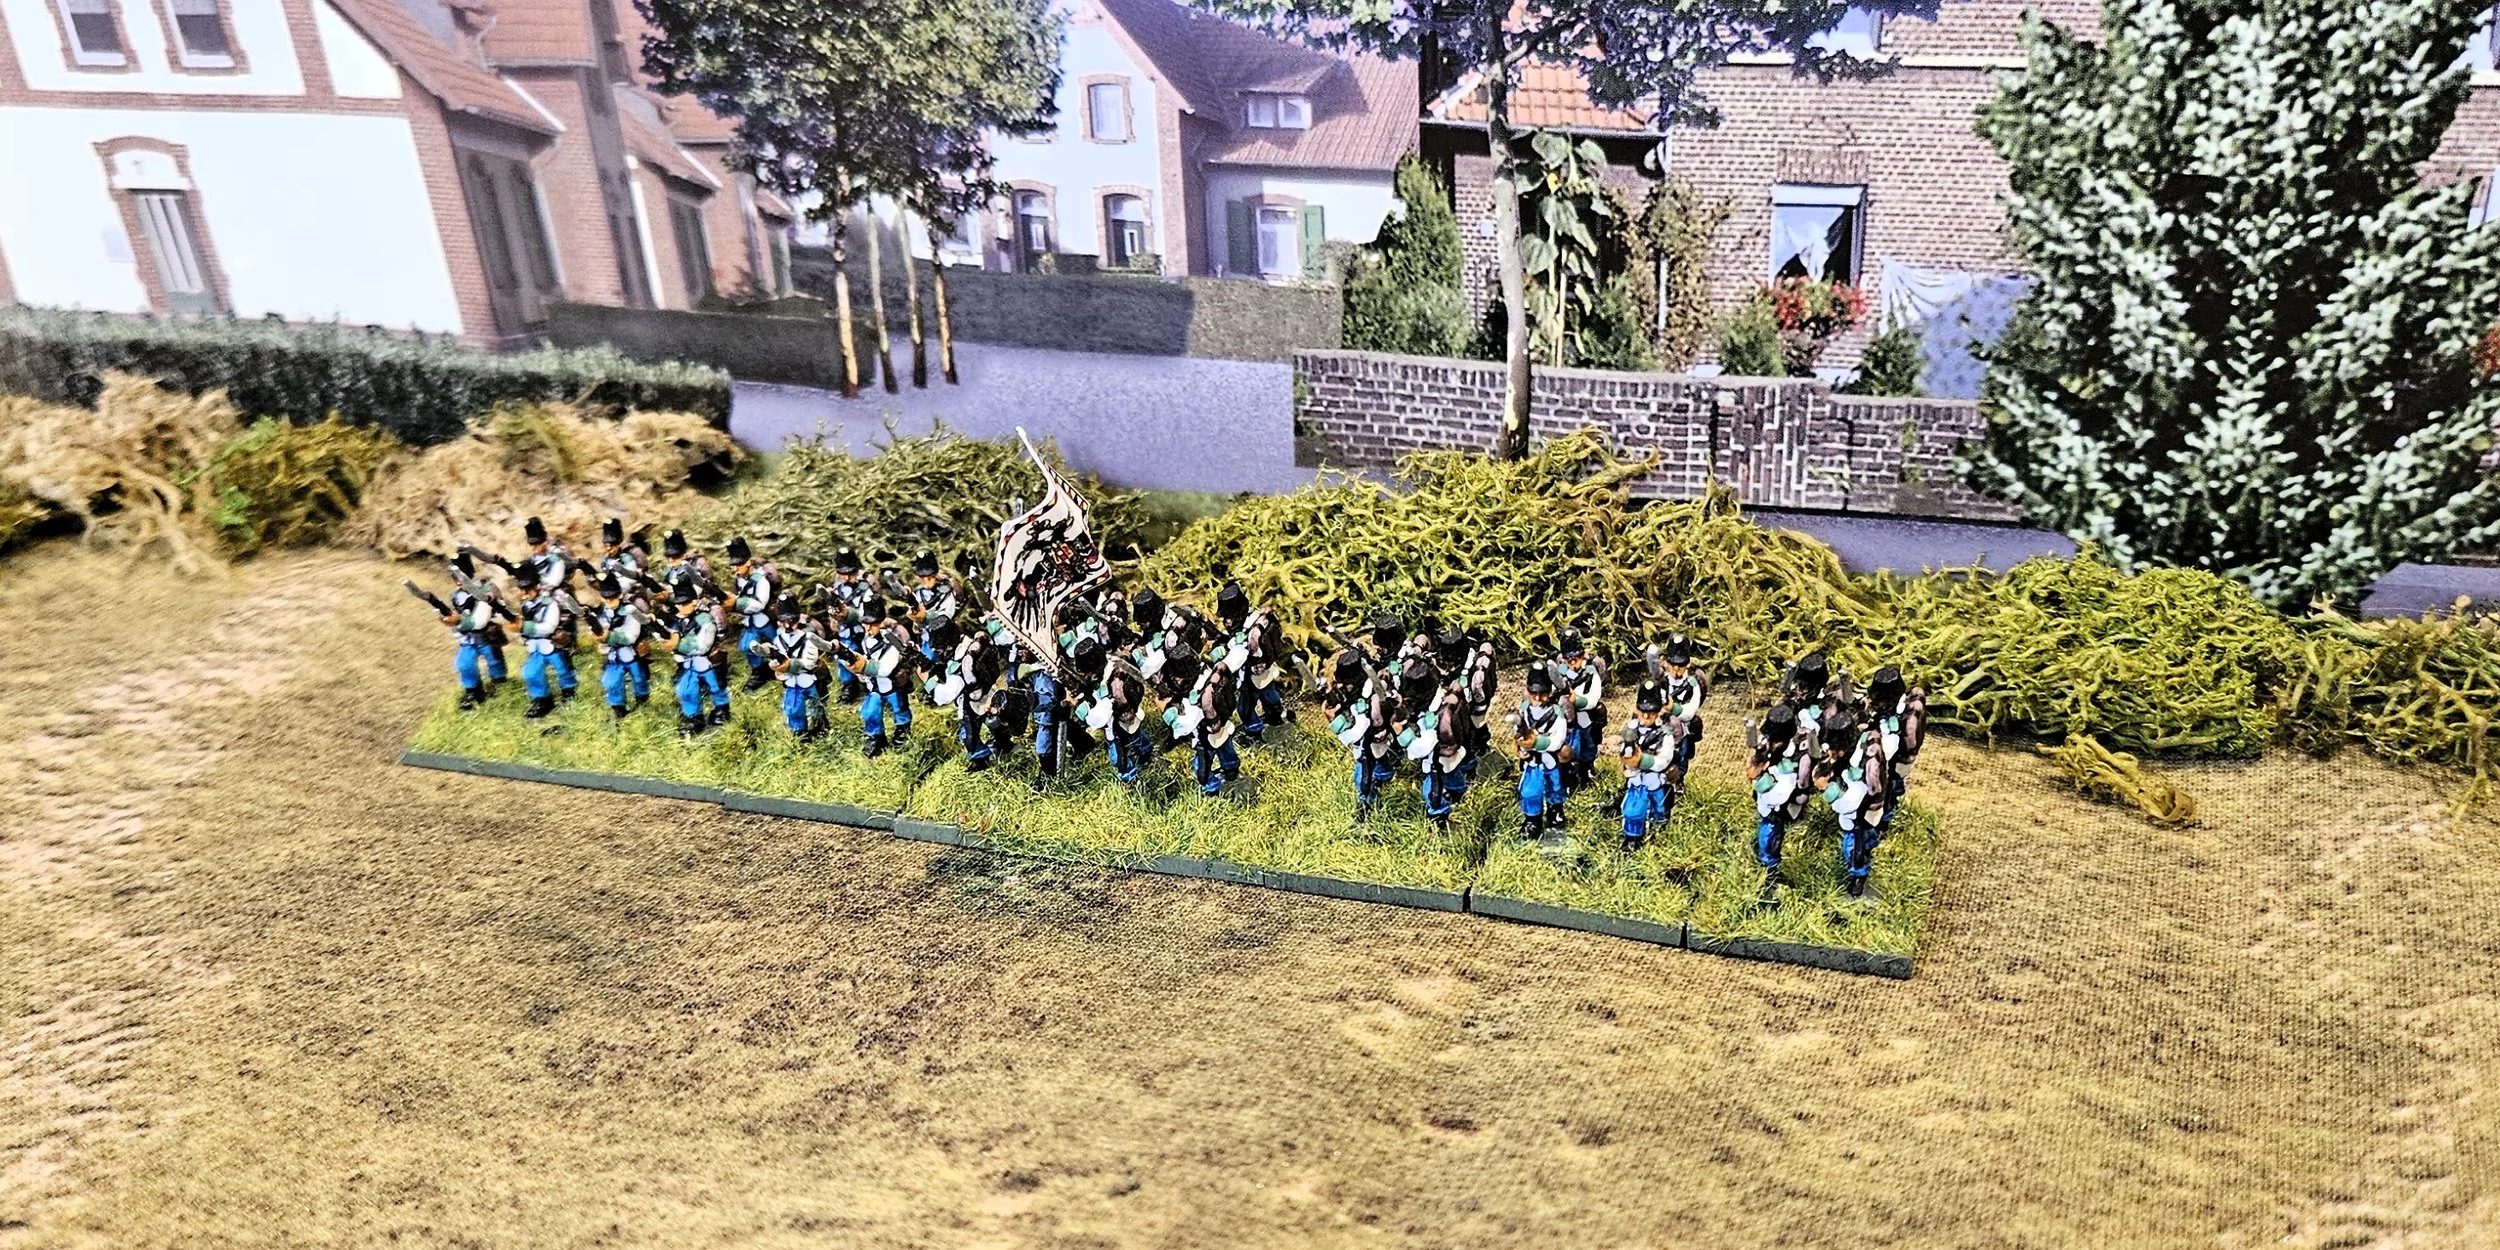
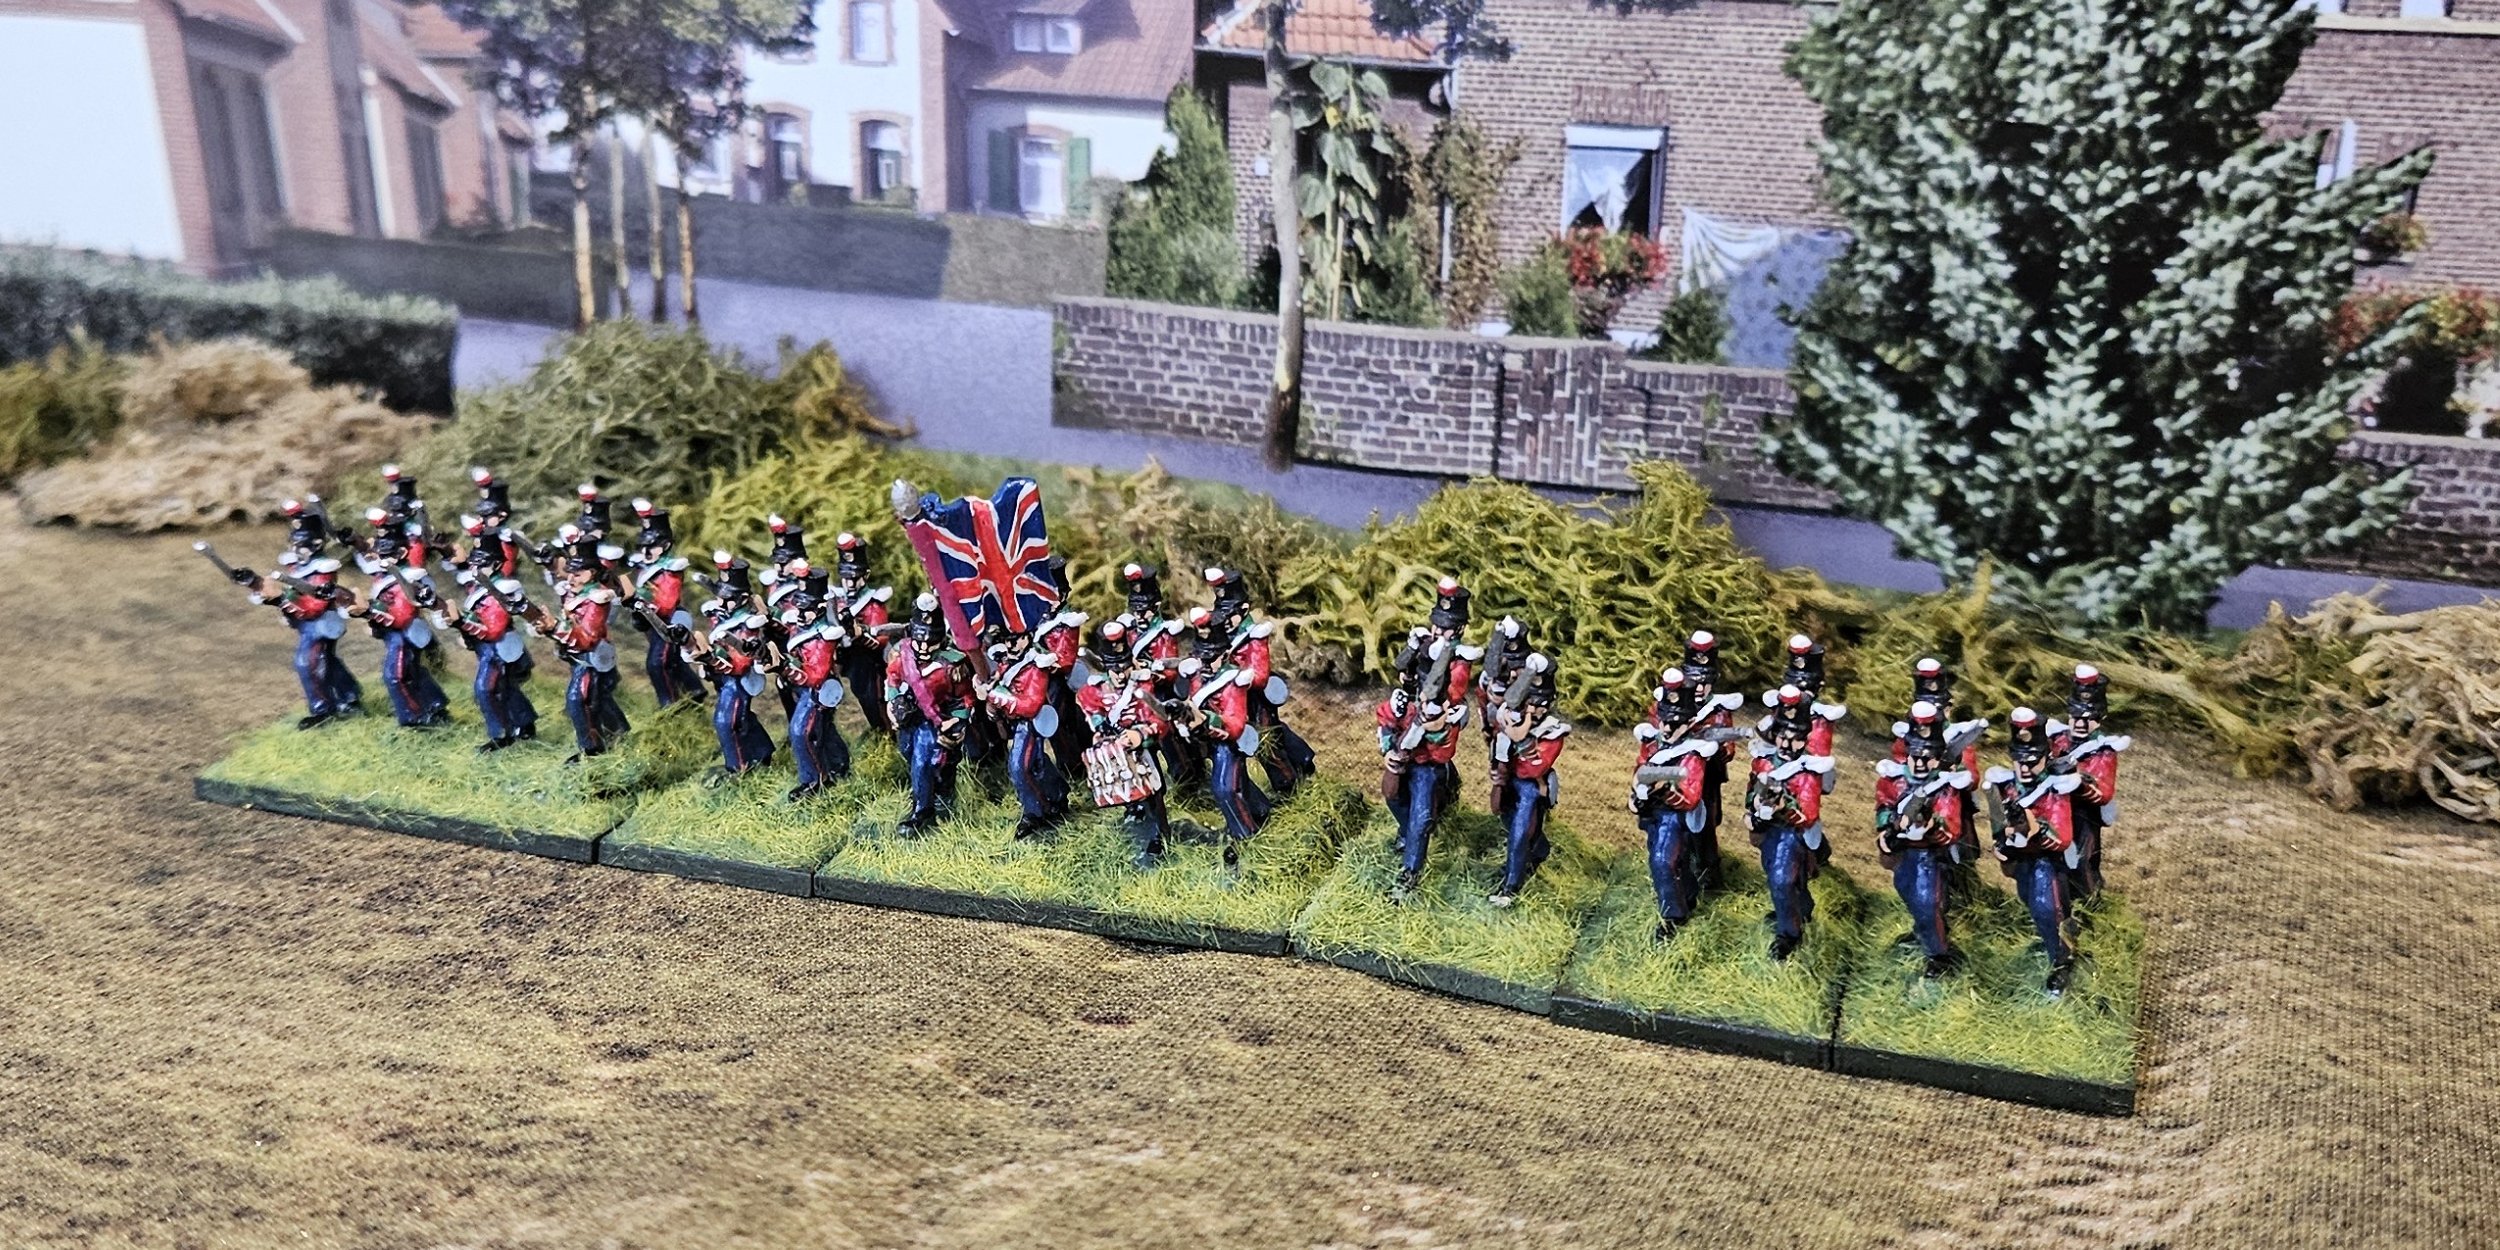
The Austrian army of 1859 was a large, disciplined force that embodied both the strengths and weaknesses of the Habsburg military system on the eve of modern warfare. Commanded in northern Italy by Ferenc Gyulai, it faced the combined armies of France and Sardinia during the Second Italian War of Independence.

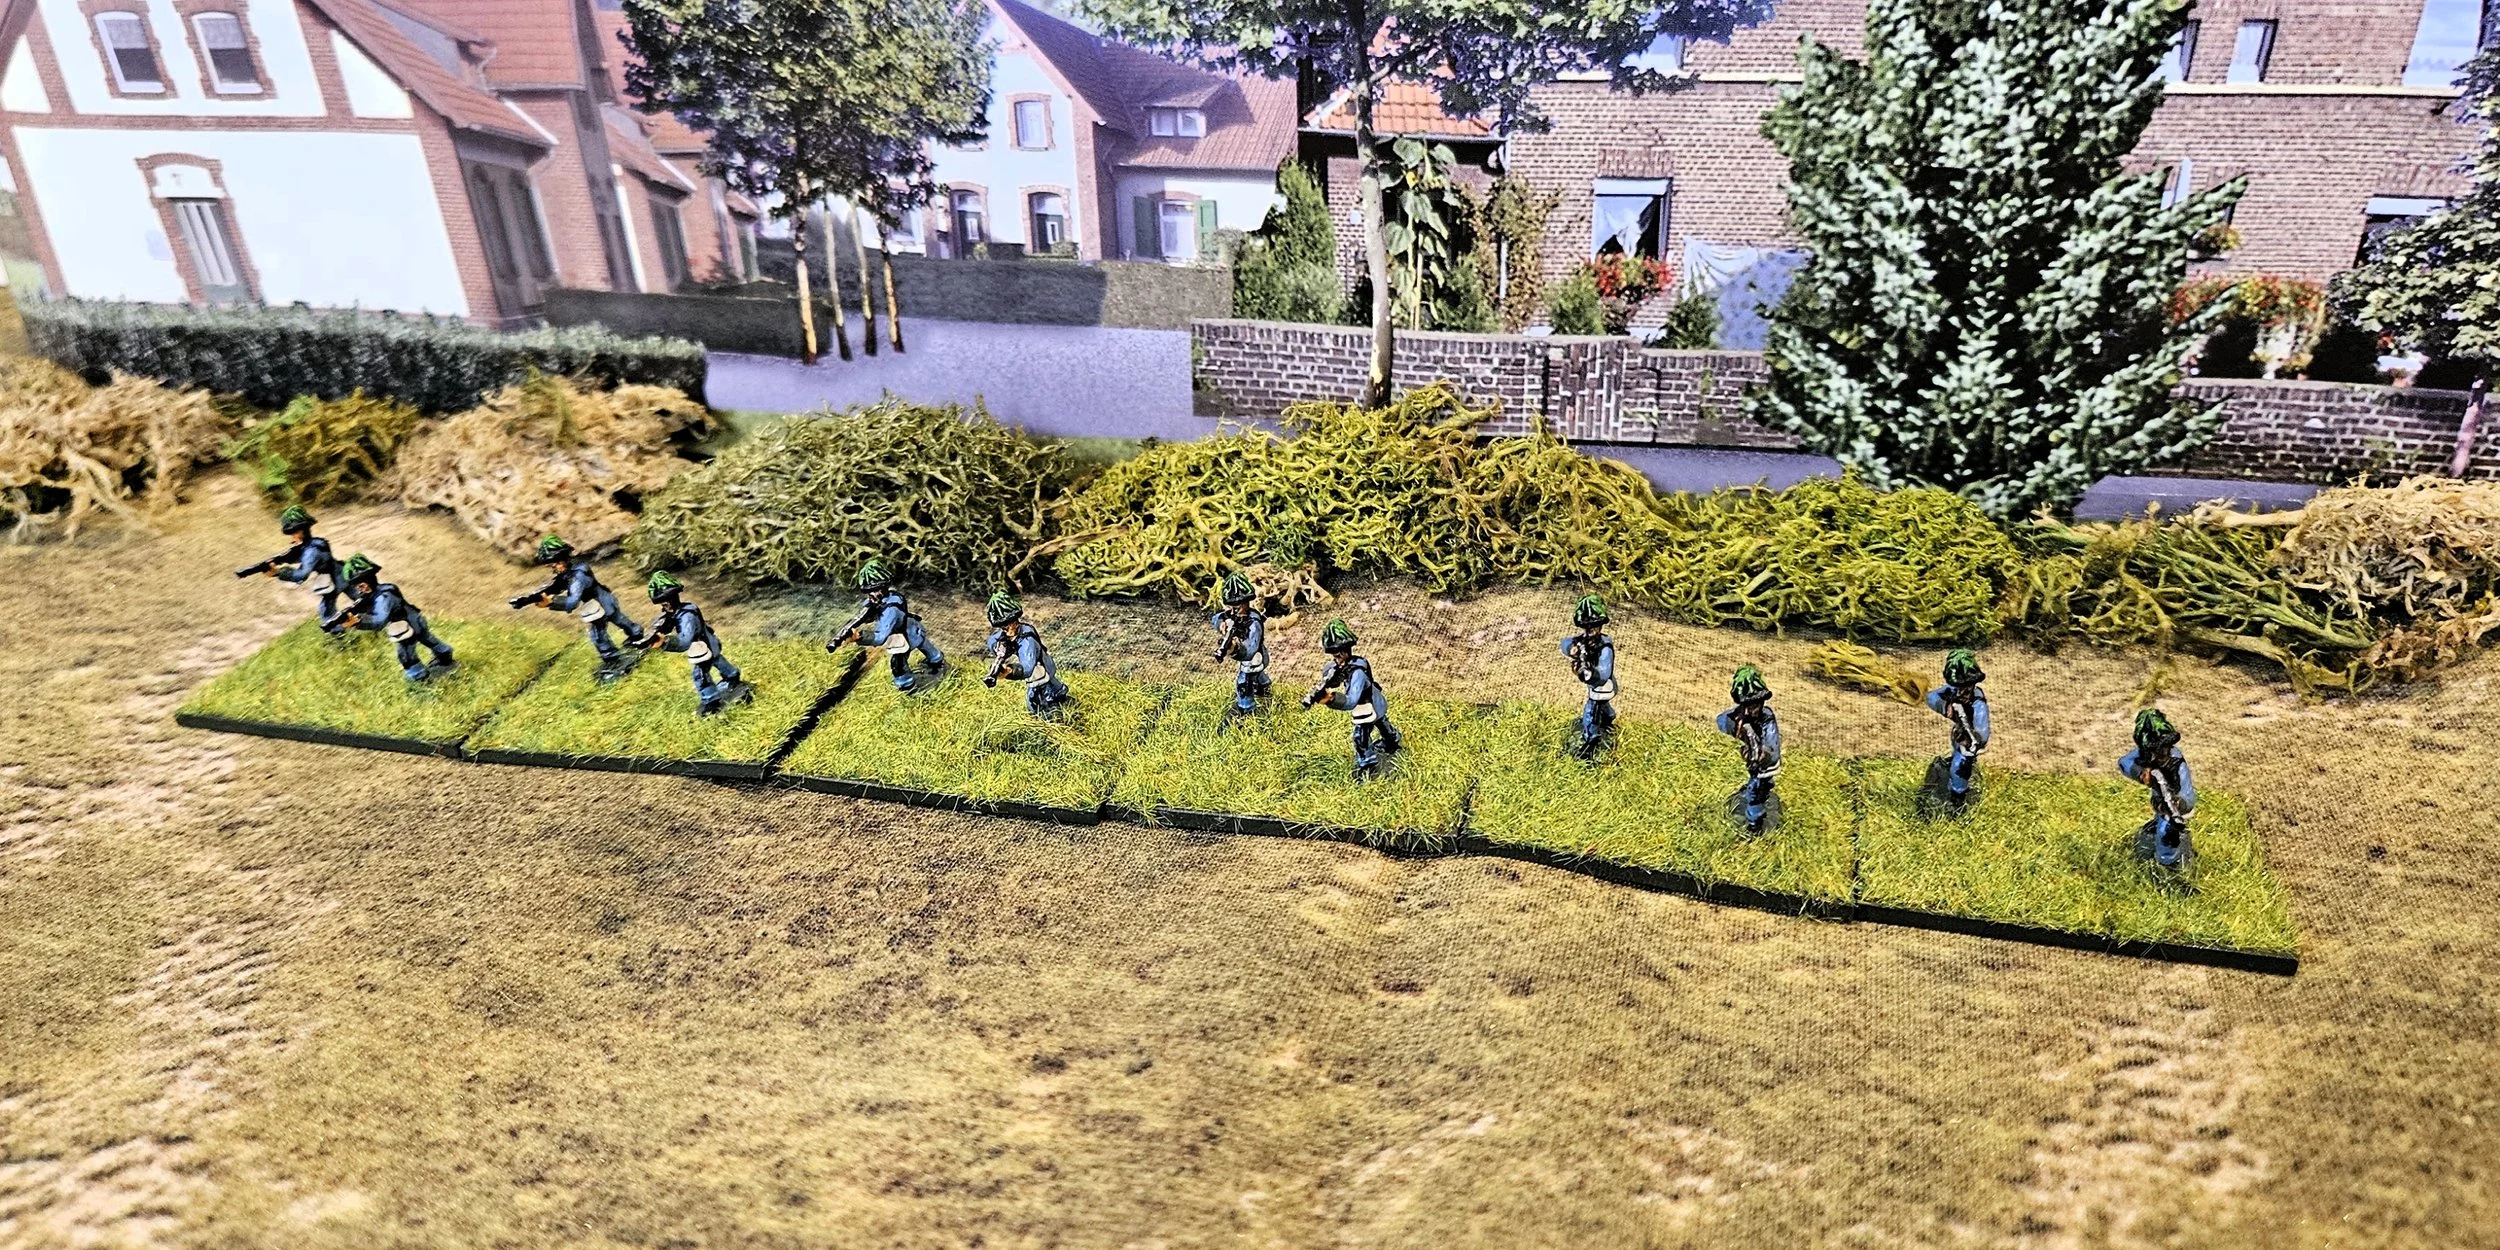
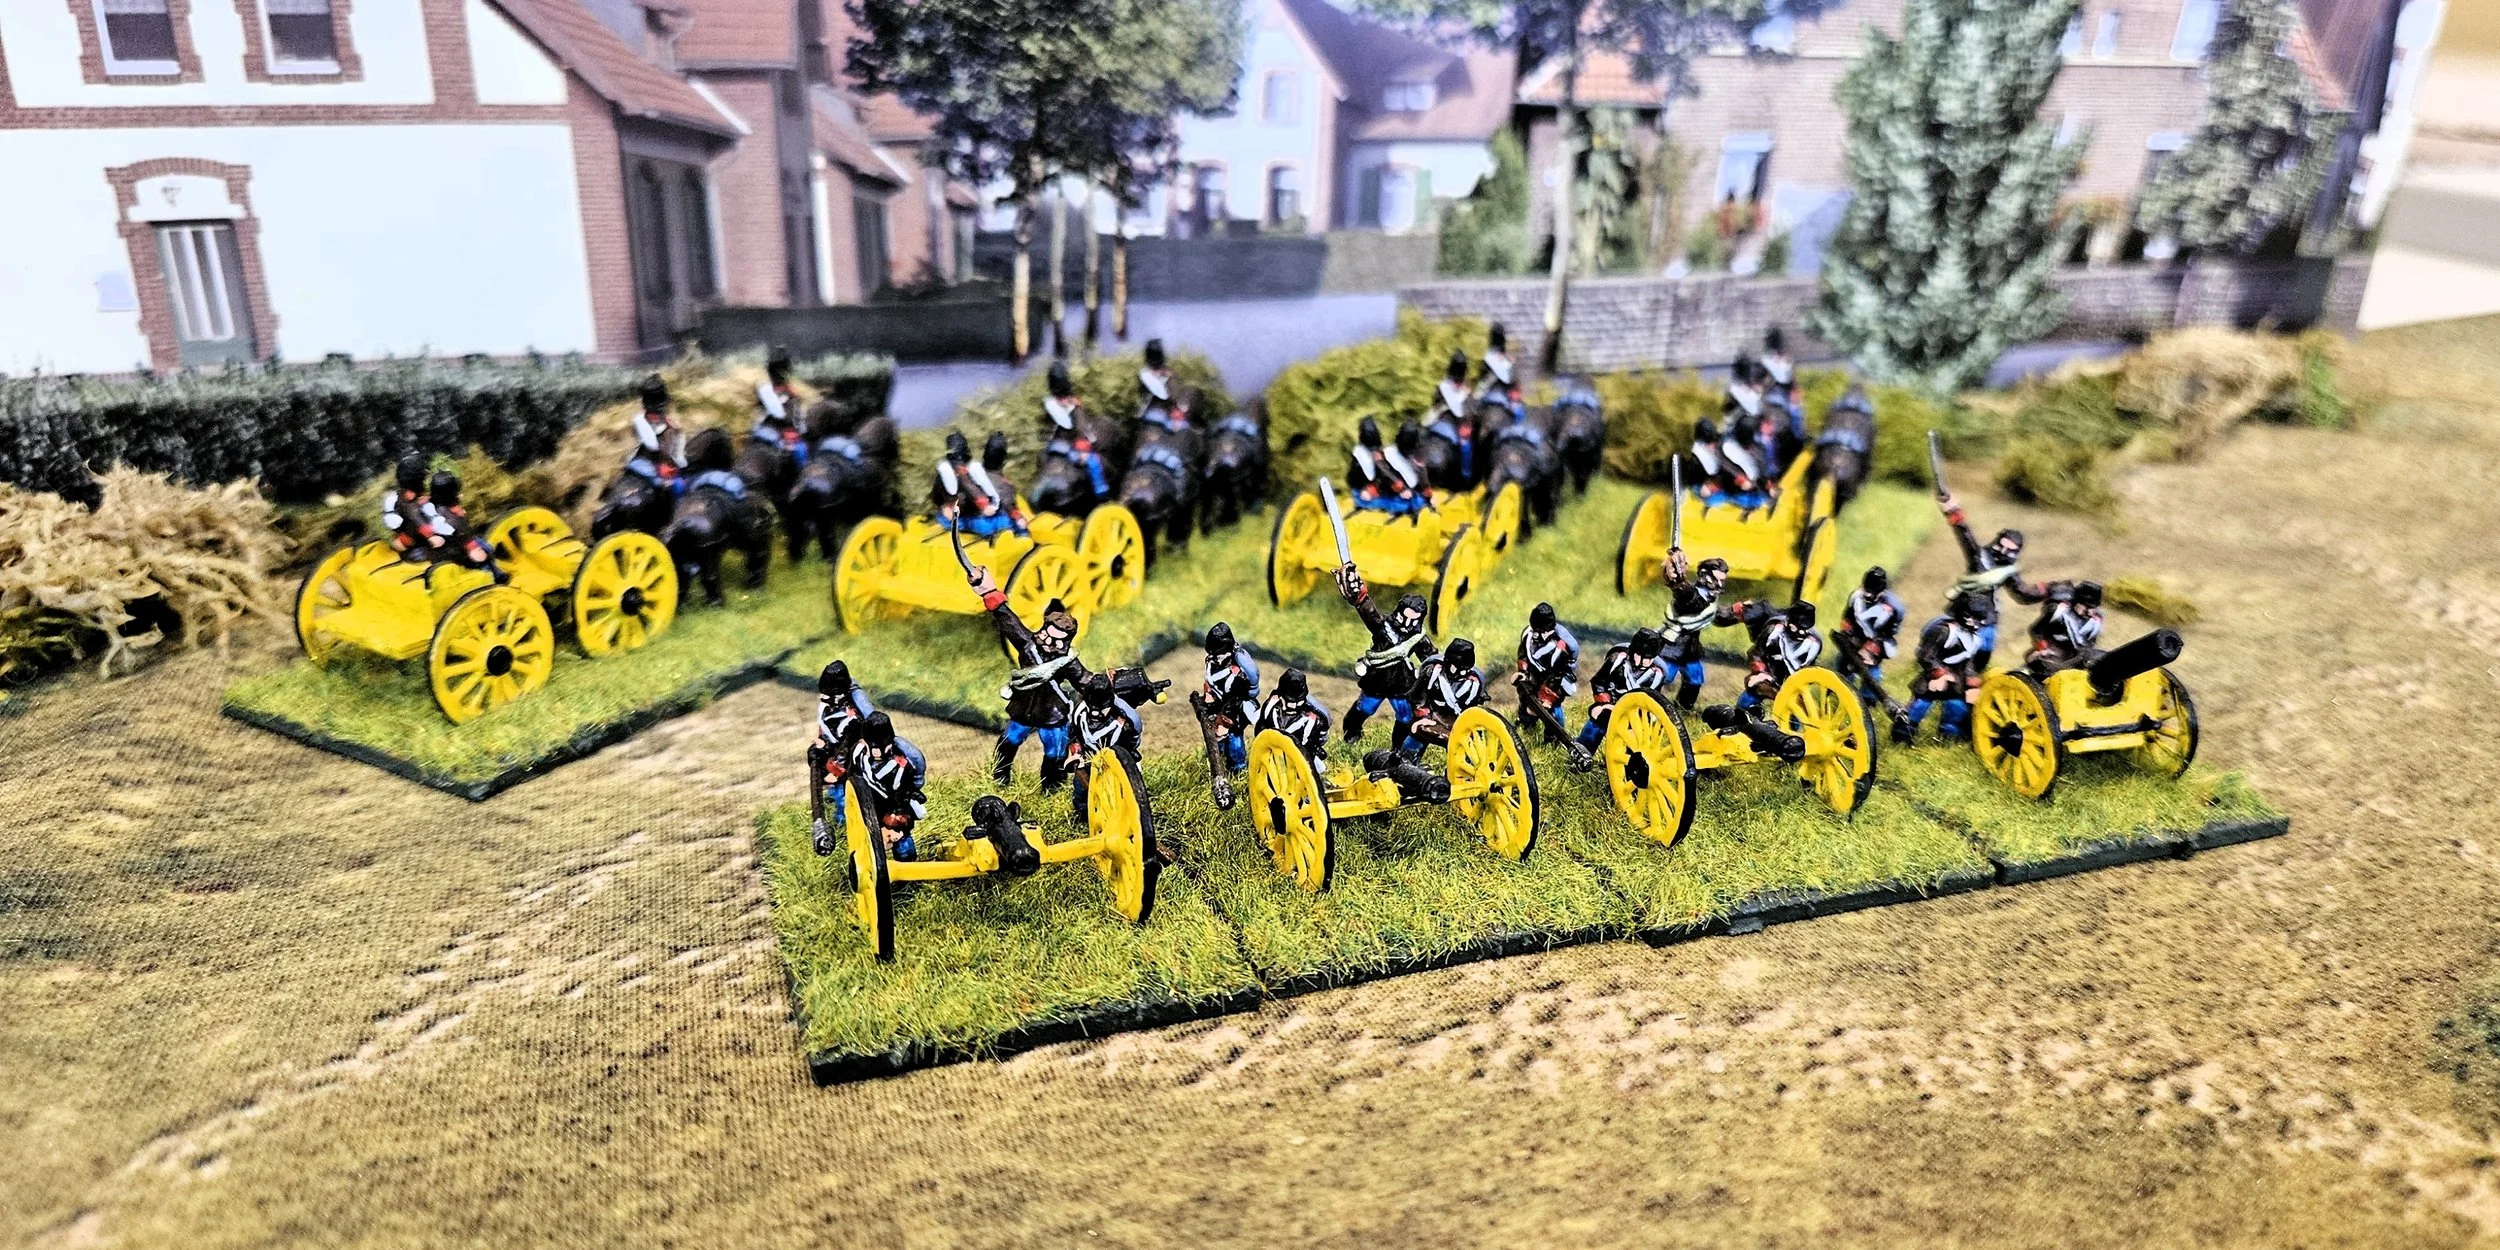
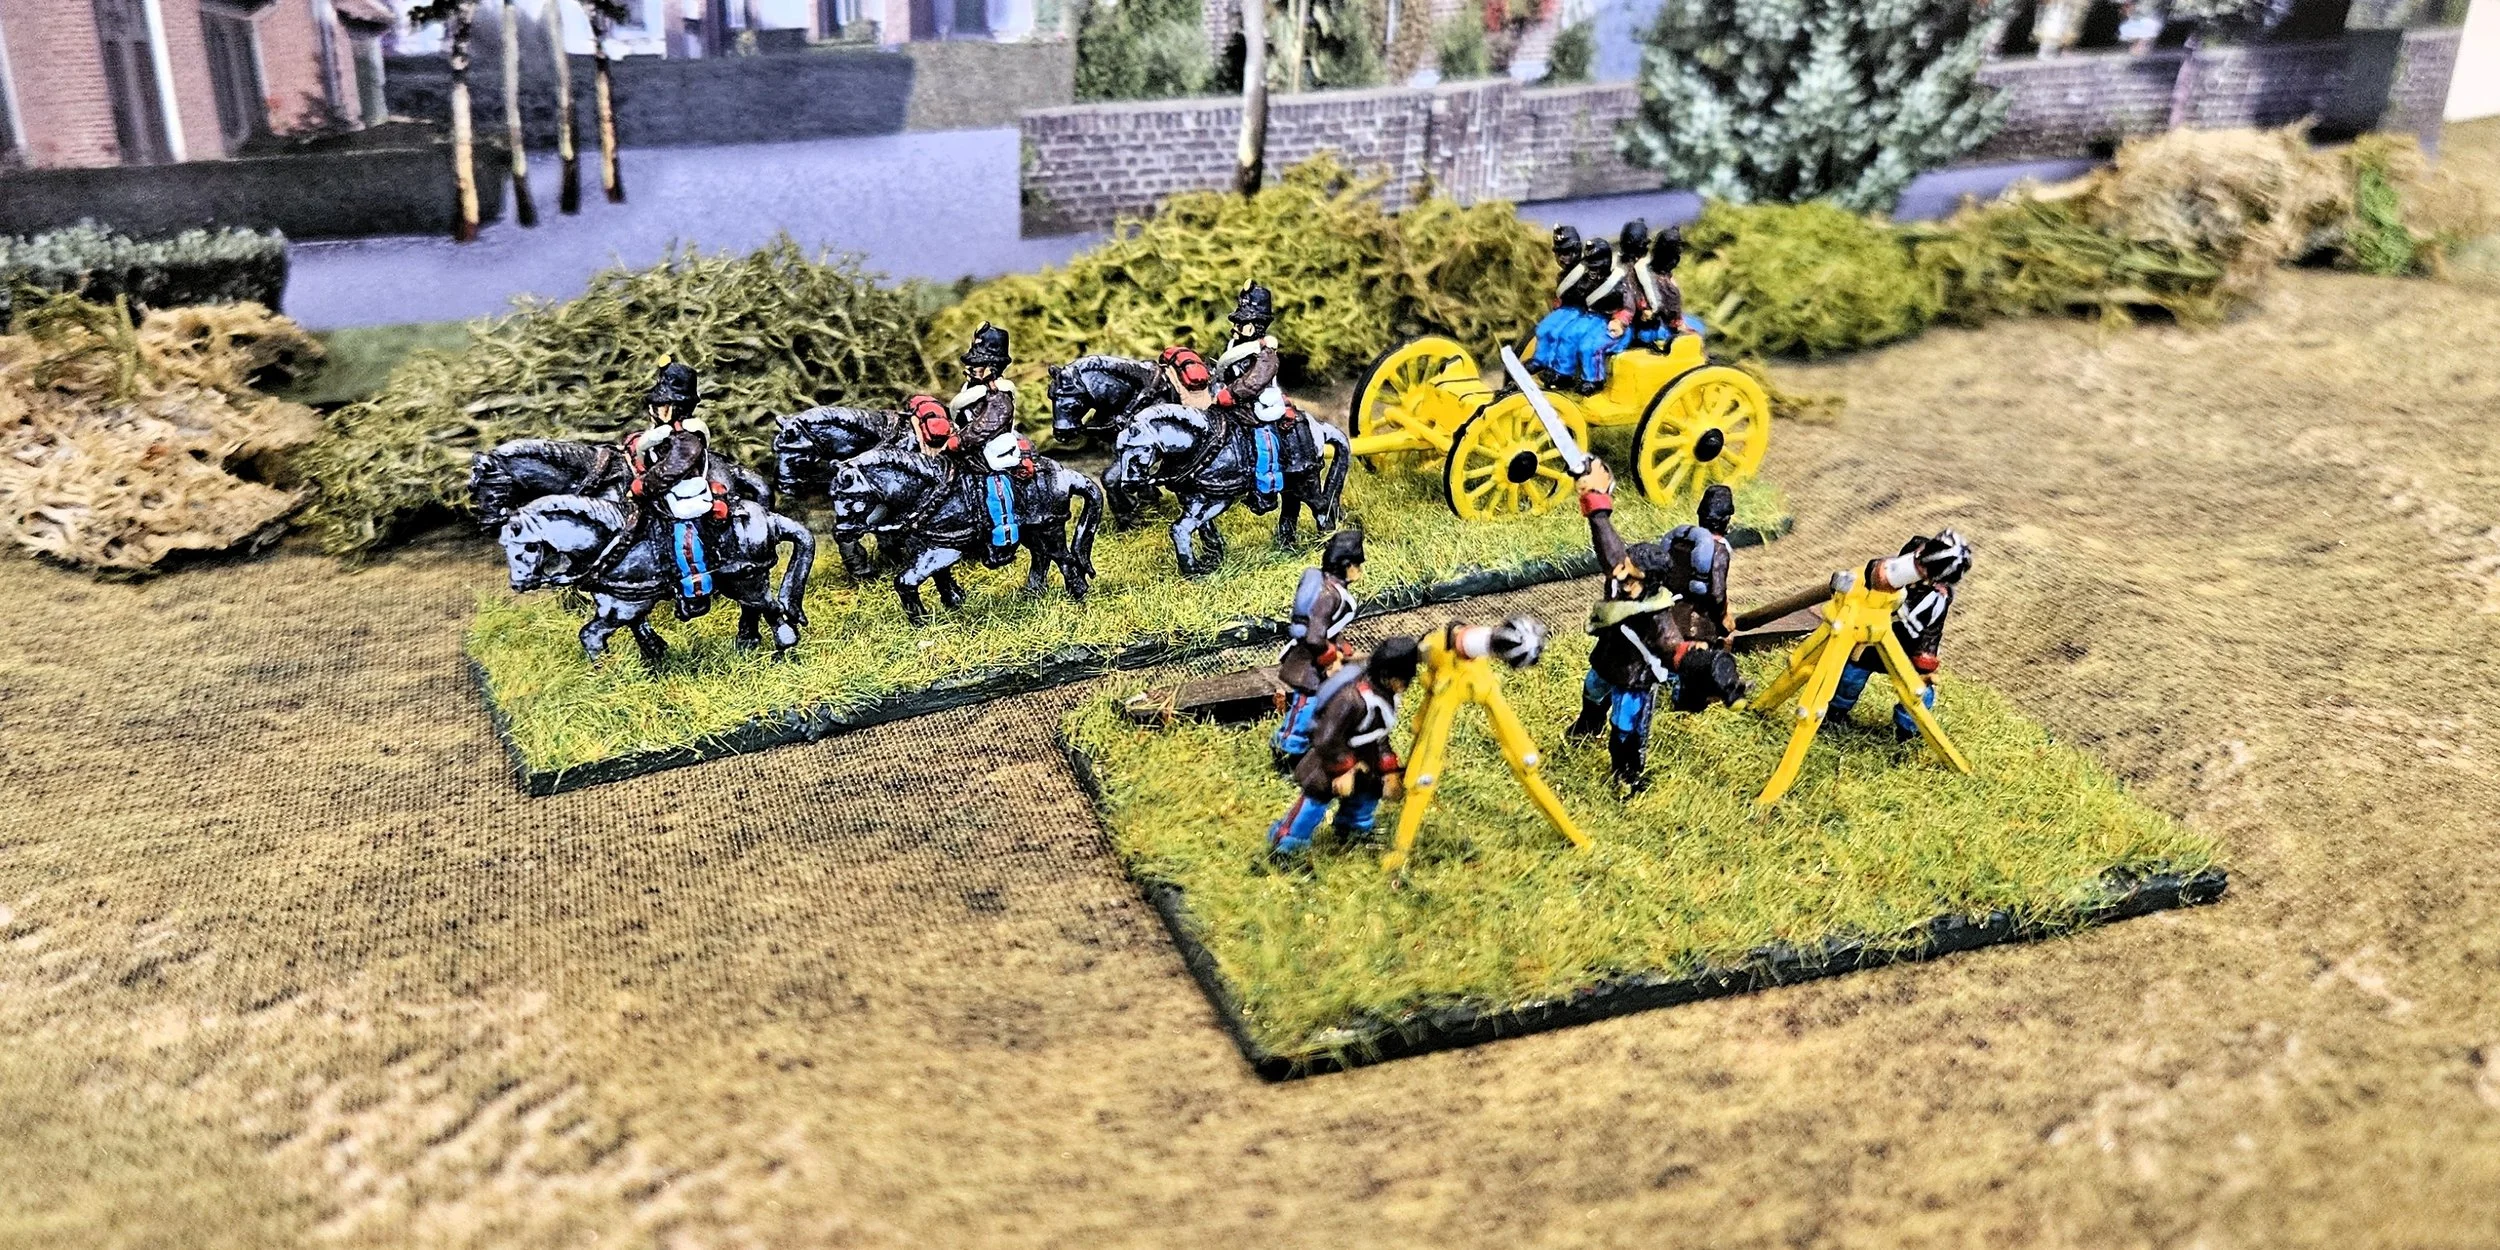
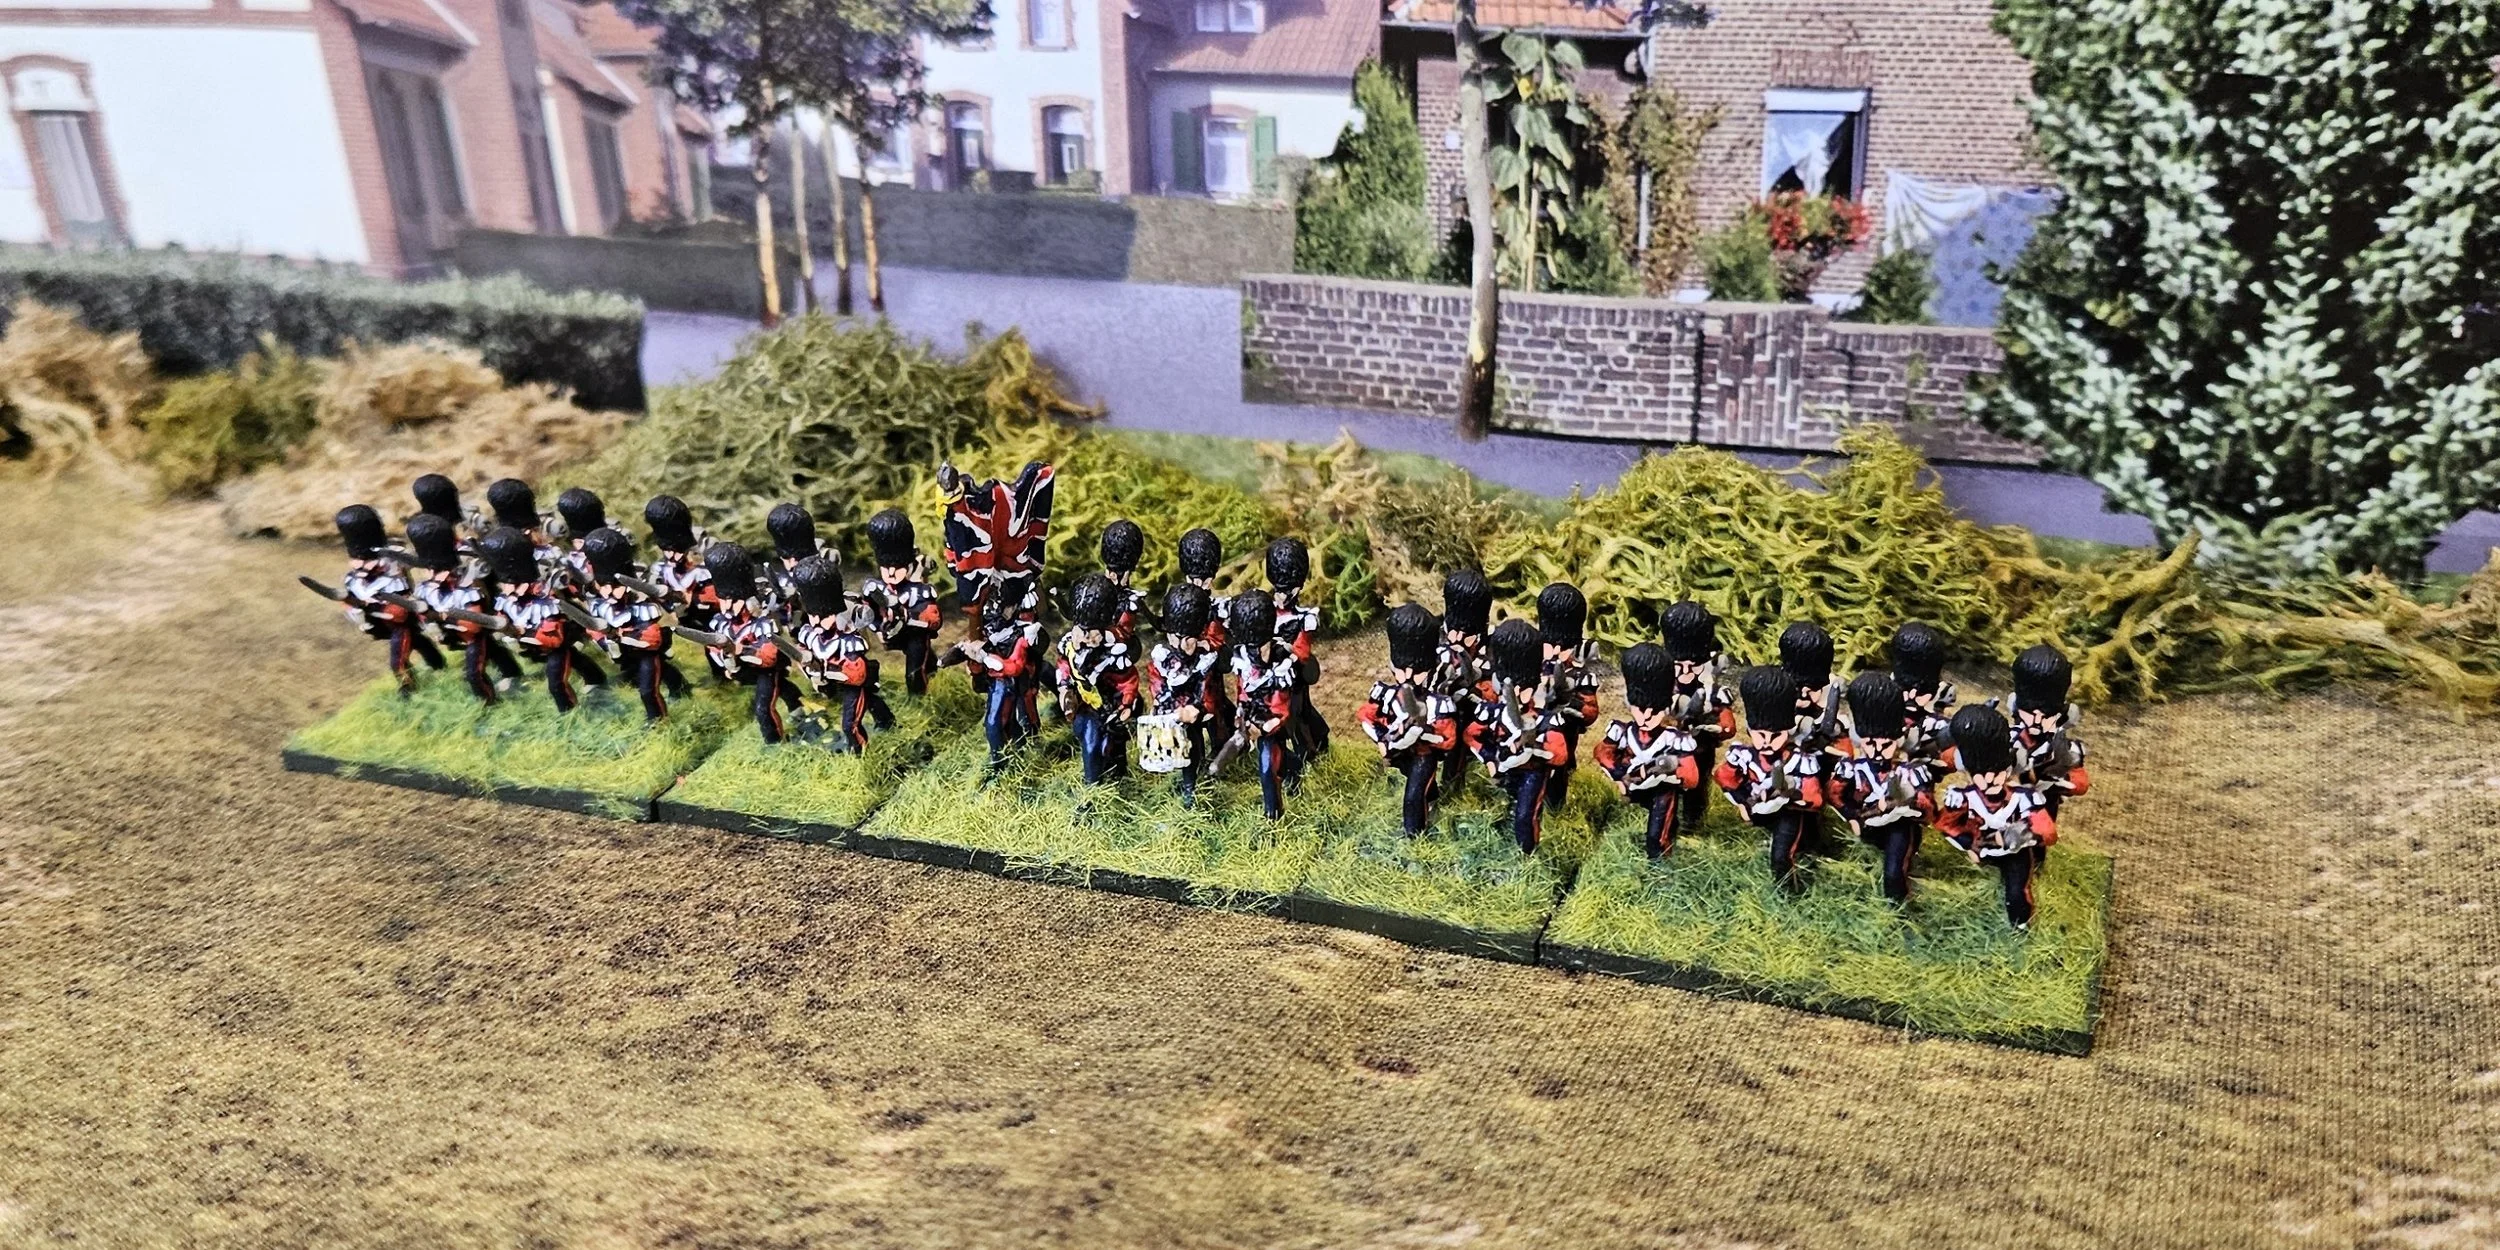
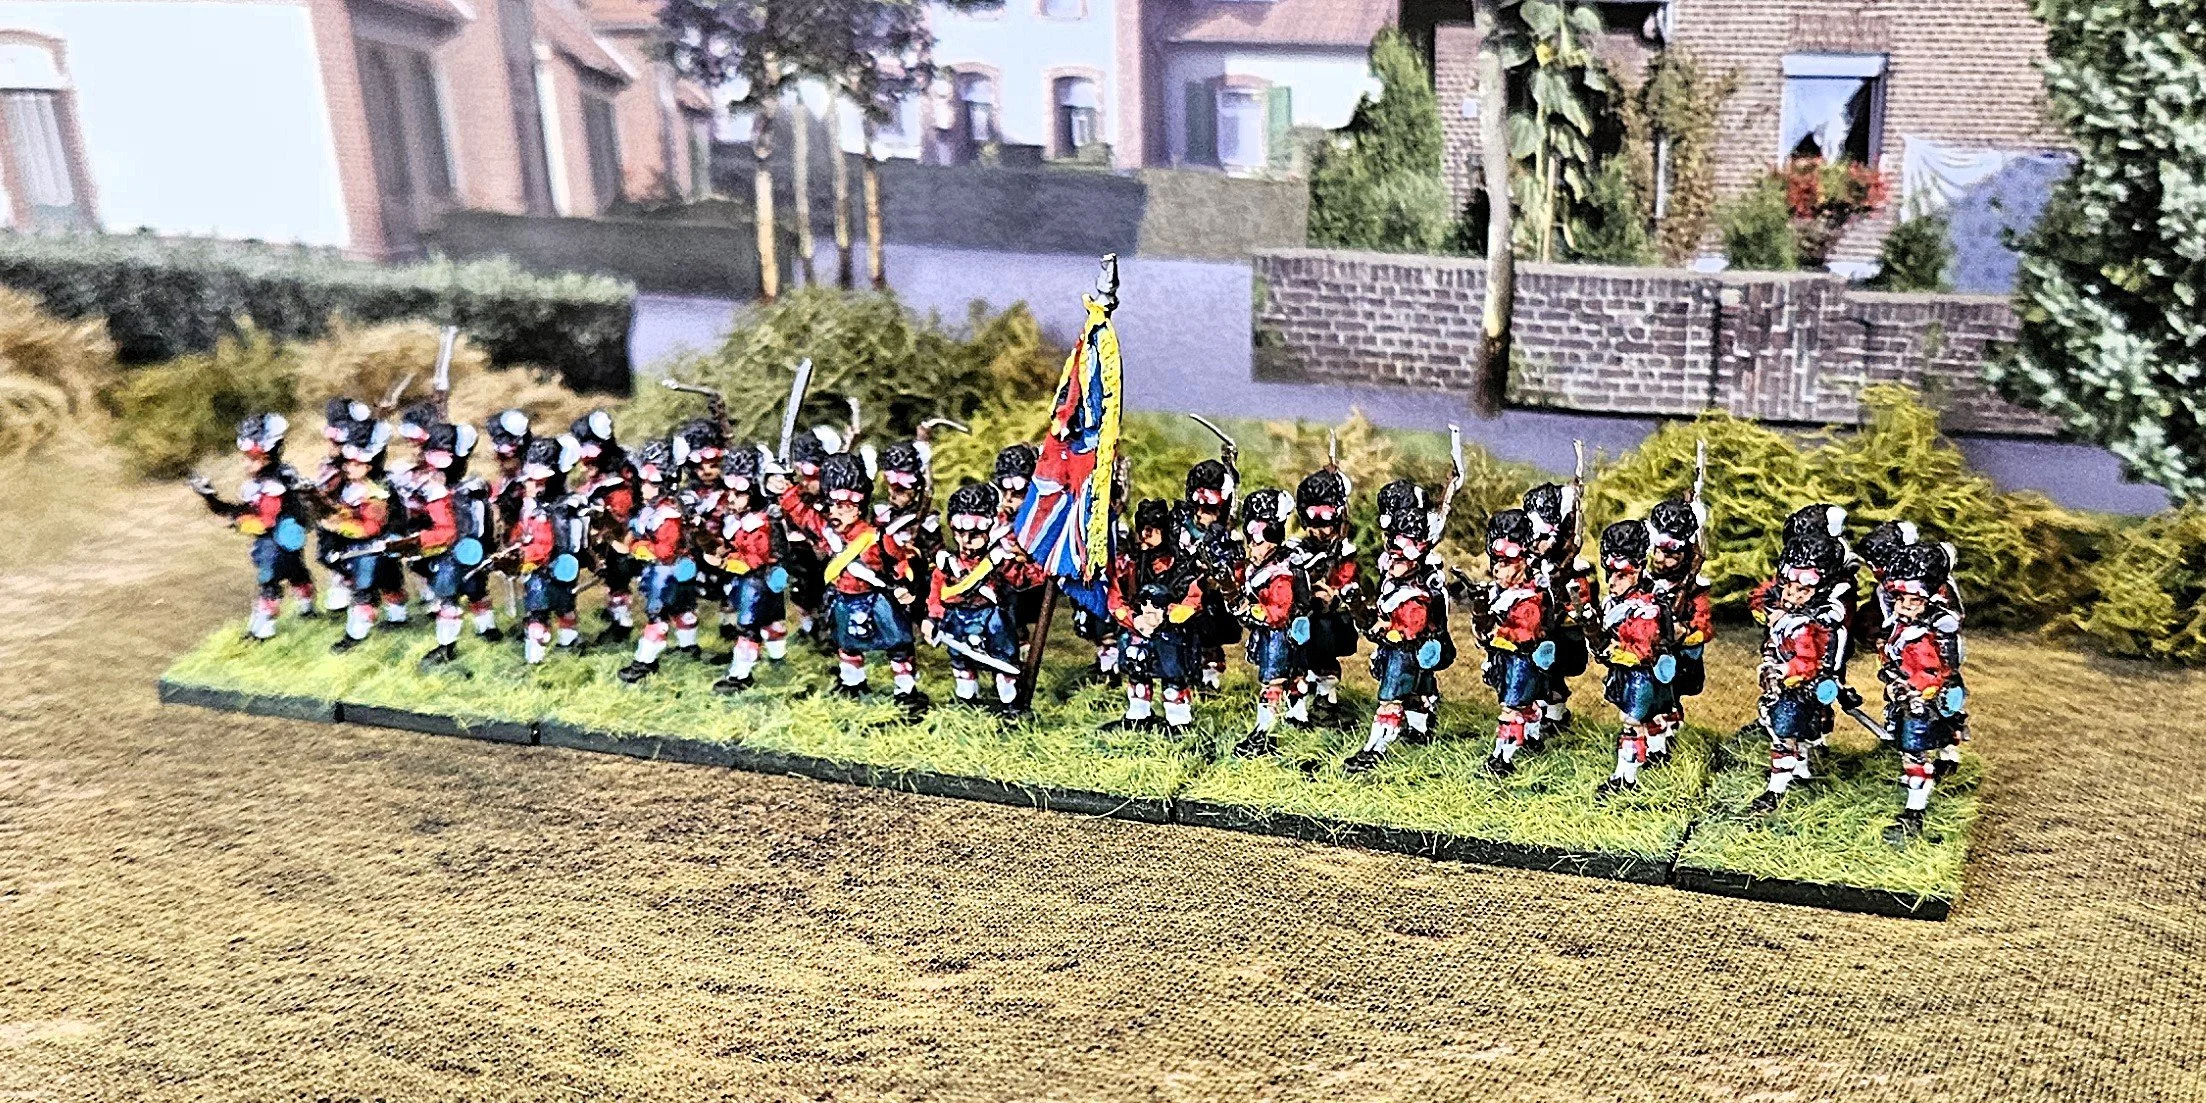
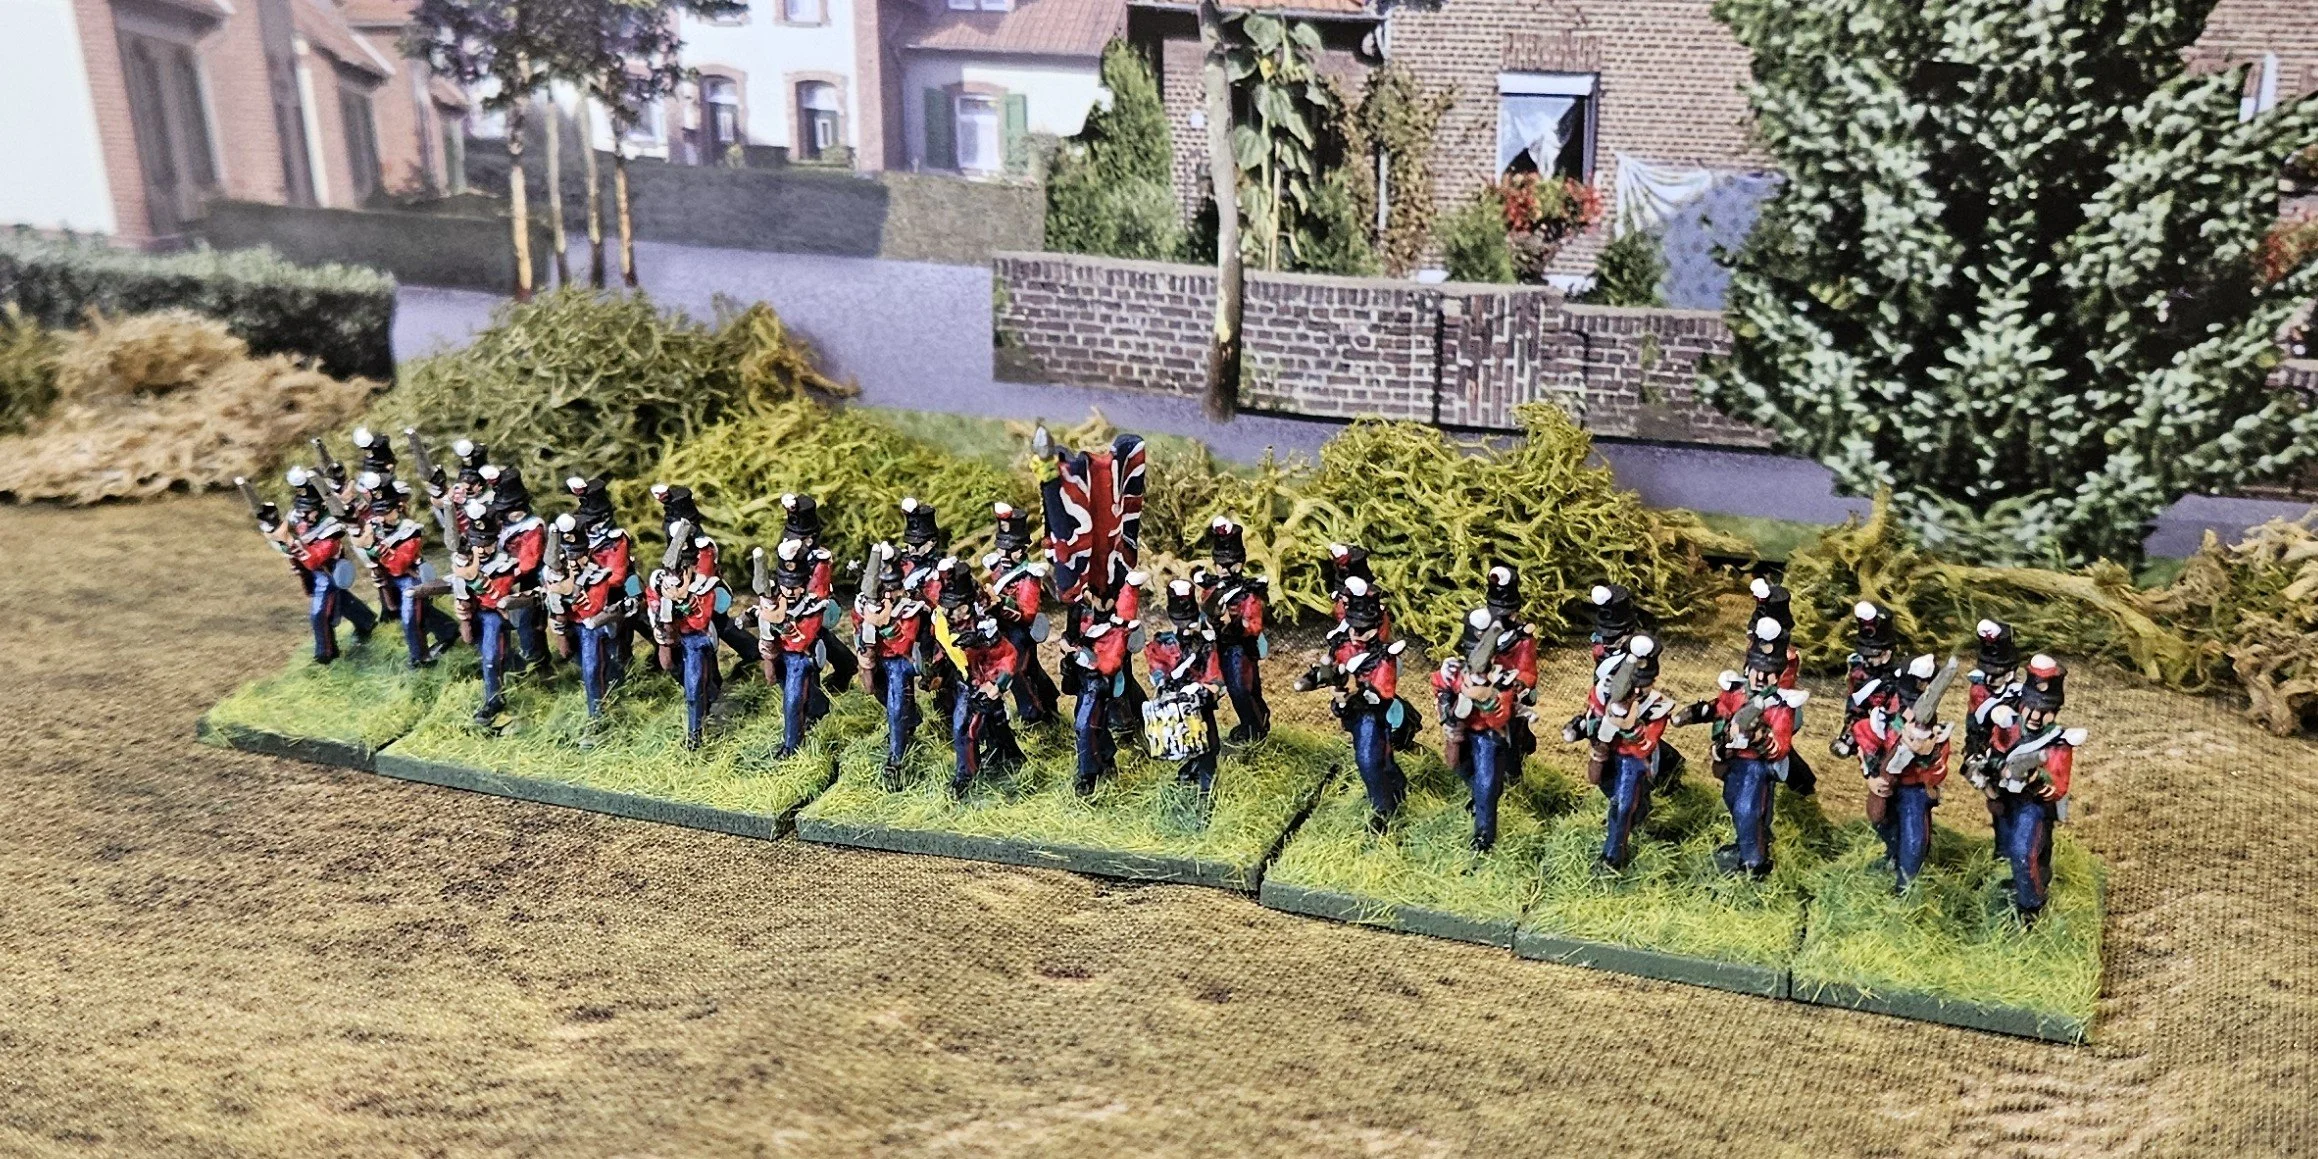
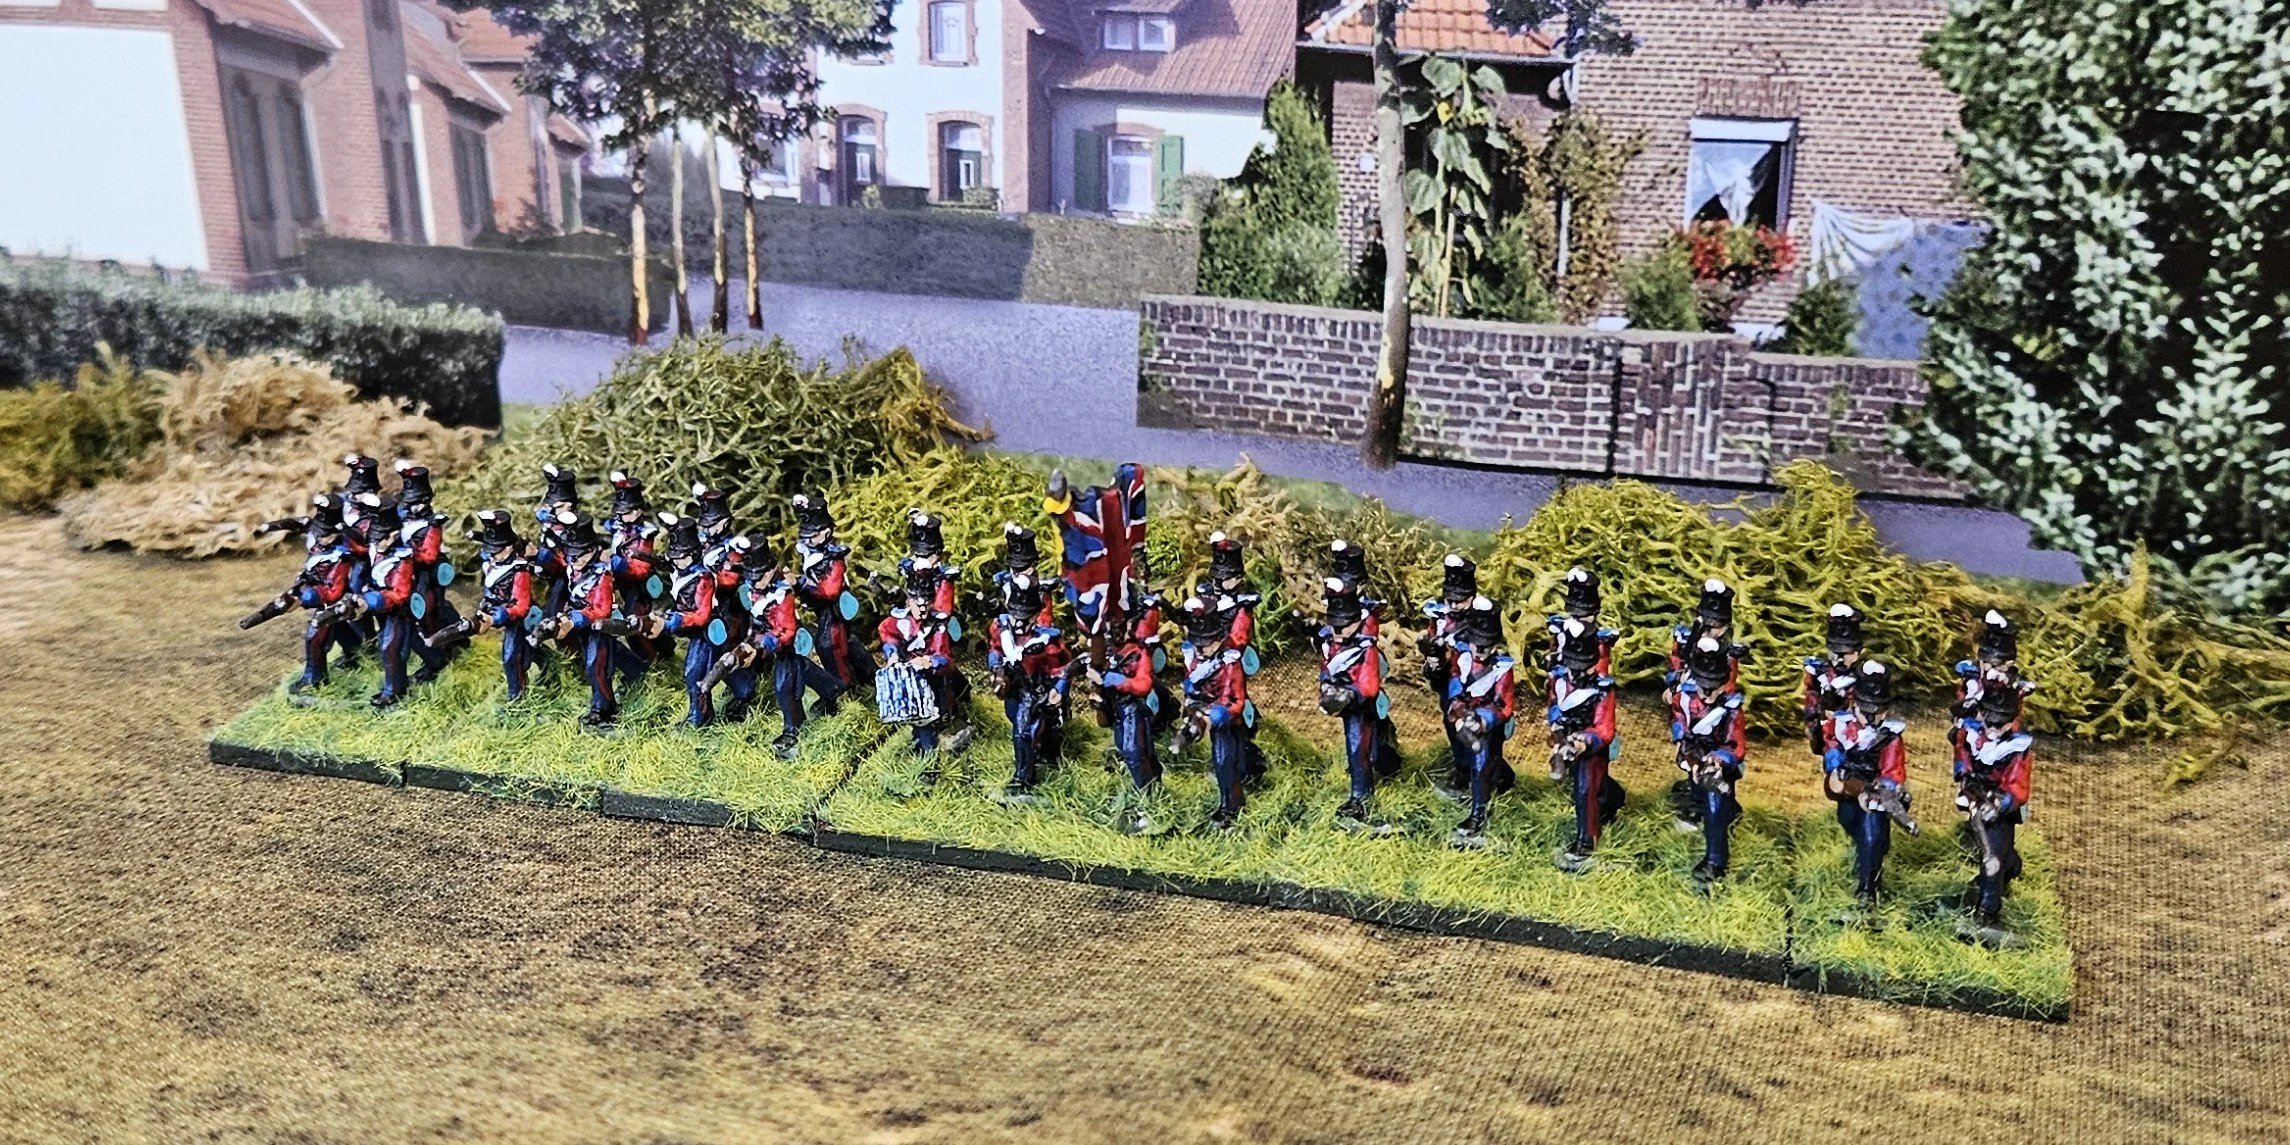
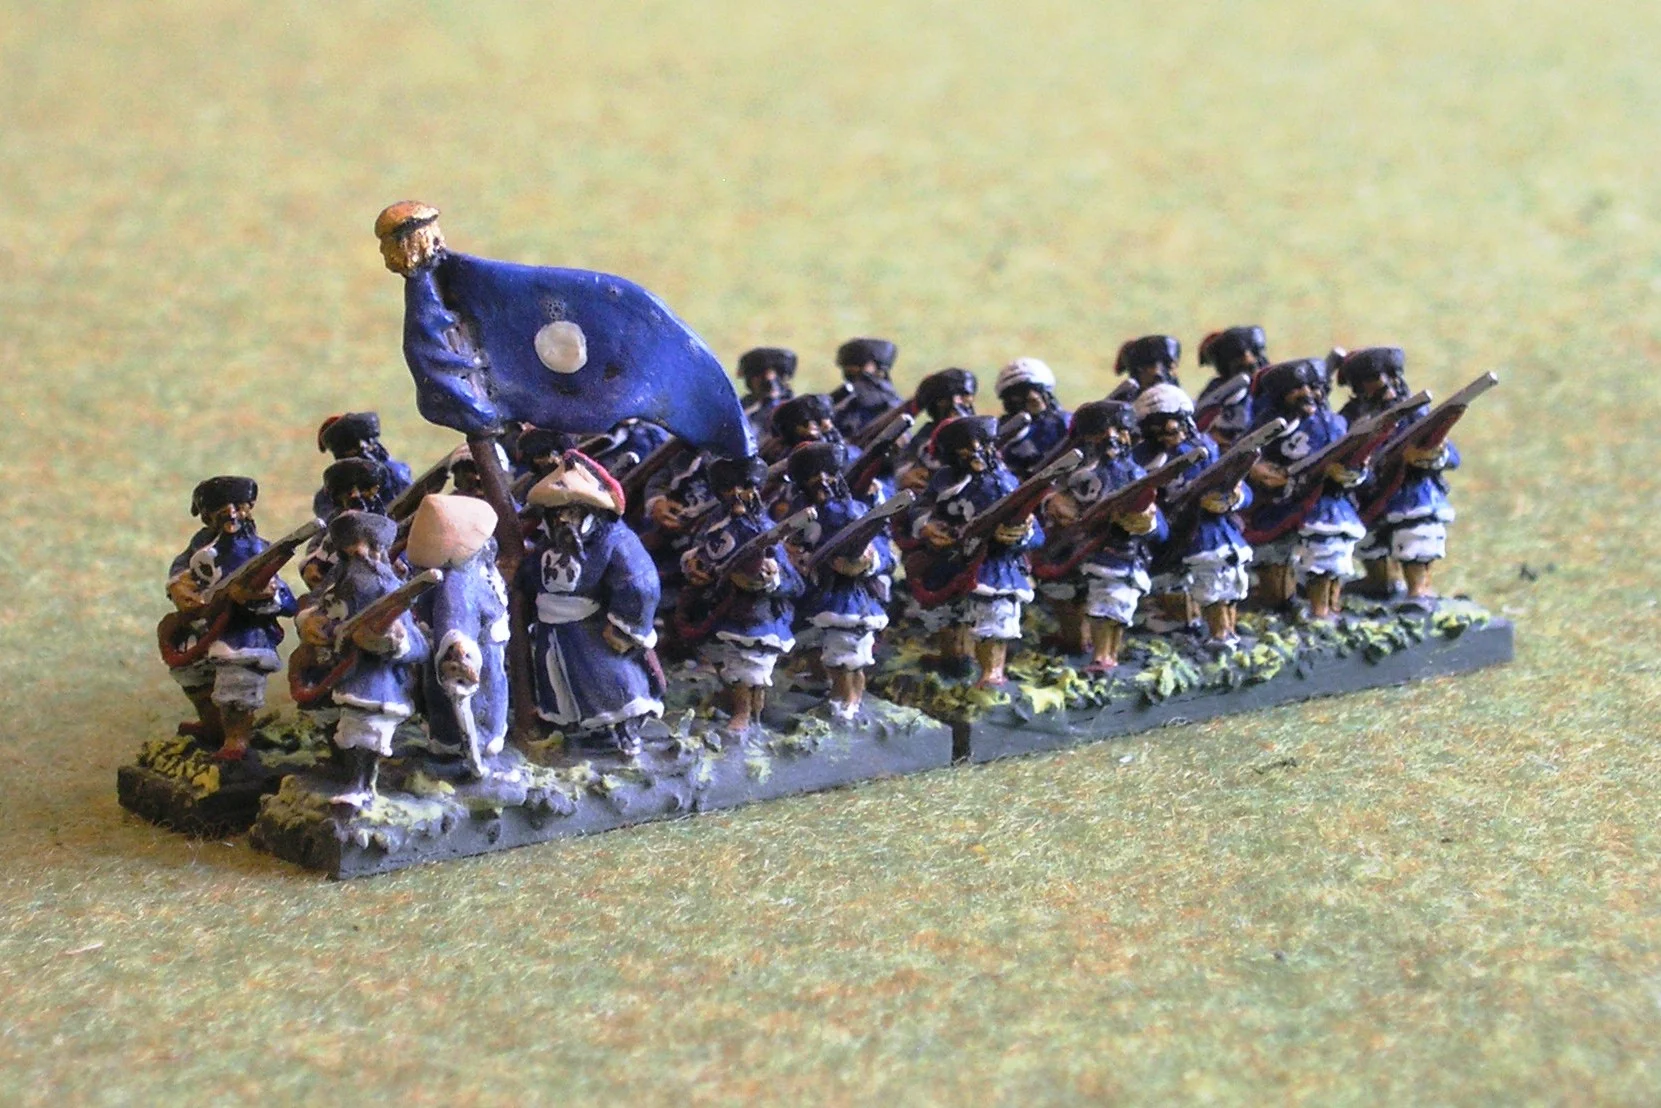
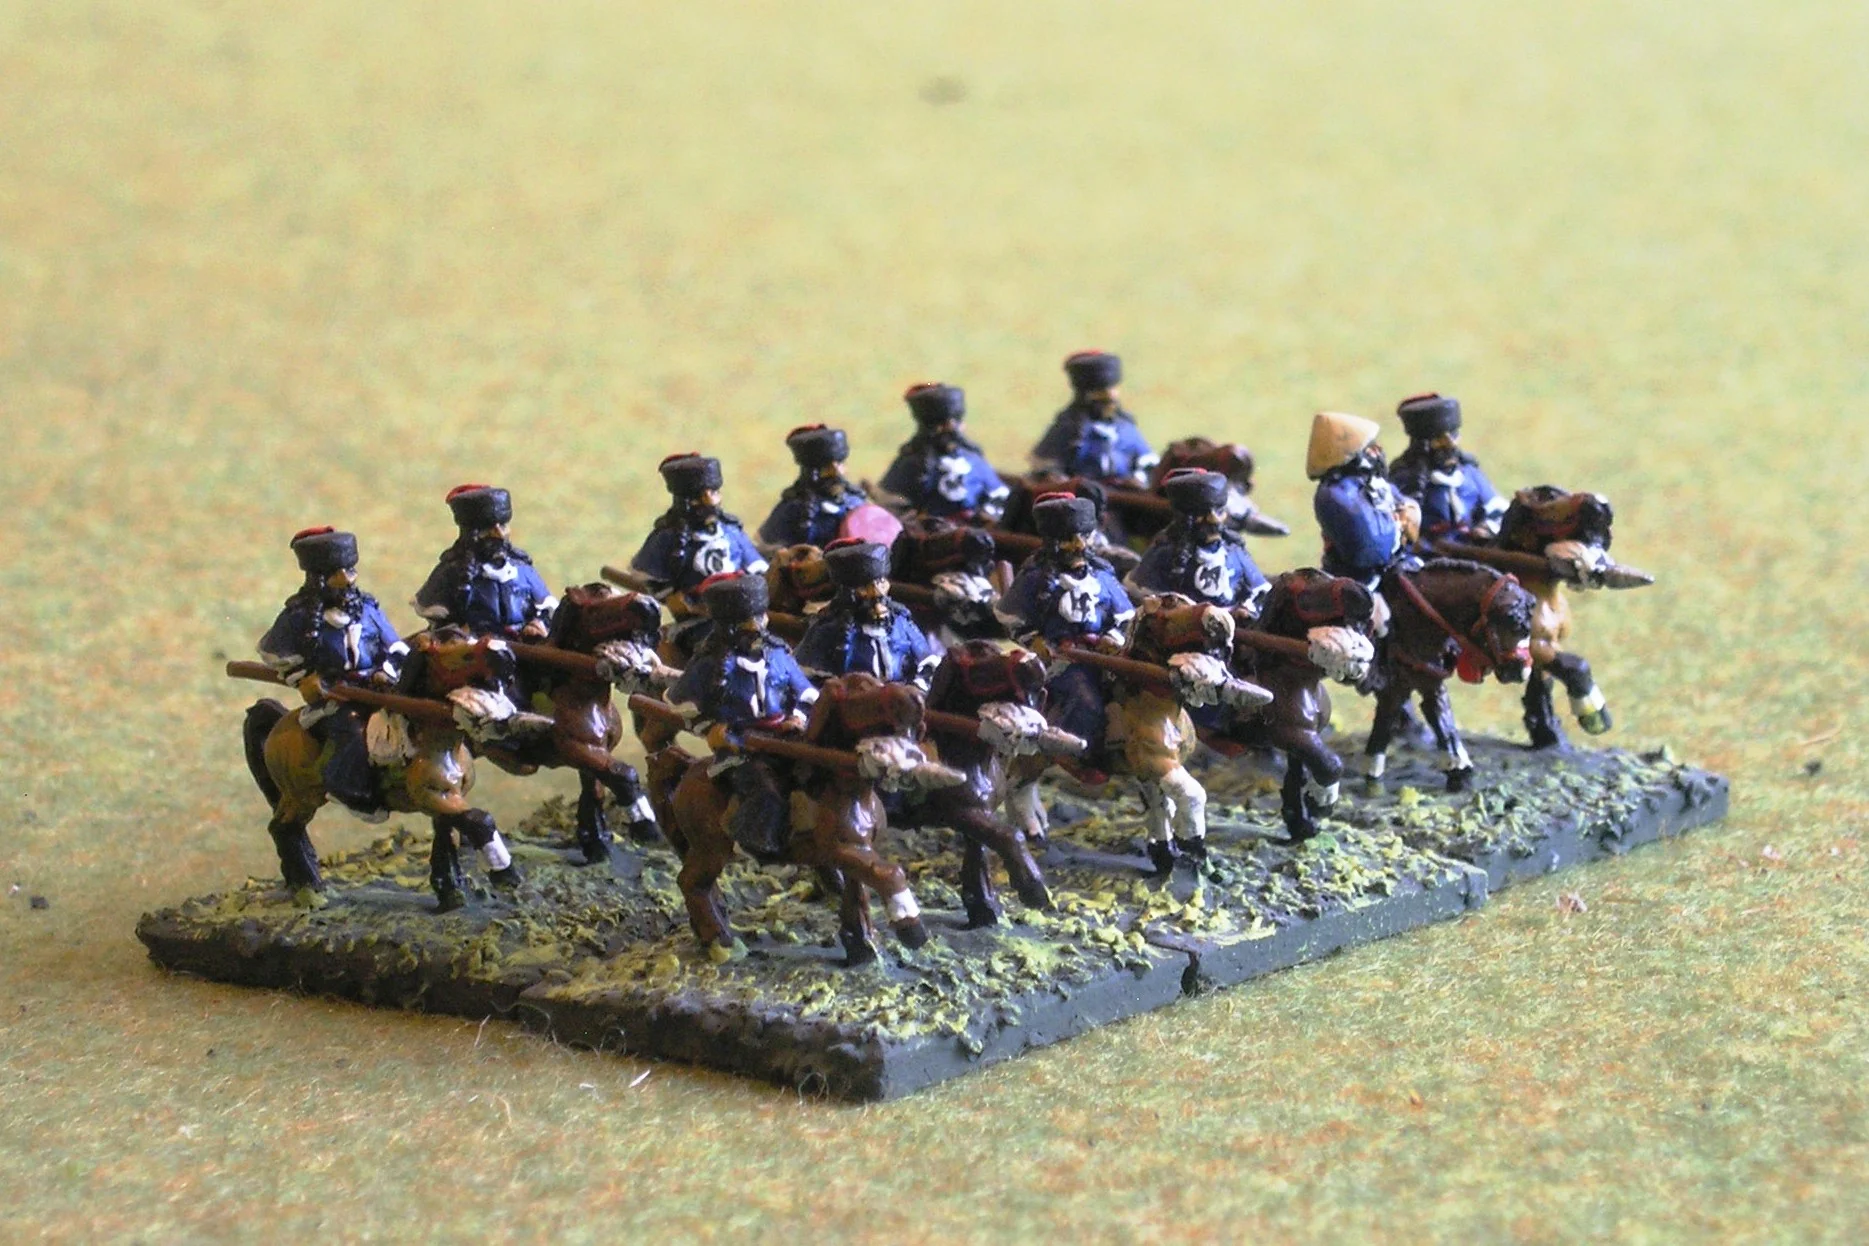
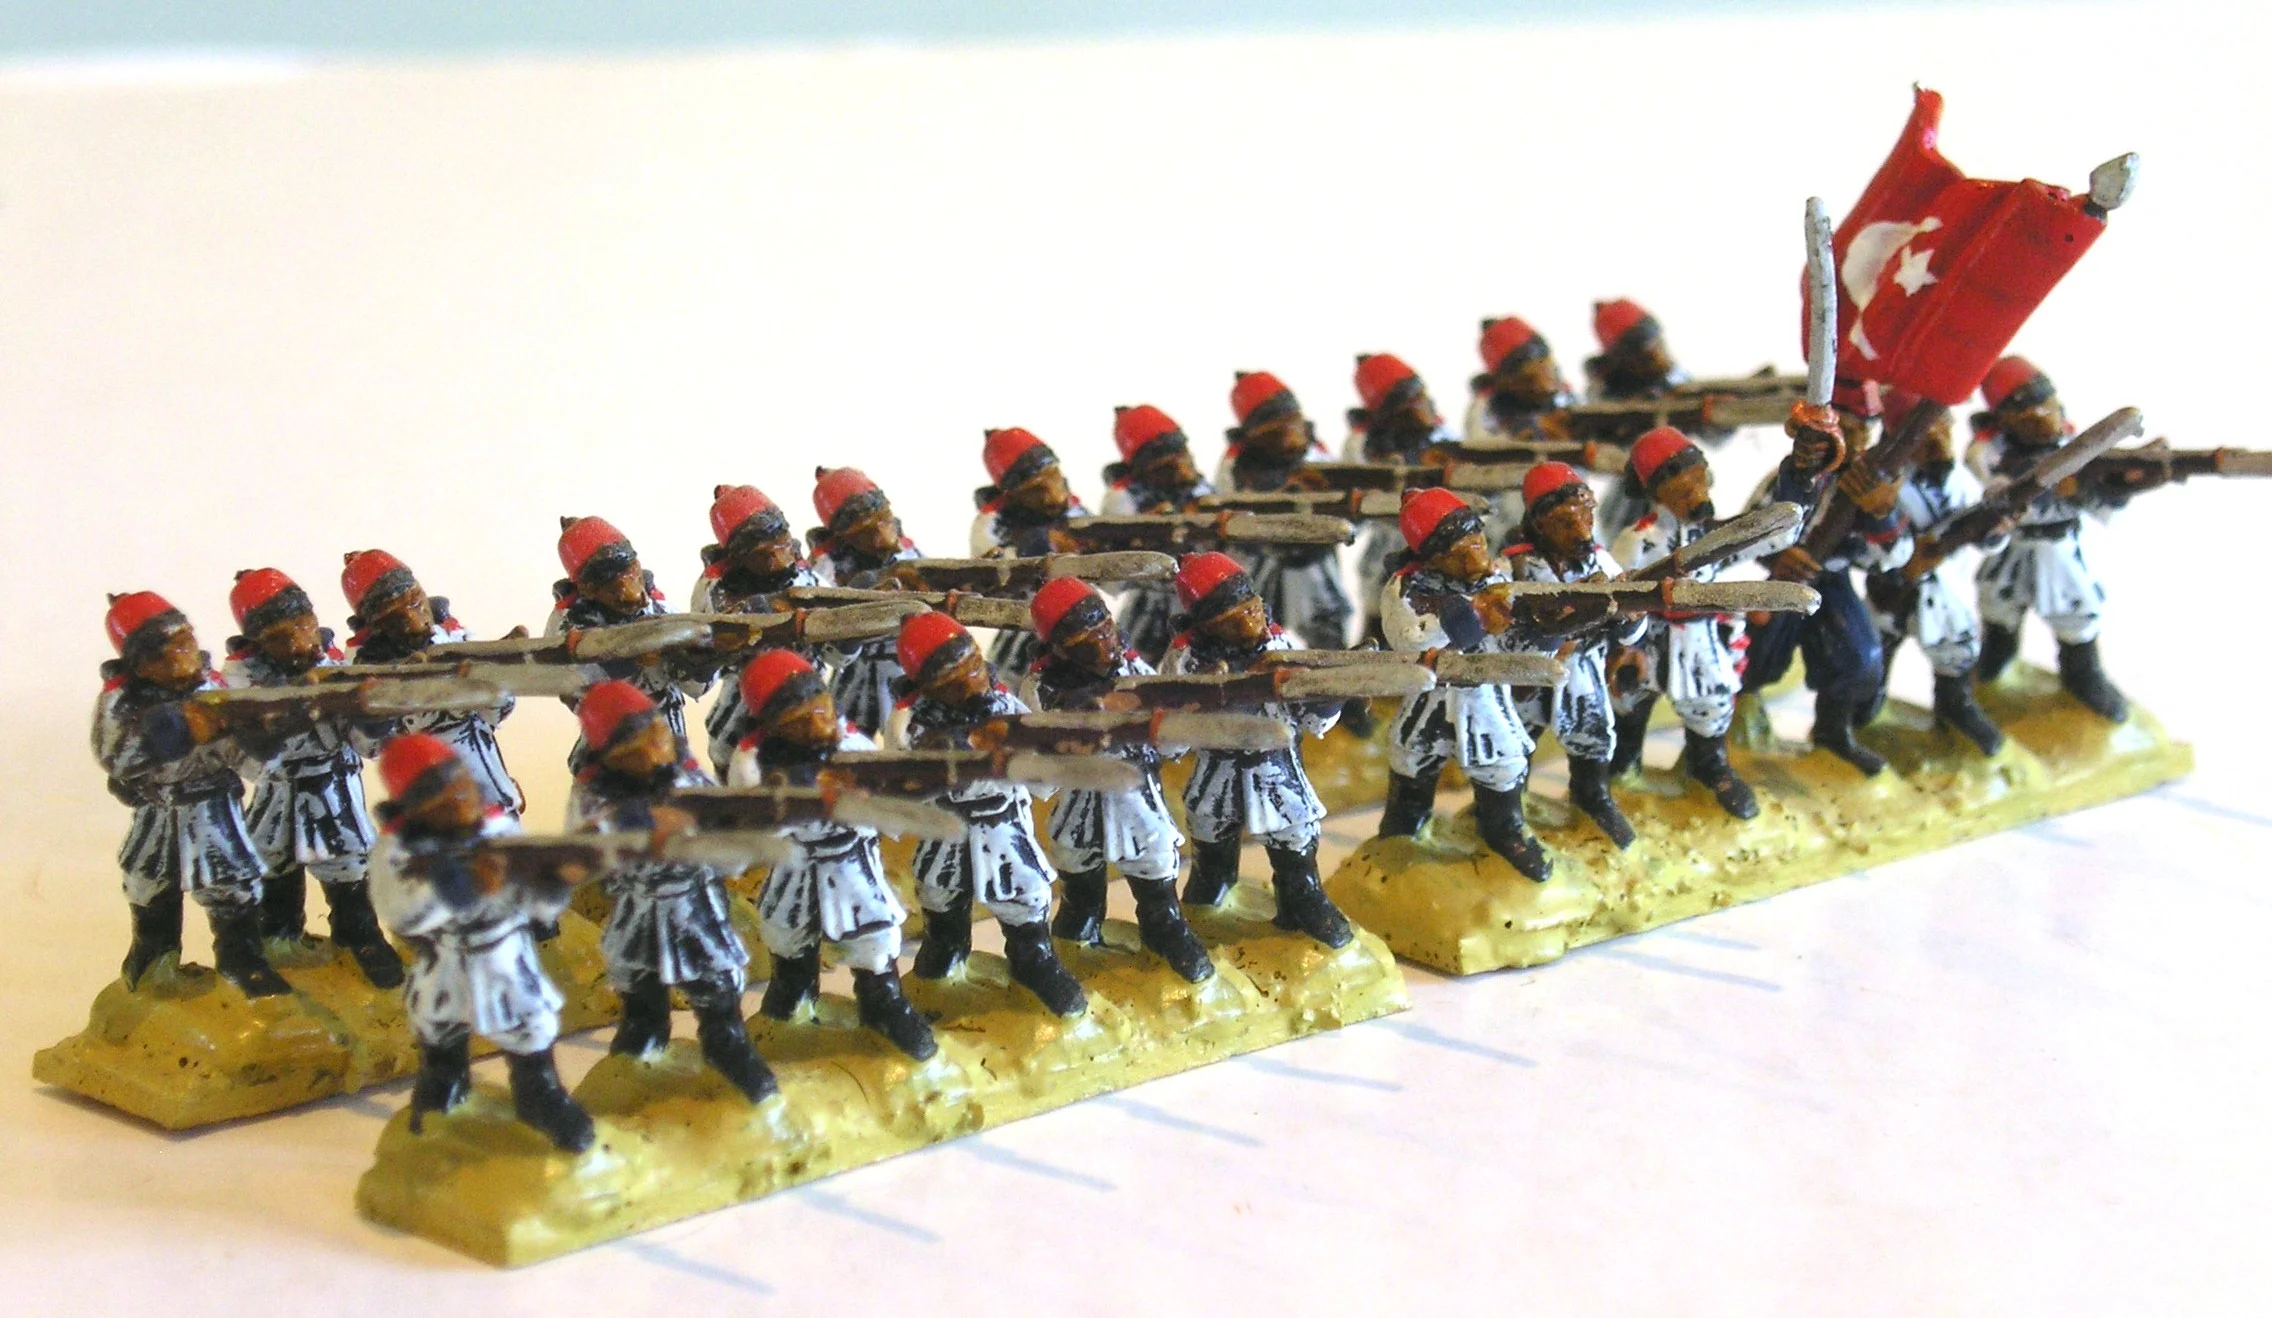
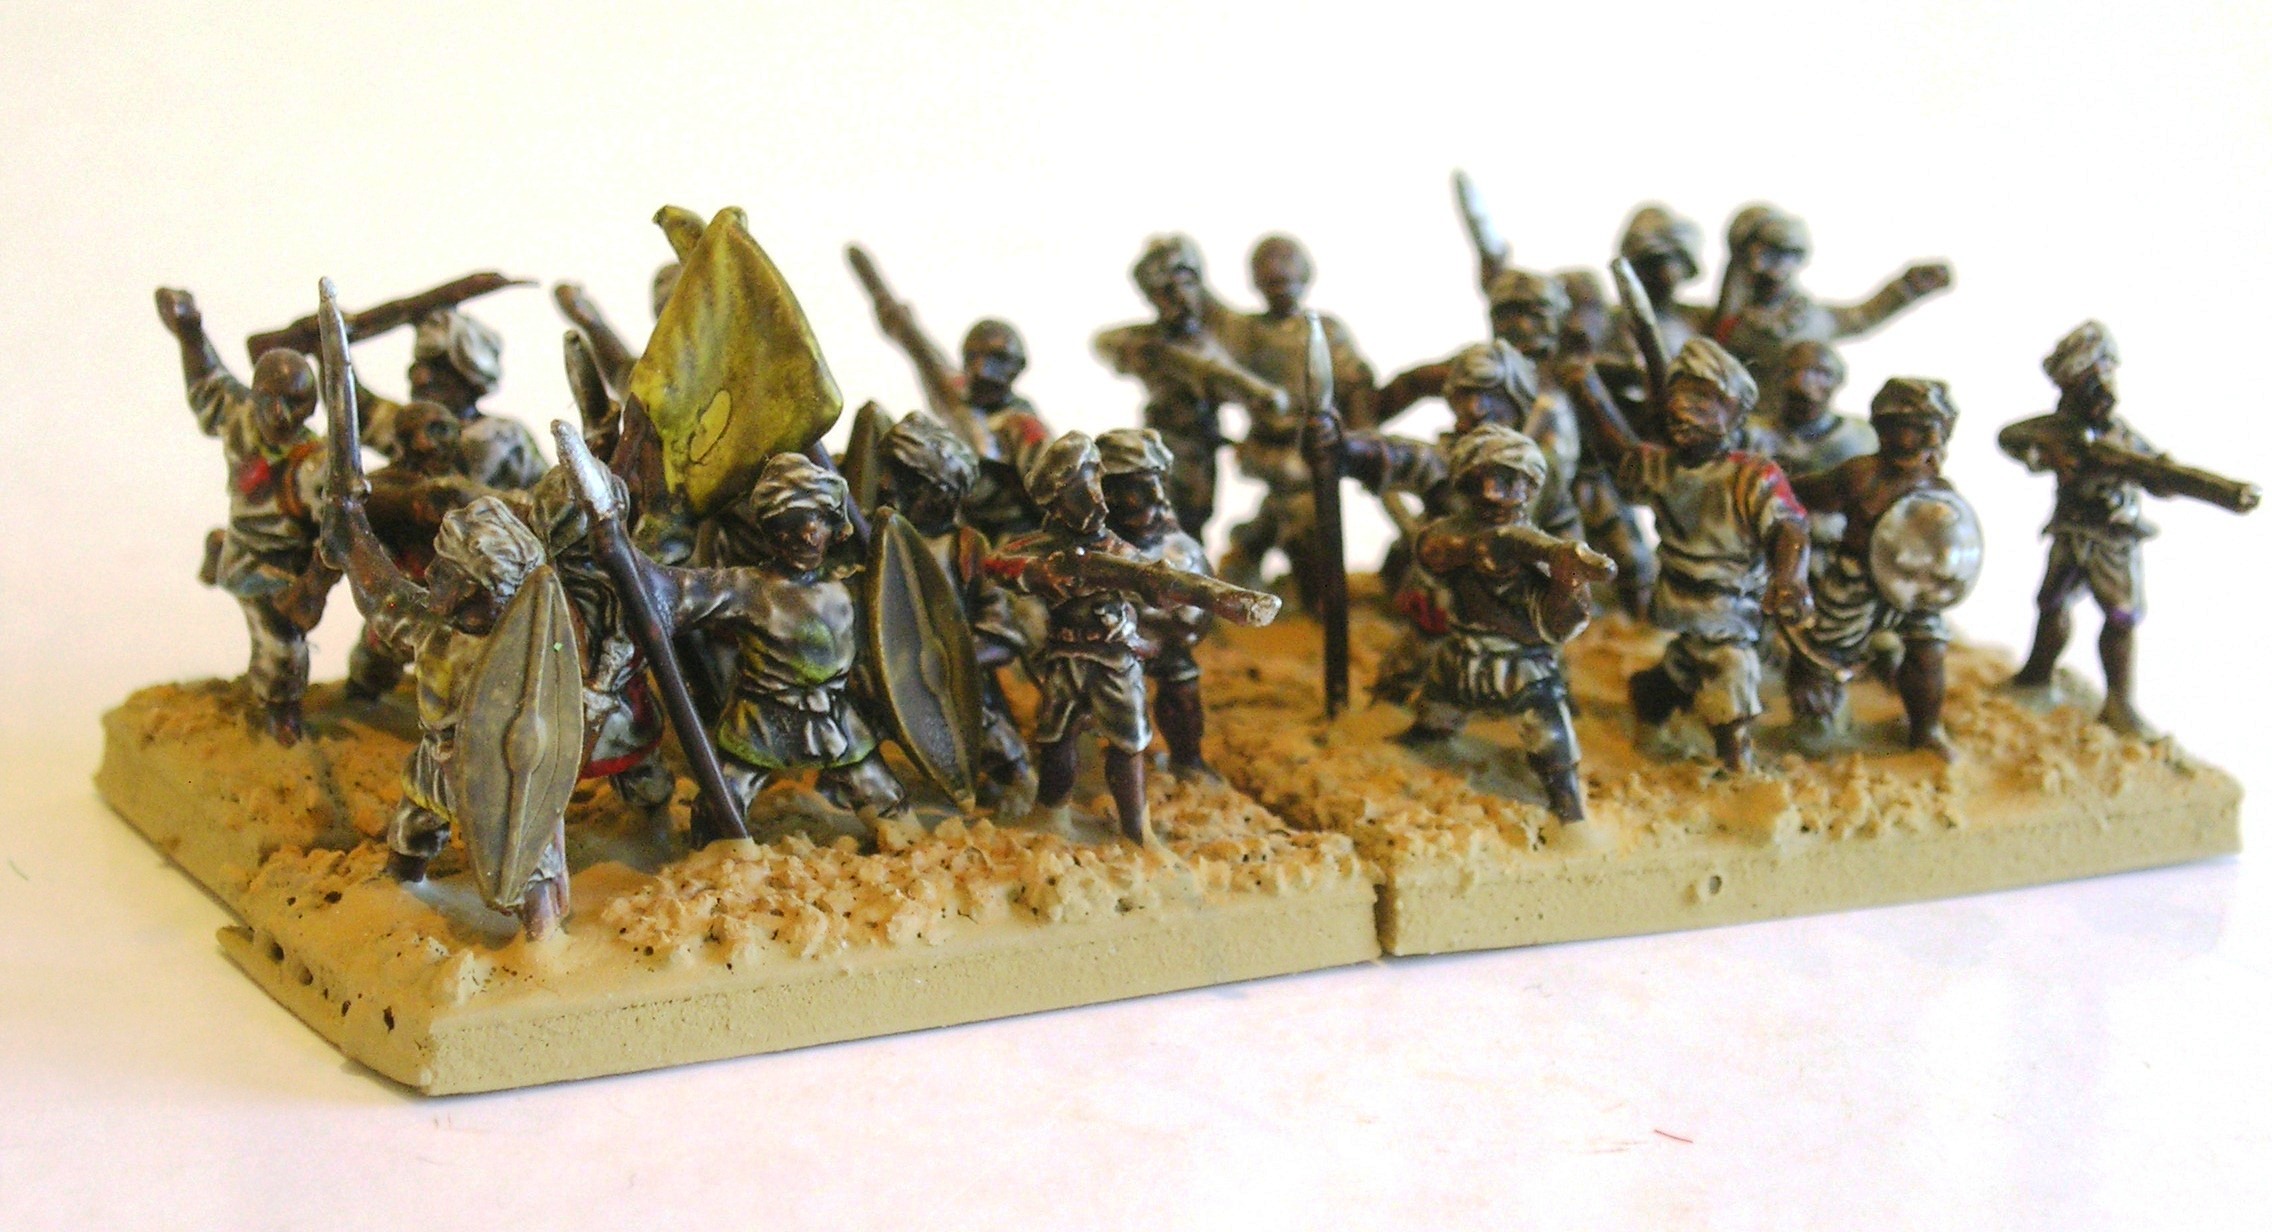
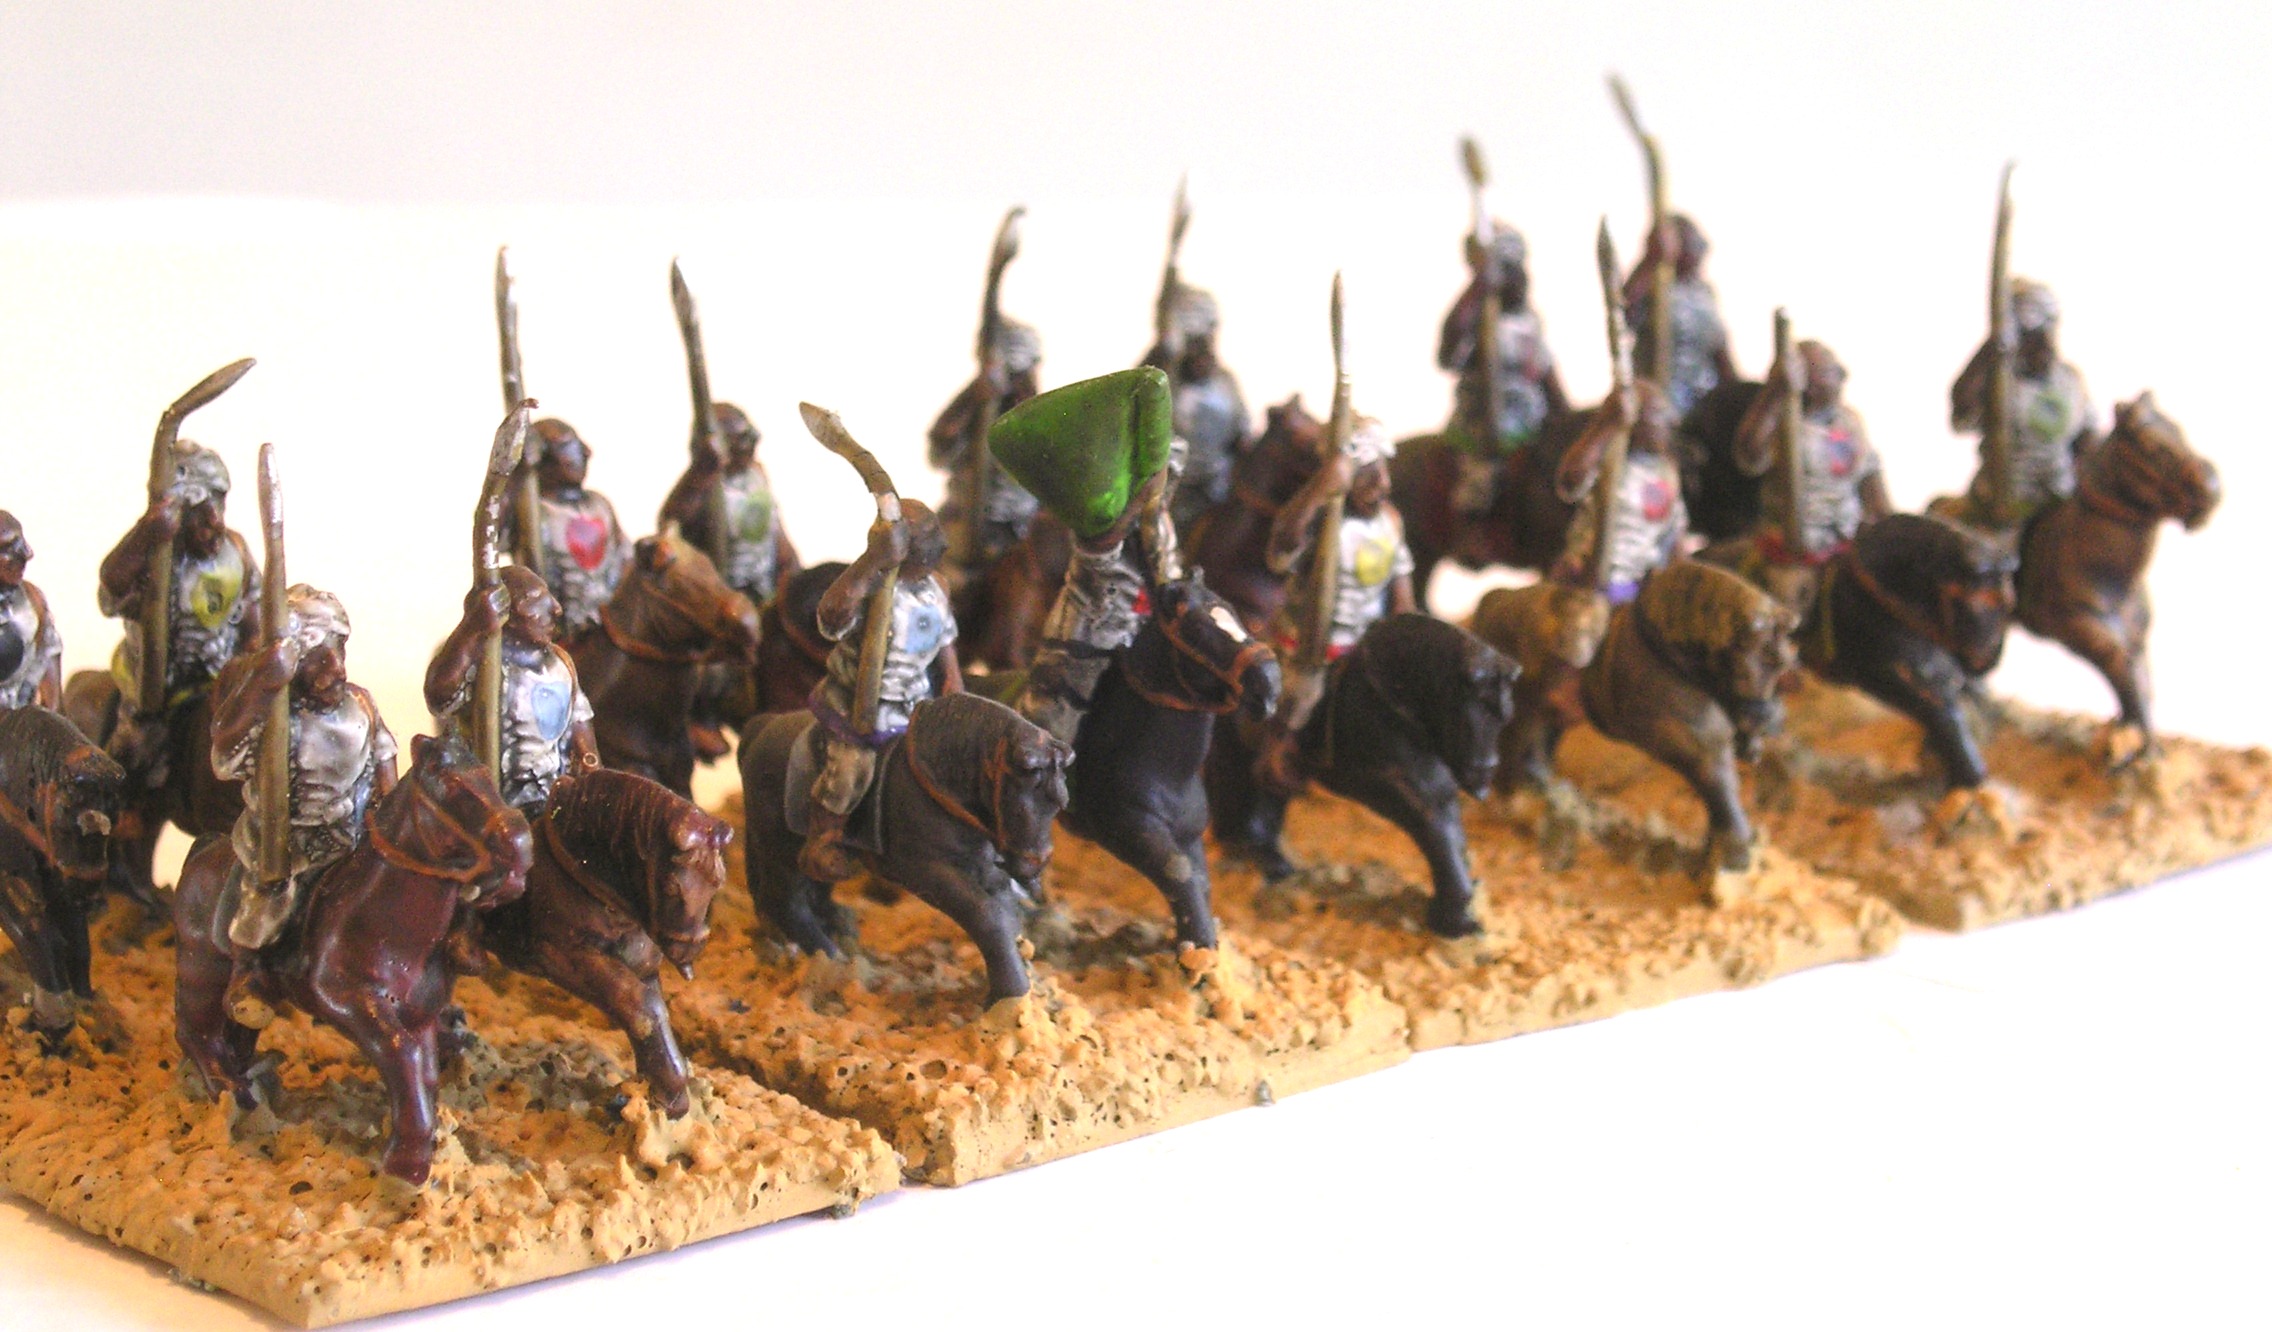
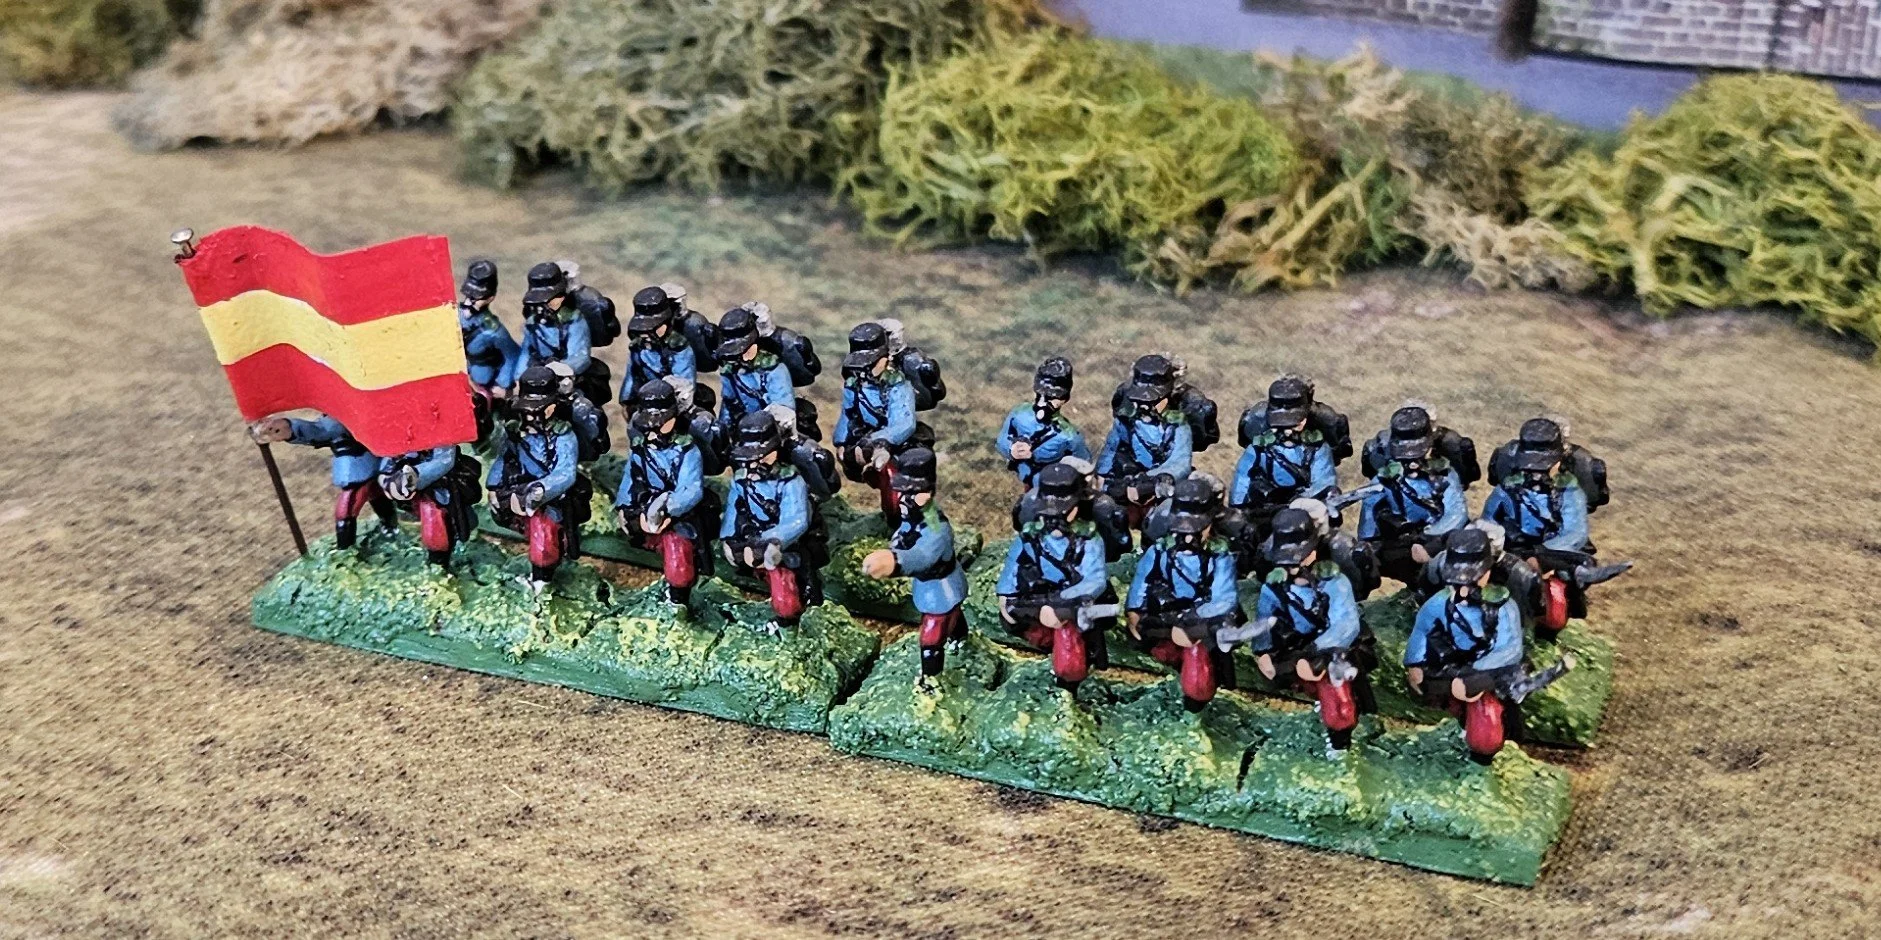
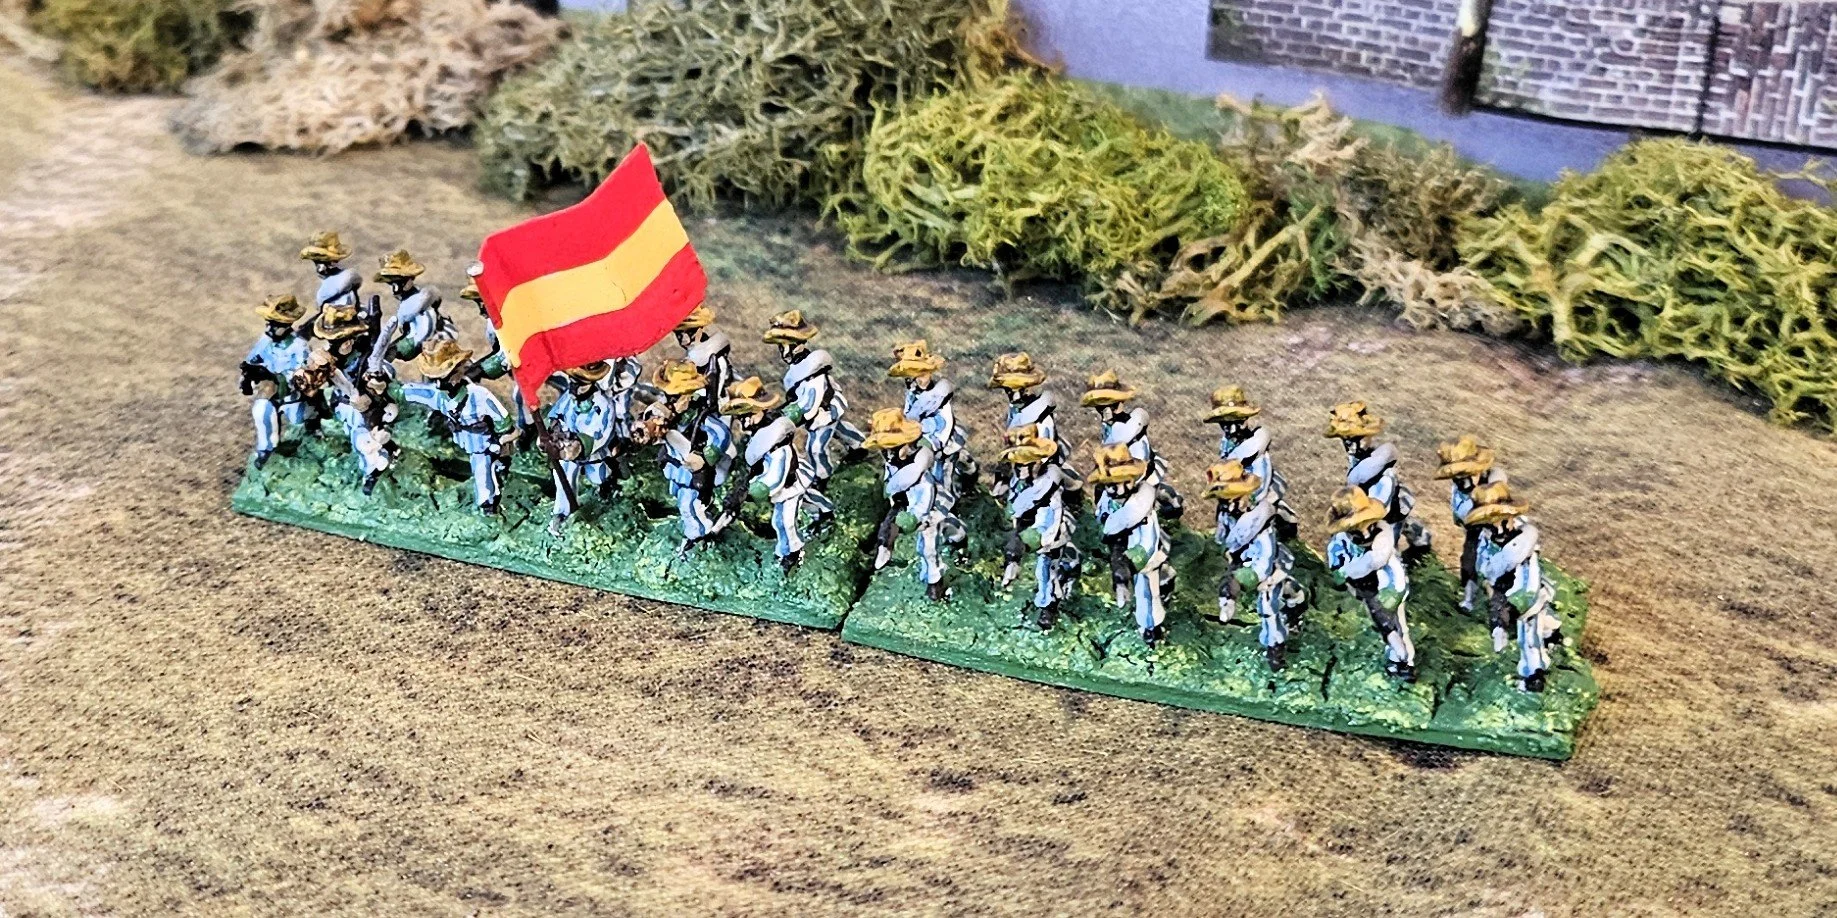
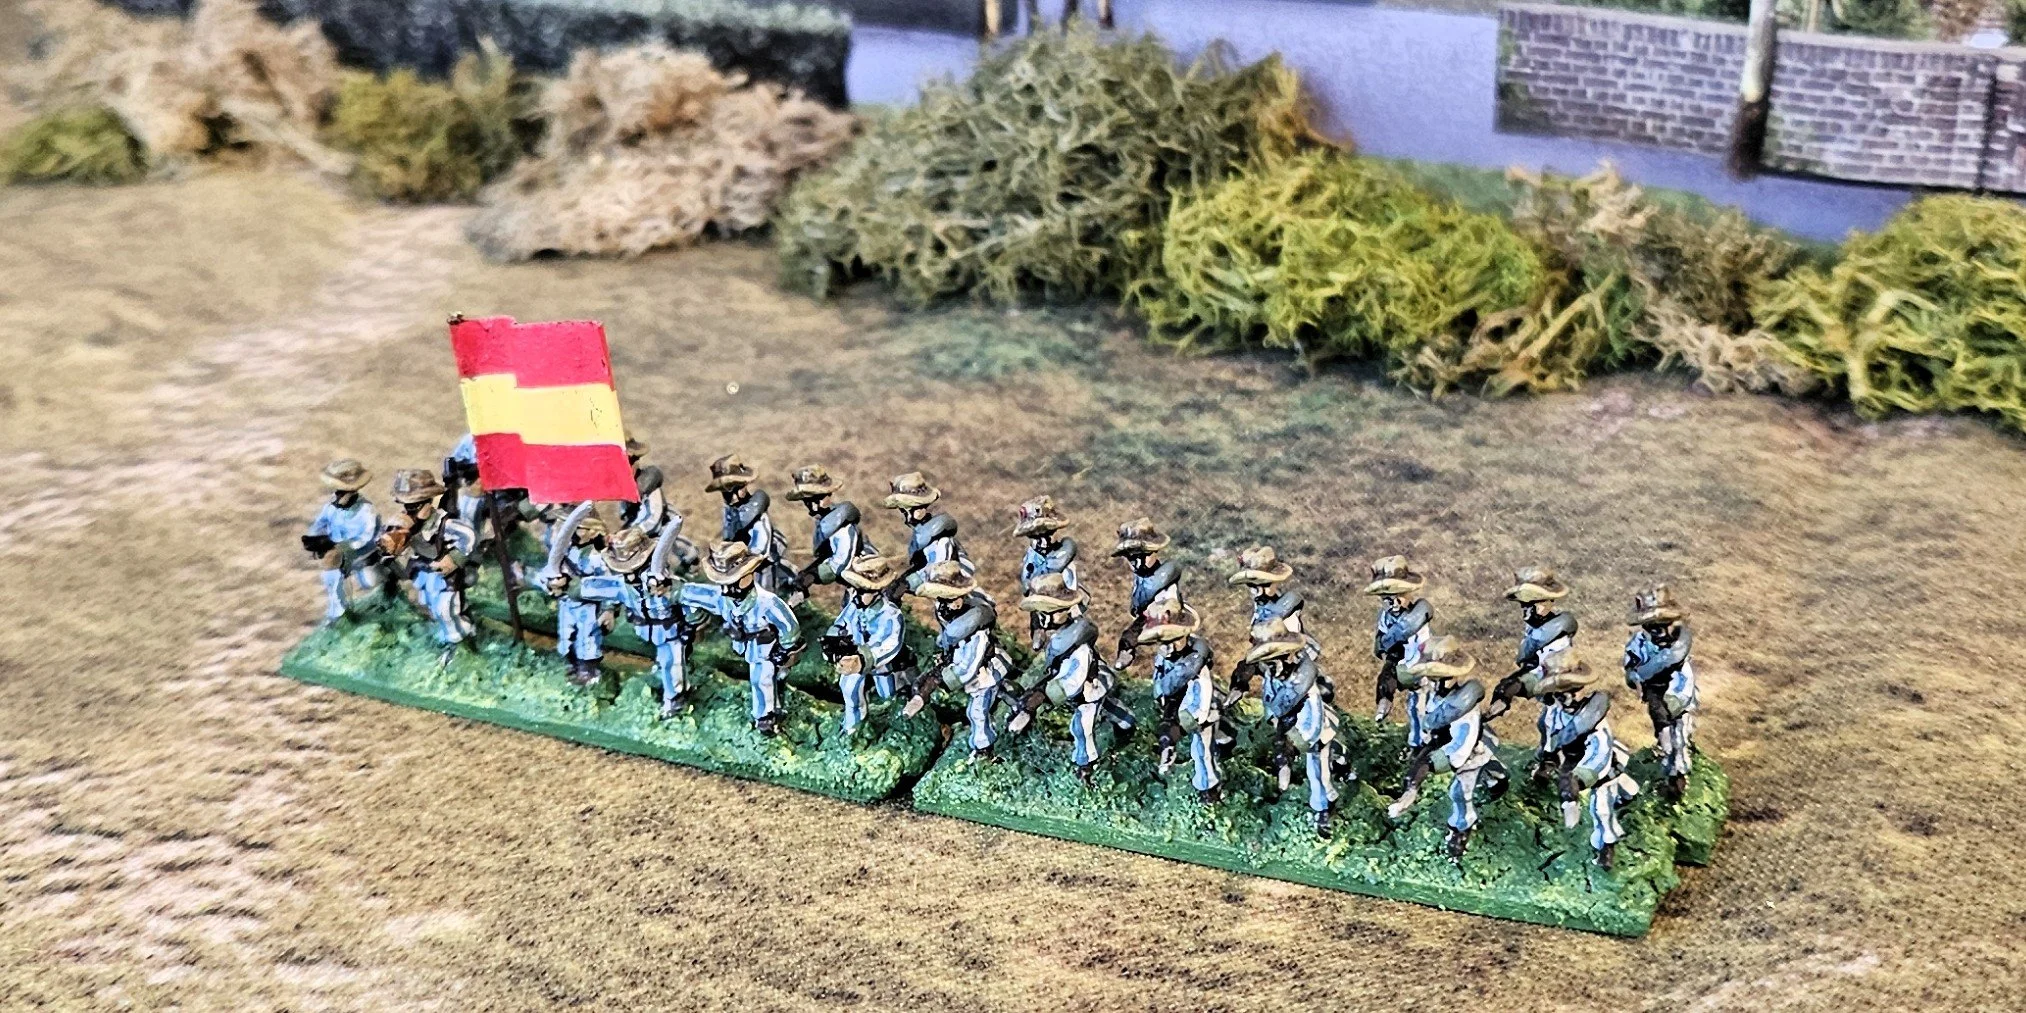
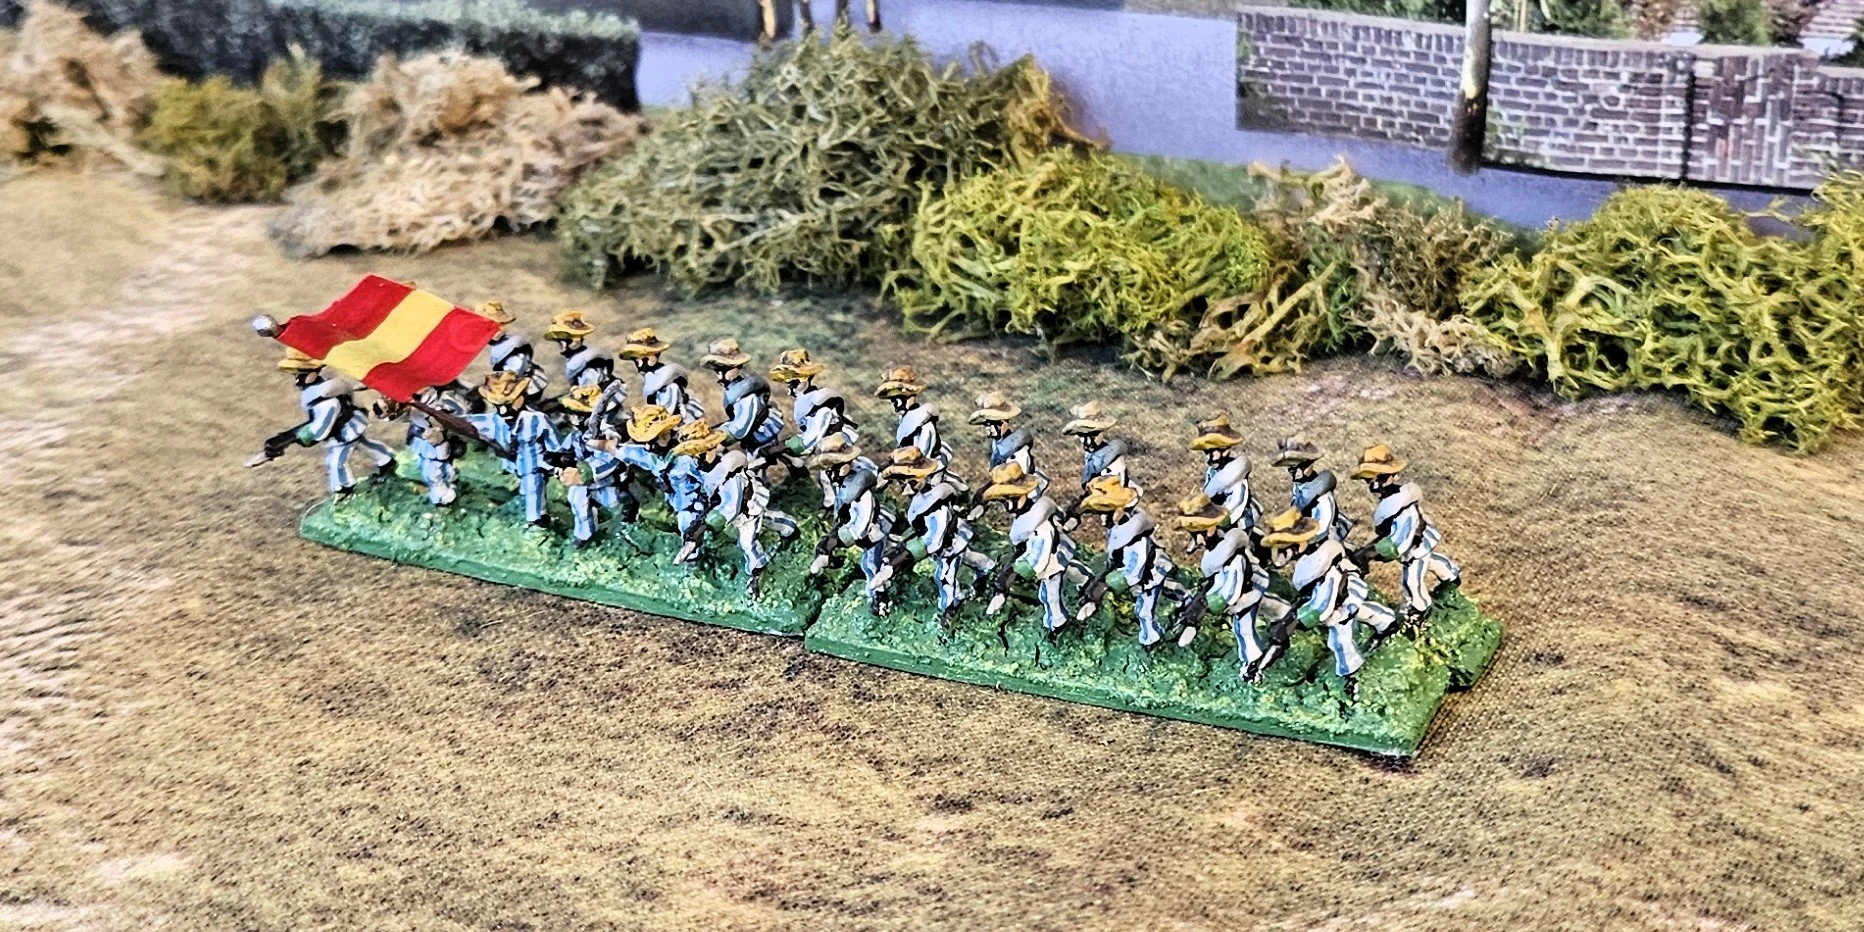
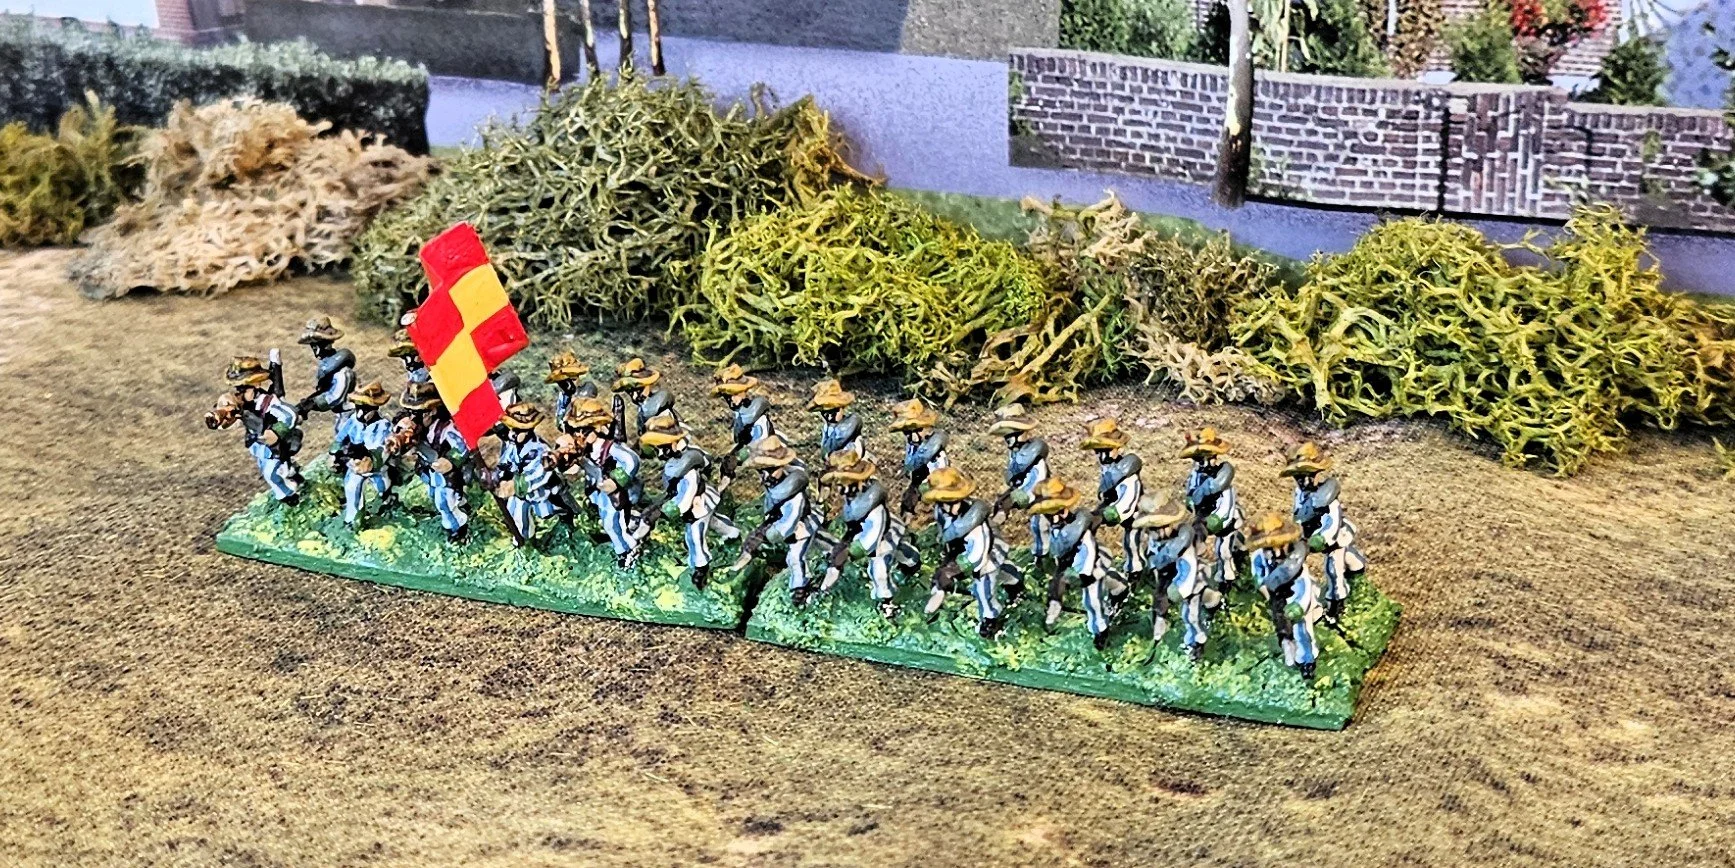
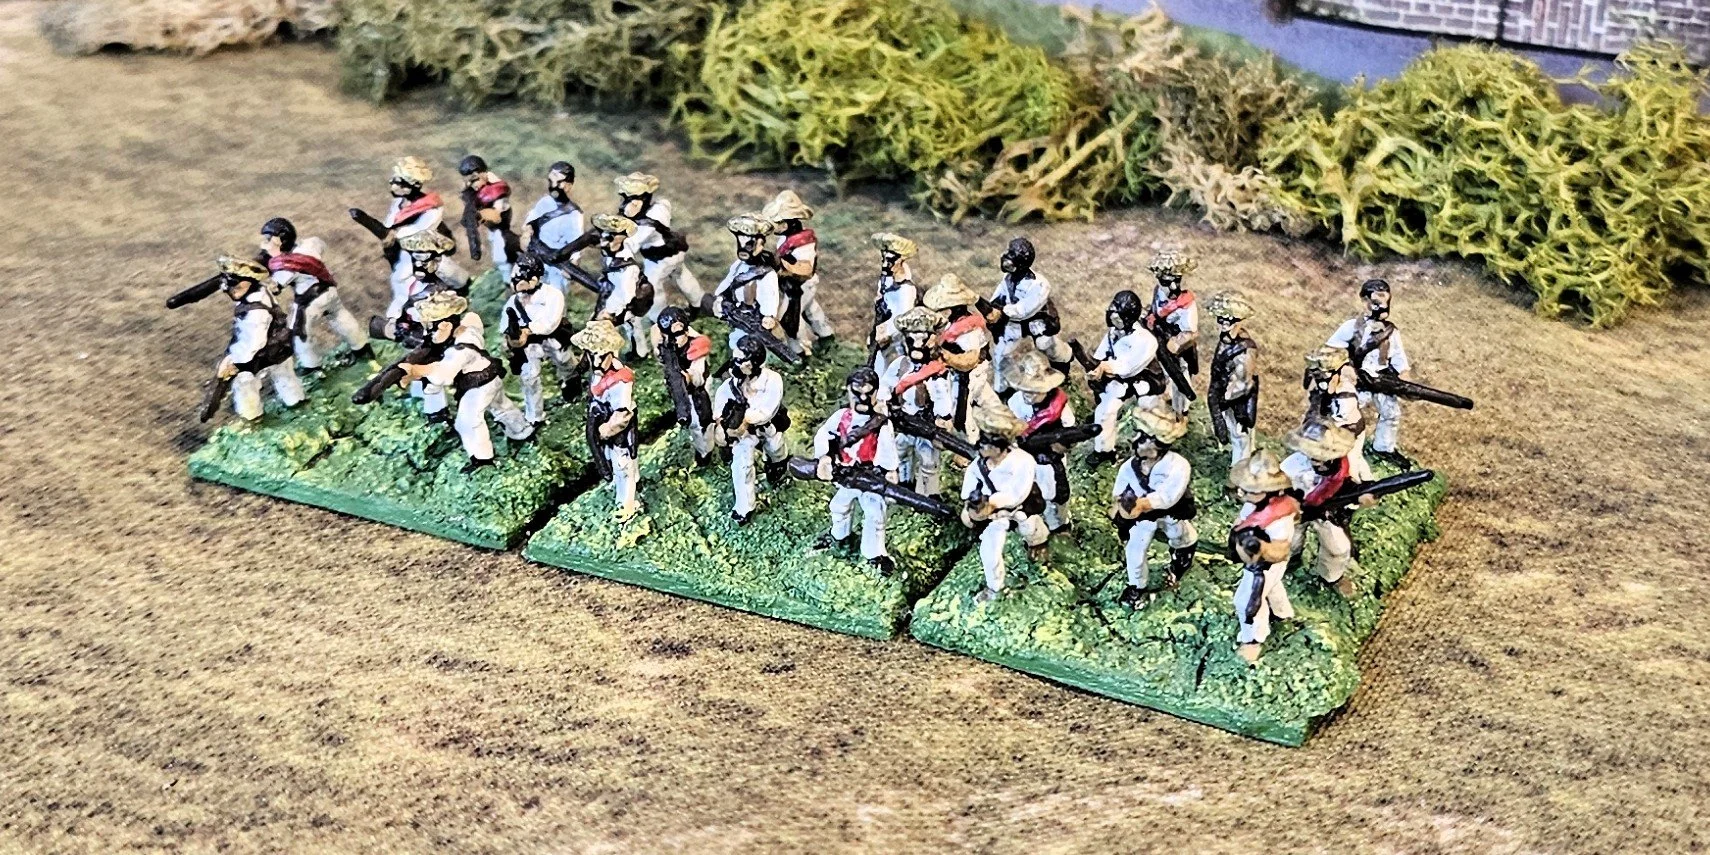
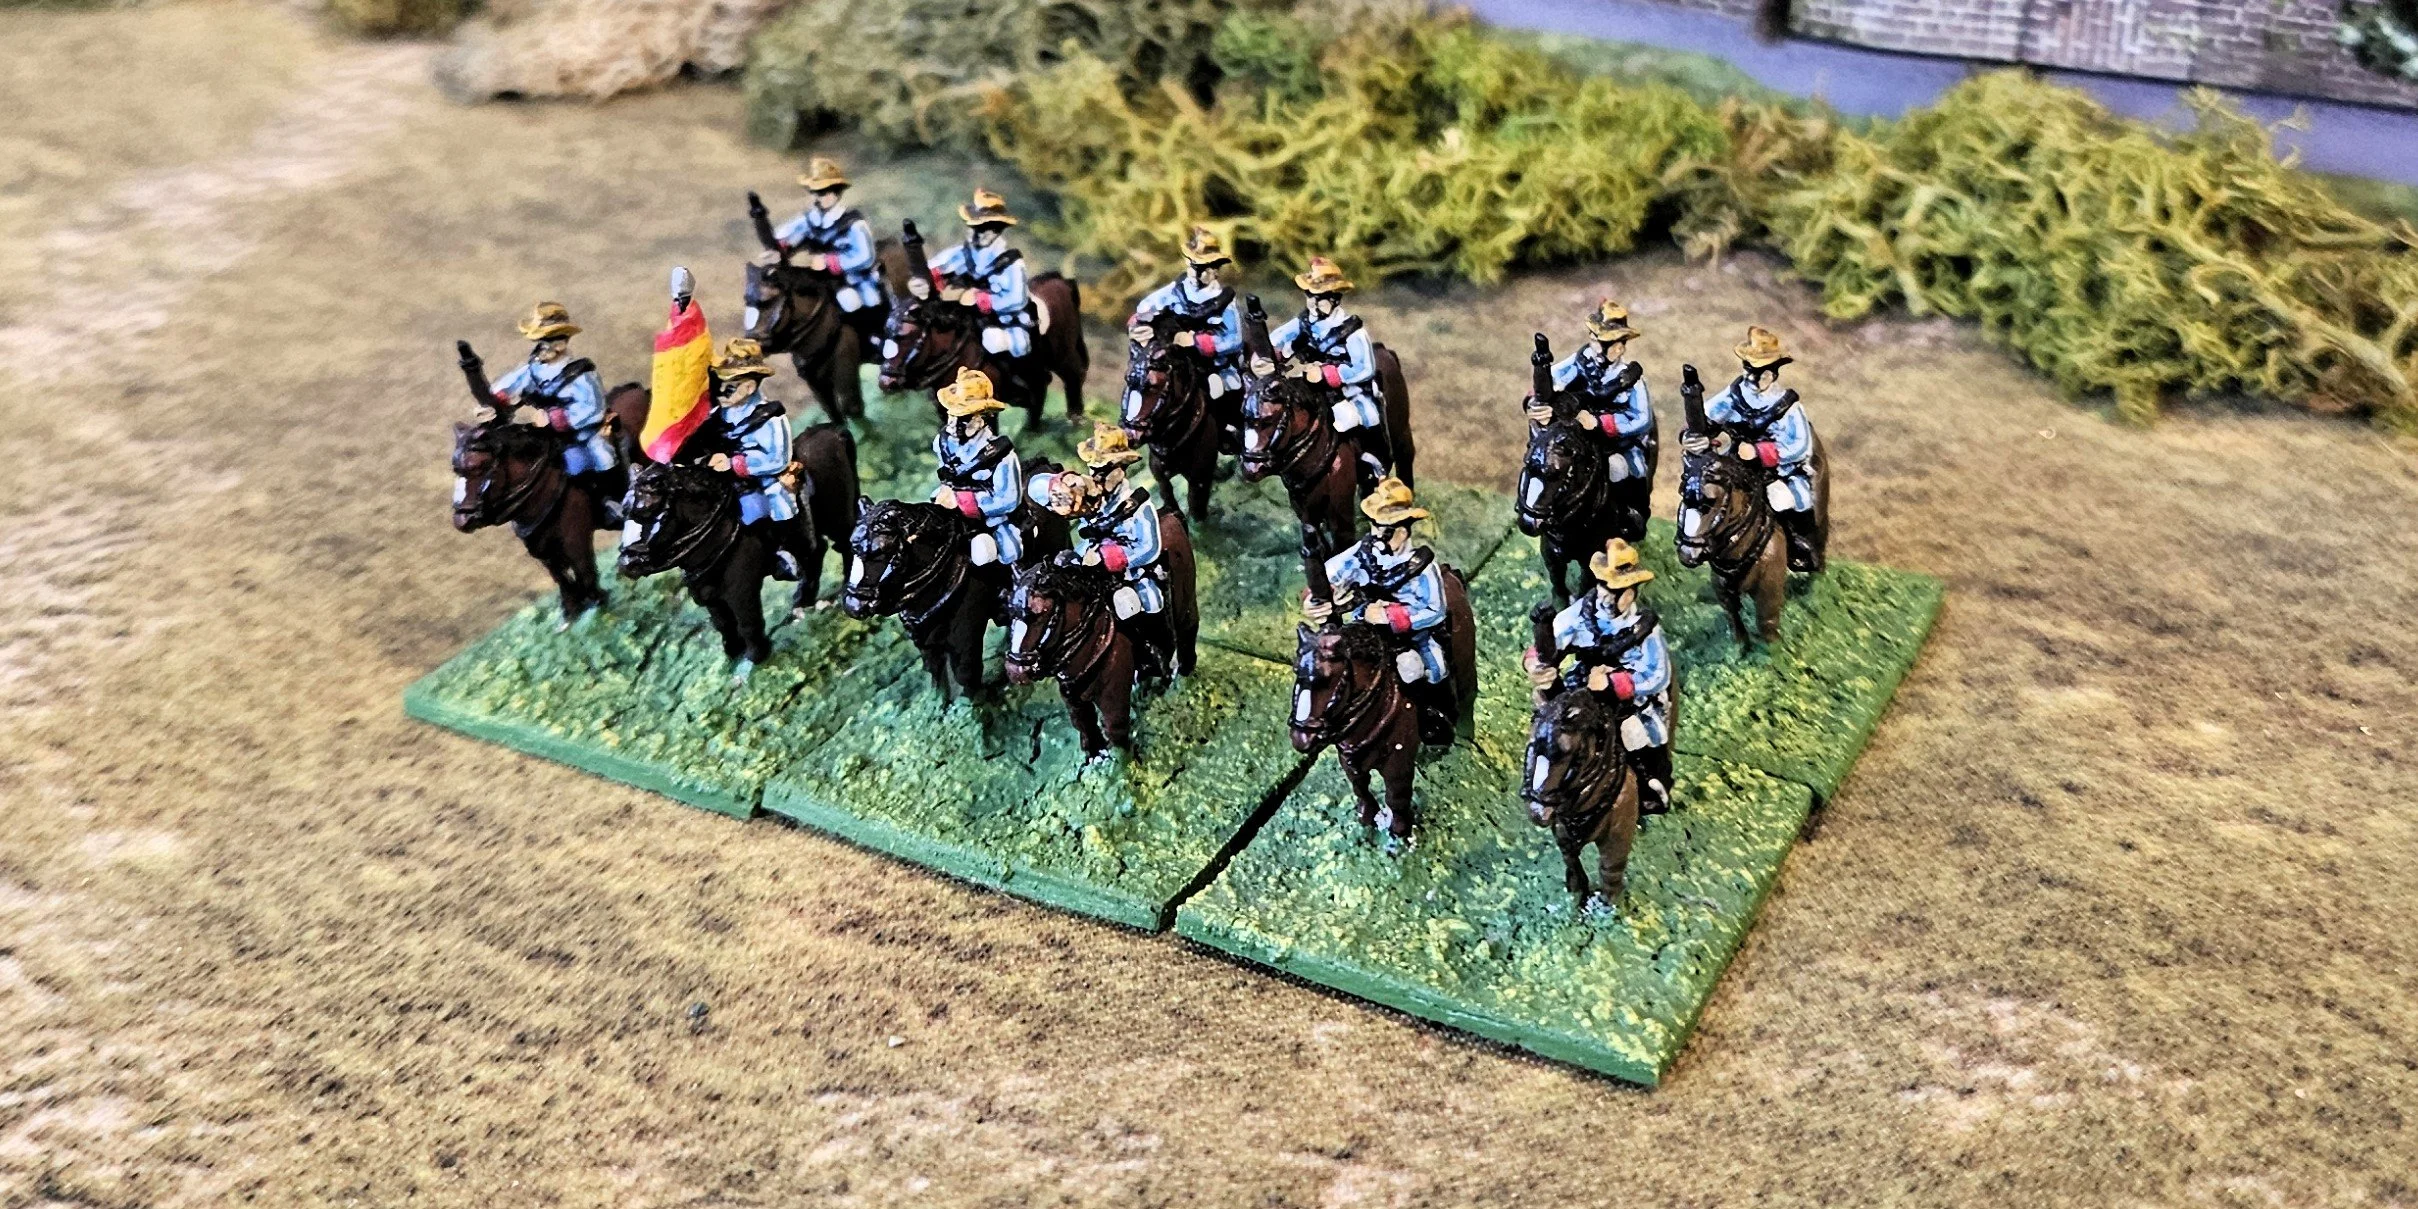
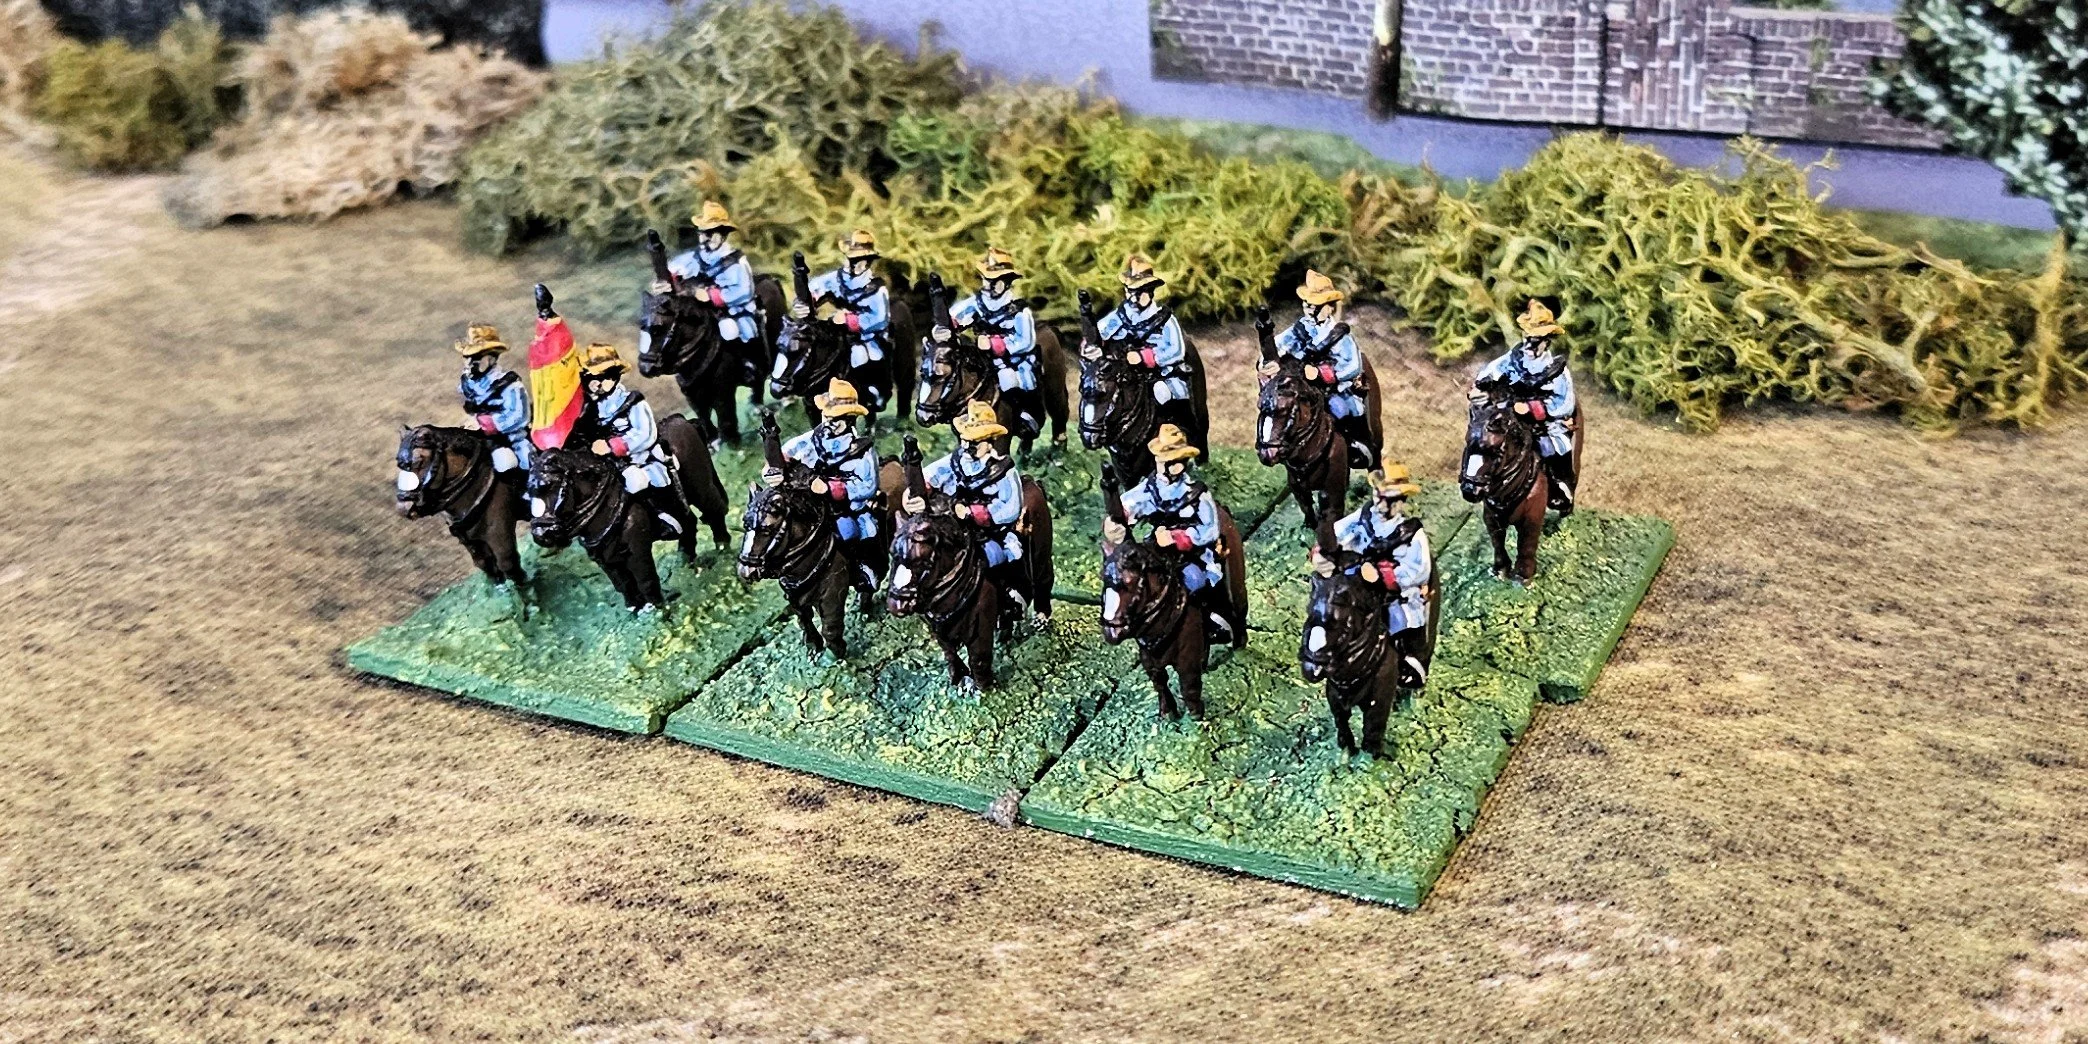
In structure, the army still relied on a multi-ethnic composition drawn from across the empire—Germans, Hungarians, Italians, Croats, Czechs, and others—united by strict discipline and centralized command. Its infantry formations were organized along traditional linear tactics, supported by strong artillery and a respected cavalry arm. Although Austria had begun to introduce rifled muskets, training and doctrine had not yet fully adapted to the increased range and lethality of modern firearms.

Operationally, the campaign revealed serious shortcomings. Austrian staff work and coordination were often slow, and the army struggled with logistics and communication in the field. These issues became evident in key battles such as Magenta and Solferino, where Austrian forces fought stubbornly but were outmaneuvered by more flexible Franco-Sardinian armies. The experience of 1859 exposed the need for deeper reform, foreshadowing further difficulties Austria would face against Prussia just a few years later.

Austrian Army of 1866

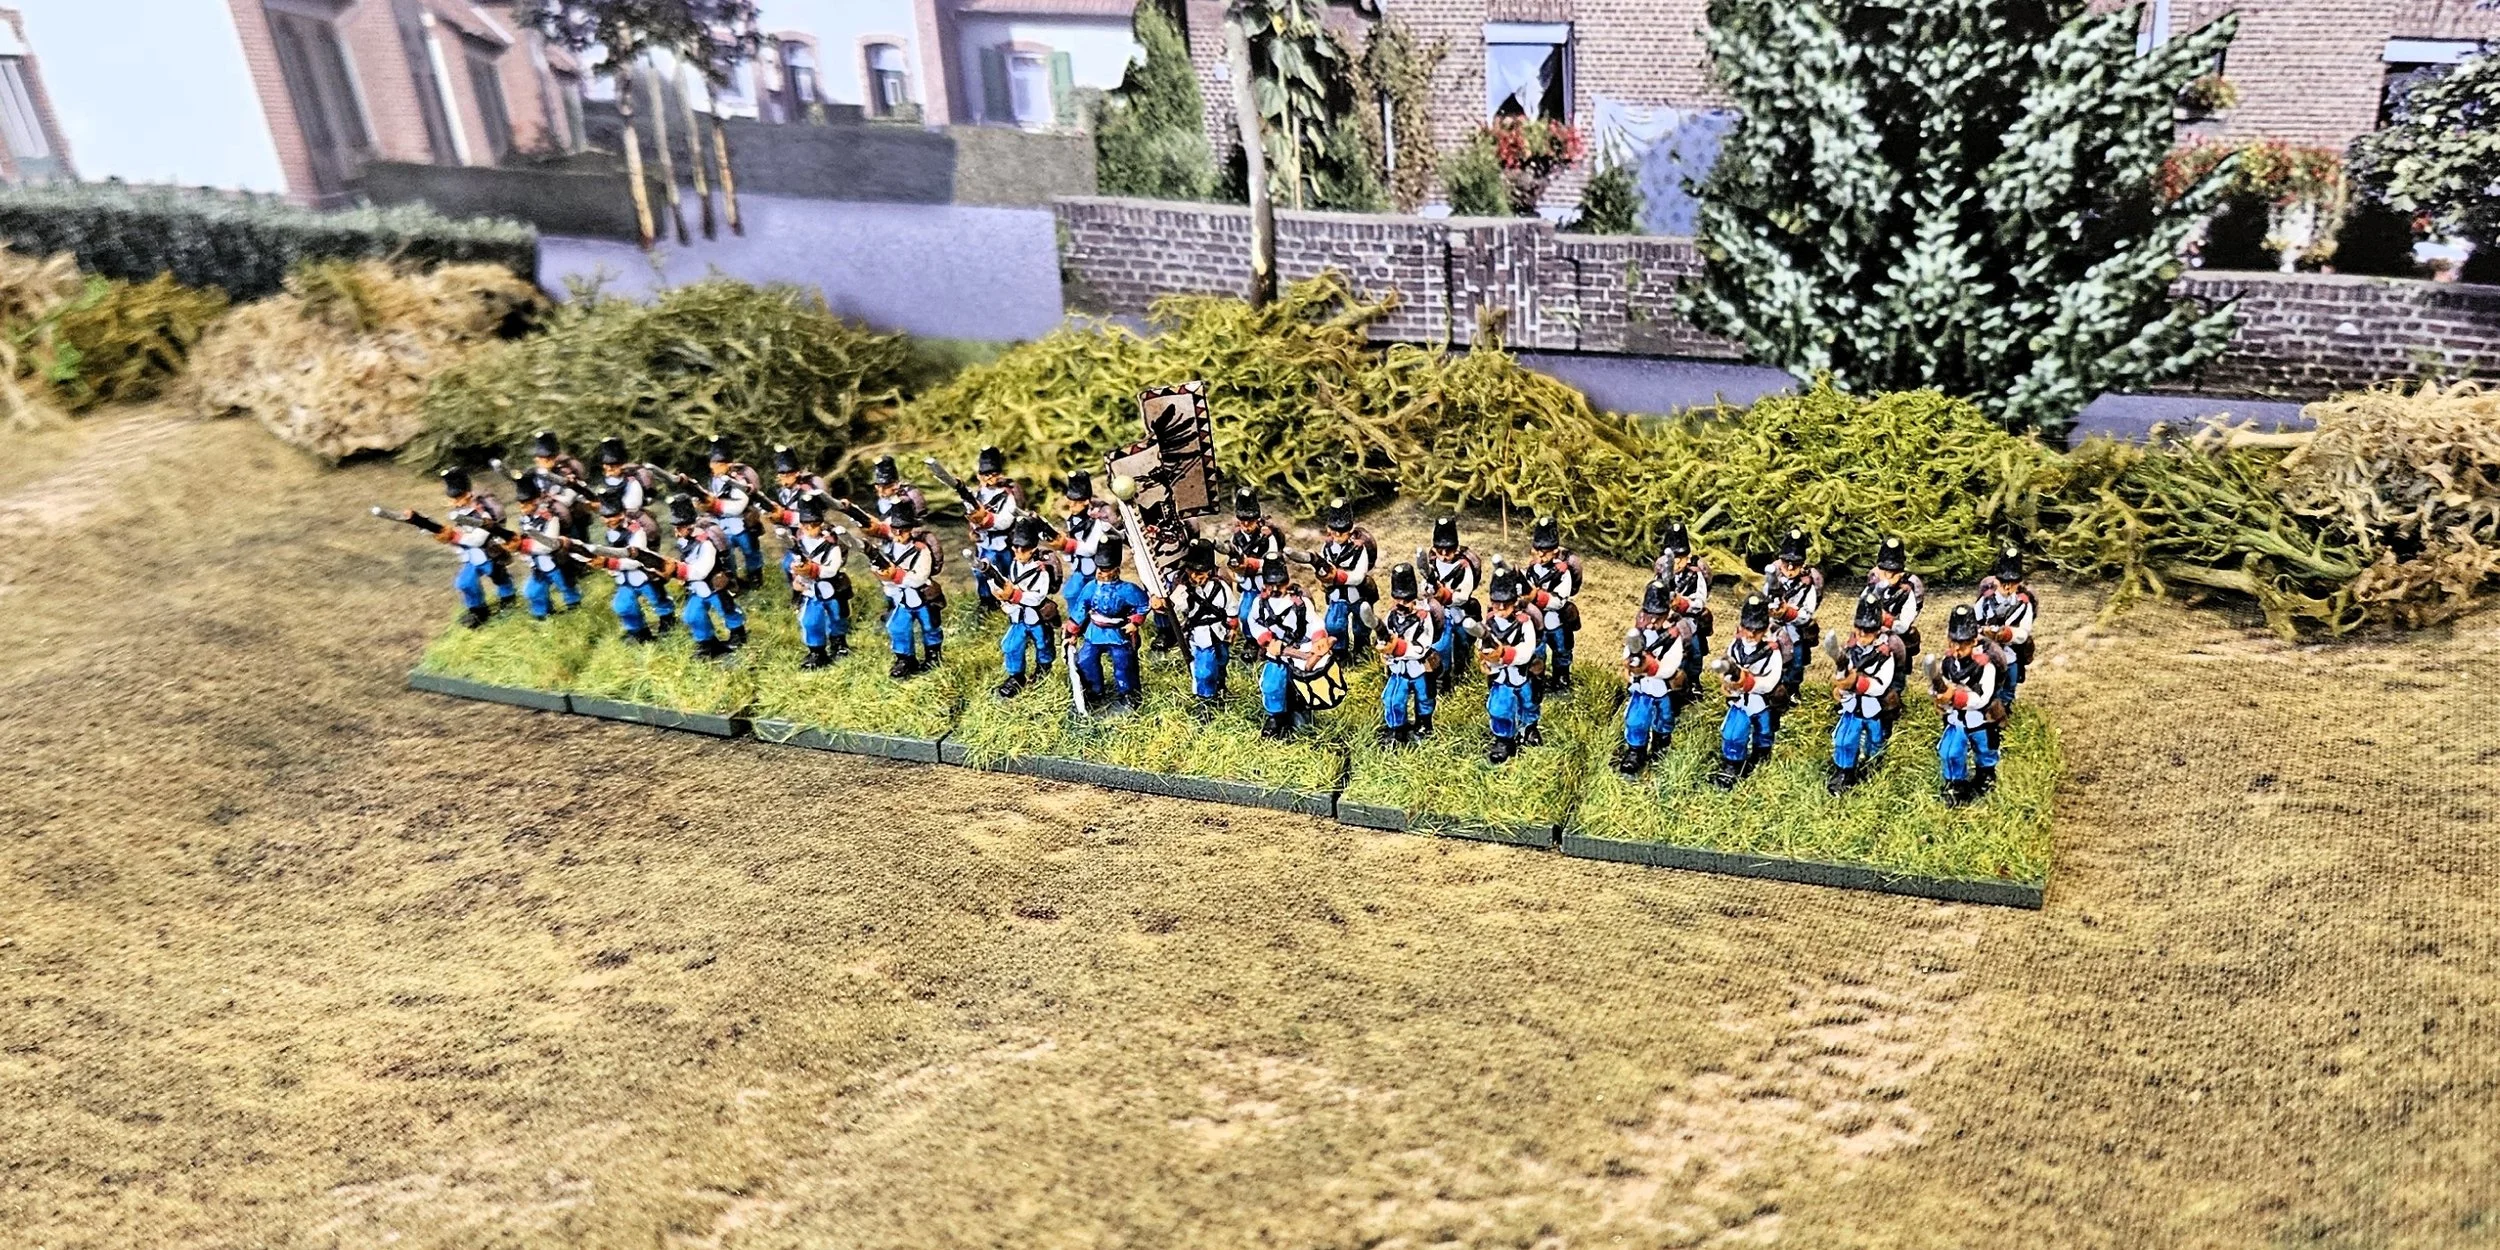
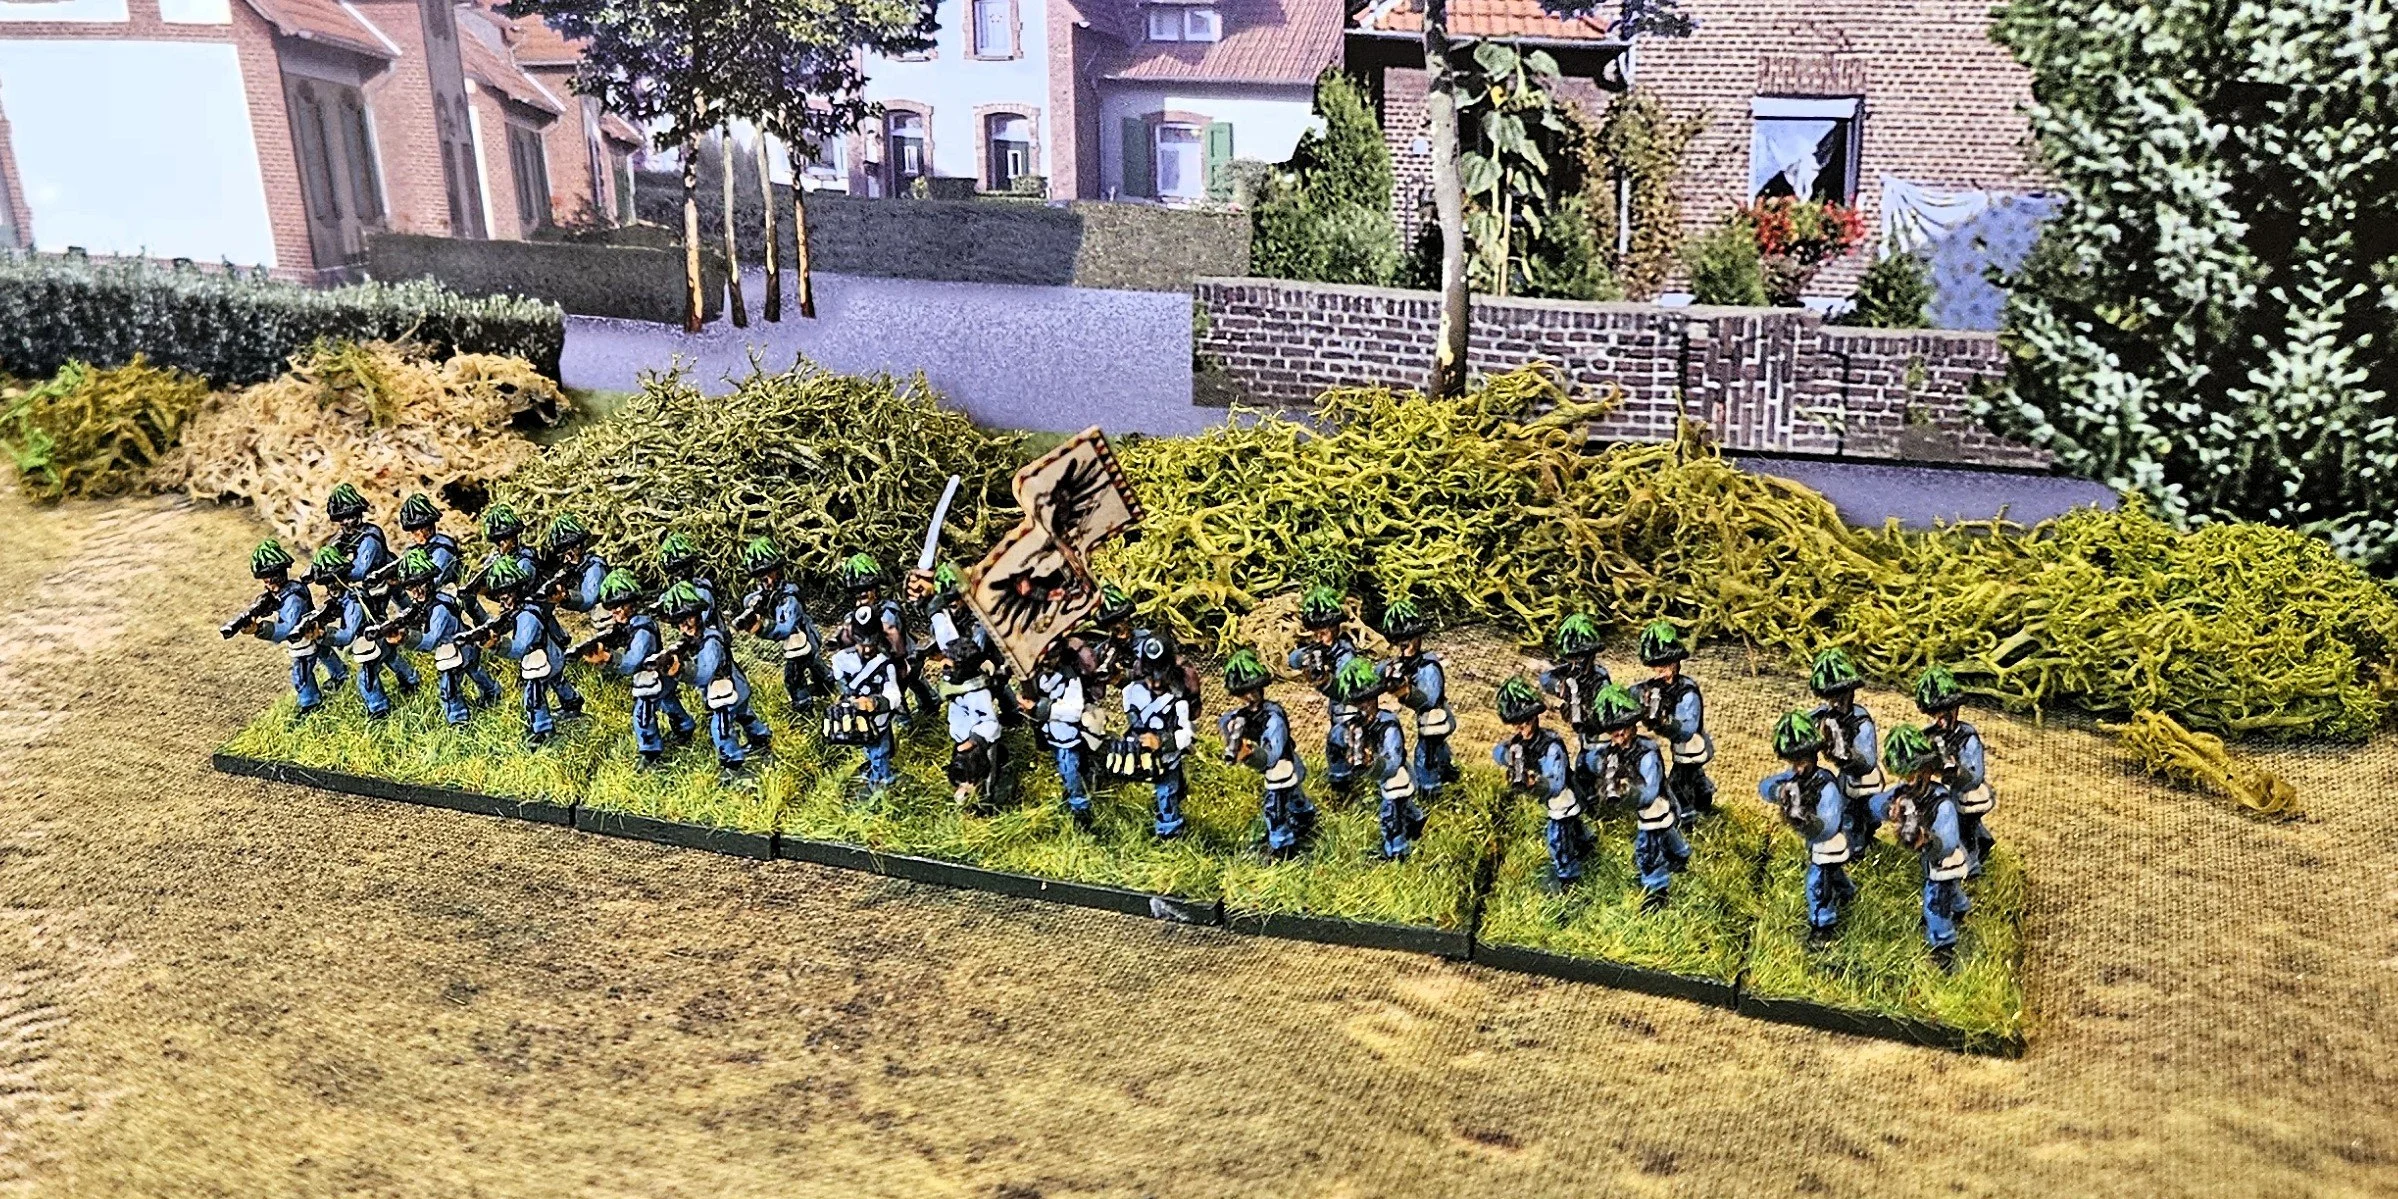
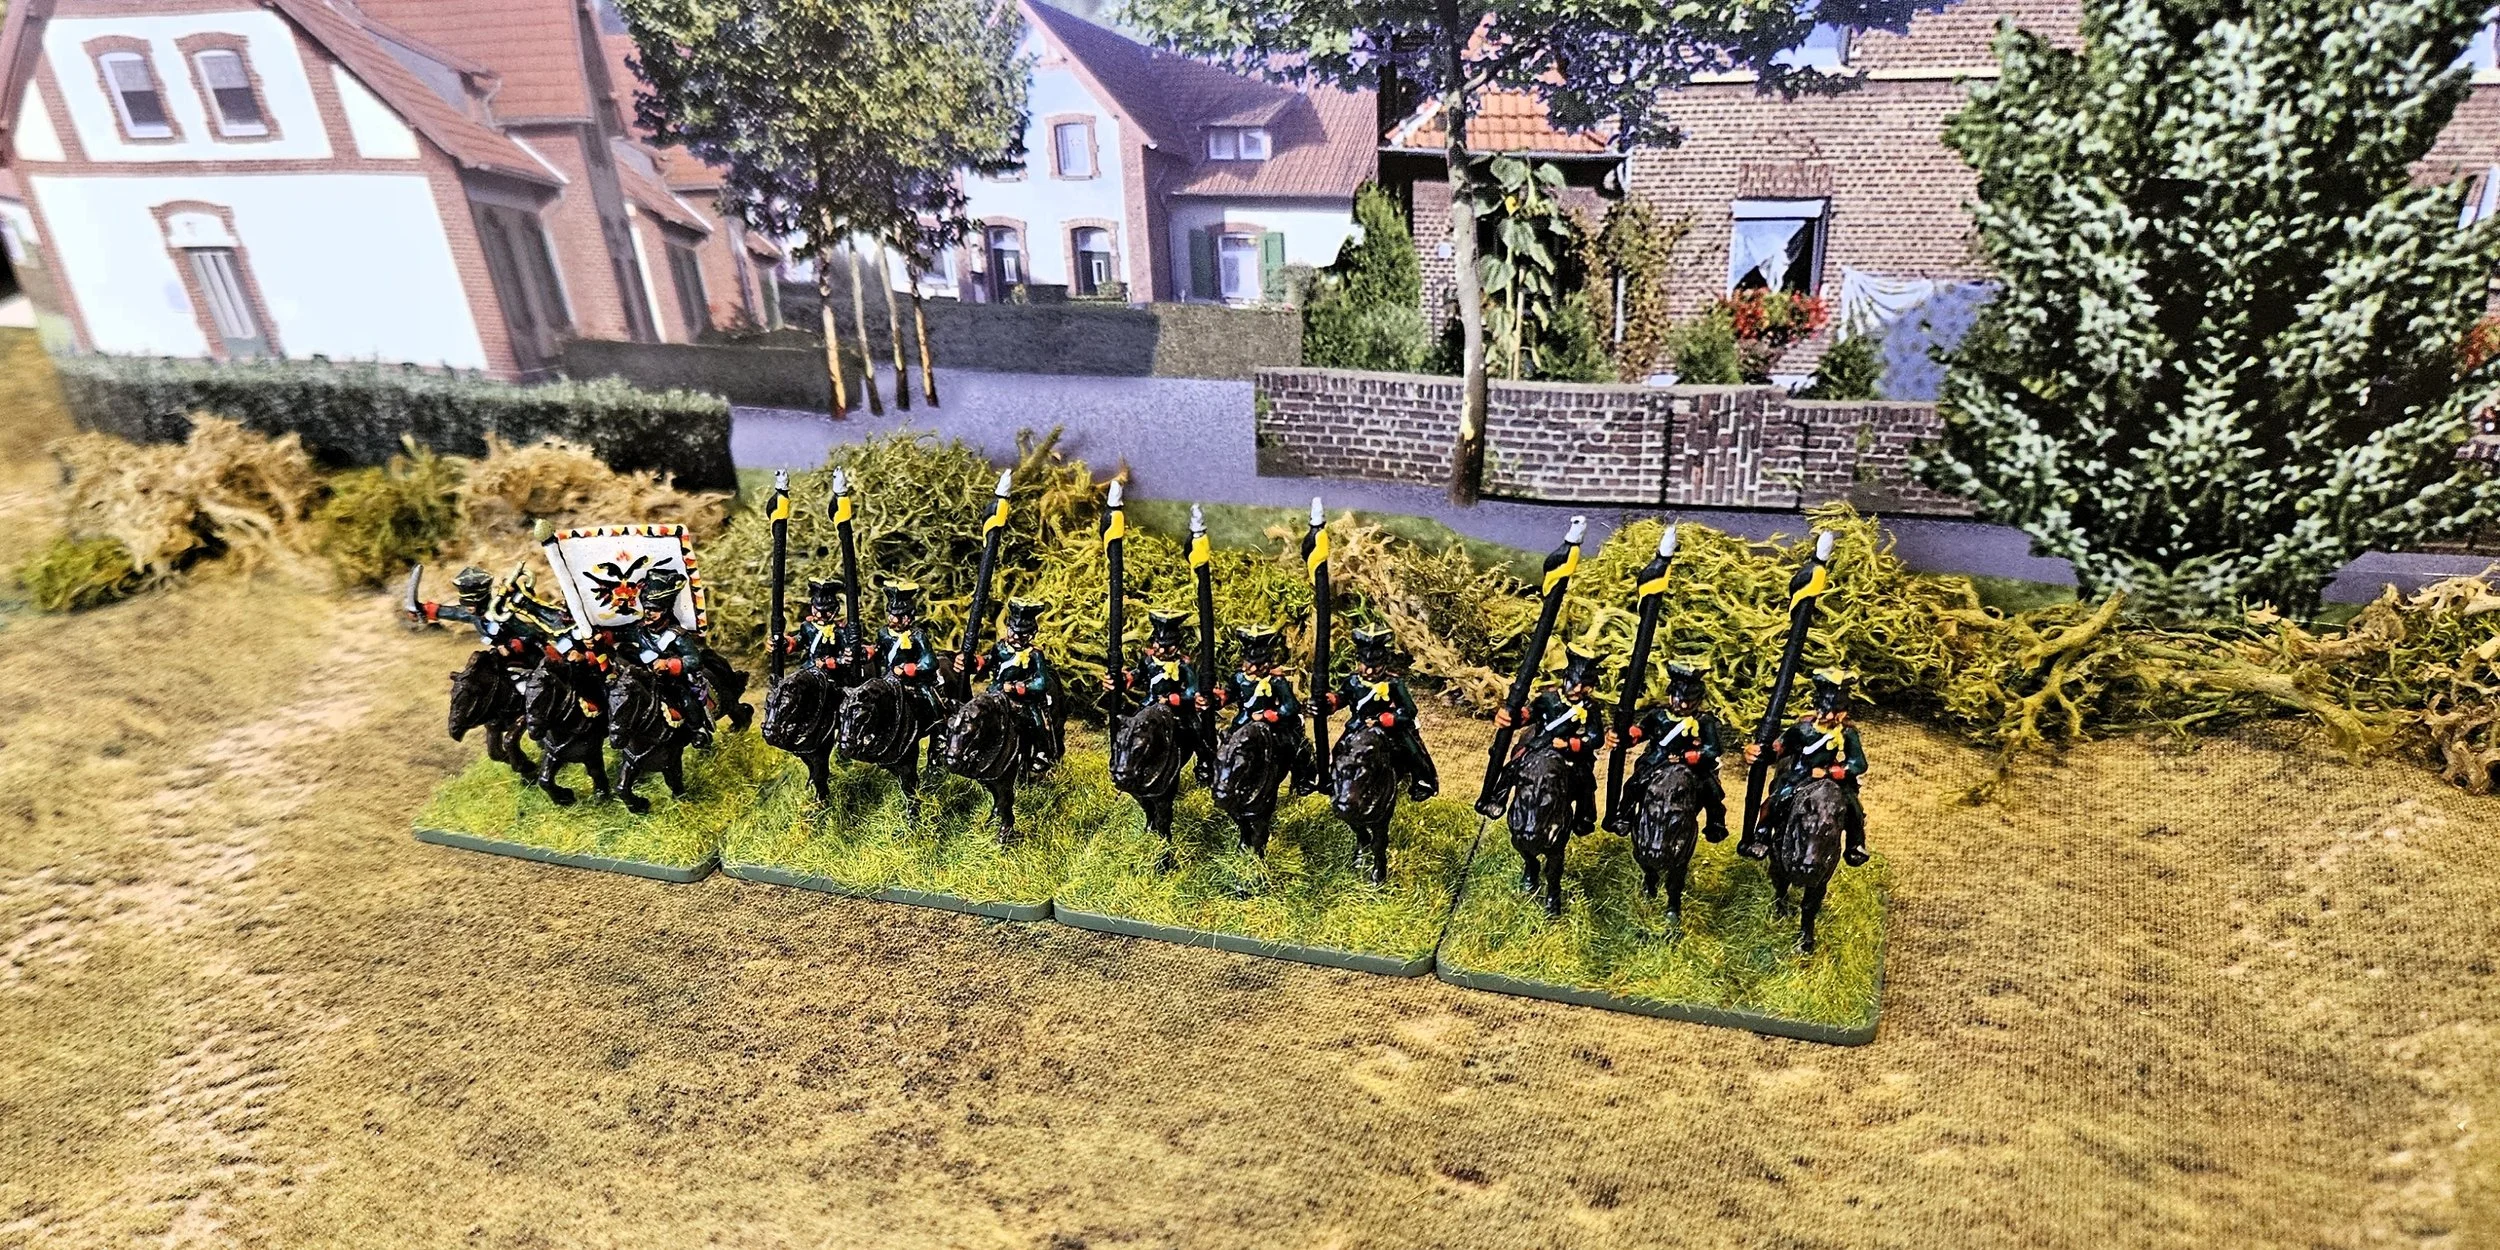
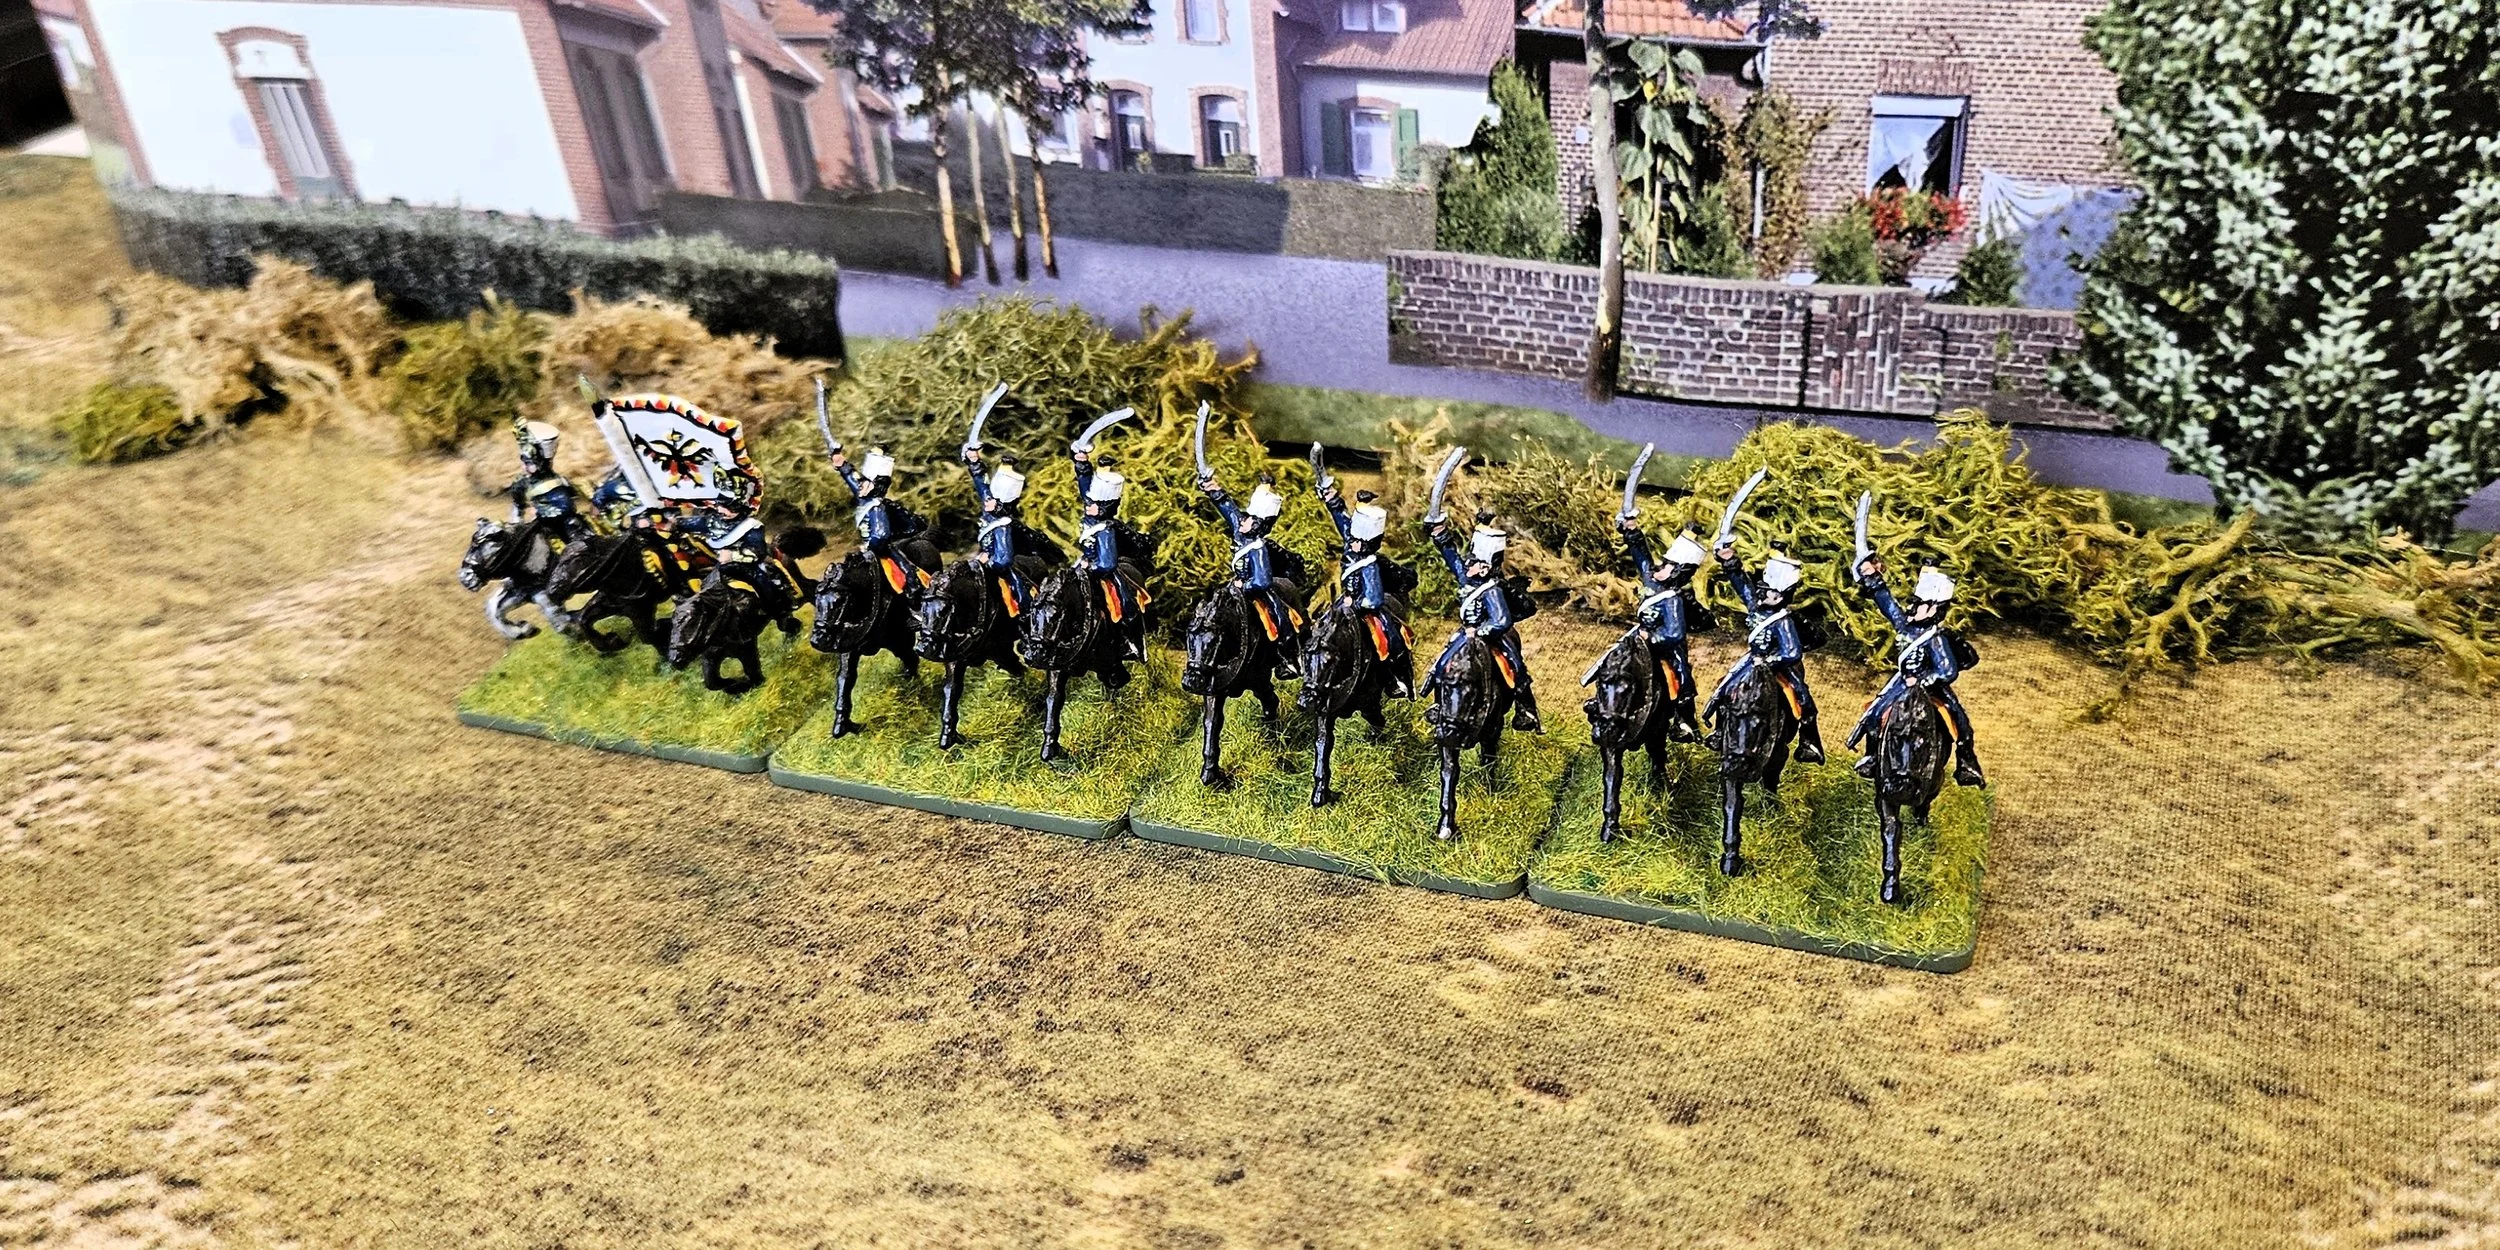
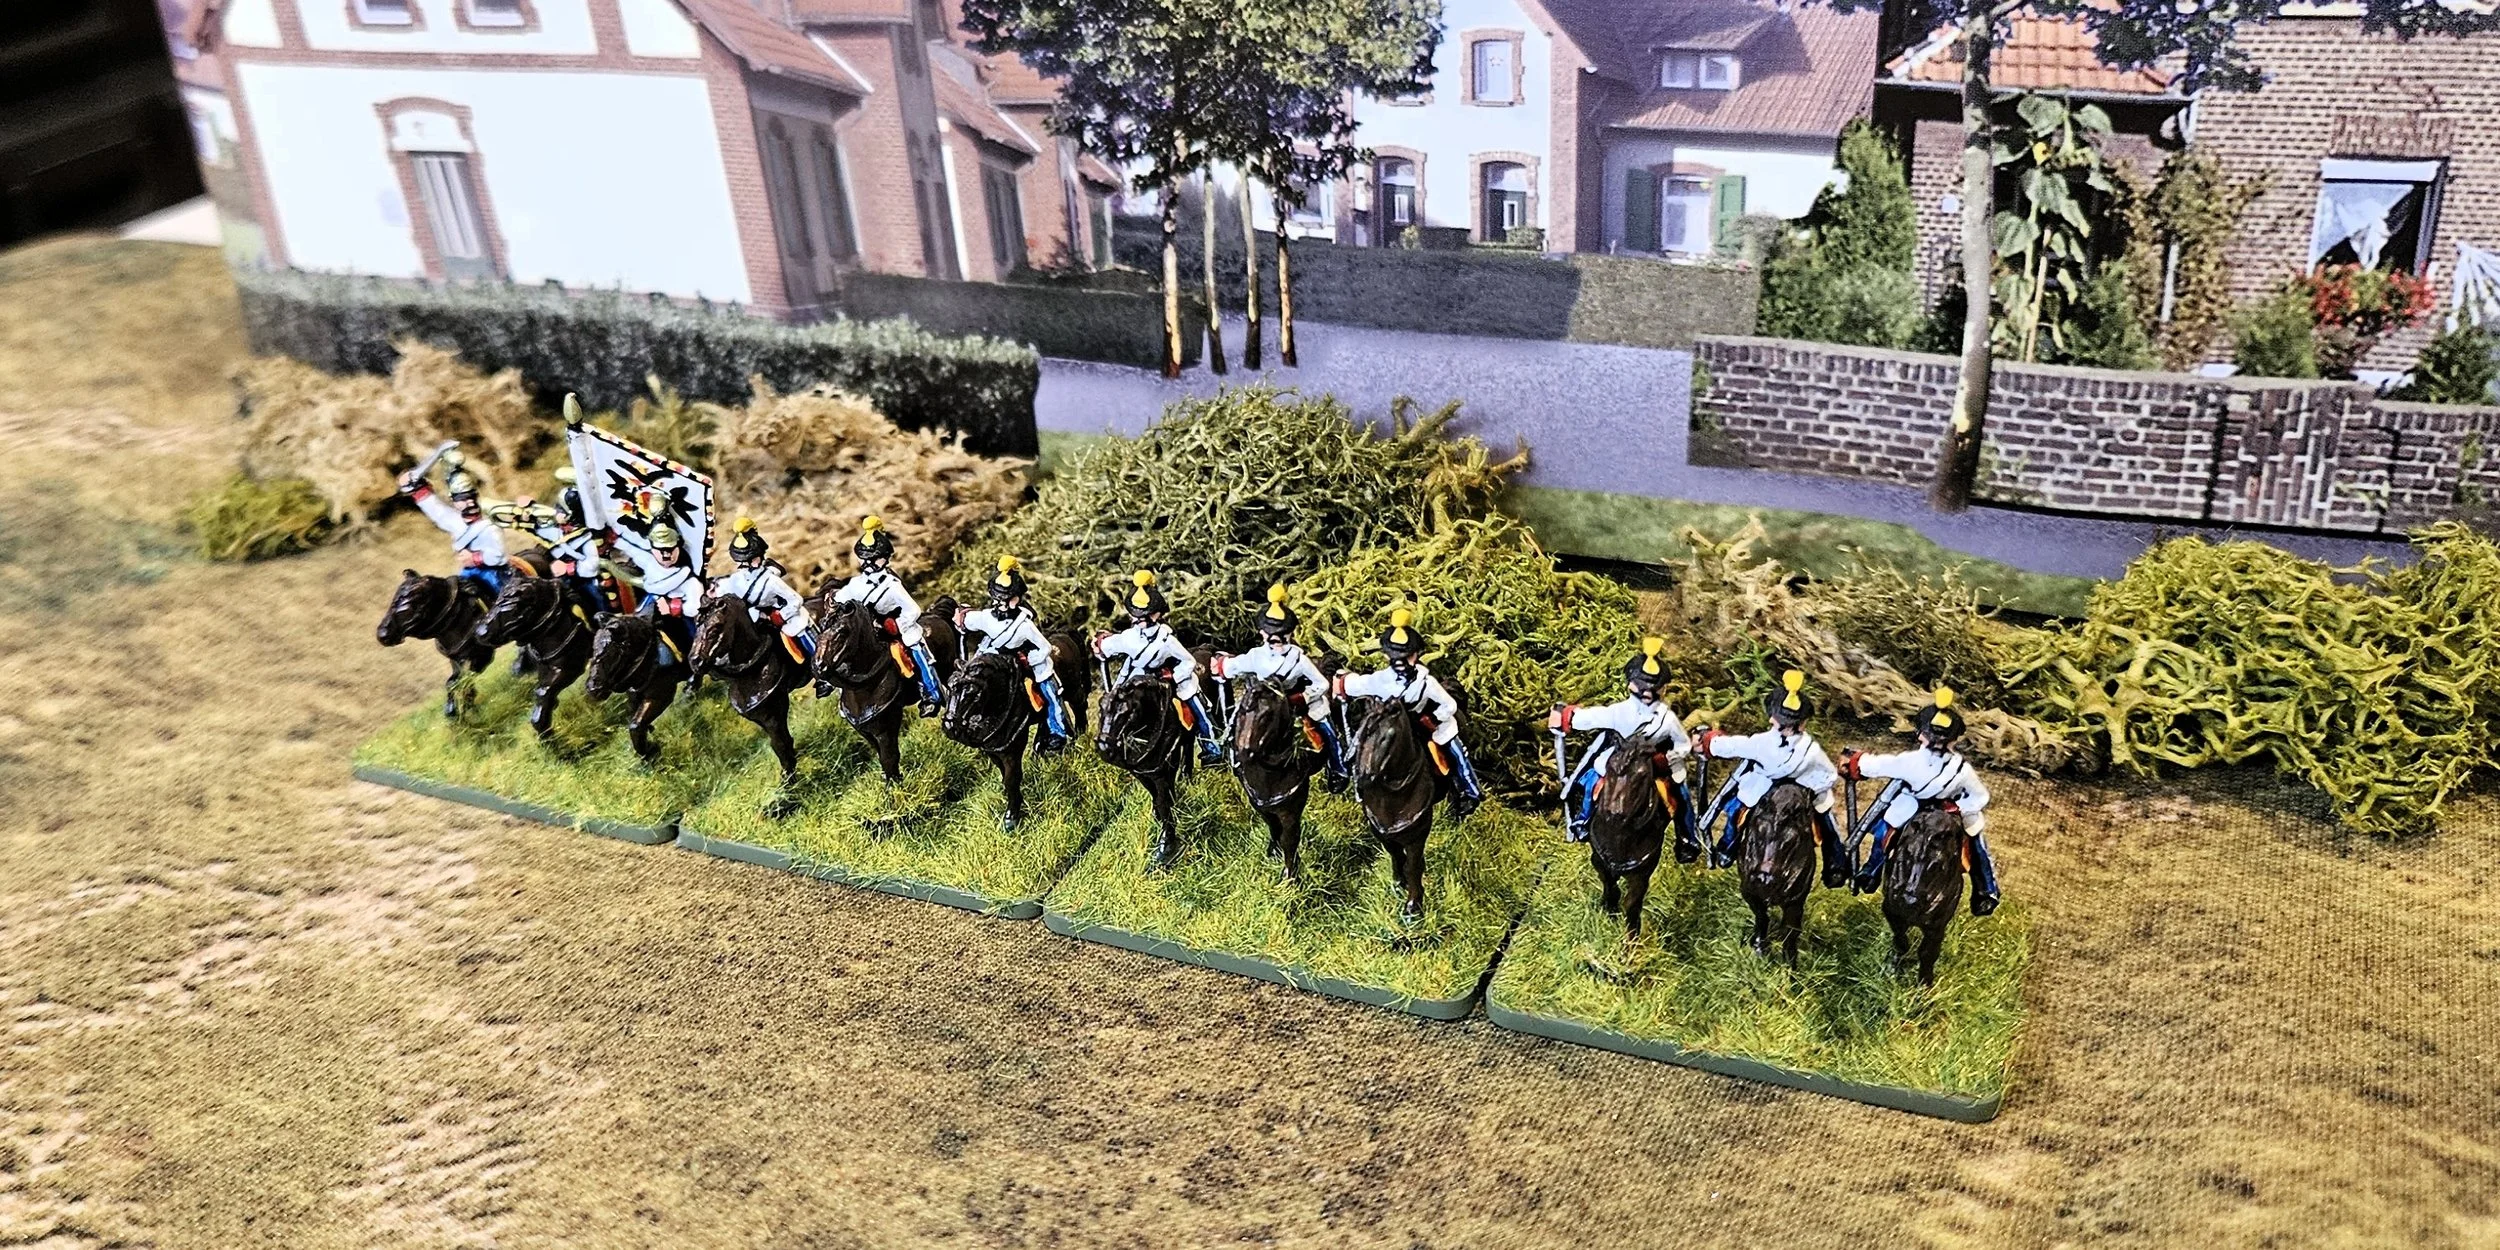
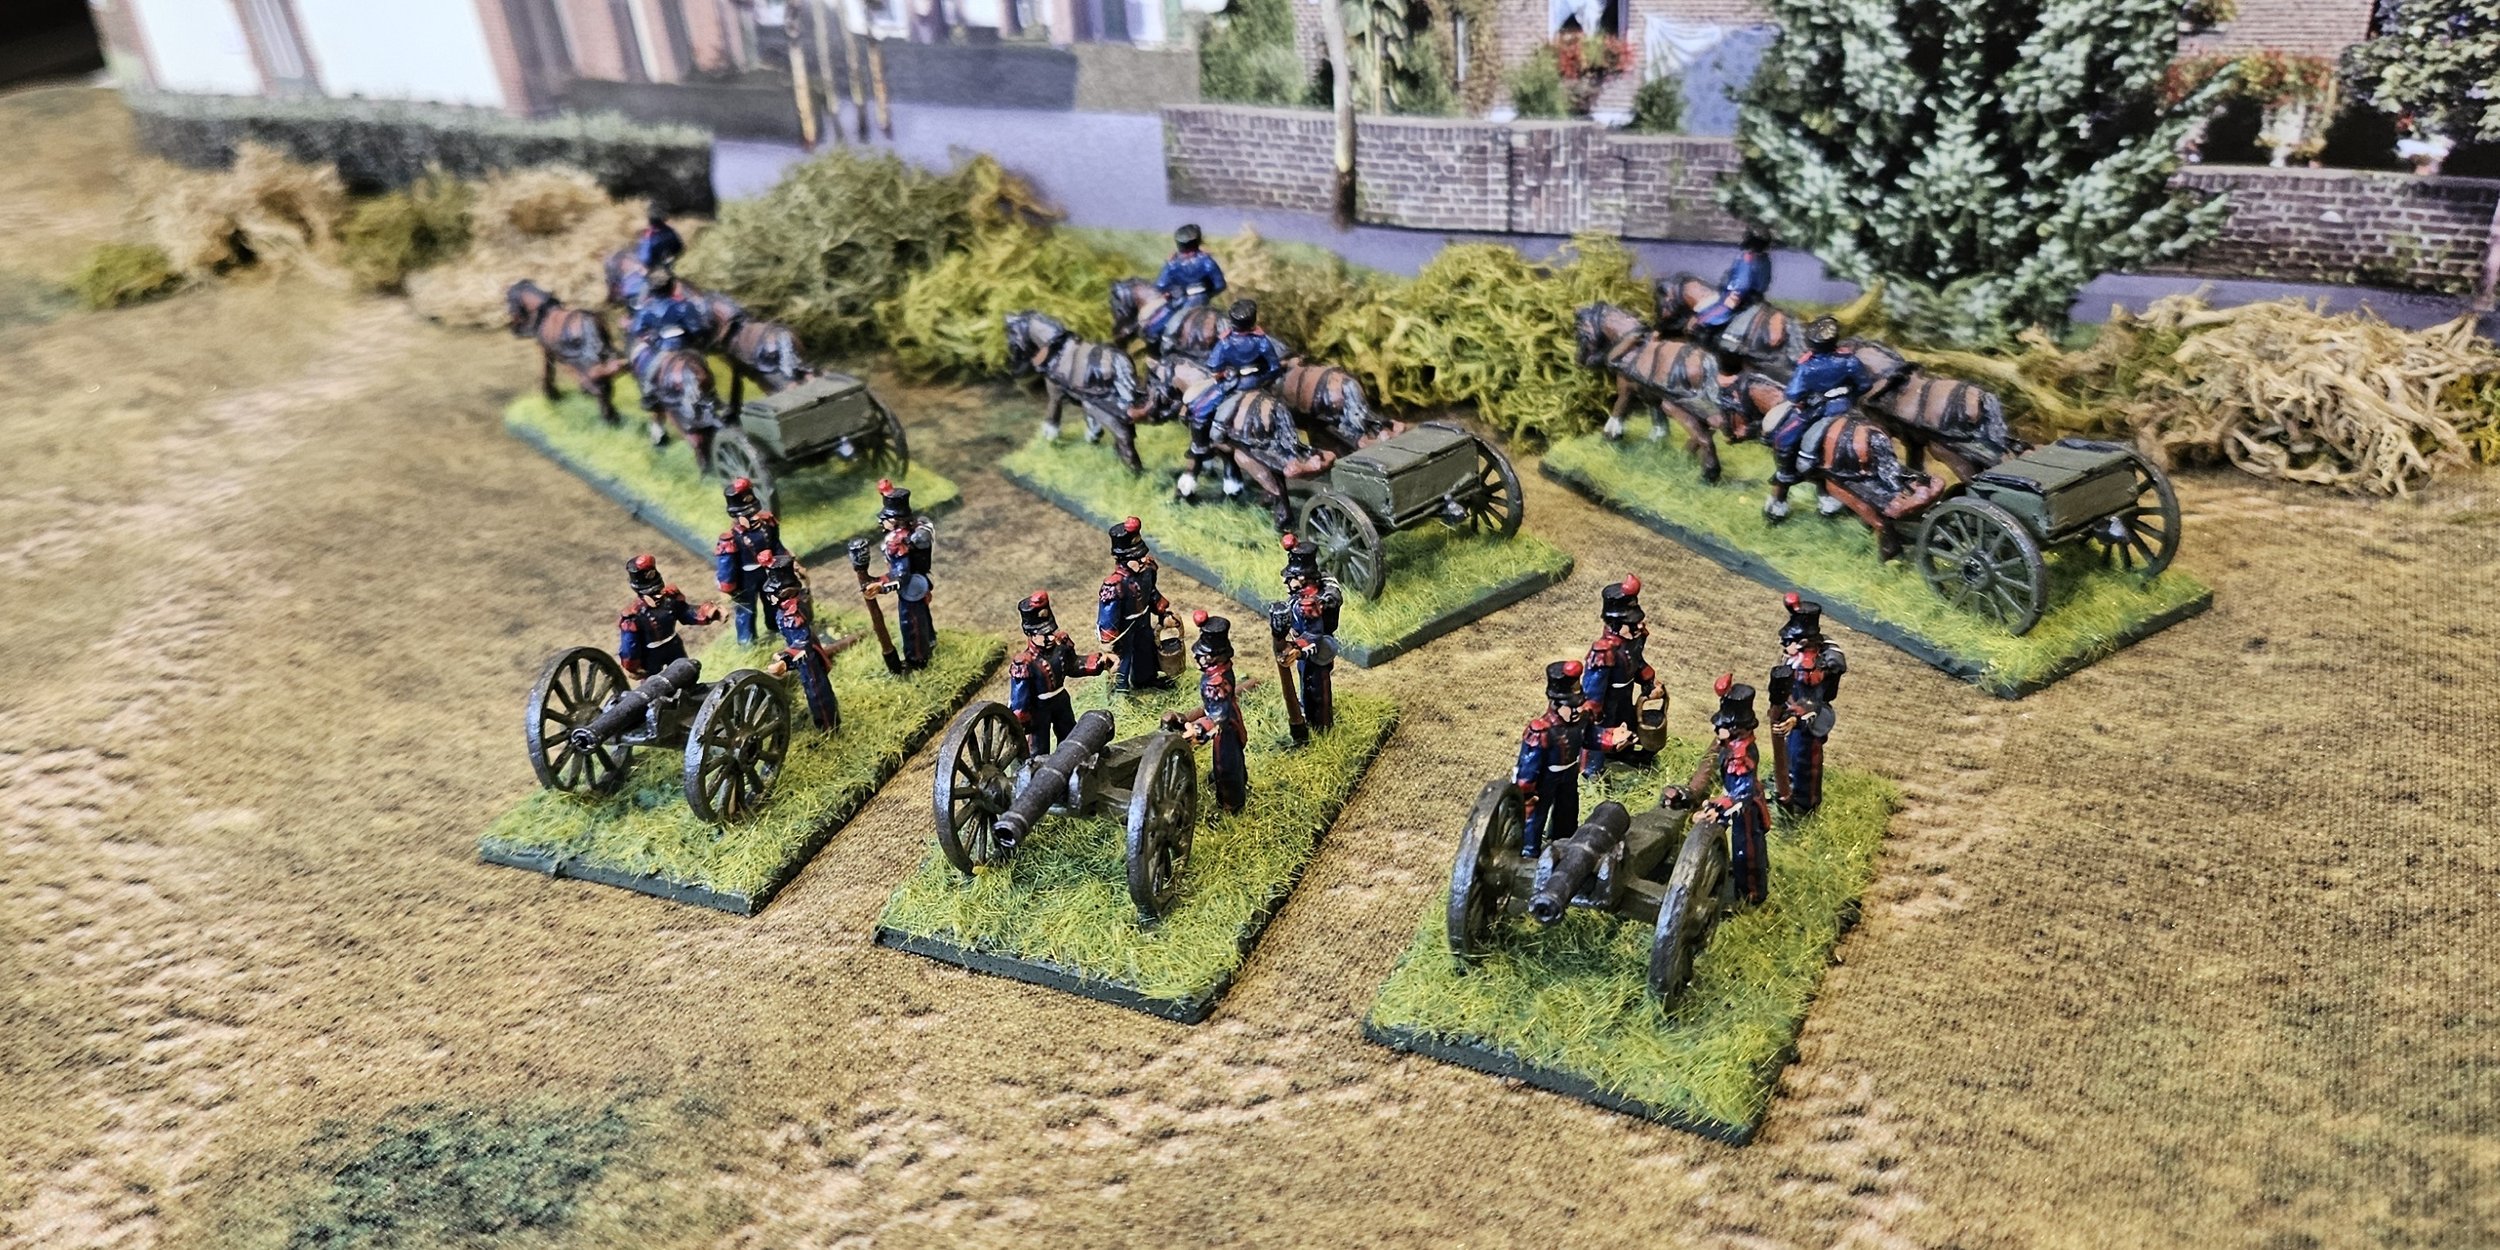
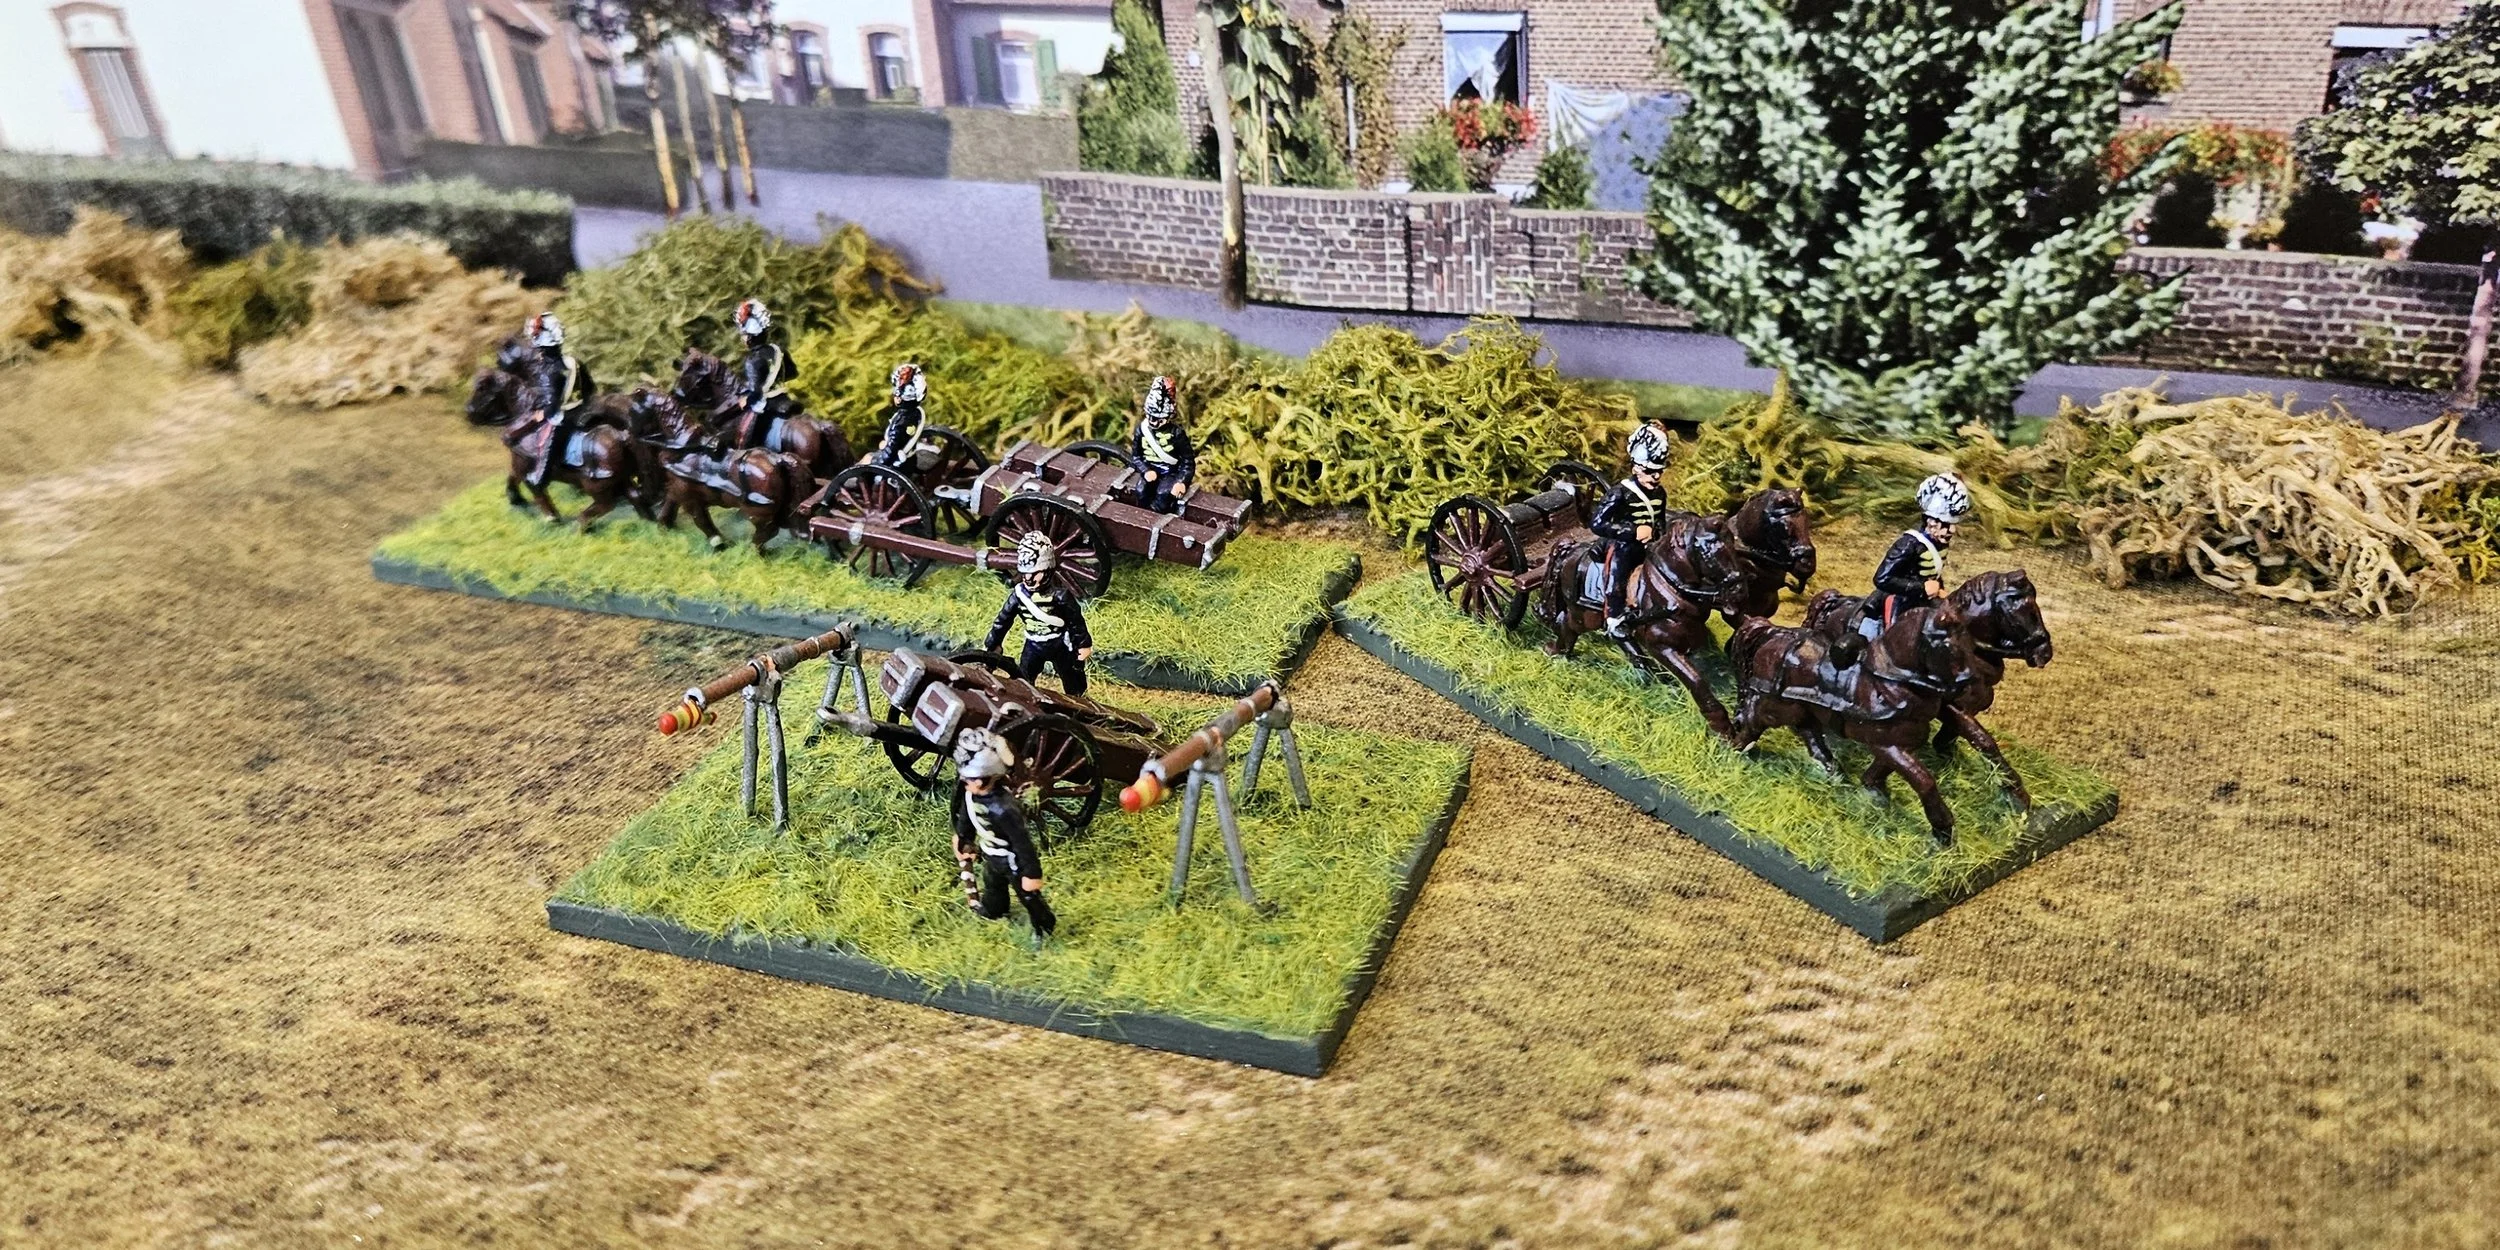
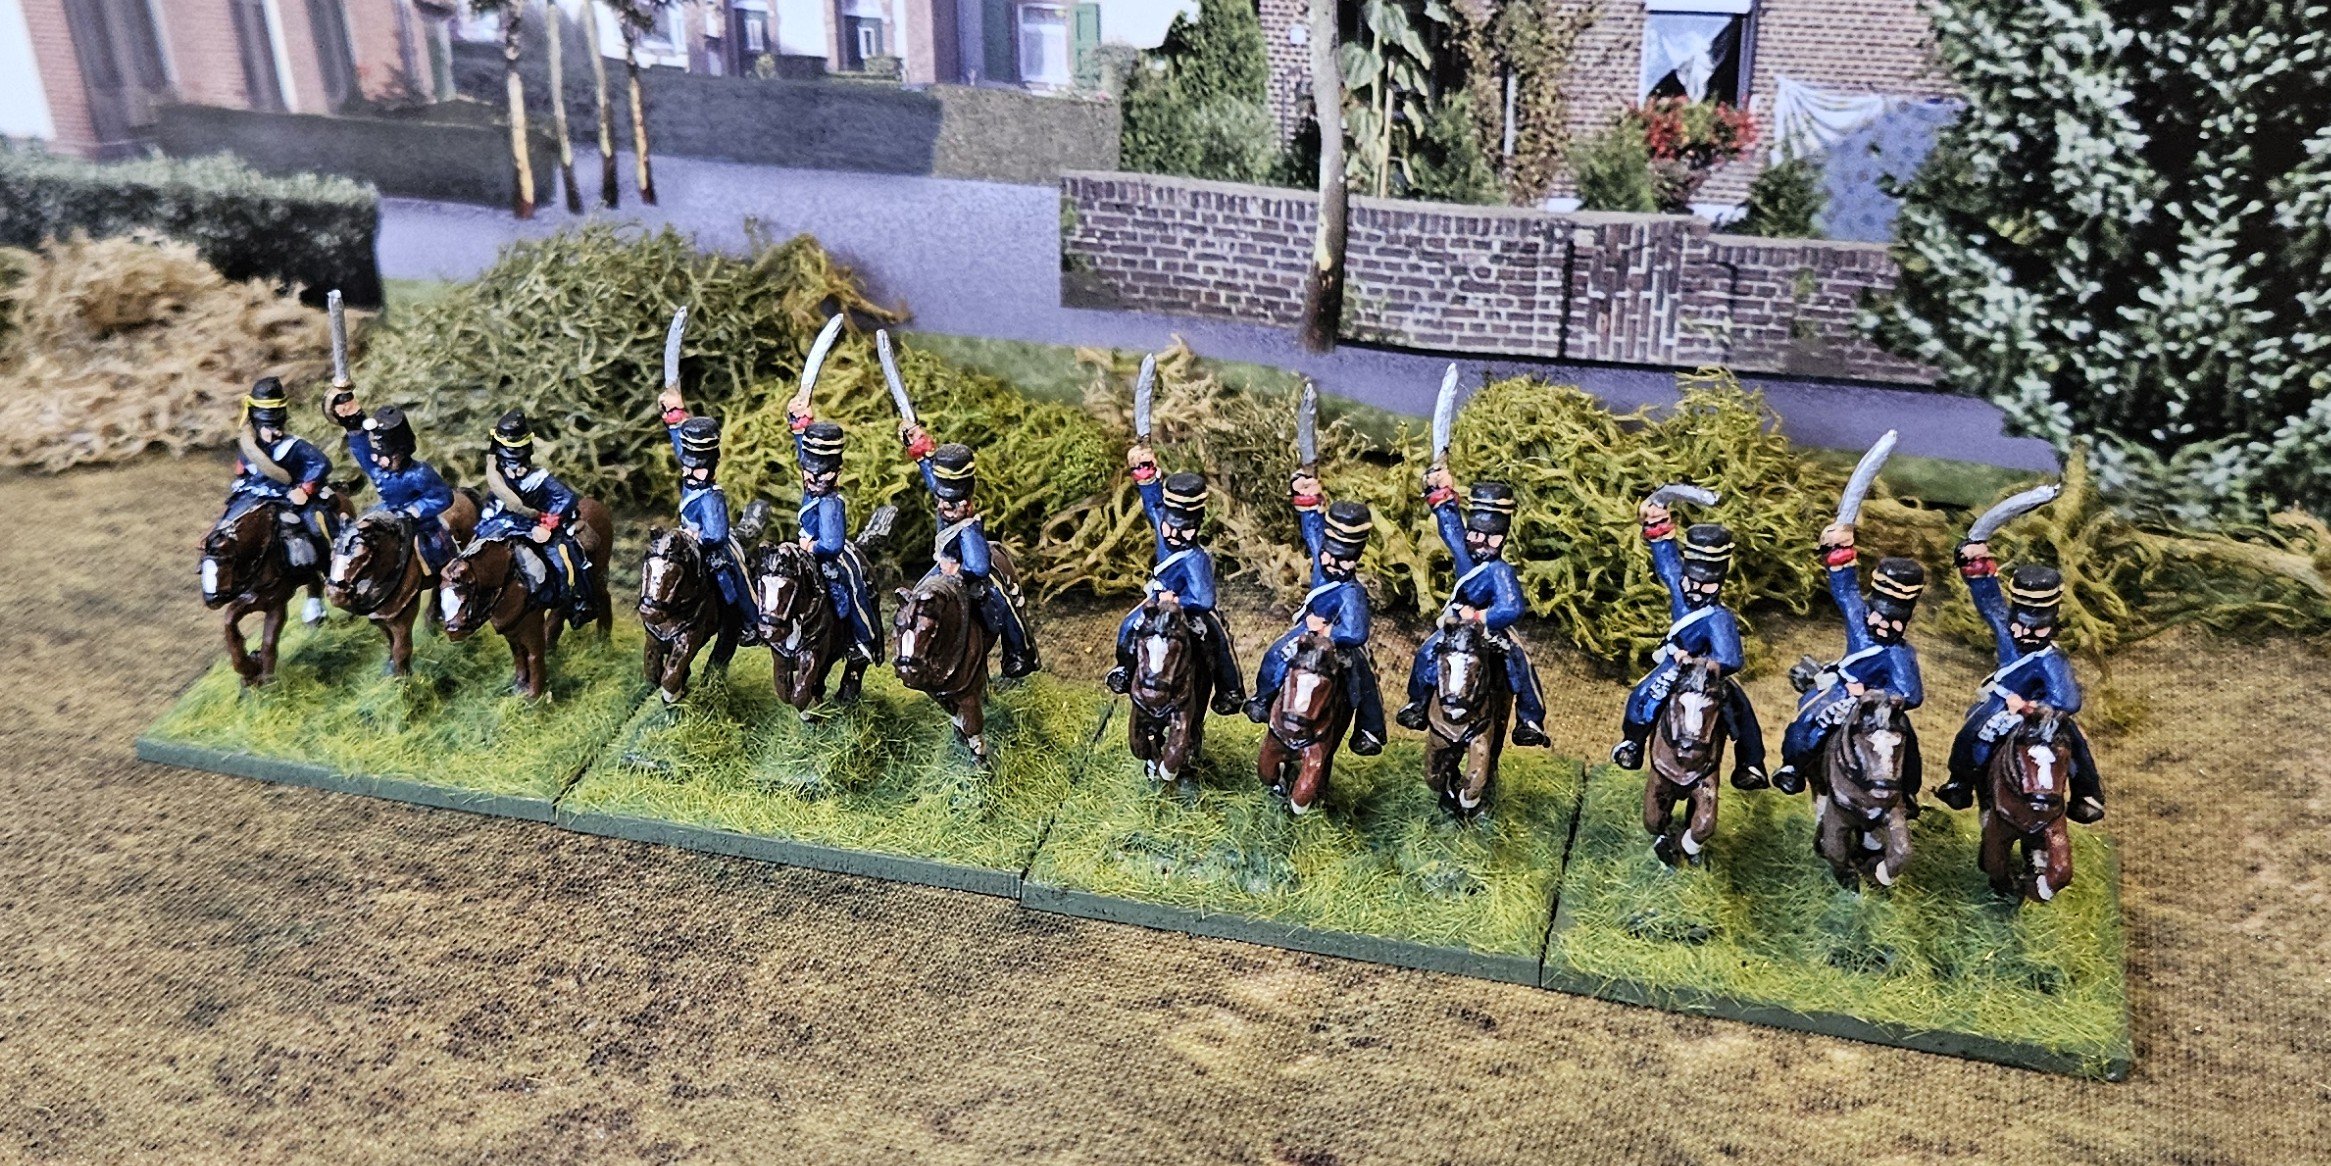
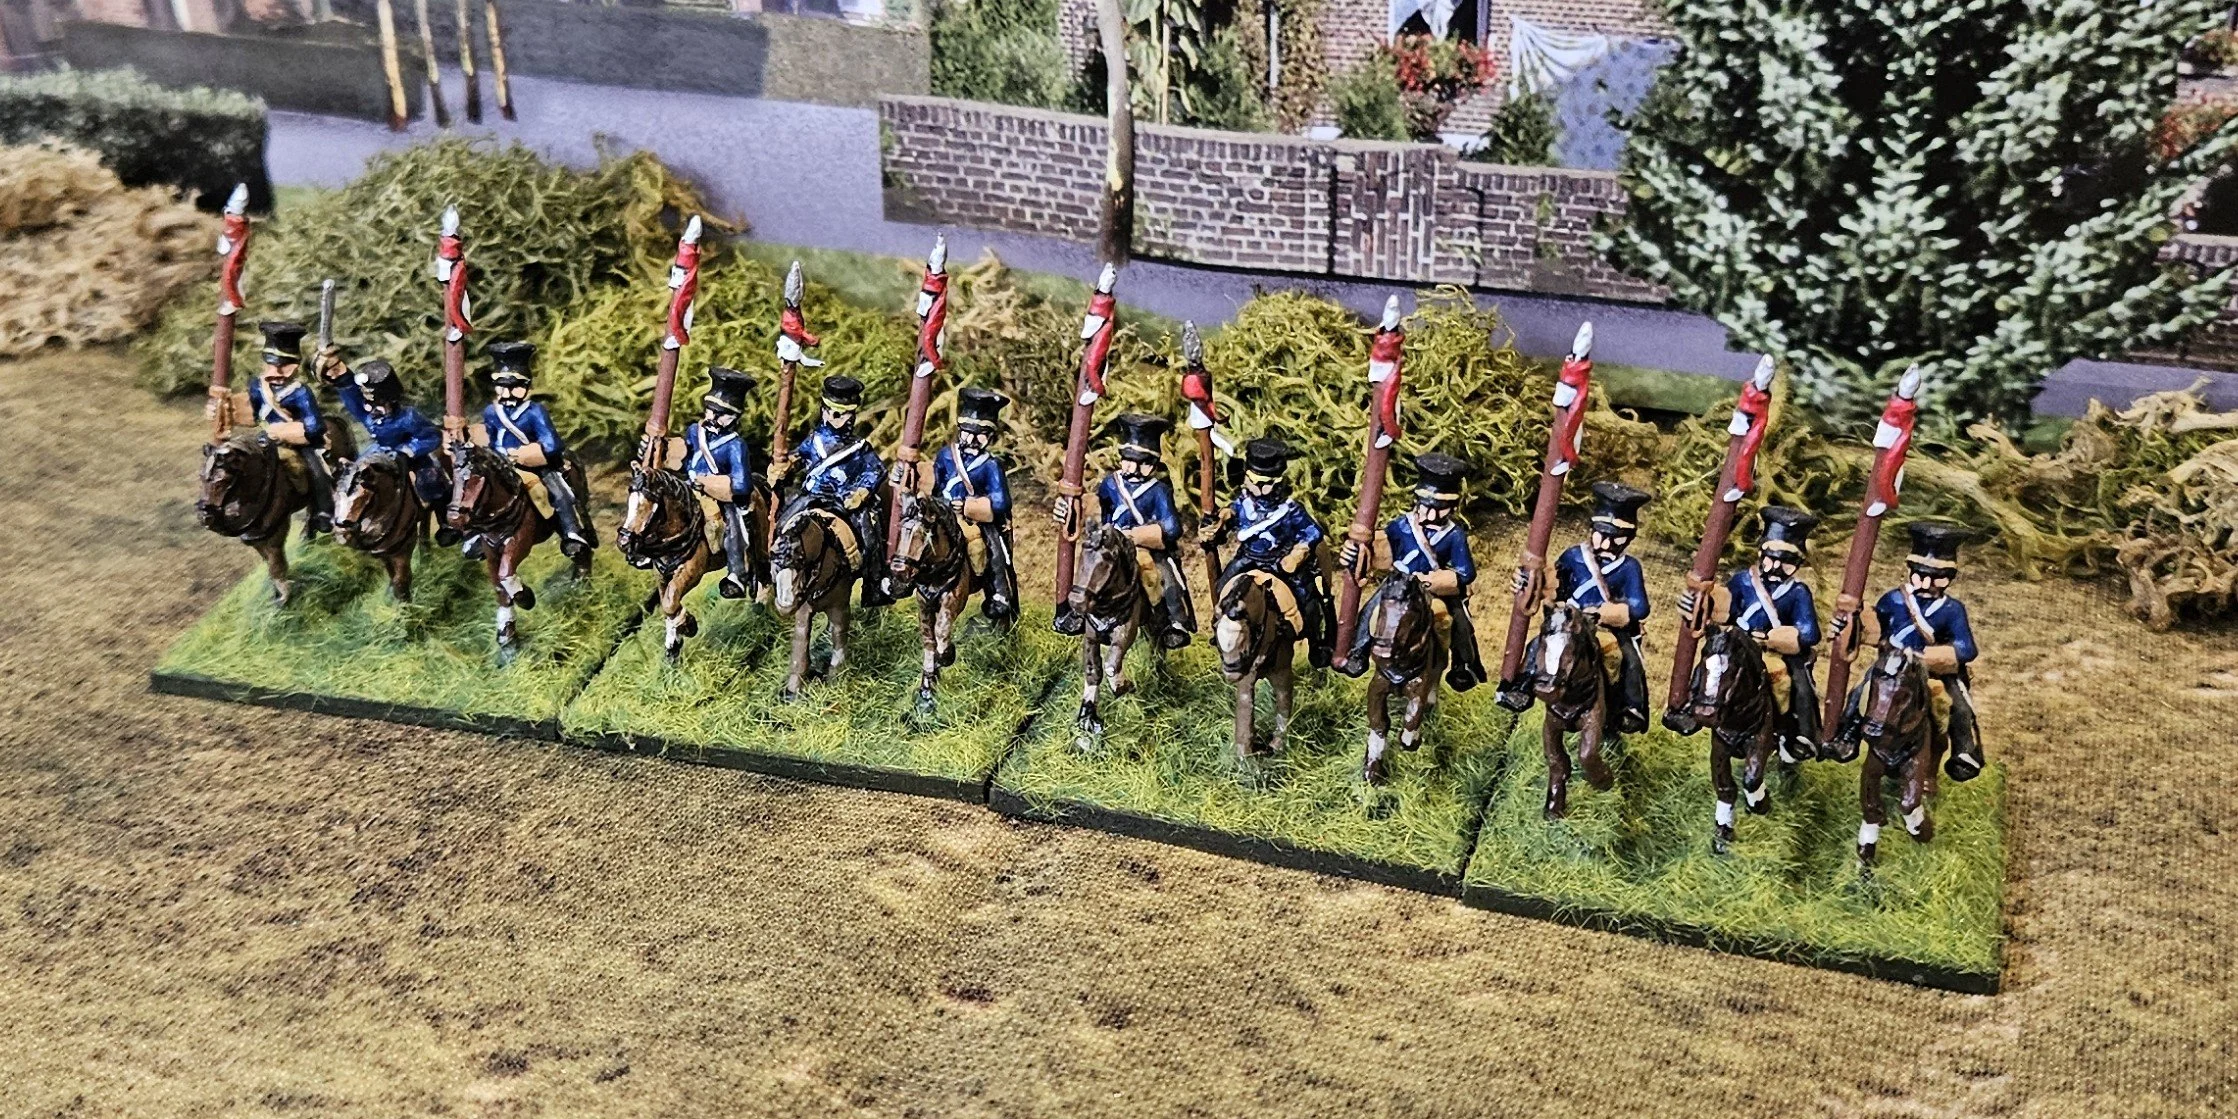
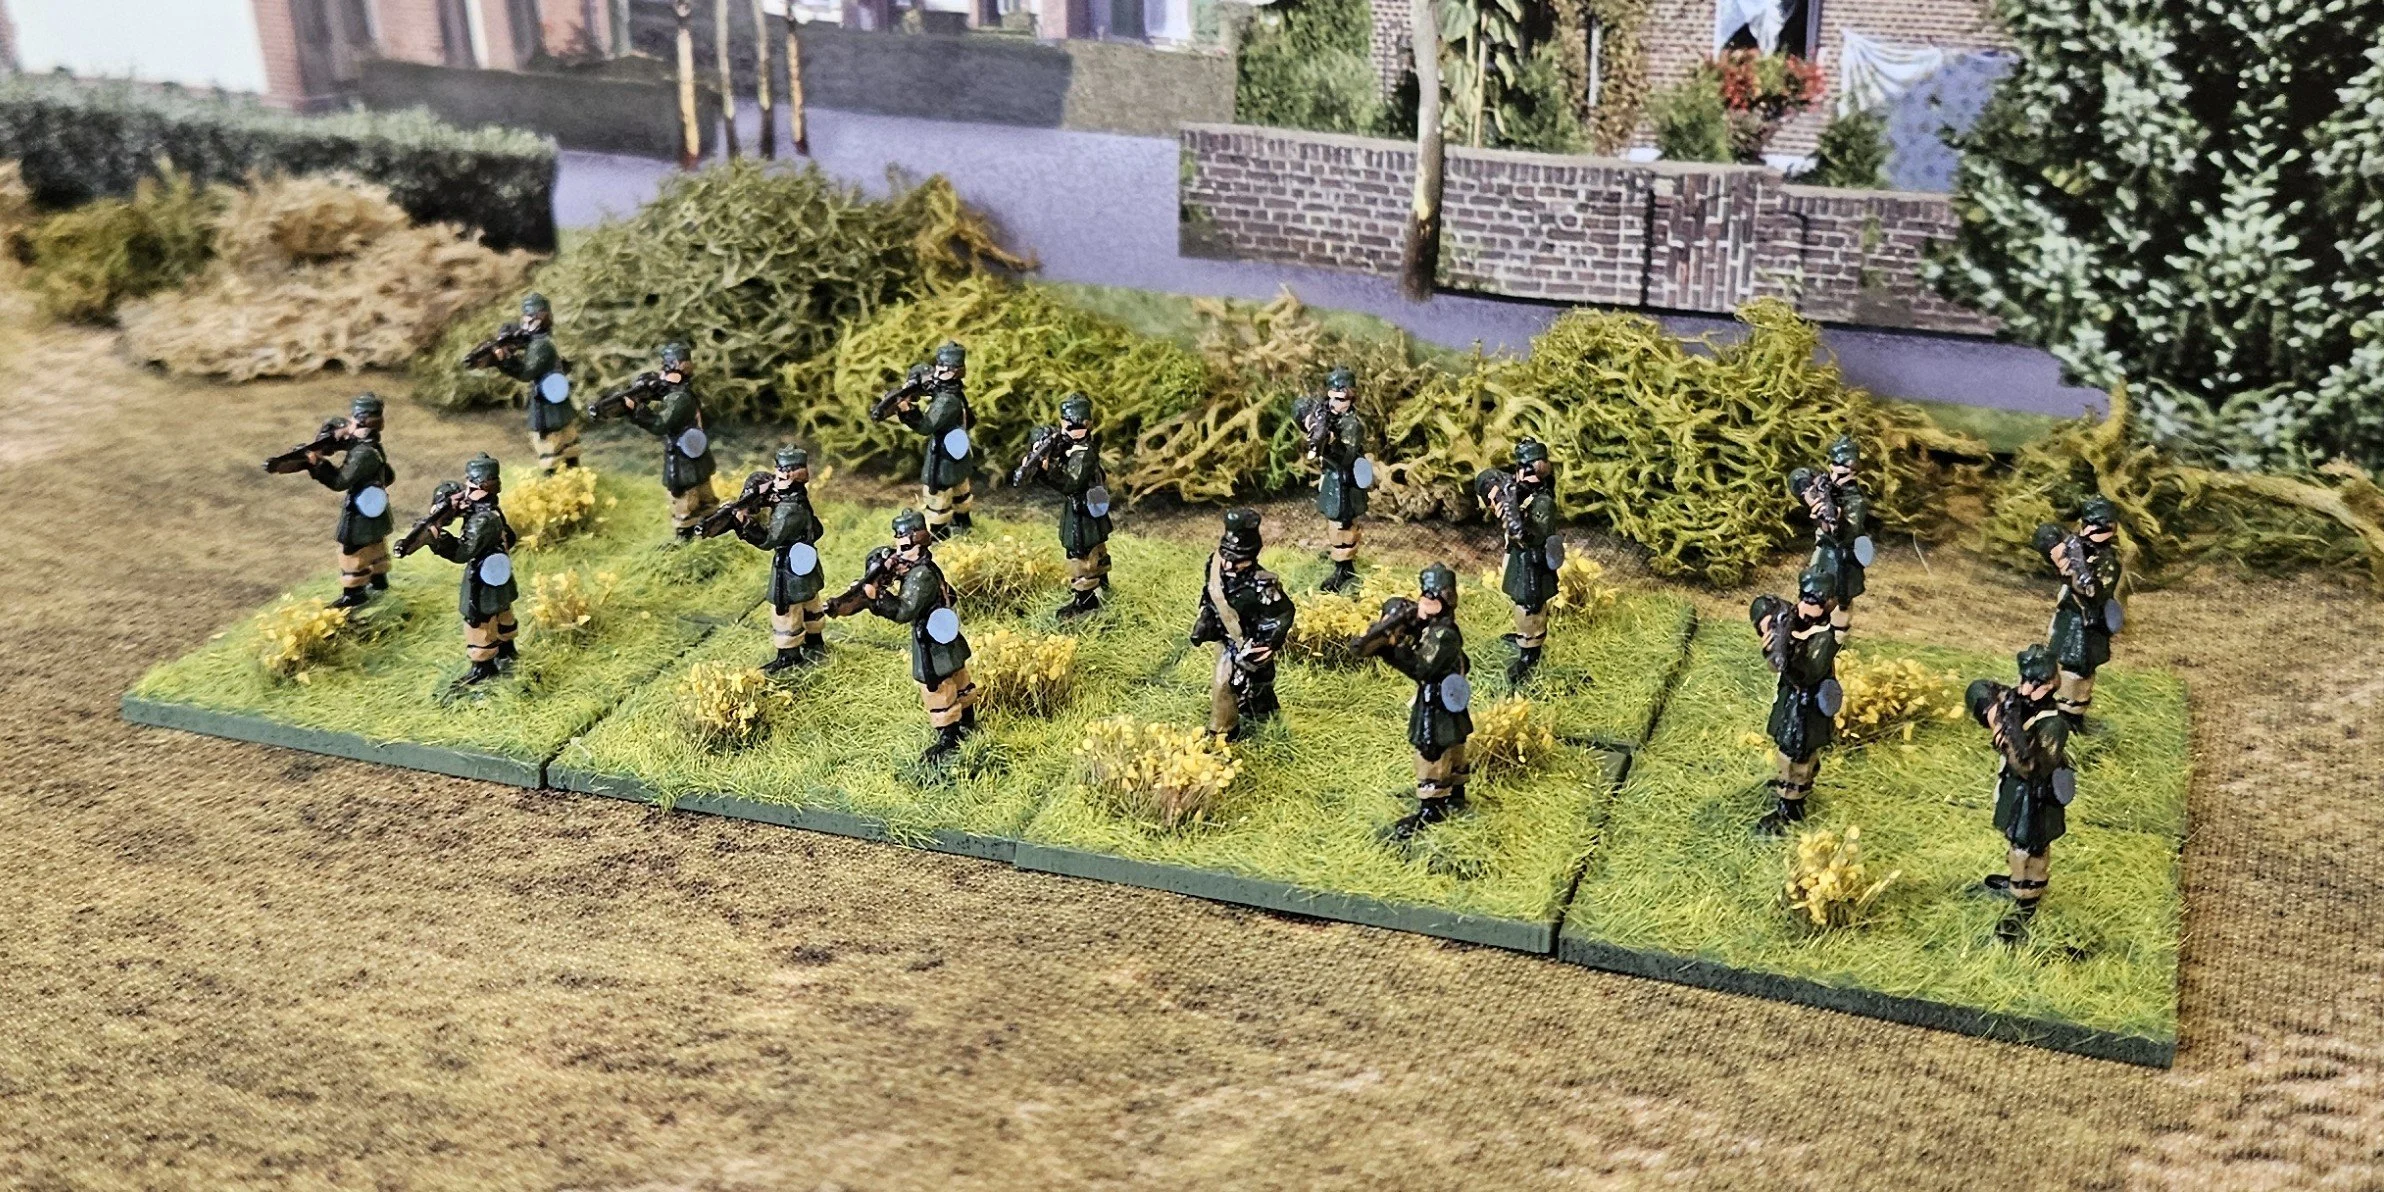
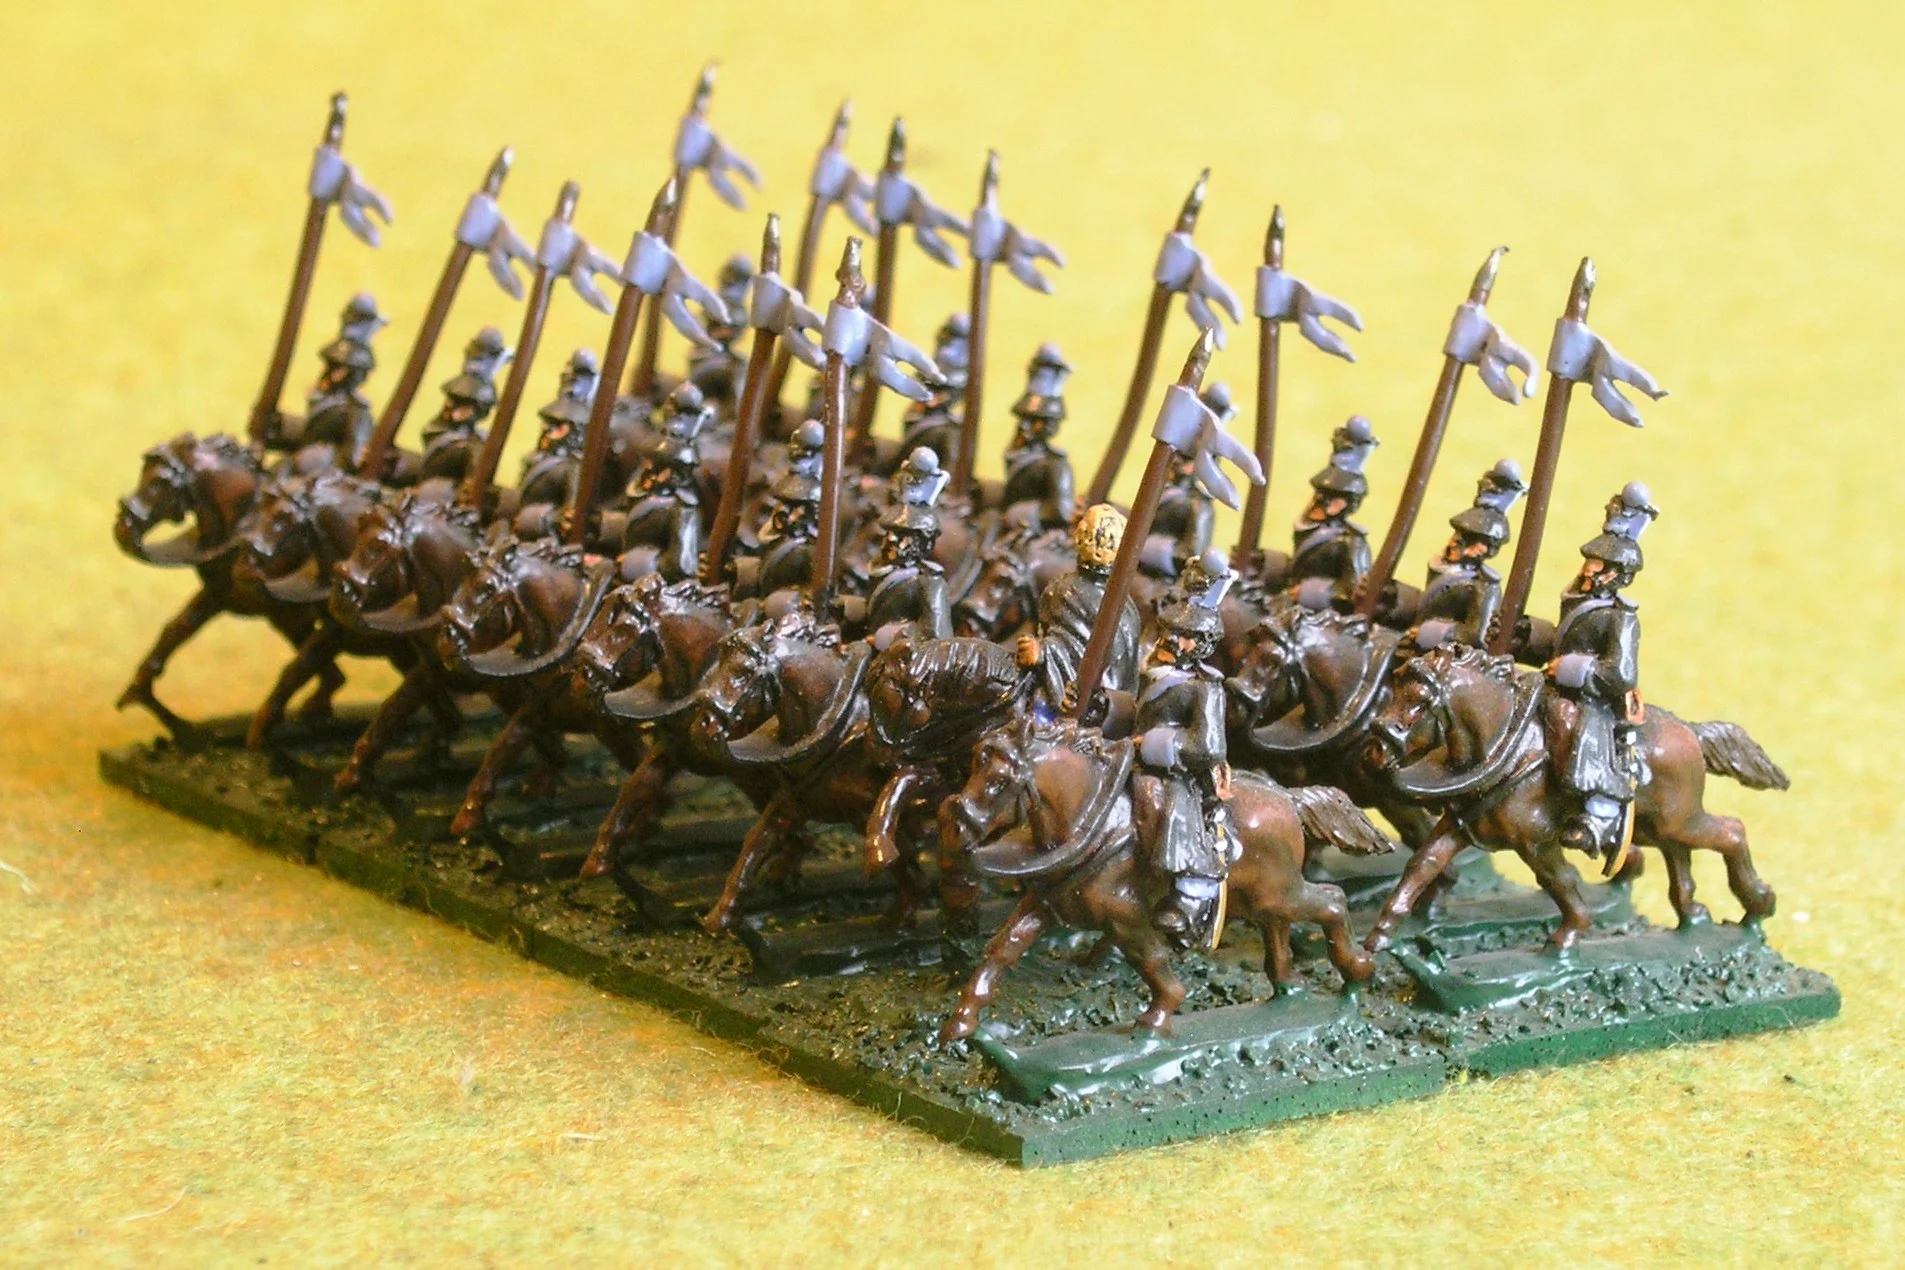
The Austrian army of 1866 represented the culmination of the Habsburg Empire’s mid-century military system—and its decisive test in the Austro-Prussian War. Commanded by Ludwig von Benedek, the army was still a vast, multi-ethnic force drawn from across the empire, noted for its discipline, strong artillery arm, and experienced officer corps.

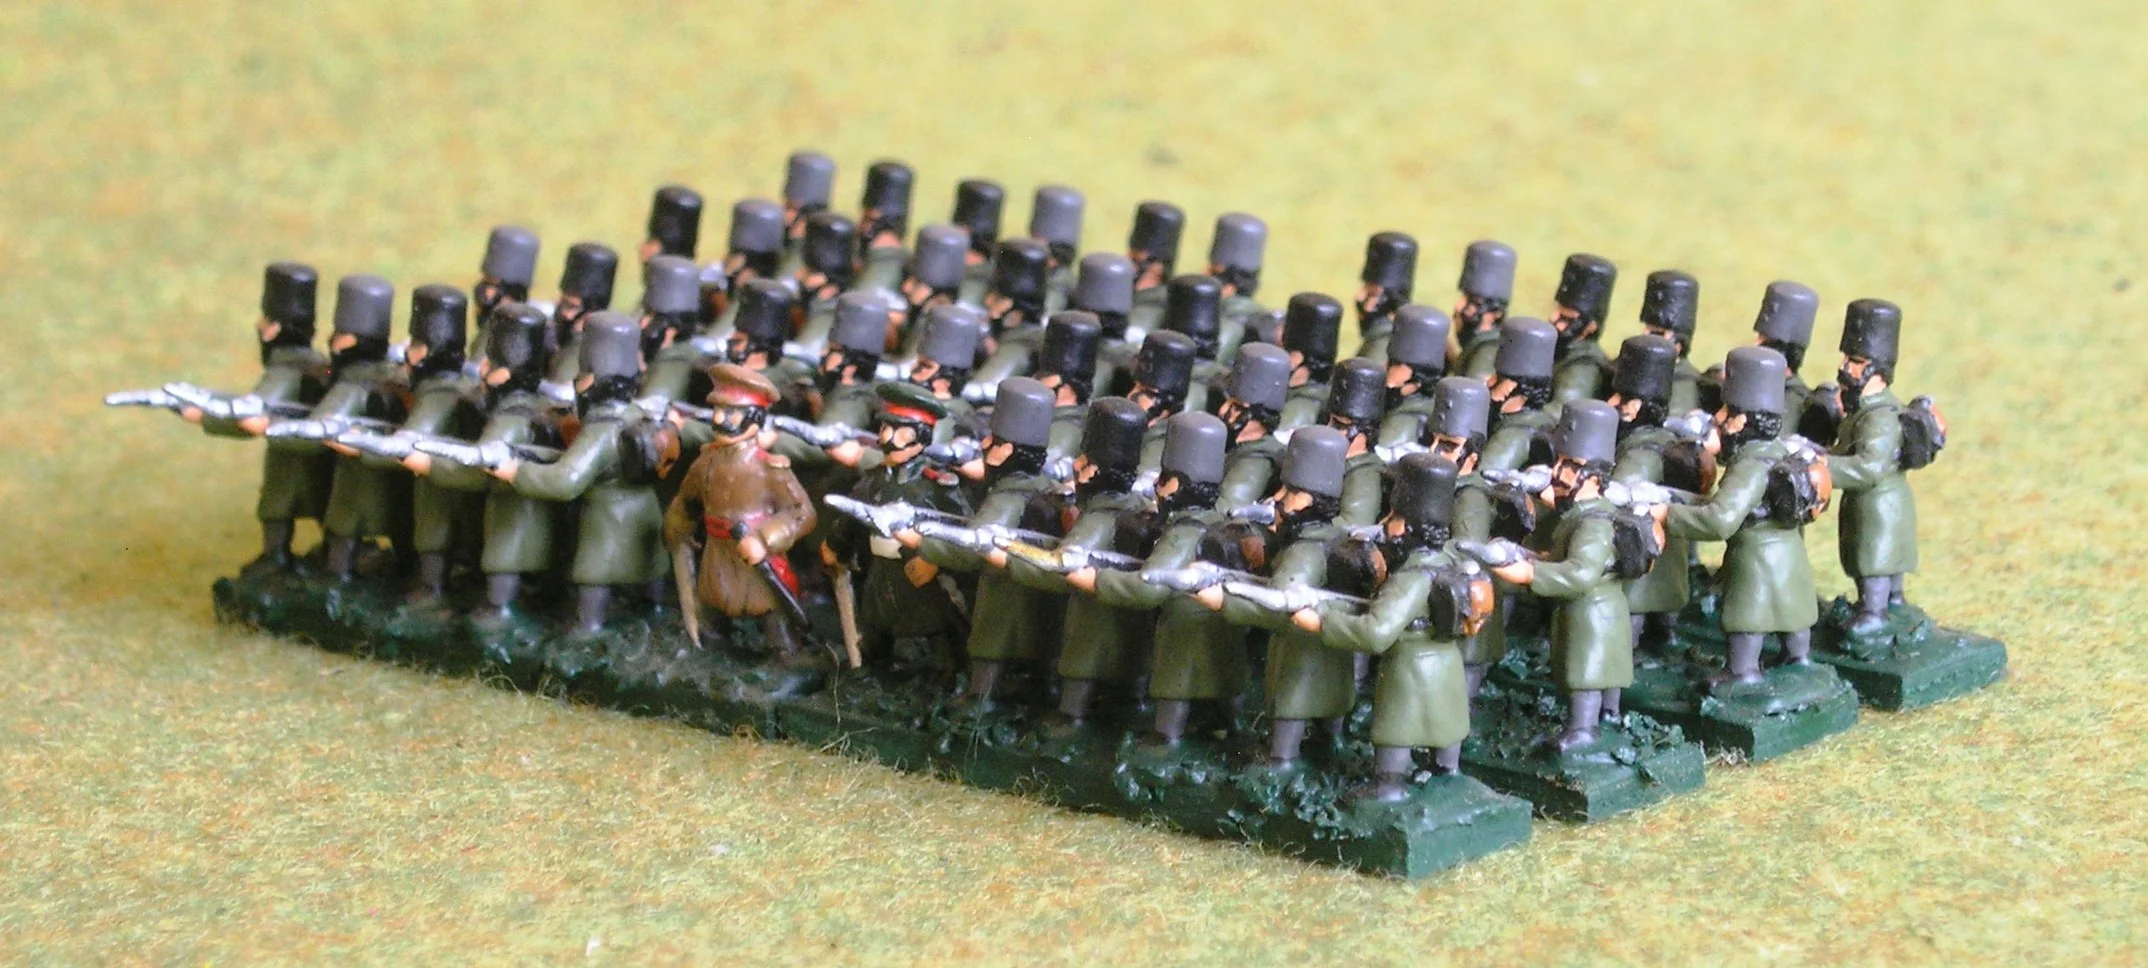
By this point Austria had implemented some reforms after 1859, including improvements in organization and the introduction of rifled small arms such as the Lorenz rifle. However, these advances were undermined by conservative doctrine and slower rates of fire compared to the Prussian Dreyse needle gun. Austrian infantry still relied heavily on massed formations and shock tactics, which proved costly against modern breech-loading weapons.

The campaign in Bohemia exposed these weaknesses. Although Austrian artillery often performed effectively, the army struggled with coordination, reconnaissance, and operational flexibility. These problems culminated in the decisive defeat at the Battle of Königgrätz (Sadowa), where Prussian mobility, staff work, and superior firearms overwhelmed Austrian positions.

The defeat of 1866 marked a turning point: it ended Austria’s dominance in German affairs and forced a thorough reorganization of the imperial army, paving the way for the later Austro-Hungarian military system.

Command

Line Infantry Regiment

Jaegers

Cavalry

Artillery & Commissariat


The British Army during the Crimean War (1853–1856) was a professional but often poorly managed force sent to fight alongside France and the Ottoman Empire against Russia, most notably on the Crimean Peninsula. British troops were generally well-trained and disciplined, and they proved effective in major battles such as the Battle of Alma, the Battle of Balaclava, and the Siege of Sevastopol. Most were volunteers rather than conscripts, drawn largely from the working classes of Britain and Ireland. They were known for their strict drill, strong regimental identity, and pride in their units.

In terms of equipment, British infantry were among the first to use the modern Minié rifle, which gave them better range and accuracy than older muskets. Cavalry units, including the famous Light and Heavy Brigades, were well trained but sometimes used in outdated or poorly coordinated ways, as seen in the Charge of the Light Brigade under James Brudenell. Artillery units were generally competent, though limited in number and sometimes hampered by supply issues.

The army suffered from serious logistical and administrative failures. Poor supply systems, inadequate medical care, and harsh winter conditions led to widespread disease and high casualties—far more than were caused by combat. Leadership issues also hampered effectiveness, with some commanders criticized for outdated tactics and miscommunication, famously illustrated by the Charge of the Light Brigade under James Brudenell.

Despite these problems, British soldiers demonstrated resilience and battlefield skill, contributing significantly to the eventual Allied victory over Russia. The war also exposed the need for reform, leading to major changes in military organization, supply, and medical services in the years that followed, influenced in part by figures like Florence Nightingale.

Command

1st (Guards) Division: 1st (Guards) Brigade

1st (Guards) Division: 2nd Brigade

Attached

Light Cavalry Brigade

Heavy Cavalry Brigade

Other Troops


Another army that I really like: the Imperial Chinese with a few Boxers added in for good measure. This is another army made up of figures from a painting service and, again, I can't remember which service it was or even who the figure manufacturer is...I think it's Irregular, and I think that it was their in-house painting service, but I'm not sure.

 The great thing about the Imperial Chinese is how unrelentingly rubbish they are! A loss can be greeted with a shrug of the shoulders and no shame, a victory can be celebrated as an incredibly impressive achievement, especially as they are usually fighting much smaller but much better armies from France or Britain. I think the trick is not actually to engage the enemy at all ("the art of fighting without fighting") at least until you can get close enough to overwhelm them through sheer numbers. Oh, and don't tell the Boxers that their lucky amulets don't work very well!

Officers

Imperial Bannermen

Boxers

"Buy your lucky bullet-proof amulets here!"


My Later British armies were the first 15mm figures that I ever painted...and it shows! They are simple block paint jobs, no shading, no washing...and those eyes!

I look at these now and almost cringe...but then I remember that no-one starts out a genius painter: it's something that has to be learnt, like any other skill. I might be able to paint a lot better nowadays (as I said, to the point where these make me cringe) but everyone has to start somewhere. These serve as a good reminder of that. And, anyway, a quick wash and then a couple of highlights, and these would fit right in with my later efforts.

The army is split into two parts: those in mainly red jackets and based on 'grass'; and those mainly in khaki and based on 'sand'. Almost all the figures are from Essex Miniatures.

For South Africa

For the Sudan & North West Frontier


My French figures have fought throughout the nineteenth century from the Crimea through the Franco-Austrian War, the Maximillian Adventure in Mexico, the Franco-Prussian War right up to the Boxer Rebellion in China. Obviously some of the units are specific to specific campaigns (the sombrero-wearing Marines for Mexico, for example) but I've never worried too much about getting exact representations.

The figures are almost from Freikorps: a manufacturer that I used a lot for my 19th century European armies. Must confess that I don't even know if they still exist now (if only we had an easily accessible source of the world's knowledge!) but I used to pour over the catalogue for hours on end.

These are still painted in simple block colours style, but are an improvement on some of my earlier work. I will eventually get around to highlighting them and flocking the bases which, I think, will improve them no end.

Command

Line Infantry

Troops for Colonial Service

Line Cavalry

Guard Units

Artillery & Supply


I had forgotten how much I like the look of my Egyptian troops until I got them out of storage in order to photograph them. I think it must be something to do with Jon Courtney Grimwood's Arabesk trilogy, but I have a soft spot for troops in fezs!

My Egyptian force consists of two brigades, with each brigade having the same composition: three battalions of infantry, a squadron of cavalry, and a couple of guns. 

These days, as I don't play much 19th Century at the moment, my Egyptians will probably find themselves proxy-ing as Libyans for my Operation Compass games...but at least they'll be on the table!

Command

1st Brigade

2nd Brigade


My Mexican Juarista army is one of my absolute favourite armies from my collection of nineteenth century figures. Nicely painted, full of character: a wonderful mix of uniformed line infantry, less well-uniformed line infantry, and Mexican peasantry.

Another confession: I didn't paint this army either. Obviously feeling flush, I paid for this army to be painted and based for me...although I have added a few bits and pieces over the years.

The Juarista's have fought the French invaders many times, sometimes successfully, and have also swooped through history to fight the Americans and Texicans in earlier wars. A great excuse to showcase a range of appalling accents as well!

Command & Elite Troops

Line Troops

Line Cavalry

Artillery & Tail

Peasant Infantry

Peasant Horse

Odds & Sods

The Stage


The Mahdists, or Ansar if you like, are one of the earliest 15mm armies that I actually painted myself. Fresh out of university, determined that 15mm 19th century gaming was what I wanted to do, I spent a ridiculous amount of money on a beautifully painted, second hand Zulu army, and then painted (badly) a whole lot British figures to fight them. Once they were done, and I'd had enough of Brits vs Zulu games, I decided that the next conflict to model were the various Sudan campaigns.

I'd also heard about this marvellous new painting technique called dipping or washing, where you roughly painted a figure (phew!) and then covered it in brown wash or magic dip. This I could manage, so away I went and produced the figures you can see below. 

Now almost thirty years old, you can see how dark they are: at that time I didn't know the maxim "paint 15s one shade lighter than you would anything larger" that has recently seen me in good stead. The finish I use has also darkened over time. But, as I said, at the time these were the best figures I'd ever produced. You can also see how I've more recently added some command figures that are painted with highlights rather than wash: good to see how one's painting technique improves over time!

Main Infantry Force

Skirmishing Infantry

Mounted Troops

Henandoah

Guns & Train

The Mahdi & an Emir


I've always been fascinated by the Crimean War: one of the last few classically 'Napoleonic' wars before technology changed things again.

My Crimean Russians are a nice little army: solid battalions of drab-coated infantry commanded by glittering officers, supported by equally solid masses of cavalry and hordes of Cossacks. Although most of the army is painted to the standard I was achieving at the time, the officers and Dragoon Guards show that I was reaching for more.

The figures are mostly Essex, IIRC, with quite a few Minifigs thrown in, and one unit from Irregular. Confession time: the Hussars were bought painted at a Bring and Buy, and the Don Cossacks were painted by the Irregular Miniatures painting service. All the rest are my work...and I do love the Dragoon Guards!

Command

Line Infantry

Line Cavalry

Artillery et al.

Cossacks


The Prussians: a small but perfectly formed army!

Small because the rules we play work on a points system...and the Prussians, with their breechloaders, big units, Guard troops, excellent artillery and cavalry etc. tick all the boxes for maximum points values and, as they have shown many times, are very well formed indeed.

Most of these figures aren't actually mine: all except the Cuirassiers and Dragoons belong to a friend who used to be a regular part of our wargaming group. They have, however, lived with me for so long that they are part of the collection in spirit if nothing else.

If I remember correctly, the figures are all Freikorps 15s, with the possible exception of a few Essex Napoleonic command figures.

Command

Prussian Infantry

Prussian Cavalry & Artillery


The Spanish Army during the 1898 Spanish–American War was a large but outdated force struggling to maintain Spain’s remaining overseas empire, particularly in Cuba, Puerto Rico, and the Philippines. Although Spain had experienced soldiers—many hardened by years of colonial warfare—they were poorly equipped compared to U.S. forces, often using obsolete rifles, limited artillery, and lacking modern logistics and naval support.

The Army was organized along traditional 19th-century European lines, but adapted for imperial service in overseas colonies such as Cuba, Puerto Rico, and the Philippines. On paper it was a large force, but in practice it was unevenly structured and strained by distance and logistics.

Overall structure

The army was divided into peninsular (mainland) forces and overseas expeditionary forces. Units sent to Cuba or the Philippines were typically grouped into army corps or divisions, which were then broken down into brigades, regiments, and battalions. However, in the colonies this structure was often improvised, with units scattered across garrisons, fortified towns, and railway lines to combat insurgents.

Infantry

Infantry made up the bulk of the Spanish Army. The core unit was the regiment, usually divided into two battalions. In Cuba especially, infantry units were frequently split into smaller columns or detachments to patrol the countryside and fight guerrilla forces. Spain also relied on locally raised auxiliary units (often called “volunteers” or loyalist militias) to supplement regular troops.

Cavalry and Artillery

Cavalry units were relatively small and used mainly for reconnaissance, patrol, and anti-guerrilla operations rather than large battlefield charges. Artillery units existed but were limited in number overseas; they were used to defend fortified positions and cities rather than maneuver in open battle. Coastal defense artillery was more important than field artillery because Spain expected to defend ports from naval attack.

Command and leadership

Overall command in each colony was held by a Captain General or Governor-General, who combined both civil and military authority. In Cuba, commanders such as Valeriano Weyler and later Ramón Blanco directed large numbers of dispersed units, making coordination difficult. Communication relied on telegraph lines and couriers, which were often disrupted by insurgents.

Colonial adaptation

Because Spain was fighting both insurgencies and a modern external enemy, its army was organized for static defense and counter-insurgency rather than mobile, large-scale warfare. Troops were spread thinly across blockhouses, forts, and transport routes, especially in Cuba. This made it difficult to concentrate forces quickly when the United States entered the war in 1898.

Overall, the Spanish Army fought defensively and often bravely, but its outdated structure, weak coordination with the navy, and strained resources led to quick defeat against the better-supplied and more modern U.S. military.

Command

Line Infantry

Line Cavalry

Artillery & Support


A small but perfectly formed army representing a United States army force for the Spanish-American War of 1898, although they have been used to fight Mexicans in 1840 and Native Americans throughout.

Another army that I bought rather than painted up myself. I was at Warfare in Reading when I spotted this big box of figures in the Bring-and-Buy. Now I'm not normally a B&B kind of person (I prefer to paint my own or buy painted from new) but the box was full of the army below and a Spanish army for the same period (c.f.). This was too good an opportunity to miss: as the sheer obscurity of the theatre was enough to suggest that one would never come across anything like this again.

I think the figures are from Freikorps. I did need to re-base them (surely the worst job in the world!) but that was a small price to pay for troops to fight in such a "splendid little war" (US Secretary of State John Hay).

Command & Supply Chain

1st Brigade

2nd Brigade

Cavalry & Artillery


My 1879 Zulu Wars Zulu army was the first army I ever bought pre-painted. It must have been sometime in September or October 1987, and I had my first 'proper' job in an office on the Grey's Inn Road.

I had just decided that 15mm colonial gaming was the thing for me, and had started painting up some British troops for the Zulu War: Essex figures if I remember correctly. Anyhow, up the road in King's Cross was a wargames shop called Gamers In Exile, now sadly  departed. I remember it as a cornucopia of painted armies for sale, one of which was the Zulus that form the bulk of what you see below.

The Zulus have been well worth the money I paid for them (£300 IIRC). I only wish I knew the name of the person who painted them so brilliantly so that I could give him a credit here.

Command Figures

Core Troops