Vis Lardica
  • New & Updated
  • Introduction & Details Scorecard 2025 Gallery: Burt, Steve Gallery: Cooper, Nick Gallery: Douglas, Mervyn Gallery: Emmett, John Gallery: Flint, Carole Gallery: Helliwell, Andrew Gallery: Luther, Mark Gallery: Plowman, Ralph Gallery: Sapper Gallery: Stumpy Gallery: Vis Bellica
  • Introduction to IABSM Video: How To Play IABSM, Part One Video: How to Play IABSM, Part Two Video: How to Play IABSM, Part Three After Action Reports (IABSM) Army Galleries (IABSM) Buy IABSM Scenario Packs Buy IABSM Theatre Supplements Figure Manufacturers (IABSM) Figure Reviews (IABSM) Game Aids (IABSM) IABSM Facebook Group
  • Introduction to CDS After Action Reports (CDS) Army Galleries (CDS) The Arab-Israeli Six Day War The Arab-Israeli Yom Kippur War After Action Reports (Arab-Israeli Wars) Army Galleries (Arab-Israeli Wars) After Action Reports (Moderns)
  • Introduction to Q13 After Action Reports (Q13) Army Galleries (Q13) Army Lists for Q13 Buy Q13 and/or Five Planets Figure Manufacturers (Q13) Figure Reviews (Q13) Points System Spreadsheets
  • Introduction to 19th Century Army Galleries (19th Century) Army Lists After Action Reports Articles & Essays Quick Guide to the Wars of the 19th Century
  • Introduction and AAR FK&P: The Eastern Front
  • Introduction to Vis Bellica The Rules: Amendments The Rules: Frequently Asked Questions The Rules: Optional Rules After Action Reports (Vis Bellica) Army Lists Articles about Vis Bellica Scenarios for Vis Bellica Other After Action Reports: WRG 6th Other After Action Reports: TTS
  • The Rules: Optional Rules After Action Reports
  • Scorecard 2024 Gallery: Burt, Steve Gallery: Cooper, Nick Gallery: Darkin, Des Gallery: Davenport, Jonathan Gallery: Douglas, Mervyn Gallery: Emmett. John Gallery: Flint, Carole Gallery: Helliwell, Andrew Gallery: Kay, Chris Gallery: Luther, Mark Gallery: Plowman, Ralph Gallery: Sapper Gallery: Scott, David Gallery: Slade, Matt Gallery: Stumpy Gallery: Vis Bellica
  • Scorecard 2023 Gallery: Bowler, Lloyd Gallery: Burt, Steve Gallery: Cooper, Nick Gallery: Douglas, Mervyn Gallery: Emmett, John Gallery: Flint, Carole Gallery: Helliwell, Andrew Gallery: Hodge, Derek Gallery: Kay, Chris Gallery: Luther, Mark Gallery: Plowman, Ralph Gallery: Pollard, Ashley Gallery: Sapper Gallery: Scott, David Gallery: Slade, Matt Gallery: Stumpy Gallery: Vis Bellica
  • Scorecard 2022 Gallery: Bowler, Lloyd Gallery: Burt, Steve Gallery: Cooper, Nick Gallery: Douglas, Mervyn Gallery: Emmett, John Gallery: Flint, Carole Gallery: Goodrick, Pete Gallery: Haines, John Gallery: Helliwell, Andrew Gallery: Hodge, Derek Gallery: Kay, Chris Gallery: Luther, Mark Gallery: Plowman, Ralph Gallery: Pollard, Ashley Gallery: Sapper Gallery: Scott, David Gallery: Slade, Matt Gallery: Stumpy Gallery: Vis Bellica
  • Scorecard 2021 Gallery: Anzani, Joe Gallery: Bowler, Lloyd Gallery: Burt, Steve Gallery: Cooper, Nick Gallery: Douglas, Mervyn Gallery: Duffell, Andy Gallery: Emmett, John Gallery: Flint, Carole Gallery: Haines, John Gallery: Helliwell, Andrew Gallery: Hiett, Travis Gallery: Hodge, Derek Gallery: Kay, Chris Gallery: Luther, Mark Gallery: McGinn, Joe Gallery: Melville, Doug Gallery: Plowman, Ralph Gallery: Pollard, Ashley Gallery: Ralls, Jason Gallery: Sapper Gallery: Scott, David Gallery: Slade, Matt Gallery: Stoesen, Chris Gallery: Stumpy Gallery: Vis Bellica
  • Scorecard 2020 Gallery: Bloggs, Fred Gallery: Bluemoose Ken Gallery: Bowler, Lloyd Gallery: Burt, Steve Gallery: Cornwell, Chris Gallery: Douglas, Mervyn Gallery: Duffell, Andy Gallery: Emmett, John Gallery: Flint, Carole Gallery: Haines, John Gallery: Helliwell, Andrew Gallery: Hiatt, Travis Gallery: Hodge, Derek Gallery: Hooge, Neil Gallery: Kay, Chris Gallery: Luther, Mark Gallery: McGinn, Joe Gallery: Melville, Doug Gallery: Plowman, Ralph Gallery: Pollard, Ashley Gallery: Ralls, Jason Gallery: Sapper Gallery: Scott, David Gallery: Slade, Matt Gallery: Stoesen, Chris Gallery: Stumpy Gallery: Vis Bellica
  • Scorecard 2019 Gallery: Bloggs, Fred Gallery: Blue Moose Ken Gallery: Bowen, Ed Gallery: Bowler, Lloyd Gallery: Burt, Steve Gallery: Clarke, Richard Gallery: Cornwell, Chris Gallery: Davenport, Jon Gallery: Douglas, Mervyn Gallery: Duffell, Andy Gallery: de Terre Neuve, John Gallery: Emmett, John Gallery: Fat Wally Gallery: Flint, Carole Gallery: Haines, John Gallery: Helliwell, Andrew Gallery: Hiett, Travis Gallery: Hodge, Derek Gallery: Hooge, Neil Gallery: Johnston, Owen Gallery: Kay, Chris Gallery: Luther, Mark Gallery: McGinn, Joe Gallery: Melville, Doug Gallery: Plowman, Ralph Gallery: Ralls, Jason Gallery: Sapper Gallery: Scott, David Gallery: Slade, Matt Gallery: Stoesen, Chris Gallery: Stumpy Gallery: Vis Bellica Gallery: Yuengling, Jon
  • Scorecard 2018 Gallery: Bloggs, Fred Gallery: Blue Moose Ken Gallery: Bowen, Ed Gallery: Bowler, Lloyd Gallery: Burt, Steve Gallery: Cornwell, Chris Gallery: Davenport, Jonathan Gallery: de Terre Neuve, John Gallery: Douglas, Mervyn Gallery: Duffell, Andy Gallery: Fat Wally Gallery: Flint, Carole Gallery: Freerange Egg Gallery: Haines, John Gallery: Helliwell, Andrew Gallery: Hiett, Travis Gallery: Hodge, Derek Gallery: Hooge, Neil Gallery: Johnston, Owen Gallery: Kay, Chris Gallery: Lampon, Steven Gallery: Luther, Mark Gallery: McGinn, Joe Gallery: Melville, Doug Gallery: Plowman, Ralph Gallery: Ralls, Jason Gallery: Sapper Gallery: Scott, David Gallery: Slade, Matt Gallery: Stoesen, Chris Gallery: Stumpy Gallery: Treadhead Gallery: Vis Bellica Gallery: Yuengling, Jon
  • Scorecard Gallery: Bond, Geoff Gallery: Bowen, Edward Gallery: Bowler, Lloyd Gallery: Burt, Steve Gallery: Cabey Cabey Gallery: Catchpole, Jim Gallery: Davenport, Jon Gallery: Davies, Keith Gallery: de Smedt, Kohn Gallery: de Terre Neuve, John Gallery: Douglas, Mervyn Gallery: Duffell, Andy Gallery: Fat Wally (Kev) Gallery: Flint, Carole Gallery: Freerange Egg Gallery: Gatzemeyer, Garrett Gallery: Gilbride, Chris Gallery: Haines, John Gallery: Helliwell, Andrew Gallery: Hodge, Derek Gallery: Hooge, Neil Gallery: Humm, Dave Gallery: Kay, Chris Gallery: Lampon, Steven Gallery: Luther, Mark Gallery: MacNeill, Craig Gallery: McCarthy, Andrew Gallery: The Mad Padre Gallery: McGinn, Joe Gallery: Melville, Doug Gallery: Naylor, Richard Gallery: Nissvik, Thomas Gallery: Old Pivot Gallery: Owen Gallery: Pollard, Ashley Gallery: Plowman, Ralph Gallery: Ralls, Jason Gallery: Sapper Gallery: Scott, David Gallery: Slade, Matt Gallery: Stoesen, Chris Gallery: Stumpy Gallery: Treadhead Gallery: Vis Bellica Gallery: Weathersby, Brian Gallery: WillieB Gallery: Yuengling, Jon
  • Scorecard 2016 Gallery: Baldwin, Paul Gallery: Blankenship, Paul Gallery: Bloggs, Fred Gallery: Bond, Geoff Gallery: Bowen, Ed Gallery: Bowler, Lloyd Gallery: Burt, Steve Gallery: Catchpole, Jim Gallery: Clarke, Richard Gallery: Davenport, Jon Gallery: Davies, Keith Gallery: de Smedt, Koen Gallery: Douglas, Mervyn Gallery: Duffell, Andy Gallery: Egg Gallery: Fitch, Doug Gallery: Flint, Carole Gallery: Gatzemeyer, Garrett Gallery: Gilbride, Chris Gallery: Helliwell, Andrew Gallery: Hodge, Derek Gallery: Hooge, Neil Gallery: Humm, Dave Gallery: I Am Bruce Gallery: Lowth, Kev (Fat Wally) Gallery: Luther, Mark Gallery: The Mad Padre Gallery: McCarthy, Andrew Gallery: Melville, Doug Gallery: Naylor, Richard Gallery: Nissvik, Thomas Gallery: Oracle Gallery: Owen Gallery: Plowman, Ralph Gallery: Pollard, Ashley Gallery: Ralls, Jason Gallery: Sapper Gallery: Slade, Matt Gallery: Stoesen, Chris Gallery: Stumpy Gallery: Treadhead Gallery: Vis Bellica Gallery: Willie B Gallery: Yuengling, Jon
  • Scorecard 2015 Gallery: AJH Gallery: Bairos, Vidal Gallery: Baldwin, Paul Gallery: Bax, Dick Gallery: Blankenship, Paul Gallery: Bloggs, Fred Gallery: Bond, Geoff Bond Gallery: Bowler, Hat Gallery: Burt, Steve Gallery: Corbett, Wulf Gallery: Danziger, Richard Gallery: Davies, Keith Gallery: de Smedt, Koen Gallery: de terre neuve, john Gallery: Douglas, Mervyn Gallery: Duffell, Andy Gallery: Egg, Freerange Gallery: Eggman Glass Gallery: Eriksson, Leif Gallery: Fat Wally Gallery: Flint, Carole Gallery: Gilbride, Chris Gallery: Hedglin, Nils Gallery: Helliwell, Andy Gallery: Hodge, Derek Gallery: Hooooge, Neil Gallery: Humm, Dave Gallery: I'm Bruce Gallery: Luther, Mark Gallery: The Mad Padre Gallery: Maerk Gallery: McCarthy, Andrew Gallery: Melville, Doug Gallery: Miller, Andrew Gallery: Miller, Steve Gallery: Milne, Neil Gallery: Mikkola, Topi Gallery: Mr Nouveau Gallery: Naylor, Richard Gallery: Nissvik, Thomas Gallery: Owen Gallery: Pedivere Gallery: Pingu Gallery: Pollard, Ashley Gallery: Plowman, Ralph Gallery: Ralls, Jason Gallery: Sapper Gallery: Skelton, Dom Gallery: Slade, Matt Gallery: Stapells, Tony Gallery: Stoesen, Chris Gallery: Strom, Joakim Gallery: Stumpy Gallery: Topyob Gallery: Treadhead Gallery: Vera, Benito Gallery: Vis Bellica Gallery: Willie B Gallery: Yuengling, Jon Gallery: Catchpole, Jim
  • Scorecard Gallery: Alexandros Gallery: Ambler, Craig Gallery: Armstrong, Keith Gallery: Bailey, Dave Gallery: Bairos, Vidal Gallery: Bax, Dick Gallery: Bloggs, Fred Gallery: Bond, Geoff Gallery: Burt, Steve Gallery: Carnegie, Ron Gallery: Carole Gallery: Catchpole, Jim Gallery: Clarke, Richard Gallery: Corbett, Wulf Gallery: Danziger, Richard Gallery: De Smedt, Koen Gallery: de Terre Neuve, John Gallery: Deeks, Jon Gallery: Douglas, Mervyn Gallery: Duffell, Andy Gallery: Egg, Free Range Gallery: Erikson, Leif Gallery: Fat Wally (Kev) Gallery: Fiene, Ben Gallery: Gilbride, Chris Gallery: Hodge, Derek Gallery: Humm, Dave Gallery: Llano, Manuel Gallery: Luther, Mark Gallery: Melville, Doug Gallery: Mikkola, Topi Gallery: Miller, Andrew Gallery: munsterfan8 Gallery: Murray, Jim Gallery: Nissvik, Thomas Gallery: Owen Gallery: The Mad Padre Gallery: PatG Gallery: Pingu Gallery: Plowman, Ralph Gallery: Pollard, Ashley Gallery: Ralls, Jason Gallery: Slade, Matt Gallery: Stoesen, Chris Gallery: Strom, Joakim Gallery: Stumpy Gallery: Thomas, John Gallery: Treadhead Gallery: Vera, Benito Gallery: Vis Bellica Gallery: Warrior in the Attic Gallery: Weir, Jim Gallery: Whitaker, Mike Gallery: WillieB Gallery: Yuengling, Jon
  • TooFatLardies
Vis Lardica
  • New & Updated/
  • TFL Painting Challenge 2025/
    • Introduction & Details
    • Scorecard 2025
    • Gallery: Burt, Steve
    • Gallery: Cooper, Nick
    • Gallery: Douglas, Mervyn
    • Gallery: Emmett, John
    • Gallery: Flint, Carole
    • Gallery: Helliwell, Andrew
    • Gallery: Luther, Mark
    • Gallery: Plowman, Ralph
    • Gallery: Sapper
    • Gallery: Stumpy
    • Gallery: Vis Bellica
  • I Ain't Been Shot, Mum! (WW2)/
    • Introduction to IABSM
    • Video: How To Play IABSM, Part One
    • Video: How to Play IABSM, Part Two
    • Video: How to Play IABSM, Part Three
    • After Action Reports (IABSM)
    • Army Galleries (IABSM)
    • Buy IABSM Scenario Packs
    • Buy IABSM Theatre Supplements
    • Figure Manufacturers (IABSM)
    • Figure Reviews (IABSM)
    • Game Aids (IABSM)
    • IABSM Facebook Group
  • Charlie Don't Surf! (Vietnam/Arab-Israeli/Moderns)/
    • Introduction to CDS
    • After Action Reports (CDS)
    • Army Galleries (CDS)
    • The Arab-Israeli Six Day War
    • The Arab-Israeli Yom Kippur War
    • After Action Reports (Arab-Israeli Wars)
    • Army Galleries (Arab-Israeli Wars)
    • After Action Reports (Moderns)
  • Quadrant 13 (Sci-Fi)/
    • Introduction to Q13
    • After Action Reports (Q13)
    • Army Galleries (Q13)
    • Army Lists for Q13
    • Buy Q13 and/or Five Planets
    • Figure Manufacturers (Q13)
    • Figure Reviews (Q13)
    • Points System Spreadsheets
  • Vis Imperica (19th Century)/
    • Introduction to 19th Century
    • Army Galleries (19th Century)
    • Army Lists
    • After Action Reports
    • Articles & Essays
    • Quick Guide to the Wars of the 19th Century
  • Vis Lucii (Pike & Shot)/
    • Introduction and AAR
    • FK&P: The Eastern Front
  • Vis Bellica (Ancients)/
    • Introduction to Vis Bellica
    • The Rules: Amendments
    • The Rules: Frequently Asked Questions
    • The Rules: Optional Rules
    • After Action Reports (Vis Bellica)
    • Army Lists
    • Articles about Vis Bellica
    • Scenarios for Vis Bellica
    • Other After Action Reports: WRG 6th
    • Other After Action Reports: TTS
  • Vis Magica (Fantasy)/
    • The Rules: Optional Rules
    • After Action Reports
  • TFL Painting Challenge 2024/
    • Scorecard 2024
    • Gallery: Burt, Steve
    • Gallery: Cooper, Nick
    • Gallery: Darkin, Des
    • Gallery: Davenport, Jonathan
    • Gallery: Douglas, Mervyn
    • Gallery: Emmett. John
    • Gallery: Flint, Carole
    • Gallery: Helliwell, Andrew
    • Gallery: Kay, Chris
    • Gallery: Luther, Mark
    • Gallery: Plowman, Ralph
    • Gallery: Sapper
    • Gallery: Scott, David
    • Gallery: Slade, Matt
    • Gallery: Stumpy
    • Gallery: Vis Bellica
  • TFL Painting Challenge 2023/
    • Scorecard 2023
    • Gallery: Bowler, Lloyd
    • Gallery: Burt, Steve
    • Gallery: Cooper, Nick
    • Gallery: Douglas, Mervyn
    • Gallery: Emmett, John
    • Gallery: Flint, Carole
    • Gallery: Helliwell, Andrew
    • Gallery: Hodge, Derek
    • Gallery: Kay, Chris
    • Gallery: Luther, Mark
    • Gallery: Plowman, Ralph
    • Gallery: Pollard, Ashley
    • Gallery: Sapper
    • Gallery: Scott, David
    • Gallery: Slade, Matt
    • Gallery: Stumpy
    • Gallery: Vis Bellica
  • TFL Painting Challenge 2022/
    • Scorecard 2022
    • Gallery: Bowler, Lloyd
    • Gallery: Burt, Steve
    • Gallery: Cooper, Nick
    • Gallery: Douglas, Mervyn
    • Gallery: Emmett, John
    • Gallery: Flint, Carole
    • Gallery: Goodrick, Pete
    • Gallery: Haines, John
    • Gallery: Helliwell, Andrew
    • Gallery: Hodge, Derek
    • Gallery: Kay, Chris
    • Gallery: Luther, Mark
    • Gallery: Plowman, Ralph
    • Gallery: Pollard, Ashley
    • Gallery: Sapper
    • Gallery: Scott, David
    • Gallery: Slade, Matt
    • Gallery: Stumpy
    • Gallery: Vis Bellica
  • TFL Painting Challenge 2021/
    • Scorecard 2021
    • Gallery: Anzani, Joe
    • Gallery: Bowler, Lloyd
    • Gallery: Burt, Steve
    • Gallery: Cooper, Nick
    • Gallery: Douglas, Mervyn
    • Gallery: Duffell, Andy
    • Gallery: Emmett, John
    • Gallery: Flint, Carole
    • Gallery: Haines, John
    • Gallery: Helliwell, Andrew
    • Gallery: Hiett, Travis
    • Gallery: Hodge, Derek
    • Gallery: Kay, Chris
    • Gallery: Luther, Mark
    • Gallery: McGinn, Joe
    • Gallery: Melville, Doug
    • Gallery: Plowman, Ralph
    • Gallery: Pollard, Ashley
    • Gallery: Ralls, Jason
    • Gallery: Sapper
    • Gallery: Scott, David
    • Gallery: Slade, Matt
    • Gallery: Stoesen, Chris
    • Gallery: Stumpy
    • Gallery: Vis Bellica
  • TFL Painting Challenge 2020/
    • Scorecard 2020
    • Gallery: Bloggs, Fred
    • Gallery: Bluemoose Ken
    • Gallery: Bowler, Lloyd
    • Gallery: Burt, Steve
    • Gallery: Cornwell, Chris
    • Gallery: Douglas, Mervyn
    • Gallery: Duffell, Andy
    • Gallery: Emmett, John
    • Gallery: Flint, Carole
    • Gallery: Haines, John
    • Gallery: Helliwell, Andrew
    • Gallery: Hiatt, Travis
    • Gallery: Hodge, Derek
    • Gallery: Hooge, Neil
    • Gallery: Kay, Chris
    • Gallery: Luther, Mark
    • Gallery: McGinn, Joe
    • Gallery: Melville, Doug
    • Gallery: Plowman, Ralph
    • Gallery: Pollard, Ashley
    • Gallery: Ralls, Jason
    • Gallery: Sapper
    • Gallery: Scott, David
    • Gallery: Slade, Matt
    • Gallery: Stoesen, Chris
    • Gallery: Stumpy
    • Gallery: Vis Bellica
  • TFL Painting Challenge 2019/
    • Scorecard 2019
    • Gallery: Bloggs, Fred
    • Gallery: Blue Moose Ken
    • Gallery: Bowen, Ed
    • Gallery: Bowler, Lloyd
    • Gallery: Burt, Steve
    • Gallery: Clarke, Richard
    • Gallery: Cornwell, Chris
    • Gallery: Davenport, Jon
    • Gallery: Douglas, Mervyn
    • Gallery: Duffell, Andy
    • Gallery: de Terre Neuve, John
    • Gallery: Emmett, John
    • Gallery: Fat Wally
    • Gallery: Flint, Carole
    • Gallery: Haines, John
    • Gallery: Helliwell, Andrew
    • Gallery: Hiett, Travis
    • Gallery: Hodge, Derek
    • Gallery: Hooge, Neil
    • Gallery: Johnston, Owen
    • Gallery: Kay, Chris
    • Gallery: Luther, Mark
    • Gallery: McGinn, Joe
    • Gallery: Melville, Doug
    • Gallery: Plowman, Ralph
    • Gallery: Ralls, Jason
    • Gallery: Sapper
    • Gallery: Scott, David
    • Gallery: Slade, Matt
    • Gallery: Stoesen, Chris
    • Gallery: Stumpy
    • Gallery: Vis Bellica
    • Gallery: Yuengling, Jon
  • TFL Painting Challenge 2018/
    • Scorecard 2018
    • Gallery: Bloggs, Fred
    • Gallery: Blue Moose Ken
    • Gallery: Bowen, Ed
    • Gallery: Bowler, Lloyd
    • Gallery: Burt, Steve
    • Gallery: Cornwell, Chris
    • Gallery: Davenport, Jonathan
    • Gallery: de Terre Neuve, John
    • Gallery: Douglas, Mervyn
    • Gallery: Duffell, Andy
    • Gallery: Fat Wally
    • Gallery: Flint, Carole
    • Gallery: Freerange Egg
    • Gallery: Haines, John
    • Gallery: Helliwell, Andrew
    • Gallery: Hiett, Travis
    • Gallery: Hodge, Derek
    • Gallery: Hooge, Neil
    • Gallery: Johnston, Owen
    • Gallery: Kay, Chris
    • Gallery: Lampon, Steven
    • Gallery: Luther, Mark
    • Gallery: McGinn, Joe
    • Gallery: Melville, Doug
    • Gallery: Plowman, Ralph
    • Gallery: Ralls, Jason
    • Gallery: Sapper
    • Gallery: Scott, David
    • Gallery: Slade, Matt
    • Gallery: Stoesen, Chris
    • Gallery: Stumpy
    • Gallery: Treadhead
    • Gallery: Vis Bellica
    • Gallery: Yuengling, Jon
  • TFL Painting Challenge 2017/
    • Scorecard
    • Gallery: Bond, Geoff
    • Gallery: Bowen, Edward
    • Gallery: Bowler, Lloyd
    • Gallery: Burt, Steve
    • Gallery: Cabey Cabey
    • Gallery: Catchpole, Jim
    • Gallery: Davenport, Jon
    • Gallery: Davies, Keith
    • Gallery: de Smedt, Kohn
    • Gallery: de Terre Neuve, John
    • Gallery: Douglas, Mervyn
    • Gallery: Duffell, Andy
    • Gallery: Fat Wally (Kev)
    • Gallery: Flint, Carole
    • Gallery: Freerange Egg
    • Gallery: Gatzemeyer, Garrett
    • Gallery: Gilbride, Chris
    • Gallery: Haines, John
    • Gallery: Helliwell, Andrew
    • Gallery: Hodge, Derek
    • Gallery: Hooge, Neil
    • Gallery: Humm, Dave
    • Gallery: Kay, Chris
    • Gallery: Lampon, Steven
    • Gallery: Luther, Mark
    • Gallery: MacNeill, Craig
    • Gallery: McCarthy, Andrew
    • Gallery: The Mad Padre
    • Gallery: McGinn, Joe
    • Gallery: Melville, Doug
    • Gallery: Naylor, Richard
    • Gallery: Nissvik, Thomas
    • Gallery: Old Pivot
    • Gallery: Owen
    • Gallery: Pollard, Ashley
    • Gallery: Plowman, Ralph
    • Gallery: Ralls, Jason
    • Gallery: Sapper
    • Gallery: Scott, David
    • Gallery: Slade, Matt
    • Gallery: Stoesen, Chris
    • Gallery: Stumpy
    • Gallery: Treadhead
    • Gallery: Vis Bellica
    • Gallery: Weathersby, Brian
    • Gallery: WillieB
    • Gallery: Yuengling, Jon
  • TFL Painting Challenge 2016/
    • Scorecard 2016
    • Gallery: Baldwin, Paul
    • Gallery: Blankenship, Paul
    • Gallery: Bloggs, Fred
    • Gallery: Bond, Geoff
    • Gallery: Bowen, Ed
    • Gallery: Bowler, Lloyd
    • Gallery: Burt, Steve
    • Gallery: Catchpole, Jim
    • Gallery: Clarke, Richard
    • Gallery: Davenport, Jon
    • Gallery: Davies, Keith
    • Gallery: de Smedt, Koen
    • Gallery: Douglas, Mervyn
    • Gallery: Duffell, Andy
    • Gallery: Egg
    • Gallery: Fitch, Doug
    • Gallery: Flint, Carole
    • Gallery: Gatzemeyer, Garrett
    • Gallery: Gilbride, Chris
    • Gallery: Helliwell, Andrew
    • Gallery: Hodge, Derek
    • Gallery: Hooge, Neil
    • Gallery: Humm, Dave
    • Gallery: I Am Bruce
    • Gallery: Lowth, Kev (Fat Wally)
    • Gallery: Luther, Mark
    • Gallery: The Mad Padre
    • Gallery: McCarthy, Andrew
    • Gallery: Melville, Doug
    • Gallery: Naylor, Richard
    • Gallery: Nissvik, Thomas
    • Gallery: Oracle
    • Gallery: Owen
    • Gallery: Plowman, Ralph
    • Gallery: Pollard, Ashley
    • Gallery: Ralls, Jason
    • Gallery: Sapper
    • Gallery: Slade, Matt
    • Gallery: Stoesen, Chris
    • Gallery: Stumpy
    • Gallery: Treadhead
    • Gallery: Vis Bellica
    • Gallery: Willie B
    • Gallery: Yuengling, Jon
  • TFL Painting Challenge 2015/
    • Scorecard 2015
    • Gallery: AJH
    • Gallery: Bairos, Vidal
    • Gallery: Baldwin, Paul
    • Gallery: Bax, Dick
    • Gallery: Blankenship, Paul
    • Gallery: Bloggs, Fred
    • Gallery: Bond, Geoff Bond
    • Gallery: Bowler, Hat
    • Gallery: Burt, Steve
    • Gallery: Corbett, Wulf
    • Gallery: Danziger, Richard
    • Gallery: Davies, Keith
    • Gallery: de Smedt, Koen
    • Gallery: de terre neuve, john
    • Gallery: Douglas, Mervyn
    • Gallery: Duffell, Andy
    • Gallery: Egg, Freerange
    • Gallery: Eggman Glass
    • Gallery: Eriksson, Leif
    • Gallery: Fat Wally
    • Gallery: Flint, Carole
    • Gallery: Gilbride, Chris
    • Gallery: Hedglin, Nils
    • Gallery: Helliwell, Andy
    • Gallery: Hodge, Derek
    • Gallery: Hooooge, Neil
    • Gallery: Humm, Dave
    • Gallery: I'm Bruce
    • Gallery: Luther, Mark
    • Gallery: The Mad Padre
    • Gallery: Maerk
    • Gallery: McCarthy, Andrew
    • Gallery: Melville, Doug
    • Gallery: Miller, Andrew
    • Gallery: Miller, Steve
    • Gallery: Milne, Neil
    • Gallery: Mikkola, Topi
    • Gallery: Mr Nouveau
    • Gallery: Naylor, Richard
    • Gallery: Nissvik, Thomas
    • Gallery: Owen
    • Gallery: Pedivere
    • Gallery: Pingu
    • Gallery: Pollard, Ashley
    • Gallery: Plowman, Ralph
    • Gallery: Ralls, Jason
    • Gallery: Sapper
    • Gallery: Skelton, Dom
    • Gallery: Slade, Matt
    • Gallery: Stapells, Tony
    • Gallery: Stoesen, Chris
    • Gallery: Strom, Joakim
    • Gallery: Stumpy
    • Gallery: Topyob
    • Gallery: Treadhead
    • Gallery: Vera, Benito
    • Gallery: Vis Bellica
    • Gallery: Willie B
    • Gallery: Yuengling, Jon
    • Gallery: Catchpole, Jim
  • TFL Painting Challenge 2014/
    • Scorecard
    • Gallery: Alexandros
    • Gallery: Ambler, Craig
    • Gallery: Armstrong, Keith
    • Gallery: Bailey, Dave
    • Gallery: Bairos, Vidal
    • Gallery: Bax, Dick
    • Gallery: Bloggs, Fred
    • Gallery: Bond, Geoff
    • Gallery: Burt, Steve
    • Gallery: Carnegie, Ron
    • Gallery: Carole
    • Gallery: Catchpole, Jim
    • Gallery: Clarke, Richard
    • Gallery: Corbett, Wulf
    • Gallery: Danziger, Richard
    • Gallery: De Smedt, Koen
    • Gallery: de Terre Neuve, John
    • Gallery: Deeks, Jon
    • Gallery: Douglas, Mervyn
    • Gallery: Duffell, Andy
    • Gallery: Egg, Free Range
    • Gallery: Erikson, Leif
    • Gallery: Fat Wally (Kev)
    • Gallery: Fiene, Ben
    • Gallery: Gilbride, Chris
    • Gallery: Hodge, Derek
    • Gallery: Humm, Dave
    • Gallery: Llano, Manuel
    • Gallery: Luther, Mark
    • Gallery: Melville, Doug
    • Gallery: Mikkola, Topi
    • Gallery: Miller, Andrew
    • Gallery: munsterfan8
    • Gallery: Murray, Jim
    • Gallery: Nissvik, Thomas
    • Gallery: Owen
    • Gallery: The Mad Padre
    • Gallery: PatG
    • Gallery: Pingu
    • Gallery: Plowman, Ralph
    • Gallery: Pollard, Ashley
    • Gallery: Ralls, Jason
    • Gallery: Slade, Matt
    • Gallery: Stoesen, Chris
    • Gallery: Strom, Joakim
    • Gallery: Stumpy
    • Gallery: Thomas, John
    • Gallery: Treadhead
    • Gallery: Vera, Benito
    • Gallery: Vis Bellica
    • Gallery: Warrior in the Attic
    • Gallery: Weir, Jim
    • Gallery: Whitaker, Mike
    • Gallery: WillieB
    • Gallery: Yuengling, Jon
  • TooFatLardies/
  Bridge workers   The Royal Engineers prepping the first bridge for demolition. The British player had a four-section platoon of engineers (not combat engineers) and a troop of three NZ Marmon-Herrington armoured cars.
Vis Lardica

AAR Greece #1: North of Sitaria/A Surprise Encounter by Mark Luther

A battle report or After Action Report (AAR) for I Ain't Been Shot, Mum (IABSM), the company-sized wargaming rules for WW2 from the TooFatLardies. A game from the Campaign for Greece scenario pack set in 1941.

Vis Lardica
  • New & Updated/
  • TFL Painting Challenge 2025/
    • Introduction & Details
    • Scorecard 2025
    • Gallery: Burt, Steve
    • Gallery: Cooper, Nick
    • Gallery: Douglas, Mervyn
    • Gallery: Emmett, John
    • Gallery: Flint, Carole
    • Gallery: Helliwell, Andrew
    • Gallery: Luther, Mark
    • Gallery: Plowman, Ralph
    • Gallery: Sapper
    • Gallery: Stumpy
    • Gallery: Vis Bellica
  • I Ain't Been Shot, Mum! (WW2)/
    • Introduction to IABSM
    • Video: How To Play IABSM, Part One
    • Video: How to Play IABSM, Part Two
    • Video: How to Play IABSM, Part Three
    • After Action Reports (IABSM)
    • Army Galleries (IABSM)
    • Buy IABSM Scenario Packs
    • Buy IABSM Theatre Supplements
    • Figure Manufacturers (IABSM)
    • Figure Reviews (IABSM)
    • Game Aids (IABSM)
    • IABSM Facebook Group
  • Charlie Don't Surf! (Vietnam/Arab-Israeli/Moderns)/
    • Introduction to CDS
    • After Action Reports (CDS)
    • Army Galleries (CDS)
    • The Arab-Israeli Six Day War
    • The Arab-Israeli Yom Kippur War
    • After Action Reports (Arab-Israeli Wars)
    • Army Galleries (Arab-Israeli Wars)
    • After Action Reports (Moderns)
  • Quadrant 13 (Sci-Fi)/
    • Introduction to Q13
    • After Action Reports (Q13)
    • Army Galleries (Q13)
    • Army Lists for Q13
    • Buy Q13 and/or Five Planets
    • Figure Manufacturers (Q13)
    • Figure Reviews (Q13)
    • Points System Spreadsheets
  • Vis Imperica (19th Century)/
    • Introduction to 19th Century
    • Army Galleries (19th Century)
    • Army Lists
    • After Action Reports
    • Articles & Essays
    • Quick Guide to the Wars of the 19th Century
  • Vis Lucii (Pike & Shot)/
    • Introduction and AAR
    • FK&P: The Eastern Front
  • Vis Bellica (Ancients)/
    • Introduction to Vis Bellica
    • The Rules: Amendments
    • The Rules: Frequently Asked Questions
    • The Rules: Optional Rules
    • After Action Reports (Vis Bellica)
    • Army Lists
    • Articles about Vis Bellica
    • Scenarios for Vis Bellica
    • Other After Action Reports: WRG 6th
    • Other After Action Reports: TTS
  • Vis Magica (Fantasy)/
    • The Rules: Optional Rules
    • After Action Reports
  • TFL Painting Challenge 2024/
    • Scorecard 2024
    • Gallery: Burt, Steve
    • Gallery: Cooper, Nick
    • Gallery: Darkin, Des
    • Gallery: Davenport, Jonathan
    • Gallery: Douglas, Mervyn
    • Gallery: Emmett. John
    • Gallery: Flint, Carole
    • Gallery: Helliwell, Andrew
    • Gallery: Kay, Chris
    • Gallery: Luther, Mark
    • Gallery: Plowman, Ralph
    • Gallery: Sapper
    • Gallery: Scott, David
    • Gallery: Slade, Matt
    • Gallery: Stumpy
    • Gallery: Vis Bellica
  • TFL Painting Challenge 2023/
    • Scorecard 2023
    • Gallery: Bowler, Lloyd
    • Gallery: Burt, Steve
    • Gallery: Cooper, Nick
    • Gallery: Douglas, Mervyn
    • Gallery: Emmett, John
    • Gallery: Flint, Carole
    • Gallery: Helliwell, Andrew
    • Gallery: Hodge, Derek
    • Gallery: Kay, Chris
    • Gallery: Luther, Mark
    • Gallery: Plowman, Ralph
    • Gallery: Pollard, Ashley
    • Gallery: Sapper
    • Gallery: Scott, David
    • Gallery: Slade, Matt
    • Gallery: Stumpy
    • Gallery: Vis Bellica
  • TFL Painting Challenge 2022/
    • Scorecard 2022
    • Gallery: Bowler, Lloyd
    • Gallery: Burt, Steve
    • Gallery: Cooper, Nick
    • Gallery: Douglas, Mervyn
    • Gallery: Emmett, John
    • Gallery: Flint, Carole
    • Gallery: Goodrick, Pete
    • Gallery: Haines, John
    • Gallery: Helliwell, Andrew
    • Gallery: Hodge, Derek
    • Gallery: Kay, Chris
    • Gallery: Luther, Mark
    • Gallery: Plowman, Ralph
    • Gallery: Pollard, Ashley
    • Gallery: Sapper
    • Gallery: Scott, David
    • Gallery: Slade, Matt
    • Gallery: Stumpy
    • Gallery: Vis Bellica
  • TFL Painting Challenge 2021/
    • Scorecard 2021
    • Gallery: Anzani, Joe
    • Gallery: Bowler, Lloyd
    • Gallery: Burt, Steve
    • Gallery: Cooper, Nick
    • Gallery: Douglas, Mervyn
    • Gallery: Duffell, Andy
    • Gallery: Emmett, John
    • Gallery: Flint, Carole
    • Gallery: Haines, John
    • Gallery: Helliwell, Andrew
    • Gallery: Hiett, Travis
    • Gallery: Hodge, Derek
    • Gallery: Kay, Chris
    • Gallery: Luther, Mark
    • Gallery: McGinn, Joe
    • Gallery: Melville, Doug
    • Gallery: Plowman, Ralph
    • Gallery: Pollard, Ashley
    • Gallery: Ralls, Jason
    • Gallery: Sapper
    • Gallery: Scott, David
    • Gallery: Slade, Matt
    • Gallery: Stoesen, Chris
    • Gallery: Stumpy
    • Gallery: Vis Bellica
  • TFL Painting Challenge 2020/
    • Scorecard 2020
    • Gallery: Bloggs, Fred
    • Gallery: Bluemoose Ken
    • Gallery: Bowler, Lloyd
    • Gallery: Burt, Steve
    • Gallery: Cornwell, Chris
    • Gallery: Douglas, Mervyn
    • Gallery: Duffell, Andy
    • Gallery: Emmett, John
    • Gallery: Flint, Carole
    • Gallery: Haines, John
    • Gallery: Helliwell, Andrew
    • Gallery: Hiatt, Travis
    • Gallery: Hodge, Derek
    • Gallery: Hooge, Neil
    • Gallery: Kay, Chris
    • Gallery: Luther, Mark
    • Gallery: McGinn, Joe
    • Gallery: Melville, Doug
    • Gallery: Plowman, Ralph
    • Gallery: Pollard, Ashley
    • Gallery: Ralls, Jason
    • Gallery: Sapper
    • Gallery: Scott, David
    • Gallery: Slade, Matt
    • Gallery: Stoesen, Chris
    • Gallery: Stumpy
    • Gallery: Vis Bellica
  • TFL Painting Challenge 2019/
    • Scorecard 2019
    • Gallery: Bloggs, Fred
    • Gallery: Blue Moose Ken
    • Gallery: Bowen, Ed
    • Gallery: Bowler, Lloyd
    • Gallery: Burt, Steve
    • Gallery: Clarke, Richard
    • Gallery: Cornwell, Chris
    • Gallery: Davenport, Jon
    • Gallery: Douglas, Mervyn
    • Gallery: Duffell, Andy
    • Gallery: de Terre Neuve, John
    • Gallery: Emmett, John
    • Gallery: Fat Wally
    • Gallery: Flint, Carole
    • Gallery: Haines, John
    • Gallery: Helliwell, Andrew
    • Gallery: Hiett, Travis
    • Gallery: Hodge, Derek
    • Gallery: Hooge, Neil
    • Gallery: Johnston, Owen
    • Gallery: Kay, Chris
    • Gallery: Luther, Mark
    • Gallery: McGinn, Joe
    • Gallery: Melville, Doug
    • Gallery: Plowman, Ralph
    • Gallery: Ralls, Jason
    • Gallery: Sapper
    • Gallery: Scott, David
    • Gallery: Slade, Matt
    • Gallery: Stoesen, Chris
    • Gallery: Stumpy
    • Gallery: Vis Bellica
    • Gallery: Yuengling, Jon
  • TFL Painting Challenge 2018/
    • Scorecard 2018
    • Gallery: Bloggs, Fred
    • Gallery: Blue Moose Ken
    • Gallery: Bowen, Ed
    • Gallery: Bowler, Lloyd
    • Gallery: Burt, Steve
    • Gallery: Cornwell, Chris
    • Gallery: Davenport, Jonathan
    • Gallery: de Terre Neuve, John
    • Gallery: Douglas, Mervyn
    • Gallery: Duffell, Andy
    • Gallery: Fat Wally
    • Gallery: Flint, Carole
    • Gallery: Freerange Egg
    • Gallery: Haines, John
    • Gallery: Helliwell, Andrew
    • Gallery: Hiett, Travis
    • Gallery: Hodge, Derek
    • Gallery: Hooge, Neil
    • Gallery: Johnston, Owen
    • Gallery: Kay, Chris
    • Gallery: Lampon, Steven
    • Gallery: Luther, Mark
    • Gallery: McGinn, Joe
    • Gallery: Melville, Doug
    • Gallery: Plowman, Ralph
    • Gallery: Ralls, Jason
    • Gallery: Sapper
    • Gallery: Scott, David
    • Gallery: Slade, Matt
    • Gallery: Stoesen, Chris
    • Gallery: Stumpy
    • Gallery: Treadhead
    • Gallery: Vis Bellica
    • Gallery: Yuengling, Jon
  • TFL Painting Challenge 2017/
    • Scorecard
    • Gallery: Bond, Geoff
    • Gallery: Bowen, Edward
    • Gallery: Bowler, Lloyd
    • Gallery: Burt, Steve
    • Gallery: Cabey Cabey
    • Gallery: Catchpole, Jim
    • Gallery: Davenport, Jon
    • Gallery: Davies, Keith
    • Gallery: de Smedt, Kohn
    • Gallery: de Terre Neuve, John
    • Gallery: Douglas, Mervyn
    • Gallery: Duffell, Andy
    • Gallery: Fat Wally (Kev)
    • Gallery: Flint, Carole
    • Gallery: Freerange Egg
    • Gallery: Gatzemeyer, Garrett
    • Gallery: Gilbride, Chris
    • Gallery: Haines, John
    • Gallery: Helliwell, Andrew
    • Gallery: Hodge, Derek
    • Gallery: Hooge, Neil
    • Gallery: Humm, Dave
    • Gallery: Kay, Chris
    • Gallery: Lampon, Steven
    • Gallery: Luther, Mark
    • Gallery: MacNeill, Craig
    • Gallery: McCarthy, Andrew
    • Gallery: The Mad Padre
    • Gallery: McGinn, Joe
    • Gallery: Melville, Doug
    • Gallery: Naylor, Richard
    • Gallery: Nissvik, Thomas
    • Gallery: Old Pivot
    • Gallery: Owen
    • Gallery: Pollard, Ashley
    • Gallery: Plowman, Ralph
    • Gallery: Ralls, Jason
    • Gallery: Sapper
    • Gallery: Scott, David
    • Gallery: Slade, Matt
    • Gallery: Stoesen, Chris
    • Gallery: Stumpy
    • Gallery: Treadhead
    • Gallery: Vis Bellica
    • Gallery: Weathersby, Brian
    • Gallery: WillieB
    • Gallery: Yuengling, Jon
  • TFL Painting Challenge 2016/
    • Scorecard 2016
    • Gallery: Baldwin, Paul
    • Gallery: Blankenship, Paul
    • Gallery: Bloggs, Fred
    • Gallery: Bond, Geoff
    • Gallery: Bowen, Ed
    • Gallery: Bowler, Lloyd
    • Gallery: Burt, Steve
    • Gallery: Catchpole, Jim
    • Gallery: Clarke, Richard
    • Gallery: Davenport, Jon
    • Gallery: Davies, Keith
    • Gallery: de Smedt, Koen
    • Gallery: Douglas, Mervyn
    • Gallery: Duffell, Andy
    • Gallery: Egg
    • Gallery: Fitch, Doug
    • Gallery: Flint, Carole
    • Gallery: Gatzemeyer, Garrett
    • Gallery: Gilbride, Chris
    • Gallery: Helliwell, Andrew
    • Gallery: Hodge, Derek
    • Gallery: Hooge, Neil
    • Gallery: Humm, Dave
    • Gallery: I Am Bruce
    • Gallery: Lowth, Kev (Fat Wally)
    • Gallery: Luther, Mark
    • Gallery: The Mad Padre
    • Gallery: McCarthy, Andrew
    • Gallery: Melville, Doug
    • Gallery: Naylor, Richard
    • Gallery: Nissvik, Thomas
    • Gallery: Oracle
    • Gallery: Owen
    • Gallery: Plowman, Ralph
    • Gallery: Pollard, Ashley
    • Gallery: Ralls, Jason
    • Gallery: Sapper
    • Gallery: Slade, Matt
    • Gallery: Stoesen, Chris
    • Gallery: Stumpy
    • Gallery: Treadhead
    • Gallery: Vis Bellica
    • Gallery: Willie B
    • Gallery: Yuengling, Jon
  • TFL Painting Challenge 2015/
    • Scorecard 2015
    • Gallery: AJH
    • Gallery: Bairos, Vidal
    • Gallery: Baldwin, Paul
    • Gallery: Bax, Dick
    • Gallery: Blankenship, Paul
    • Gallery: Bloggs, Fred
    • Gallery: Bond, Geoff Bond
    • Gallery: Bowler, Hat
    • Gallery: Burt, Steve
    • Gallery: Corbett, Wulf
    • Gallery: Danziger, Richard
    • Gallery: Davies, Keith
    • Gallery: de Smedt, Koen
    • Gallery: de terre neuve, john
    • Gallery: Douglas, Mervyn
    • Gallery: Duffell, Andy
    • Gallery: Egg, Freerange
    • Gallery: Eggman Glass
    • Gallery: Eriksson, Leif
    • Gallery: Fat Wally
    • Gallery: Flint, Carole
    • Gallery: Gilbride, Chris
    • Gallery: Hedglin, Nils
    • Gallery: Helliwell, Andy
    • Gallery: Hodge, Derek
    • Gallery: Hooooge, Neil
    • Gallery: Humm, Dave
    • Gallery: I'm Bruce
    • Gallery: Luther, Mark
    • Gallery: The Mad Padre
    • Gallery: Maerk
    • Gallery: McCarthy, Andrew
    • Gallery: Melville, Doug
    • Gallery: Miller, Andrew
    • Gallery: Miller, Steve
    • Gallery: Milne, Neil
    • Gallery: Mikkola, Topi
    • Gallery: Mr Nouveau
    • Gallery: Naylor, Richard
    • Gallery: Nissvik, Thomas
    • Gallery: Owen
    • Gallery: Pedivere
    • Gallery: Pingu
    • Gallery: Pollard, Ashley
    • Gallery: Plowman, Ralph
    • Gallery: Ralls, Jason
    • Gallery: Sapper
    • Gallery: Skelton, Dom
    • Gallery: Slade, Matt
    • Gallery: Stapells, Tony
    • Gallery: Stoesen, Chris
    • Gallery: Strom, Joakim
    • Gallery: Stumpy
    • Gallery: Topyob
    • Gallery: Treadhead
    • Gallery: Vera, Benito
    • Gallery: Vis Bellica
    • Gallery: Willie B
    • Gallery: Yuengling, Jon
    • Gallery: Catchpole, Jim
  • TFL Painting Challenge 2014/
    • Scorecard
    • Gallery: Alexandros
    • Gallery: Ambler, Craig
    • Gallery: Armstrong, Keith
    • Gallery: Bailey, Dave
    • Gallery: Bairos, Vidal
    • Gallery: Bax, Dick
    • Gallery: Bloggs, Fred
    • Gallery: Bond, Geoff
    • Gallery: Burt, Steve
    • Gallery: Carnegie, Ron
    • Gallery: Carole
    • Gallery: Catchpole, Jim
    • Gallery: Clarke, Richard
    • Gallery: Corbett, Wulf
    • Gallery: Danziger, Richard
    • Gallery: De Smedt, Koen
    • Gallery: de Terre Neuve, John
    • Gallery: Deeks, Jon
    • Gallery: Douglas, Mervyn
    • Gallery: Duffell, Andy
    • Gallery: Egg, Free Range
    • Gallery: Erikson, Leif
    • Gallery: Fat Wally (Kev)
    • Gallery: Fiene, Ben
    • Gallery: Gilbride, Chris
    • Gallery: Hodge, Derek
    • Gallery: Humm, Dave
    • Gallery: Llano, Manuel
    • Gallery: Luther, Mark
    • Gallery: Melville, Doug
    • Gallery: Mikkola, Topi
    • Gallery: Miller, Andrew
    • Gallery: munsterfan8
    • Gallery: Murray, Jim
    • Gallery: Nissvik, Thomas
    • Gallery: Owen
    • Gallery: The Mad Padre
    • Gallery: PatG
    • Gallery: Pingu
    • Gallery: Plowman, Ralph
    • Gallery: Pollard, Ashley
    • Gallery: Ralls, Jason
    • Gallery: Slade, Matt
    • Gallery: Stoesen, Chris
    • Gallery: Strom, Joakim
    • Gallery: Stumpy
    • Gallery: Thomas, John
    • Gallery: Treadhead
    • Gallery: Vera, Benito
    • Gallery: Vis Bellica
    • Gallery: Warrior in the Attic
    • Gallery: Weir, Jim
    • Gallery: Whitaker, Mike
    • Gallery: WillieB
    • Gallery: Yuengling, Jon
  • TooFatLardies/


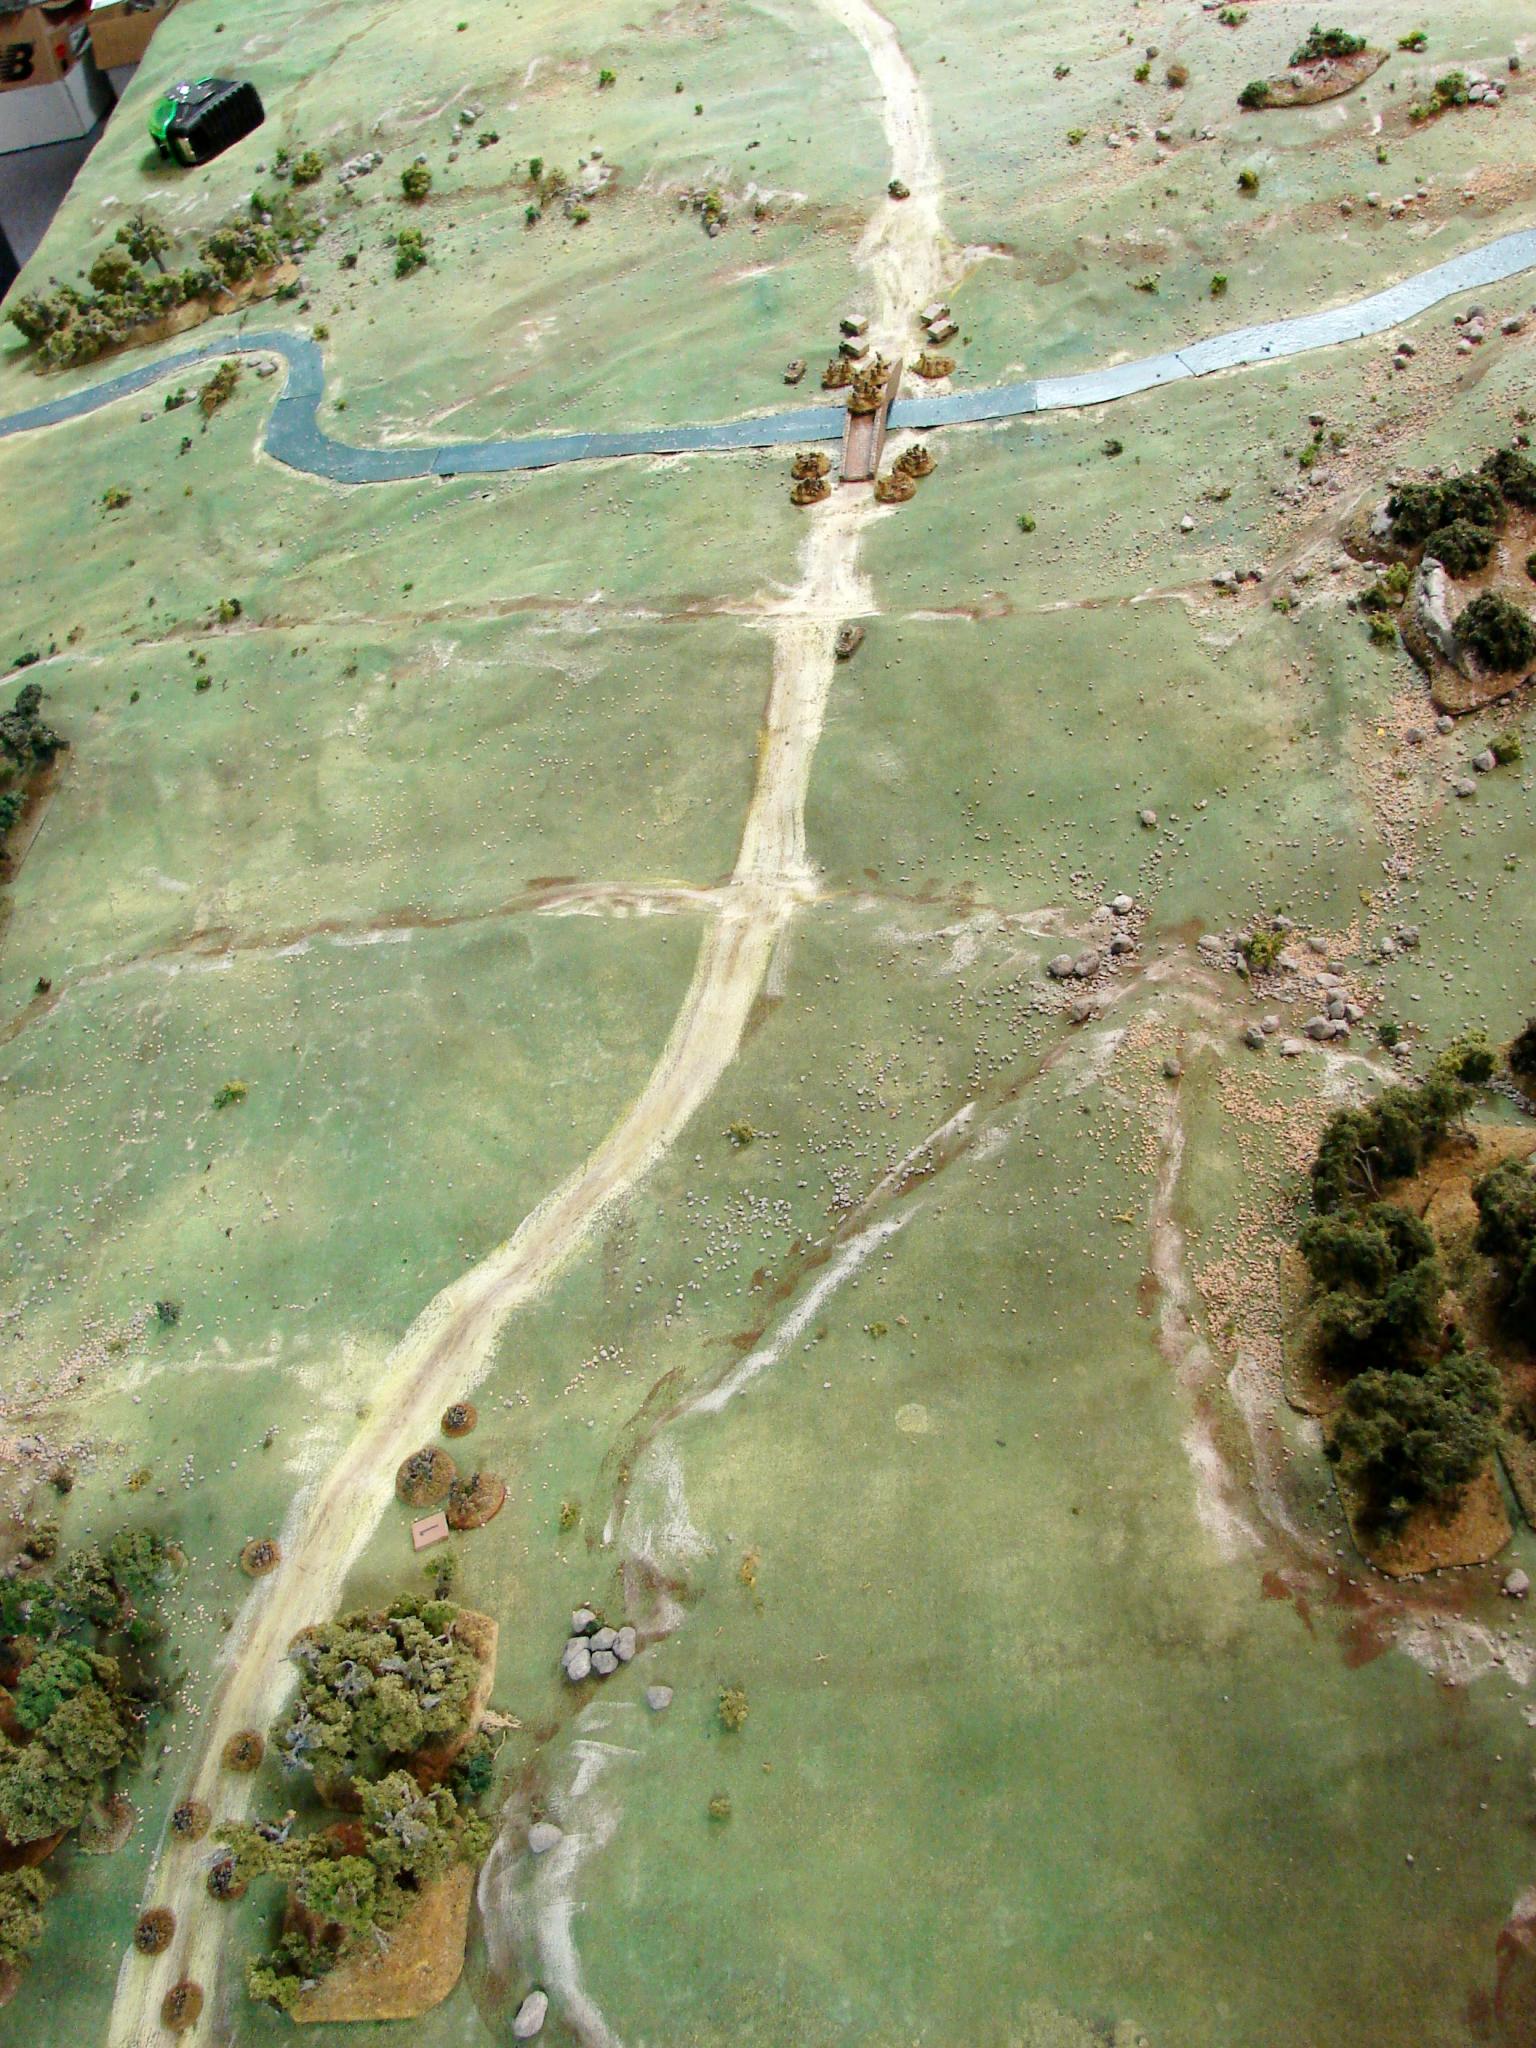
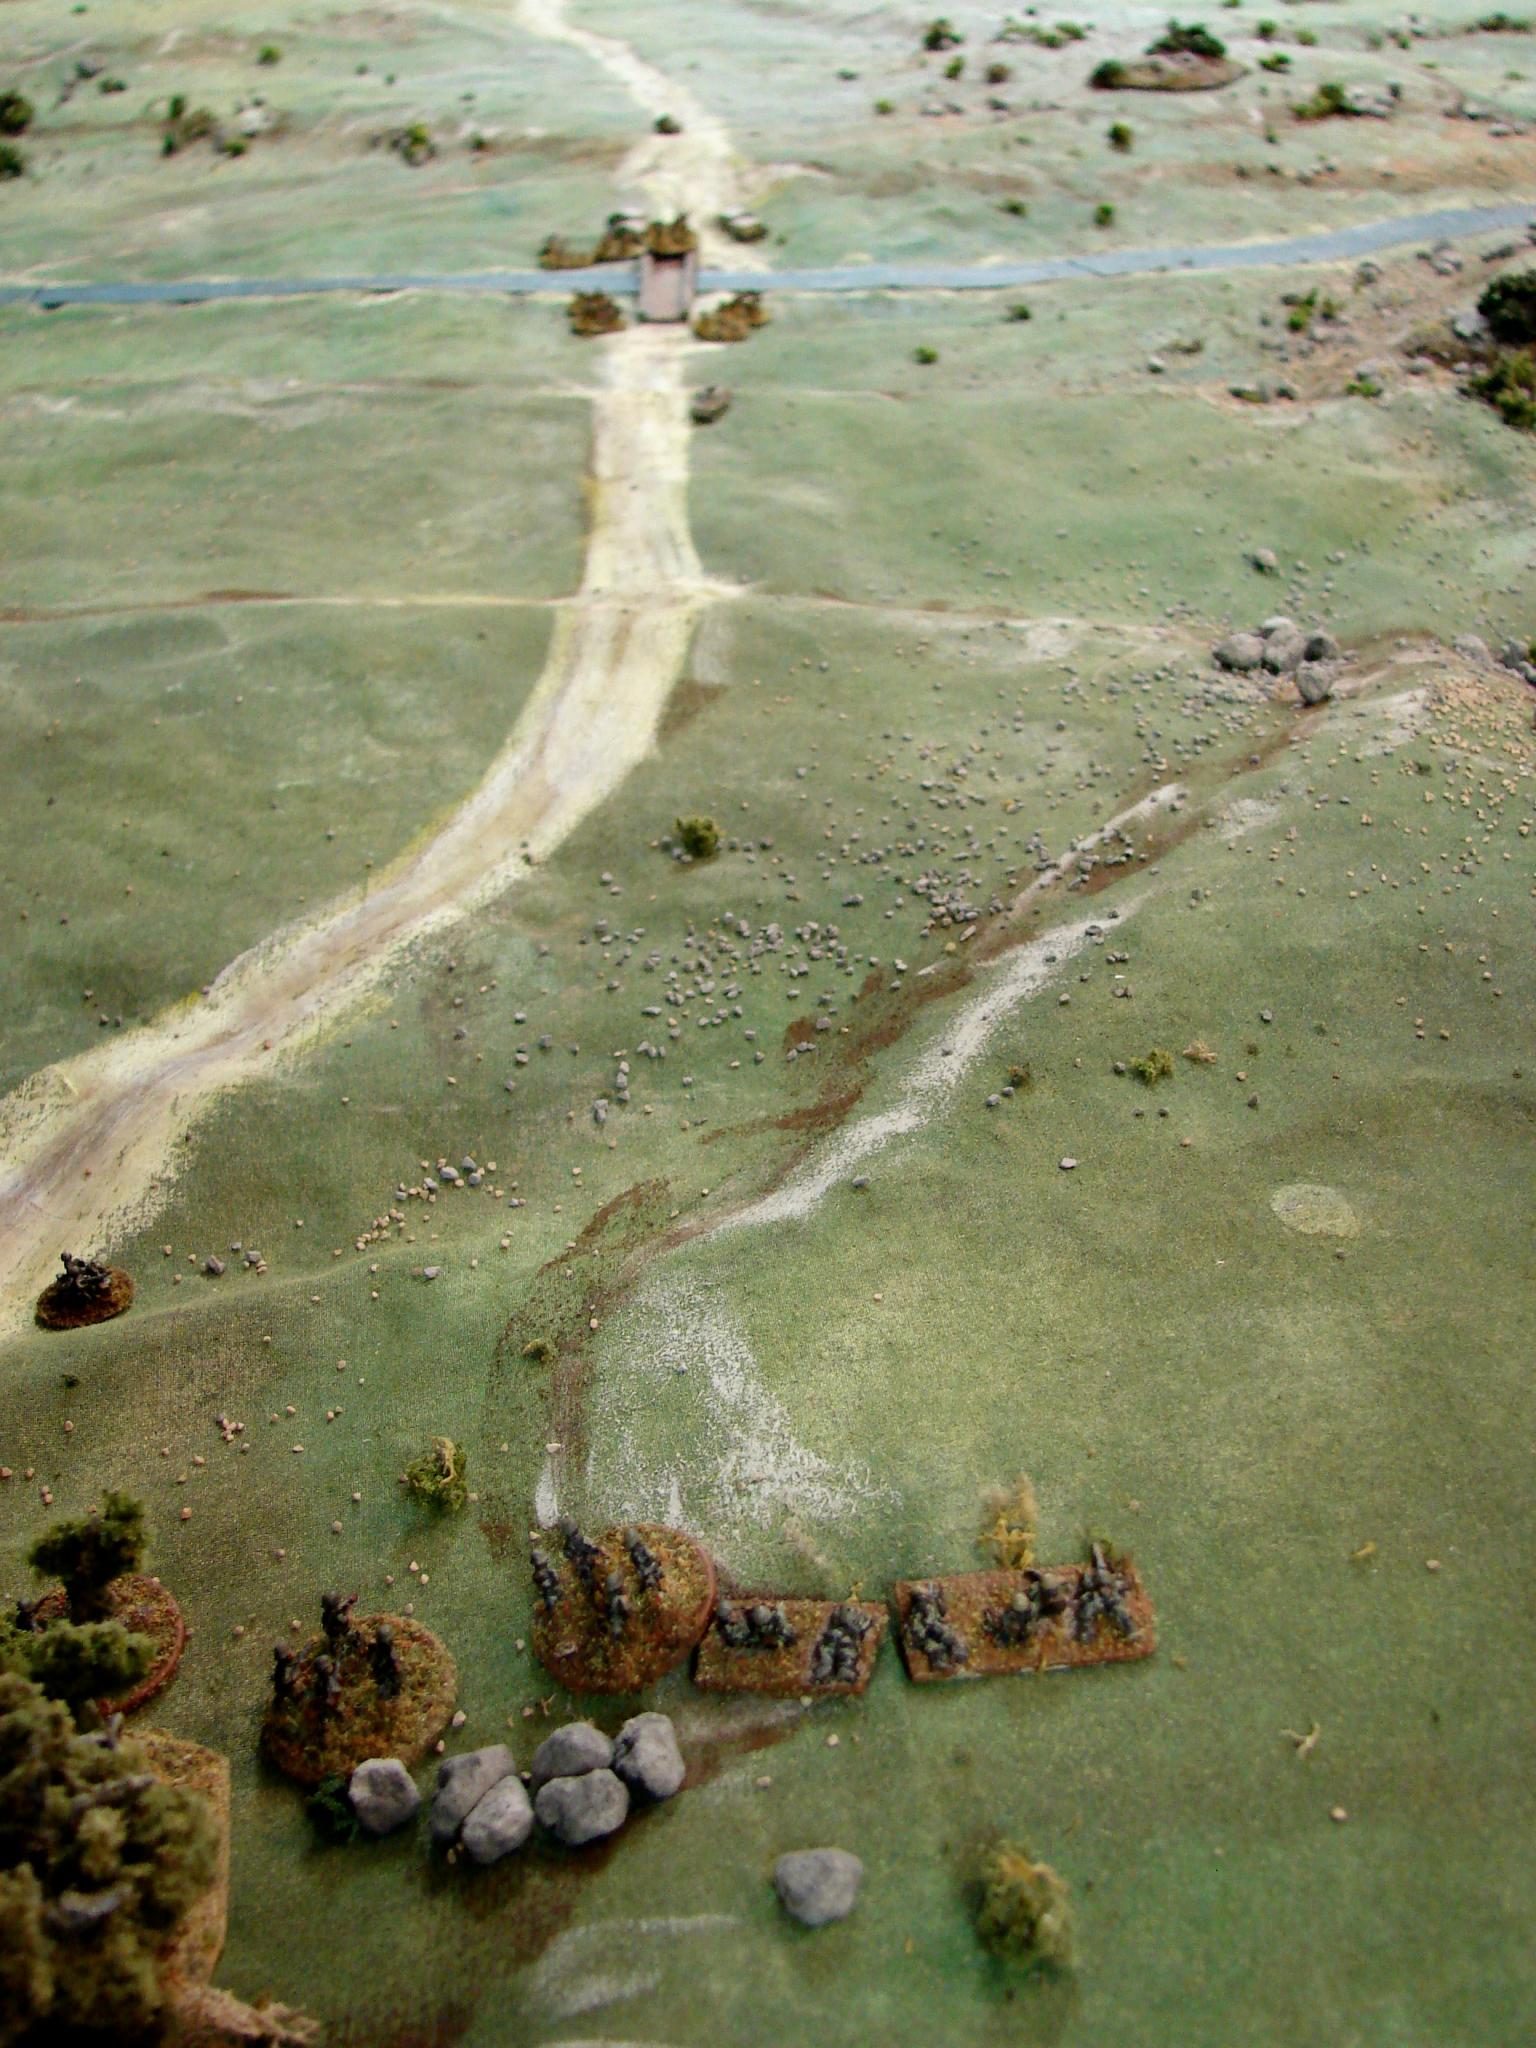
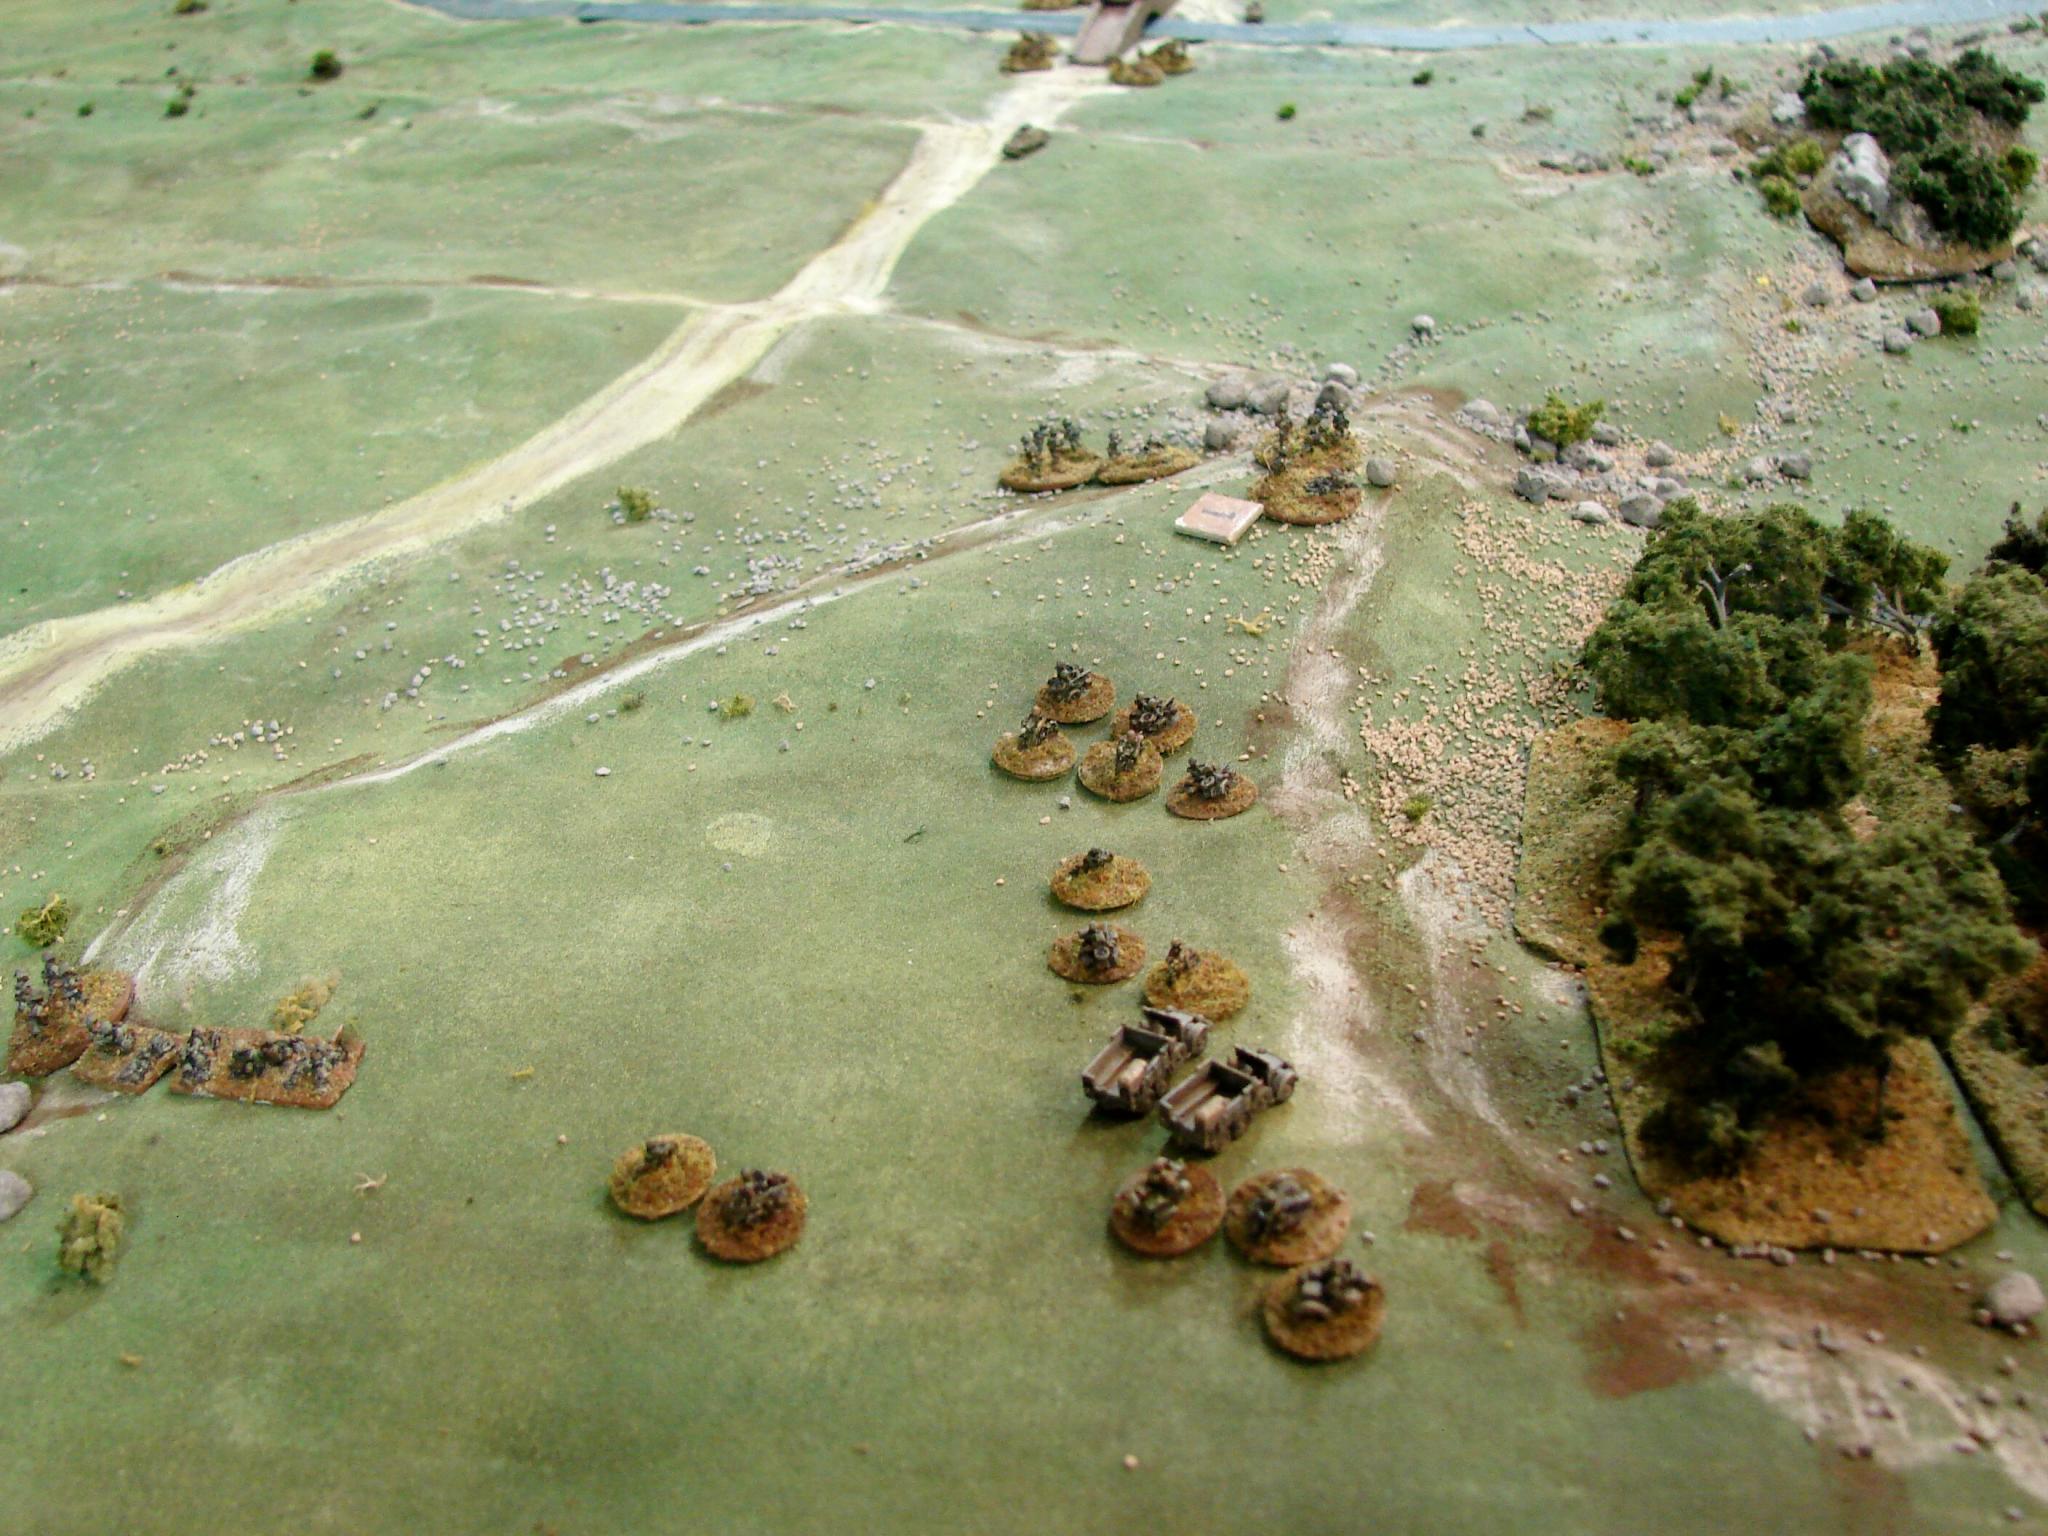
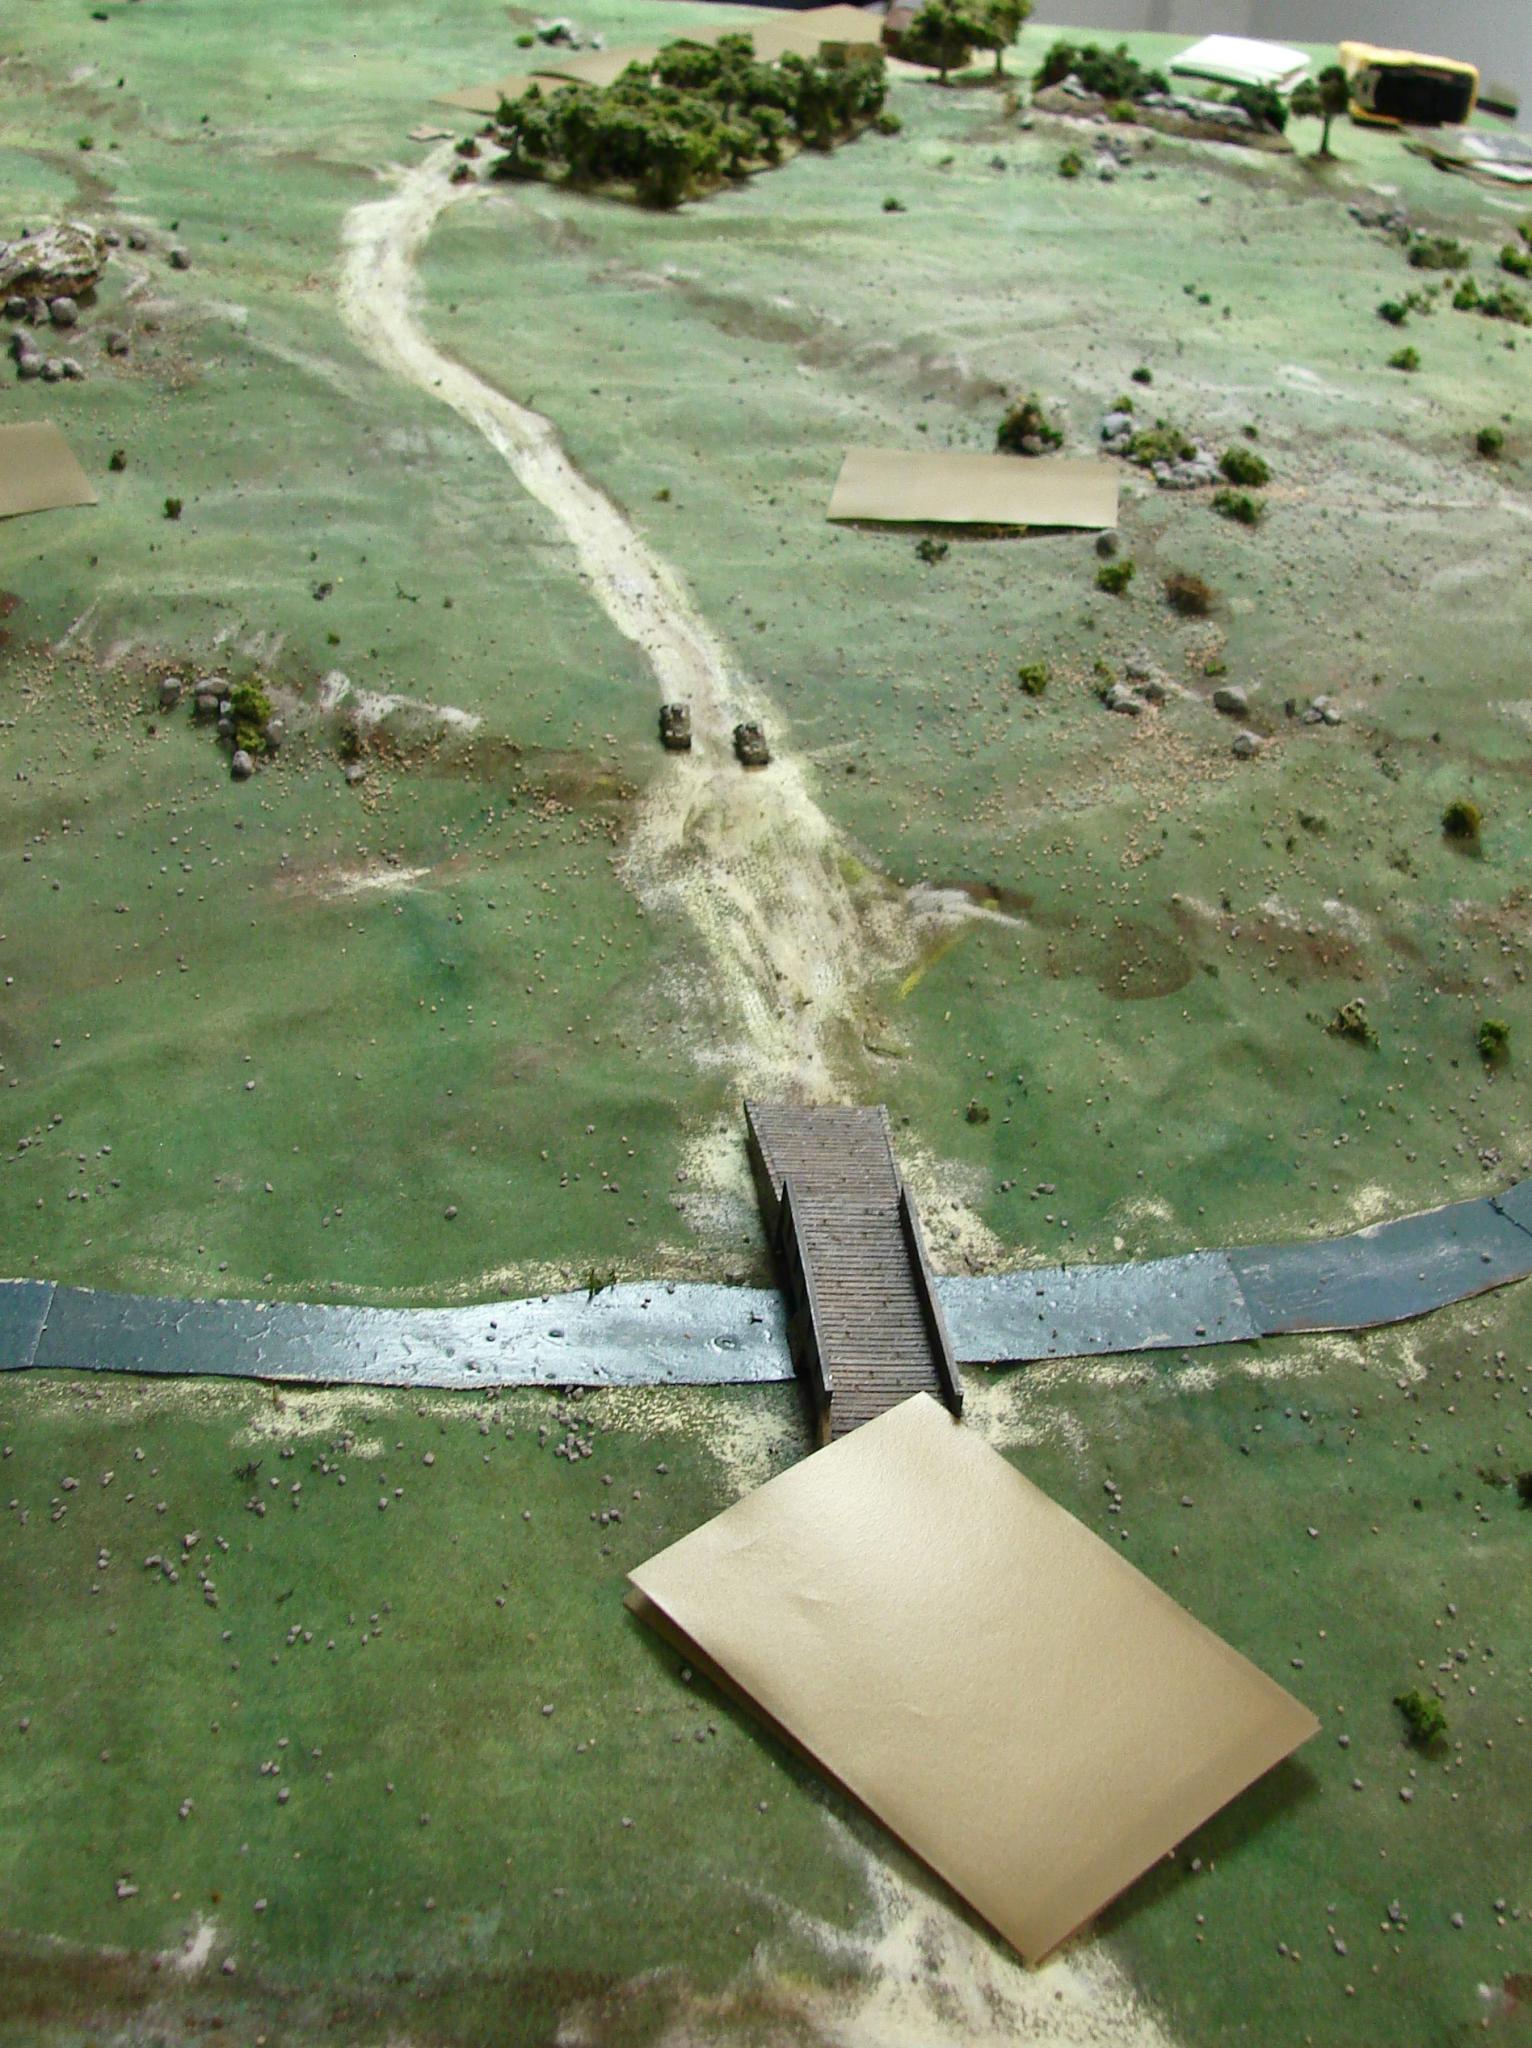
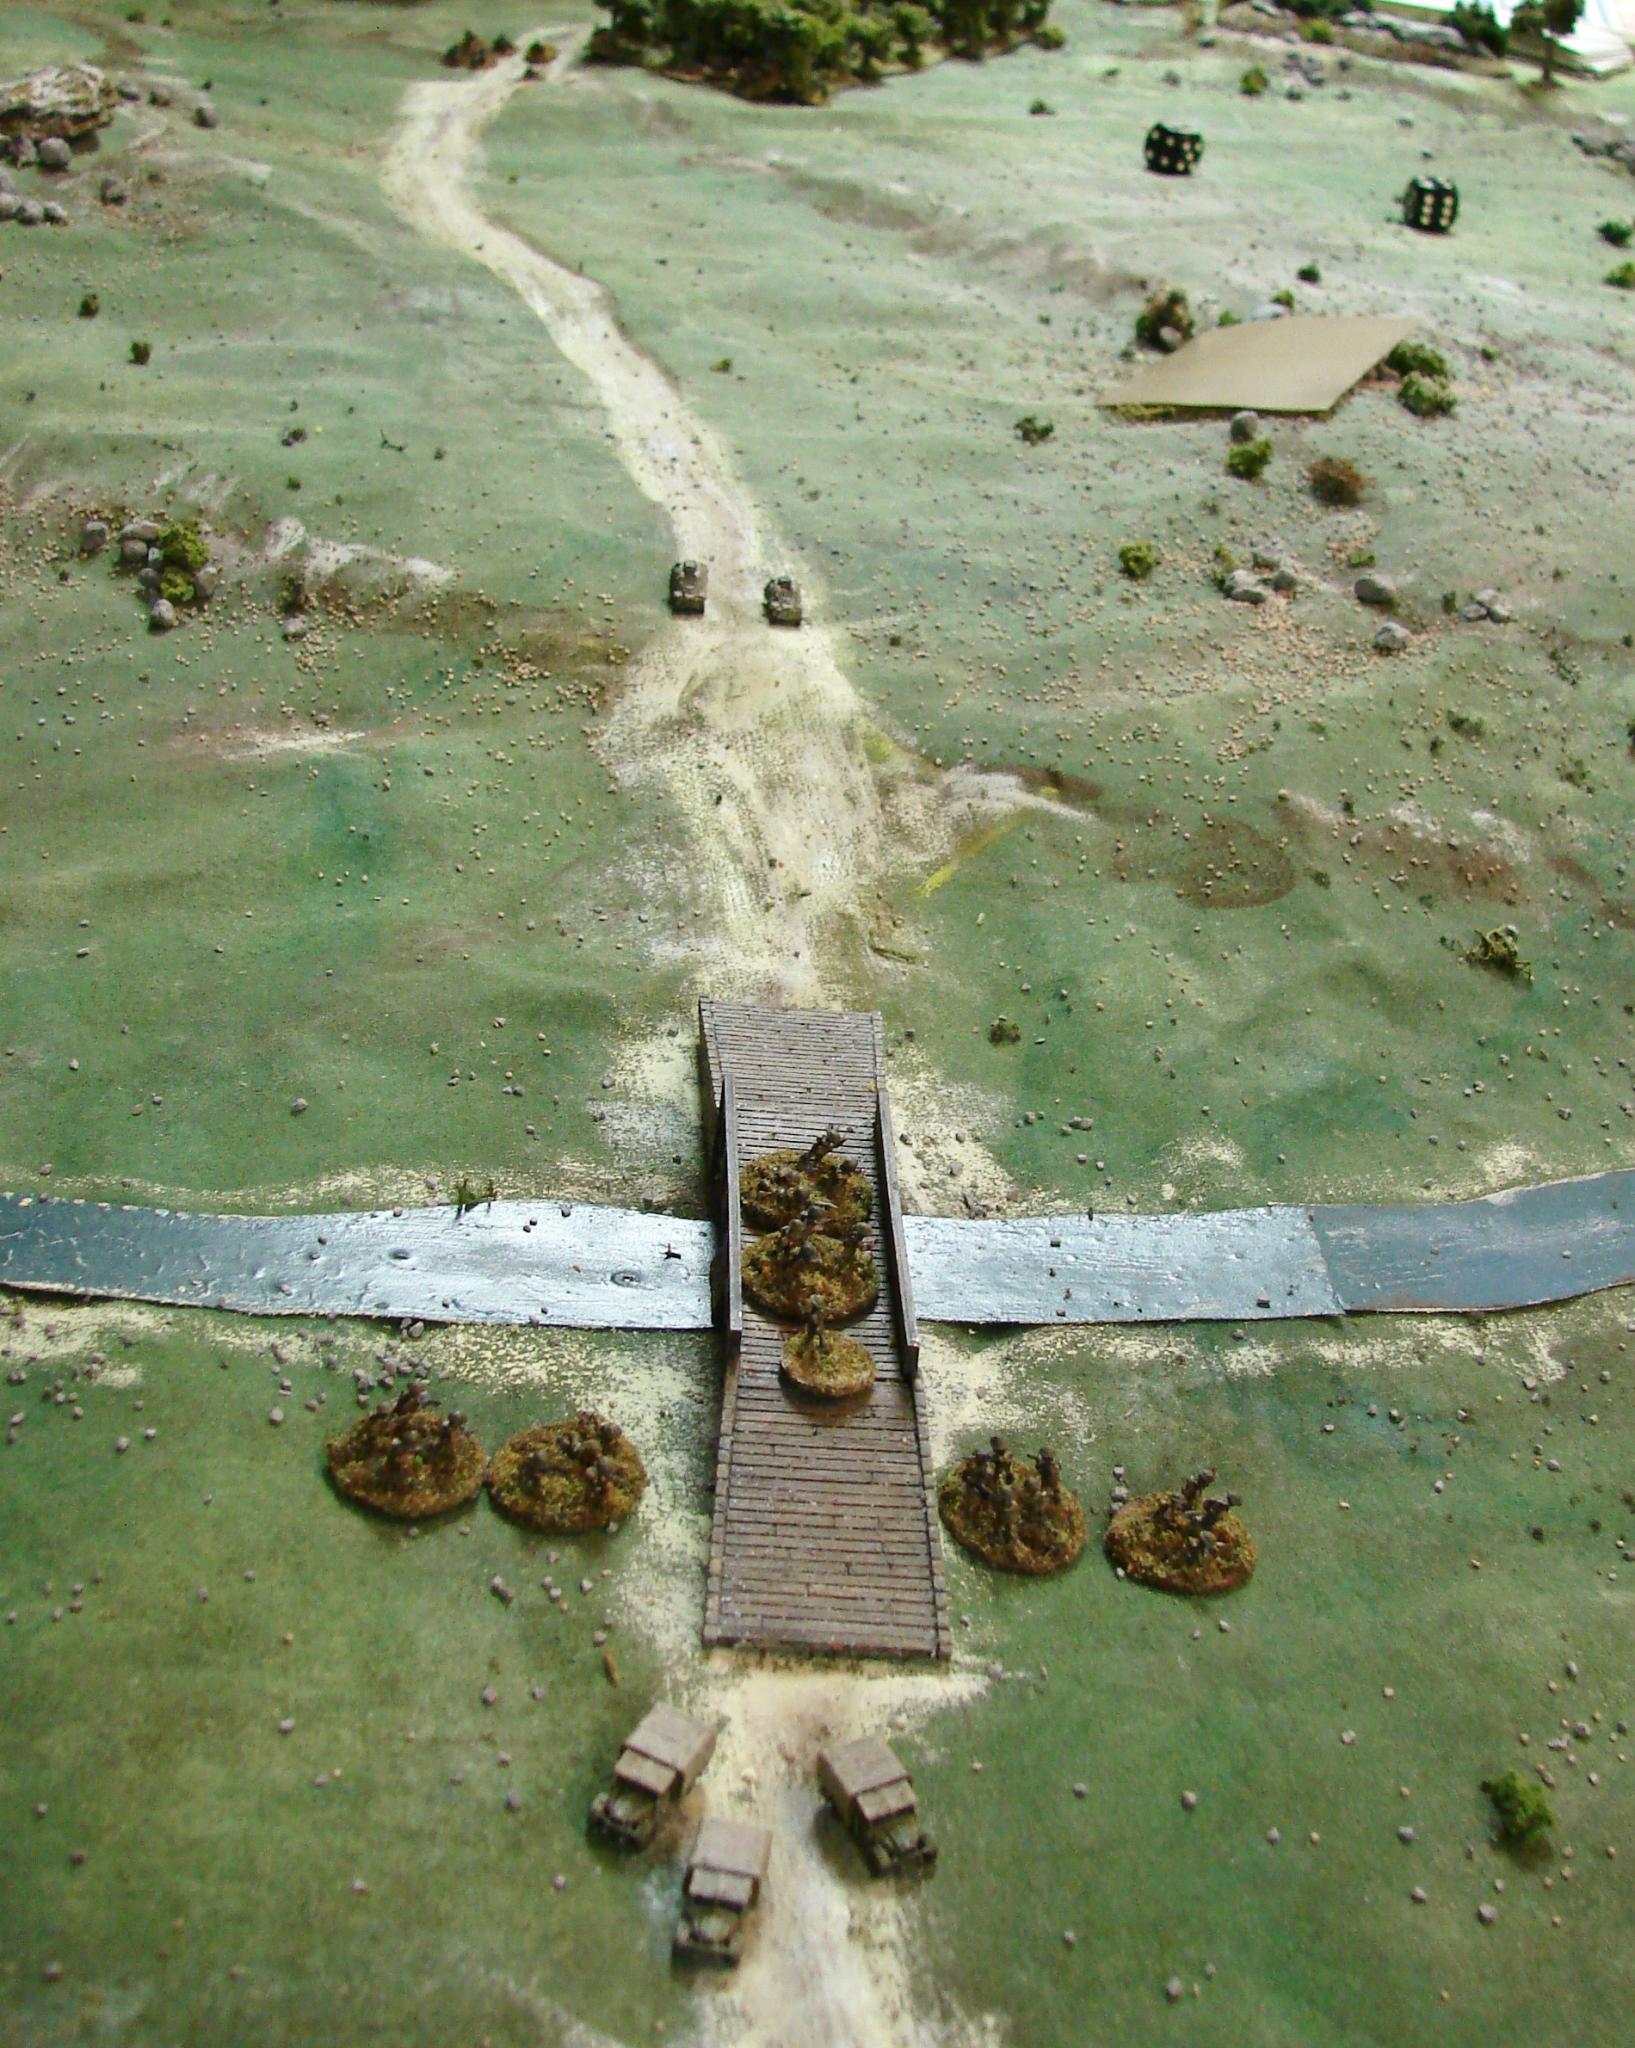
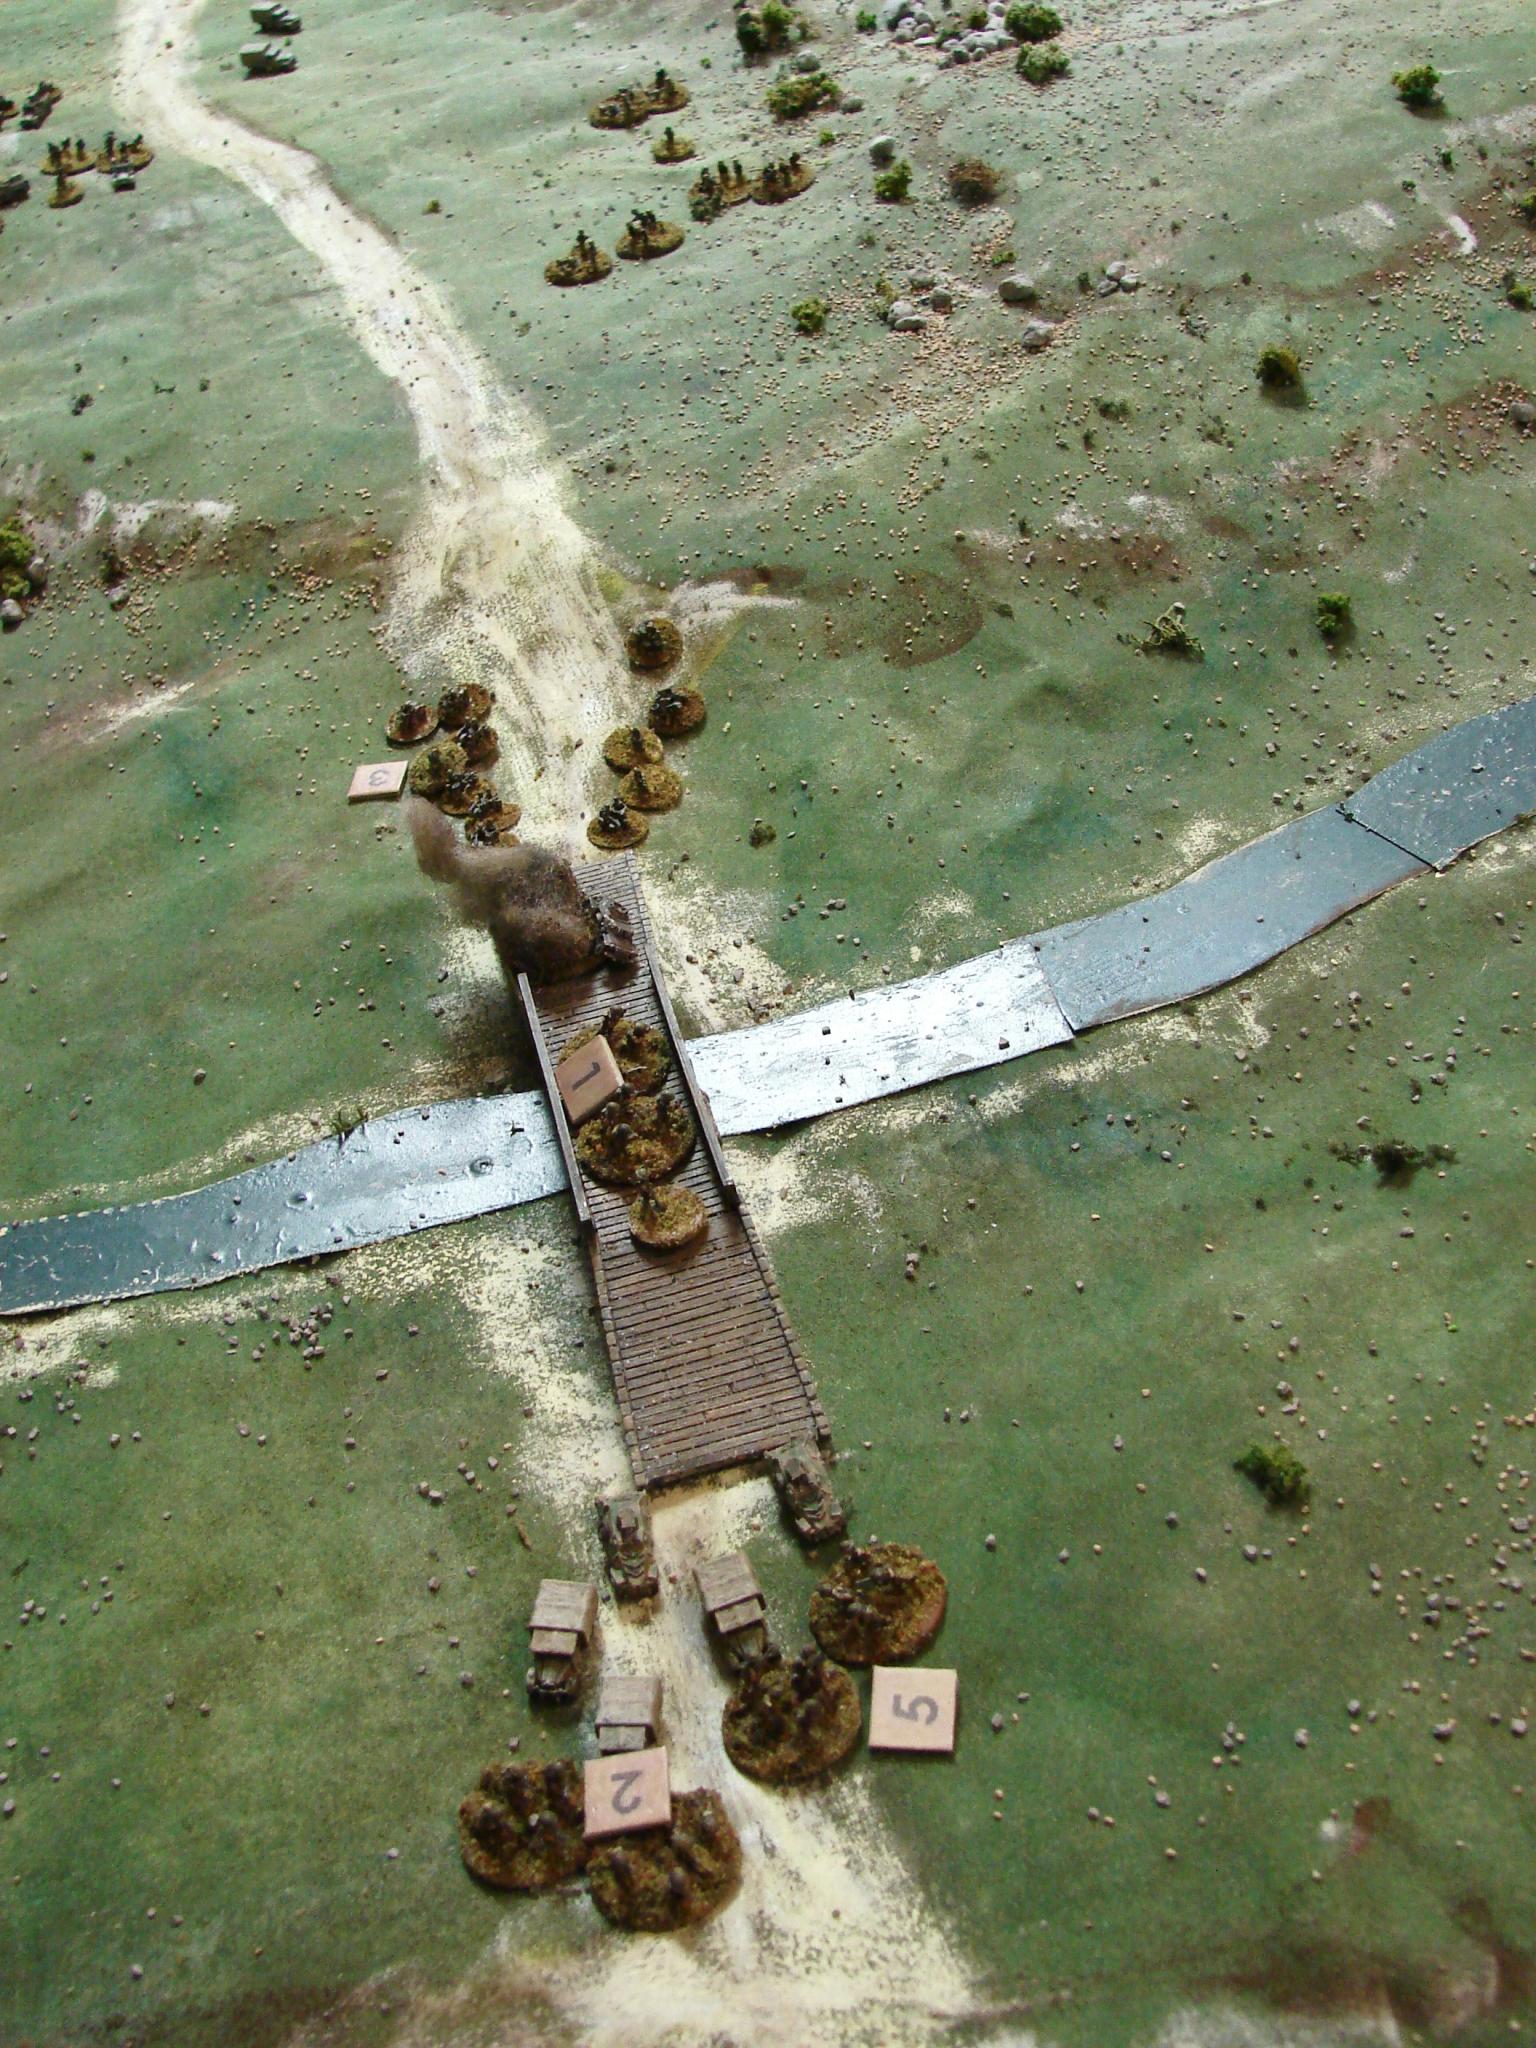
This is a IABSM game based on the Surprise Encounter scenario from Chris Stoeson's Campaign for Greece 1941 booklet. It takes place in North Greece on April 10, 1941.

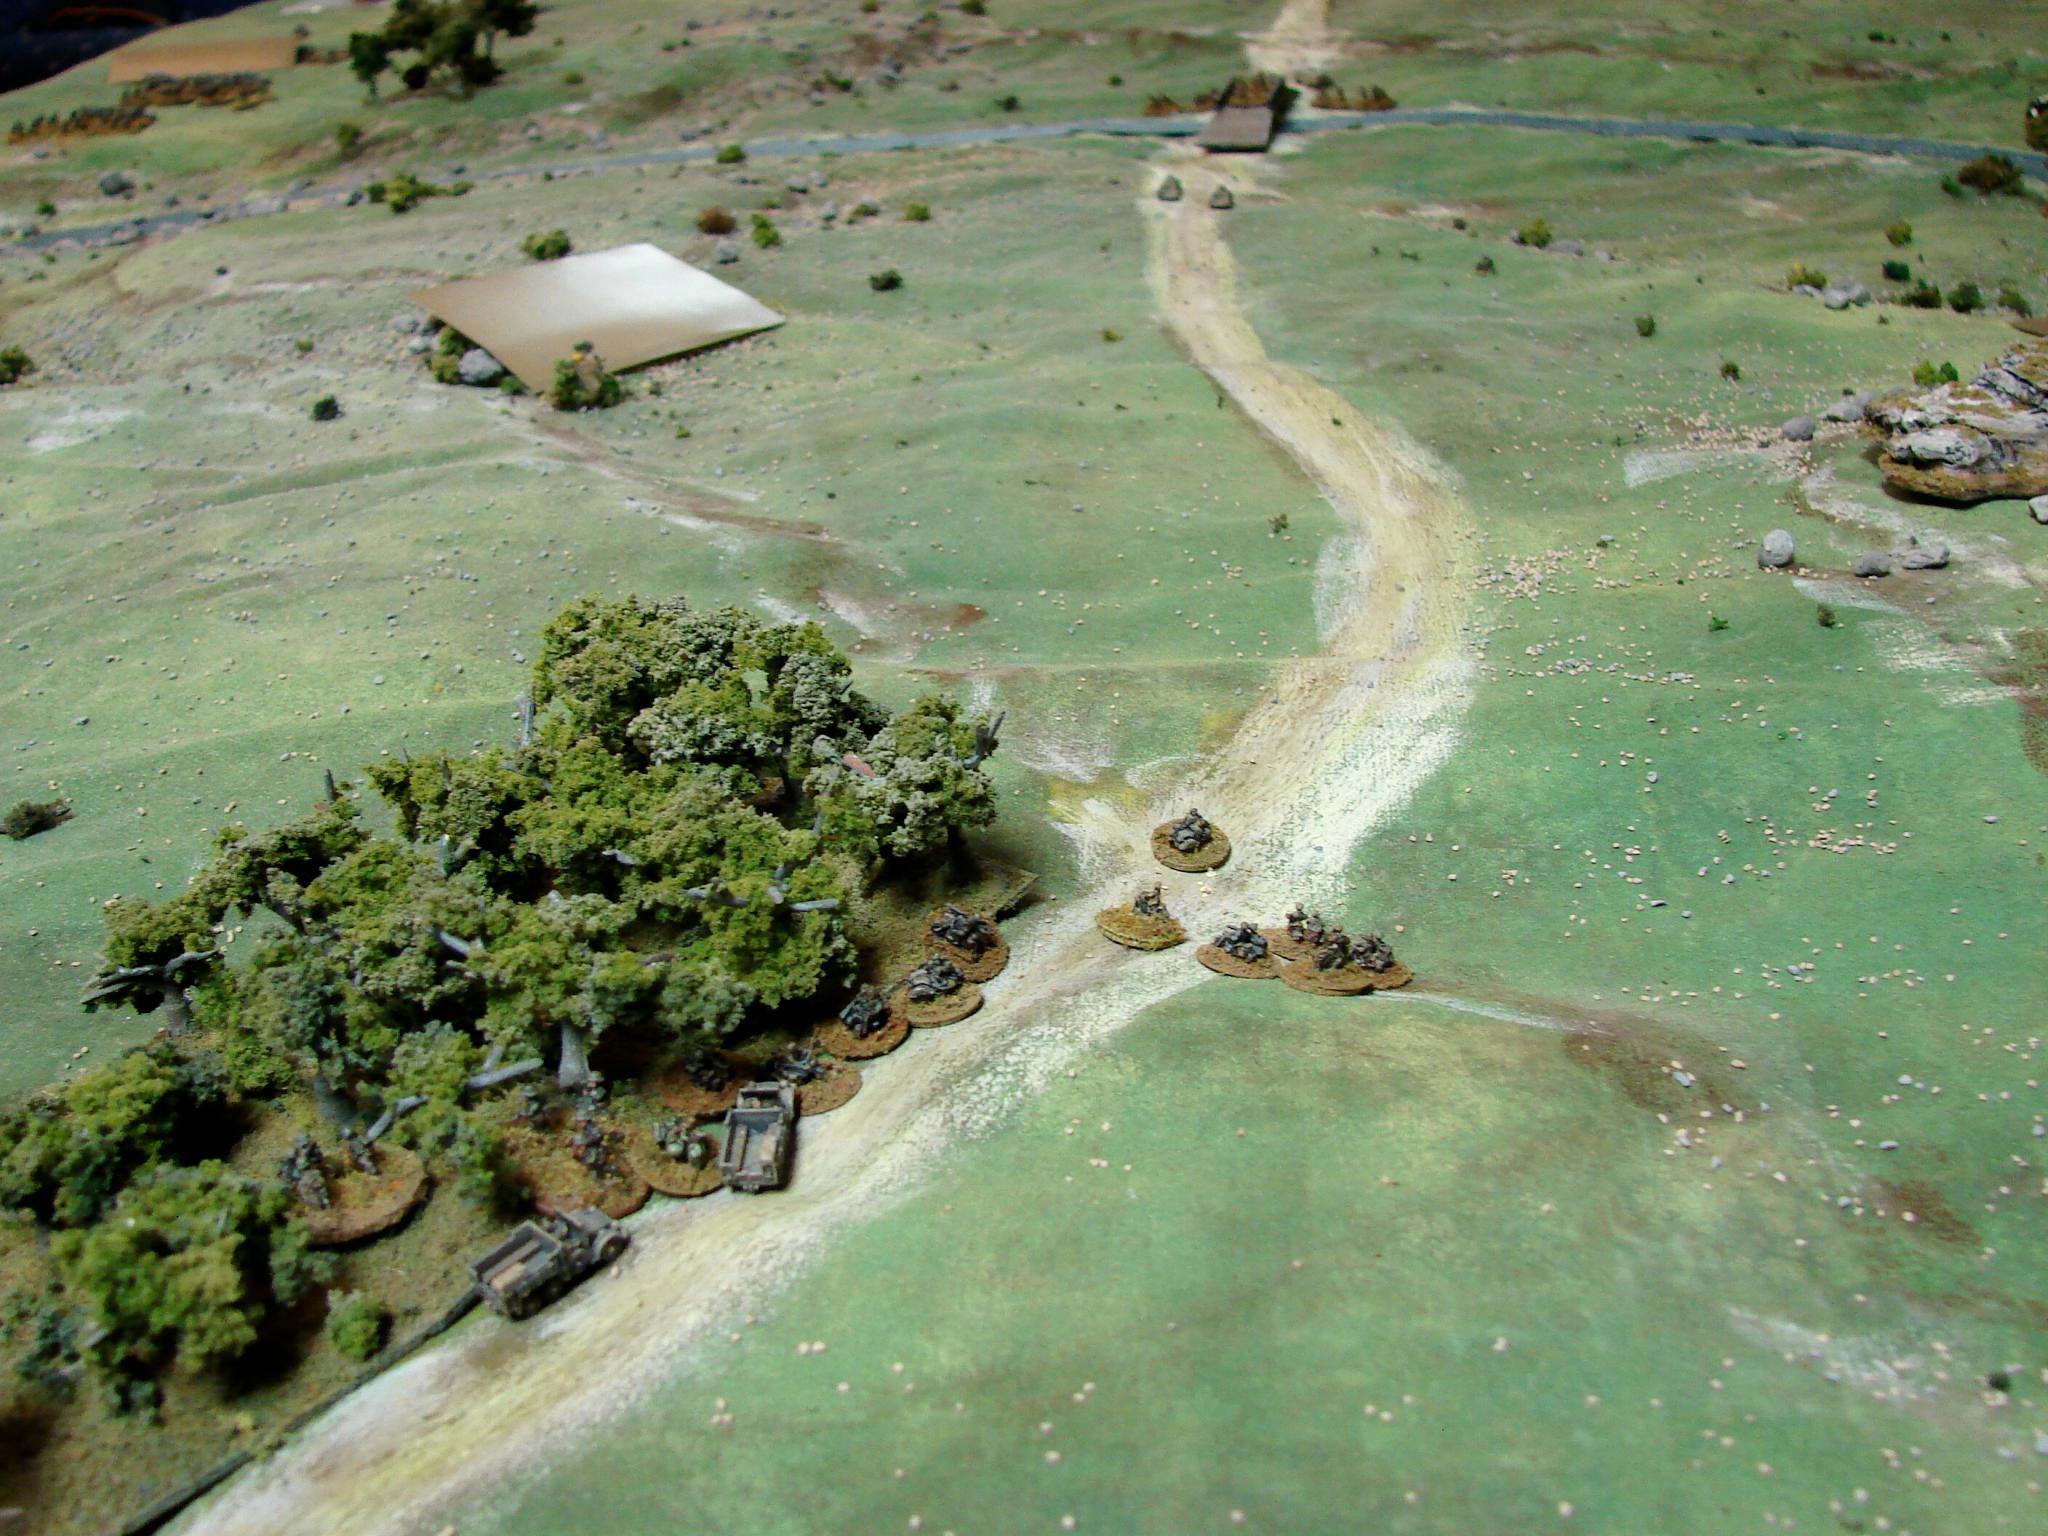
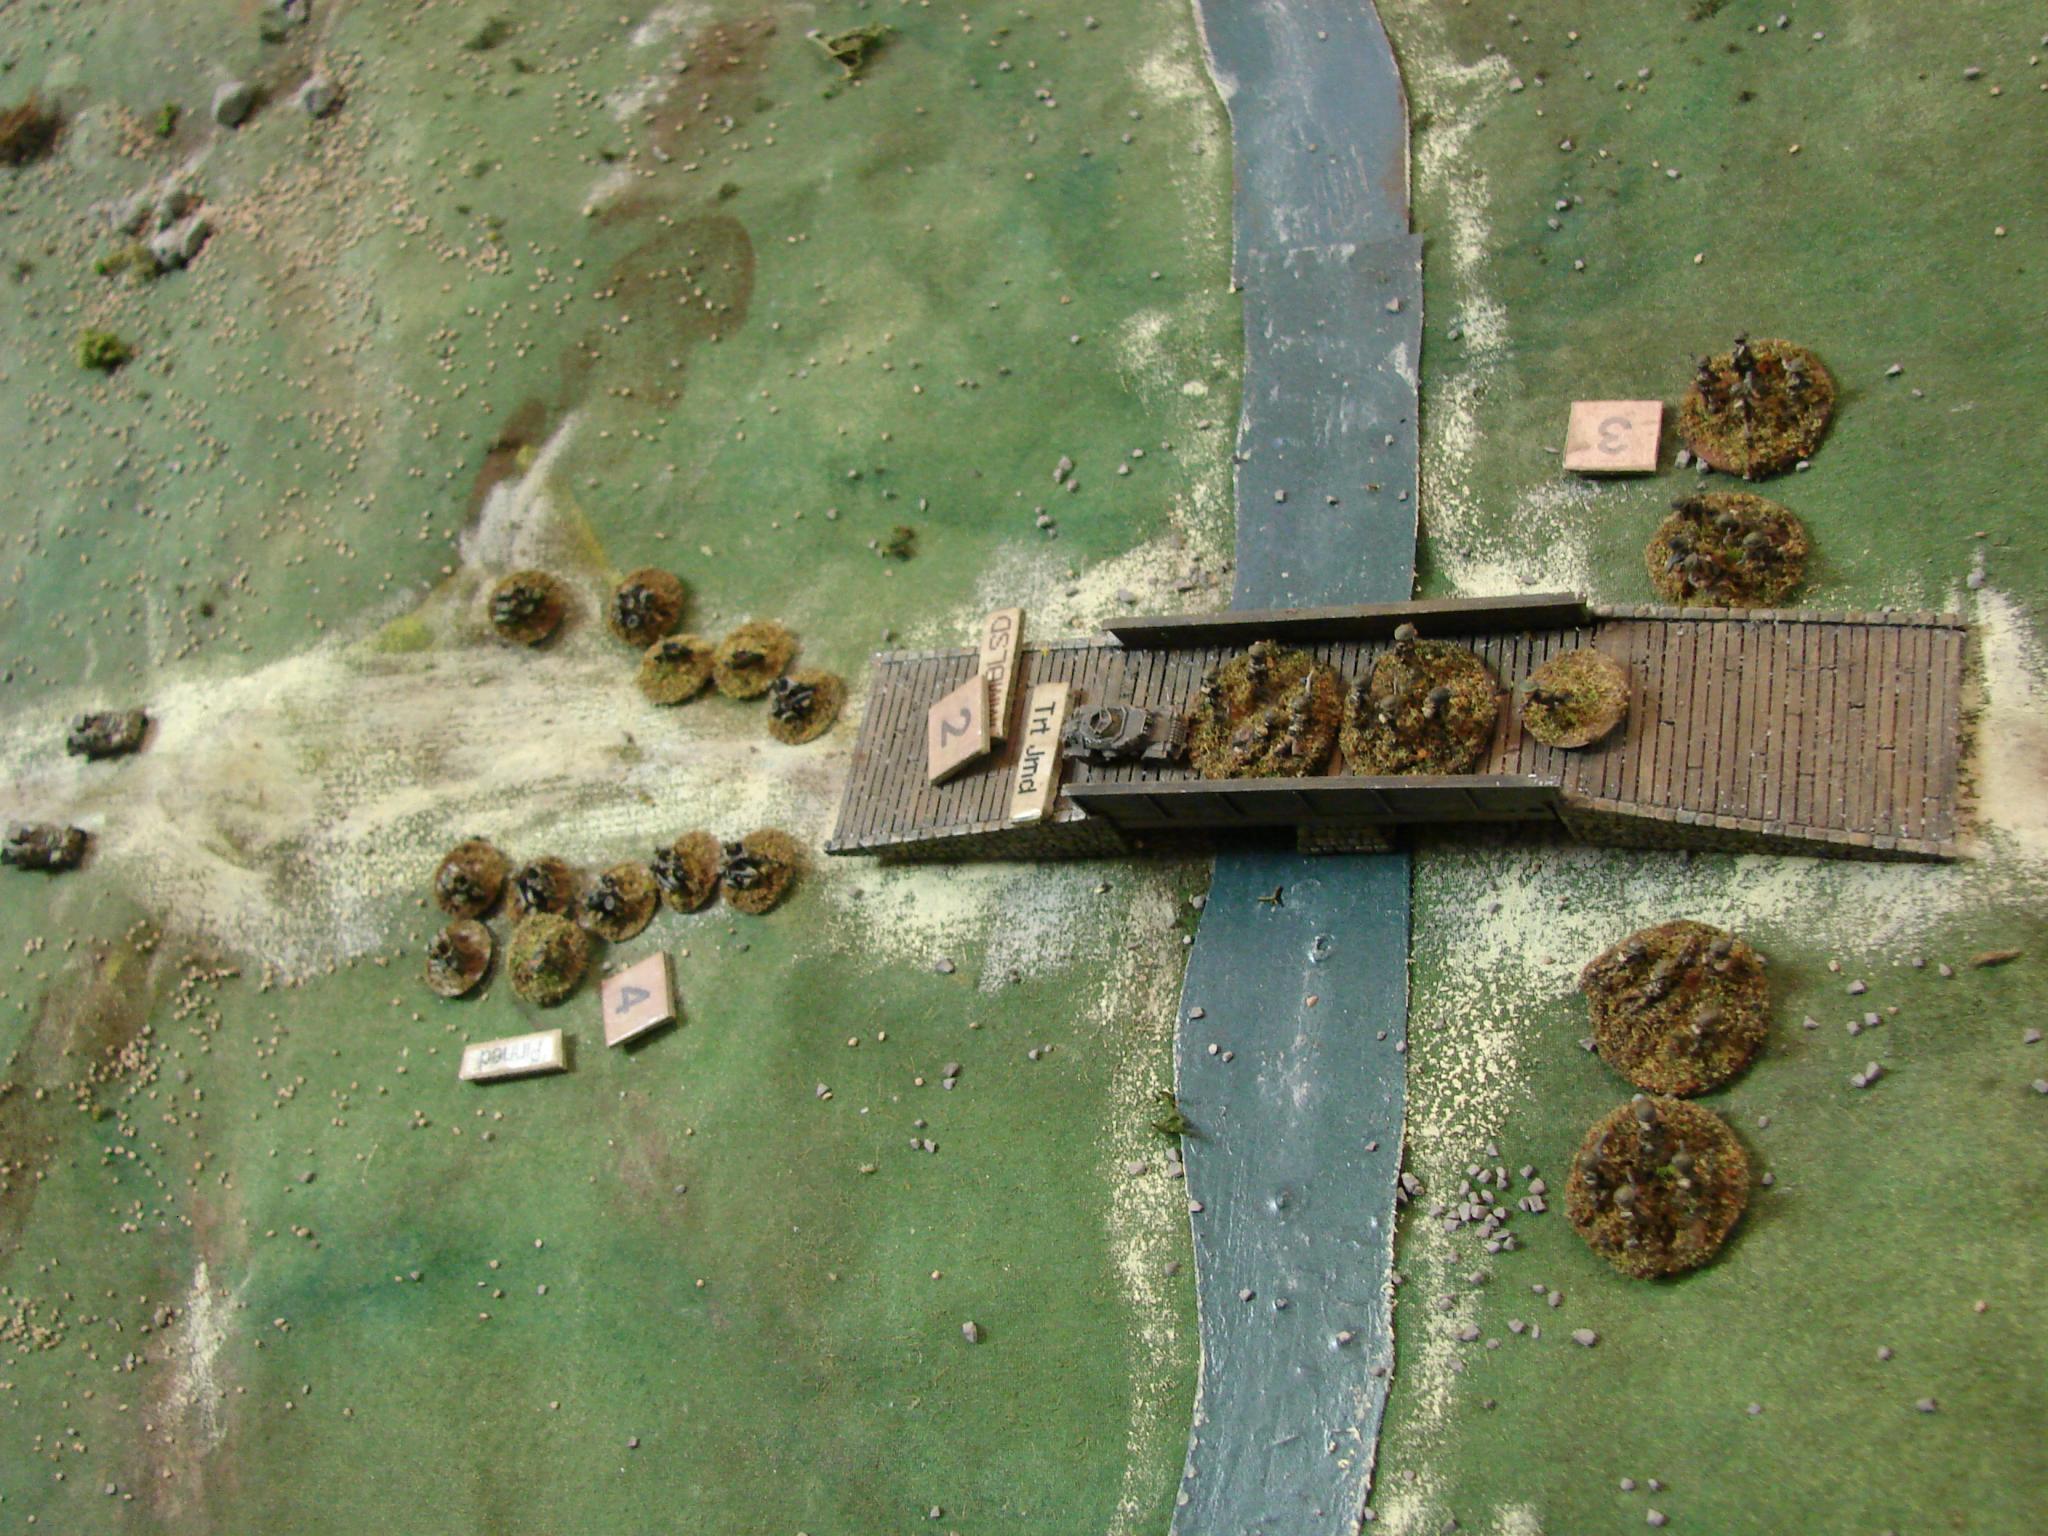
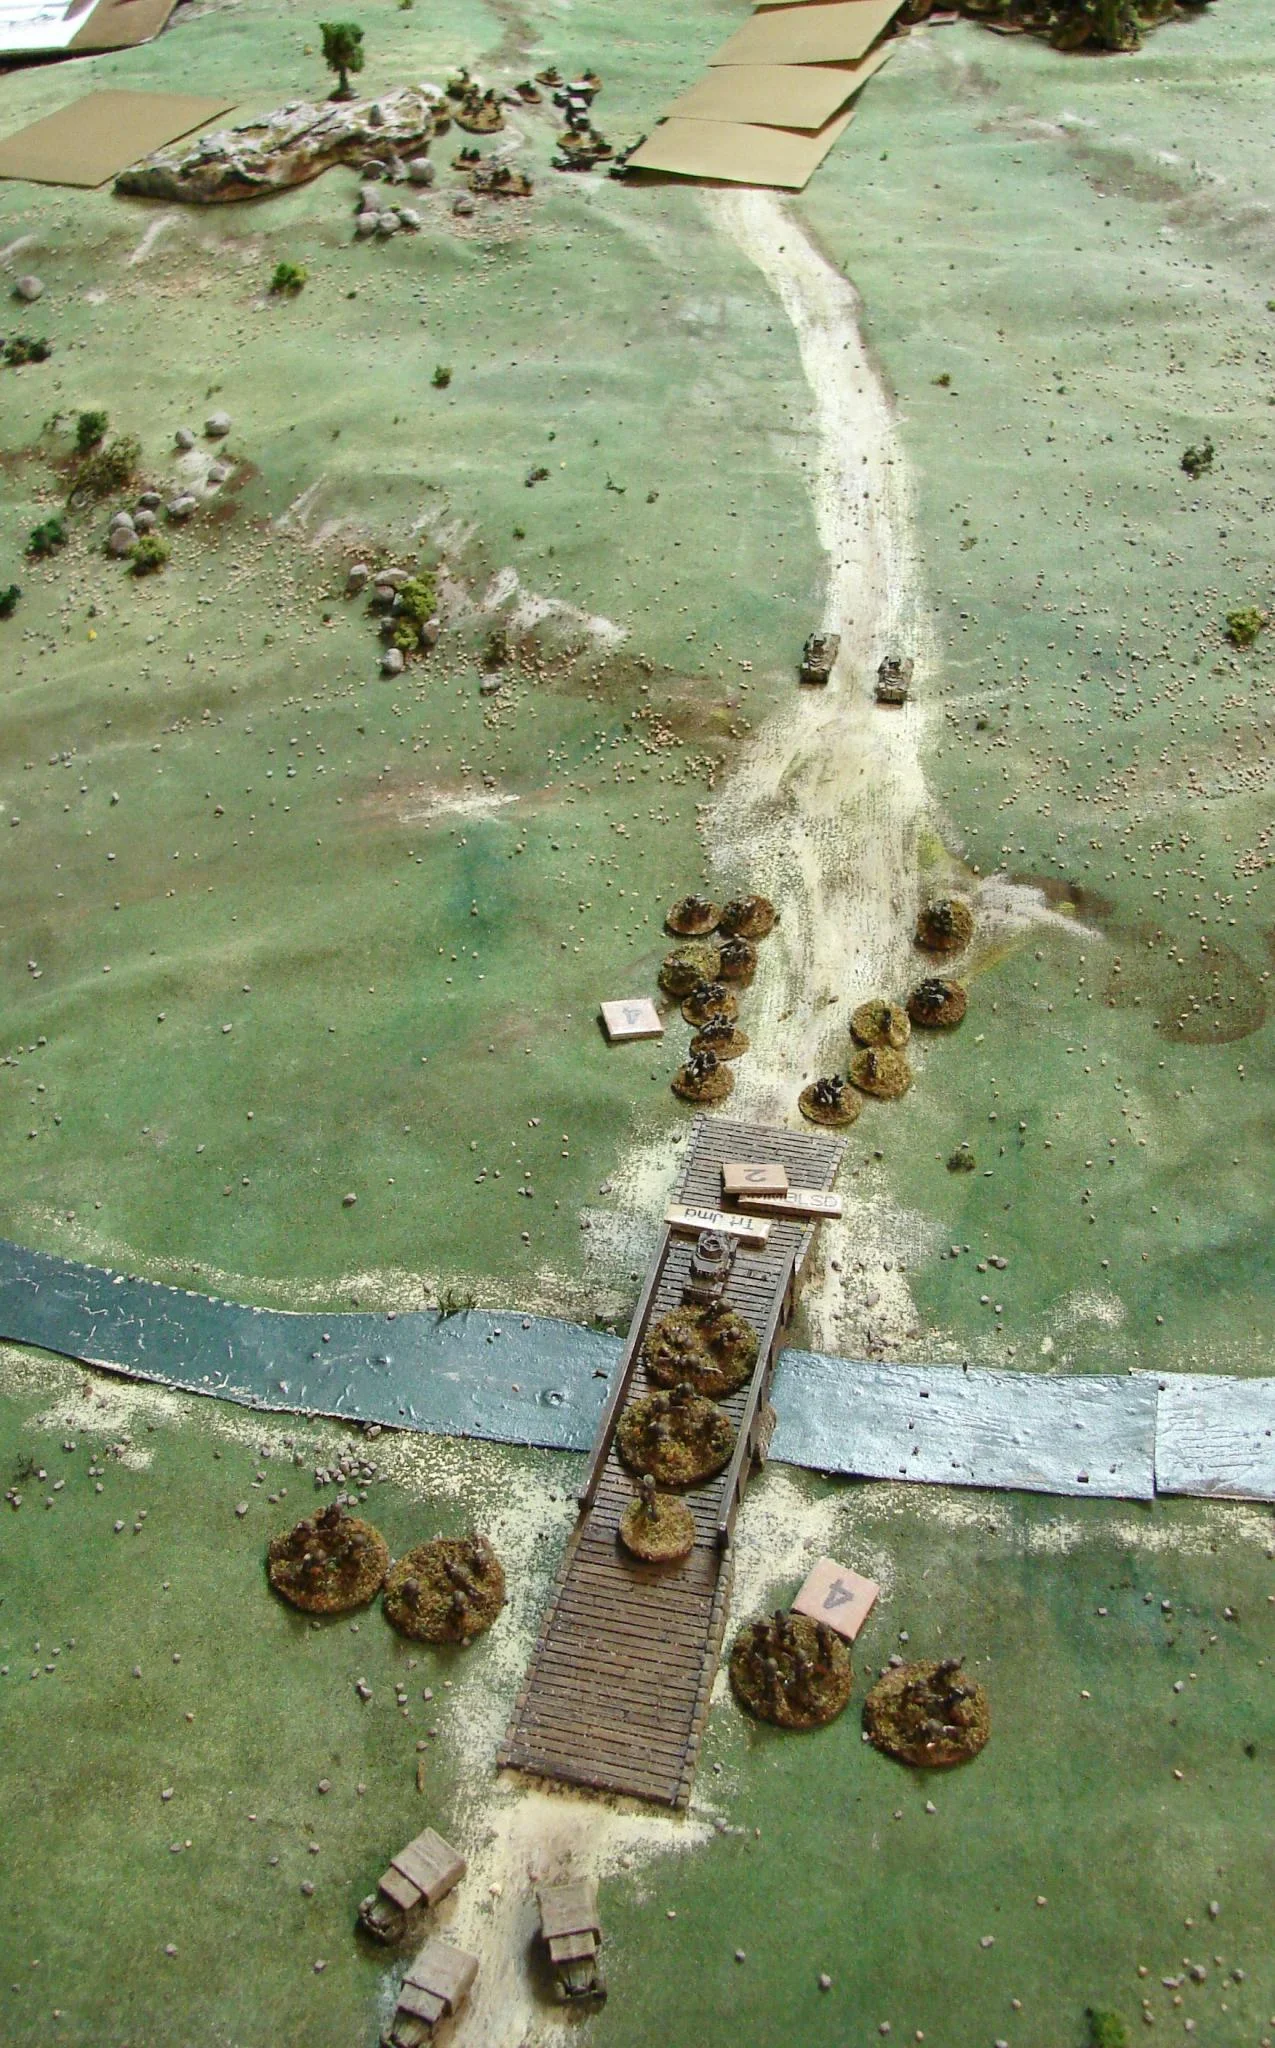
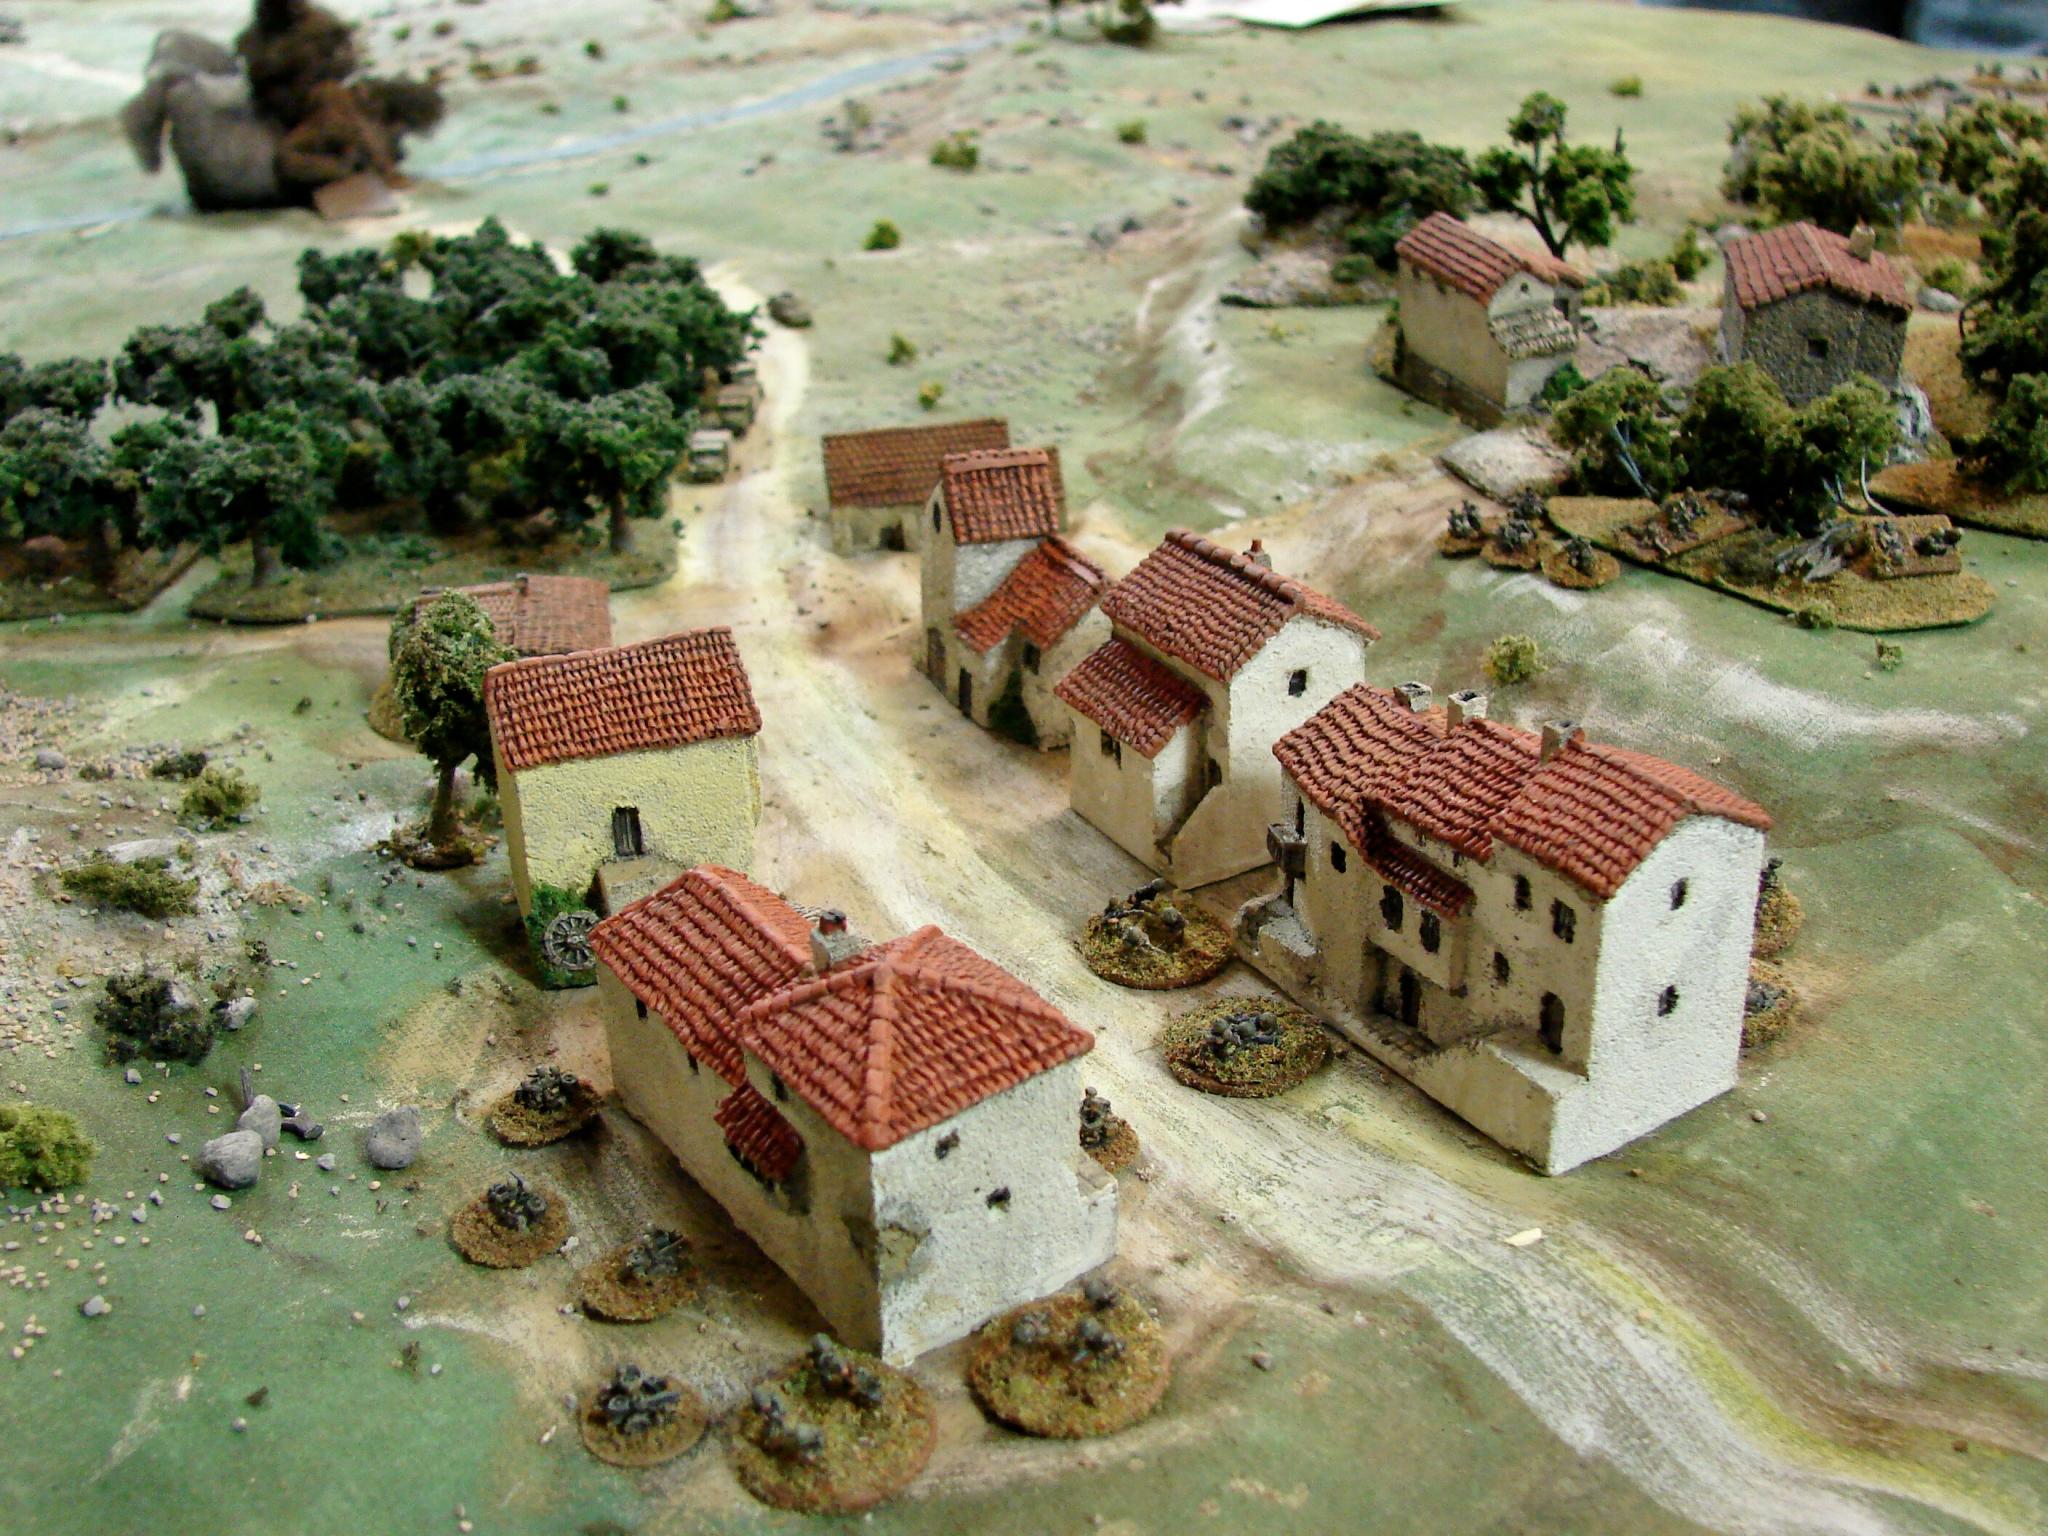
A party of Royal Engineers is tasked with blowing bridges along the expected German invasion route and are then attacked by German recce units. Unknown to the players, it is a two-part game. If the British escape from the Germans, the table is reversed, a village added to the new Southern edge and the engineers get to attempt to destroy another bridge. Martin played the Brits and NZ armored car troop, and I was the German player.

Mark Luther

 
  Bridge workers   The Royal Engineers prepping the first bridge for demolition. The British player had a four-section platoon of engineers (not combat engineers) and a troop of three NZ Marmon-Herrington armoured cars.

Bridge workers

The Royal Engineers prepping the first bridge for demolition. The British player had a four-section platoon of engineers (not combat engineers) and a troop of three NZ Marmon-Herrington armoured cars.

  The Germans enter   The German motorcycle troops come in from the north edge road, surprising both themselves and the NZ armoured cars. The bike riders take some heavy hits from the armoured cars and lose several m/c and riders in the lead section.

The Germans enter

The German motorcycle troops come in from the north edge road, surprising both themselves and the NZ armoured cars. The bike riders take some heavy hits from the armoured cars and lose several m/c and riders in the lead section.

This picture also gives a good idea of the terrain: pretty open with some small rocky hills and groups of trees with the bridge in the center.

  German forces   This was the most motorcycles I've ever had in a game, and would be a full company at one point. At the start the Germans came in on the road in column, one platoon at a time, with a Company HQ following the first two platoons.

German forces

This was the most motorcycles I've ever had in a game, and would be a full company at one point. At the start the Germans came in on the road in column, one platoon at a time, with a Company HQ following the first two platoons.

  Dismounting the troops   After losing several of the lead troopers, the rest of the platoon dismounts using the cover of the trees and hill to set up their base of fire. They really have no weapons to use against armour, but their multiple LMGs and

Dismounting the troops

After losing several of the lead troopers, the rest of the platoon dismounts using the cover of the trees and hill to set up their base of fire. They really have no weapons to use against armour, but their multiple LMGs and light mortar will cause some problems for the engineers.

  Setting up the base of fire   The light mortar and LMGs move to a hill to get a better picture of what is up ahead. The fire from the NZ armoured cars is still taking a toll on the German recce unit. Three of the engineers sections are diverted to

Setting up the base of fire

The light mortar and LMGs move to a hill to get a better picture of what is up ahead. The fire from the NZ armoured cars is still taking a toll on the German recce unit. Three of the engineers sections are diverted to provide fire against the Germans also. This leaves the CO, Captain Page, and one section to complete the work on the demolitions.

  2nd platoon tries to turn the flank   The second platoon is sent around the right to get closer to the bridge. The rough ground slows movement to a crawl though and the armoured cars turn their fire on this threat.

2nd platoon tries to turn the flank

The second platoon is sent around the right to get closer to the bridge. The rough ground slows movement to a crawl though and the armoured cars turn their fire on this threat.

  More broken bikes   The machine gun fire forom the NZ armoured cars put a hurtin' on the 2nd platoon. The lead section gets chewed up badly and the following elements dismount out of line of sight to move up on foot.

More broken bikes

The machine gun fire forom the NZ armoured cars put a hurtin' on the 2nd platoon. The lead section gets chewed up badly and the following elements dismount out of line of sight to move up on foot.

  The Company HQ unit arrives   It looks like the motorcycle troops are pinned down by the LMGs of the armoured cars and fire from the engineers' Bren guns. Without anything to make the NZ armoured cars fall back, the Germans are waiting for some rei

The Company HQ unit arrives

It looks like the motorcycle troops are pinned down by the LMGs of the armoured cars and fire from the engineers' Bren guns. Without anything to make the NZ armoured cars fall back, the Germans are waiting for some reinforcements.

  Corporal King blocks the advance   Historically Corporal King received the first medal in the Greece campaign for his defence in this action. He escaped from this action but died from injuries from German bombing later.

Corporal King blocks the advance

Historically Corporal King received the first medal in the Greece campaign for his defence in this action. He escaped from this action but died from injuries from German bombing later.

  Pulling back off the bridge   For game purposes, the engineers had to have one section working on setting up the demolition charges for four full turns. The Germans were unable to score any hits on this team at long range, so they have a good chanc

Pulling back off the bridge

For game purposes, the engineers had to have one section working on setting up the demolition charges for four full turns. The Germans were unable to score any hits on this team at long range, so they have a good chance of pulling this off and escaping. They have taken some hits on the supporting sections that were firing at the Germans though.

  German 2nd platoon   At long range they just aren't getting enough hits on the engineers. And fire from the Commonwealth troops have caused casualties in all three sections.

German 2nd platoon

At long range they just aren't getting enough hits on the engineers. And fire from the Commonwealth troops have caused casualties in all three sections.

  Armoured cars arrive for the Germans   Two Sdkfz 221 come on the table and one promptly gets tangled up in the wreckage of an abandoned motorcycle.

Armoured cars arrive for the Germans

Two Sdkfz 221 come on the table and one promptly gets tangled up in the wreckage of an abandoned motorcycle.

  Scramble for the trucks   The engineers finish setting the bridge and run back for their trucks to get outta here. They actually take more casualties this turn than previously as they expose themselves. Corporal King's armoured car is heading back

Scramble for the trucks

The engineers finish setting the bridge and run back for their trucks to get outta here. They actually take more casualties this turn than previously as they expose themselves. Corporal King's armoured car is heading back also.

  Run away   The Royal Engineers are heading away from the doomed bridge as fast as they can go, while the NZ armoured cars cover their escape.

Run away

The Royal Engineers are heading away from the doomed bridge as fast as they can go, while the NZ armoured cars cover their escape.

  Motorcycle troops start to mount up   The recce uits start to get their mounts back up and try to make a dash for the bridge now that they are no longer under fire.

Motorcycle troops start to mount up

The recce uits start to get their mounts back up and try to make a dash for the bridge now that they are no longer under fire.

  Waiting for the big blow   The RE big man, Captain Page, gets ready to detonate the bridge as the rest of the Commonwealth vehicles scramble away. Unfortunately, the tail end truck was slow off the mark and Corporal King's a/c had trouble gett

Waiting for the big blow

The RE big man, Captain Page, gets ready to detonate the bridge as the rest of the Commonwealth vehicles scramble away. Unfortunately, the tail end truck was slow off the mark and Corporal King's a/c had trouble getting across the bridge. The newly-arrived German reinforcements are hoping to get to the bridge also. The Germans also have another platoon of truck-mounted infantry further down the road.

  There she blows   The RE big man manages to get the plunger down and the bridge is blown sky high.

There she blows

The RE big man manages to get the plunger down and the bridge is blown sky high.

  Looks like the feet are going to get wet   This river crossing is going to be slower than anticipated. The mass of German recce troops are now going to hope that this creek can be forded.

Looks like the feet are going to get wet

This river crossing is going to be slower than anticipated. The mass of German recce troops are now going to hope that this creek can be forded.

  Lots of collateral damage   The slow moving RE truck and Corporal King's armoured car are destroyed. King survives the explosion, but the RE lose five of their members in the blast. The newly-arrived German infantry lost four men and a truck in the

Lots of collateral damage

The slow moving RE truck and Corporal King's armoured car are destroyed. King survives the explosion, but the RE lose five of their members in the blast. The newly-arrived German infantry lost four men and a truck in the blast.

  Heading South   After picking up survivors the Brits and Kiwis will head to their next bridge having bought some time with this successful demolition.  Overall Commonwealth casualties were one armoured car, one truck, and 13 engineers. The Germans

Heading South

After picking up survivors the Brits and Kiwis will head to their next bridge having bought some time with this successful demolition.

Overall Commonwealth casualties were one armoured car, one truck, and 13 engineers. The Germans lost 18 troops, six motorcycles, and one truck in the action. They also lost one of the Sdkfz 221s when it ran into a ditched bike.

Now the table gets turned around and slightly altered for the second half of the game.

  Start of the second game and another bridge to blow   The second part of the game is suppose to come as a bit of a surprise for the players. The RE group heads south and attempts to knock down more bridges, and the German units follow after ge

Start of the second game and another bridge to blow

The second part of the game is suppose to come as a bit of a surprise for the players. The RE group heads south and attempts to knock down more bridges, and the German units follow after getting across the first river.

The table is reversed north to south. Some terrain features slightly altered and a village, Sitaria, is placed at the south edge of the table where the road exits. The surviving Germans start entering the table on turn 2.

  German motorcycles enter and get blasted again.   The lead German motorcycle platoon comes into view of the waiting NZ armoured cars and gets nailed by their LMGs. The RE units are around the bridge getting it ready to blow. The two blinds on the f

German motorcycles enter and get blasted again.

The lead German motorcycle platoon comes into view of the waiting NZ armoured cars and gets nailed by their LMGs. The RE units are around the bridge getting it ready to blow. The two blinds on the flanks are dummy British blinds.

  Dismounting and scrambling for cover   It's no fun to get hosed by the Kiwis. The follow-on units halt behind the olive grove and start to spread out to lay down some fire on the RE at the bridge.

Dismounting and scrambling for cover

It's no fun to get hosed by the Kiwis. The follow-on units halt behind the olive grove and start to spread out to lay down some fire on the RE at the bridge.

  Royal Engineers at work on their next victim   Two sections set up to give supporting fire down the road and the remaining section under Capt. Page set about putting their charges in place. It takes four uninterupted turns to prep the bridge.

Royal Engineers at work on their next victim

Two sections set up to give supporting fire down the road and the remaining section under Capt. Page set about putting their charges in place. It takes four uninterupted turns to prep the bridge. The NZ armoured cars block the road to the North.

  Setting up in the olive trees   The Germans use the cover of the grove to set up their light mortar and LMGs to lay fire down on the engineers.

Setting up in the olive trees

The Germans use the cover of the grove to set up their light mortar and LMGs to lay fire down on the engineers.

  Marmon Herringtons of NZ divisional cavalry   The remaining two armoured cars are armed with a Bren and an ATR. They are facing away from the Germans with their turrets reversed to make a fast escape.

Marmon Herringtons of NZ divisional cavalry

The remaining two armoured cars are armed with a Bren and an ATR. They are facing away from the Germans with their turrets reversed to make a fast escape.

  Charge of the extremely light brigade   The Sdkfz 221 runs down towards the bridge to disrupt the Kiwi armoured cars and rigging the demo charges. The second motorcycle platoon prepares to charge down the road also. This time the Germans plan to ov

Charge of the extremely light brigade

The Sdkfz 221 runs down towards the bridge to disrupt the Kiwi armoured cars and rigging the demo charges. The second motorcycle platoon prepares to charge down the road also. This time the Germans plan to overrun the Brits before they can set the charge.

  Here they come   Hoping to present too many targets for the NZ armoured cars and supporting infantry fire to stop, the Germans speed towards the bridge. In the meantime the other recce units fire at the troops around the bridge.

Here they come

Hoping to present too many targets for the NZ armoured cars and supporting infantry fire to stop, the Germans speed towards the bridge. In the meantime the other recce units fire at the troops around the bridge.

  Betting on speed   And the turn of the cards. The Kiwis manage to jam the small LMG turret on the 221, but the motorcycle troops are still moving straight to the bridge.

Betting on speed

And the turn of the cards. The Kiwis manage to jam the small LMG turret on the 221, but the motorcycle troops are still moving straight to the bridge.

  Didn't quite make it   Fire for the deployed sections around the bridge managed to stop the charging motorcycle troops. But the armoured car continues onto the bridge with the hope of getting across to the other side. At the very least, this will d

Didn't quite make it

Fire for the deployed sections around the bridge managed to stop the charging motorcycle troops. But the armoured car continues onto the bridge with the hope of getting across to the other side. At the very least, this will disrupt Captain Page and the section working on the bridge.

  More Germans deploy   The Company HQ sets up on some high ground to the west.

More Germans deploy

The Company HQ sets up on some high ground to the west.

  Desperate action on the bridge   The section on the bridge stops wiring it for demolition, and close assaults the banged up Sdkfz 221. They succeed in setting it on fire.  In the meantime the poor motorcycle troops dismount and try to hide from the

Desperate action on the bridge

The section on the bridge stops wiring it for demolition, and close assaults the banged up Sdkfz 221. They succeed in setting it on fire.

In the meantime the poor motorcycle troops dismount and try to hide from the fire from the other engineers. Covering fire from the deployed German units is taking a toll on the other RE sections though. It will be tough to finish wiring the bridge under the fire from remaining German troops further away.

  Even more Germans   The truck-borne German units now come on the table using the cover of their blinds. I subtracted one dice for movement to manoeuvre around the abandoned motorcycles from the lead section.

Even more Germans

The truck-borne German units now come on the table using the cover of their blinds. I subtracted one dice for movement to manoeuvre around the abandoned motorcycles from the lead section.

  Advance on the bridge   The Kiwi armoured cars have pulled back, slowly working their way around the burning 221 and avoiding the working RE unit.  At this point the Germans are beginning to put a lot more fire on the RE then what they are receivin

Advance on the bridge

The Kiwi armoured cars have pulled back, slowly working their way around the burning 221 and avoiding the working RE unit.

At this point the Germans are beginning to put a lot more fire on the RE then what they are receiving. One of the truck-mounted platoons moves up on the left. This is getting very stressful for the Commonwealth player as they have to keep the heads of the m/c troops that are close to the bridge down and not firing on the section working on the demo charges. Everything depends on the turn of the cards now.

  Finished with the demo prep   Now the RE scramble for their trucks all the while taking fire from the multitude of German units on the other side of the bridge. The motorcycle troops by the bridge have lost their bottle and inititive dice.

Finished with the demo prep

Now the RE scramble for their trucks all the while taking fire from the multitude of German units on the other side of the bridge. The motorcycle troops by the bridge have lost their bottle and inititive dice.

  Deployed German HQ and additional platoon   I ran out of light trucks and motorcycles putting together this scenario. All in all it required eight light trucks, six trucks, twenty-seven motorcycles, and thirty-nine motorcycles with sidecars for the

Deployed German HQ and additional platoon

I ran out of light trucks and motorcycles putting together this scenario. All in all it required eight light trucks, six trucks, twenty-seven motorcycles, and thirty-nine motorcycles with sidecars for the five German platoons.

The last platoon (in Sitaria) was deployed so no immediate need for transport. And I would make use of the already destroyed bikes if needed.

  Capt Page's race to escape   The last section of engineers under Capt Page was slower getting to their truck, and in the process took one hit after another. The smoke from the burning 221 gave them some cover, but it really was a question of whethe

Capt Page's race to escape

The last section of engineers under Capt Page was slower getting to their truck, and in the process took one hit after another. The smoke from the burning 221 gave them some cover, but it really was a question of whether they would be able to escape and set off the charges (the shooting was so heavy it looks like it moved the bridge a bit to the side).

  Can they get there in time?   One of the infantry platoons is almost to the bridge. If they make it to the bridge and spend a turn in place they would be able to disable the charges.

Can they get there in time?

One of the infantry platoons is almost to the bridge. If they make it to the bridge and spend a turn in place they would be able to disable the charges.

  Another bridge down   Capt. Page was just able to get away under fire and set off the charges. There was a one-in-six chance of them failing to ignite. The section he was with lost 4 of 8 men in the scramble to get to the truck and set off. It was

Another bridge down

Capt. Page was just able to get away under fire and set off the charges. There was a one-in-six chance of them failing to ignite. The section he was with lost 4 of 8 men in the scramble to get to the truck and set off. It was truly a near-run situation.

  Foiled again   Looks like more wet feet in the future for the German recce units.

Foiled again

Looks like more wet feet in the future for the German recce units.

  Just when they thought it was safe   Unknown to both sides there was a another German motorcycle platoon in the village of Sitaria. These troops had already bypassed the bridges and were facing South watching for signs of the enemy. These troops co

Just when they thought it was safe

Unknown to both sides there was a another German motorcycle platoon in the village of Sitaria. These troops had already bypassed the bridges and were facing South watching for signs of the enemy. These troops could not be activiated until engaged by the Brit player, or startled by the large explosion in their rear. I'm using some of the really nice building from Total Battle Miniatures.

  Running the Gauntlet   The Engineers speed through the village and take the dismounted m/c platoon by surprise. Only the HQ unit in the villa on the rise gets off any shots as they speed southward.

Running the Gauntlet

The Engineers speed through the village and take the dismounted m/c platoon by surprise. Only the HQ unit in the villa on the rise gets off any shots as they speed southward.

 Nice place for a nap  The 3rd platoon HQ section was up in the villa on the rise slightly easat of Sitaria. They were startled by the explosion of the bridge blowing and managed to get a shot off at the engineer trucks.

Nice place for a nap

The 3rd platoon HQ section was up in the villa on the rise slightly easat of Sitaria. They were startled by the explosion of the bridge blowing and managed to get a shot off at the engineer trucks.

  Kiwis to follow   The NZ armored cars easily zip through the town right after the Engineers' trucks. This was a really fun game that had us on pins and needles especially in the second half. A few more shots from the Germans or a couple of hits fro

Kiwis to follow

The NZ armored cars easily zip through the town right after the Engineers' trucks. This was a really fun game that had us on pins and needles especially in the second half. A few more shots from the Germans or a couple of hits from the light mortar would've easily kept the charges from being laid or if Capt Page was hit, there would have been major problems.

Final casualties for the Commonwealth side was one armoured car, one truck and 14 out of 32 engineers. The Germans lost two Sdkfz 221s, one truck, twelve m/c, and 40 troops out of 152 men.

As with so many IABSM games so much depends on the turn of the card. This really seem to recreate the small unit affairs in a much more realistic way than Igo-Ugo rules.

1 2 3 4 5 6 7 8 9 10 11 12 13 14 15 16 17 18 19 20 21 22 23 24 25 26 27 28 29 30 31 32 33 34 35 36 37 38 39 40 41 42 43 44
Previous Next
  Bridge workers   The Royal Engineers prepping the first bridge for demolition. The British player had a four-section platoon of engineers (not combat engineers) and a troop of three NZ Marmon-Herrington armoured cars.
  The Germans enter   The German motorcycle troops come in from the north edge road, surprising both themselves and the NZ armoured cars. The bike riders take some heavy hits from the armoured cars and lose several m/c and riders in the lead section.
  German forces   This was the most motorcycles I've ever had in a game, and would be a full company at one point. At the start the Germans came in on the road in column, one platoon at a time, with a Company HQ following the first two platoons.
  Dismounting the troops   After losing several of the lead troopers, the rest of the platoon dismounts using the cover of the trees and hill to set up their base of fire. They really have no weapons to use against armour, but their multiple LMGs and
  Setting up the base of fire   The light mortar and LMGs move to a hill to get a better picture of what is up ahead. The fire from the NZ armoured cars is still taking a toll on the German recce unit. Three of the engineers sections are diverted to
  2nd platoon tries to turn the flank   The second platoon is sent around the right to get closer to the bridge. The rough ground slows movement to a crawl though and the armoured cars turn their fire on this threat.
  More broken bikes   The machine gun fire forom the NZ armoured cars put a hurtin' on the 2nd platoon. The lead section gets chewed up badly and the following elements dismount out of line of sight to move up on foot.
  The Company HQ unit arrives   It looks like the motorcycle troops are pinned down by the LMGs of the armoured cars and fire from the engineers' Bren guns. Without anything to make the NZ armoured cars fall back, the Germans are waiting for some rei
  Corporal King blocks the advance   Historically Corporal King received the first medal in the Greece campaign for his defence in this action. He escaped from this action but died from injuries from German bombing later.
  Pulling back off the bridge   For game purposes, the engineers had to have one section working on setting up the demolition charges for four full turns. The Germans were unable to score any hits on this team at long range, so they have a good chanc
  German 2nd platoon   At long range they just aren't getting enough hits on the engineers. And fire from the Commonwealth troops have caused casualties in all three sections.
  Armoured cars arrive for the Germans   Two Sdkfz 221 come on the table and one promptly gets tangled up in the wreckage of an abandoned motorcycle.
  Scramble for the trucks   The engineers finish setting the bridge and run back for their trucks to get outta here. They actually take more casualties this turn than previously as they expose themselves. Corporal King's armoured car is heading back
  Run away   The Royal Engineers are heading away from the doomed bridge as fast as they can go, while the NZ armoured cars cover their escape.
  Motorcycle troops start to mount up   The recce uits start to get their mounts back up and try to make a dash for the bridge now that they are no longer under fire.
  Waiting for the big blow   The RE big man, Captain Page, gets ready to detonate the bridge as the rest of the Commonwealth vehicles scramble away. Unfortunately, the tail end truck was slow off the mark and Corporal King's a/c had trouble gett
  There she blows   The RE big man manages to get the plunger down and the bridge is blown sky high.
  Looks like the feet are going to get wet   This river crossing is going to be slower than anticipated. The mass of German recce troops are now going to hope that this creek can be forded.
  Lots of collateral damage   The slow moving RE truck and Corporal King's armoured car are destroyed. King survives the explosion, but the RE lose five of their members in the blast. The newly-arrived German infantry lost four men and a truck in the
  Heading South   After picking up survivors the Brits and Kiwis will head to their next bridge having bought some time with this successful demolition.  Overall Commonwealth casualties were one armoured car, one truck, and 13 engineers. The Germans
  Start of the second game and another bridge to blow   The second part of the game is suppose to come as a bit of a surprise for the players. The RE group heads south and attempts to knock down more bridges, and the German units follow after ge
  German motorcycles enter and get blasted again.   The lead German motorcycle platoon comes into view of the waiting NZ armoured cars and gets nailed by their LMGs. The RE units are around the bridge getting it ready to blow. The two blinds on the f
  Dismounting and scrambling for cover   It's no fun to get hosed by the Kiwis. The follow-on units halt behind the olive grove and start to spread out to lay down some fire on the RE at the bridge.
  Royal Engineers at work on their next victim   Two sections set up to give supporting fire down the road and the remaining section under Capt. Page set about putting their charges in place. It takes four uninterupted turns to prep the bridge.
  Setting up in the olive trees   The Germans use the cover of the grove to set up their light mortar and LMGs to lay fire down on the engineers.
  Marmon Herringtons of NZ divisional cavalry   The remaining two armoured cars are armed with a Bren and an ATR. They are facing away from the Germans with their turrets reversed to make a fast escape.
  Charge of the extremely light brigade   The Sdkfz 221 runs down towards the bridge to disrupt the Kiwi armoured cars and rigging the demo charges. The second motorcycle platoon prepares to charge down the road also. This time the Germans plan to ov
  Here they come   Hoping to present too many targets for the NZ armoured cars and supporting infantry fire to stop, the Germans speed towards the bridge. In the meantime the other recce units fire at the troops around the bridge.
  Betting on speed   And the turn of the cards. The Kiwis manage to jam the small LMG turret on the 221, but the motorcycle troops are still moving straight to the bridge.
  Didn't quite make it   Fire for the deployed sections around the bridge managed to stop the charging motorcycle troops. But the armoured car continues onto the bridge with the hope of getting across to the other side. At the very least, this will d
  More Germans deploy   The Company HQ sets up on some high ground to the west.
  Desperate action on the bridge   The section on the bridge stops wiring it for demolition, and close assaults the banged up Sdkfz 221. They succeed in setting it on fire.  In the meantime the poor motorcycle troops dismount and try to hide from the
  Even more Germans   The truck-borne German units now come on the table using the cover of their blinds. I subtracted one dice for movement to manoeuvre around the abandoned motorcycles from the lead section.
  Advance on the bridge   The Kiwi armoured cars have pulled back, slowly working their way around the burning 221 and avoiding the working RE unit.  At this point the Germans are beginning to put a lot more fire on the RE then what they are receivin
  Finished with the demo prep   Now the RE scramble for their trucks all the while taking fire from the multitude of German units on the other side of the bridge. The motorcycle troops by the bridge have lost their bottle and inititive dice.
  Deployed German HQ and additional platoon   I ran out of light trucks and motorcycles putting together this scenario. All in all it required eight light trucks, six trucks, twenty-seven motorcycles, and thirty-nine motorcycles with sidecars for the
  Capt Page's race to escape   The last section of engineers under Capt Page was slower getting to their truck, and in the process took one hit after another. The smoke from the burning 221 gave them some cover, but it really was a question of whethe
  Can they get there in time?   One of the infantry platoons is almost to the bridge. If they make it to the bridge and spend a turn in place they would be able to disable the charges.
  Another bridge down   Capt. Page was just able to get away under fire and set off the charges. There was a one-in-six chance of them failing to ignite. The section he was with lost 4 of 8 men in the scramble to get to the truck and set off. It was
  Foiled again   Looks like more wet feet in the future for the German recce units.
  Just when they thought it was safe   Unknown to both sides there was a another German motorcycle platoon in the village of Sitaria. These troops had already bypassed the bridges and were facing South watching for signs of the enemy. These troops co
  Running the Gauntlet   The Engineers speed through the village and take the dismounted m/c platoon by surprise. Only the HQ unit in the villa on the rise gets off any shots as they speed southward.
 Nice place for a nap  The 3rd platoon HQ section was up in the villa on the rise slightly easat of Sitaria. They were startled by the explosion of the bridge blowing and managed to get a shot off at the engineer trucks.
  Kiwis to follow   The NZ armored cars easily zip through the town right after the Engineers' trucks. This was a really fun game that had us on pins and needles especially in the second half. A few more shots from the Germans or a couple of hits fro
 
BACK