

Last Thursday I got in a cracking game of I Ain’t Been Shot Mum – here are some pics and a quick report. As part of my ongoing WW2 East African campaign project, I’ve been trying out some scenarios based on the Battle of Keren in Feb-March 1941. Last time out we tried a Cameron Ridge scenario using both IABSM and then Bolt Action; this time we played out a game based on the battles for Brig’s Peak, the highest peak at Keren – so called because ‘that’s the one the Brigadier wants.’ Brig’s Peak was viciously fought over and changed hands a couple of times, but the British never managed to hold onto and it remained under Italian control until the surrender in March 1941.
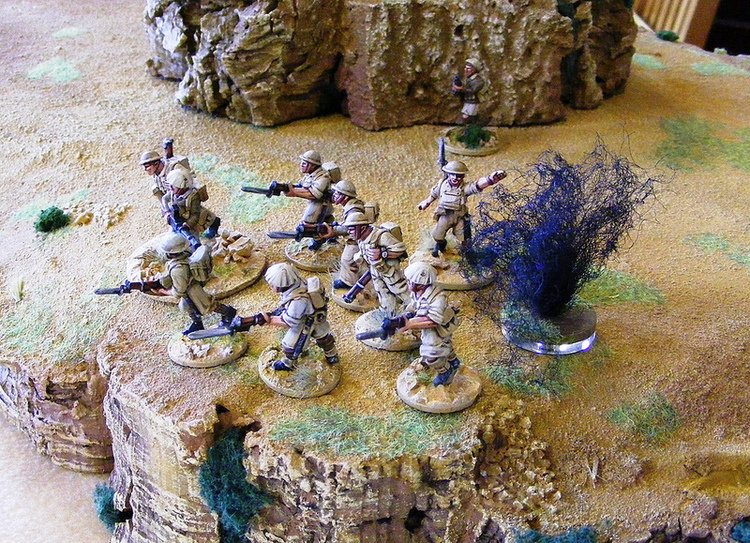
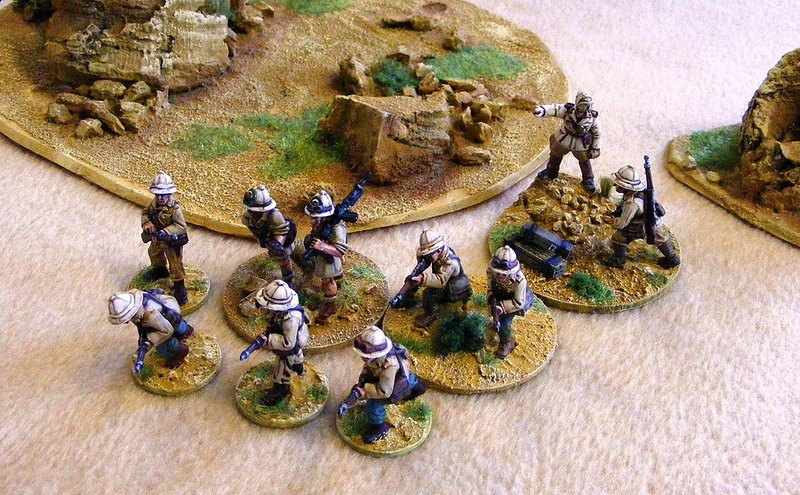
The British started with four infantry sections, a sniper and a 2” mortar on Brig’s Peak itself – their mission was to hold off the Italians until the end of the game. They were led by RSM ‘Basher’ Mactaggart (a Level 3 Big Man) and Lance-Corporal Jones, and also had a Forward Observer who could call up the fire of a pair of 3” mortars in support. All troops were rated as Elite, although each section had to take a dice roll before the game to see if it had already suffered any casualties: I got off very lightly, only taking a few points of Shock.
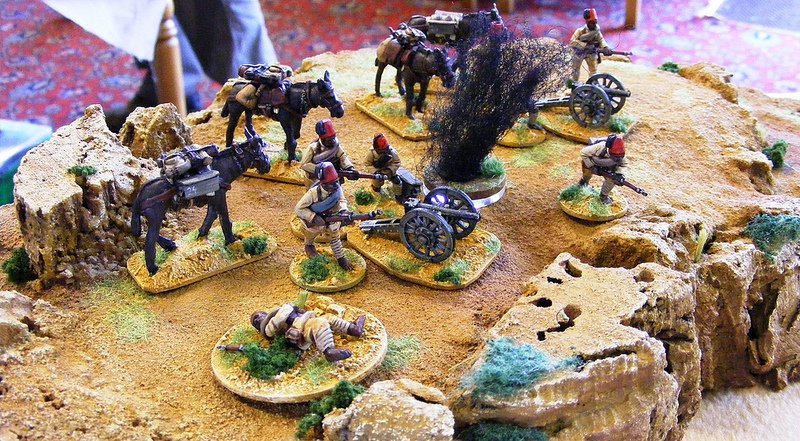
The Italians had six infantry sections, a Fiat-Revelli MMG, and additional support from a pair of mountain guns. They were led by three Big Men (levels 1, 2 and 3). All were rated as Veteran.
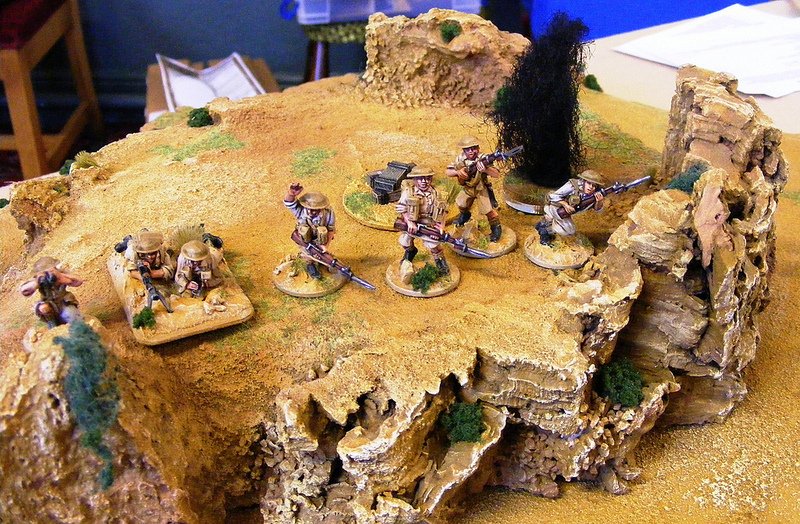
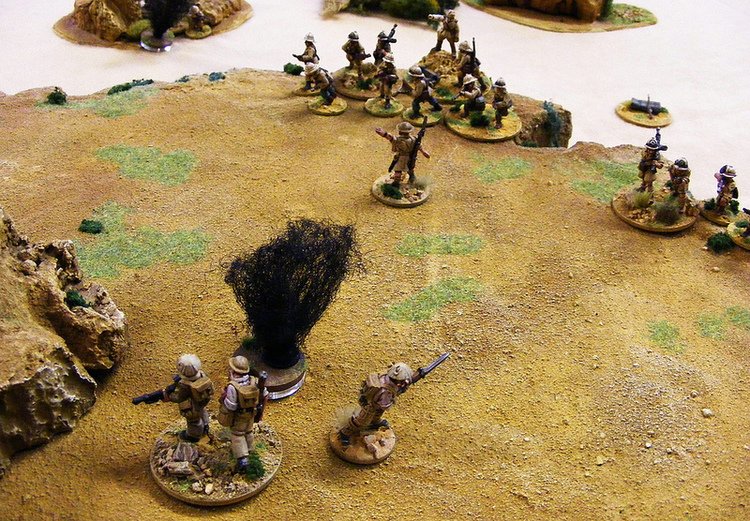
Playing IABSM in 28mm, we simply used one card for each section (so the Allied Platoon 1 card meant Allied Section 1 instead), and just doubled all the distances. We also decided to deploy all units on table at the start of the game, rather than using Blinds – this gave us a slightly faster playing time (2½ hours), which was what we needed on a weekday evening with work the next day! We also added in some extra cards: Allied Ammo Shortage; Allies & Axis Rally; Allied & Axis Heroic Leaders (there were many brave feats during the battle on both sides); and two blank cards to represent the treacherous rocky slopes which characterised the Keren battlefield (if one of these was drawn, the next section/ Big Man would be unable to move that turn.) Terrain-wise, we used a sand cloth with some rocky terrain pieces on top (not quite a vertiginous as the real terrain, but fine for a wargame!) The small peak in the centre was Brig’s Peak itself.
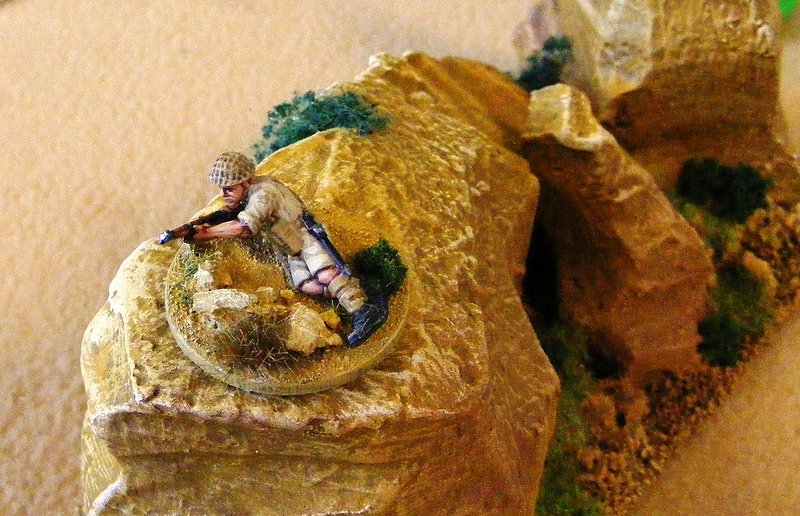
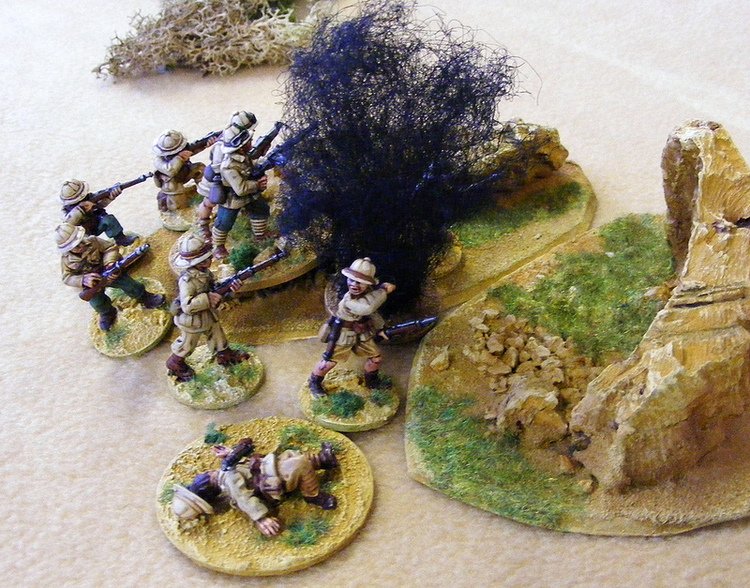
The battle started with a hail of fire from the Italian mountain guns deployed on the Italian right – despite the cover of Brig’s Peak, the British units took a number of hits. Not for the first time, lucky dice rolling on my part meant that casualties were minimal, and my British sniper got the gunners’ heads down with a number of Shock points caused by his sharpshooting.
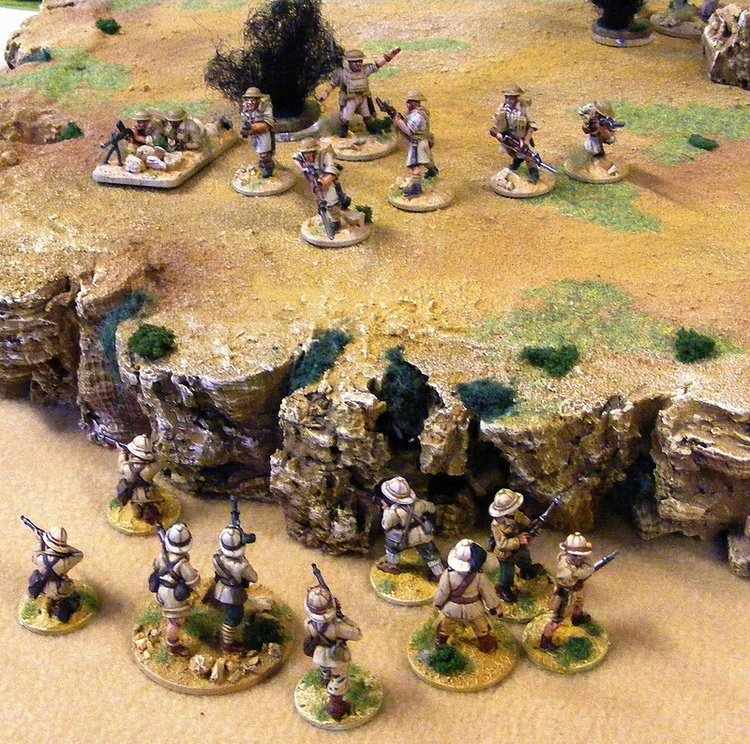
The firefight continued across the battlefield and, as the turns rolled on, the Italian numbers began to tell. My section deployed on the left was in good shape and was being well-supported by the 2” mortar team at the rear of the peak and the two Big Men; however, the Italian MMG chewed up the sections holding the front of Brig’s Peak, and the Italian Tenente ordered an advance on the Italian left and centre.
RSM Mactaggart was about to rush back to rally his men, when he tripped over a rock and was forced to stay put! Fortunately, the British FO had managed to call up the 3” mortars and caught an Italian unit with the first salvo, causing no damage but pinning the section. With a few lucky cards and two Big Men leading the attack, the Italians rapidly approached the peak and drove off the defending units, now down to their last few men and heavily shocked.
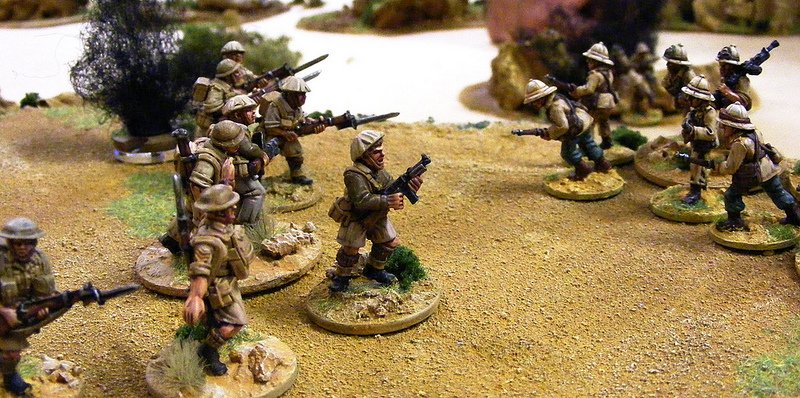
At this point the Italian Heroic Leader card came up, so we allowed the Tenente an extra turn to assault the peak – the three Italian sections heroically scaled the peak and drove off the defenders with grenades. At this point I certainly thought it was game over, but the next card happened to be Allied Heroic Leader!
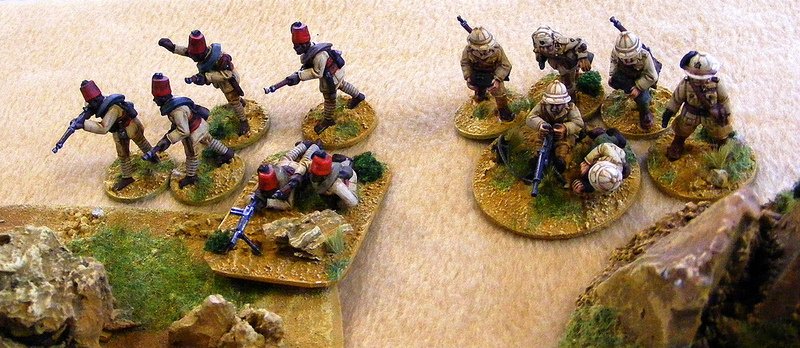
This allowed RSM Mactaggart to lead his final remaining rifle section in a final, desperate charge to drive the Italians off the peak. With around ten dice vs the Italians’ fourteen or so, I thought it was unlikely to succeed, so I was amazed to roll six kills against two. The Italians lost by four, and fled down the slopes, closely followed by a hail of Mills bombs and falling rocks. With that, it was all over. The British had a close victory, although were in no state to hold the peak and would have been forced to withdraw had we played a few more turns. Lots of fun and a great chance to use a mixture of Italians, Brits and Askari models. Maybe we’ll replay using Bolt Action next week?
Pictures of the game:

James Morris