As we move through this excellent scenario pack we are now actually nearly arriving at the end. We decided to play one big one before we called it a day for now, as I need to get my WW1 skills up for Newbury!
This is a big one with two companies of Germans attacking a strong unit of Americans with plenty of supports. It is even bigger than I thought as the Germans Platoons have four Sections in them, so a sorry goes out to the British troops who had to join the enemy for the day! As always I took the good guys and Steve the Jerries; after all they are my figures so what can one expect.
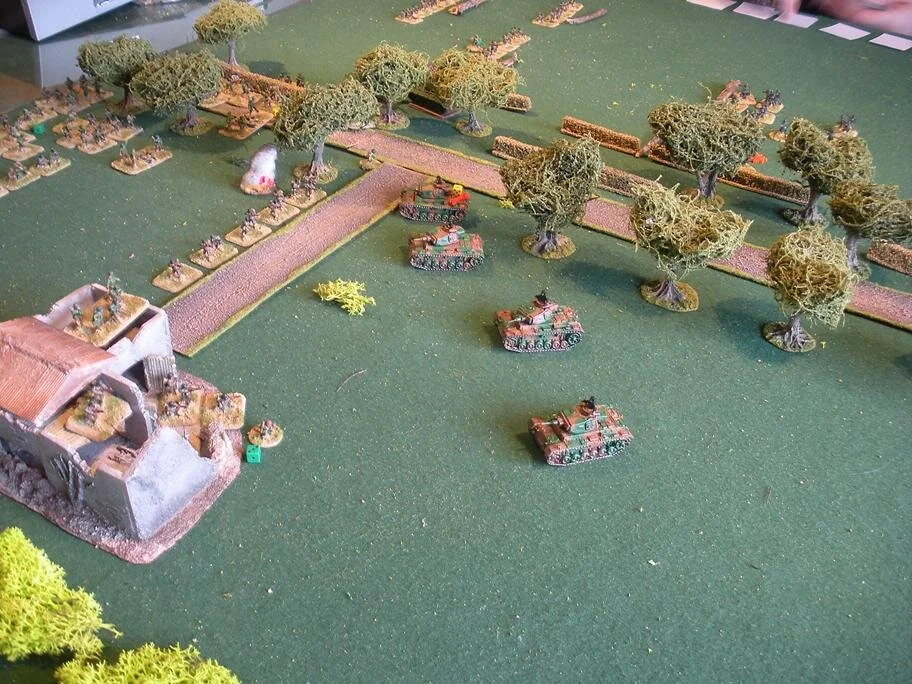
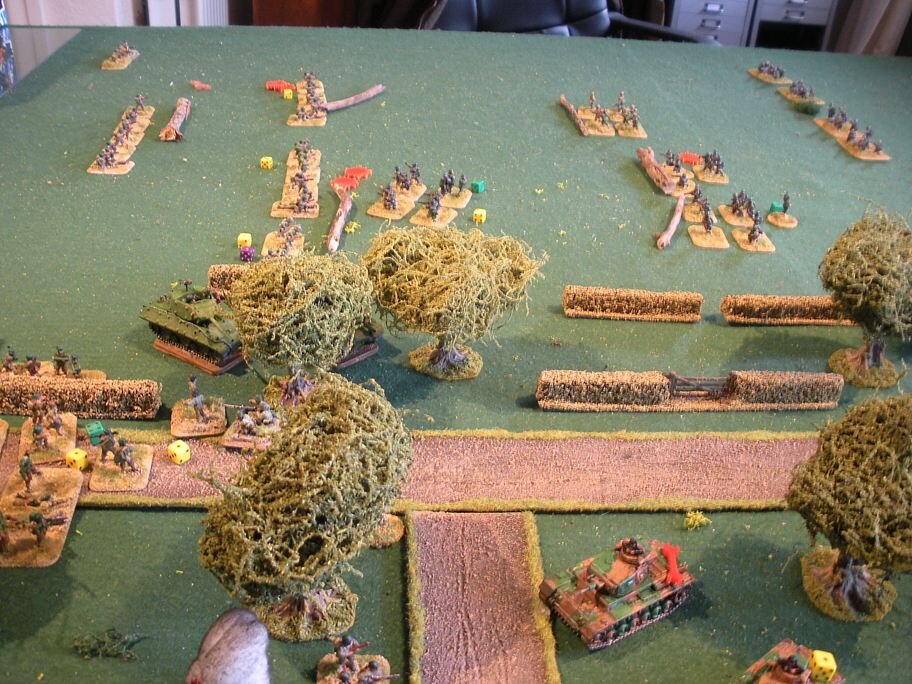
Photos 1 and 2 show the terrain. This is basically consists of one building with a road running down the middle of the table. This building was to be the focus of most of the action and as it is the only real cover on the table you can understand why. The surrounding fields are all wet and so all off road movement was a danger any tanks moving.
Photo 1 shows the field from the Germans position and the road they have to clear to win the game. Photo 2 shows the nature of the open terrain that covers all the rest of the battleground.
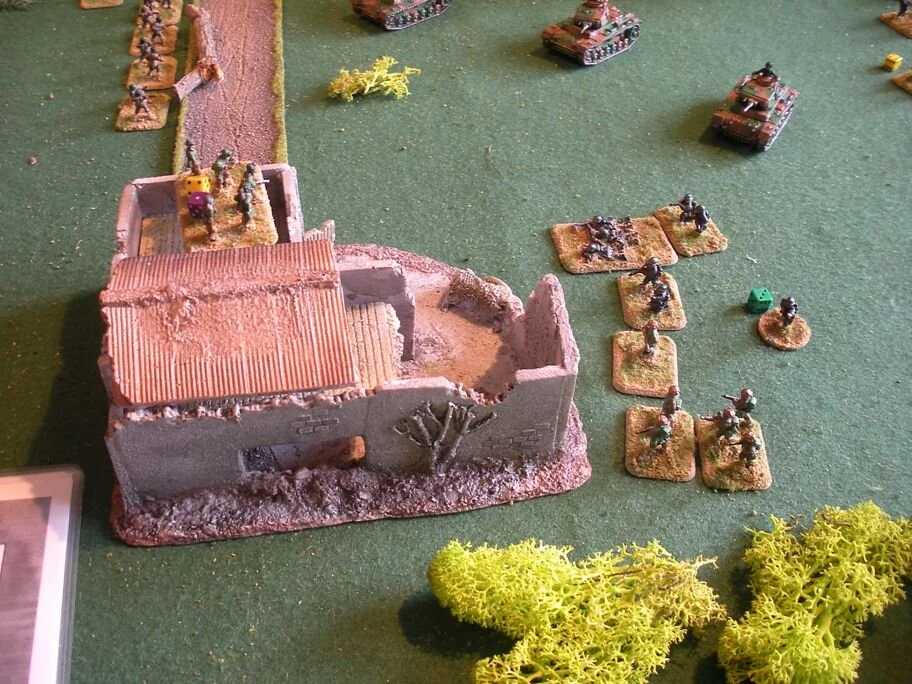
This was not a game for the faint hearted and the action started immediately as Blinds went up the road and also to the west. These Blinds consisted of the Infantry and surprisingly four Panzer IIIs who were darting up the roads. The Germans had the better of the exchanges to the west and the loss of the British officer here was key (1 in 10 chance, oh how I laughed; not!). As you can see in Photo 3 the American Support Section on MMGs and HMGs were shocked. Luckily the tanks were also surprised and let them get away, Steve forgot to carry out any actions out when he took the tanks off the Blind.
At this point the Panzer IIIs turned off the road towards the house. I decided as it was getting messy to bring all my troops onto the field. My idea was to use all my firepower to hit the Germans as they came onto the field. Good plan, I thought, but I would soon see.
The action now gravitated towards the solitary house and the main action would stay here for the rest of the game. In the west the Germans beat the Americans and the HQ Sections which then moved there couldn't do much except hold the Germans for the rest of the game.
As one can see there was a MMG and Section of Americans in the house and also the same outside guarding the open flank.
The action was now general across the whole board. In this busy photo you can see the Germans victorious in the centre and west. The tanks have chased away the MG section and in the background you can see the Germans attacking the suppressed American sections. This was not a good watch for me at all.
If you are wondering why there are sticks all over the place, these are actually used for sections which have gone into cover.
Now my cunning trick came into play as the Panzers had left their flanks open to both the M10s and Bazooka teams. This was what we had been waiting for. Well not quite as Artillery, M10s and Bazooka all missed or slightly damaged just the one Panzer. In the end I actually managed to kill one Panzer from a Bazooka hit in its flank, but for the firepower I threw in there it was minimal return.
Again in the background you can see the German charge in clear detail as they pushed the Americans out of their slit holes. The Germans had all their MGs on this flank and this firepower was just too much for me.
The action now moved totally over to the house as Steve brought his 2nd Platoon onto the field in this area. He played the same tactics both times. For the Blinds arrived and then cunningly next up was the Bonus Move before I could spot them and they then proceeded to charge the House
The first attempt was three Platoons, i.e. 33 figures and leaders, against my MMG and one Section. To cap it all we noticed Blinds don't take off for movement dices; this showed how many times this has happened before.
Miraculously we just survived this attack as the MMG team beat its enemy. This was the last highpoint of my defence. In the next turn the victorious other half of the Germans cleared the house, or rather both had too many pins and retreated.
I managed to get two MMGs into the building and actually thought I would be safe as I had infantry rushing towards the building as well. But again the old Blind - Bonus move action did for me.
This time it was four sections against two MMGS. Not good odds at all and this time the Germans took the building without actually too many losses.
This was game over for me. He had too many men in the area and enough tanks on the field that would now destroy the M10's and AT Guns.
I still had a lot of men on the field but with the Germans now having the advantage of terrain and numbers as well as quality, I felt the chances of my winning were too small to continue the battle.
All in all a great game. Funnily in the end the casualties were minimal with most coming in the Close Combat, and shock counting more than normally. I was doing well, except for being to kill tanks, until I was hit with those perfect infiltration tactics of Steve and his powerful Germans.
Craig Ambler


