

It was time for the first lockdown game of I Ain’t Been Shot, Mum!
The daughter’s boyfriend (trapped here for the duration) had tried and enjoyed To The Strongest, it was now time to introduce him to WW2 gaming, and what better place to start than with a game of IABSM set in Poland on 1st September 1939.
The Scenario
The scenario is taken from the first September War scenario pack, and involves the fighting around Chojnice, an important Polish communications hub where, during the first day of the invasion, the Poles fought a delaying action, only withdrawing in late afternoon.
The game itself centered around a railway bridge that the Poles must hold, rig with explosives, and then blow up before the Germans can take the bridge and defuse the charges.

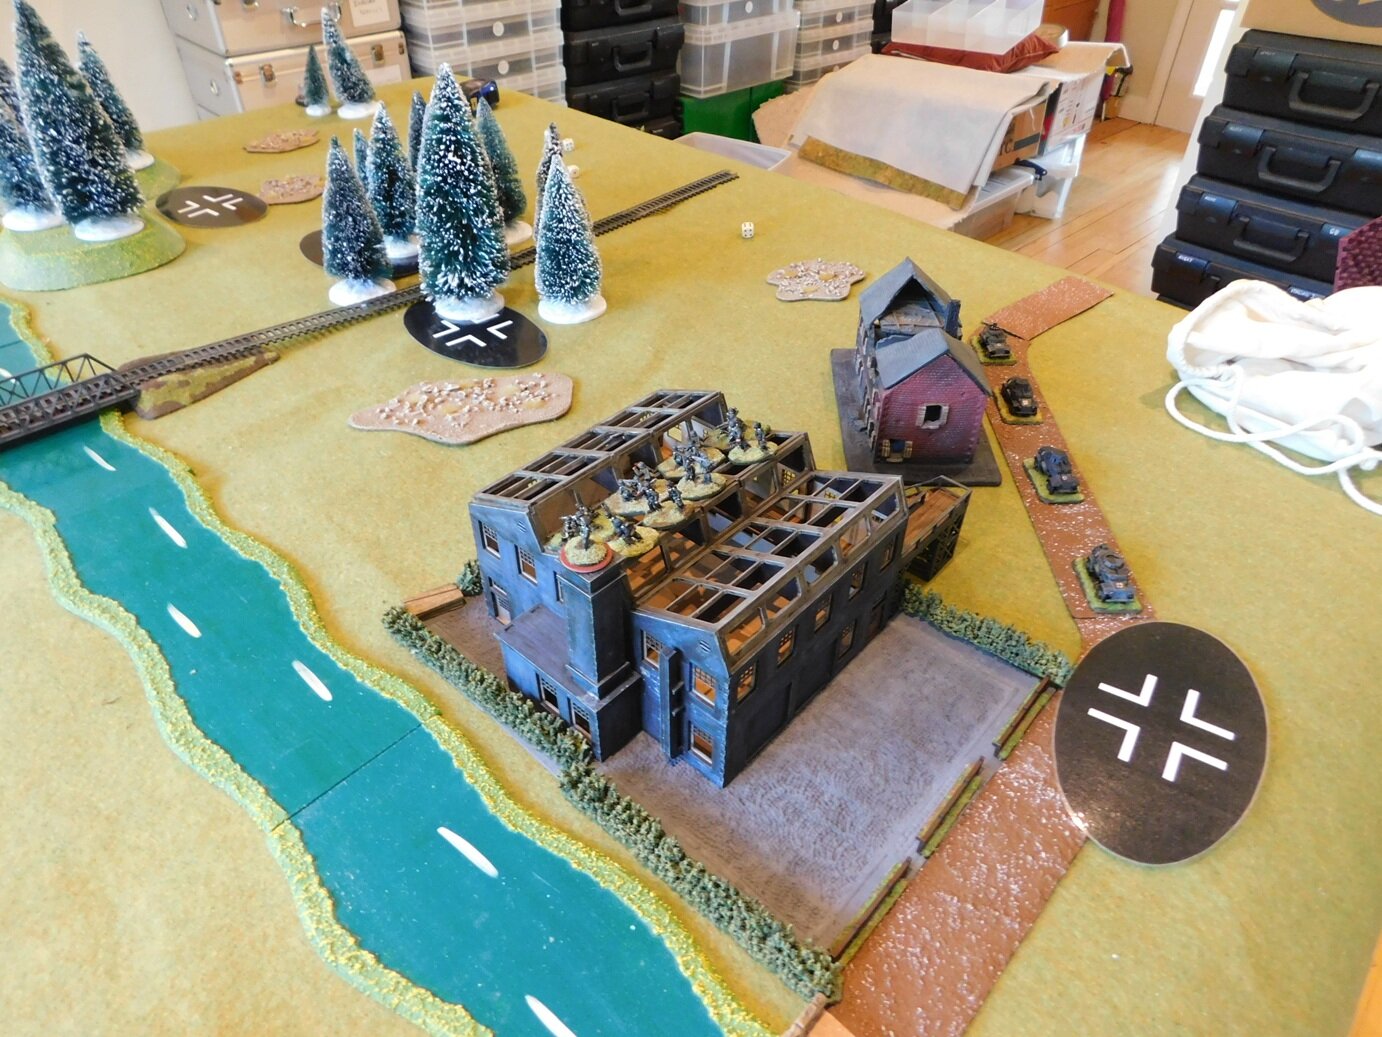
Nice trees: it obviously does snow in september (obscure arnhem reference!)
As you can see in the picture, above, there are actually two bridges over the otherwise impassable river: the railway bridge itself in the centre of the table, and a smaller, road bridge over on the far side of the field. The Germans enter from the far end (you can see their Blinds), the Poles start the game dug in and defending anywhere on their side of the river.
The Forces Involved
As attacking is more difficult than defending, I would take the part of the invading Germans. My force was reconnaissance based: a company of kradschutzen motorcycle infantry (three platoons, each three squads) supported by a machine gun platoon of four guns and a platoon of four armoured cars: two SdKfz 221 and two SdKfz 222.
As I had no heavy weapons with which to whittle the Poles down, I knew that I had to get on top of them as fast as possible, and that getting across the river would be a vital part of anything I did. Moving up to the riverbank and trying to shift dug-in troops with a recon force’s firepower was not going to work!
K, my novice opponent, would therefore play the Poles. His force consisted of two platoons of line infantry, each with two large, 12-man squads of infantry, a light mortar team and an anti-tank rifle team; and a support platoon taken from the battalion’s HMG company and consisting of three taczanka MMG-carts and two 81mm mortar teams. The Poles also had access to an FOO and unlimited fire support from a couple of 75mm guns.
I let K choose where to place his troops, limiting my comments to mentioning the basics of mutual support, fields of fire, command distances etc.
The Game Begins
As above, I knew I had to force a passage across the river to have any chance of success.
Trying to immediately get across the railway bridge looked a bit suicidal, so I determined to attack down my left flank, crossing the water via the road bridge. That I tasked to 1st Platoon and the armoured cars, supported by the MG company who would occupy the factory. 2nd Platoon would threaten the bridge, making sure the Poles had to focus their attention there; with 3rd Platoon covering the bridge and effectively in reserve in the treeline on my right flank.
The action really started on my left flank, where the armoured cars and 1st Platoon got across the bridge and went after the Polish mortars at the back of the table behind the farmhouse. How did I know they were there? Well they kept dropping shells on the aforementioned armoured cars and 1st Platoon, K having quickly got the hang of things on the mortaring front!
It’s quite hard to see, but top left in the photo above (just behind the dome of the church) is where the infantry are pinned down by mortar fire. The armoured cars, meanwhile, have bumped into a squad of infantry in the farmhouse, and can’t get past them until they’ve been dealt with.
My machine gun platoon had by now got into the factory, and was laying down heavy but very ineffectual fire on the Polish troops guarding the bridge. The fact that the Poles were in trenches made them very hard to kill.
A hail of hand grenades and masonry forced the crew of the leading armoured car to bail out and run for it, but the 20mm cannon in the second punished the Poles in return. Unfortunately, K then revealed that he had two of his taczanka teams and an anti-tank rifle in the graveyard and, at this range, they soon caused a second armoured car crew, including the platoon commander, to bail as well. It’s a feature of this period of the war that most armoured vehicles are lost through bail-out rather than explosion!
I badly needed the kradschutzen to arrive and, finally, two squads of them got out from under the mortar fire and rushed forward to help the two remaining armoured cars out. One squad clambered through the windows into the church, the other made their way round the back of the church and climbed over the wall into the graveyard. Nothing like a bit of crossfire to ruin someone’s day!
The taczankas in the graveyard were soon running for it, and I also manged to effectively suppress the infantry squad in the farmhouse. This was good news, as Polish artillery had started to land on 2nd Platoon, by the bridge, with rather nasty effect. Unless I did something quickly, I was going to lose the battle by simple attrition.
Key to success was shifting the Polish platoon by the bridge, and to do that I needed to get some close range firepower onto them preferably from a direction that negated the cover they had from their trenches. I therefore moved my infantry into the graveyard and my one remaining armoured car forward so that it was hiding behind the corner of the cemetery.
K could see what was coming, so moved his reserve infantry forward to try and shift my men from the graveyard. This did not go well for him, as I won the race to the wall, and hammered his men advancing across open ground.
I then suffered a momentary distraction as the Polish company commander charged his horse into the graveyard in another attempt to turf me out, but he was sent flying - but not killed - for no loss to my troops. Forgive the “French” by the way: when I first got them, I made the mistake of labeling my poker chips with nationalities instead of just using the different colours to differentiate them: doh!
As the schwerepunkt was now obviously the Polish trenches by the bridge, it was time to get rid of the infantry squad preventing my men from defusing the explosives that threatened to render it into matchsticks. I therefore sent 2nd Platoon across the bridge, incidentally getting them out from under the Polish artillery fire, in order to get stuck in and soften the Poles up a bit.
This proved to be a little premature, as they took some nasty casualties from the Polish infantry in front of them. At the same time, the Poles responded to my capture of the graveyard by getting the final infantry squad into a position where they could gun down my men lining its walls. Learn quickly does K!
This turned out to be a devastatingly effective move, either killing or forcing all my infantry to flee.
To add insult to injury, the last Polish taczanka extricated itself from the farmhouse and, under the aegis of the Company Commander, started heading towards a position from which it would be able to turn my last armoured car into a colander!
Why won’t these Poles just give up!!!!
Fortunately it was by now too late for them to have an effect on the outcome of the battle.
My last armoured car had arrived at the edge of the trench and used its 20mm cannon to muller (pun intended) the Polish infantry therein.
At the same time, 3rd Platoon thundered over the bridge (largely over the bodies of 2nd Platoon!) and prepared to charge the now pinned Poles.
This they duly did and, with no Polish troops now within 4” of the bridge, the charges could be defused and the day was mine.
Aftermath
Well that was an exciting game and certainly no walkover.
Although I had at this point technically won the battle, you will easily see that I still had not properly secured the bridge and/or the battlefield in general.
A Polish counter-attack was imminent, and the fact that I had had to fully expose my troops in order to shift the Poles by the bridge meant that I was now very vulnerable. Okay, so the Poles didn’t now have anything with which to blow up the bridge, but soon there wouldn’t be many of me left to point that out to them, as the following mini-montage shows:


A narrow, technical victory…and K is eager to get his revenge next game! My new graveyard looked good as well: very pleased it turned out to be the focal point of most of the encounter.
Robert Avery