

It's 1800 on 11 July 1943 in western Russia, where the German I Battalion, 195th Infantry Regiment of the 78th Sturm Division, is on the attack, looking to evict the Soviet 1023rd Rifle Regiment, augmented by the remnants of the 1019th Rifle Regiment, themselves refugees from the defeat at Shirokoye Bulotev. The goal of the fight is possession of the 1 May Collective Farm; the Soviets are defending prepared positions while the Germans are conducting hasty attack supported by Corps artillery (rockets) and armor.
I am playing this game because I have the good fortune of being buddies with Steve of the "Sound Officer's Call" blog , and he is running a "Firestorm Ponyri" campaign. He is playing some games with his local buddies, but was unable to play all of the games himself; rather than simply 'dice off' for results of campaign fights they were unable to play on the table top, Steve asked if anyone in the blogosphere wanted to help, so here I am.
It's been a little bit of an issue that I literally just sold off a bunch of German late war gear, so I'm a bit under strength, but Steve is working with me to make sure the fights I get match up with the forces I have. Please enjoy the last instalment of my support to Steve's campaign at Kursk.
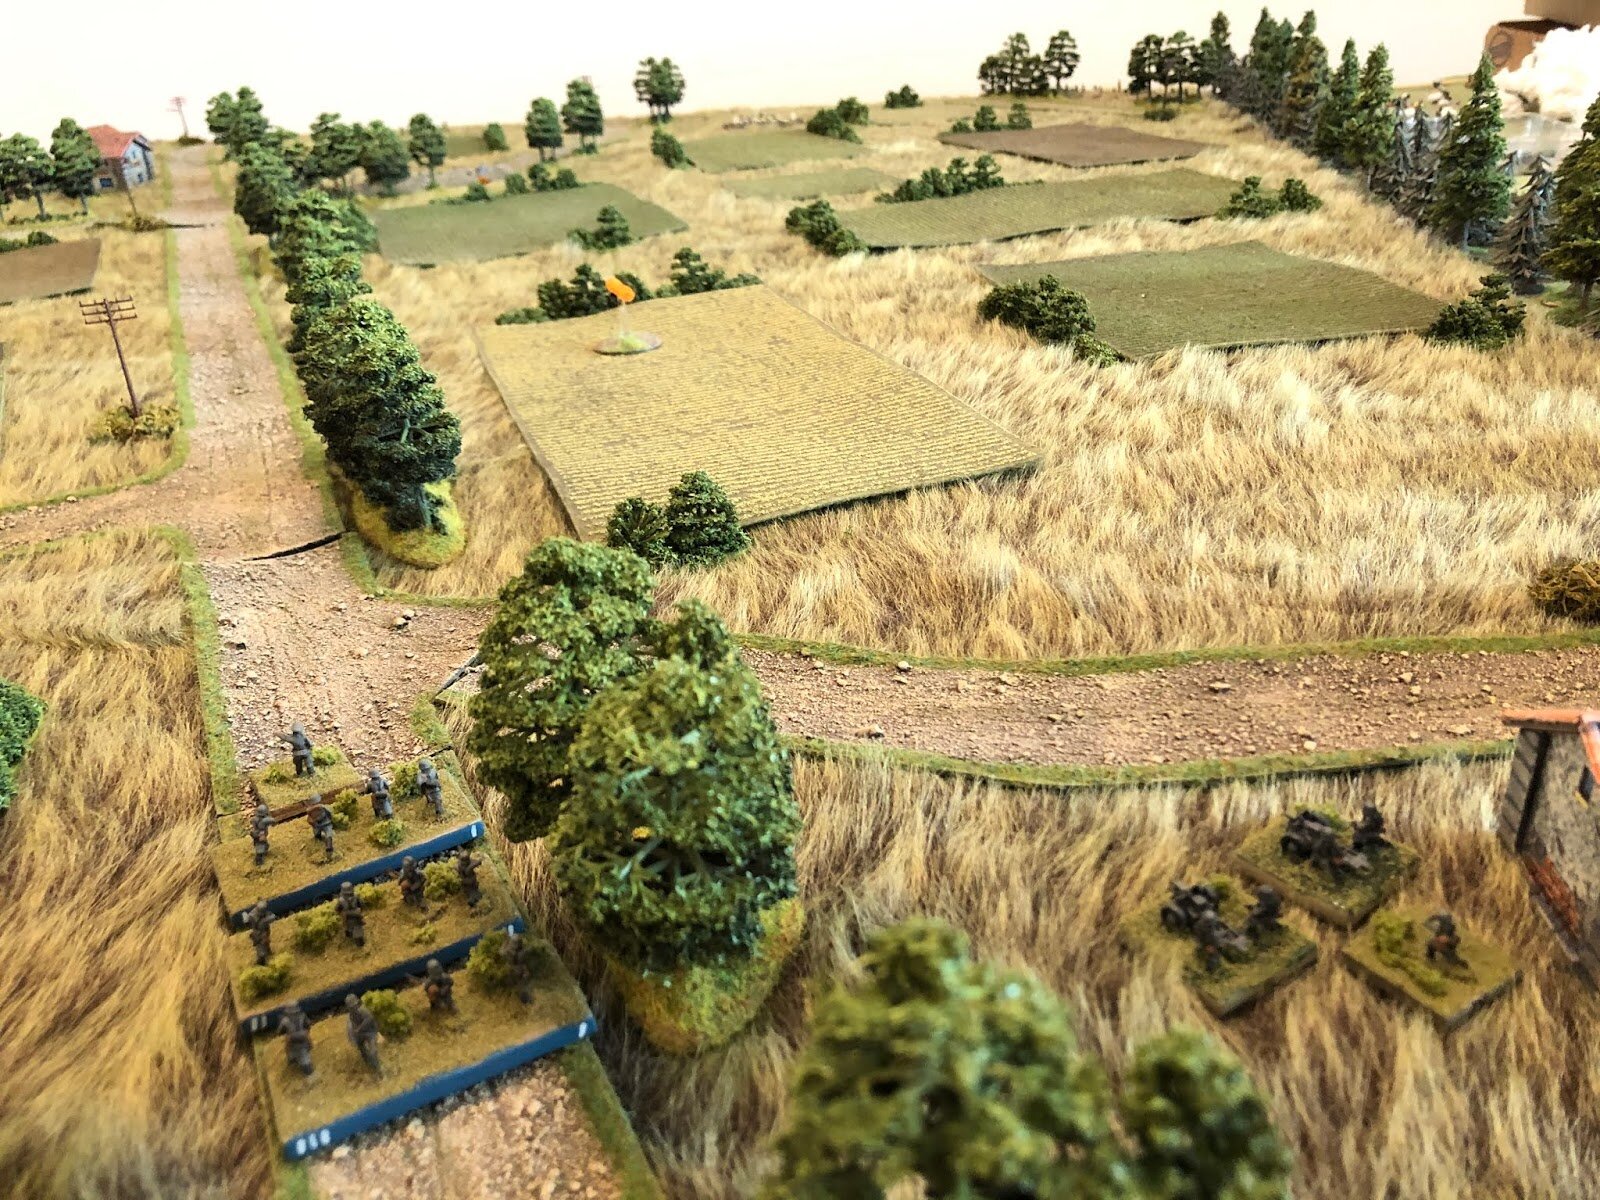
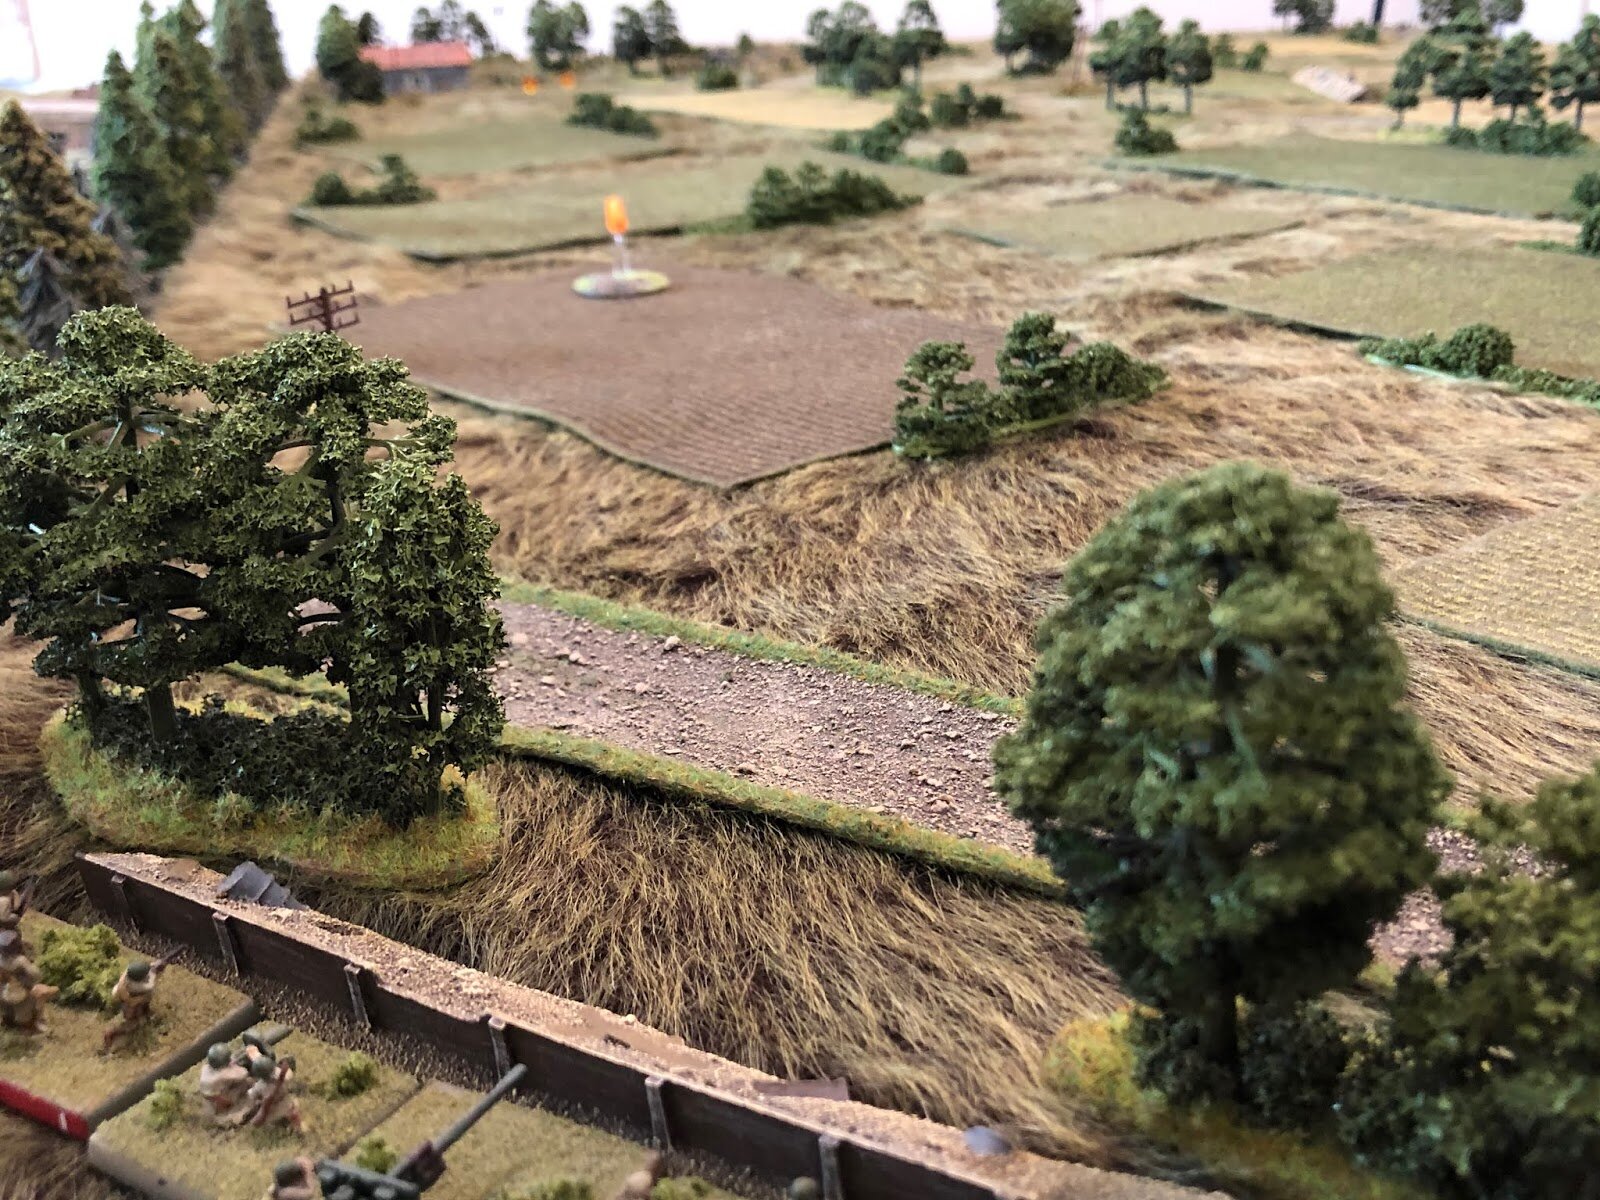
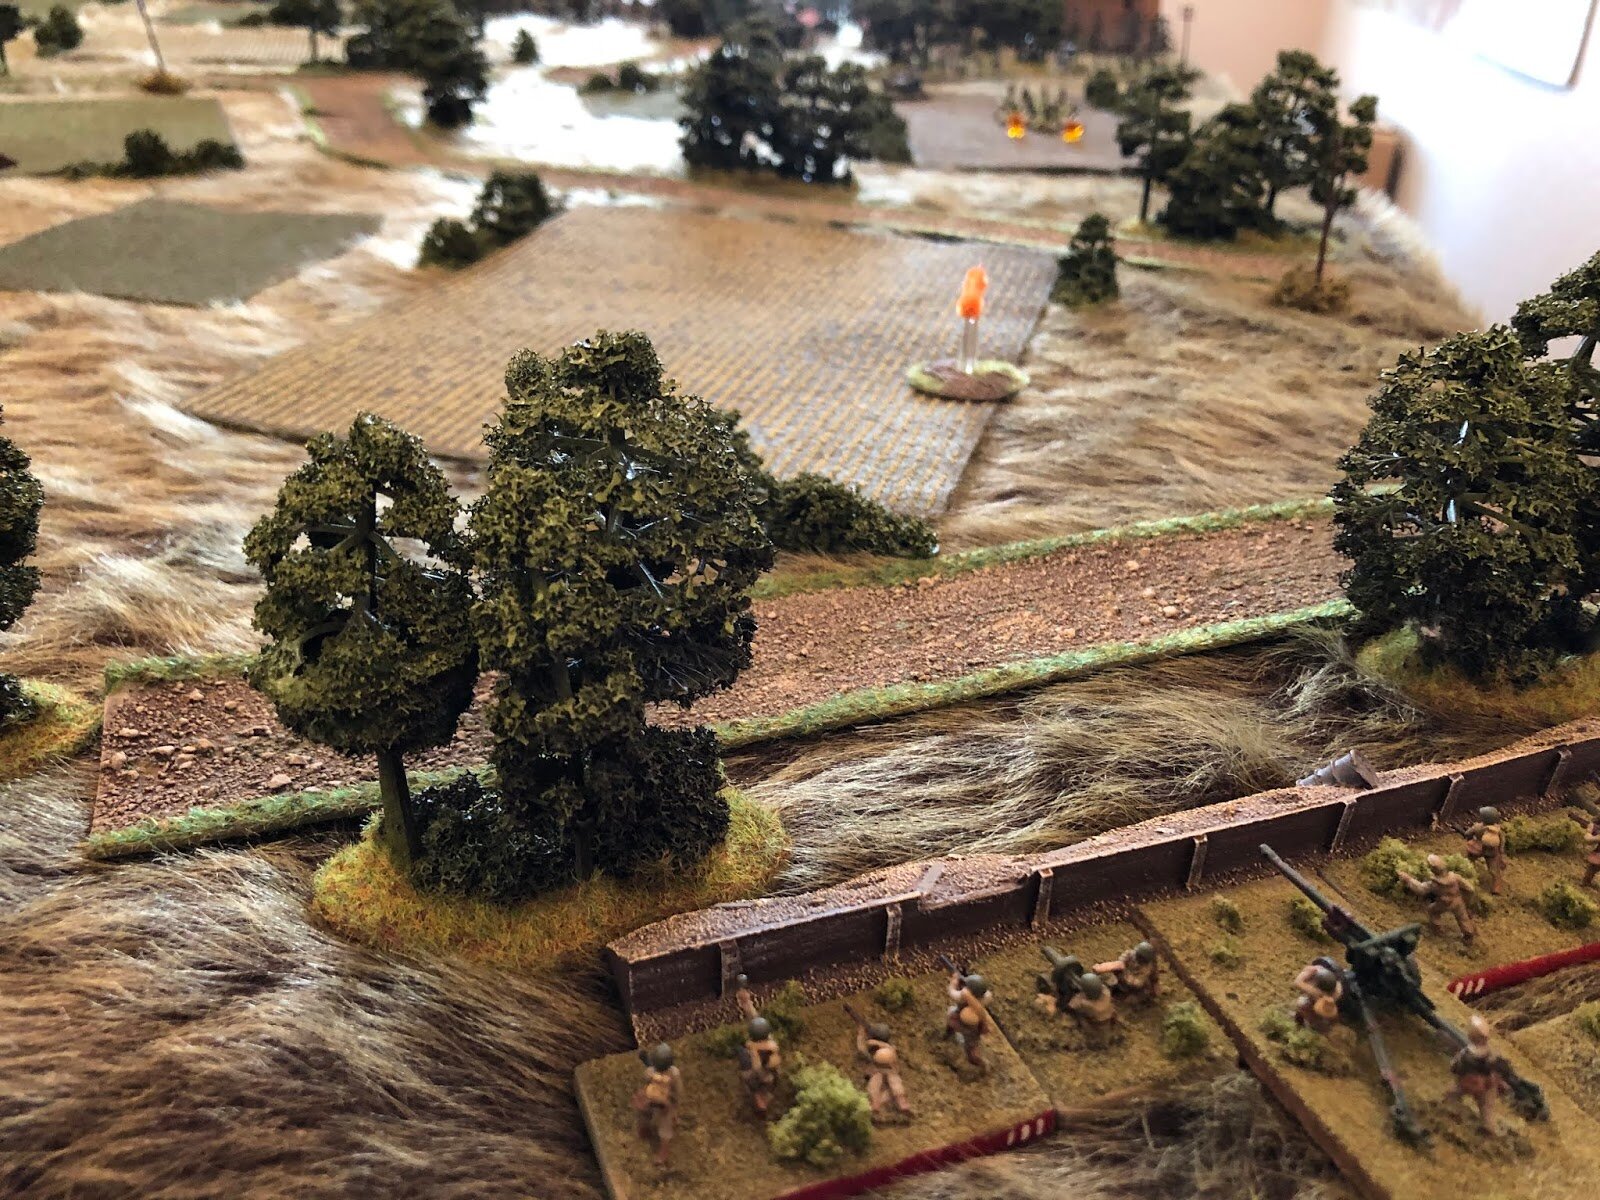
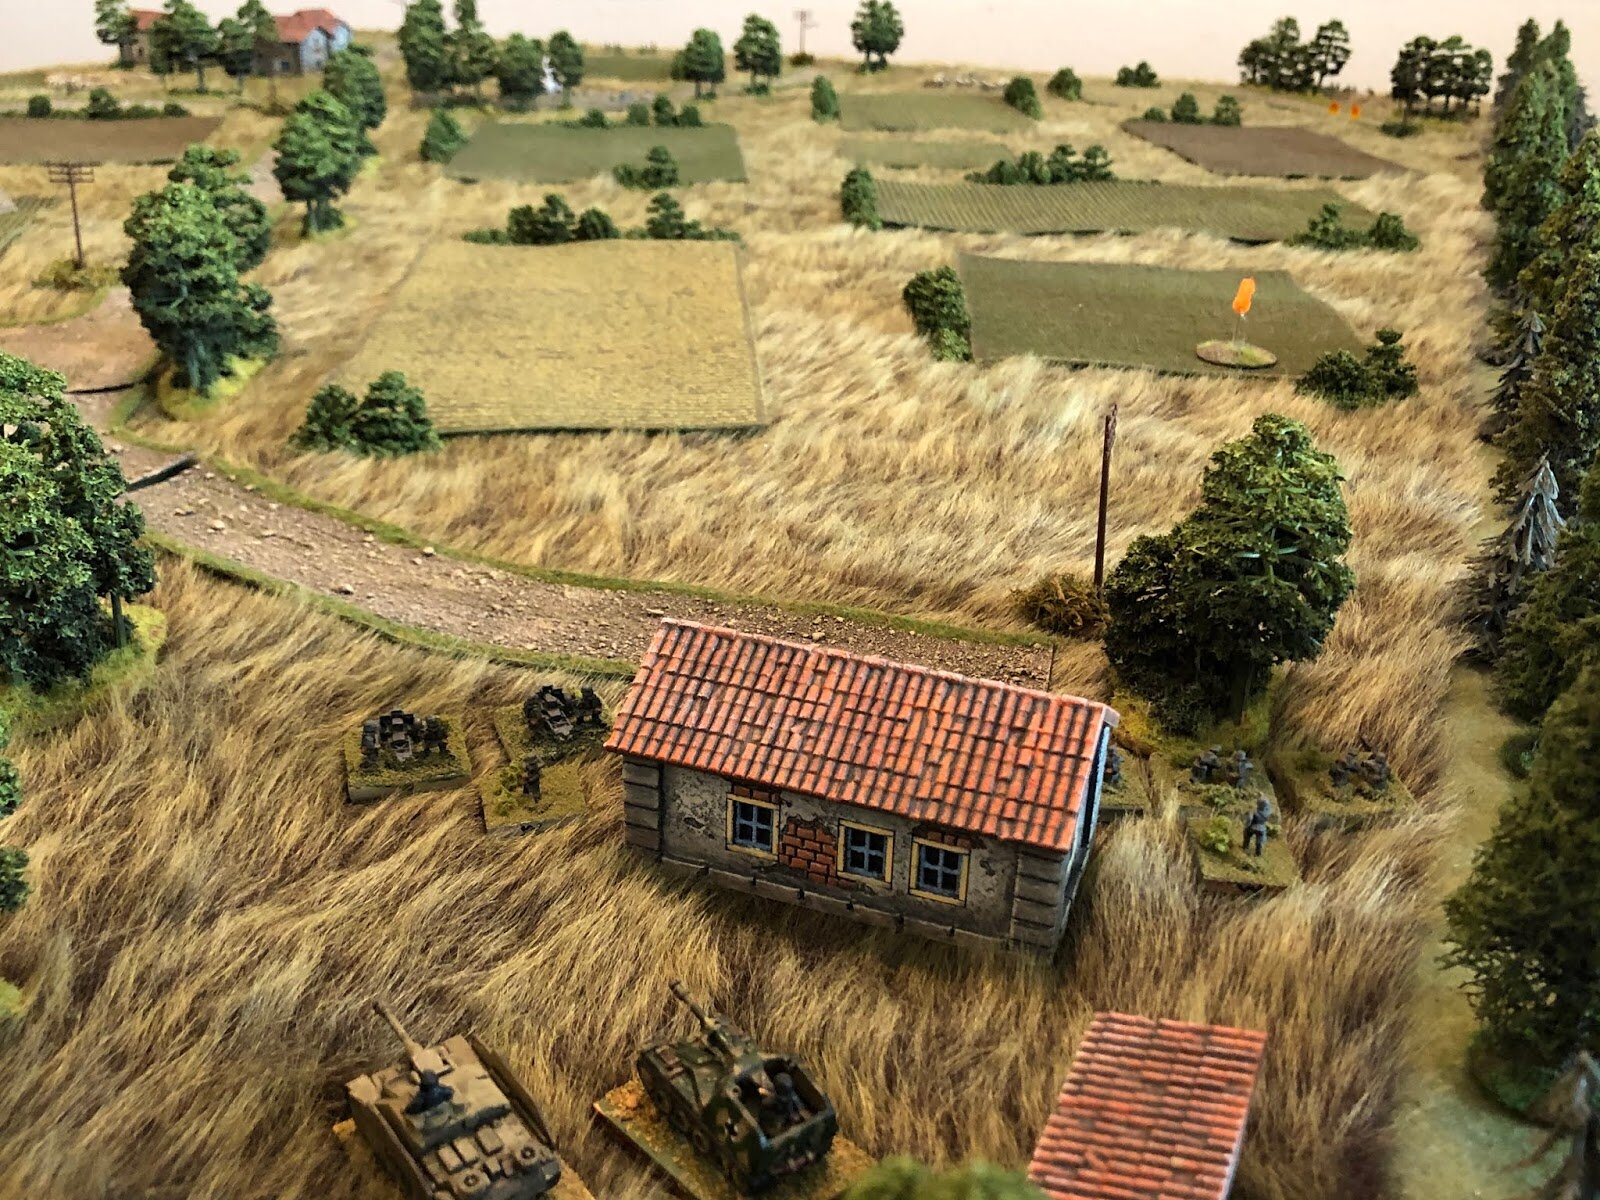
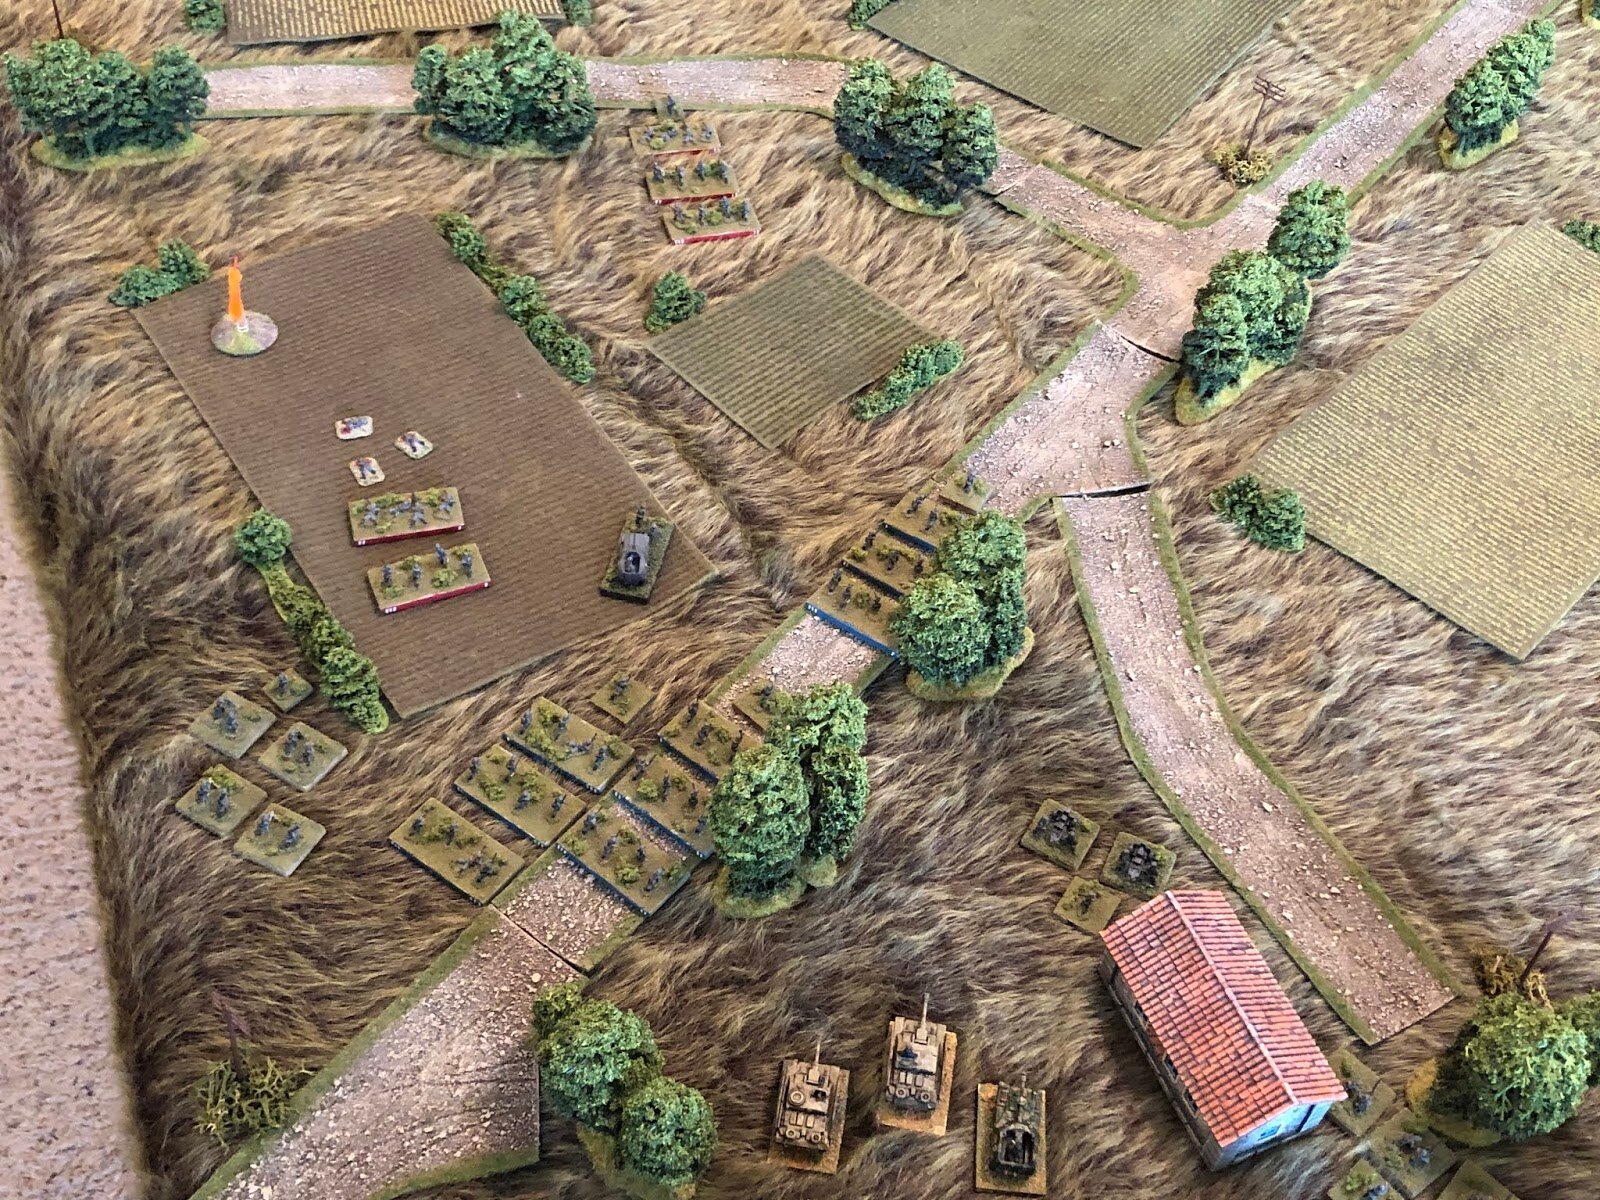
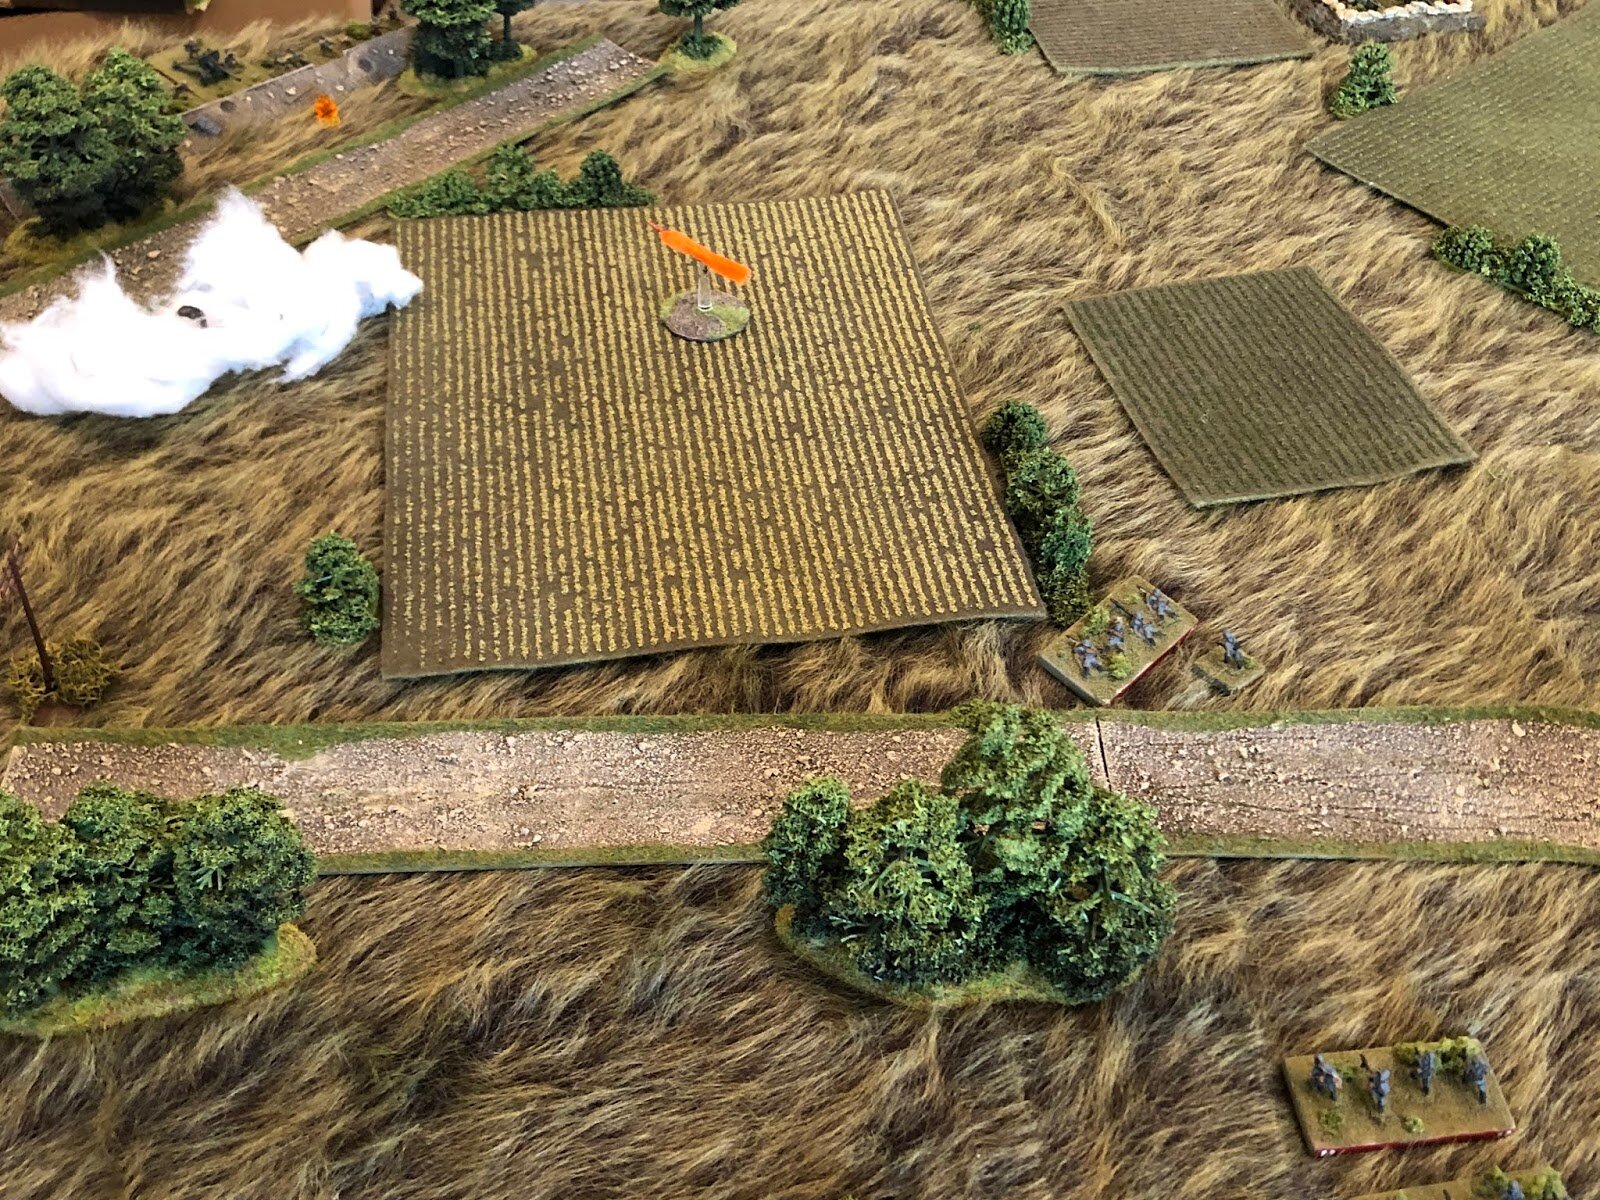
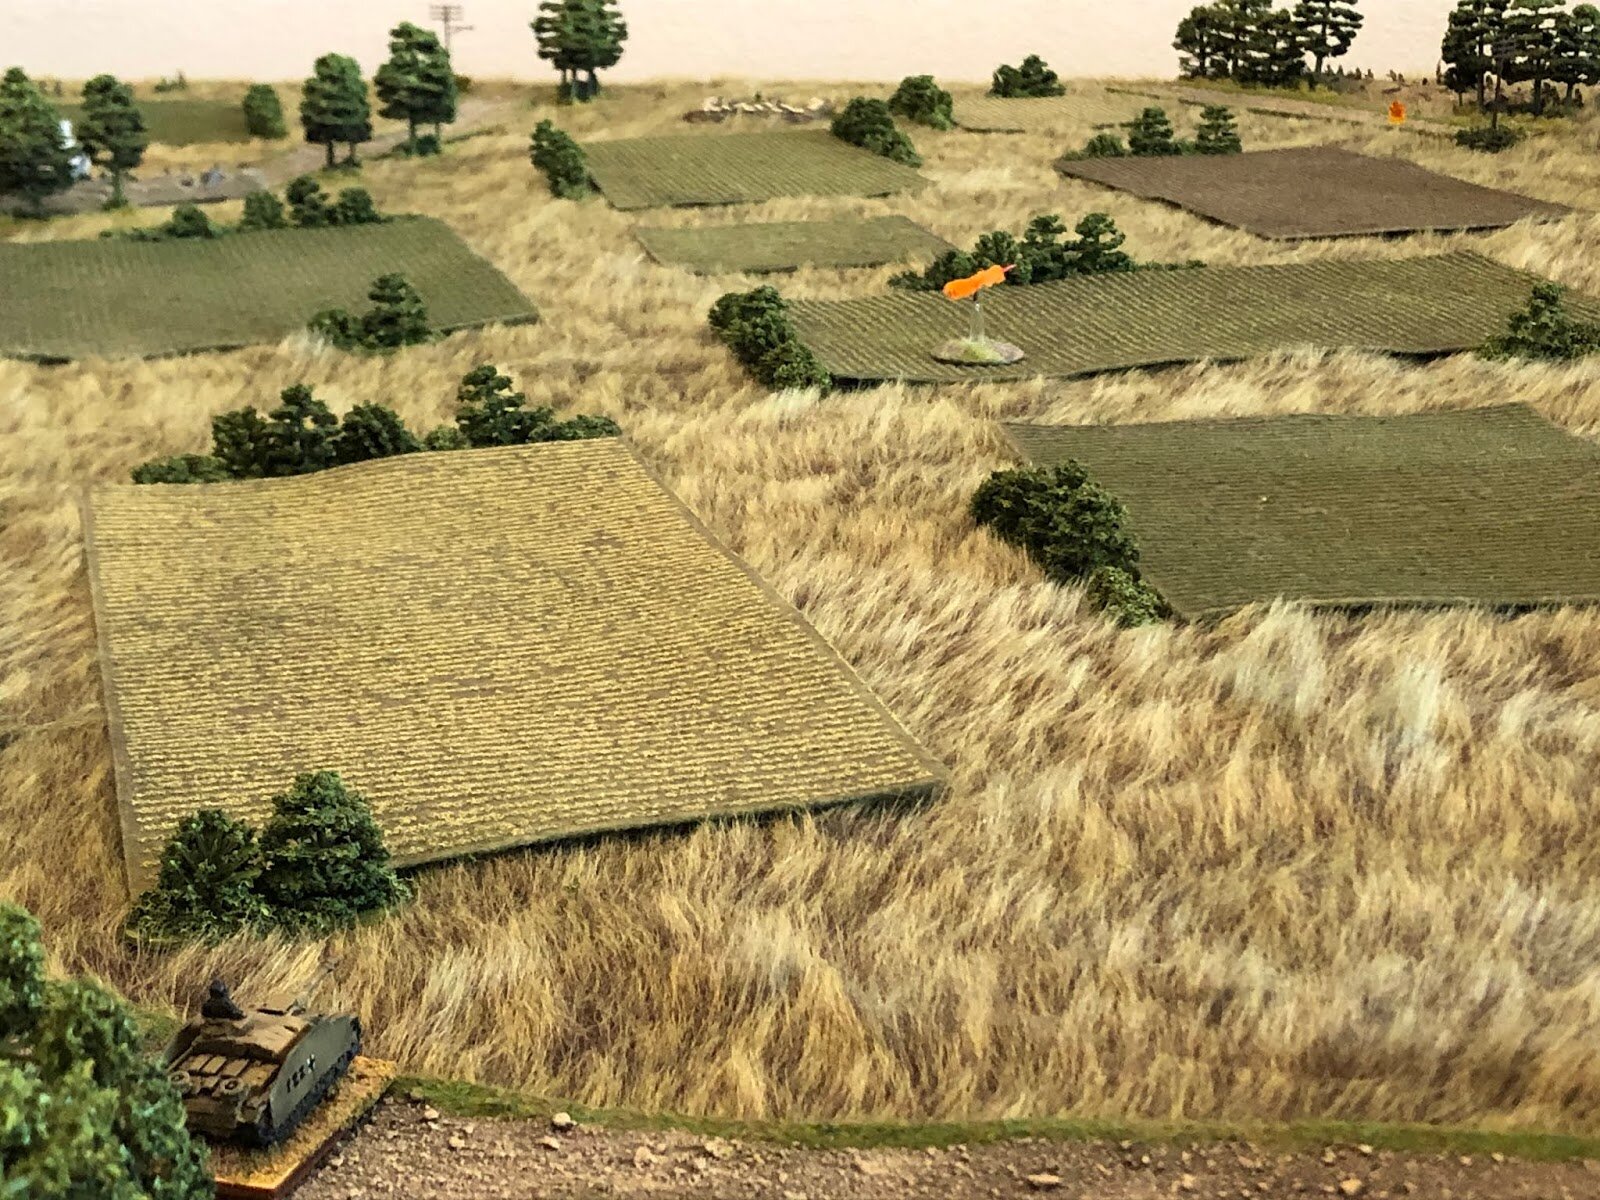
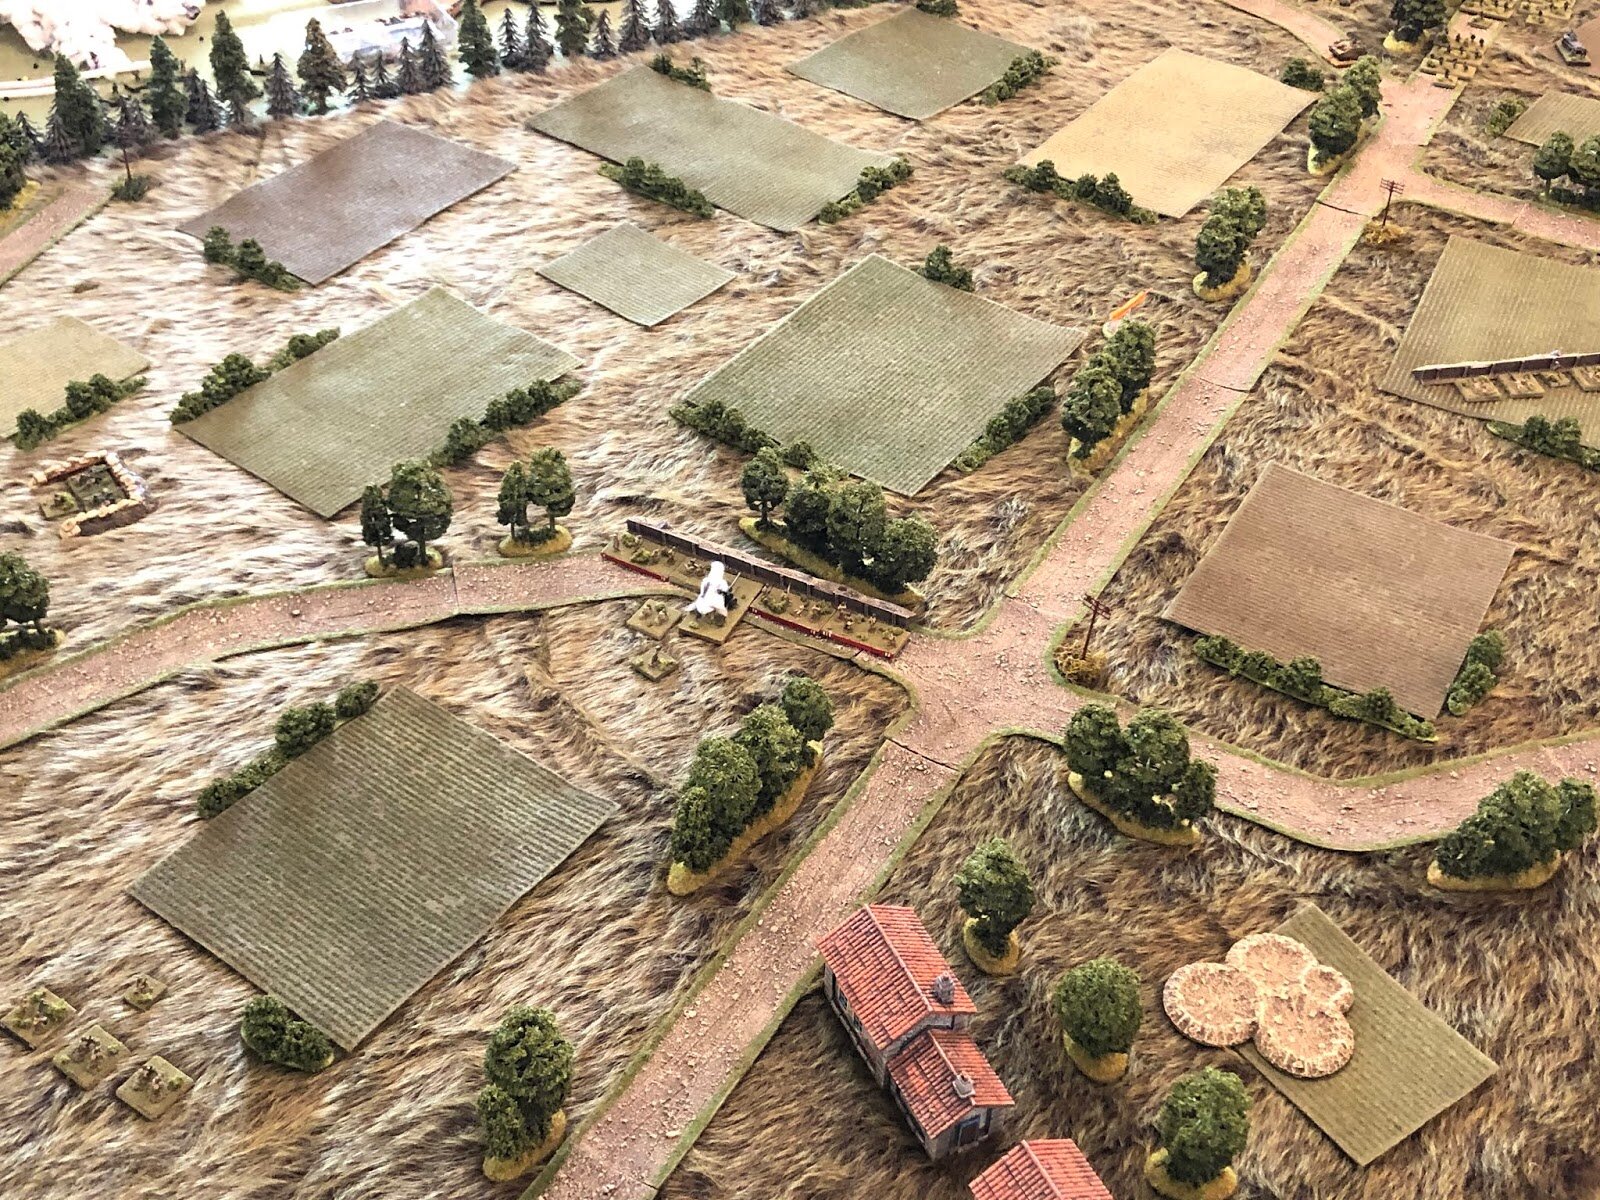
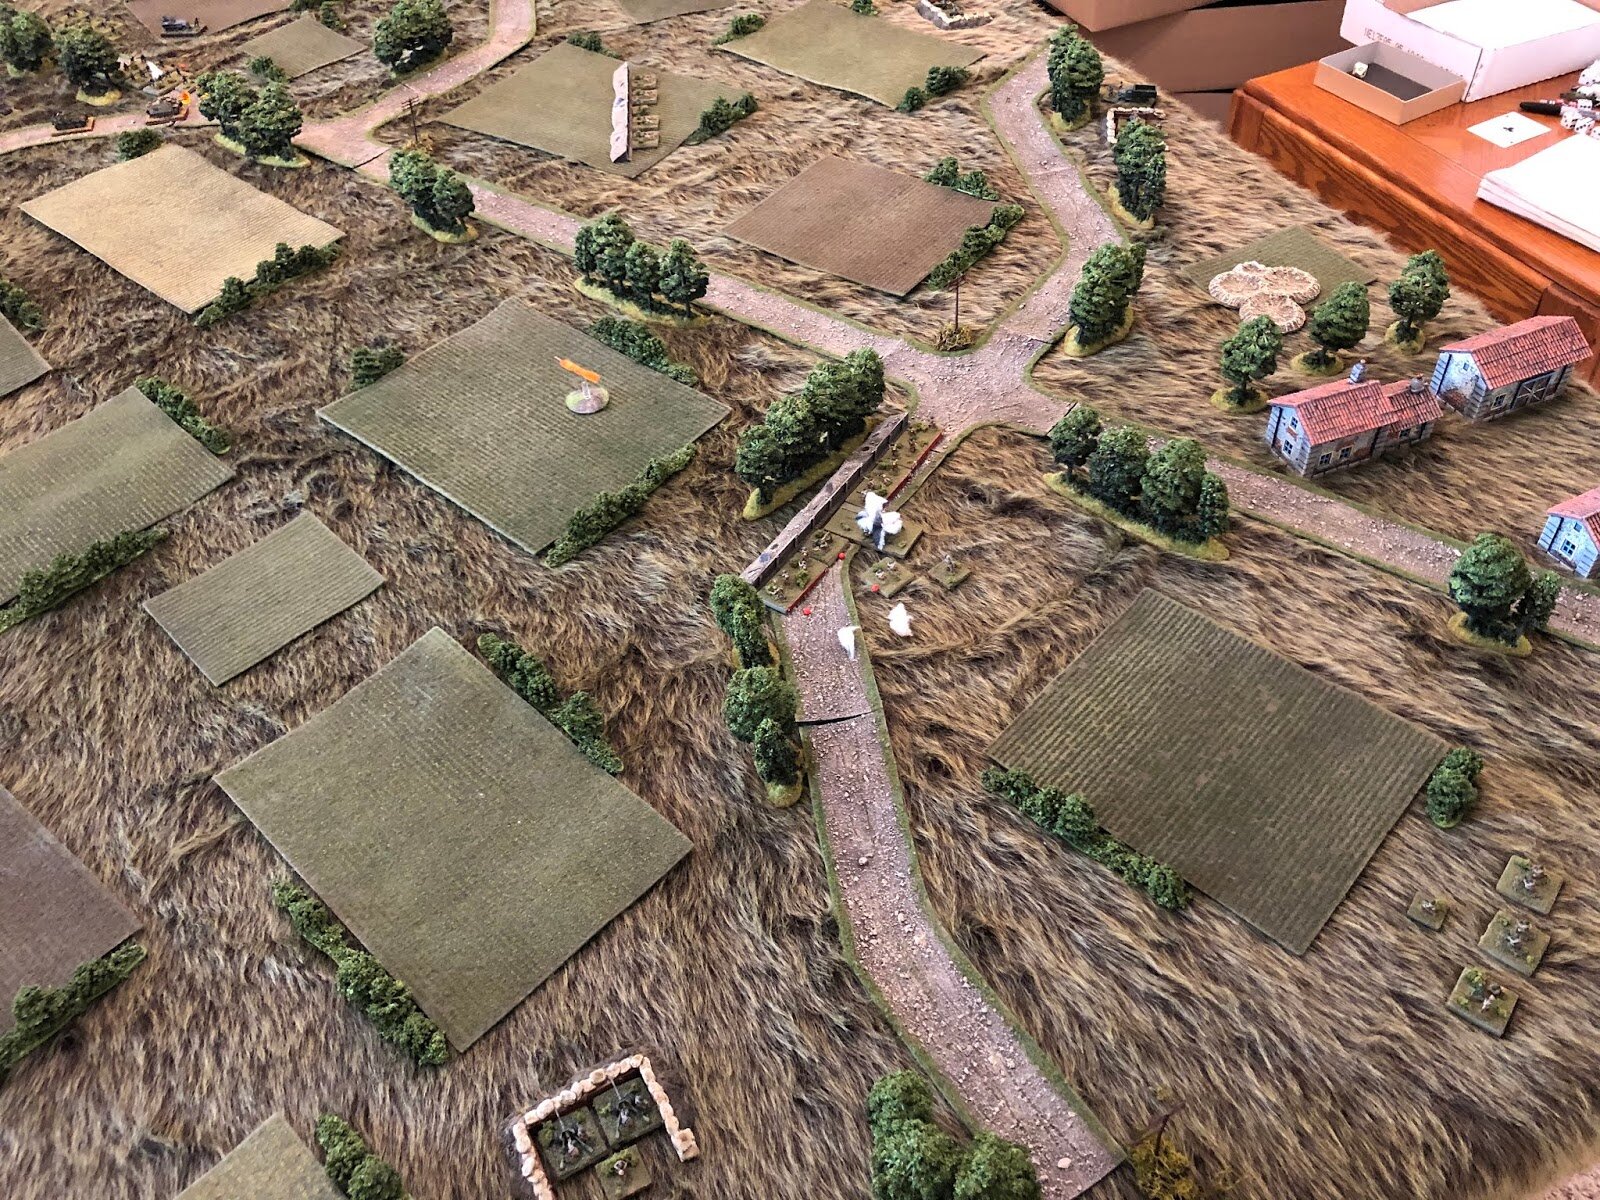
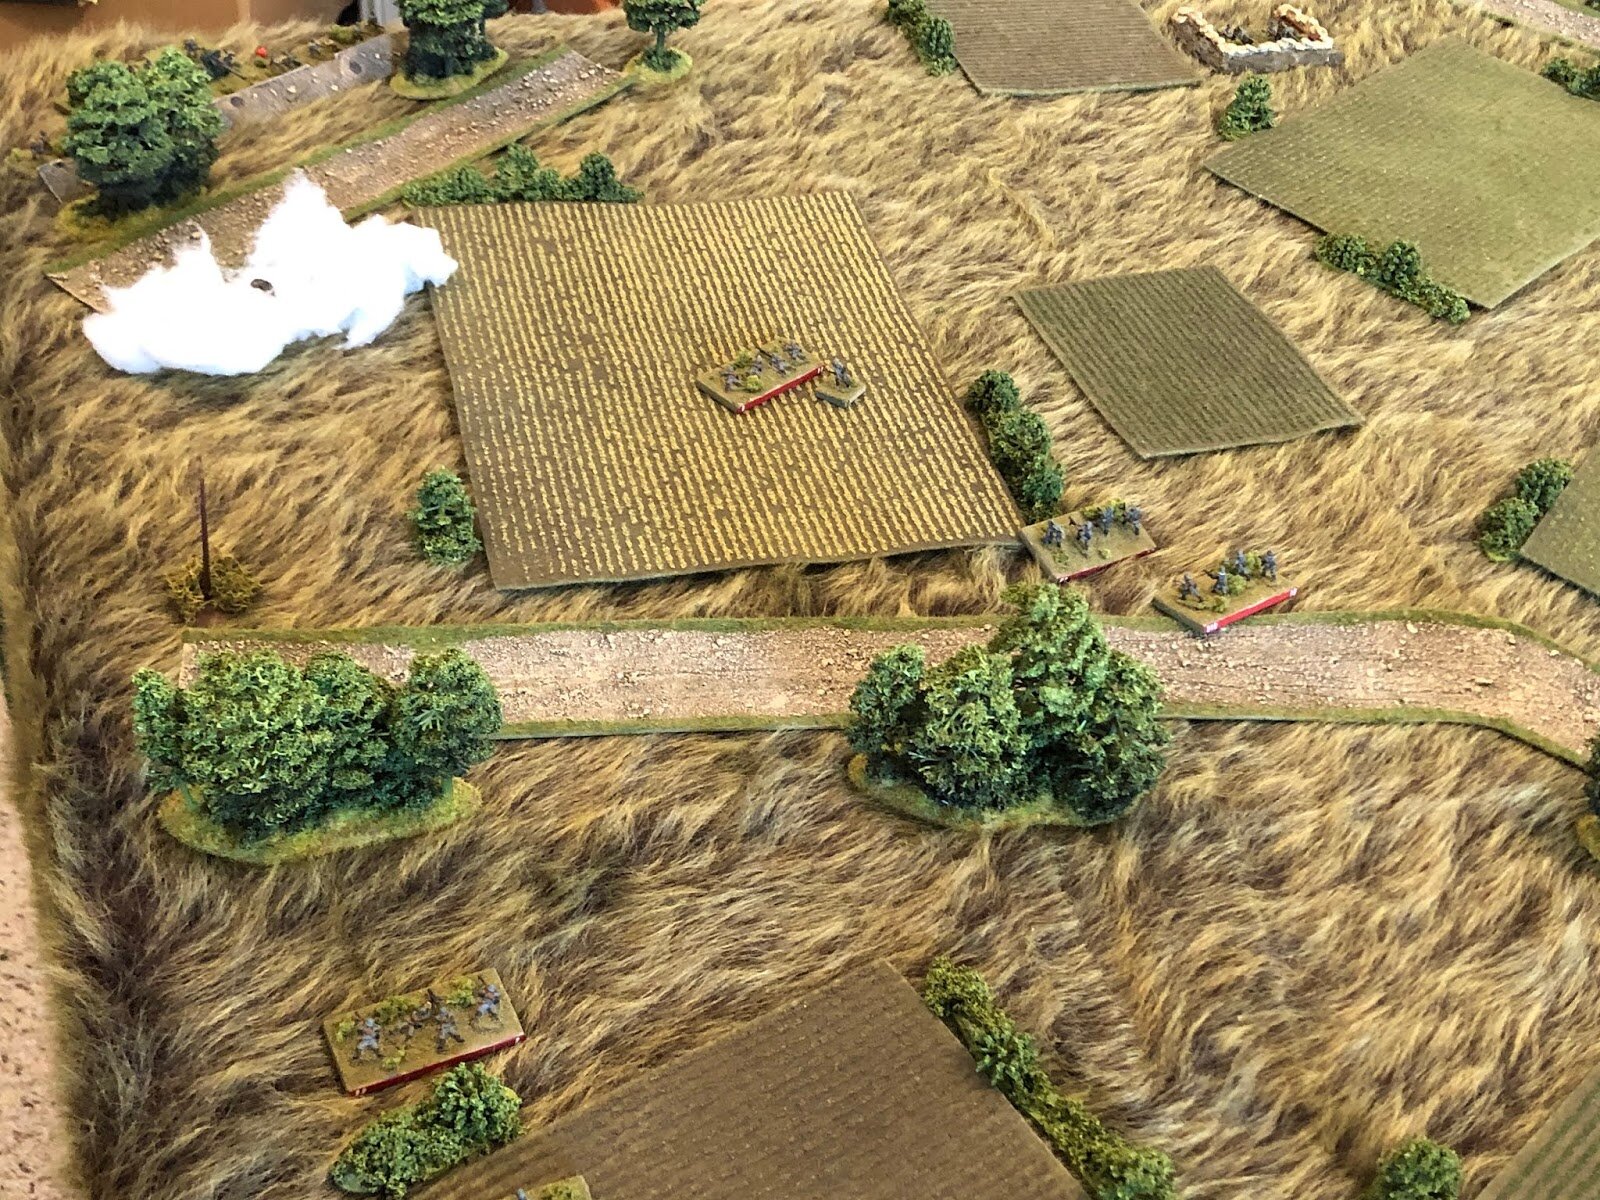
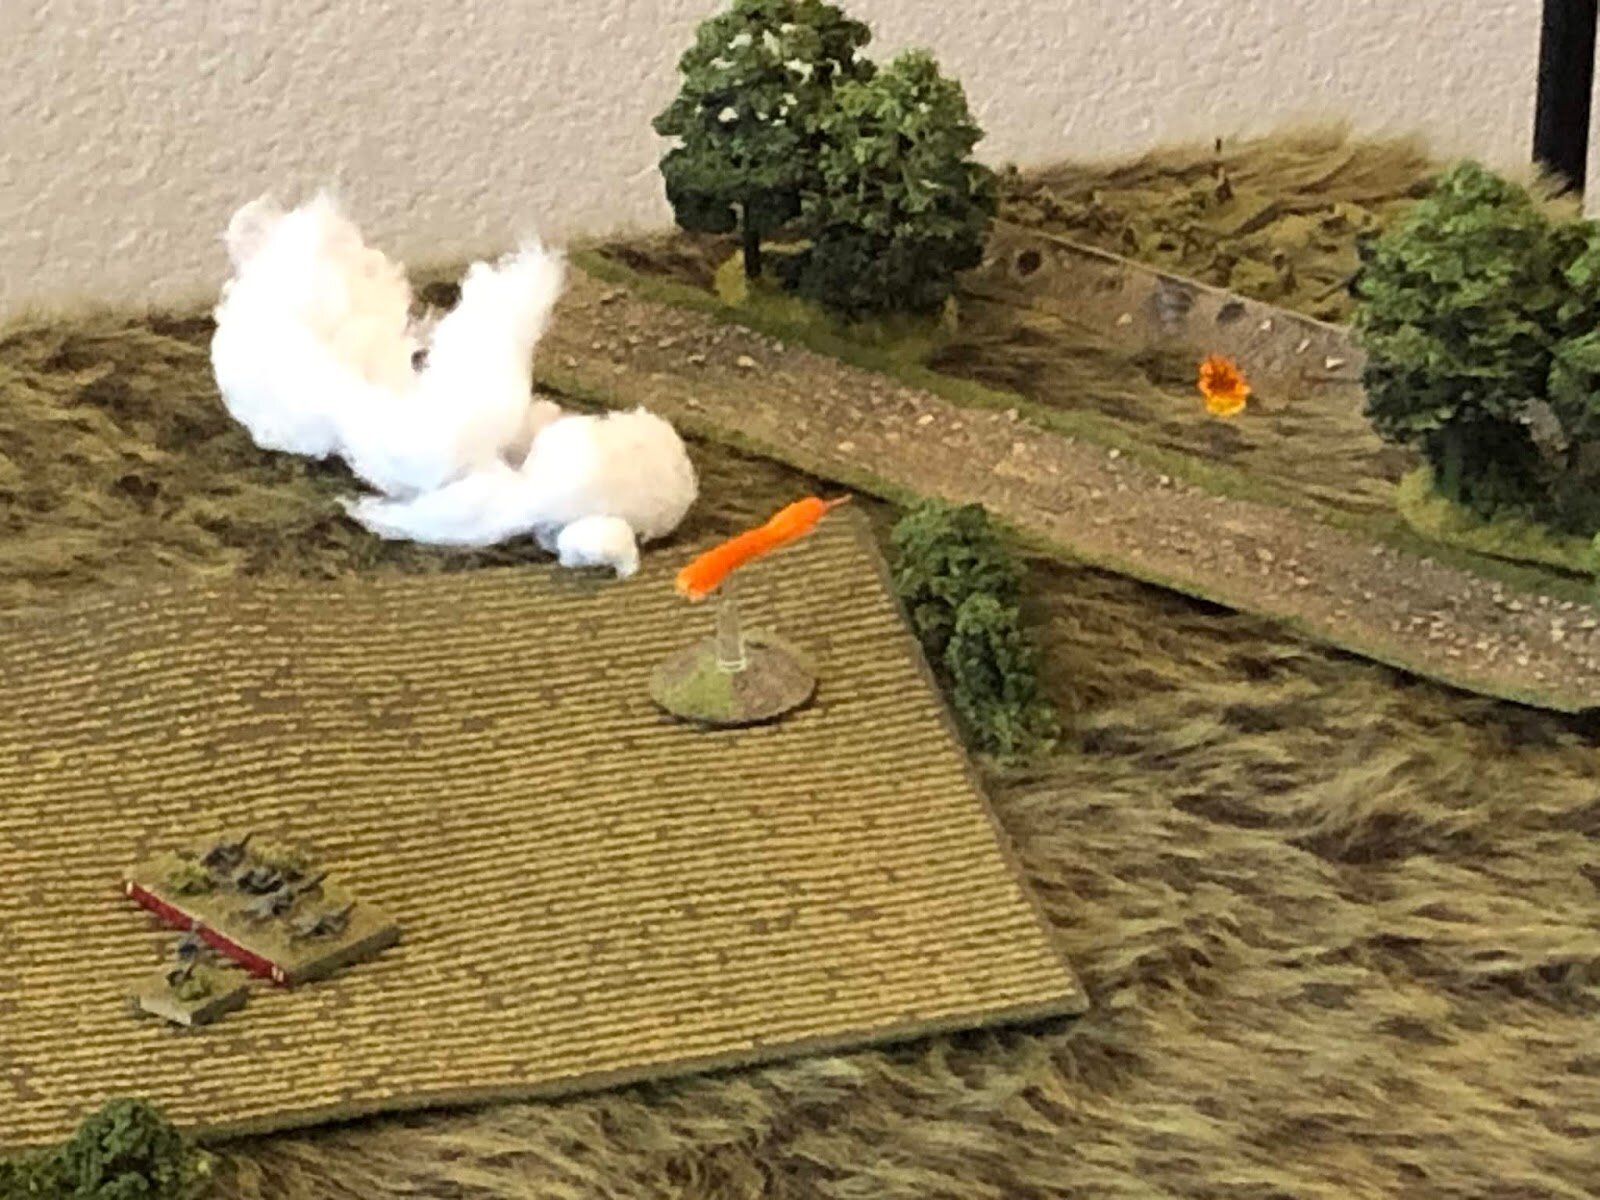
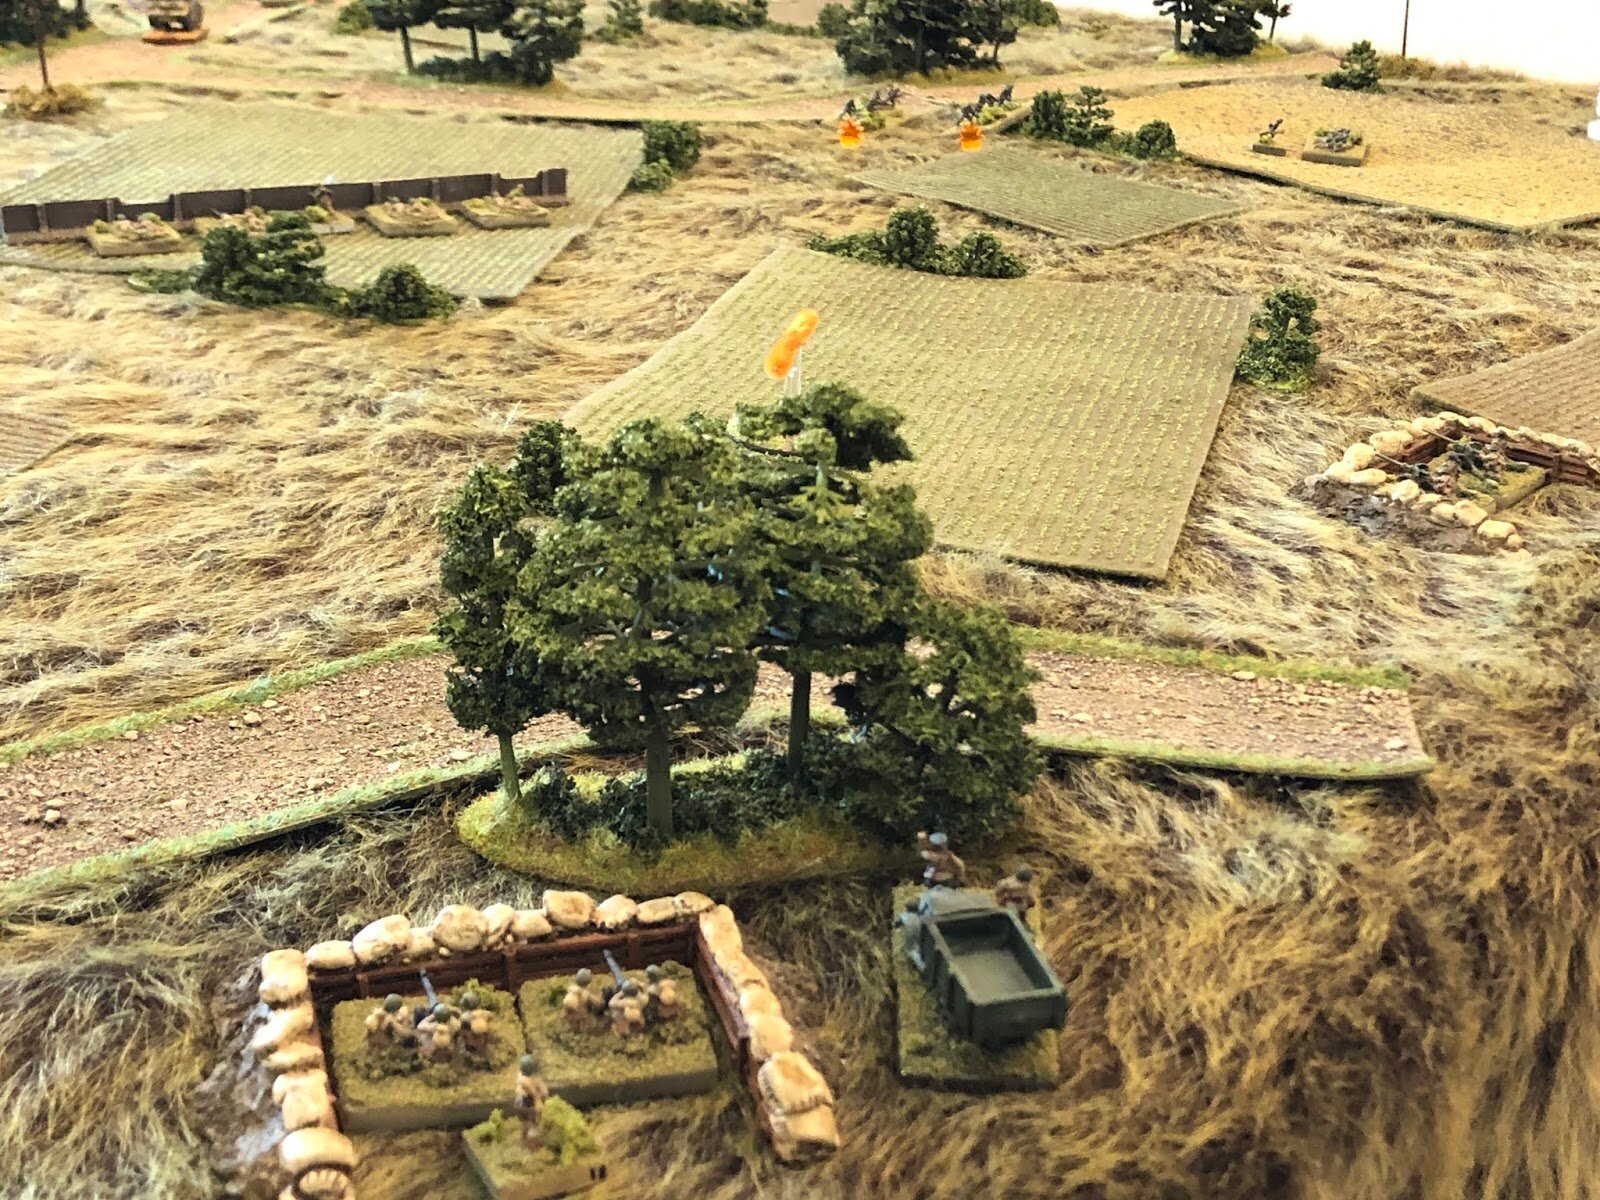
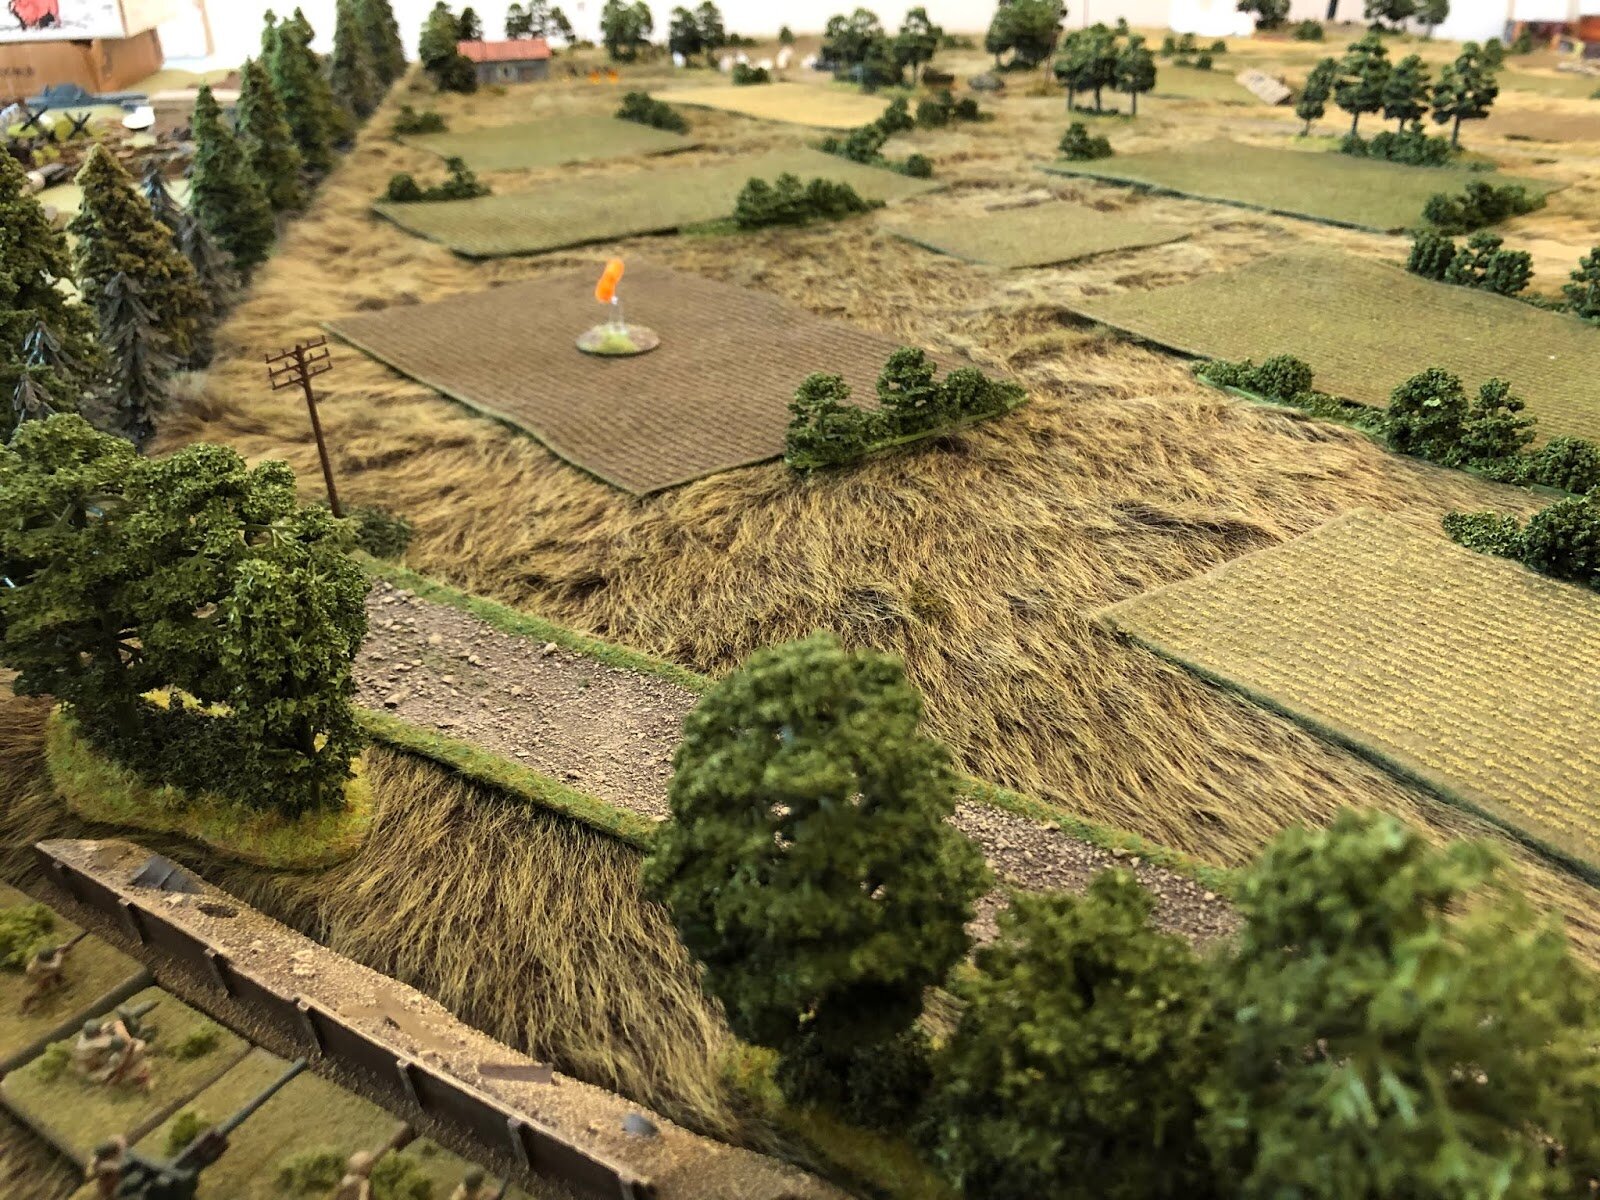
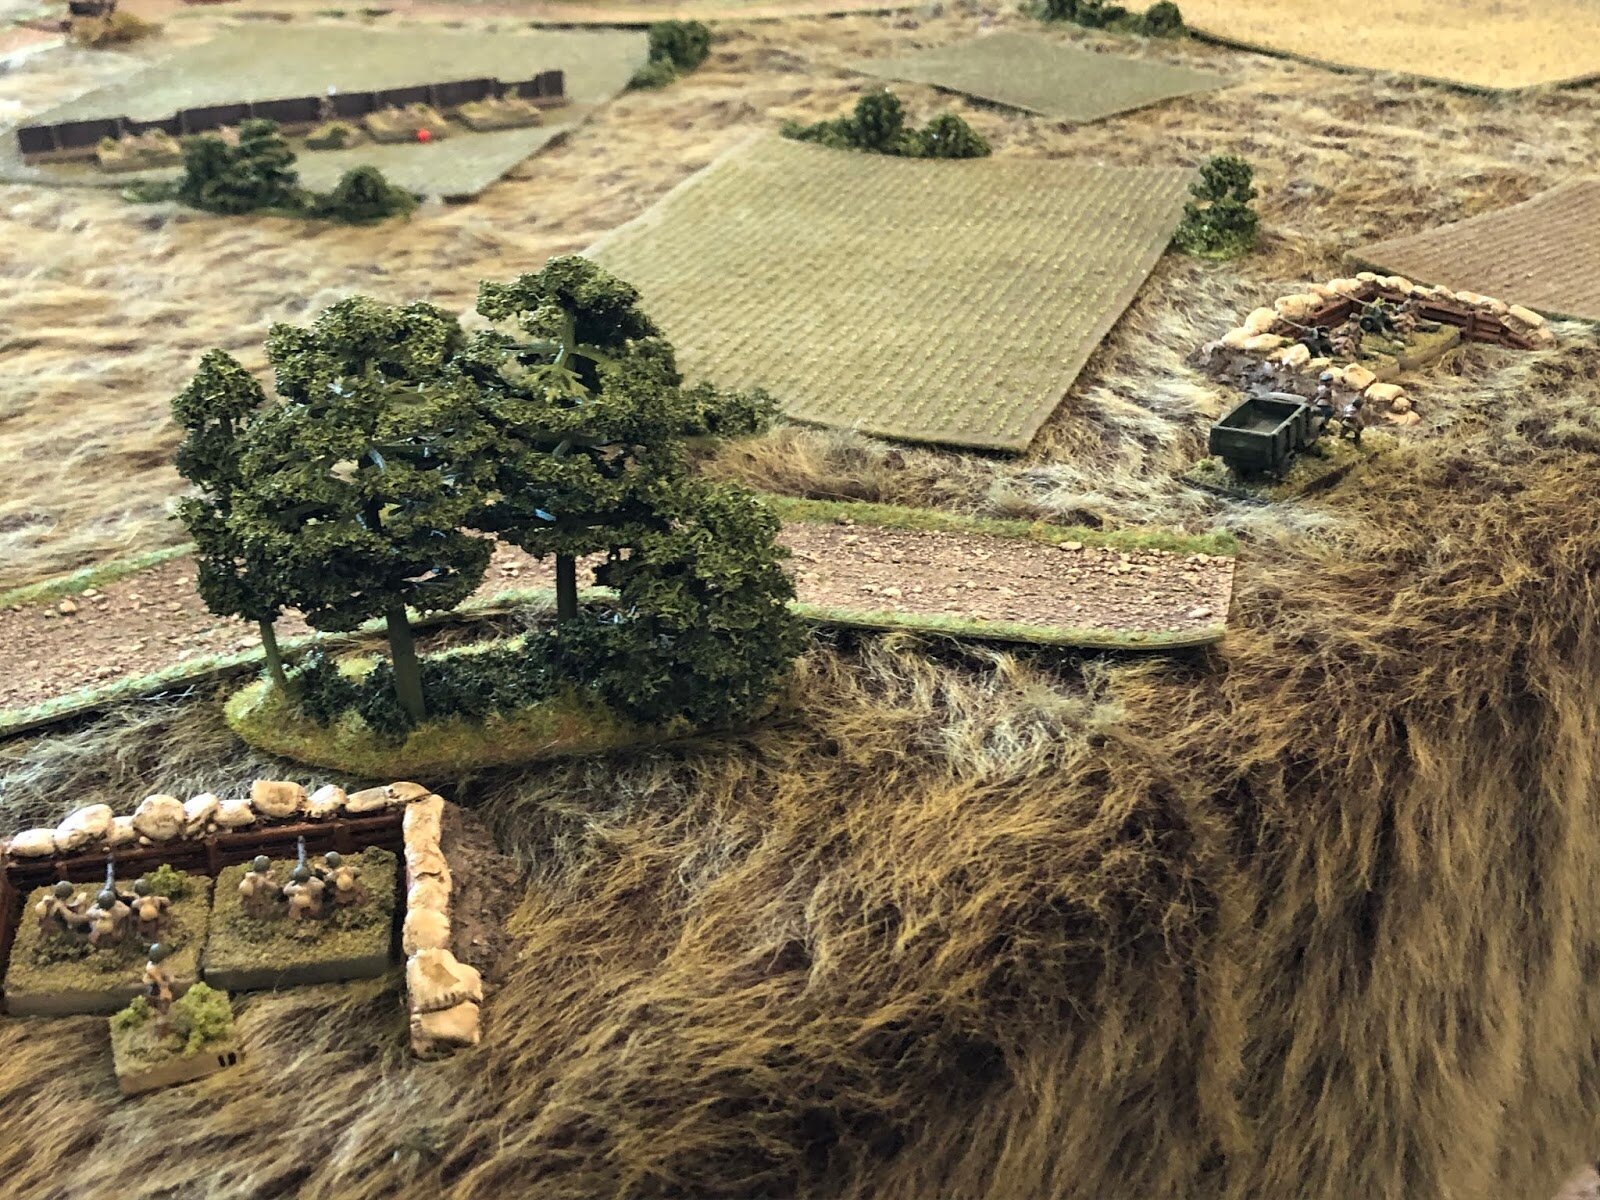
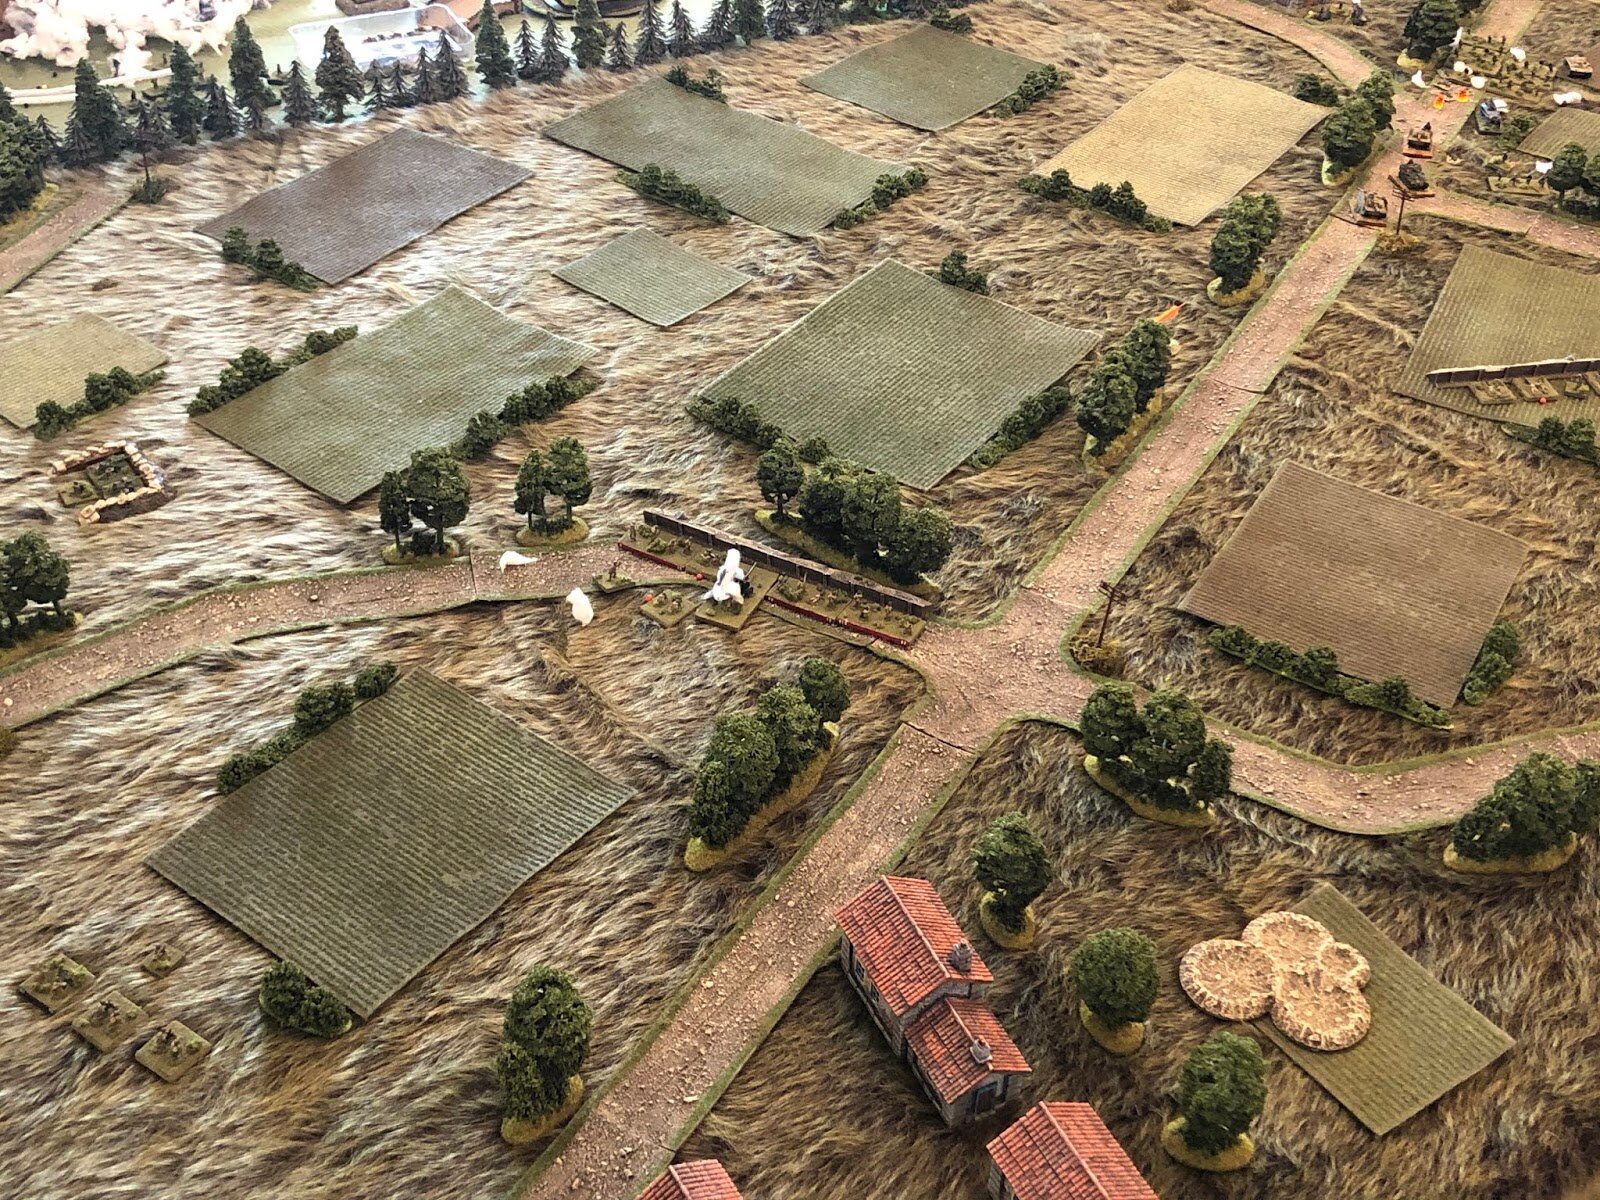
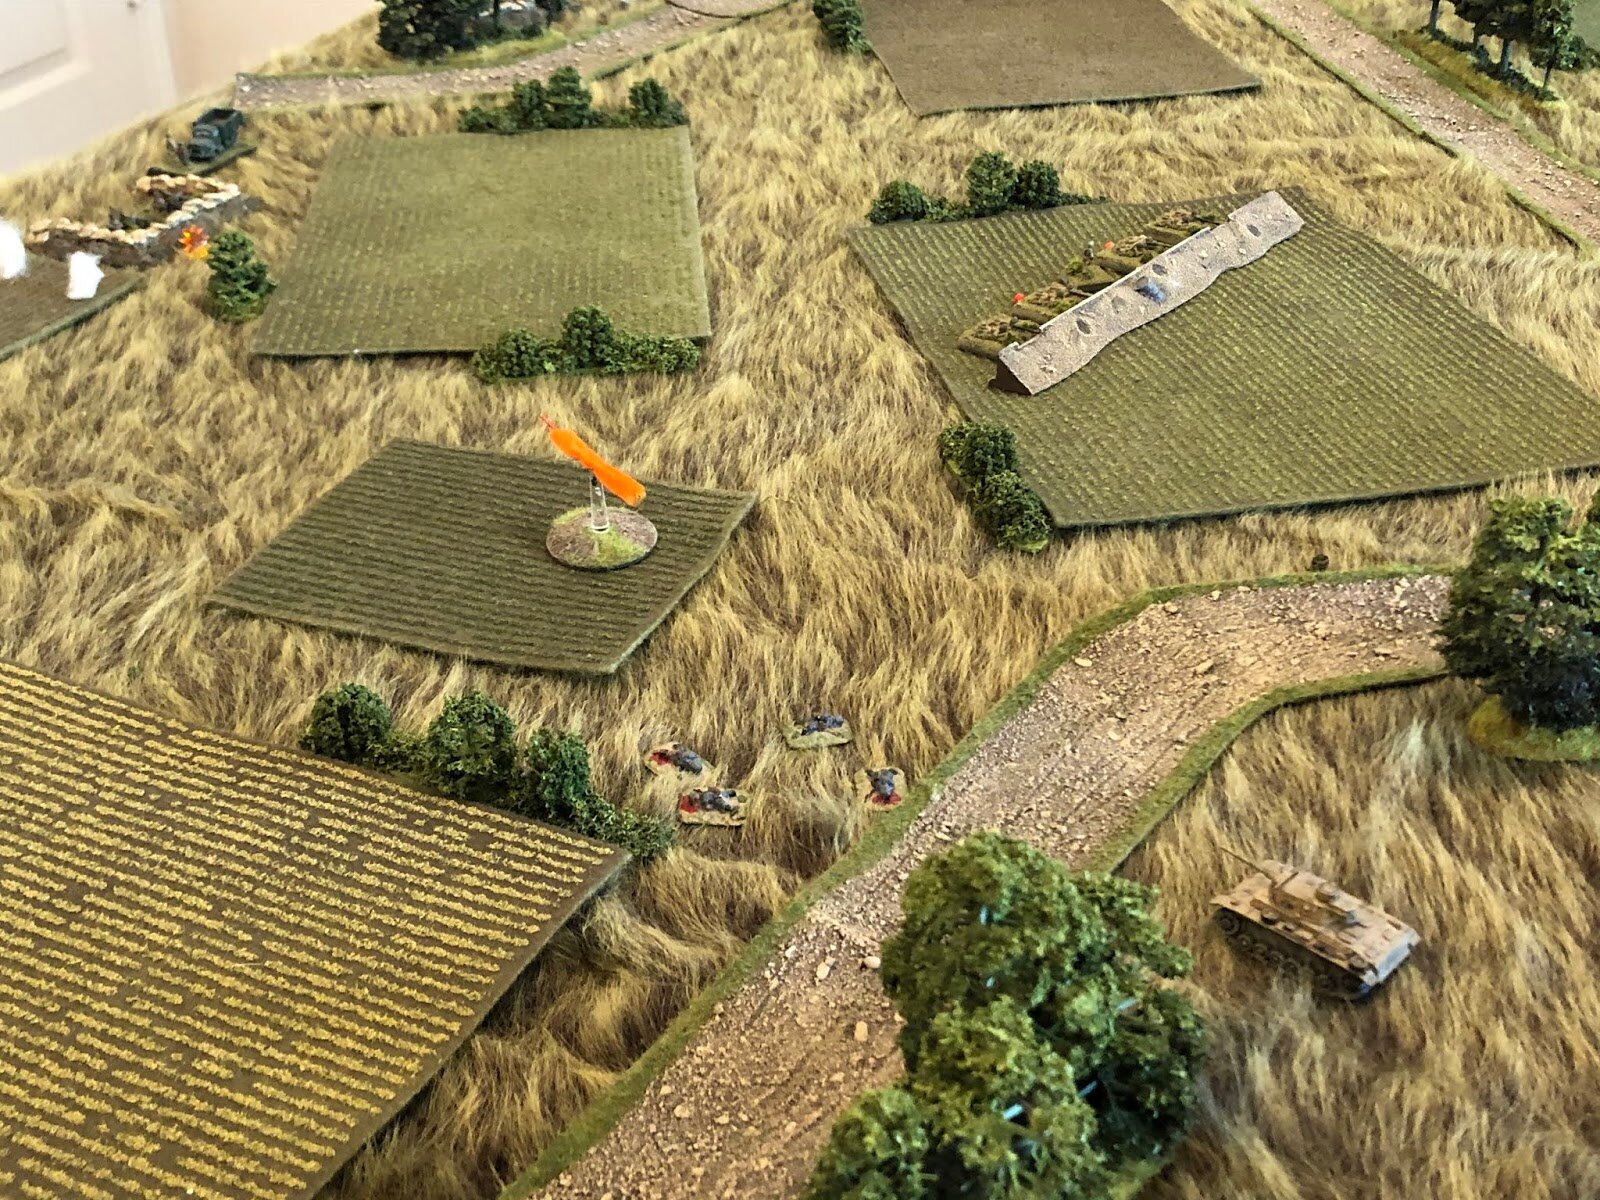
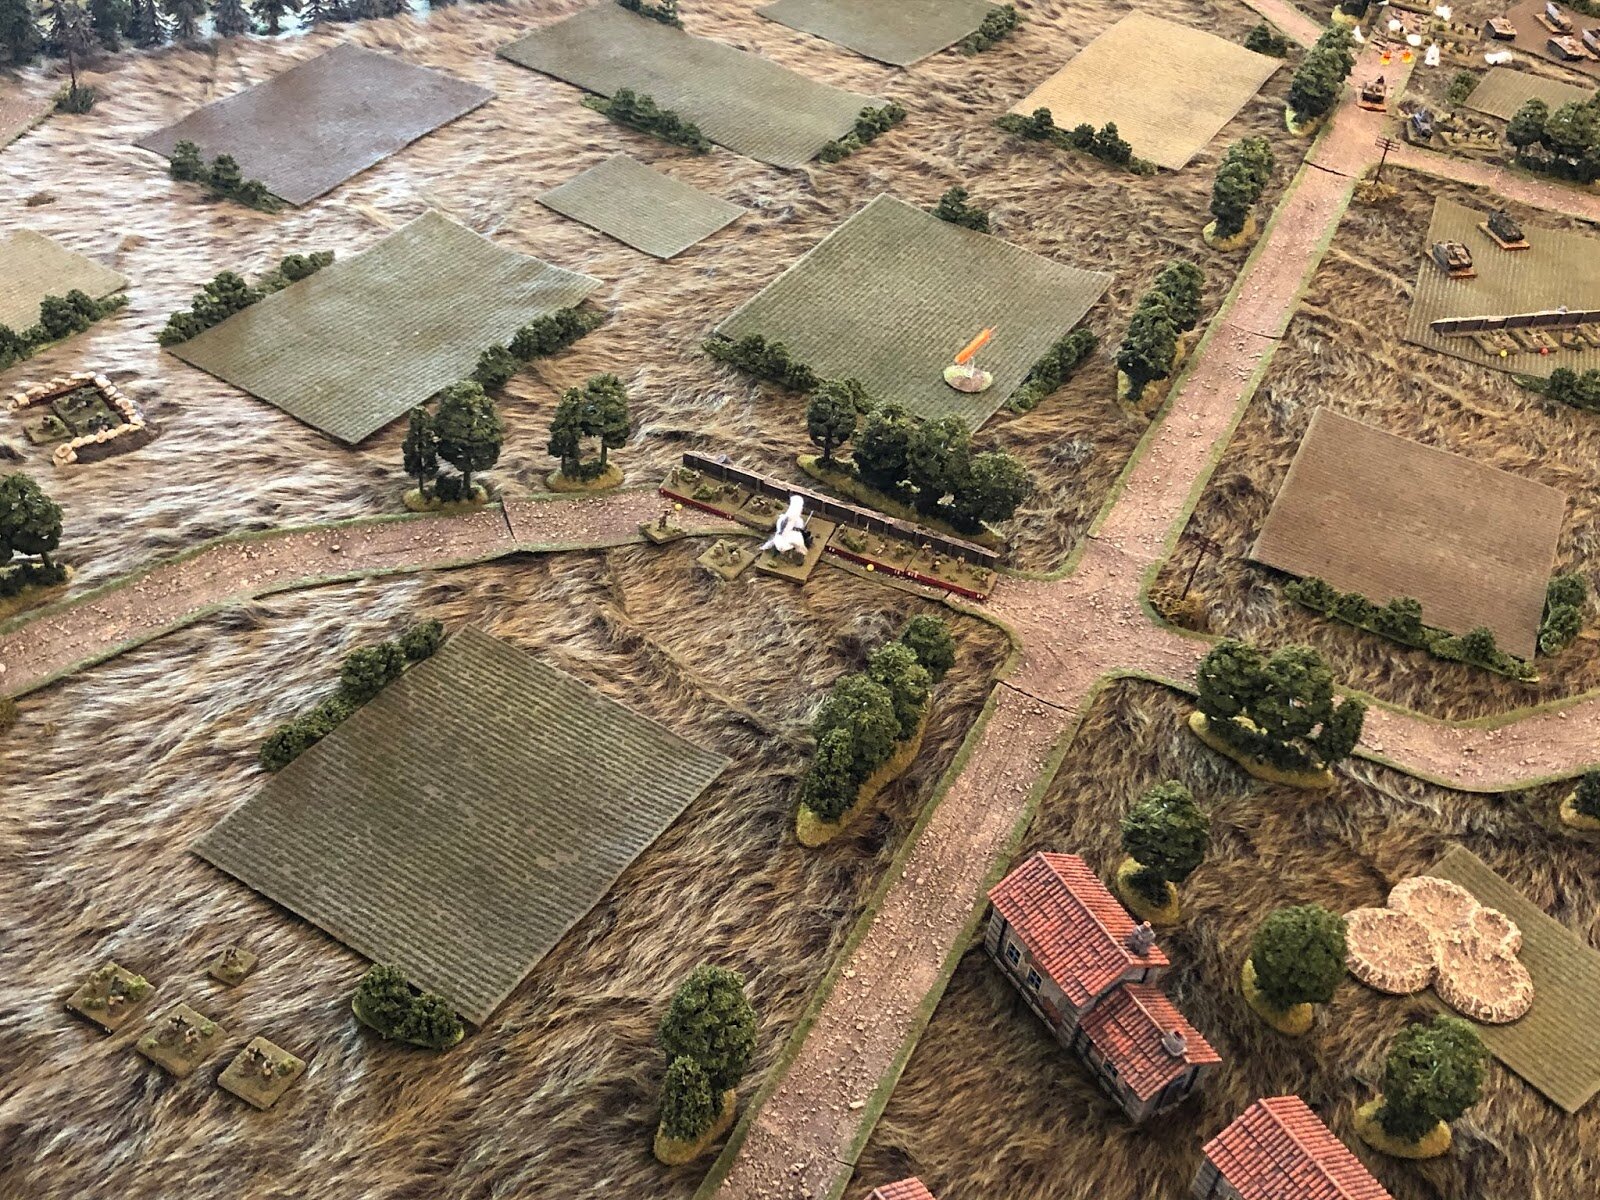
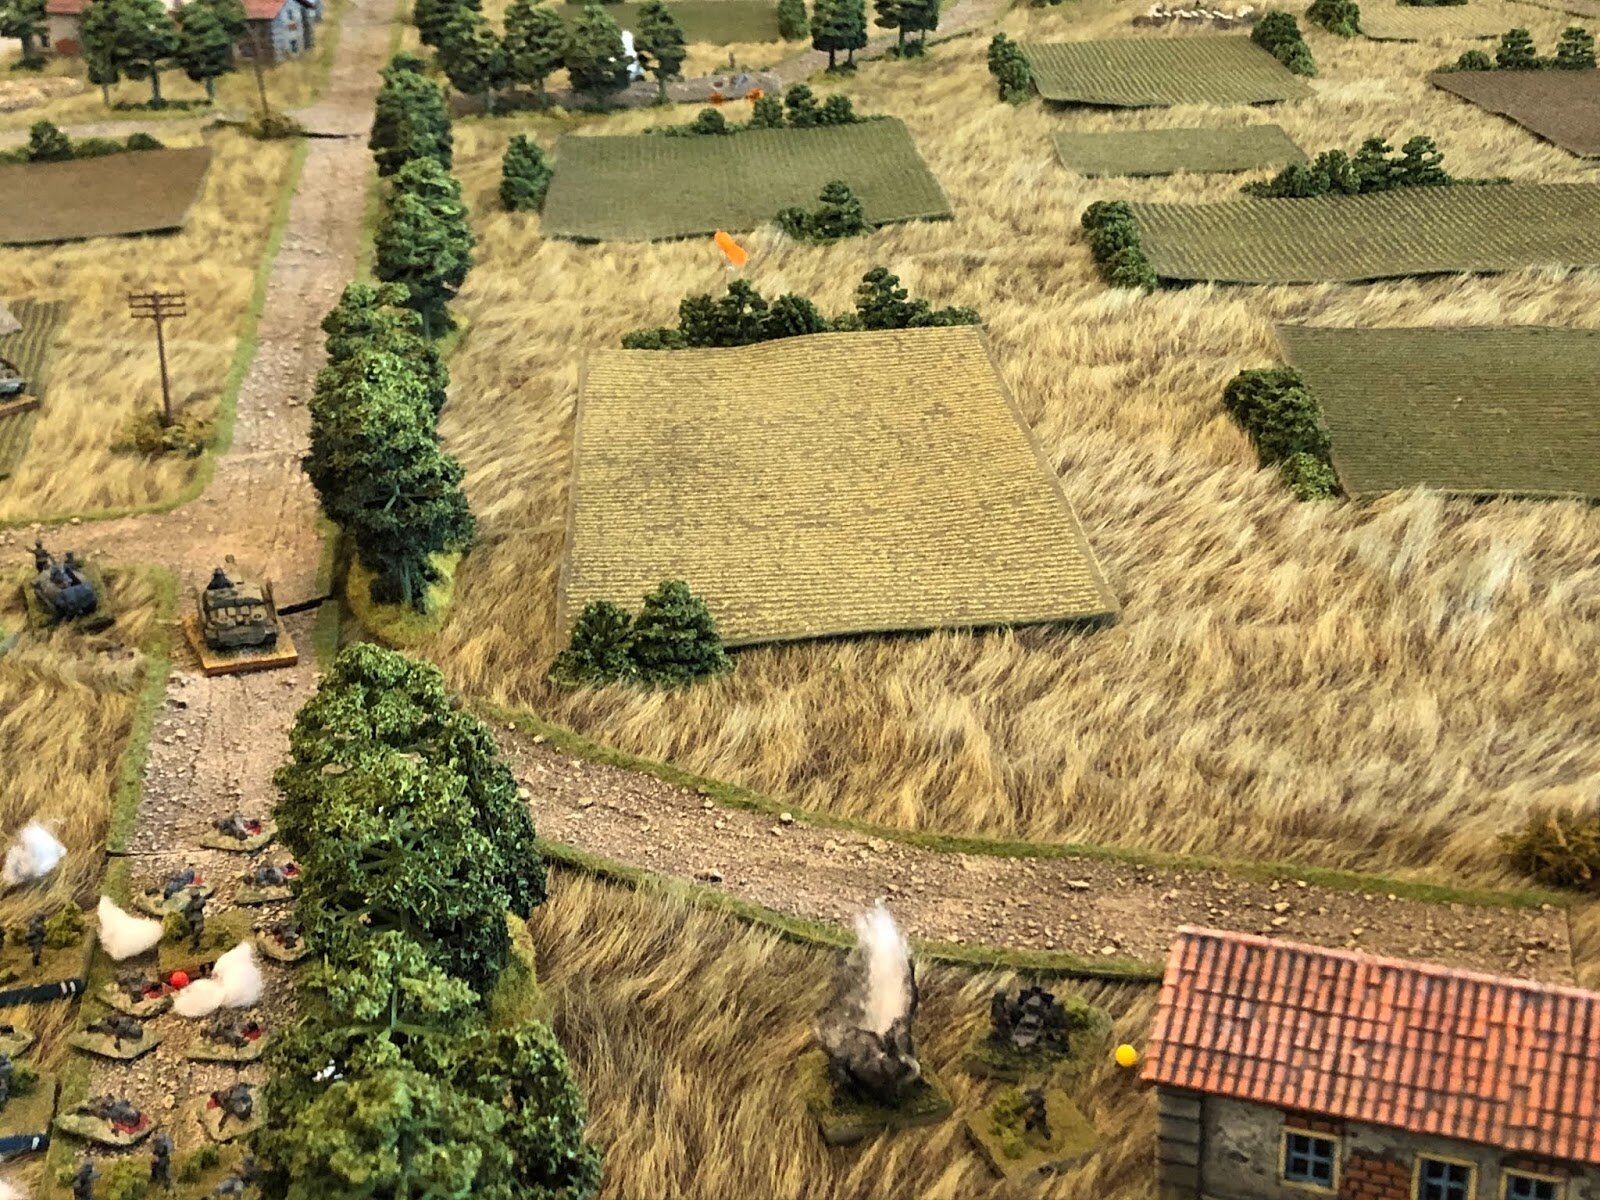
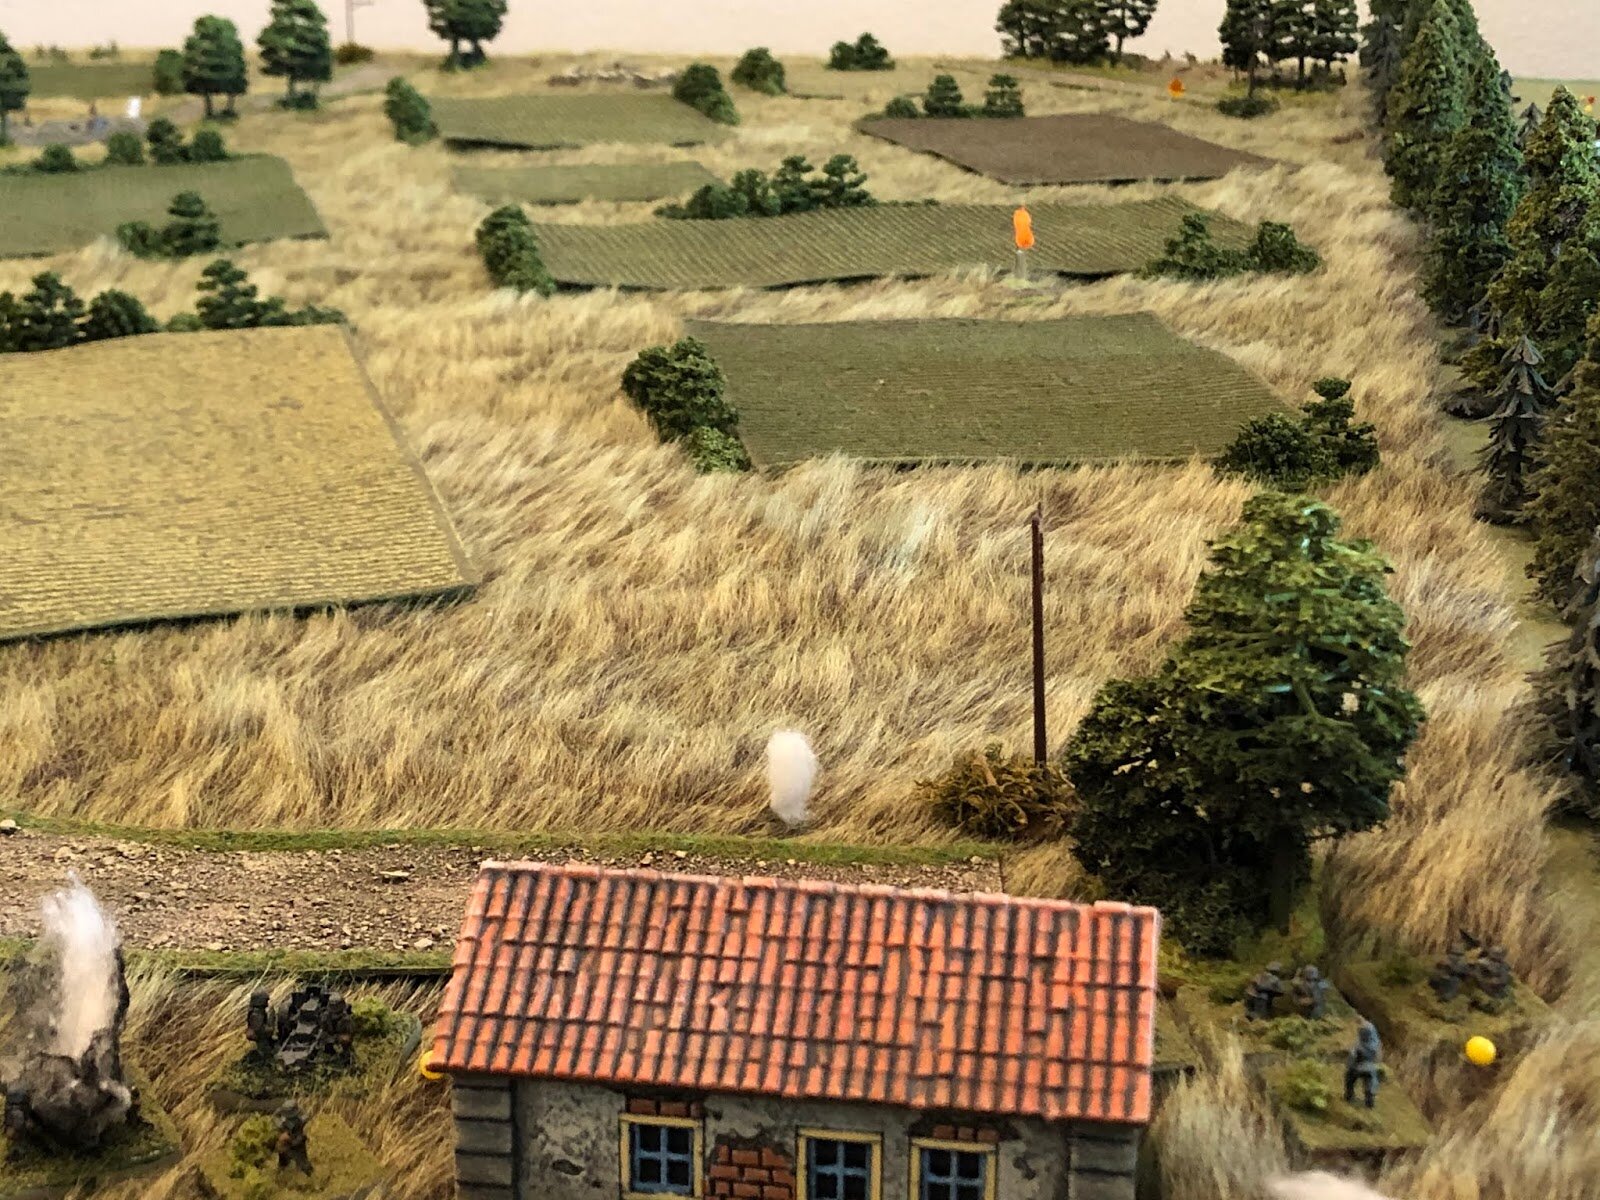
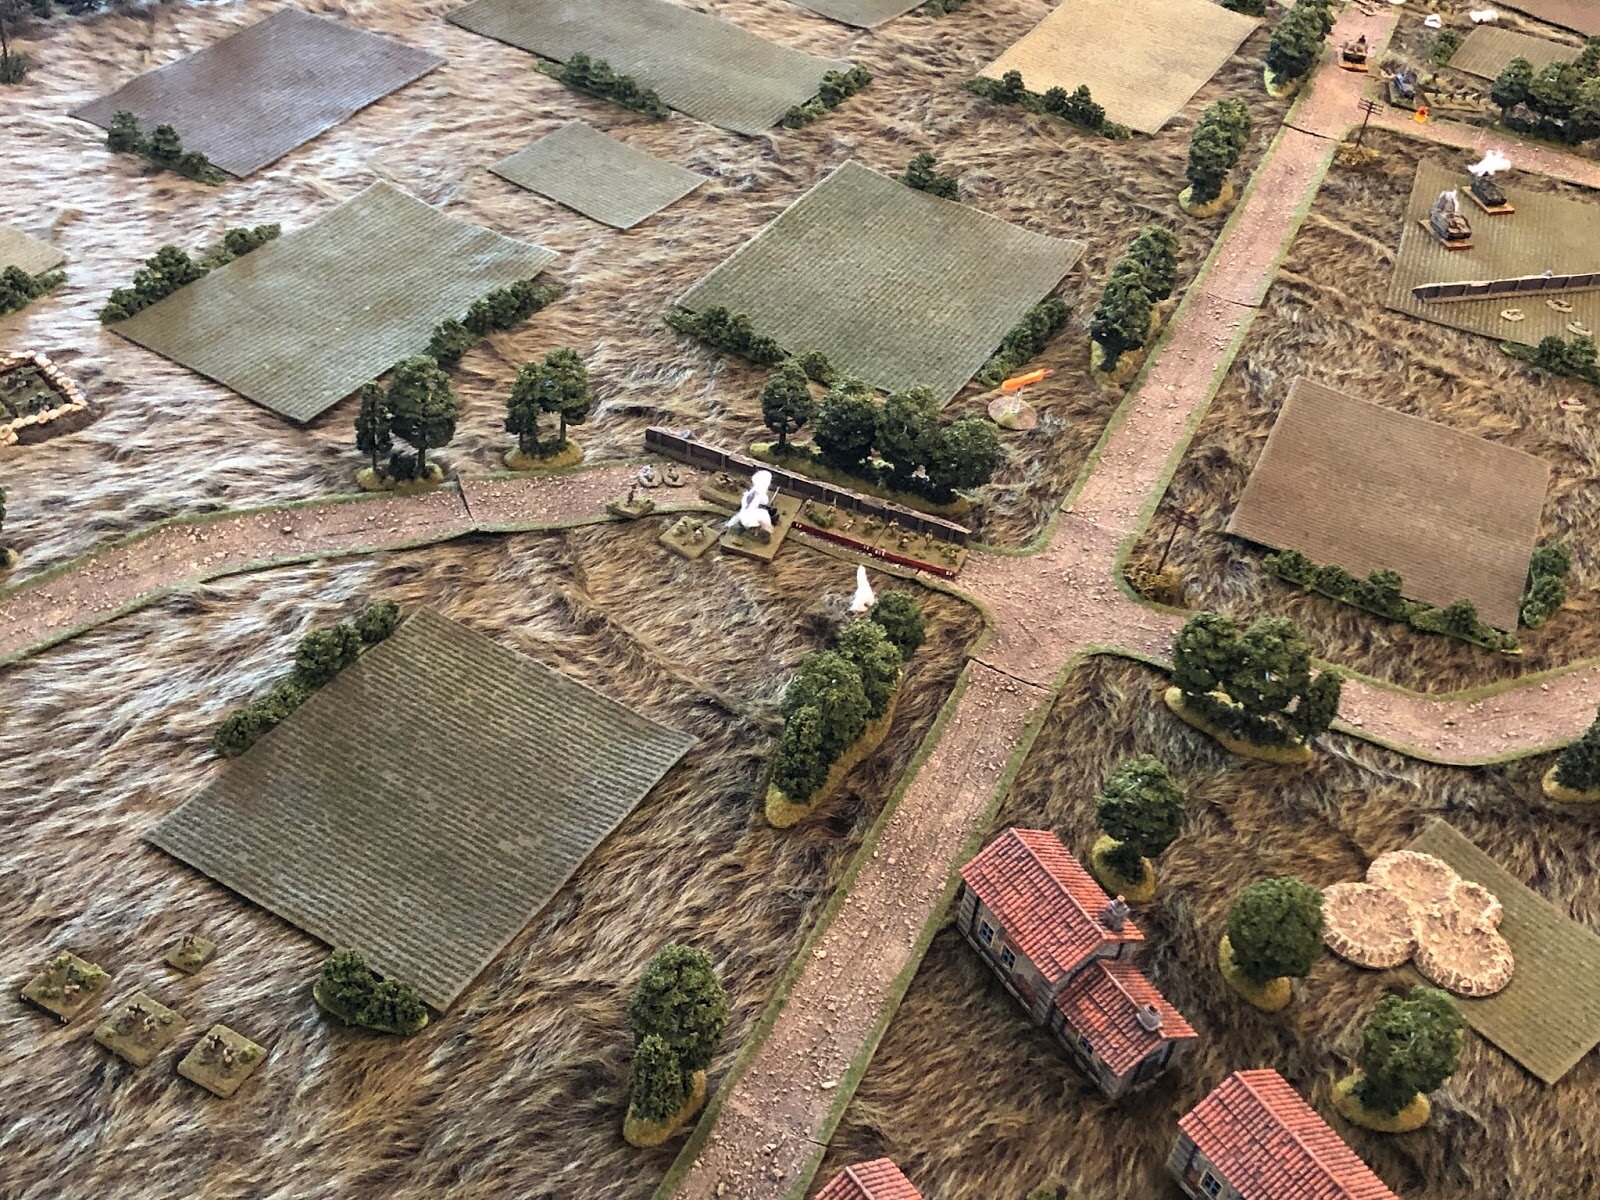
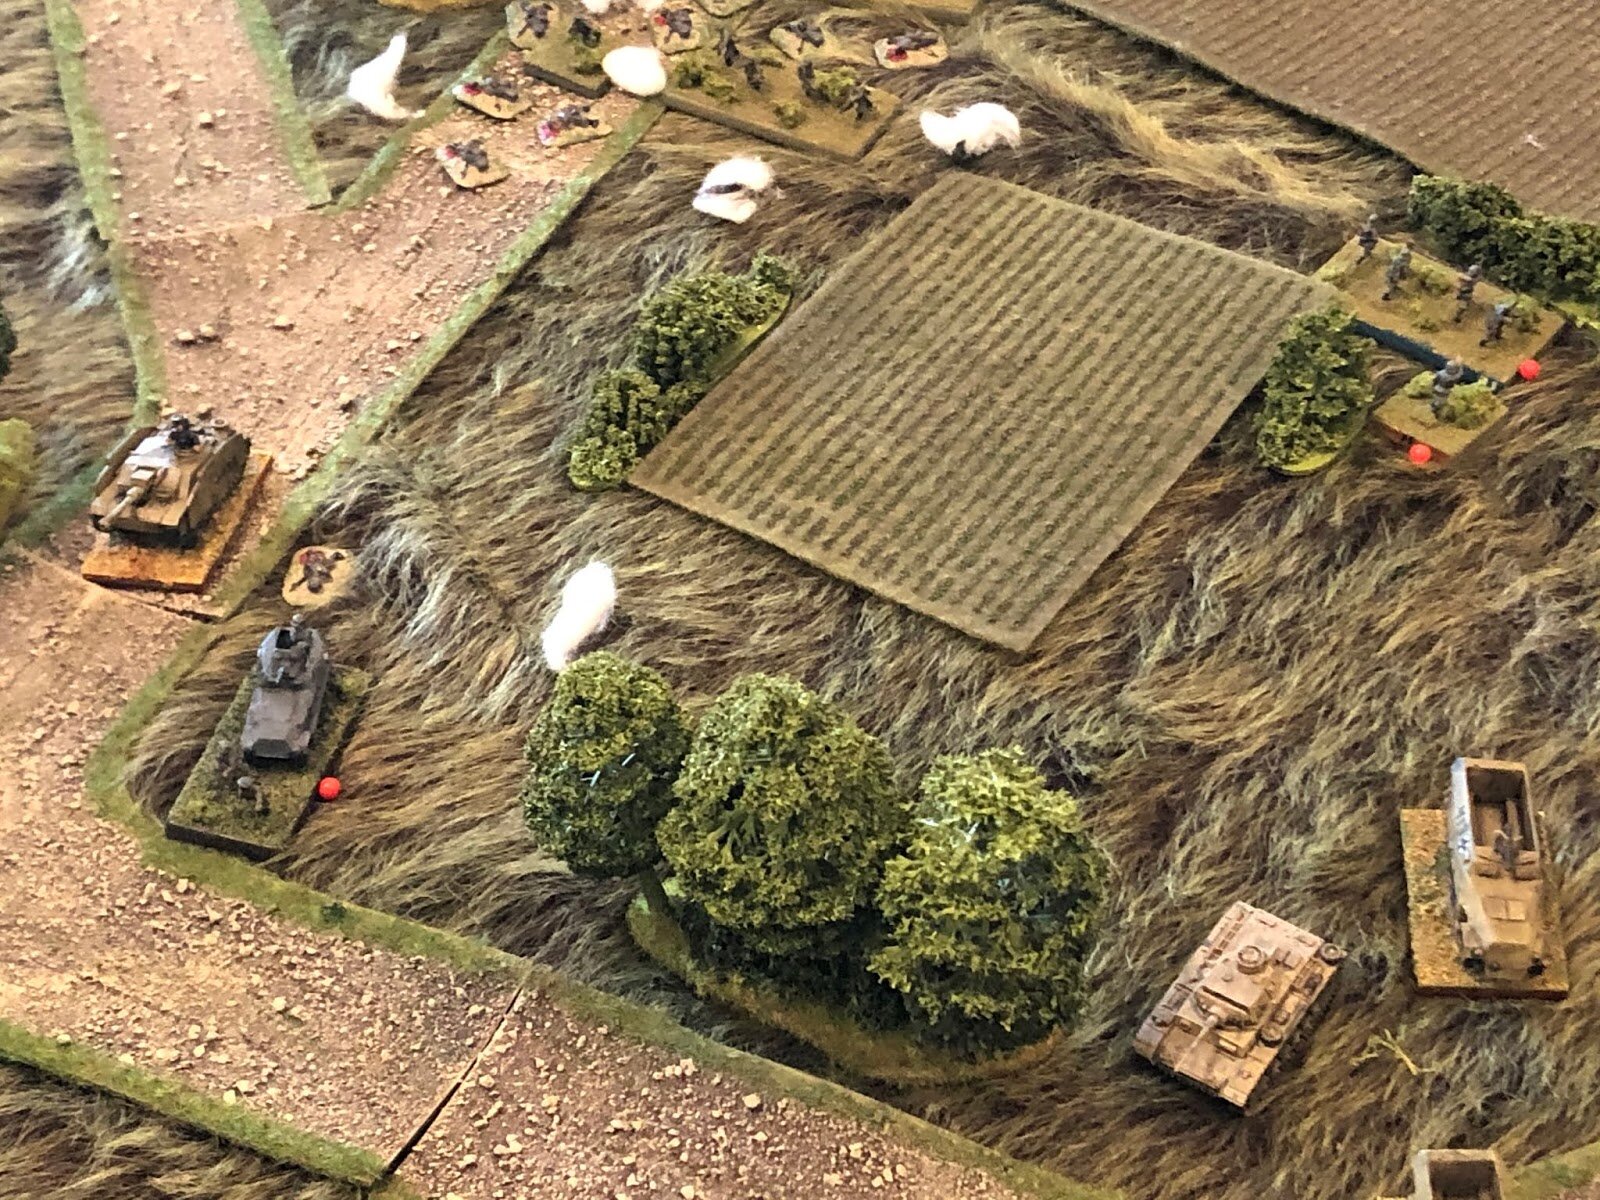
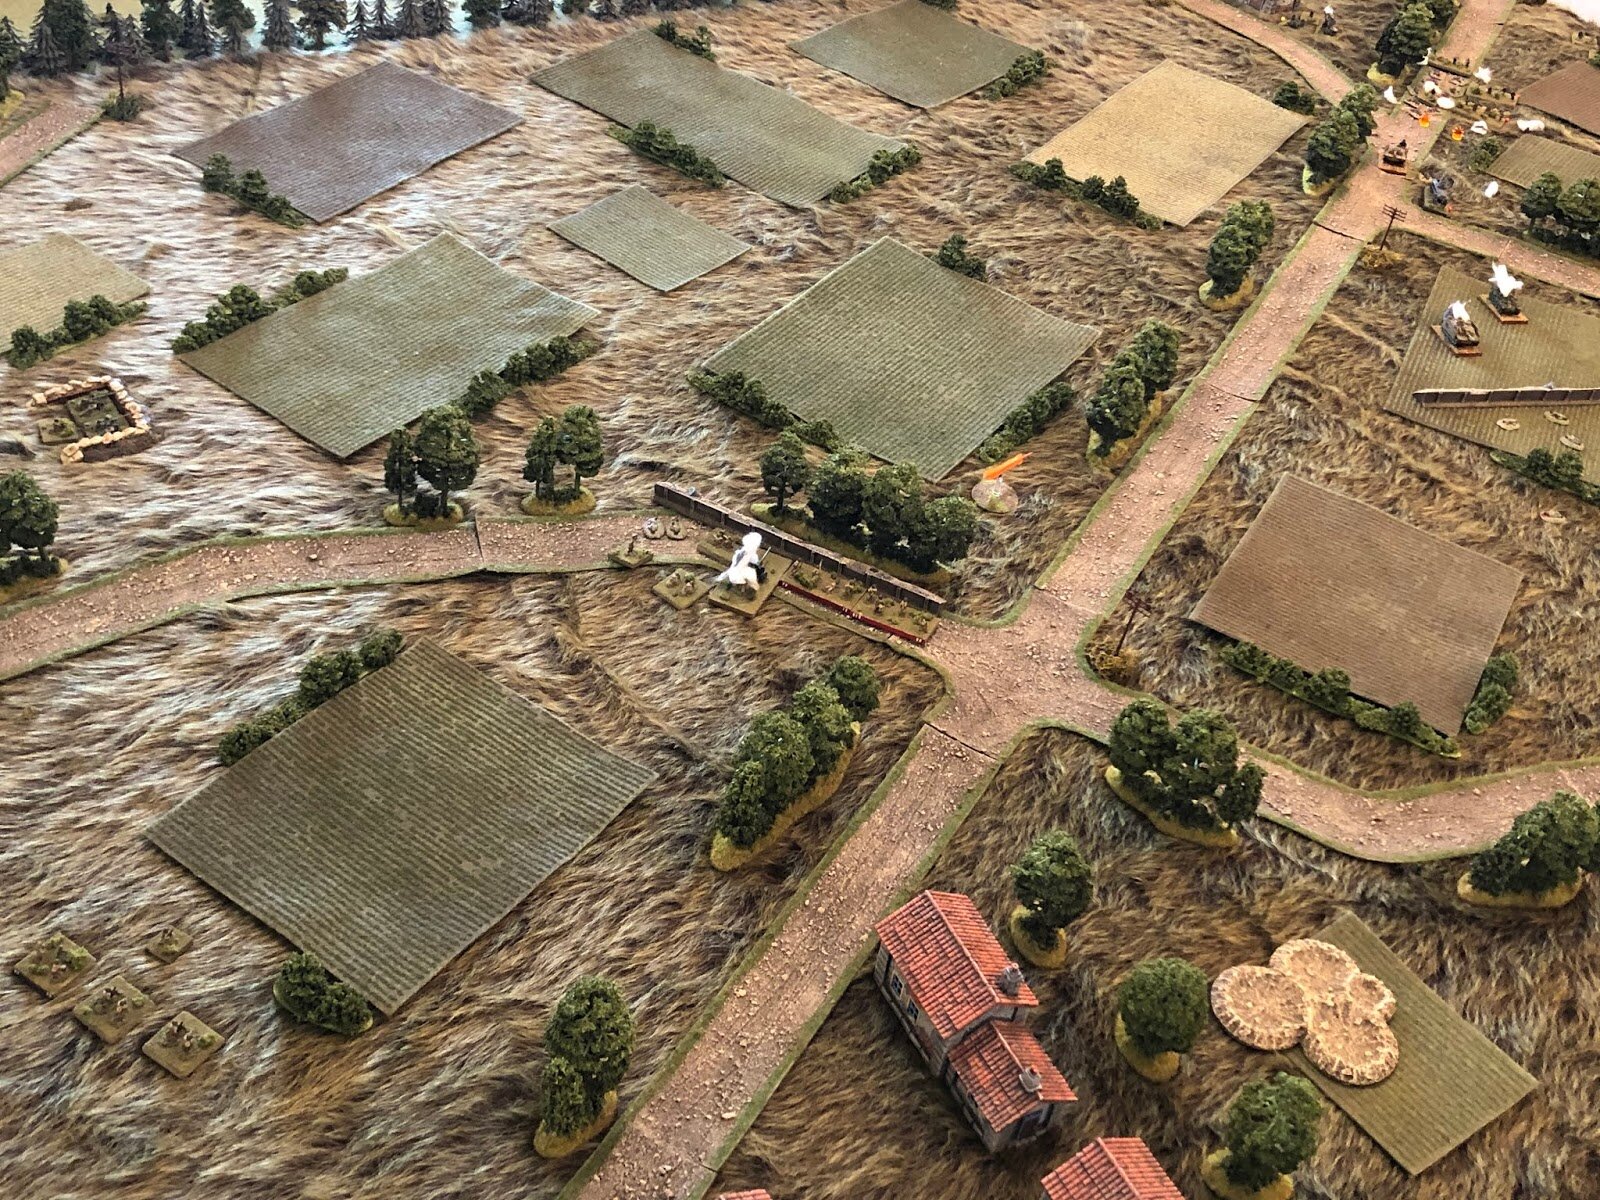
Overview, north is up. The 1 May Collective Farm is the series of buildings at bottom left, while "Yuri's Hovel" is at top right. Other than that it's all cultivated farmlands, uncultivated grassland, and stands of trees bisected by a southwest-northeast running road with several branches coming off it. Highly significant to the military terrain on the battlefield are the stands of trees that line almost every single road on the map; the various hedges you see spread across the table (mostly lining the cultivated crop fields) do not block line of sight, but the stands of trees absolutely do, so the battlefield isn't nearly as open as it may appear at first glance.
Once again I'm using the Too Fat Lardie's excellent "I Ain't Been Shot Mum" rules, which I find work great for solo play. I'm playing on a 6' x 4' mat (from The Wargames Company) using 10mm troops that are a mix of Pendraken, Minifigs UK, and Takara. The buildings, trees, and hedges are from Crescent Root Studios, the fields are from Hotz Mats, and the beautiful roads are from Fat Frank in the UK.
Orders of Battle
The Germans
Commanding Officer
2 x Rifle Company
Each with three Platoon Commanders and nine rifle squads
1 x Schwere Company
MG Platoon (PC and 3 x MG-42
Mortar Platoon (PC and 4 x 8.0cm tube)
Infantry Gun Platoon (PC and 2 x 7.5cm howitzer)
Truck Platoon (2 x Opel truck)
1 x Panzer Company
2 x Panzer Platoon (3 x Pz Mk IIIJ w/long 5.0cm gun)
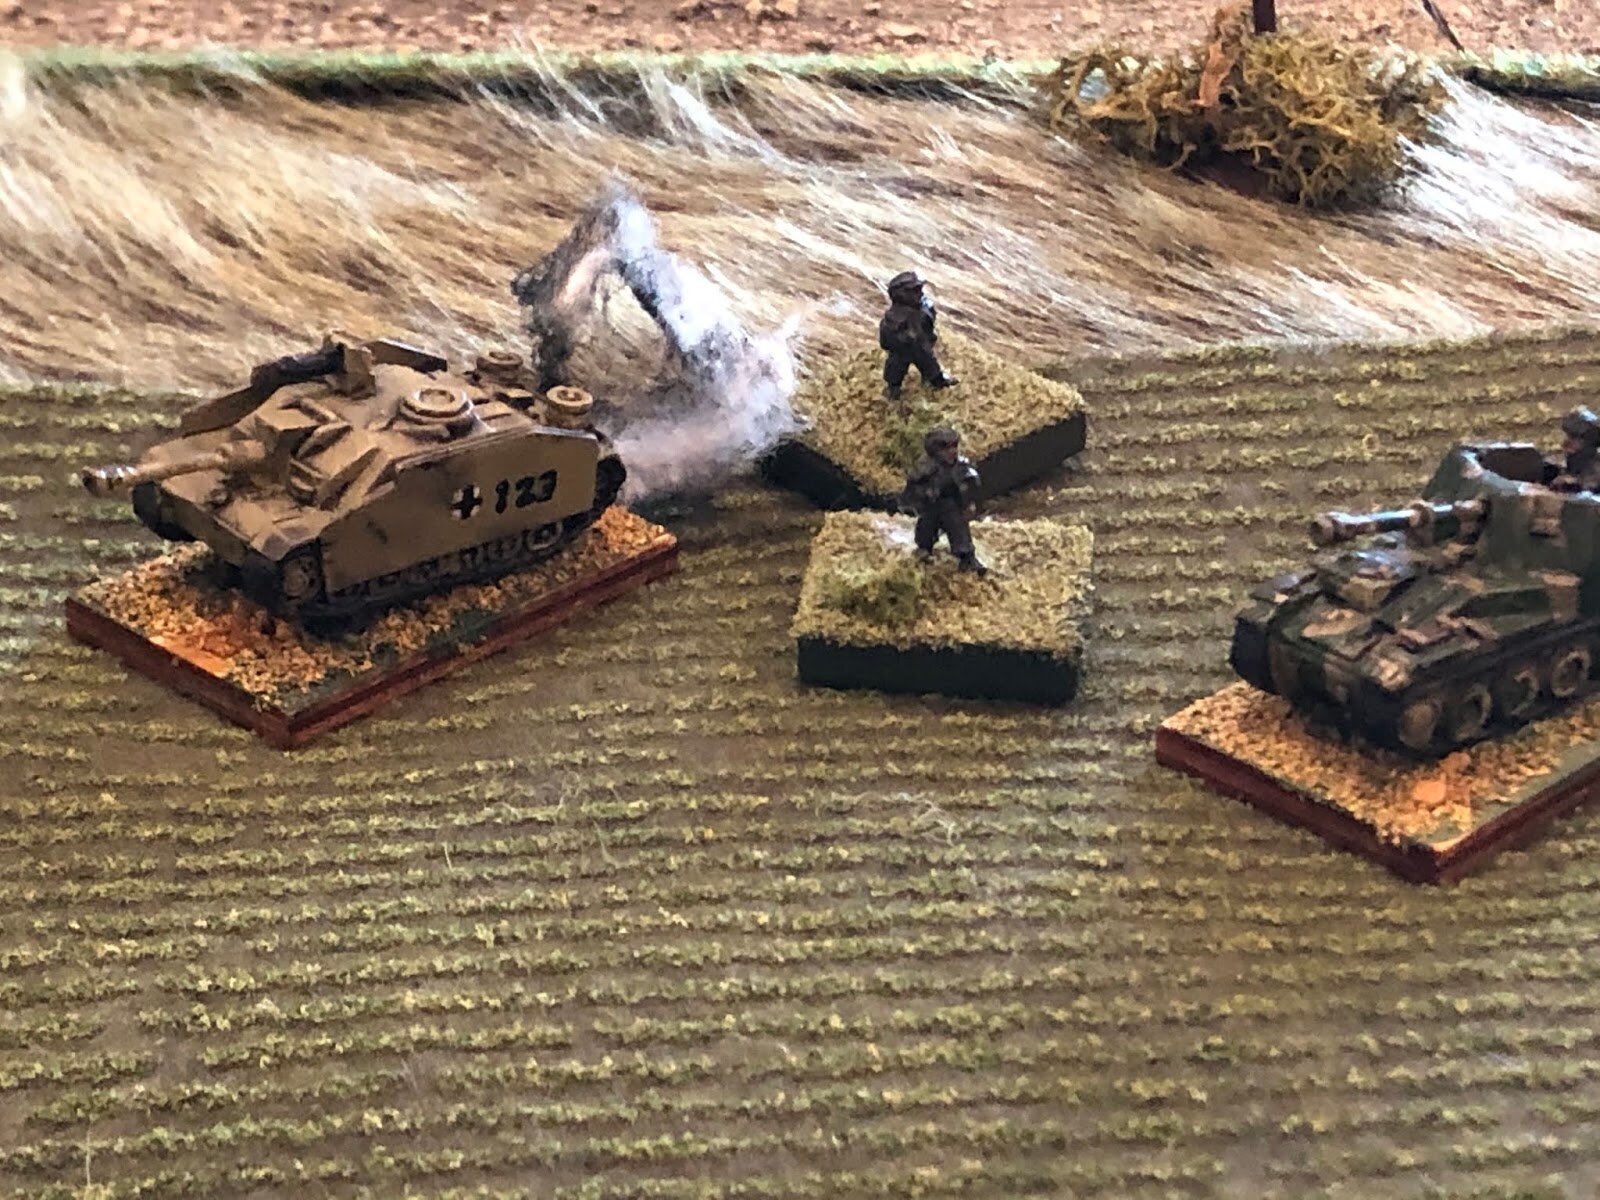
1 x ersatz Panzer Platoon (2 x Stug III w/long 7.5cm gun, 1 x Marder w/76.2mm gun)
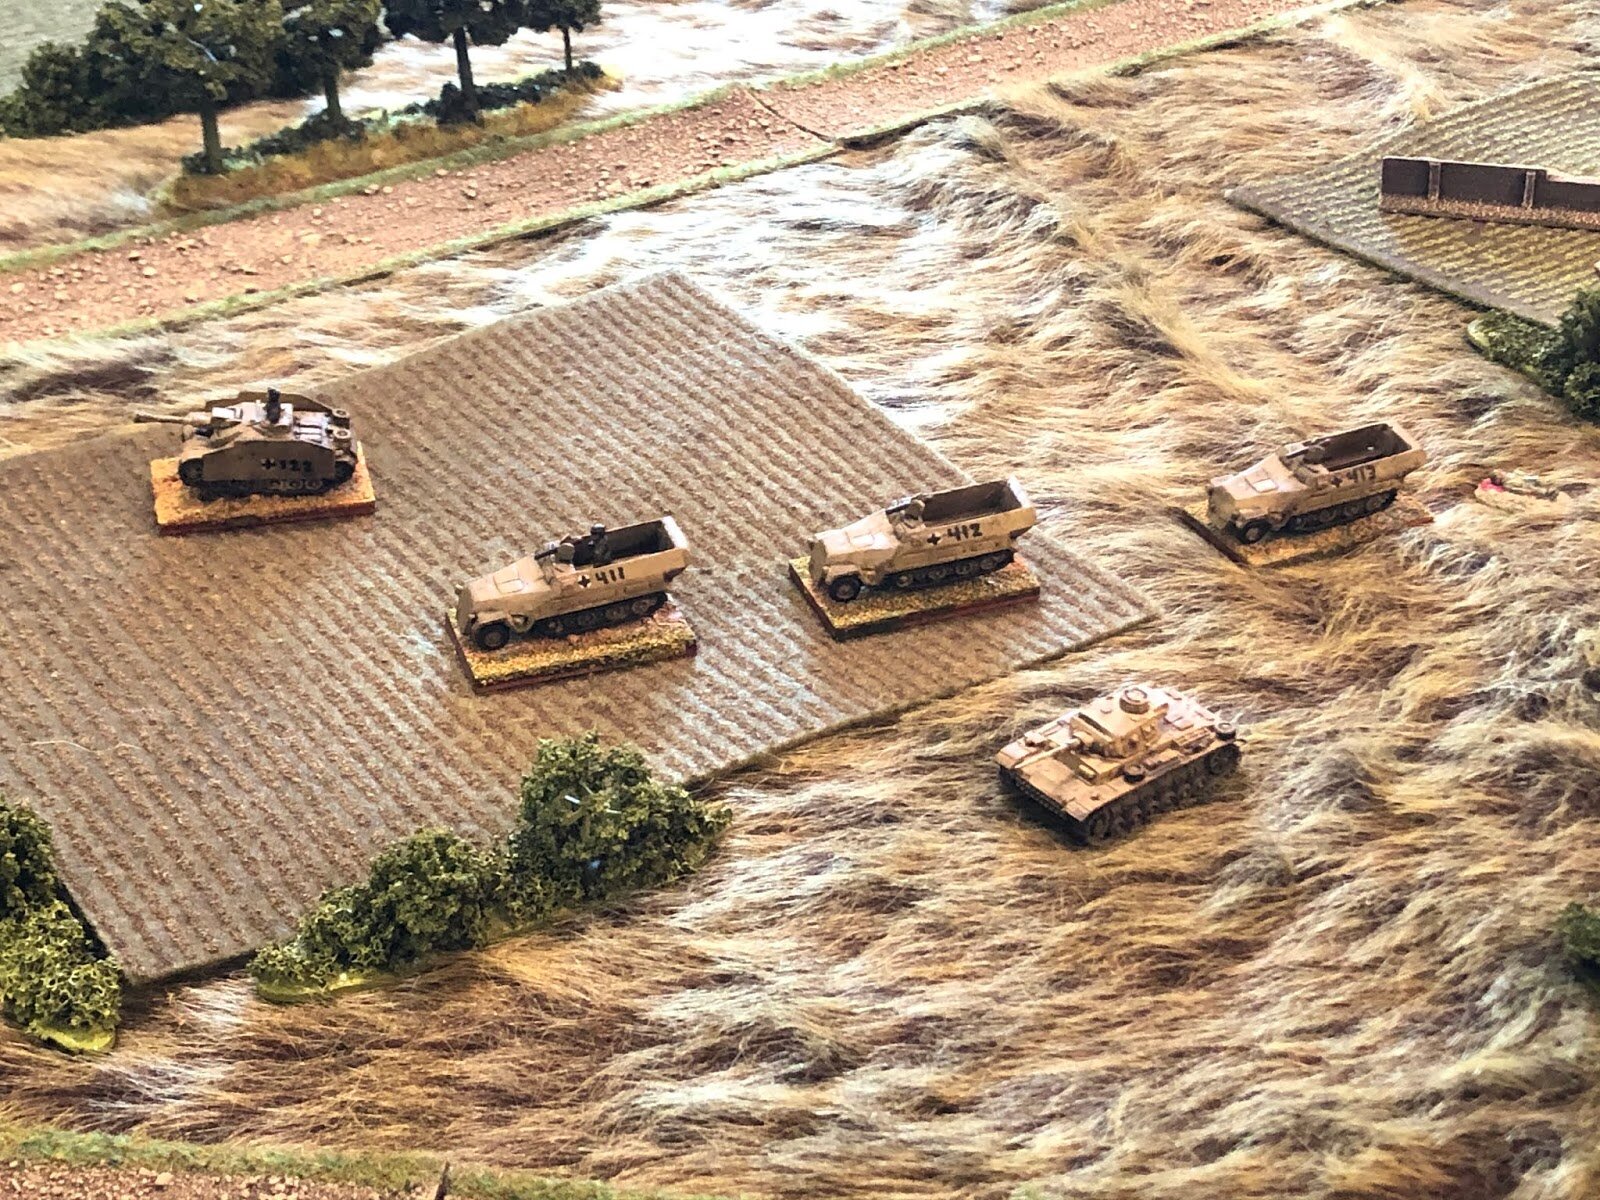
1 x Armored Carrier Platoon (3 x Sdkfz 251 halftrack)
1 x Rocket Artillery Battery (2 x Nebelwerfer)
The Germans are rated as average capability and average morale; yes, they are very experienced and grasp the importance of this attack, but they have suffered heavy losses and are worn out from six straight days of ferocious fighting.
The Soviets
Commanding Officer
1 x Rifle Company
Three Platoon Commanders, three 50mm mortars, and nine rifle squads
1 x MG Company
PC, 2 x SG-43, and 3 x Maxim 7.62mm MG
1 x "Tank Killer" Company, consisting of:
1 x Anti-Tank Rifle (ATR) Platoon (PC and 4 x PTRD ATR)
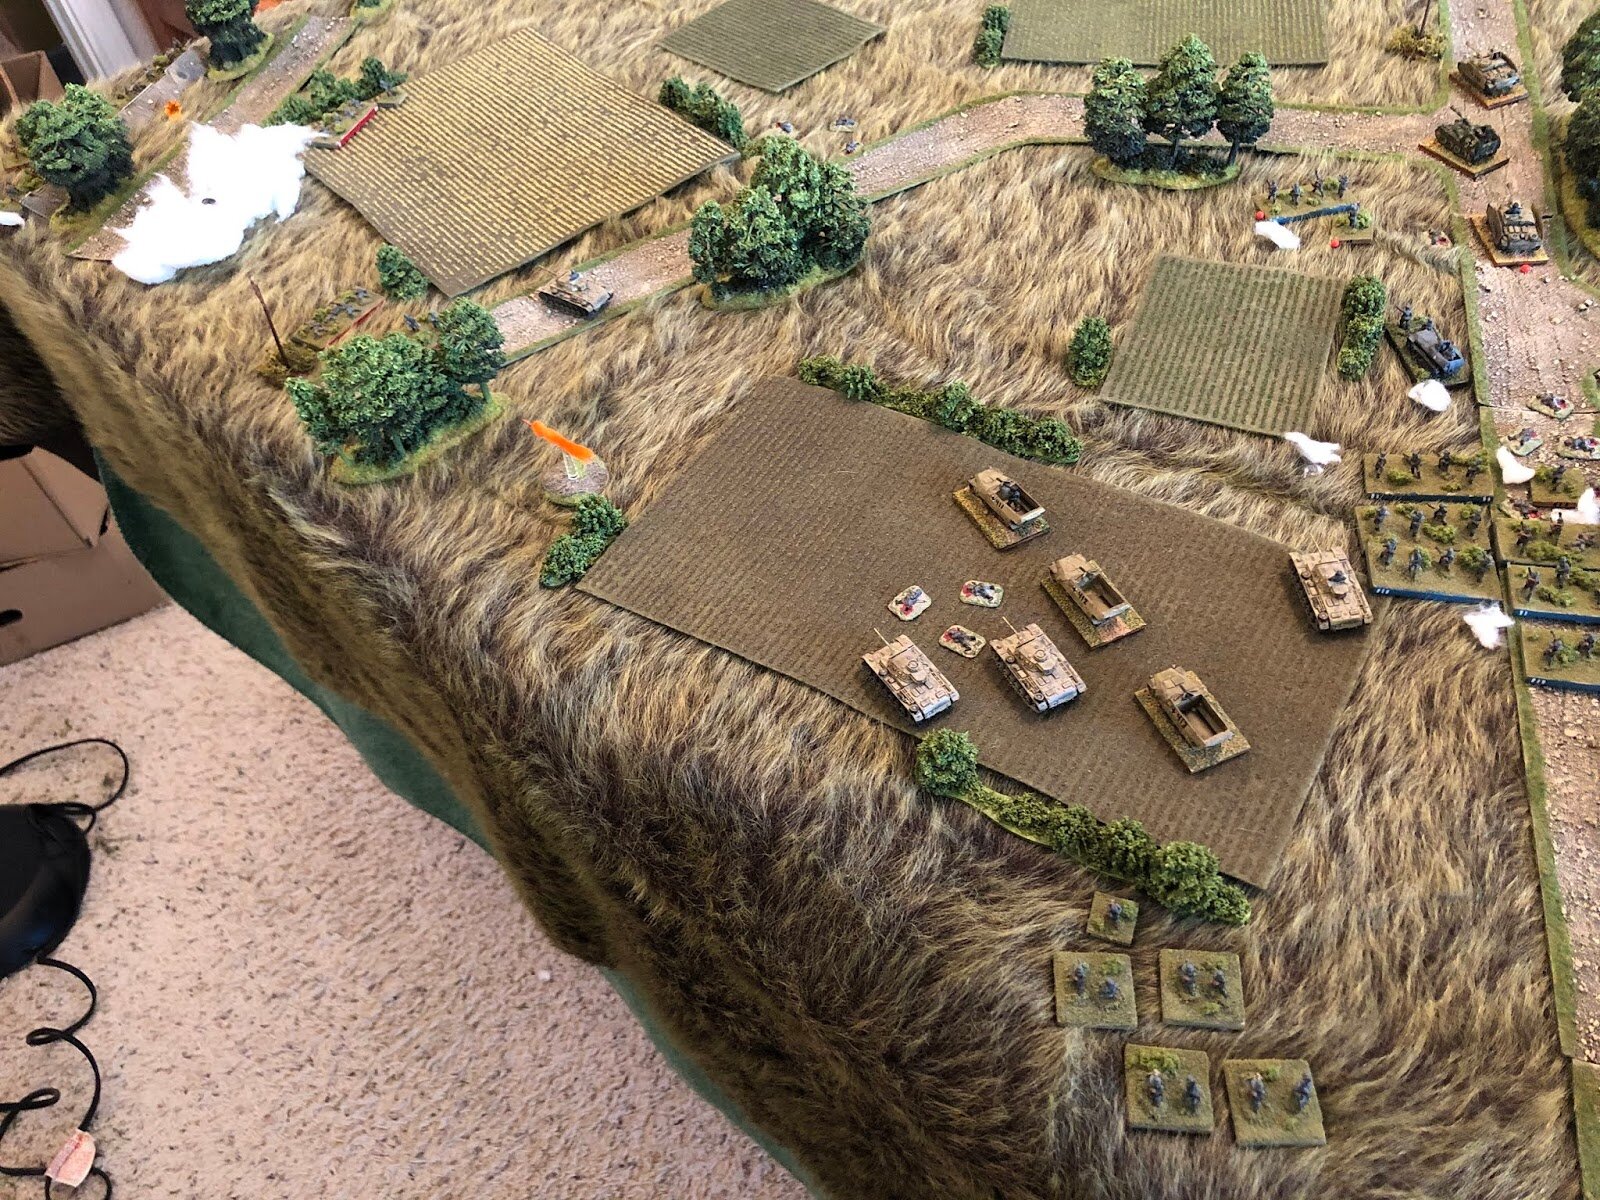
1 x Field Gun Platoon (3 x 76.2mm 'crash-boom' guns)
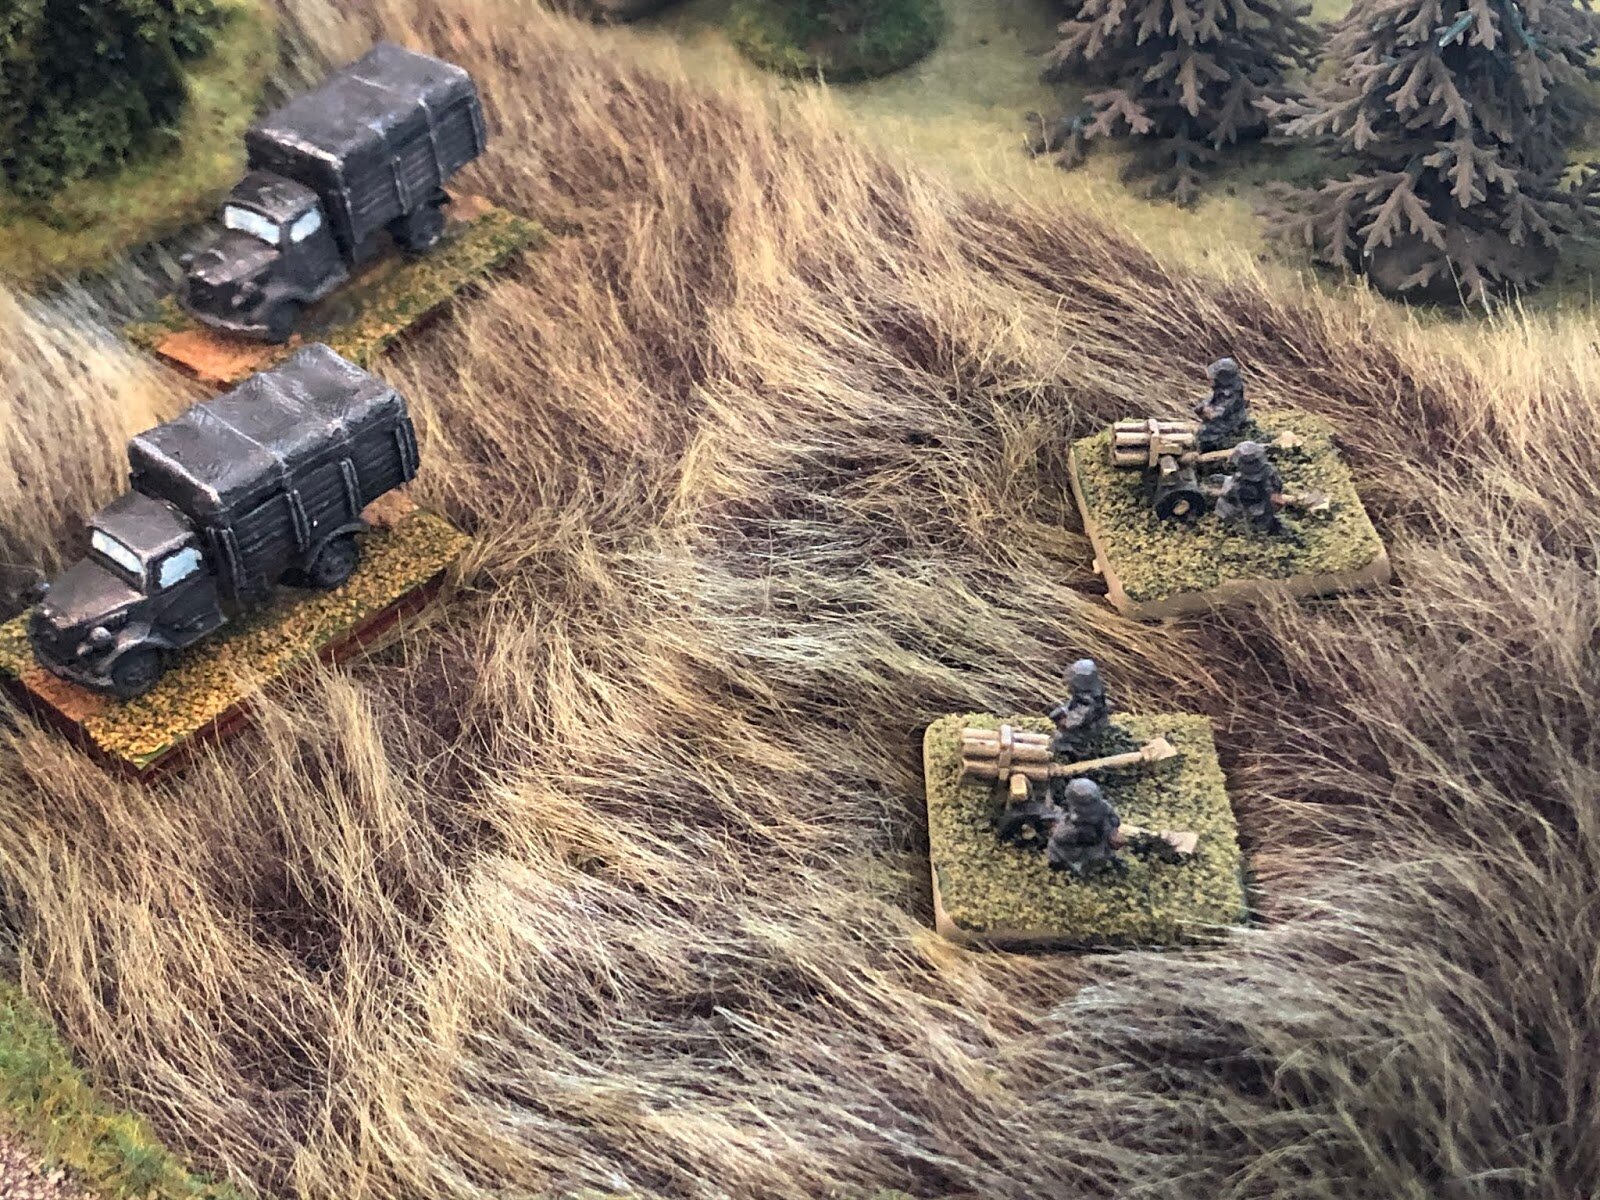
1 x Anti-Tank Gun (ATG) Platoon (PC and 4 x Zis-3 57mm ATGs)
1 x Mortar Platoon (PC and 3 x 82mm mortars)
The Soviet Rifle Company is comprised of the scraps of two beat-to-hell Rifle Regiments that mostly weren't particularly well-trained or experienced and are pretty much shattered at this point, but they've been stiffened by the additional automatic weapons of an understrength Machine Gun Company and a specialized "Tank Killer" company.
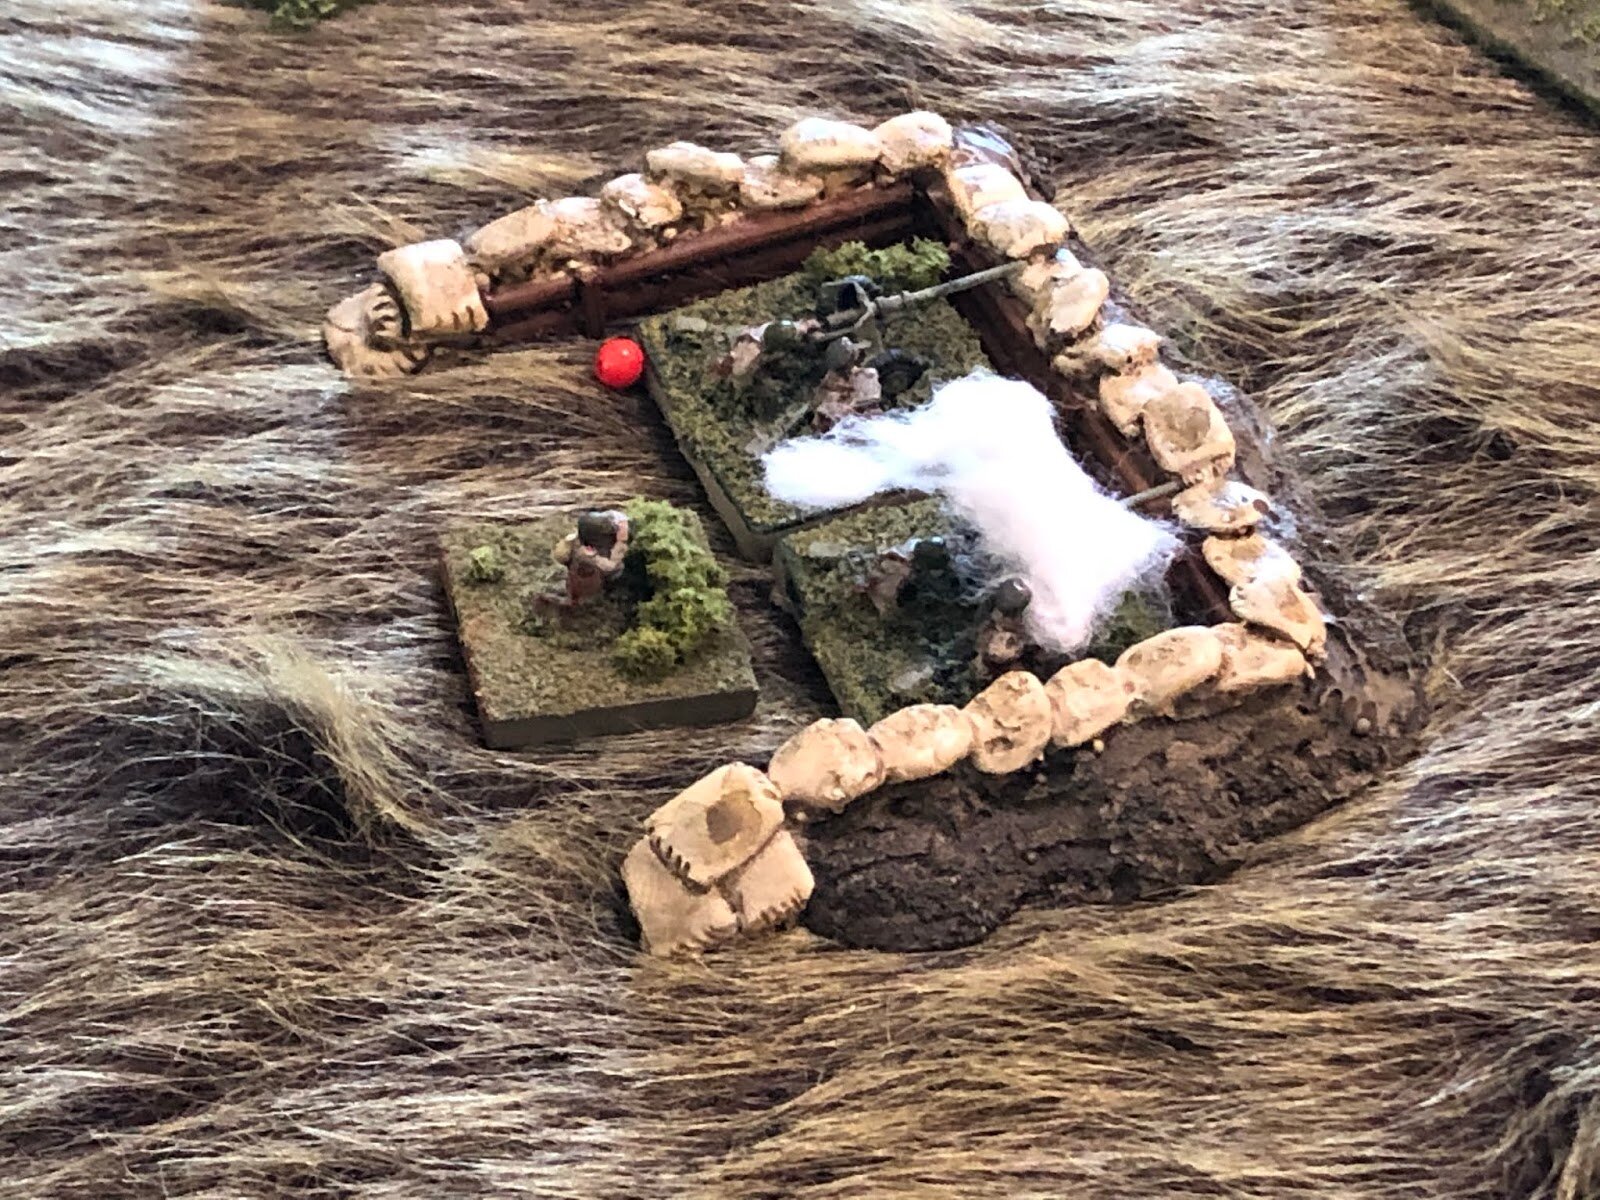
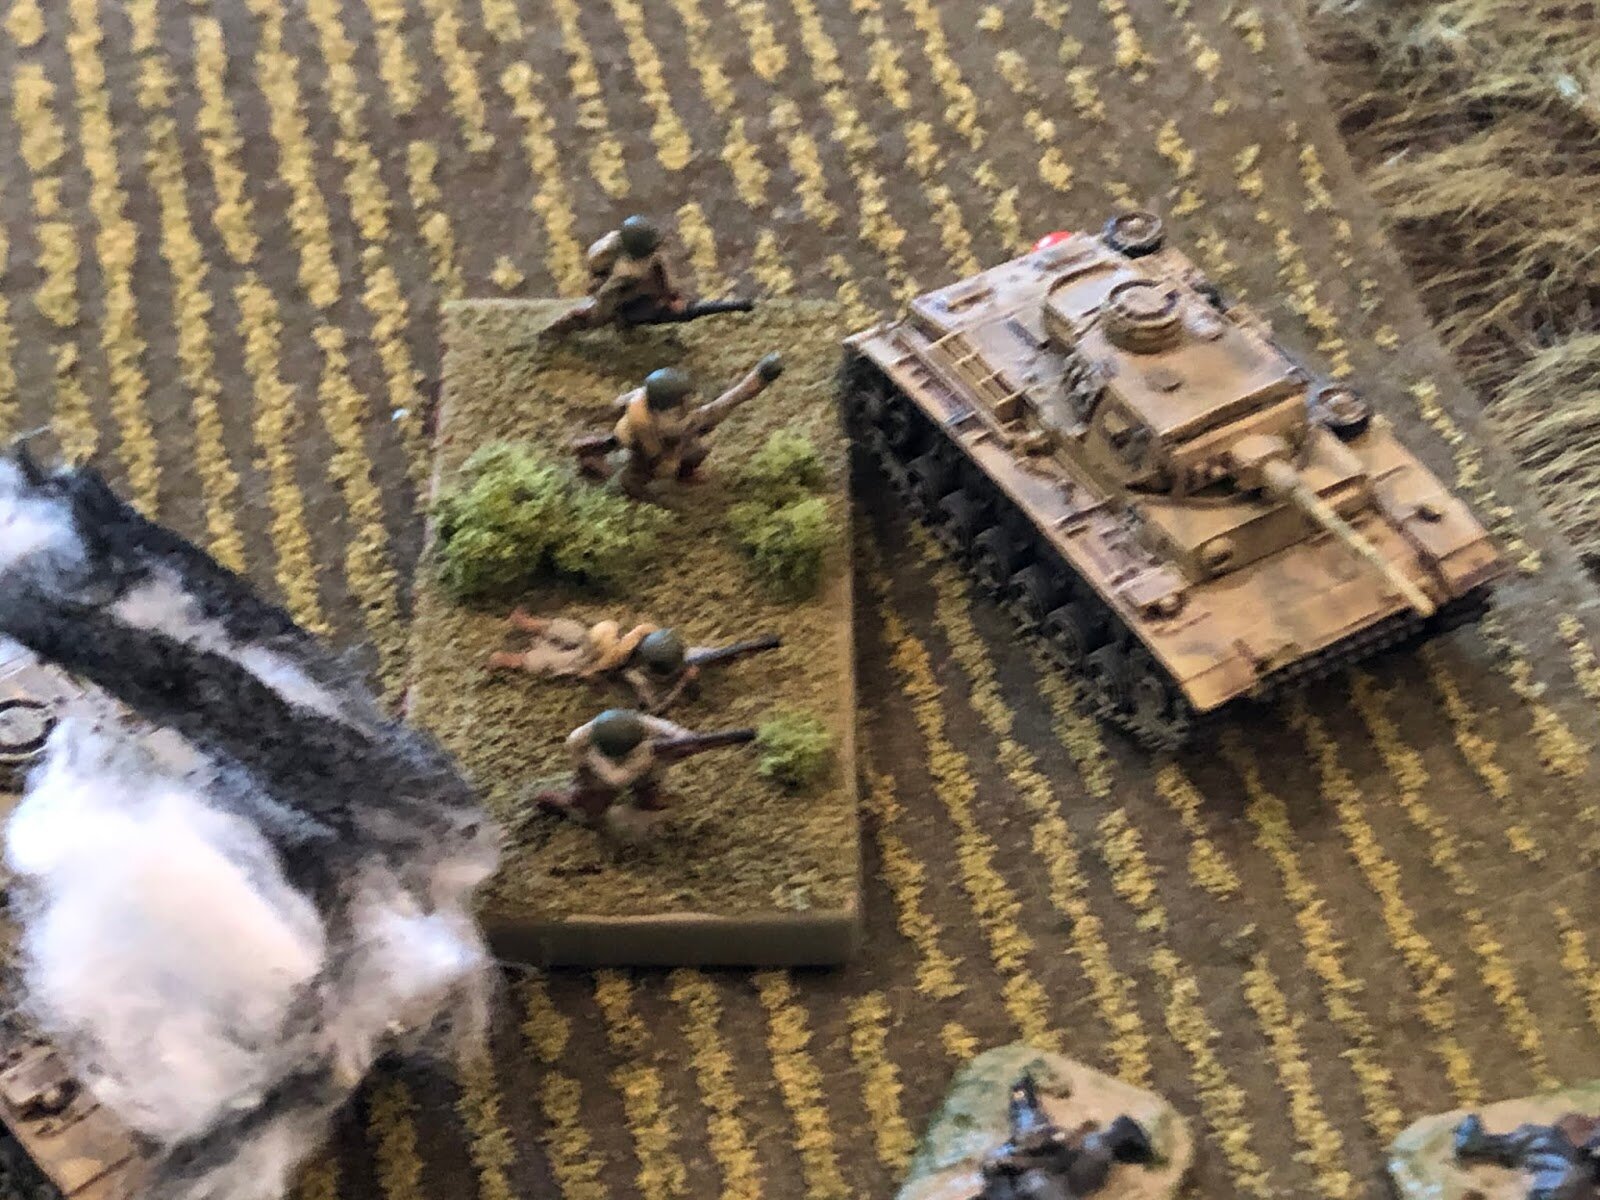
The Tank Killers are an elite force comprised of savvy veterans with very high morale. They are specially trained to avoid target indicators by dispersing their guns and digging them in in open areas, almost flush with the ground, where they allow the Germans to advance to point blank range. They use their field guns to separate the panzers from their supporting infantry, their ATRs to harass tank commanders and force them to button up, and their long-barrelled 57mm guns to engage the enemy's flanks.
I don't know if any of that is true, but it sounded good, and it's how I used them in this fight!
There's another wrinkle, which I'll cover below.
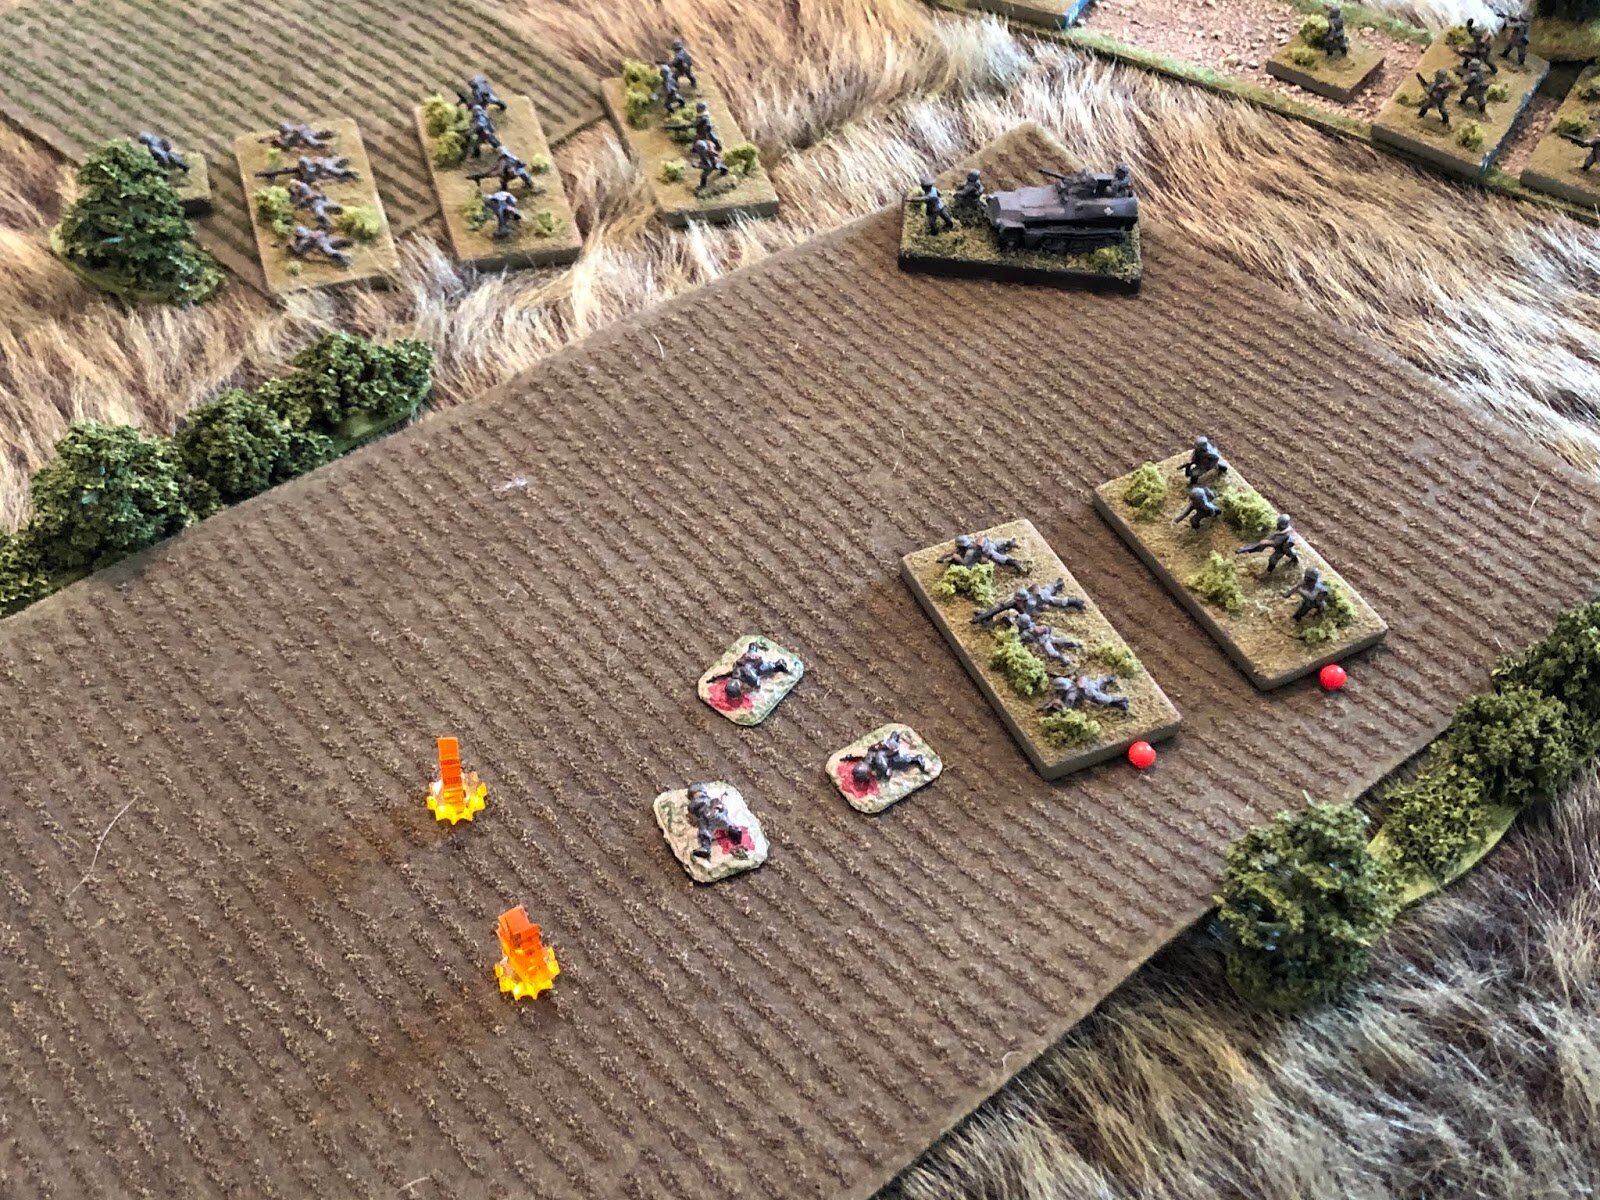
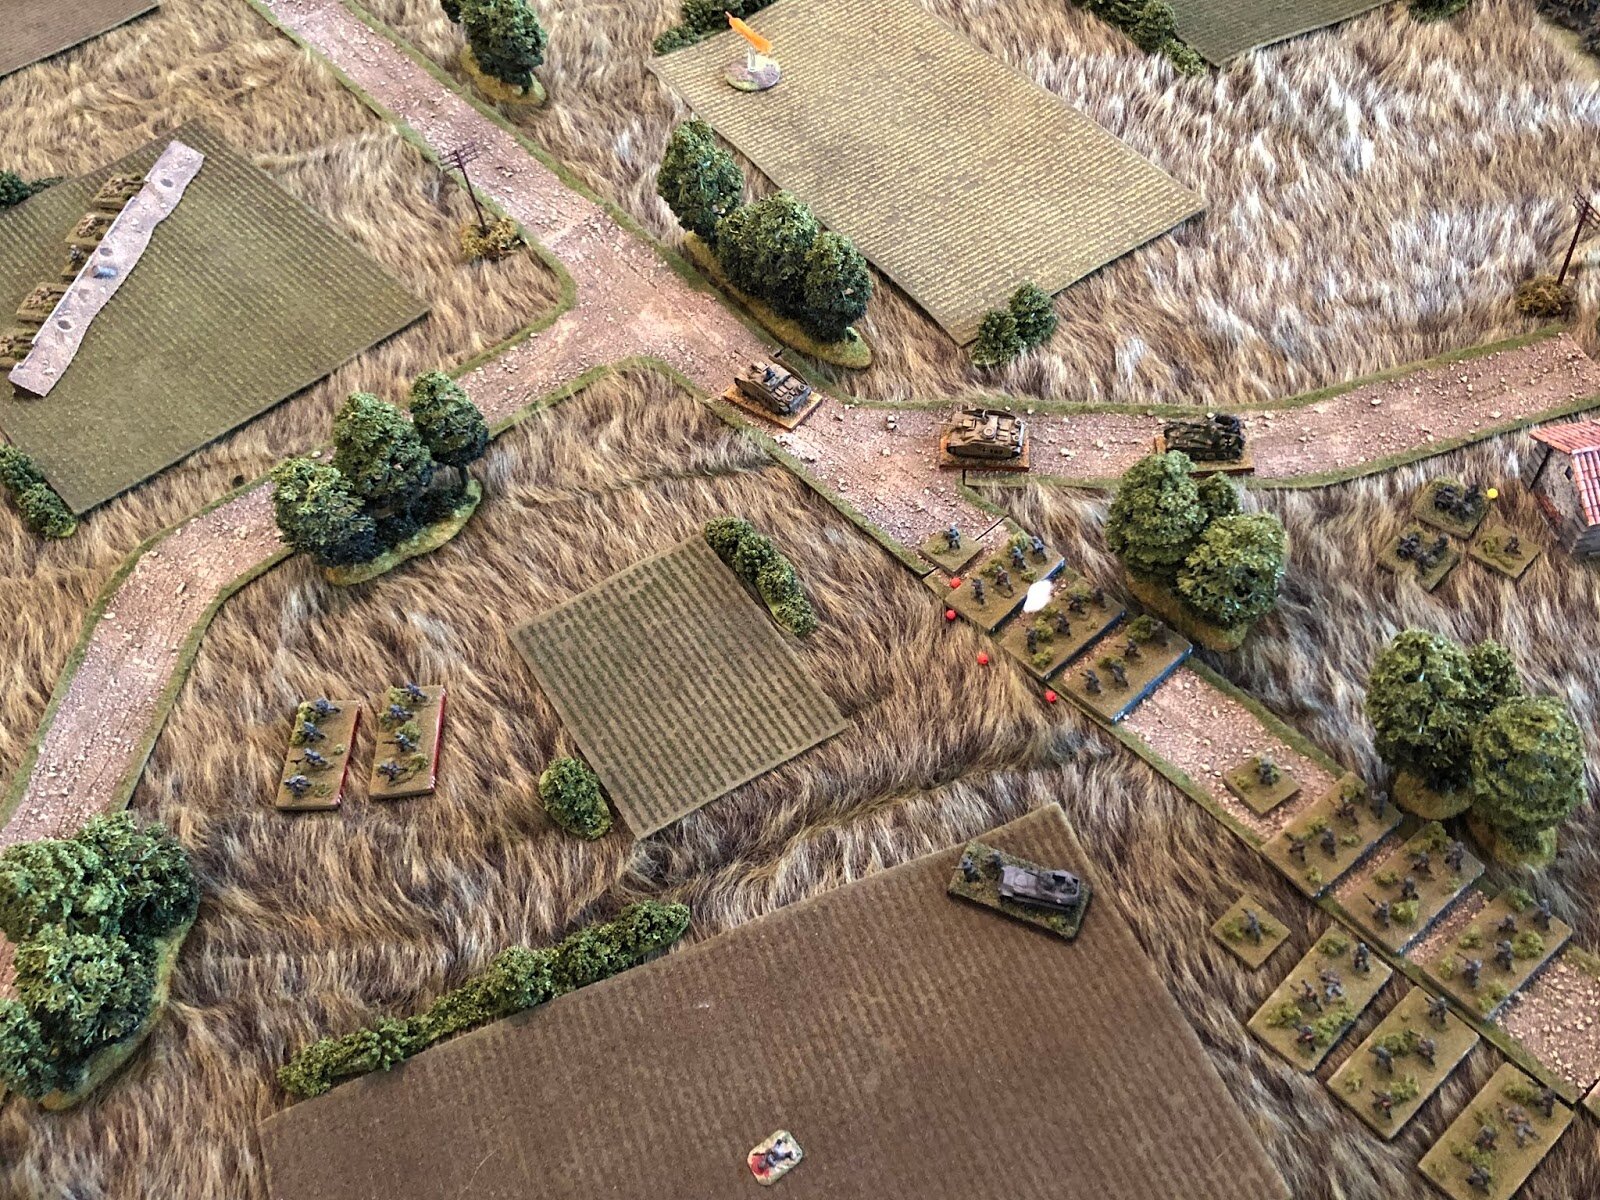
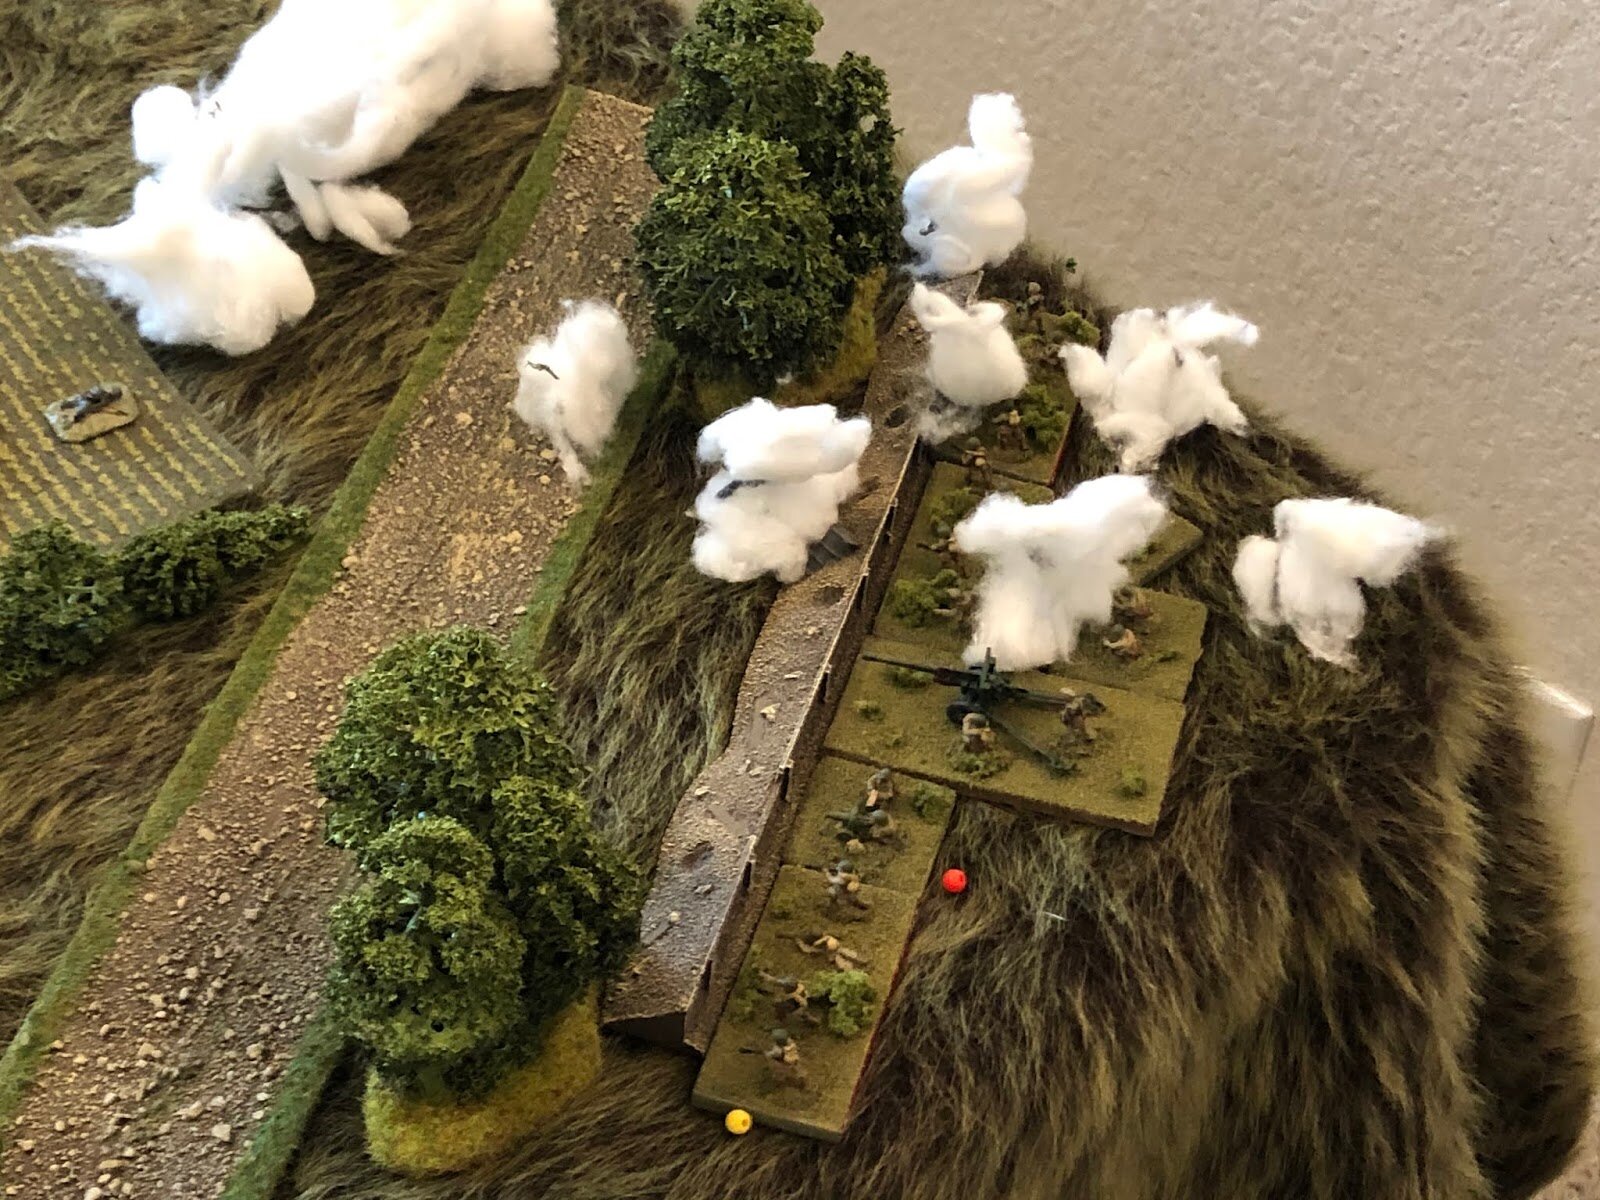
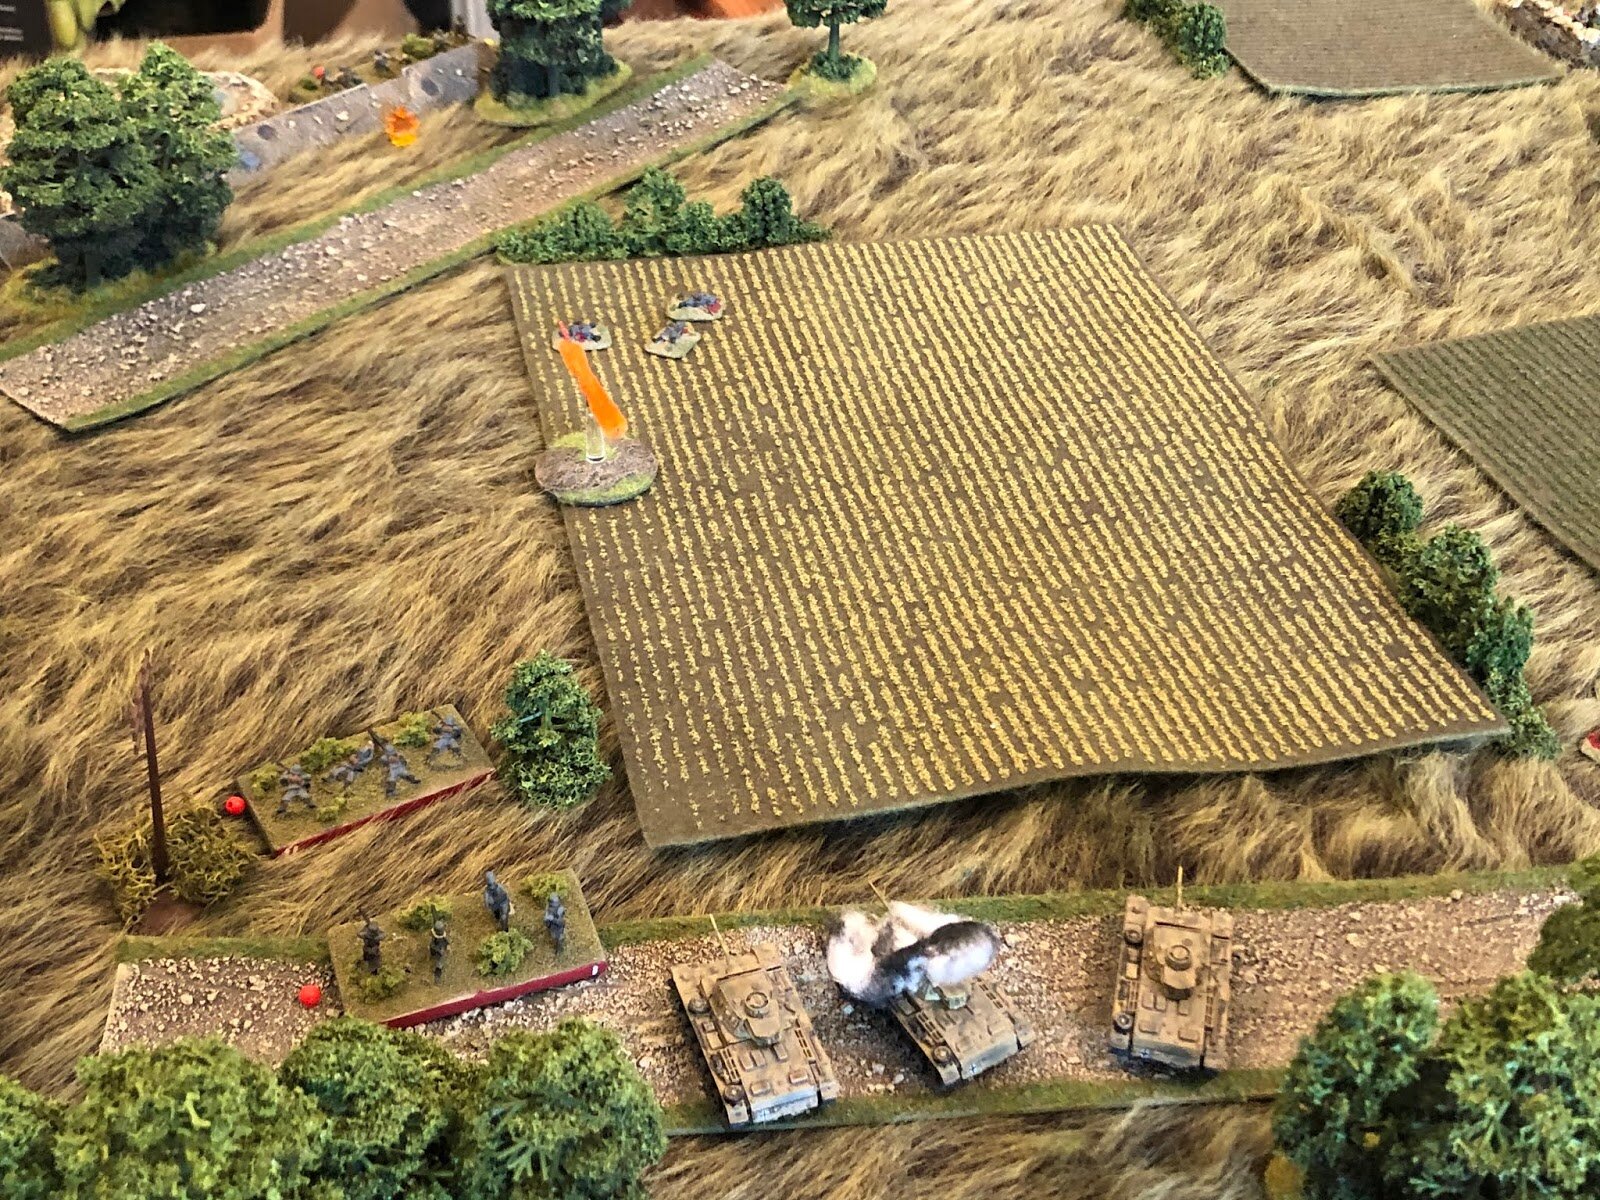
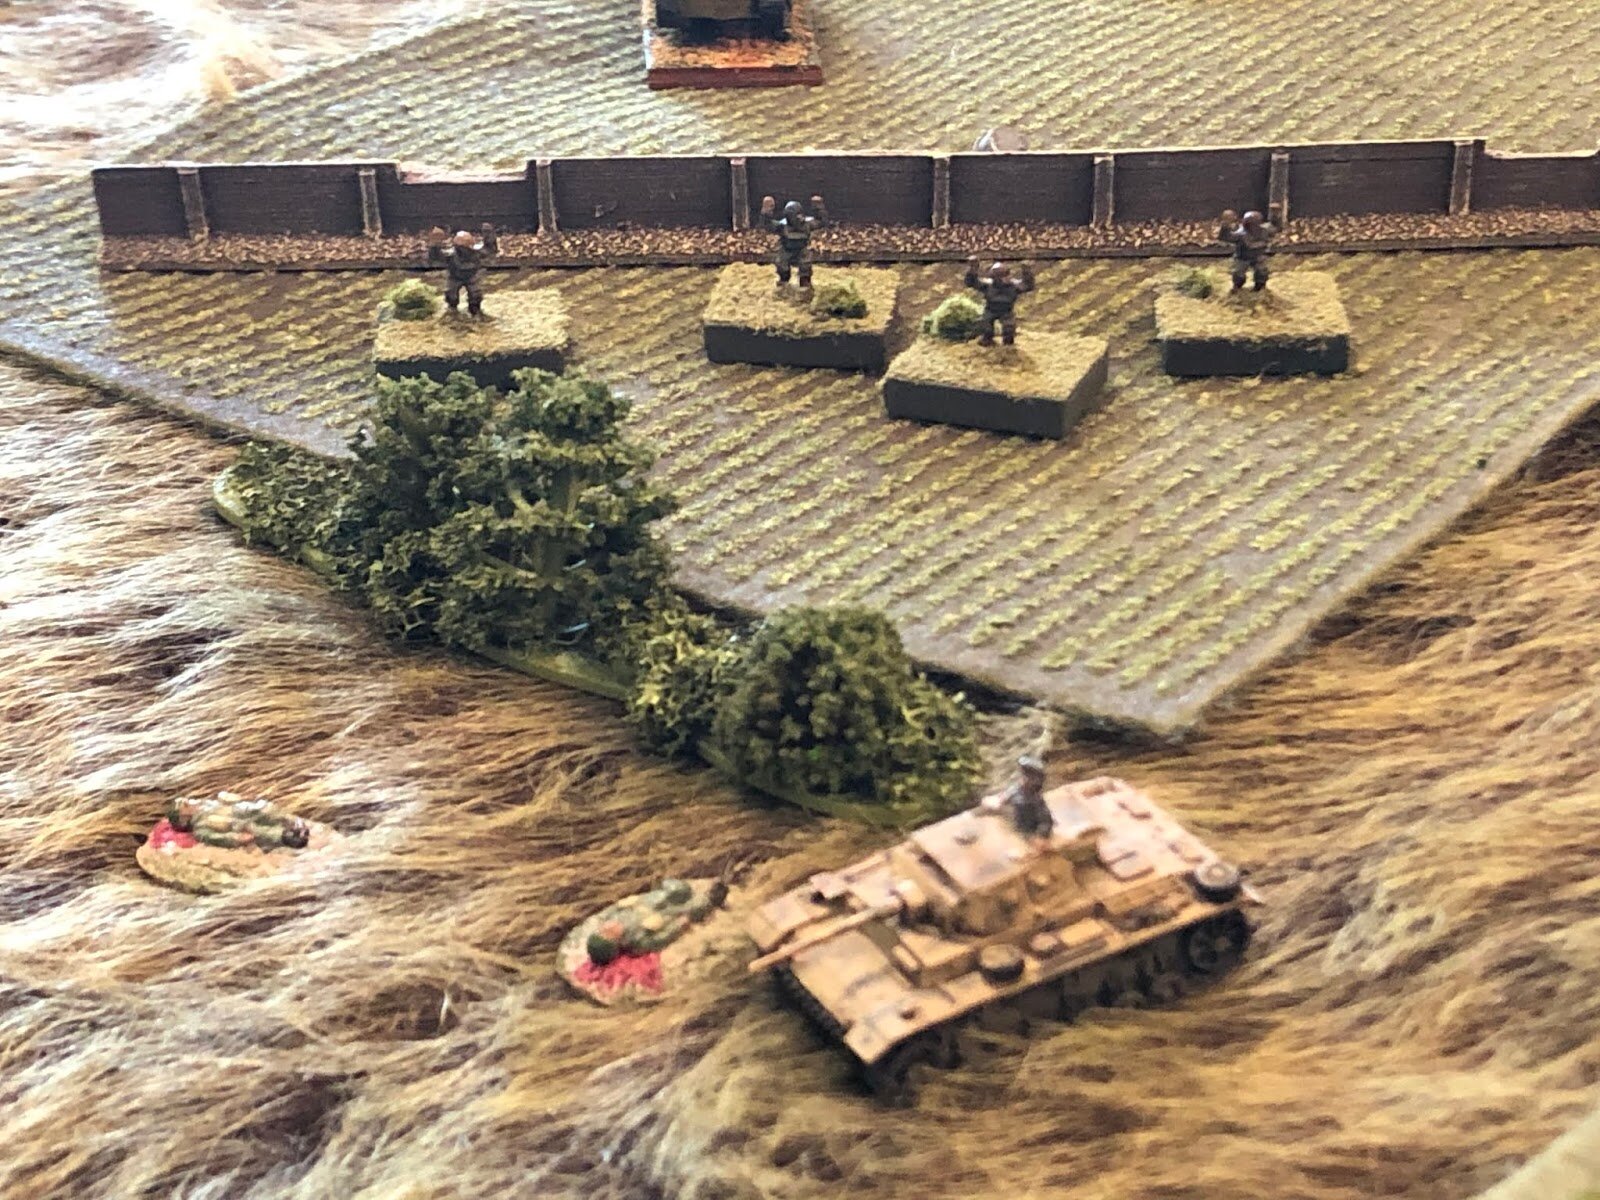
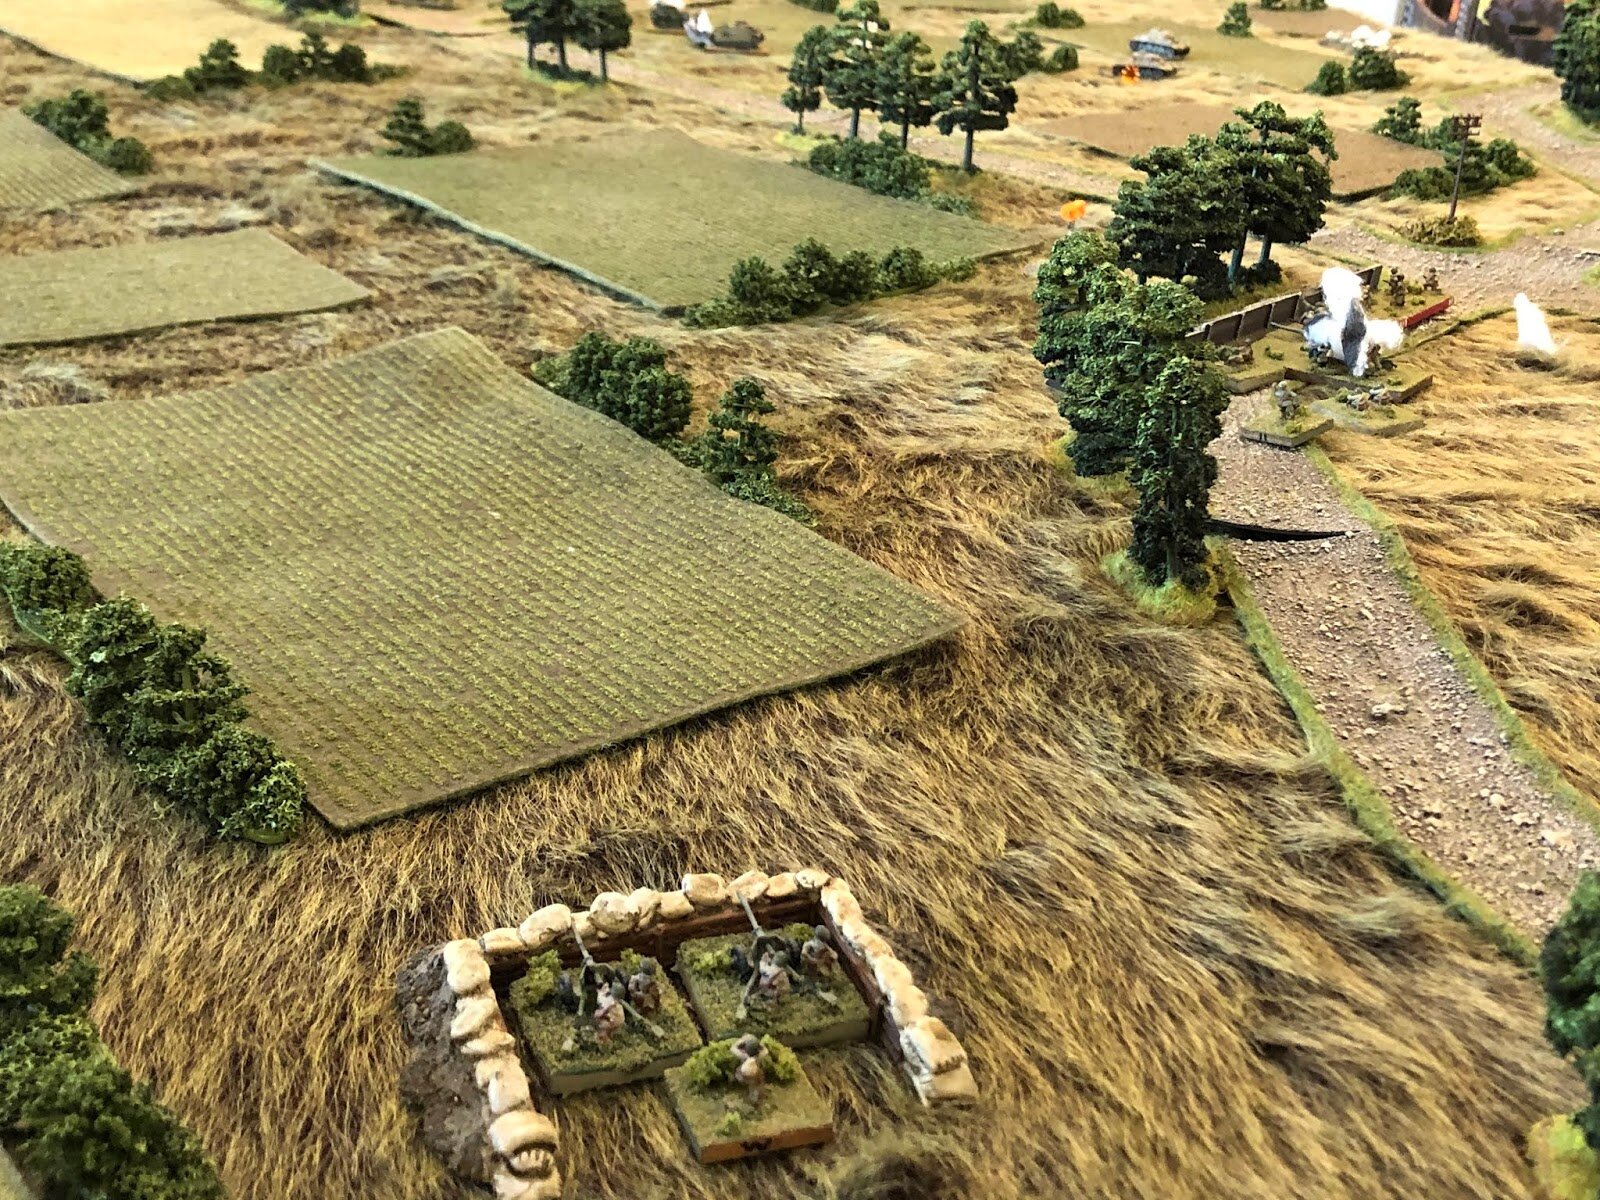
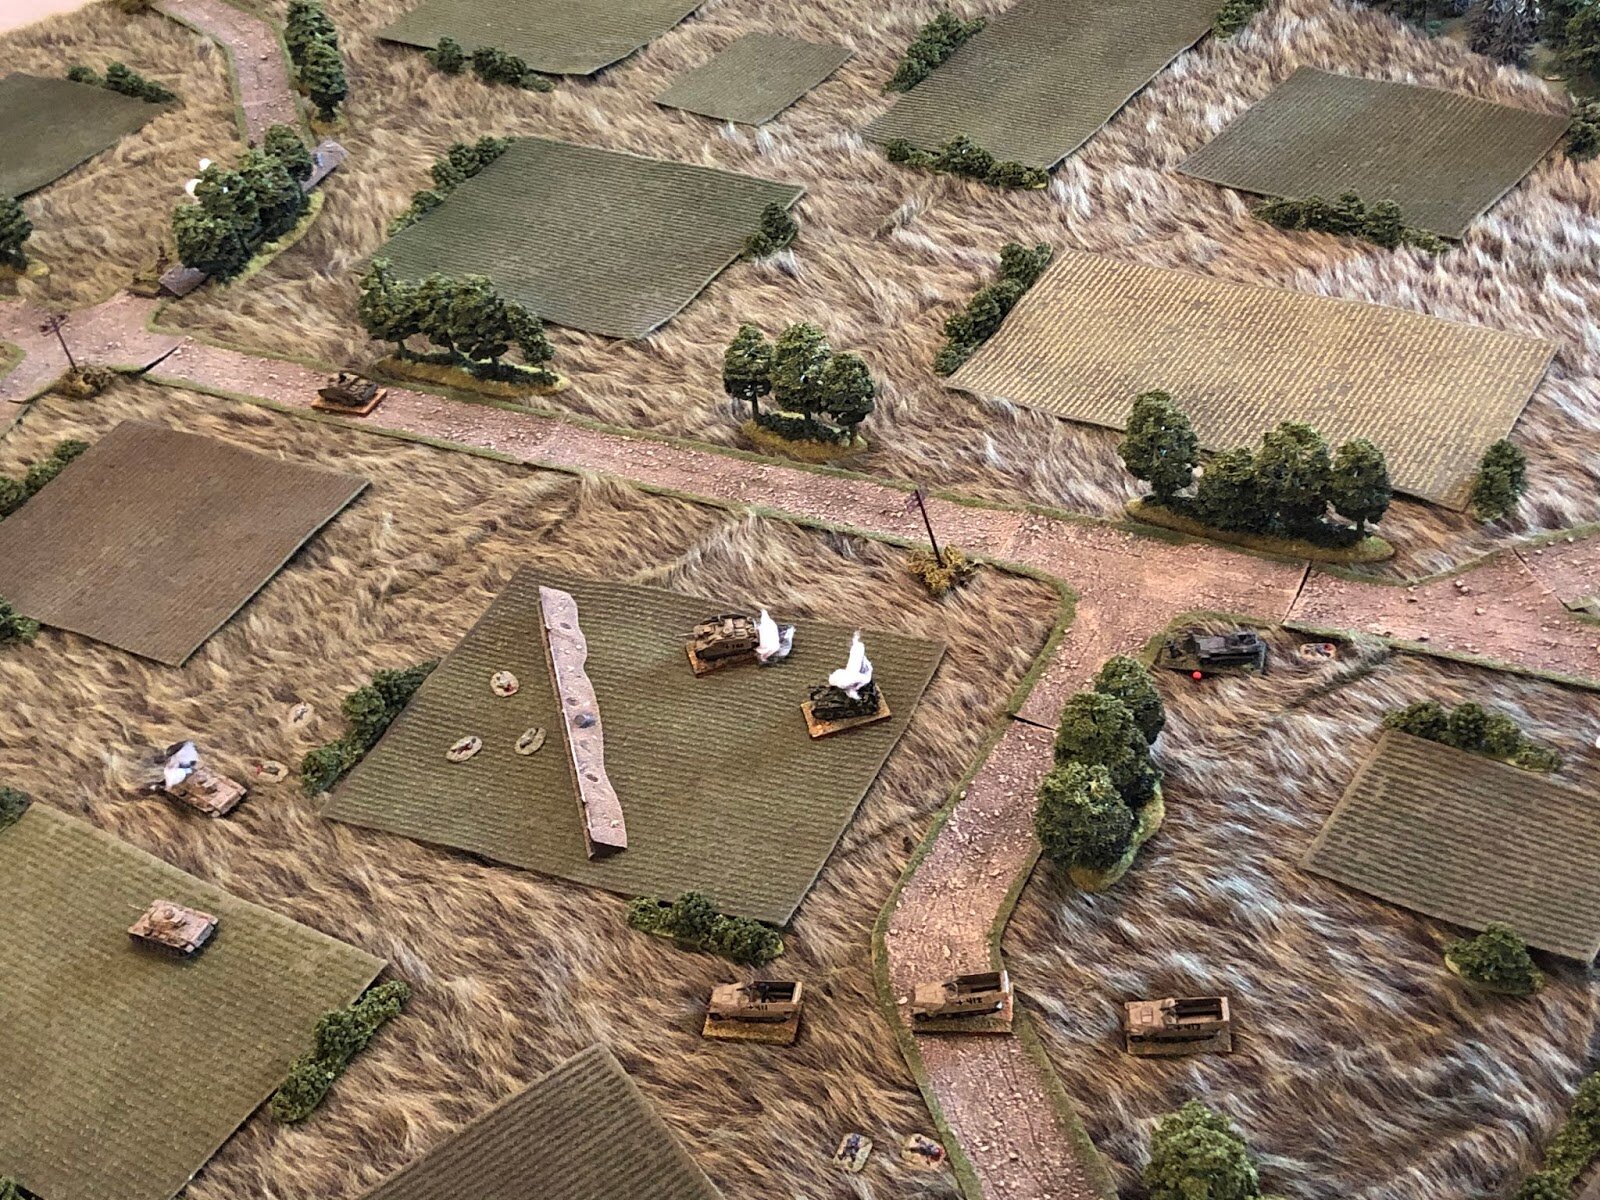
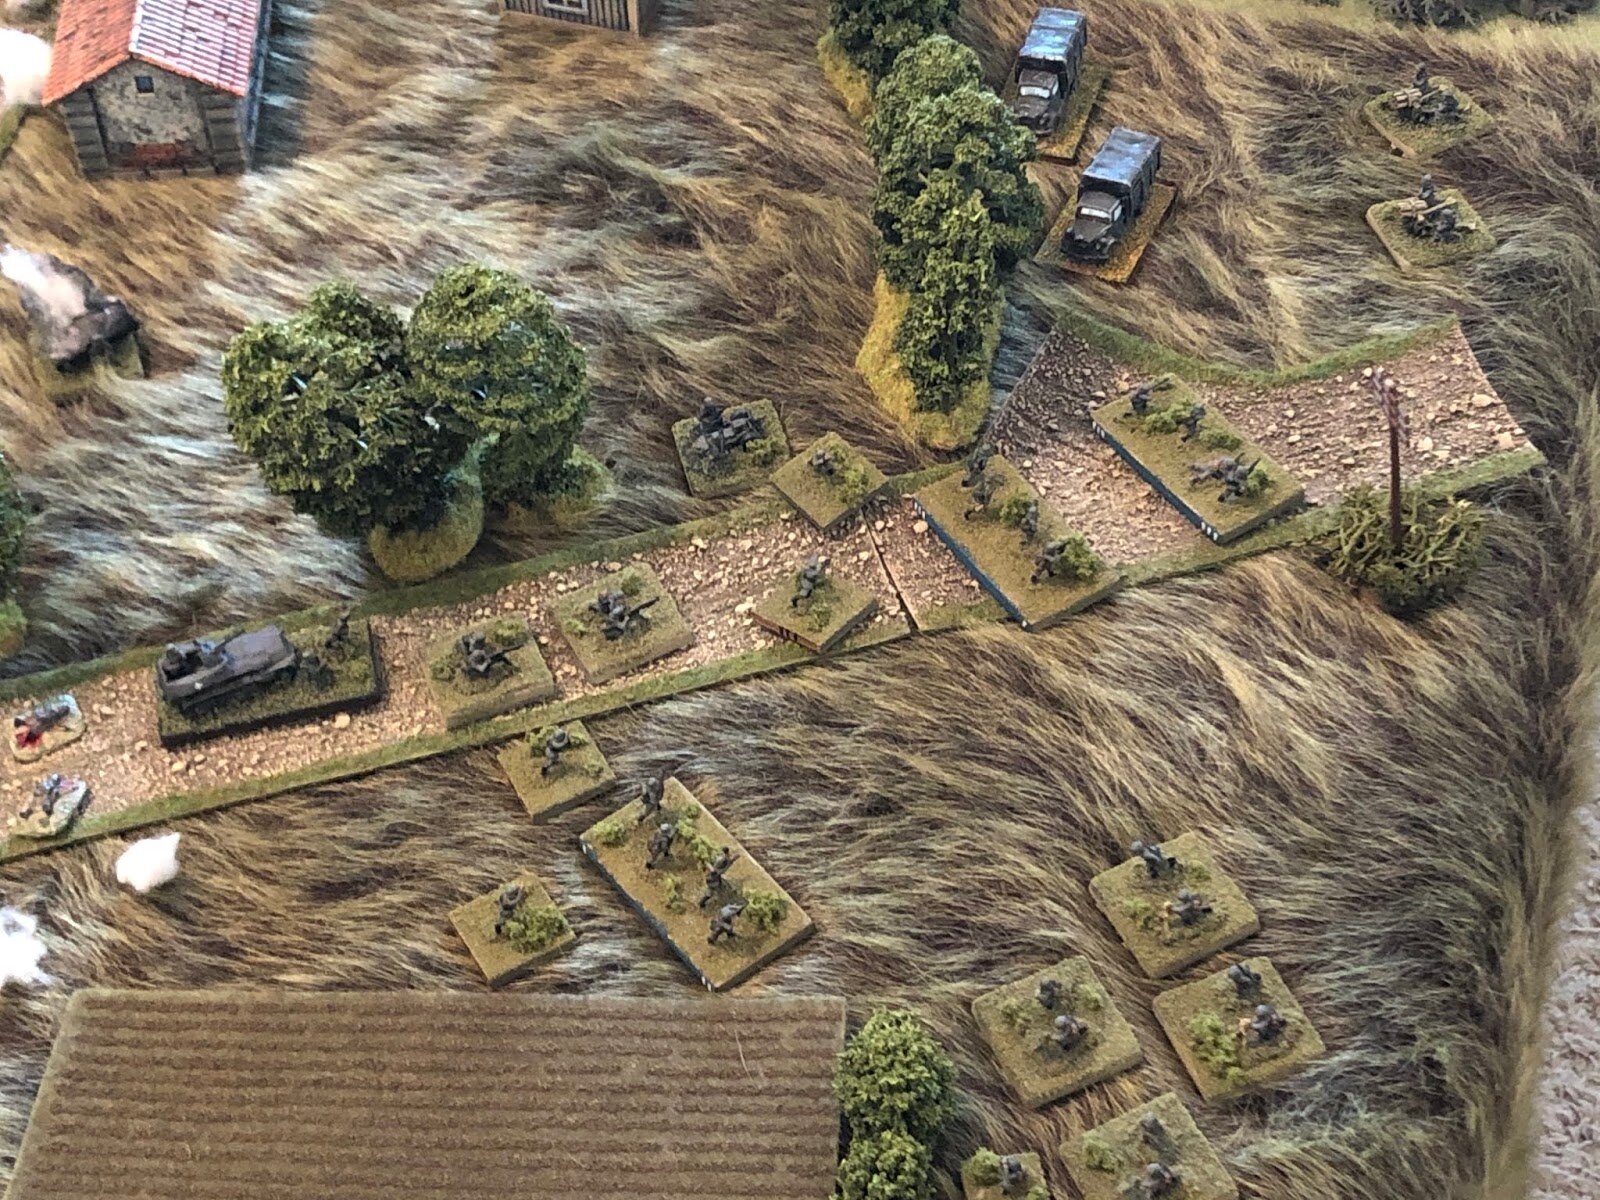
Overview again, this time with troops. The German start line (which is quite crowded) is at top right, around Yuri's Hovel, while the Soviets are dug-in from top left to bottom left to bottom right, defending the 1 May Collective Farm (bottom left).
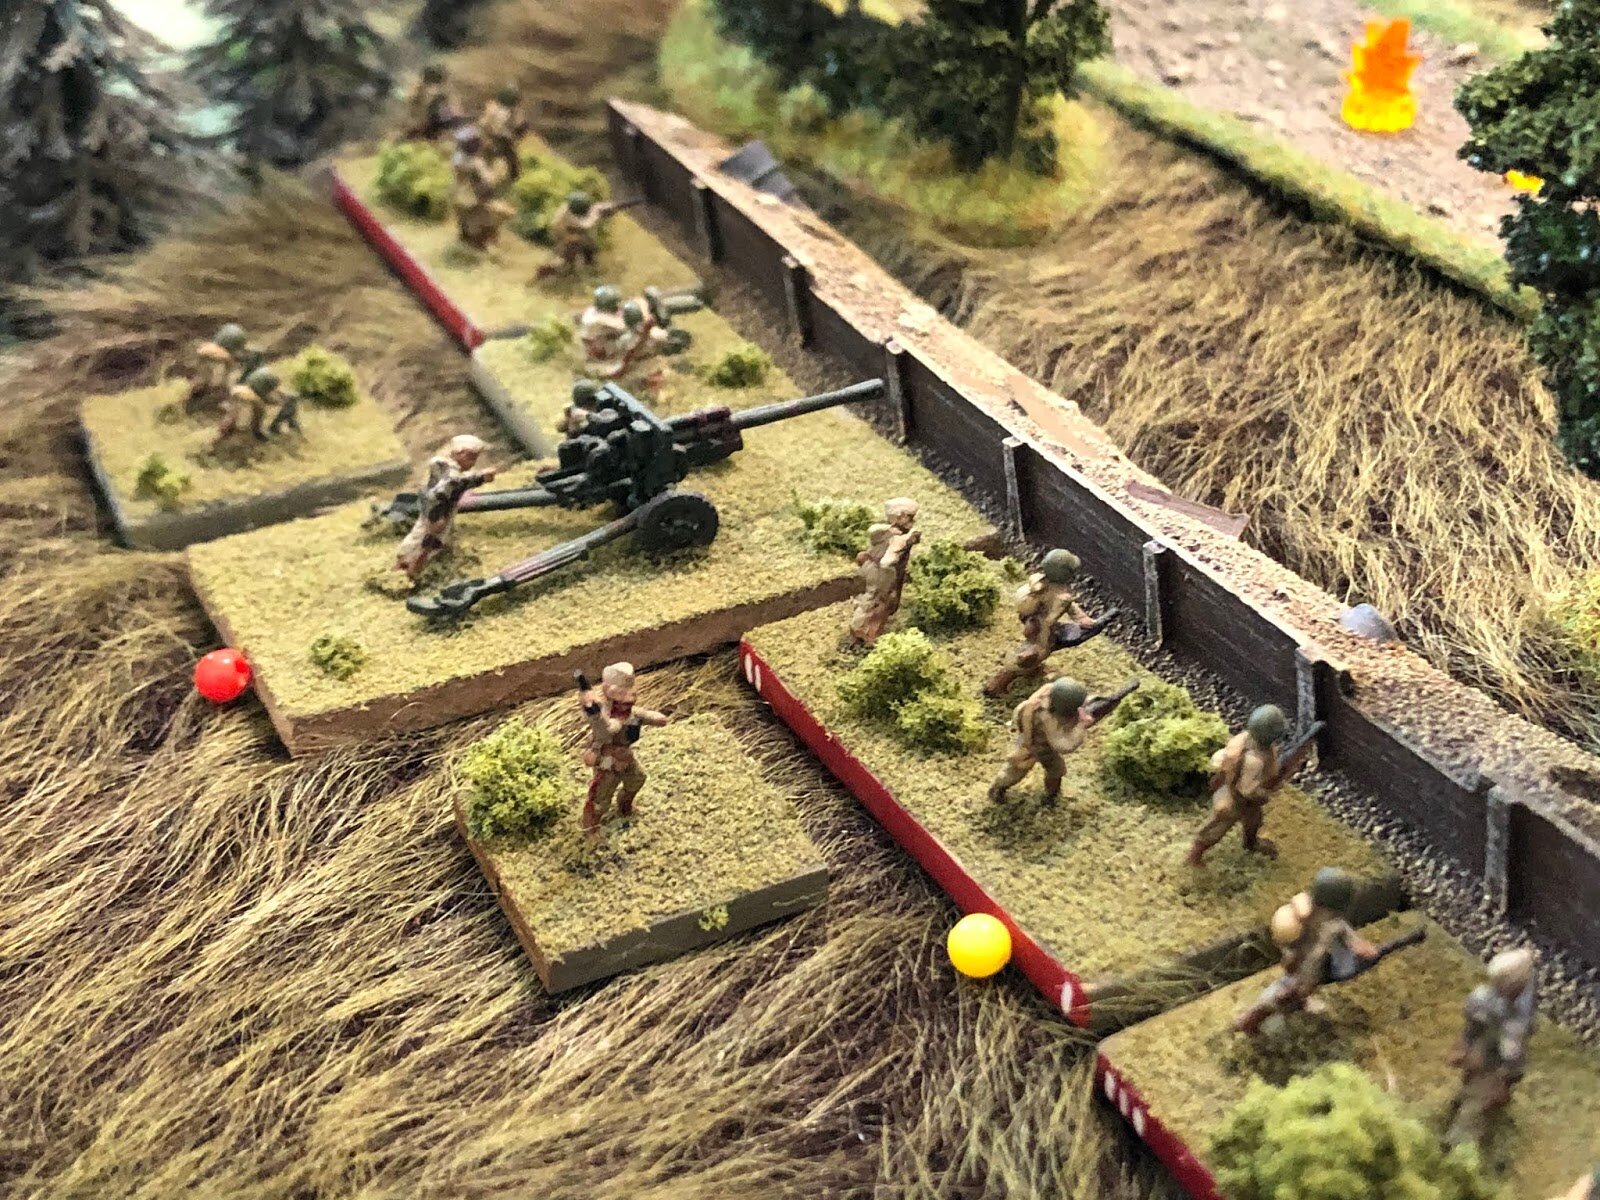
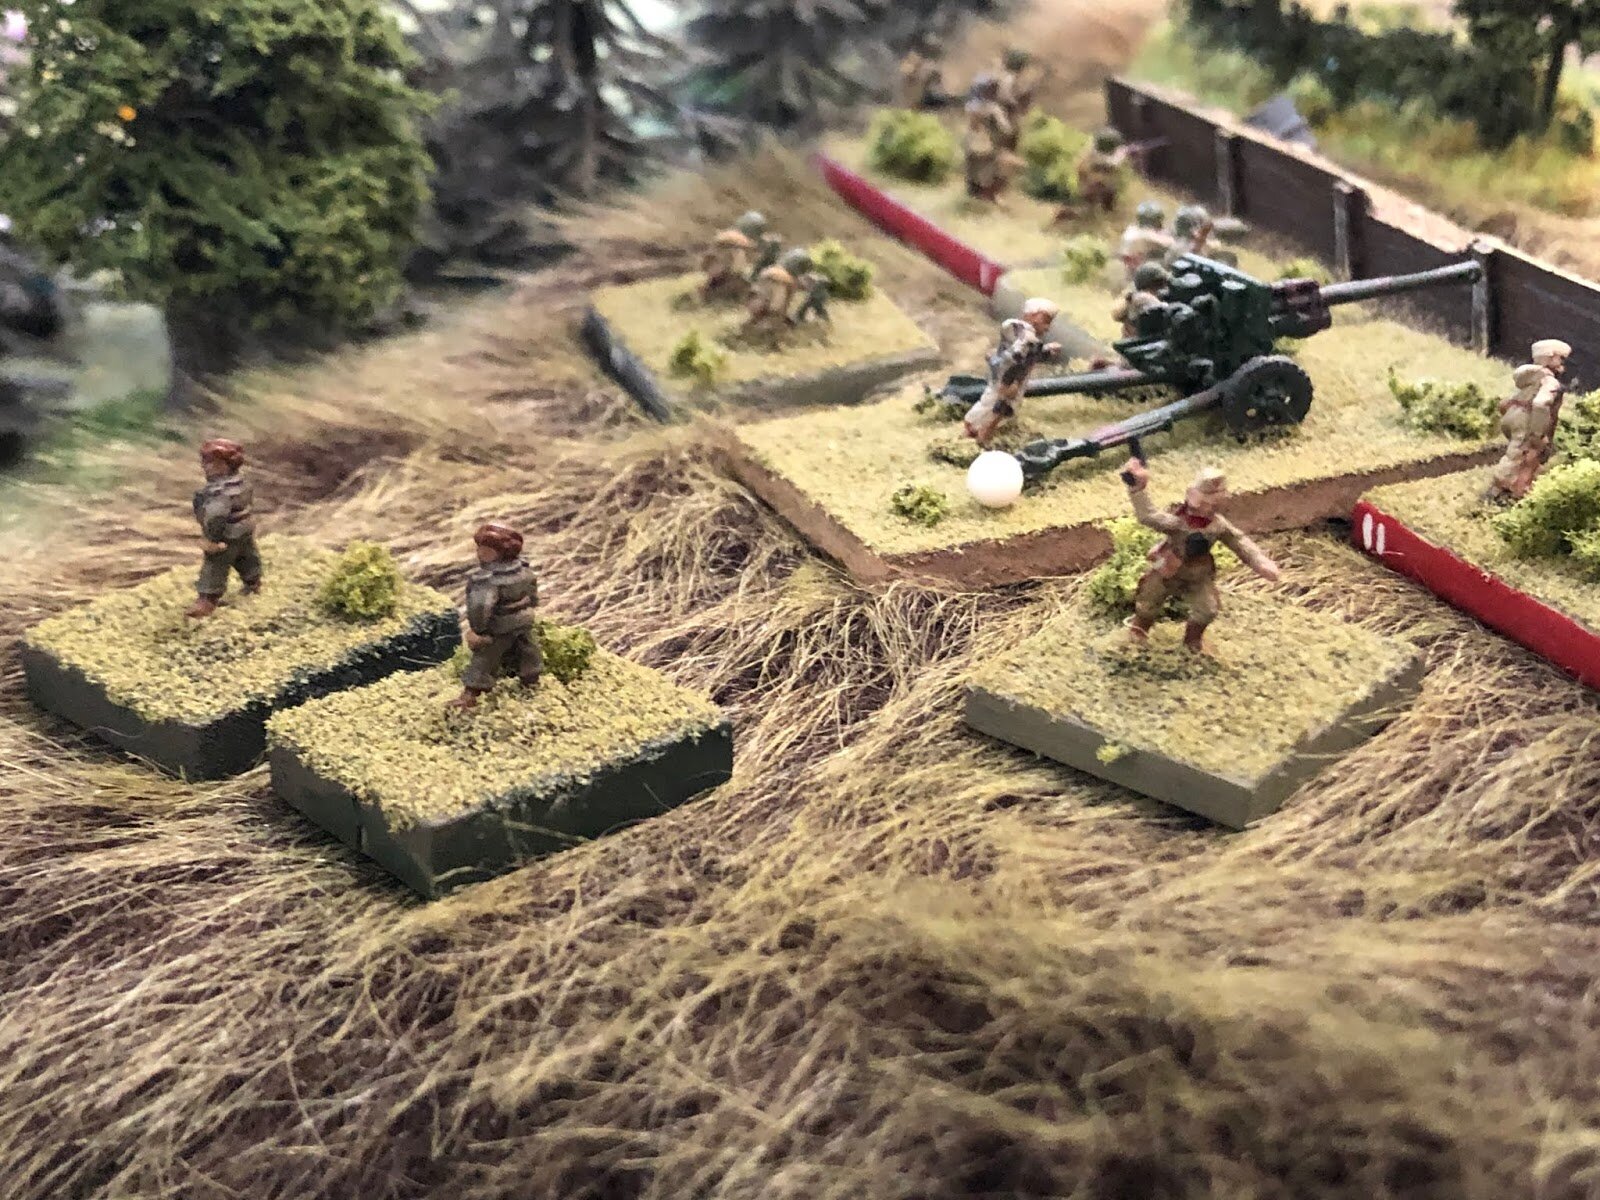
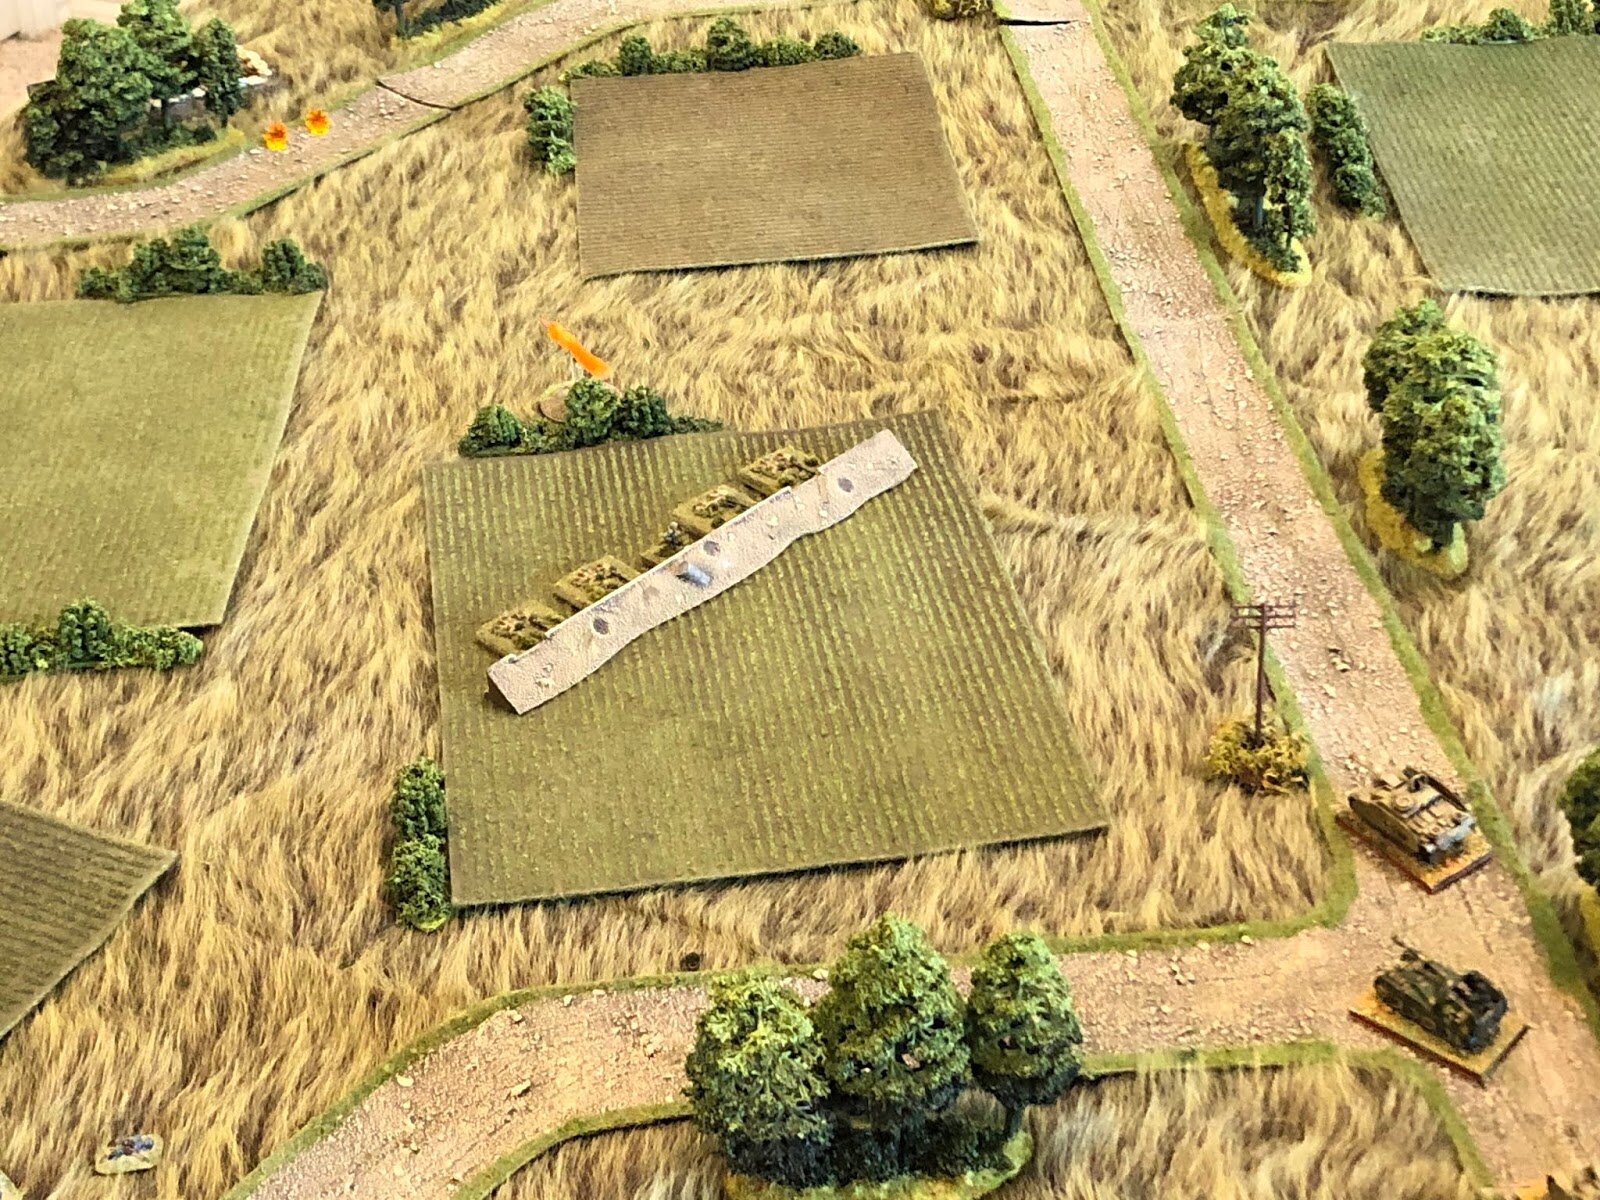
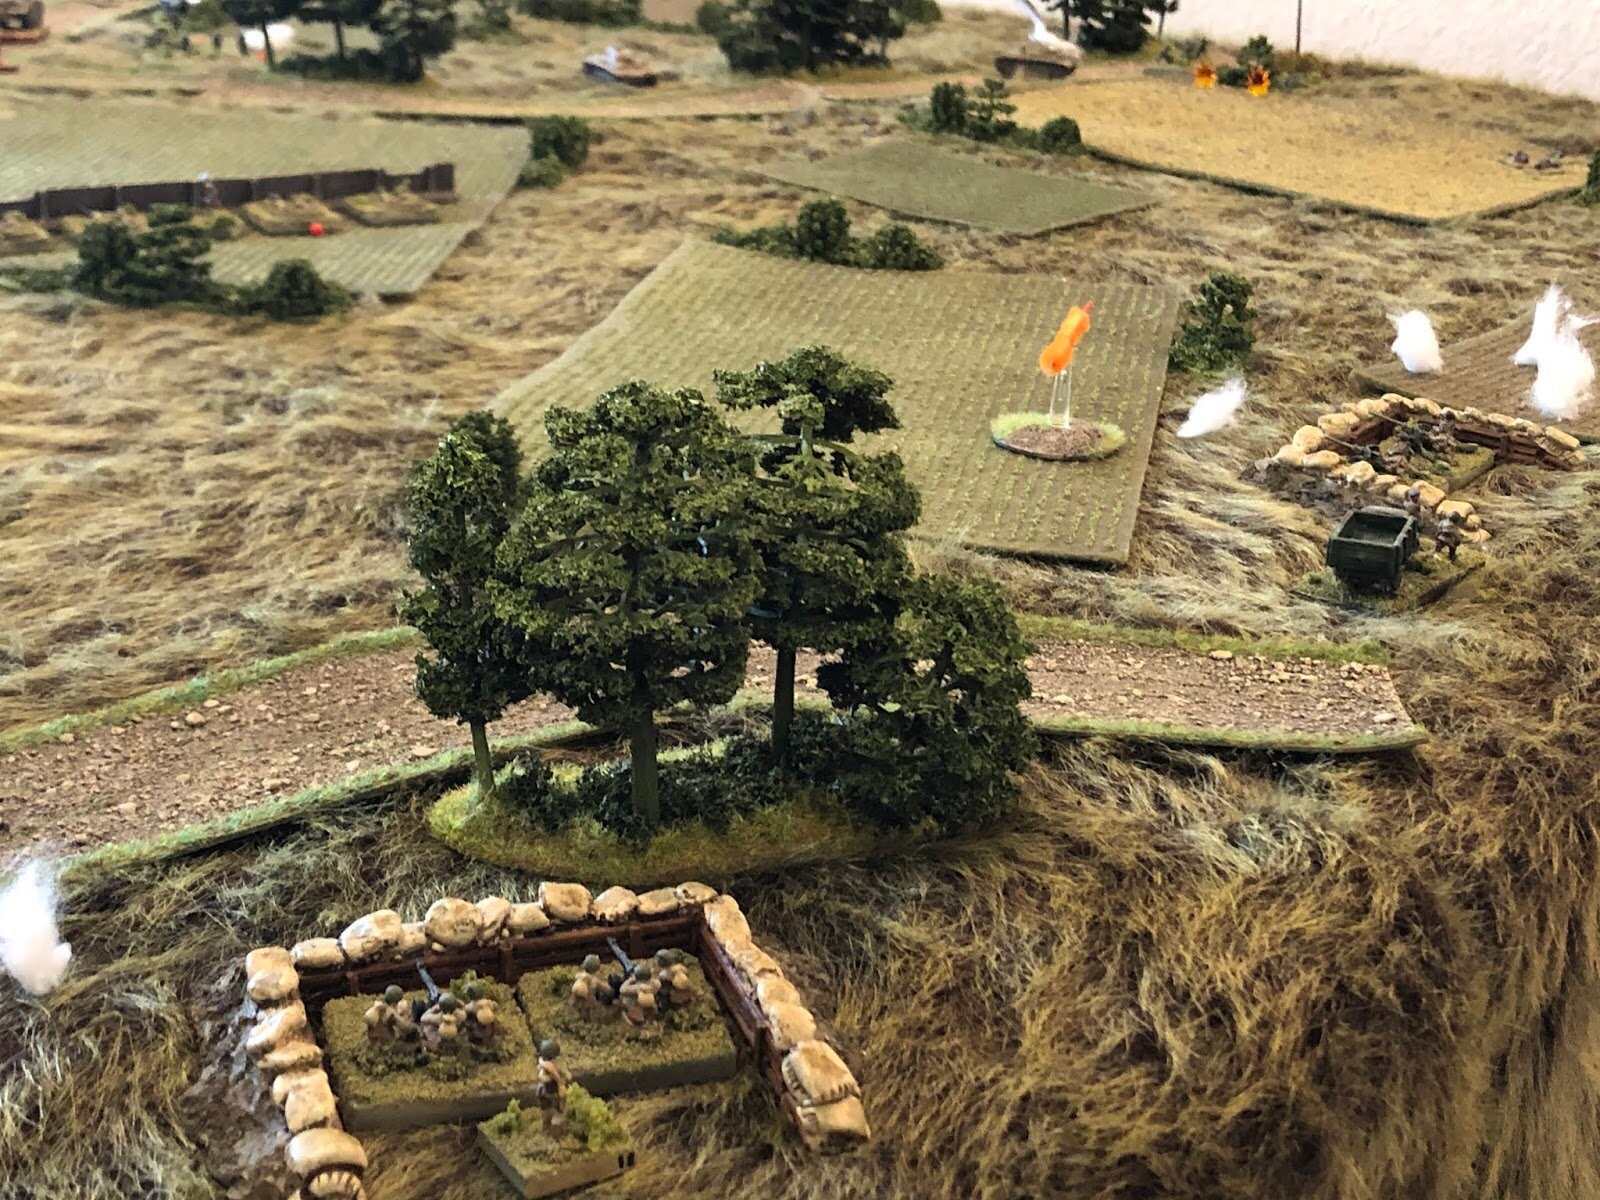
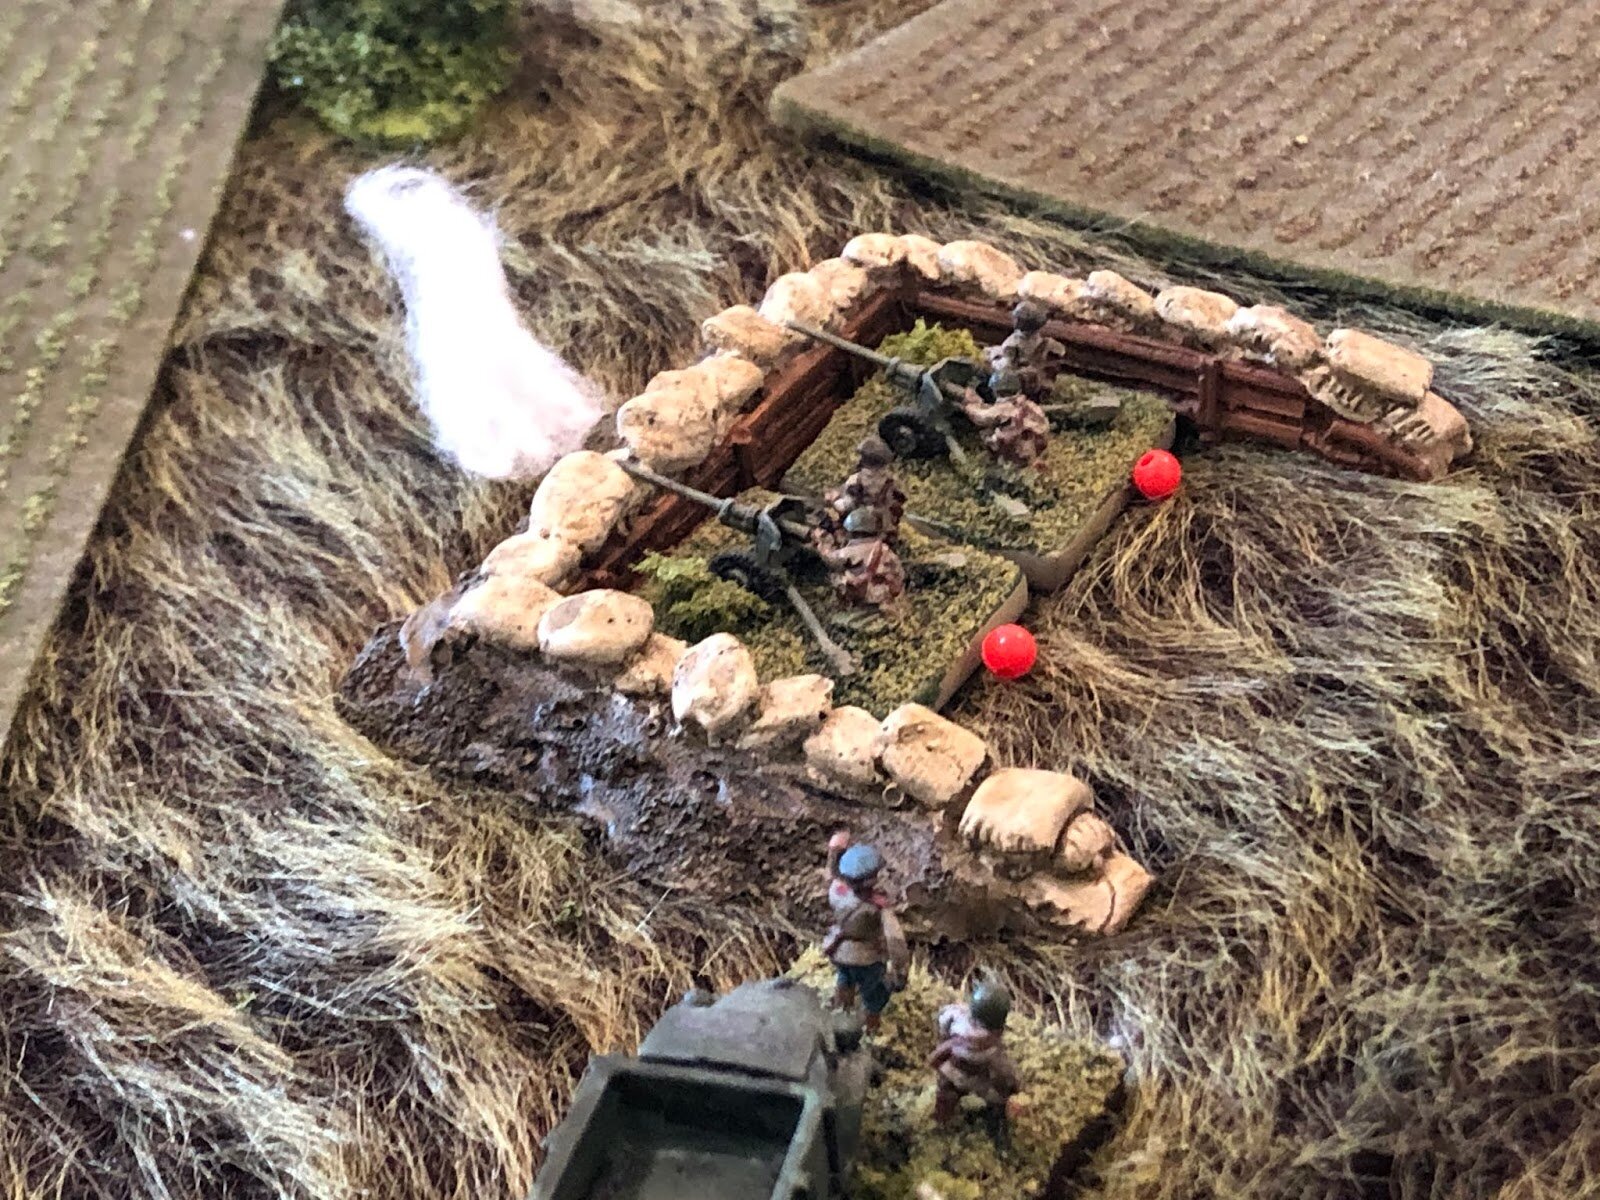
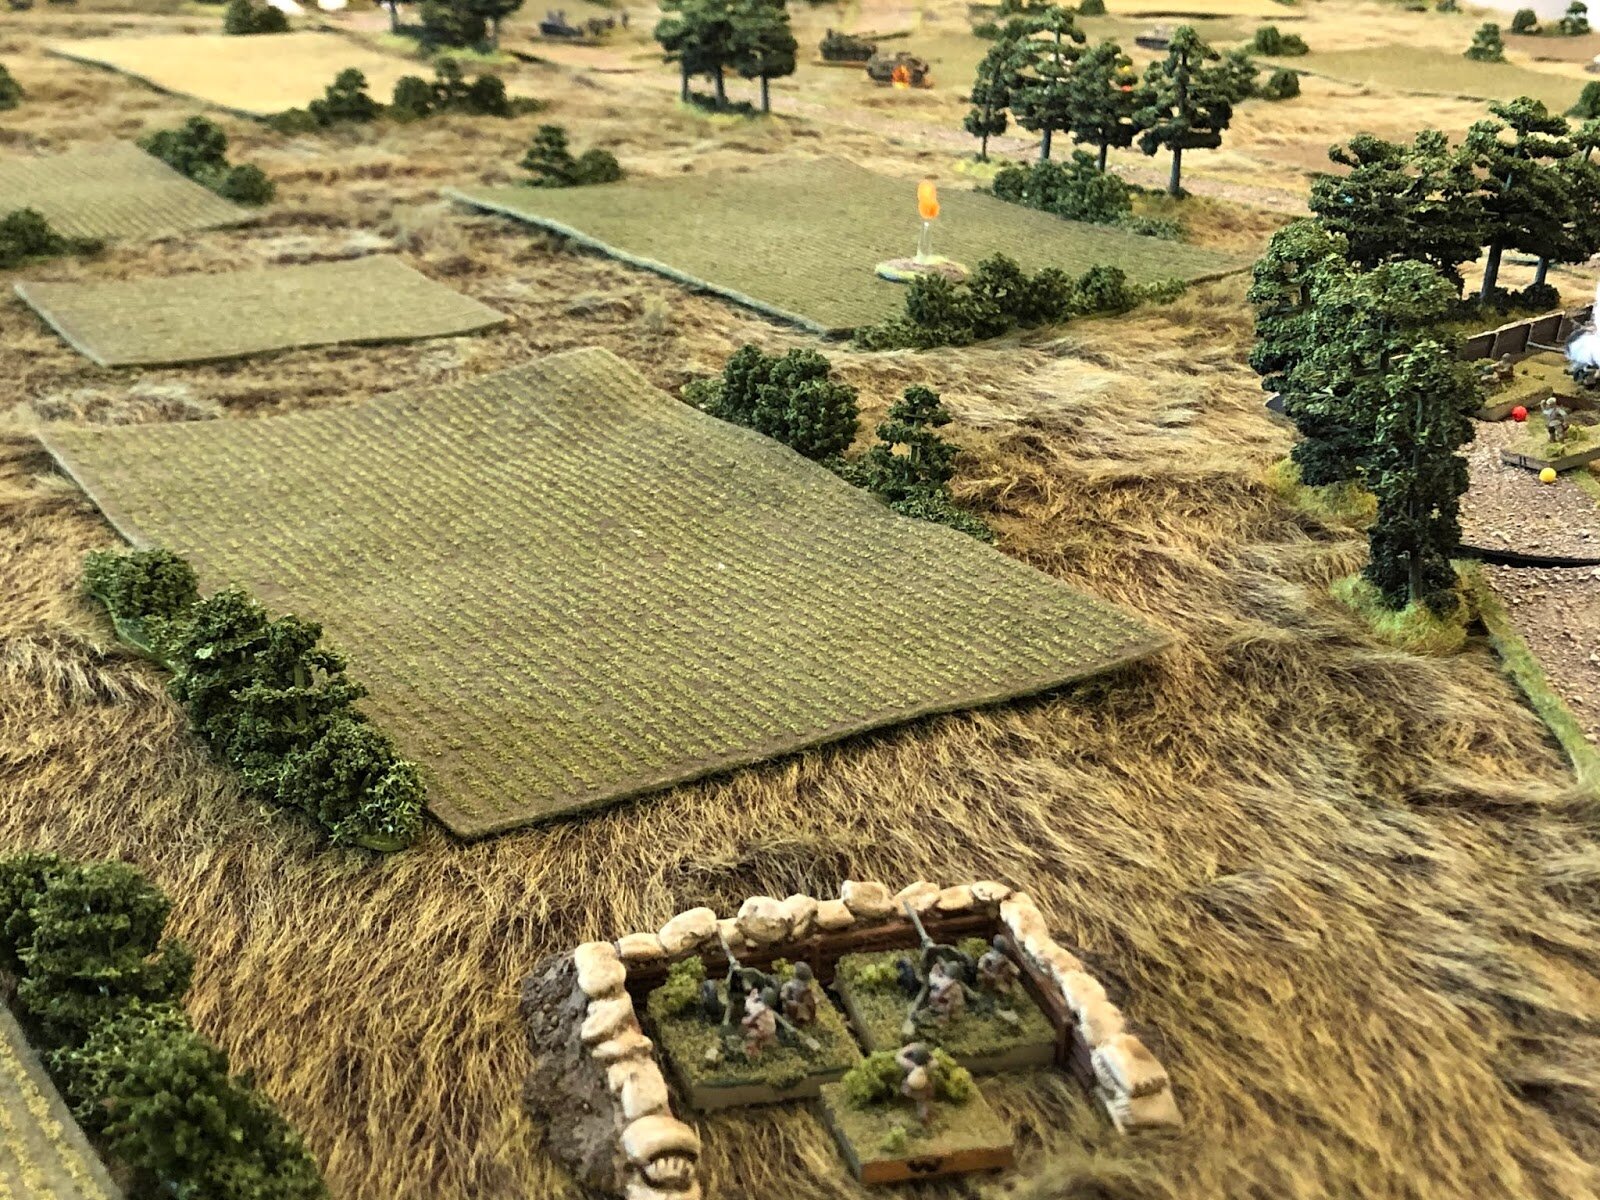
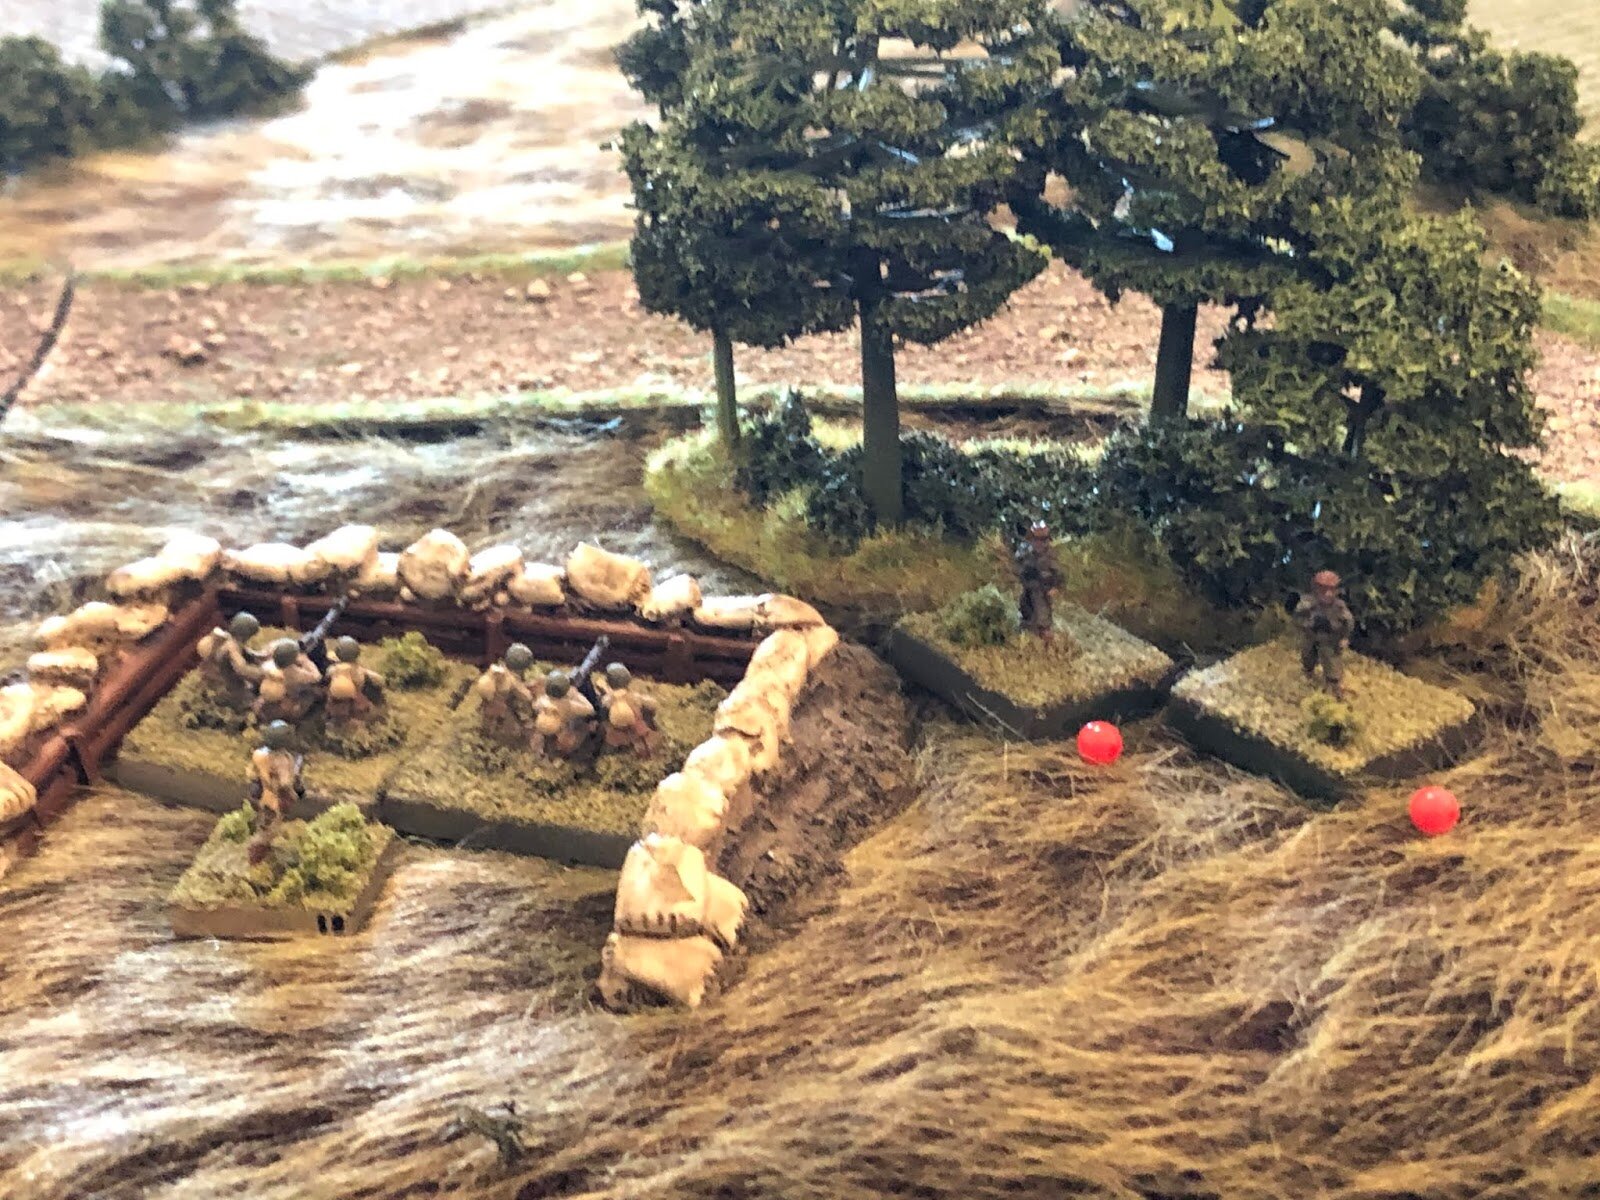
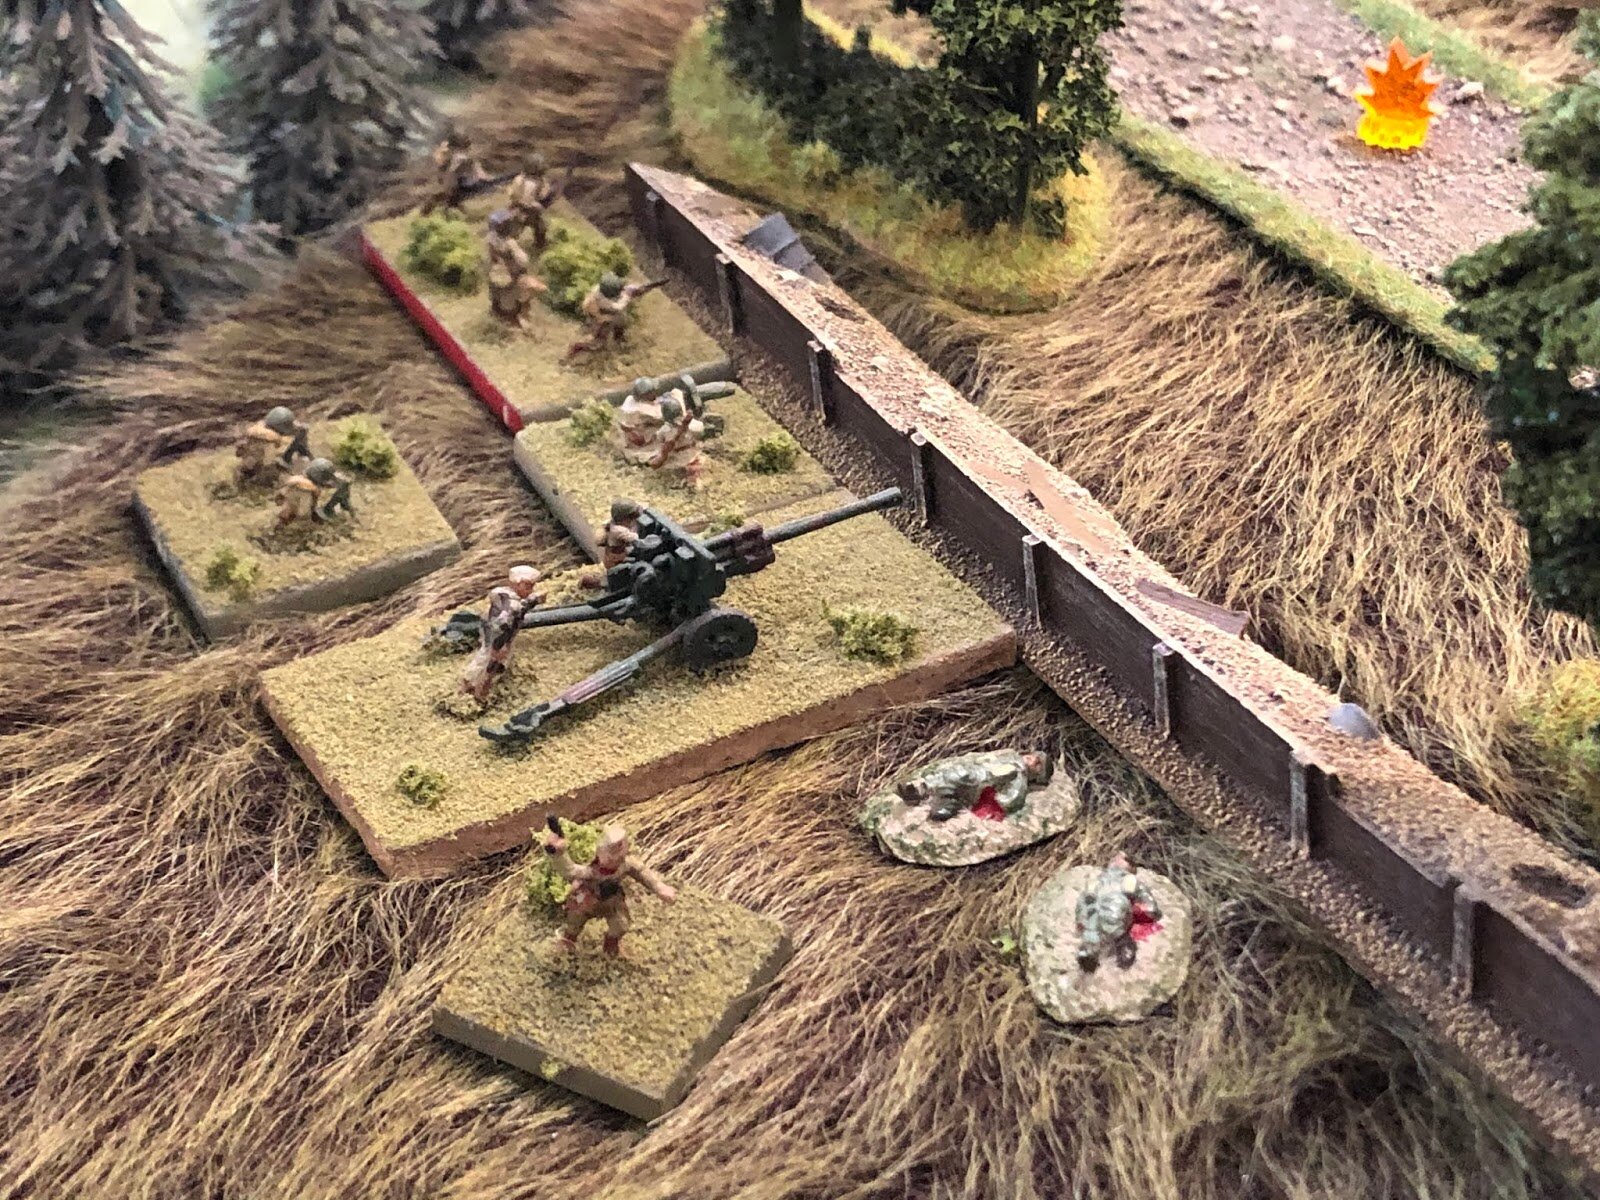
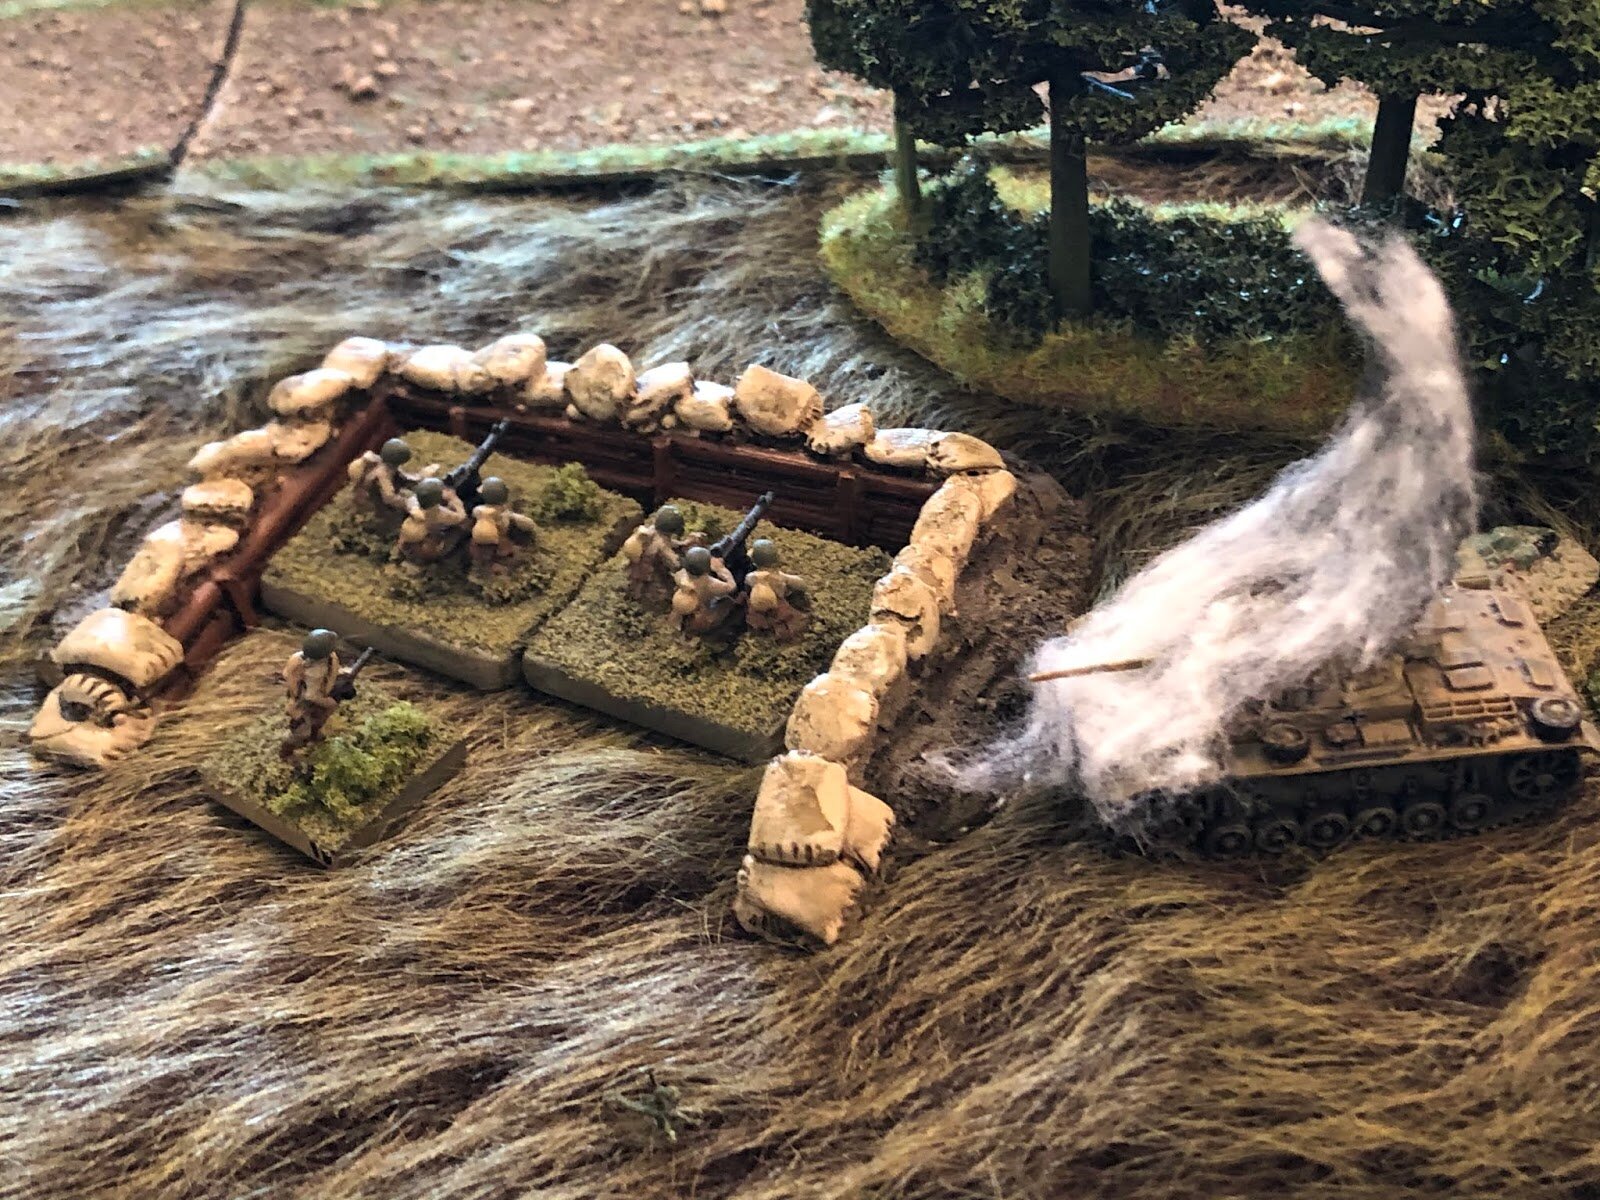
All Soviet units except the 82mm Mortar Platoon begin the game dug-in and camouflaged. The Soviets are, once again, utilizing a 'hedgehog' defense of mutually supporting strongpoints, of which there are three.
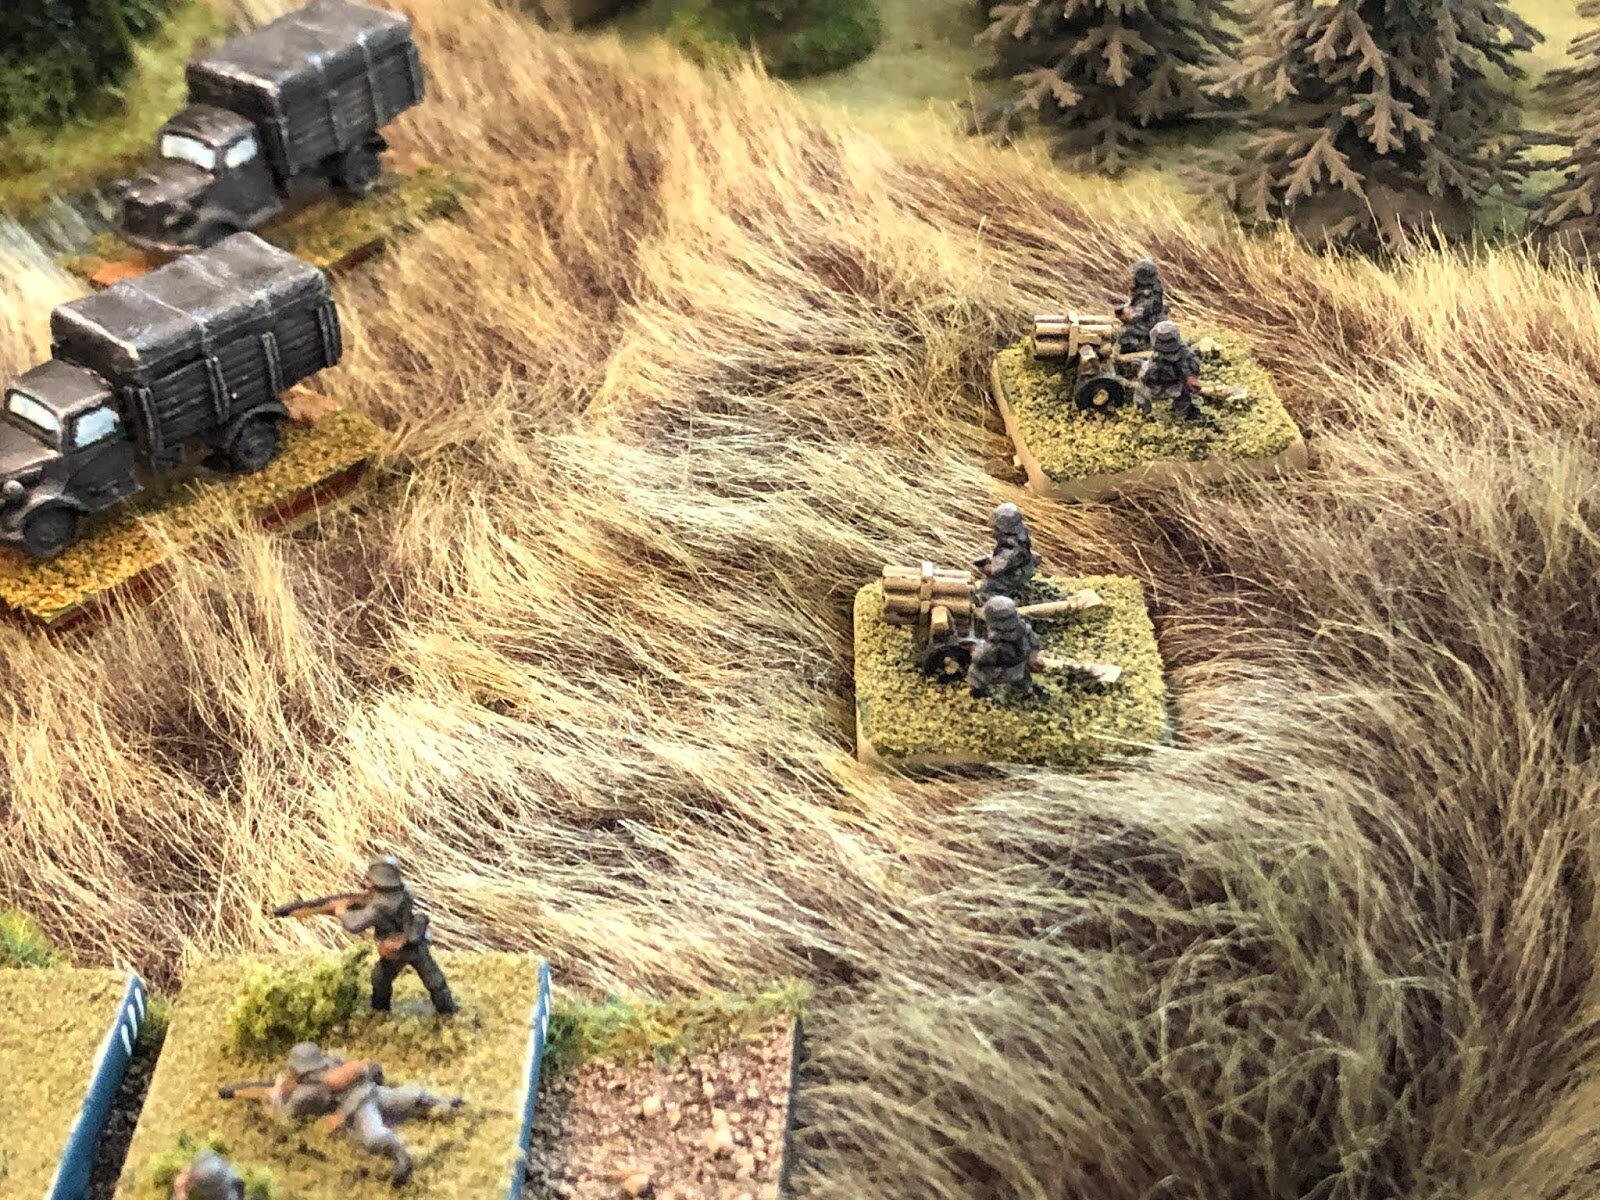
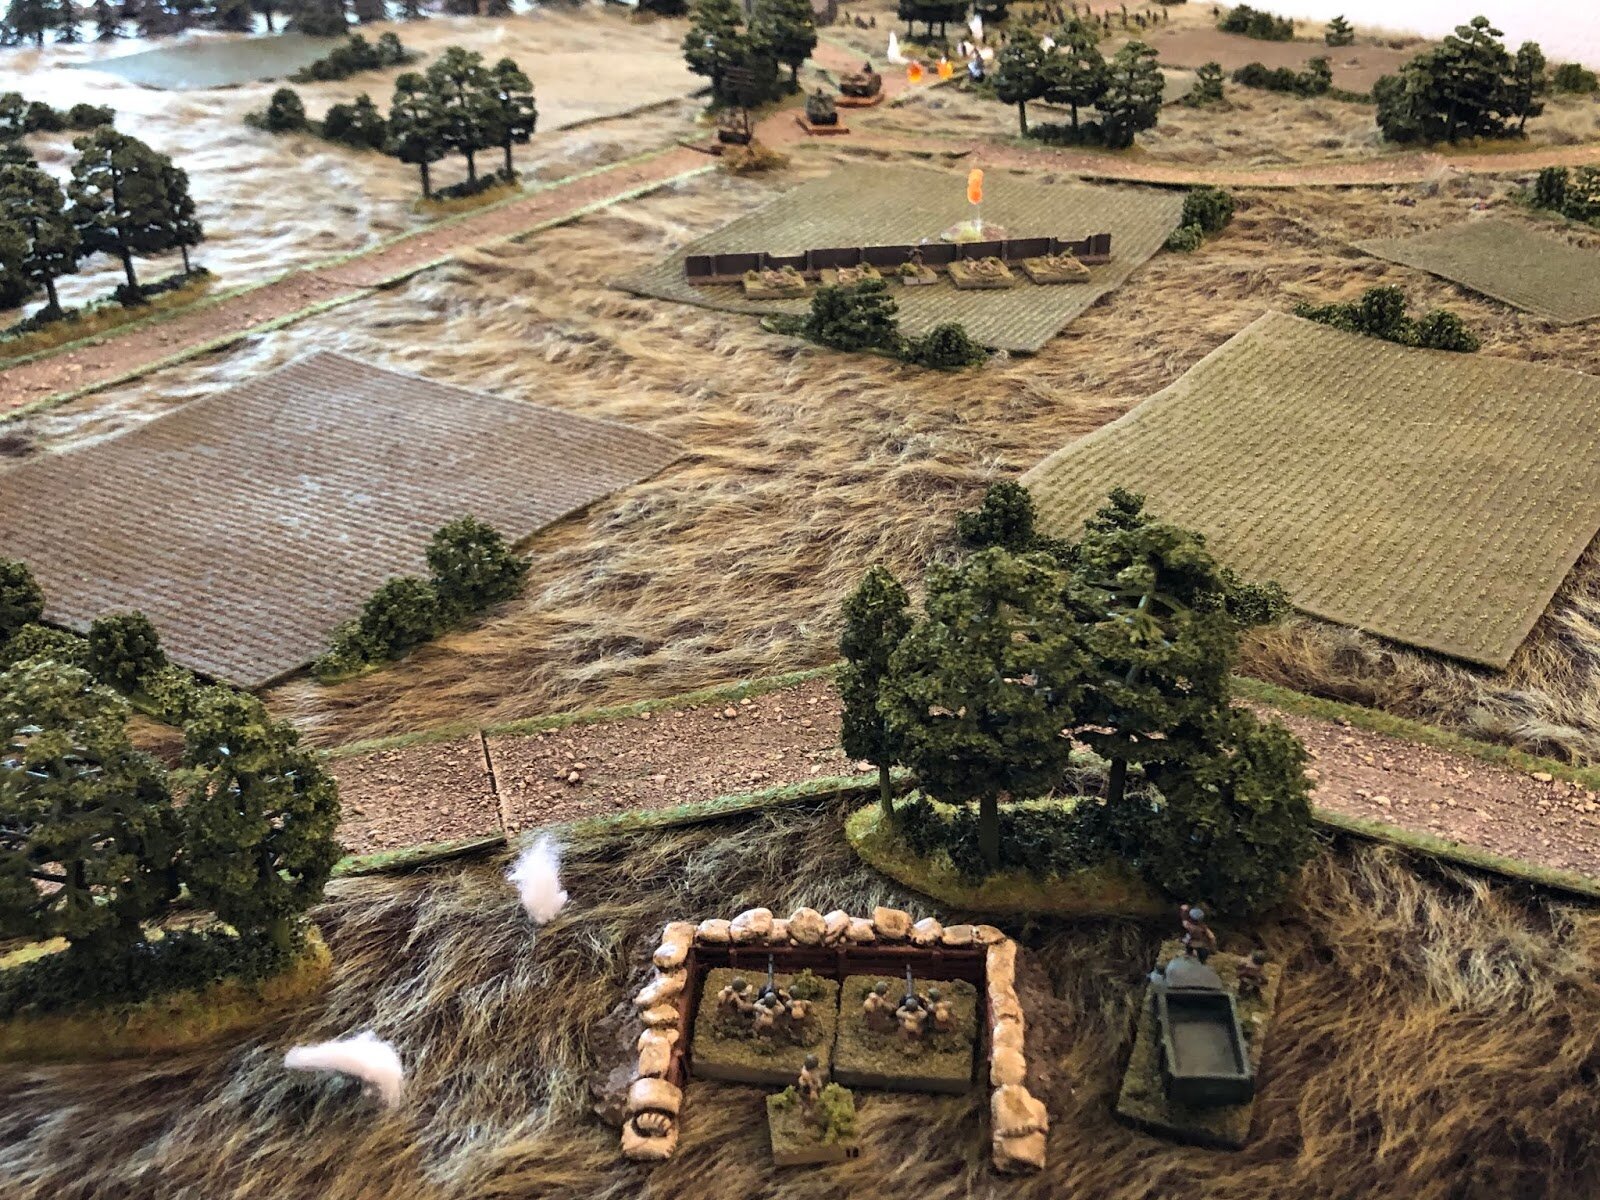
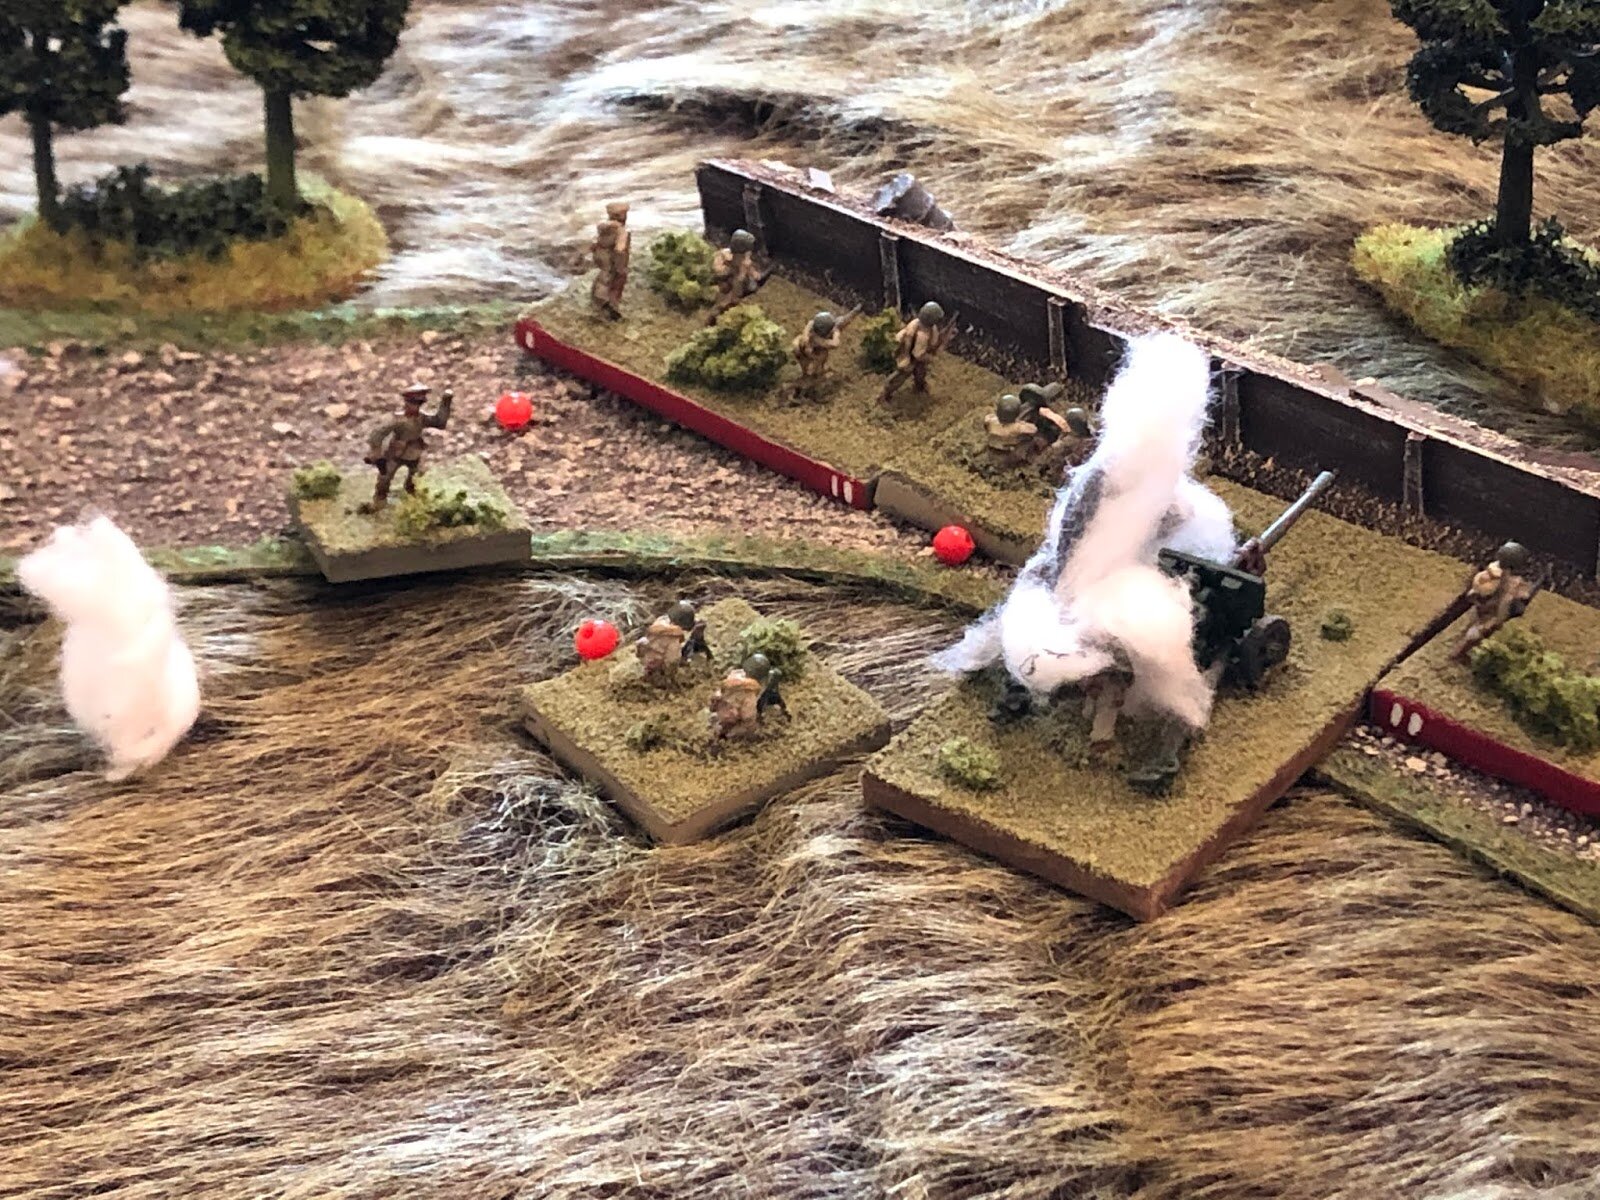
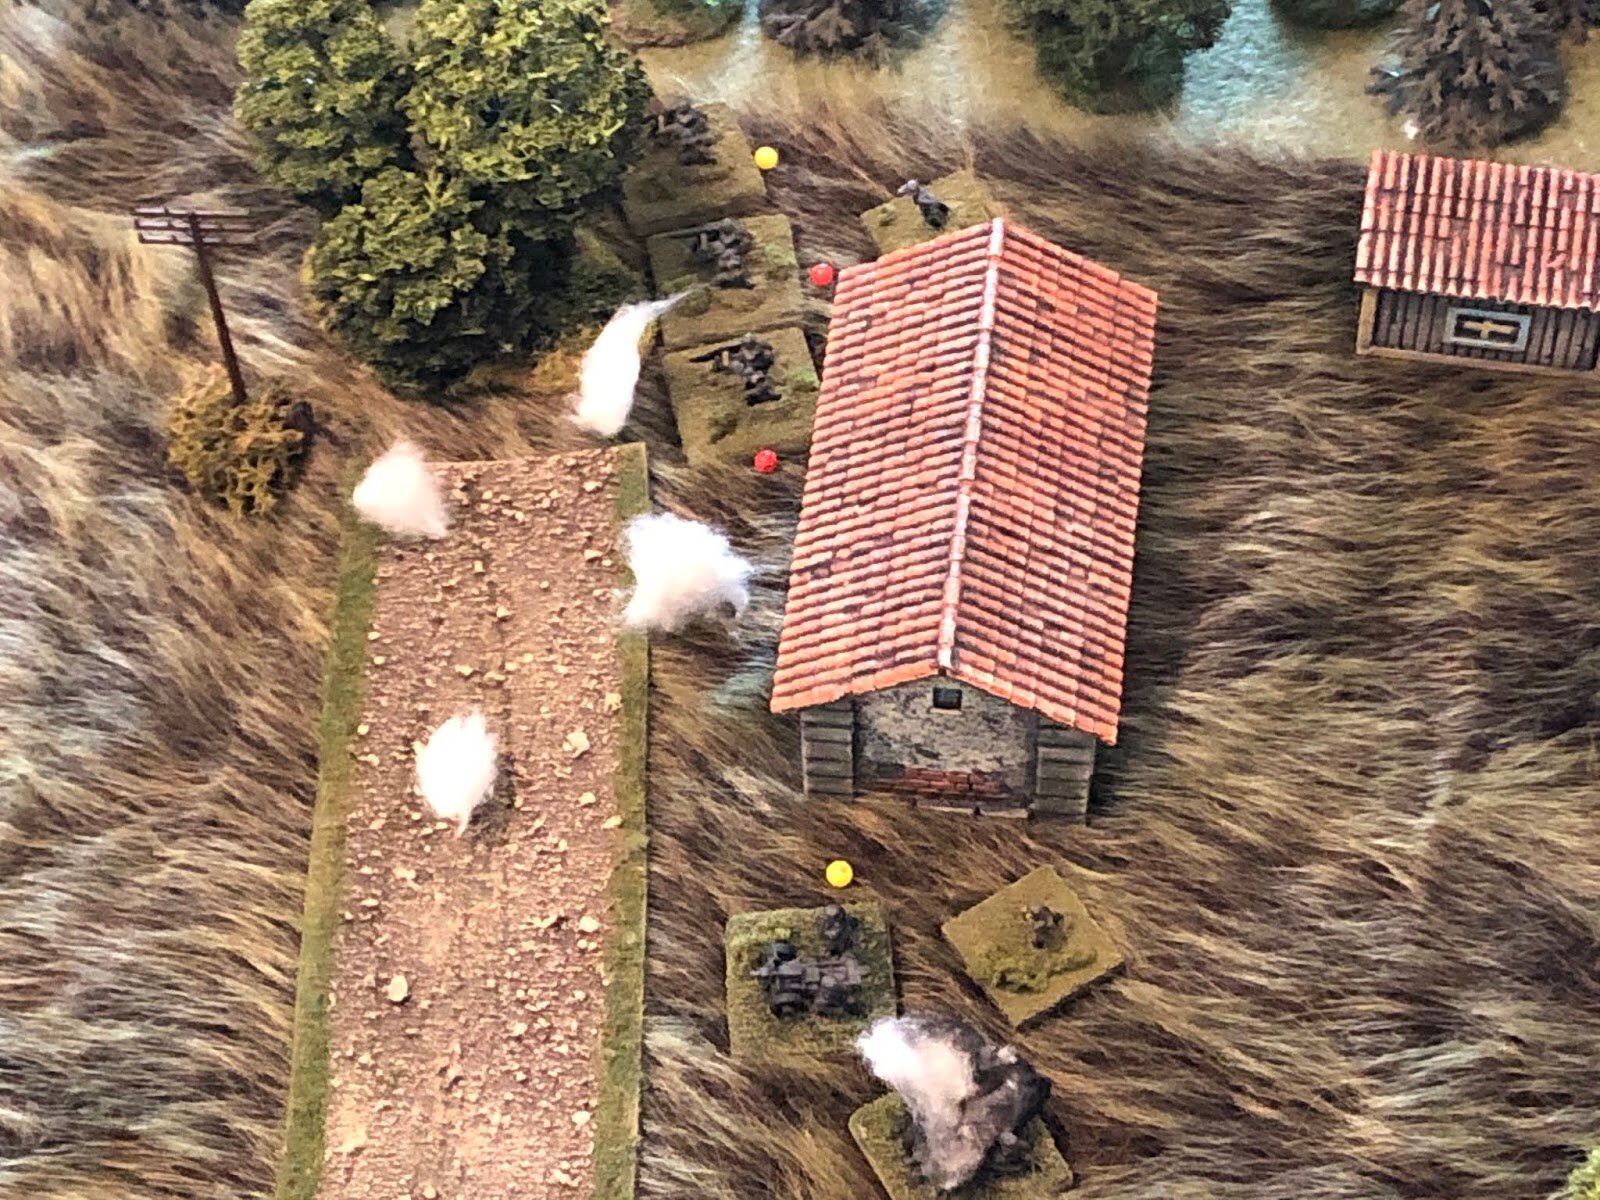
At top left is Strongpoint Nadia; at center left is Strongpoint Mila; and at bottom right is Strongpoint Sasha. Each strongpoint consists of the following:
Platoon Commander
50mm Mortar
3 x Rifle Squads
Maxim 7.62mm MG
76.2mm Field Gun
Soviet Deployment
So you've got a beat up, worn out rifle platoon bolstered by a machine gun and the 76.2mm field gun. I thought long and hard about whether to split to break up the Field Gun Platoon and one of the MG Platoons, but in the overall scheme of things, each strongpoint has close defense provided by its three rifle squads, and each strongpoint has a significant long-range capability consisting of the MG, light mortar, and field gun. I believe the long-range capability and the elan and training of the tank killers provides the low-grade infantry a real boost in confidence, such that breaking up an MG platoon and the Field Gun Platoon was warranted.
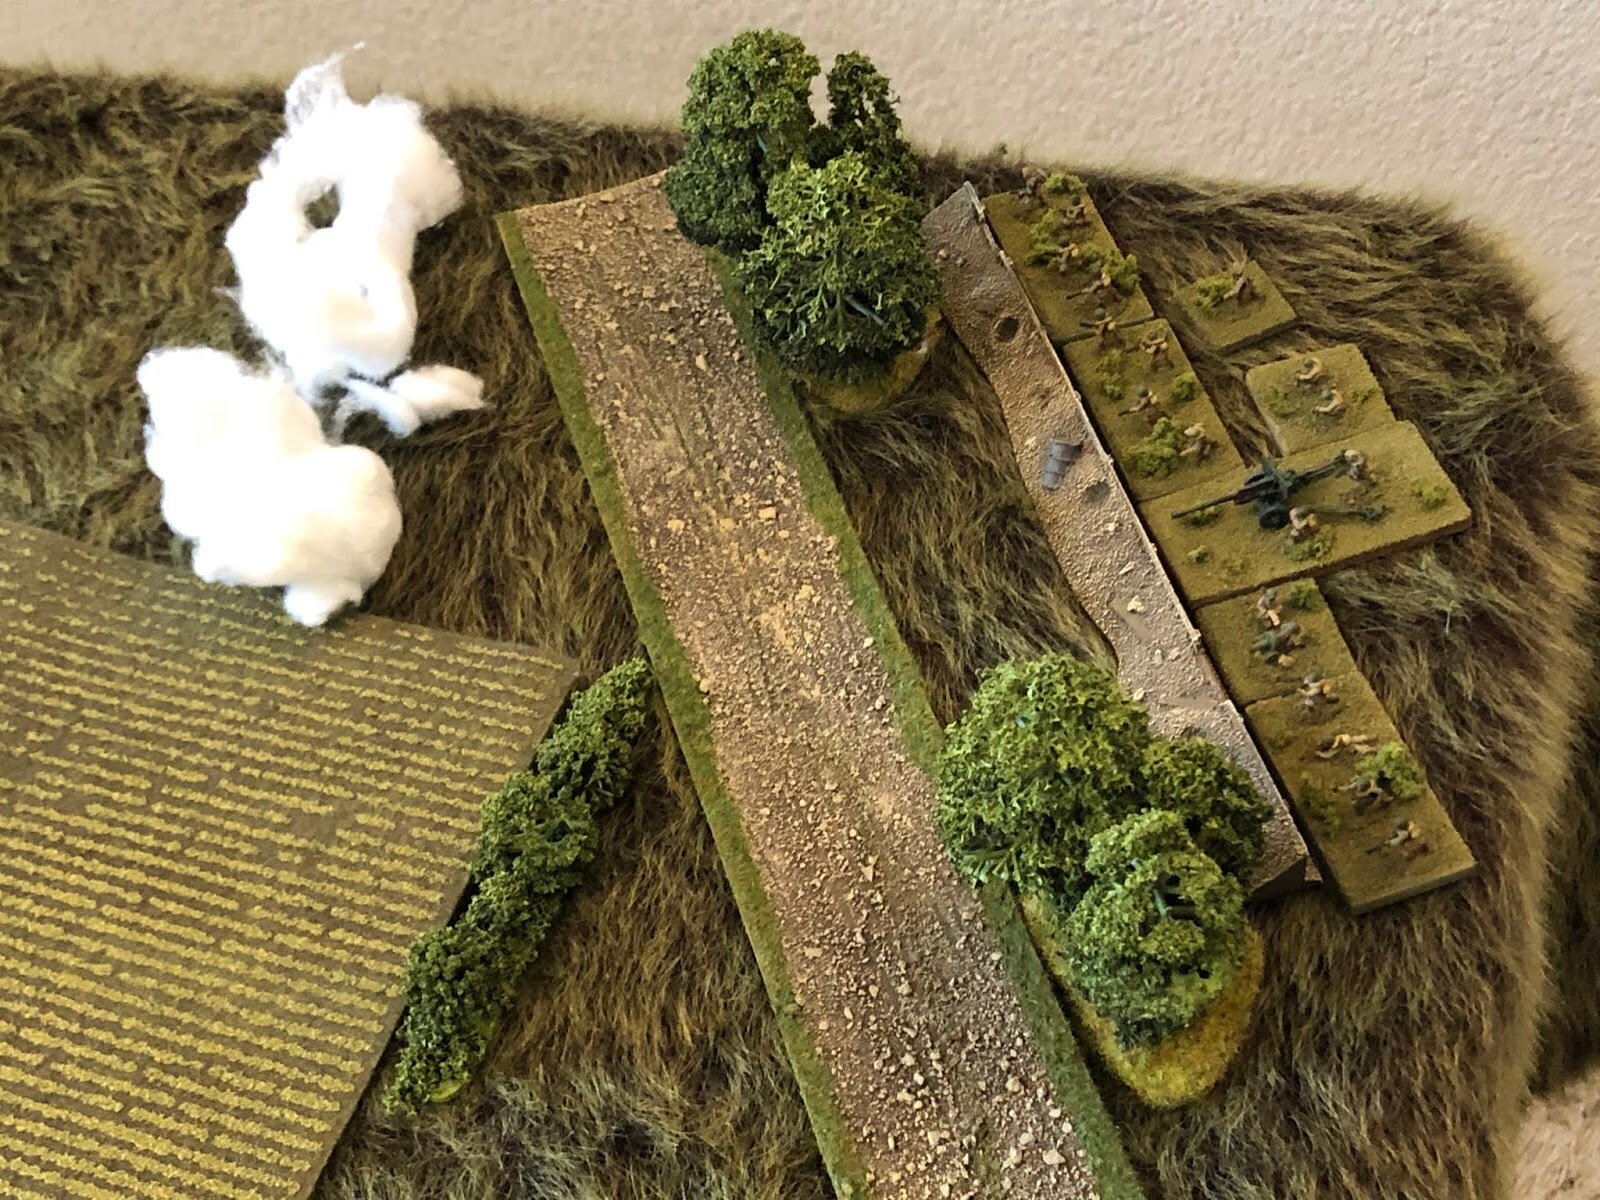
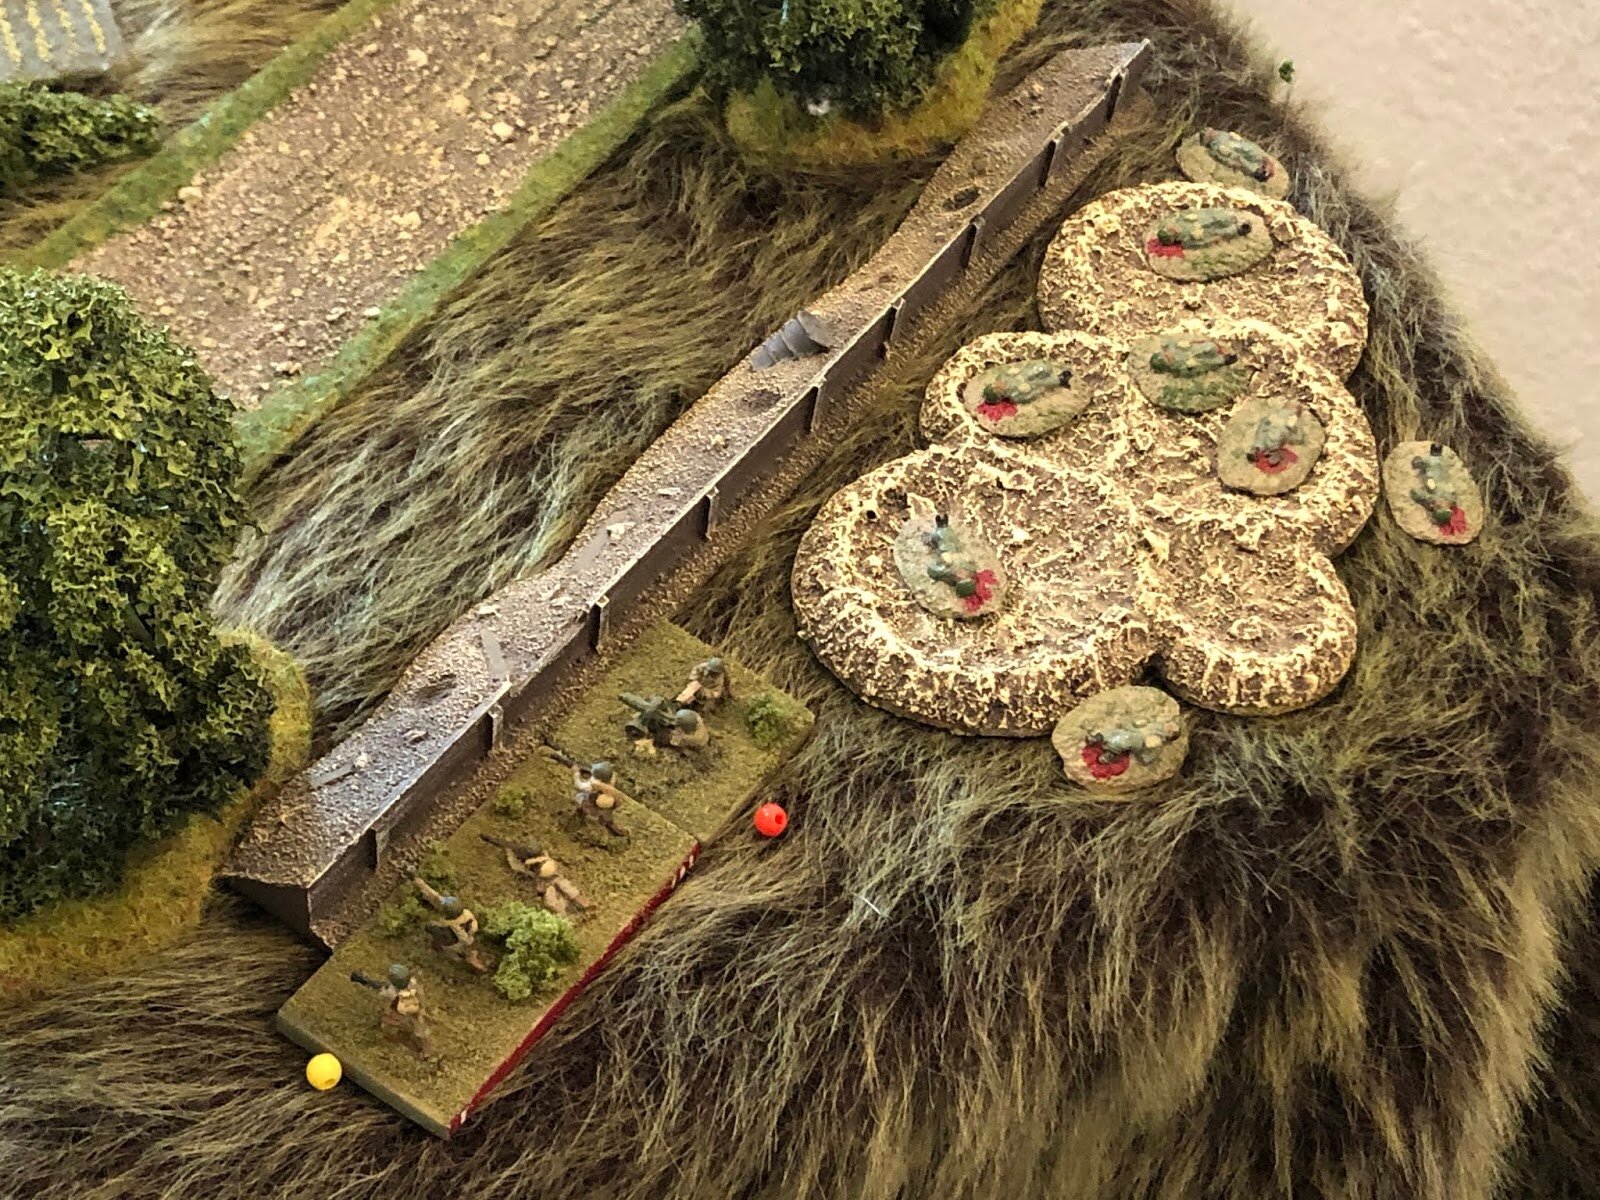
The 82mm Mortar Platoon is at far left bottom, in a field. The 'other' MG Platoon (PC and 2 x MGs) is at bottom center left. The Anti-Tank Gun Platoon is split: the PC and two guns is at far left top (the "West ATG" position), and the other two guns are at bottom center right (the "South ATG" position). The Soviet CO is at bottom center, between the MG Plt and the South ATG position. The ATR Platoon is dug-in at center, just below the road, the purpose of which is two-fold: first, engage German armor coming down the road, and second, keep between any German infantry and the ATGs below them.
My only regret with the Soviet deployment is that I wish I could have even further dispersed the four Zis-3 ATGs (in order to counter German supporting fires sure to be levied against them); I would have but I didn't have enough sandbagged emplacements, so I had to double up each set of ATGs!
German Plan of Attack
Okay, this is ugly and not terribly creative, for four reasons:
The Germans are attacking on the hop, conducting a hasty attack straight off the march, immediately following an attack earlier today. They've barely had time to untangle and reorganize their units following the earlier attack, and no time to rest or replenish.
The Germans are in a very big hurry as supplies, men, and equipment are all worn out and Intelligence reports strong Soviet forces en route to reinforce the 1 May Collective Farm garrison.
The Germans had no time to conduct reconnaissance of the battlefield, so they have no idea the strength or disposition of the enemy facing them.
In order to get to the Collective Farm, the German infantry have a tremendous amount of ground to cover on foot. Moving cross-country would be almost as exposed, and would be even slower than heading straight down the middle via the road.
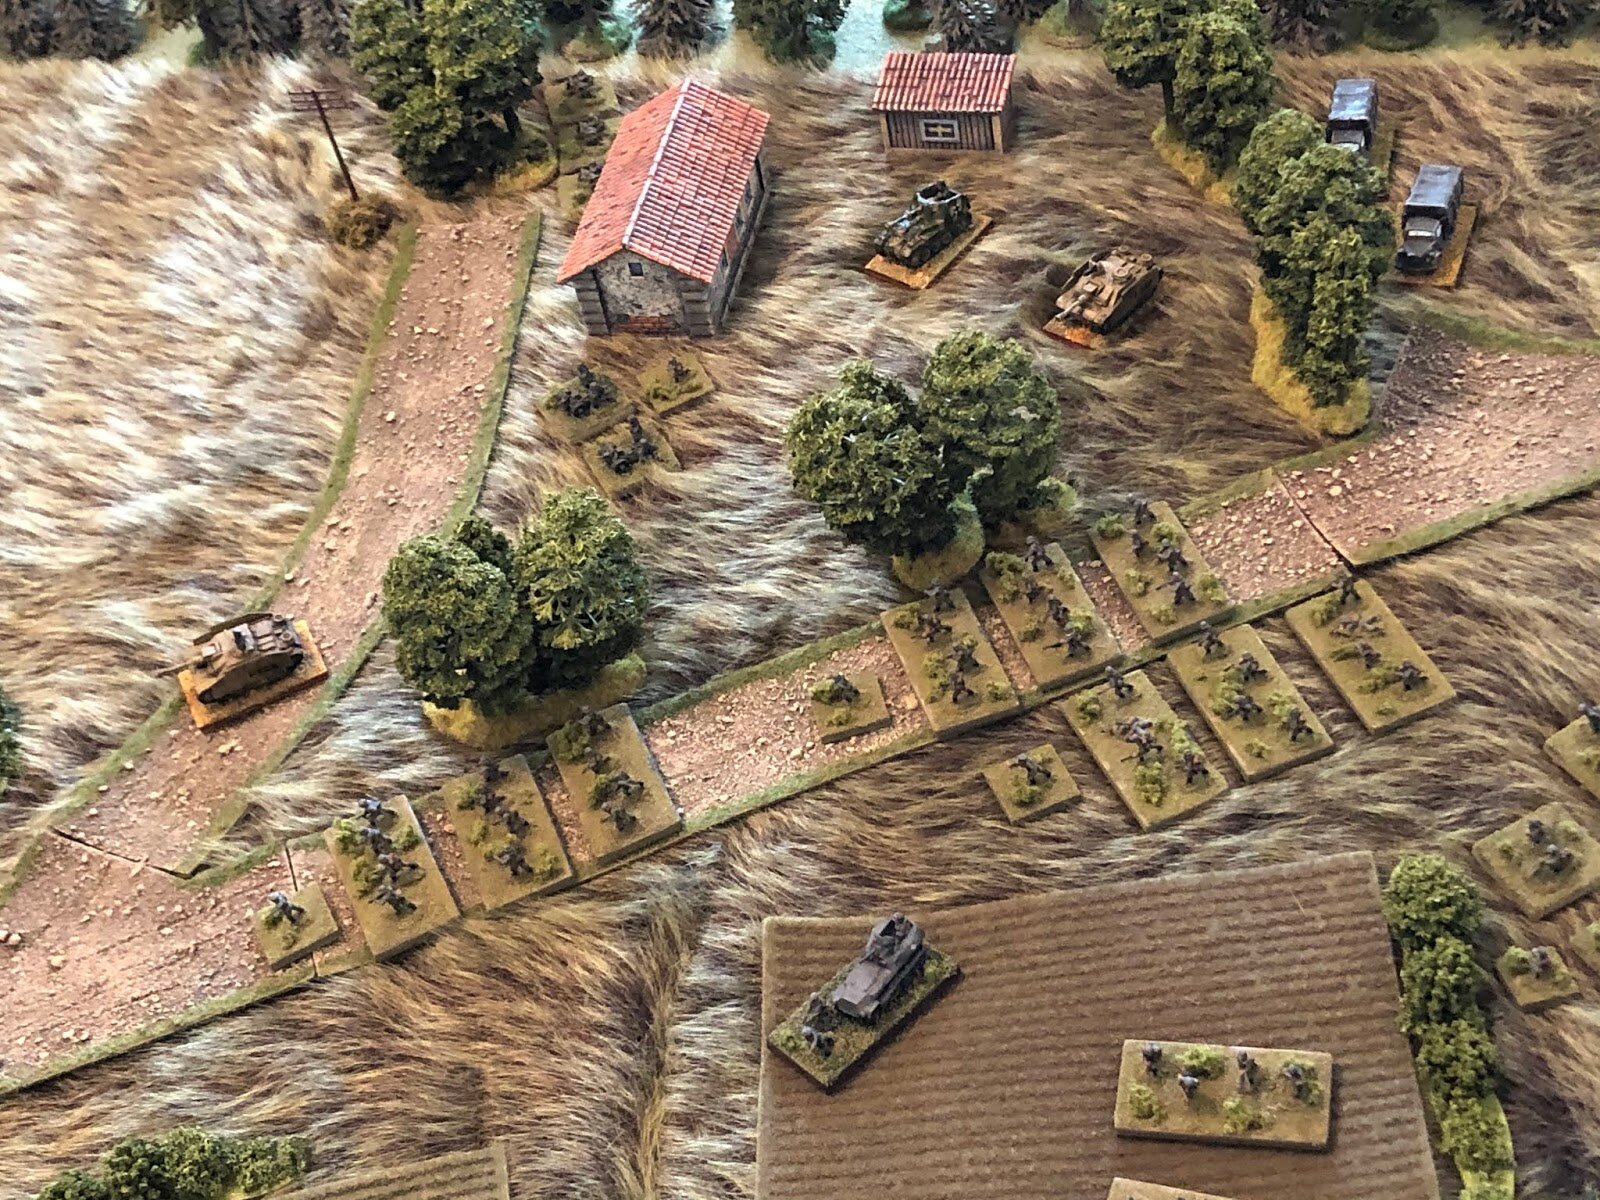
So this is literally 'hey diddle diddle, straight up the middle,' in a hurry to take and consolidate on the Farm before the Soviet reinforcements arrive. The German CO was at the head of the column coming into the area; he called a halt at Yuri's Hovel, sent for his senior leaders (some companies are now being led by Sergeants), and climbed atop the roof to get a look at the situation. He can't see anything in terms of Soviet troops or activity, but a simple appreciation of the terrain makes a few things clear:
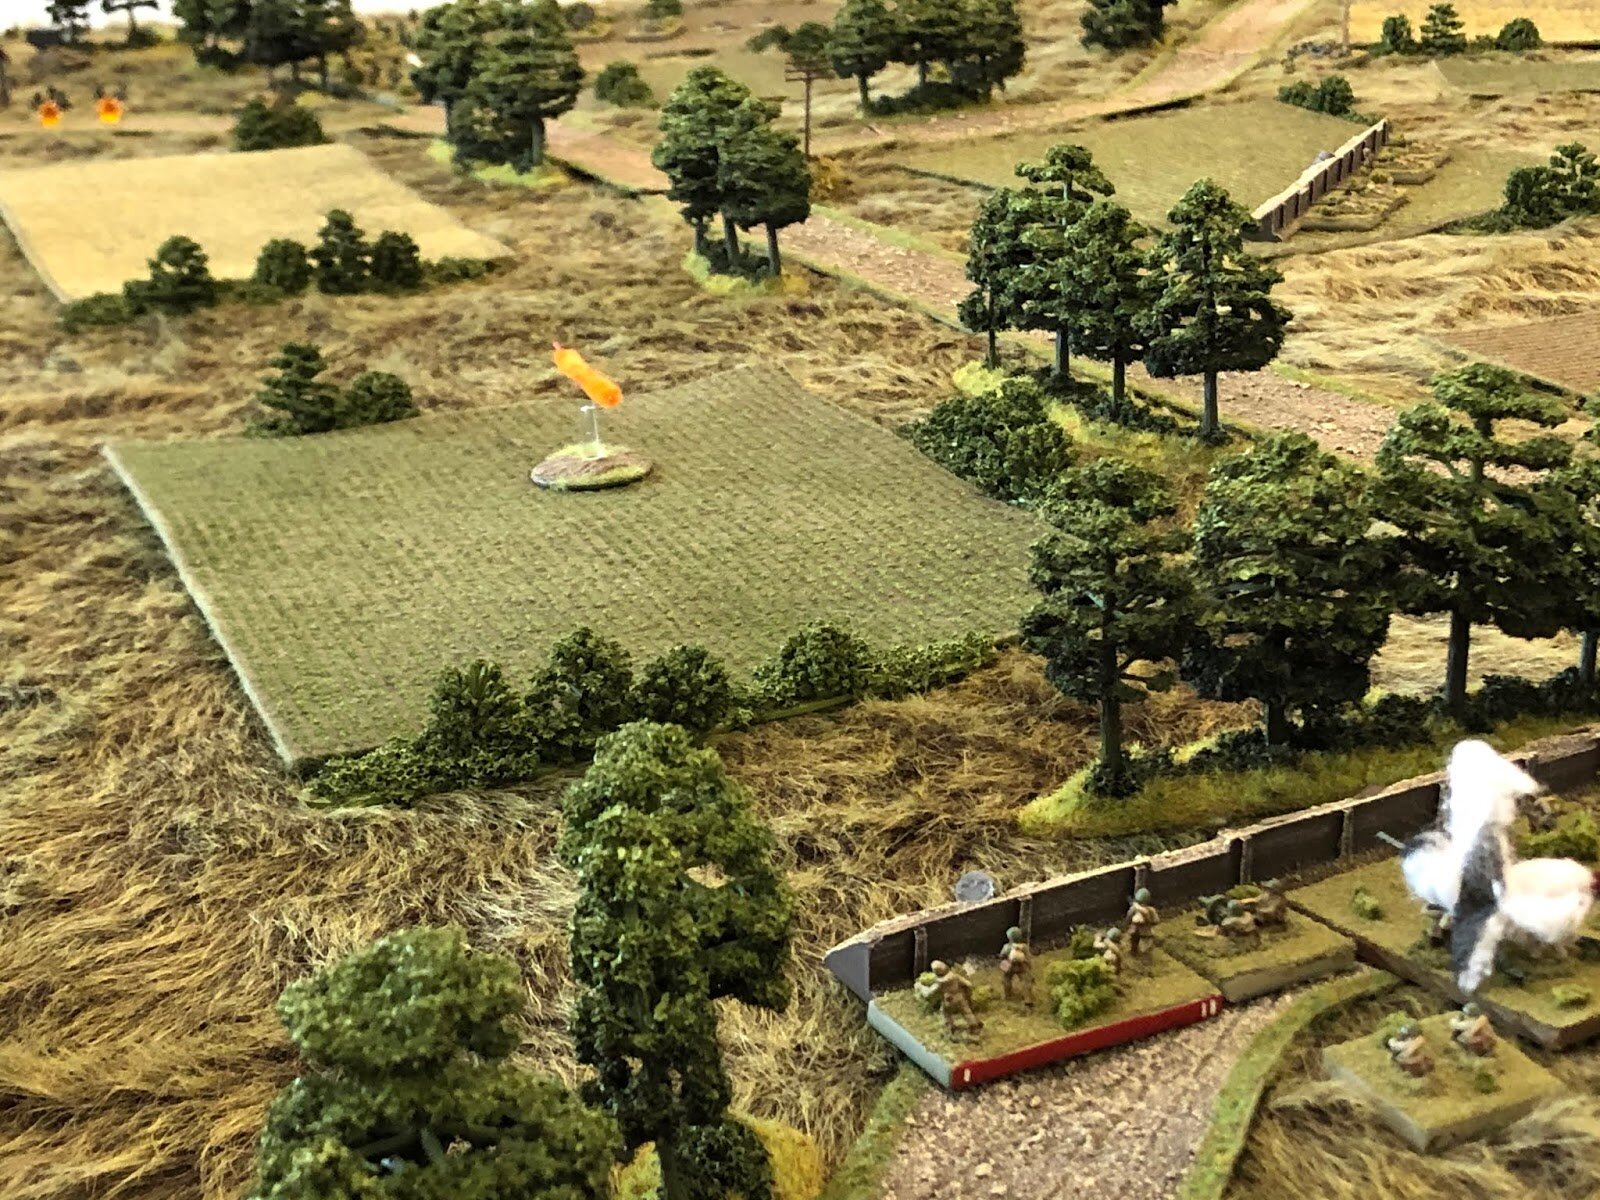
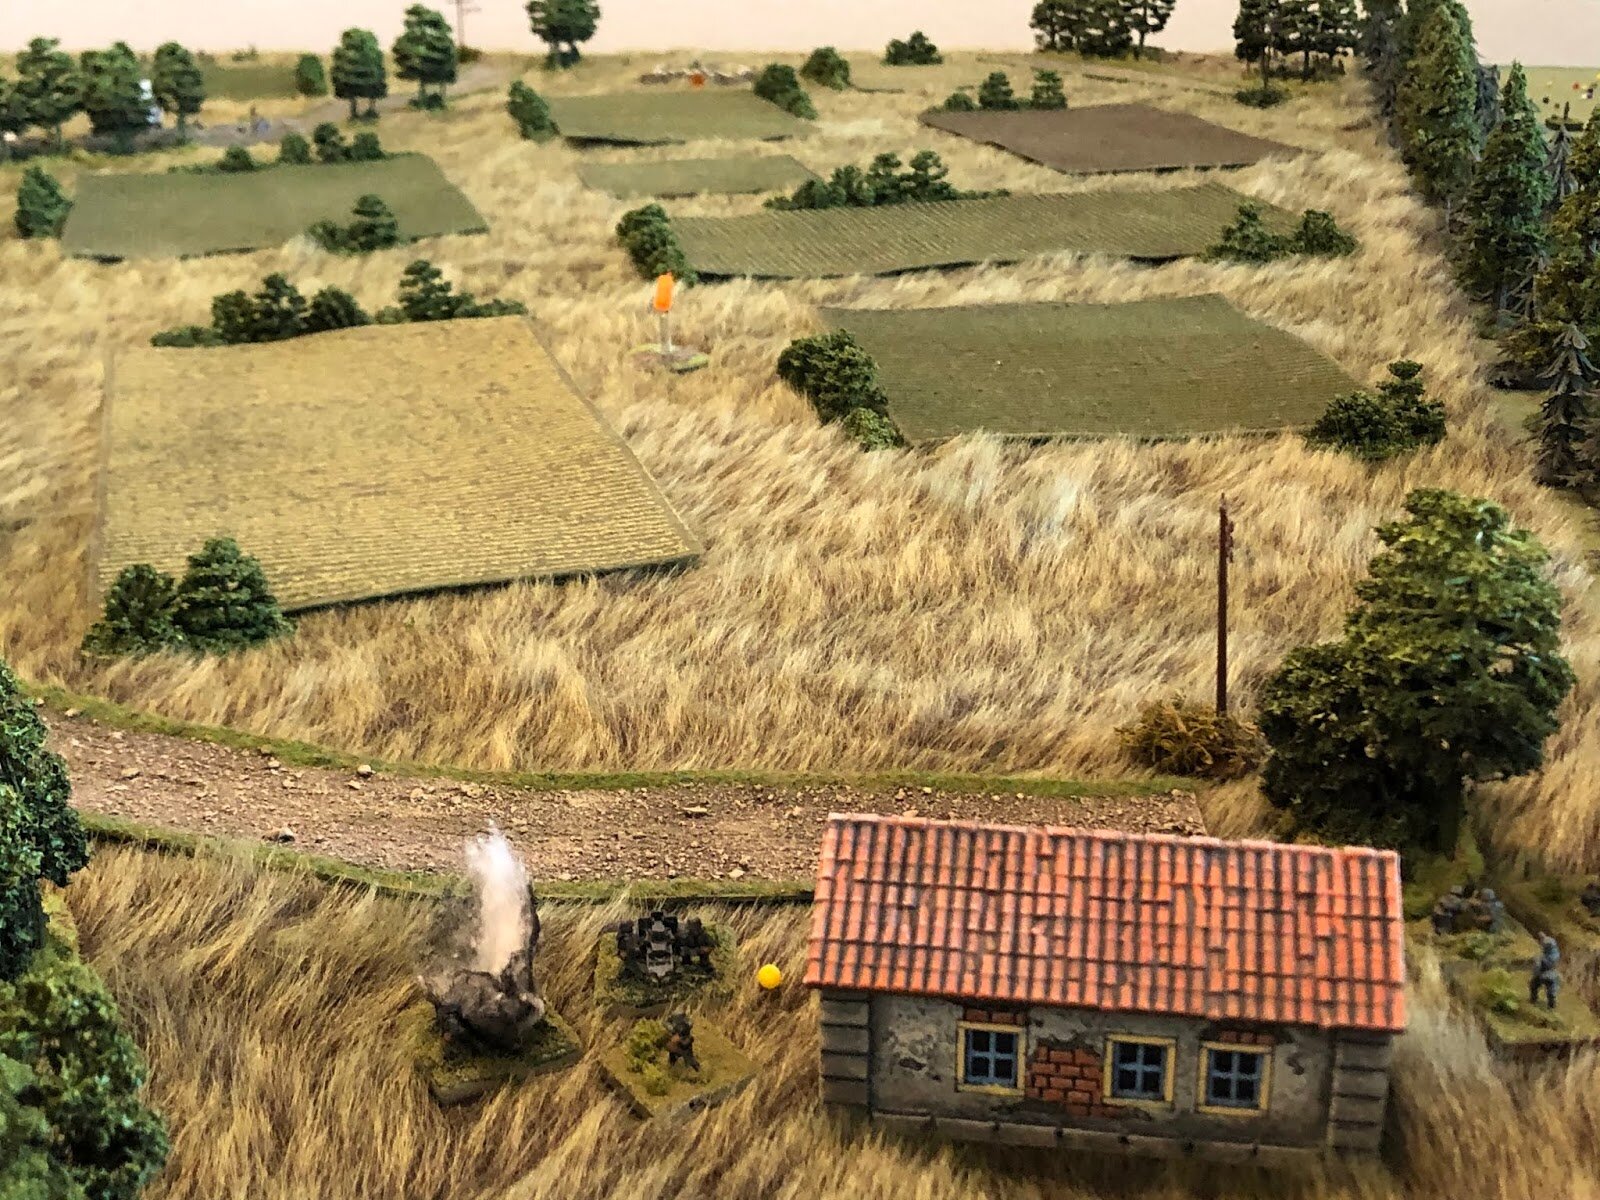
the Soviets are sure to be thick in the Collective Farm and its adjacent wooded areas; he'll sic the the Nebelwerfers (which Corps has placed in direct support) on them.
the wooded area to the northwest (in the vicinity of Strongpoint Nadia) is sure to contain a bushel of the Red devils. He can ignore them/use direct-fire support to keep them at bay.
the wooded area to the south (at bottom right, in vicinity of Strongpoint Sasha) is also sure to hold hordes of the Bolsheviks. They're too close, they'll have to be deal with.
So, the German Colonel climbed down and quickly sketched out the plan of attack to his subordinates:
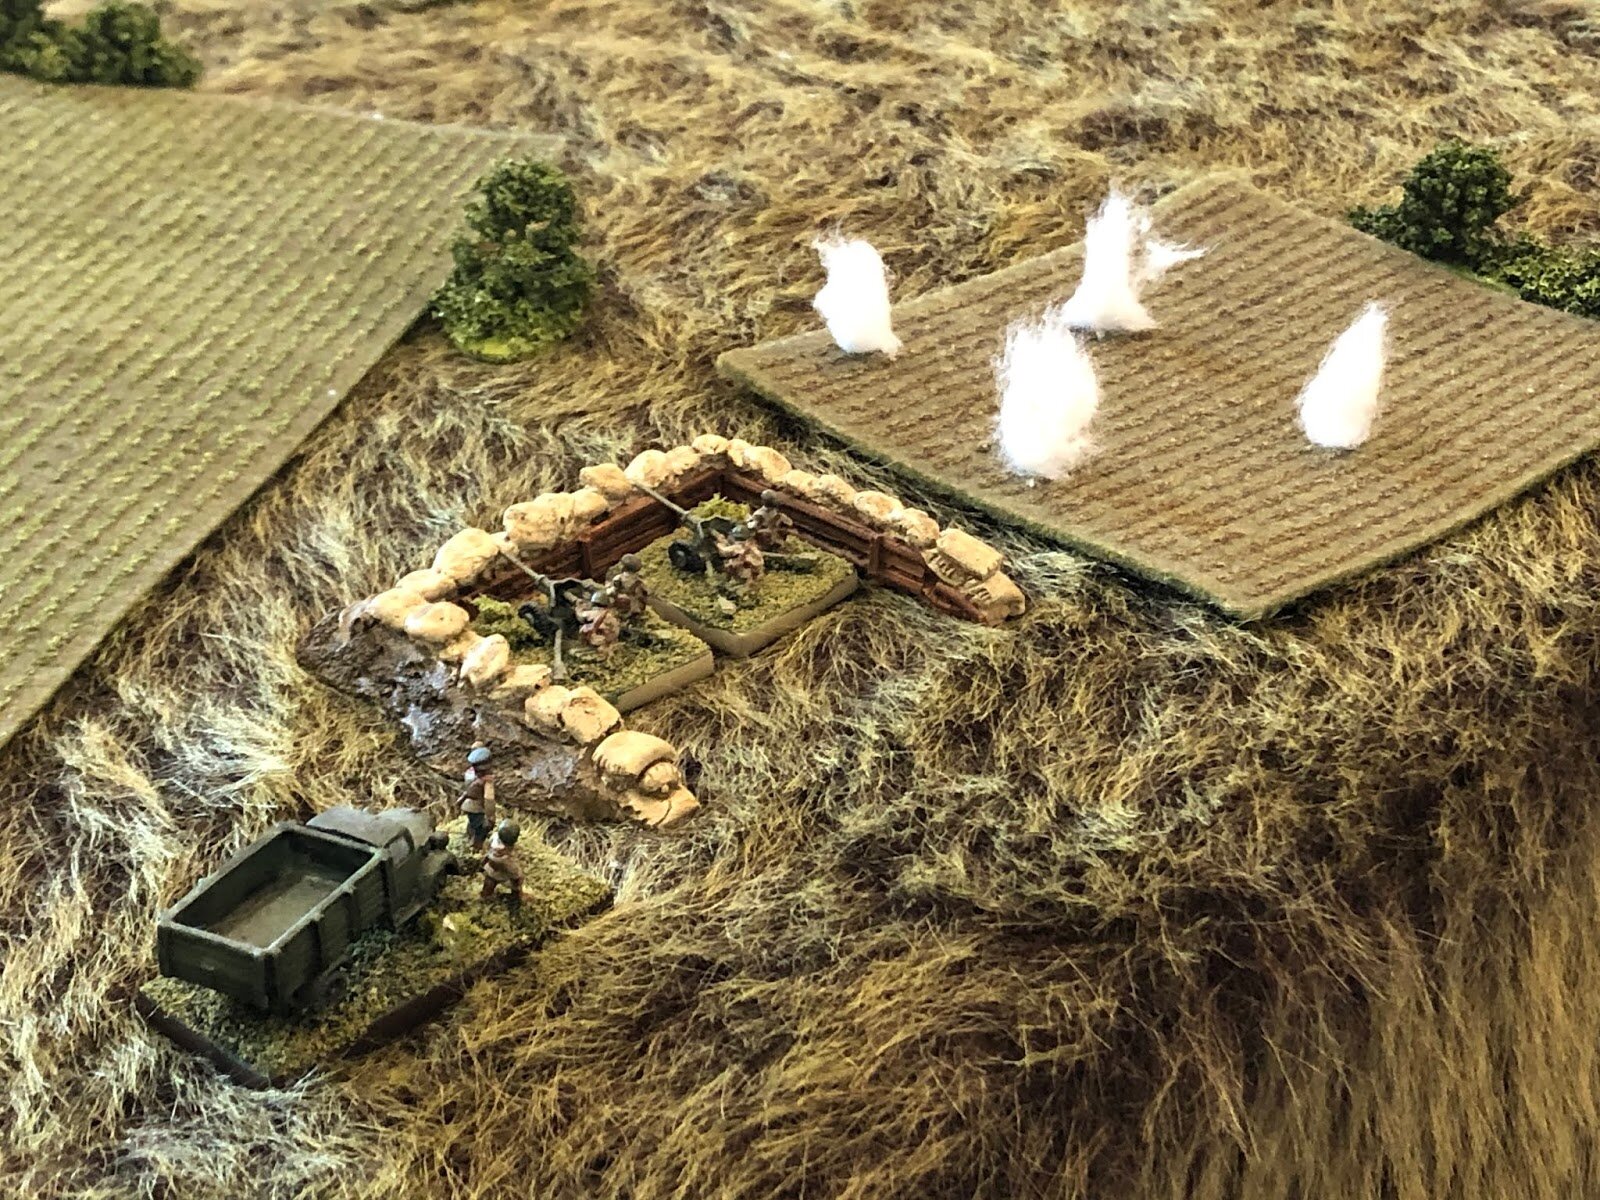
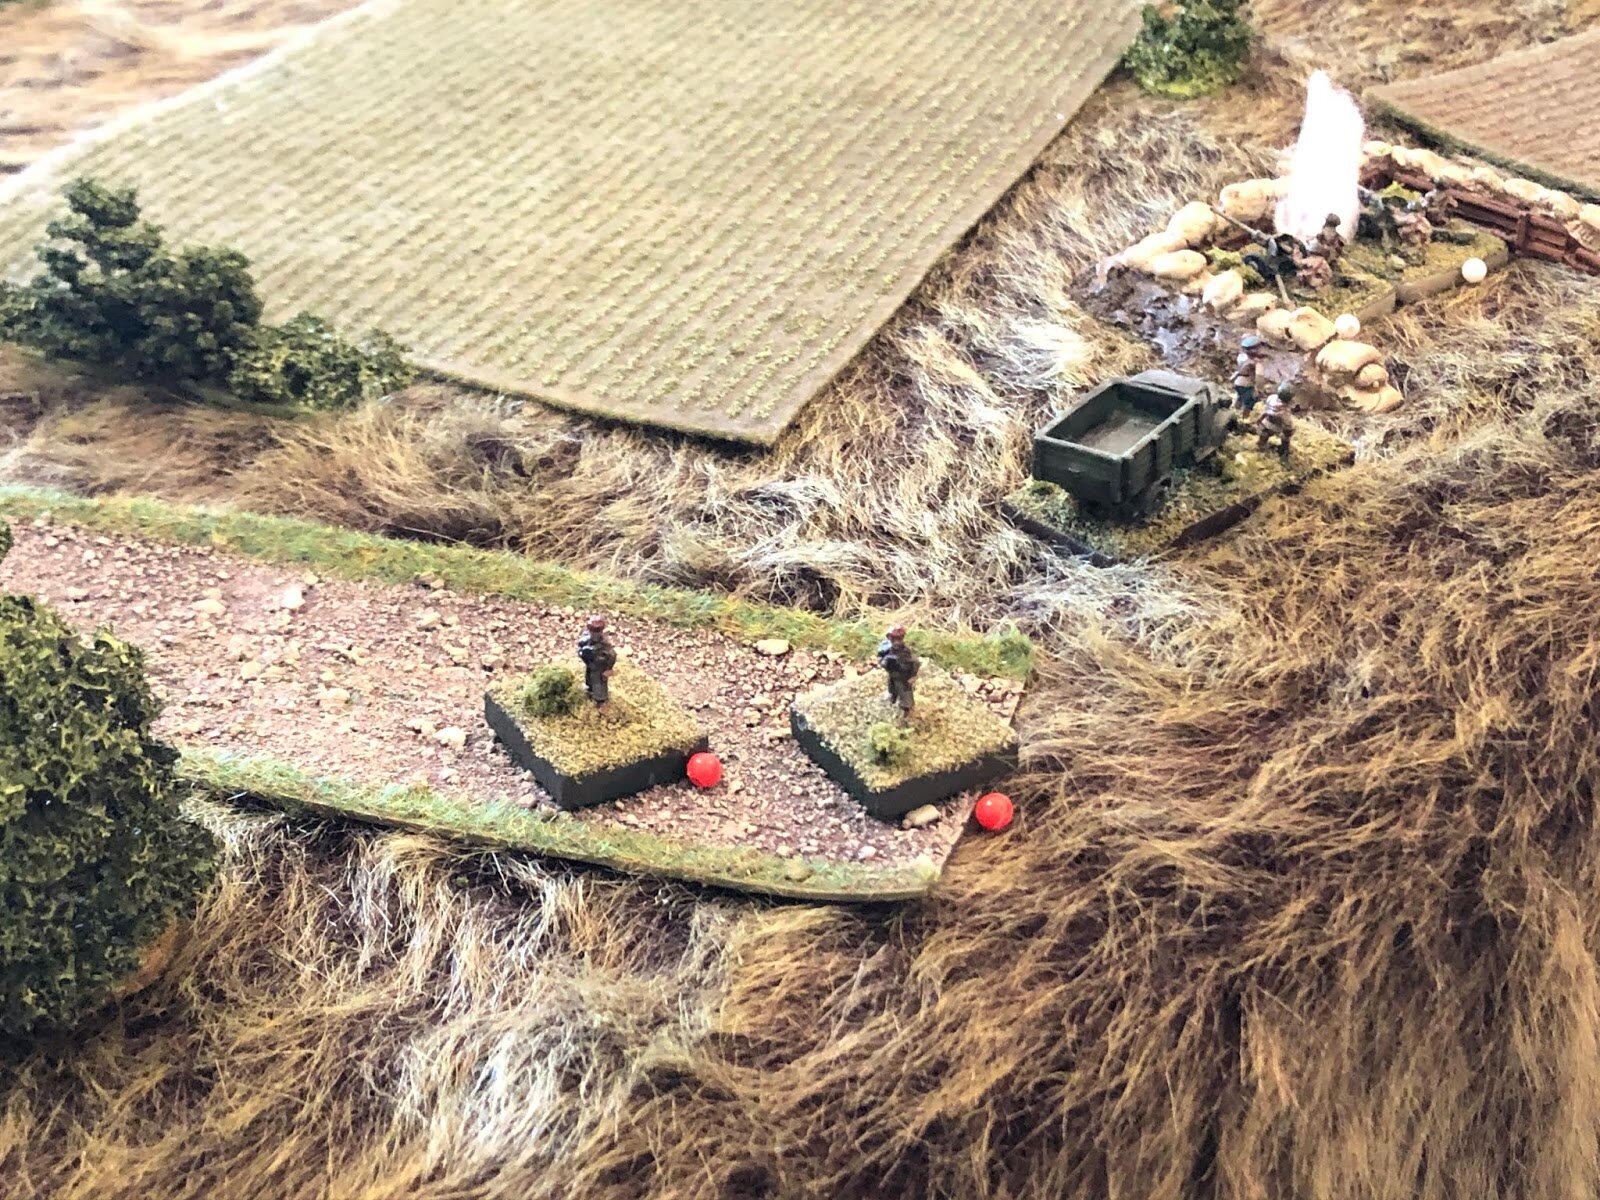
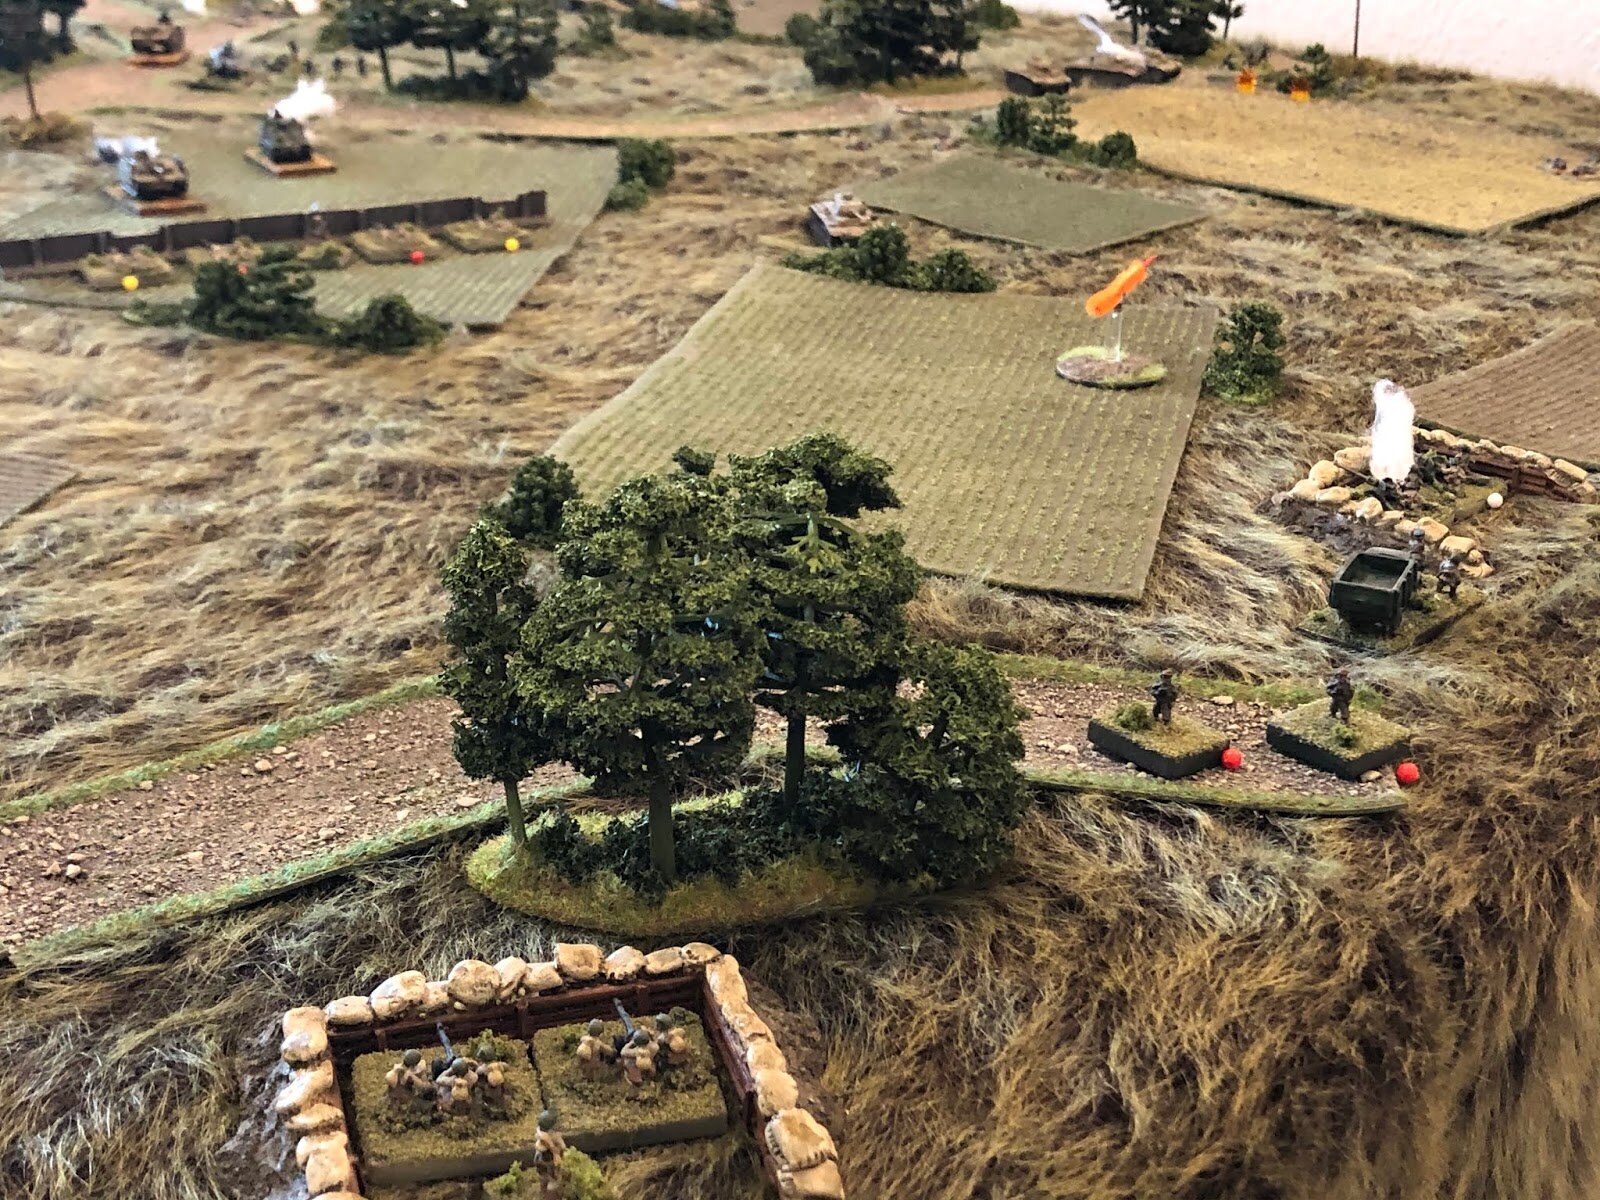
Direct fire-supports (MG Plt and IG Plt) will emplace in/around Yuri's Hovel with the mission of protecting the Kampgruppe's right flank and isolating the objective (keep any Soviet forces north of the Farm away from the Farm). (target acquisition and quick, accurate engagement will be king, might be a bit much to ask of worn out troops)
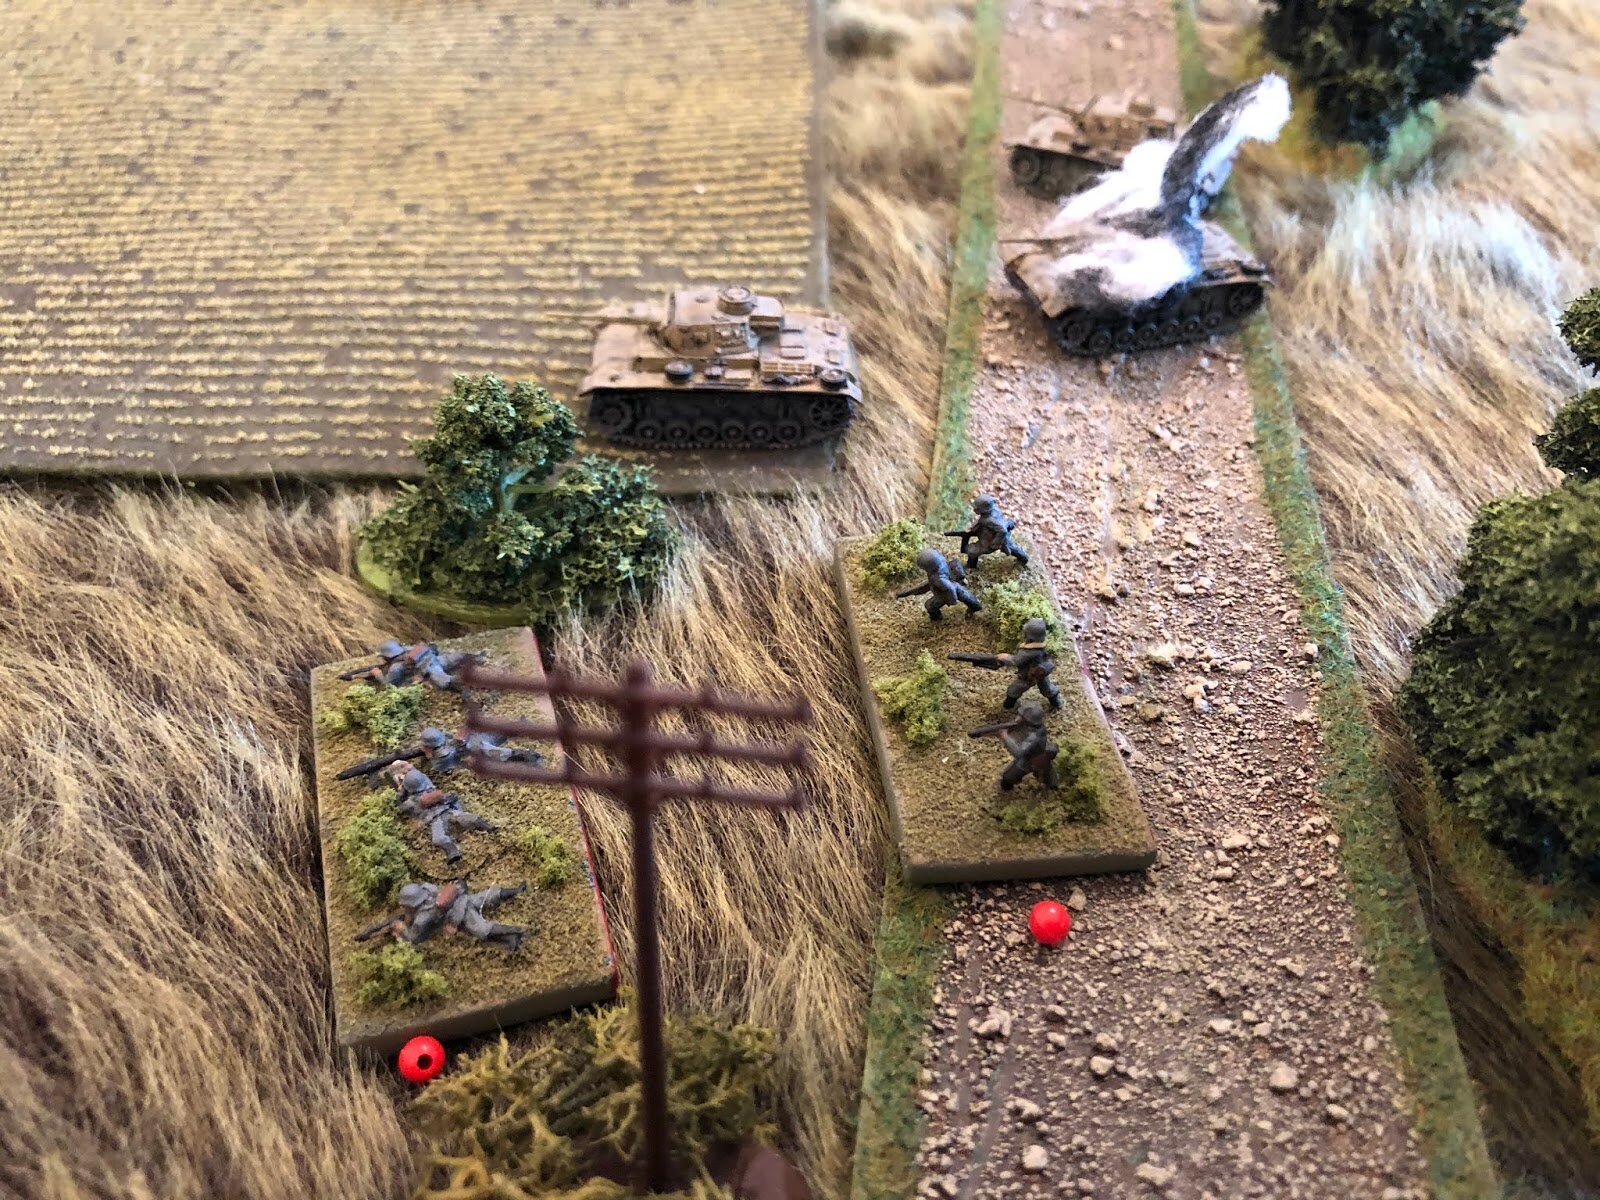
1st and 2nd Platoons of 2nd Company will assault the southeast wood (SP Sasha). This assault will not be supported; their mission is to tie down the defenders without becoming decisively engaged. (god luck with that!)
The Ersatz Panzer Platoon (hereafter referred to as the "Stug Platoon") will lead the entire 1st Company, in platoon order, down the road, straight into the objective. Speed is of the essence! (emphasis on speed can get real expensive real quick!)
The indirect-fire supports (Mortar Platoon and Nebelwerfer Battery) need to get in where they fit in, i.e., find some space out of LOS to likely enemy positions and set up. They are tasked directly to the Kampgruppe commander. (terrible idea, a leader's job is to lead, a commander's job is to command, a forward observer's job is to forward observe. There's a reason the duties are split!)
1st and 2nd Panzer Platoons, and 3rd Platoon, 2nd Company (mounted in the halftracks) are the Kampgruppe's reserve (begin game off table to east).
So, what did he miss?
Well, he's incorrect in his assumption that the Collective Farm is a bulwark of the defense; you see, the elite Soviet 'Tank Killers' are trained to look for target indicators (such as a cluster of buildings and clumps of trees) and stay the hell away, knowing the Germans will target them with copious amounts of artillery and mortars. This means Nebelwerfer rockets will soon be falling on unoccupied ground, and the KG's assumption, along with his inability to conduct a real reconnaissance, means he completely missed SP Mila, which his Stug Platoon and 1st Company will be waltzing straight down the road to. And he has completely missed the flanking deployment of the deadly Soviet Zis-3s.


Time to Fight!
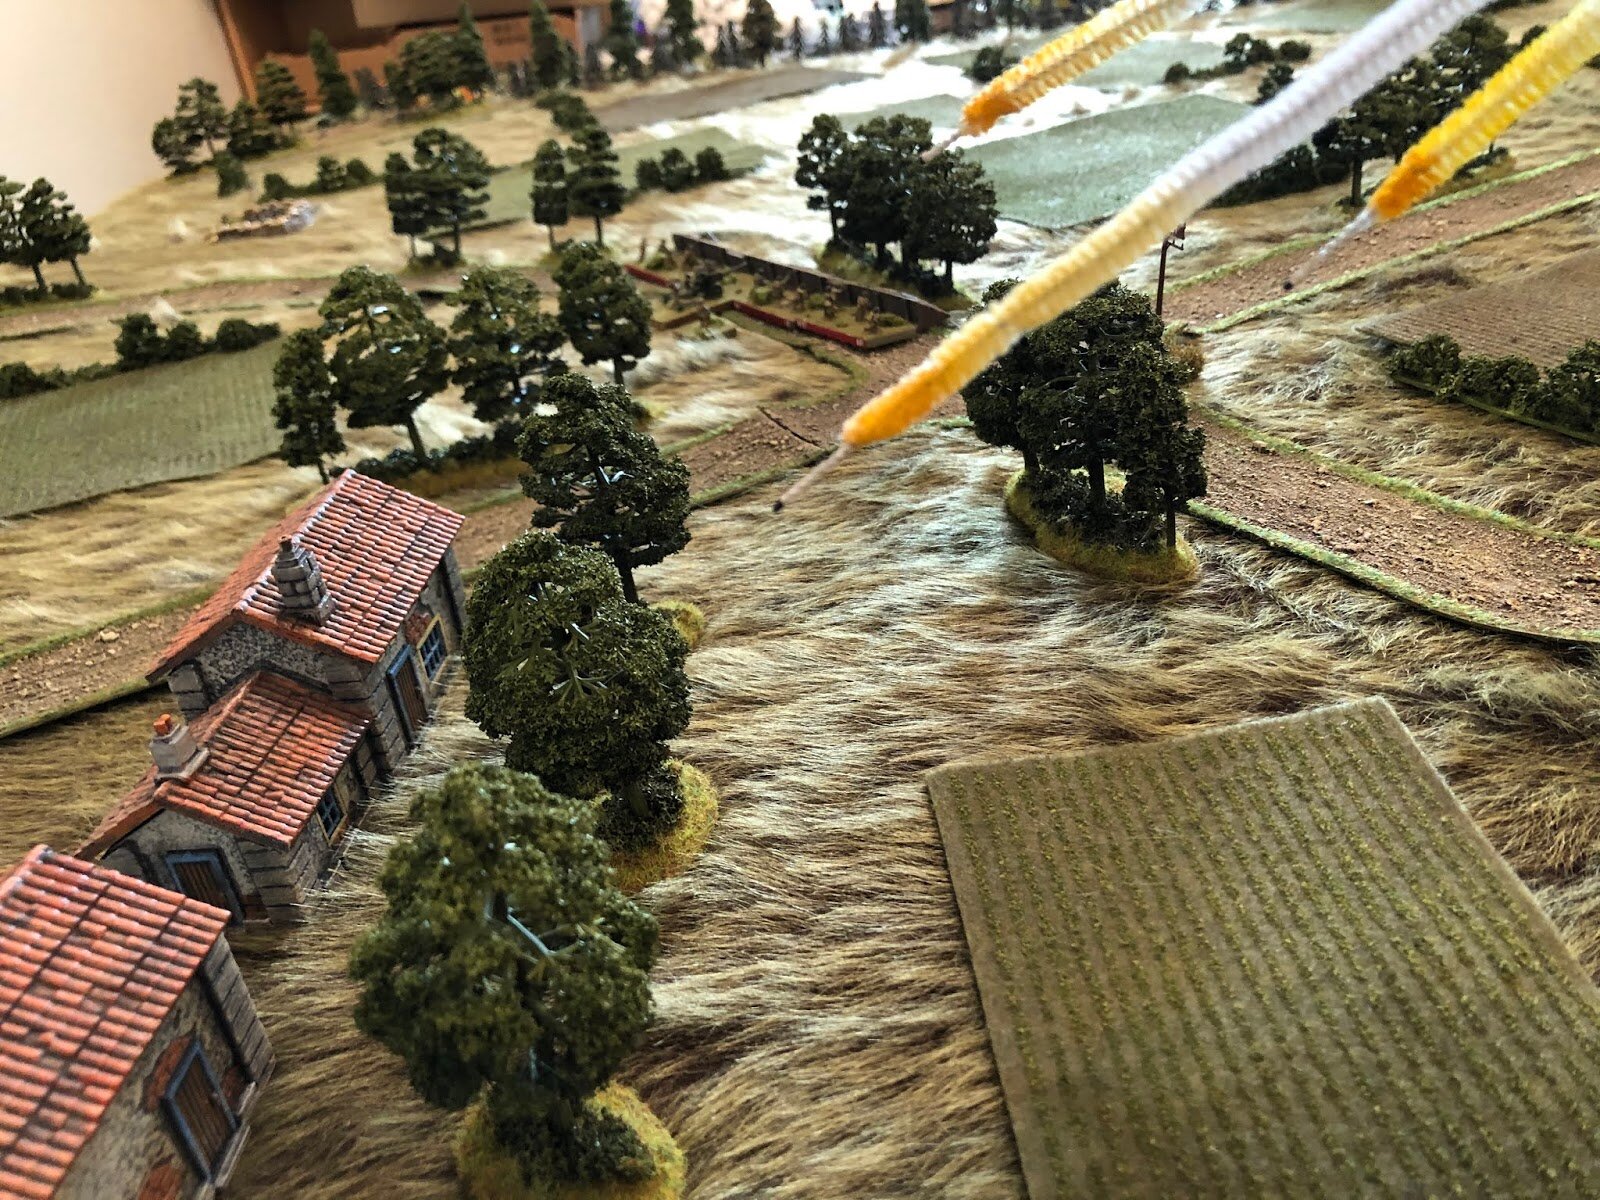
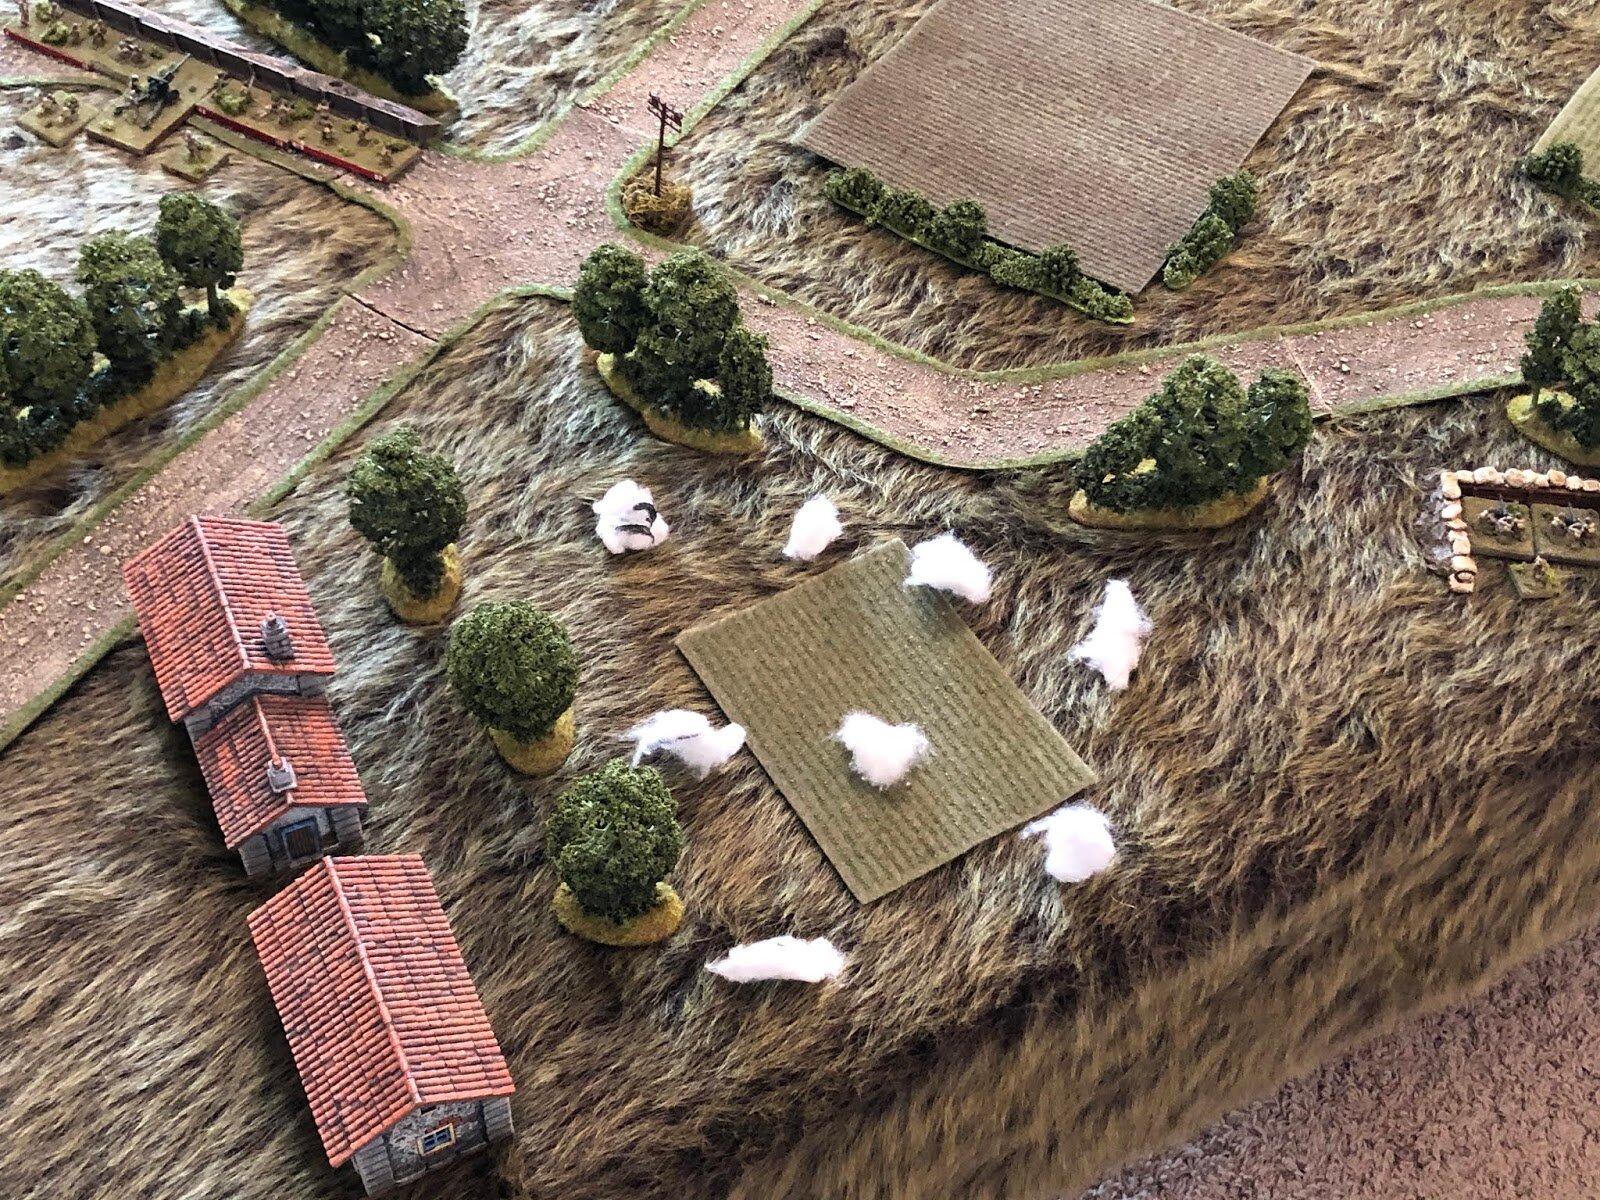
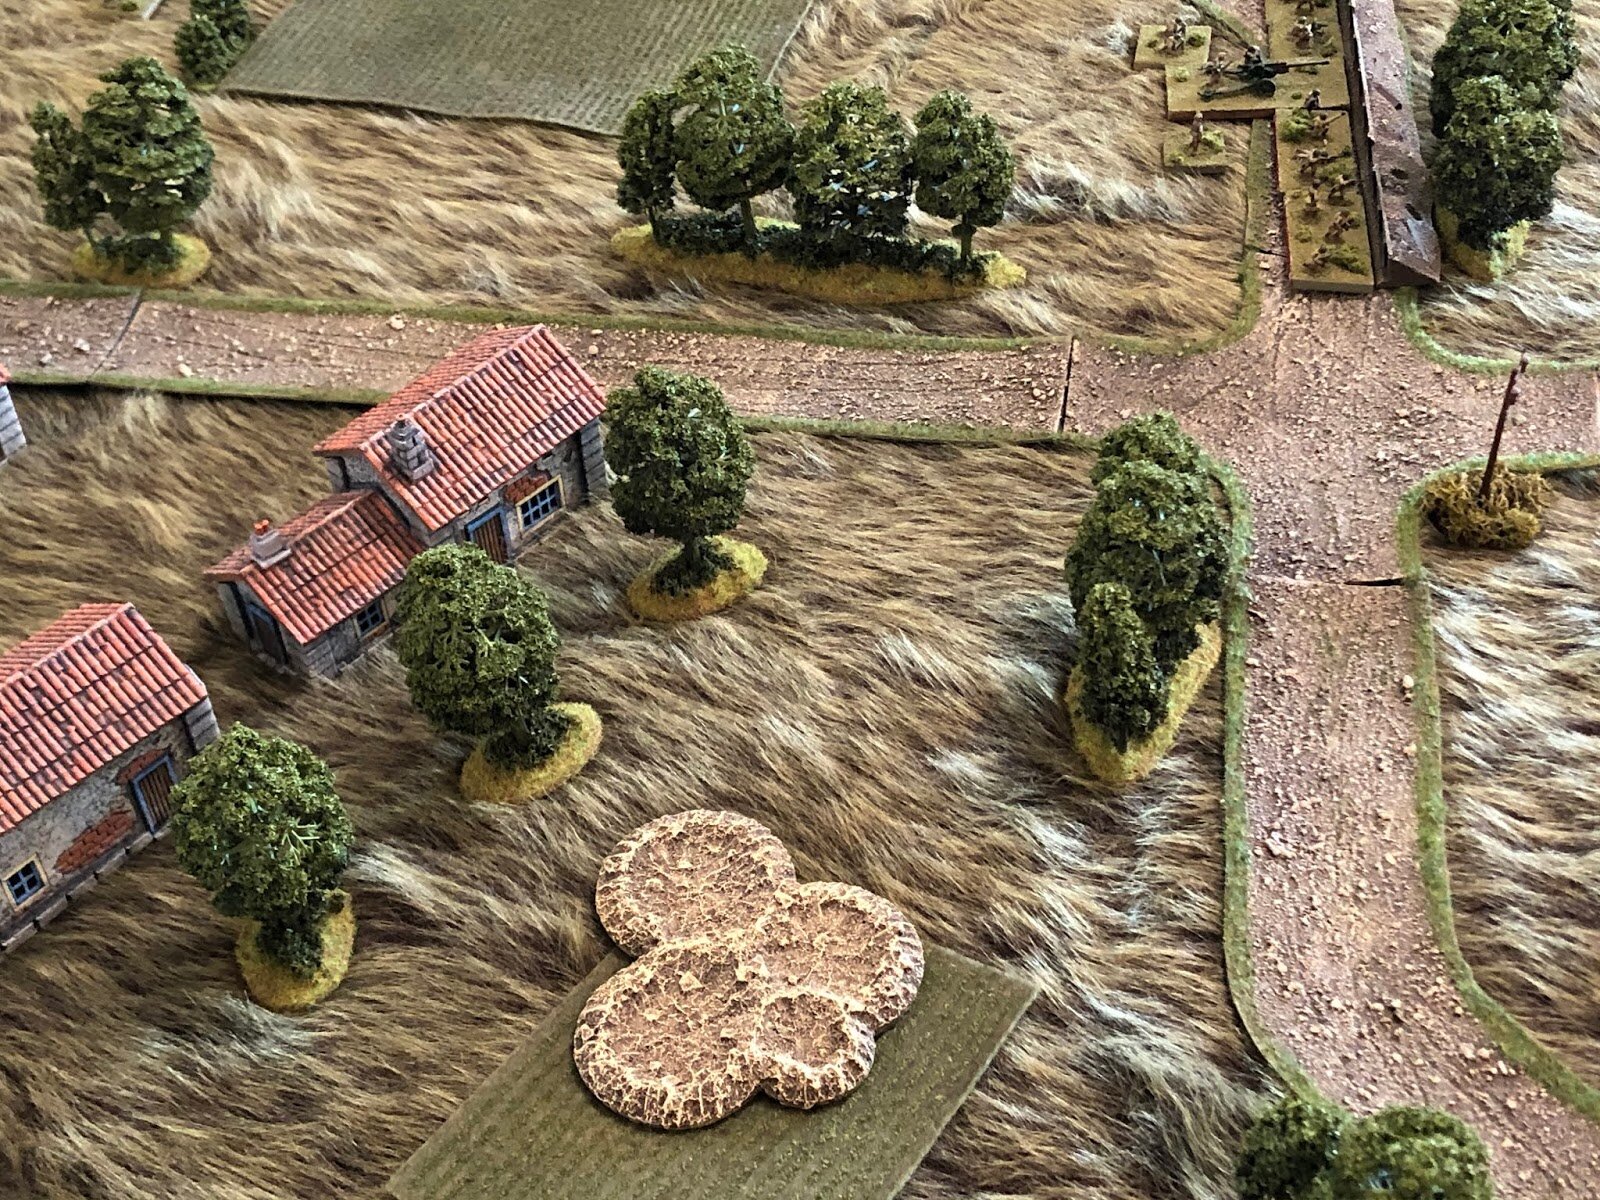
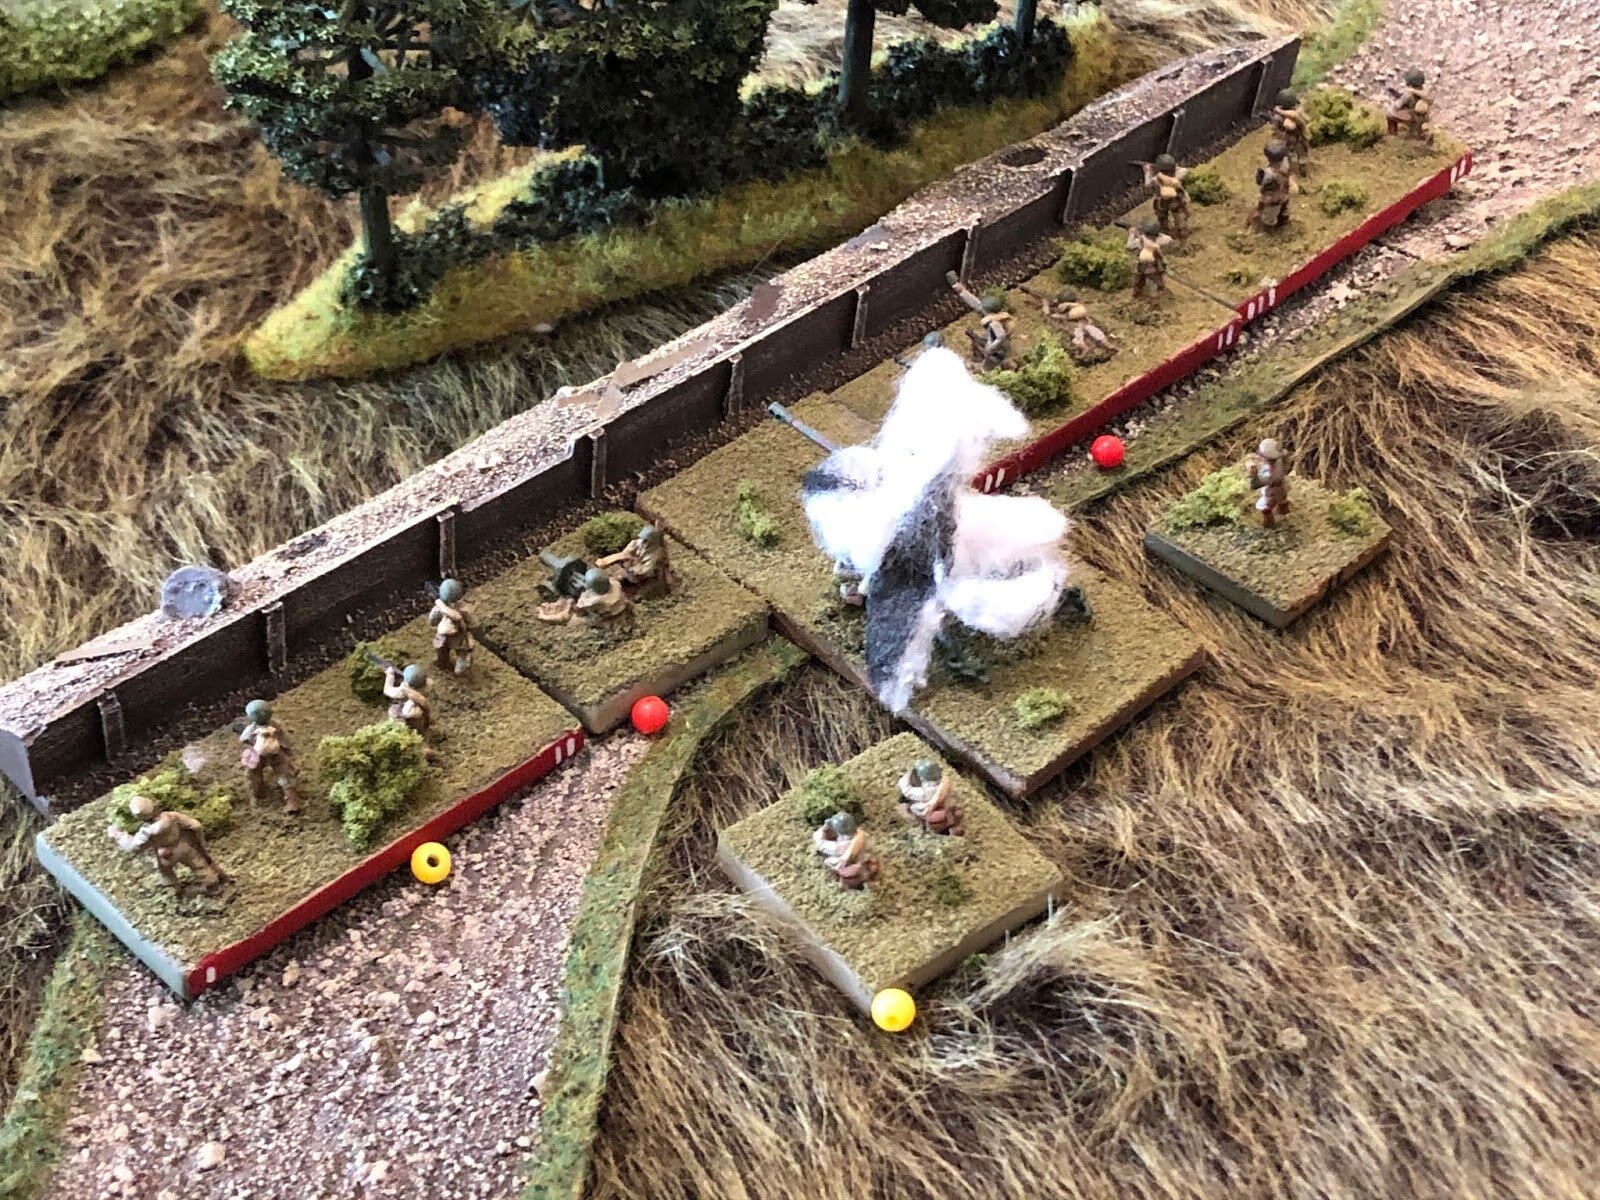
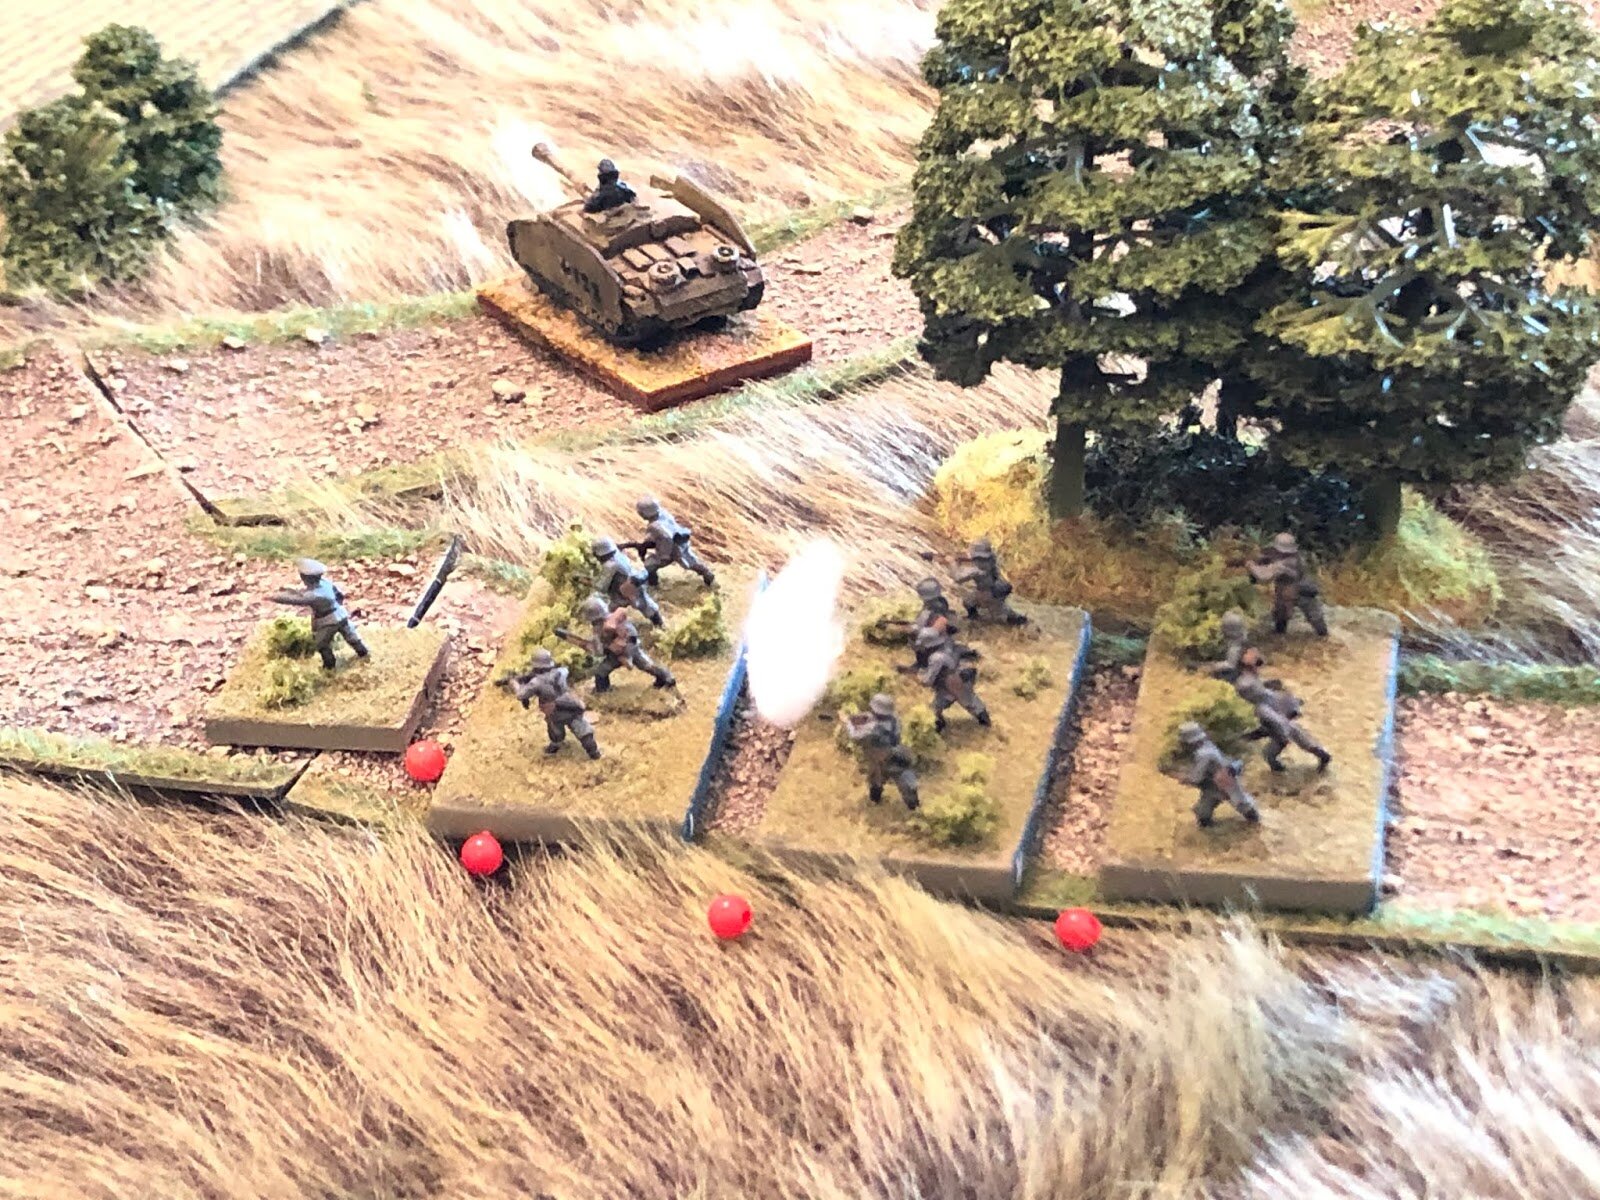

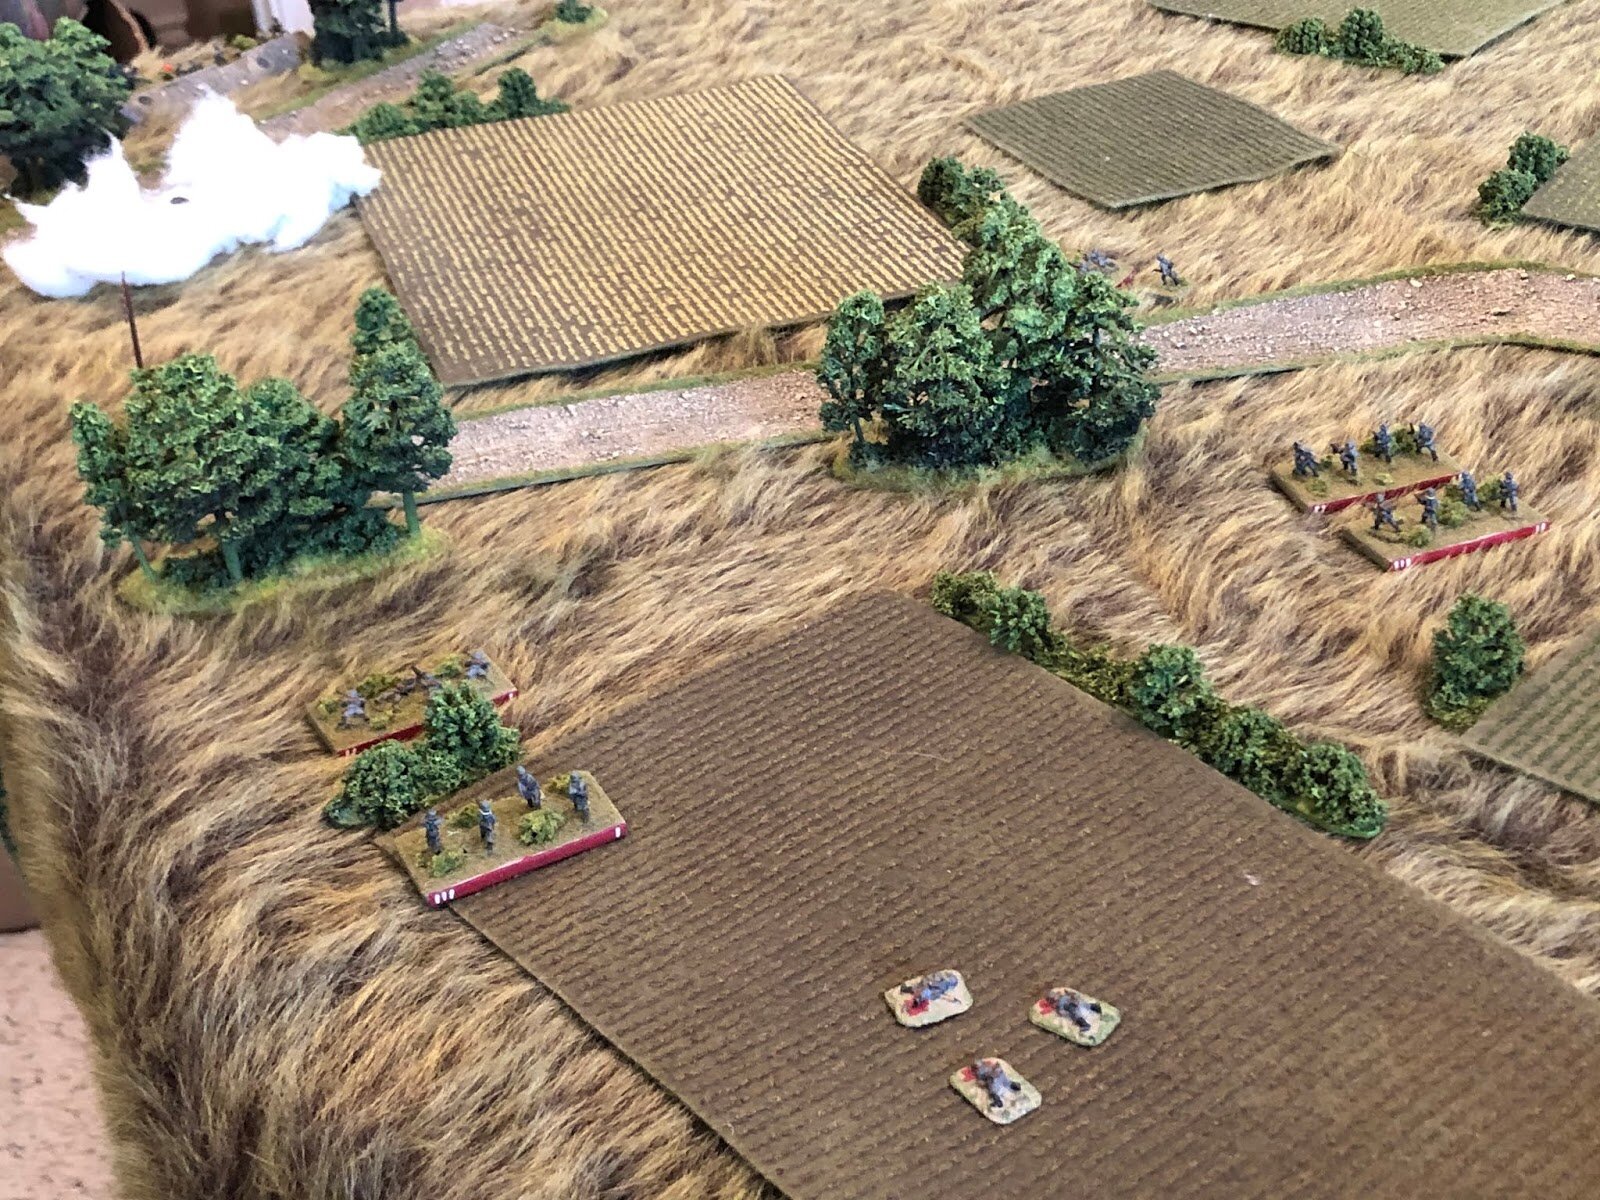
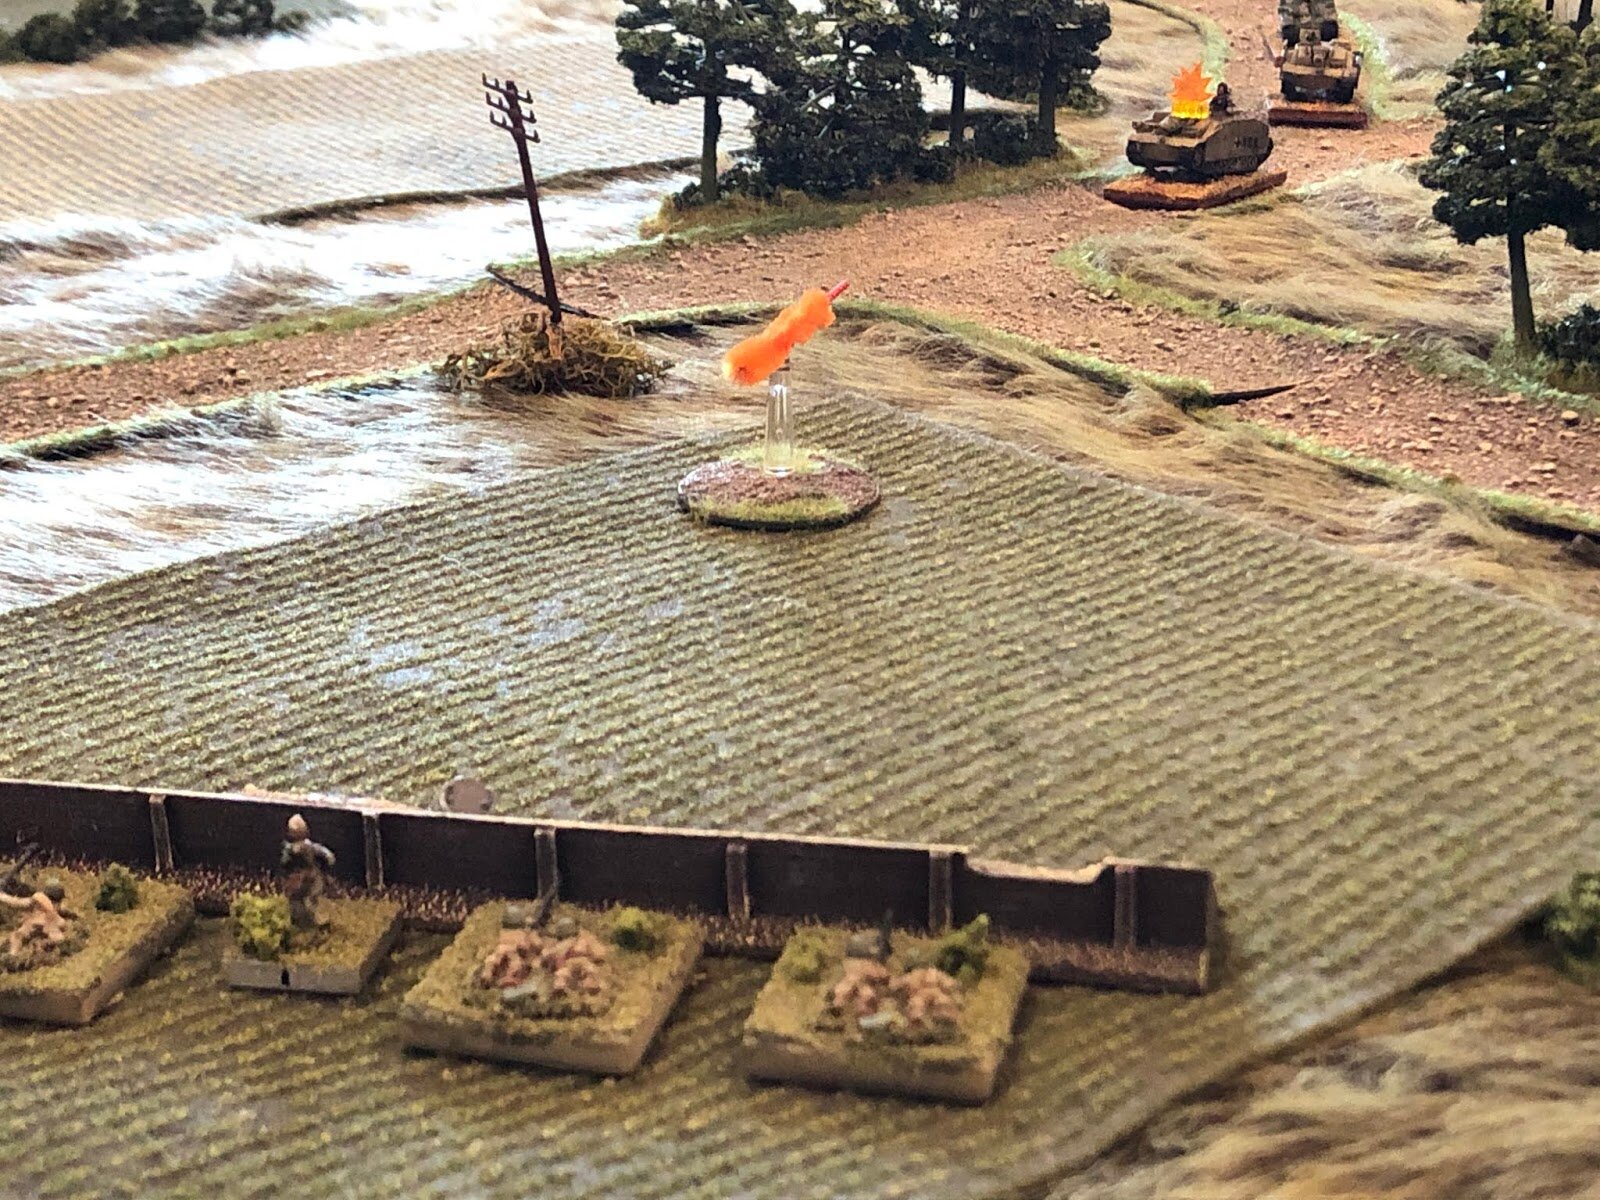
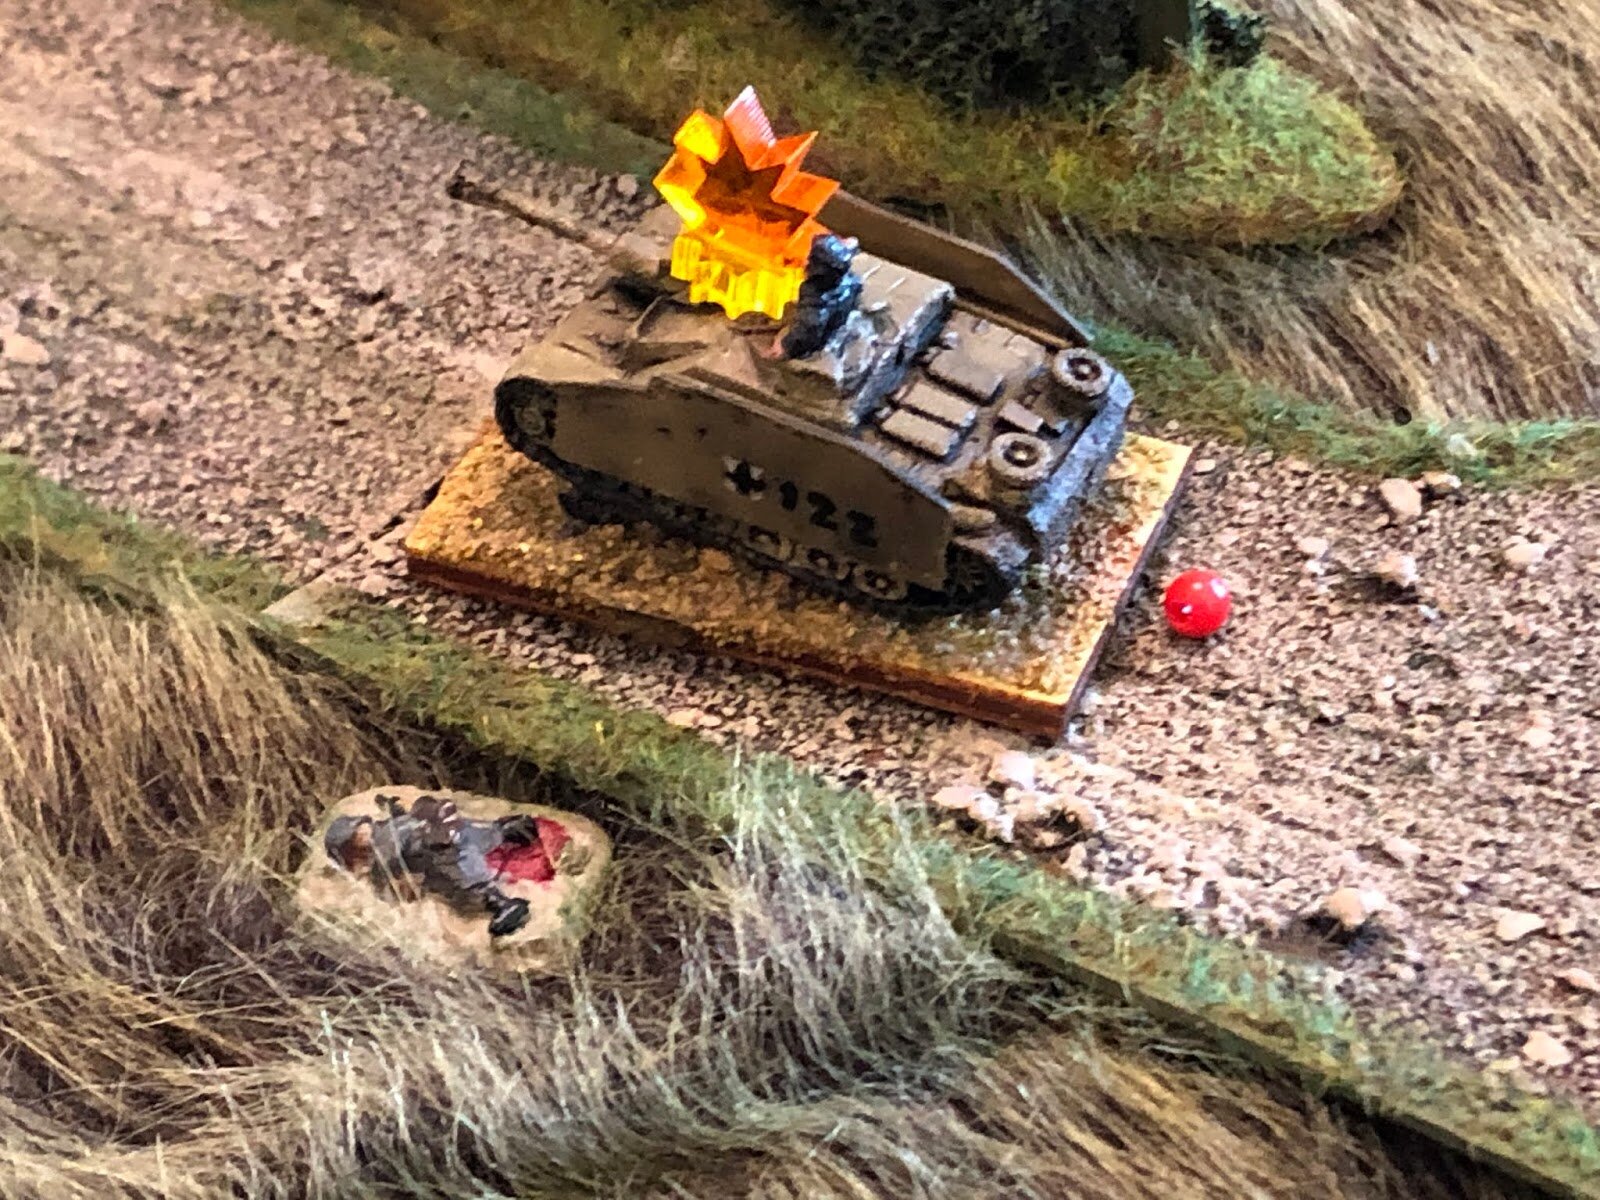
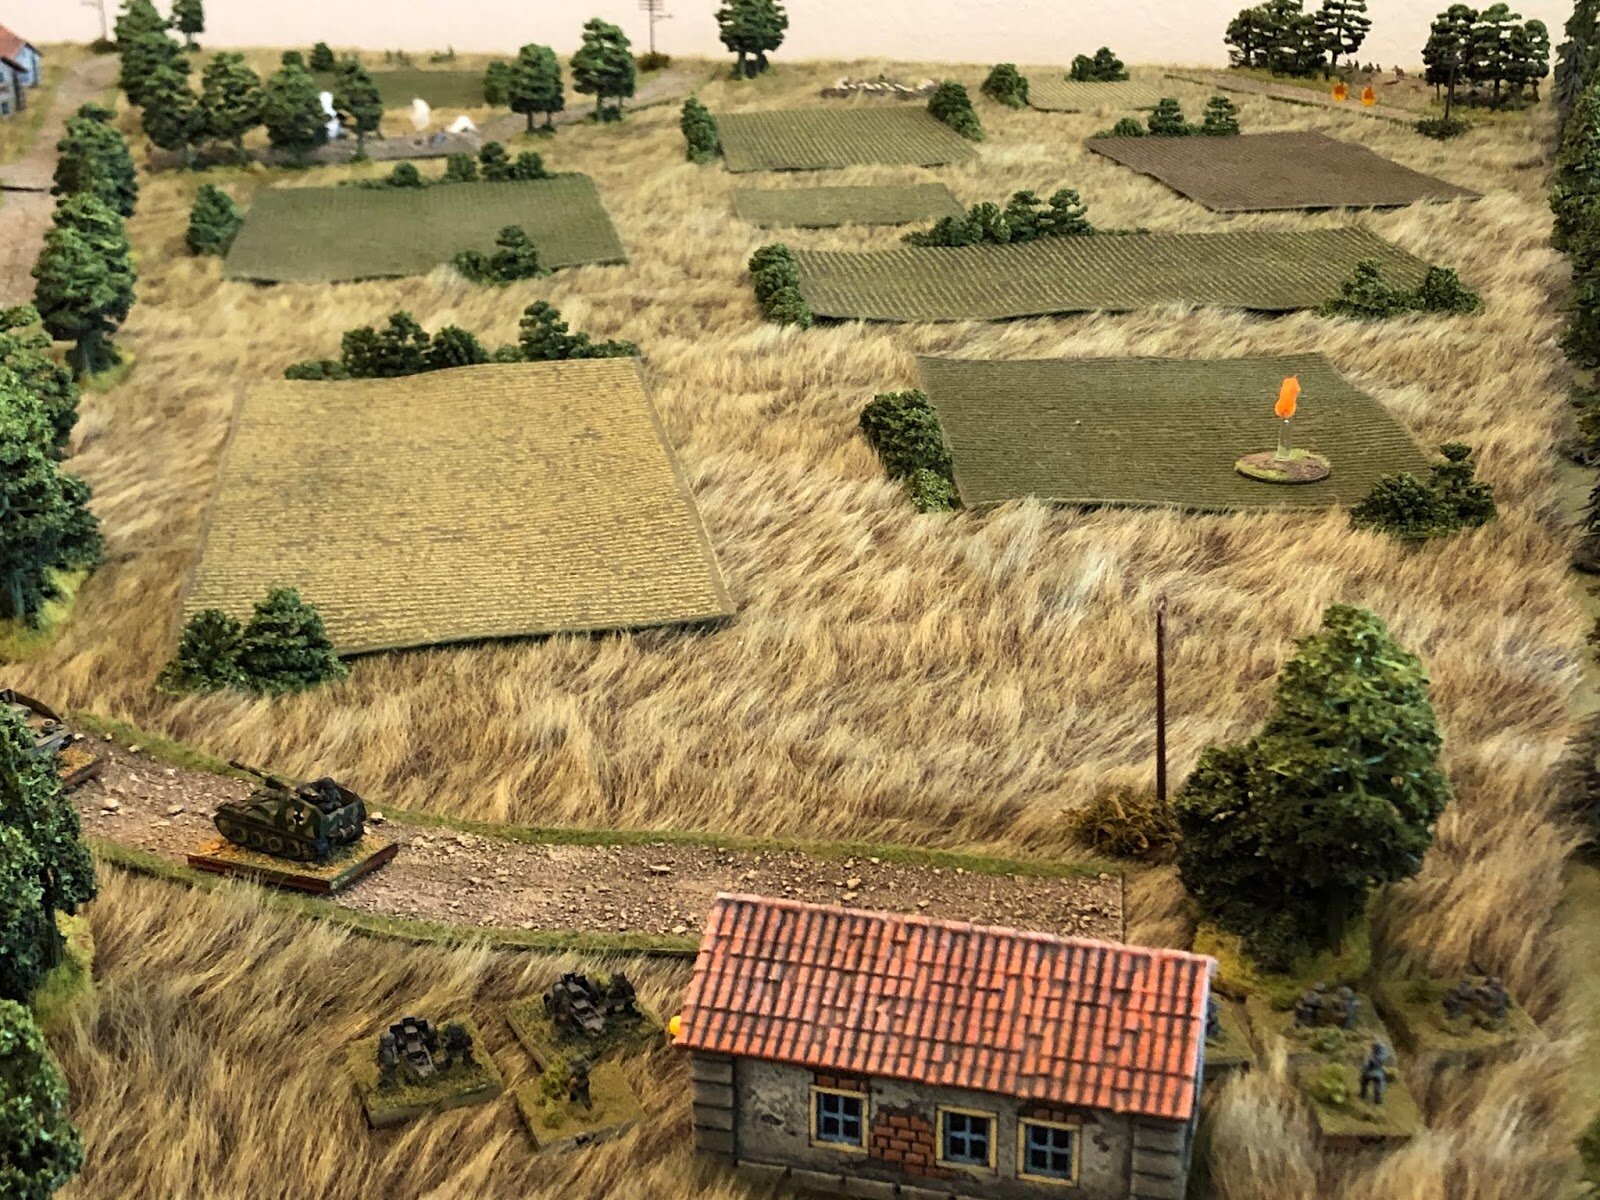
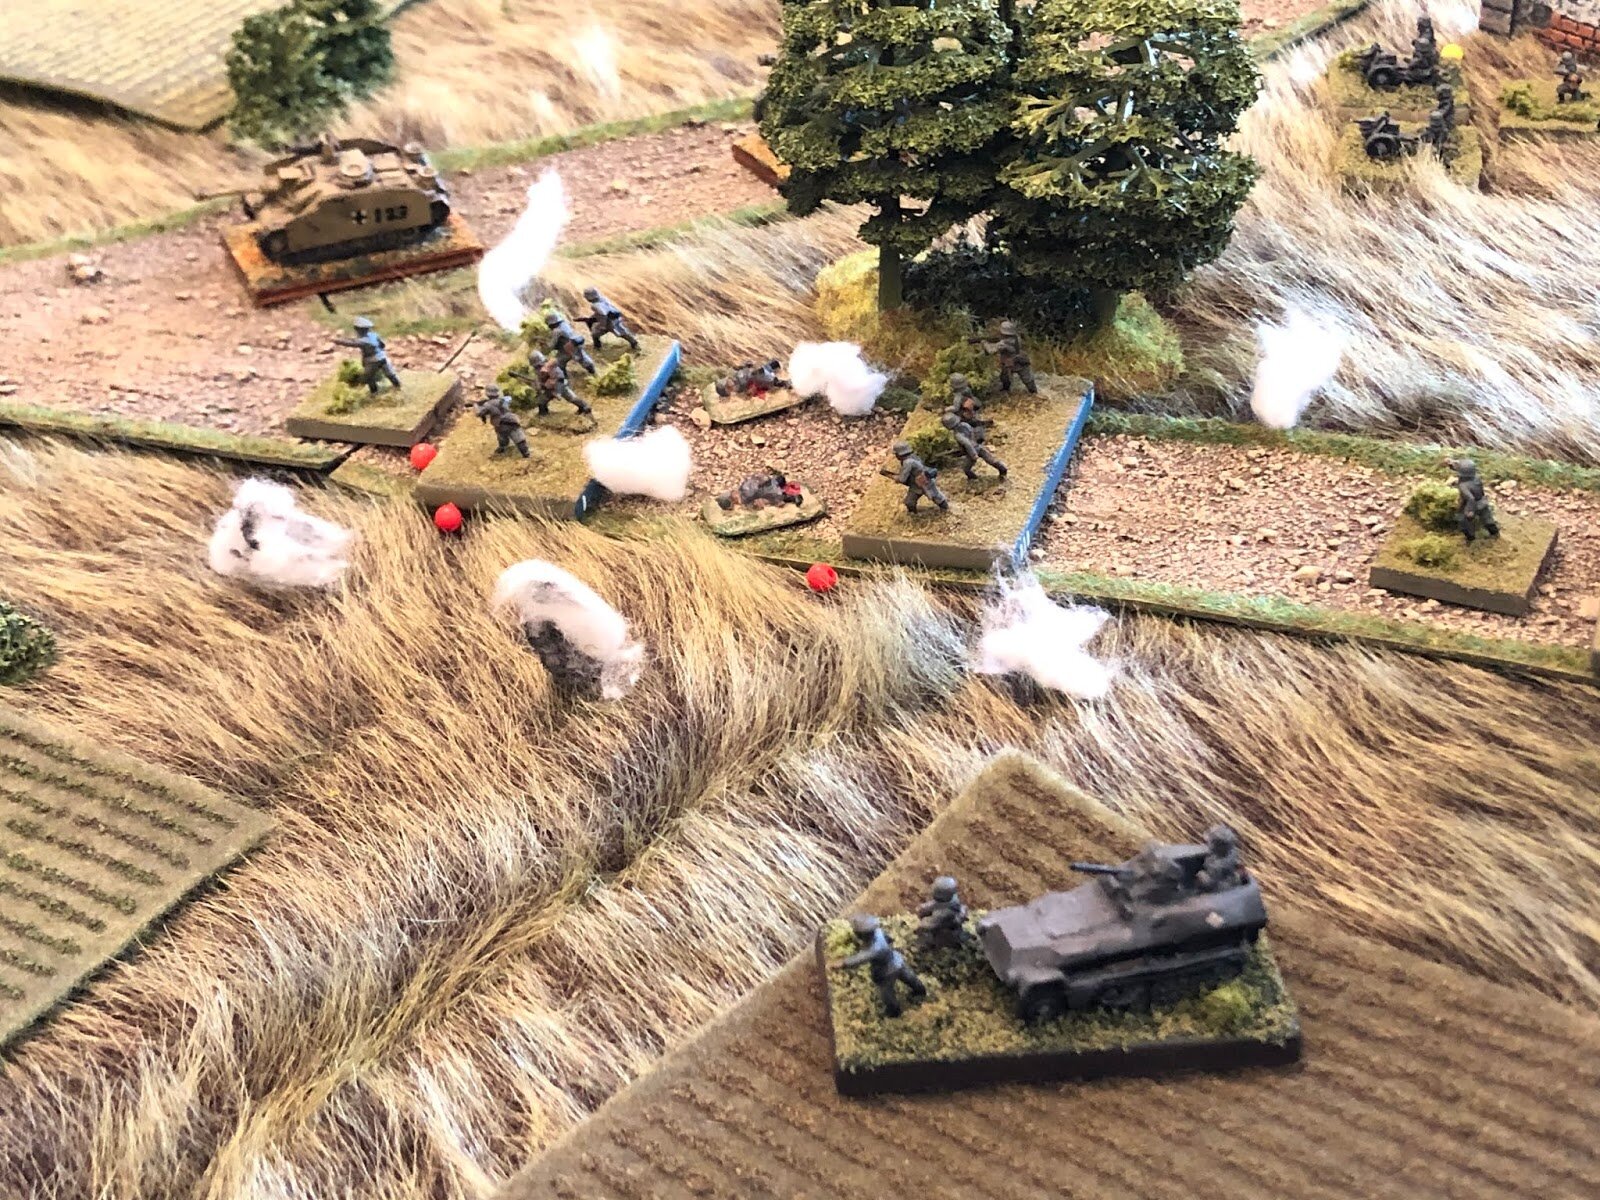
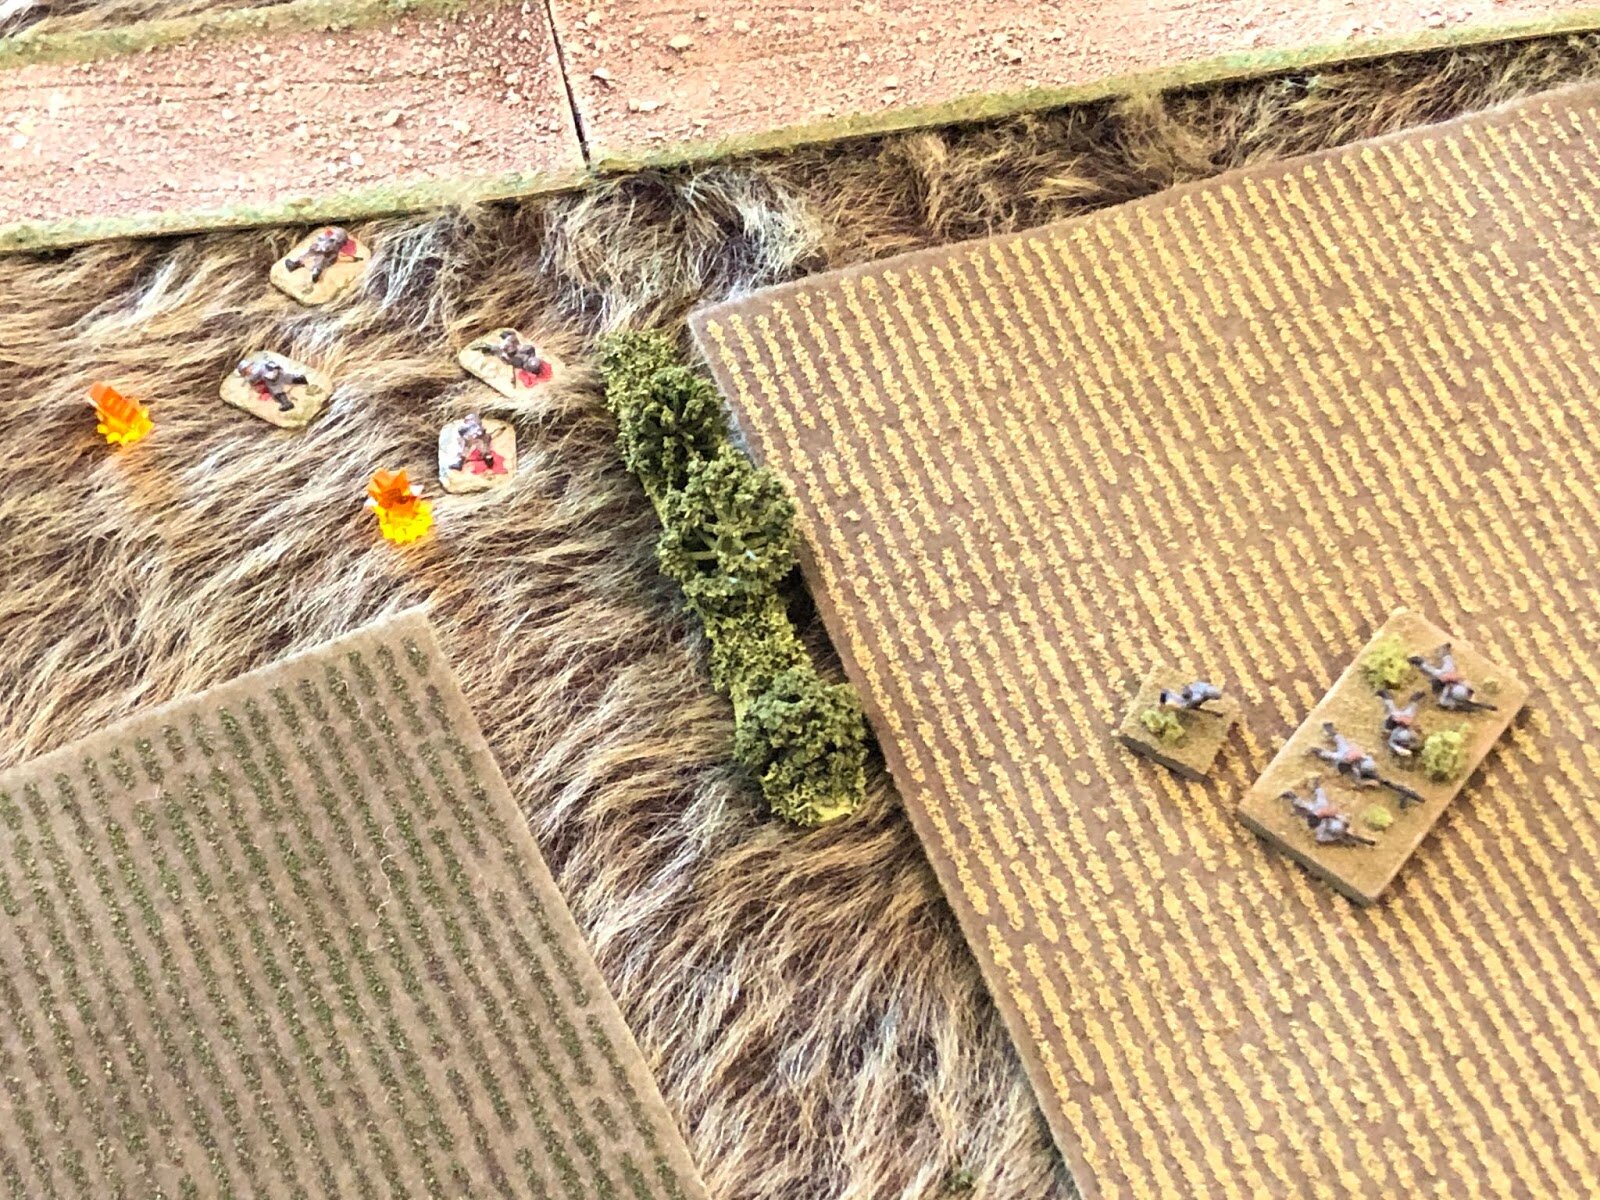
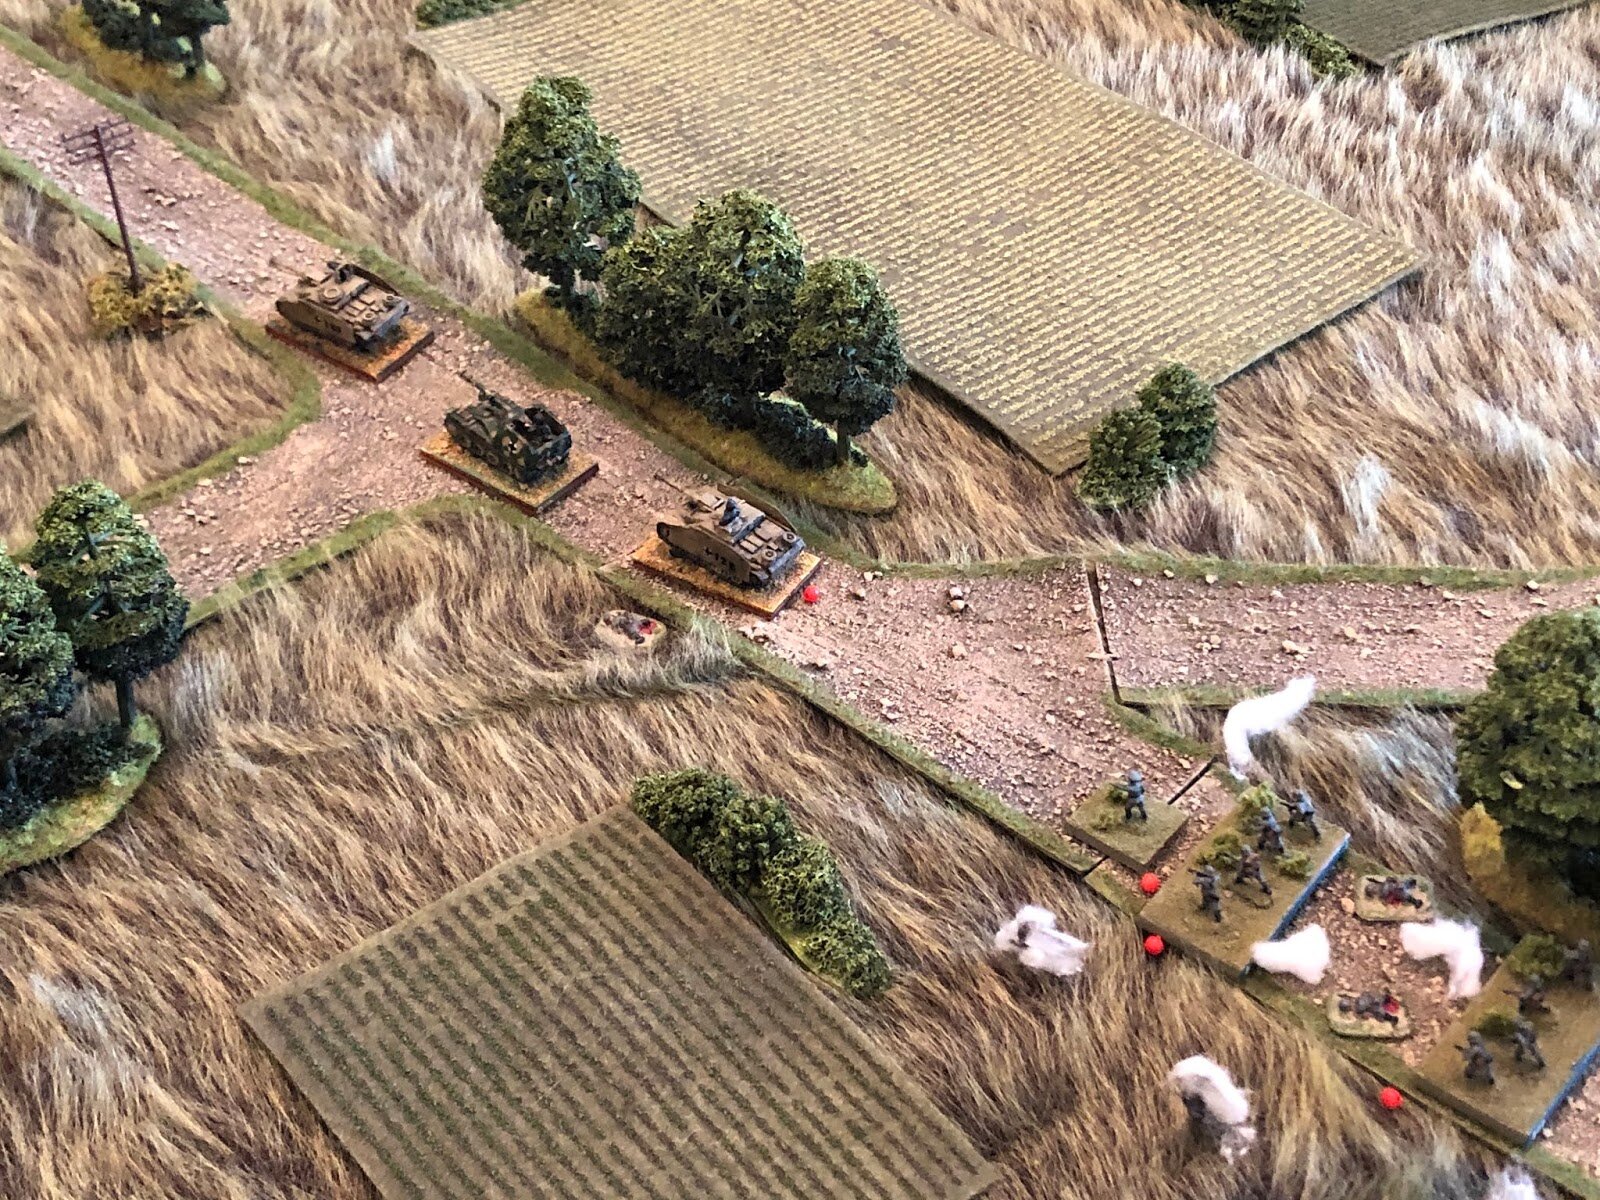
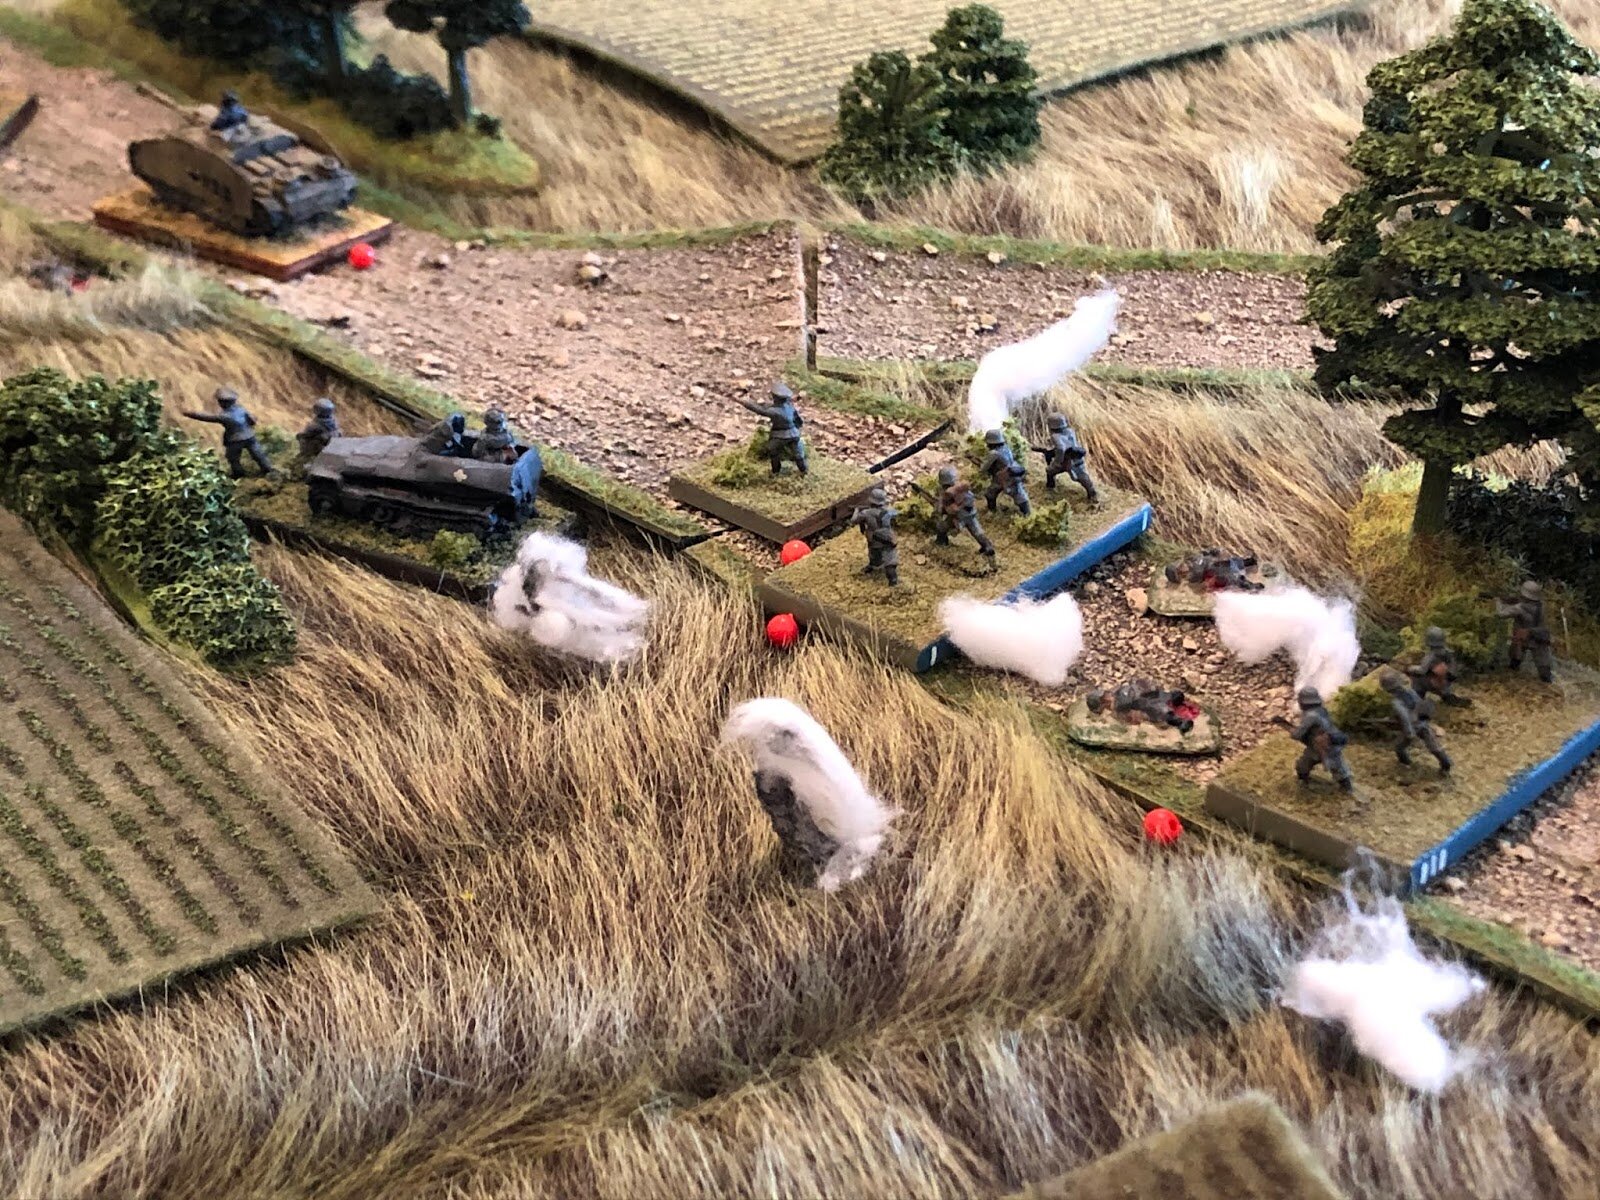
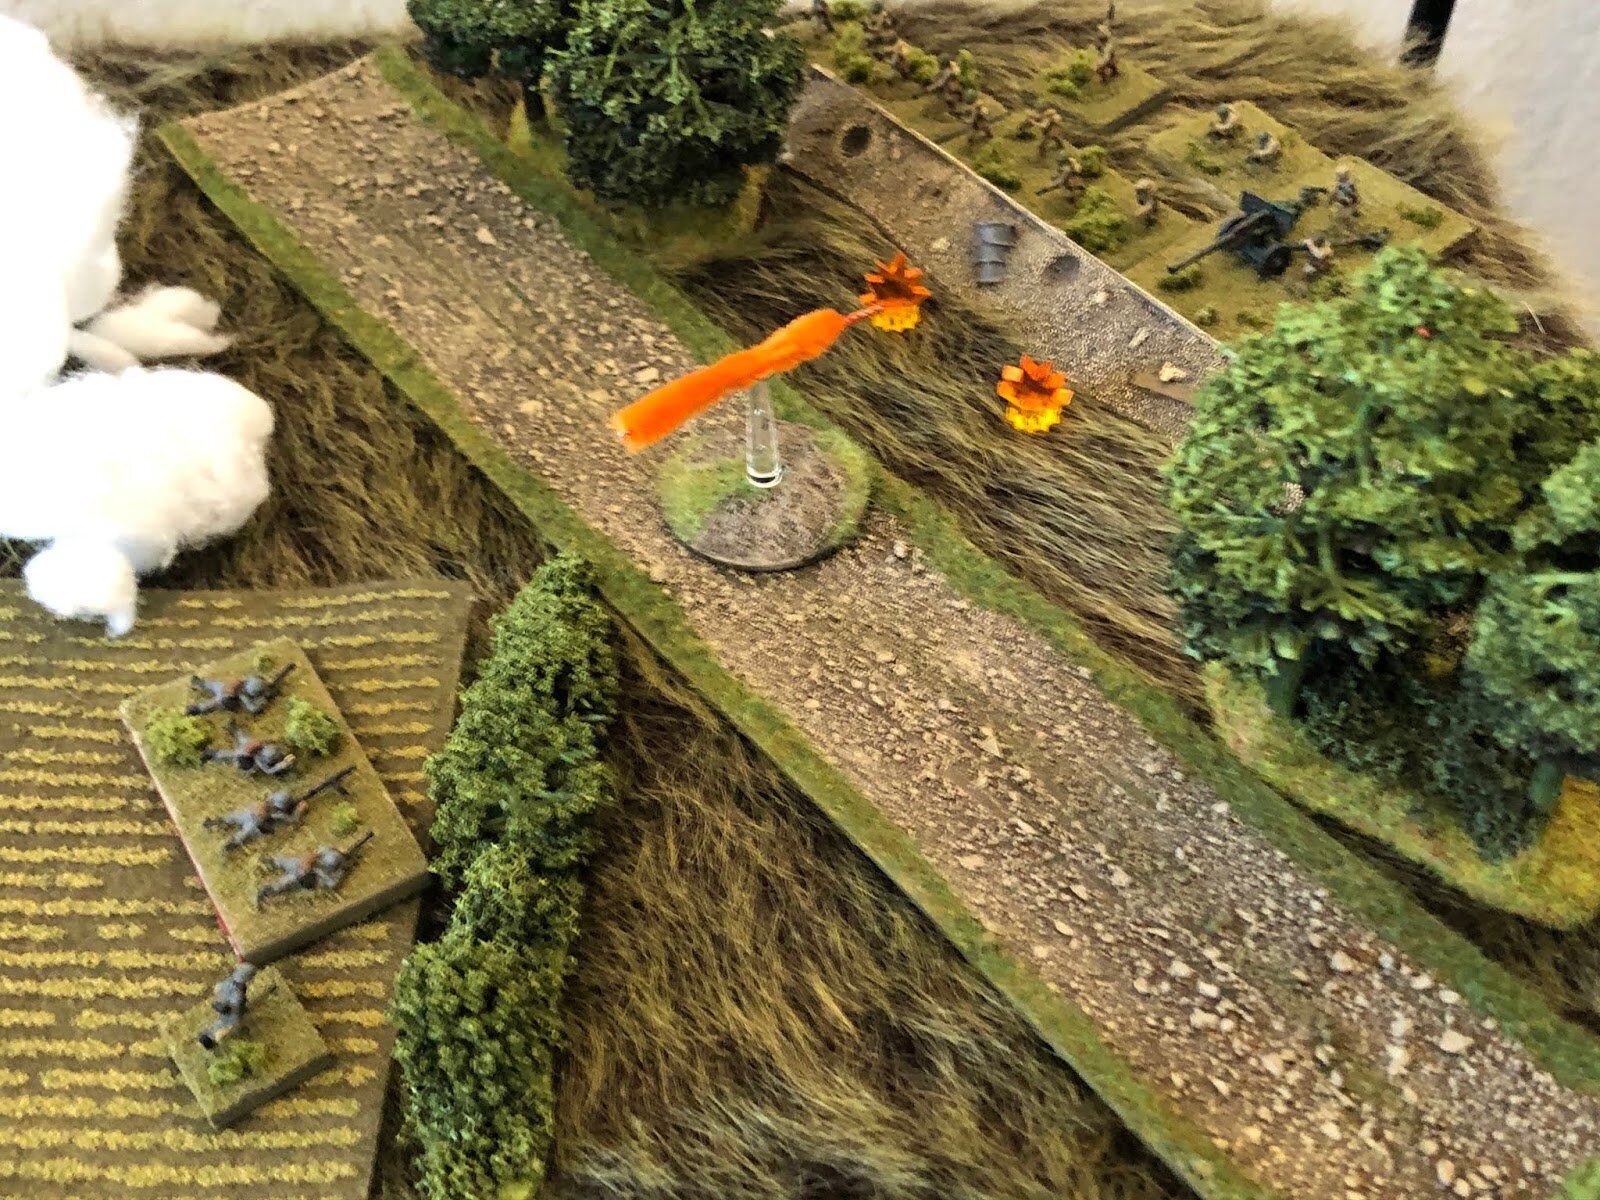
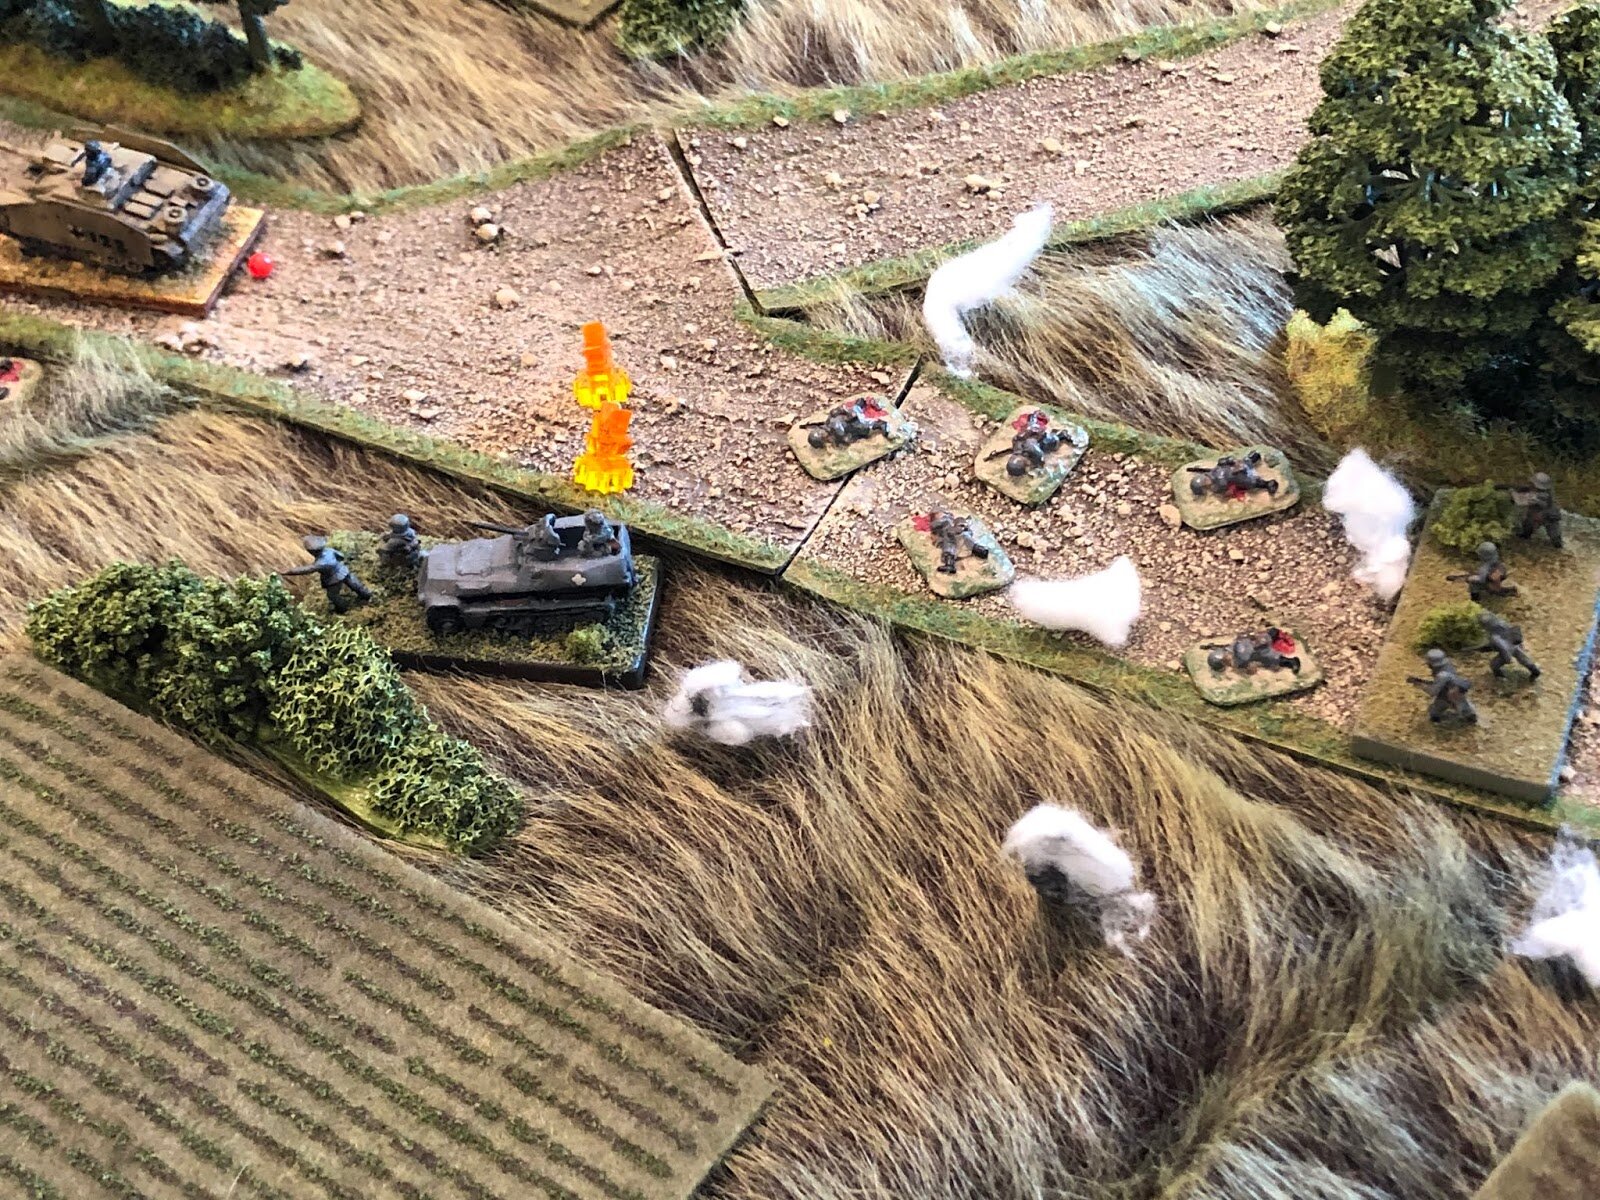
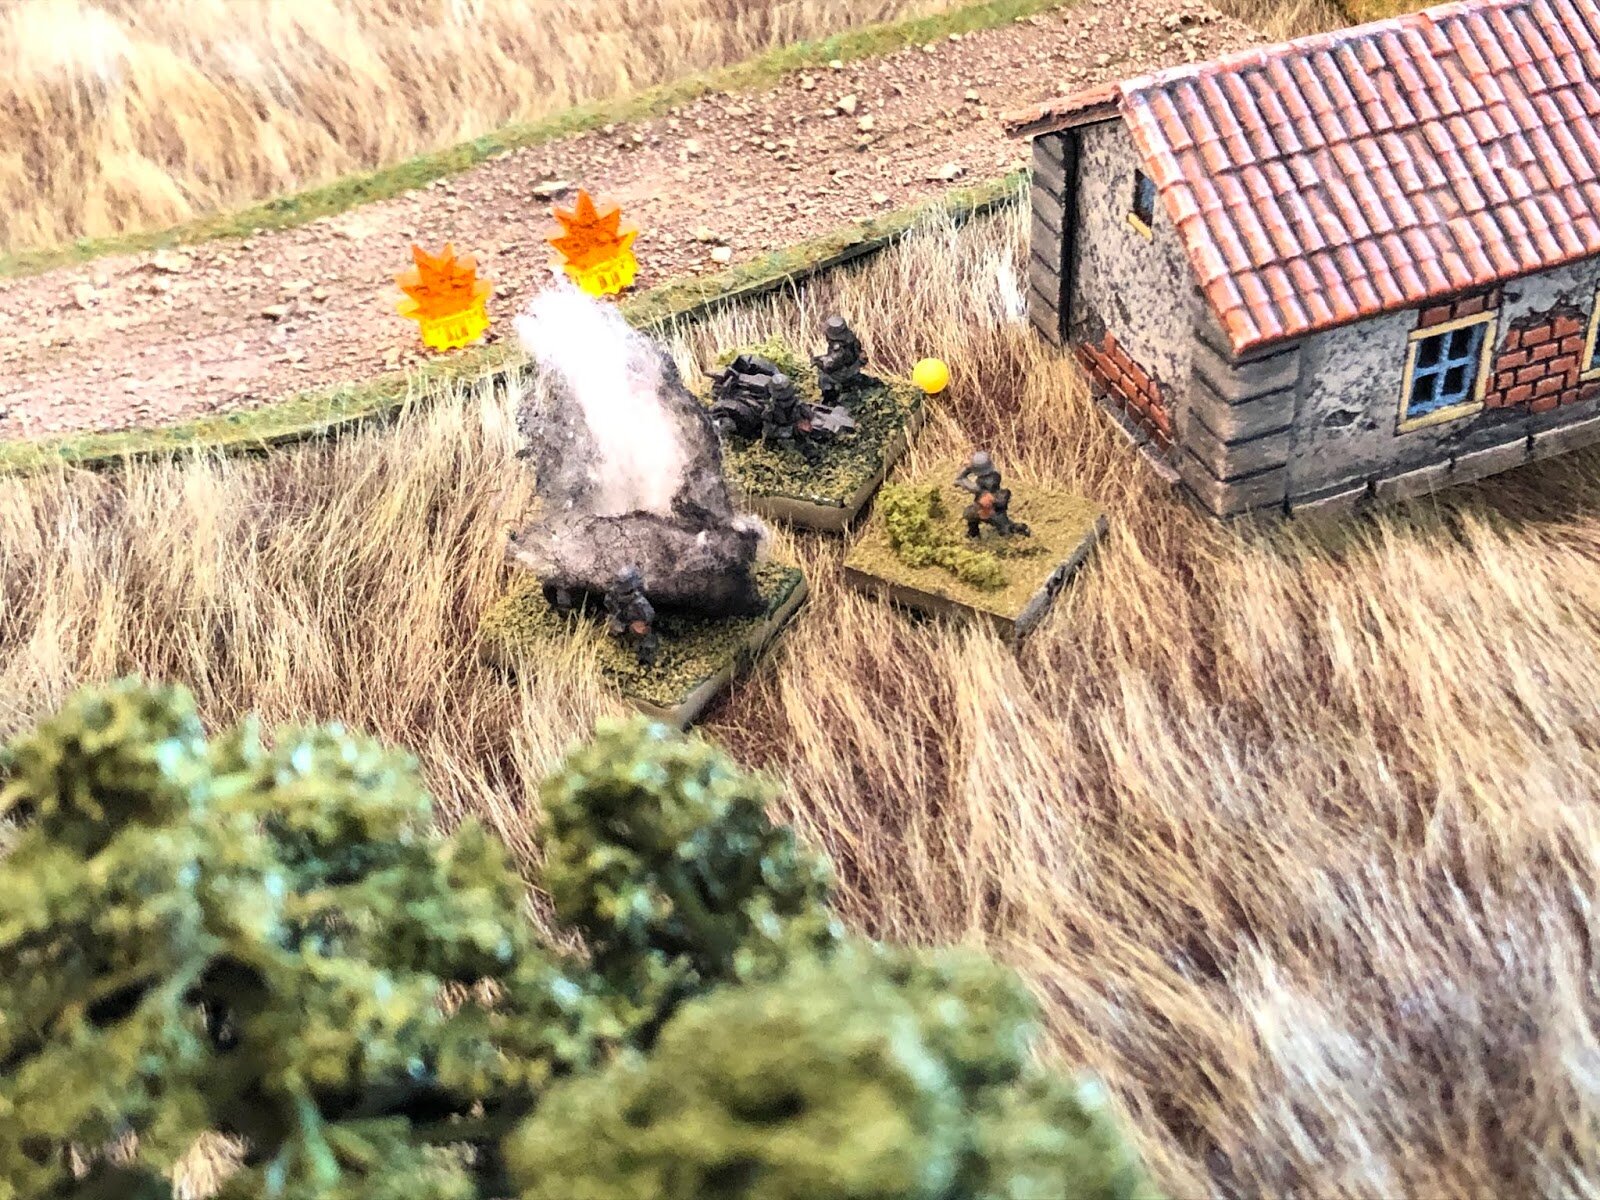
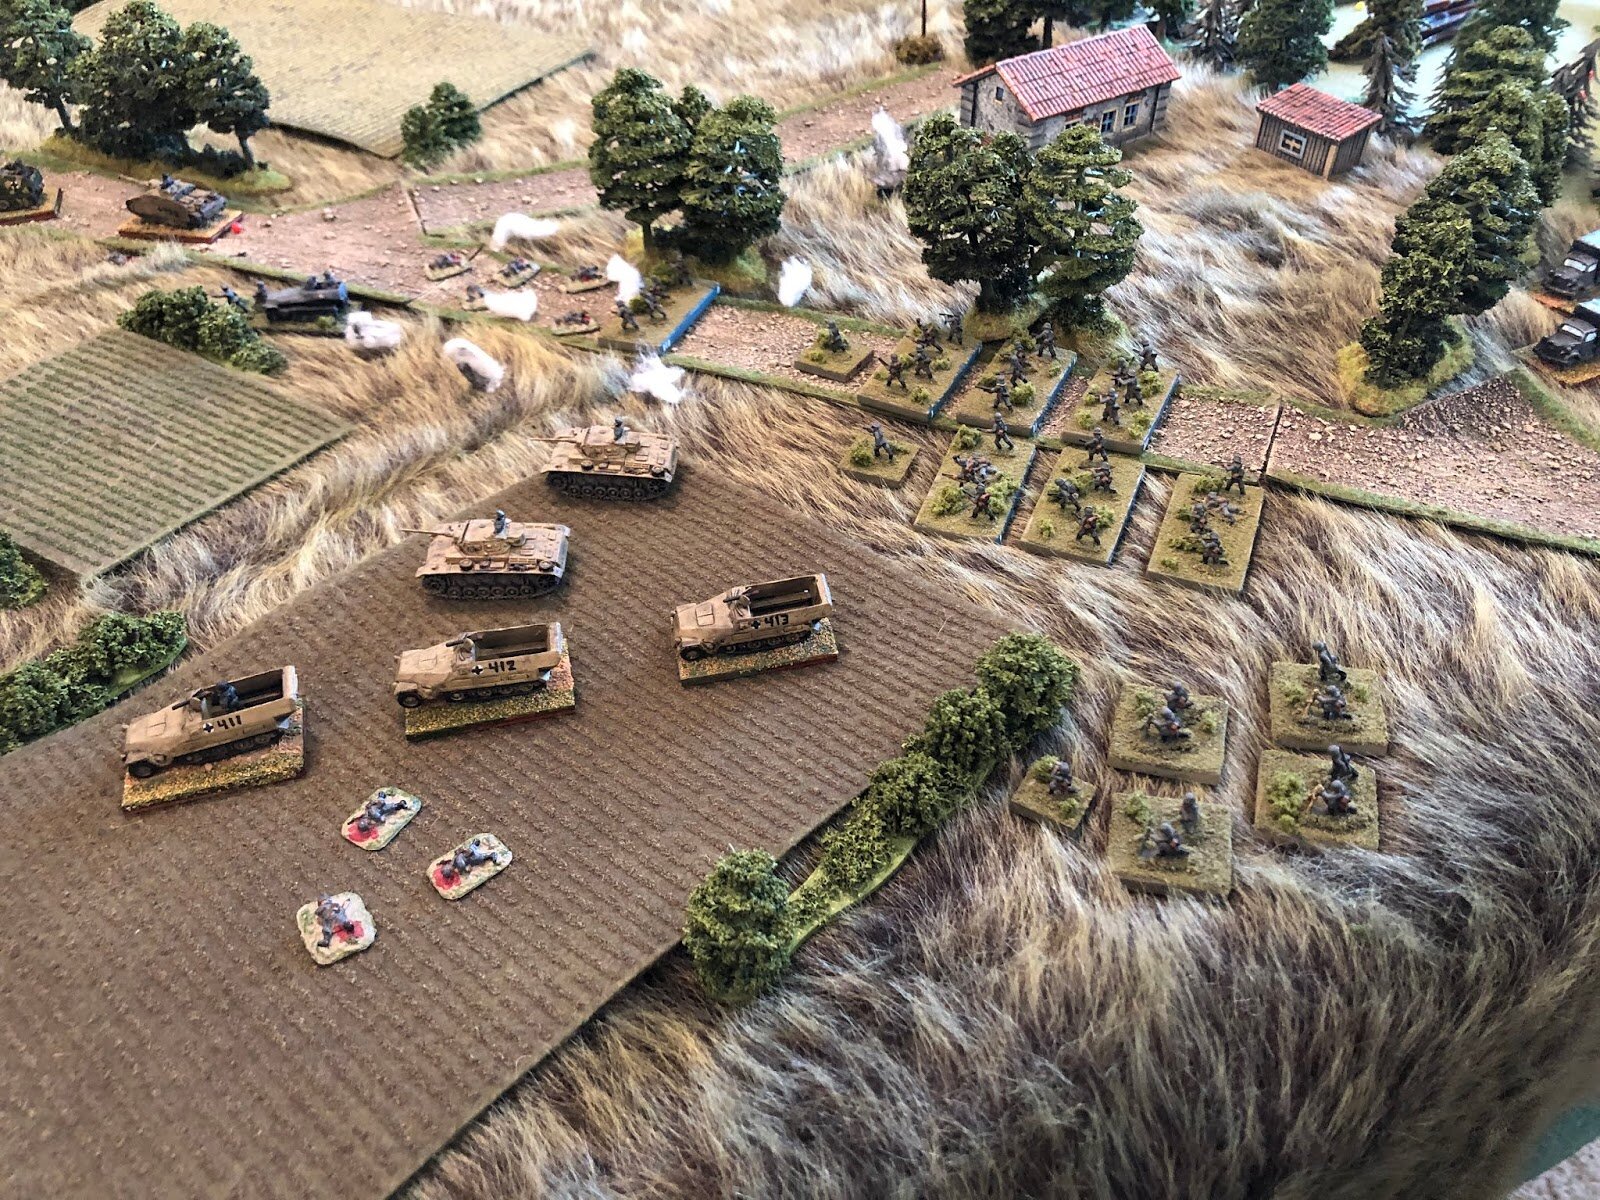
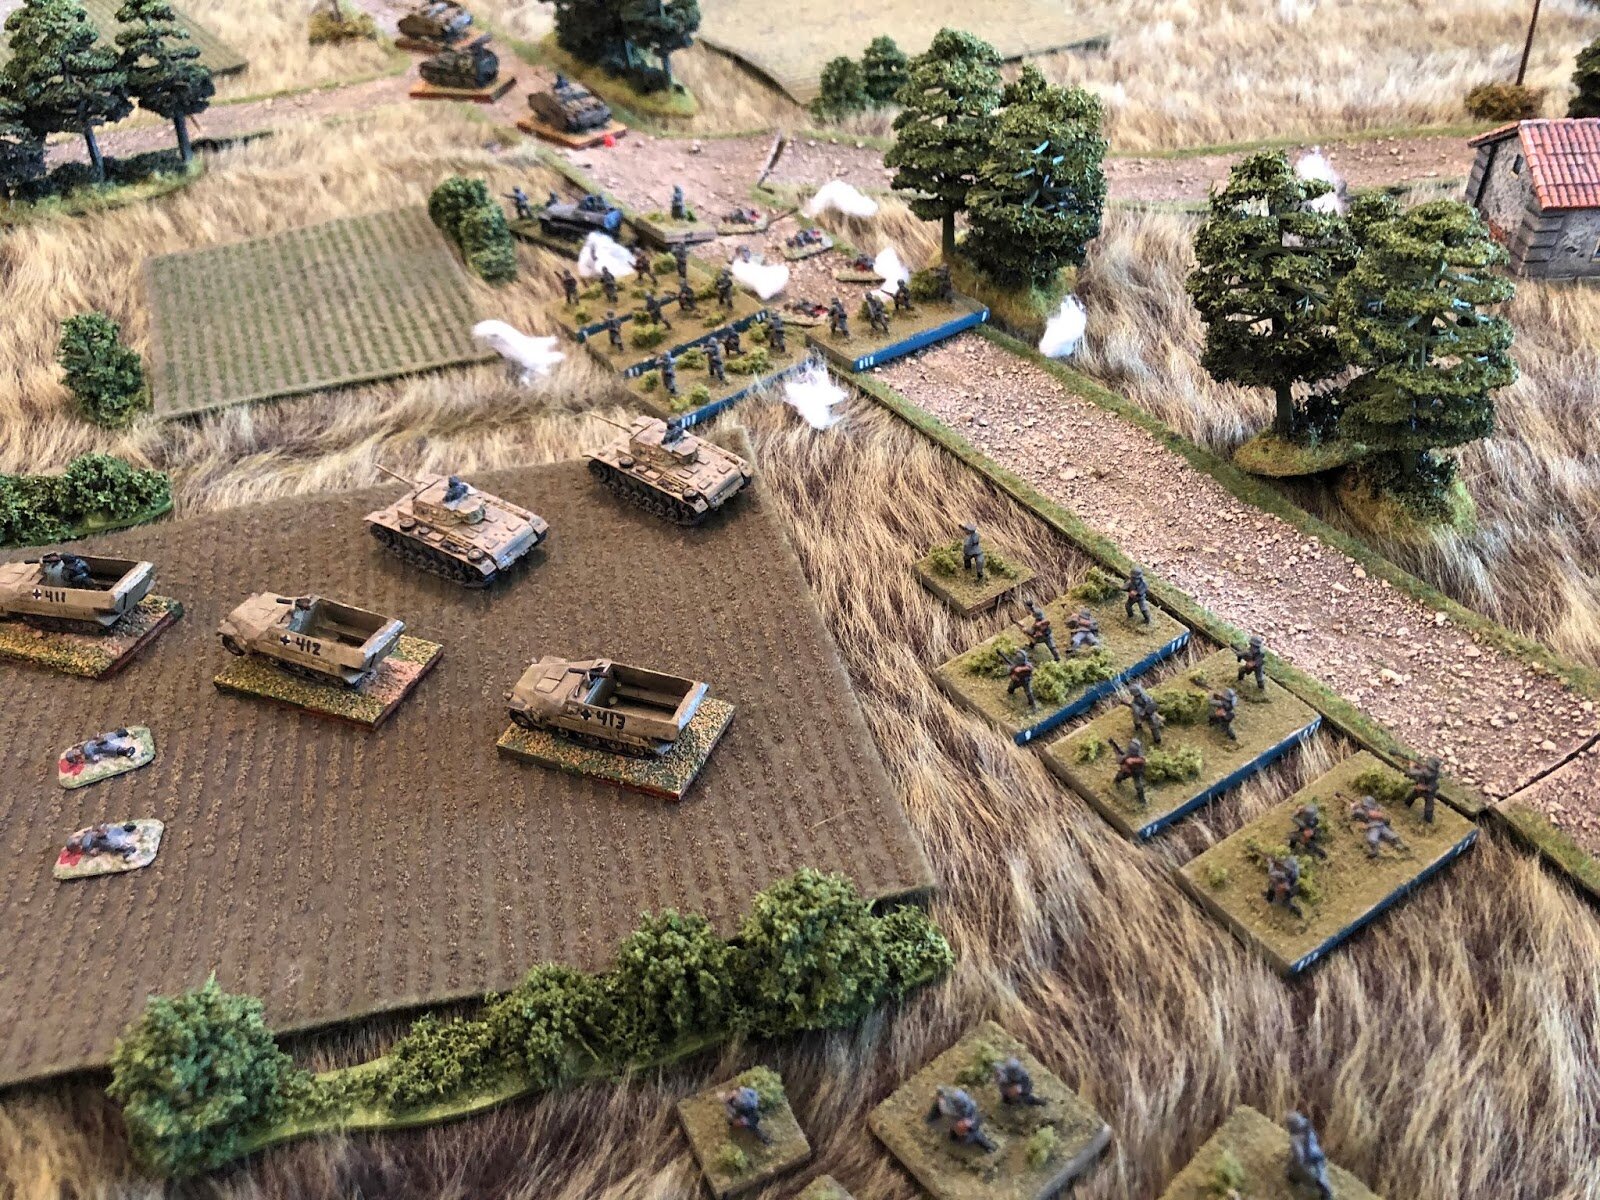
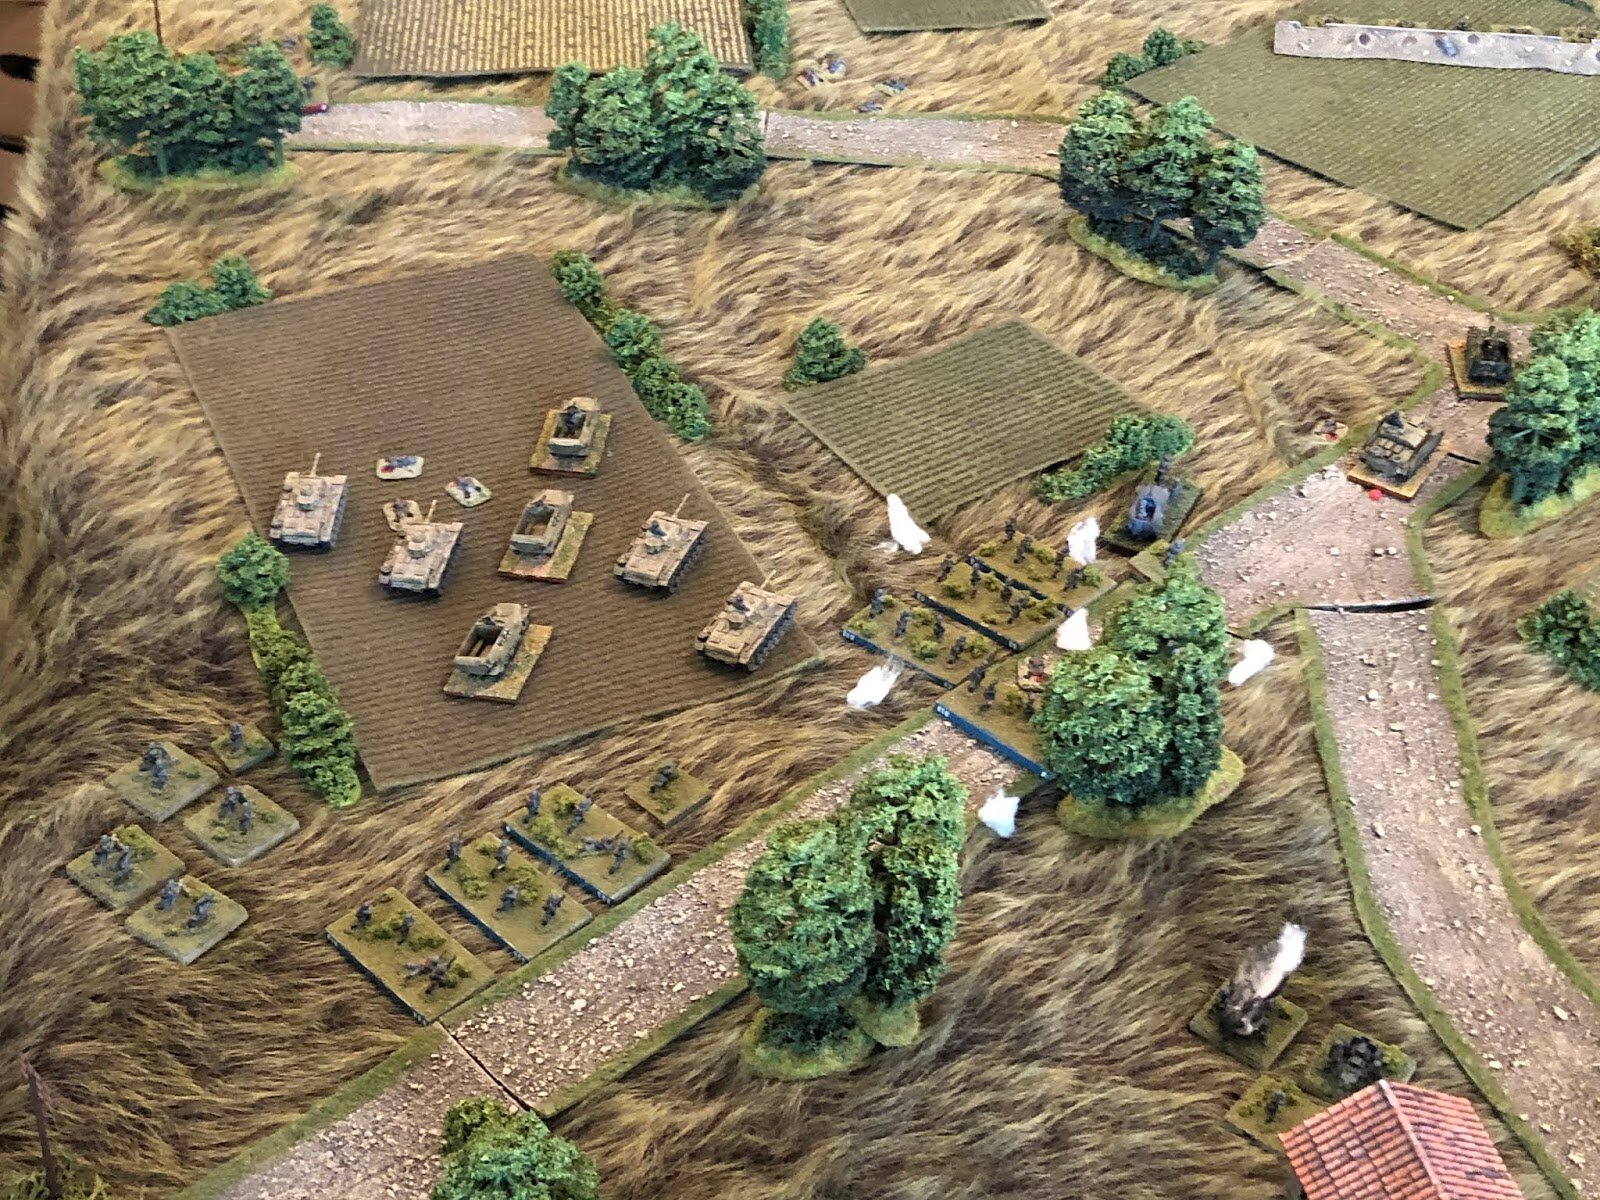
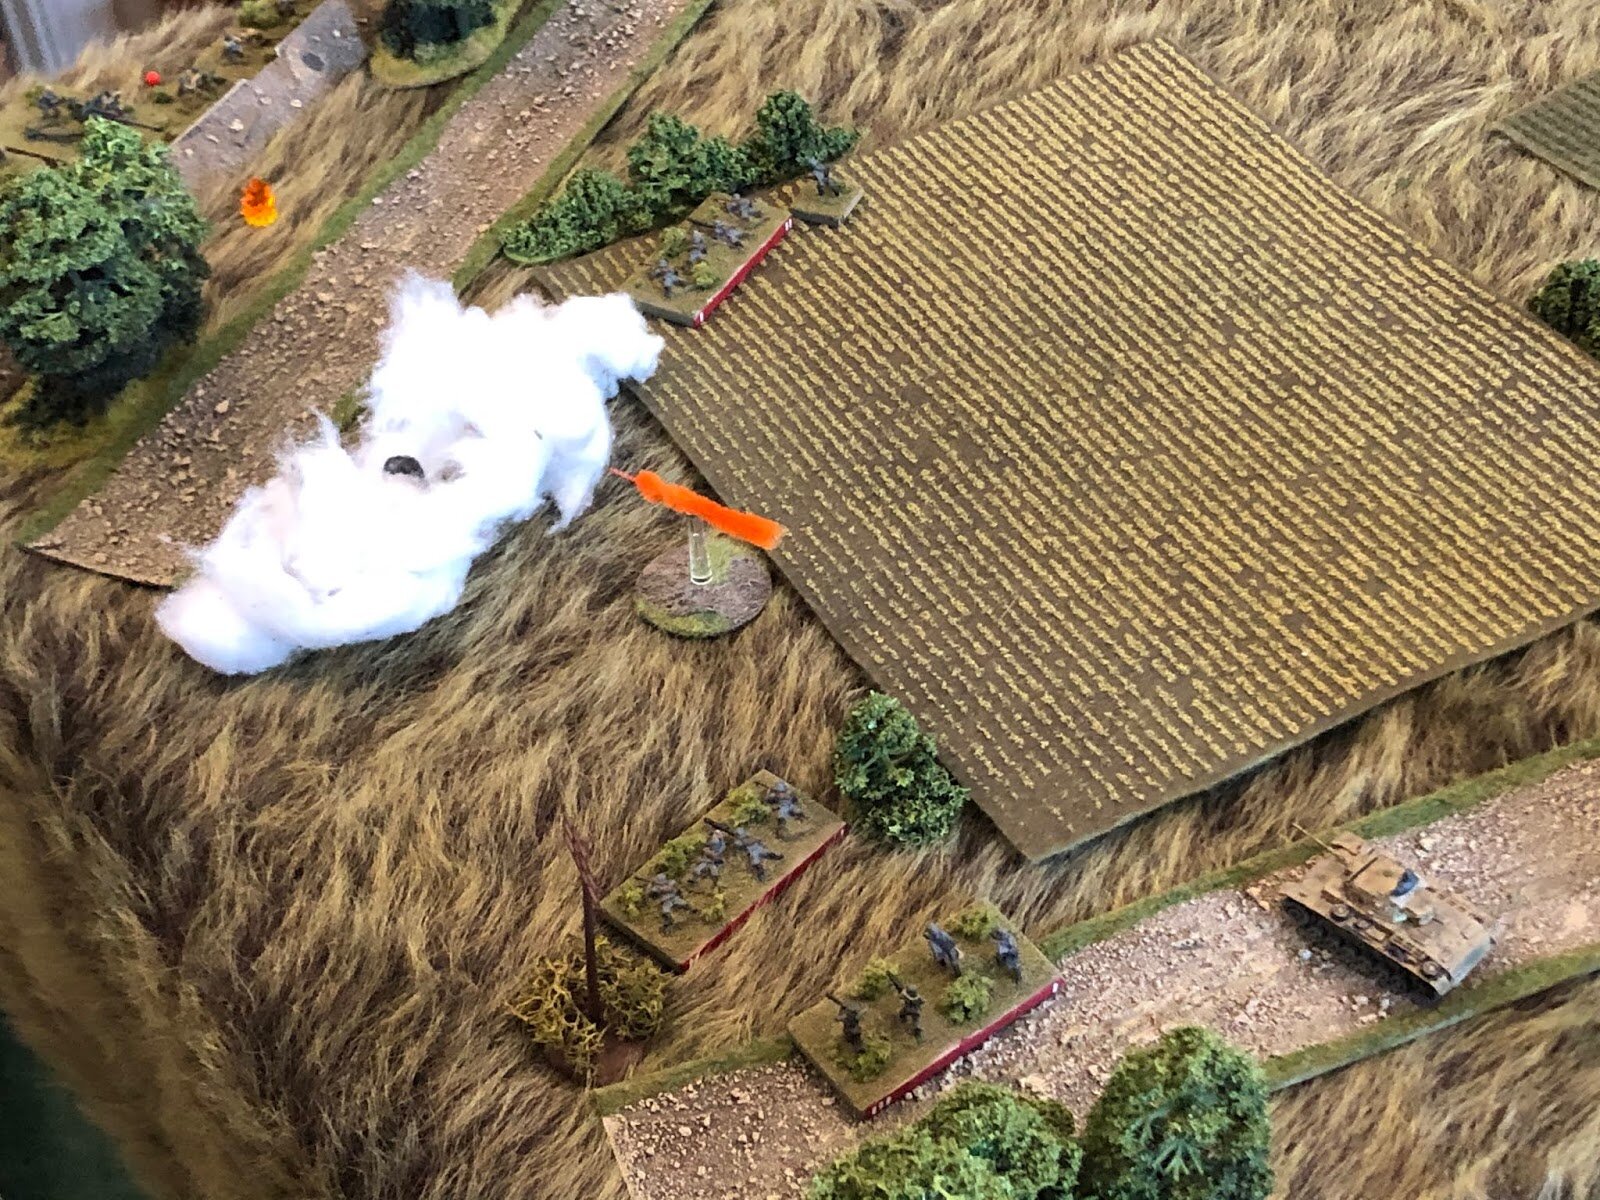
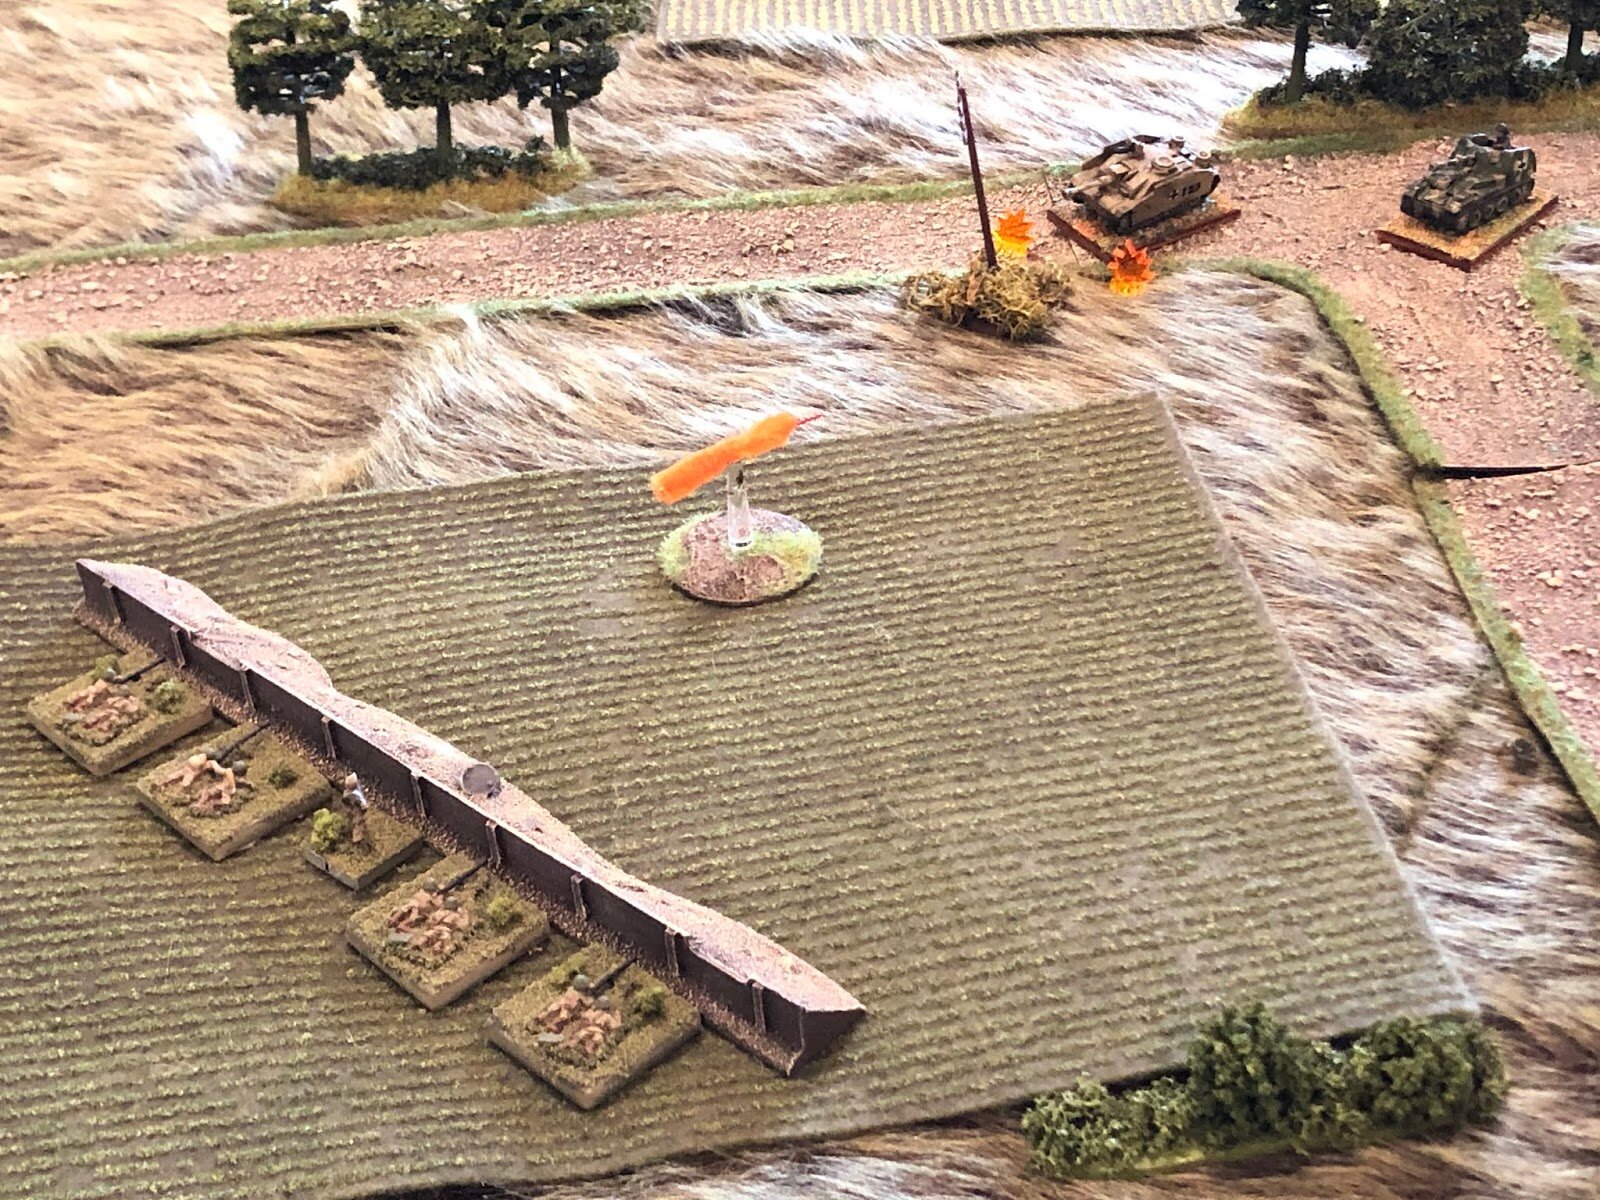
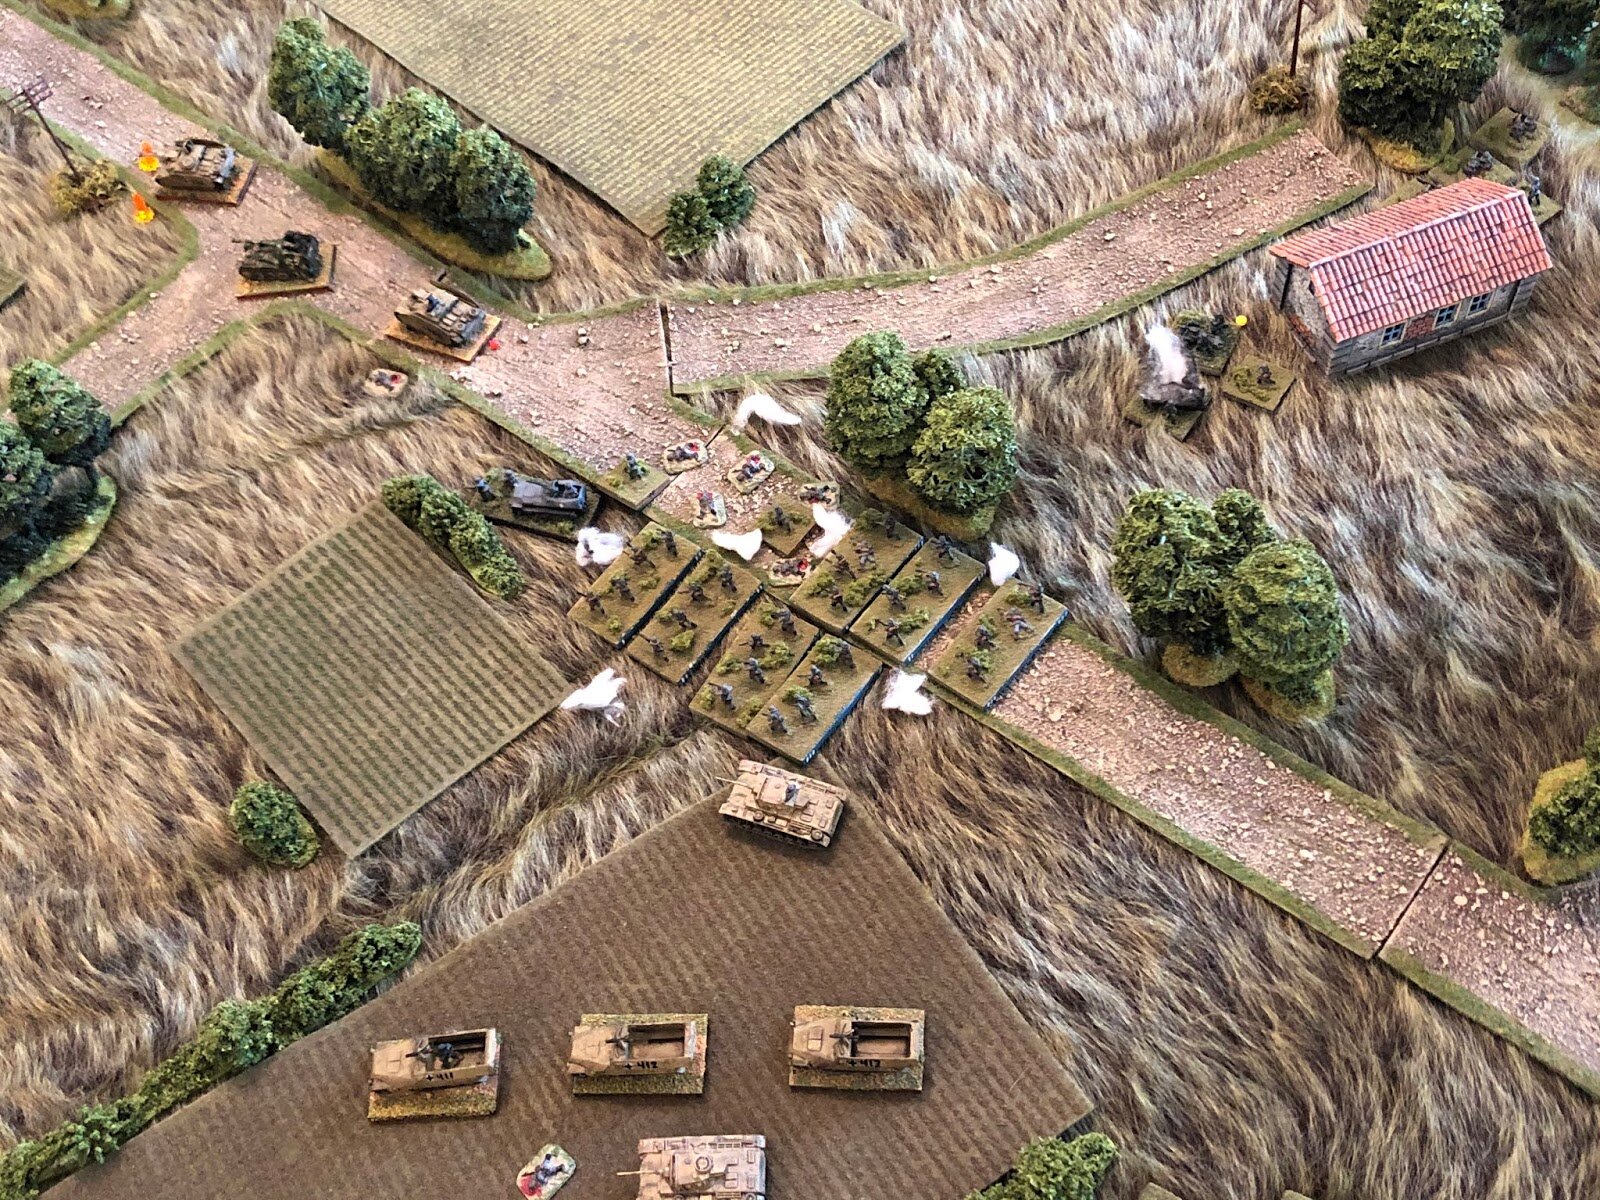
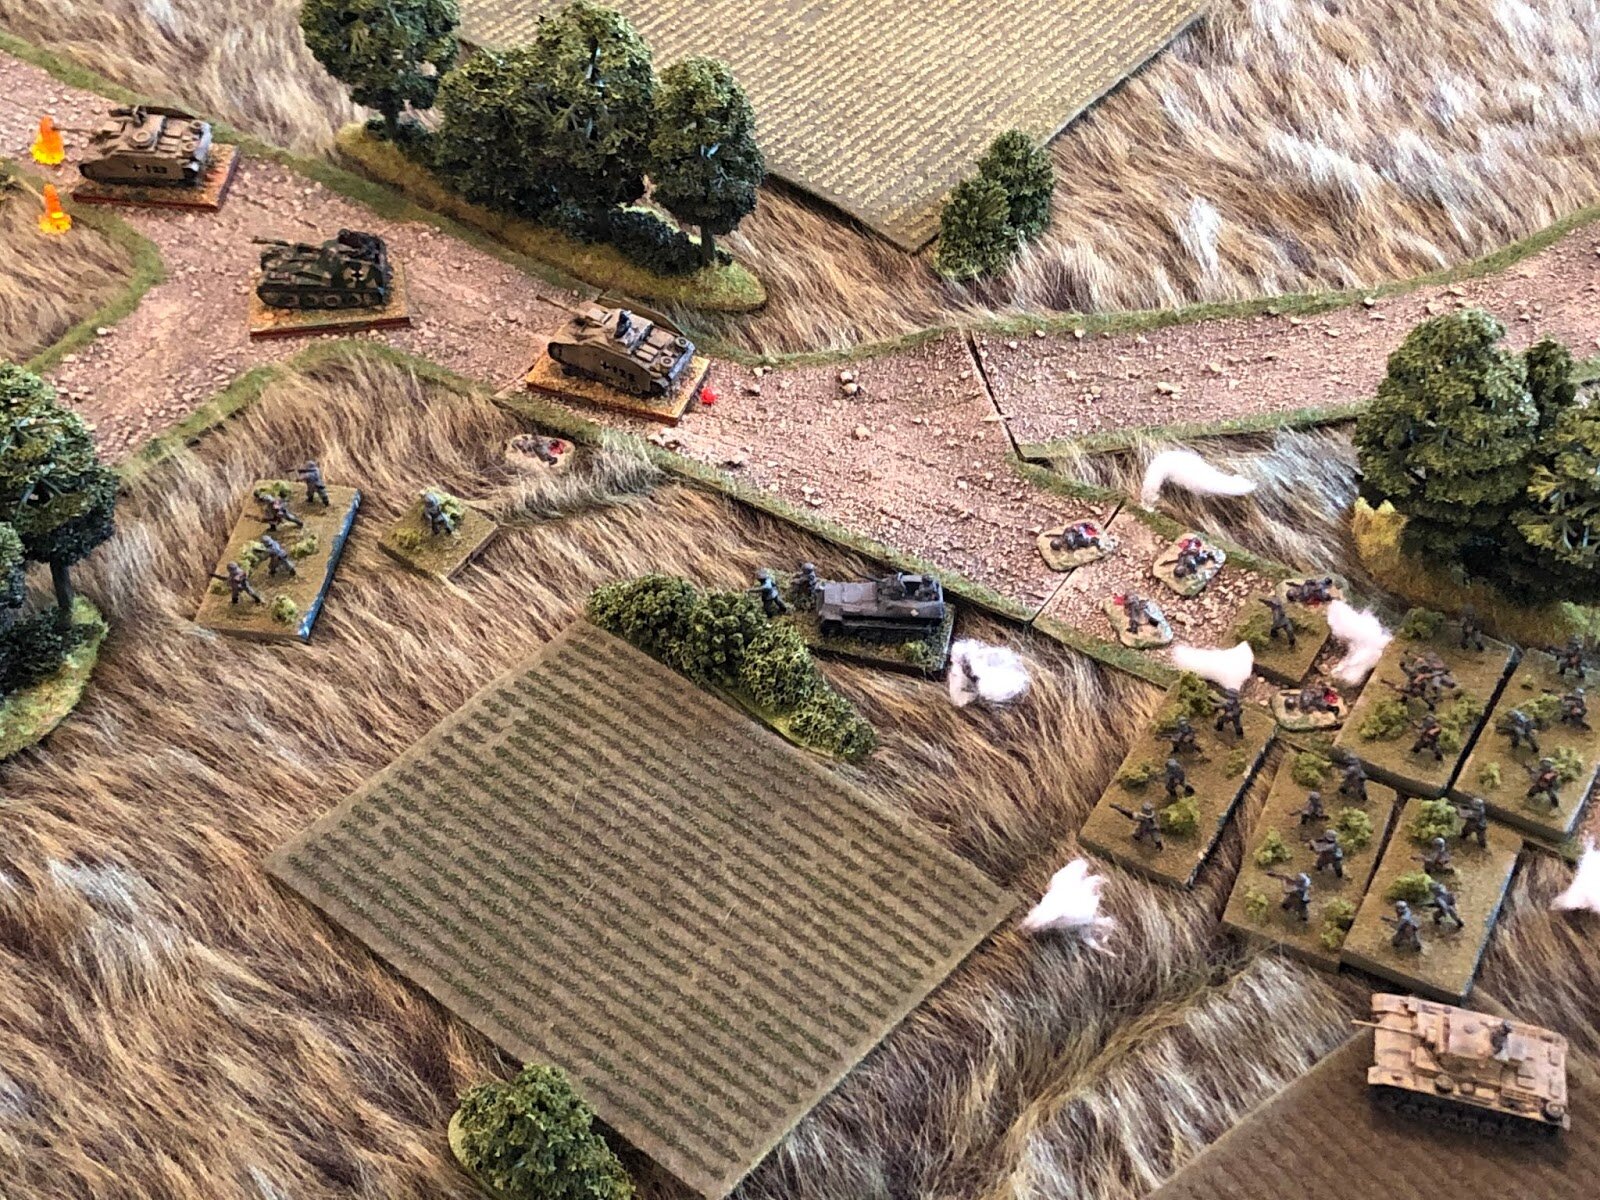


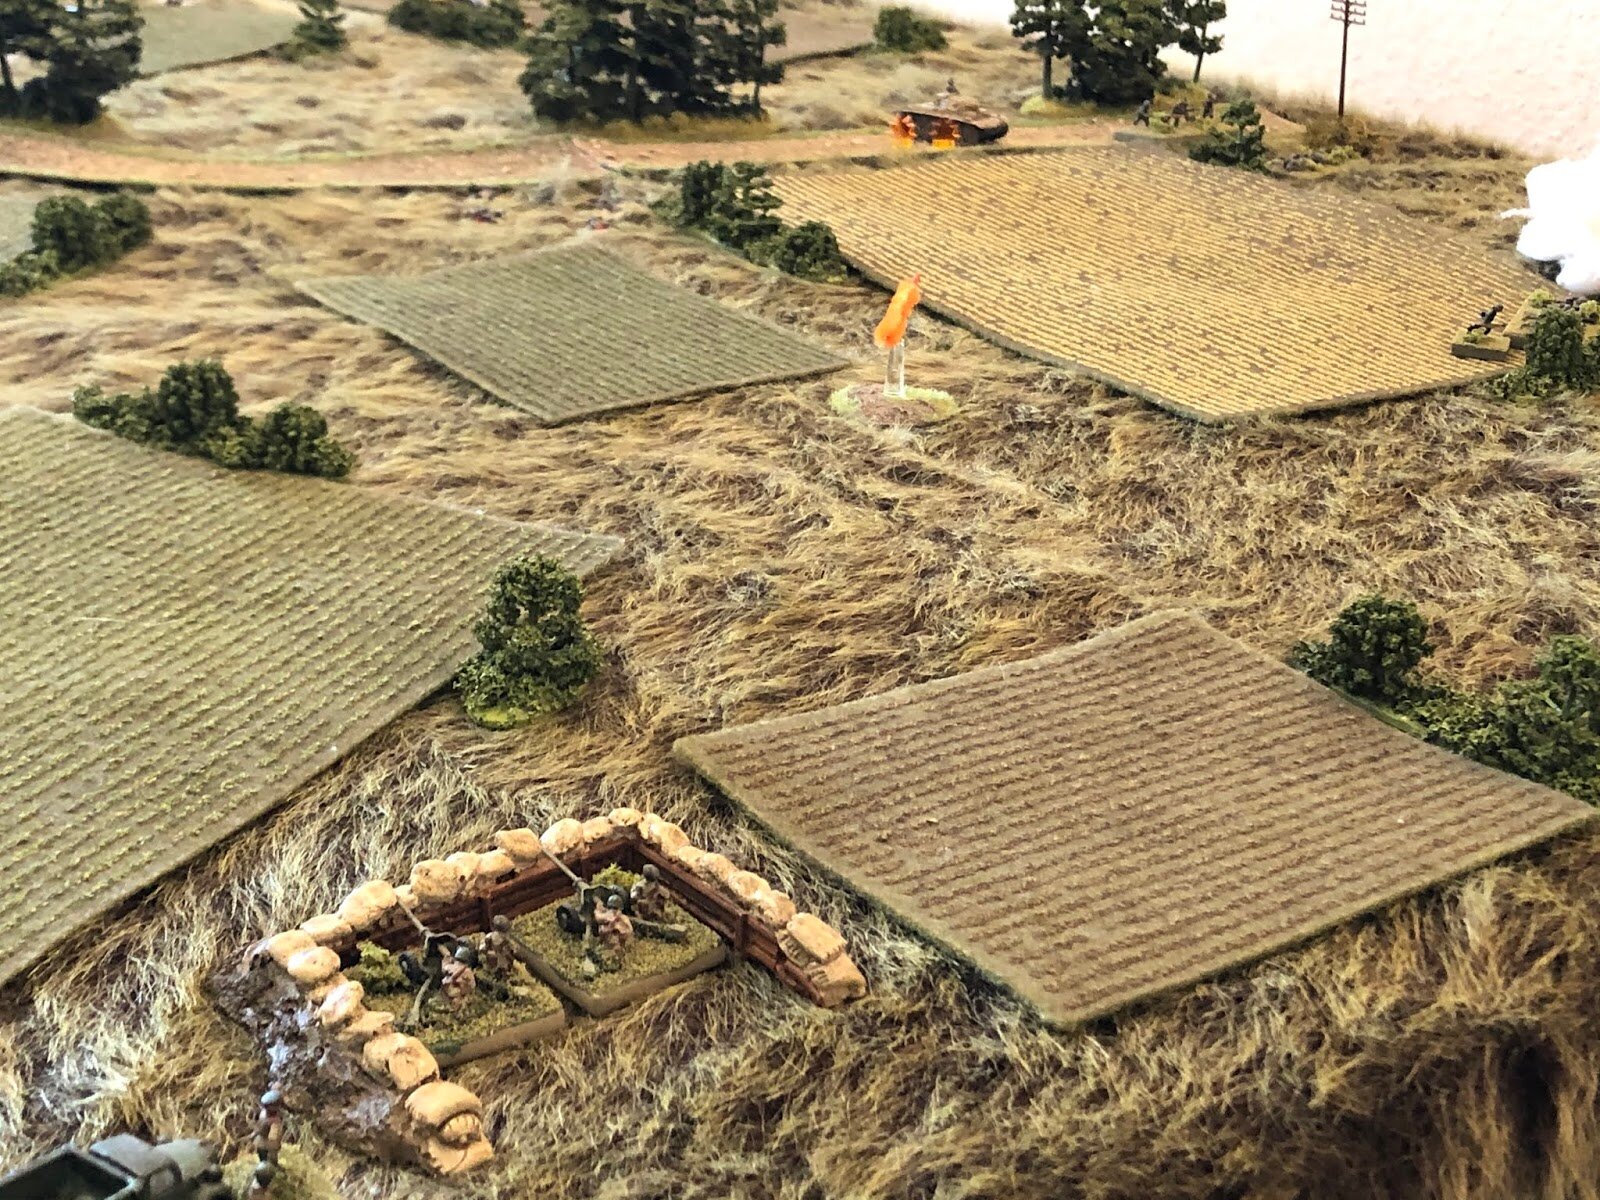
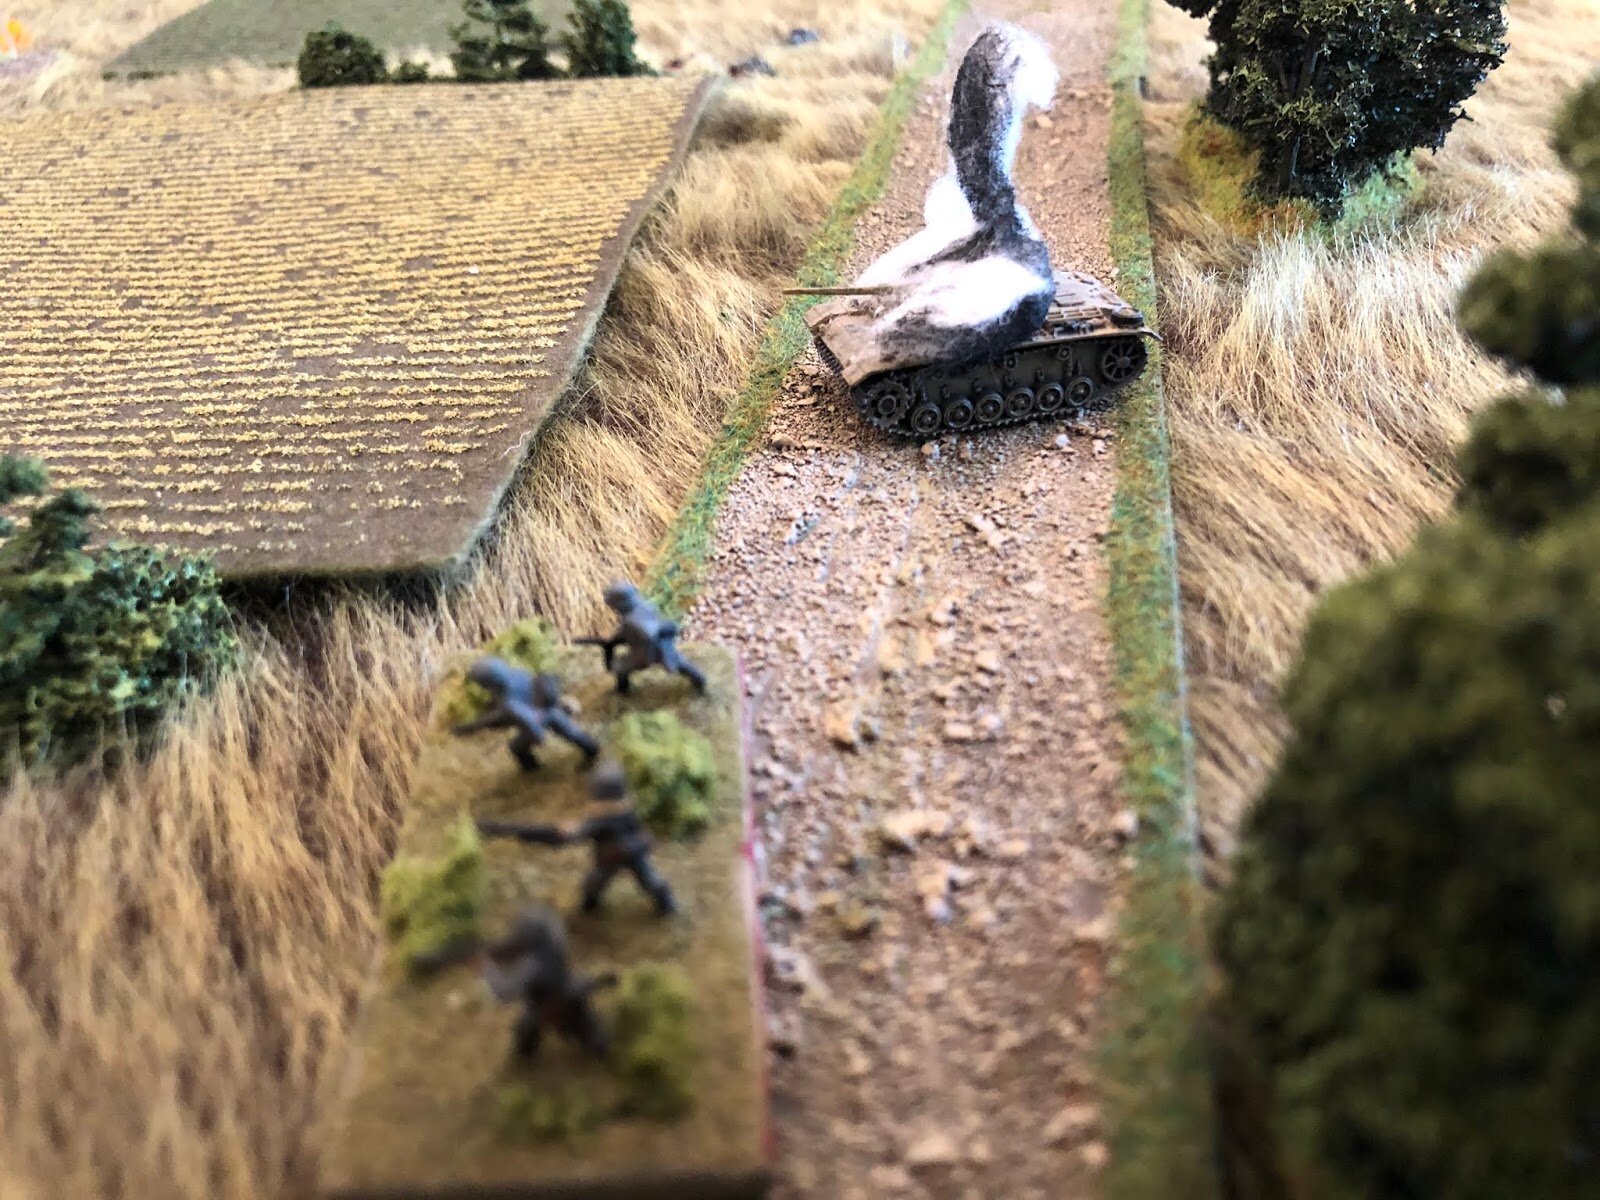
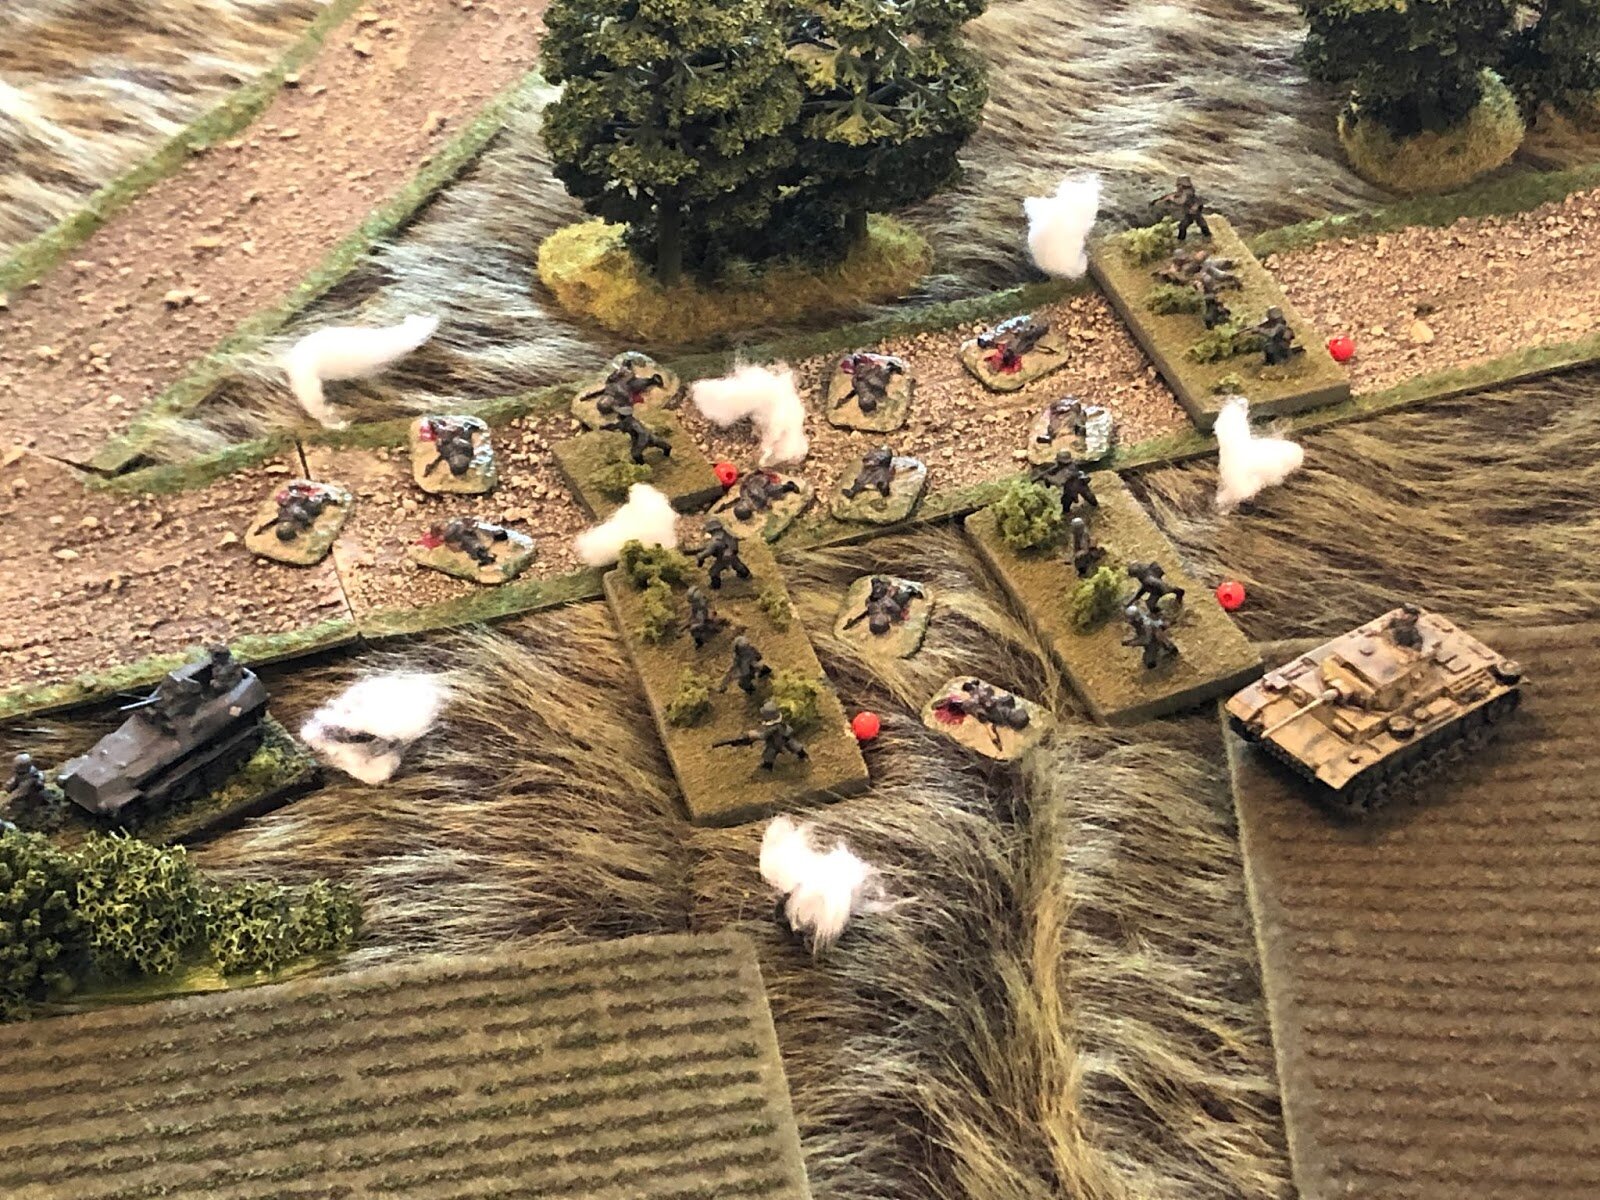
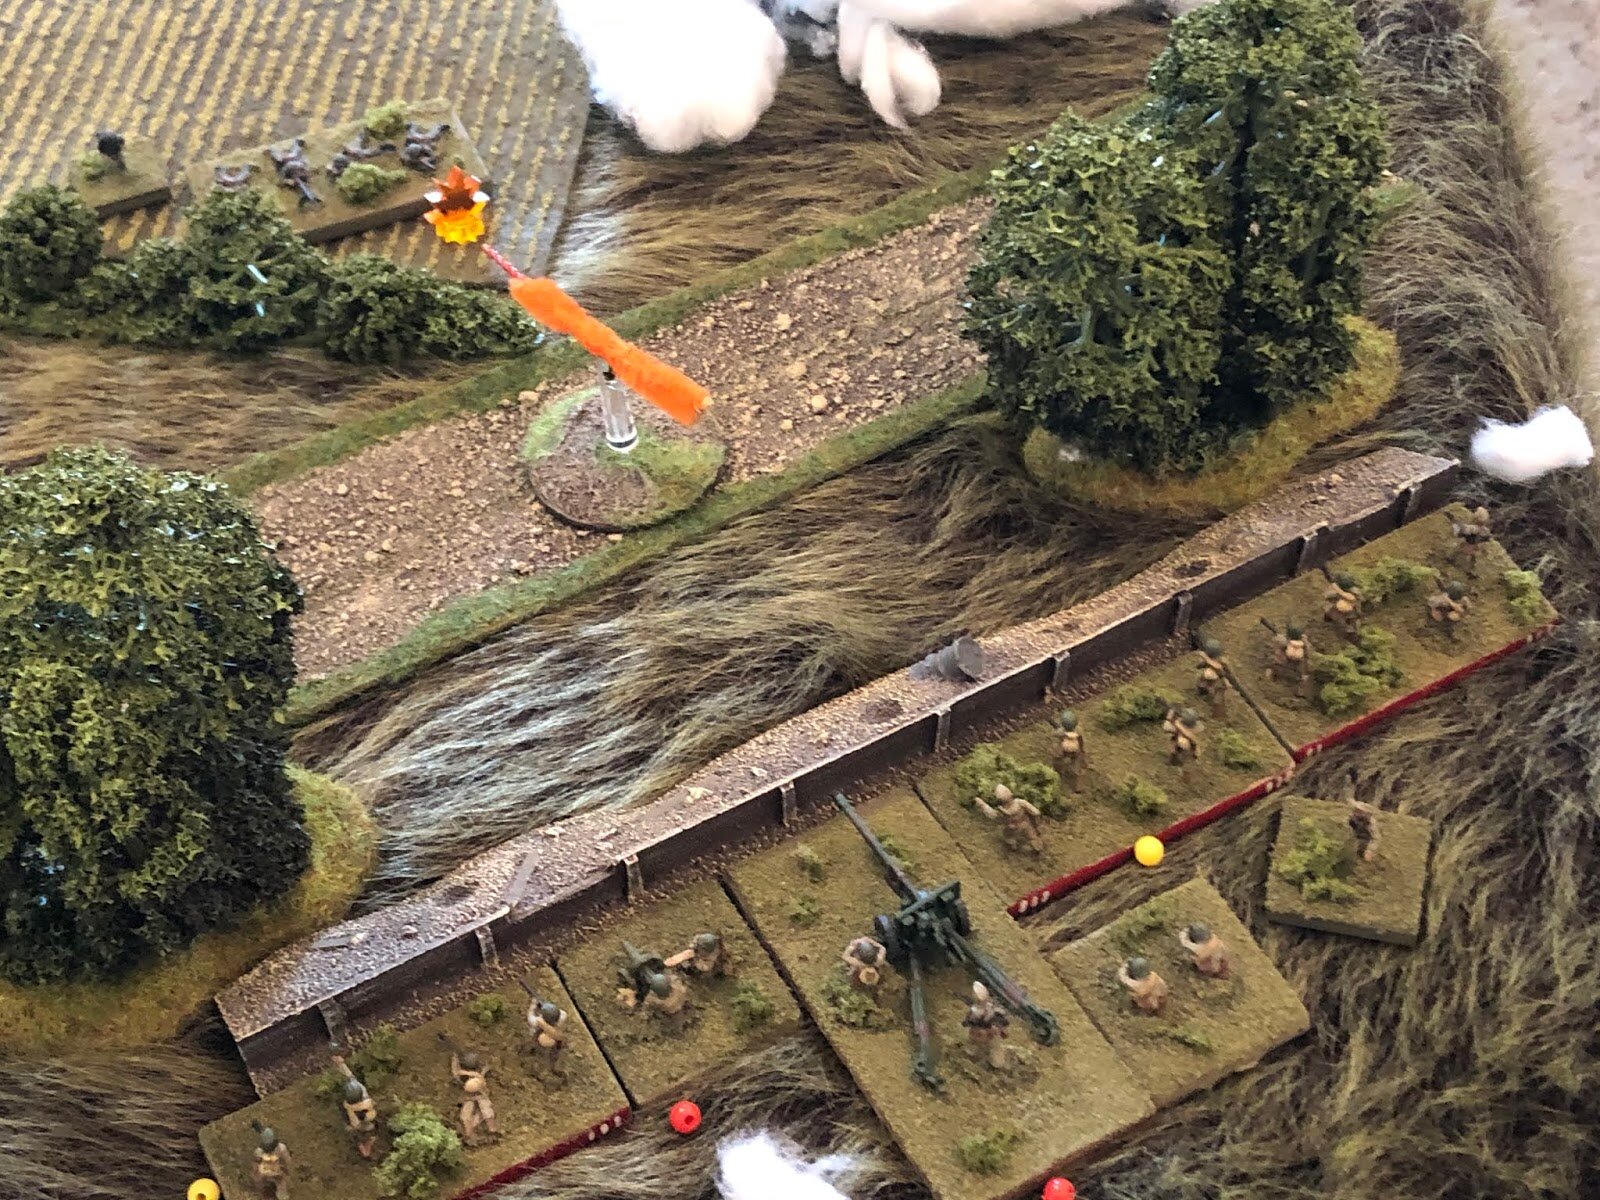

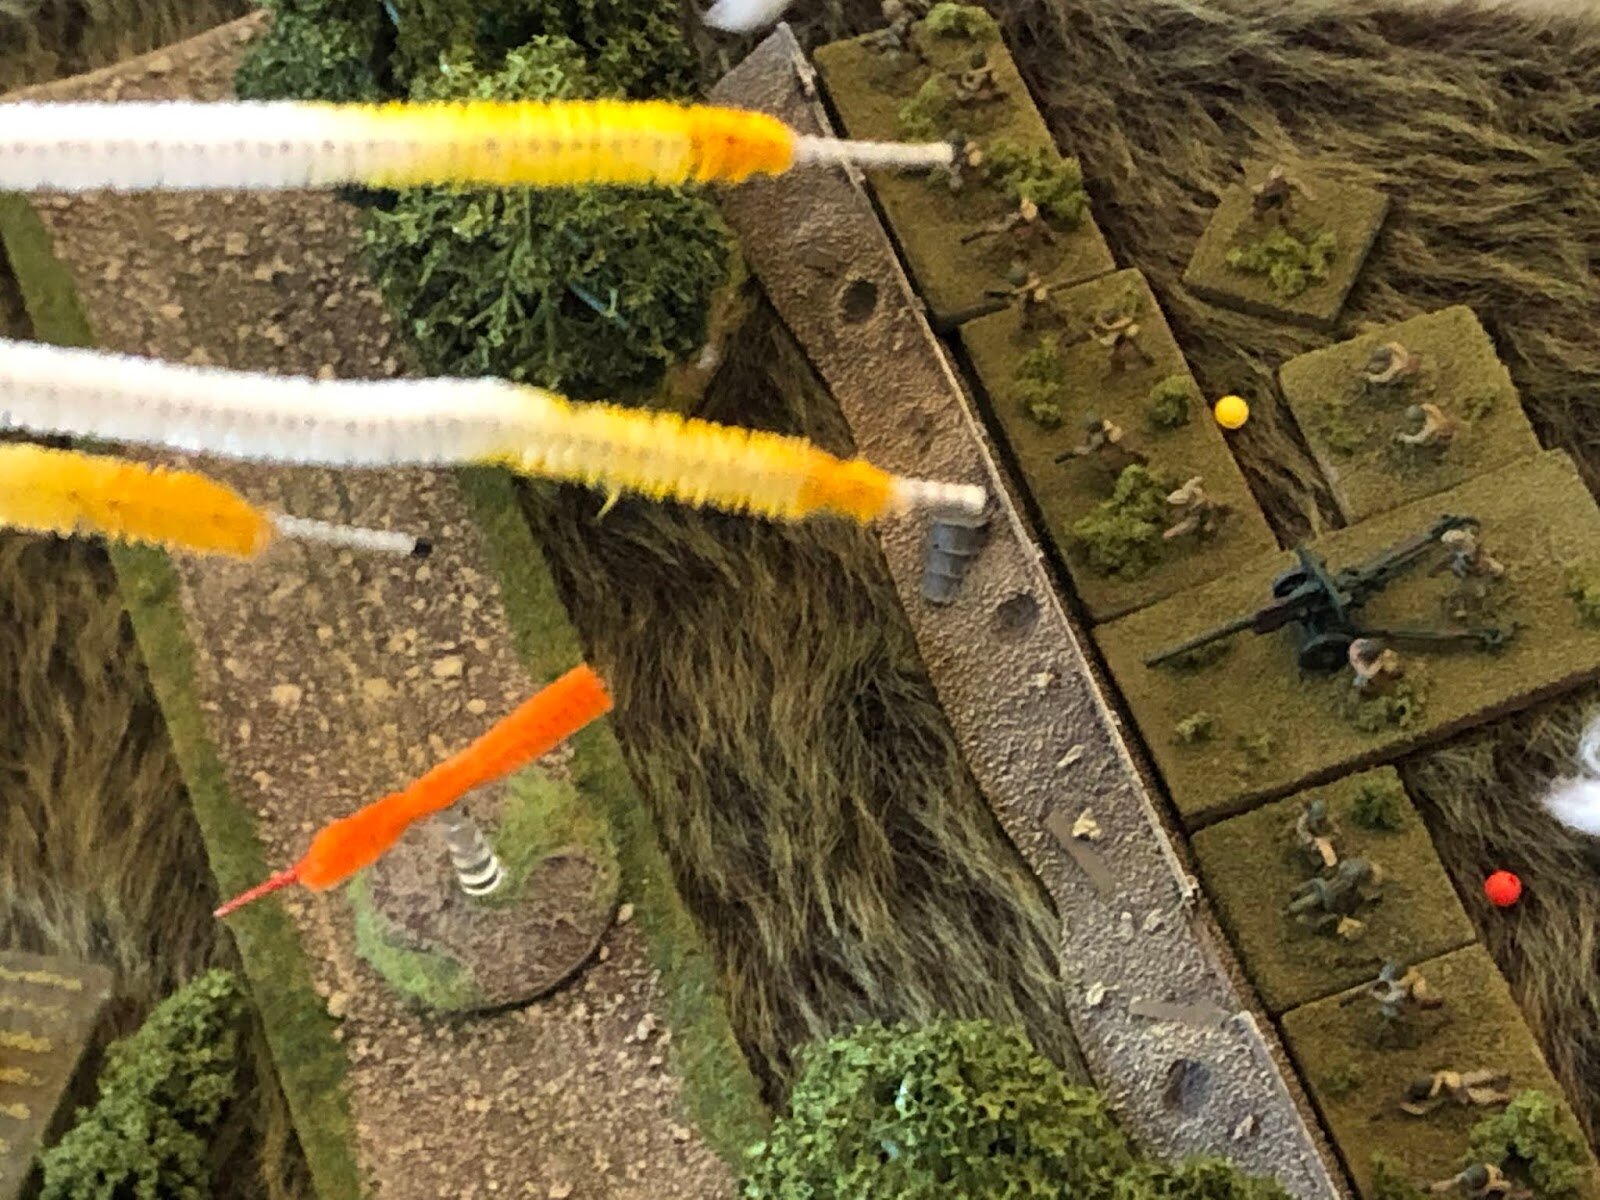
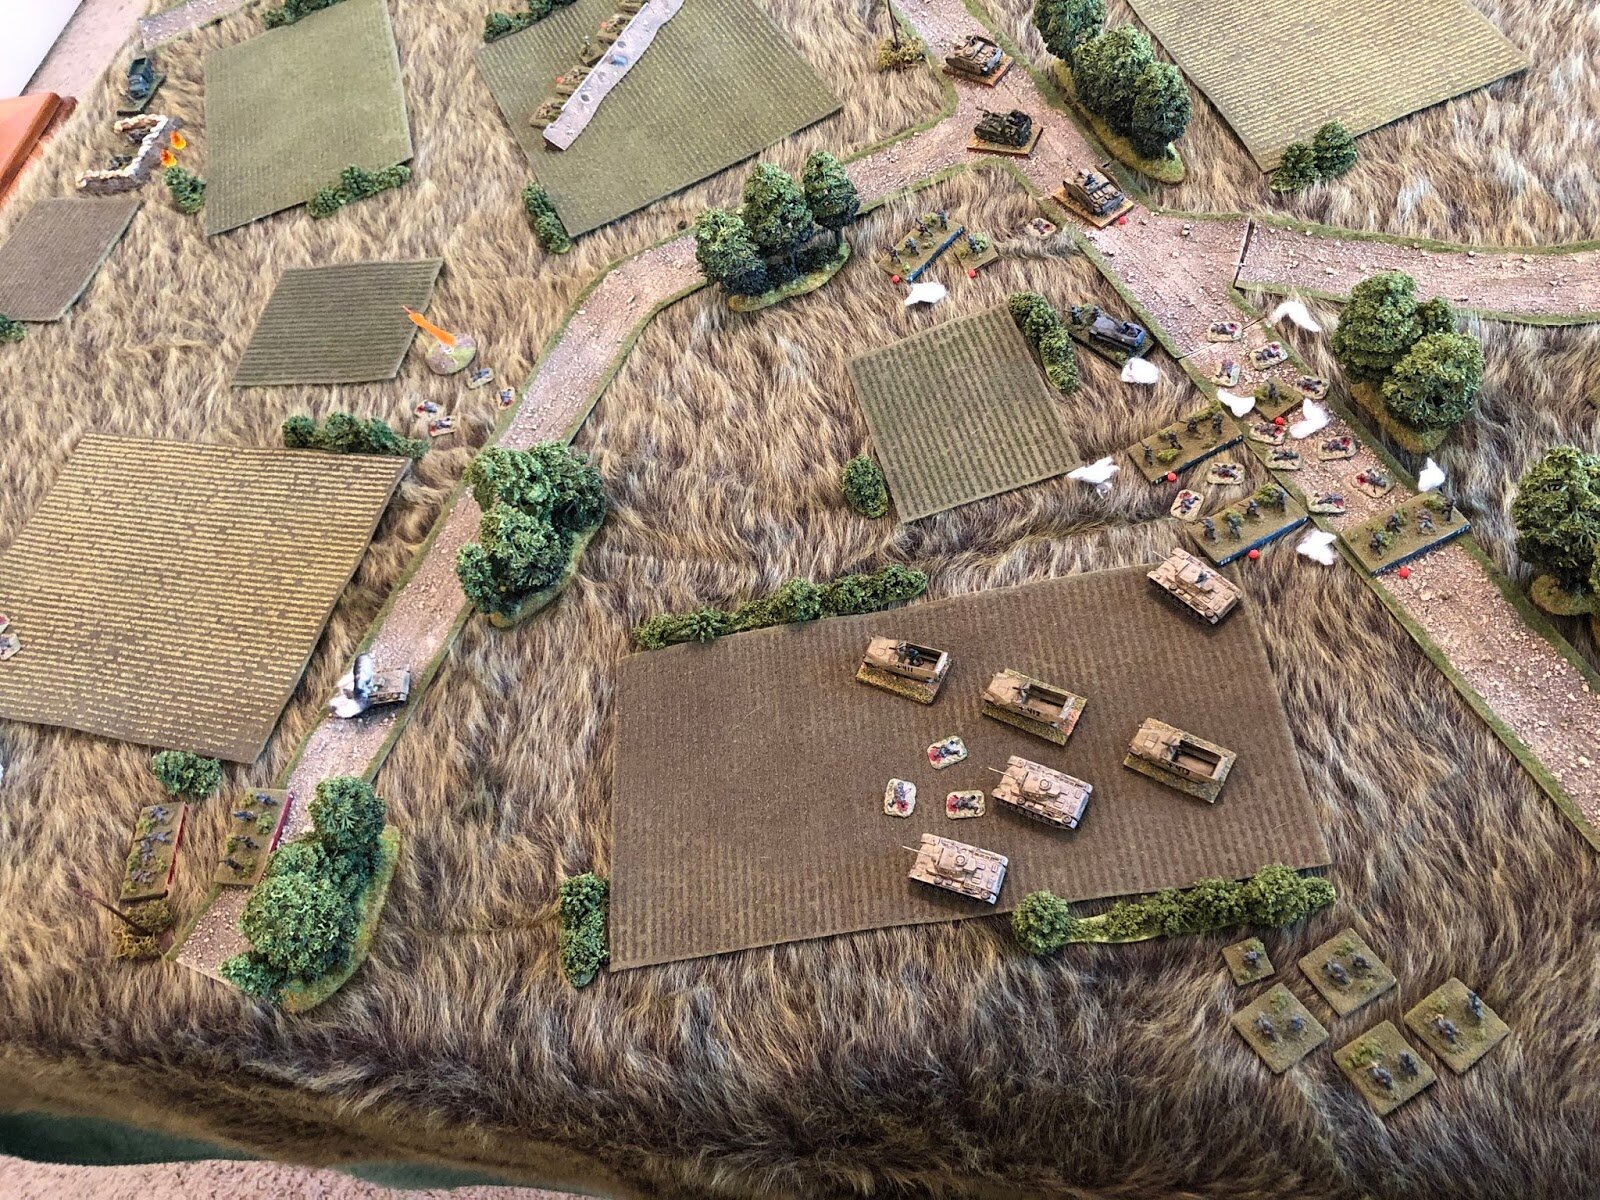
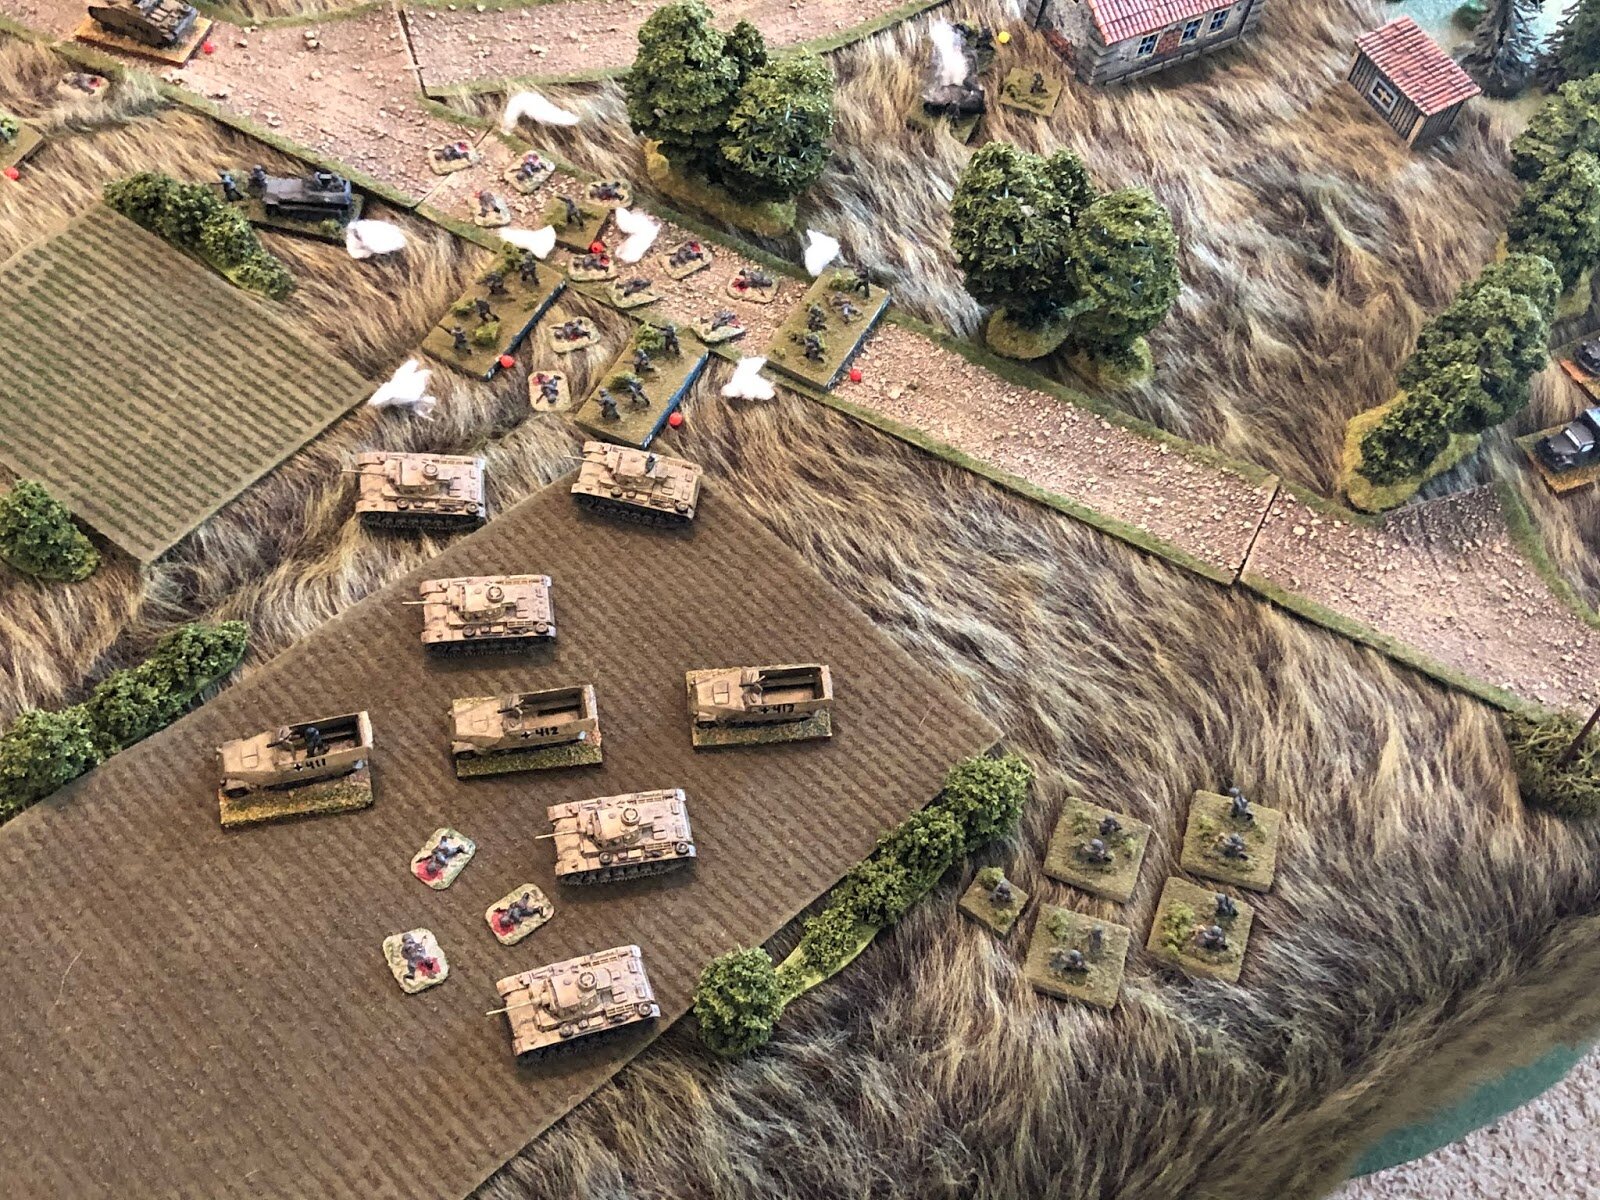
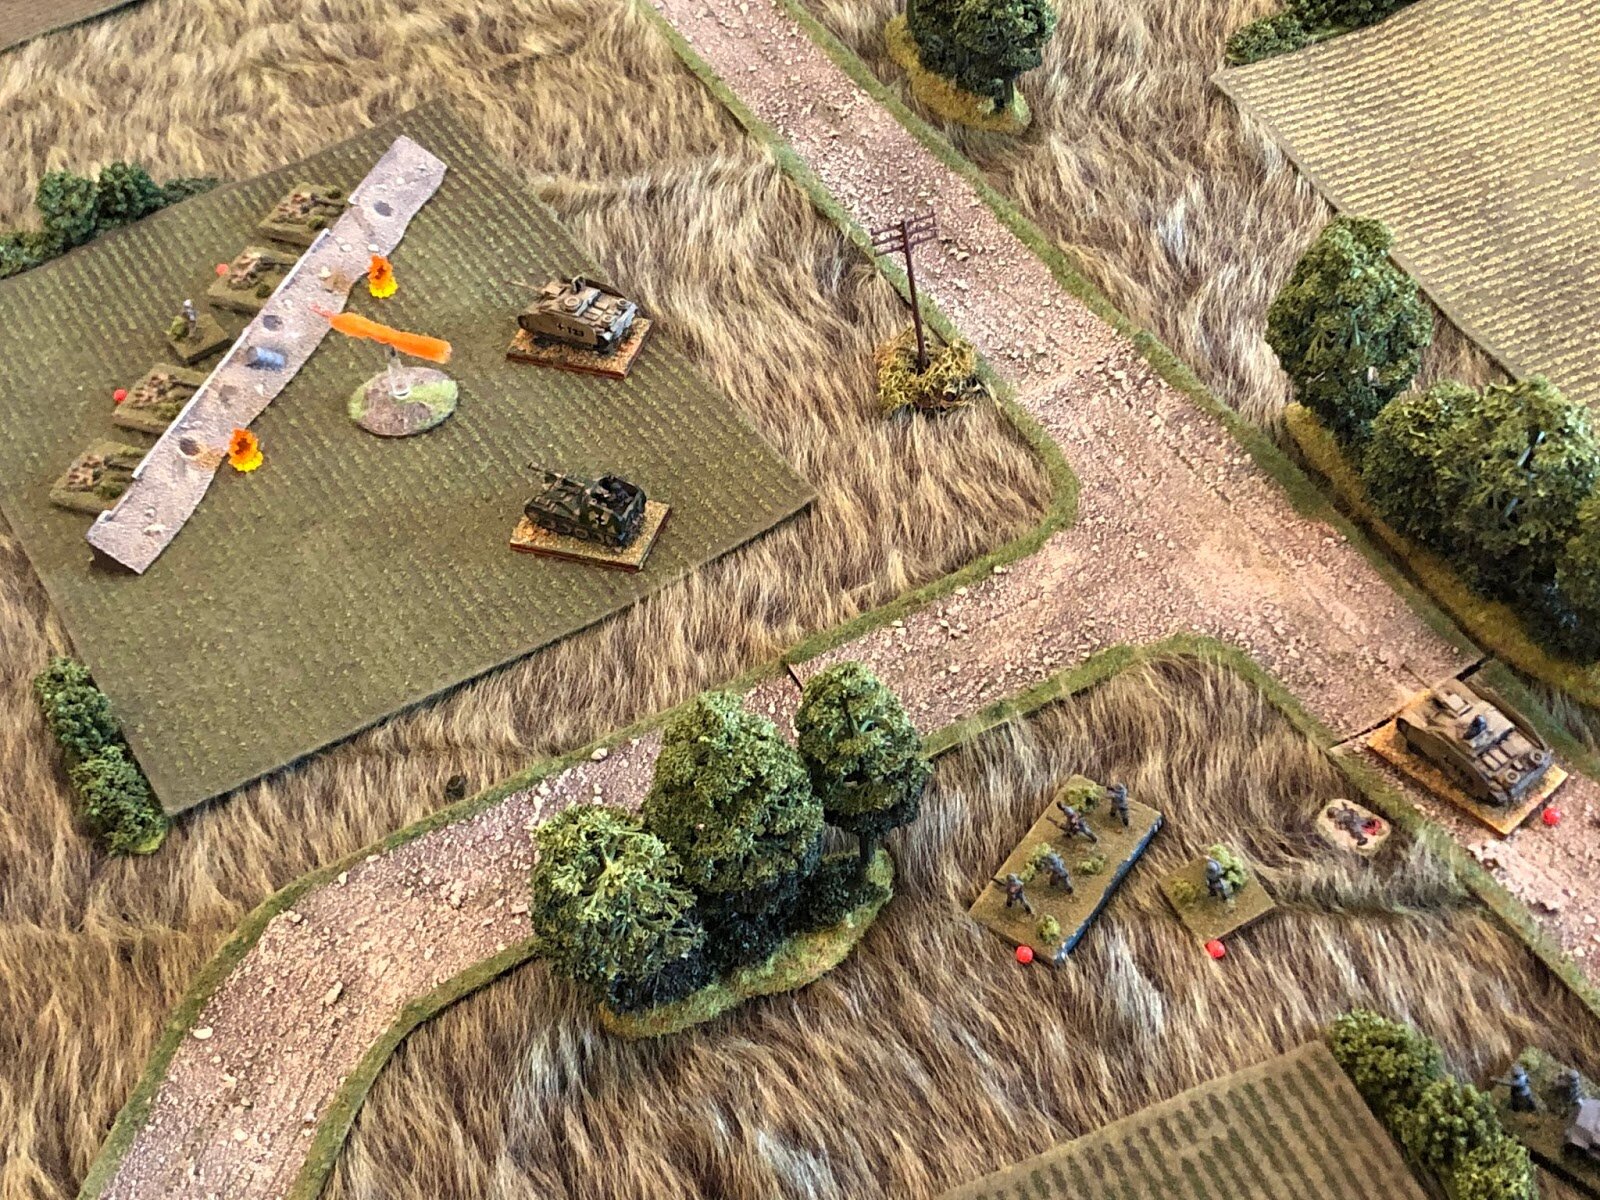
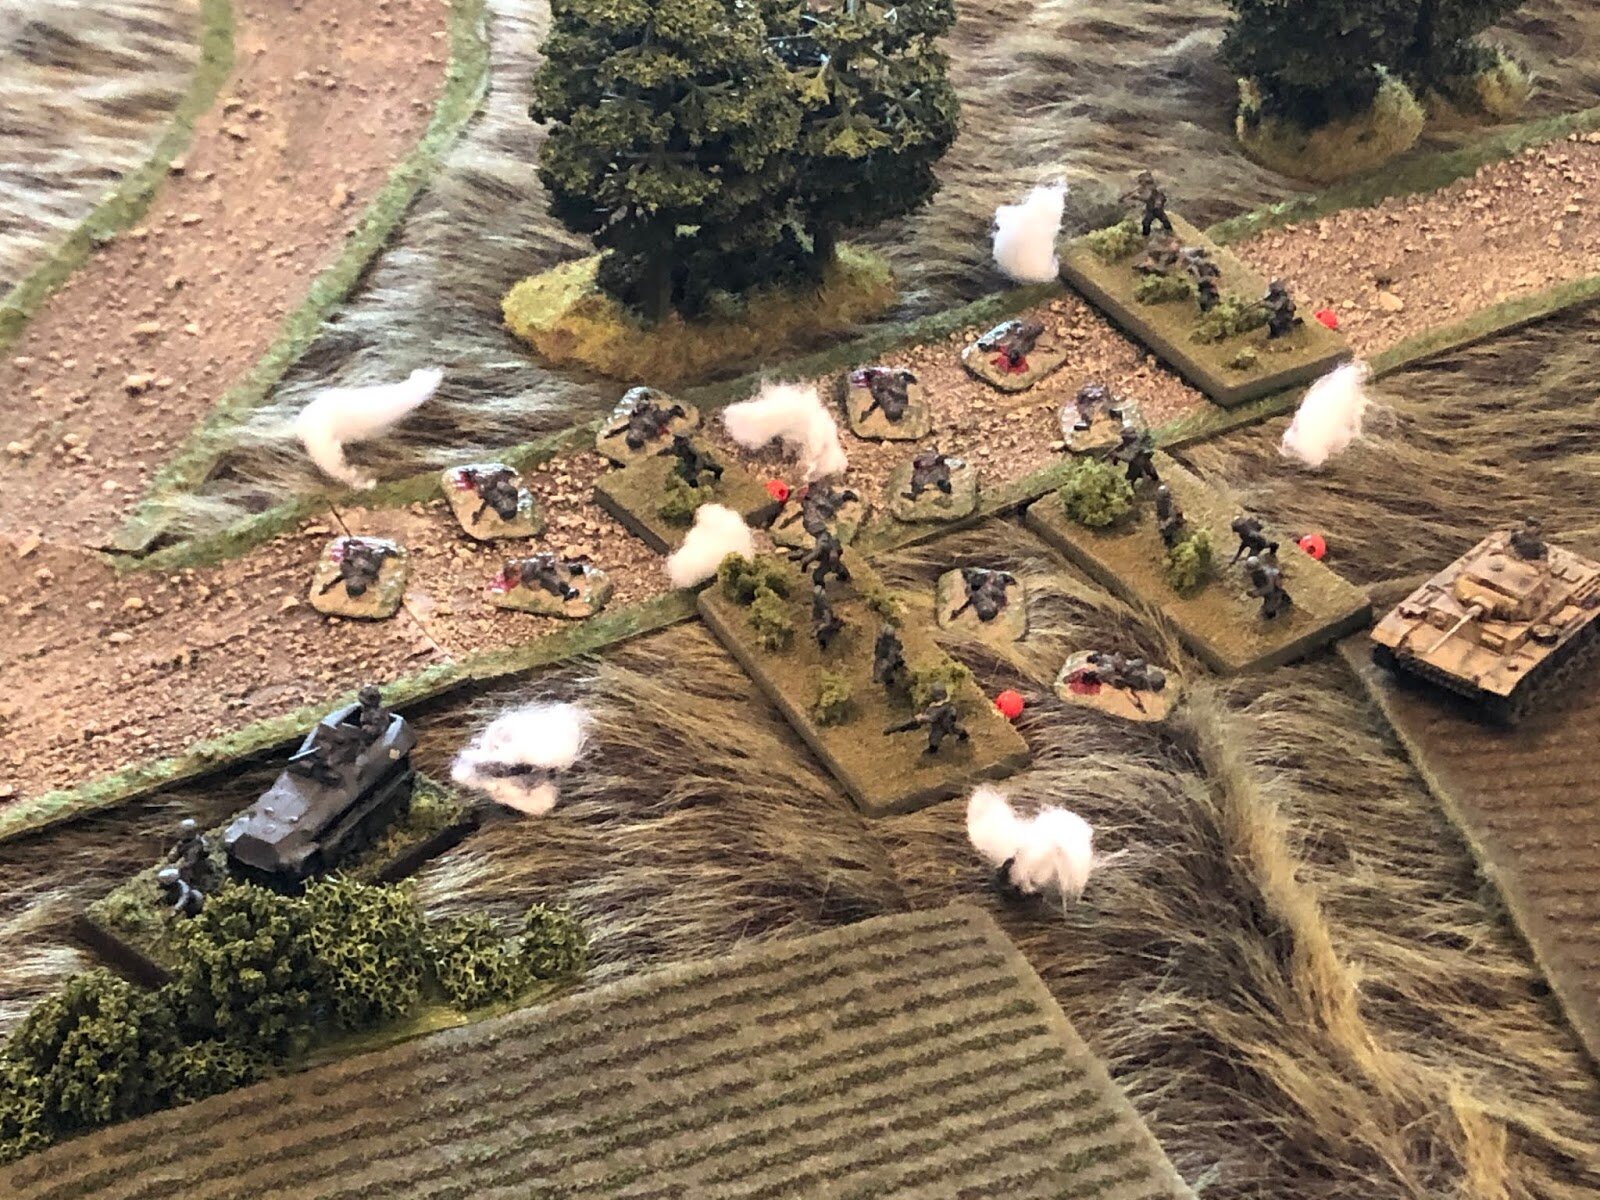

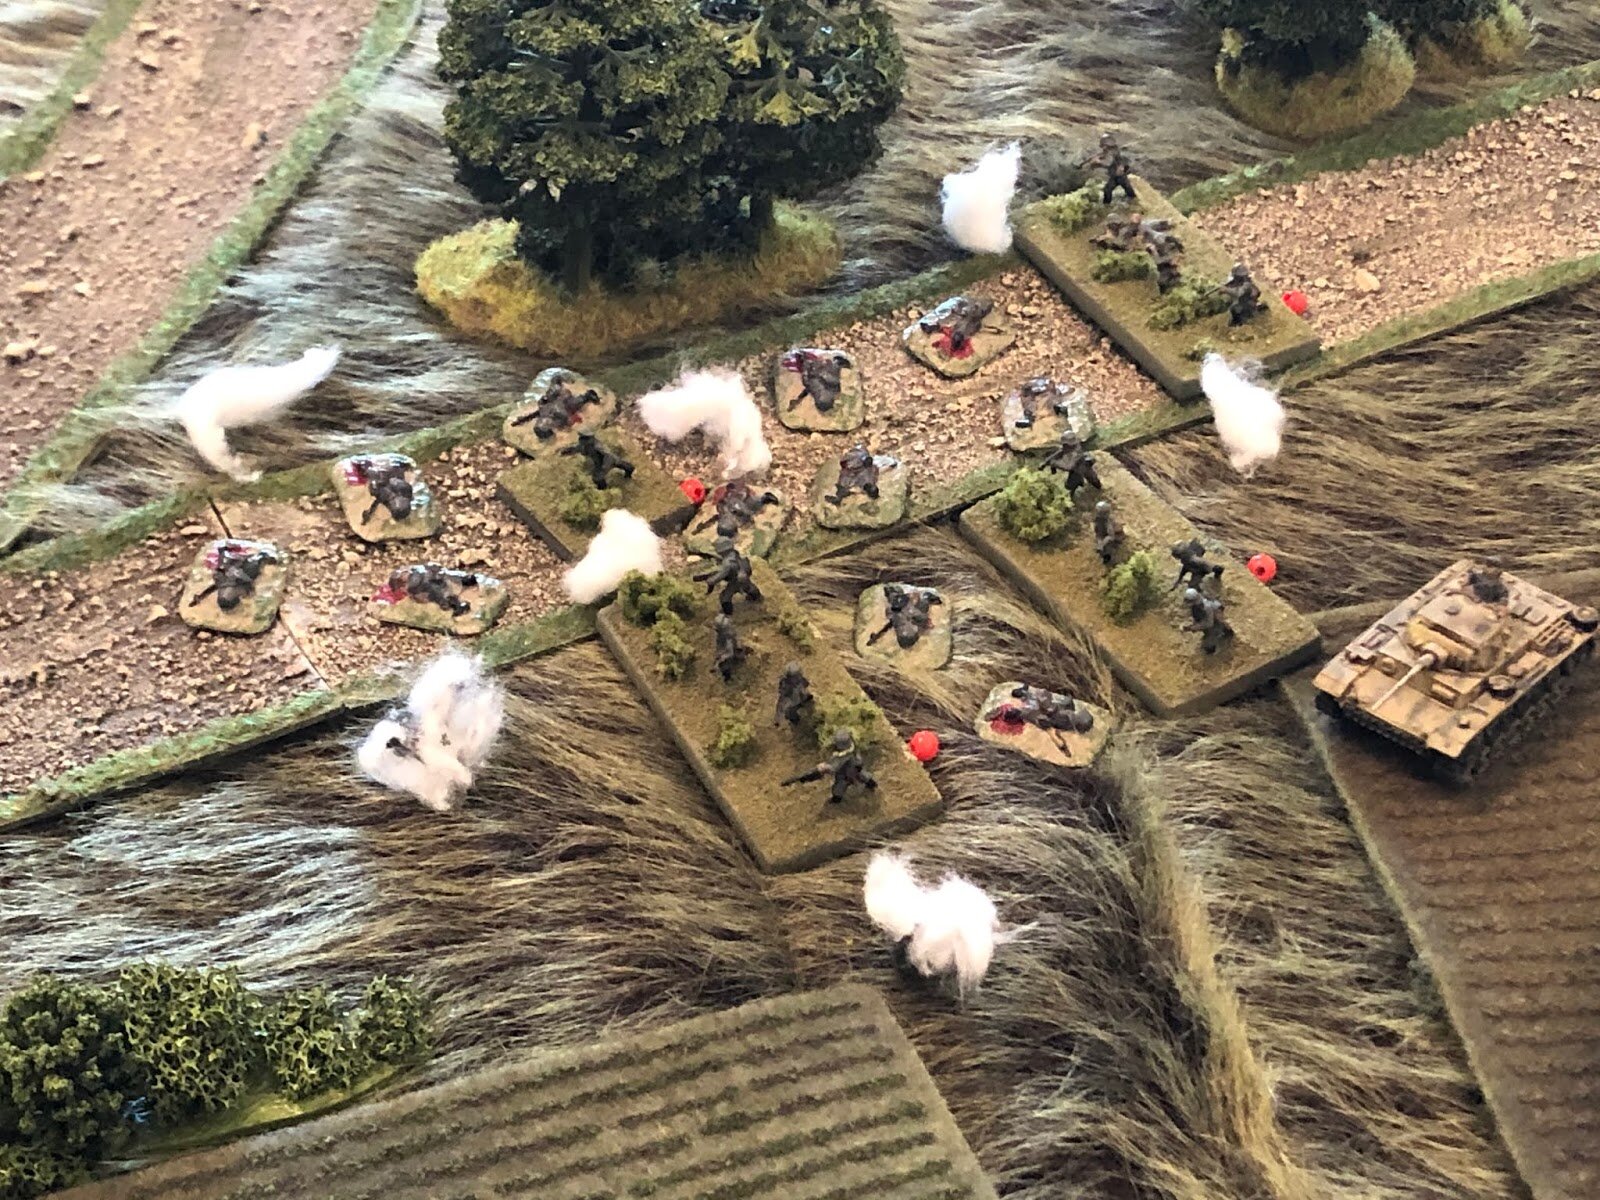
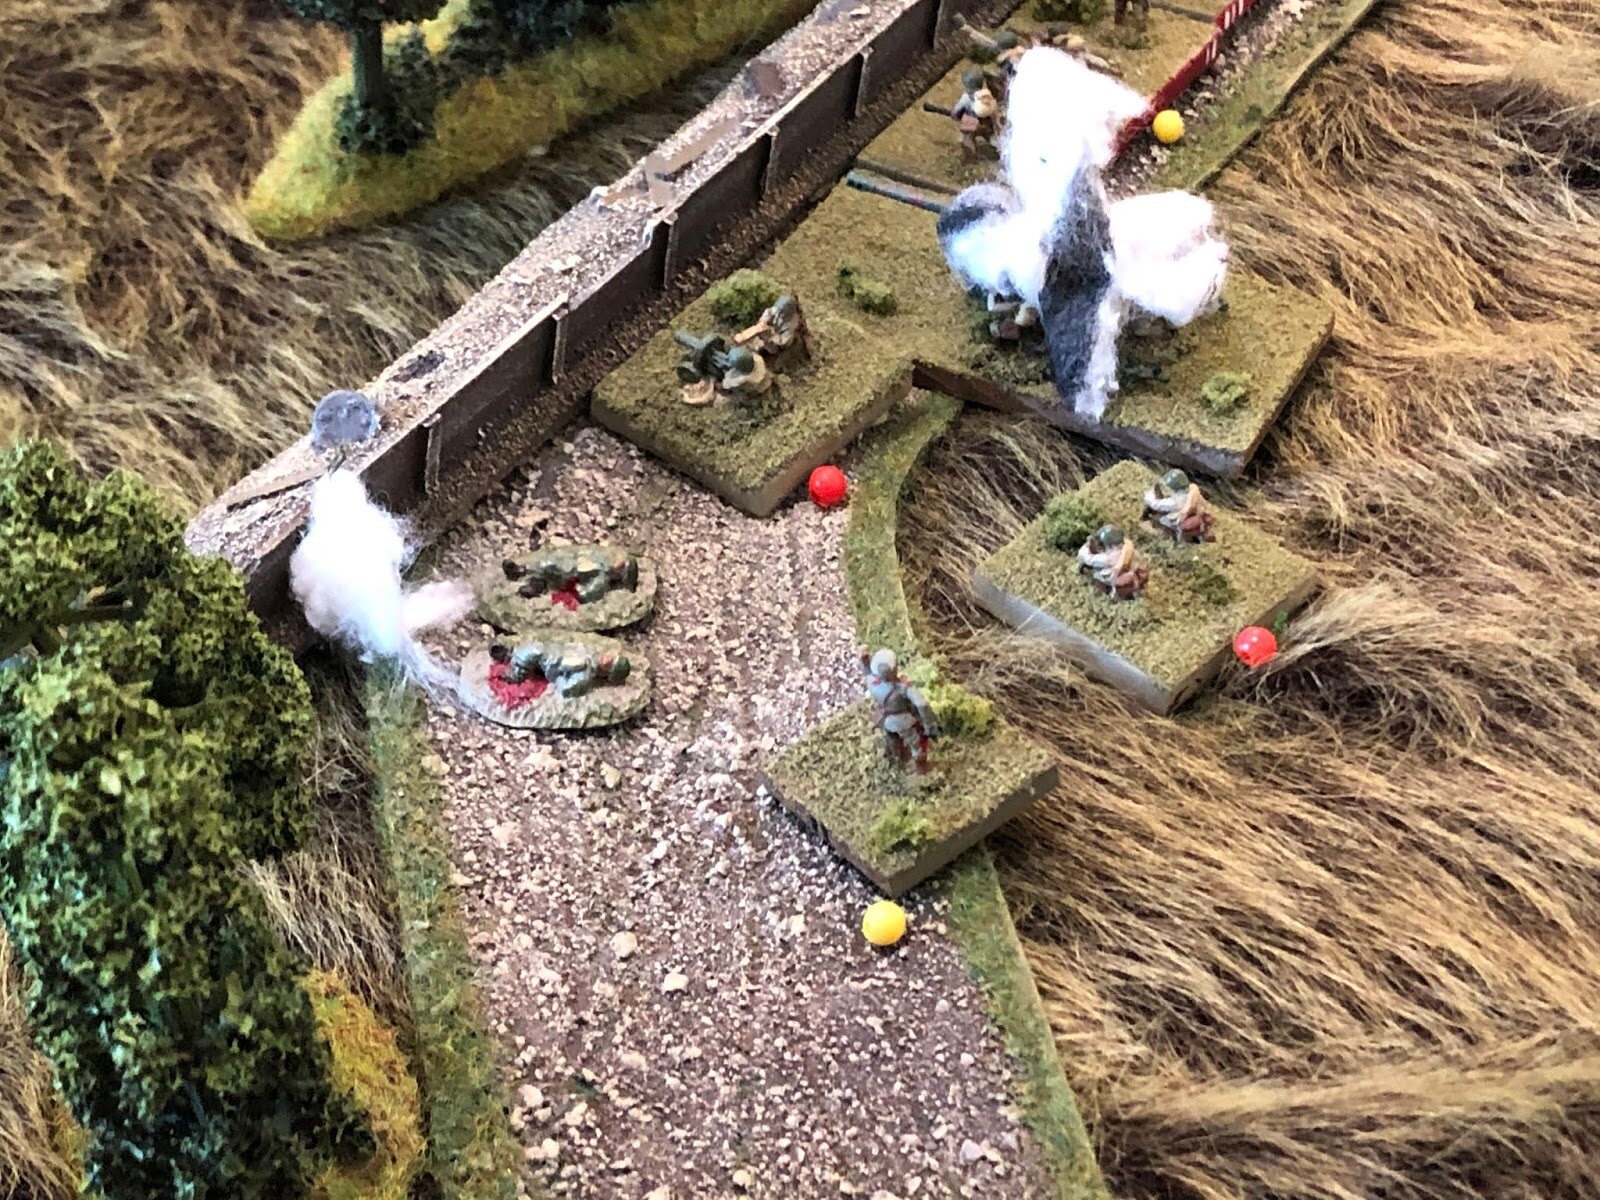
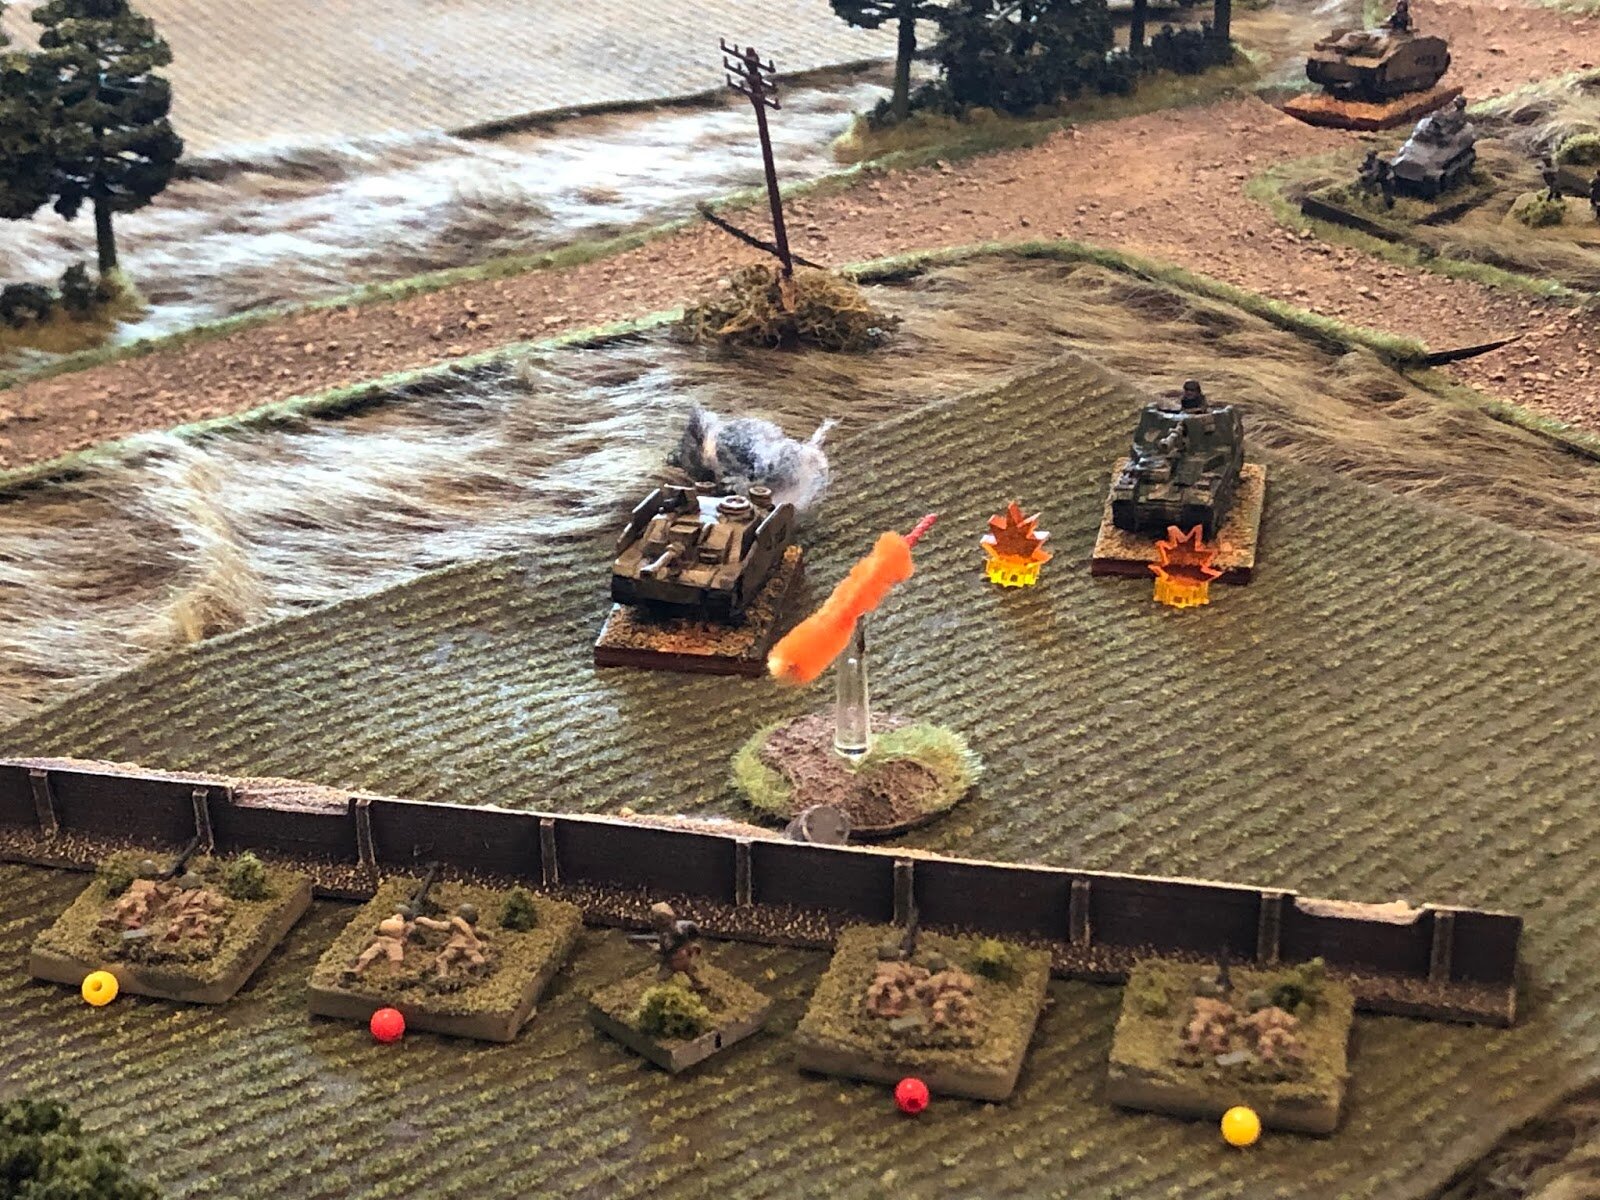
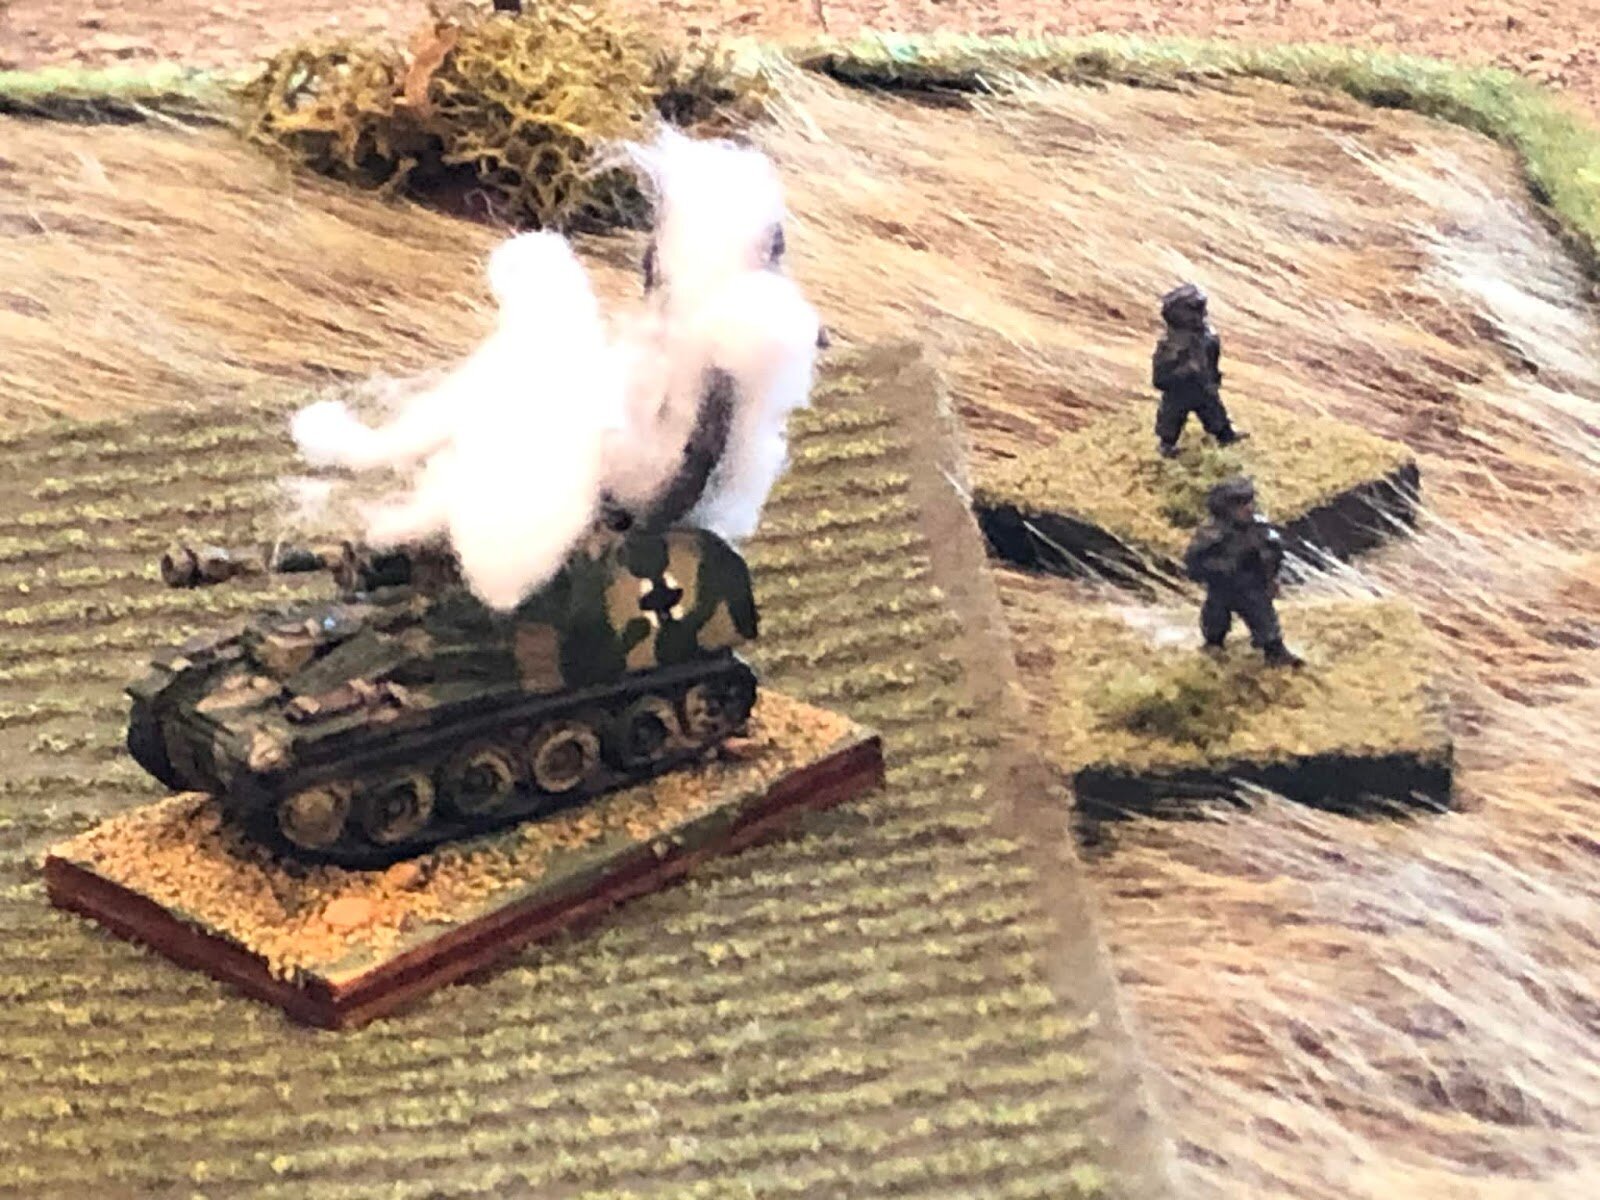
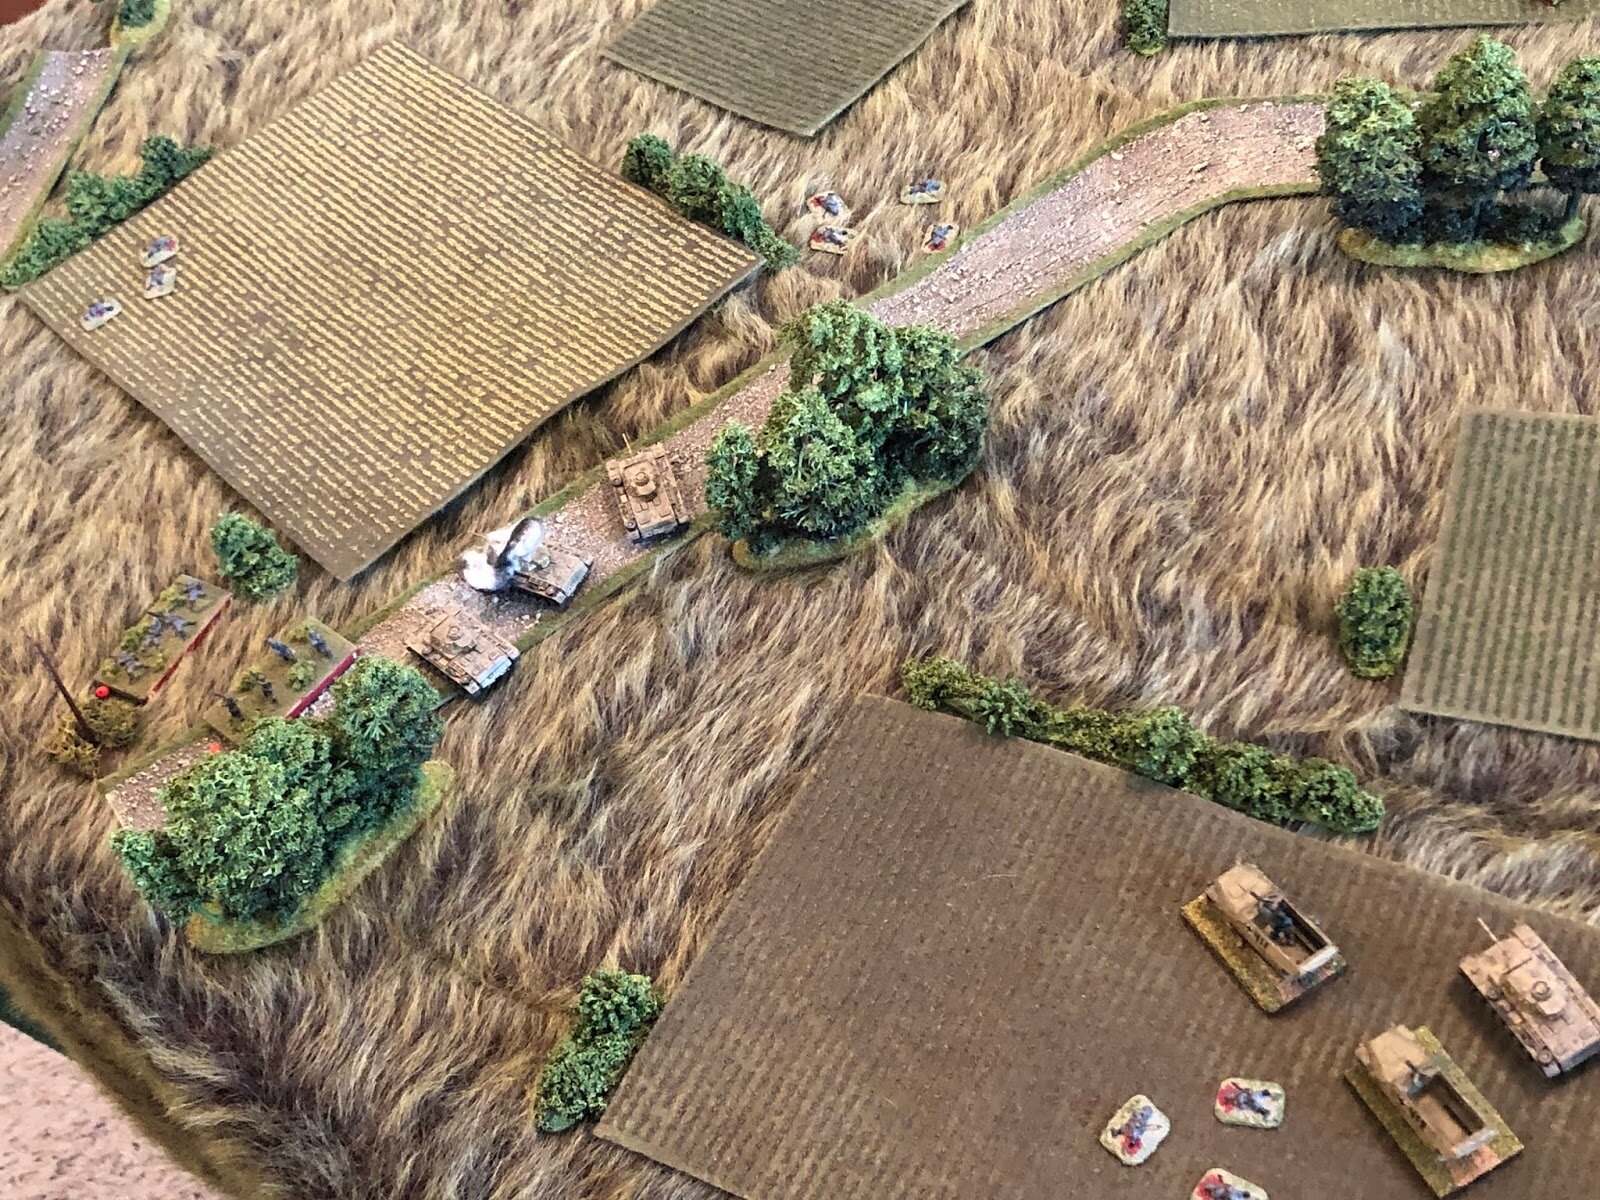
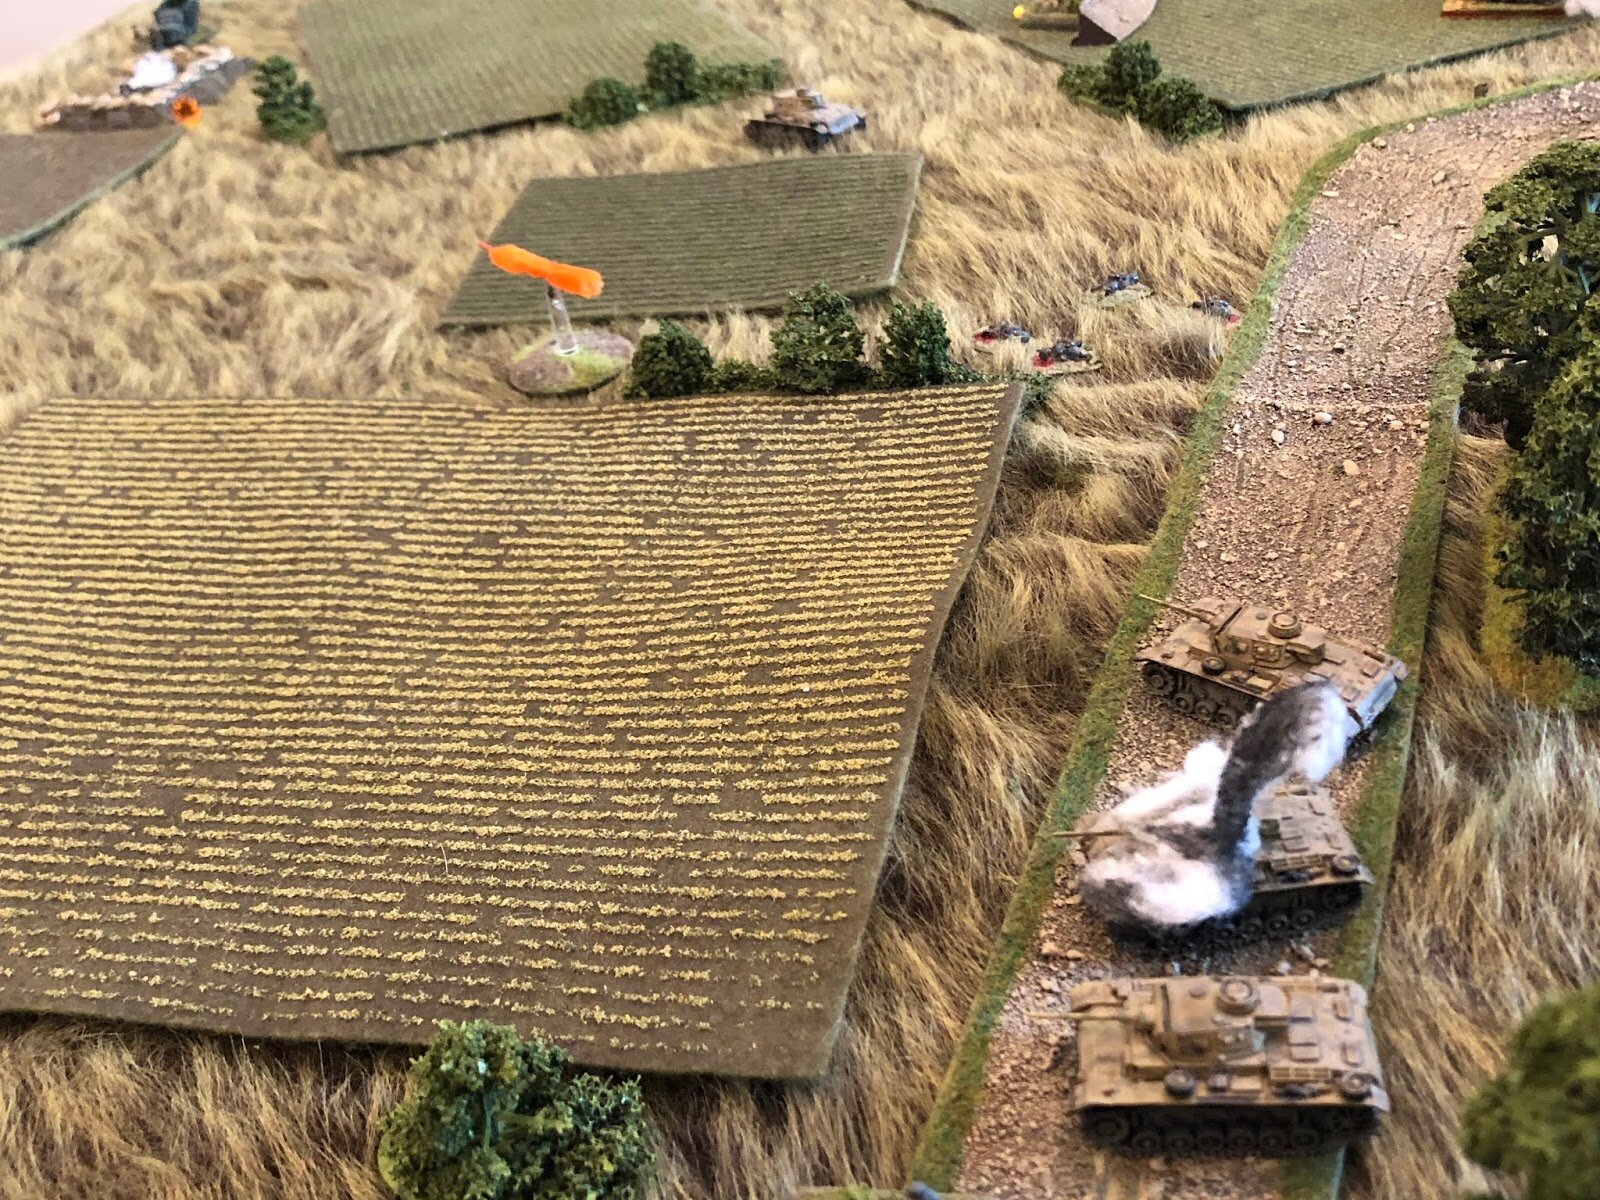
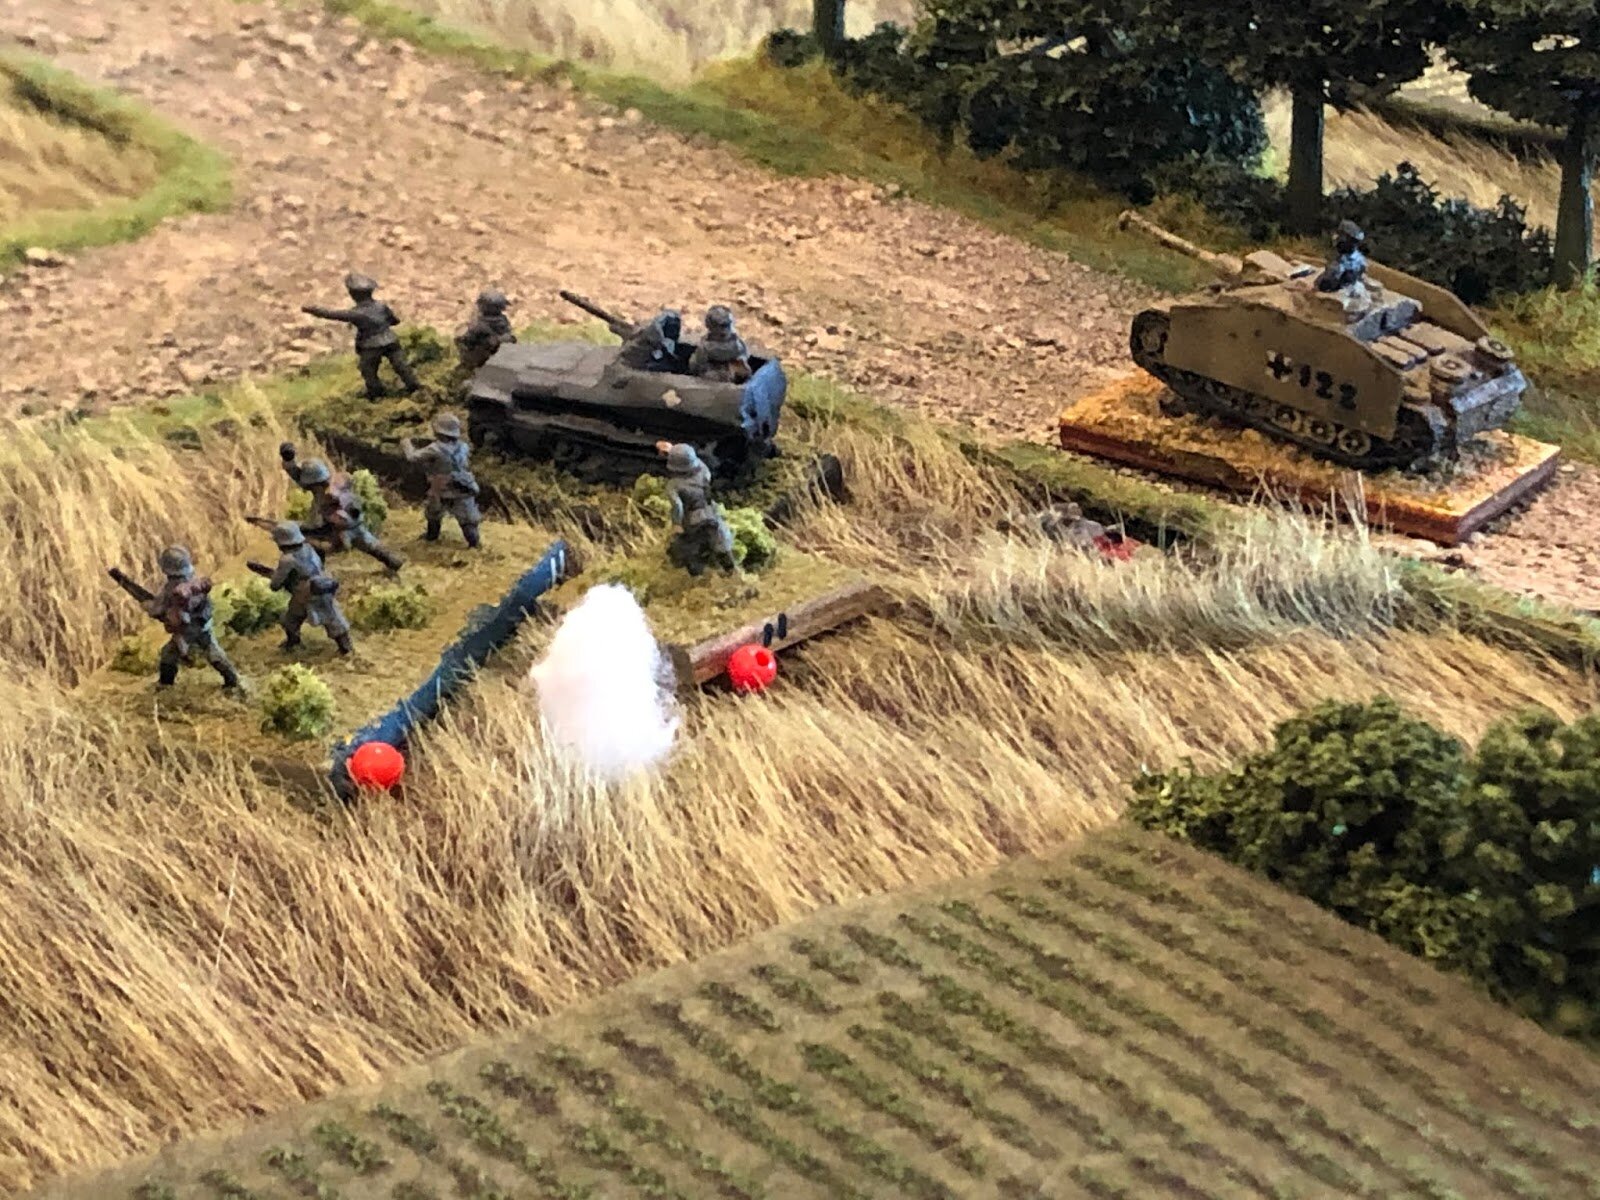
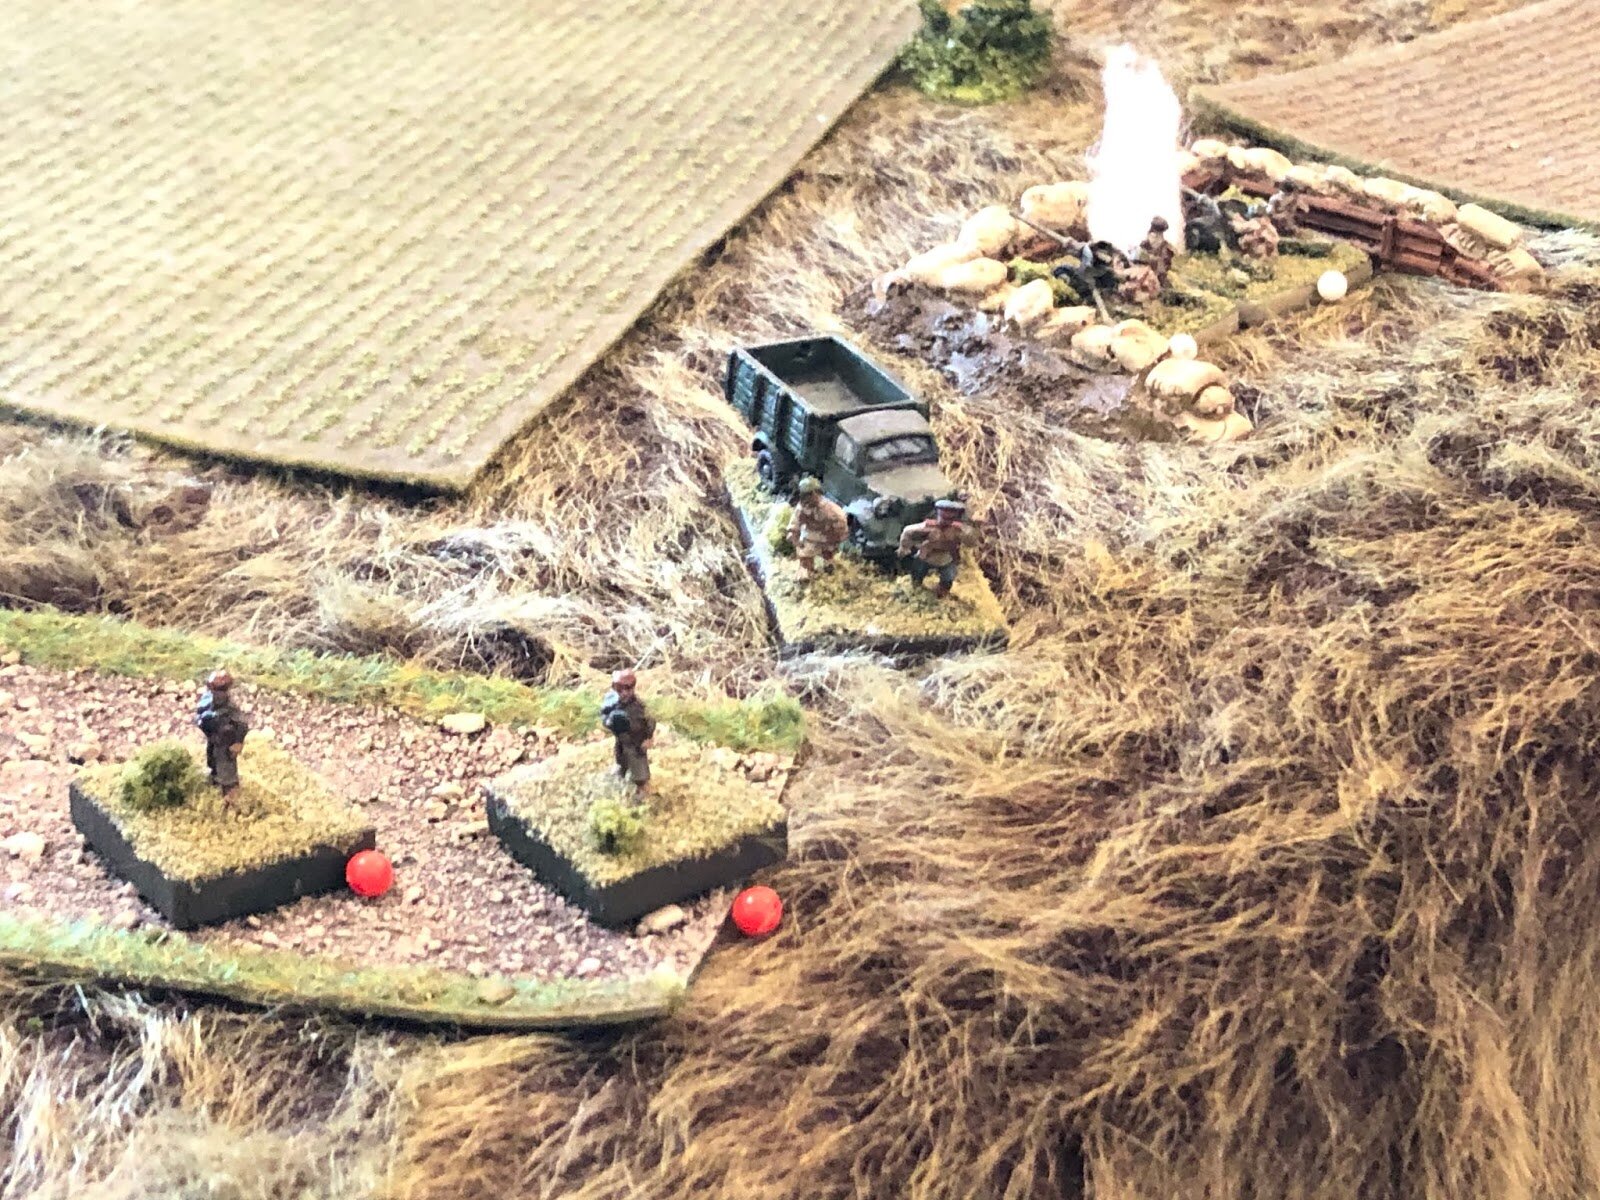
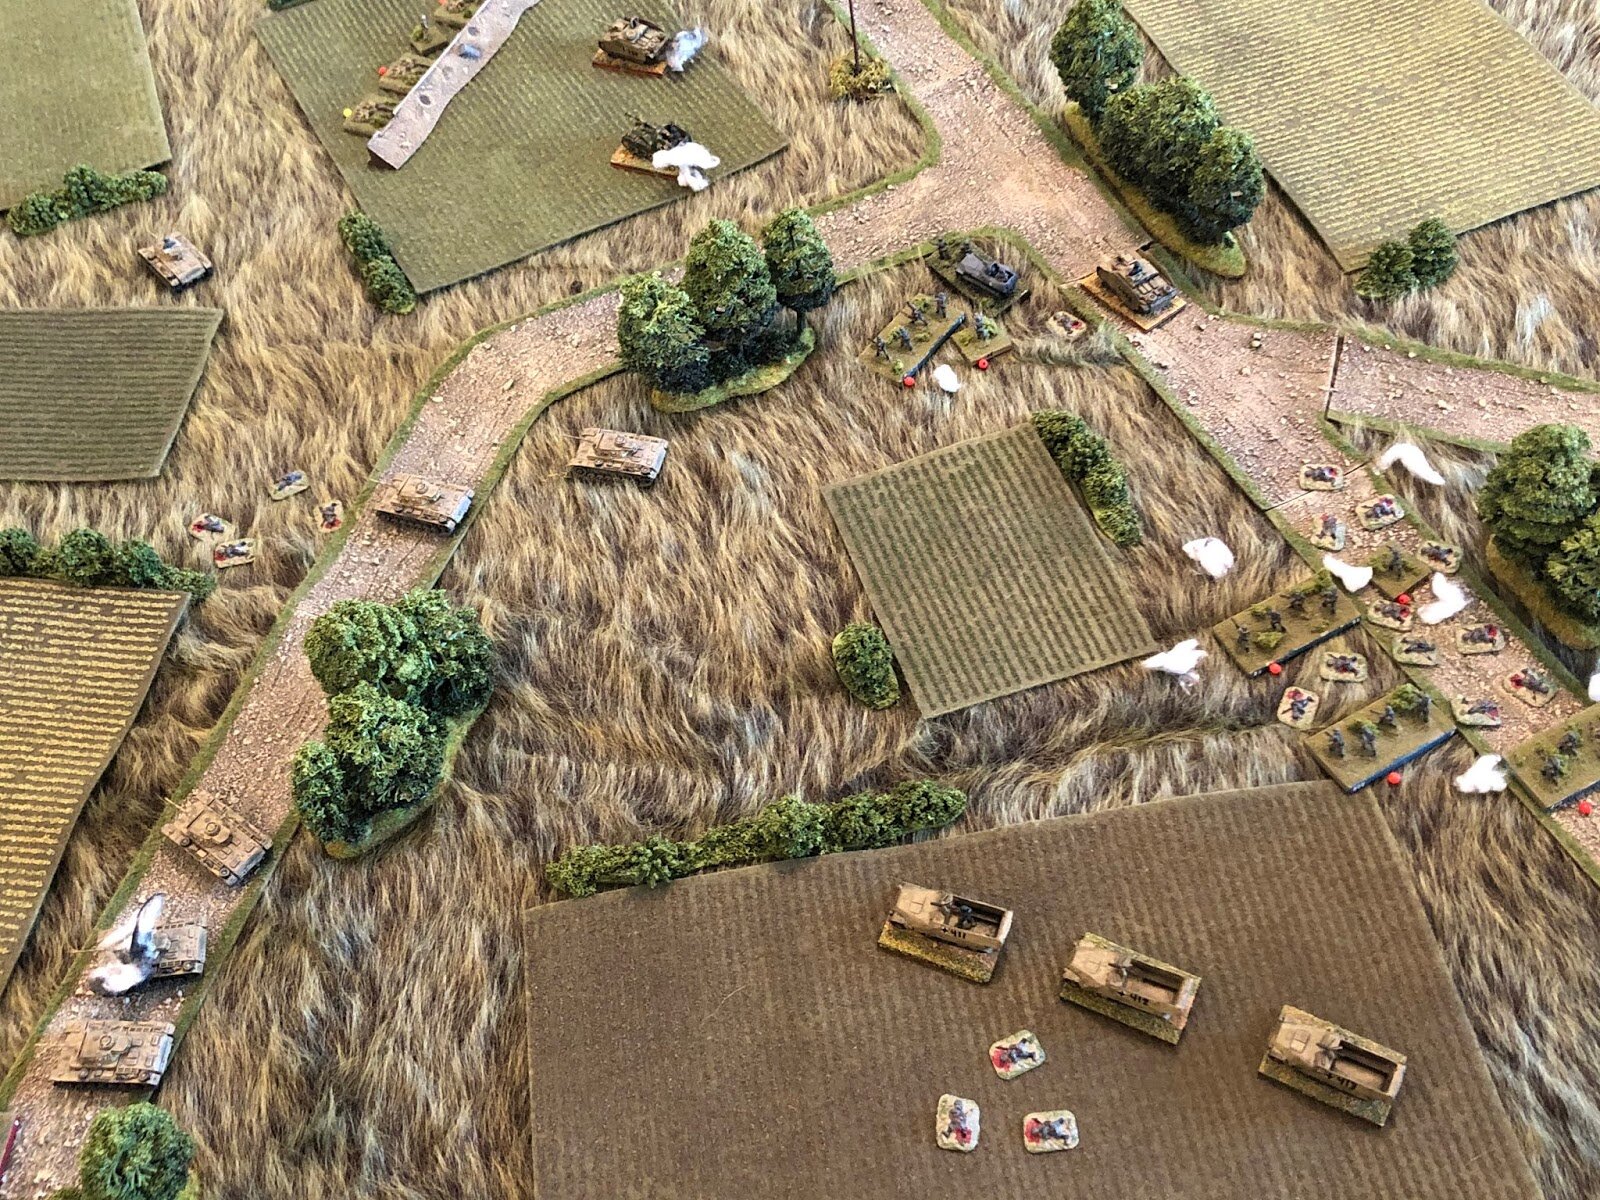
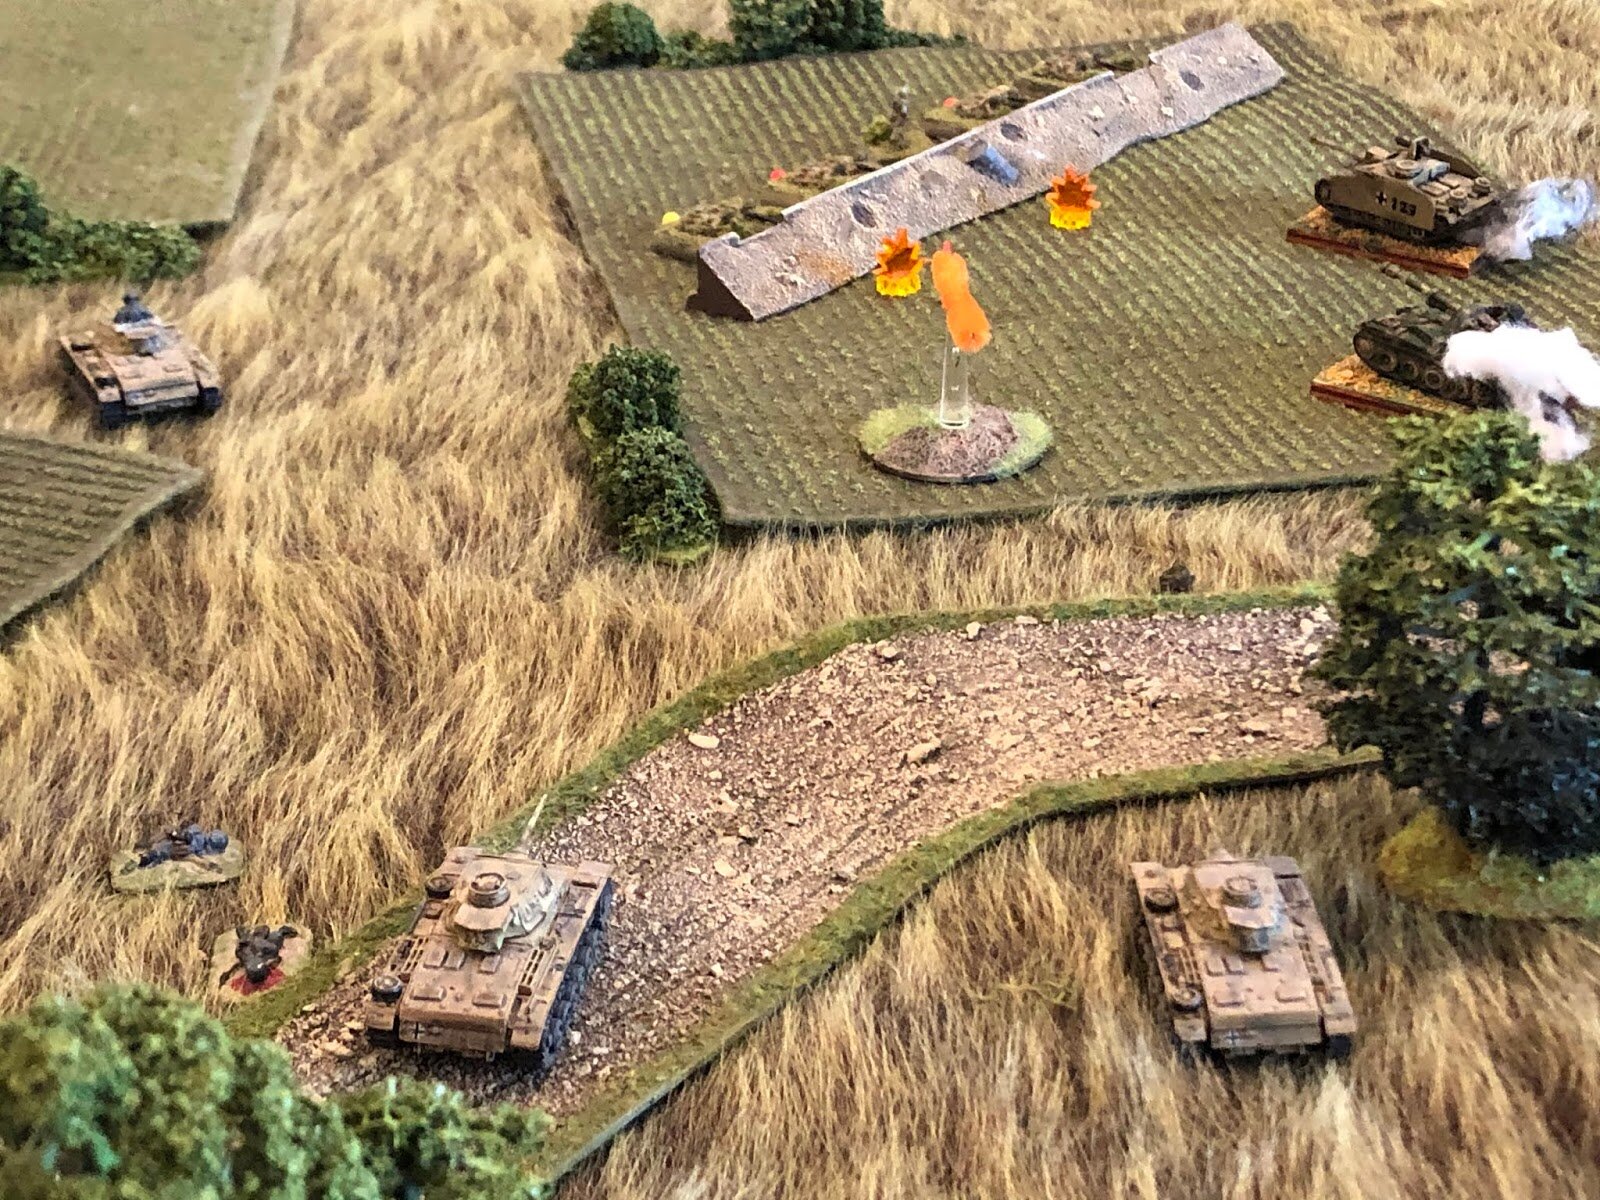

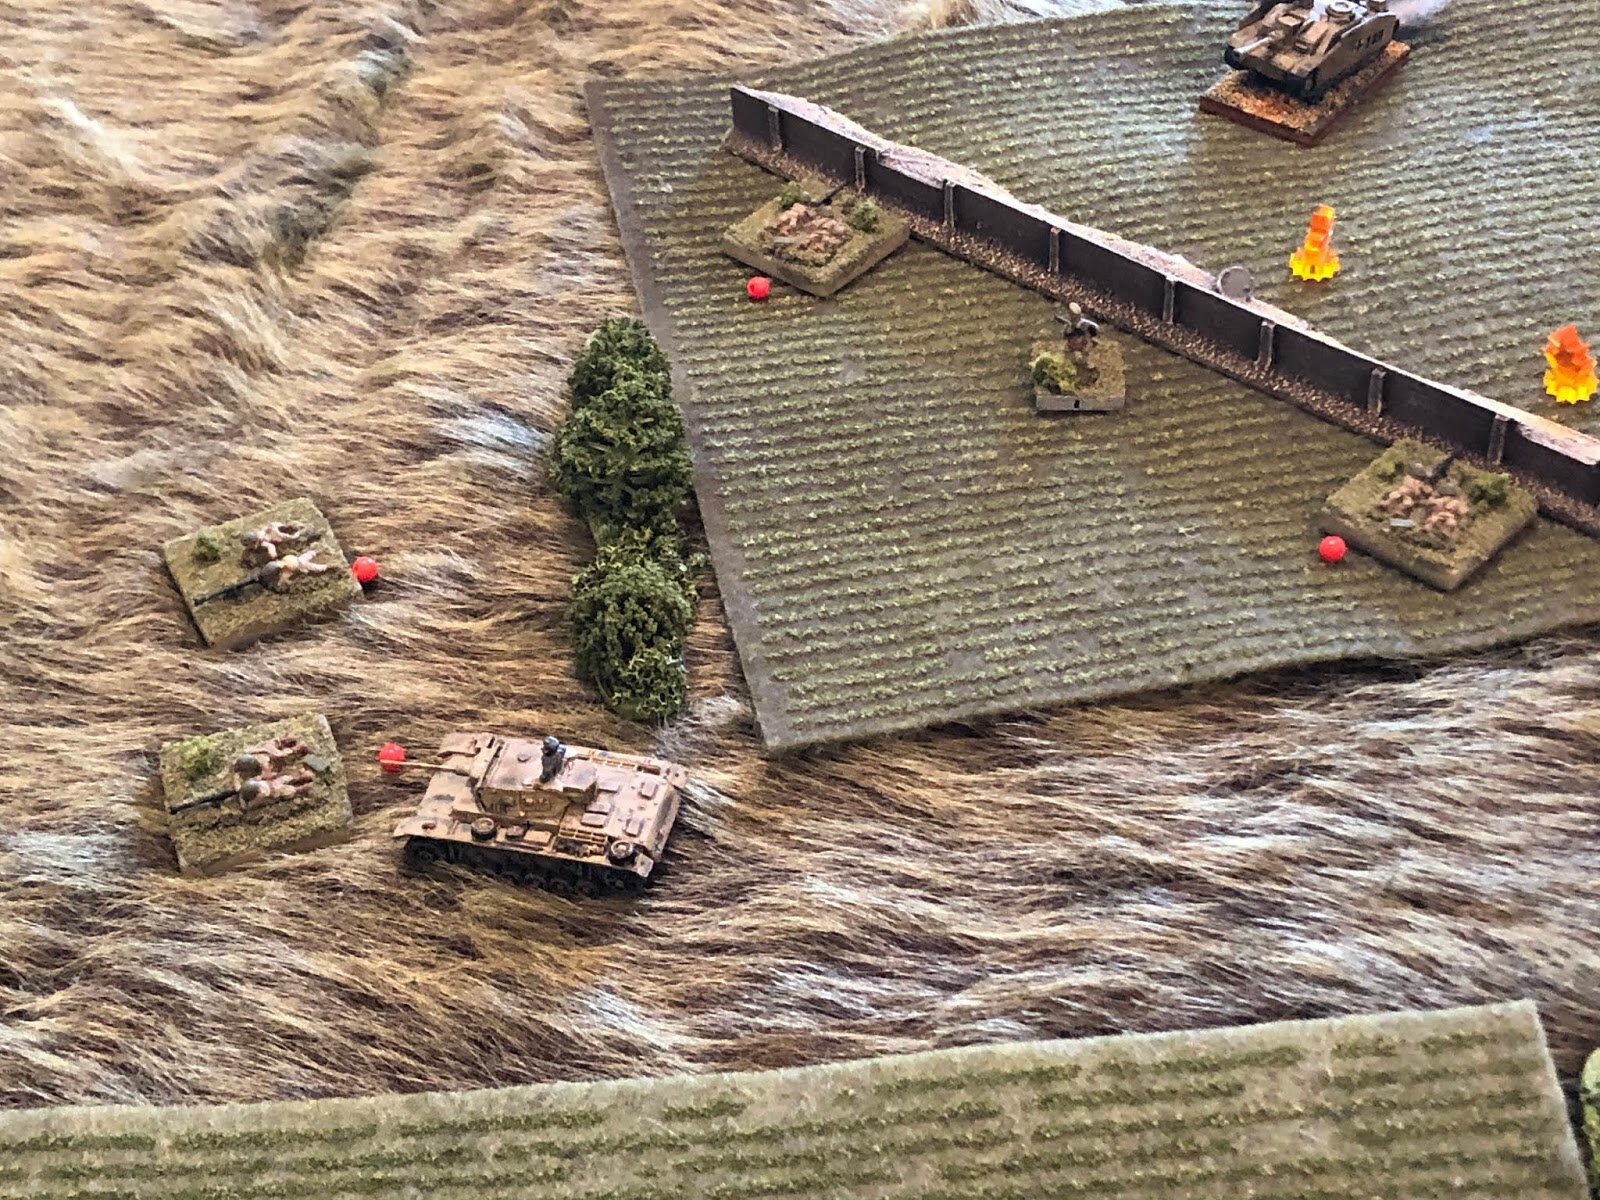
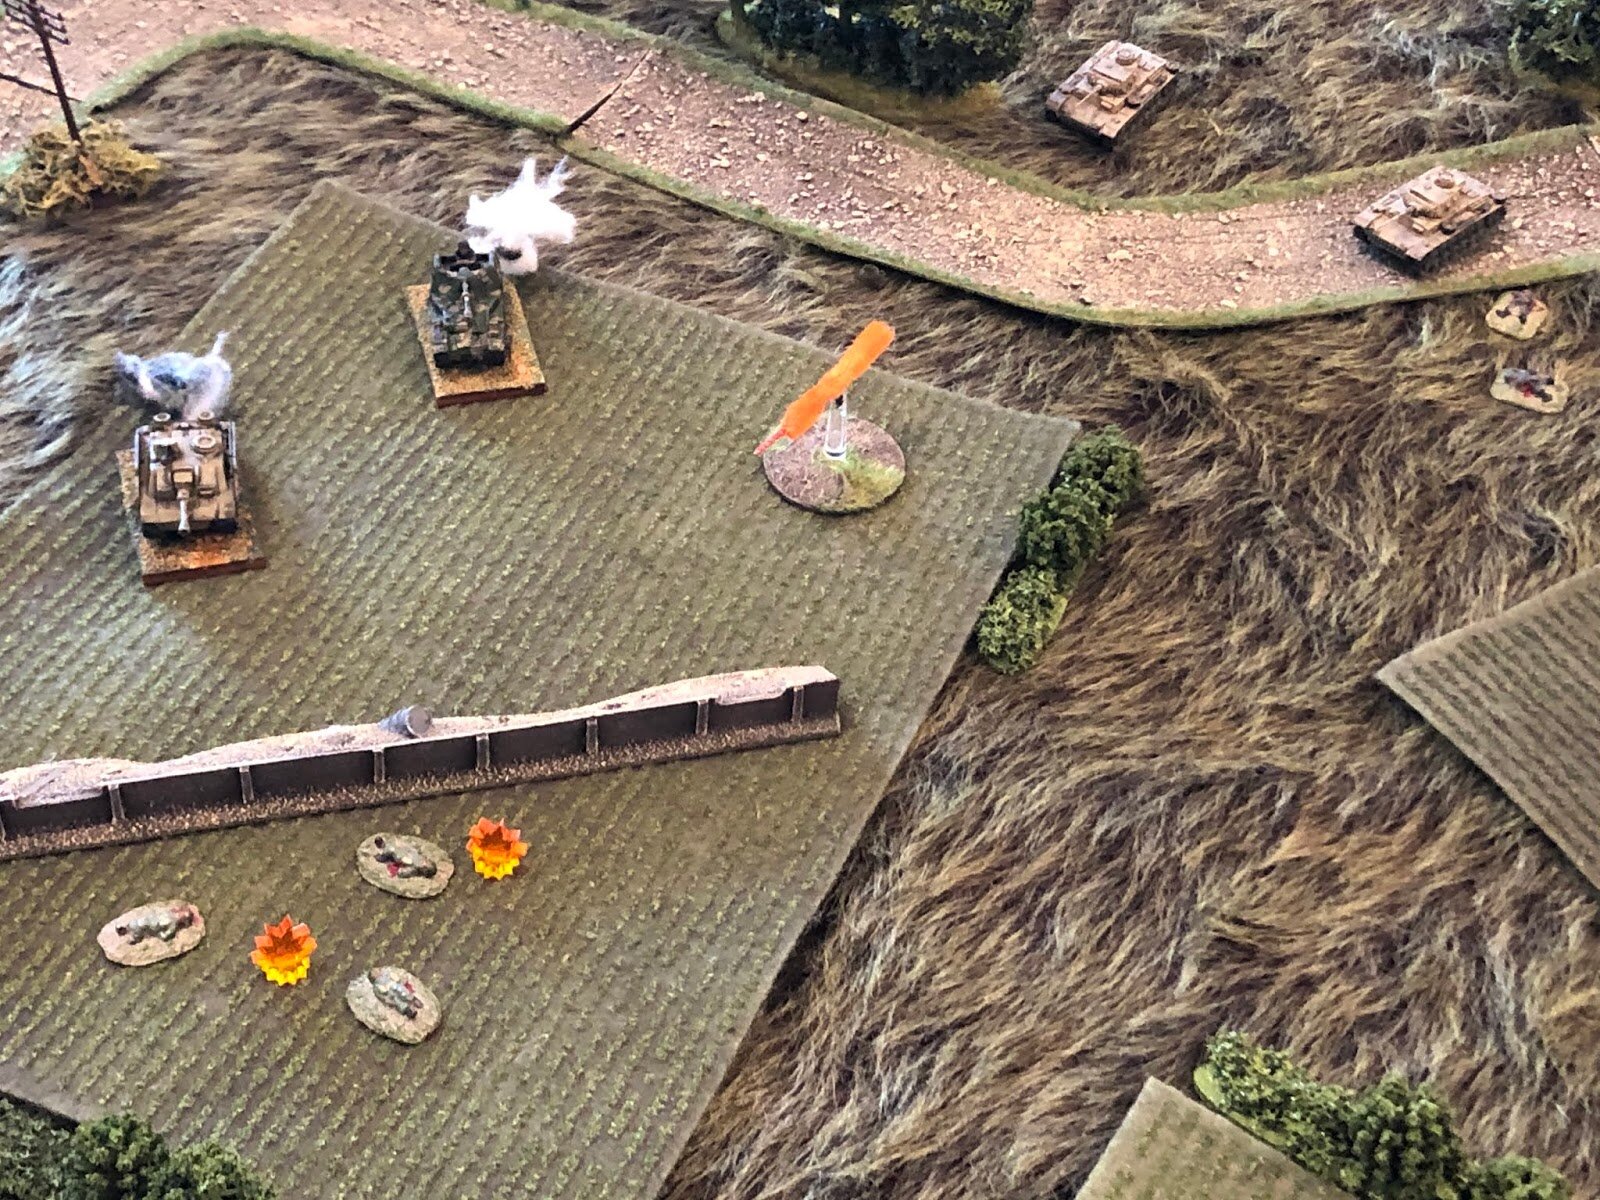
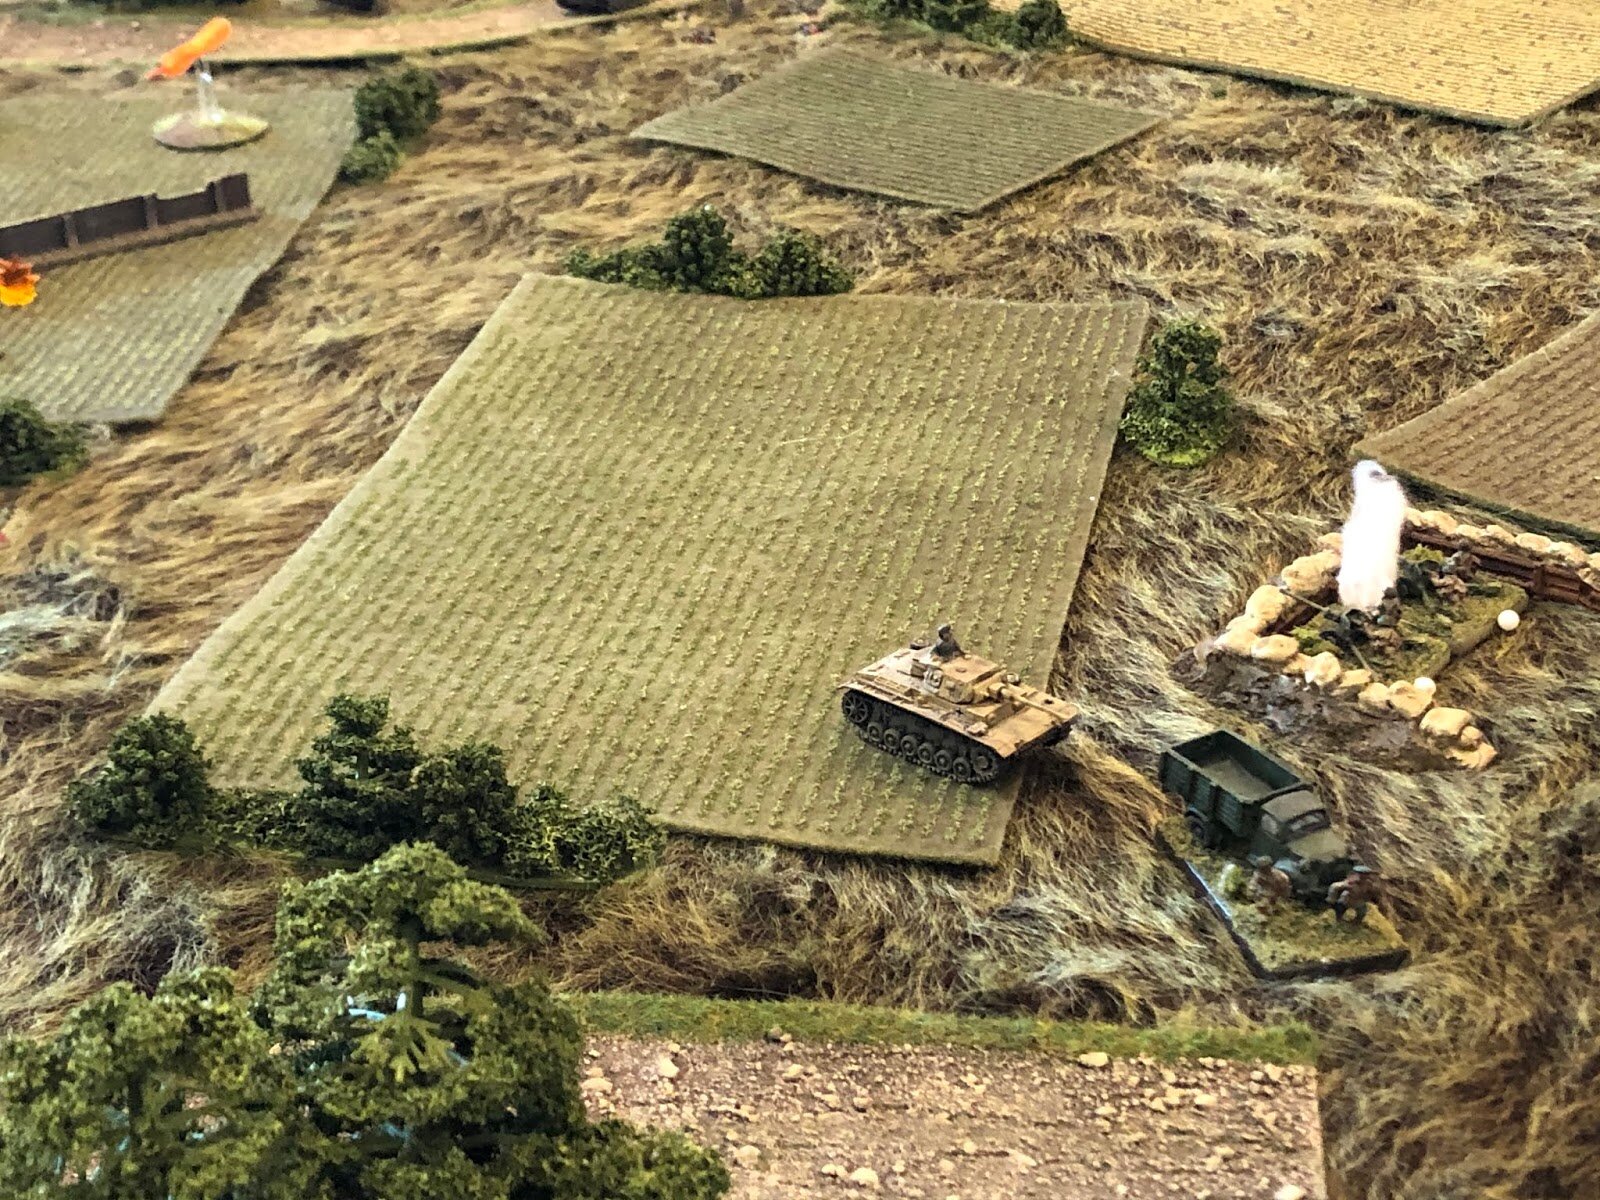

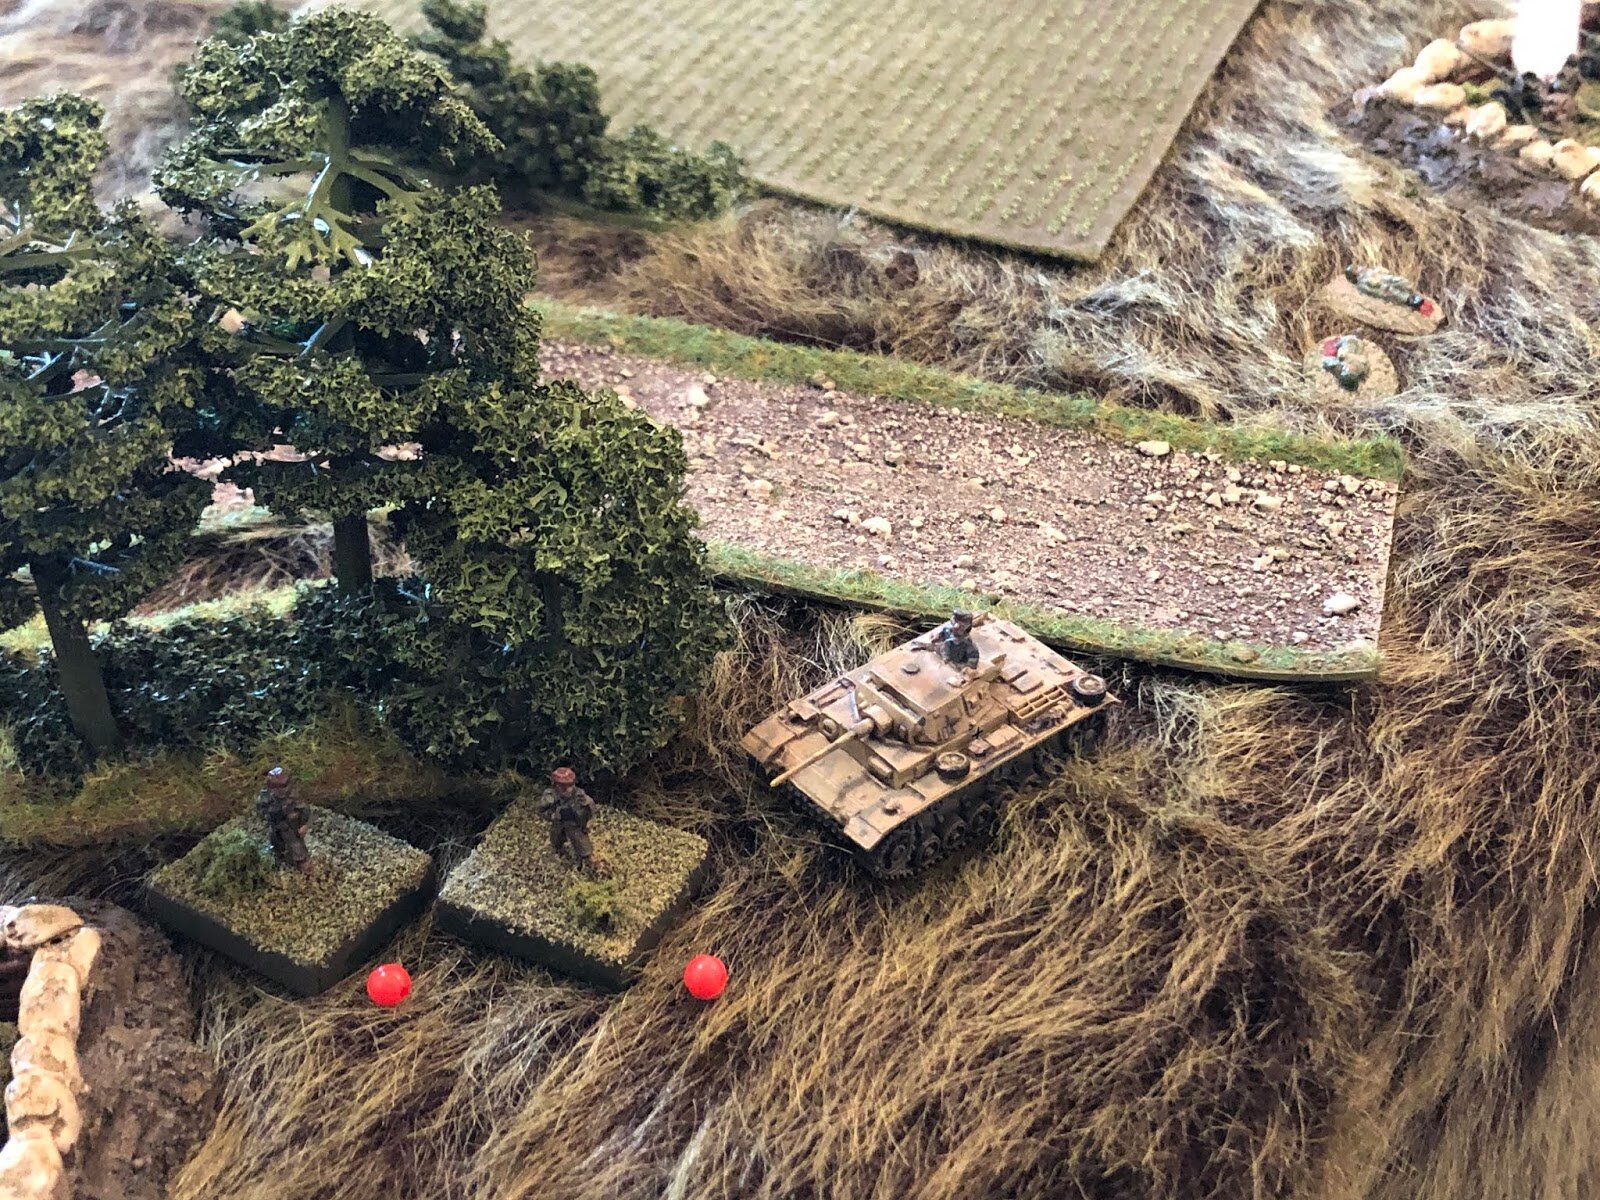
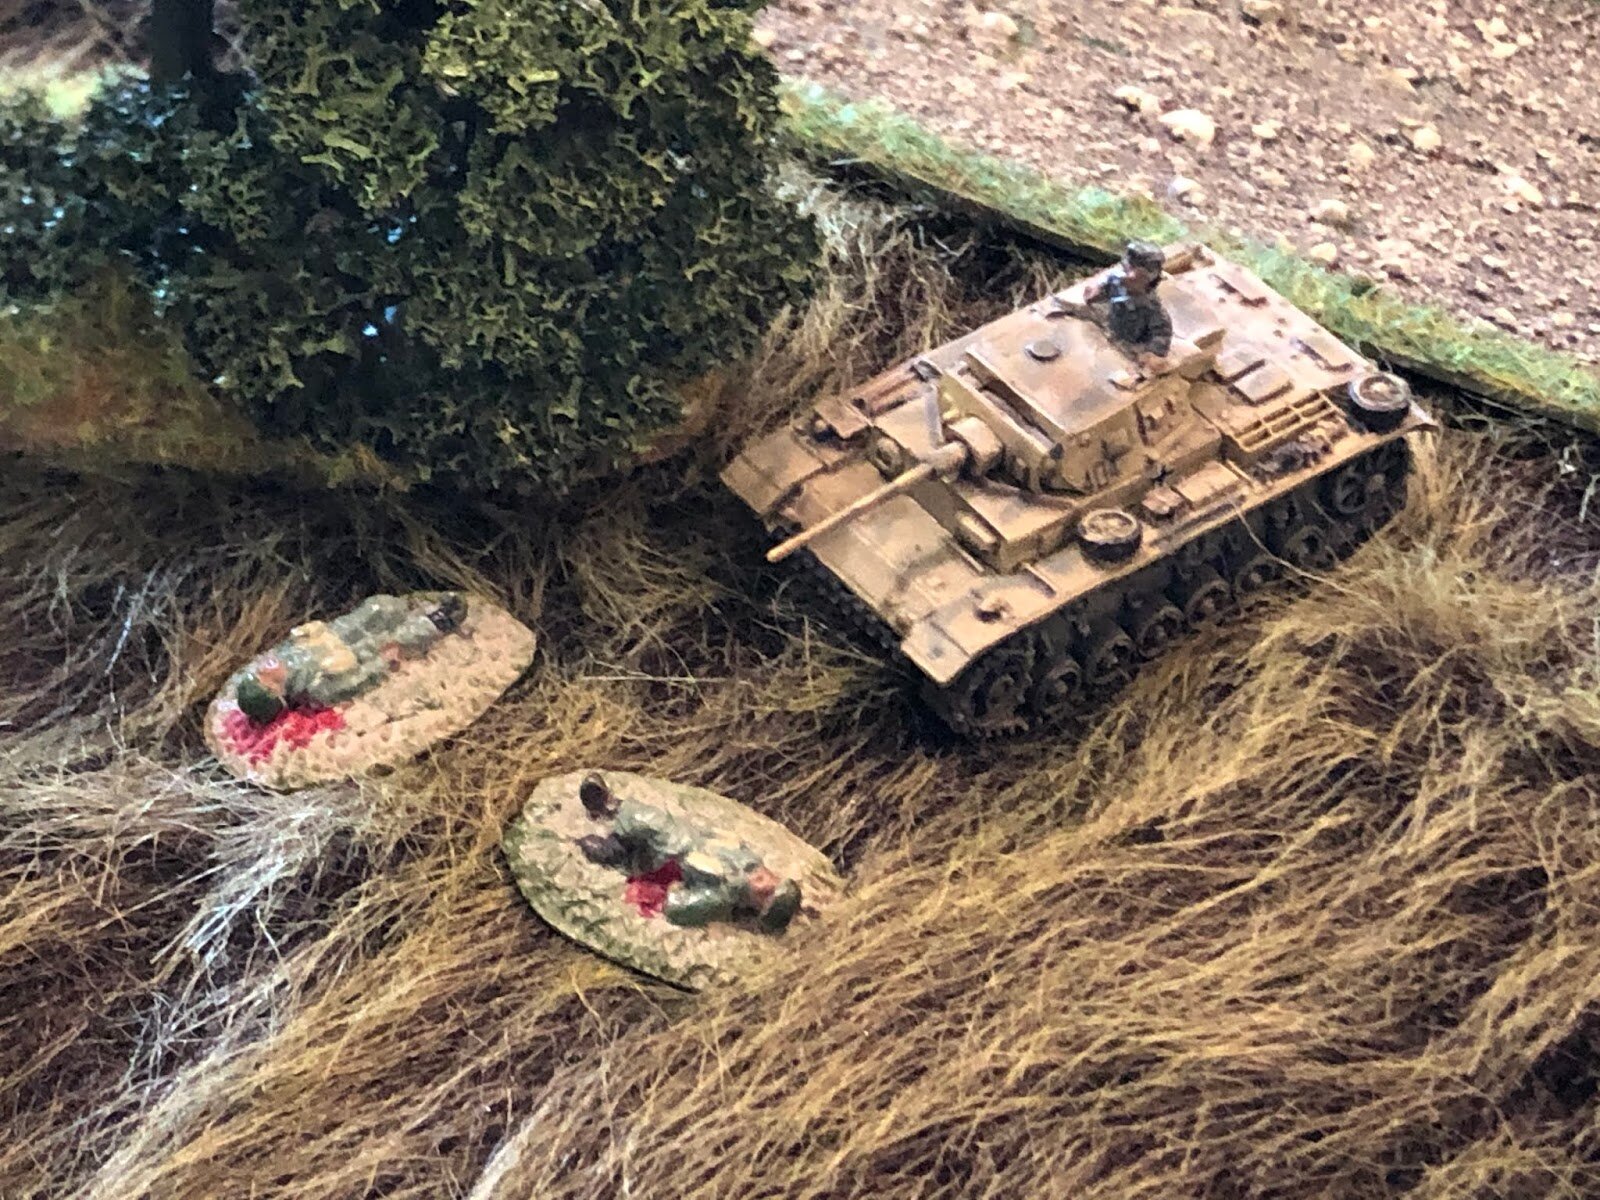
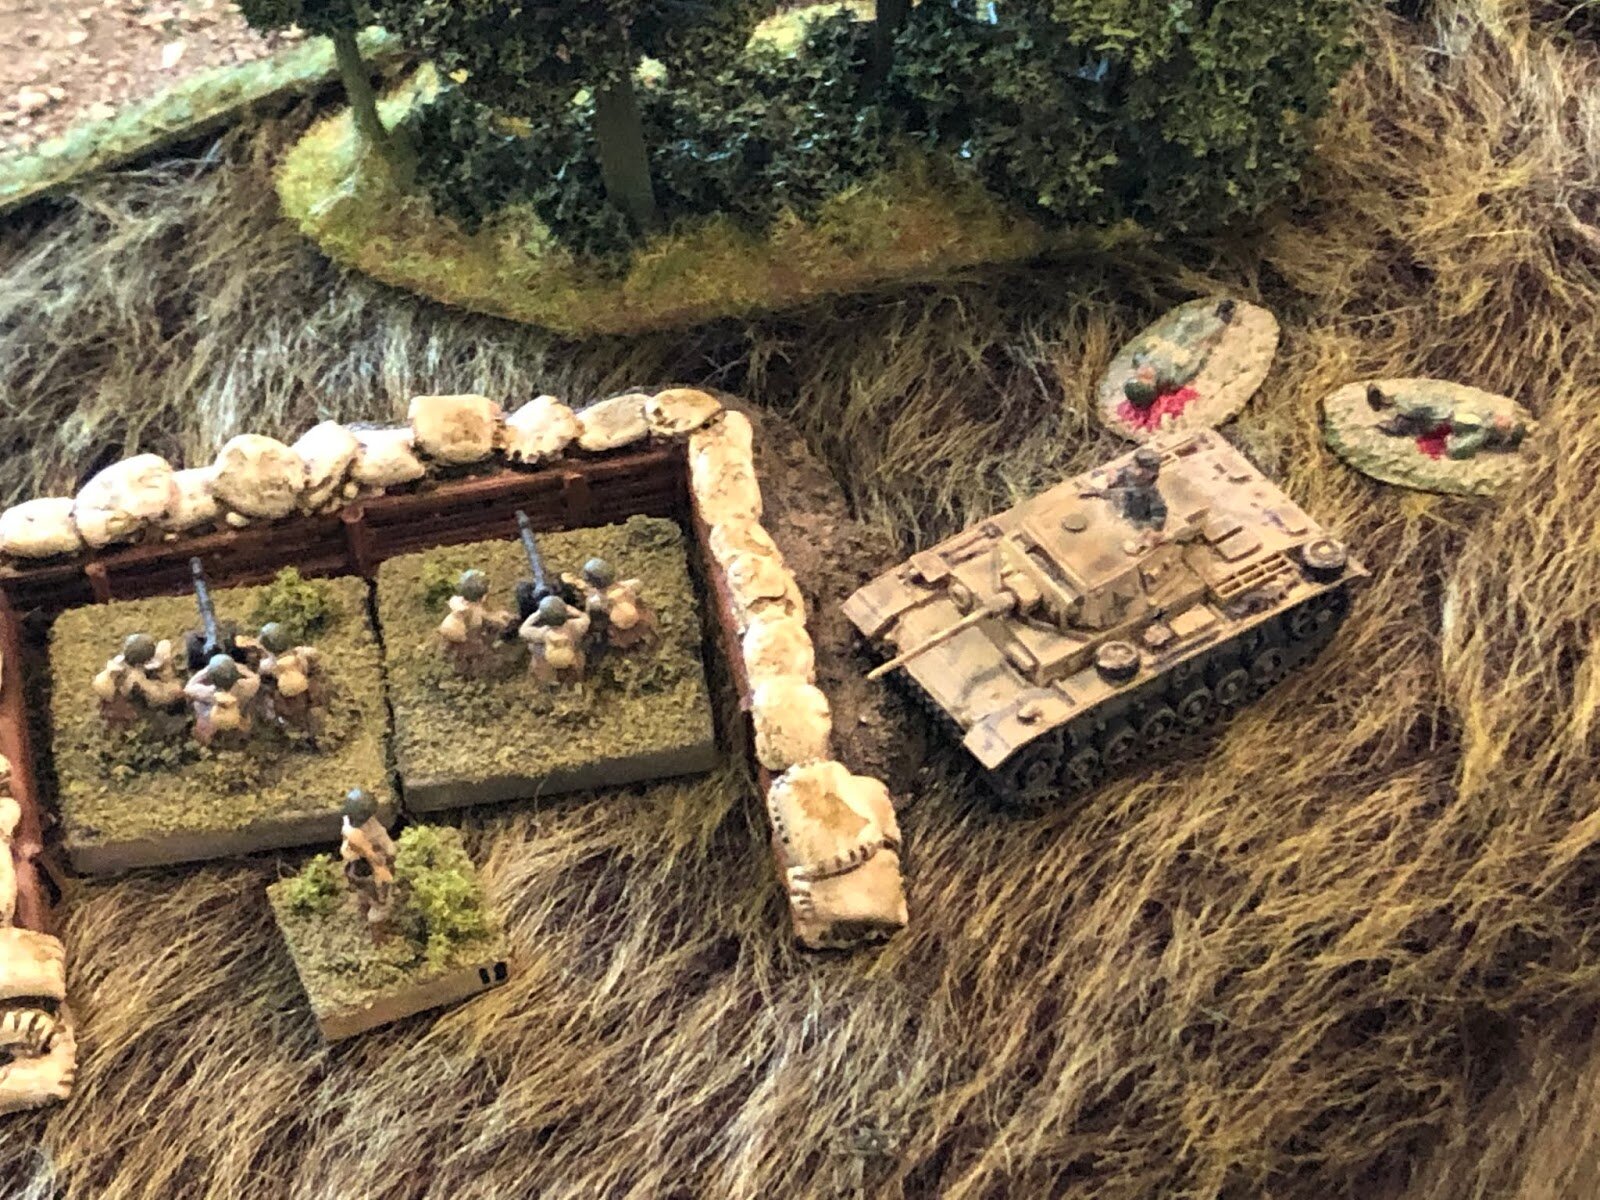
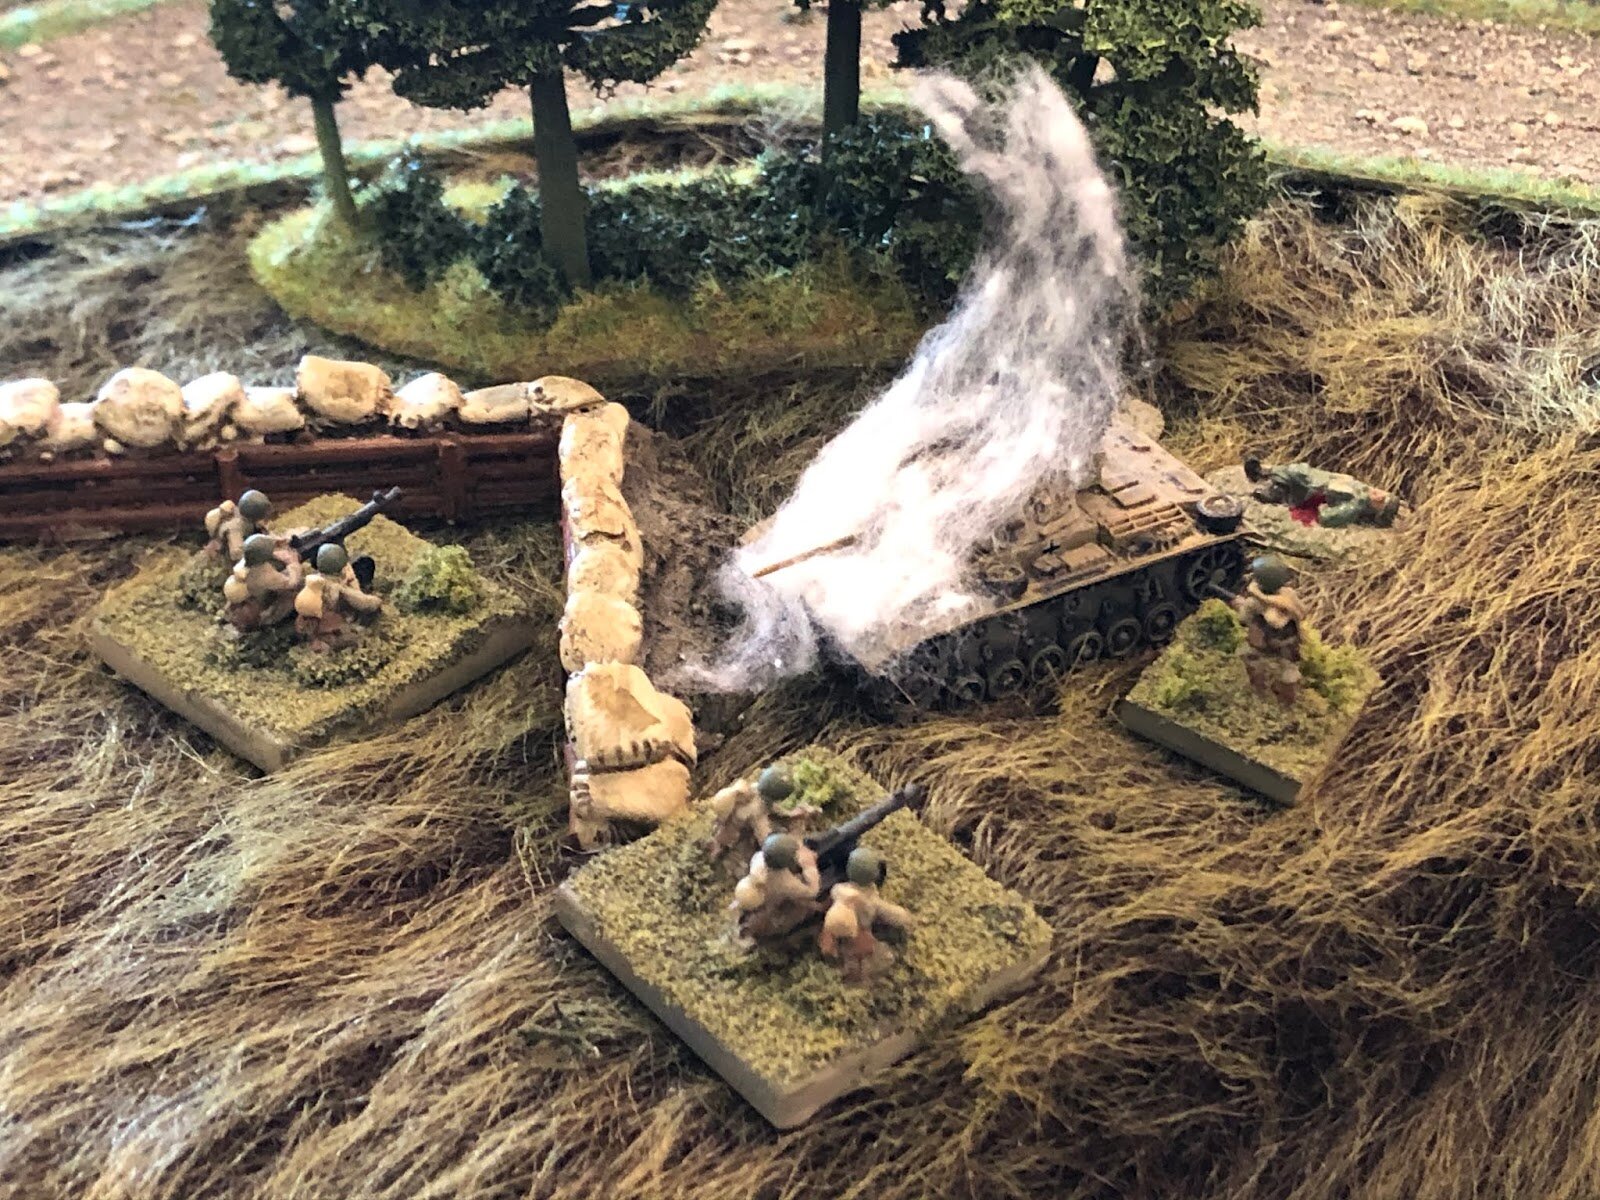

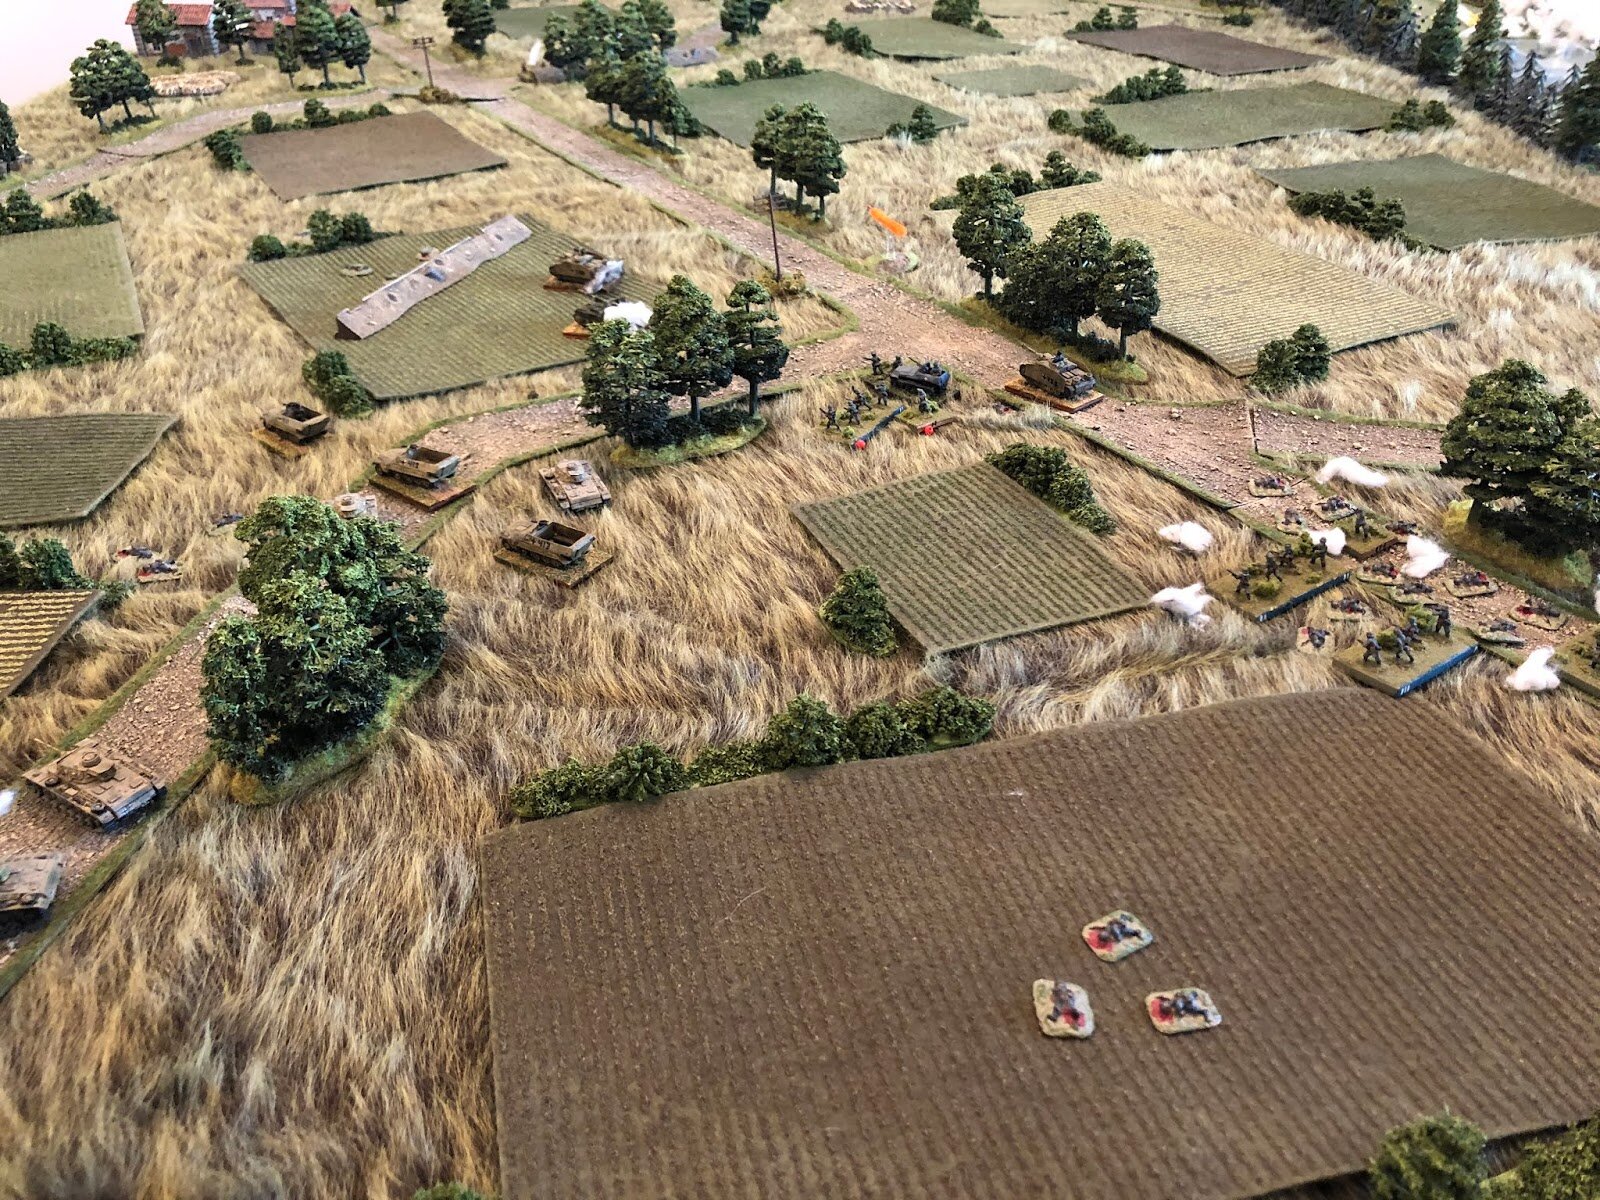
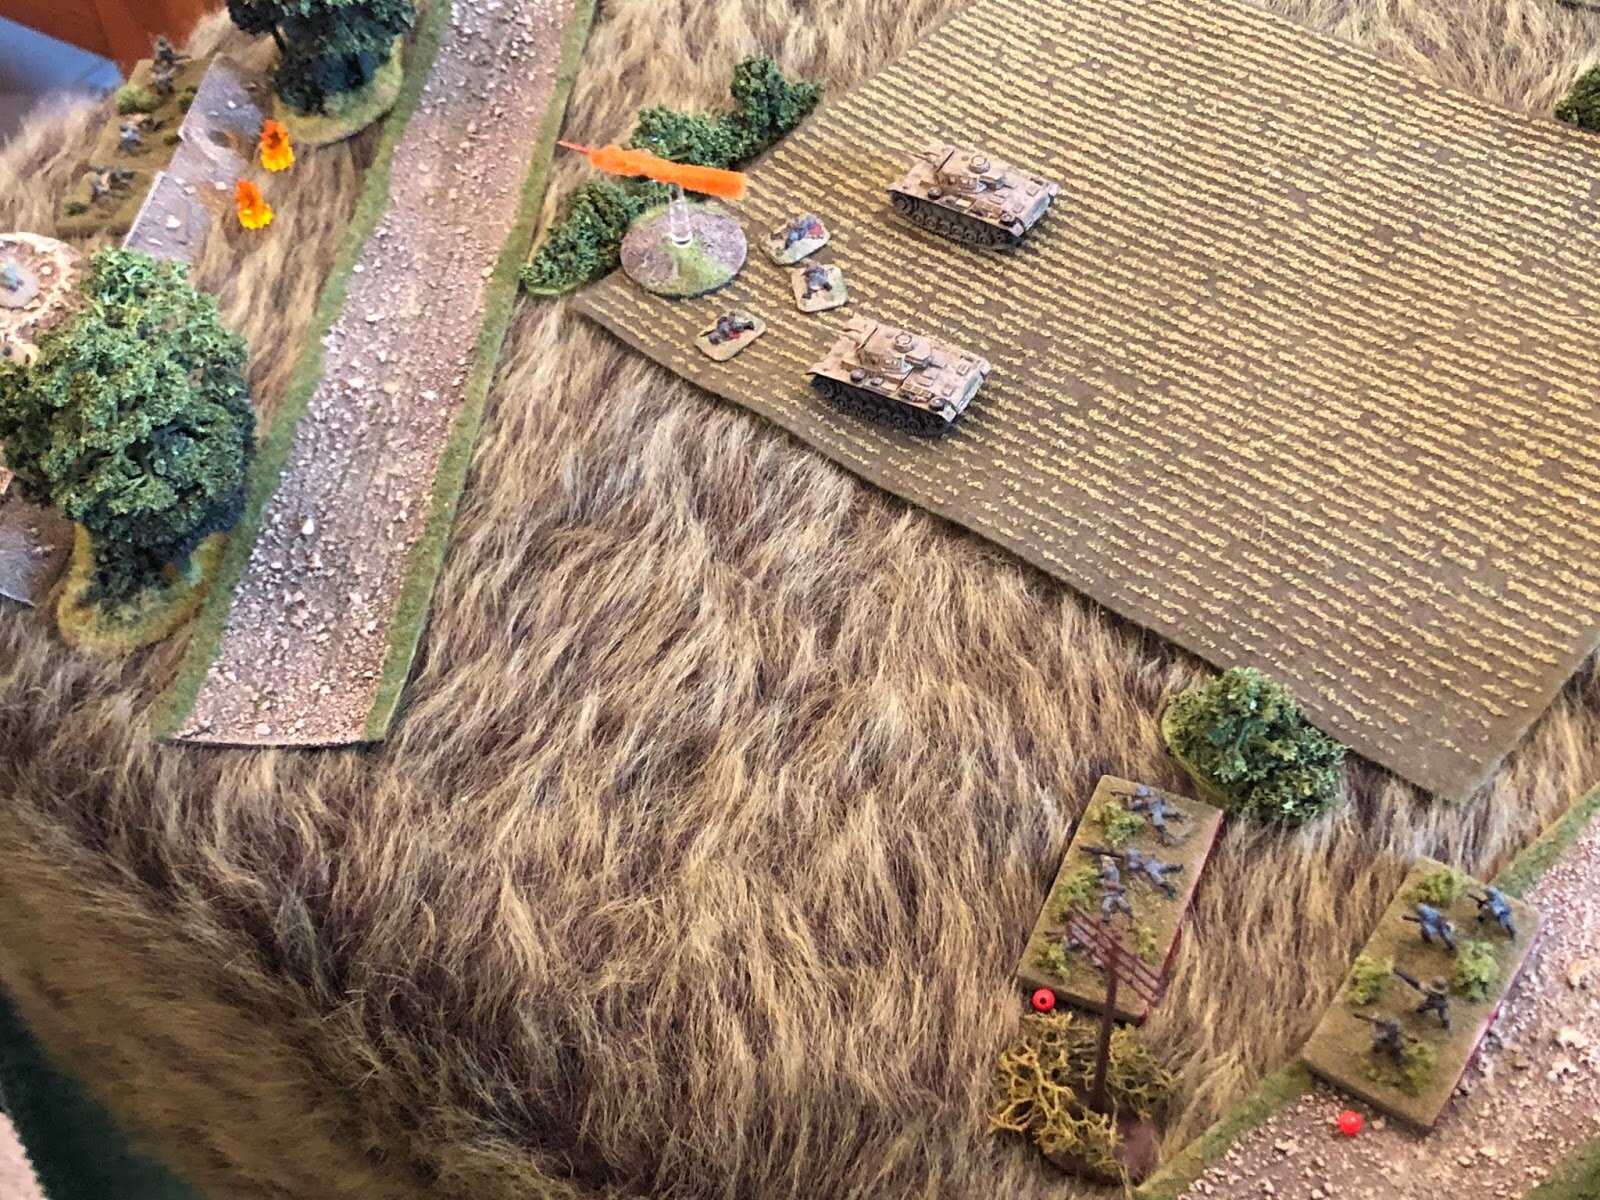
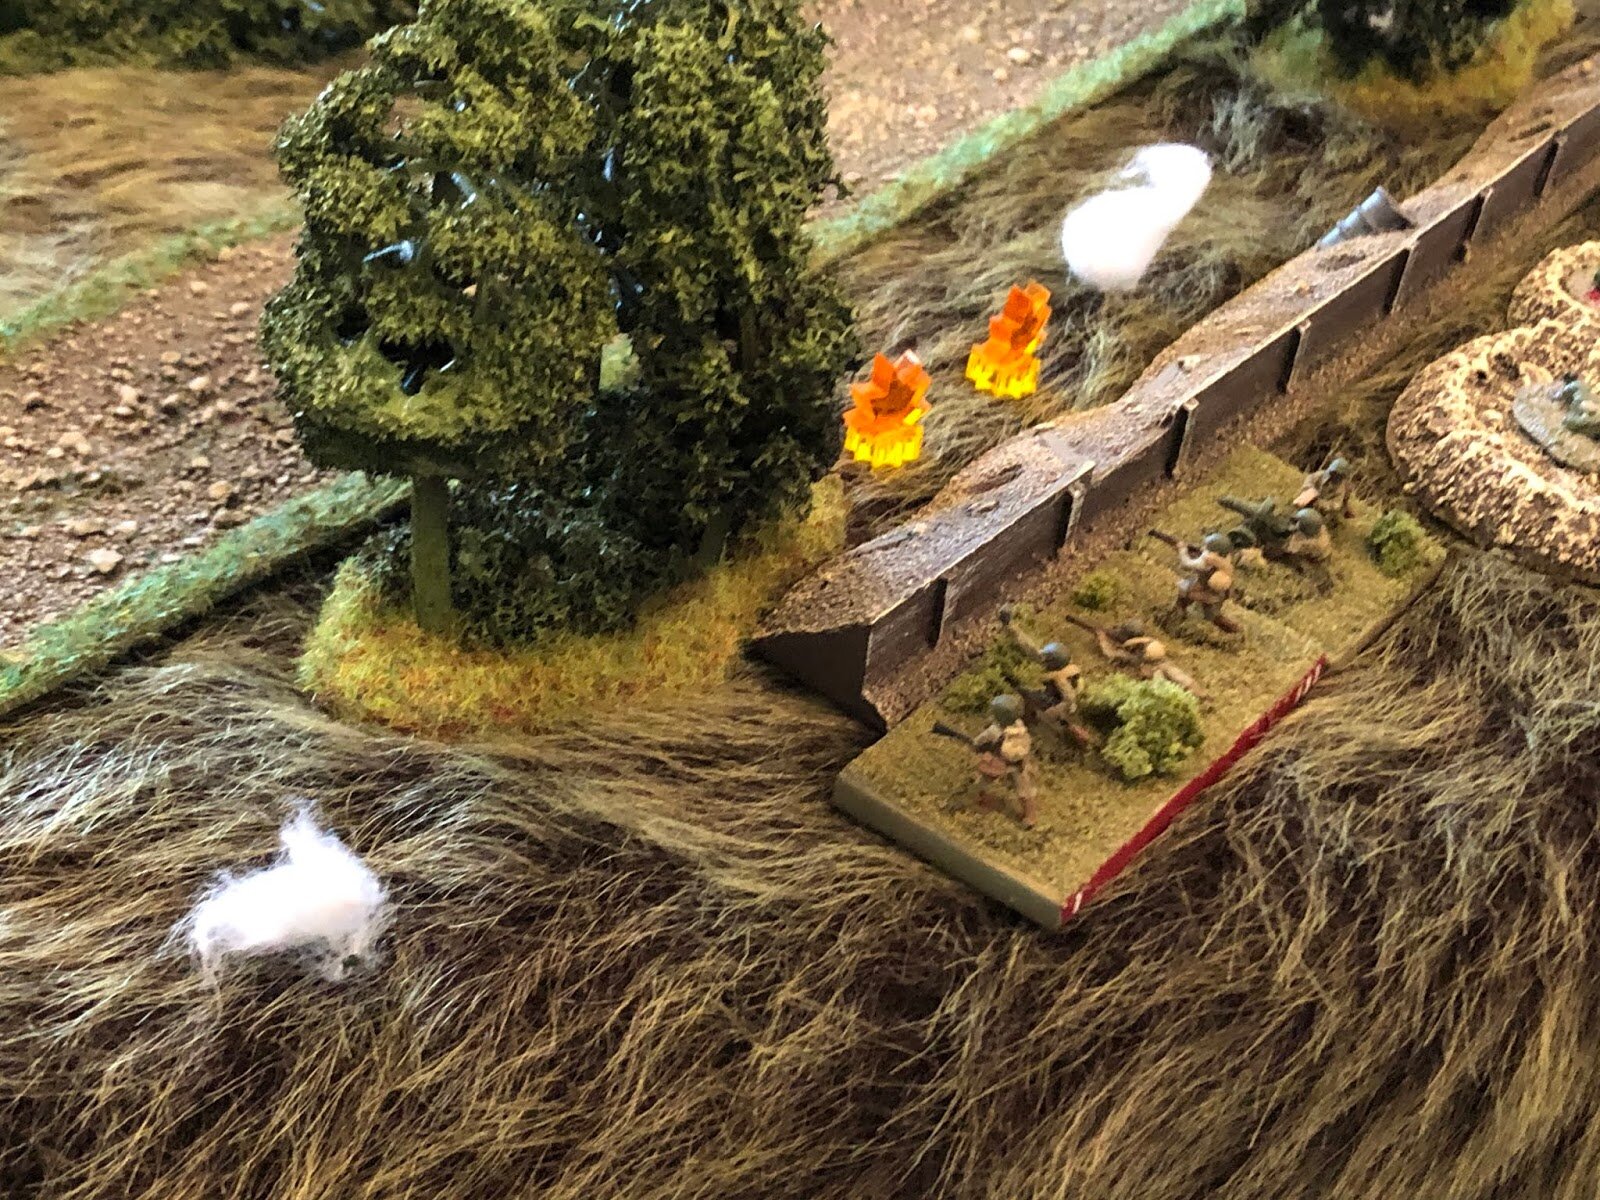
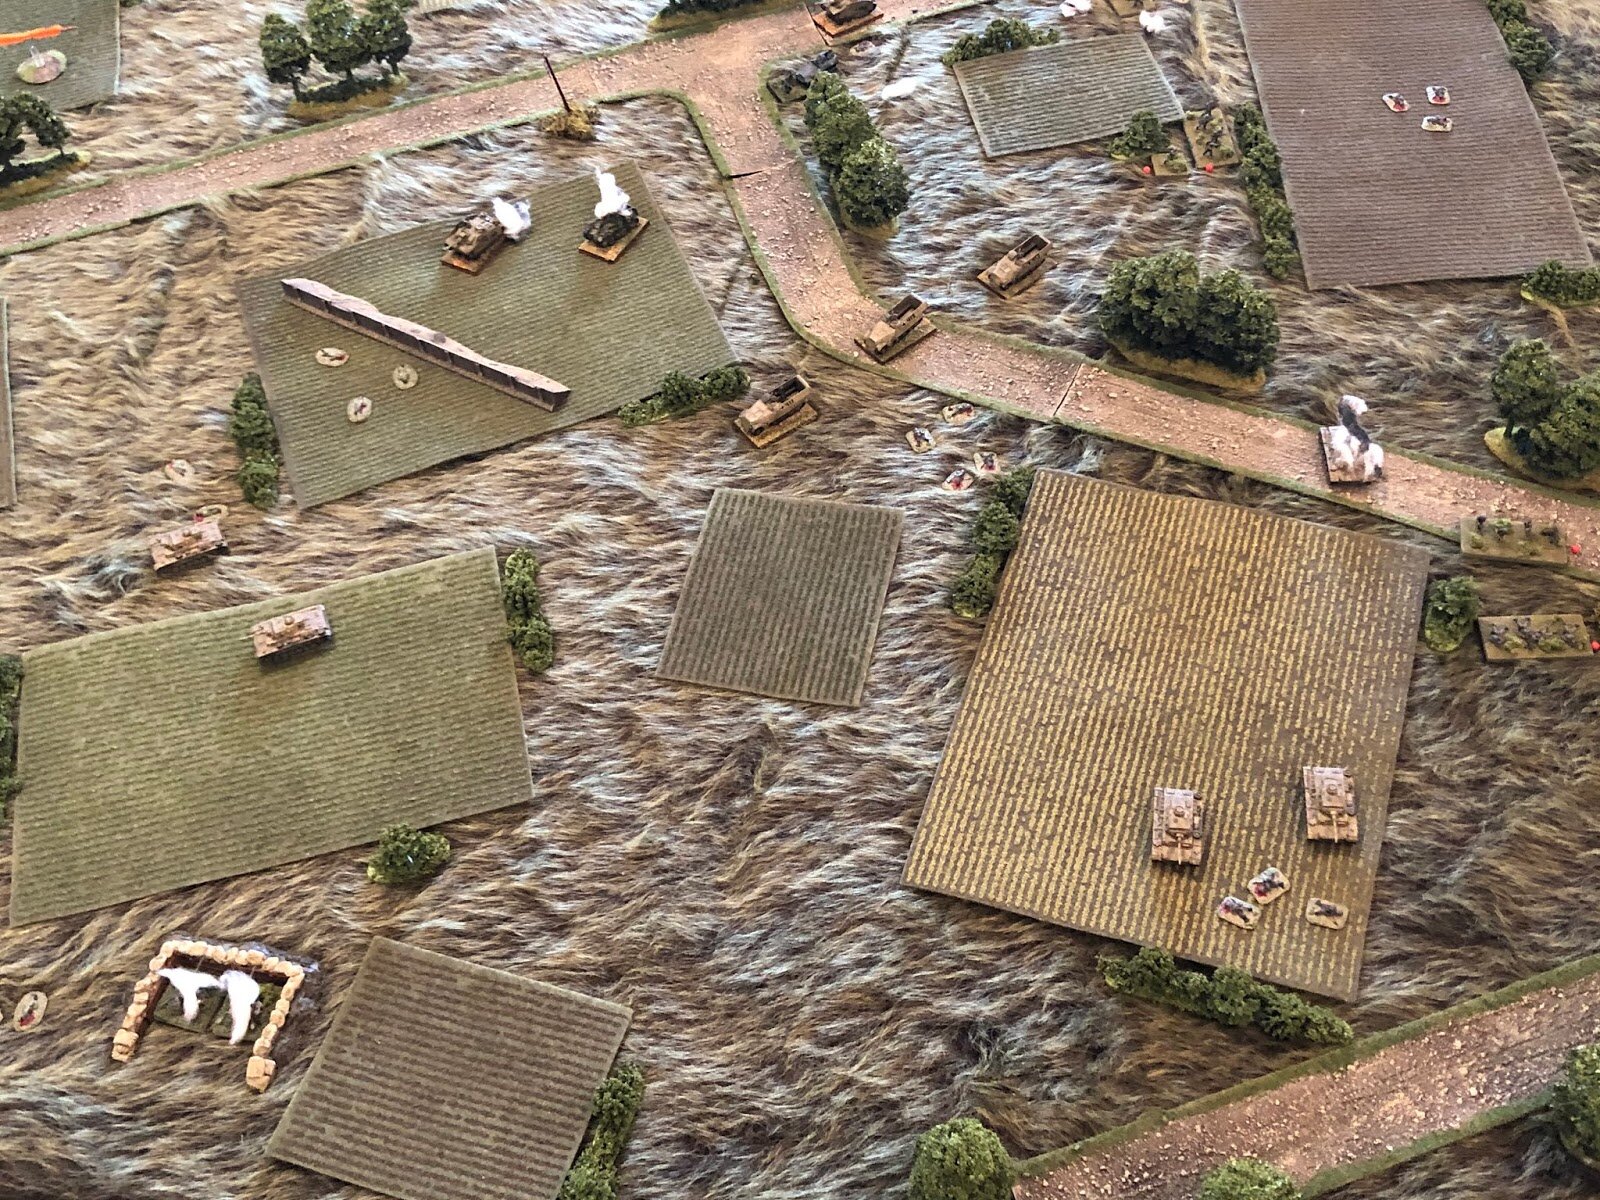
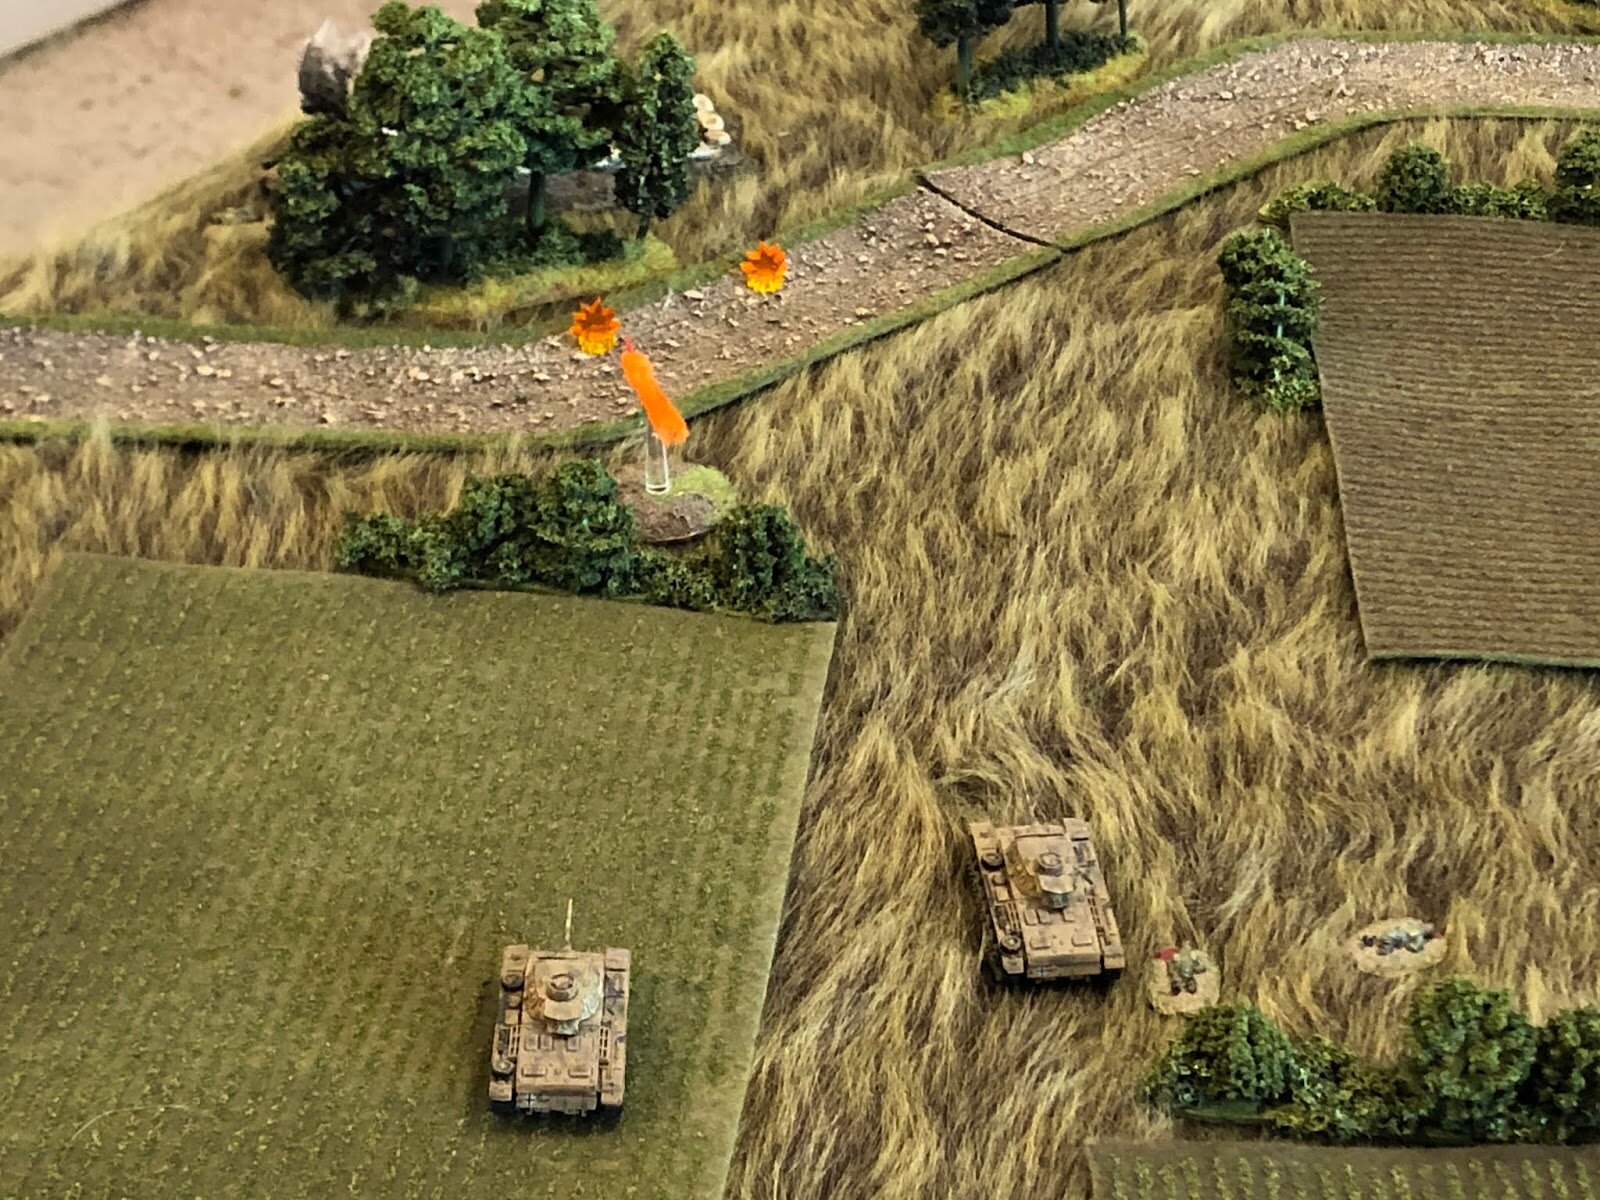
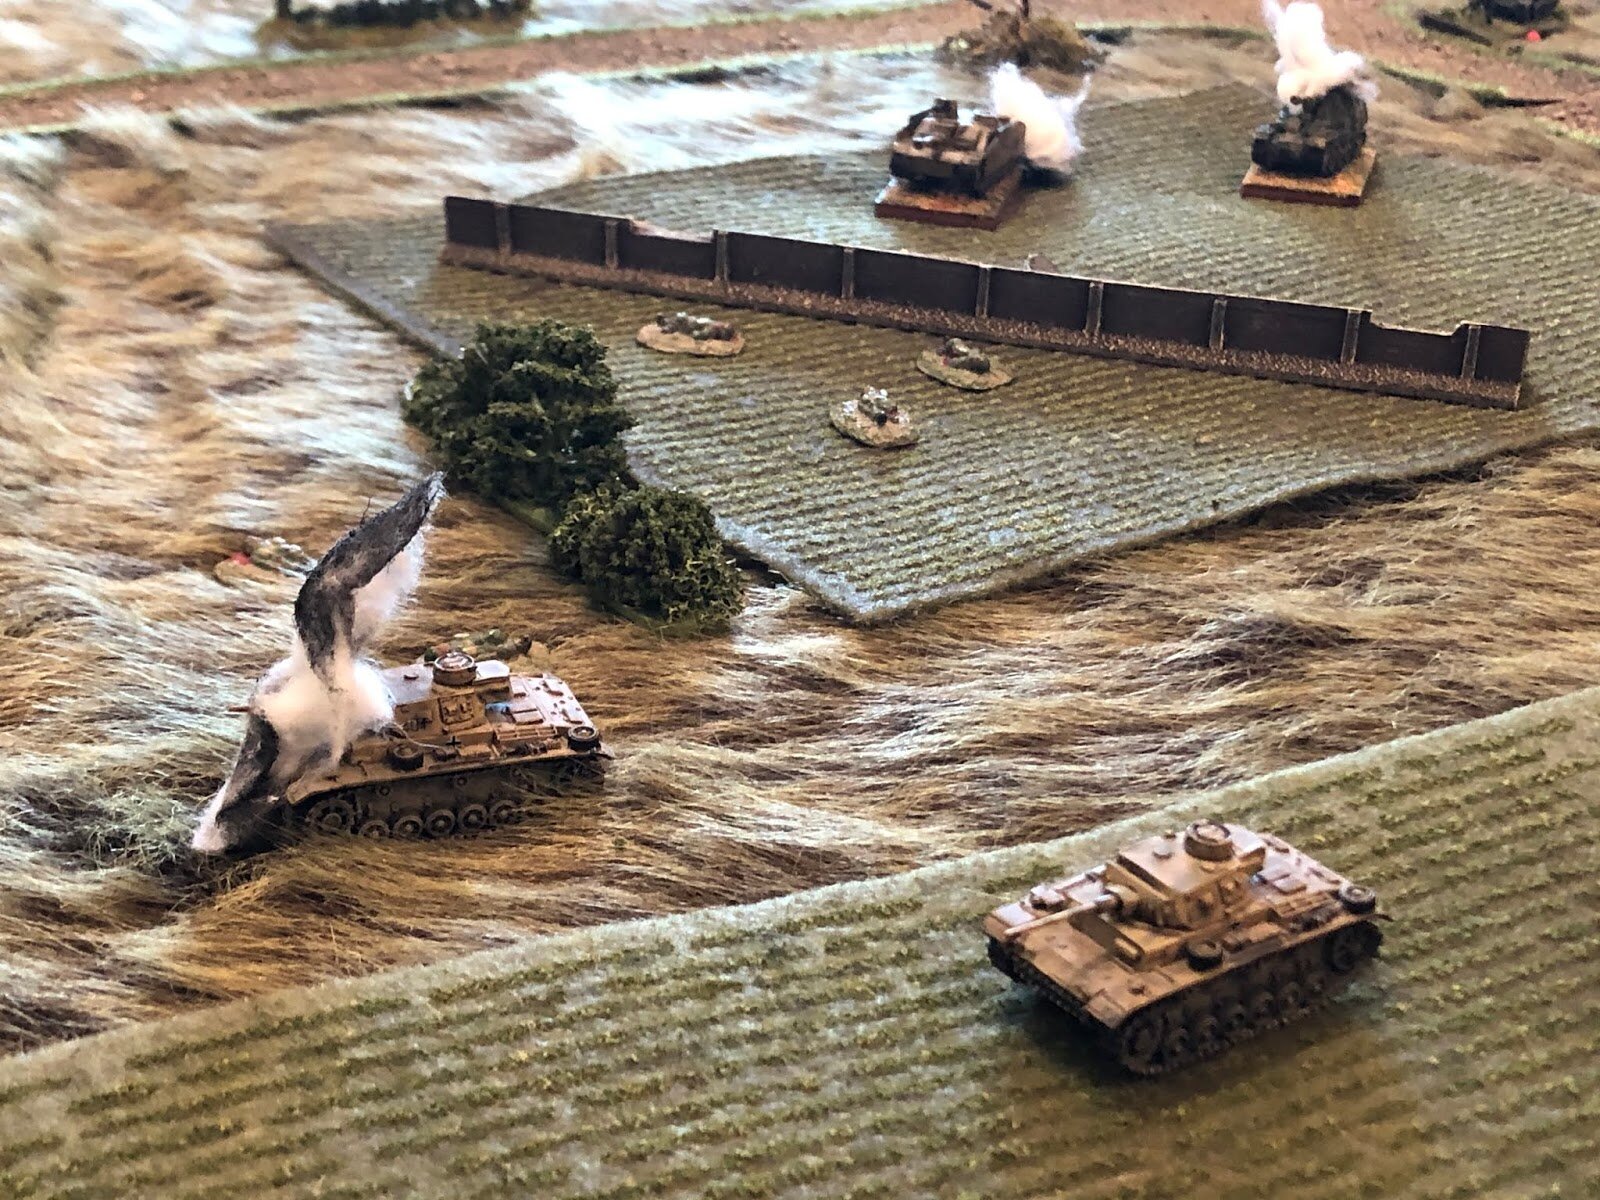

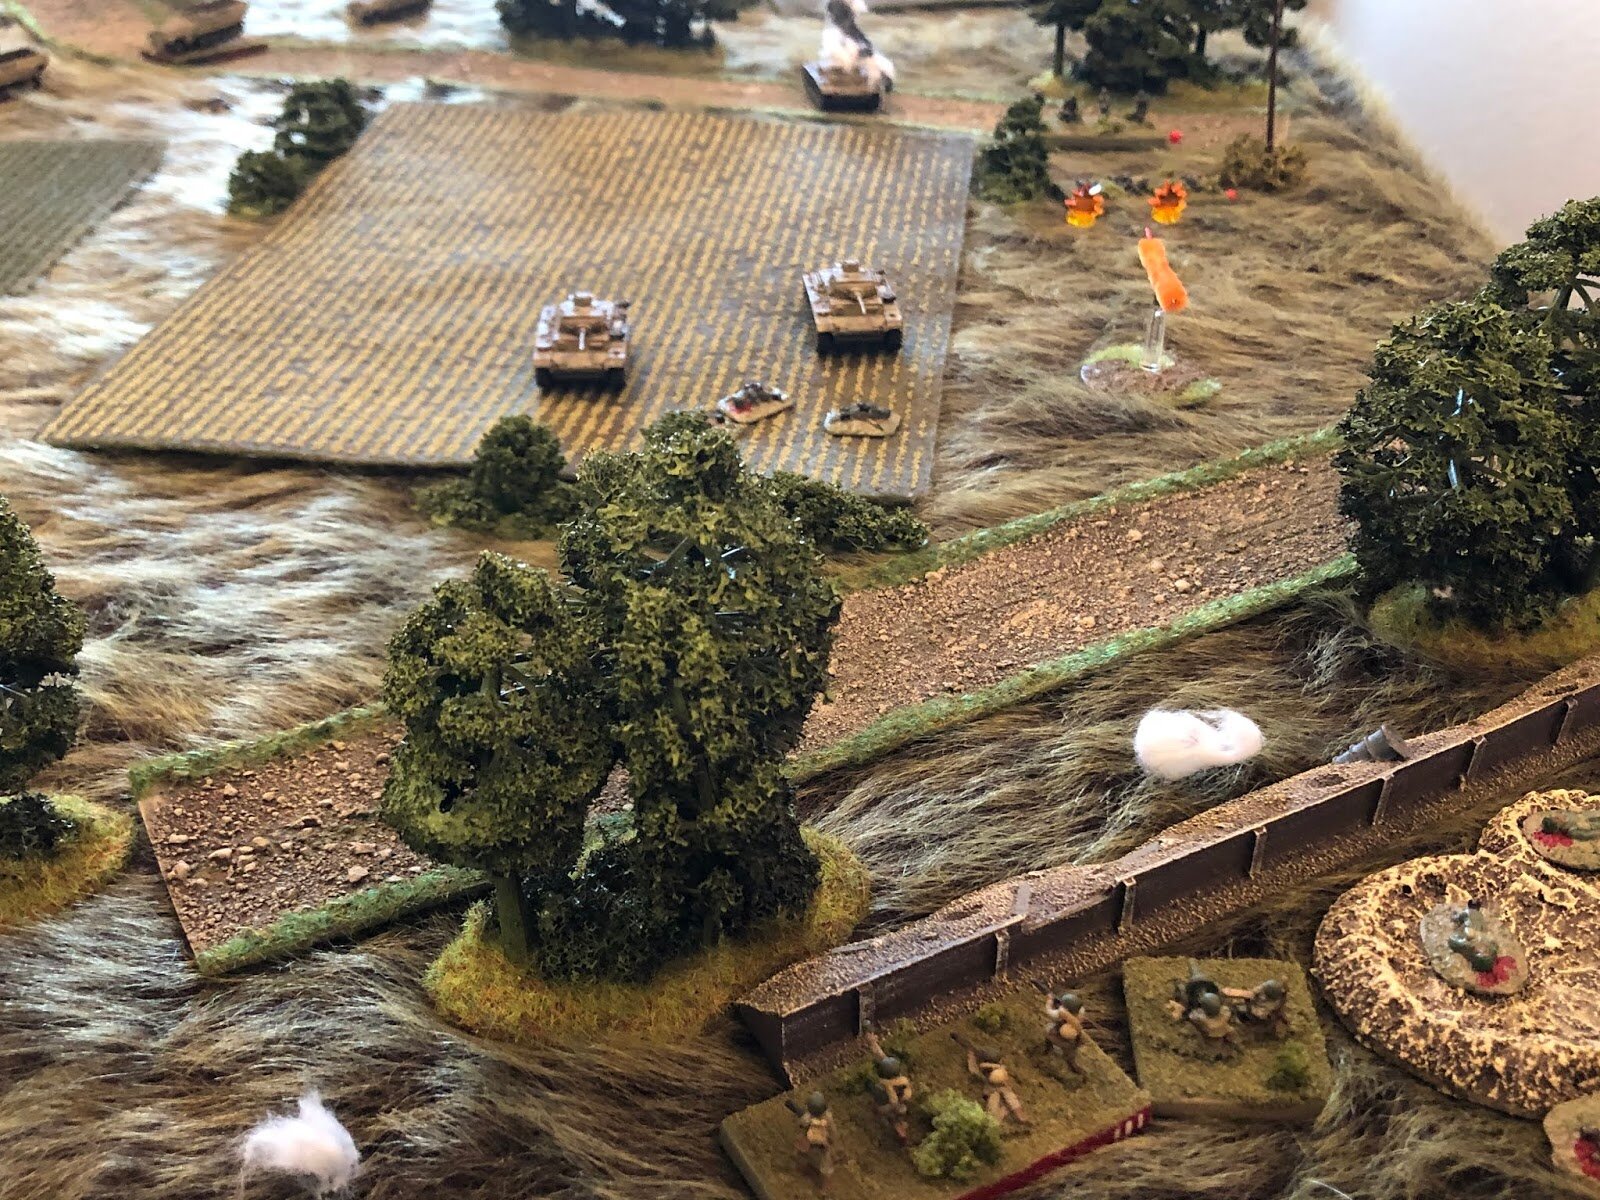
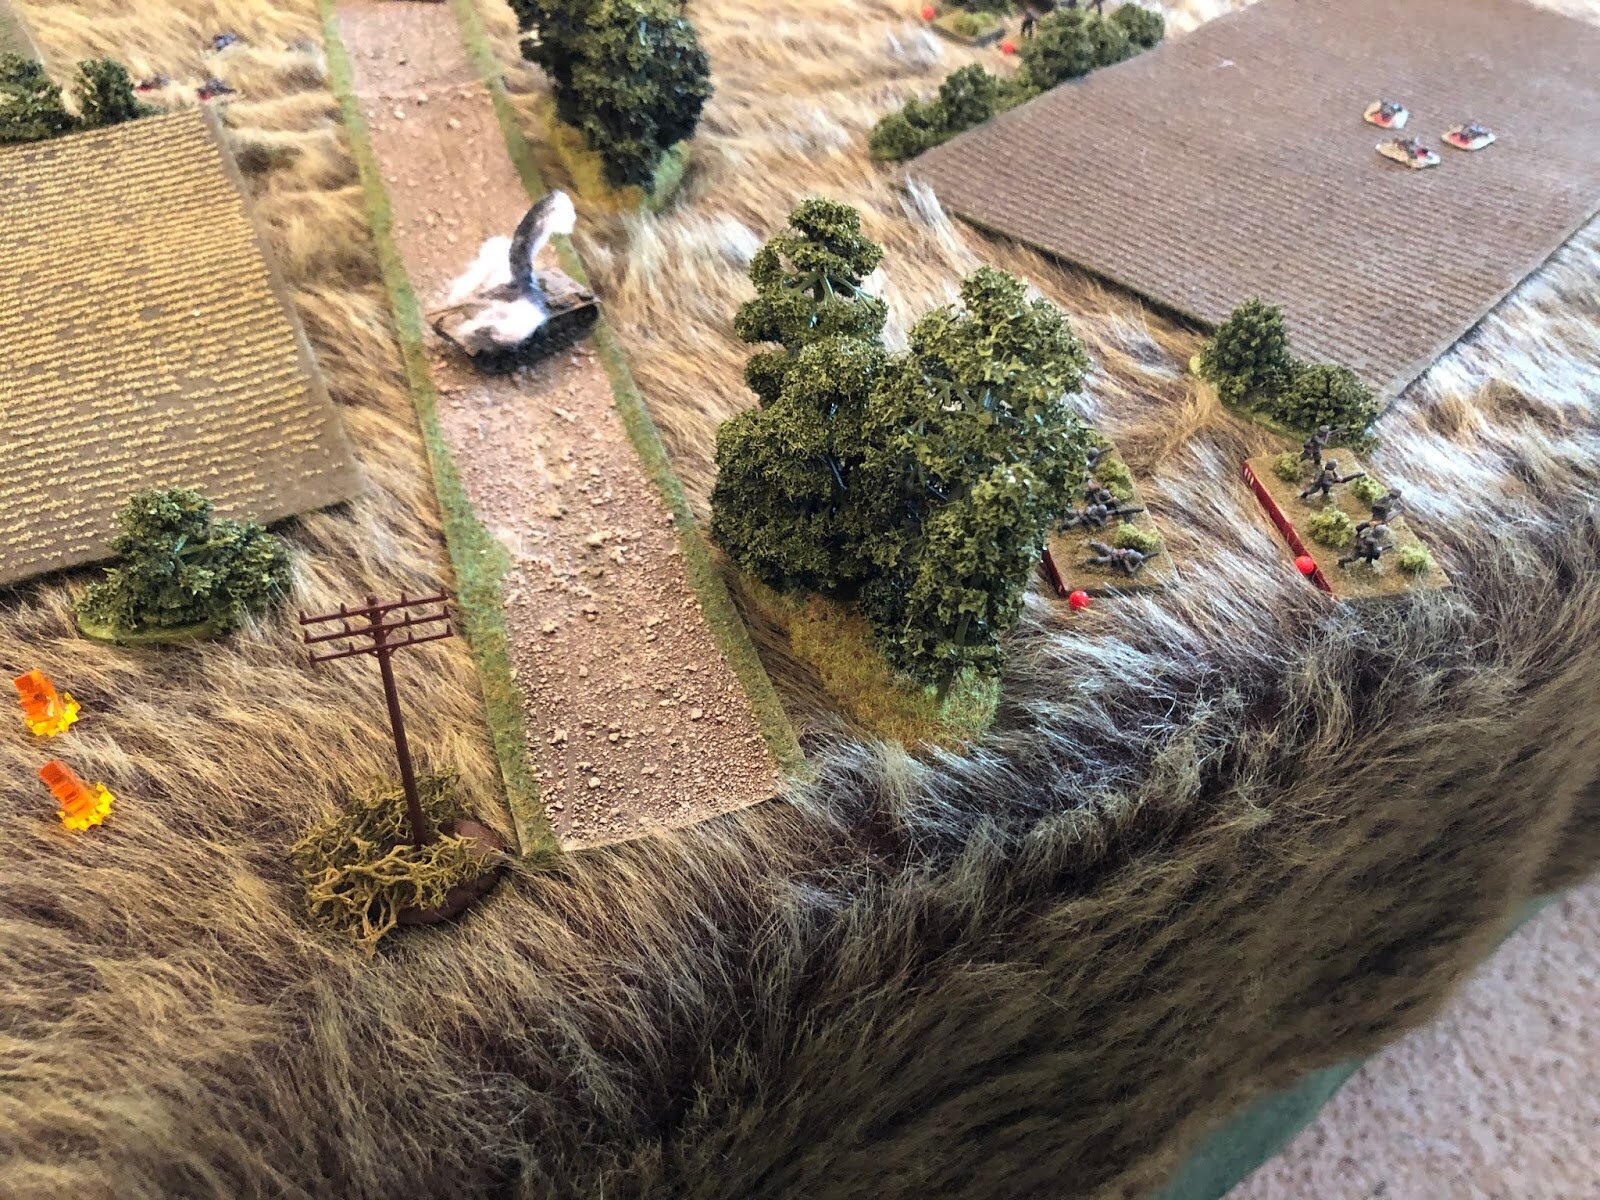
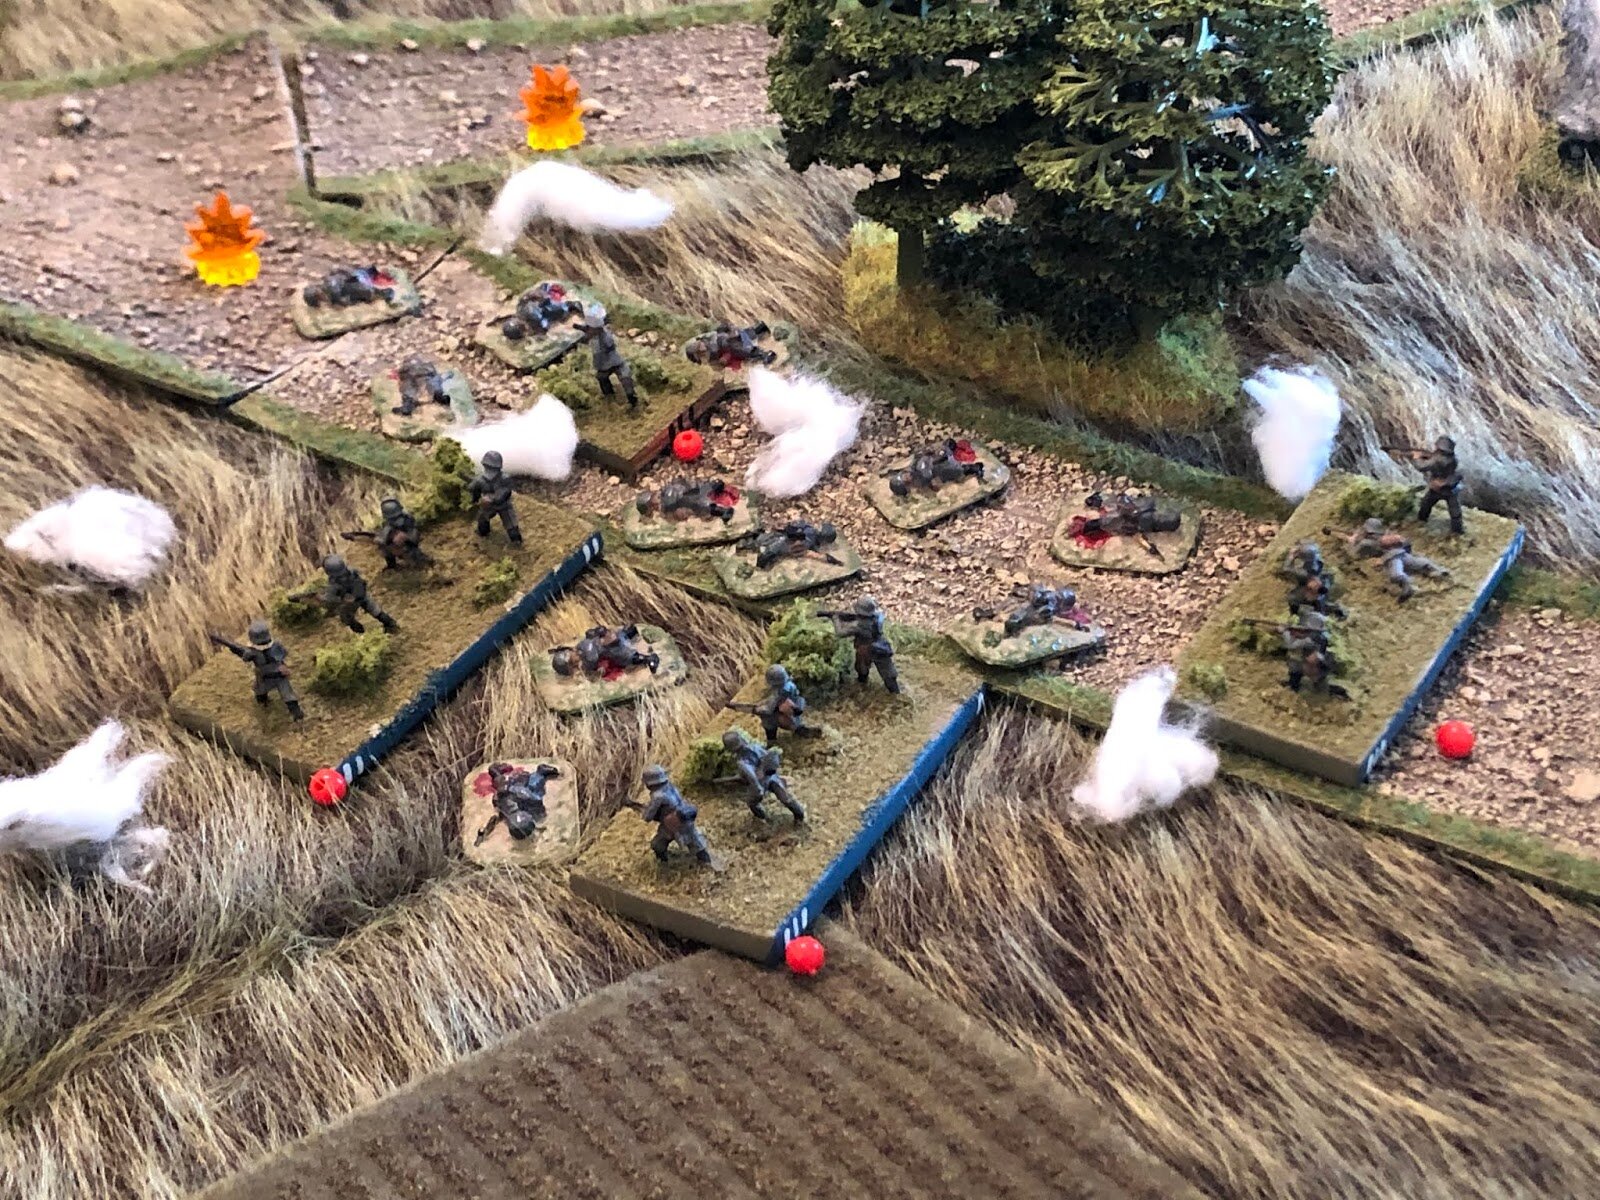
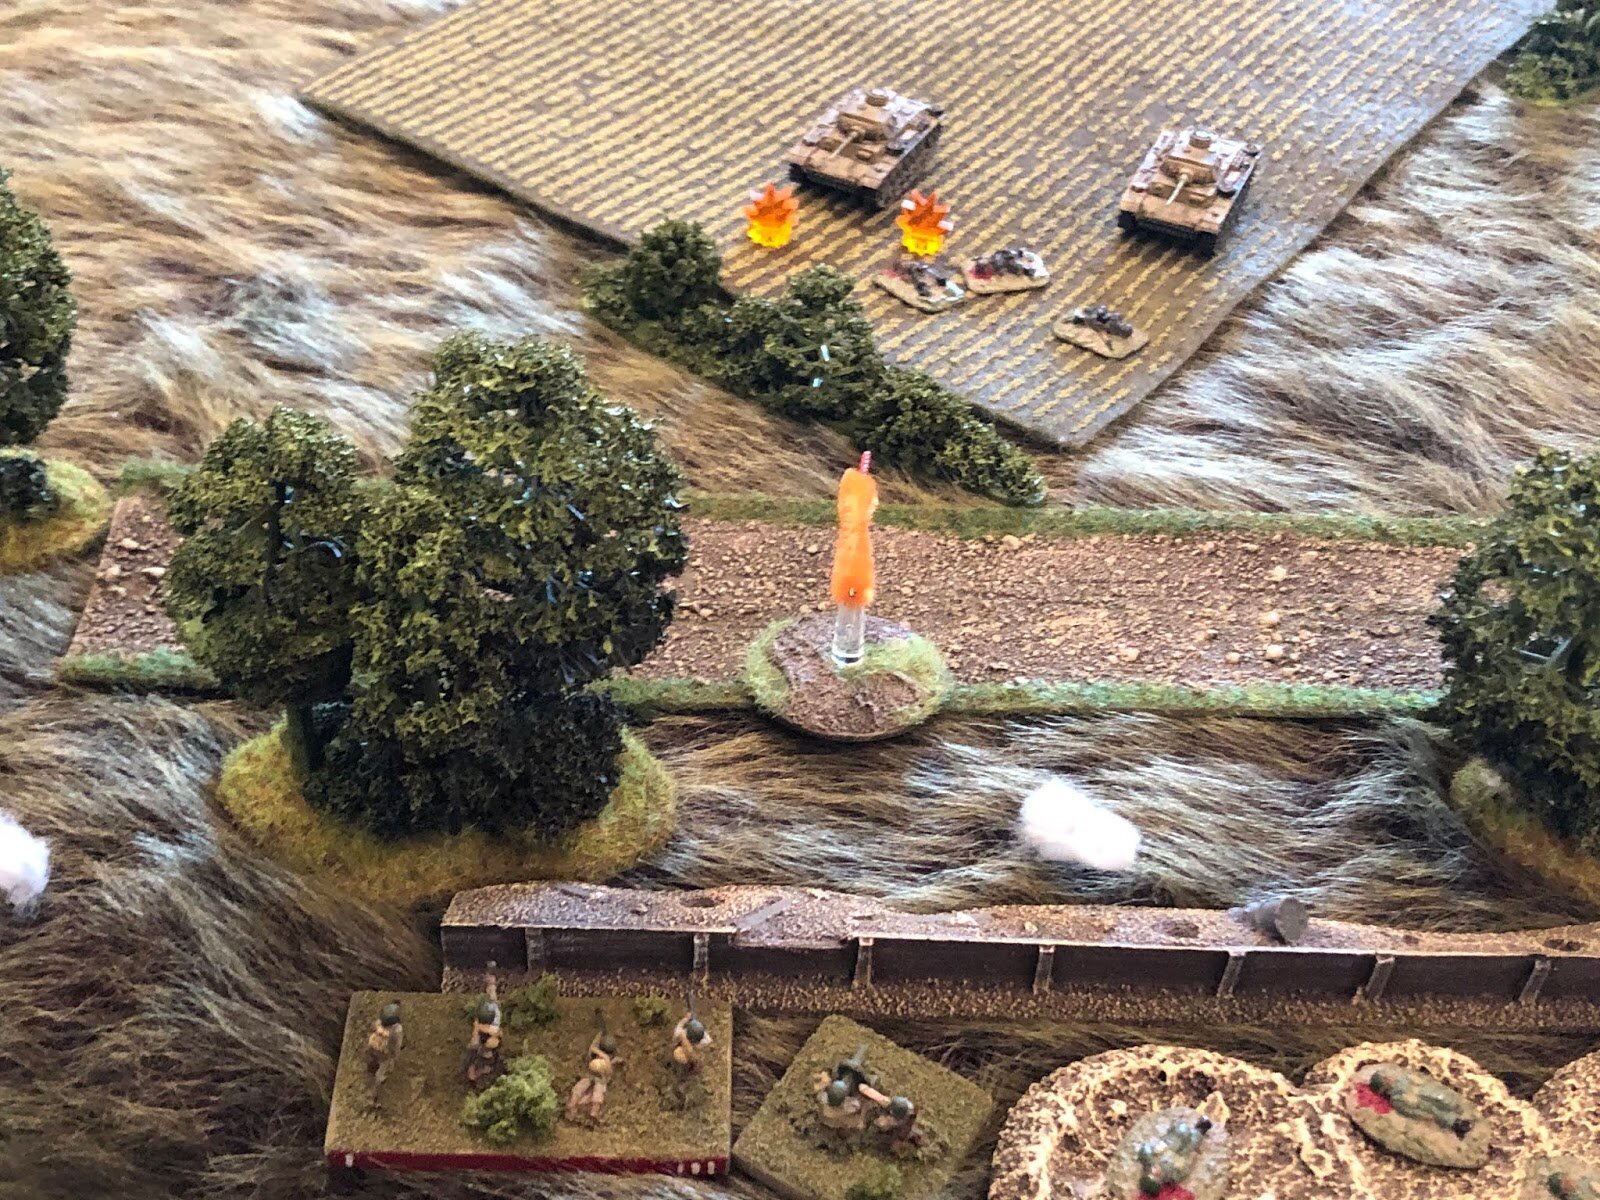
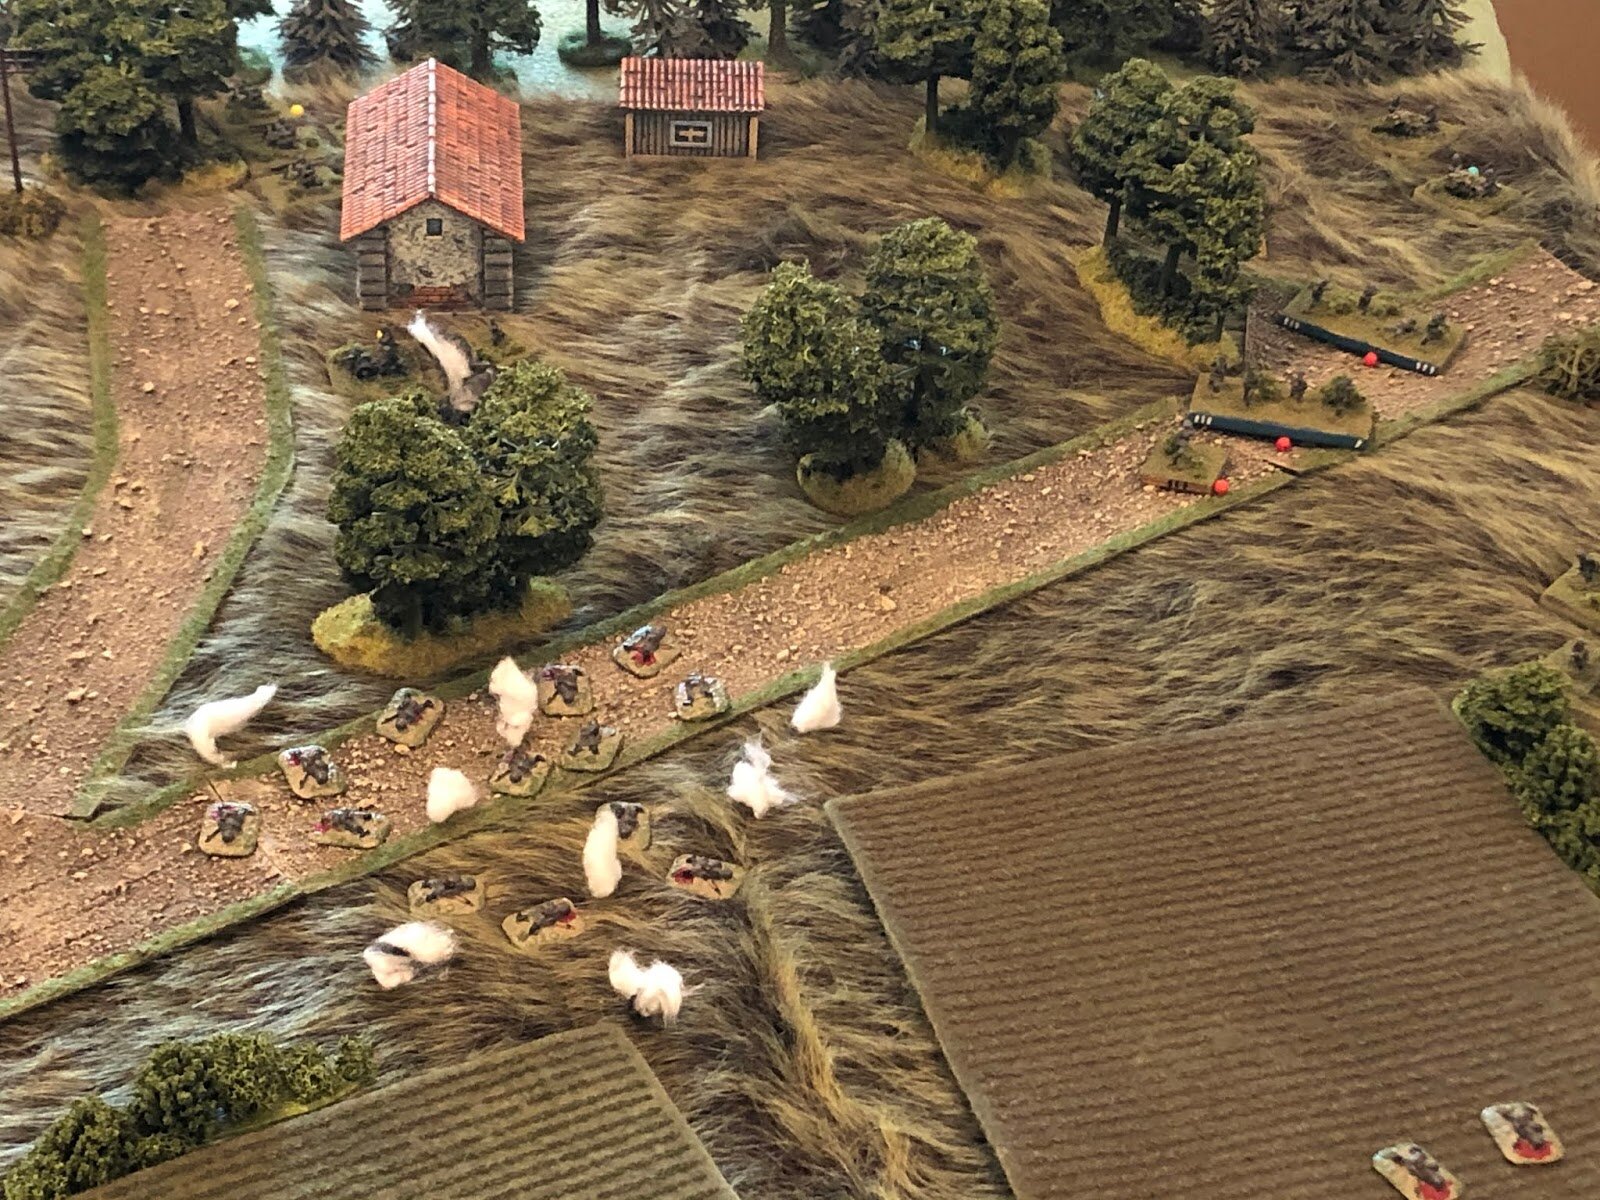
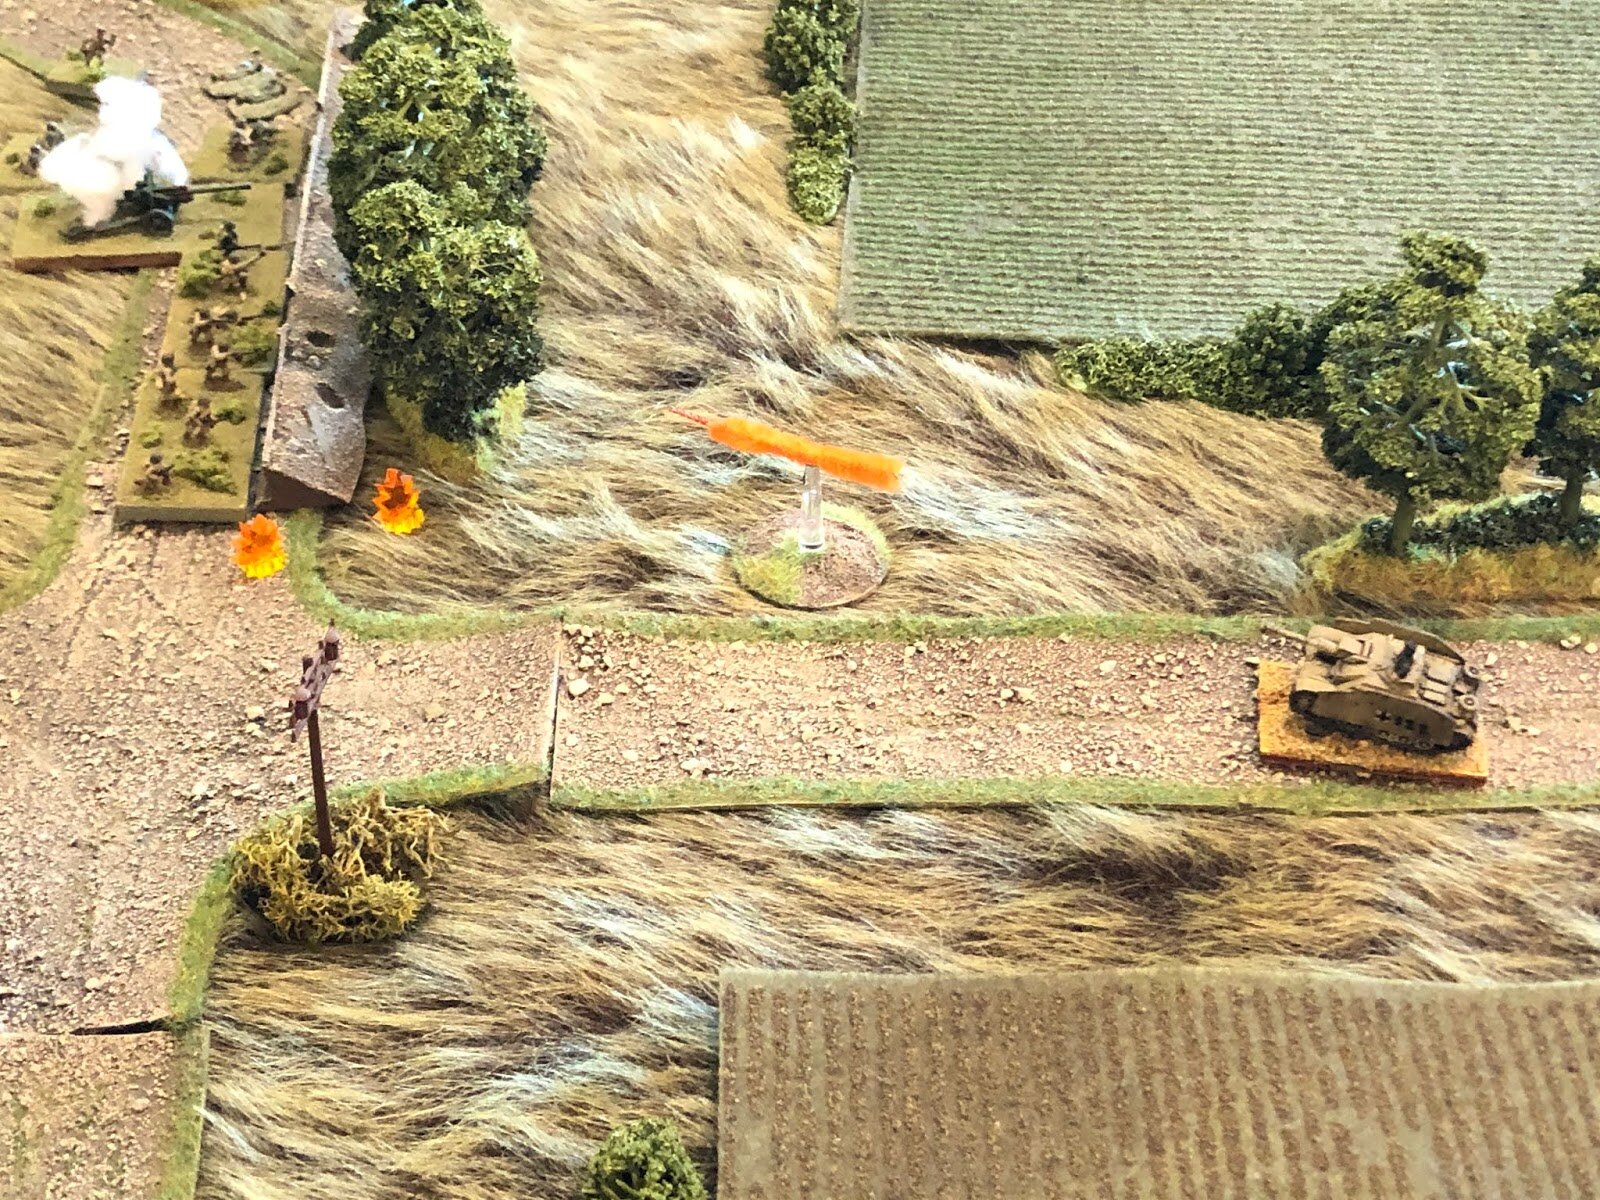

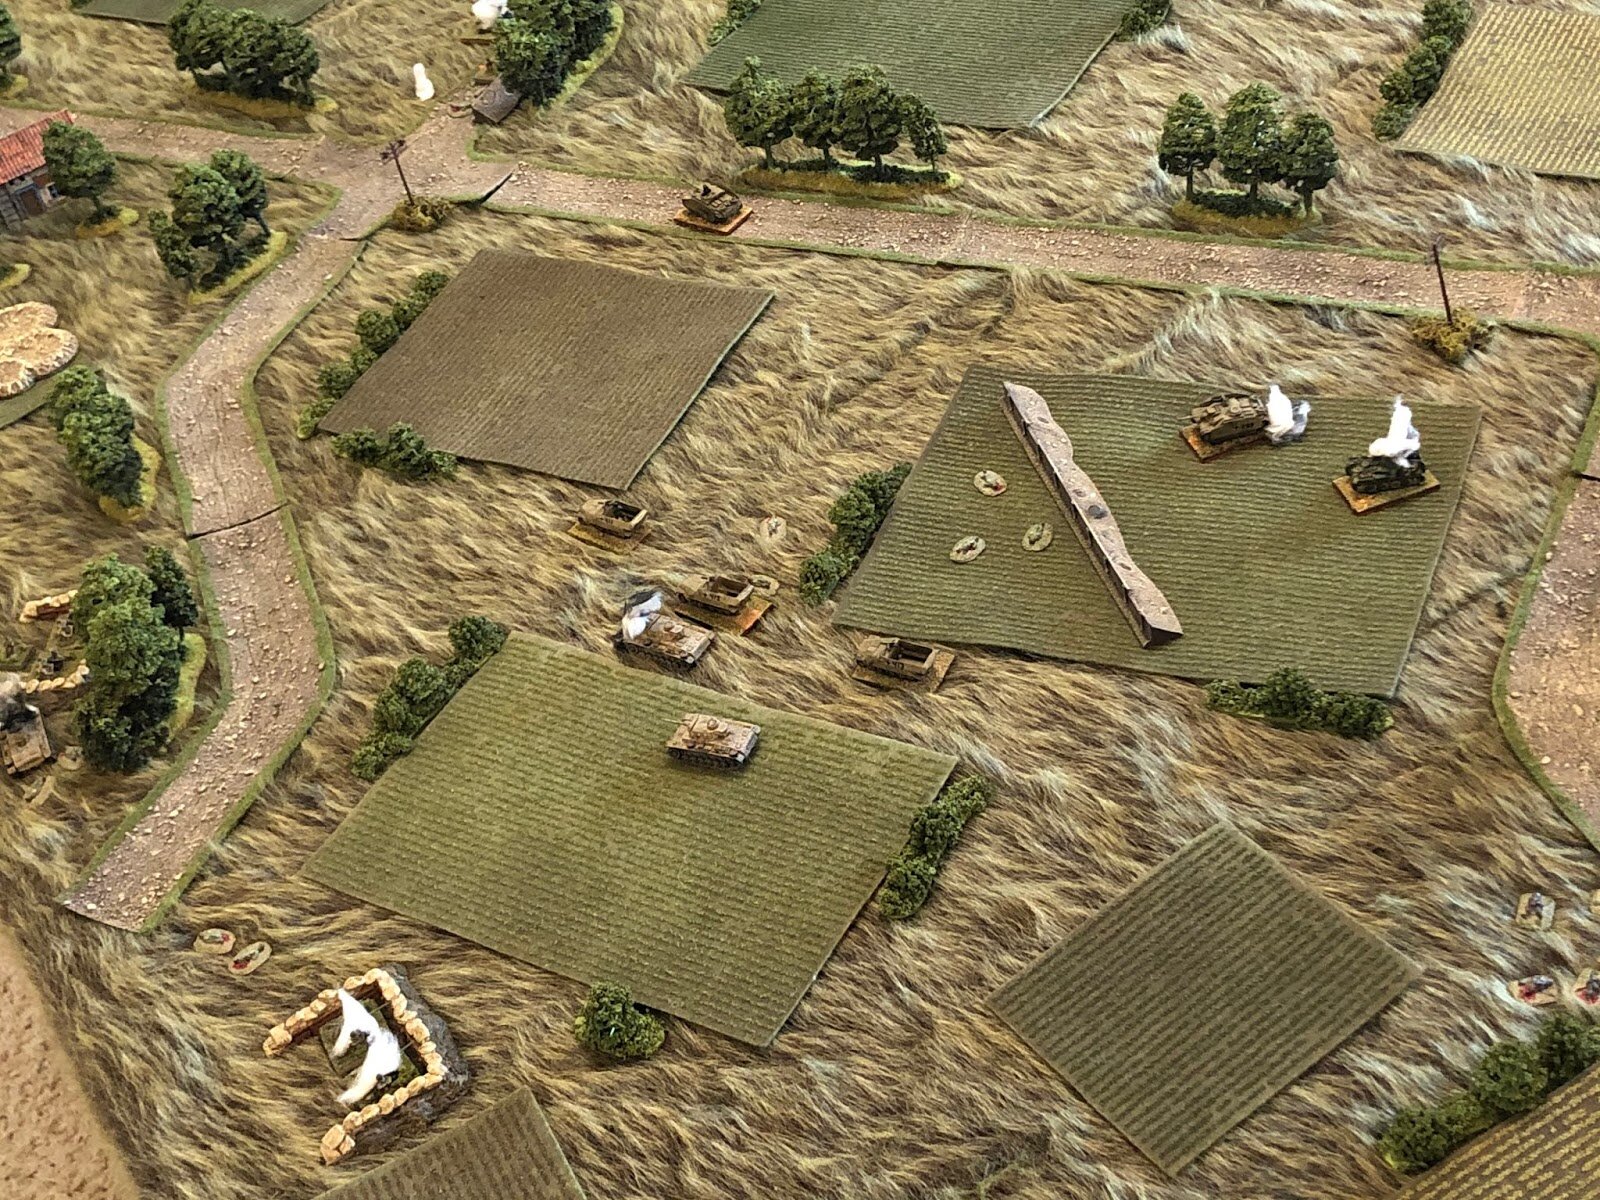
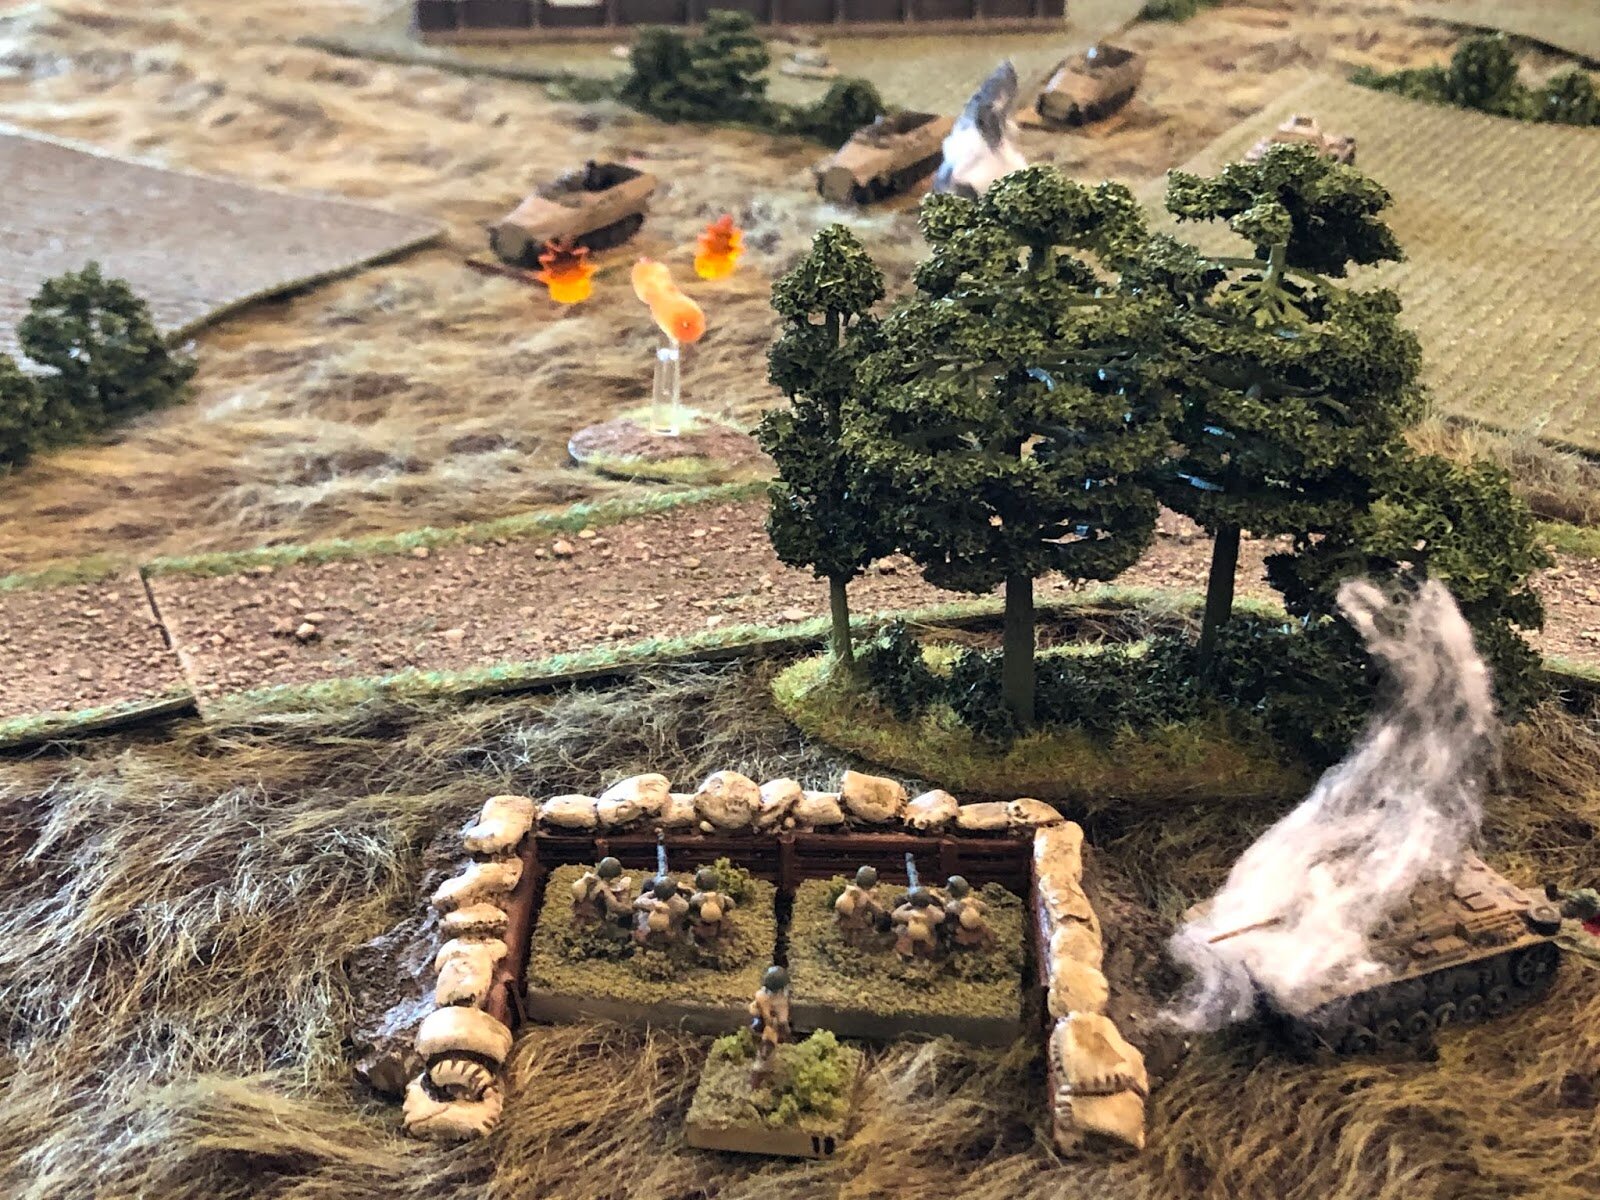
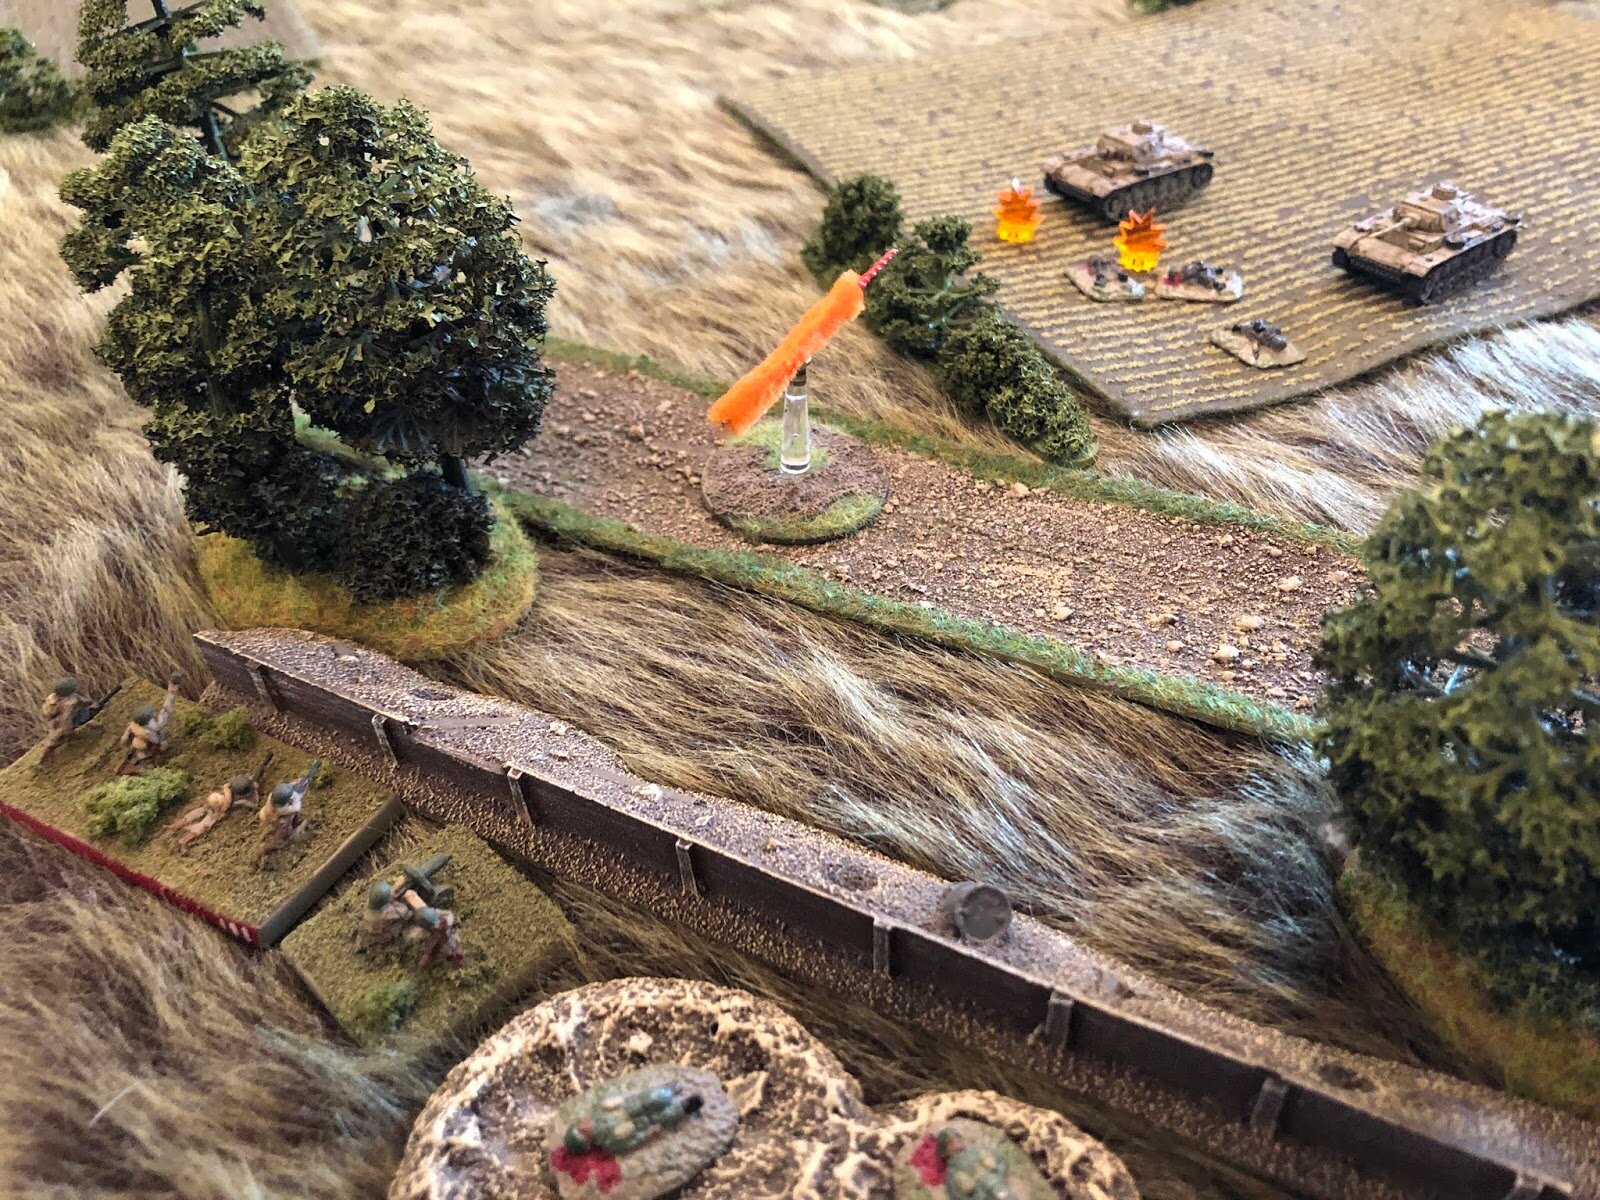
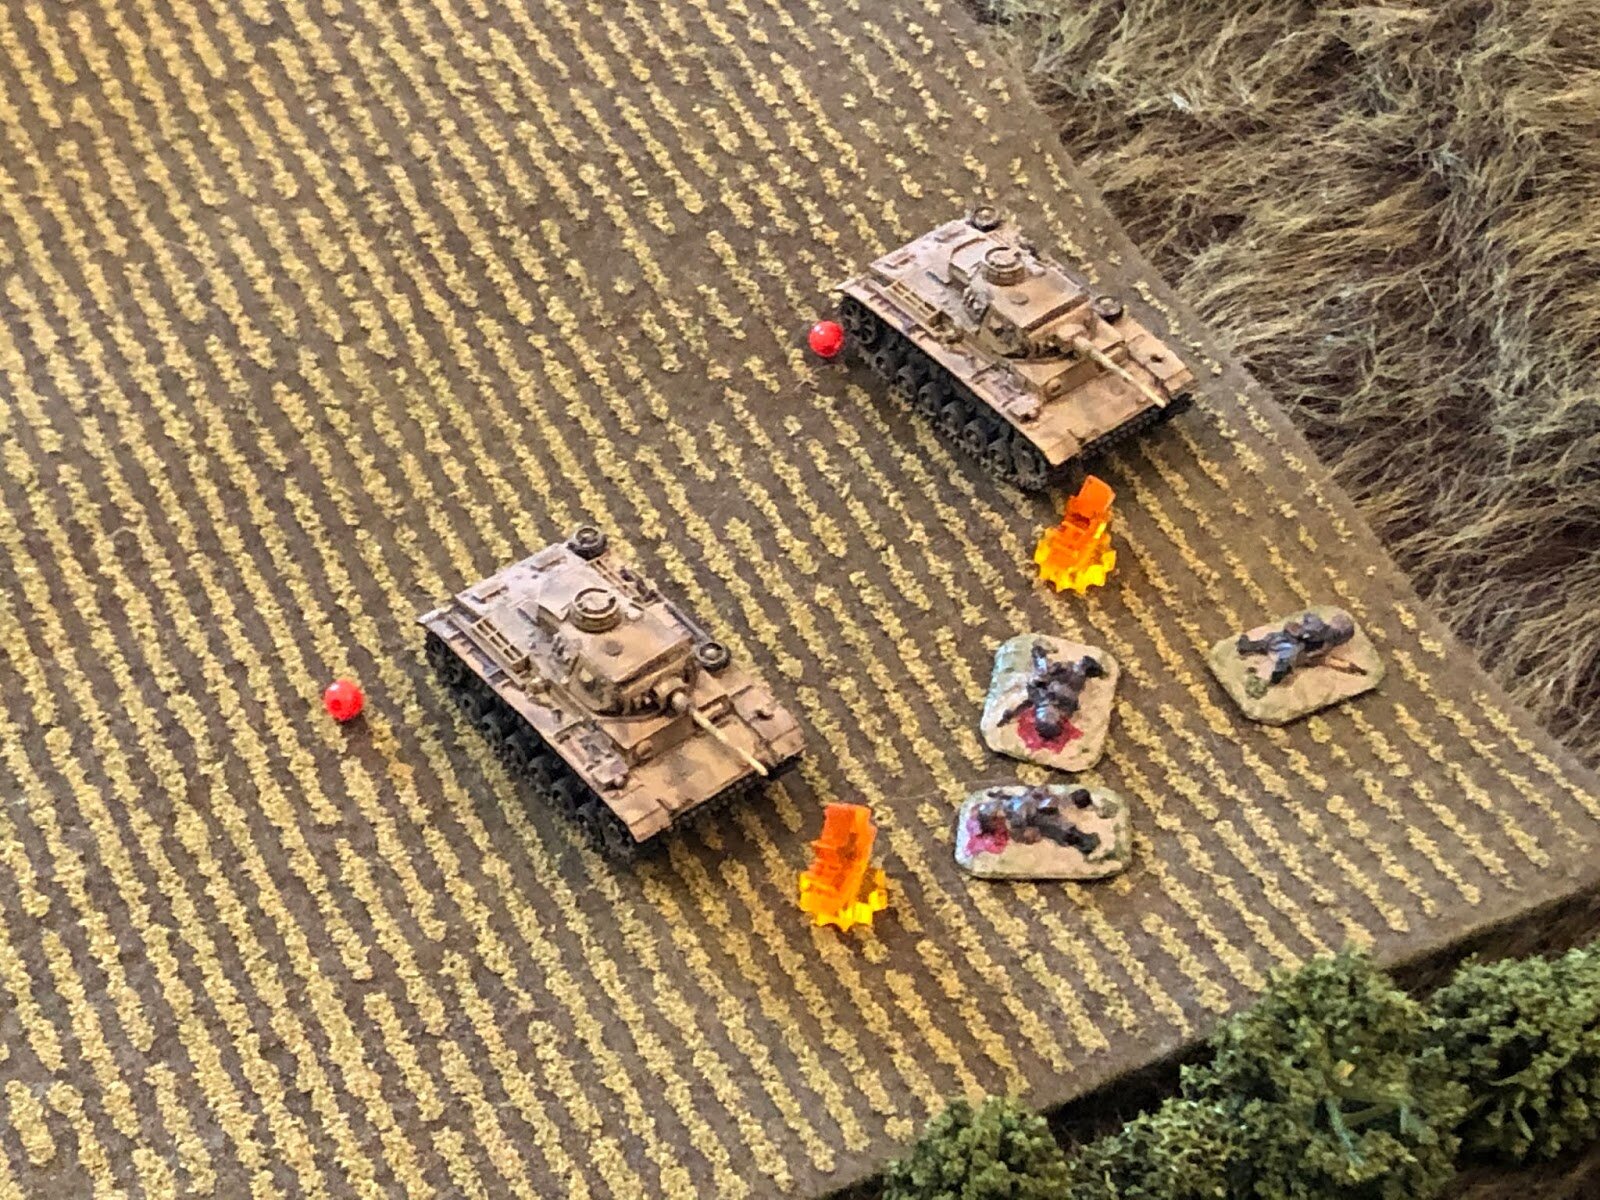
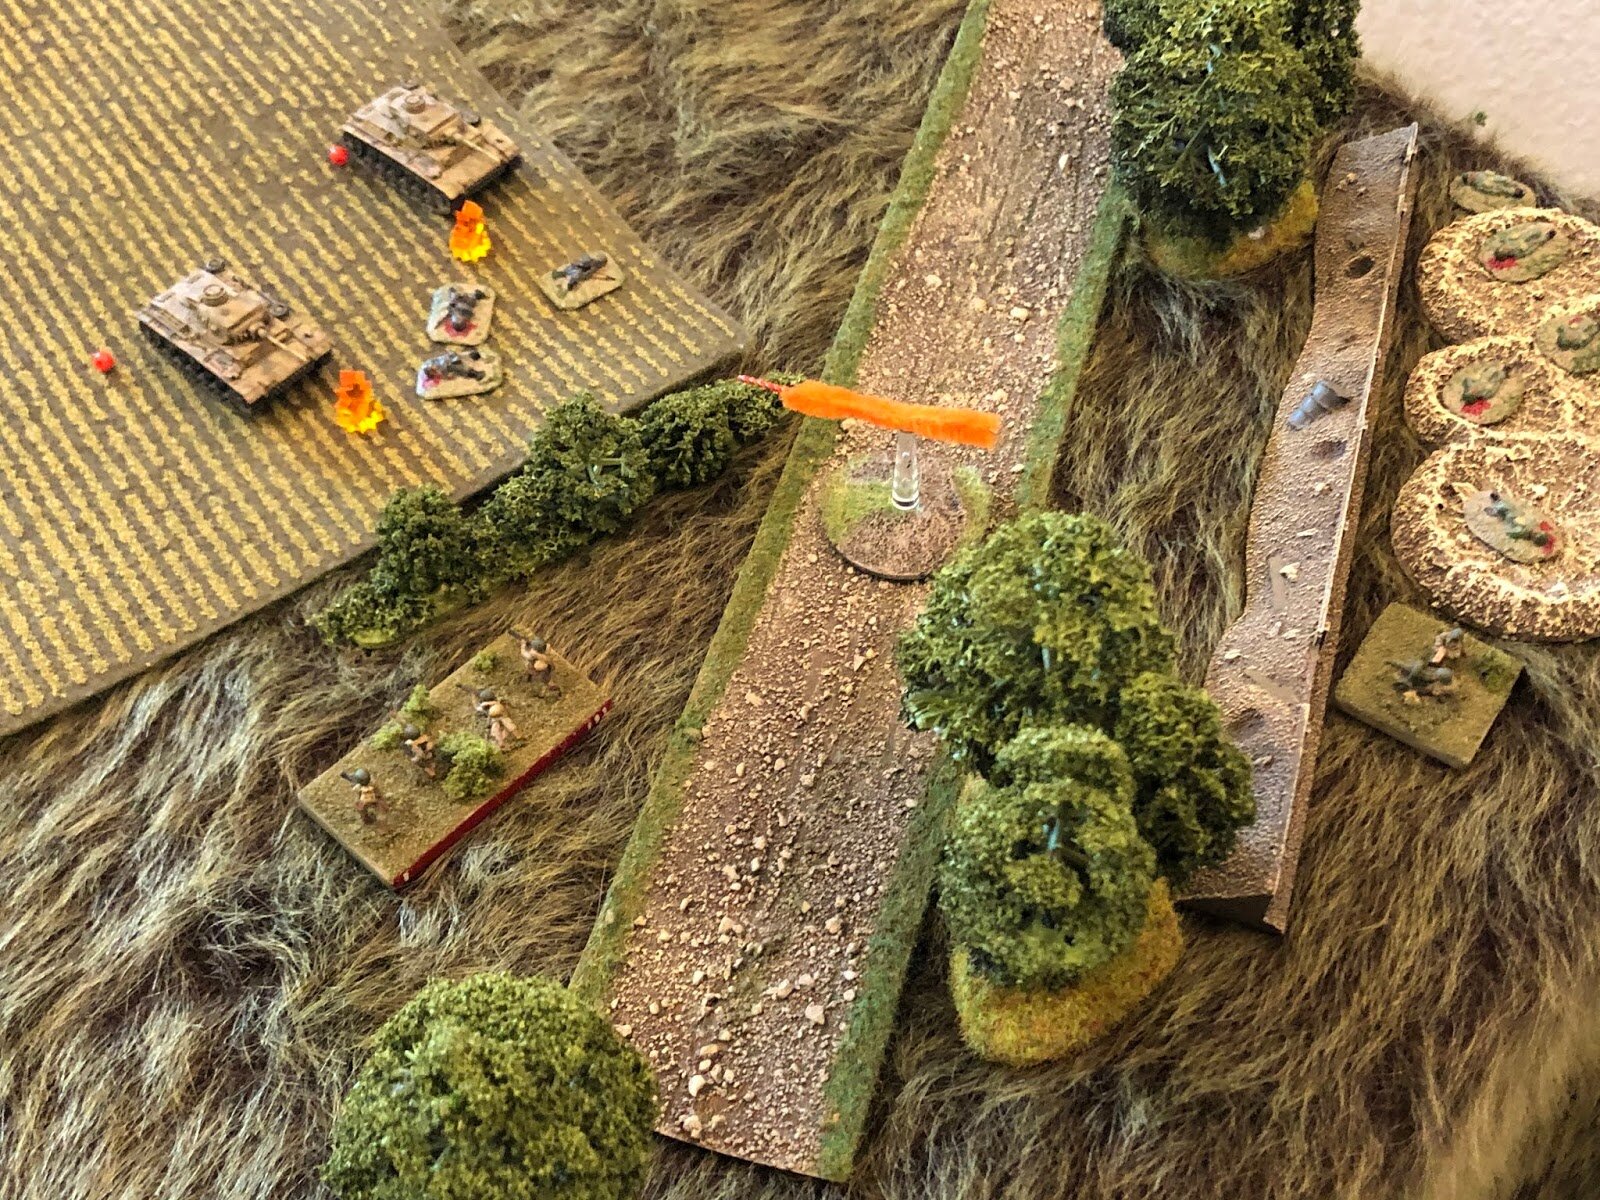
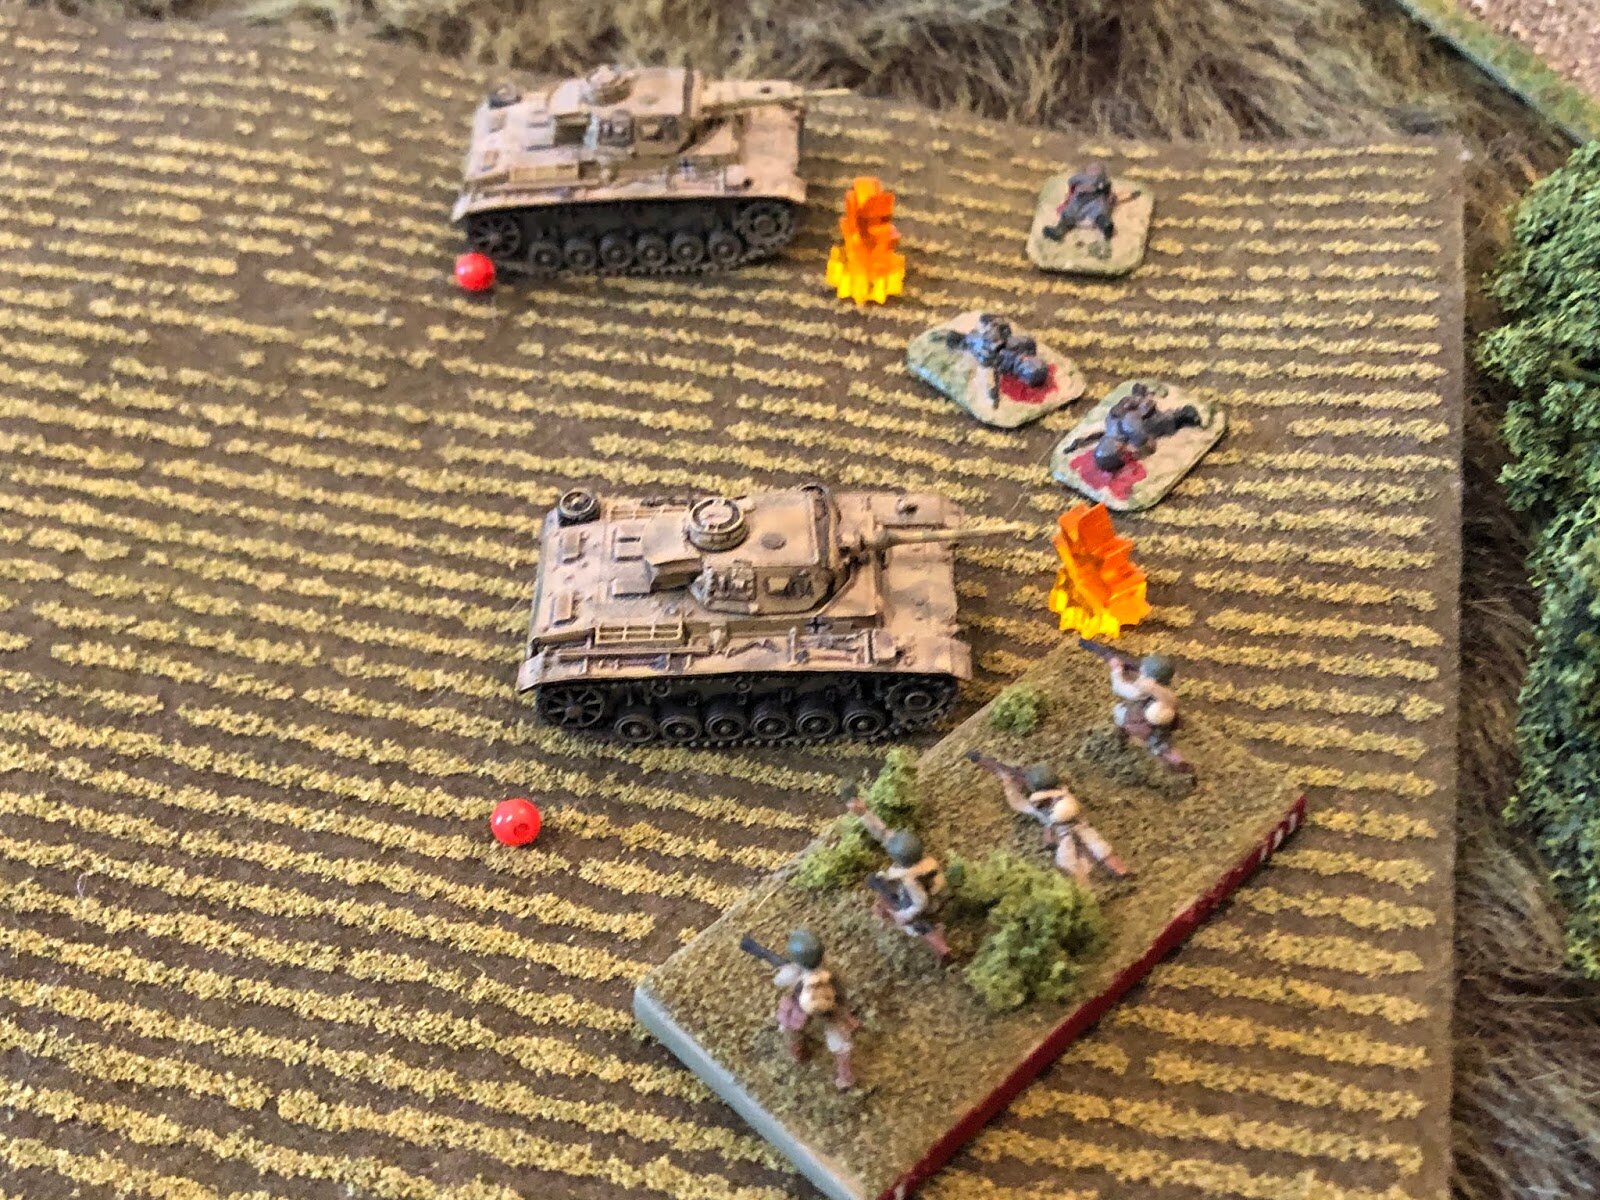
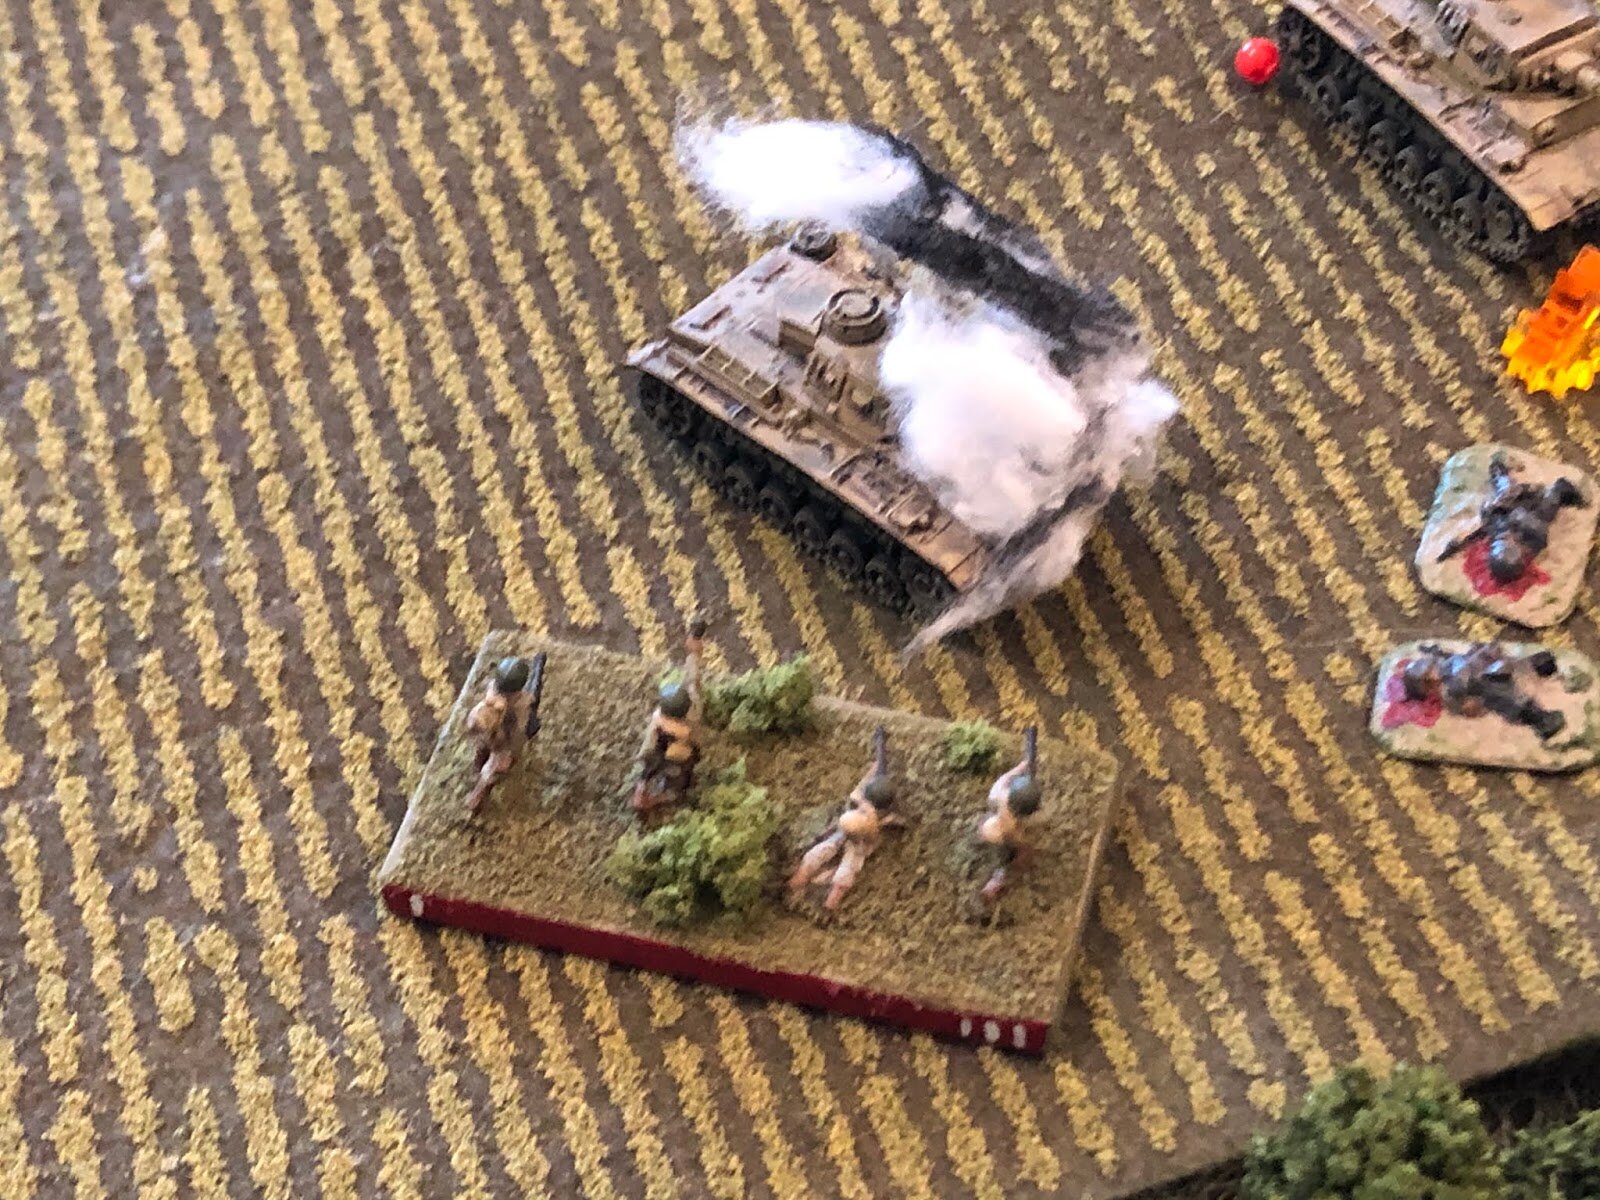
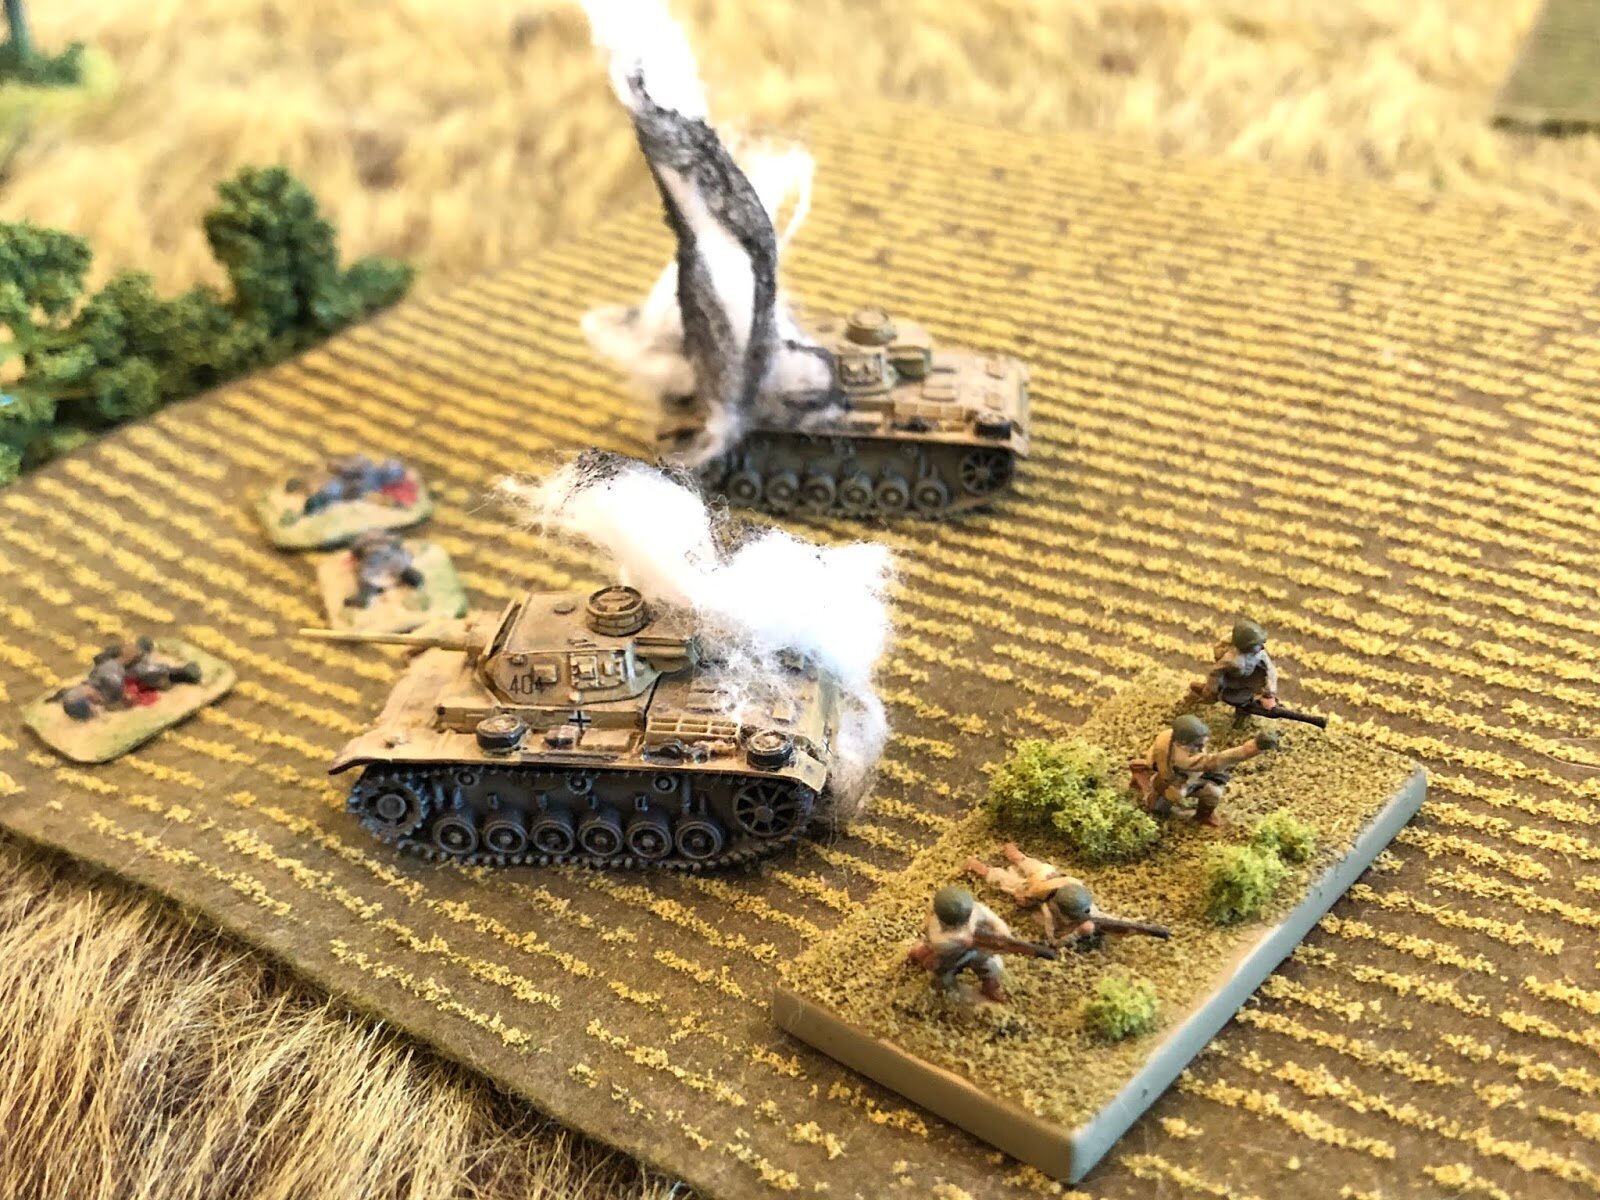
Wow, I still can't believe it, the Germans just couldn't get it done. 2nd Company got shot to pieces before it could even decide to not get decisively engaged, and 1st Company got mortared to death before it could make use of the road. The Germans committed their reserve rather early, but the mechanized infantry just sort of floundered about as the armor got shot to pieces by anti-tank weapons that the German infantry never got the opportunity to locate. And while the Soviet mortars did yeoman's work, the German heavy weapons (MG Plt, IG Plt, Mortar Plt, and Neblewerfers) were next to worthless, so from that standpoint, the Soviet hedgehog defense worked wonders in just keeping the German supporting fires occupied while their mortars and machine guns handled the German infantry.
I haven't been doing this, but I figured I'd share the loss figures:
German
4 tanks, 1 assault gun, 1 tank destroyer knocked out
1 tank, 1 assault gun, and three halftracks destroyed to keep from falling into enemy hands
10 rifle squads (out of 18) knocked out and 3 captured
Soviet
3 Zis-3 ATGs knocked out
2 76.2mm Field Guns knocked out
1 50mm mortar team knocked out
4 anti-tank rifle teams knocked out
6 (of 9) rifle squads knocked out
Man, that was a slog, very tough fight, with an every dwindling chance the Germans would be victorious, but still a possibility of snaking out a victory, right up to the very end. If only they could have gotten those halftracks moving just a little sooner; should have used their CO to get them moving, rather than continuing to use him to try and get 1st Company and the Stug Platoon (stalled out after the Soviet ATR Platoon whacked their Platoon Commander) moving. C'est la guerre...
Just Jack