

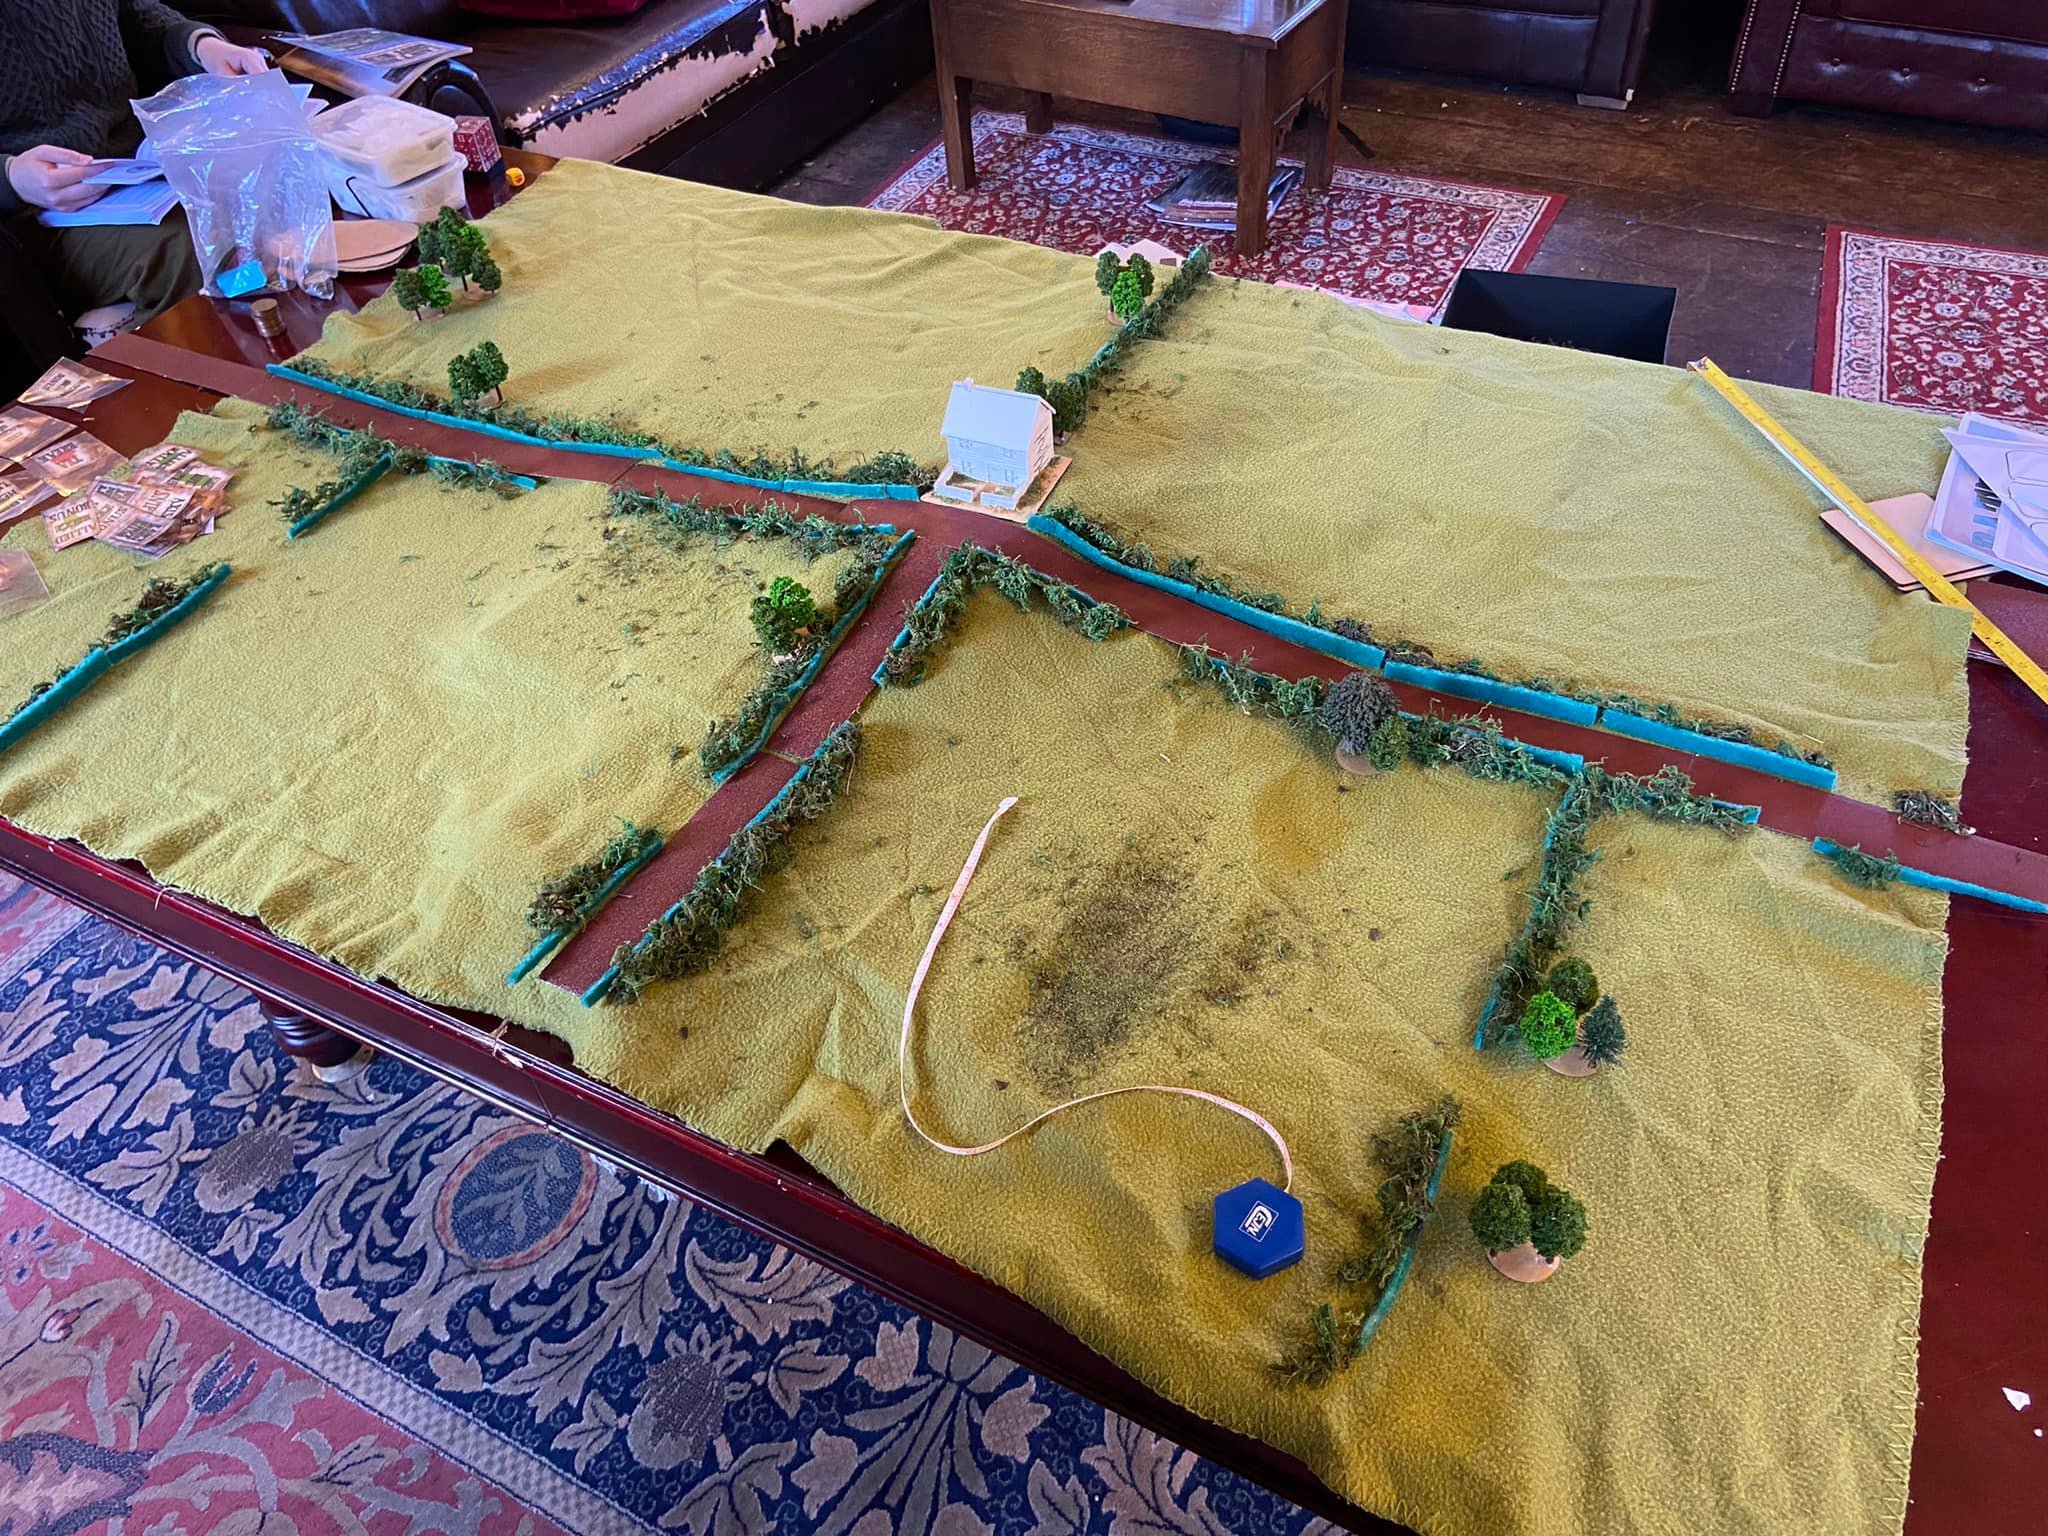
This Saturday in Cambridge we played through 4B of Blenville or Bust. We reversed roles, with the Germans pushing up the hill to the houses and ridgeline, with a Polish company defending.
Elements of the Polish armoured brigade in France:
Company HQ with two Big Men, FOO and 2 x 2-inch mortars
MMG Platoon with 3 x Vickers guns
2 x 6pdr anti-tank guns
1 x Sherman Firefly
2 x Veteran infantry platoons, with two sections and a PIAT team each
German deployment:
Company HQ, with FOO & Sdfkz 222
3 x Infantry Platoons, with two Sdfkz 251s
2 x Panzerzug, with four Tiger Is and four StuG III Assault Guns
The Game
A sustained German attack faced an uphill struggle when it tried to clear the strategic road junction at the top of the ridge of allied defenders. A tattered armoured vanguard eventually made it through machine gun fire, mud, and thick Normandy hedges to break through the allied east and west flanks. But with a single allied machine gun and an anti tank gun heroically holding the junction and more German reserves held up by engine failures and French paddocks, and a fresh allied platoon still lying in ambush to the south, the two forces were left in a deadlock.
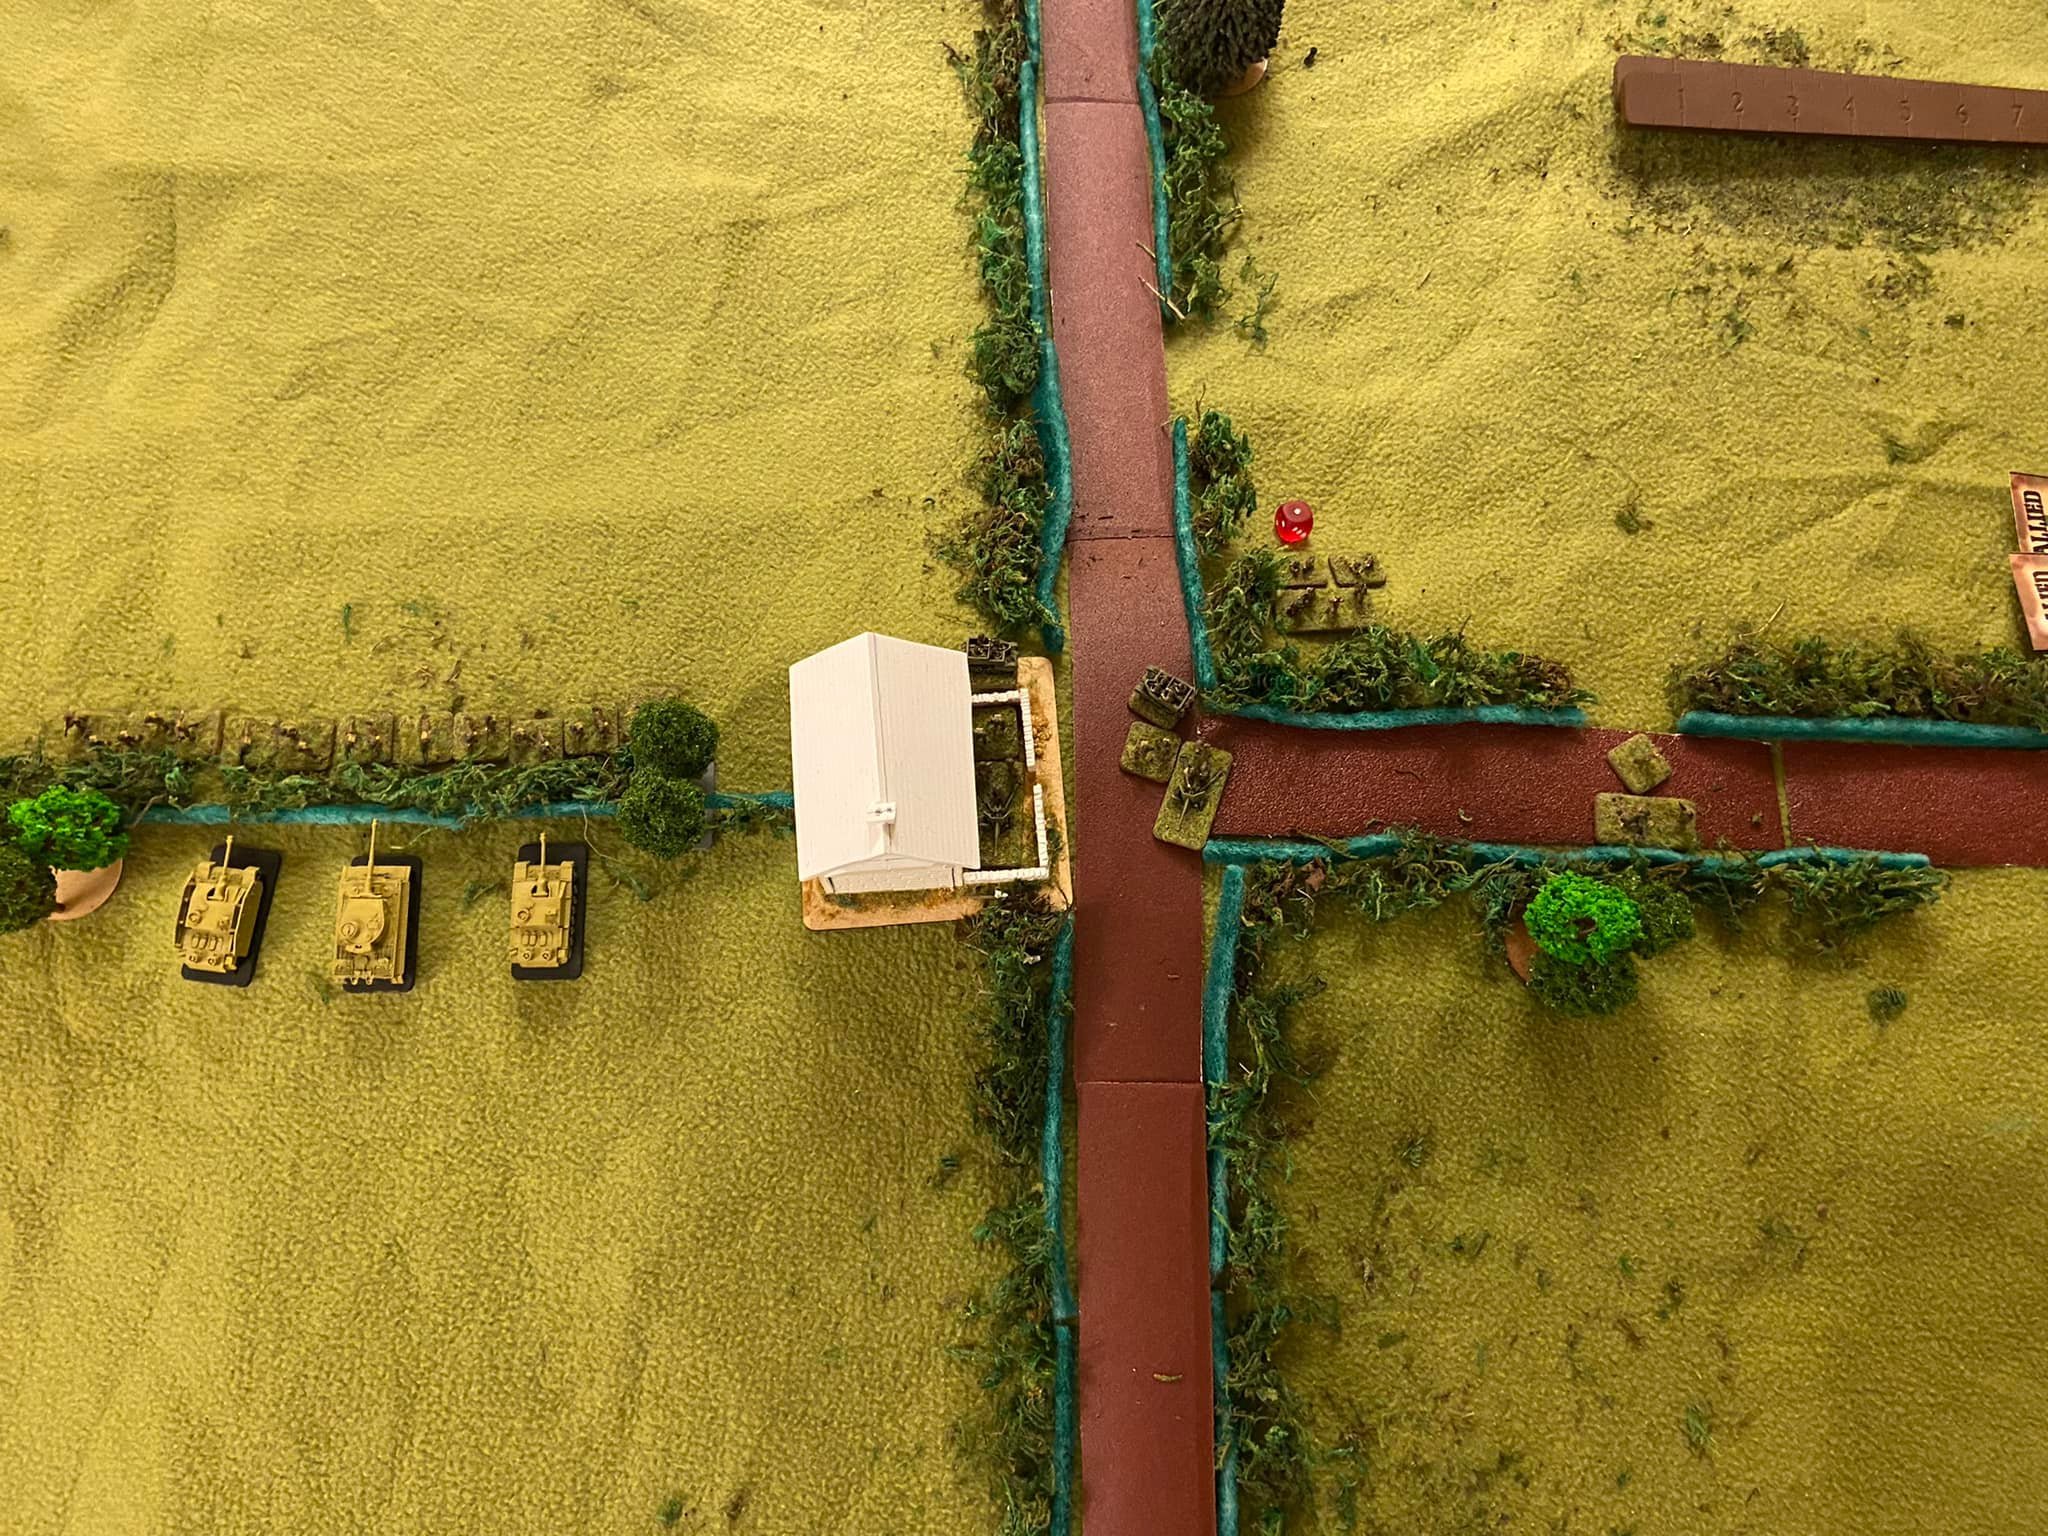
With the British defending the ridge line and the house, the Germans initial attempts at spotting identified a trio of heavy machine gun teams overlooking the German advance on the right.
The first panzer platoon immediately opened fire on the ridge scoring two 17s, destroying two of the teams in the ridge - before advancing through the thick hedges and into a British mortar smokescreen.
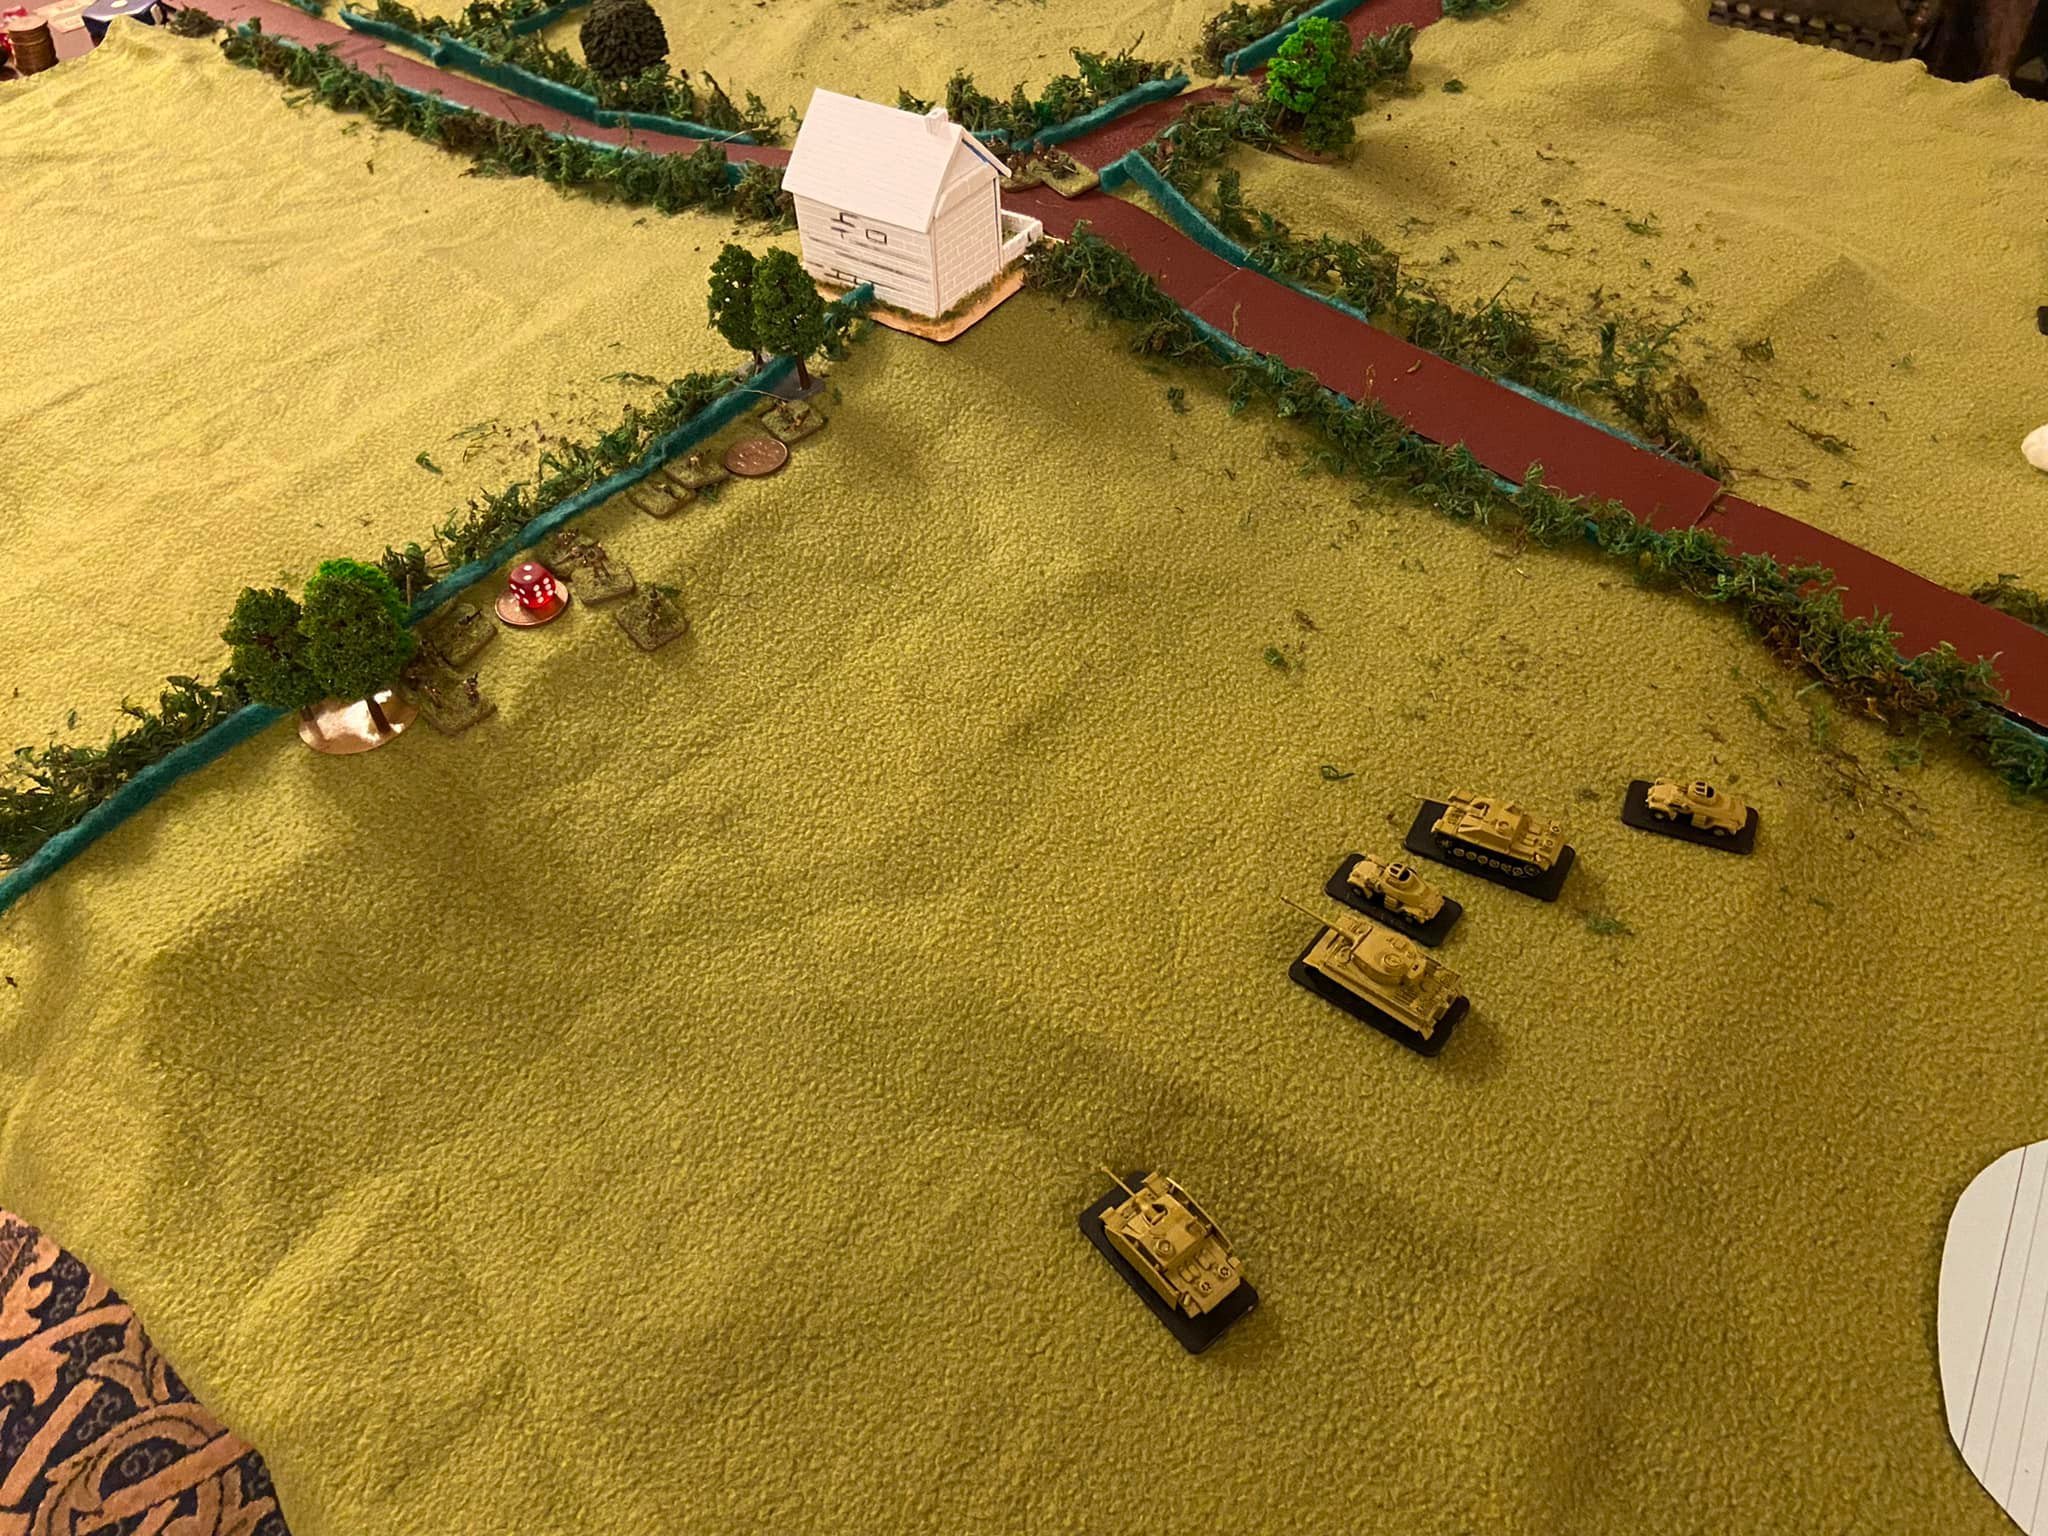
Meanwhile, the German left, a second panzer platoon of a Tiger I & 2 Sturmgeschütz IIIs, pushed through to the hedgerow on an armoured bonus card - coming face to face with a full British platoon, who summarily jumped the hedge and failed in an attempt to quickly place charges on the tanks. The tank platoon reversed down the hill away from the British, as two Sdfkz 222 armoured cars moved up to take out the exposed troop. As they did so, a British anti tank gun in the garden of the house quickly took out both vehicles, destroying one, immobilising the other- and taking out the Company HQ in the process.
As this happened, the British machine gun on the right retreated into the house in the face of the advancing panzers, with the other anti tank gun on the road repeatedly missing its shots. As the panzers finally made their way up the hill, the British command fled down the hill and a Firefly emerged from the bocage, but before it could let off a shot, a round from the leading Tiger had destroyed the Sherman.
At long last, the German reinforcements arrived, including the German command and a further two Tigers supported by half tracks. But just as they arrived the lead Tiger containing the chief Big Man suffered an engine failure, forcing the convoy up through the fields.
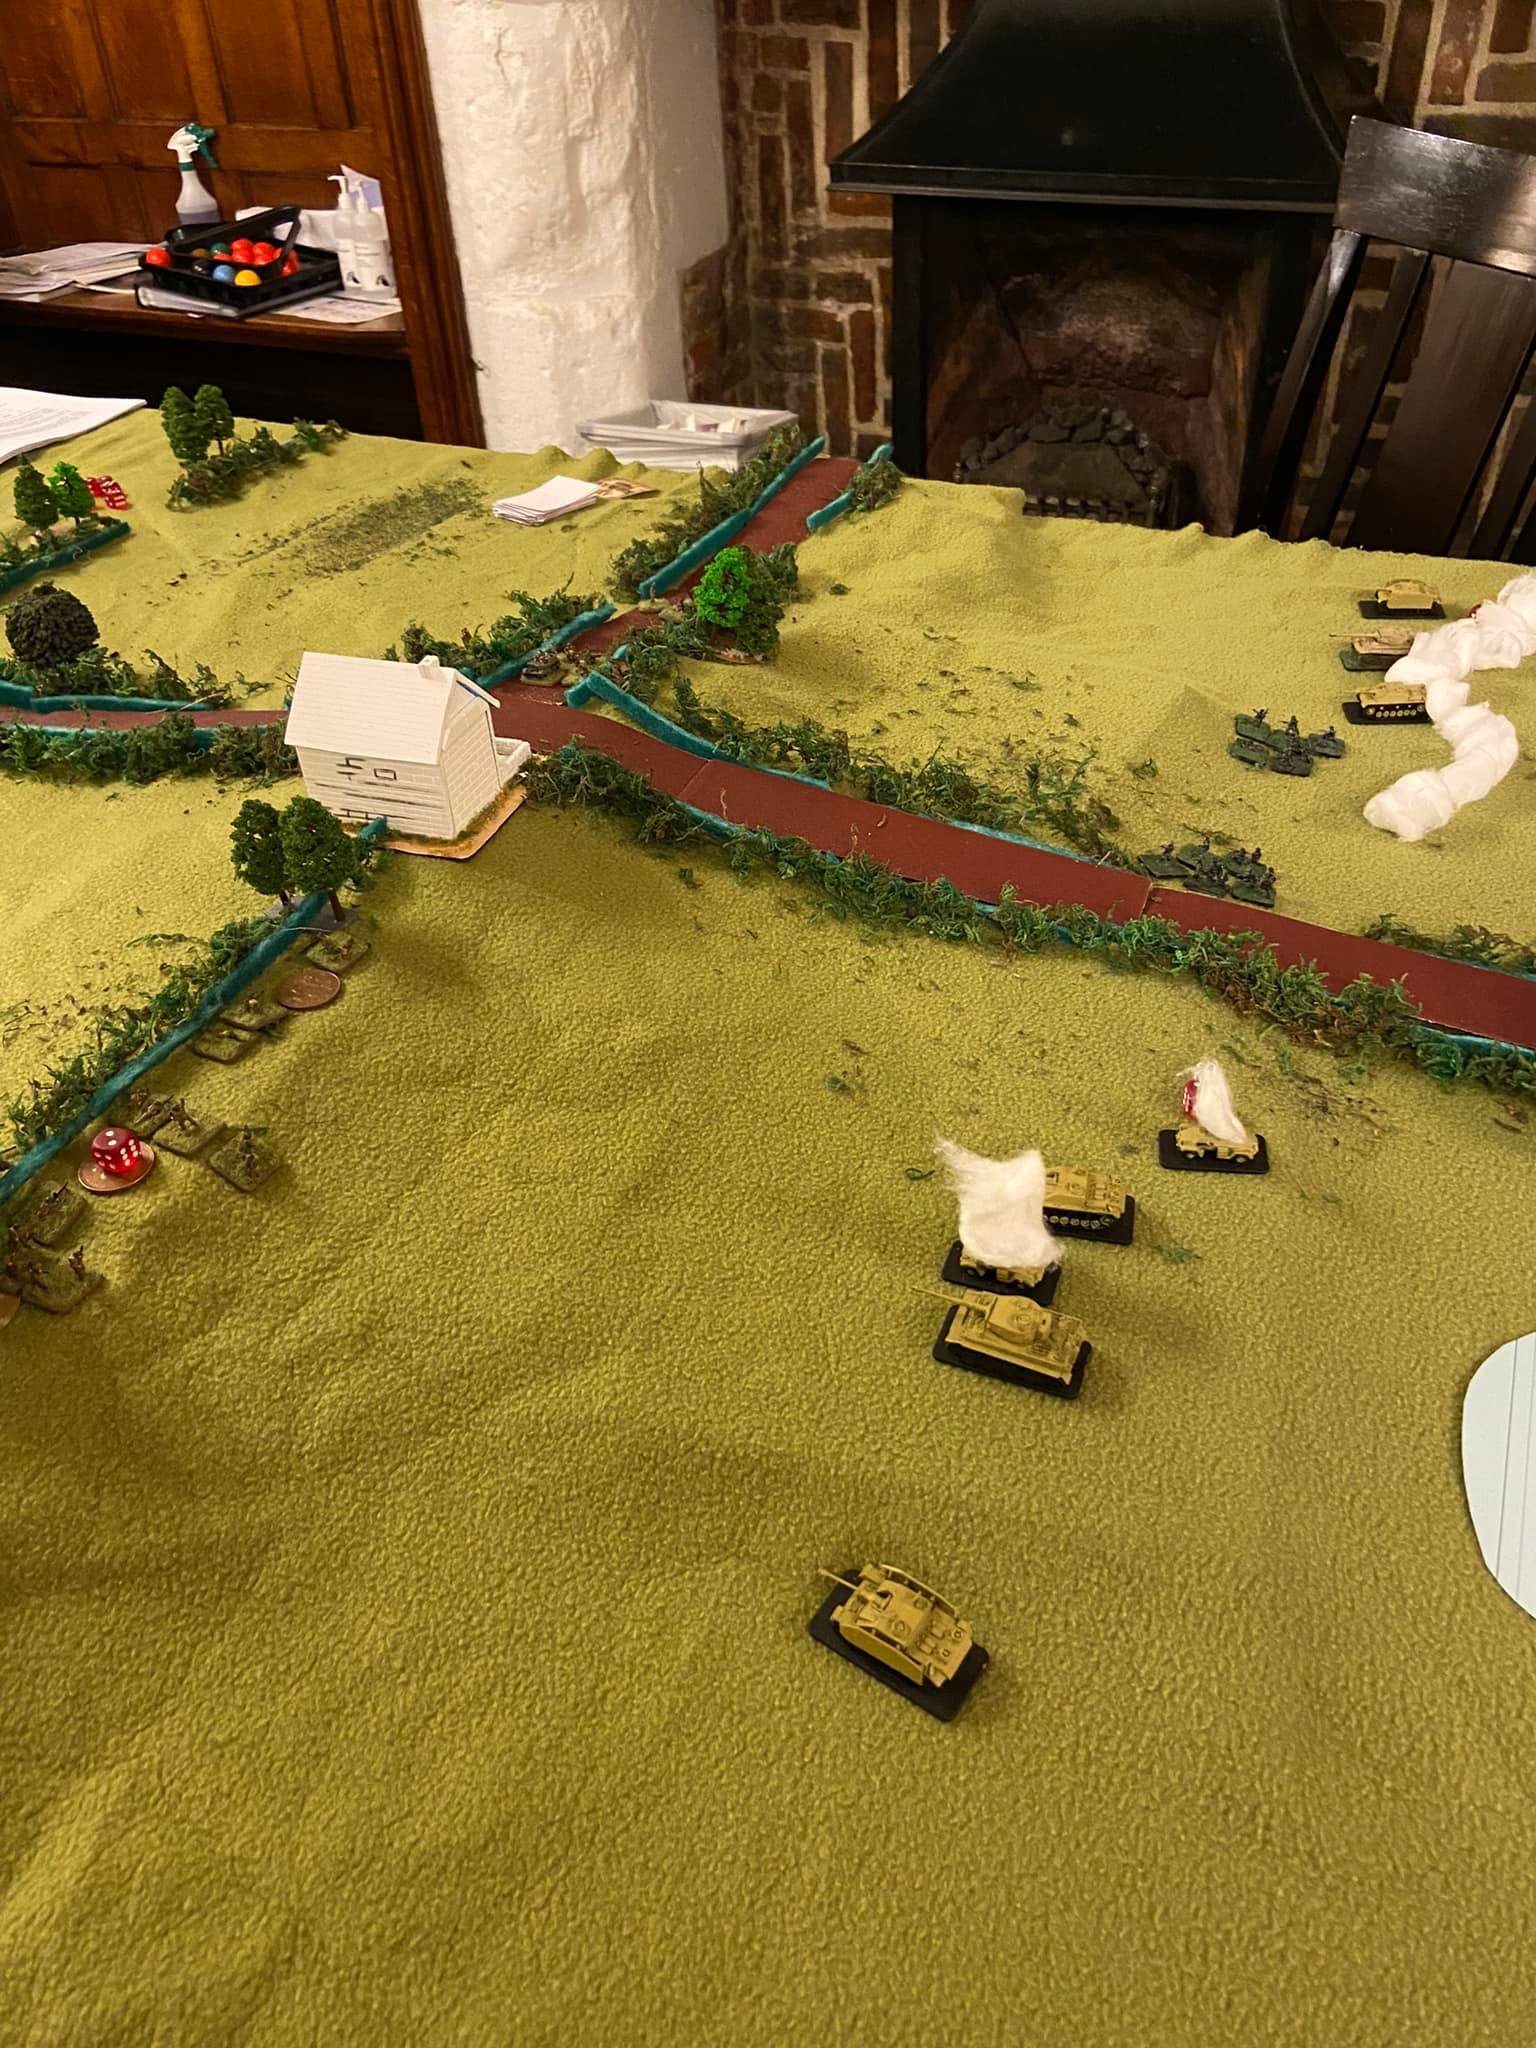
In an effort to stop the relentless haul of fire coming from the house on the hill, a Stug on the right lined up a shot and blasted the house, causing a fire to quickly spread forcing the gun team to flee - but not before (somehow) an extremely well placed machine gun AP round managed to penetrate the rear of- and kill off -one of the German assault guns.
On the other side of the fight, the anti tank gun in the house, directed by the British big man, decimated the two German assault guns, leaving just the Tiger and supporting infantry platoons. Before the Tiger raced back up the hill to finish off the British platoon on the other side.
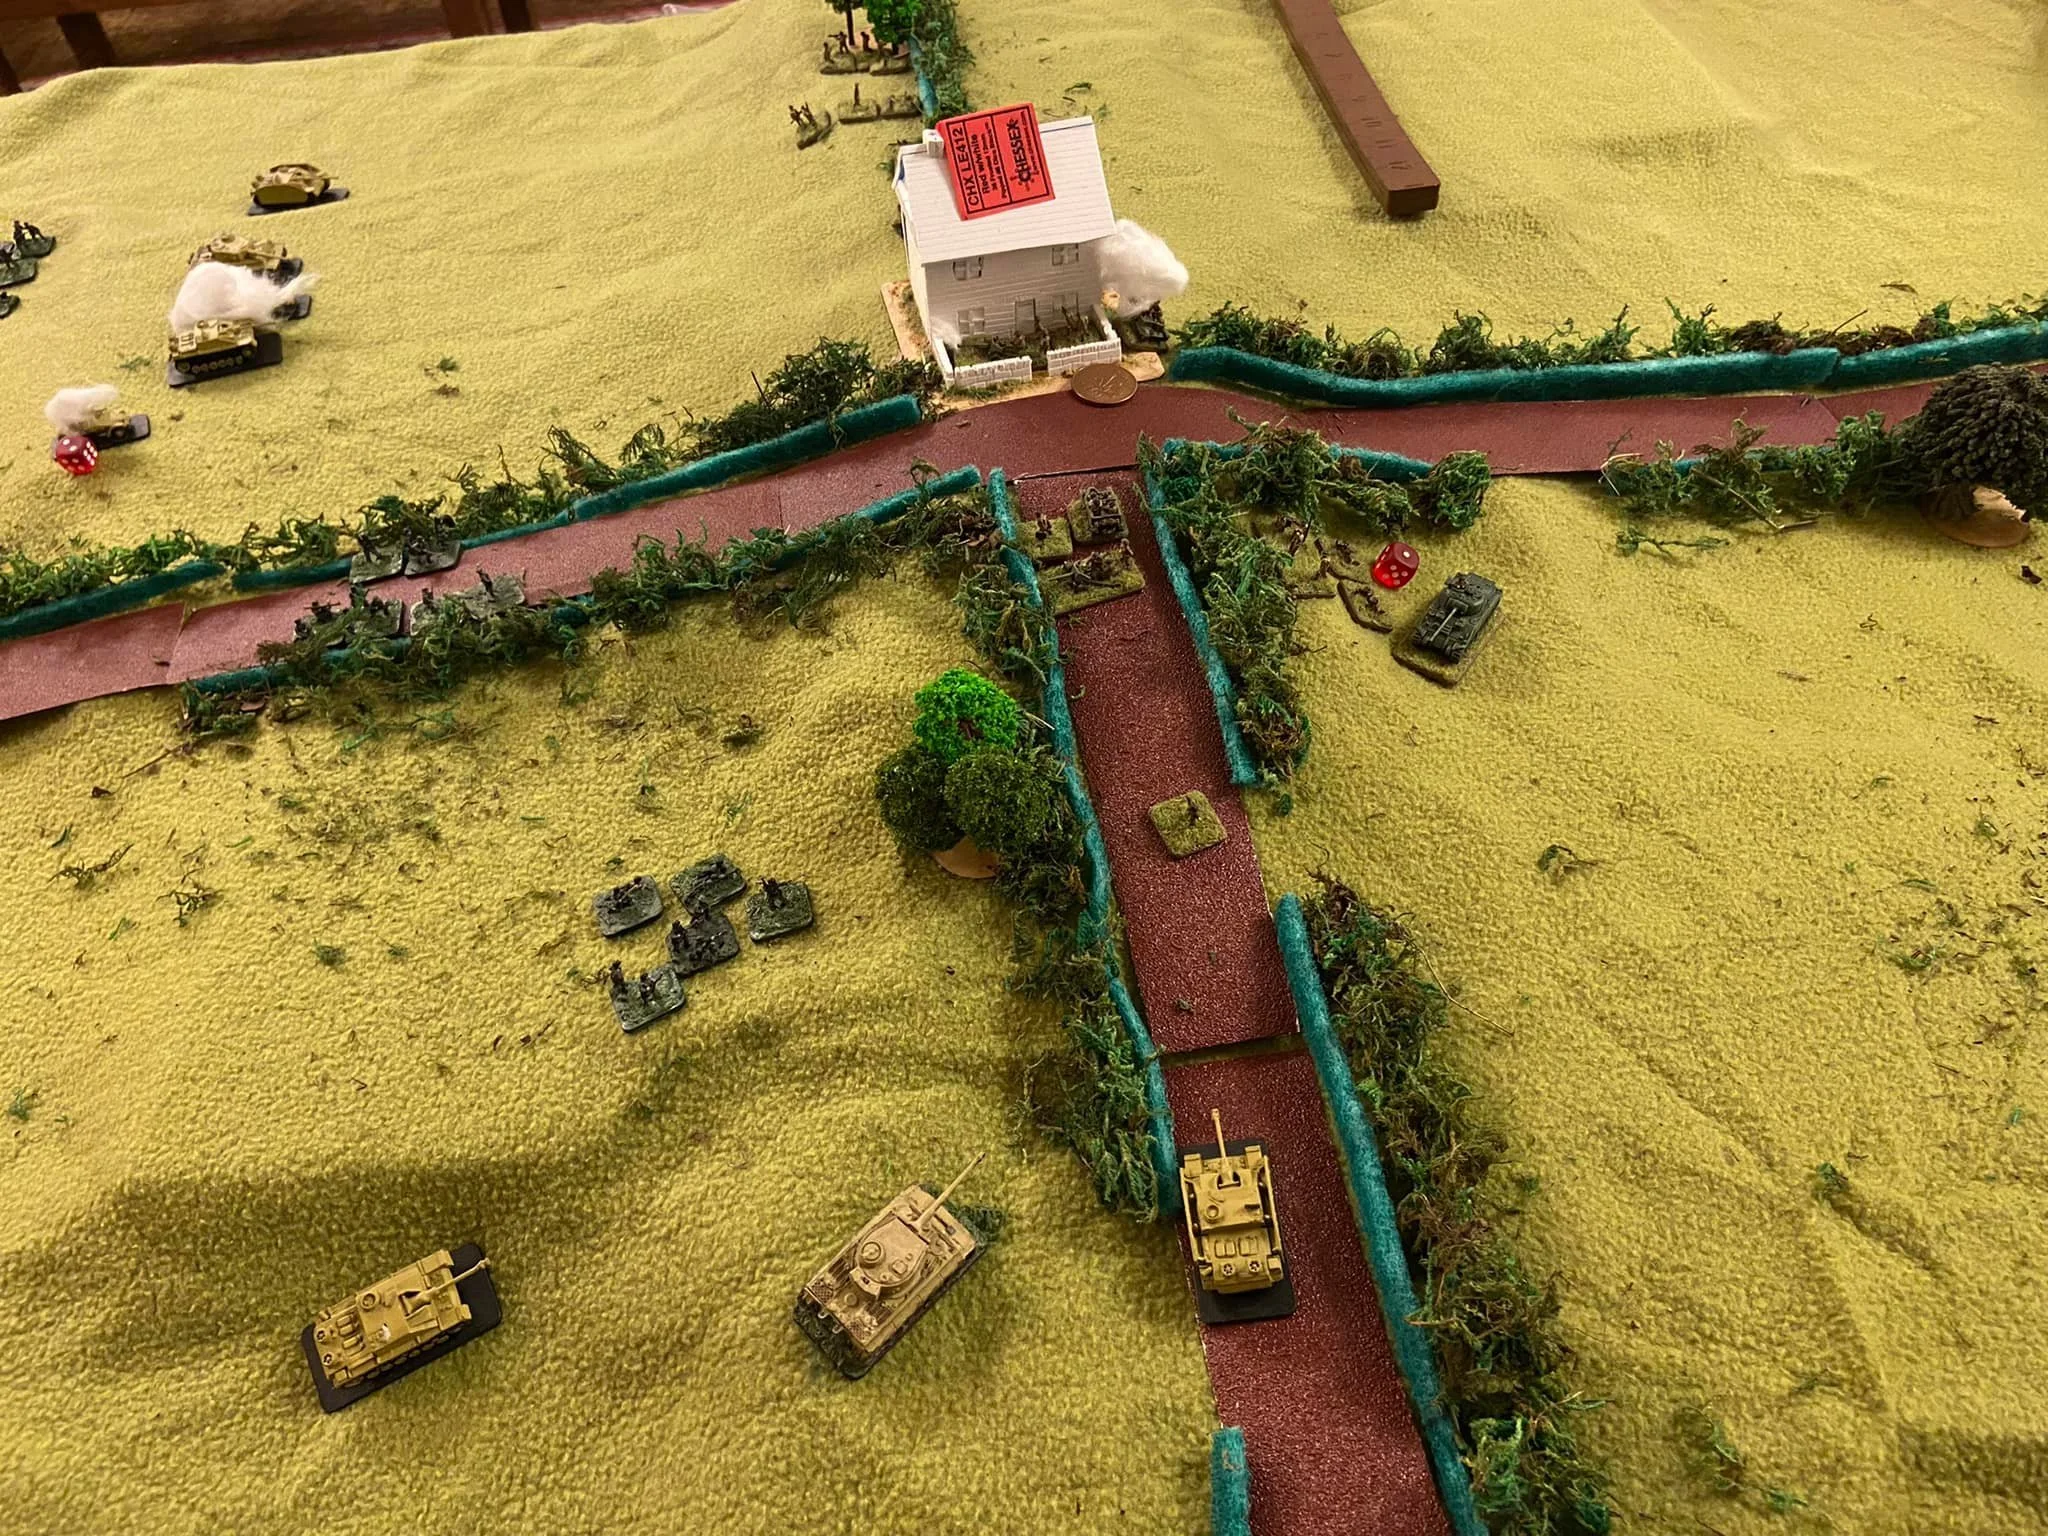
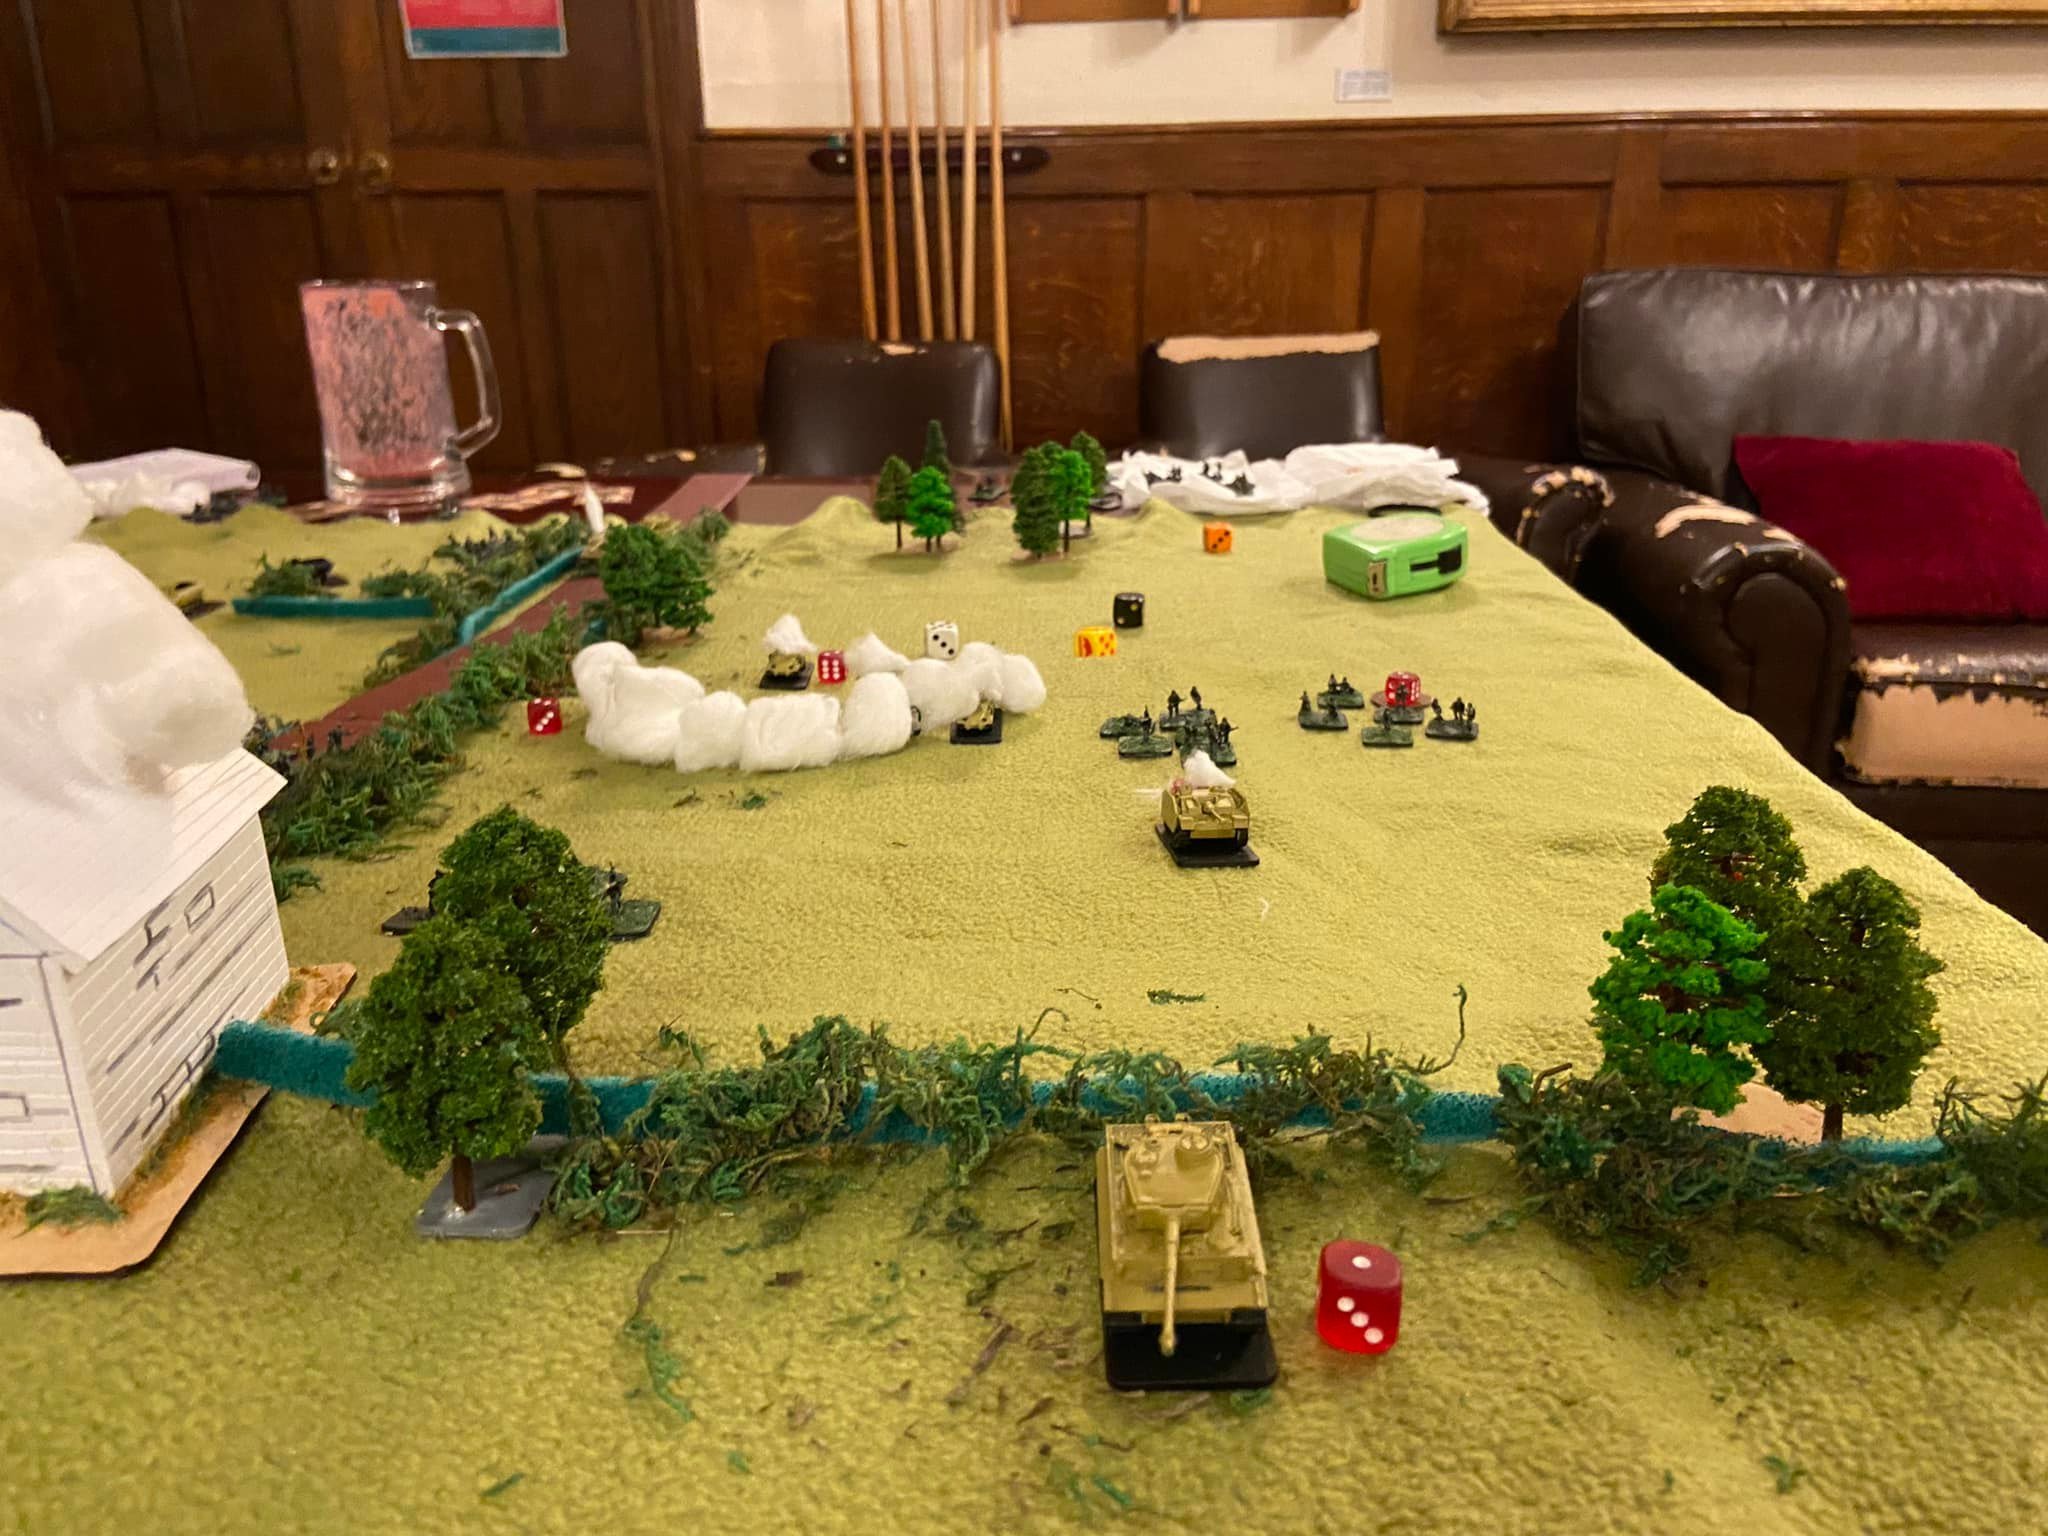
Here’s the tale of the battle in pictures:


James Moulding, David Dahlborn