

My second game at this year’s Operation Market Larden was a superb looking I Ain’t Been Shot Mum battle set during Operation Barbarossa, the German invasion of the Soviet Union in June 1941.
I would play the Soviets, advancing onto the table to expel the Germans from Starmerskaya, securing the two bridges over the river in the process.
My plan was fairly simple. With three companies of infantry at my disposal, I decided to advance forward on three mutually supporting axies: left up the railway line, right up the road, and then threading their way through the fields in the centre.
I had two units of armour: a very weak unit of three T-26’s and, later on, five T-28s. The T-26s would also advance along the railway line, and we’d see where the T-28s were most needed when they eventually arrived.
The plan was to advance quickly forward until the infantry made contact, then bring up the armour to help, with each column free to help the others if required. I also wanted to get my one decent 75mm tank gun into a position where it could shoot at anything coming over a bridge.
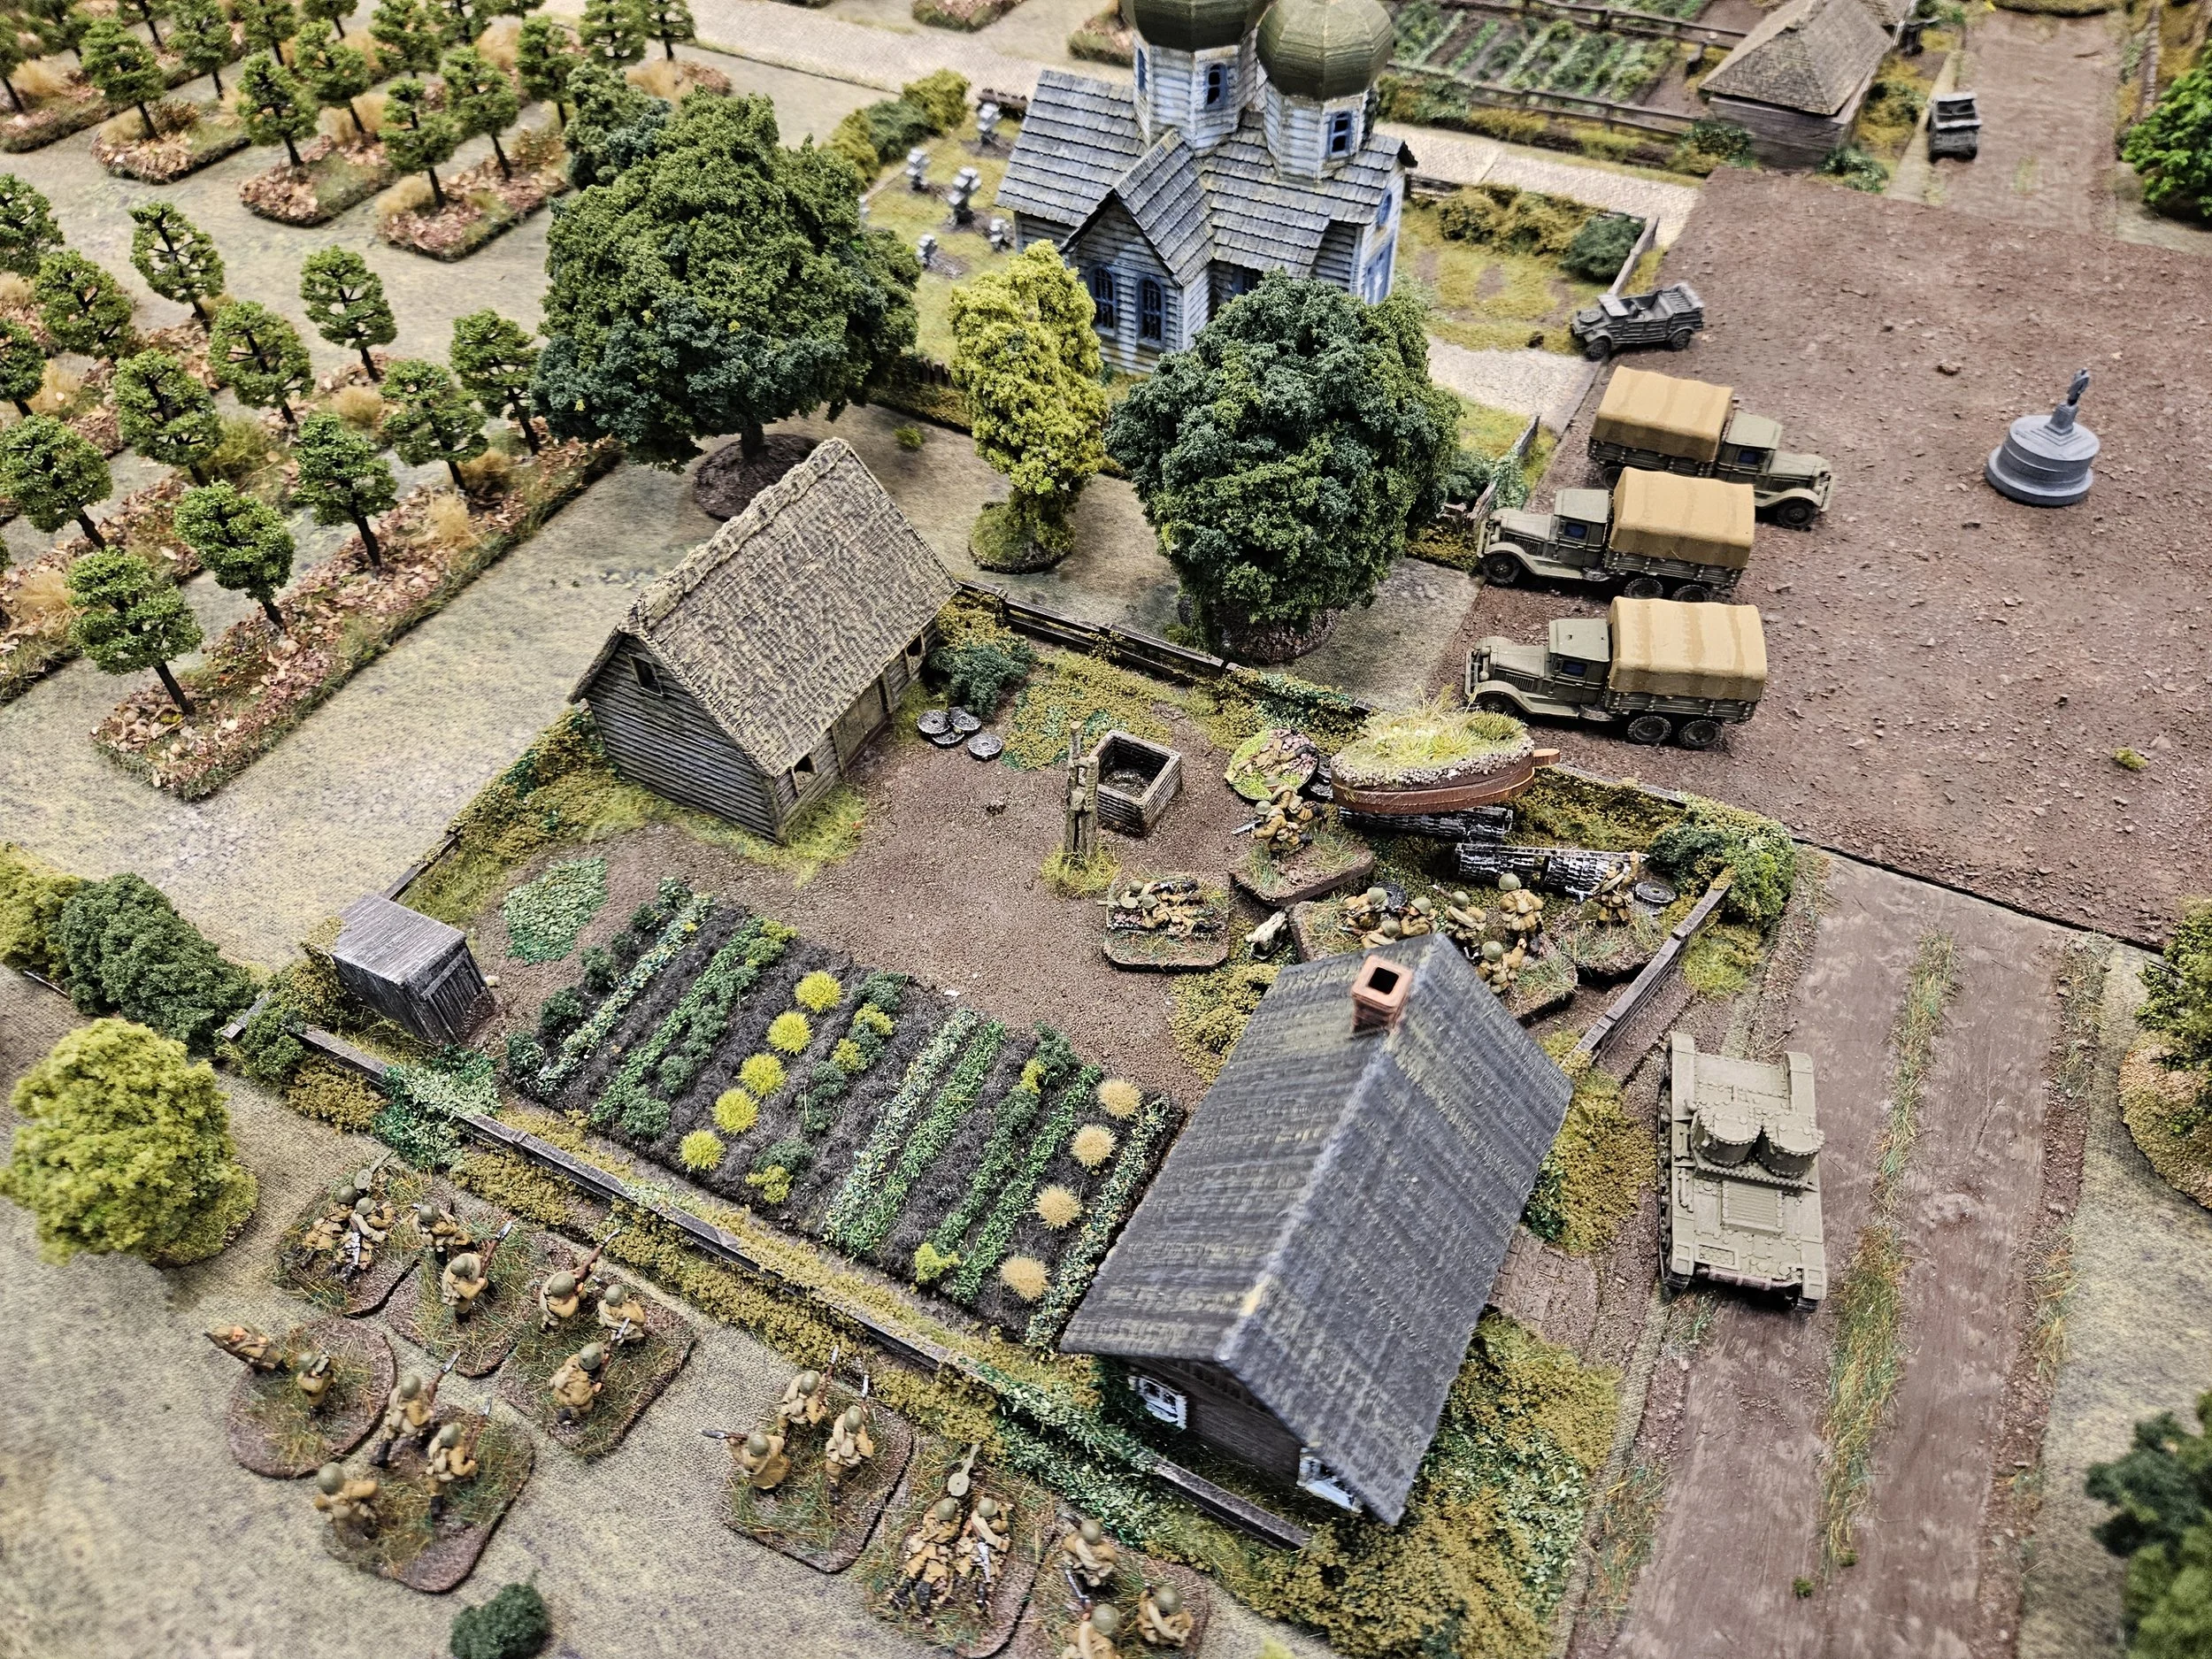
The first action was on the left hand side of the field, near the railway tracks. #1 Platoon advanced forward quickly, supported by my single T-26 with a proper gun, and ran into a German recce section of three armoured cars.
A shot from the T-26 blew one apart, with another being close enough to get damaged as well. My infantry then swarmed the armoured cars and dispatched them and/or their occupants with grenades and sticky bombs. The only fly in the ointment was that a shot from one armoured car knocked the track off the T-26 so that although it was still operational, it couldn’t move.


Next contact was in the centre, where #2 platoon ran into a strong German position in the town square: a platoon of infantry and a couple of MMGs.
This proved a tough nut to crack, with one squad taking significant casualties (enough to send them flying from the field) before troops from #1 platoon, marching to the sound of the guns, arrived on the Germans’ flank and shot them to bits.


Meanwhile, one of my T-28s had arrived, taking position to cover the bridge at the other end of the road. It was lucky that it did, as a German panzer platoon had just started to cross.
A couple of shells from the T-28 winged their way towards the enemy tanks and was lucky enough to not only hit the lead tank but blow it to bits, utterly blocking the bridge. The ‘corpse’ was also still on fire, so its fellow tanks couldn’t even get close enough to shunt it out of the way. That bridge was firmly blocked, and would be for some time. The rest of the German tanks therefore retreated back to their side of the river and began making their way to the other bridge.


Meanwhile, platoons #1 and #2 had finished off the Germans in the main square and kocked out an anti-tank gun ‘guarding’ the central road. This would prove important later in tne game as I had two T-28’s heading towards that road.
The Soivet infantry then wanted to head over to the far road in order to take out the last German pocket of resistance (another anti-tank gun, another platoon of infantry) but couldn’t get across the square as it was still covered by the last of the recce armoured cars that had retreated away from platoon #1’s advance.
This last Sdkfz-222 proved a real pain to take out: I had to wait several turns until a tank arrived and then the 222 took out one of my HMG-armed T-26s. I needed more armour there!


Back on the elft flank, where the German panzers were now trying to cross the other bridge.
Fortunately by this time I had managed to get another two T-28s onto the table, and fire from them and the original T-26 hit and destroyed the lead Panzer IV.
It didn’t blow up, however, so one of the following tanks managed to push it out of the way…only to be hit and destroyed in turn.
There would be no Panzer IV reinforcements for the Germans!


Back to the right, and I was now in a position to send heavier armour up the central road to deal with the Sdkfz-222.
At the same time, my lead T-28 was now exchanging fire with a German anti-tank gun covering the road, only really surviving because of the intervention of the Soviet airforce who had pinned the gun crew with a strafing attack.
A T-28 then arrived in the main square and blew the German armoured car to bits.
This allowed platoon #1 to advance towards the bridges, and platoon #2 to both advance forward and help suppress the last pocket of German resistance around the anti-tank gun on the right. With another T-28 to help, that wouldn’t be taking very long!


Mindful of the fact that I needed to secure the bridges, I now had infantry from platoons #1 and #2 on the river road, shooting up the last German infantry platoon who had arrived from the right hand bridge after a hair-raising traverse past the burning panzer.
Soon they would be supported by the T-28’s who were just turning onto the river road from the left, past the smoking remains of three Panzer IVs.
Job done!
A great game of IABSM superbly set up and run by Phil and Jen.
I did have the luck of the devil in my initial firing, blowing armoured cars and tanks to pieces with ease, but I also succeeded by keeping the initiative and making my opponent react to my movements rather than vice versa. As ex-army man himself, he was kind enough to say that I had delivered a masterclass in how to play IABSM.
My thanks to everyone for the game: a cracking afternoon’s wargaming.