James Tree


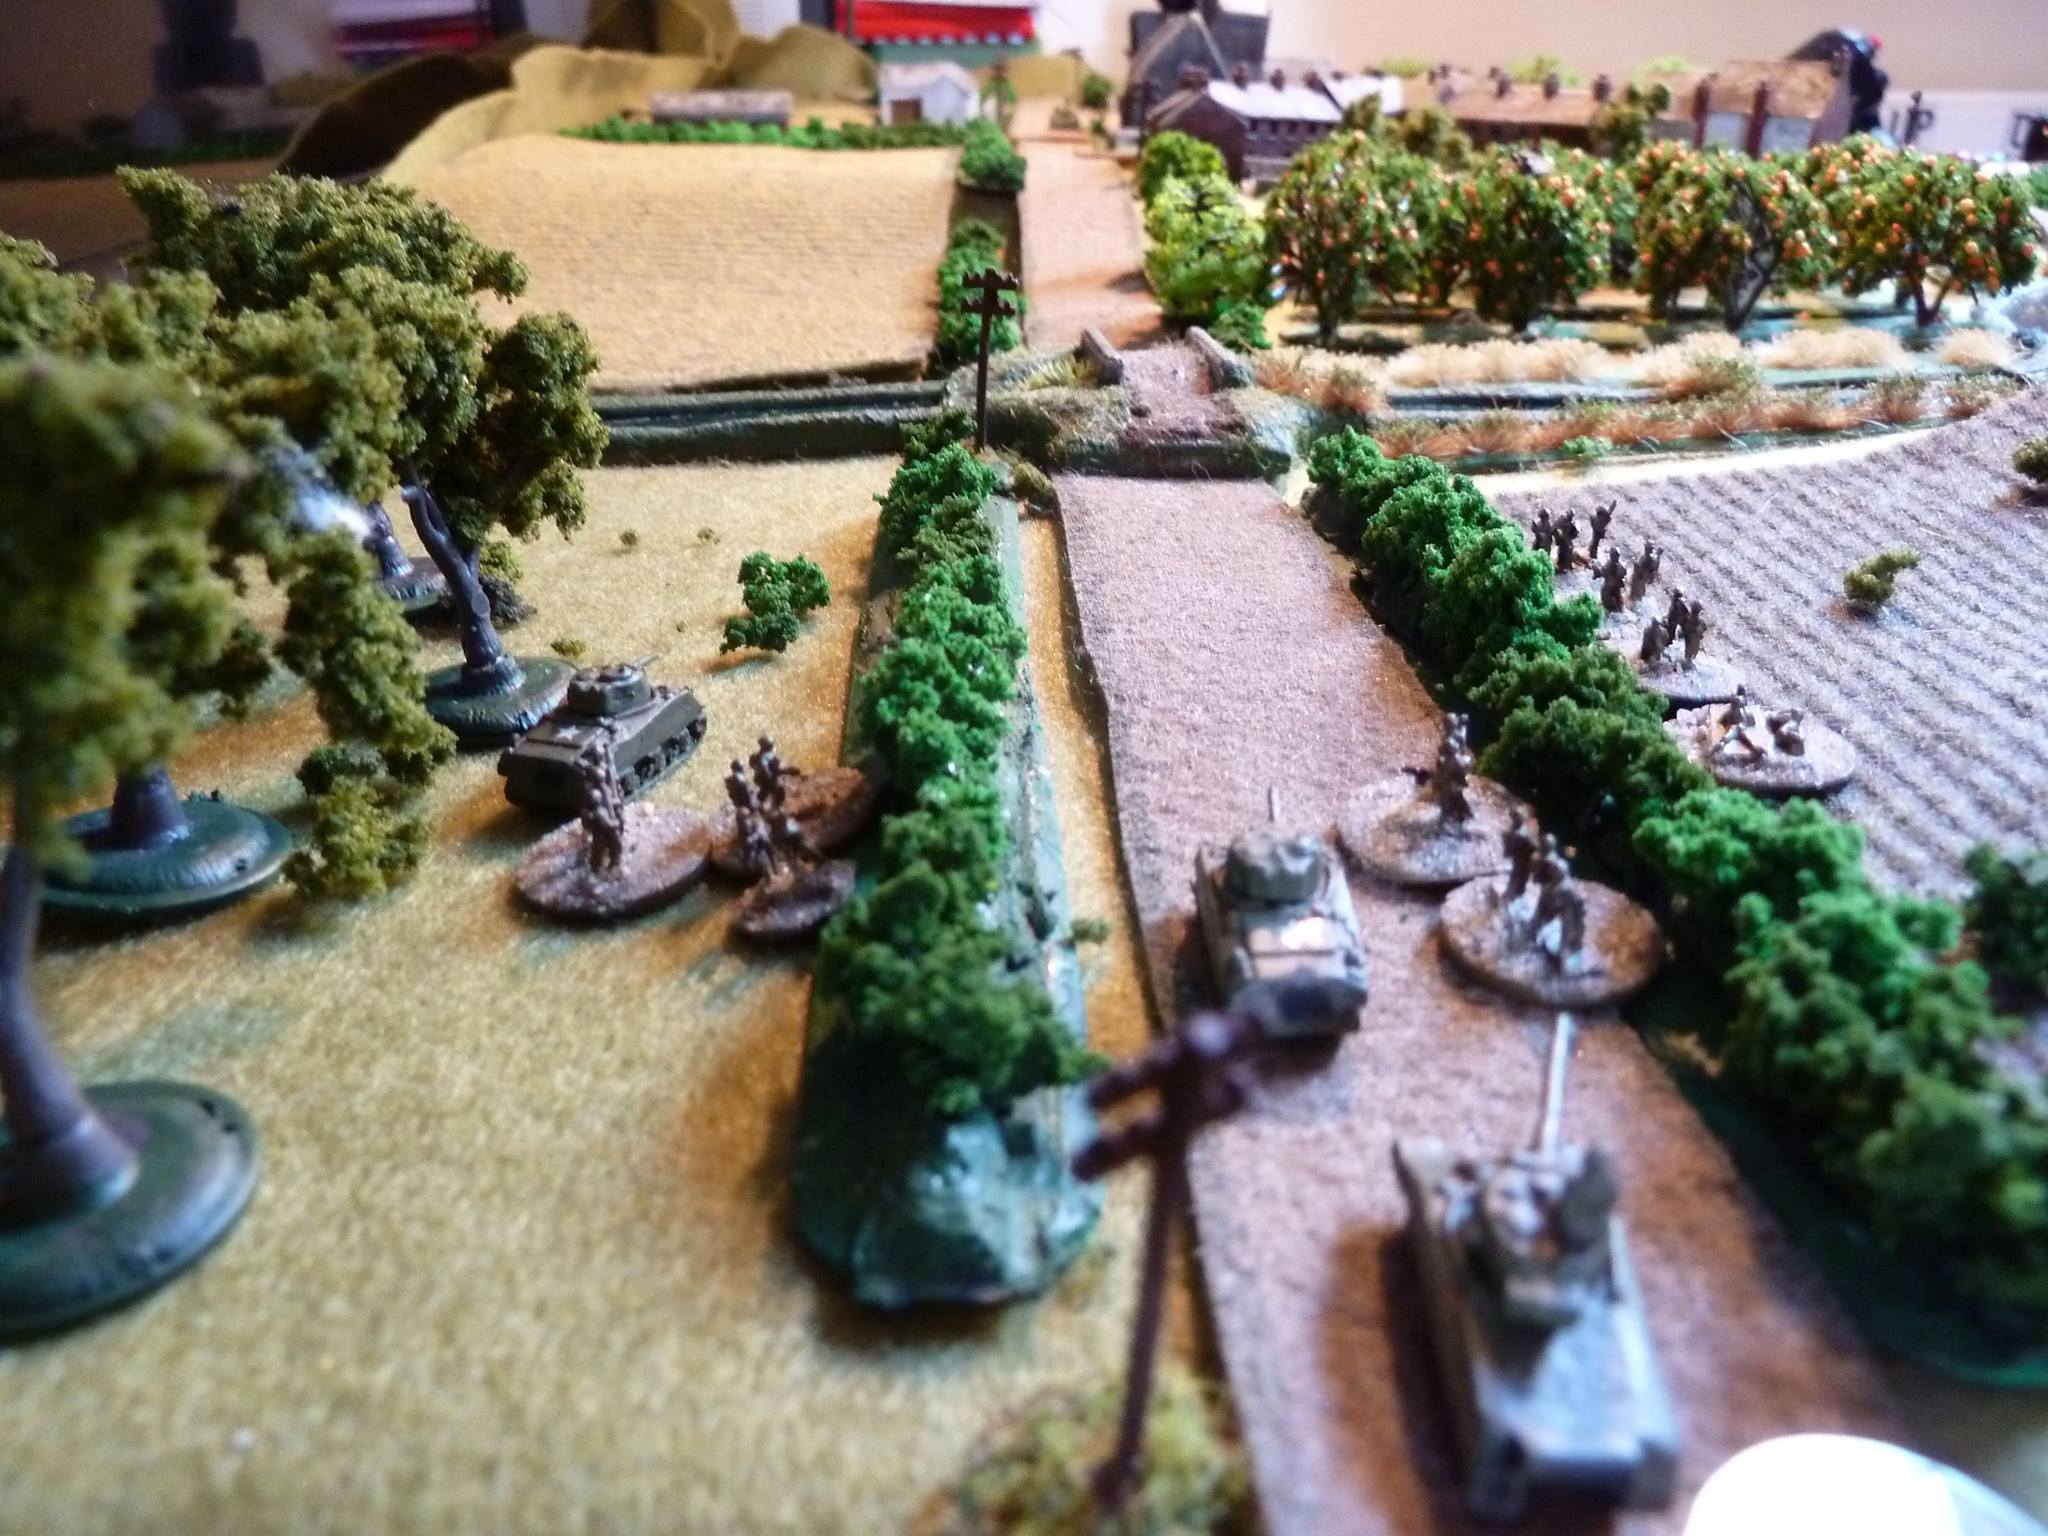
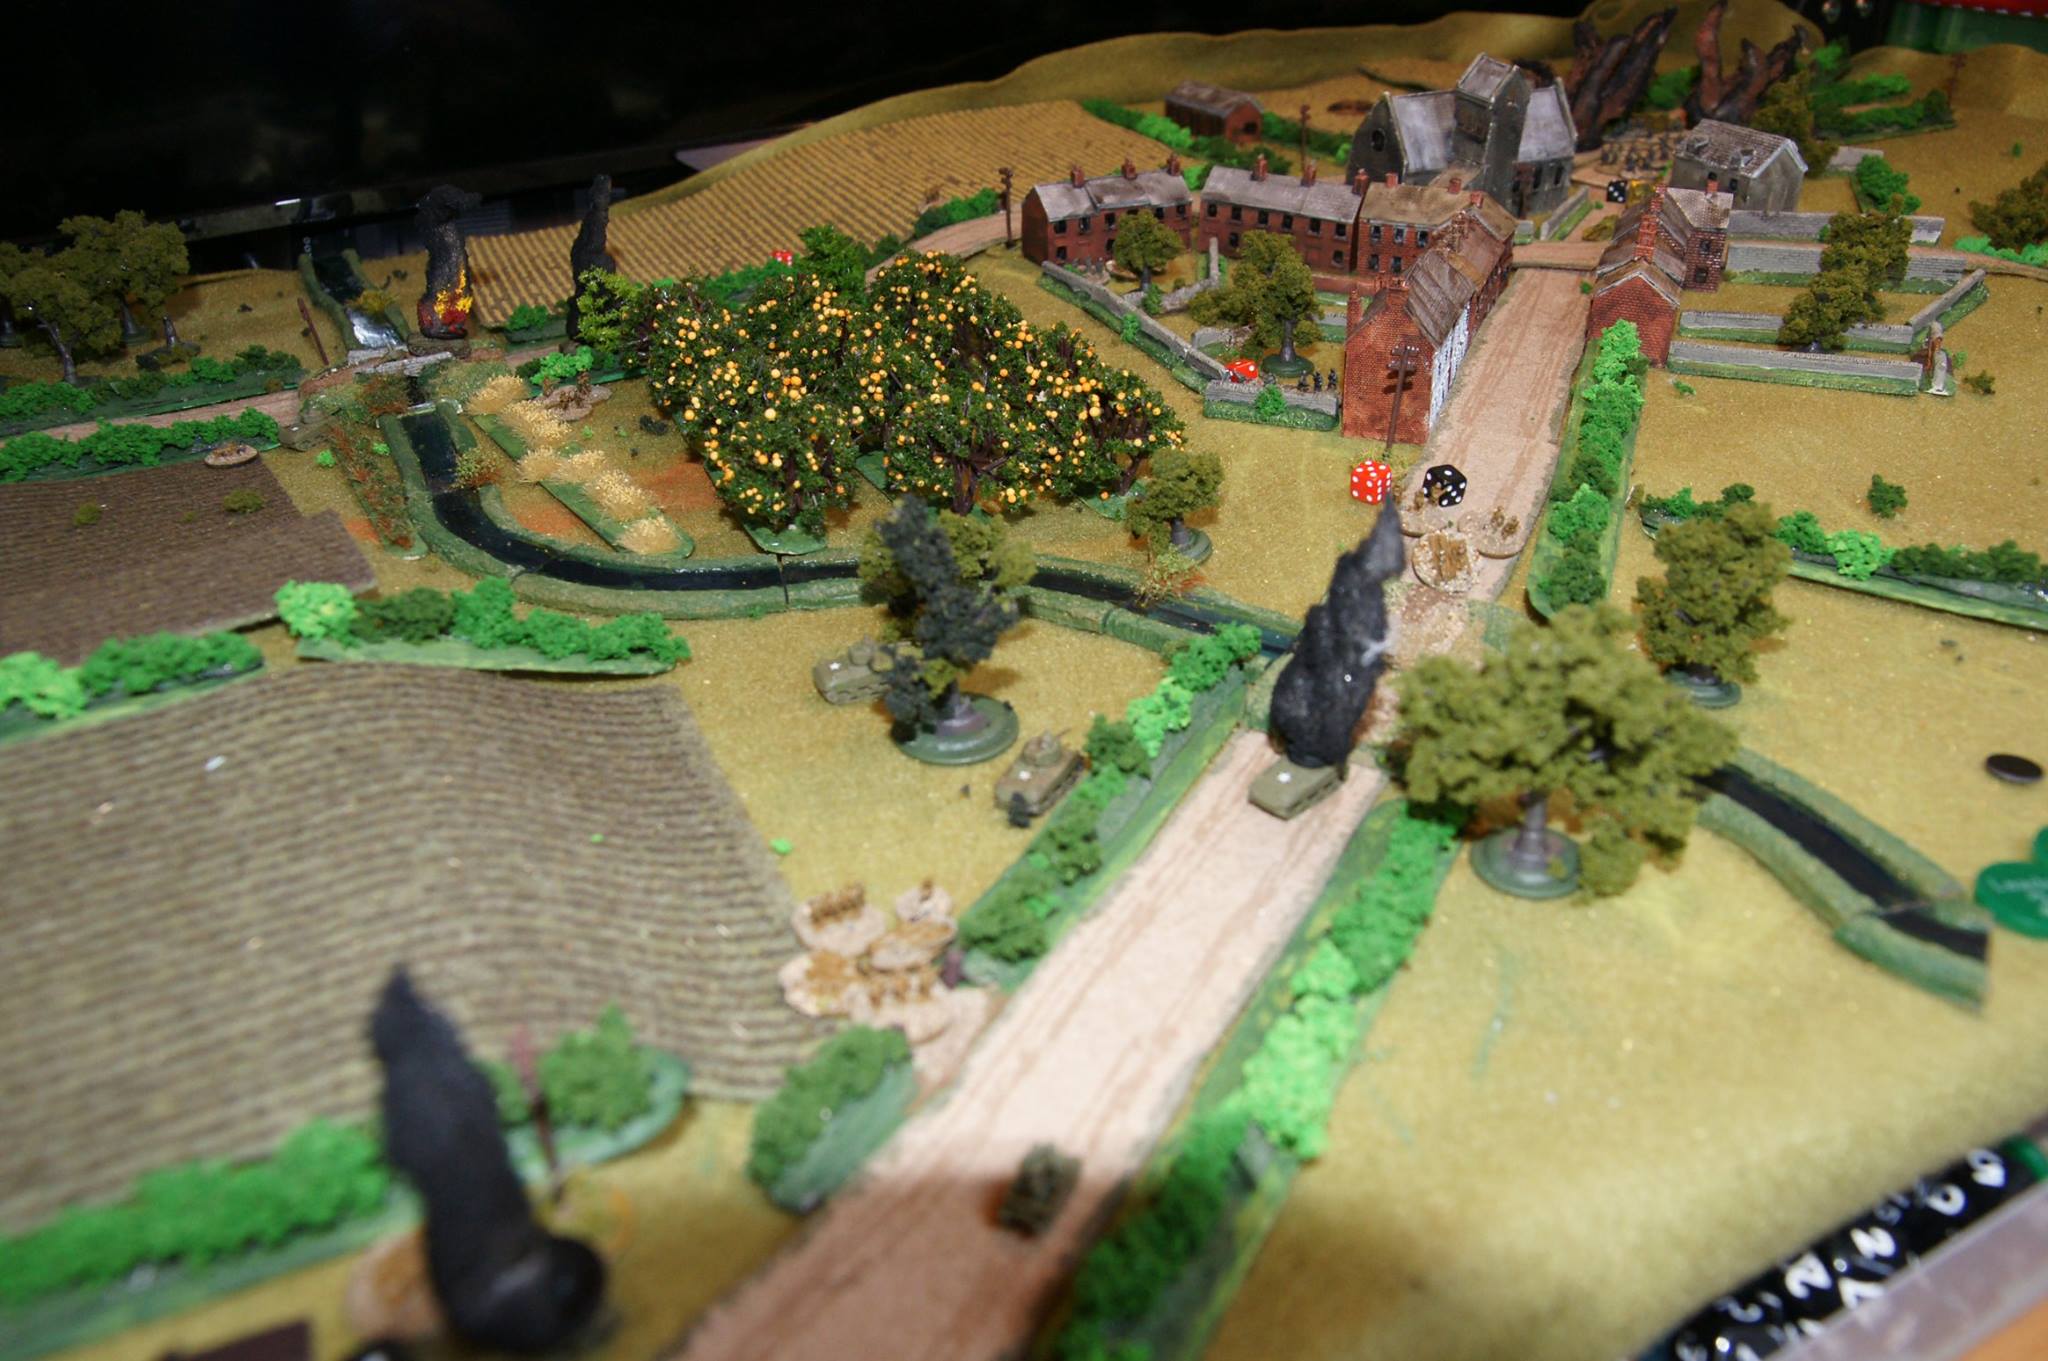
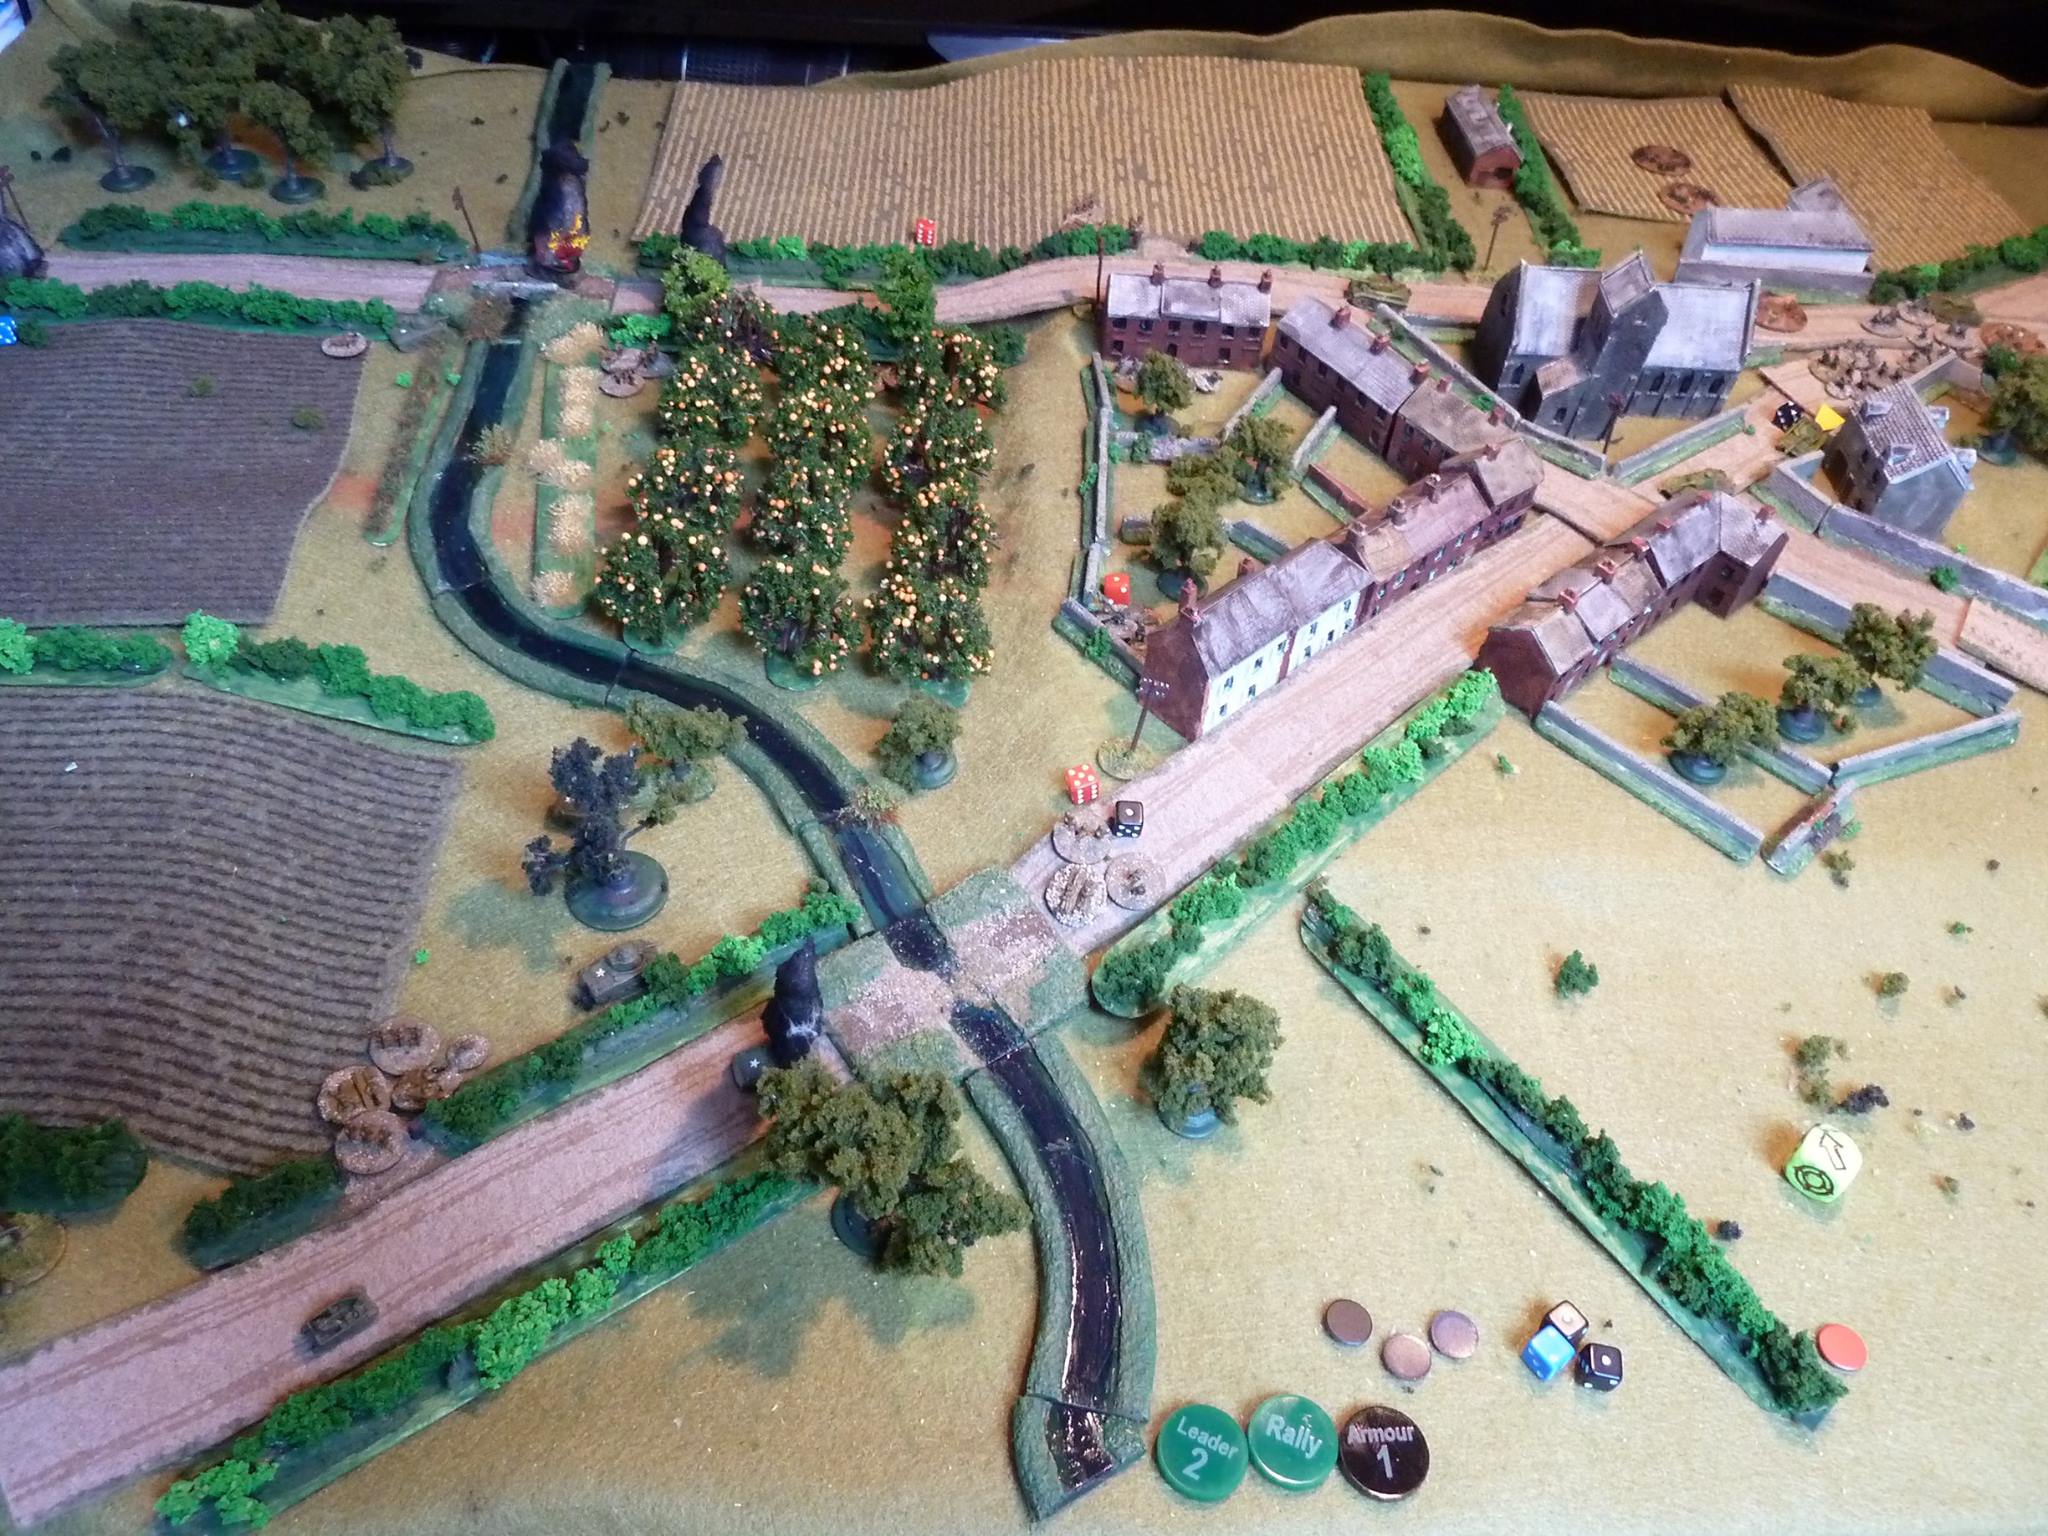
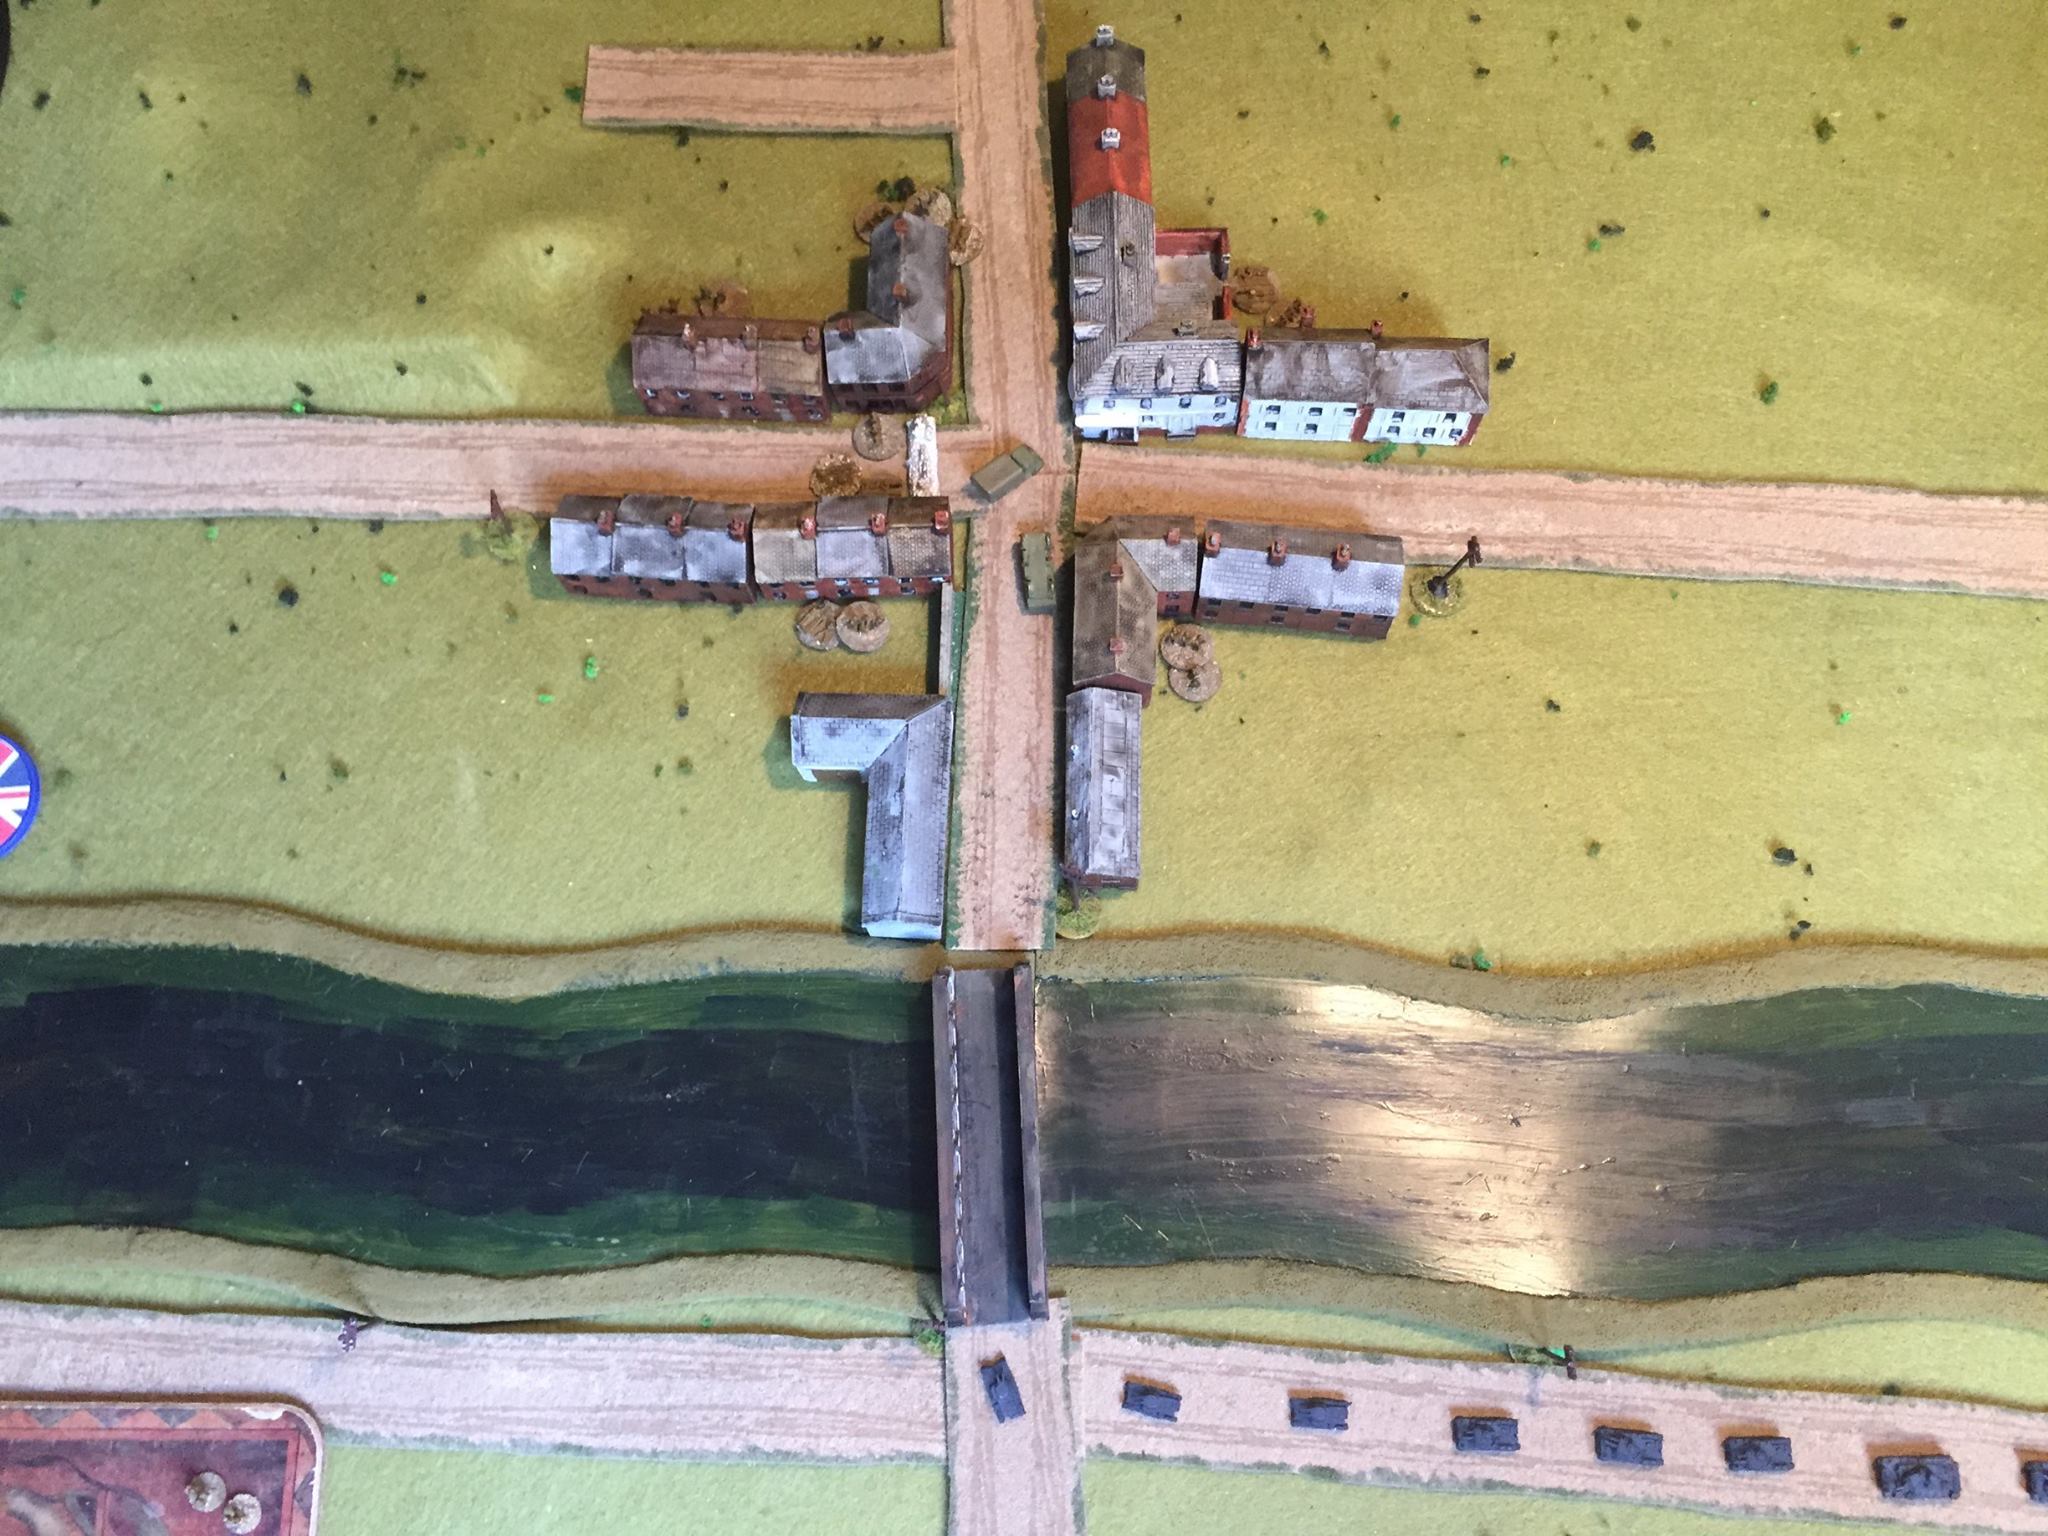
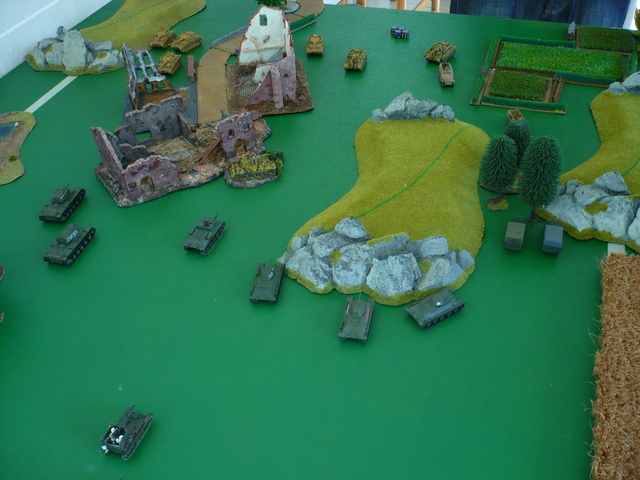
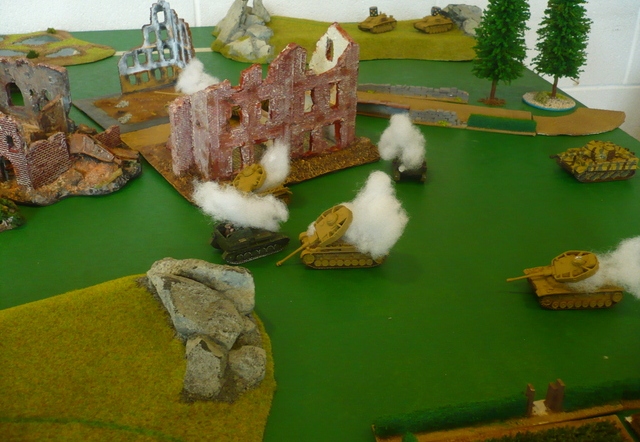
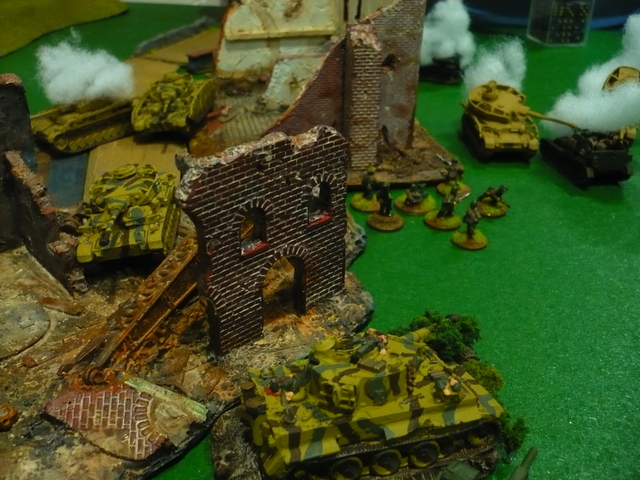
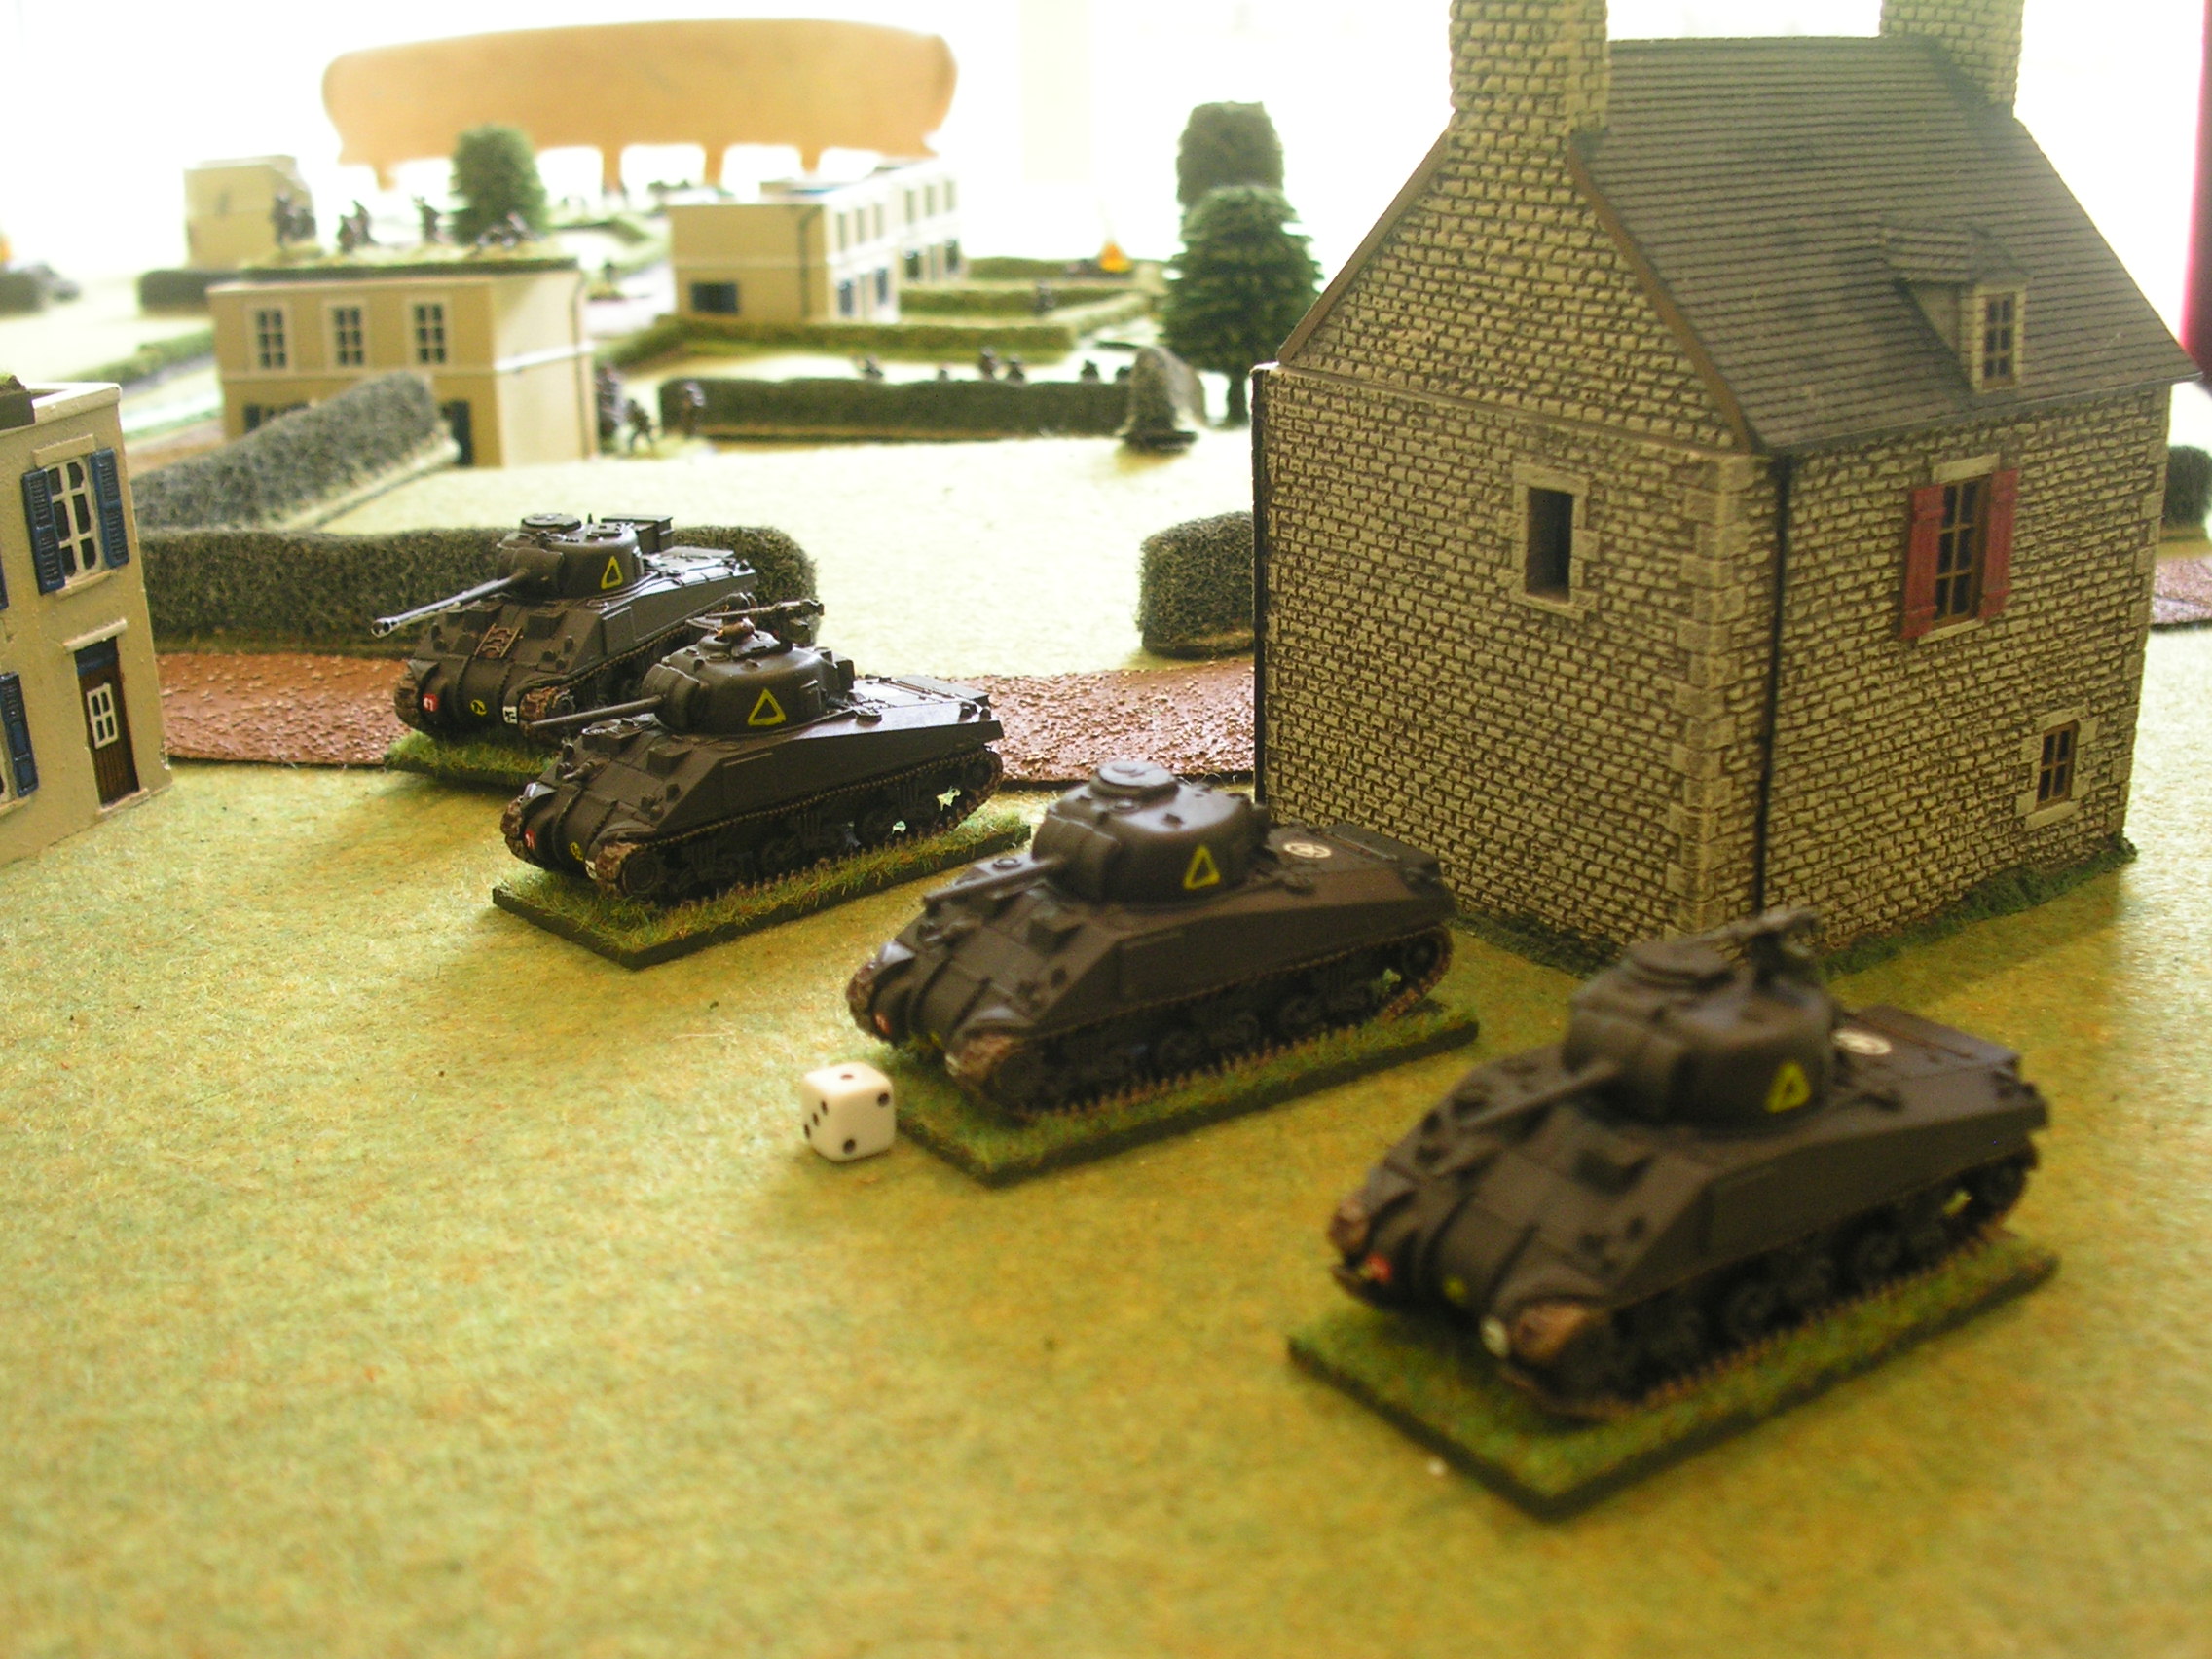
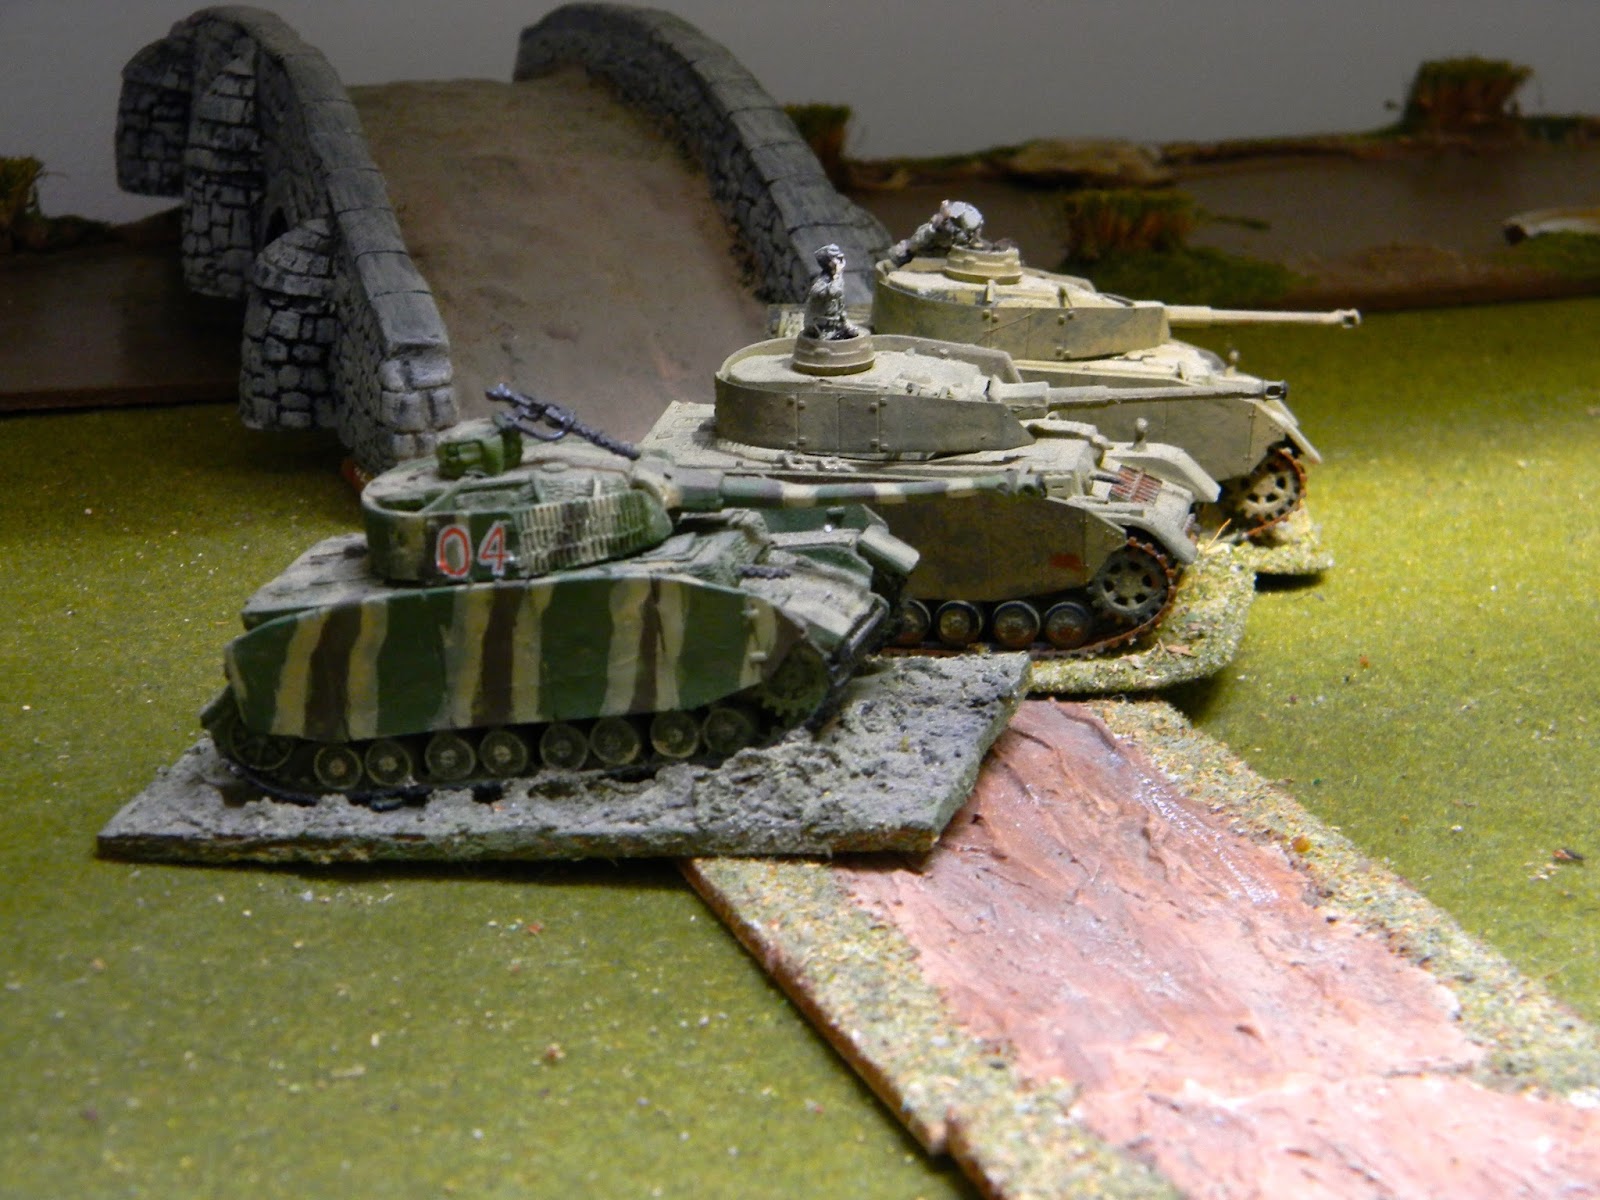
At the start of the battle, the Tiger and Panther lurk at the cross roads and two squads are deployed covering the bridges.
The British plan is to hit both bridges simultaneously, thereby not allowing the Germans to concentrate their meagre initial forces. Fireflys at the back to try and snipe the German big cats. It's a solo game, so nothing is shown under Blinds.
The Firefly in overwatch, spots the rather blurry Tiger by the church and takes the shot. It hits, but fails to damage :(
The Tiger's return shot hits and destroys the Firefly. Time for some smoke...
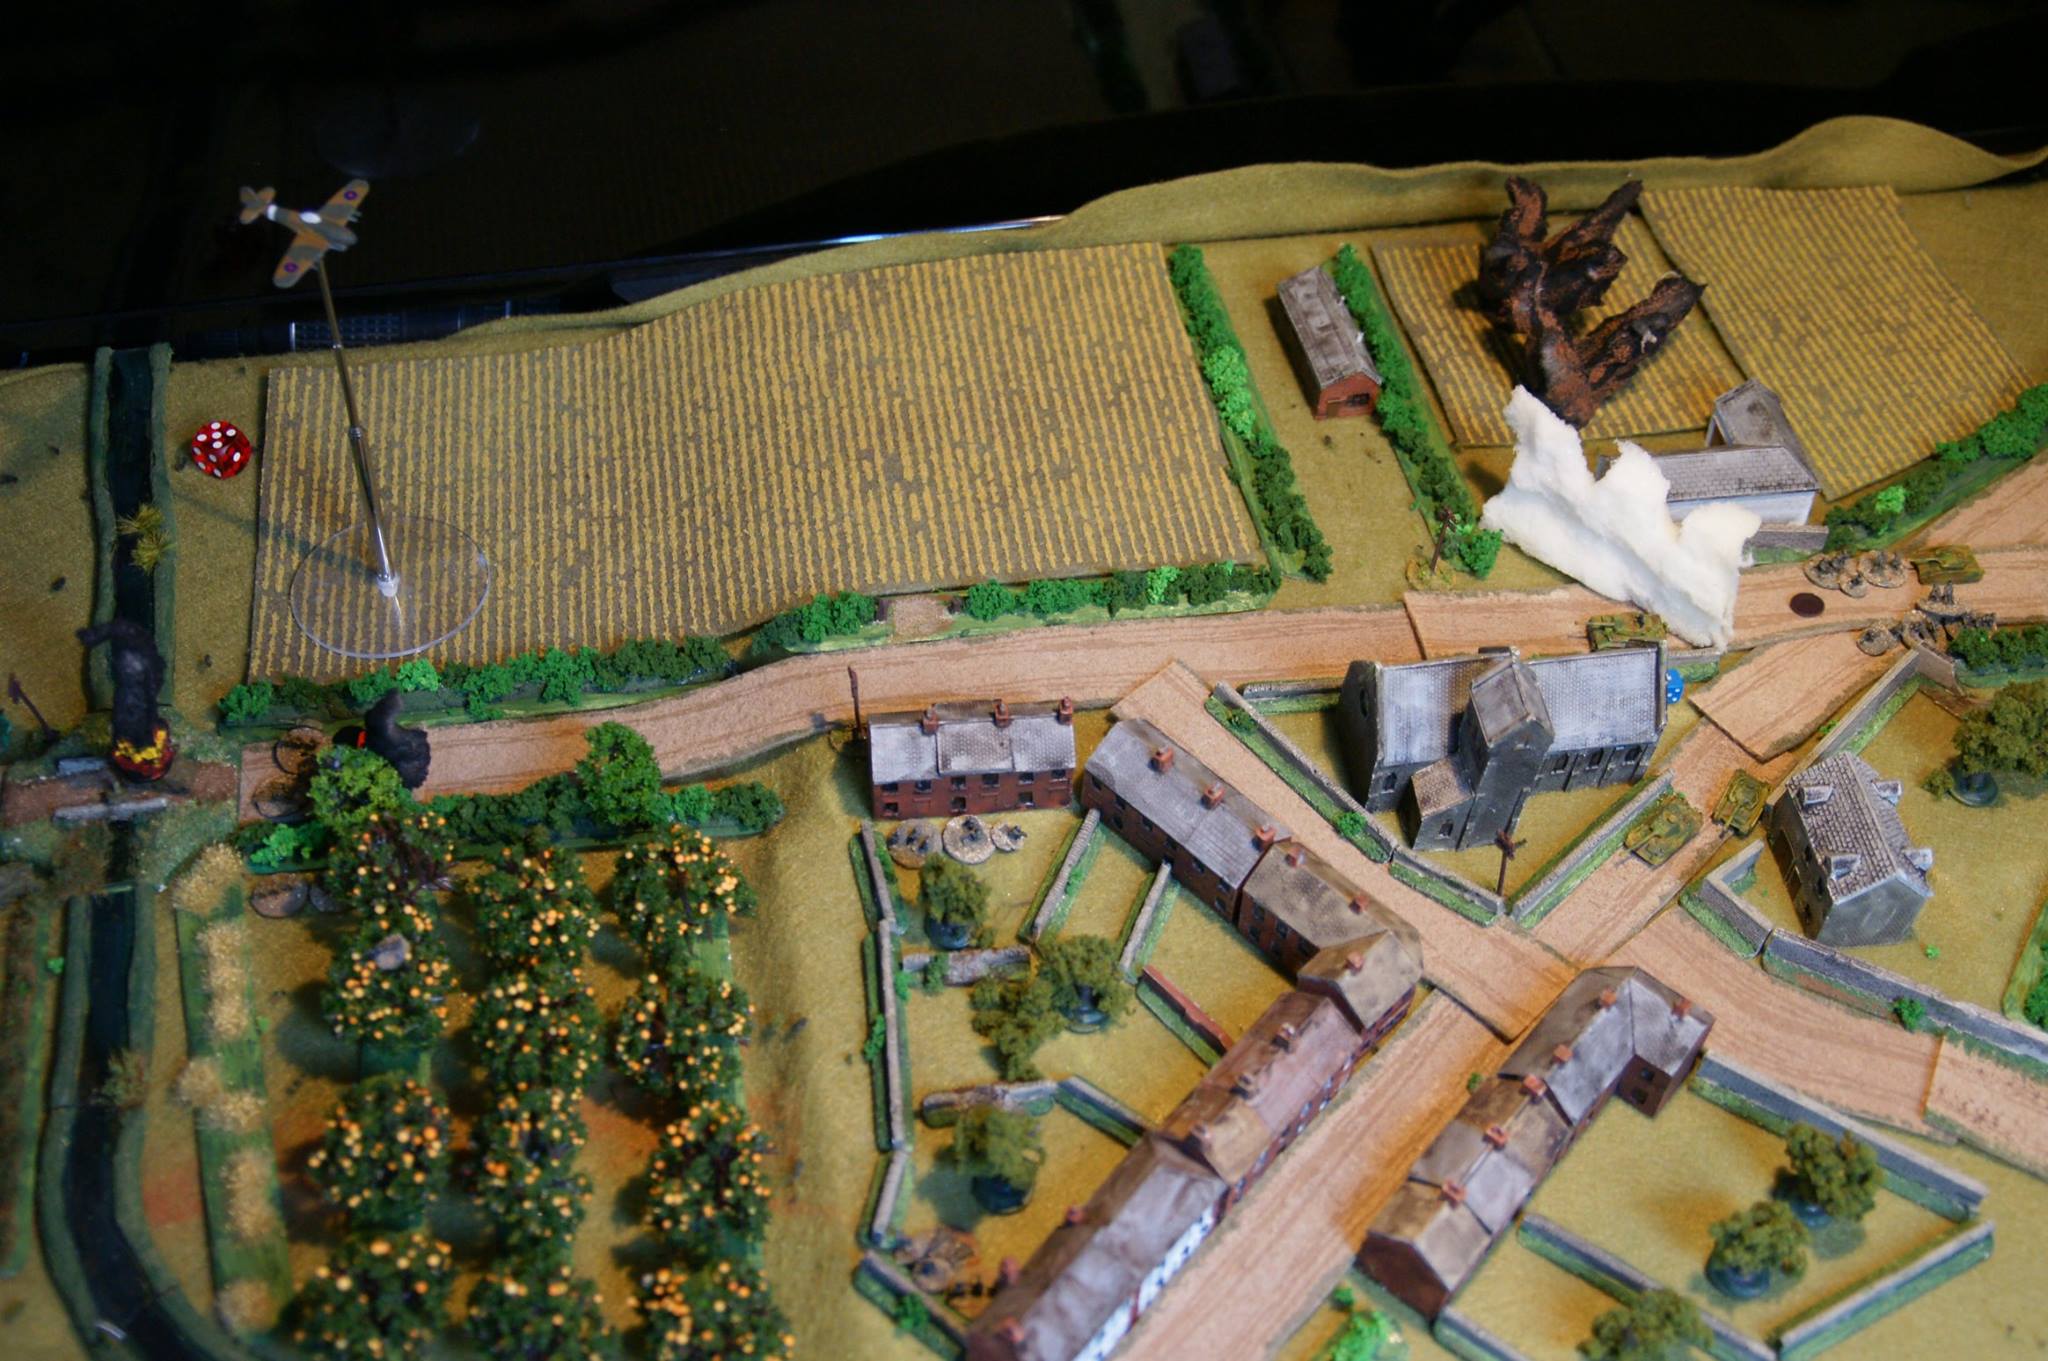
Smoke arrives bang on target (I added an FOO and 3" mortar battery) to block LOS from the Tiger. However, next turn it drives right through and takes out the Shermans crossing the bridge.
Next, call in the RAF (another scenario tweak) but, wow, rockets are inaccurate and they scatter wildly!
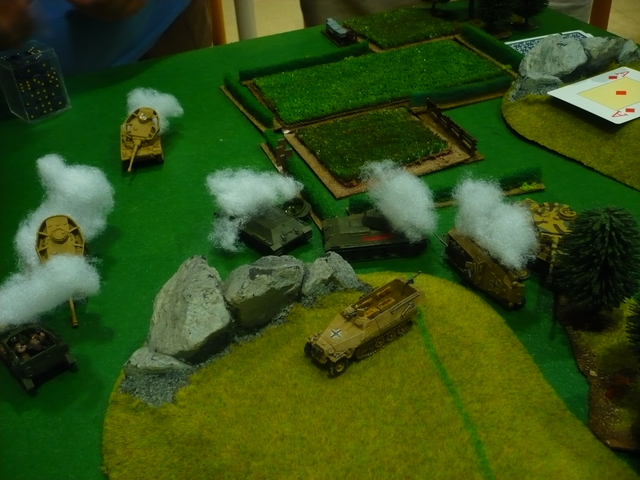
A second depleted German Panzer platoon arrives and rushes forward: not sure they're really needed!
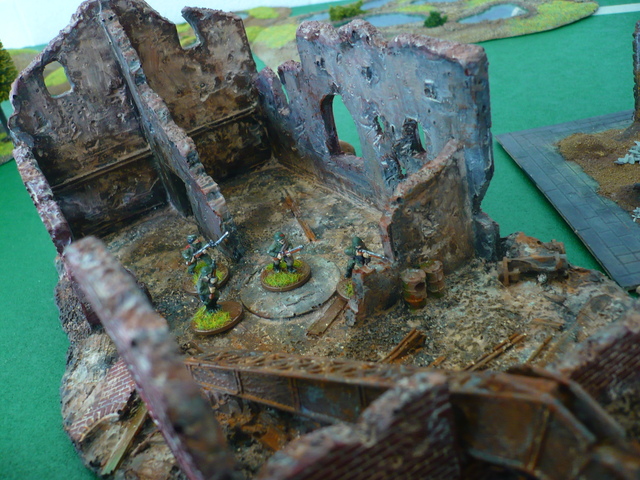
Close-up of the Eastern bridge. A German sniper in the orchard was causing trouble for the British infantry.
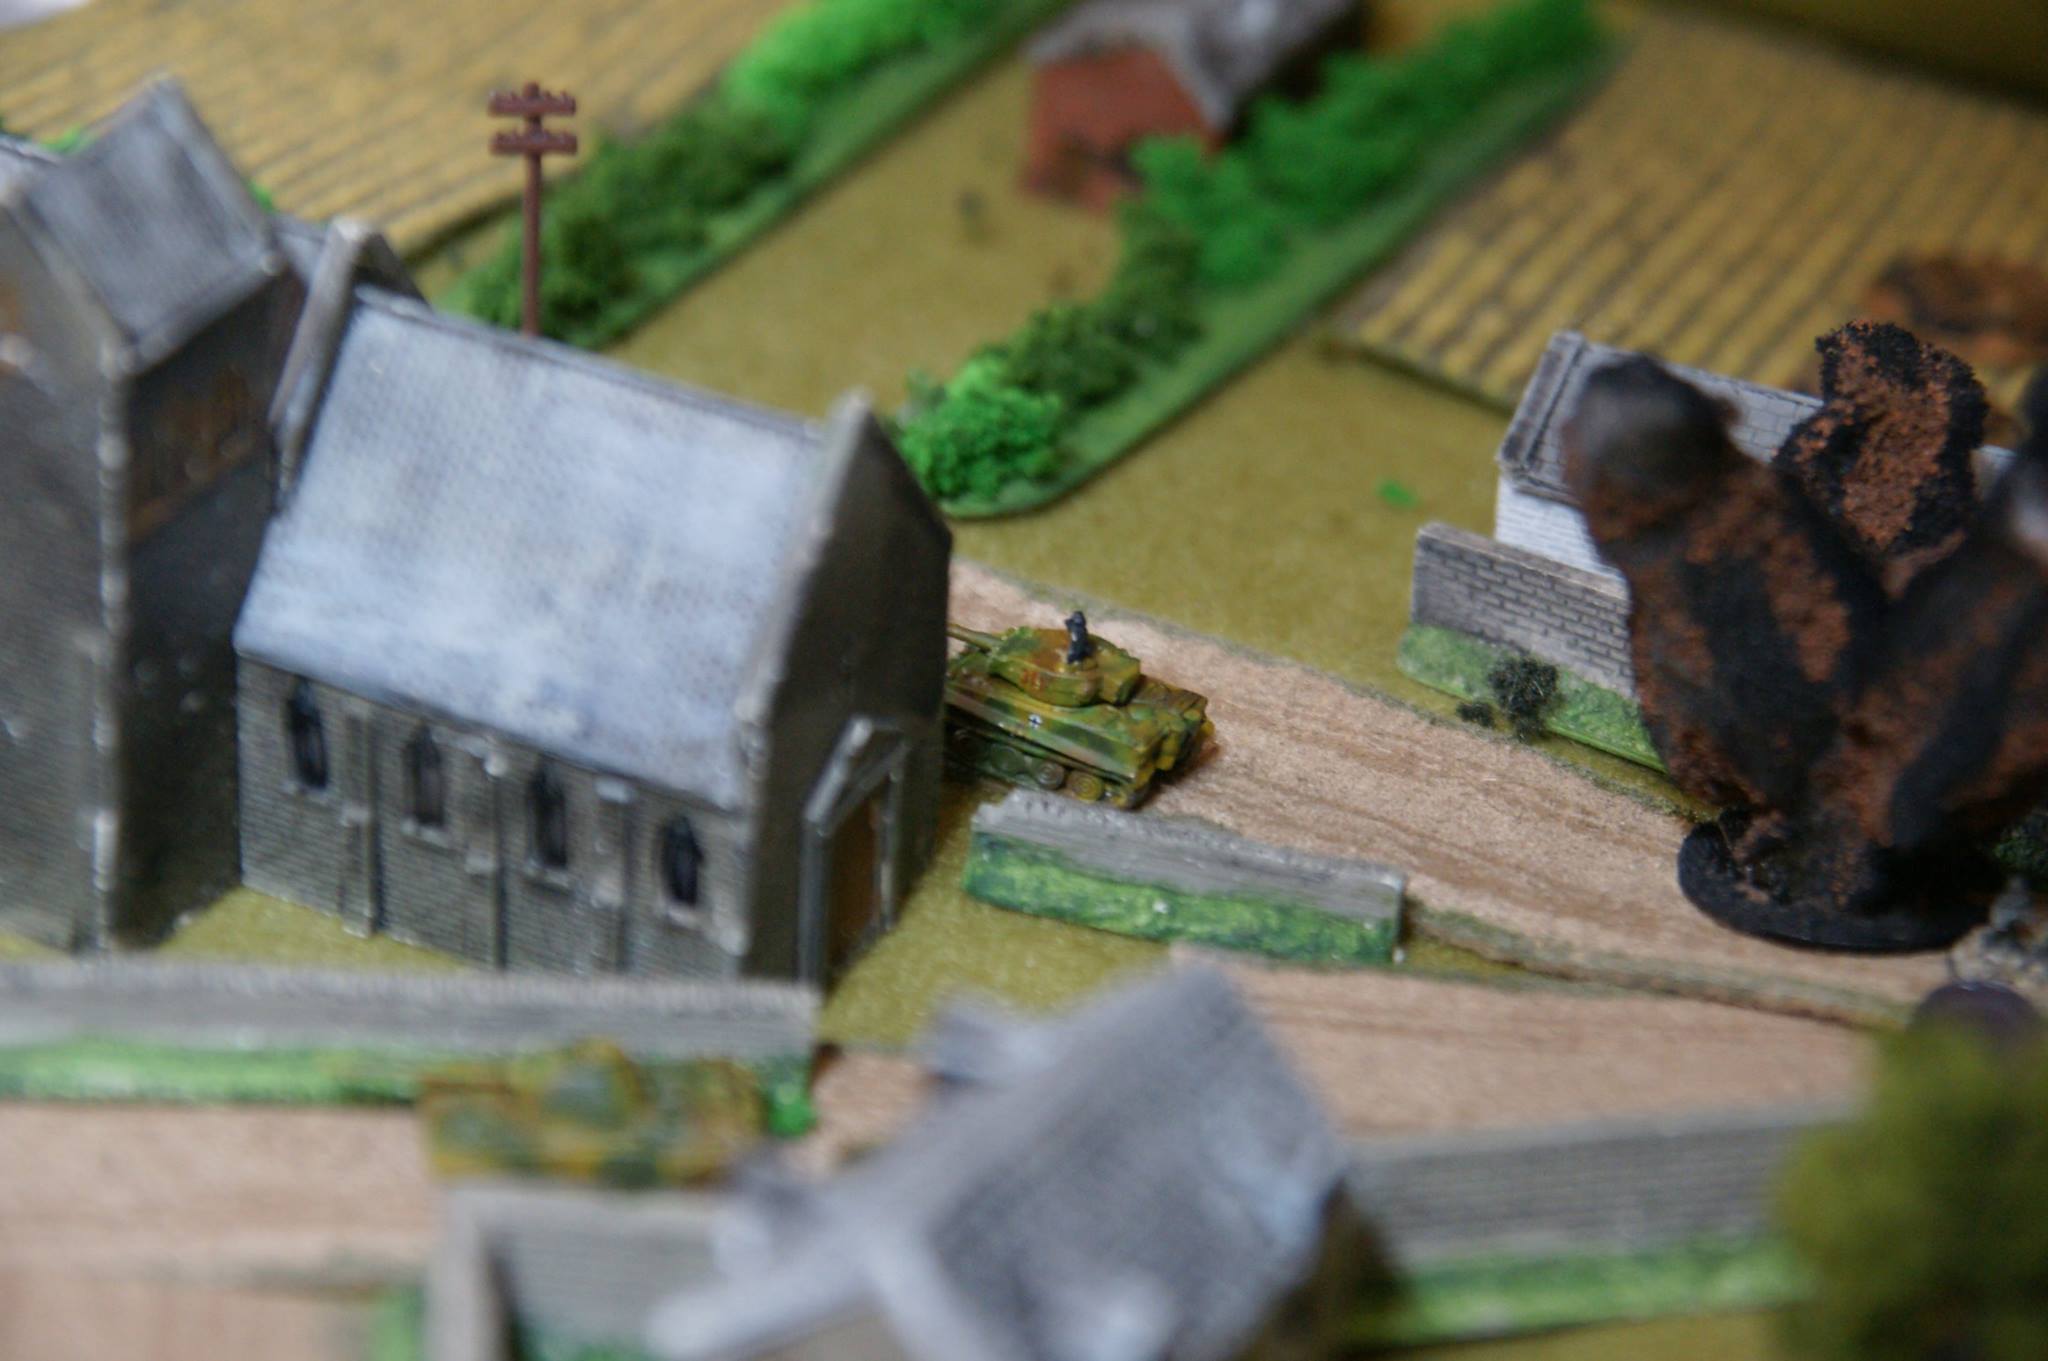
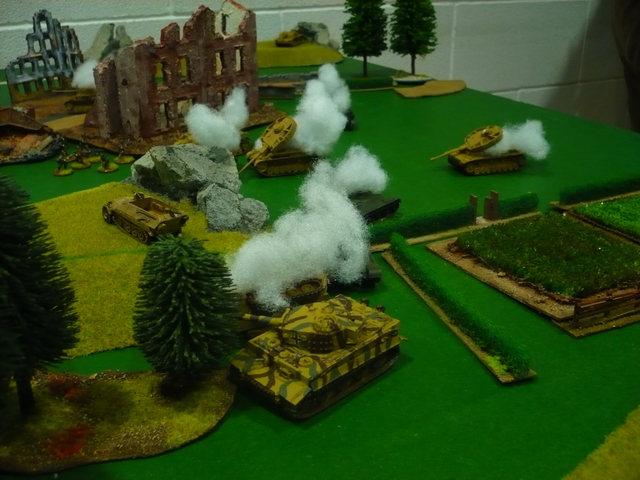
The Tiger lurking behind the church. Again it was missed by rockets from the Typhoon's second pass.
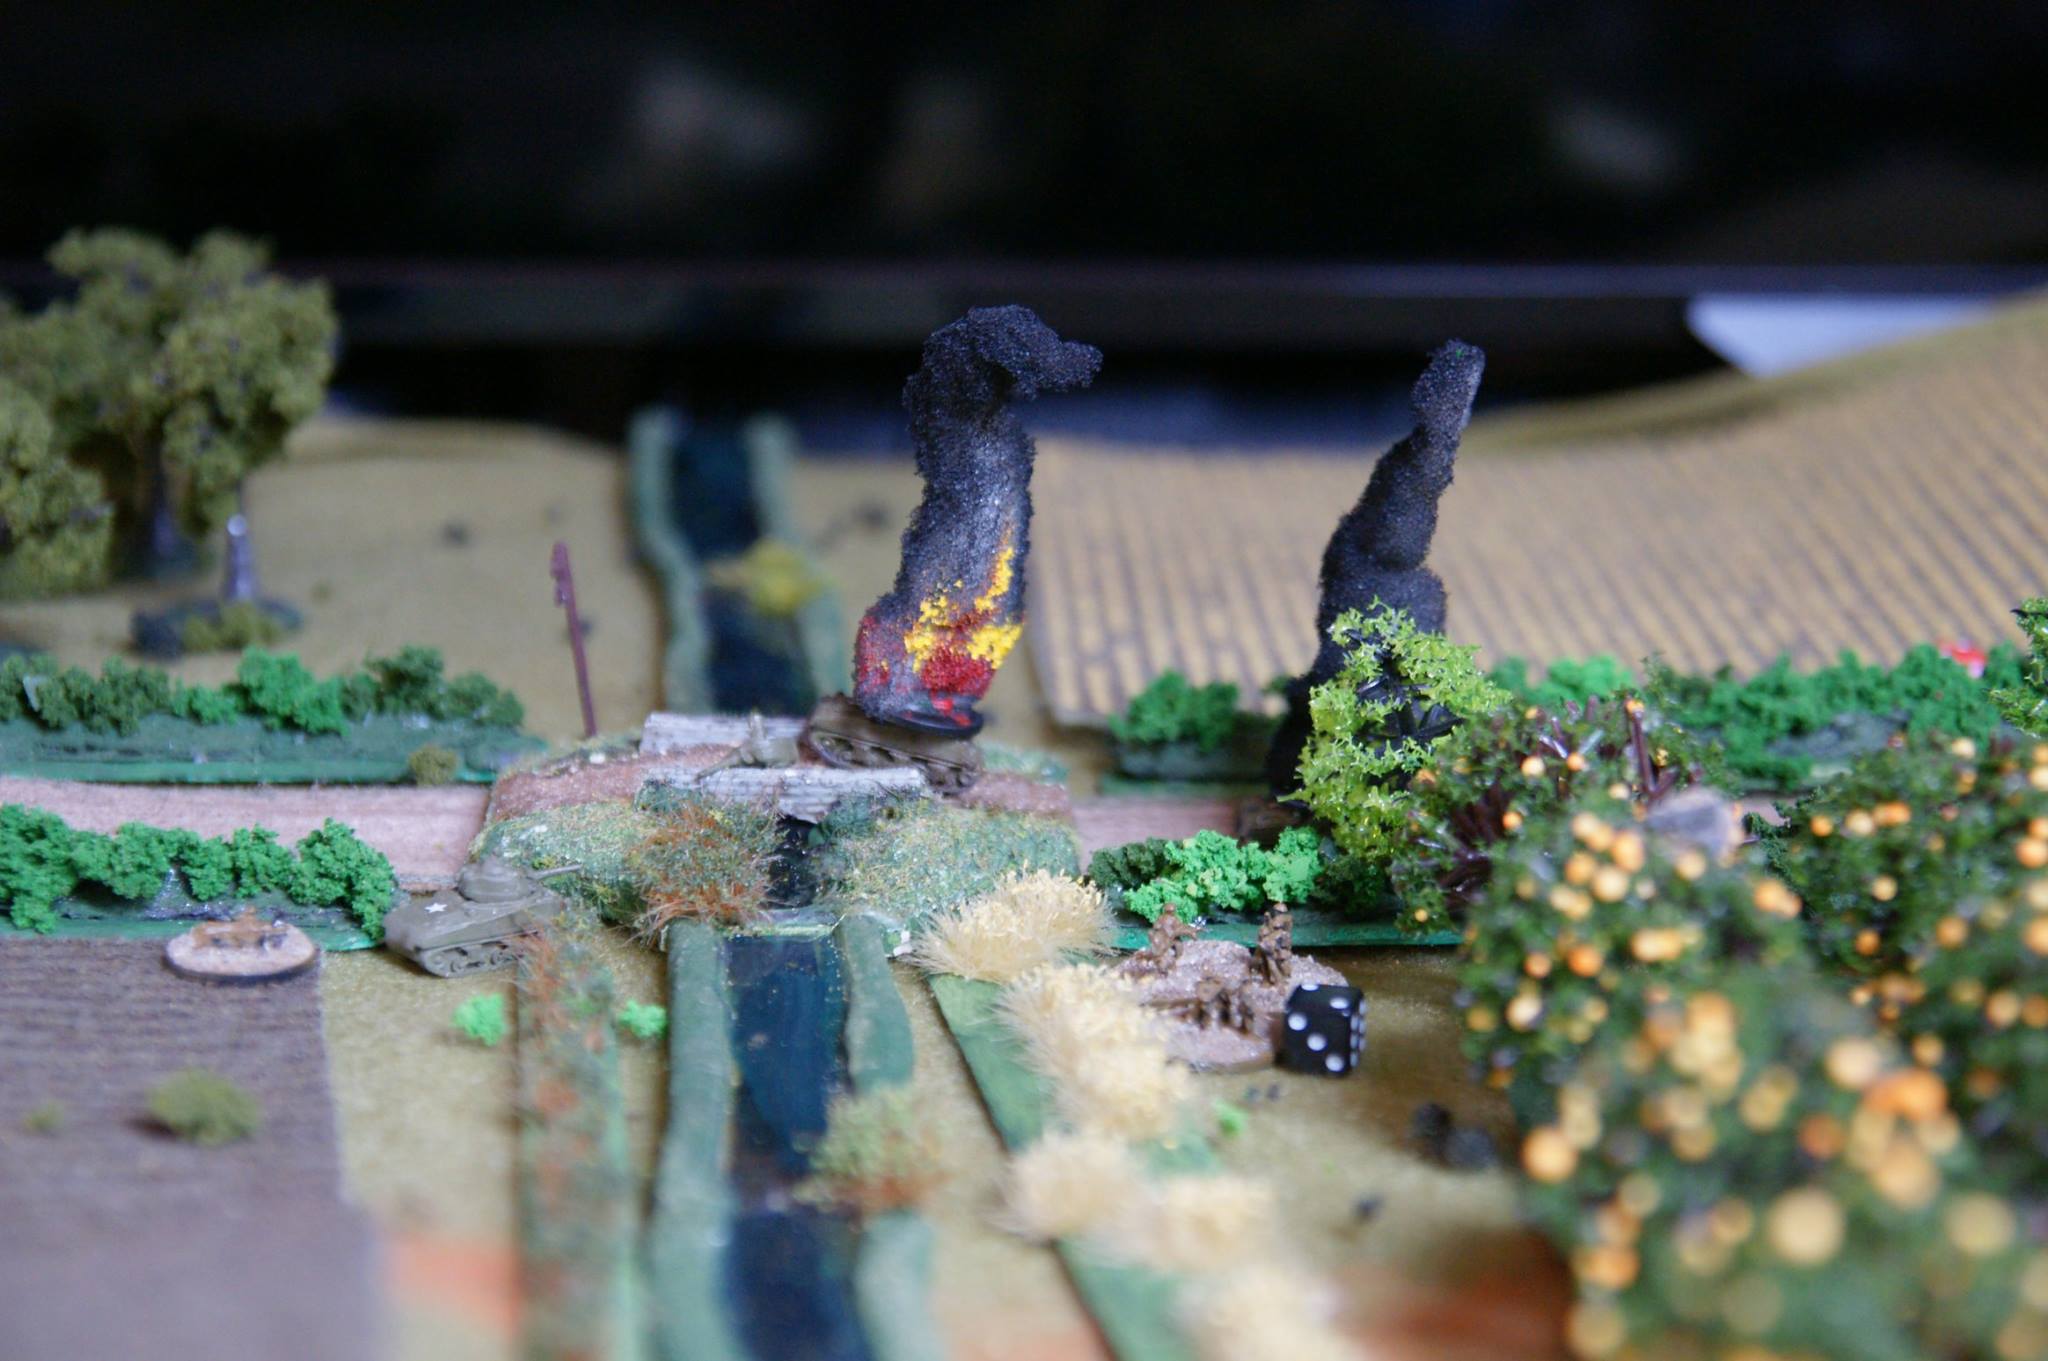
A shot from the western bridge showing the Panther causing chaos. It has just finished off the second Firefly (blur of smoke at bottom left); and the section that dashed over the bridge got hammered by the German squad covering it. Should really have used more smoke first! Again, the attack has just been ground down.
Good game, but I really need to work on my combined arms attack tactics: Major Tree fails again :(
James Tree
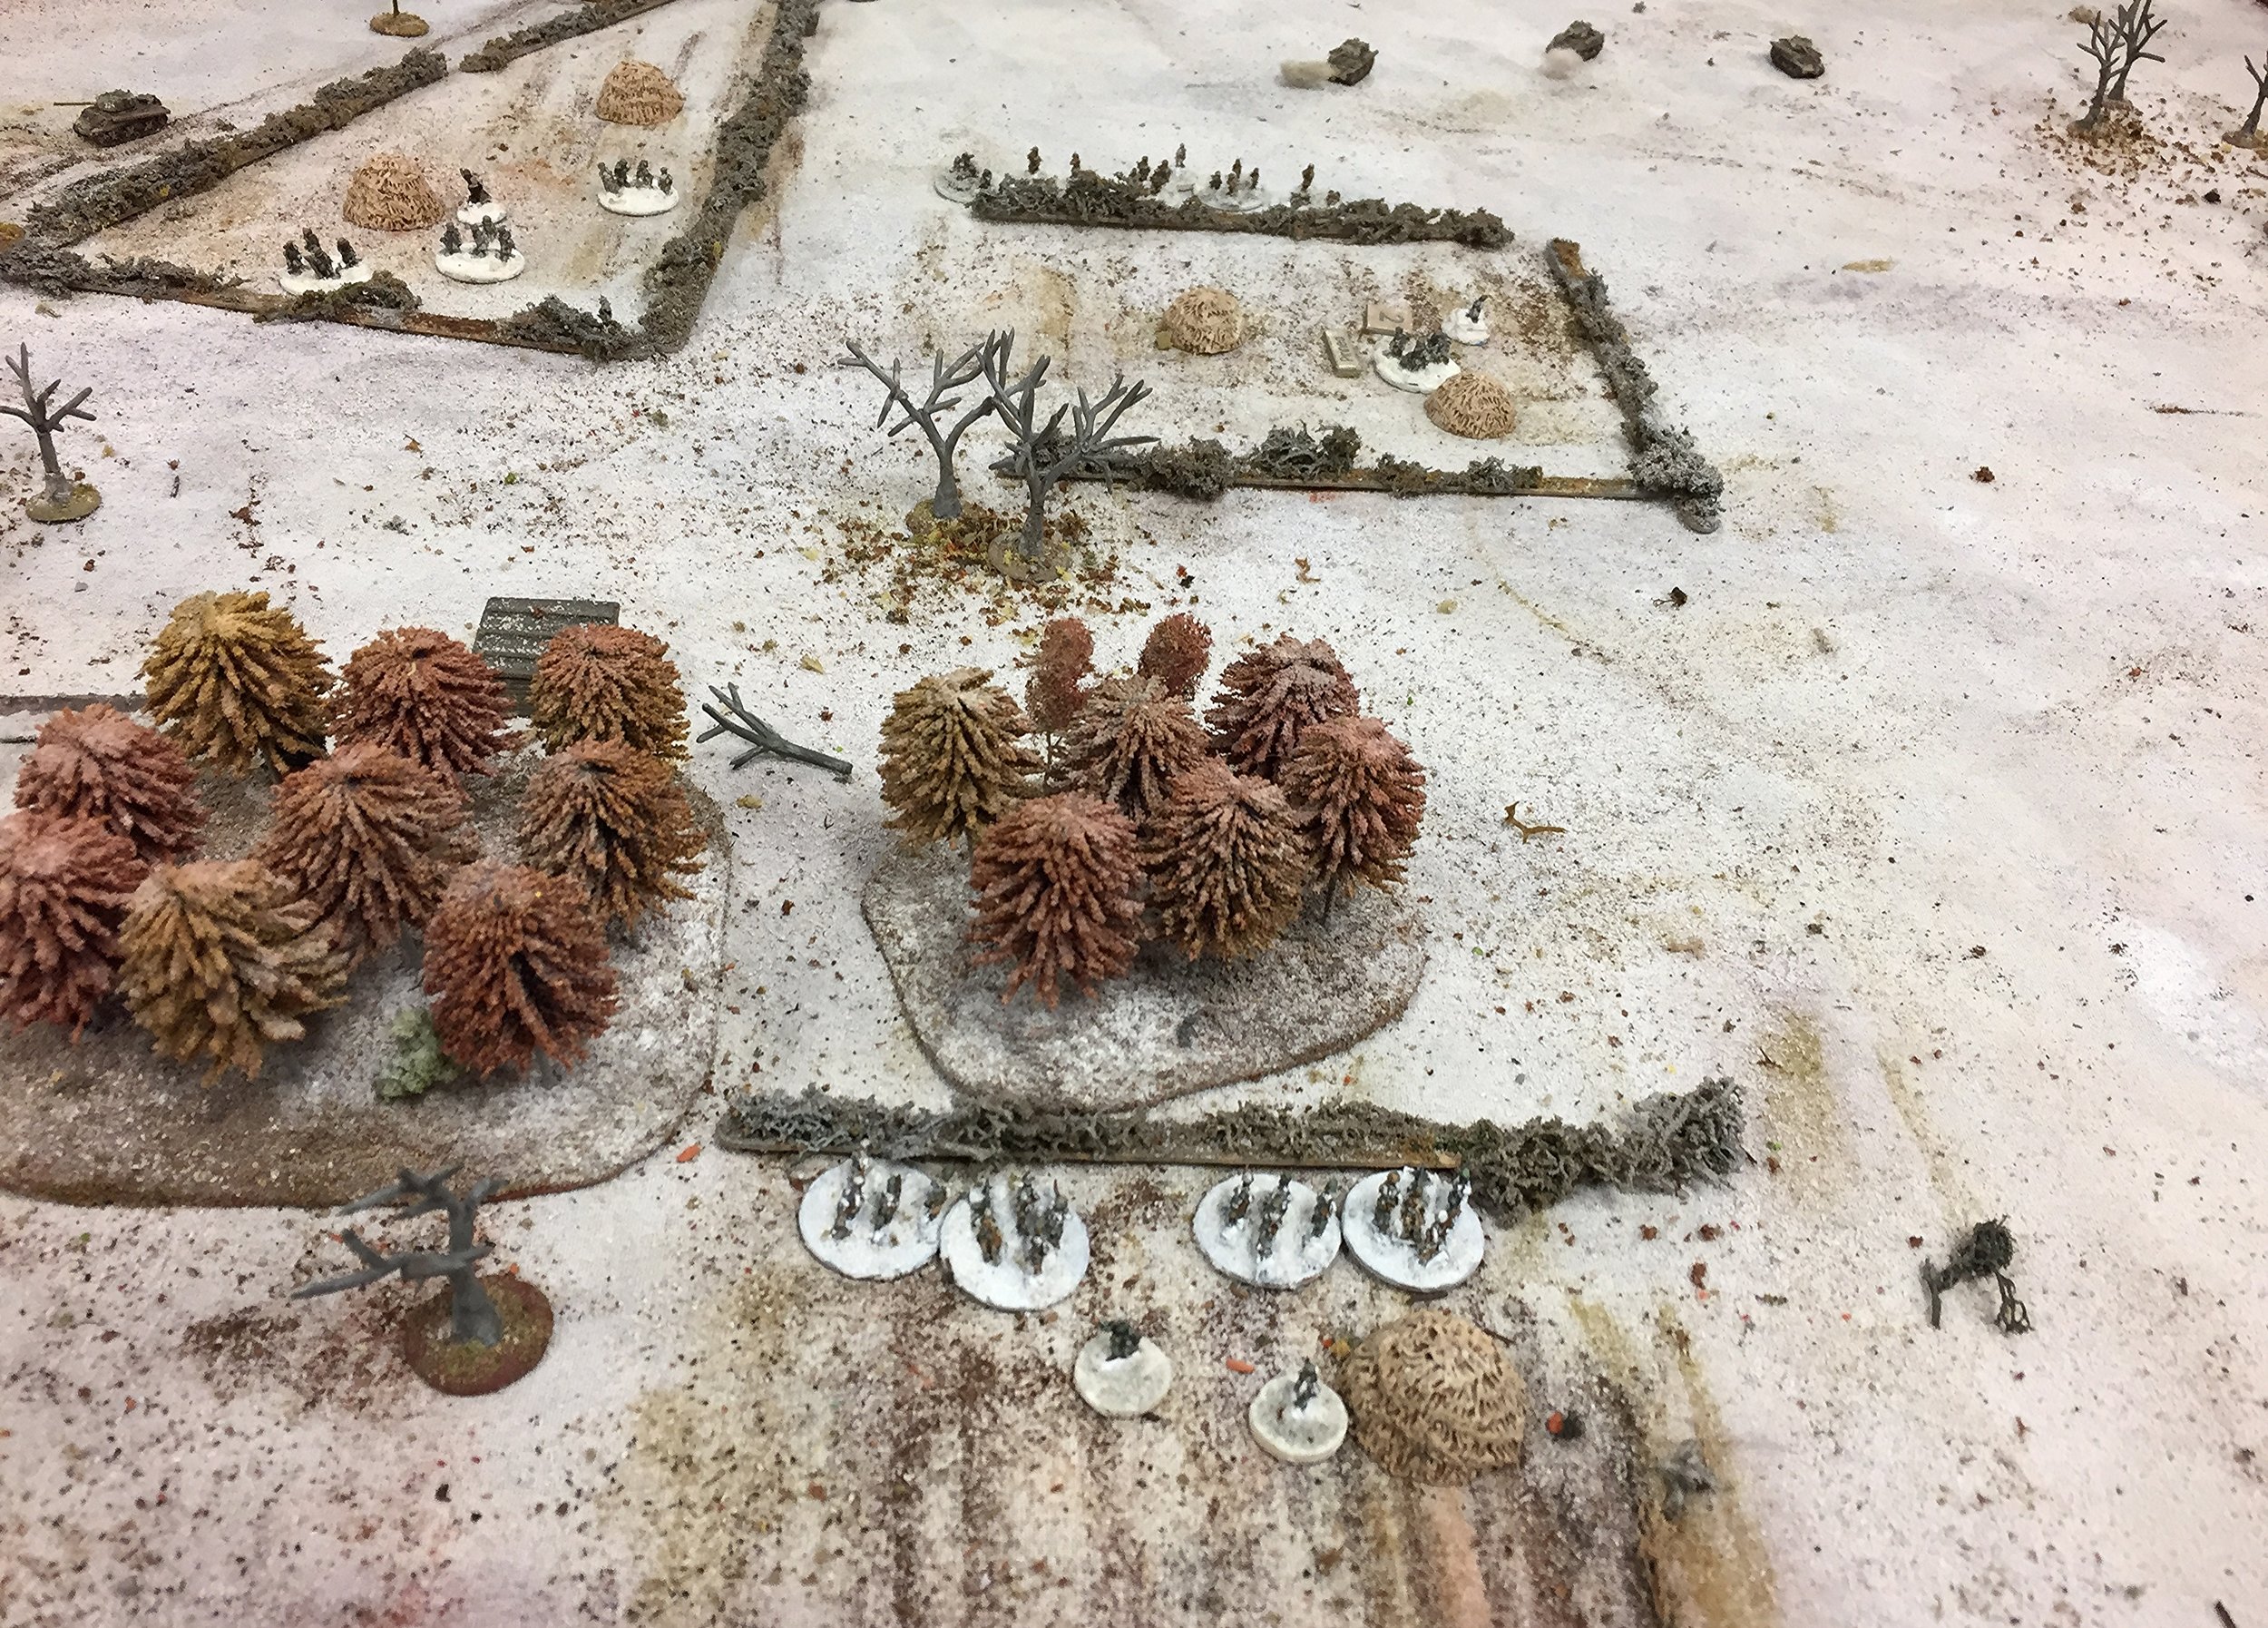
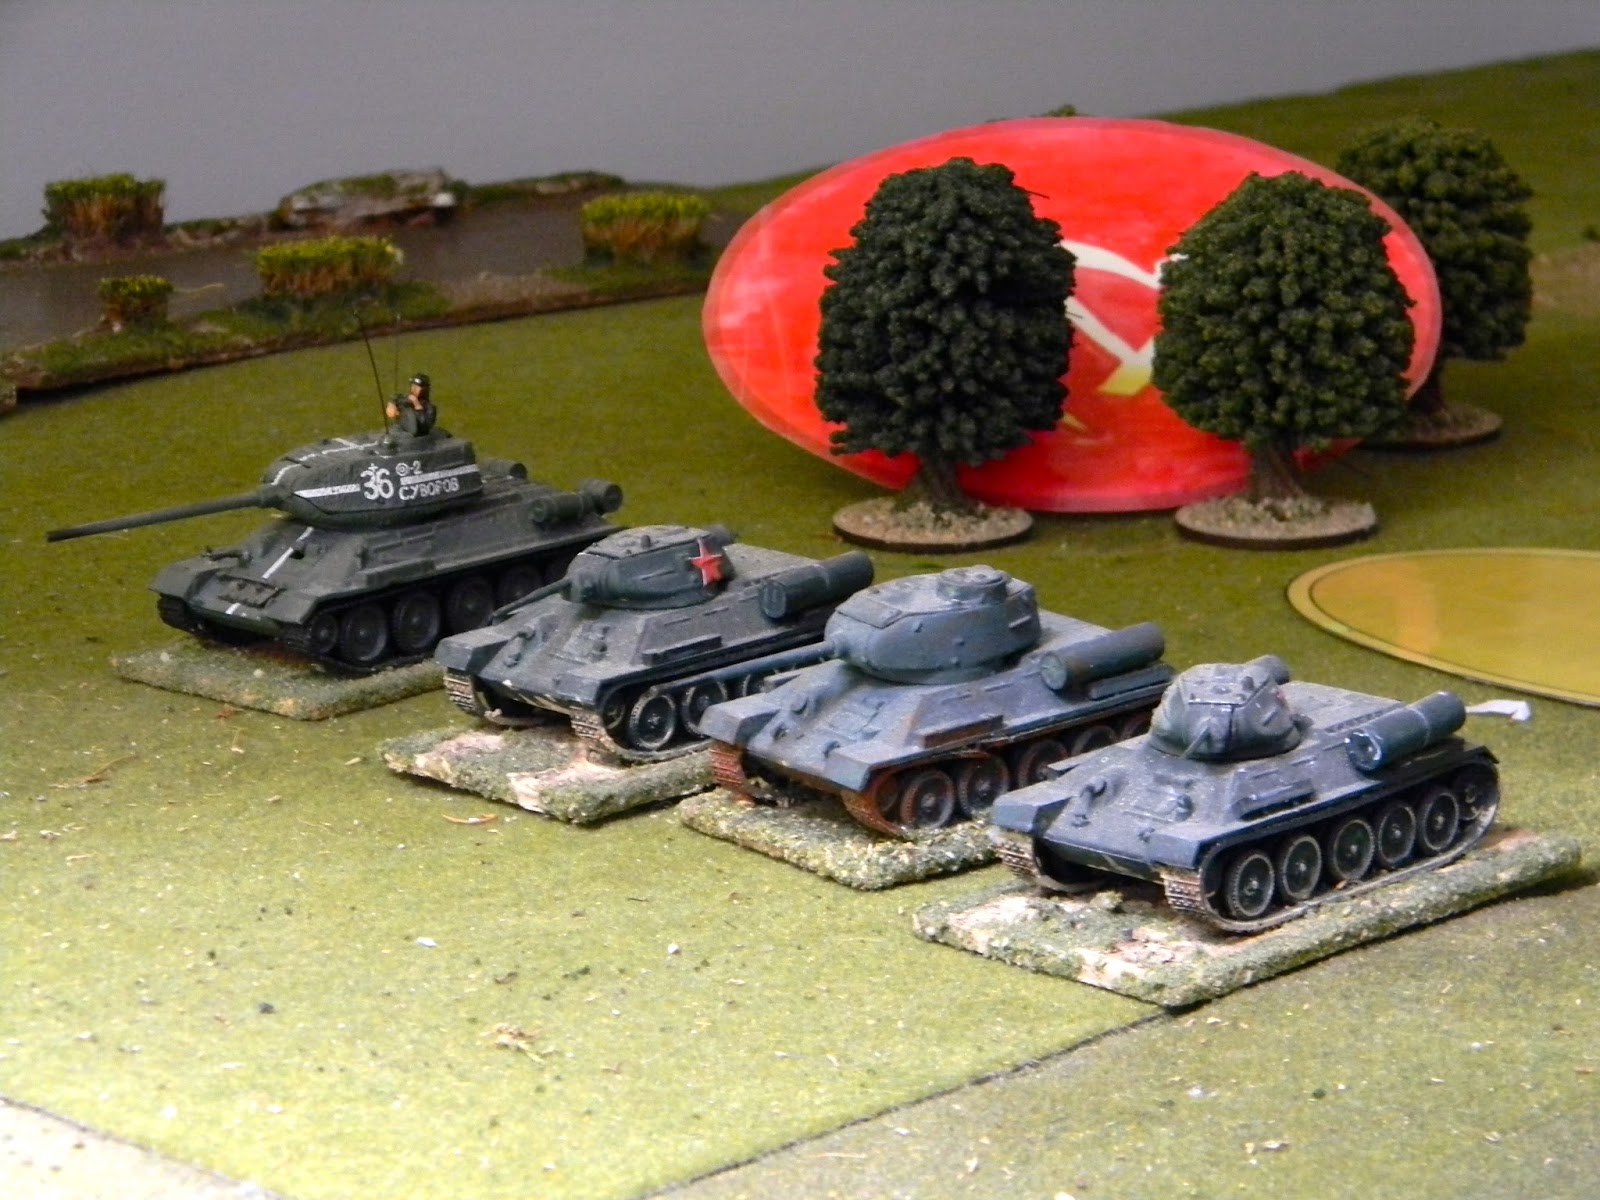
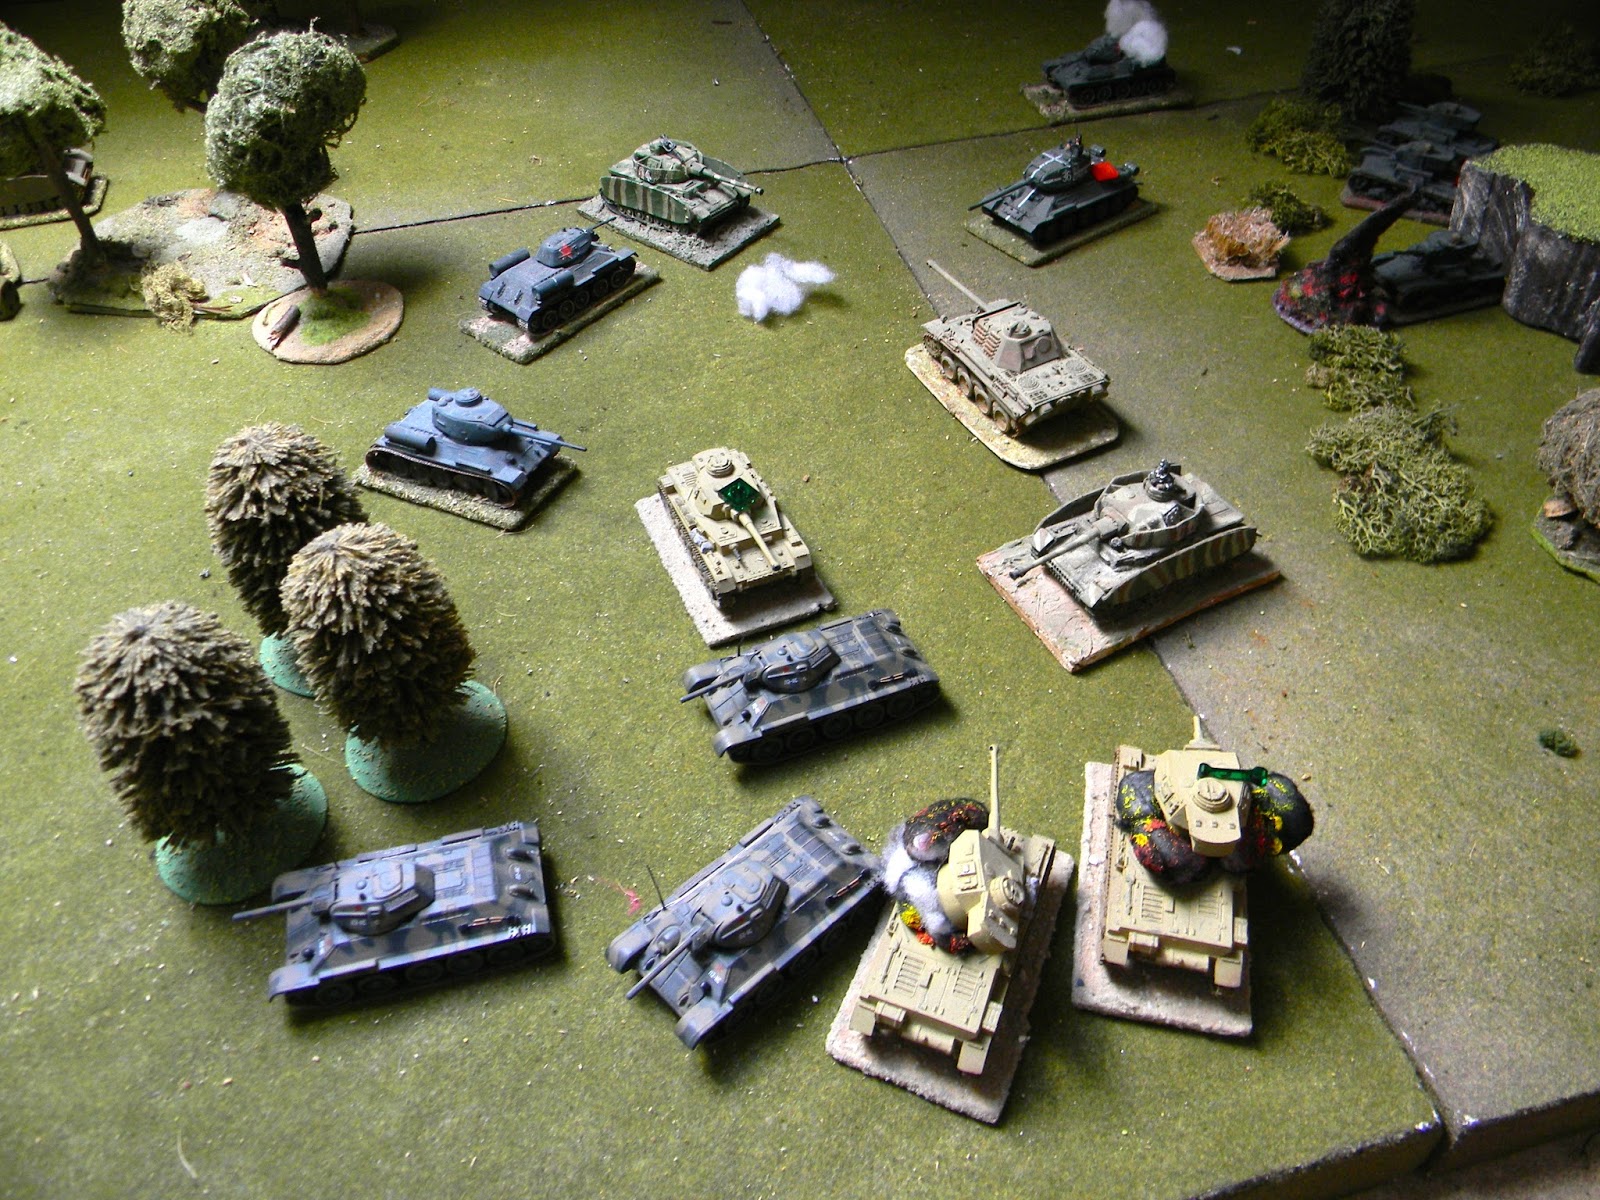
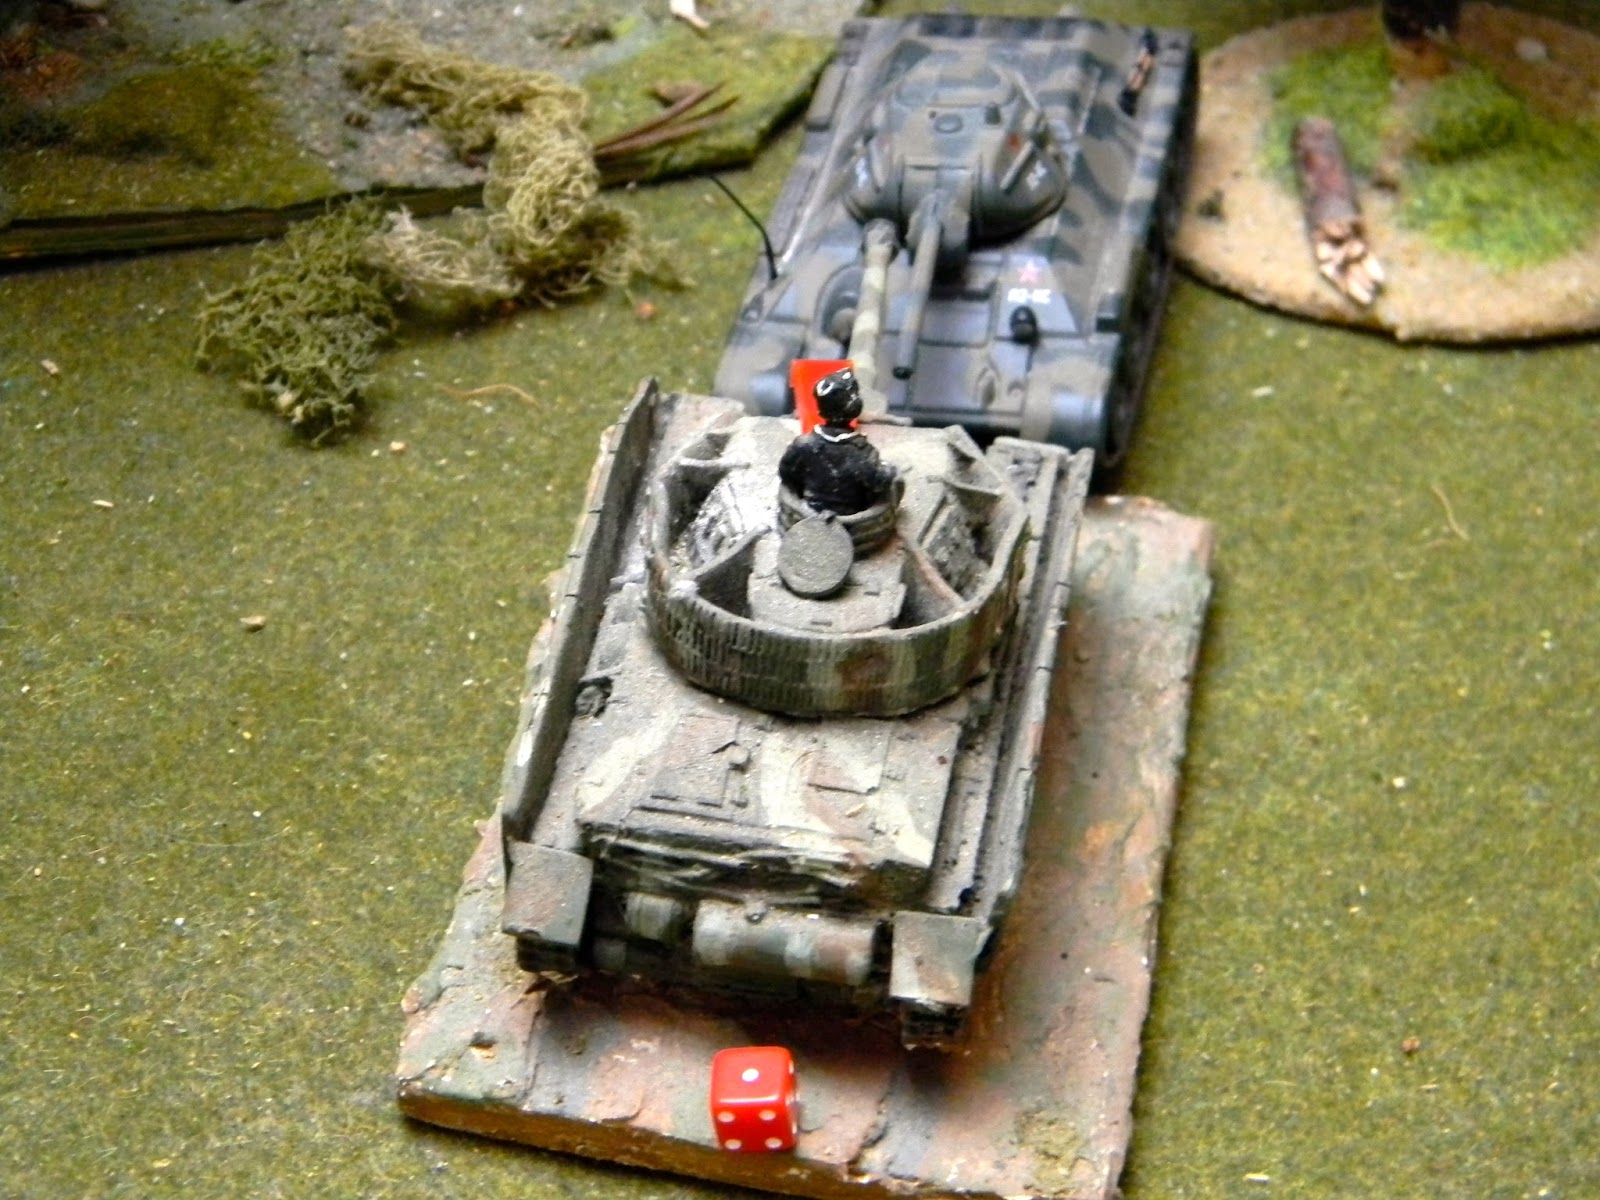
After spending an hour first thing softening up the enemy's defences with an artillery barrage, Soviet troops launched their main attack. Before noon, after the first wave of infantry divisions had wedged themselves into the main German defensive line, advanced brigades of the tank army entered the battle to complete the breakthrough.
Their orders were to defeat the enemy's second line of defence, thus creating favourable conditions for the development of a strategic offensive into the German rear. Specifically, by the end of the day, the tanks had to advance and overcome a small, dug-in enemy unit, getting at least four of their five platoons off the opposite edge of the gaming table, with losses not exceeding half of the initial composition of each platoon.
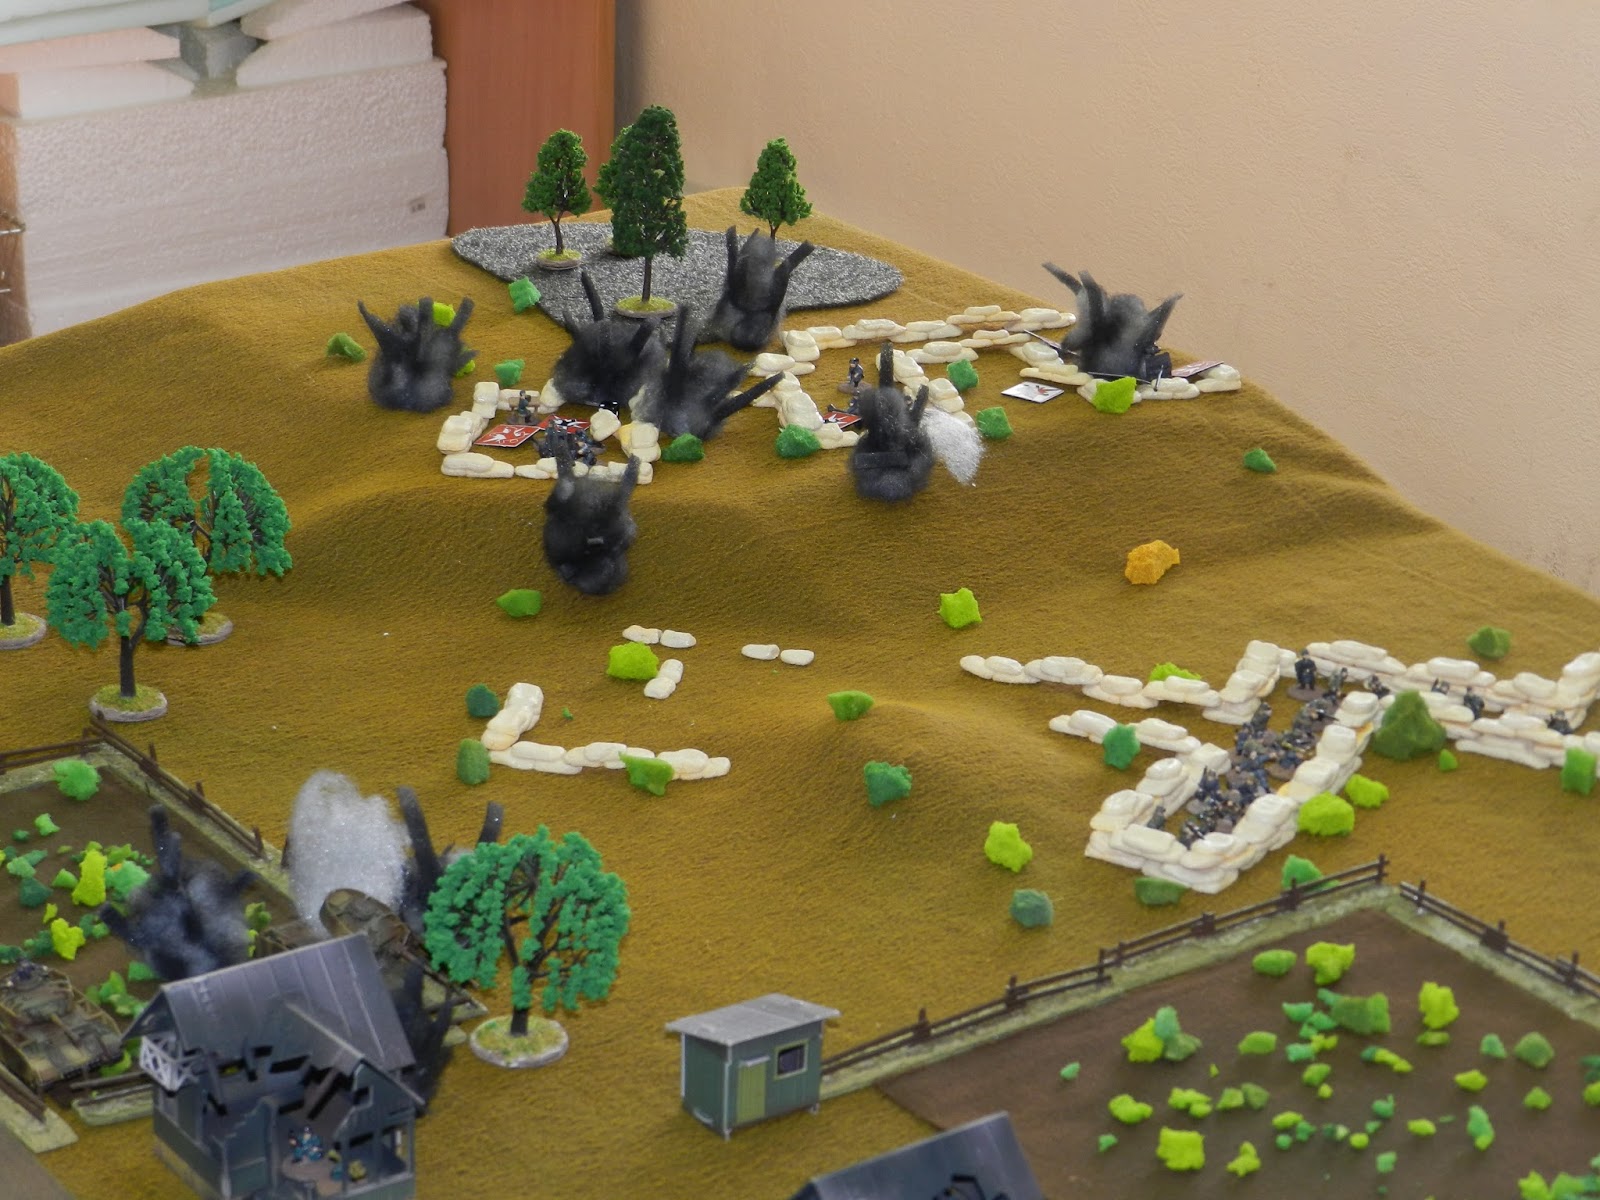
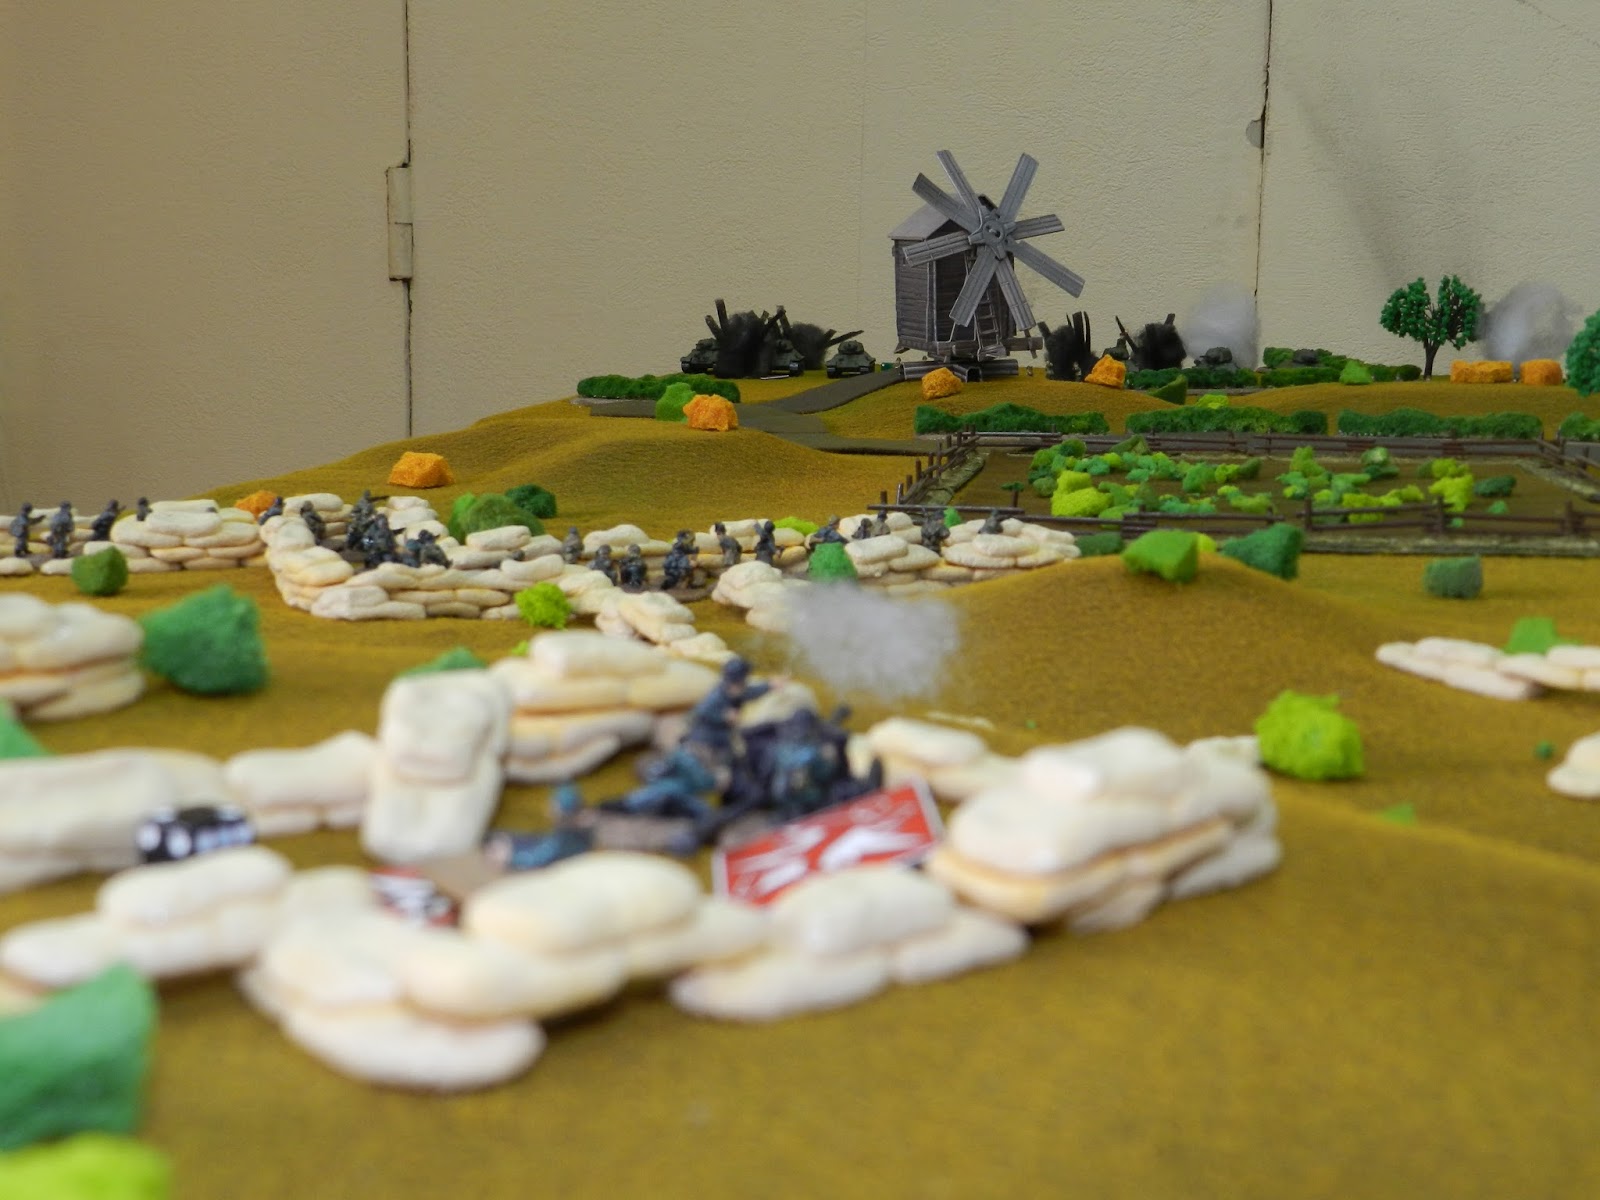
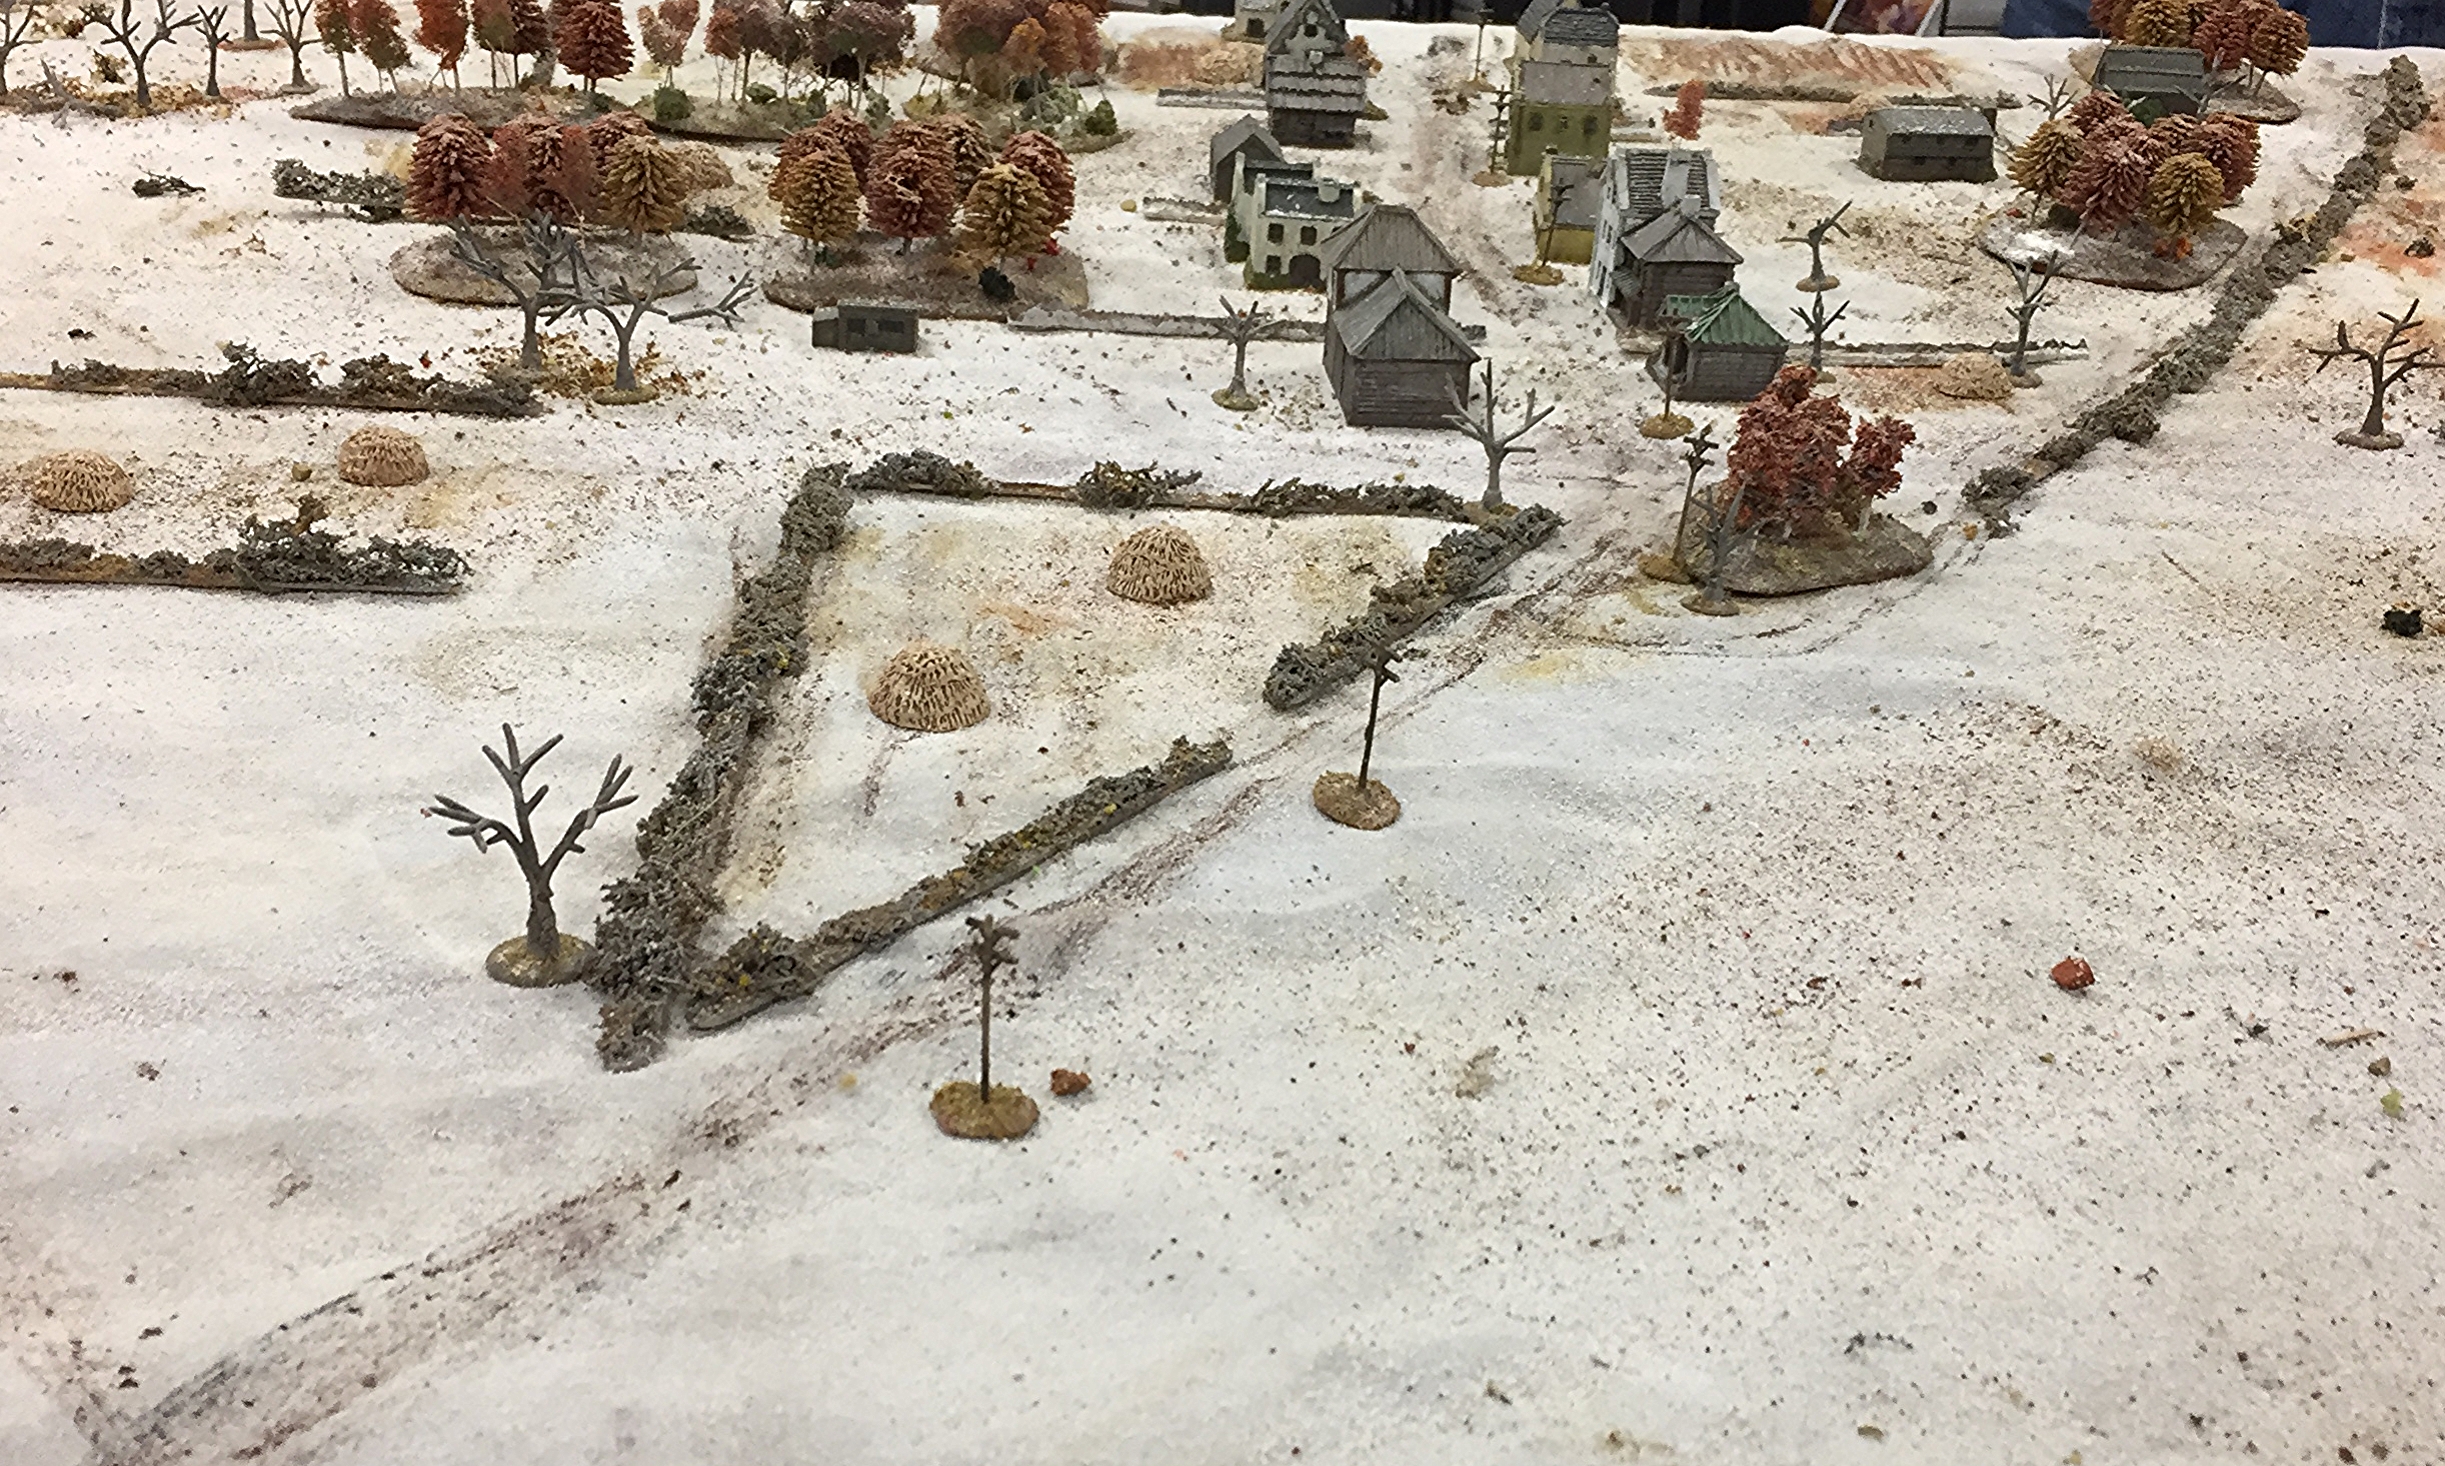
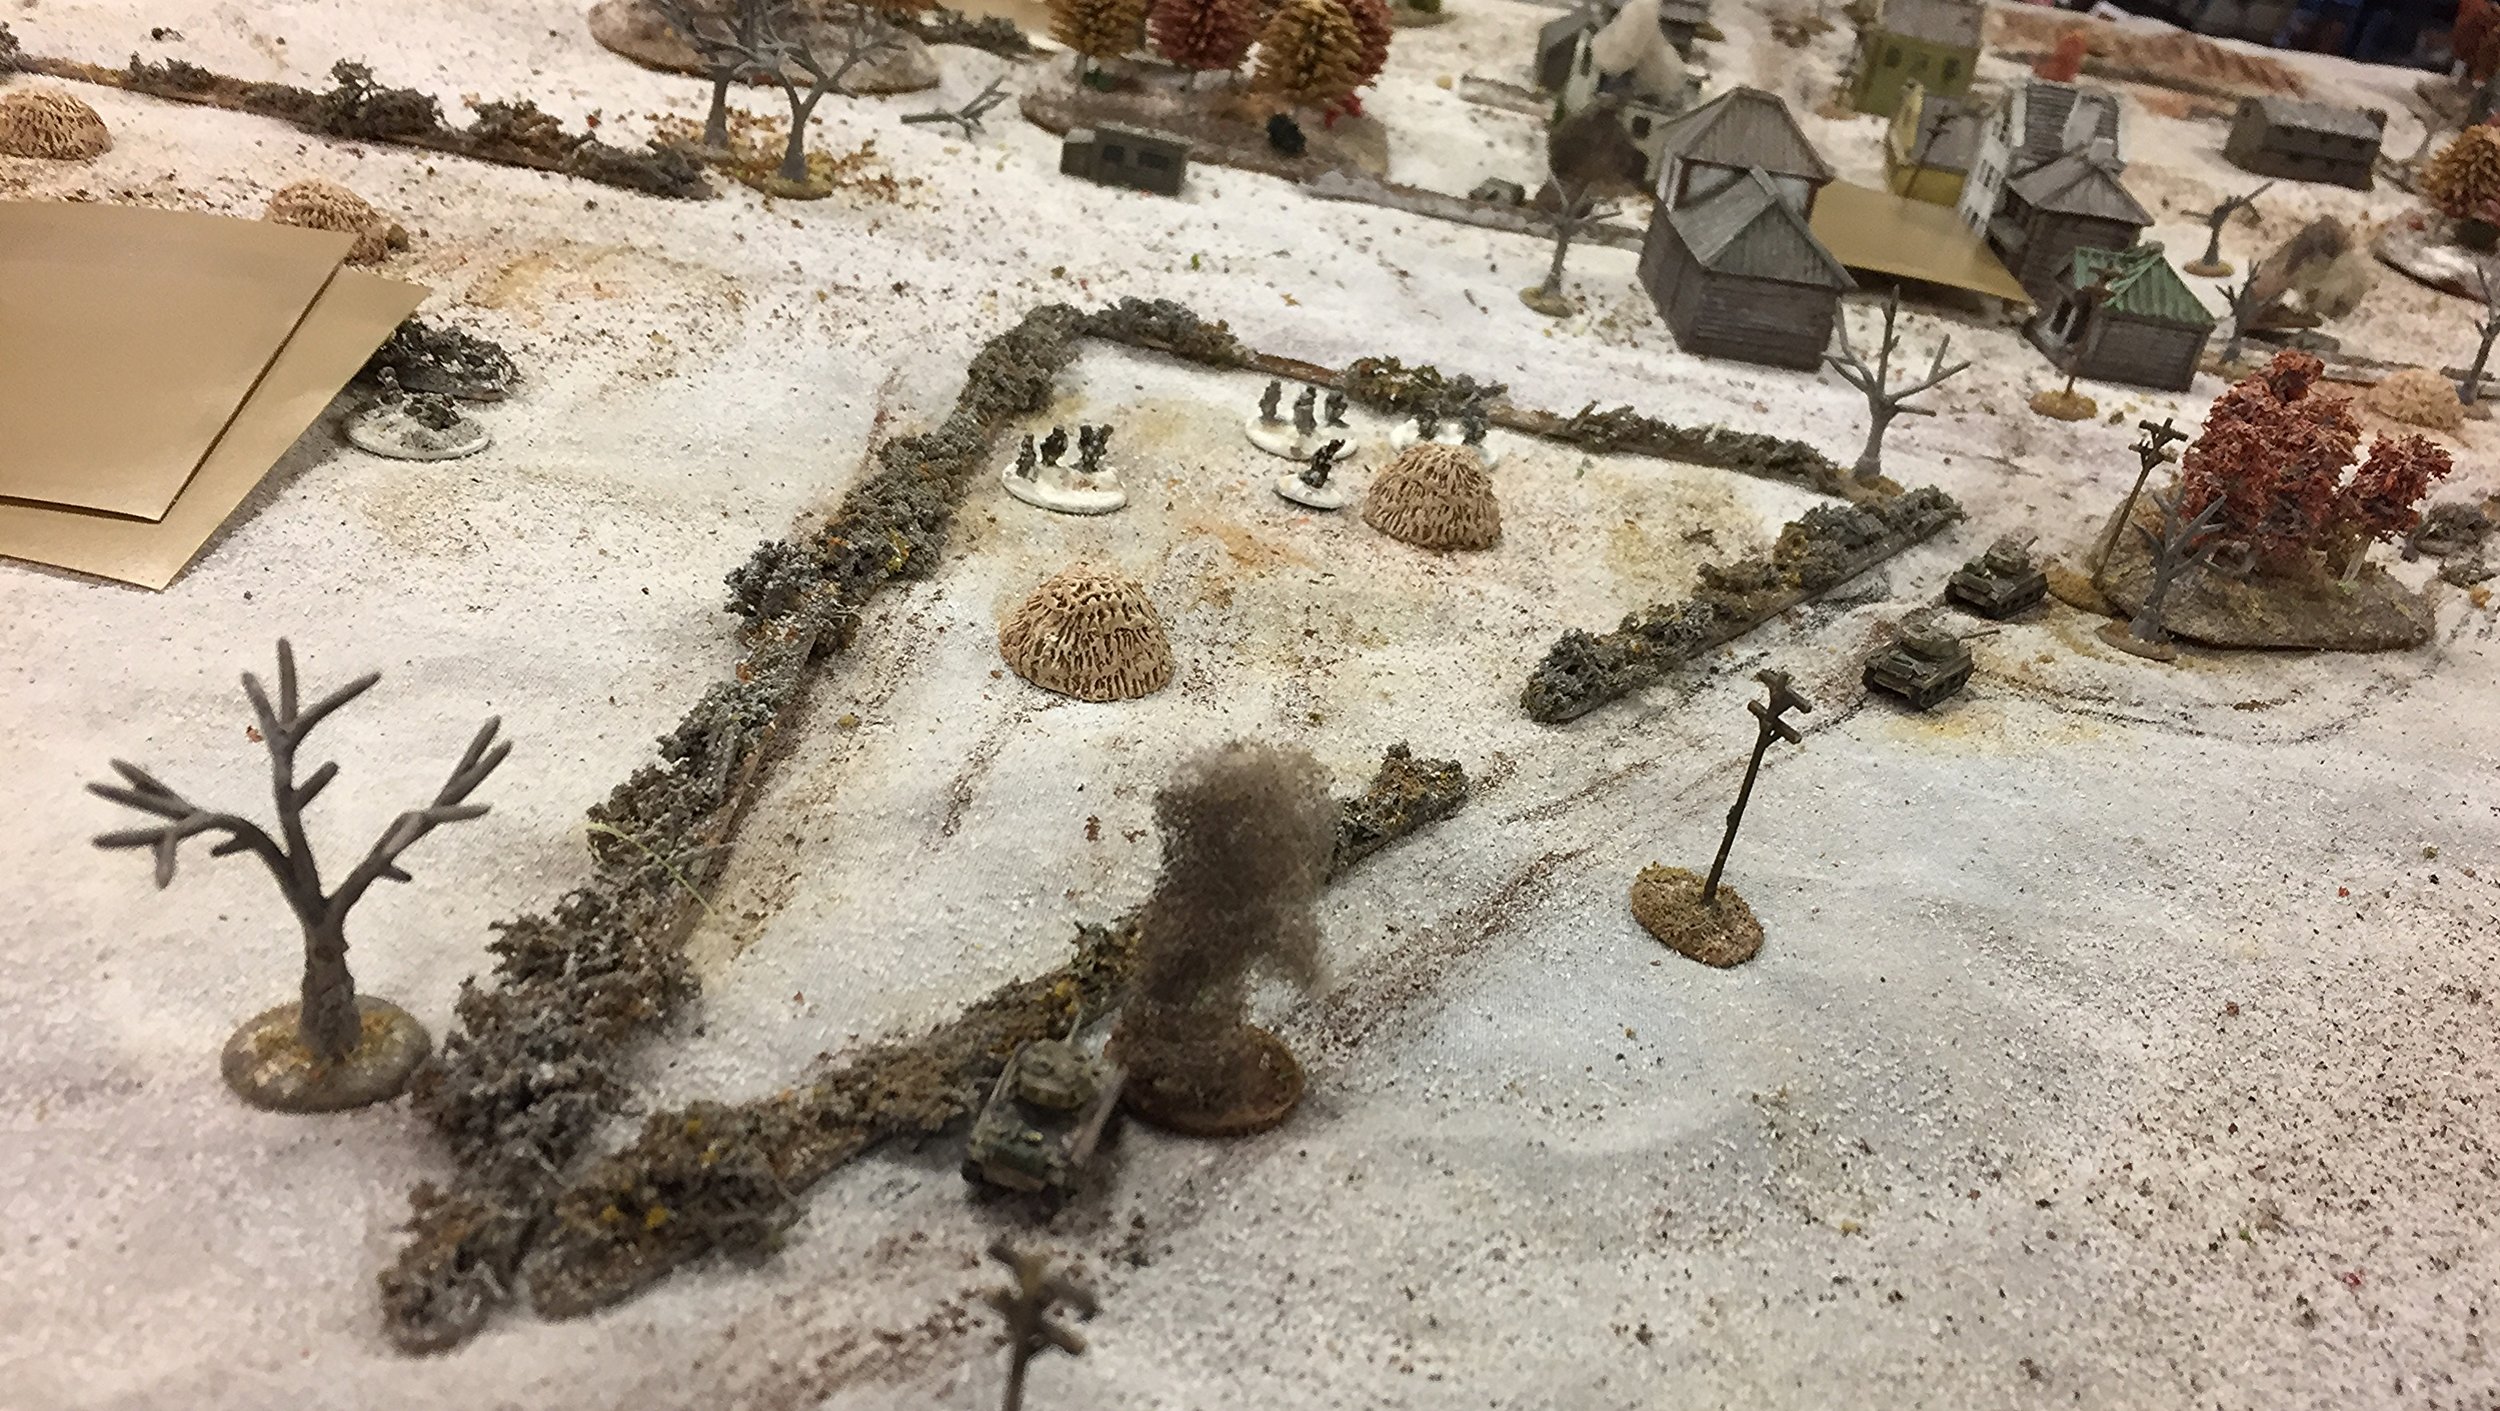
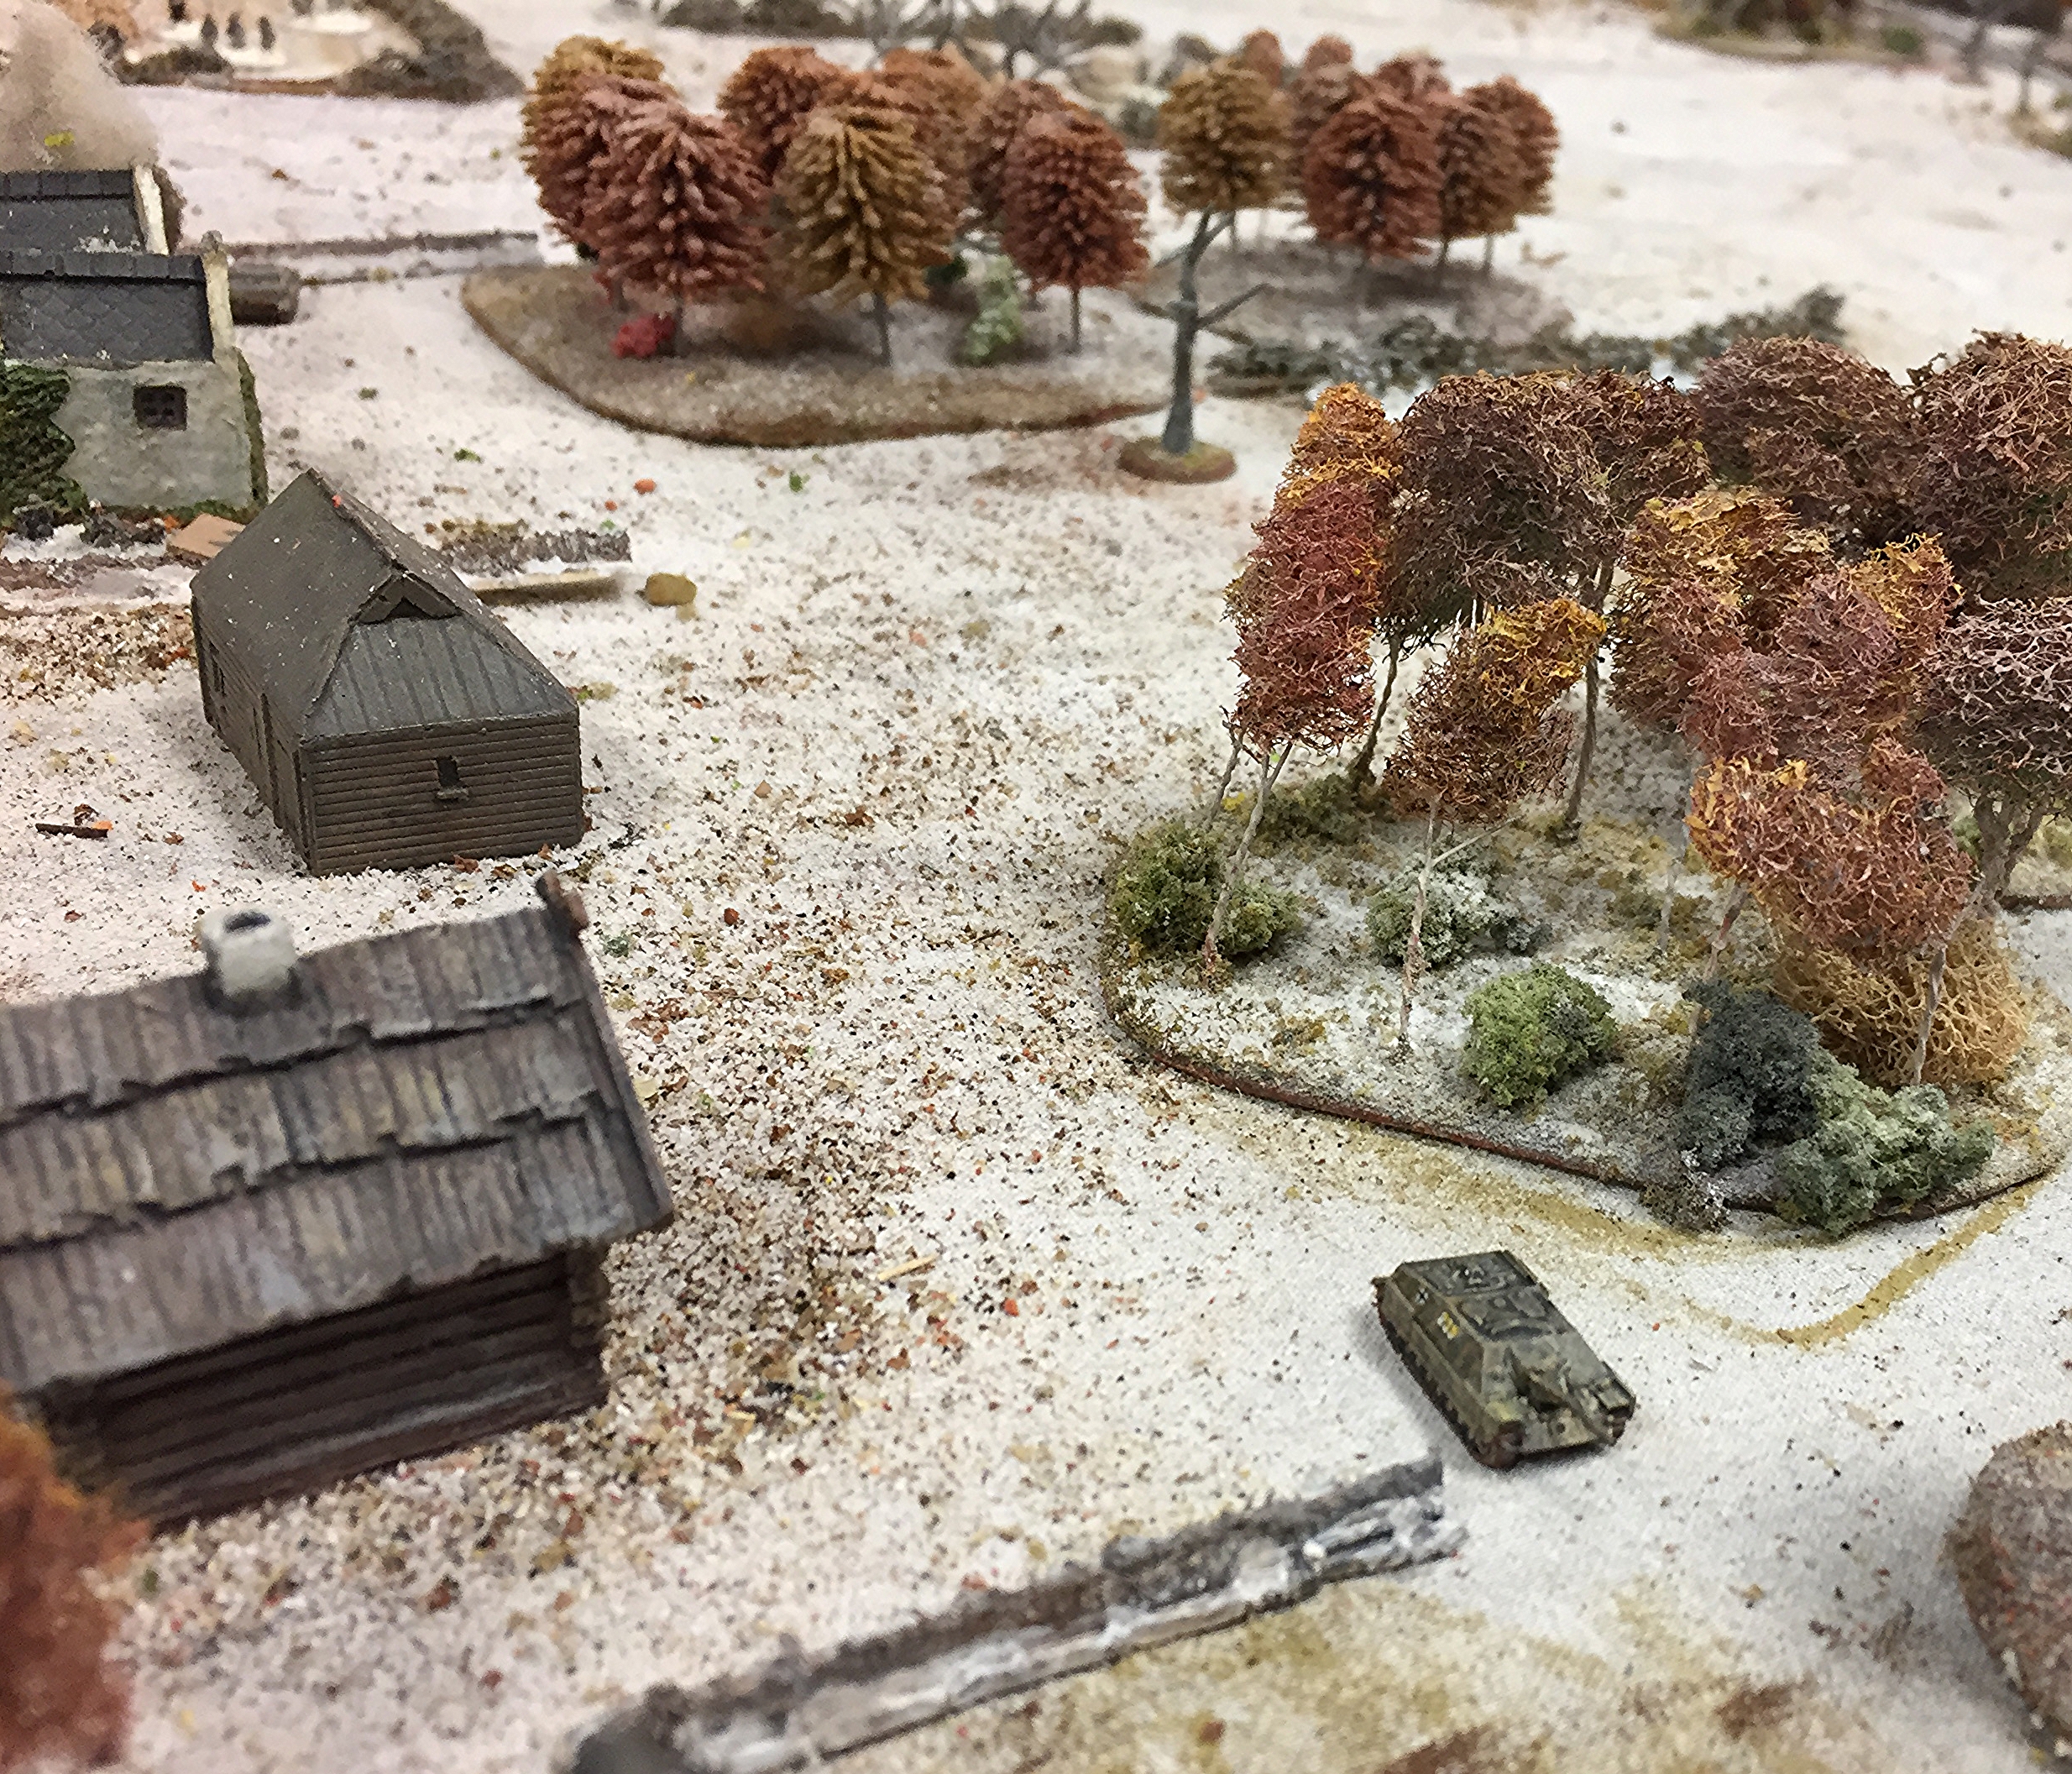
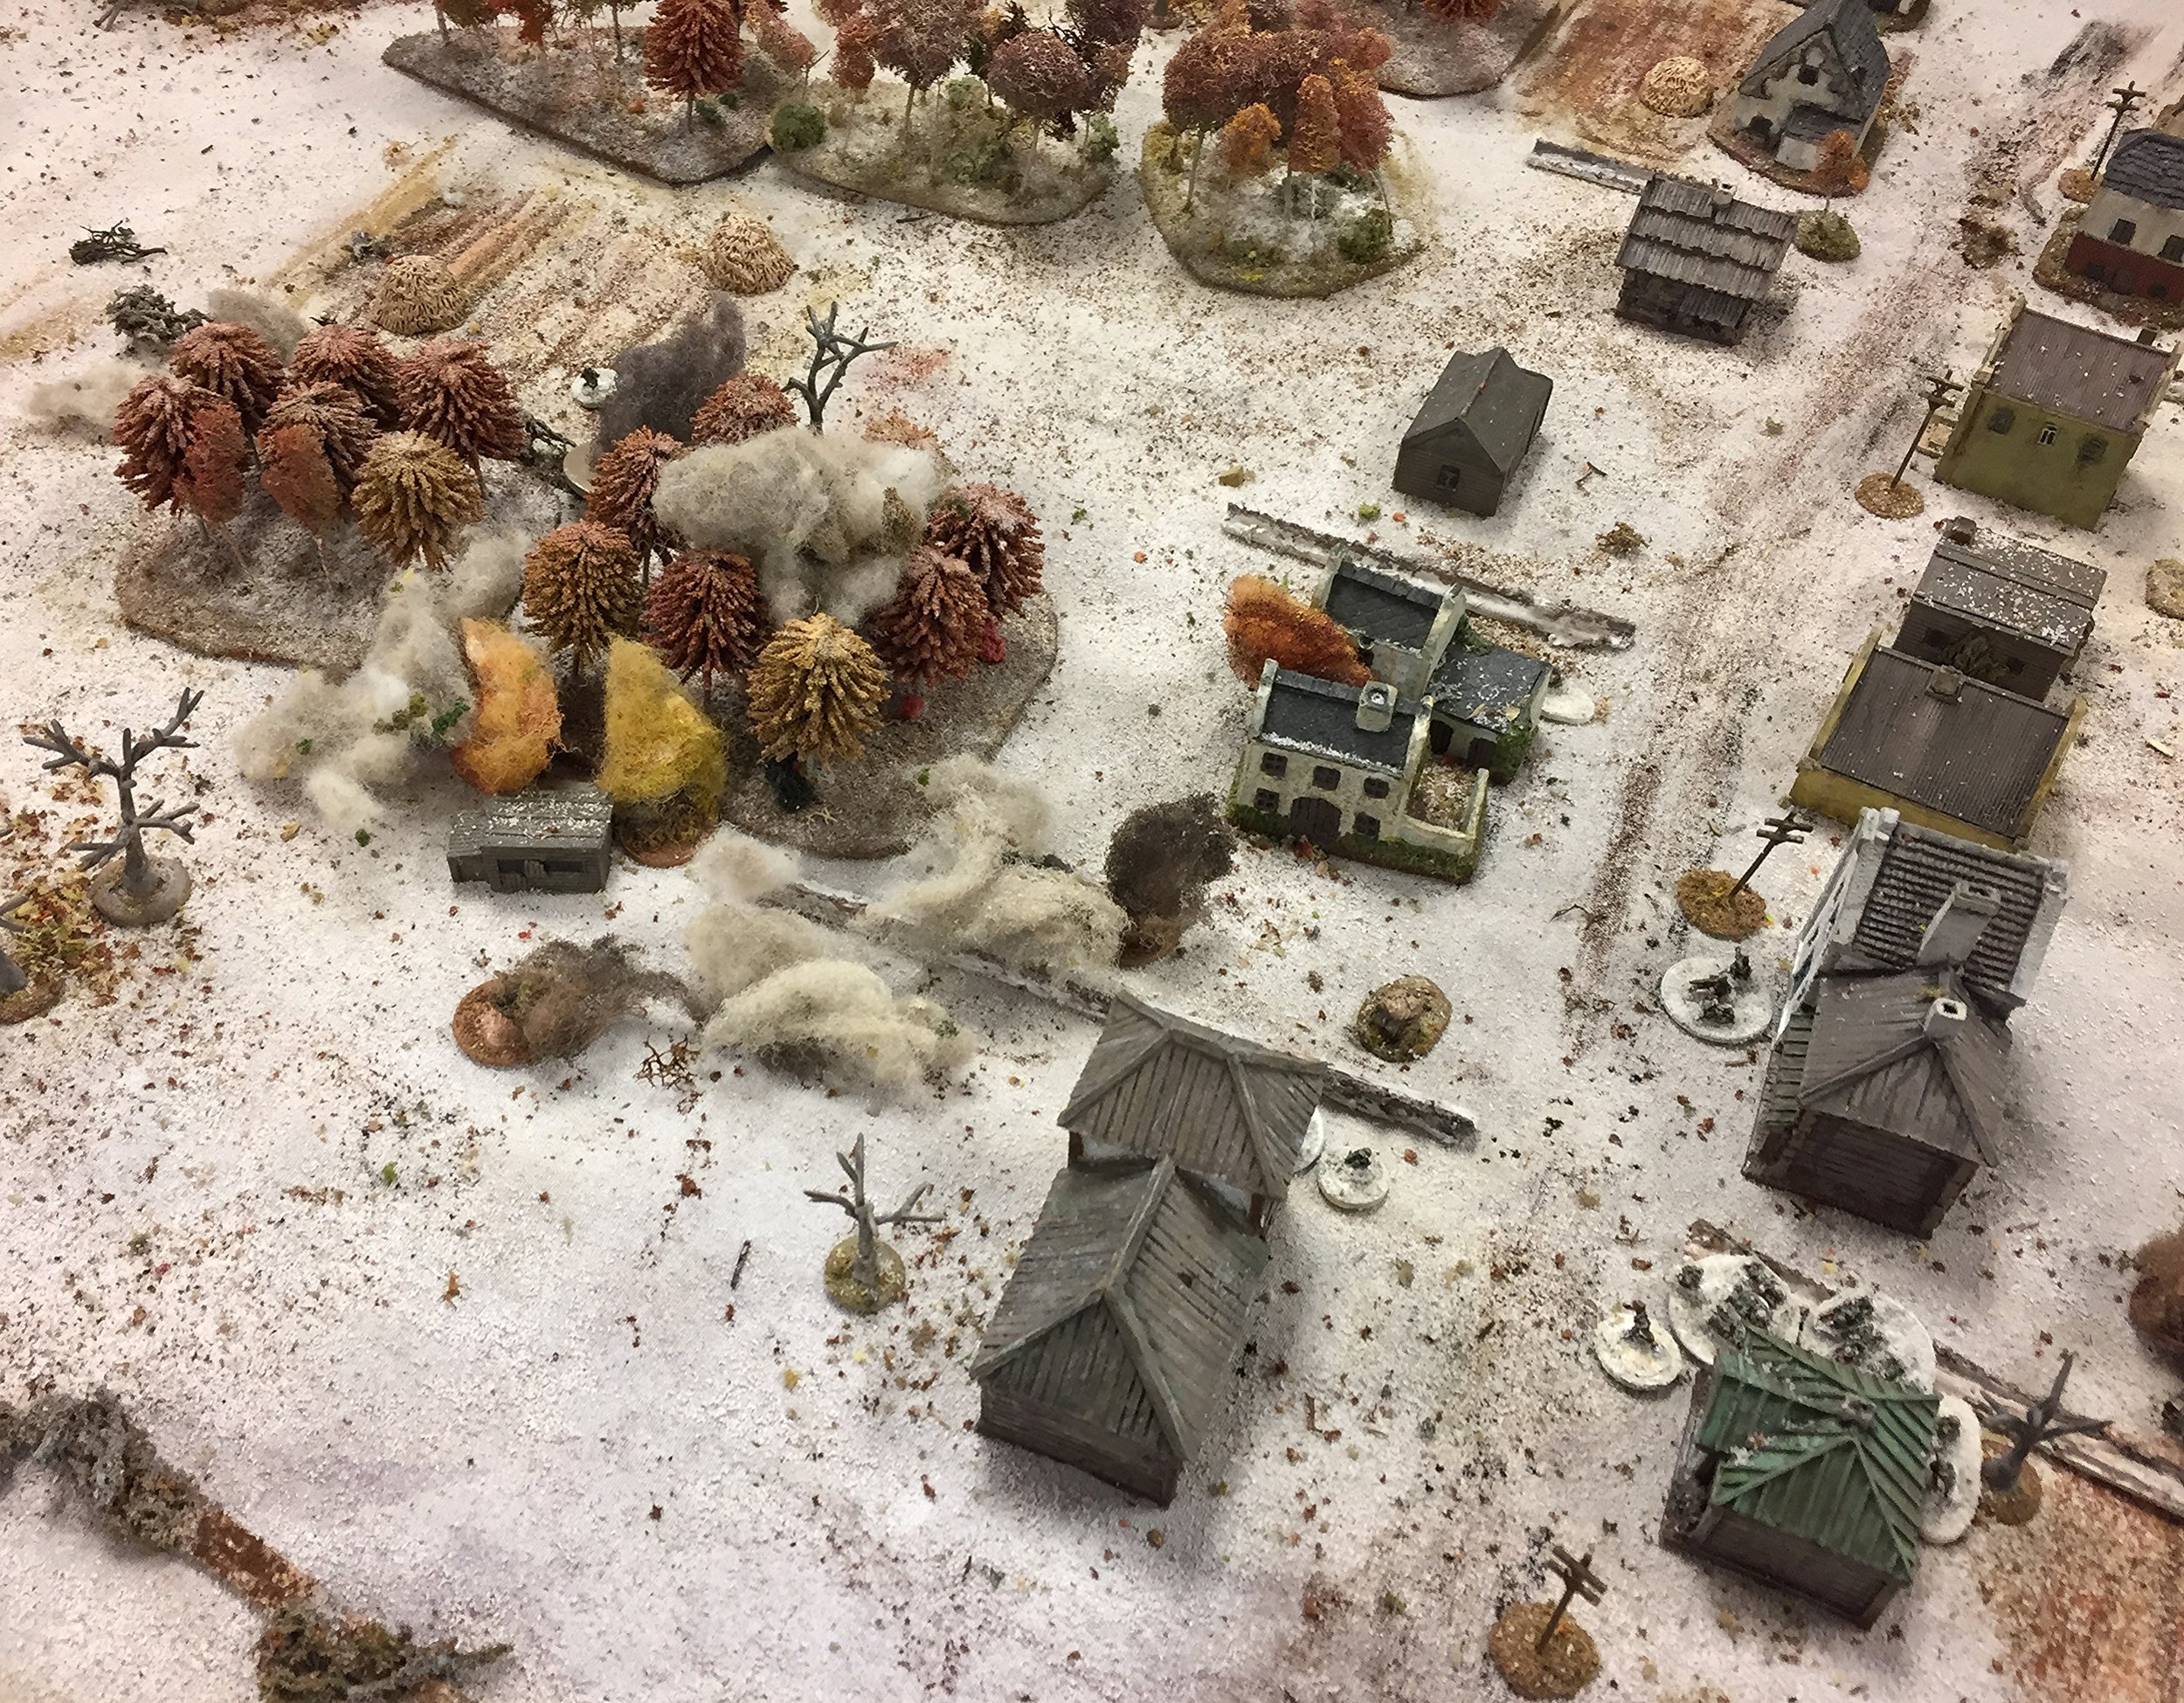
The enemy's defensive line consisted of a network of trenches connecting various strongpoints centred on a village. Although their main reserves were still unavailable, the defenders had had time to bring up a small number of tanks as reinforcements.
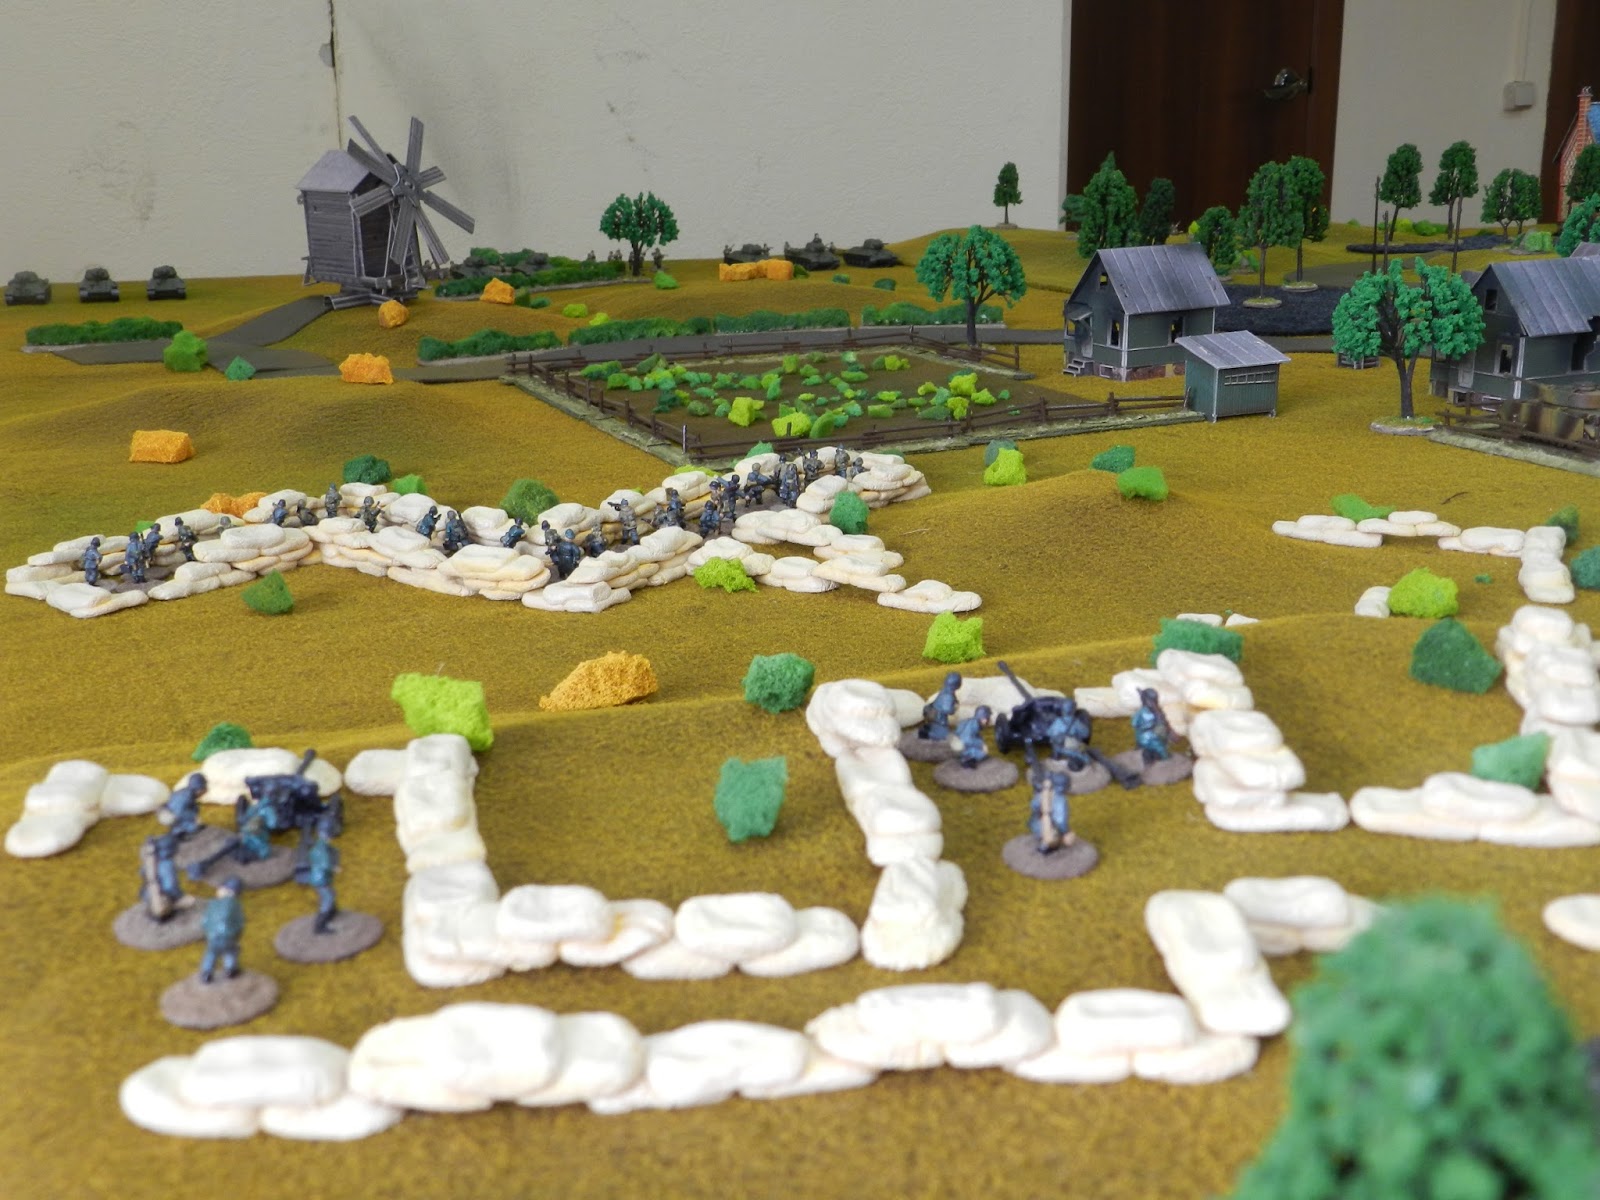
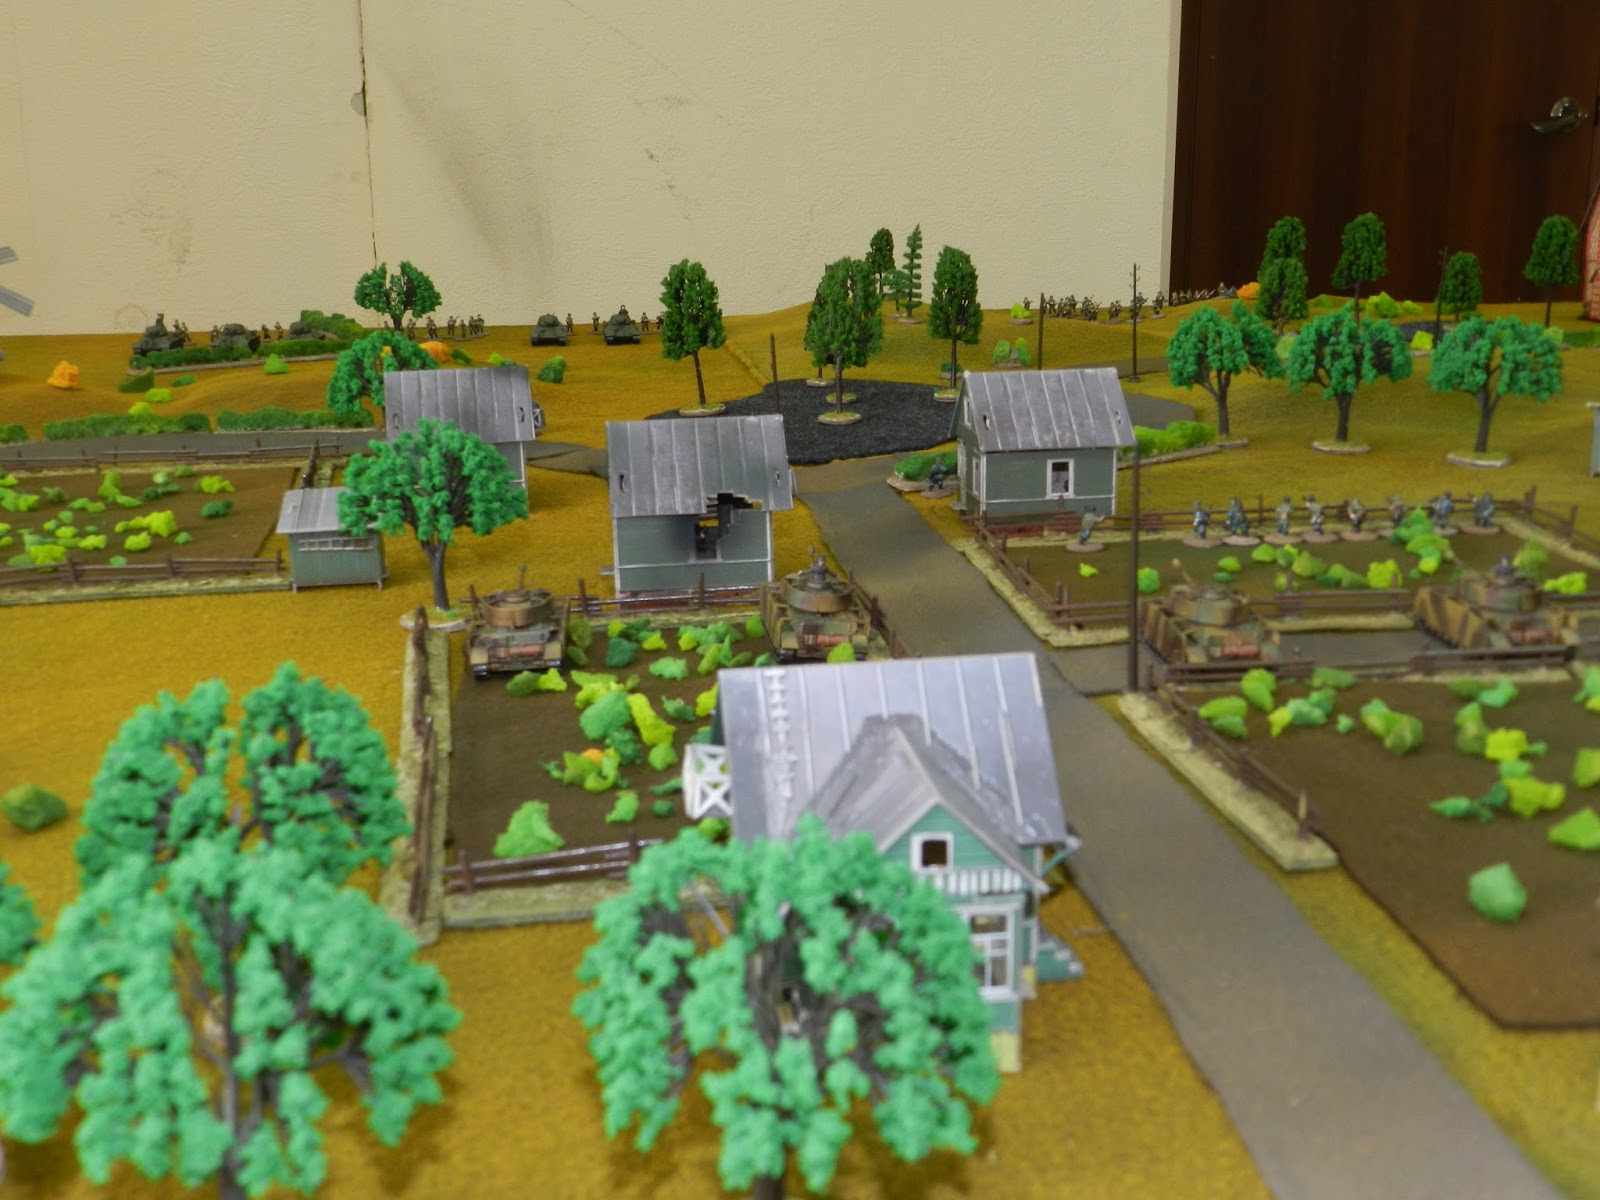
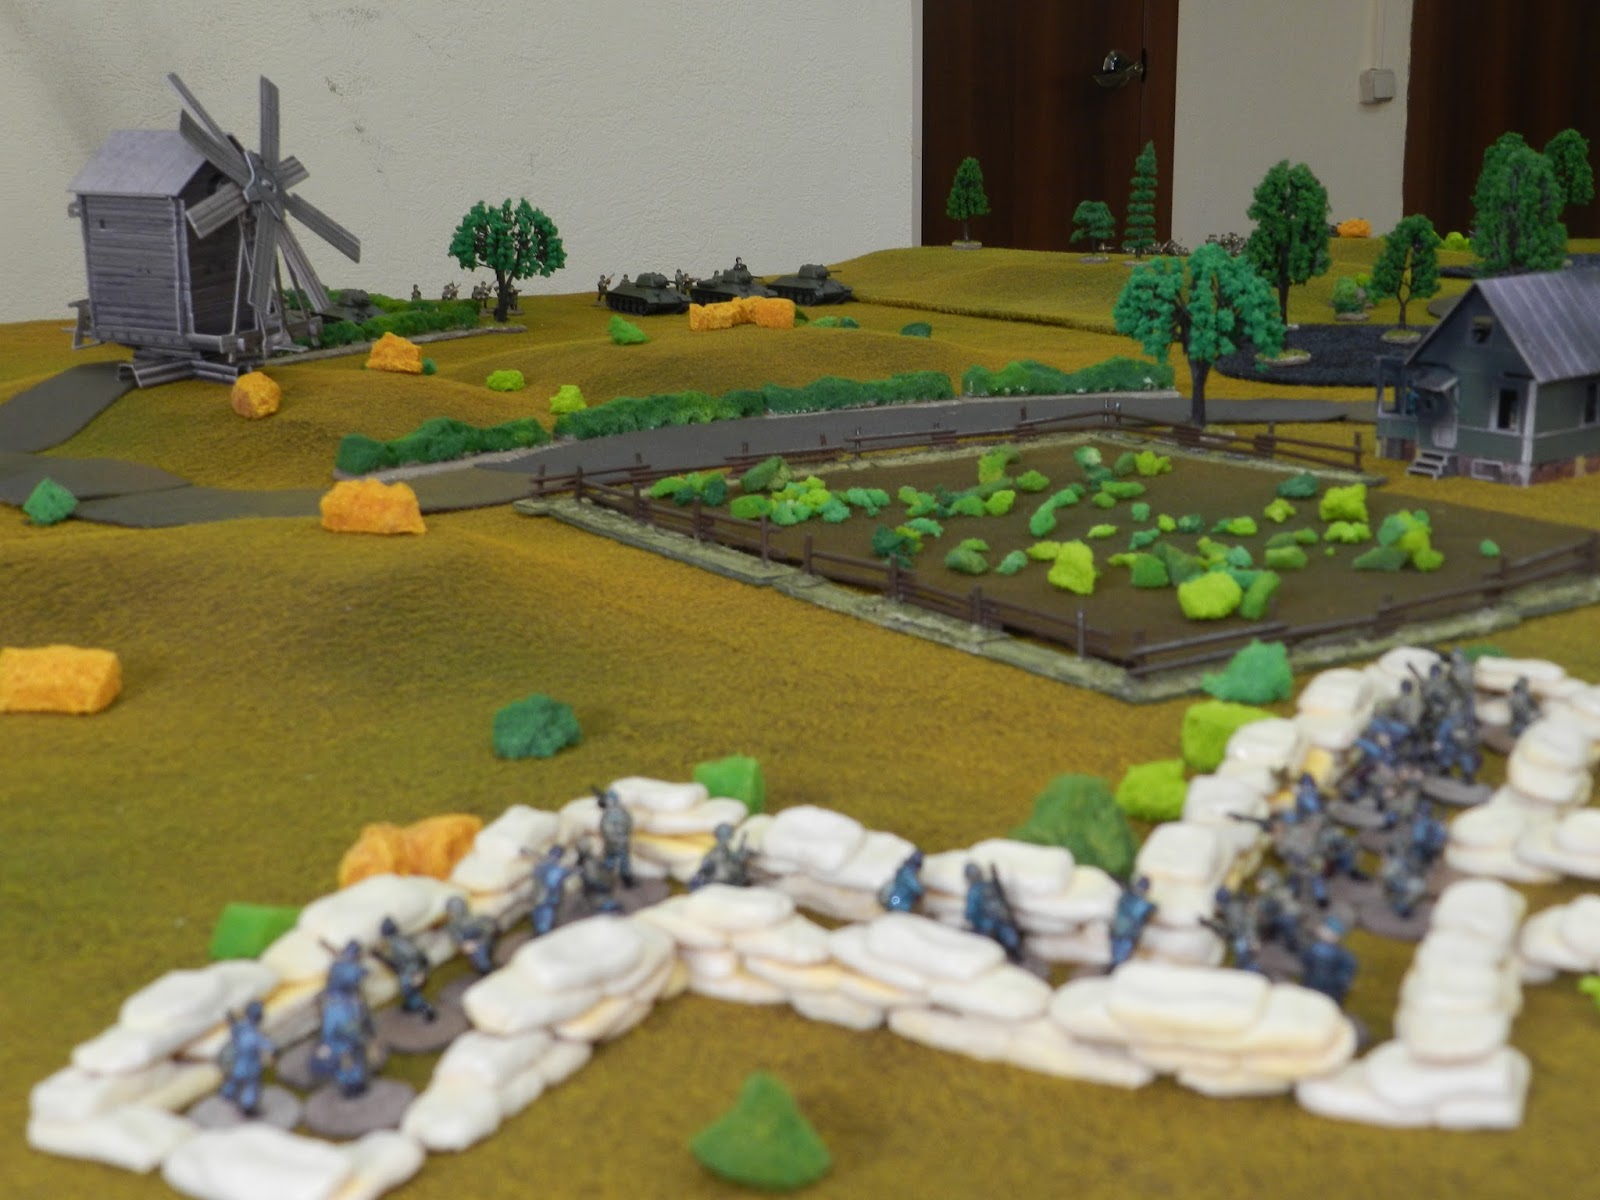
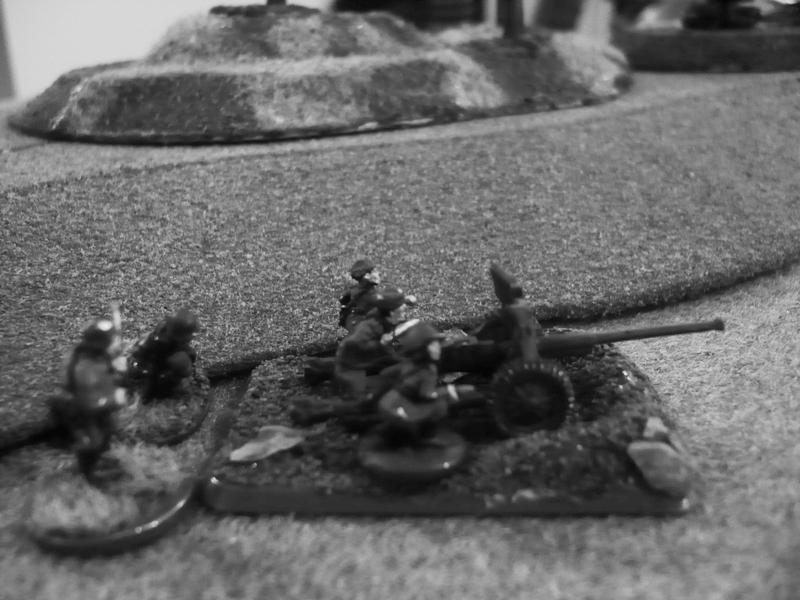
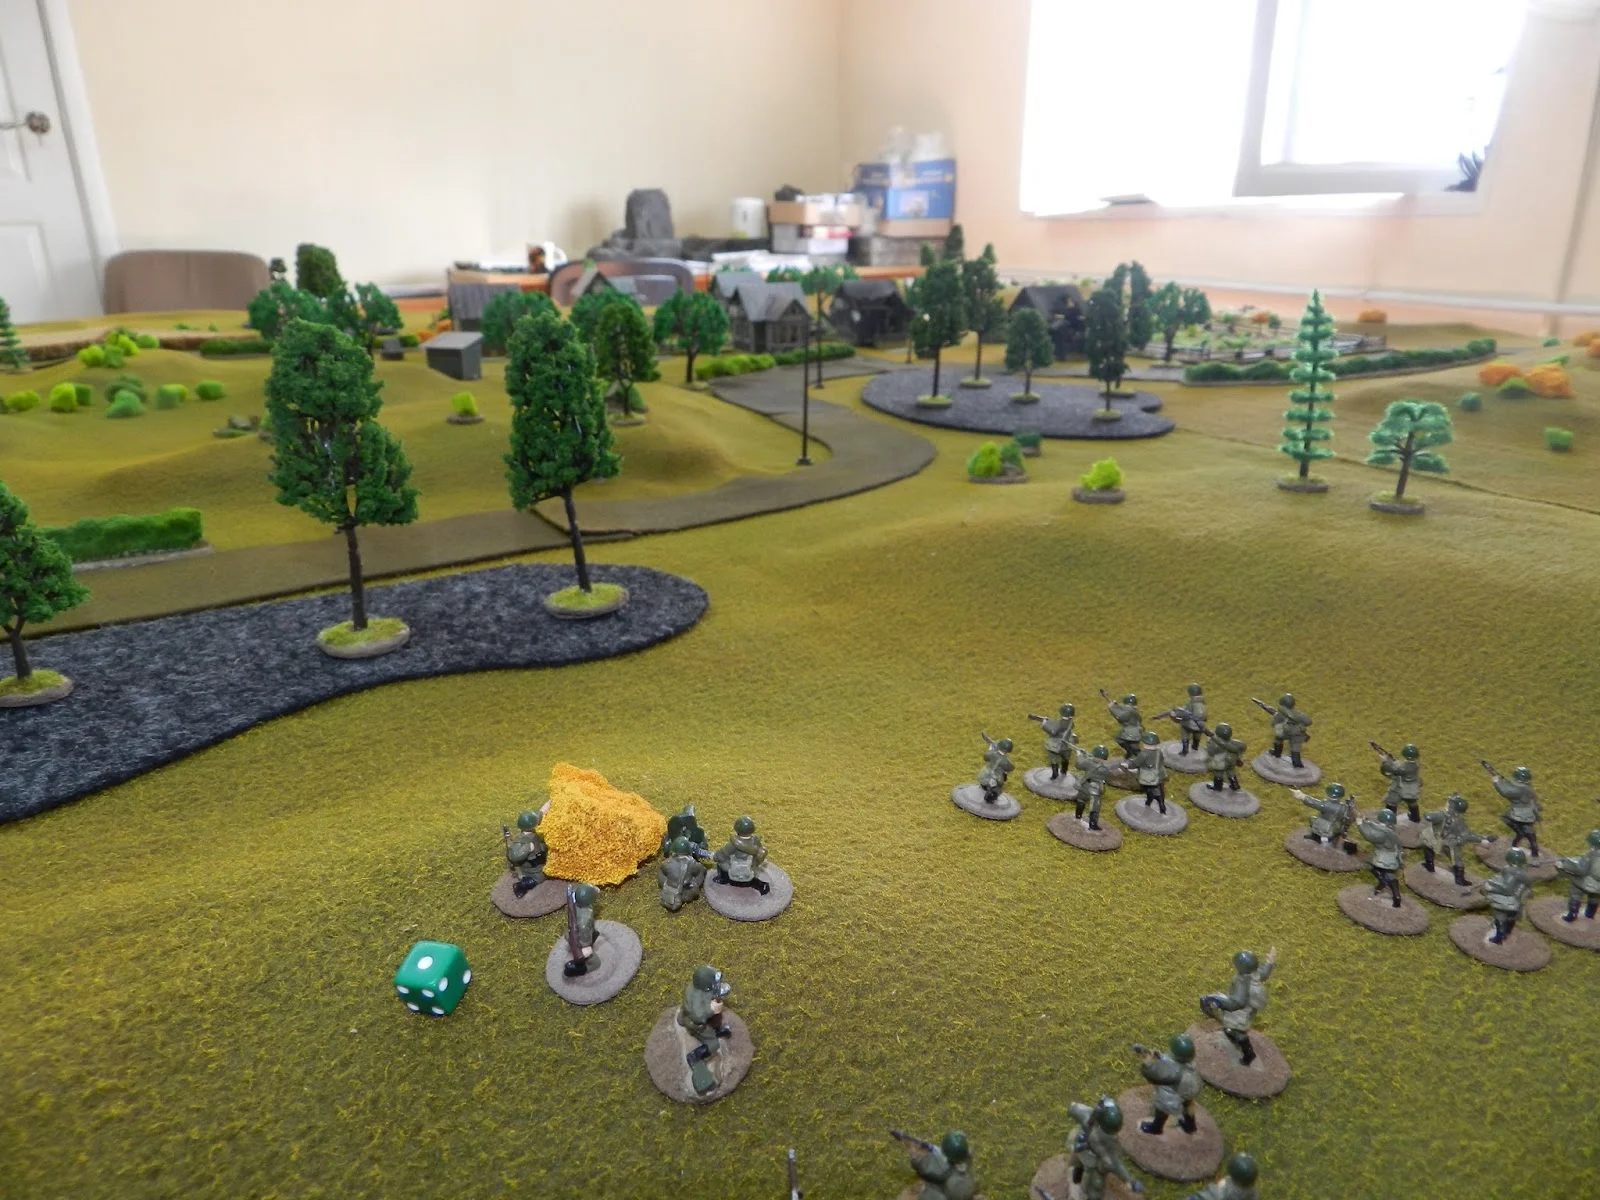
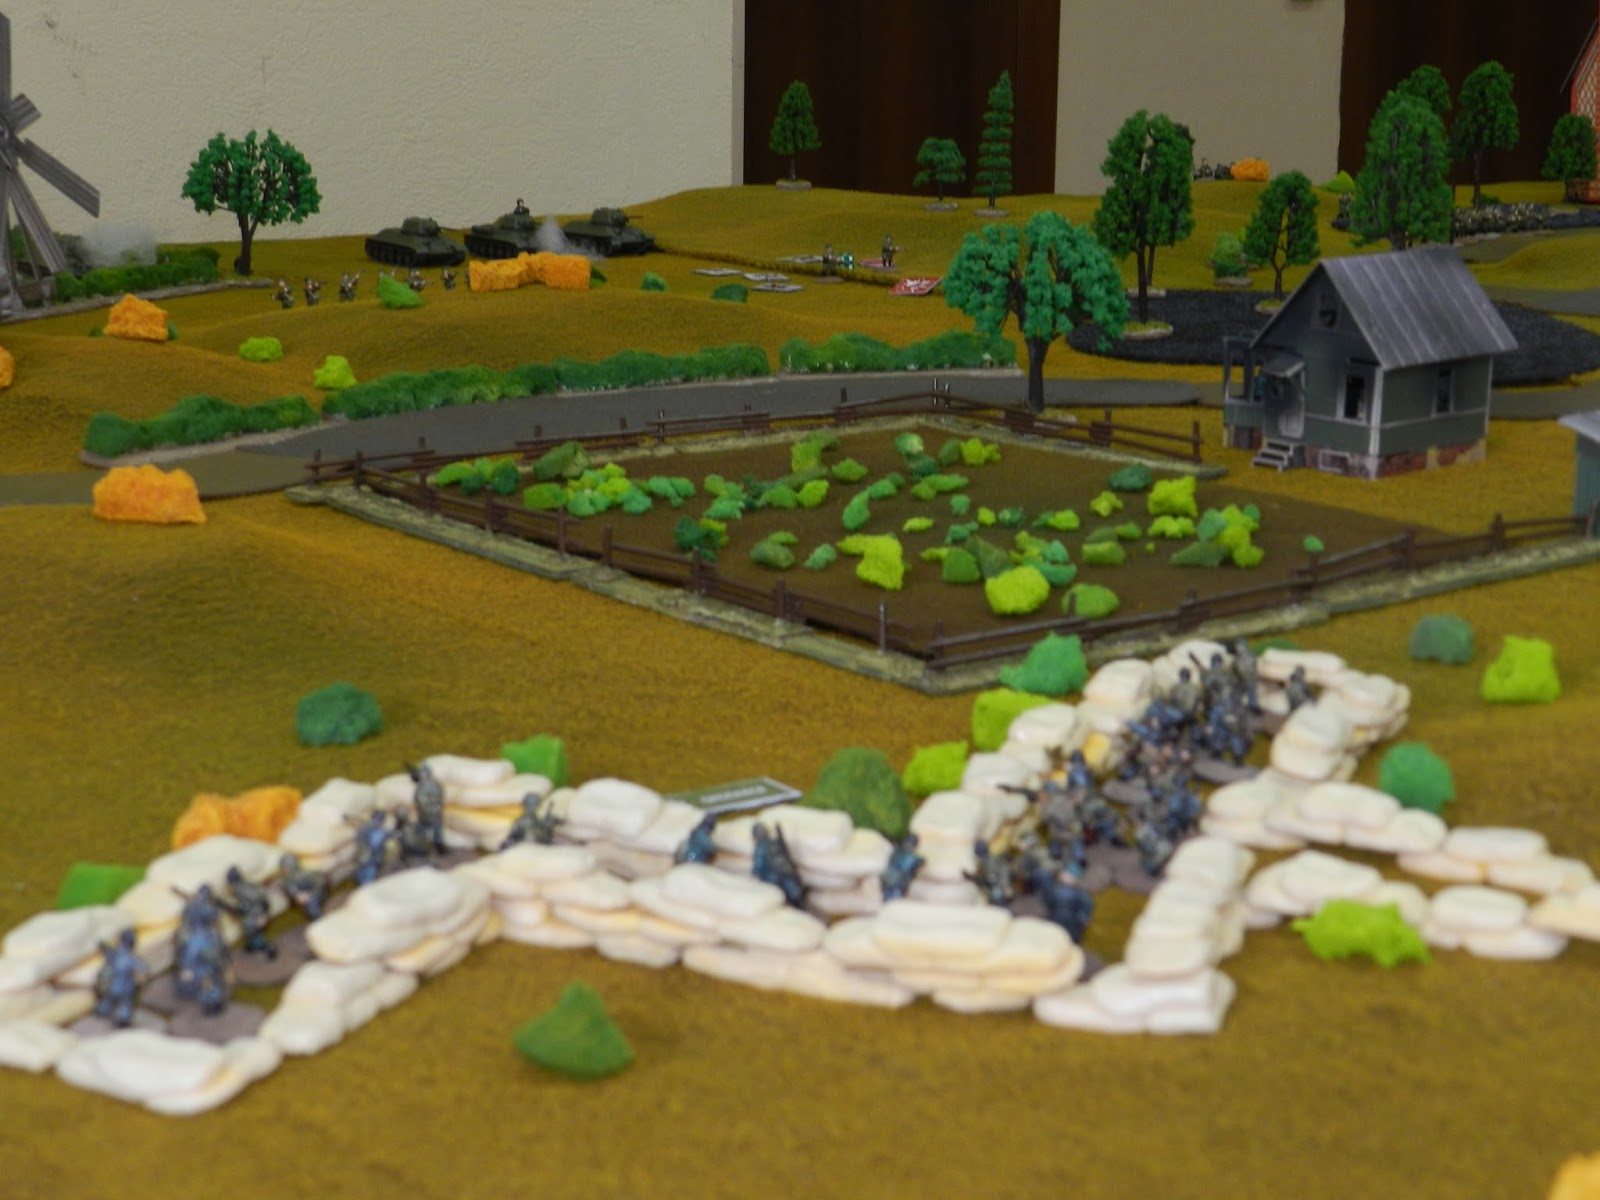
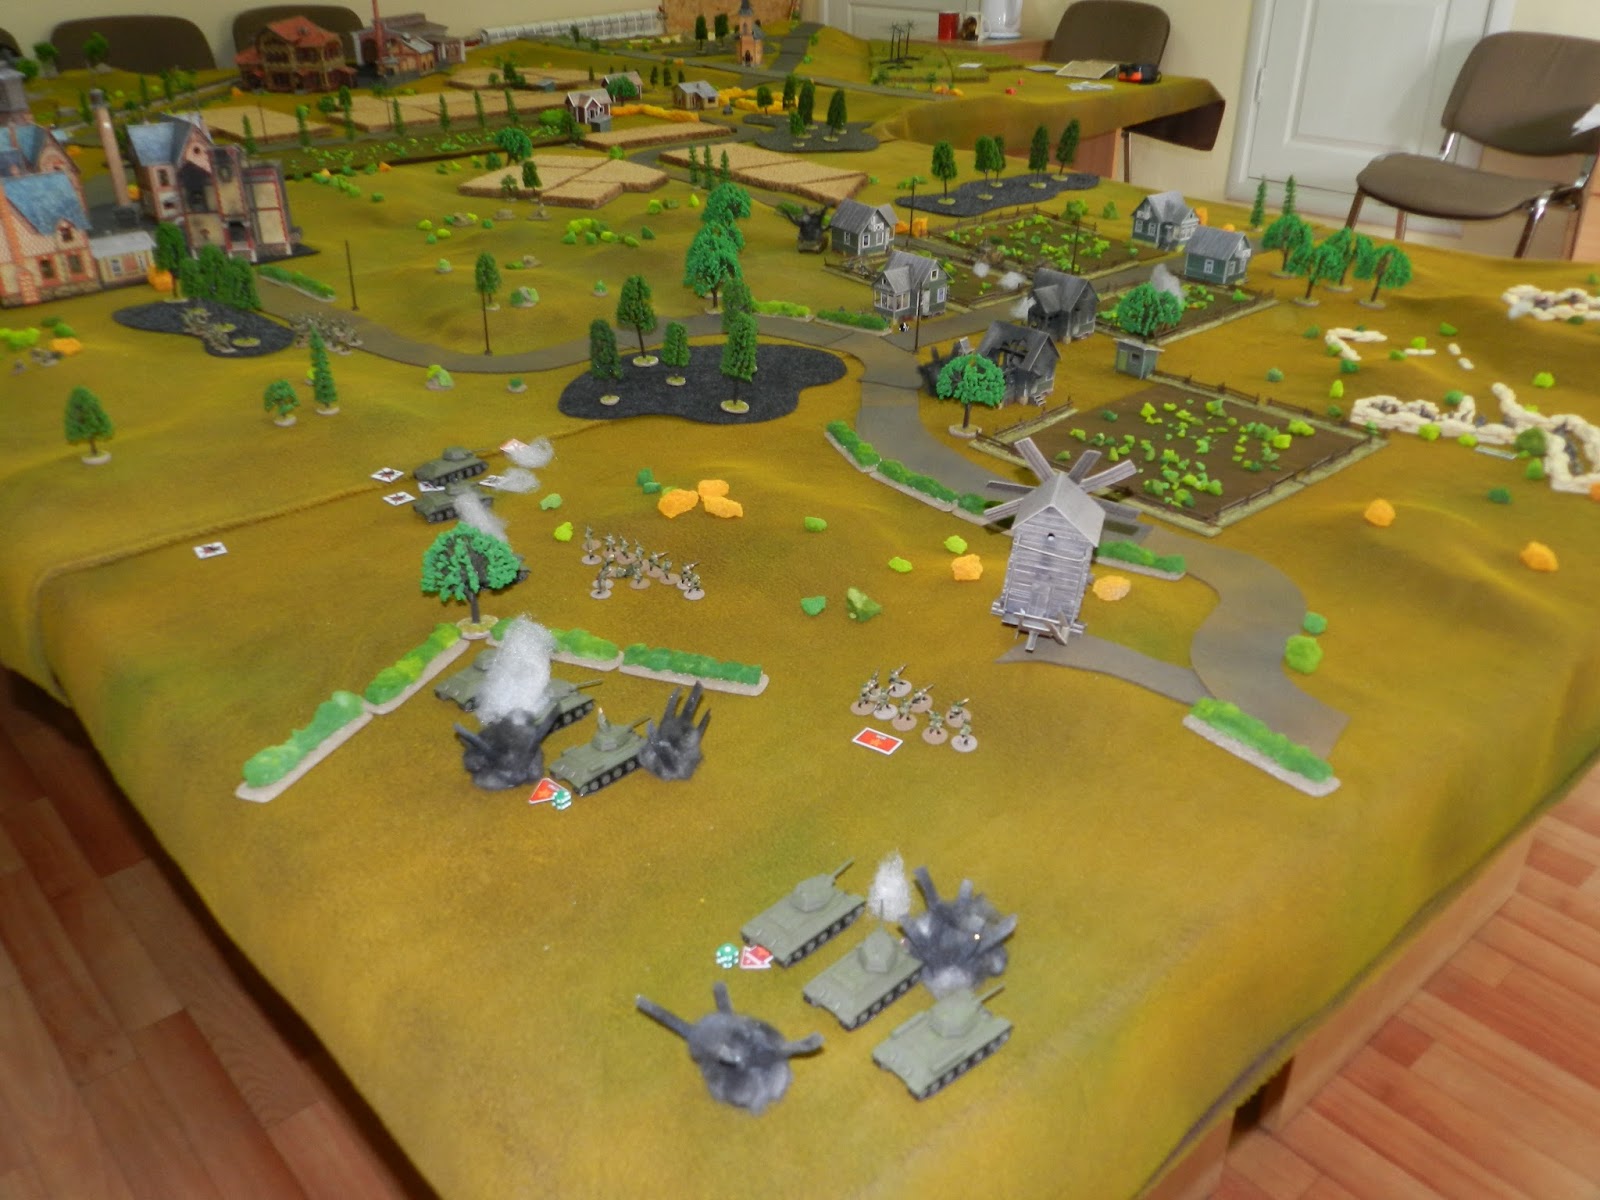
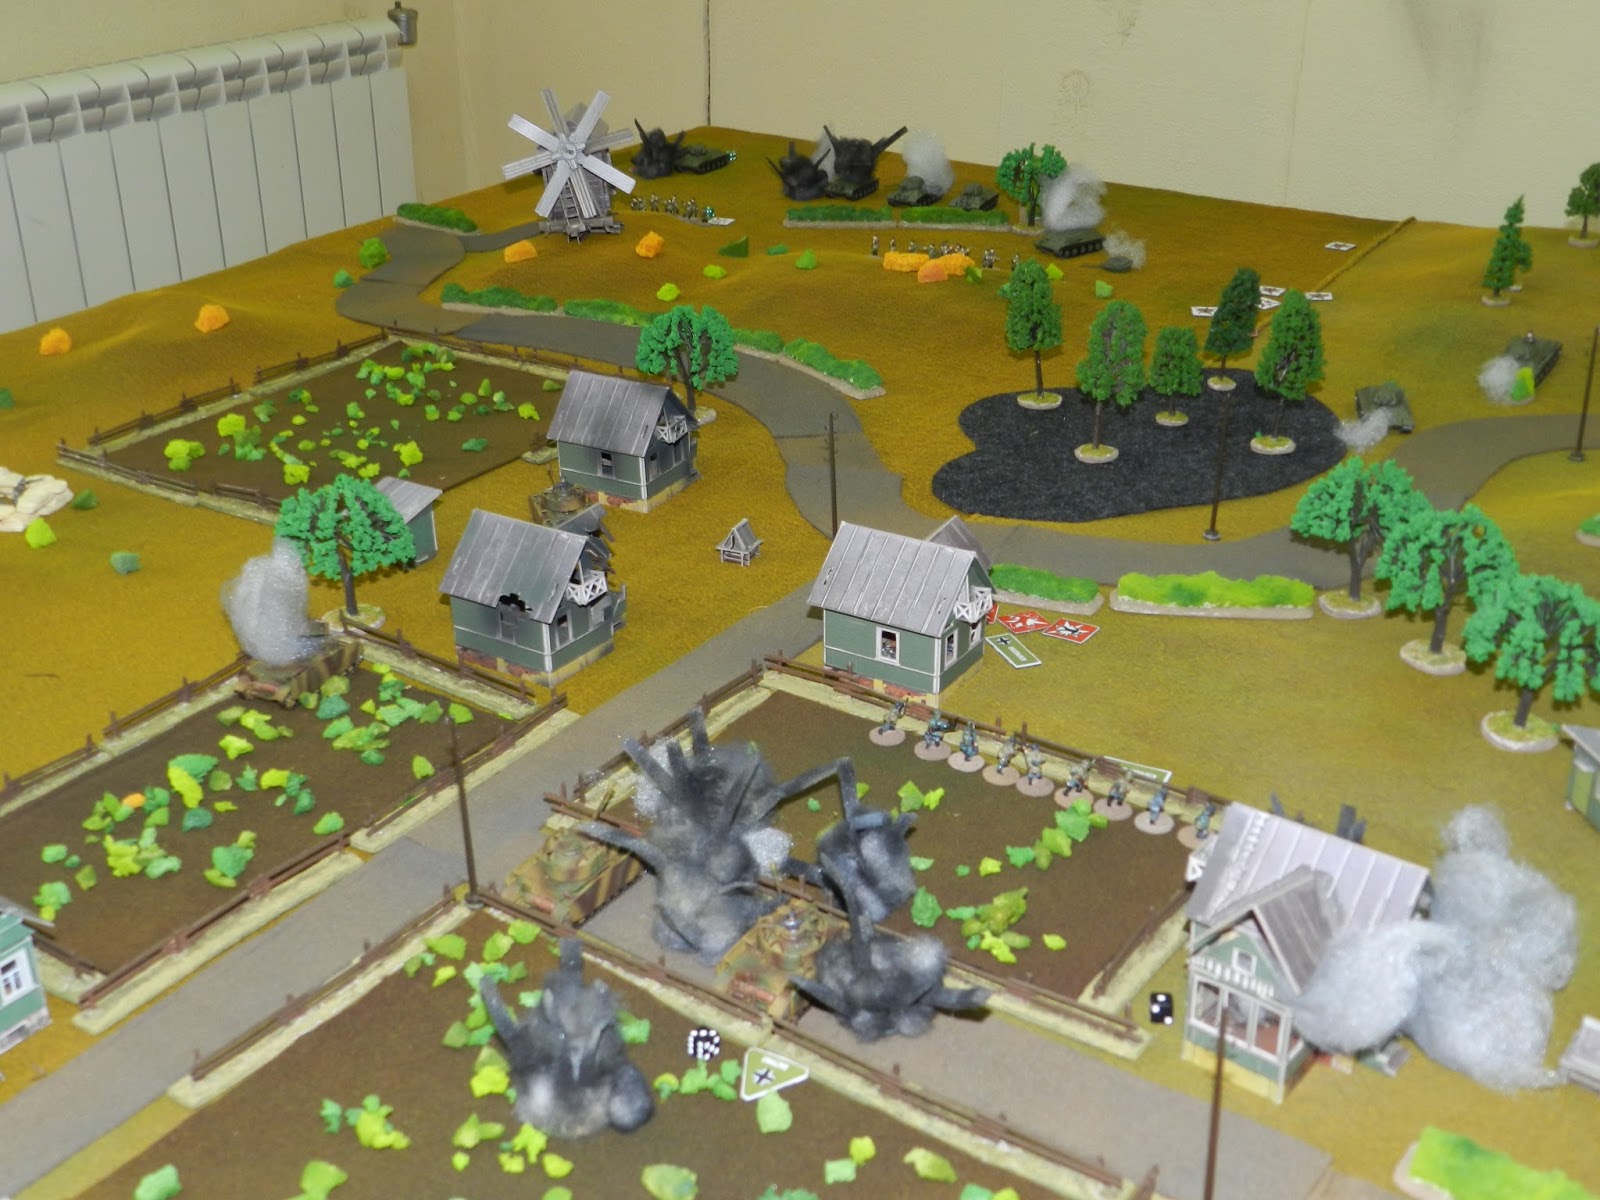
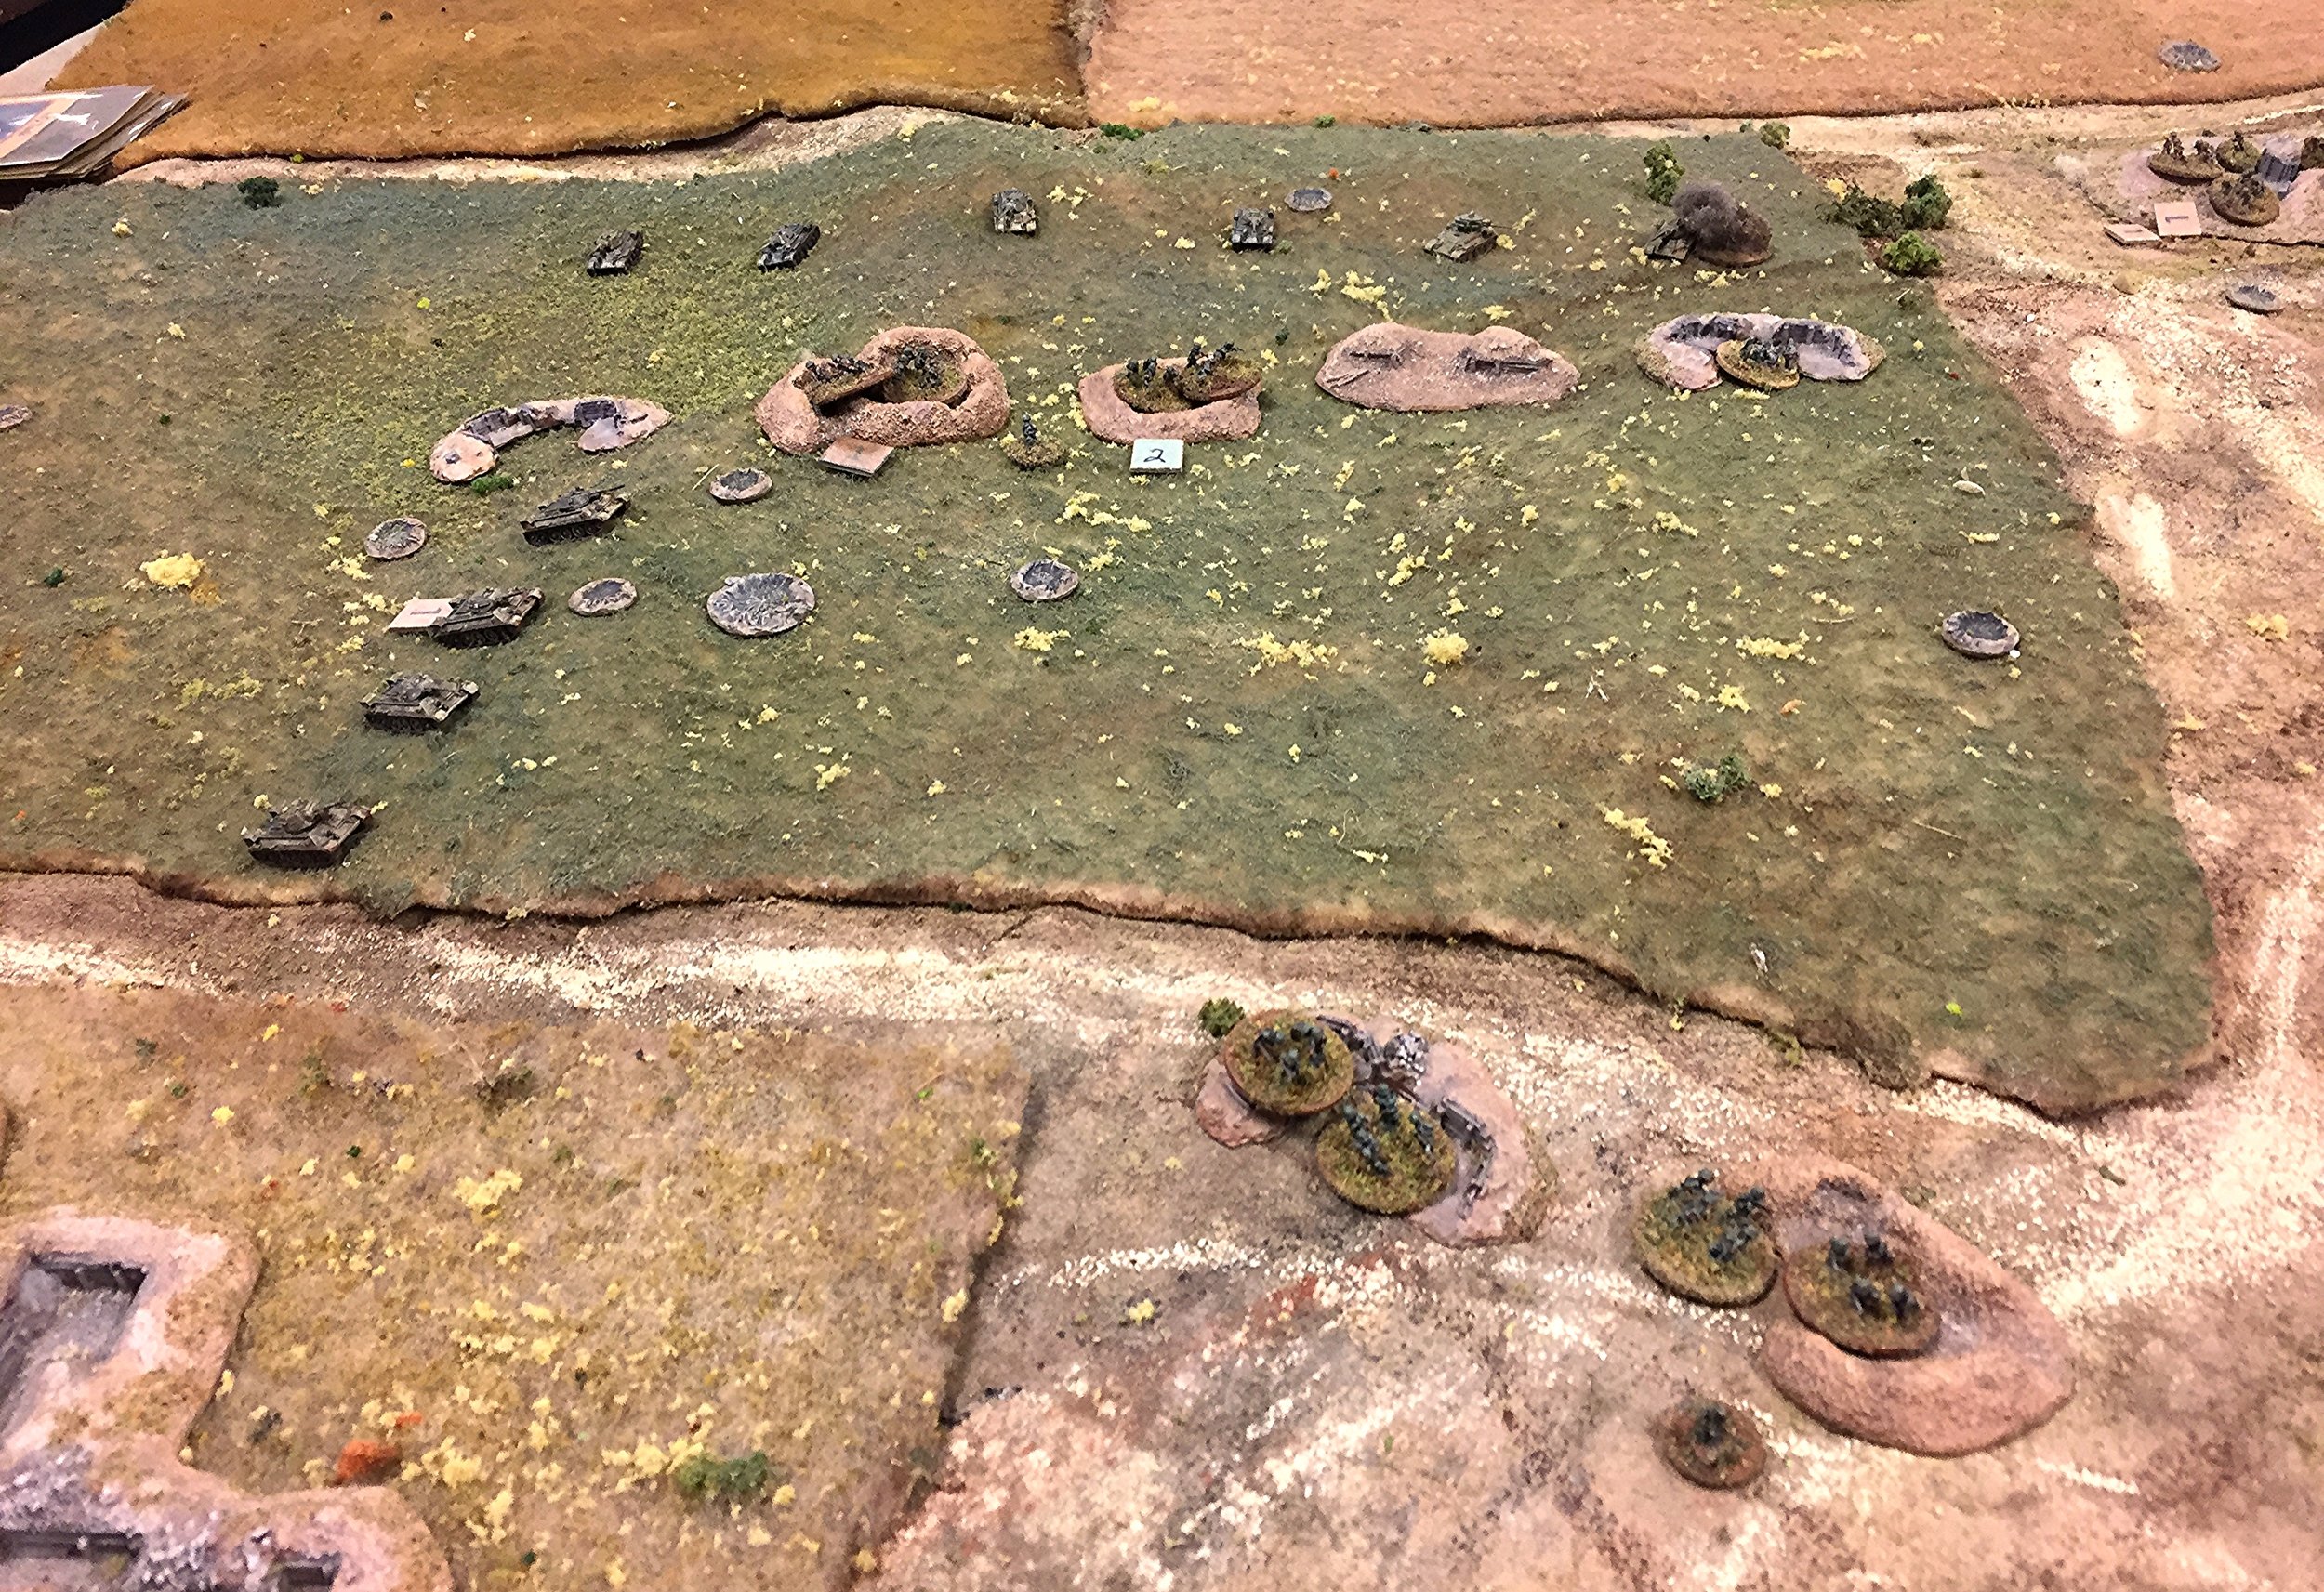
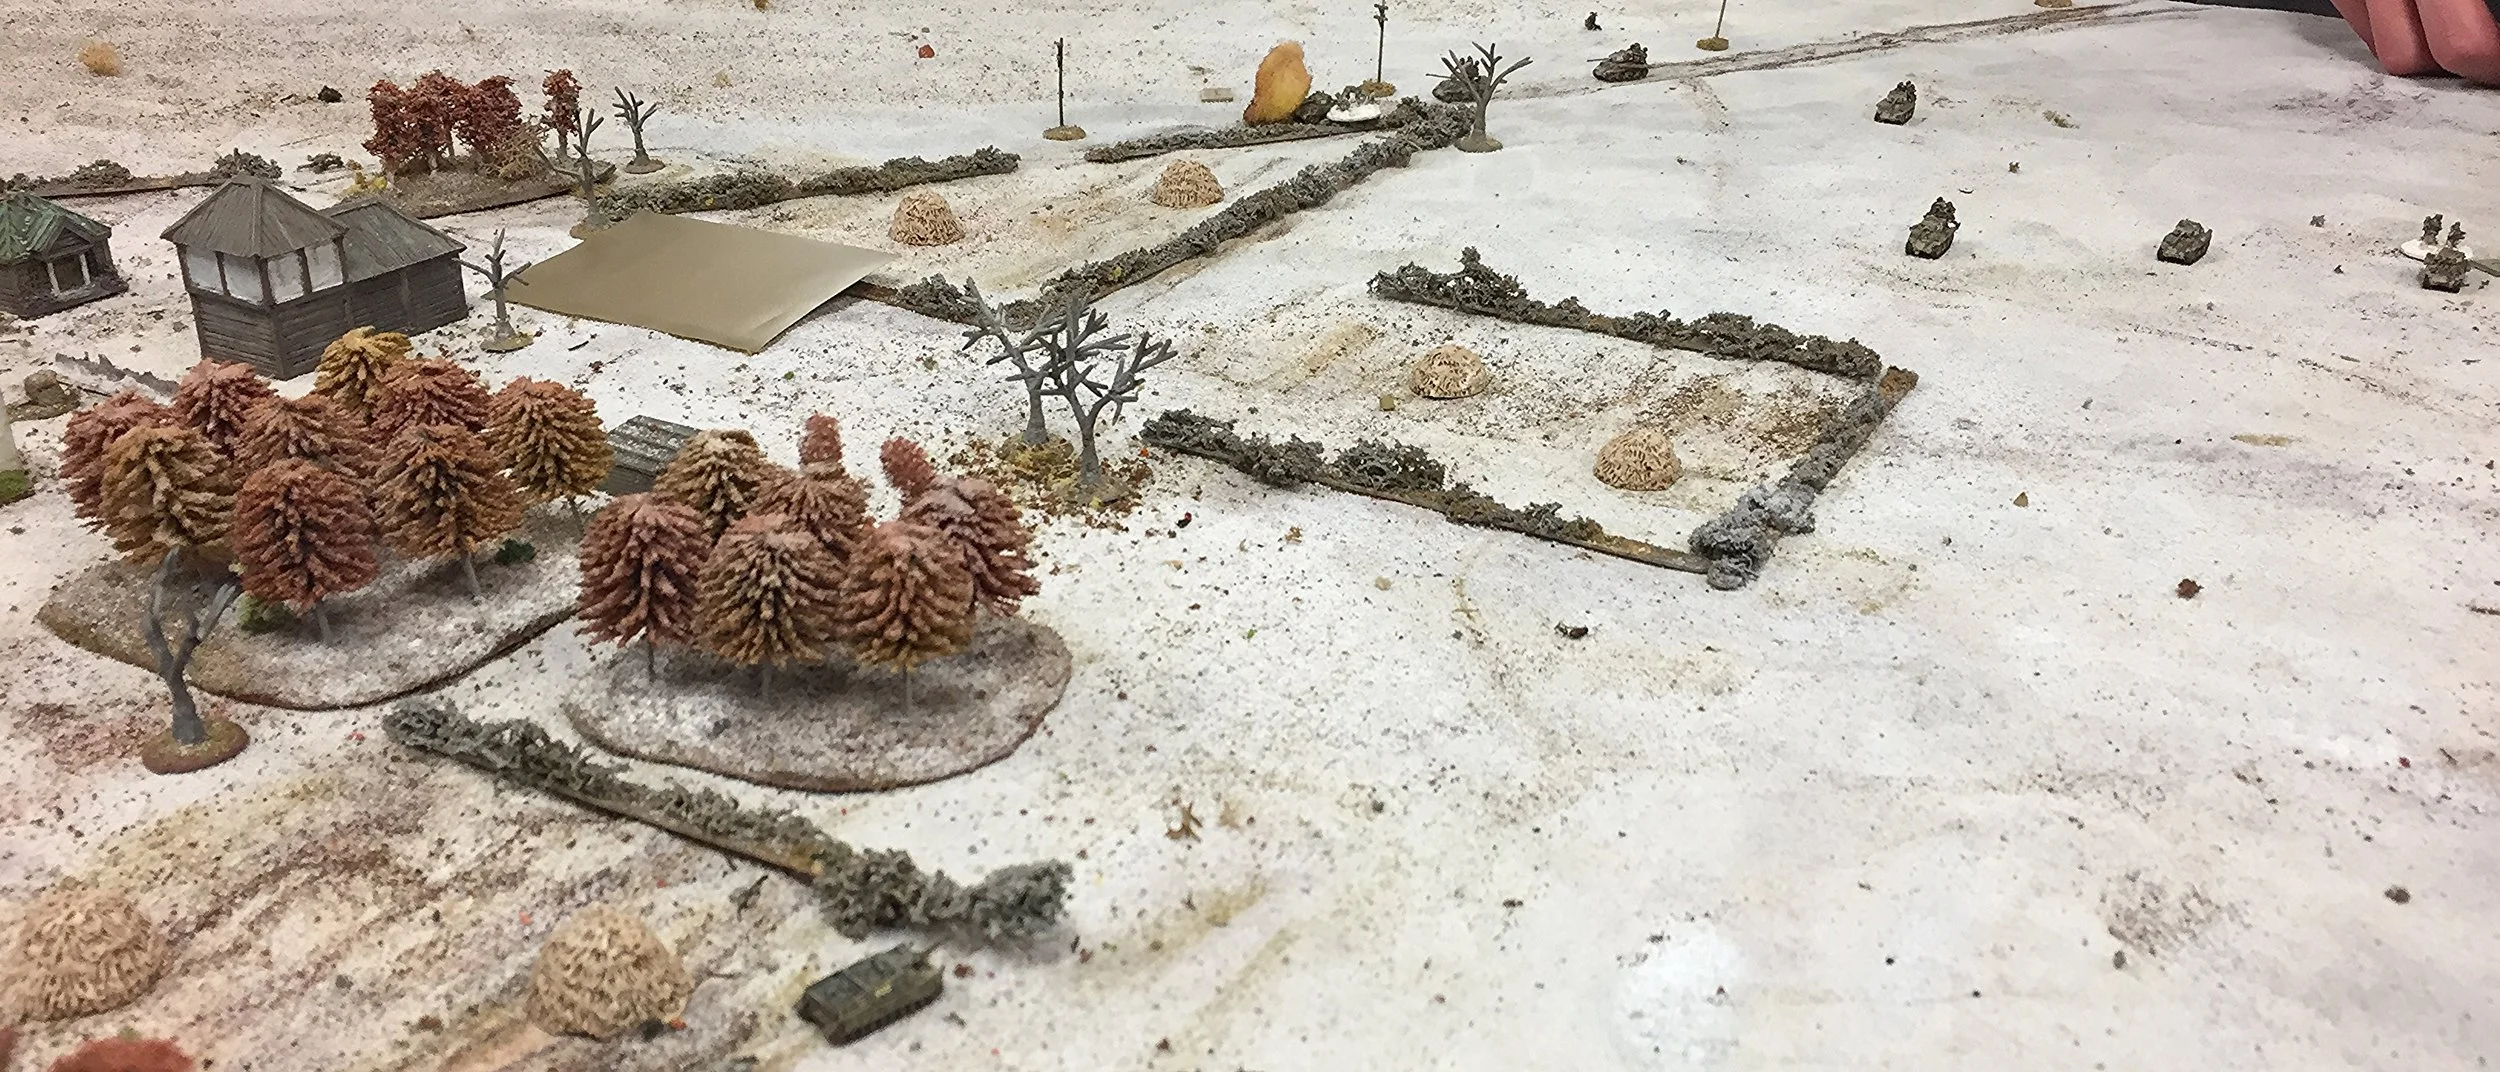
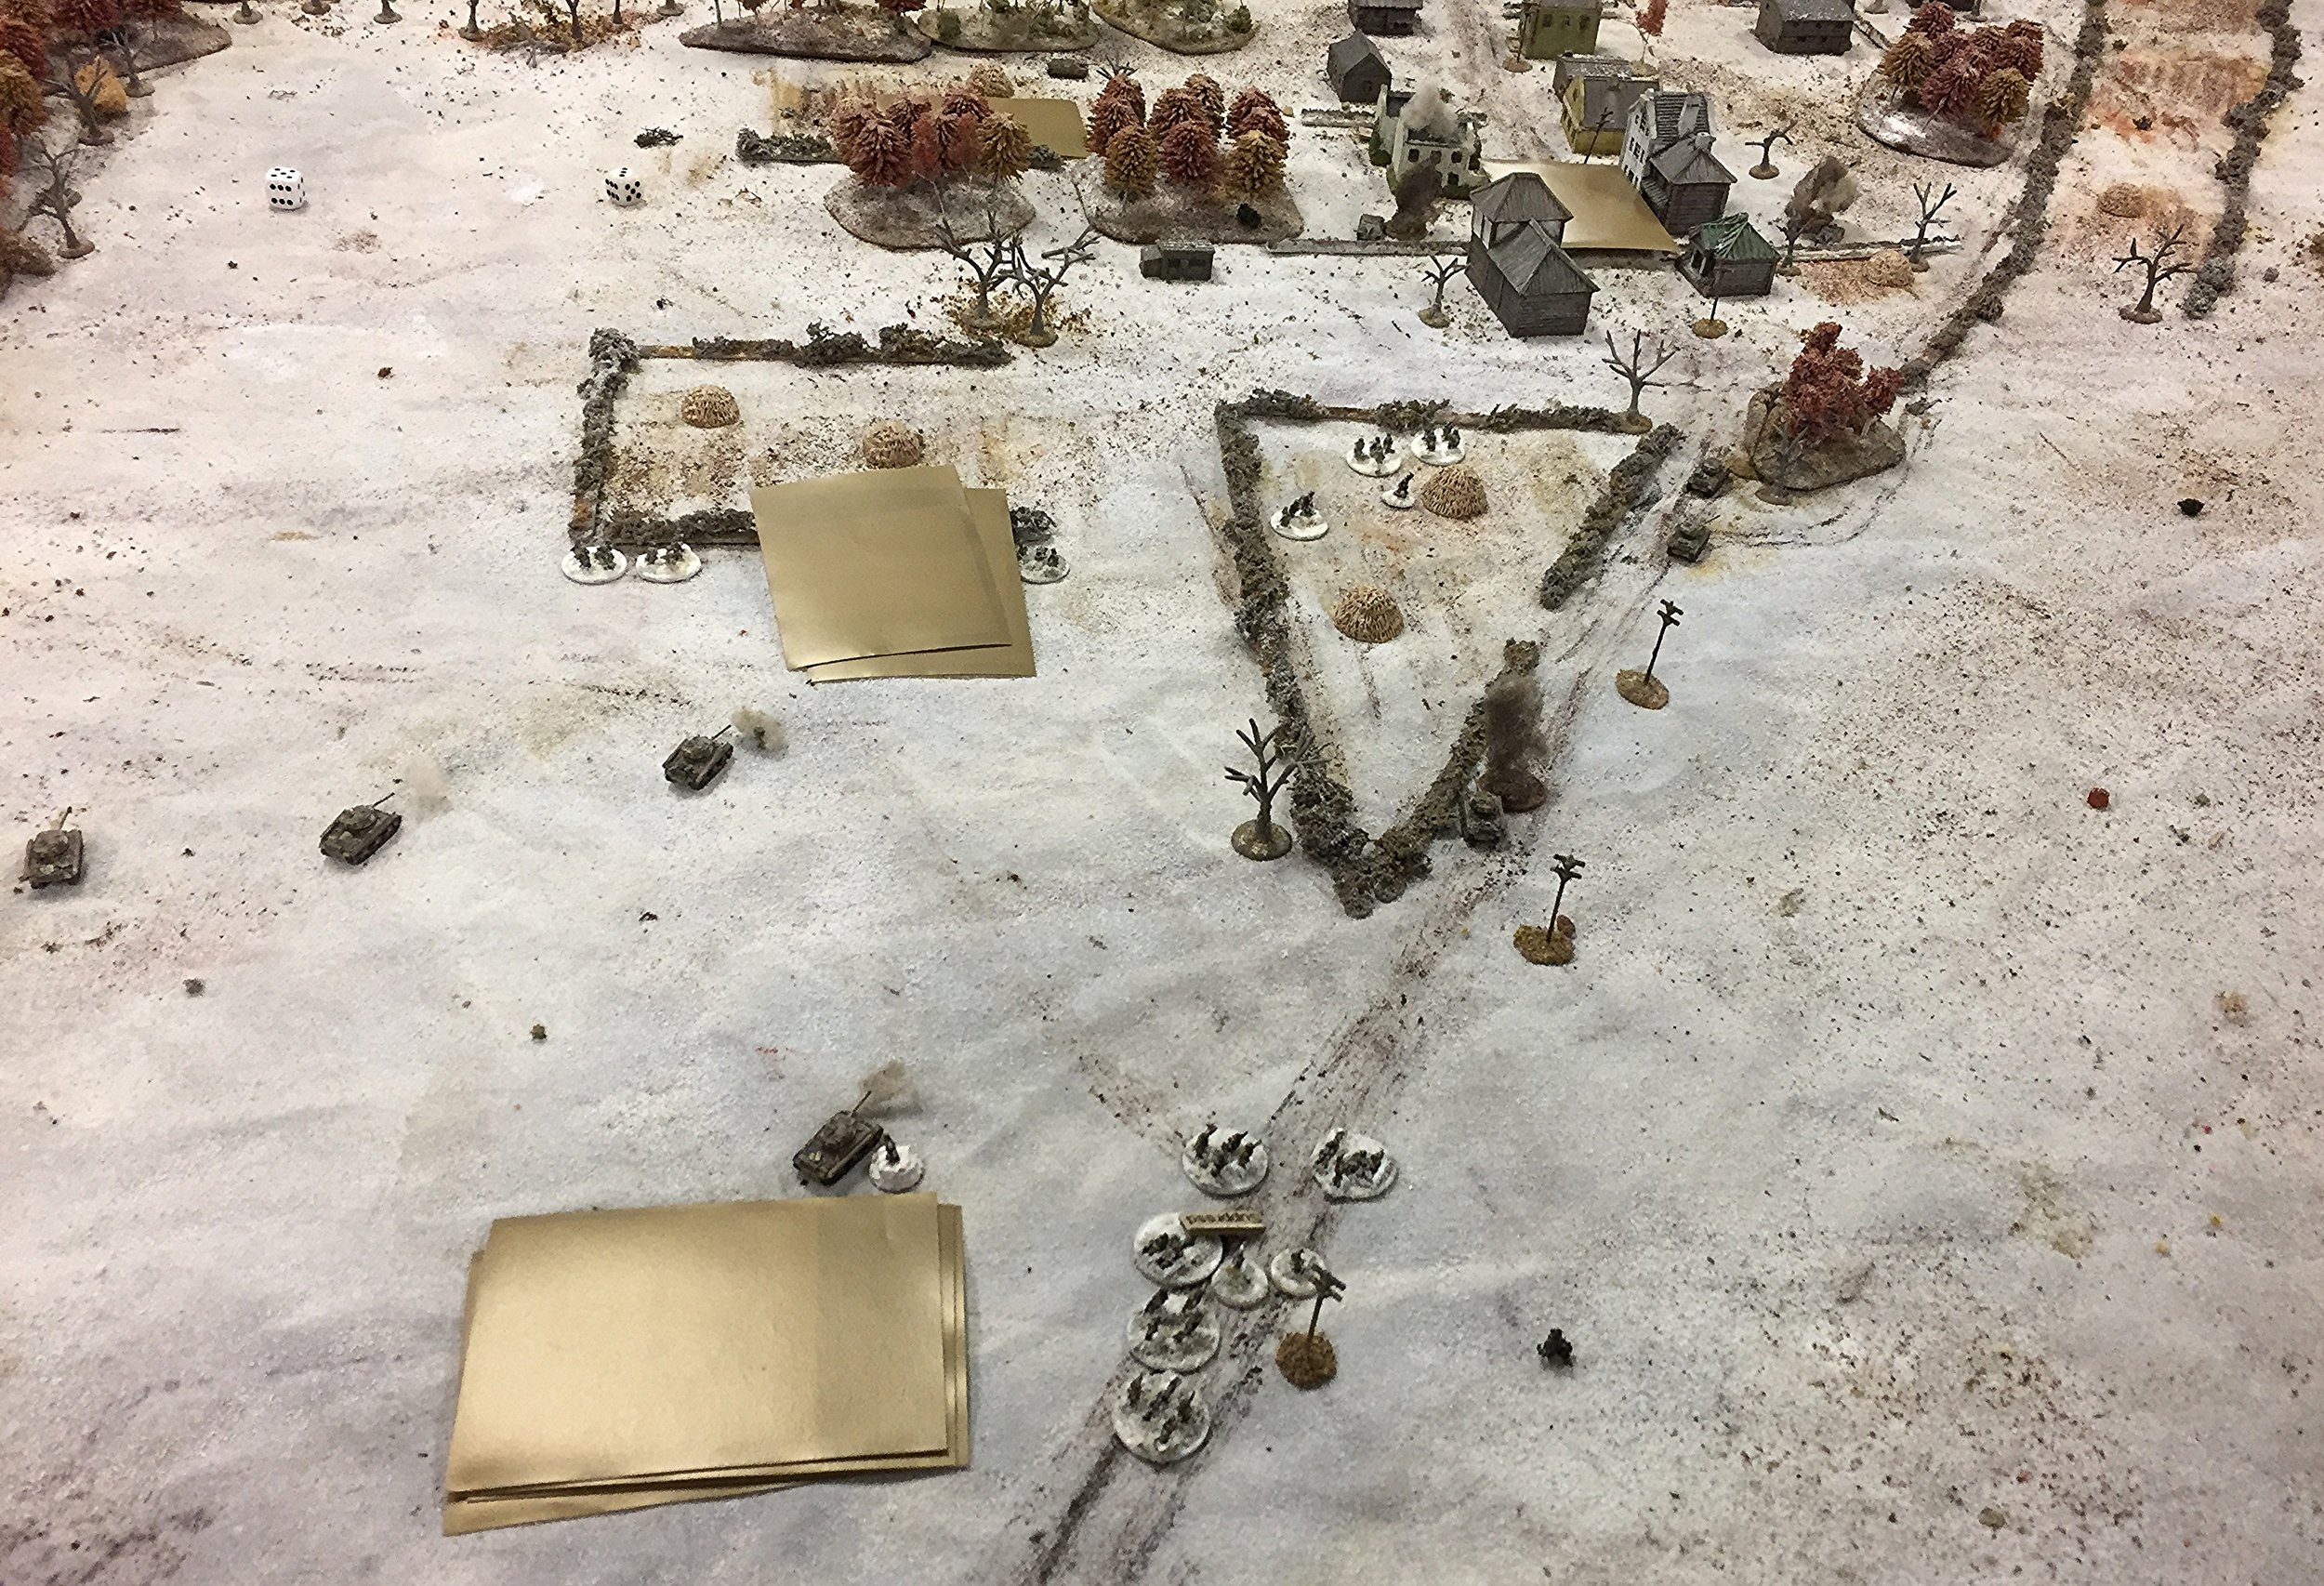
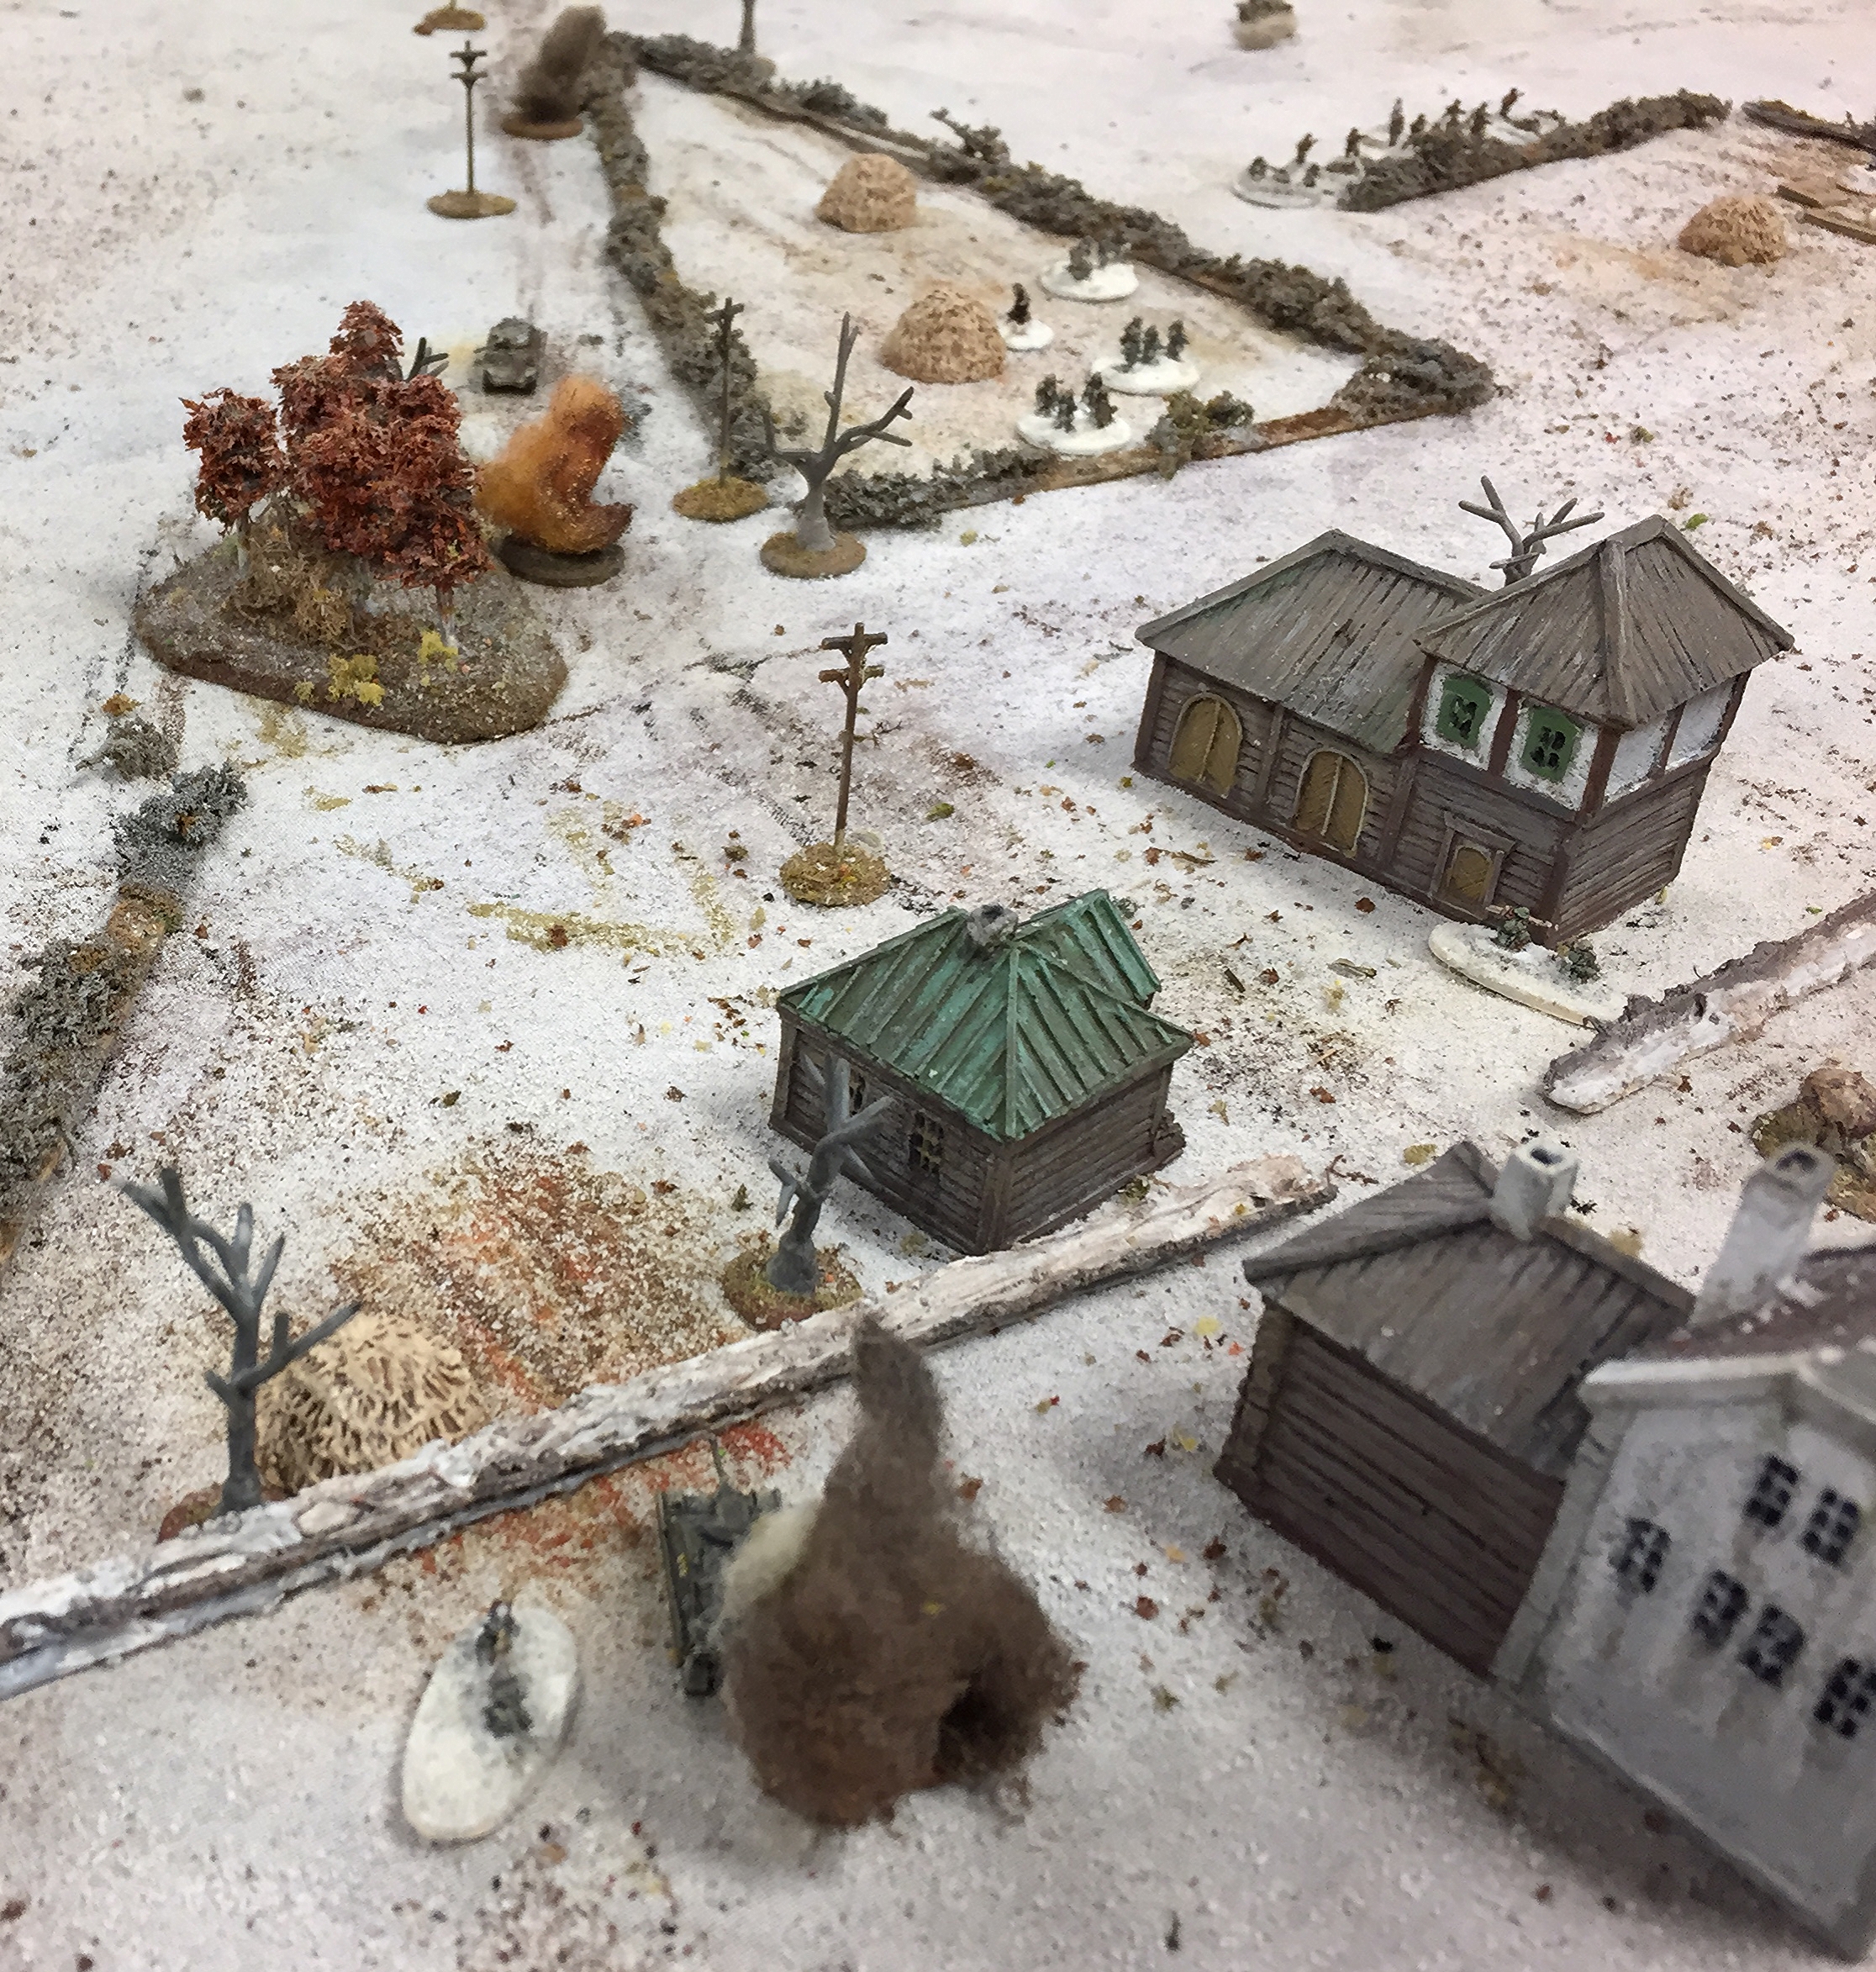
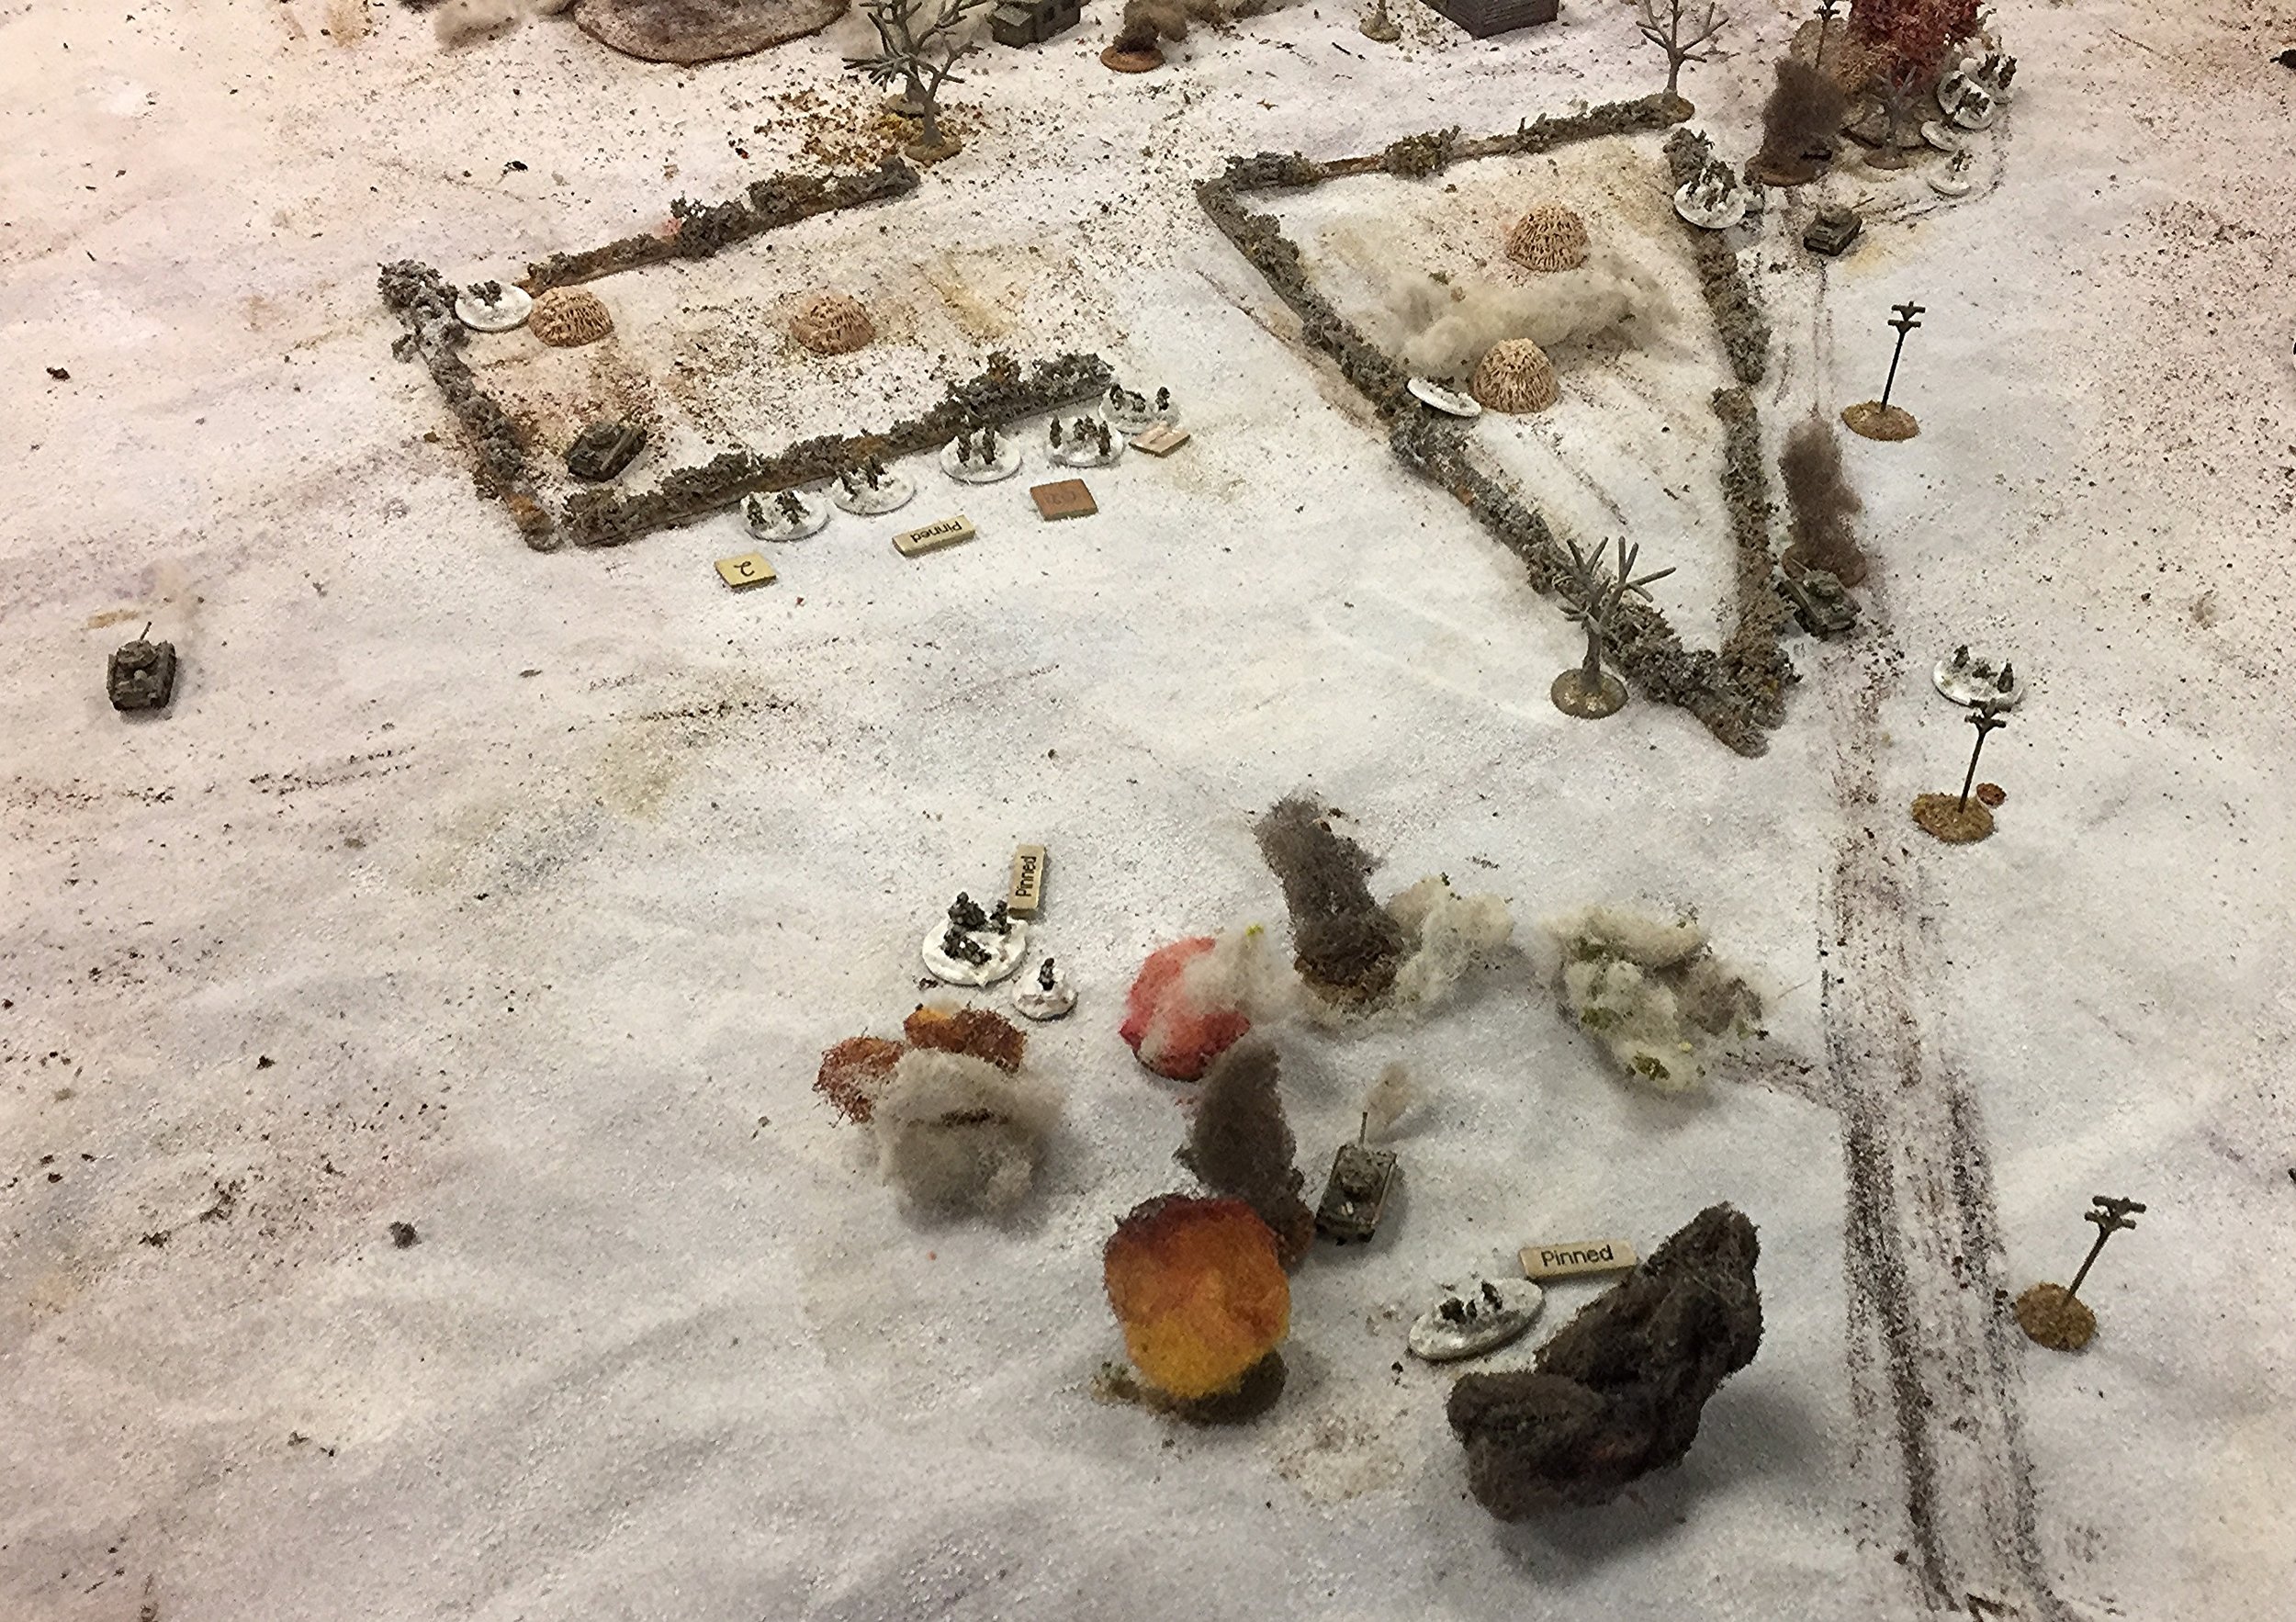
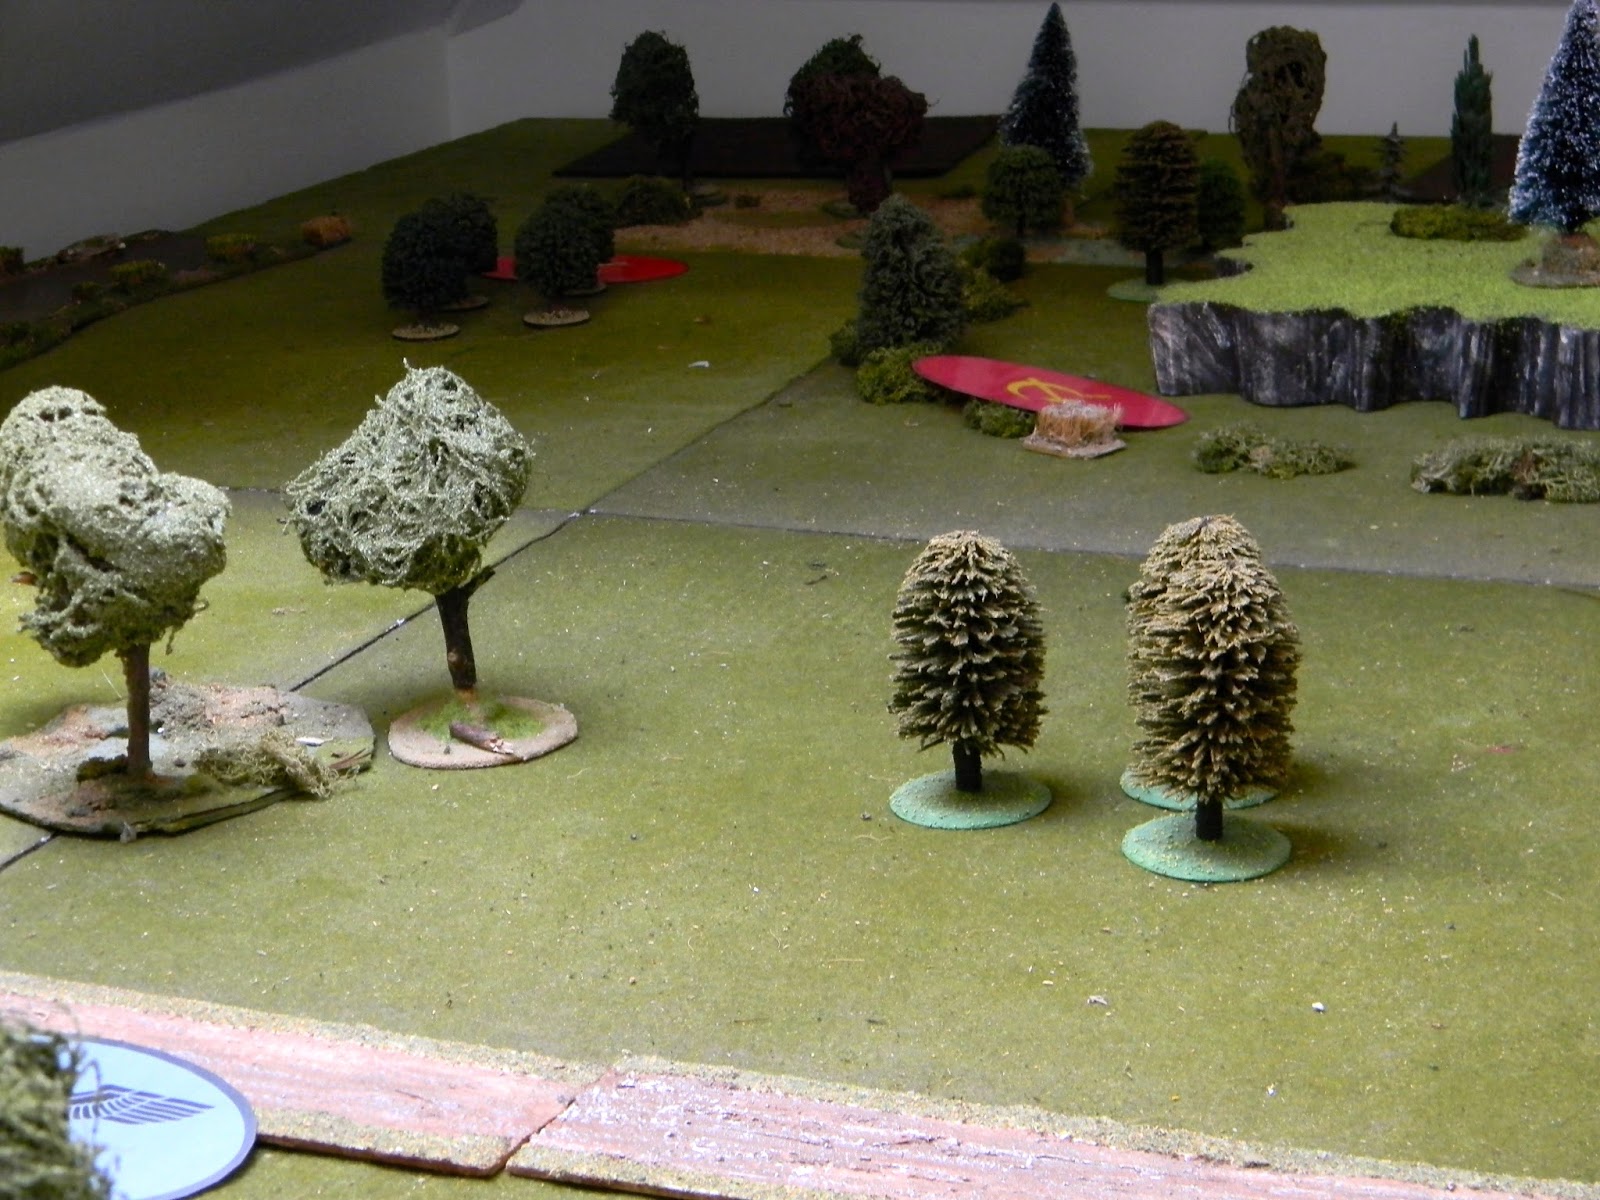
The Soviet company commander, carefully examining the German positions with his binoculars, determined the location of their troops and concluded that the Germans had prepared good positions around the settlement, therefore limiting his ability to effect a lightning breakthrough. They had also placed an artillery battery on a small hill, supporting their infantry, and designed to repulse any attacking armour at long range.
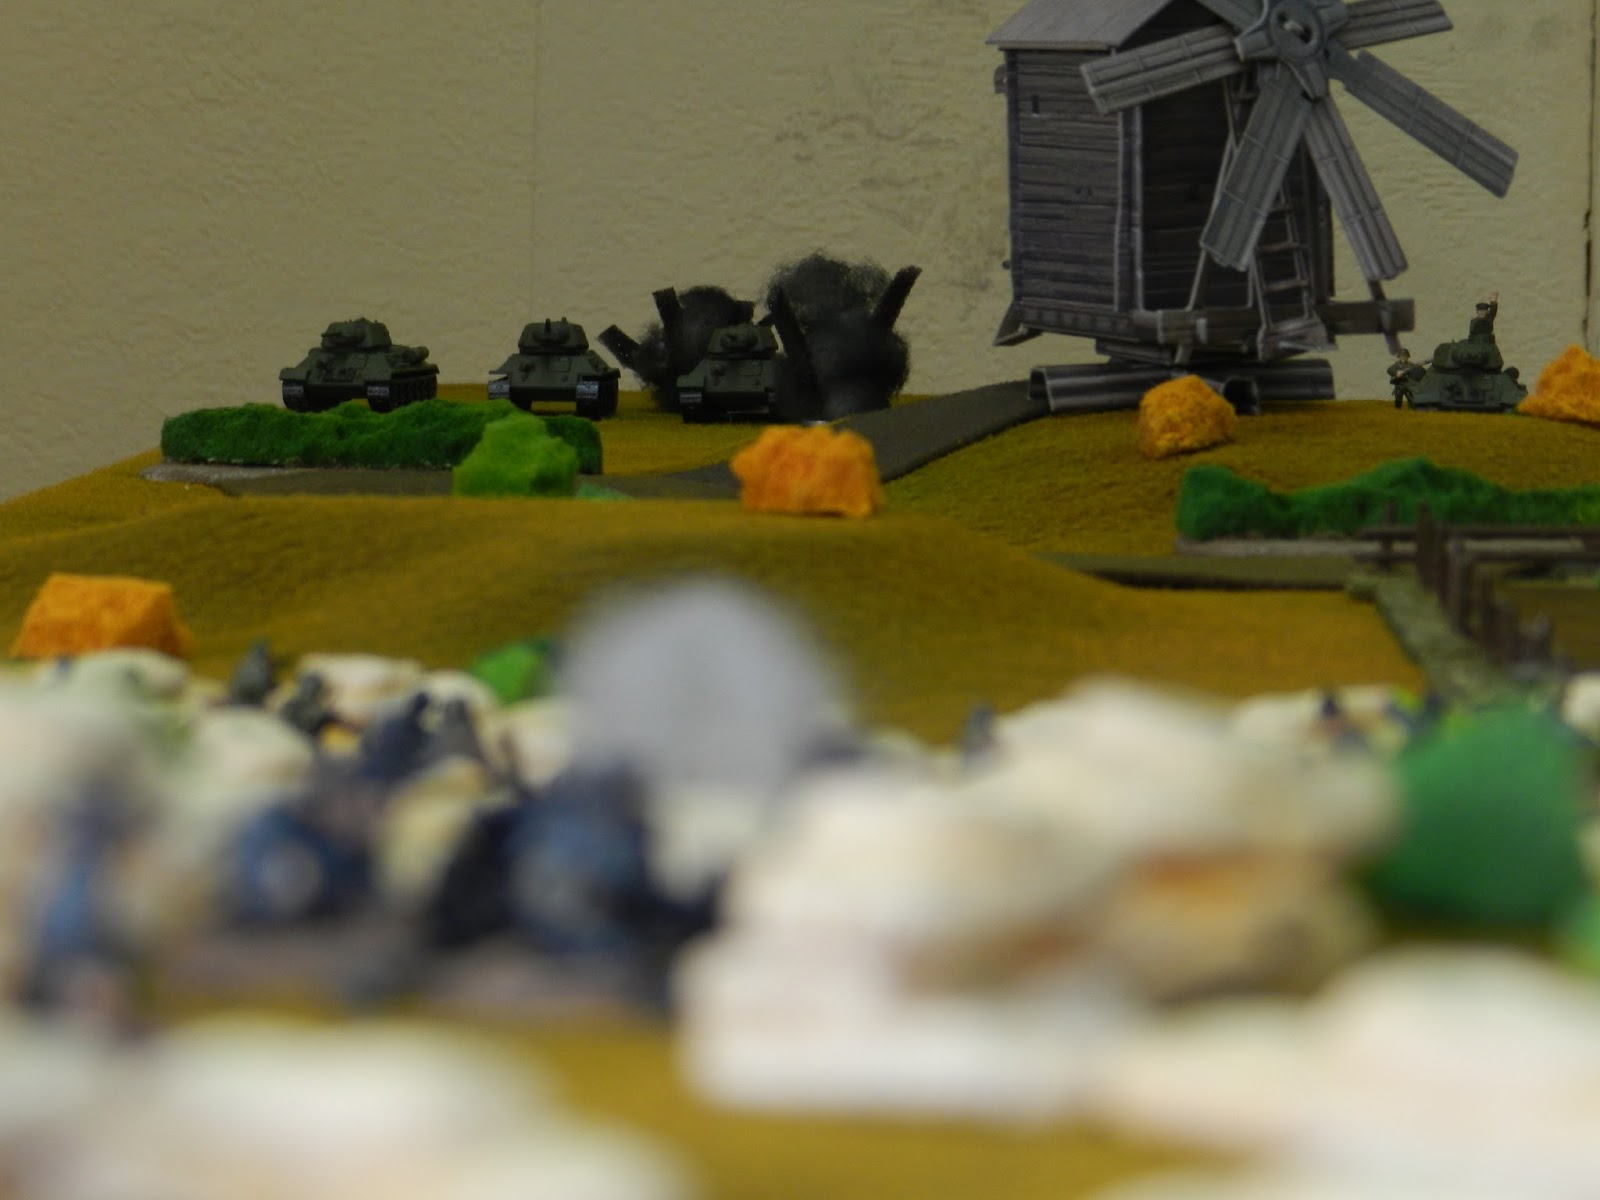
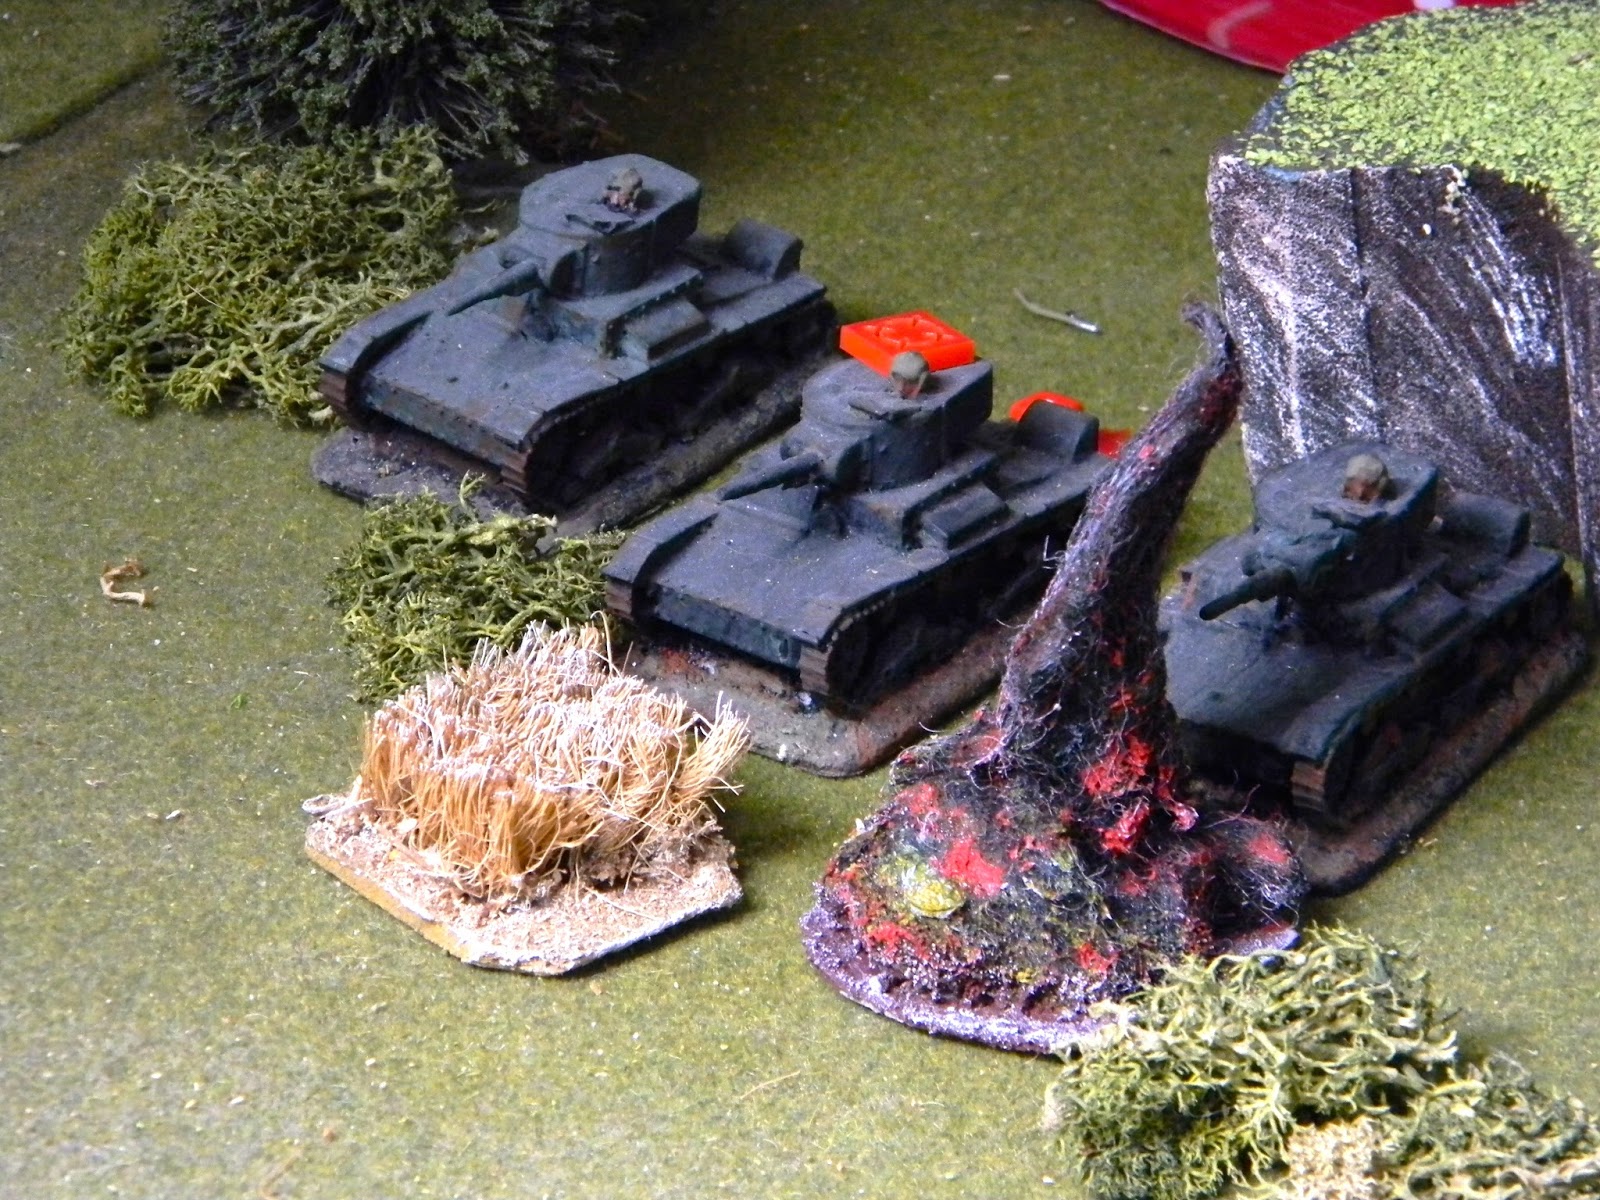
On the other side of the village, there was what looked like a reserve of German tanks, doubtless to be used in support of their infantry or to launch a counter-attack.
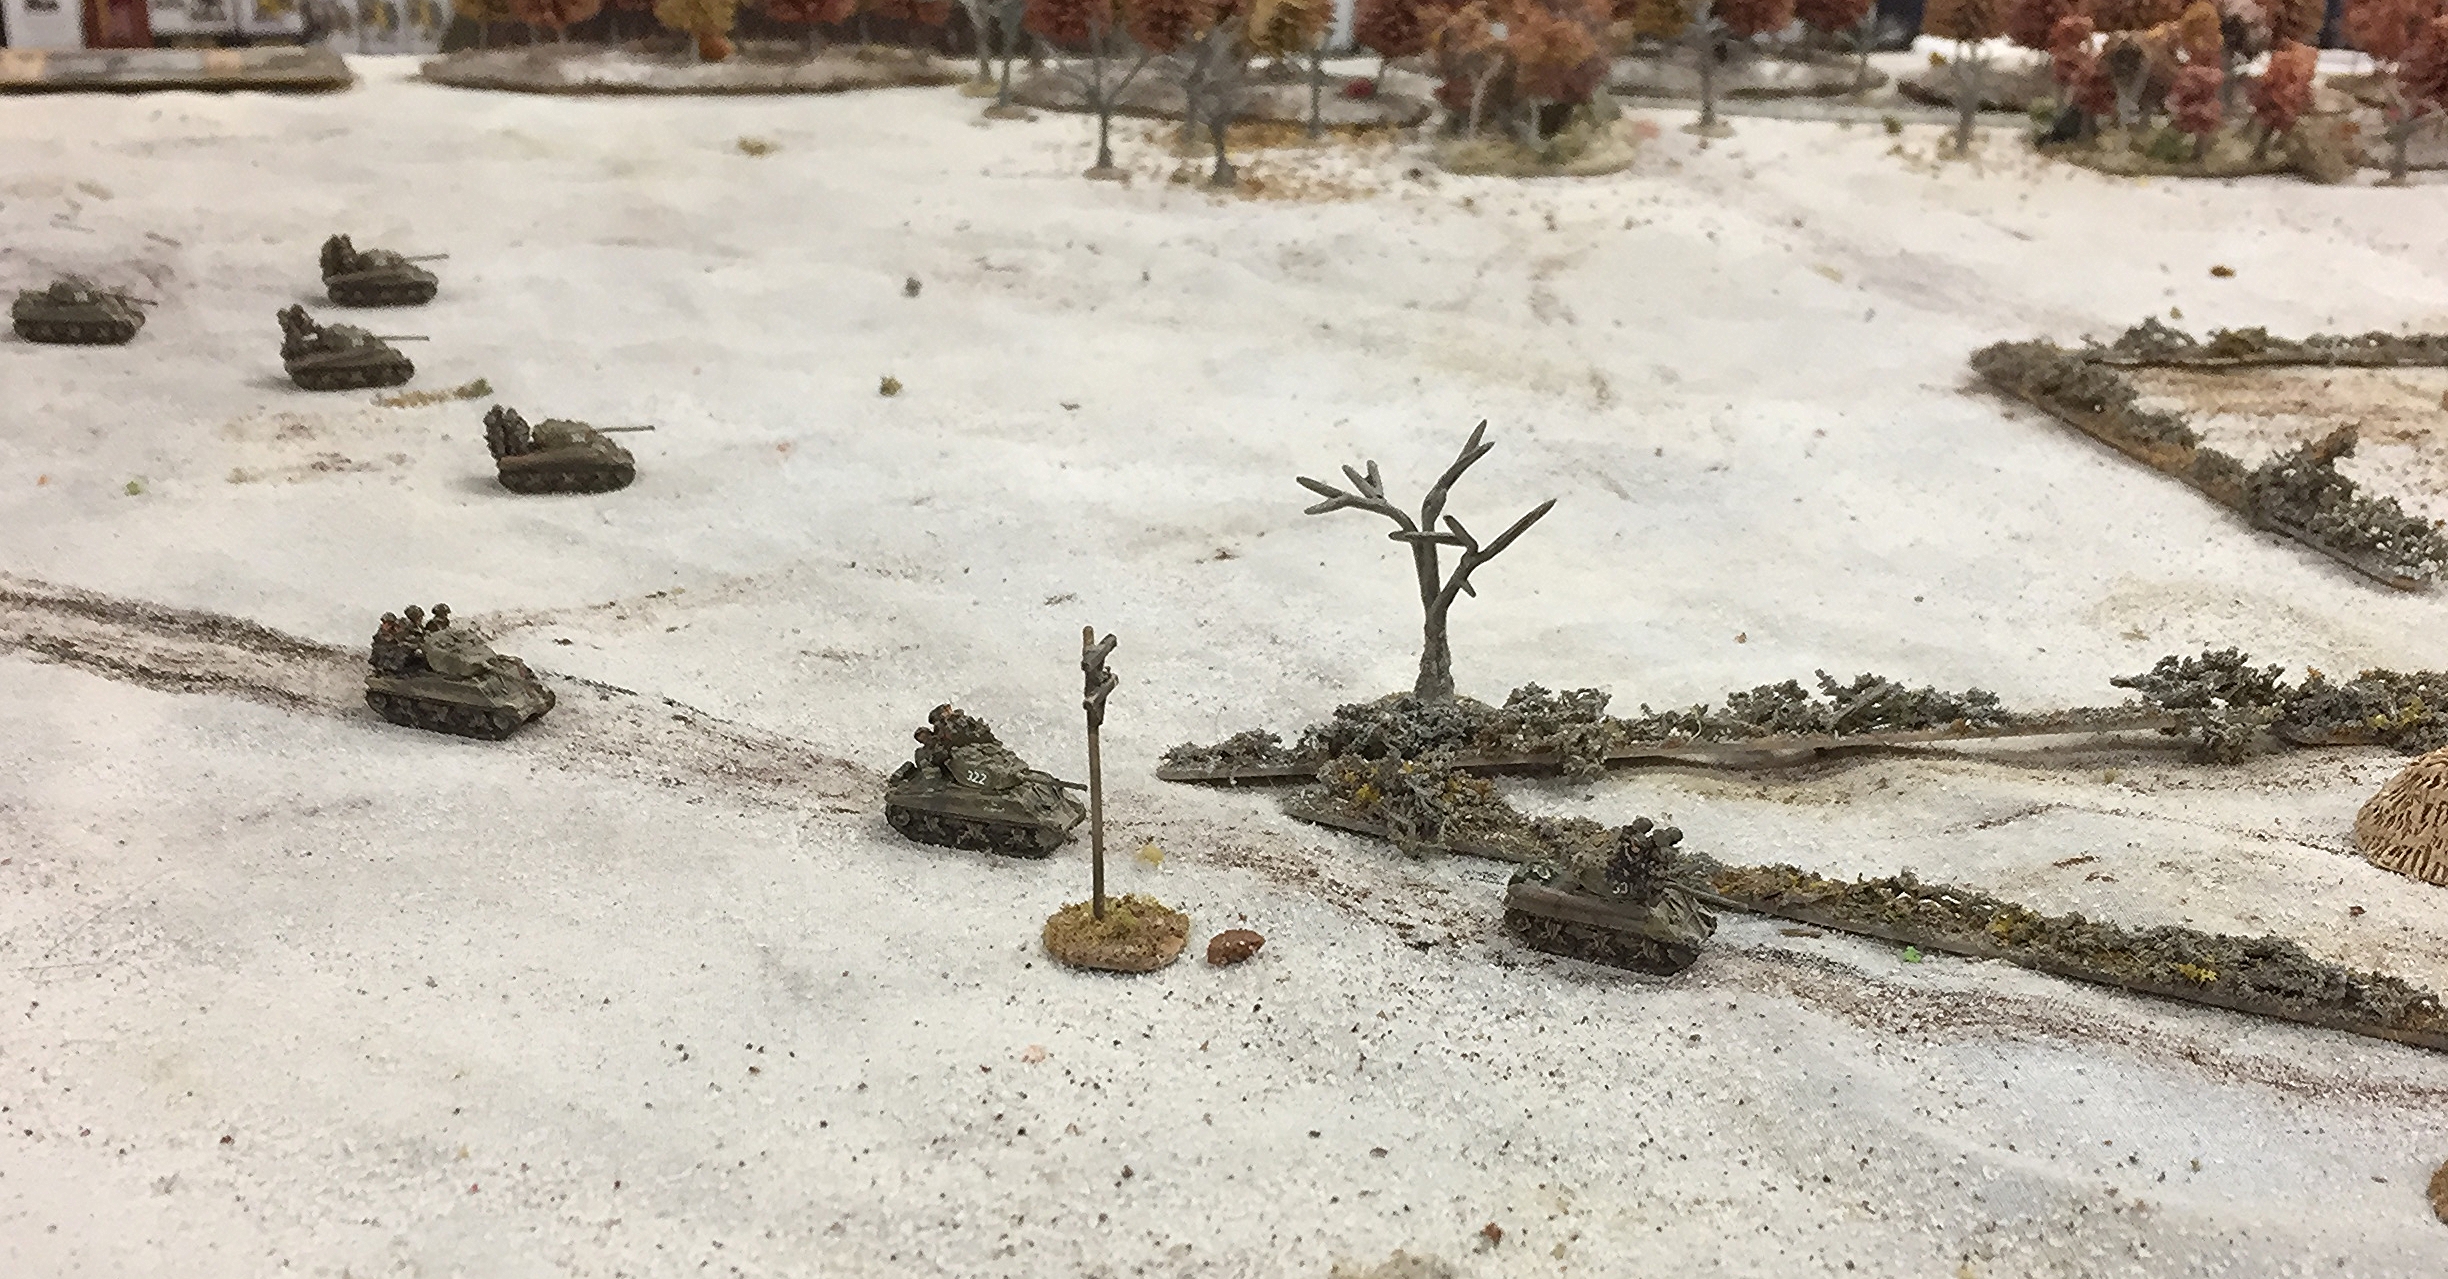
Without losing a moment, Soviet troops moved towards the enemy.
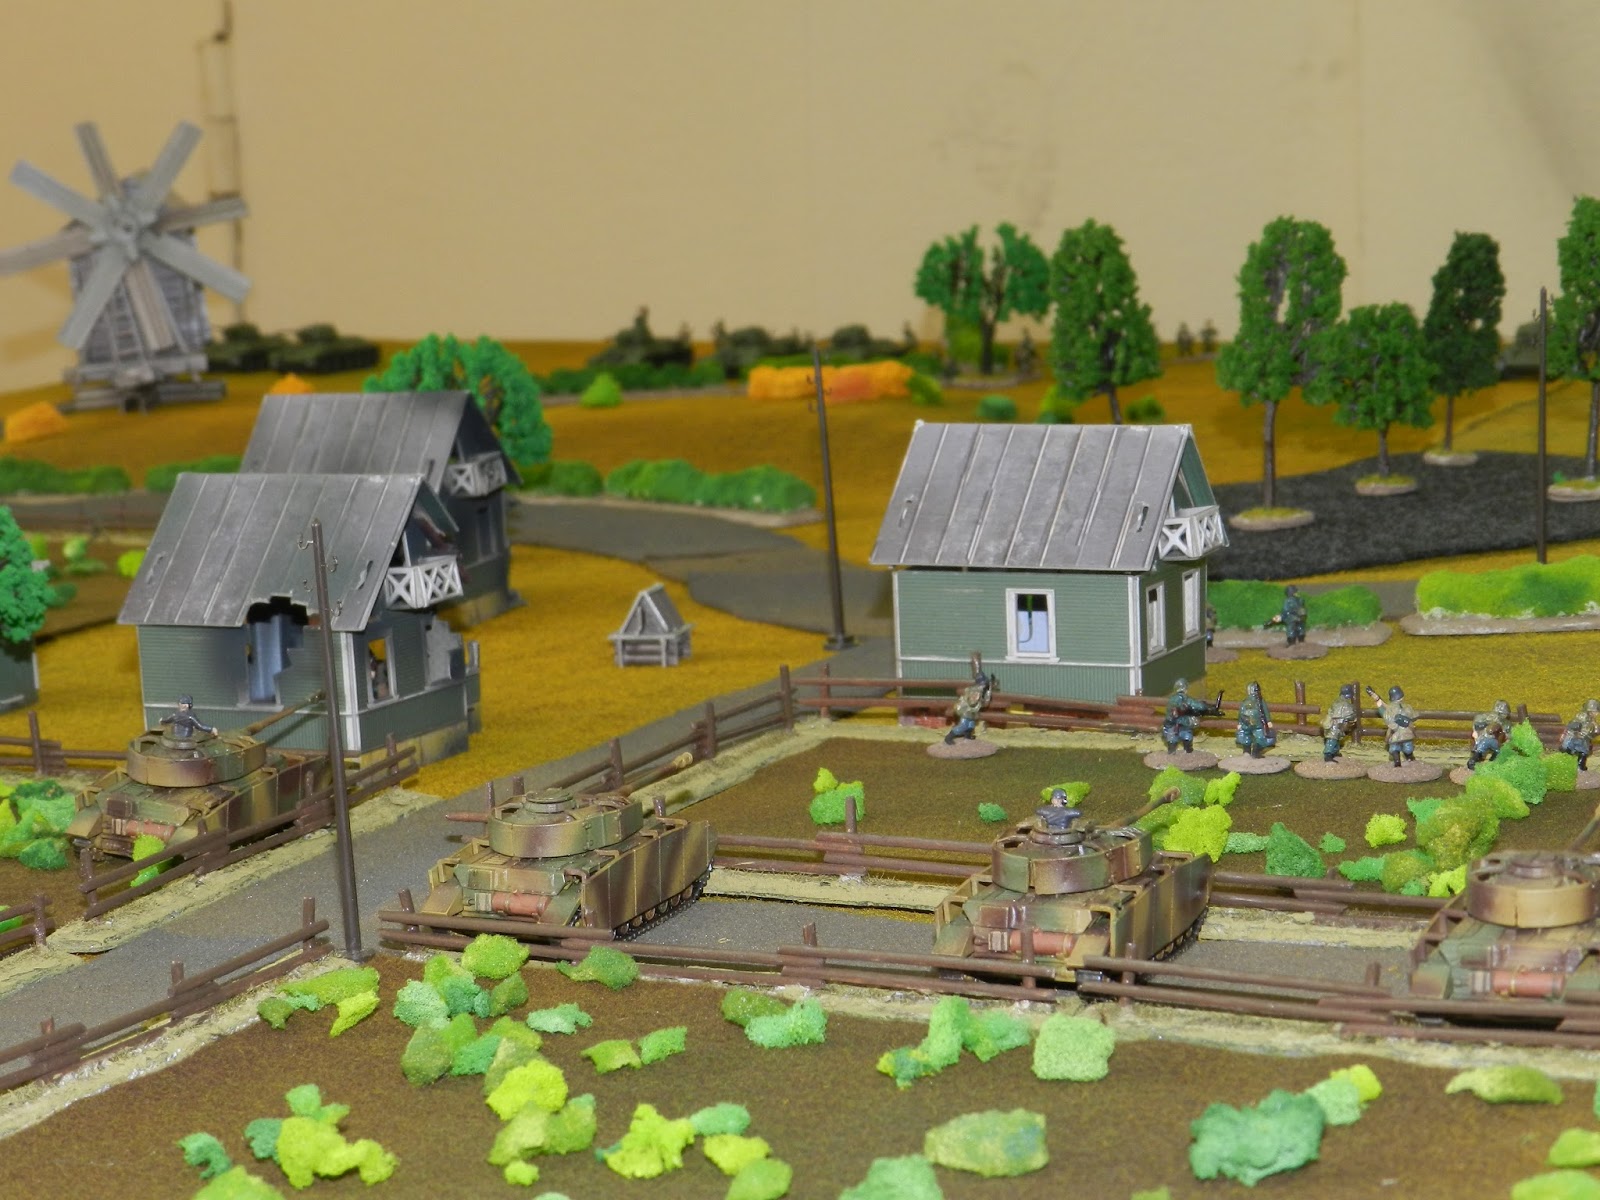
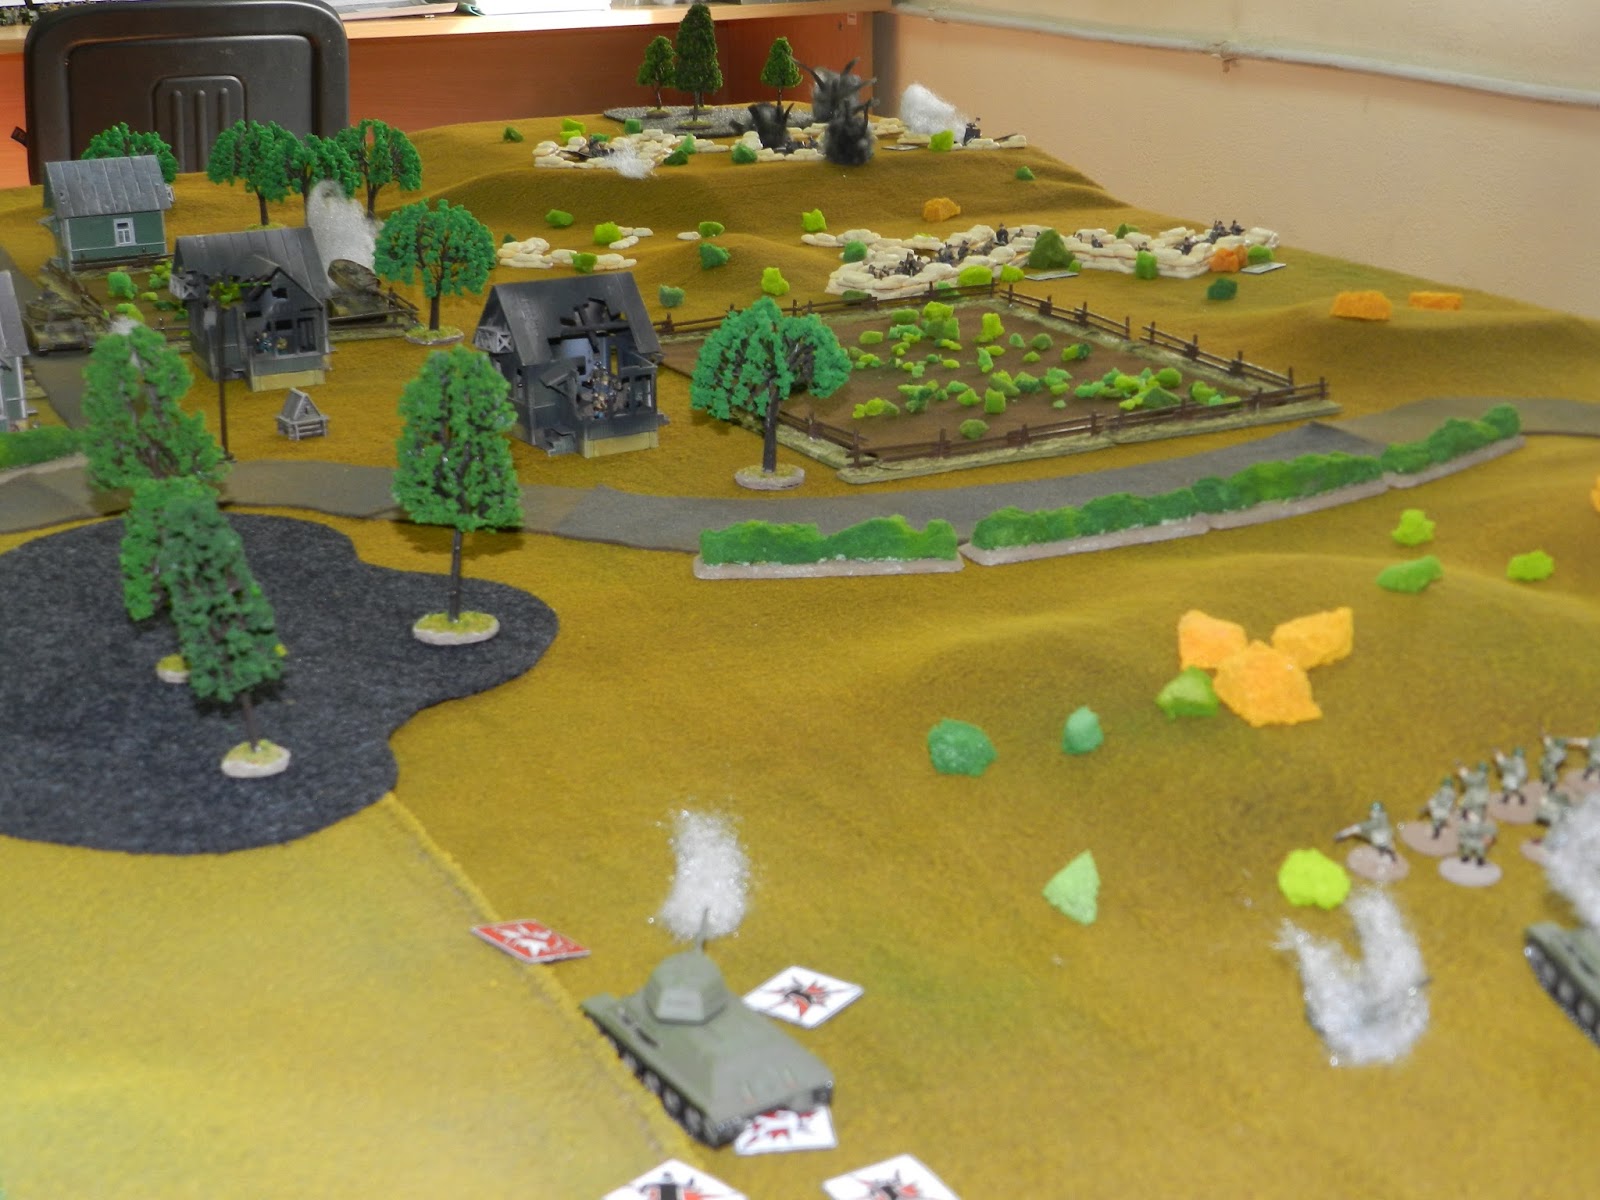
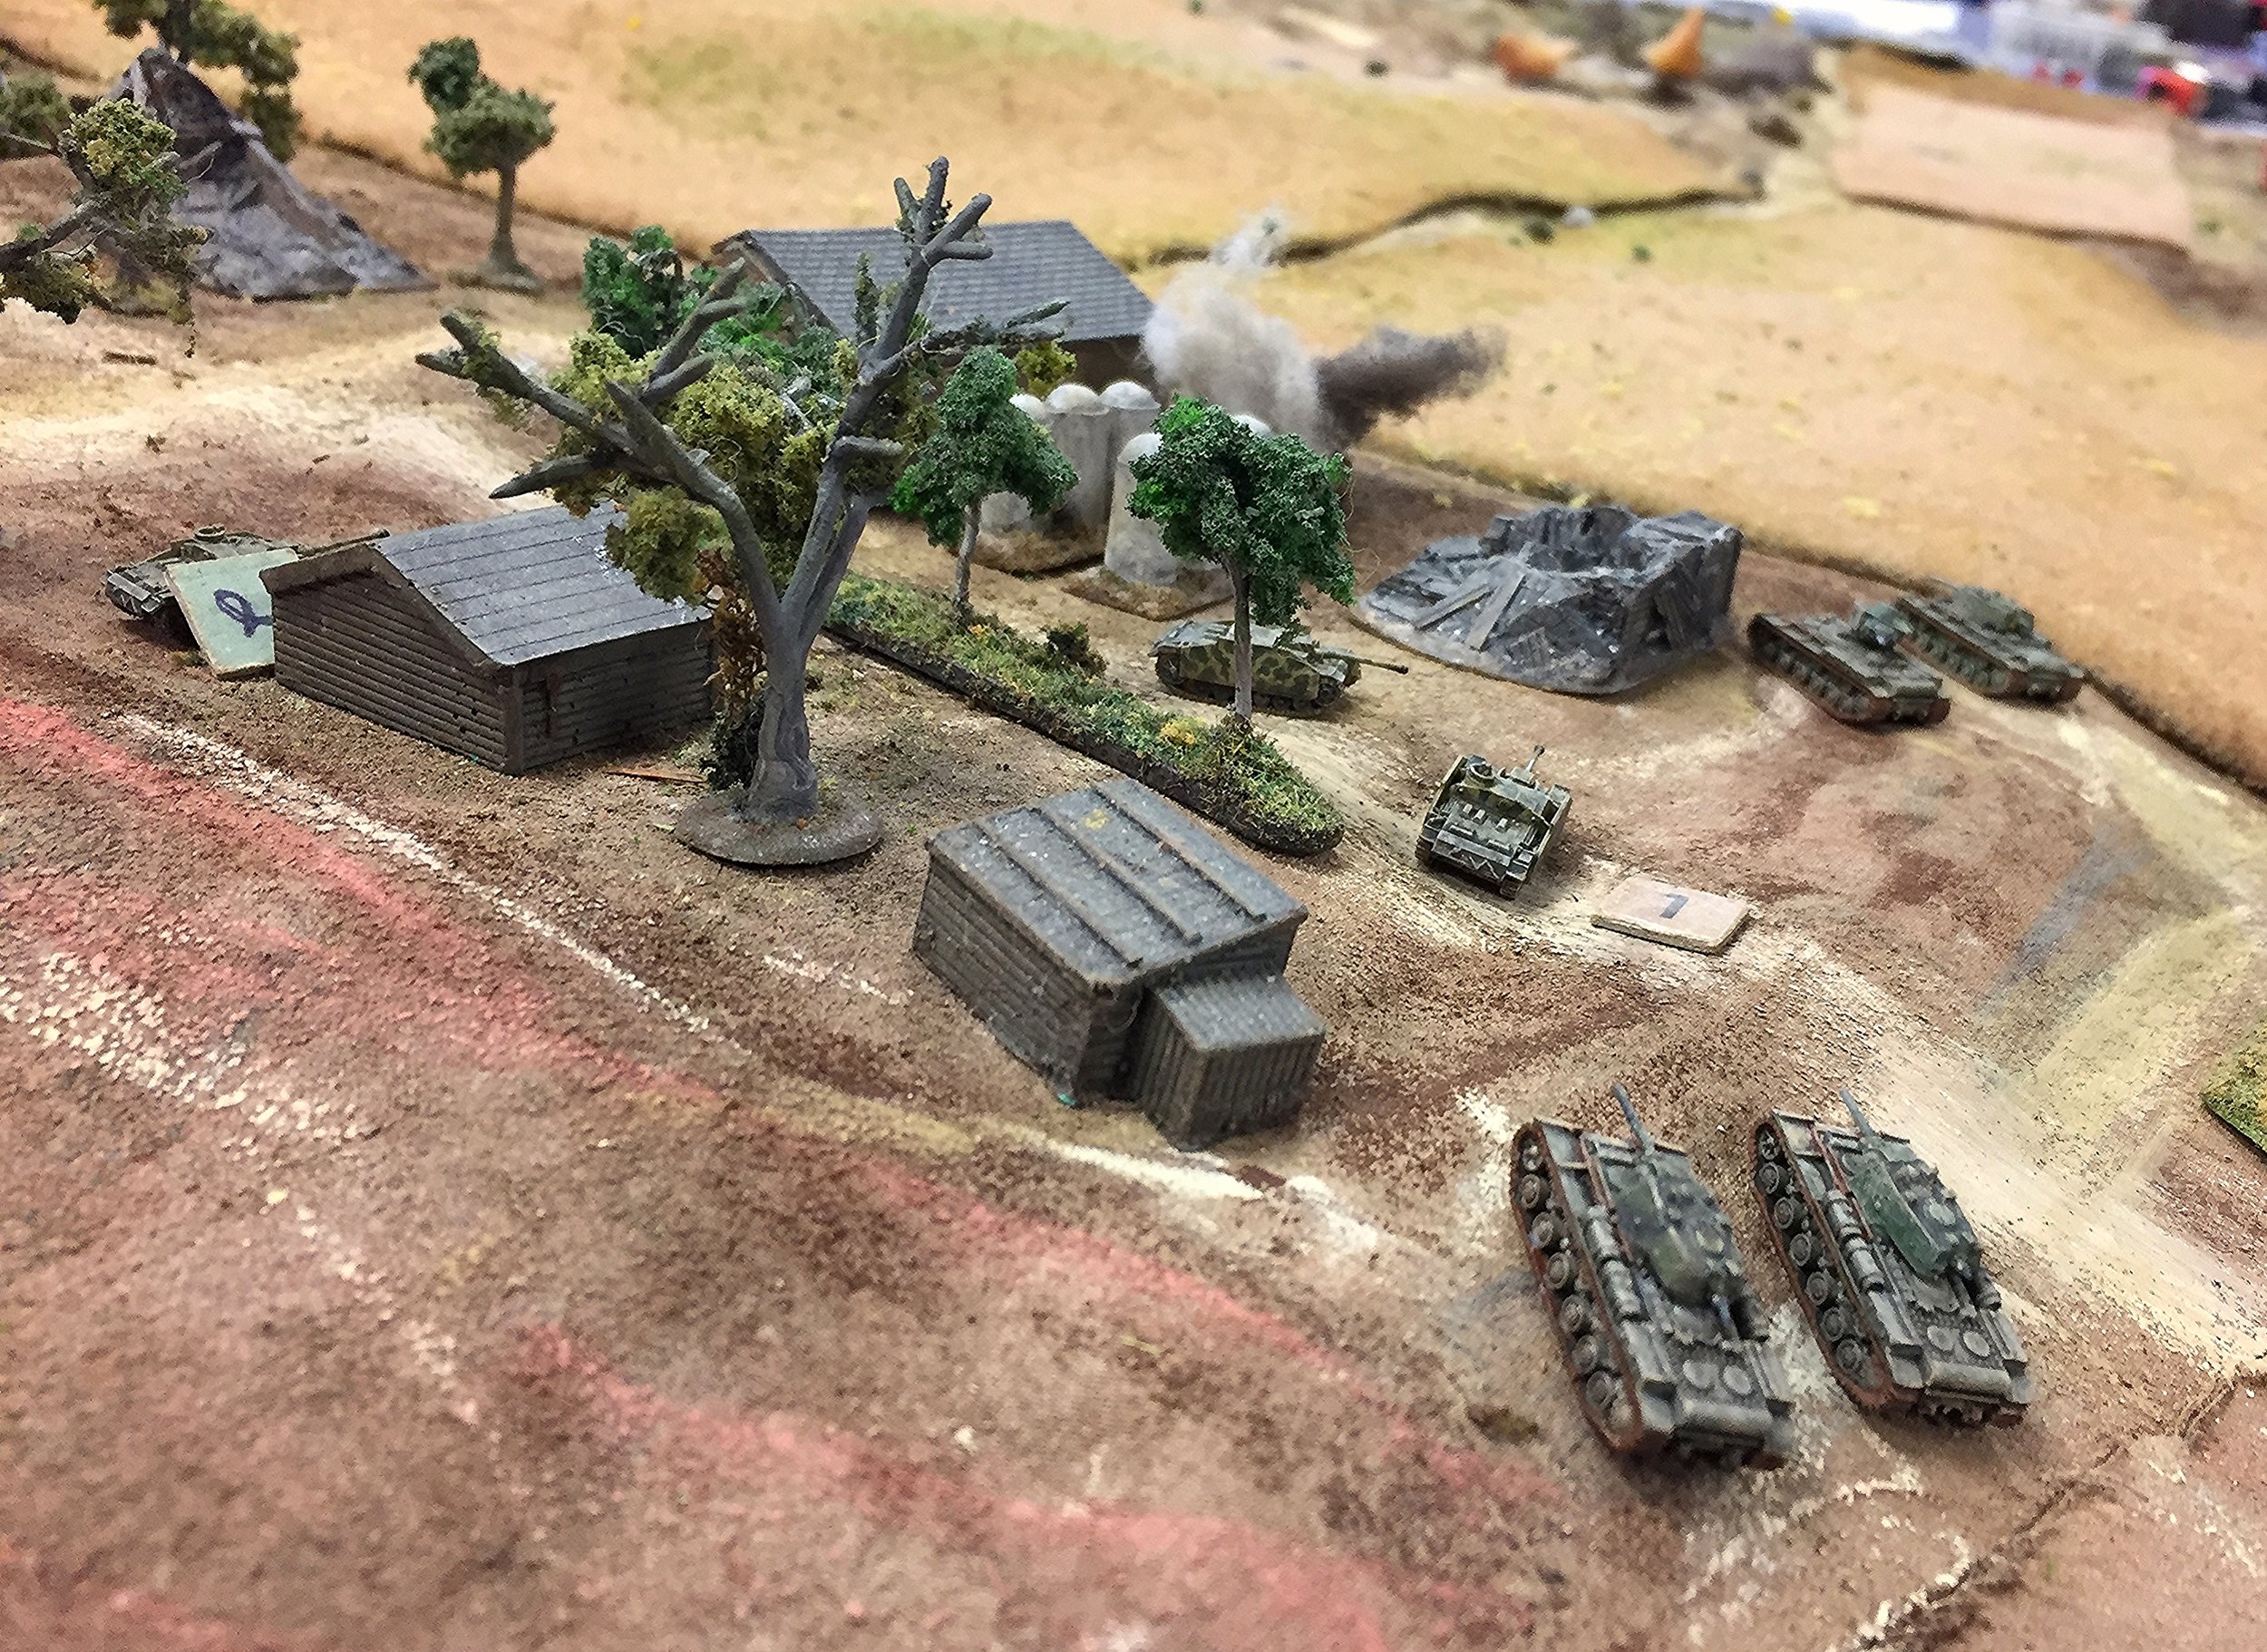
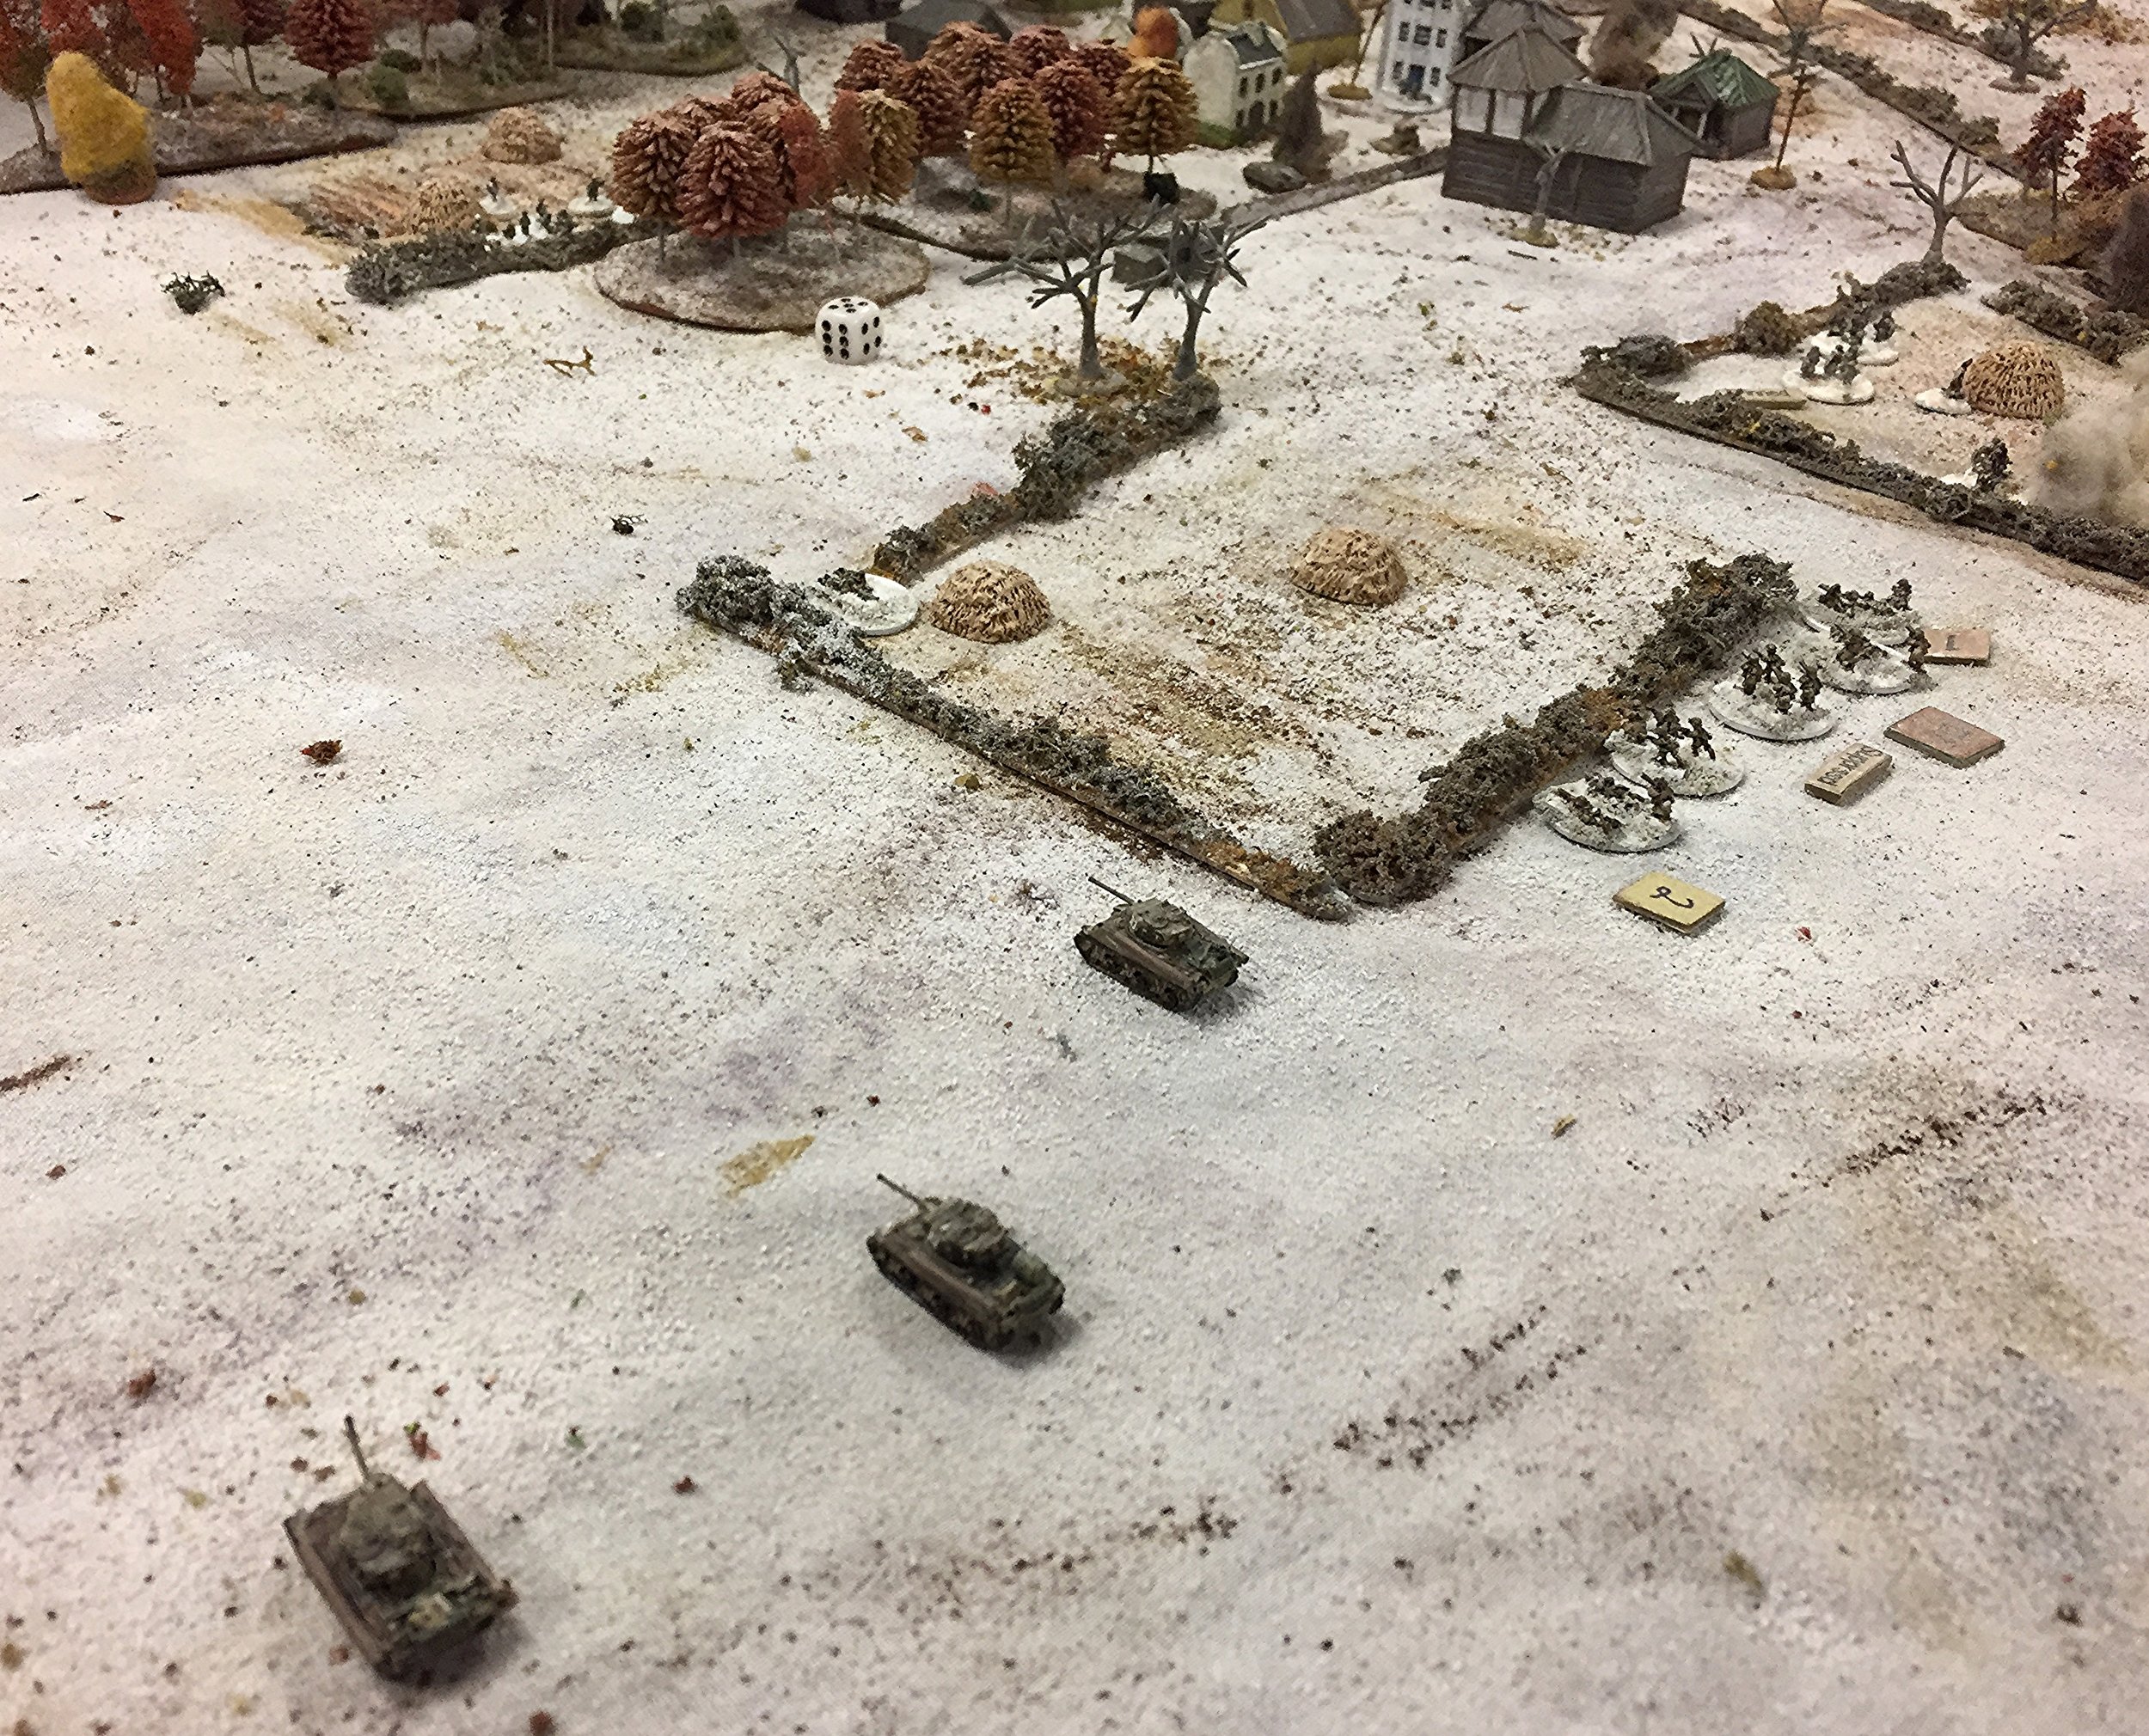
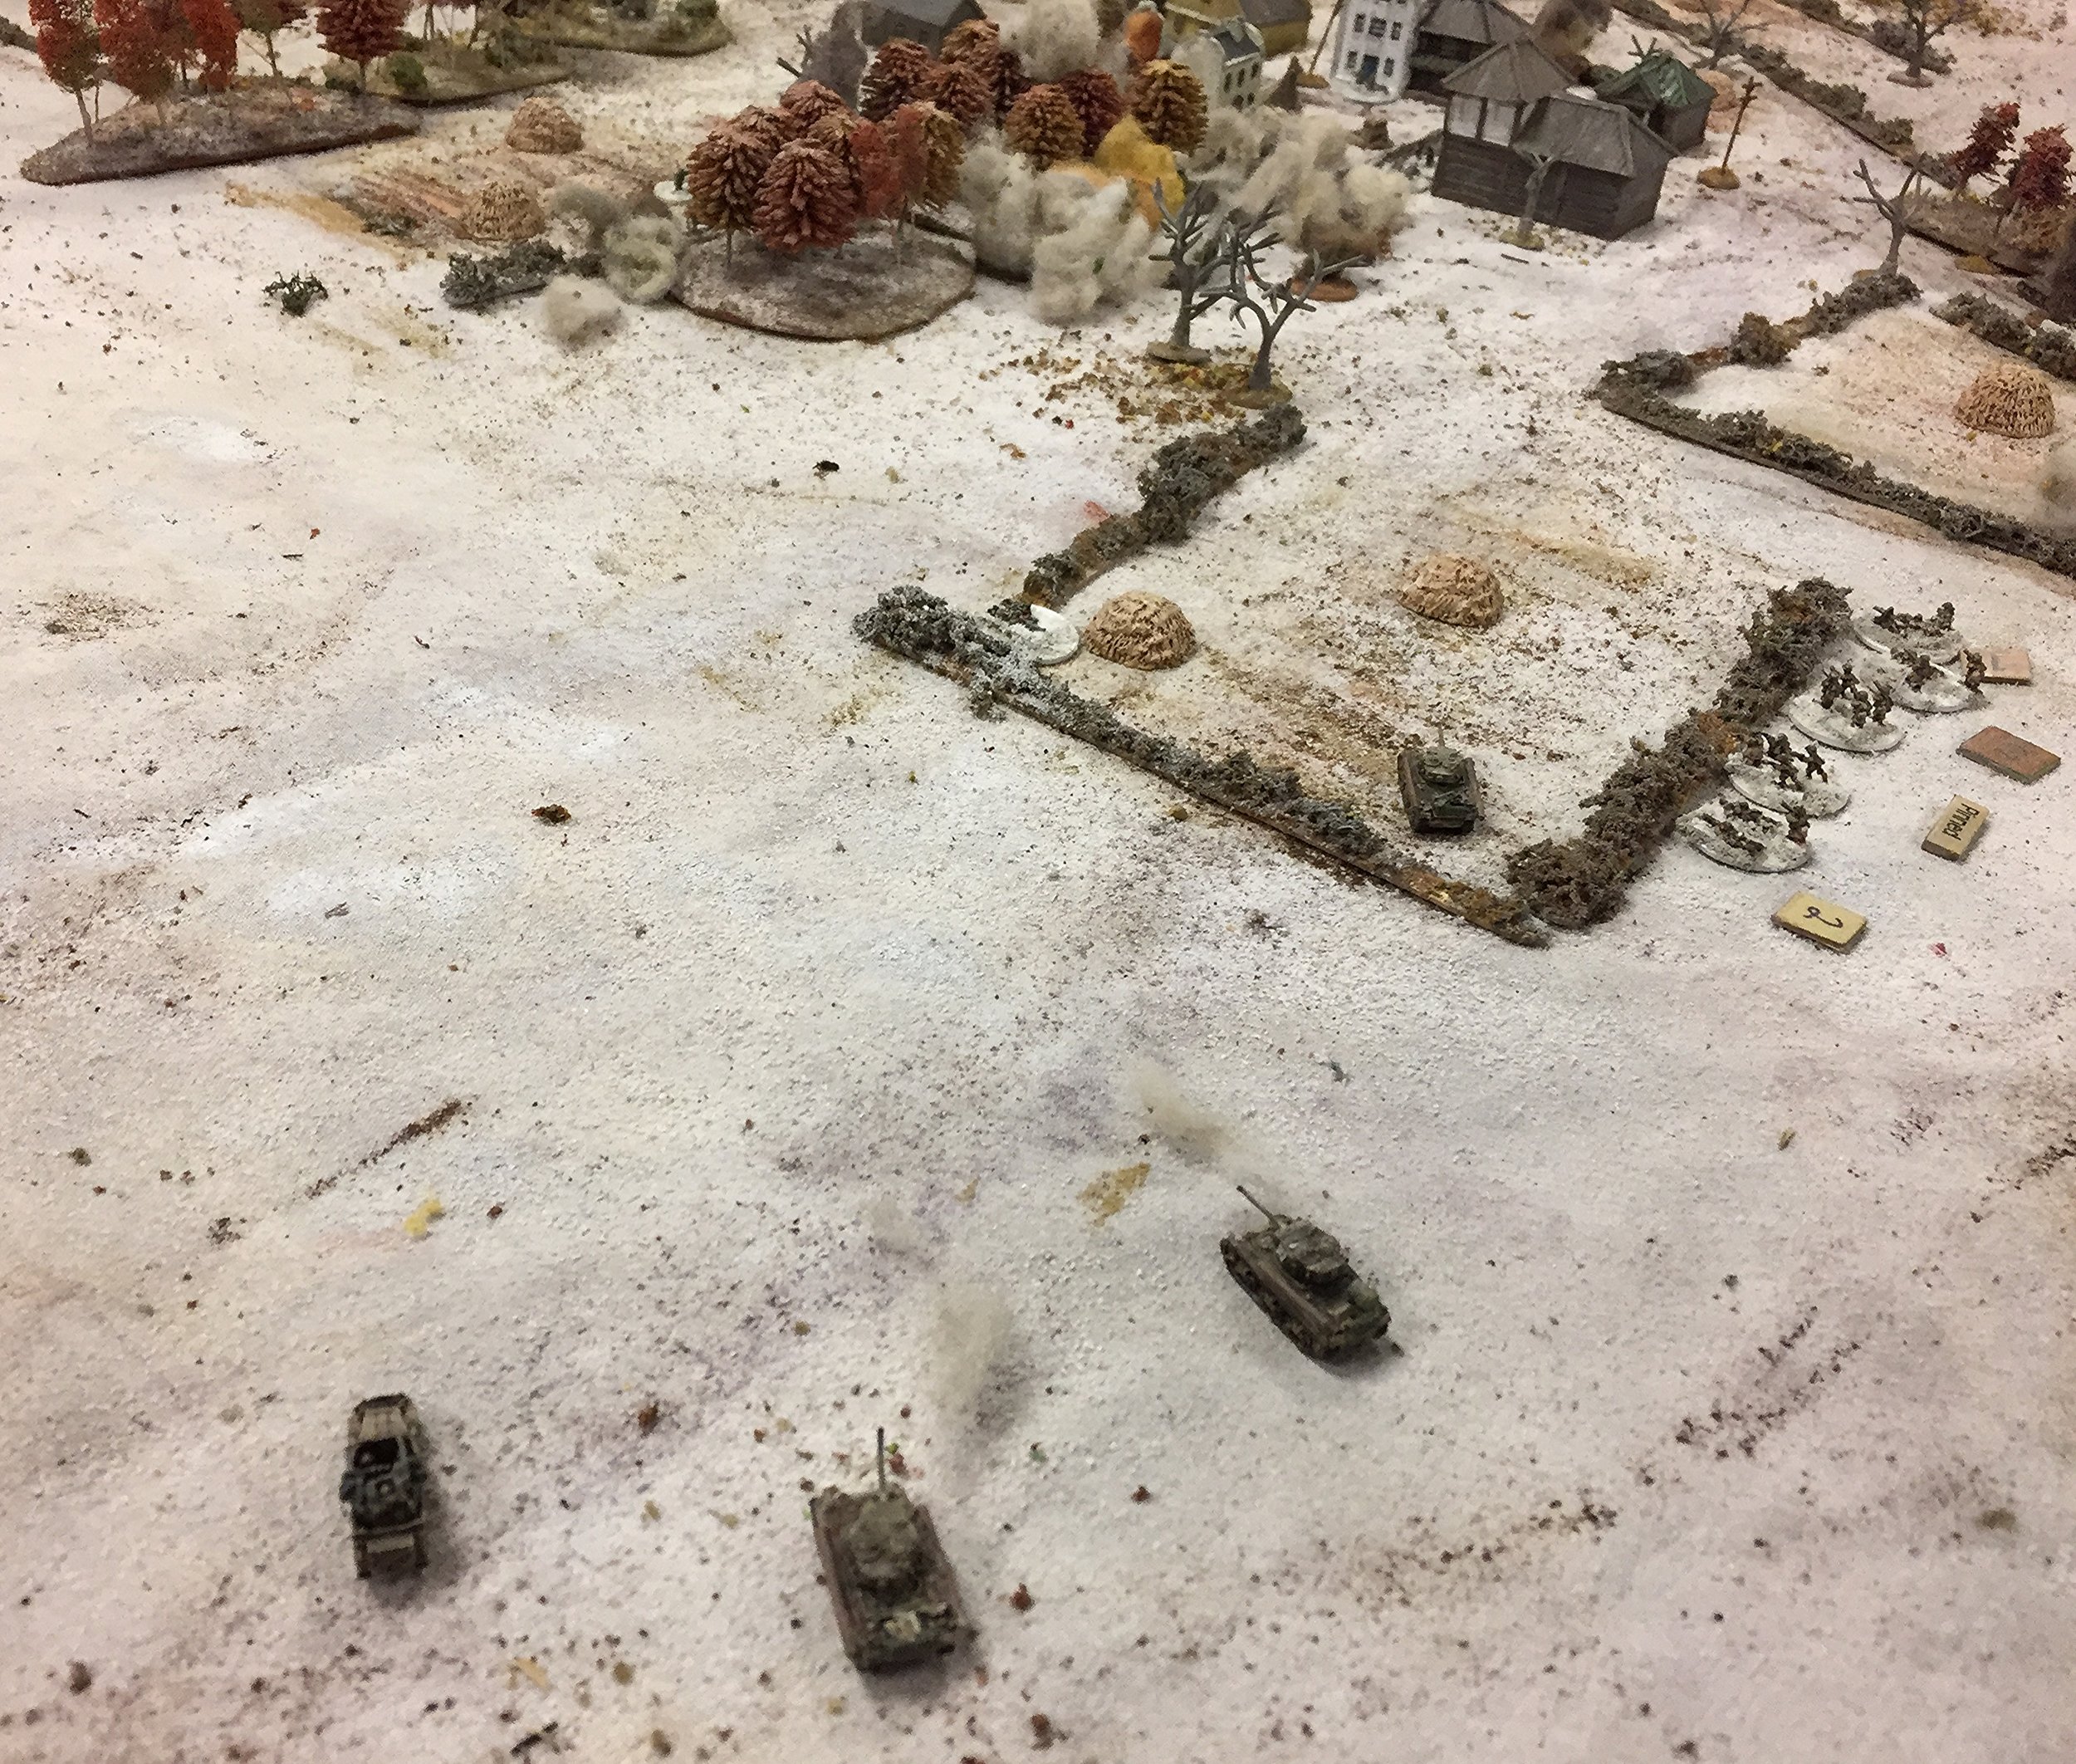
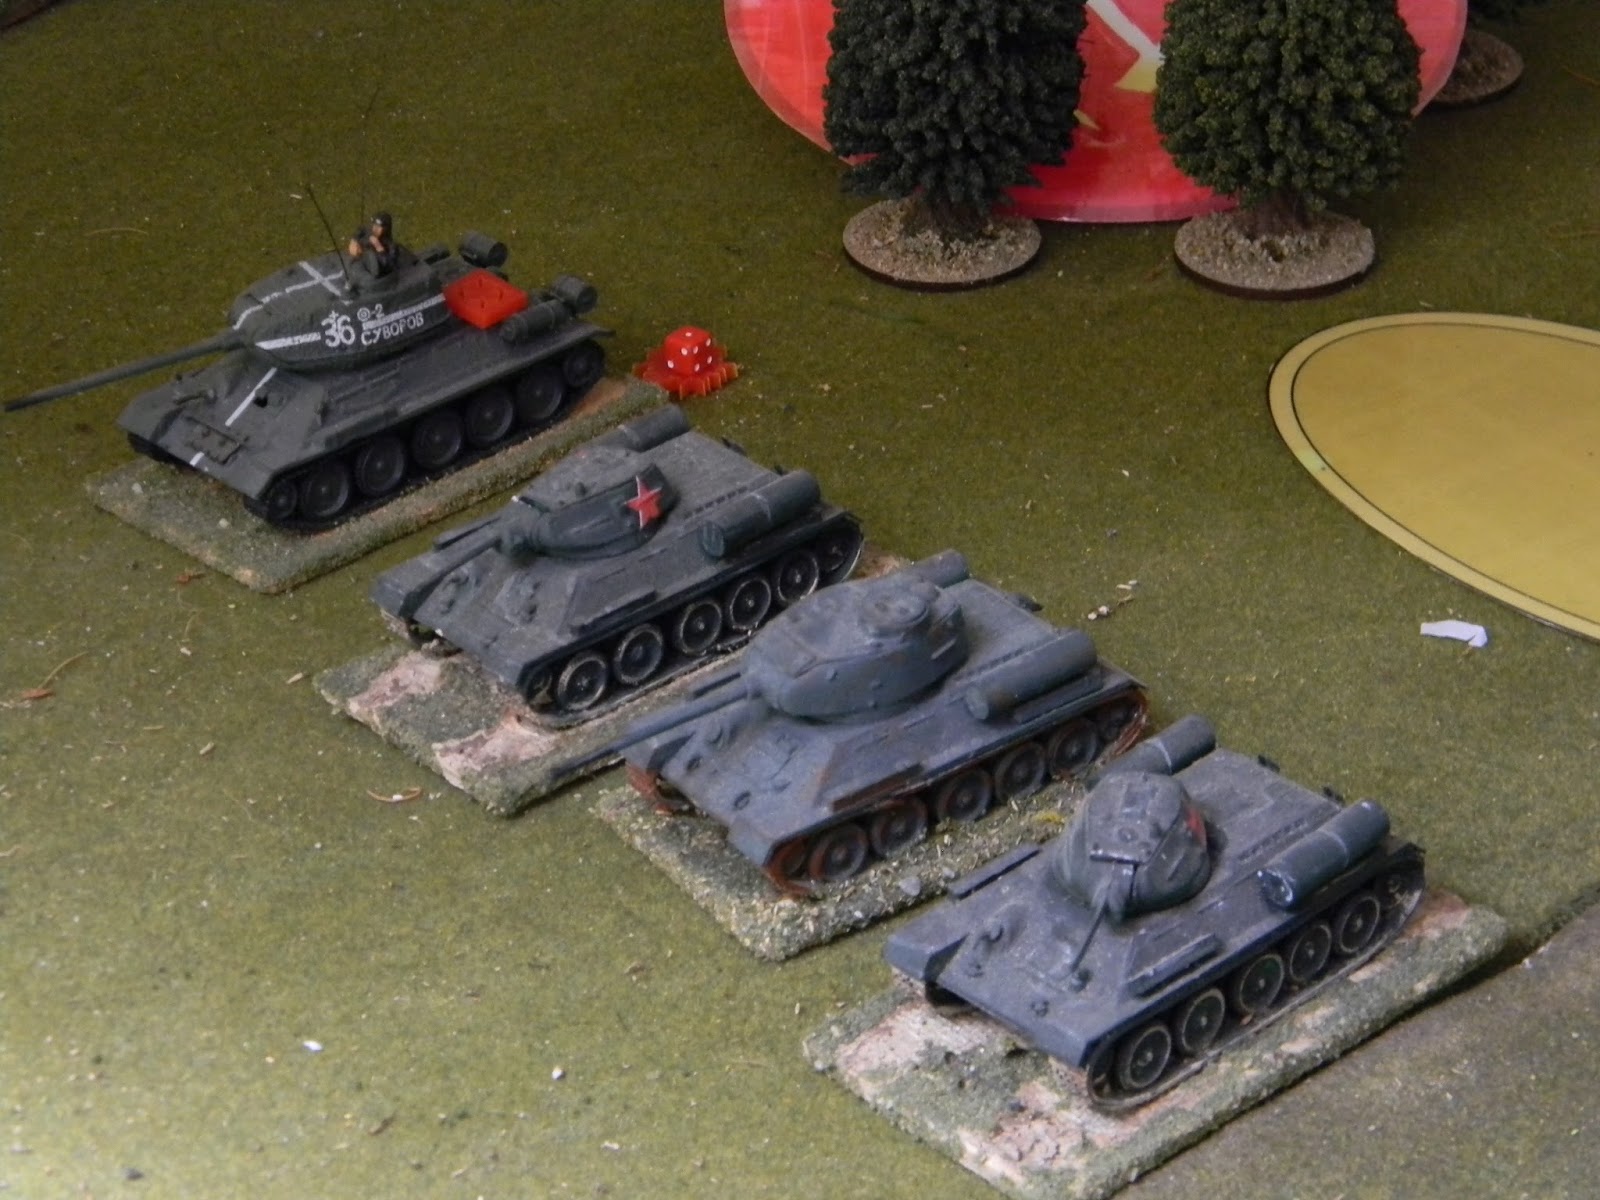
The Soviet tanks advanced to the edge of the village, followed by a line of infantry. Meanwhile, Maxim machine guns fired into the German trenches from the flanks.
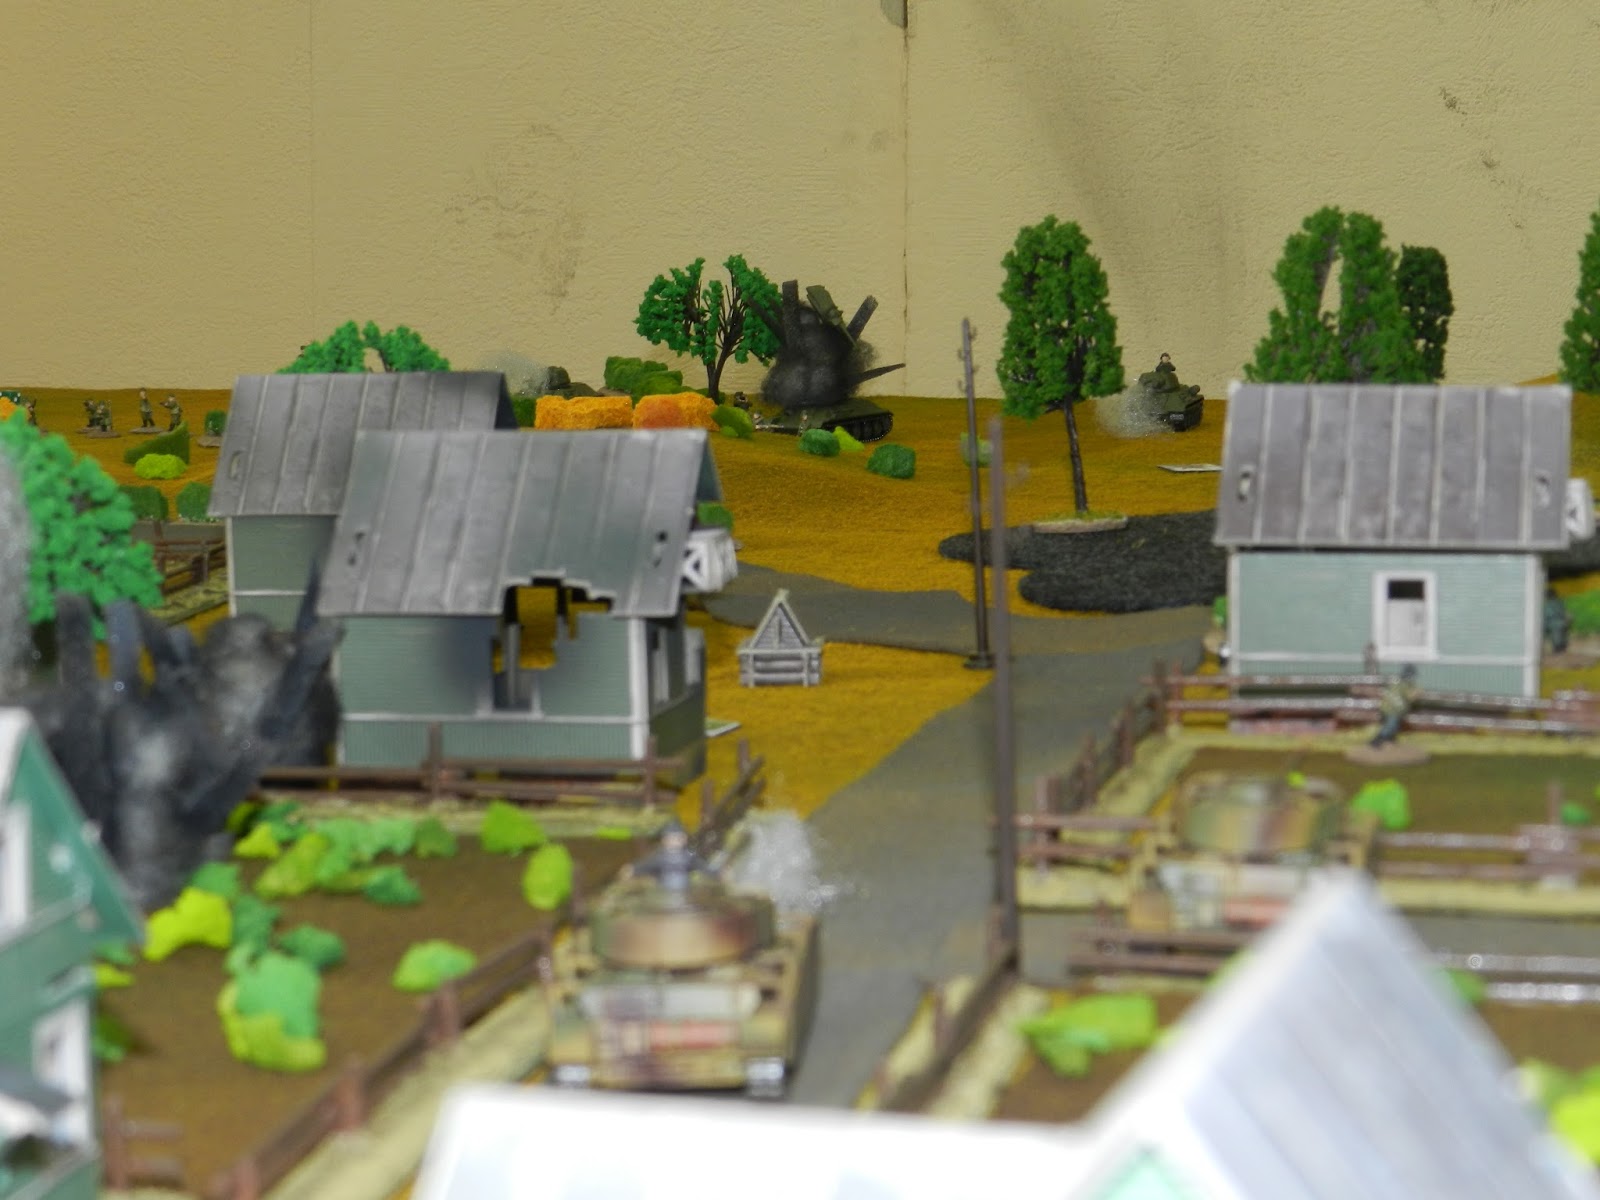
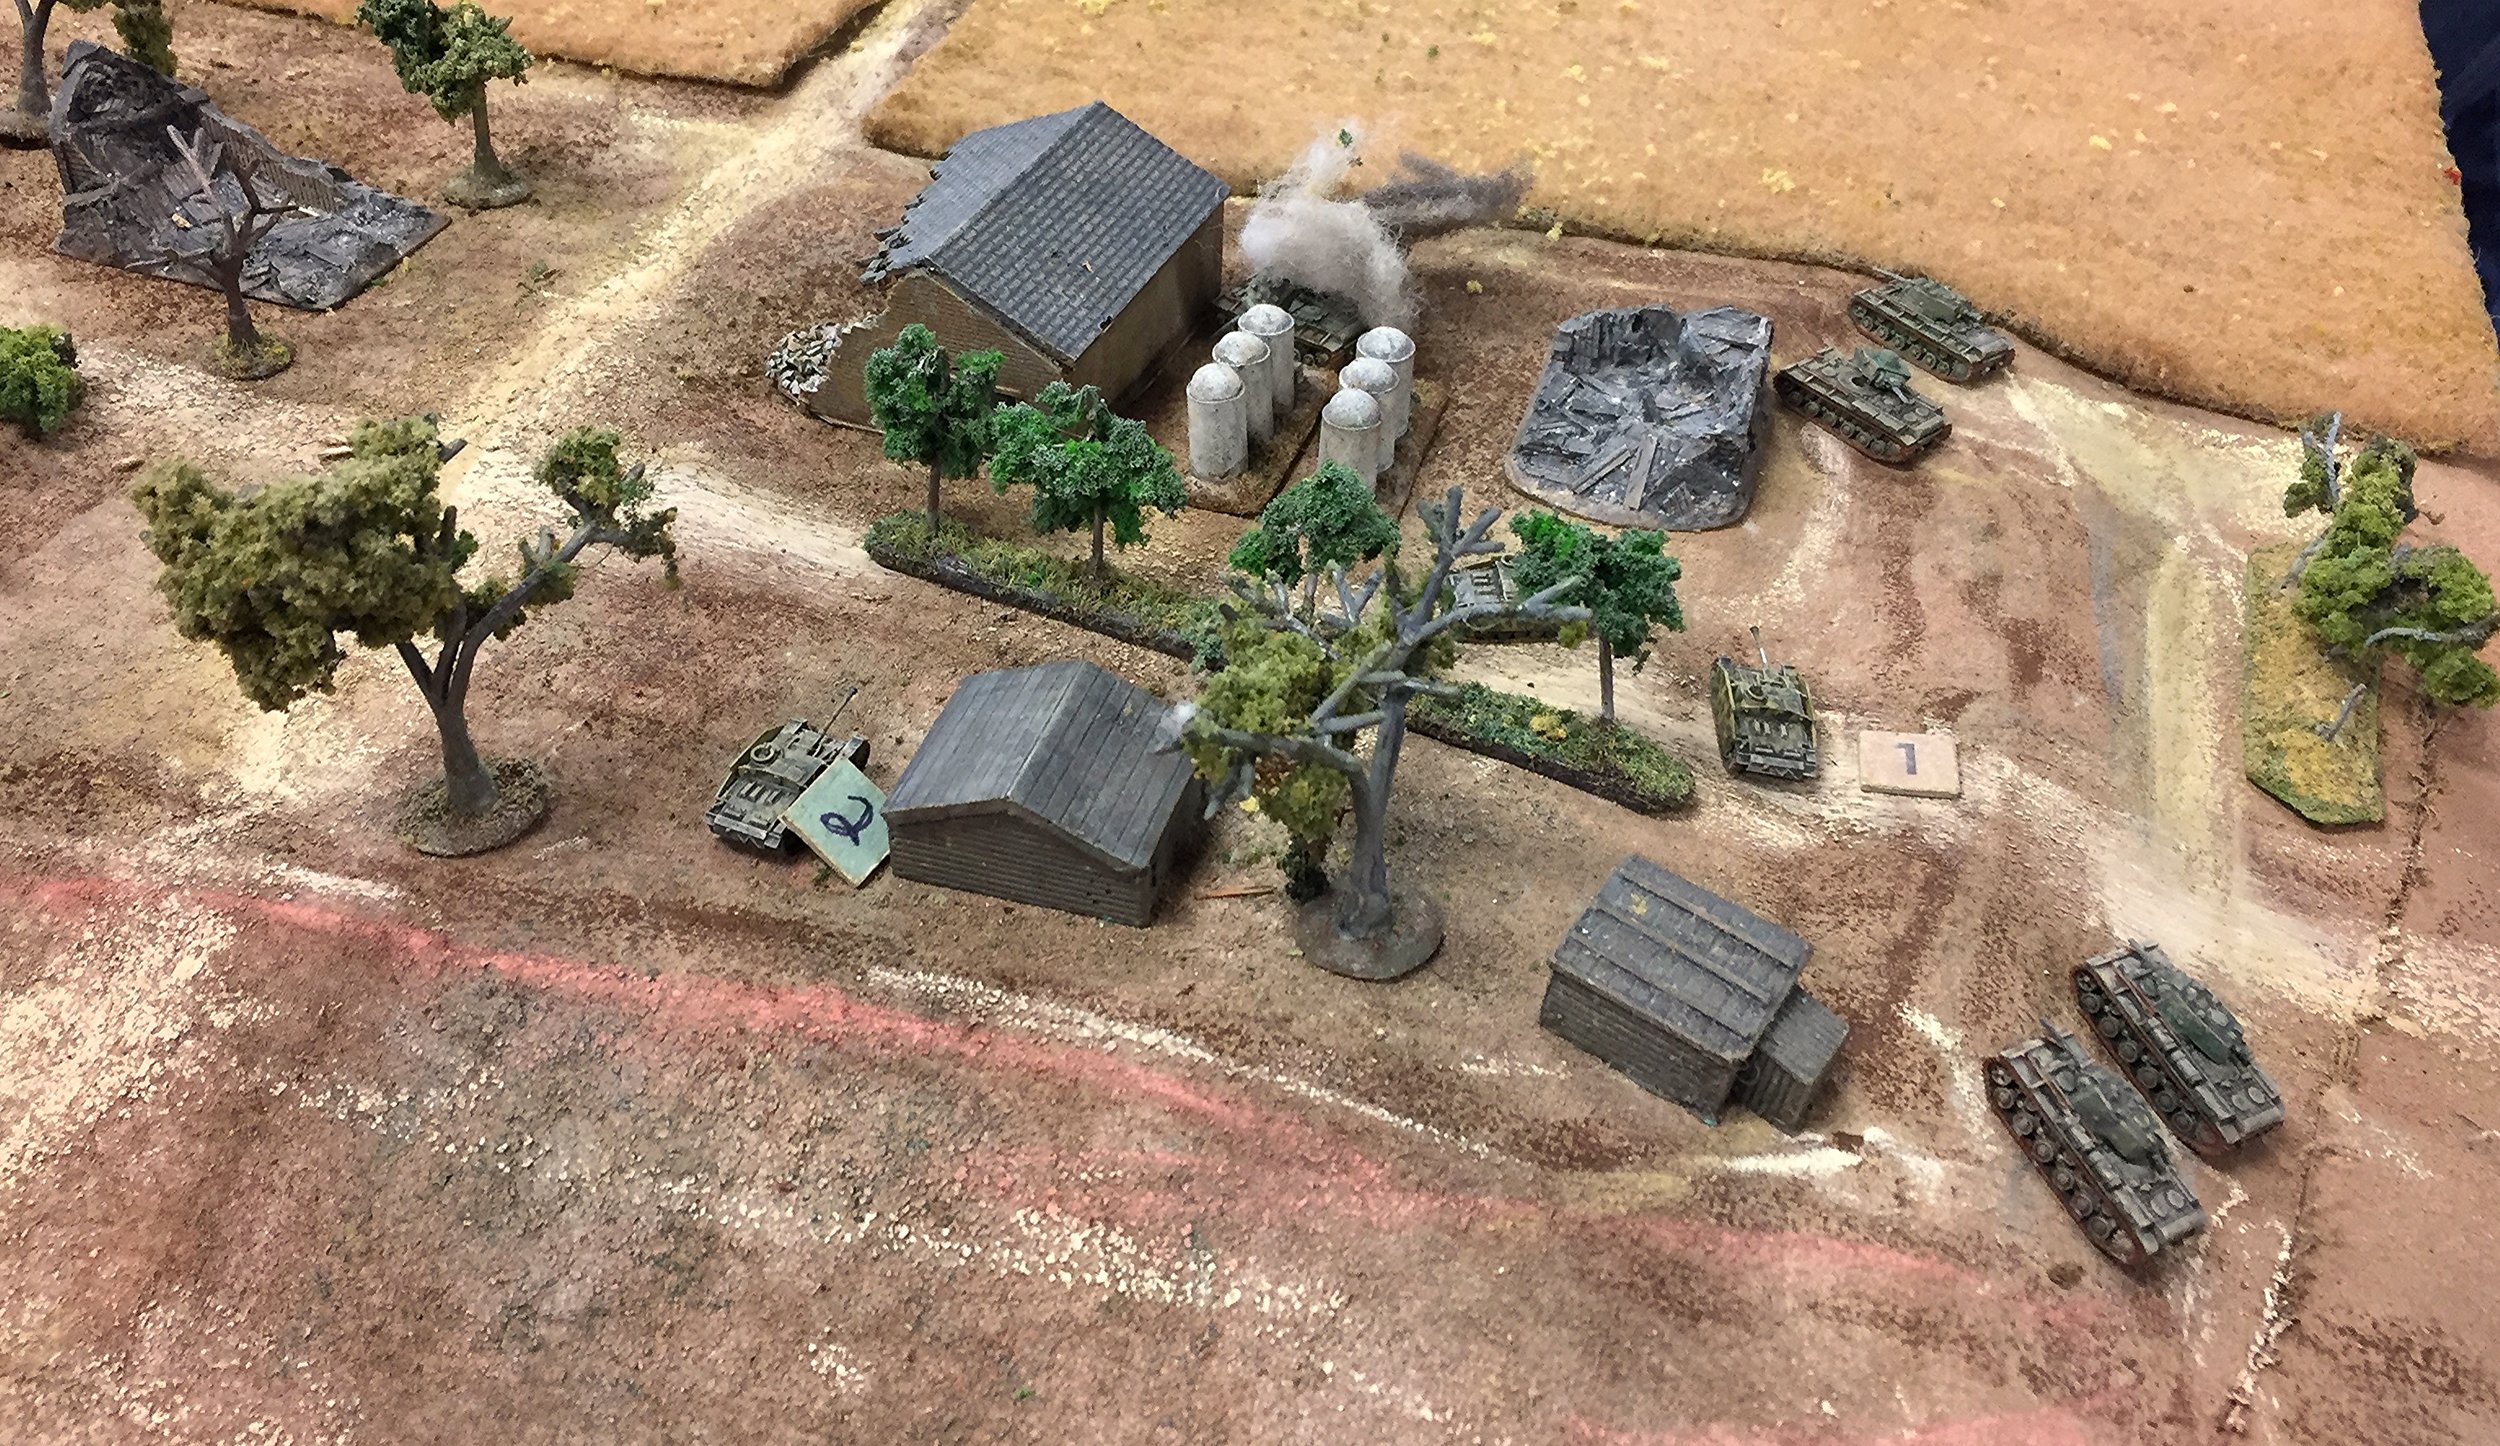
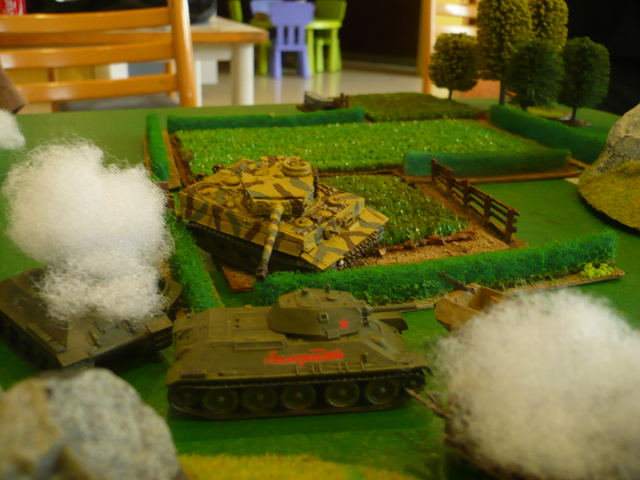
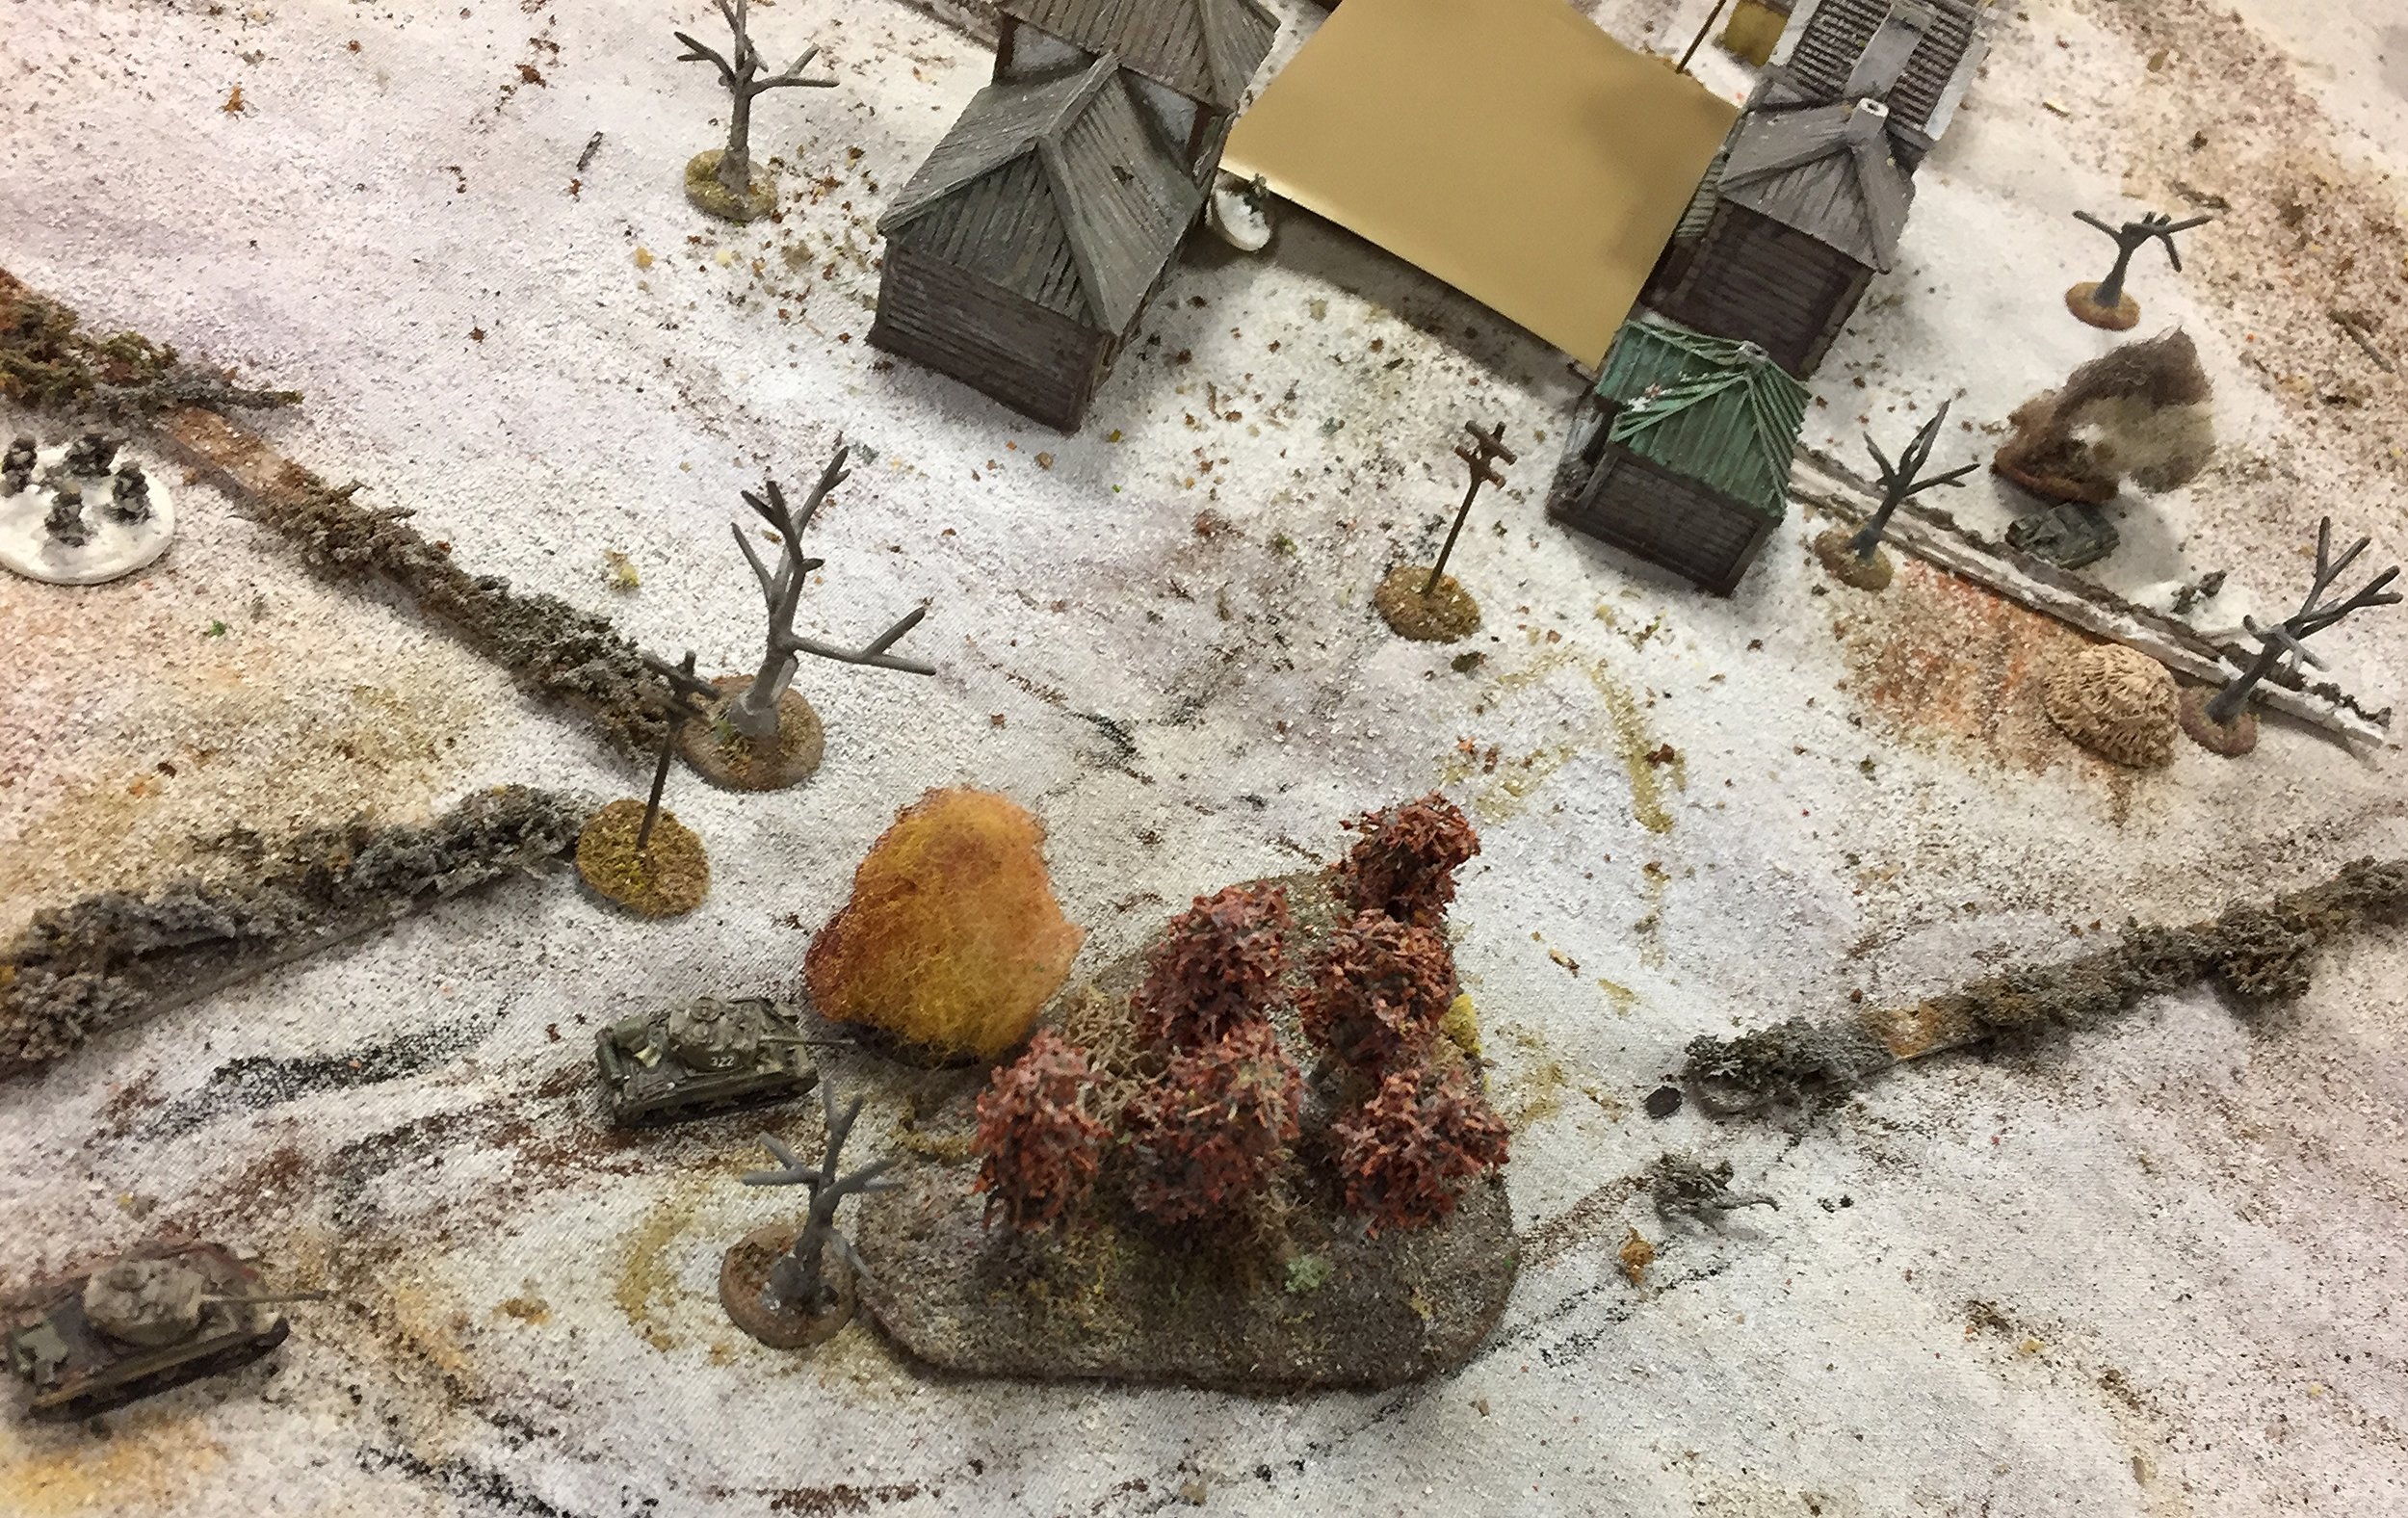
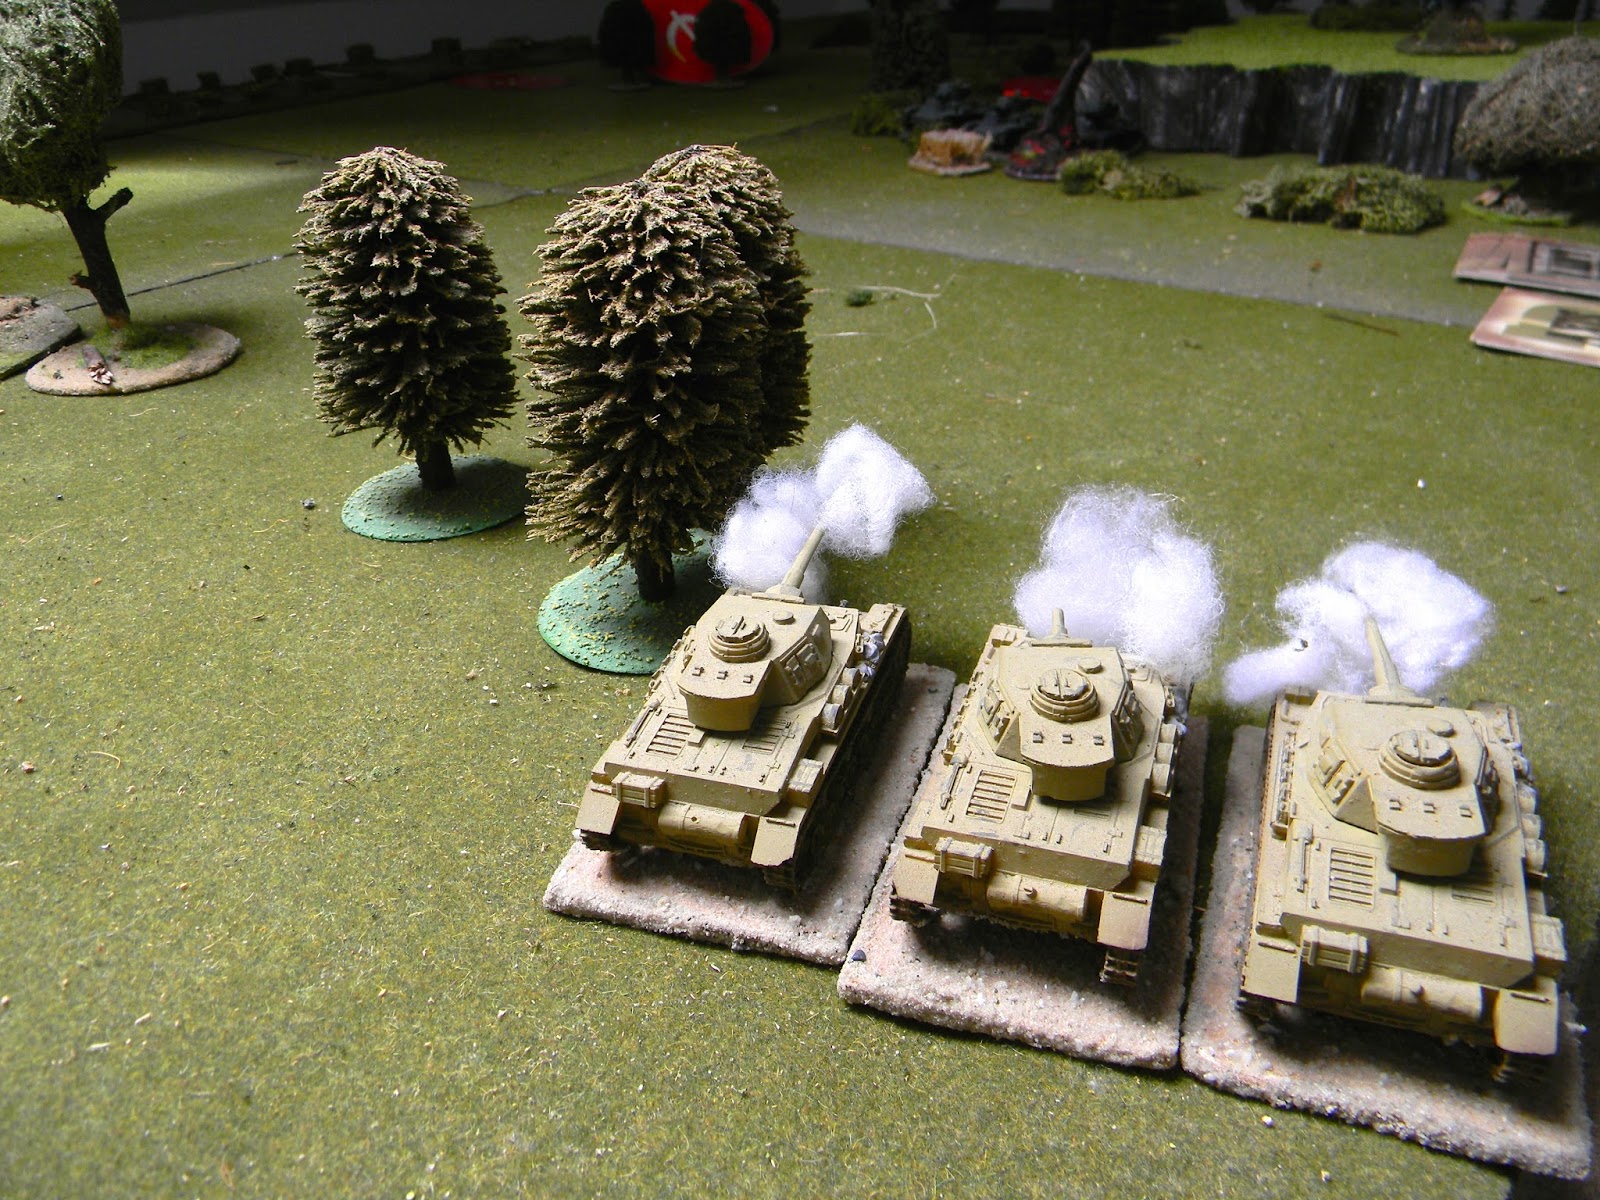
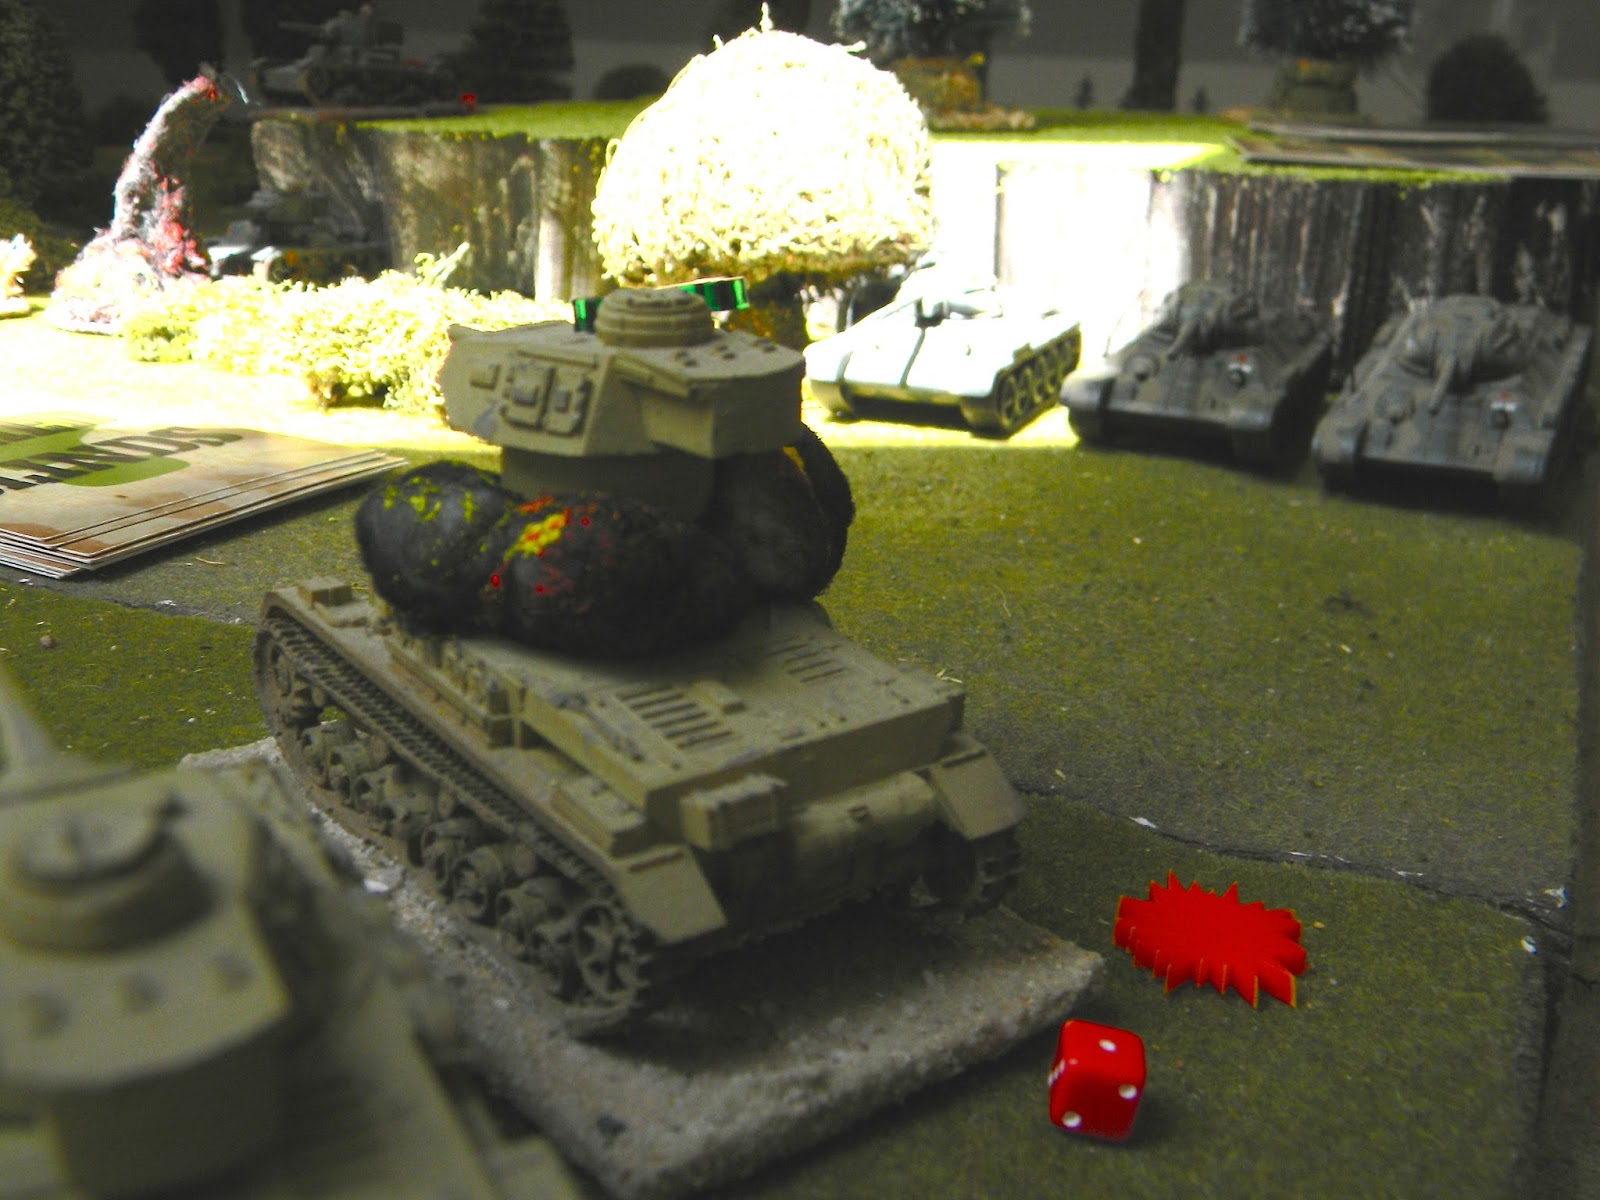
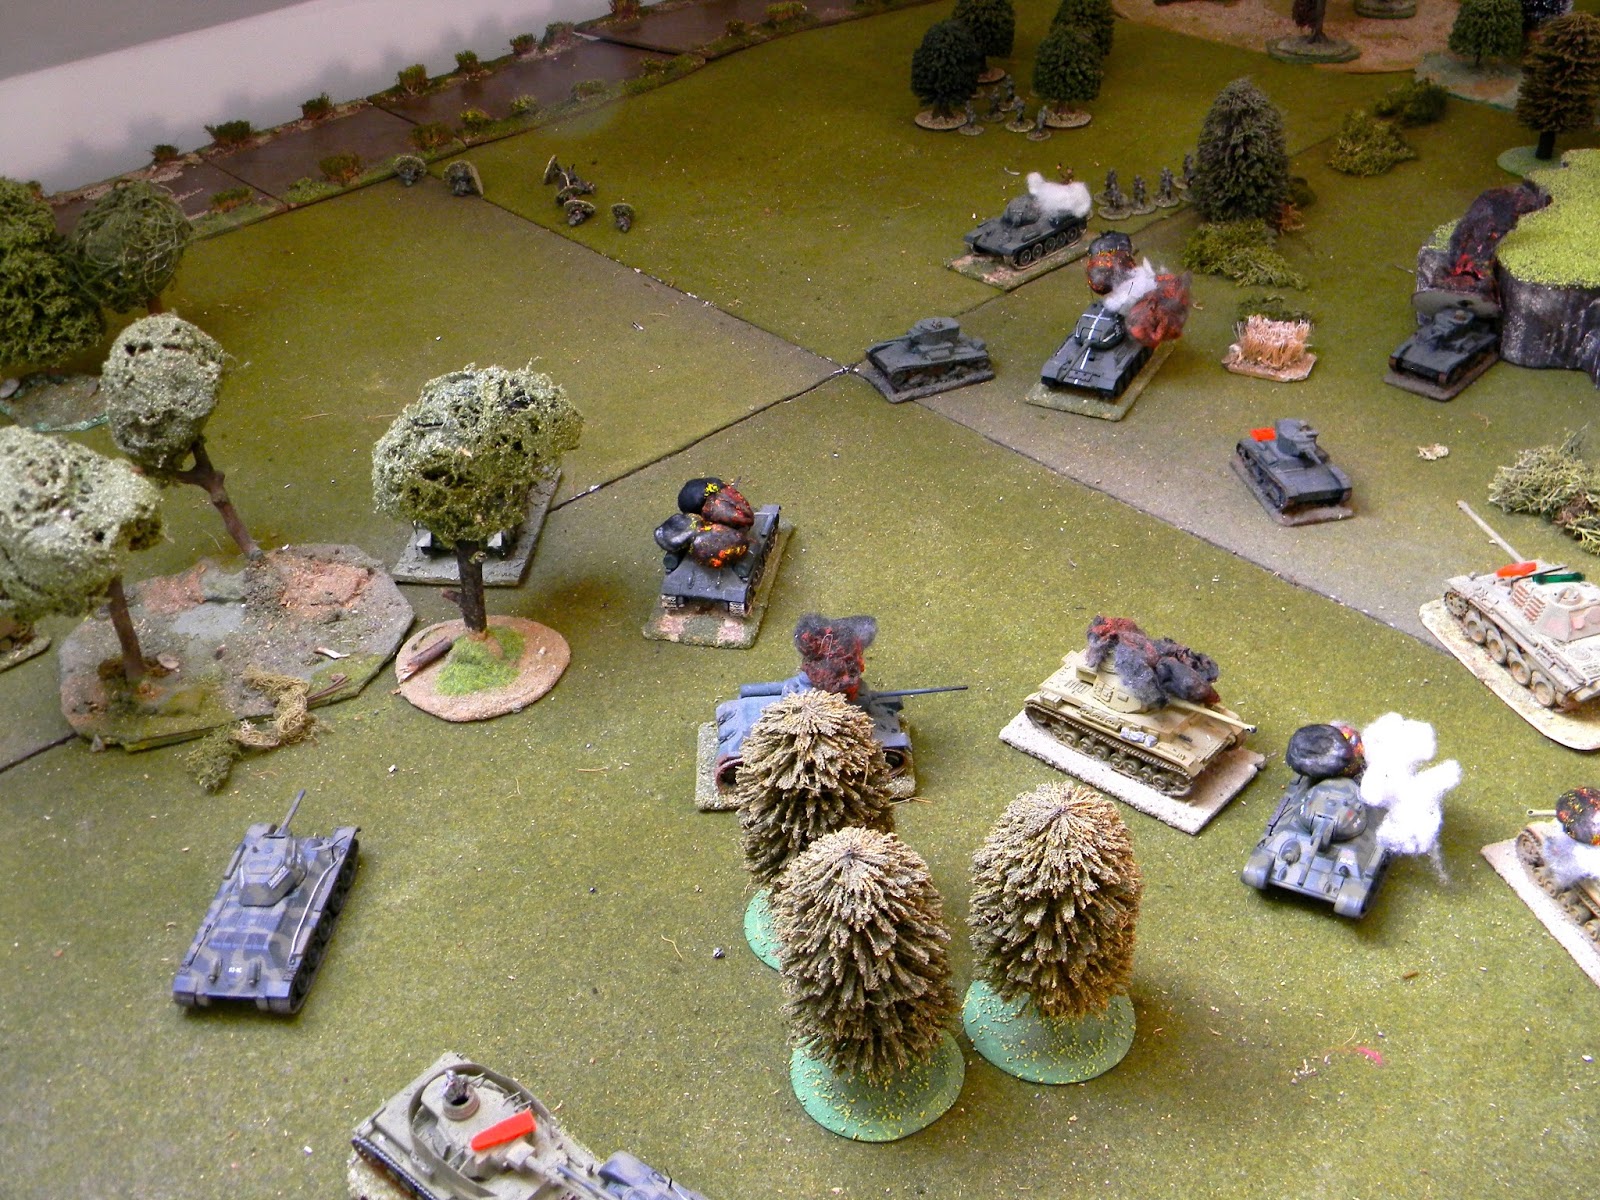
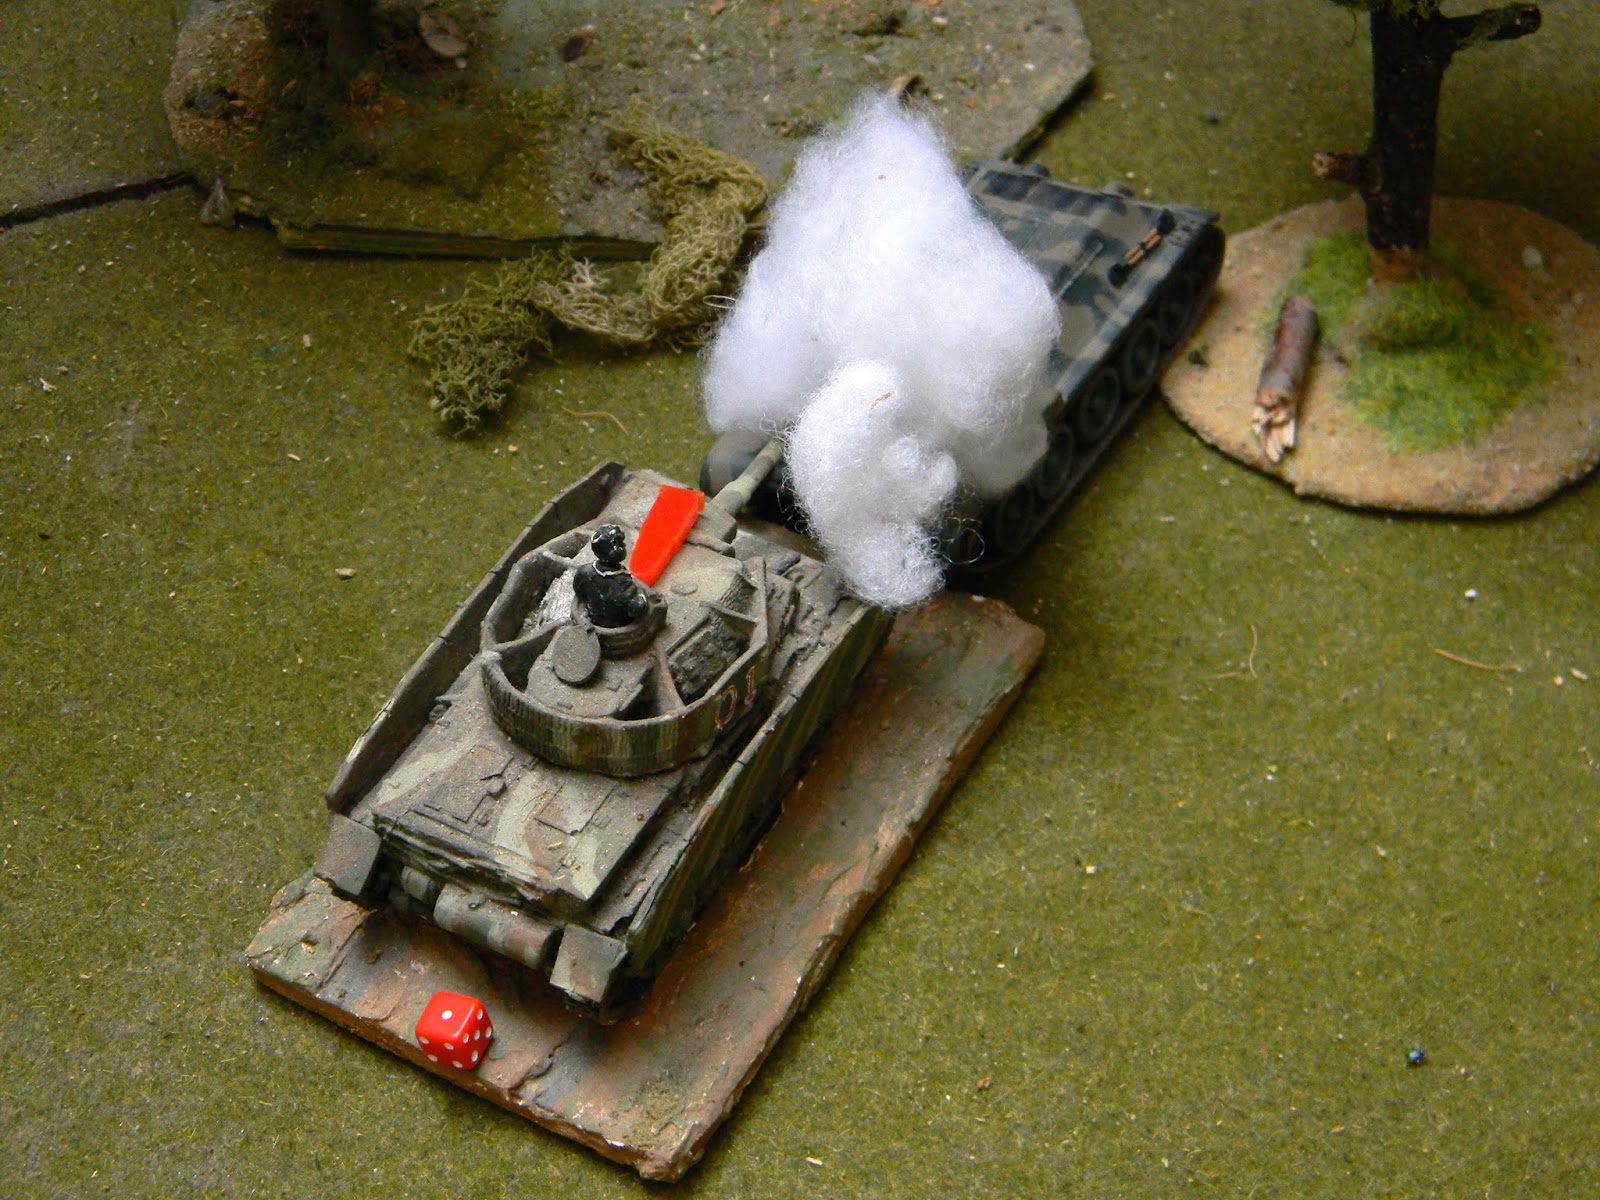
The German tanks opened the firing, with the Soviets soon replying. Despite the fact that the German tanks were largely hidden by the terrain, one of their number went up in flames.

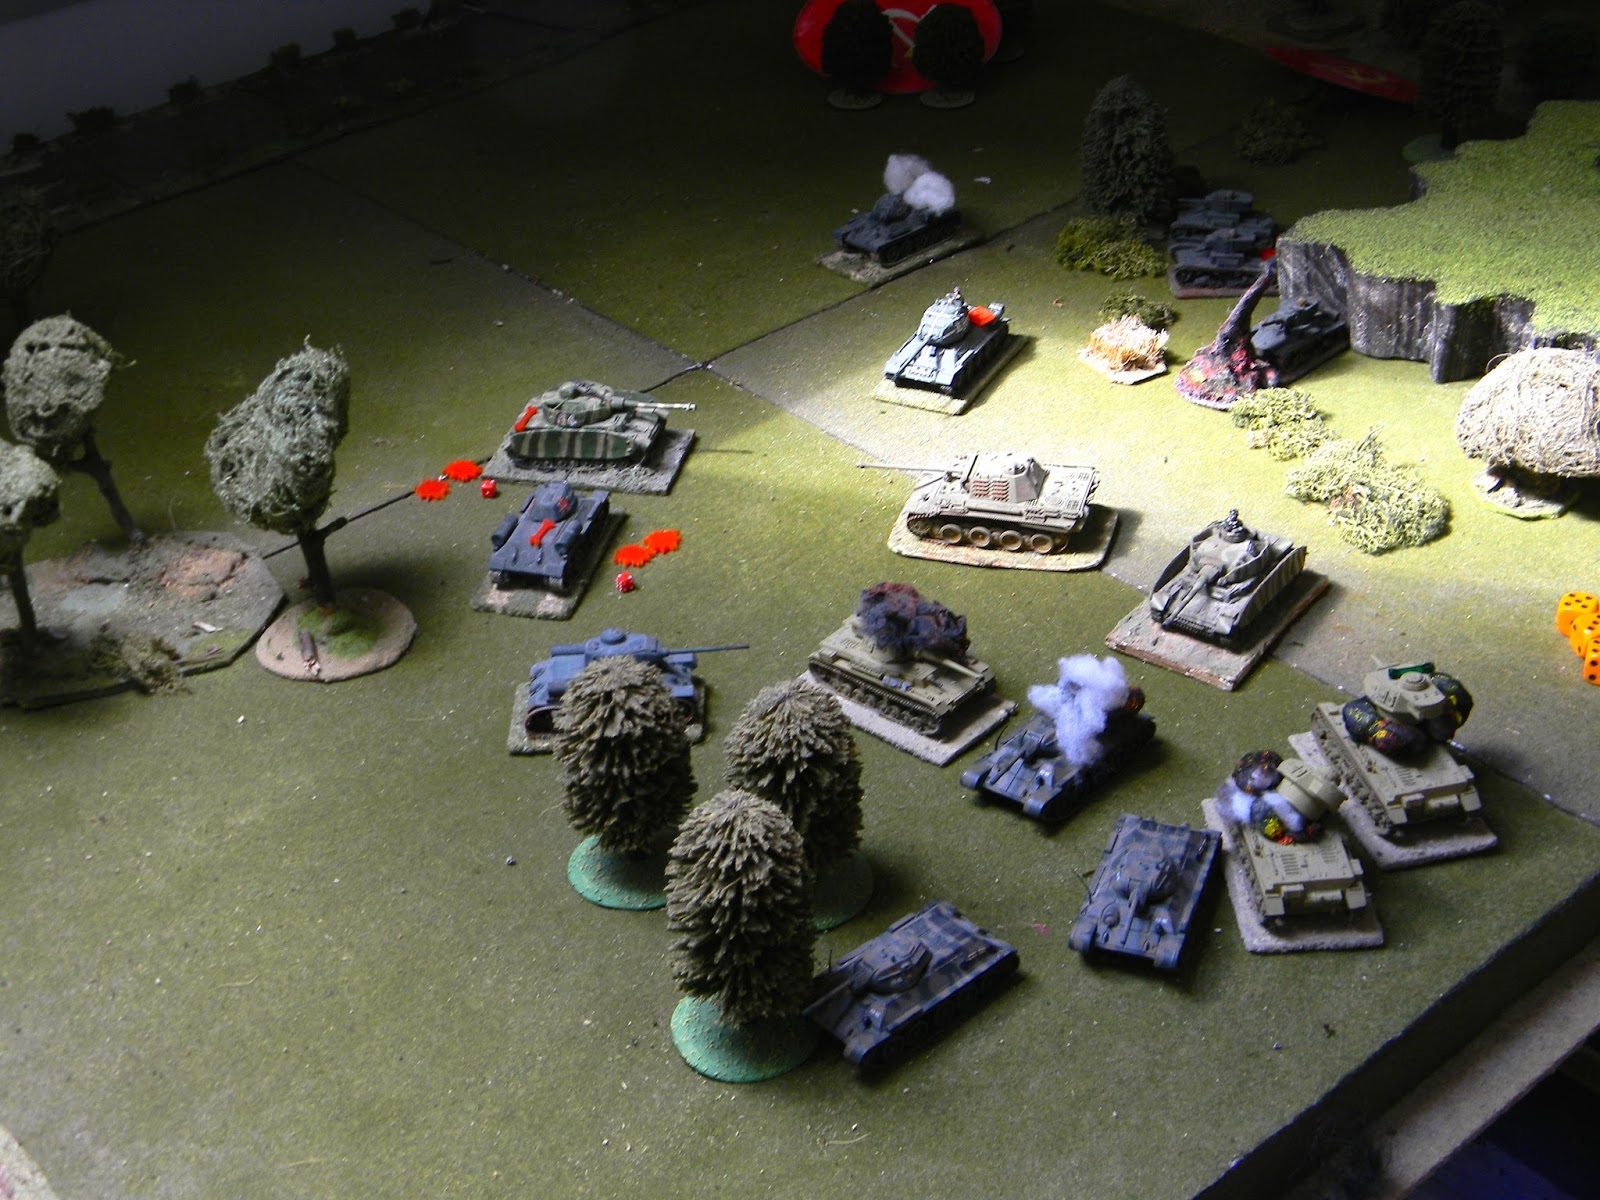
The German battery on the hill sent a hail of shells onto the Soviet tanks: two of which ground to a halt. Return fire silenced one gun, its crew either blown up or sent scurrying away, but the rest of the battery could not be suppressed despite the weight of fire coming its way.
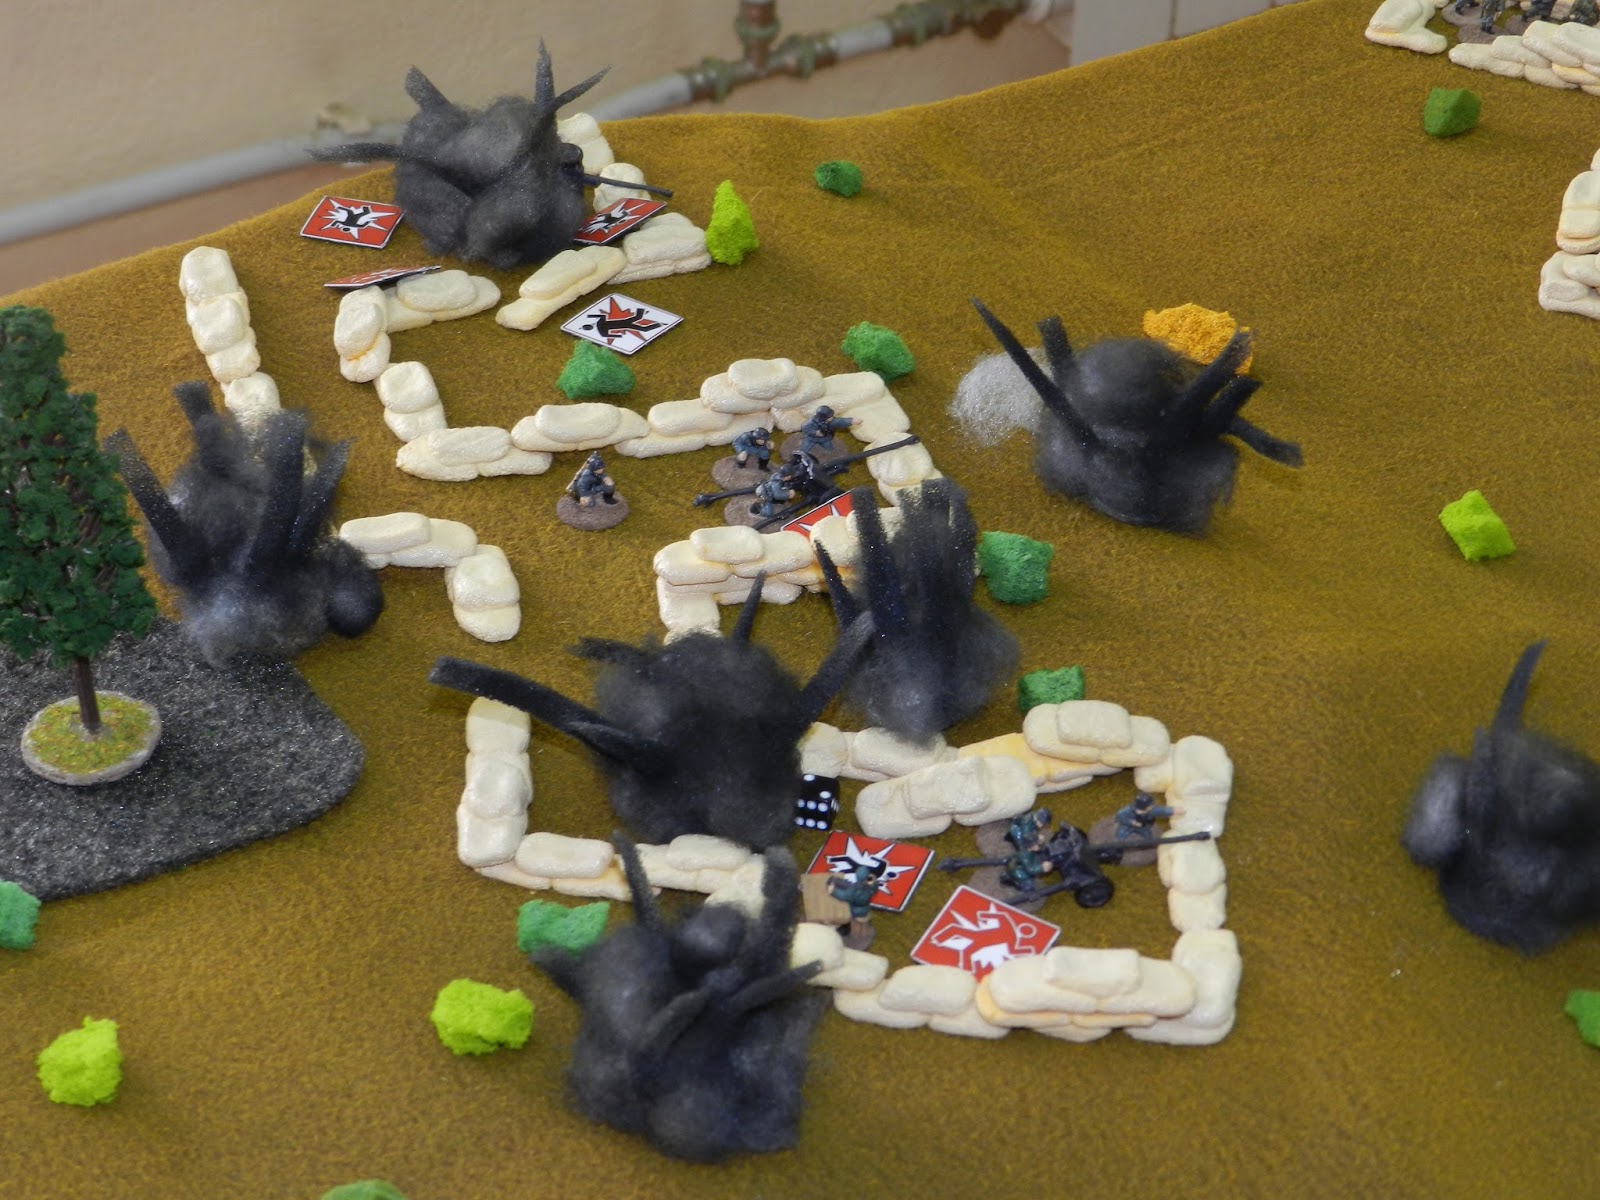
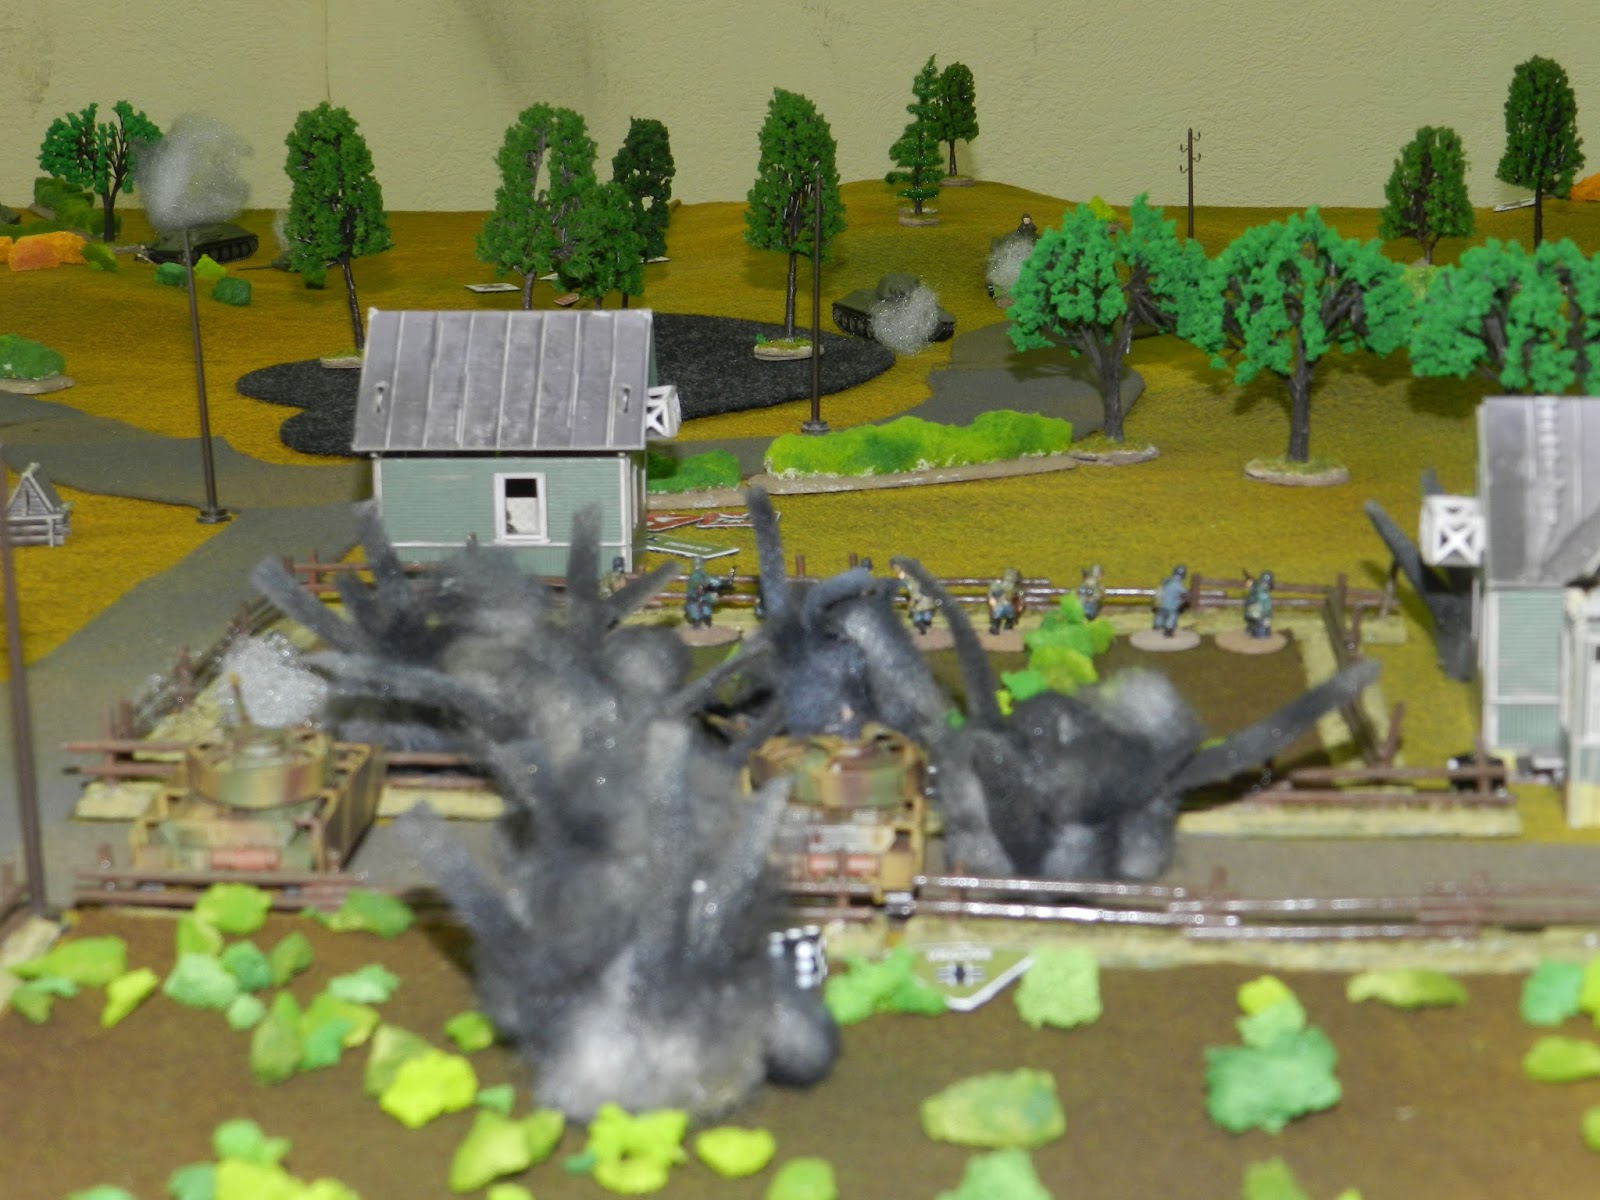
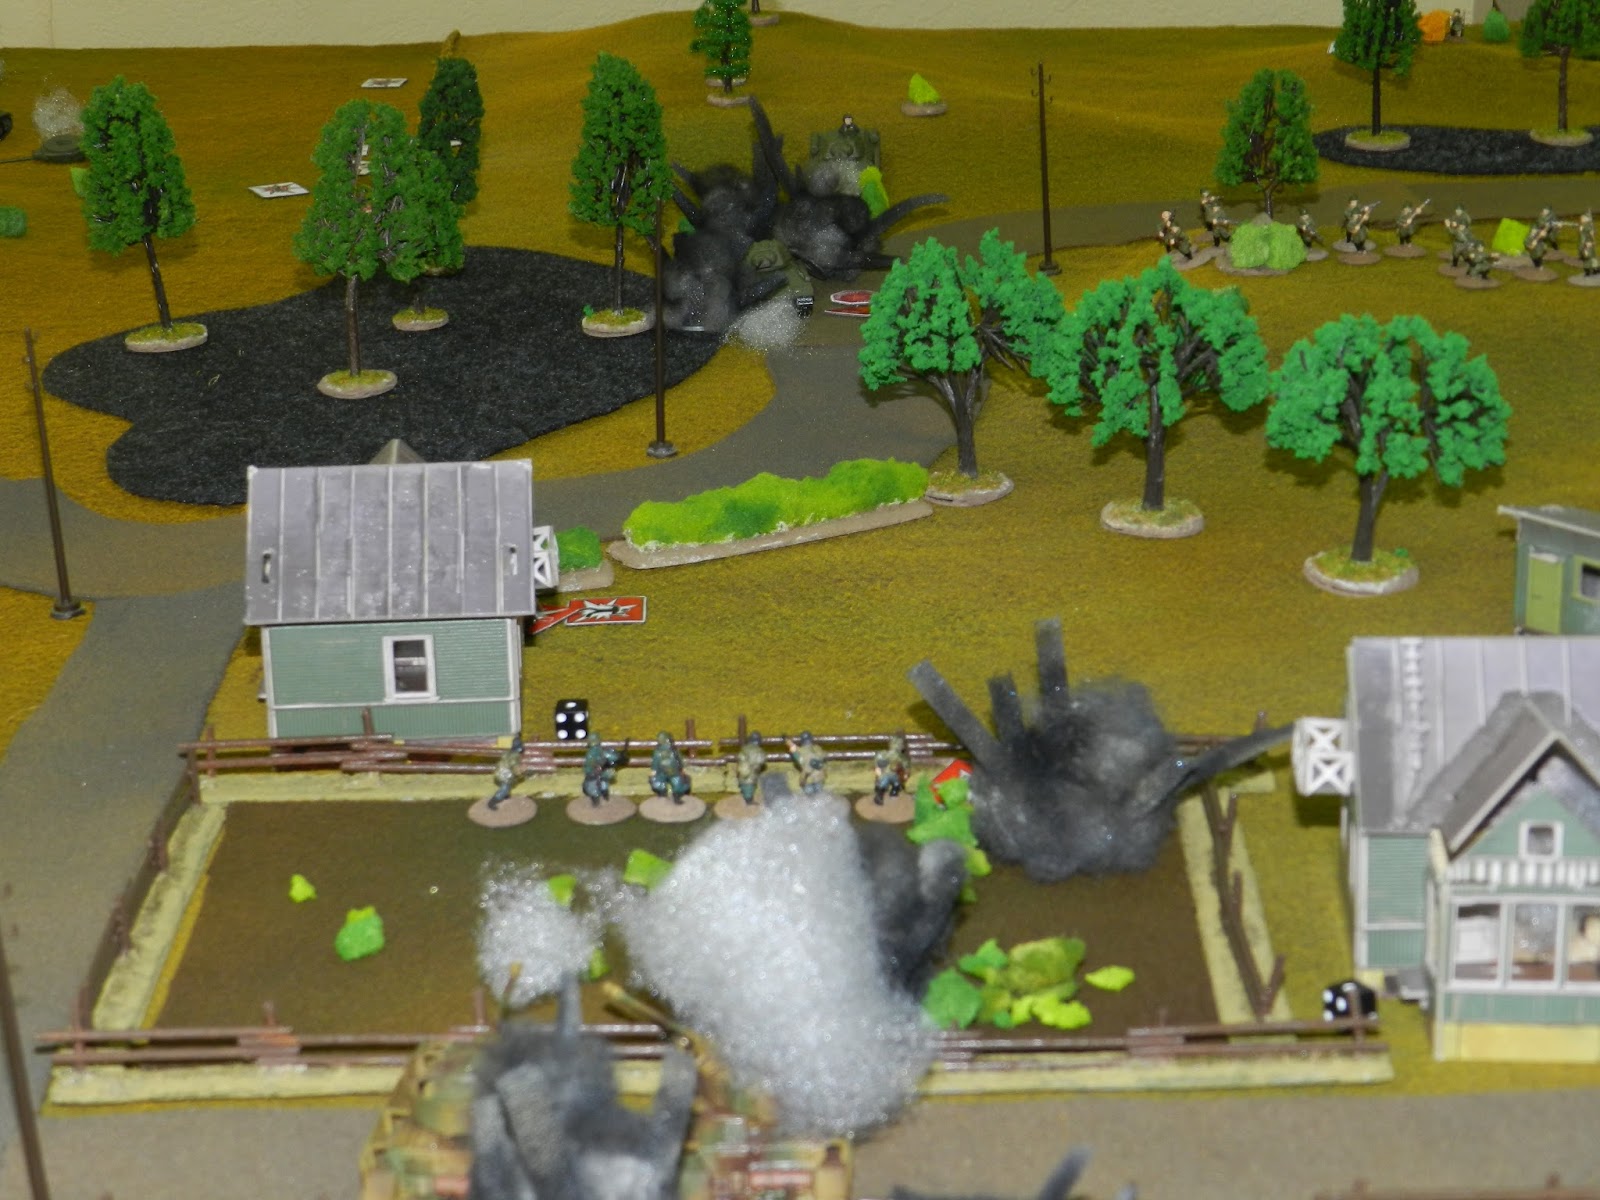
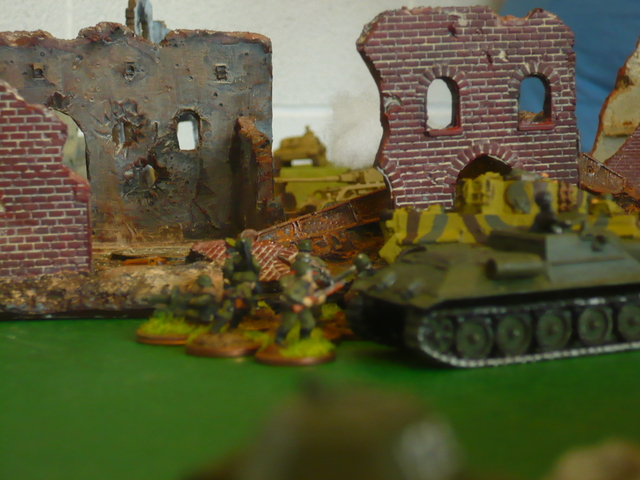
As the Soviet infantry approached the German line, one of their machine gunners opened fire and took out an entire German section. The Germans tried to hit back, but the machine gun's crew heroically kept firing.
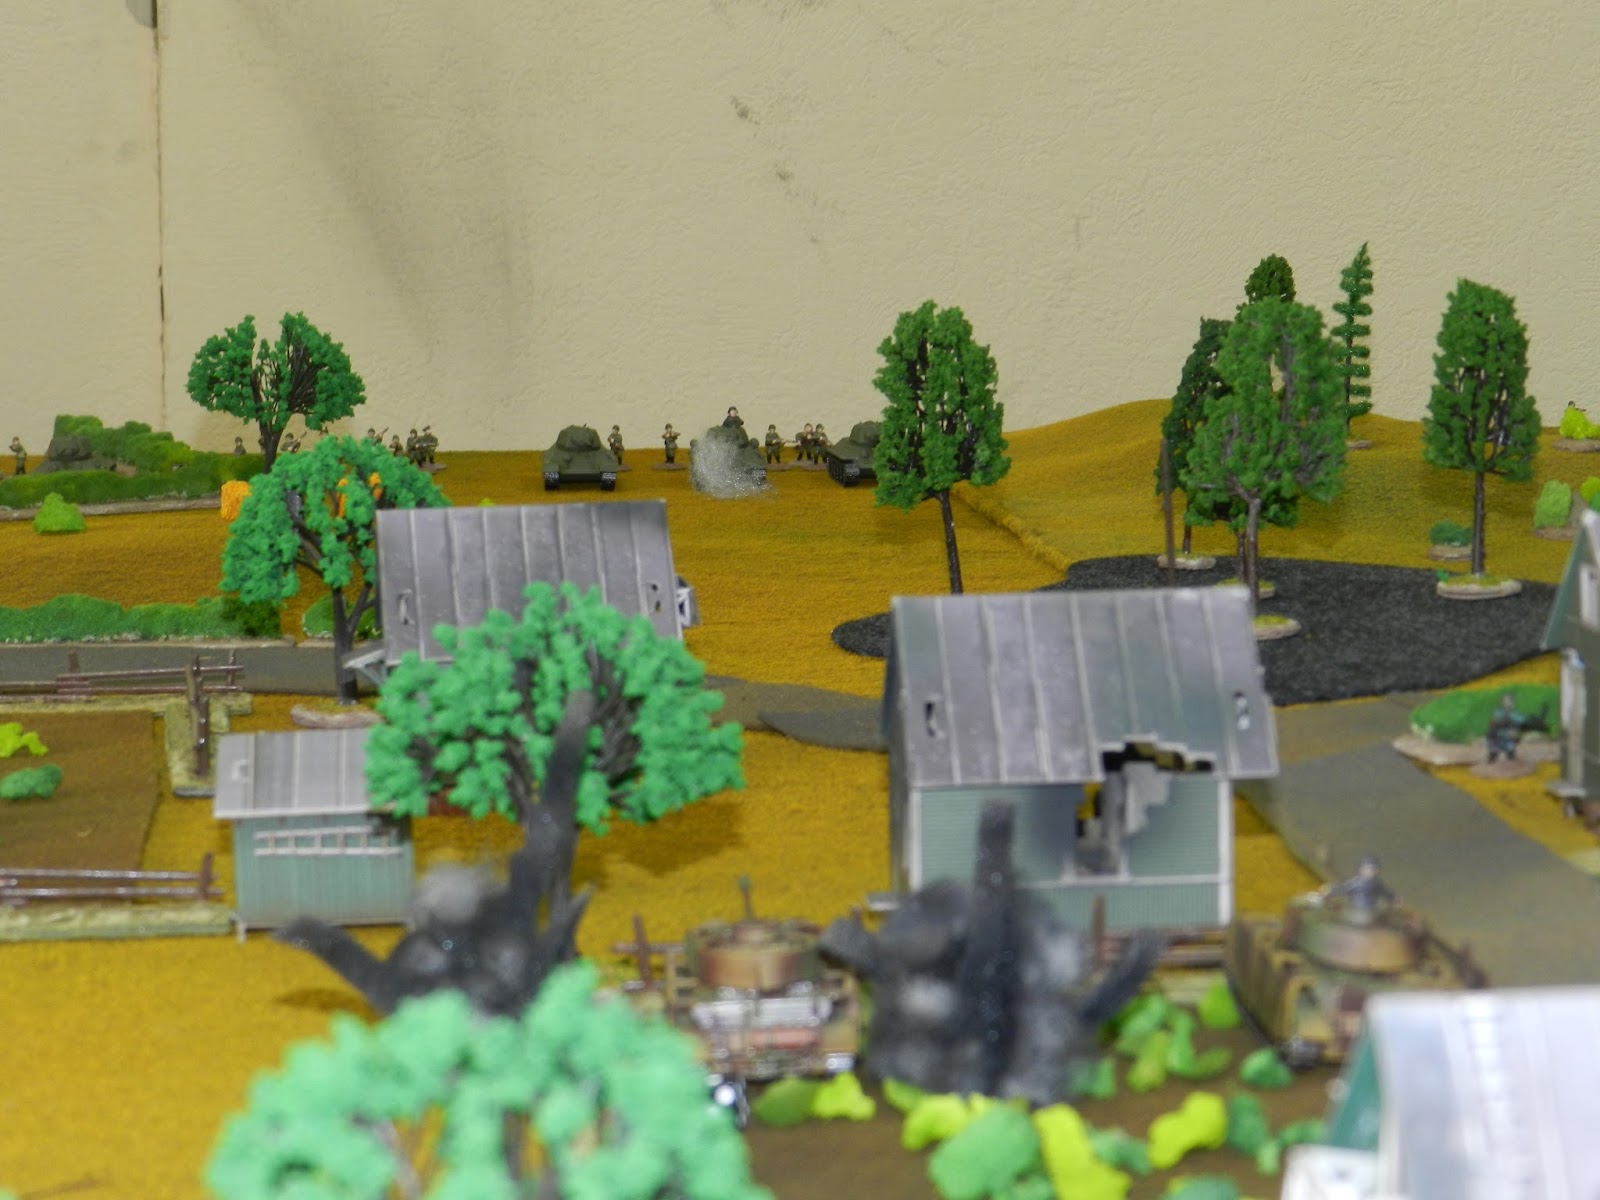
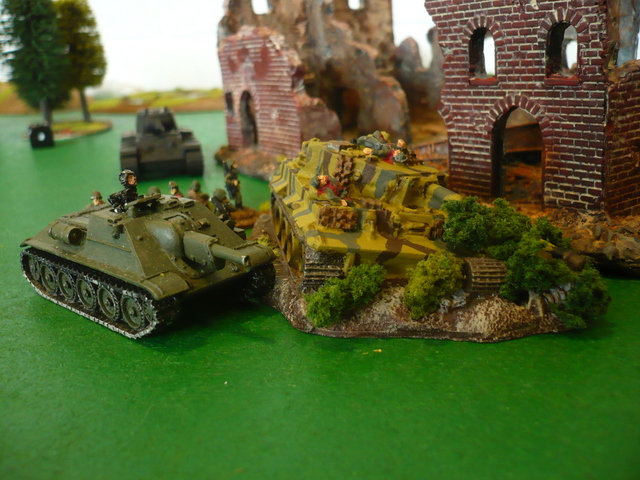
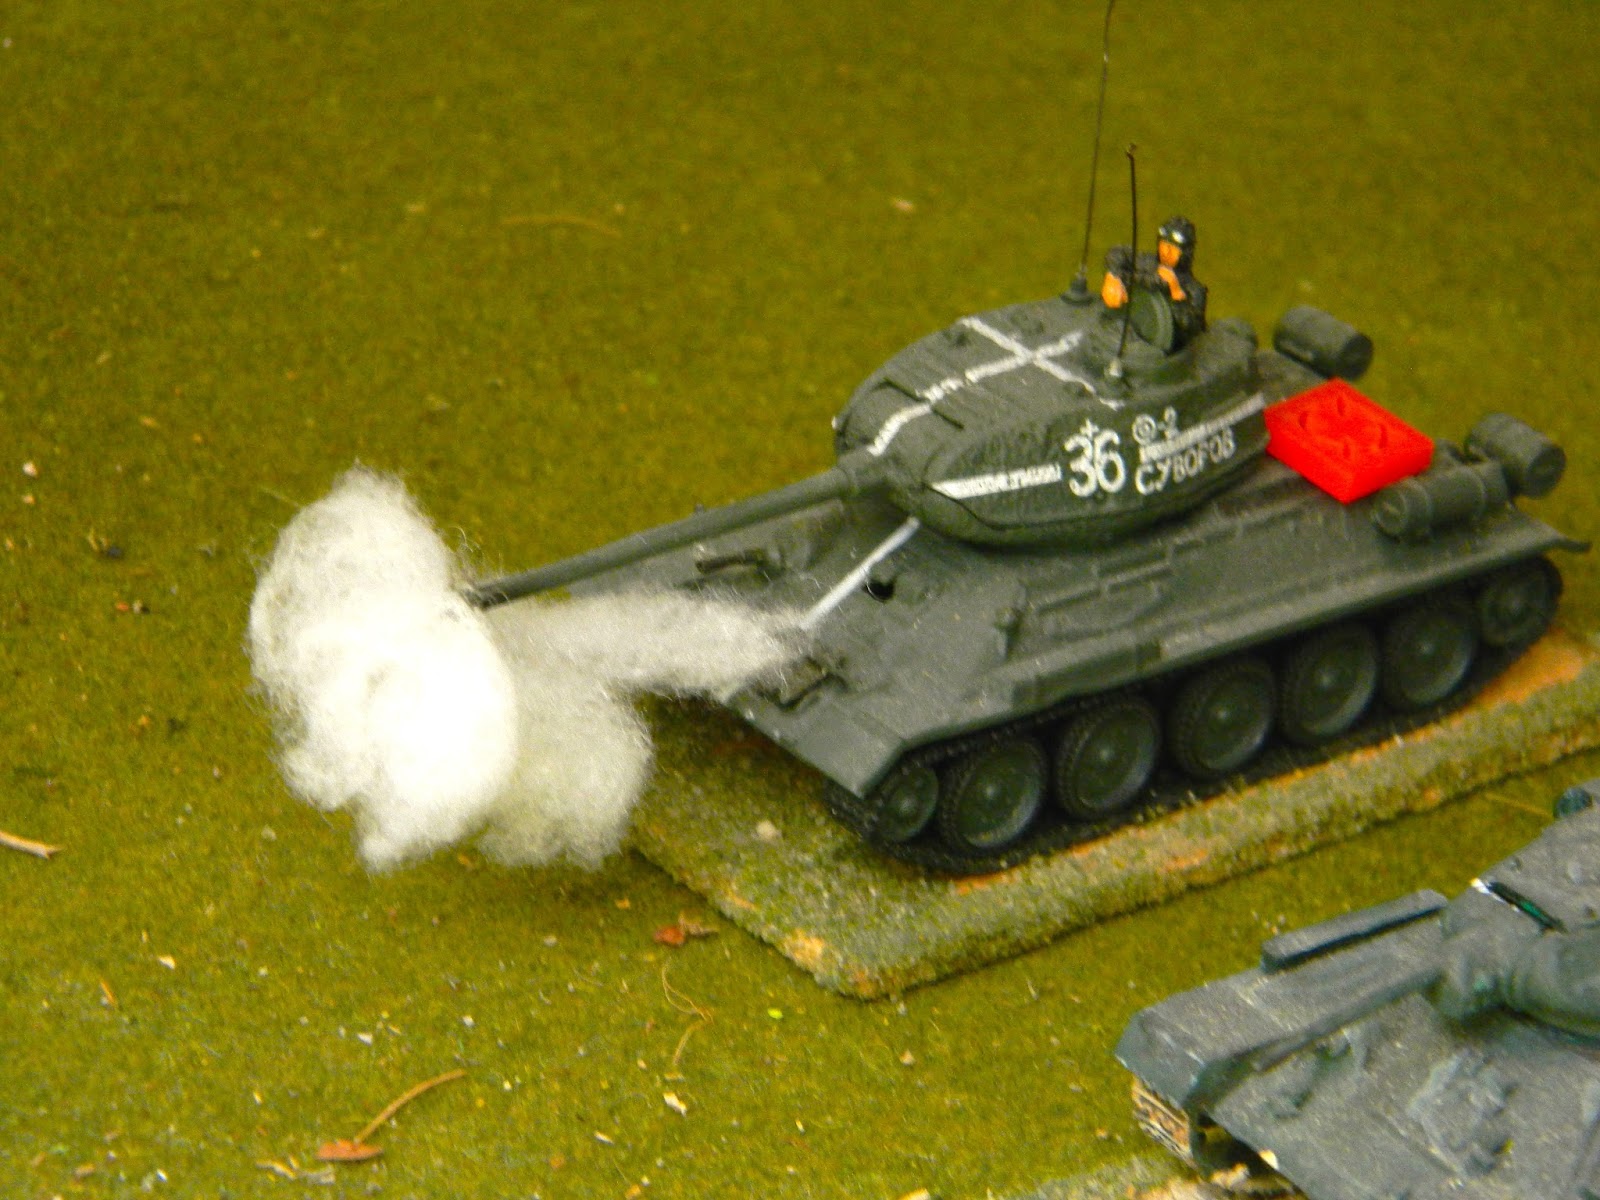
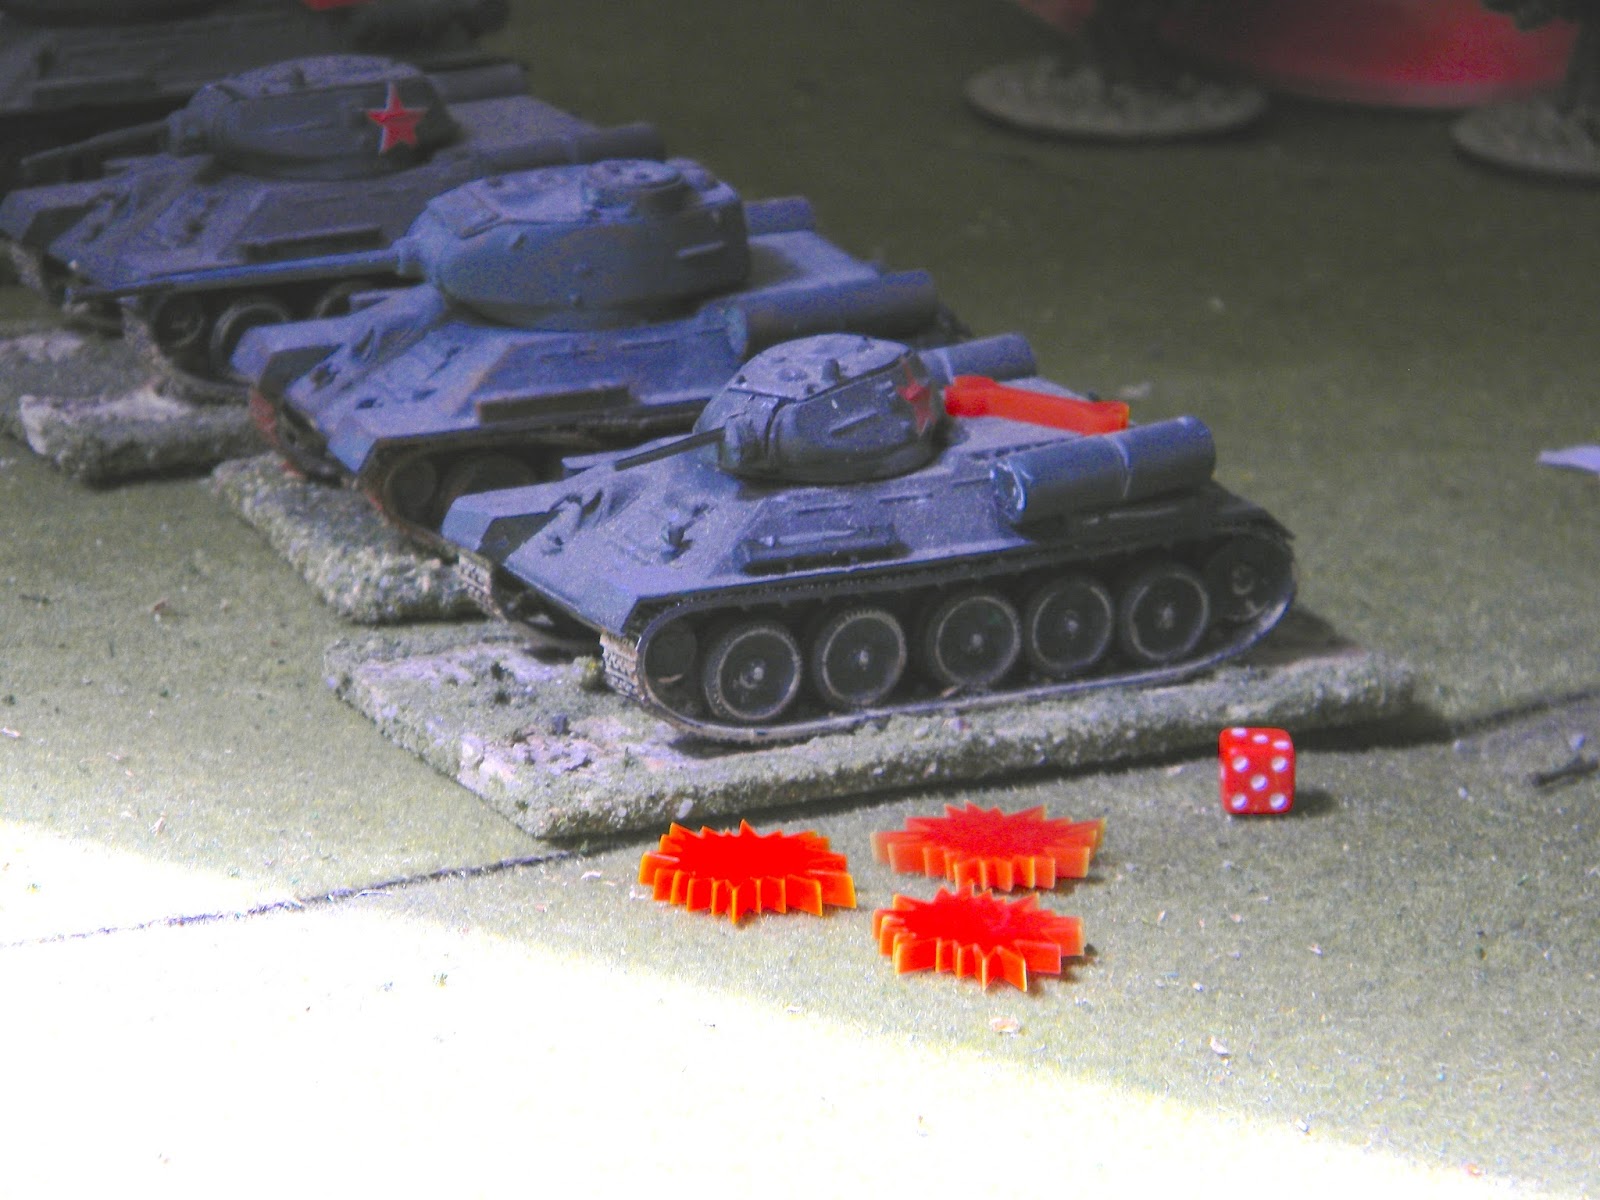
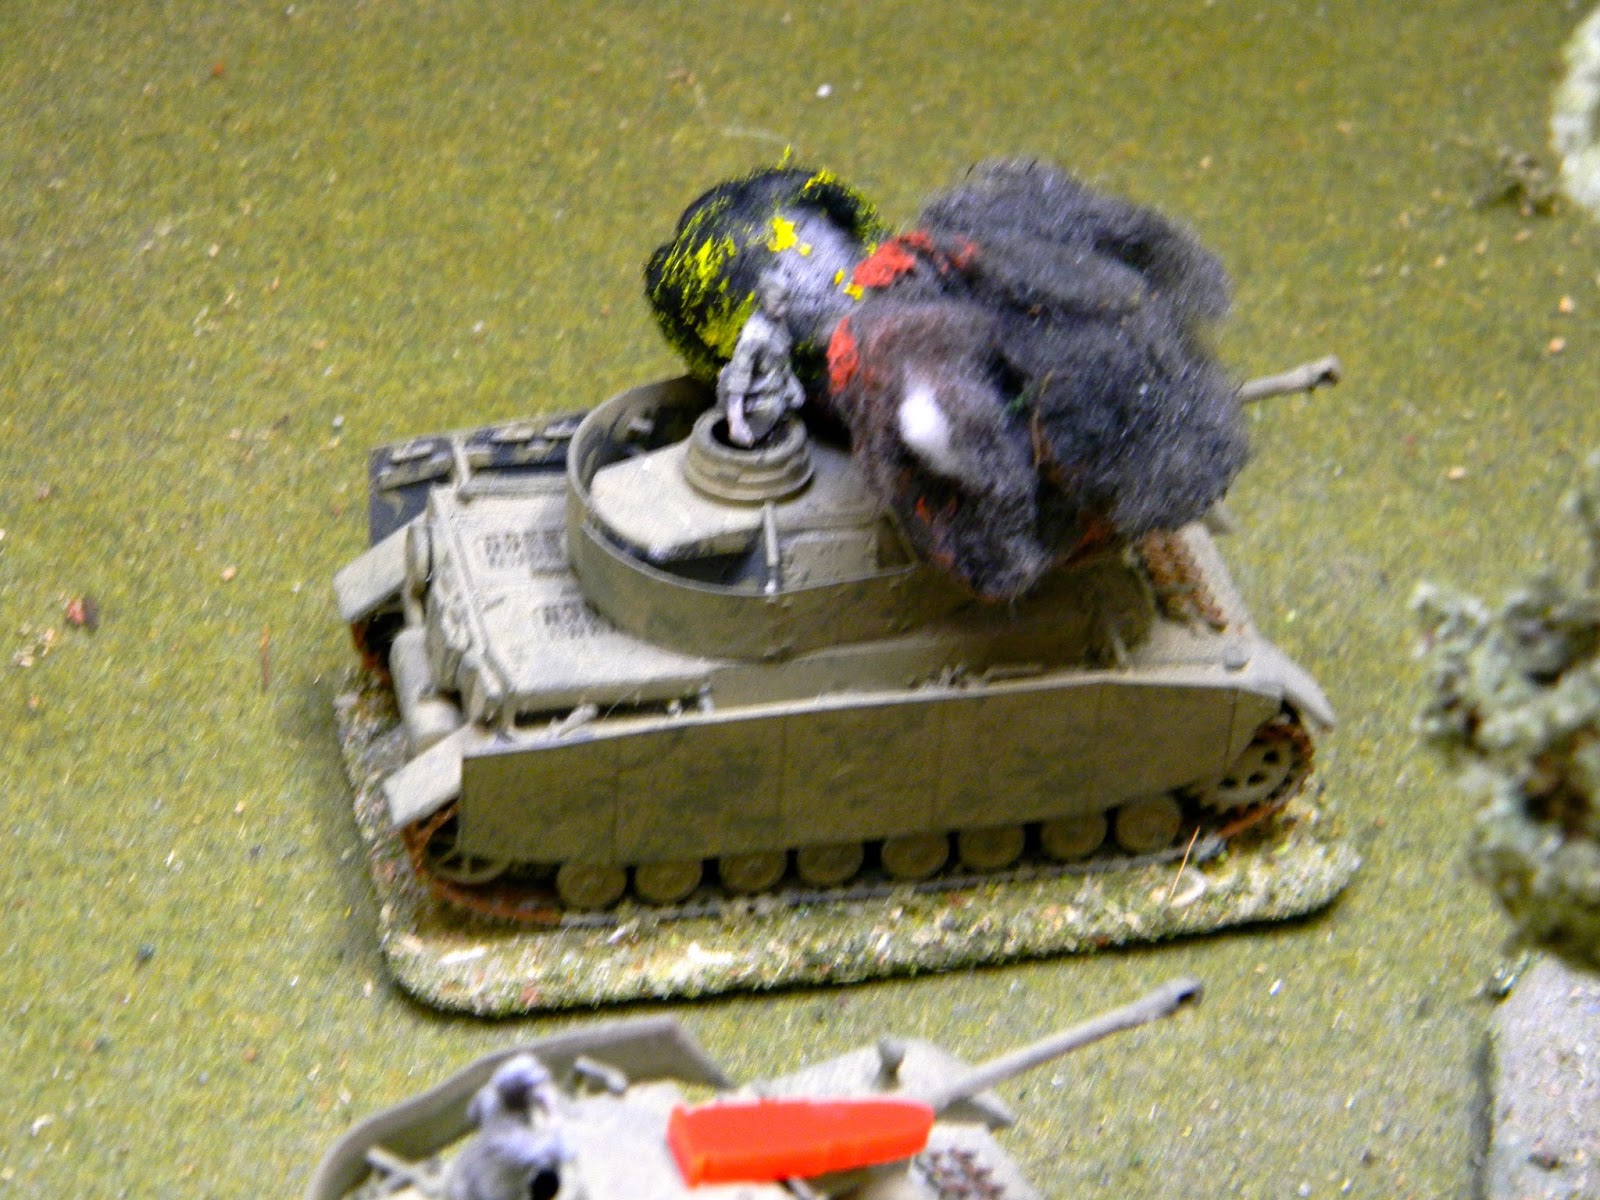
Suddenly there was a huge explosion as one of the Soviet tanks erupted into flame! The commander of the German tank platoon had calmly waited for the Soviet tank to be clearly visible in hit sights, carefully aimed, and hit the tank dead on. The Soviet tank didn't stand a chance: too many successful penetrations and, as a result, the tank's ammunition store exploded!
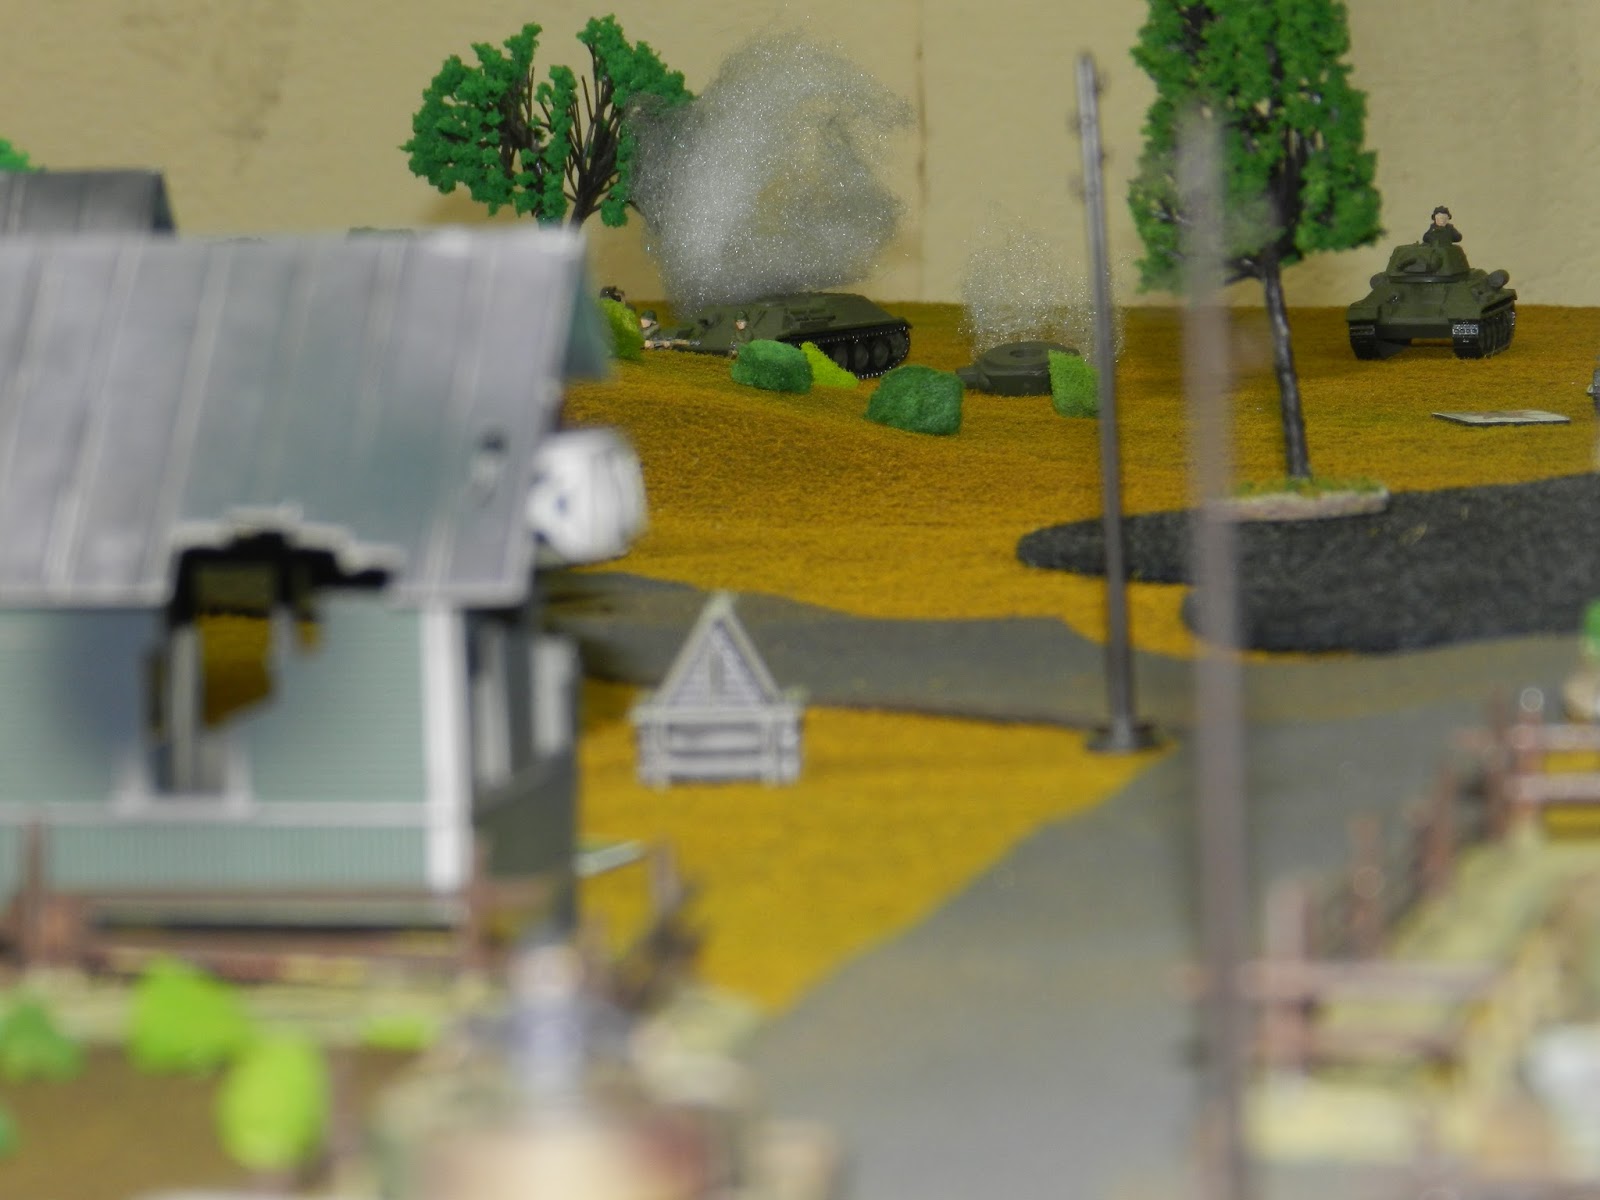
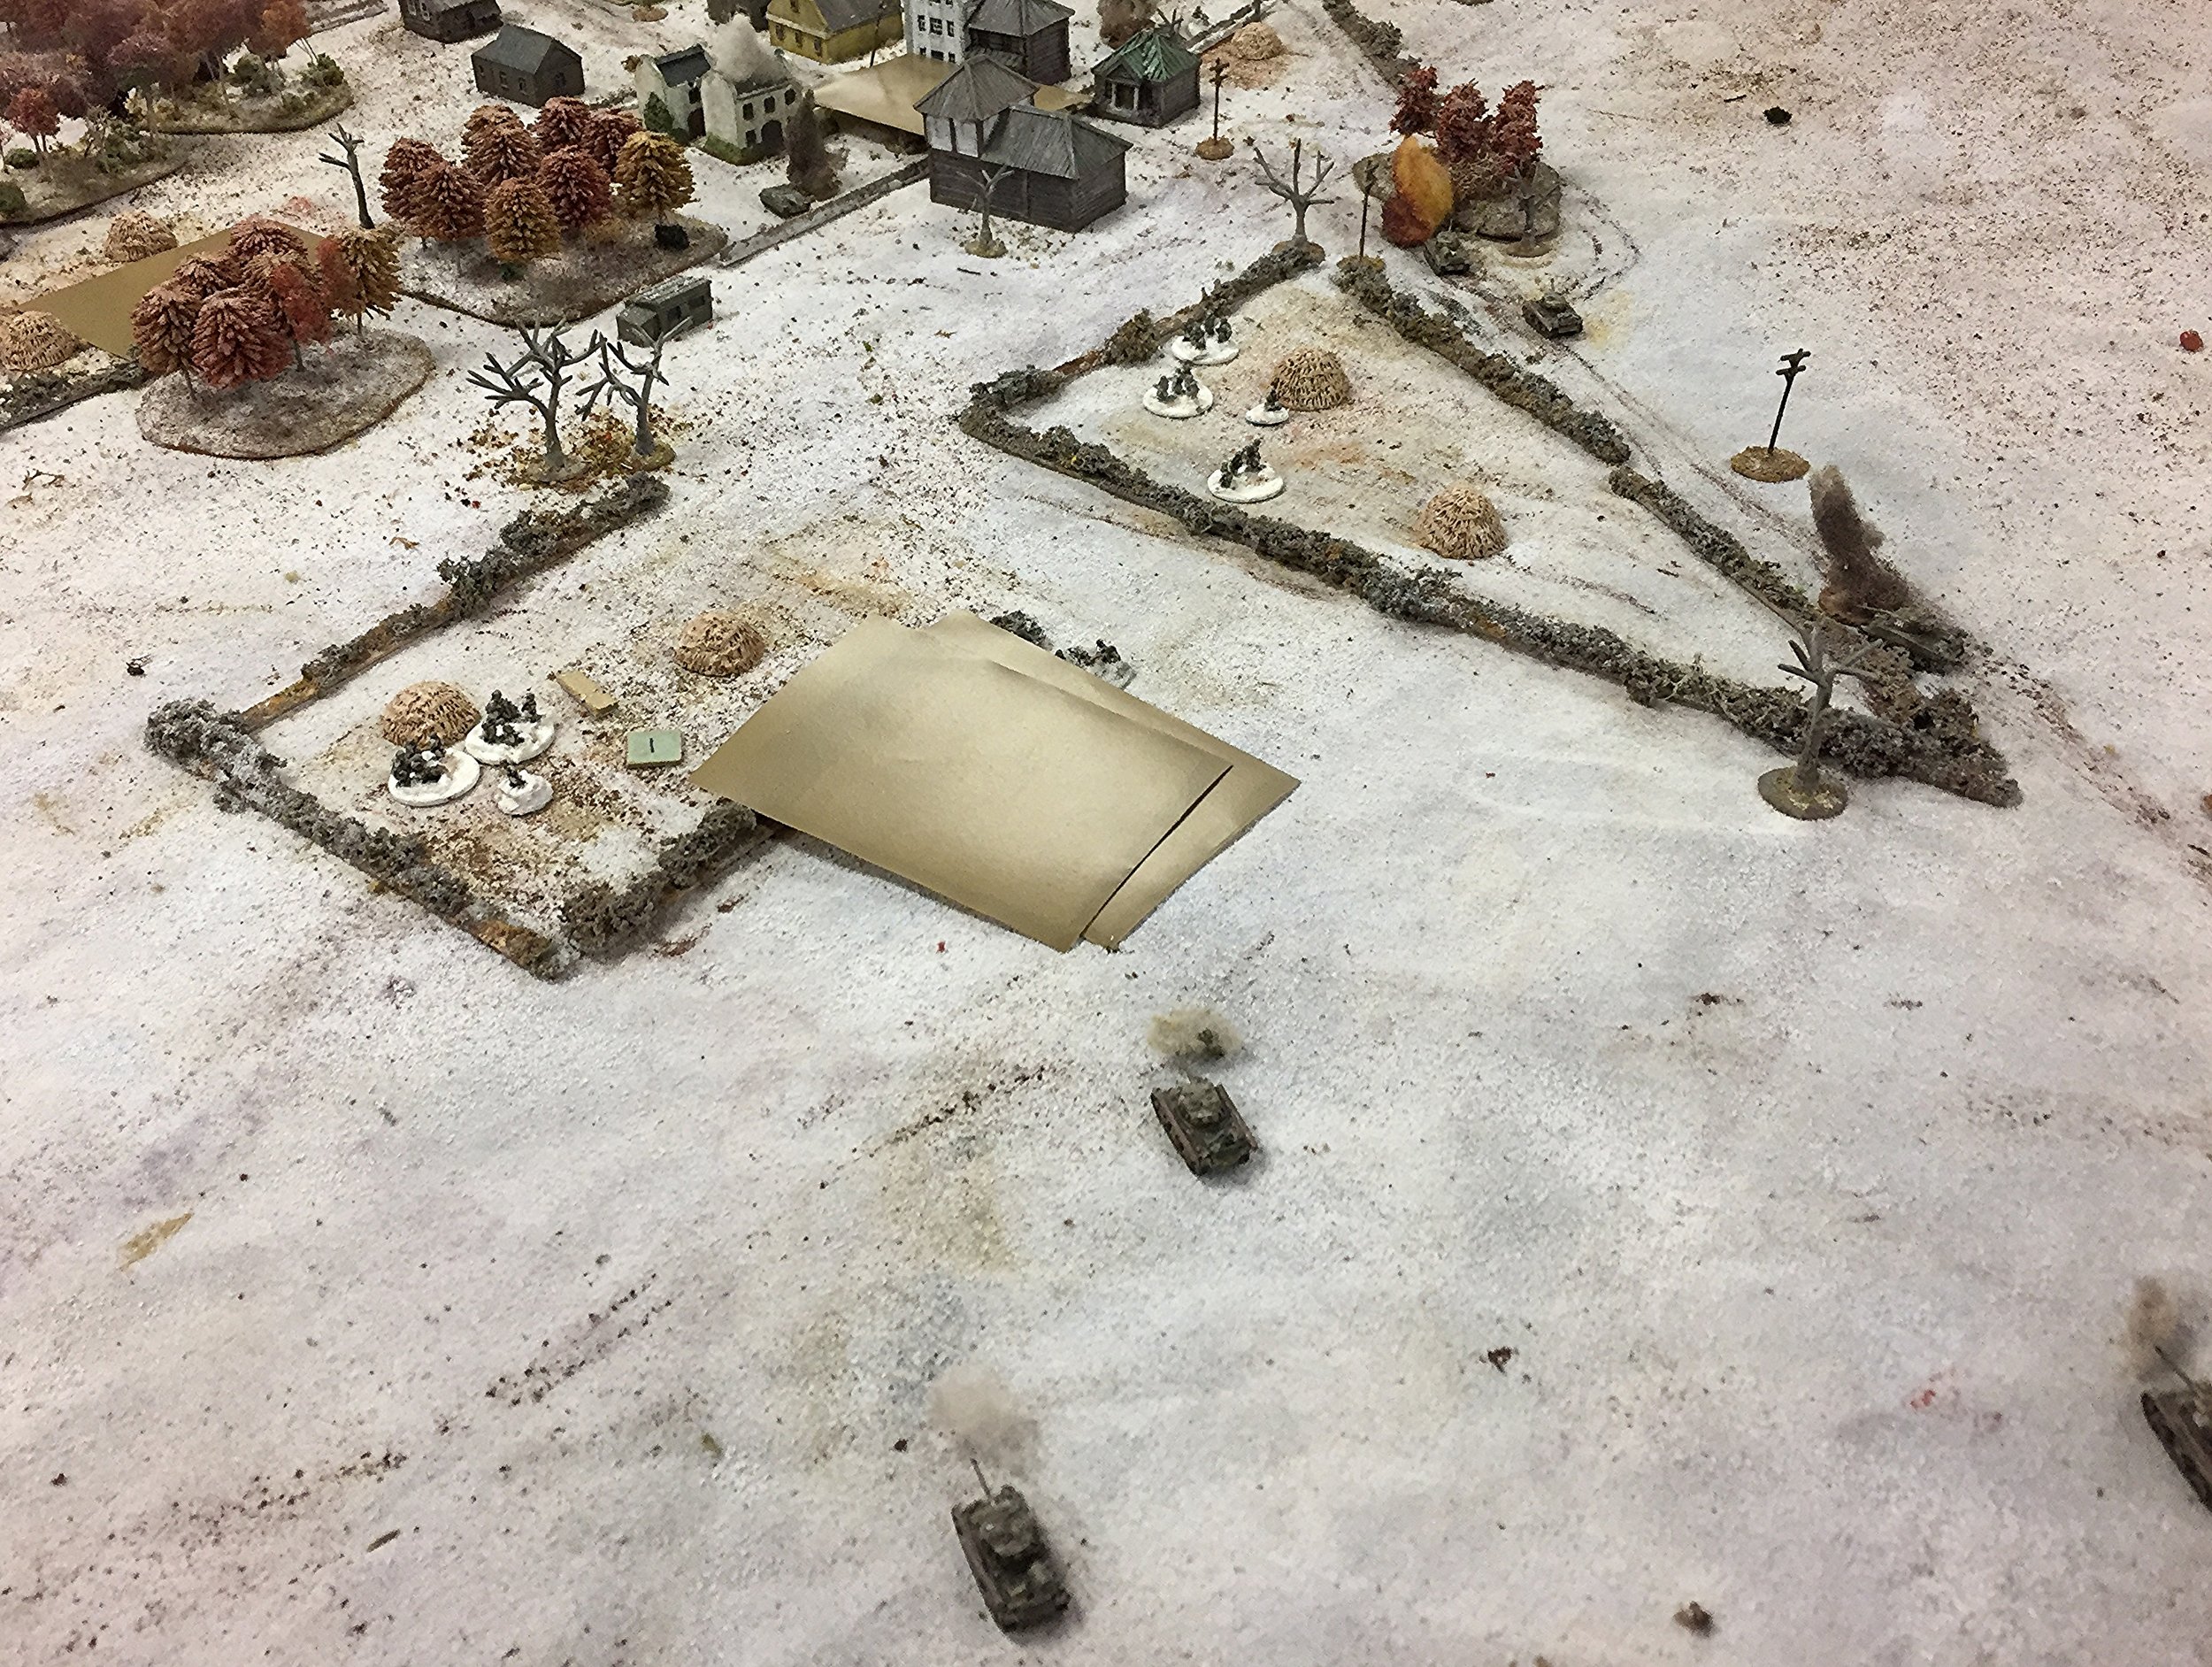
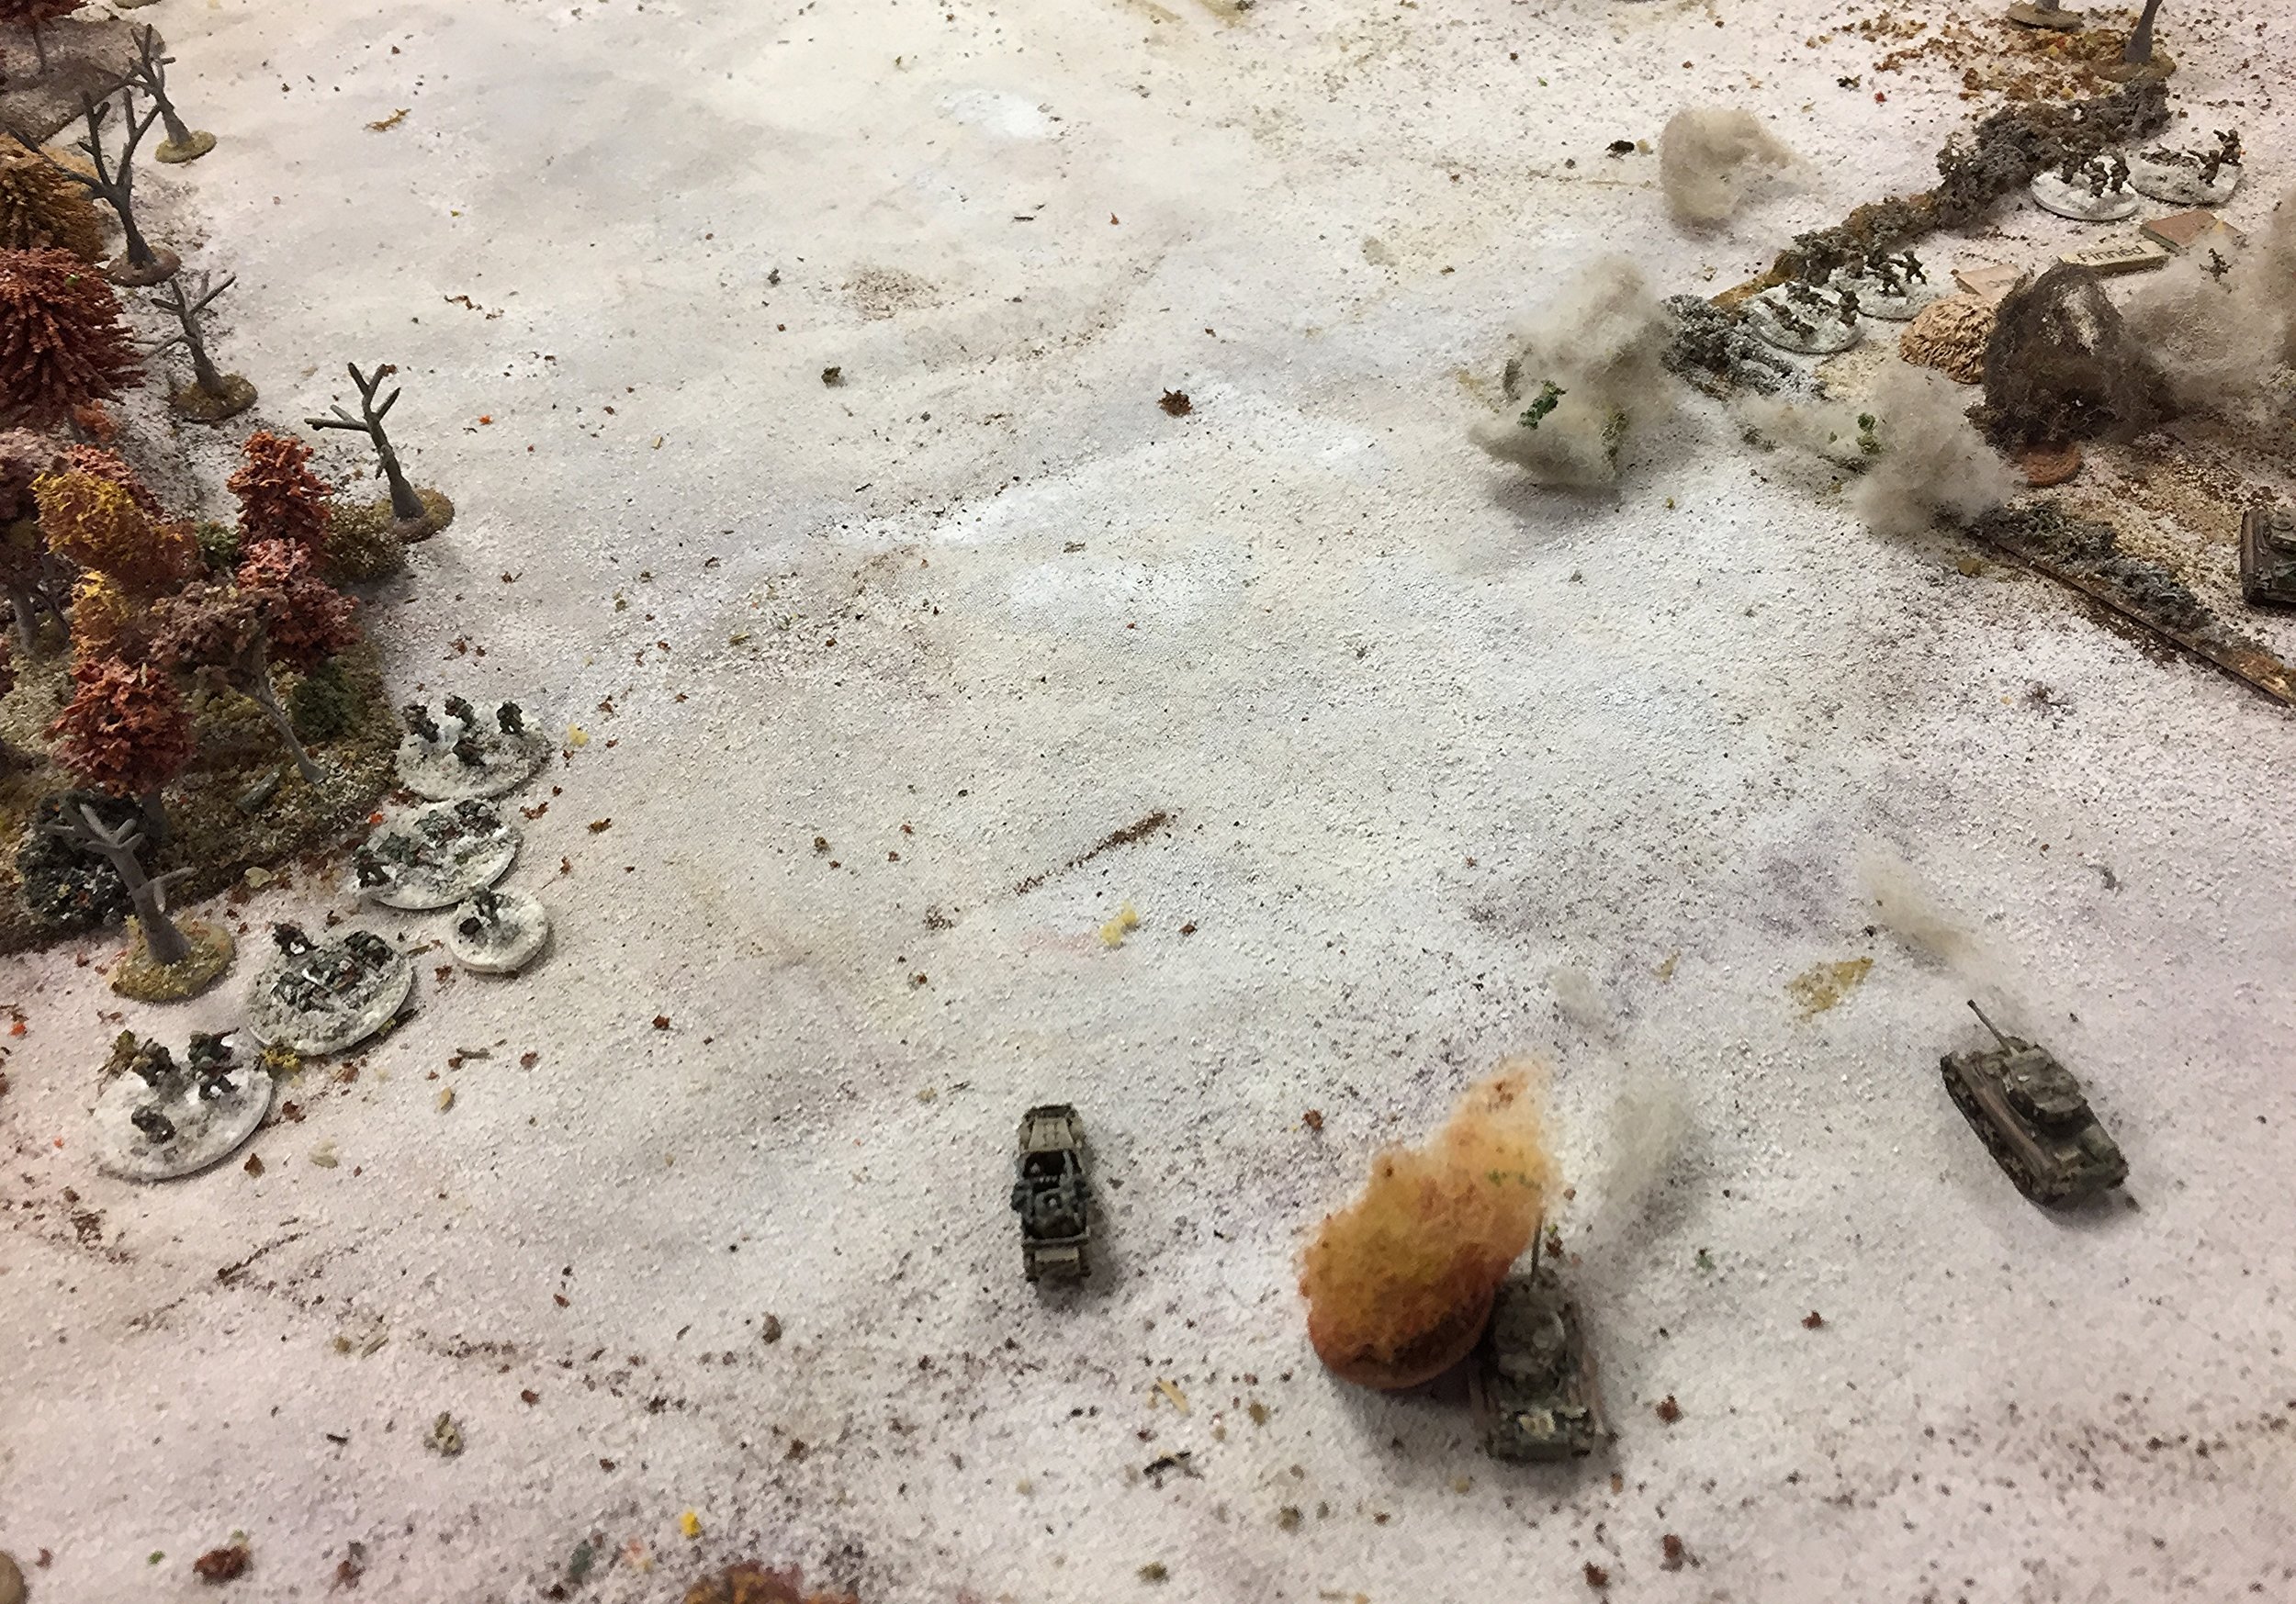
Realizing that their infantry could not cross the open ground in front of the German positions, the Soviet tankmen desperately renewed their attack, but their enemy was quicker off the mark.
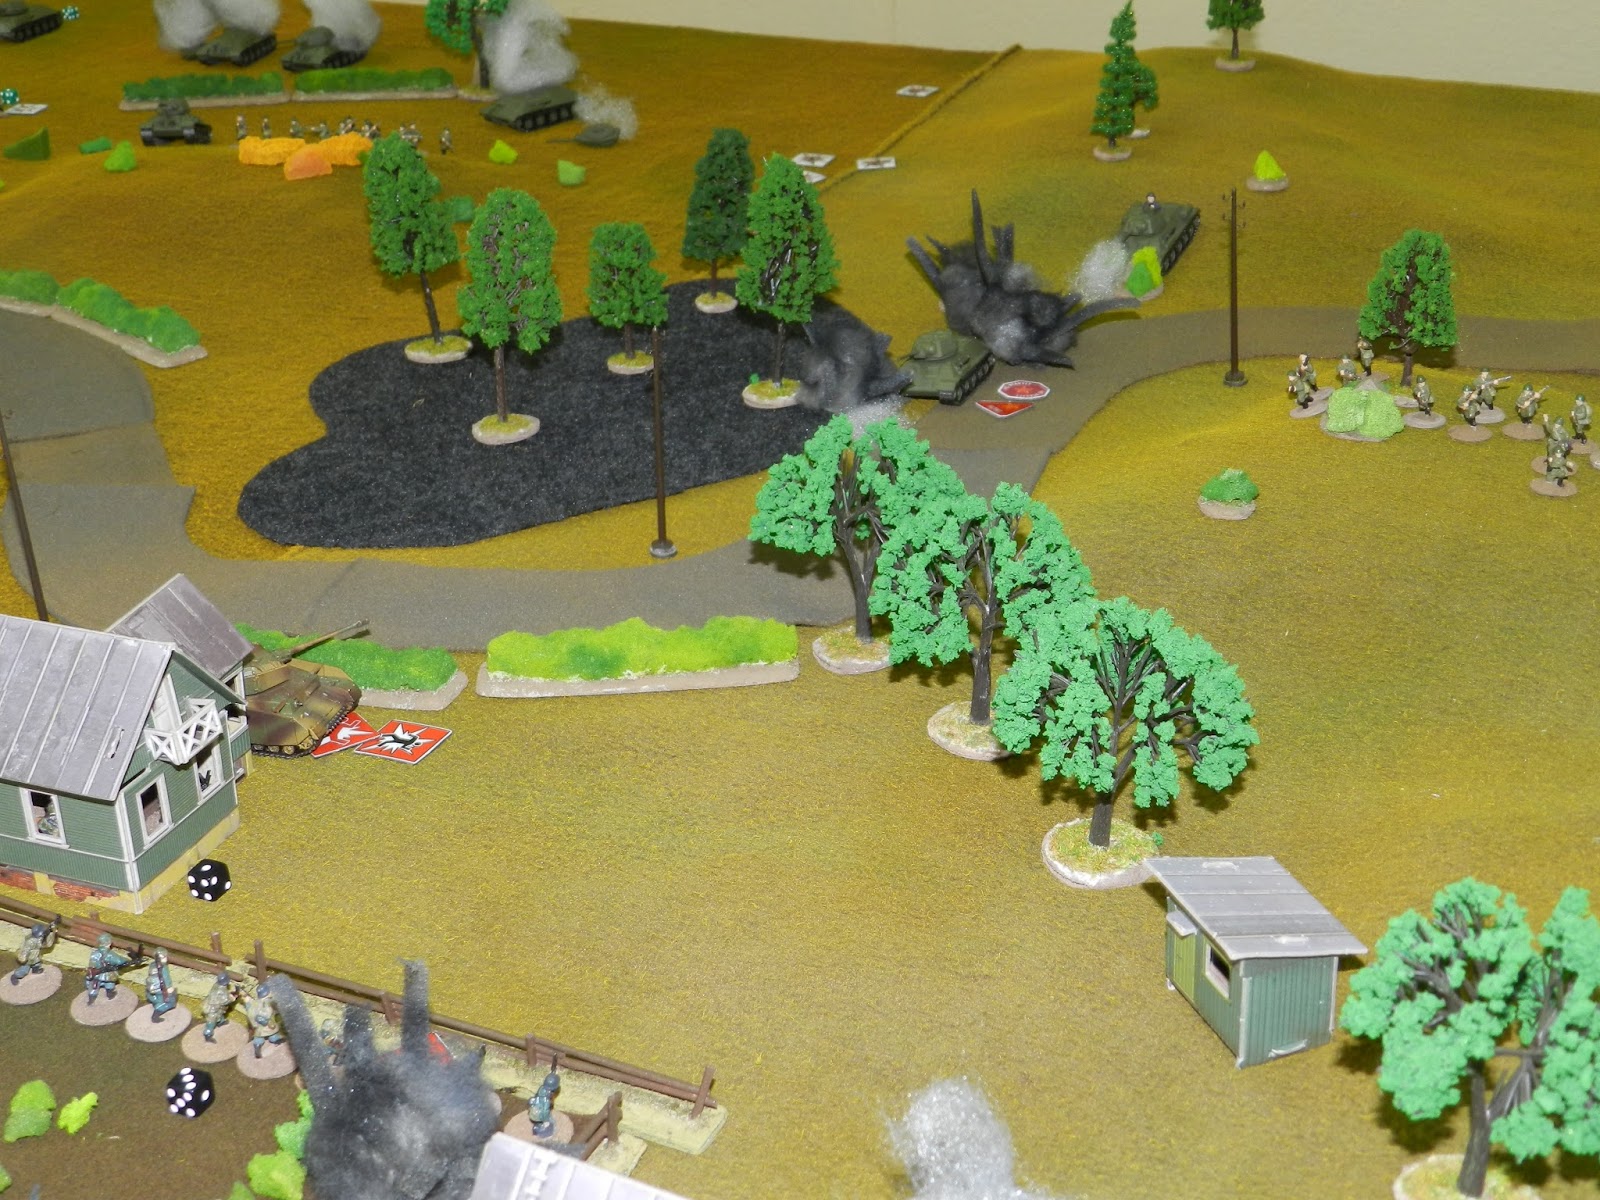
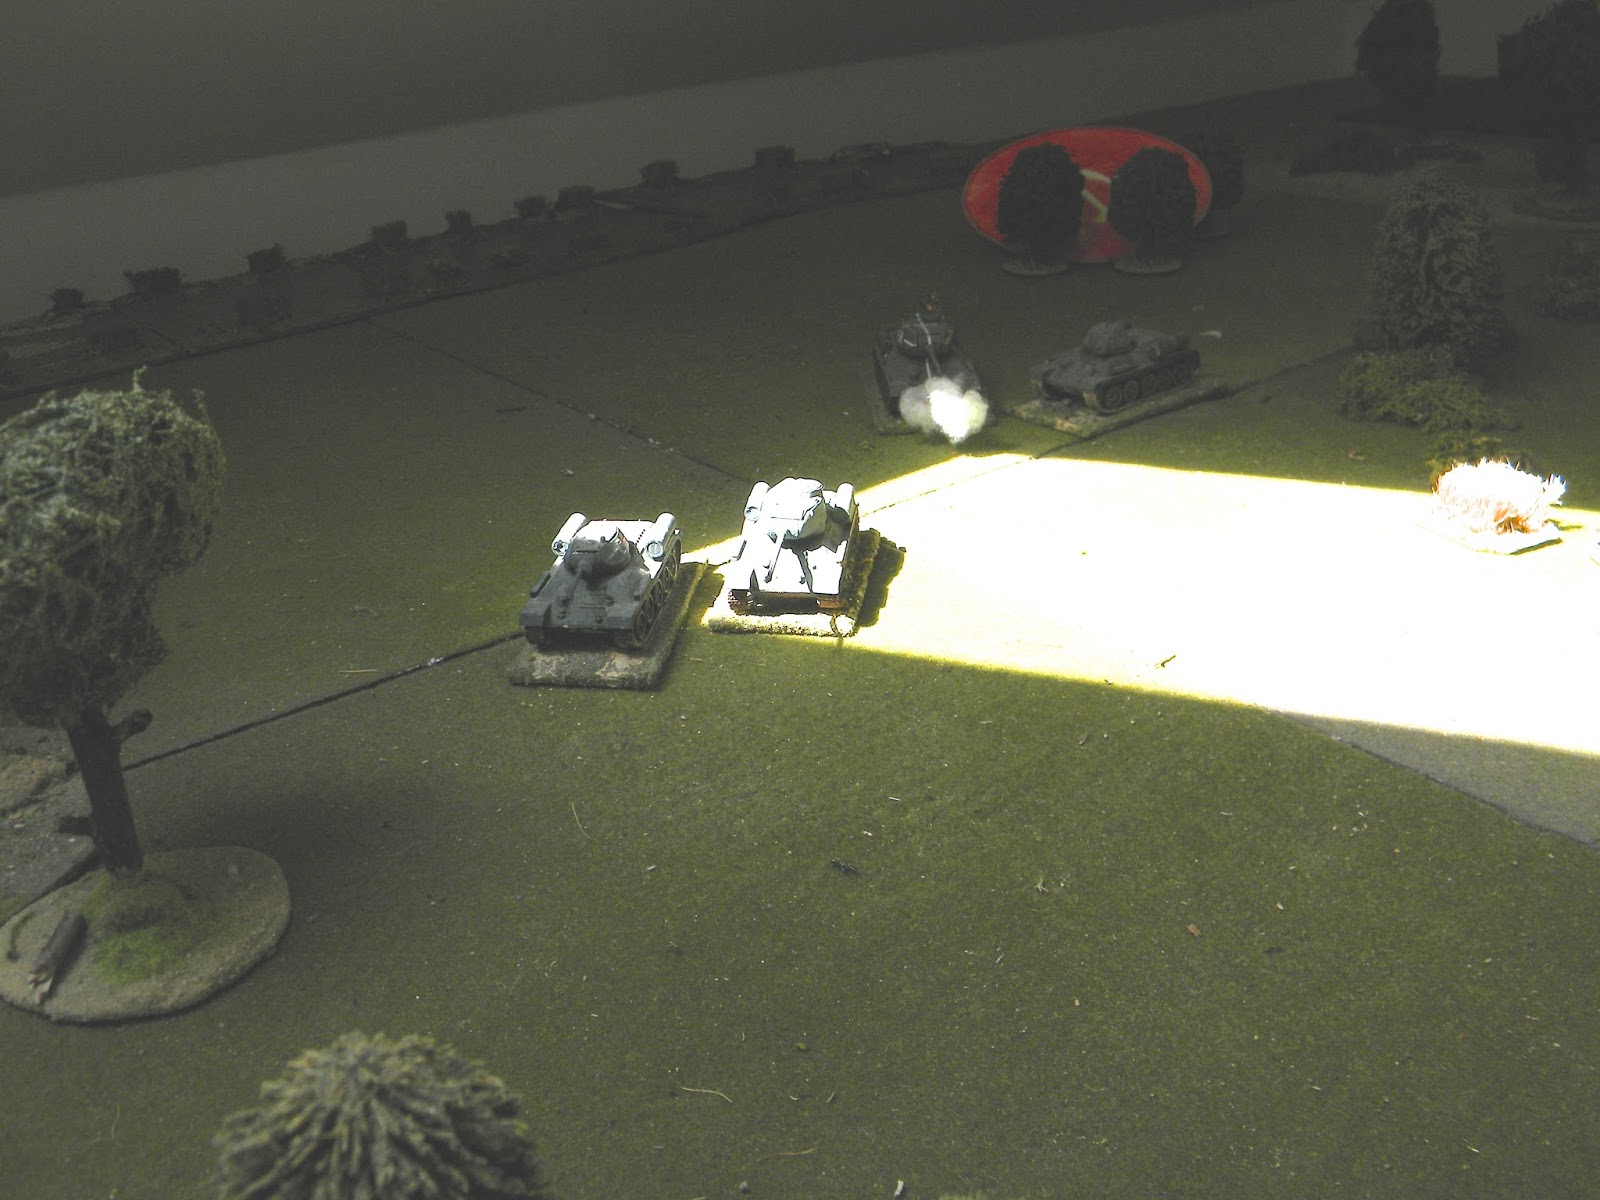
The German battery opened fire on the tanks again. One tank's driver is killed and it's engine damaged beyond repair. Meanwhile, the German tank platoon commander is firing incredibly accurately: another Russian tank burns, and another immobilised. The Soviet infantry hits the deck and lies on the reverse slope of the hills.
To divert the enemy's attention, the Soviet commander directed two tanks to the left flank. The Germans finished off the immobilized tank, then unsuccessfully tried to manoeuvre one of their tanks through the mud to cover the flank. A dry shot and a loud clap - one more kill!
The German battery is bombarded with aimed fire: the battery commander is killed, the gun crews suffer heavy losses, the battery is suppressed...but still represents a deadly threat.

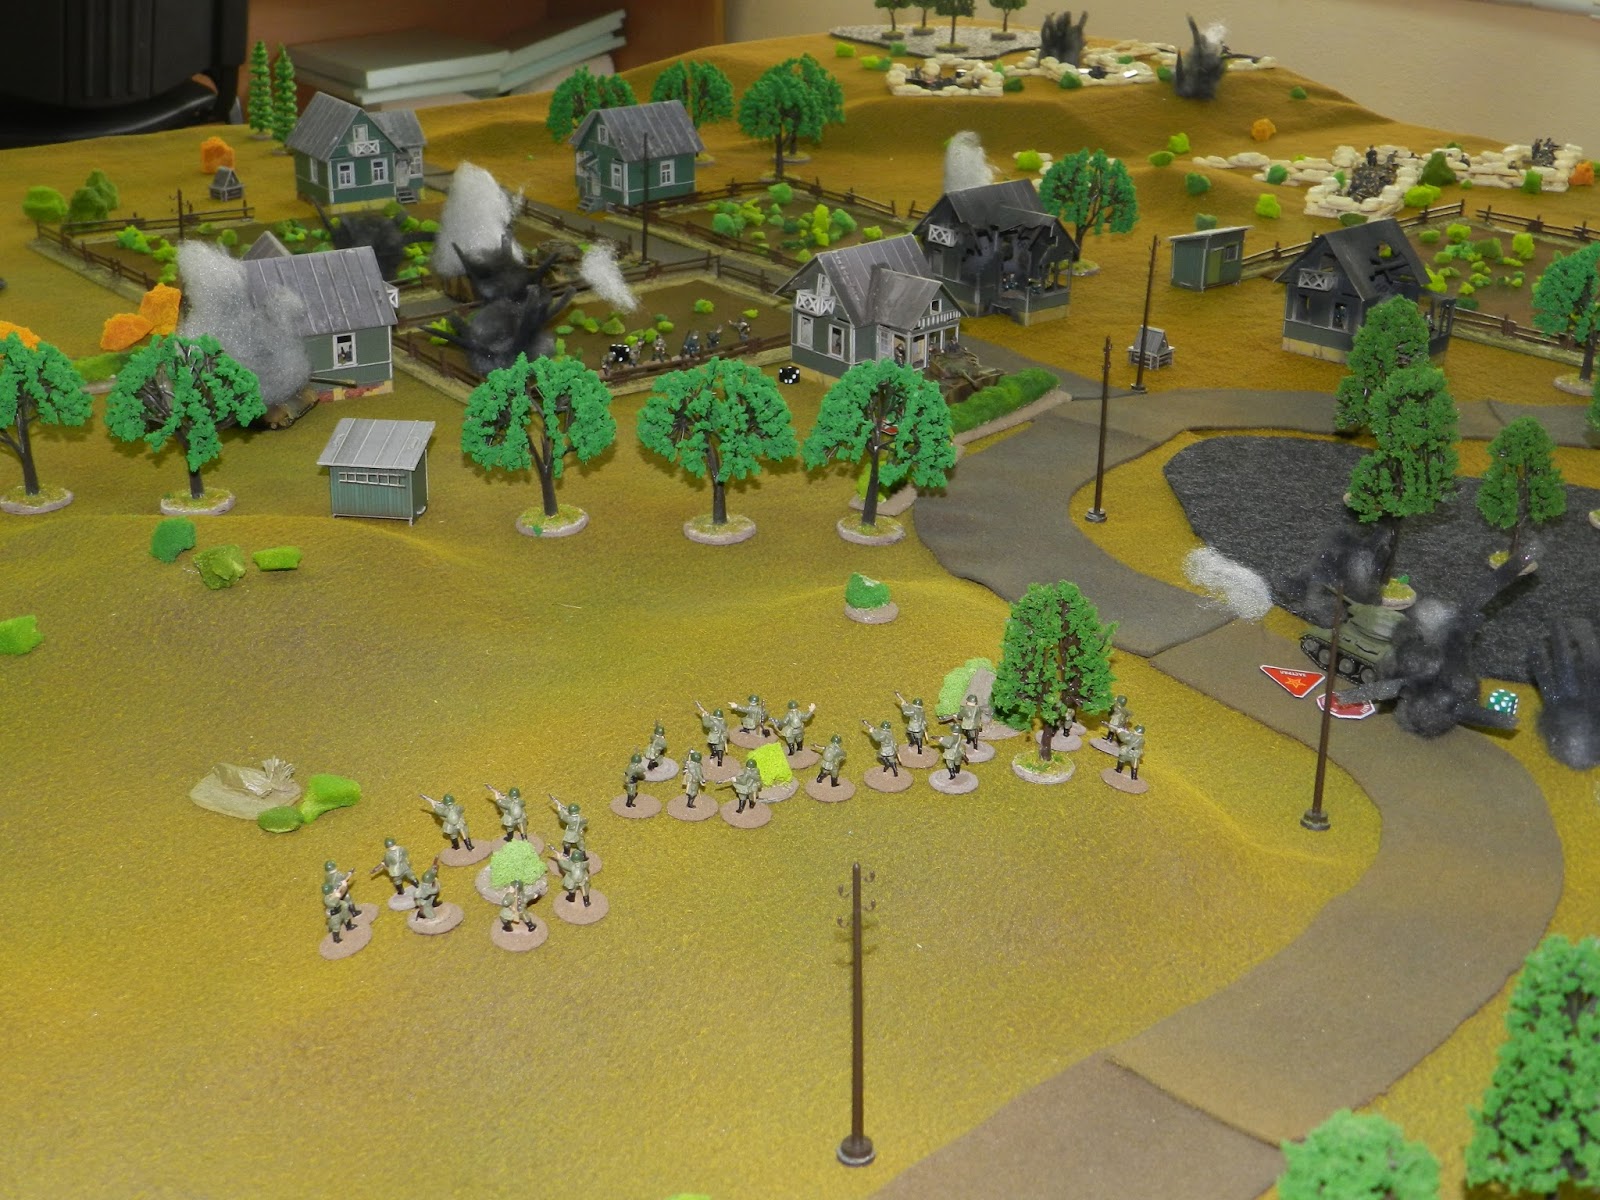
Under the cover of two tanks on the left flank, the Soviet infantry finally launches their attack. Another German tank is hit, and the German infantry is losing ground: it seems that the situation is stabilizing for the Soviets.
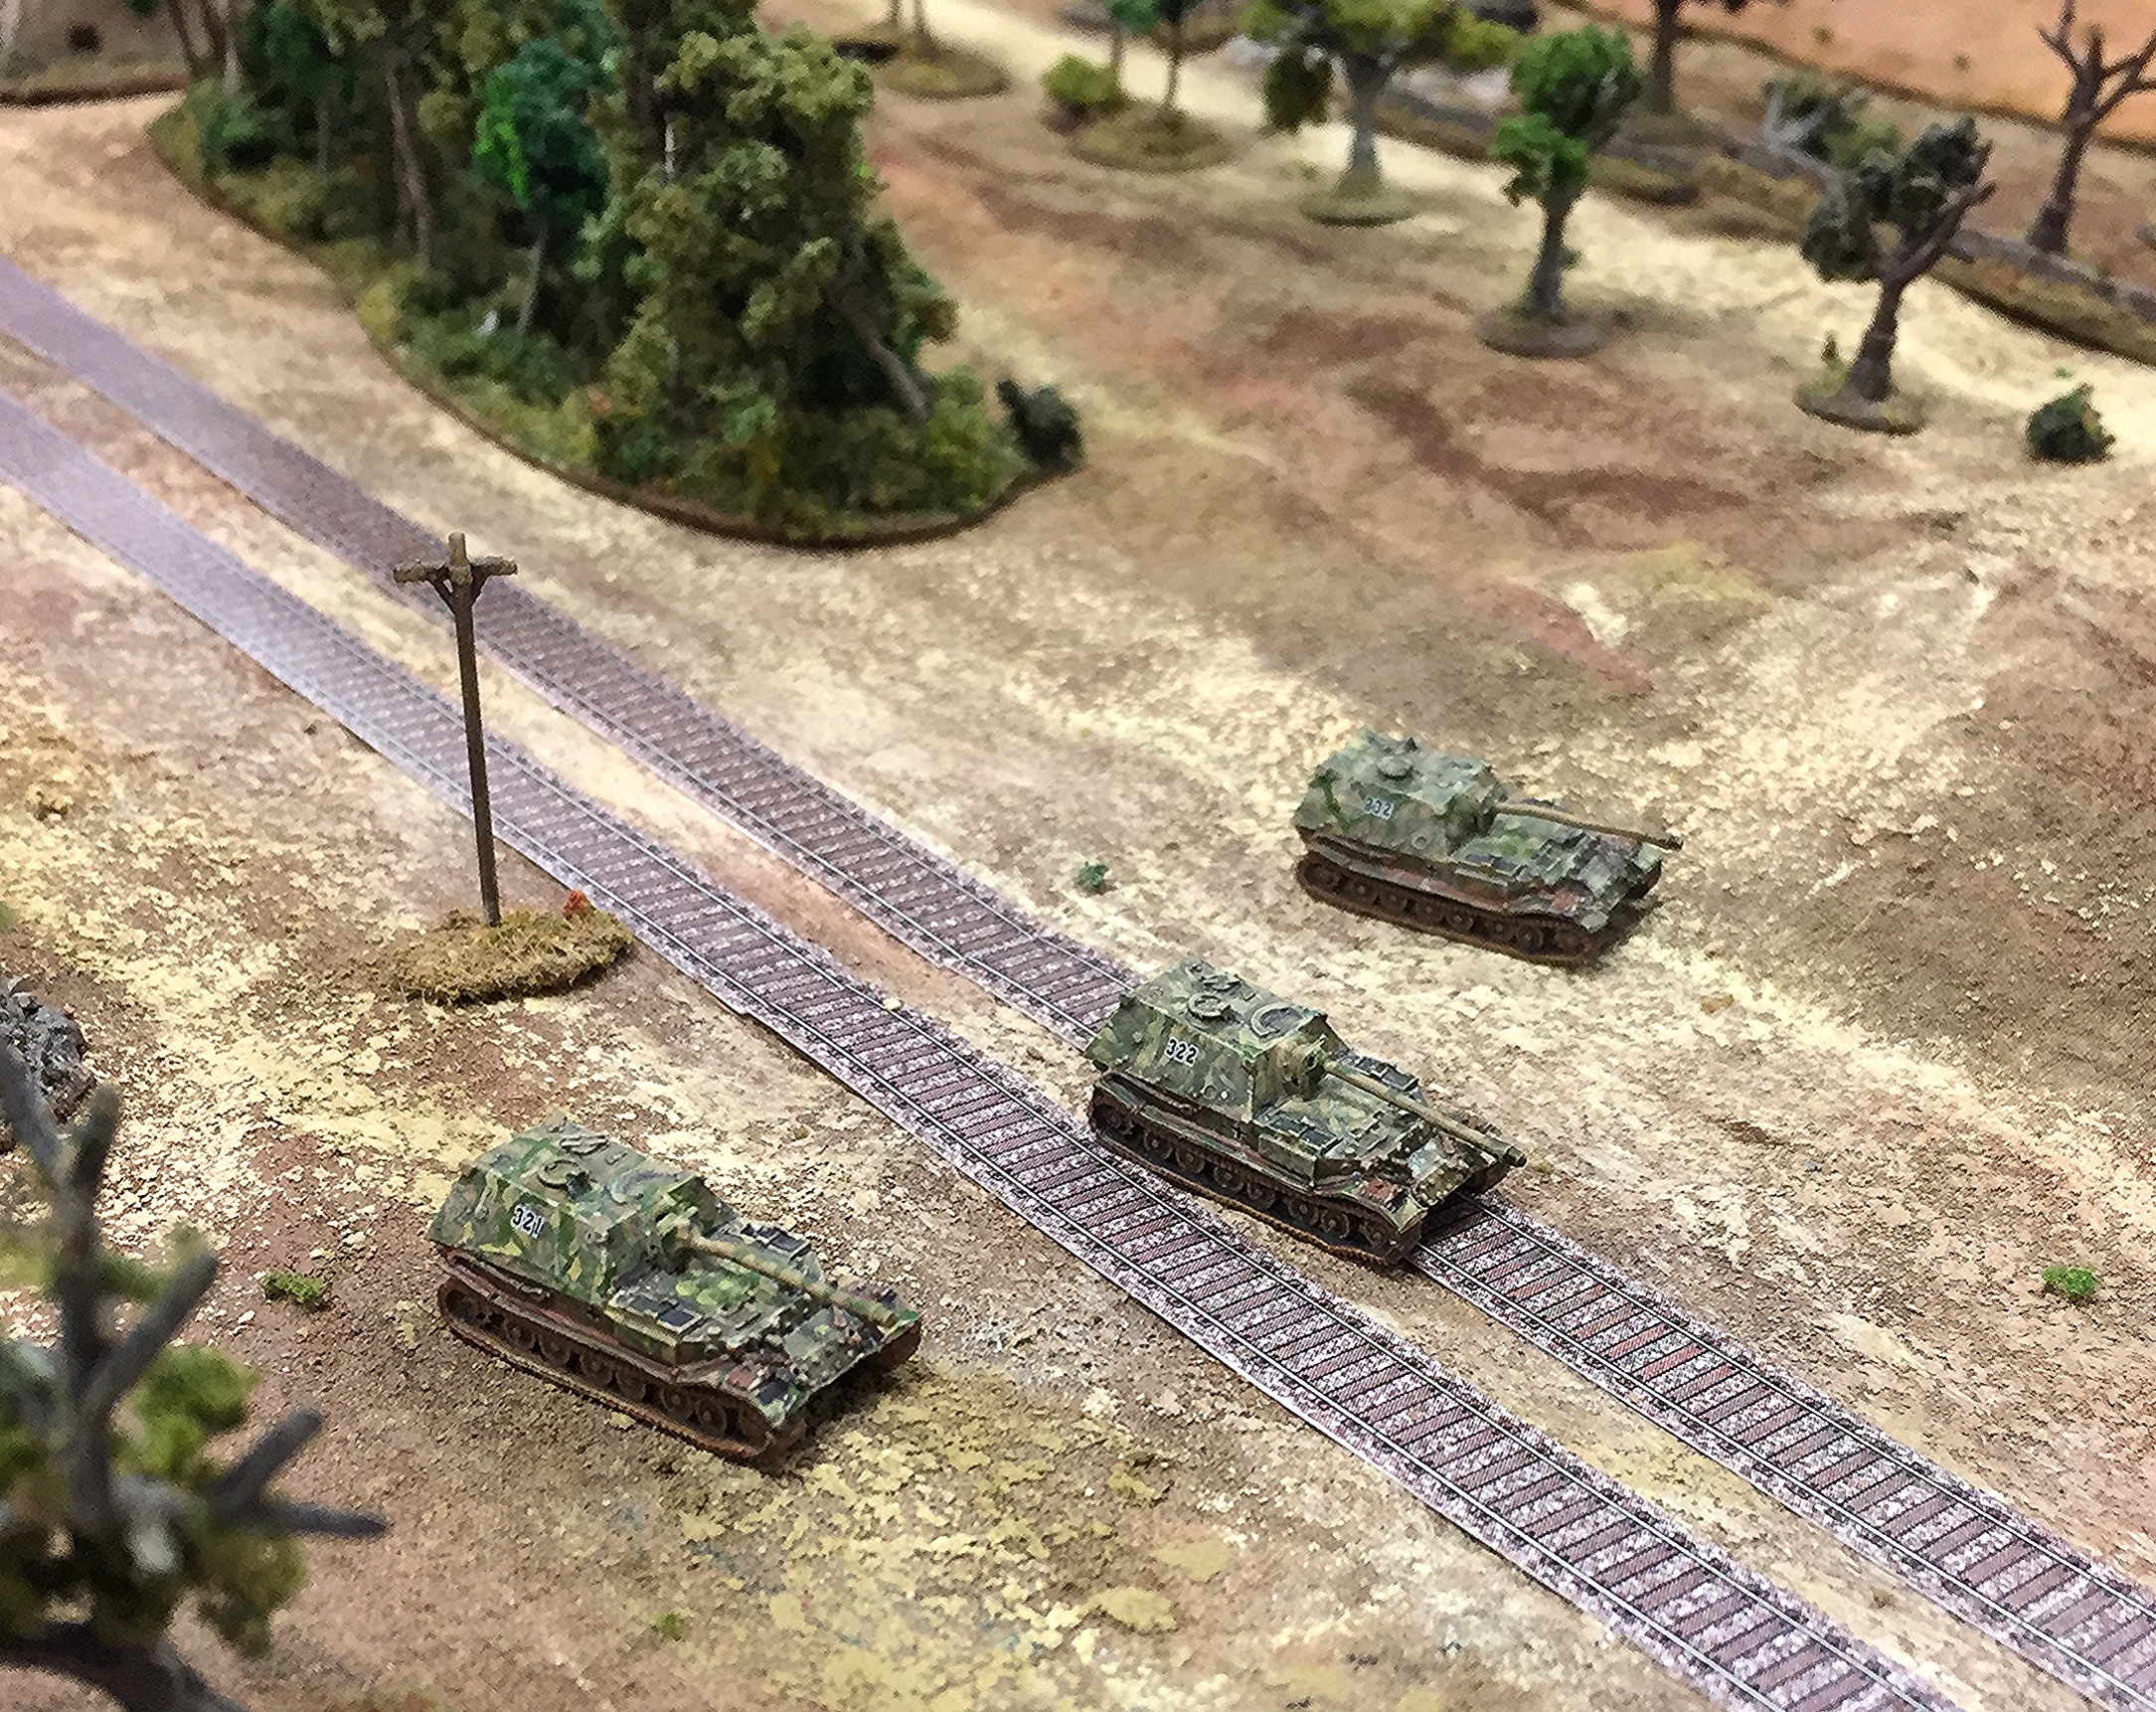
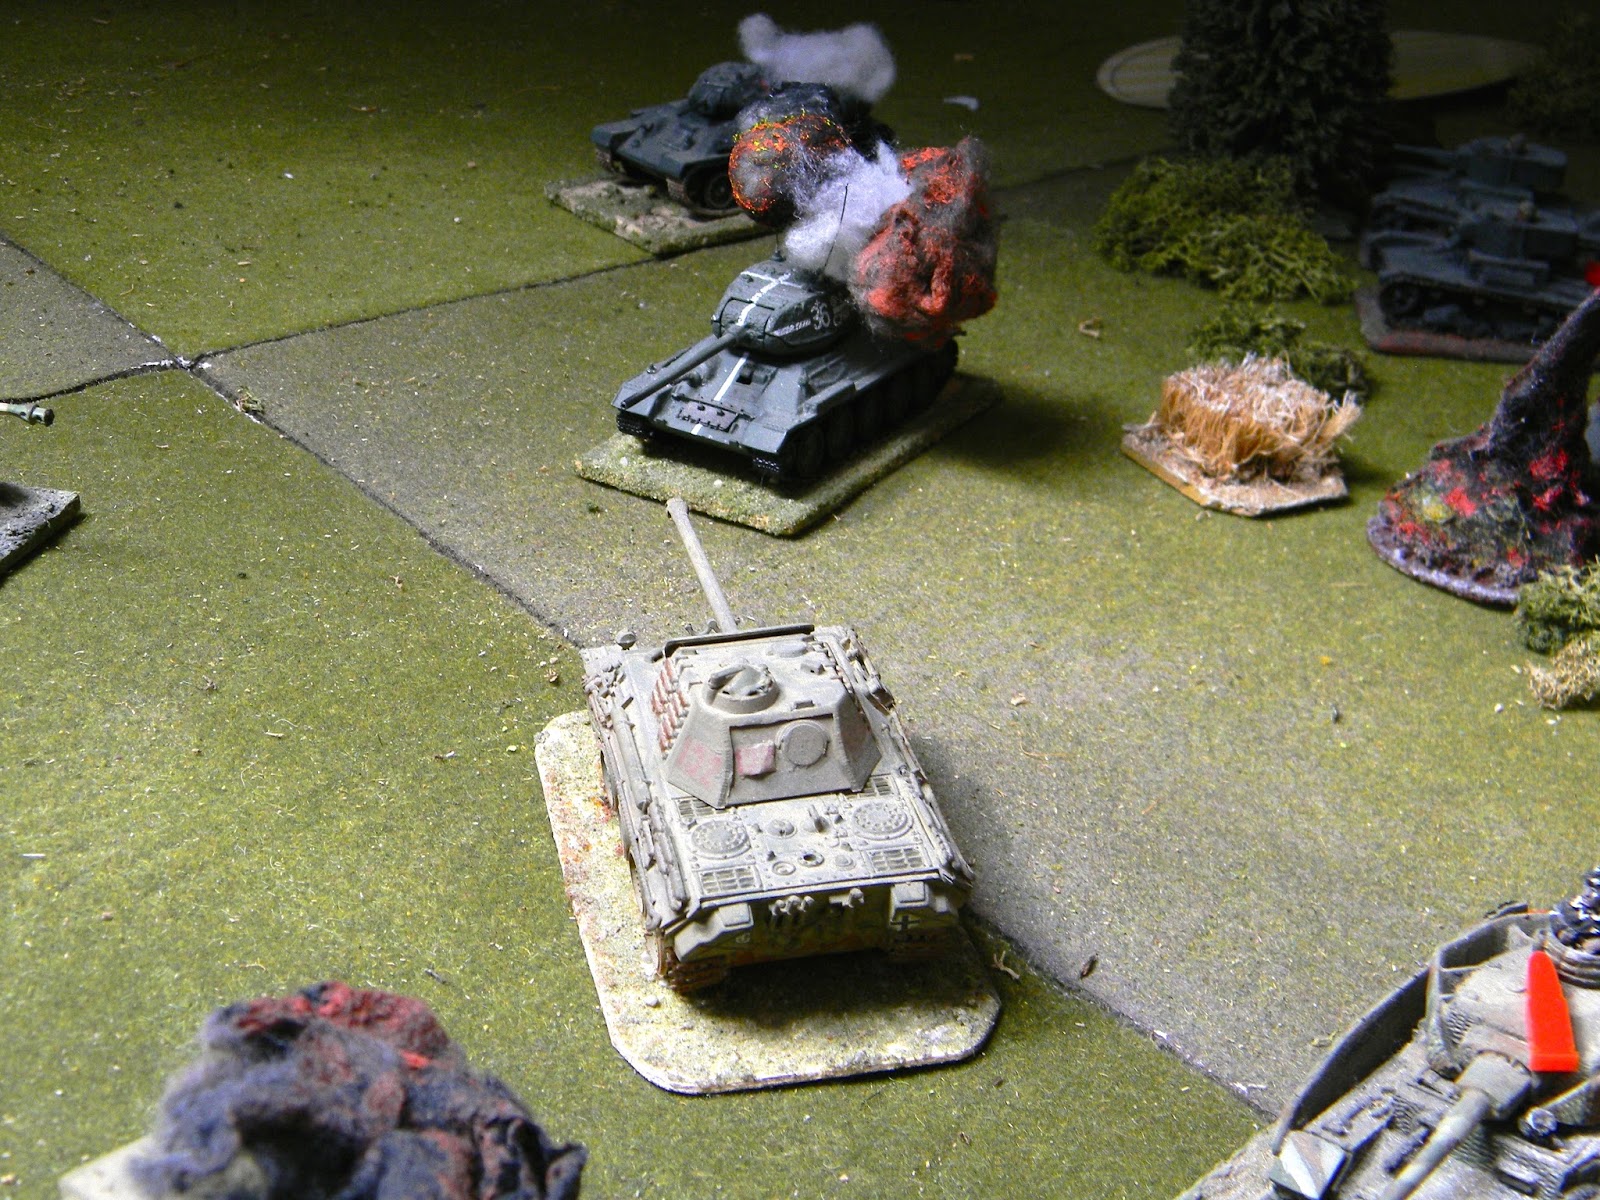
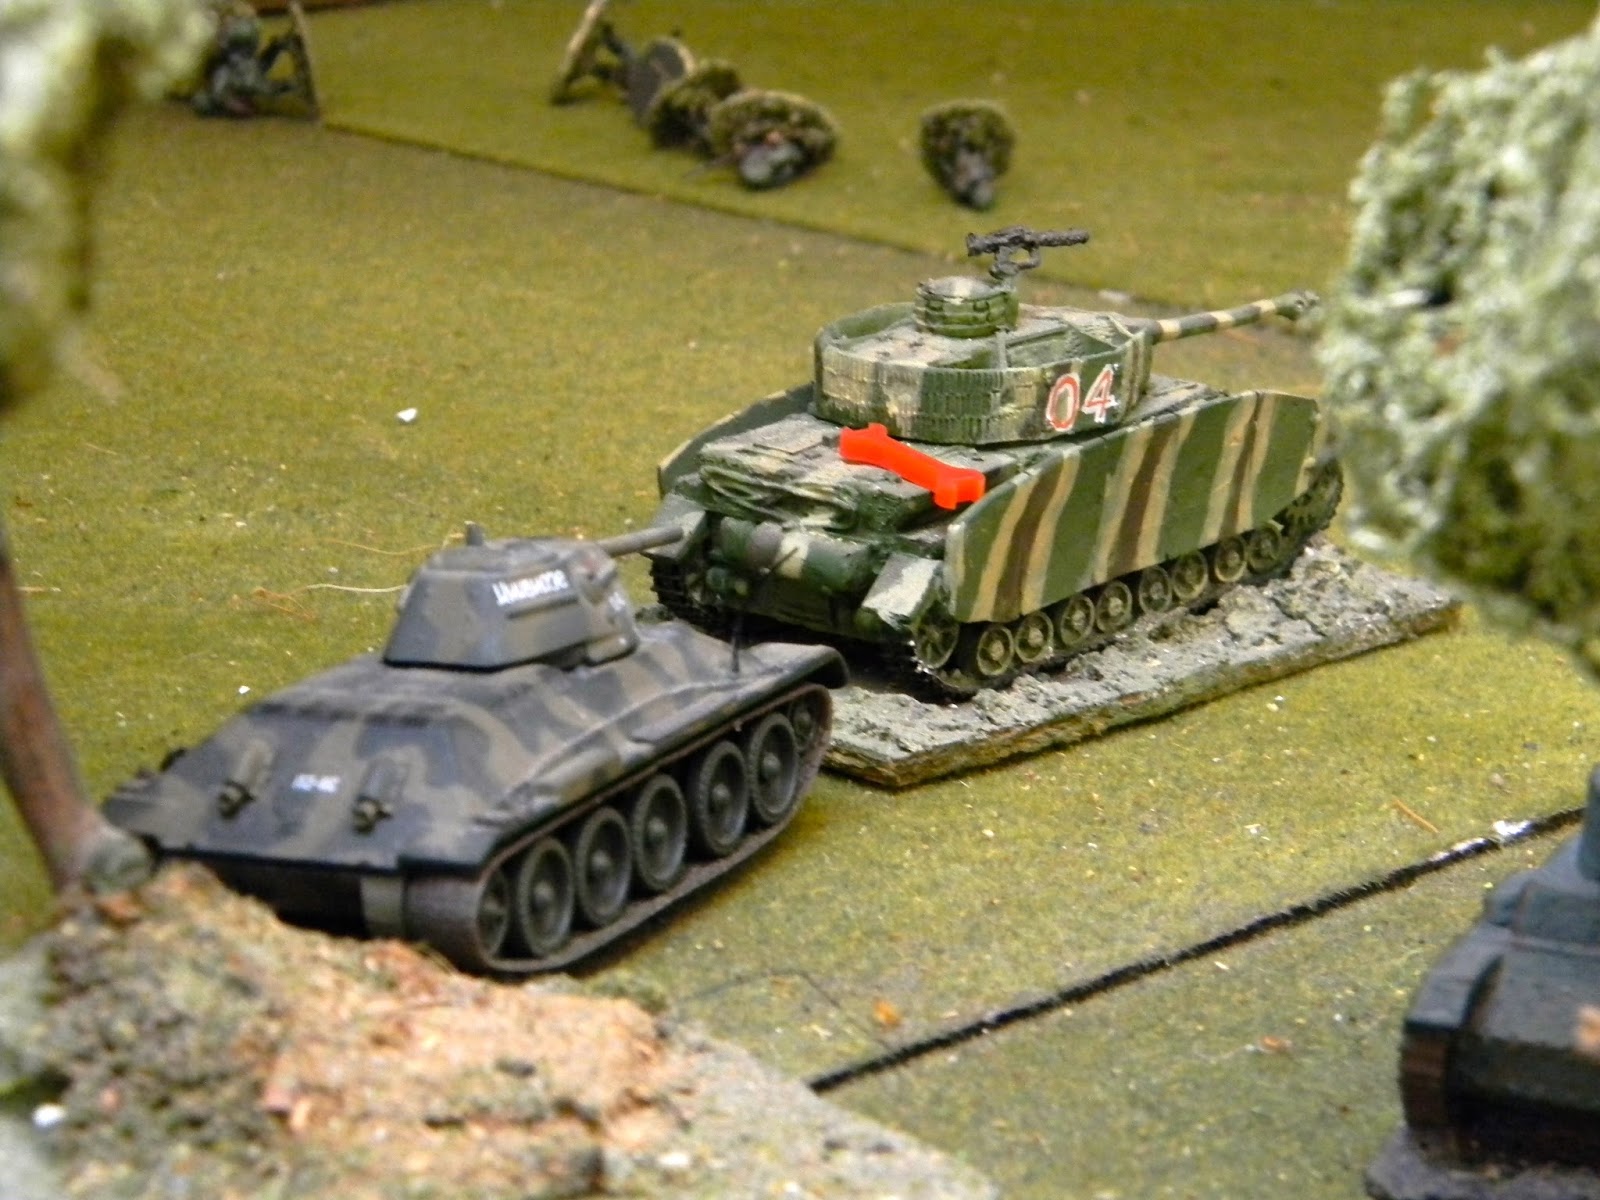
The German tank ace, not phased by the apparent reverses, changes his position and goes to the shooting range.
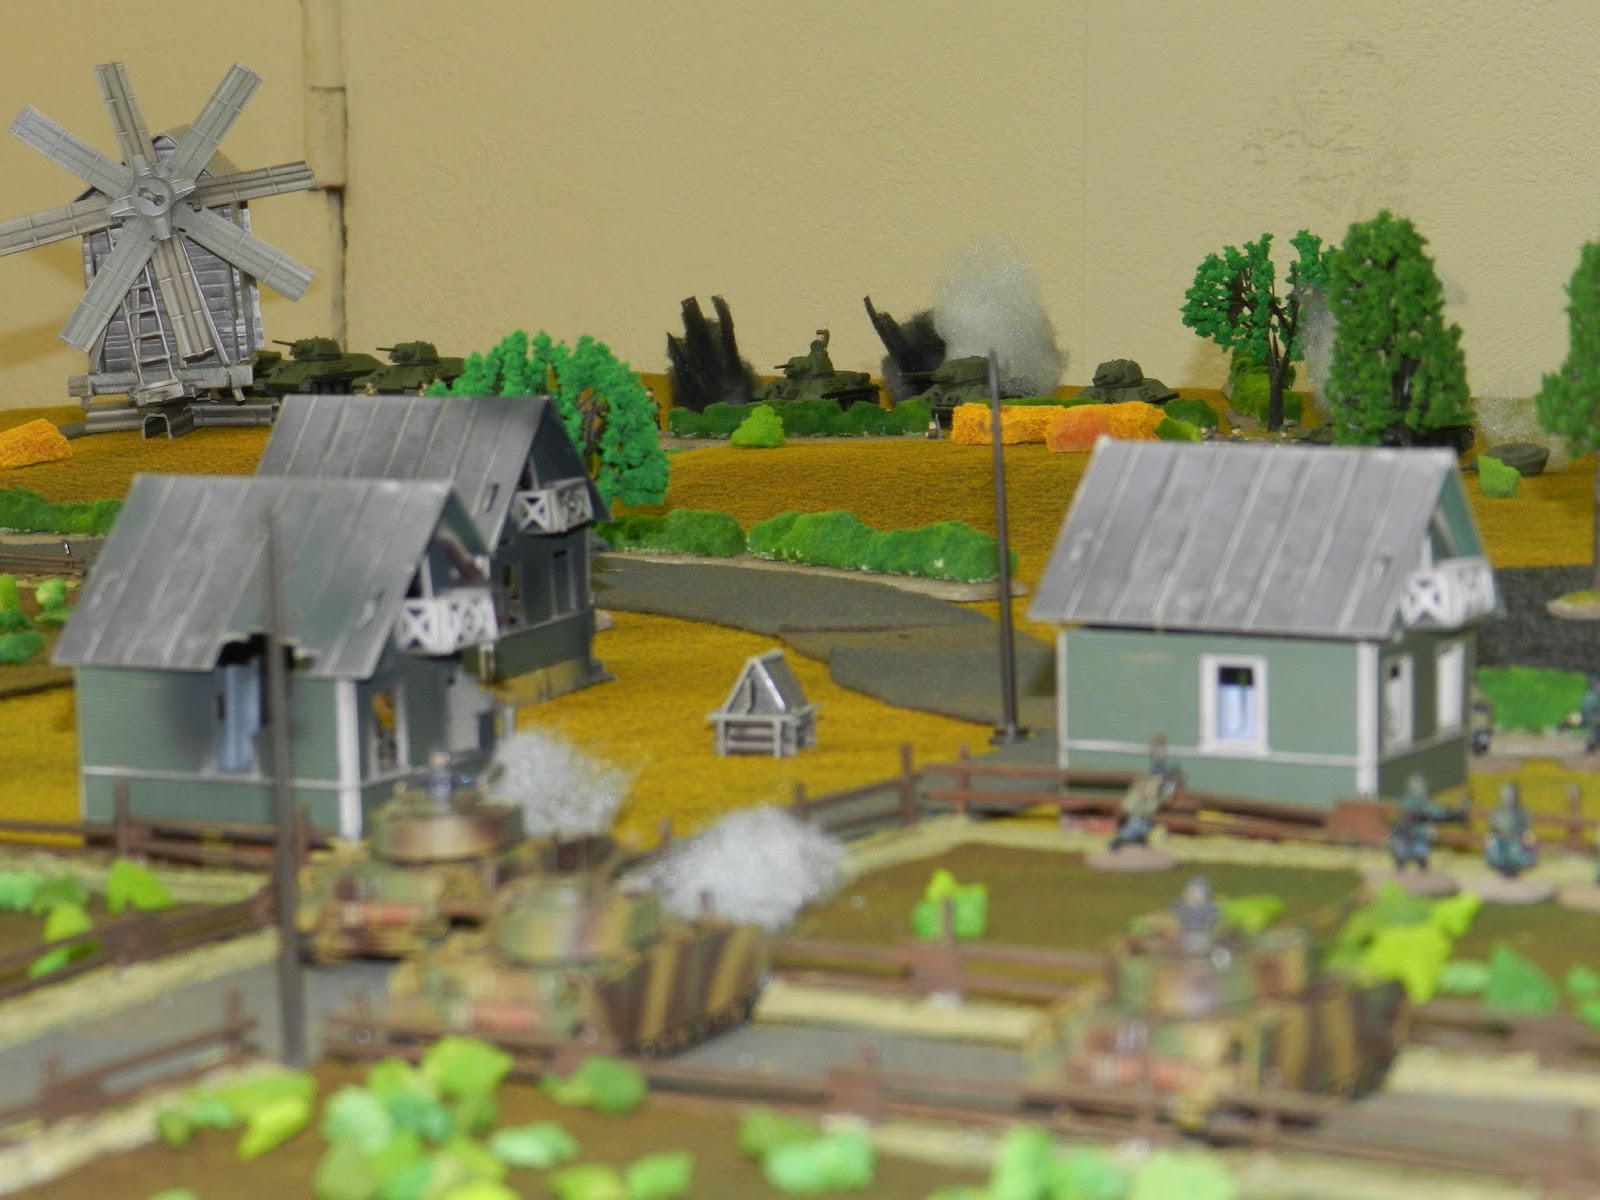
Shot! The shell hits the engine, and another Soviet tank is immobilized, the crew shell-shocked. The Soviet tankers are disoriented: the Germans are acting boldly and decisively.
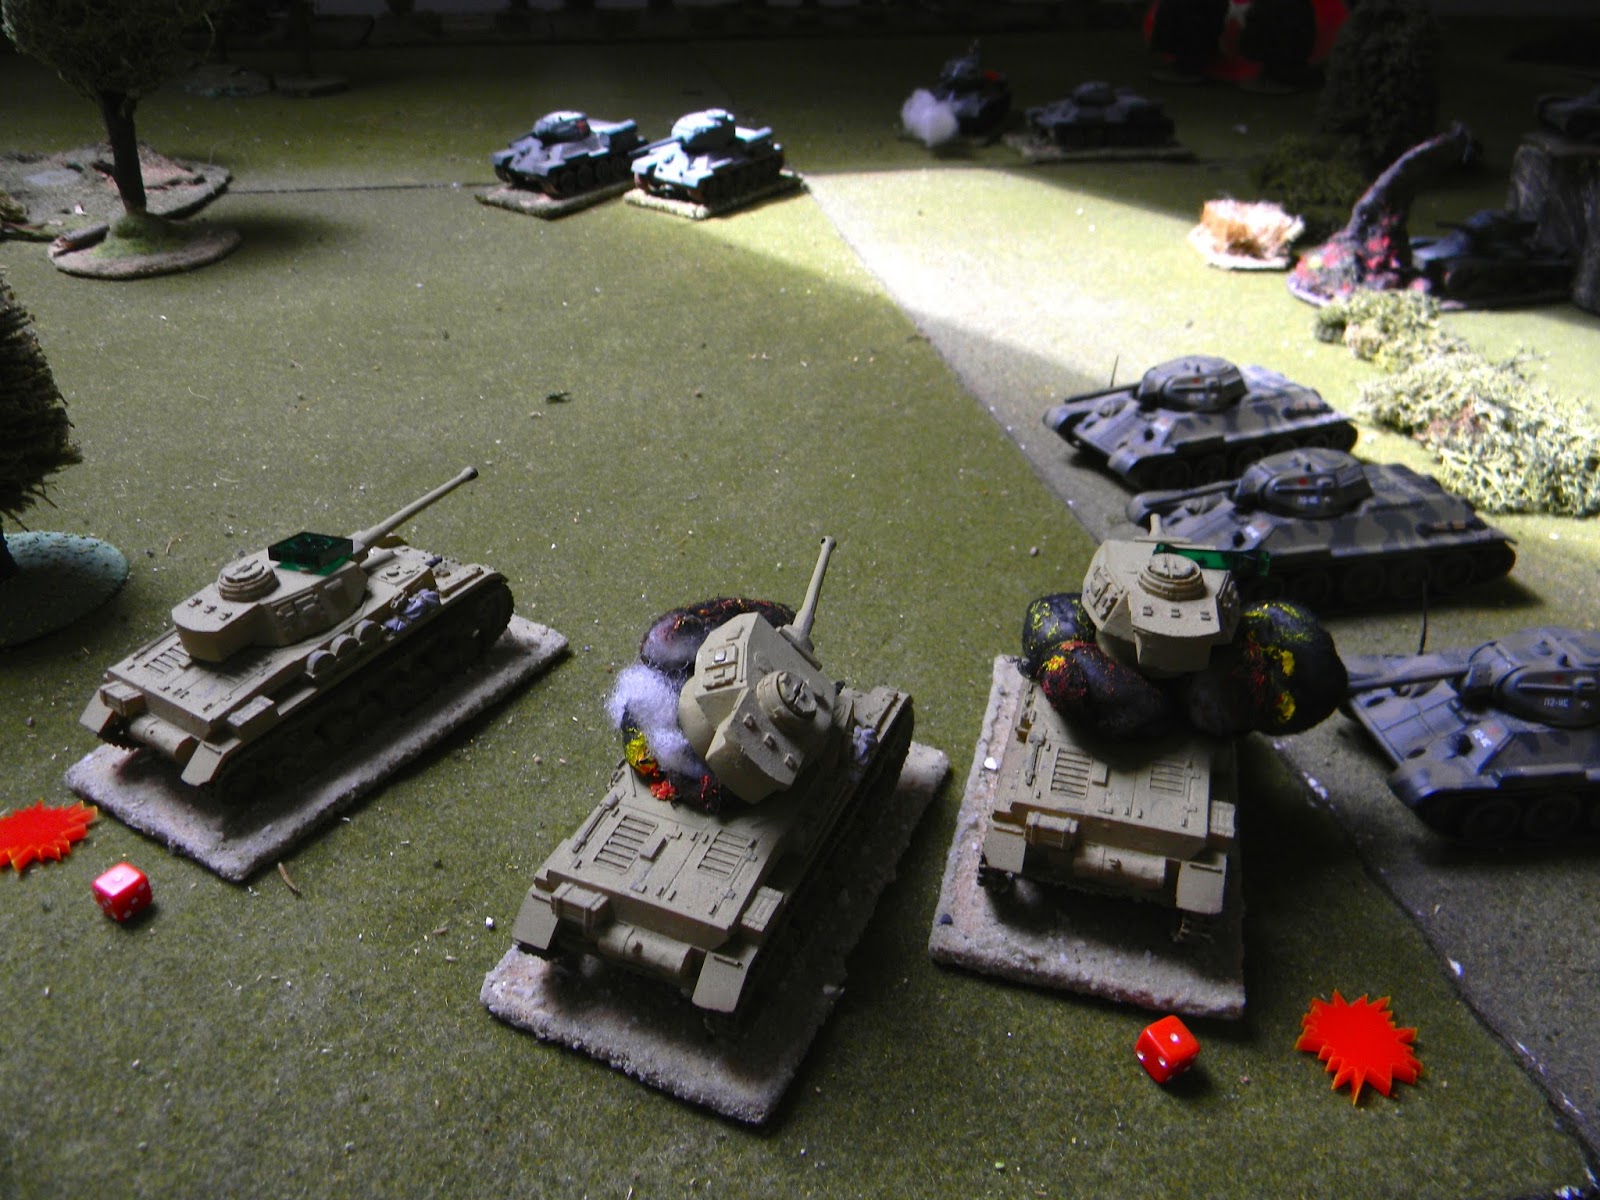
Shot! A Soviet tank's gun is jammed! Another shot, and a sharp tongue of flame emerges from another Soviet tank. The second German tank also destroyed another Soviet tank.
By the end of the day, the Soviet troops are convinced that they cannot break through the village and bypass the key enemy defences, and begin withdrawing. By the end of the battle, most of the German forces were remained intact, and the village remained in German hands.
Clear rules make the game move along cheerfully. Activation of units depends on luck, and sometimes a turn ends before every unit has activated. This makes things chaotic rather than strictly linear, and there are also bonus events on top of this. This means you have to think before starting anything that will take more than one action: for example, is it worthwhile sending the infantry forward out in the open if they might get stuck there?
The rules are company-sized, but you can play at least at regimental level. In the game, one soldier equals one man, one model equals one tank: imagine getting a whole German tank battalion onto the table...
This isn't in my opinion, a set of rules made for tournaments: for example, there is no points system covering differences in armament, different skills, the experience of soldiers, list size, etc. In the battle you choose troops based on lists from their nationality. And everything is quite arbitrary: it is possible to change everything for a particular scenario from how a platoon is armed right the way up to the experience of tank crews...provided the scenario justifies it. All you need is the agreement of your opponent. The historical scenarios provided generally suggest fighting off ten tanks and a full company with one anti-tank gun and a handful of soldiers. And the most interesting thing is that even if you have a preponderance in tanks and infantry, you cannot simply expect to win: maybe most of your troops never arrive!
The game has no maximum range of fire. There is a Close range, Effective range, and after that there are no restrictions. From table edge to table edge, if you see the enemy, you can shoot at him. As a result, an active firefight can begin on the first move of the game. However, to ensure that the game does not bog down to firefights at long distances, missions set specific tasks and deadlines for their completion.
The game has a hidden movement system, but we didn't test this. Perhaps this has already been considered and I'm wrong, but it seems to me that the element of hidden manoeuvre in the game done this way (paper Blinds on the table) spoils how the game looks. I prefer the "hidden manoeuvre" in CoS.
We were surprised that the game does not require a lot of dice to determine the results of shooting. After FoW with 20+ dice, it seems unusual to throw one or two dice only. And the fact that you have to consult a table to determine whether you hit or not can be a pain.
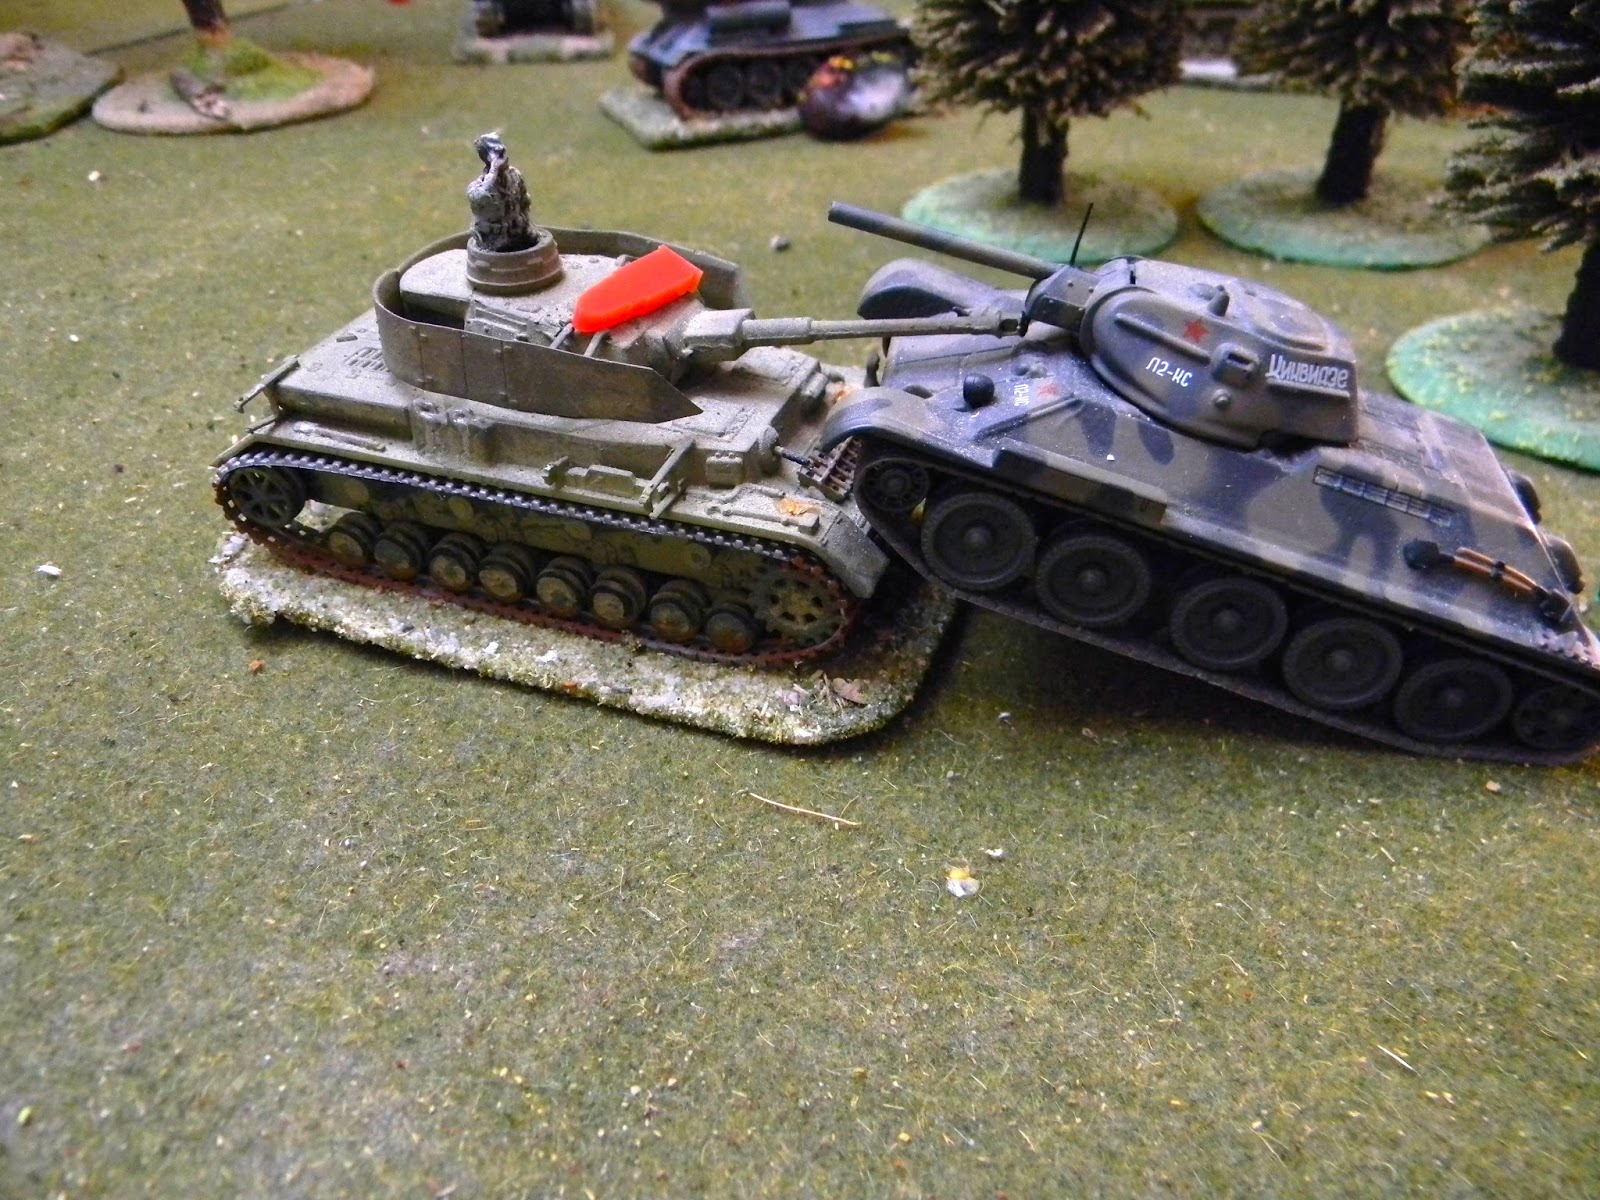
Sometimes games of this scale lack mechanisms to deal with disabling rather than destroying tanks, or killing an artillery piece's individual crew members, but not in this game. In our game we had a duel between the Soviet and German tankers: after the first shot, the chassis was broken, the engine was damaged and stalled, but the crew was still fighting, not everything was lost! The next shot led to the damage to the gun sights, making it more difficult to hit anything, and the crew was shell-shocked. Another hit and the tank brewed up, the commander is killed. Another time, a tank's main gun jammed: the tank no longer represented a formidable combat unit and, as a target, was not interesting, but it wasn't destroyed.
The same with infantry: there is no need to kill everyone. The loss of 2-3 soldiers in a unit greatly affects its effectiveness, which makes it much harder for them to carry out their assigned combat mission. Yes, one soldier can display an act of heroism, but the rule is that one individual trying something in the field does not work very often.
Some things do make the game complex: you have to constantly keep in mind the number of Actions available to each squad or vehicle. You need to know what strike value each tank has and/or whether a unit has lost casualties etc. The problem can probably be solved by using info cards or by the "friendly" atmosphere of the game (until the furious duel of gambling players of the tankers begins!). But here's what you can not do at all: it's to show newcomers such a wargame with a historical miniature. They are horrified by all the mathematical calculations and rules. Modifiers, indicators, etc.
Valderech

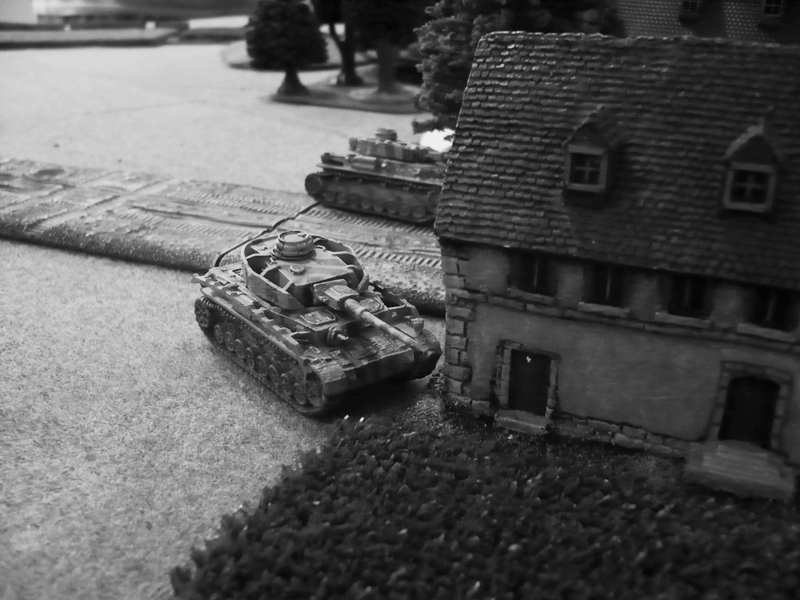
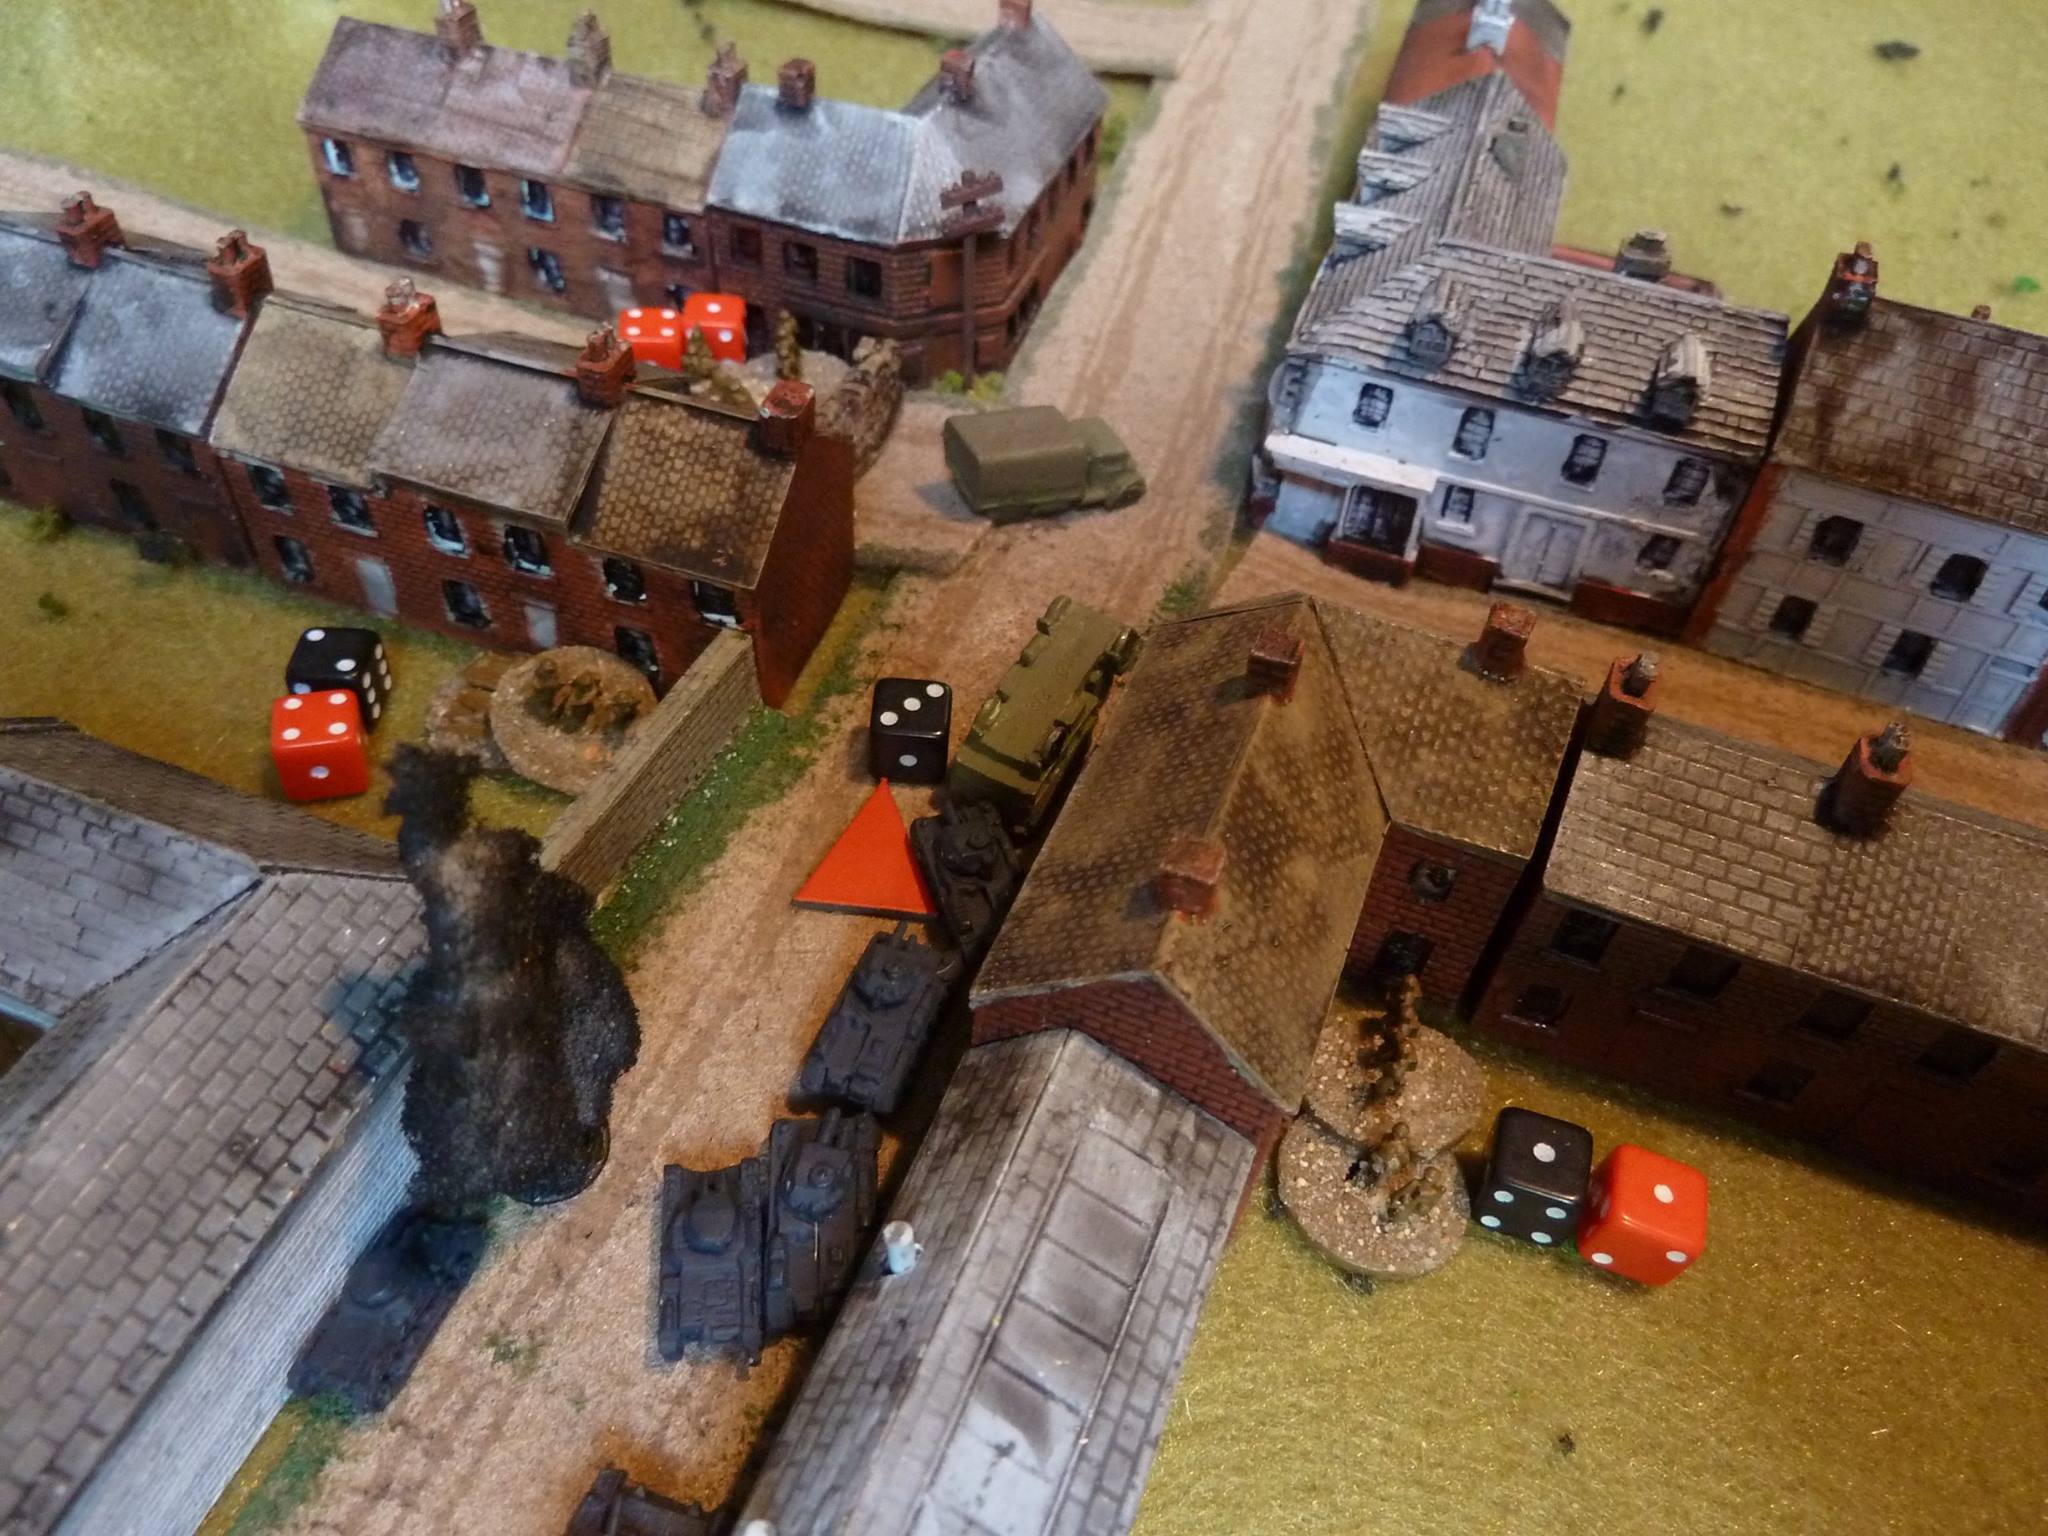
The 1st Panzer approach the cross roads
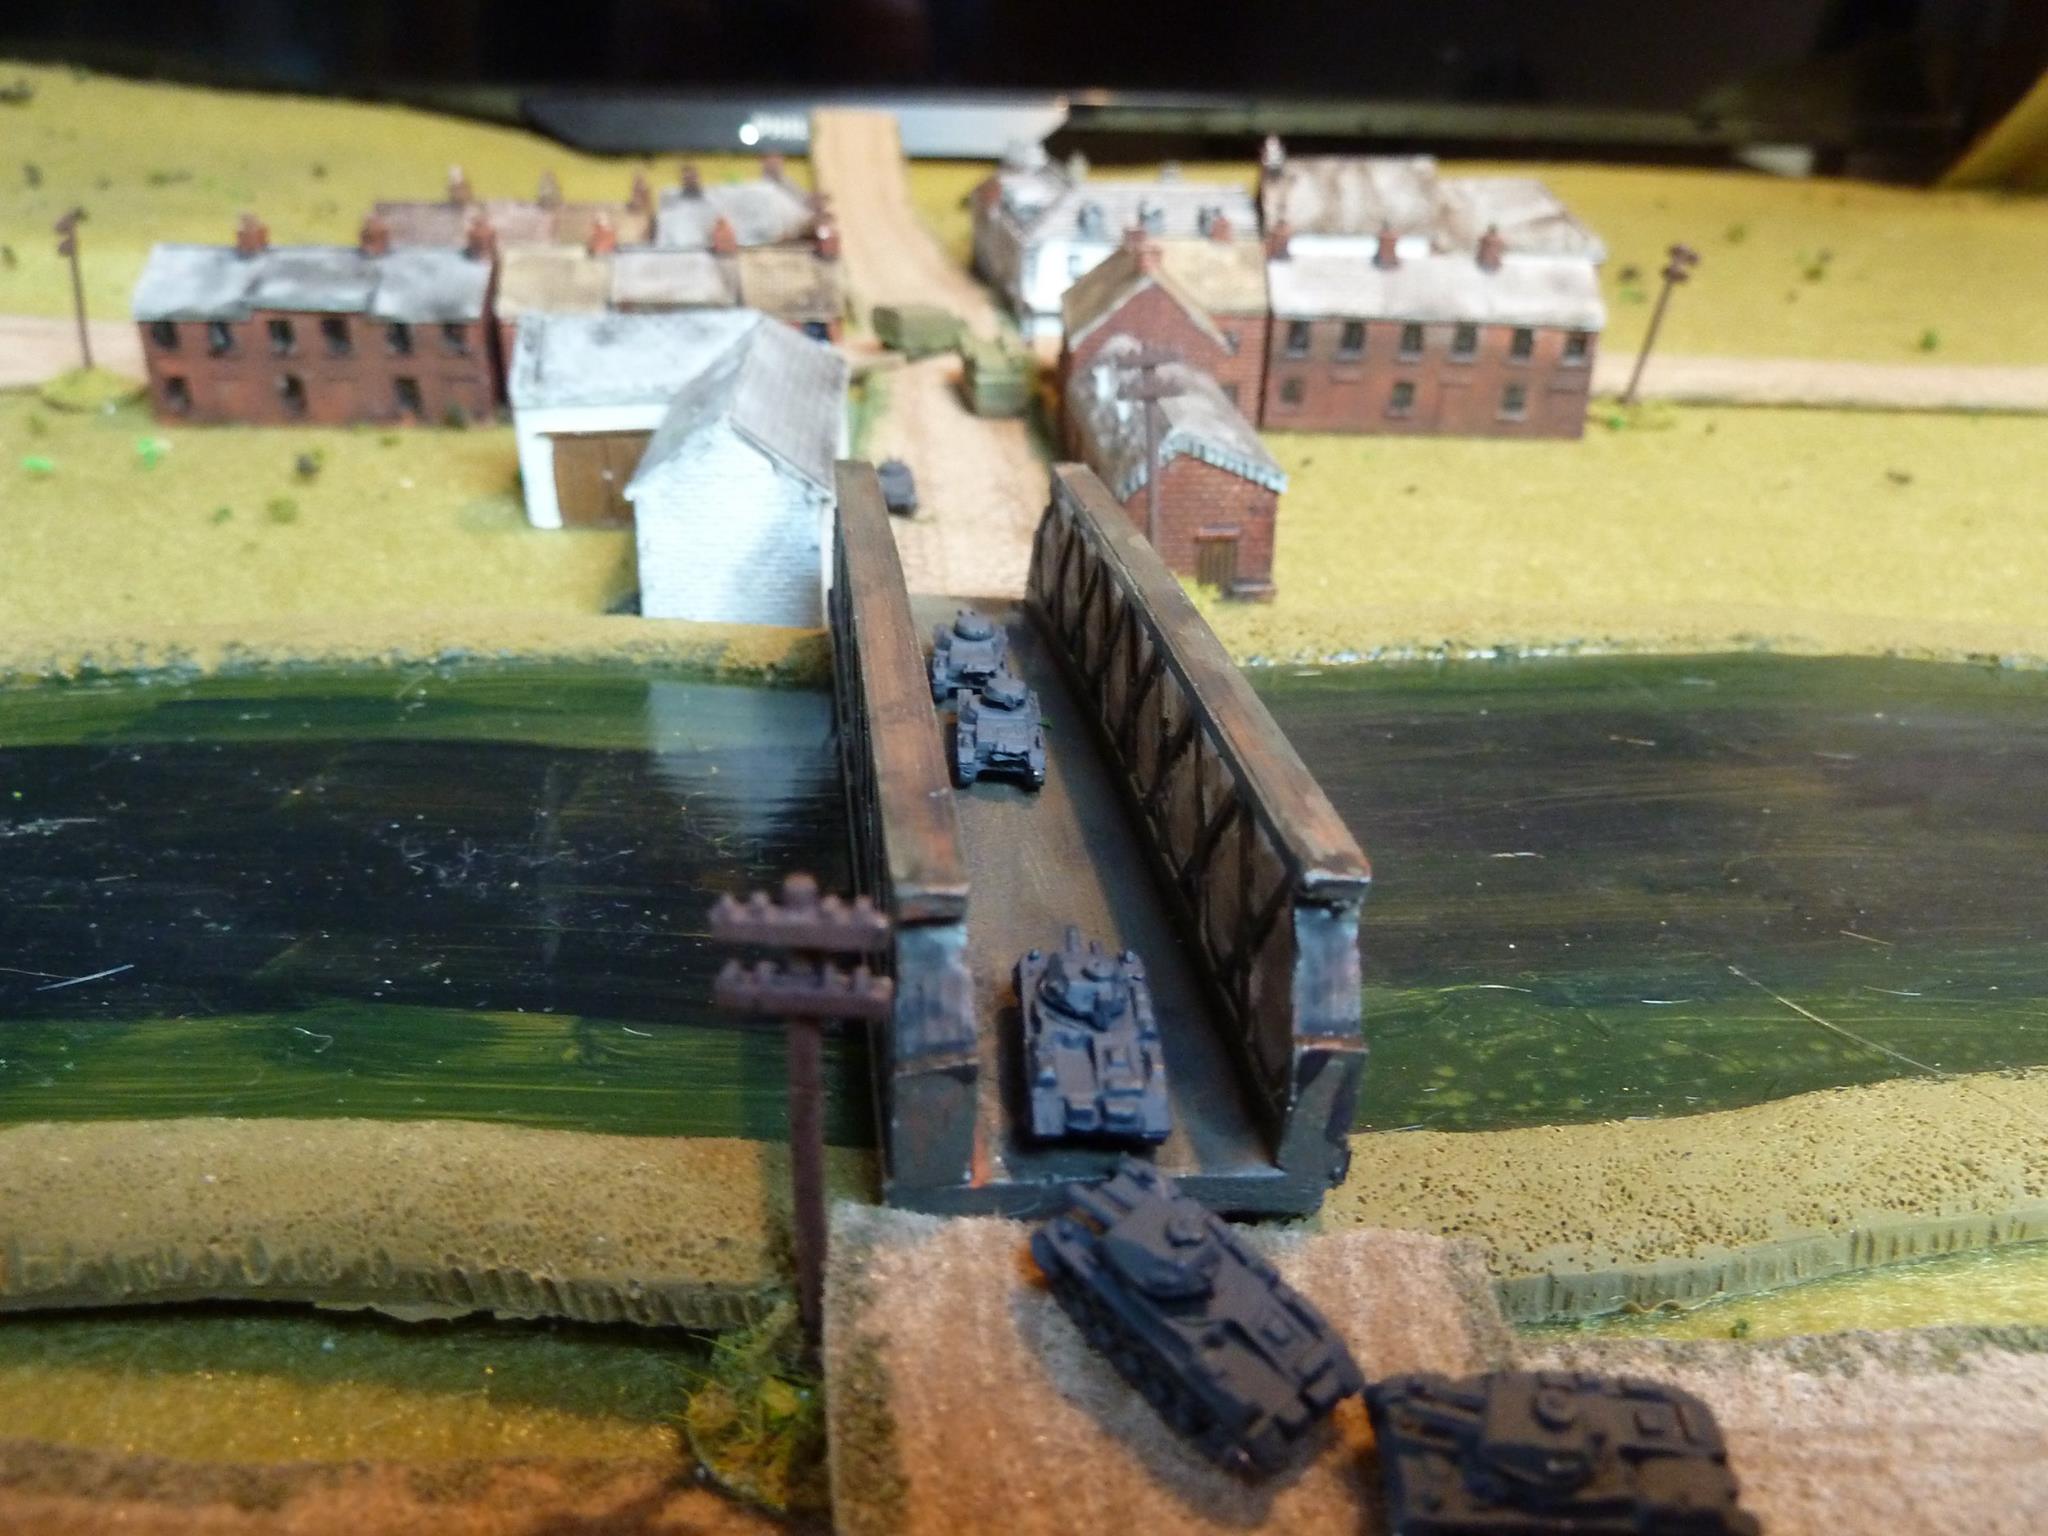
The column gets a little disorganised crossing the bridge
A Boys ATR shot rings out from the white corner house hitting the lead Pz I and a great roll means the end of Panzer Leader 1!
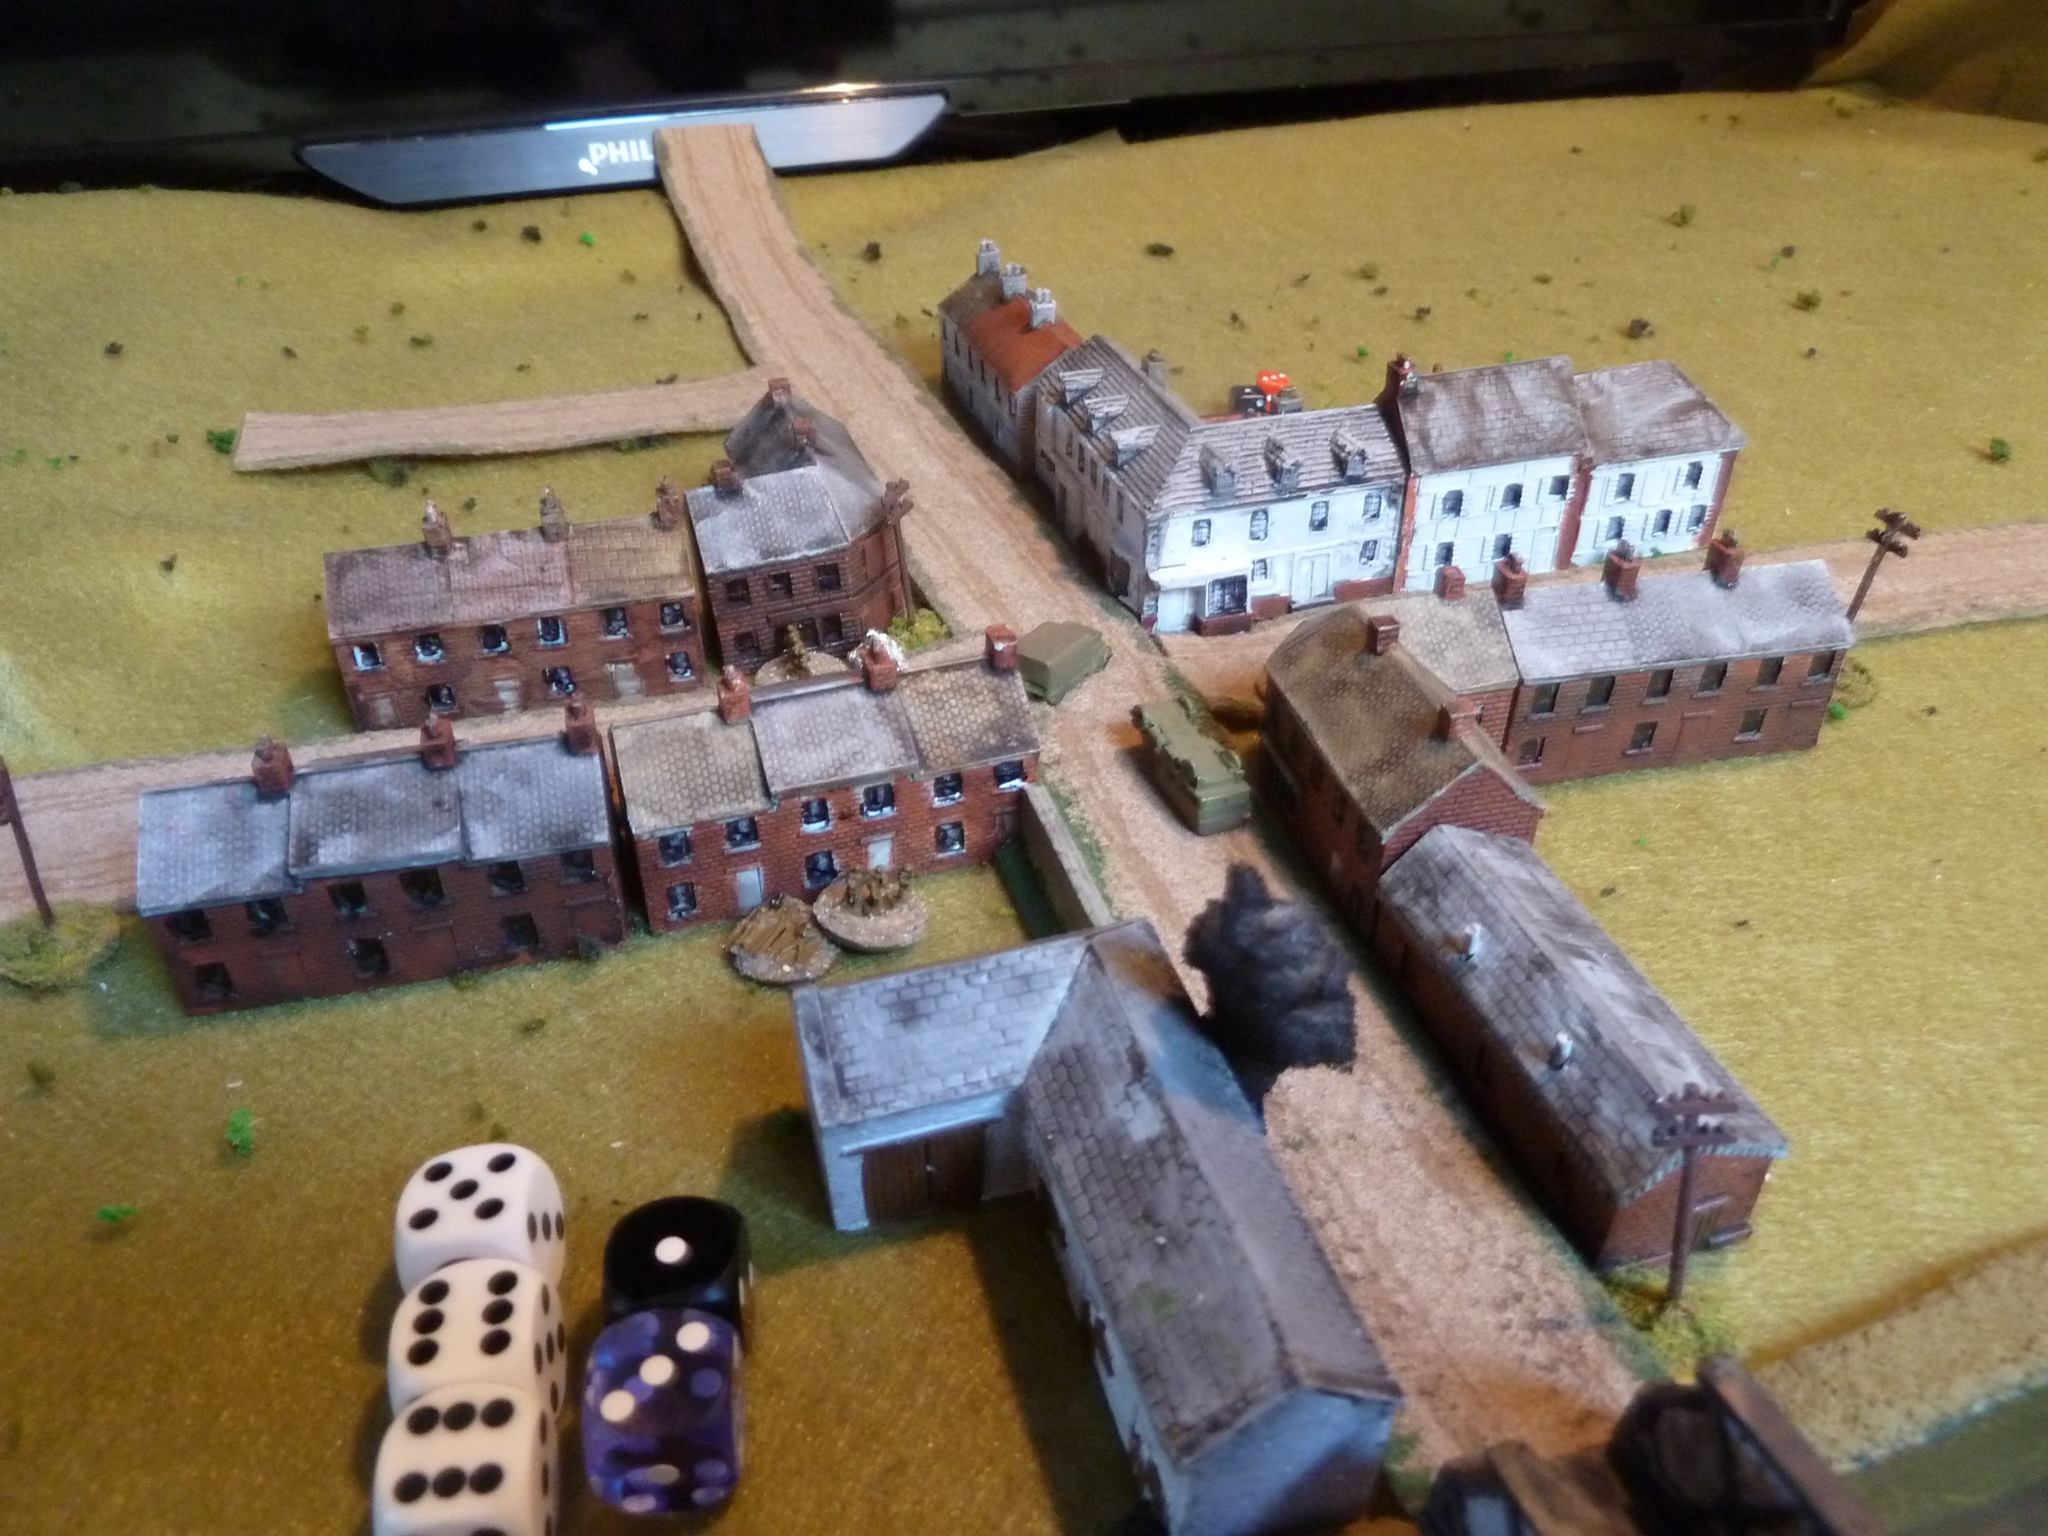
The Pz IIs moved up and started to hose the buildings. I decided their 20mm auto-cannons get 3D6, which made all the difference.
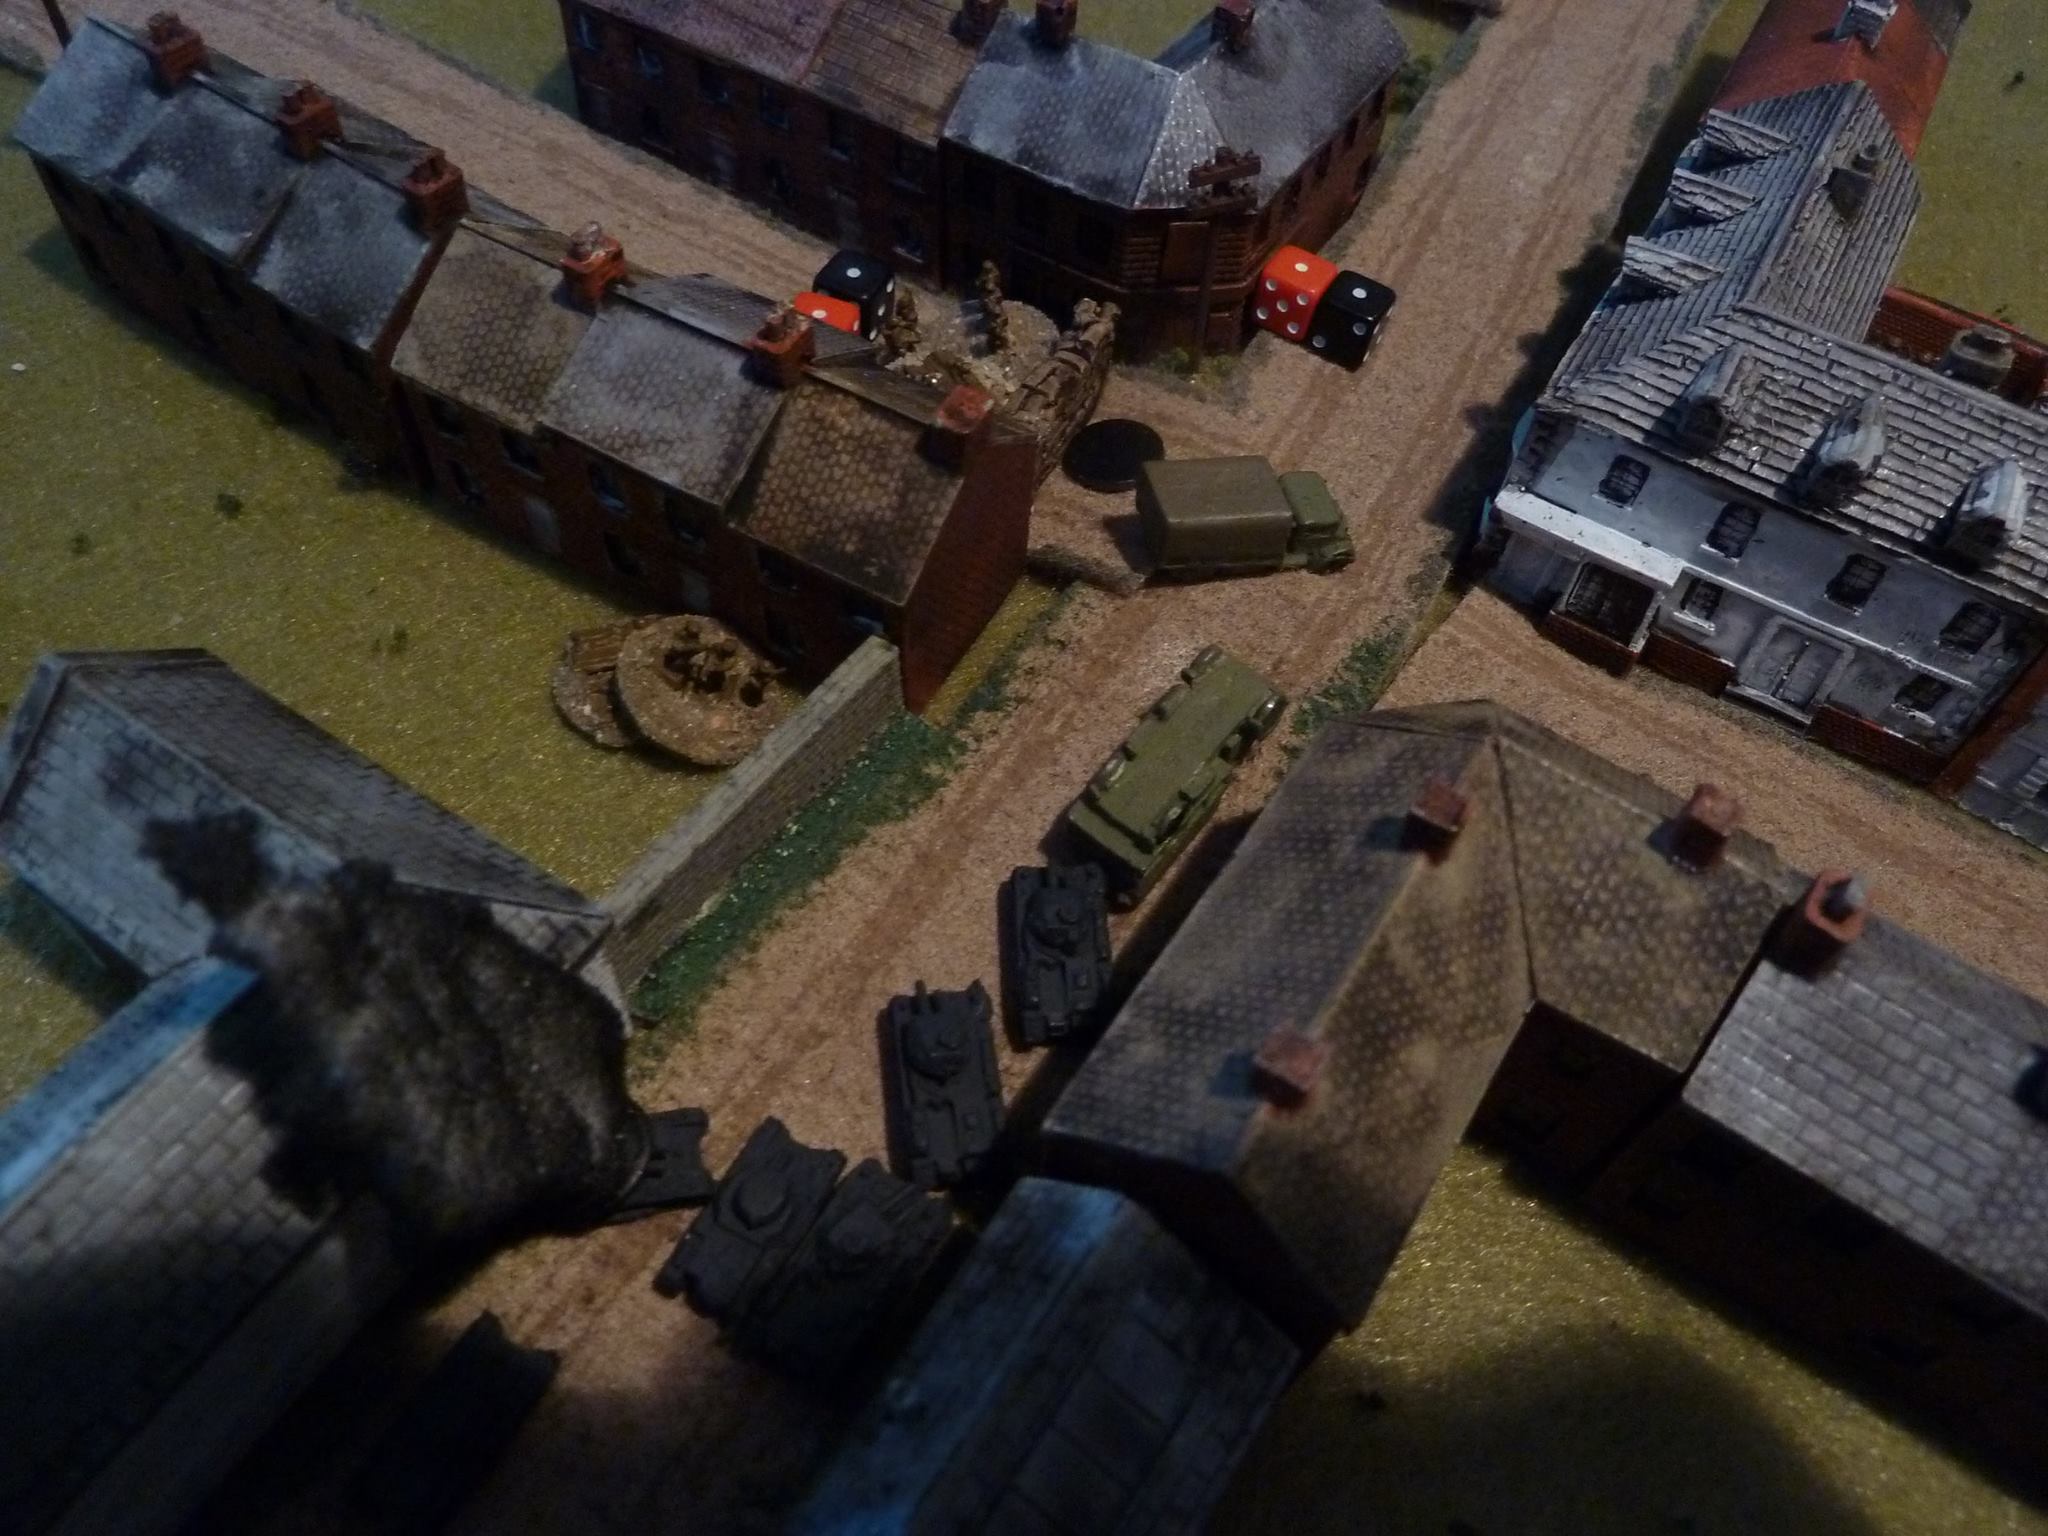
A little later: the lead Pz II starts ripping up the barricade, the ATR man dies and things look desperate for the Brits!
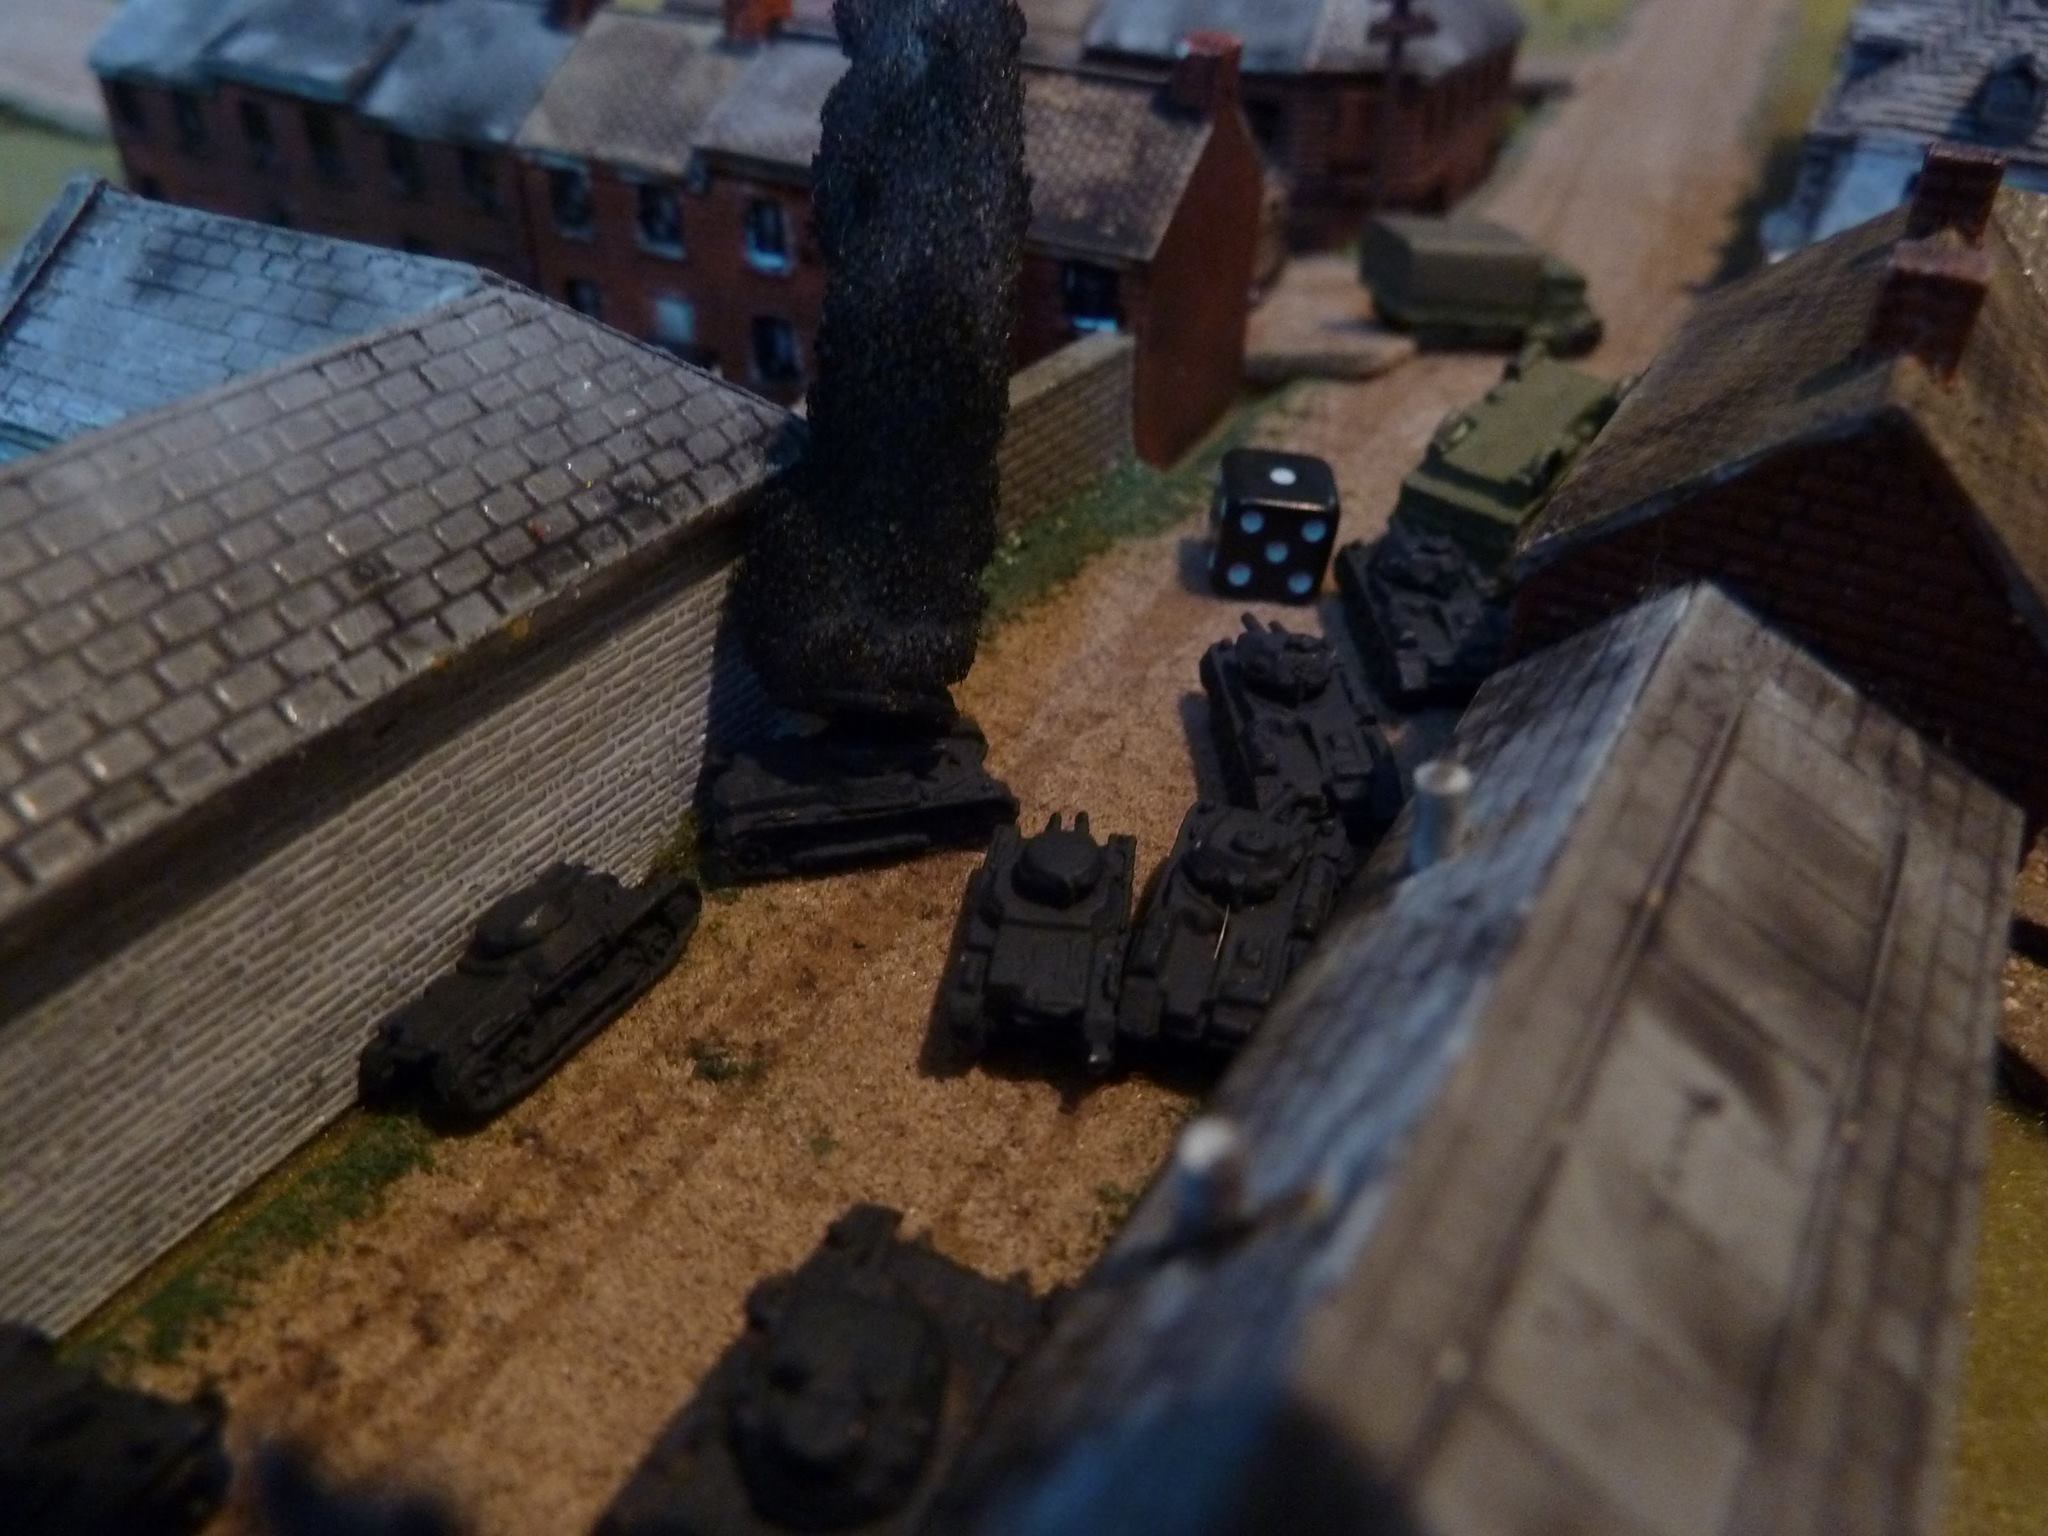
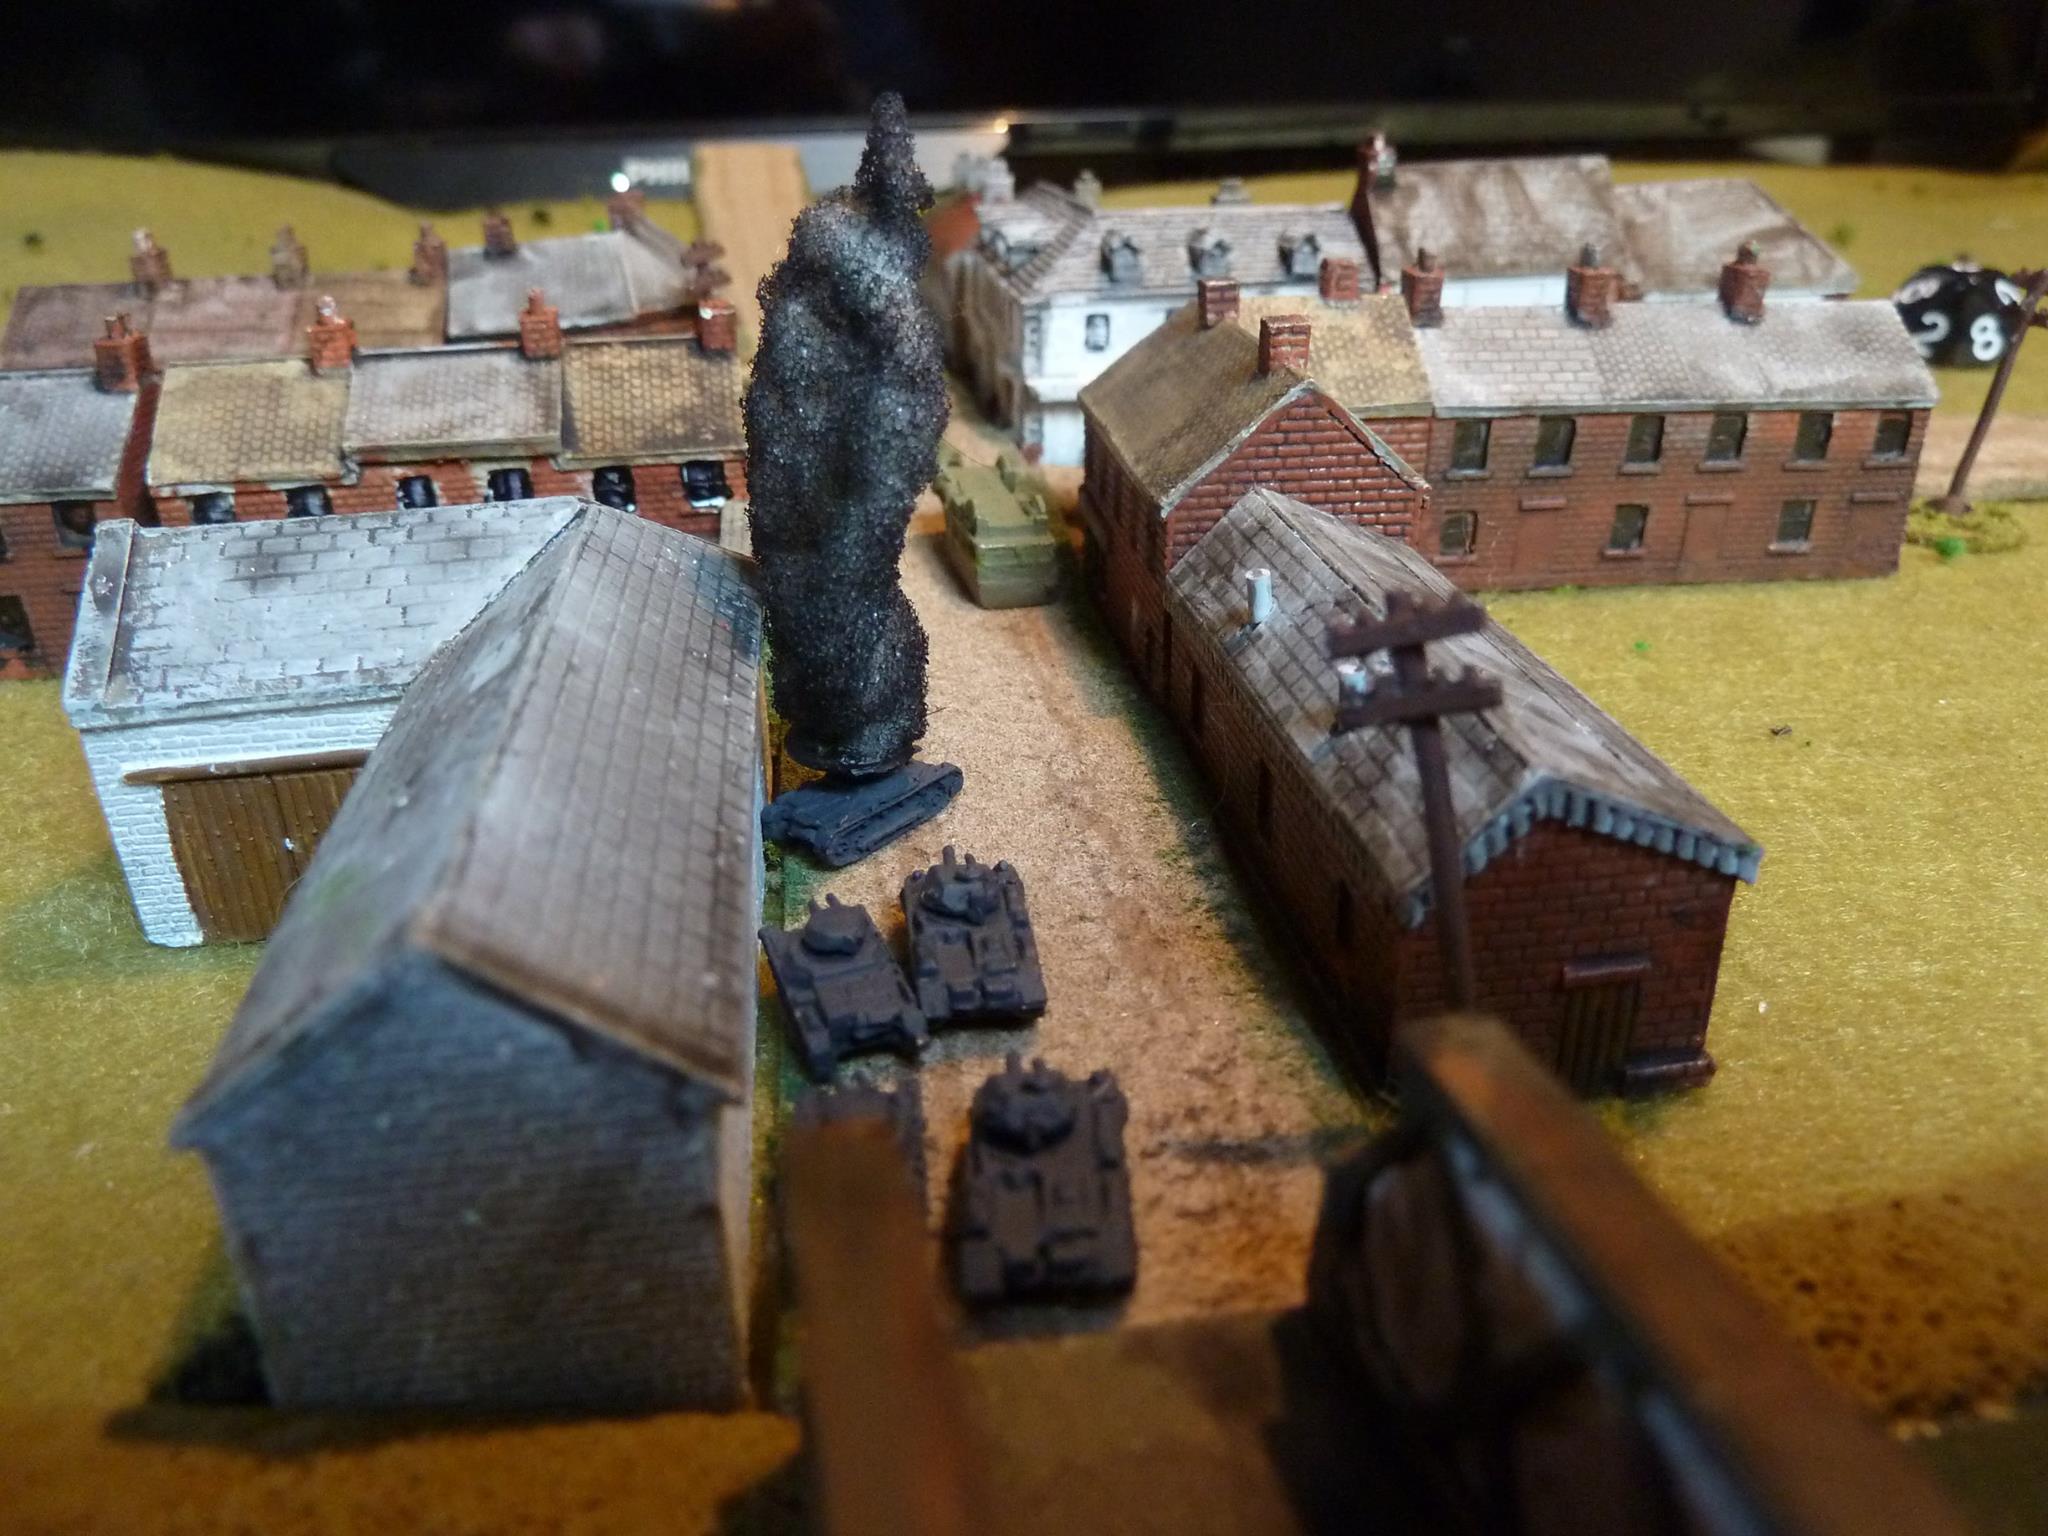
Lots of 20mm and 7.92 fire cause heavy casualties...for a single point of Shock in return.
Lead Pz II is now immobilised, but British casualties continue to rack up, including the ATR gunners: time to pull out!
A fun little game, but I need to read up on some street fighting rules in the Specials.
James Tree

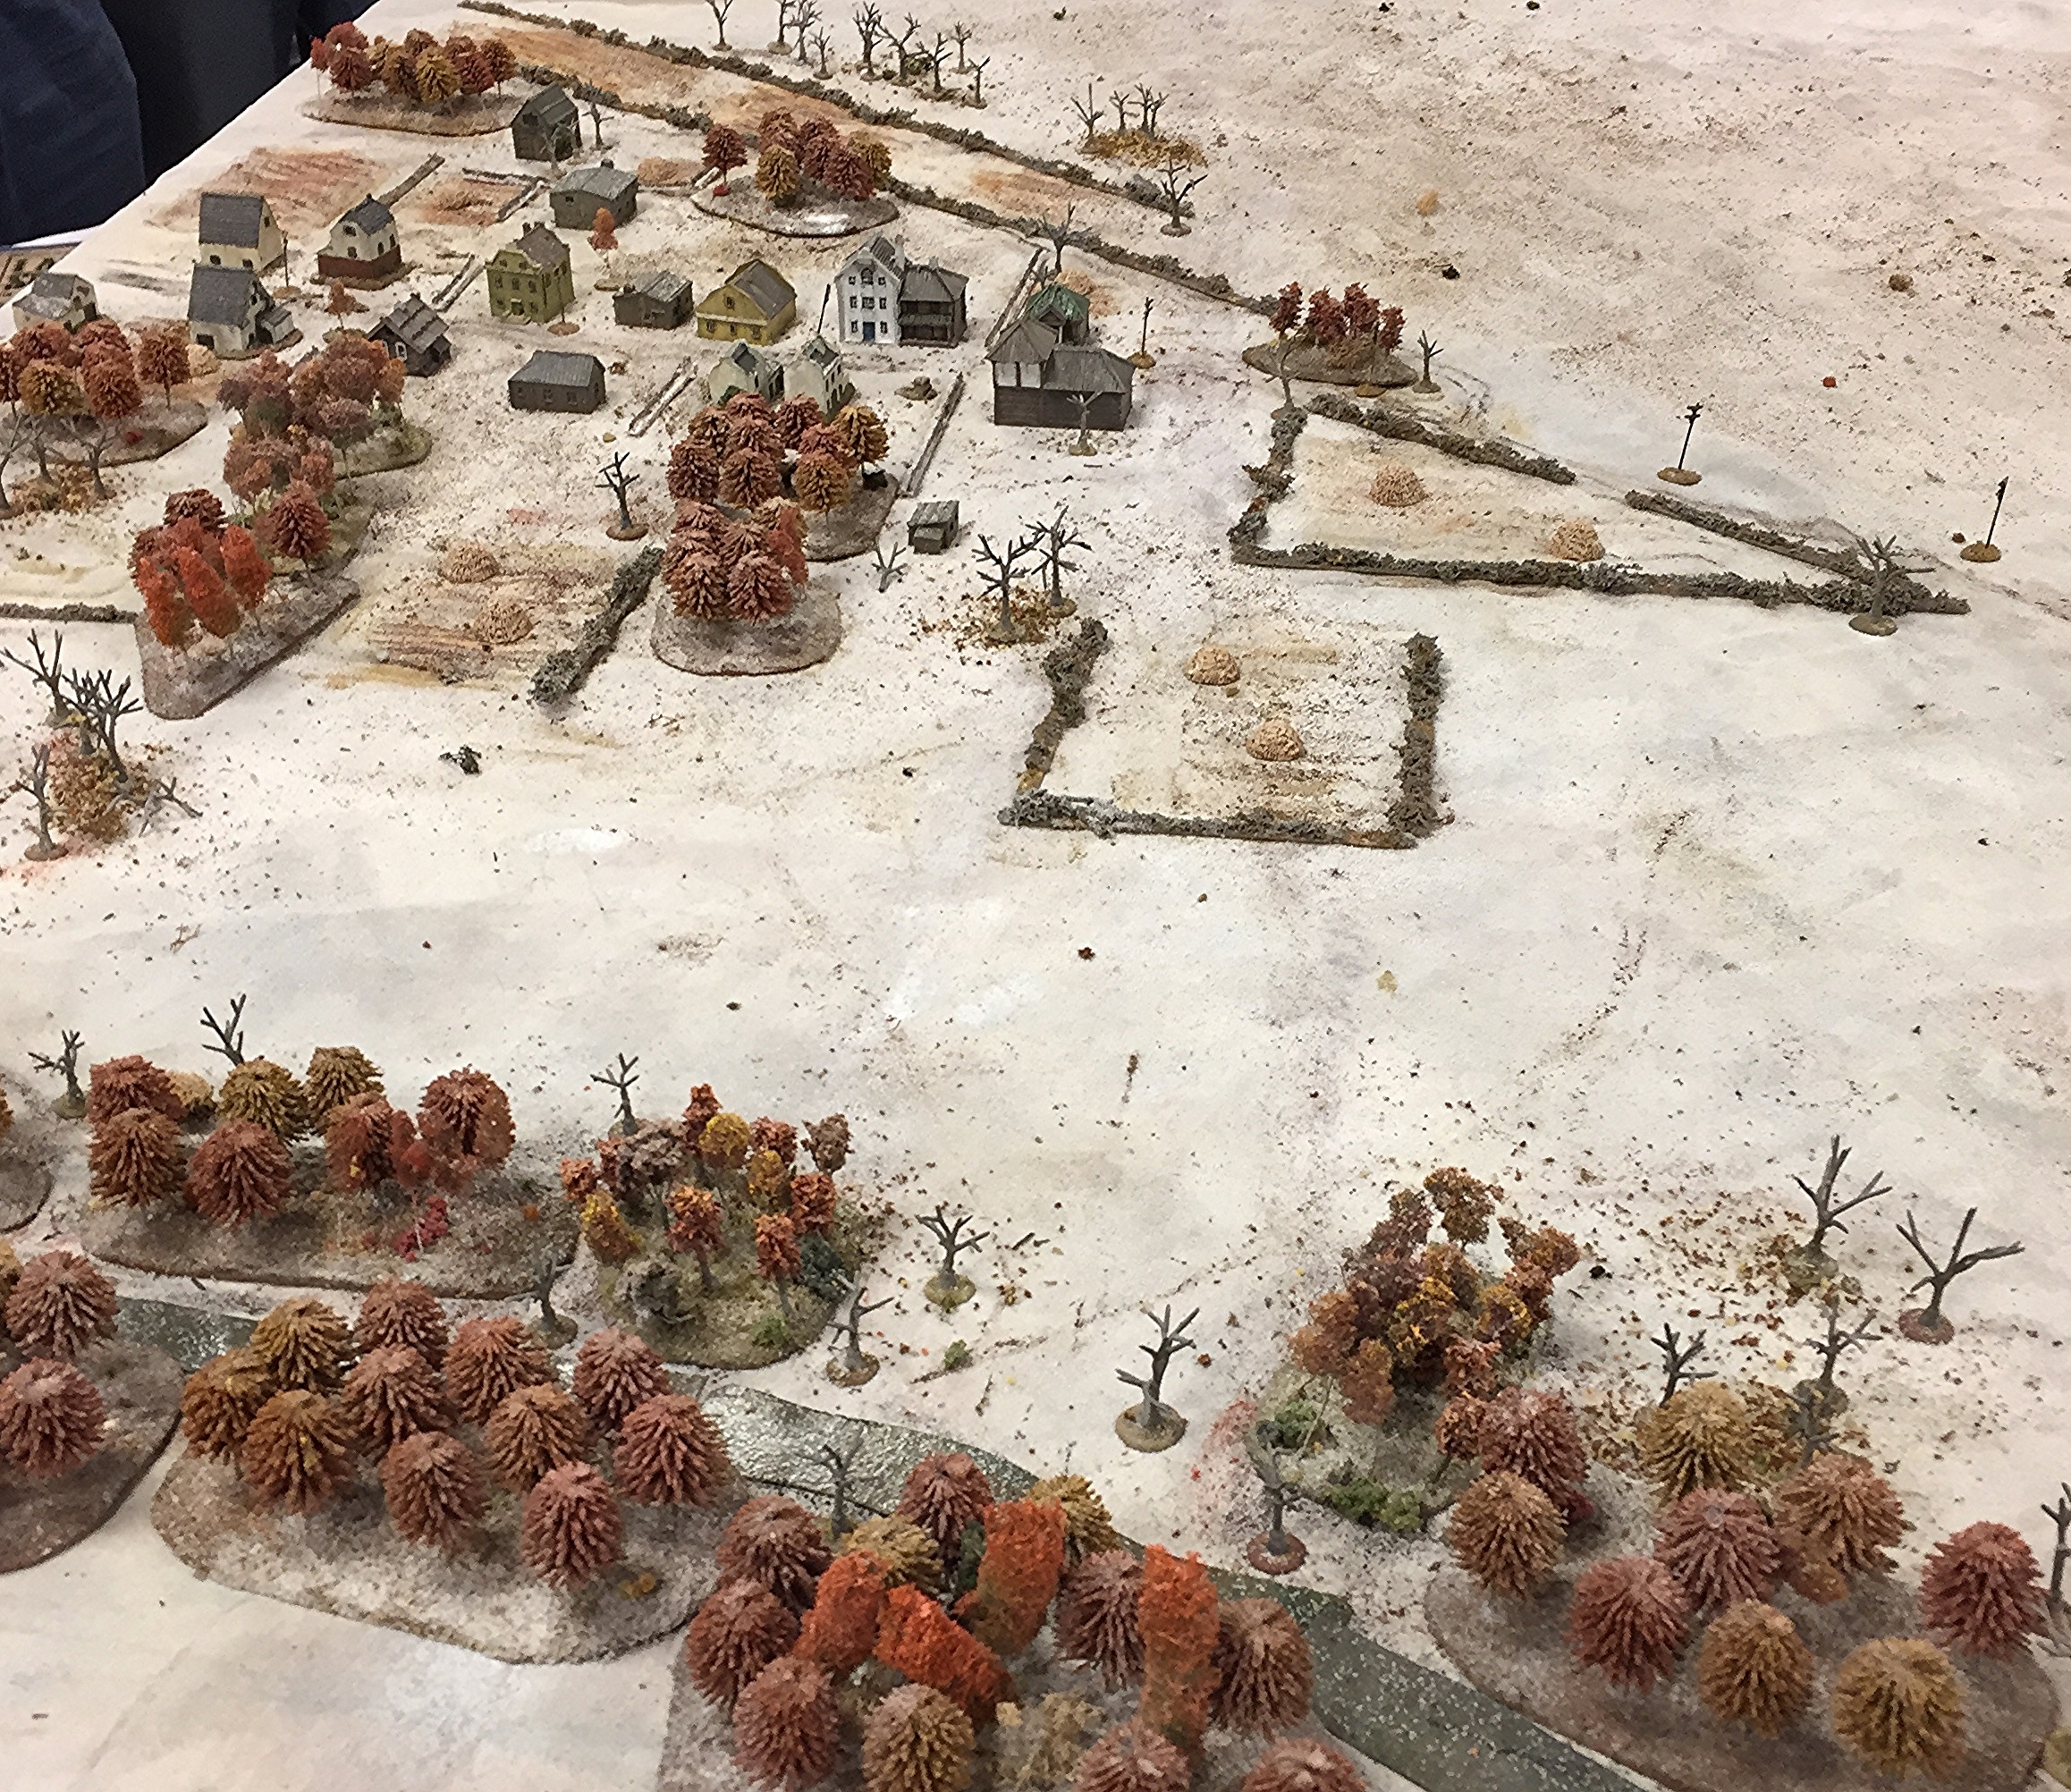
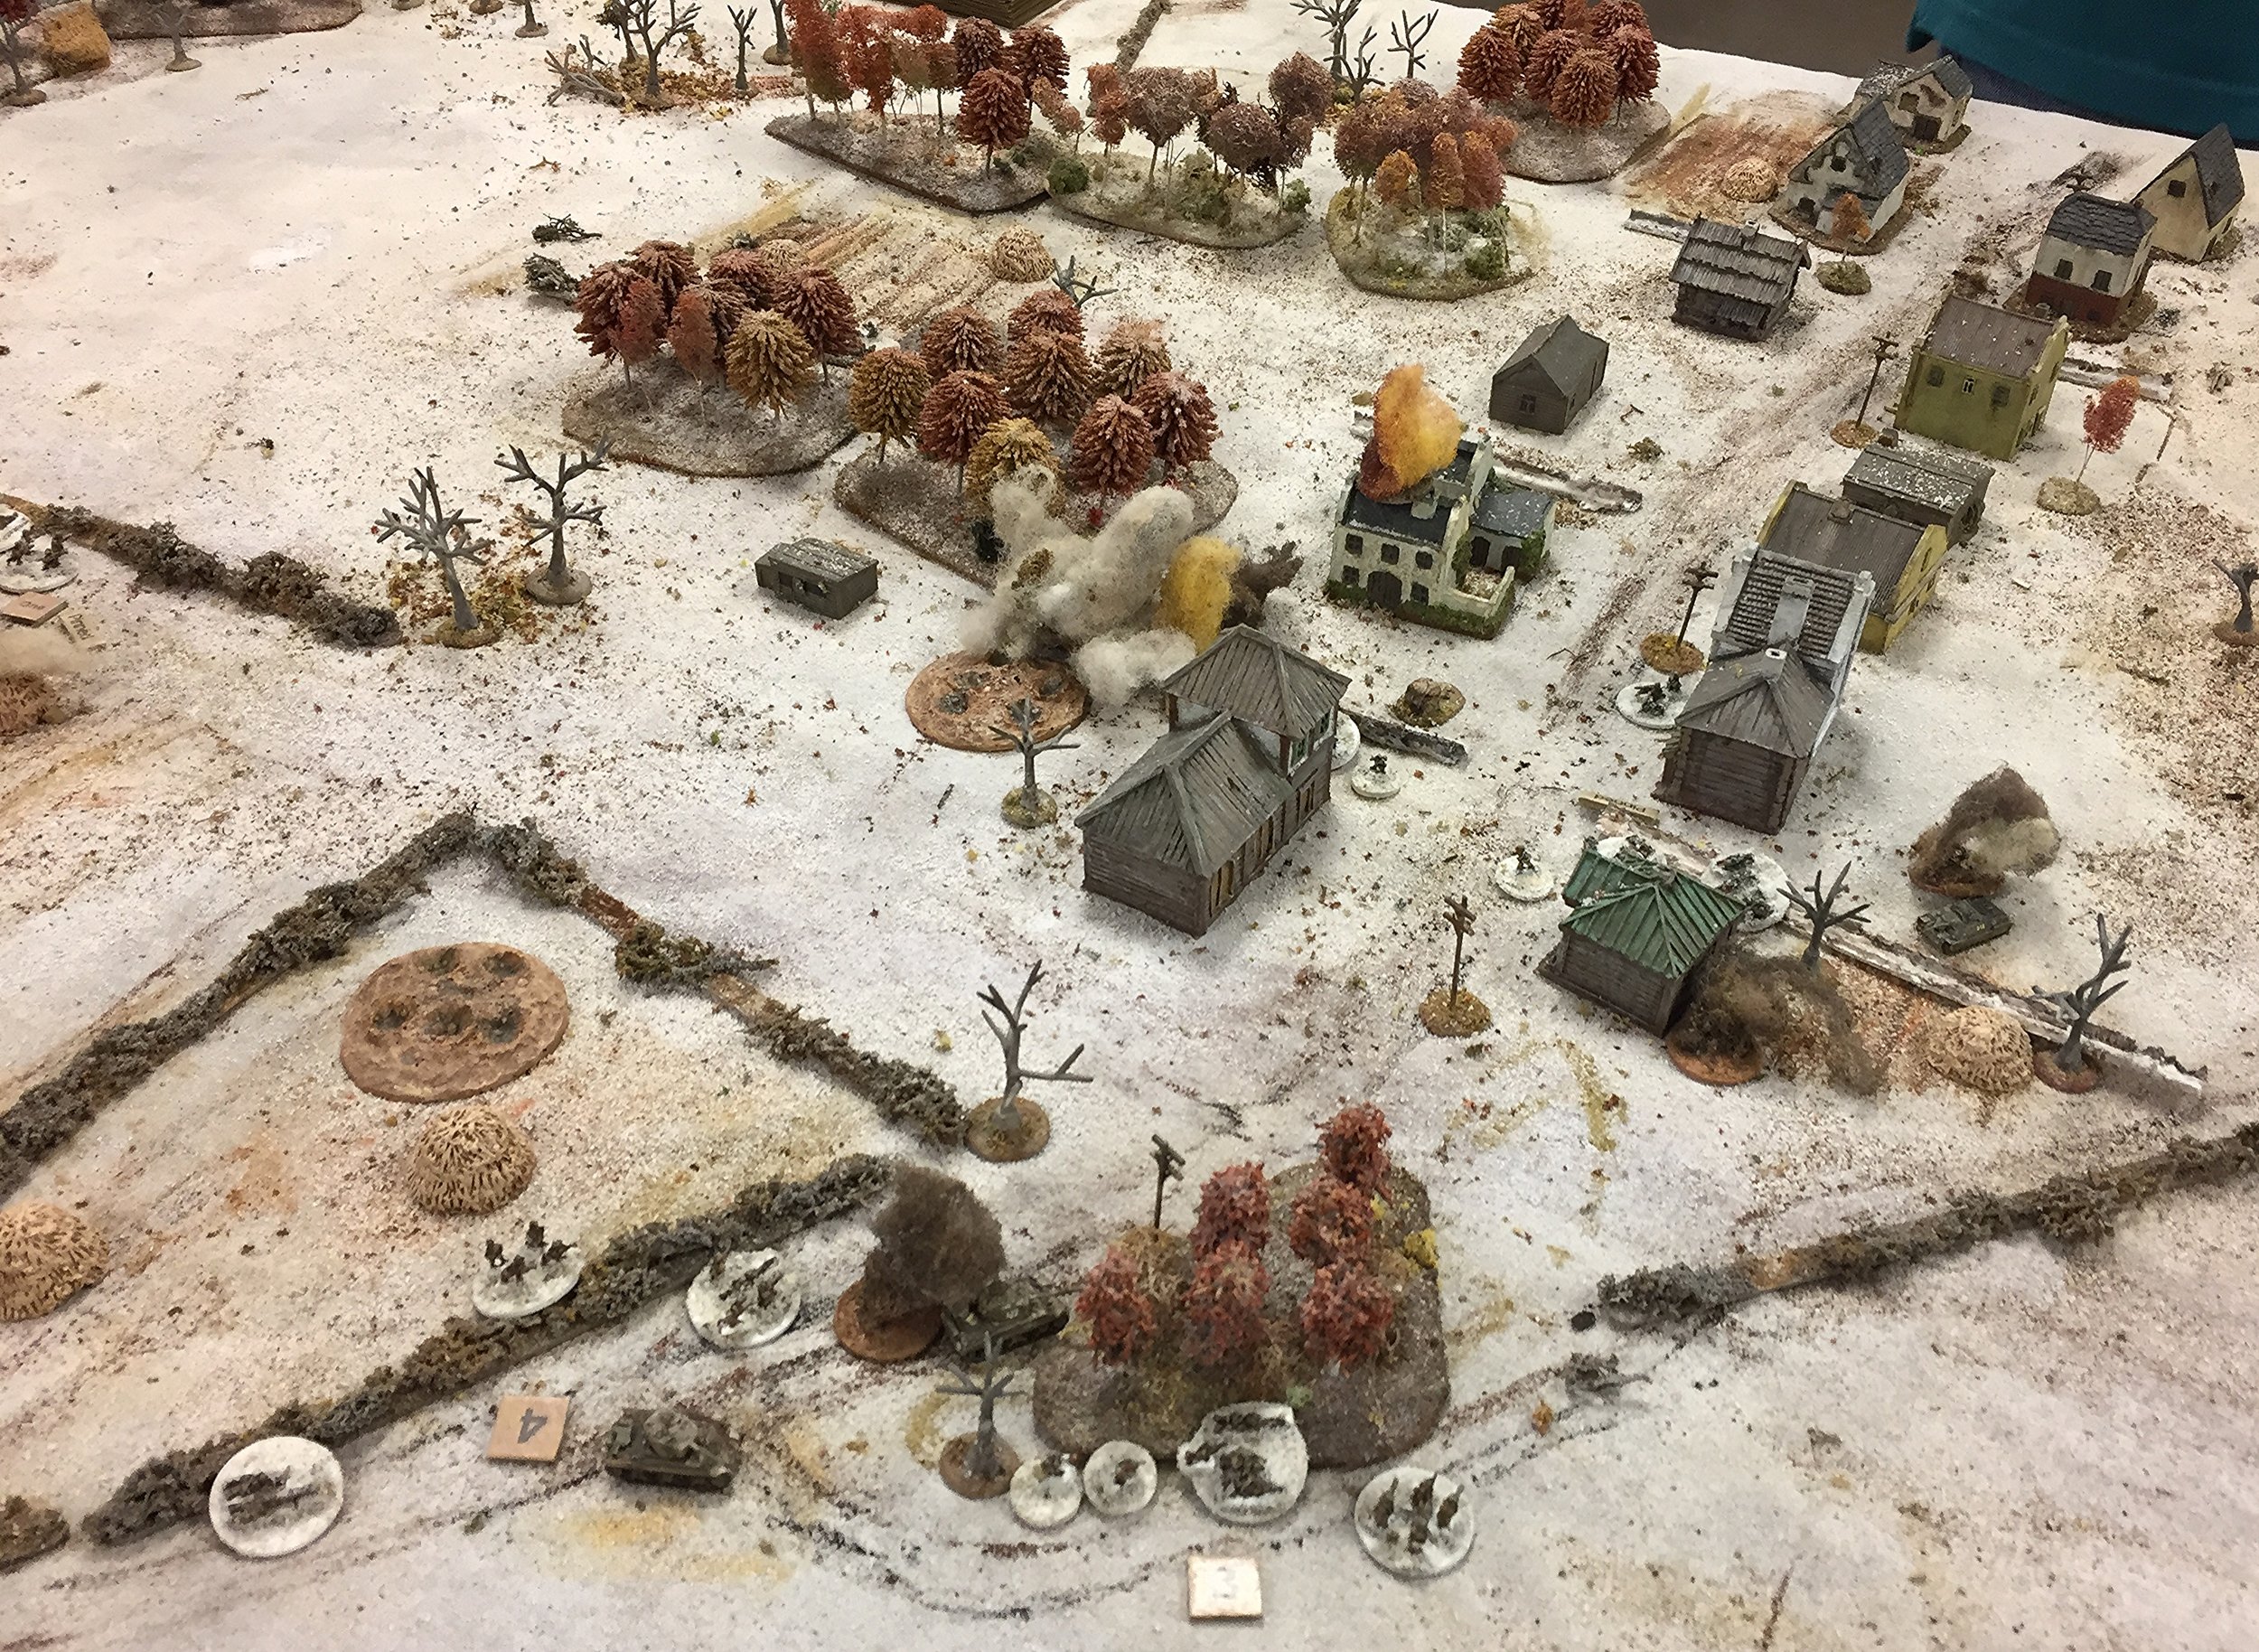
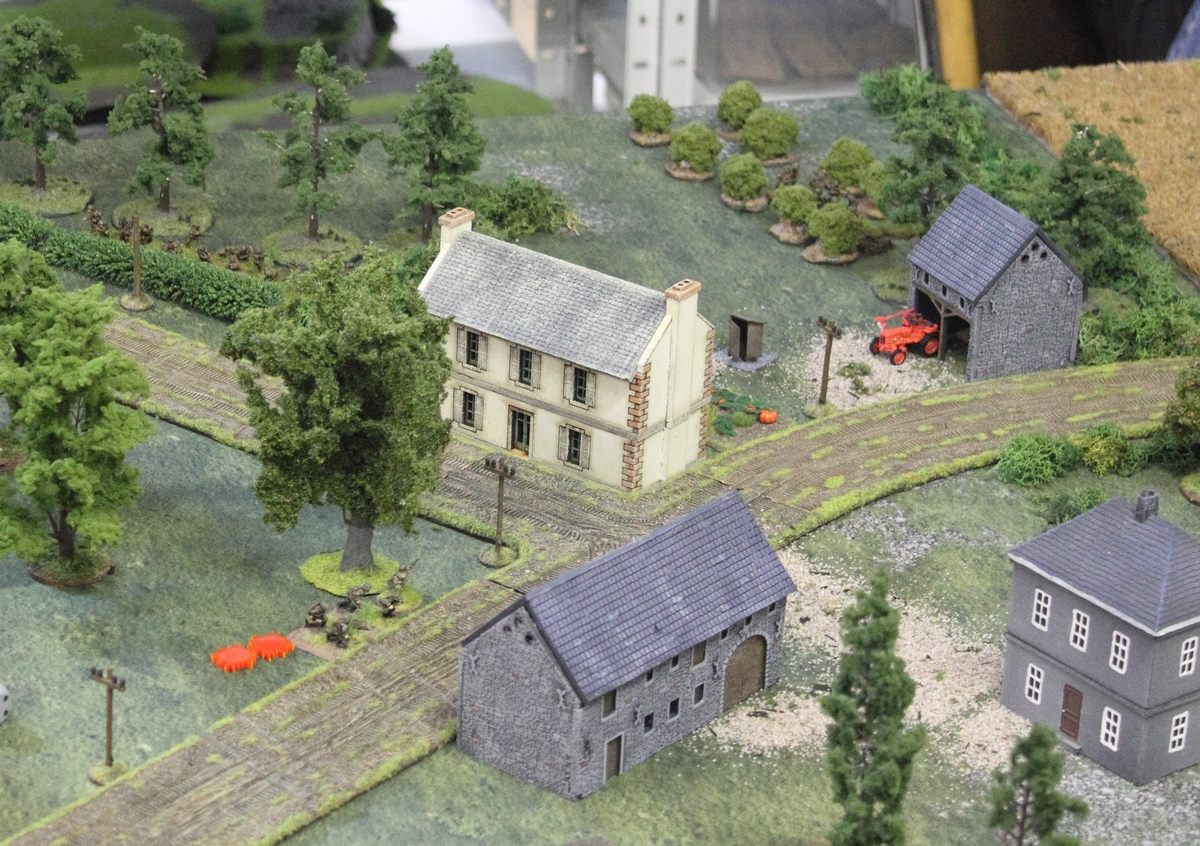
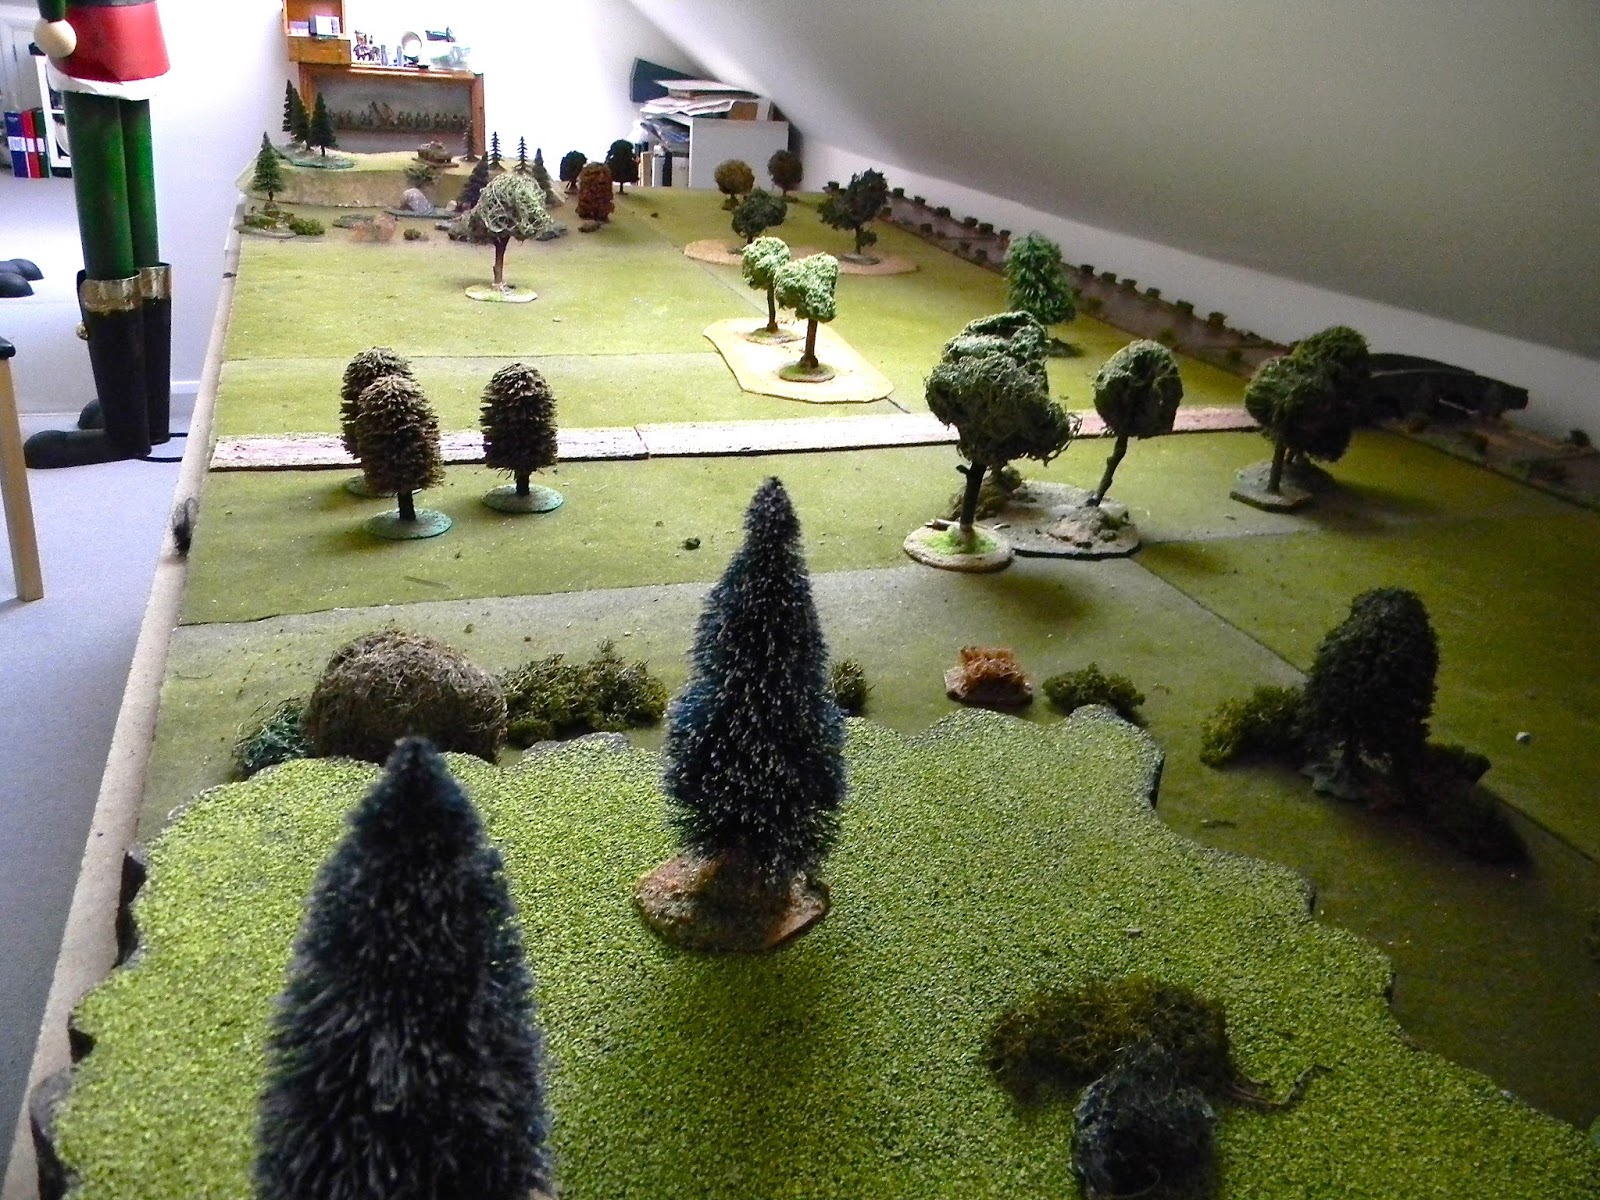
A battle fought over randomly generated terrain, giving us all an opportunity to practice with the rules.
The Germans are hidden near a crossroads, the Americans have been ordered to take the crossing at all costs.
The Americans began the game by using their 105s to bombard the solitary grove of trees in the middle of the table, thinking that that's where enemy troops might be waiting in ambush. They then advanced as fast as possible towards the battered trees.
There they did indeed meet a German infantry platoon, but that had suffered badly from the bombardment (both from shells and splinters of wood) and was wiped out out after a single round of melee.
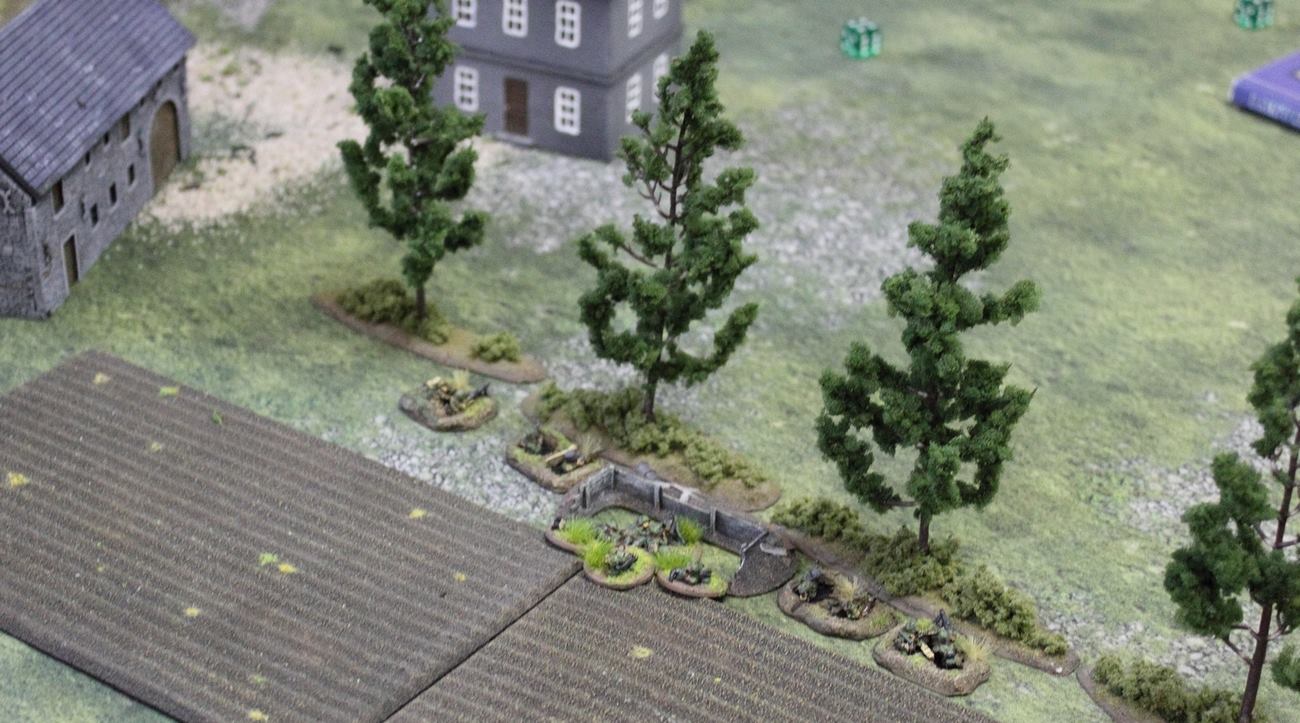
Whilst the Allied left flank seemed to be secured, on the right flank the advancing Americans ran into an enemy MMG platoon and two StuGs.
This could have been very painful for the Americans, but the initial German fire proved largely ineffectual: certainly not enough to slow down the American advance.
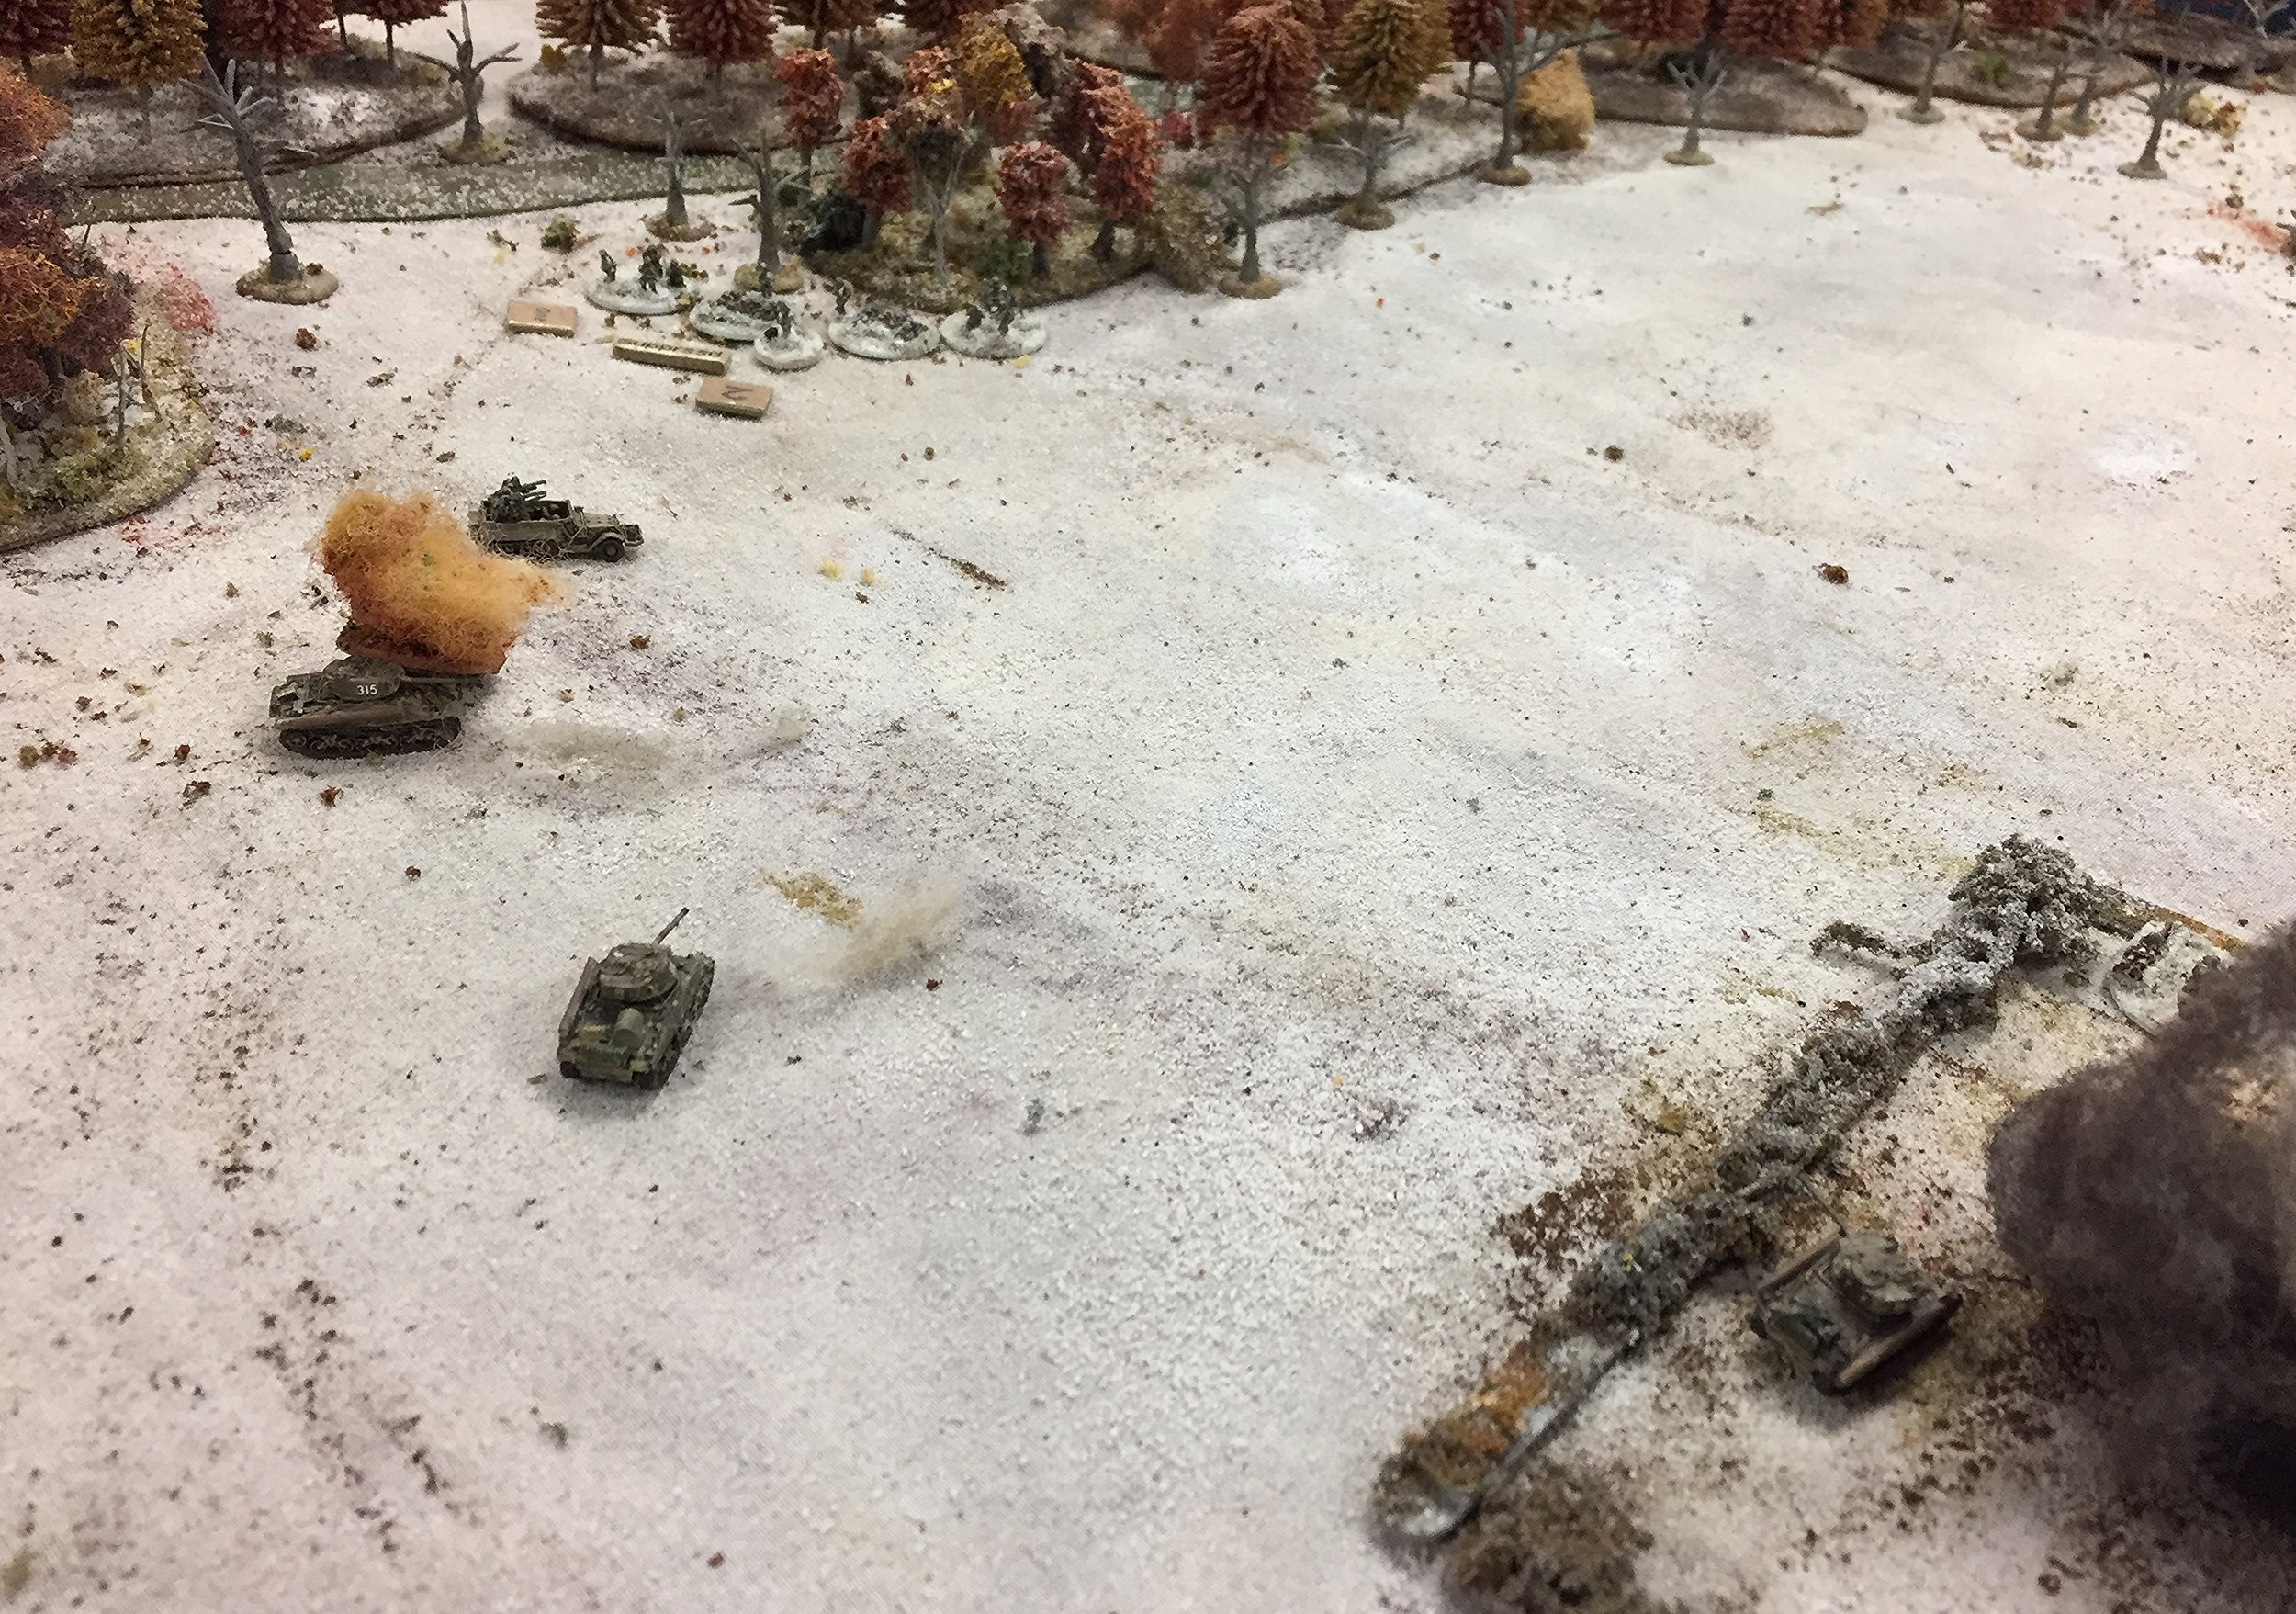
Meanwhile, a platoon of Stuart light tanks tried to get through the gap between a hill and the trees, but the narrow passage was covered by one of the StuGs. In response, the Americans reinforced their light tanks with a pair of 57mm anti-tank guns.
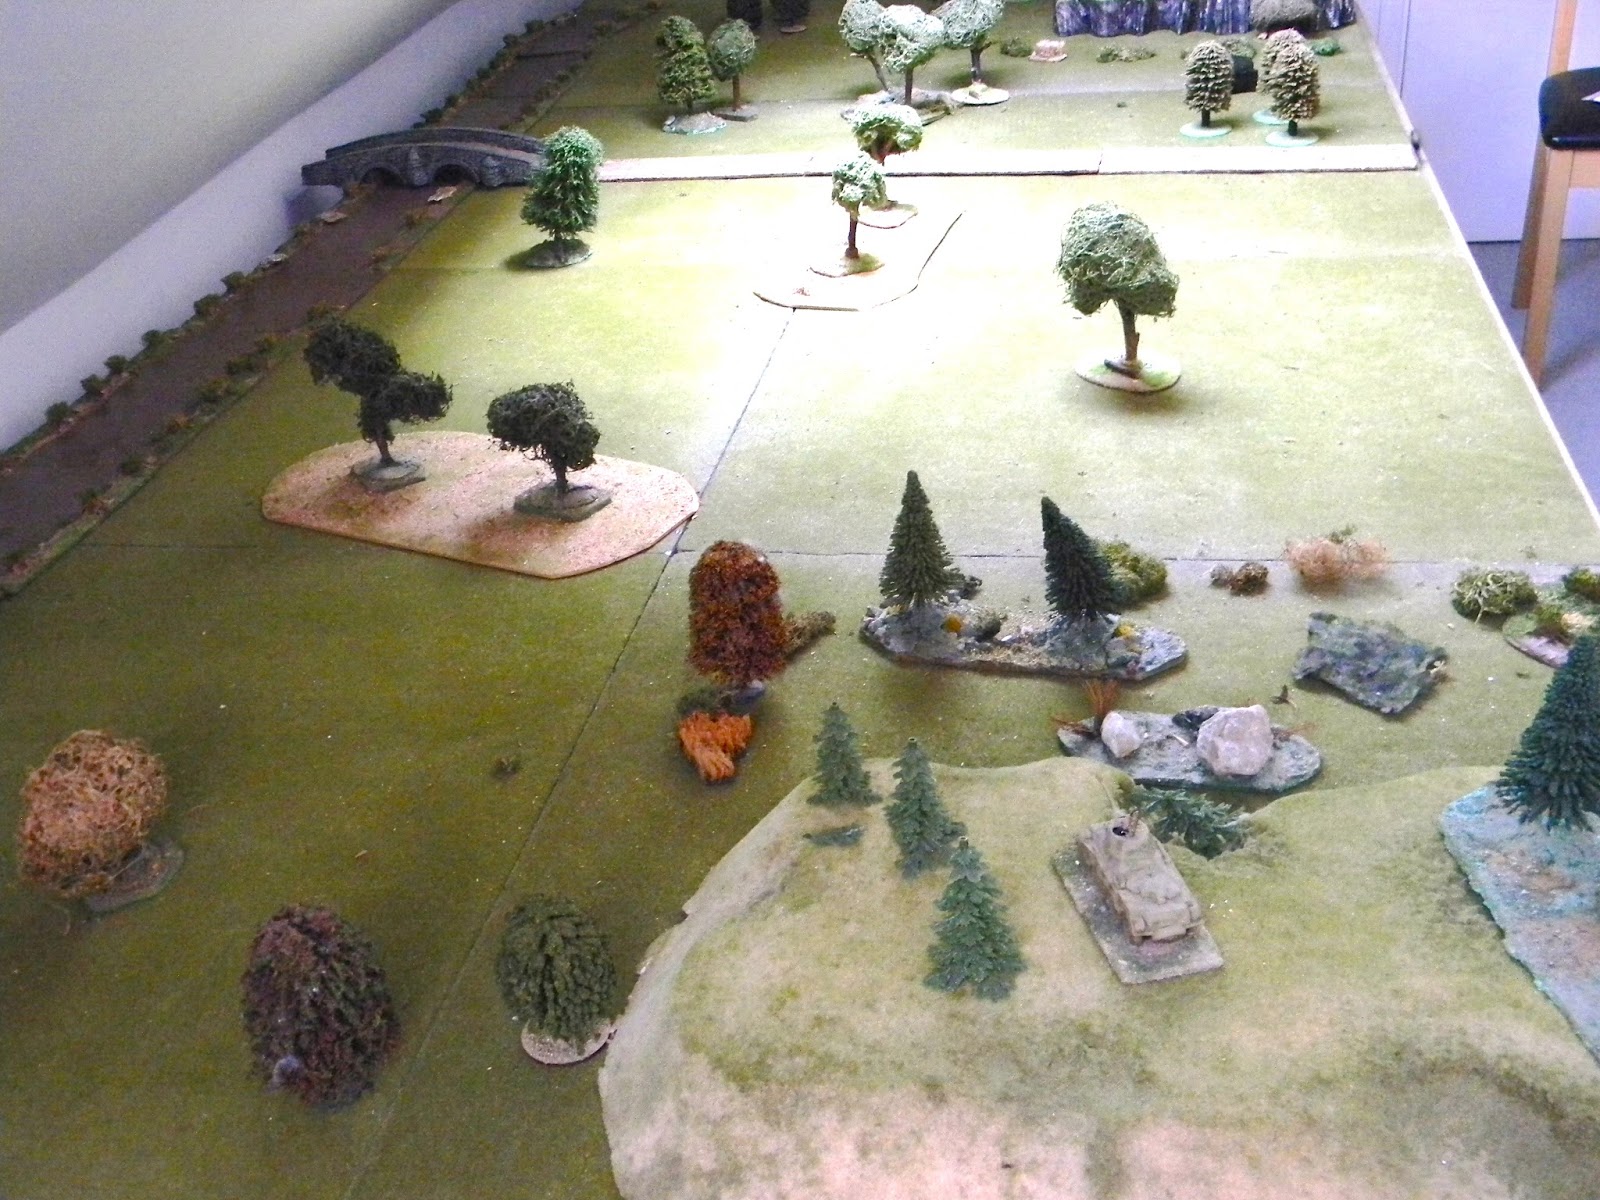
Whilst the American infantry take cover on the hill, the remaining Stuarts decided to gird their loins and heroically charge the StuGs head-on.
At this point we ended the game. This wouldn't have been the end of the fight itself: that would have carried on with the Americans advancing very slowly and the Germans awaiting them in their works. It would have been a real grind! As to who would have won...well, it would have been hard work for both sides, but troop quality (and therefore activation dice) favoured the Germans
Burt Minorrot

June 1941. A most unlikely conflict has broken out between two former Allies. Vichy French airfields in the Levant have been used by the Lufwaffe to support an uprising in Iraq, and Britain has decided that enough is enough. A task force has been assembled to move north into the Lebanon and Syria to take control of the area for the Free French and safeguard British oil supplies. Unexpectedly Vichy forces resist strongly, fighting for the honour of France.
That’s the introduction to the game of IABSM that Bevan and I played on Sunday evening. An unusual game featuring Australians versus French in the desert.
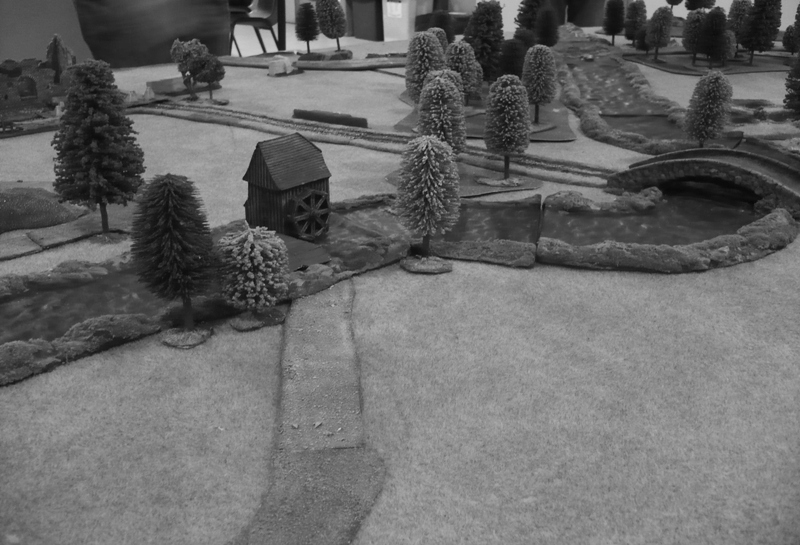
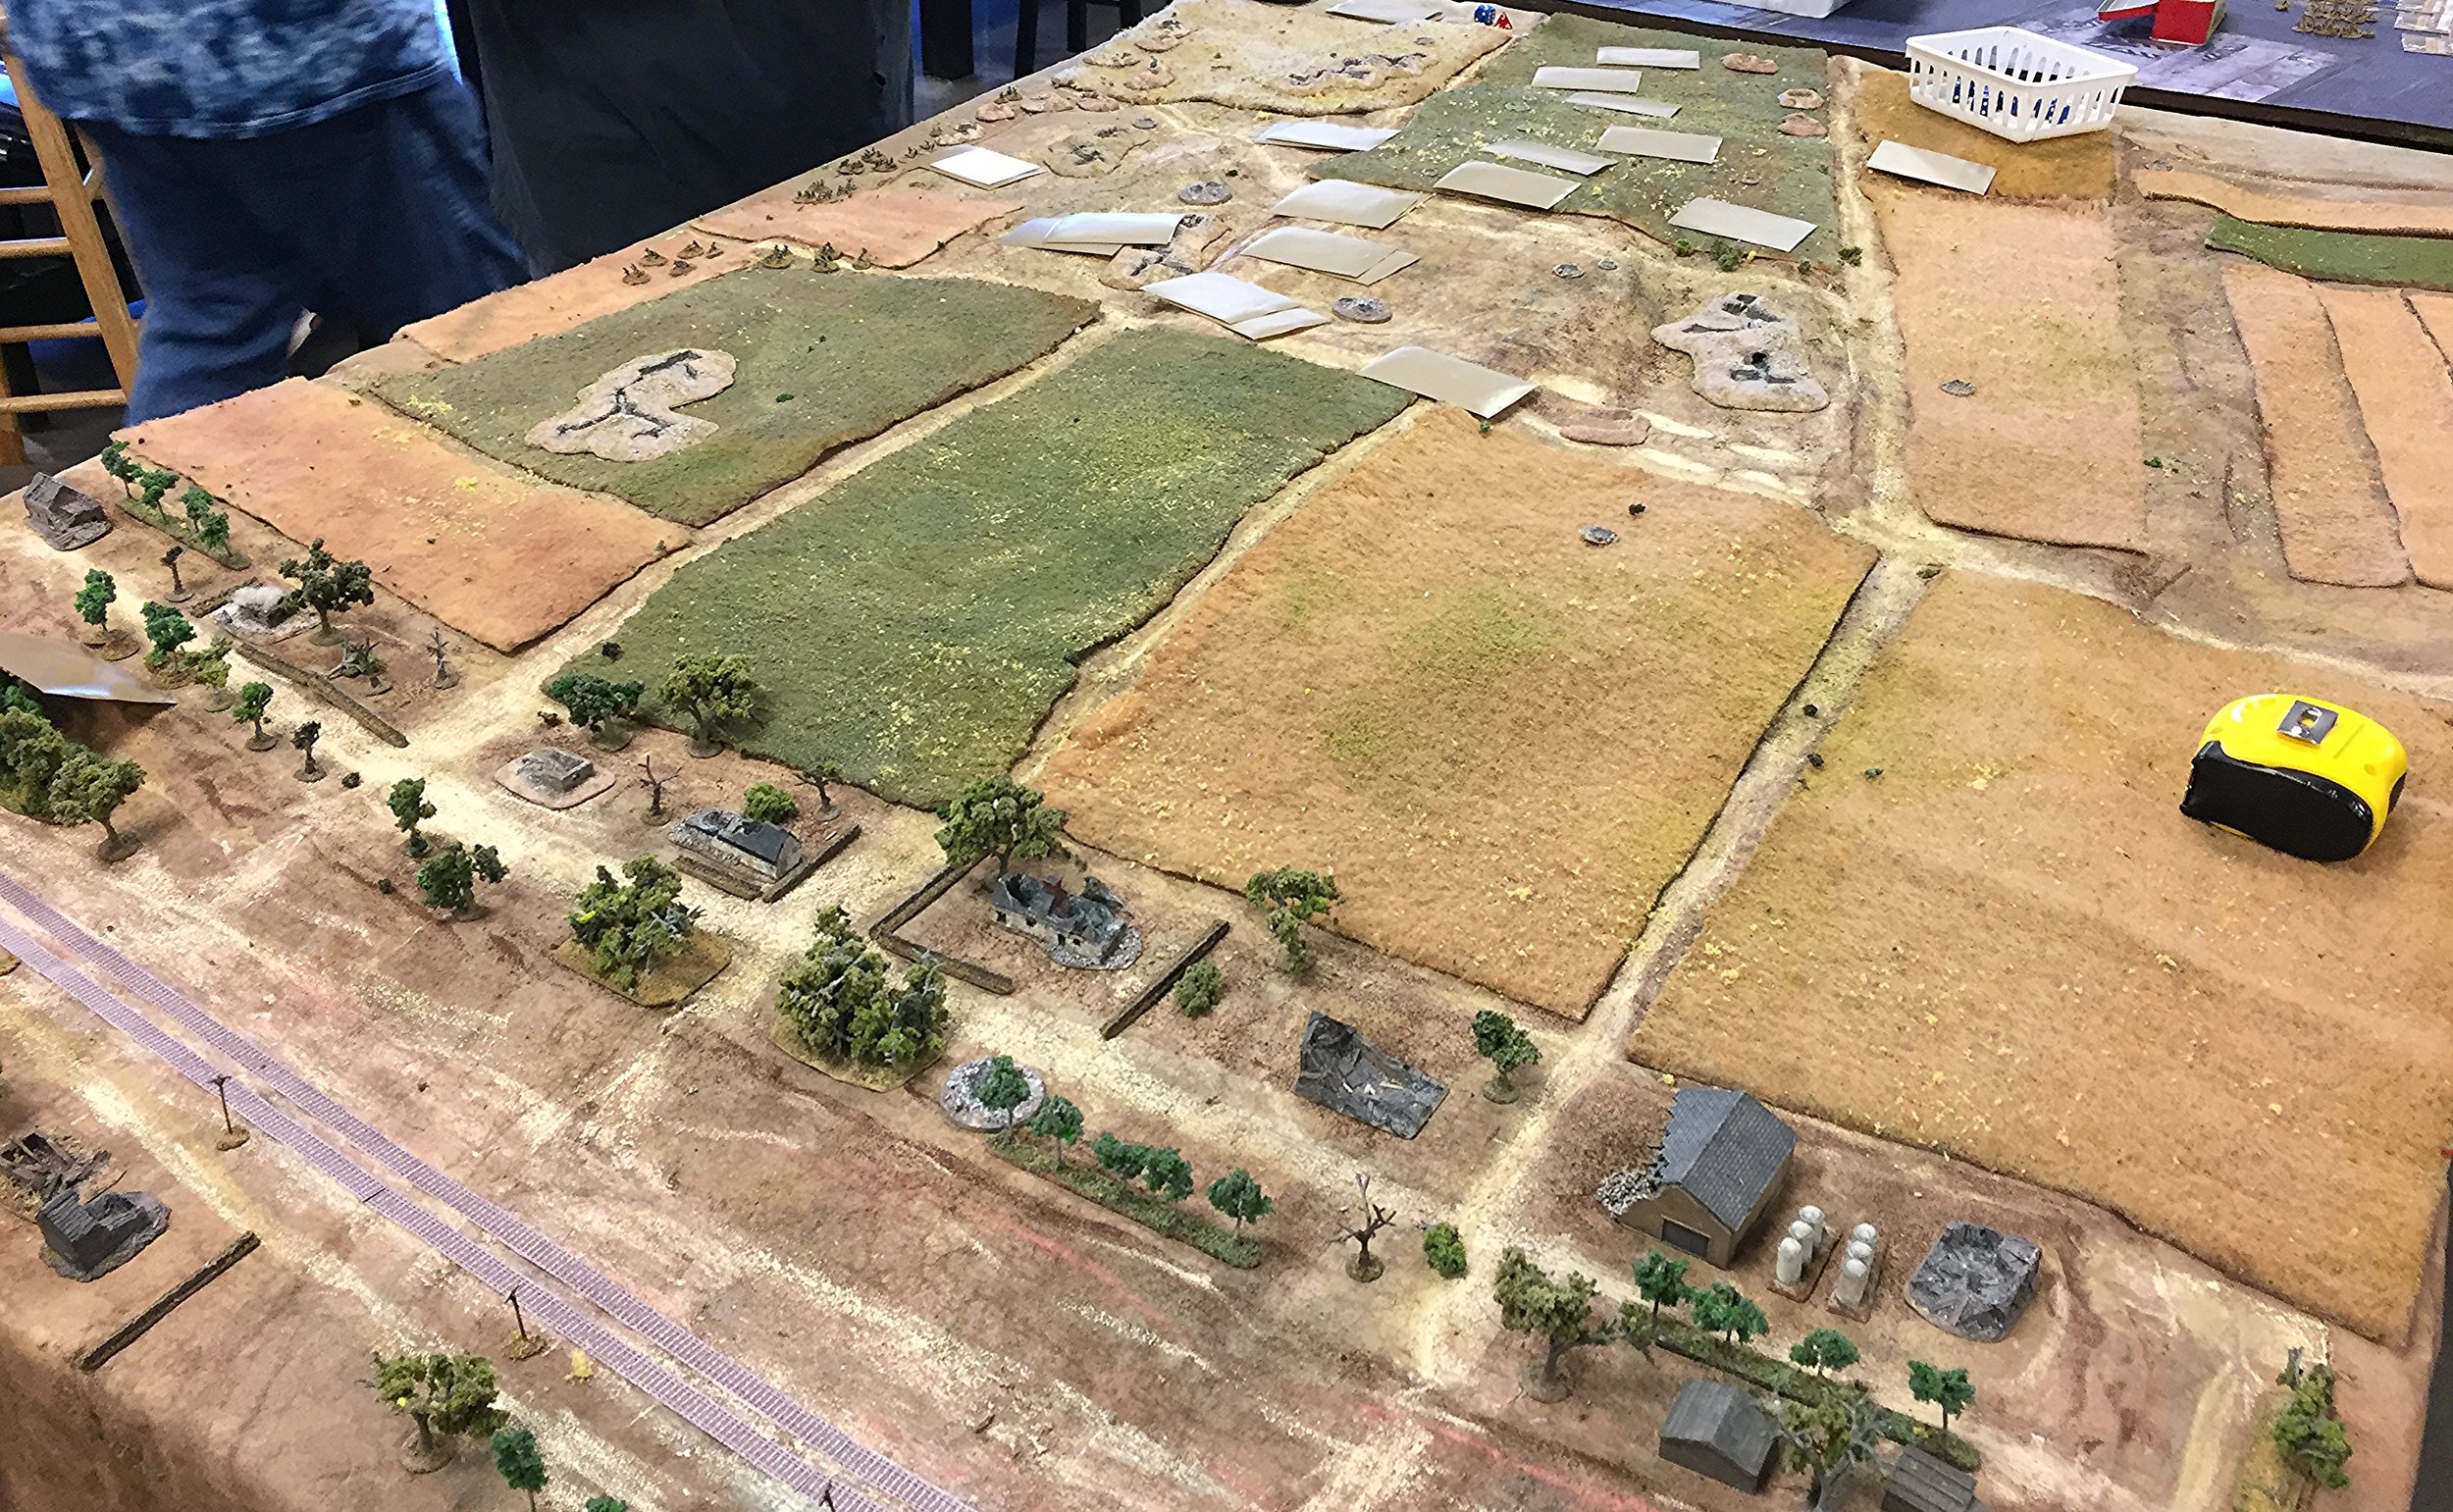
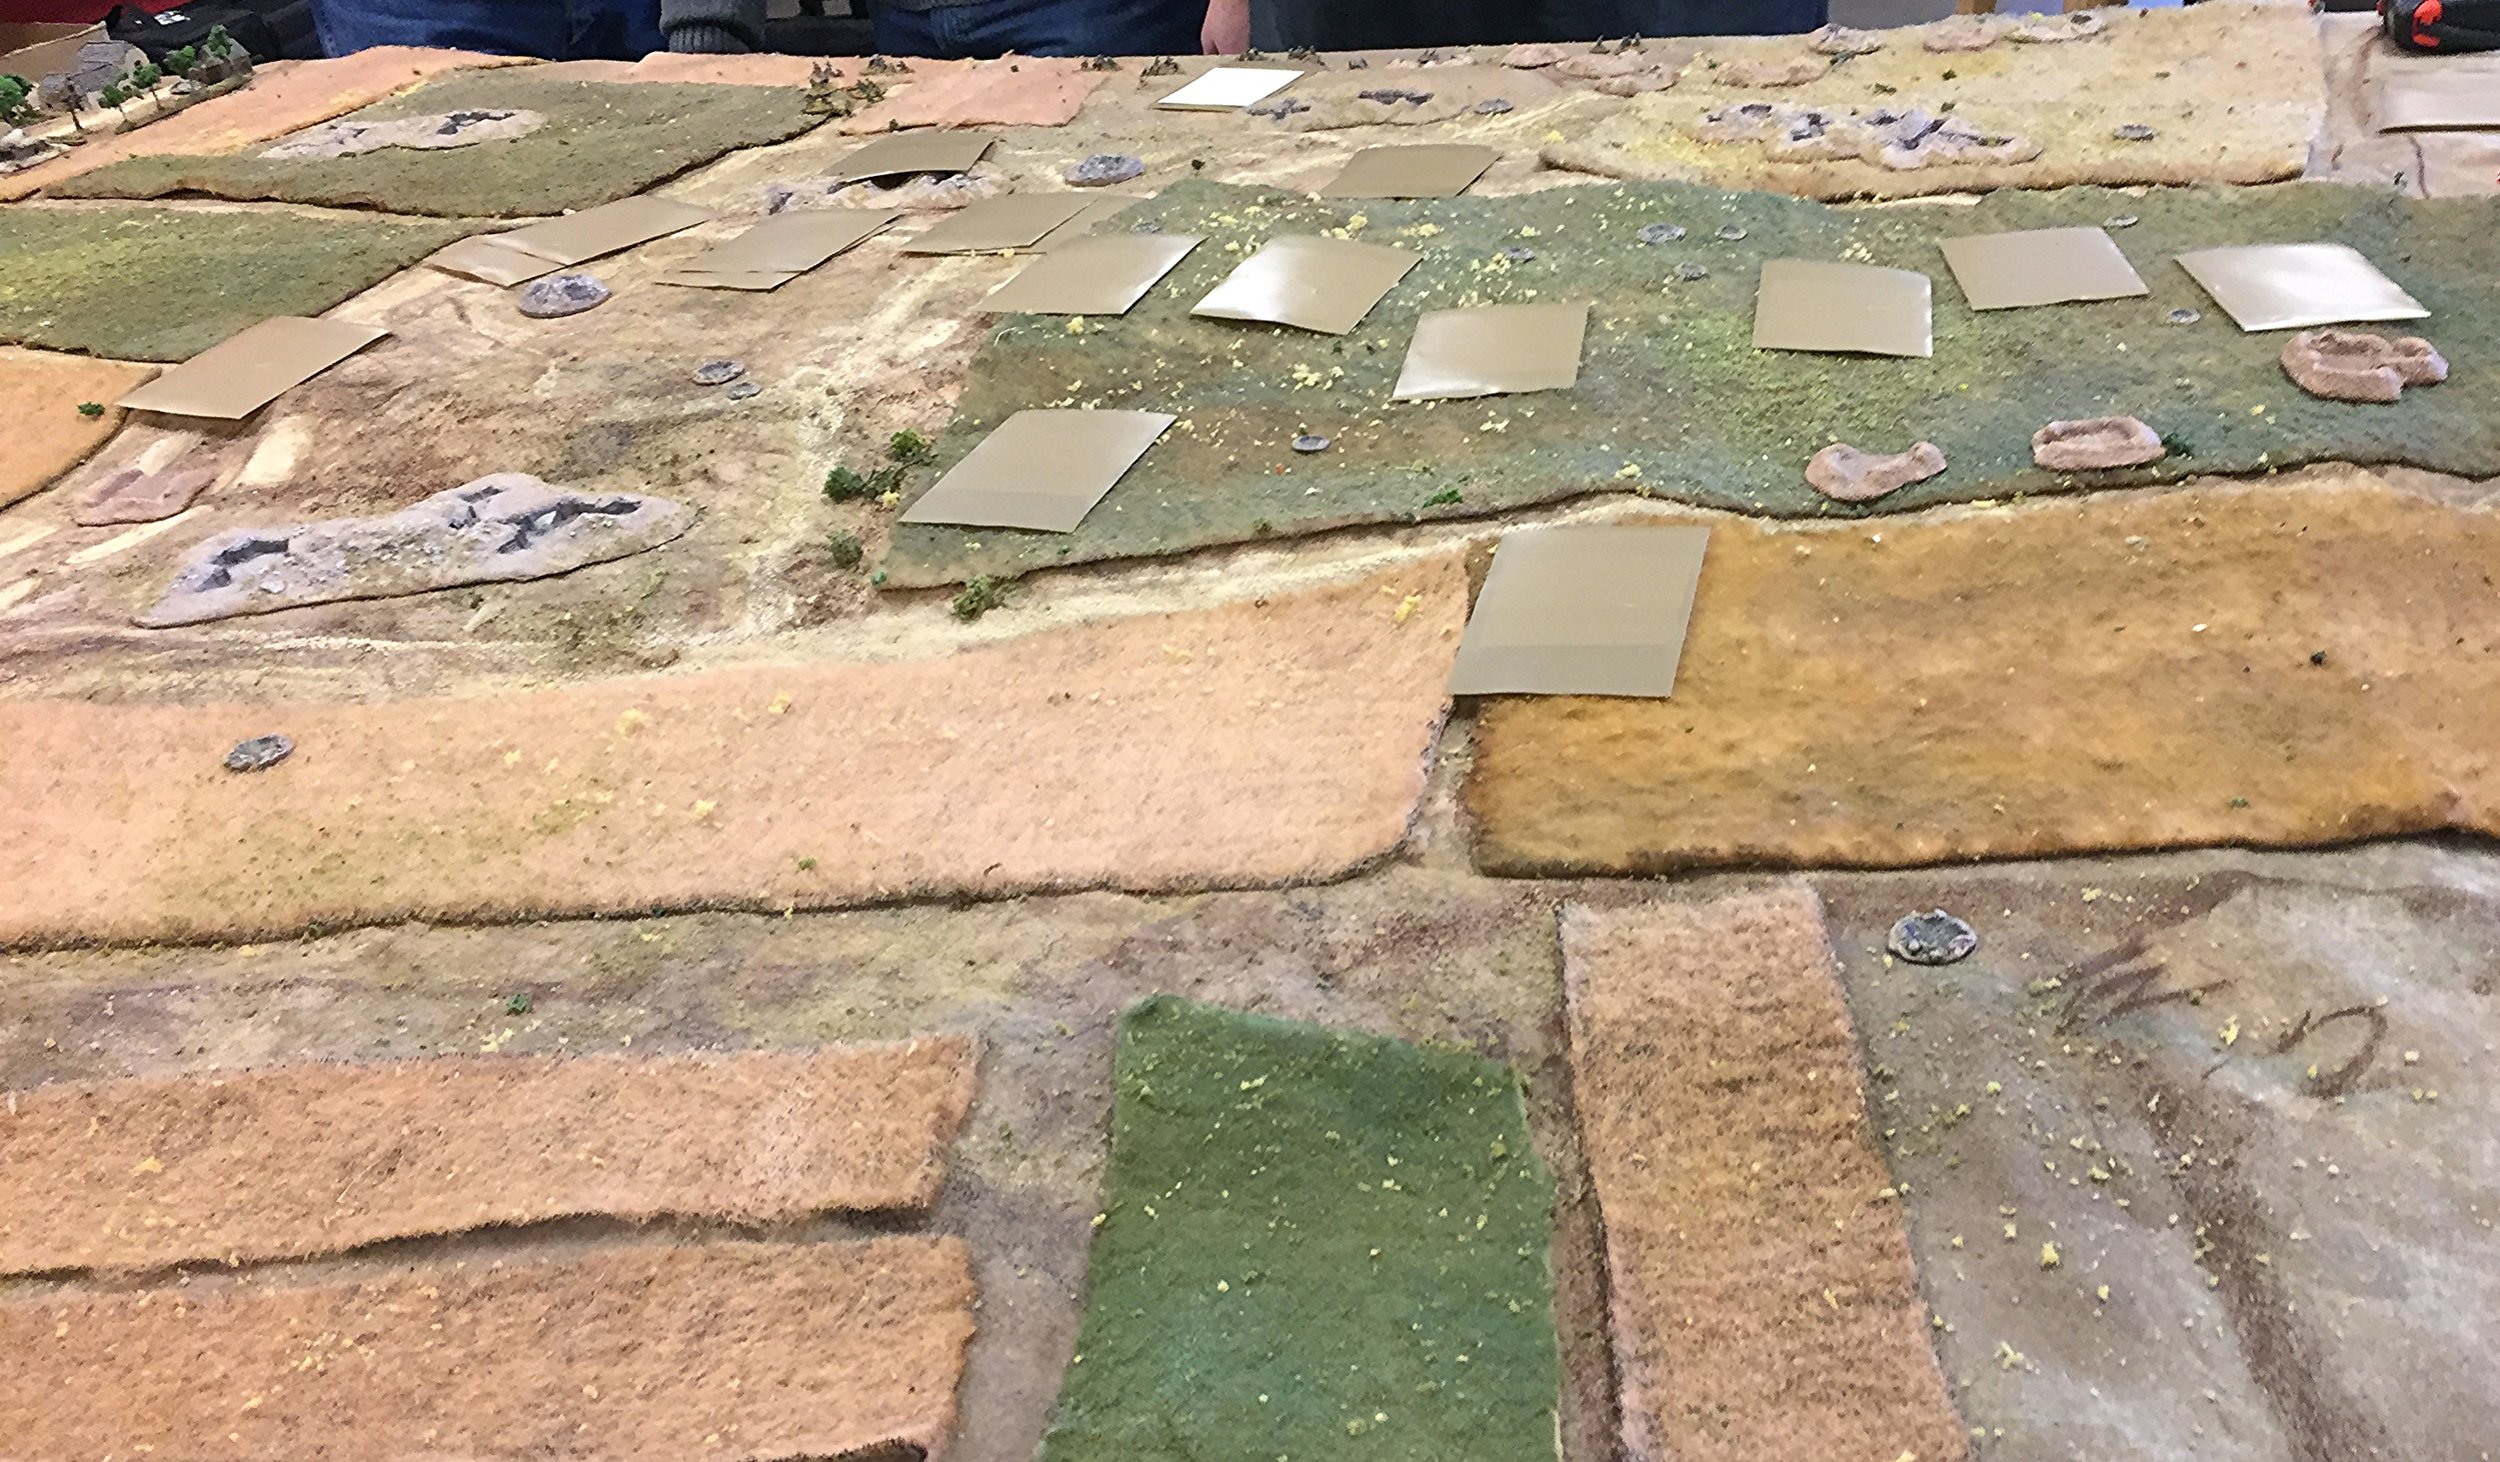
The terrain was as seen in the photos: the village of Ras Begus nestles astride a road running through a region punctuated by rocky hills that hamper movement by reducing any dice rolled by one. On a nearby hilltop lurks the ruined Red Fort, south of the village is an olive farm. A wadi runs from the southern end of the table right up to the village, providing excellent cover to infantry within it. Tracked vehicles could risk the wadi, but were likely to bog down.
The French were defending the village with a force consisting of three platoons, one of four and two of three ten-man squads (100 total). Mr Clarke, who wrote the scenario, didn’t specify the stats for the French infantry, so as I already thought the scenario would be walkover for the French, I classified them as Good Troops starting on three Activation dice. In addition to the infantry, the French had three 60mm mortars, three MMGs and a forward observer in touch with a battery of three 75mm guns. In command were four decent quality Big Men, and there was an extra MMG team sited in the fort with a Poor Fire Discipline card. In reserve, arriving after a certain number of appearances of the Turn Card, were three R-35 tanks. Formidable.
The Aussies also had three platoons, but each was four sections of eight men each (total 96 men) along with a light mortar and an anti-tank rifle (ATR) per platoon. In support, they had a recce platoon of three MkVI light tanks, five recce carriers (two with MMGs, two with LMGs and one with an ATR) and, as proved very significant, an FOO connected to two 25-pounders sited just off table. The 25-pounders were very responsive: they had a Bonus Fire card in the deck. I decided that the Aussie’s would start on four Activation dice and get the Aggressive bonus in Close Combat.
As I was convinced that the Aussies would have a very hard time of it, I gave Bevan the choice of which force to take (having first voiced my concerns!), but he suggested we roll for it. A die was duly rolled, and I ended up with the Aussies!
The Aussies began the action by bringing as many Blinds onto the table as possible down the road running off to the south-east. I led with a couple of dummy Blinds, then my tanks and carriers, then an infantry platoon.
Things got interesting very quickly, as I sent a dummy Blind up the hill to my right to make sure that flank was properly clear. It made immediate contact with a platoon of French infantry (3ieme Platoon, three squads) which, as the person running the game, came as quite a shock to me, as I knew the French briefing said that they couldn’t deploy south of the olive grove!
[Why, if I knew that, did I send scouts up there anyway? Well, because my troops didn’t know it, and it was therefore the right thing to do.]
I pointed this out to Bevan, who re-read his briefing and realised that I was right. It was too late to worry about it, however, so I suggested we just carry on and put the mistake down to the fog of war.
Meanwhile, the French had their binoculars out, and had spotted all my Blinds. They had also called in their 60mm mortars…one of which scored a direct hit on one of my light tanks, causing it to bounce up and down enough to disrupt its next Activation.
Even worse, they then called in their off-table 75’s: which arrived extremely quickly and accurately right in the middle of my recce vehicles. One MMG carrier was destroyed by another direct hit, and the others all losing Activations.
Two could play at that game, however. My FOO and CinC called in my artillery, which also arrived quickly and, even if not so accurately as the French artillery, started causing 3ieme Platoon all sorts of problems.
Meanwhile my other two infantry platoons, still on Blinds, and the non-MMG carriers, began bypassing my artillery-stricken armour.
I now realised that Bevan’s accidental placement of 3ieme platoon gave me a great opportunity to destroy a third of his force in isolation. I decided to ignore the French artillery as much as possible, and just use my artillery (firing twice as fast as their French counterparts), the three HMGs on my tanks, my remaining MMG carrier, and 3rd Platoon to pulverise the 3ieme.
All this, however, took time, and before I knew it, a rather ominous French Blind had appeared north of Ras Begus.
No matter, there wasn’t anything I could do about it for the moment, so it was time to investigate the French Blind on the hillside just north of the olive trees.
This turned out to be the 2ieme French platoon…also, it appeared, quite isolated: although the French MMGs, led by the French company commander, had by now moved forwards into the wadi.
Meanwhile things had got petty critical for 3ieme platoon: to the stage where their commander used the French's Heroic Commander card to charge two MkVI tanks on his own!
French Heroic Commander card: Big Man 4 desperately attacks two British light tanks on his own, but to no avail
As 3ieme Platoon were just about done for, my FOO and the Aussie company commander shifted my artillery onto 2ieme platoon. At the same time, a platoon of Aussie infantry took up good cover positions in amongst the olive trees and began exchanging fire with the 2ieme, with a tank moving up to add the weight of its HMG to the fled flying towards the French.
To counter this threat, the lead French MMG team climbed up the side of the wadi and took up positions on its lip, and prepared to pour fire into the olive grove at point blank range.
The French were obviously on a roll, as their tanks then de-cloaked from their Blind, charging forwards (well as charging as an R-35 can do!) to engage my light tanks.
Everything then happened very quickly.
Firstly, the final Aussie infantry platoon, still on a Blind, jumped down into the wadi and charged the first French MMG team, which was now facing the wrong way. The platoon’s ATR team also climbed the opposite side of the wadi and began shooting into the lead R-35 from a distance of about 25 yards. They couldn’t miss, and despite its thick armour (AC5), the R-35 started accumulating a shock very quickly…especially when the light tanks and ATR rifle from the platoon that had by now dispersed the 3ieme joined in as well. Before it could do anything, really, the R-35 crew abandoned ship, running off towards the town…followed by the other two R-35s who obviously didn’t relish any sort of stand up fight!
The French 2ieme platoon also crumbled: continually hit by artillery fire, the HMG on a light tank, the Bren on a carrier, and some very fine shooting from the Aussies in the olives.
The French were now pinned into Ras Begus itself, with the final French Blind revealed as their final infantry platoon, now reinforced with the two R-35s and the only remaining MMG. The French were also about to lose two Big Men: both the 3ieme’s commander and the company commander were swept away by the Aussie platoon emerging from the wadi as they retreated towards the village.
Up came the British FOO’s card, and I announced that I was shifting the fire of my artillery again: this time onto Ras Begus itself. That was it: the single French platoon, with two tanks and the MMG, now faced three still-strong Aussie platoons, three tanks and three carriers. That meant they couldn’t really take the fight to the Aussies, but had to sit in Ras begus and wait for their enemy to attack. The problem, of course, was that I now didn’t need to attack: all I had to do was watch my artillery turn the village into rubble, then move in and mop up what was left. Although I like to think that the French downed their rifles and surrendered, given the quality of their troops, they probably managed to successfully retreat off the table with only a handful more casualties.
Much to my surprise, victory was mine.
Discussing the game afterwards, Bevan and I concluded that the French had positioned their three infantry platoons too far apart to give proper support to each other. This enabled me to focus on each platoon in turn, using a combined arms approach (artillery, infantry, armour) to hammer each one flat one by one.
I thought the three French tanks would be a deciding factor in the French’s favour (I just couldn’t see how I was going to deal with AC5 armour with ATRs and HMGs/MMGs), but the French hurled them forwards and let me get up close to their flanks with multiple weapons. After the first tank’s crew had bailed, the others spent all their remaining time retreating out of danger, leaving me clear to use my armour on the French infantry with impunity.
Whatever the result, it had been a great game…one that we will be re-fighting in the very near future.
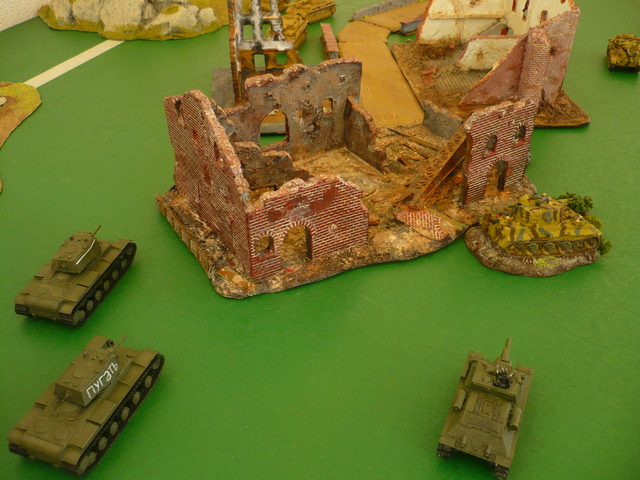
Robert Avery

The game is based on action east of Ponyri station on July 8. The Germans have captured the former Soviet positions on 226.5 and are just about to be assaulted by the 3rd Tank Corps. As usual I never know exactly who is going to show up, so had several units ready to go at staggered intervals. The key was for the Soviets to get across the table and stymie any German reinforcements. Didn't happen.

David (Gigabites owner) and Chris S discuss discounted RPG books while Jacob awaits the Soviet onslaught.
The Railroad runs parallel to the edge. Germans are defending the hill (226.5) in the center of the table. They start with a weakened company of the 507 Grenadier Regiment from 292 Infantry Division: six veteran sections with four Big Men, two MMG sections, two 47mm French ATG and a +2 tank ace in there, one infantry gun, and another Big Man for the weapons, one panzerknacker section, and a FOO for 8cm mortars. This was Sean's first game of IABSM. Everything can be dug in and they can use the ex-red army entrenchments.
Jacob (his first game too) had the armor which at the beginning was just two Marders coming in from the NE edge.
They start with an infantry company (ten sections, three ATR teams and two MMG teams) from the 57th Motor Rifle Brigade (William CO'ed). They can be tank riders on the two weak companies of T34s from 51st Tank Brigade (Roger and Randy: their 1st IABSM game) with fifteen tanks.
I gave Sean oodles of Blinds to put out to speed things up instead of using hidden units.
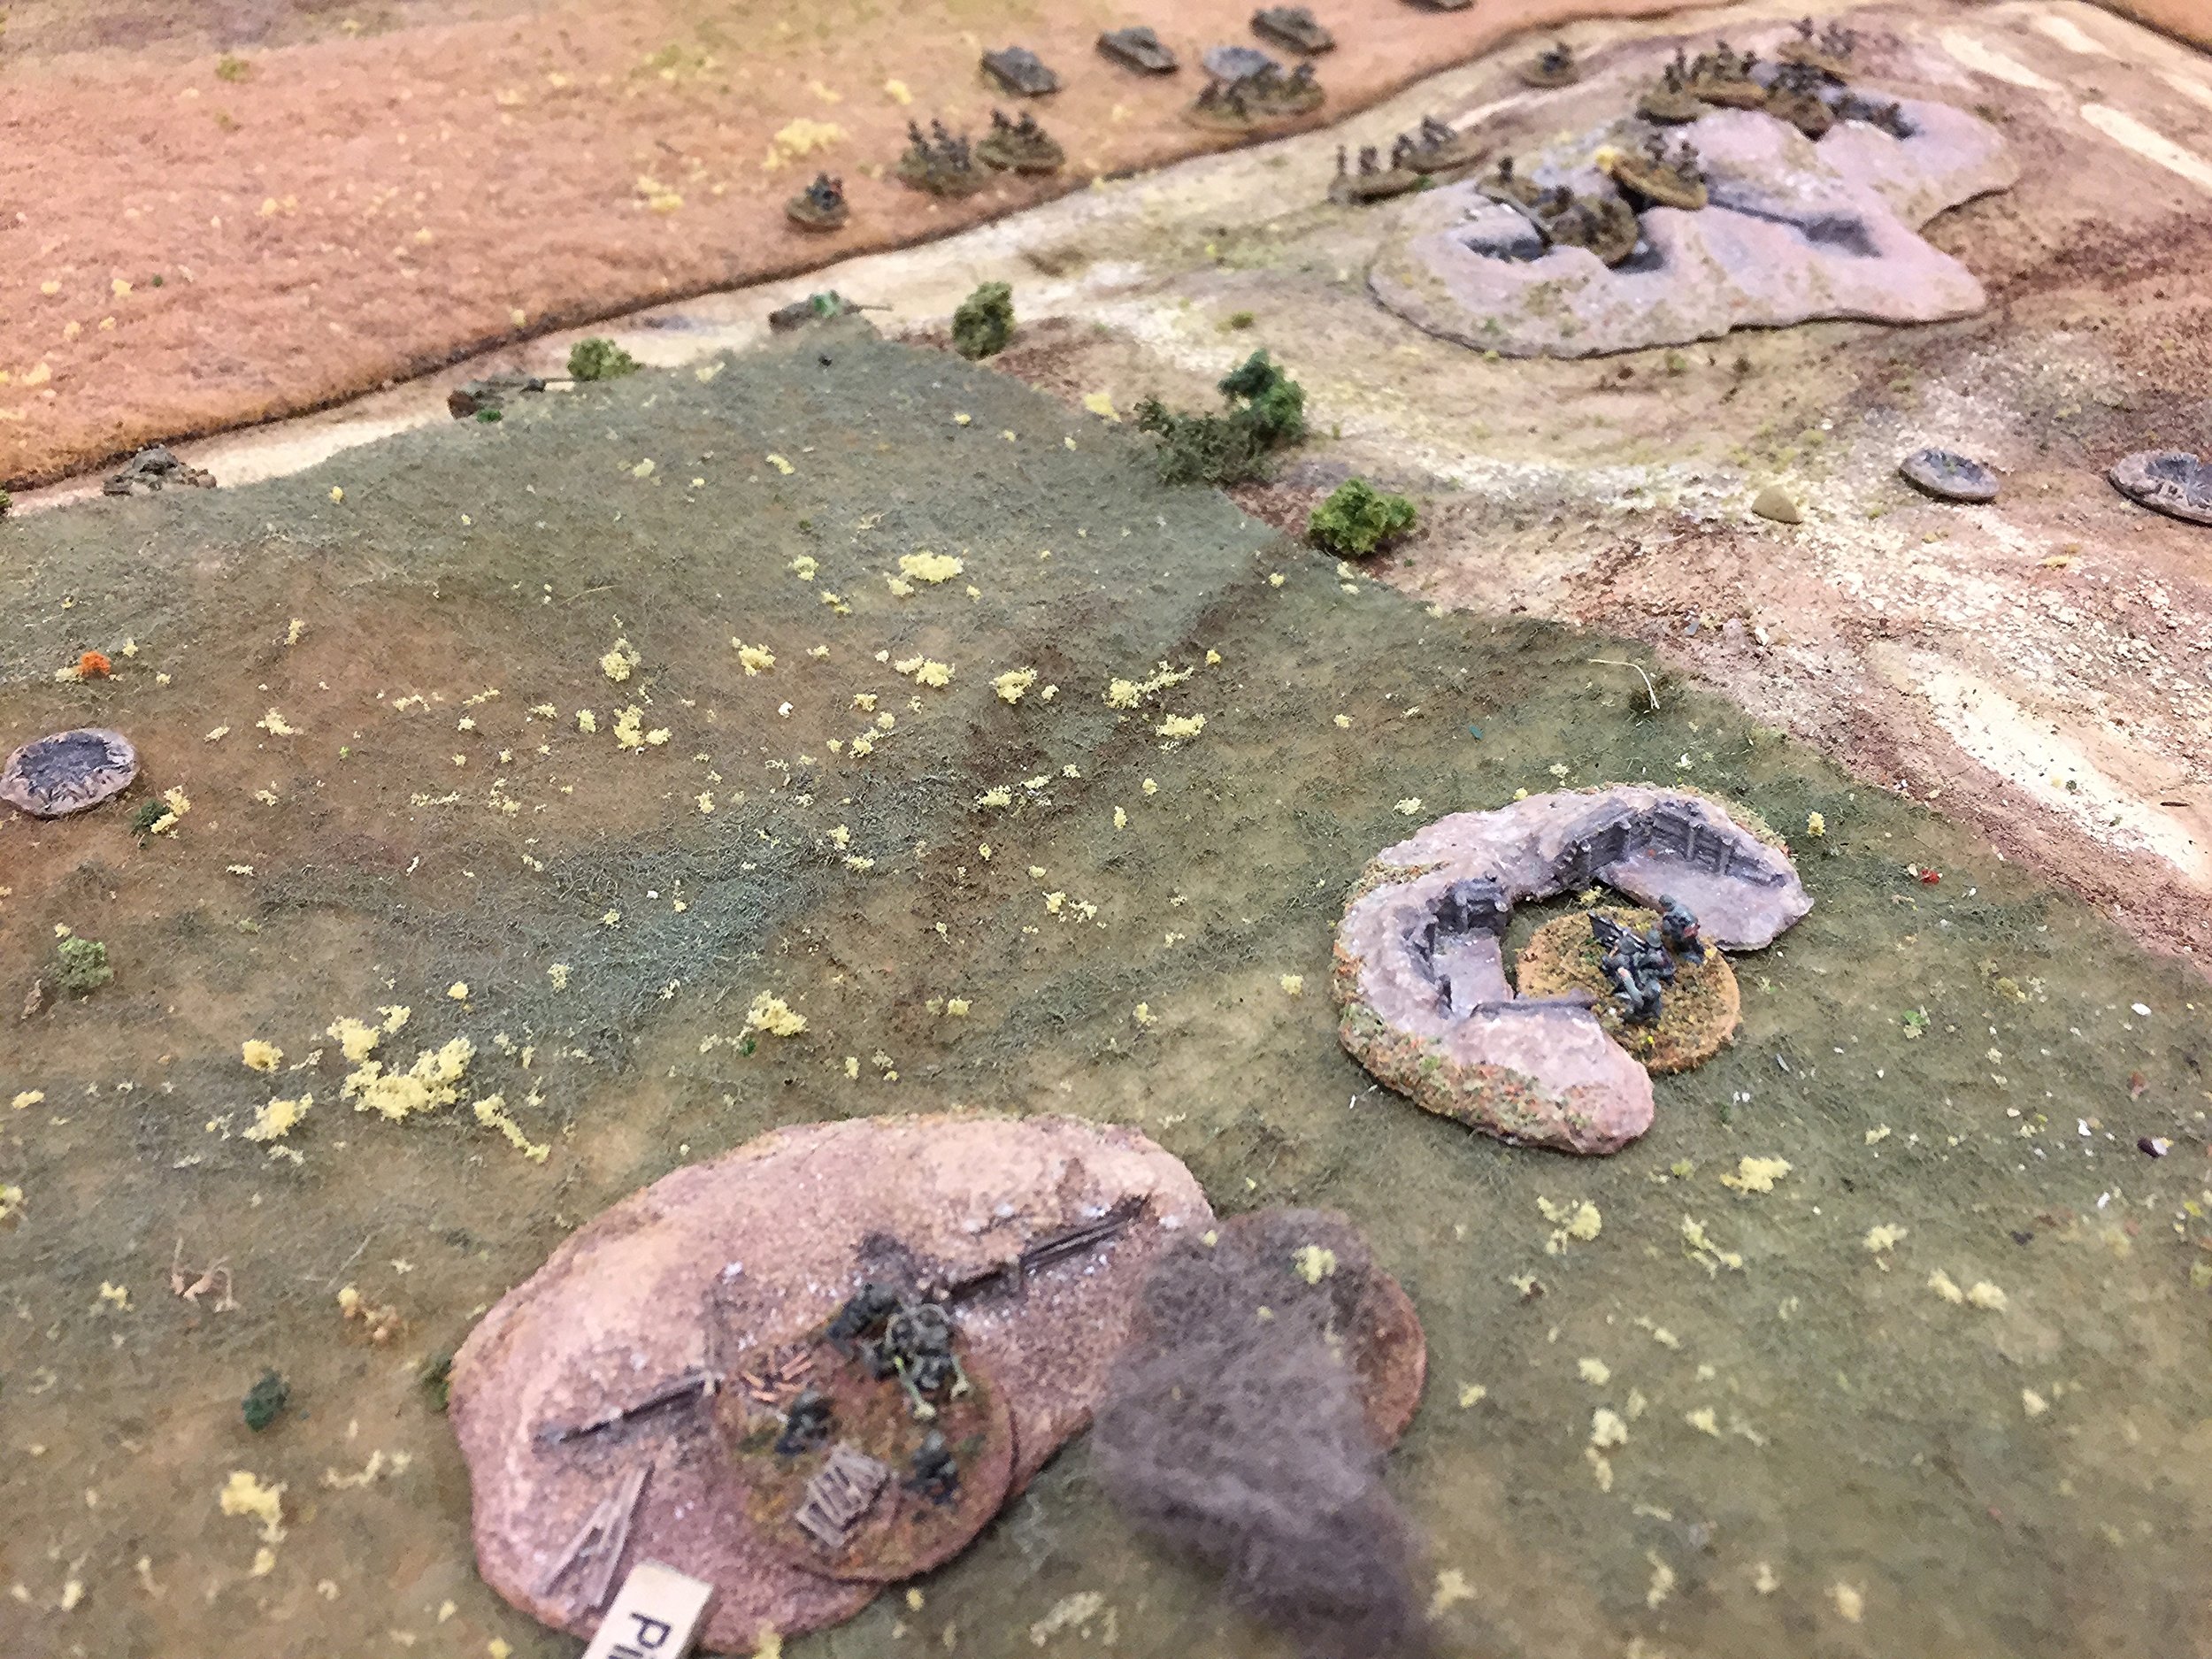
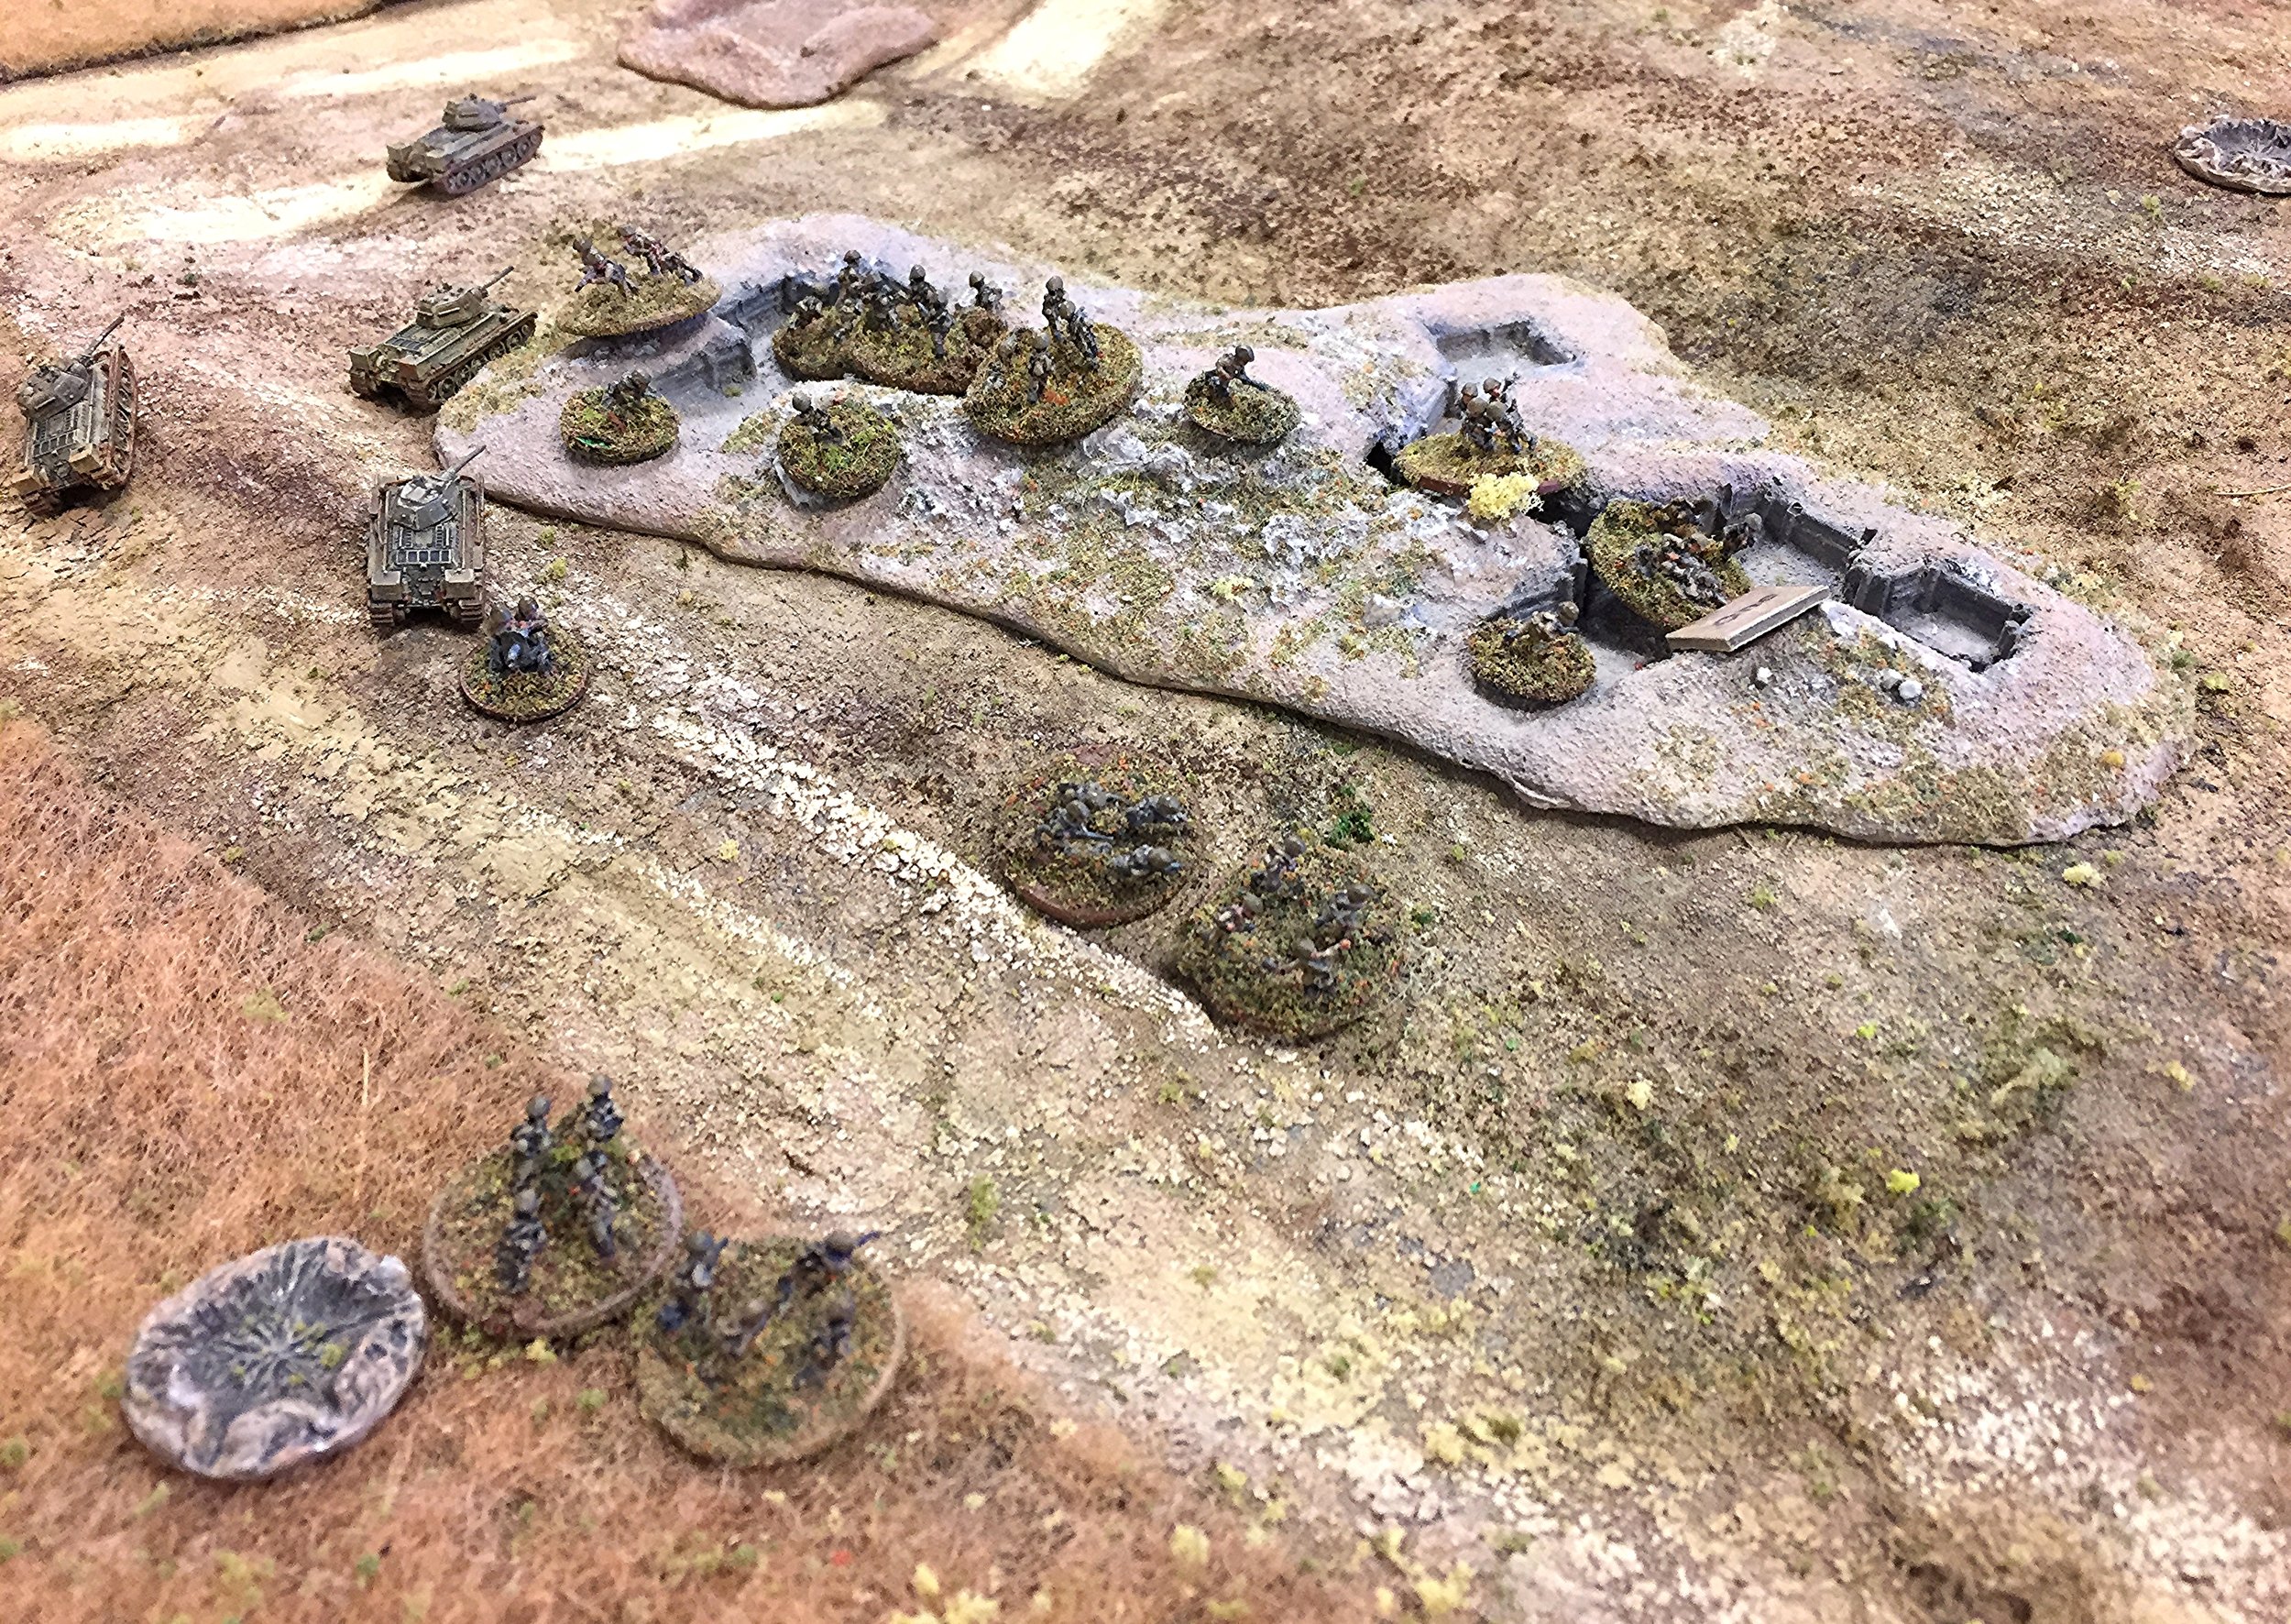
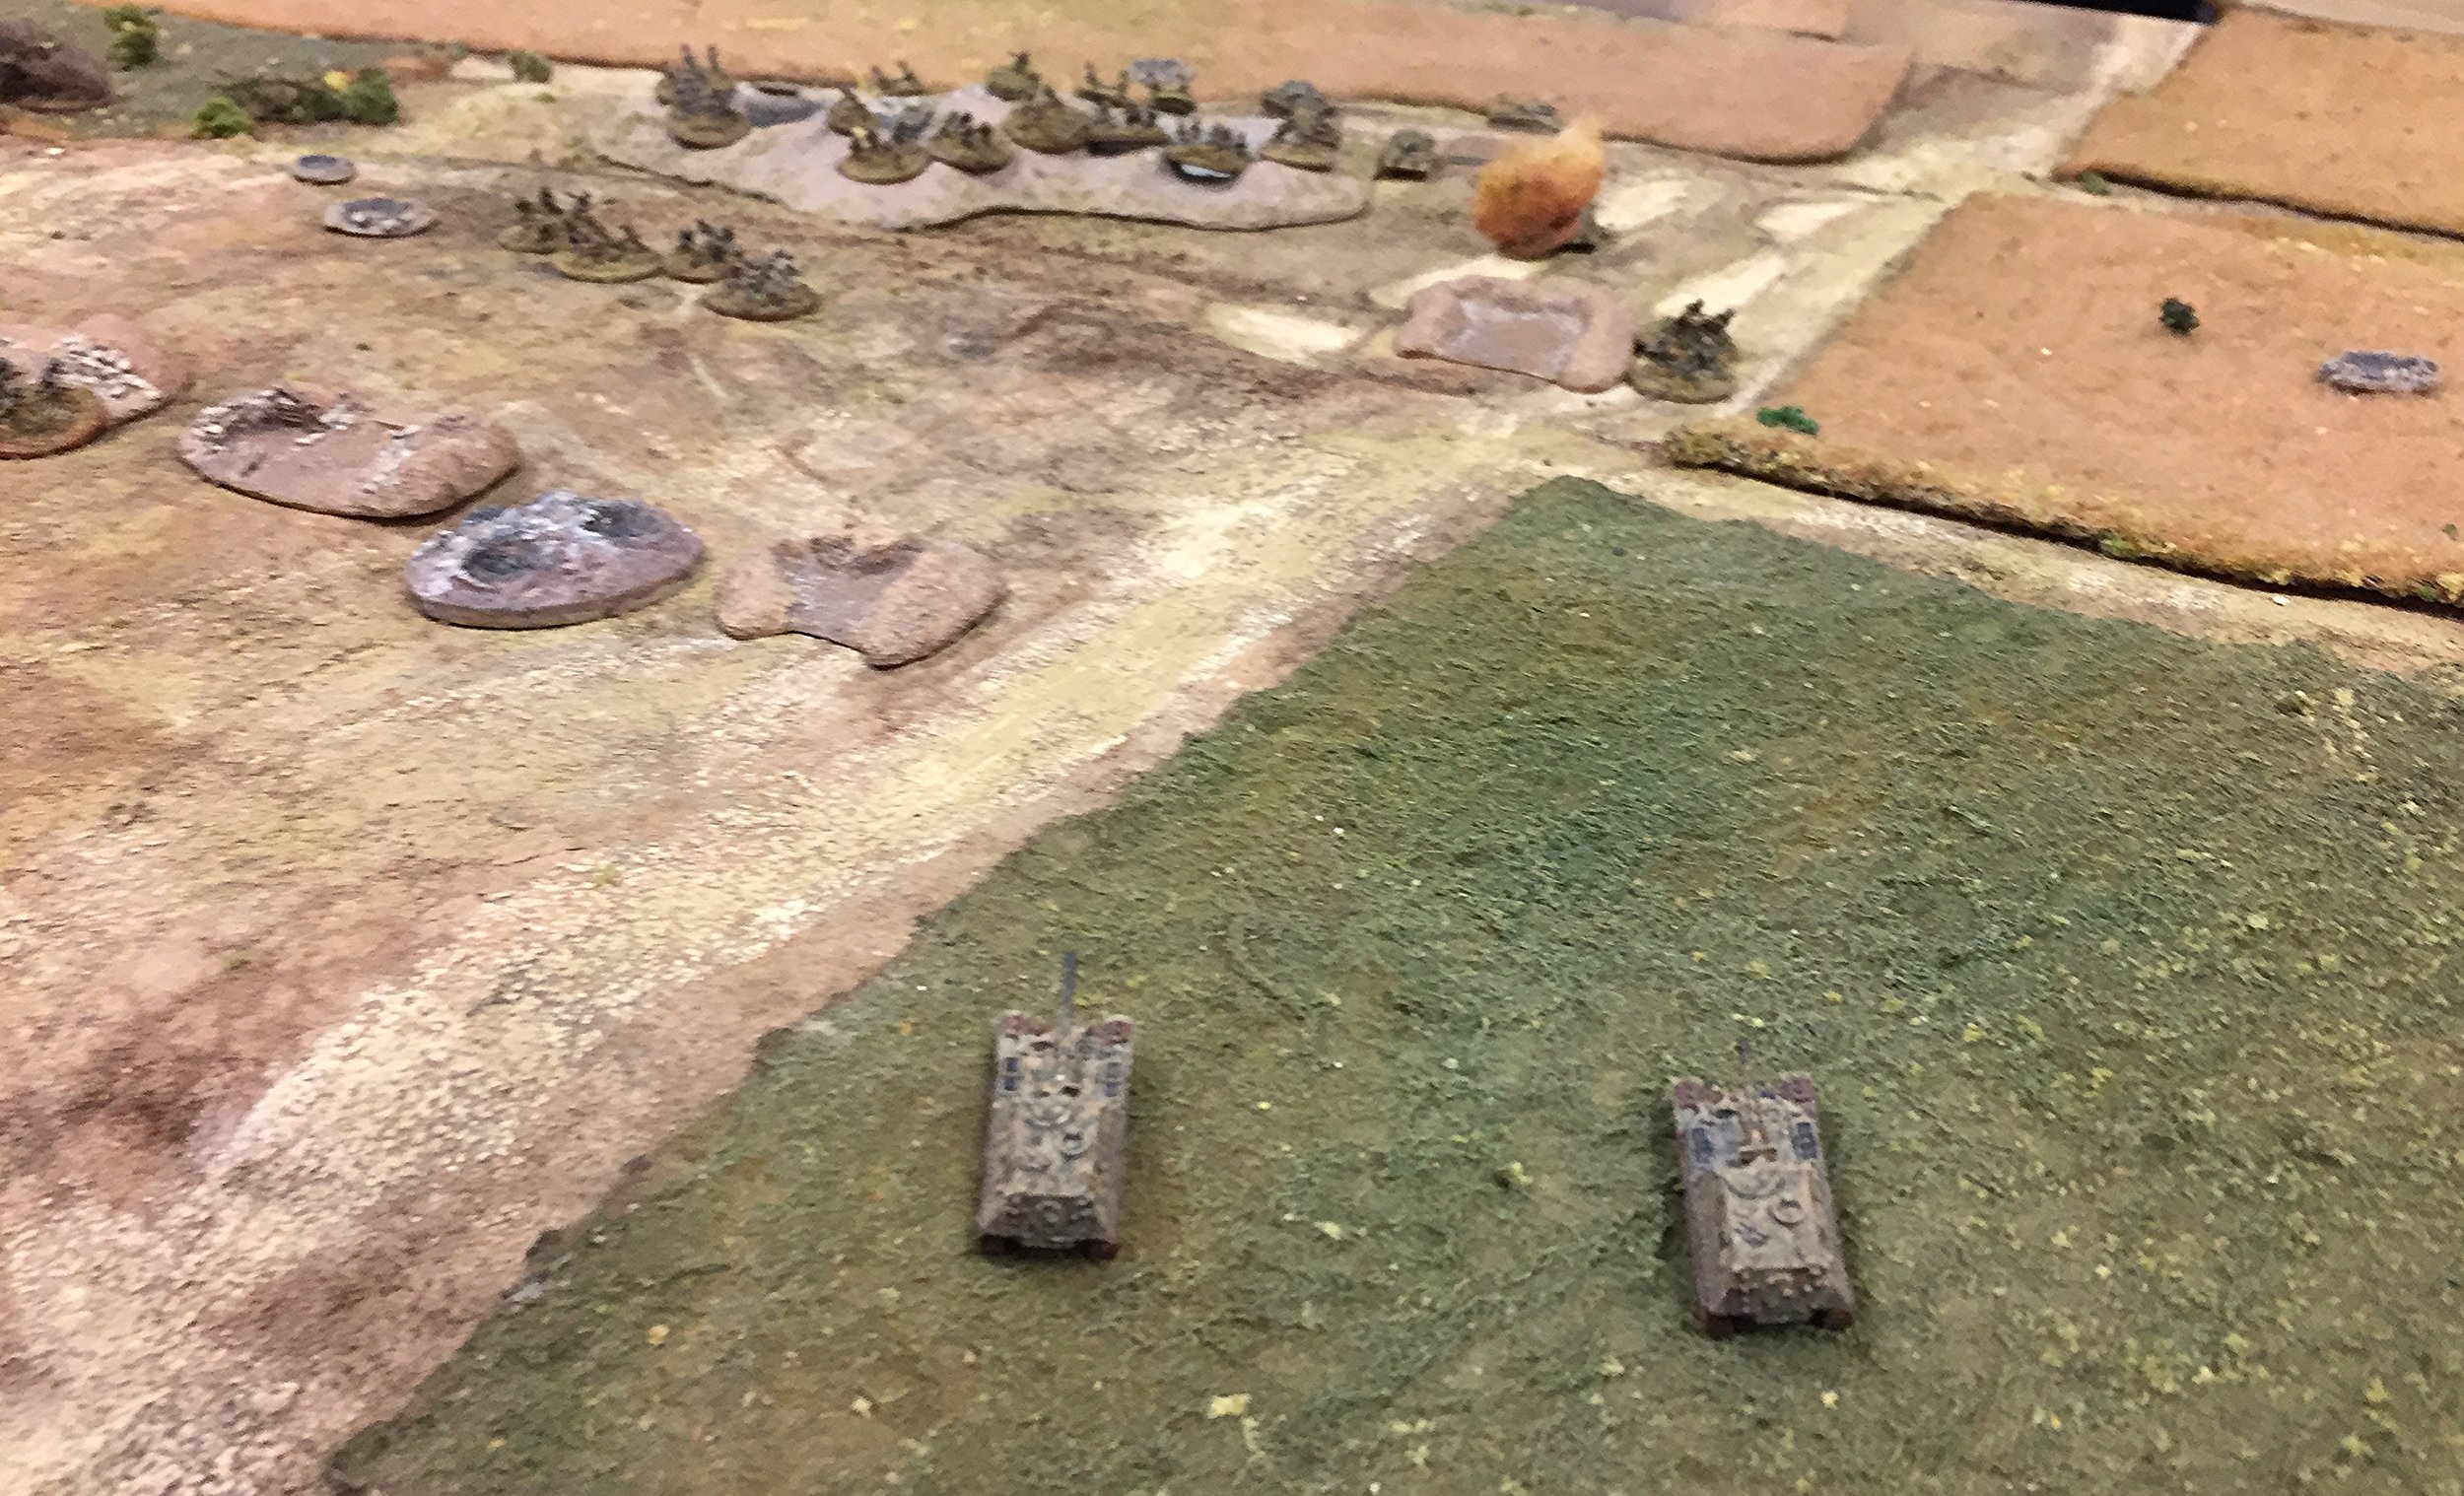
This ATG managed to KO at least three tanks. The MMG gun next to him made William jump off the T34s and move by foot to the first ex-Soviet entrenchment. Sean opted to set up further back near the hill crest with his units.

Randy's tanks are stopped in the center by the ATG, so he swings the rest to his left and moves around the ditches where he is halted for the rest of the game by the cards not showing up and the Ferdinands appearing.
Not a lot of cover except for the trenches
The full force of the tanks and infantry was concentrated on the two guns for a few turns.
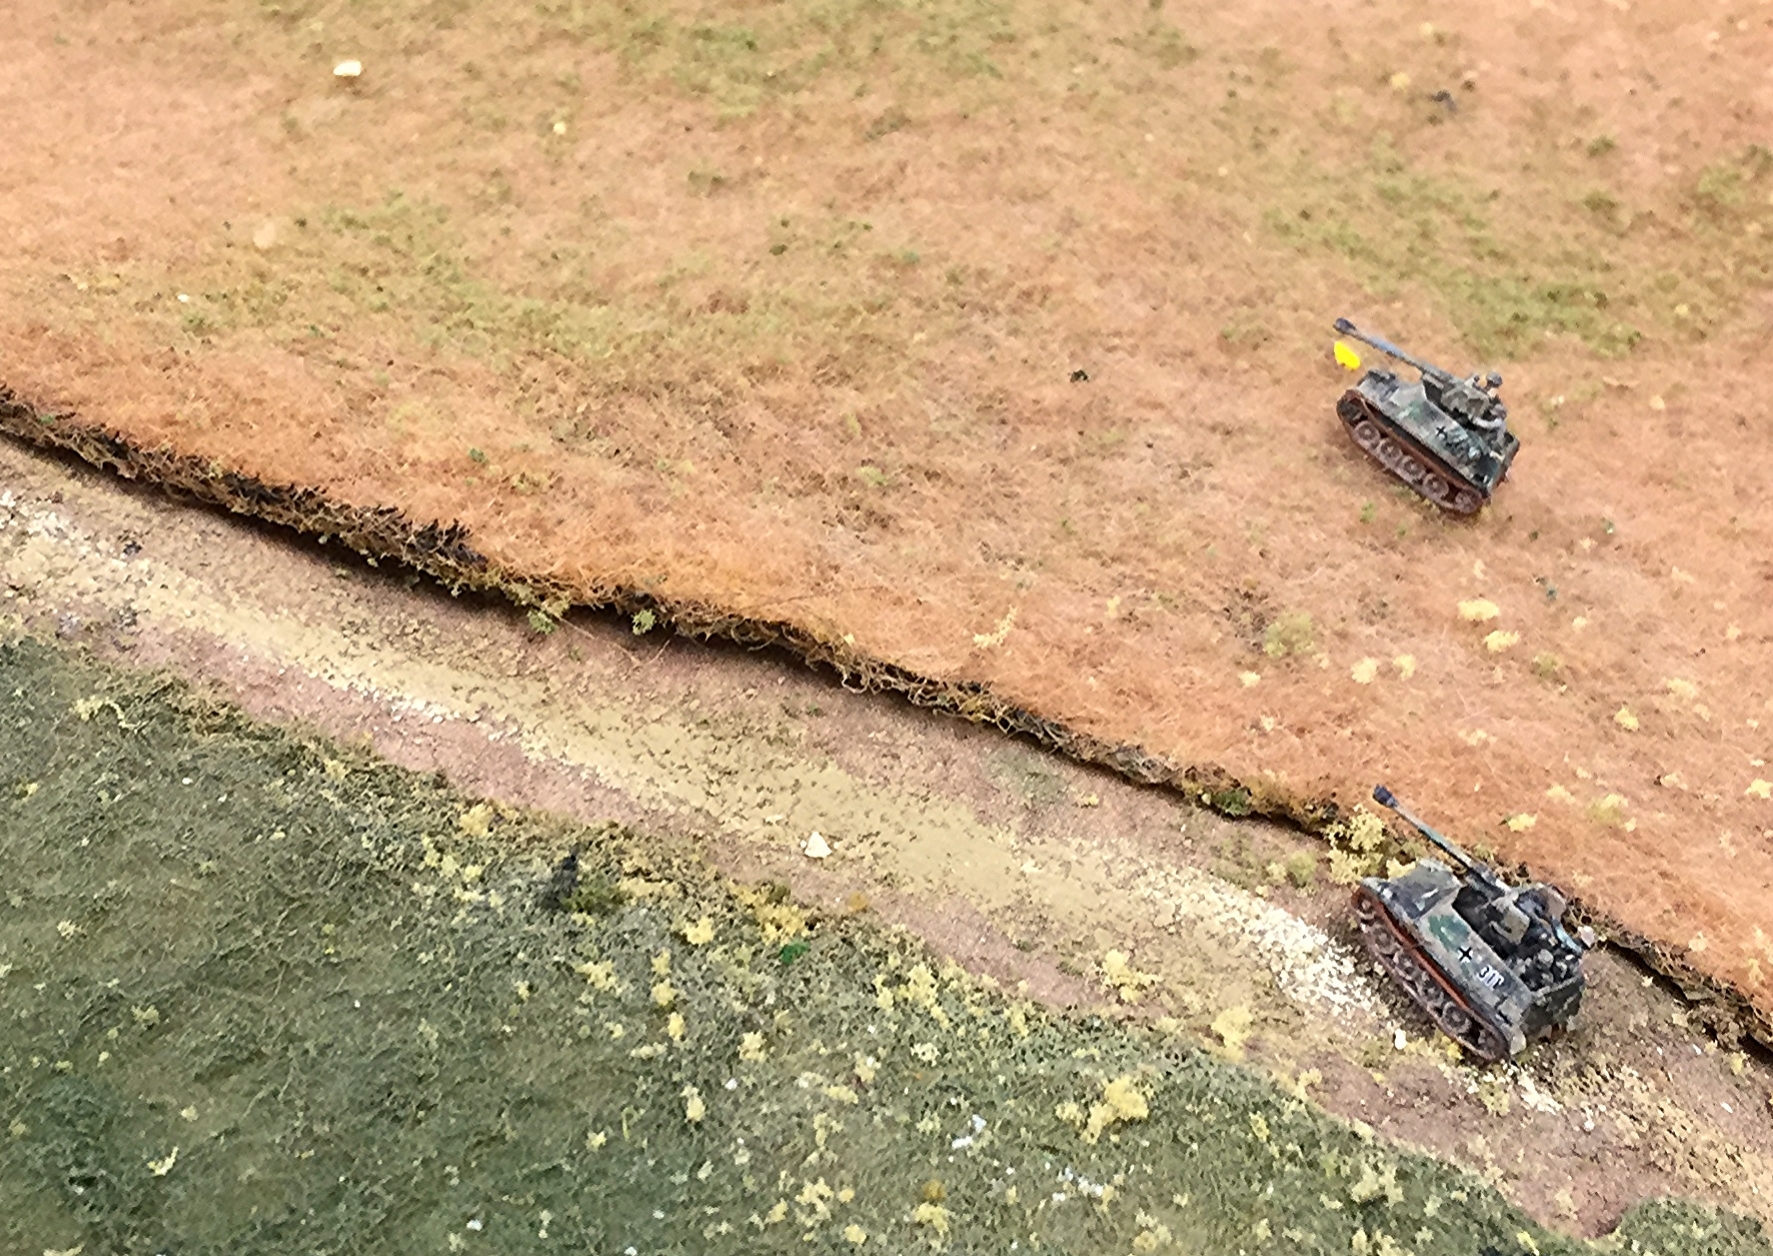
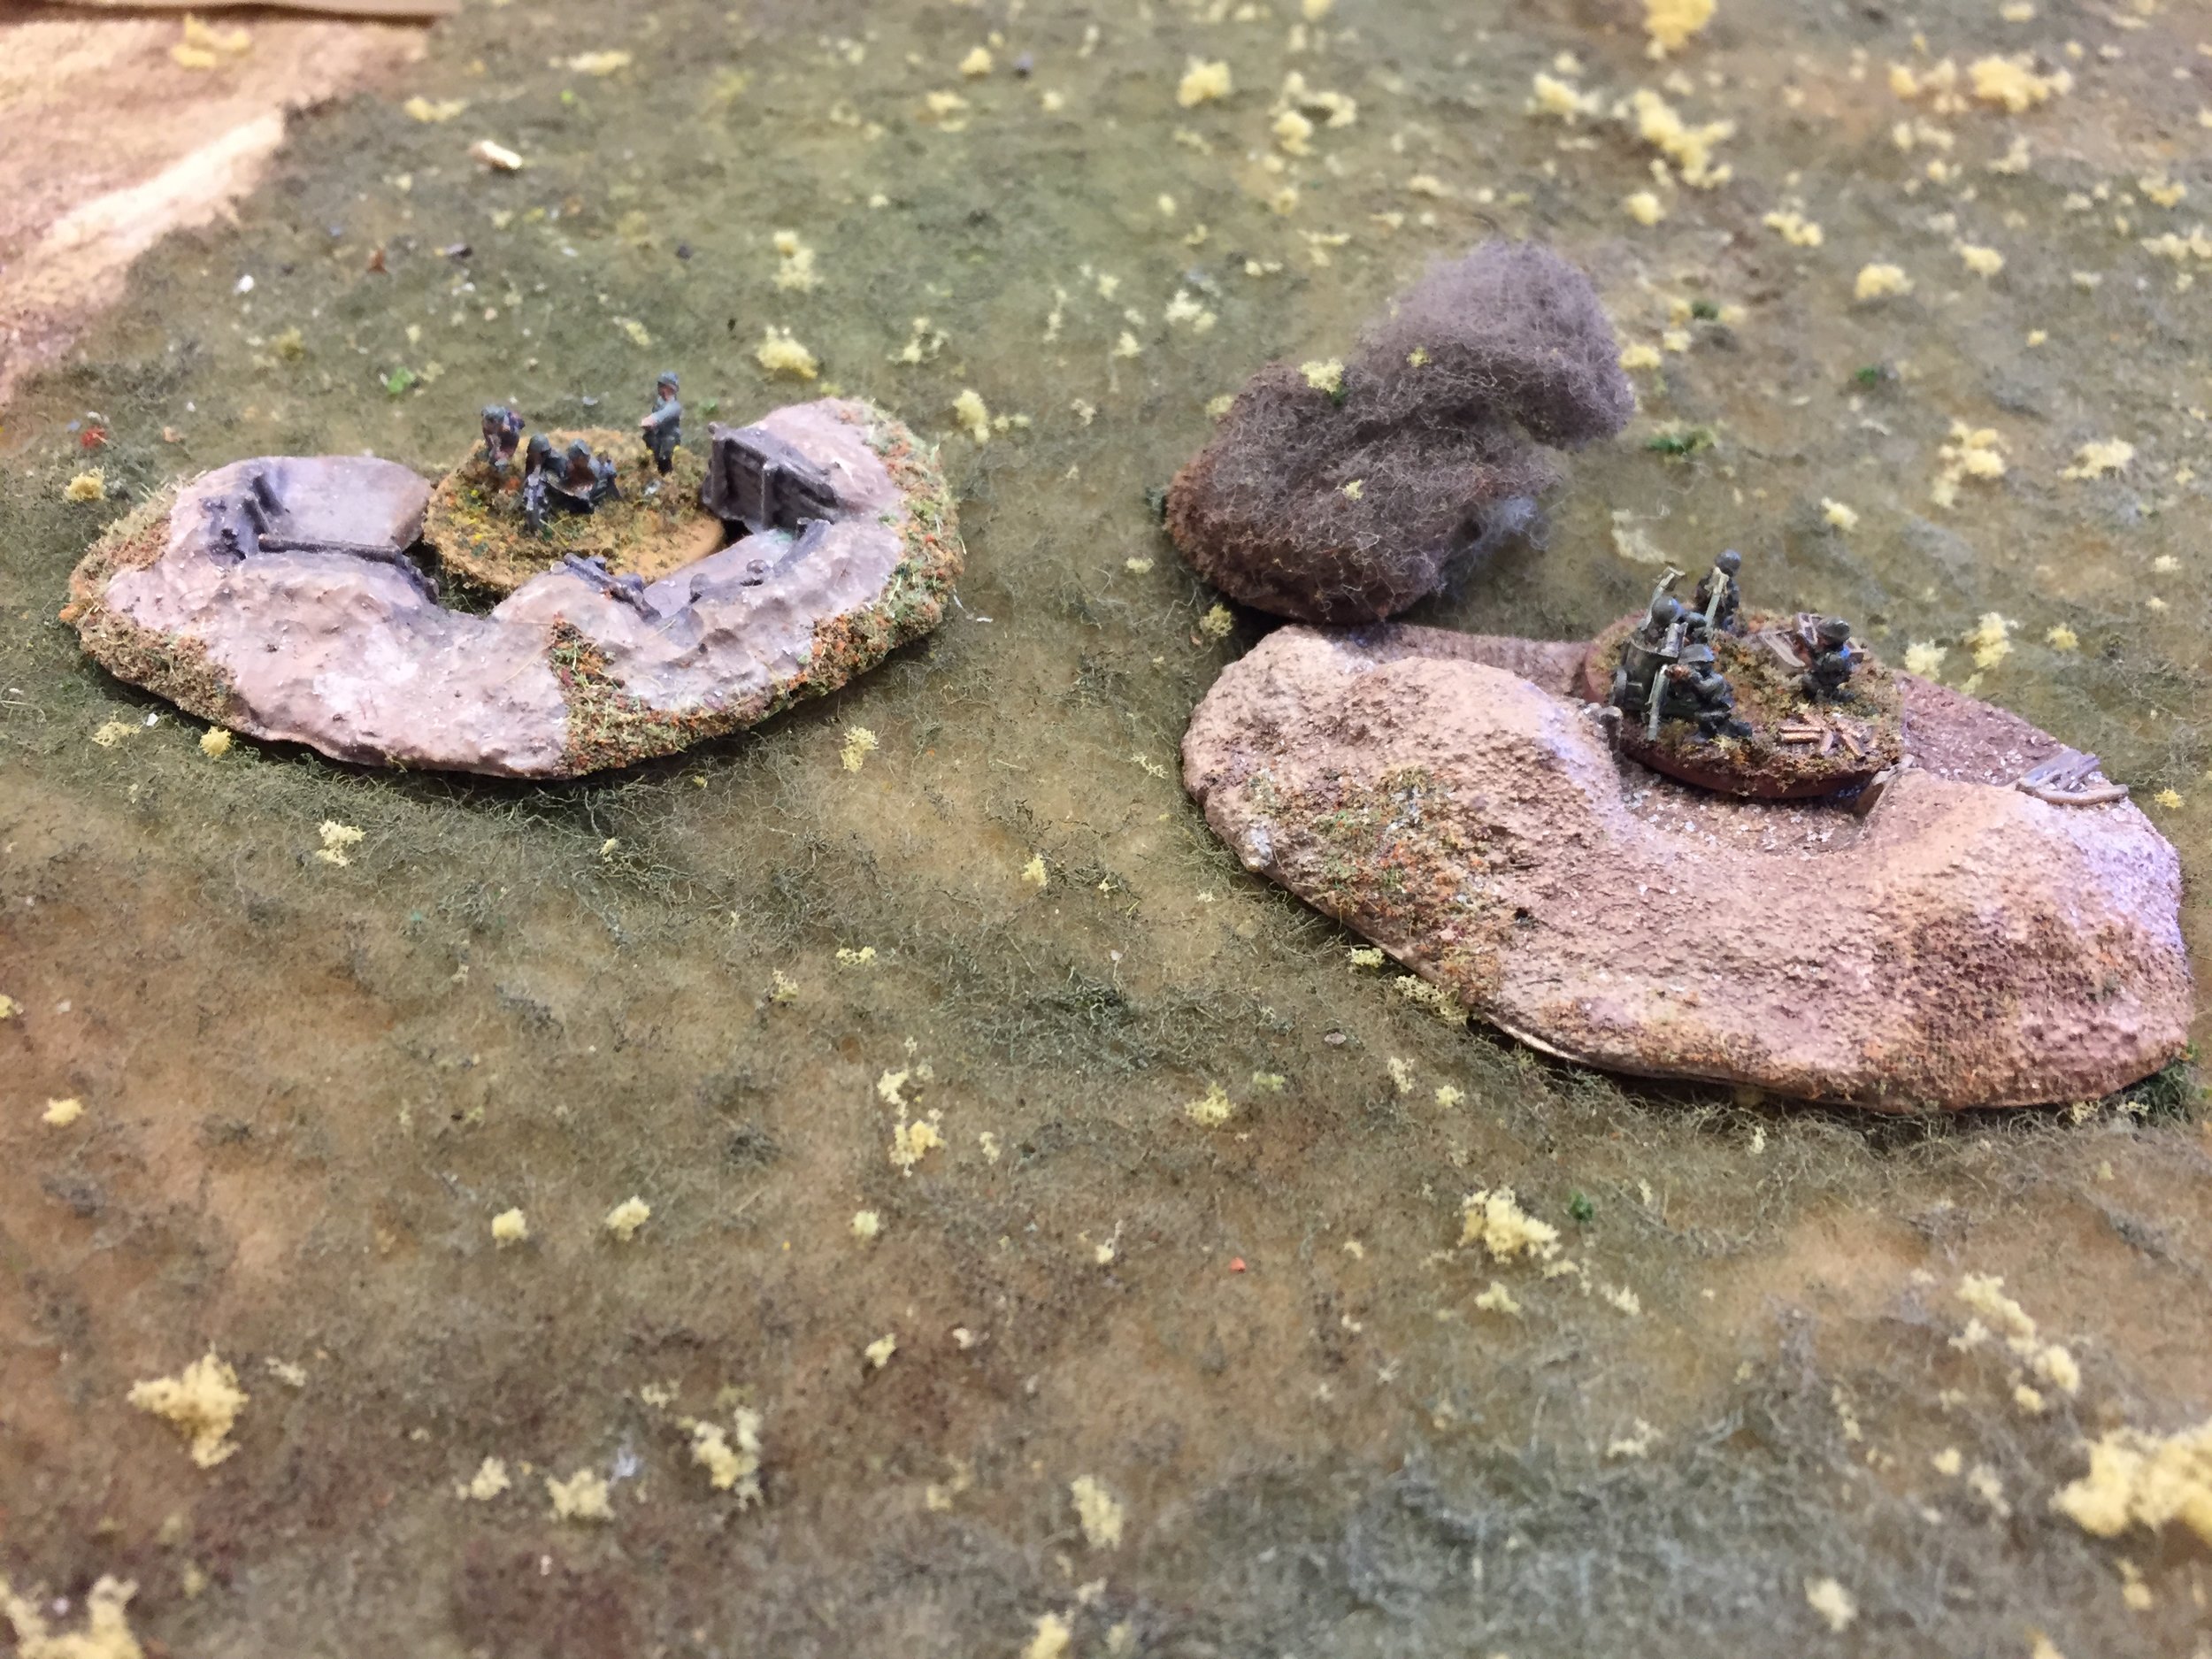
The two guns from Panzer Jaeger Abteilung 292 go hull down and start to blast the T34s.
Shapeways 3D prints of 7.62cm Pak 36(r) auf Fgst. PzKpfw II
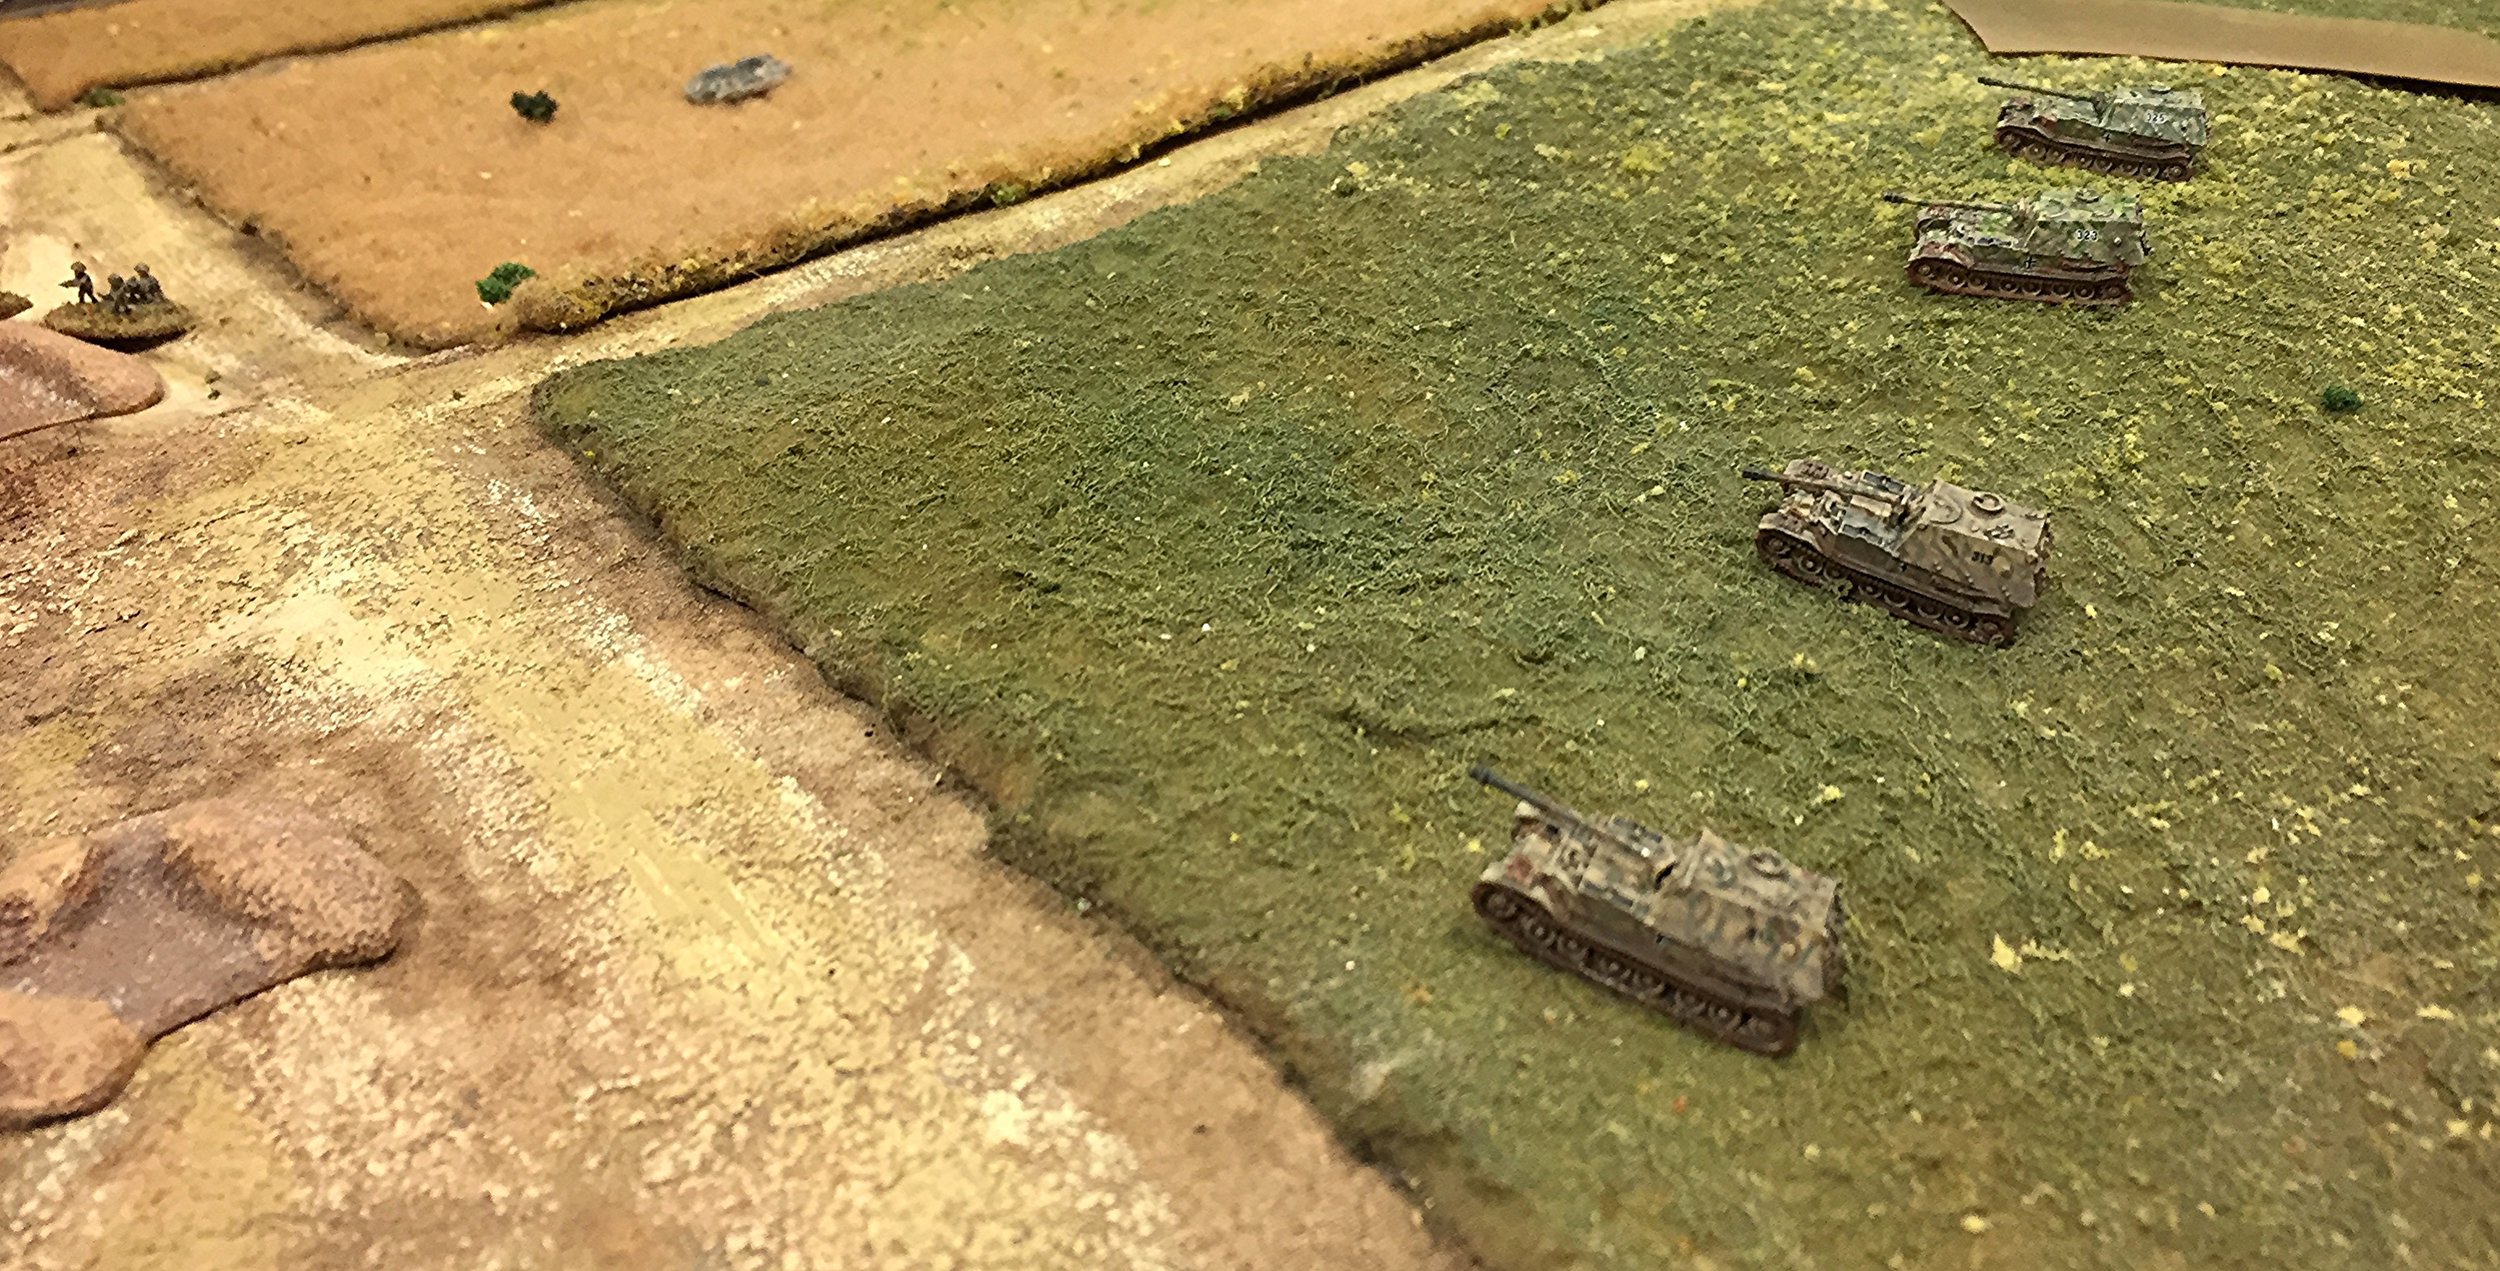
The first two Ferdinands (Chris) from sPz Rgt 656 make an appearance and immediately start hitting the T34s. I had thought that the T34s would be sweeping over the battle field heading to the NE by now, but Roger halted his company to silence the German infantry who were down to no ATGs and trying to hide in their trenches. This is one thing about a game that has an unknown enemy. Roger and Randy both assumed that there were more ATGs out there so were over cautious. Randy because his cards wouldn't come up!
Yes the cards were definitely favoring the German reinforcements now.
The first three Stugs IIIs from StuG Abt 244 (with tank ace Oberstleutenant Grosskreutz) are also heading to the southern edge of the table.
Randy did get some KV1s from 27th Guards Tank Brigade on the table but they went to ground to try to snipe at the Marders.
Jacob moved the StuGs down to the far edge of the table in search of Randy's KVs who were stalking the Marders. Randy had no luck with his cards in this game. The Germans were always able to get their card to come up before his.
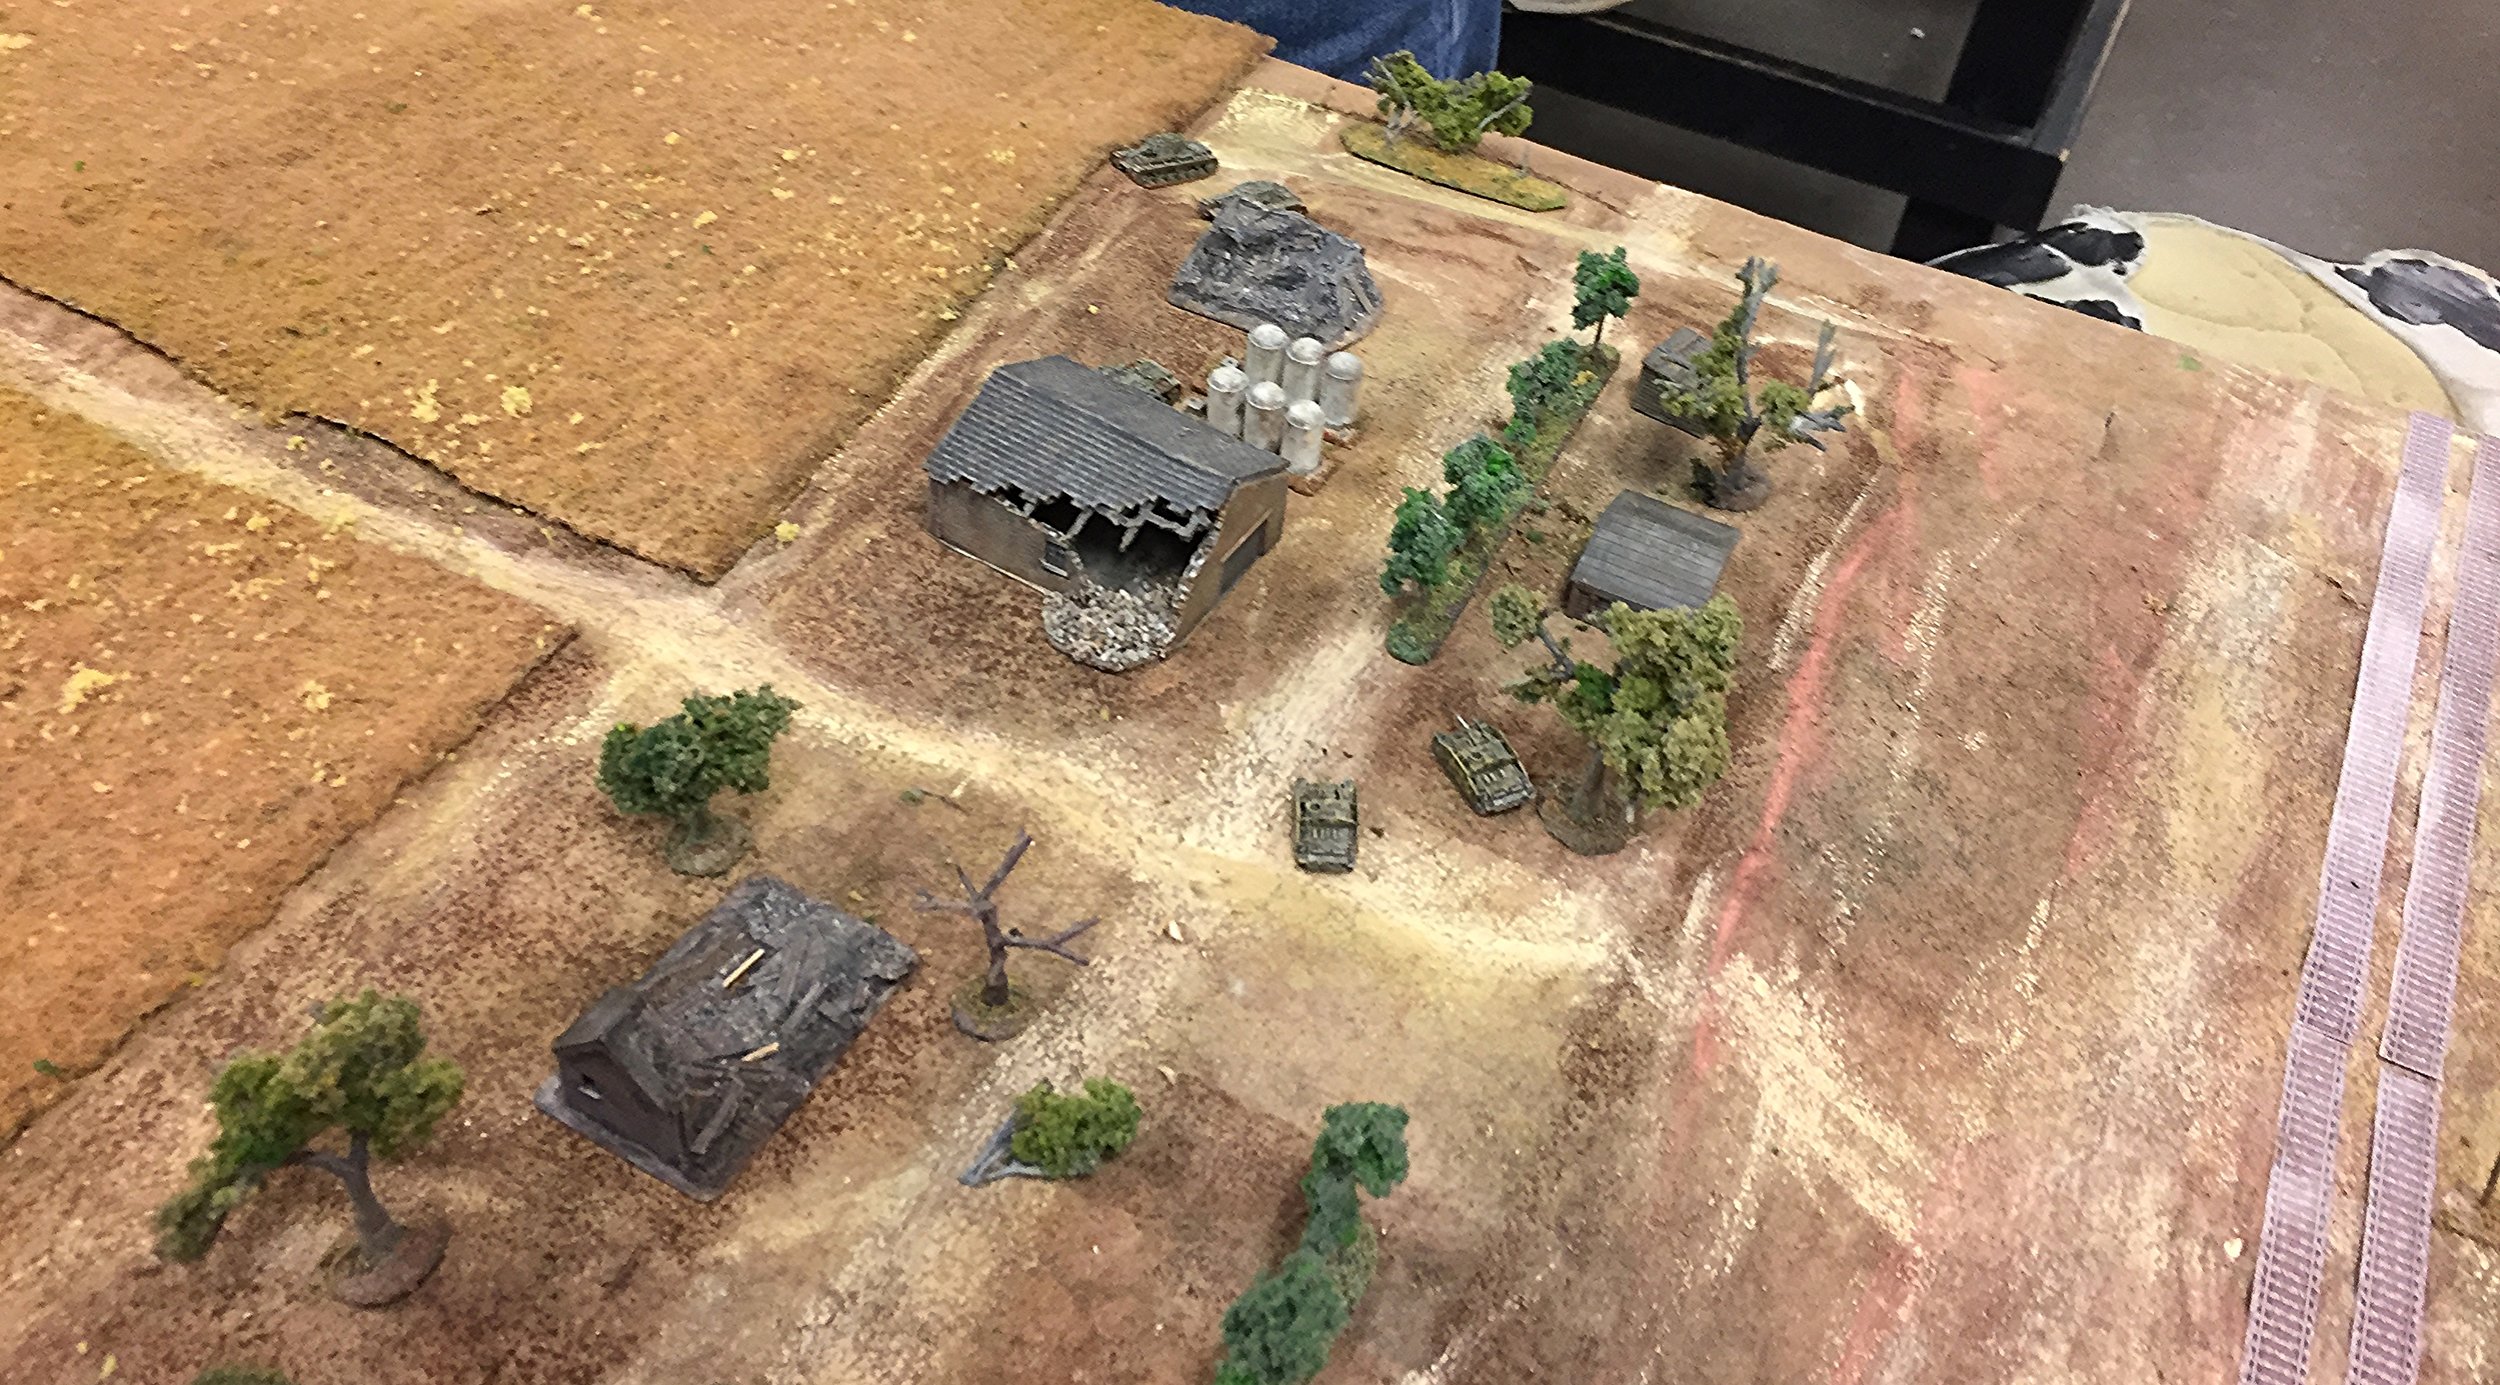
In retrospect the best strategy would've been to cruise on through and seize the German deployment area. Sean had one panzerknacker section left.
The tank ace has a disabled StuG but did KO one KV. But the these two KVs disable the assault gun that just KO'ed one of the other KVs
The pair of StuH42s and Brummbars were also moving up to hammer the Soviet infantry. They were already down to one Big Man. Their Company CO was killed in a random strafing attack.
Meanwhile Rogers T34s were going to be on the losing end of a duel with the Ferdinands moving towards the center of the table.
The Soviets lost their momentum and allowed the Germans to get their armor on the table.
Mark Luther

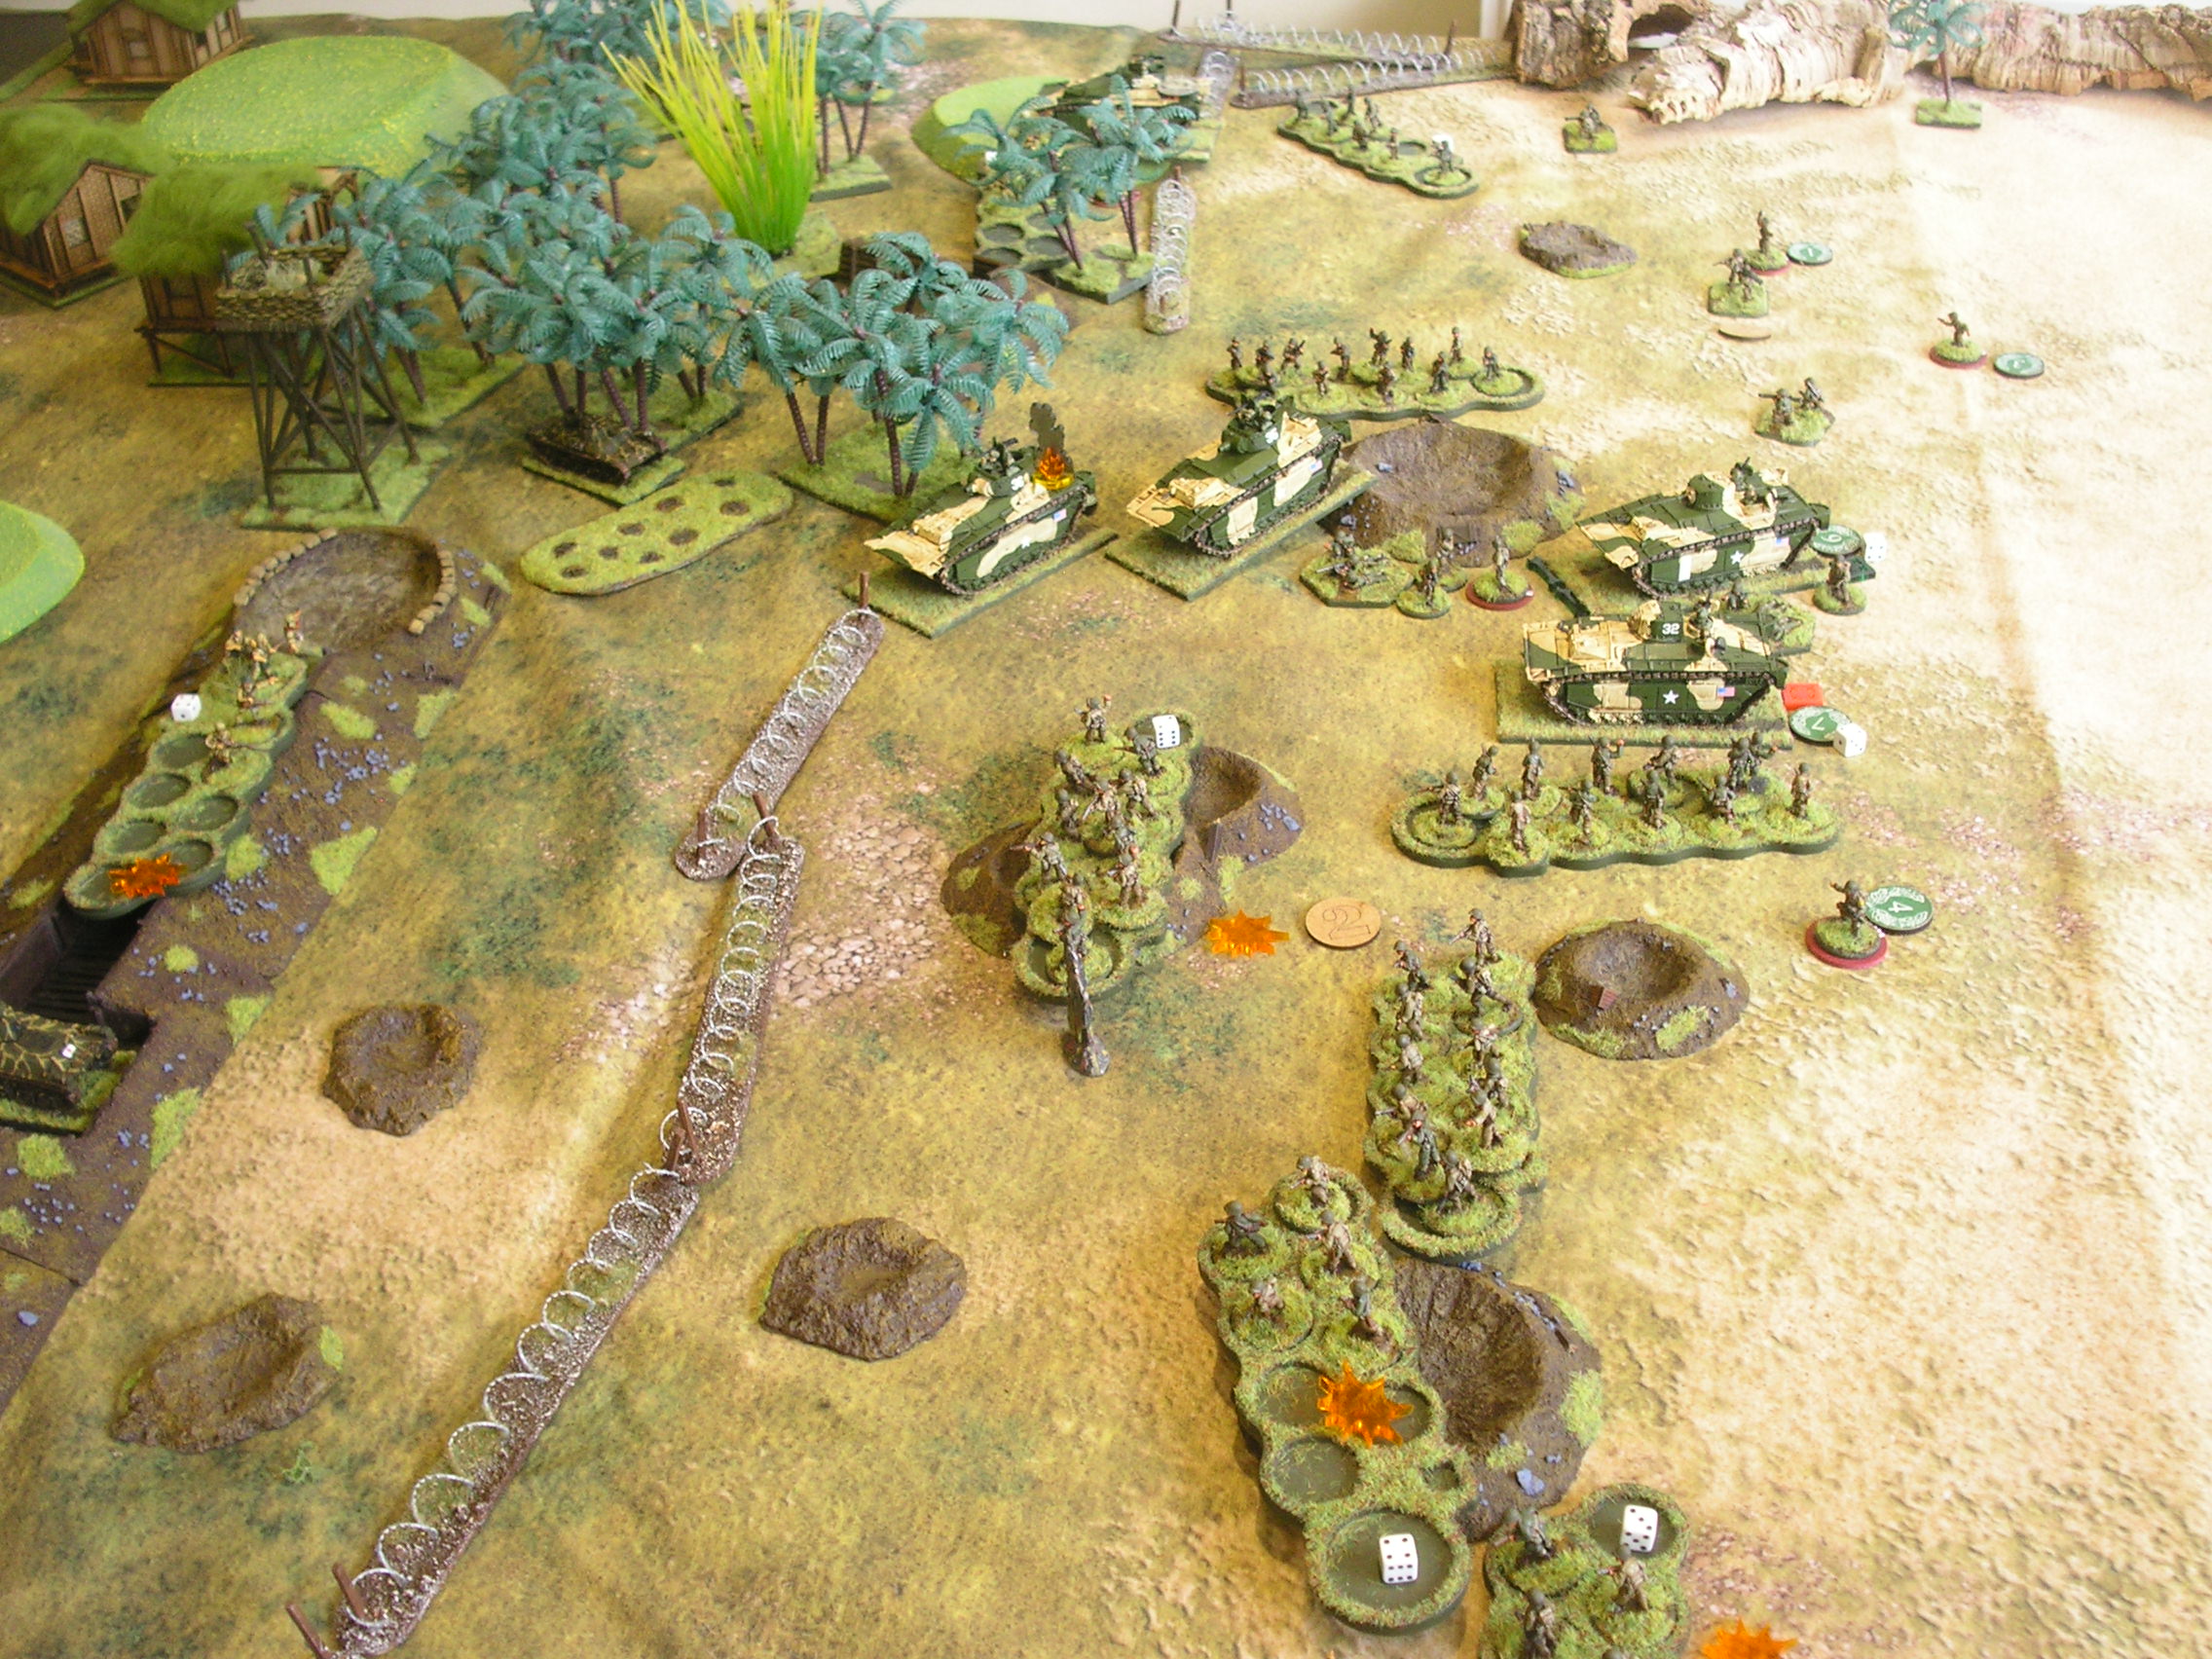
Earlier this year I arranged an impromptu gaming session with one of my regular opponents. When I asked him what he fancied playing, his response was to ask if we could play an opposed landing, US Marines vs Japanese, in the Pacific. At the time, my answer was very much "no we can't", as I had neither any beach-y terrain nor any US Marines.
Salute this year, however, changed all that. First up, one trader was running amazing offers on both the Battlefront Amtracks box set and the Battlefront LCVP box set. I snapped up both, then noticed that a company called Tiny Wargames had some lovely beach-based battlemats. Okay, so the mat cost more than the Amtracks and the LCVPs put together (which shows you how cheap they were) but looked fantastic.
I then got lost in Poland (the scenario pack not the country), leaving my purchases to the lead mountain. All that changed a couple of weeks ago, when I came across the mat looking for something else, idly flung it on the table to see what it looked like, then ended up spending an hour or so building the terrain and designing forces for a Pacific beach assault game!
Below you'll find enough information to allow you to run the scenario yourself, followed by the usual epic after action report
The scenario was essentially very simple: the Japanese were defending works at the top of the beach, the Marines would need to land, advance up the beach, and evict the Japanese from their works. Rather than producing written briefings, I ended up letting the players know what the situation was verbally, giving them only a list of their forces and the key stats they would need to play the game. The below should allow you to do the same.
Note that rather than gaming the run in to the beach, the Marines arrive on the table under Blinds as the LCVPs and LVTs hit the shore.
Game Cards
Japanese Defenders
US Marine Attackers
The terrain was based on the rather splendid beachfront battlemat that I bought at Salute from Tiny Wargames. This gave me a nice big area on which to base the Japanese defences, which consisted of a series of gun pits and trenches fronted by a line of barbed wire. There were minefields and booby traps interspersed with the gunpits and, at the back, near the watchtower to the left in the picture below, a command post. At the back to the right in the picture below was the small village in which second platoon were billeted.
Company HQ
1st Platoon
2nd Platoon
3rd Platoon
Amtrak HQ
Amtrack Platoon 1
Amtrack Platoon 2
Off-Table Artillery
You have seven Blinds and three Dummy Blinds at your disposal.
You may land up to six Blinds on the beach at any one time
Stats
MMG Bunker (left)
MMG Bunker (right)
Watchtower (either)
Central Trenches
Village
Command Area
Off Table Artillery
Notes
All units begin the game under hidden Blinds.
The platoon in the village spend their first two activations waking up and getting ready for battle.
Stats
Somewhat ironically, Bevan, who had been the person who asked to play a beach assault in the first place, was late, so John and Dave took the US Marines (John playing the Amtracks, Dave playing the PBI) and I filled in with the Japanese.
The Marines elected to send in their armour first: intending to use it as both a shield for their infantry and to get it up the beach as fast as possible in order to clear the wire in front of the Japanese positions. The first turn therefore saw a mass of six US Blinds arrive on the beach stretching from the centre of the table out to the marines' right.
The Japanese immediately began spotting, revealing that the Amtracks were concentrating their assault on the far left of the Japanese line (i.e. on the American right) and that the Blinds in the centre were dummies.
The Amtracks ground up onto the beach and immediately took fire from the Japanese artillery pieces in their two gun pits. One LVT A(1) was bashed about so badly that the crew immediately bailed, another just took some Shock.
John was somewhat perturbed to find out exactly what 'Slow Tracks' meant (i.e. -2 per dice used for movement) but decided to slow the command vehicle and 1st Platoon down even further by returning fire. The second Amtrack platoon, however, moved towards the barbed wire as fast as they could.
As there were very few cards in he pack at this point, the next wave of US Blinds appeared almost immediately behind the Amtracks, with one platoon of infantry in their LCVPs being soon being spotted by the defenders.
The Marine infantry quickly disembarked and began to make their way up the beach, trying to keep behind the Amtracks as much as possible.
On the Marine right, 1st Platoon formed line behind the three LVT(A)4s, and advanced slowly forward, their speed limited by the lumbering armour. Behind them were the infantry command element and support weapons: three bazookas and a couple of MMGs. The bazookas would advance with 1st Platoon, but the MMGs would get entangled with 2nd Platoon, on the centre/right, with a traffic jam quickly forming behind the remaining LVT(A)1s. On the Marine left, 3rd Platoon would advance in rushes up the beach, but come under heavy fire from the centre and right of the Japanese line.
All the above was accompanied by a massive amount of fire from both sides.
The LVT(A)1s of 1st Amtrack Platoon were quickly knocked out, immobilised or rendered toothless: mostly by the 70mm infantry pop-gun in the left hand gun pit. That was quickly reduced down to one crew member by concentrated American fire, but would remain a thorn in the Marines' side for most of the game.
The Japanese sniper was doing a sterling job: pinning an infantry squad every time he fired. He would continue to do this until a string of doubles took him off the board.
The Japanese off-table mortars had arrived, but were having difficulty zero-ing in on anything useful...but the threat was there.
Meanwhile, the Marines were having difficulty doing significant amounts of damage to the well-protected Japanese. Their main success was on their right: where the MMG in the bunker had been taken out by concentrated fire from the three LVT(A)4s advancing towards it.
Help was at hand, however, with the naval liaison officer calling in fire from four 11" guns from a nearby battleship. These soon found their range, and began pummelling the trenches in the picture above, incidentally forcing the crew of the Japanese tank to bail out after the huge shells rattled them around like stones in a tin cup.
Battleships can't take land, however, and the Marine advance in the centre was definitely stalled. The big Japanese howitzer was blowing big holes in 3rd Platoon, who by now were really acting as a distraction from where the main US attack was going in on the Japanese left.
The three LVT A(4) Amtracks, along with 1st Platoon, had managed to reach the wire, with the lead Amtracks starting to break their way through.
It now looked as if the Marines would get behind the Japanese trenches, presumably rolling them up with ease...but there were those two Japanese Blinds lurking on the other side of the small patch of jungle at the back of the beach. These were, of course, the second Japanese infantry platoon and the other Japanese tank.
The Japanese infantry charged forward, surrounding the lead amtrak and, with sticky bombs, forcing the crew to bail. The 1st Marine platoon countercharged, and a massive, and bloody, melee broke out. Fortunes swayed backwards and forwards until only one squad on each side remained capable of any actions.
Meanwhile, the second Japanese tank had crept up the side of the jungle and blown one of the LVT A(4)s to pieces...but was now being stalked by one of the Marine bazooka teams.
At this point, unfortunately, Dave and John had to go. We looked at the table and, after some discussion, declared that although the Marines had made great in-roads on the Japanese position, and would probably eventually prevail, as it stood at the moment, the game had to be declared a narrow Japanese victory.
The Marines were slightly frustrated, as they felt that their initial deployment and decision to shoot back rather than just get the Amtracks up the beach as fast as possible contributed to the traffic jam that built up around the right/centre area of the beach, leading to further delays in getting to the wire and therefore stuck in to the defenders.
So after John and Dave had departed, Bevan and I decided to play on for a couple of turns: just to see what would happen. I moved around the table and took on the job of Marine commander, Bevan stuck with the Japs.
Well it was a walk-over for the remaining Marines!
The bazooka team took out the Japanese tank in the patch of jungle with one shot from a distance of about 4", with the remaining Marines of 1st Platoon chasing their former opponents of Japanese 2nd Platoon off the table.
Meanwhile, the second Marine platoon poured through the gaps in the wire now made by the Amtracks, and captured the right hand side of the Japanese trench without losing a man. Next turn, they drove off the Japanese squad on the other side of the bailed out tank. At this point, the table was effectively in Marine hands...which shows you how close John and Dave had been to victory.
An interesting example of how much the mental game effects things. John and Dave were (relatively!) happy to accept that the Japs had held the table and earned a small victory, but hindsight showed that they were really only one turn from a comprehensive victory.
They were keen to criticise their own tactics, but had actually done just the right thing. Okay, so things got a bit tangled and bogged down for a moment, but their battle plan worked, and worked well.
All in all, a great and well-fought game on both sides.
Robert Avery

Now that my Greek and Italian forces for WW2 are done (10mm Pithead Miniatures), I decided to sit down and run a solo game so I could grasp the basic rules. This was also a play-test for the scenario I am writing, which is based on the Action at Molista, during the Battle of Pindus on 28-30 October 1940.
The Initial Dispositions with blinds
Greek and Italian Units revealed
The scenario focuses on the attempt of the 2nd Battalion "Aquila" of the 9th Alpini Regiment of the 3rd Alpini Division “Giulia” to outflank the strong defence of the Molista village by two companies of Battalion I of the 51st Infantry Regiment of the Davakis Detachment. Historically "Aquila" was able to outflank the Greek forces and drive deep into the Greek positions, before Greek reinforcements counterattacked and drove them back.
Scenario-wise, I gave the Greeks a platoon of Poor Regulars with two MMGs in support. The Italians were given a Good Regular Company of three platoons (one HQ Platoon and two regular platoon), plus three MMGs.
Both the ground and weather made moving, spotting and hitting hard.
To cut a long story short, the Italians were able to attain their objectives within the assigned time (as in history). A key moment was when one of the Italian platoons still under a Blind, took advantage of the weather conditions and was able to charge the Greek MMGs and overrun them. This made the Greek defence untenable, though the Greek infantry platoon held out to the end.
The Greeks lost 32 men (killed, wounded, MIA, stragglers) and both MMGs, while the Italians suffered 20 casualties.
In general grasping the basics of infantry combat was not too hard, though it took me a couple of turns to grasp that sections, as opposed to whole platoons activated to do things. I did not need to go back to the rule-book often as the QRS was very good, though I will need to print the Fire-fight table, and the Infantry Actions per Unit Strength table. The only major issue was deciding whether to use the table in the supplements or the one in the rulebook. Also I would had preferred some more guidance on how many Big Men to include in the forces.
I did not use Aircraft, Artillery, or Vehicle rules, so I cannot say much about those mechanics.
Konstantinos Travlos

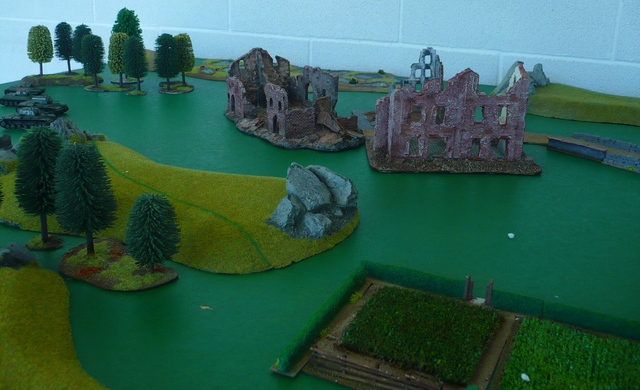
We played the Galmanche scenario from the rule book, part of the British and Canadian push on Caen, which took place on July 8, 1944. The scenario is a set piece assault on a German hedgehog held by a dismounted panzergrenadier company of the 12th SS and their single AT gun. The men of the fresh 59th Division were tasked with evicting the Germans from all five buildings with three platoons and two troops of tanks.
Captain Lee and Lieutenant John decided a hard fast push along the left side would be the best chance, starting with seizing the three farm buildings. The woods to the front were impassable to armor, so the British tanks had to go left or right, making continuous infantry support difficult. They allocated two preliminary bombardment boxes on the three farm buildings on the left flank and two on the left side of the heavy woods to their front.
Overview
The Germans were commanded by Captain Will and Lieutenant Rick. They dug in their single Pak 40 75mm AT gun on their left flank, near the Chateau. The artillery observer (with 4 off board 8cm mortars at his command) burrowed into the front of the woods, toward the German left, but with a view of the entire British avenue of approach. Platoon 1 was spread across the front woods, but more heavily to their left flank. Platoon 2 occupied the area around the three farm buildings. Platoon 3 occupied the orchard in the middle center of the German position.
As it happened, the British barrage was extremely successful. The tank killer squad and the panzerschreck team and one squad of Platoon 1 were clobbered and sent reeling. All of Platoon 2 in the farm buildings were hit so heavily with shock that they had to route to the rear of the farm orchard.
The way was at least temporarily clear for the British to push far and fast on their left. Knowing from historical reports of the actual battle that the British assault faltered when it failed to "keep up with the barrage", Lee and John made no such mistake.
2nd Platoon Rushes the Woods
The British first platoon pushed vigorously up the left followed by the Cromwell tank troop. The British 2nd platoon pressed across the hedge toward the woods and were immediately slapped by the two unharmed German squads in the woods the their right. Two British squads melted away, but the supporting Shermans and the remaining British squad eventually battered and drove off the remains of the German front line.
The Assault Persists
Meanwhile, the British first platoon occupied the three farm buildings without any fight and began to turn toward the center, with their Cromwell tank troop close up in support.
1st Platoon finds the Farm Abandoned
The British Platoon 3 remained on blinds and swiftly moved past the farm buildings and into the farm orchard, only to discover itself in close combat with the recovering remains of German Platoon 2. This massive and swift close combat wiped out the Germans, bagging so many prisoners that the Brits had to detach a squad to march off their captives. The remaining two slightly damaged squads of Platoon 3 took up position facing the center of the board, cheek-by-jowl with Platoon 1.
Epic Close Combat Wipes out Zug 2
The British had enjoyed it all their way so far (except for having Platoon 2 badly bashed up), but that was about to change. The British started to push out across the center of the board without much in the way of reconnaissance and soon discovered a flurry of panzerschreck, panzerfaust, and MG fire coming their way. One squad was wiped out, and one Cromwell brewed up.
2nd Troop Pushes into...Panzerfaust Range
Zug 3 Opens Up on the Overconfident Brits
At this point, the Germans finally succeeded in getting their mortars to drop. The only thing in the target area was the Sherman platoon, which had just finished up wiping out or driving off the last Germans in the woods. The mortars merely scratched the paint work input on a couple points of shock which were soon cleaned up.
Germans Driven out of the Woods
Mortars Finally Arrive
When the Shermans next activated, they decided to move out of the target zone and inch up around the right flank. If the Captain in personal command of the dug in and camouflaged AT gun had waited a bit more, he might have lured the whole platoon around the corner and to their doom.. But as it was, he shot the first one and blew it to Kingdom Come. The others stopped to ponder their options.
1st Troop Finds the German AT Gun
Pak 40 Halts the Shermans
At this point, it was pretty clear we were heading toward a possible stalemate, and time was running out. So we called it over and did the always enjoyable post mortem. The British had lost two tanks and had two reduced platoons and one whittled to a single squad.
The End
Seizing the Chateau and barn, even though the Germans had only two intact squads, was going to be hard since their little fortified orchard covered the approaches to the buildings. The Germans likely would have fought as long as their panzerschreck crew lived and then retreated from the middle orchard and taken up positions in the Chateau and its orchard, which would have turned it back into an old-fashioned infantry fight with little room for the tanks to help. Still, the Brits had a chance to eject all the Germans.
The Last Holdouts
Well played by everybody. I particularly applaud the Germans for being so philosophical and accepting as their brains were being bashed in while the fates kept their chits from bring pulled!
Joe Patchen


In the end, after many hours of combat, the game is declared a draw: the factory remains in the possession of the Russian infantry, but the flanks have been lost to the German armor, even if the loss of all their infantry will make it difficult for them to eject the Soviet infantry from the factory.
Burt Minorrot

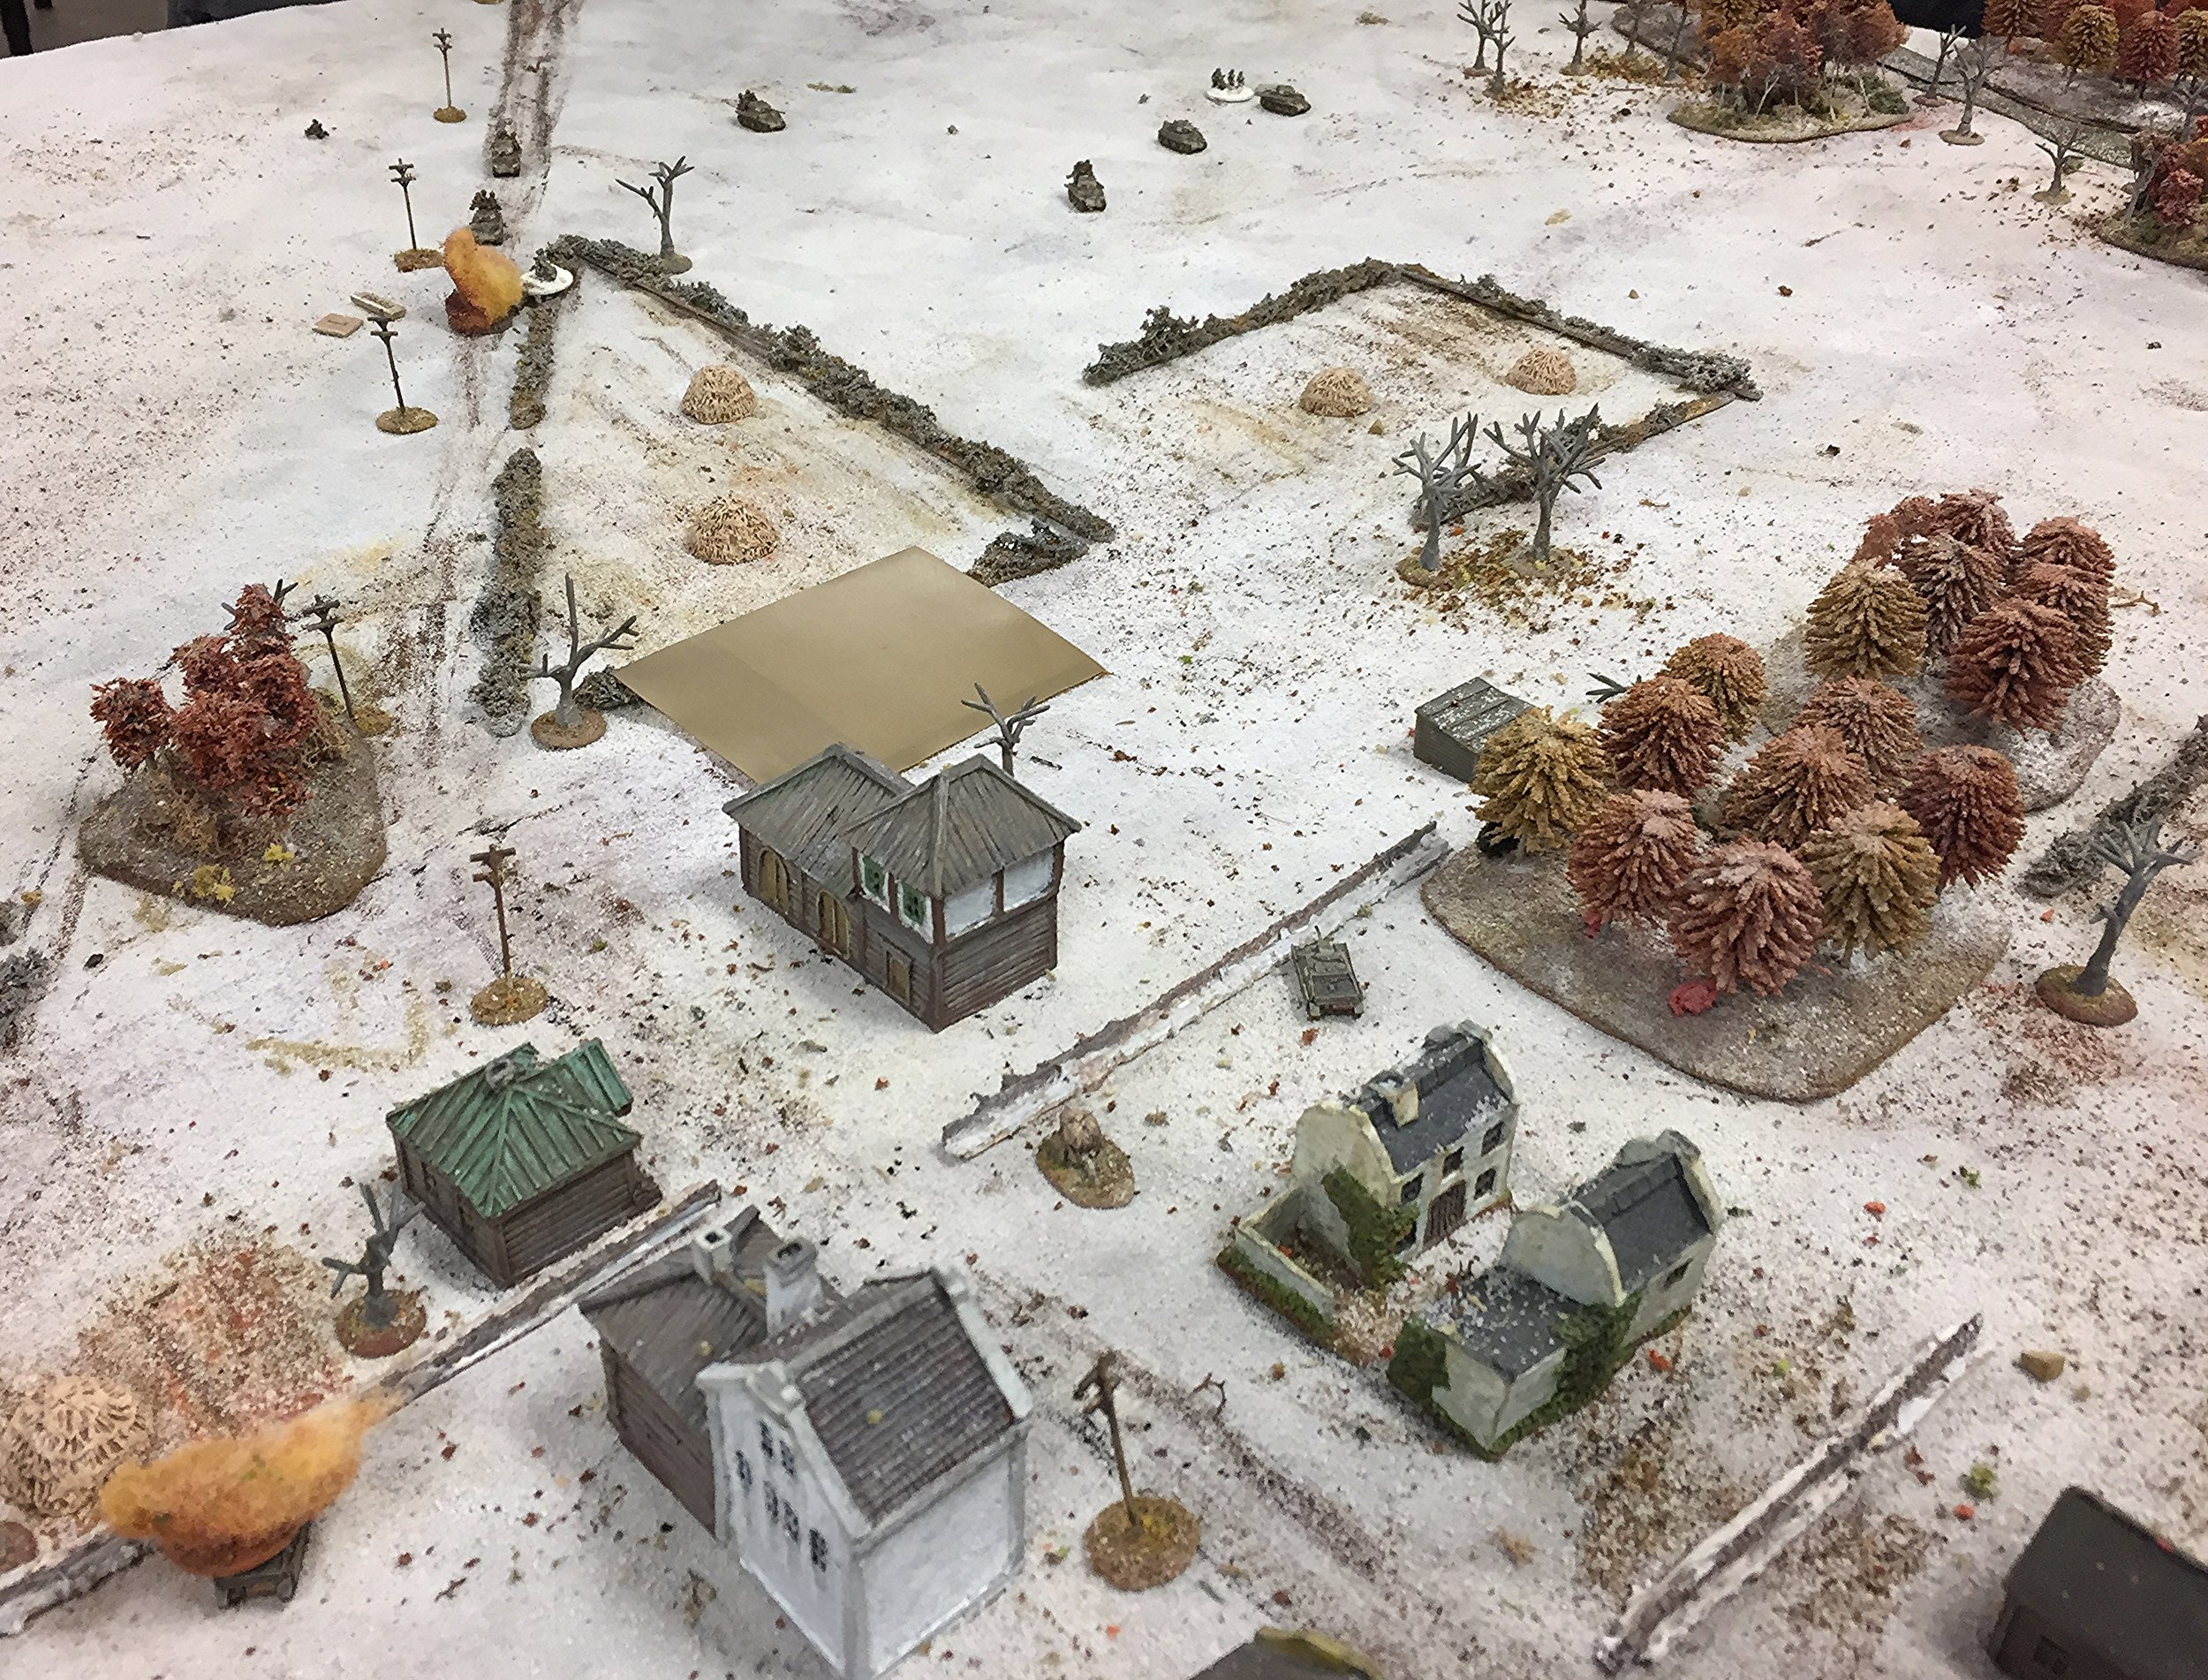
The Ipoly river and northern edge of Ipolypasztoi. The Soviets would come in from the road to the right (north) and the Germans were in the town. This scenario takes place on the north side of the Danube during a three week battle launched by the Soviets to cut the left flank of the units trying to relieve Budapest during Operation Konrad. Weather during this game was -5 C and the area was covered in light snow.
William and John F. were the German players, and they had units from the 3rd Panzer Division: three Jagpanzer IVs from Panzer Abteilung 543, a weakened company of grenadiers (three zug of two sections each), two panzerschrek teams, two MMG sections, and two off board 82mm mortars.
They also had a group of pioneers from Pioneer Abteilung 39. They were allowed to lay some mines and then had to get out without taking any casualties.
All units could be dug in at the start.
It was possible that some Me 210ca from the Hungarian 102 Rapid Bomber group might make an appearance.

Matt G and I were the Russians. Matt had the armour and tank riders from the 46th Guards Tank Brigade. Seven M4A2 Shermans with 76mm guns and three sections of SMG-armed tank riders.
William held fire the first couple of phases, then opened up with his three tank destroyers.
But the targets on the Russian left are only damaged. The third Jagdpanzer is seen in this pic.
Tank riders scramble off their mounts. The lead section took very few casualties. Another Sherman has its main gun knocked out of action. The card in the center is a German dummy Blind.
I had the main Russian infantry force which came in three phases after the Shermans.
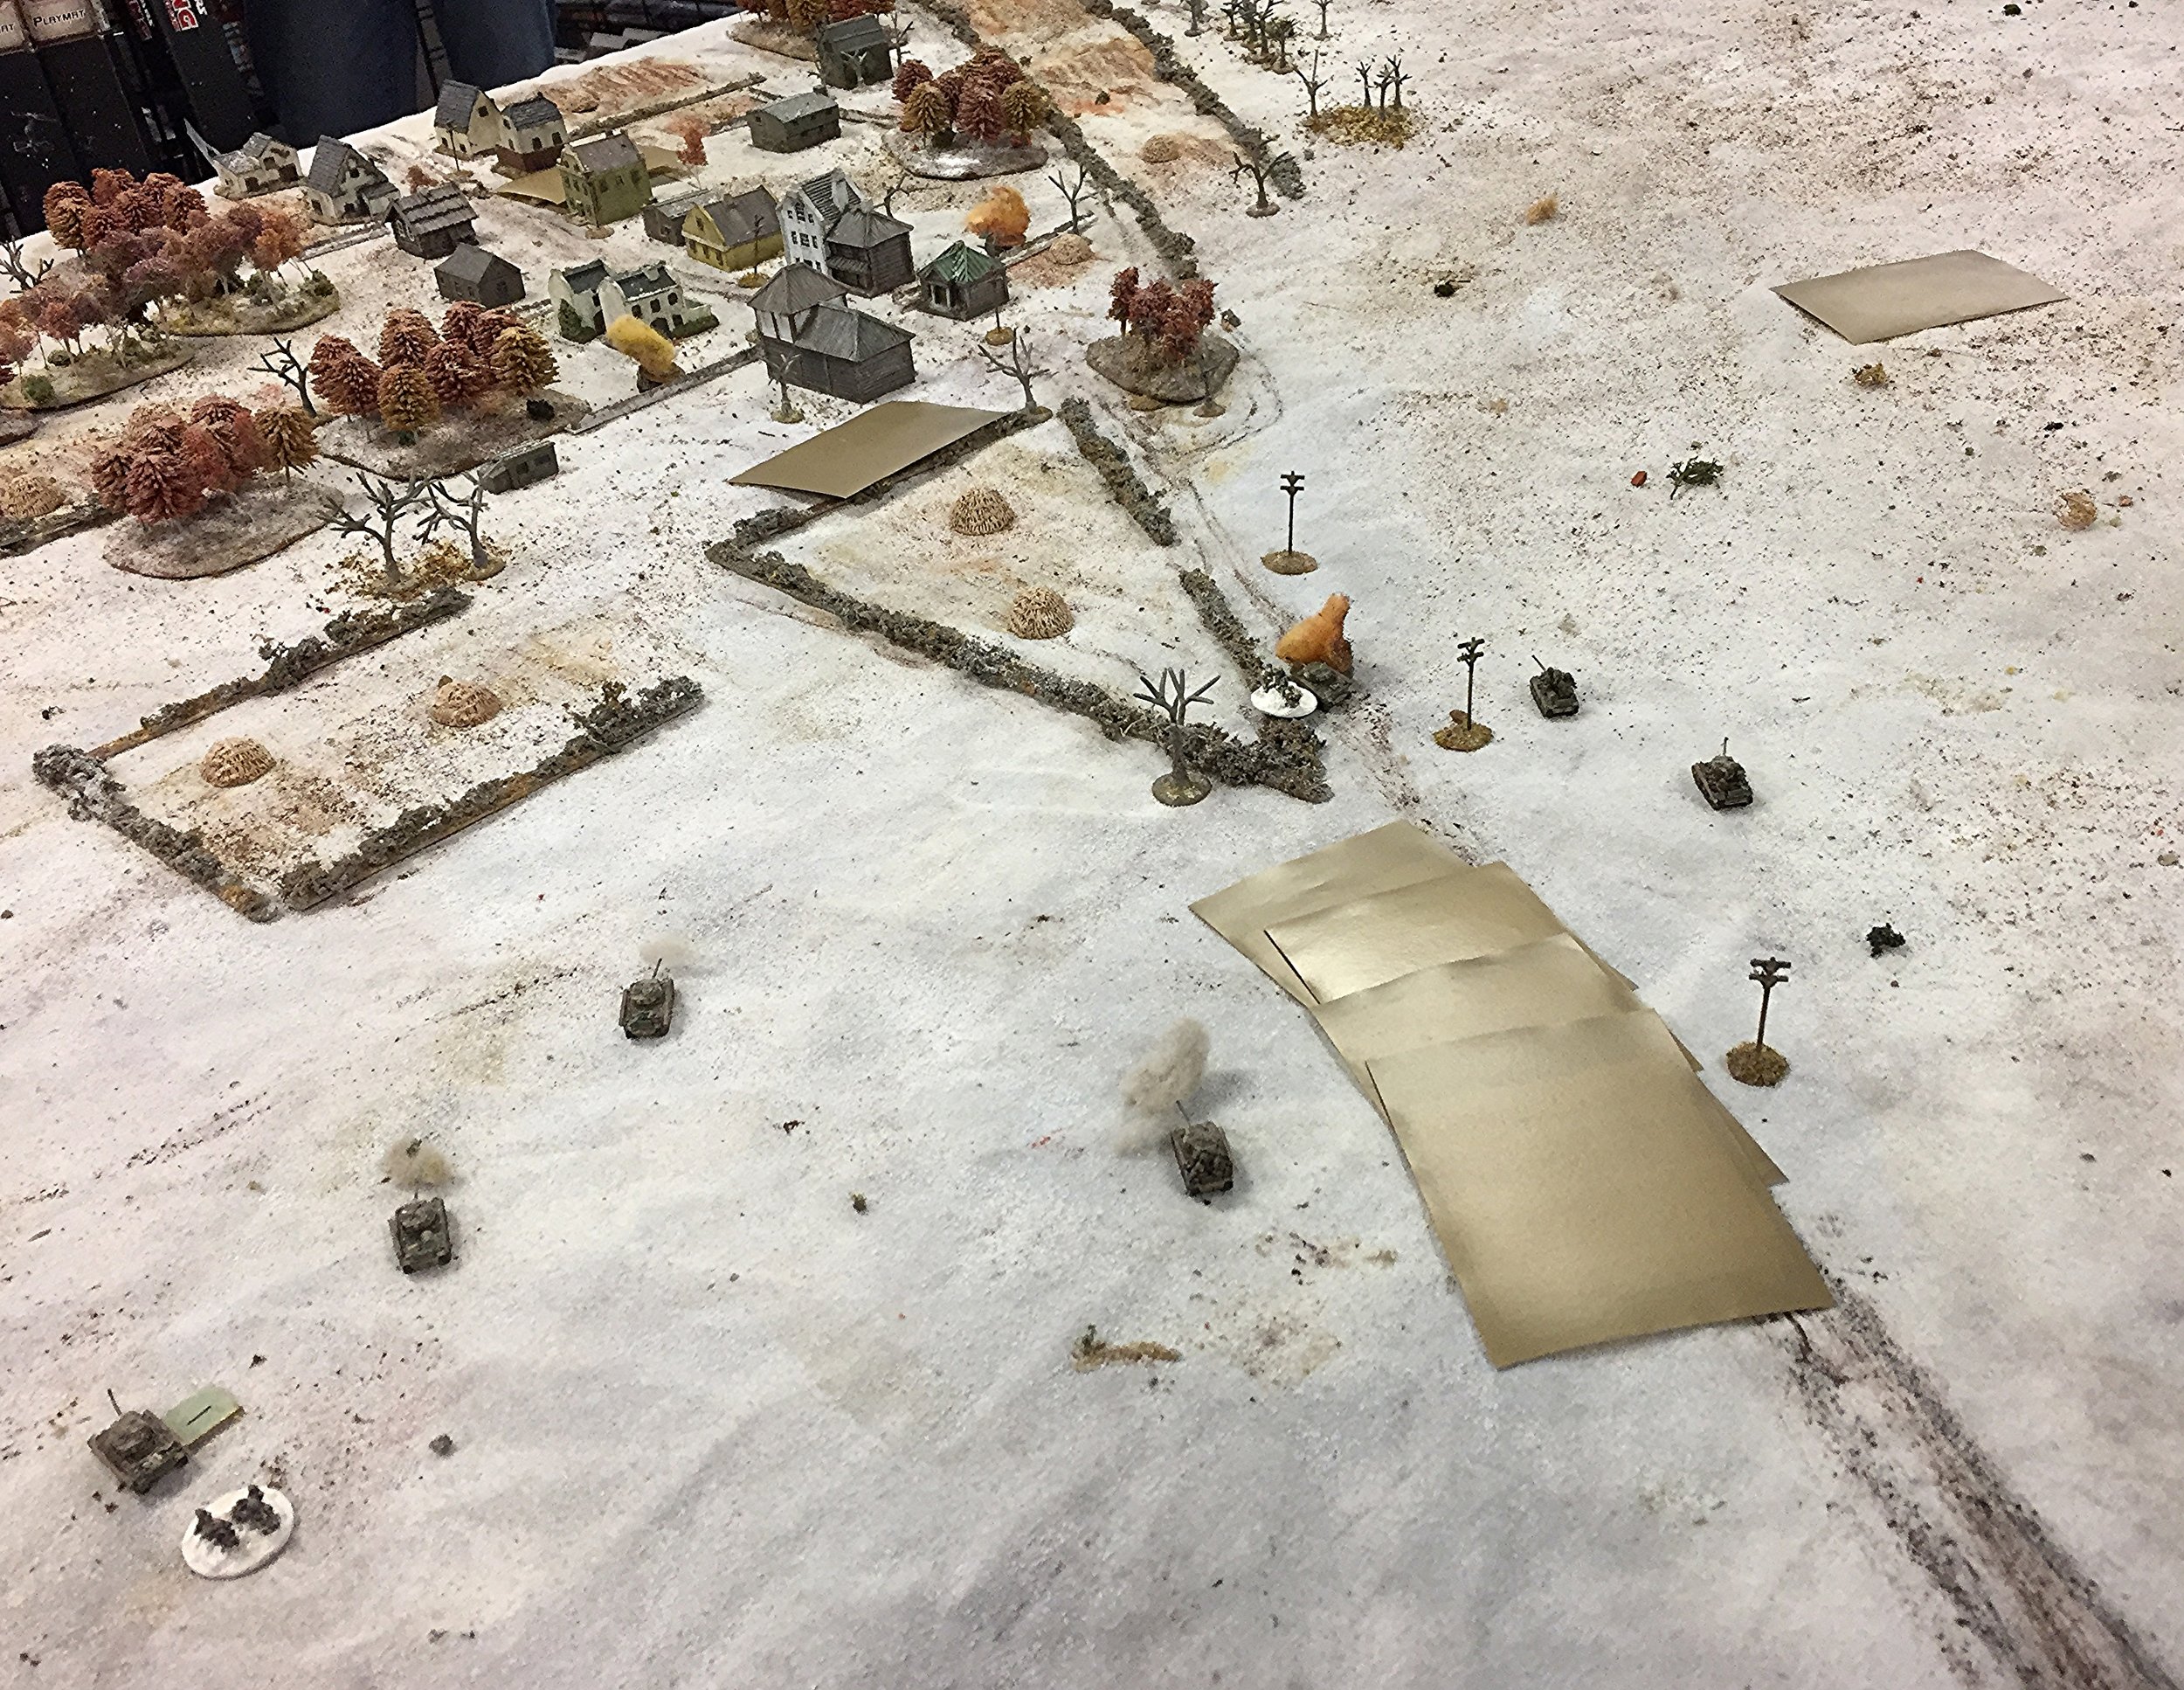
I had a very weak company of two 2-section platoons, two MMG teams, two ATR teams and a panzerfaust . We also were able to call on some medium mortars. And if that wasn't enough we were to bring on an M16 quad .50 cal halftrack. My lead platoon is moving down the road under Blinds.
The center jagdpanzer has also been put out of action by now. That's a dummy Blind out to the right.
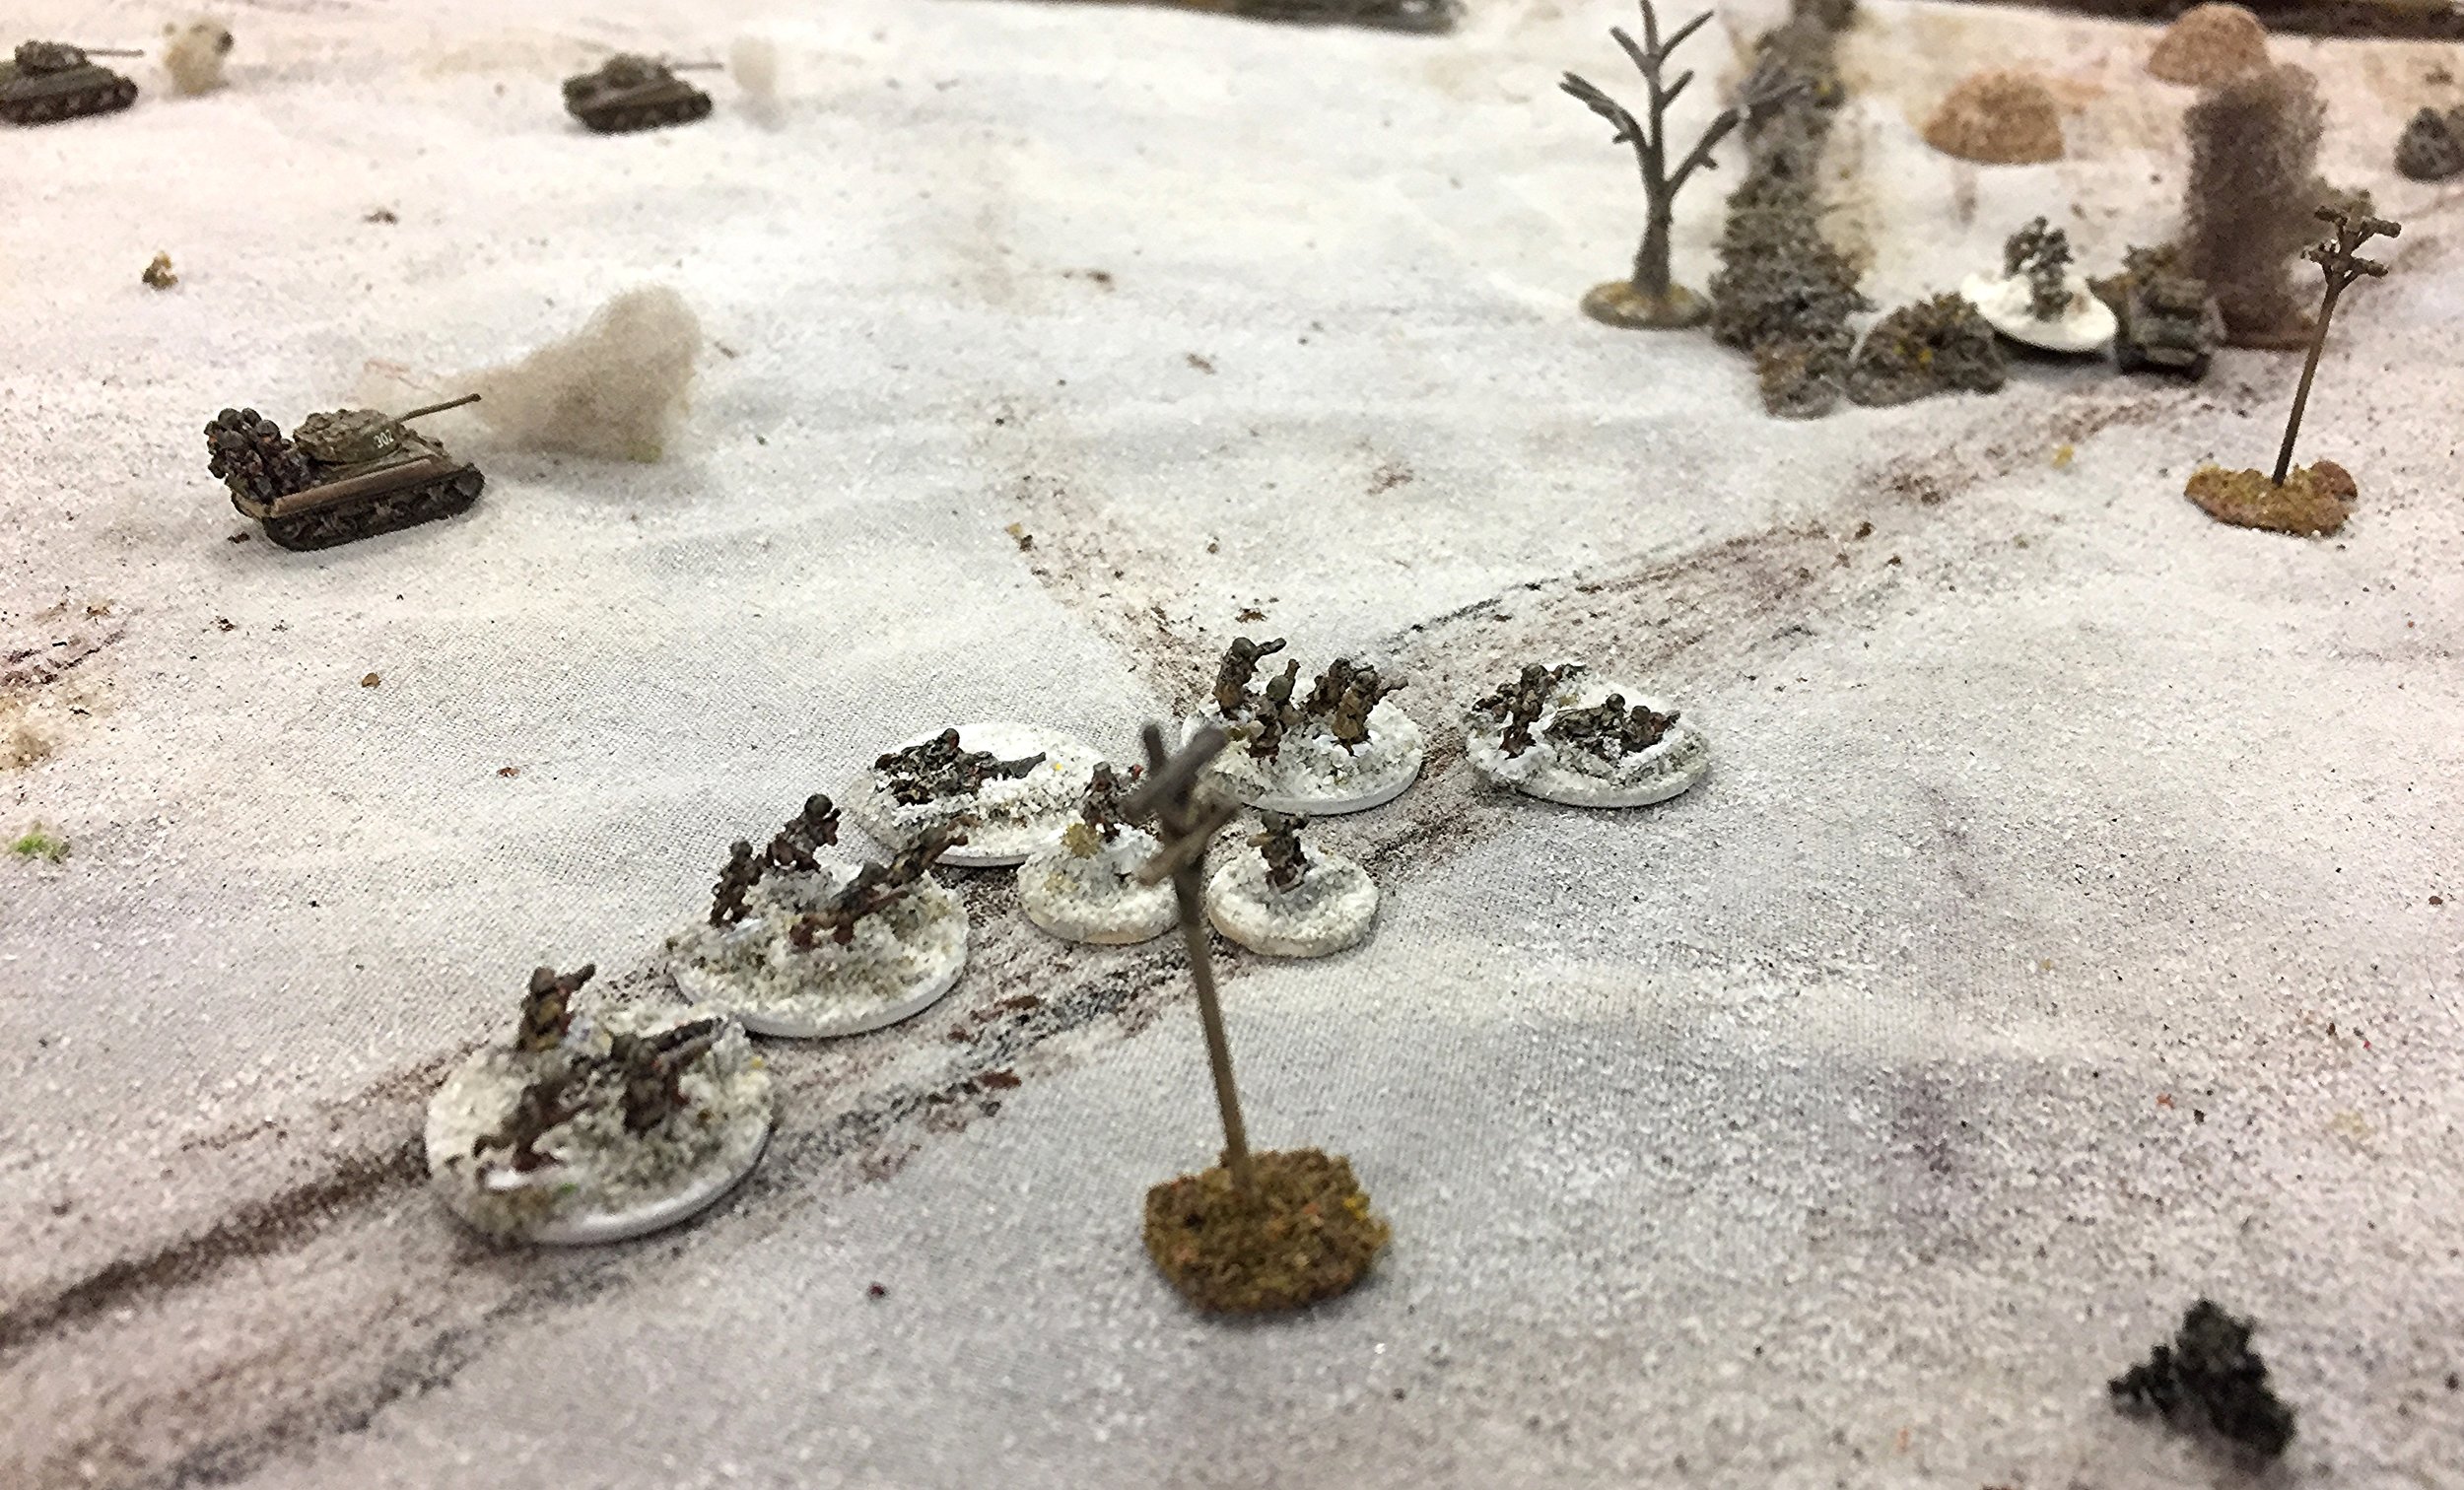
Two sections, an ATR team, a man with a panzerfaust, and the Platoon commander. Hard to see details, but they are in greatcoats...and have more character than GHQ but are less detailed than Adler.
Company commander's tank in center near the road firing on the MMG back in the town.
The rest of my infantry moves up. The infantry CO stops at the tank CO's vehicle. The third jagdpanzer has pulled back but the German MMG is doing a good job on the dismounted tank riders in the fields outside of town.
Matt's SMG teams have moved up to the hedges, and two Shermans move back to the main road.
William had a panzerschreck team waiting. William is also busily tossing some mines about under the Blind. With his pioneers.
Shermans are blasting the building but not killing the MG.
The trees make their firing obstructed but not much foliage this time of year and the undergrowth is minimal this close to a town. They eliminate any threat from the SMG team in front of them.
These are more H&R minis.
Ordered to the rear to fight another day.
The 'schreck team is also from H&R
The German shells are landing in the triangular field and a ranging round lands behind the grenadiers.
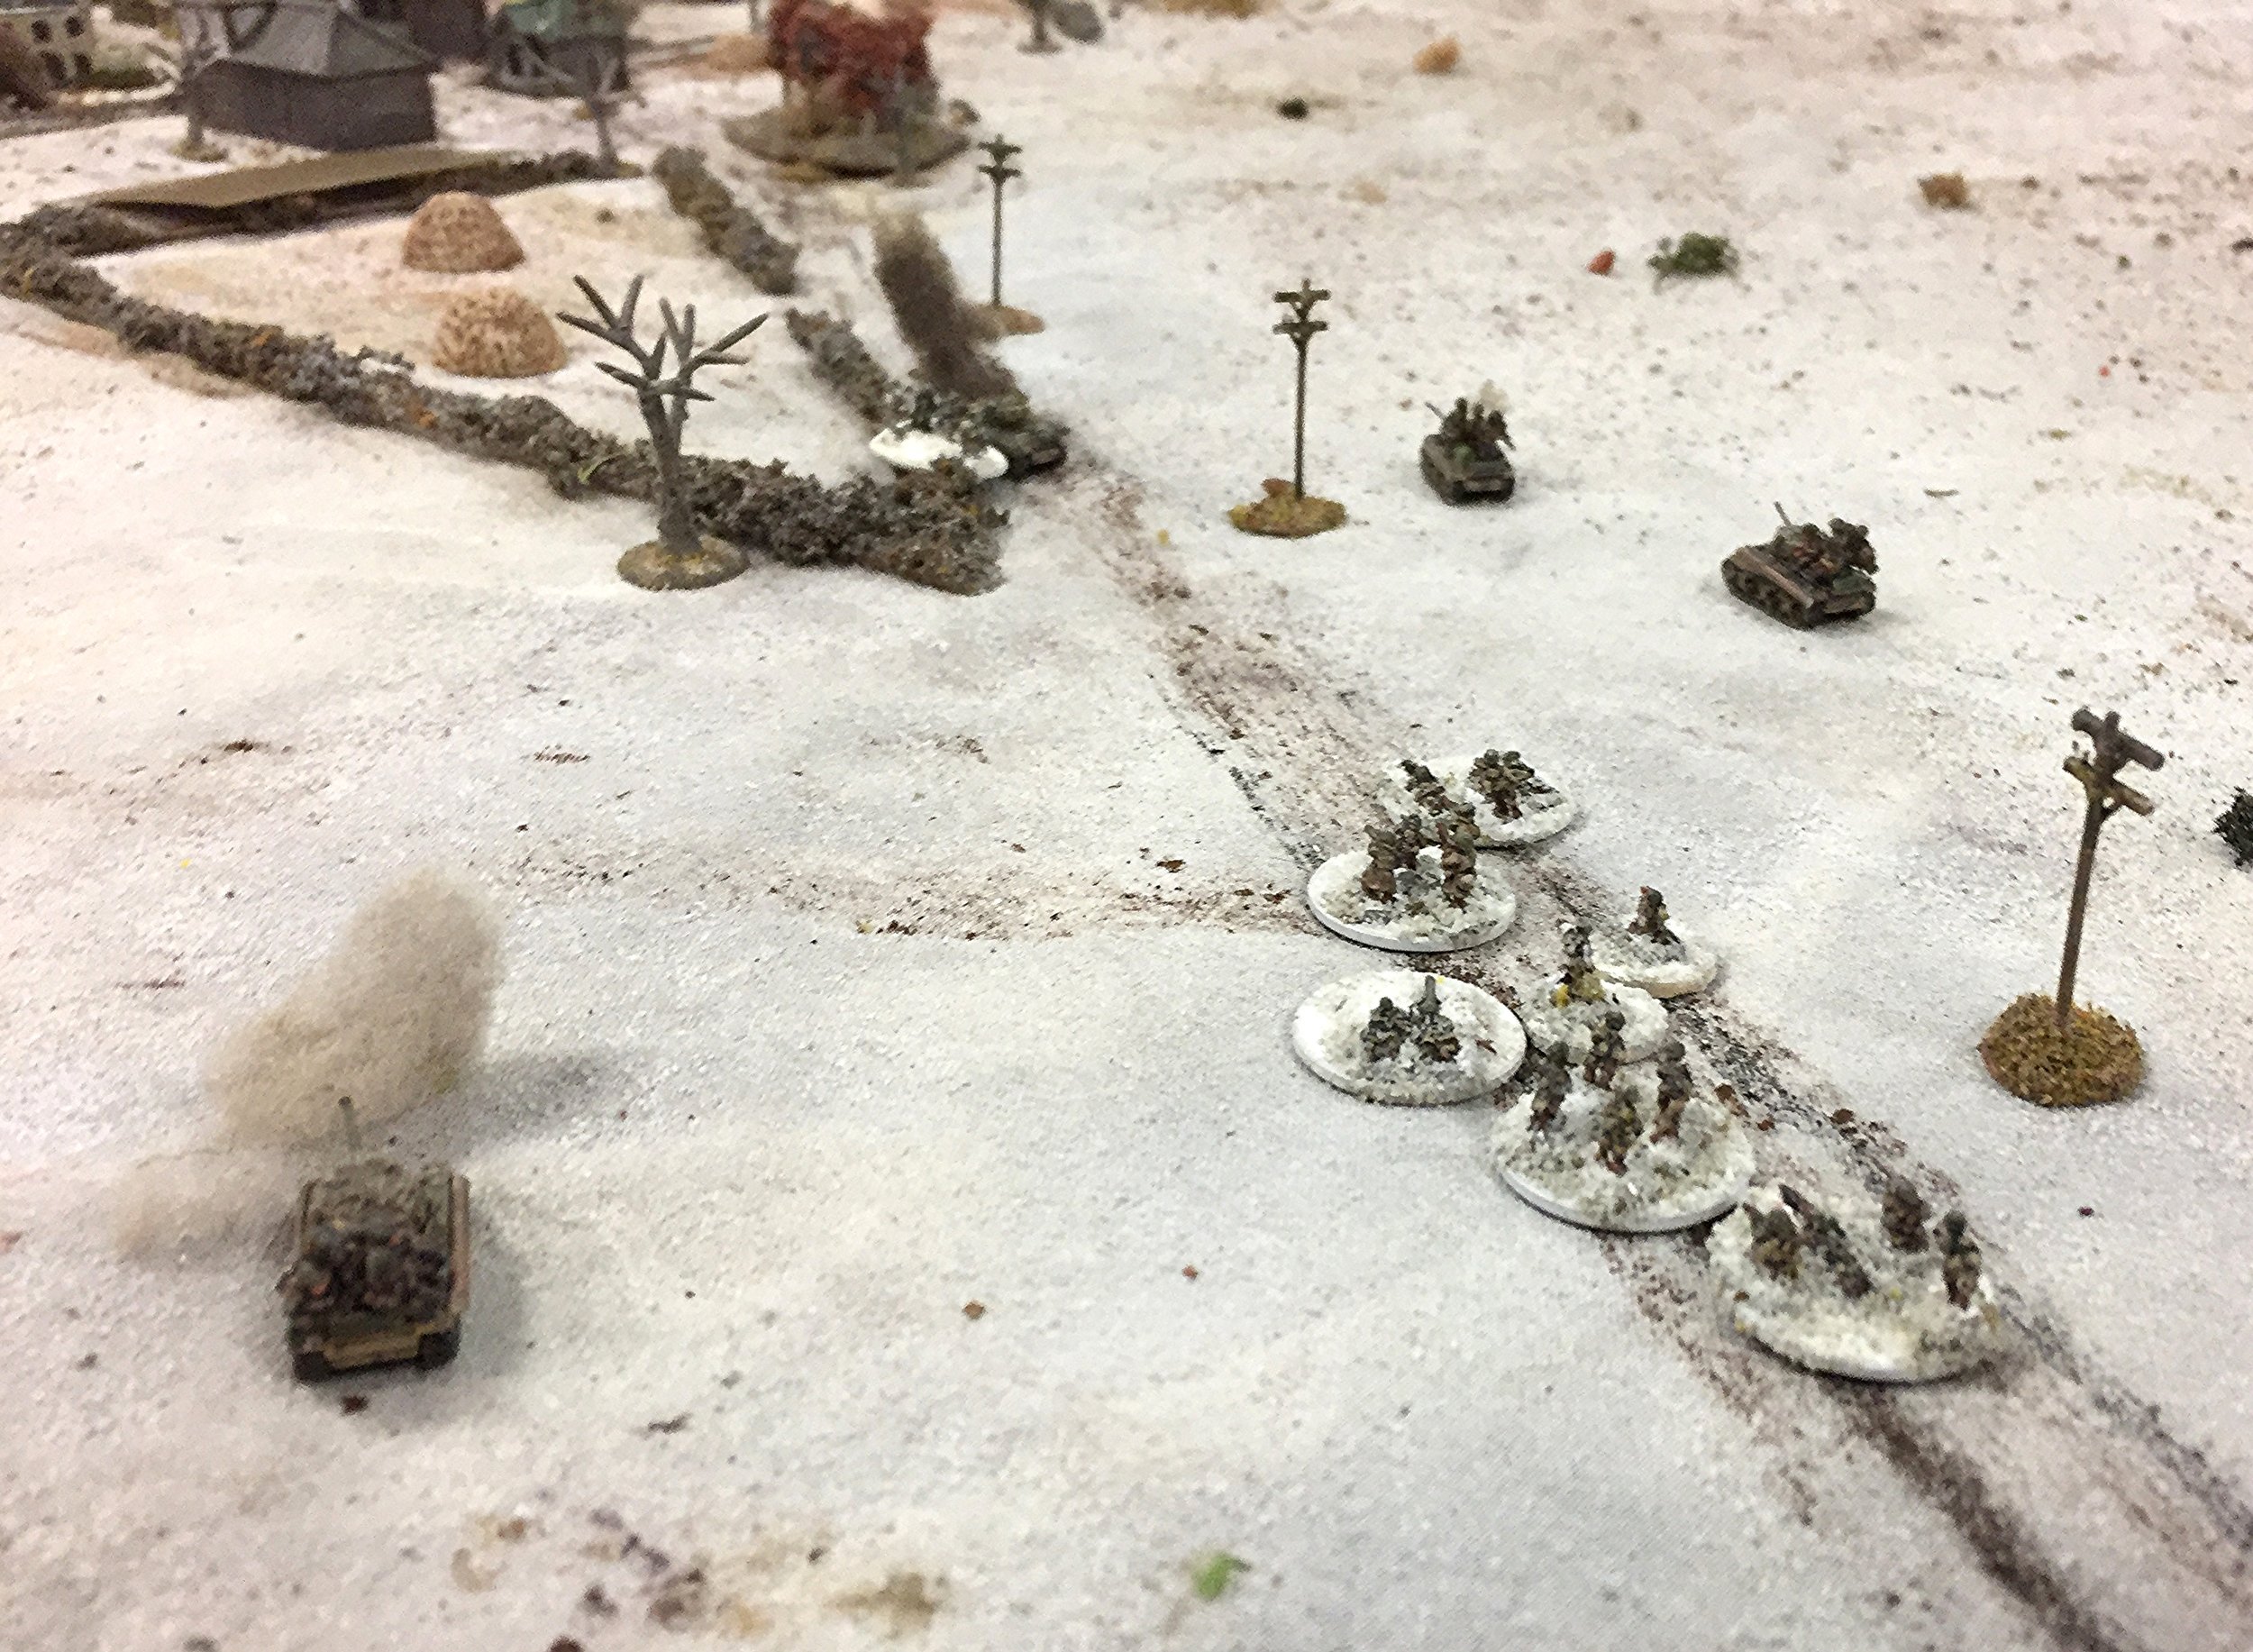
My left hand platoon is getting hit by MMGs from the town and now the grenadiers behind the trees.
I have my Maxim engaging one of the German MGs.
My CO is KIA but Matt's tank has no damage.
Hits the platoon behind the hedge and trees, and the grenadiers in the house . The other section of that platoon is in the green-roofed building. An MMG is firing from the building behind them.
Eager to chew up some grenadiers. No planes have made it into the game so far.
Panzerfaust takes out a Sherman but the M16 HT escapes damage from the small arms. Revenge will be sweet on that packed infantry target if the AA card comes up.
A very bloody turn. Mortars and small arms take out most ofJohn's center platoon behind the hedge.
I put a panzerfaust rocket into the green roofed building.
The third Sherman on the right is put out of action.
I lose a platoon leader with my left platoon and the M16 drives men in the woods back to the river.
It was a nasty fight.
Two of three jagdpanzers gone. Four of seven Shermans KO'ed, and one has no main gun.
John lost 23 of 48 grenadiers, an MMG section, a Company asst. Matt's SMG platoon lost 15 of 24 men.
I lost 19 of 32 men, a platoon and company CO, and an ATR team. The pioneer zug got out without any losses.
The Russians did not get into Ipolypaszto, so a German victory.

Four picture from Sigur Skwarl featuring his first game of IABSM in which he used the first scenario from the rulebook.

Had a request at the club for an IABSM practice/teaching game. From experience, while the first couple of scenarios in the book are good for this, but:
I think I'm now a grizzled enough veteran of the game that I can deal with this, so time for something a little different: IABSM Lite.
No rule changes, but the scenario was designed to fit on a 4'x4' area with sub-company strength forces and a more tactical approach.
The British had two platoons; three Big Men, including the company CO; three Sherman V's with a Big Man; and an FOO with two fire missions from a rather busy 25pdr battery (reflected by being 1 pip harder to contact).
The Germans, holding the farm, had one infantry Zug with two Big Men; an MG42 with another Big Man; an FOO with a couple of 80mms; and a StuG III.
Extra cards were Allied Rally, Allied Heroic Leader, Axis MG Bonus and Axis Dynamic Commander.
Colin (running the Brits with advice from me) rapidly twigged that there was no cover to be had approaching the farm, so sent a couple of Blinds by circuitous routes to see what he could spook while radioing for a nice big smoke barrage to advance behind.
There was quite a bit of 'no, I won't bring any more Blinds on yet' going on, which was slightly more cat-and-mouse than some IABSM games I've seen. In the end, he brought two infantry platoons on behind the smoke, and managed to get a good way up the road and across the fields before a flurry of Tea Break cards blew the smoke away.
At which point (having been pre-briefed by both Carl - who was watching while playing something else - and I, he brought the 2" mortars into play. The German section in the red-roofed farmhouse took a fair bit of tap, but things never quite panned out to get them Pinned preparatory to a close assault.
With hindsight, I should have reminded him a bit more than I did that HE Pins, and he should probably have brought the Shermans on before the second platoon to plaster the farmhouse and guarantee some Pins behind which to close assault. As it was, when they came on, the StuG (up on the road across the back of the table) picked off first one, then another, in consecutive activations.
The Brits also lost a couple of sections to enfilade fire from the farmhouse, which I think wouldn't have happened had the Shermans been around to do their job. In the end, the infantry in the farmhouse were down to five figures on four Shock, and two platoons went in and basically forced them out due to excess Shock after a tied close assault .
We pretty much left it there, not least so we could talk about it. Essentially taking the farmhouse had cost the British two Shermans and half their force, but the Germans were down to one section, an MG and a StuG III which had a pretty commanding view of the battlefield. It would have been interesting.
I think it works: the tricks are:
I think this last is pretty key. To keep things moving and make them interesting (and also to show off the 'magic' of the Big Man concept), you need to have slightly more Big Men than the normal org charts suggests. I'd even go as far as to suggest that some platoons should have their 2inC on table as a Big Man as well as the Lieutenant. Colin was, I think, pretty impressed with the flow of the game, and the way the Big Men worked : there was a moment which just felt right where he had a Big Man hare back down the road to activate the 2" mortar.
You might possibly consider, if you go with platoon 2inCs as Big Men, leaving the actual platoon cards out. I dunno? Thoughts?
I'm toying with a few more smaller tactical teasers like this: I think it could be fun and it can finish in a club night.
Mike Whitaker

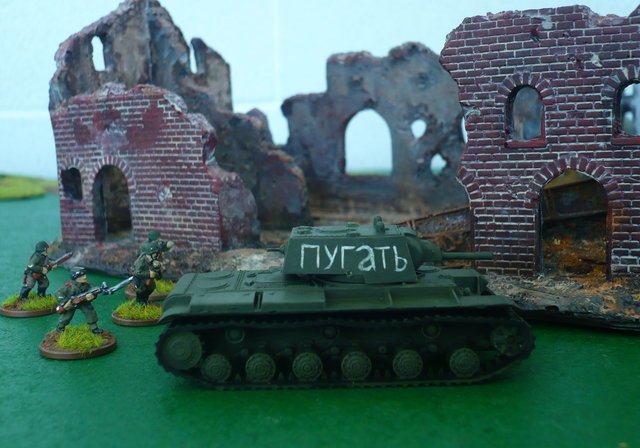
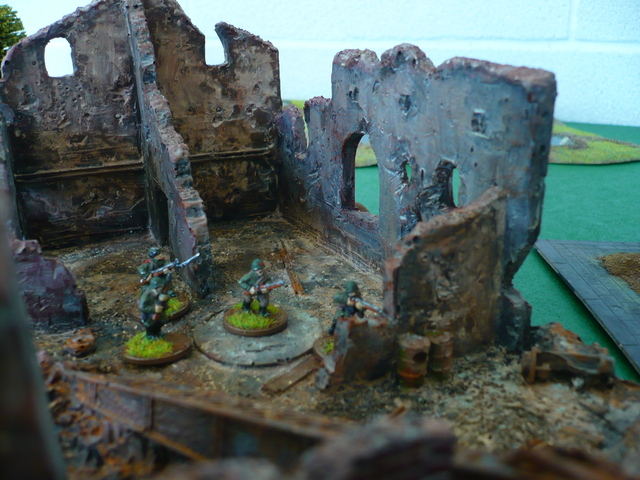
Today's game was a random encounter using the IABSM rules between the Germans, preparing to withdraw, against advancing Soviets.
Each side's objectives are clear. The Germans must prevent the Russians from taking the town they are defending. The Soviets must clear the Germans from the tabletop.
We played the game on a table 180x240cm (6ft x 8ft) with a lot of terrain, making sure that each side had plenty of cover to fight from.
But let's see the game from the eyes of a camera mans from the time: in black and white.
The two sides begin the game hidden from their opponents under Blinds, separated by the natural obstacle of the river.

As units are spotted, between Russian rage and the aggressiveness of the Germans, the first casualties are not long in coming.
But the Germans have all the axis of advance towards the town well covered.
But the T-34s manage to find a narrow defile through which they advance unseen.
Other Soviet tanks do not bother to try to conceal themselves and fall victim to the precision shooting of the Germans.
But the Russians are no slouches at shooting either, and hit back hard.
But as soon as their Blinds card is drawn, more German tanks appear from where they've been hiding, and hurt the Soviets badly.
It's not just the Soviet tanks that are causing the Germans problems, the Russian anti-tank guns are working hard as well.
The industrial sector of the tow, apparently less well defended, falls to the Soviet infantry.
Allowing their self-propelled artillery forward into good positions from which to threaten the enemy.
The game had to end at this point due to running out of time. We declared the result a draw: yes, by concentrating their fire, the Germans had slowed the Soviet advance enough to be able to withdraw from the town; but the Soviets had already managed to take part of the town before this happened.
But the main aim of the game was to have fun with friends, and that we managed.
Burt (with almost all pics from VIIII Legion)

A newly-retired acquaintance said he'd like to come for a game and he'd never played either of the Two Fat Lardies WW2 rules. So after a bit of email discussion a date was set and I devised a scenario.
View of the table from the German side
The objective for this game was two fold: introduce Don to I Ain't Been Shot Mum, and get some unplayed kit on the table. A straight forward set piece attack then. Late war, North West Europe, two understrength companies as the first wave of a battalion attack on a German defensive line. The two companies are supported by a troop of Churchill tanks, the battalions Wasps, a Churchill AVRE and a FOO. The British are hampered by the "Hesitant Troops" card but they do get "Heroic Leader" and "Rally".
The Germans have two understrength platoons, a pair of Pak40 AT guns, plenty of MG42s and entrenchments plus my new Brummbärs. The Germans are hampered by "Ammo shortage" and "Breakdown" but they get the "Bonus MG Fire".
Artie crouched under a wet hedge with his company and surveyed the pile of rubble that the maps called Grochstadt. His friend from B Company came up beside him.
"All right, there Artie?"
"All right Bert. You?"
Bert's company was to envelope Grochstadt from the right while he attacked from the front. They had tanks and flame throwing Wasp carriers, but he still didn't like it. The 4th Battalion, Blandingshire Fusiliers had lost a lot of men in Normandy and Holland. The companies were barely platoons.
"Righto, then. See you on the objective." Bert stuck out his hand. Artie shook it and they both repeated the Regimental cry "What ho, Blandingshires!" with a chuckle.
Bert disappeared into the predawn gloom to rejoin his company before the attack.
Artie checked his watch and looked to the platoons on his left and right. It was time. He waved everyone forward and they stepped off to cross another field.
First contact. Germans open up on 3 platoon
A company stalled at a line of bushes. Artie could hear smalls arms crackle to his right as B Company bumped the defenders lining the road. High velocity AT shot screamed over the Churchill tanks deploying from the woods.
Finally he got his men moving across the last field towards the still quiet town.
Churchills advancing
British attack on the town developing
A Company advances into the German MGs
German armoured support

Germans in the rubble
Where was the bloody artillery? His platoon on the far left started to go to ground in the middle of the field. "C'mon! Keep going!" He waved them forward.
The young Lieutenant jumped up, waving his sten gun. "What ho Blandingshires!" he cried and charged forward. The rest of the platoon got up and followed straight into disaster.
As they neared the ruined town the rubble erupted with the sparks of small arms fire and the shredding paper sound of several German MGs.
2 Platoon about to get slaughtered
A vicious fight ensued but only a handful of the platoon came stumbling back dragging a few wounded with them.
Over to the right he could hear the sound of rifle and Bren fire answered by more MG42s.
A big Churchill AVRE clanked up to try and blast the defenders out of their rubble.
1 Platoon presses the attack
With a whoosh and a godawful bang, a panzerschrek rocket roared out of the town and hit the big tank squarely, brewing it up.
Panzerschreck team brews up the AVRE
Their supporting armour started engaging some big German assault guns, with little effect to either side. Except they weren't supporting his remaining platoon trying to assault the town.
Churchills trade shots with the Brummbärs
Things were stalling, and his company was getting cut apart in front of the town. He grabbed the driver of his company HQ carrier. "Get up their and get the Bren on that fucking MG nest!" The corporal put the machine in gear and off it rattled, bullets pinging off it's sides. Soon the Bren gun was chattering away in answer. He then got his other platoon to press it's attack and after a vicious exchange of grenades and close range rifle fire they had a foot hold in the rubble.

More clanking behind him as the Wasps from the Carrier platoon finally got clear of the hedge.
"Where the hell have you been?"
He ran to each carrier, directing it's deadly flame onto the Pak nest and the MG42 nests that had caused him so much grief.
Wasps burn the Germans out of Grochstadt
Only a few Germans were left to surrender in shock or run away in terror.
And there's nothing left....
What remained of A Company dug in among the rubble and got a brew up started. B Company was still tangled up in the hedges along the road clearing the Germans out of some trenches and bunkers. But C and D Company were coming up and the German SP guns were backing off covering the retreat of the surviving grenadiers.
God what a mess. Artie surveyed the damage as he positioned his men to defend the rubble. The Padre and the stretcher carriers were coming up searching for wounded and taking them back to the RAP. 3 Platoon had been pretty much wiped out on the far edge of Grochsadt, caught by fire from a bunker while trying to knock out a second German Pak. Good old Bertie had caught a bullet trying to cheer his lads on to the end.
Artie sat down on a broken wall, suddenly very tired. He fumbled with this pipe as his driver shoved a tin cup of tea into his hand.
"All right there, Sir?"
"All right, Herb. Cheers."
It was a pretty bloody game. 2 Platoon rushing into the German MGs without support or suppressive fires was devastating. The AVRE would've been great for blasting the Germans out of their defences but a stalking Panzerschrek team got it's card first. The Wasps once they finally showed up were pretty devastating, which was good for the Blandingshires, as the attack was running out of steam.
It's been a few years since I played IABSM, so it was good to dust them off and play something bigger. I forgot a few things of course. I need to make markers to remind me that units are pinned or suppressed.
You'll also notice some clear plastic markers with unit labels on them. These are to remind the players which units are activated by which cards.
The Blandingshire Fusiliers are my fictitious British regiment from my Colonial gaming with the BGen Sir Percival Gronville Wooster, VC KCBE.
My friends running the British managed to have fun. Don would like to give the rules another try. My Churchills, Brummbars, Wasps and AVRE all got some game time. So objectives met.
James Mantos

The TFL Specials are a great source of inspiration and scenarios. Here, Charles Eckart plays through Mike Brian's scenario from the 2005 Summer Special: The Initiation of Dashwood-Brown.
Note that as Charles didn't take any pictures, all the photos to dress the text, below, are taken from other IABSM AARs featured on Vis Lardica.
As the scenario was originally written for the IABSM v2 rules, we made a number of adaptations to bring it up to v3 standards:
Finally, we used the Chain of Command Force Morale tracker for IABSM. Both the Brits and Germans started at Morale 10.

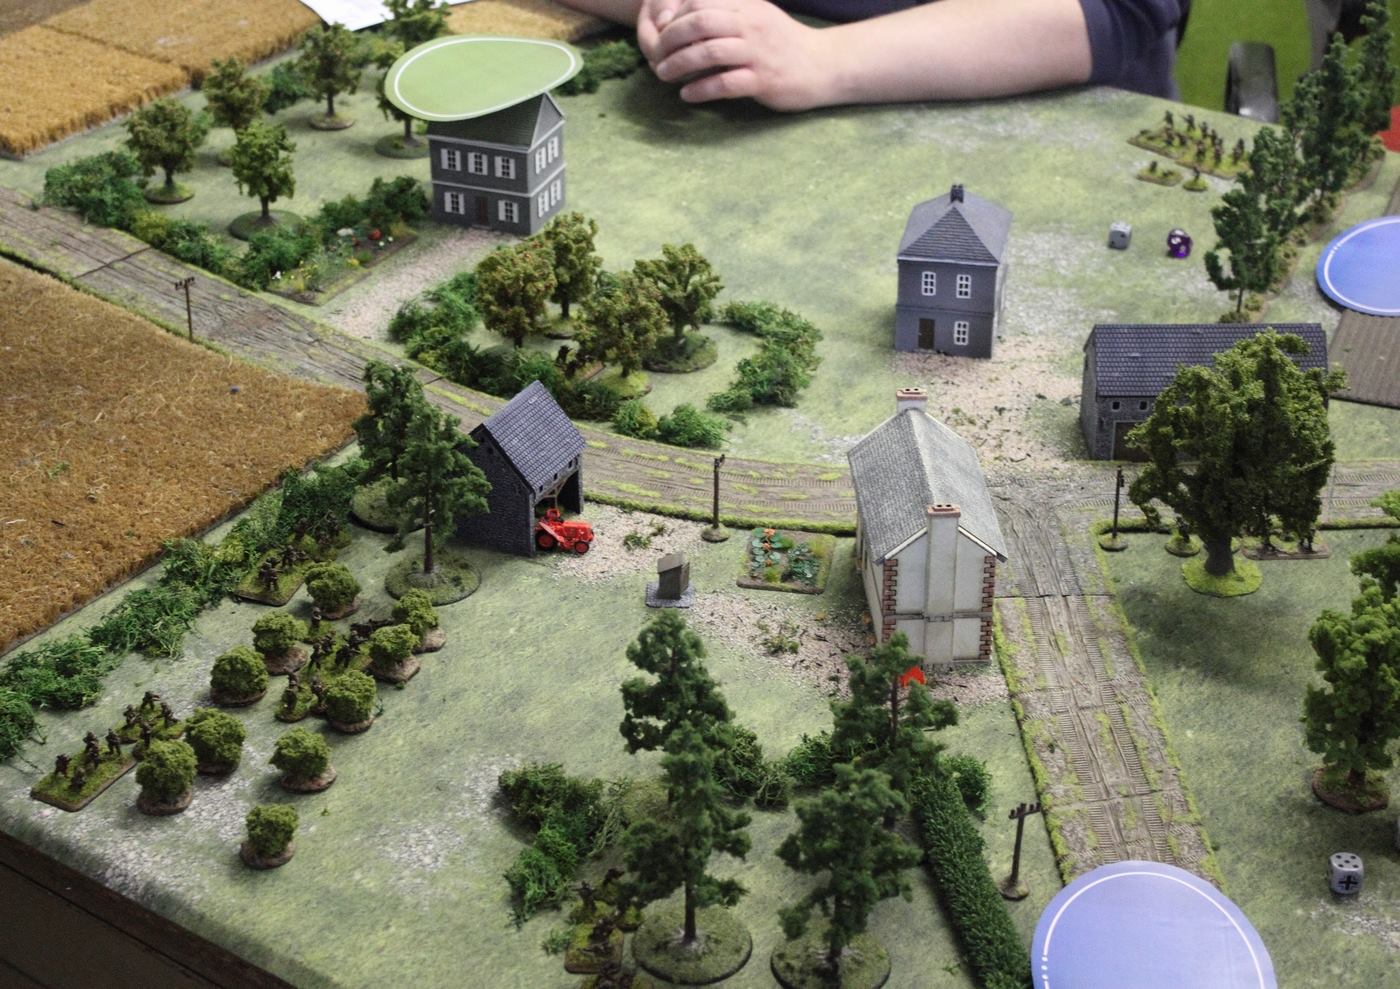
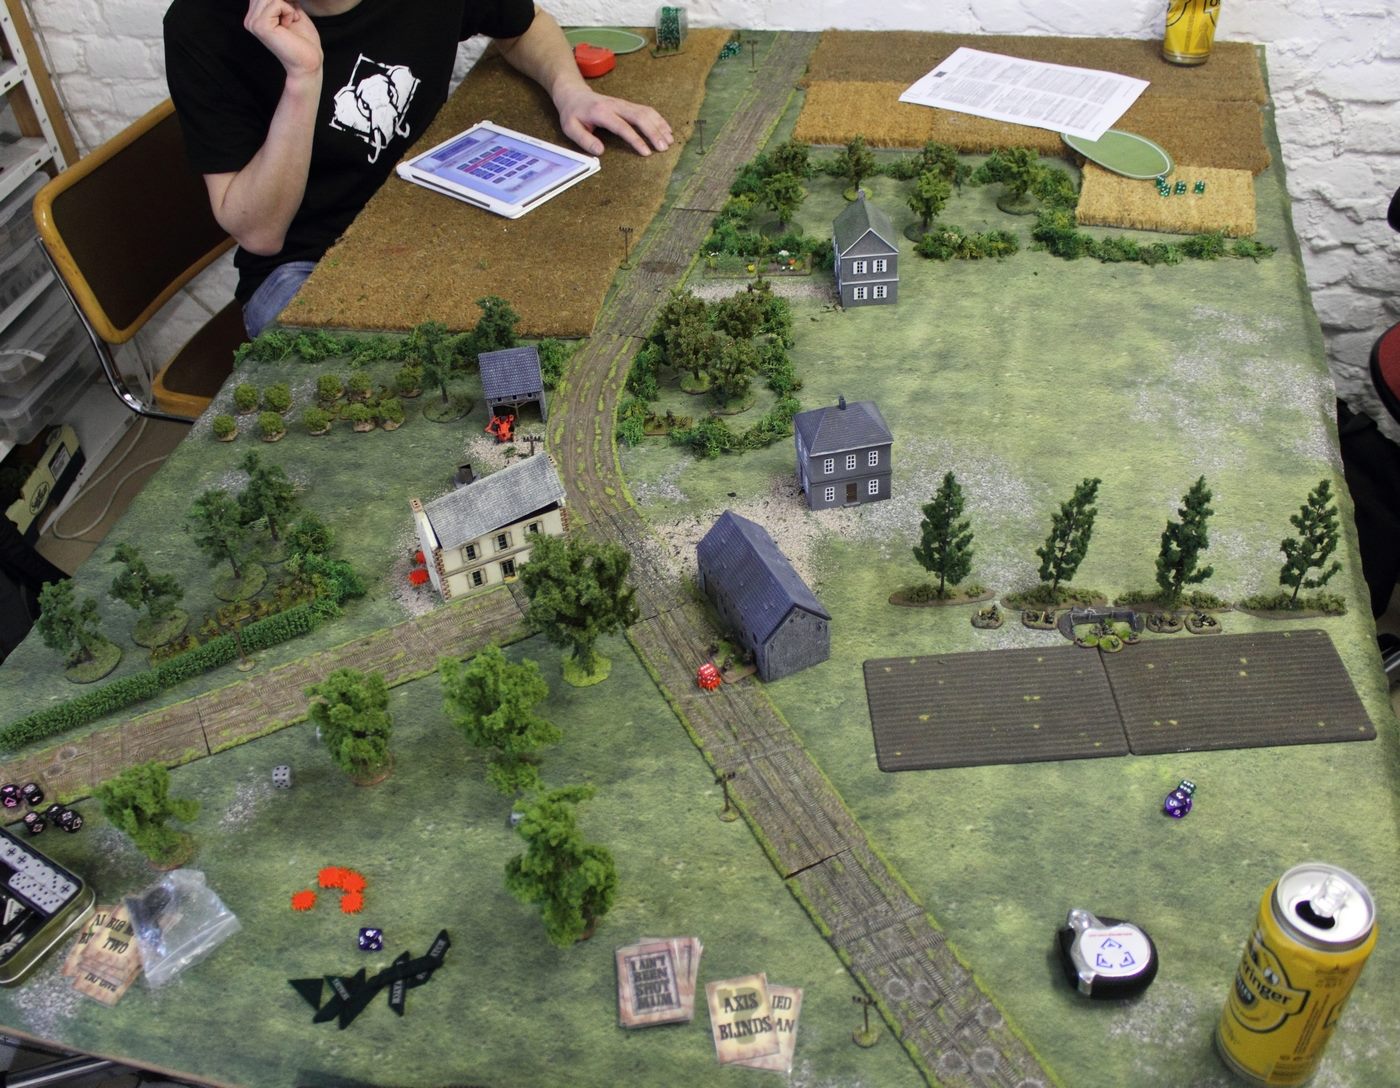
Normandy, 1944. Suave ladies-man Captain Royston Dashwood-Brown and his men of 6th Dorsetshire Regiment are about to get their first taste of action on the battlefields of France...
FO Lynn took position in the ruins on high ground to try to spot German positions while 1st Platoon on the left of the road led by Sgt Graves and 2nd Platoon under Lt Evans to the right of the road moved to and across the Start Line.
Graves was to move to the hedgerow along the east-west road and probe forward toward the church while Evans cleared the manor house that overlooked the fields west of the main north-south road.
The Germans had had plenty of time to camouflage their positions well (hidden Blinds) so FO Lynn was unable to locate targets.
British scouts (a dummy Blind) moved down the main north-south road and were immediately spotted by the Germans. 1st and 2nd Platoons cautiously moved through the woods east and west of the road with no hard contact but their advanced scouts (more dummy Blinds) were spotted by German outposts (also dummy Blinds). FO Lynn spotted some German outposts running back toward the town but the Germans were alerted to the likelihood of a British attack. Over the next turns HE rounds impacted the fields west and south of 2nd Platoon and in the woods ahead of 1st Platoon. Both halted and called for tanks.
British players muttered “Jerry is windy” and “We’re almost half way across the table and no contact, he’s being foxy too”.
Sure enough, with only one platoon, the MMG’s and ATG’s starting on the table, the Germans were playing for time. They didn’t want to bring their 2nd Platoon and panzers on until they identified the main strength and direction of the British attack and were hoping for additional reinforcements soon after it was discovered.
To this end they placed their dummy Blinds forward to act as outposts to reveal British movements. Their infantry and guns were placed back where they would have long fields of fire.
The British No.2 tank troop joined 1st Platoon and No.1 Troop joined 2nd Platoon soon after. German HE fire was erratic, switching from one location to another each turn. This encouraged both British platoons to rush through the beaten areas toward their objectives.
Evans' 2nd Platoon covered by two MMG’s and the tanks dashed along the hedgerow toward the walled orchard north of the manor but luck was against them. HE fire caught the trailing third section, inflicting four Shock and the entire platoon went to ground.
Next turn the HE fire shifted away and with the help of Rally and Big Man cards Evans was able to remove all shock. While Evans was restoring order to his men the three M4 tanks of No.1 Troop rolled forward, crashing over the north wall of the orchard. One tank was disabled with a thrown track when crashing through the wall. They then fired their main guns at the north face of the manor itself. The wall collapsed in a heap of rubble and, unknown to the British, two Germans were killed and four Shock delivered to Obersturmfuhrer Bratwurst's squad with a MMG in the manor. Both the British and surviving Germans were unable to see each other through the dust raised by the collapsing wall. It was now up to Evans infantry to get into the manor sans support fire.
Stumbling through dust over the rubble, Evans lead two sections into the manor, quickly engaging Bratwurst's men in close combat. A brutal fight ensues in the gloom. Five Brits are down with four Shock on the rest, but the Germans lose Bratwurst, six men and a MMG. The five men remaining have six Shock. Considering the confusion and Shock, the five Germans are ruled as surrendering.
Meanwhile Graves' 1st Platoon and No.2 tank troop arrived just one hedgerow short of their objective. Looking ahead toward the house and last hedgerow nothing was seen. But what about the house to the left? Graves decided to send one tank and a section toward the house ahead covered by an MMG, two tanks, and the other two sections to discover any hidden Germans.
“Luck mates.” First section dashed across the open ground protected from flank fire by the tank to their left and entered the empty house. The advancing tankers watched the house beyond a low wall on the left and “spotted something there”. Can they fire first? The main gun barks sending HE into the building with no replying fire. “It was nothing…?” Graves moves his remaining two sections, two covering tanks, and MMG to the objective hedgerow.
The first tank section in the manor orchard risked disabling another tank and crashed over the remaining wall into the manor courtyard. Both made it.
Decision time for both sides. How would Dashwood-Brown use his reserve 3rd Platoon and No.3 tank troop? Where would Sturmbannfuhrer Merkin commit his 2nd Platoon and panzers? Most of all where were those damn German ATG’s and MMG’s?
All the foregoing took only an hour to play through. We decided to pause while Brits and Germans considered their next moves. Written so far mostly from the British perspective and not wanting to show favourites we call a break for Bier und Brats.
Resuming the game after the break we wanted to keep the pace of action up so allowed both sides to re-deploy as long as movement was under cover and not apt to be seen. Also, nothing could advance farther than the most advanced positions still held.
The Germans put their panzers in good ambush positions along with having received a reinforcement (a Tiger!) in an earlier turn. Their second infantry platoon put one Zug into the houses in the main part of town while two others settled in at the church with the mortar FO. One Zug was in the eastern woods with a MMG to guard that approach.
The British had decided that Evans' 2nd Platoon and No.1 tank troop would again risk becoming disabled by crashing through the south wall around the manor, advance into the large orchard, turn left to interdict the western approach road to prevent German reinforcements arriving from there.
Graves' 1st platoon would send one section to clear the two buildings on their left then probe into the eastern woods. The rest of the platoon along with No.2 tank troop would hold in place to engage anything seen around the church.
No.3 tank troop followed by 3rd Platoon and HQ would advance through the fields directly west of the main road and with their right flank covered by smoke rounds called by FO Lynn, and would seize the large building just west of the road. They would then push on through the fenced field to the town itself. Once the town was taken the church could be engaged from at least two directions. The final assault on the church would be from the western side.
At least, that was their plan. Things heated up fast.

First Platoon spotted a German ATG hiding in the hedgerow just across the road to their right. Graves led a section to close assault it but was surprised to face a full Zug led by Zermitts as well as the ATG crew. In a nasty fight, the Germans are driven into the building where the struggle continued. Zermitts and most of his men fell, five men surrender to Graves. The ATG is taken but the Brits pay a heavy price. Only Graves and one British soldier survive.
As the British reserve moved into the field with the tank wrecked in the previous day's fighting, German FO Roth spotted them and requested a fire mission.
British No.1 tank troop smashed through the south wall surrounding the manor followed by Evans' infantry they enter the field beyond. The infantry reach the low hedge near the road.
Graves spots a Panzer IV in the town, dashes back to his original position to warn No.2 Troop to radio the other tanks about this.
Captain Dashwood-Brown is informed by his boss that a troop of Churchills and a platoon of infantry is available to support him. “Get going and take that town, Captain!”. German ranging rounds hit the Captain’s field. Yes, time to go! “Where’s that smoke cover Lynn?” The tankers aren’t waiting, they race through the gate, deploy in echelon right and move forward. Smoke rounds drop to cover their right flank but FO Roth has adjusted German fire and two of 3rd Platoon's infantry sections are pinned with Shock.
No.2 troop tanks fire on the church, AND MISS! “How the hell do you miss a building big as that?” wonders Sgt Graves. The tanks fire again and open up part of the church.
German HE fire continues to pummel 3rd Platoon, suppressing it and causing more shock.
Evans platoon and No.1 tank troop move east through the orchard toward the town but see no Germans.
Captain Dashwood-Brown decides his 3rd Platoon is stopped and orders the Churchills and 4th Platoon to join Graves' 1st Platoon. Together they are to assault and take the church. Once that is done the center of town will be flanked on both sides and the Germans will probably withdraw.
Sergeant Lumsden, leading 4th Platoon, considers moving through the fields too slow and takes the platoon and Churchills down the main road.
Evans moves his infantry up to the orchard's low hedge near the road but the movement is seen by the Tiger. The turret turns, the MG fires but without effect. Deeper inside the orchard the two Sherman 75’s now vaguely see the Tiger. Both fire their guns and watch a round bounce off but one round has penetrated the big cat that stalls, temporarily immobilized.
The Shermans continue throwing rounds at the Tiger but none penetrate. The infantry fire a PIAT with little apparent result. But the Tiger has had enough and cranking up the engine the big cat retreats.
British Force Morale has dropped to 8 but the Germans are now at just 3. Sturmbannfuhrer Merkin orders a withdrawal before his force collapses with many more losses. Another ATG is abandoned, being too far forward to get away.
It was an interesting game, taking a little more than three hours. Everyone agreed that using Force Morale with IABSM was an excellent idea since it provides a clearer view of how a battle is progressing.
When there is a large difference in morale between the contending sides the lower morale force should consider breaking off the fight. Ending the game before morale collapse would save strength for the next battle in a campaign.
The Germans were particularly unfortunate in this game. Each time they rolled for a morale loss the result was usually the worst possible. The Brits faired much better.
The German side's decision to withdraw before morale collapse could be justified by their lack of sufficient infantry support for their panzers once the British had flanked them by entering the large orchard with infantry and armour and could still attack their front with strong forces
Charles Eckart

This is the first scenario in the Too Fat Lardies' "Bashyna or Bust" campaign, after our "refresher" last Sunday, using I Ain't Been Shot Mum rules.
We have resumed with Steve Clarke being the Soviets and me the bad Nazis. Objective for both sides: take and hold the river bridge.


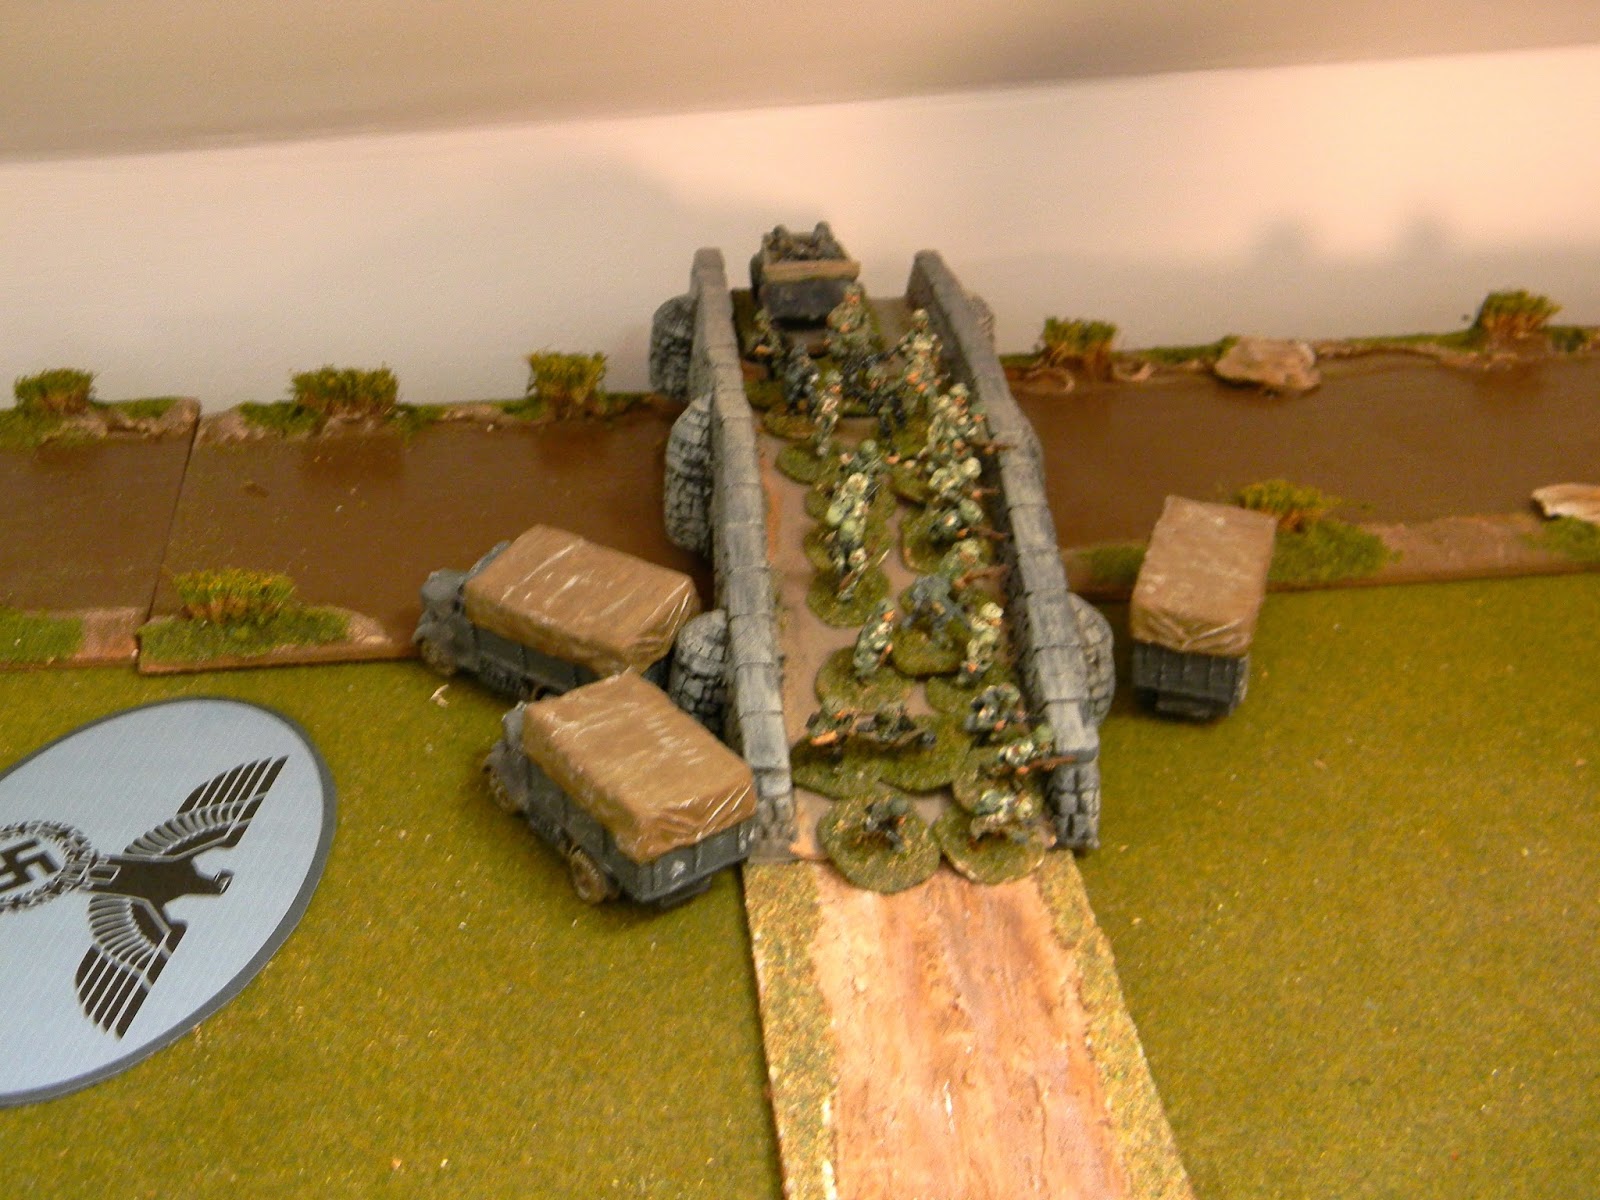


The Soviets have one armoured car left which fires at the infantry on there bridge. To counter this, Warsteiner sends men out to "stalk" the A/C.

A slim victory was declared for the Germans - they had the bridge but all the armoured support had gone.
The Russians were in no state to contest it however.
This time the IABSM rules came back to us more easily and the game flowed - in hindsight, this would have made a better introduction for Mike and Allan but we will get the game down to the club again some time.
Meantime, Steve Clarke and I will move onto Scenario 2 in the campaign...

My chosen scenario for Operation Market Larden 2017 (the TFL games day held in Evesham each year) was scenario #06 from the Poland 1939 supplement, The September War: Wegierska Gorka.
Taking place between 2nd and 3rd September 1939, the battle for Węgierską Górką, or the “Hungarian Height”, took place near the Polish-Slovak border and was fought between Polish mountain troops and German infantry. The Polish position included a number of anti-tank bunkers overlooking the valley below, and was therefore of significant strategic importance.
As I wasn't sure of how experienced the players would be, I chose this as a simple attacker/defender scenario with, obviously, the Germans as the attackers. They had to capture or destroy three Polish bunkers and ideally rout any enemy troops present as well.
One quick note. As OML has outgrown it's original home, this year the game would take place in the function room of the hotel in Evesham where we usually end up drinking: highly convenient!
Although a bigger space, and handy for later entertainment, the lighting was unfortunately not good, which meant that my camera suffered all sorts of problems: so no brilliant photos from the day, just a whole load of mildly blurred ones!
Noddy phlegmatically prepares for the German onslaught
The morning encounter would see Ty playing the Germans and Noddy playing the Poles.
The Nodster had an anti-tank gun and three MMG teams split between the southern bunkers (the ones furthest from him in the pic); another ATG and MMG team in the middle bunker; and two field guns and an MMG team in the top bunker. In addition, he had positioned a platoon of mountain troops supported by three tchankas in trenches between the southern and middle bunkers, dug in along the crest of the hill.
Ty had three full platoons of infantry at his disposal, a platoon of hard-ass assault engineers, a platoon of four MMGs, and two platoons of light tanks (nothing tastier than a Panzer II).
Feinting north with a few Dummy Blinds, Ty brought on his force at the southern end of the table, aiming to hit the central and southern bunkers in one go. Once, however, he had realised that the gap between the southern and middle bunkers was plugged with Polish trenches full of infantry and MMGs, his men changed direction and all headed towards the southern end of the Polish line. By this time, however, he had lost one platoon of light tanks to anti-tank gun fire.
Polish line revealed
Germans mass for the attack
Both sides had called in artillery as soon as possible, but the lines were very busy and neither arrived in time to really influence the battle. In the picture, above right, you can see the dice counting down the turns until each sides artillery appears. You can also see, bottom left, the German MMG platoon: still trying to get into a firing position rather than already upfront laying down covering fire as the infantry advances.
By this time, the Germans had also now lost most of a platoon of infantry, but had finally managed to get themselves into a position from which they were happy to launch their assault on the southern bunker.
In went the engineers, who managed to clear both the MMG post and the main southern bunker before running out of steam.
Assault engineers prepare to go in
southern bunker falls
Up came the German infantry, what was left of it, and more bloody combat occurred as the southern part of the Polish trench line also fell to close assault.
There was a brief moment of comic relief as the Polish CinC used his Heroic Commander card to charge one of the advancing German tanks, but only managed to blunt his sword on its armour.
And that was really the high watermark of the German assault. At this point, as they regrouped to advance, they realised that they didn't actually have any men left...and that it was a long way between the southern and centre bunkers.
Game one: a 2:1 victory to the Poles (i.e. two bunkers held, one lost).
View from the German entry point
After a quick lunch, I re-set the table for the afternoon game. This time, the Germans would be played by Bob; and the Poles by IABSM-newbie, Vlad. This was apparently a nickname, as there was no trace of a Transylvanian accent and although the room was dark, there was still daylight!
As we'd had one attack on the southern end of the Polish position, I was hoping that Bob would try to take the bunkers with an assault across the bridge by the lavender fields i.e. hitting the northern bunker first. As his Blinds began to deploy, however, it was obvious that the Germans had gone for the same axis of attack as they had done in the morning, and the action again would centre on the southern bunker.
This time, however, the Poles had done something different. Although there were trenches dug in the same place as last time, between the southern-most and centre bunkers, they were empty: Vlad had been worried about an attack from across the bridge, and had held his infantry and MMGs back at the northern-most bunker until he could see which way the German attack would unfold.
German attack unfolds
outflanking the line with the panzers
As he hadn't had to change direction, Bob's attack was much tighter than Ty's. His Blinds swept up to the bottom of the slope and, as they were revealed, formed up to effect a classic outflanking manoeuvre: infantry and MMGs as the base whilst the panzers and engineers (the Blind by the panzers in the photo, above right) swept around the Polish flank.
Vlad meanwhile, recognizing the danger, had not only brought his infantry down and into the trenches (the Polish Blind in the left hand photo, above) but had also emptied his northern bunker and sent the field guns therein down towards where the Germans were pouring round the end of his line.
The southern bunker quickly fell to the German engineers, but the Poles then received reinforcements (they had conspicuously failed to appear in the first game) in the form of a second infantry platoon. These reached the Polish trenches at about the same time as his original platoon, and fierce hand-to-hand fighting broke out.
The rest of the German line now moved forward and, as you can see in the somewhat blurry photos, below, things looked pretty bad for the Poles who, by now, had thrown everything they had in a battle for the trenches.
But time waits for no man, and despite the fact that we had been moving the game on pretty smartishly, the Germans ran out of time before they could complete their victory.
A difficult one to call, as it was obvious that the Germans would have eventually won the game: this time, they still had the men to do so. The Poles, however, knowing that the Germans had to beat the clock, had thrown everything they could into holding the enemy down below the central bunker, so deserved to be rewarded for their efforts.
In the end, I forget what I actually decided, but it was still technically a victory for the Poles on the 2:1 rule. Maybe the Germans had done enough to get a winning draw out of it, but...well, they hadn't captured the bunkers, had they.
A couple of great games of IABSM in the company of four fine players of the game. As I said in the introduction, the only annoying thing was the light and therefore my lack of decent pictures, but that is a small matter in the greater scheme of things.
What really pleased me, however, was sitting opposite one of the players at the curry later that night, seeing him sitting there thinking about what he could have done differently to win the game. I could tell that, at that moment, all he wanted to do was get back to the table and play the scenario through again...and again...and again...until victory was his. What more could a humble scenario-writer (such as myself) wish for.
Robert Avery

The guys from Florida wanted a France '40 game with BEF units so I stole a ready made scenario from Rob and the VisLardica blog. It is a German attack on a British held village along the Dunkirk perimeter. The table is flat with a main road running the length of it. Fields with minor hedges are the main area that the Germans have to cross. Their is an end of the line RR station and large area of scrub in the British half of the table.
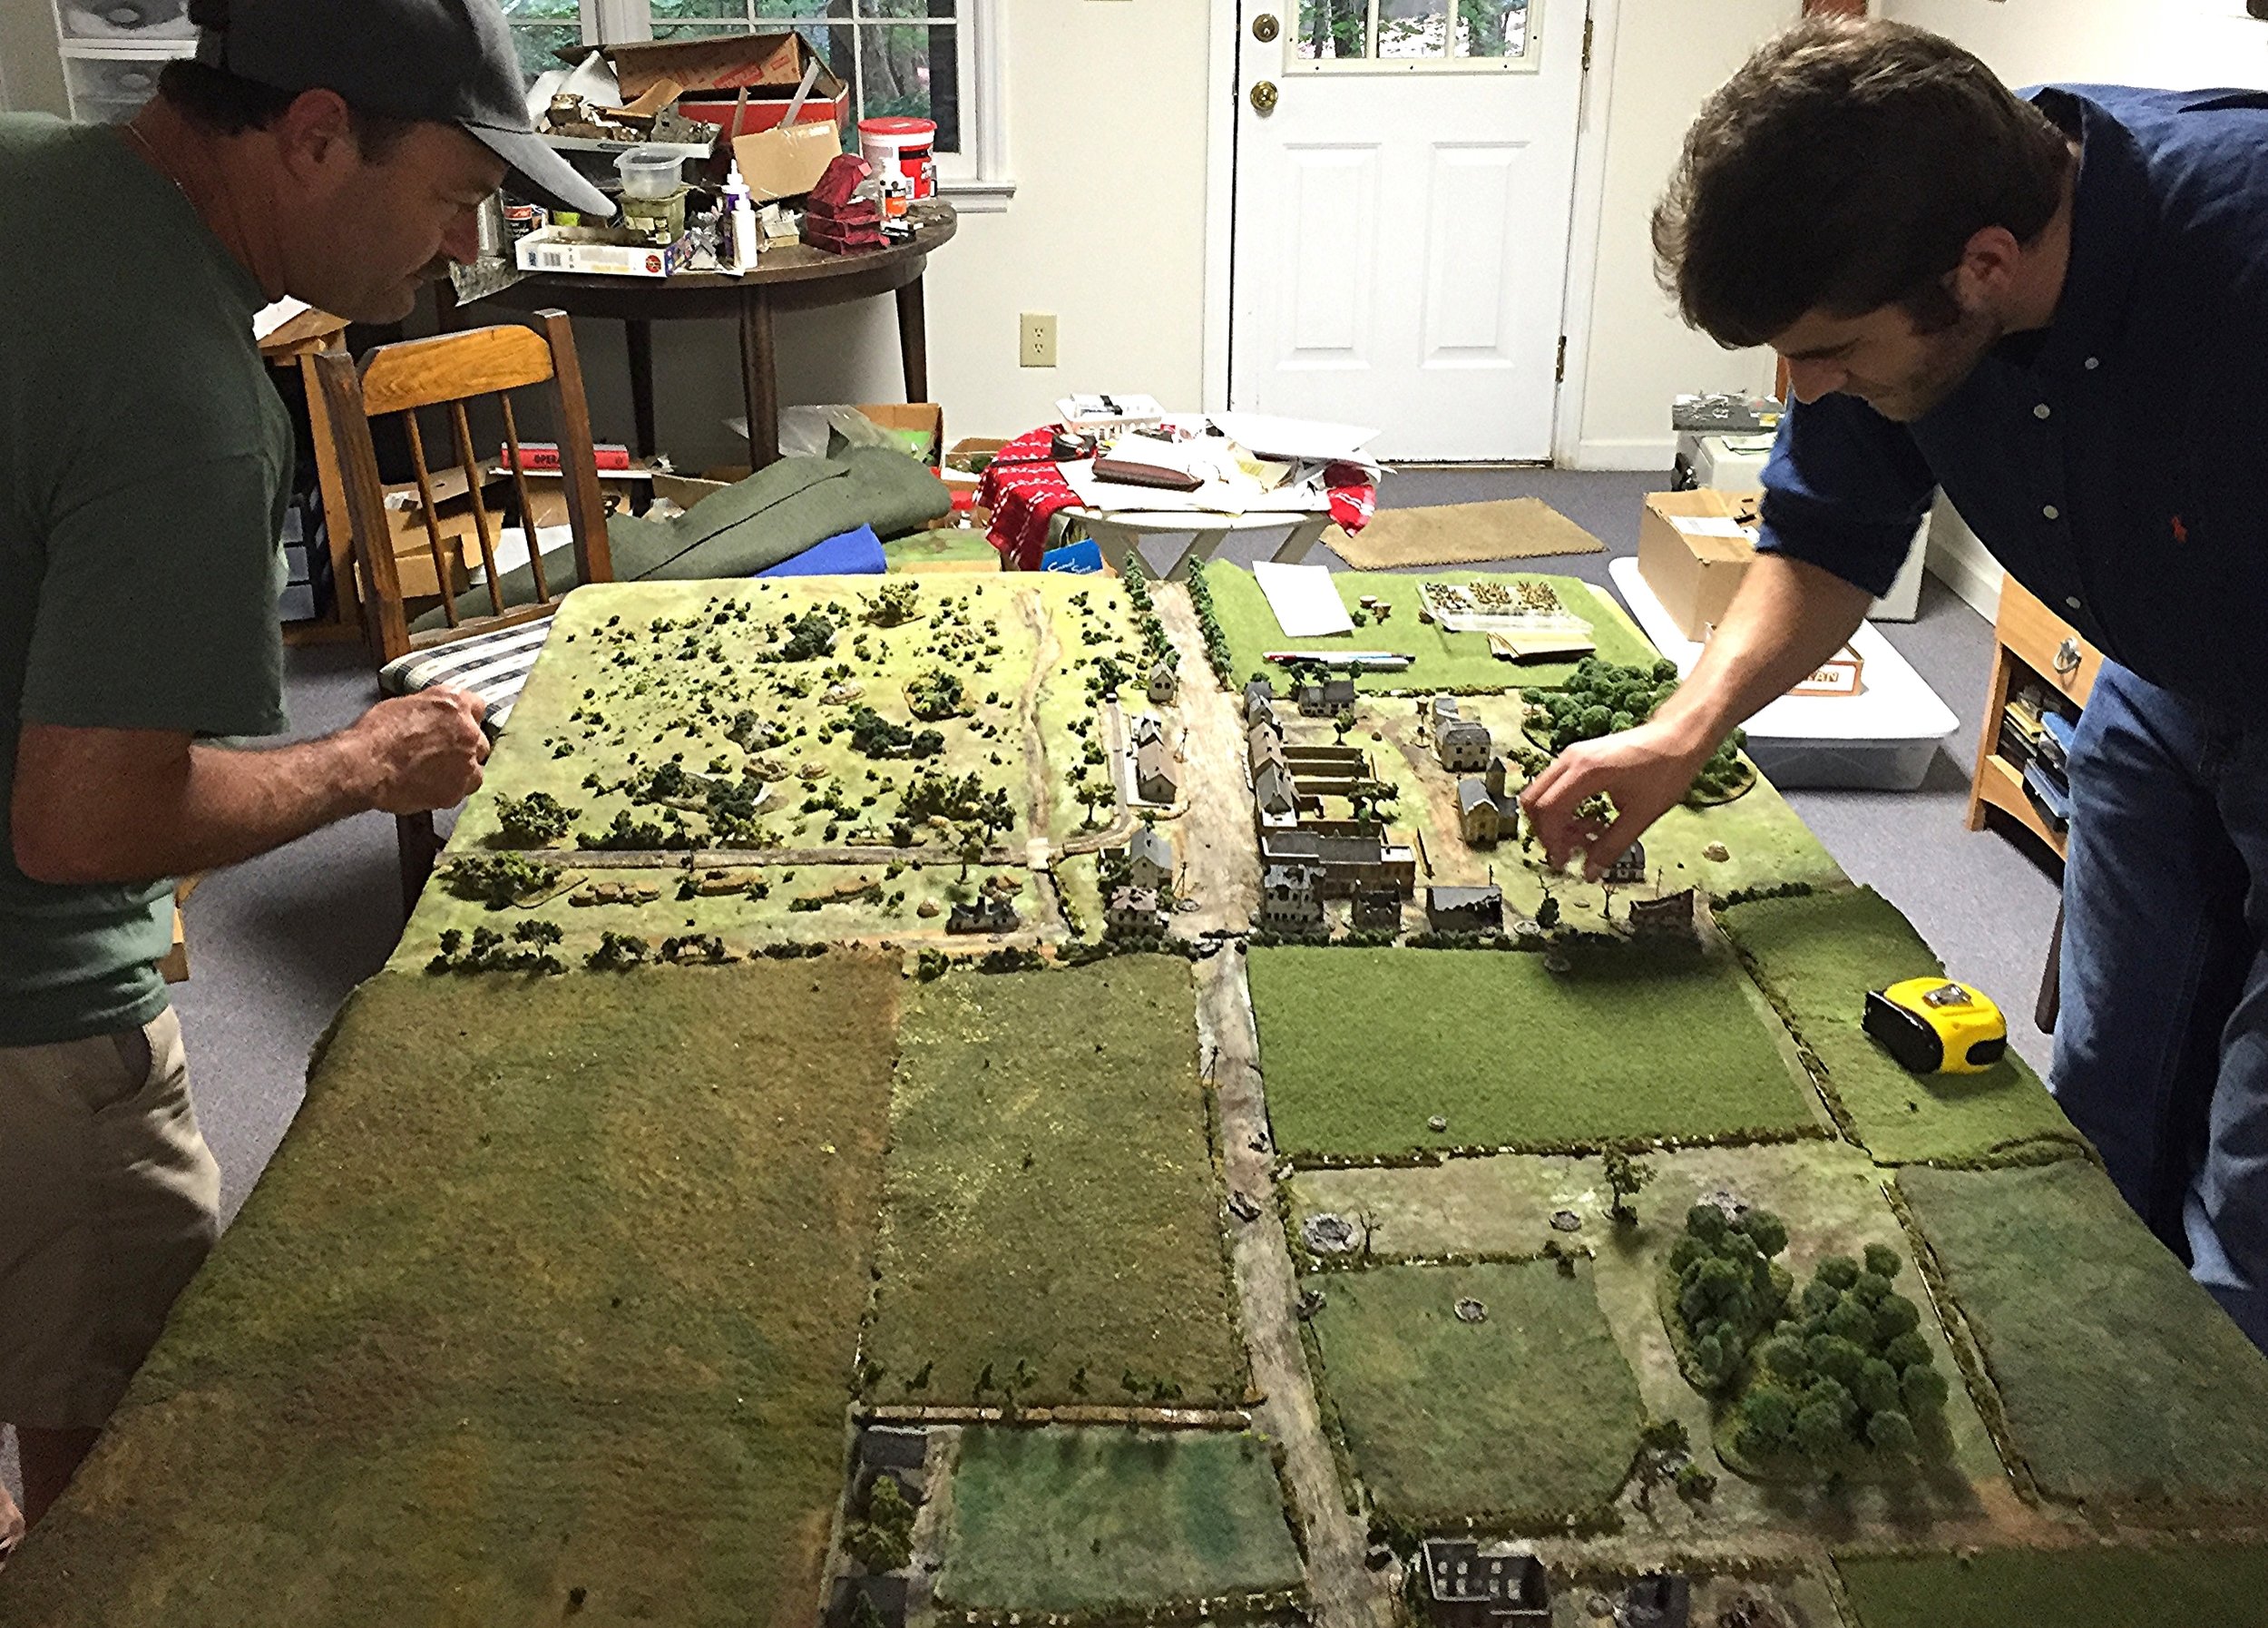
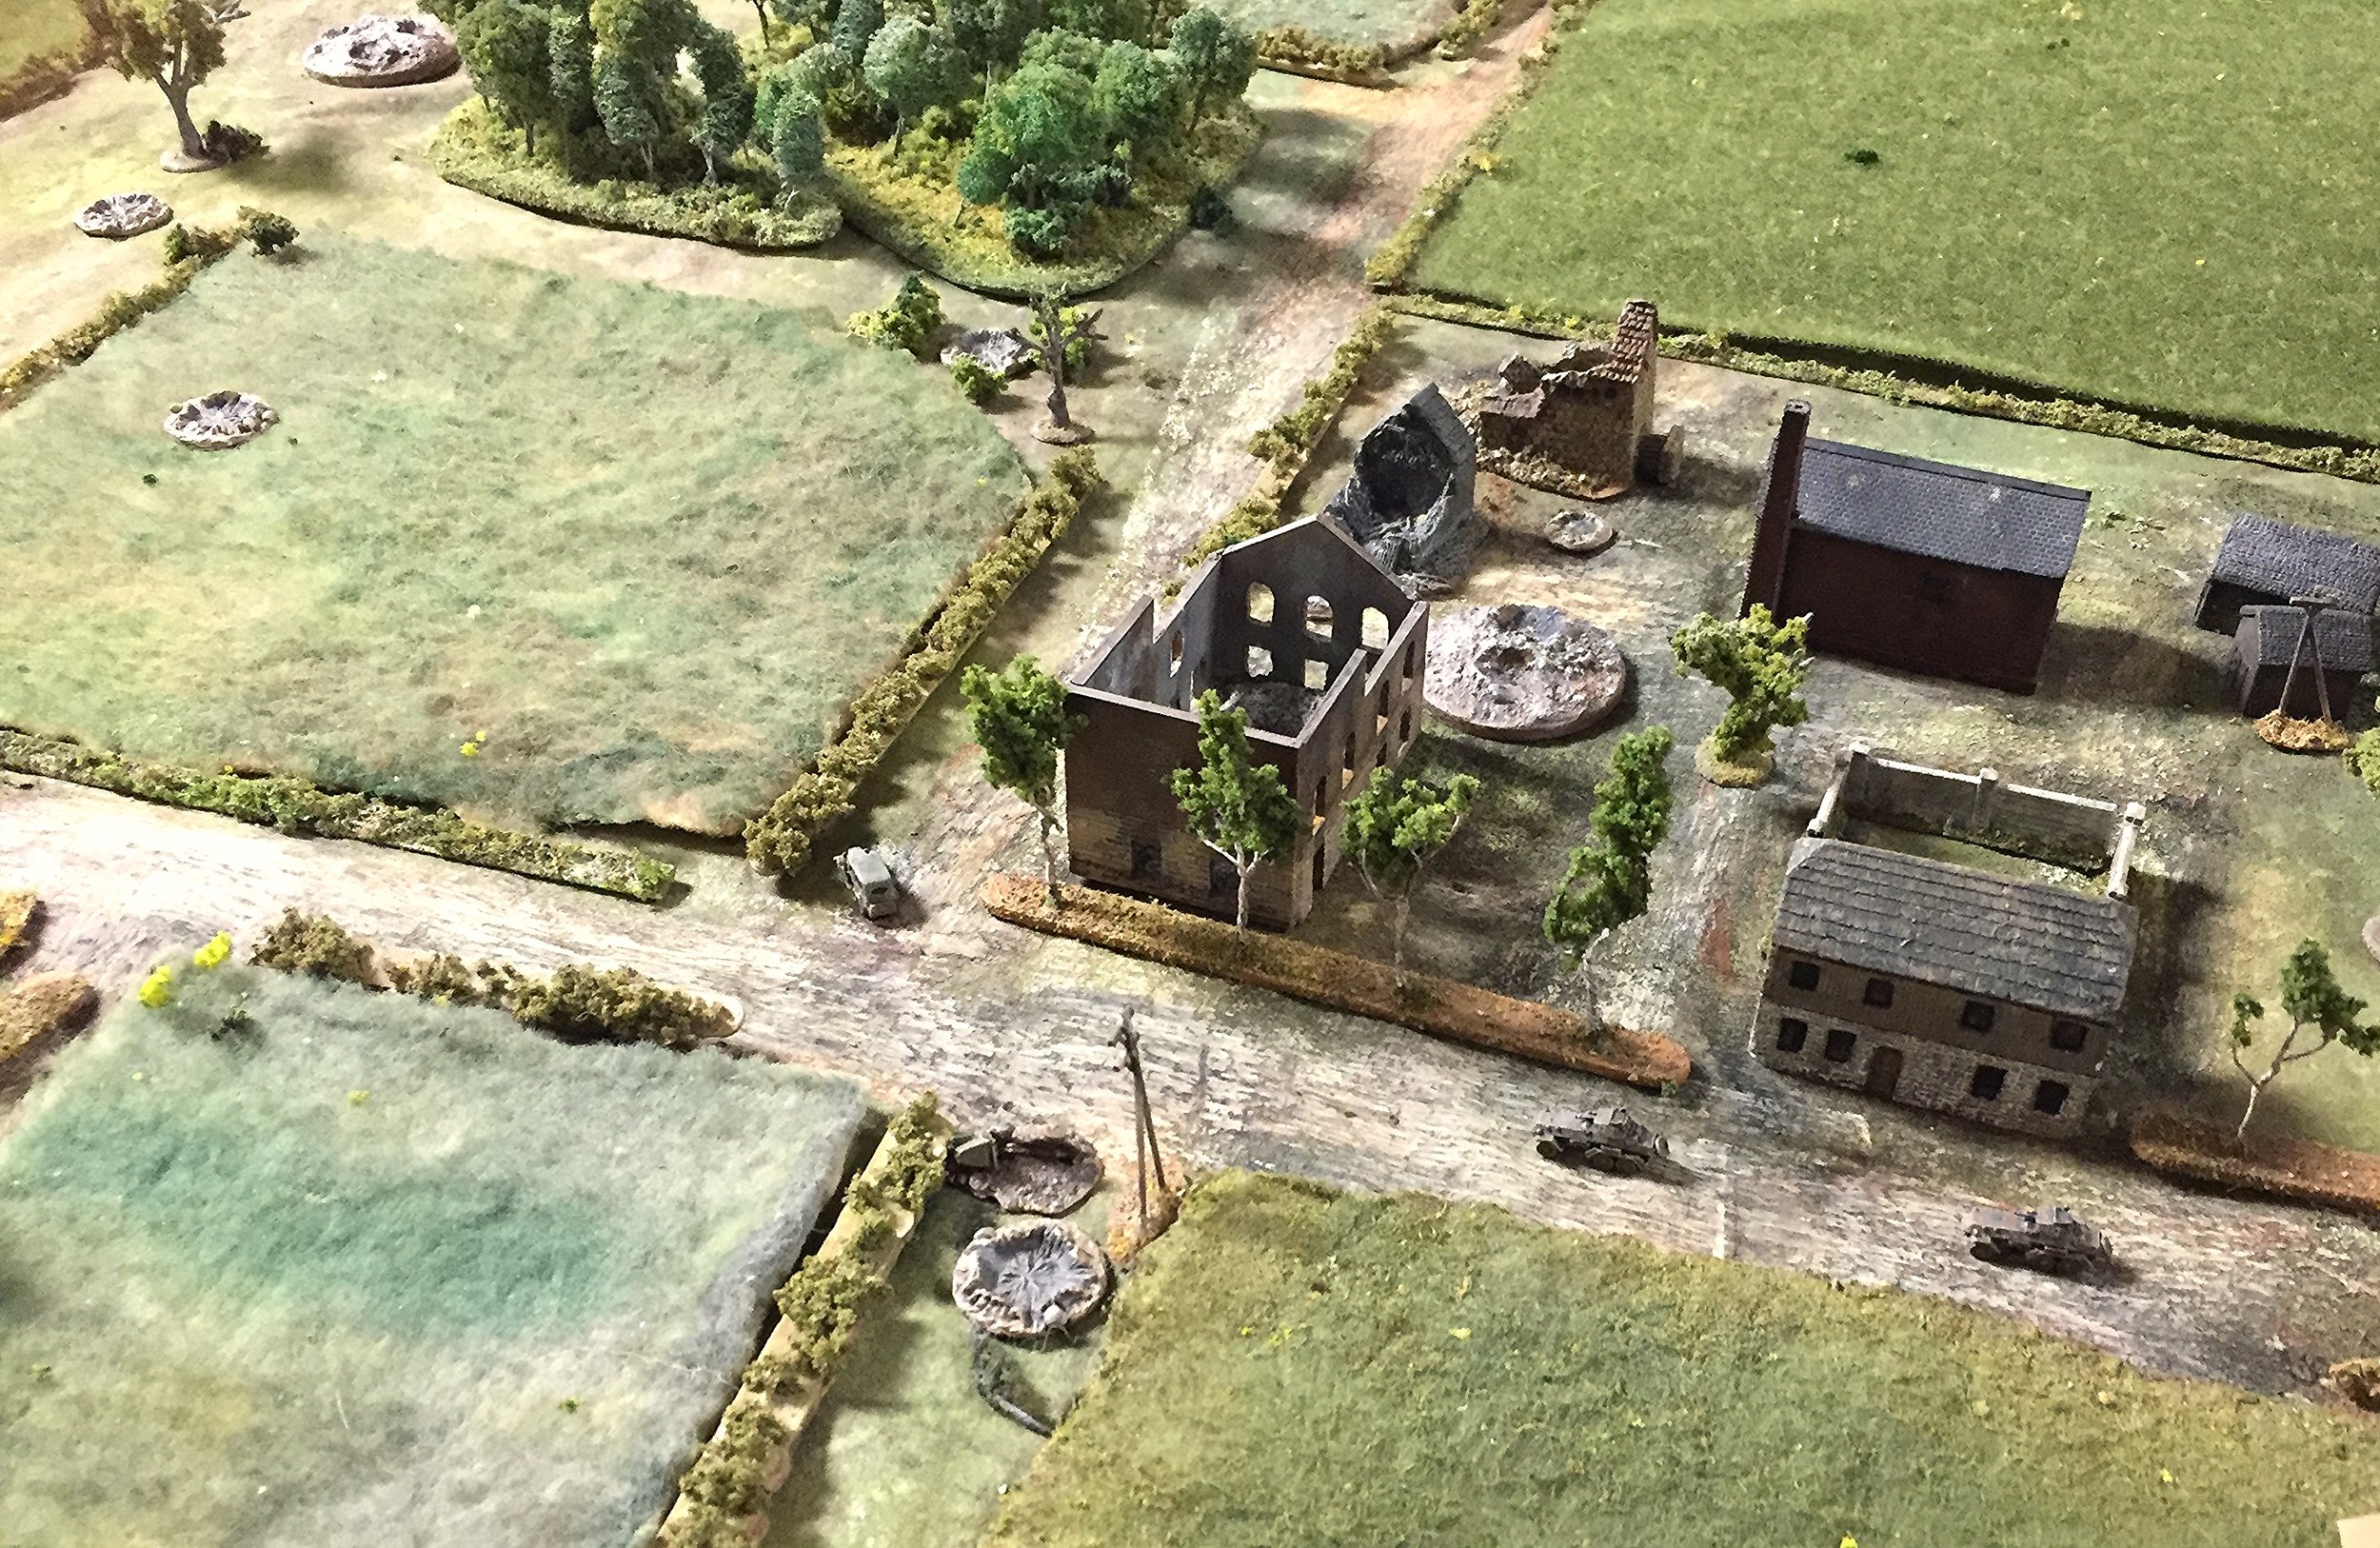
The three German players had a company of infantry: three platoons of four squads each (Roger in his first miniature game in a couple of decades); a Company HQ unit with four MMG sections and an HQ section with anti-tank rifle and the level IV Big Man (Martin). They also had armor consisting of two Sdkfz 231 6rads, three Panzer IICs, four Panzer IVAs and a level III Big Man (Stephen).
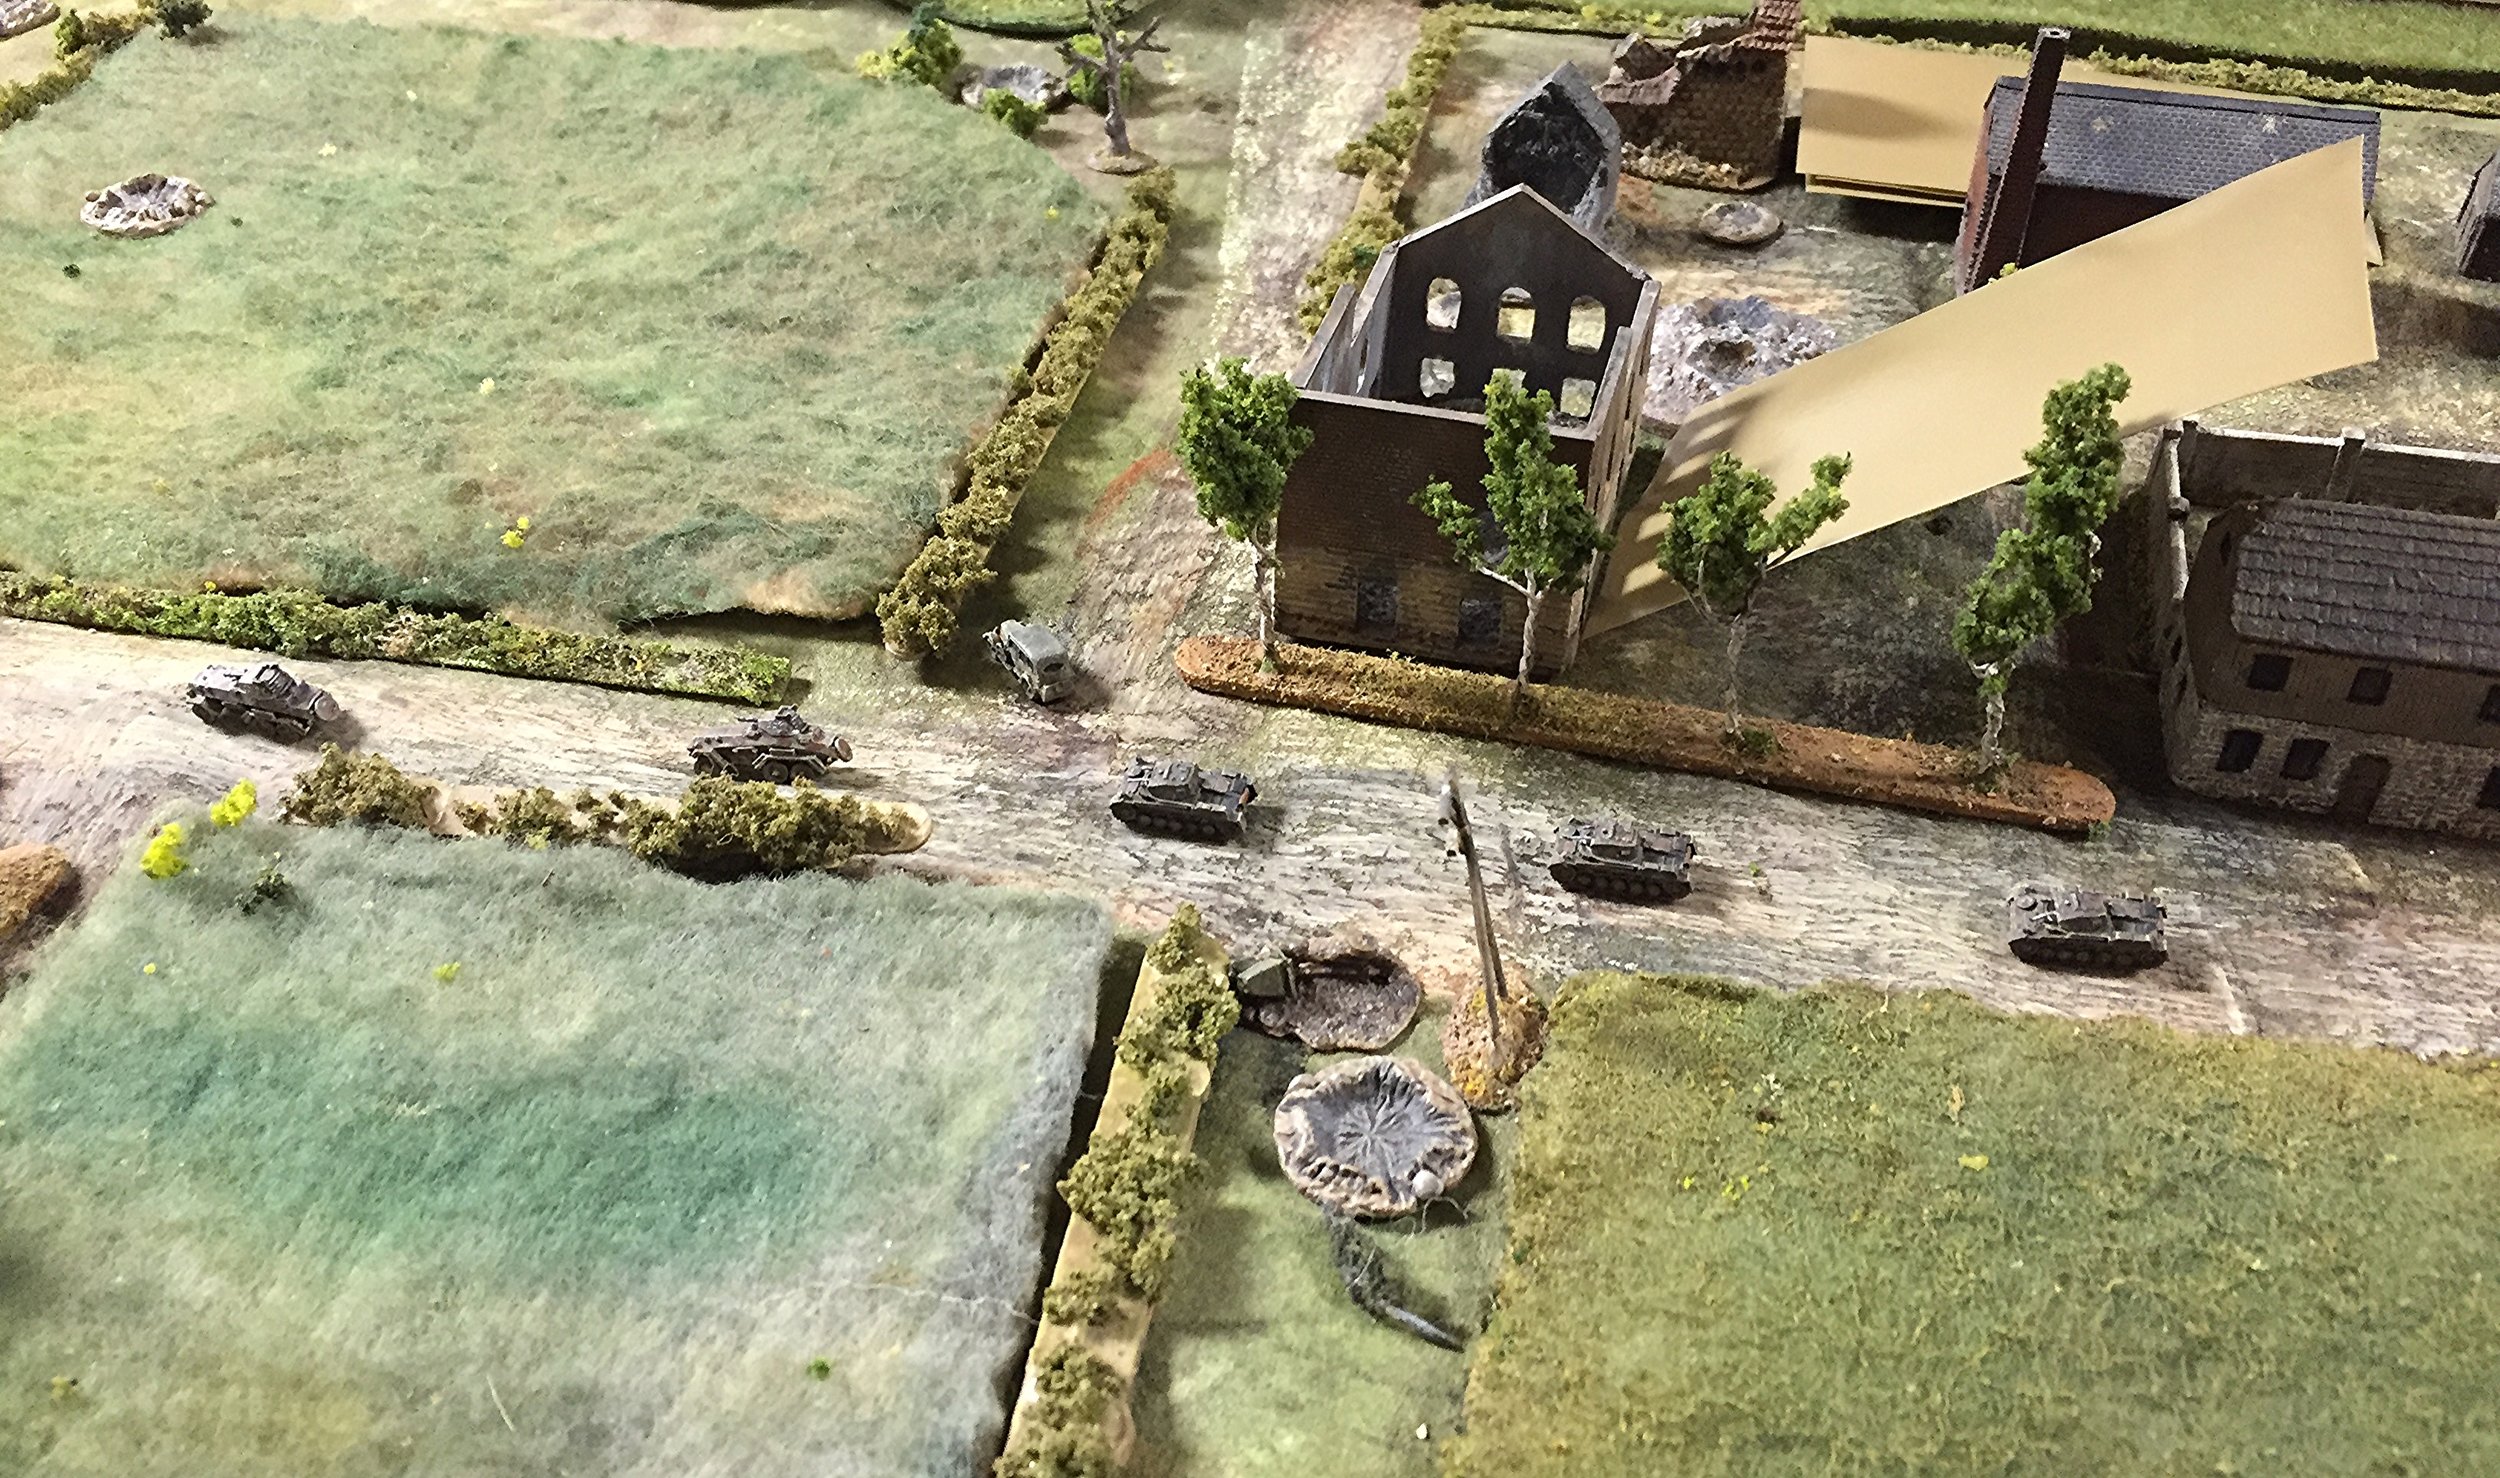
With Blinds moving on the flanks
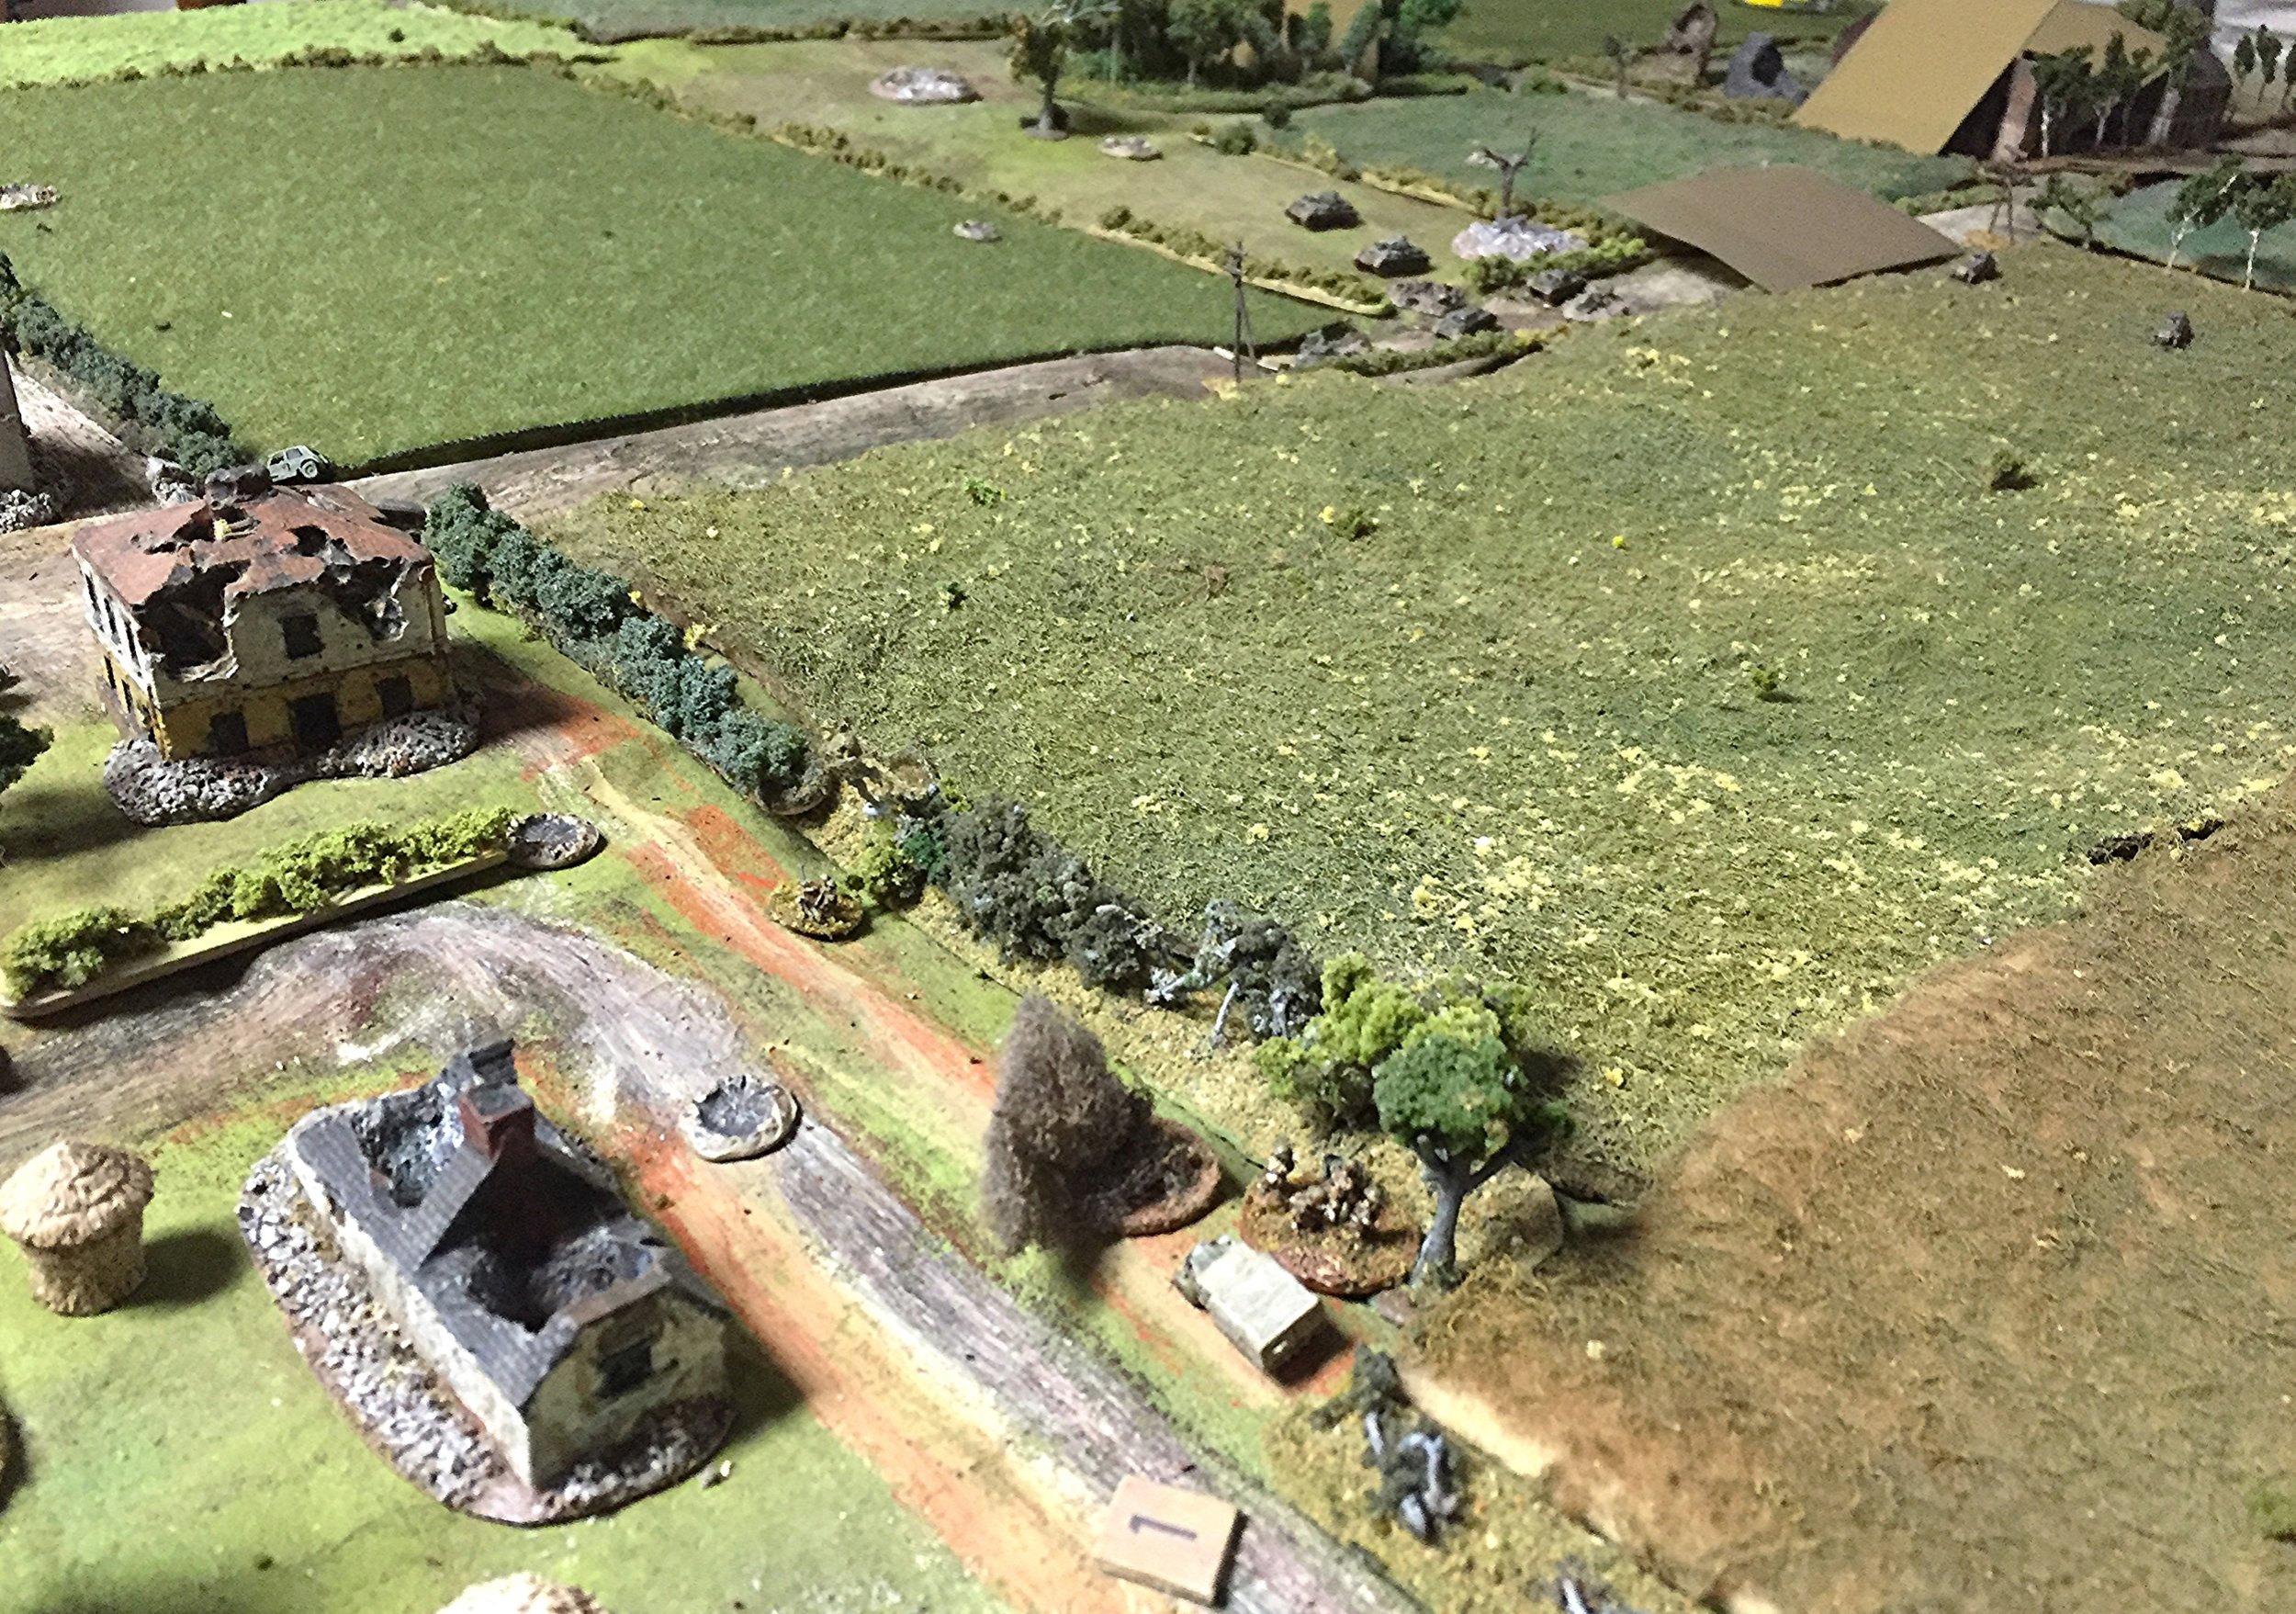
The Brits had a Company HQ with one Boys ATR, one light mortar, two Vickers MMGs, and a Level IV and level I Big Man along with an FOO for a pair of 3' mortars. Their infantry was a weakened company of two 3-section platoons. They also had a carrier section and two 25mm ATGs. Everything could be dug in to start and most of the guns teams were dug in along a hedge
The Panzer IVs are moving on the German right and the armored cars have swung to the left.
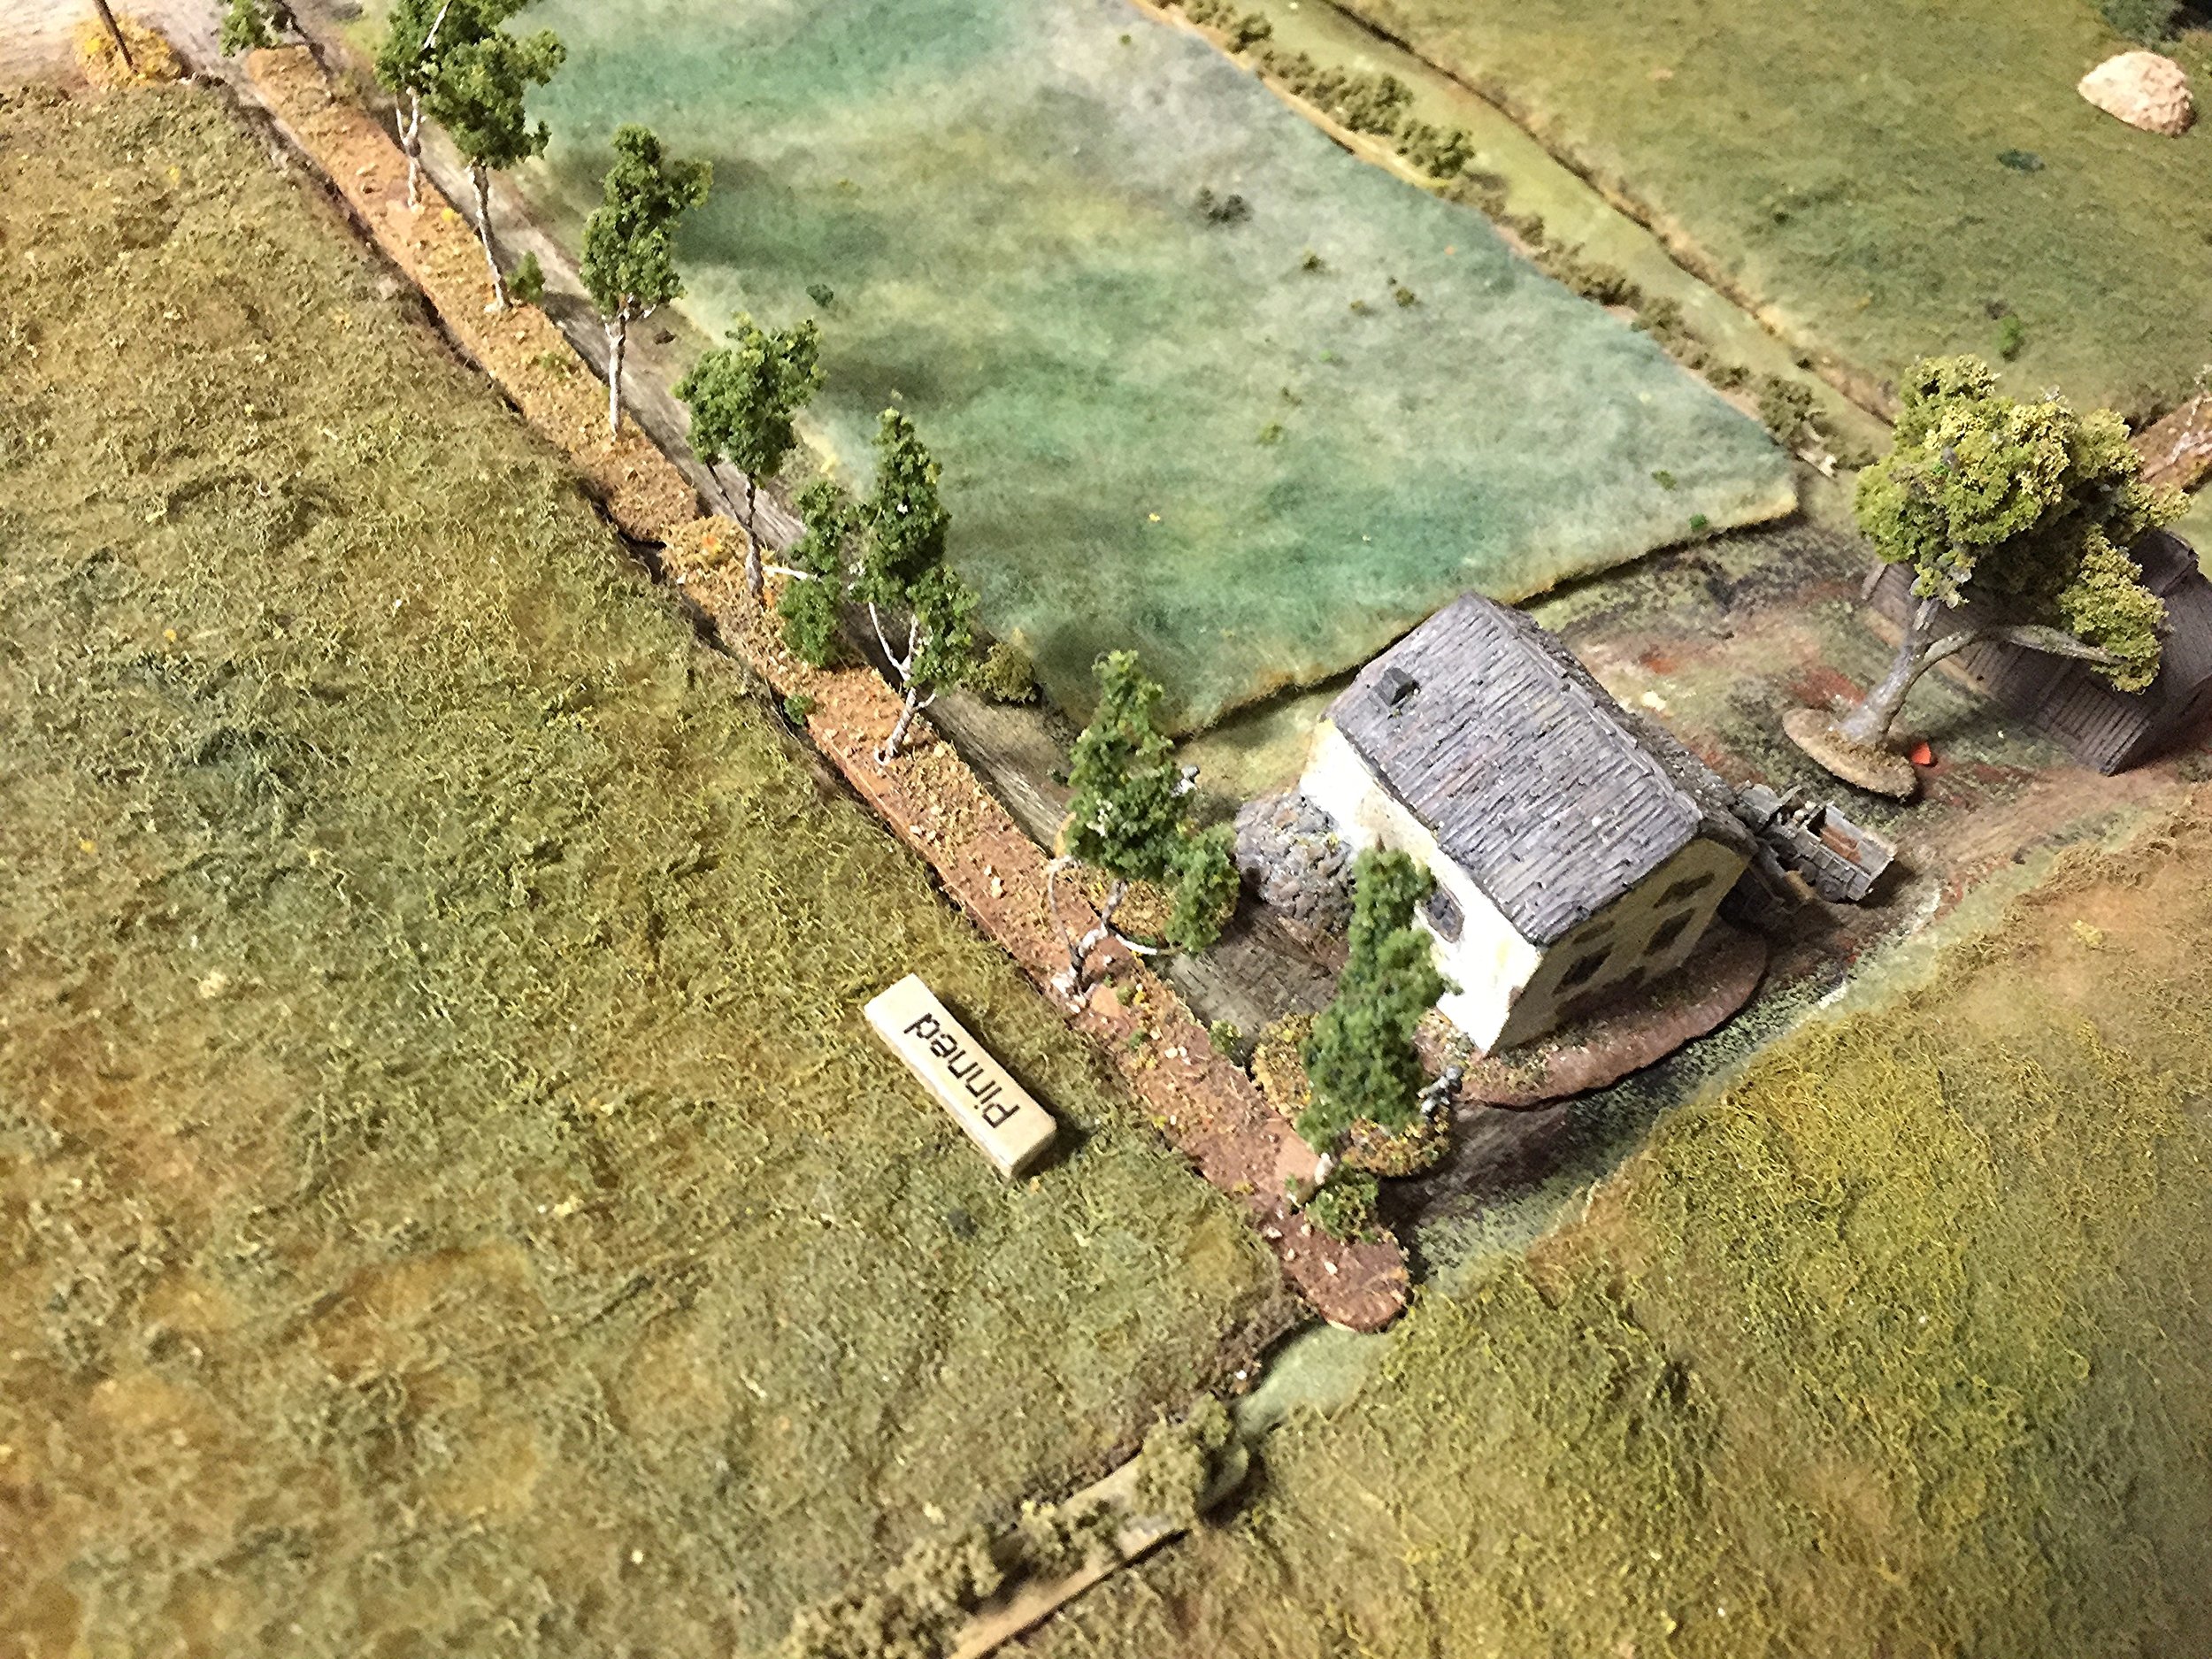
The Vickers Pinned one quickly.
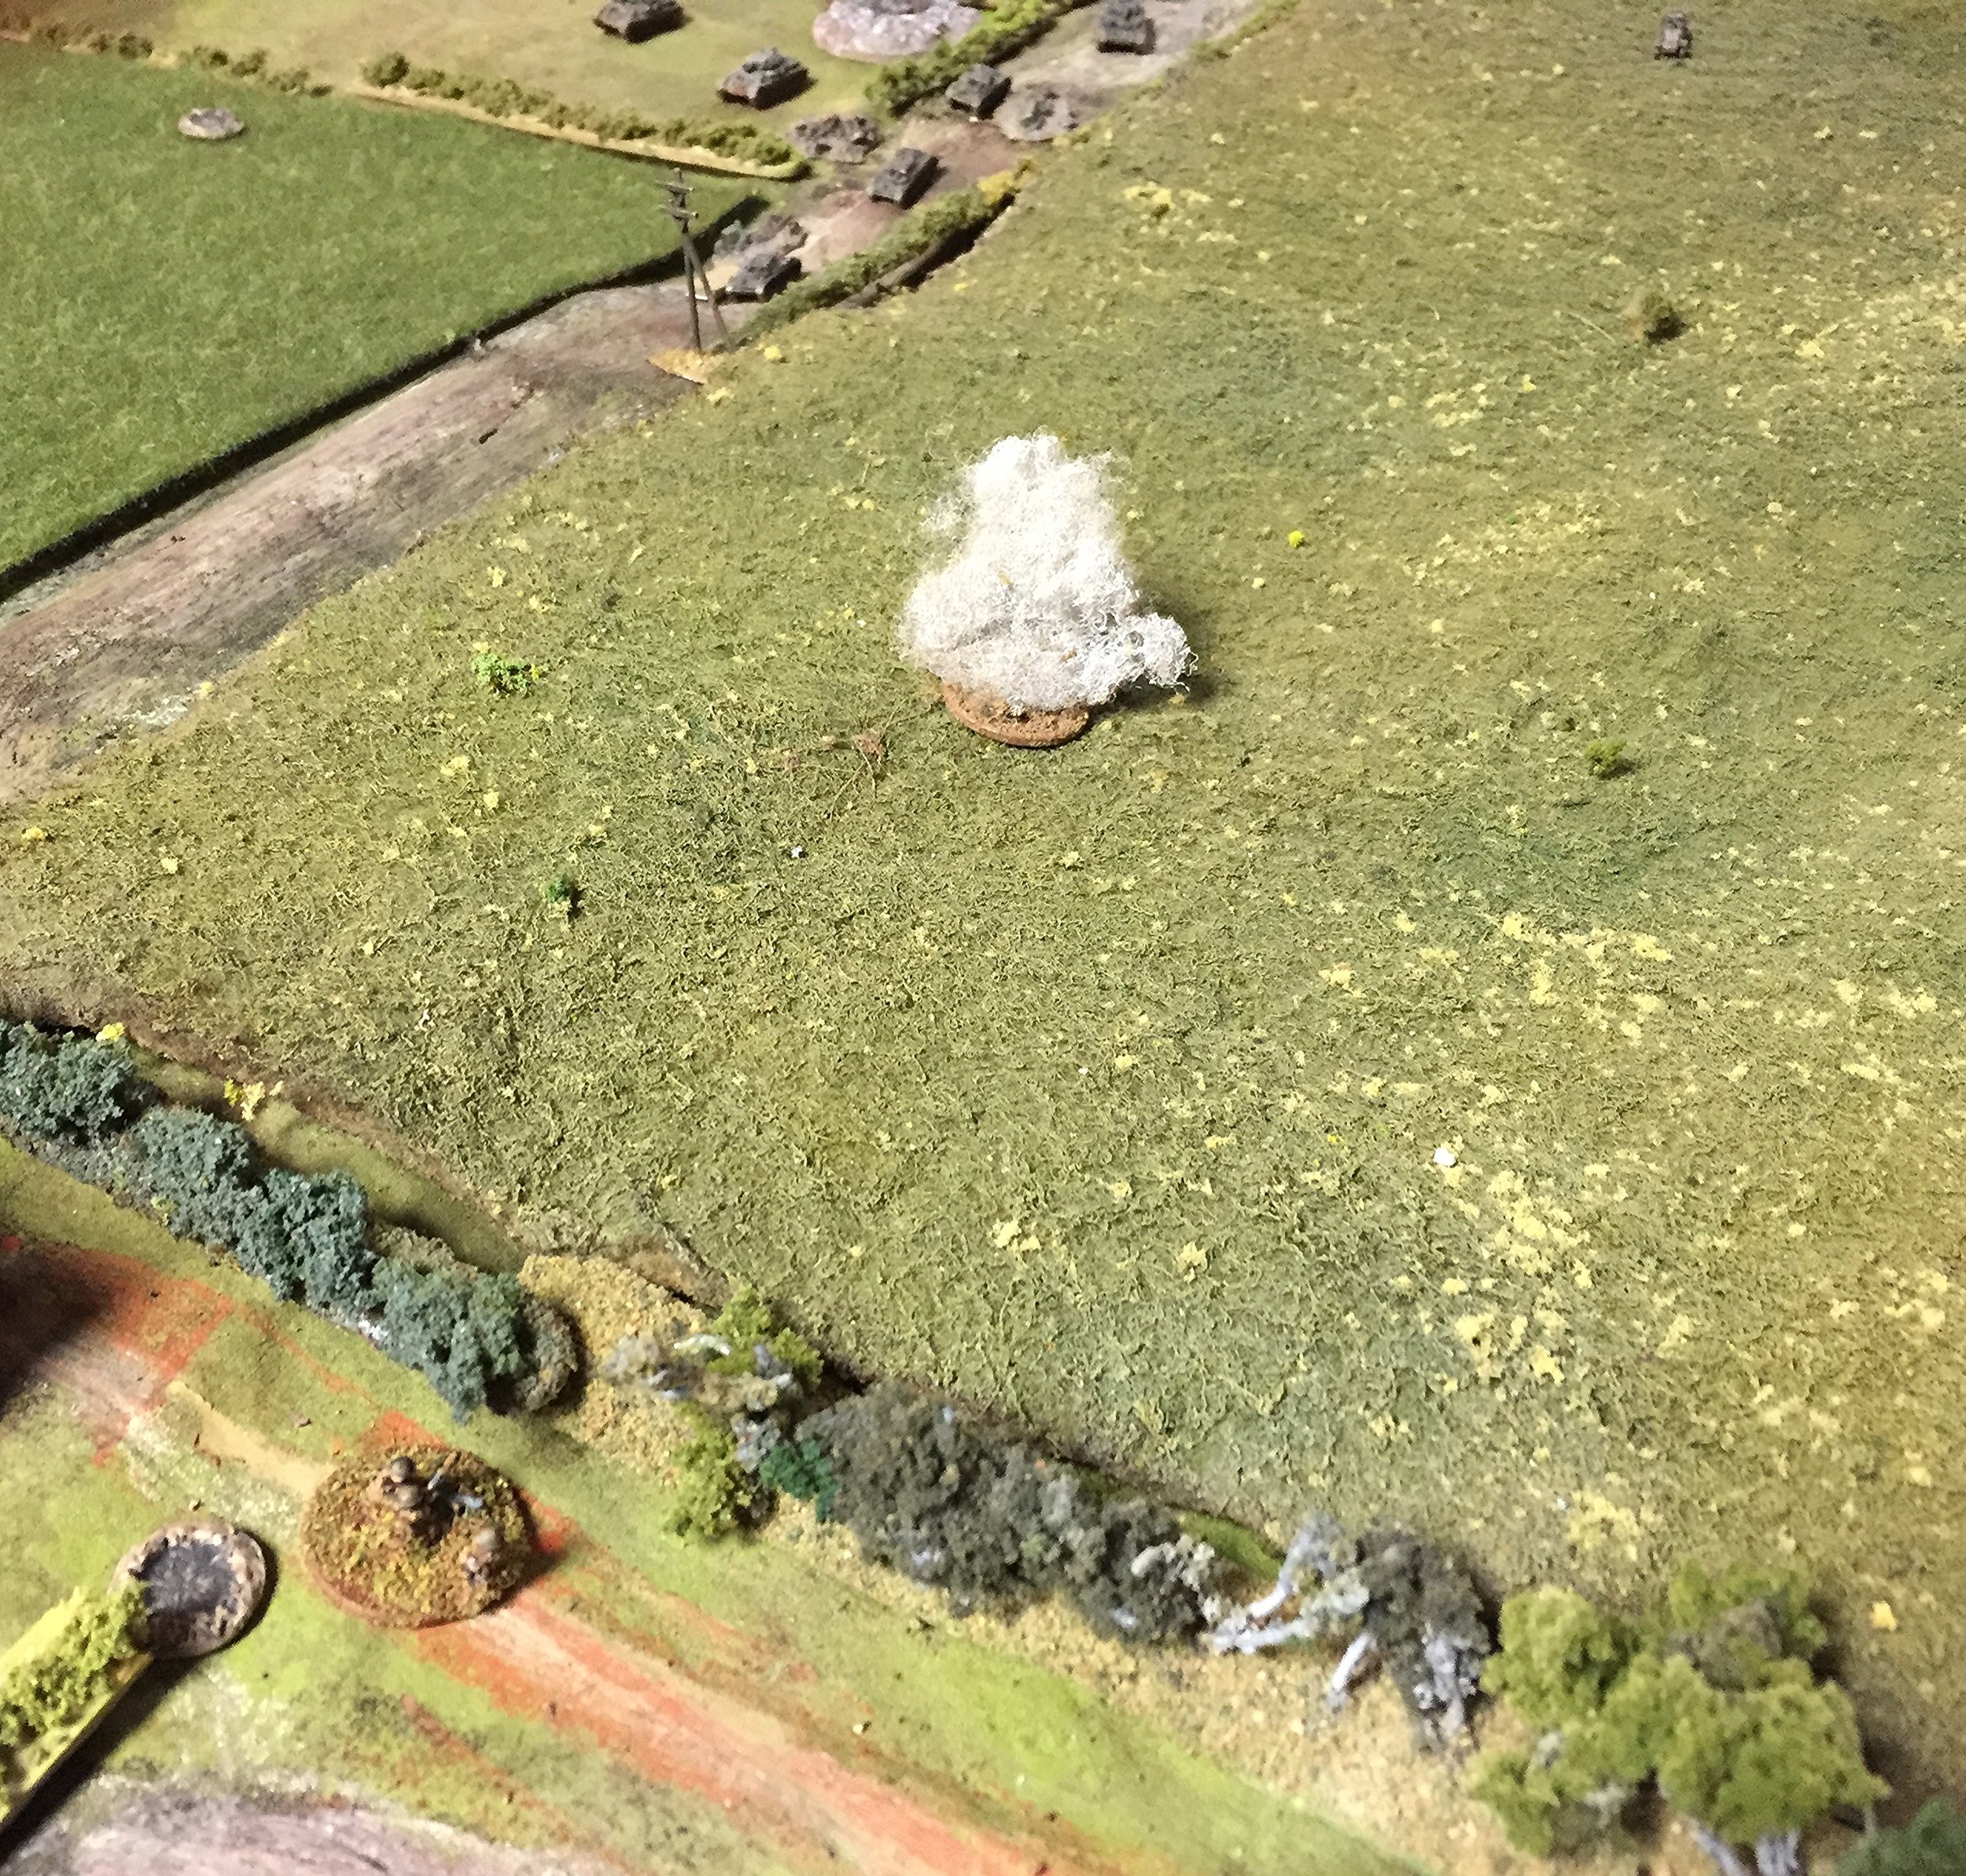
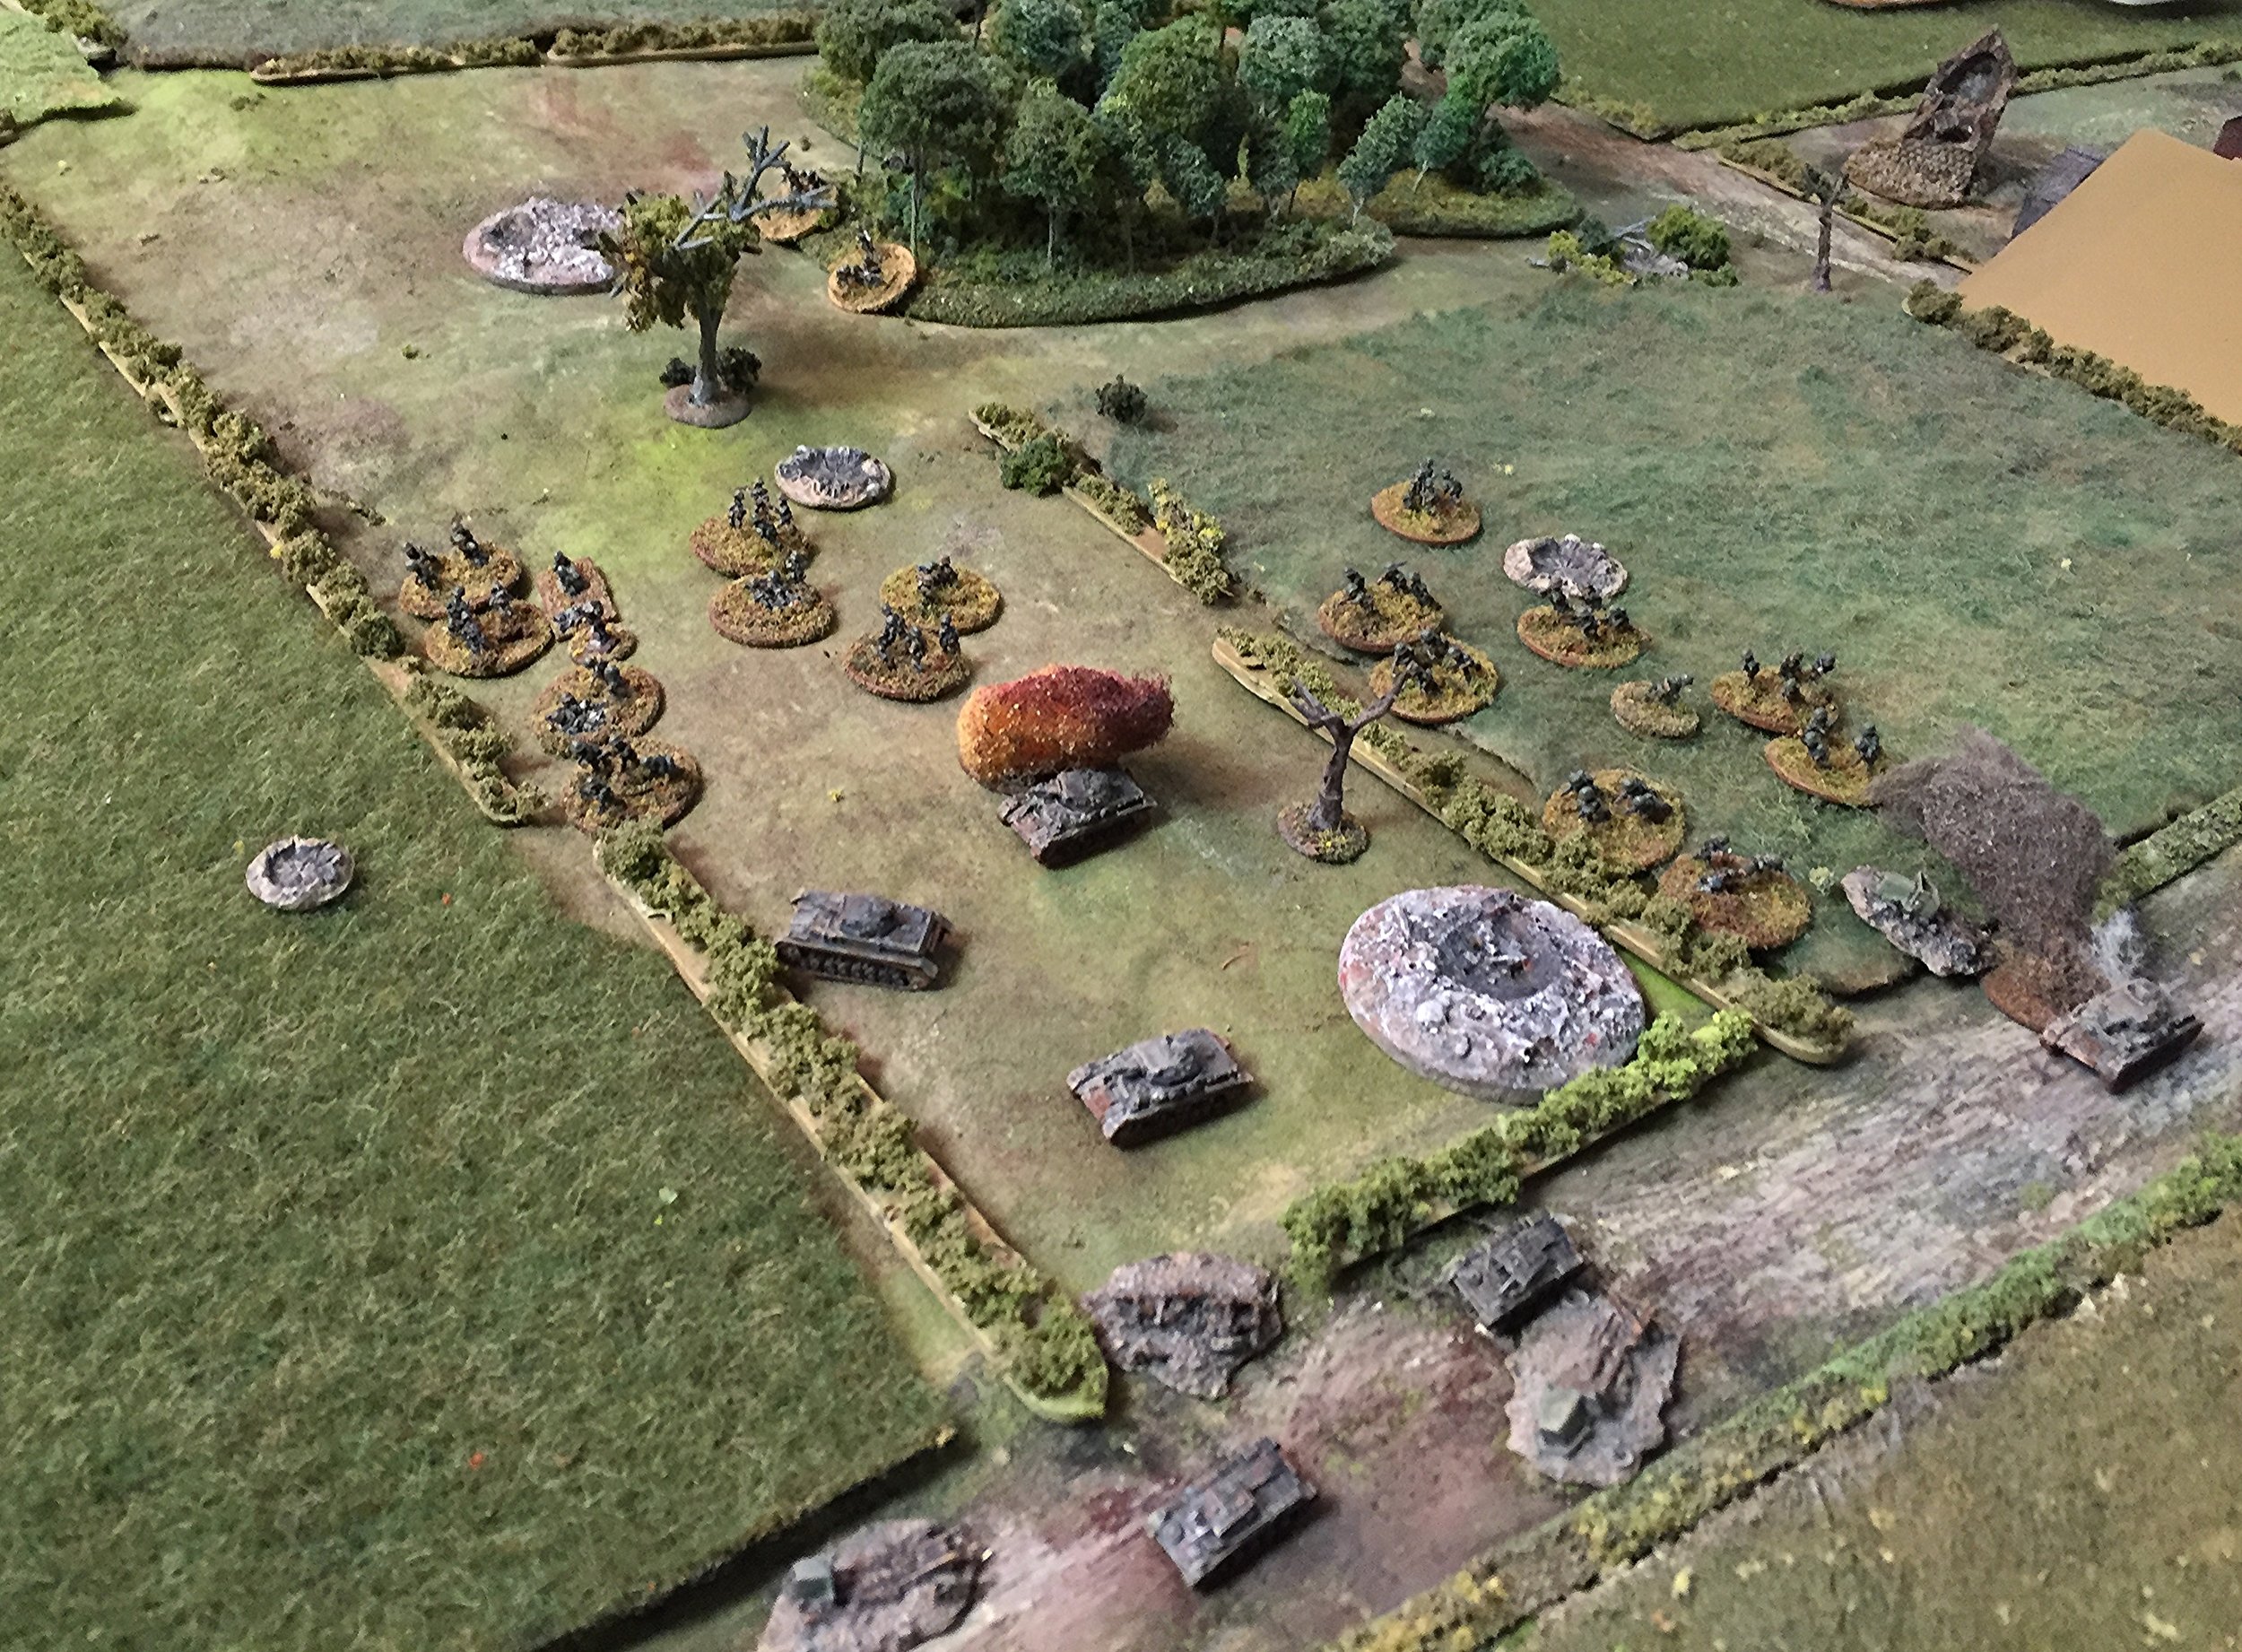
The 25mm ATGs have brewed one Panzer IV and immobilized another. Martin has set up a pair of MMGs in the trees to cover Roger's advance.
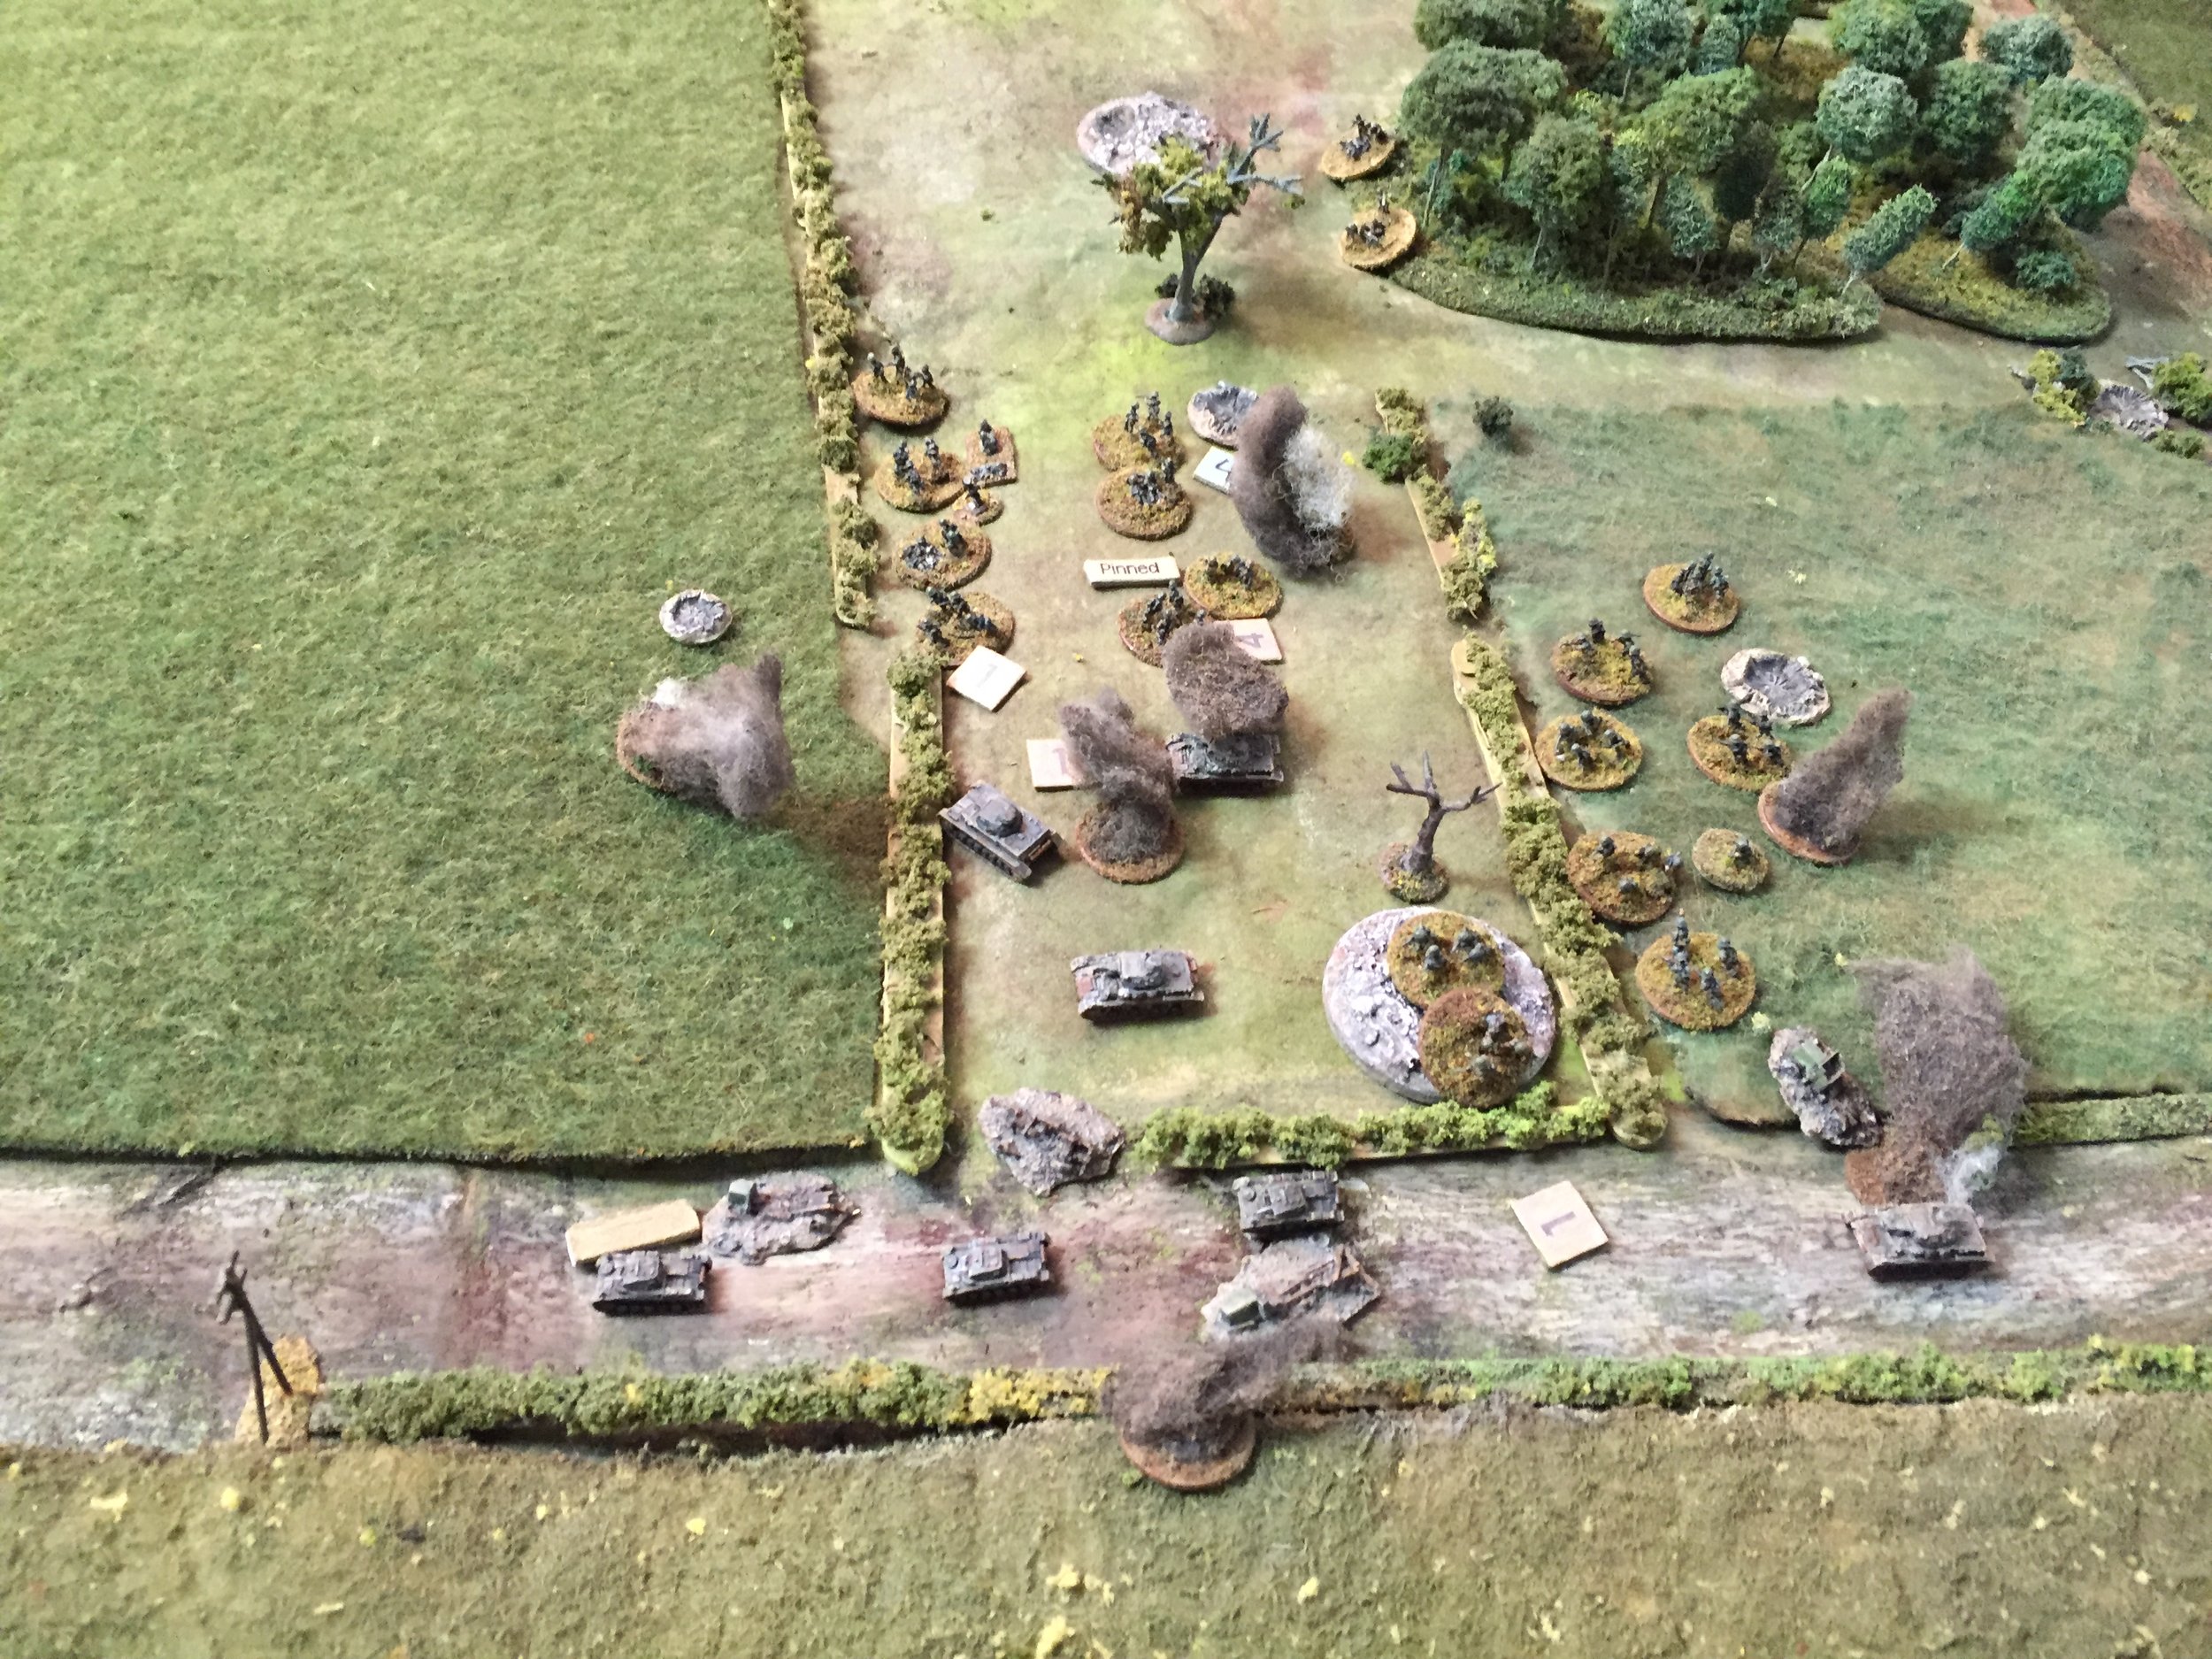
The lead Panzer II has also been halted after hits from the ATR.
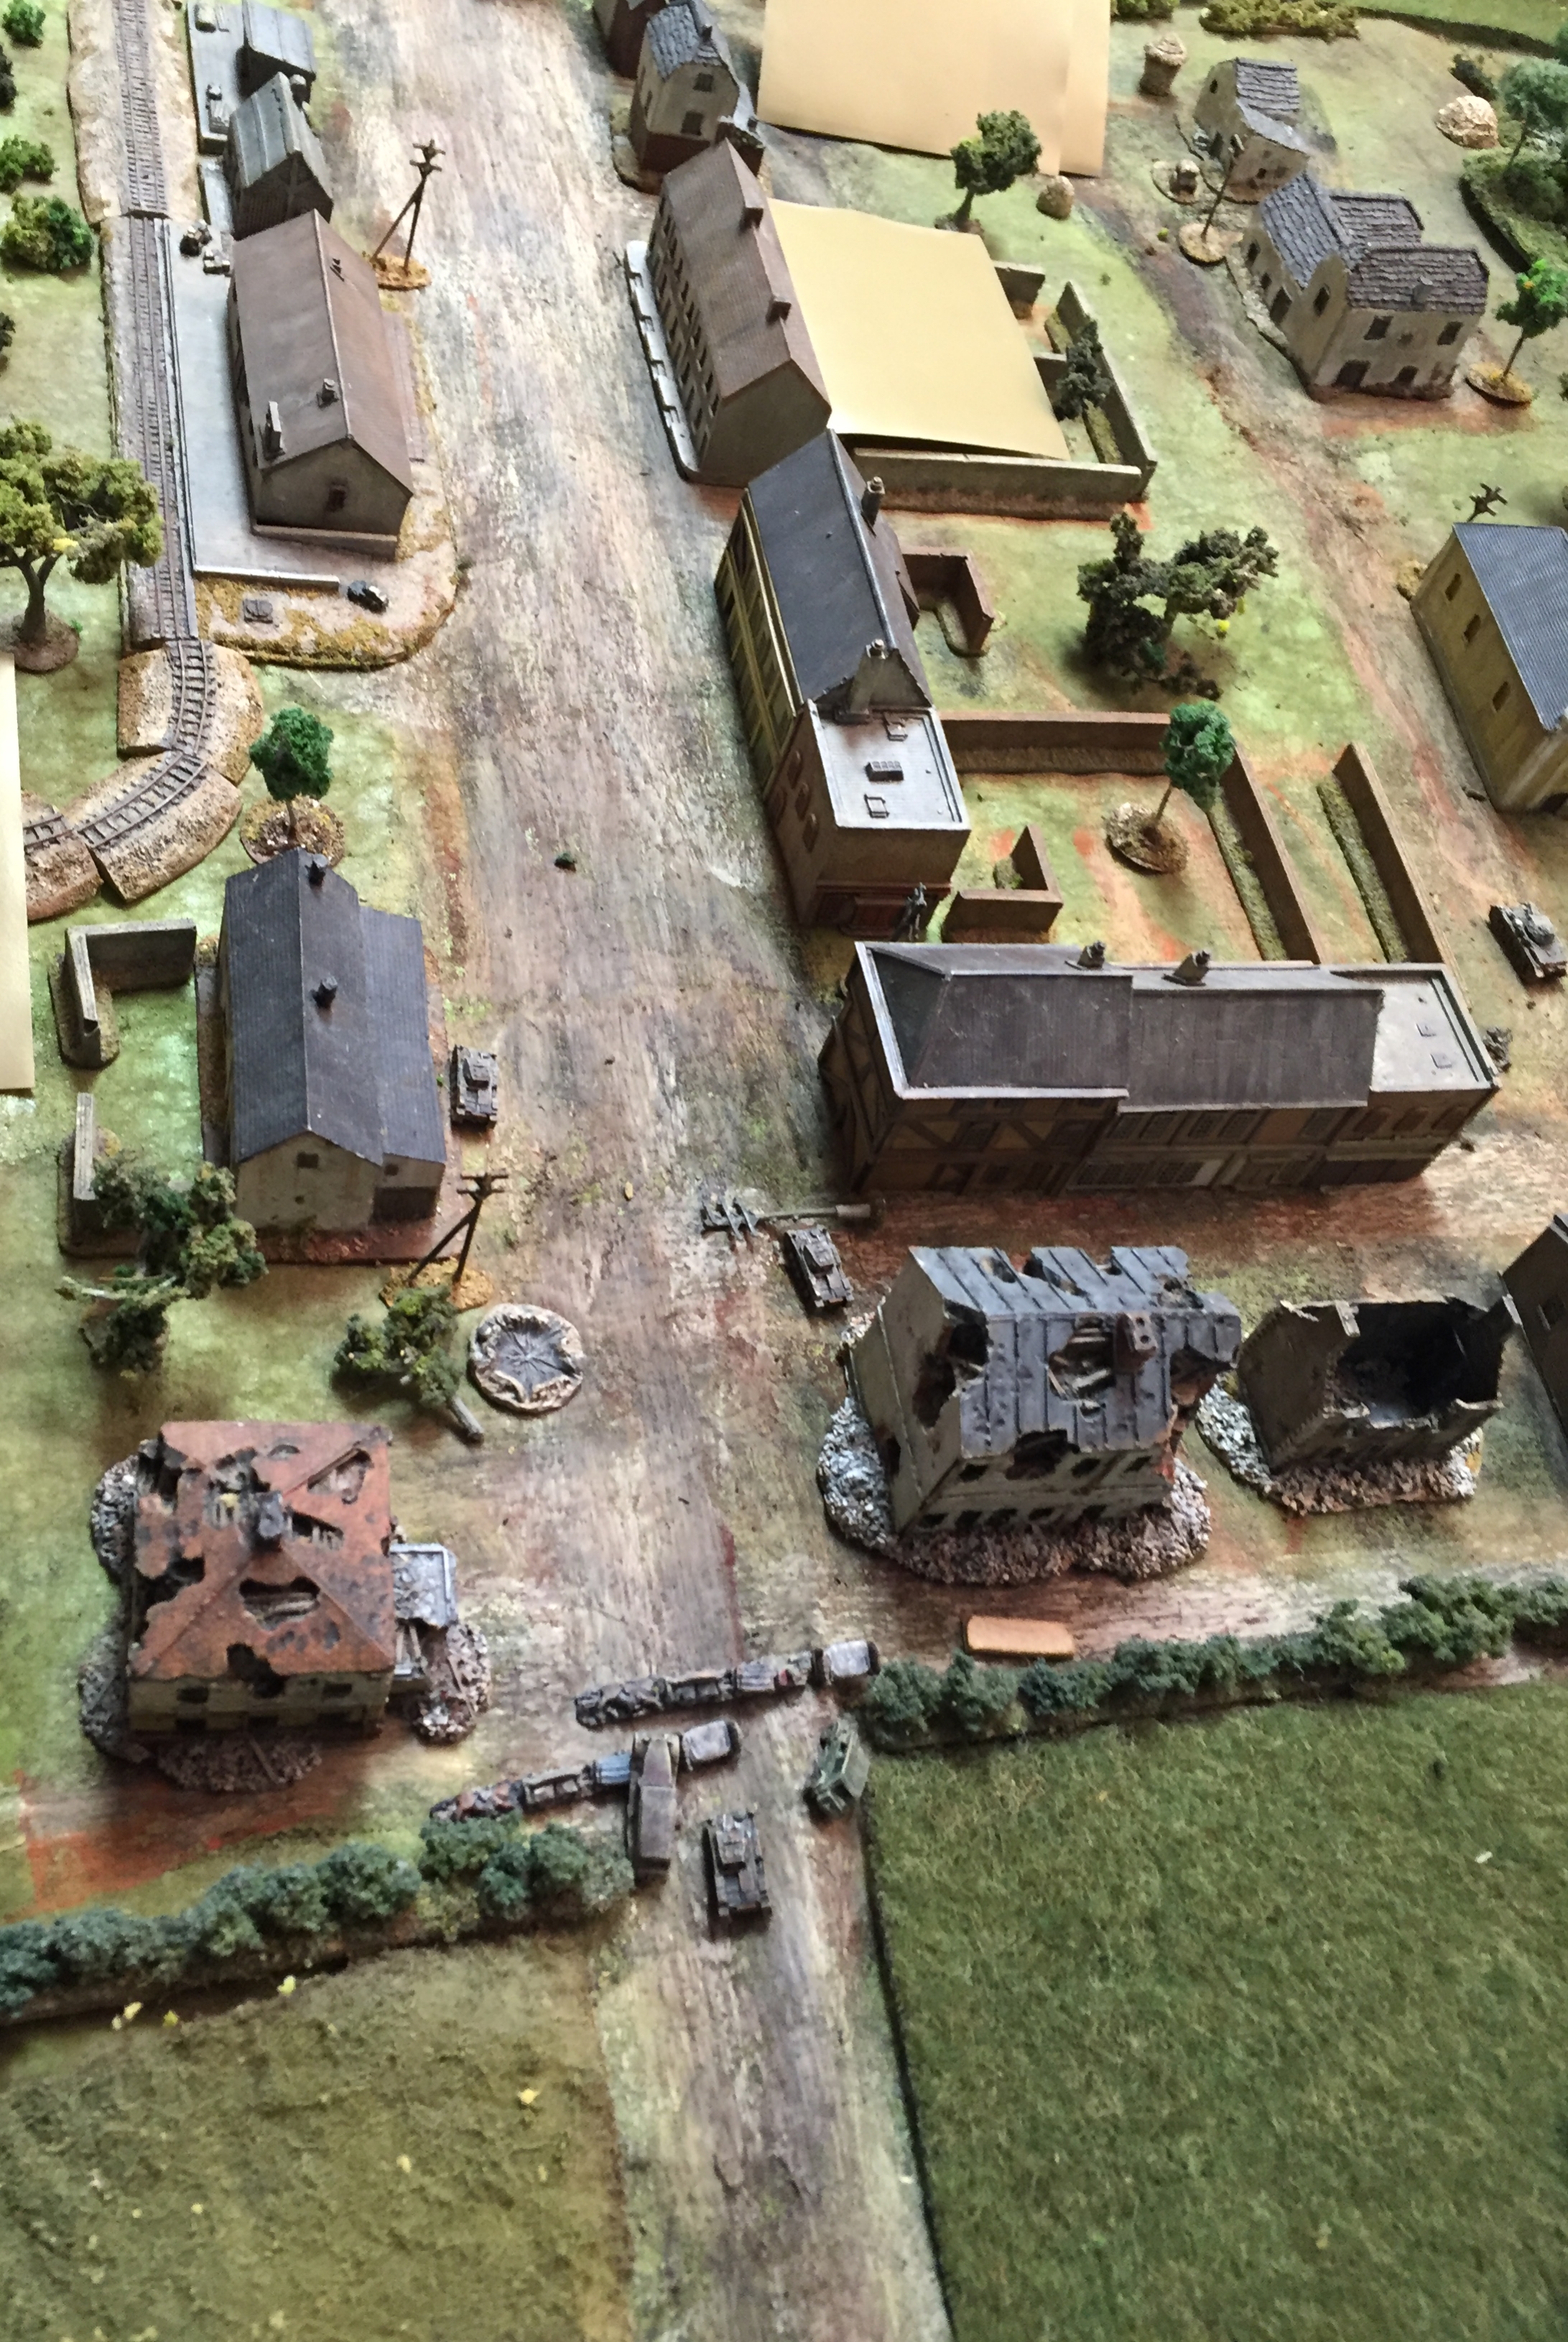
The three Panzer IIs and one of the Panzer IVs pass the British Main Line of Resistance (MLR) along the hedge.
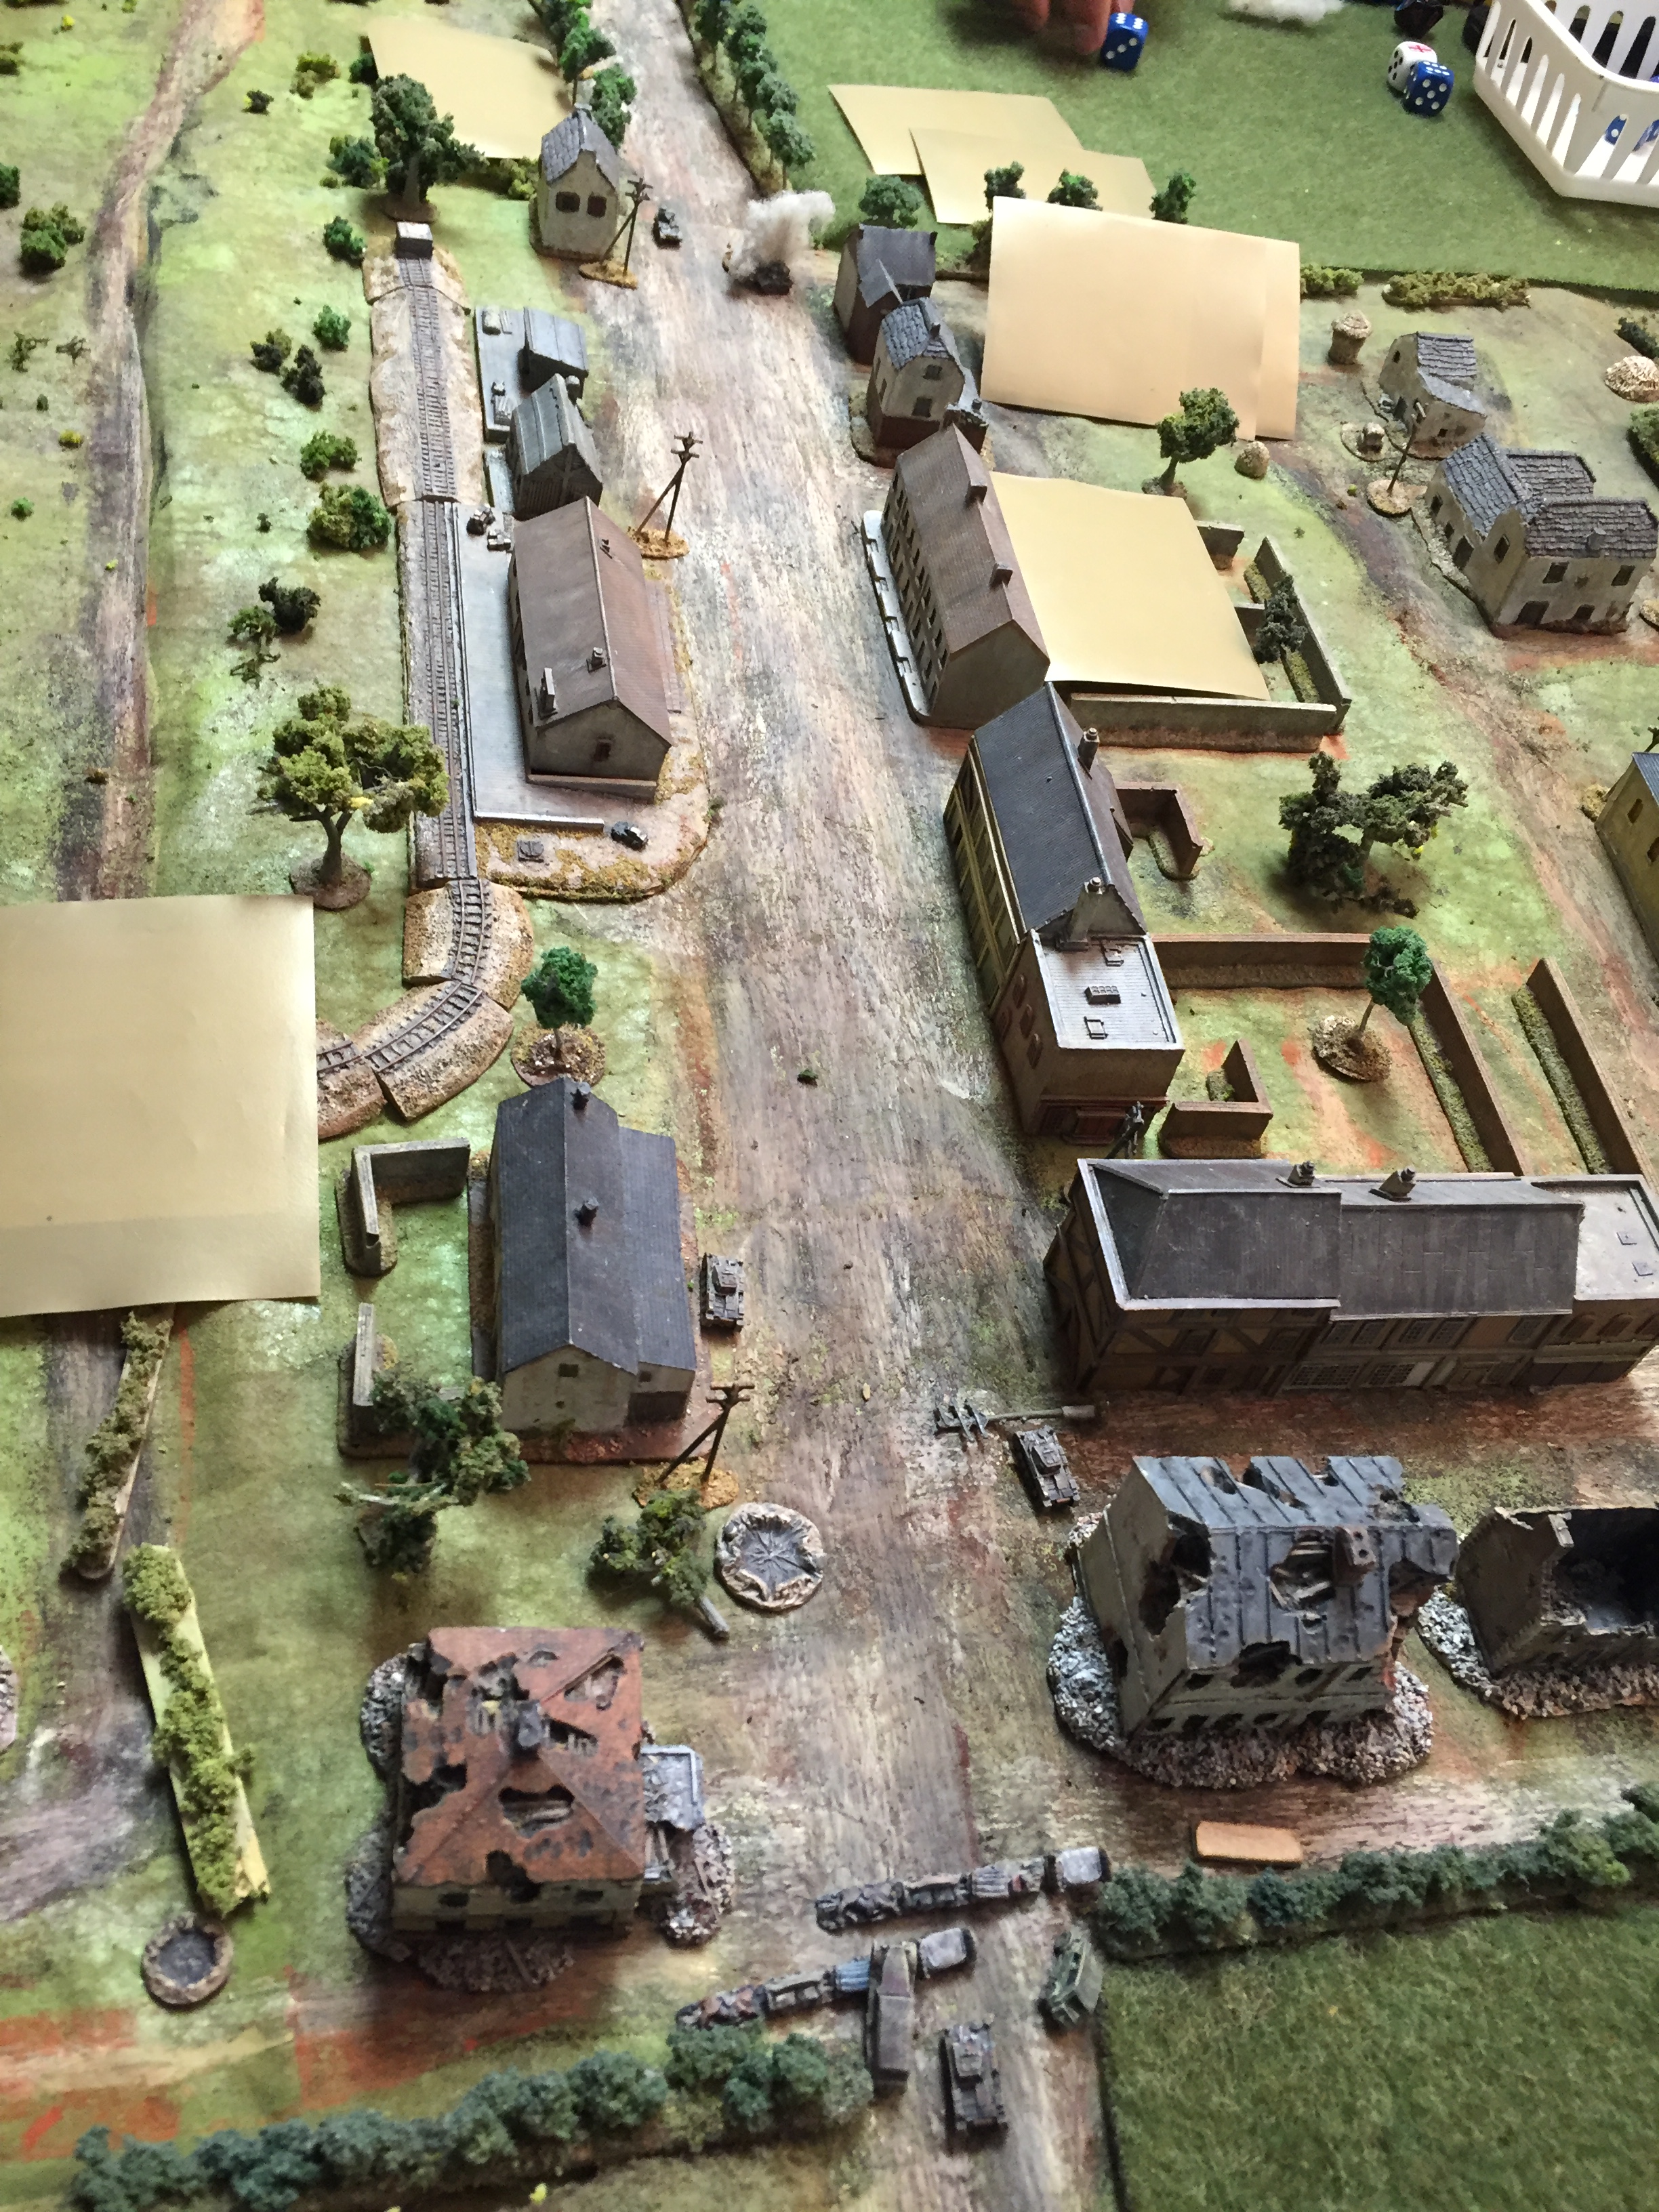
Which ain't much: an A9 Cruiser and a pair of Mk VI light tanks. The rest are dummy Blinds and some actual British troops pulling back. One of the Mk VIs is knocked out immediately by a Panzer II.
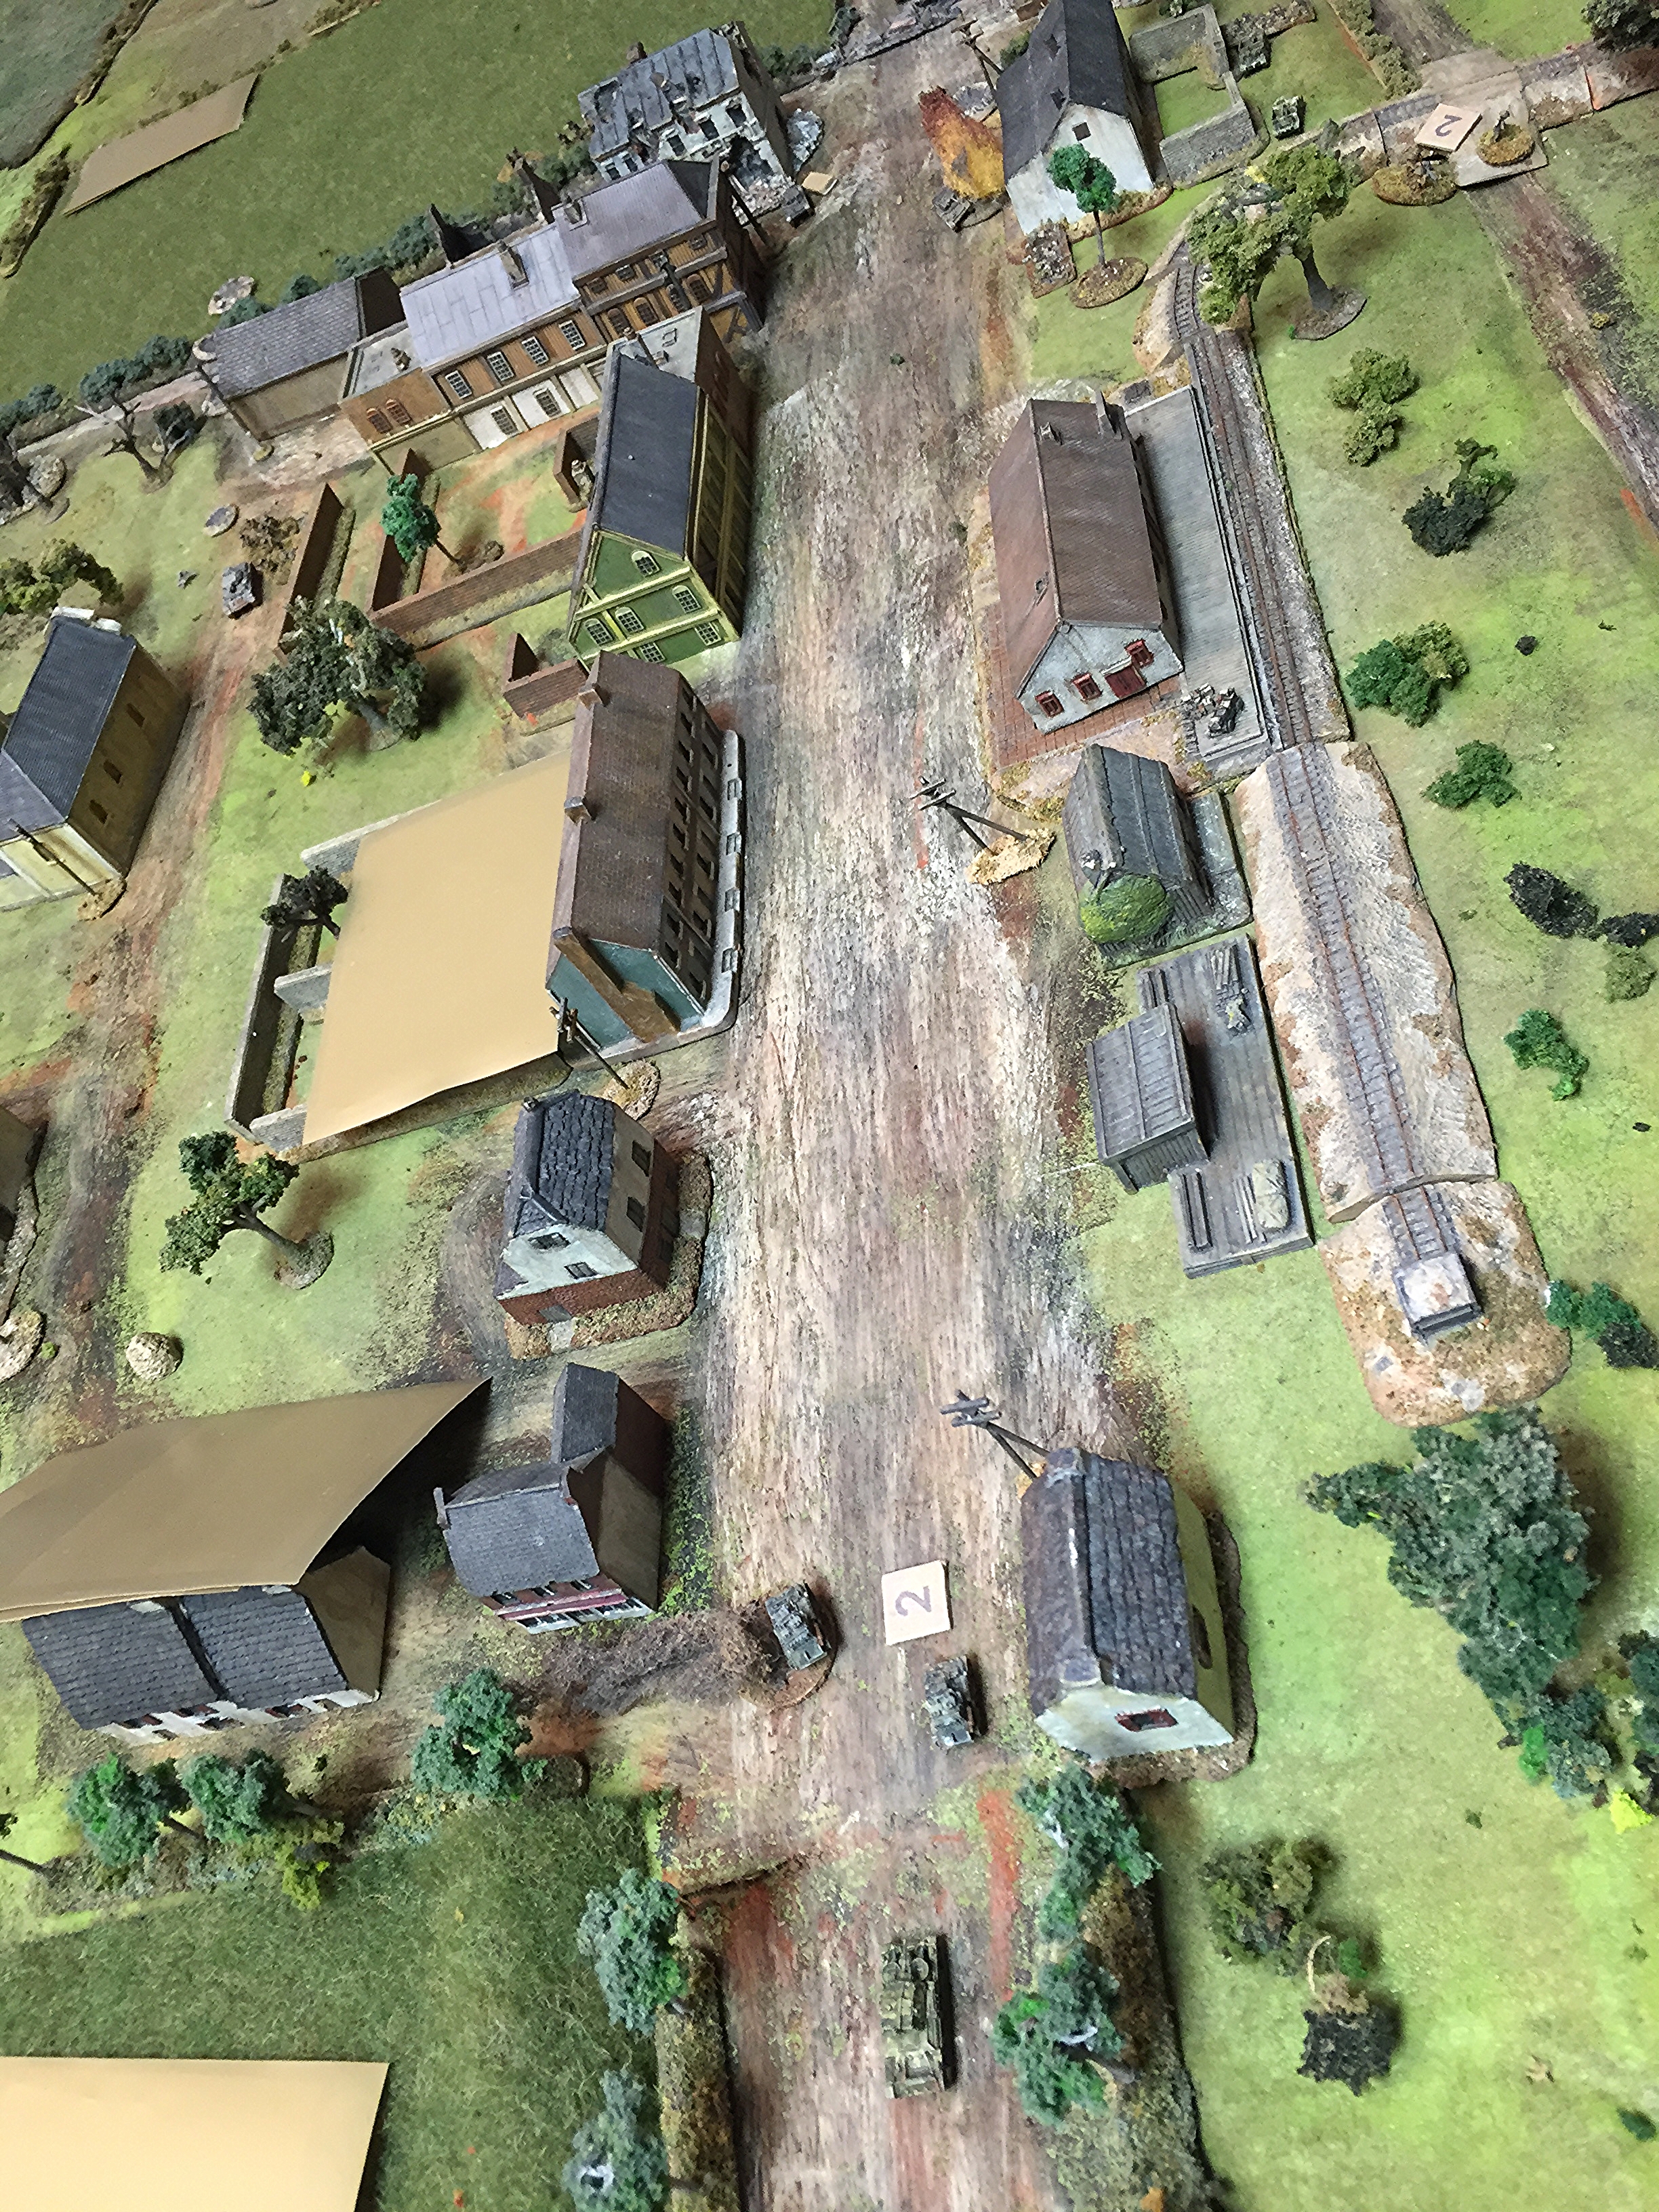
But the A9 takes out a pair of the Panzer IIs before getting immobilized with the 'bog' card. Meanwhile William is attempting to swarm the Panzer IV with a section with mixed results.

Coming under fire from the pair of MMGs and the armored cars is too much
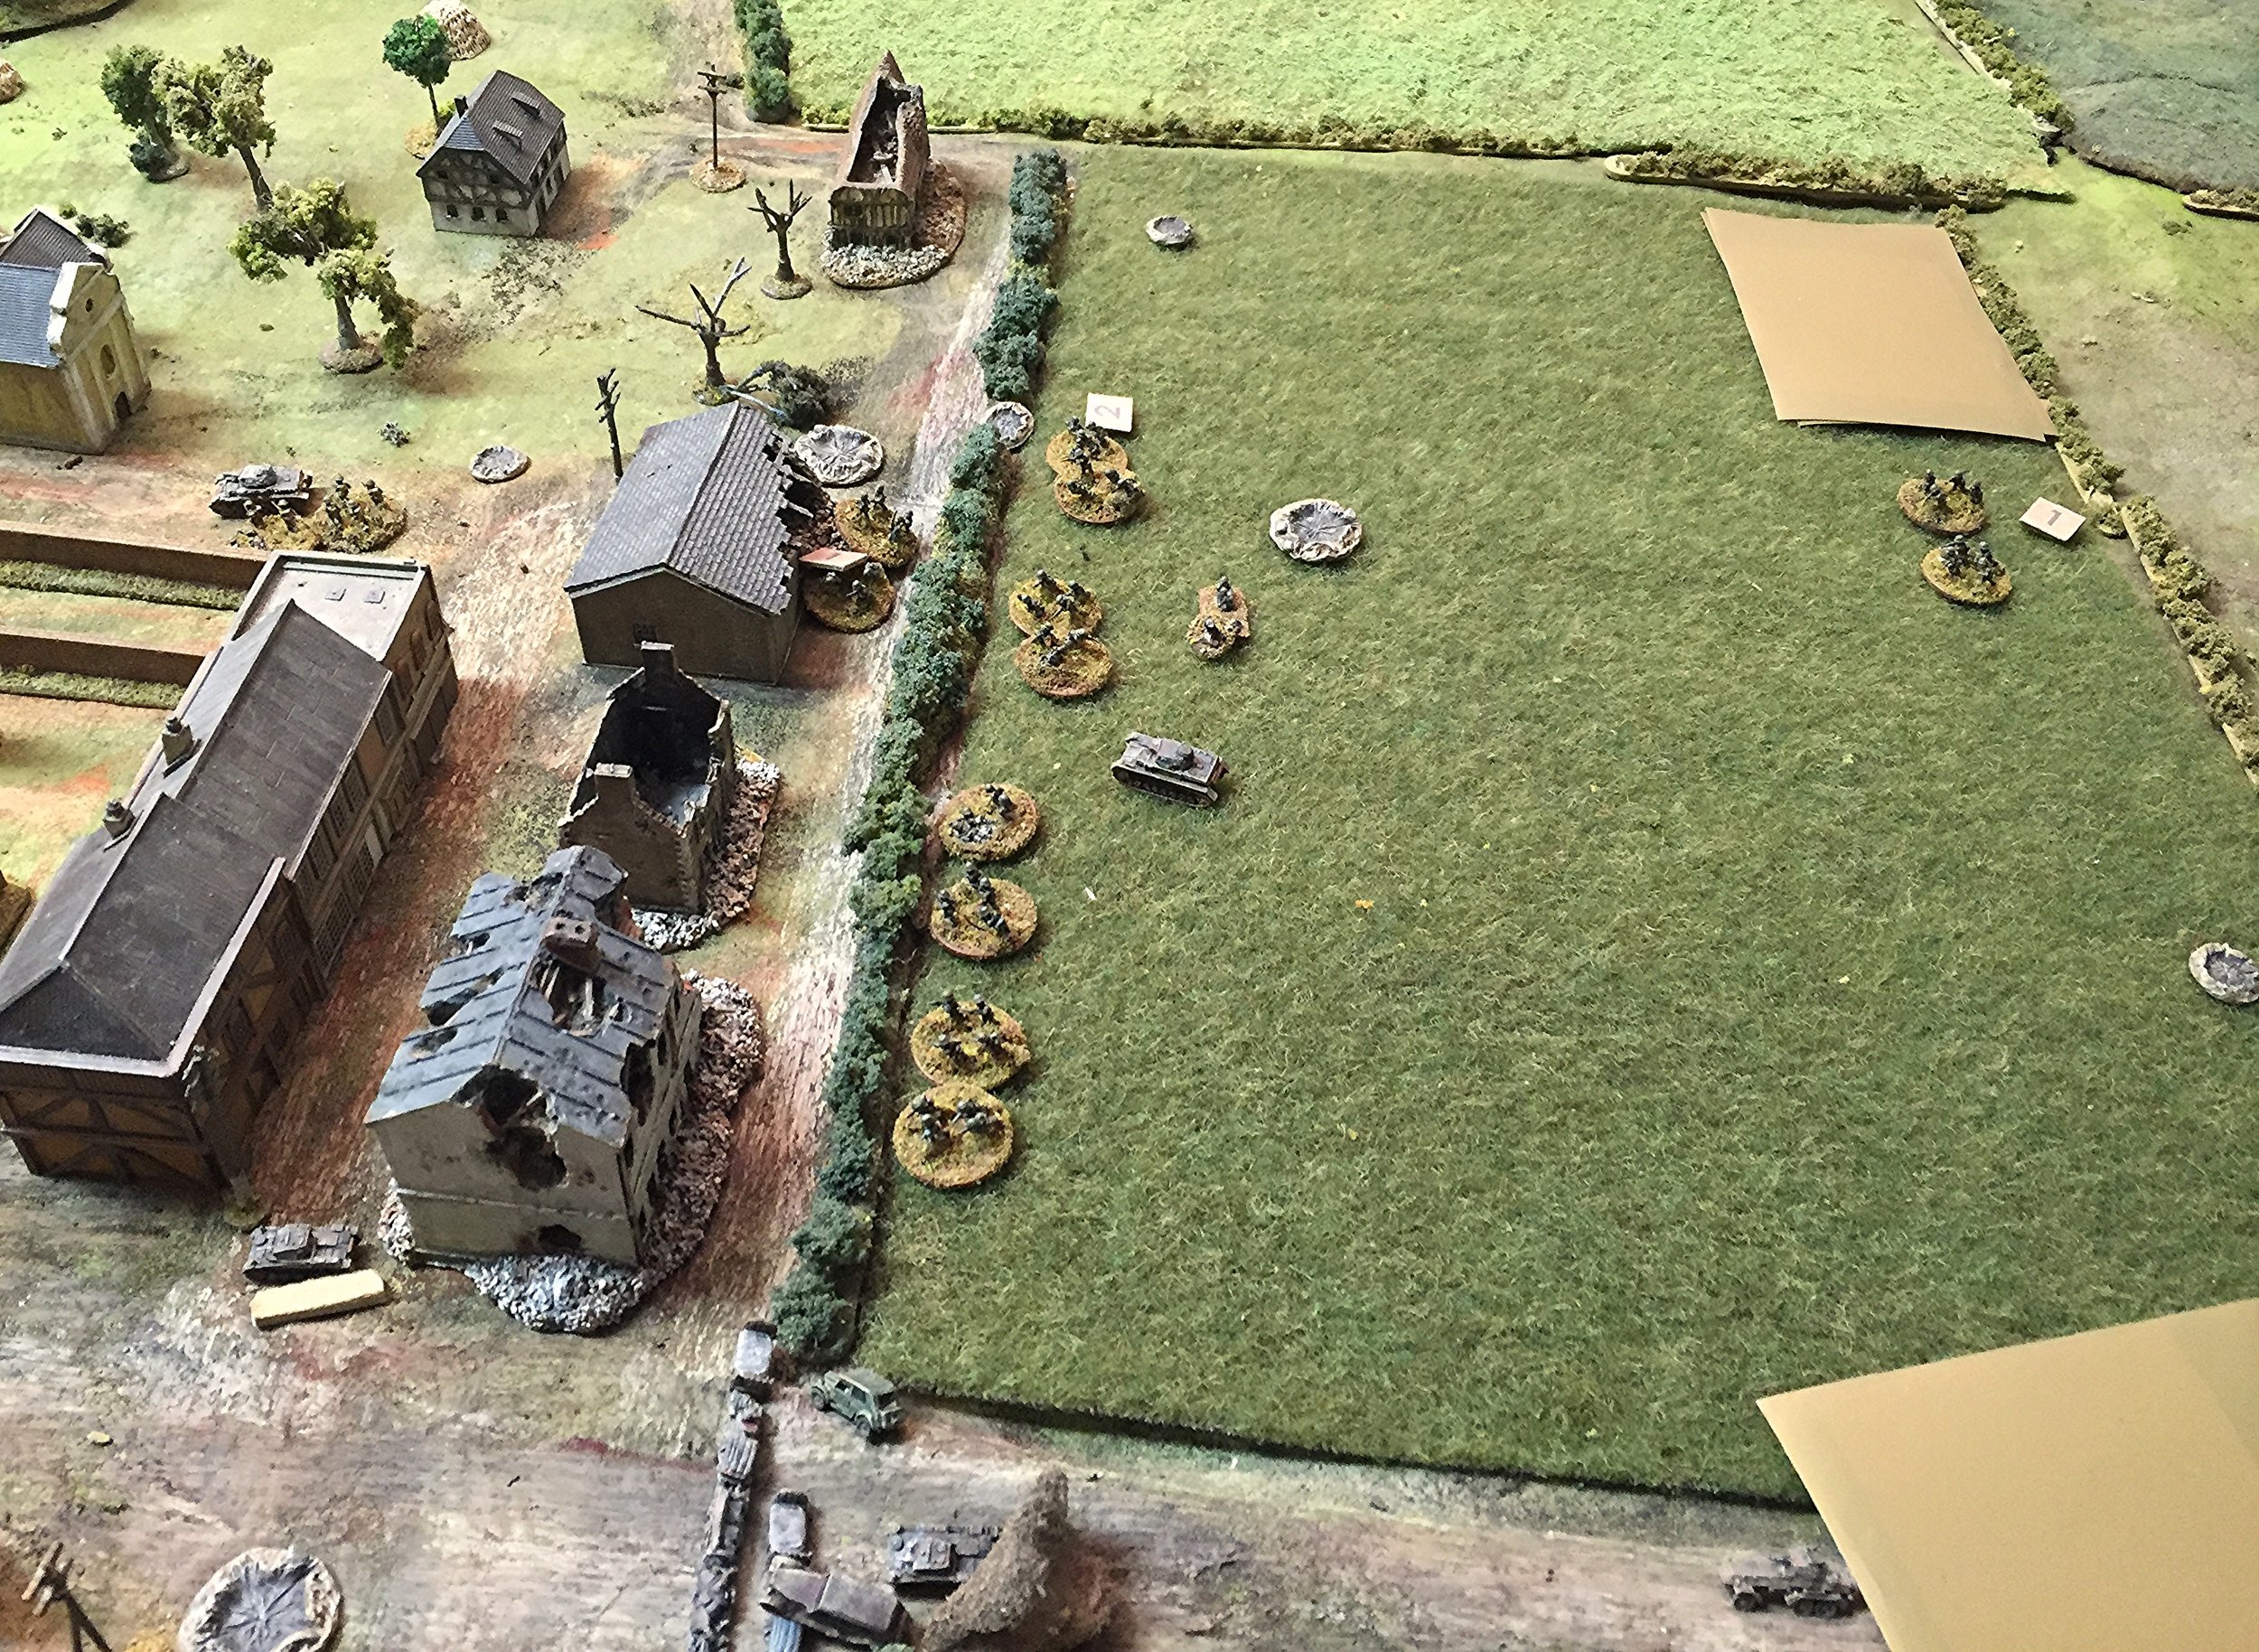
They took a few casualties moving across the field from the mortars and a Vickers, but too many for the Brits to stop, especially after the Vickers was silenced.
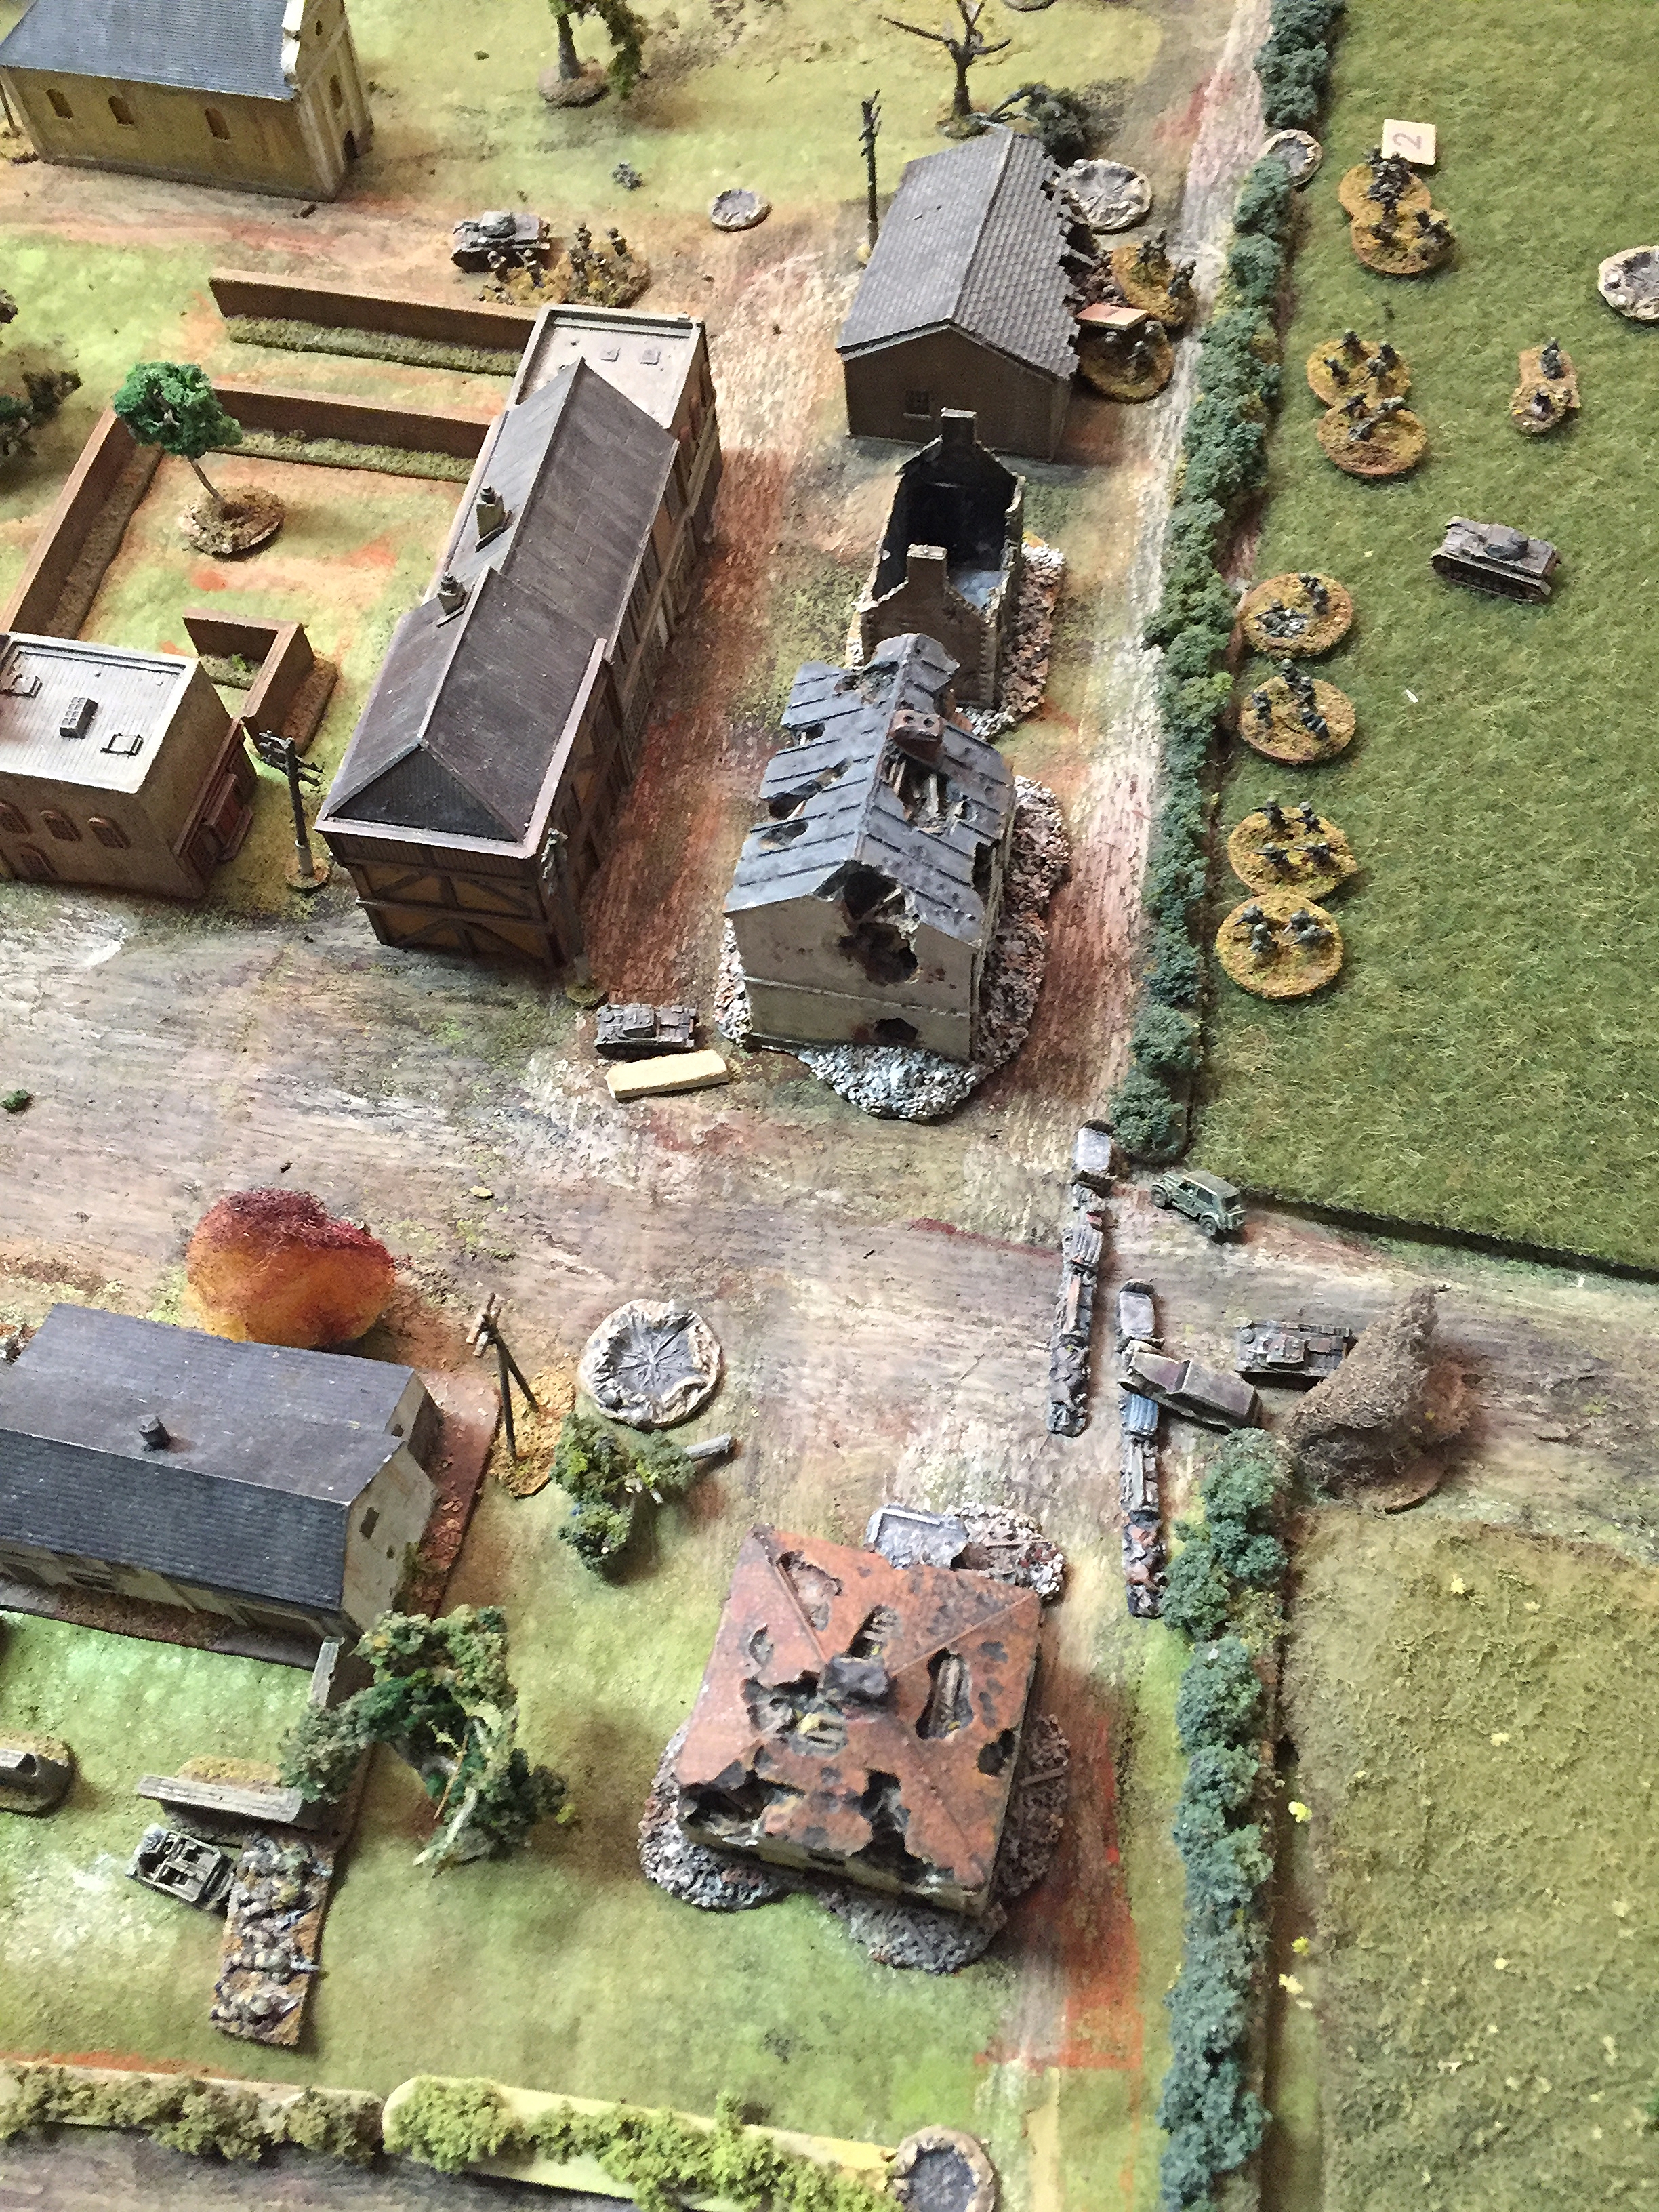
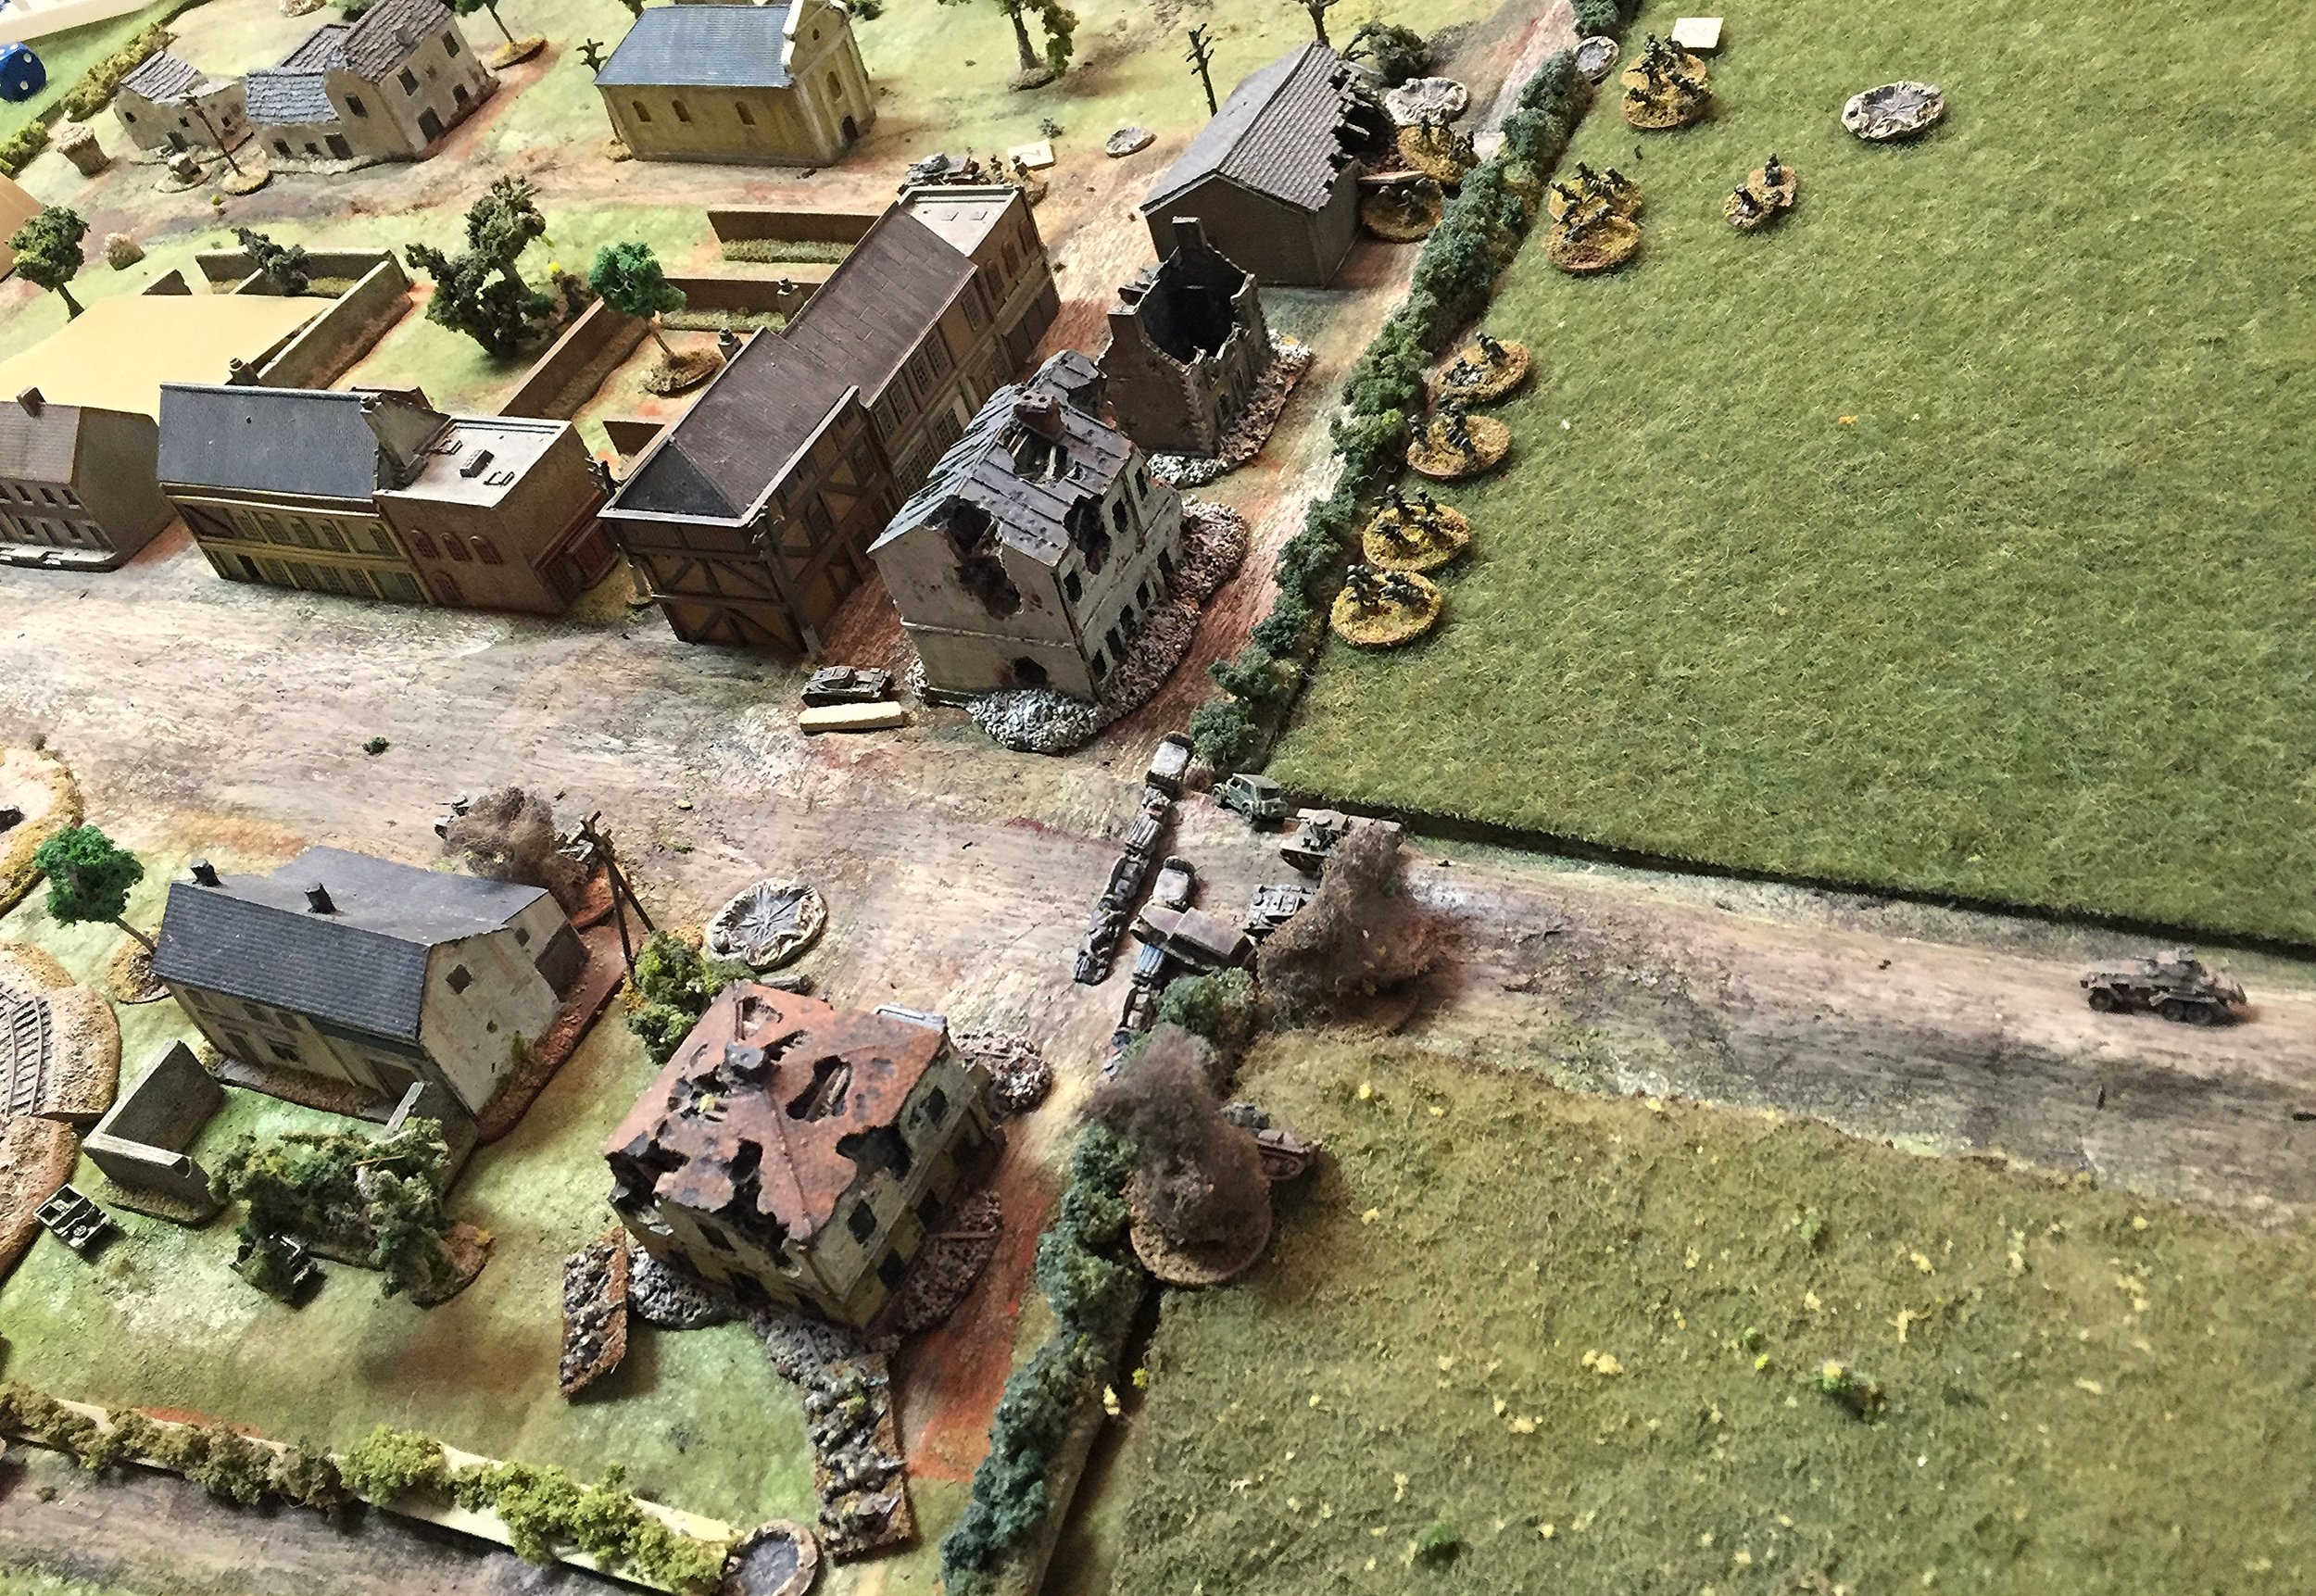
German reinforcements were three Panzer 38(t)s and a pair of horse drawn infantry guns. They managed to arrive in time to get hit by a mortar barrage which destroyed one of the infantry guns. The last Panzer II has also brewed up.
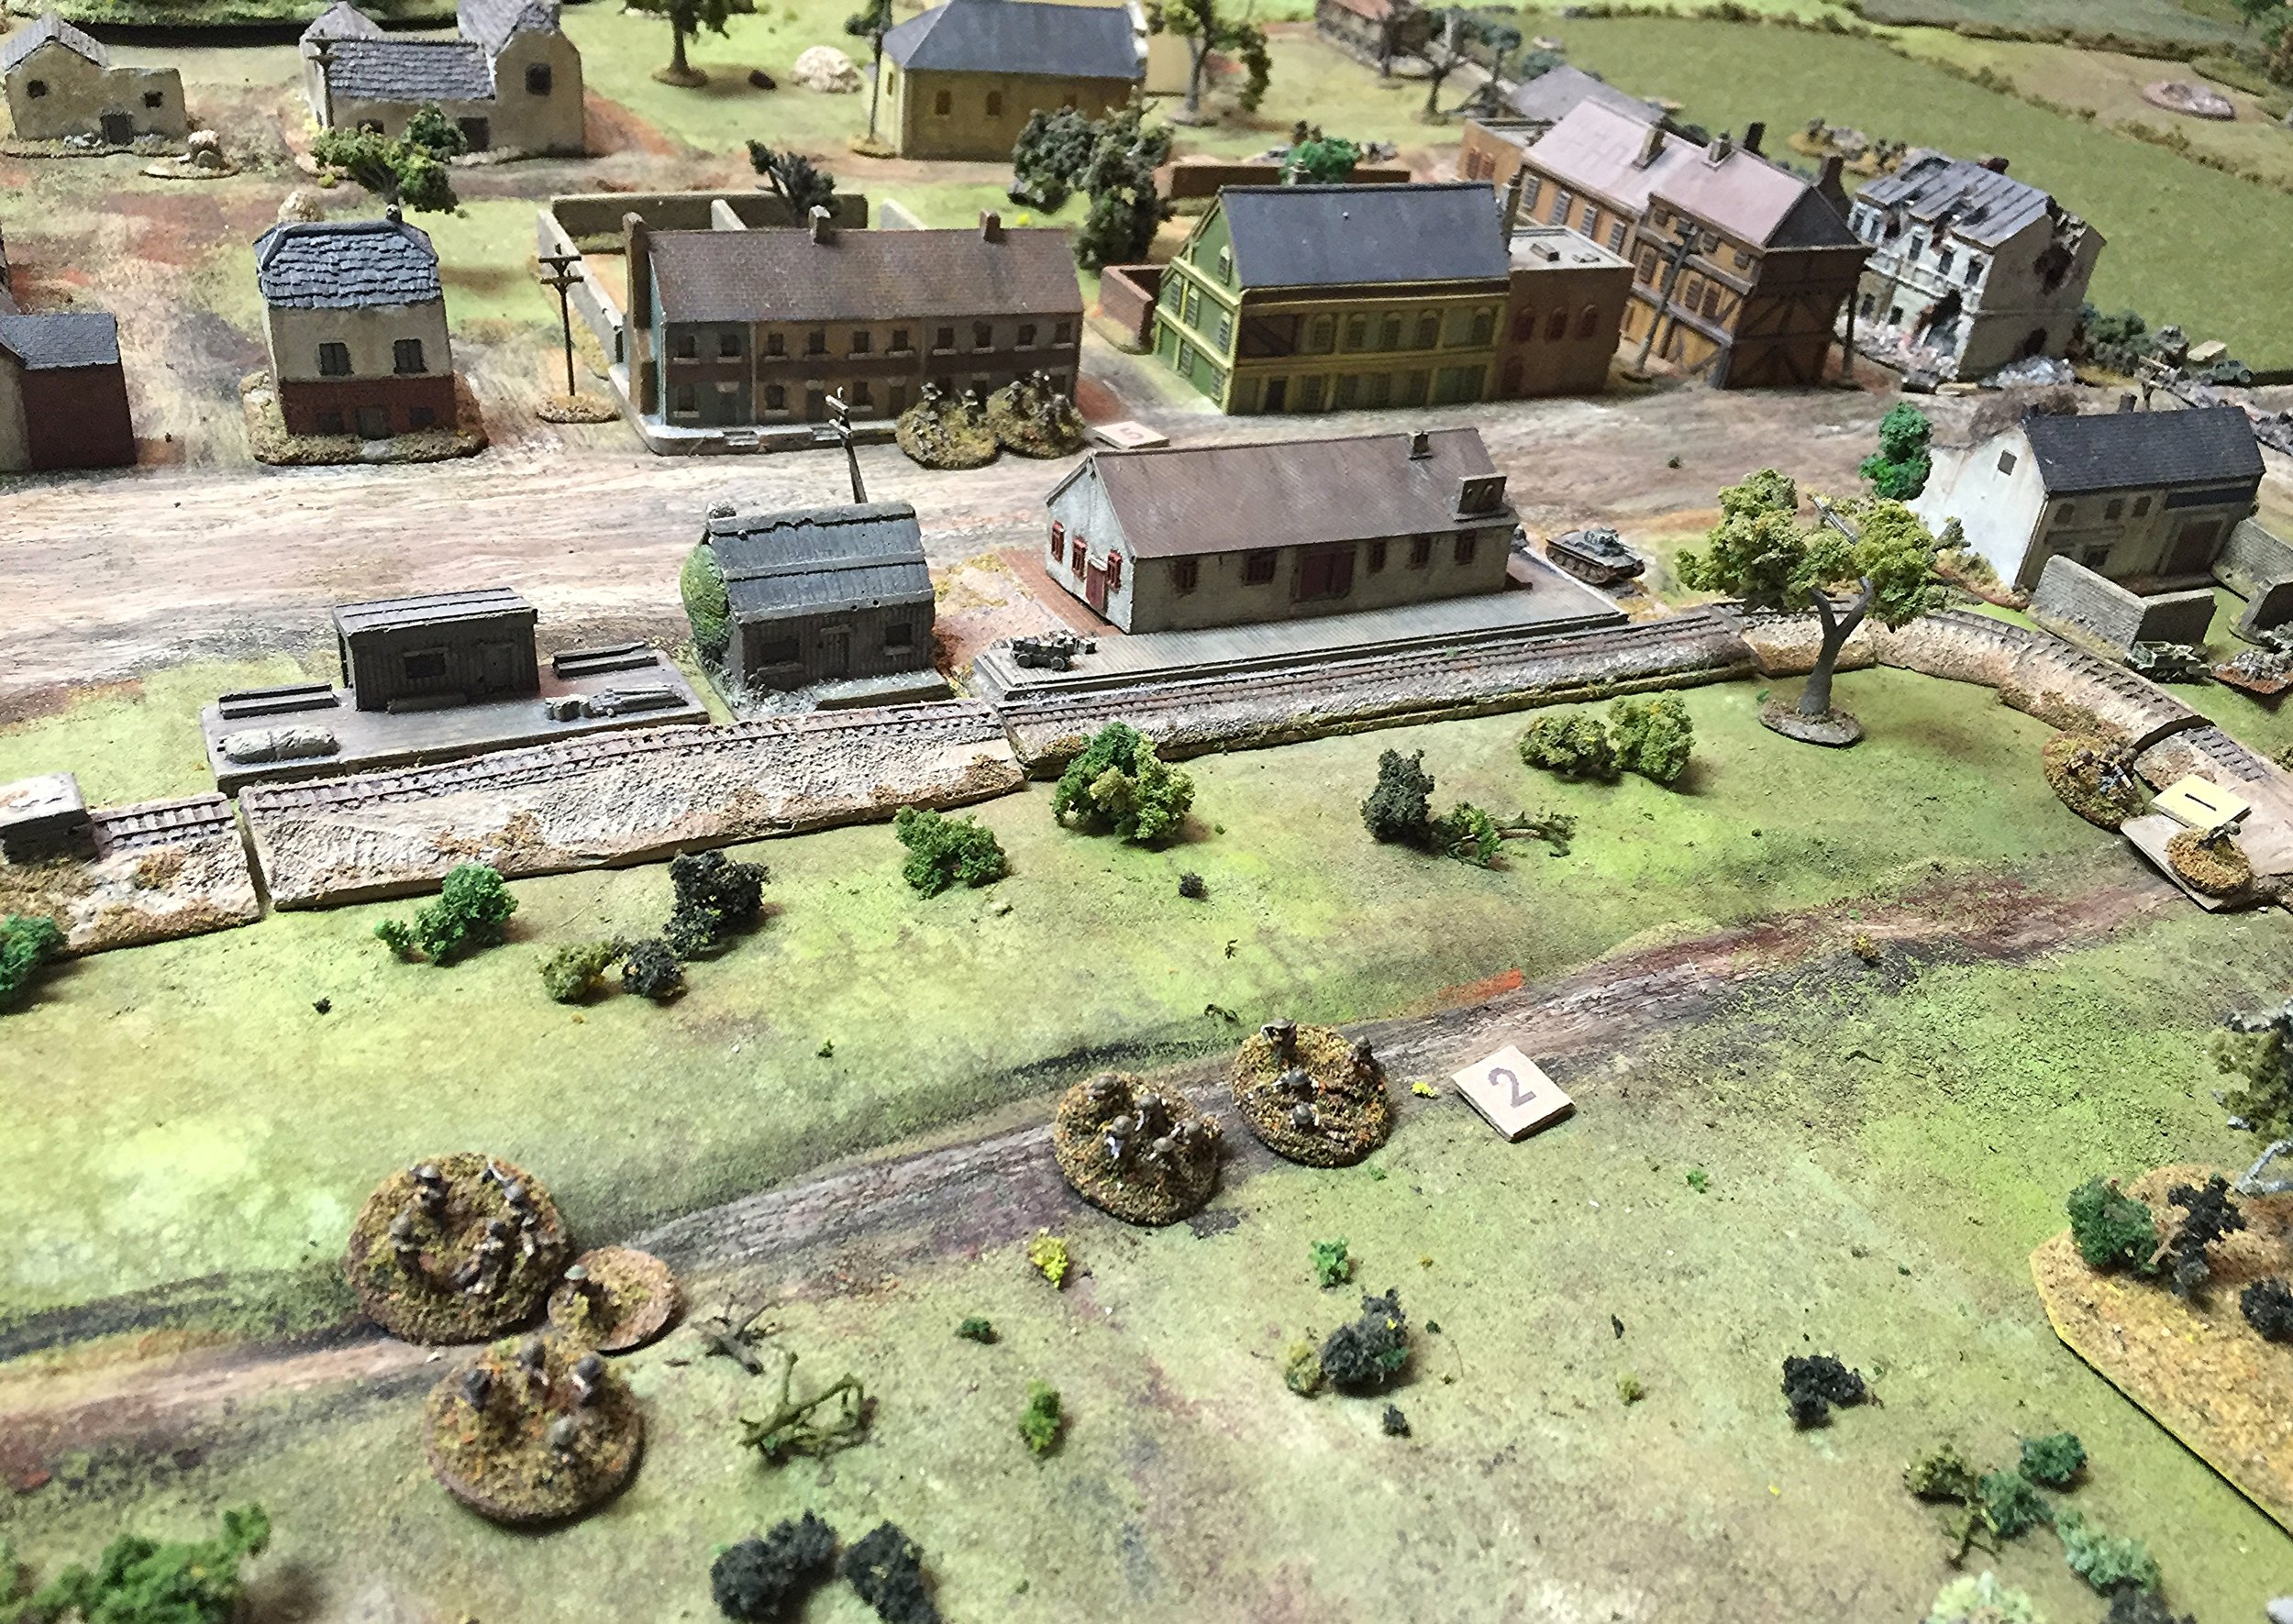
The survivors from the carrier section, the right hand Vickers and the right platoon pull back in front of a Panzer 38(t).
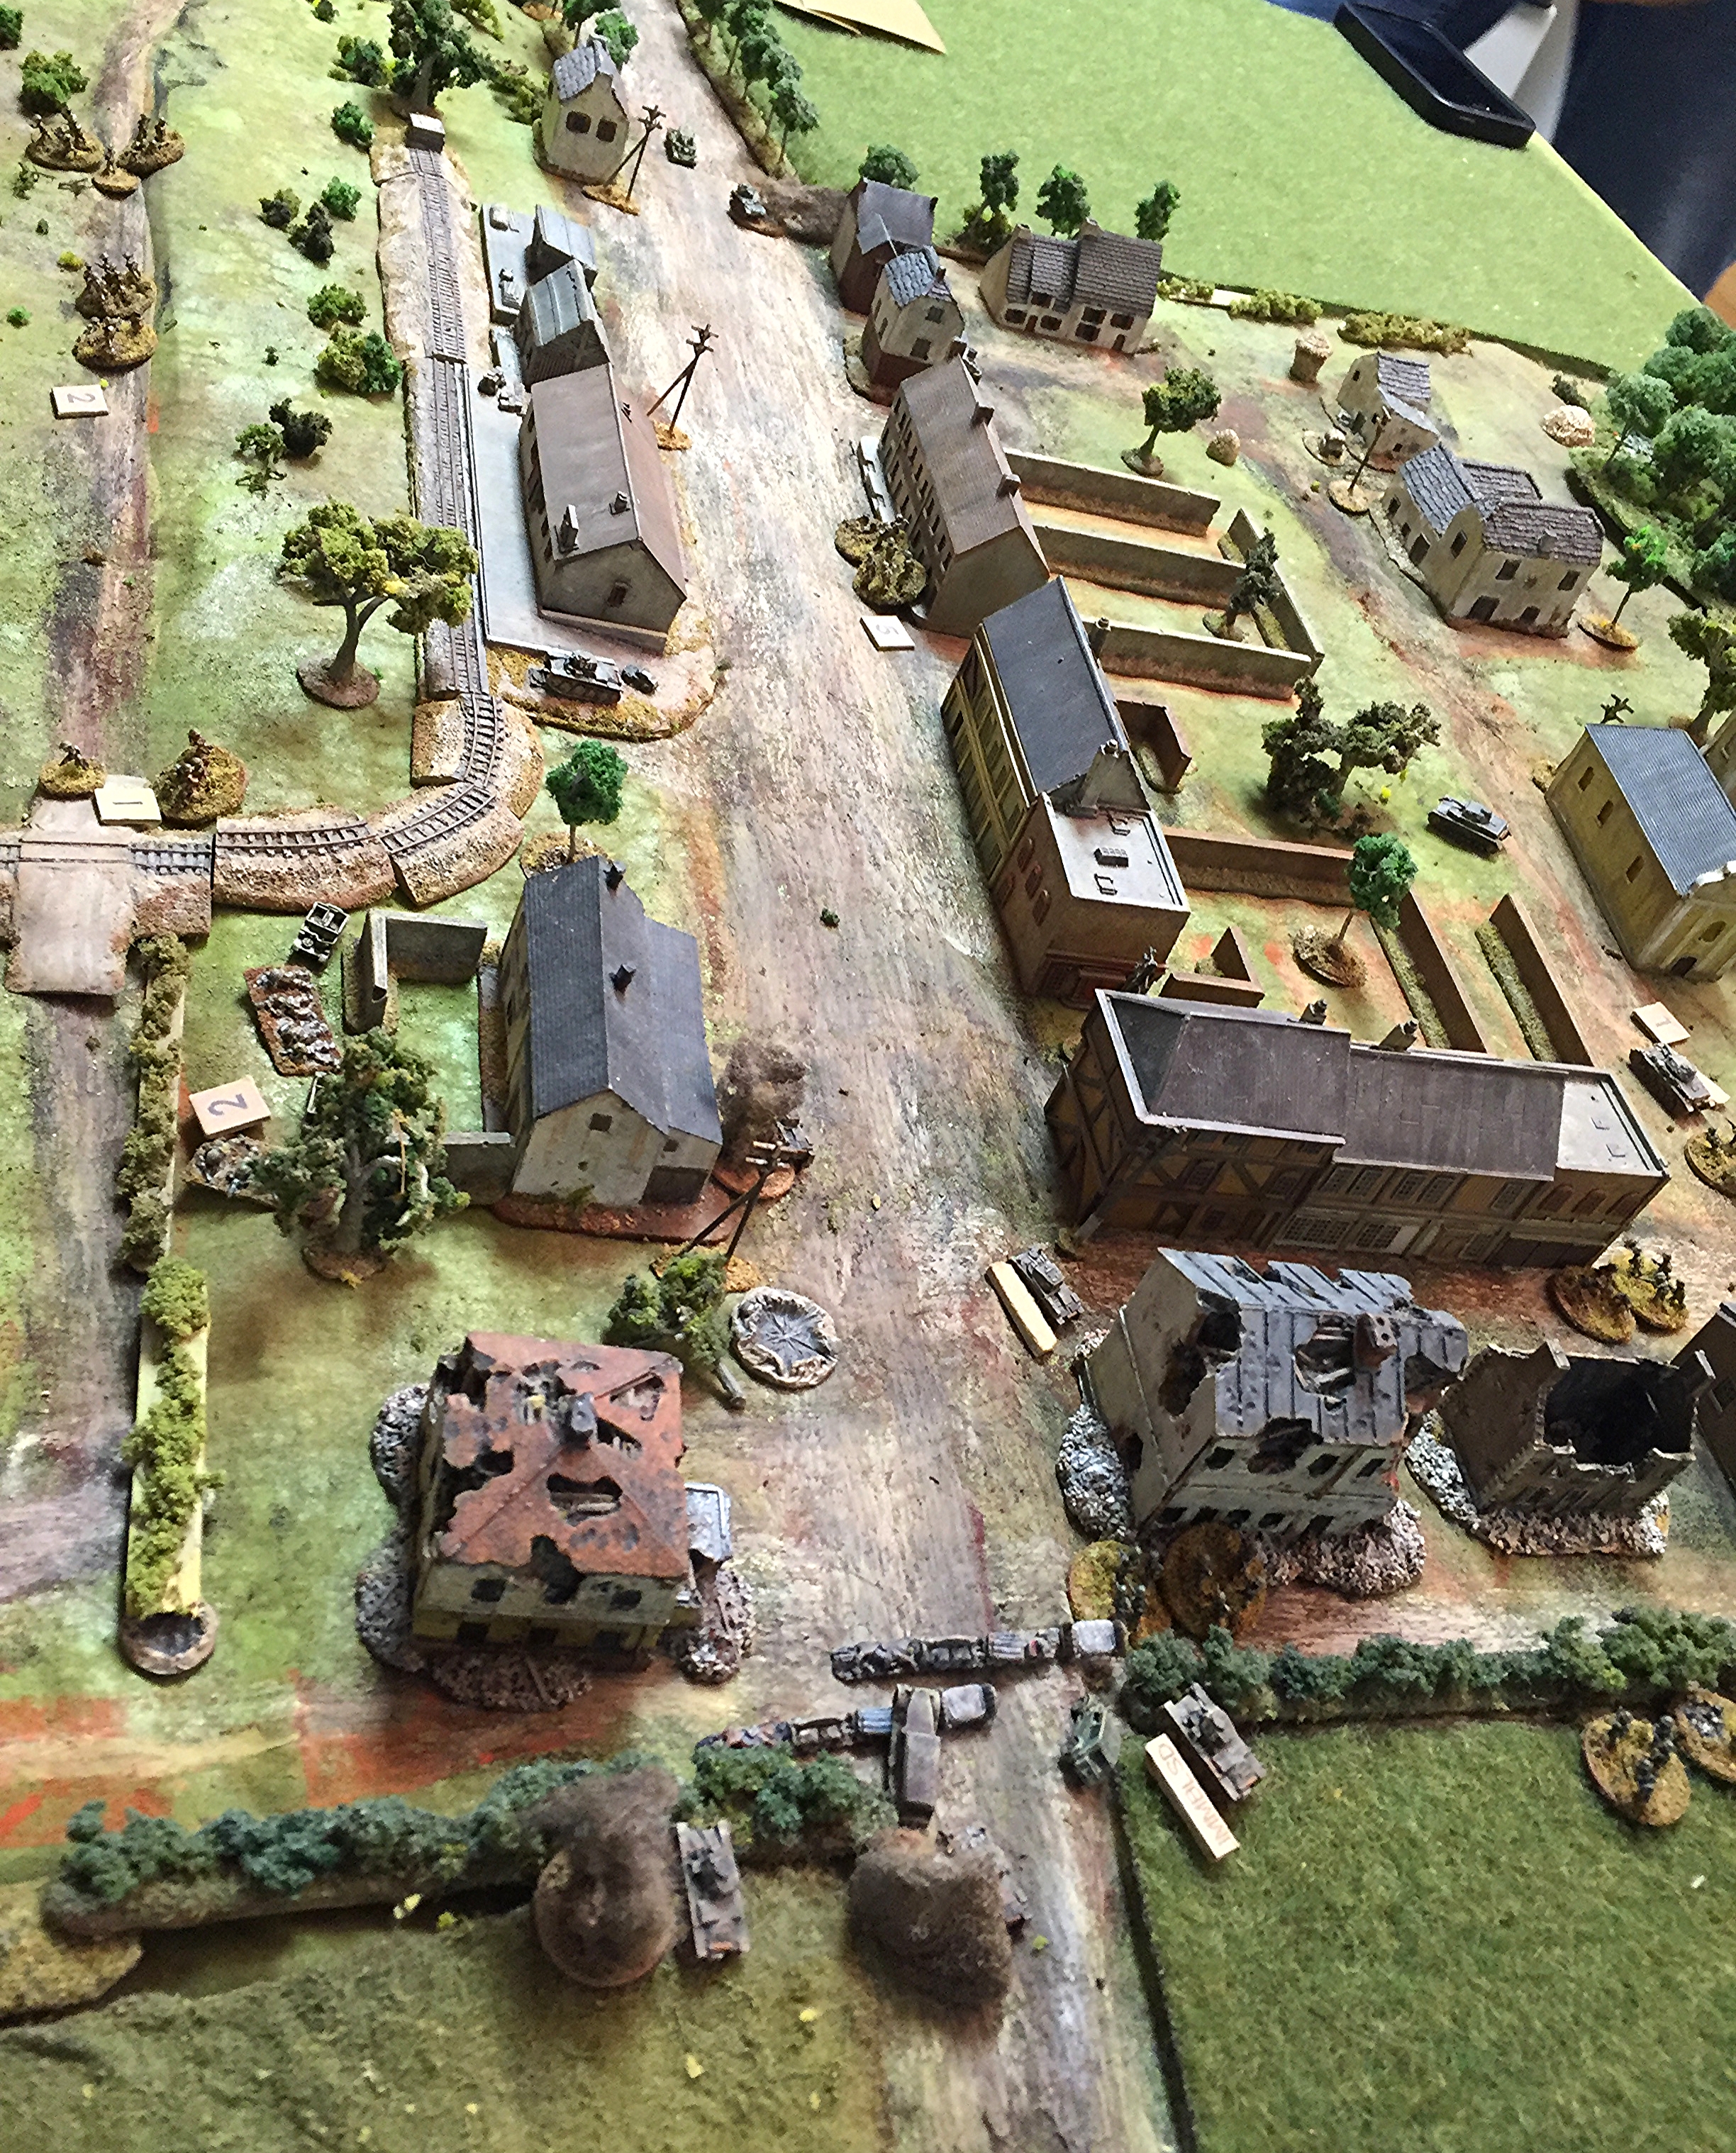
The A9 crew has bailed out. Another Panzer 38(t) is immobilsed on the left side minefield (the scenario called for one British minefield but a random event allowed the Brits to get two). Another Panzer IV is moving through town past its beat up, close-assaulted mate.

Just smoking tanks and fleeing Brits.
The Germans took a bit of a beating, losing 24 of 96 infantry, an infantry gun, a few machine gunners, five tanks destroyed and three damaged (out of 10).
The Brits had all three tanks KO'ed, both Vickers wiped out, both ATGs wiped out, both Boys ATRs gone, and 10 of 56 men casualties. A German victory.
A return to "I Ain't Been Shot, Mum". This is one of the last battles in the "Bashyna or Bust" campaign by the Too Fat Lardies. The Germans have dug in on the road to Bashyna in an effort to stop the rot.
As some of our club members wished to try out IABSM, I thought this scenario would be a good introduction. Bob and Mike played the part of the Germans with Steve C and Allan taking on the role of the Soviet commanders.
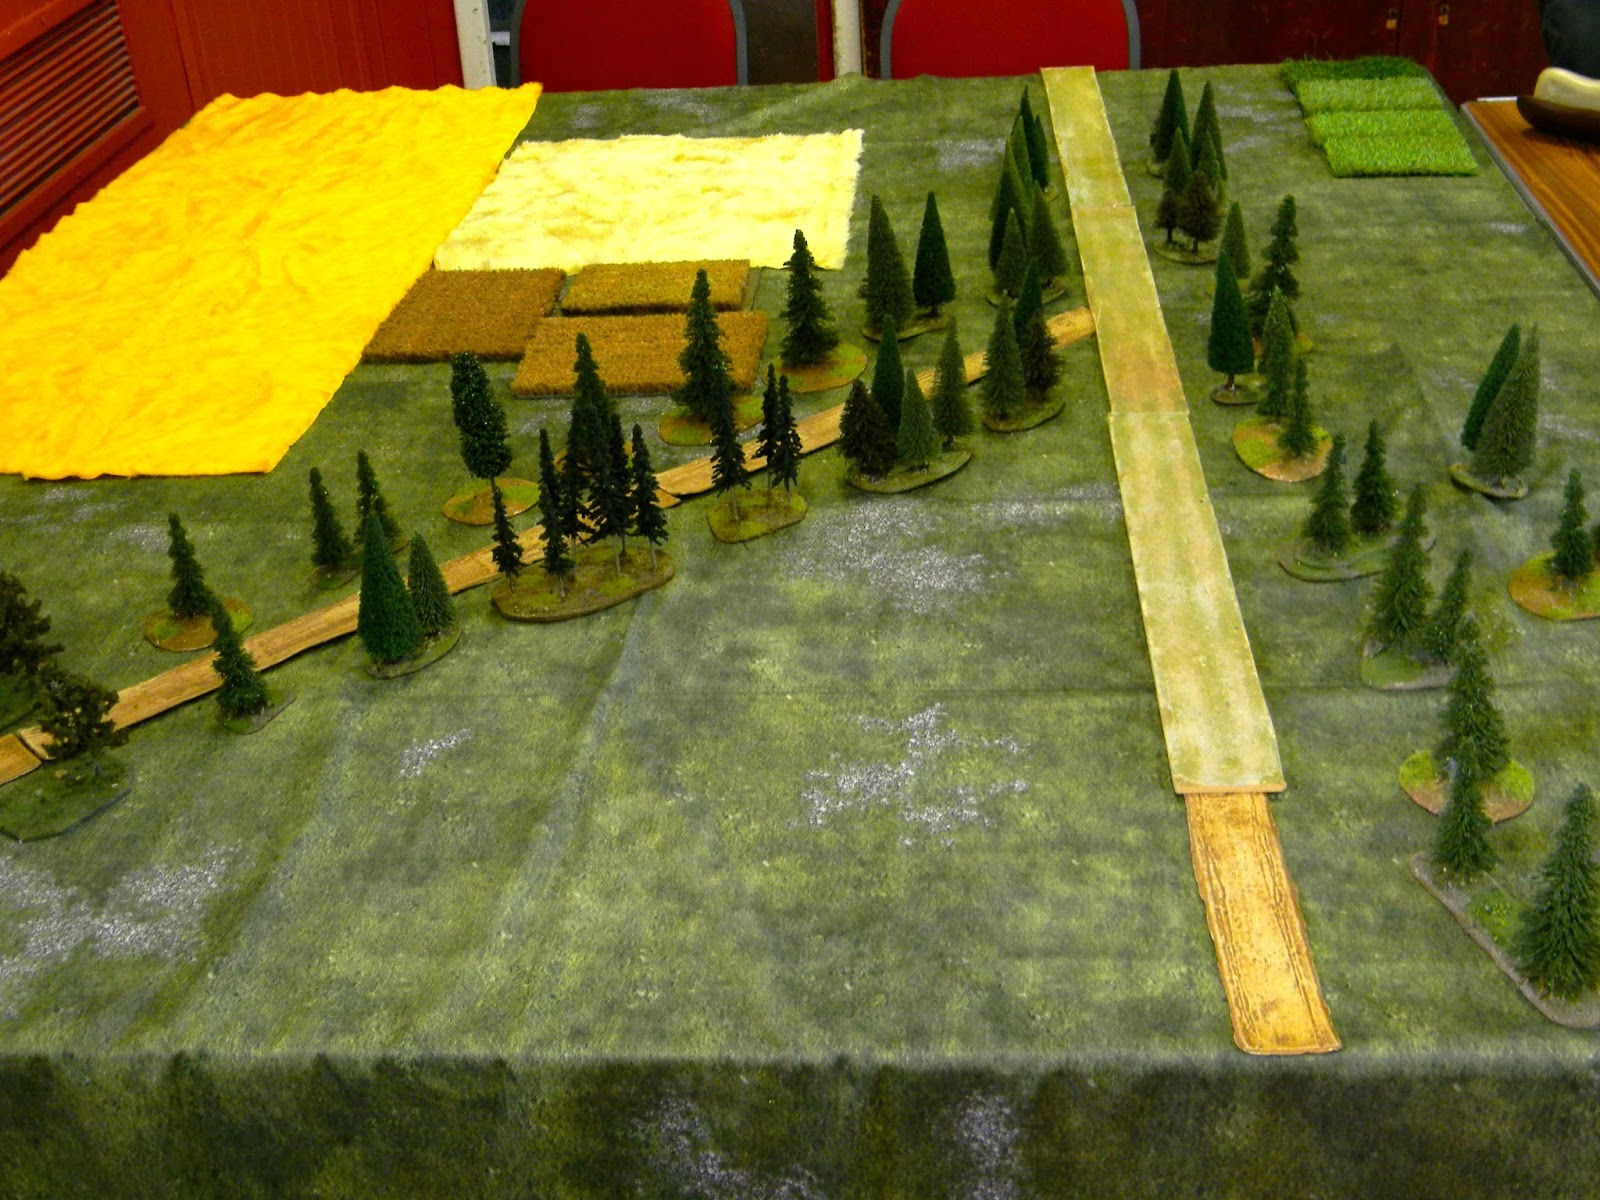
This is the direction the Soviets will be coming from. They have to approach by means of the straight road before deploying.
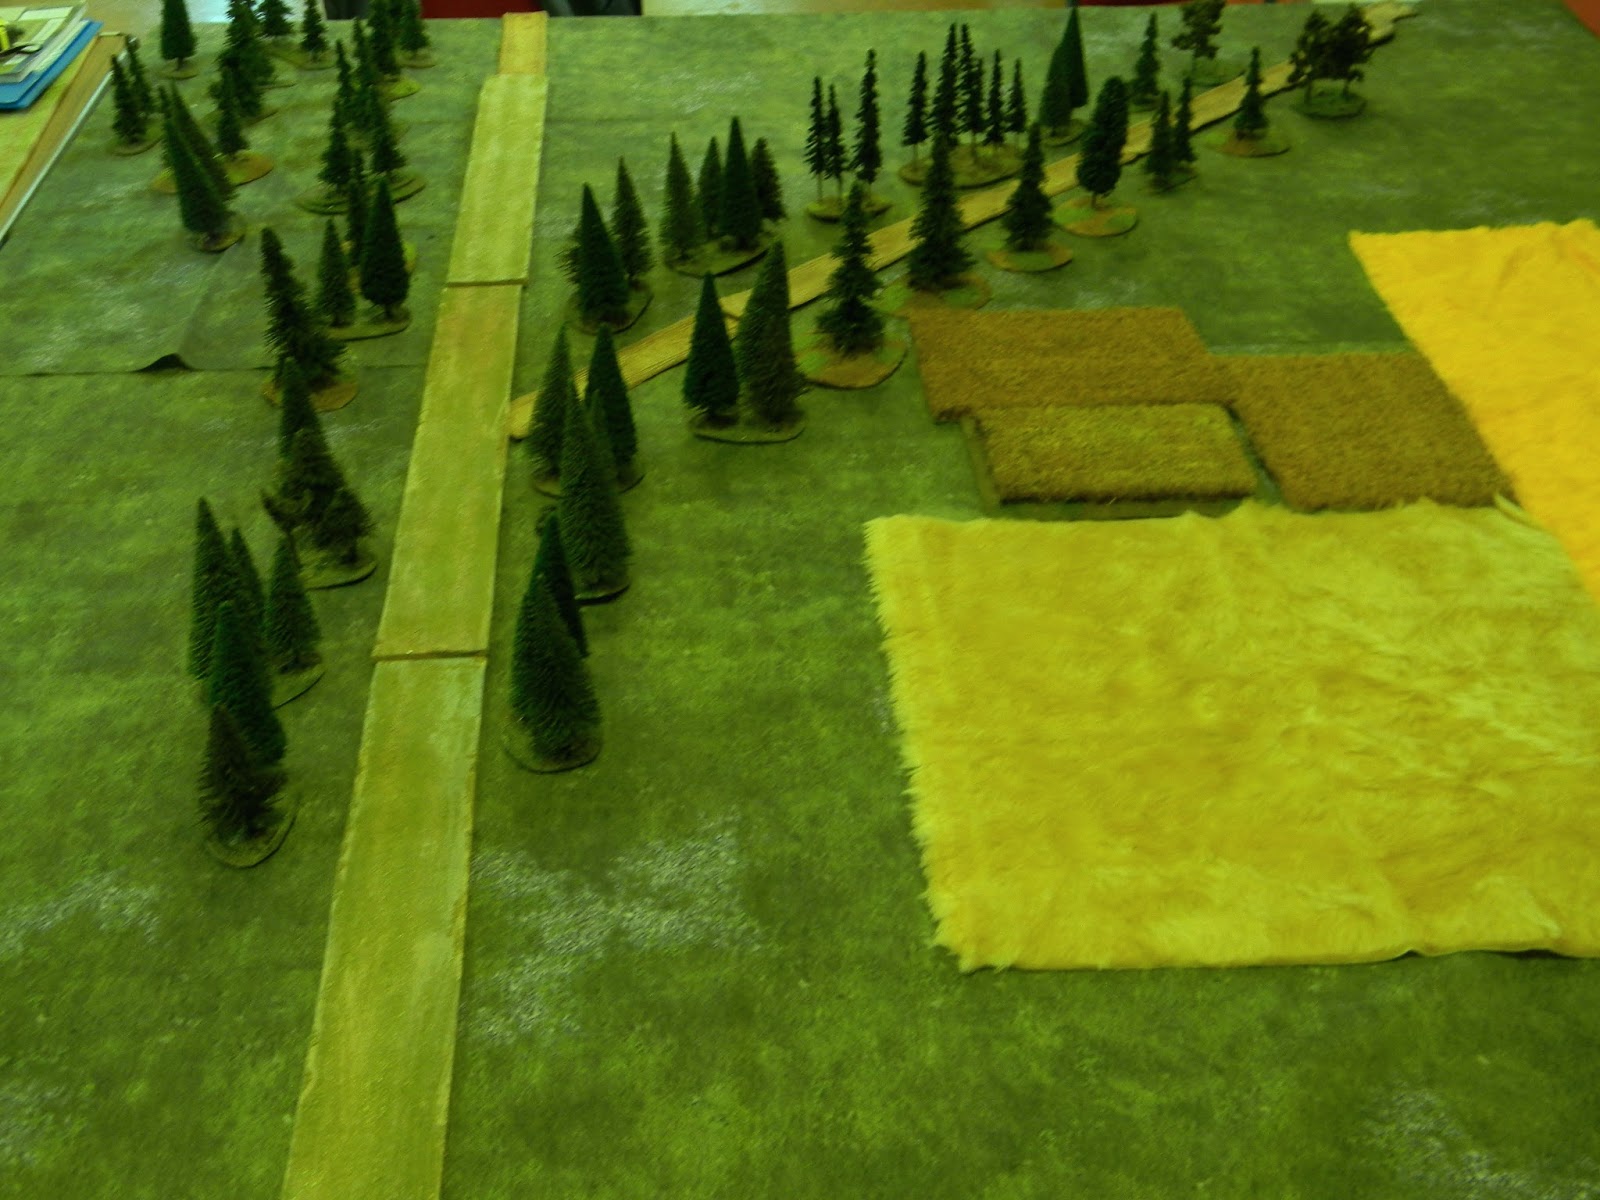
This the view from the German end. They are dug in and hidden ready to receive the Soviet attack.
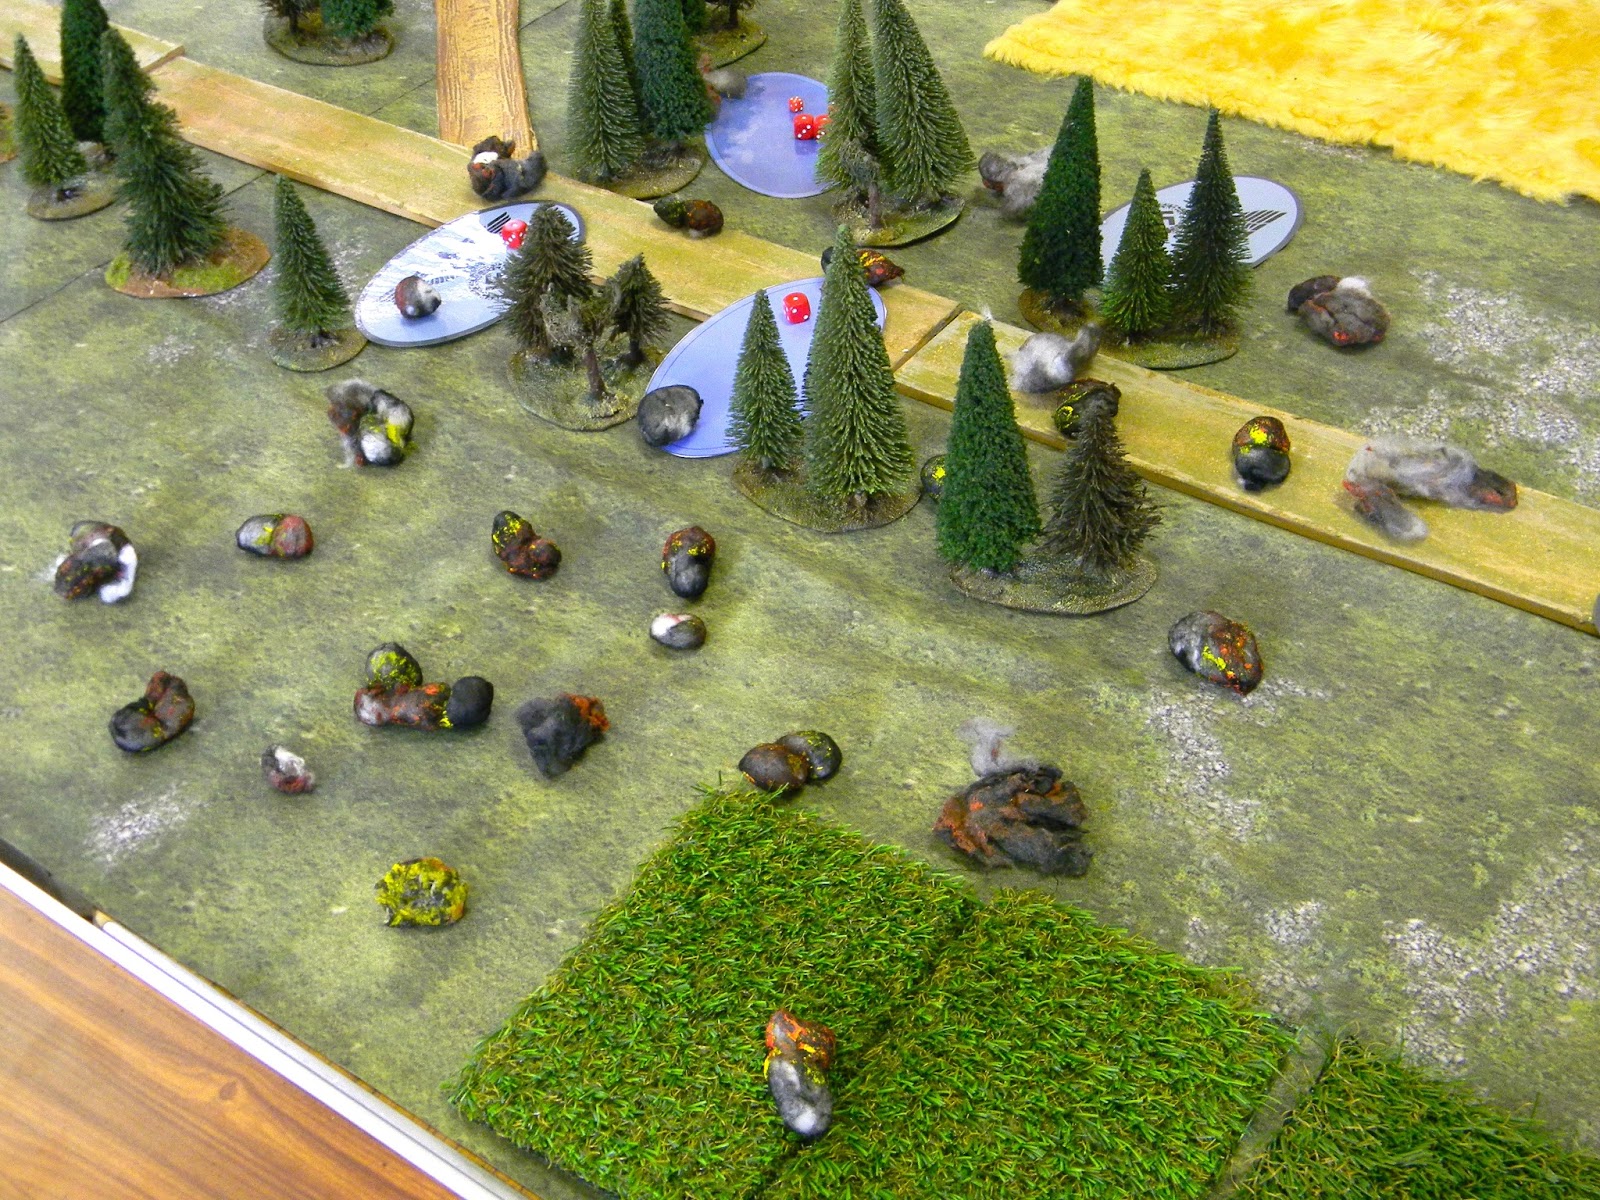
The game starts with a Soviet long range artillery "Super Stonk" covering a 24" square area.
Some German units were under this and casualties taken but not as bad as it could have been partly because two units are in fact "dummies" not actual - part of the subterfuge in IABSM !
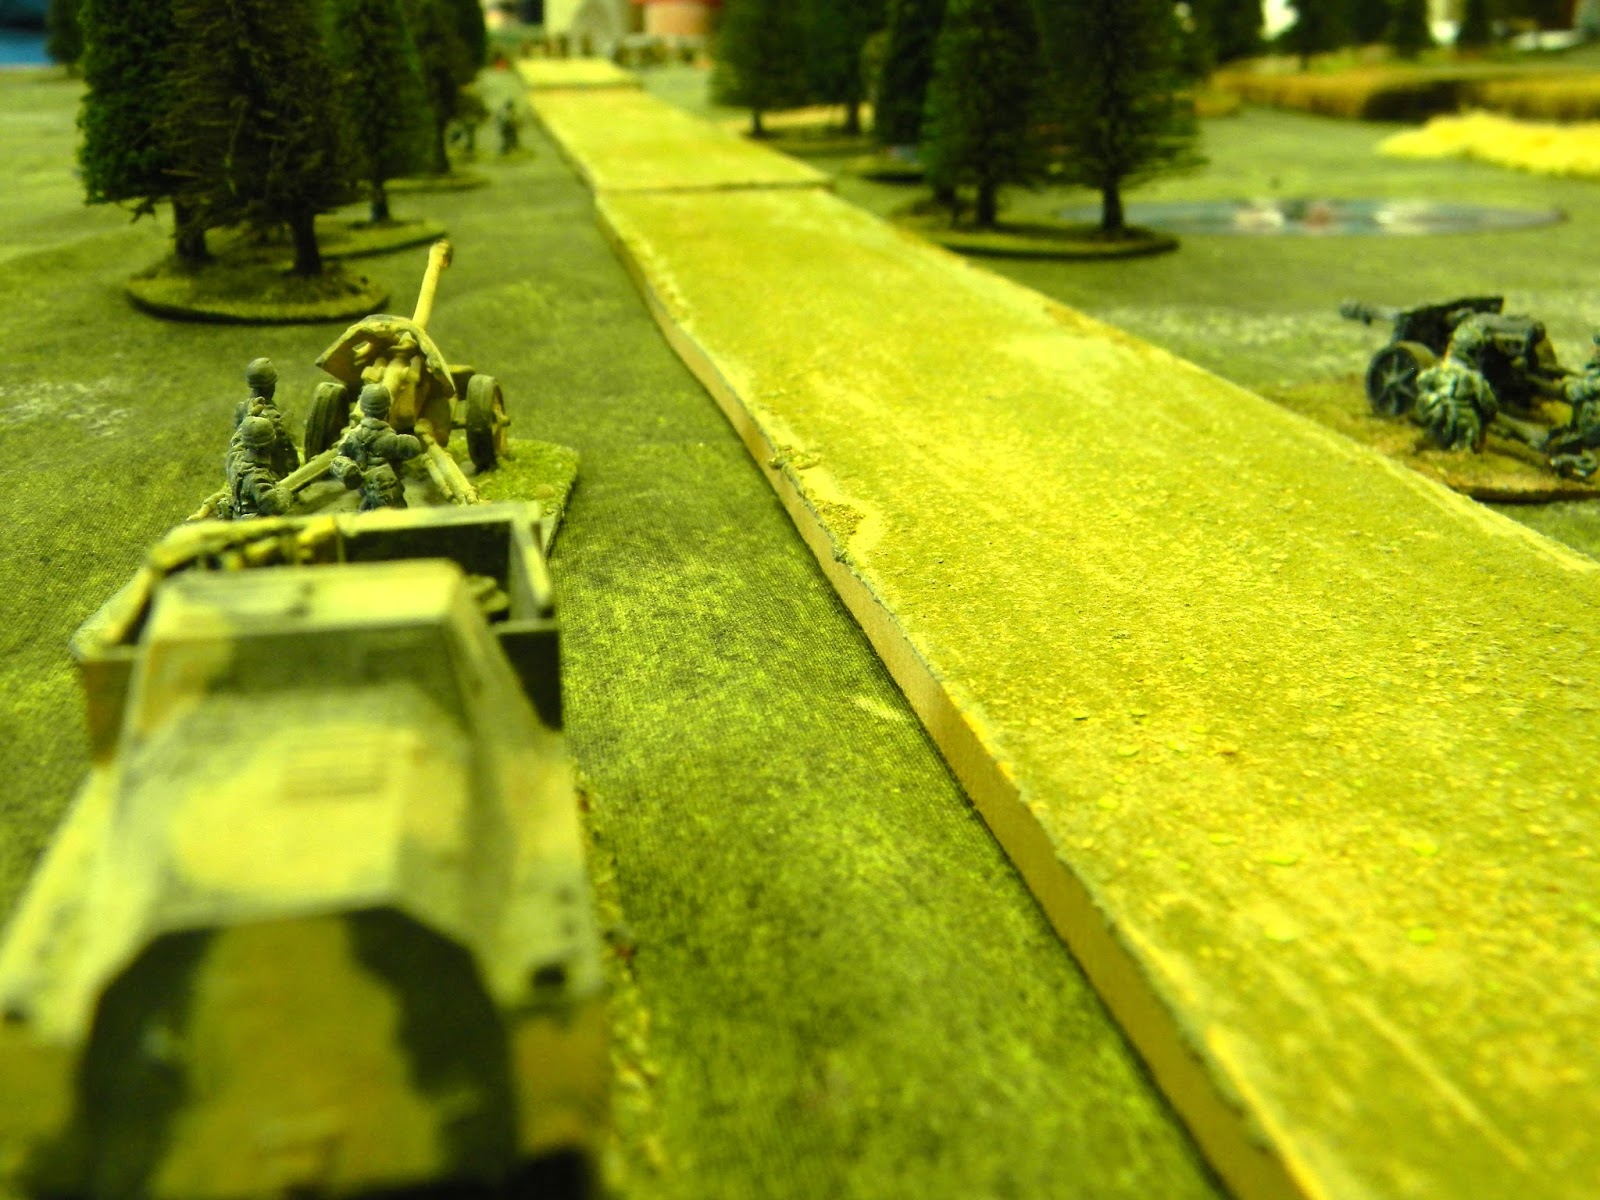
With this over, heads pop up and here we see two German PaKs and tows waiting for targets
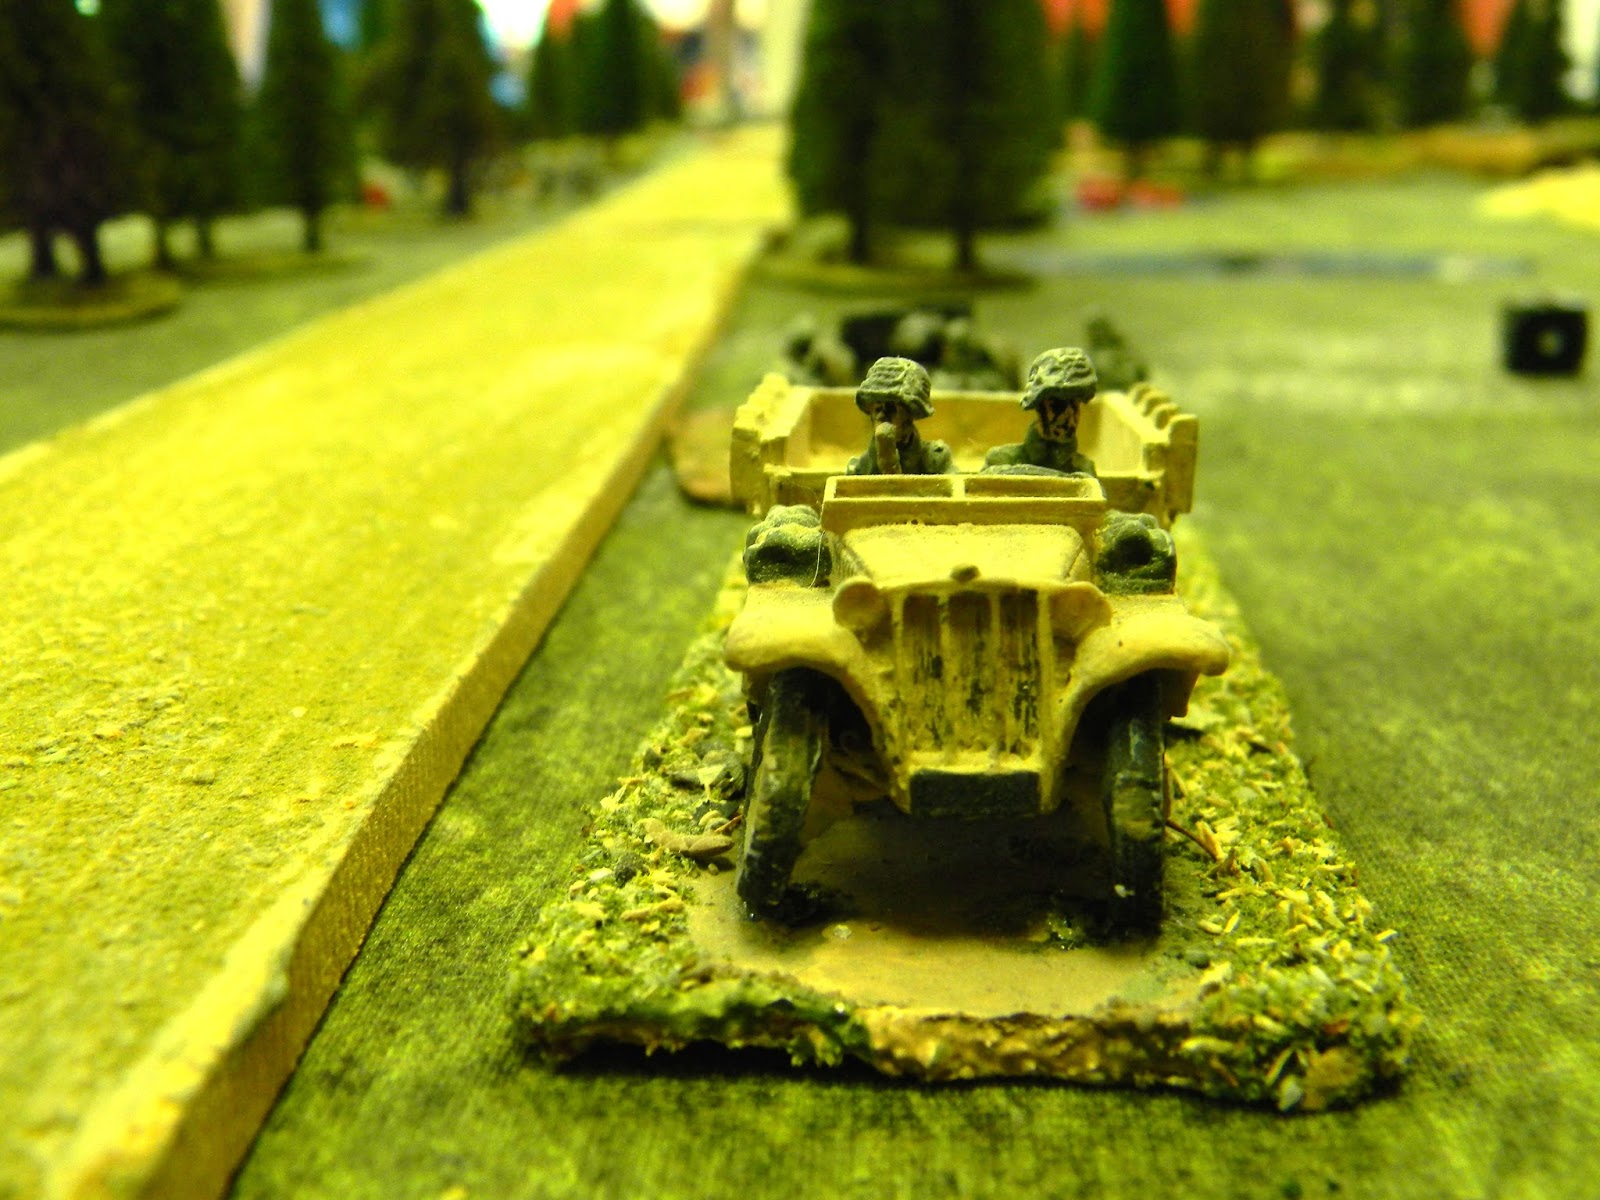
The crews seem to have got over the heavy bombardment !
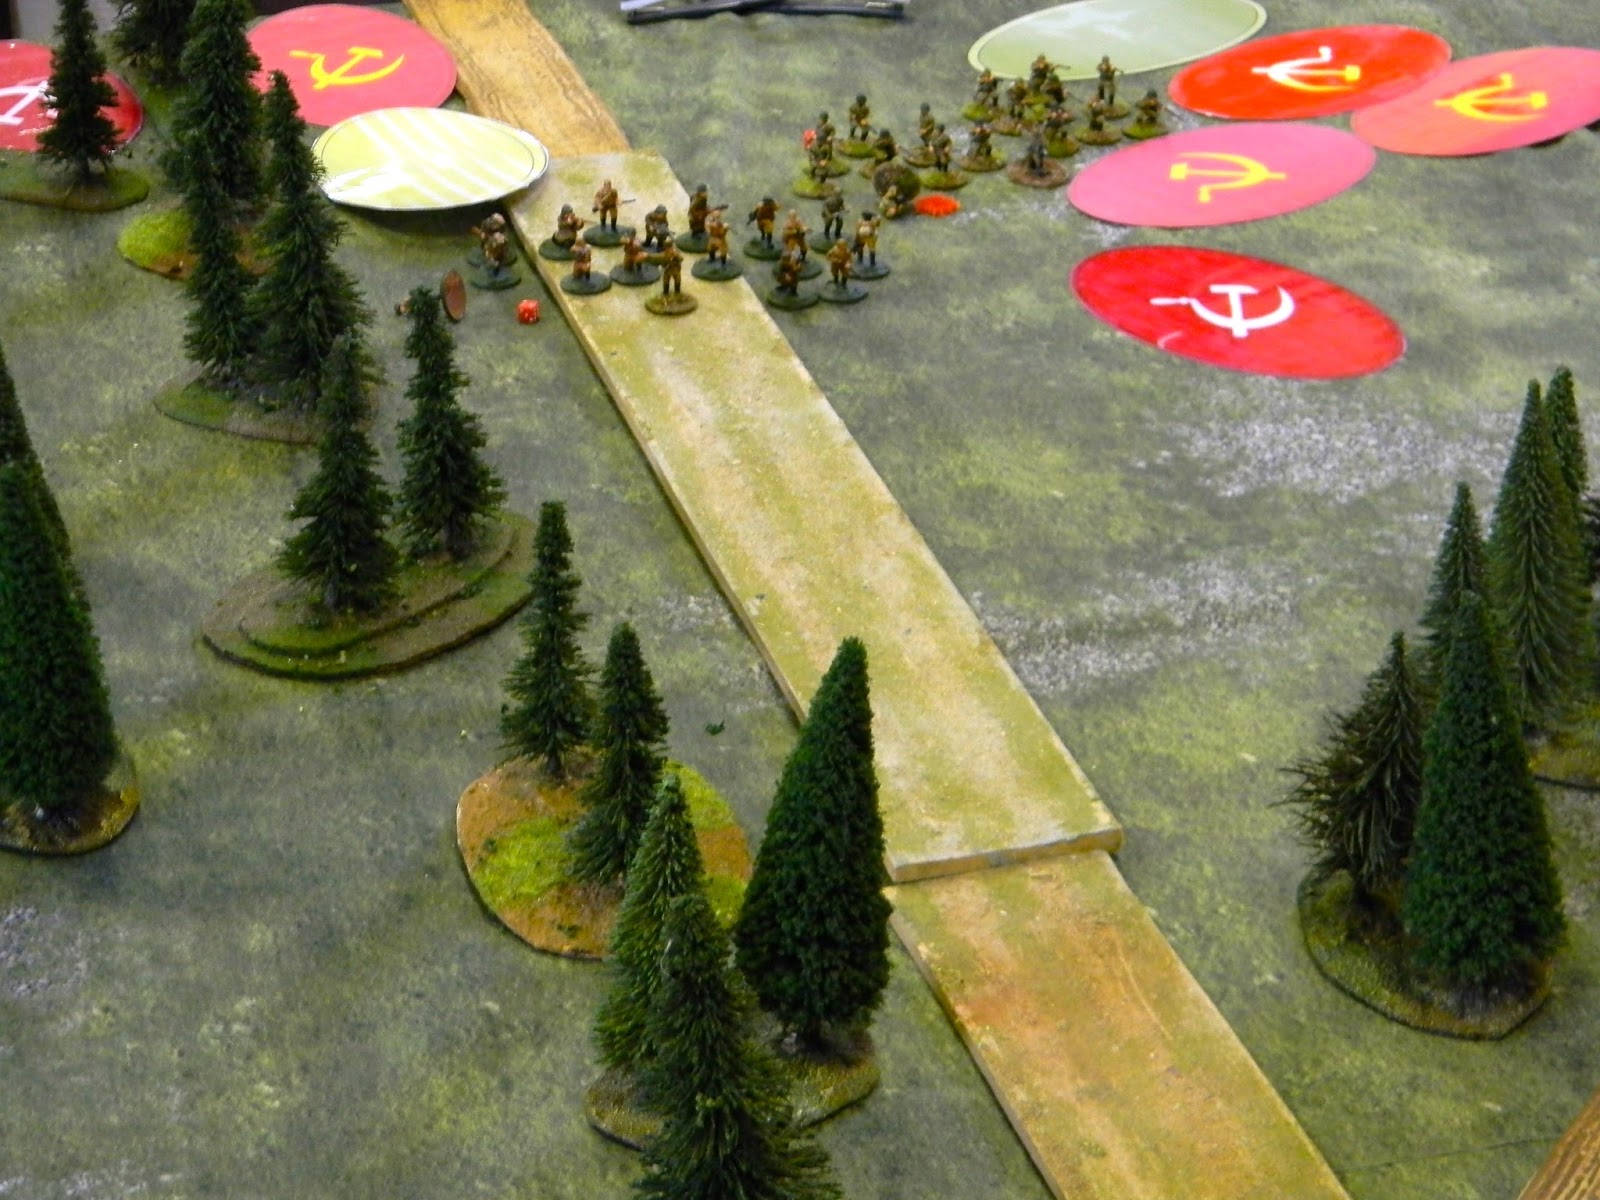
Now the Soviets arrive on "Blinds" which have to be spotted to uncloak them - one or two have been as can be seen in this picture.

The Germans manage to get their mortars zoned in on these unfortunates.
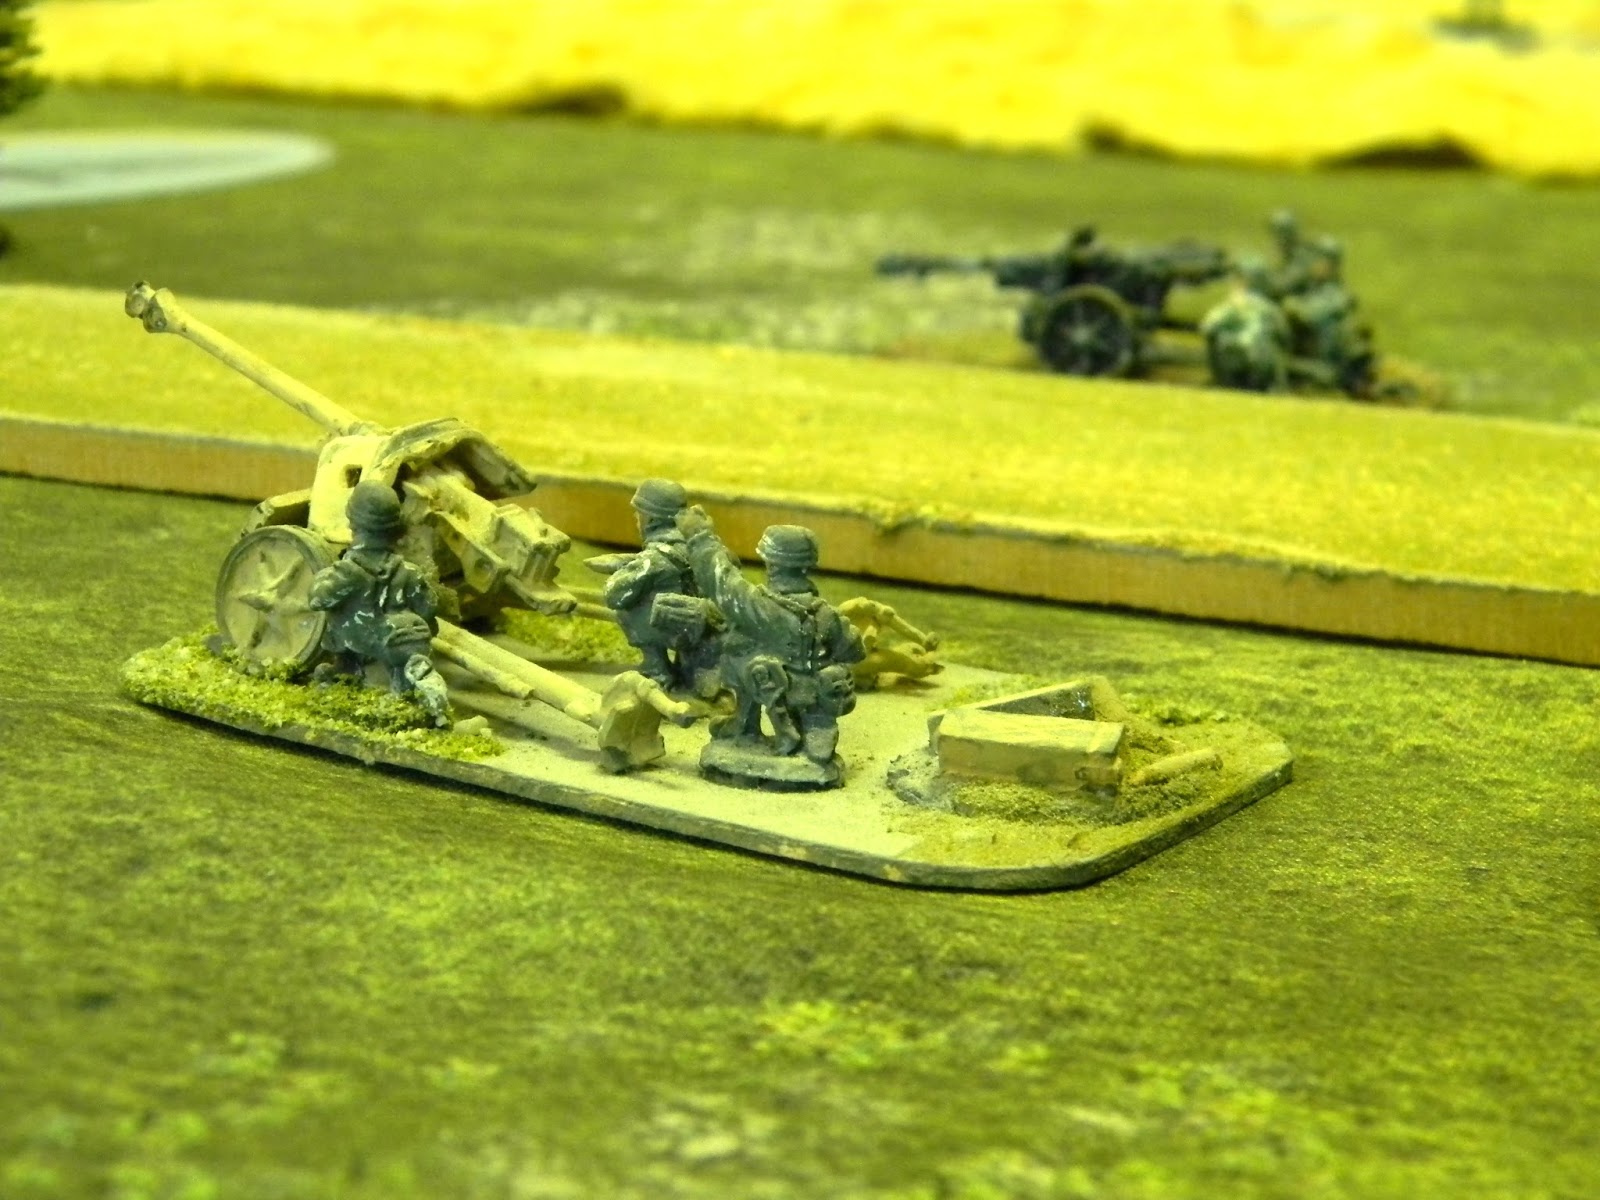
...and the gunners too in the absence of any armour to target
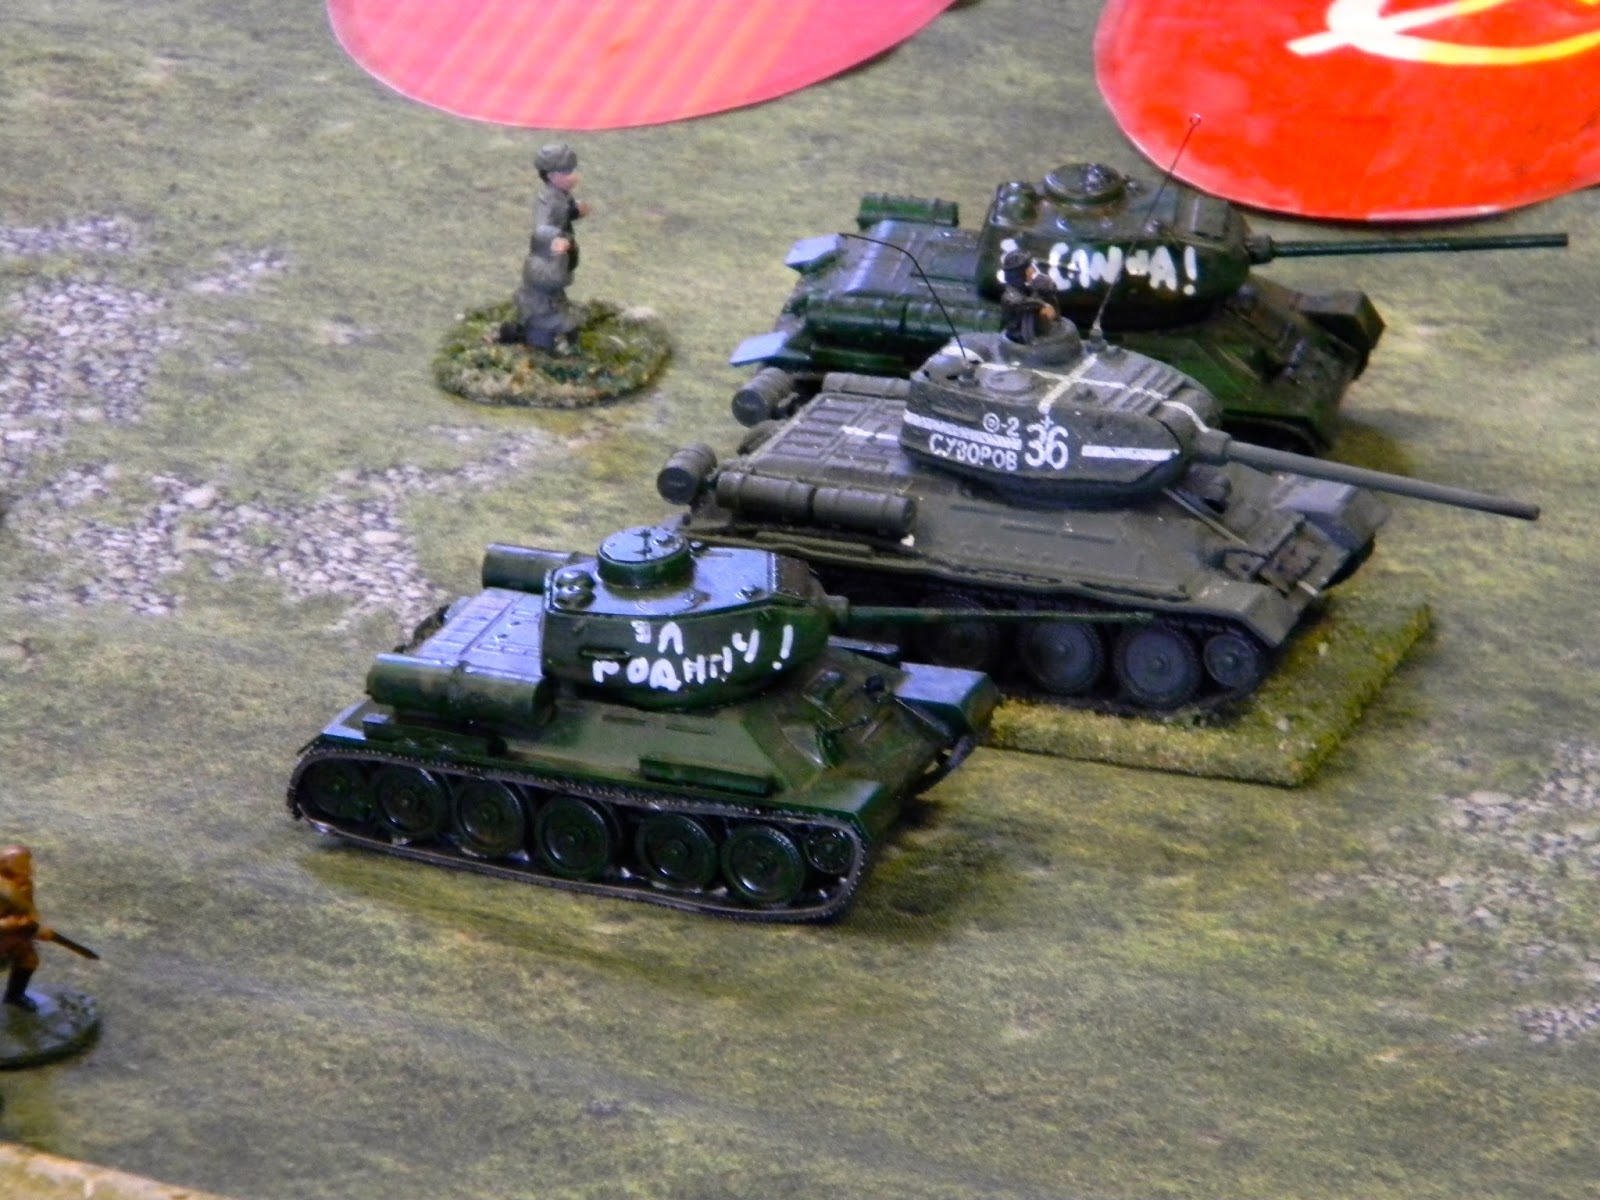
Did I say armour ? Here it comes (T34s having to represent IS-IIs in this case)
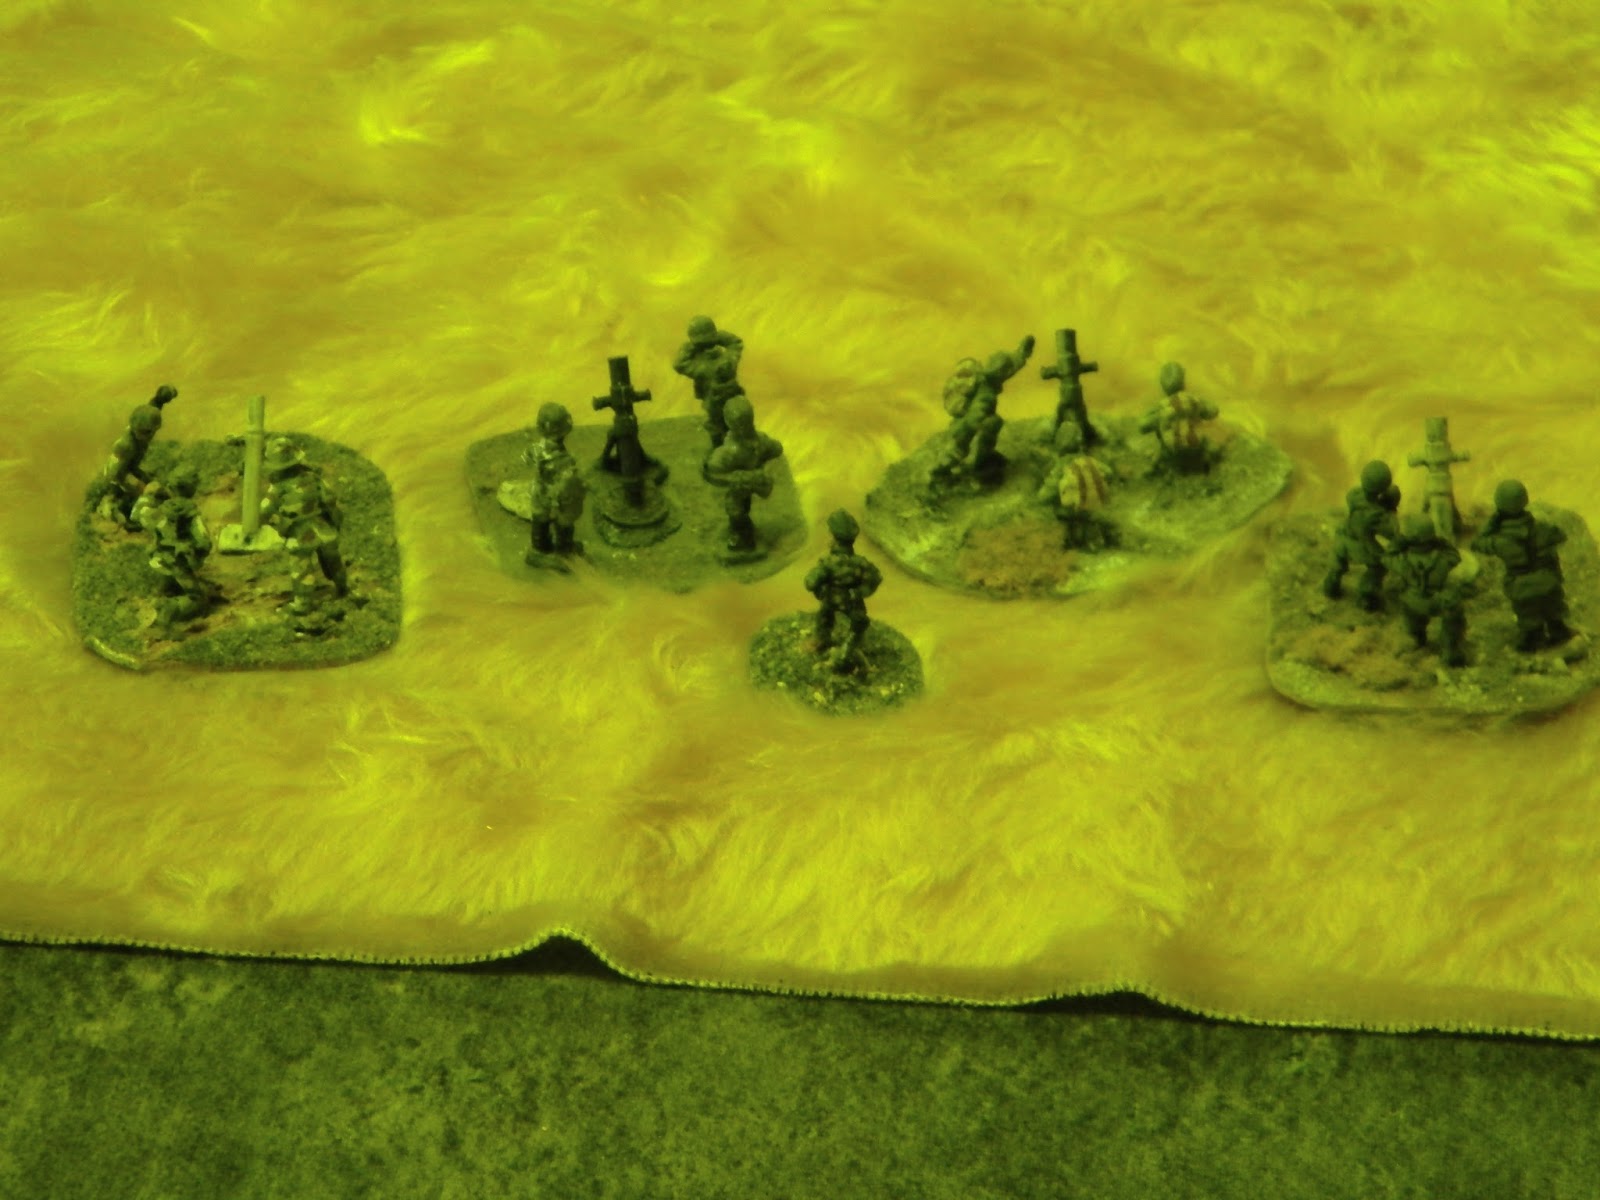
So the mortars & artillery target them too causing some damage and reducing their effectiveness.
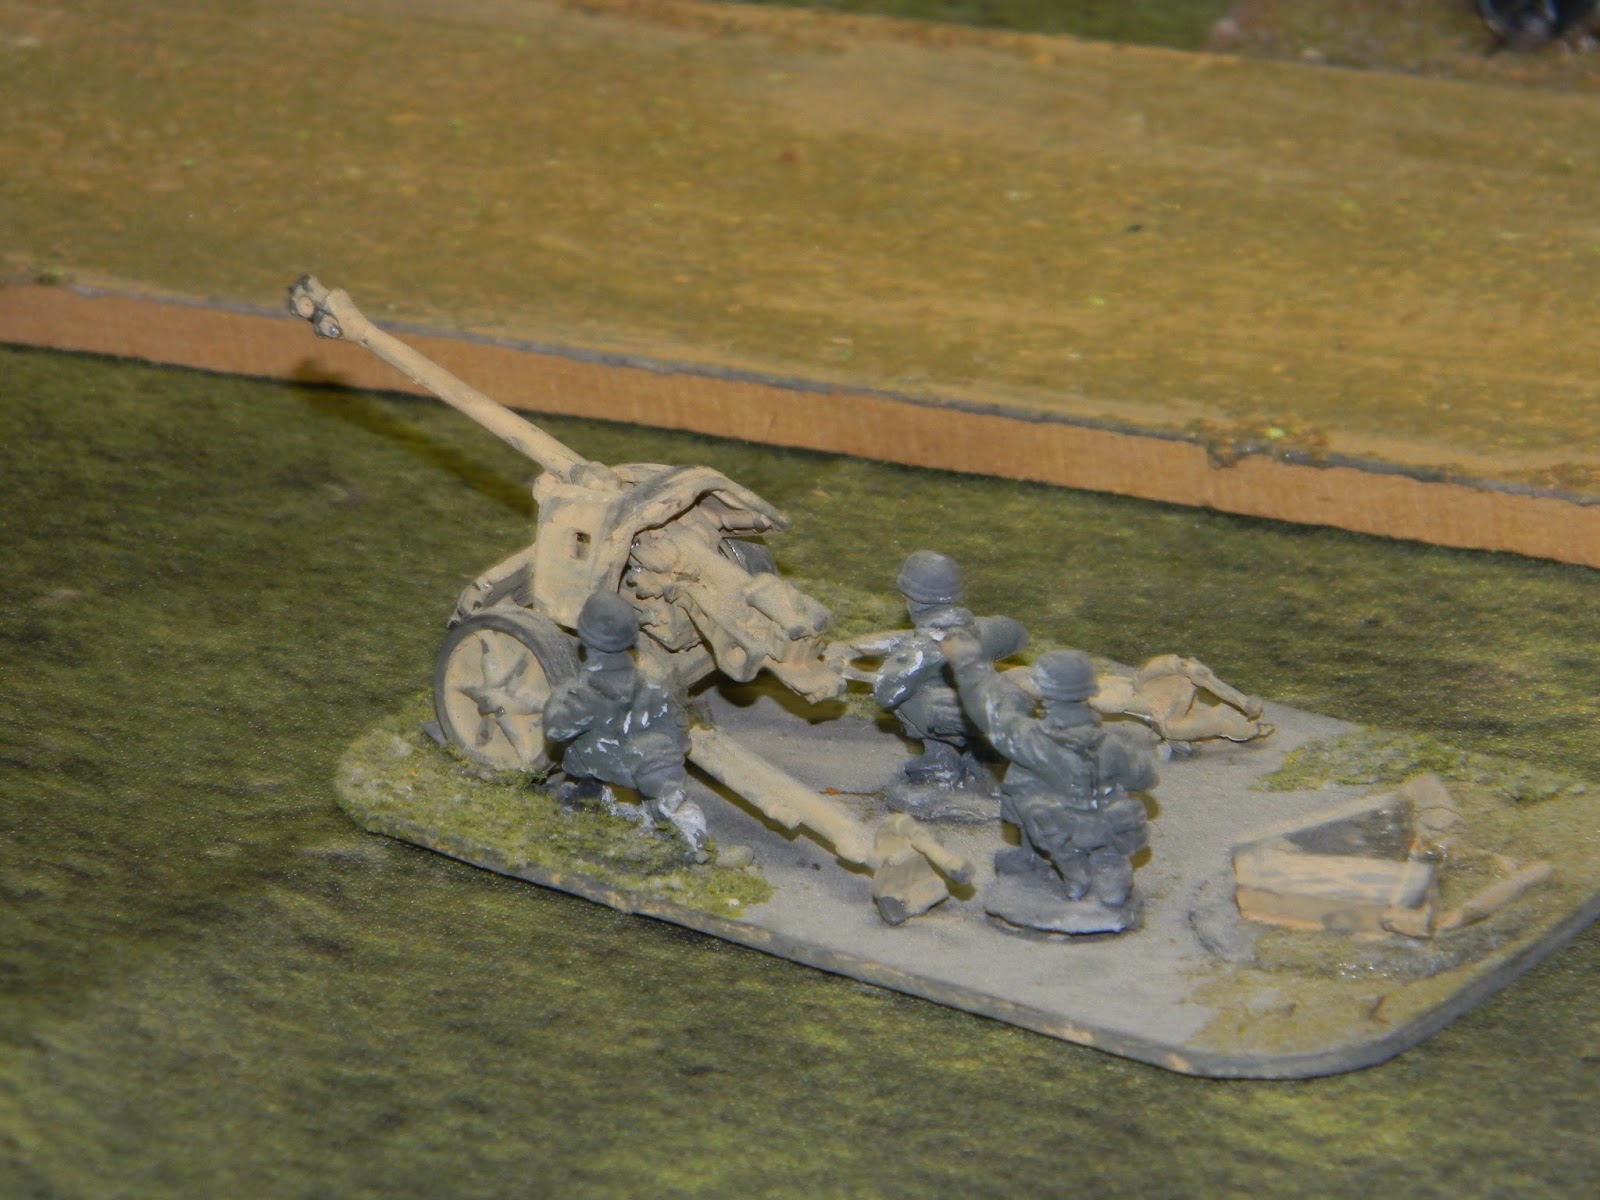
...and one PaK gets a line of sight on a tank too
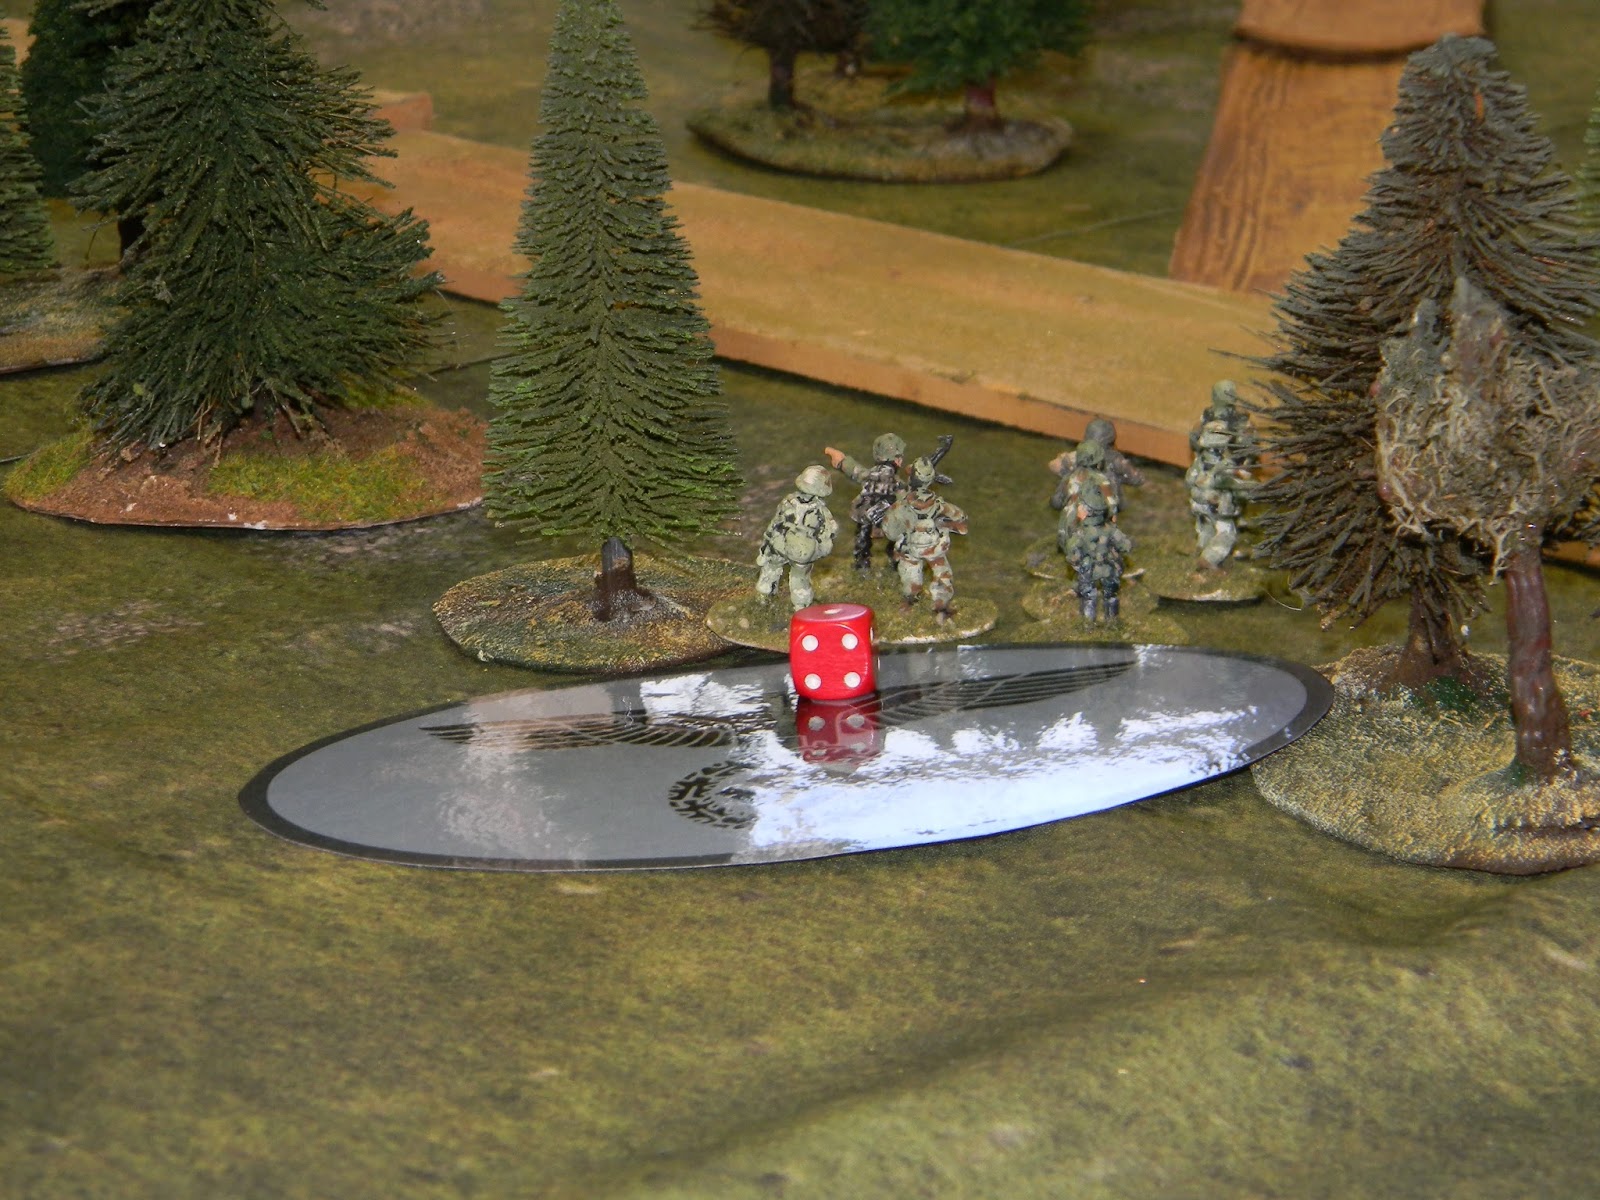
The forward German infantry unit (which had taken some casualties during the Super Stonk) now come off Blinds and shoot down the road at the on-coming Soviet infantry
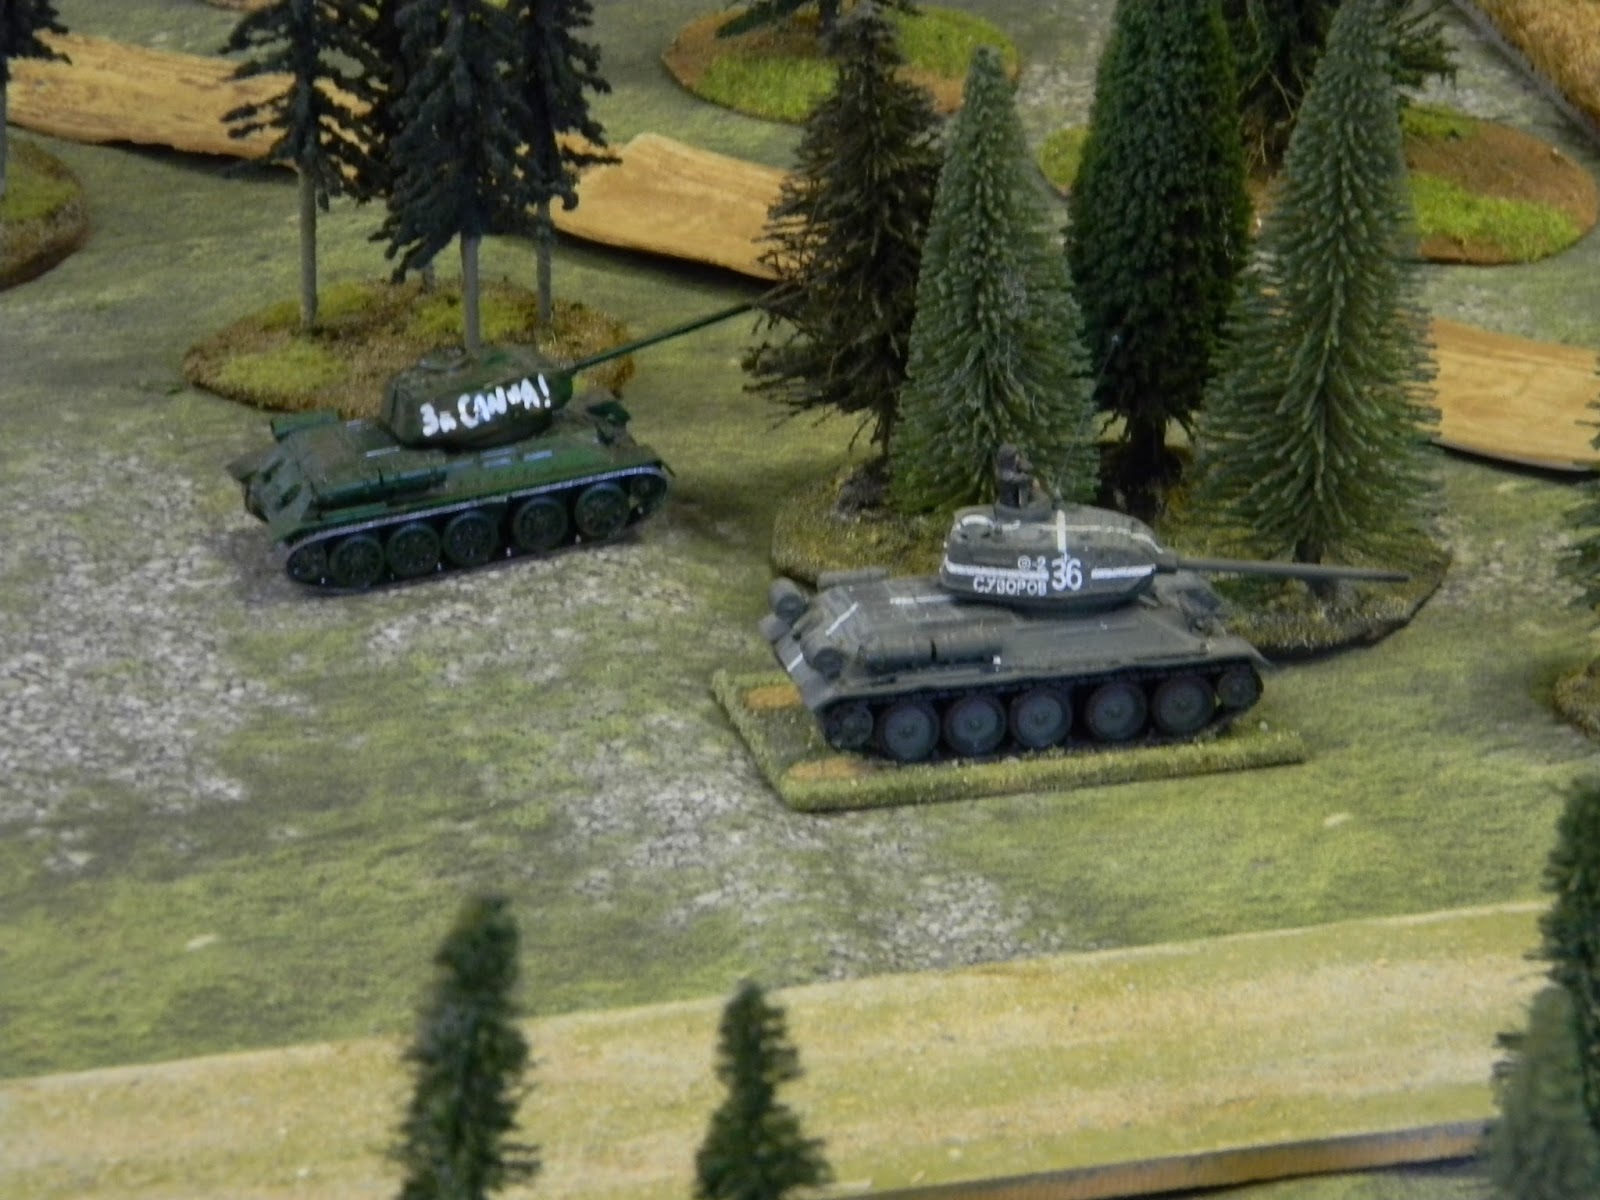
The Soviet tanks try to get to the tree line to get away from the enemy anti-tank guns.
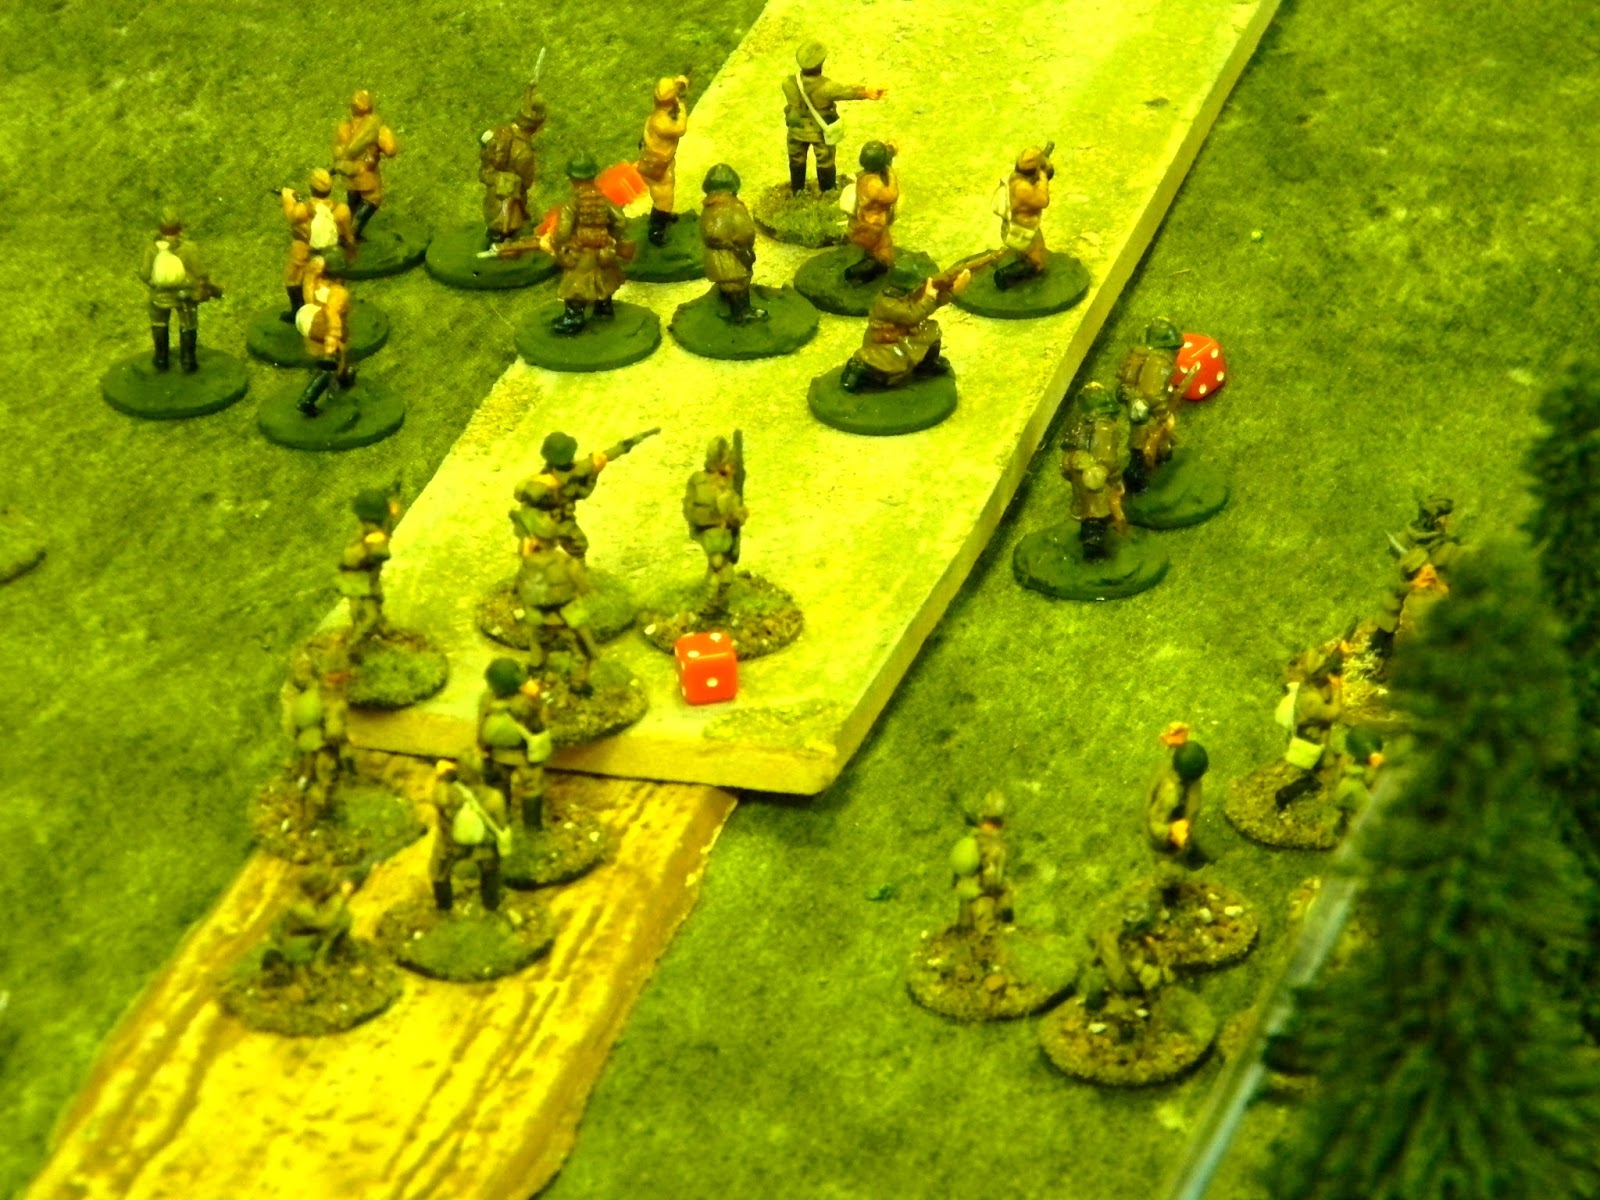
Soviet infantry are unable to get under way due to the incessant mortaring and off-table artillery being rained down on them, causing casualties and shock too.
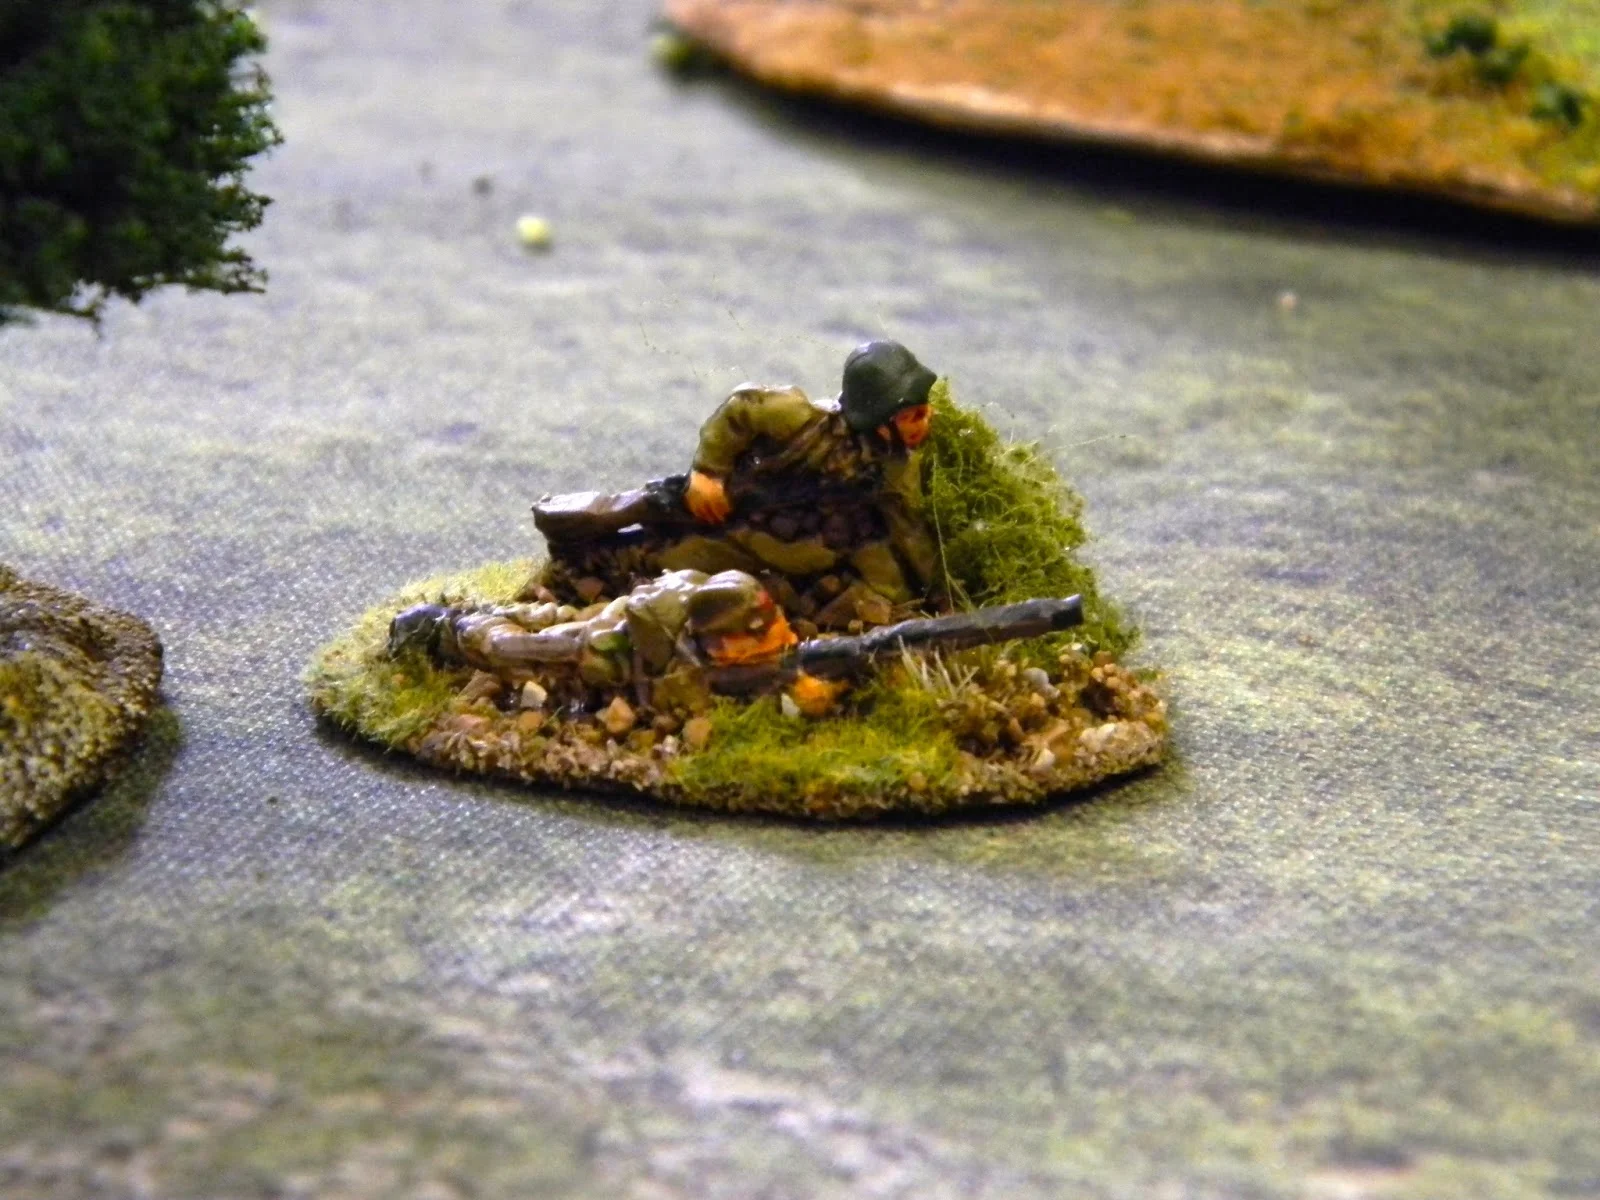
A Soviet sniper team manage to sneak into position ready to strike the foremost Germans.
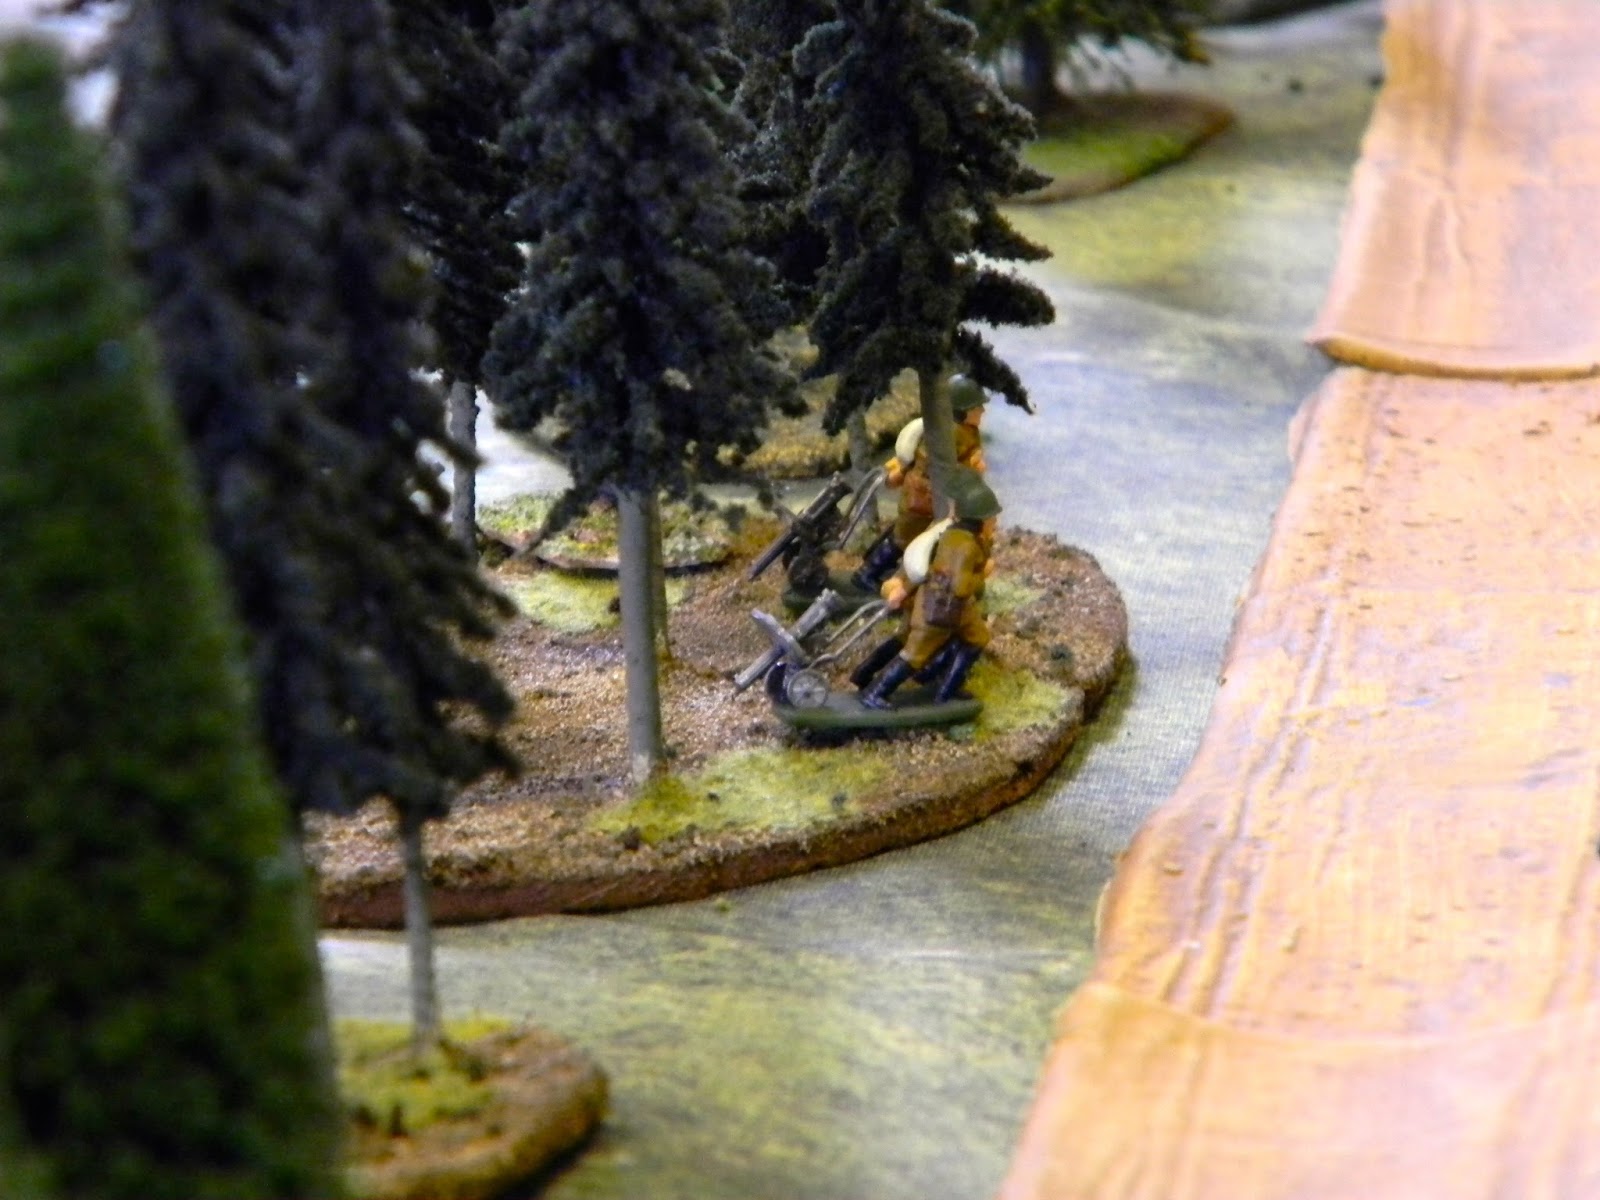
As Soviet machine gunners drag their pieces into position amongst the trees.
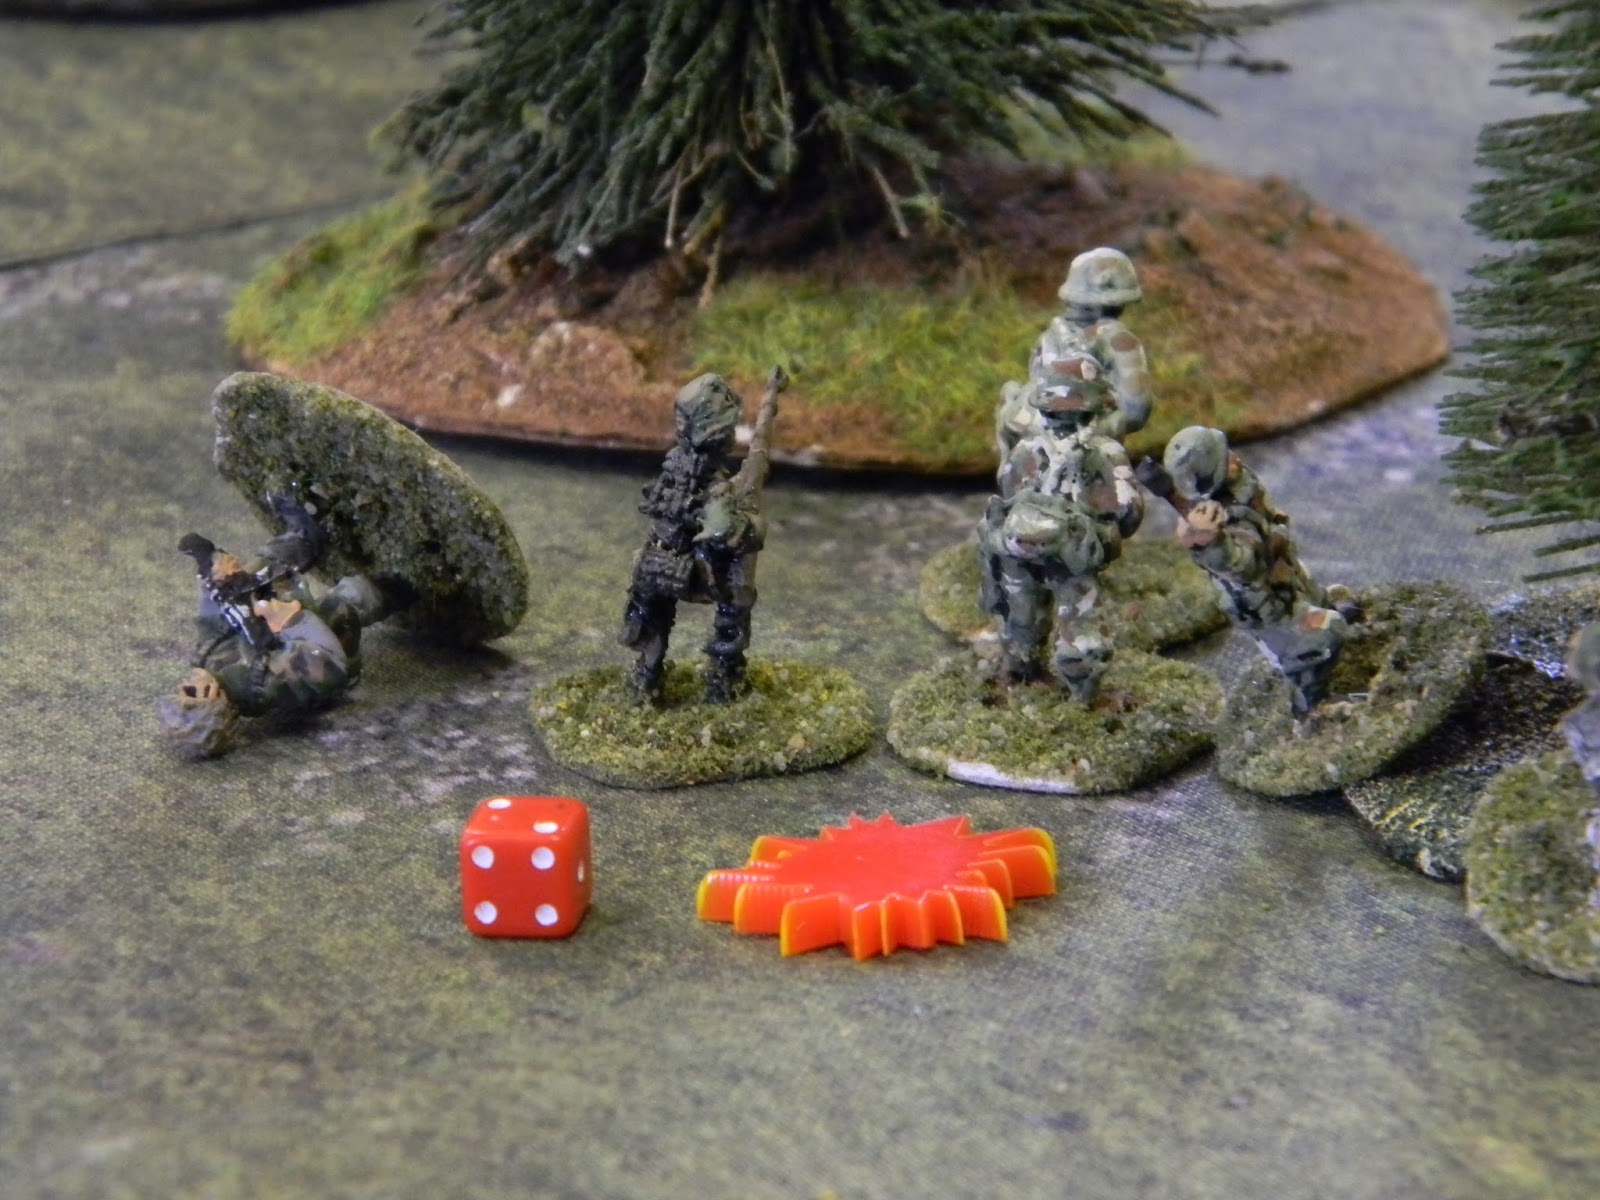
The sniper is good - a kill straight away plus two shocks and the unit is pinned down.
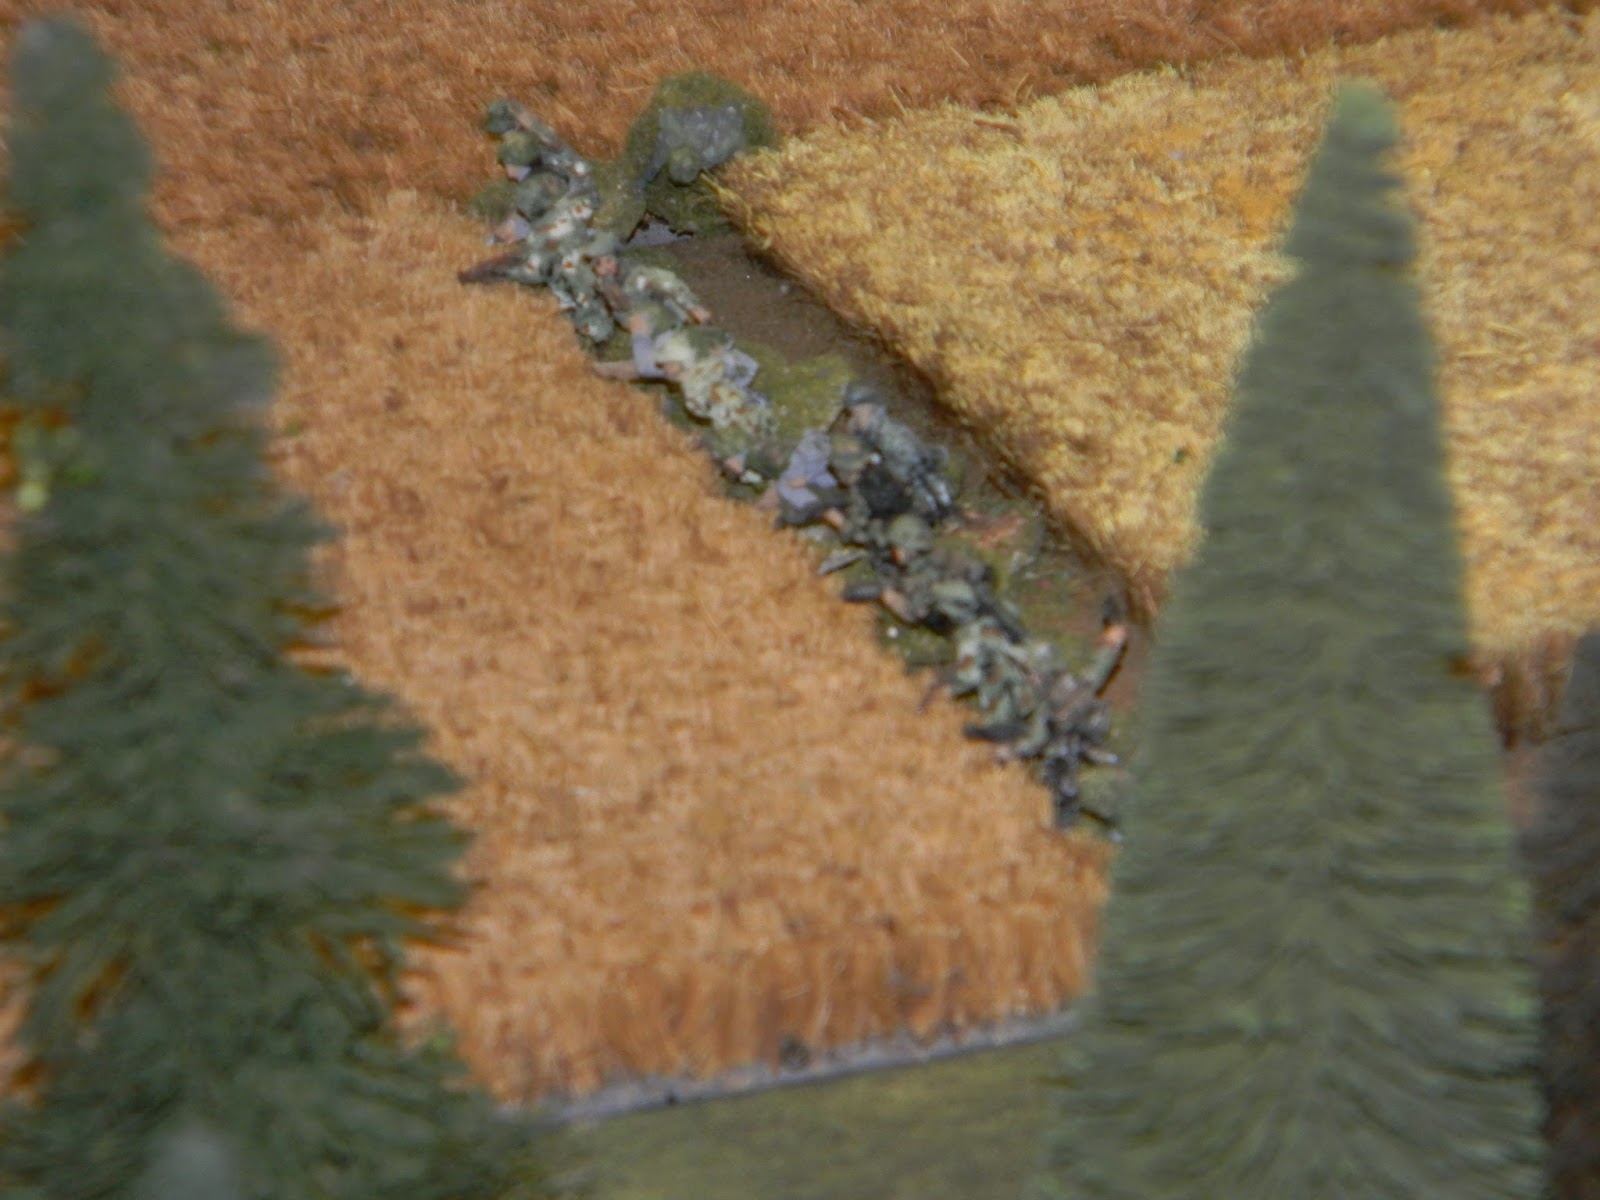
Another German unit opens fire from the corn fields against advancing Soviet infantry
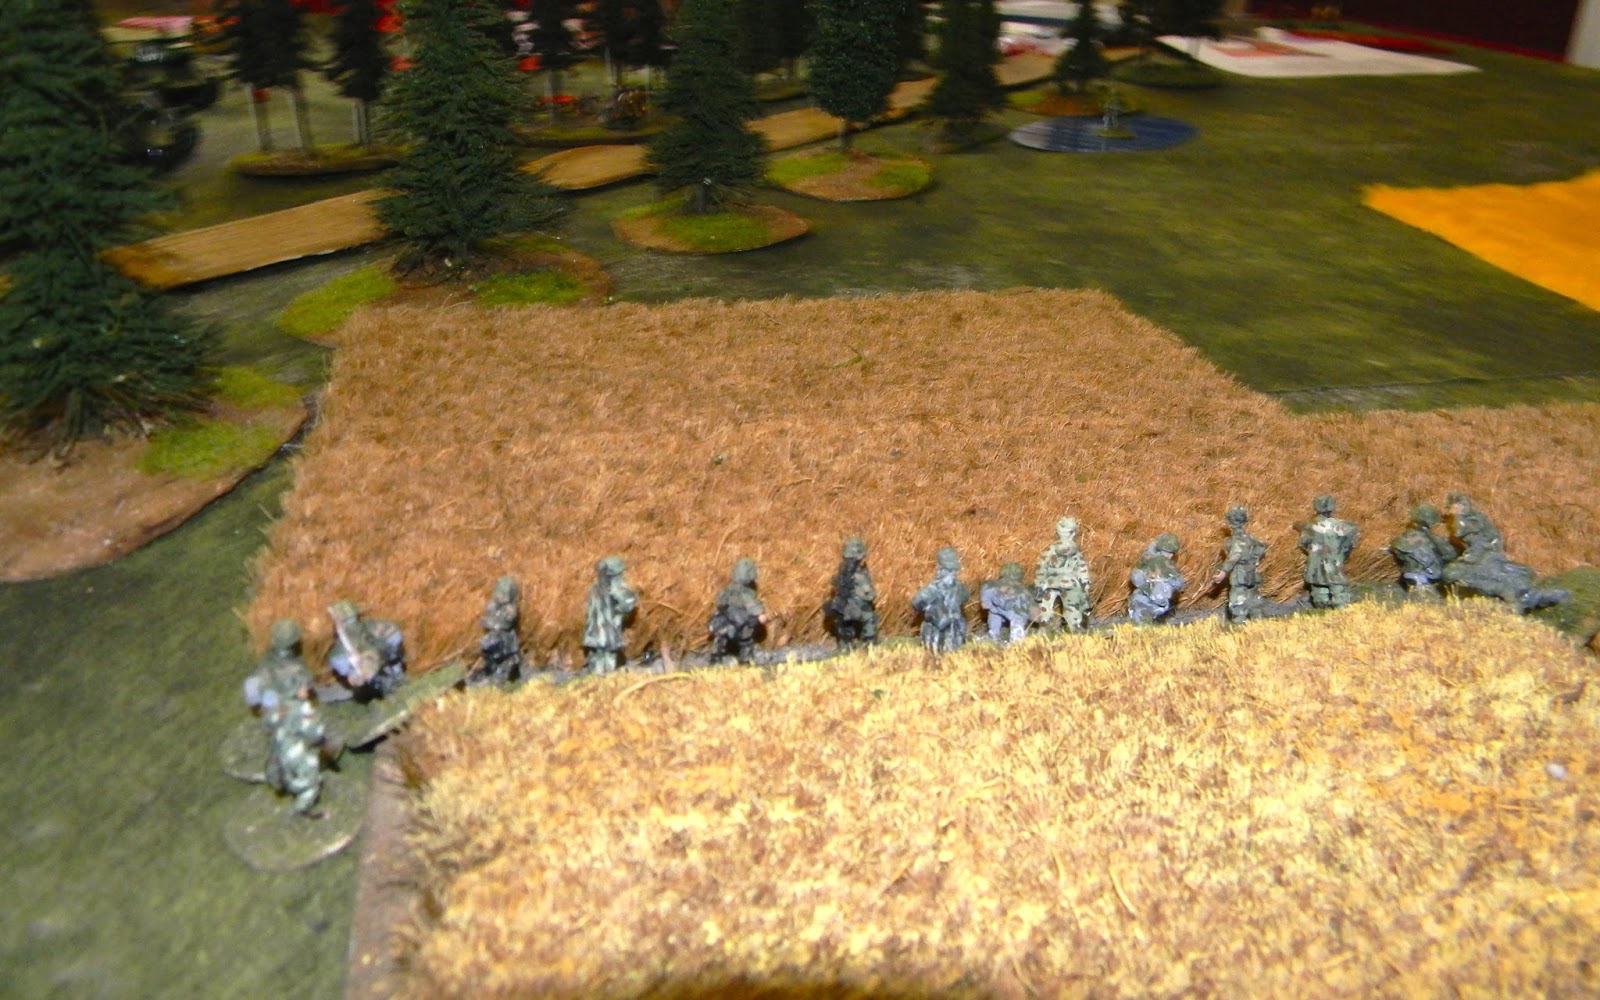
Their fire also serves to blunt the enemy advance.
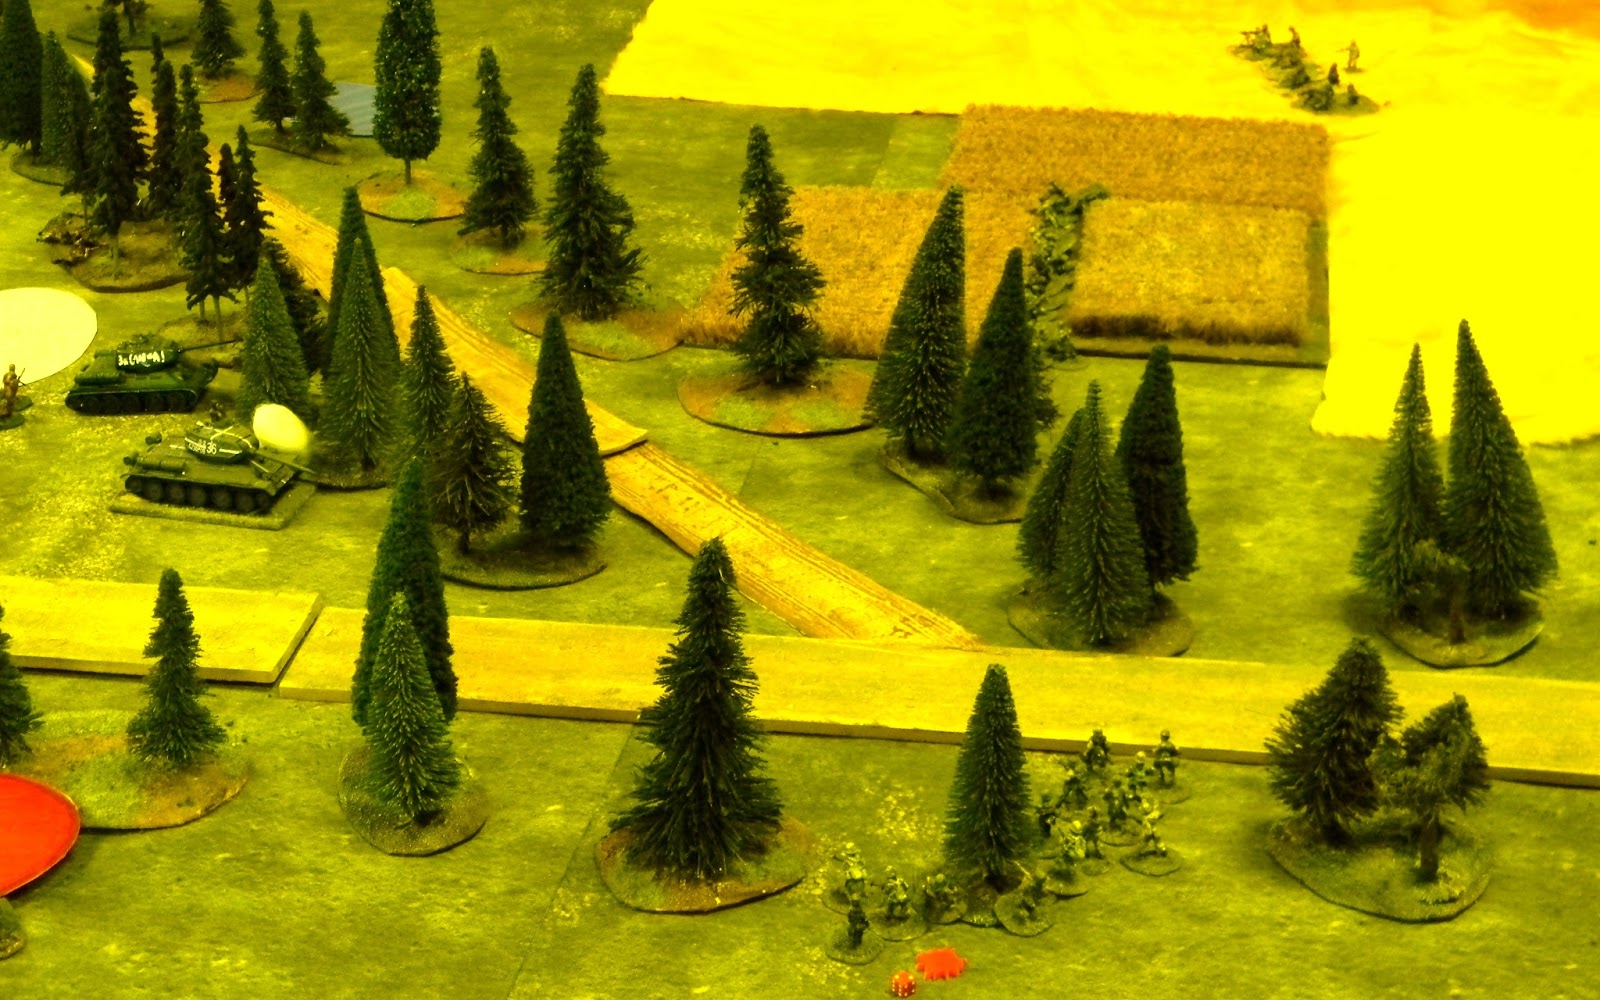
Apart from two tanks and a sniper unit, the Soviets have not been able to make any progress due to the weight of fire against them.
The bogged down Russian commanders felt that they were getting nowhere and decided to call it a day, opting to withdraw rather than take any more punishment.
The well co-ordinated German defence had held the line and prevented the Soviets taking Bashyna, just down the road from here.
We were quite rusty with the rules not having played them for some time and trying to remember how the indirect fire works was a challenge. Probably not an impressive start for Mike, Allan and Bob as Steve Clarke and I really like IABSM.
Must have another go soon to persuade them they are onto a good thing!
Norseygamer