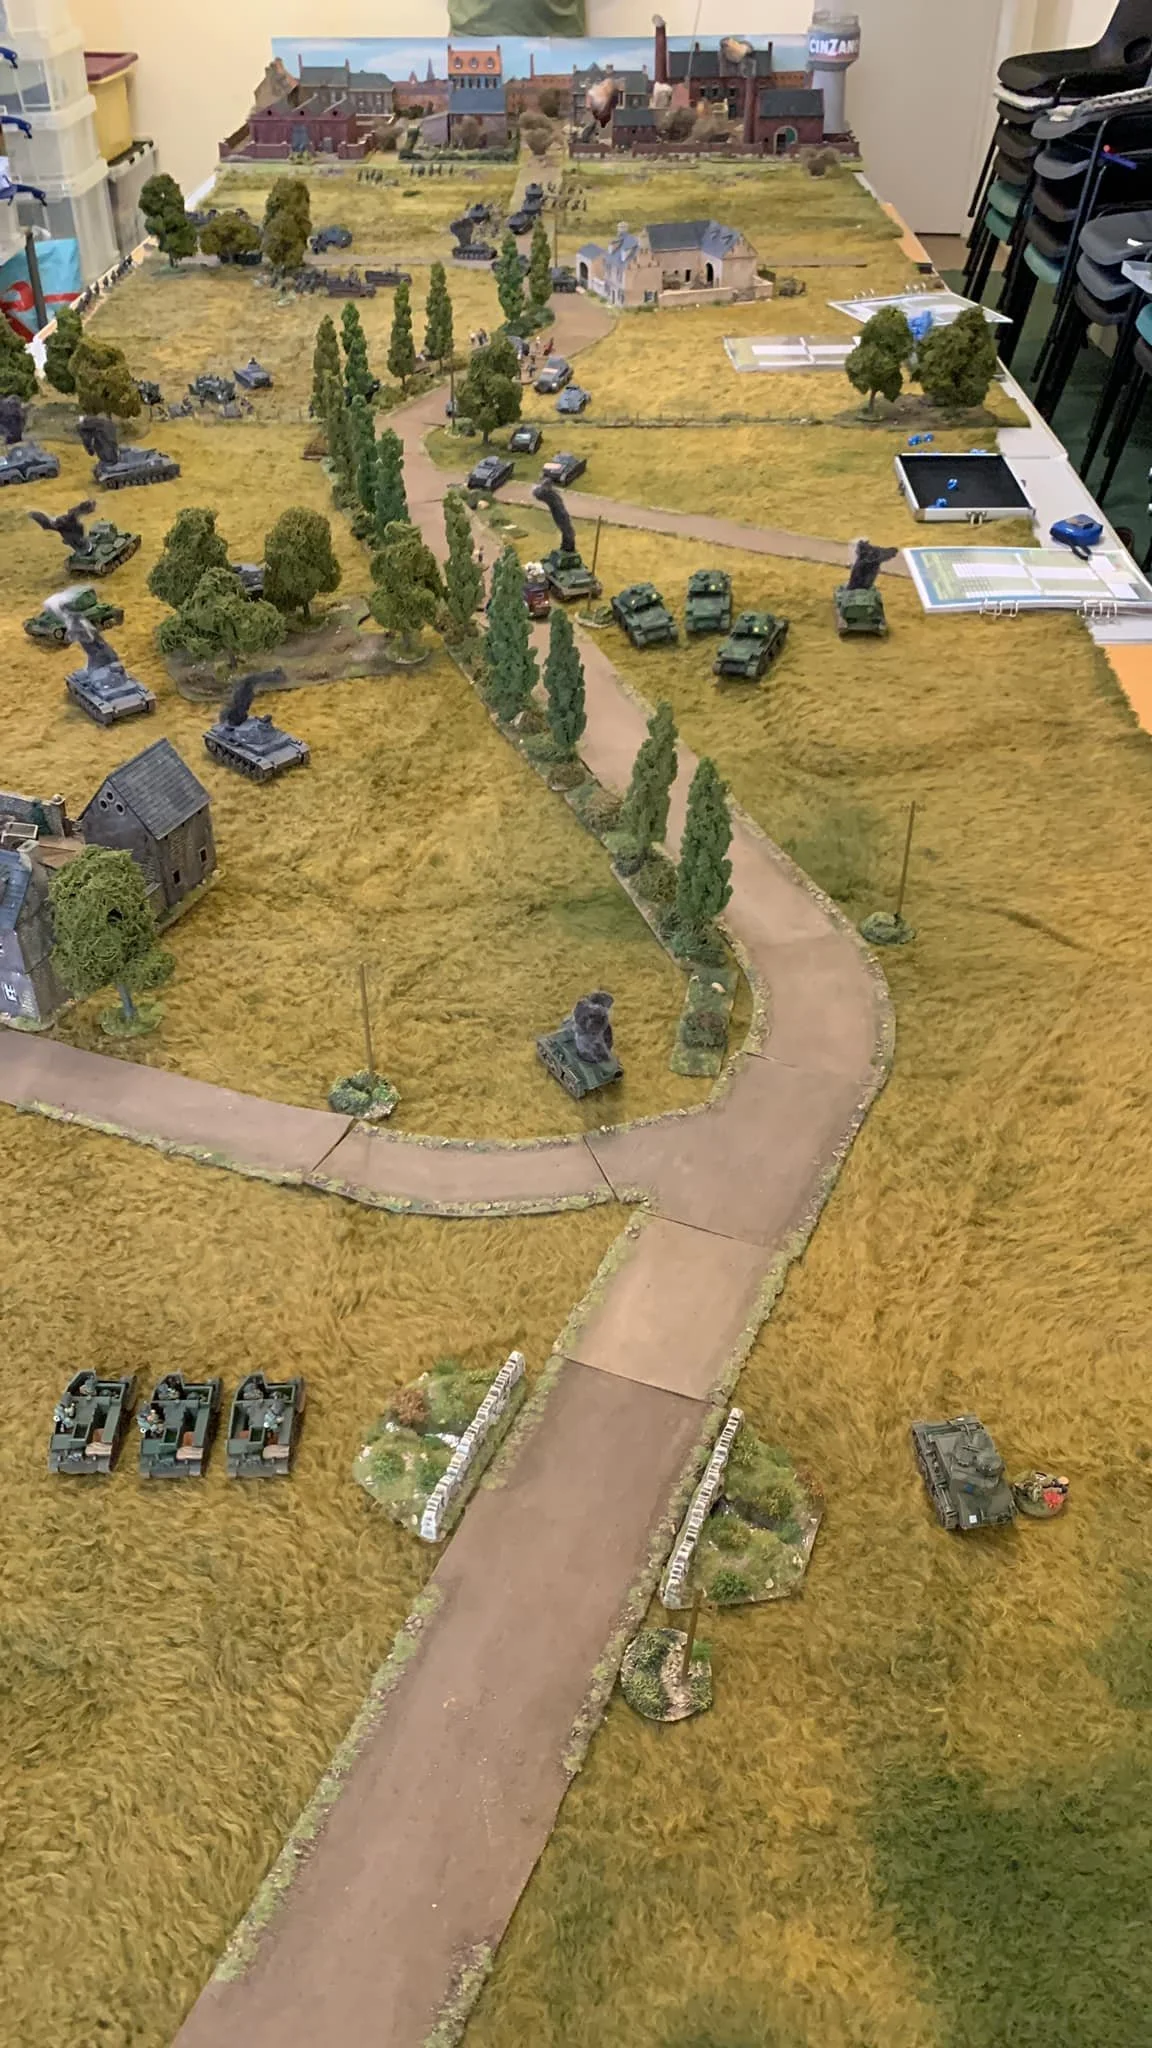
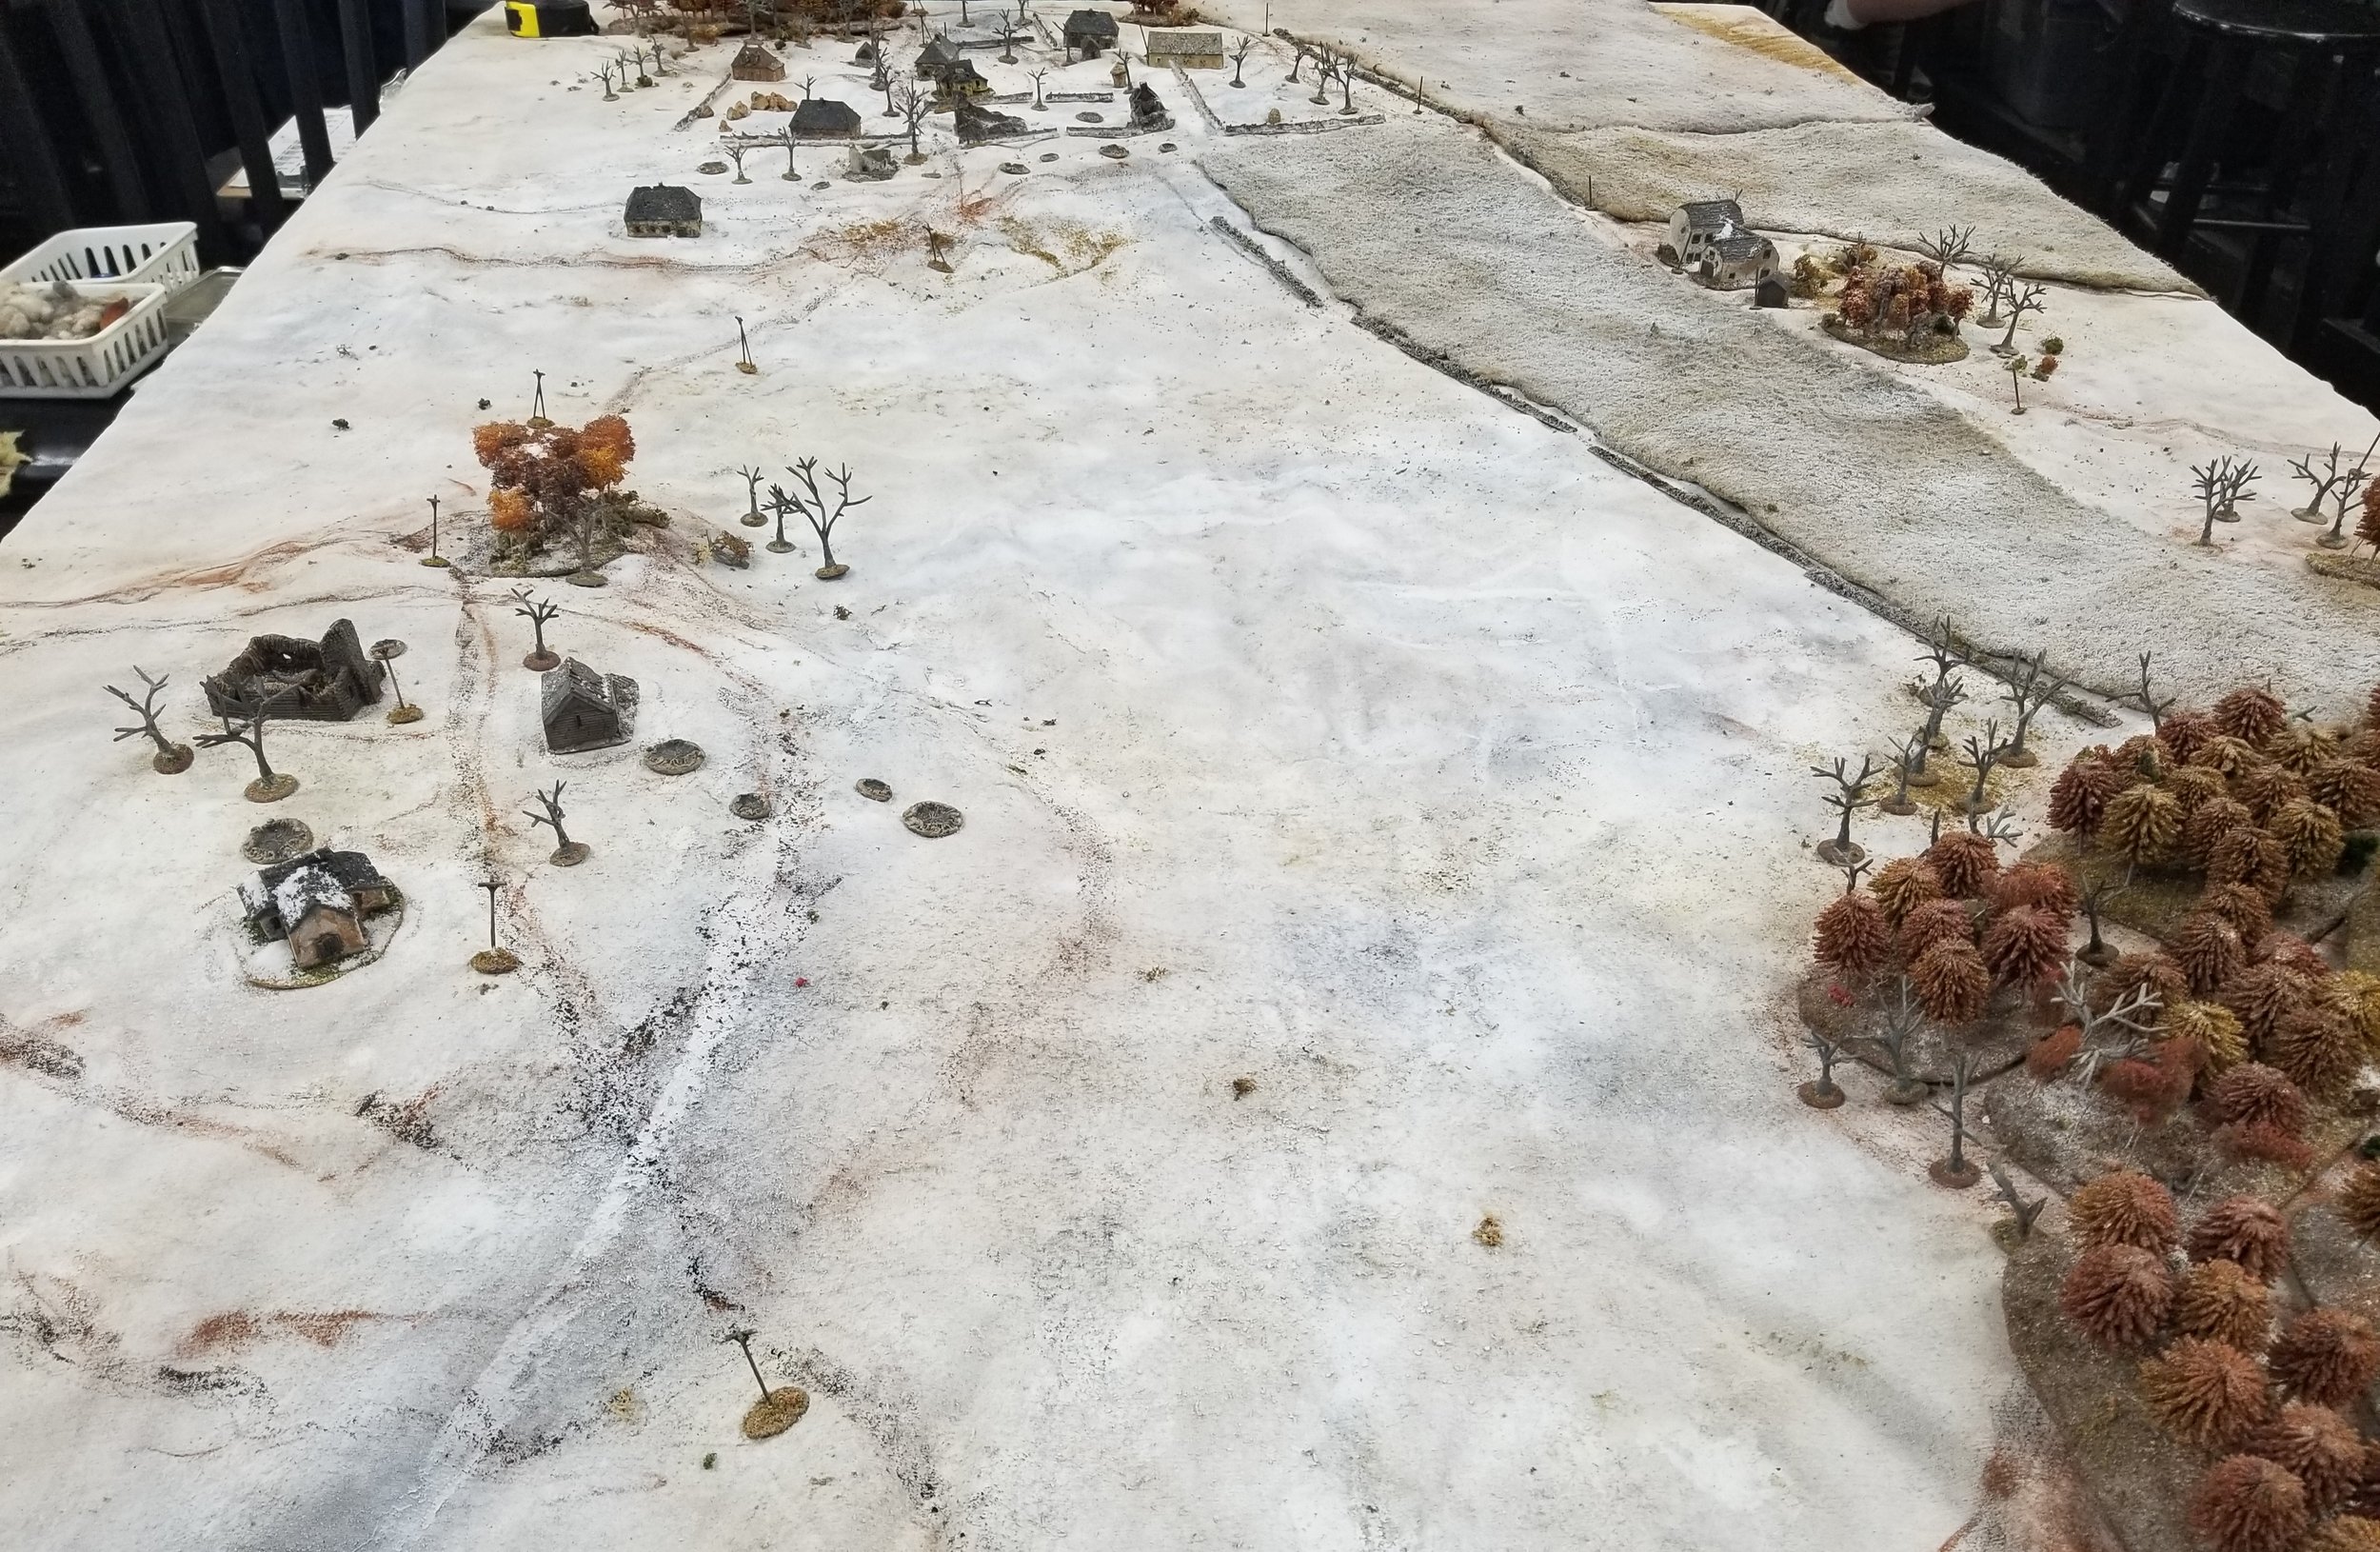
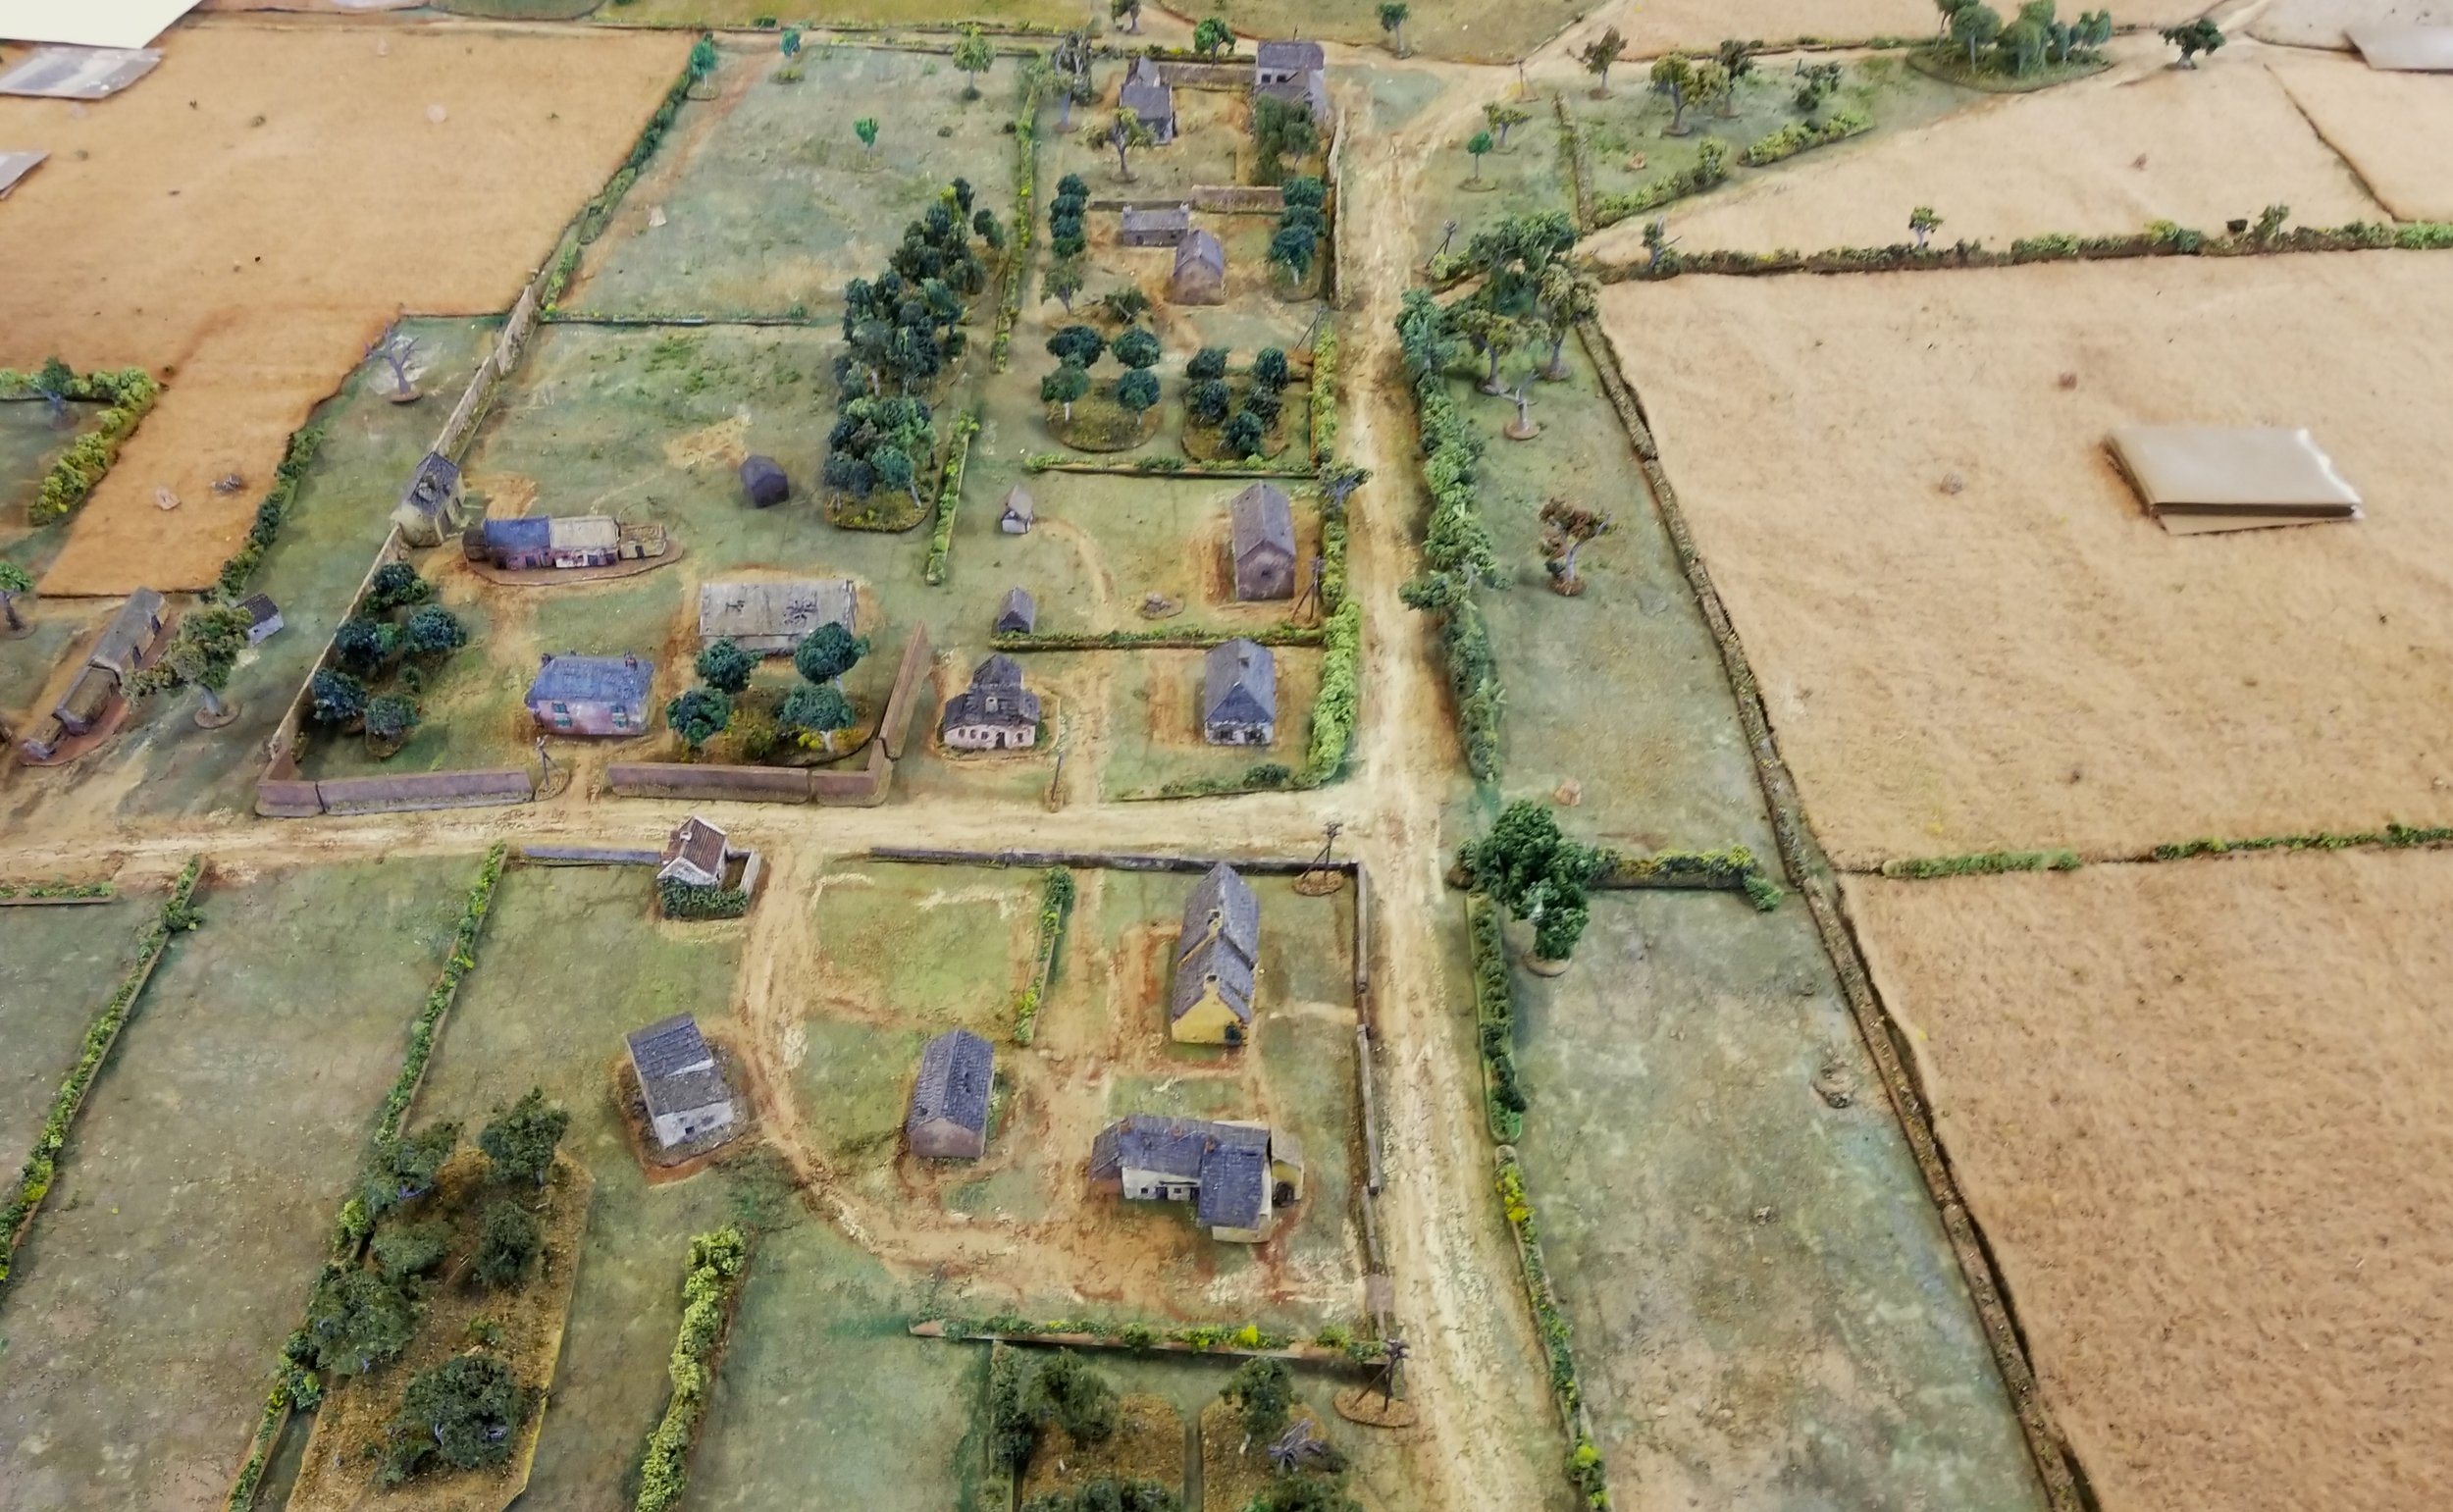
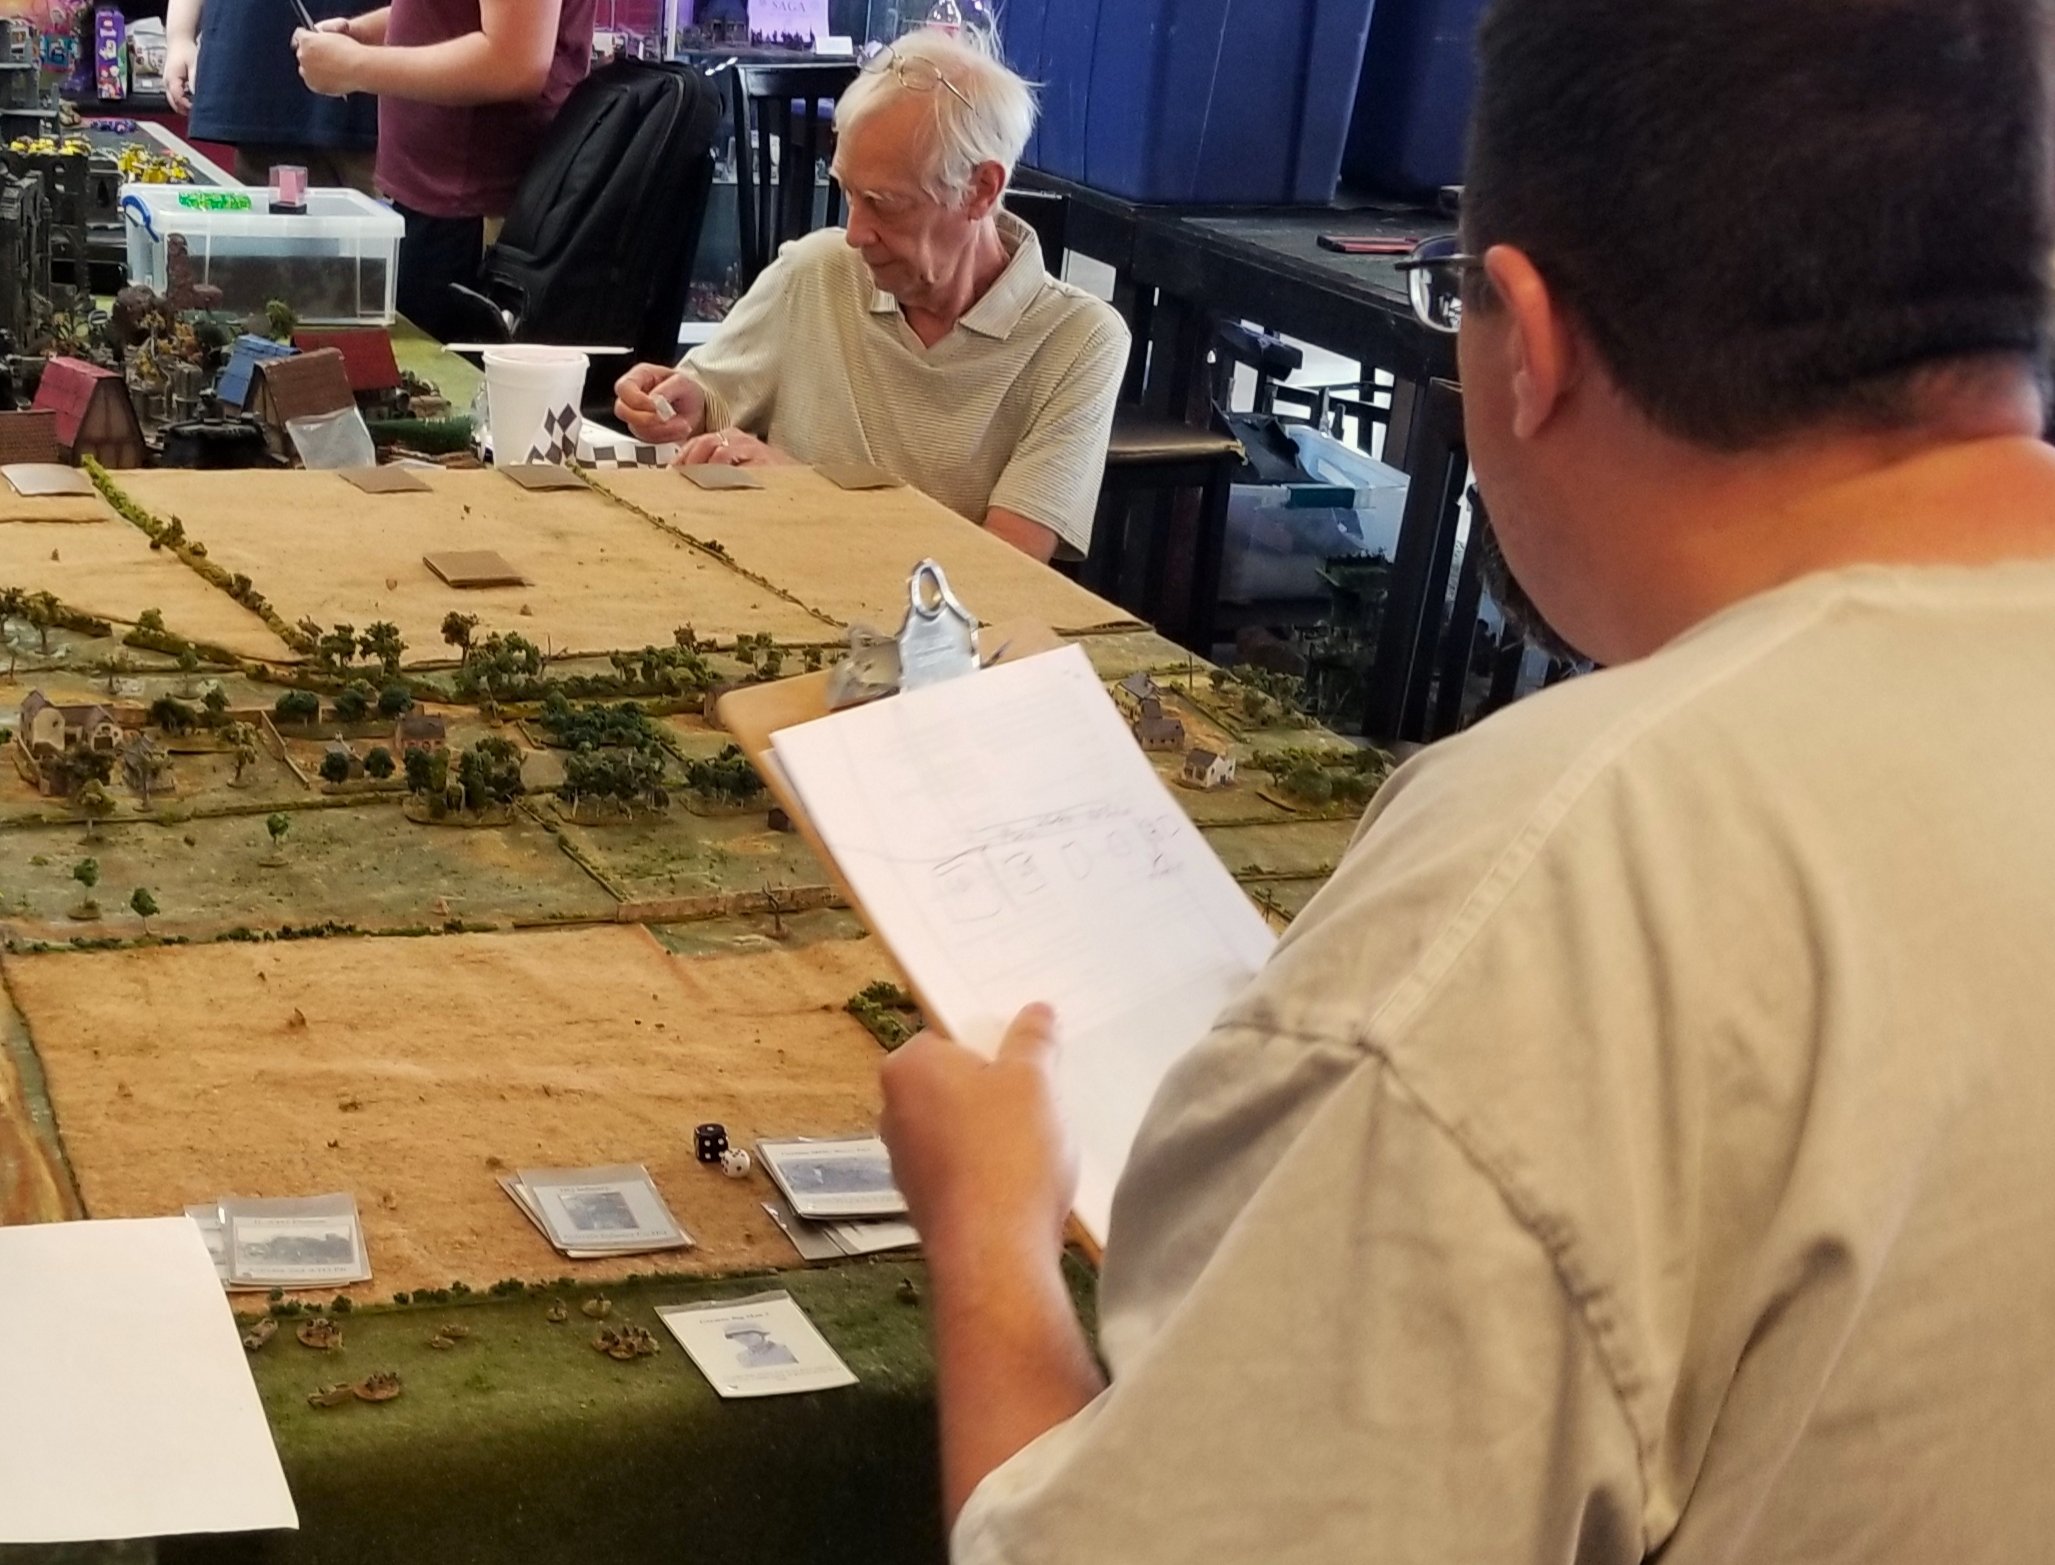
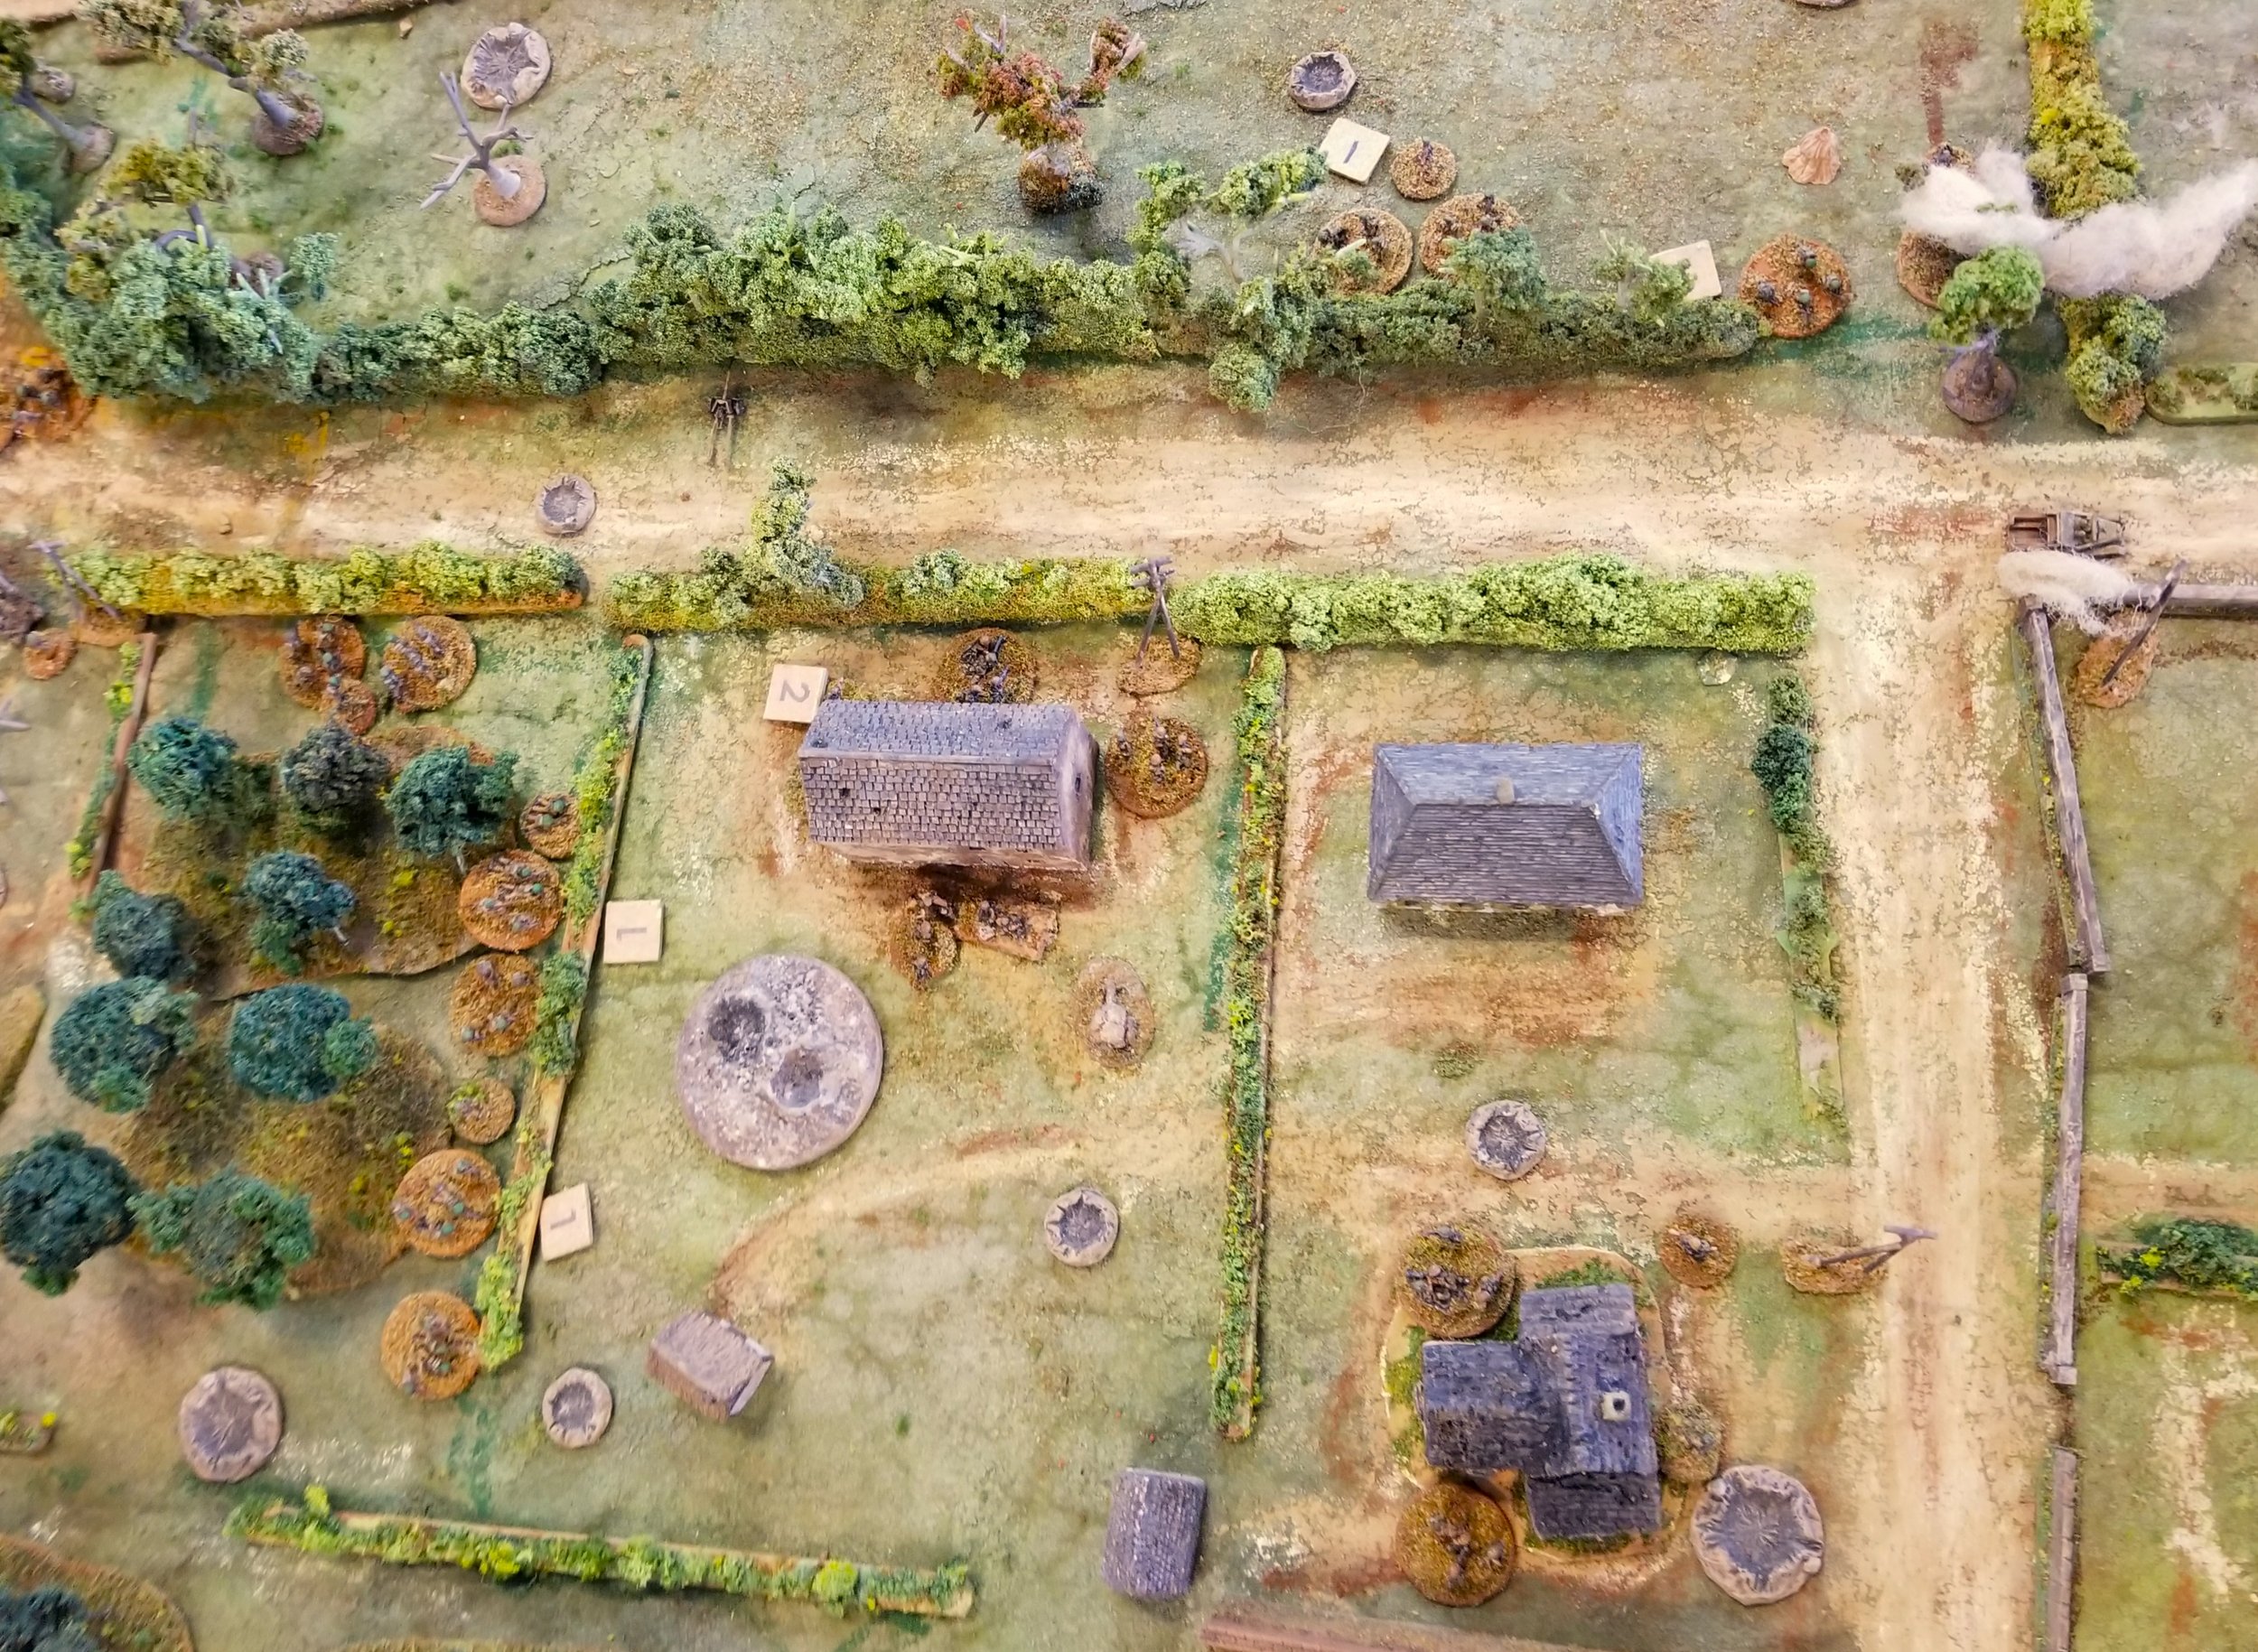
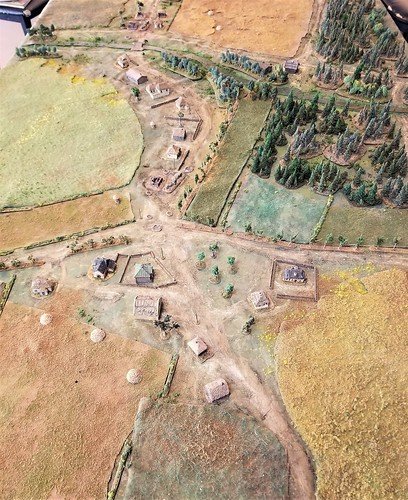
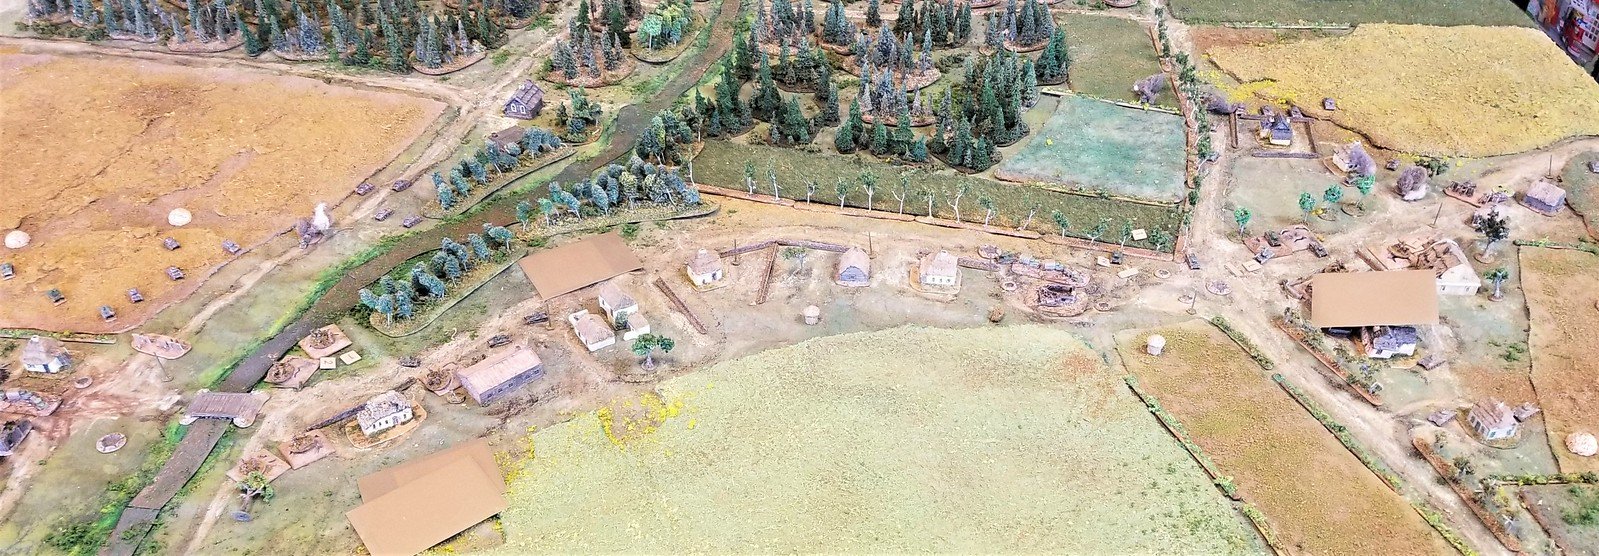
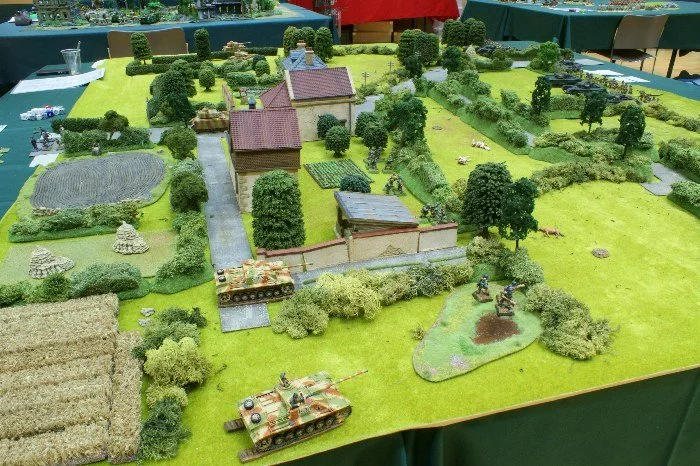
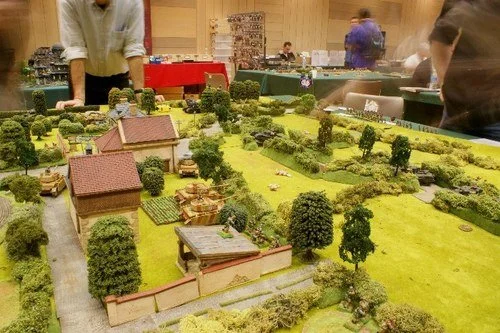
Had a great time a few weeks backs hosting/umpiring a game of the German attack on La Fiere on the afternoon of June 6th, 1944 against the 82nd Airborne. This is the battle after the Germans had taken Cauquigny earlier in the day.

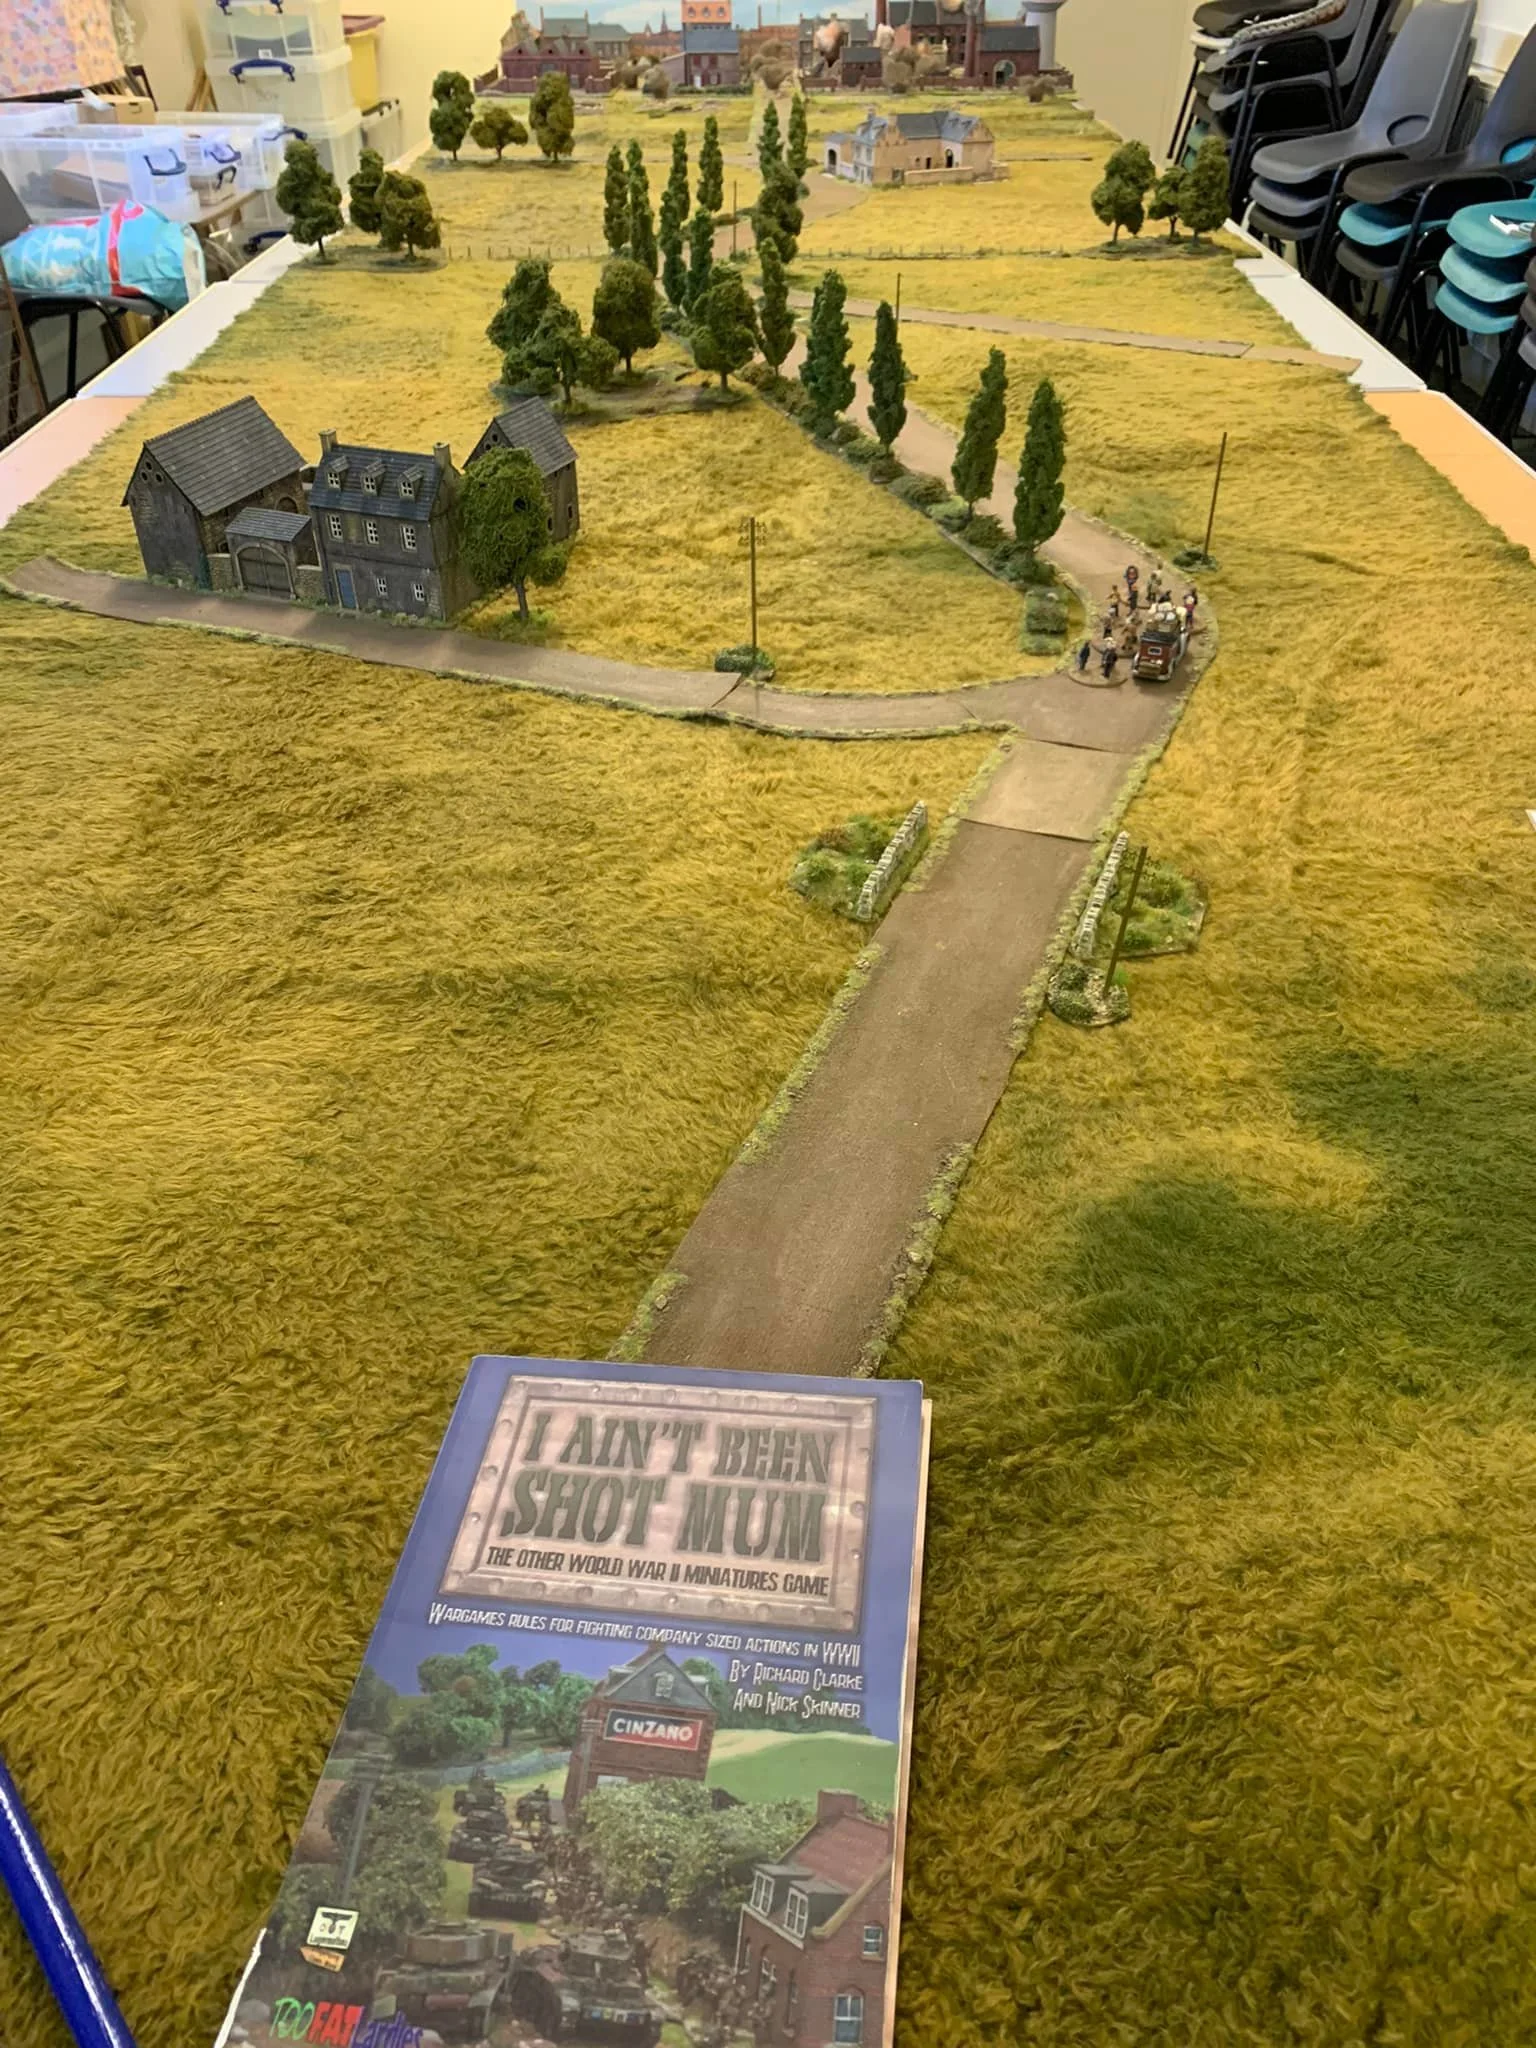
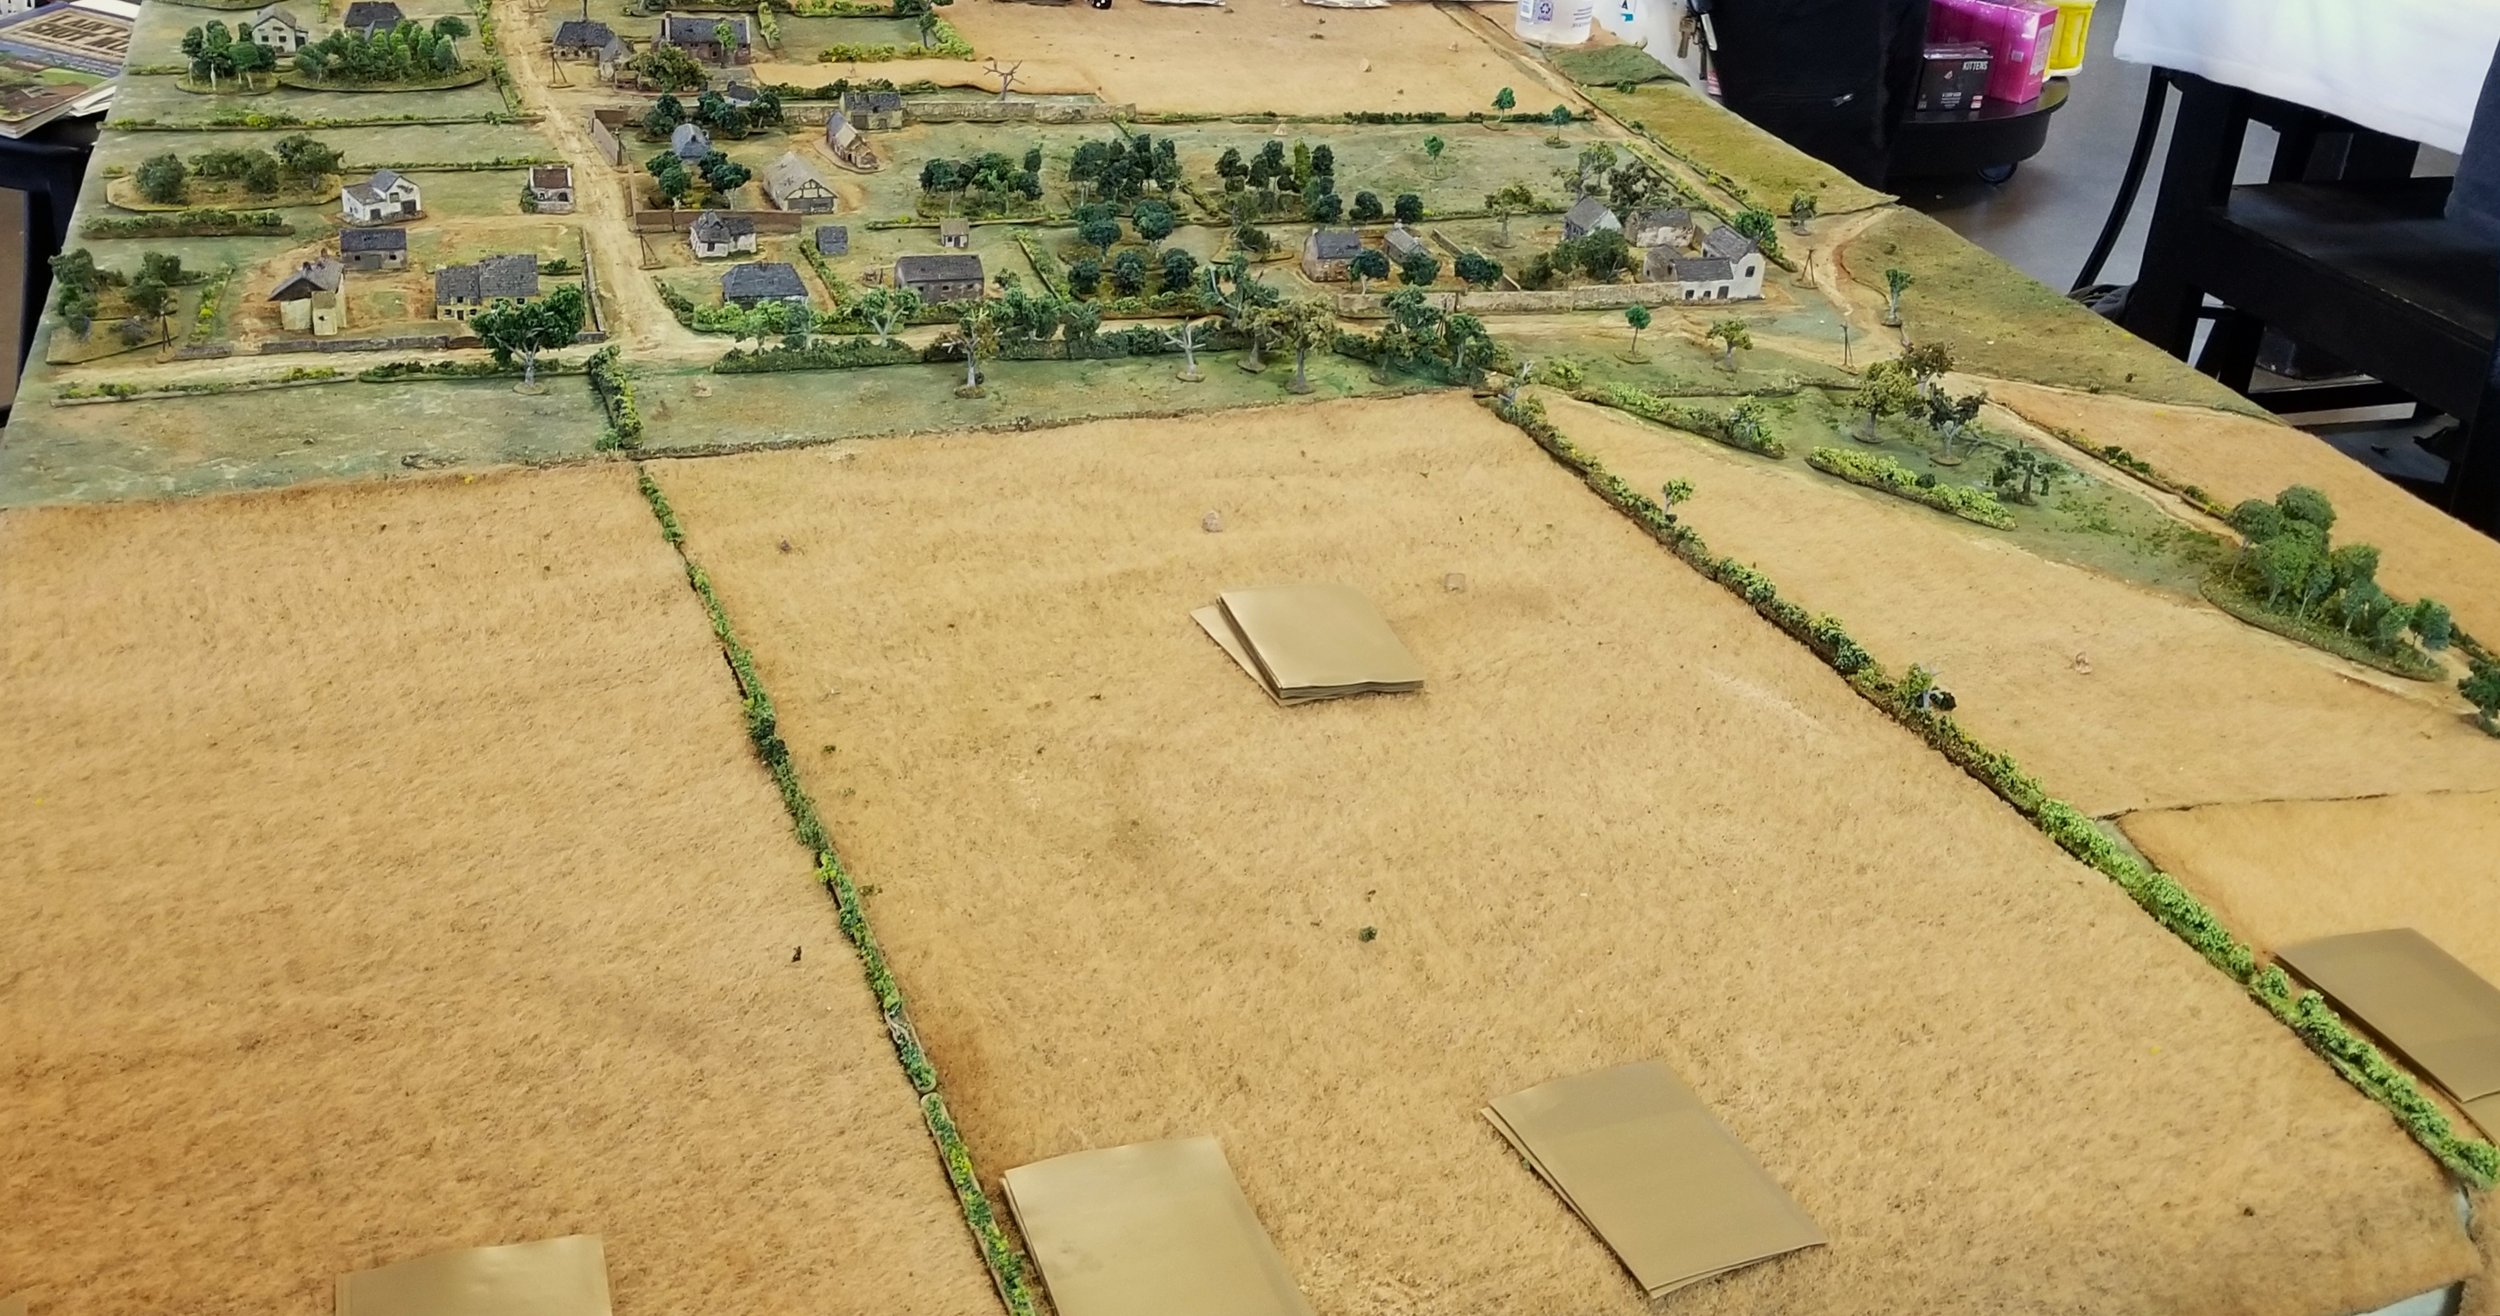
I used the more detailed map in the Skirmish Campaigns book, Normandy '44 First Hours, and blended the OOB from that book and Scenario 3 from TFL scenario book, All-American.

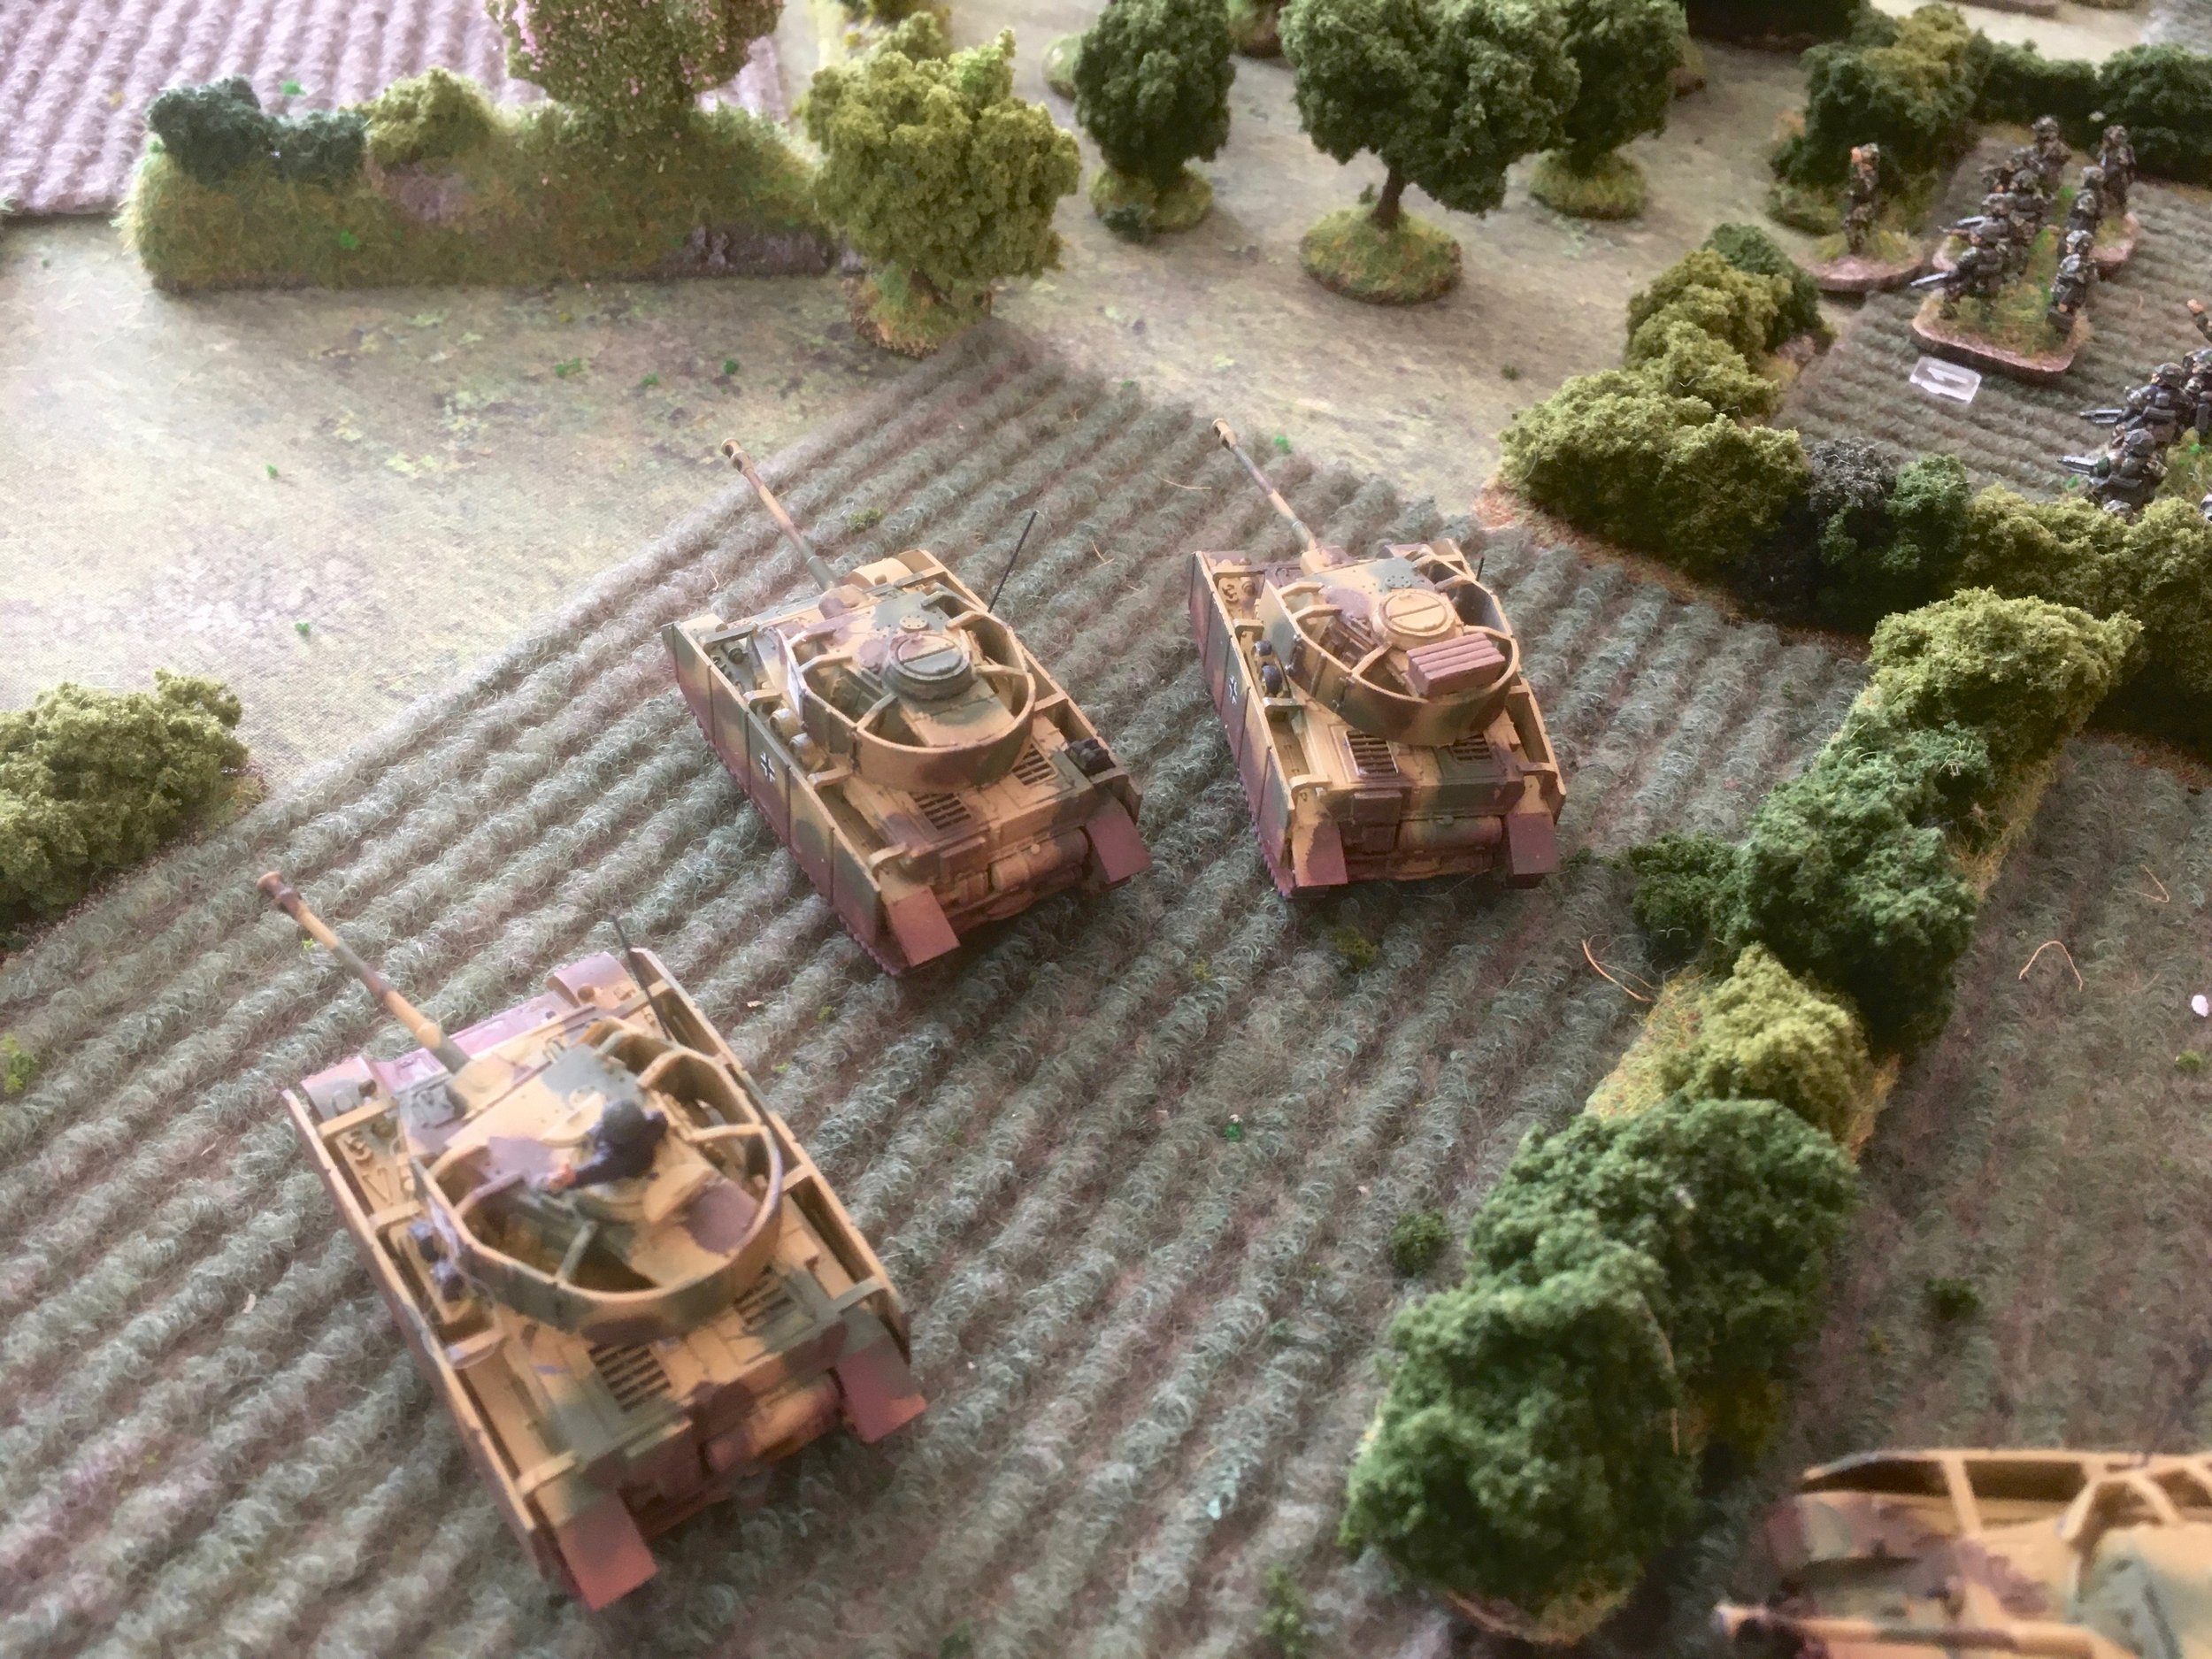
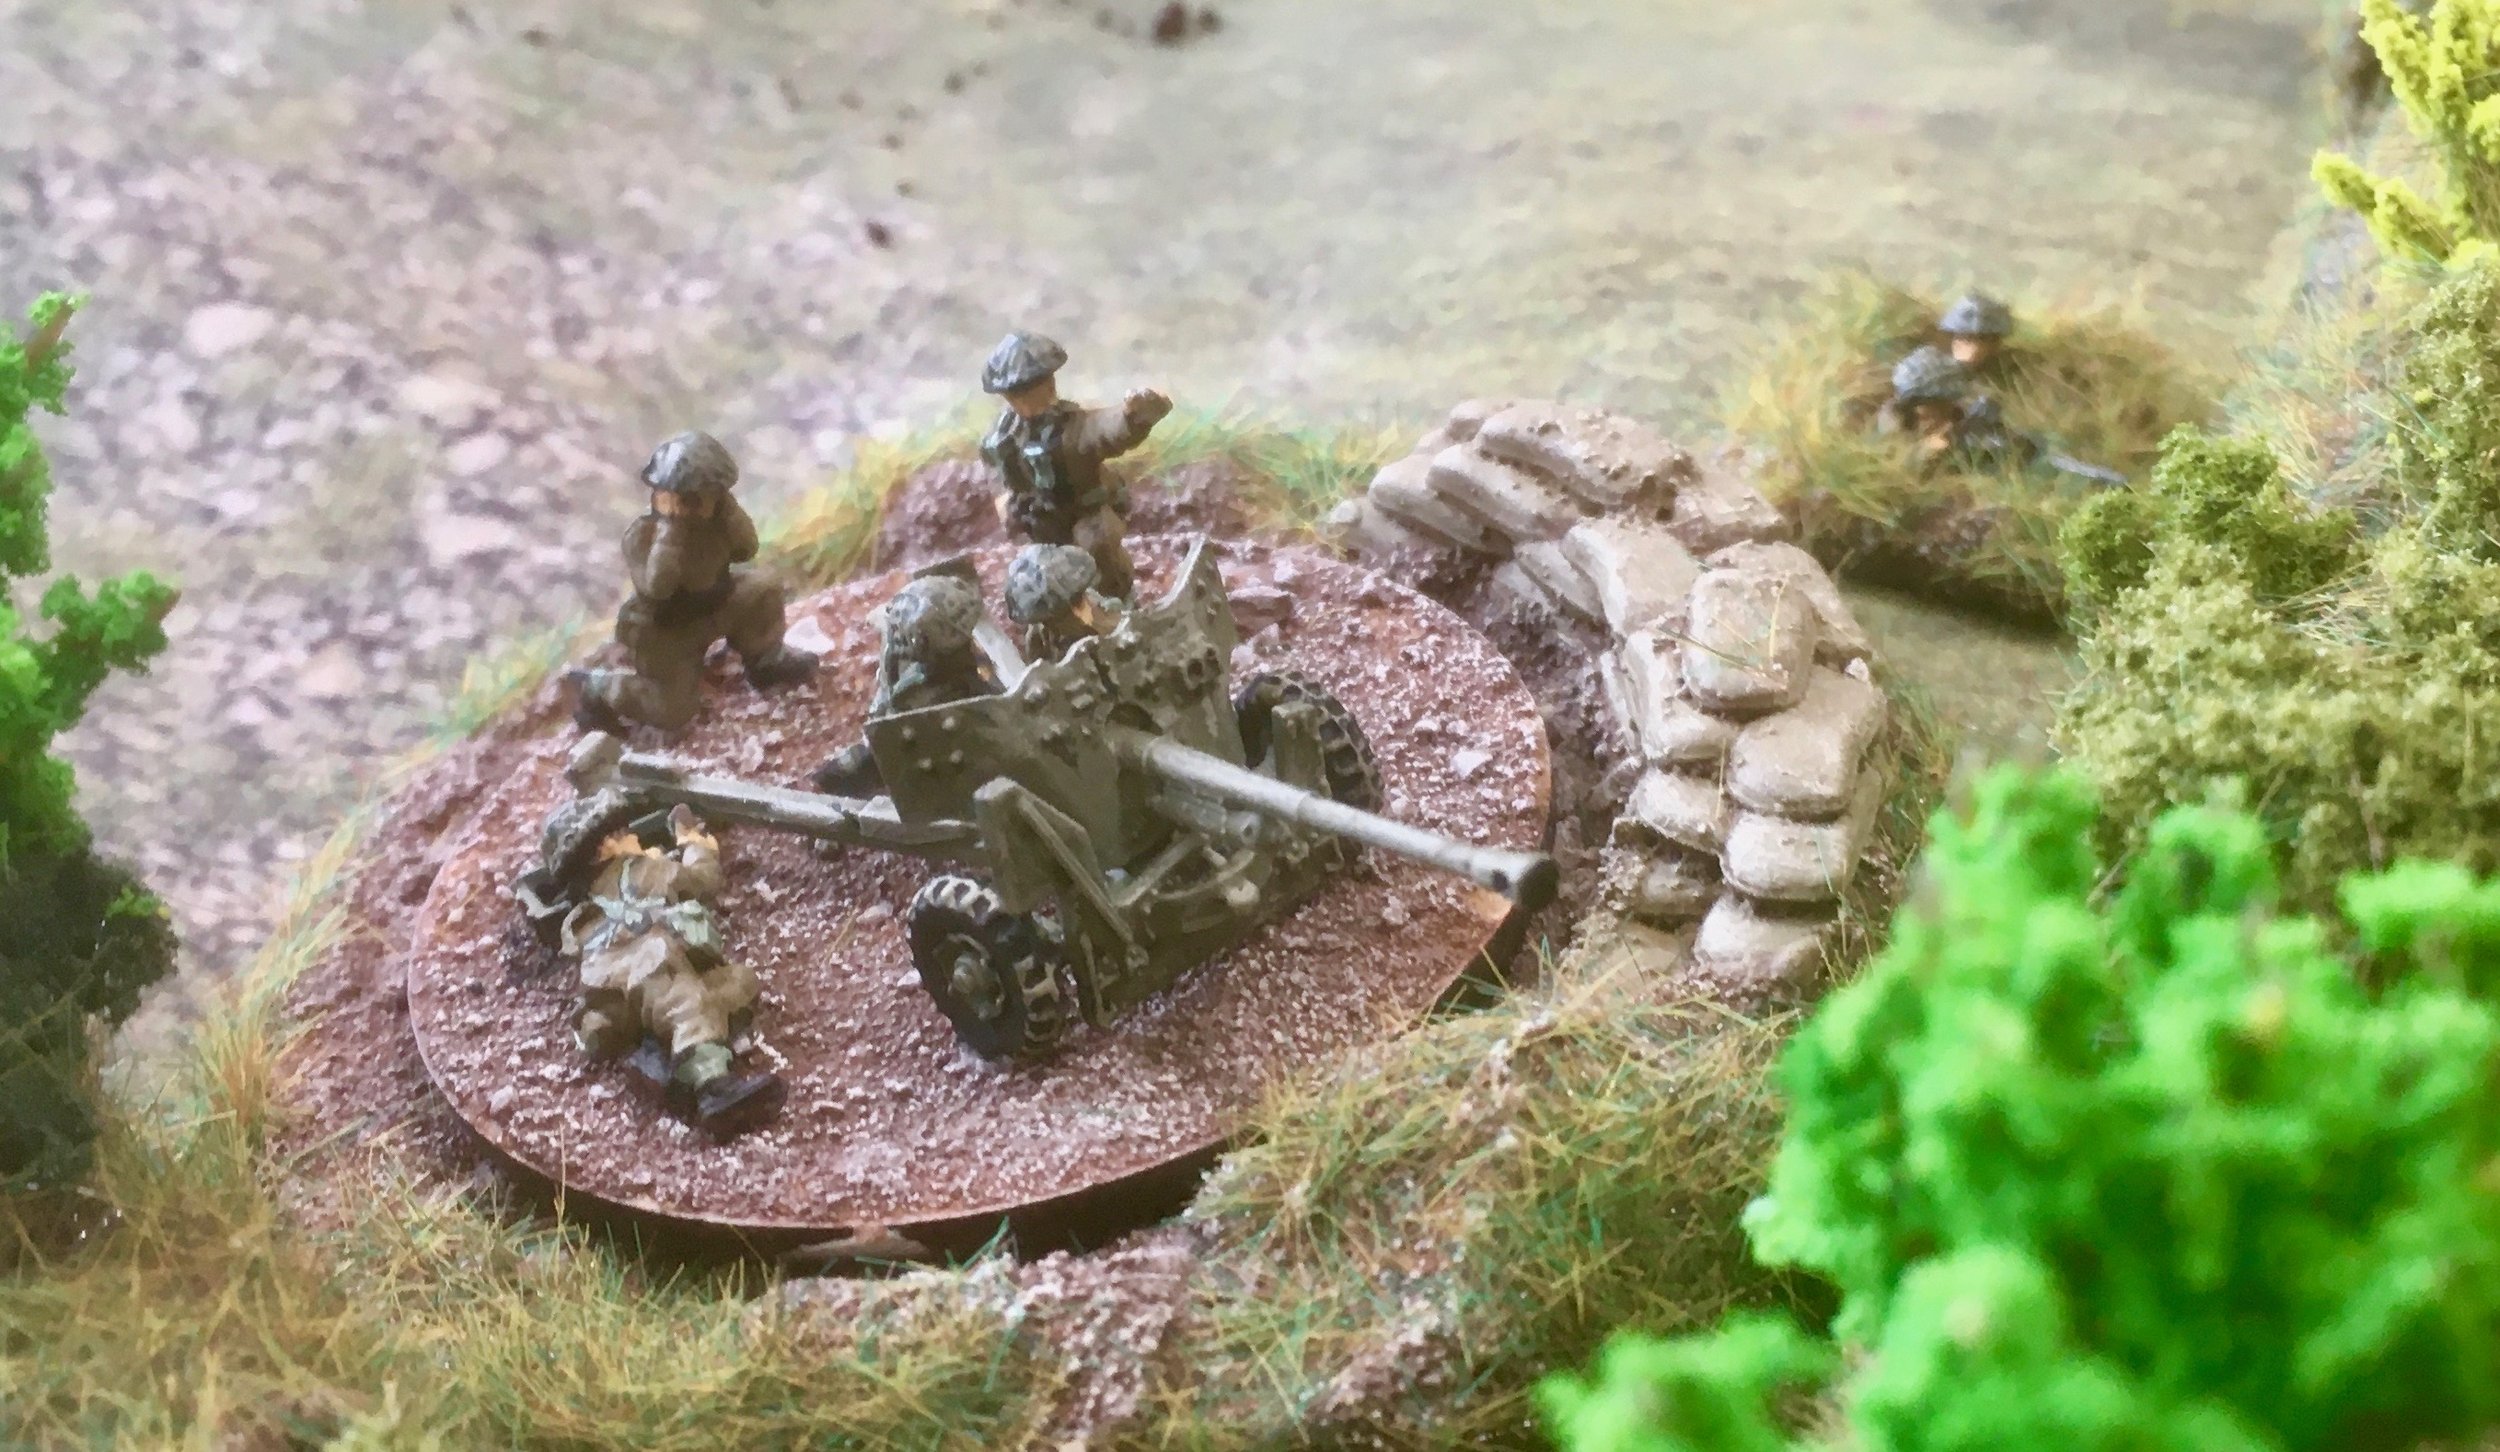
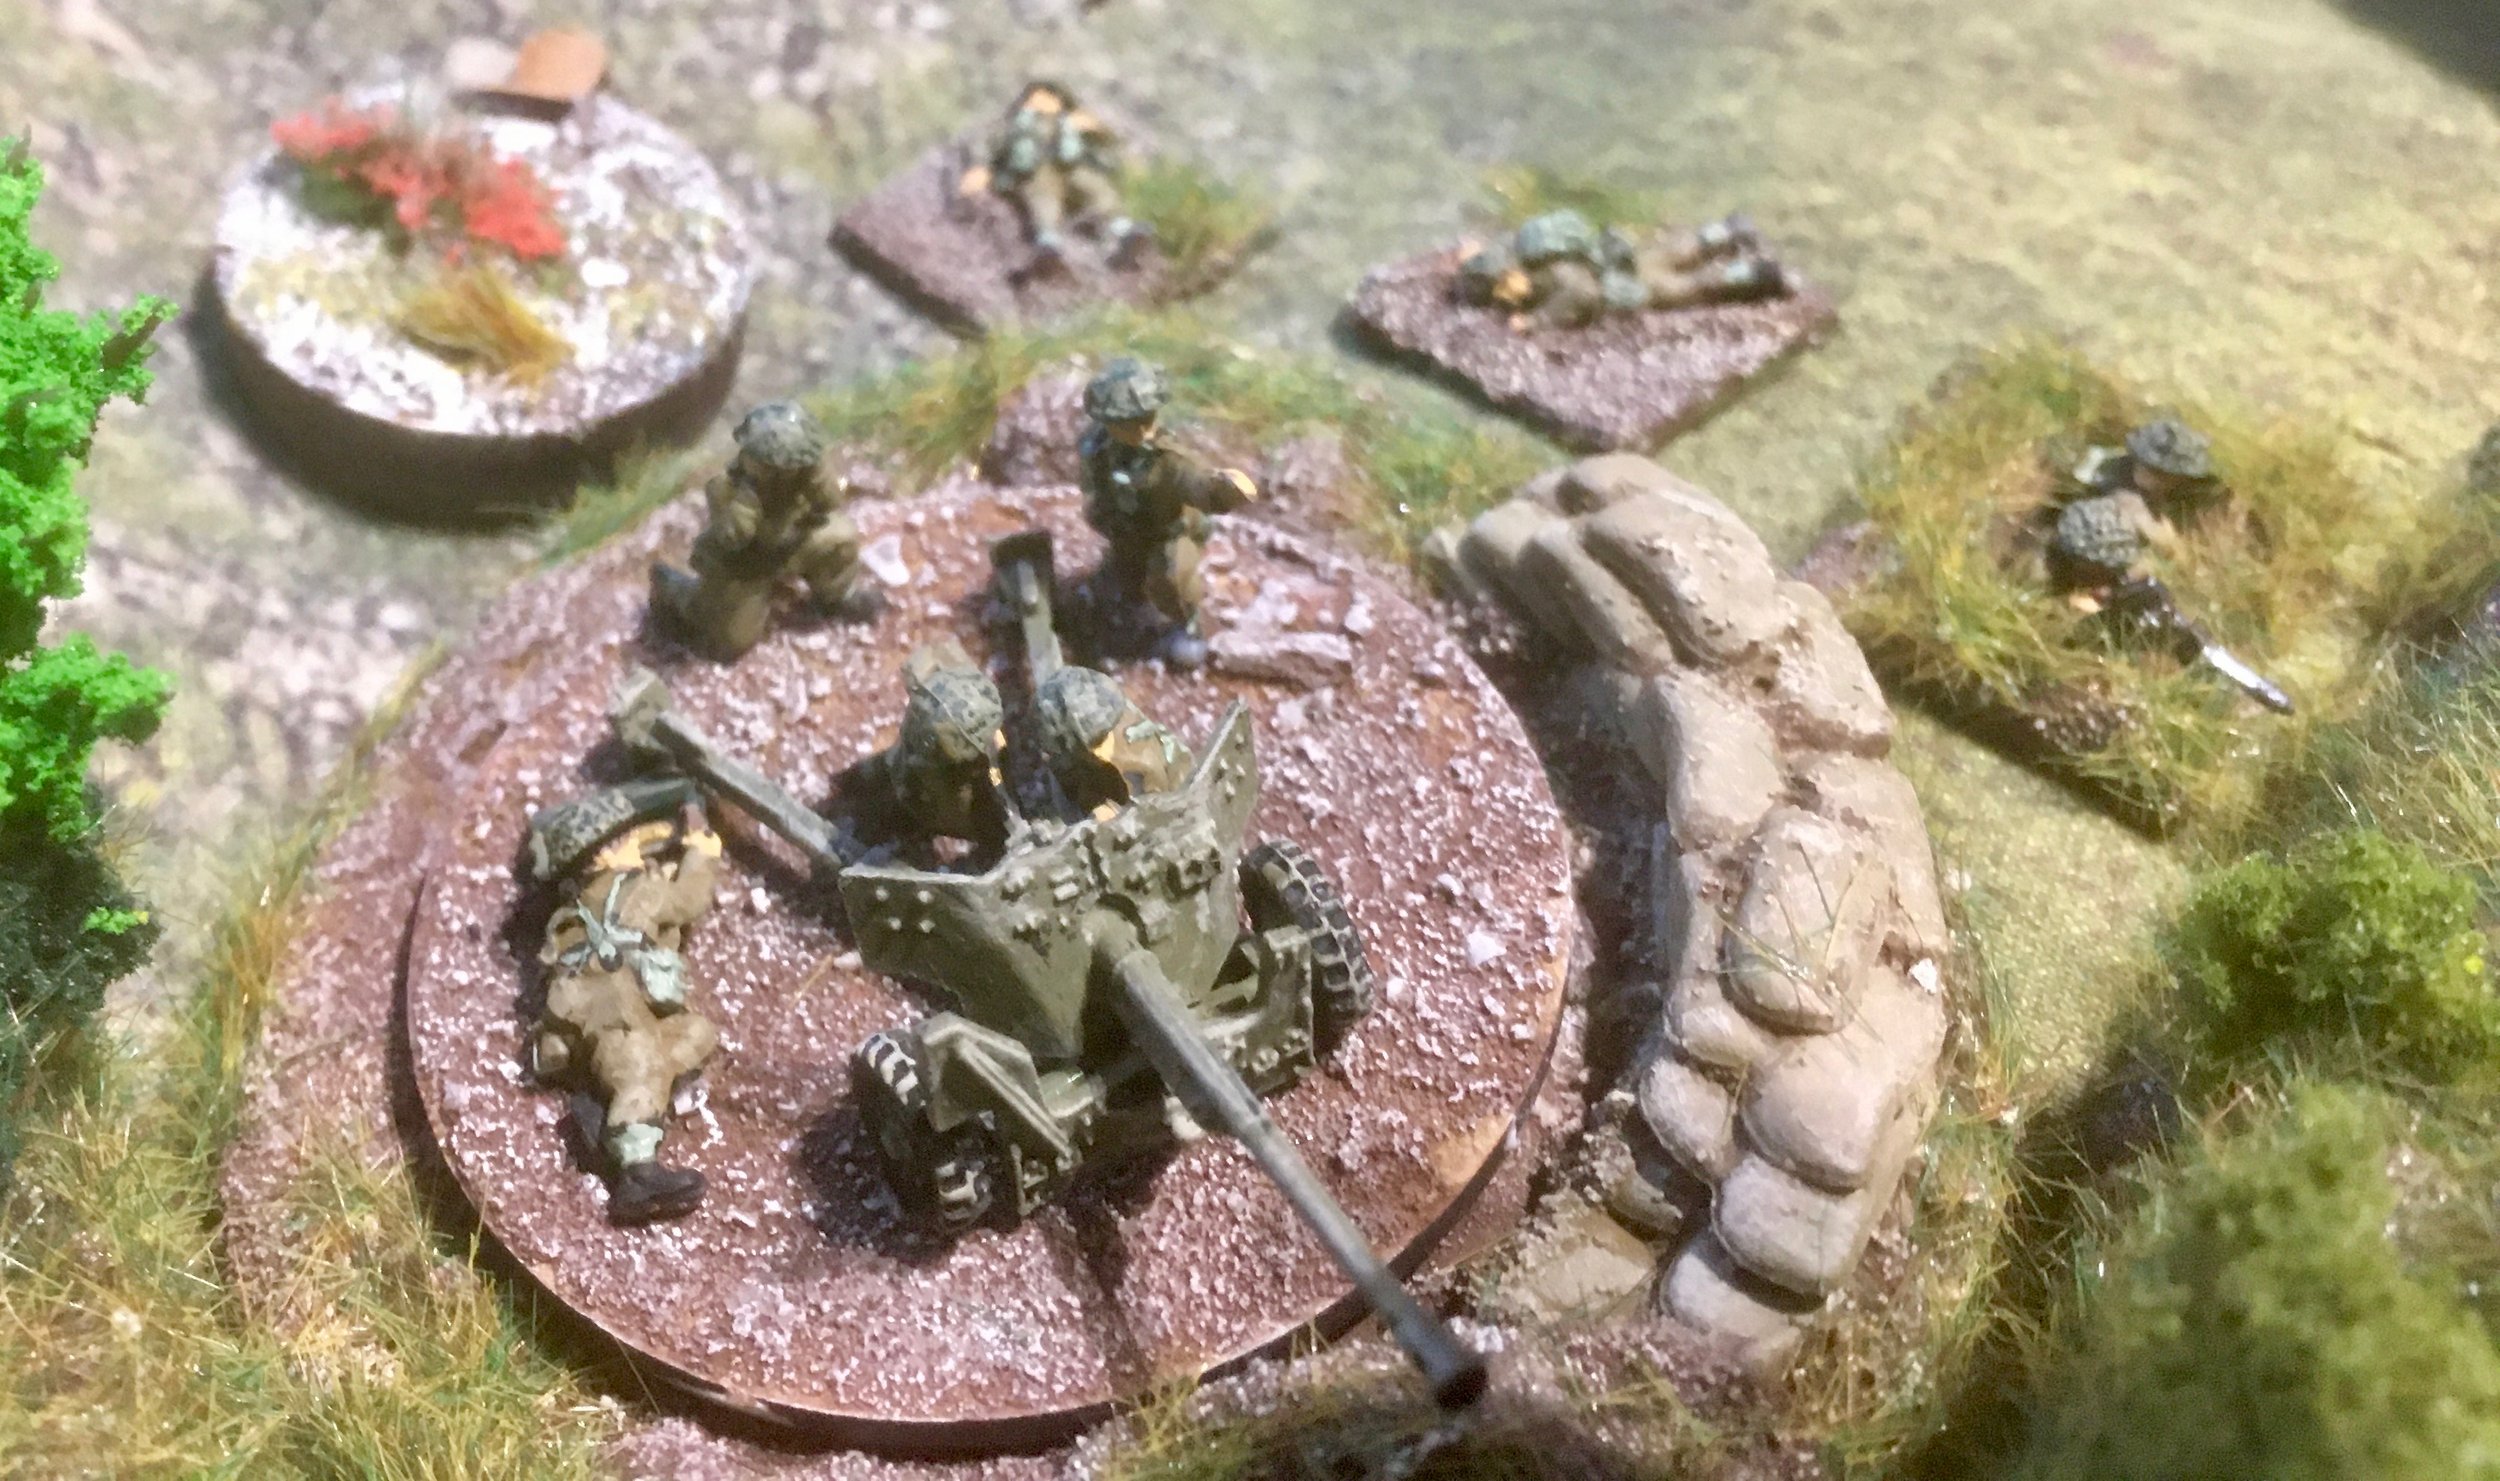
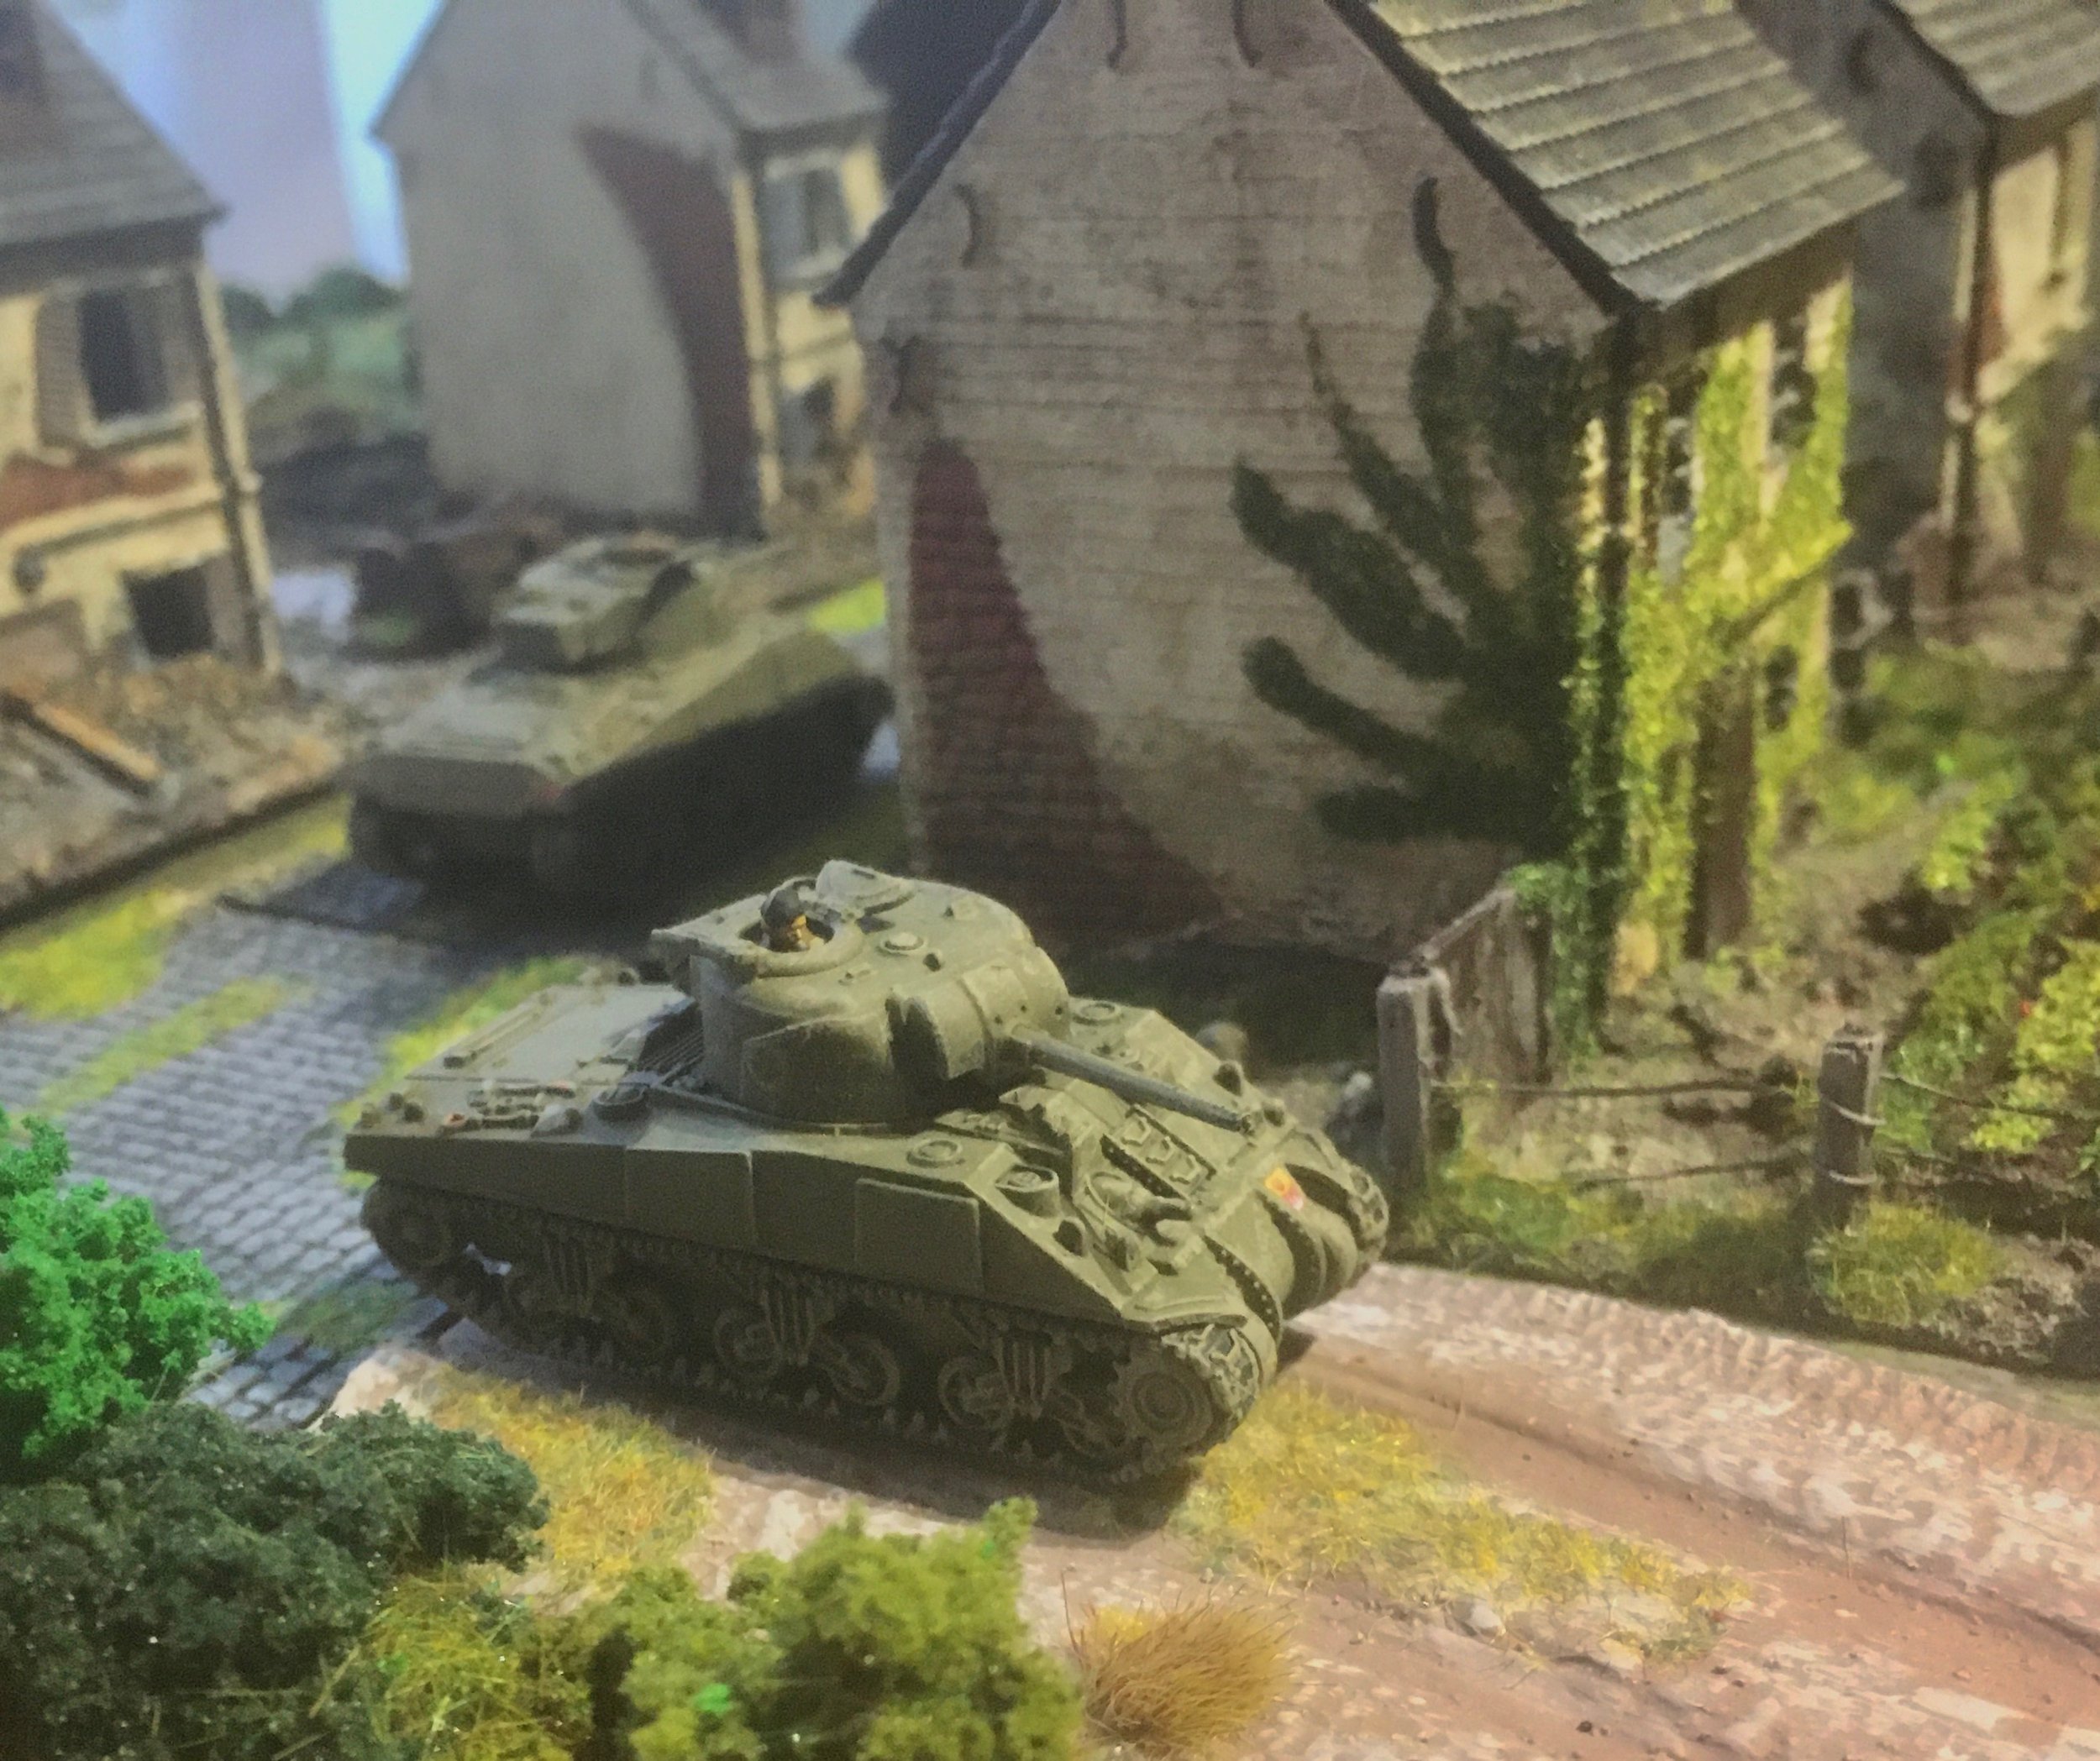
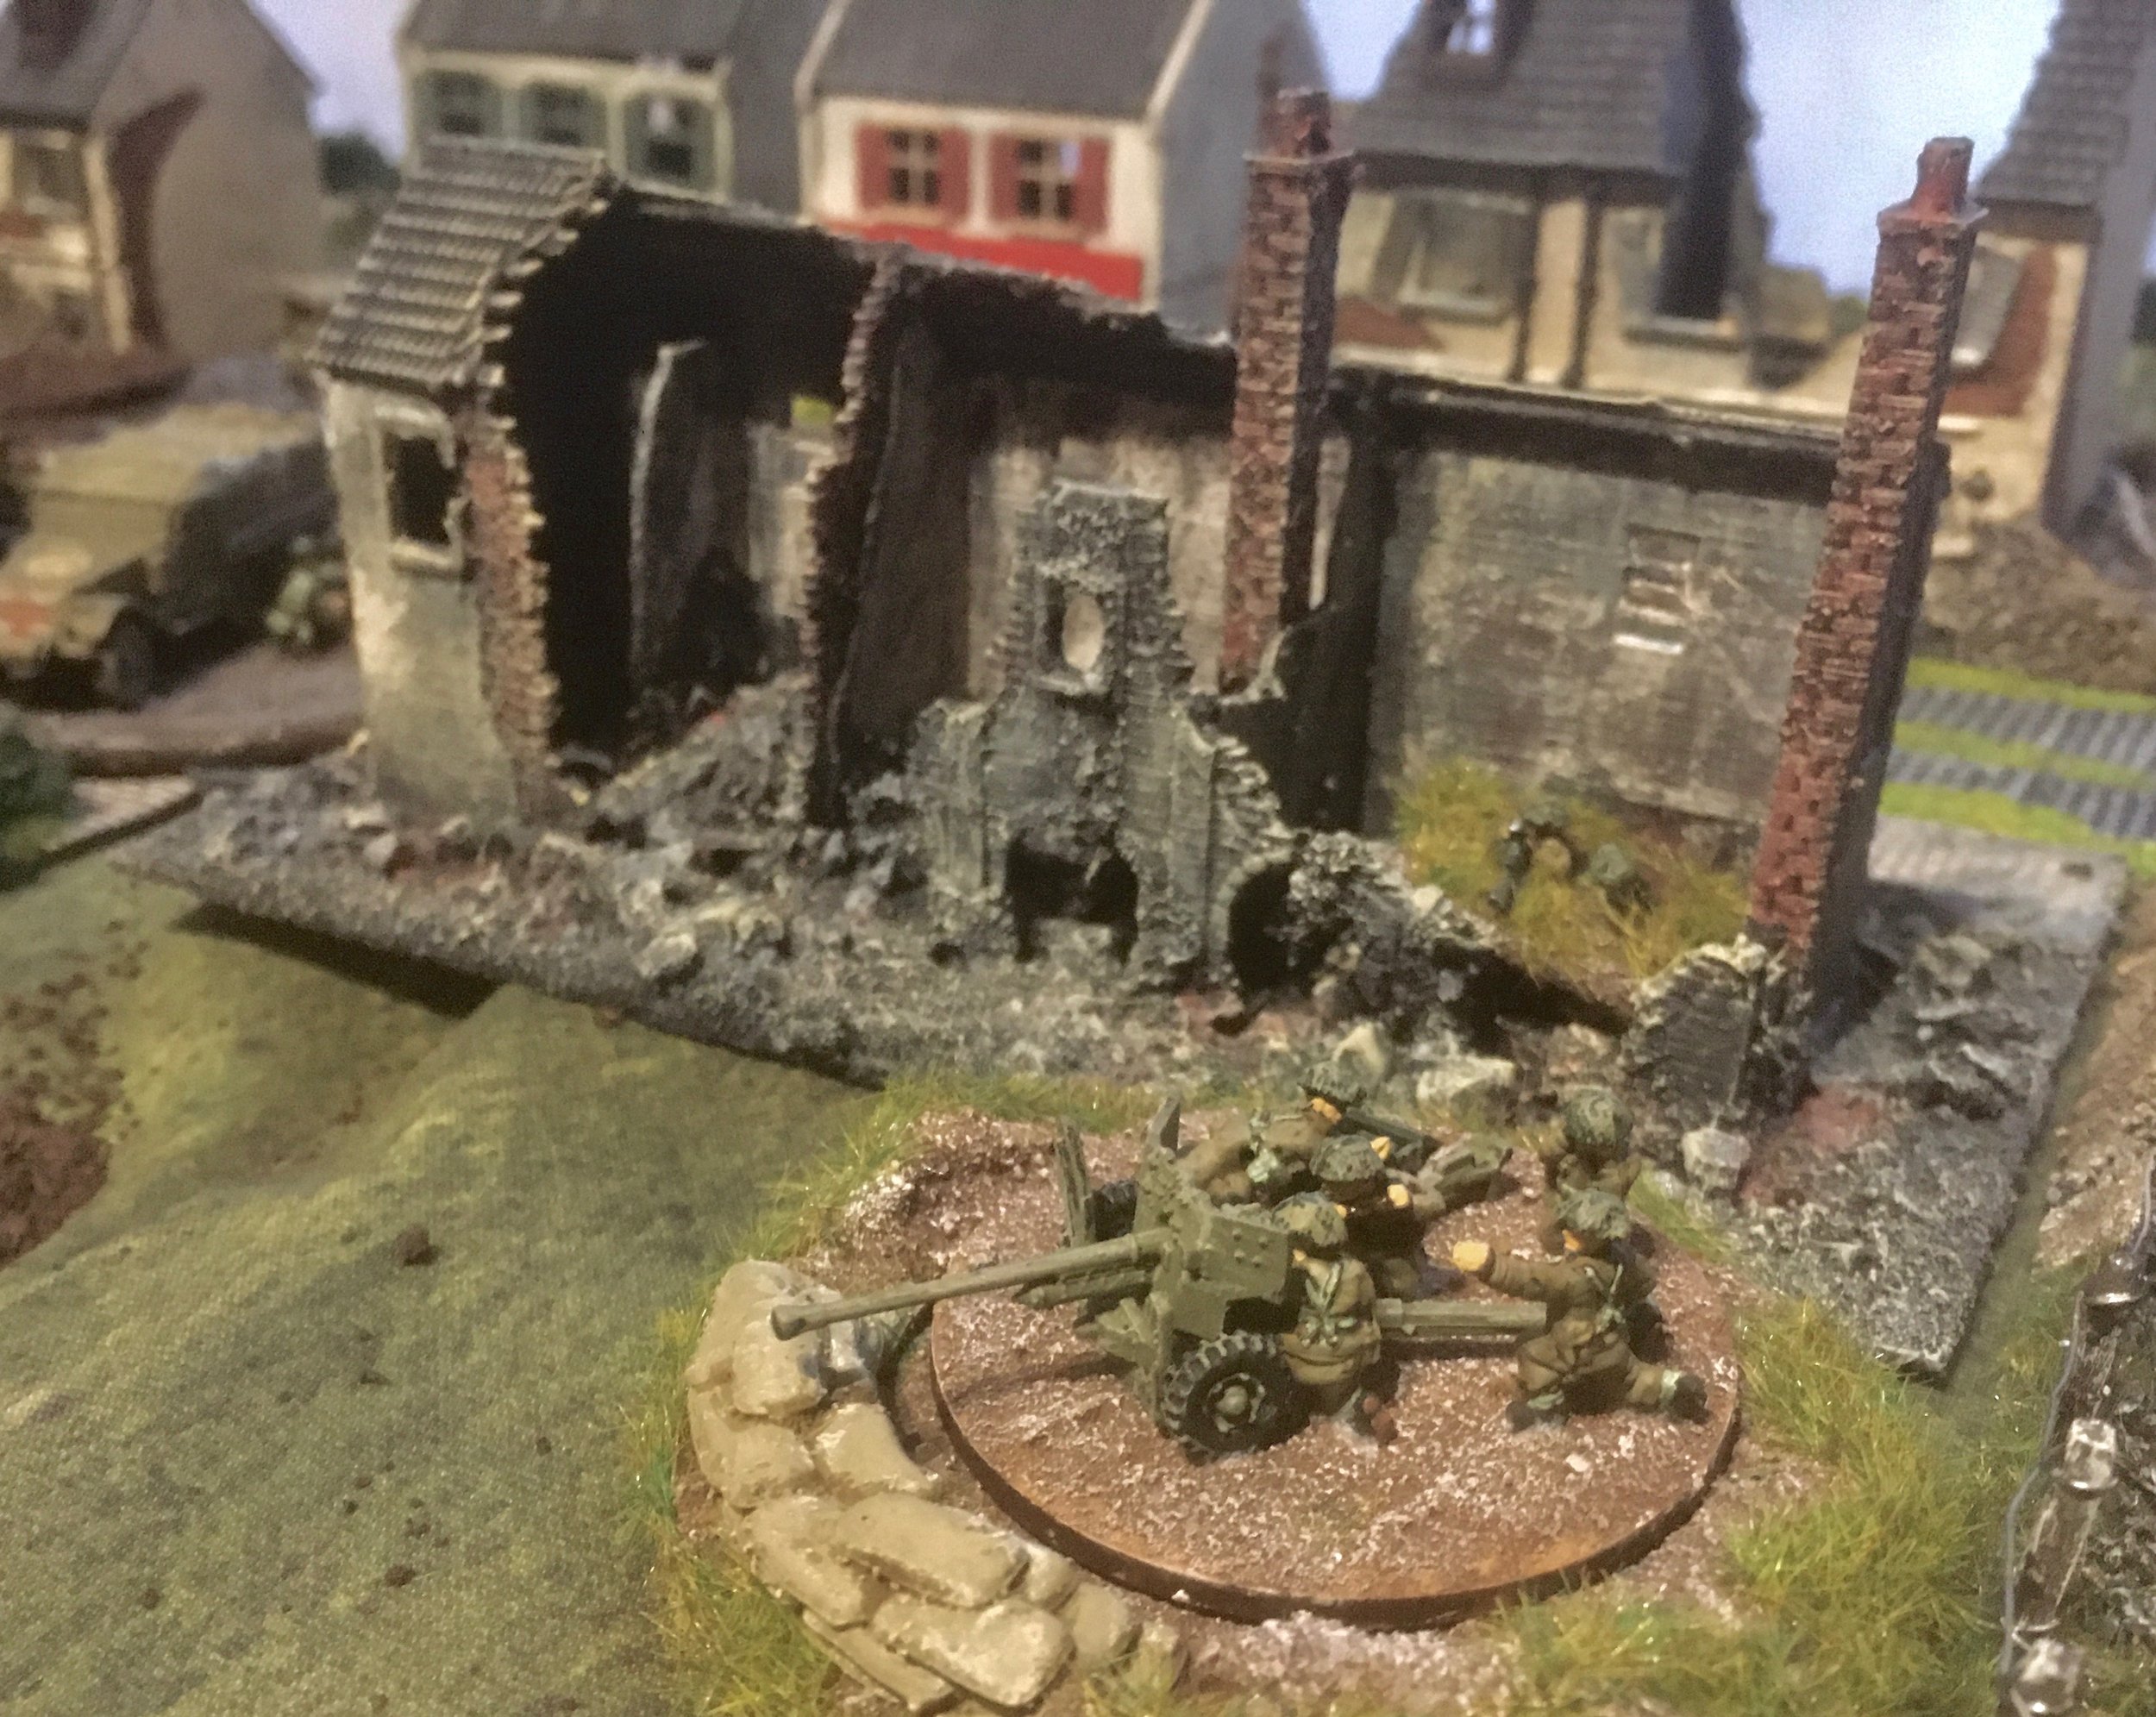
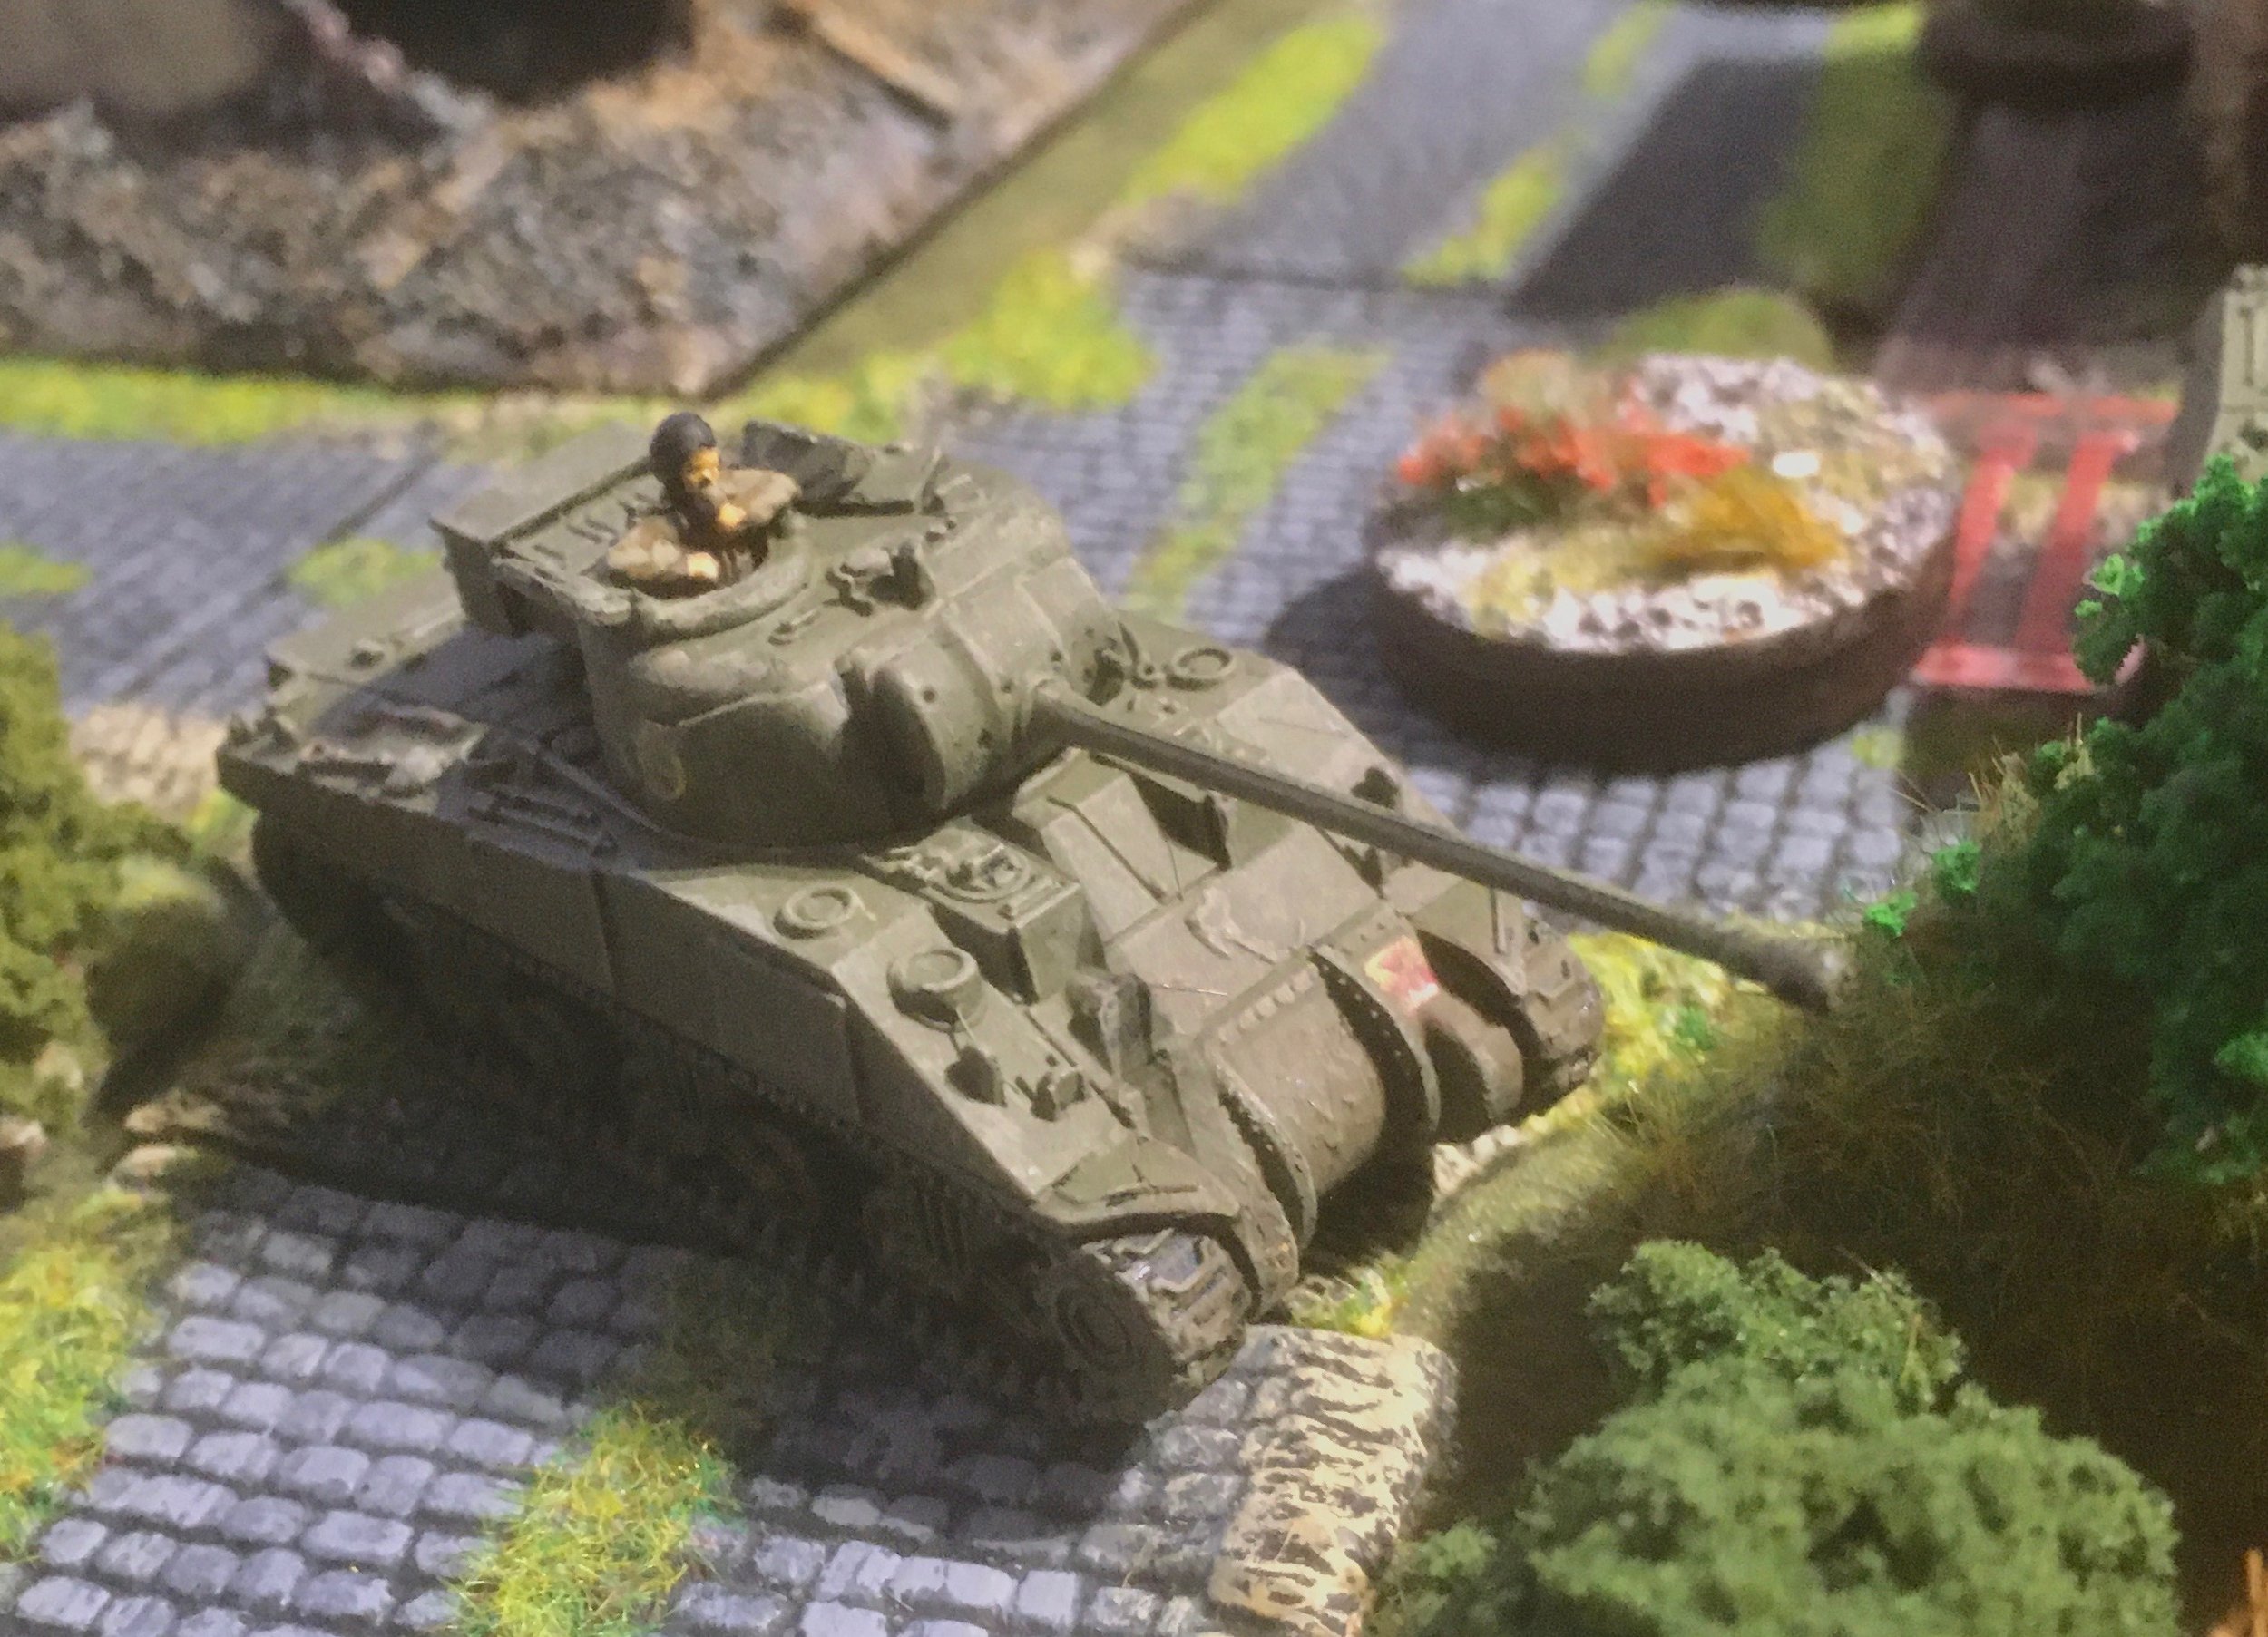
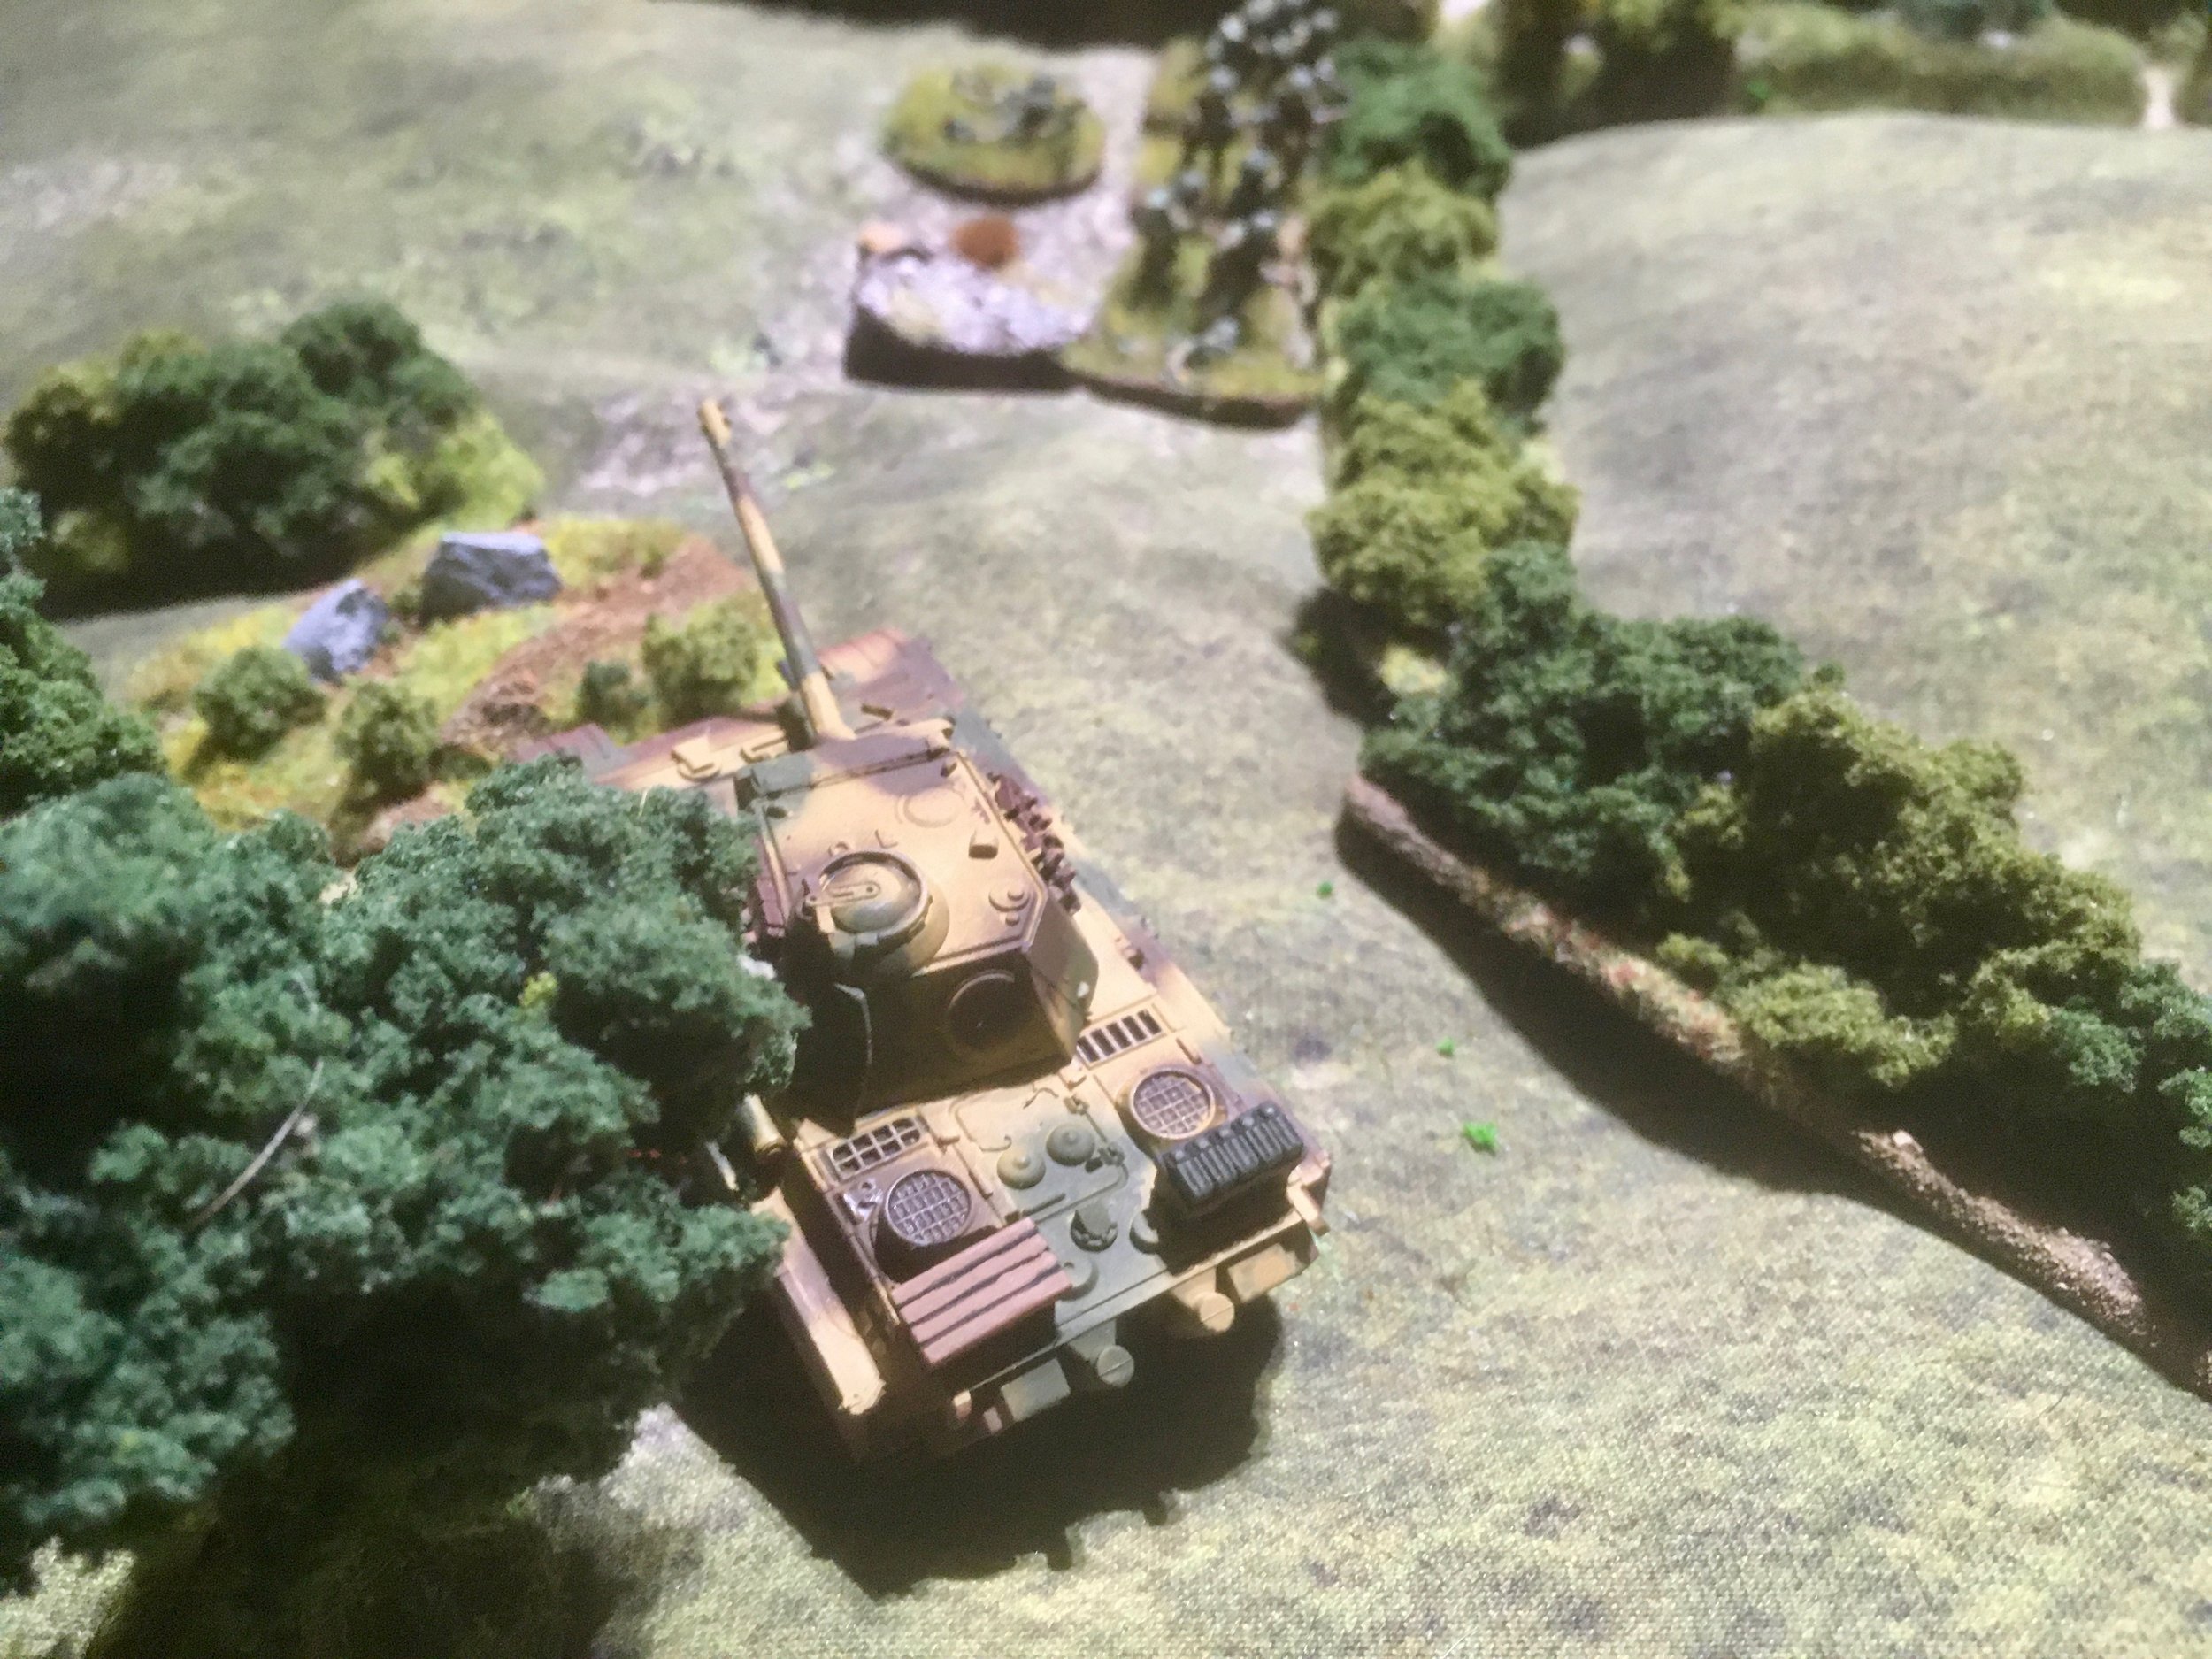
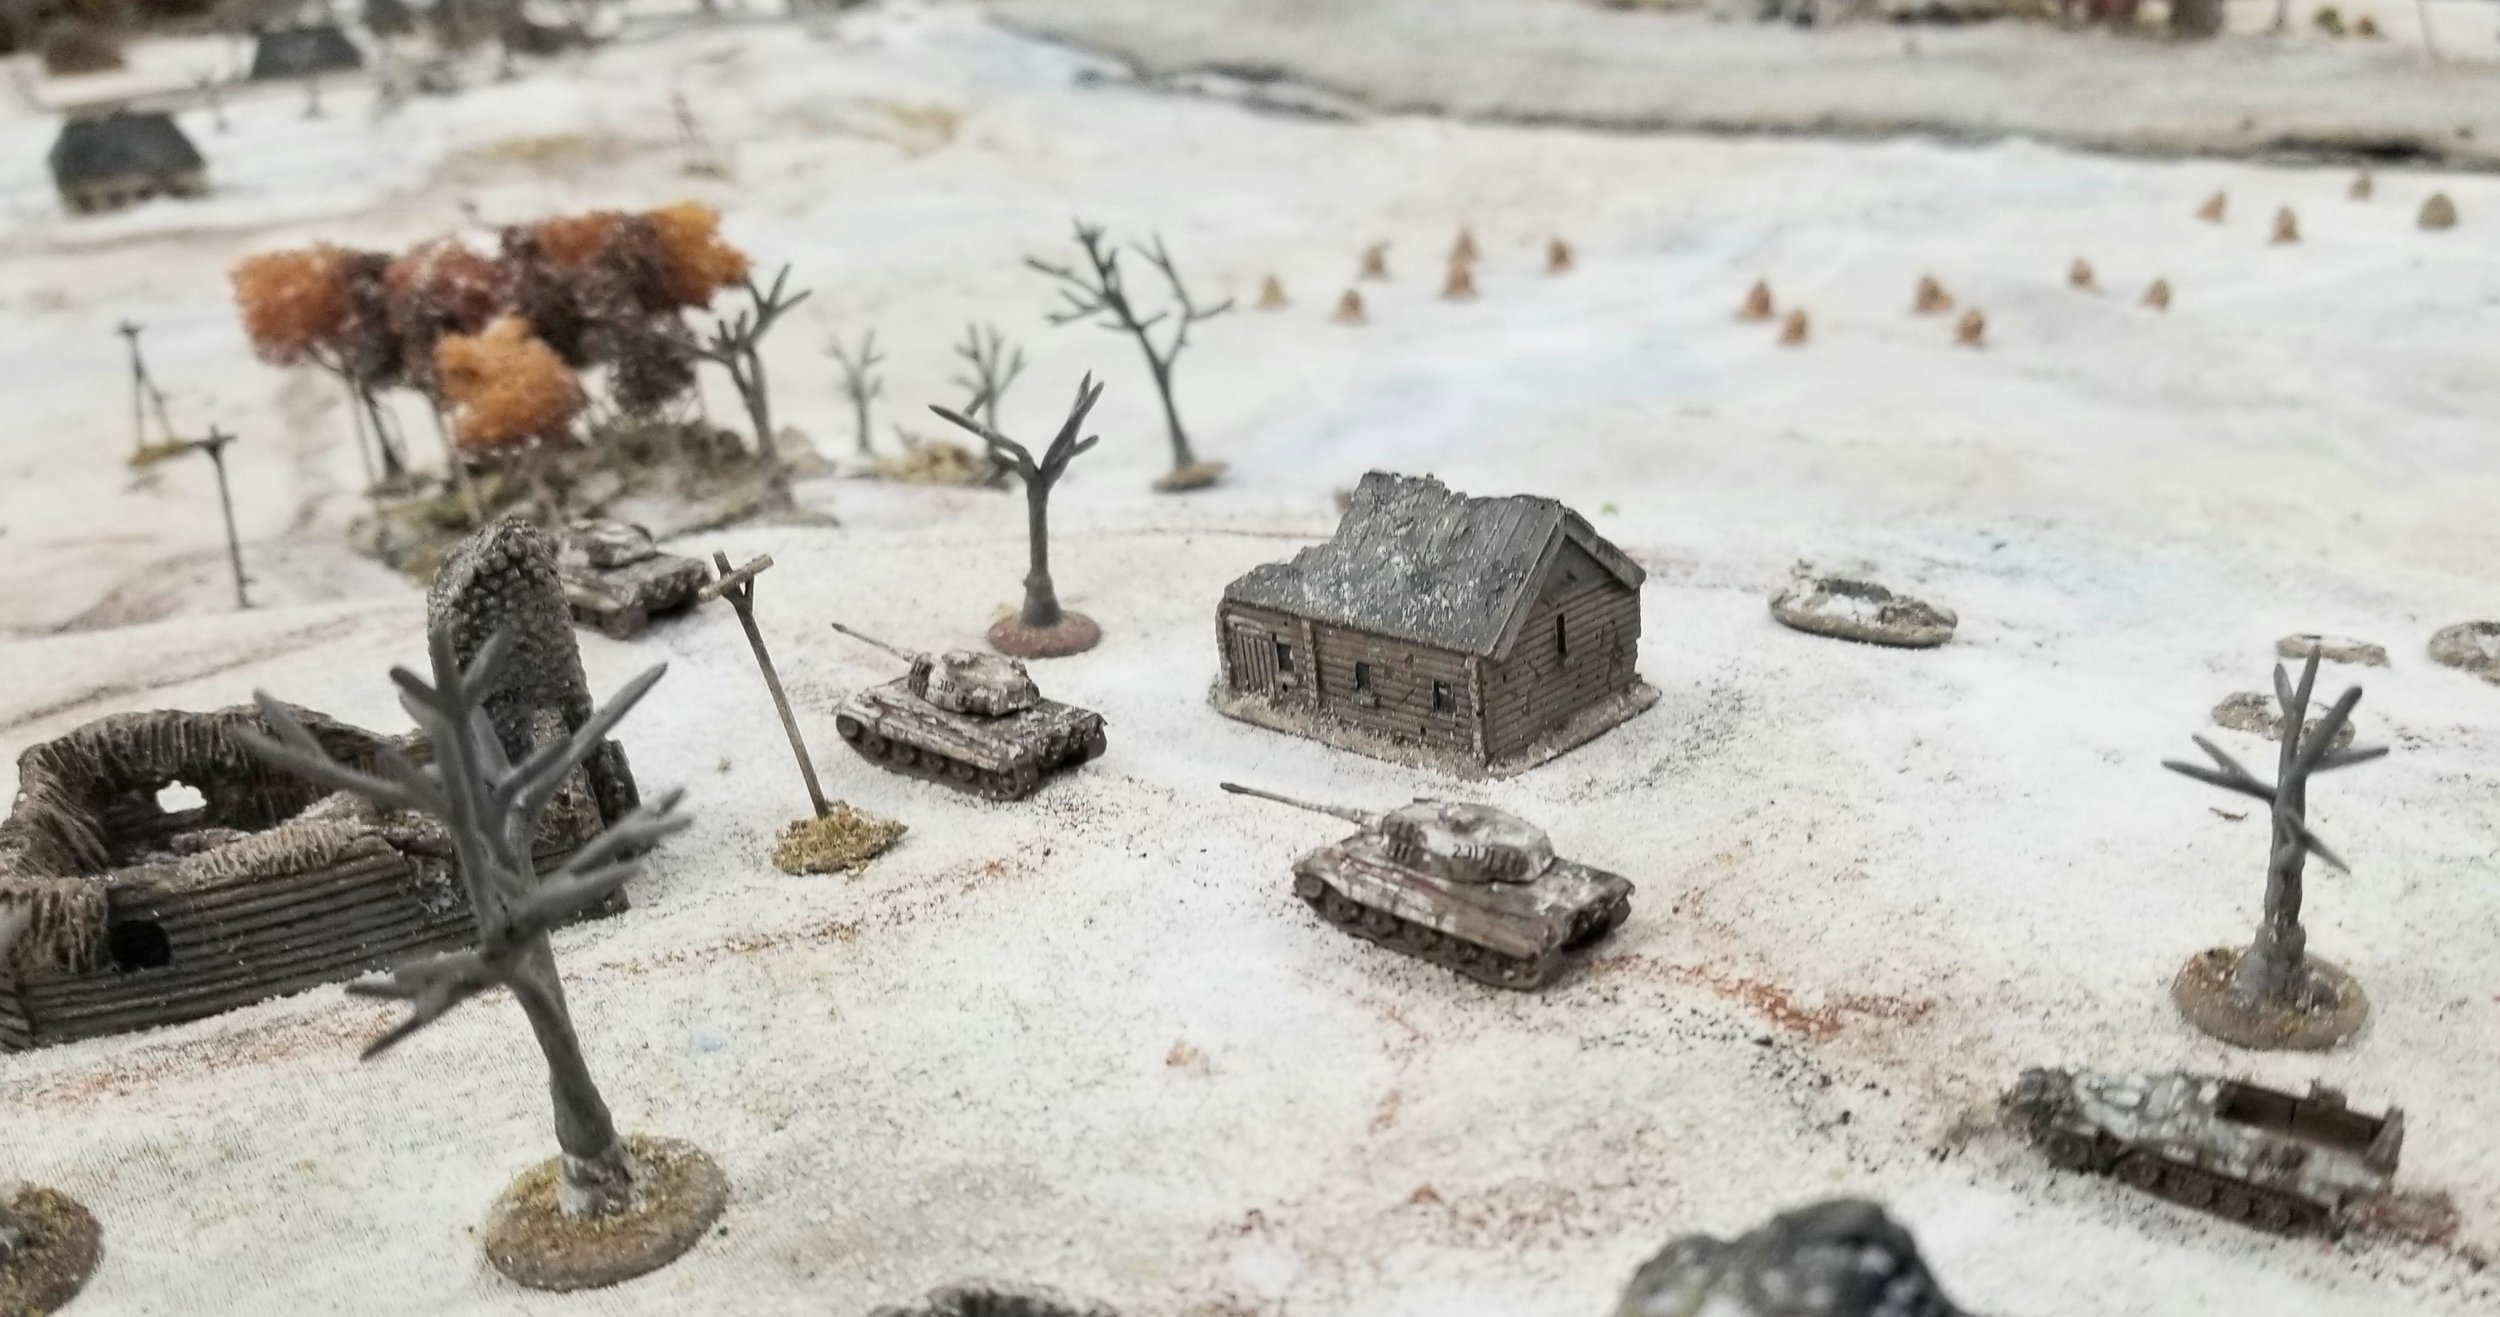
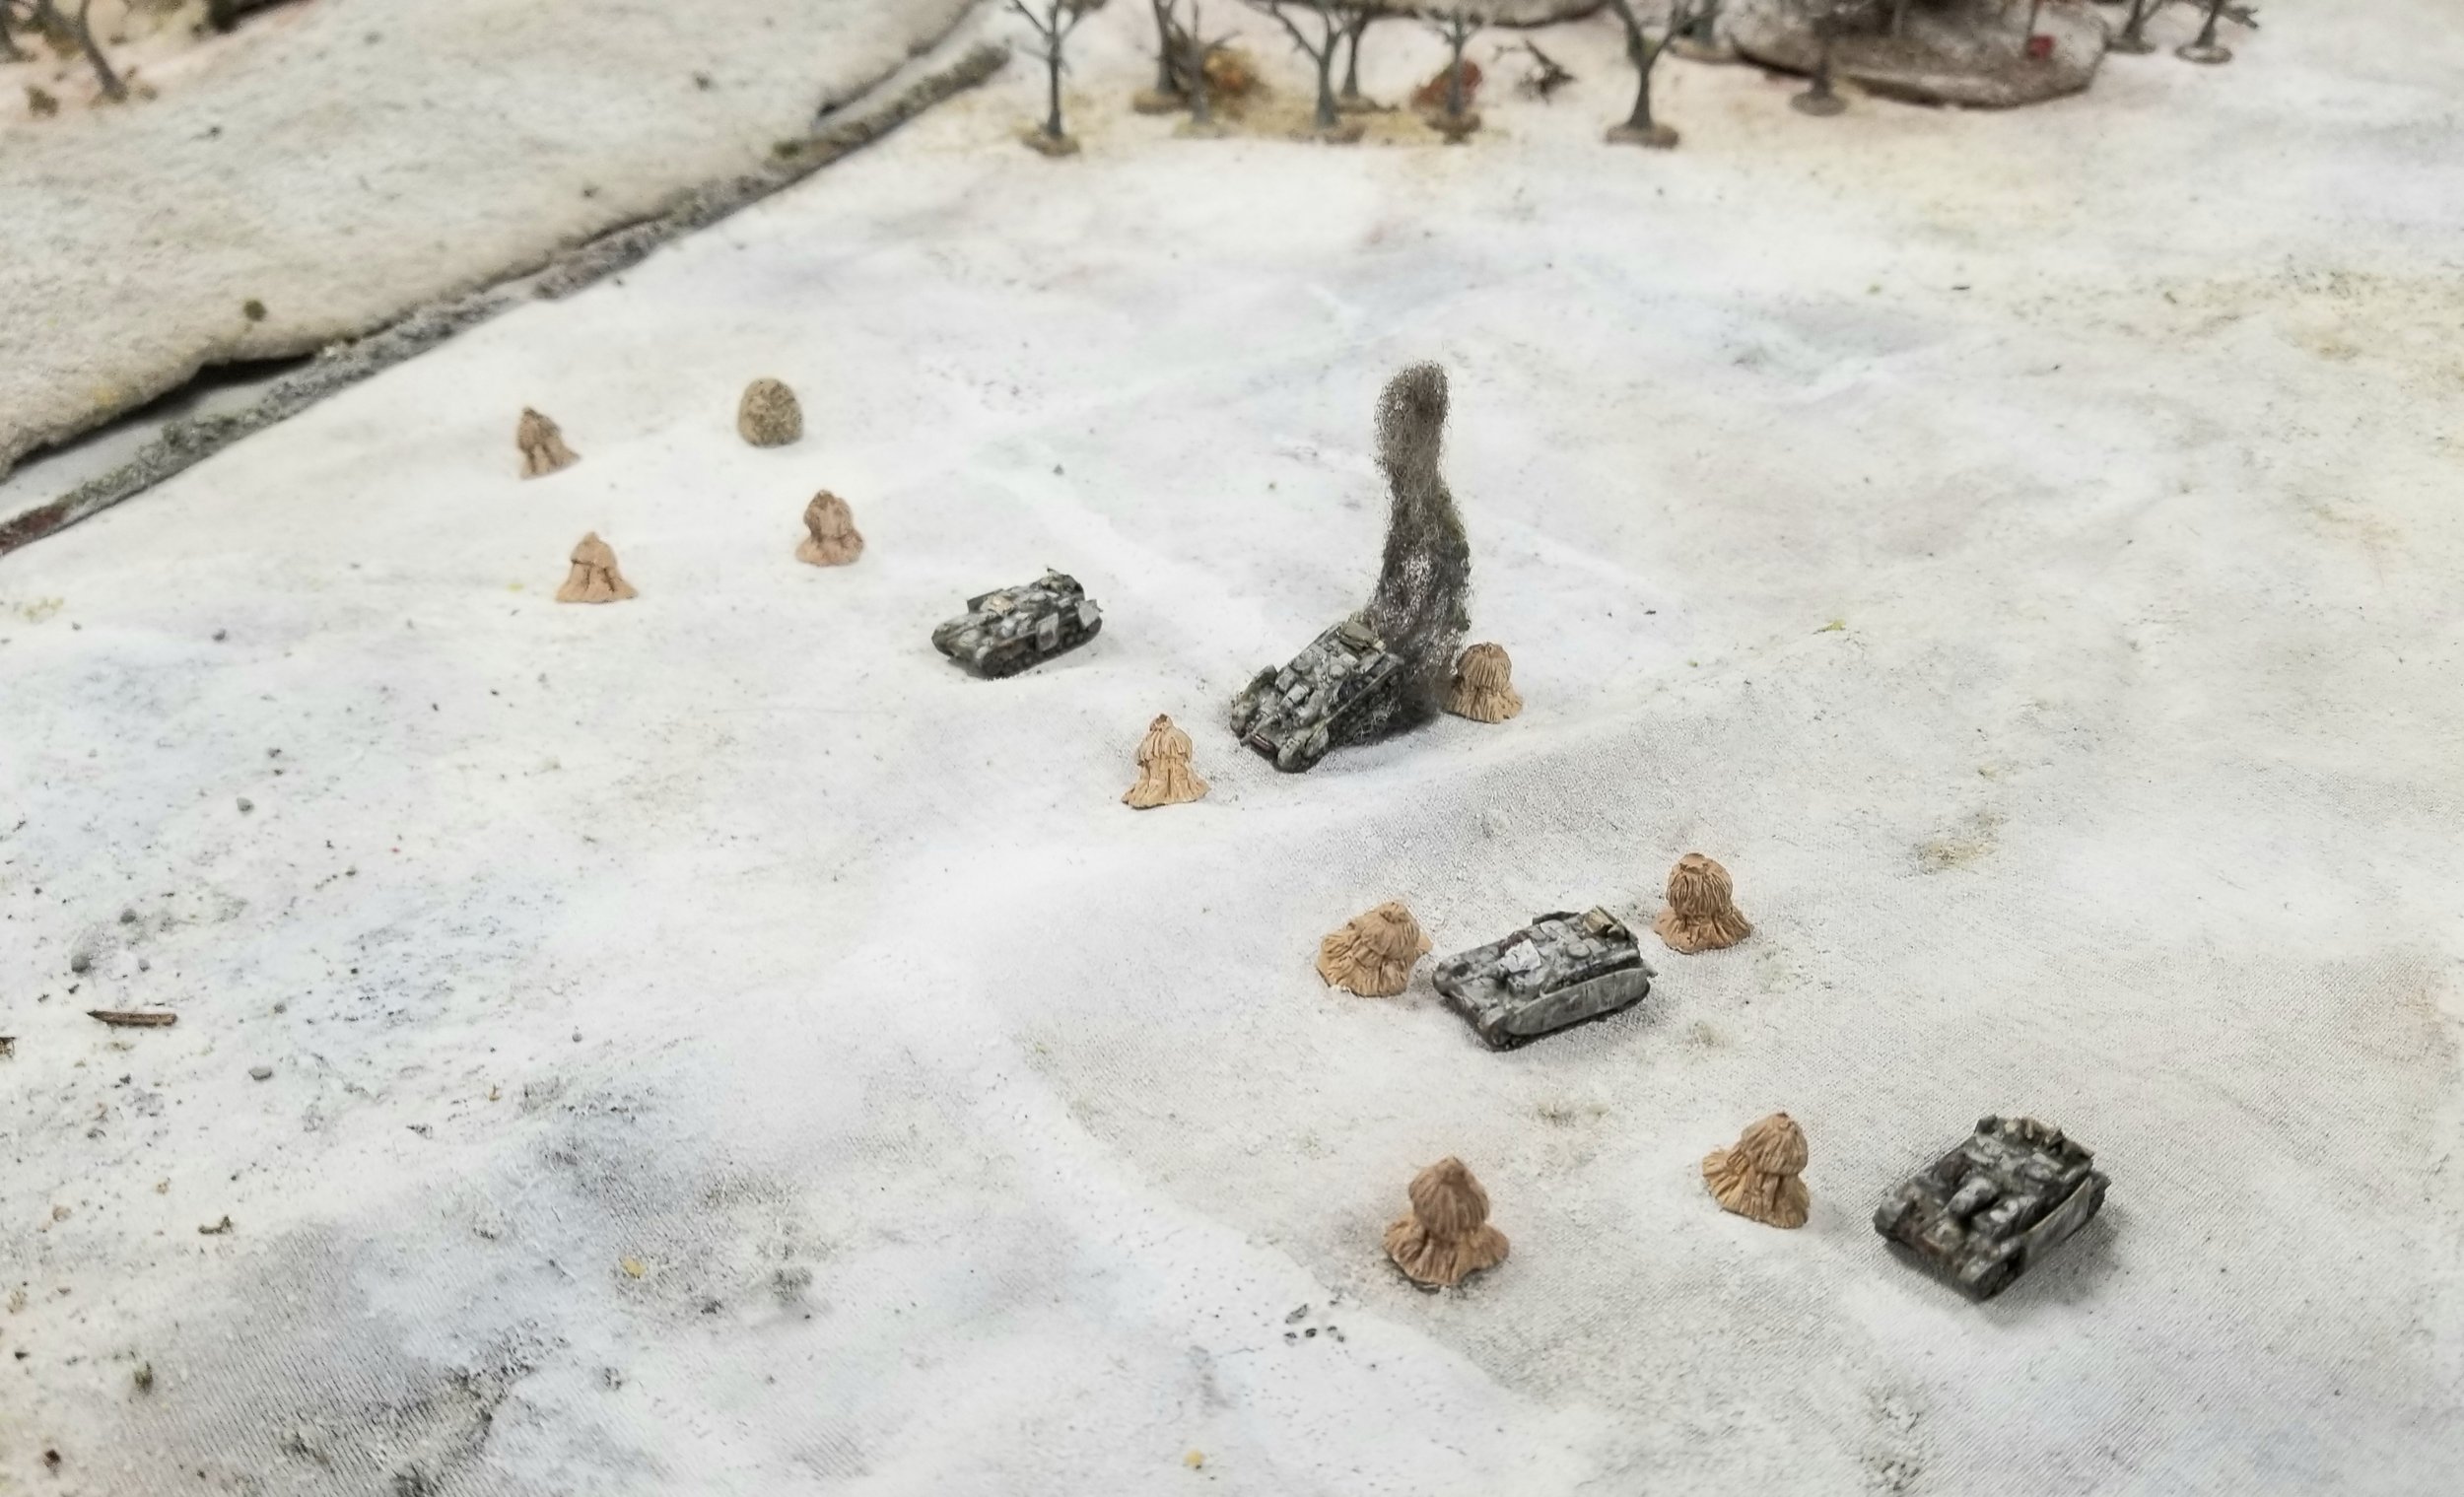
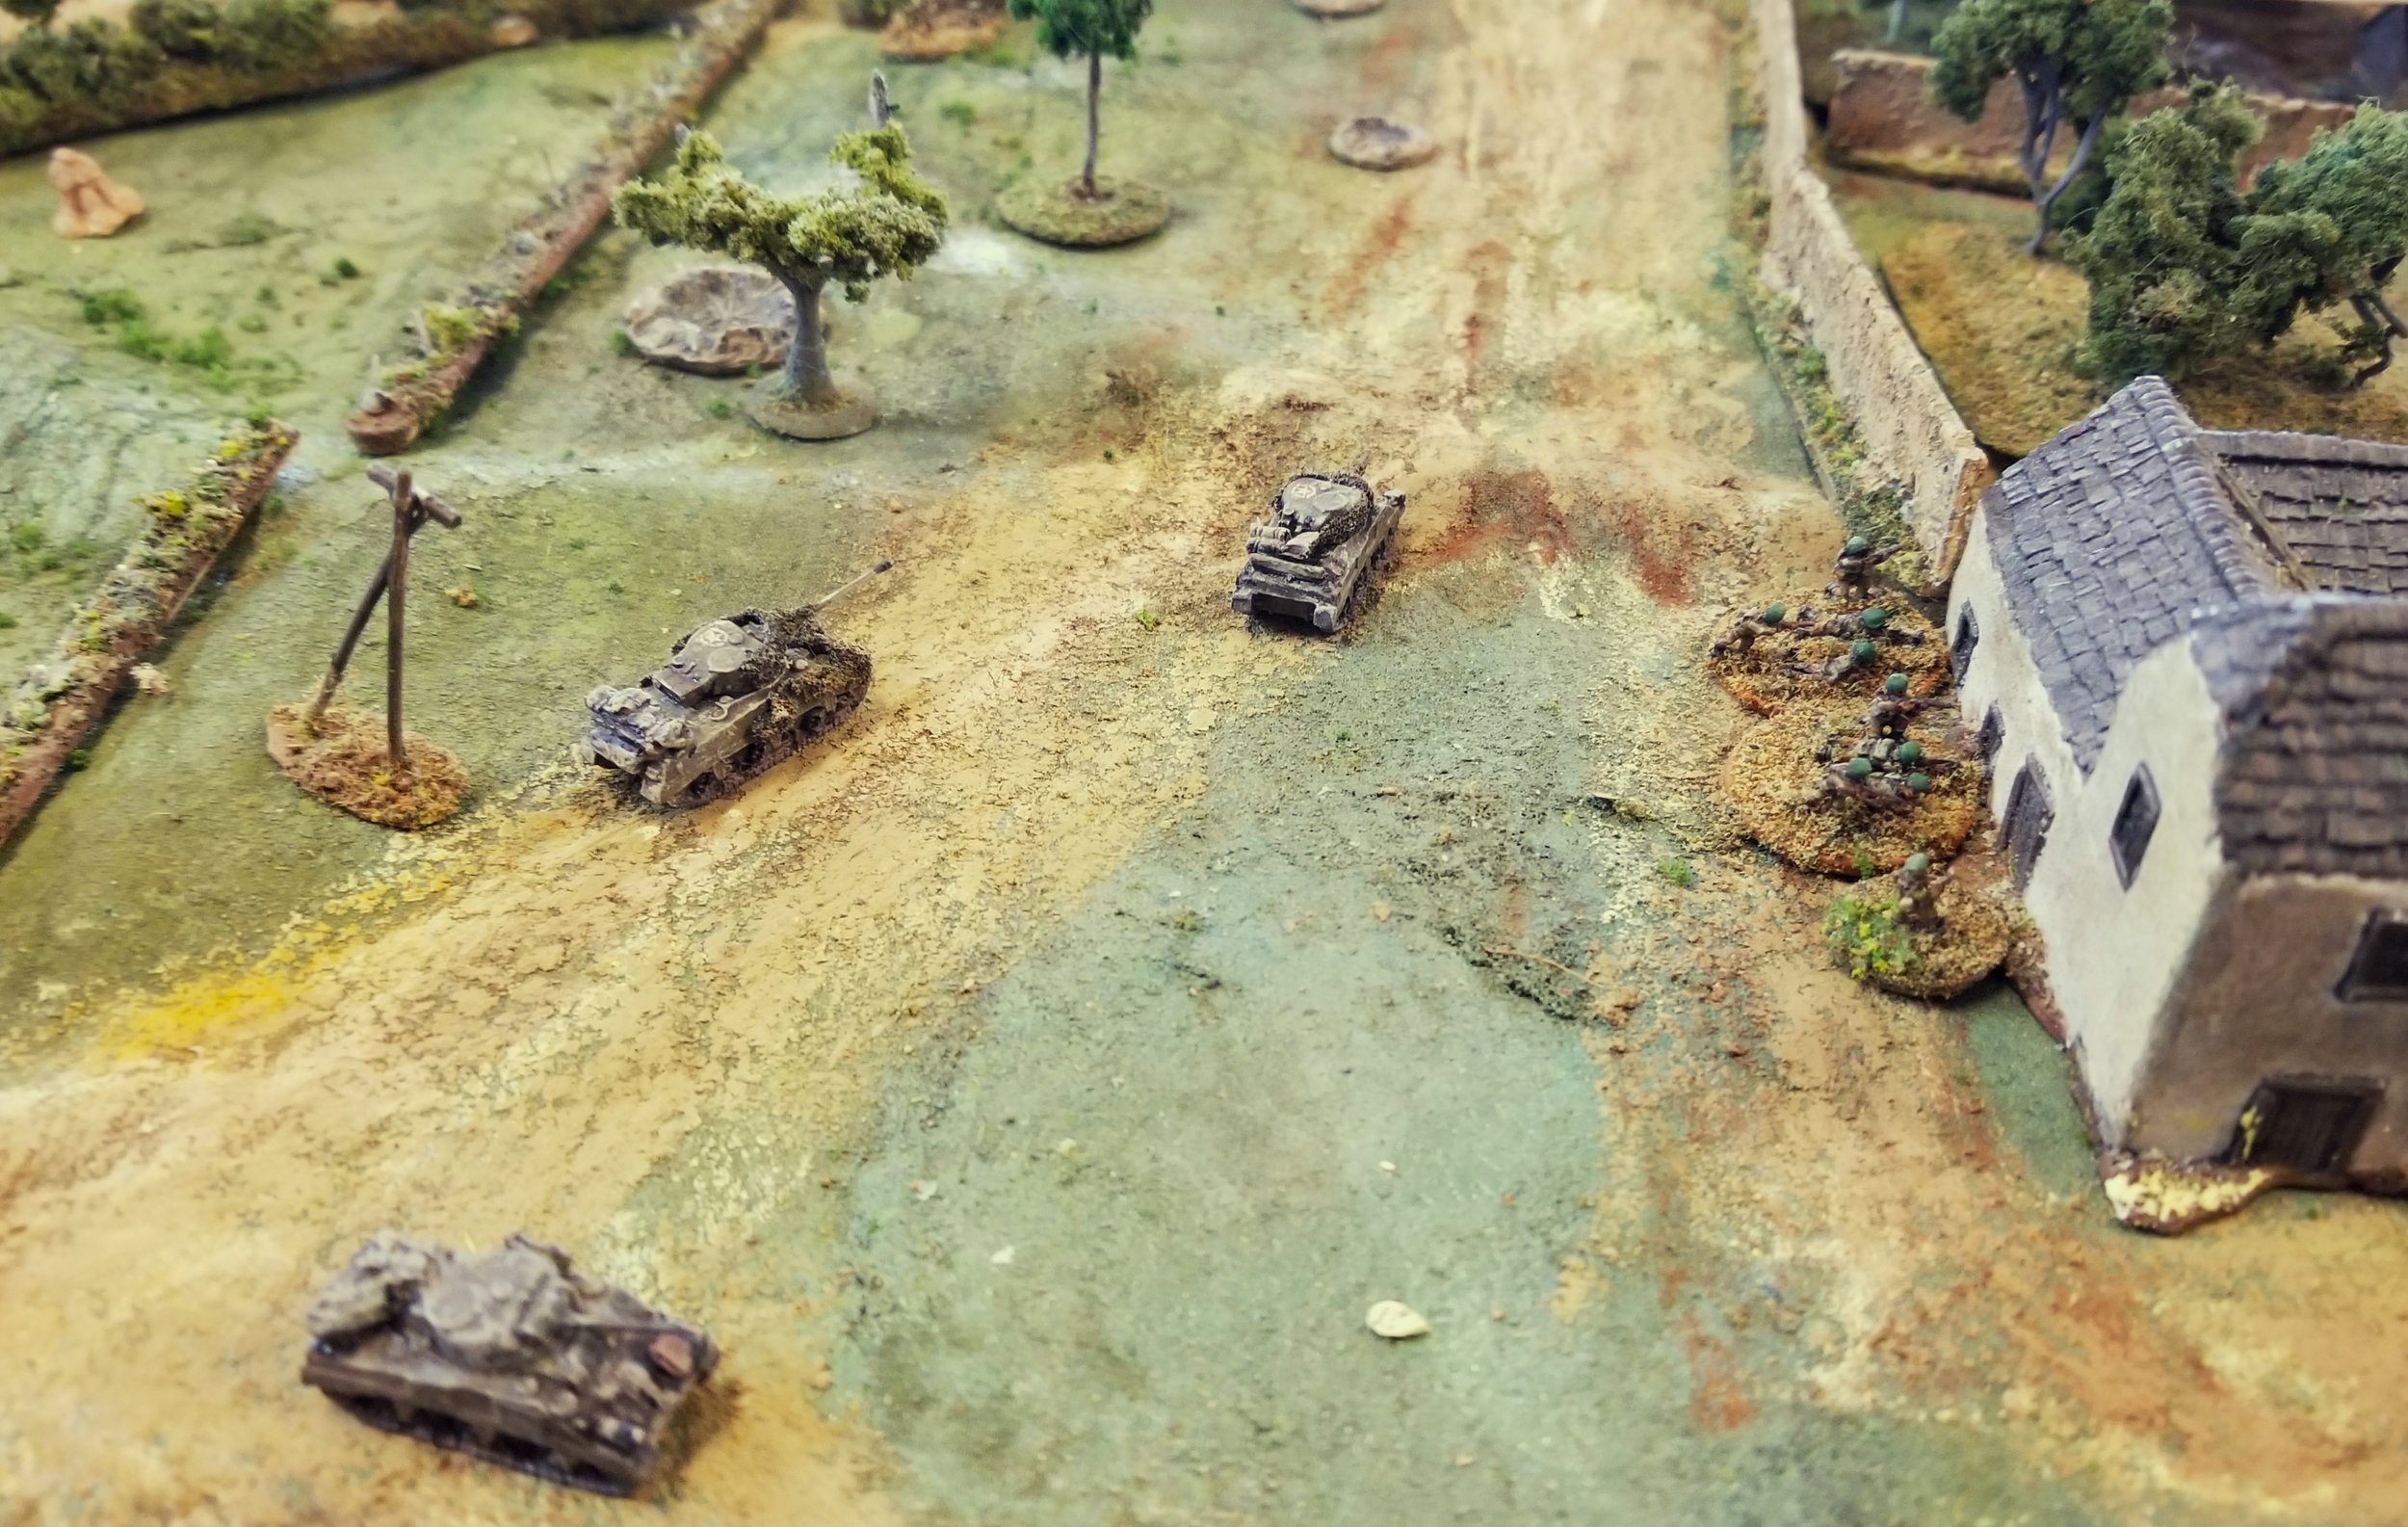
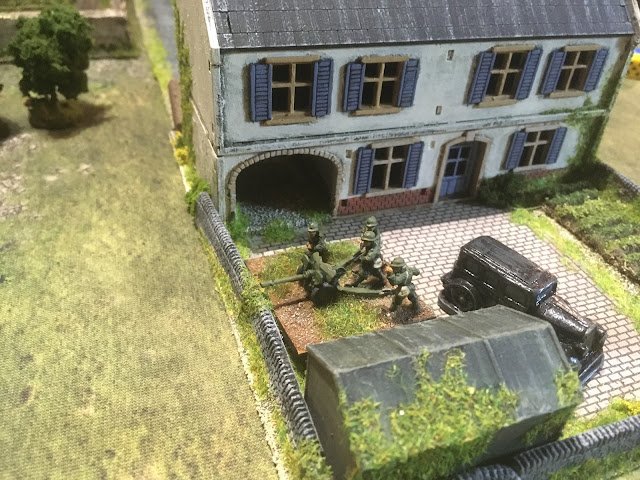
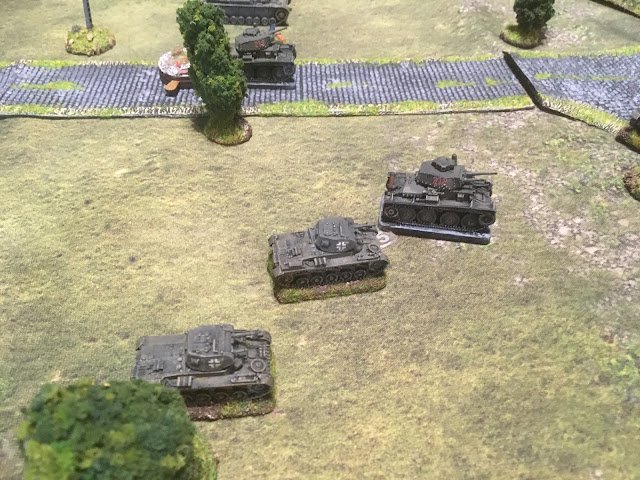
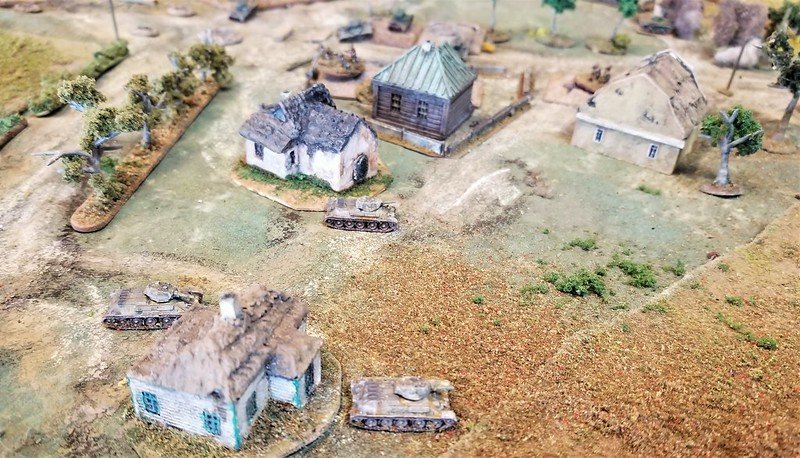
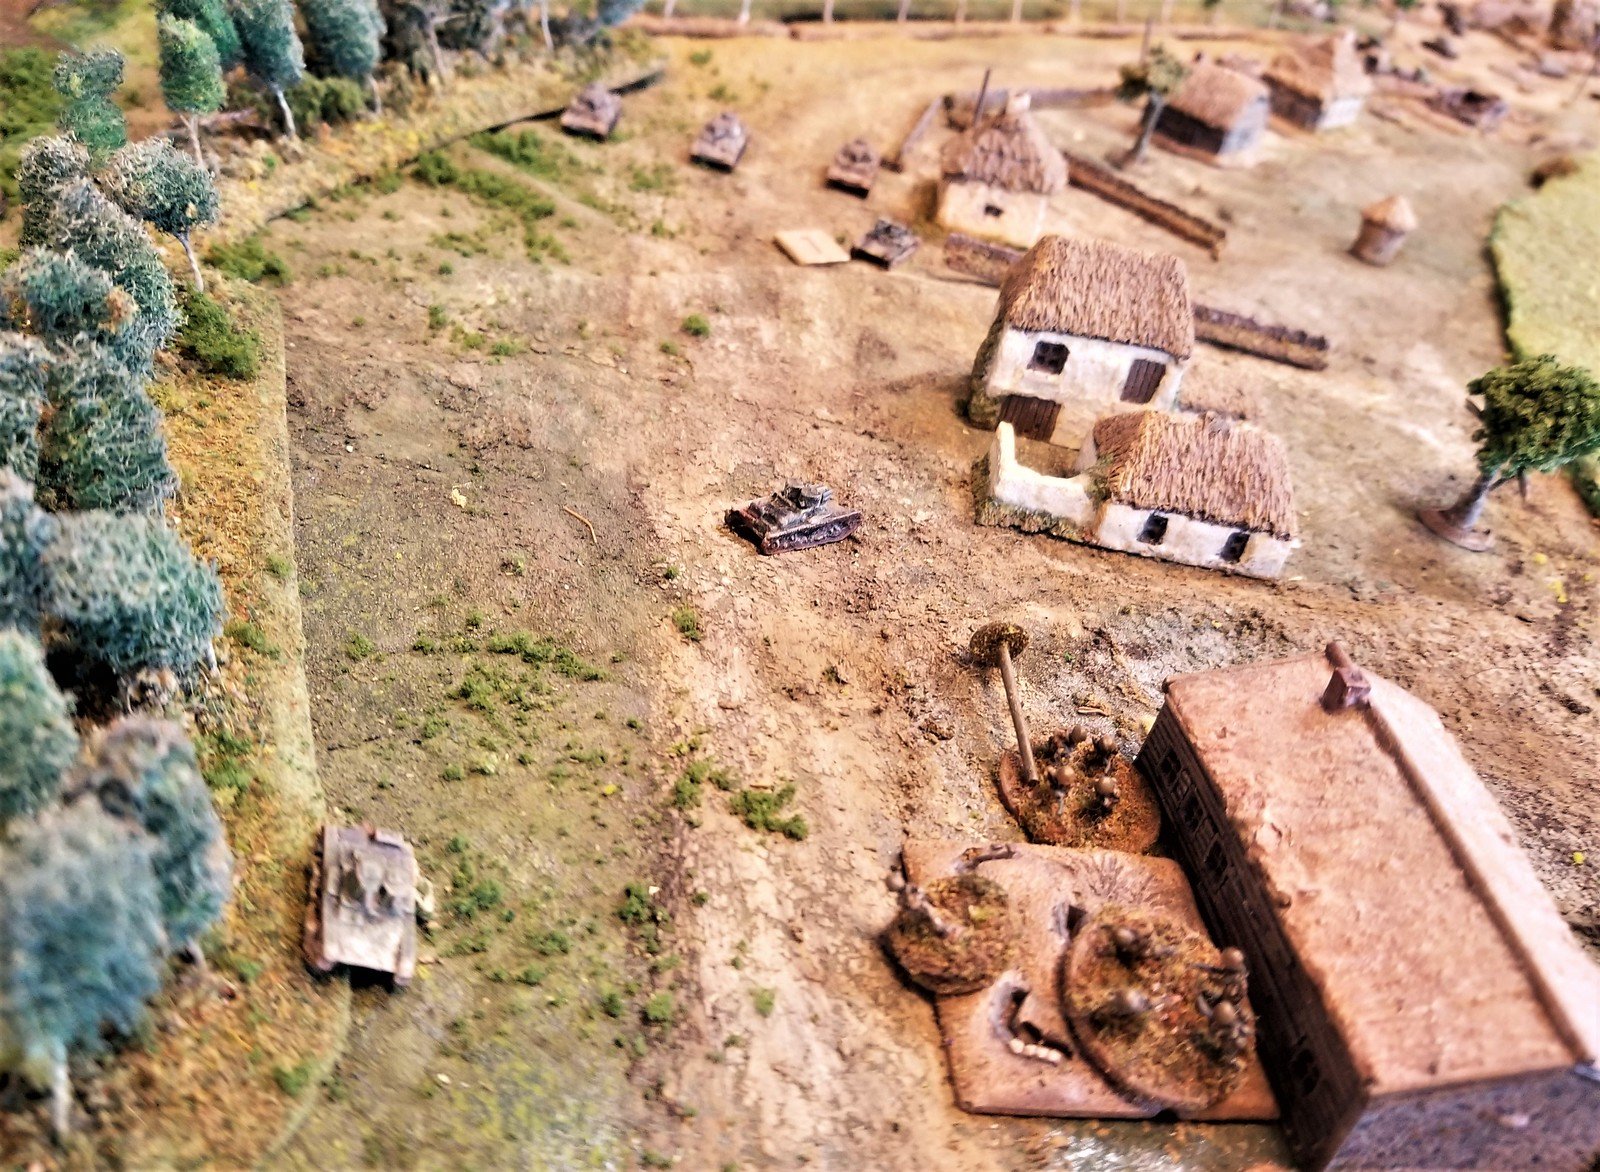
Overall, the game results replicated history but the Germans did slightly better as they were able to cross the bridge and get into La Fiere. Their captured French tanks did not inflict much damage, however, and eventually were all taken out by the bazooka teams and a single 57mm AT gun wielded by the 82nd Airborne.

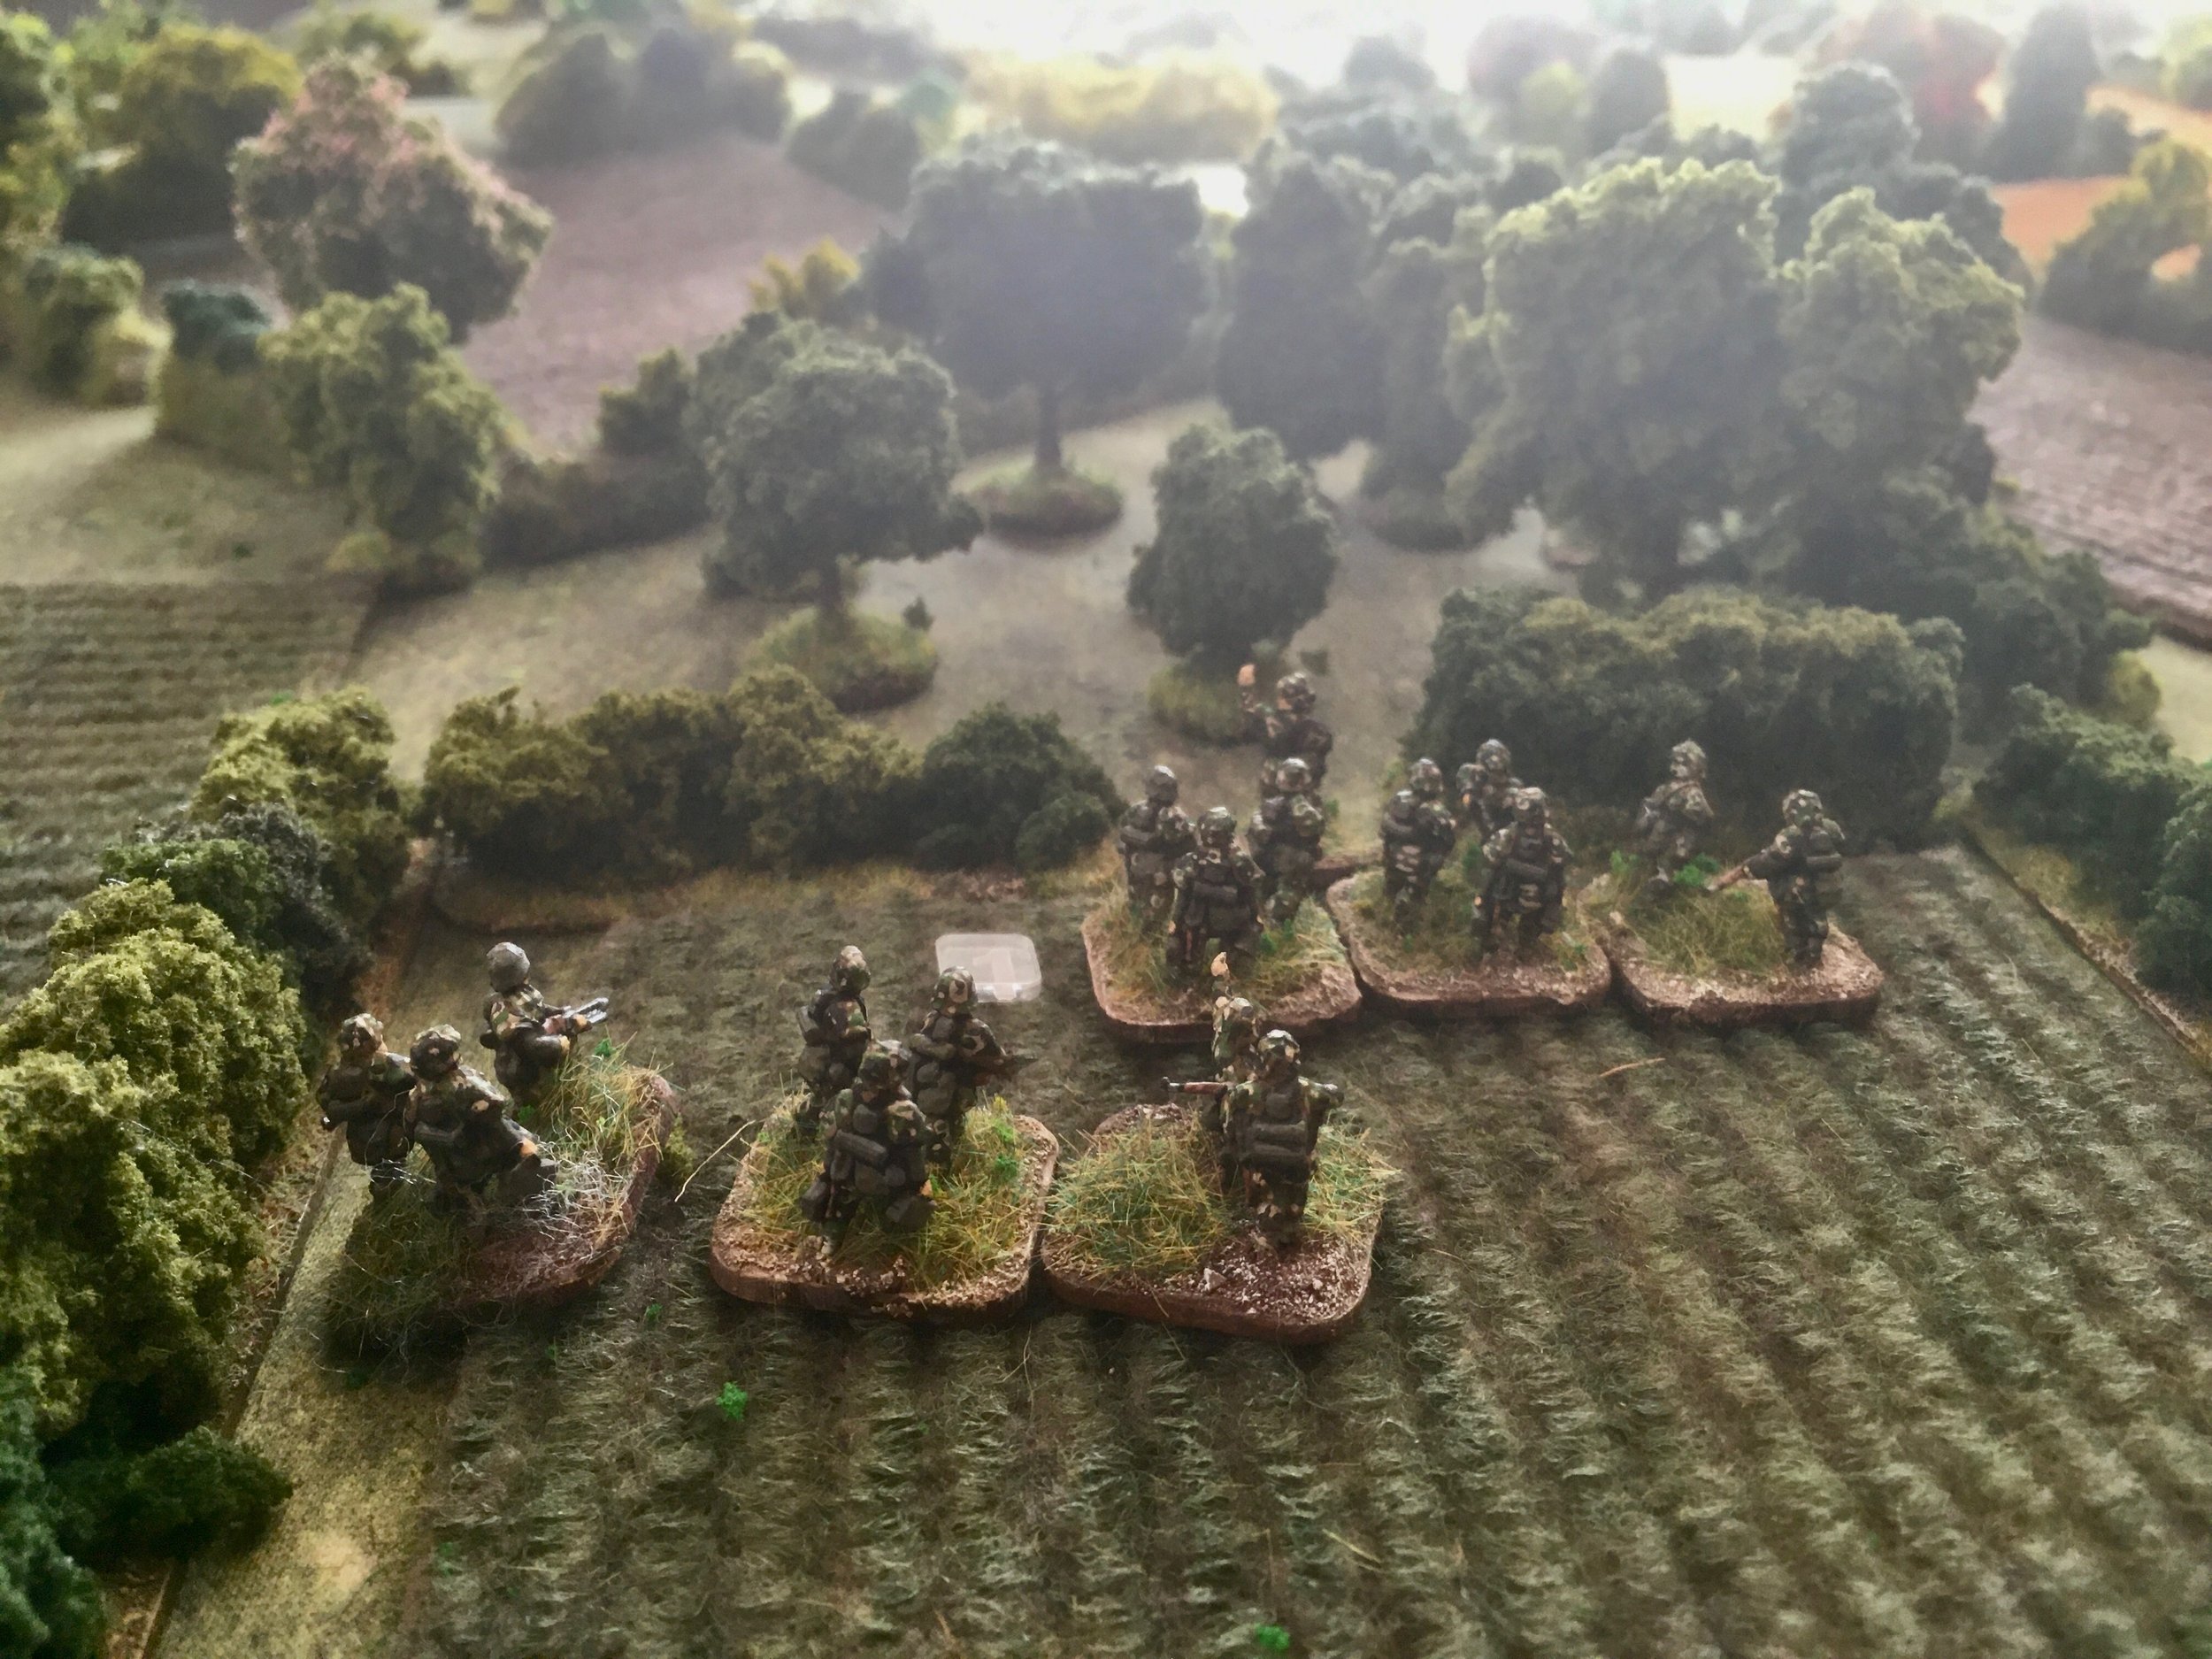
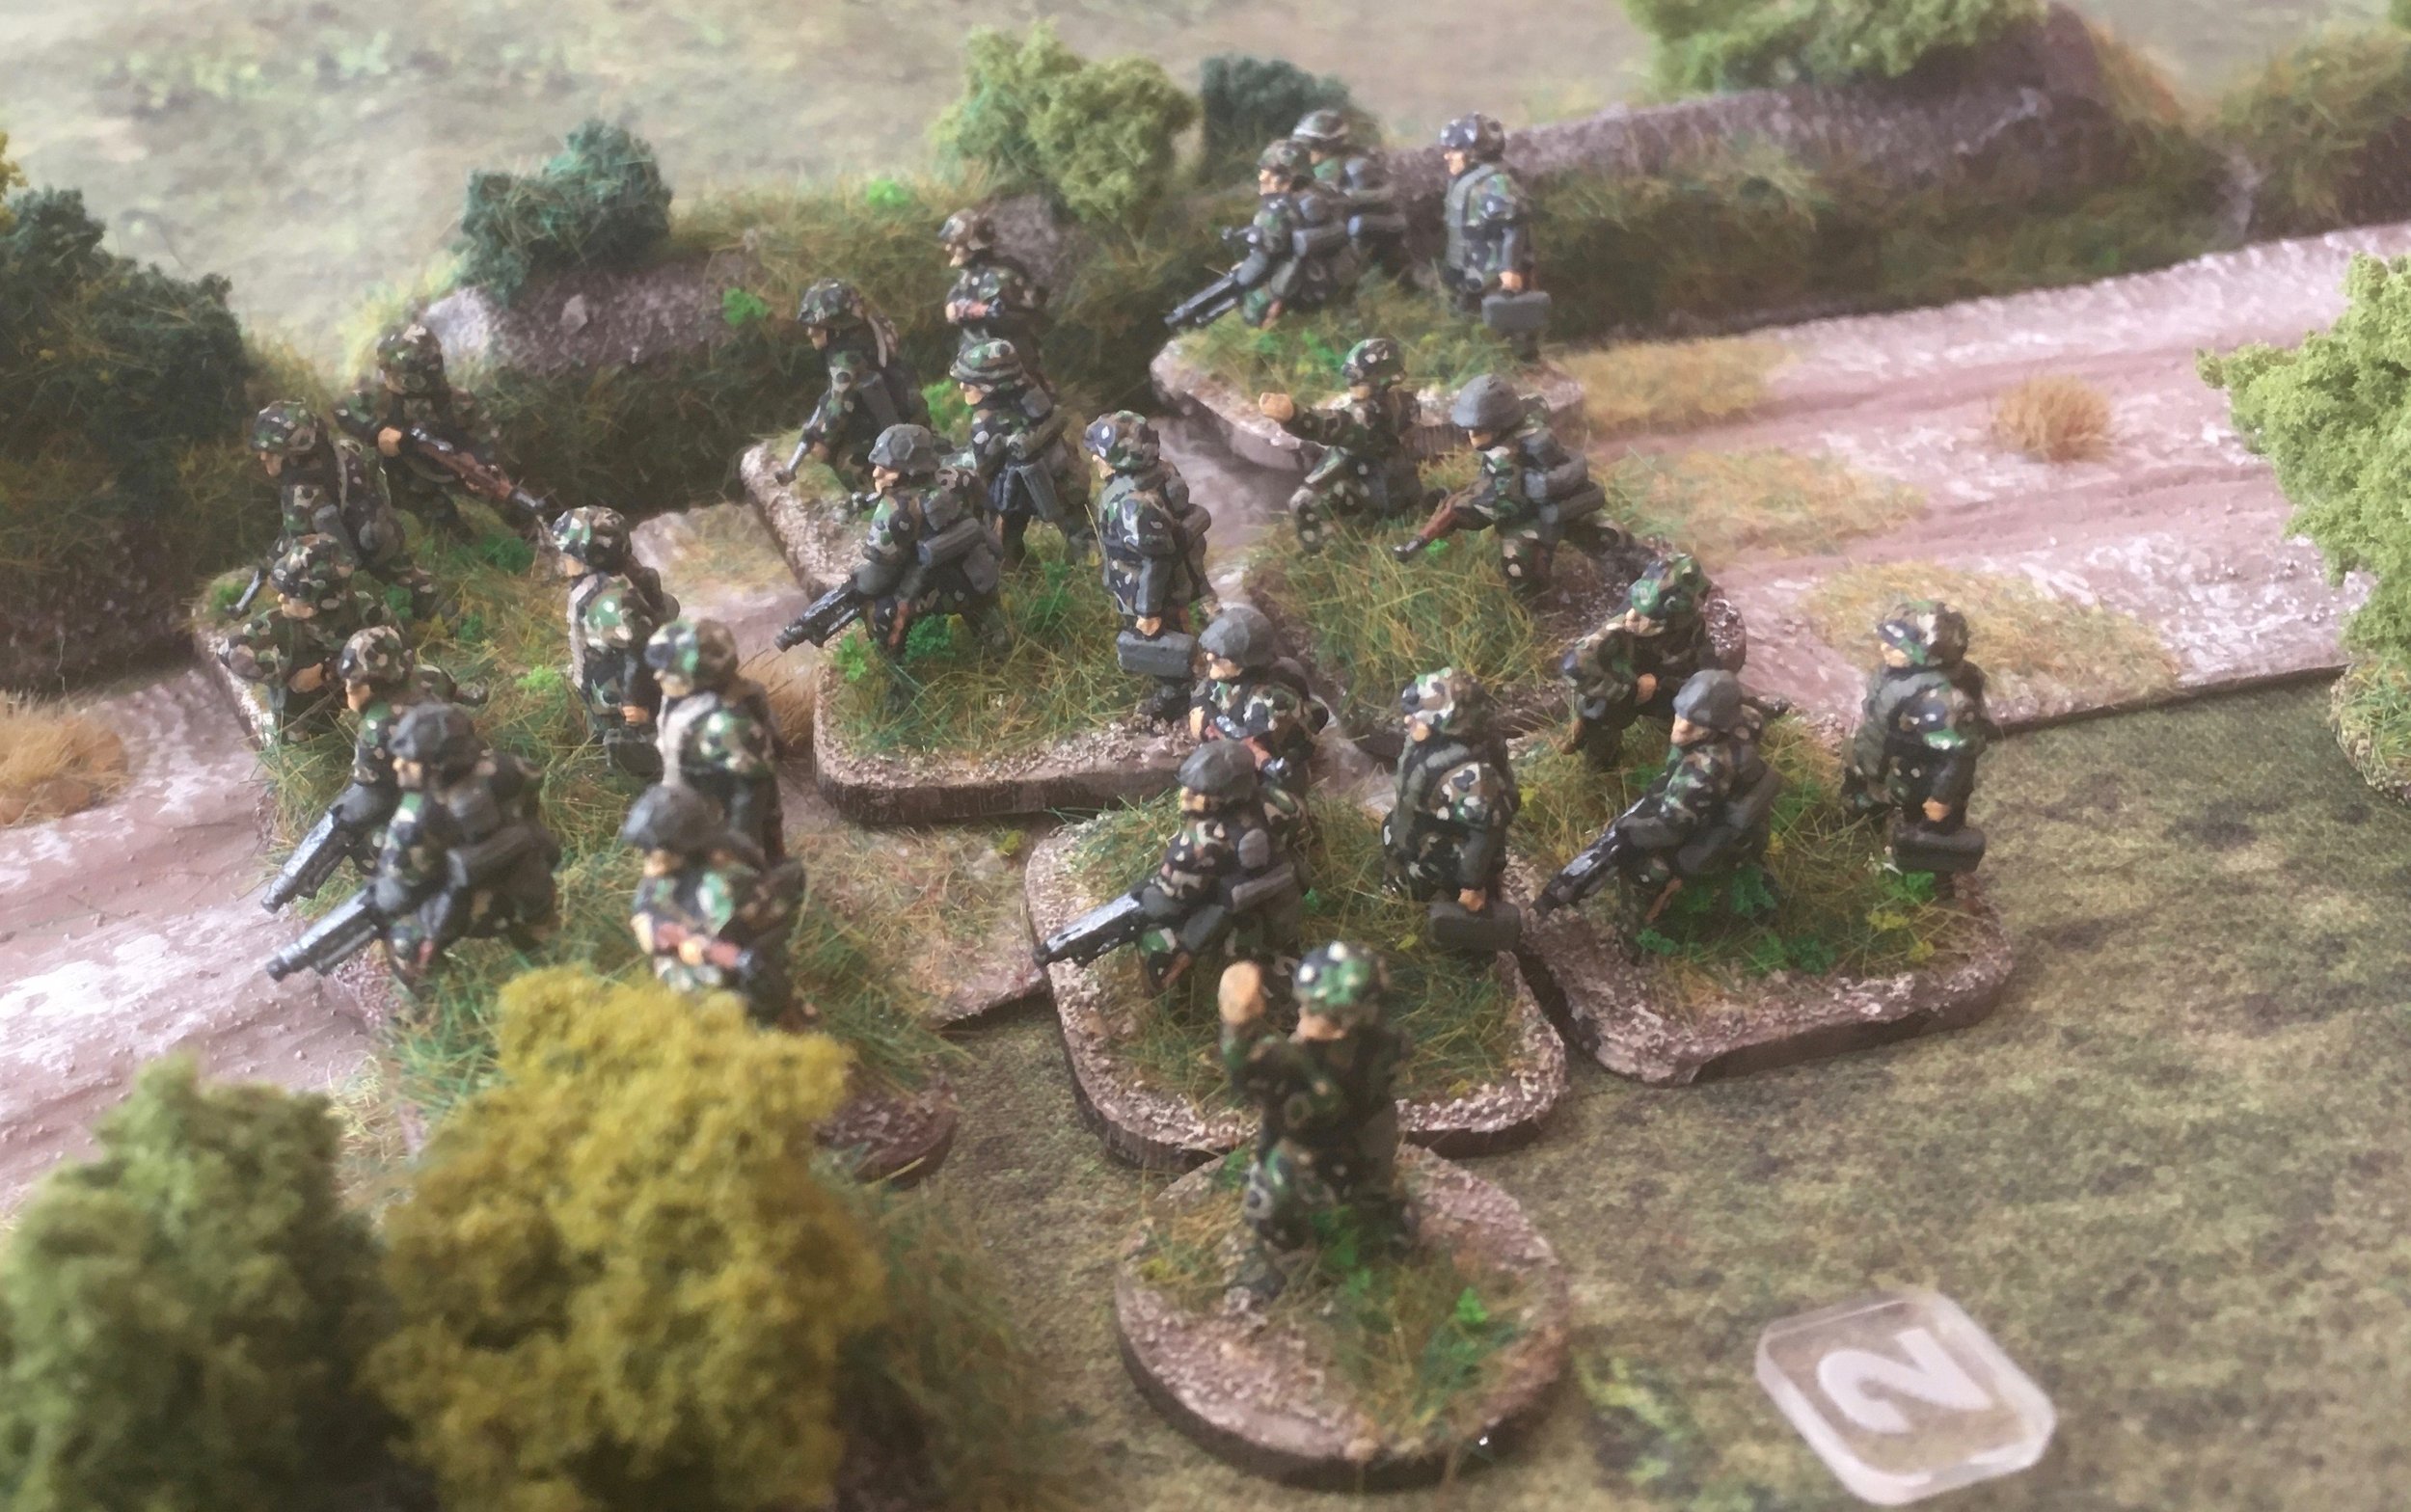
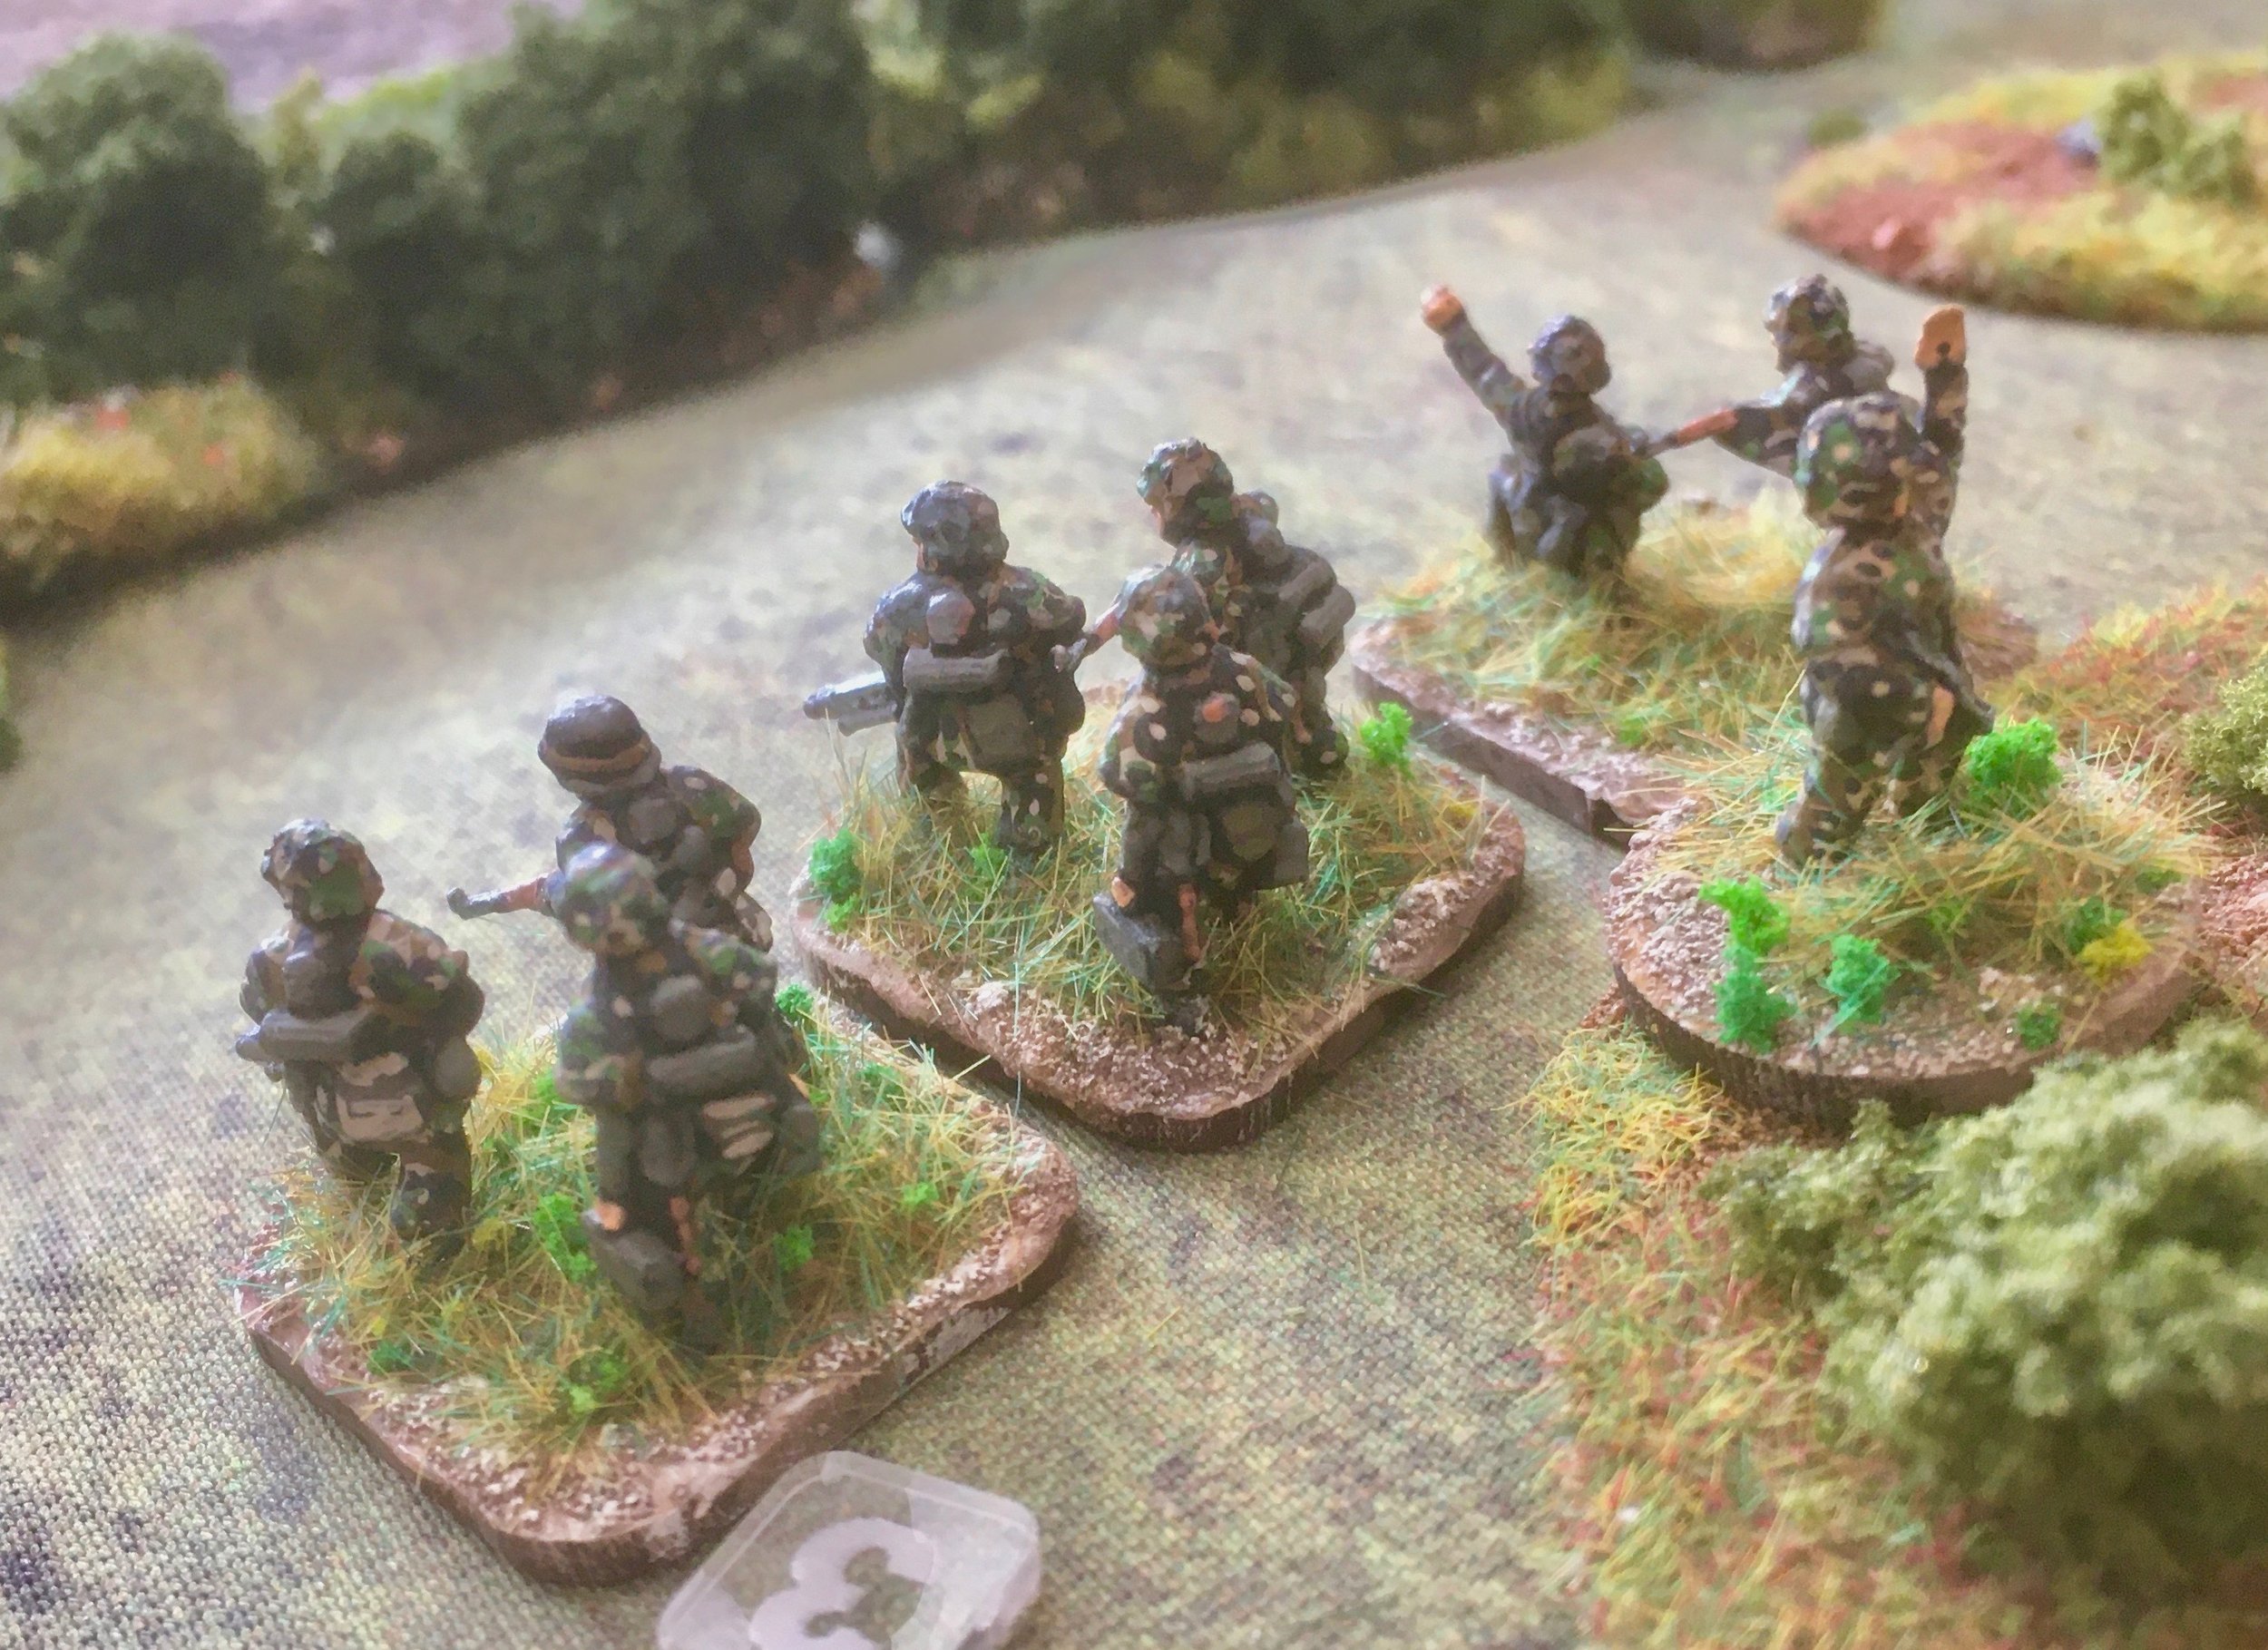
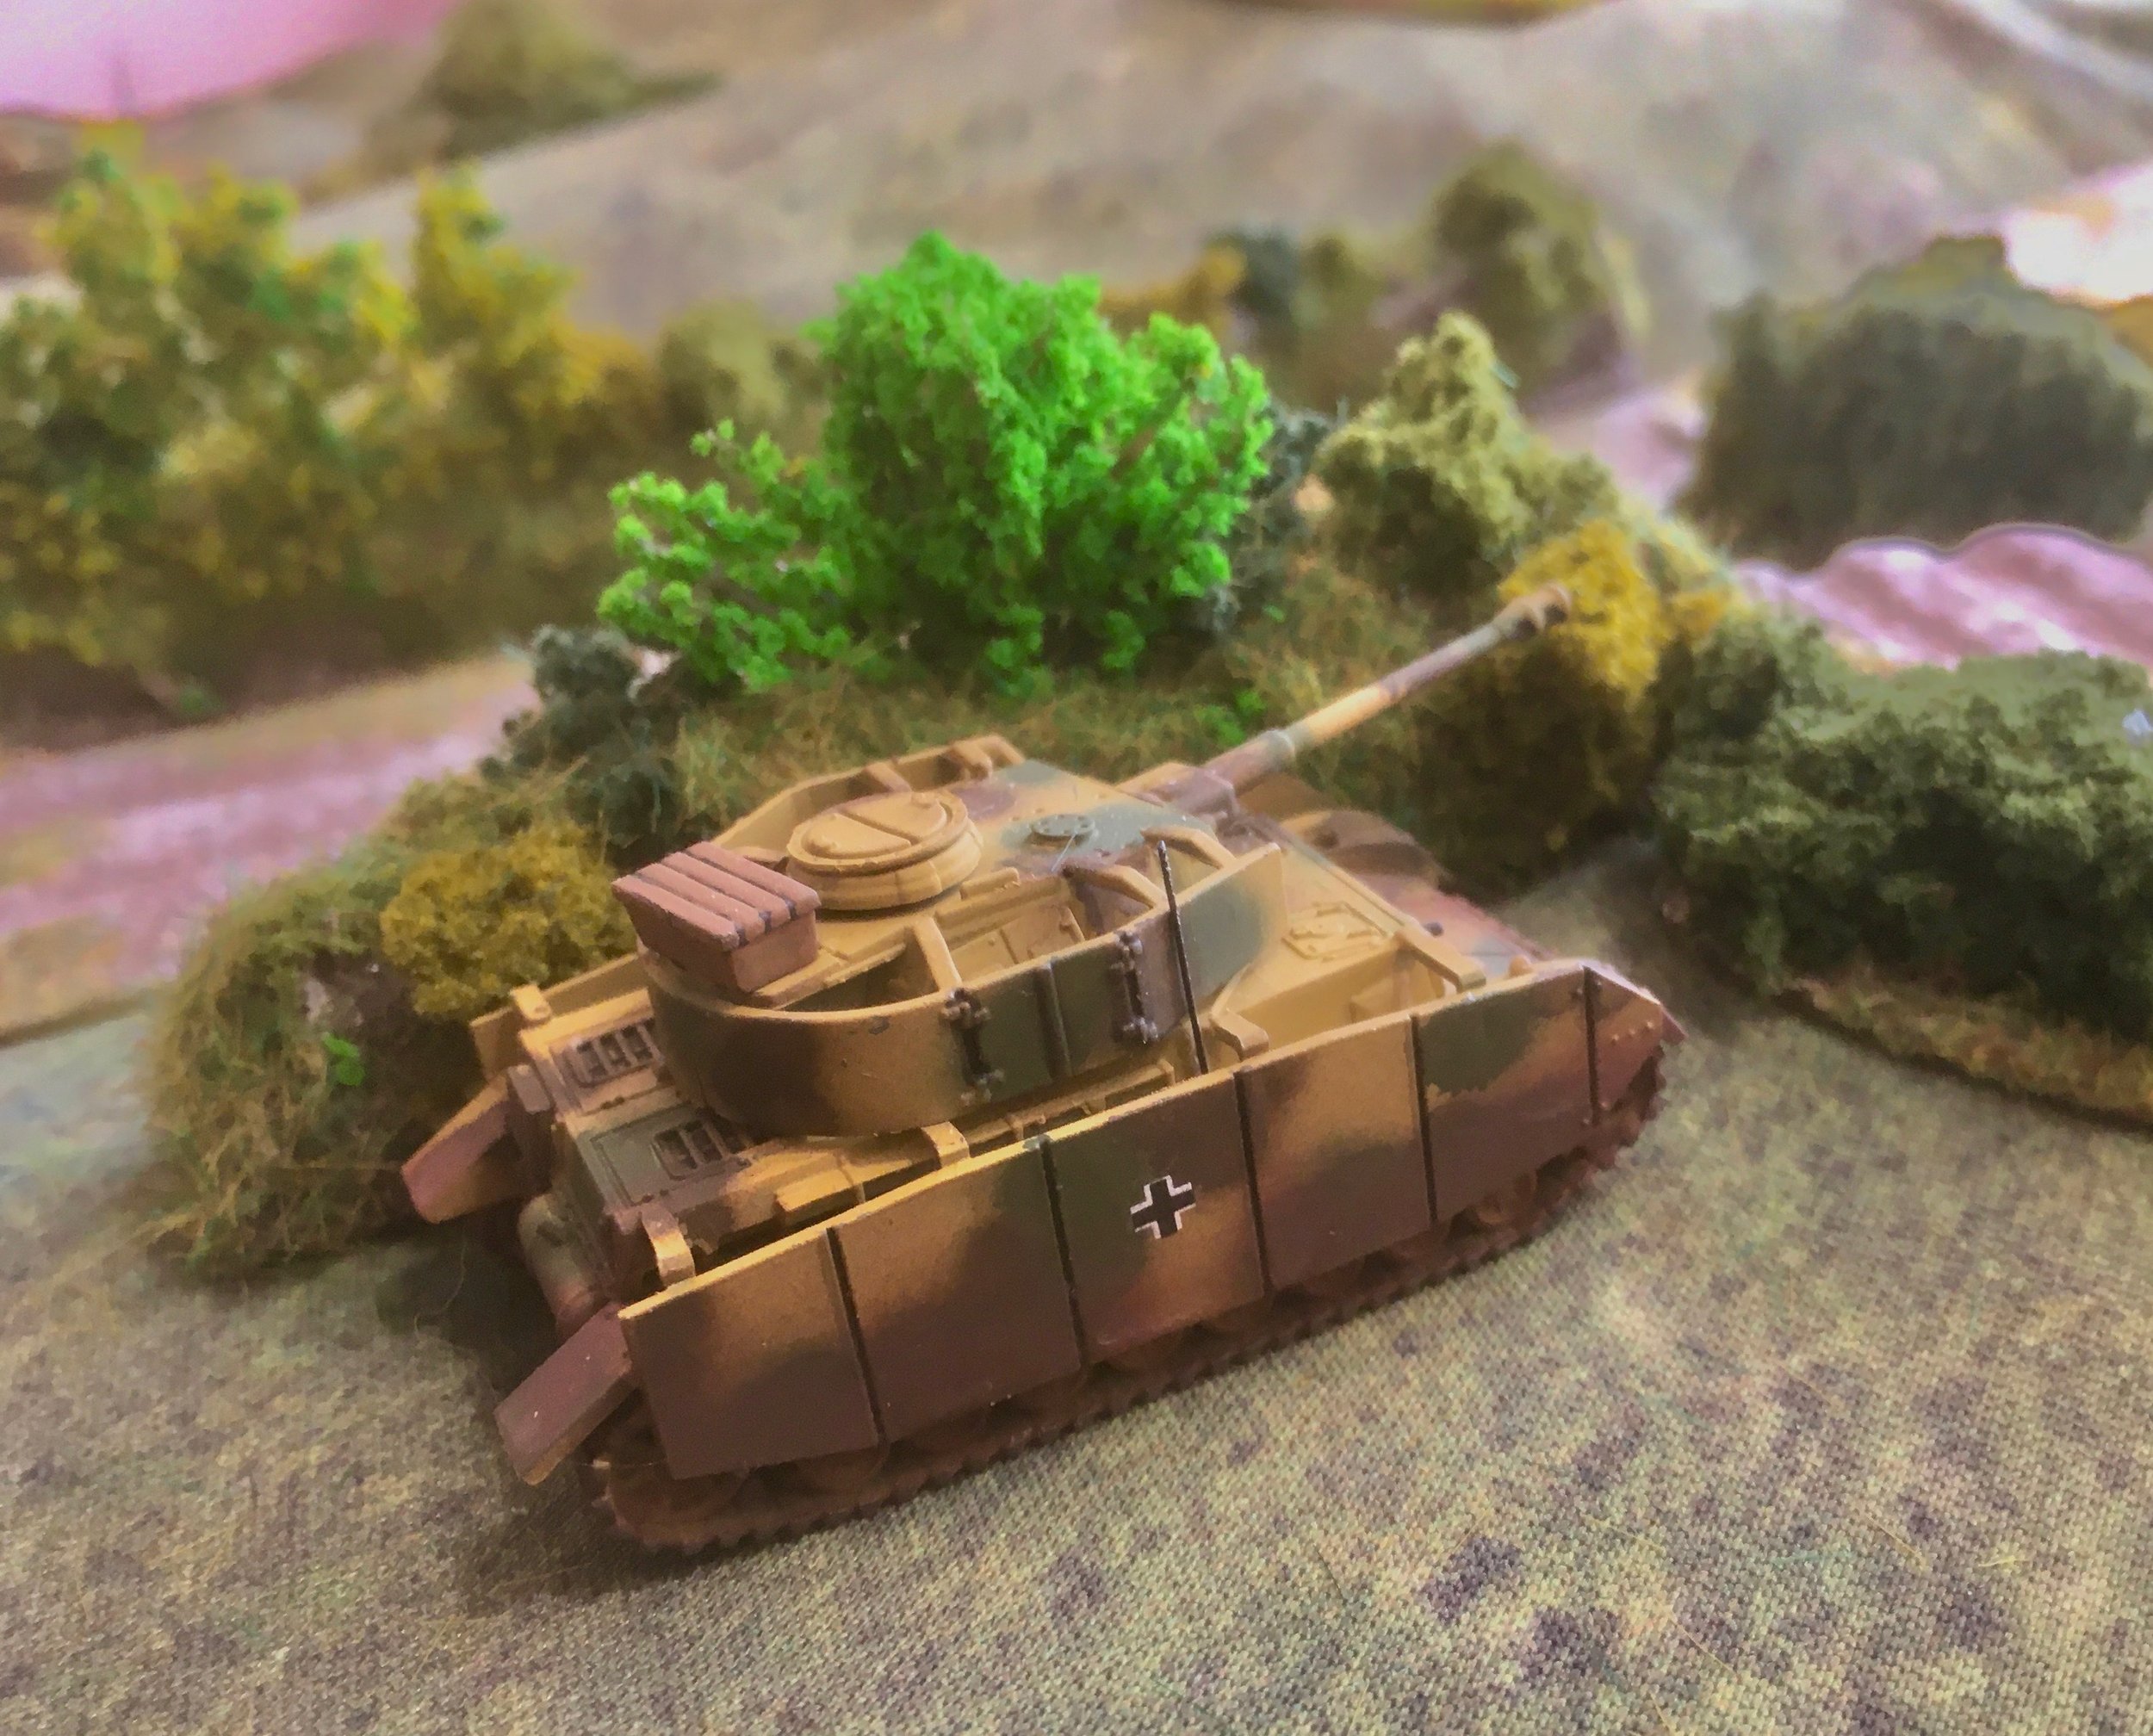
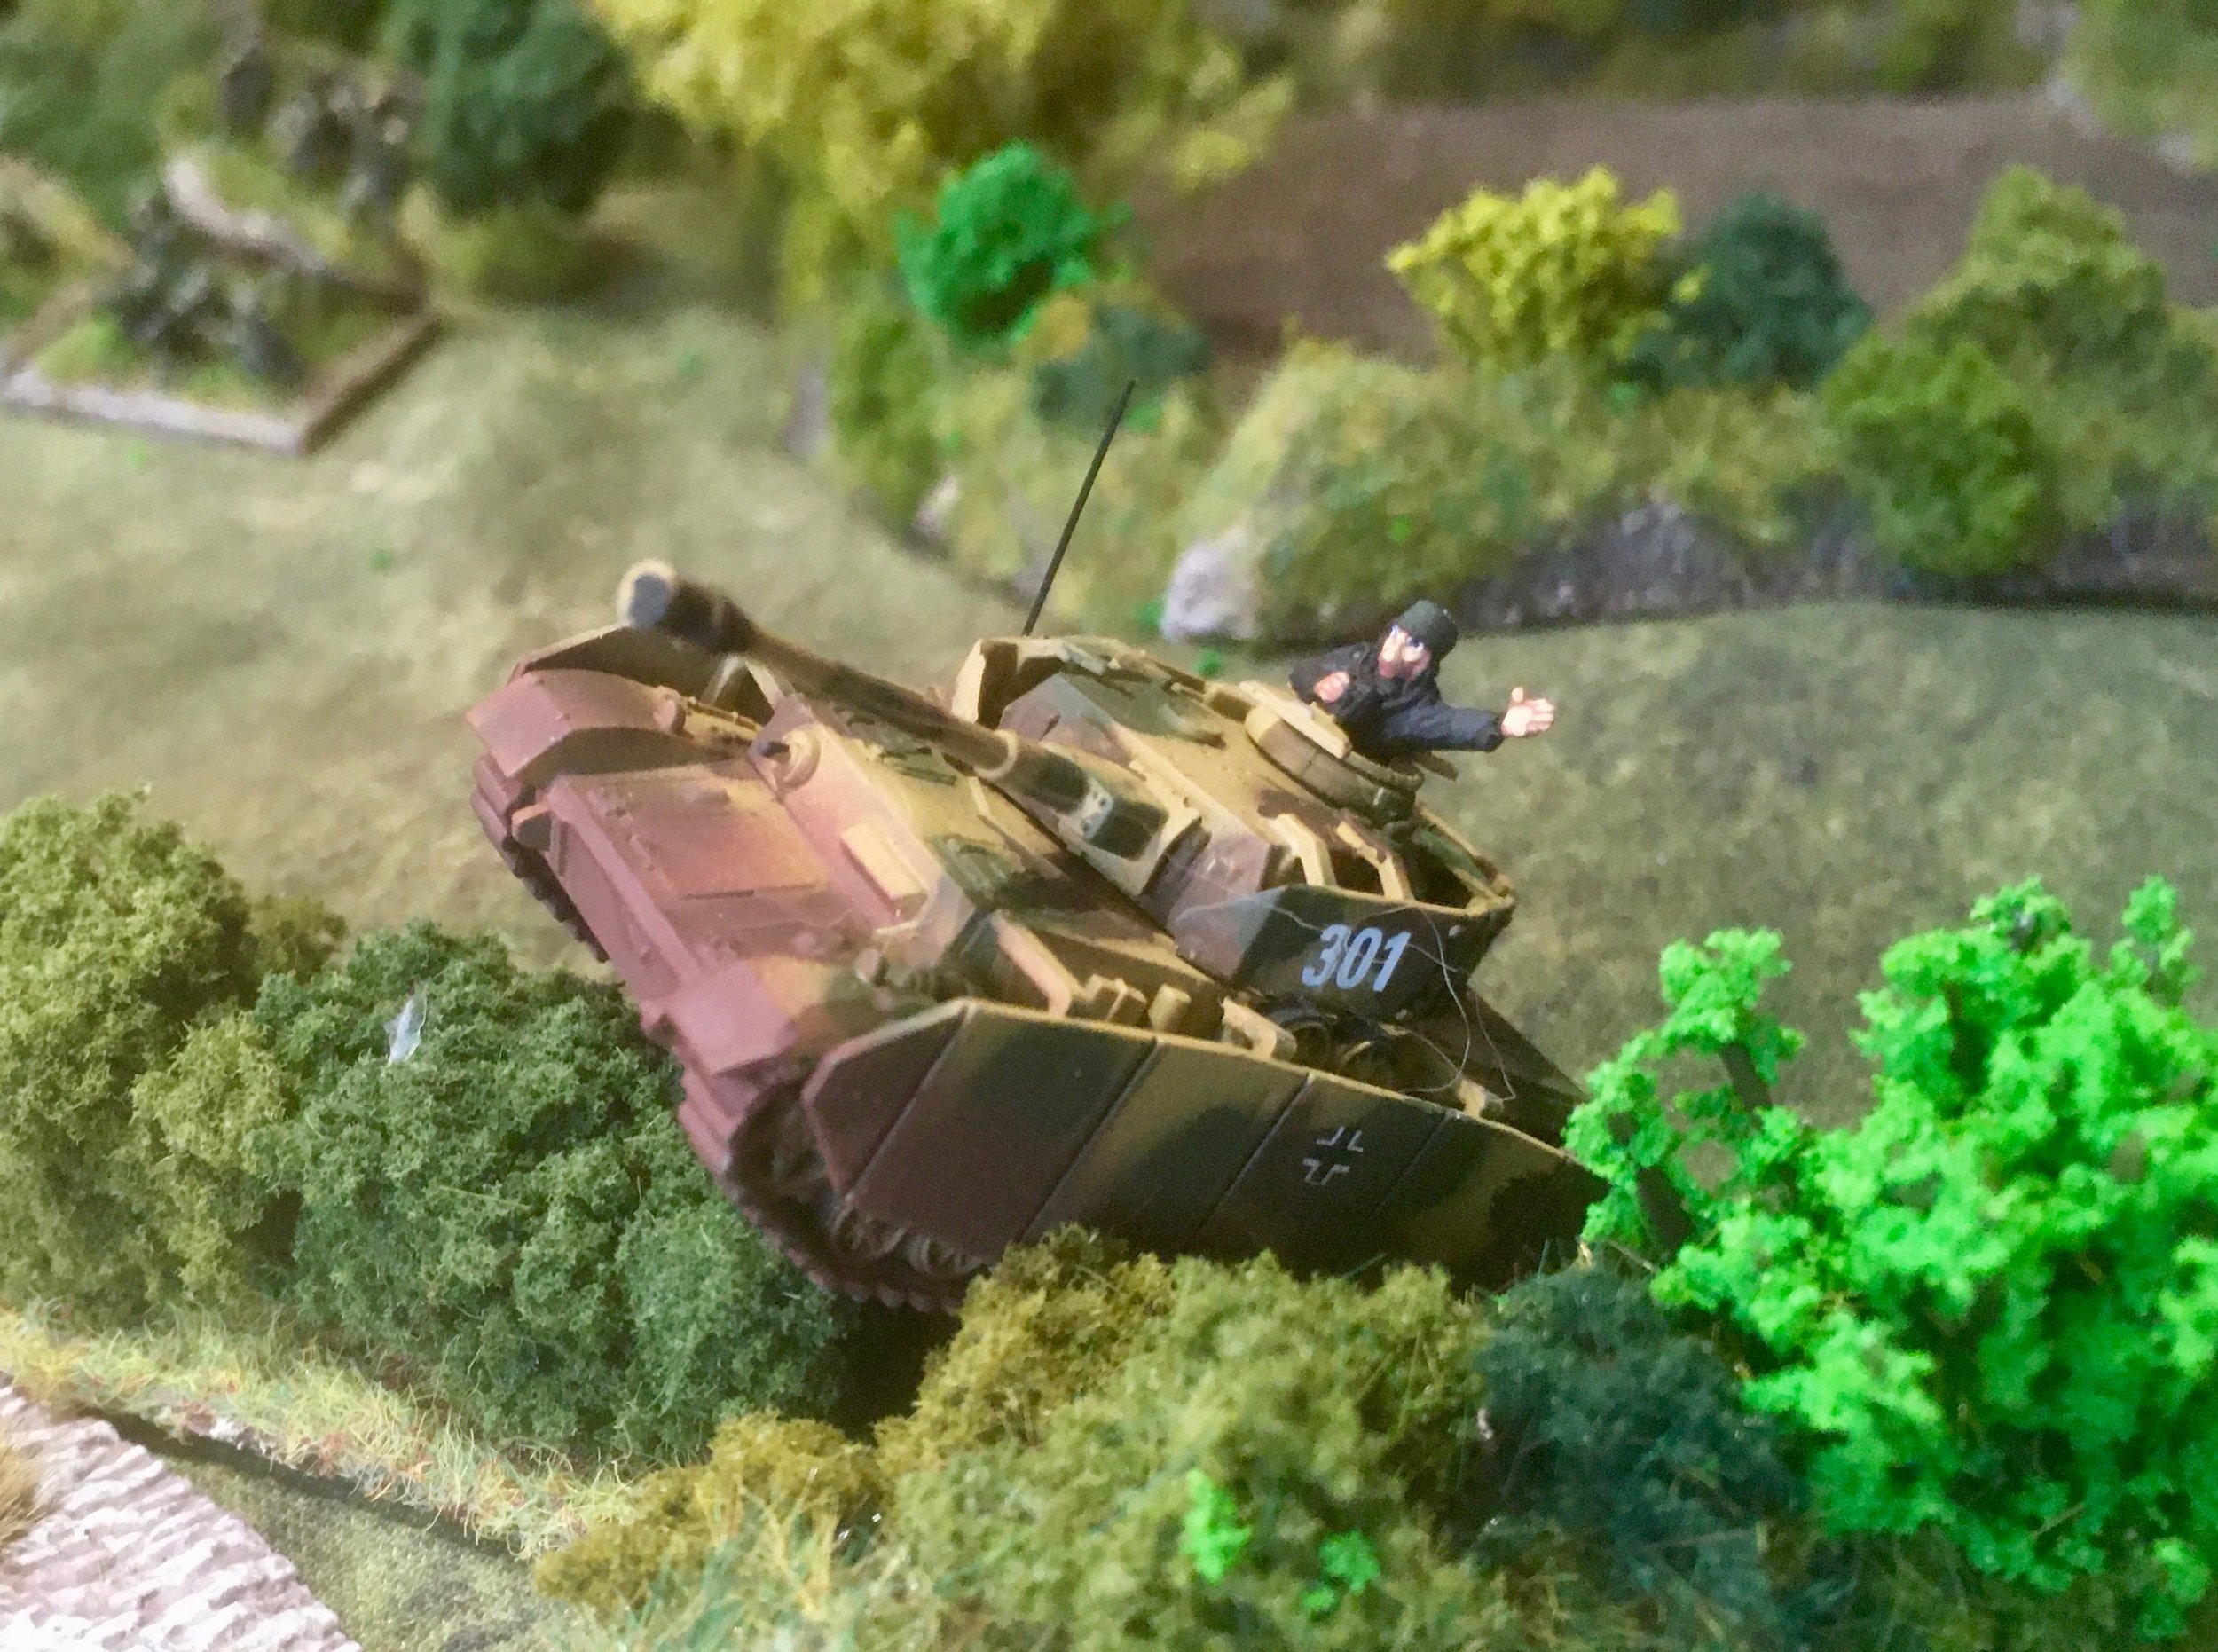
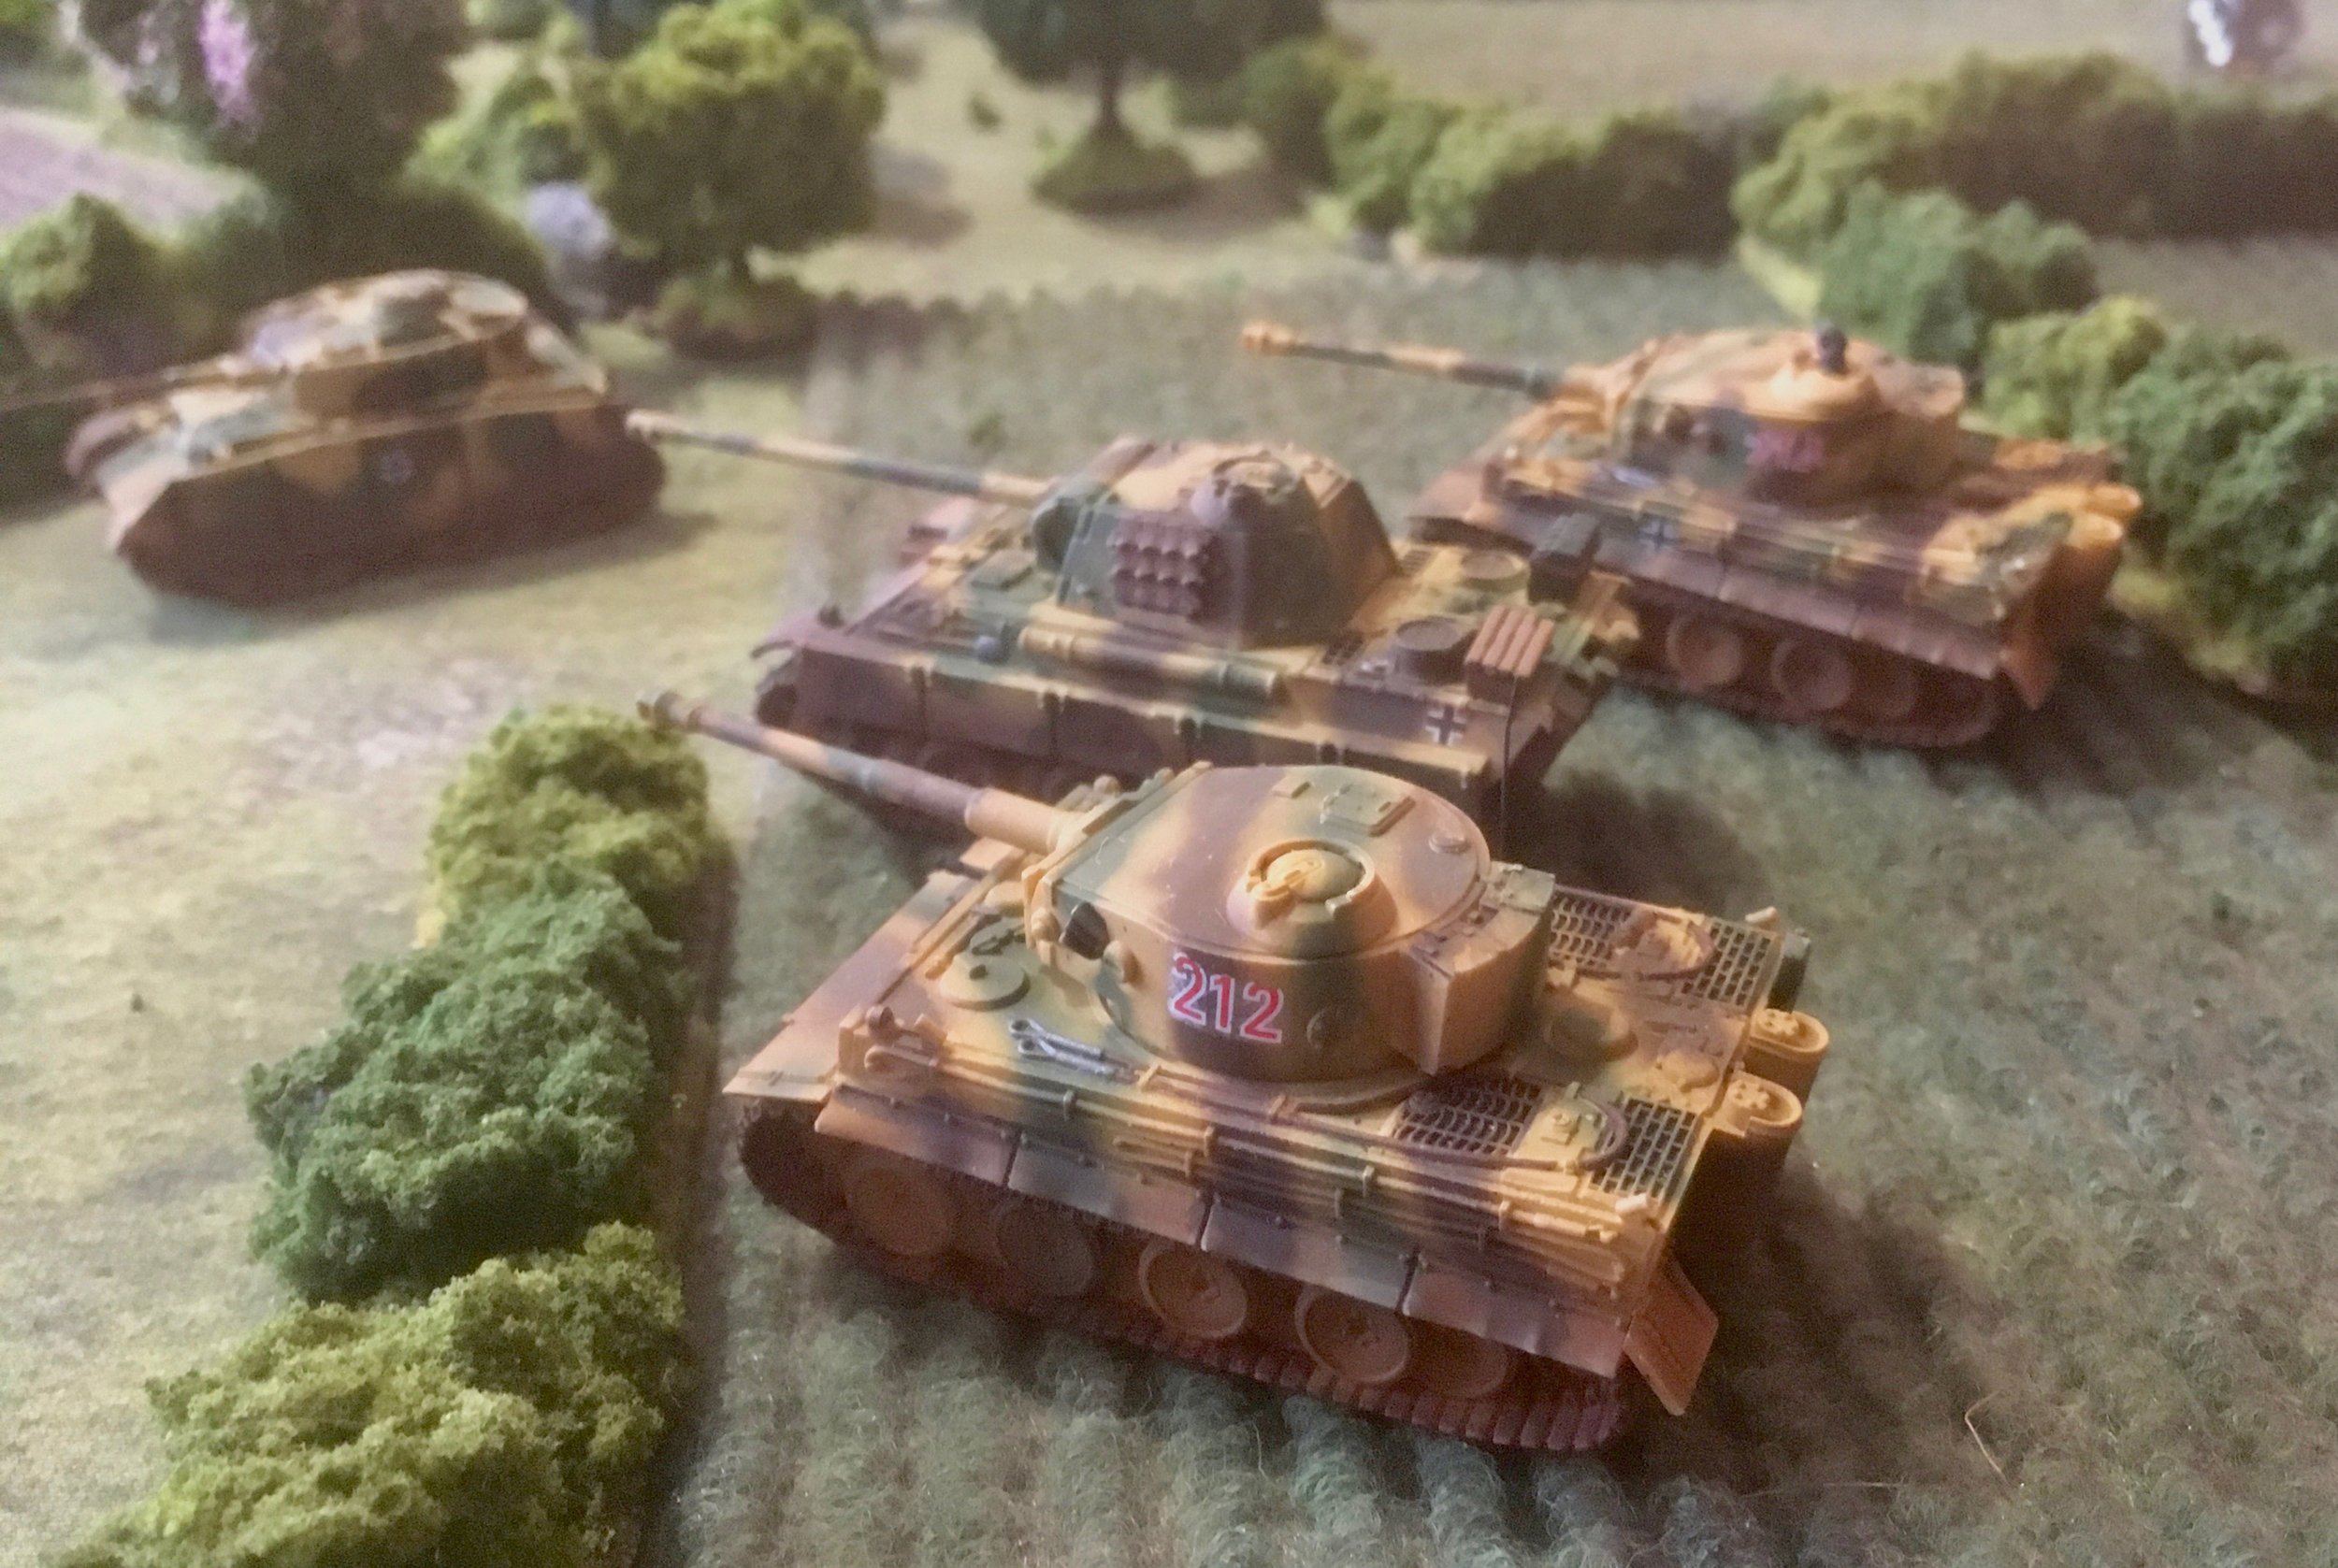
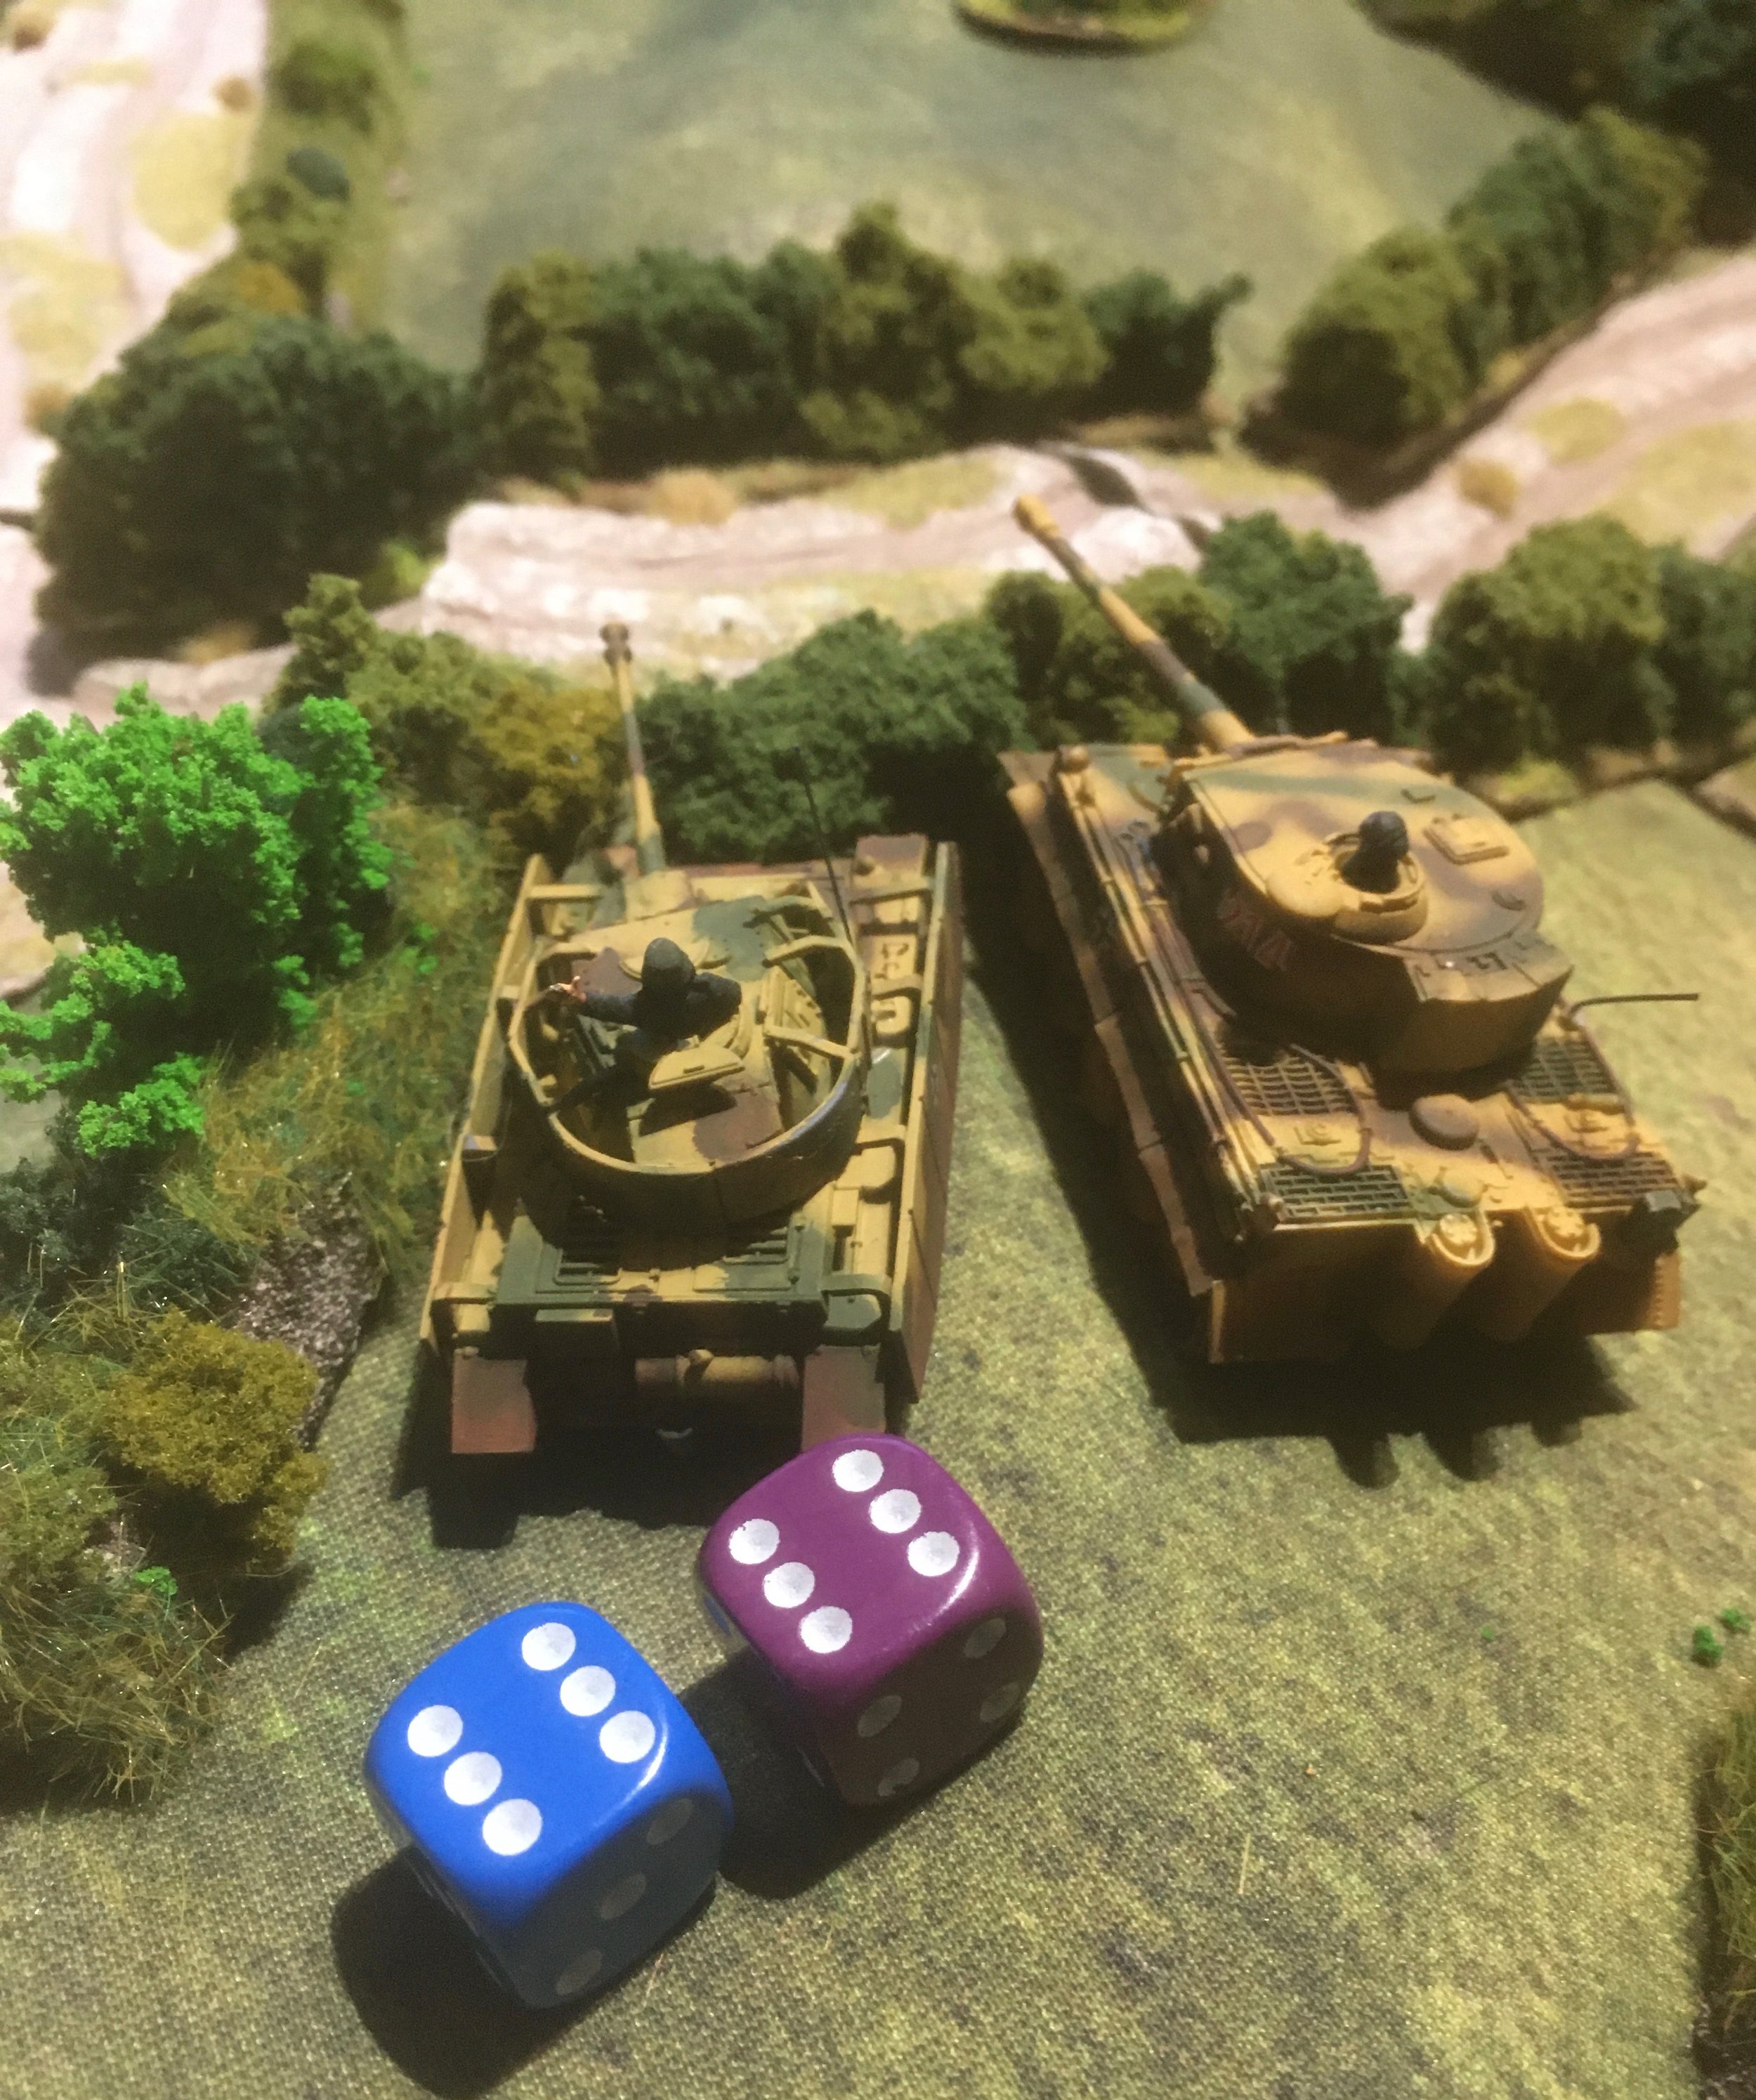
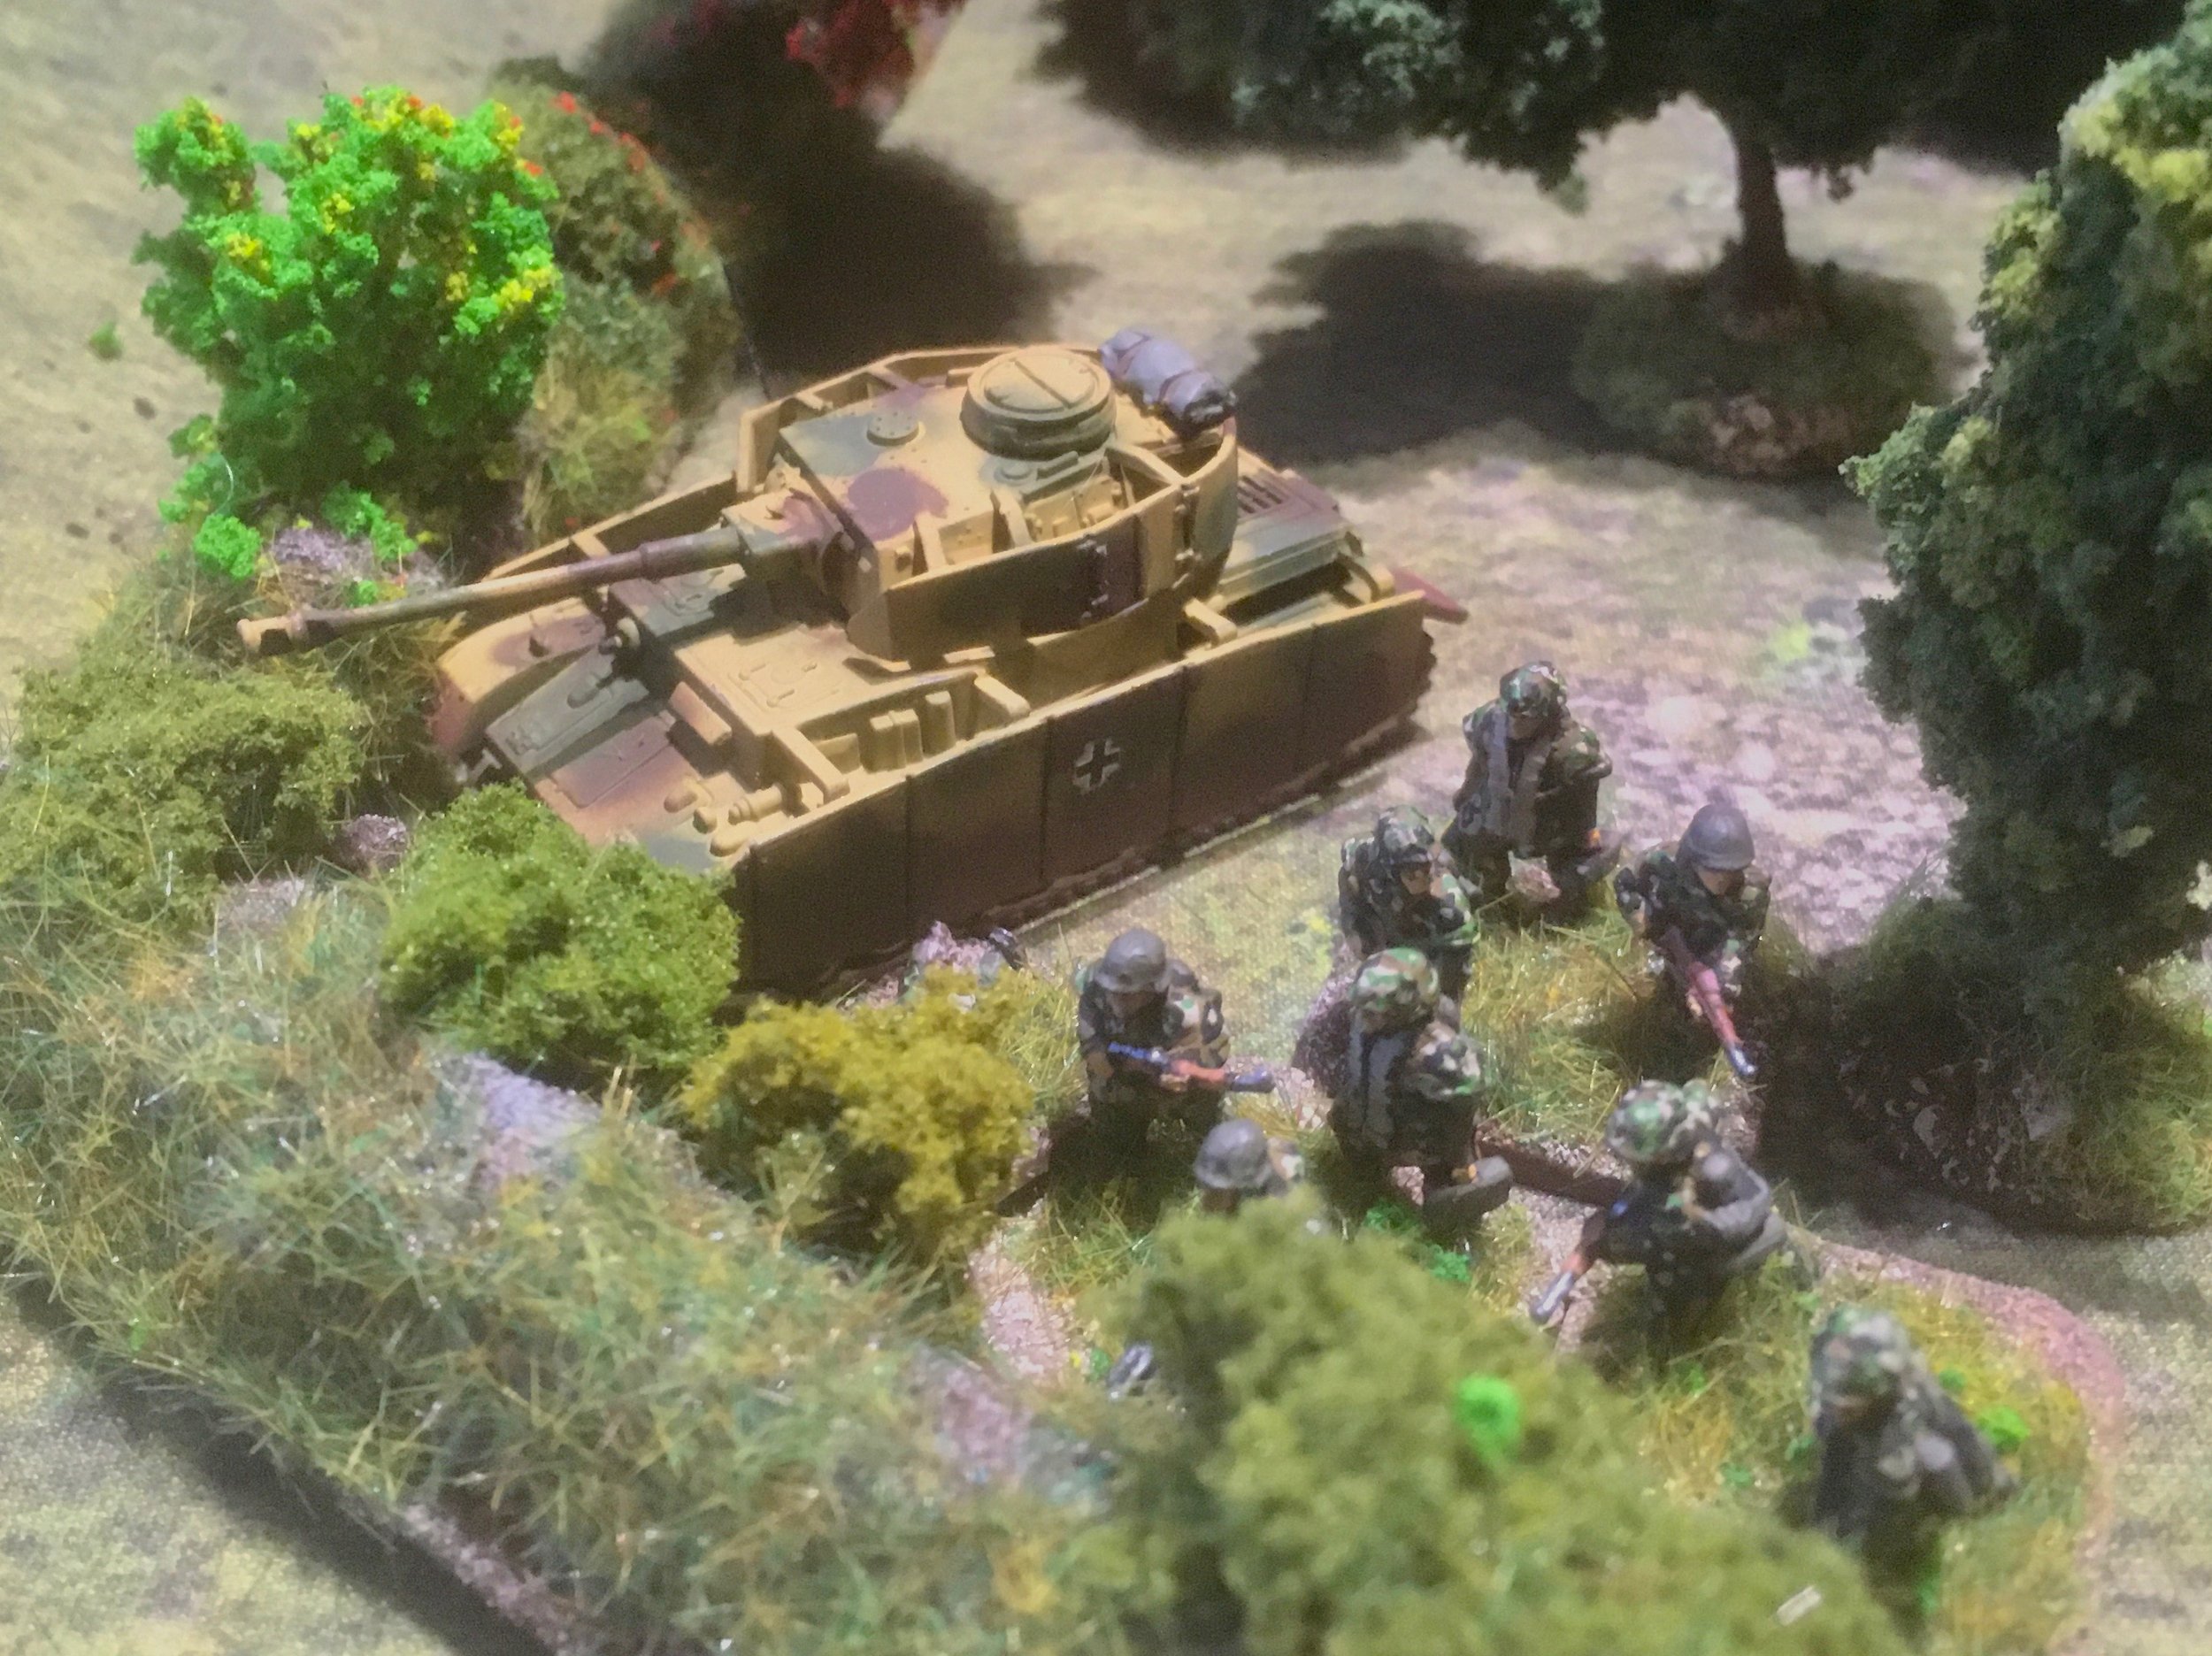
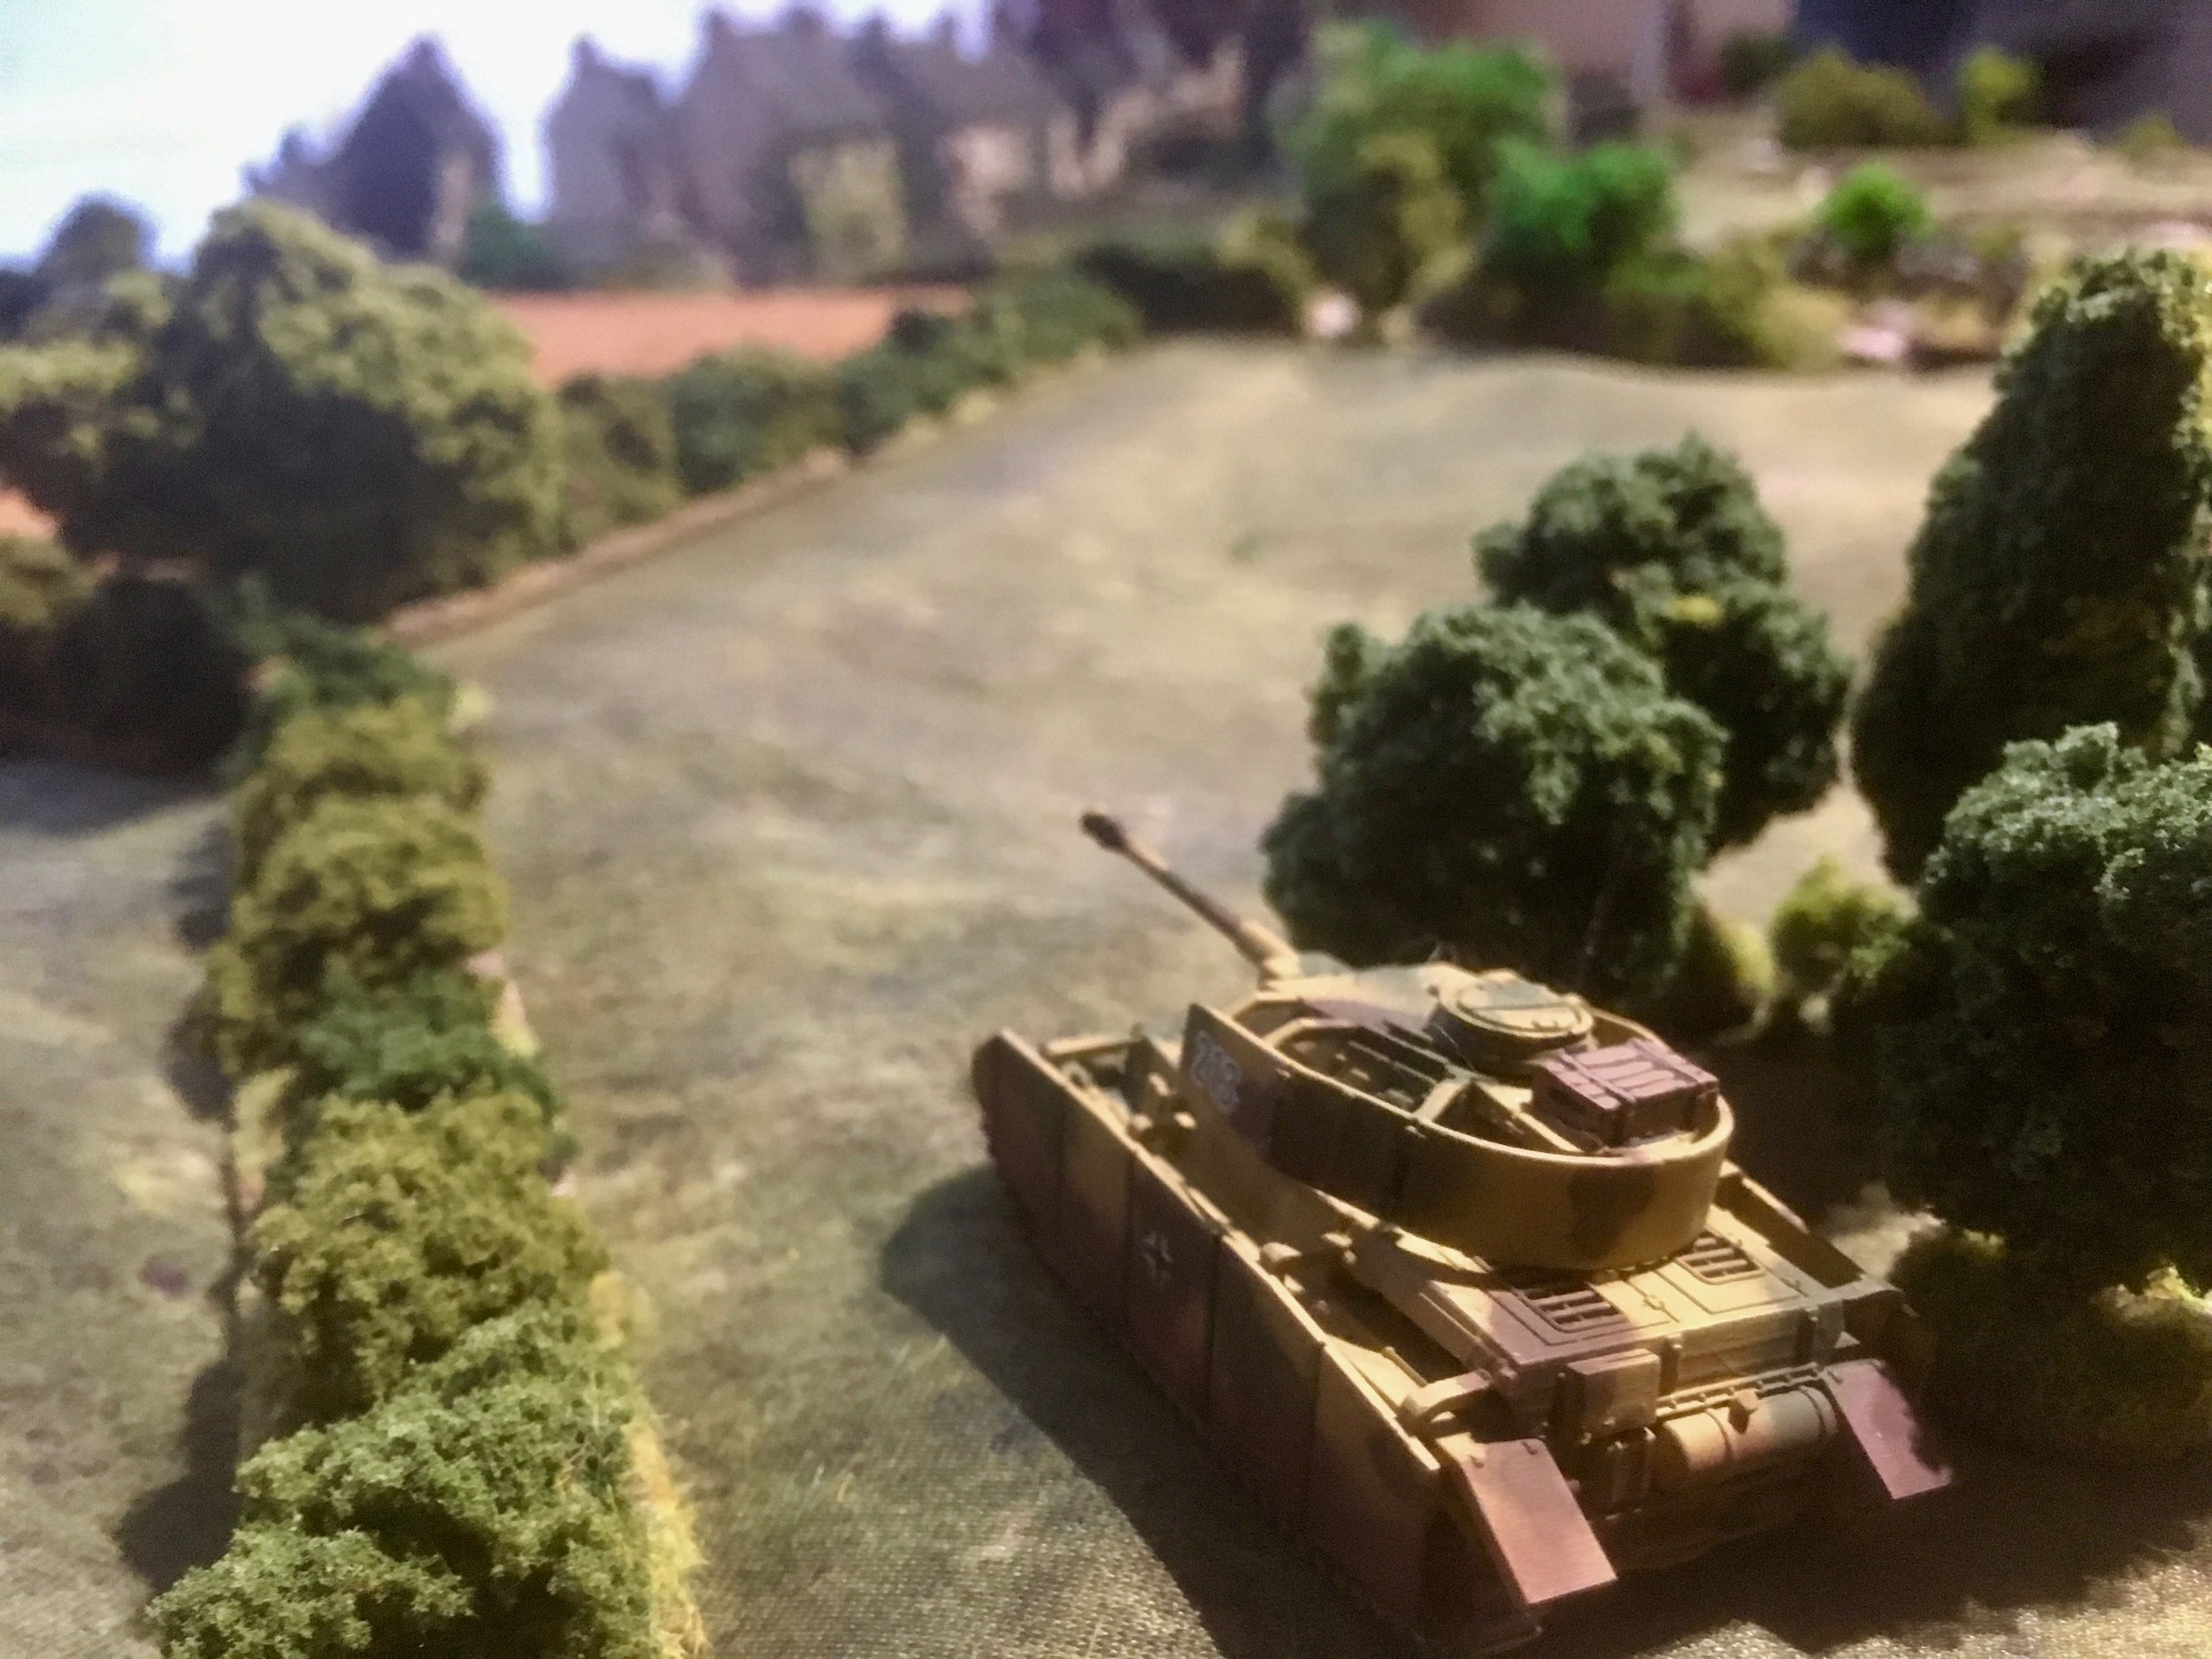
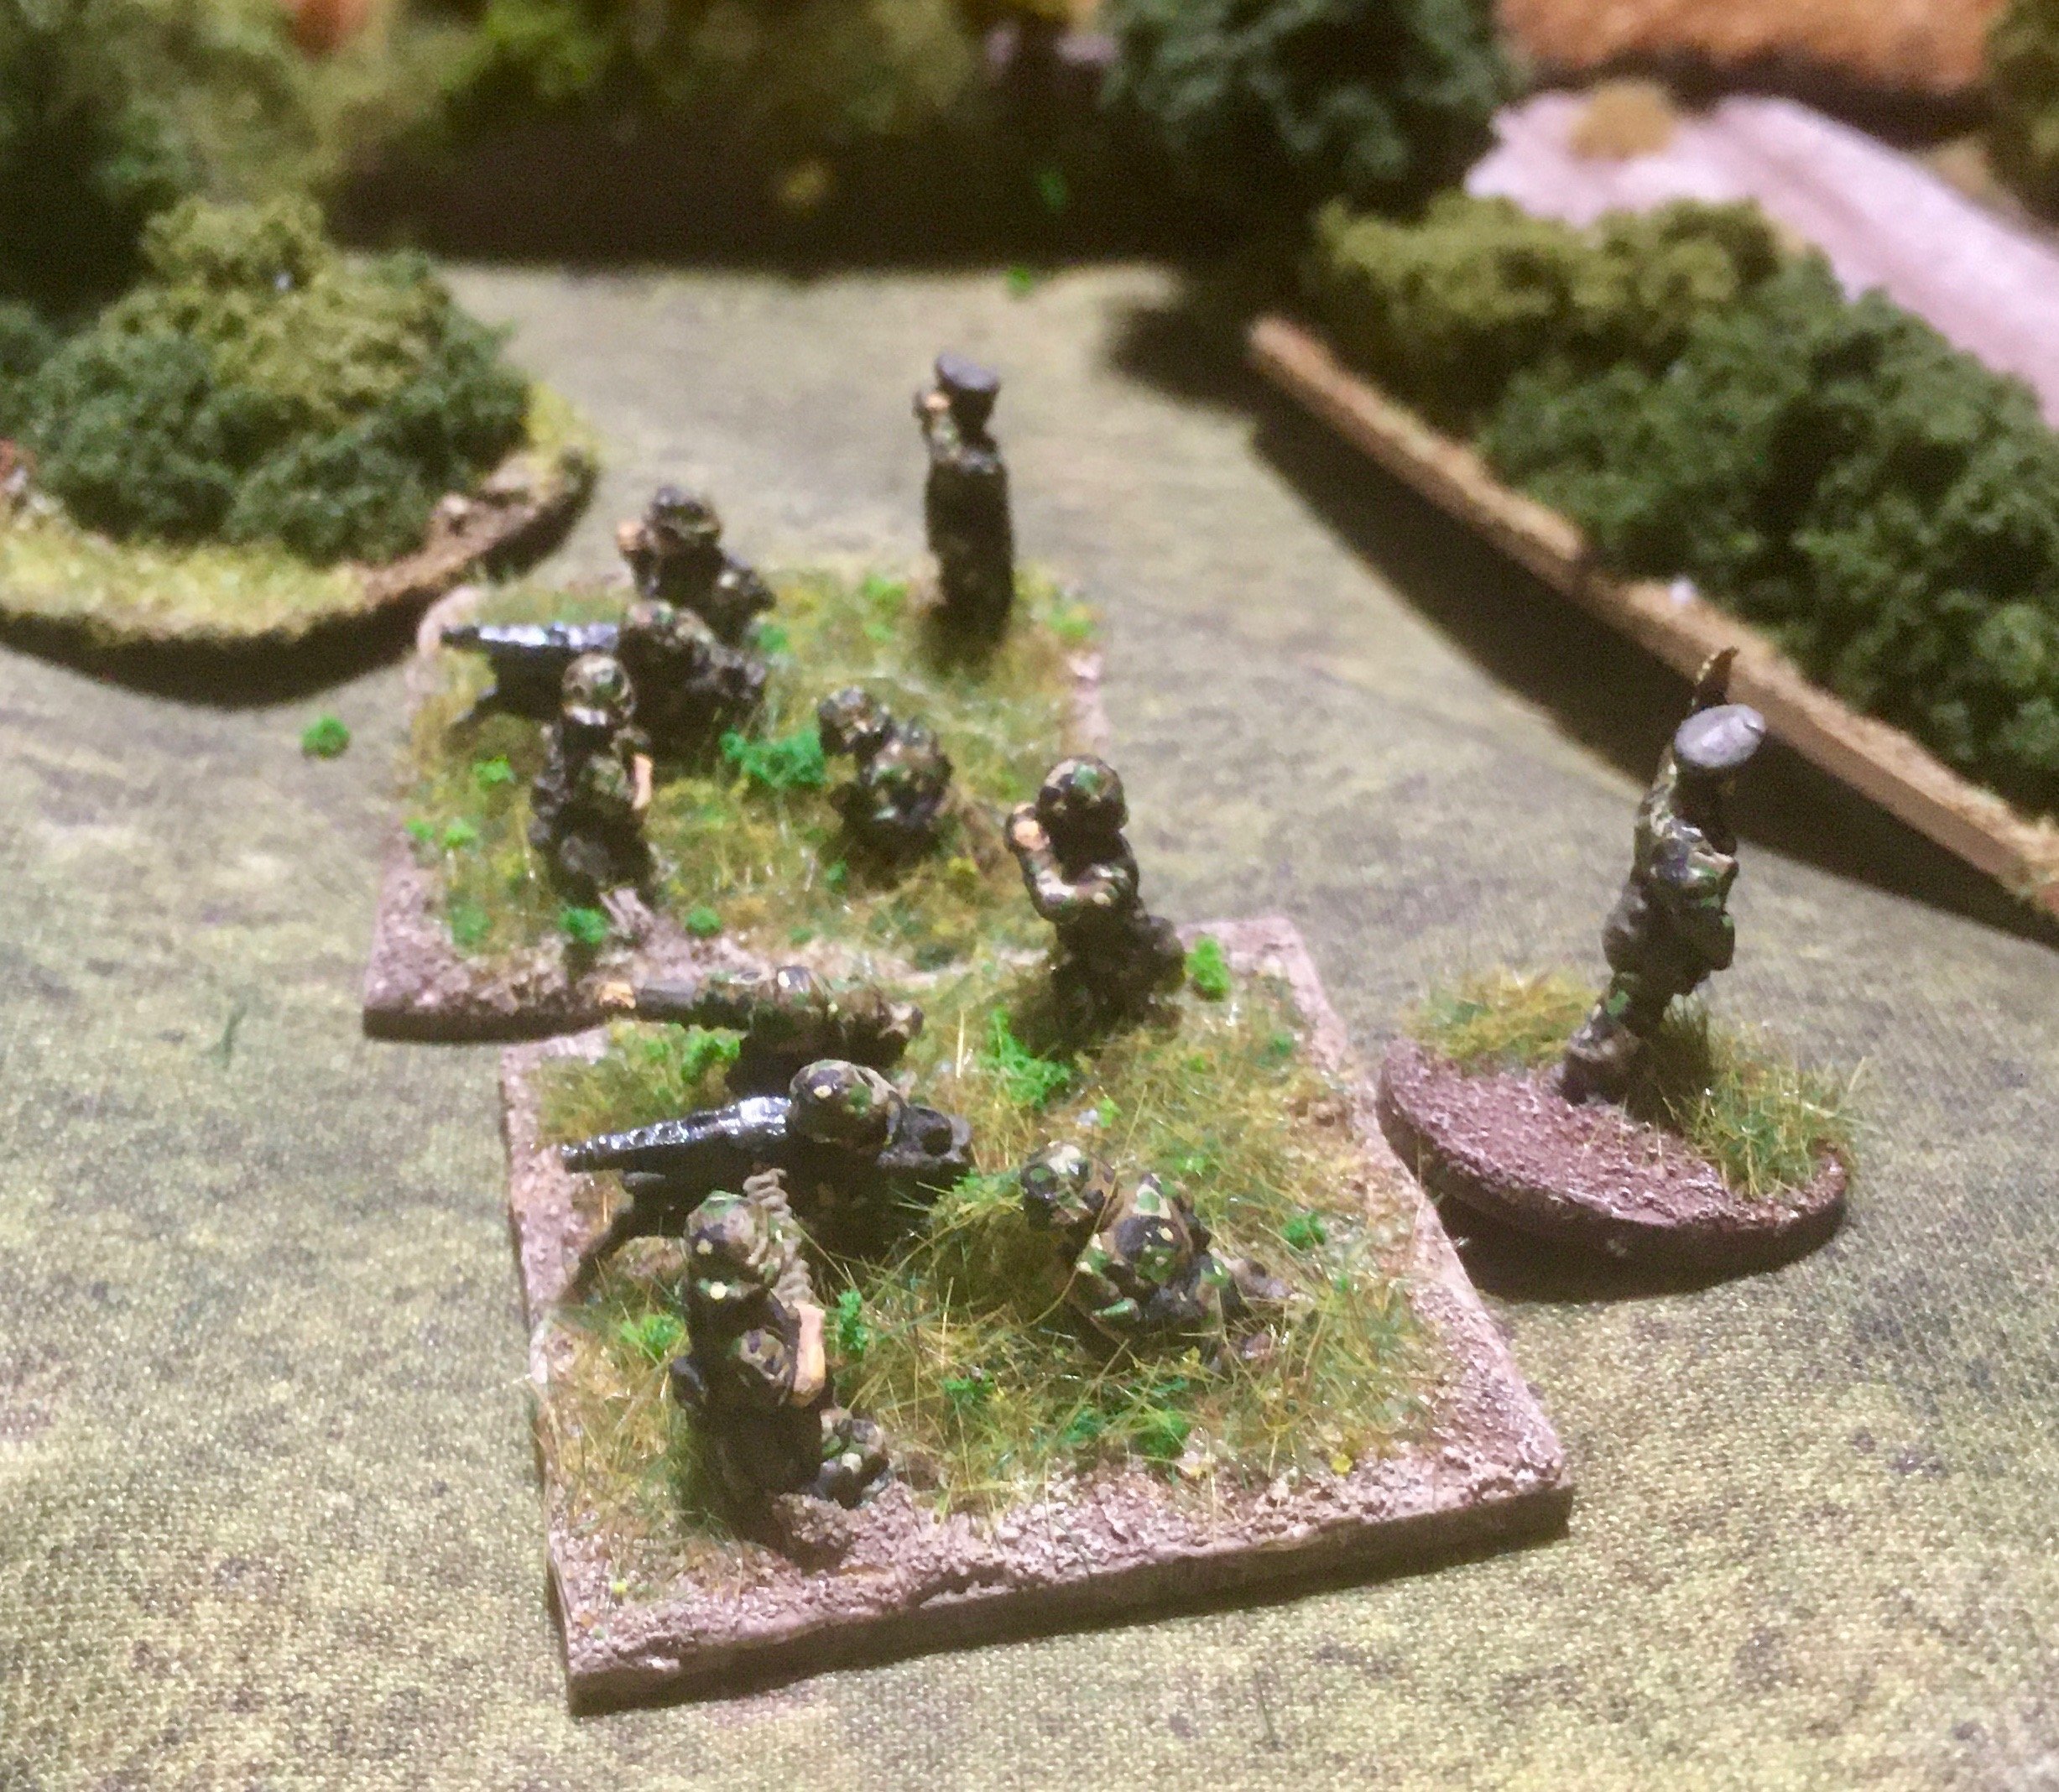
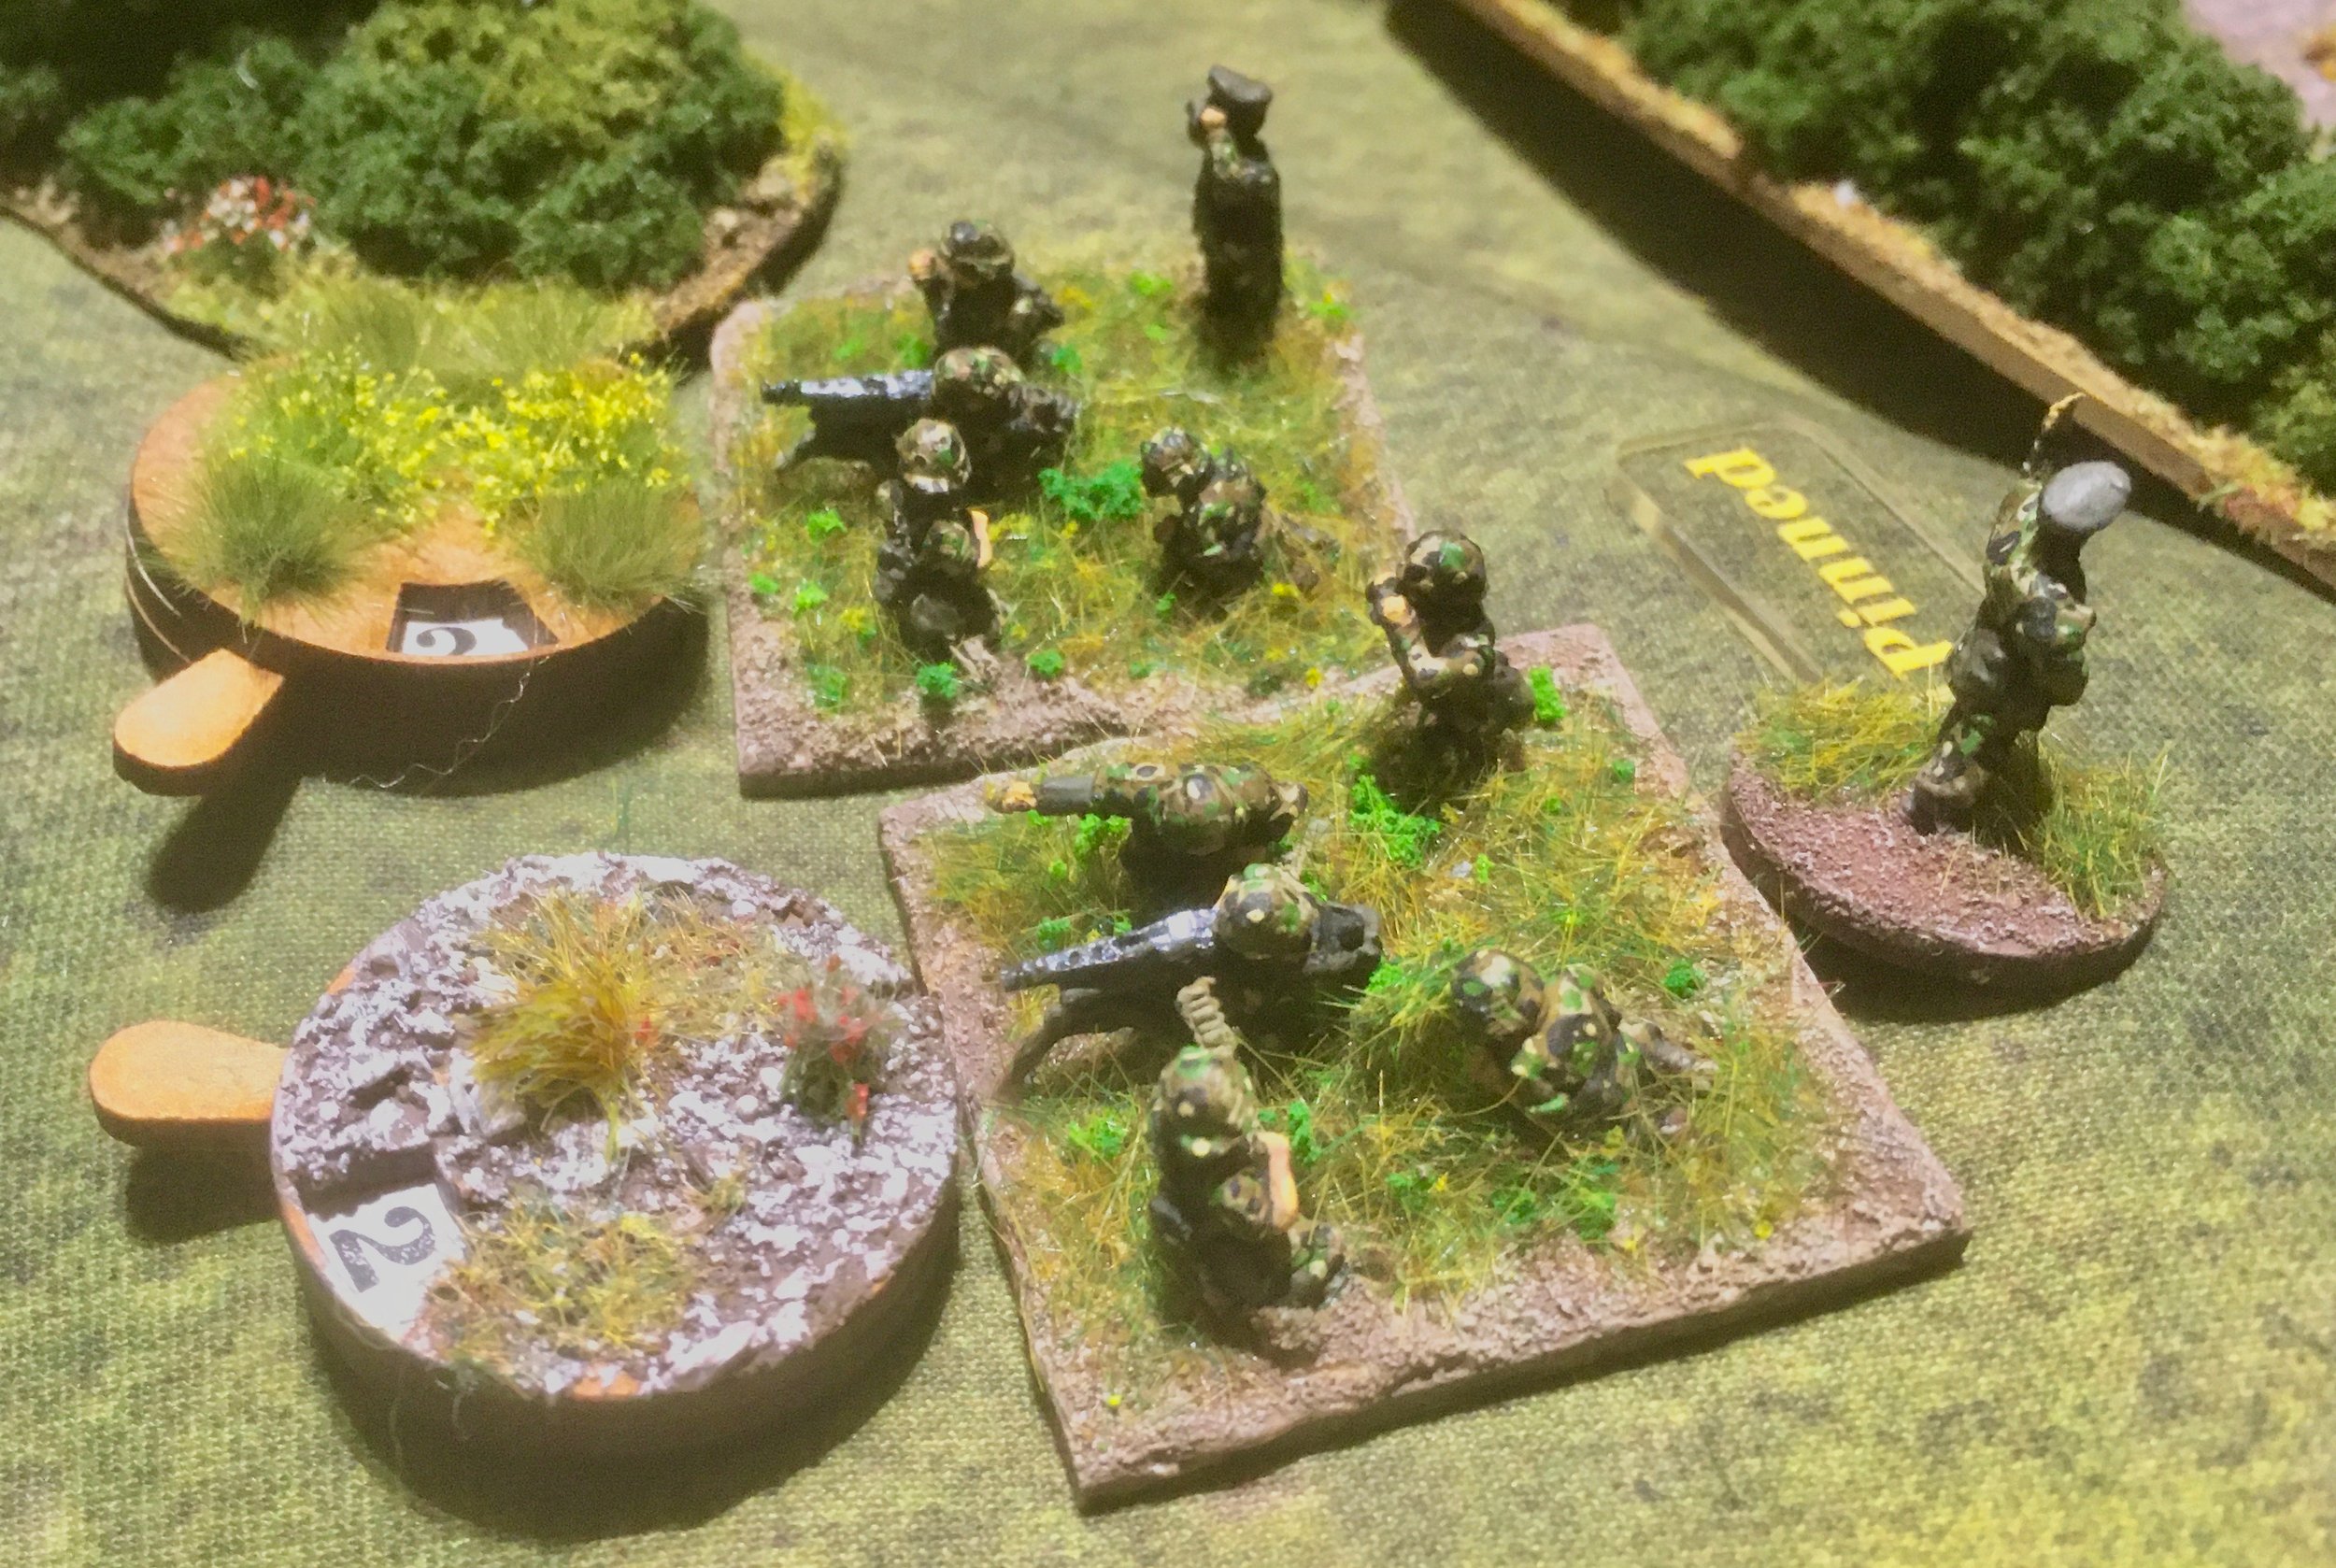
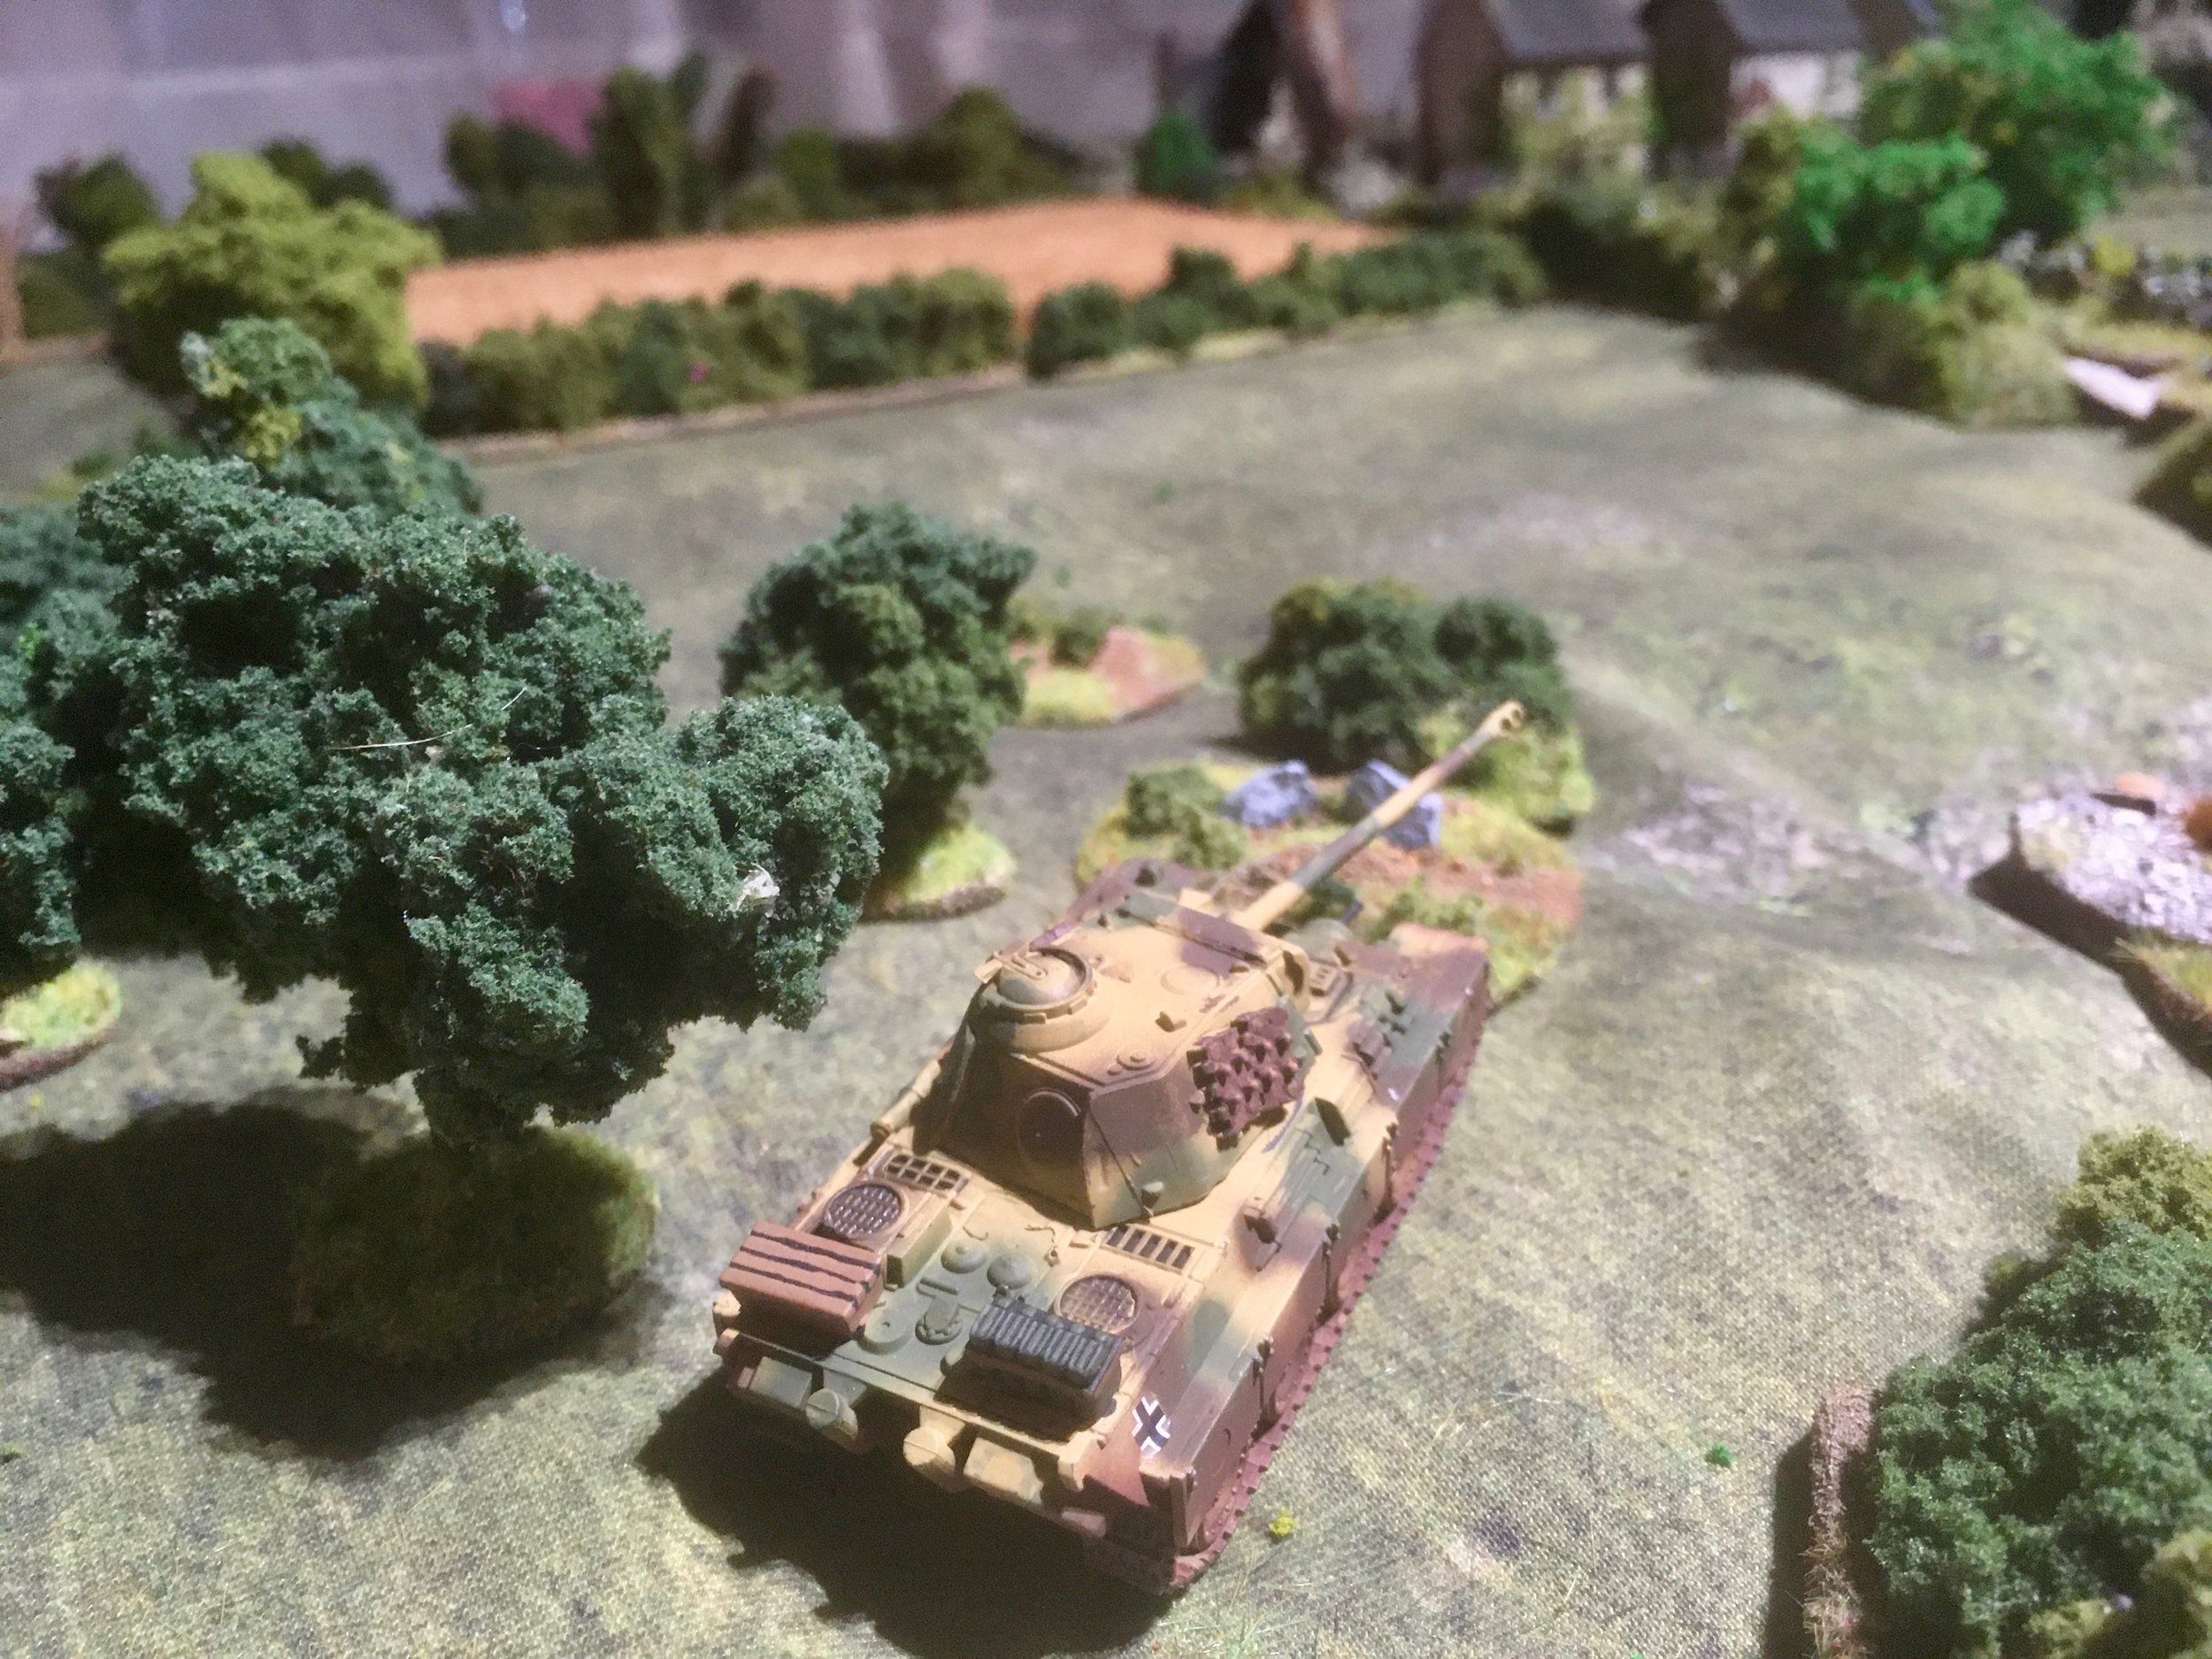
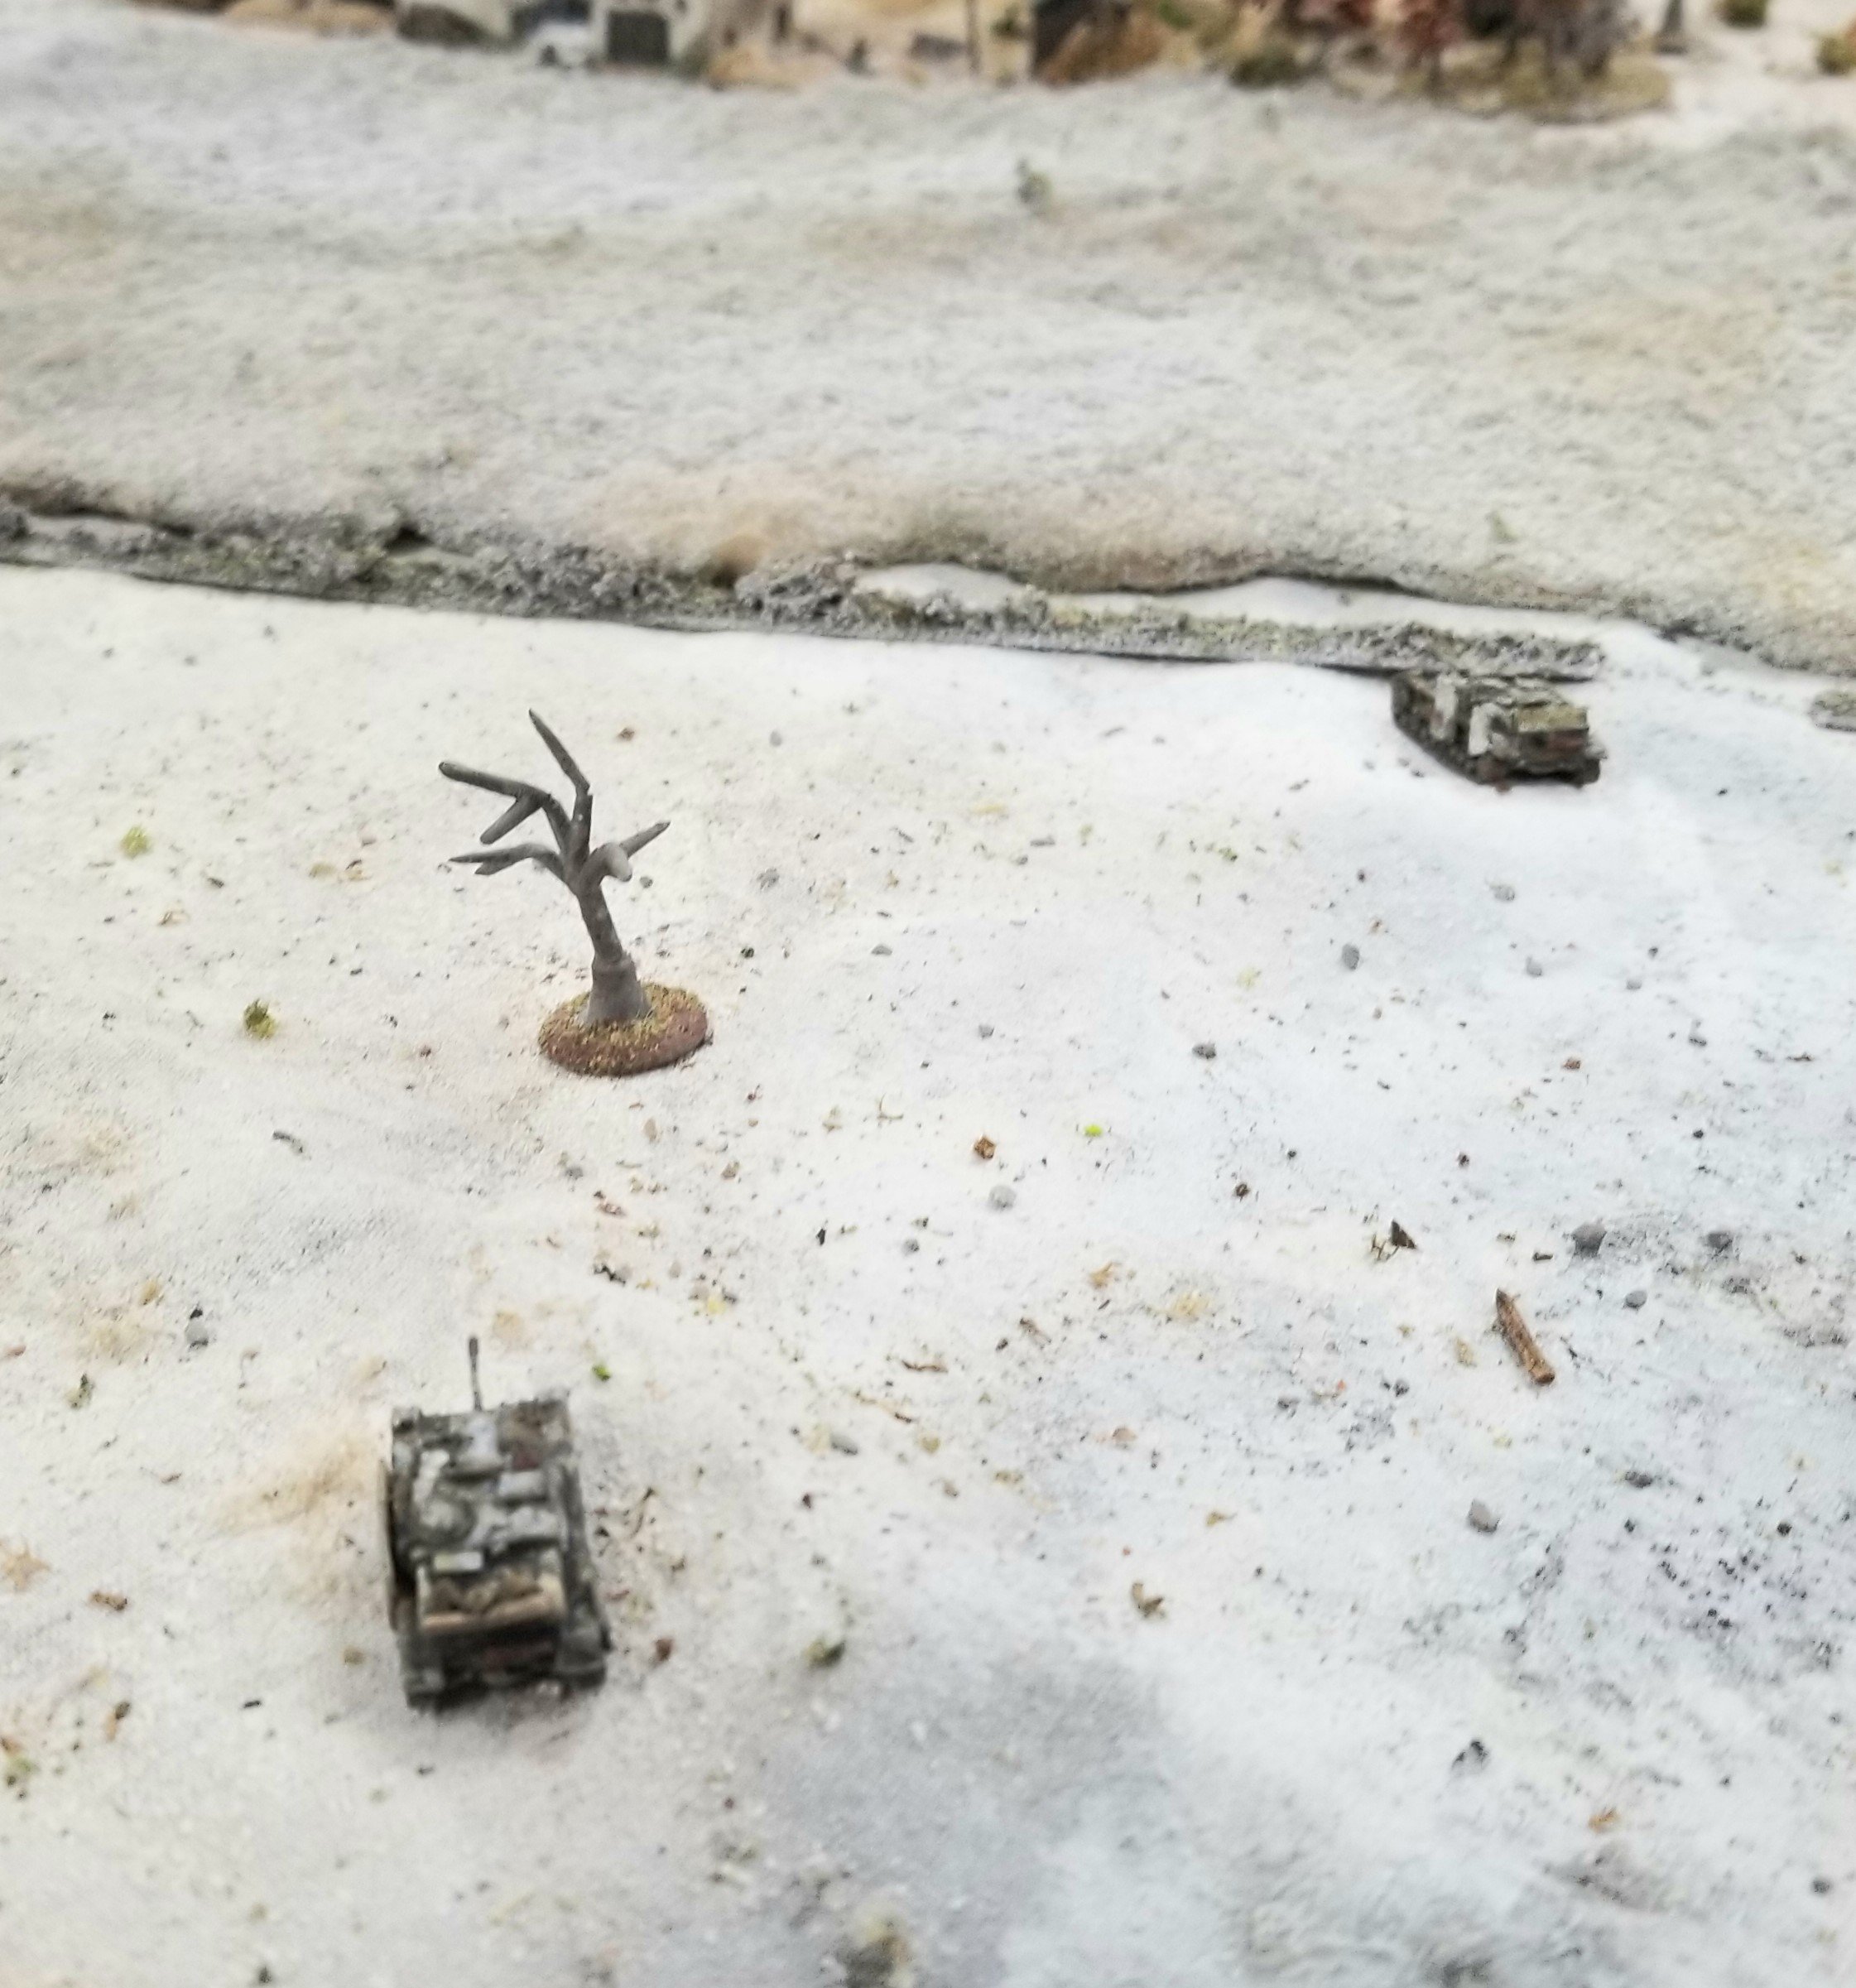
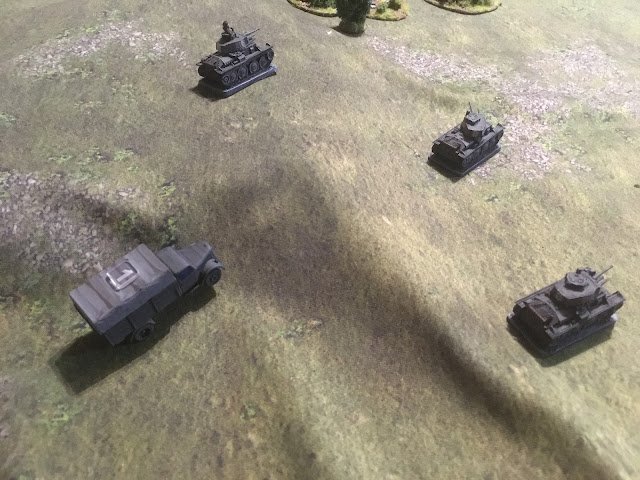
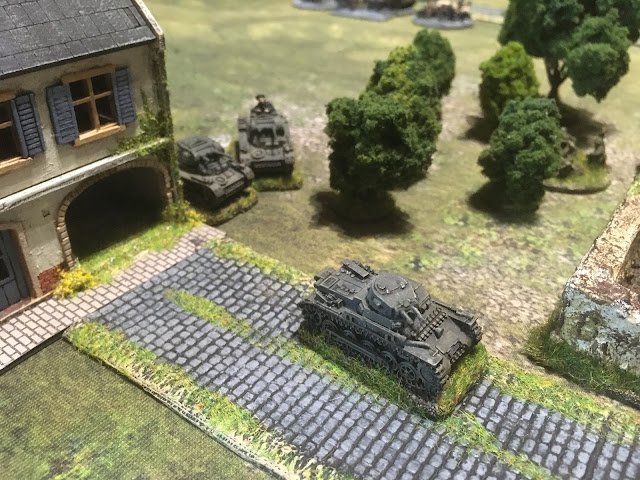
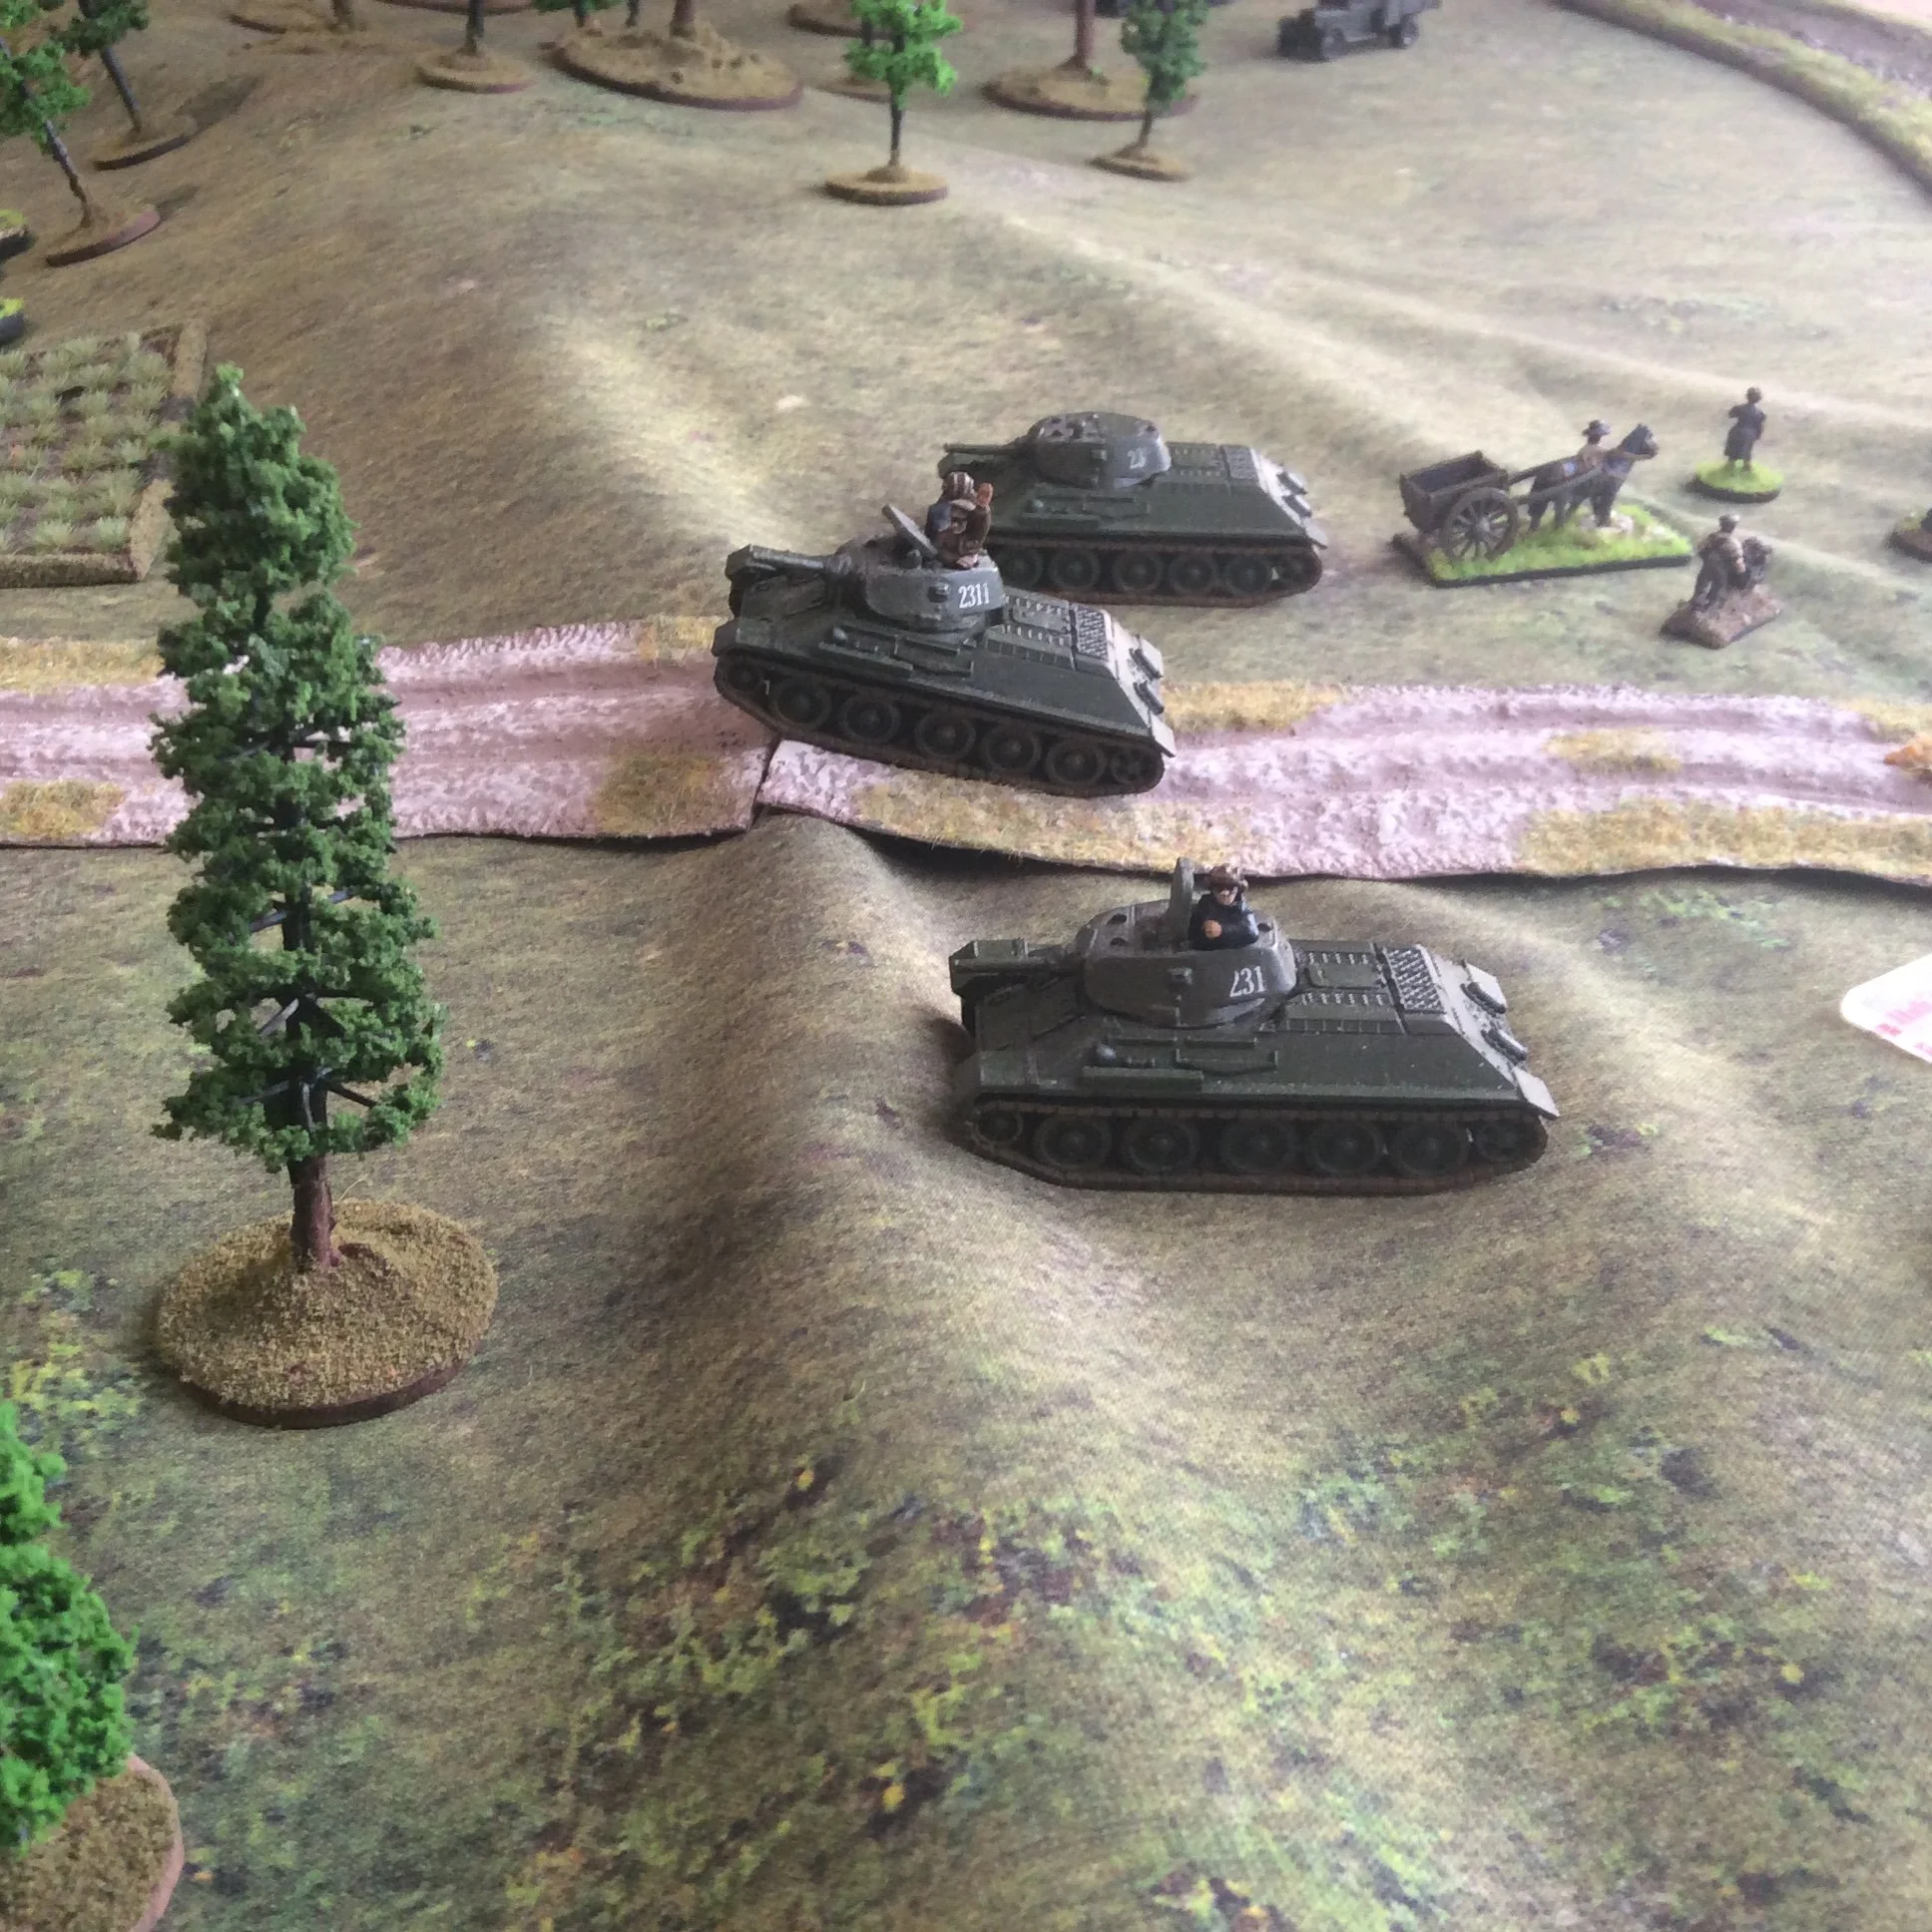
Figures are mostly Airfix and SHQ plus a few unpainted old Matchbox Germans. Tanks are 1/87 scale custom resin by a guy on eBay.

NOTE: We used regular card activation supplemented by the use of Command Cards as described by Derek Hodge. See Summer 2017 TFL Special.

Dan Albrecht

Here is a great write up by Shane Waley who played the German side:

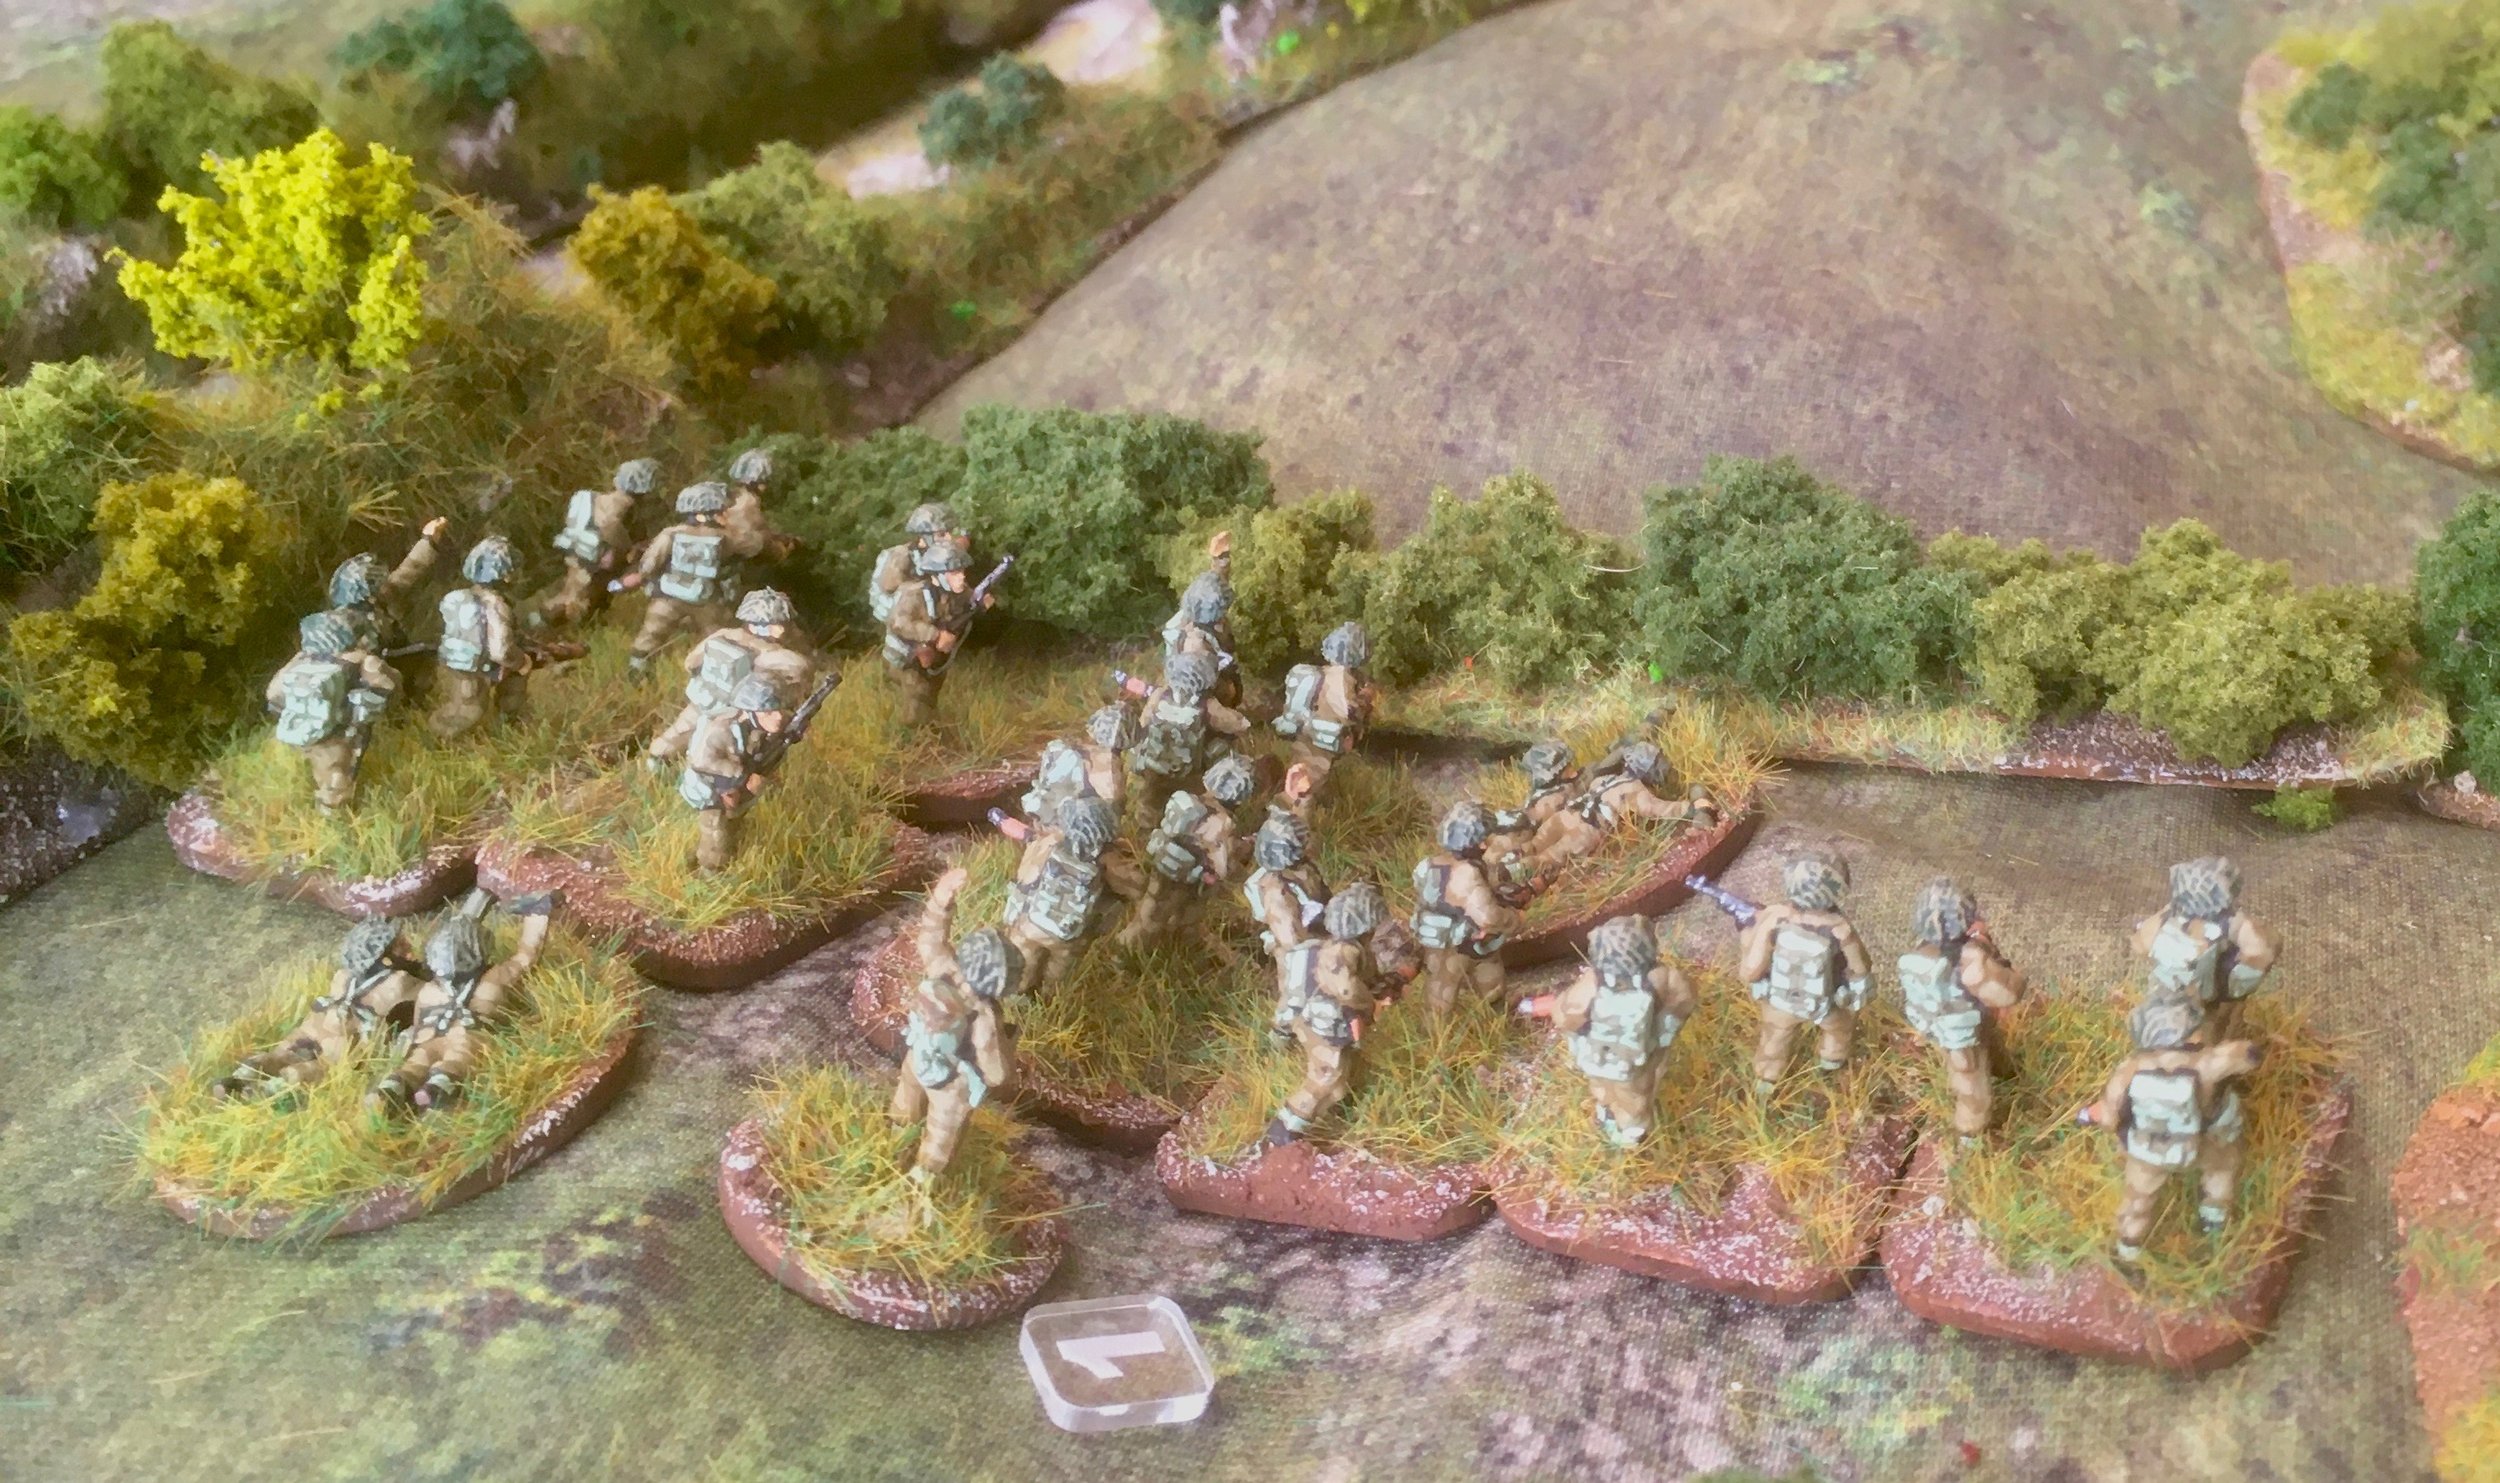
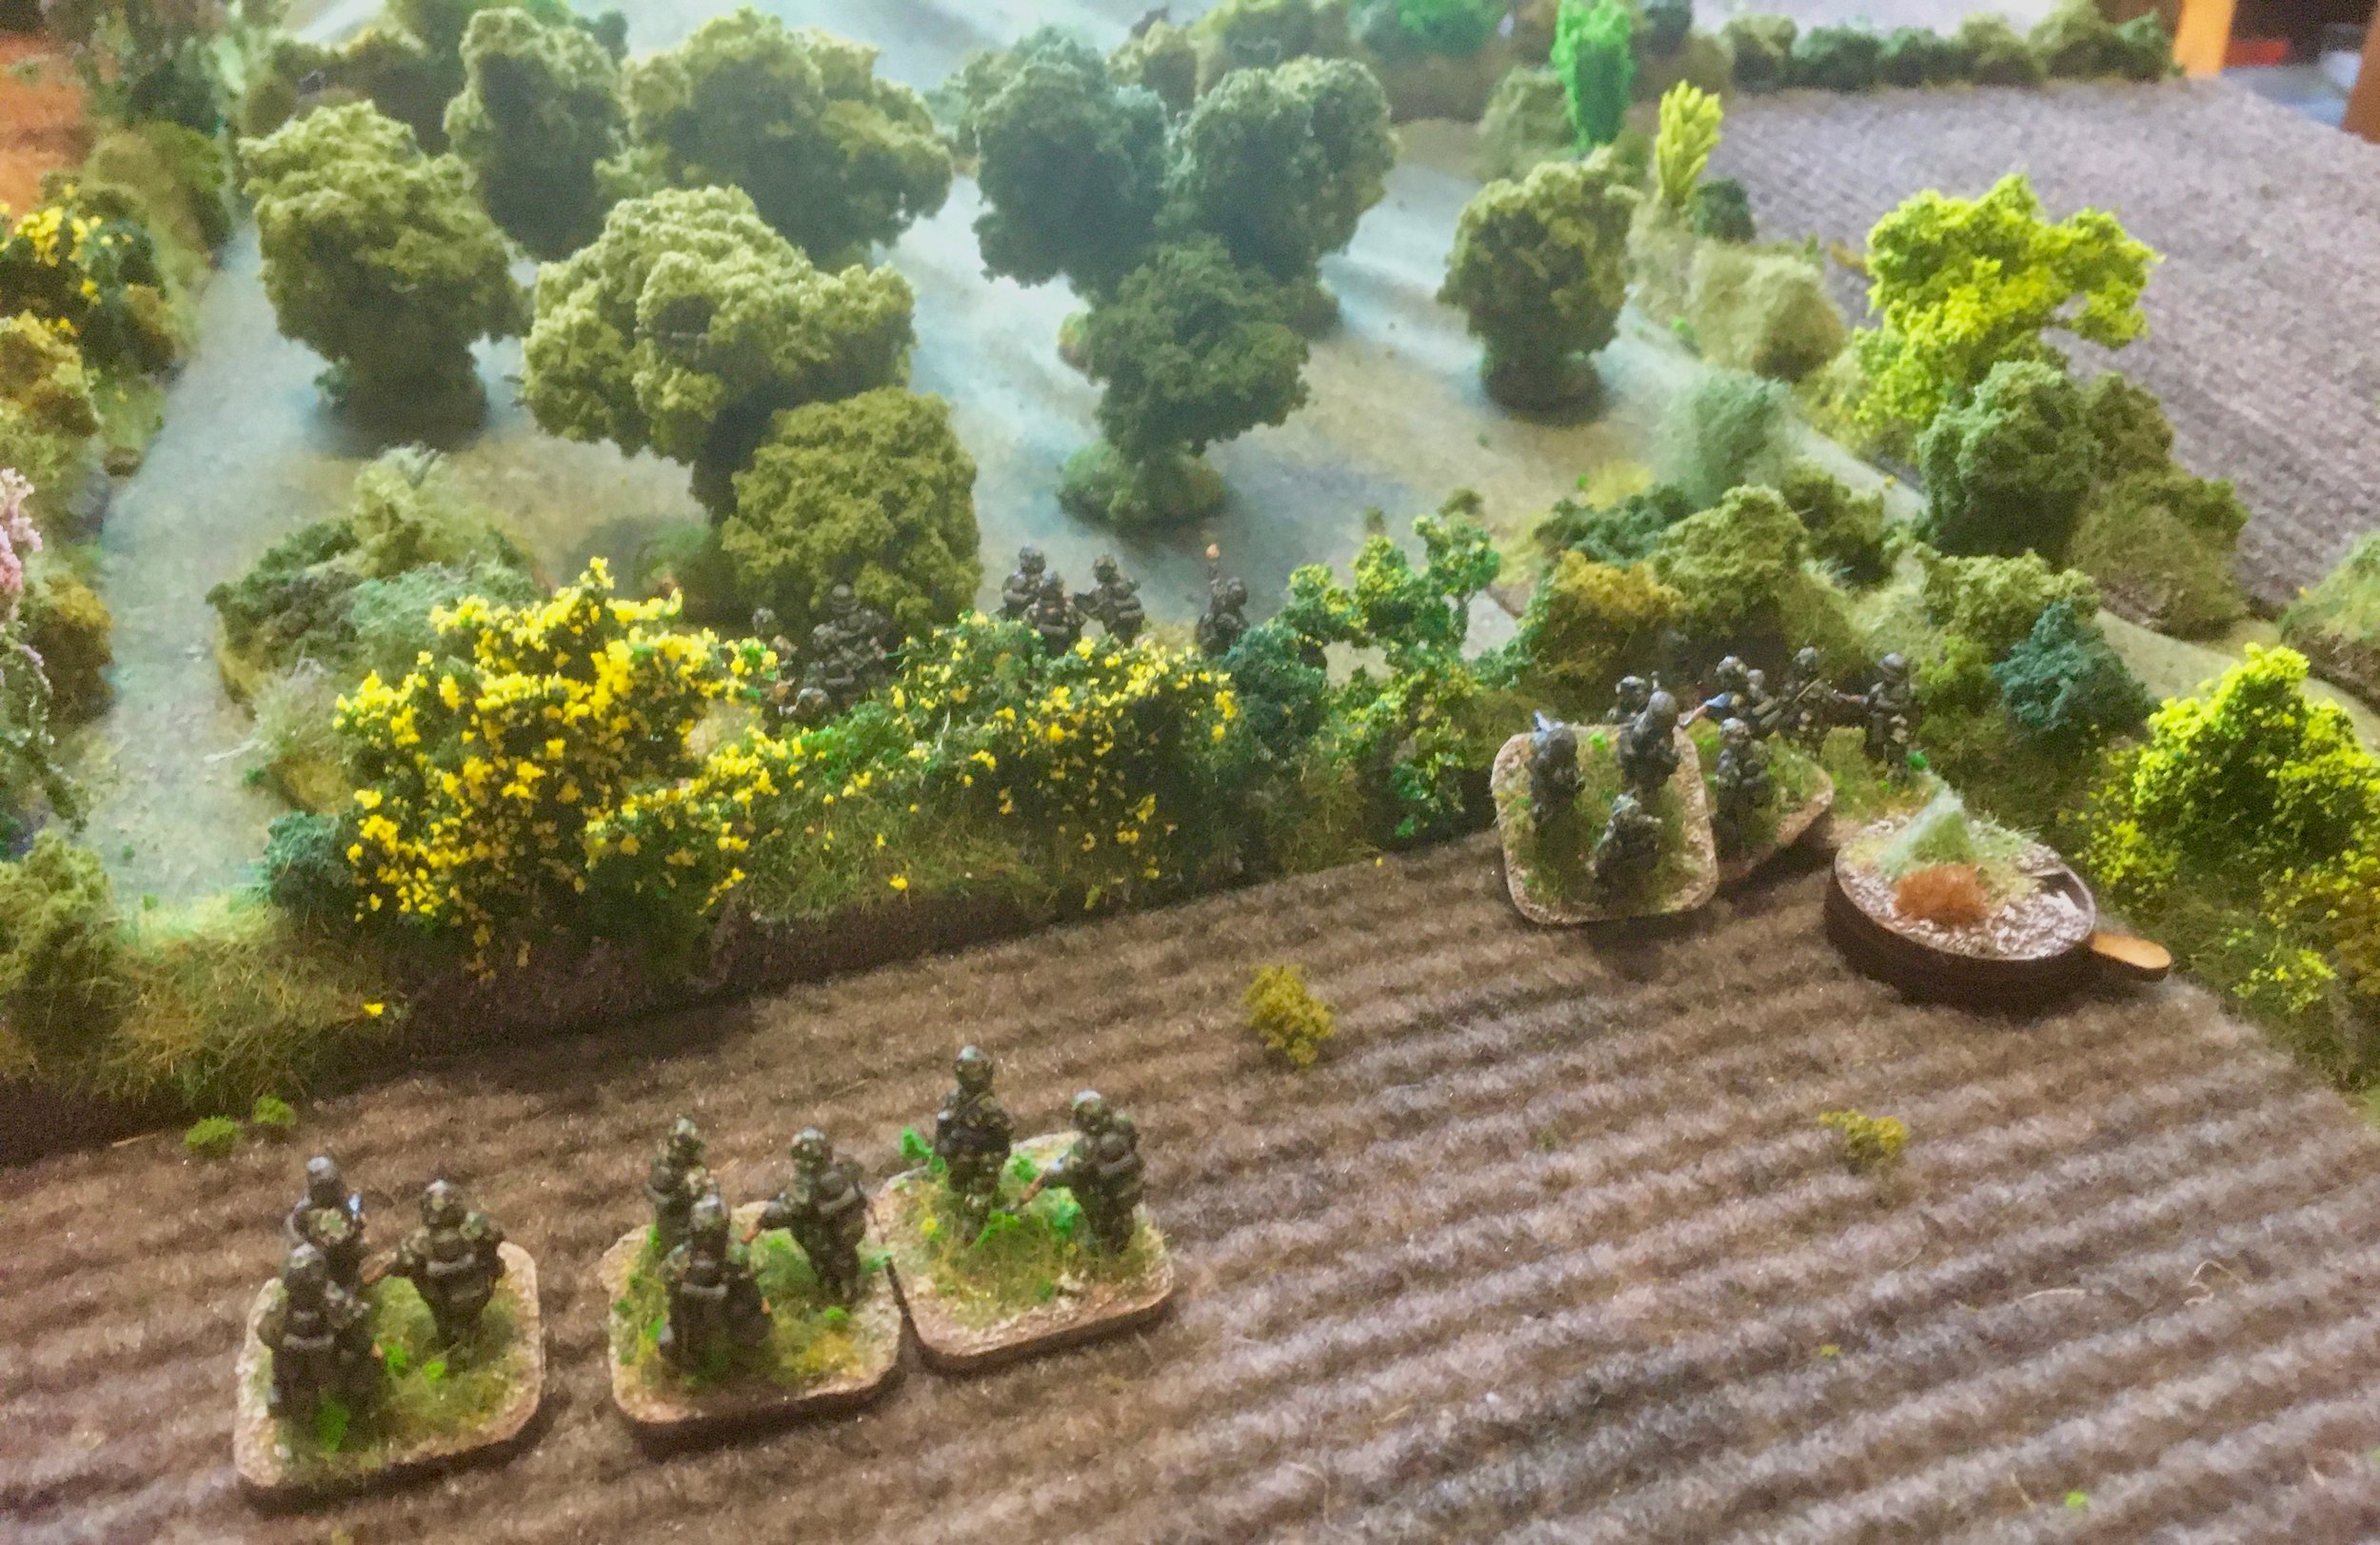
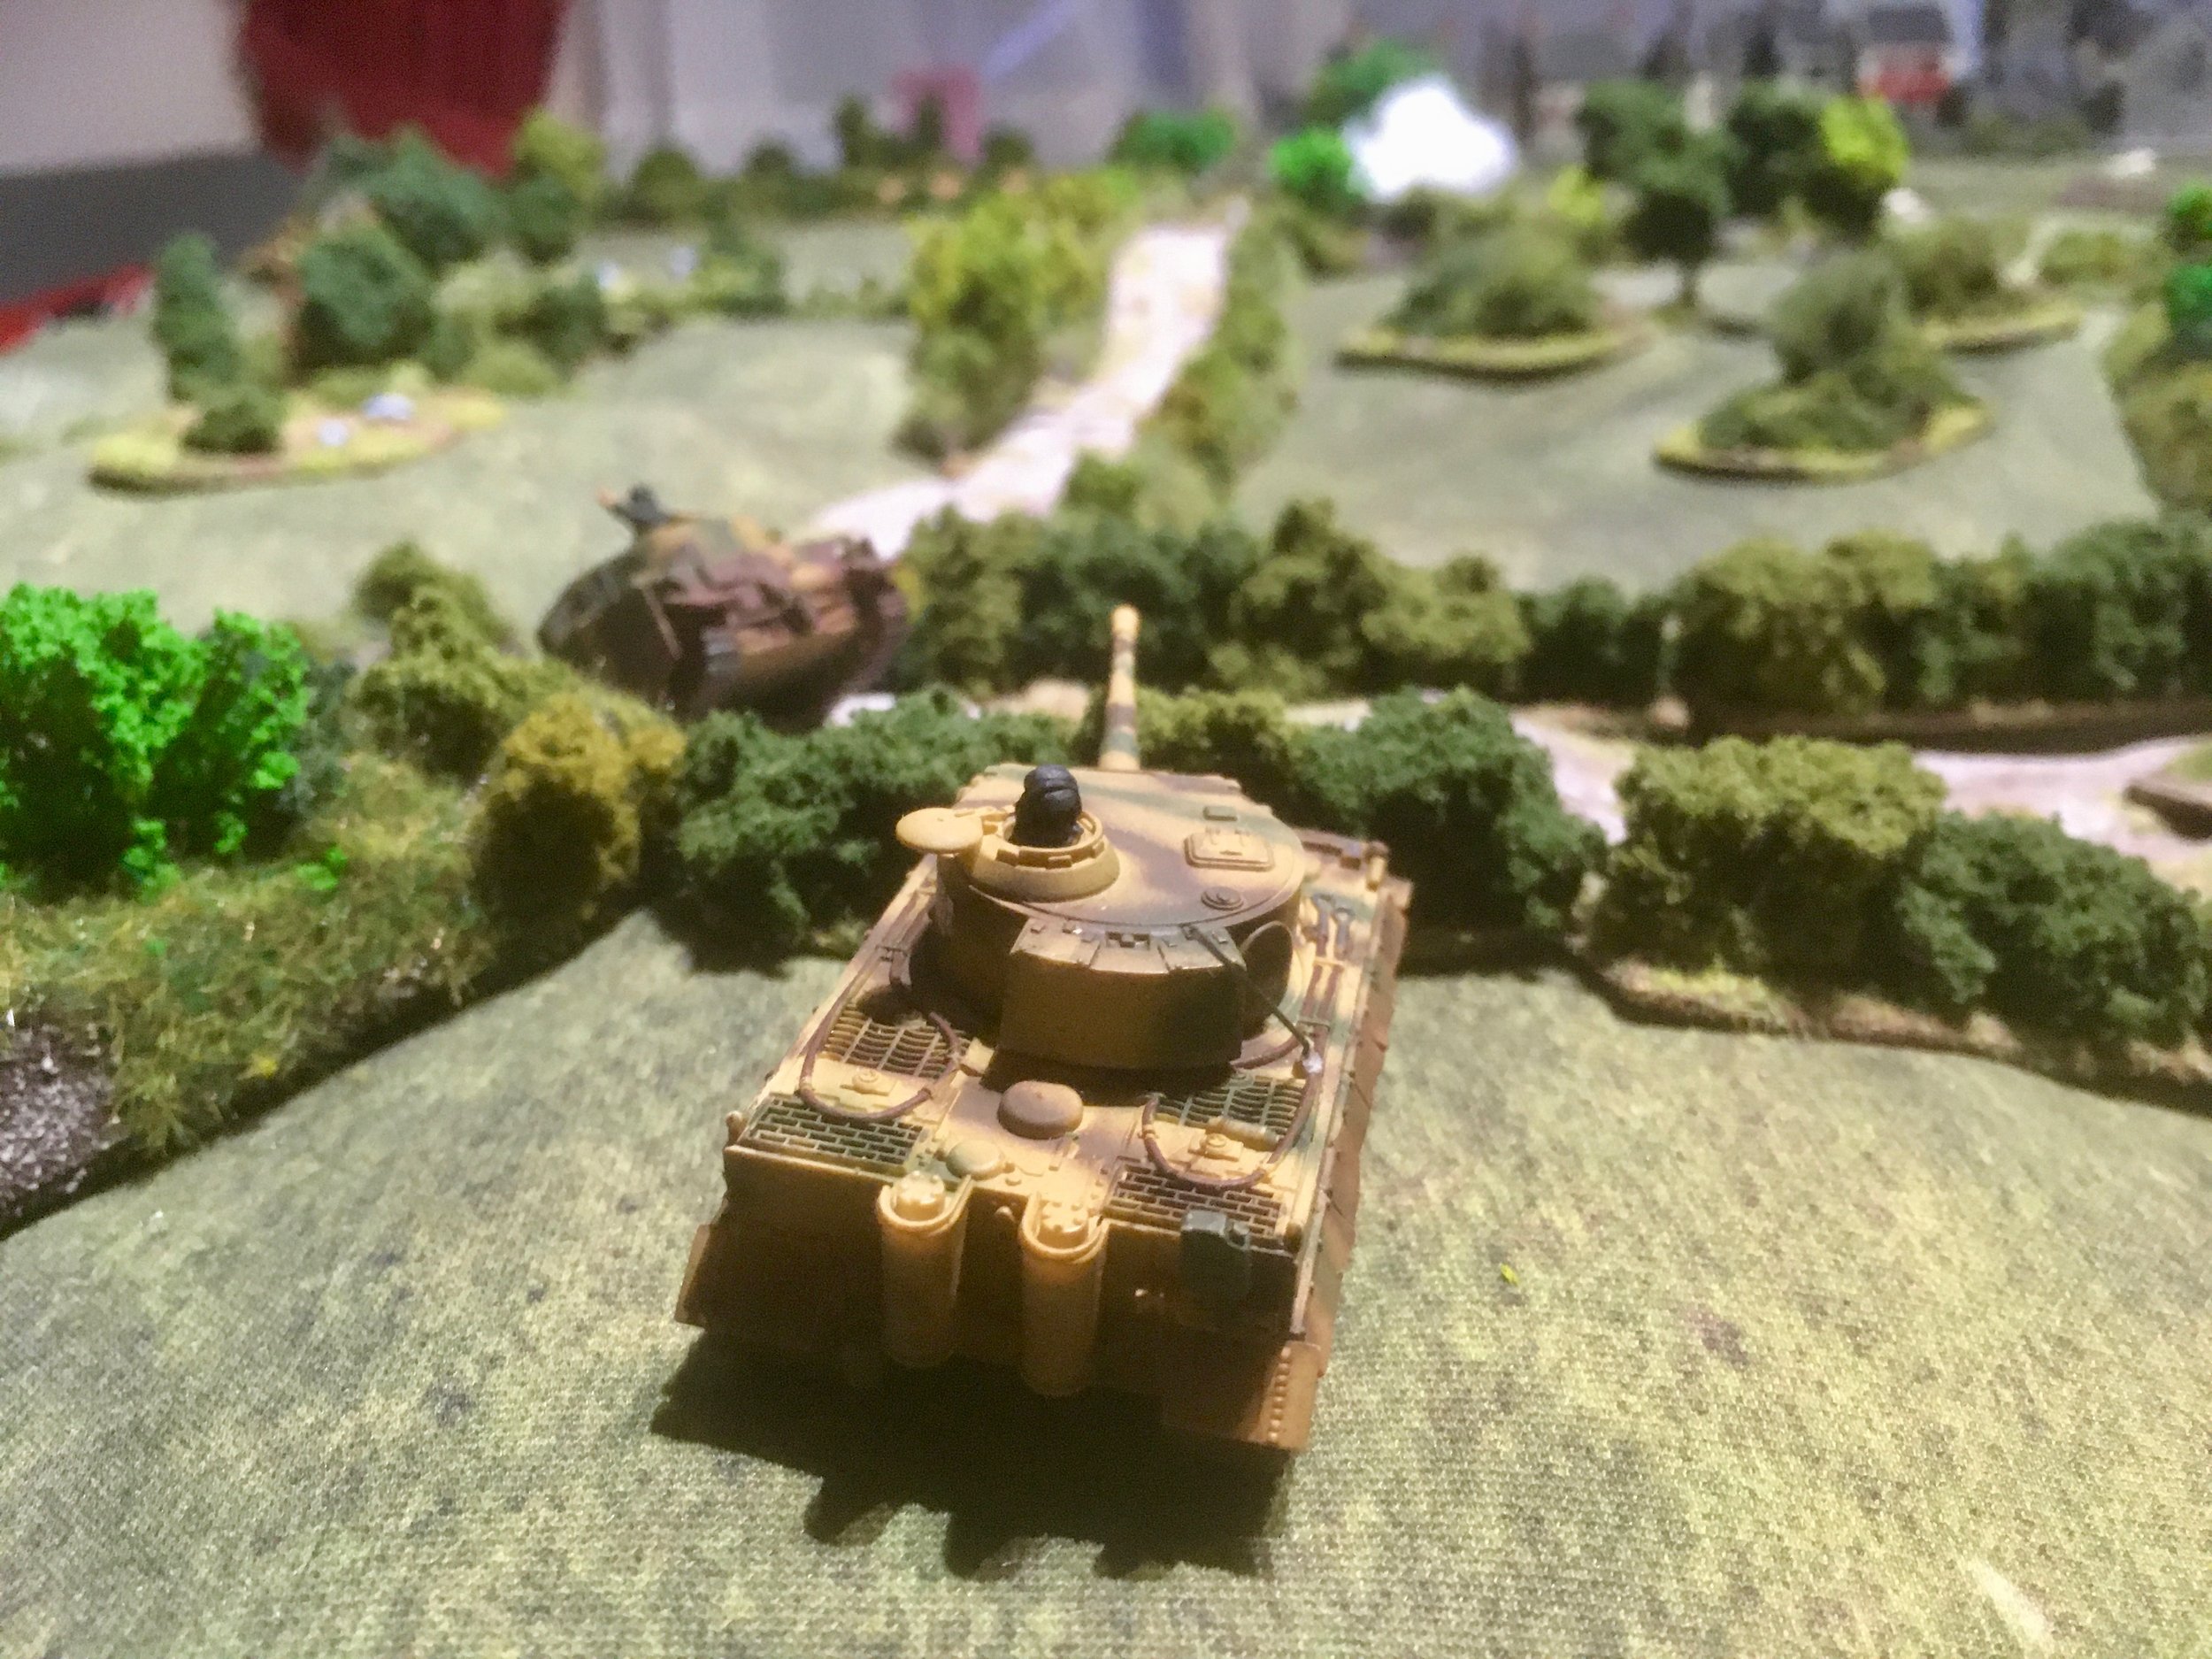
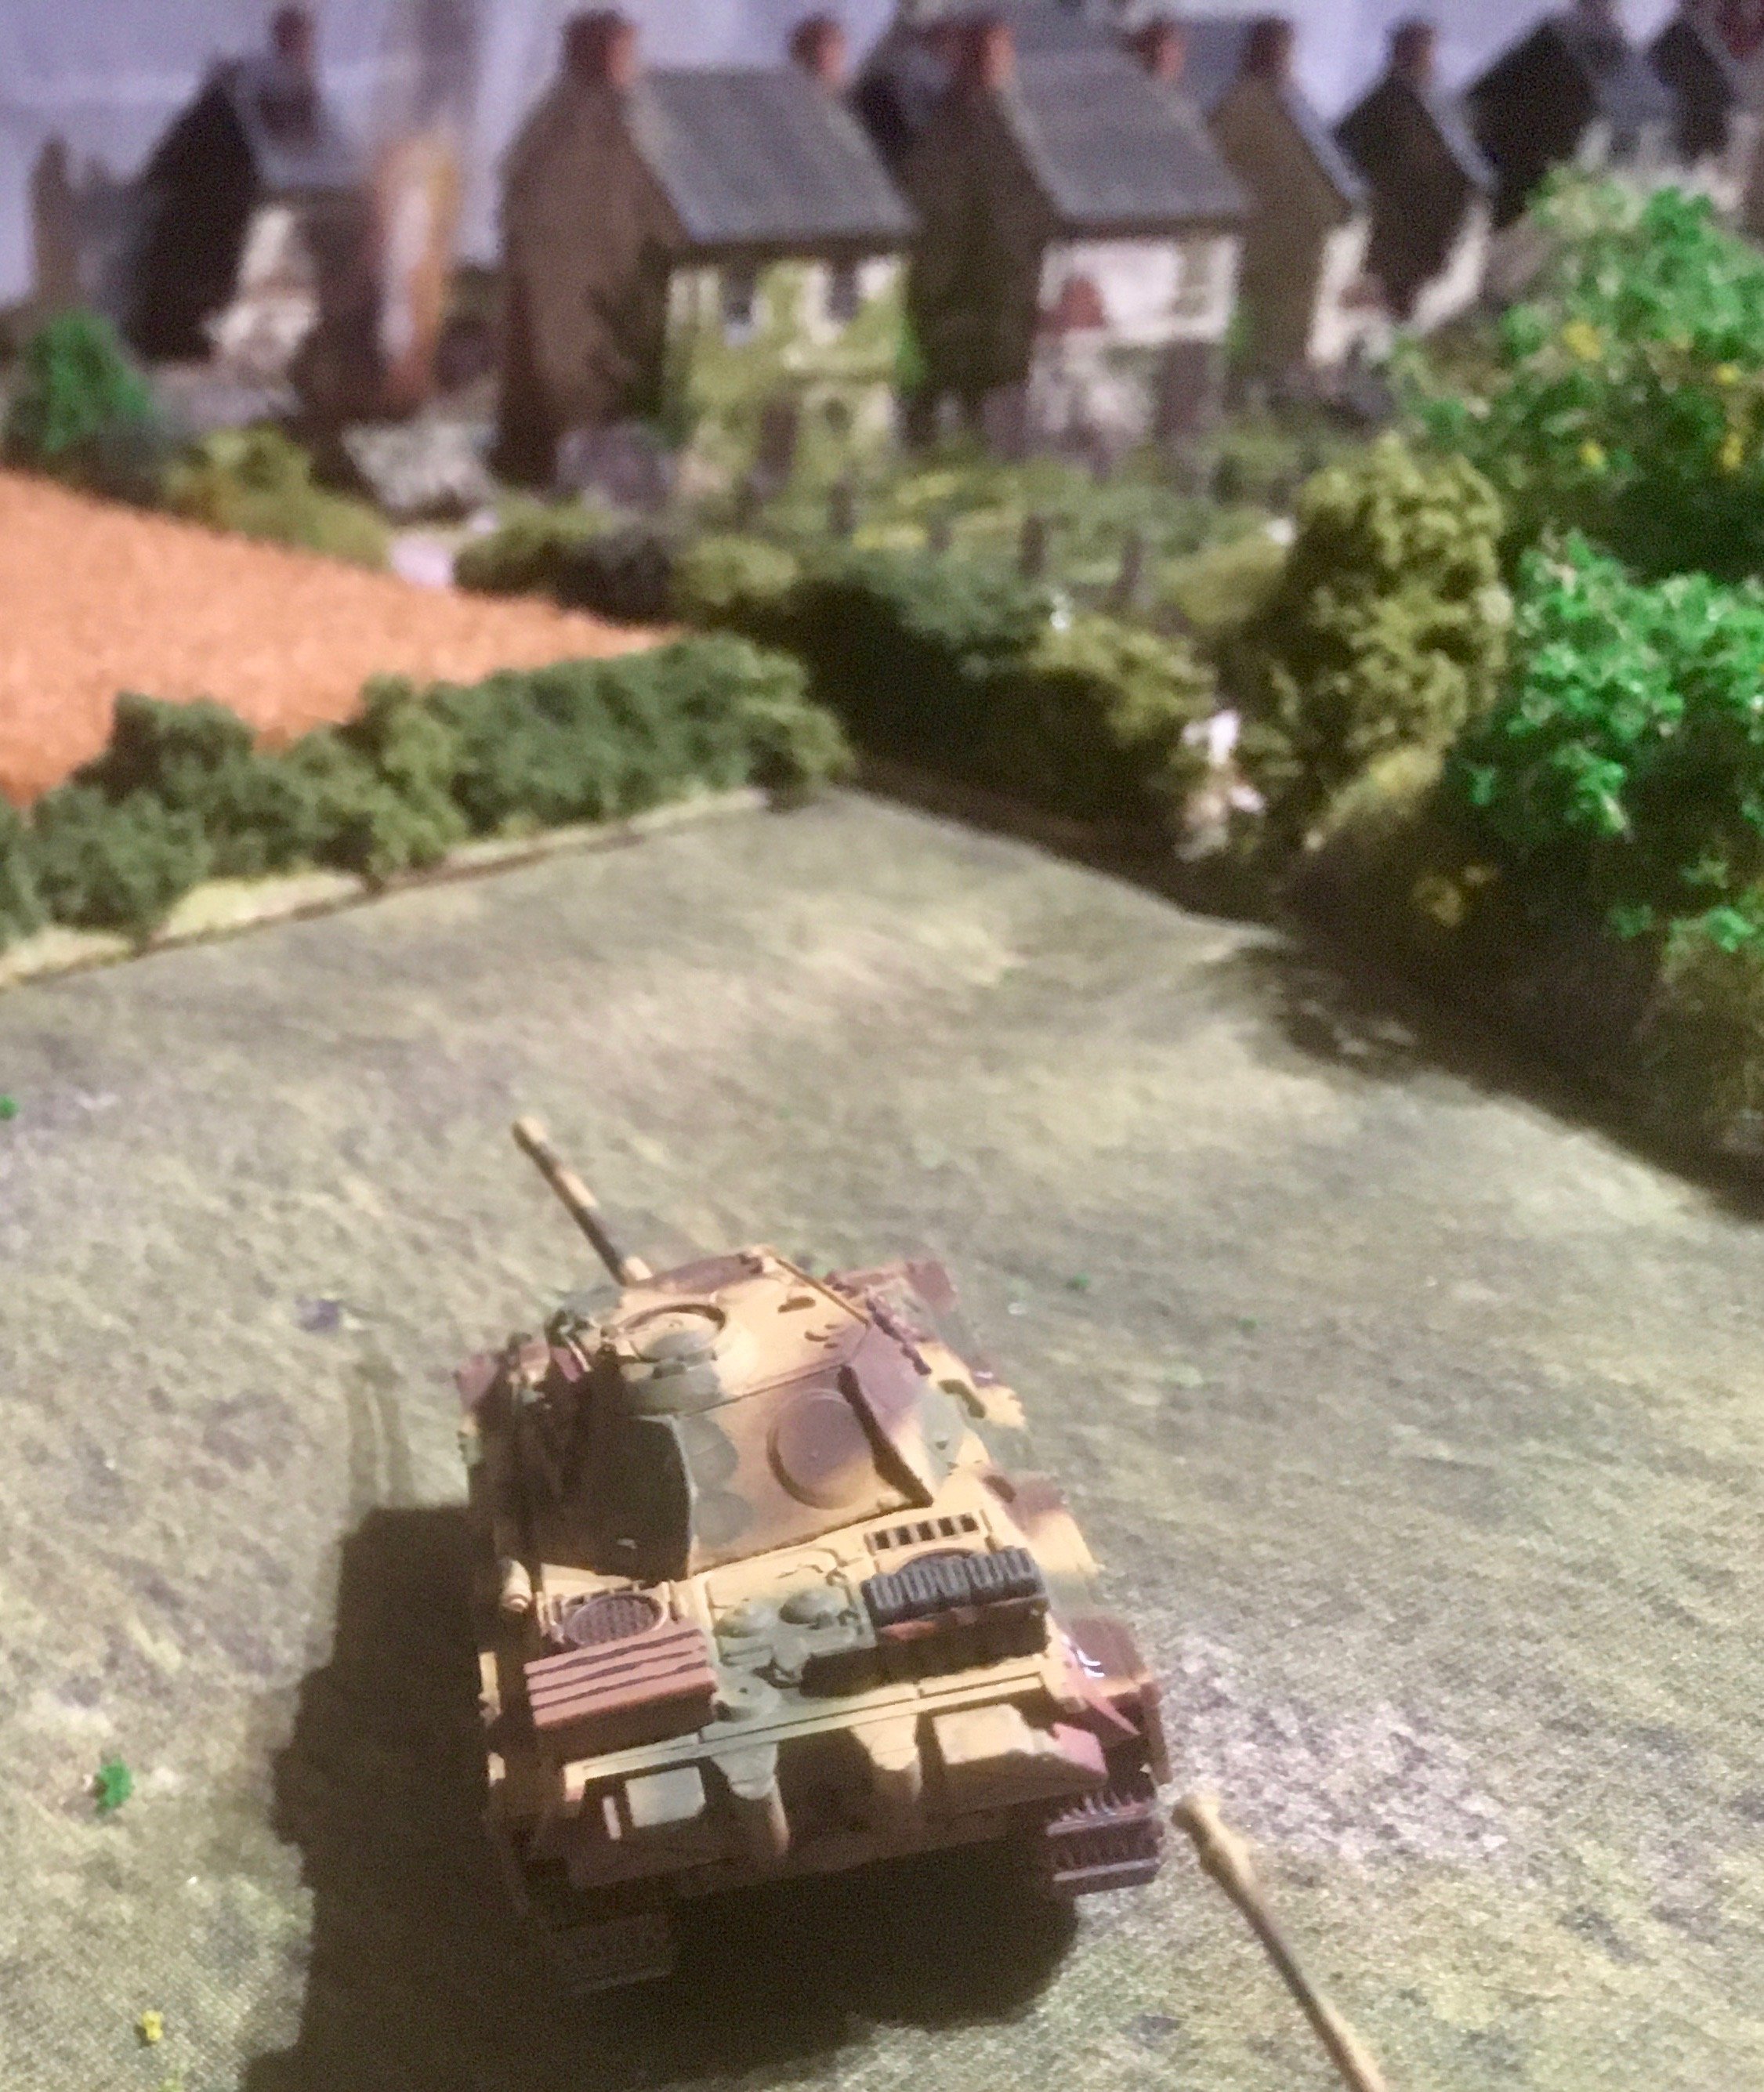
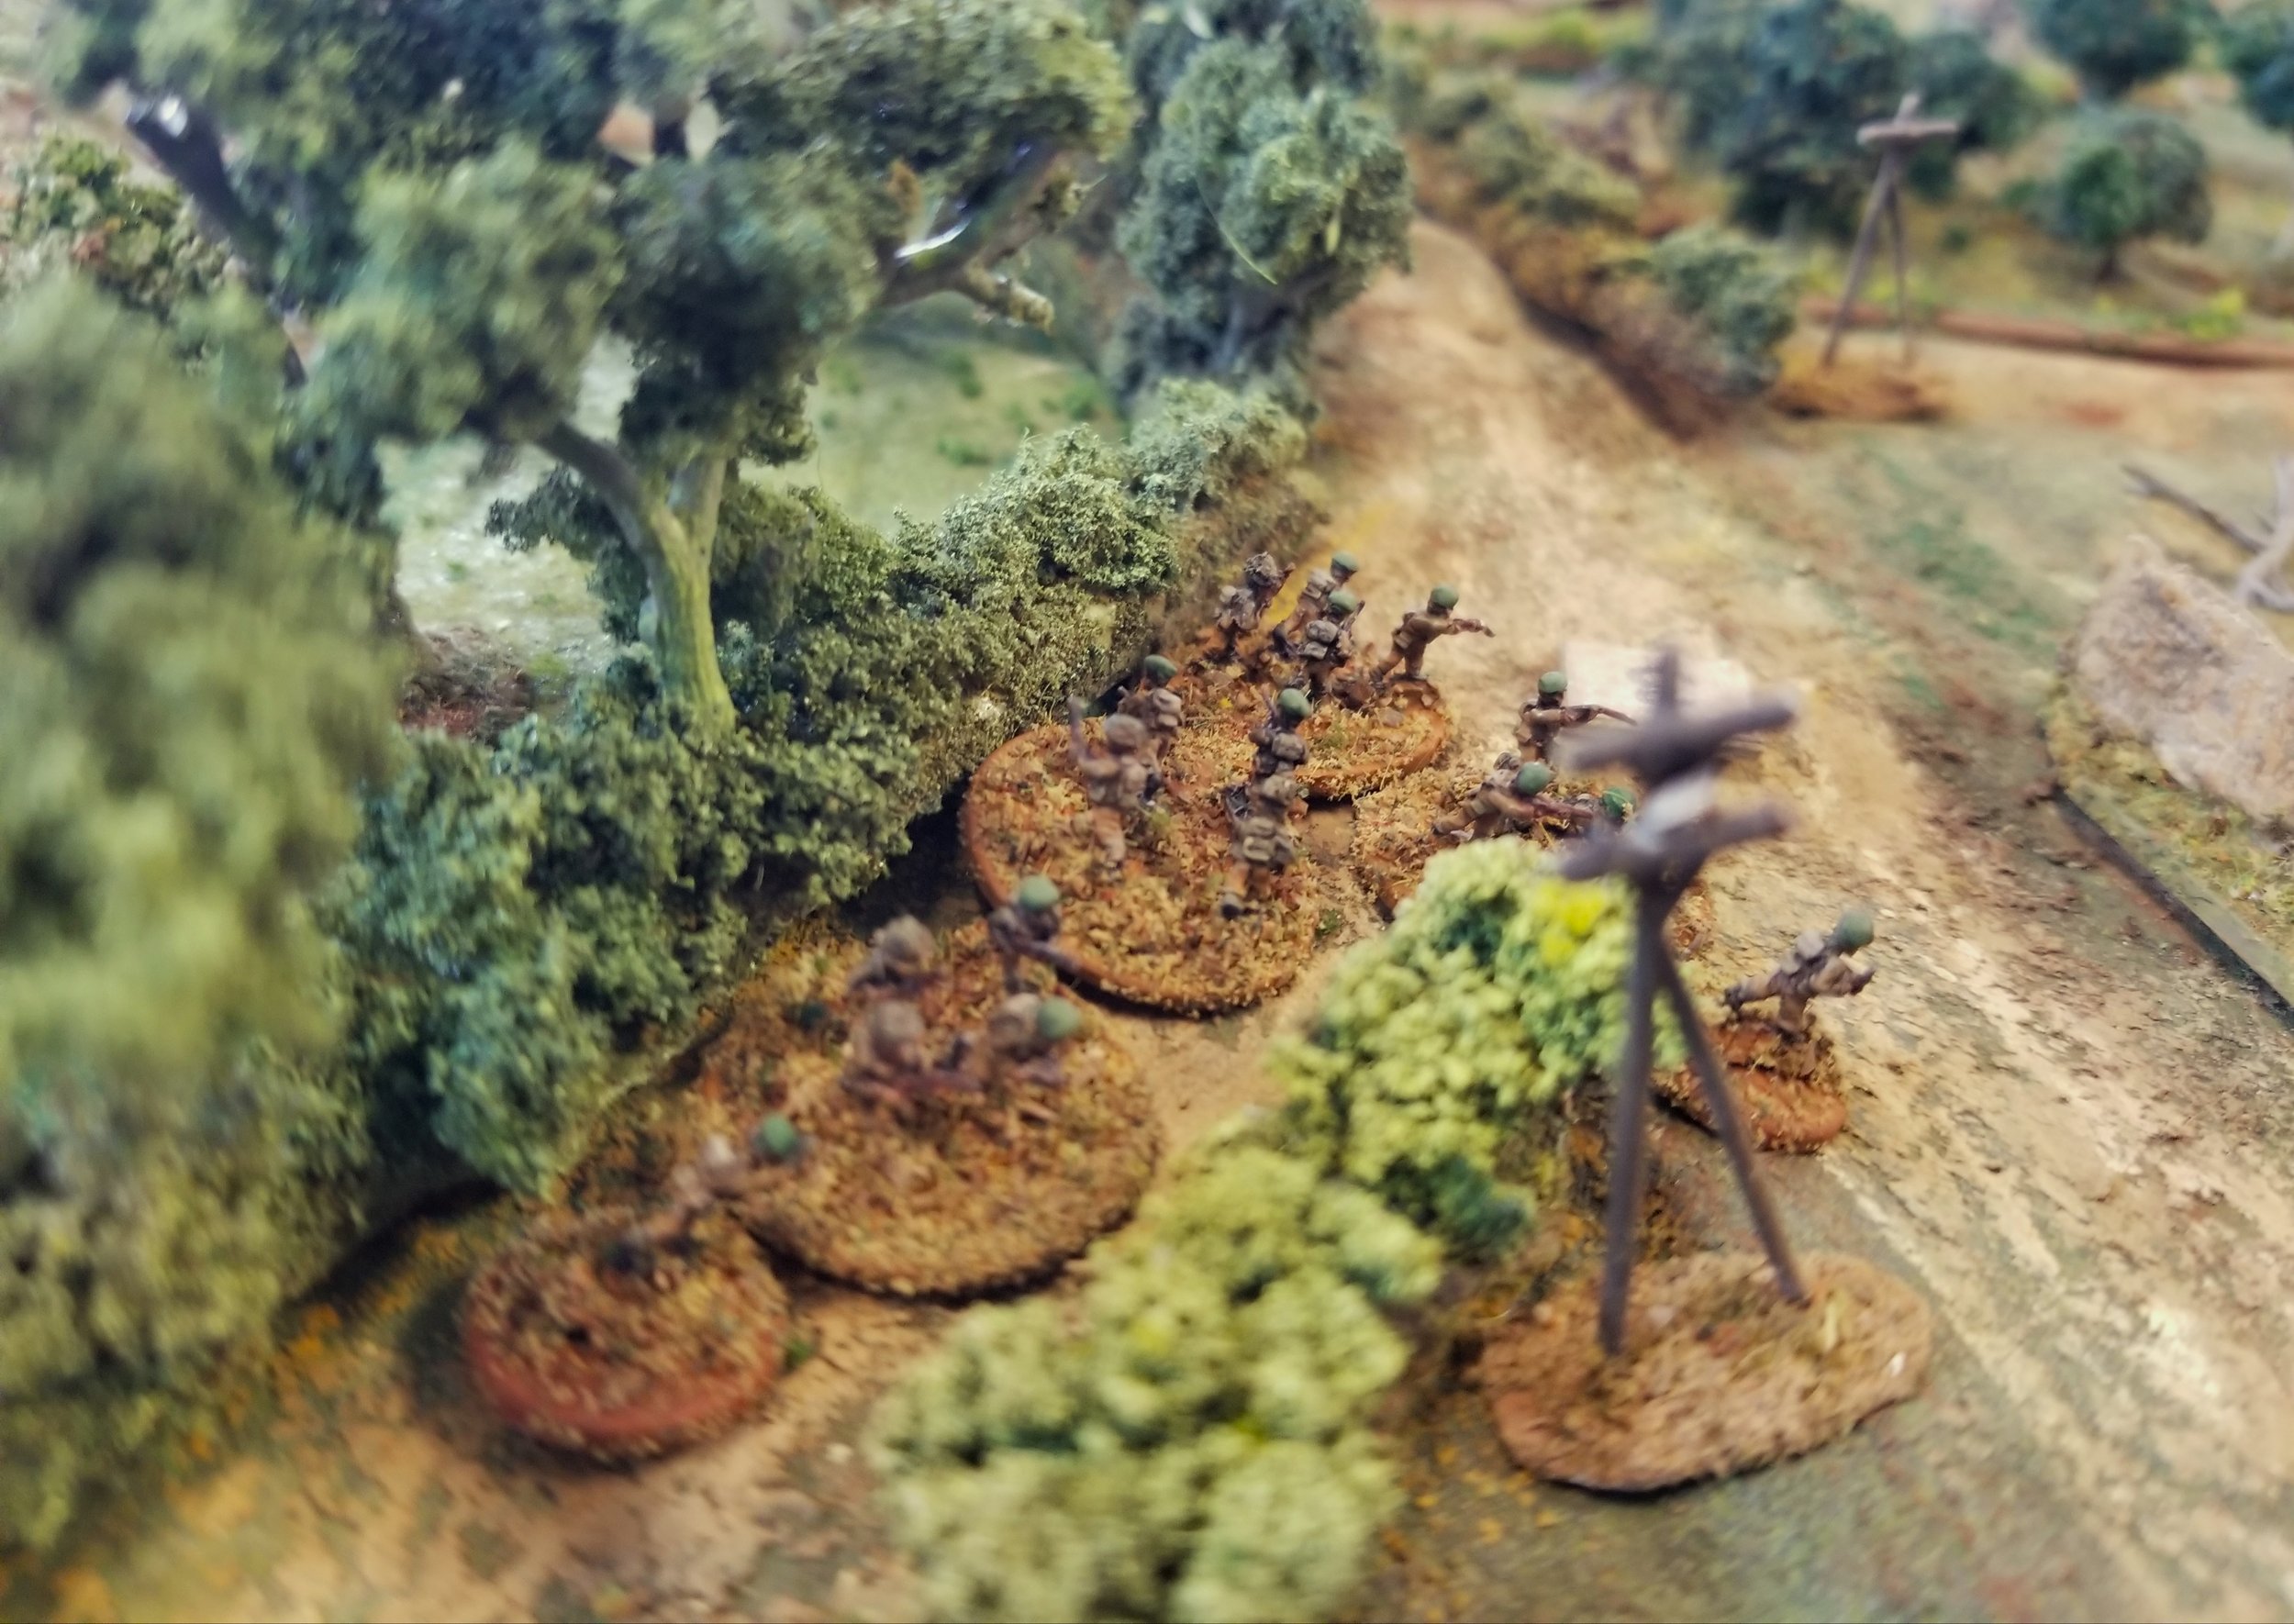
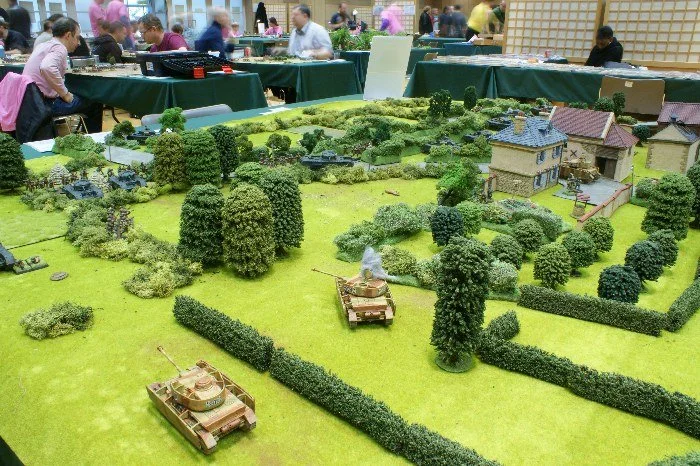
Just returned home from an epic 7 hour game of I Ain't Been Shot Mum hosted by Dan Albrecht. Dave Goodwin and I took the part of German forces attempting to cross a causeway over flooded fields to secure a bridge that had been taken by the Allies in a previous battle.

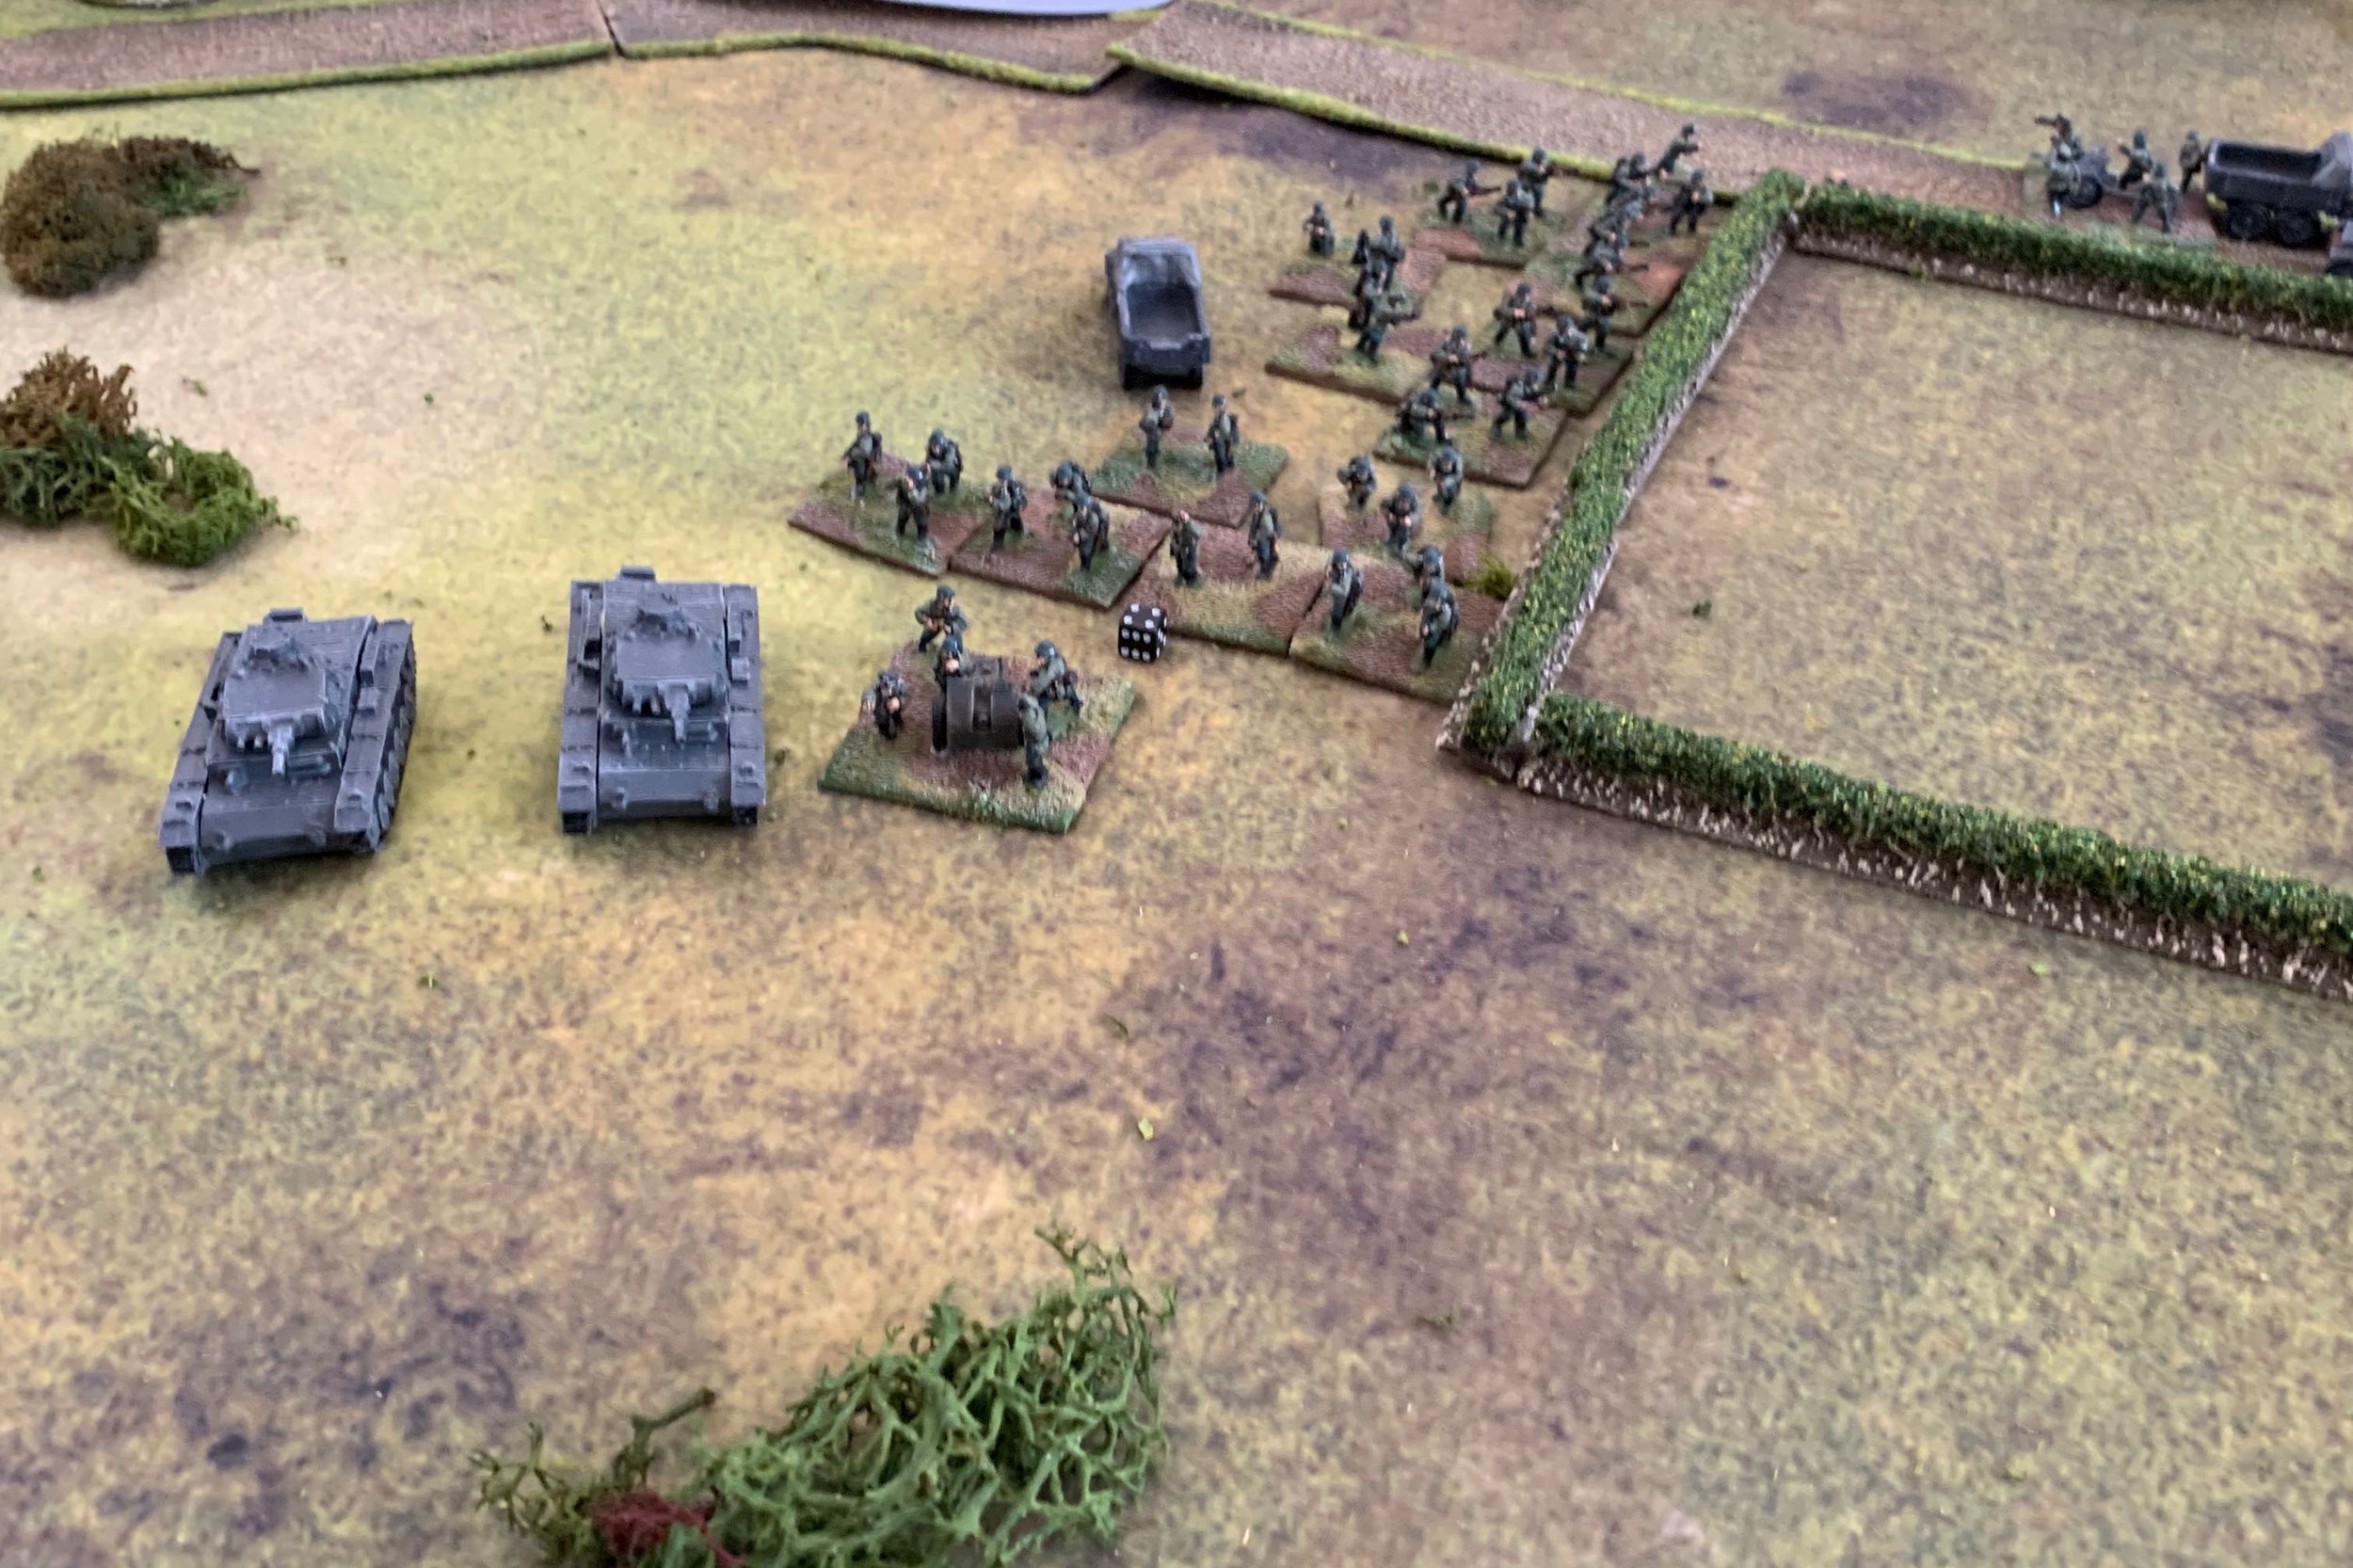
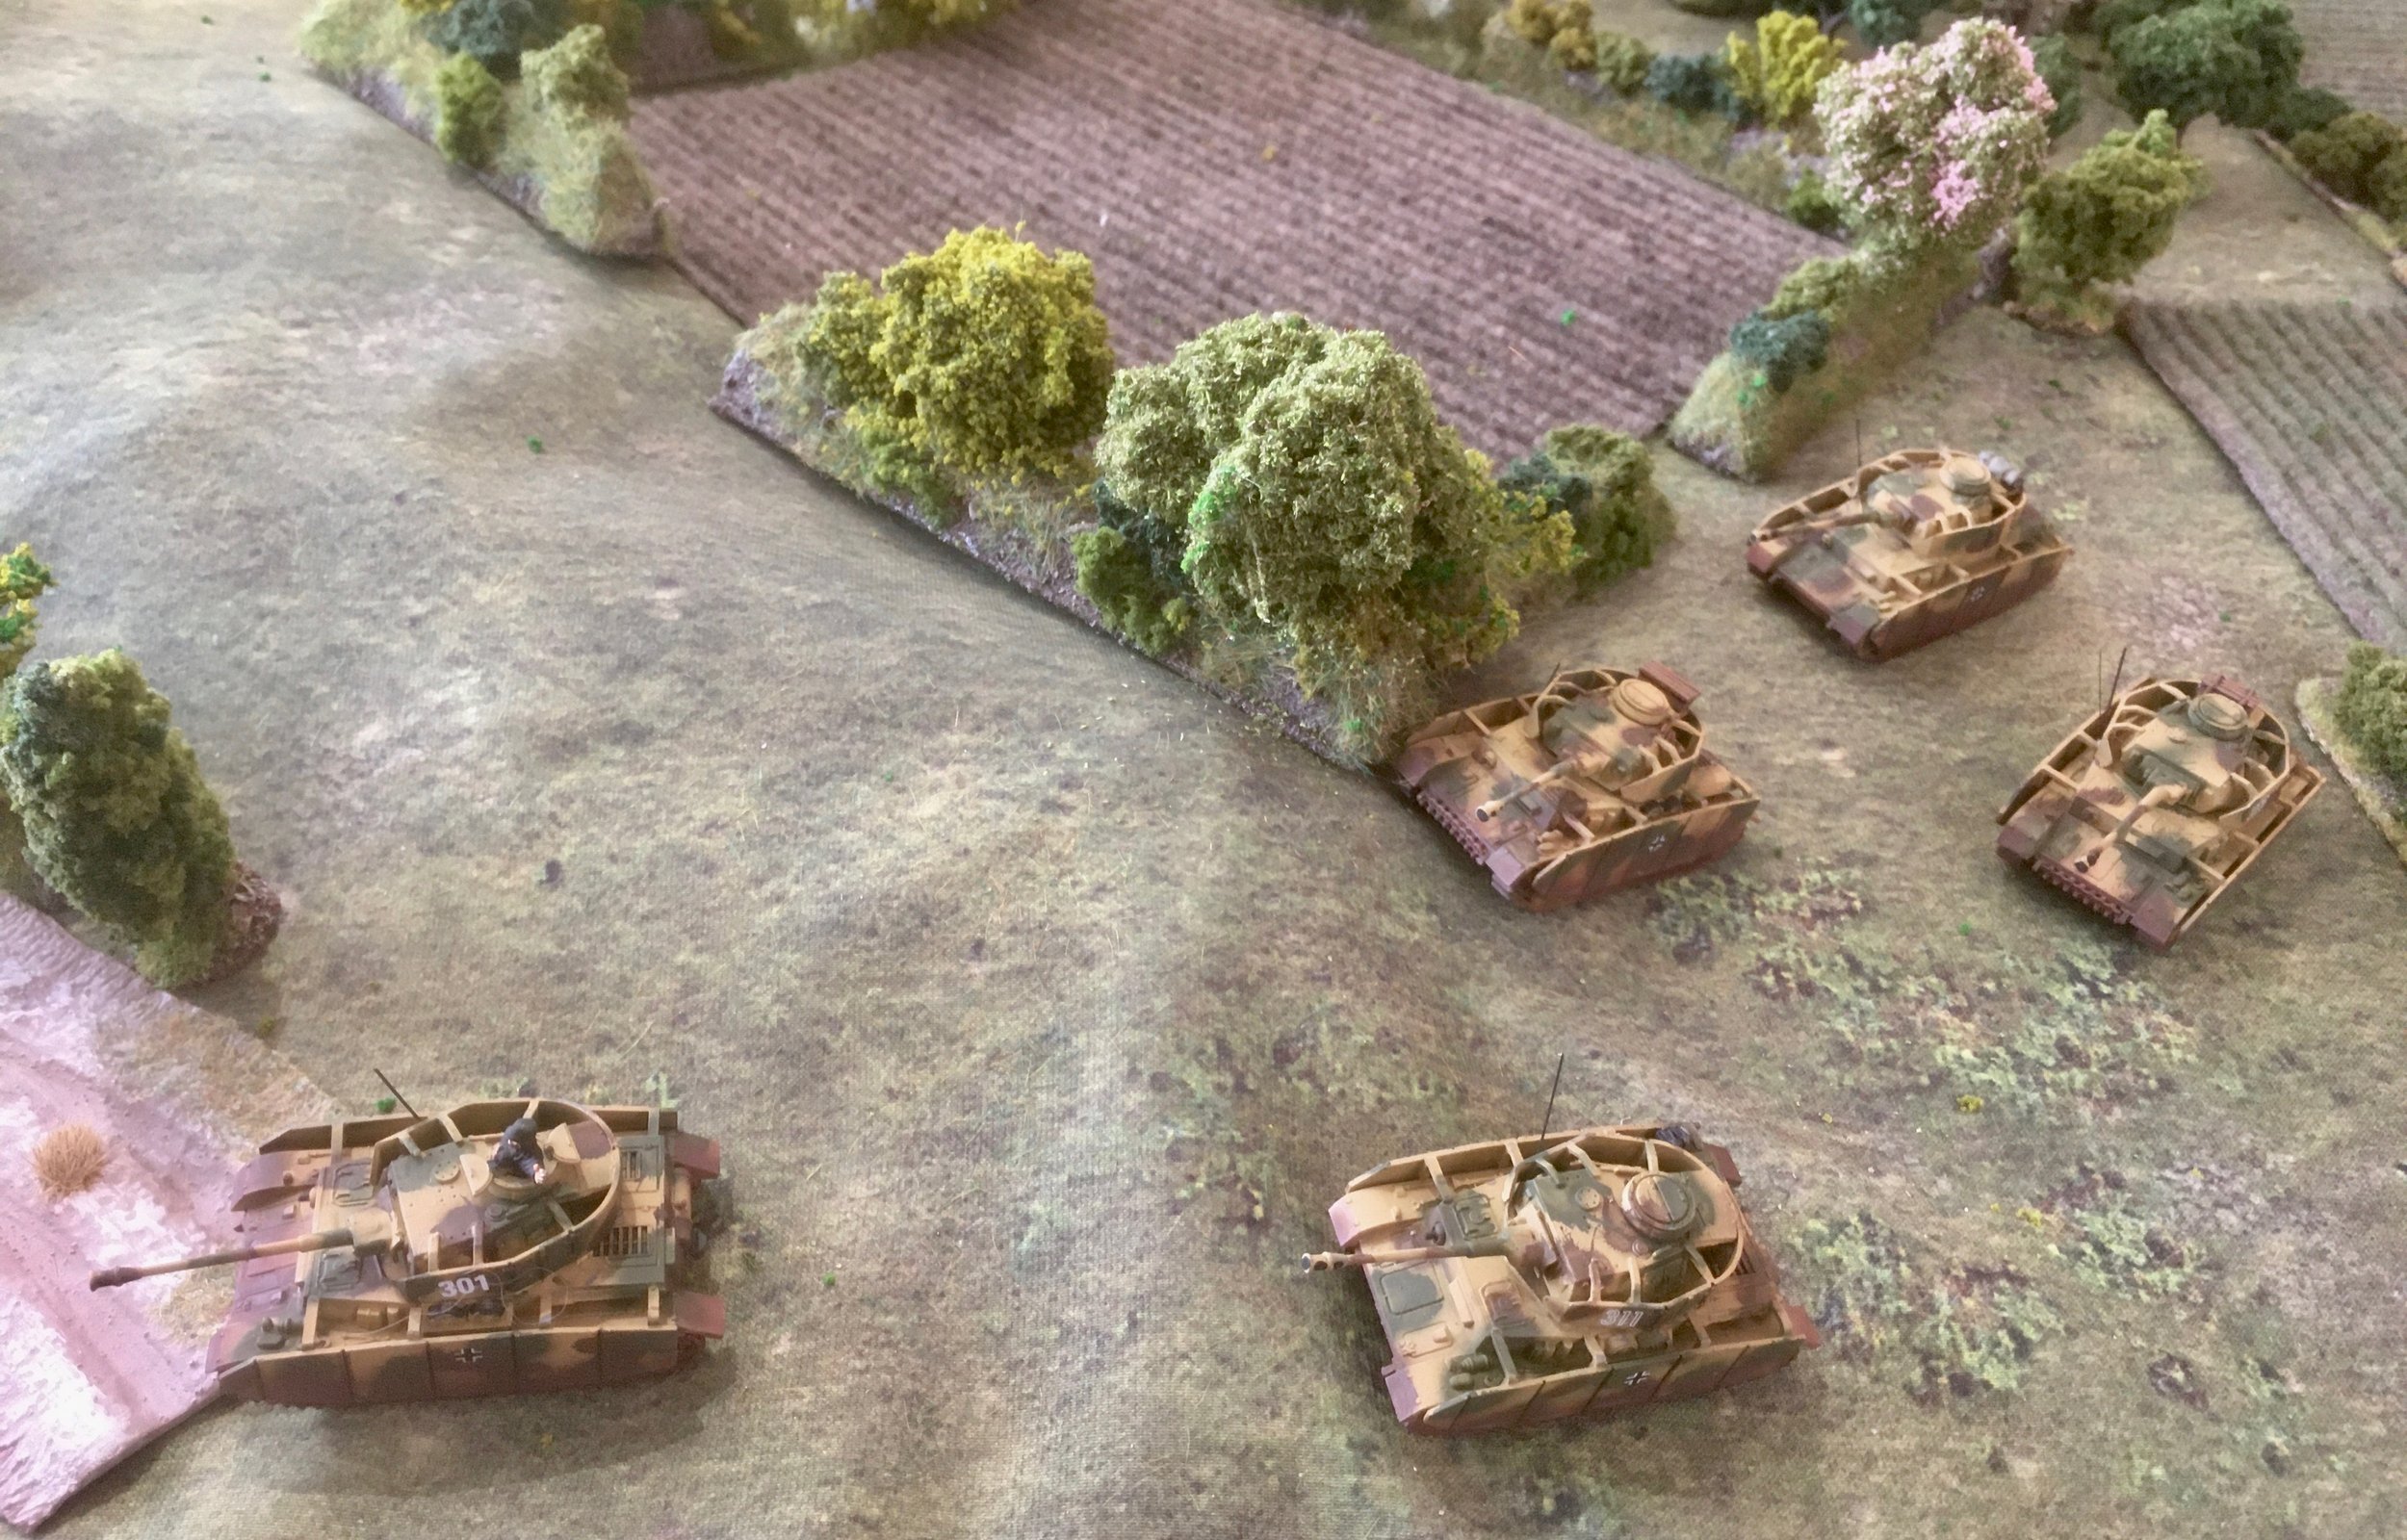
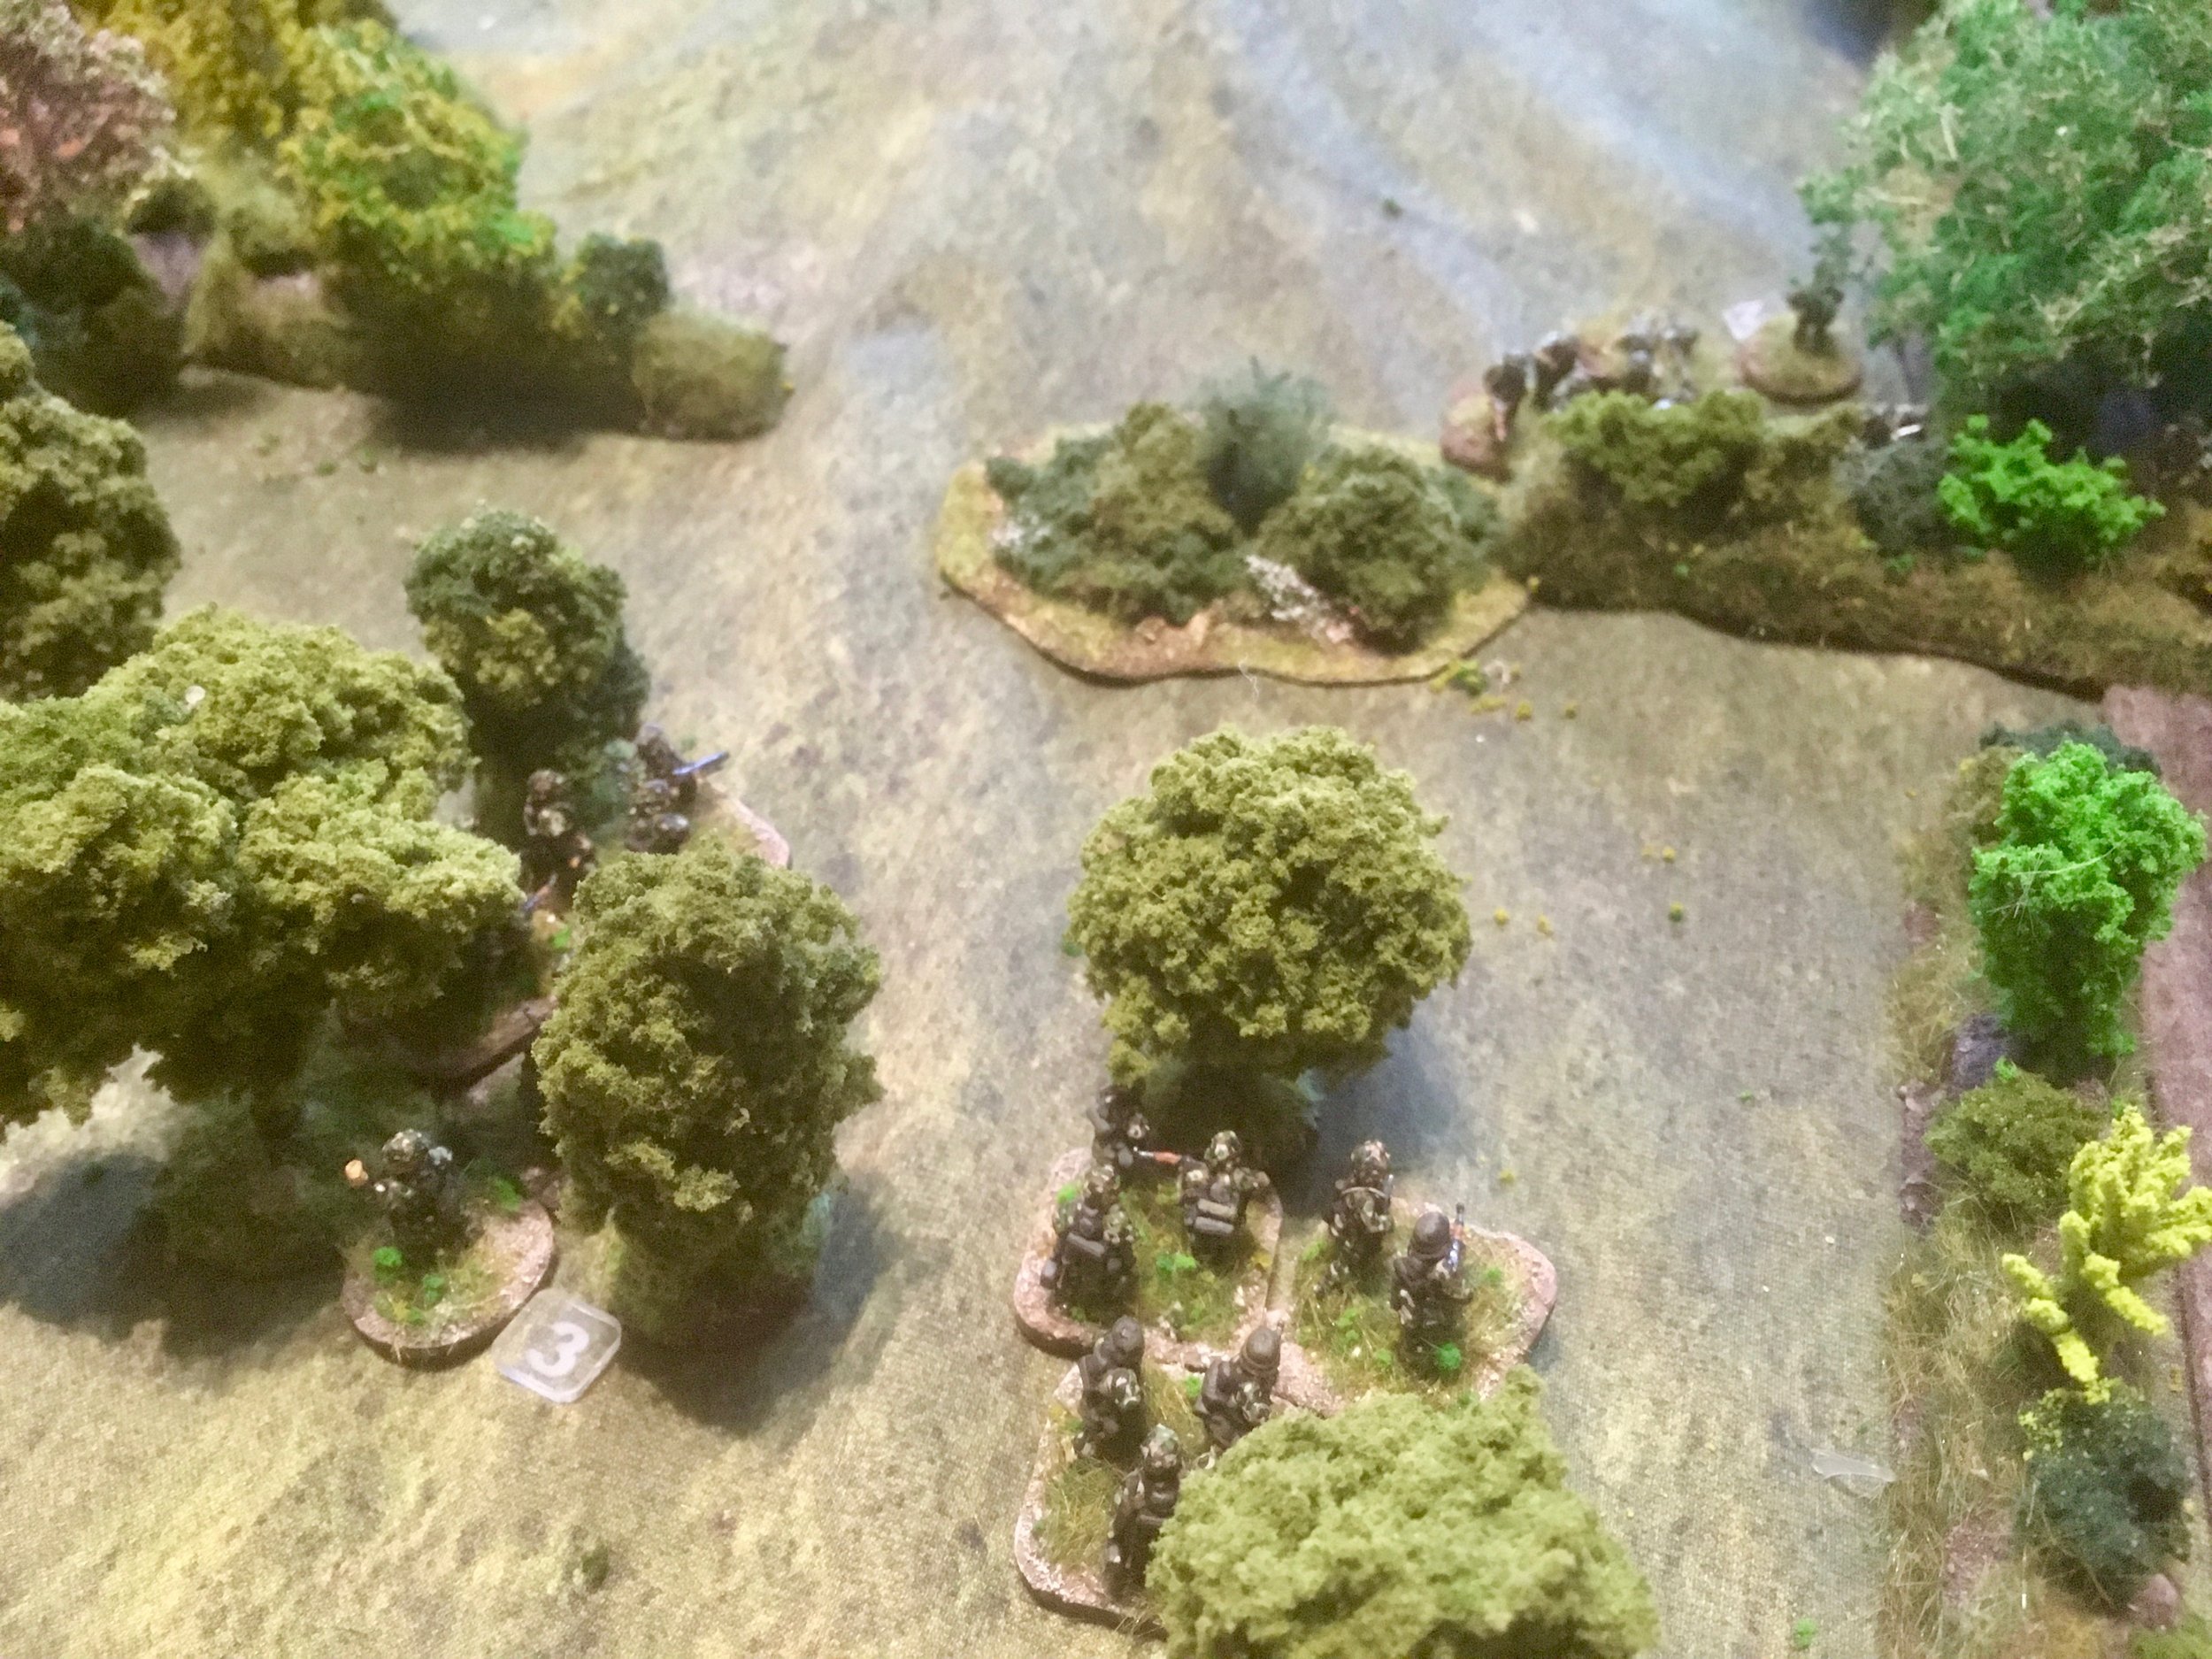
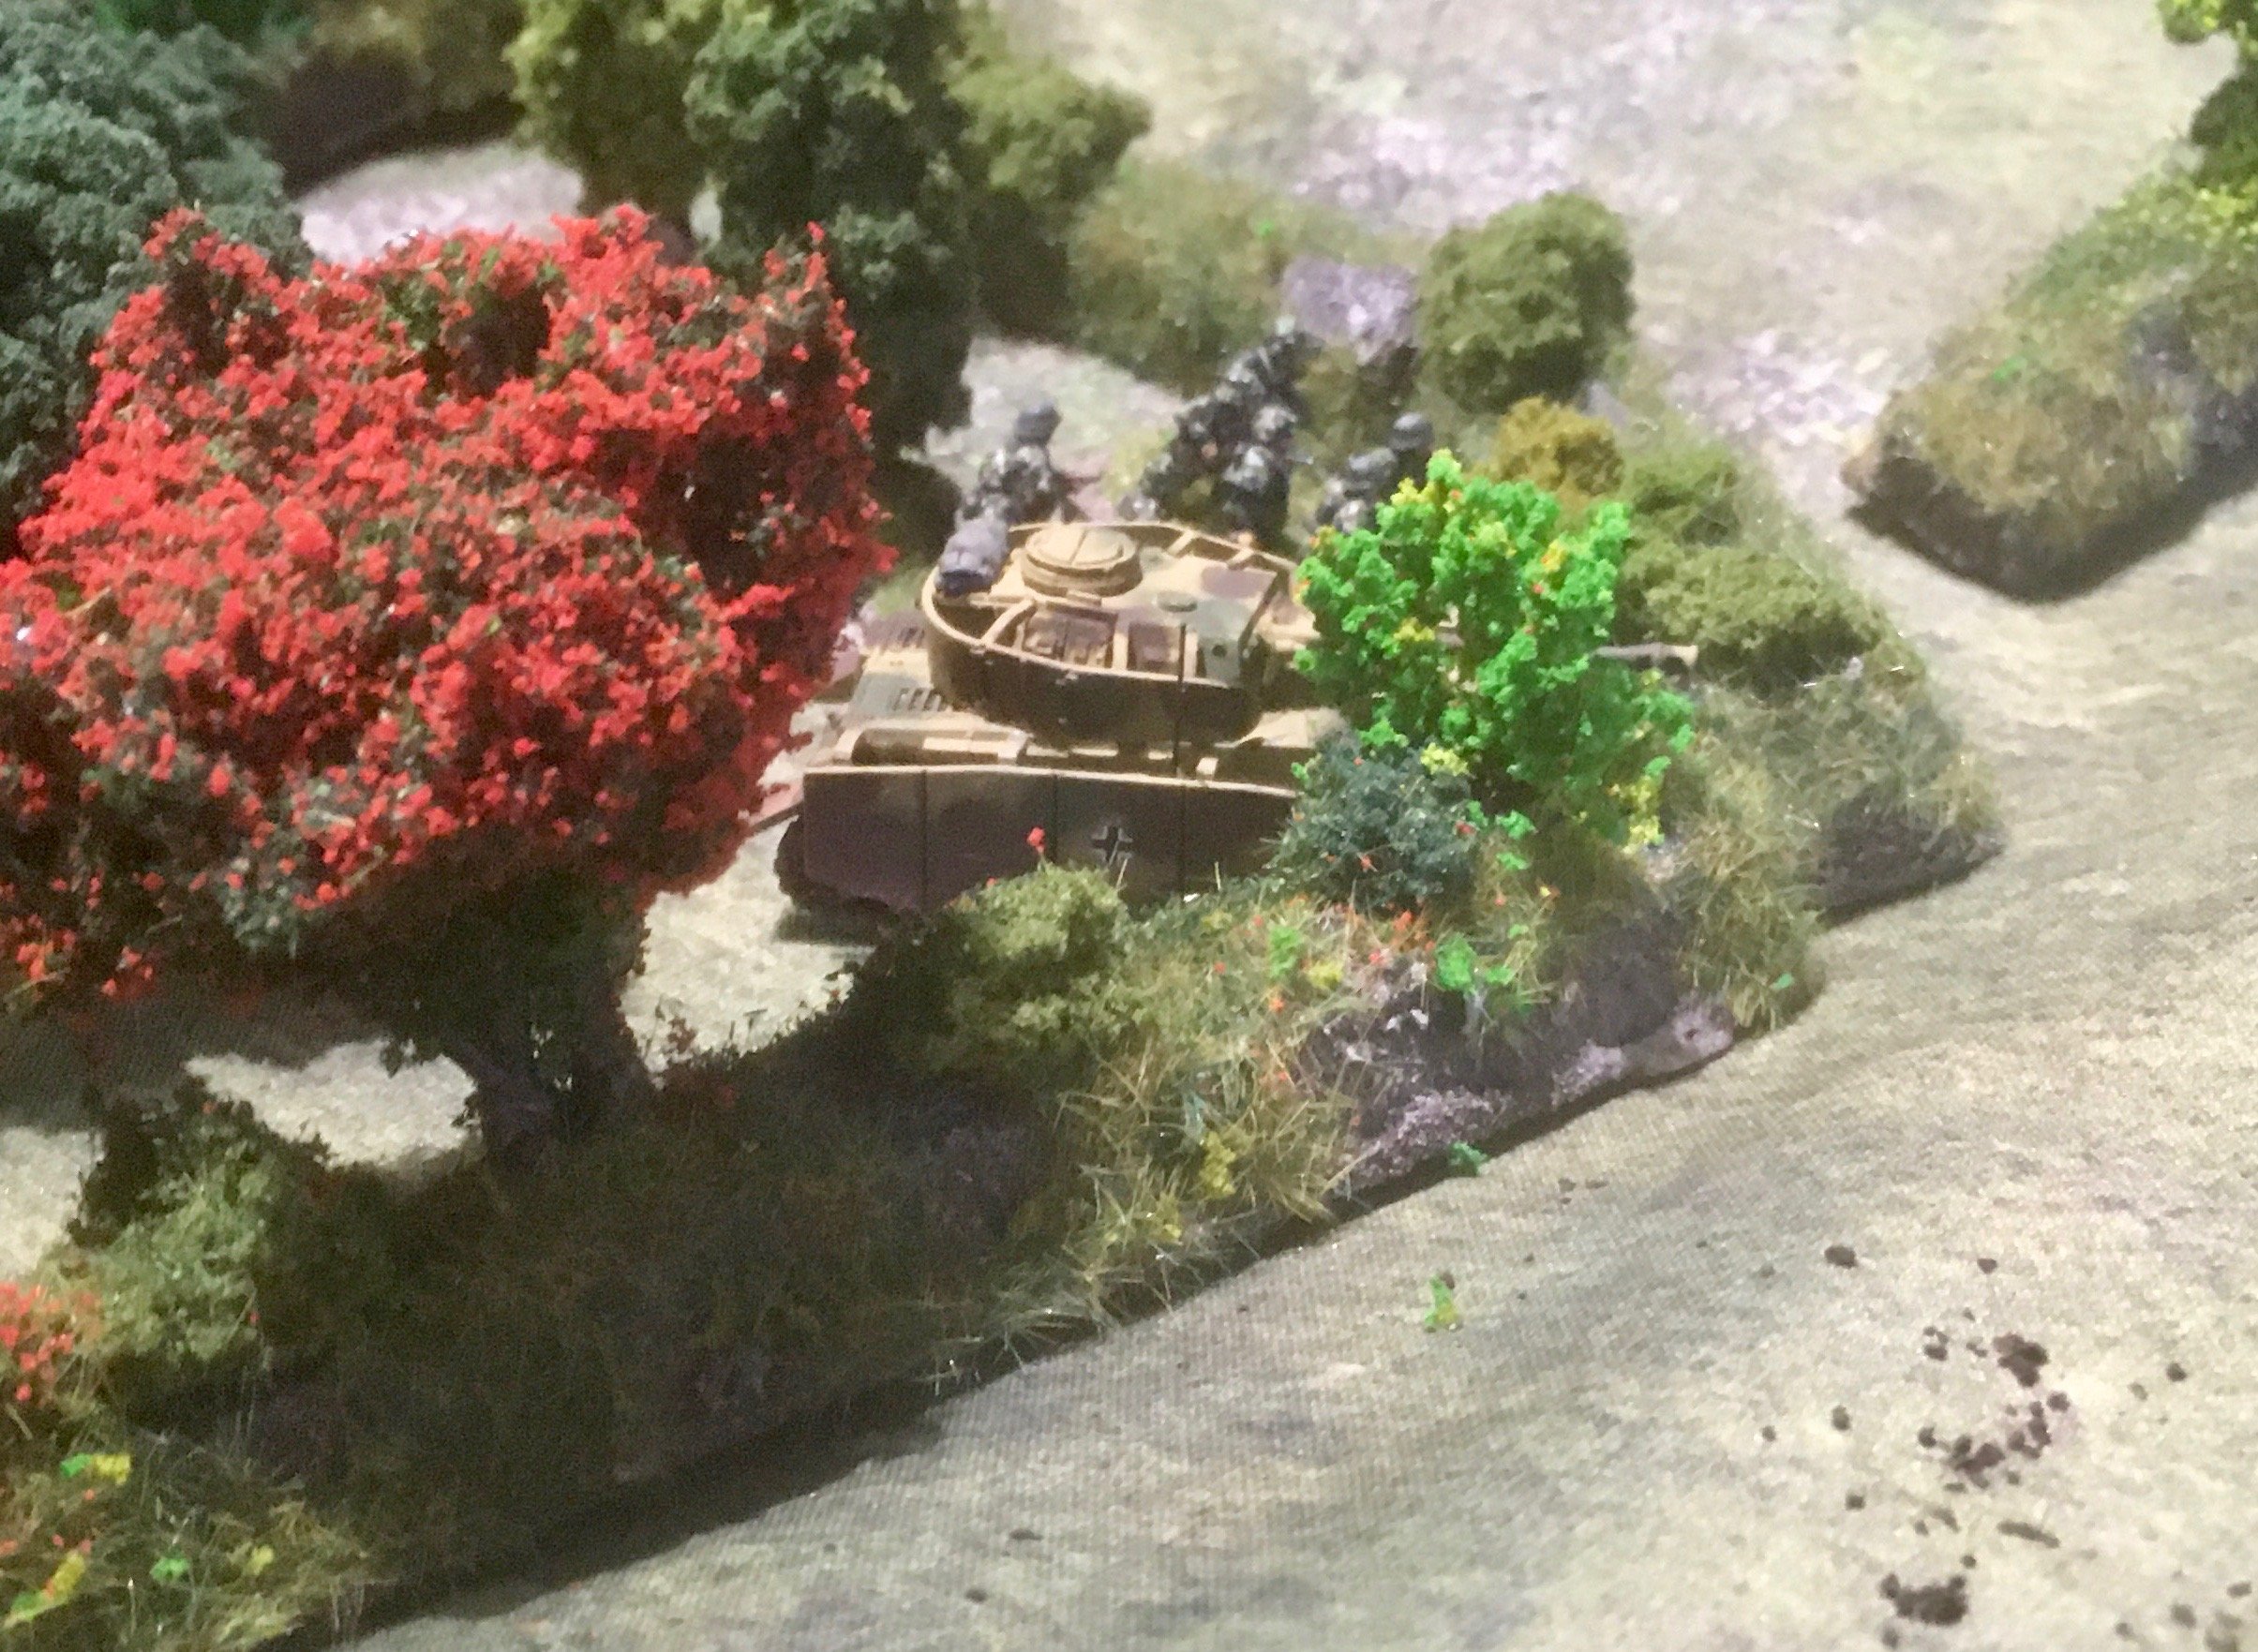
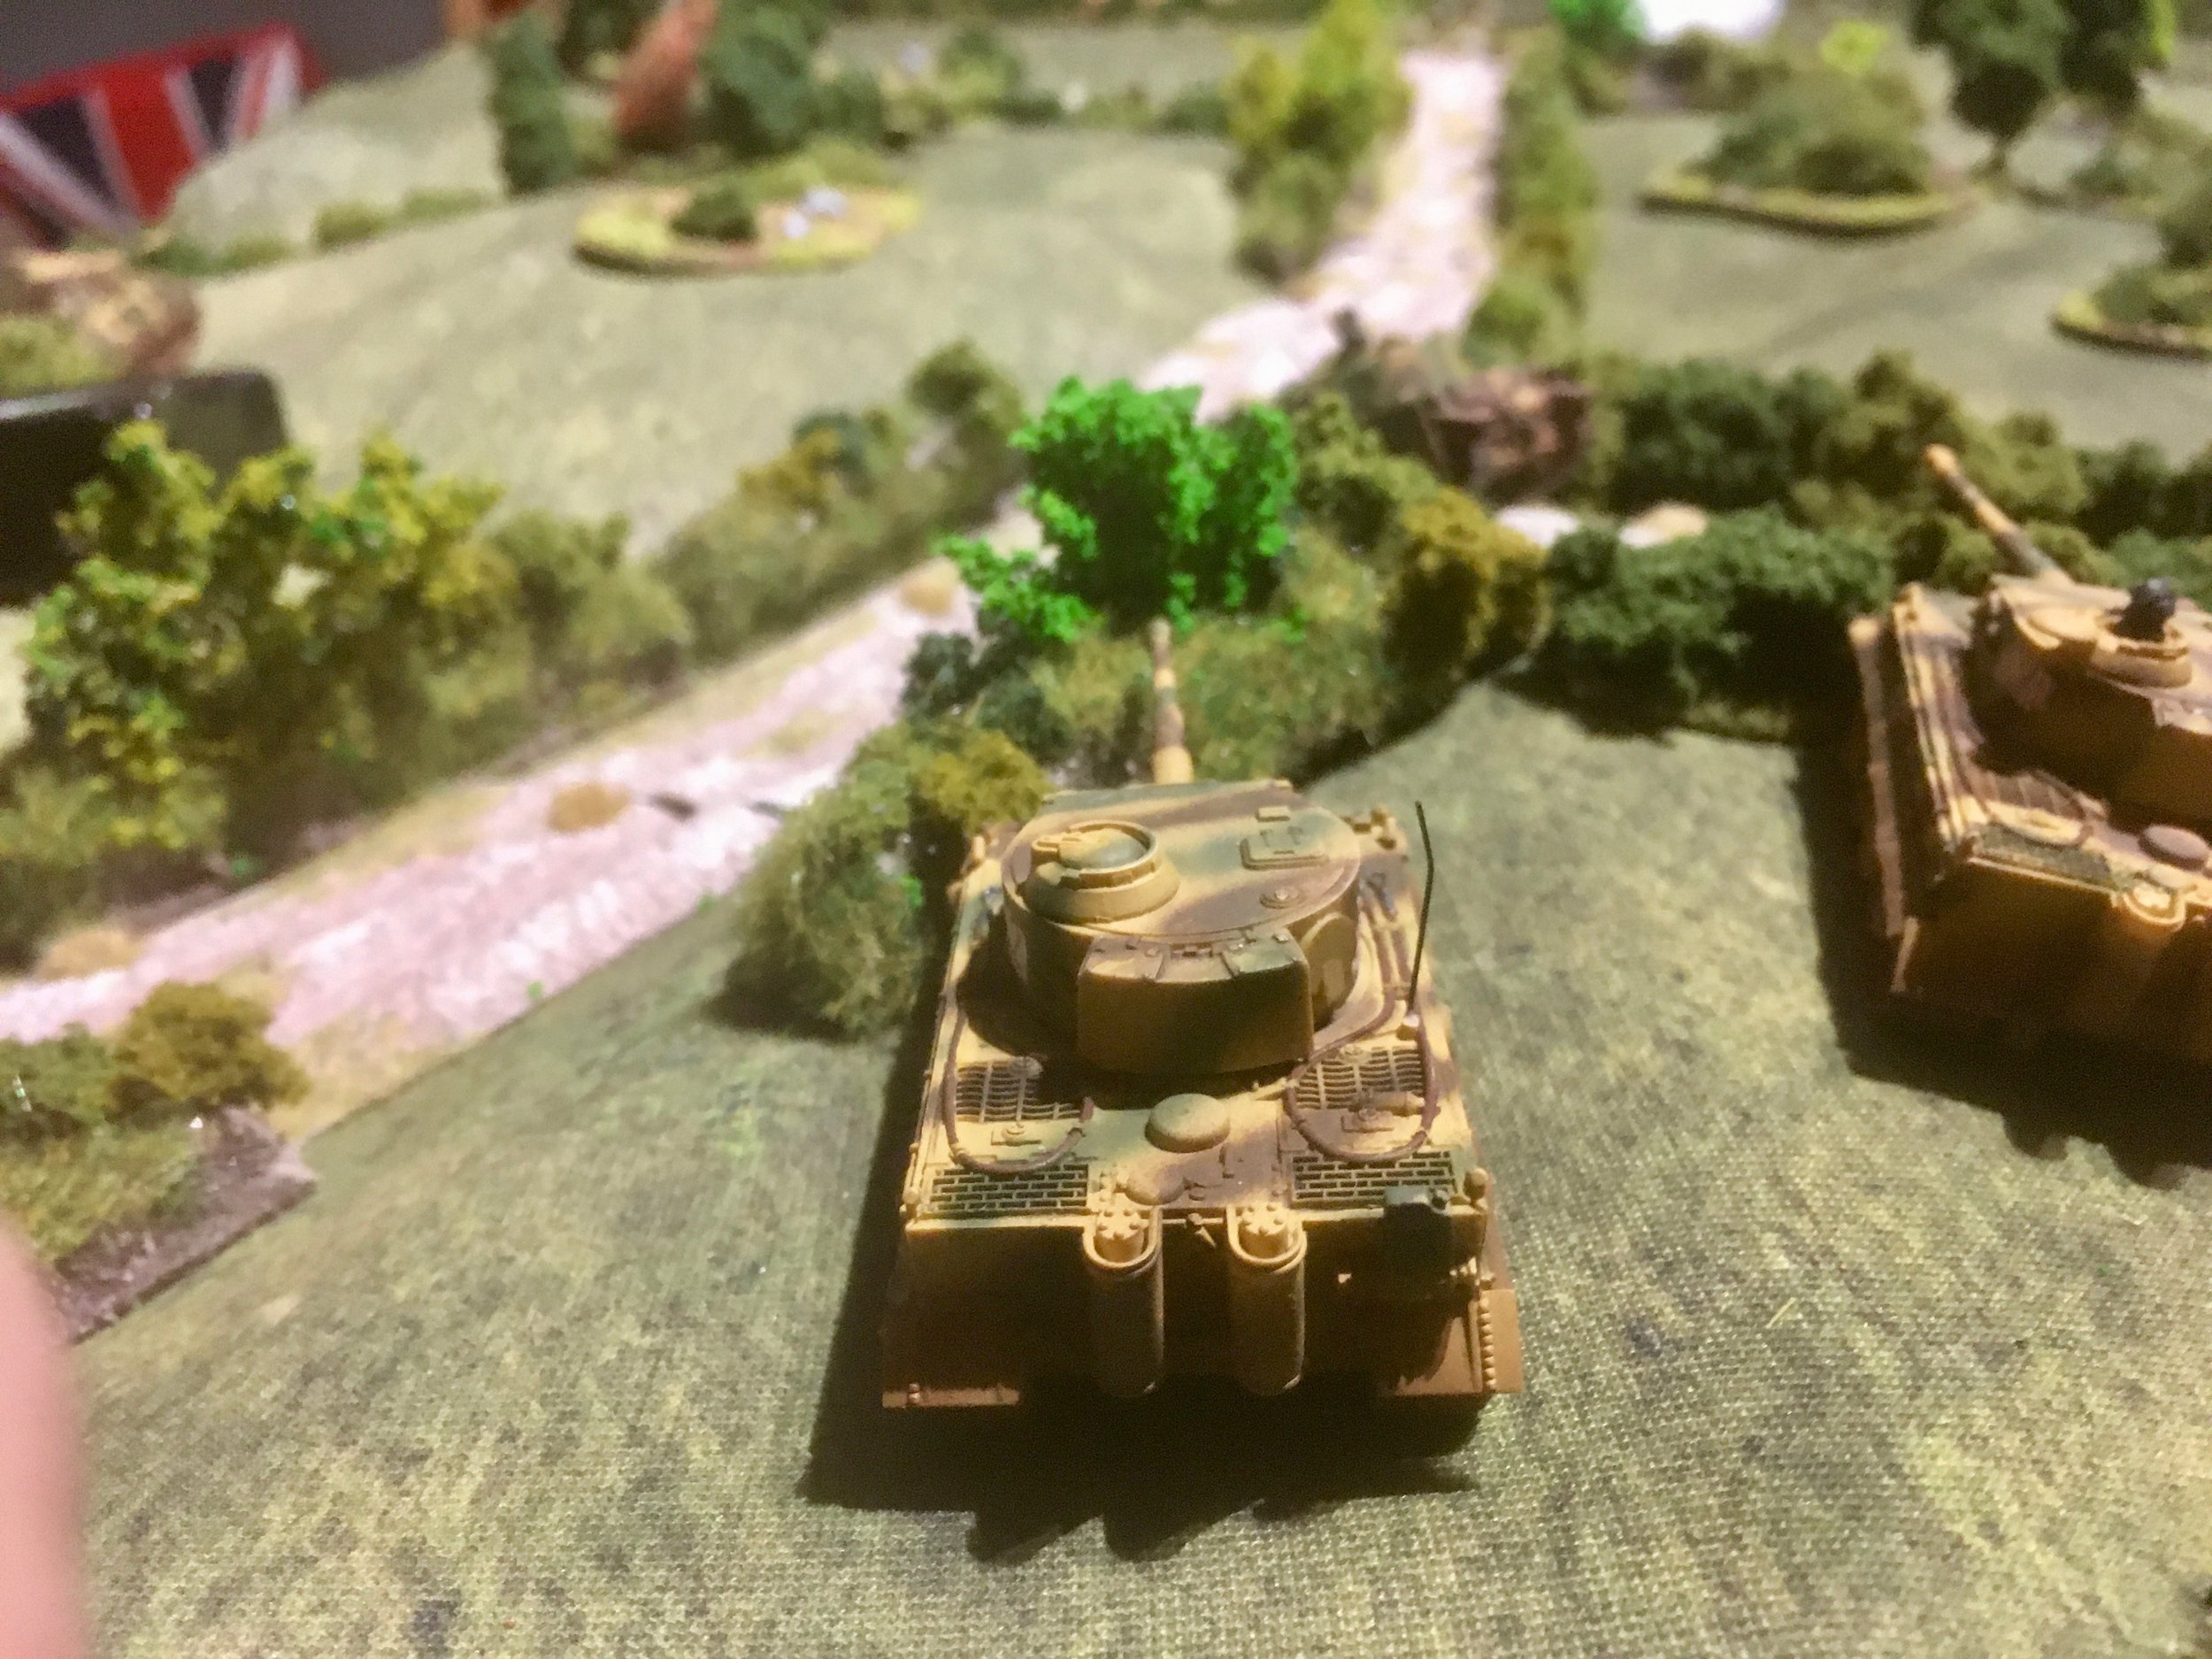
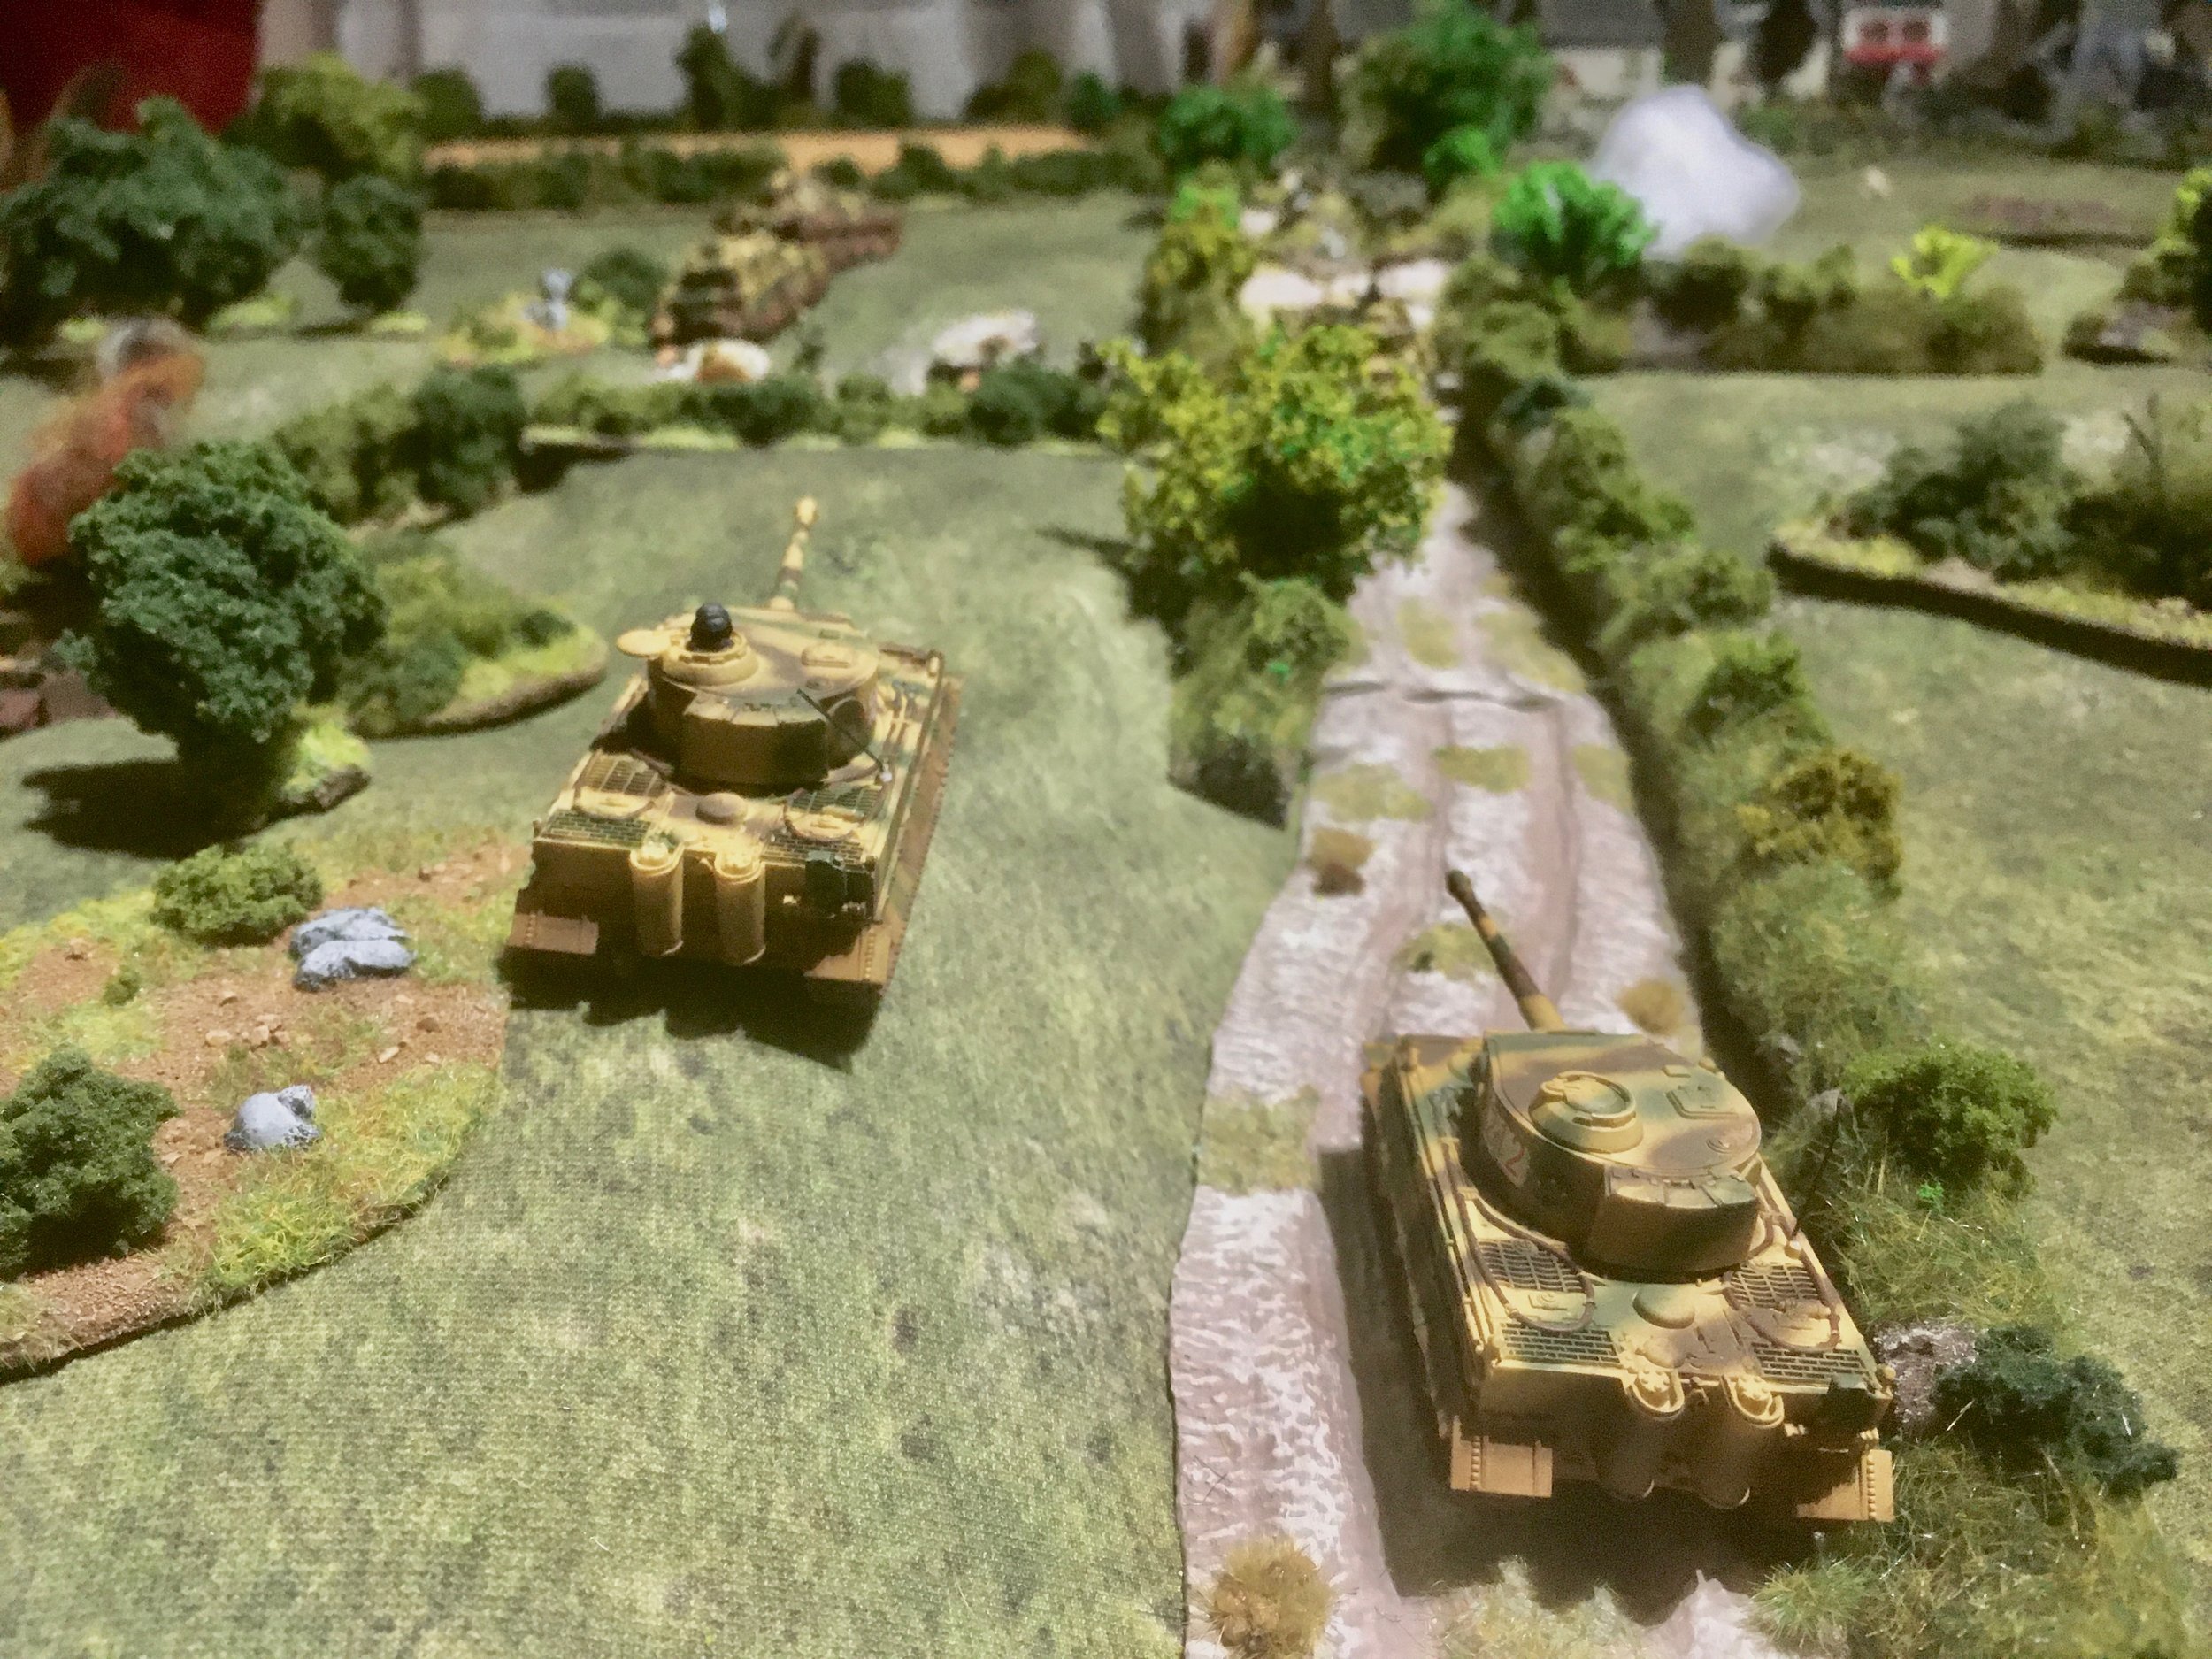
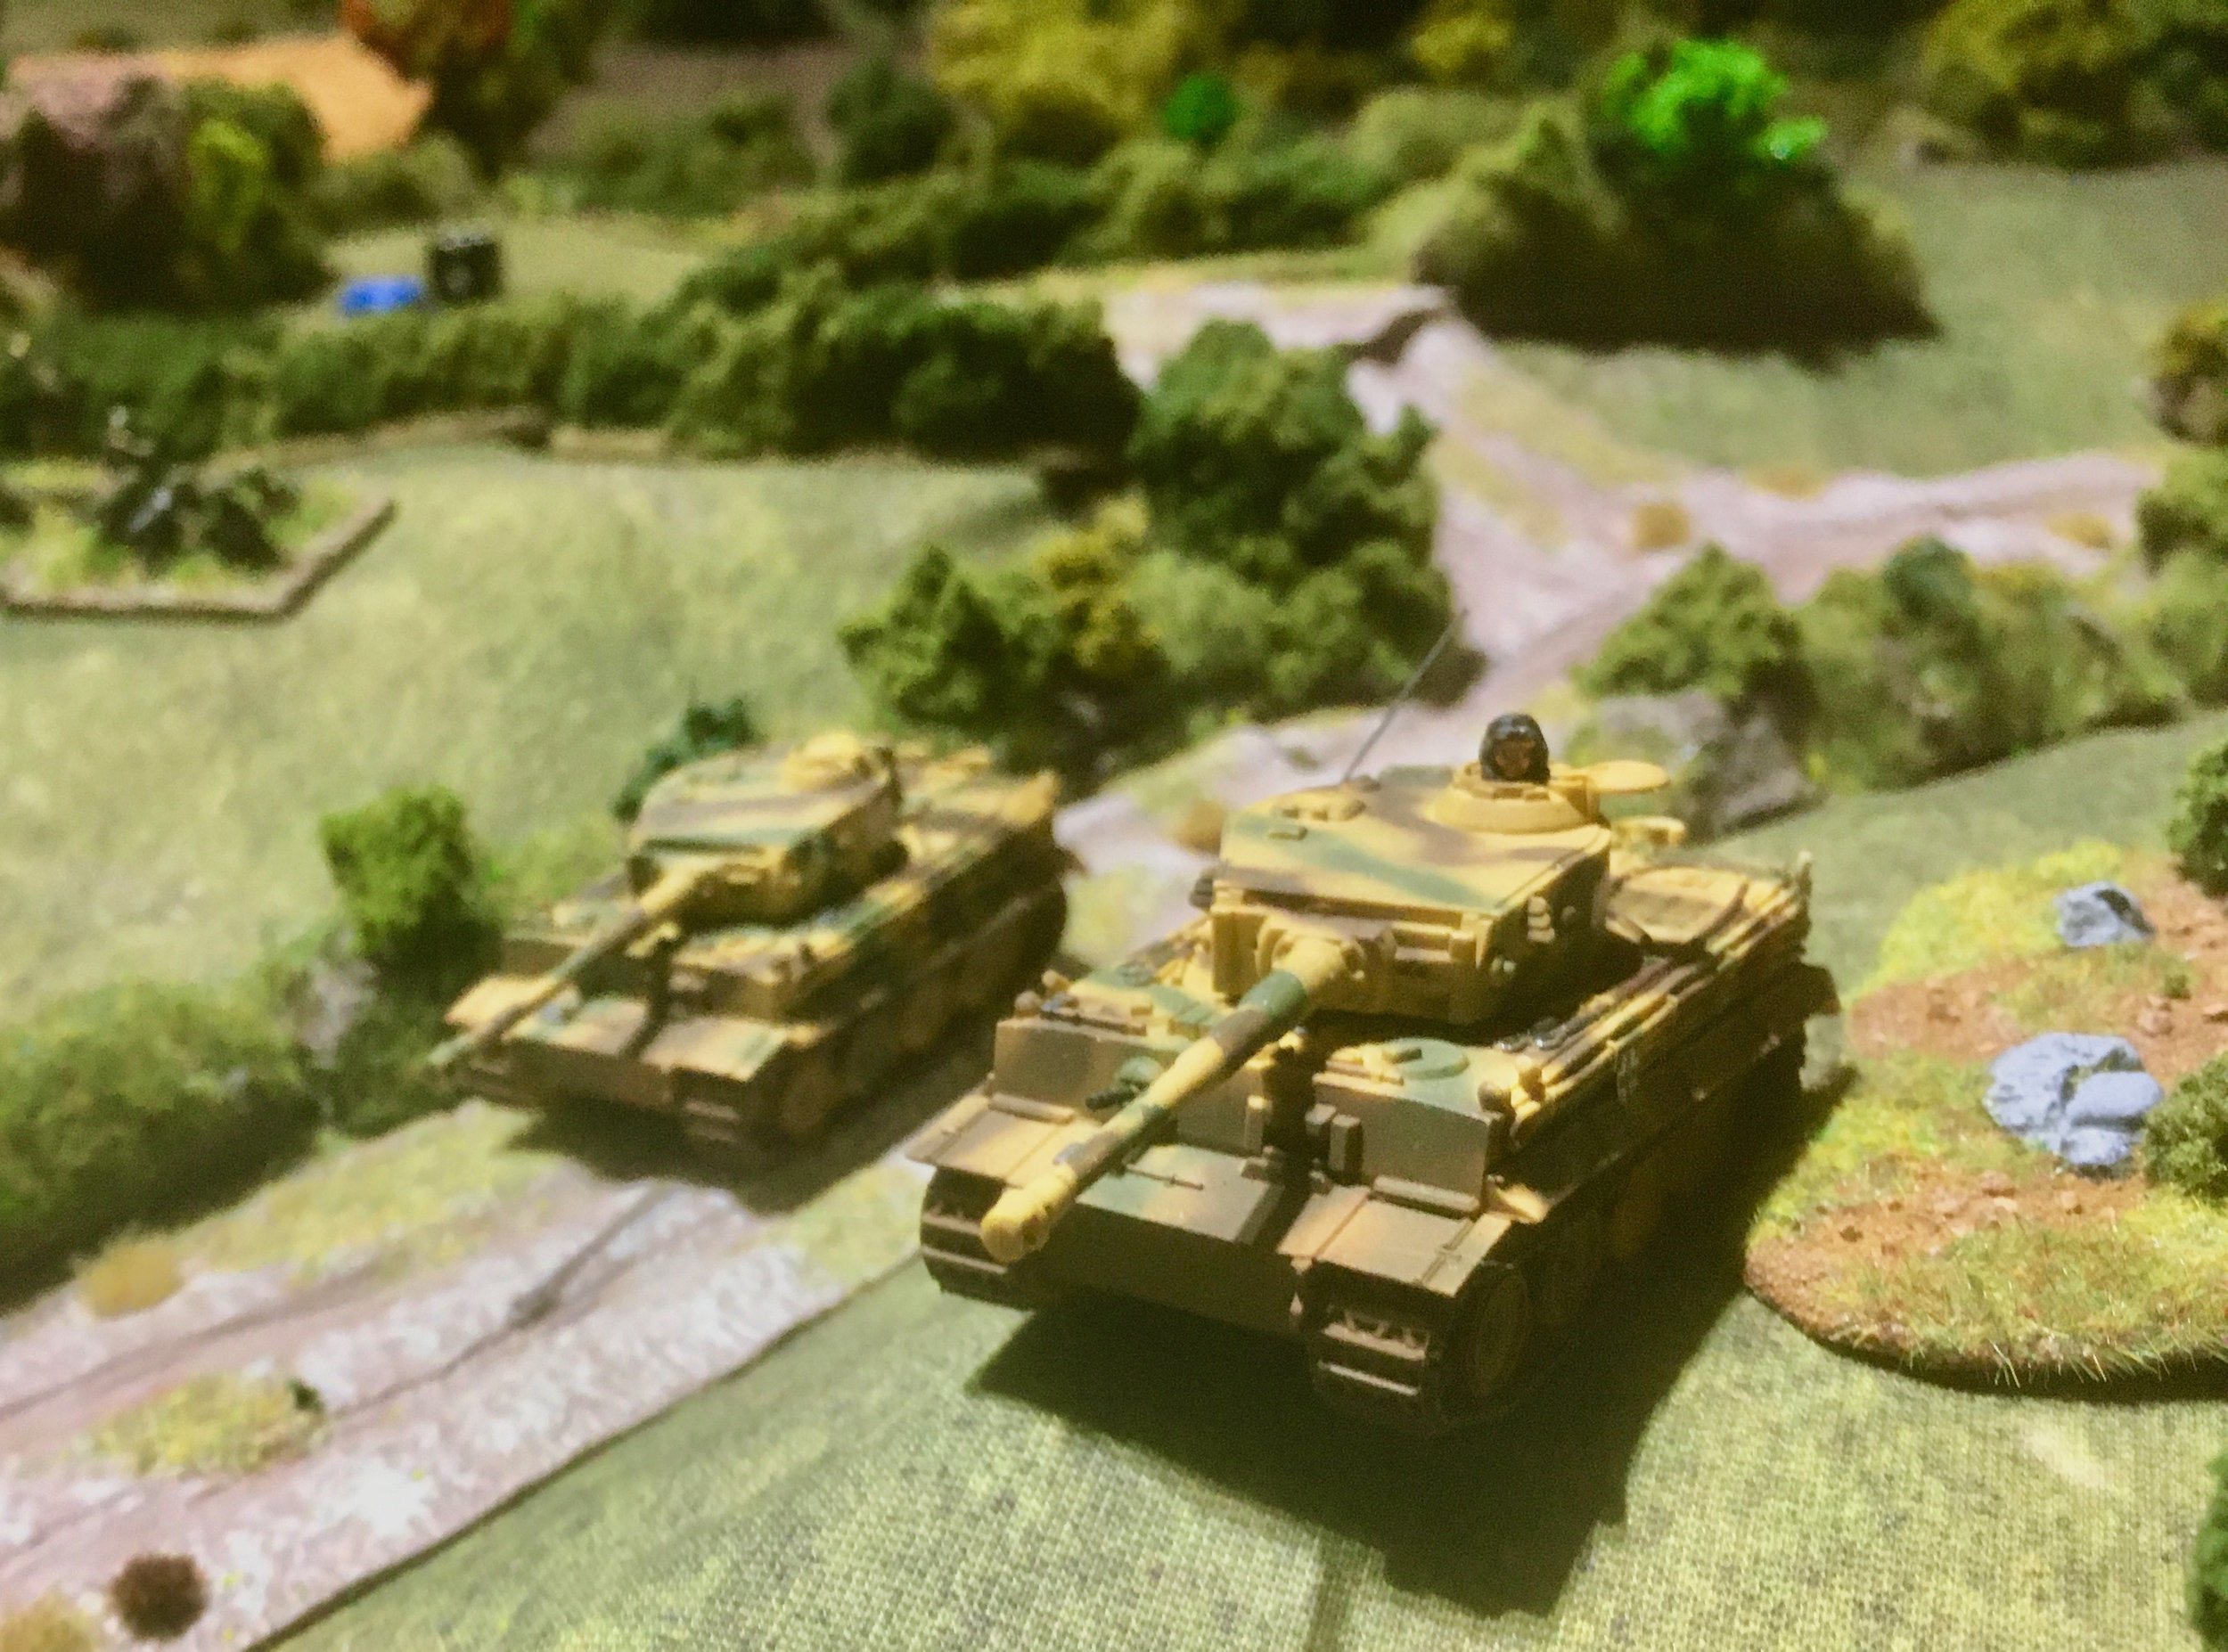
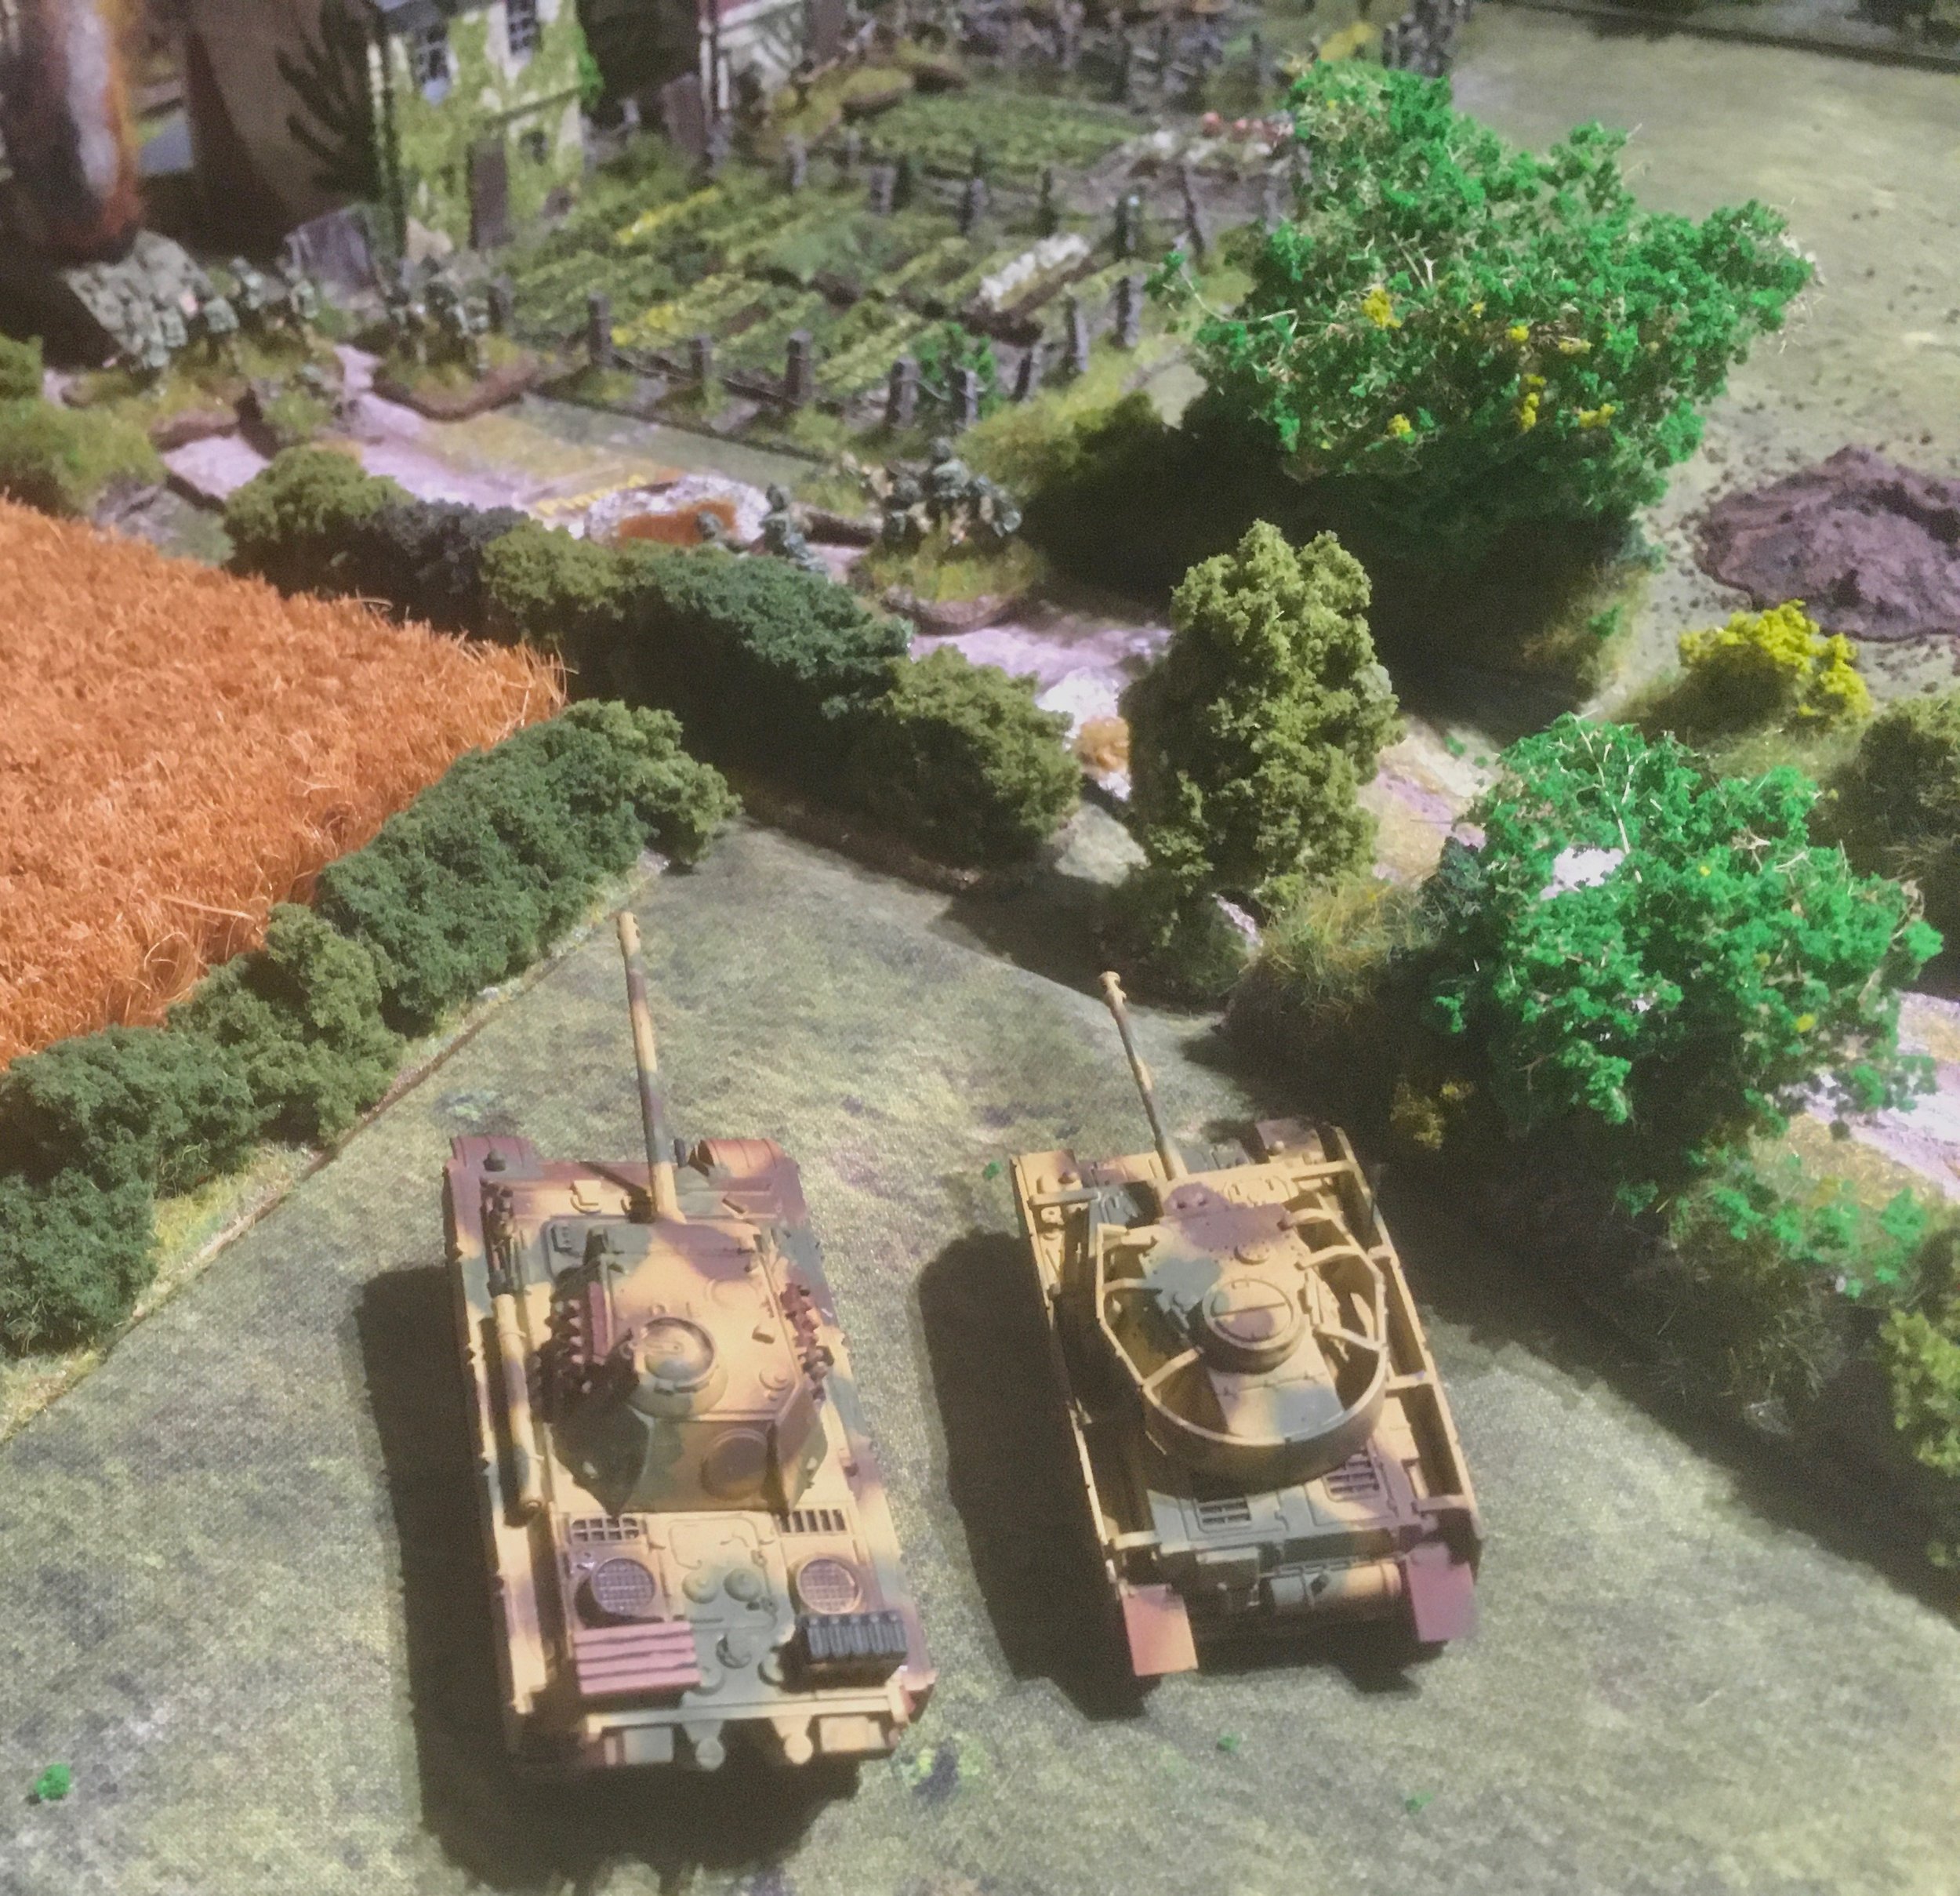
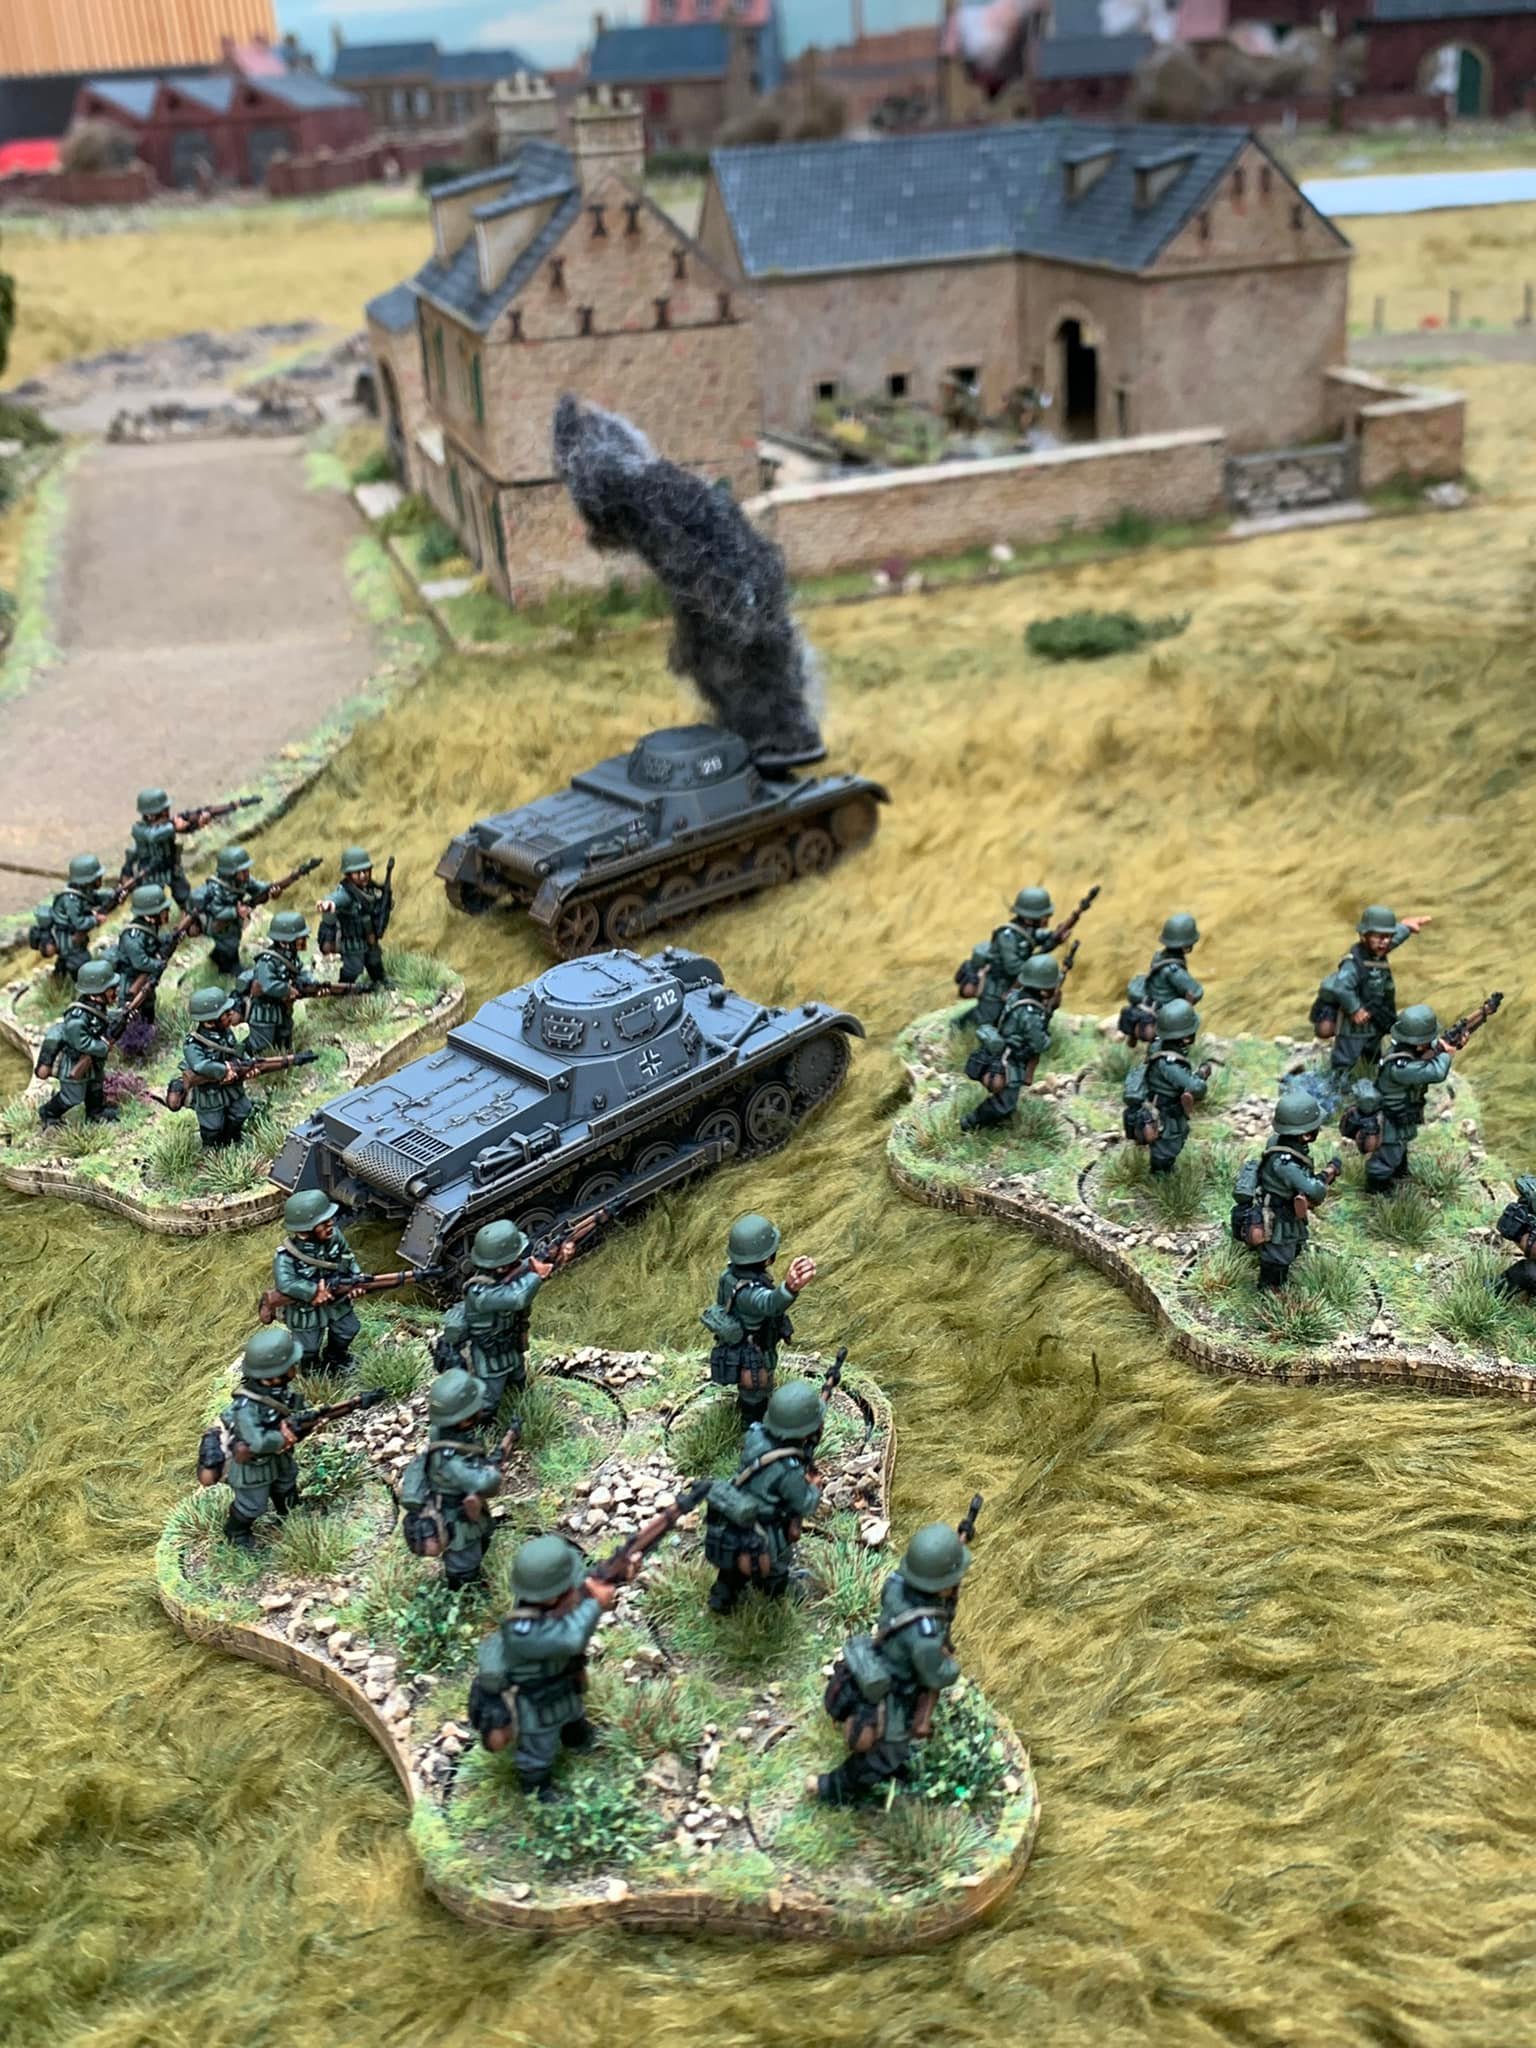
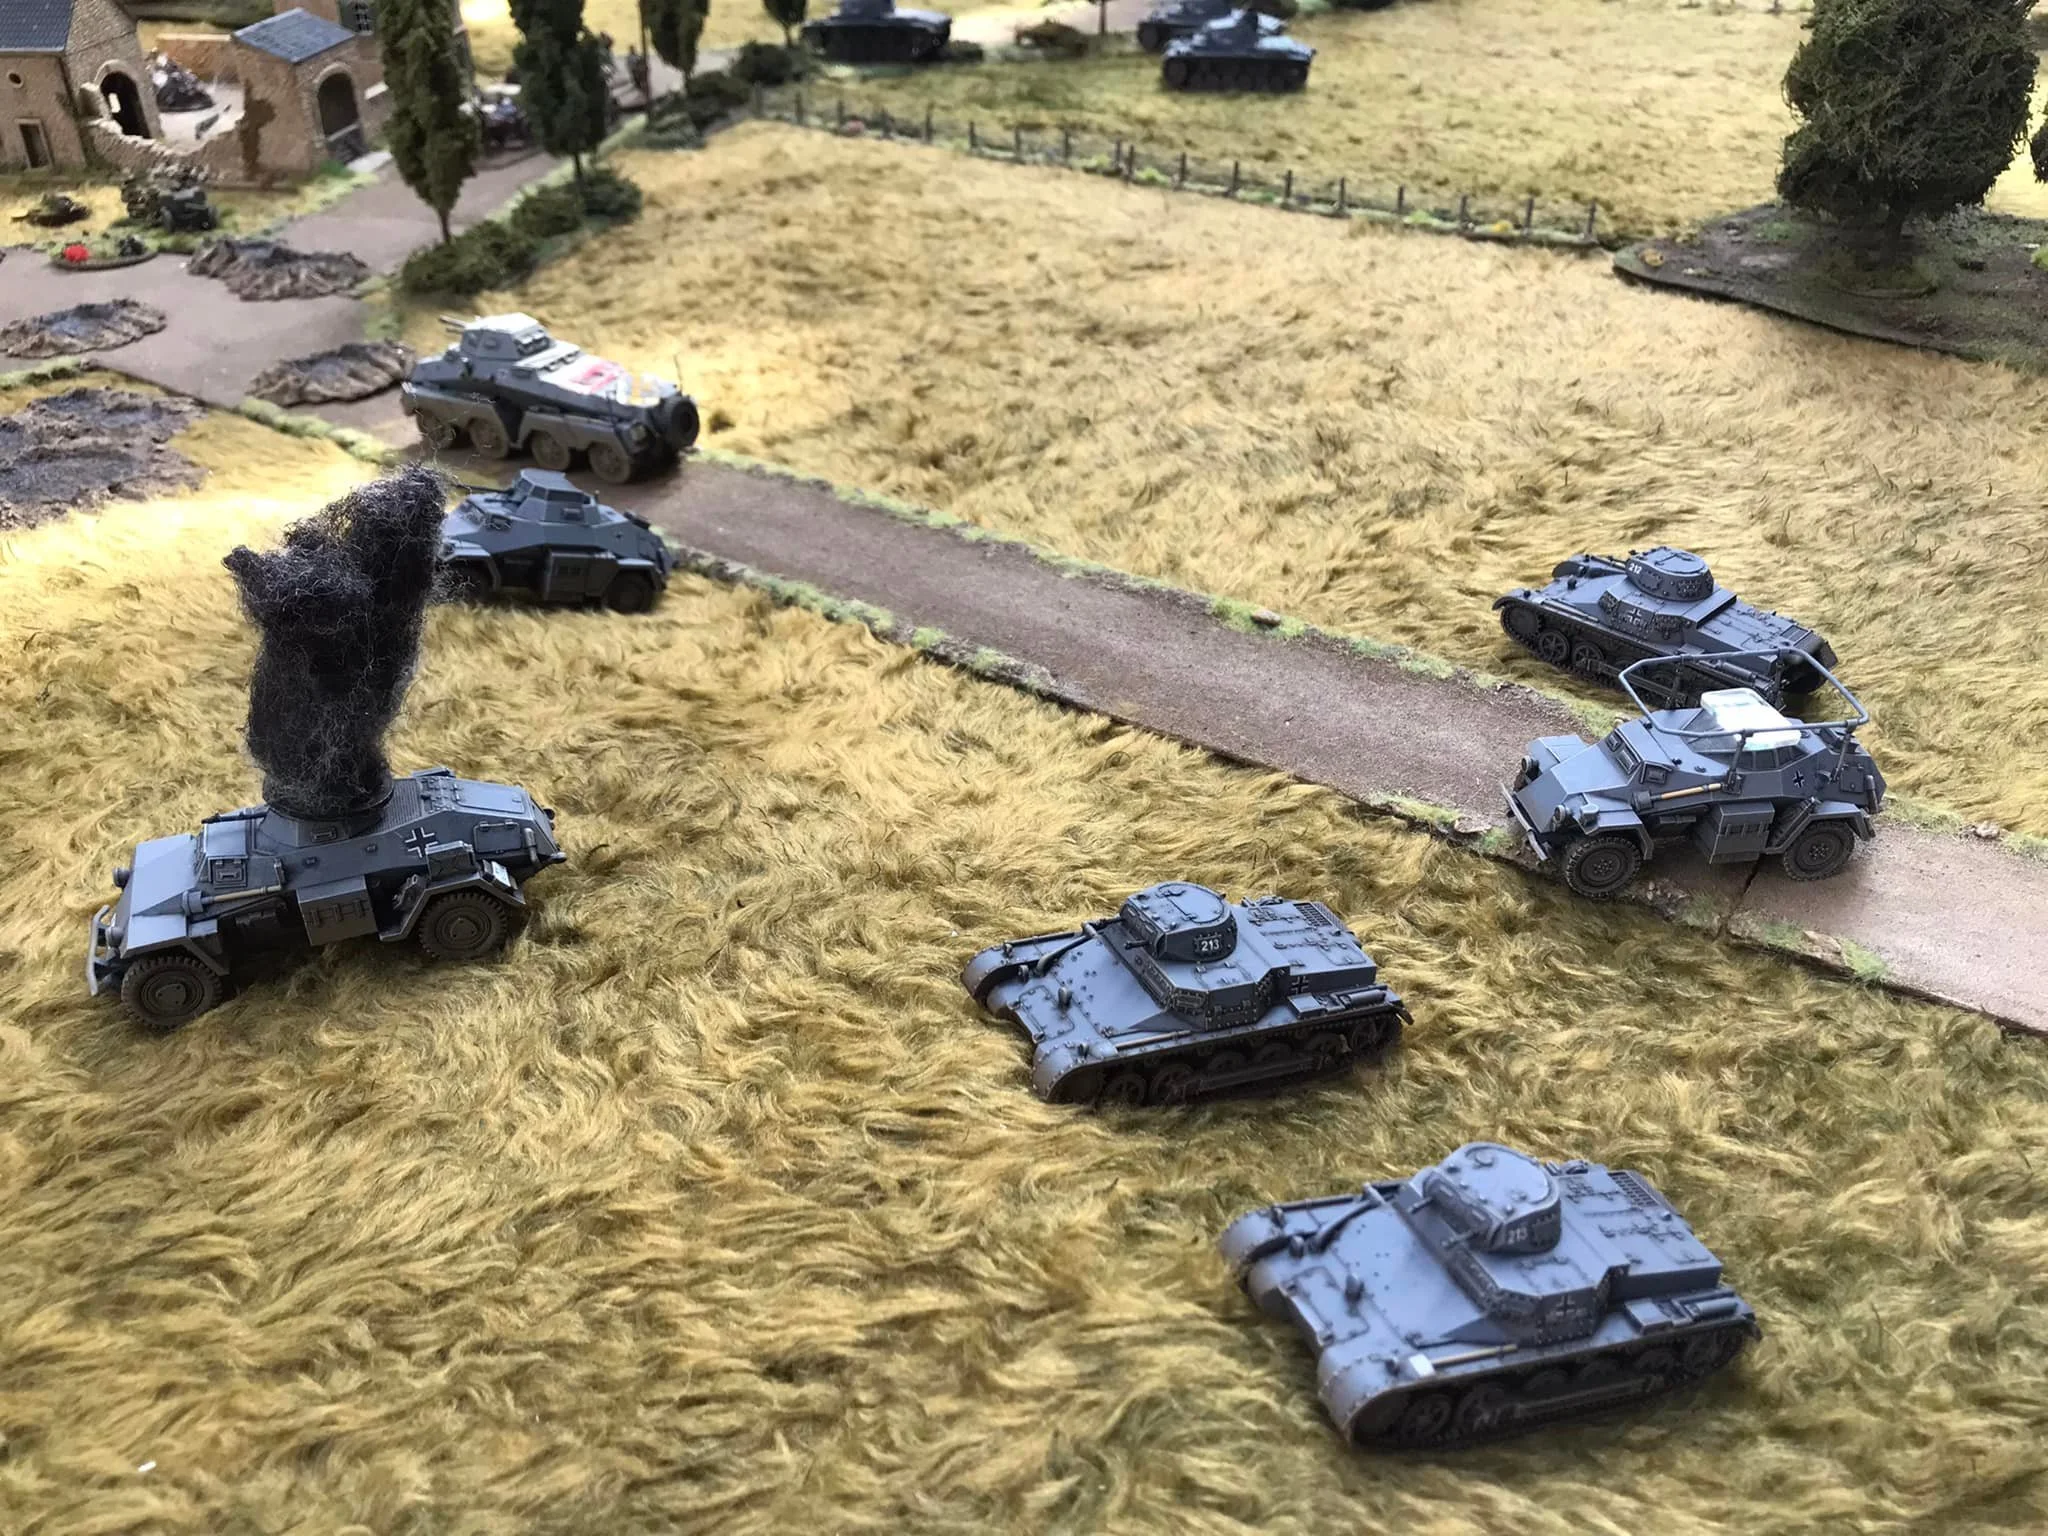
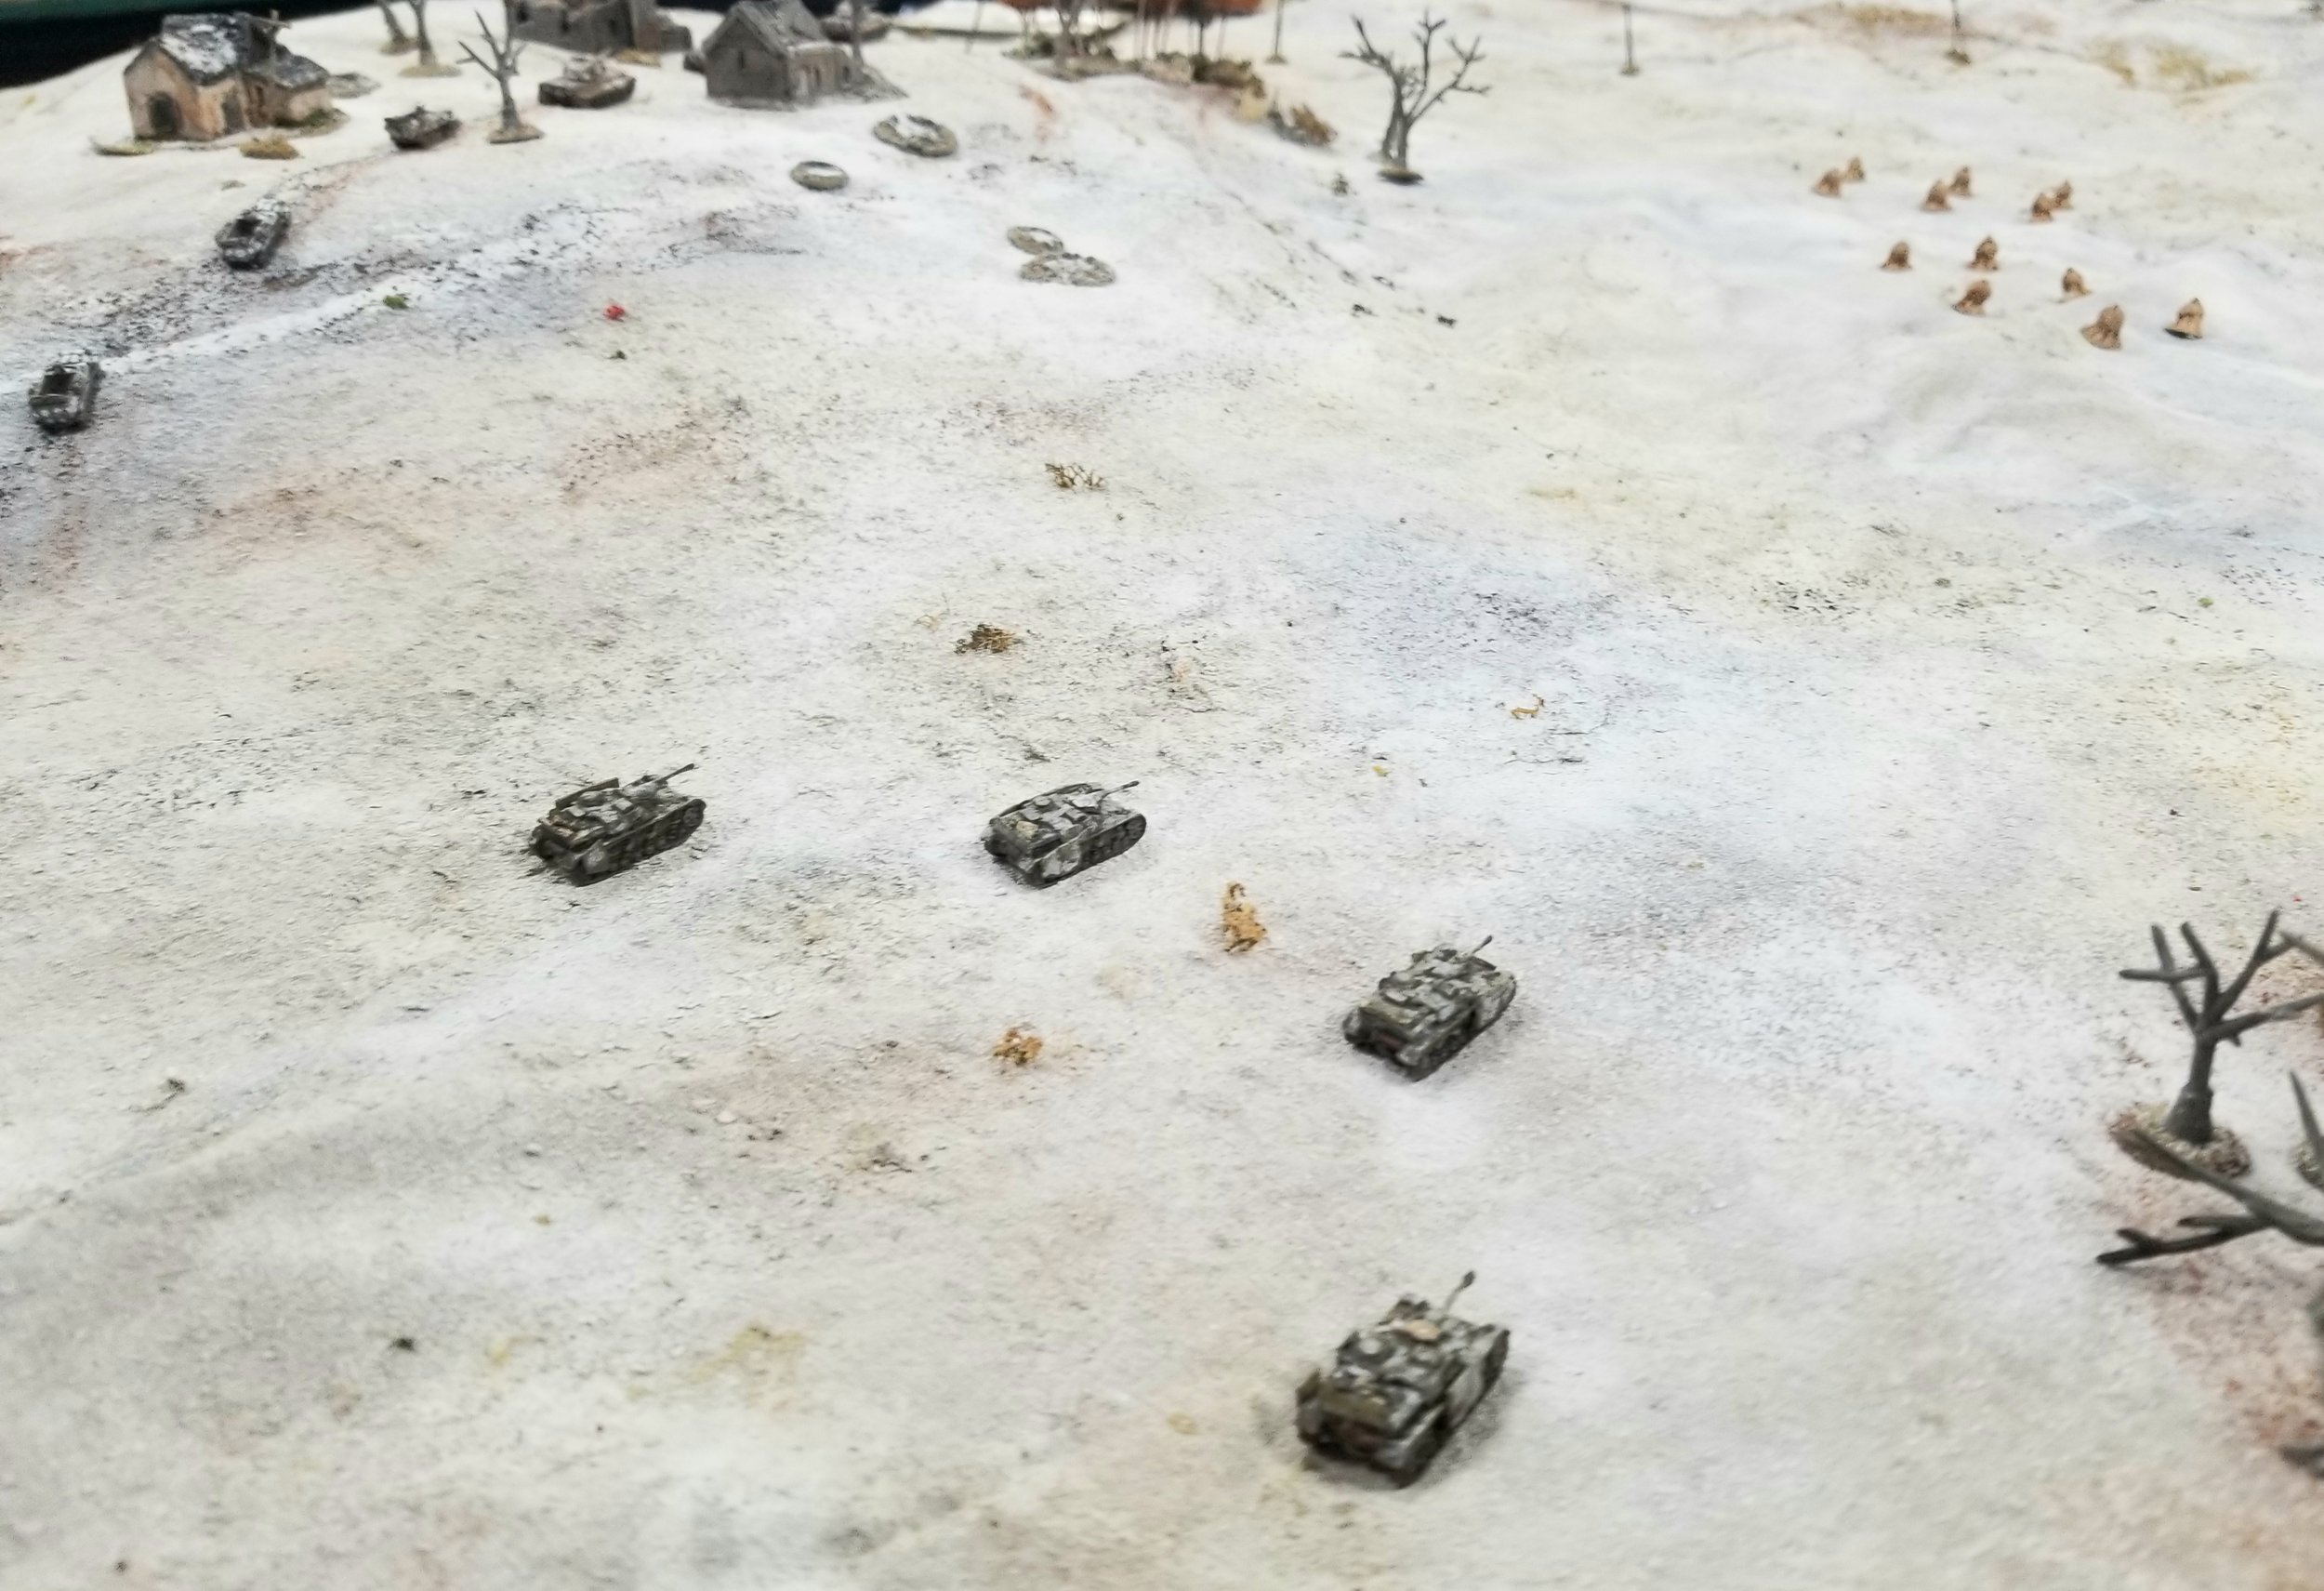
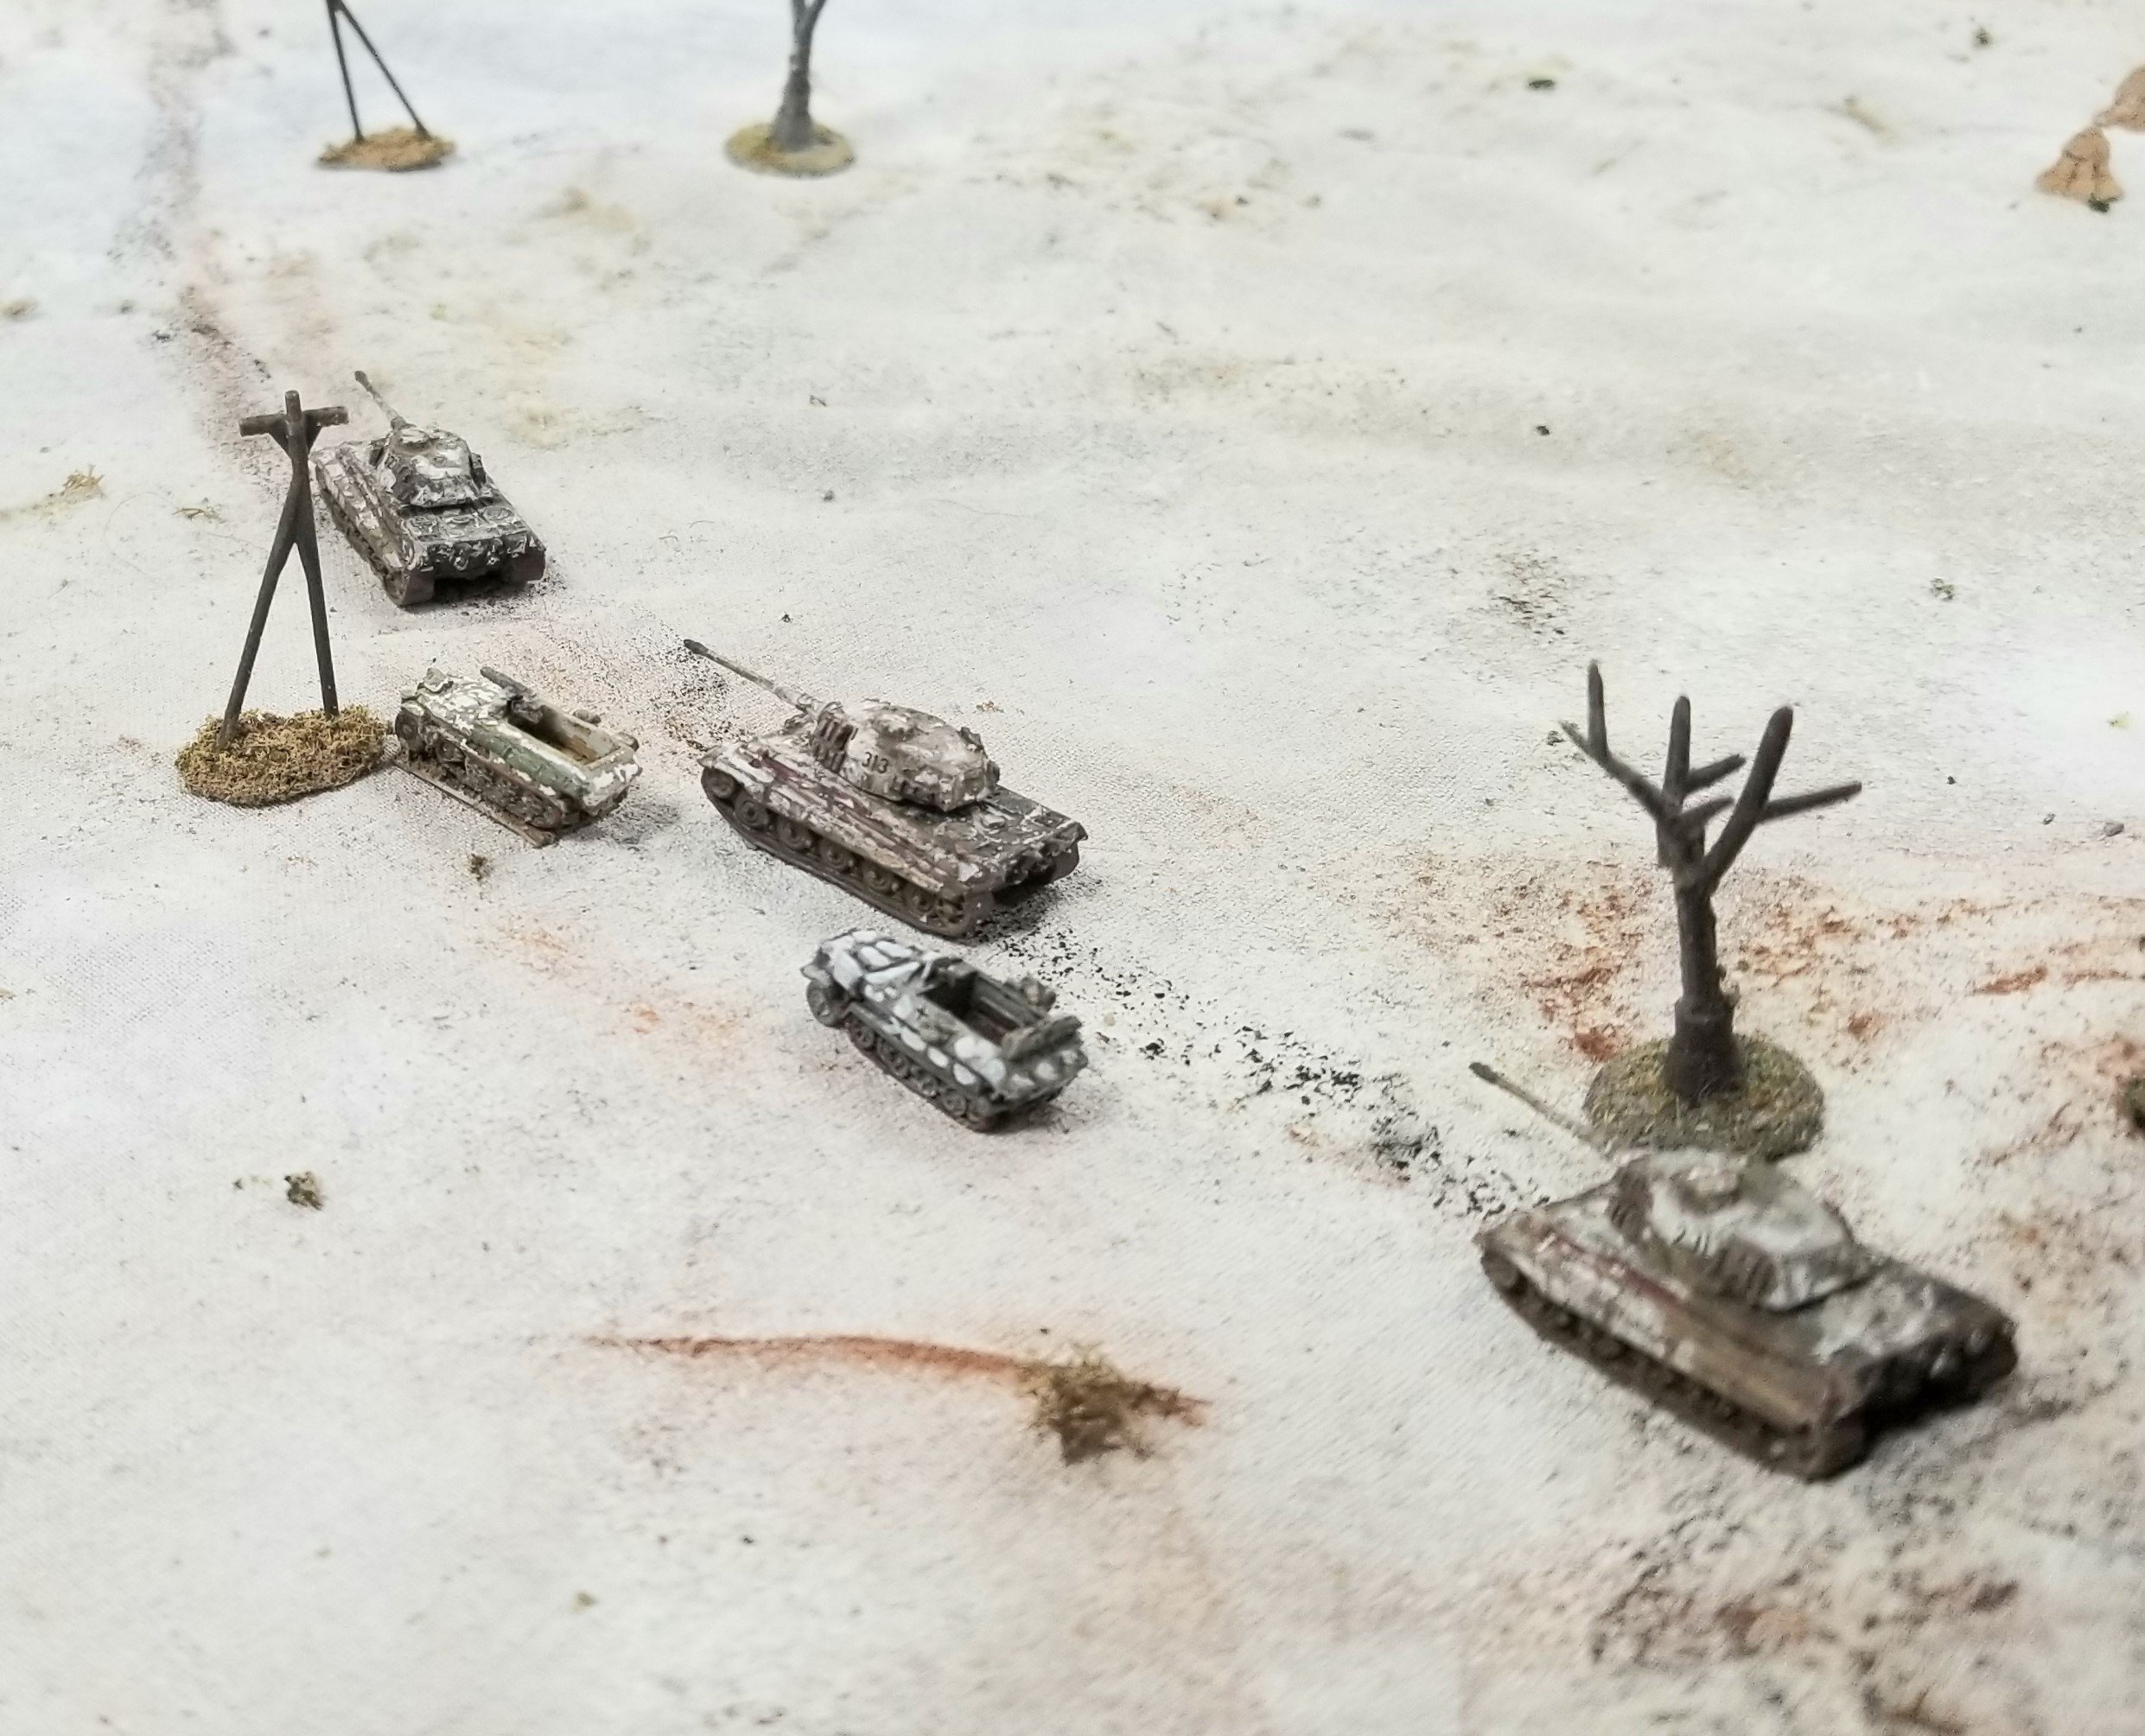
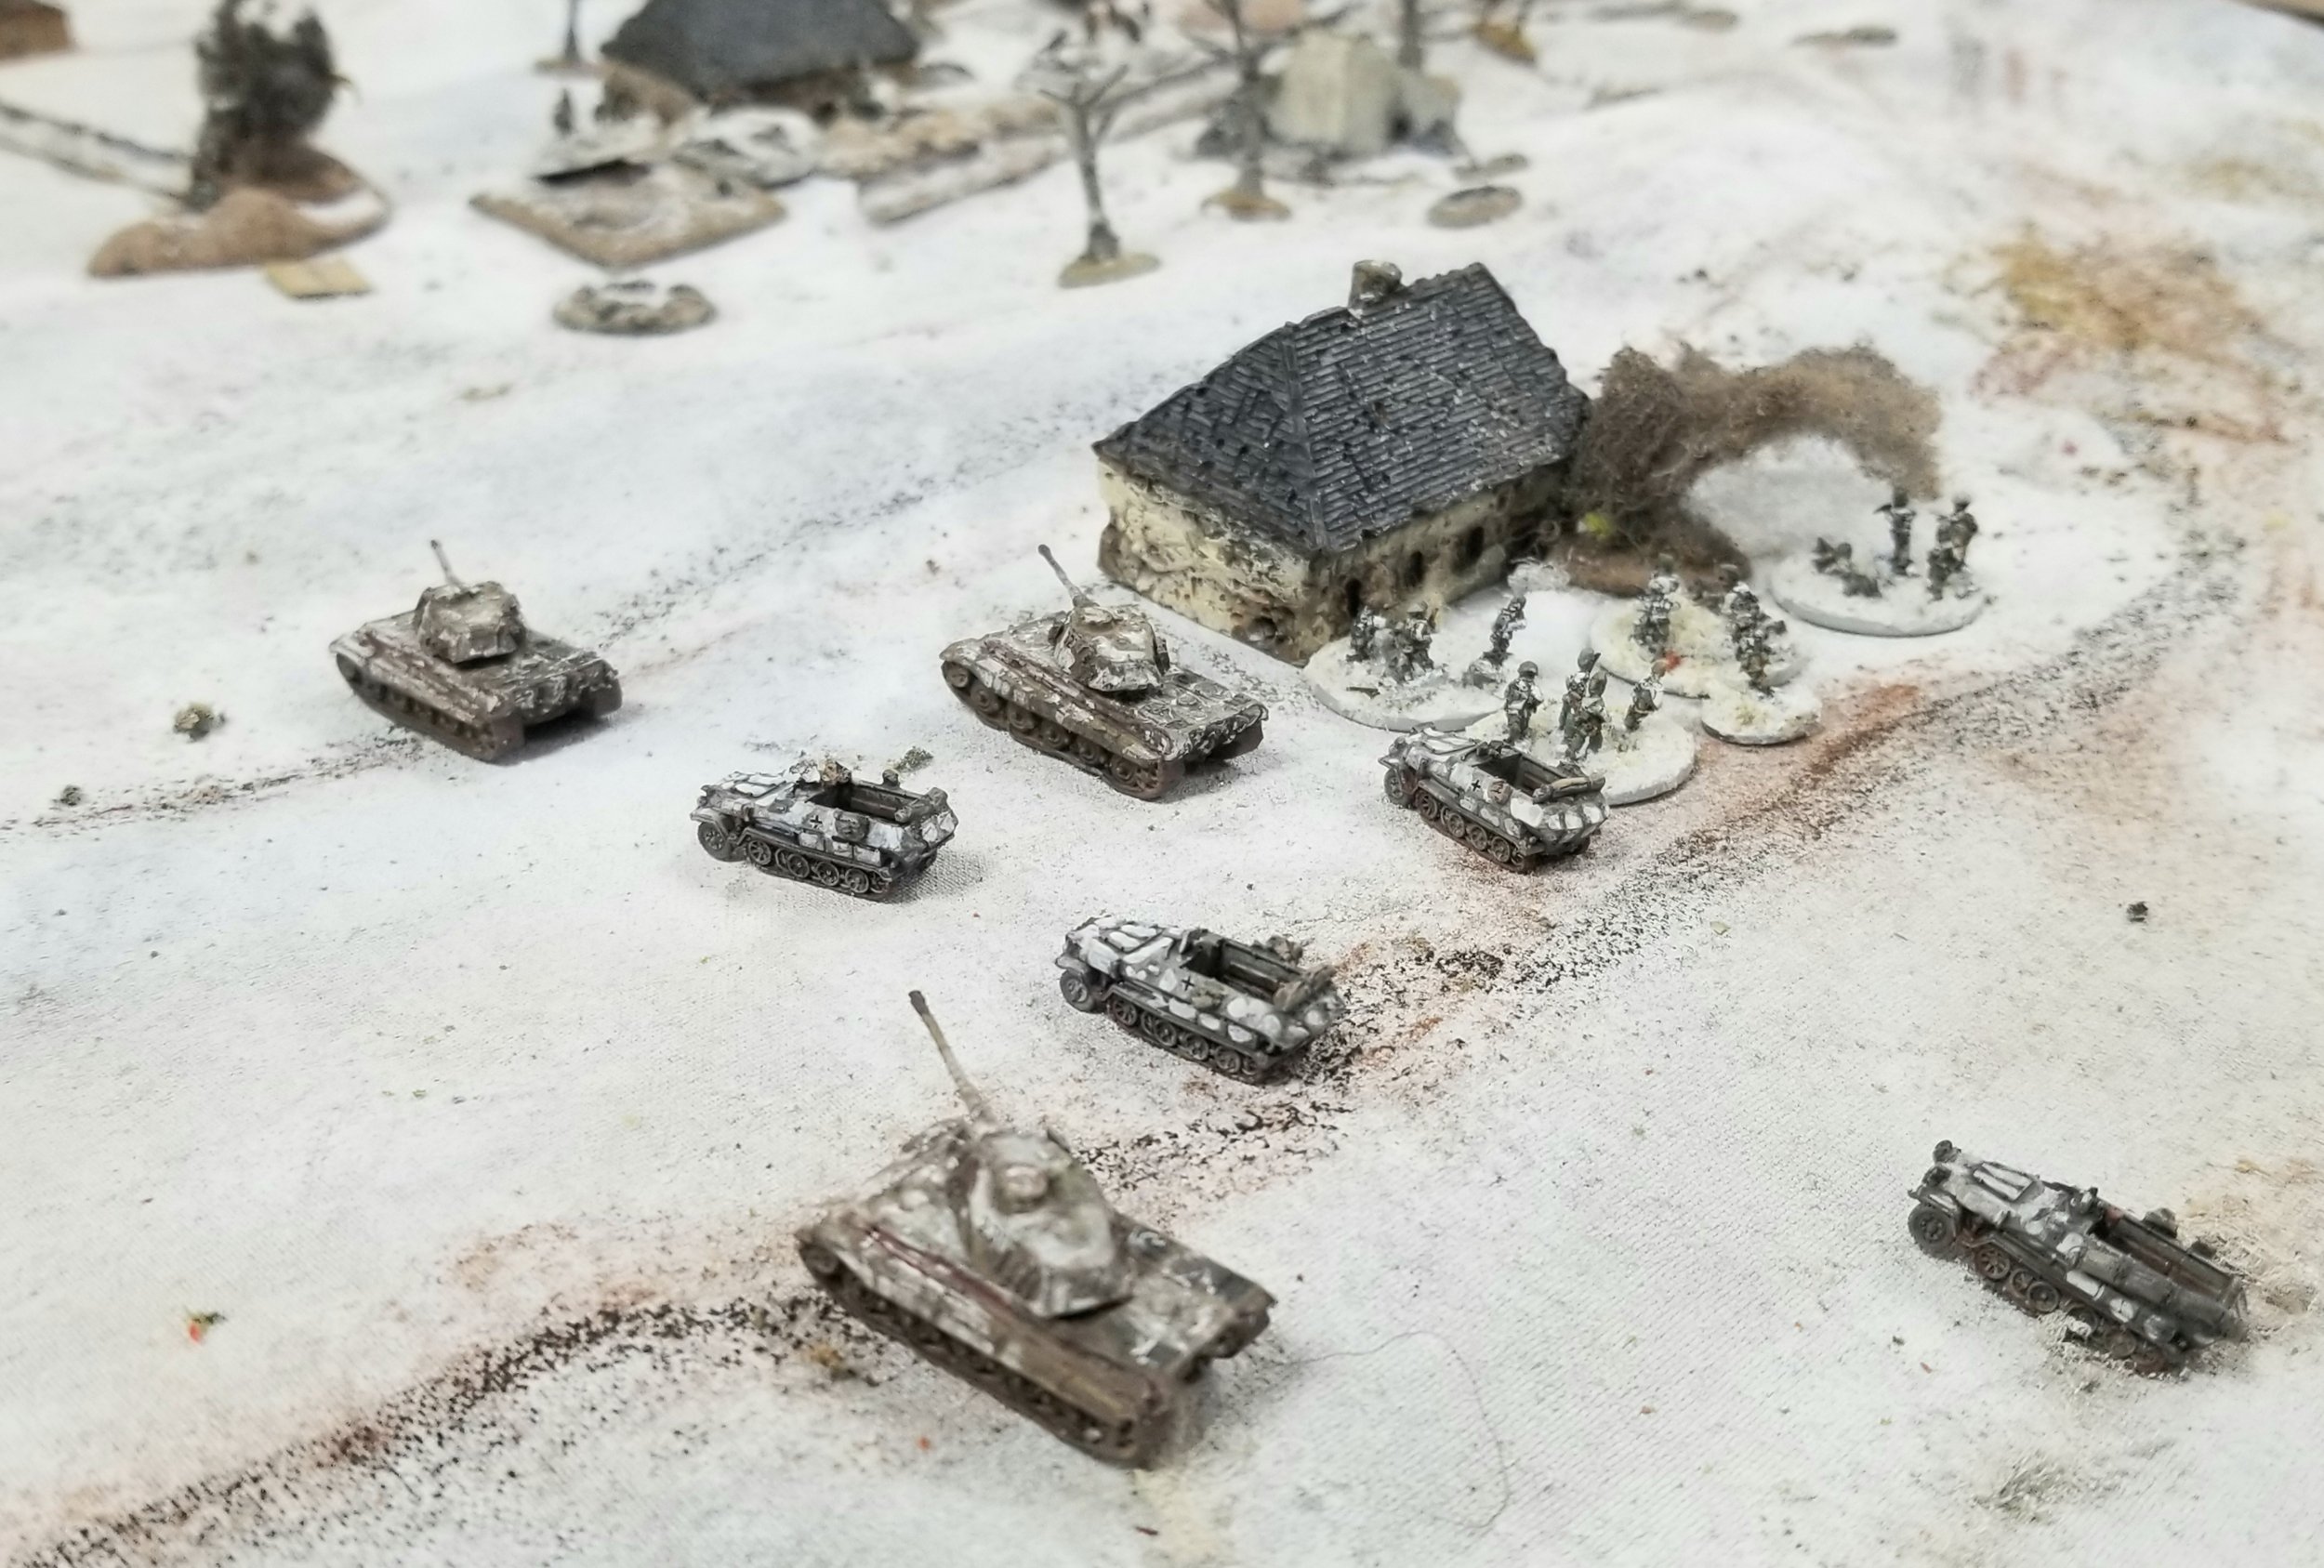
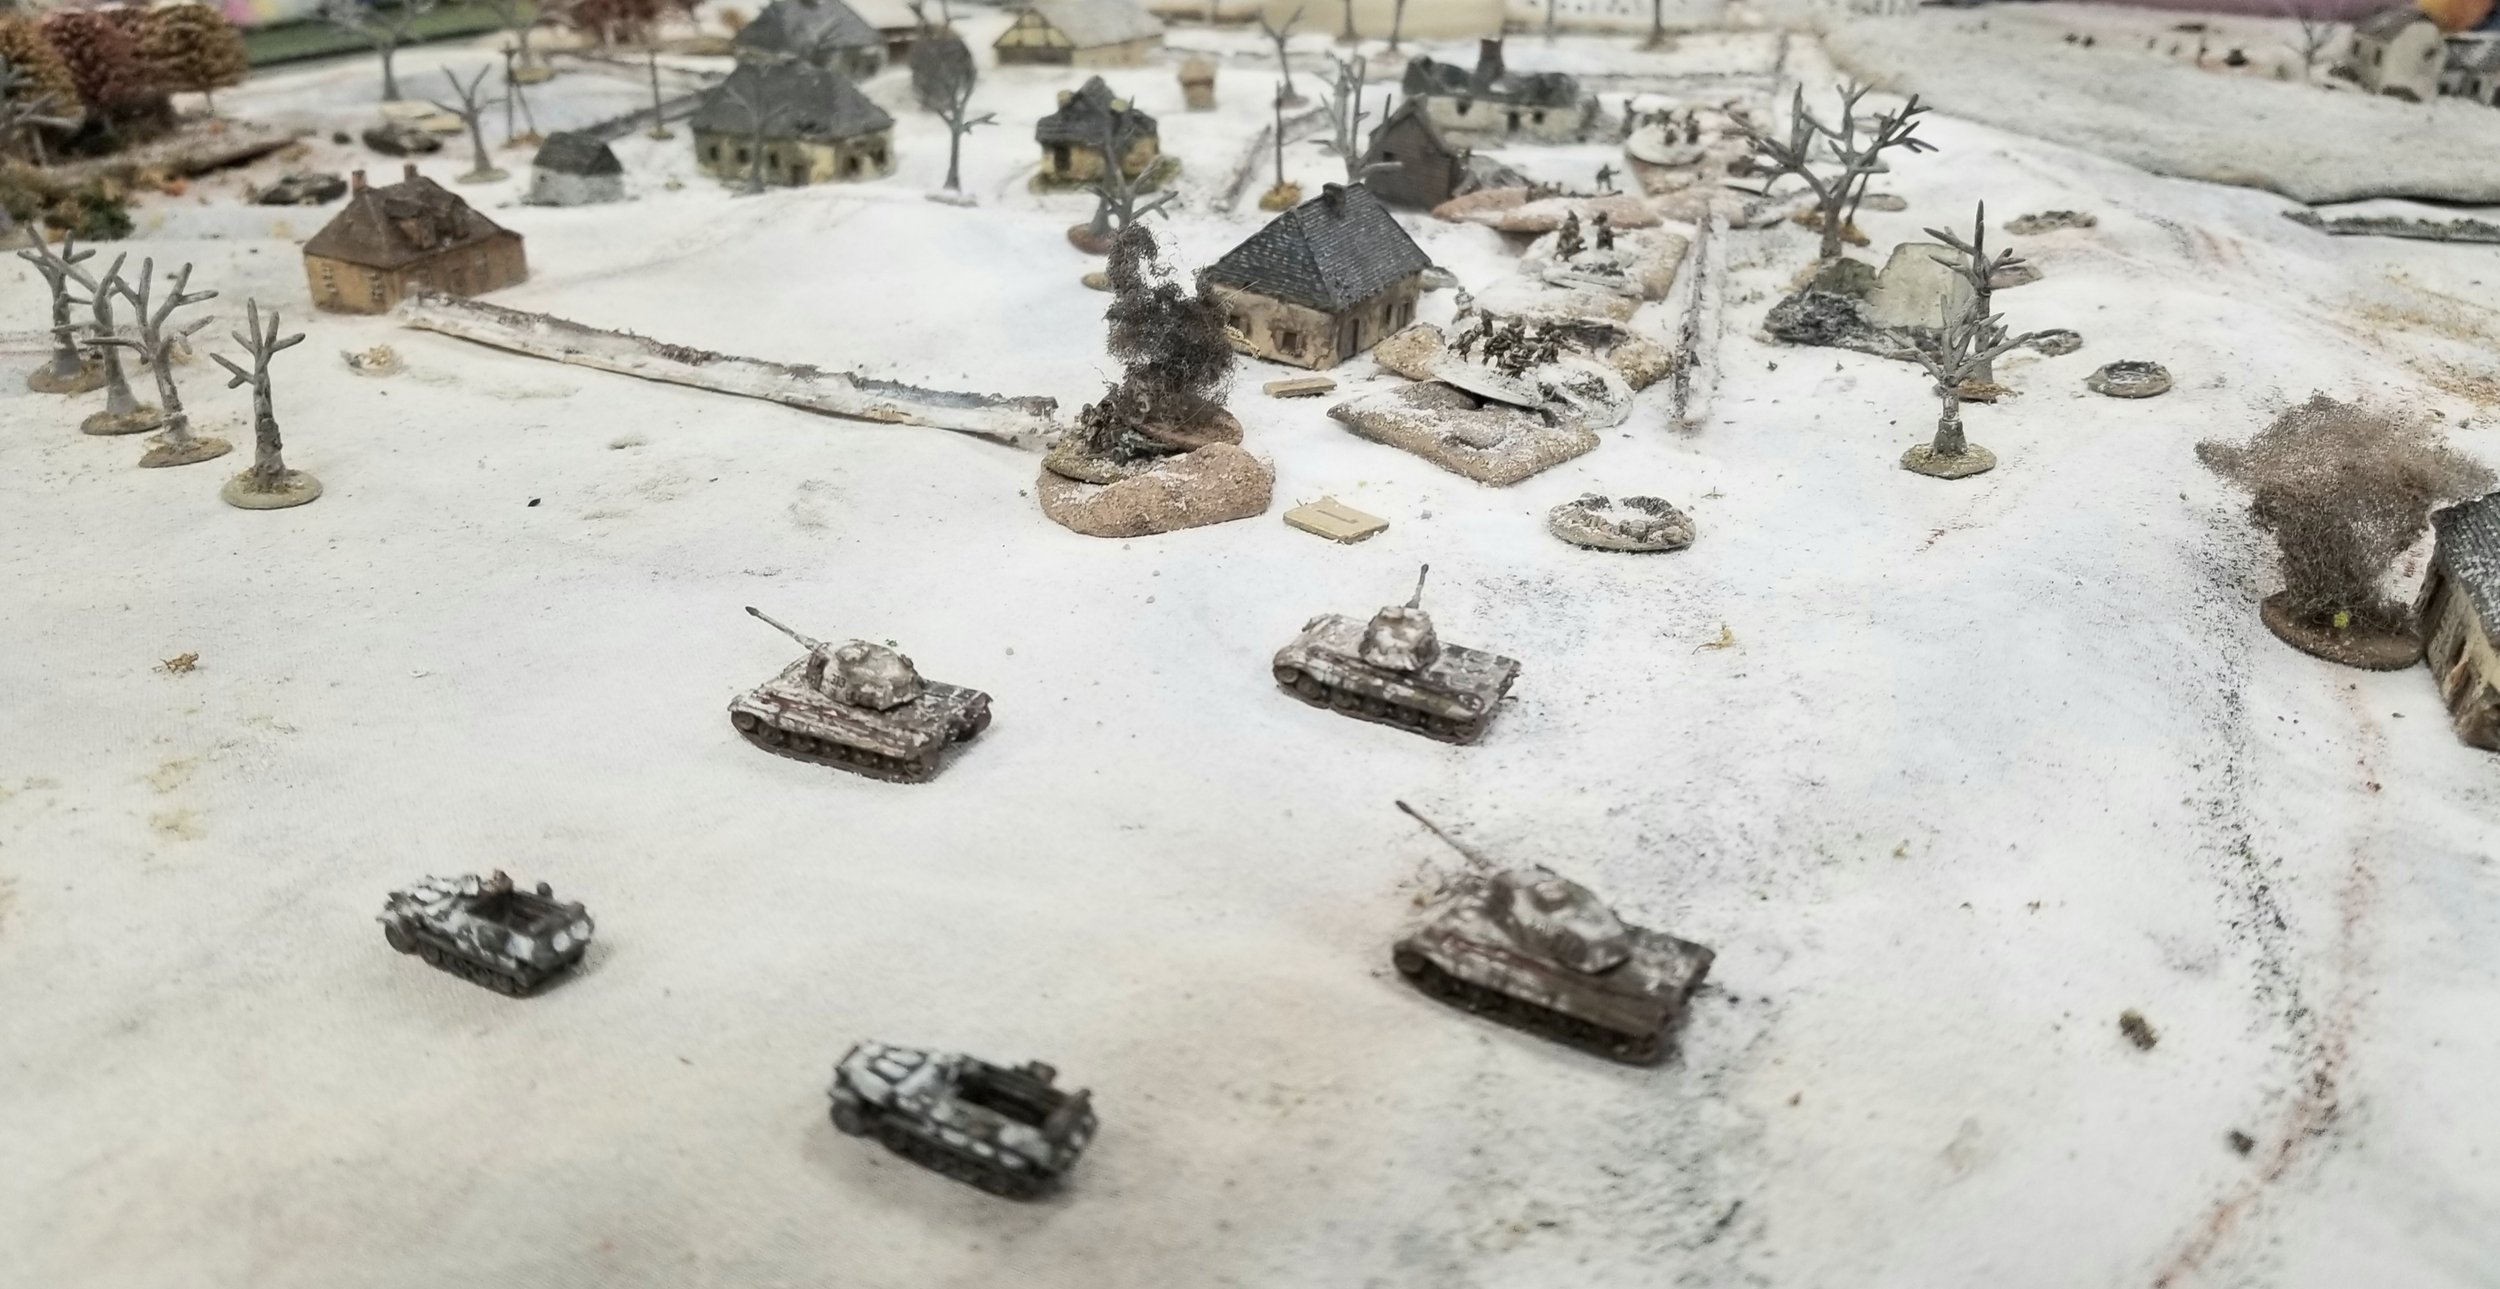
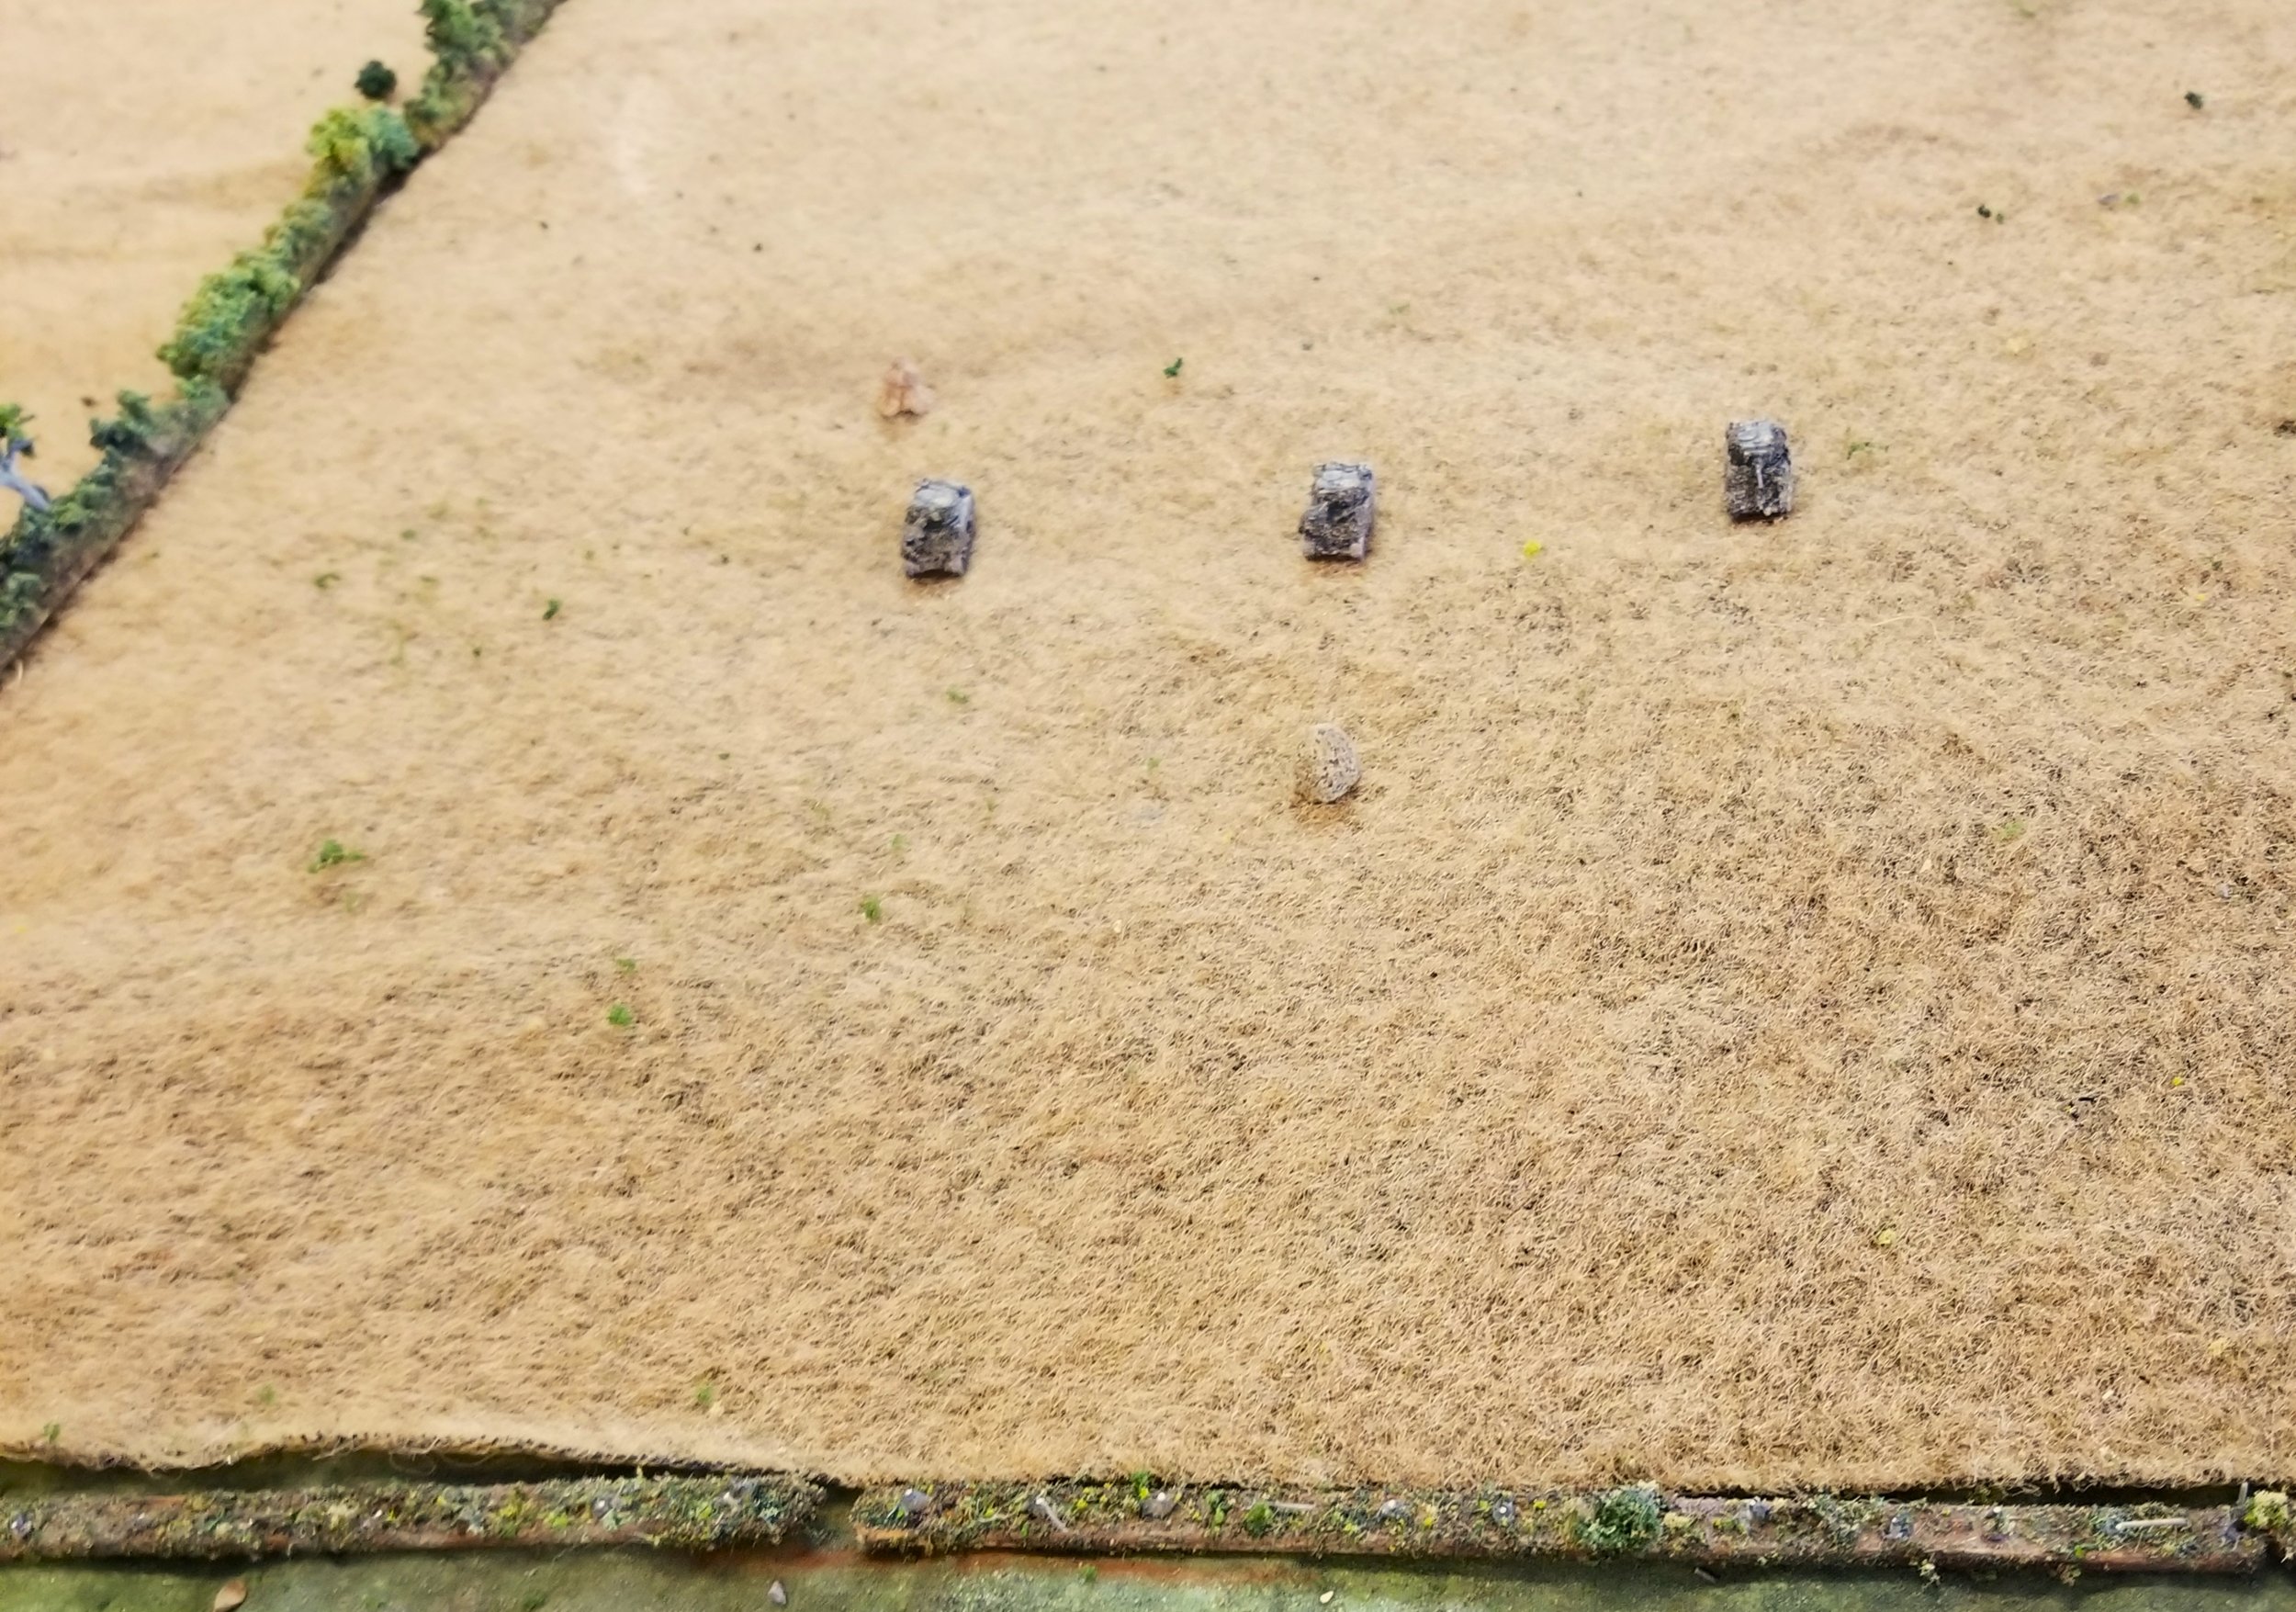
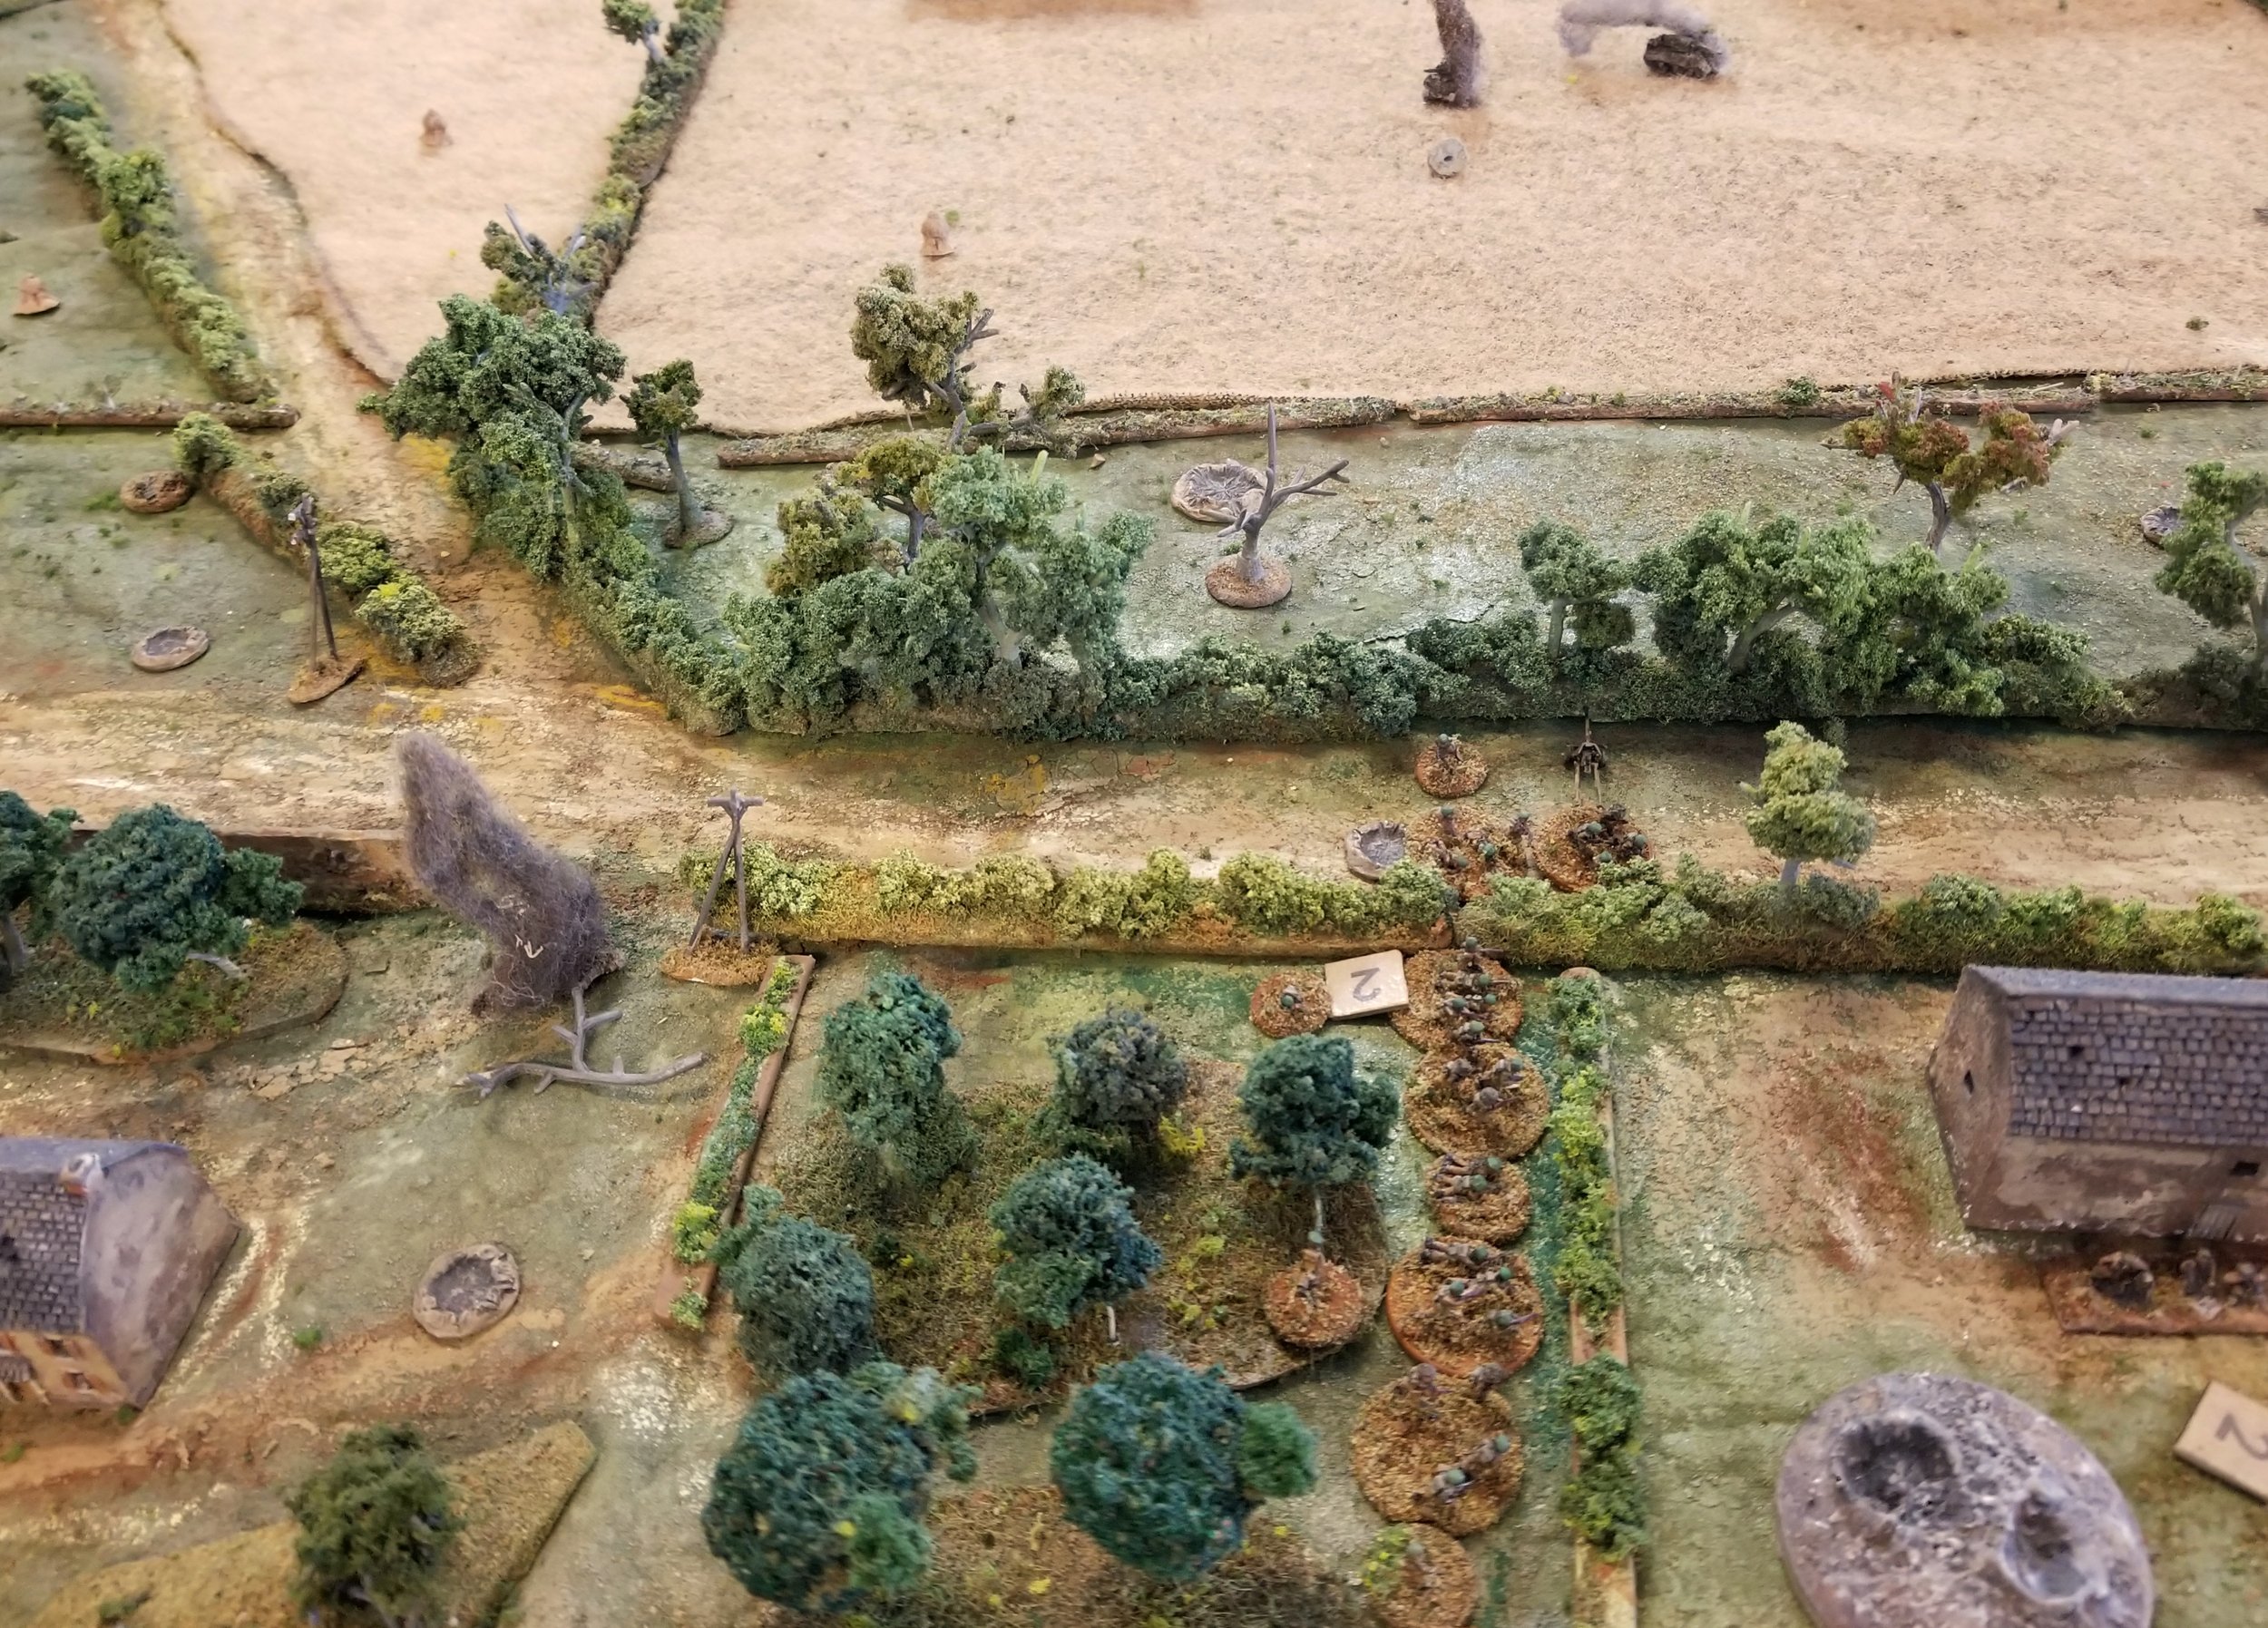
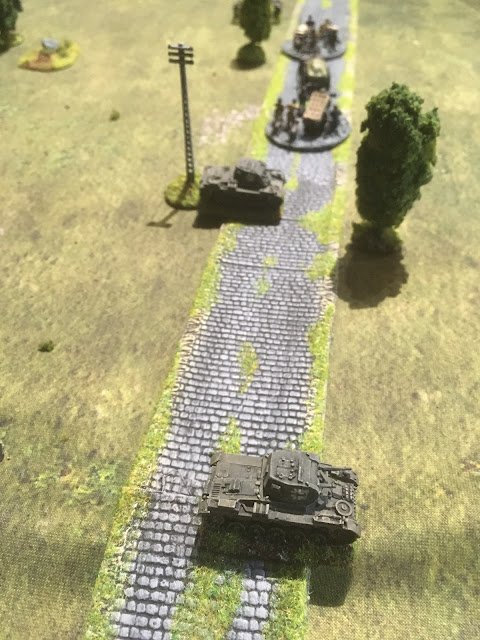
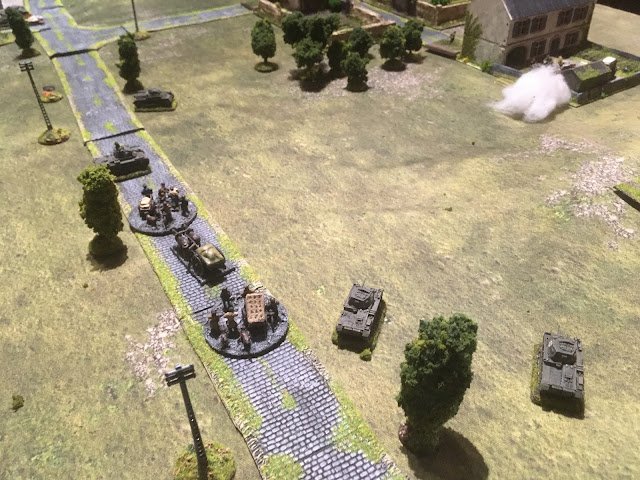
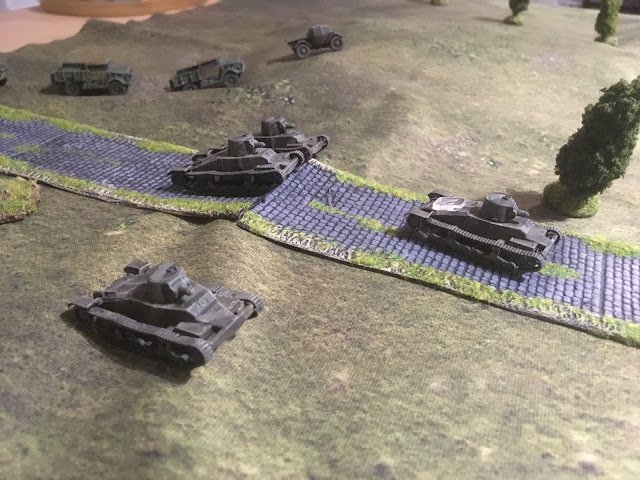
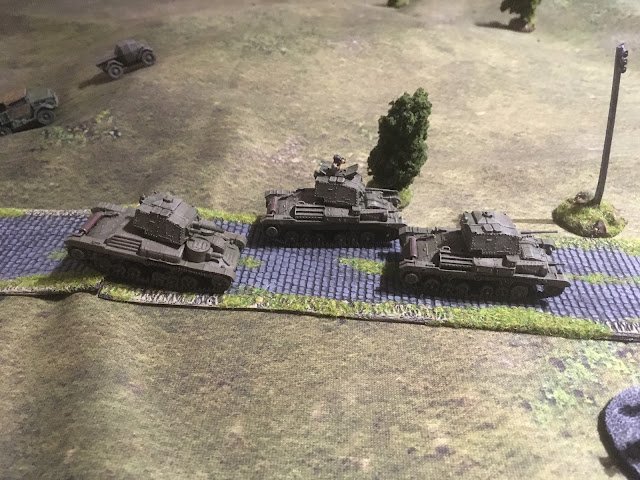
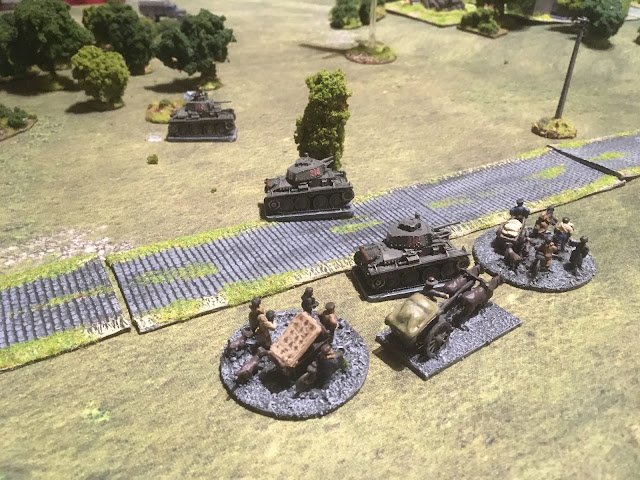
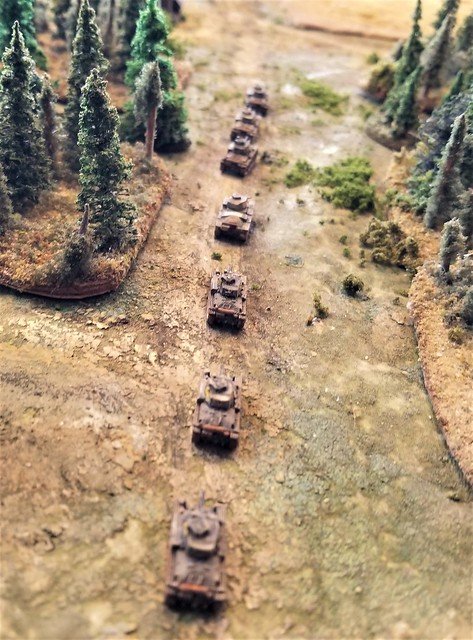
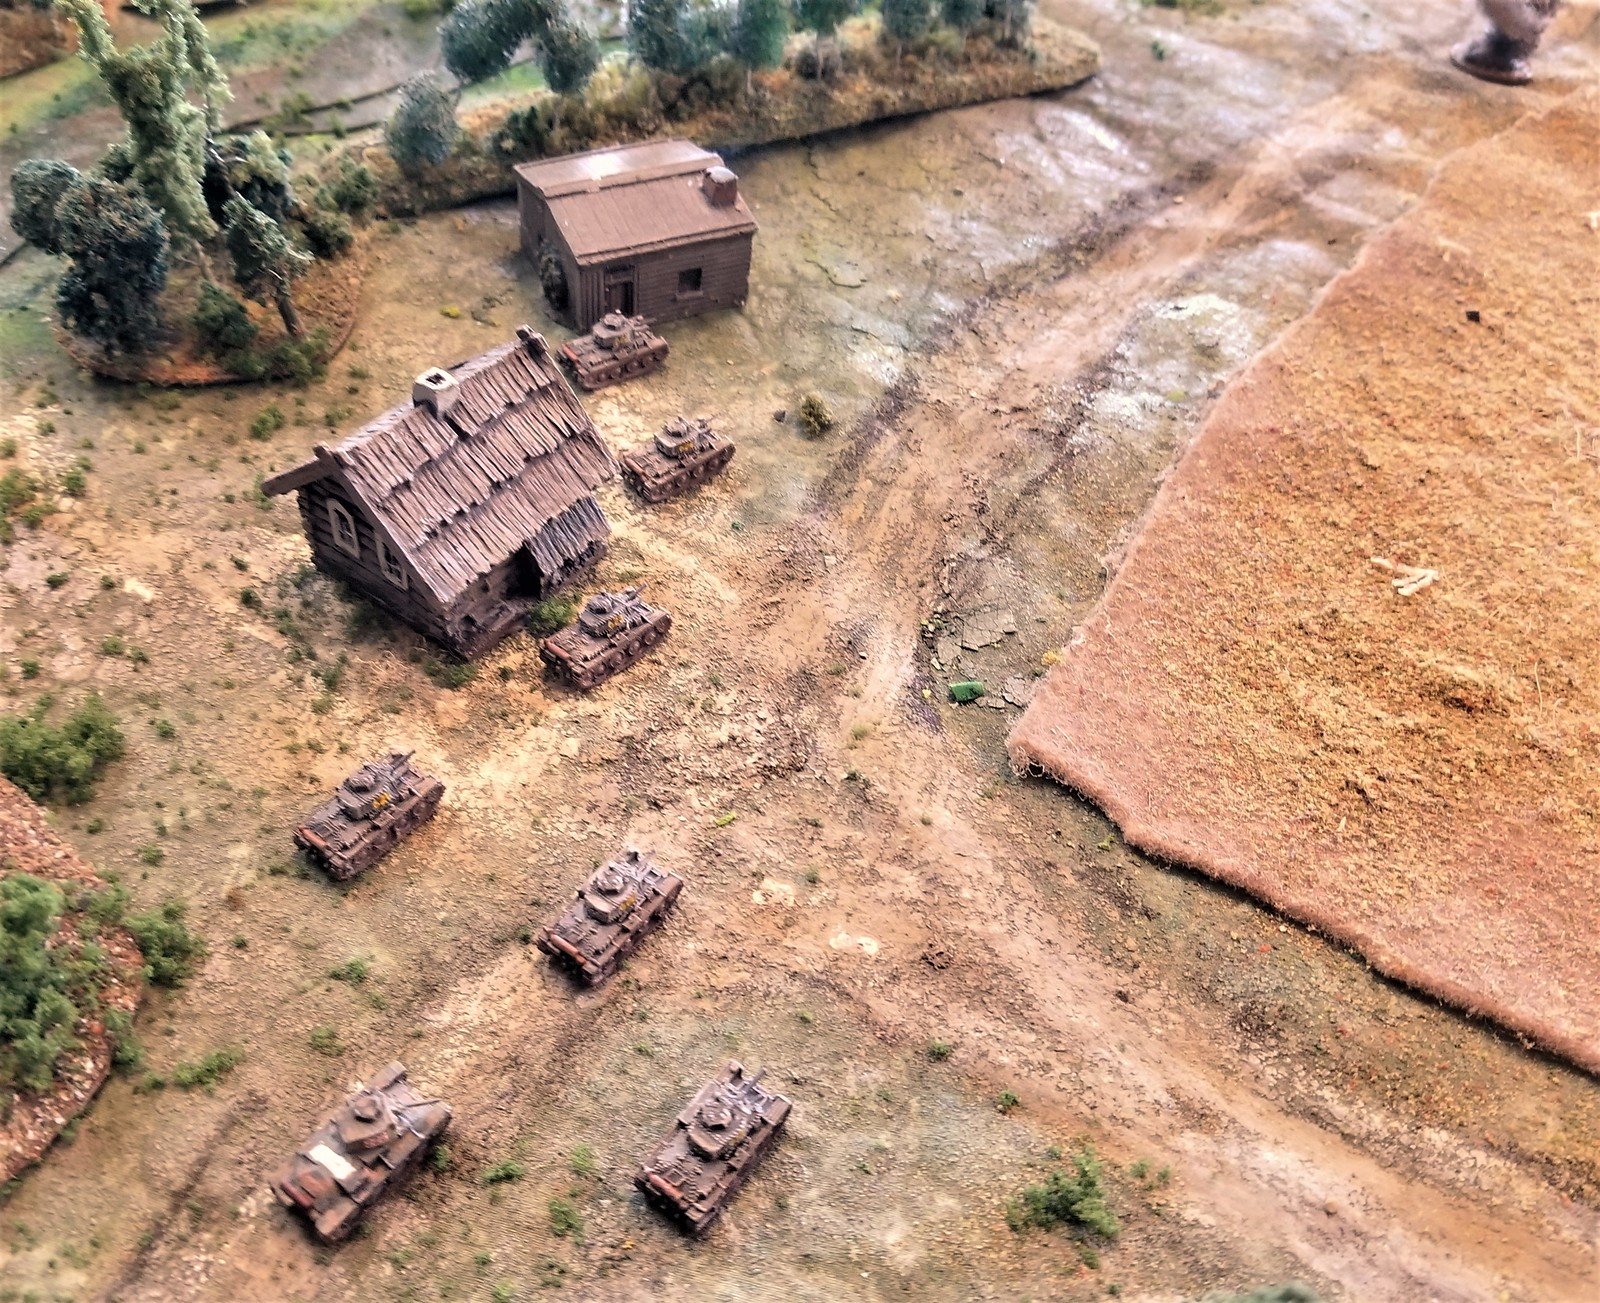
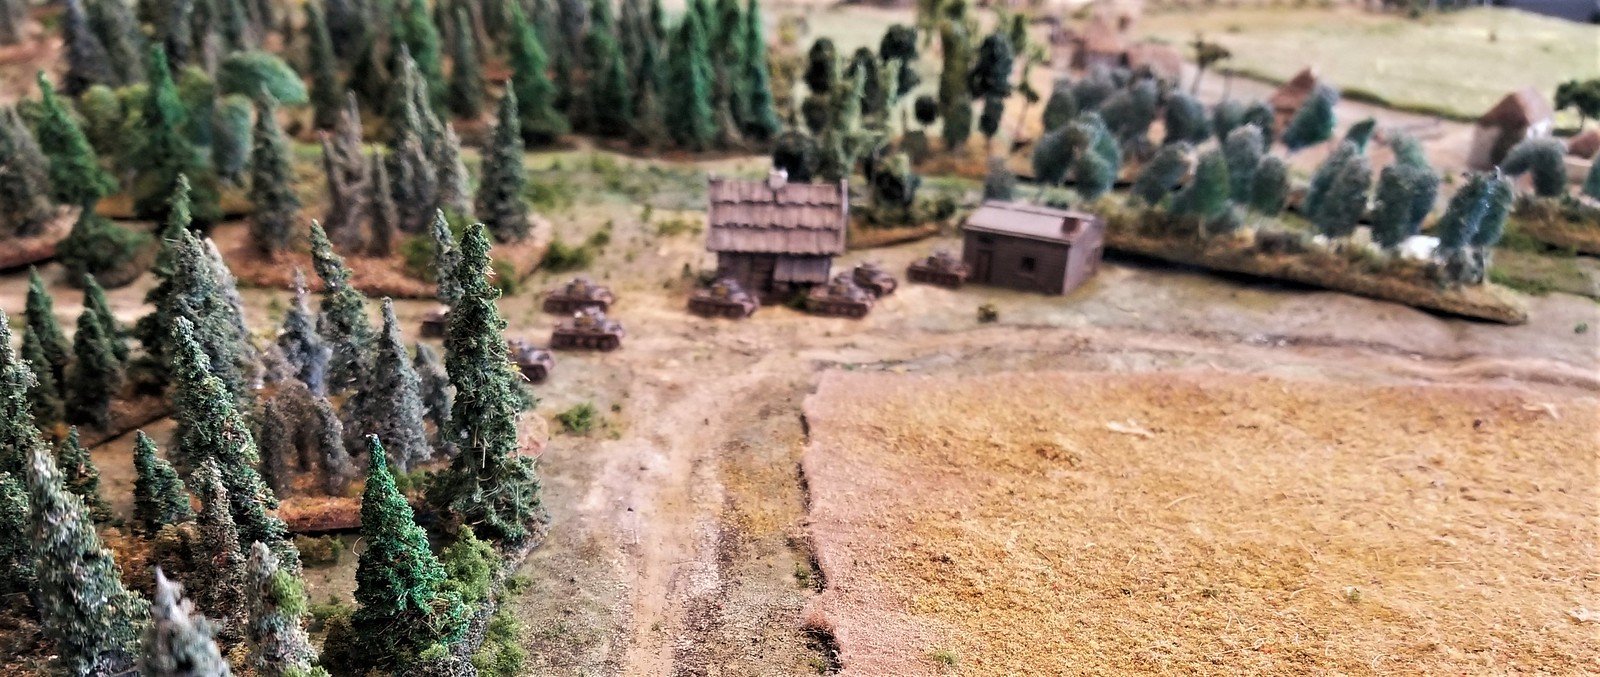
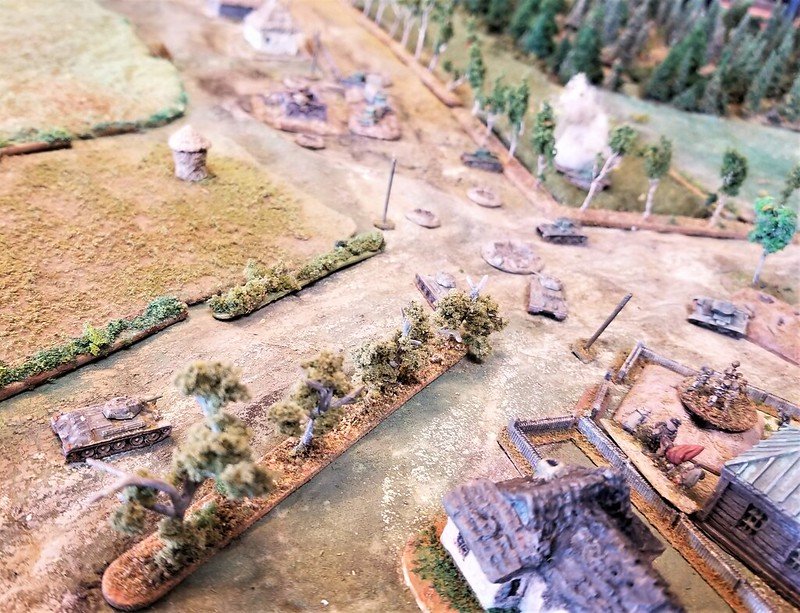
We decided to lead with a tank squad, followed by mortar and artillery observers, followed by another tank, four platoons of infantry, and an HQ unit.

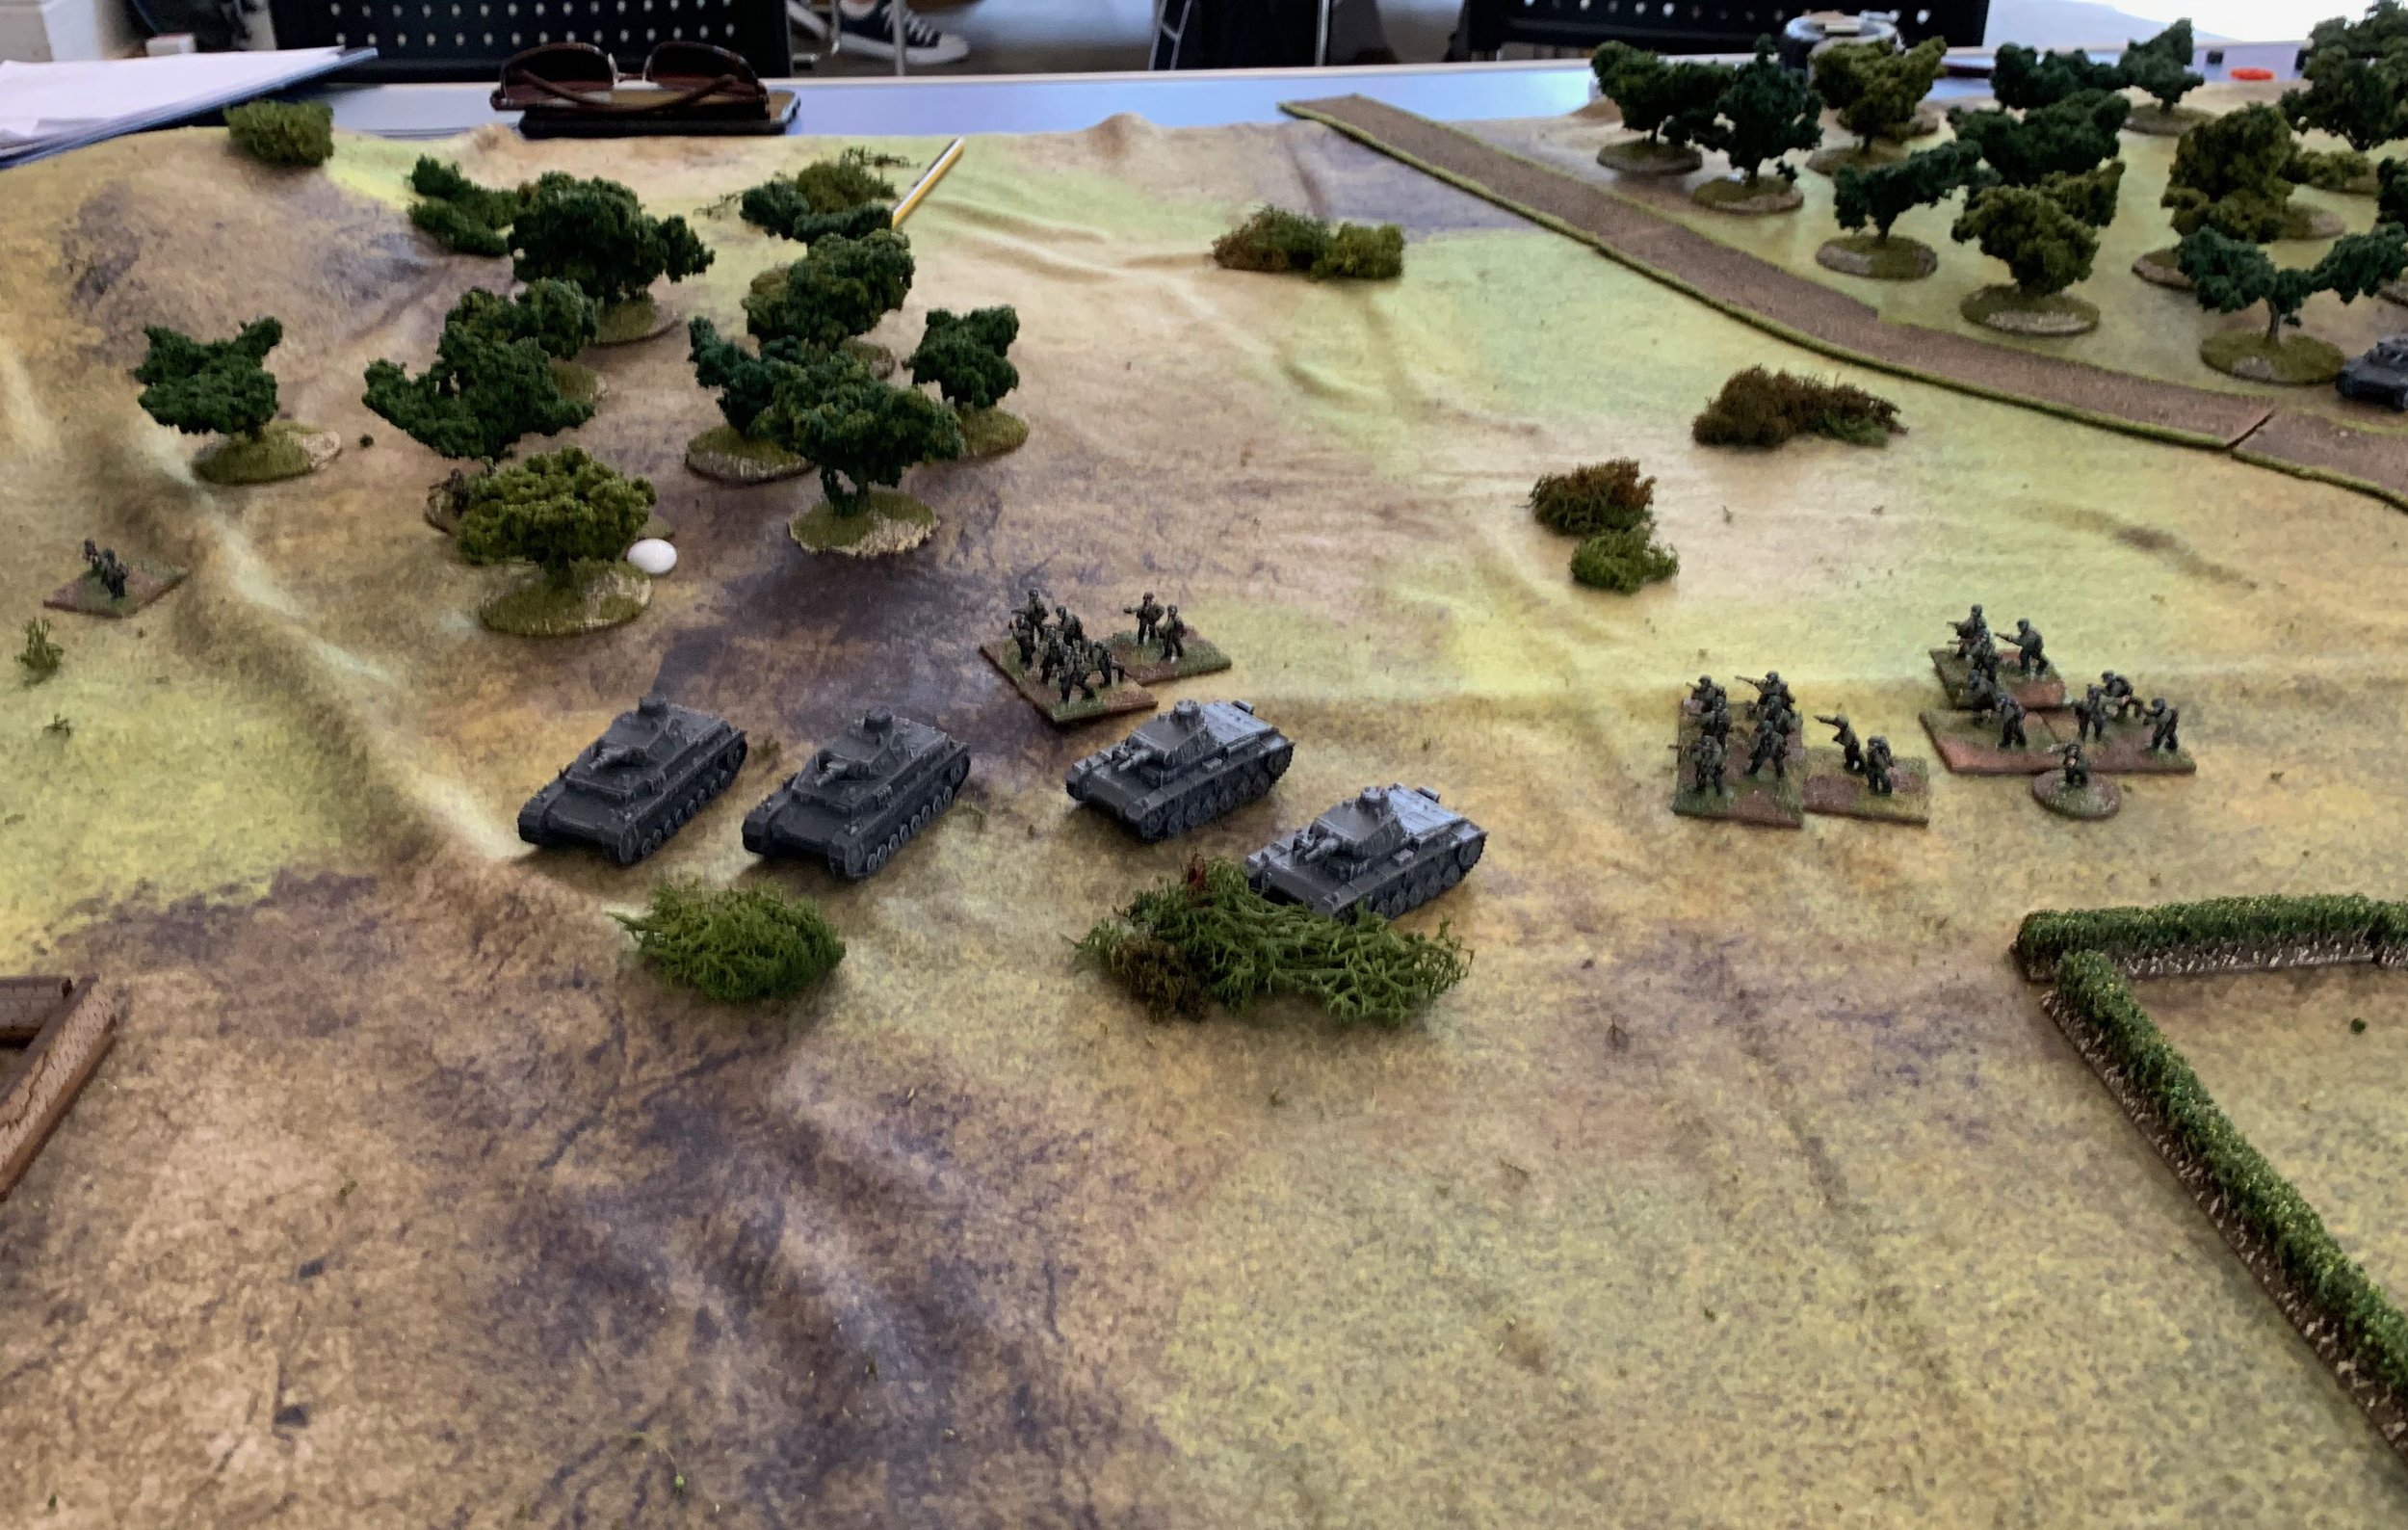
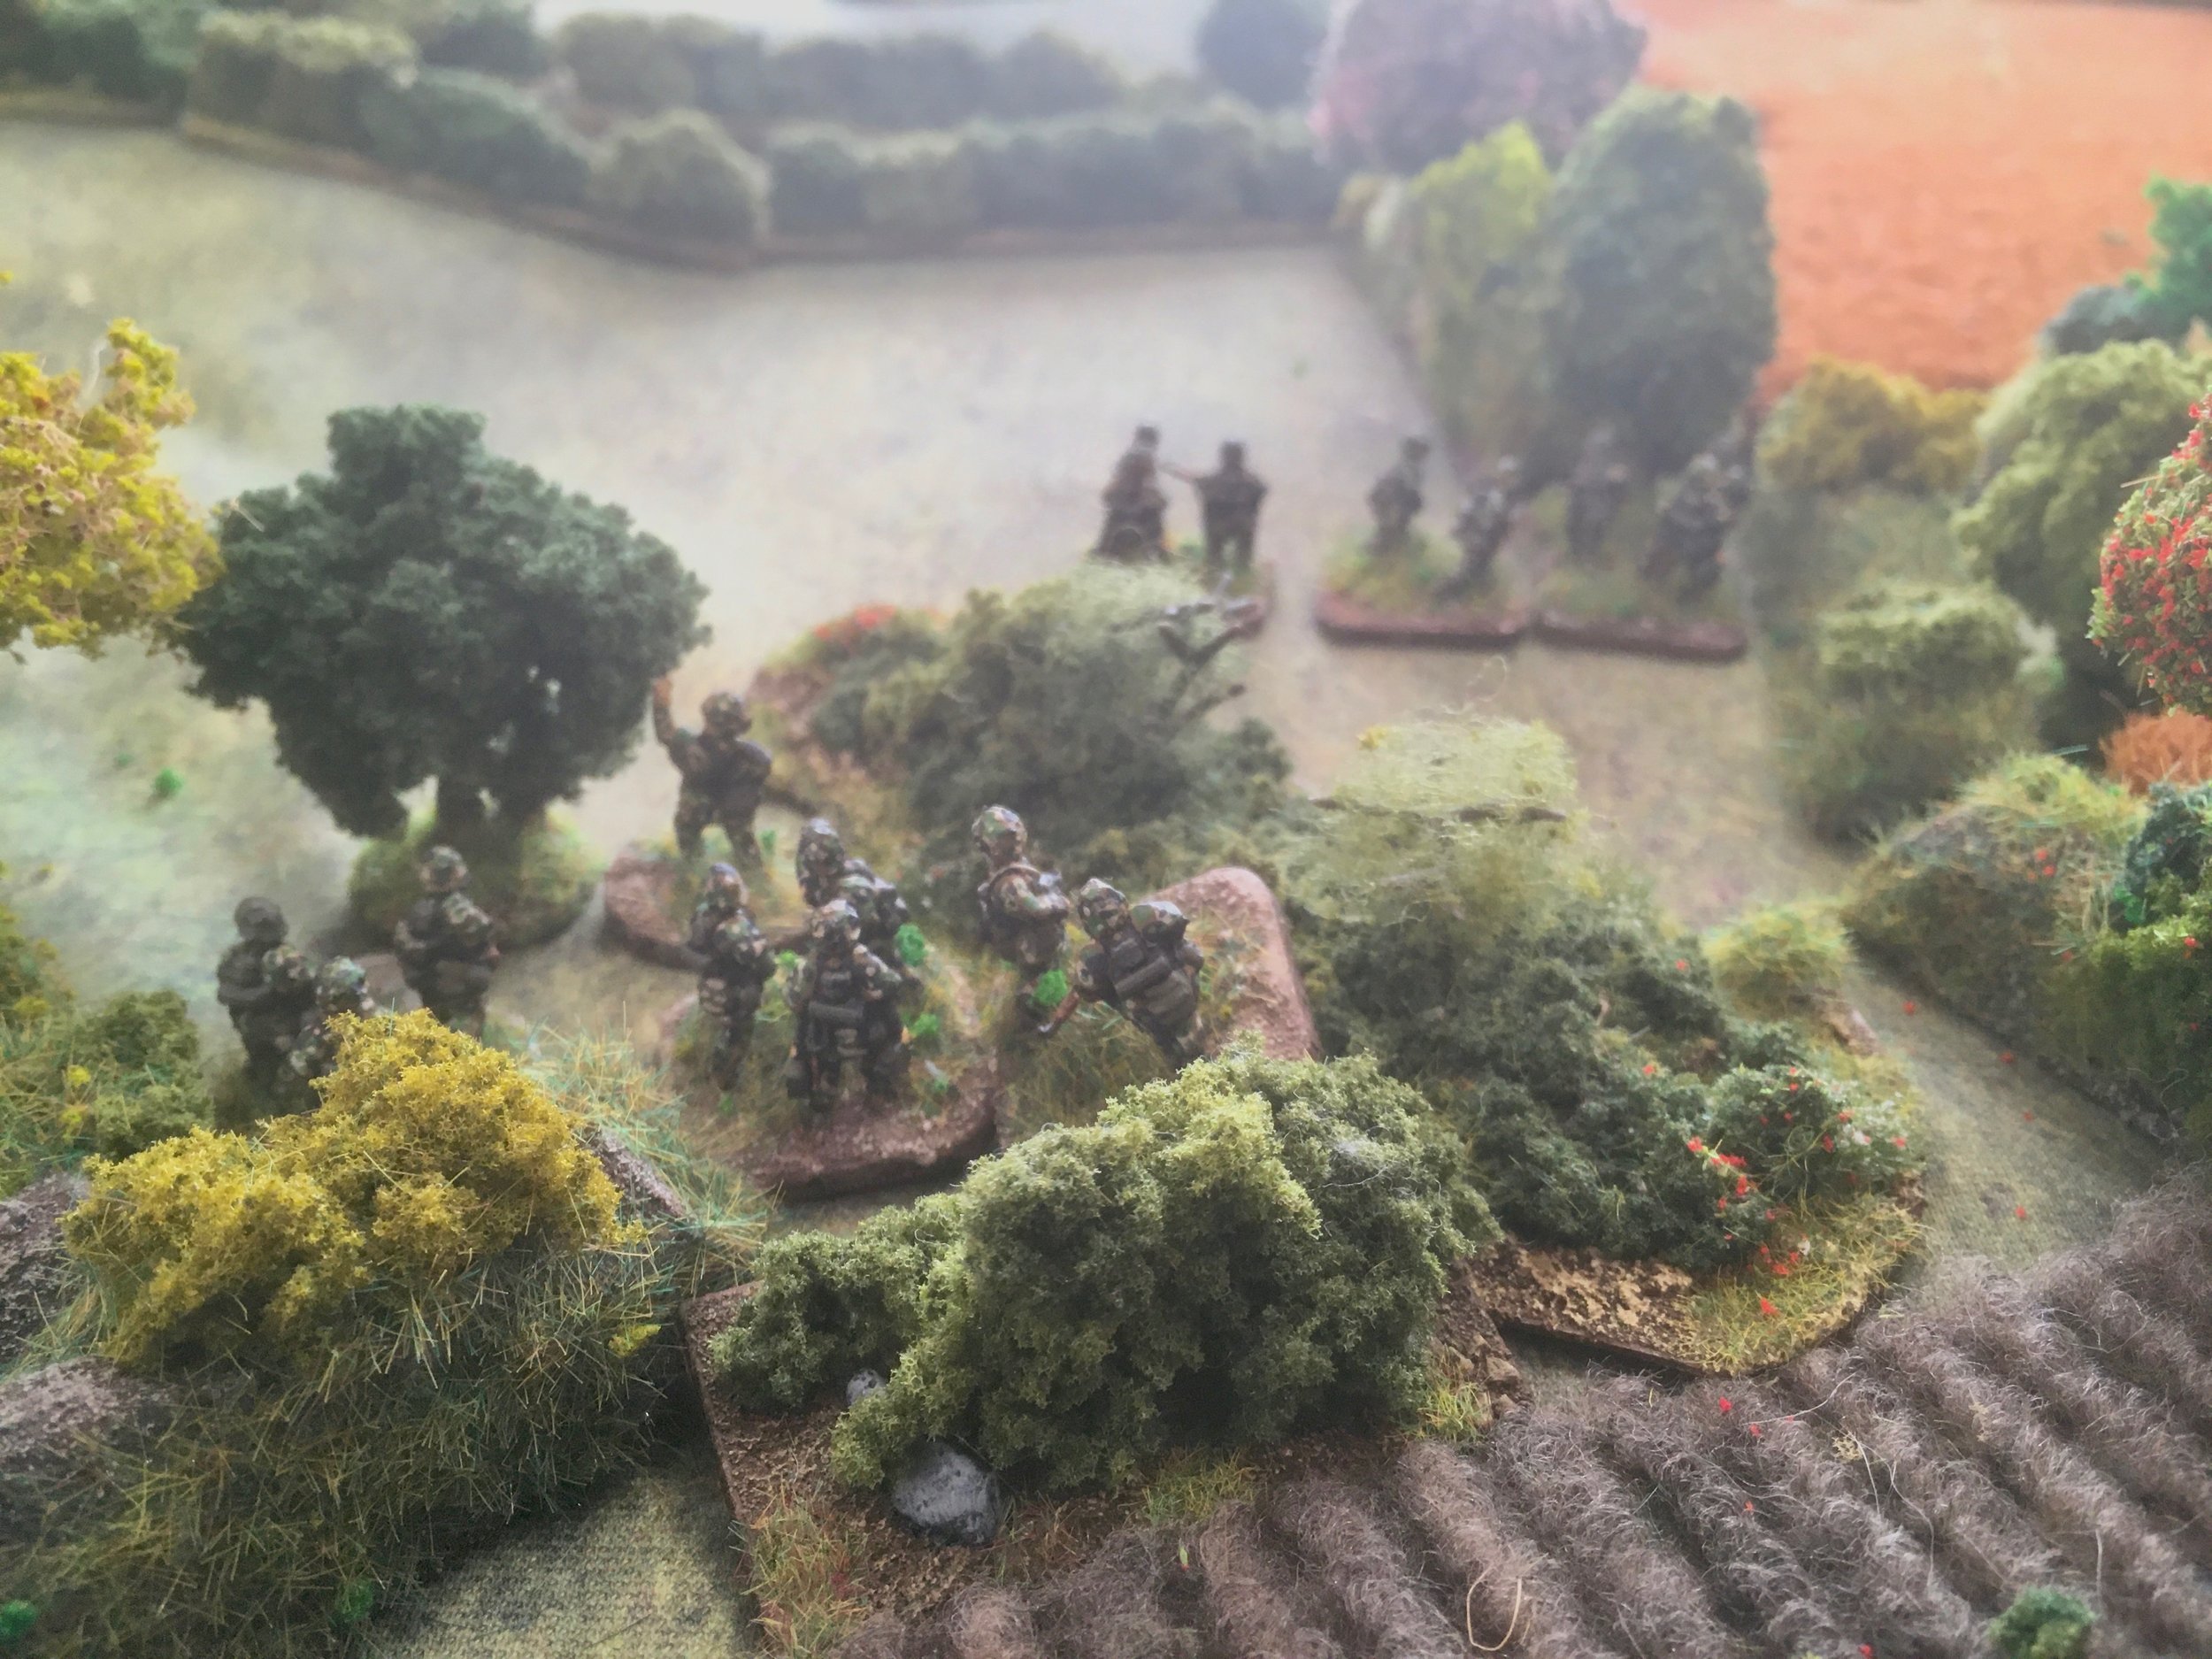
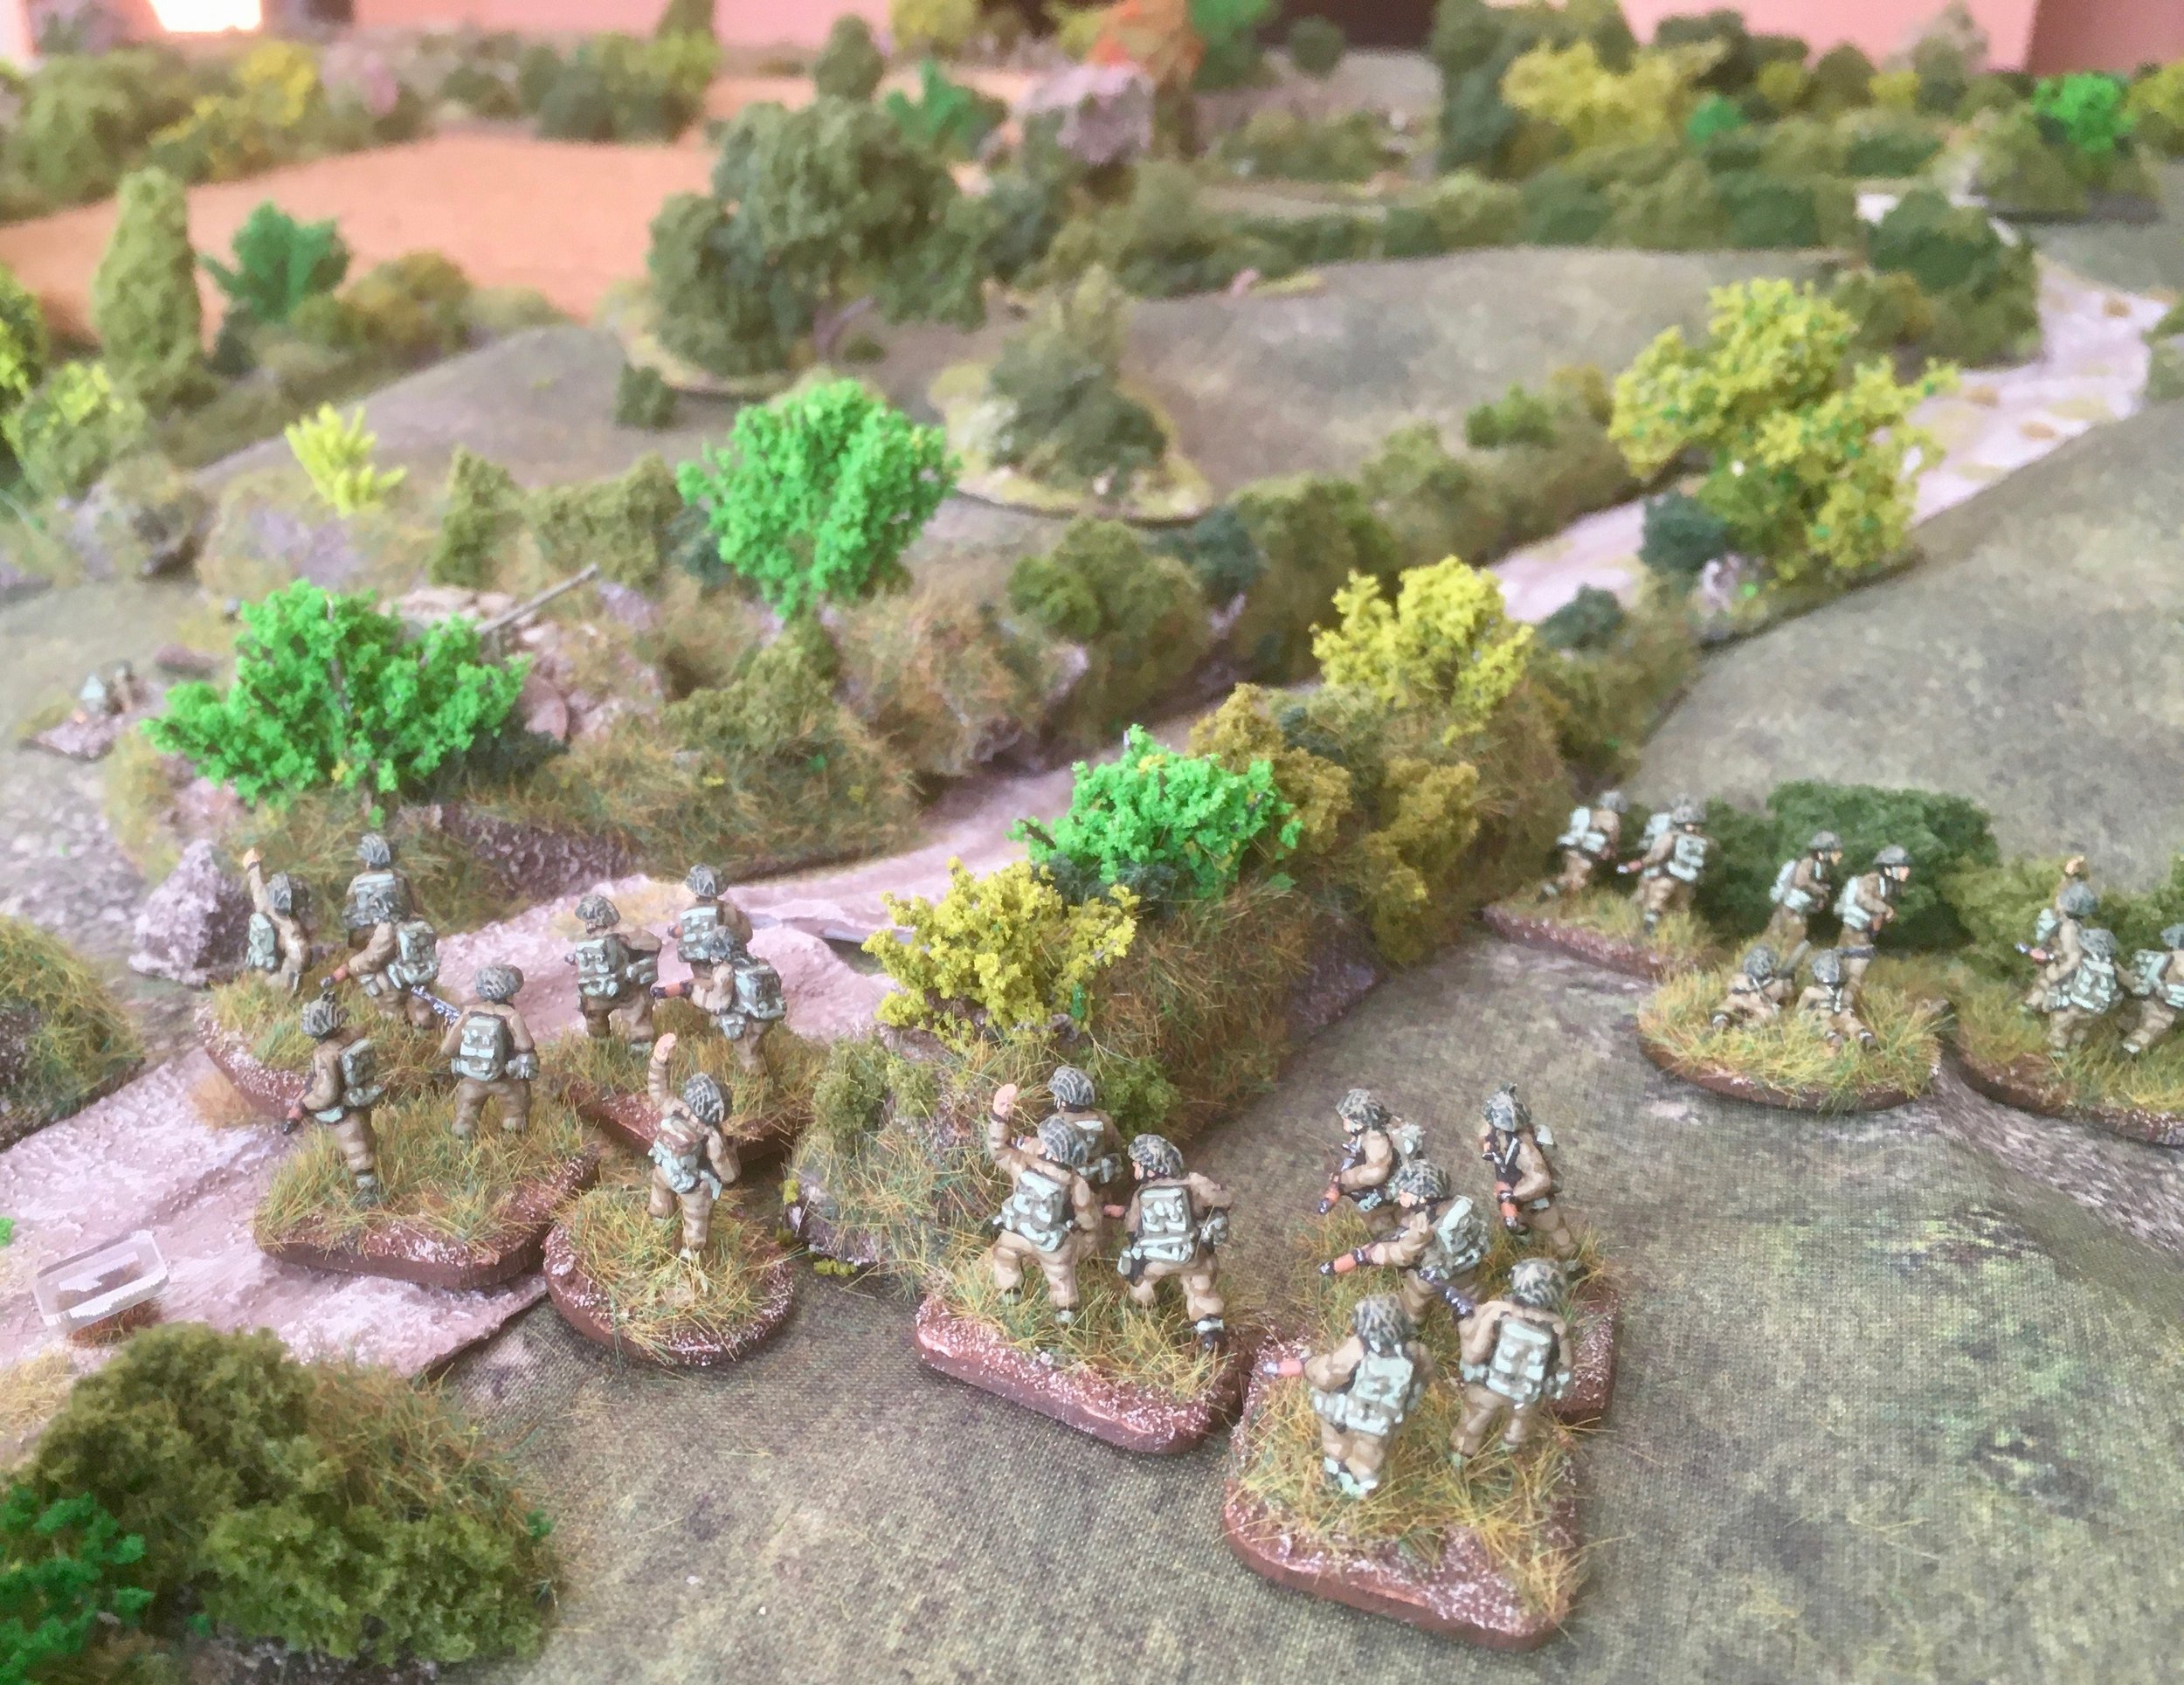
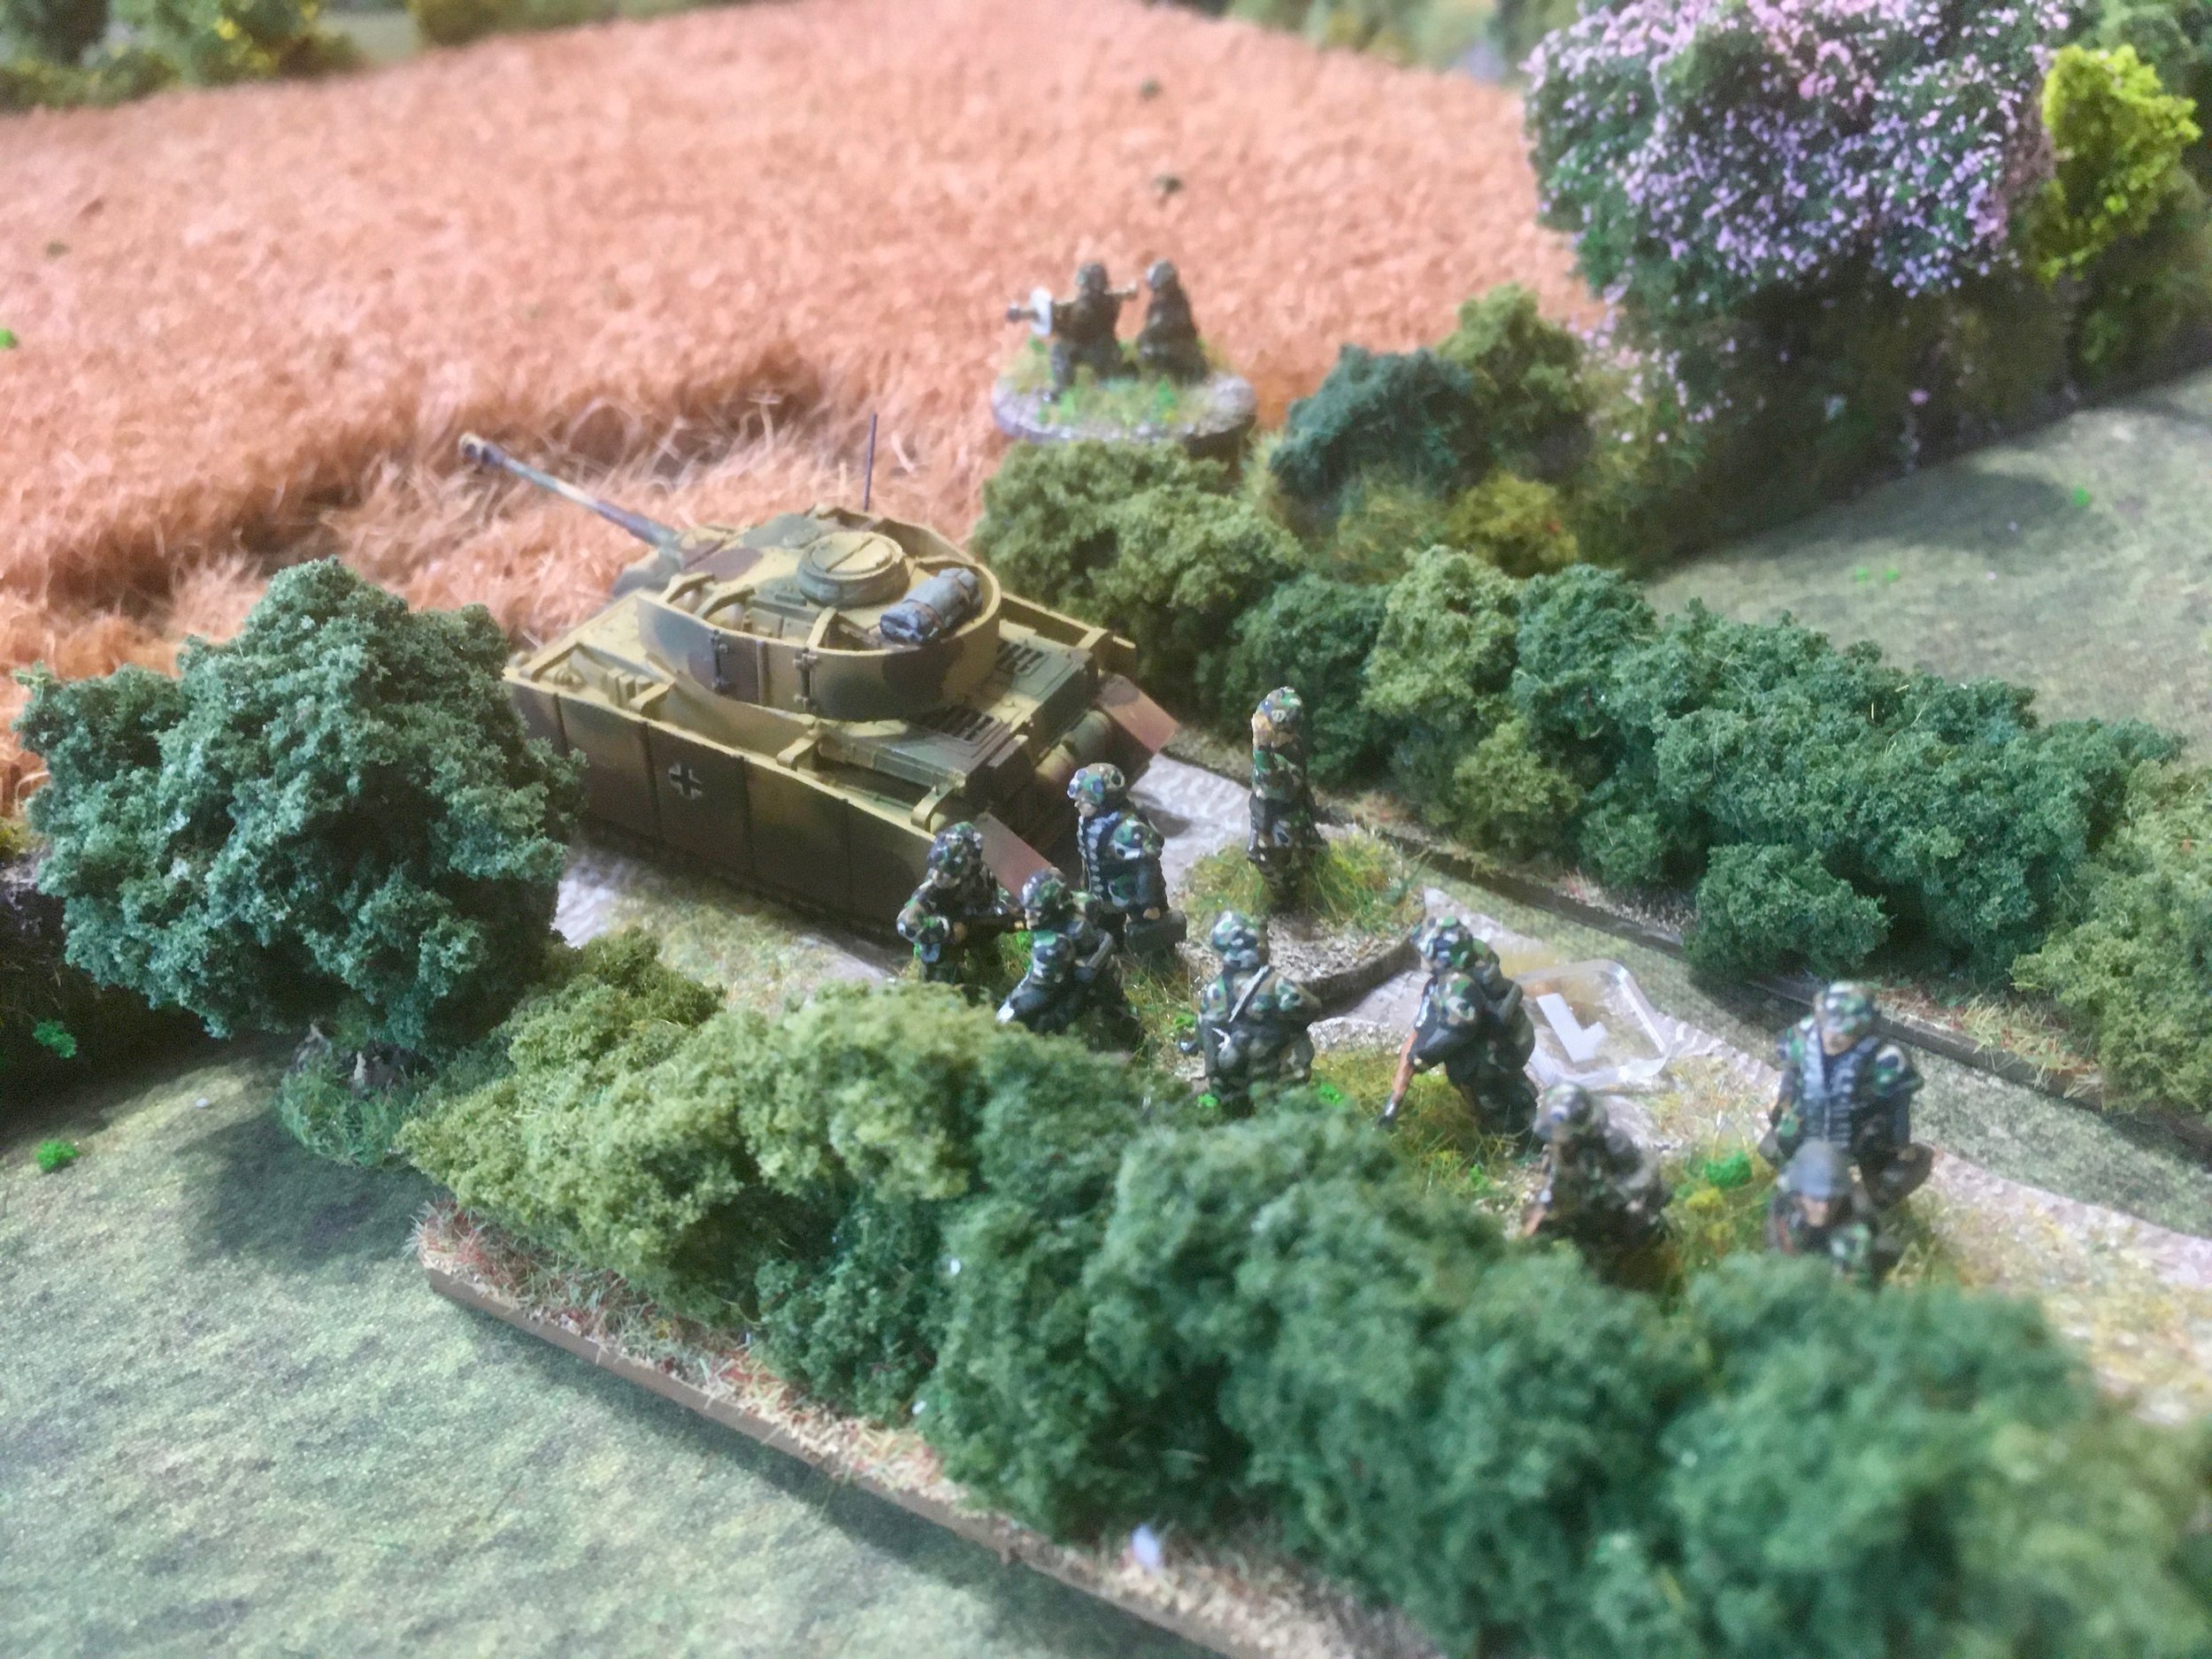
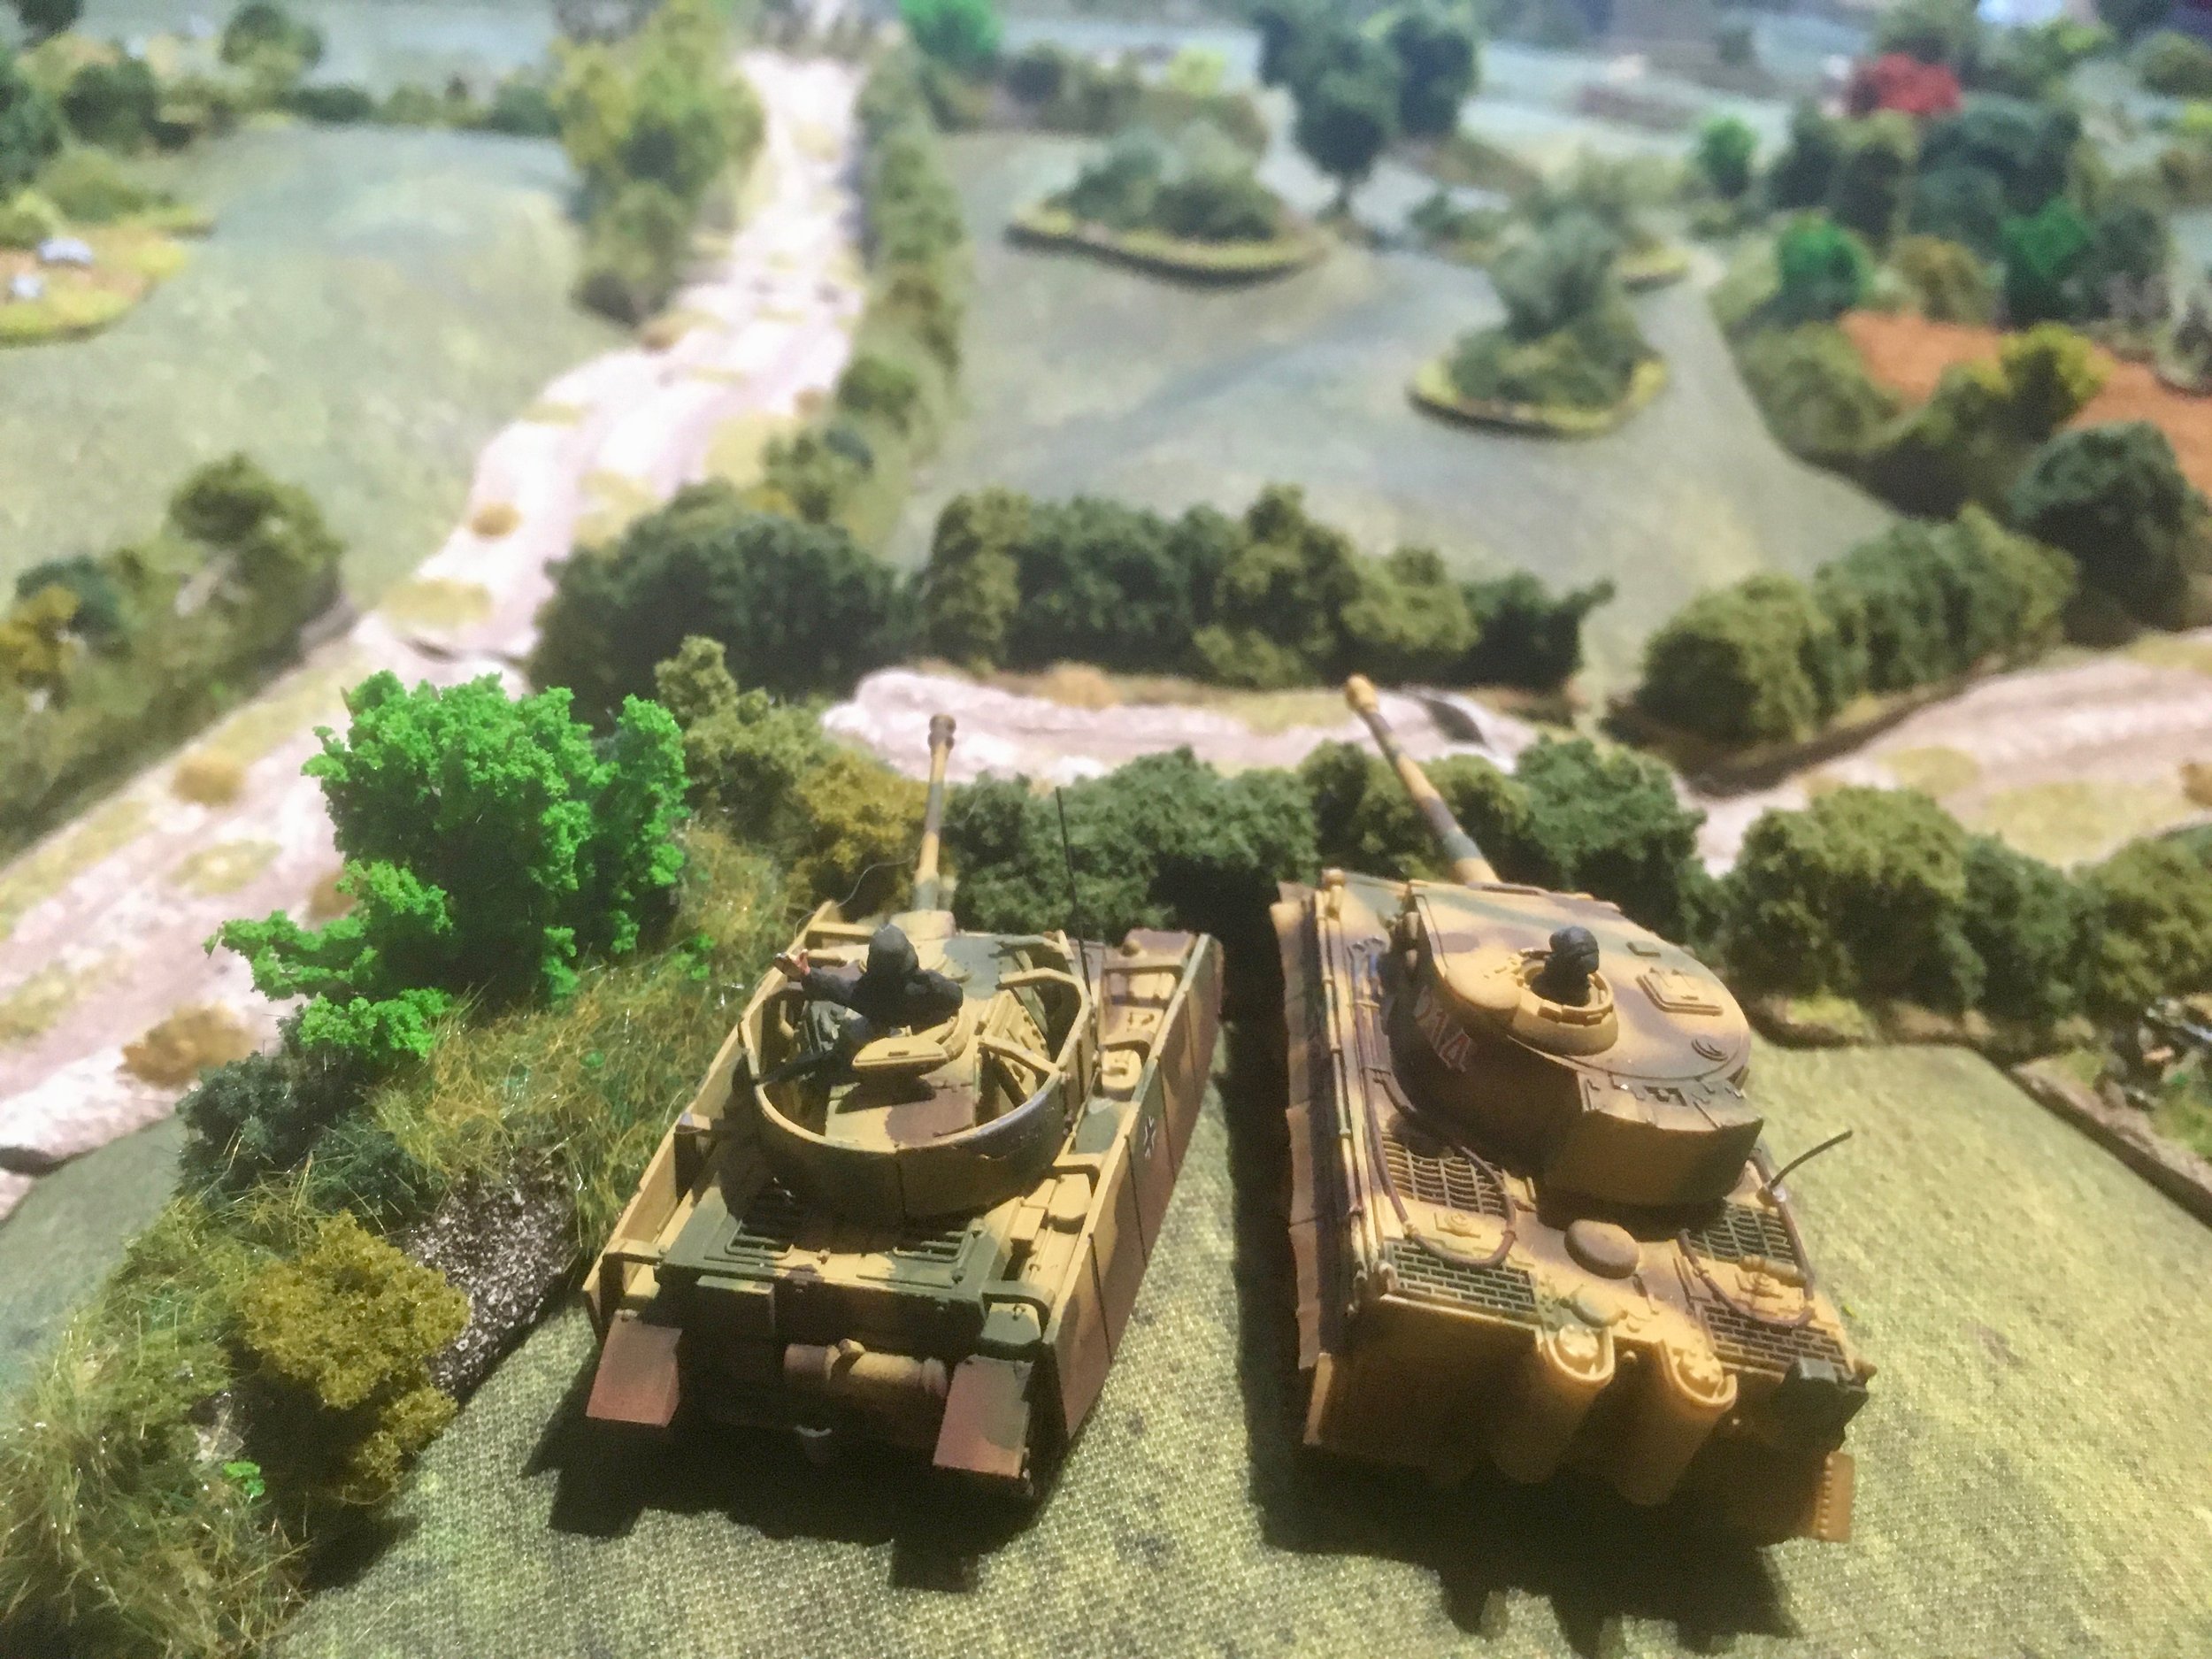
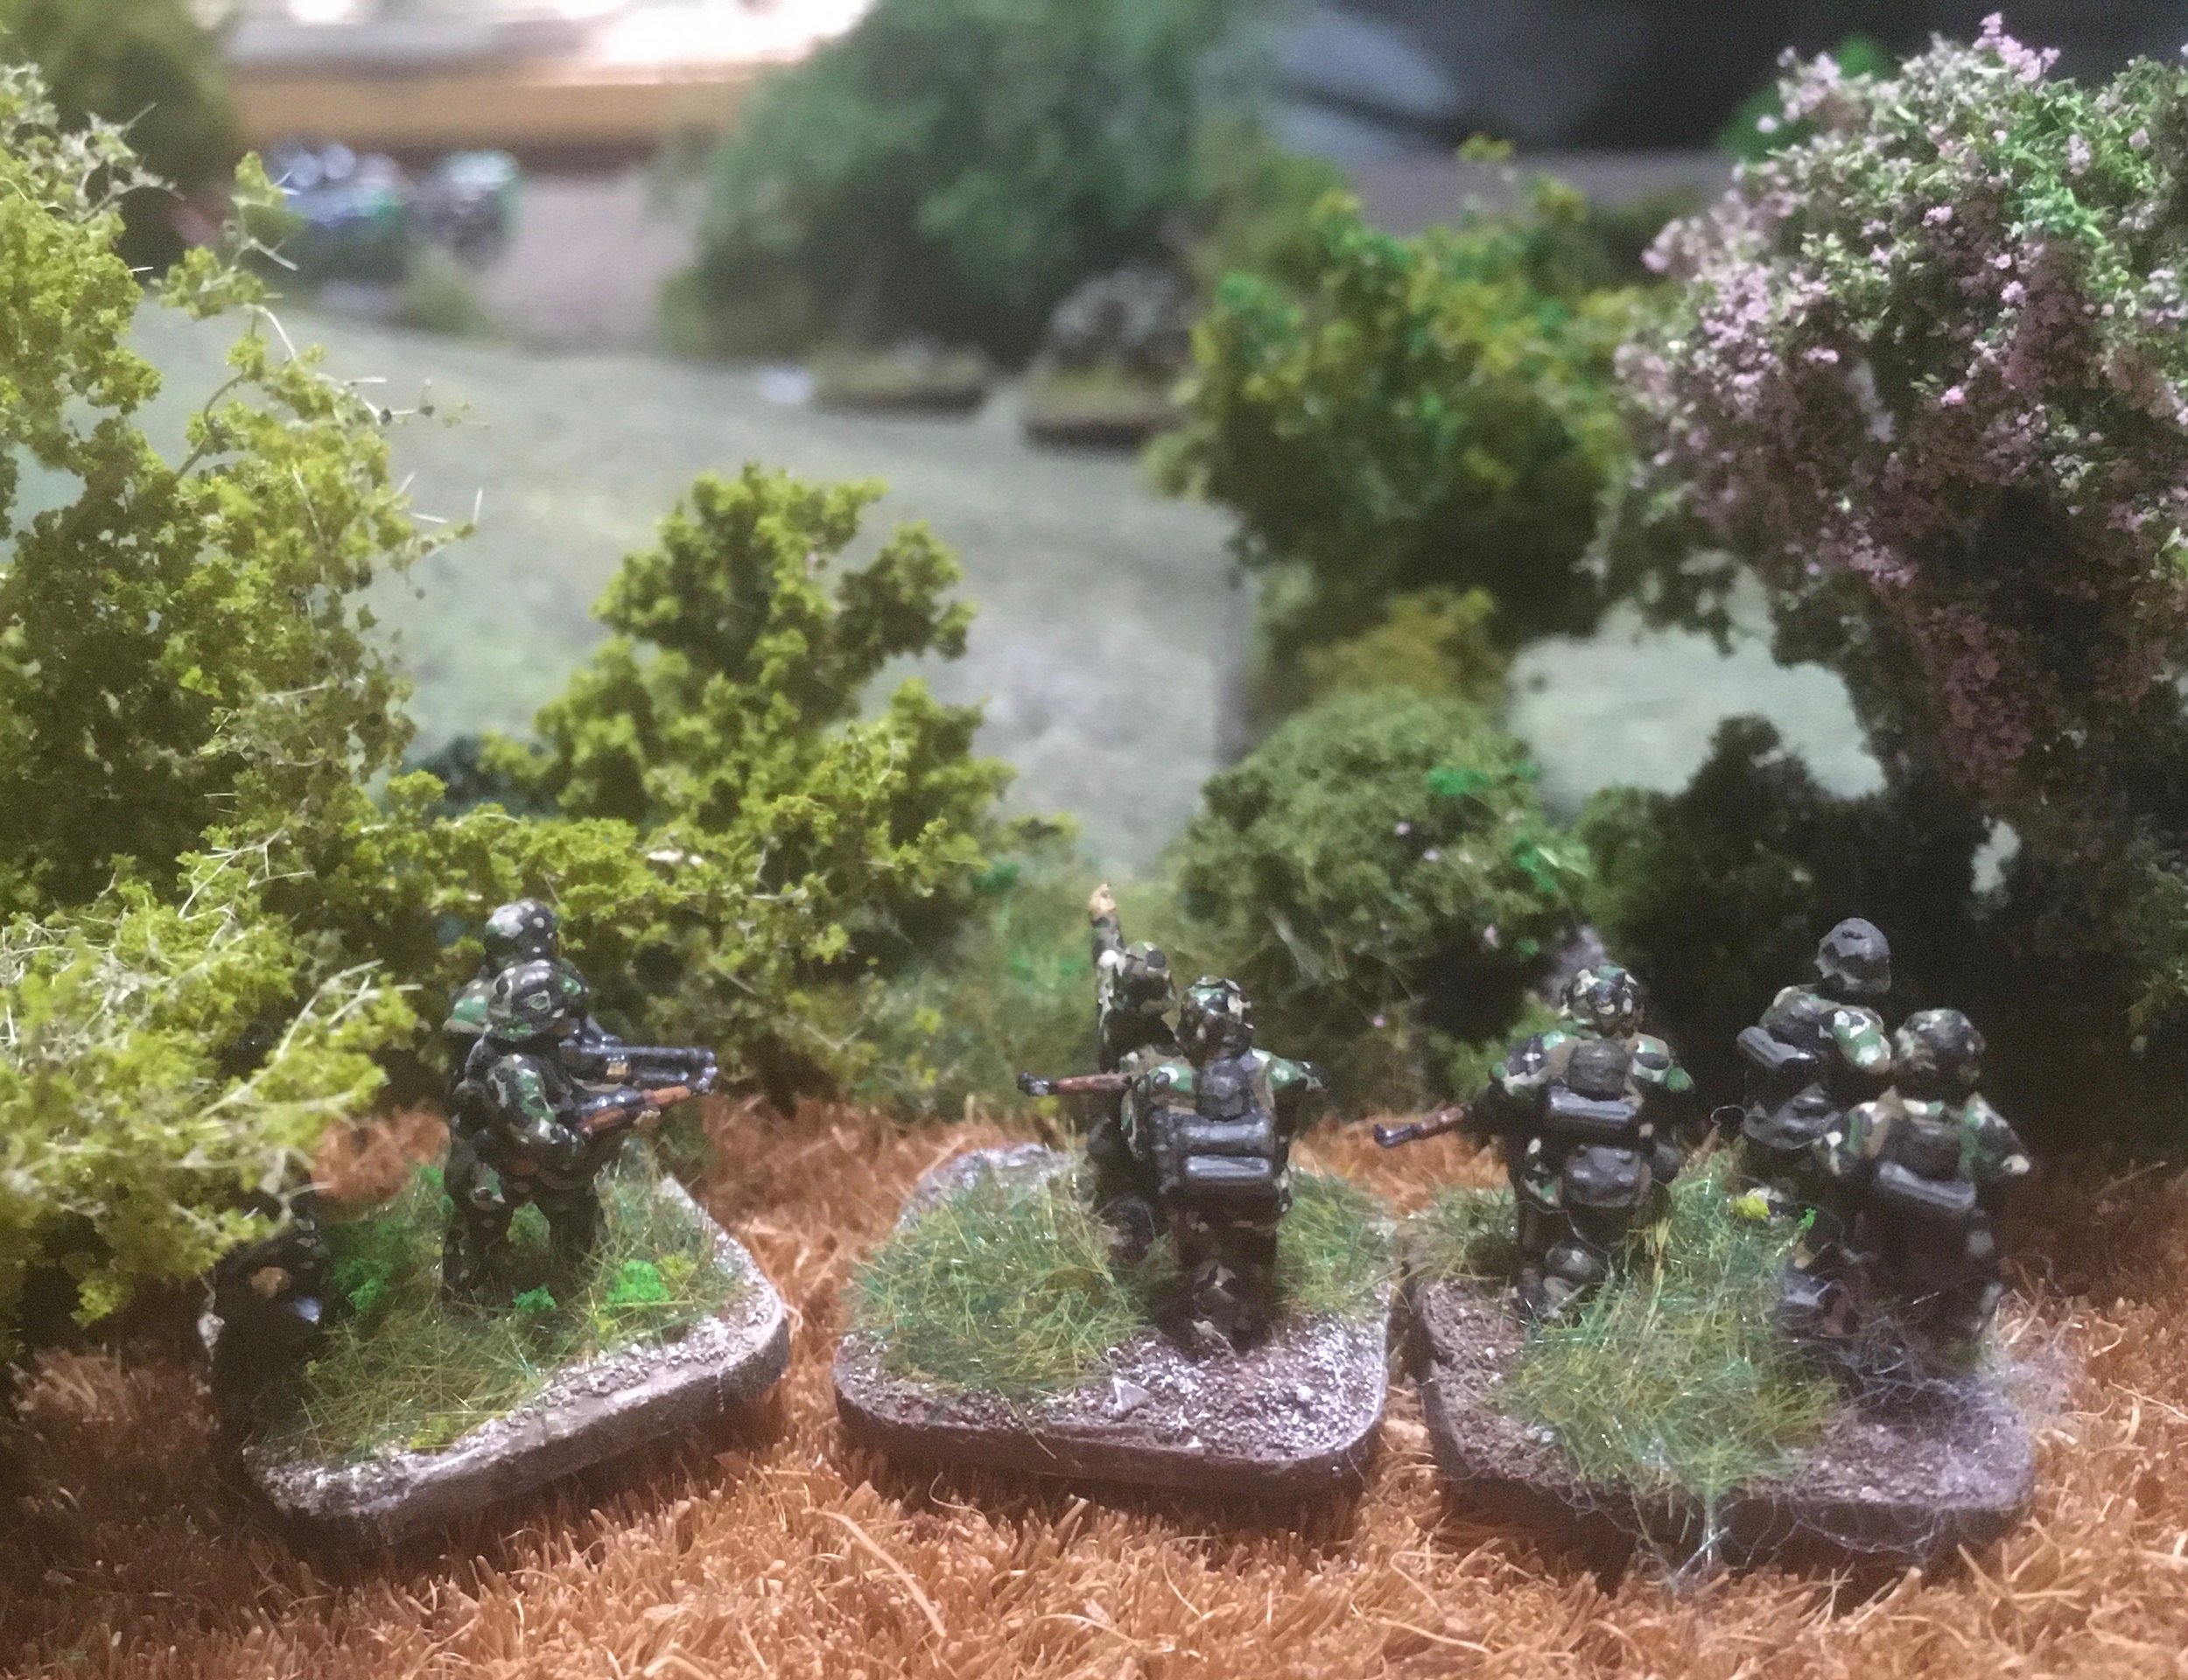
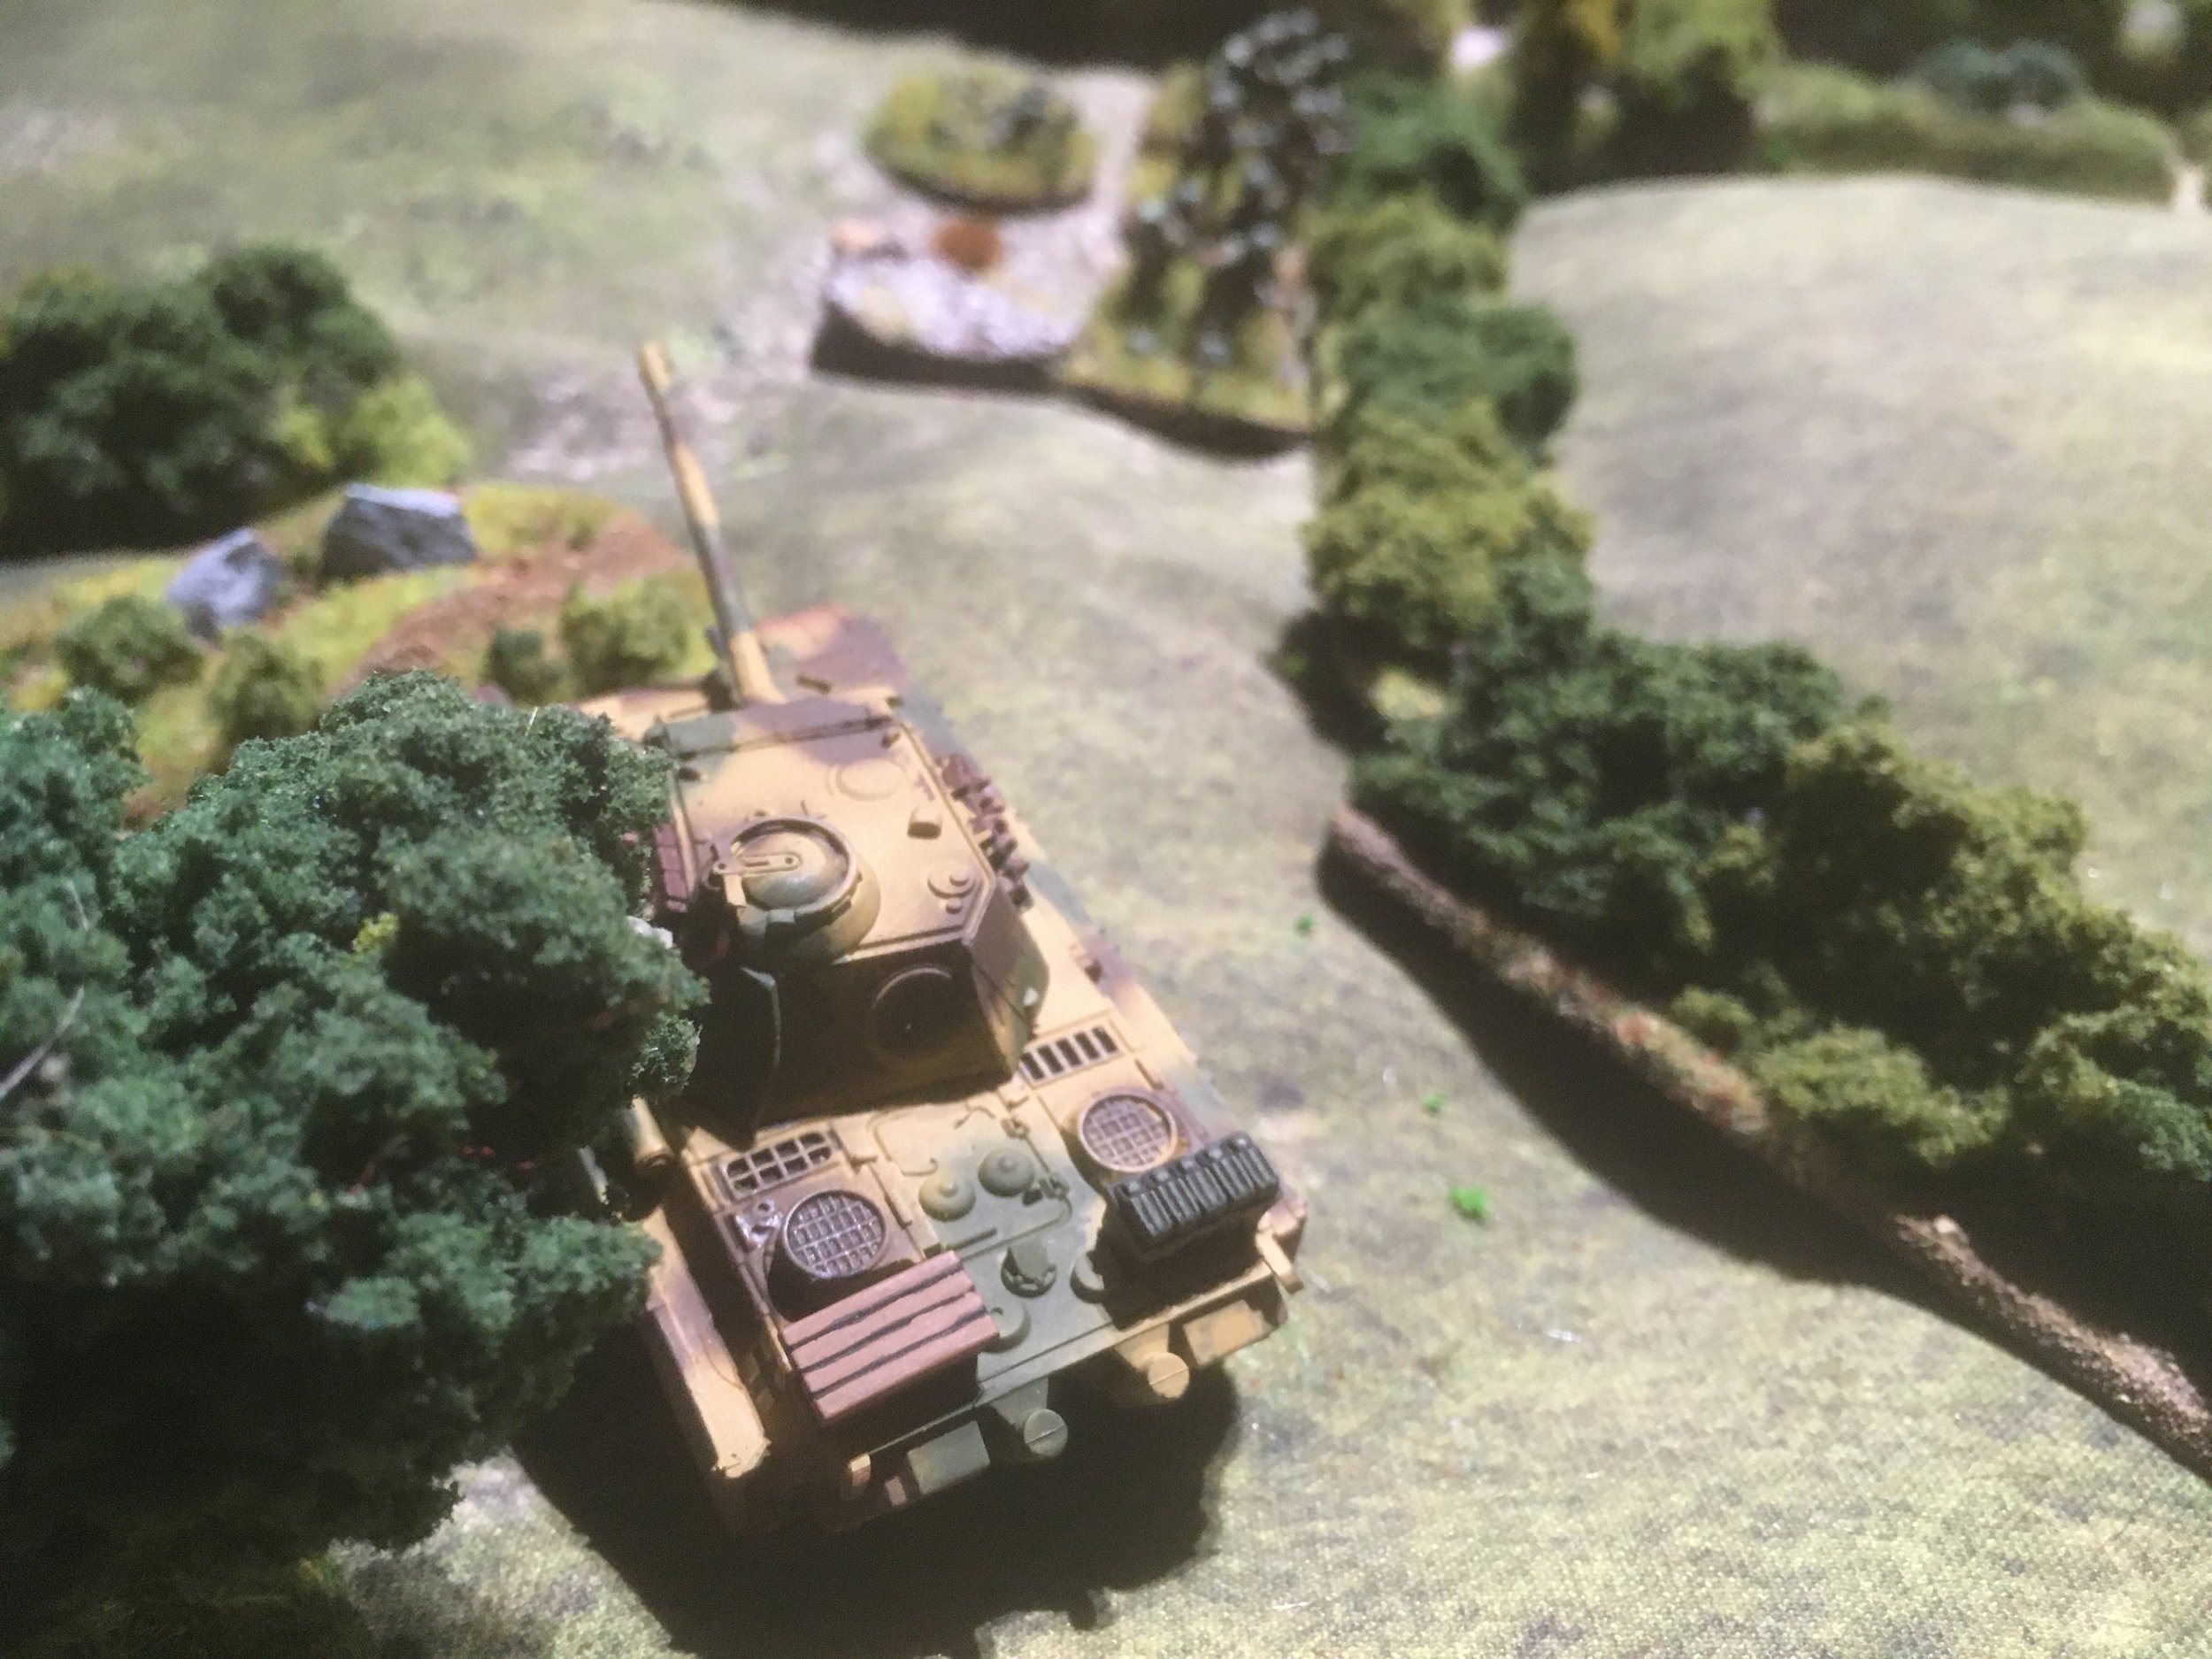
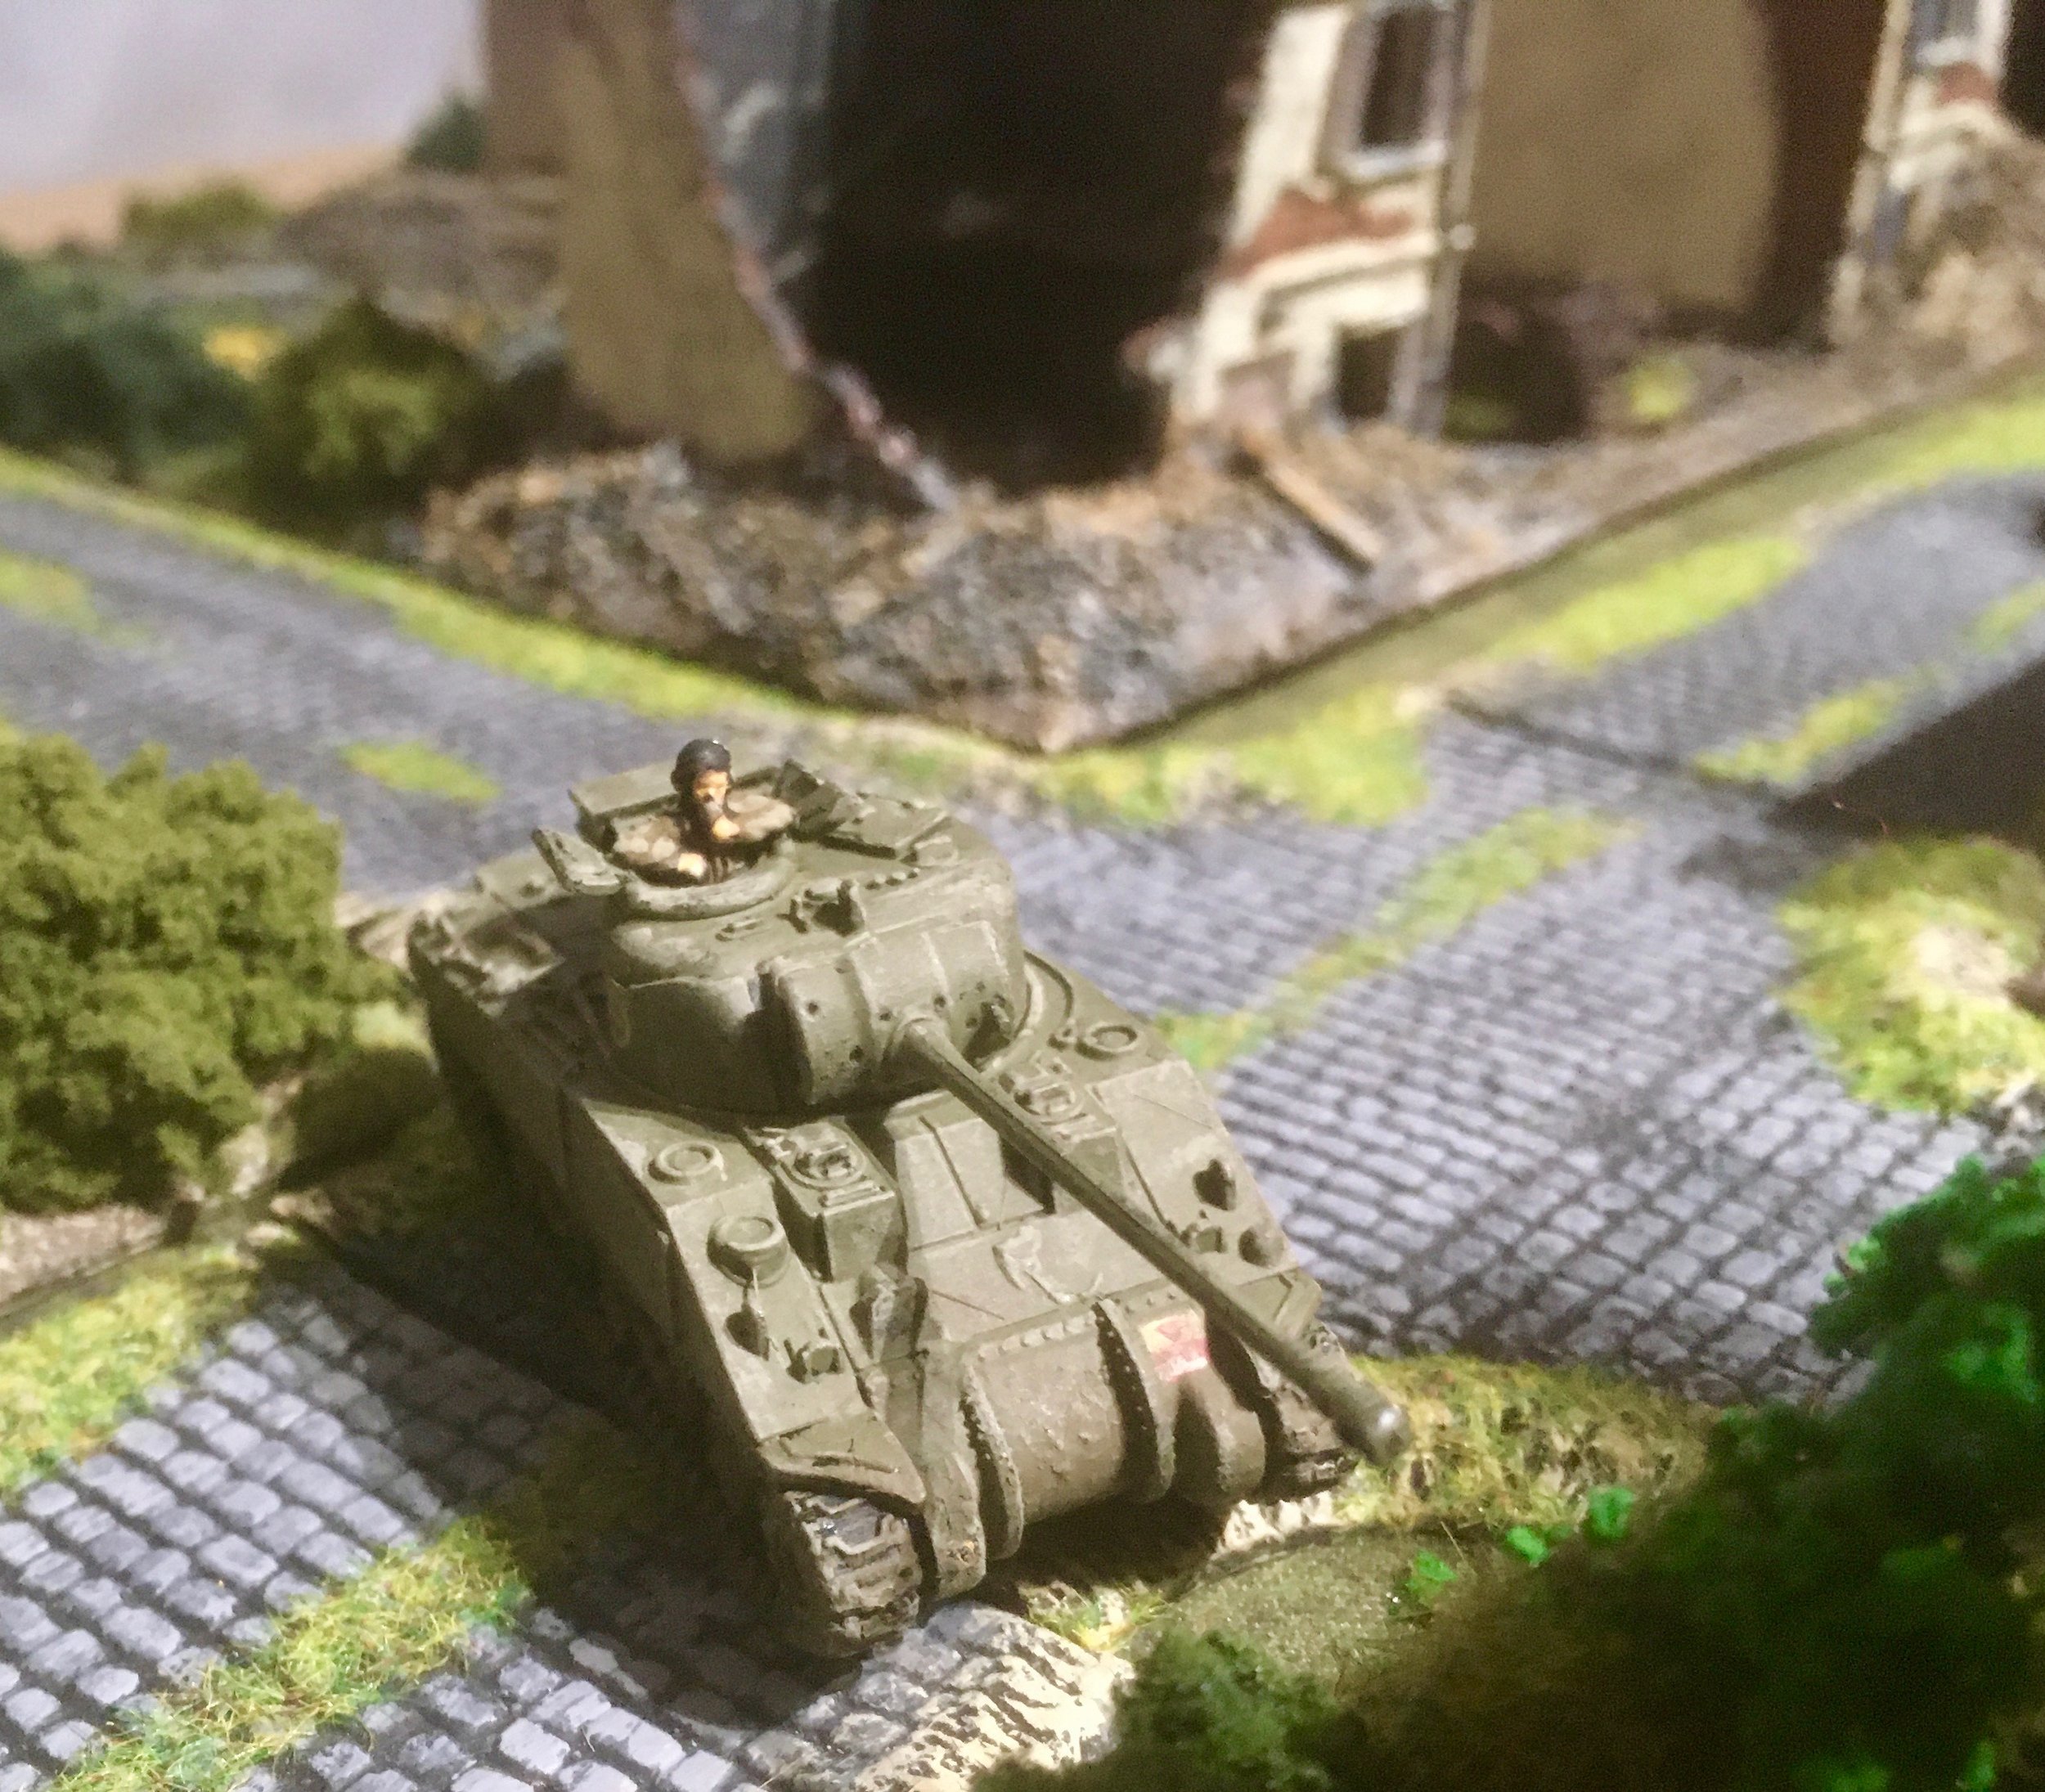
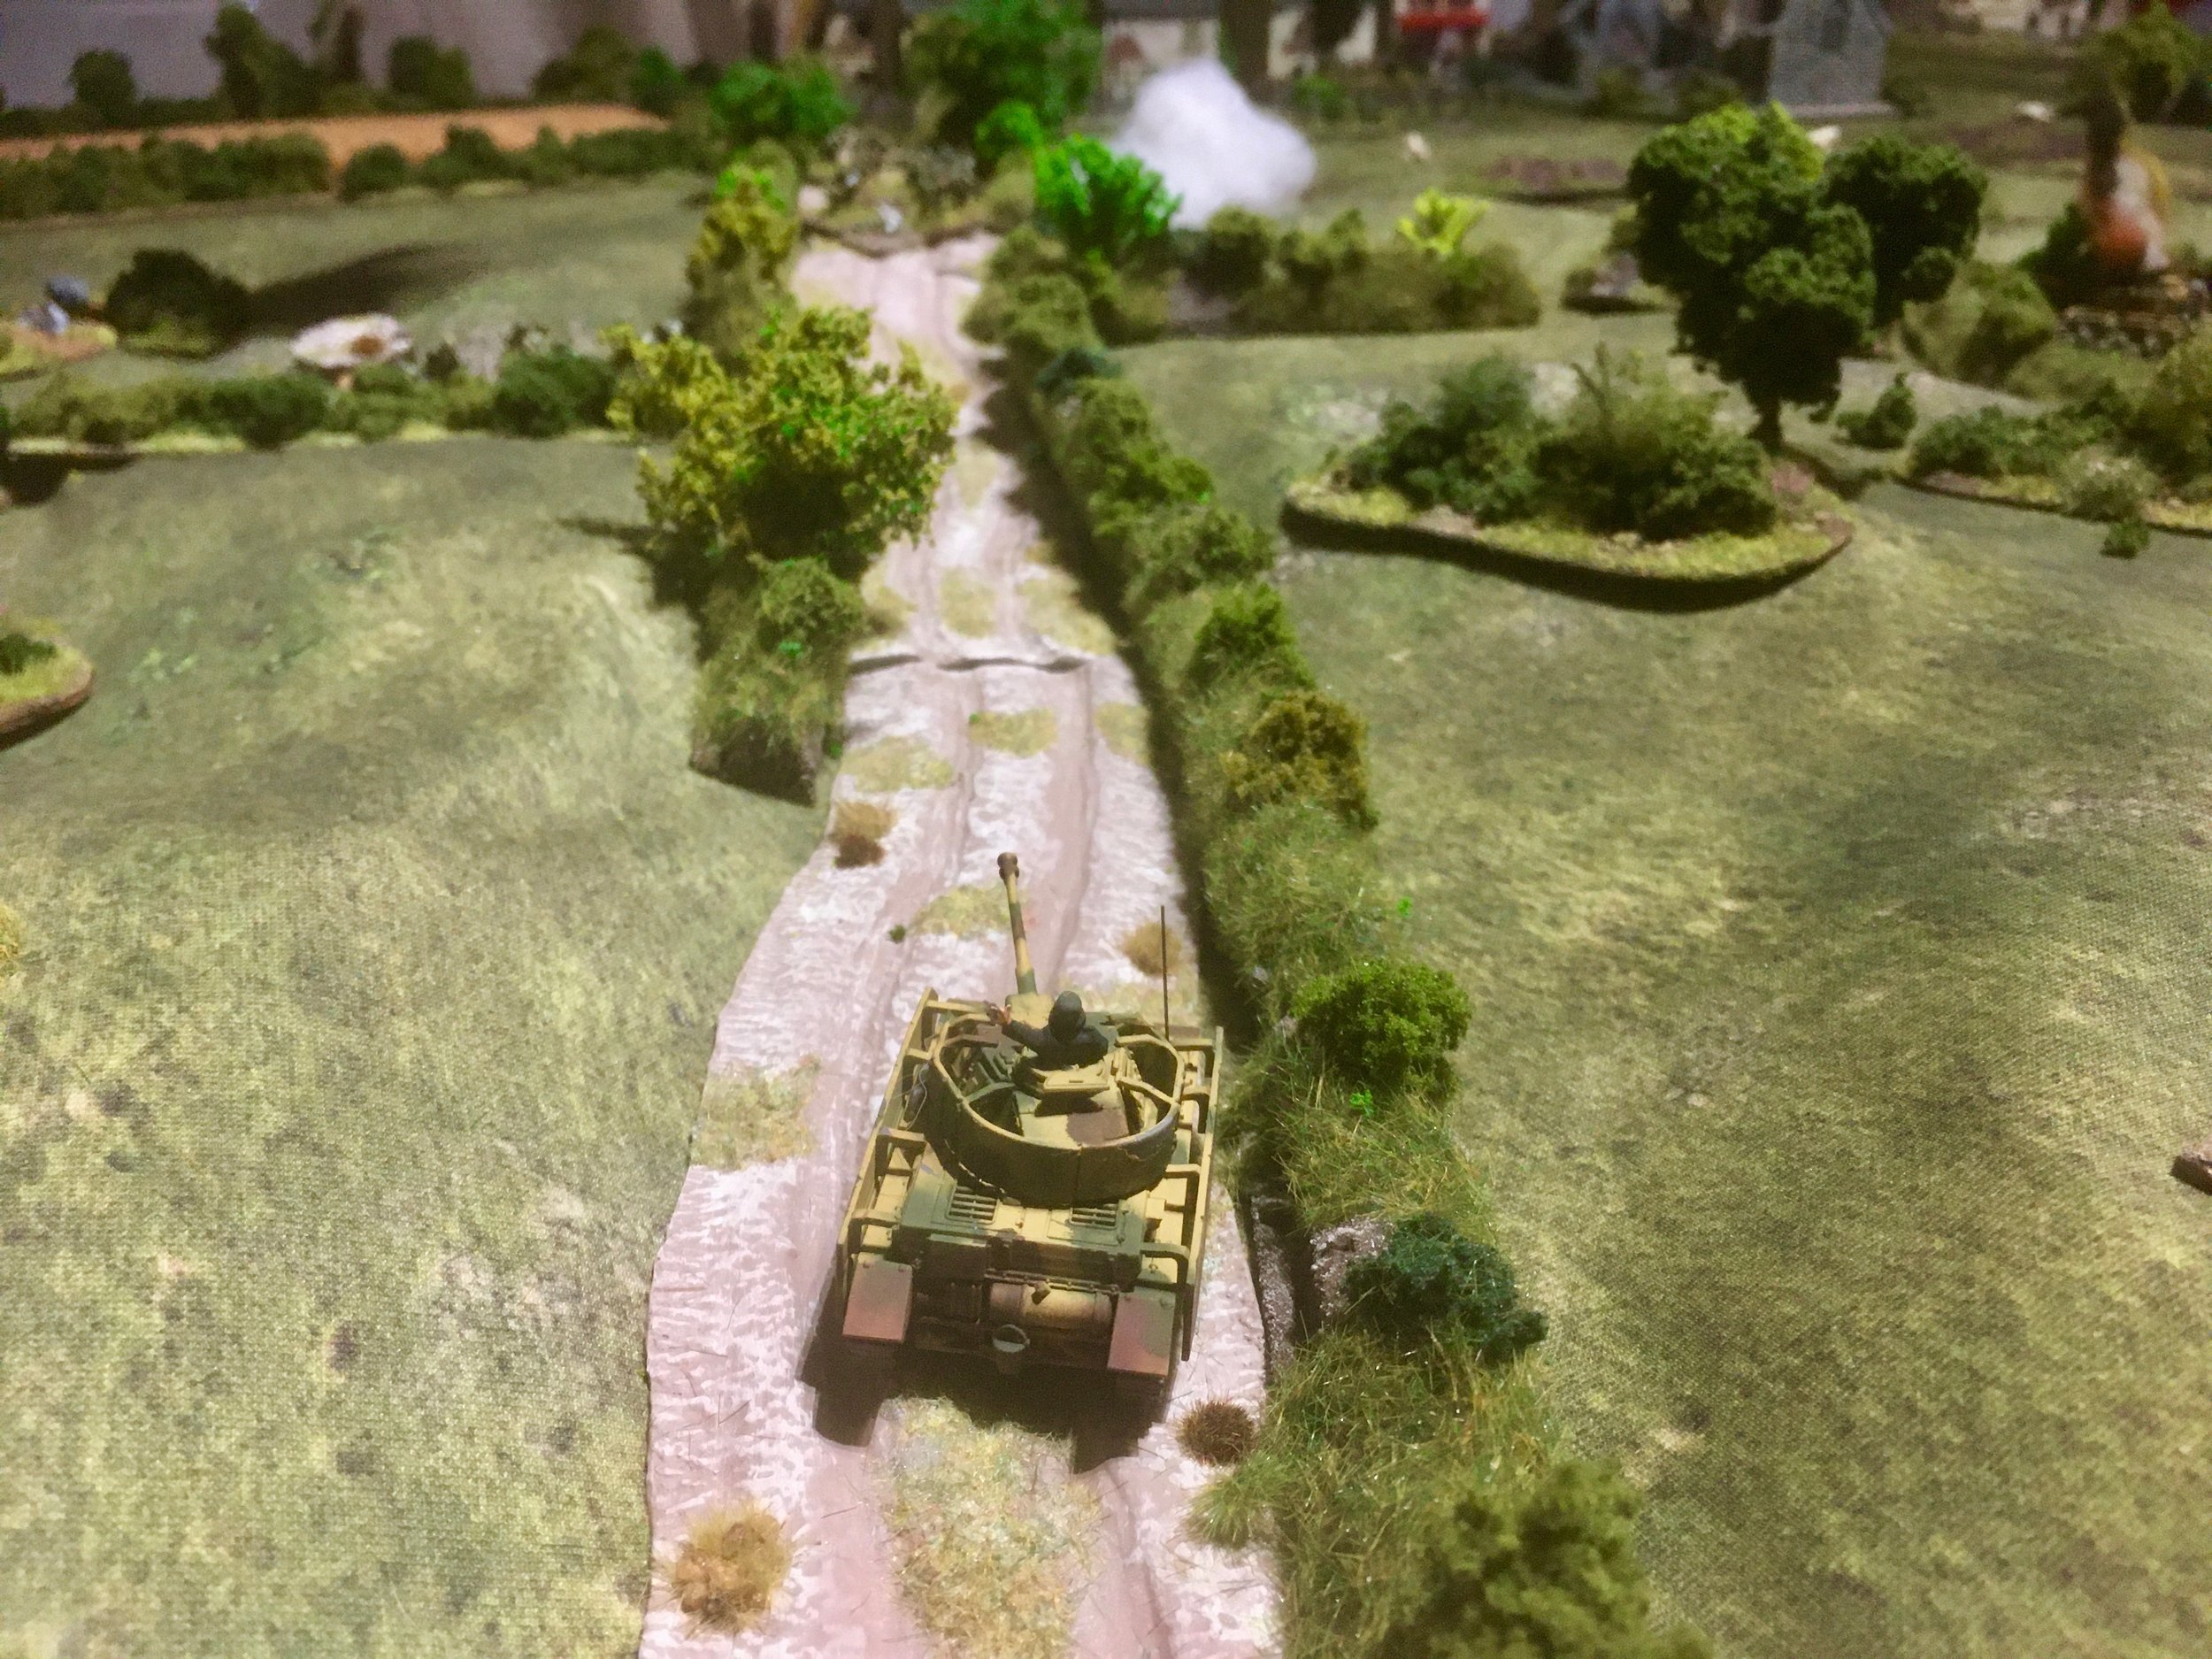
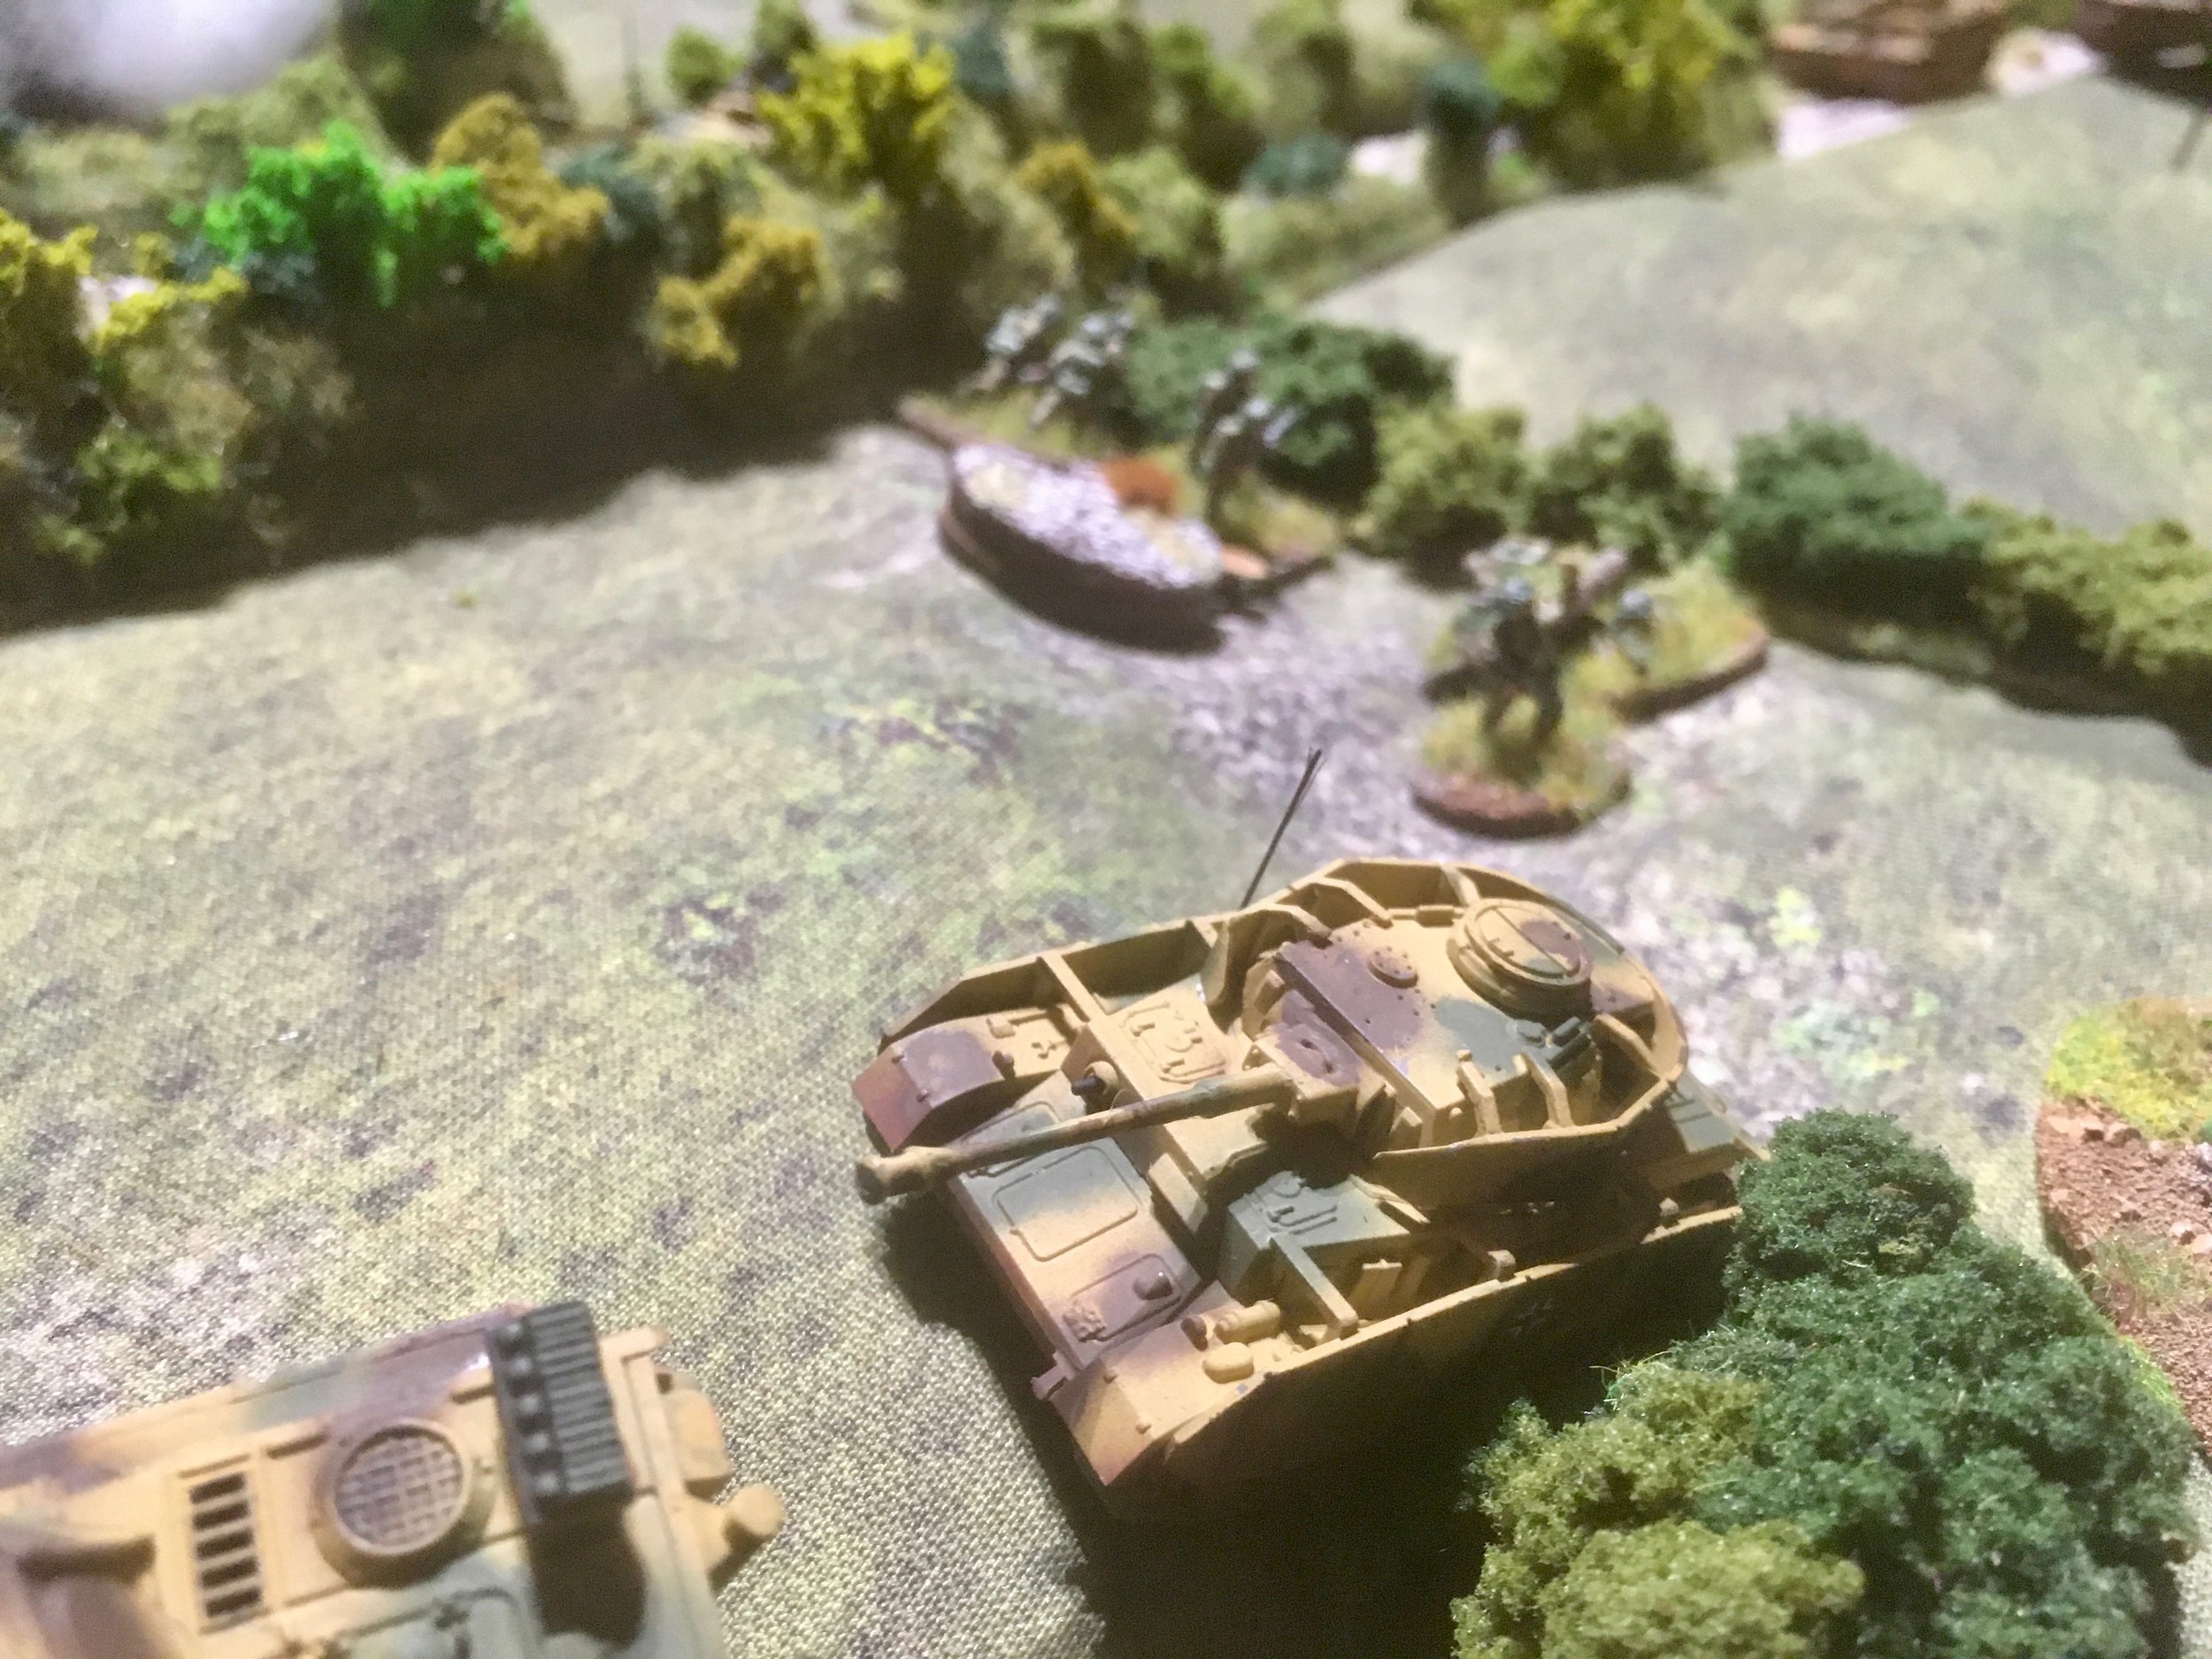
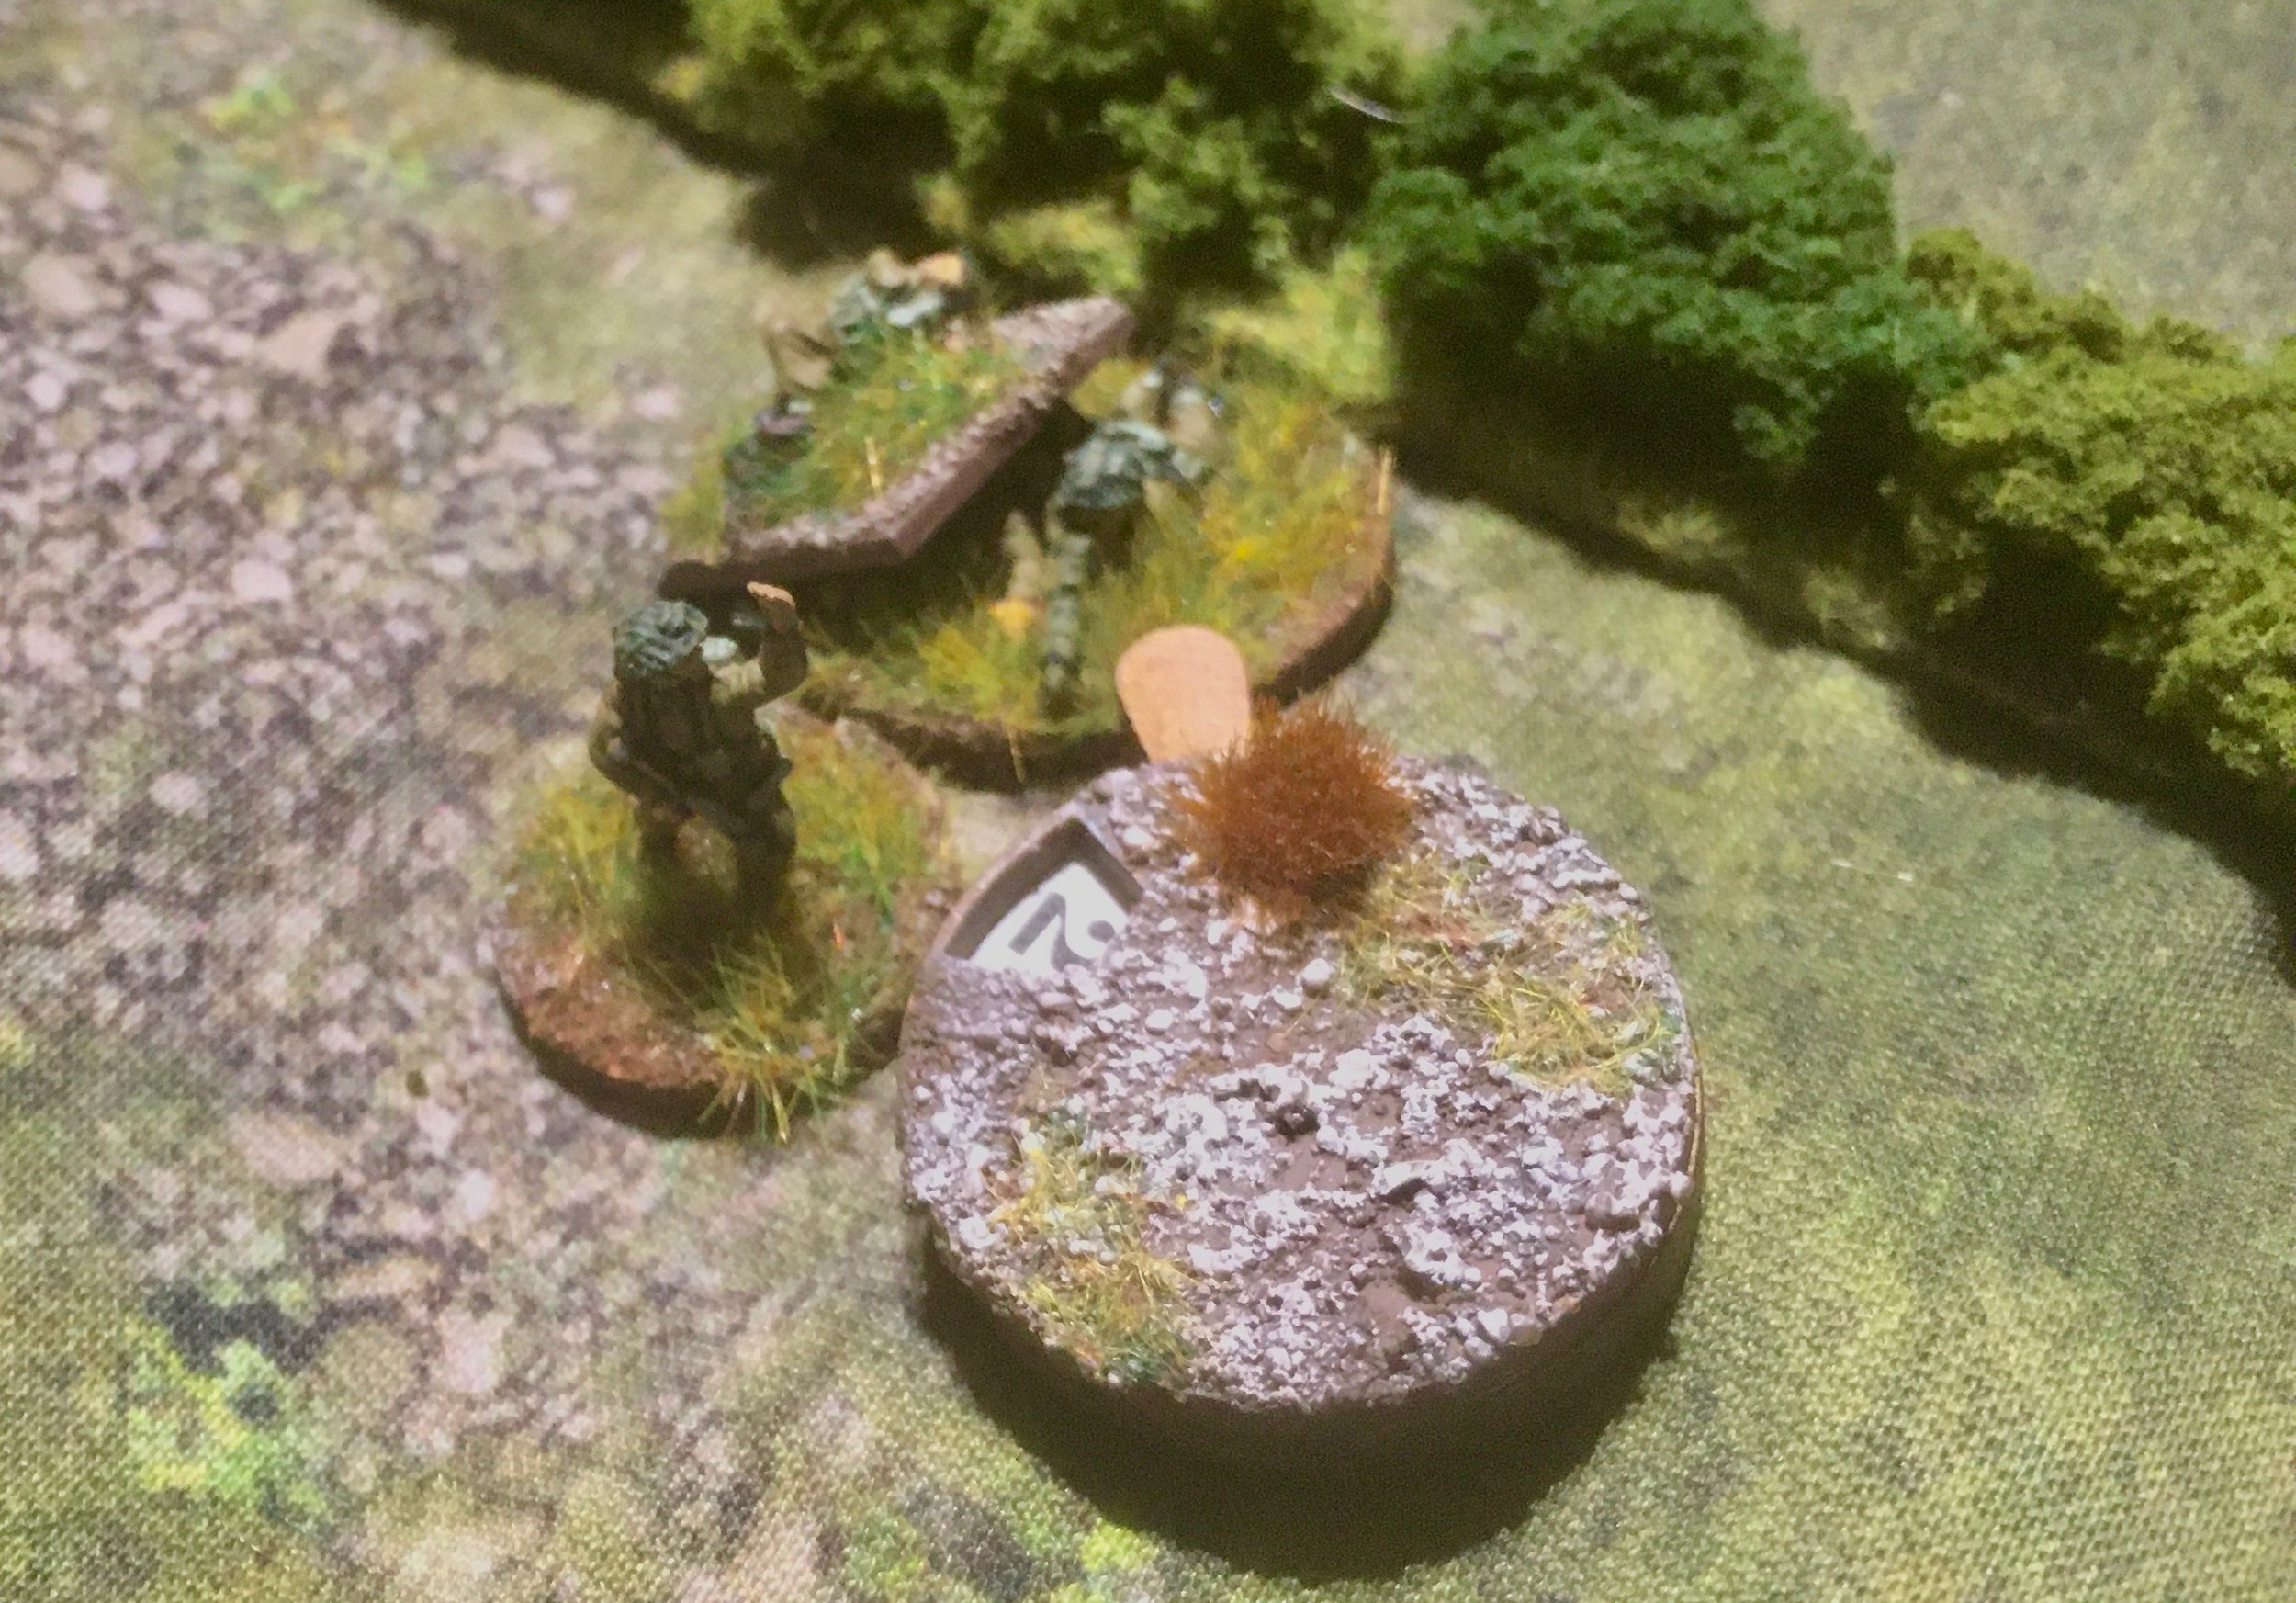
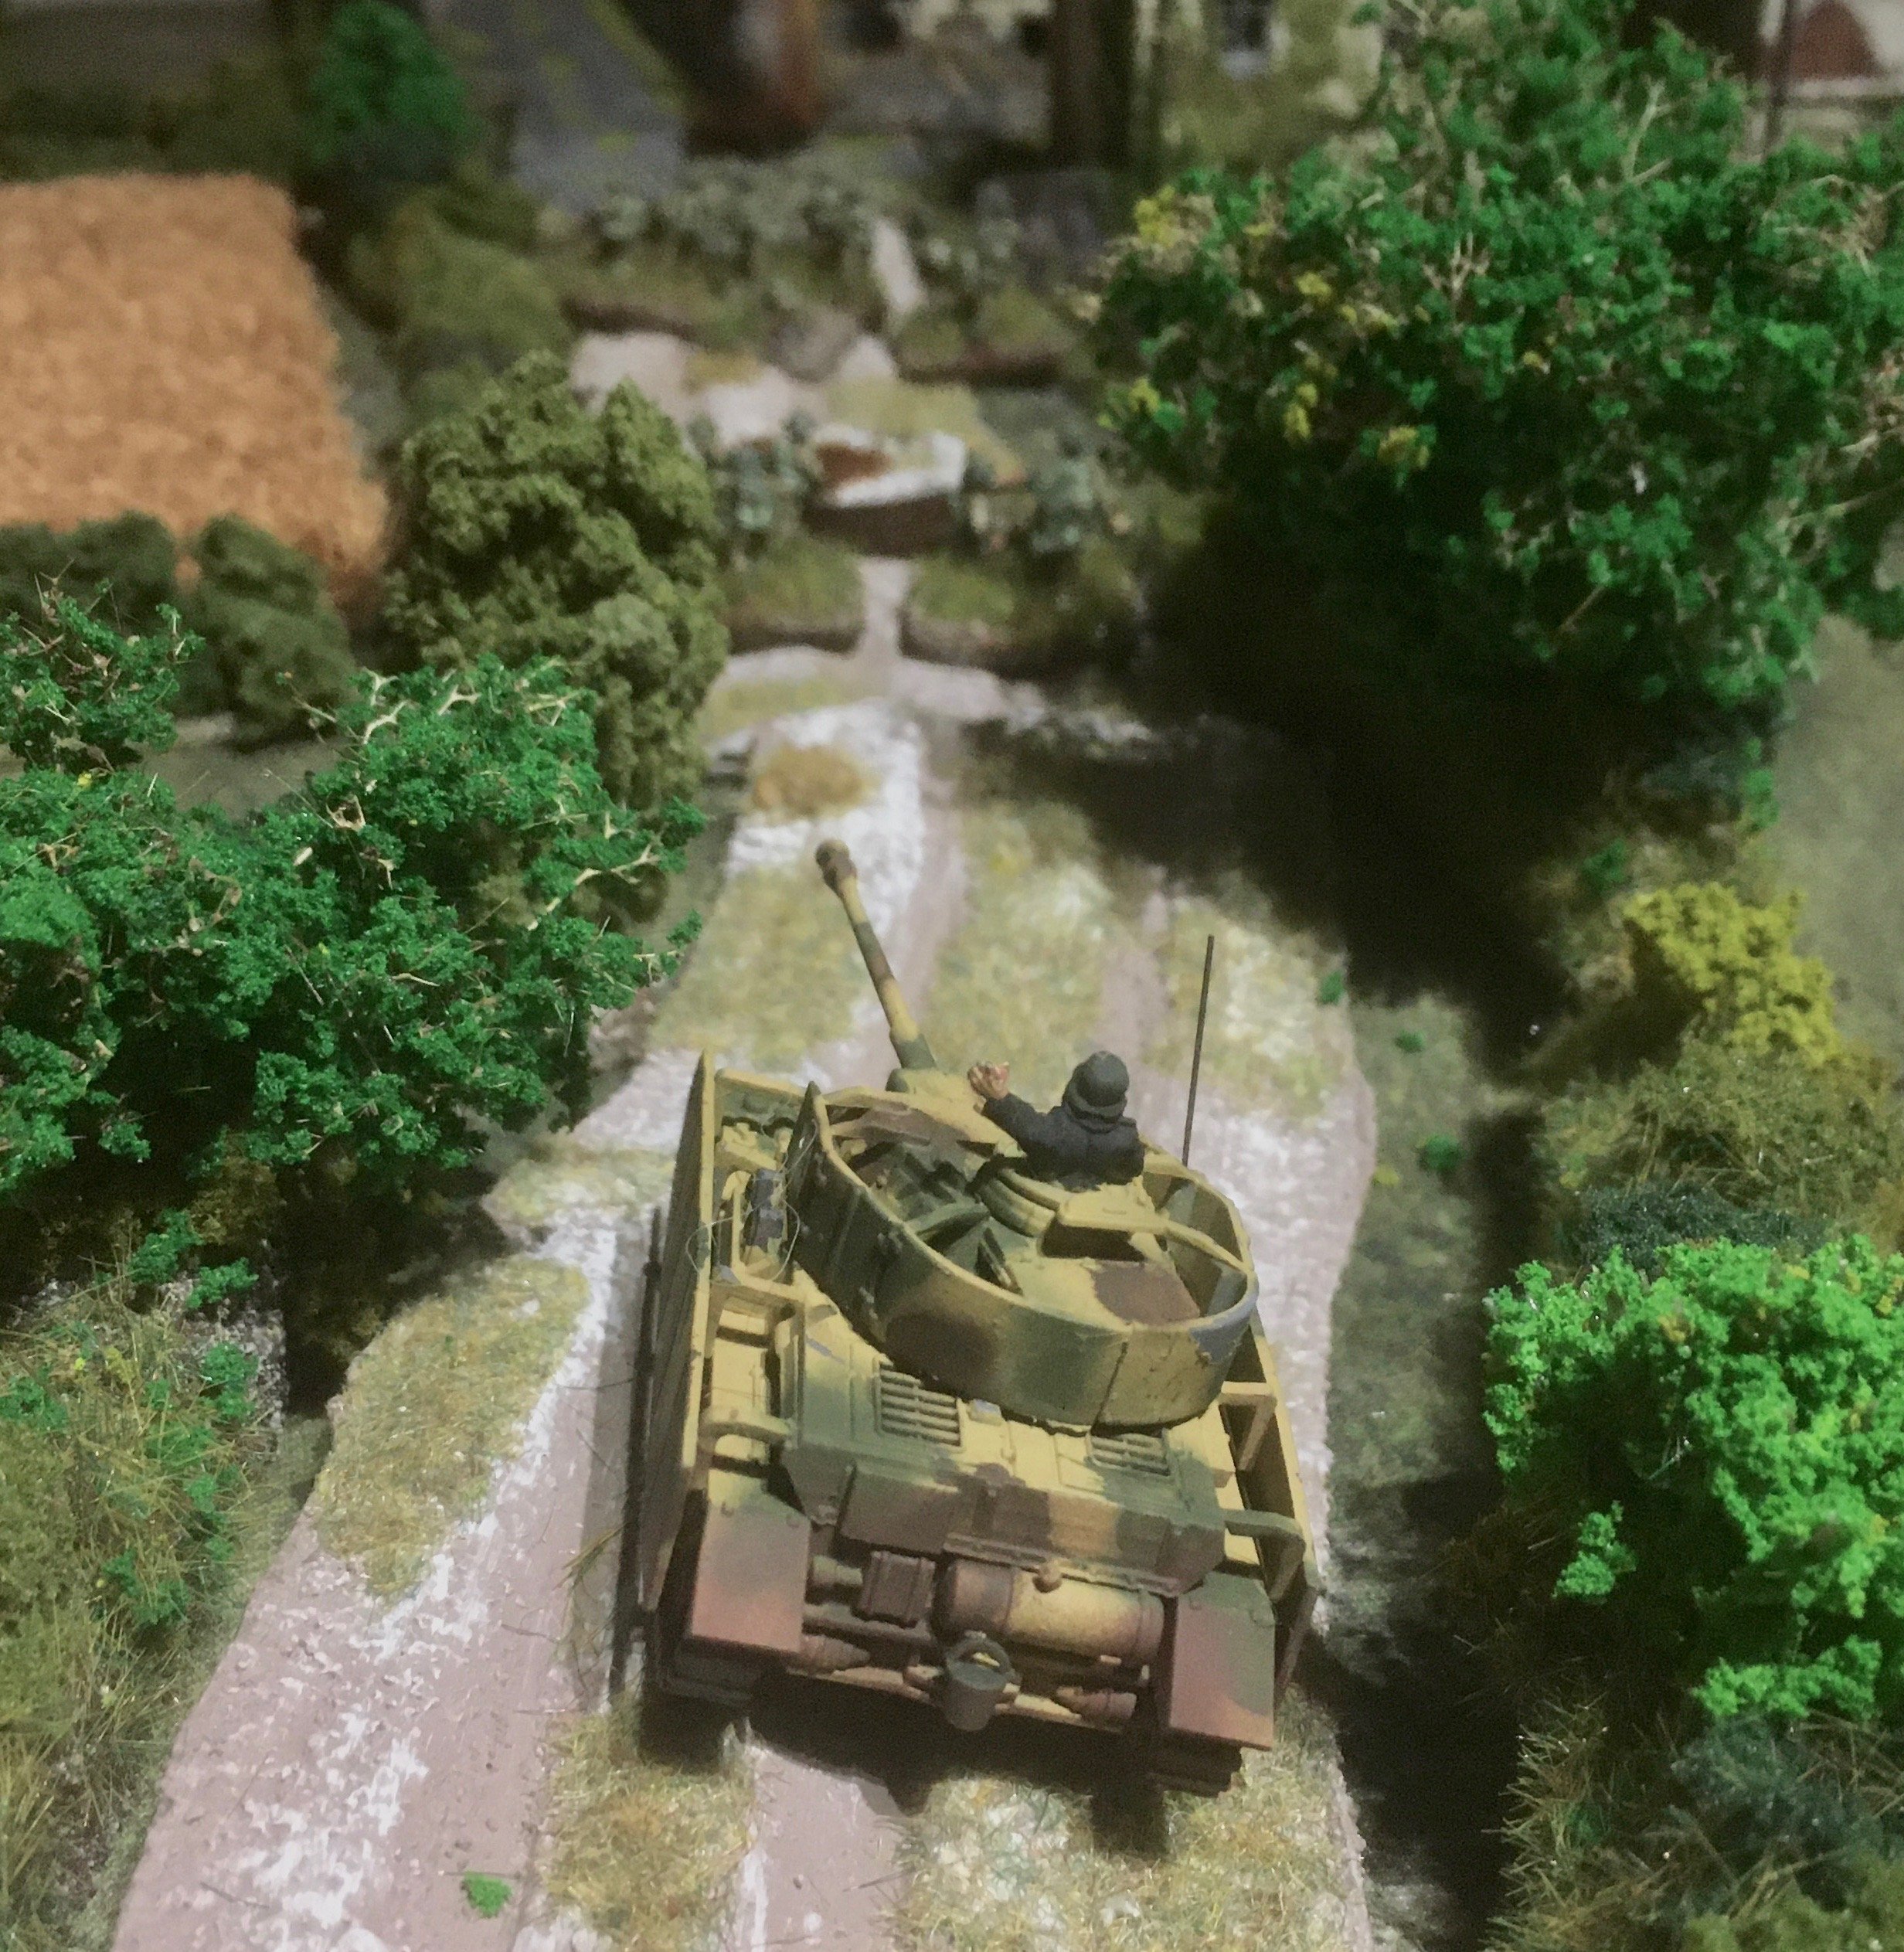
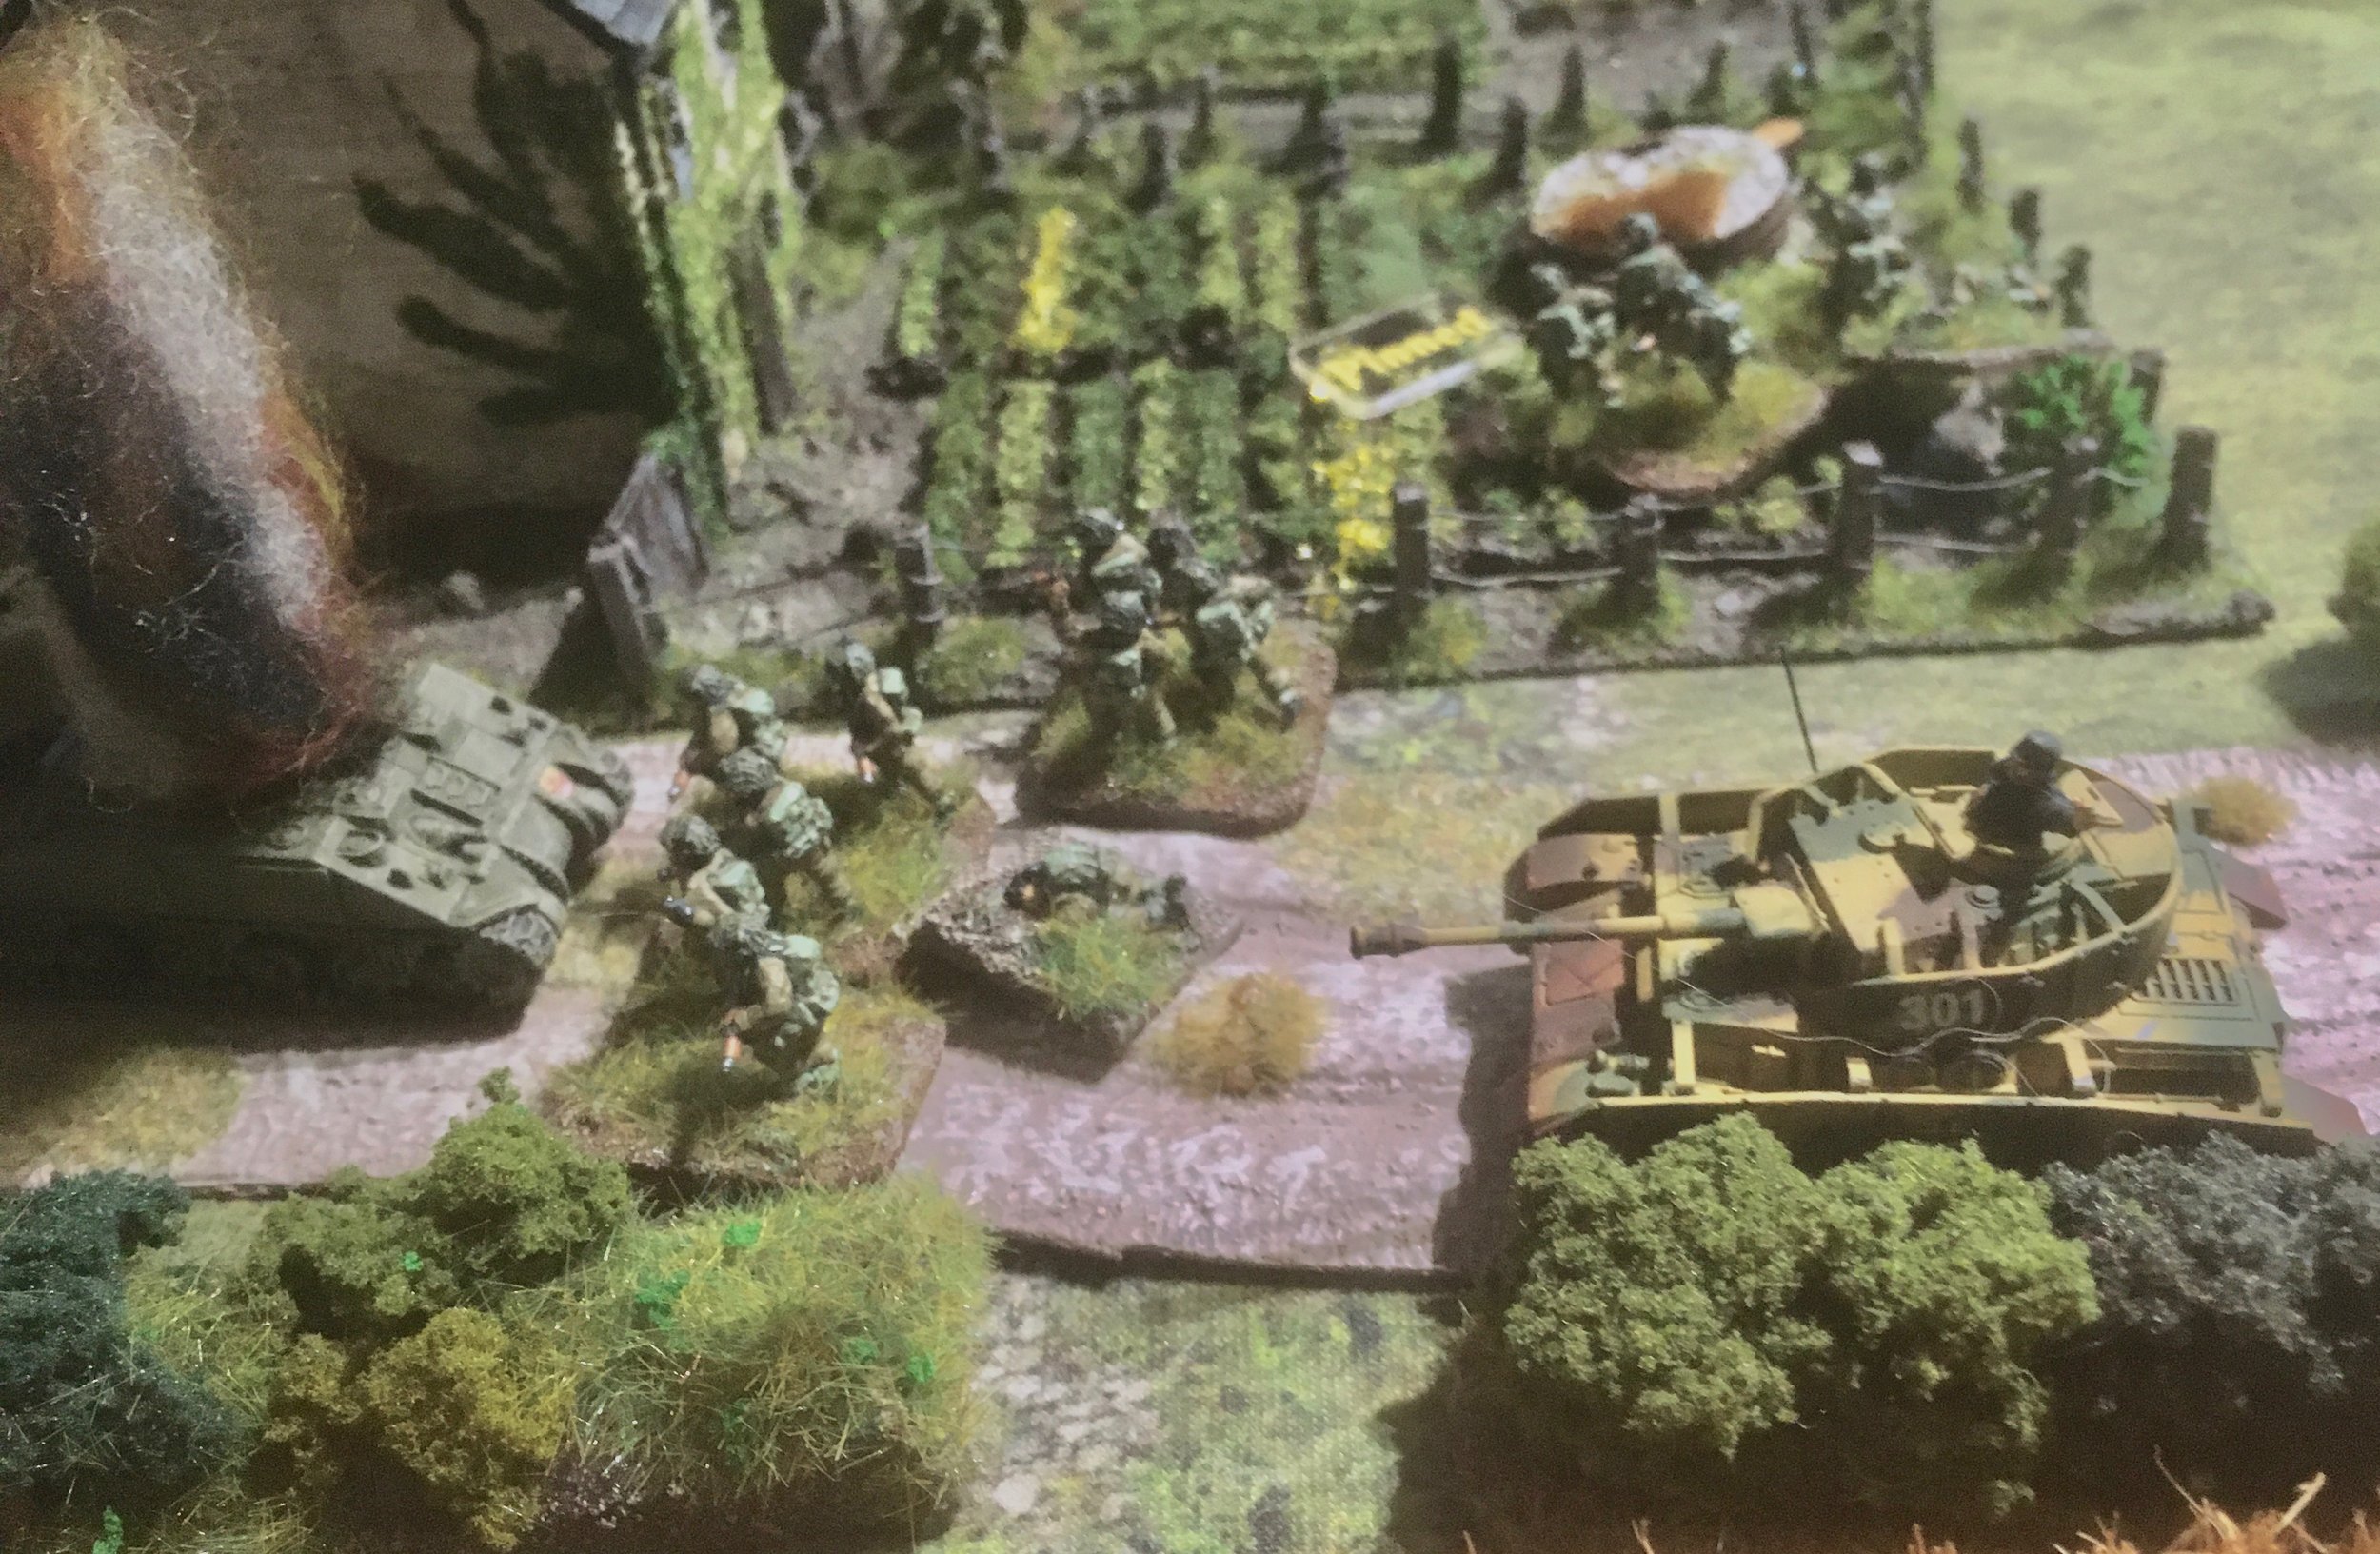
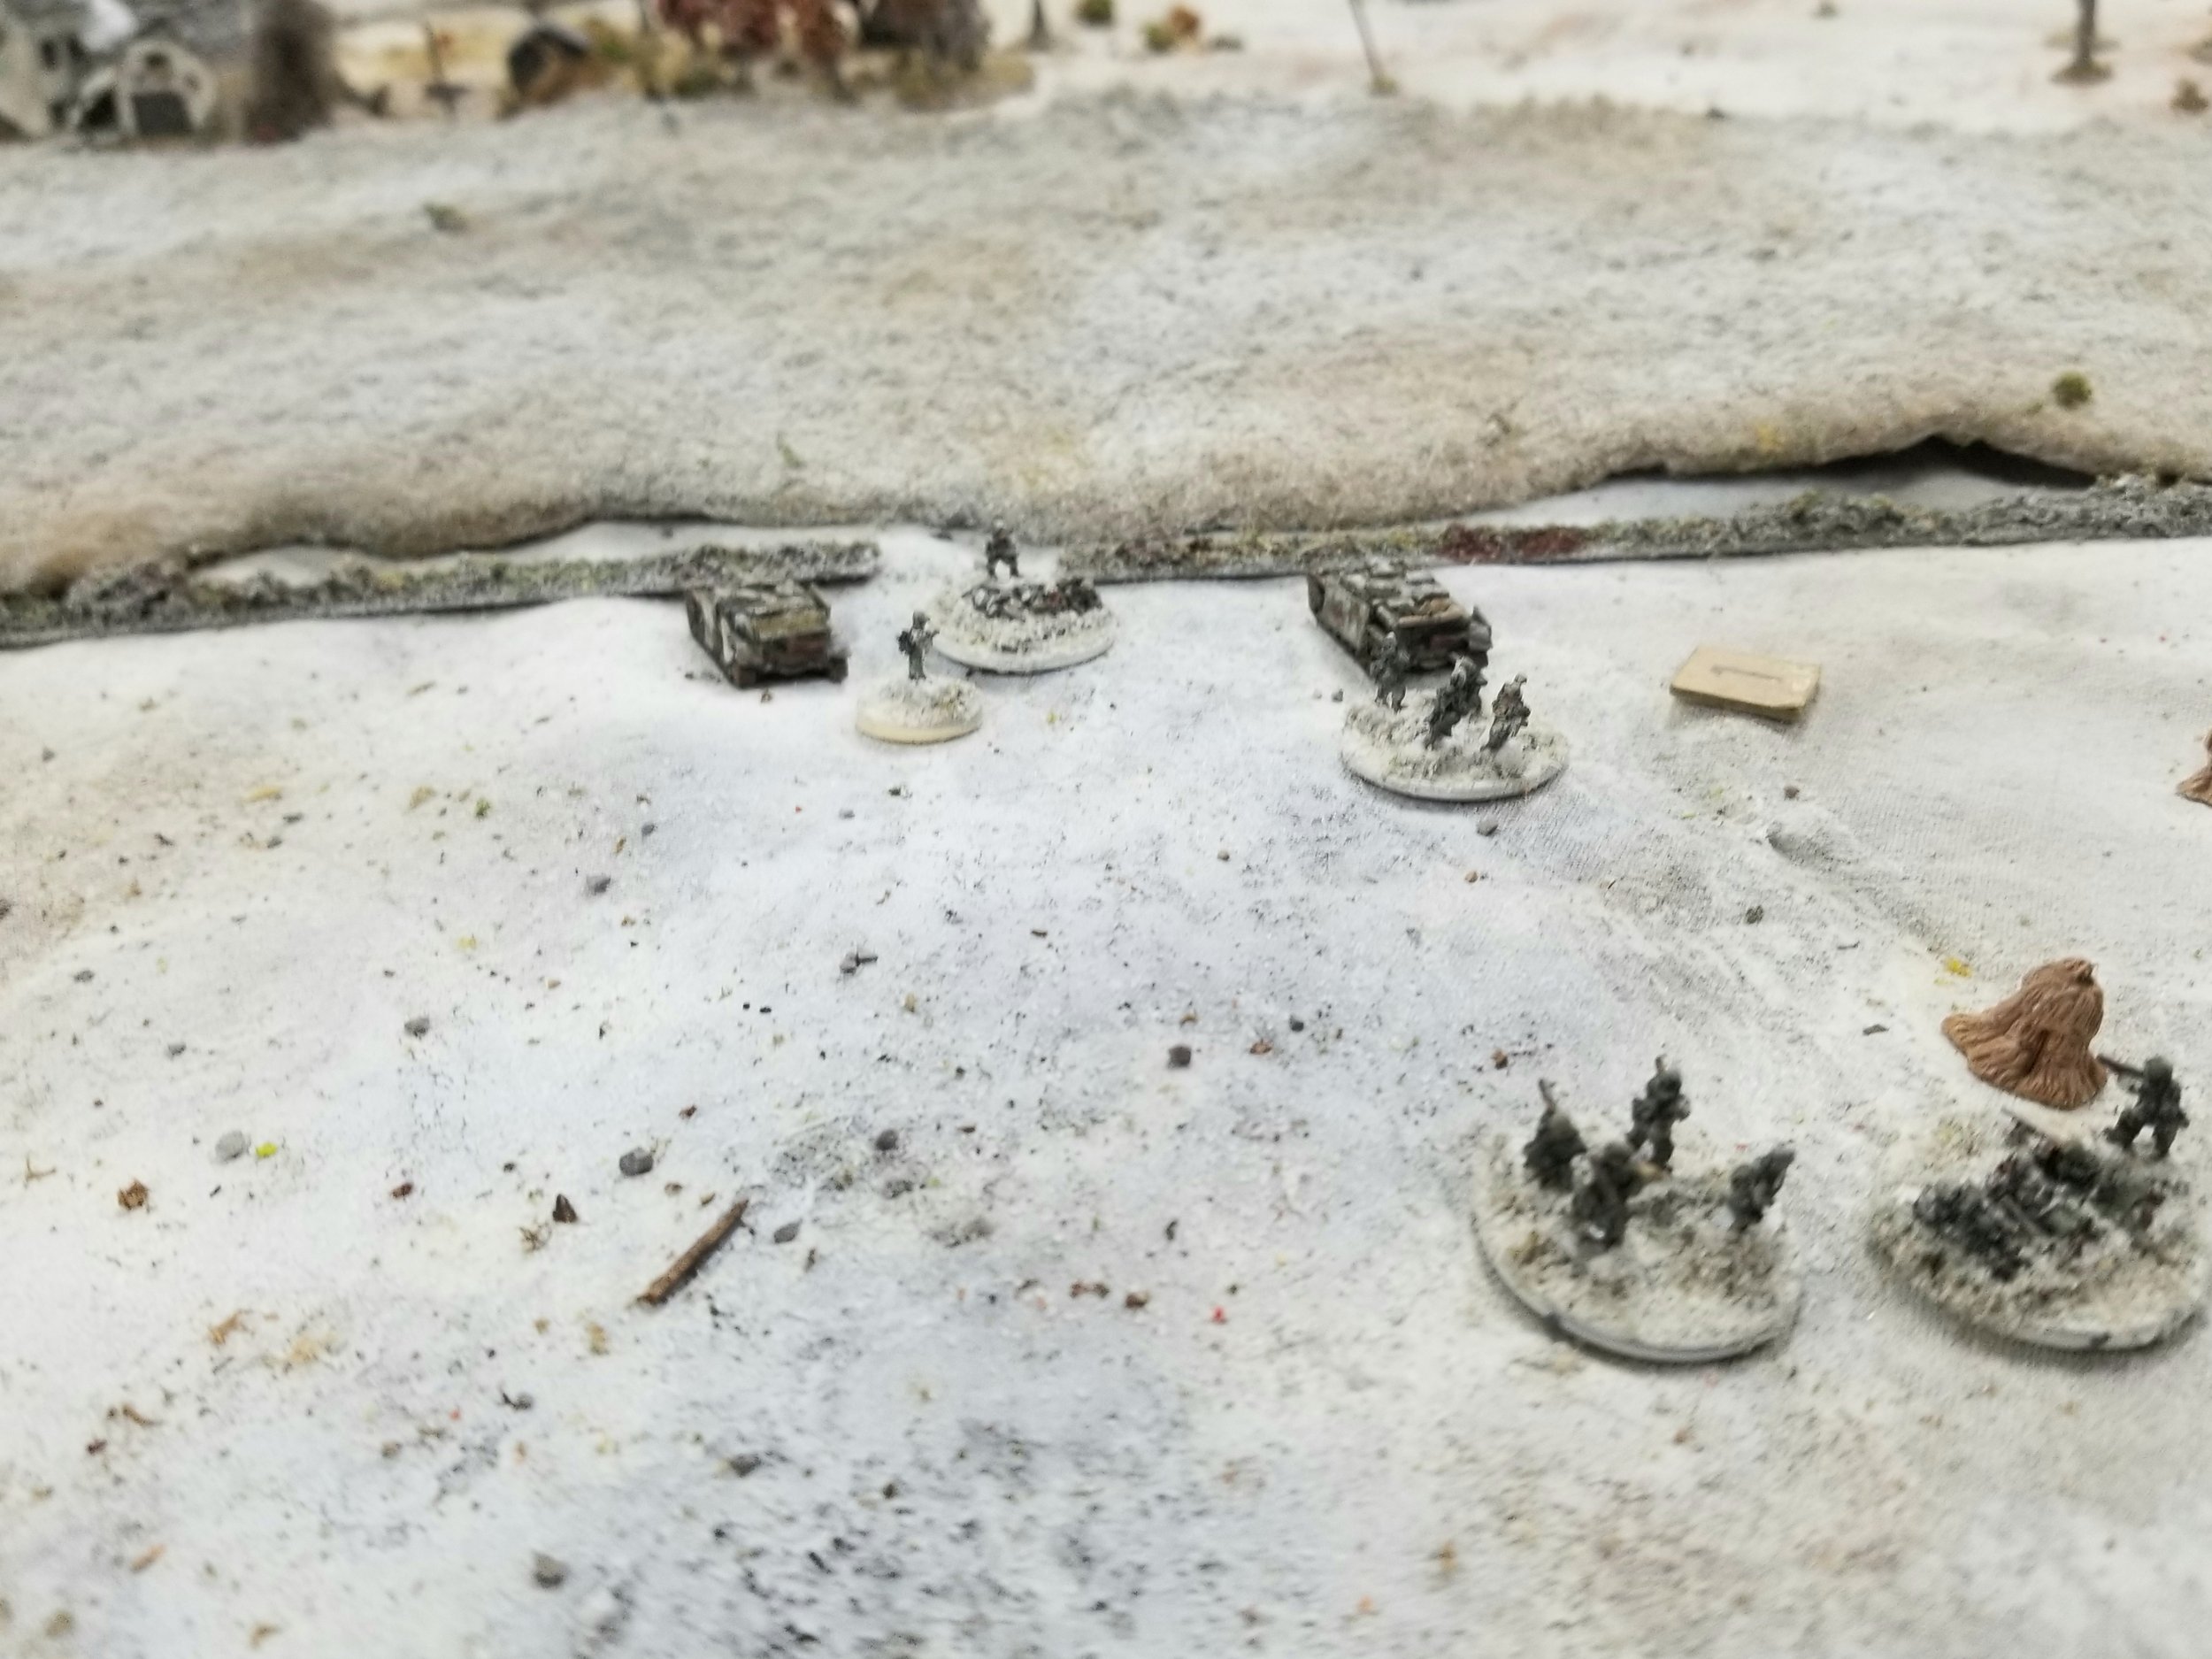
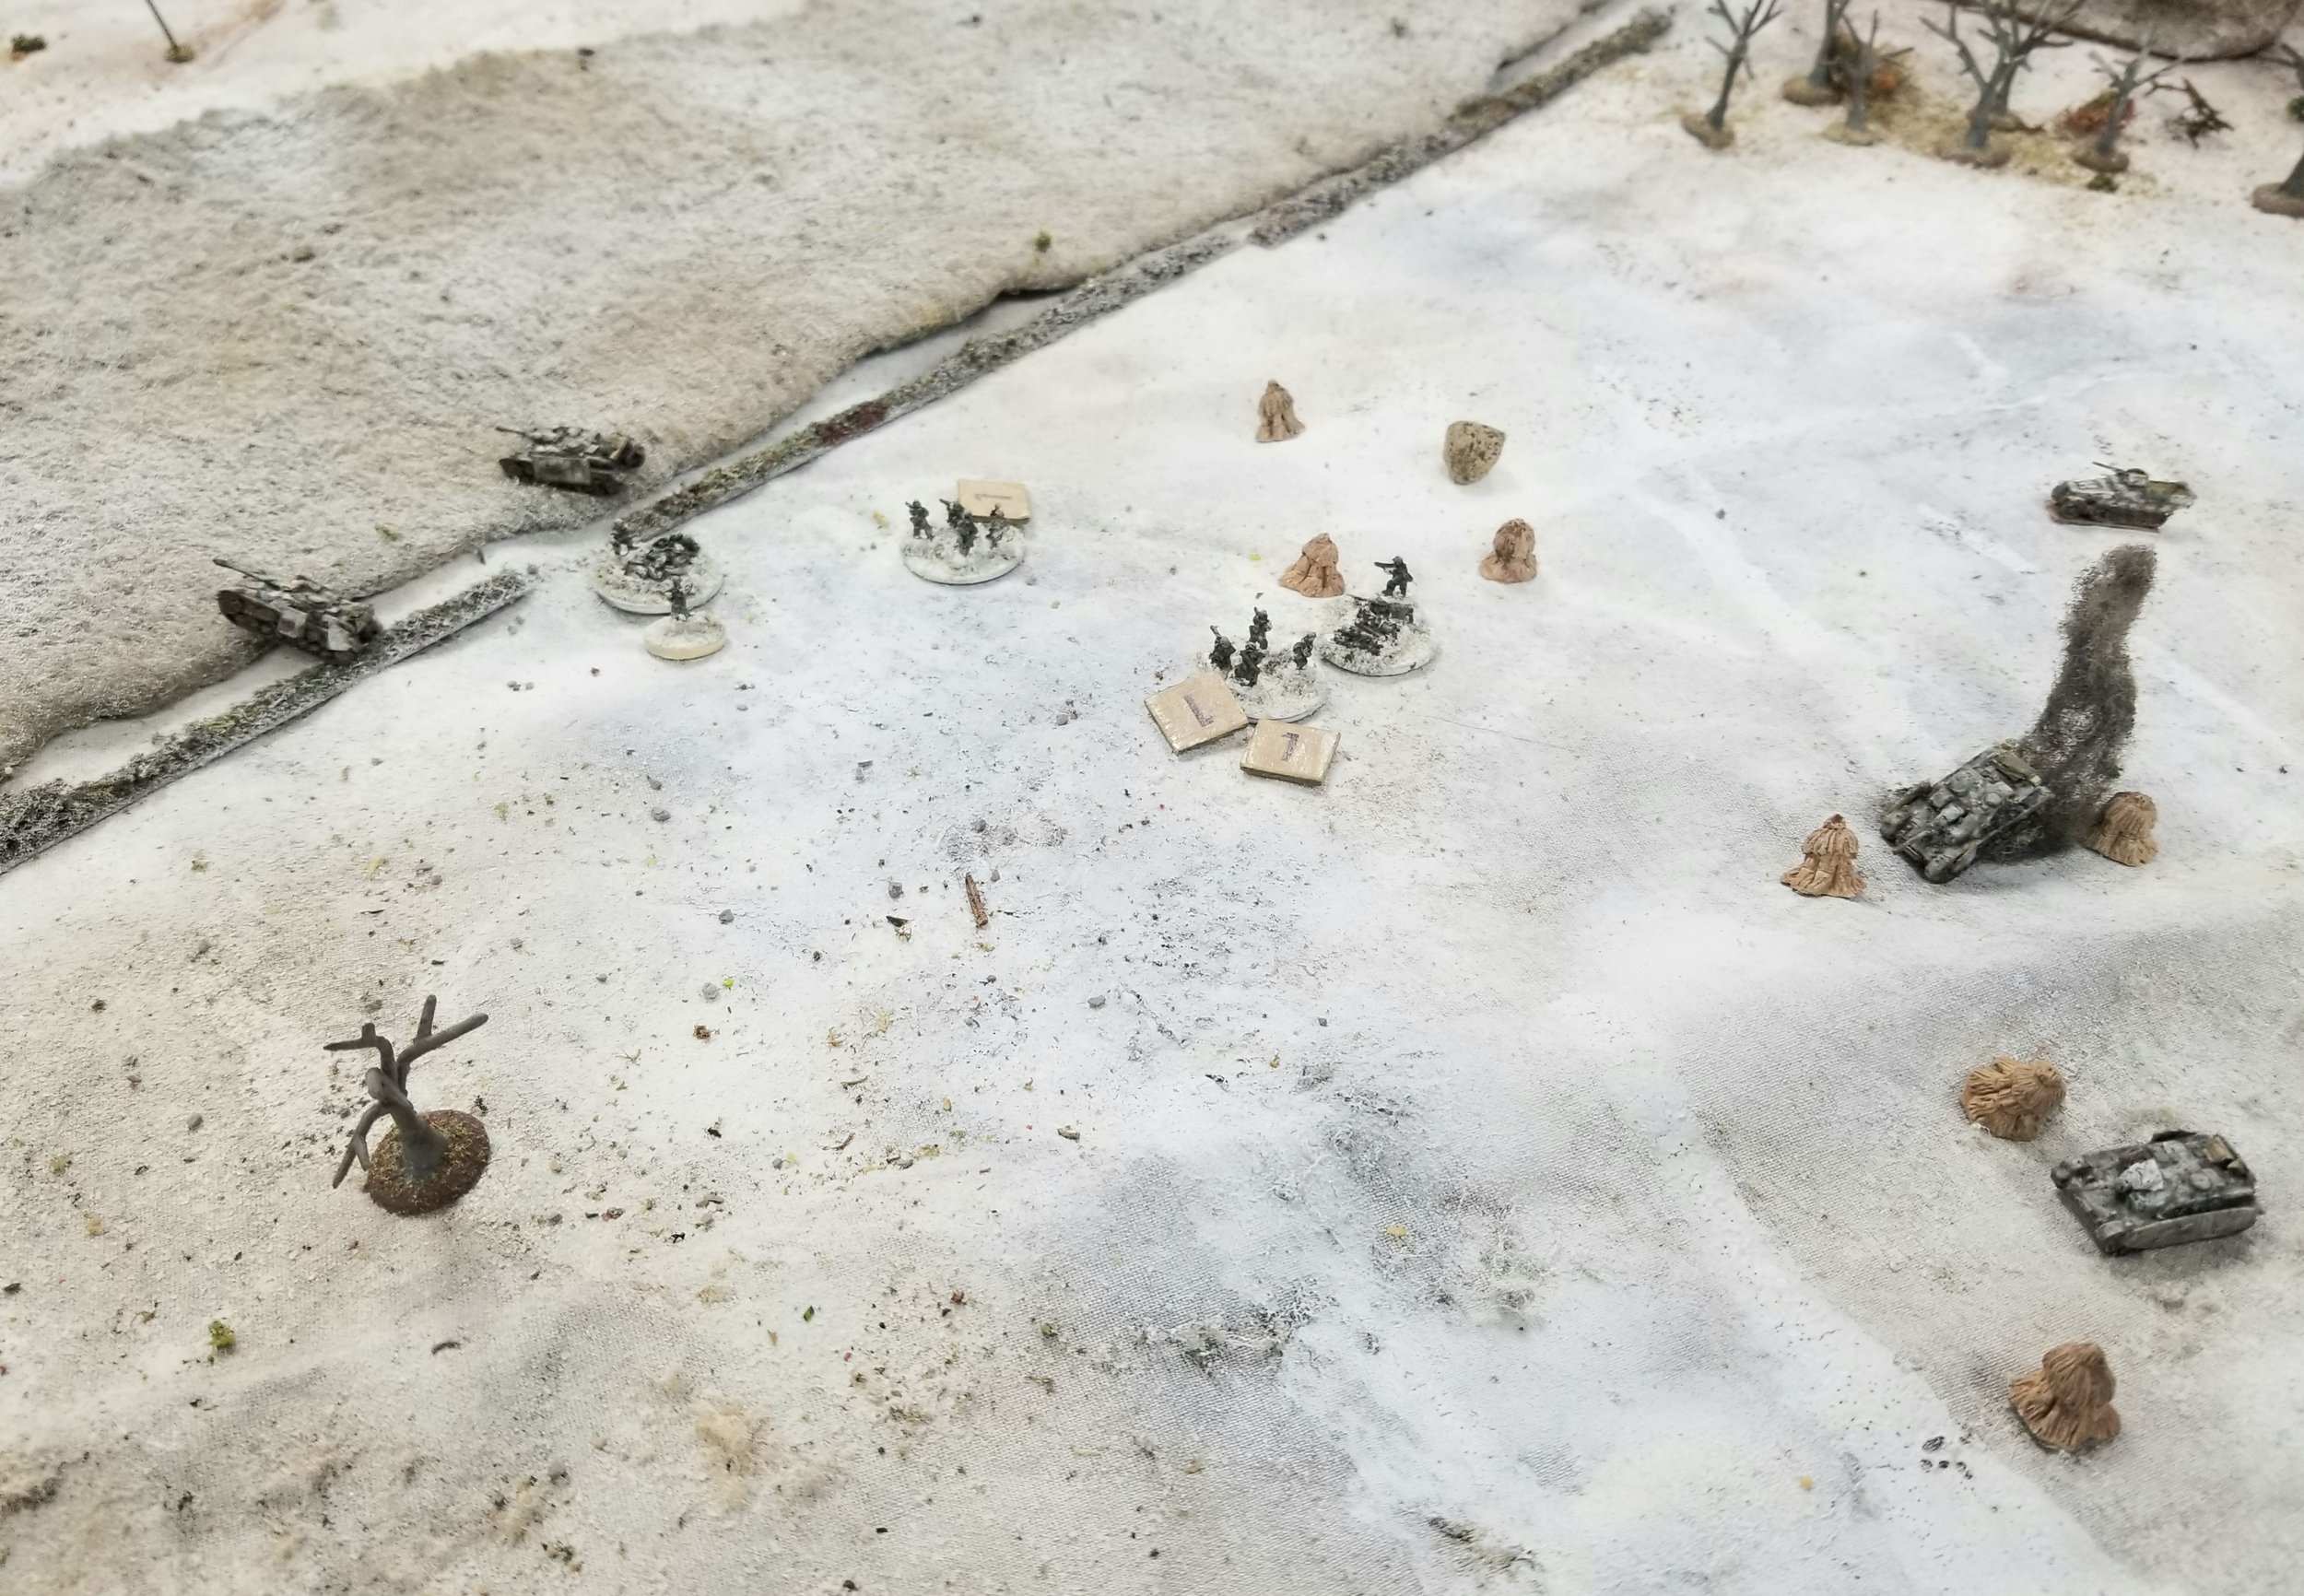
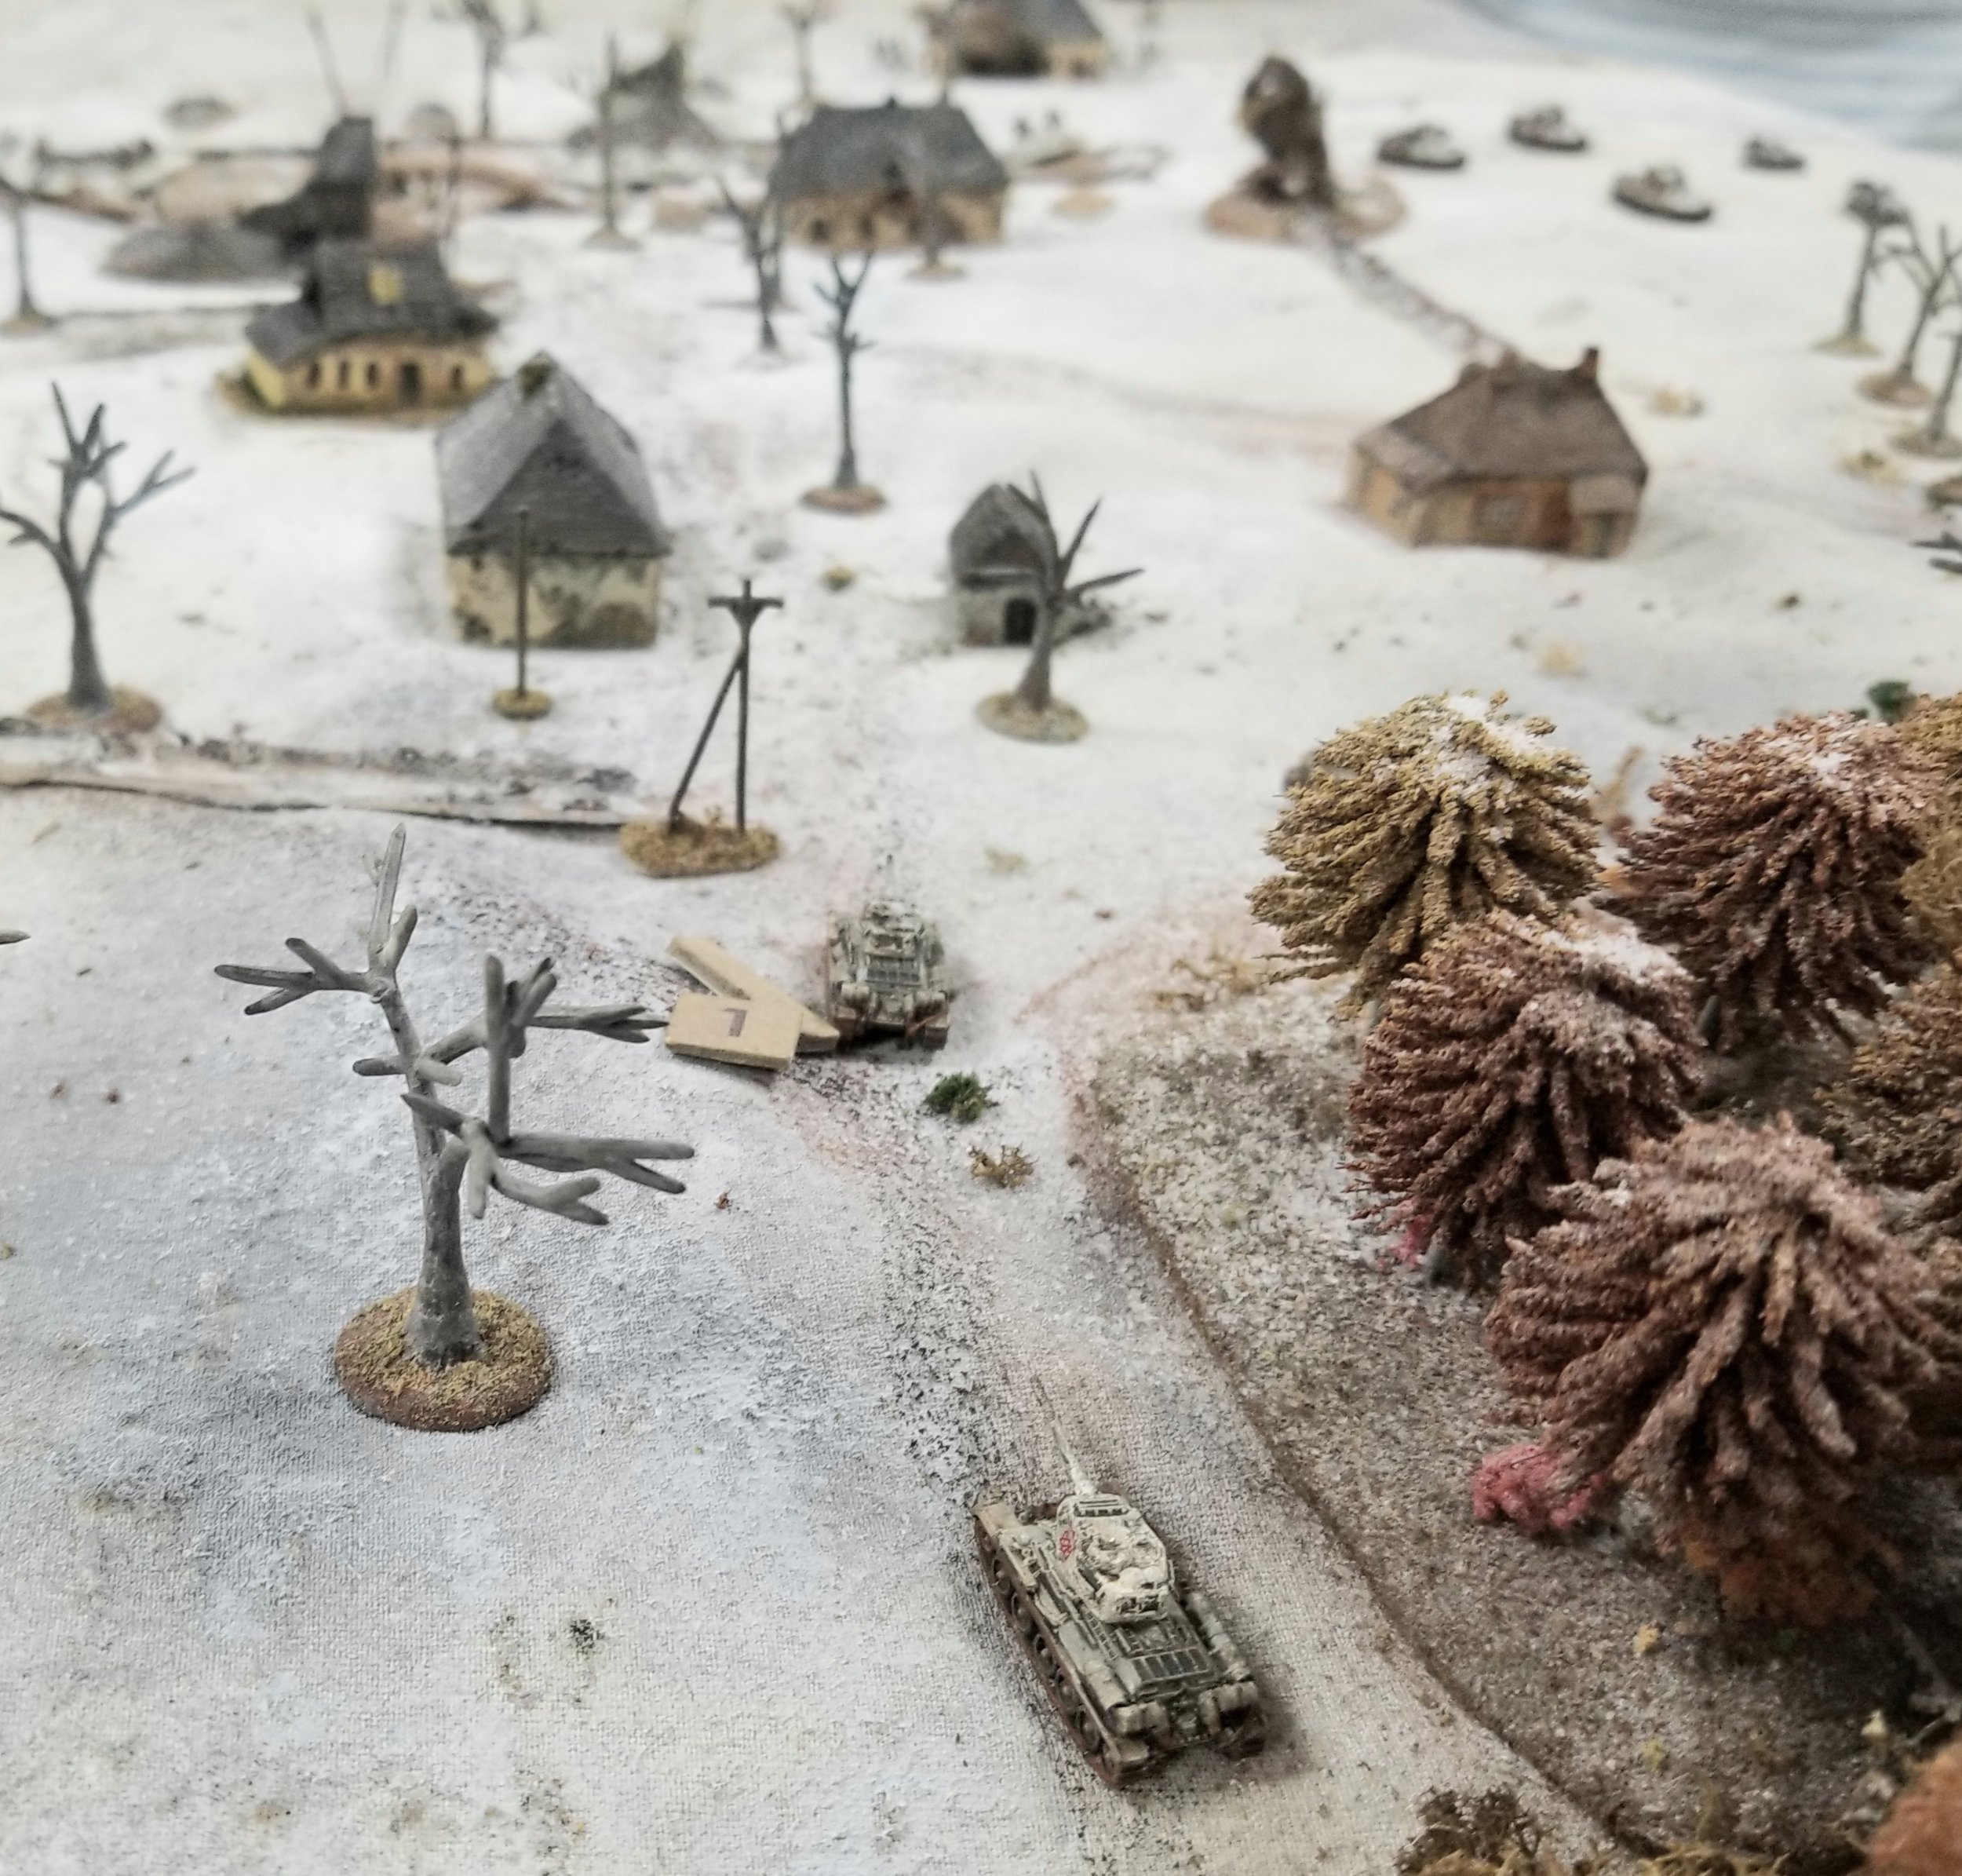
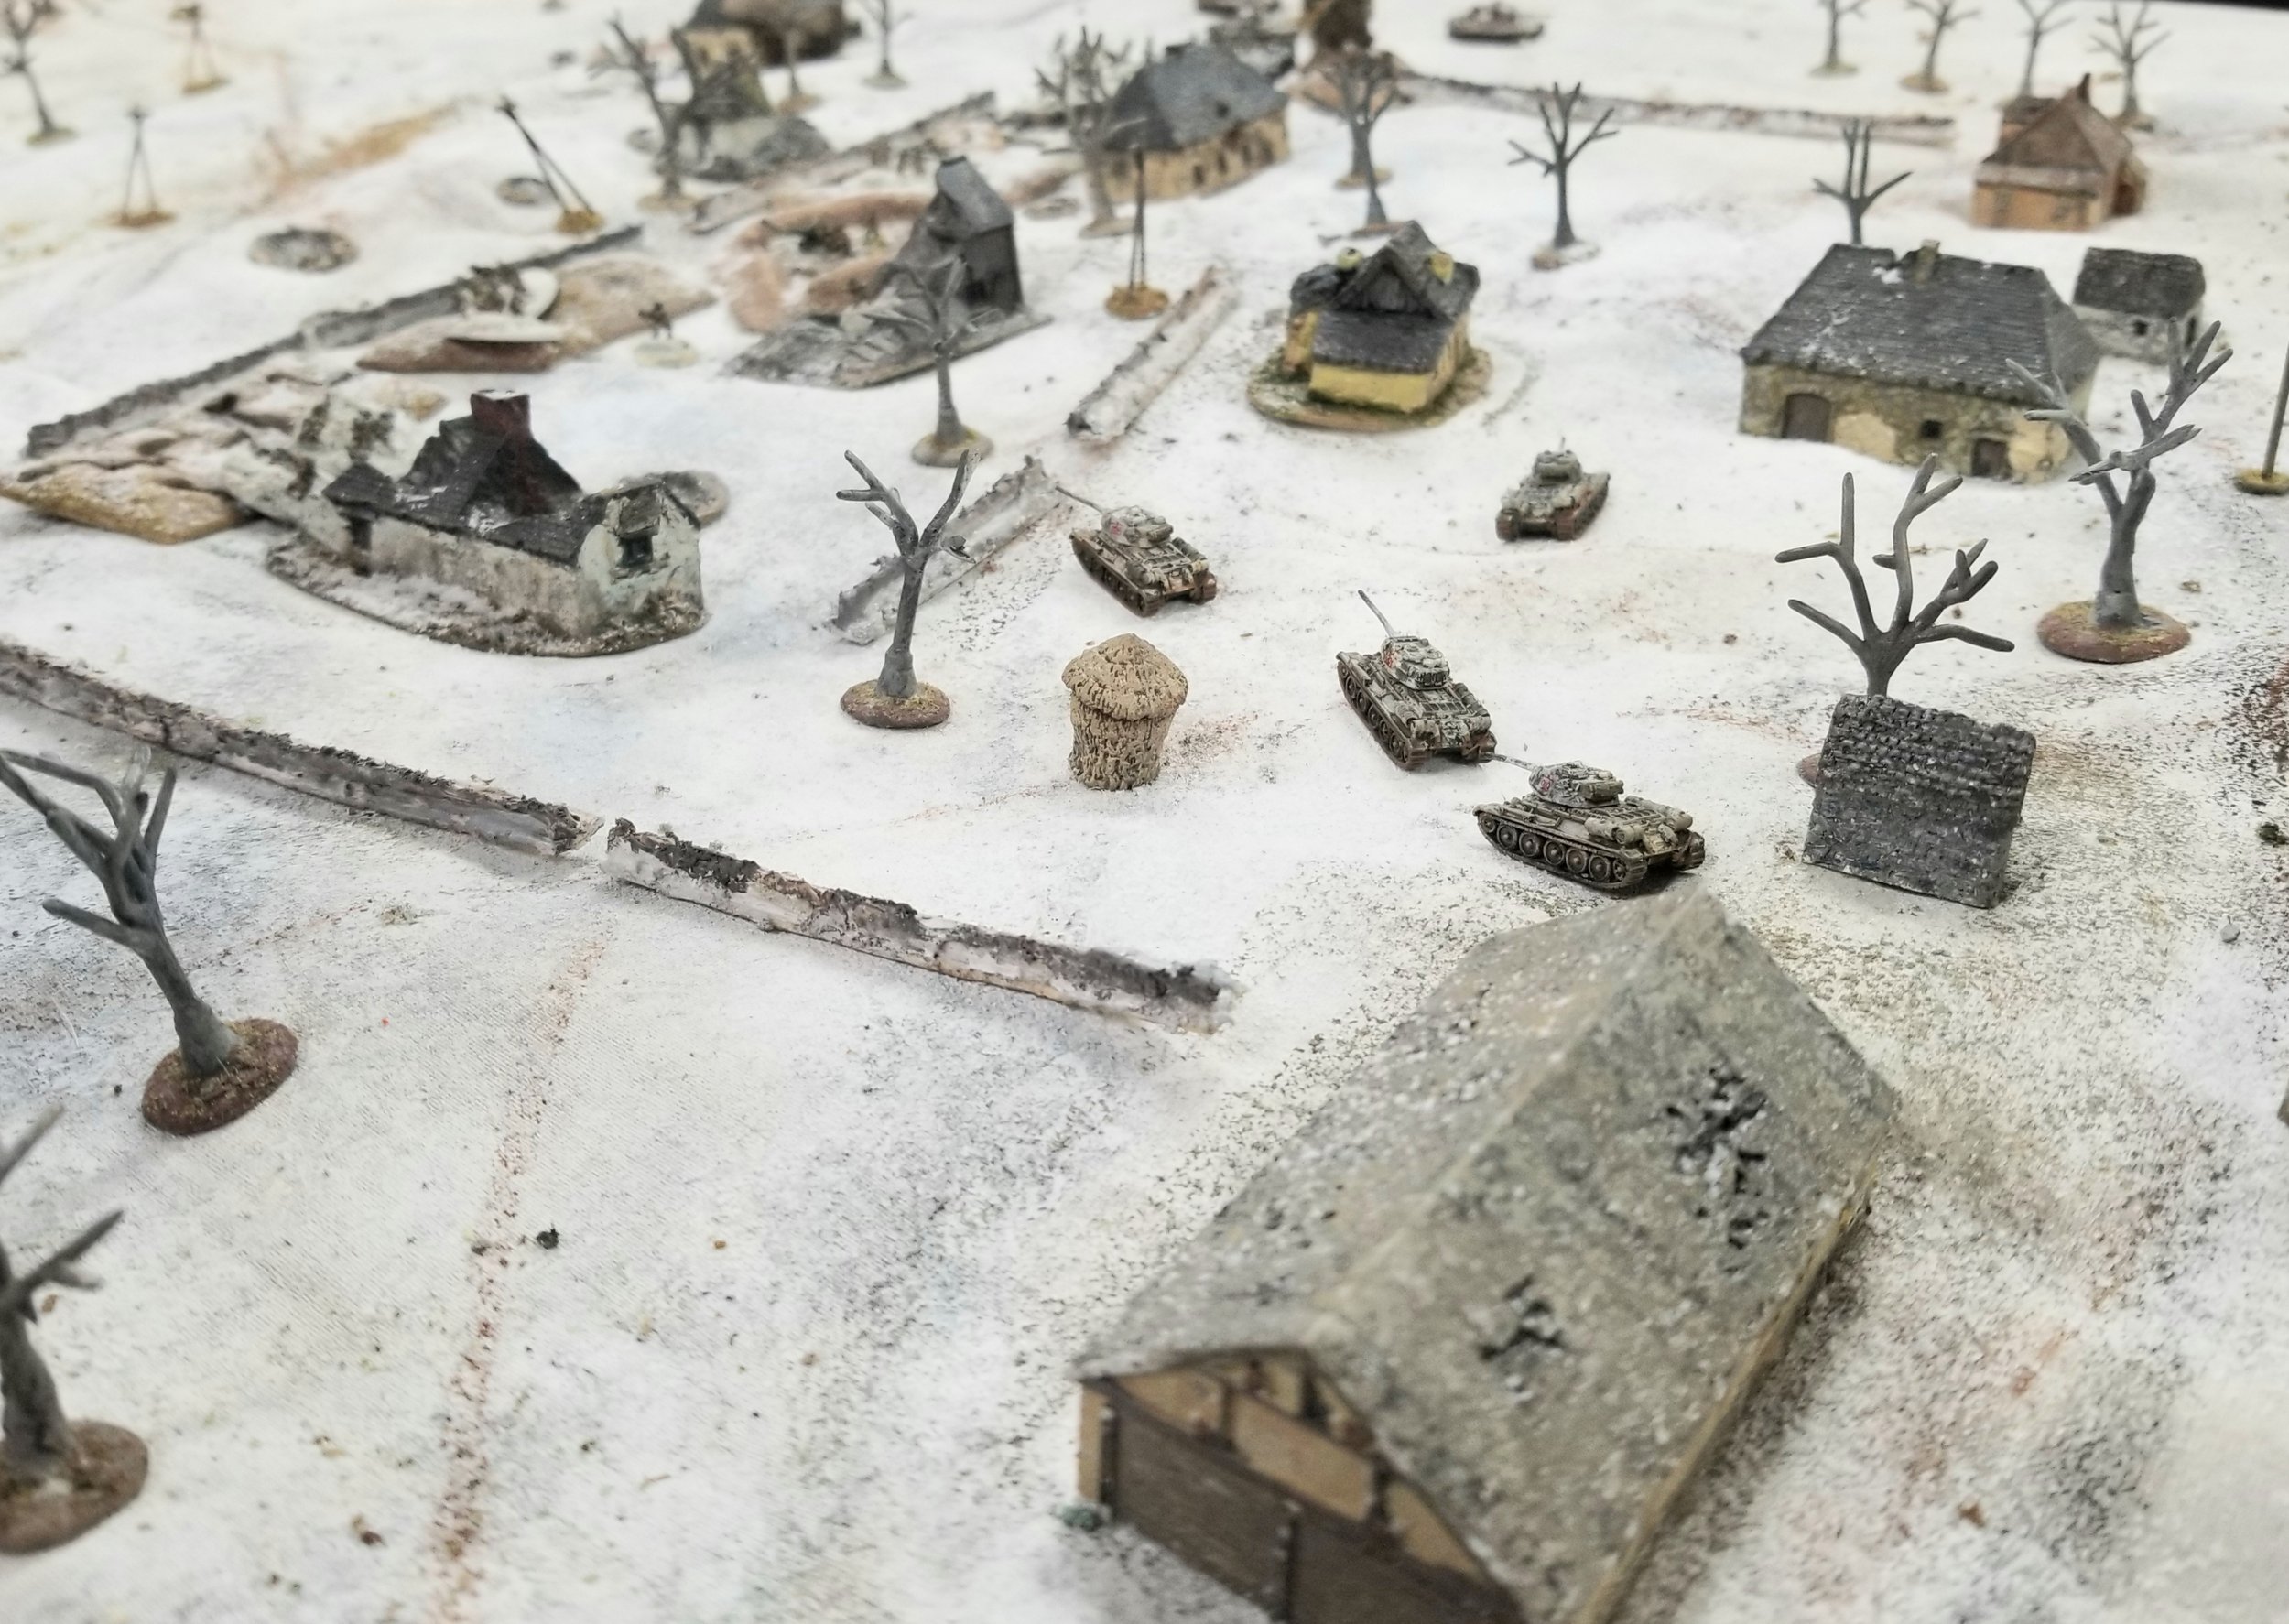
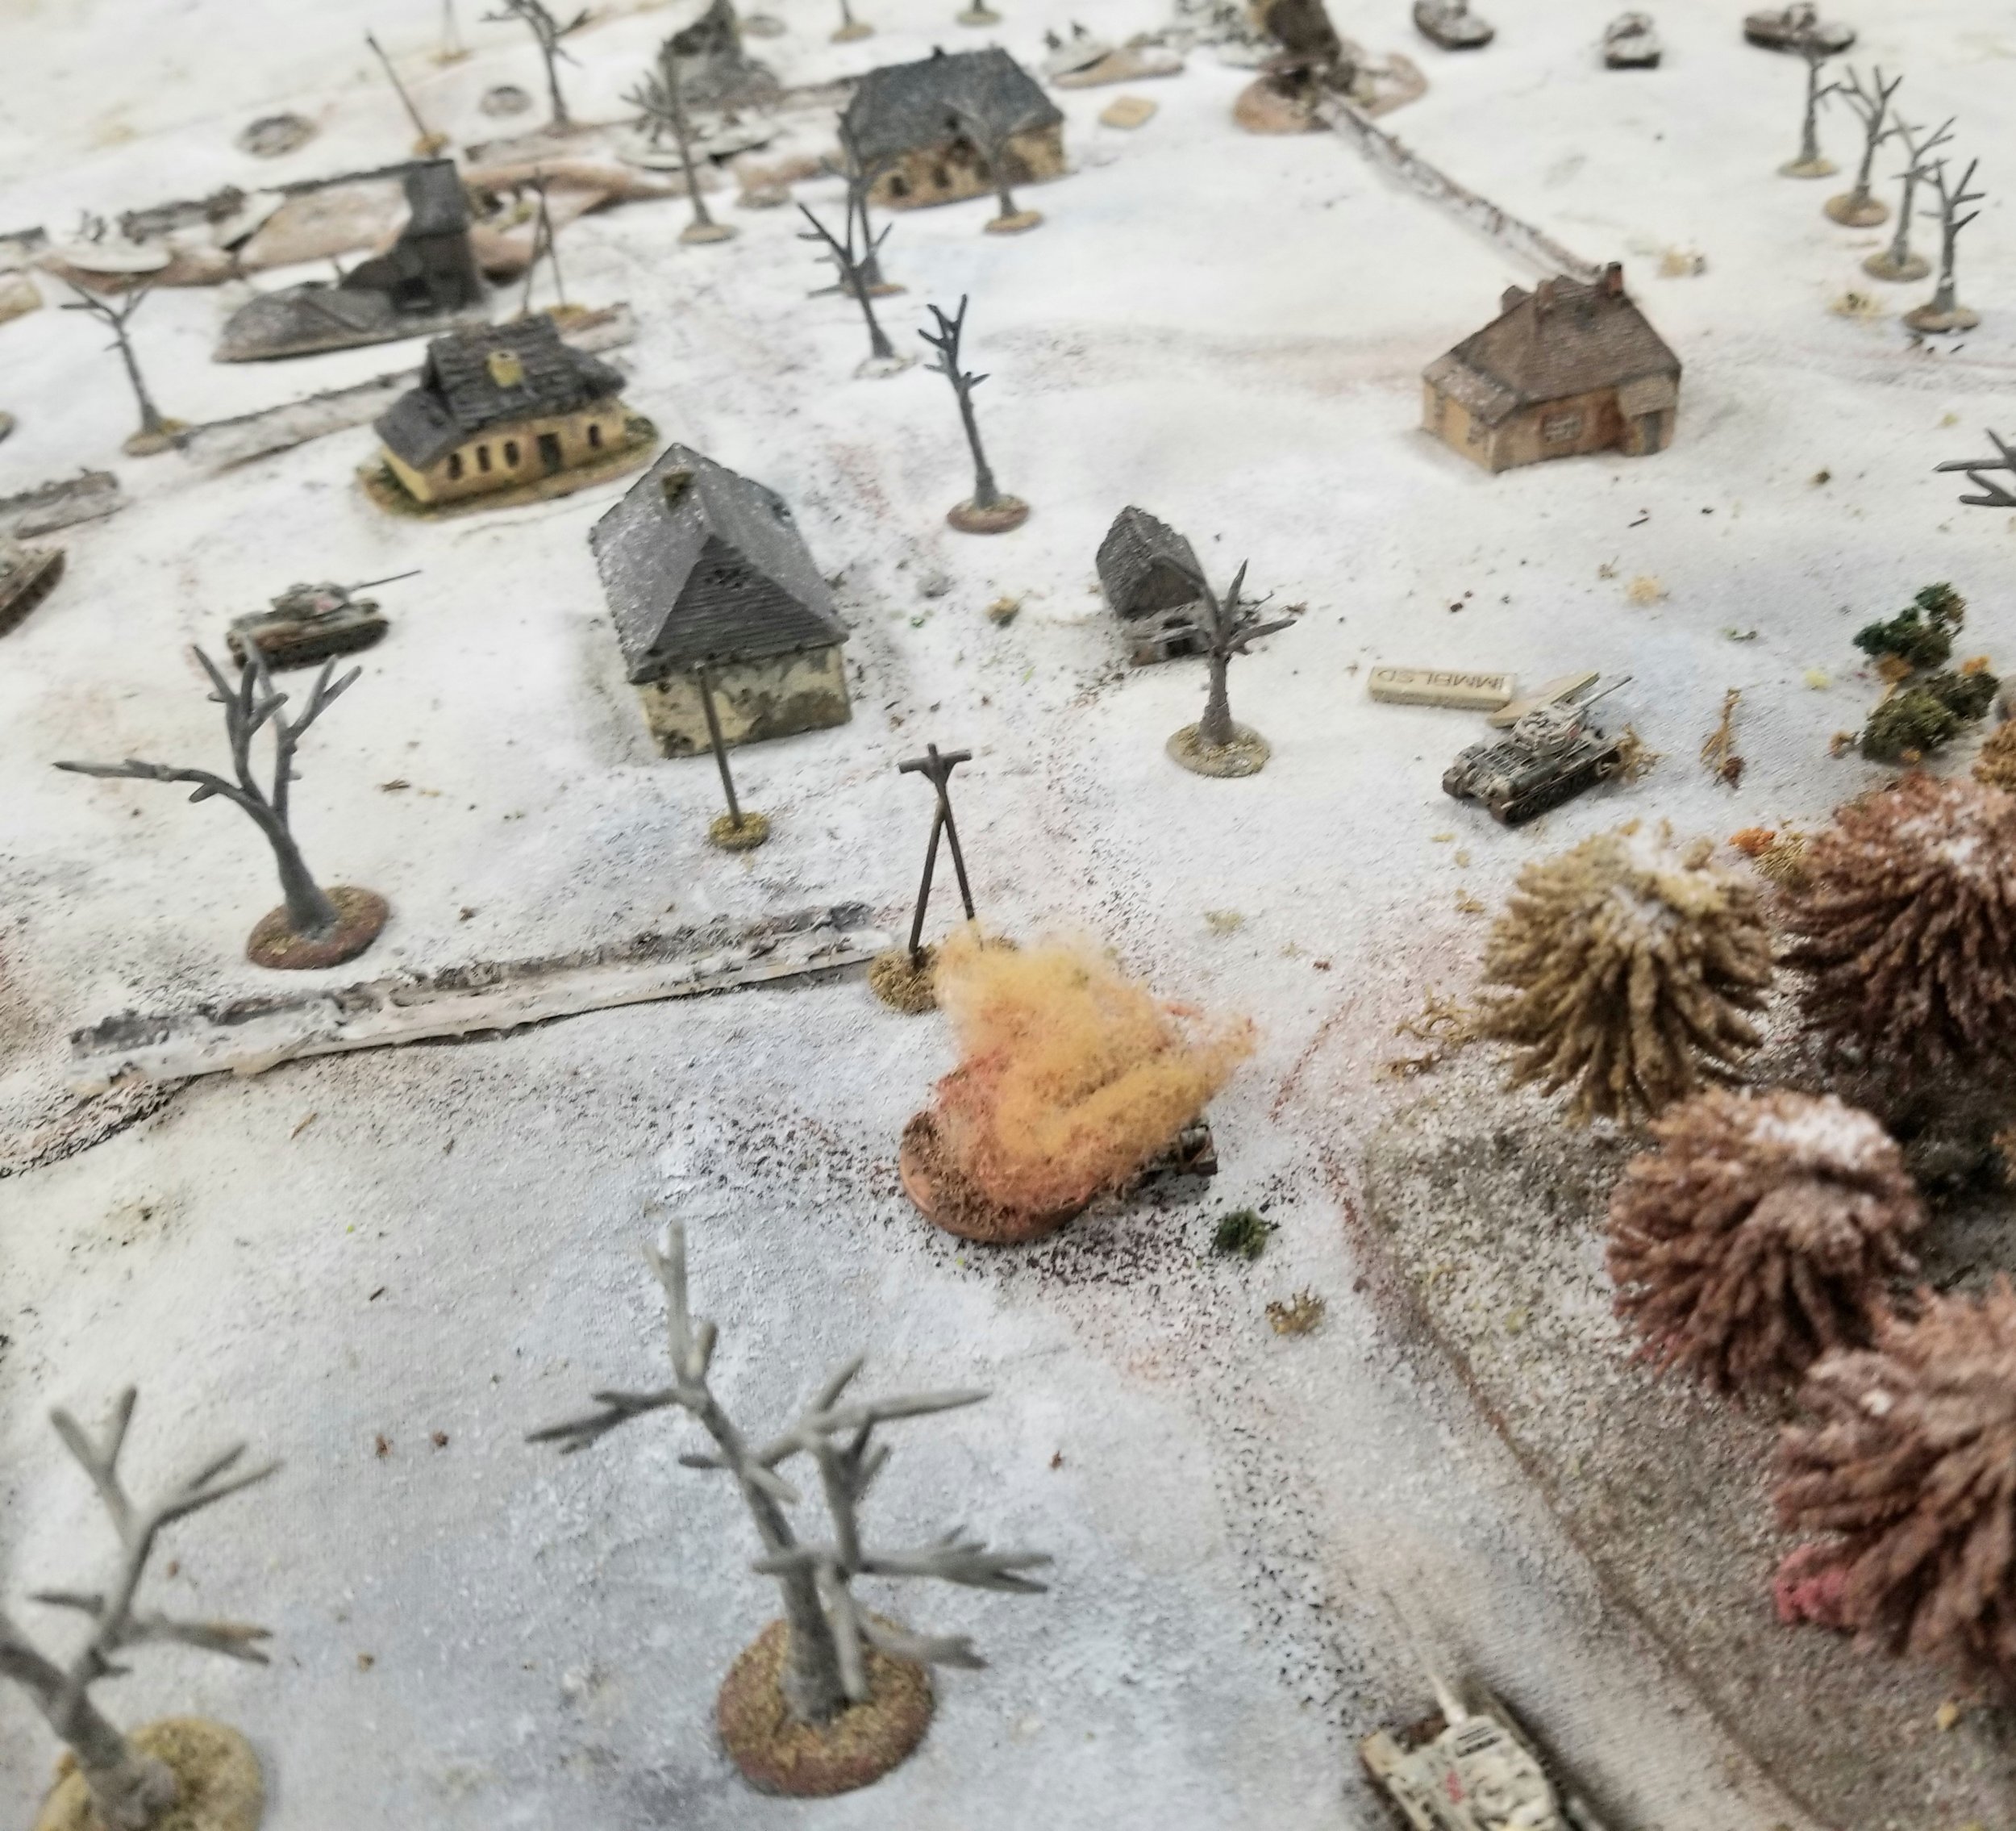
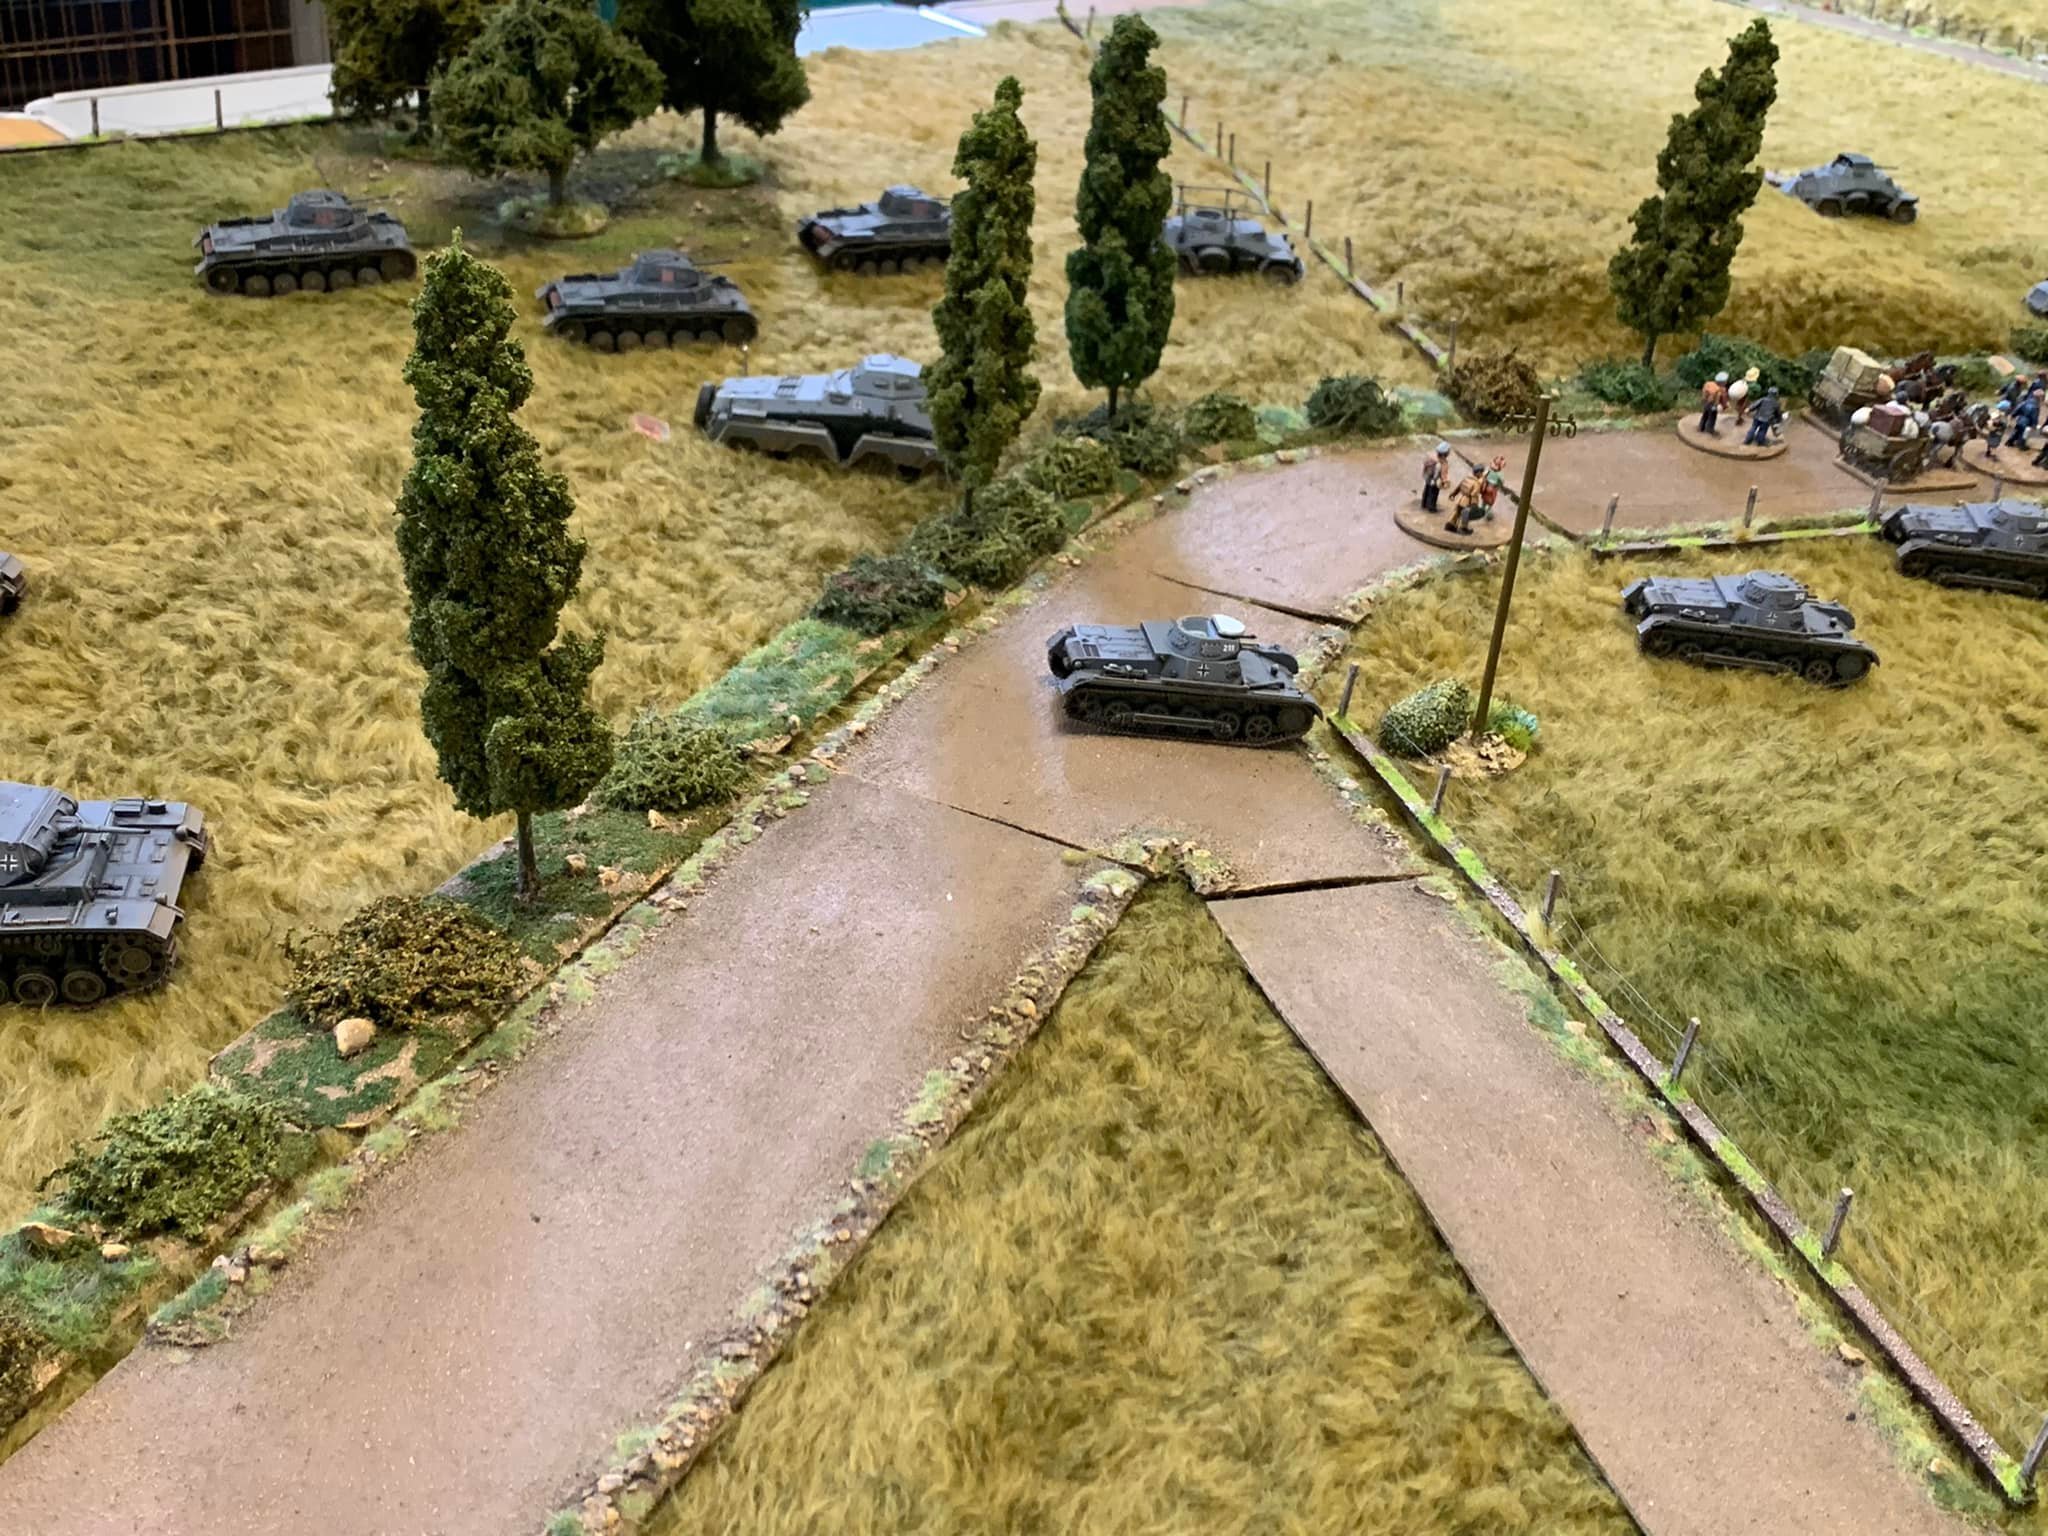
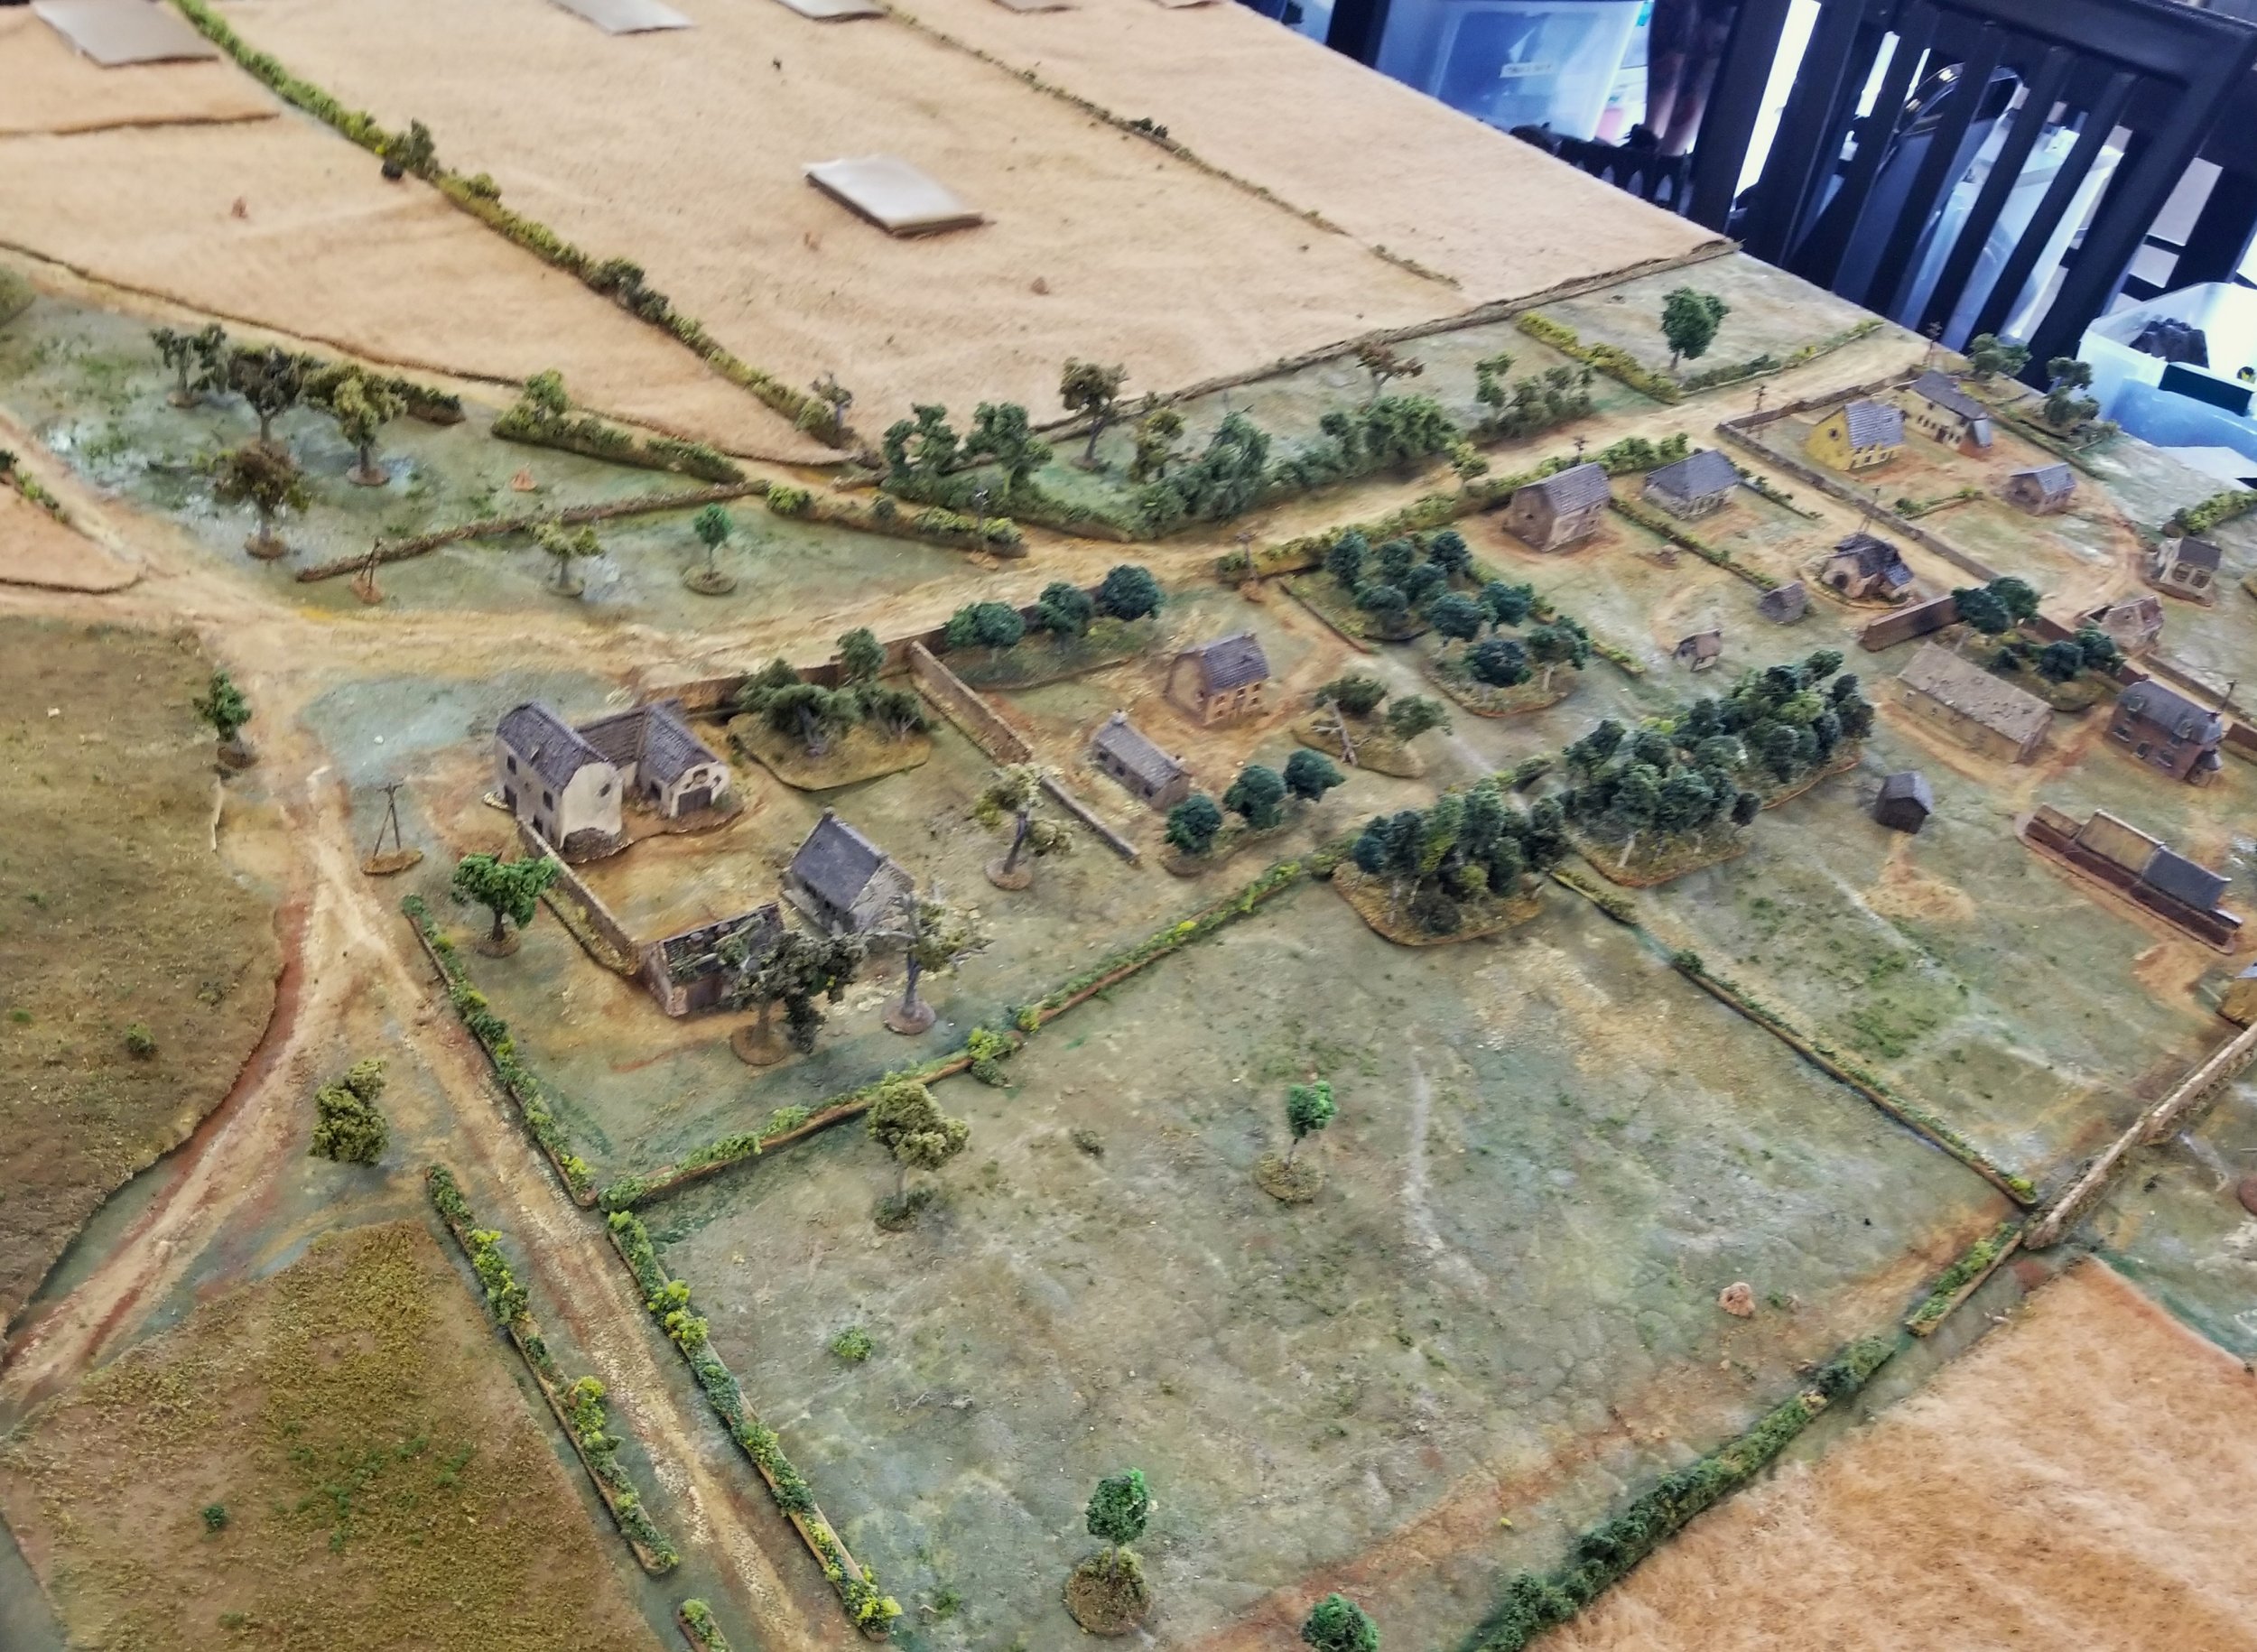
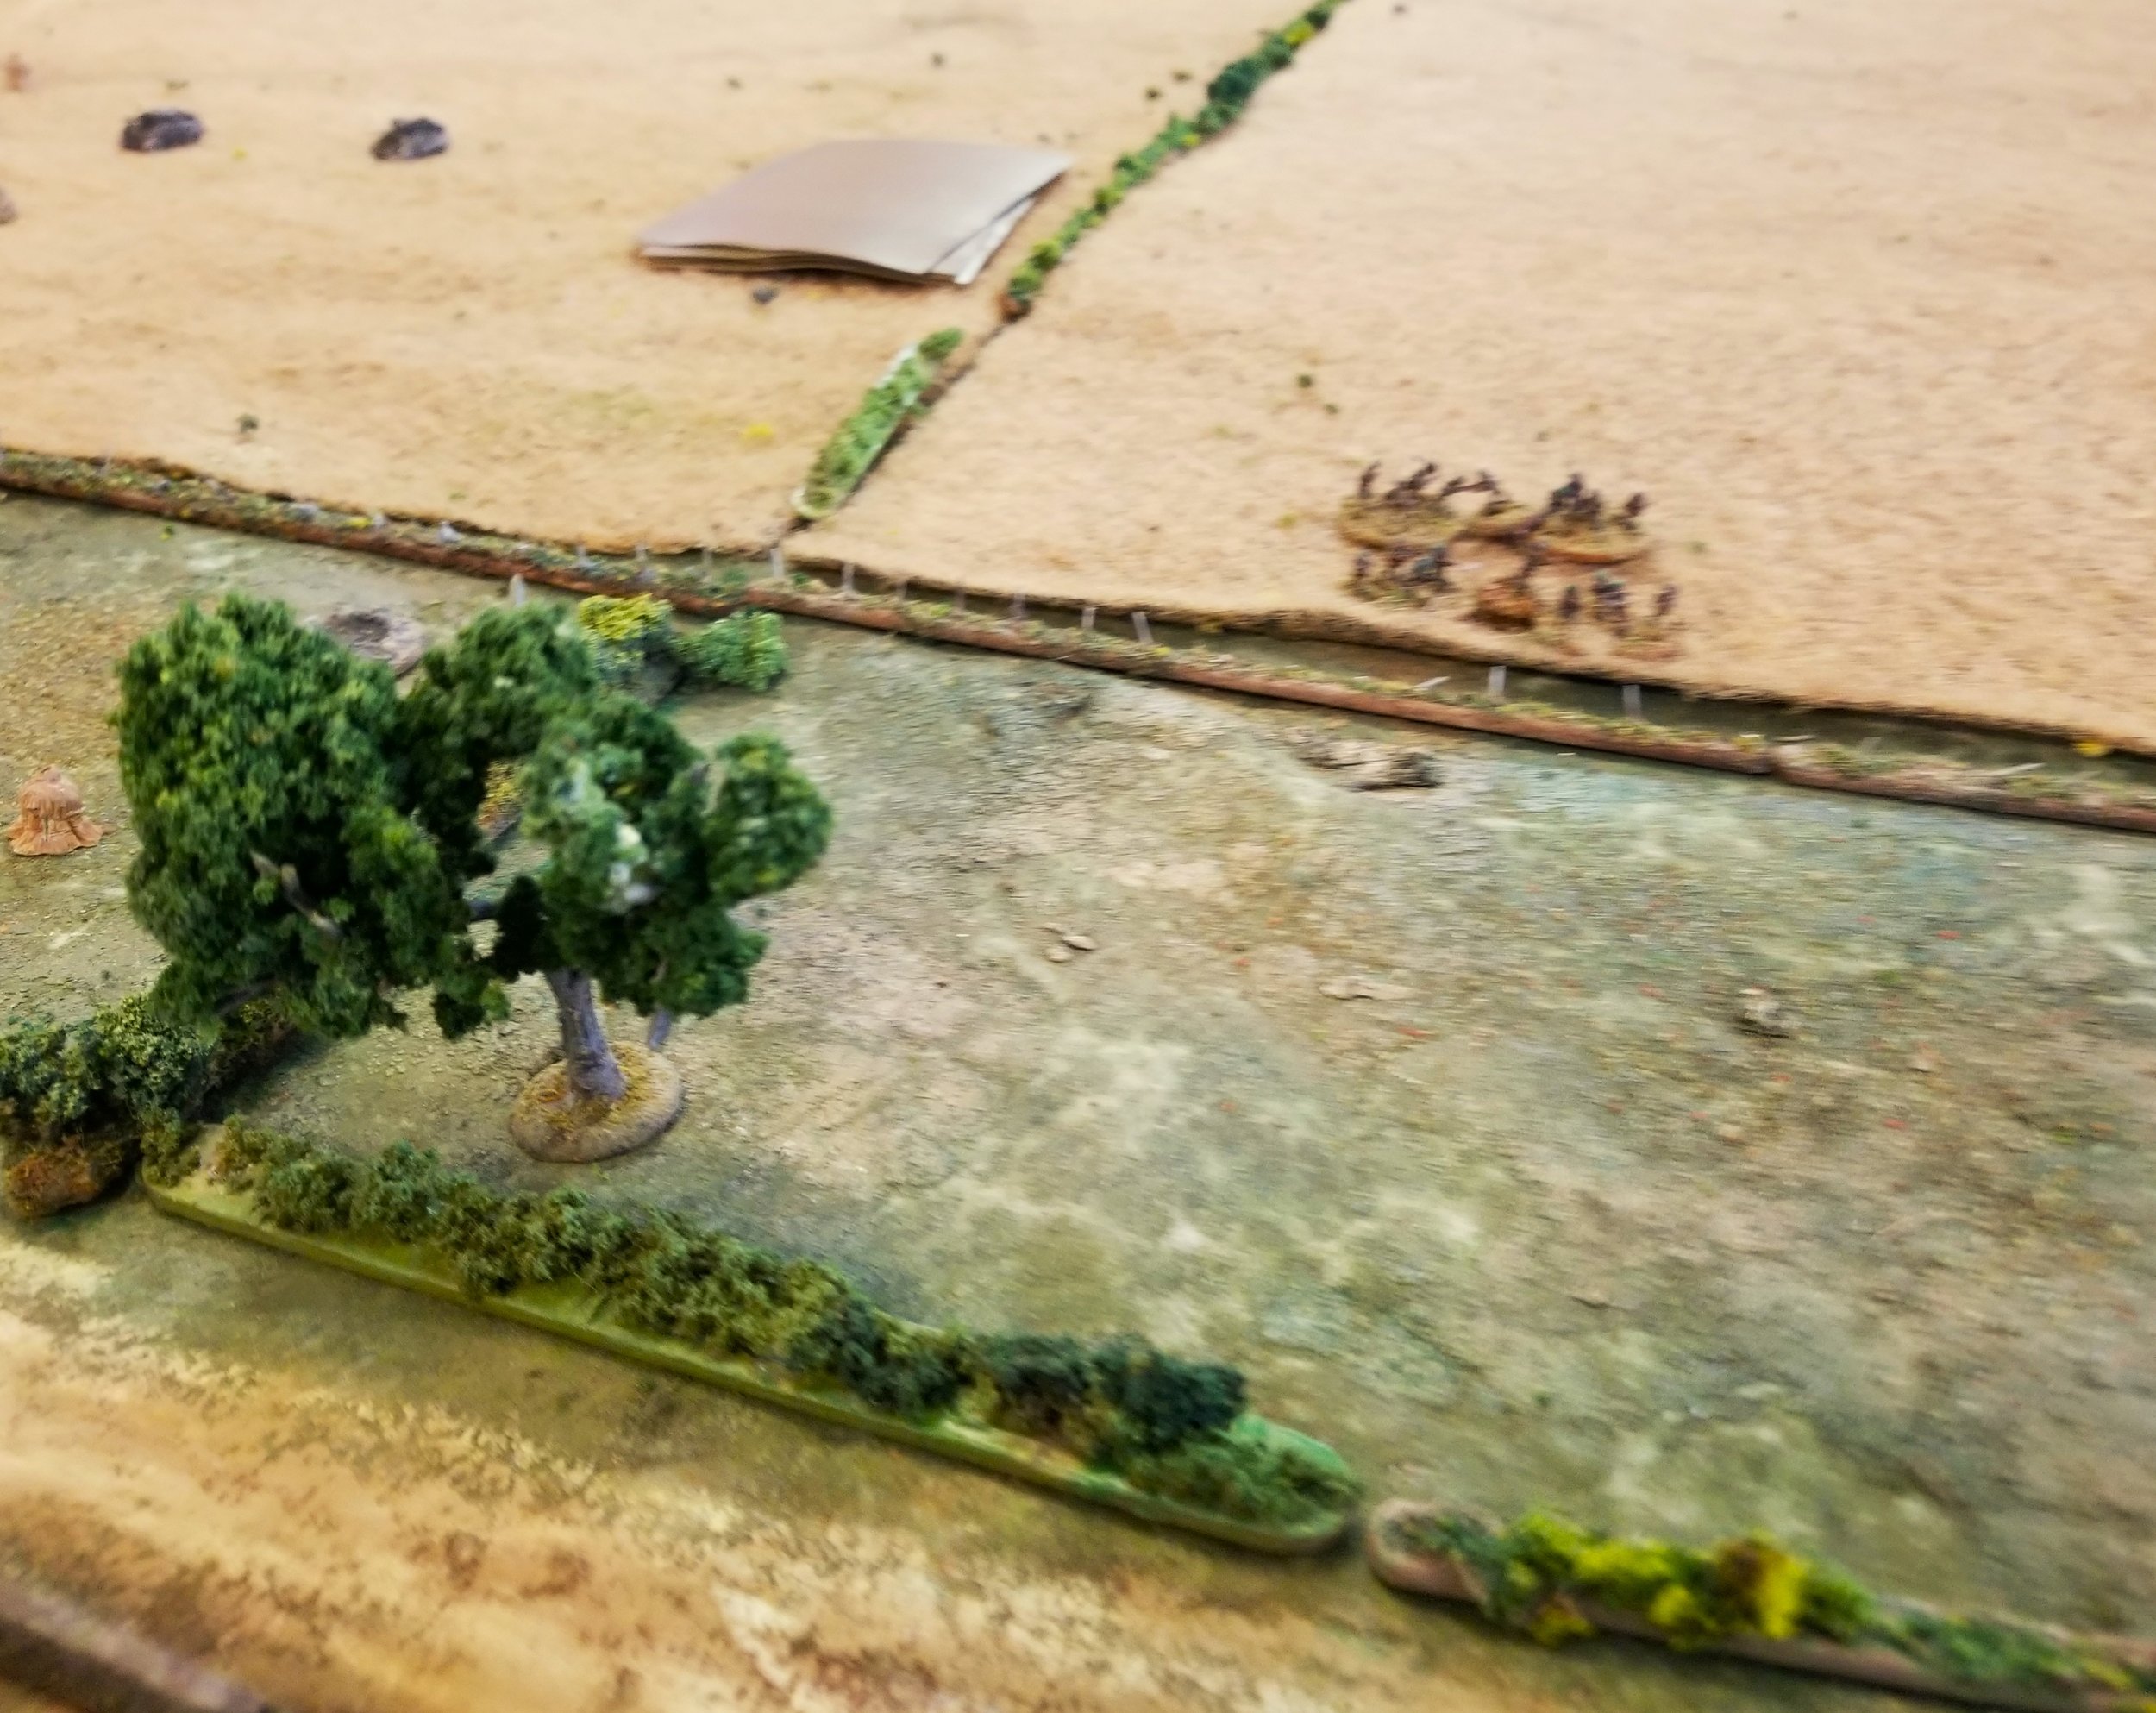
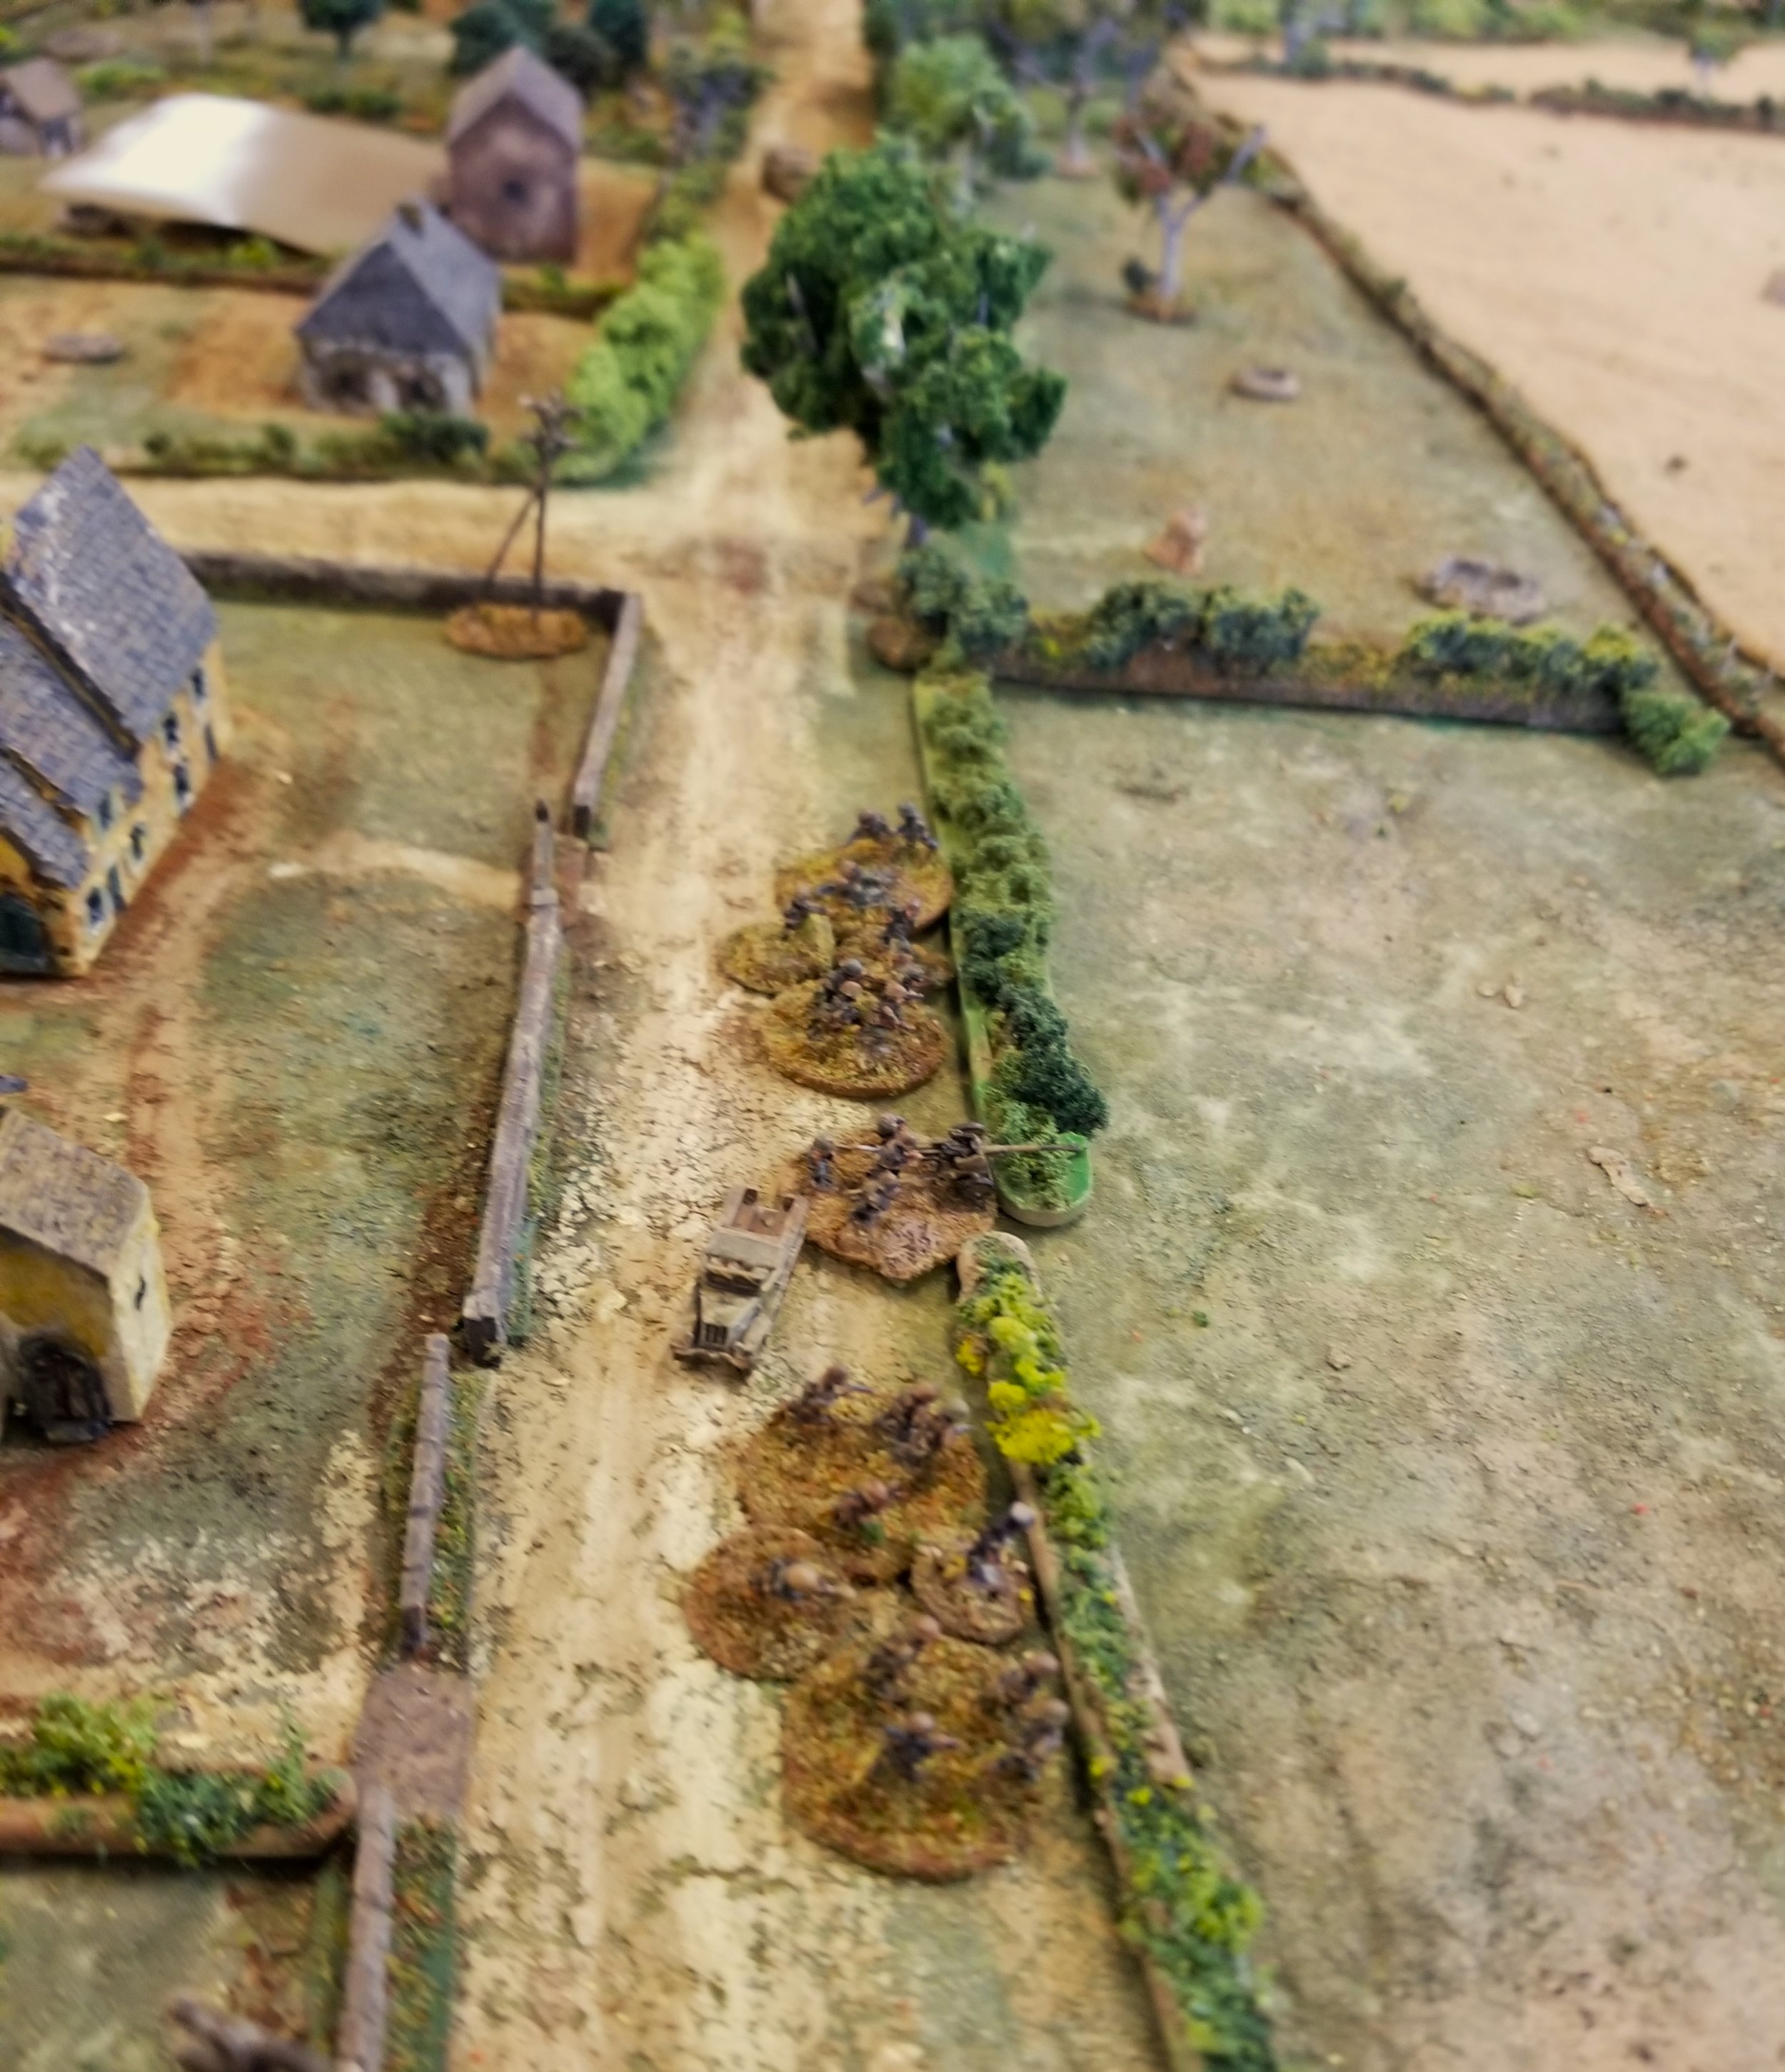
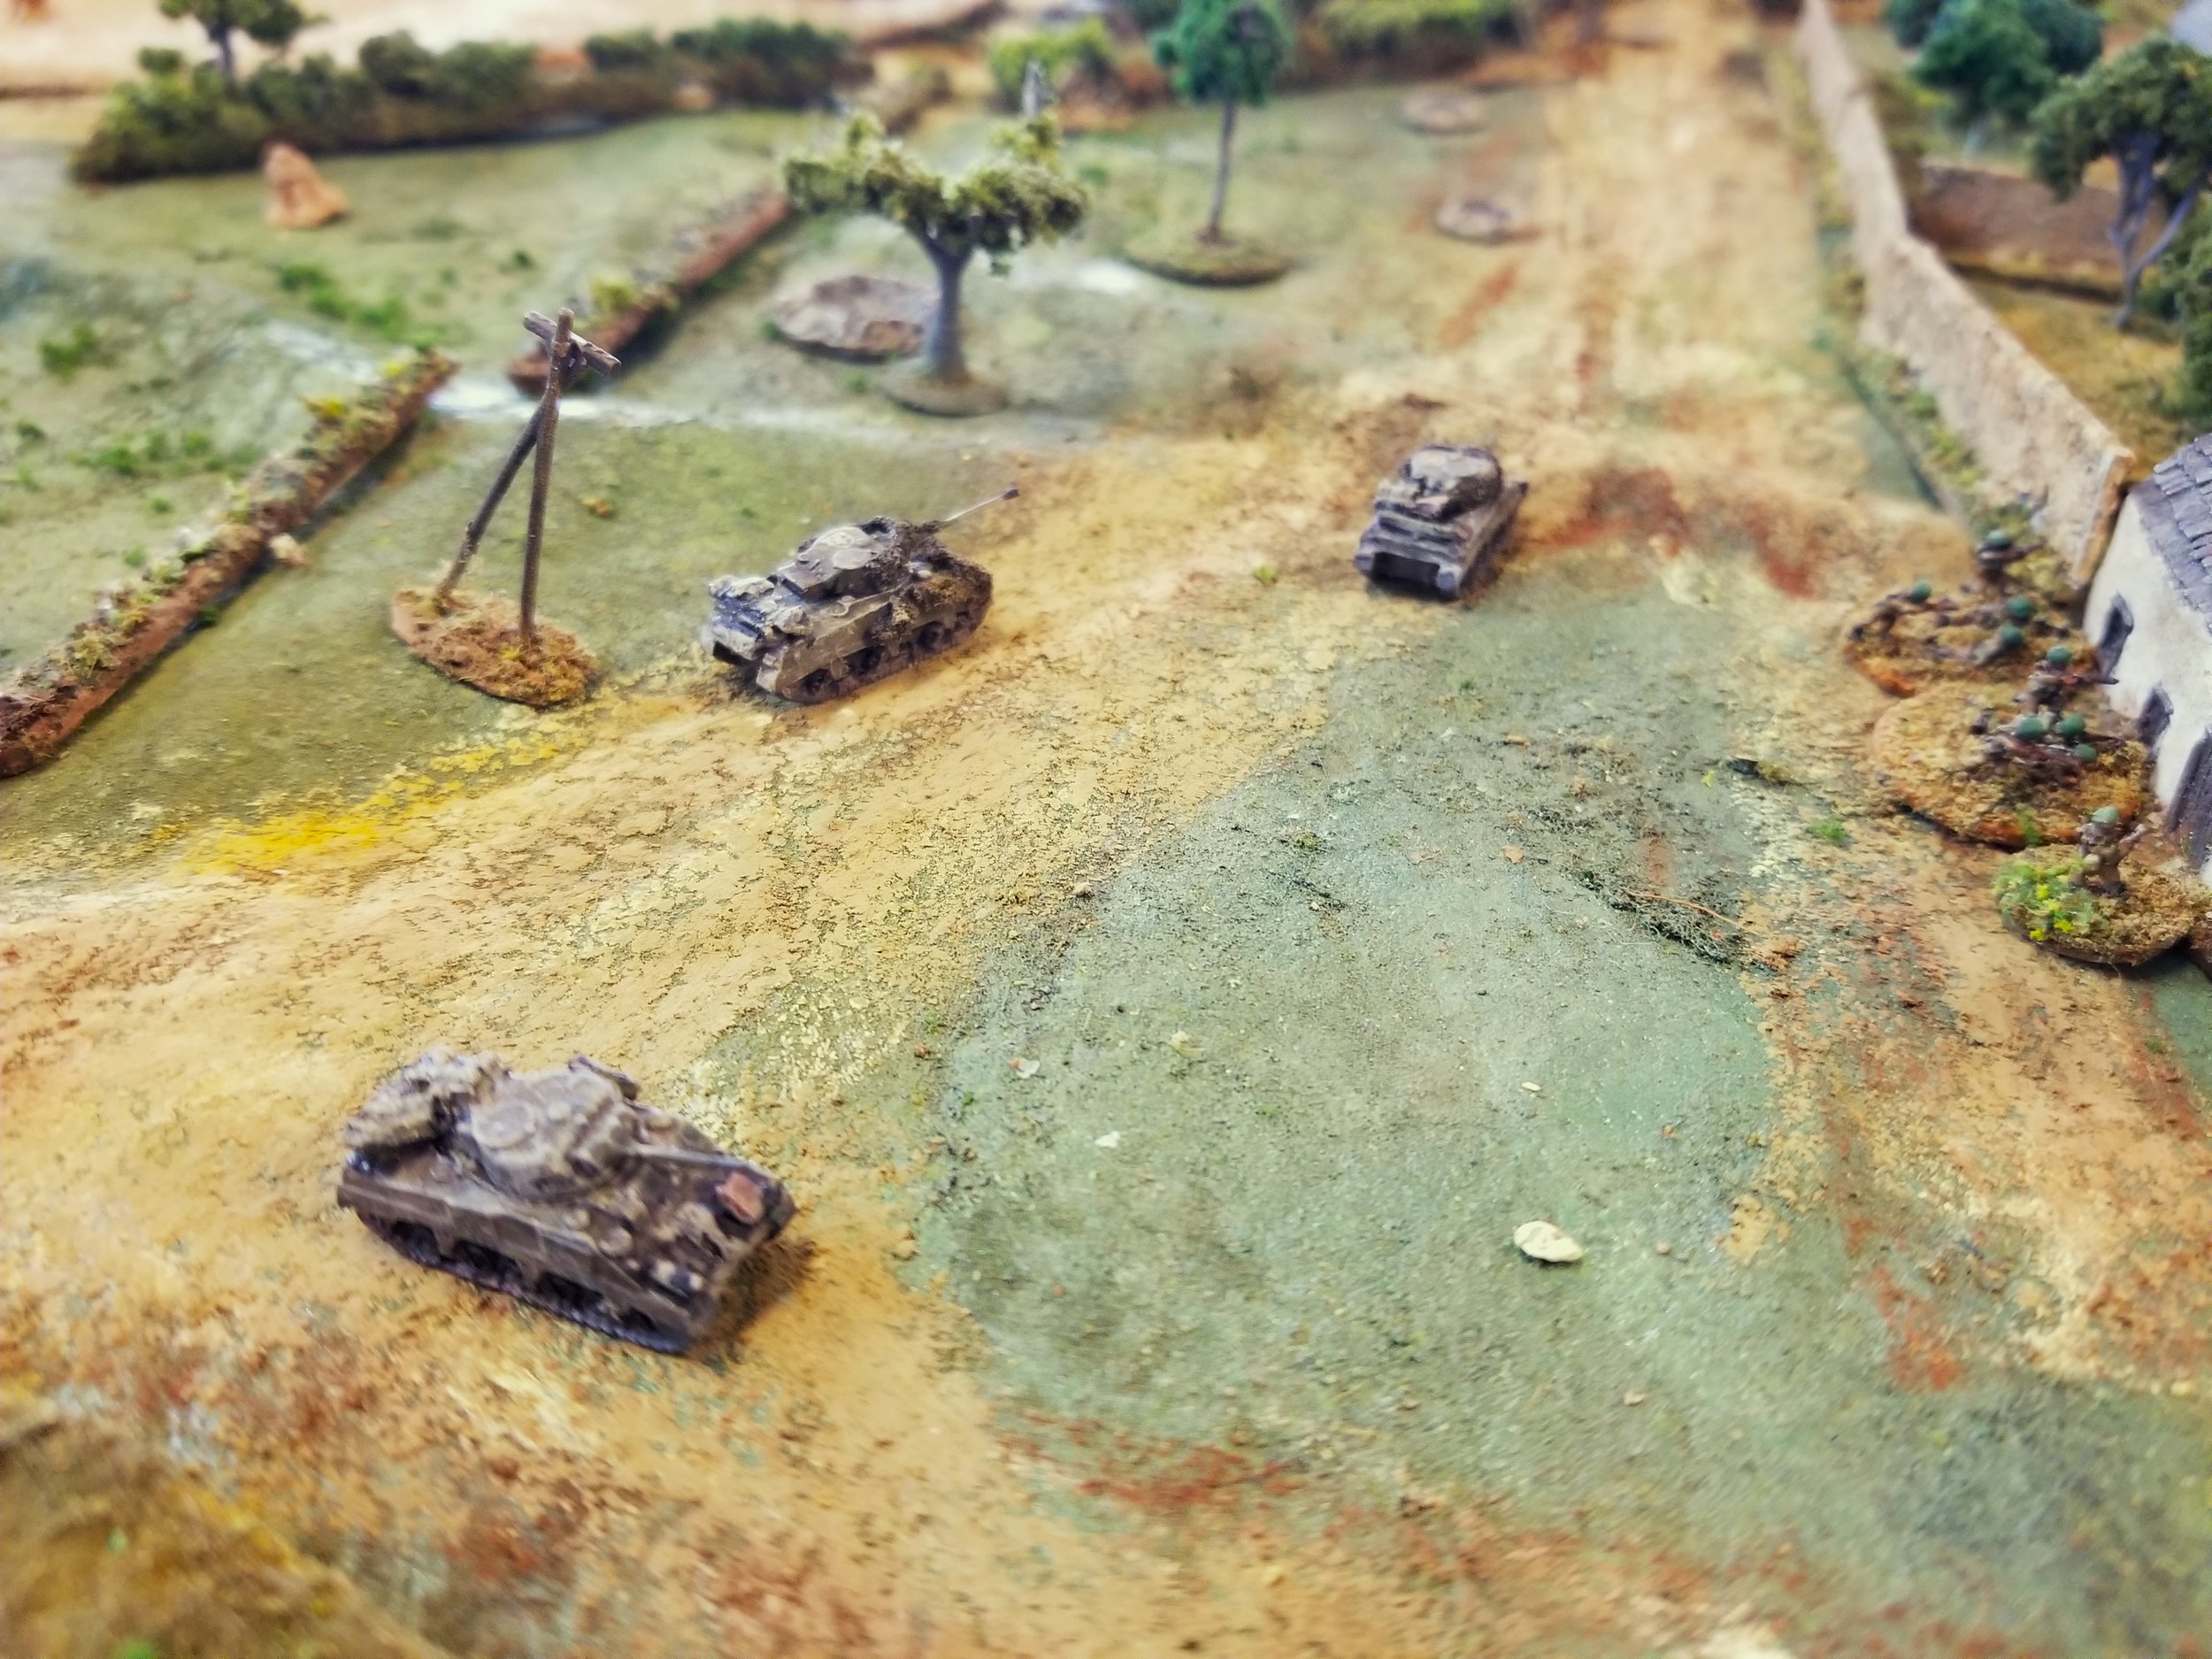
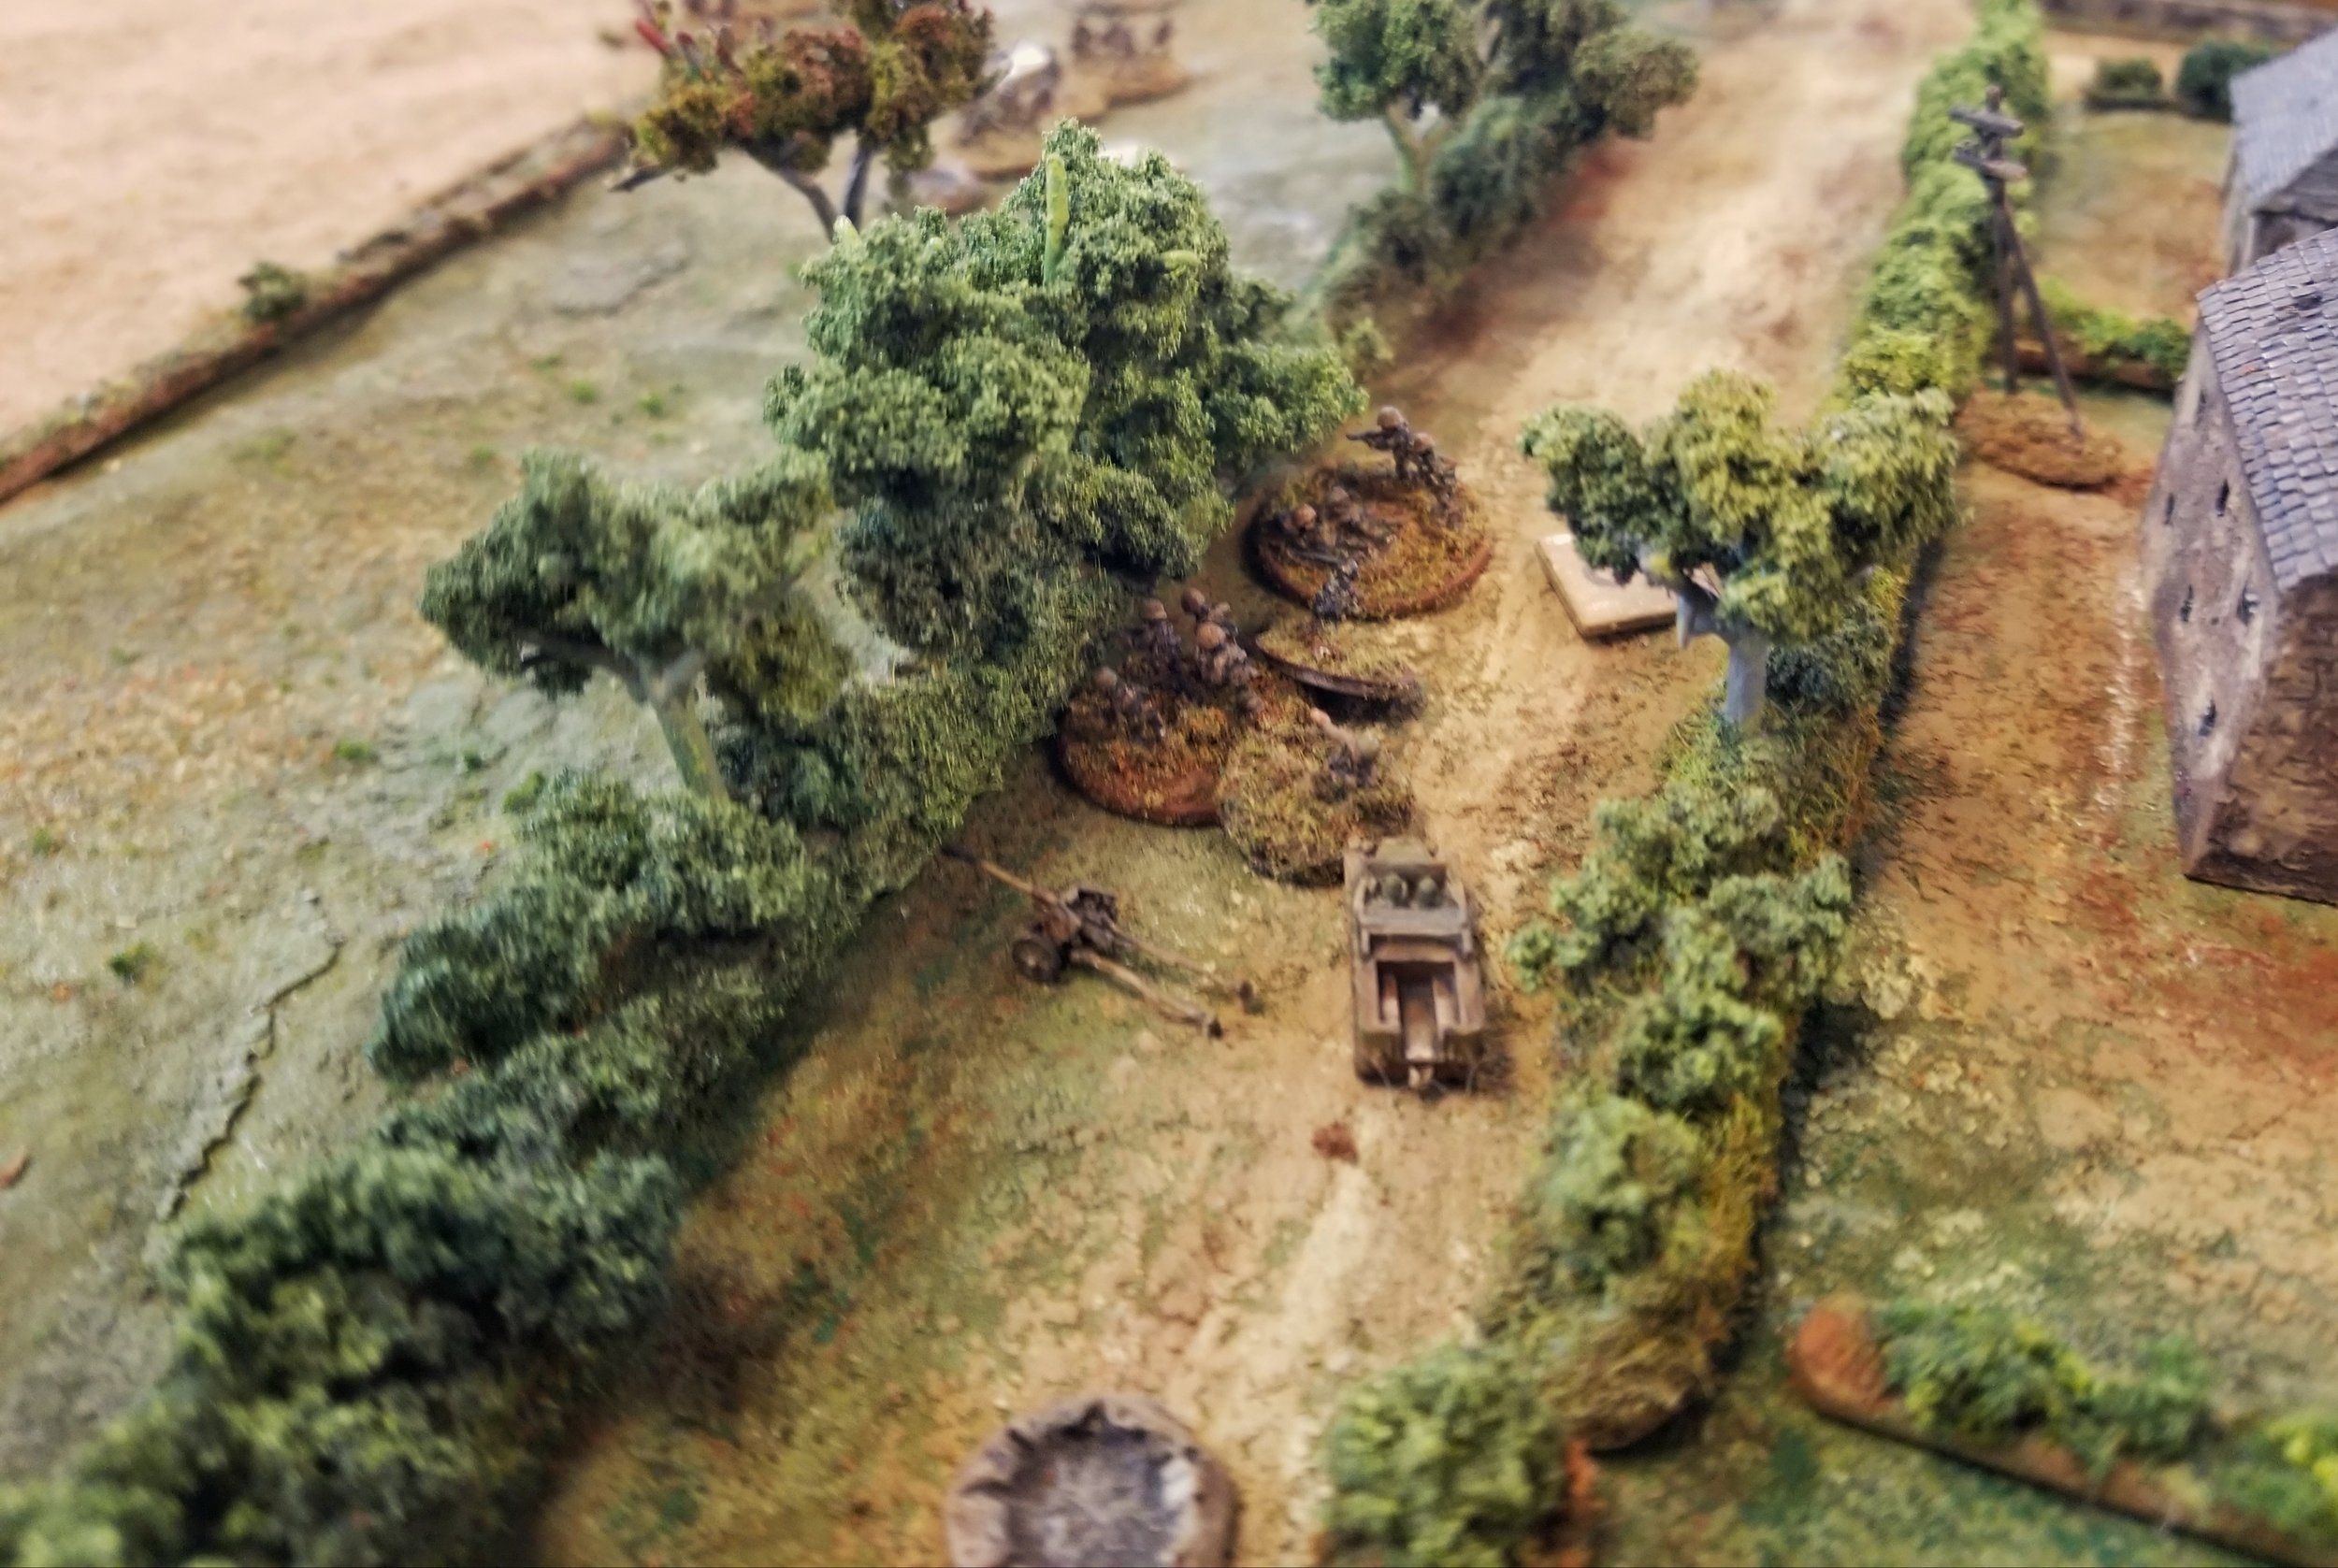
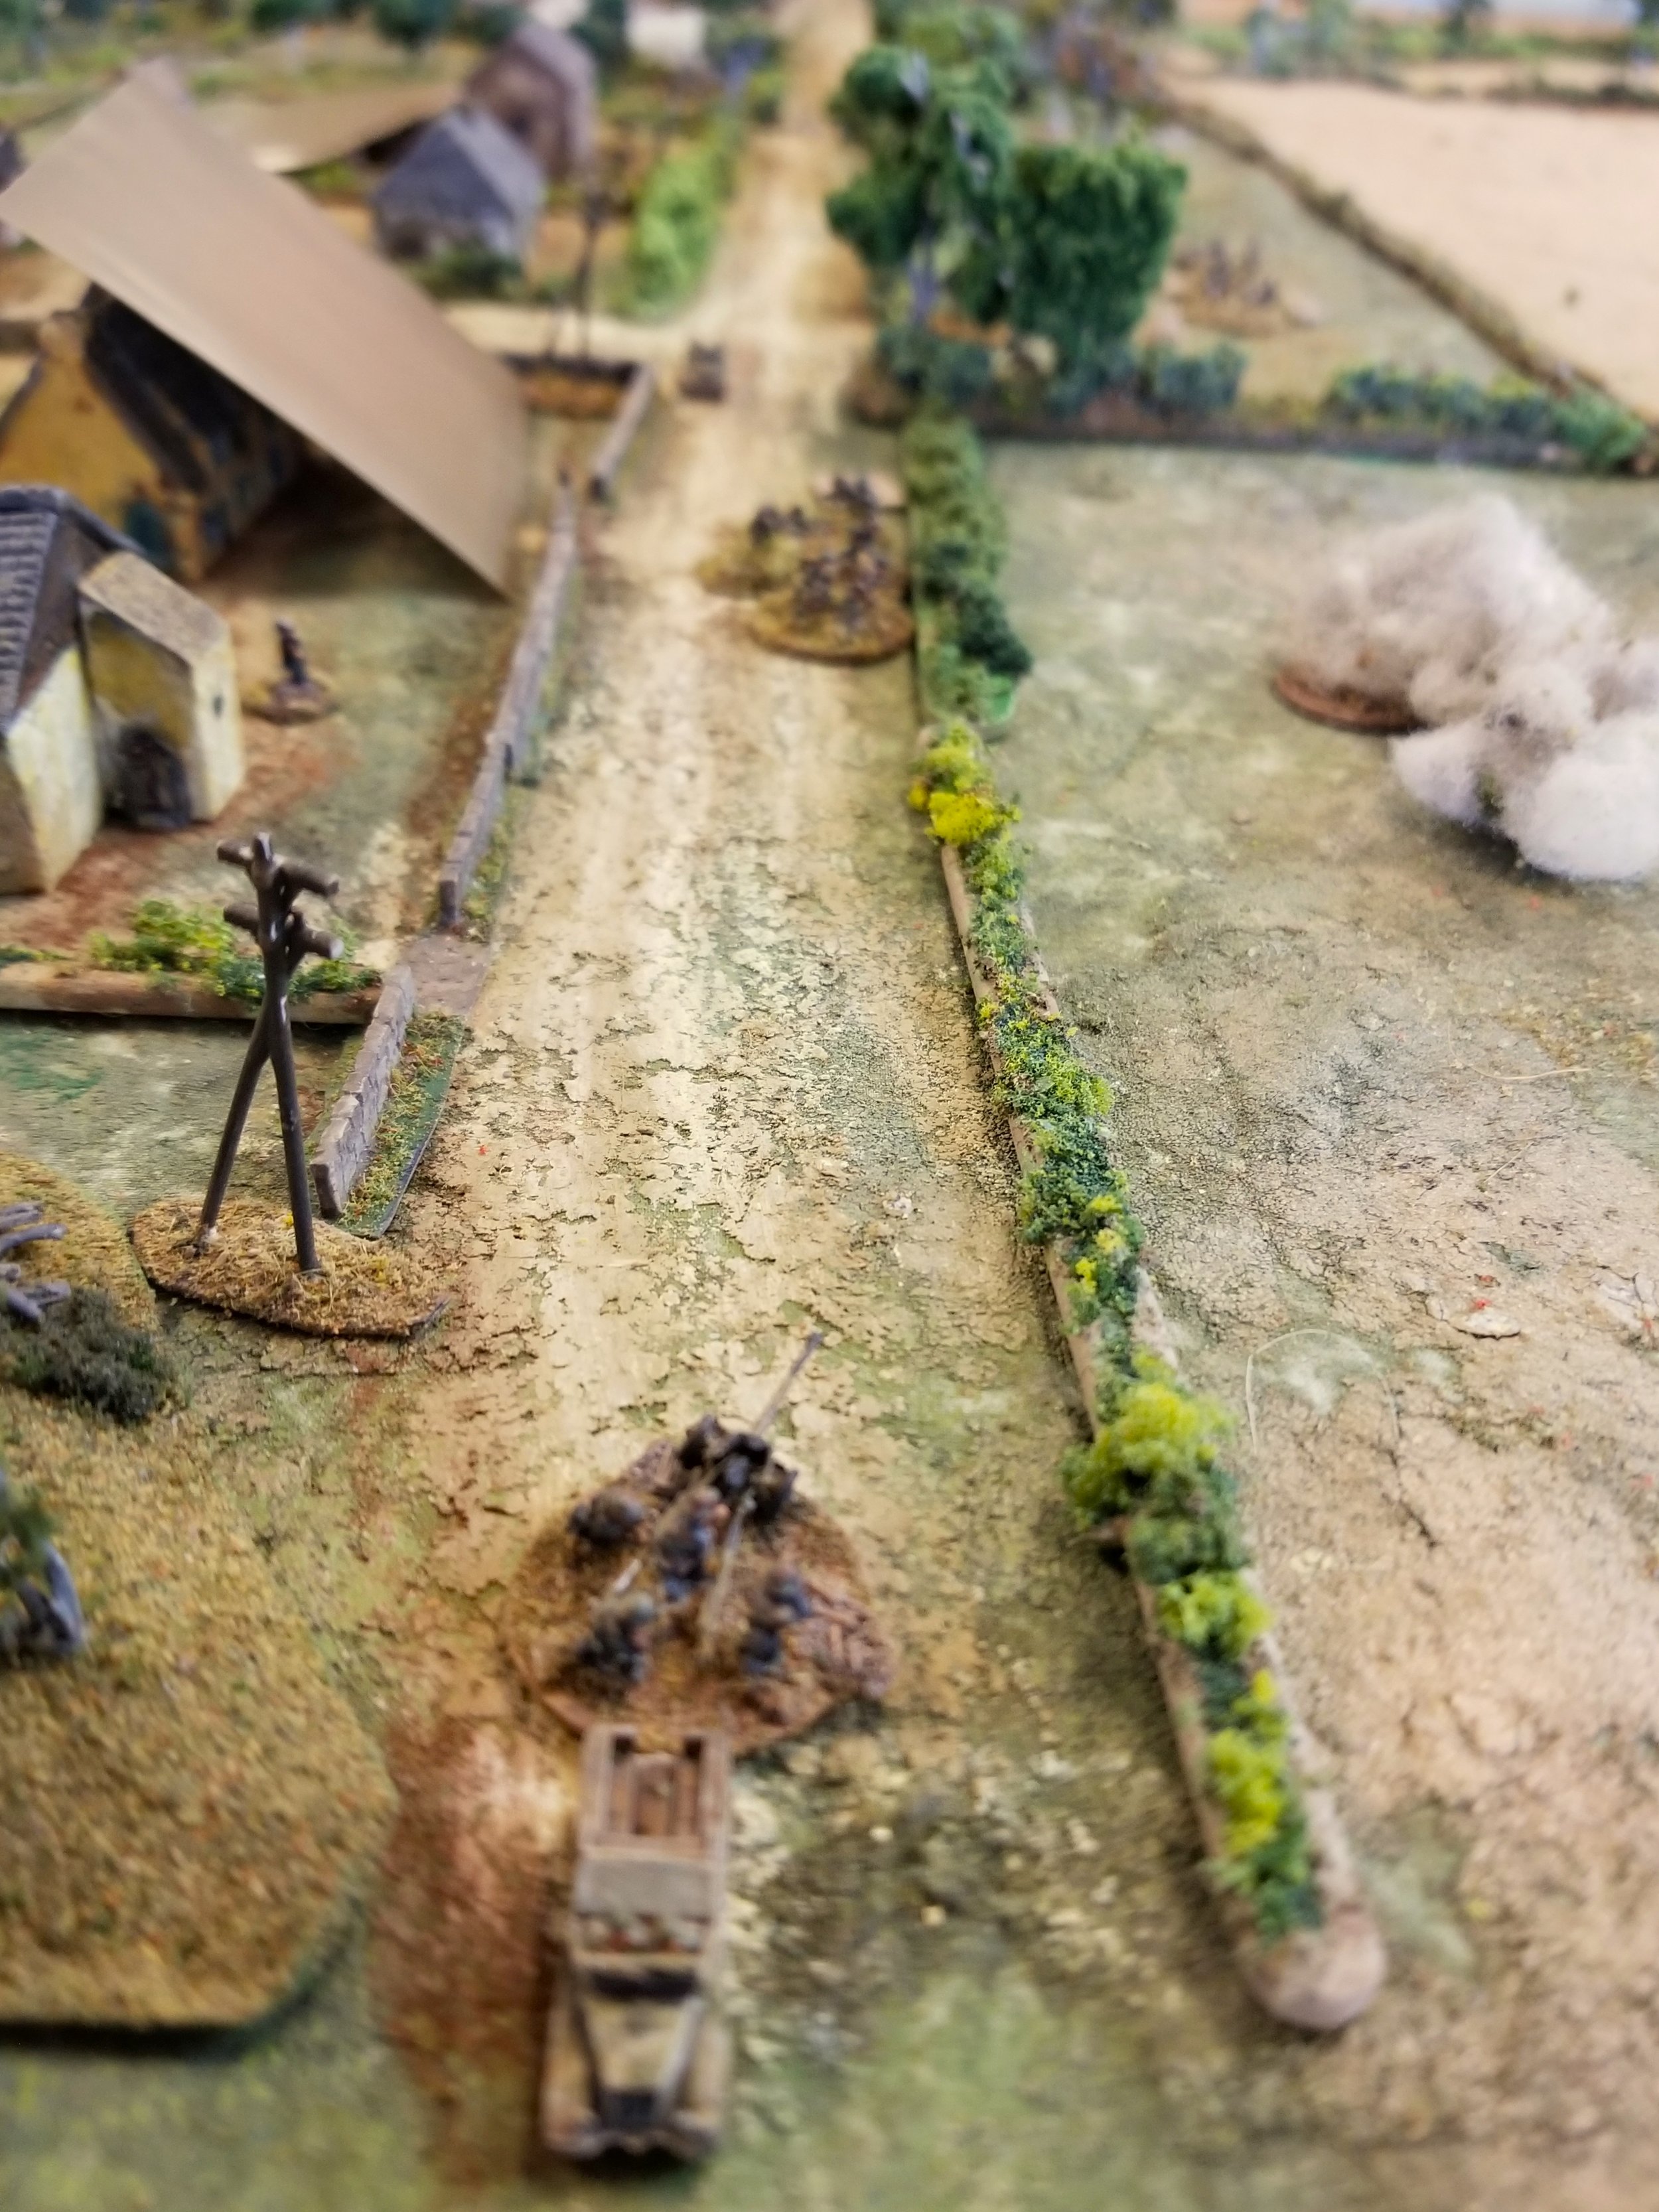
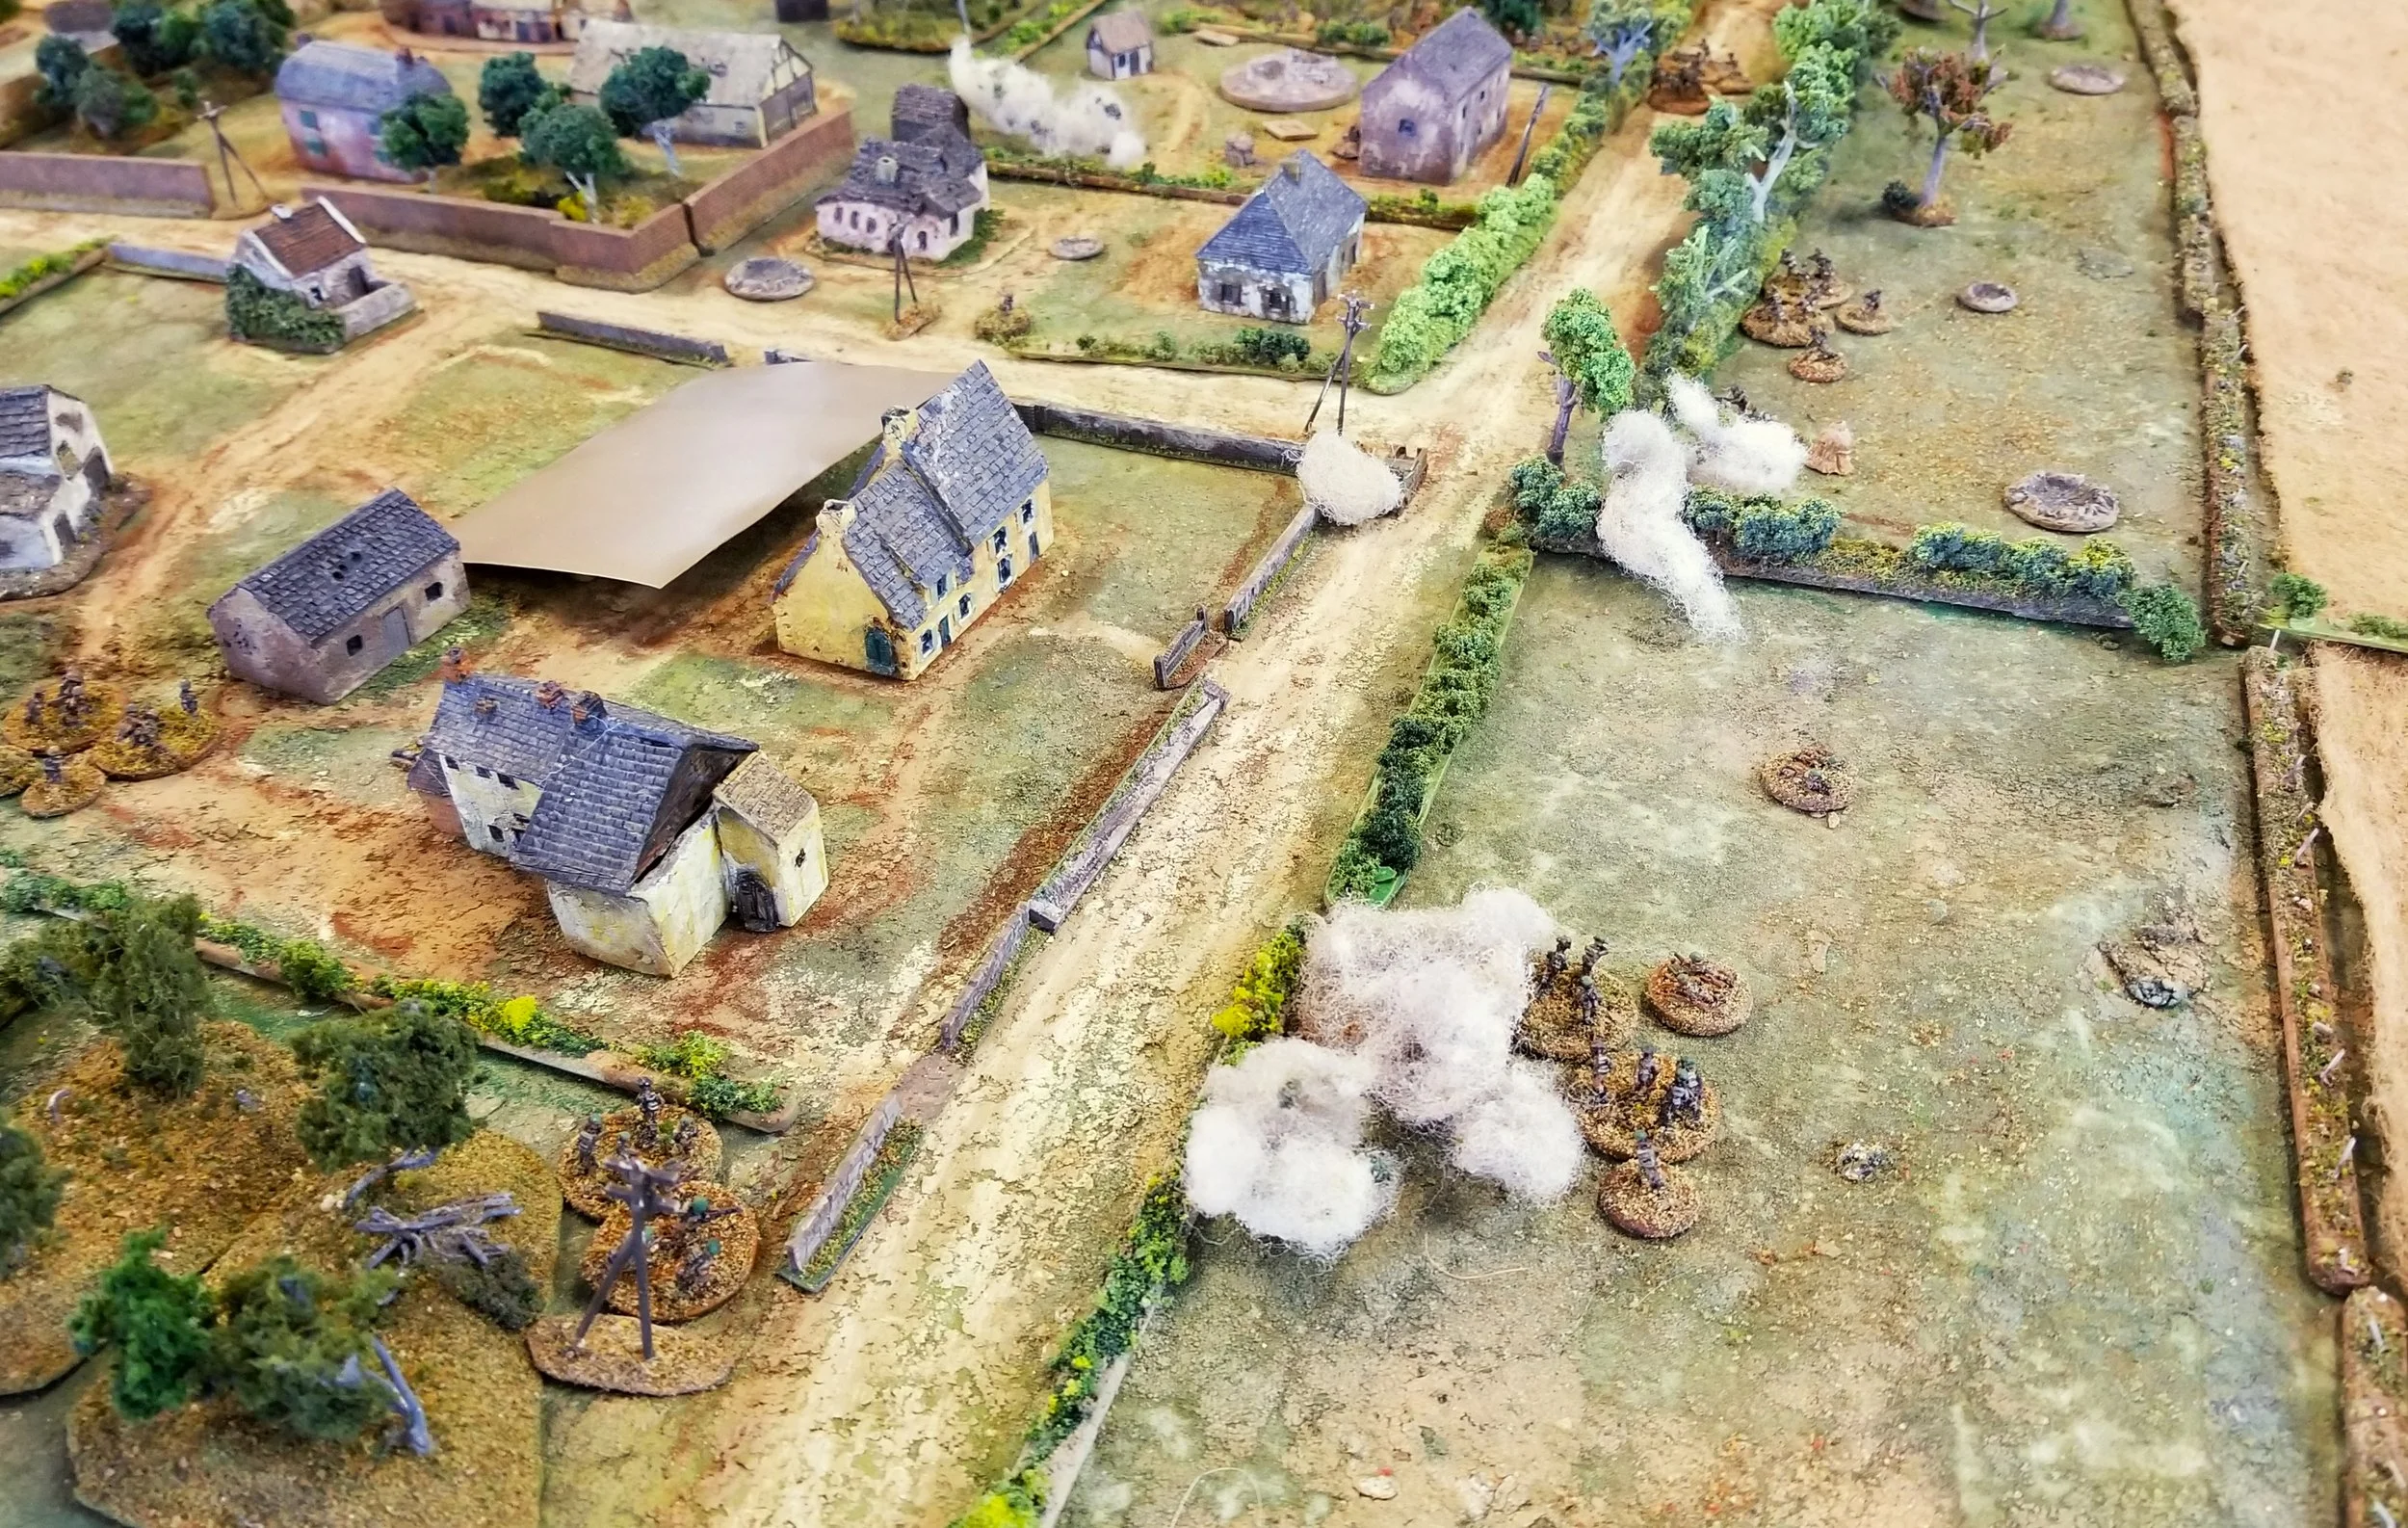
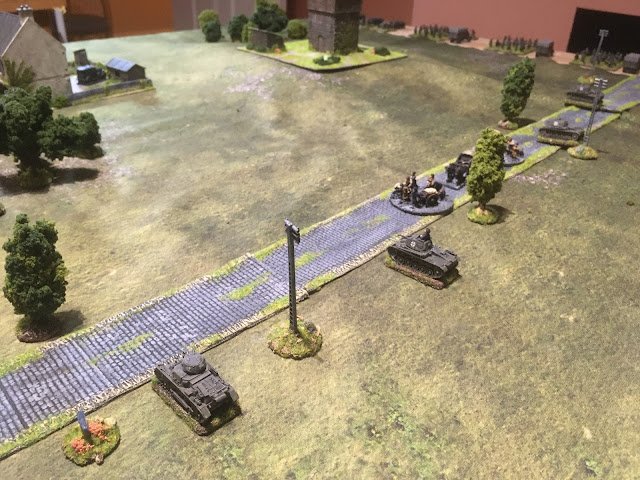
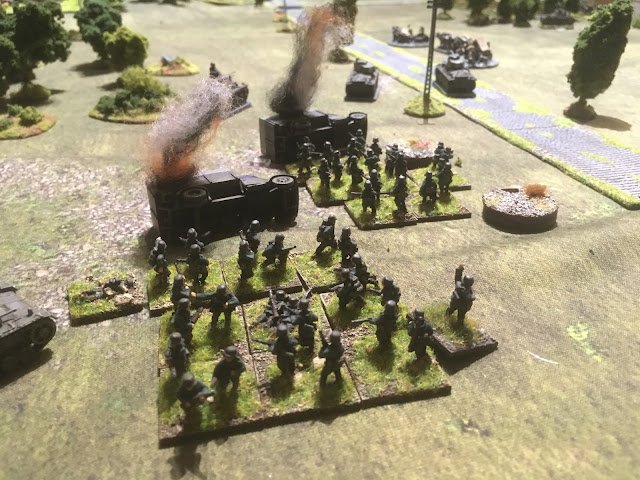
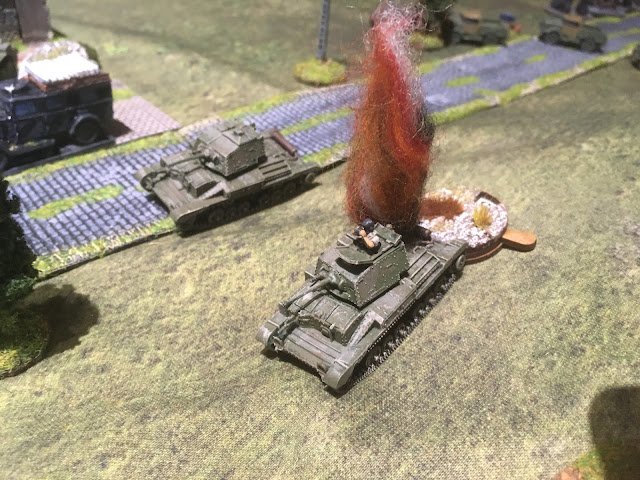
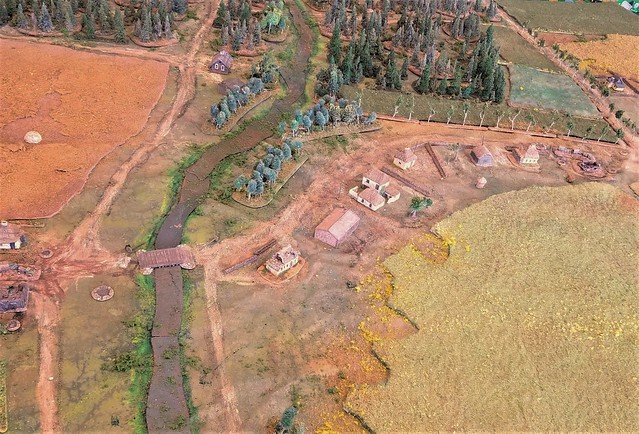
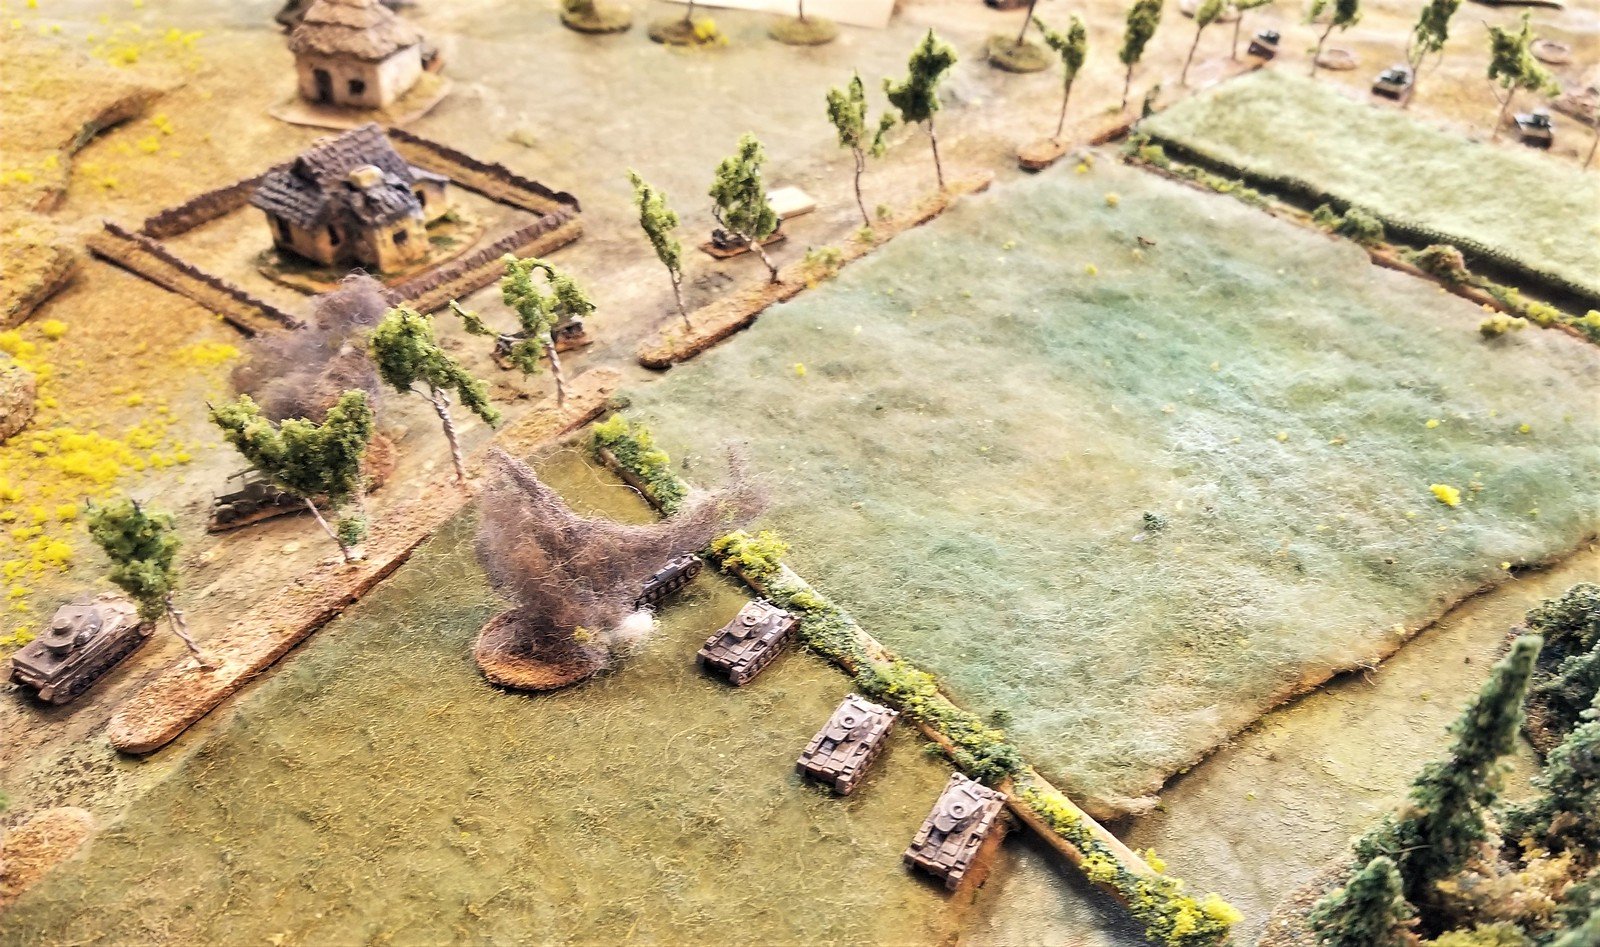
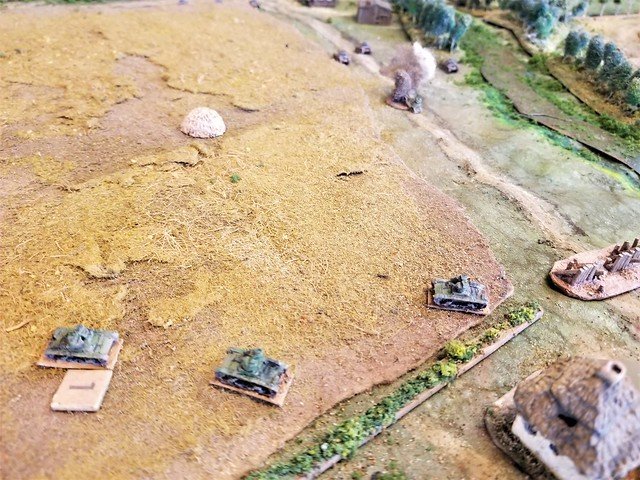
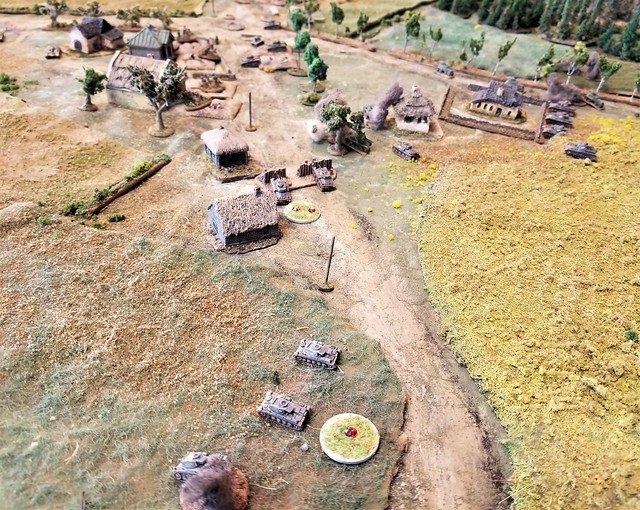
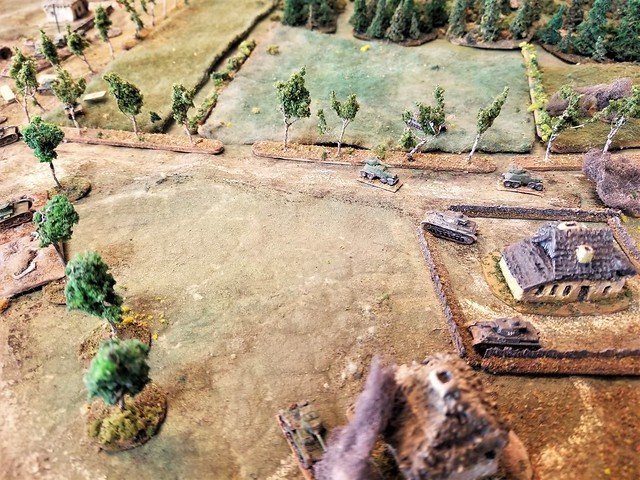
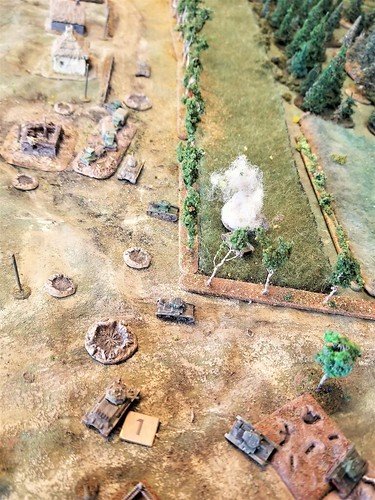
We were able to cross the causeway fairly quickly, using the lead tank to push a truck blocking the bridge out of the way. This led to an American anti-tank gun opening fire on us. Our artillery observer was able to get into a position where he could call down a strike on the American left, but our mortar observer was killed. While waiting for the bombardment to arrive, we pressed on with the infantry, trying to cross the bridge as quickly as possible.

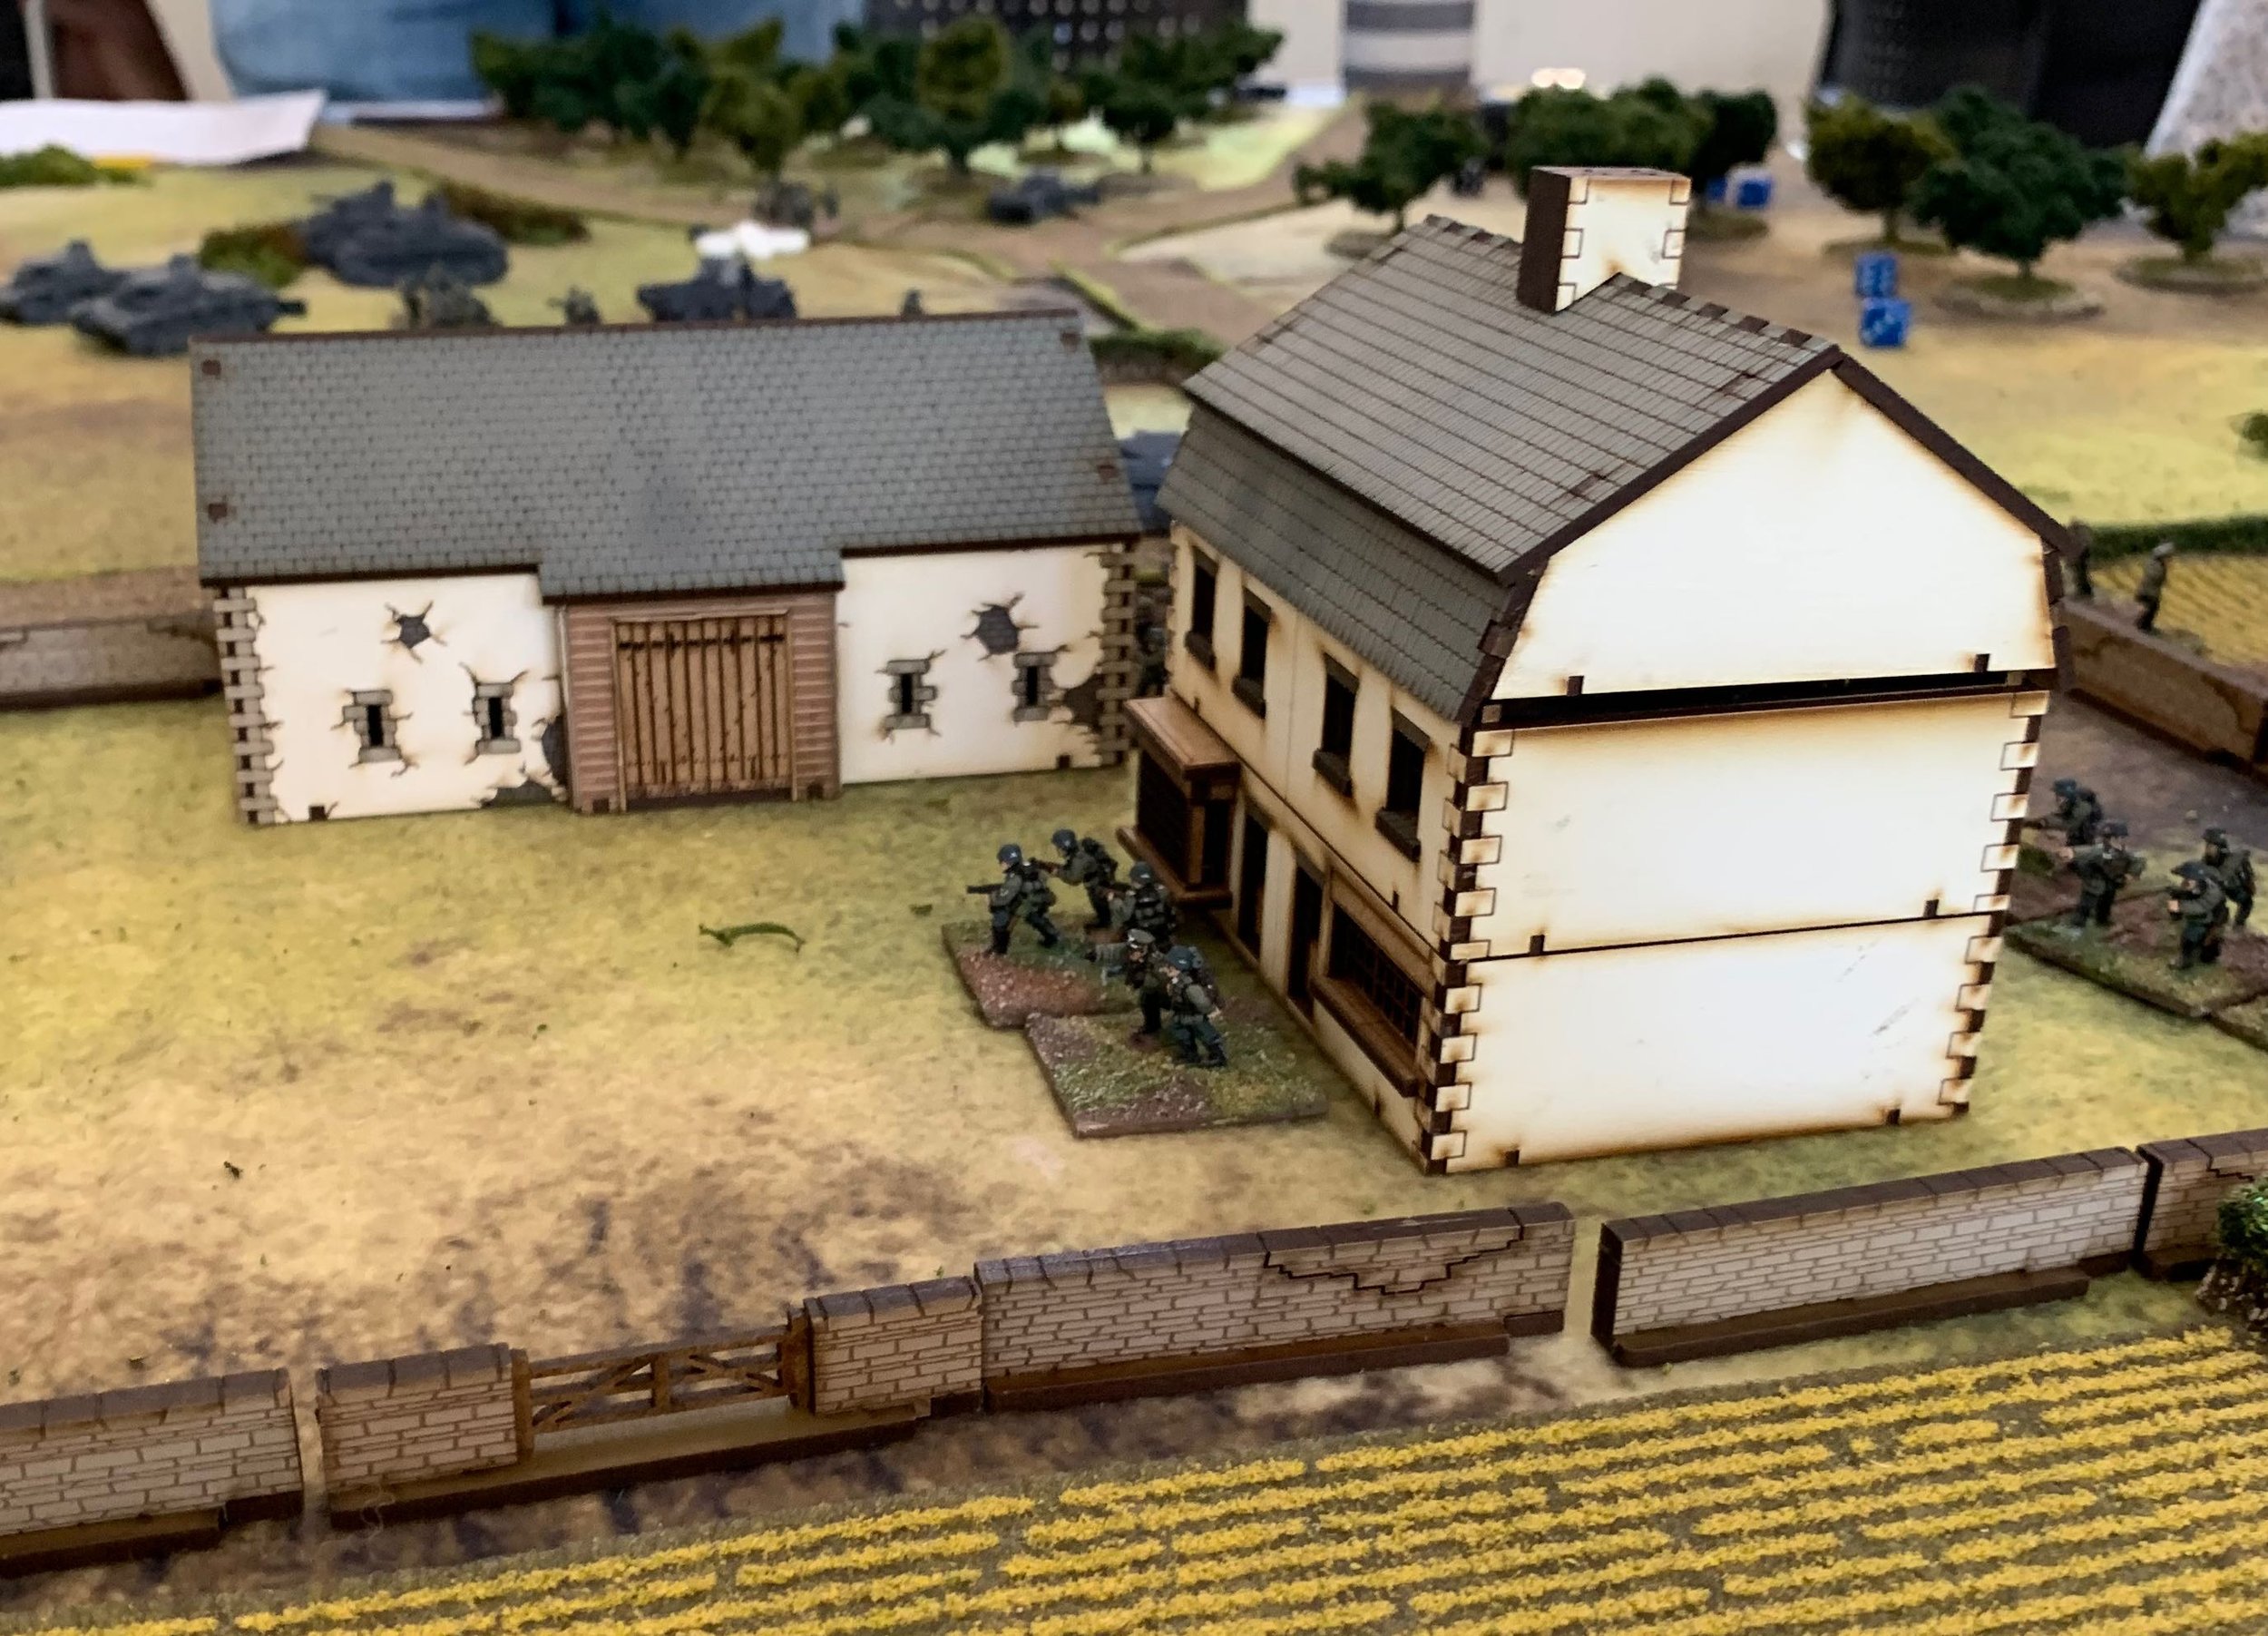
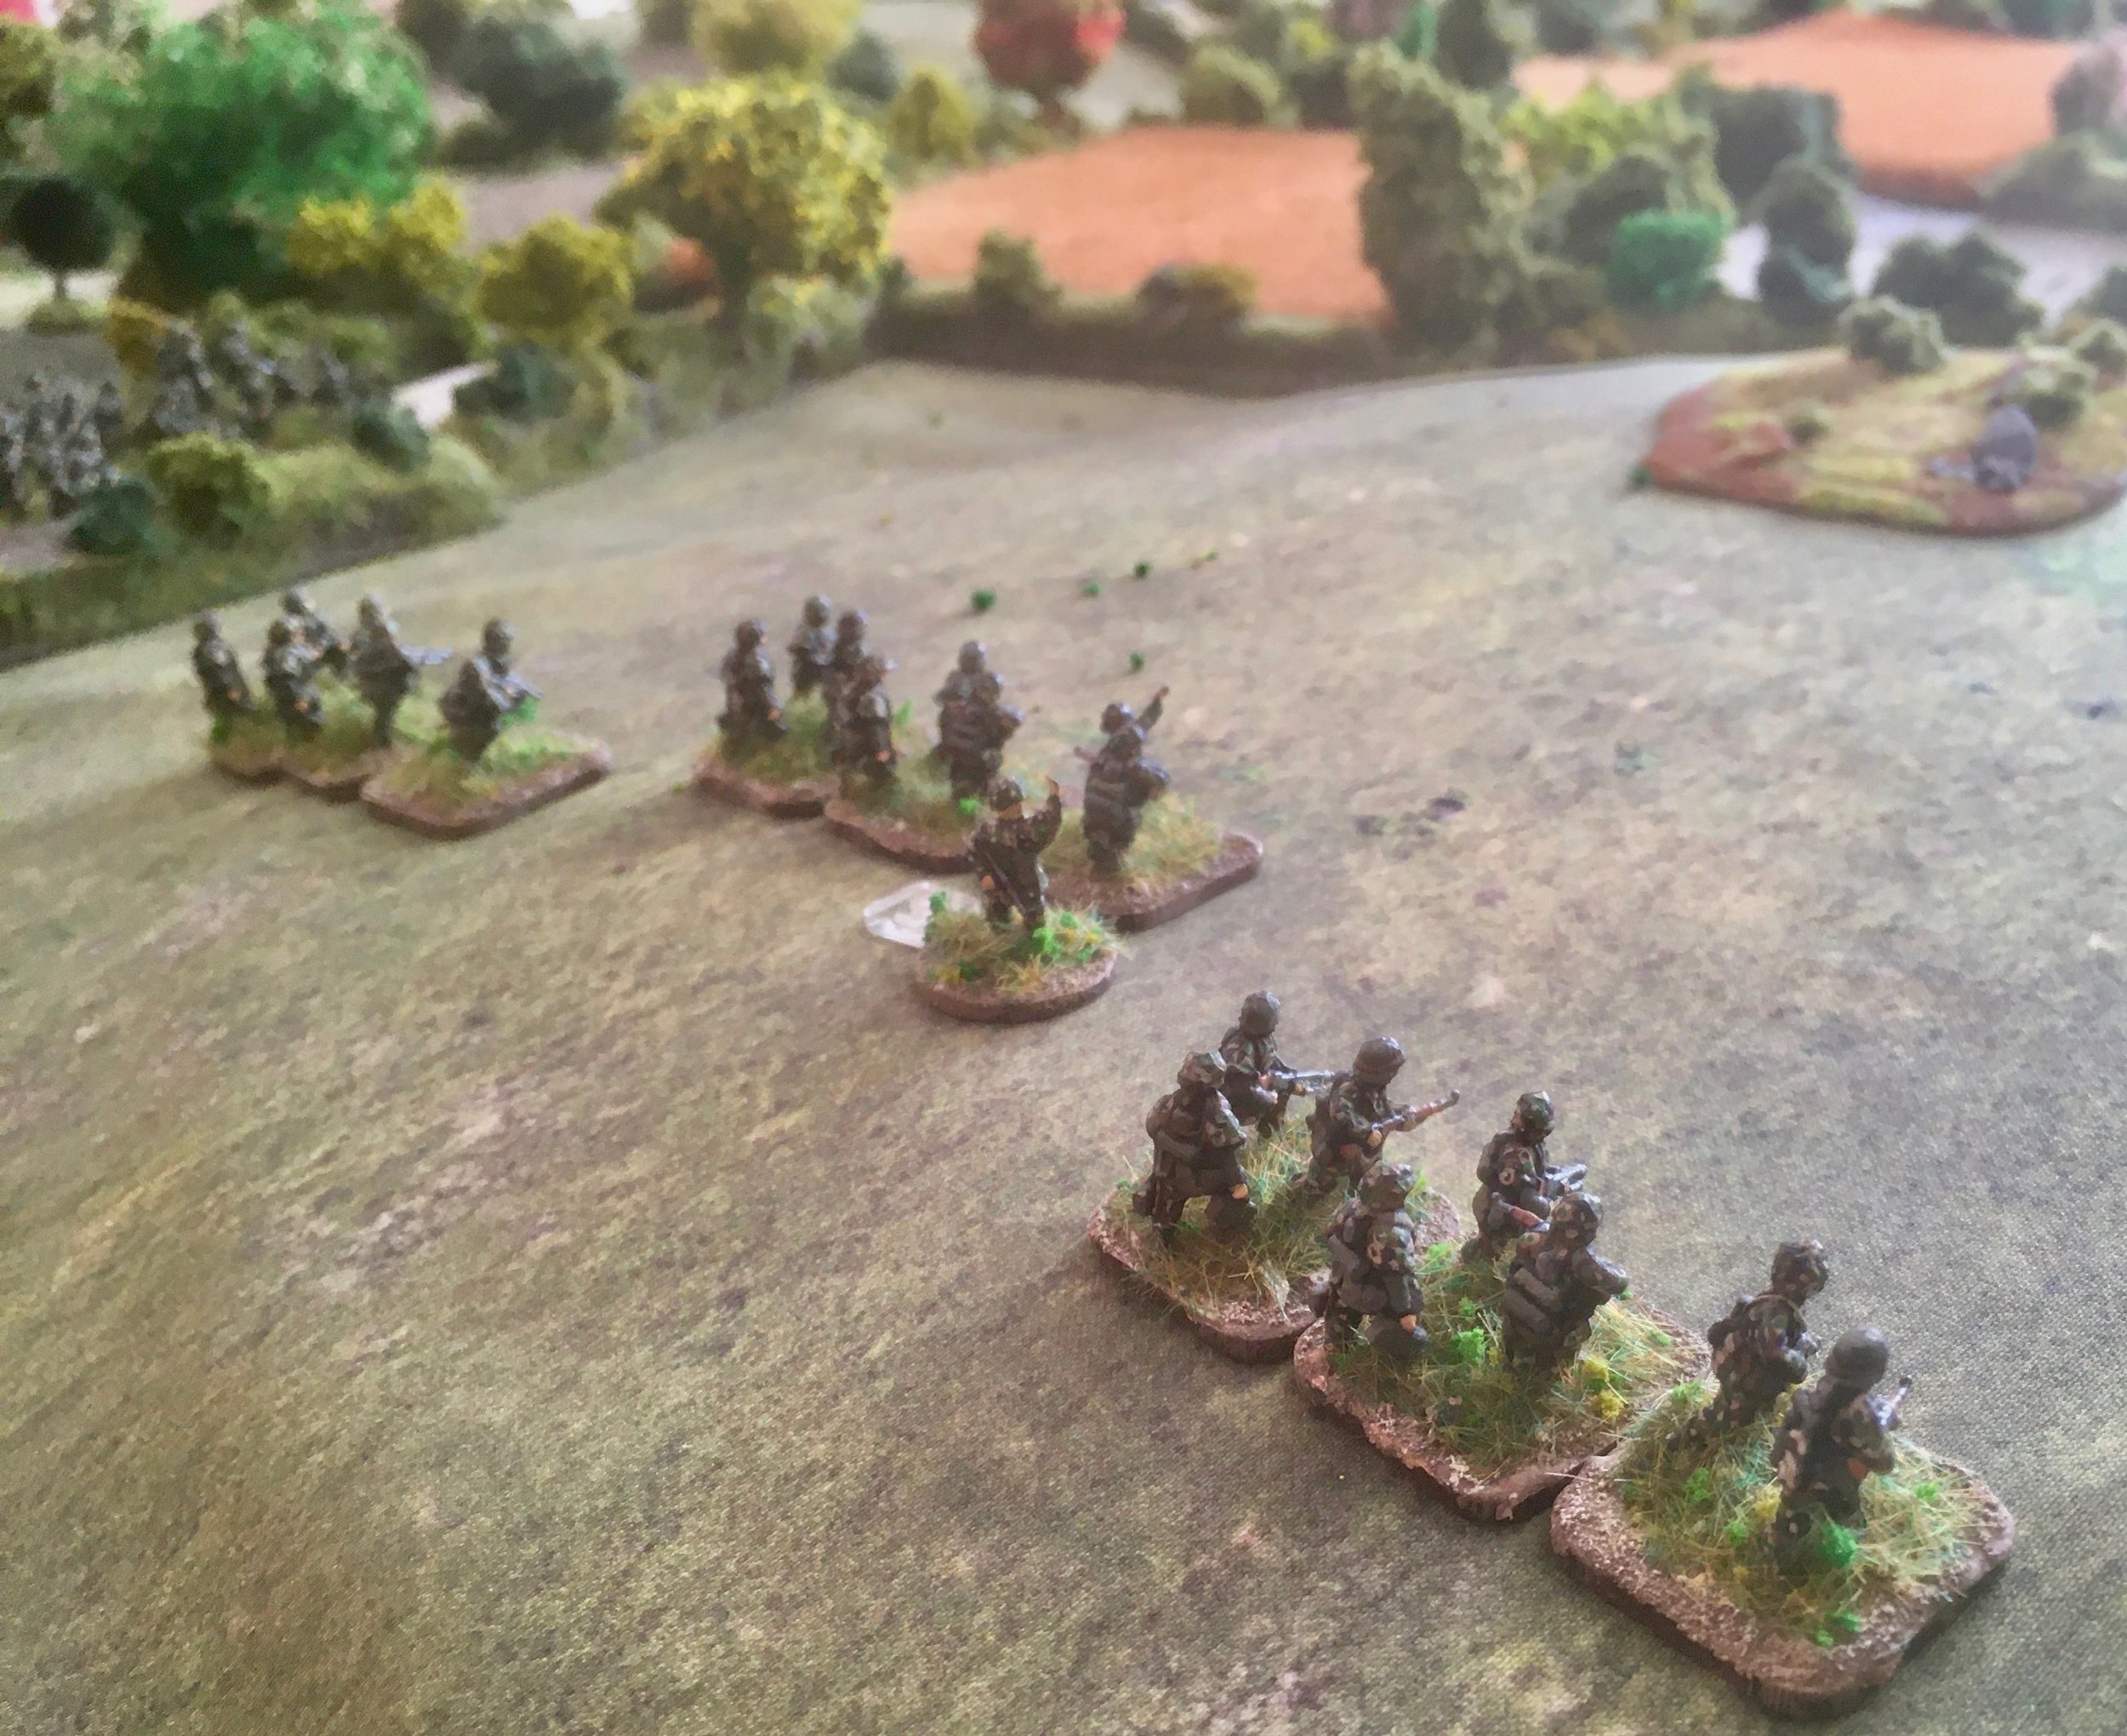
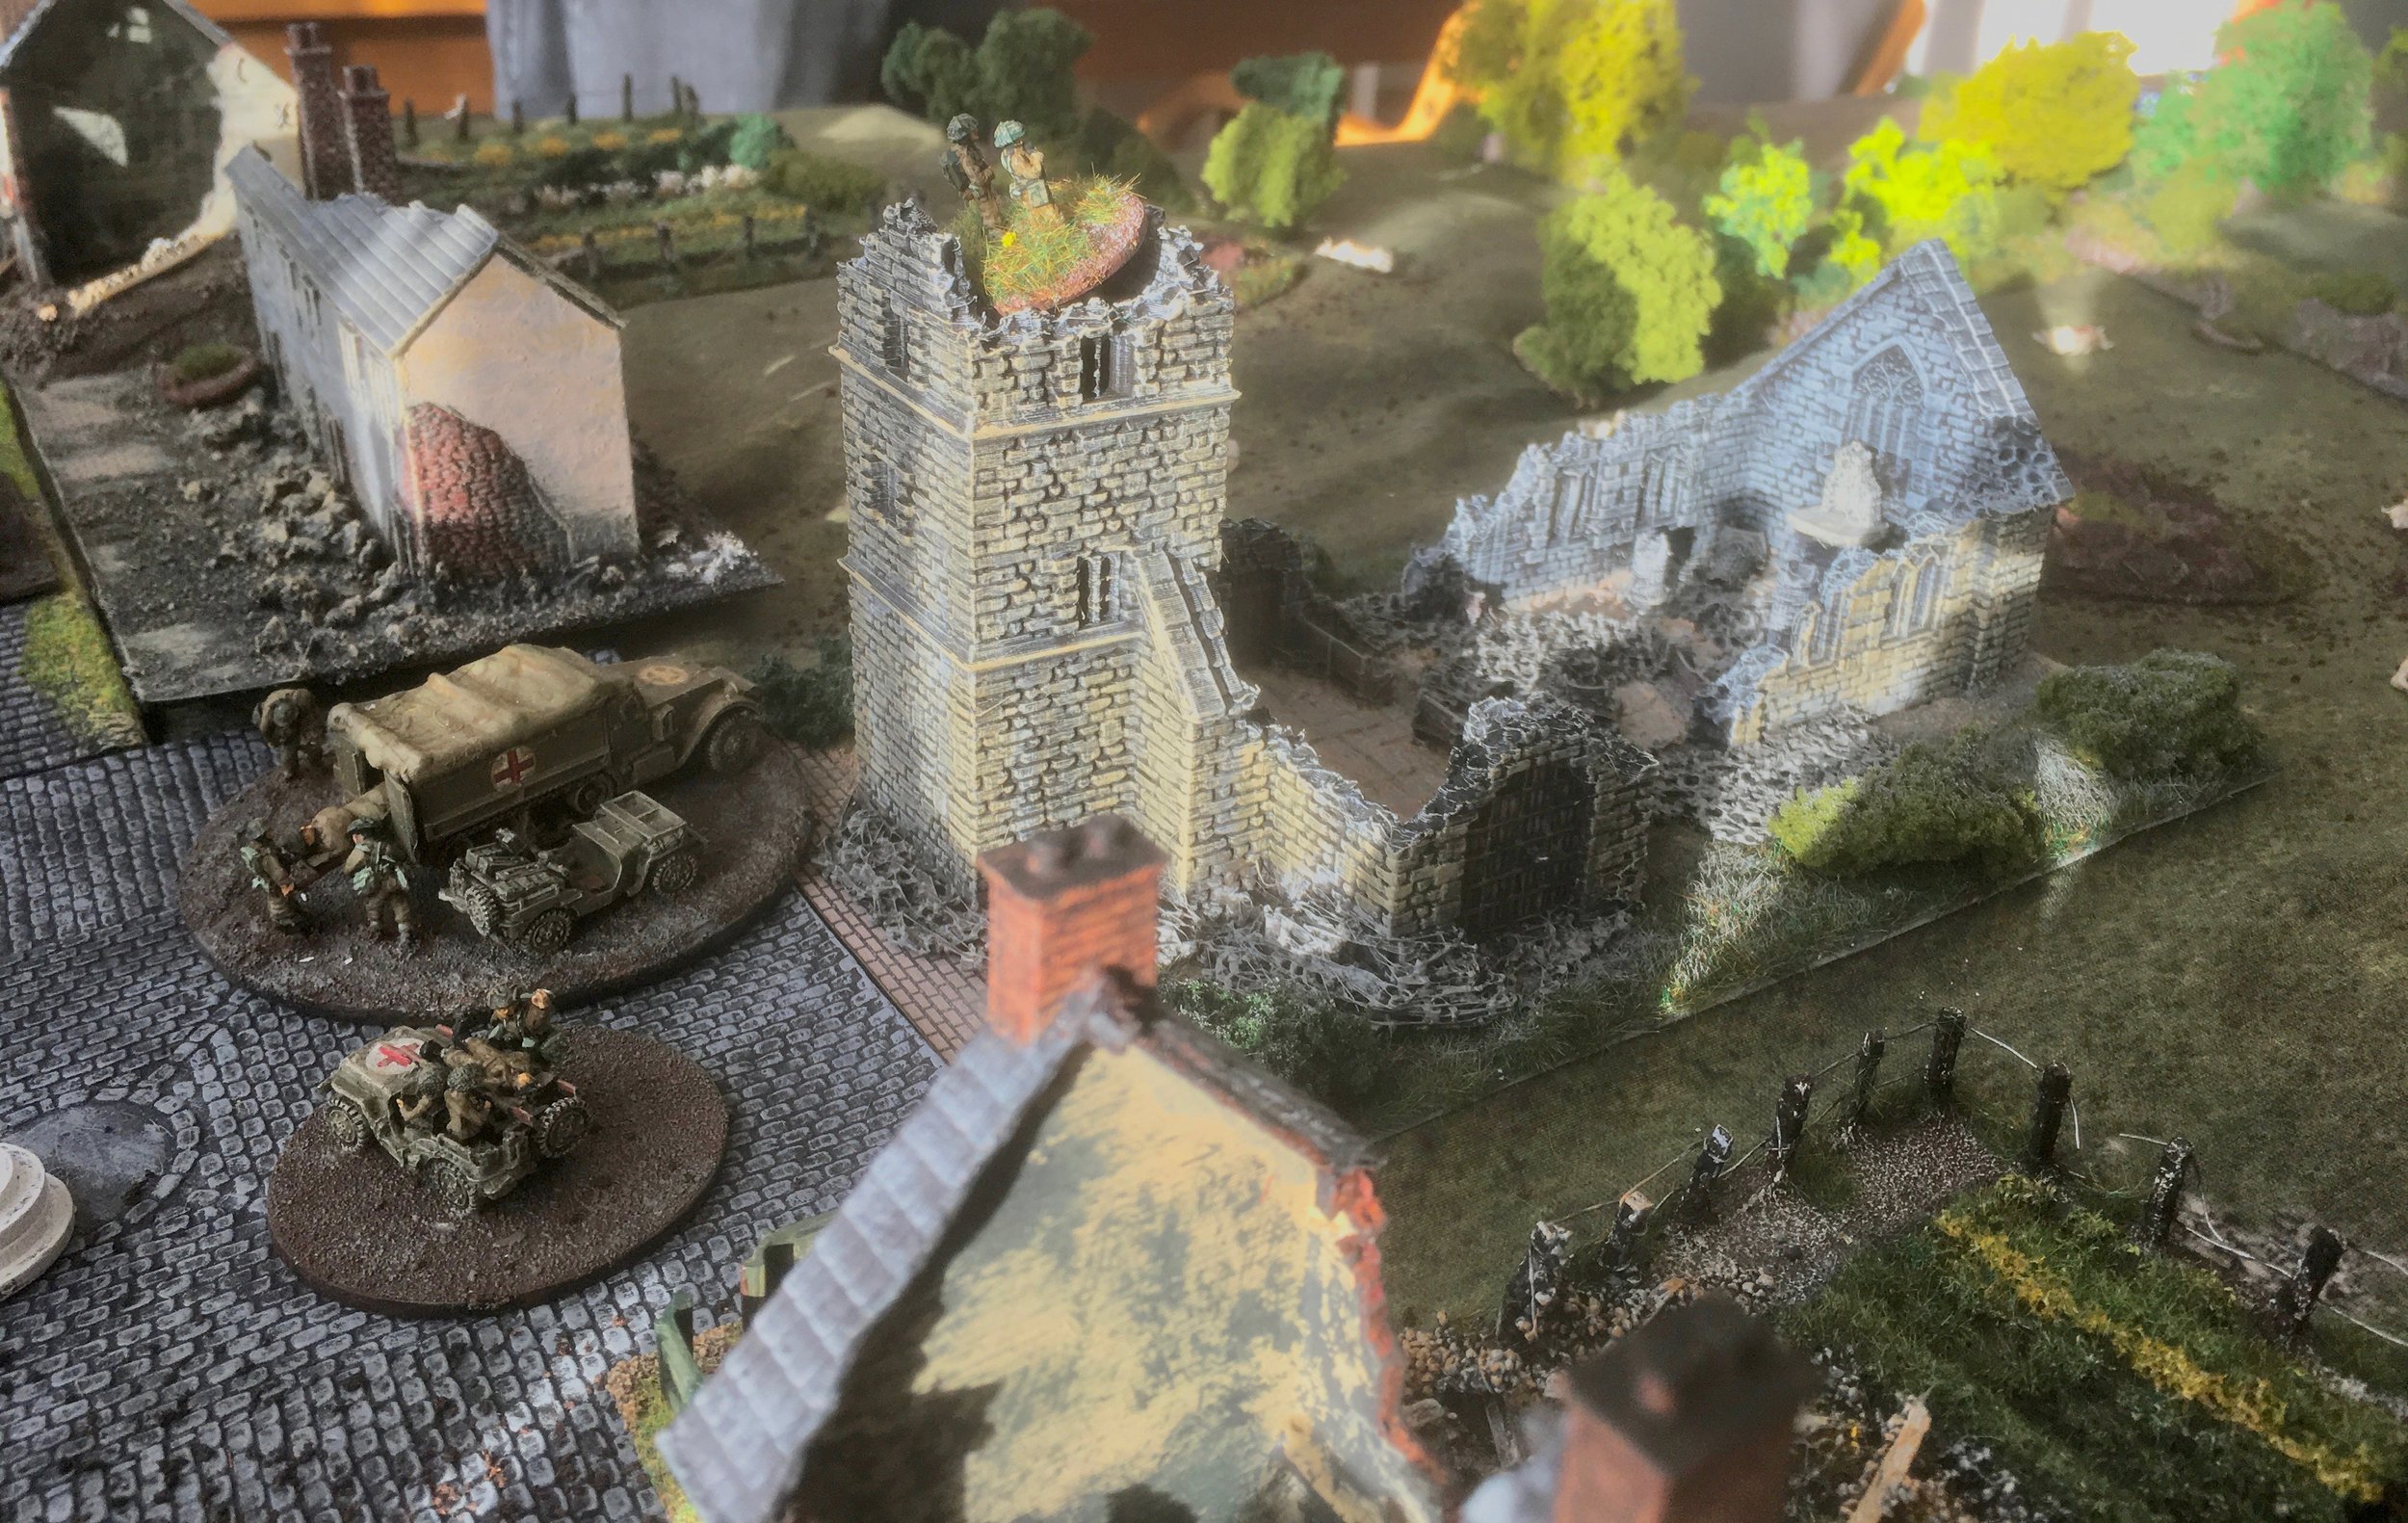
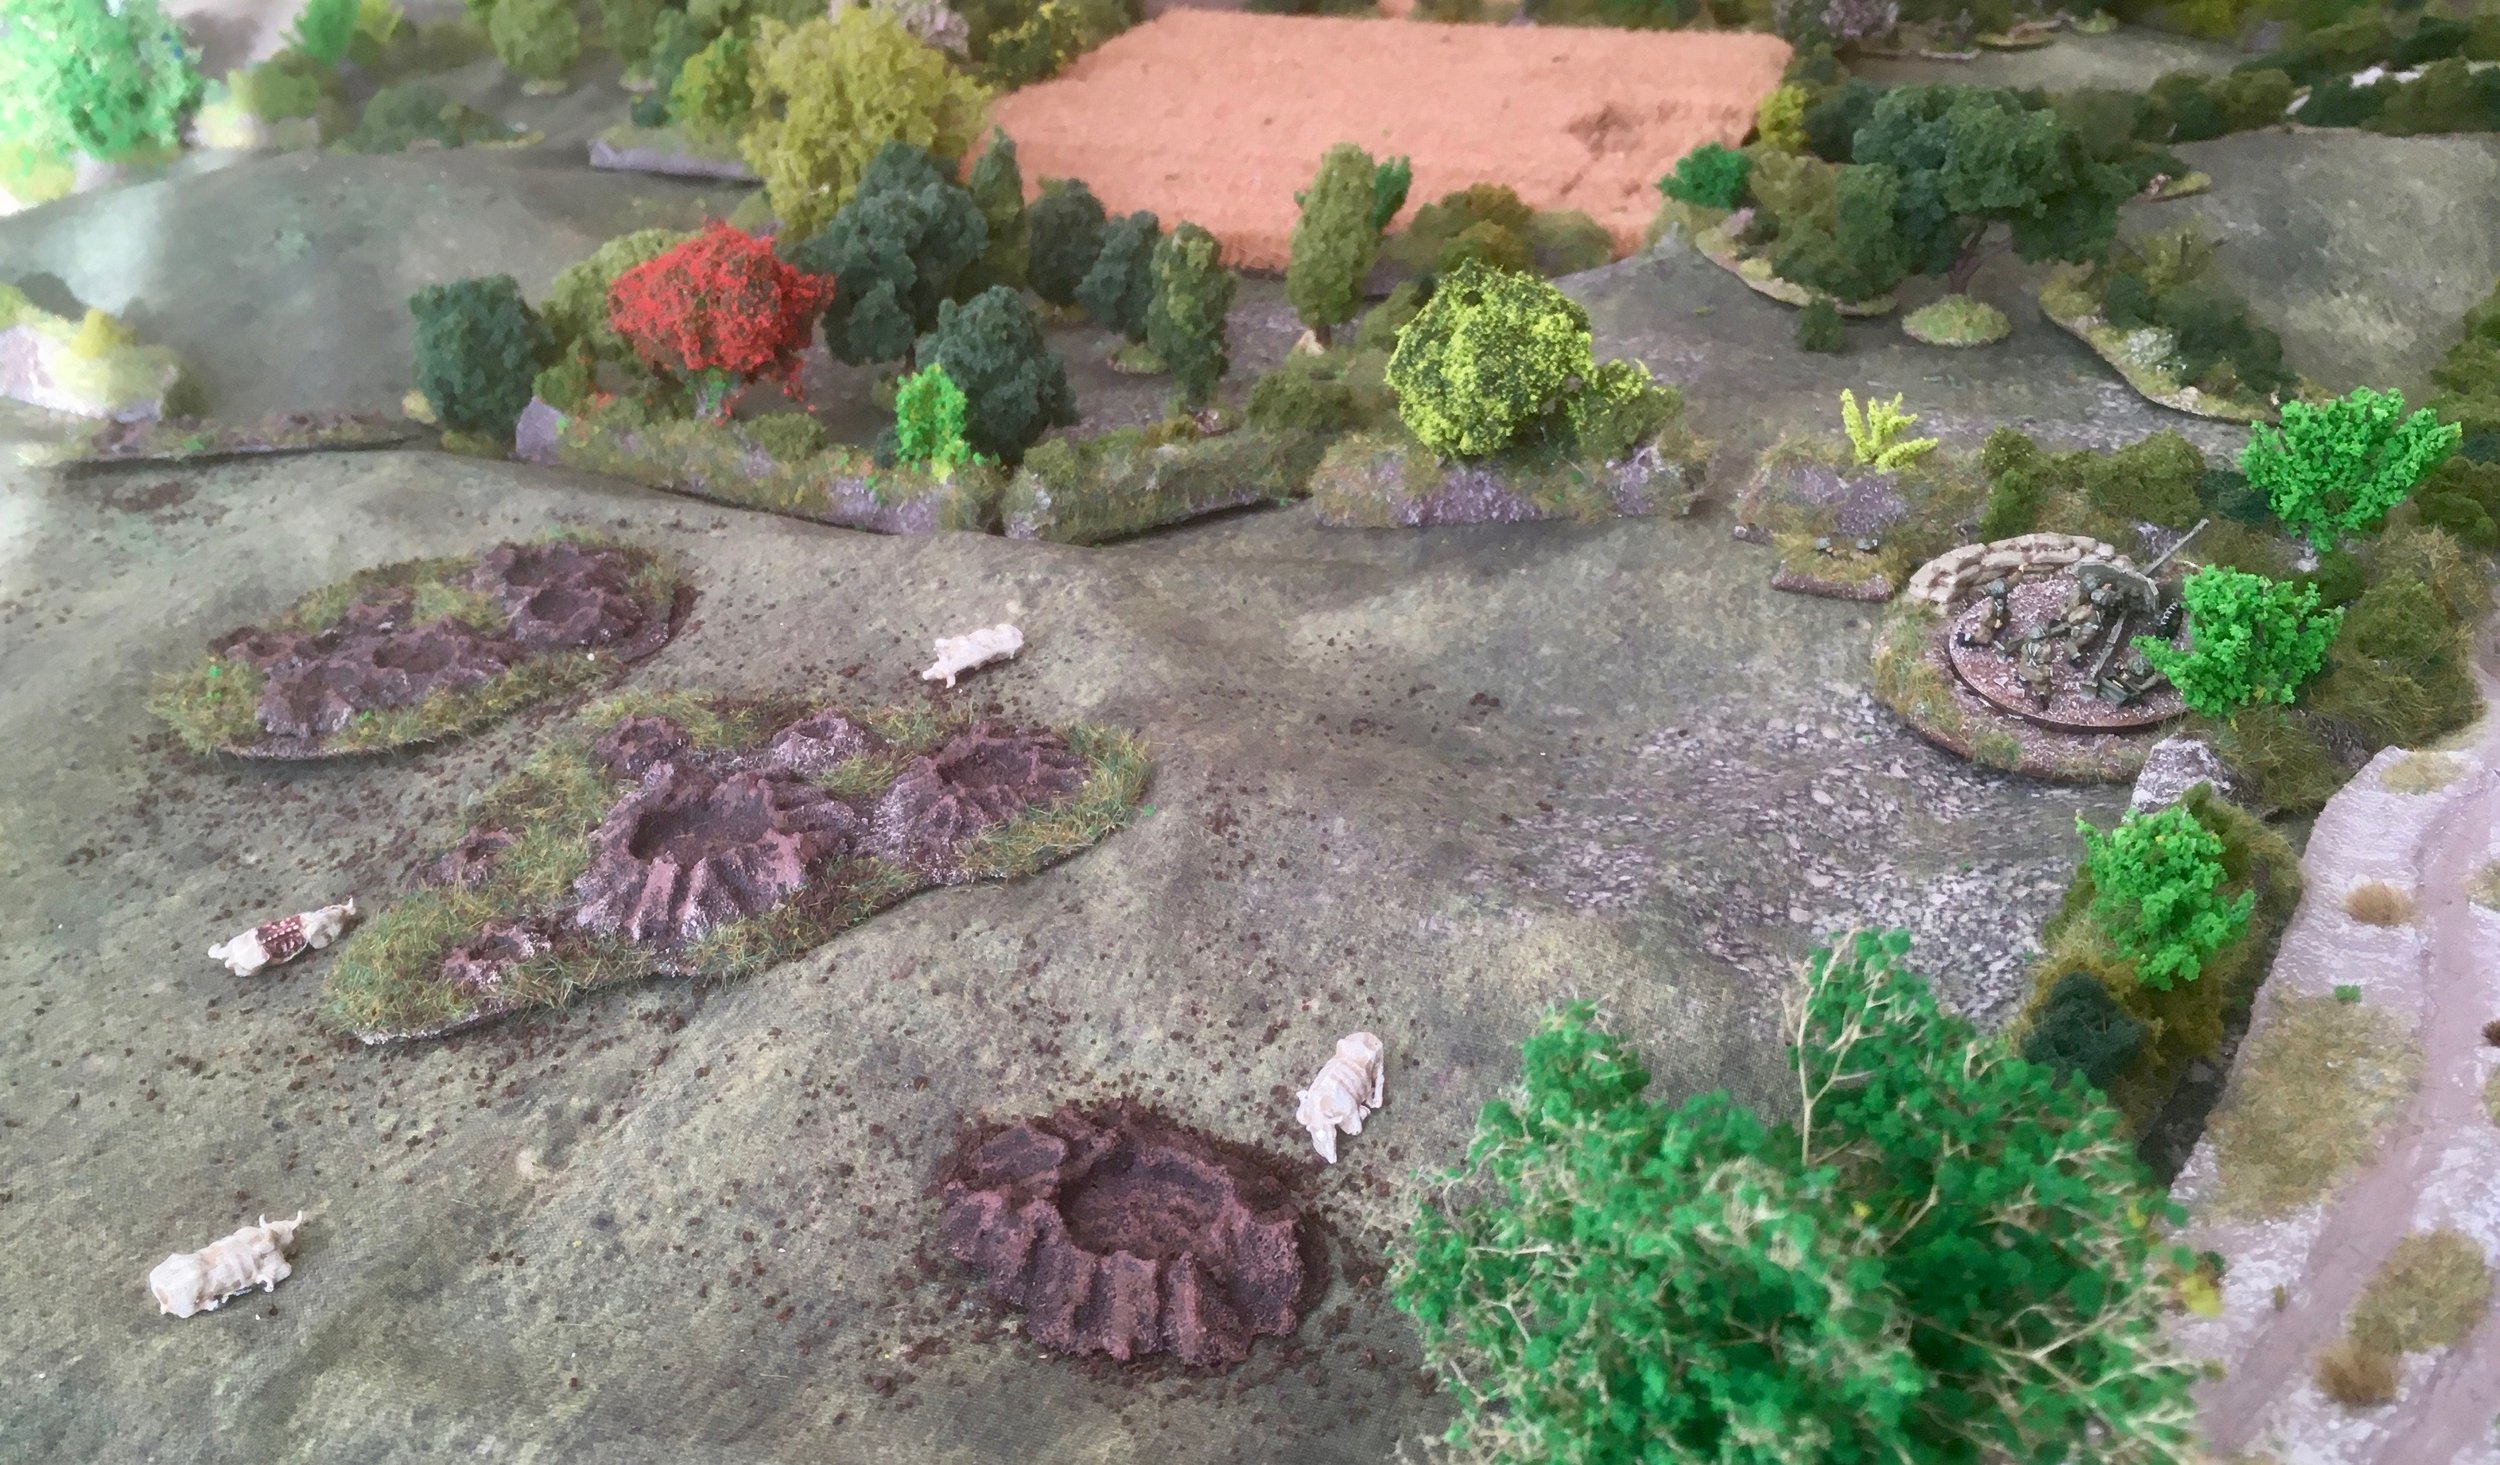
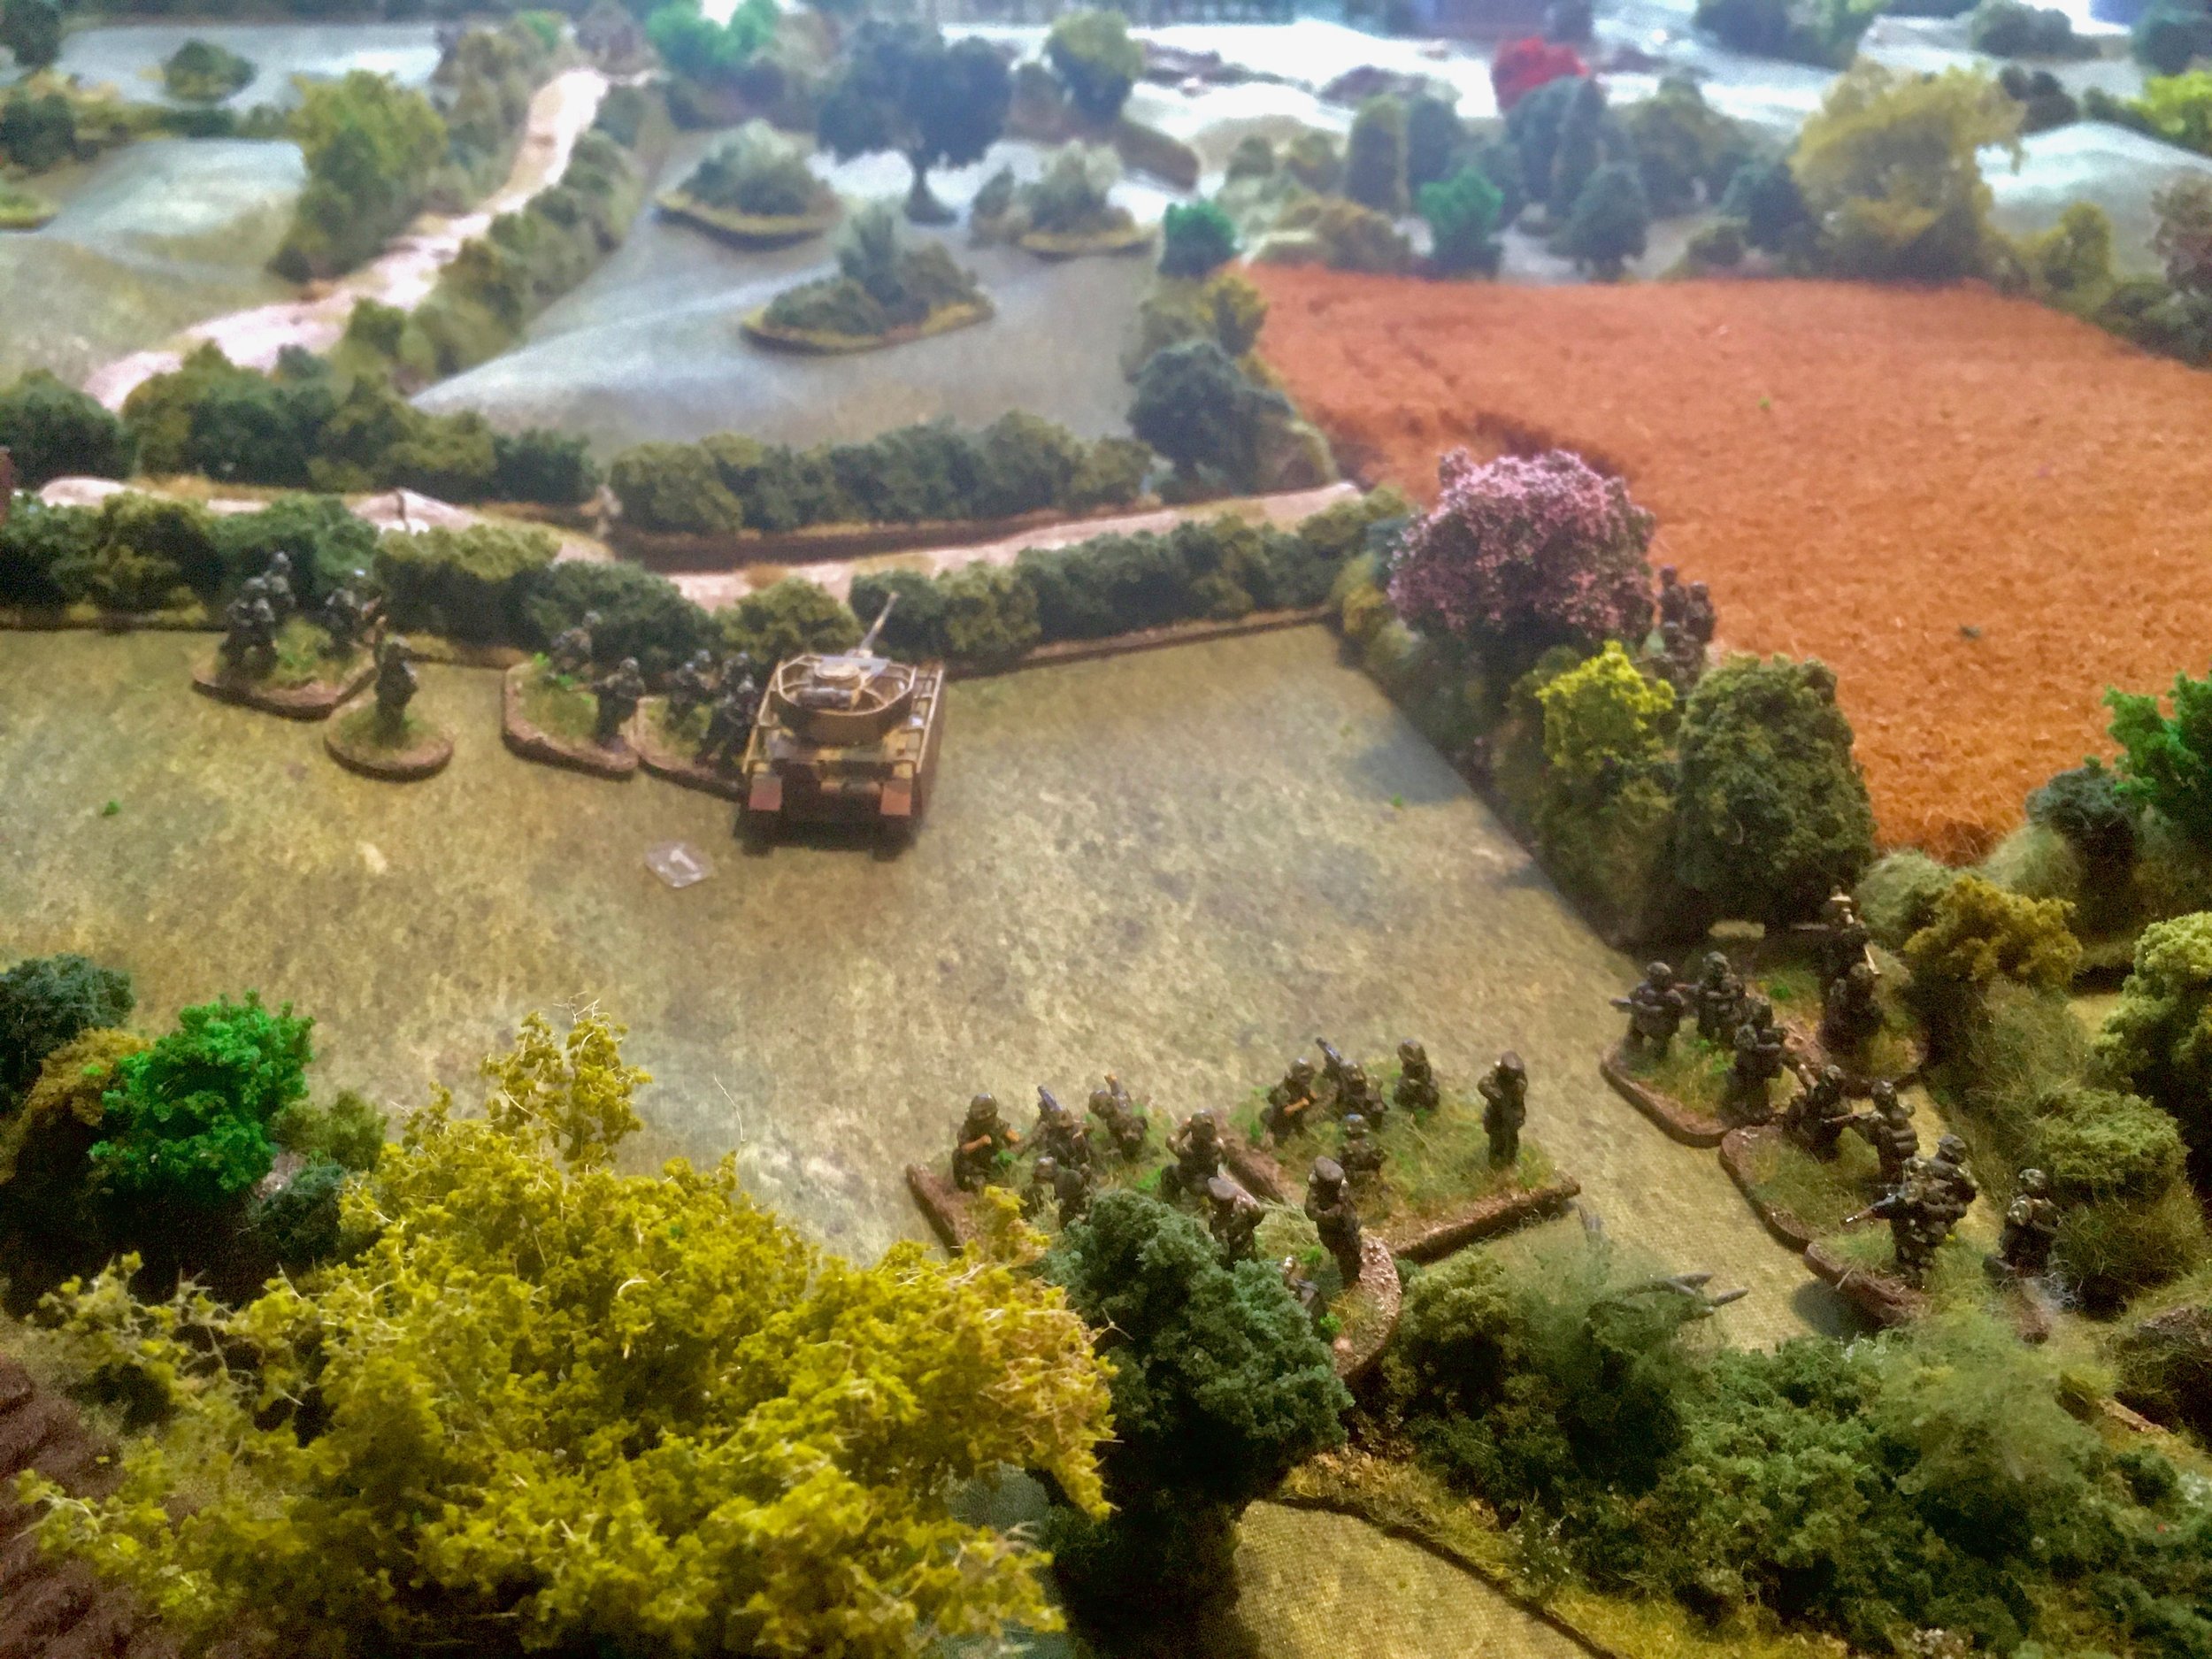
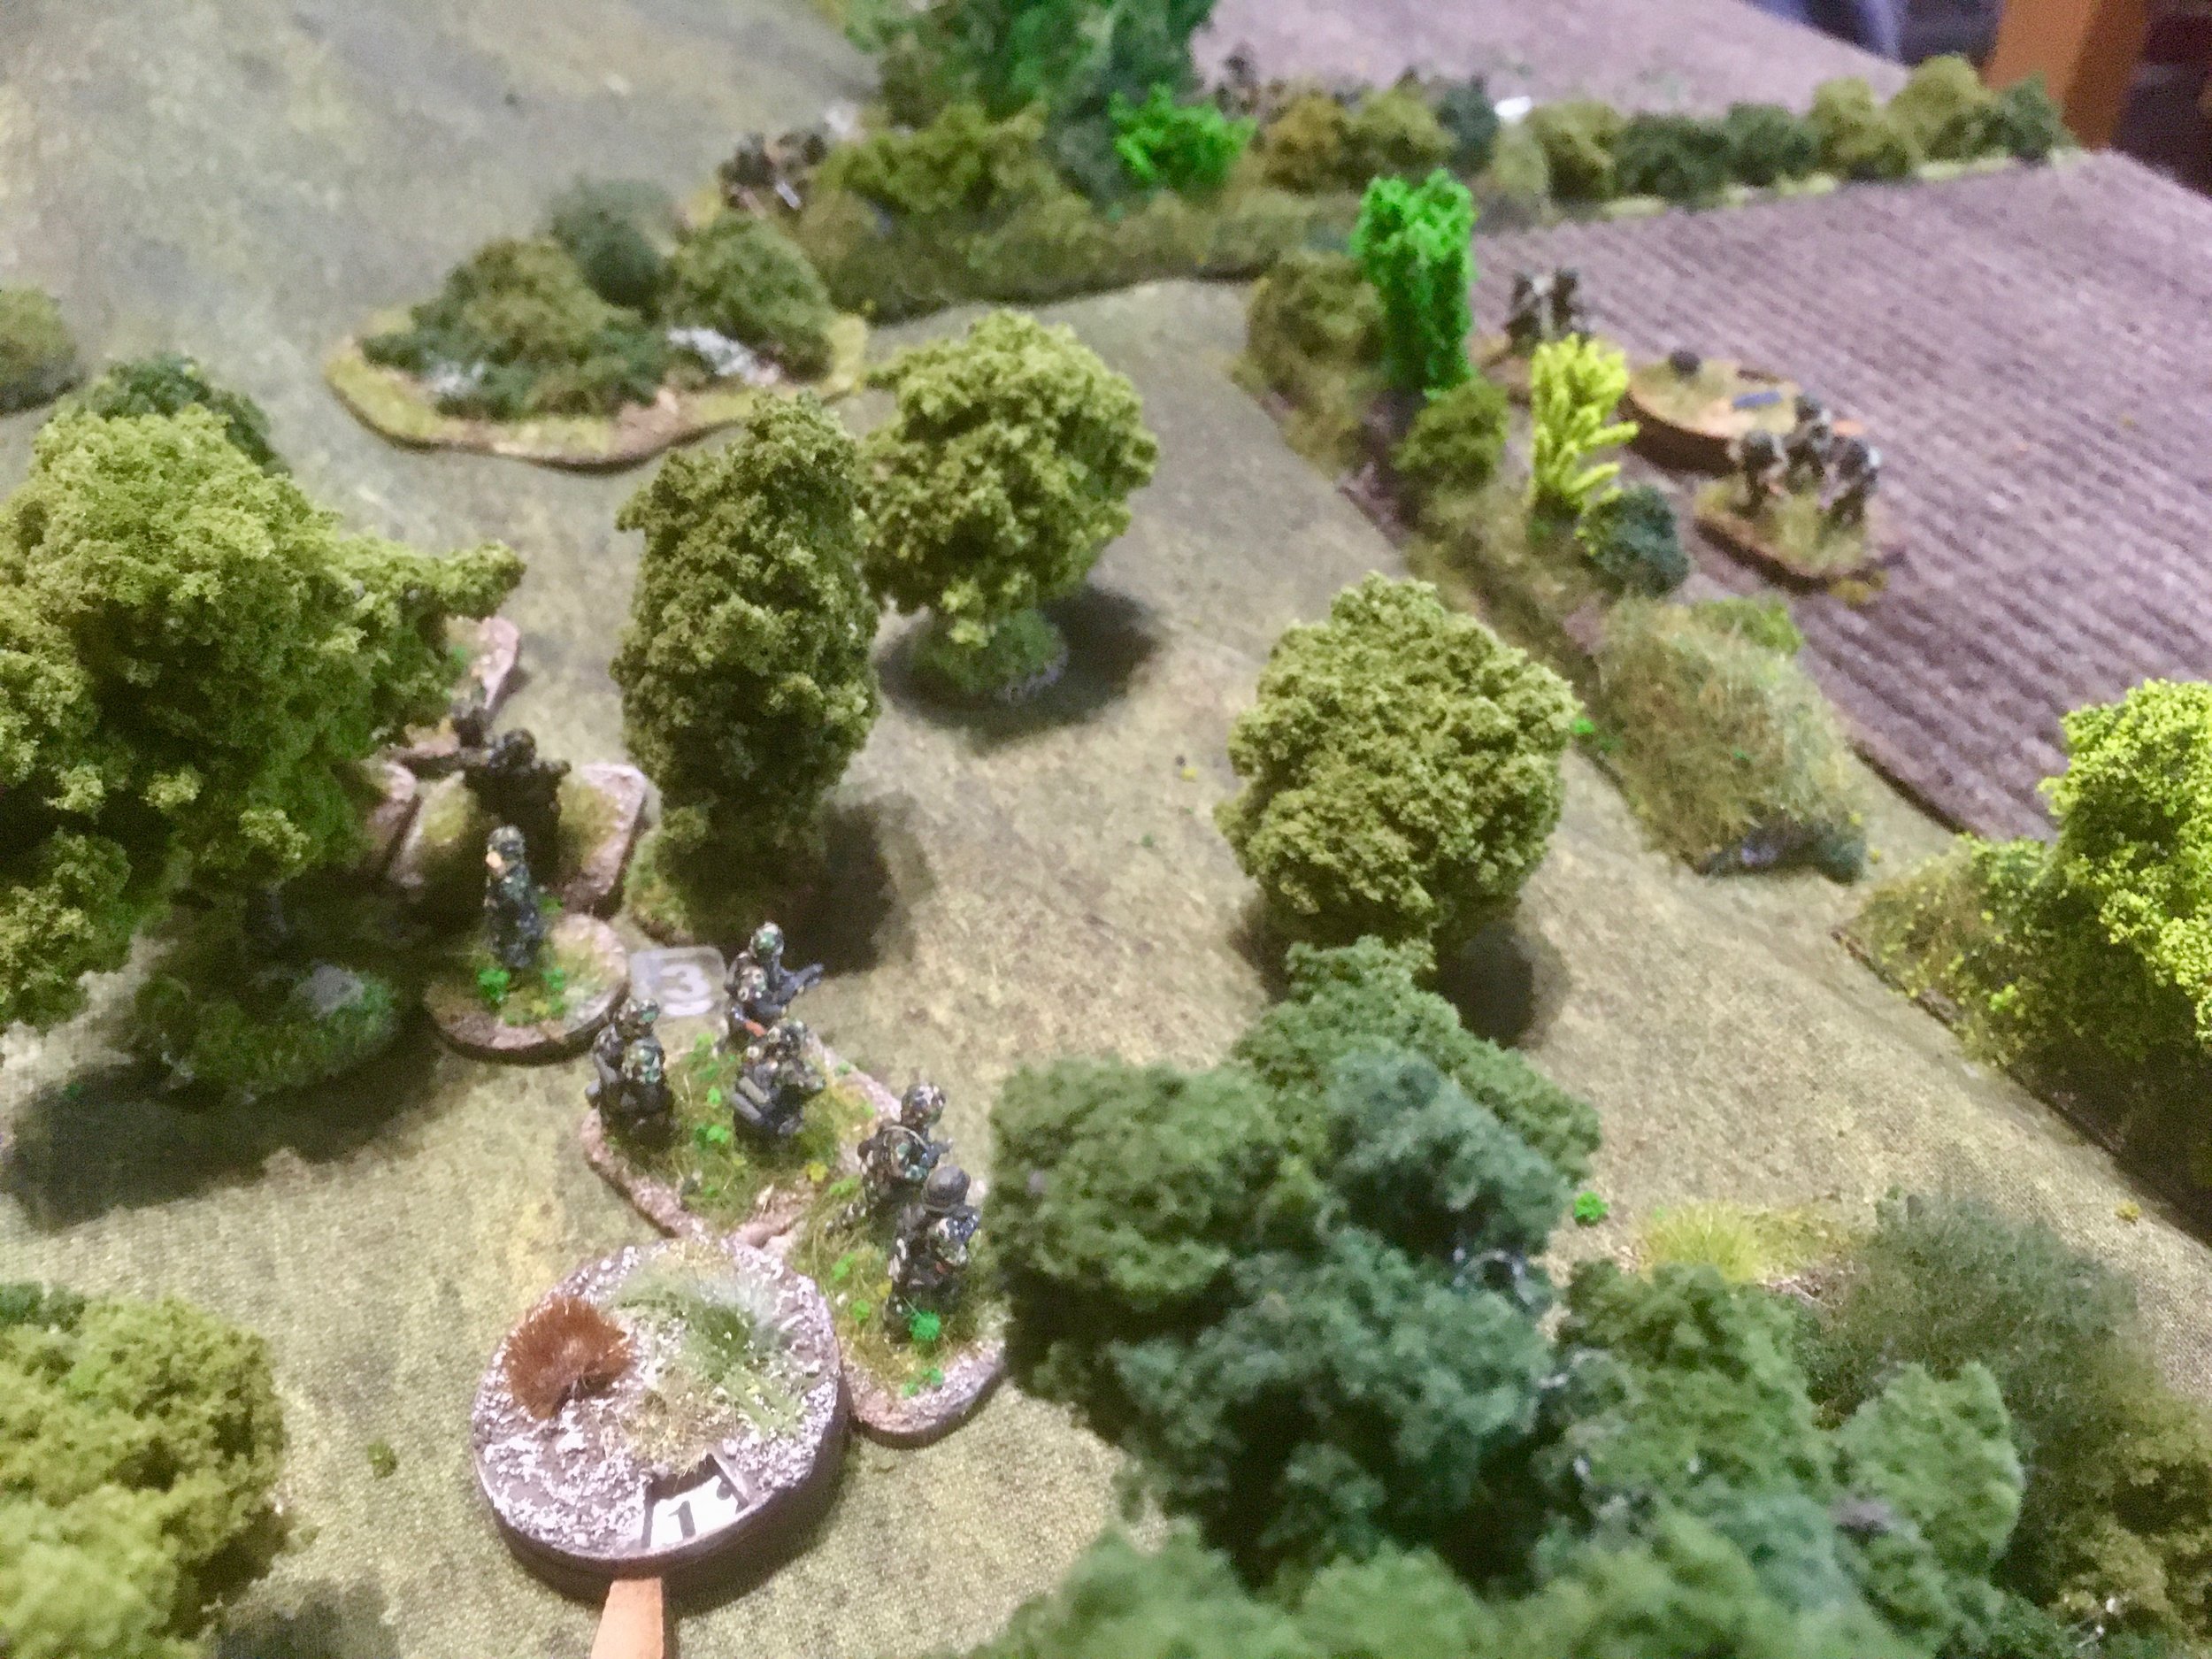
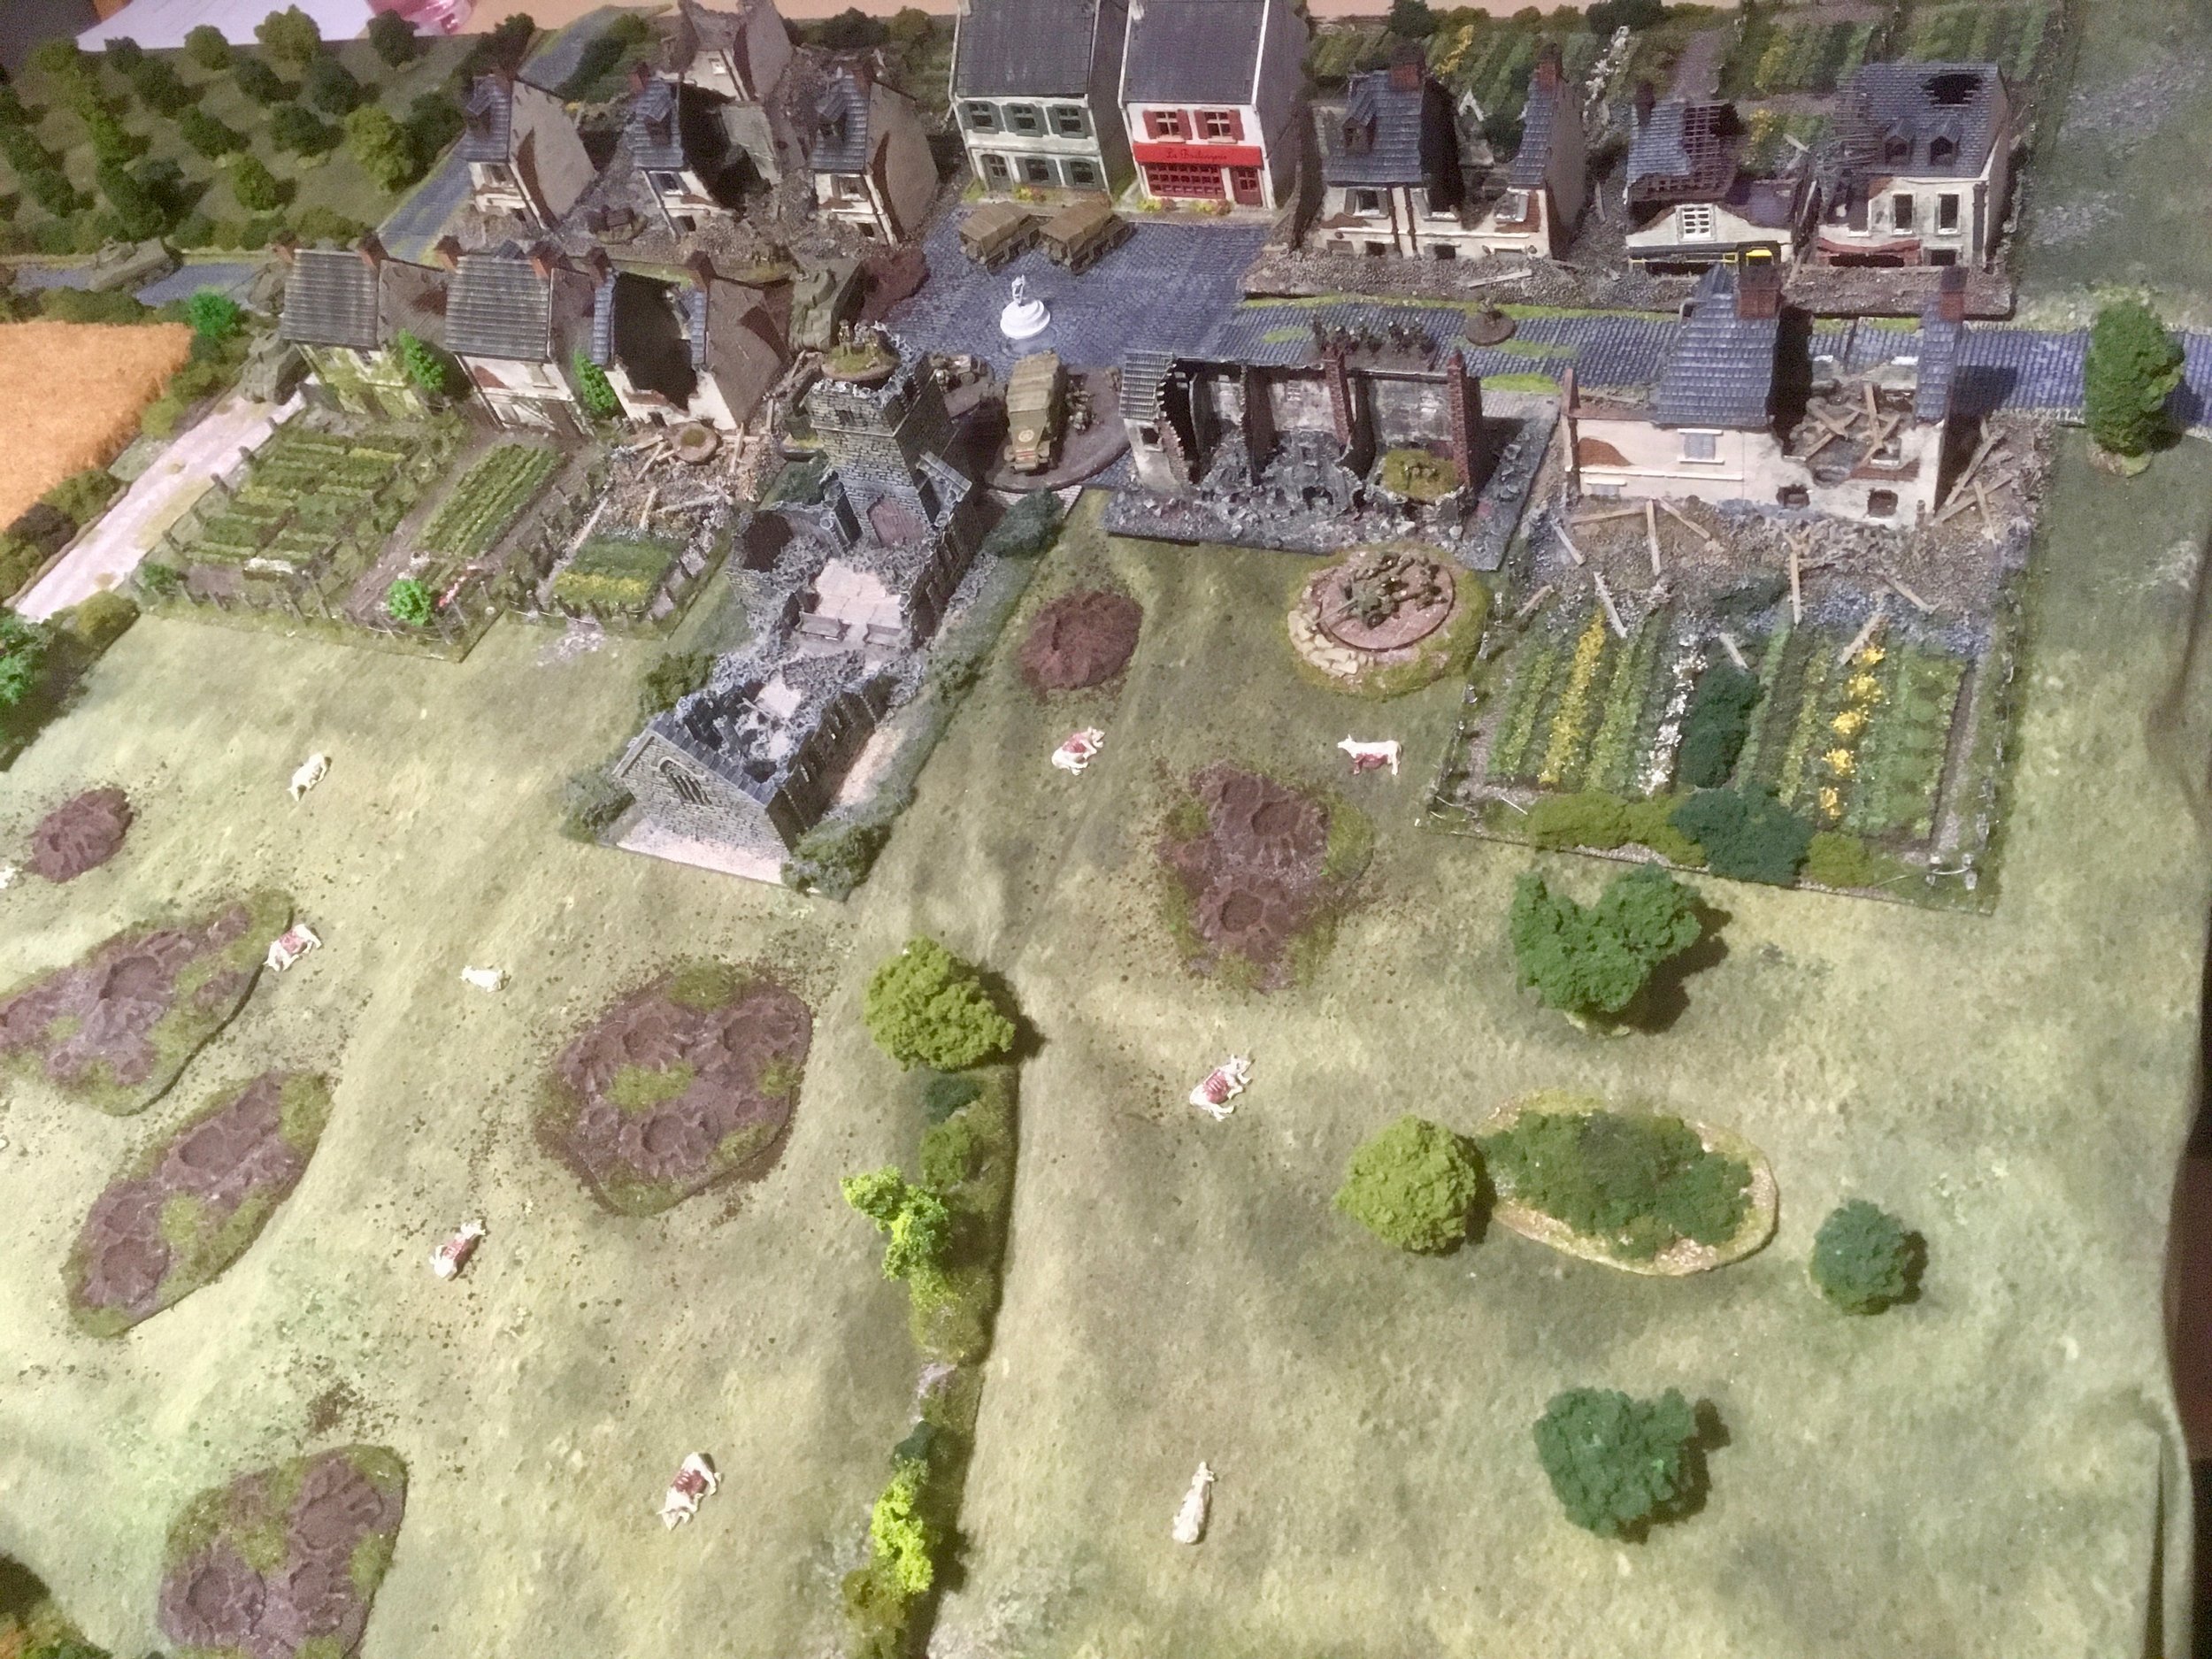
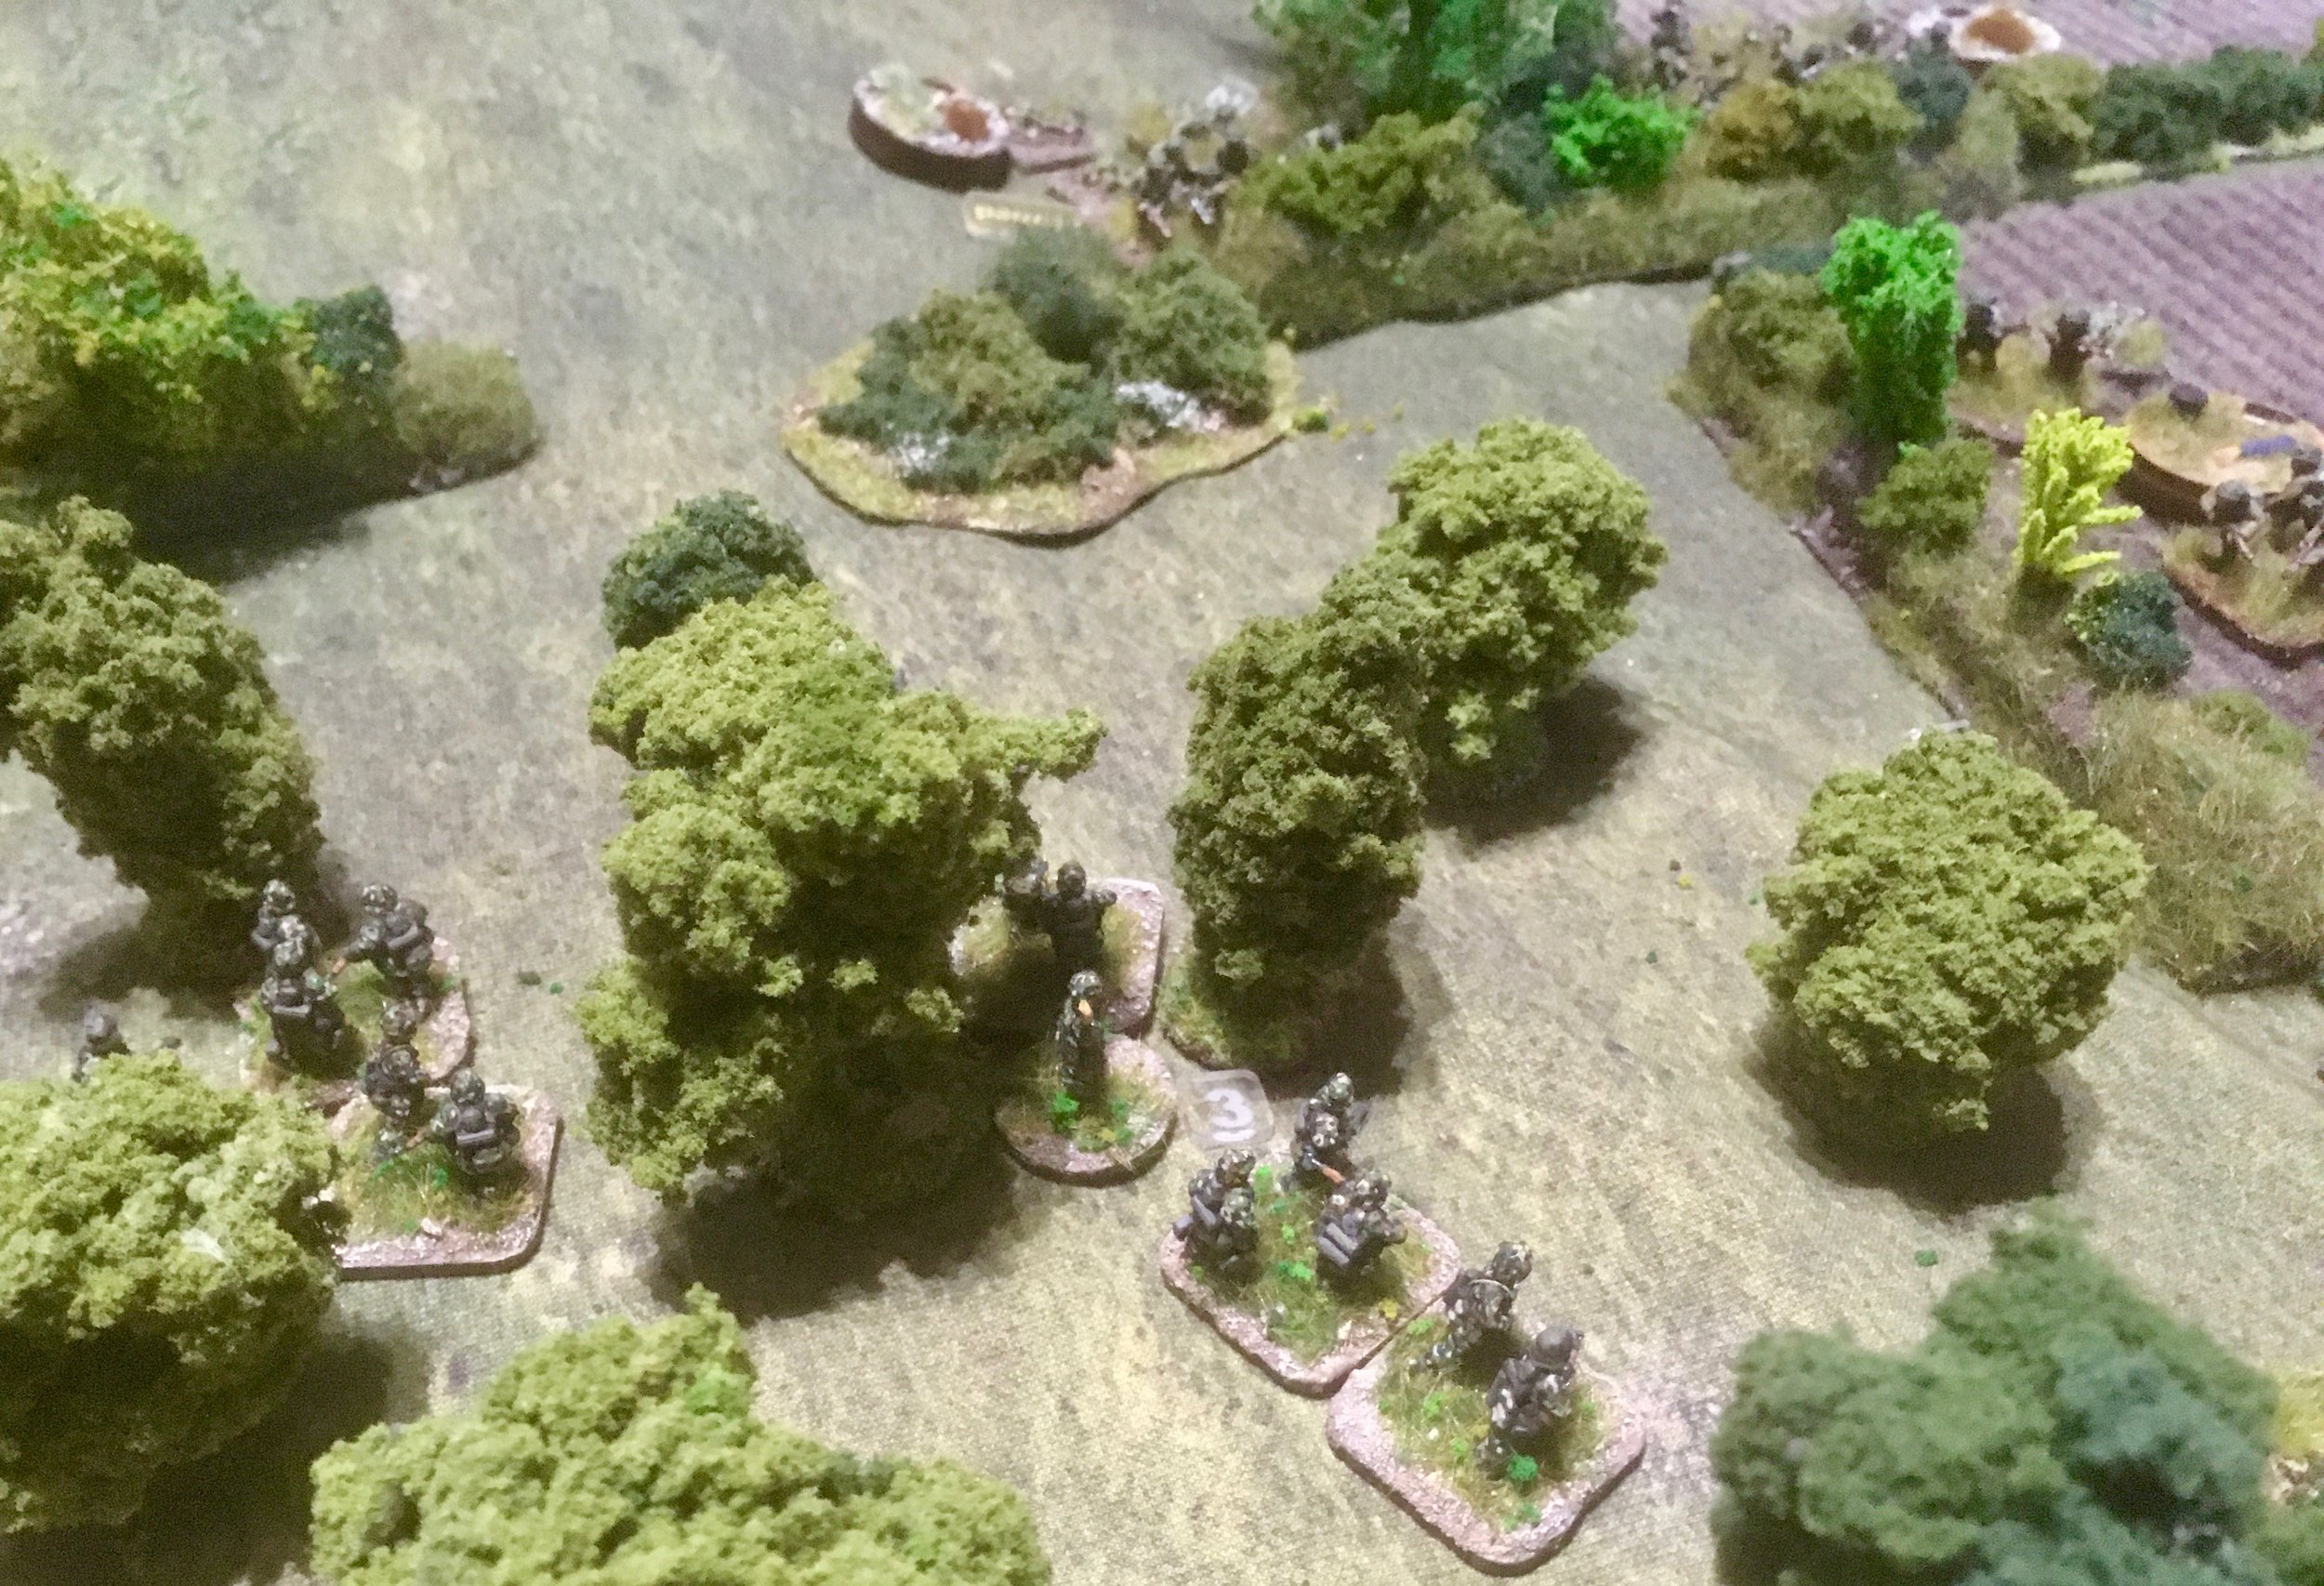
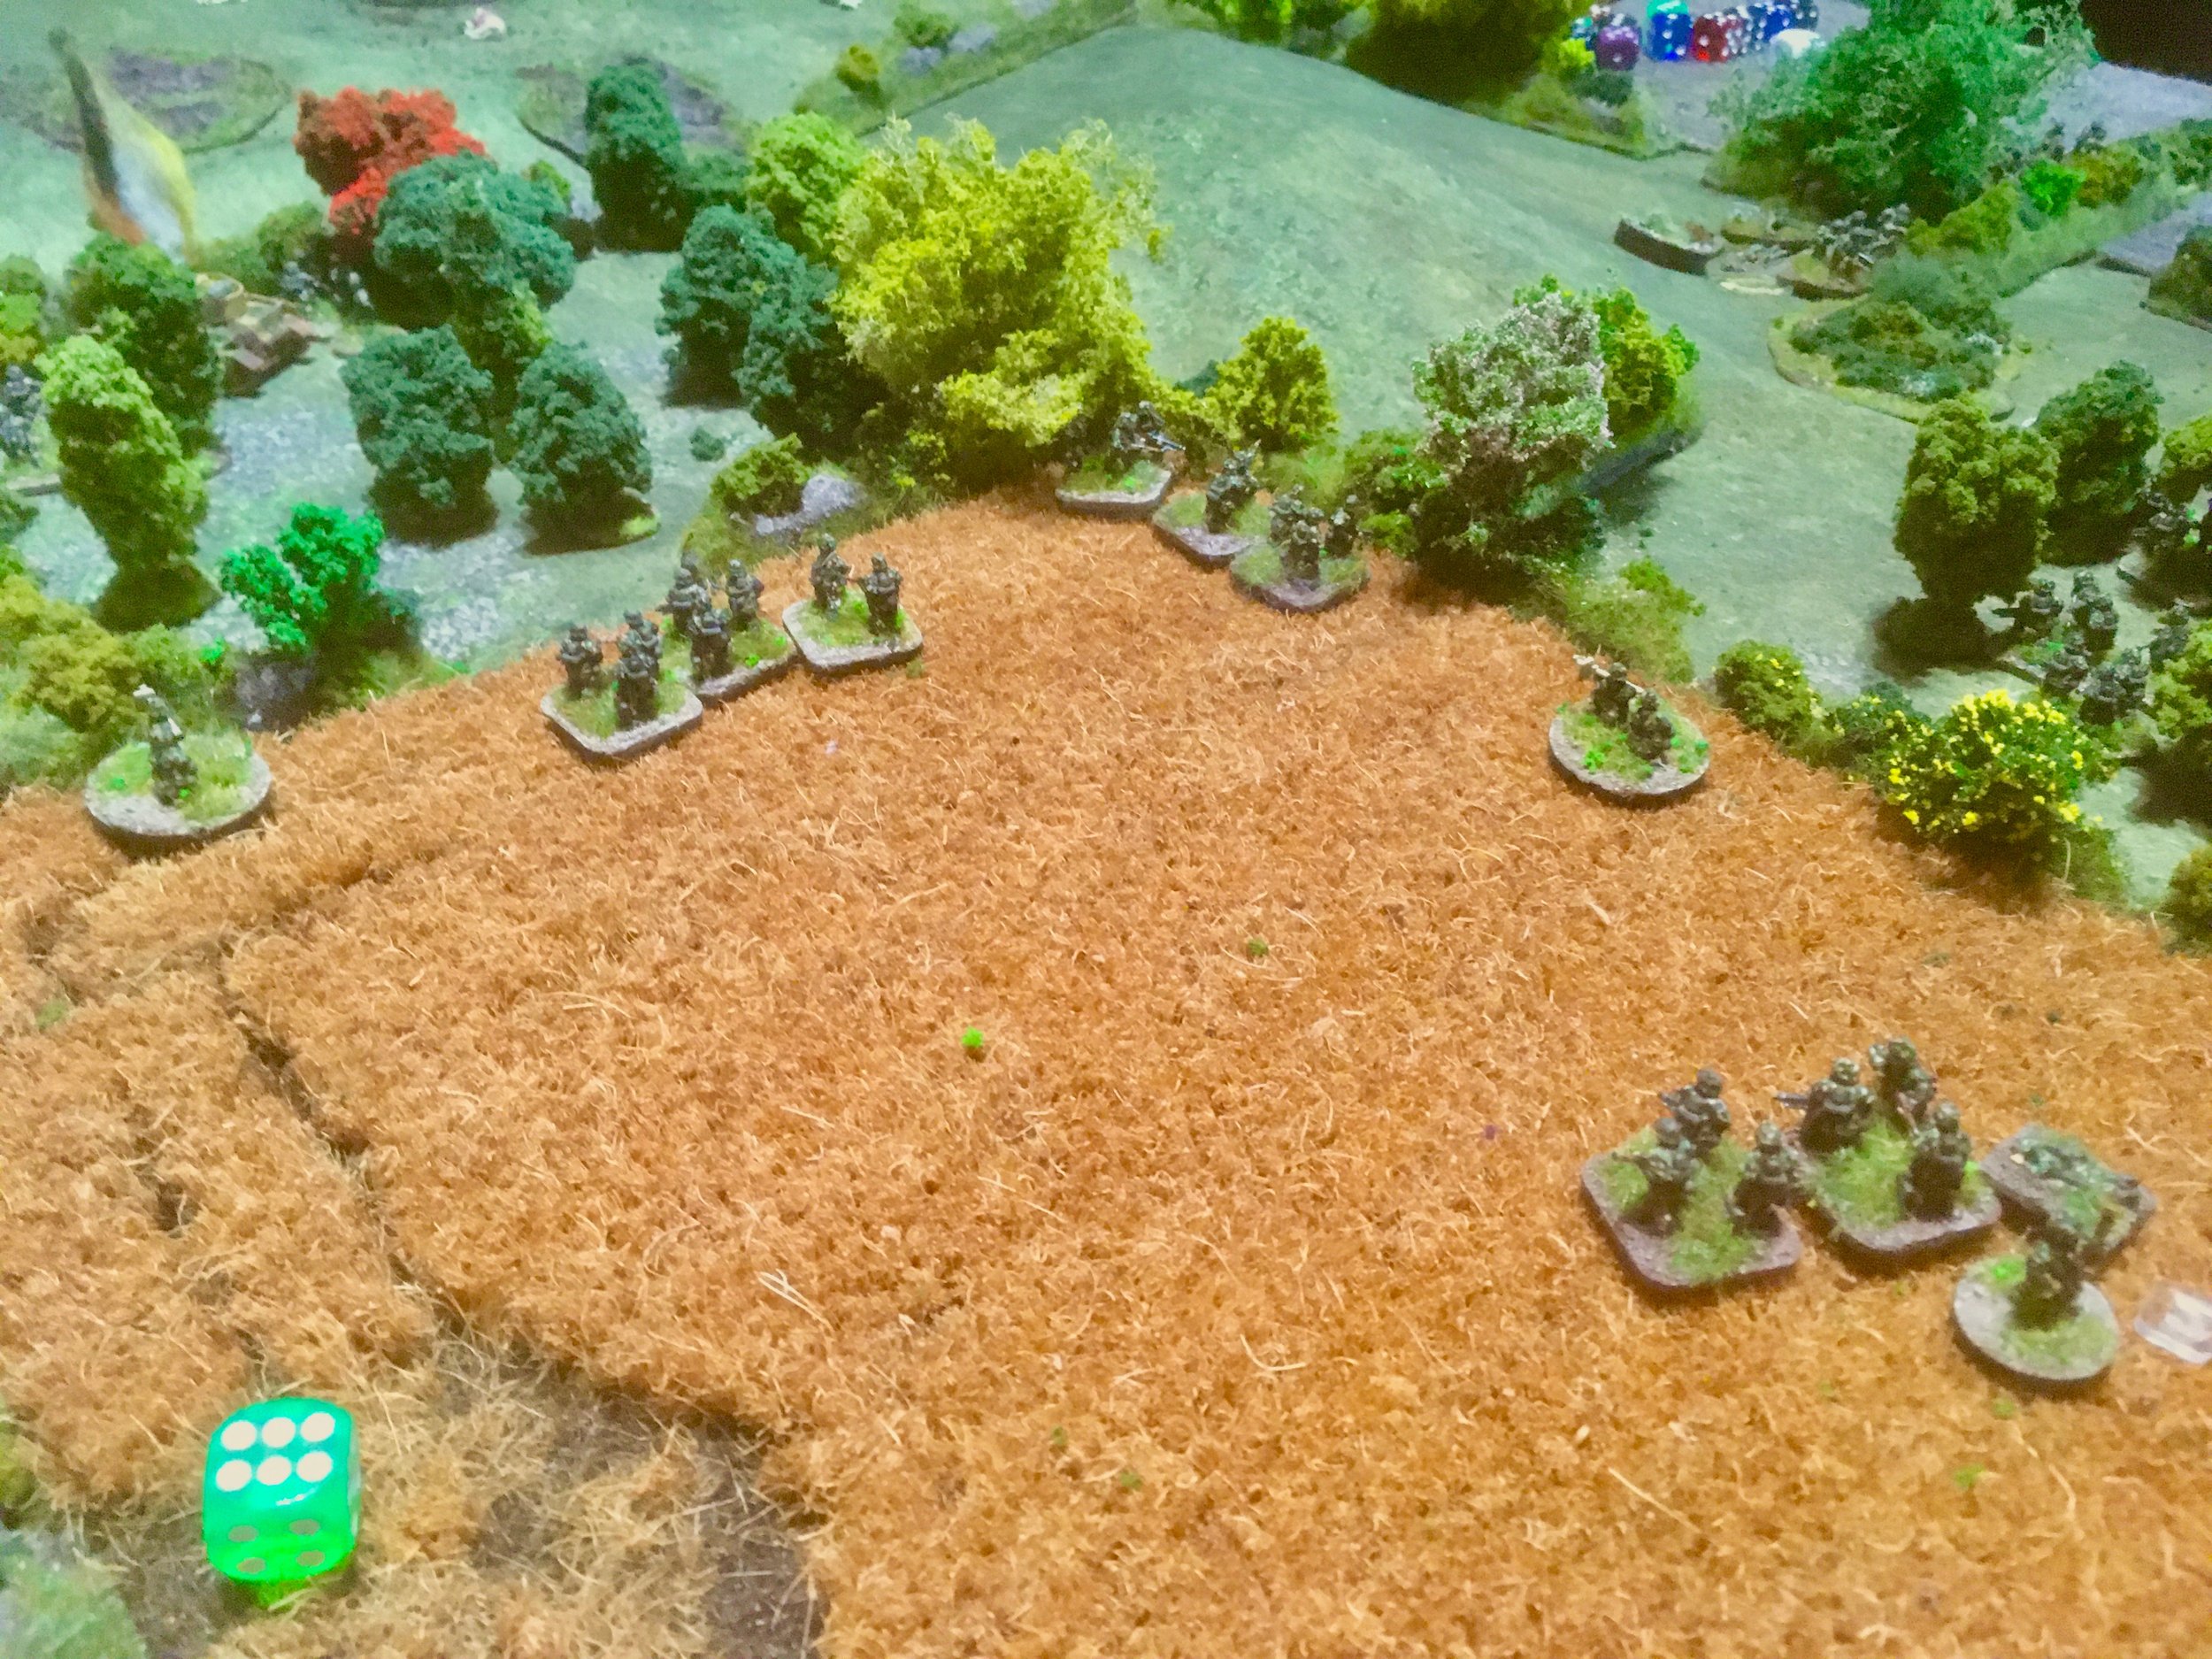
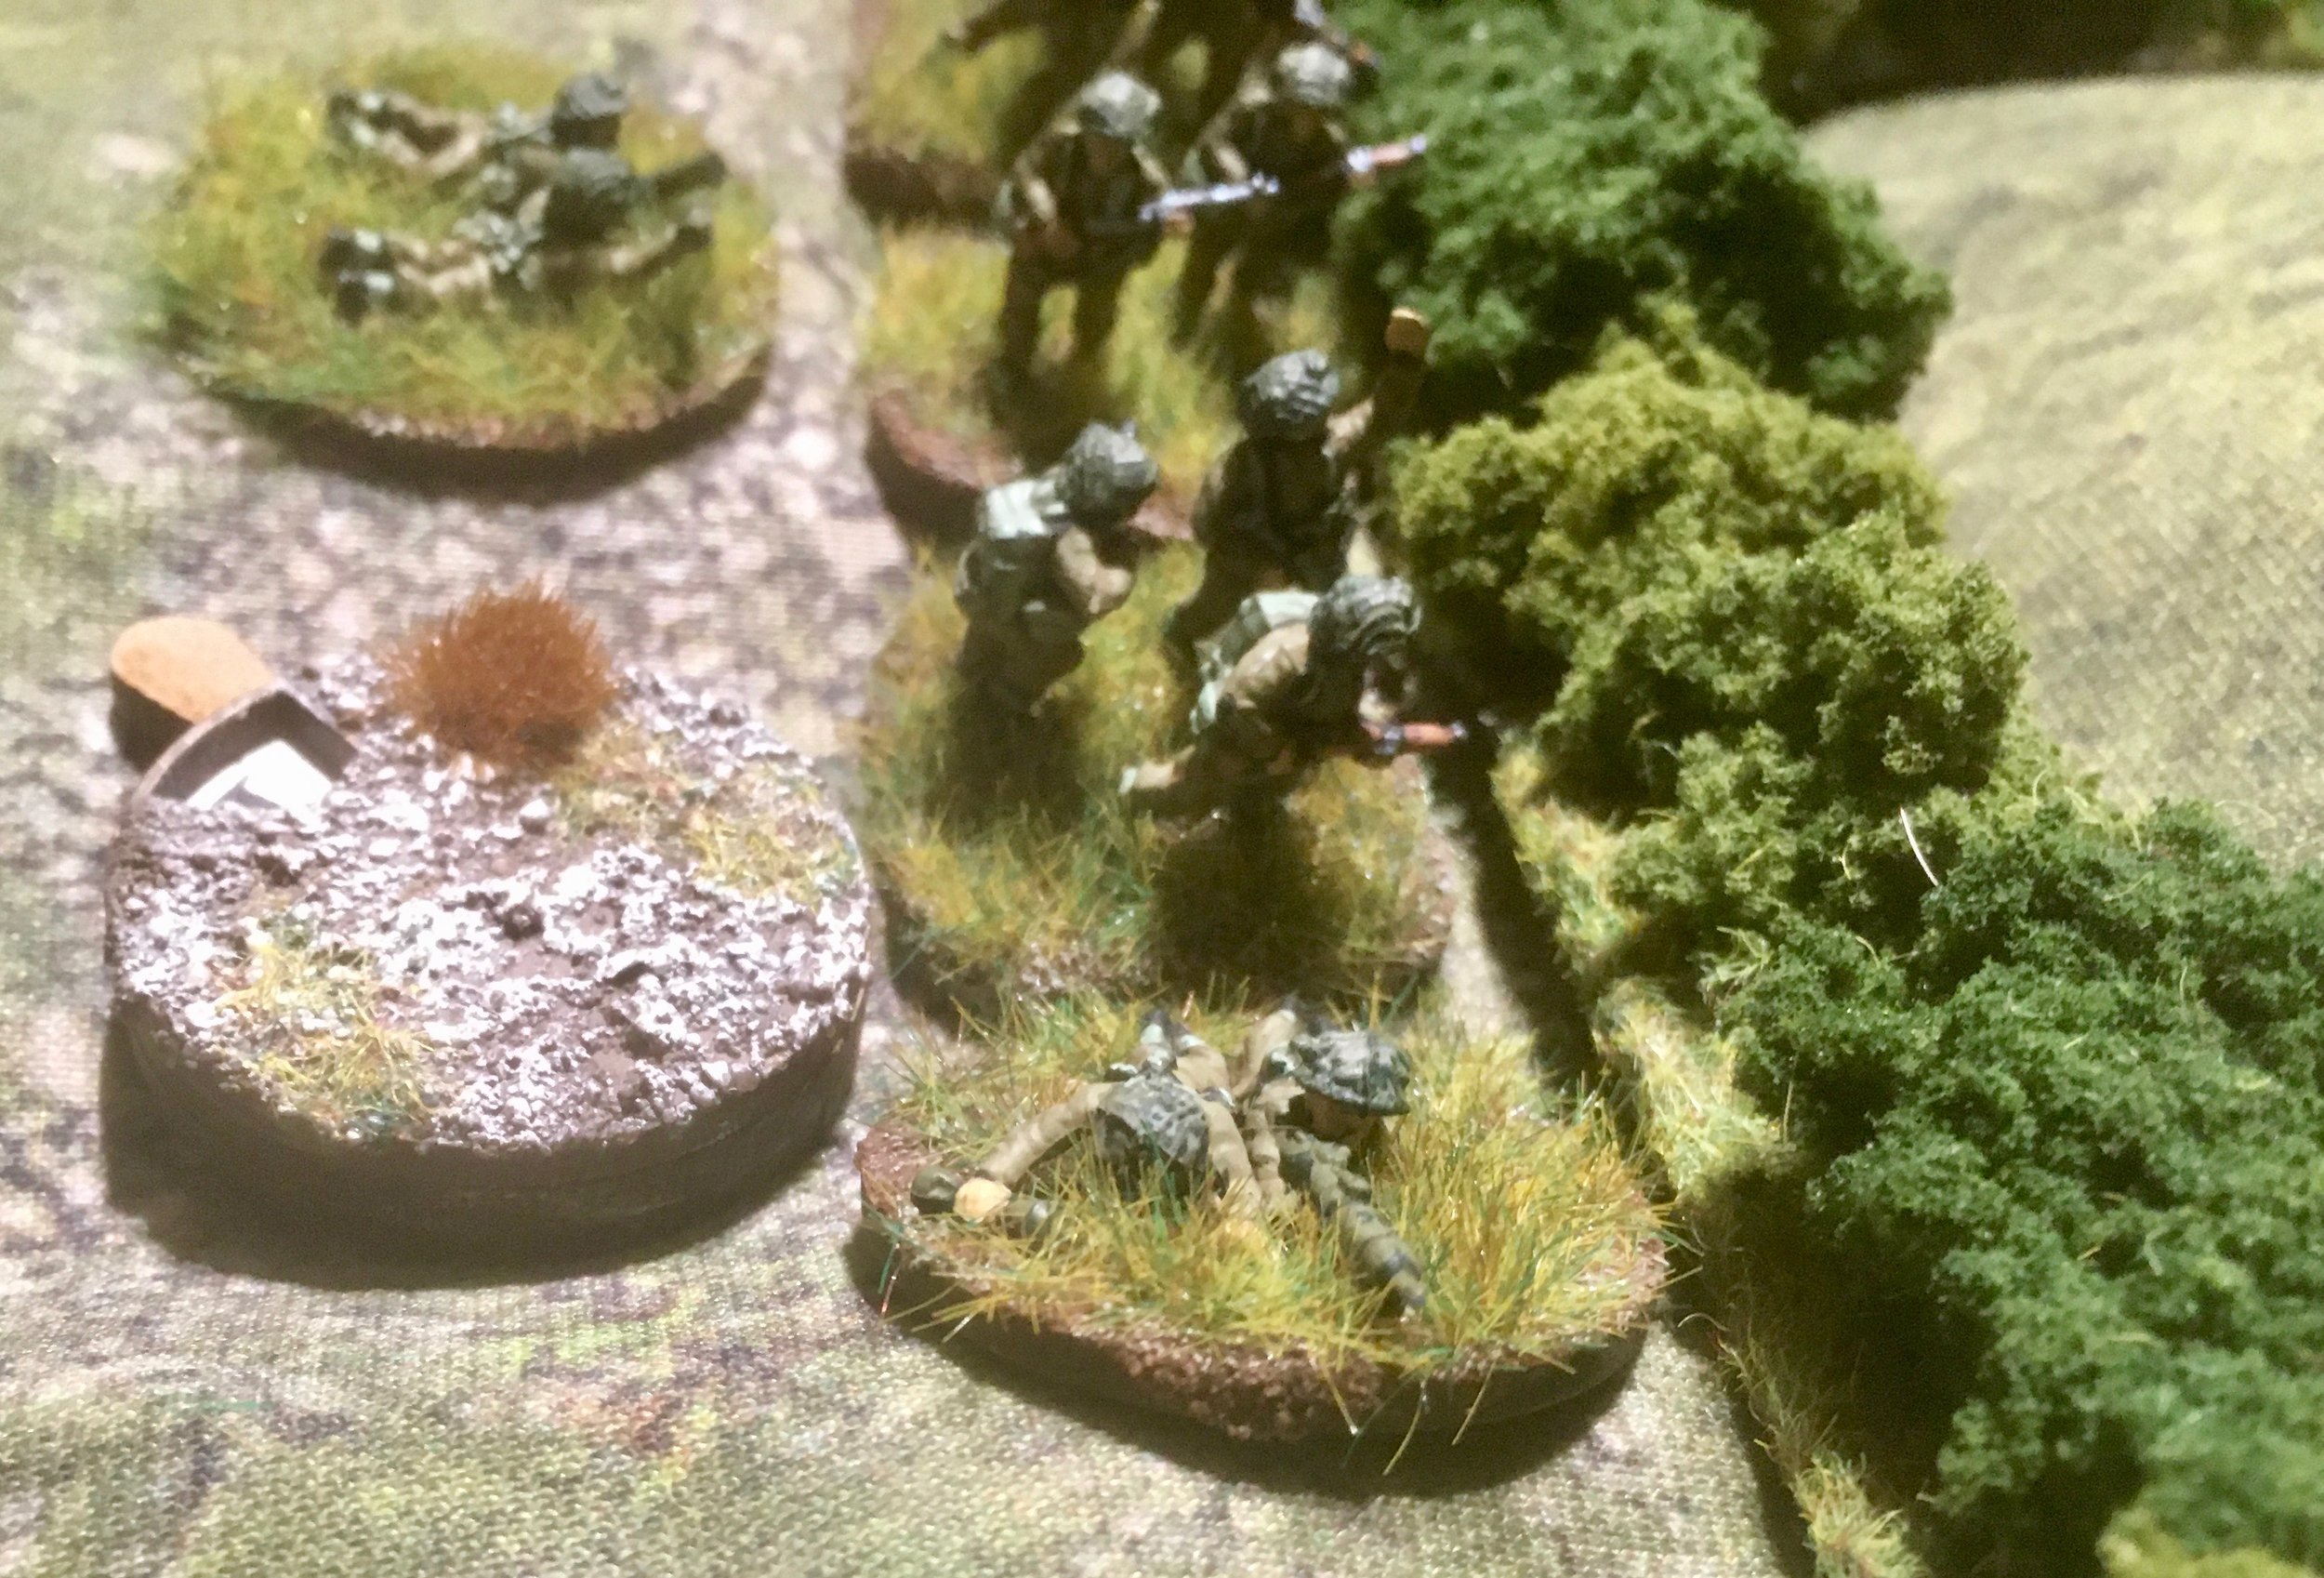
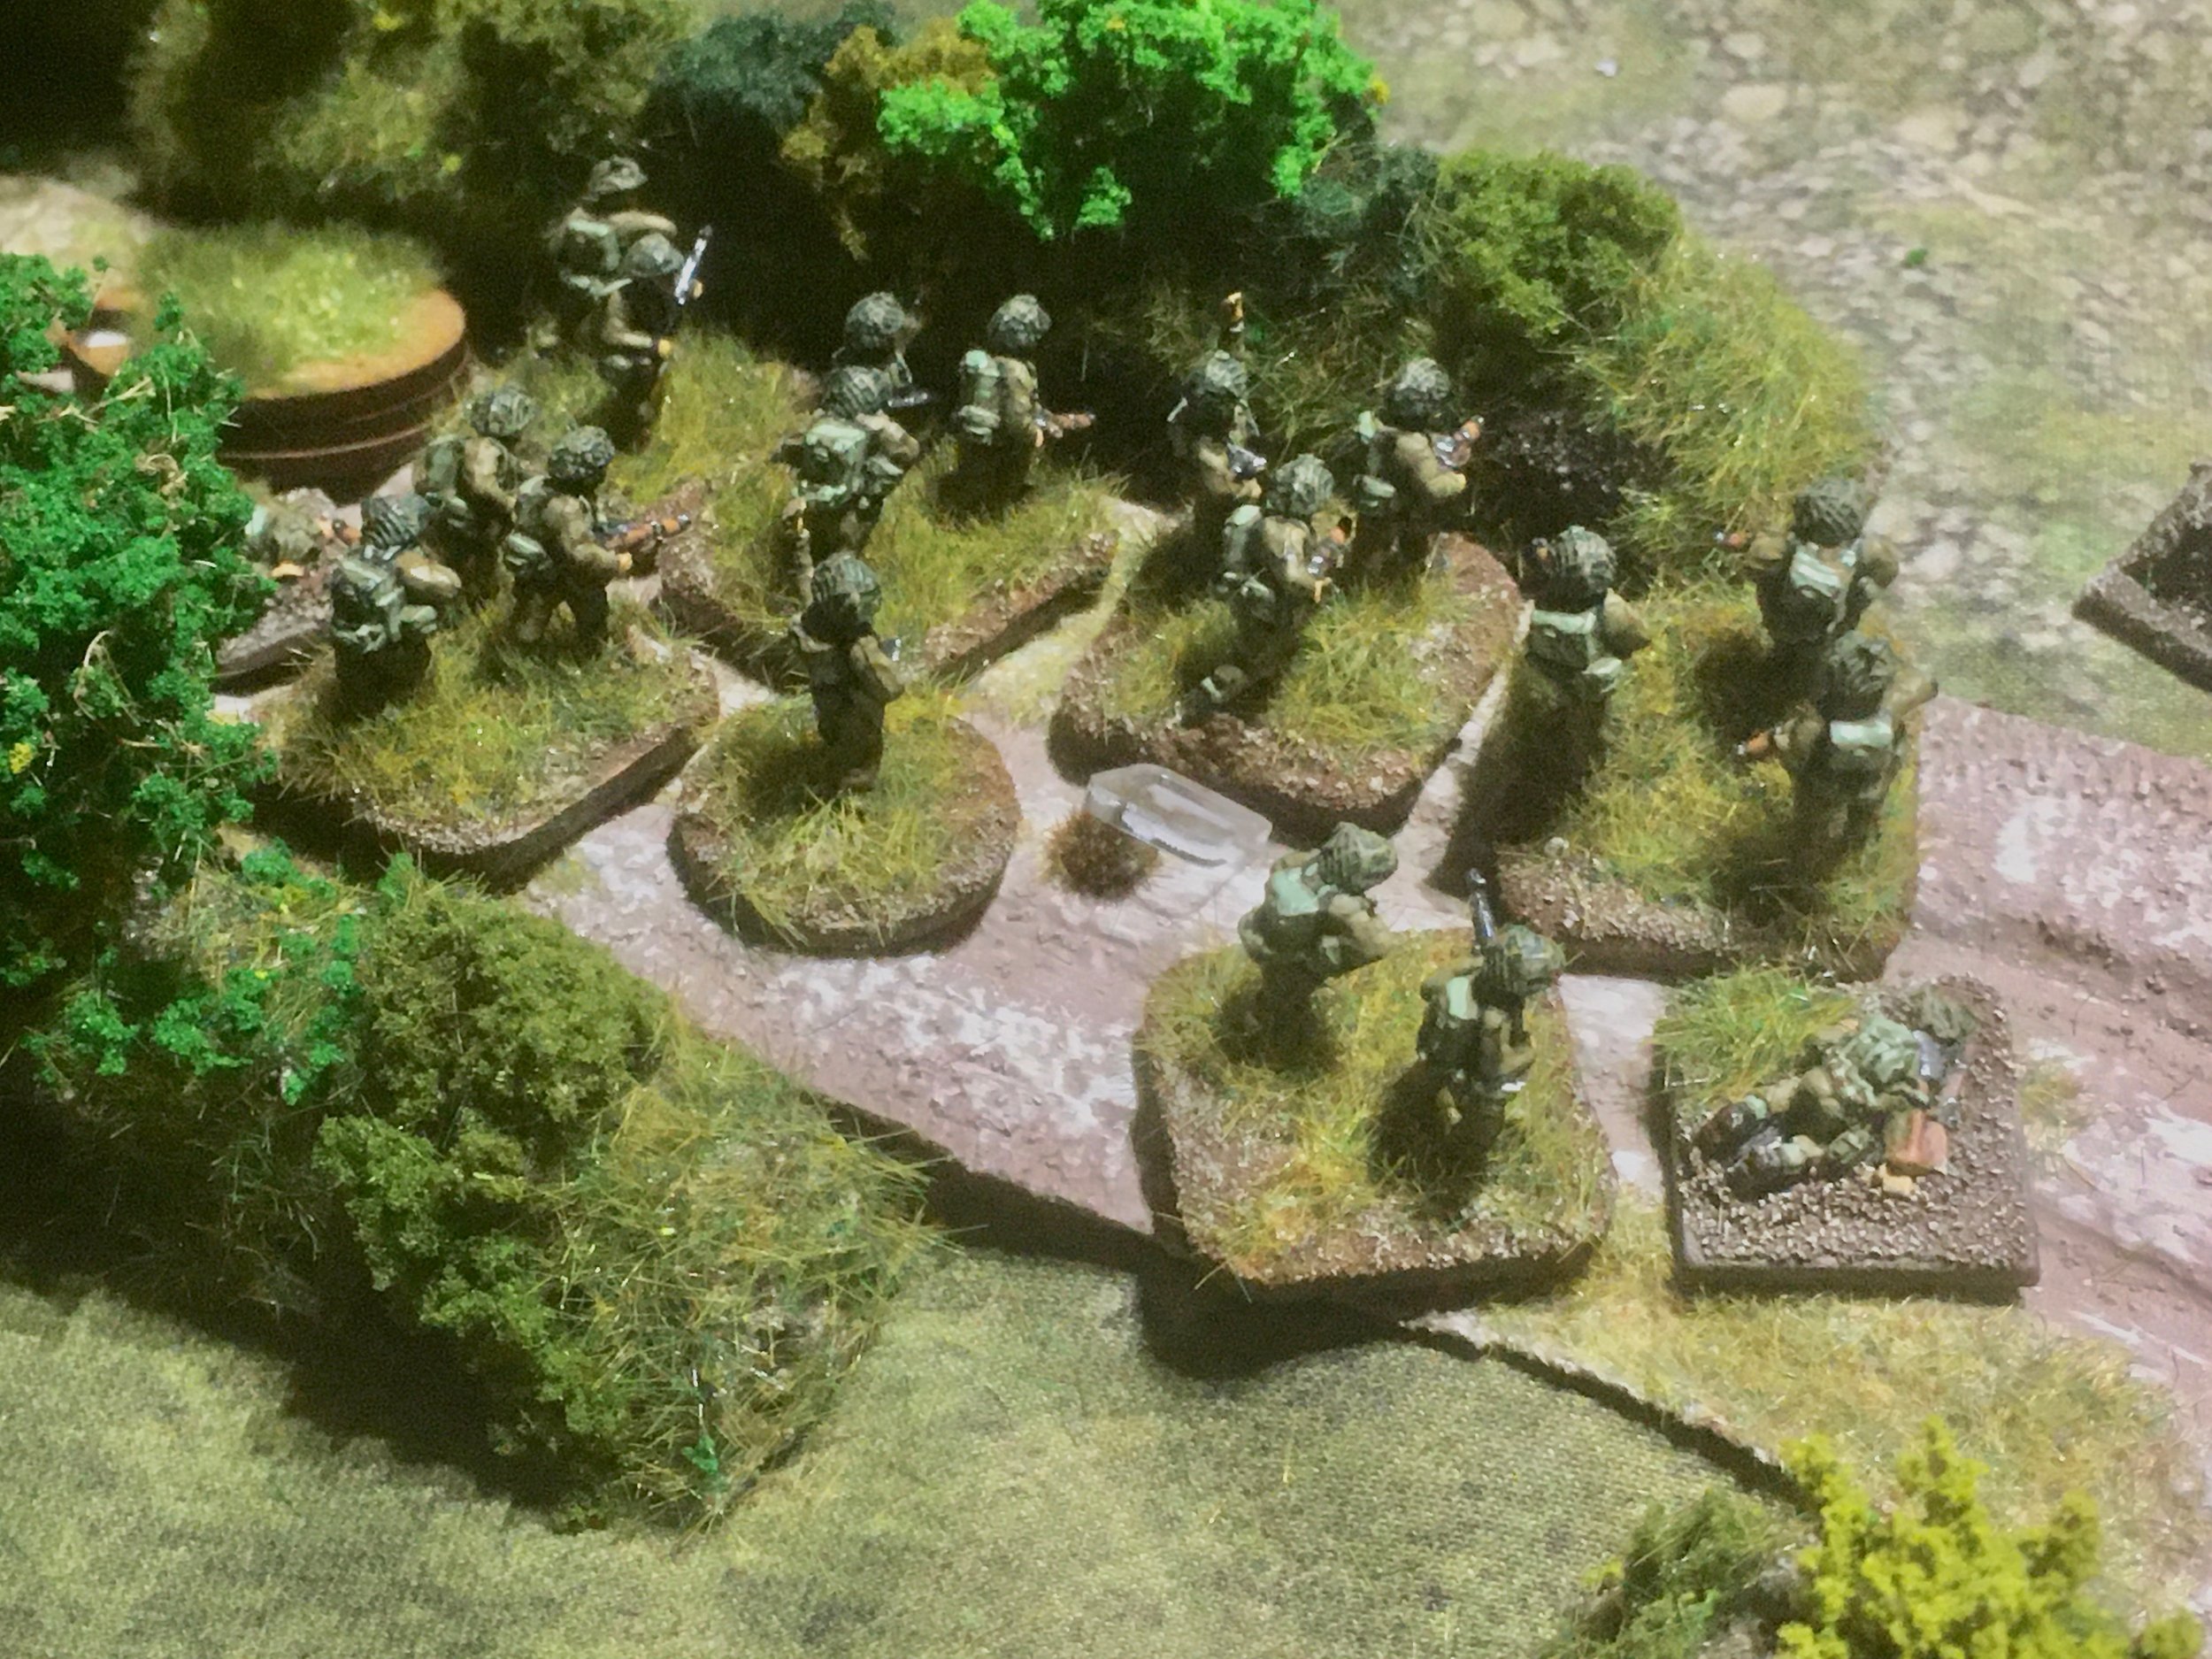
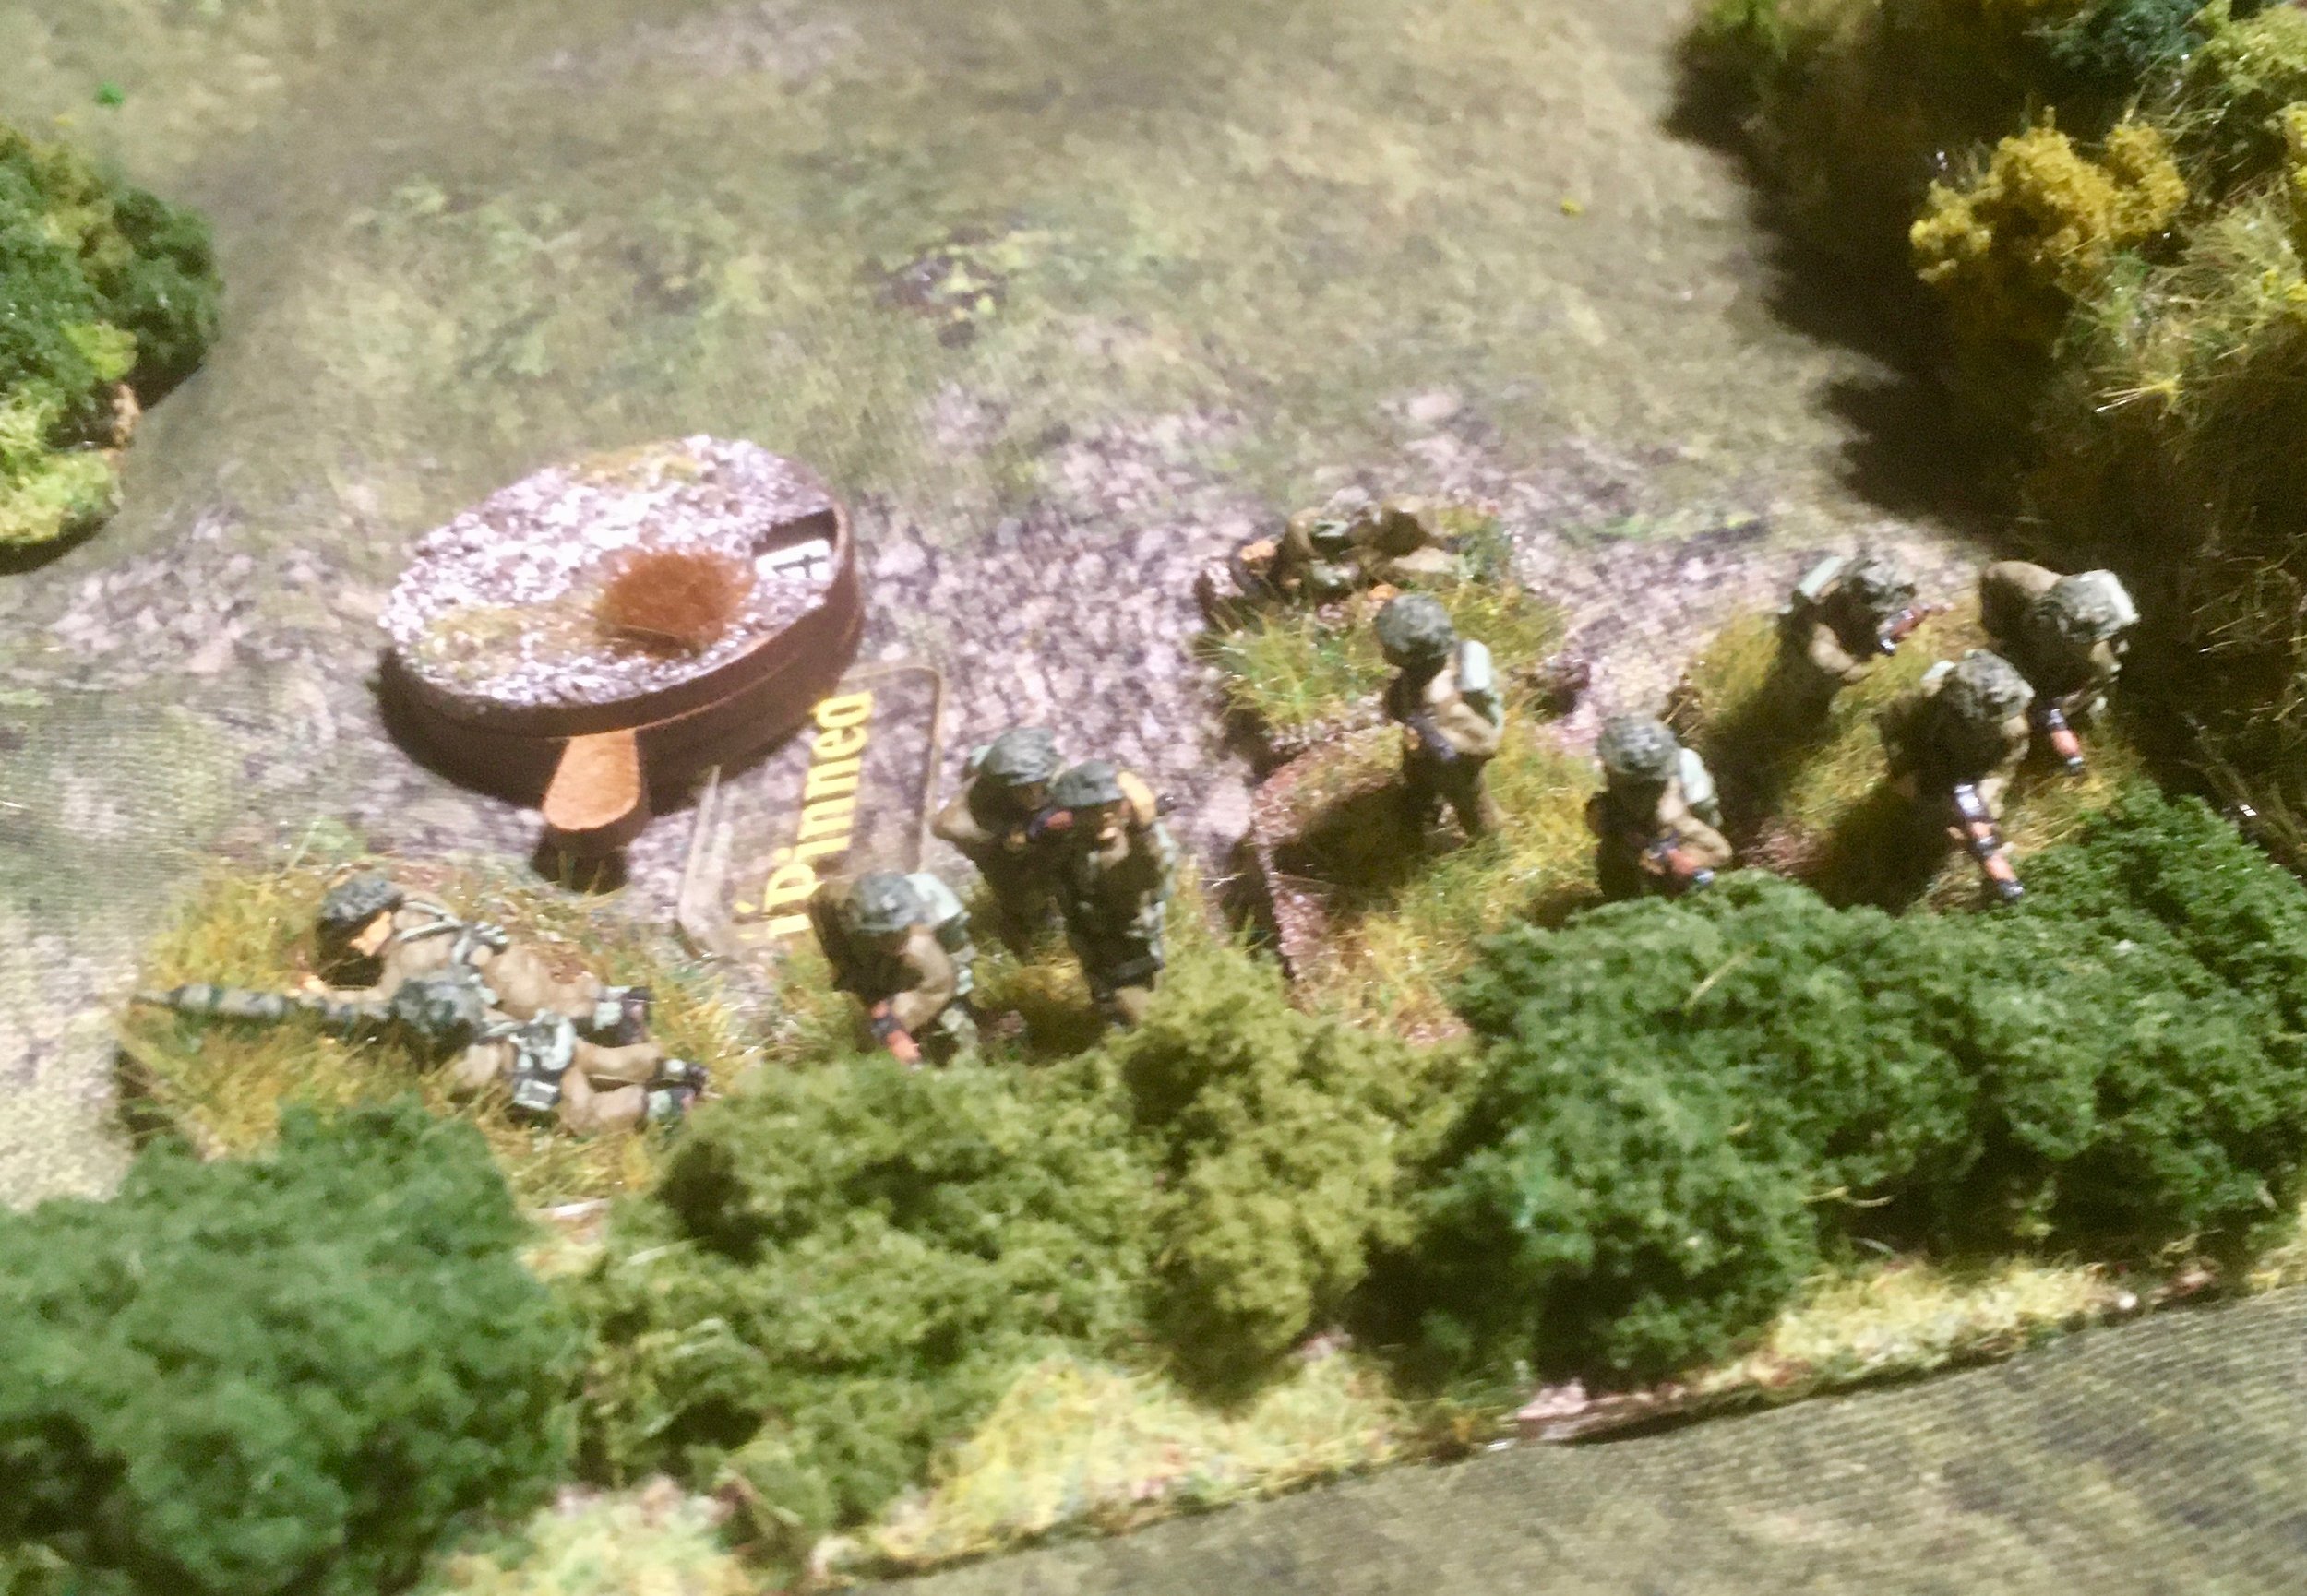
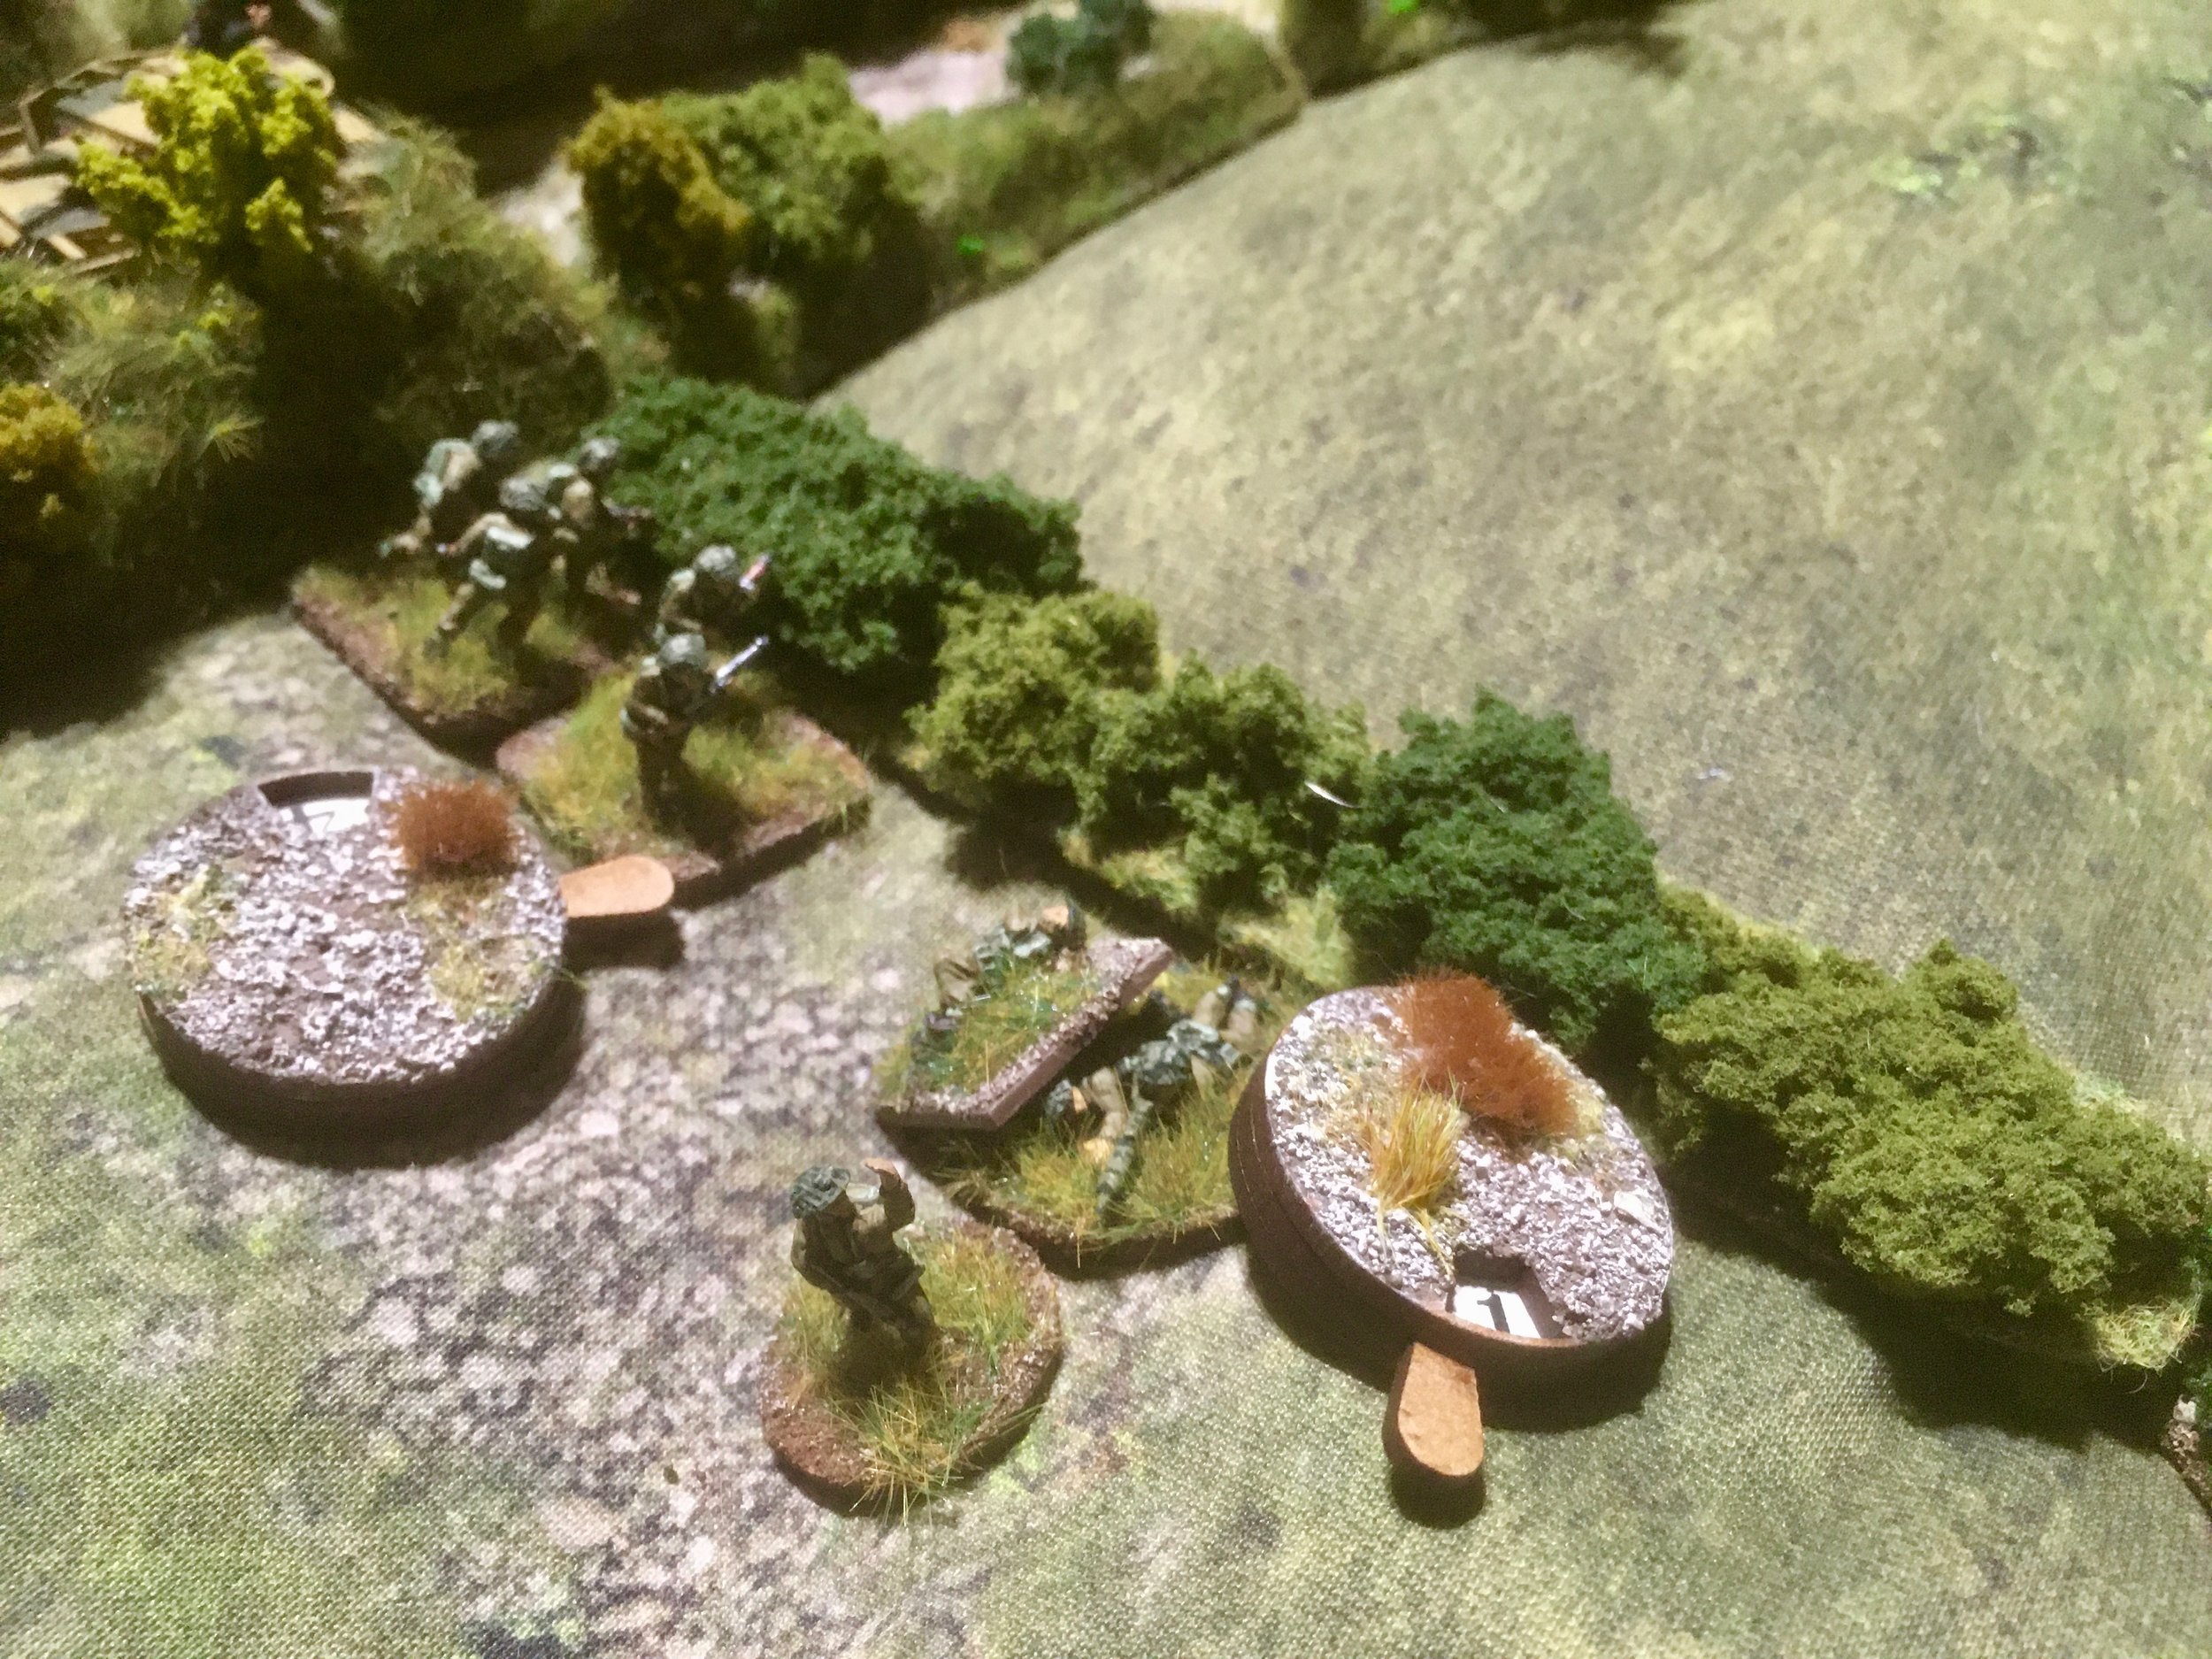
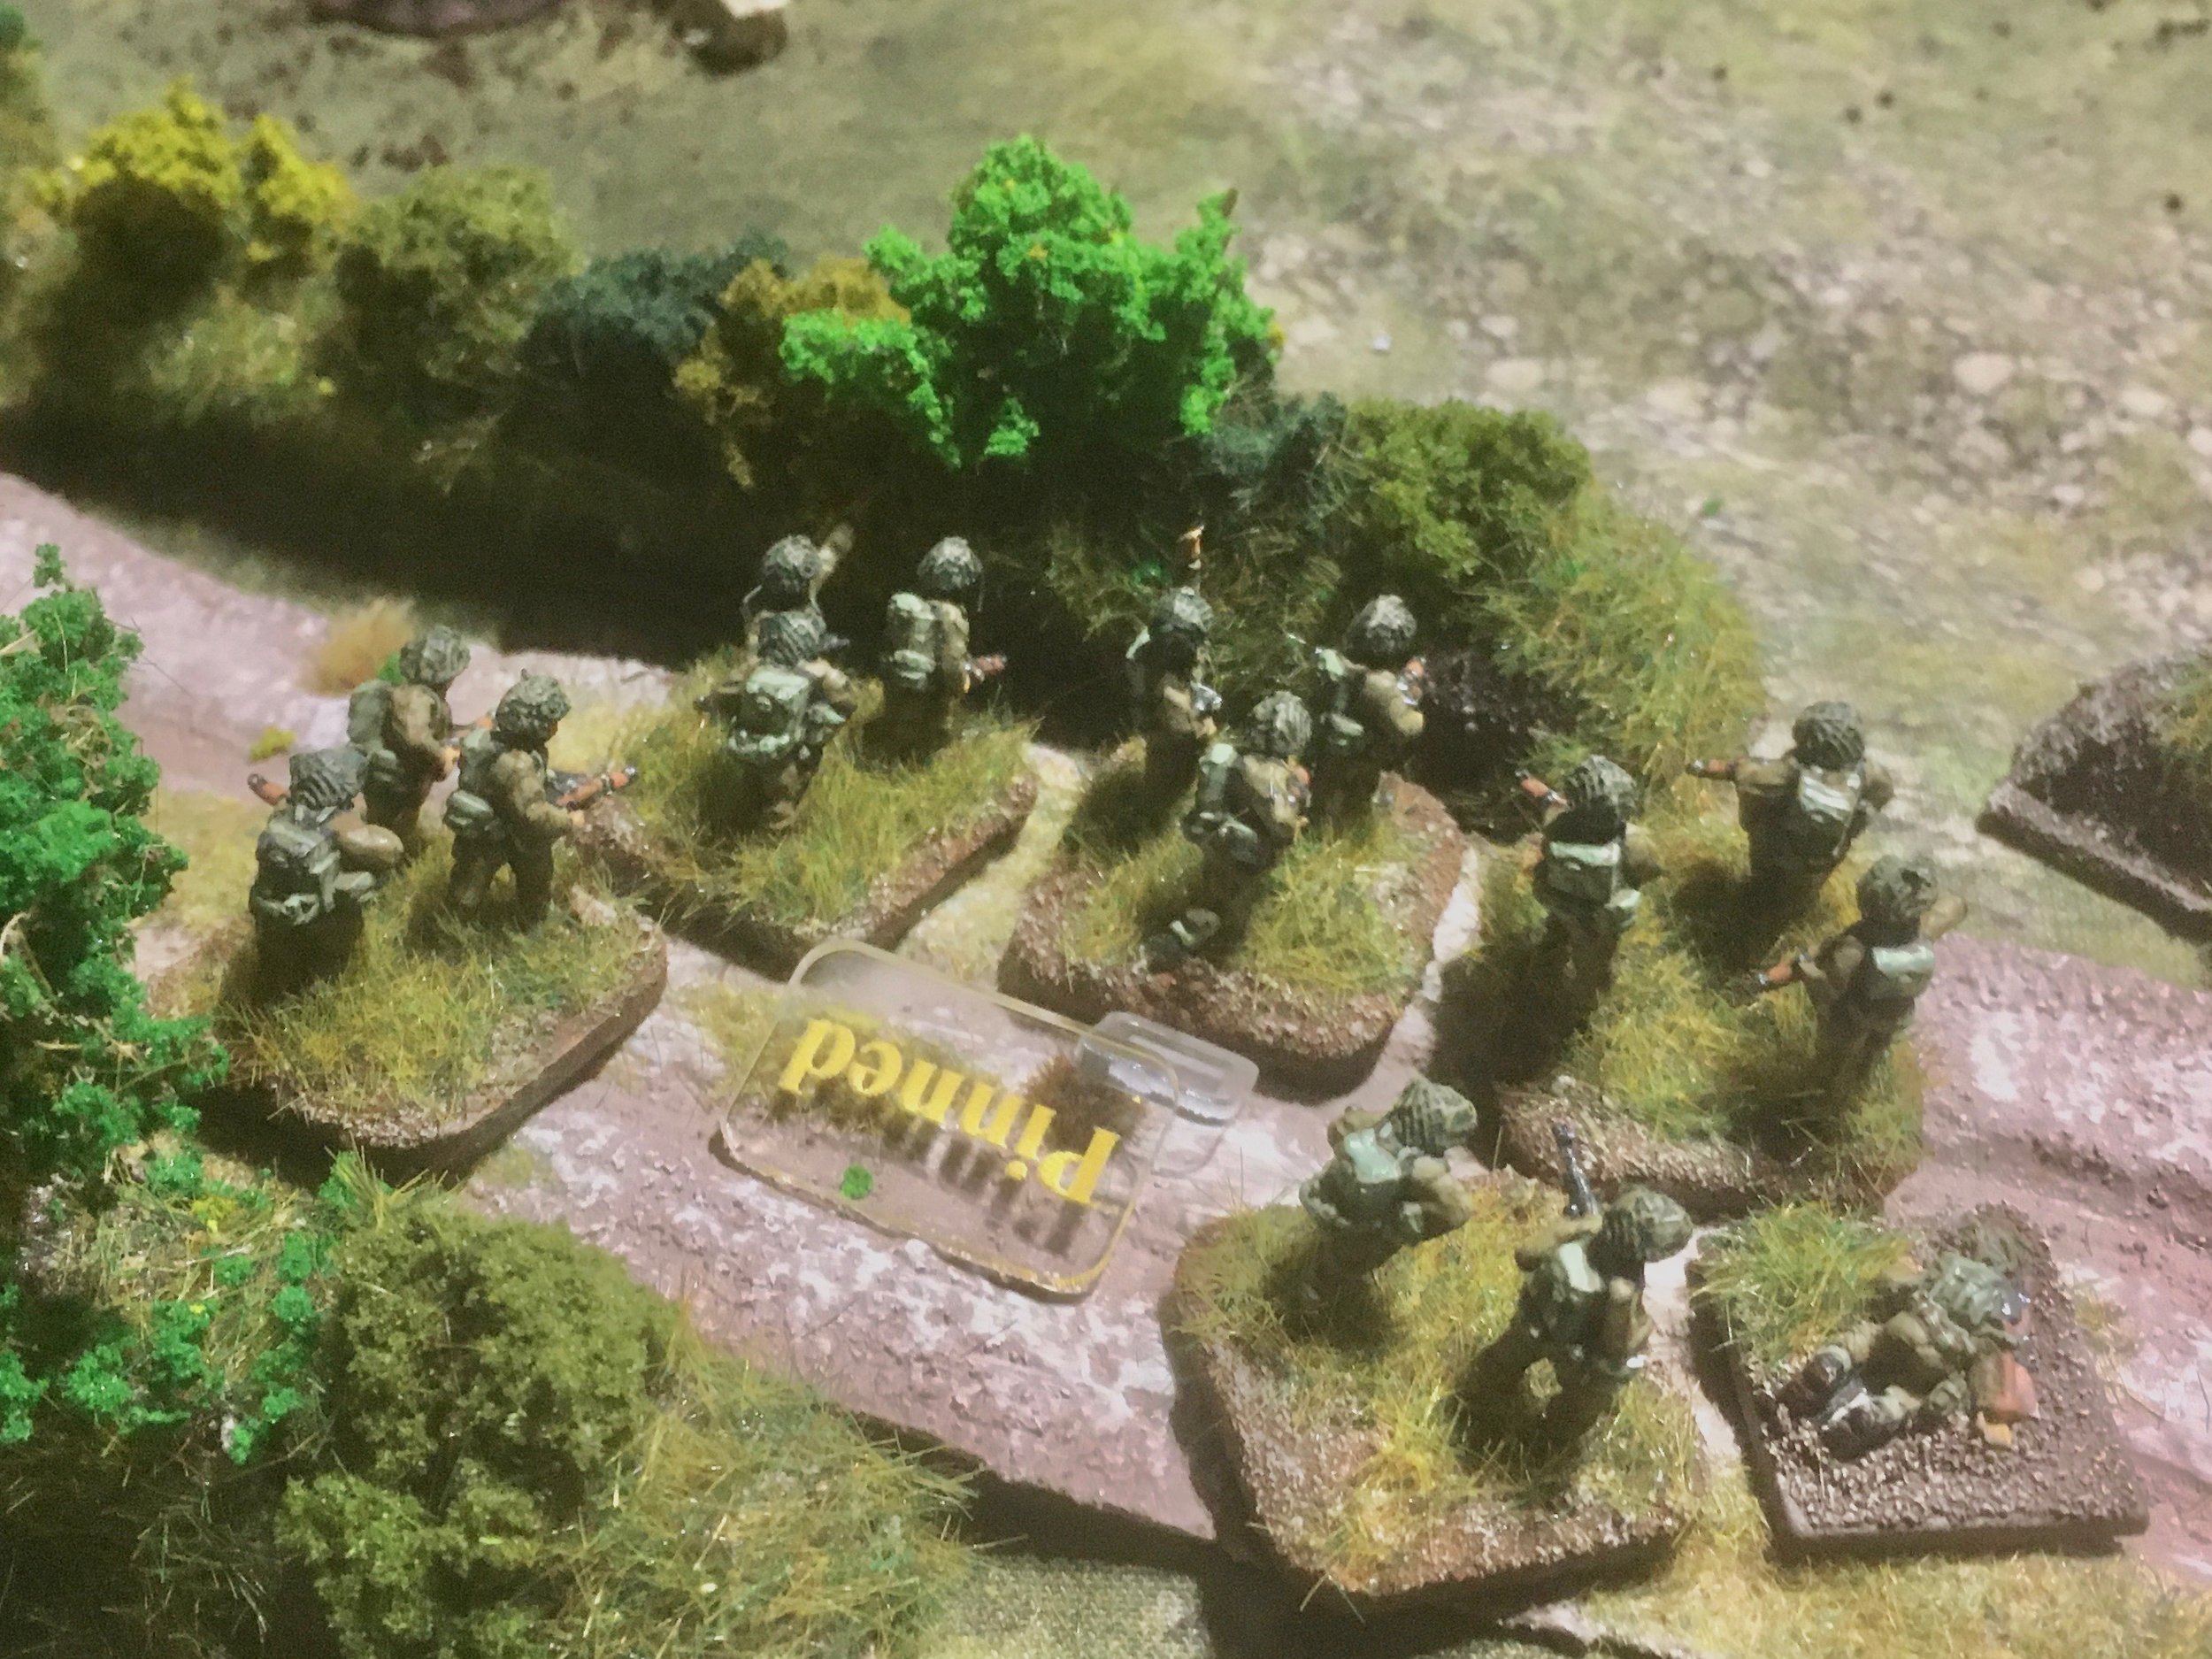
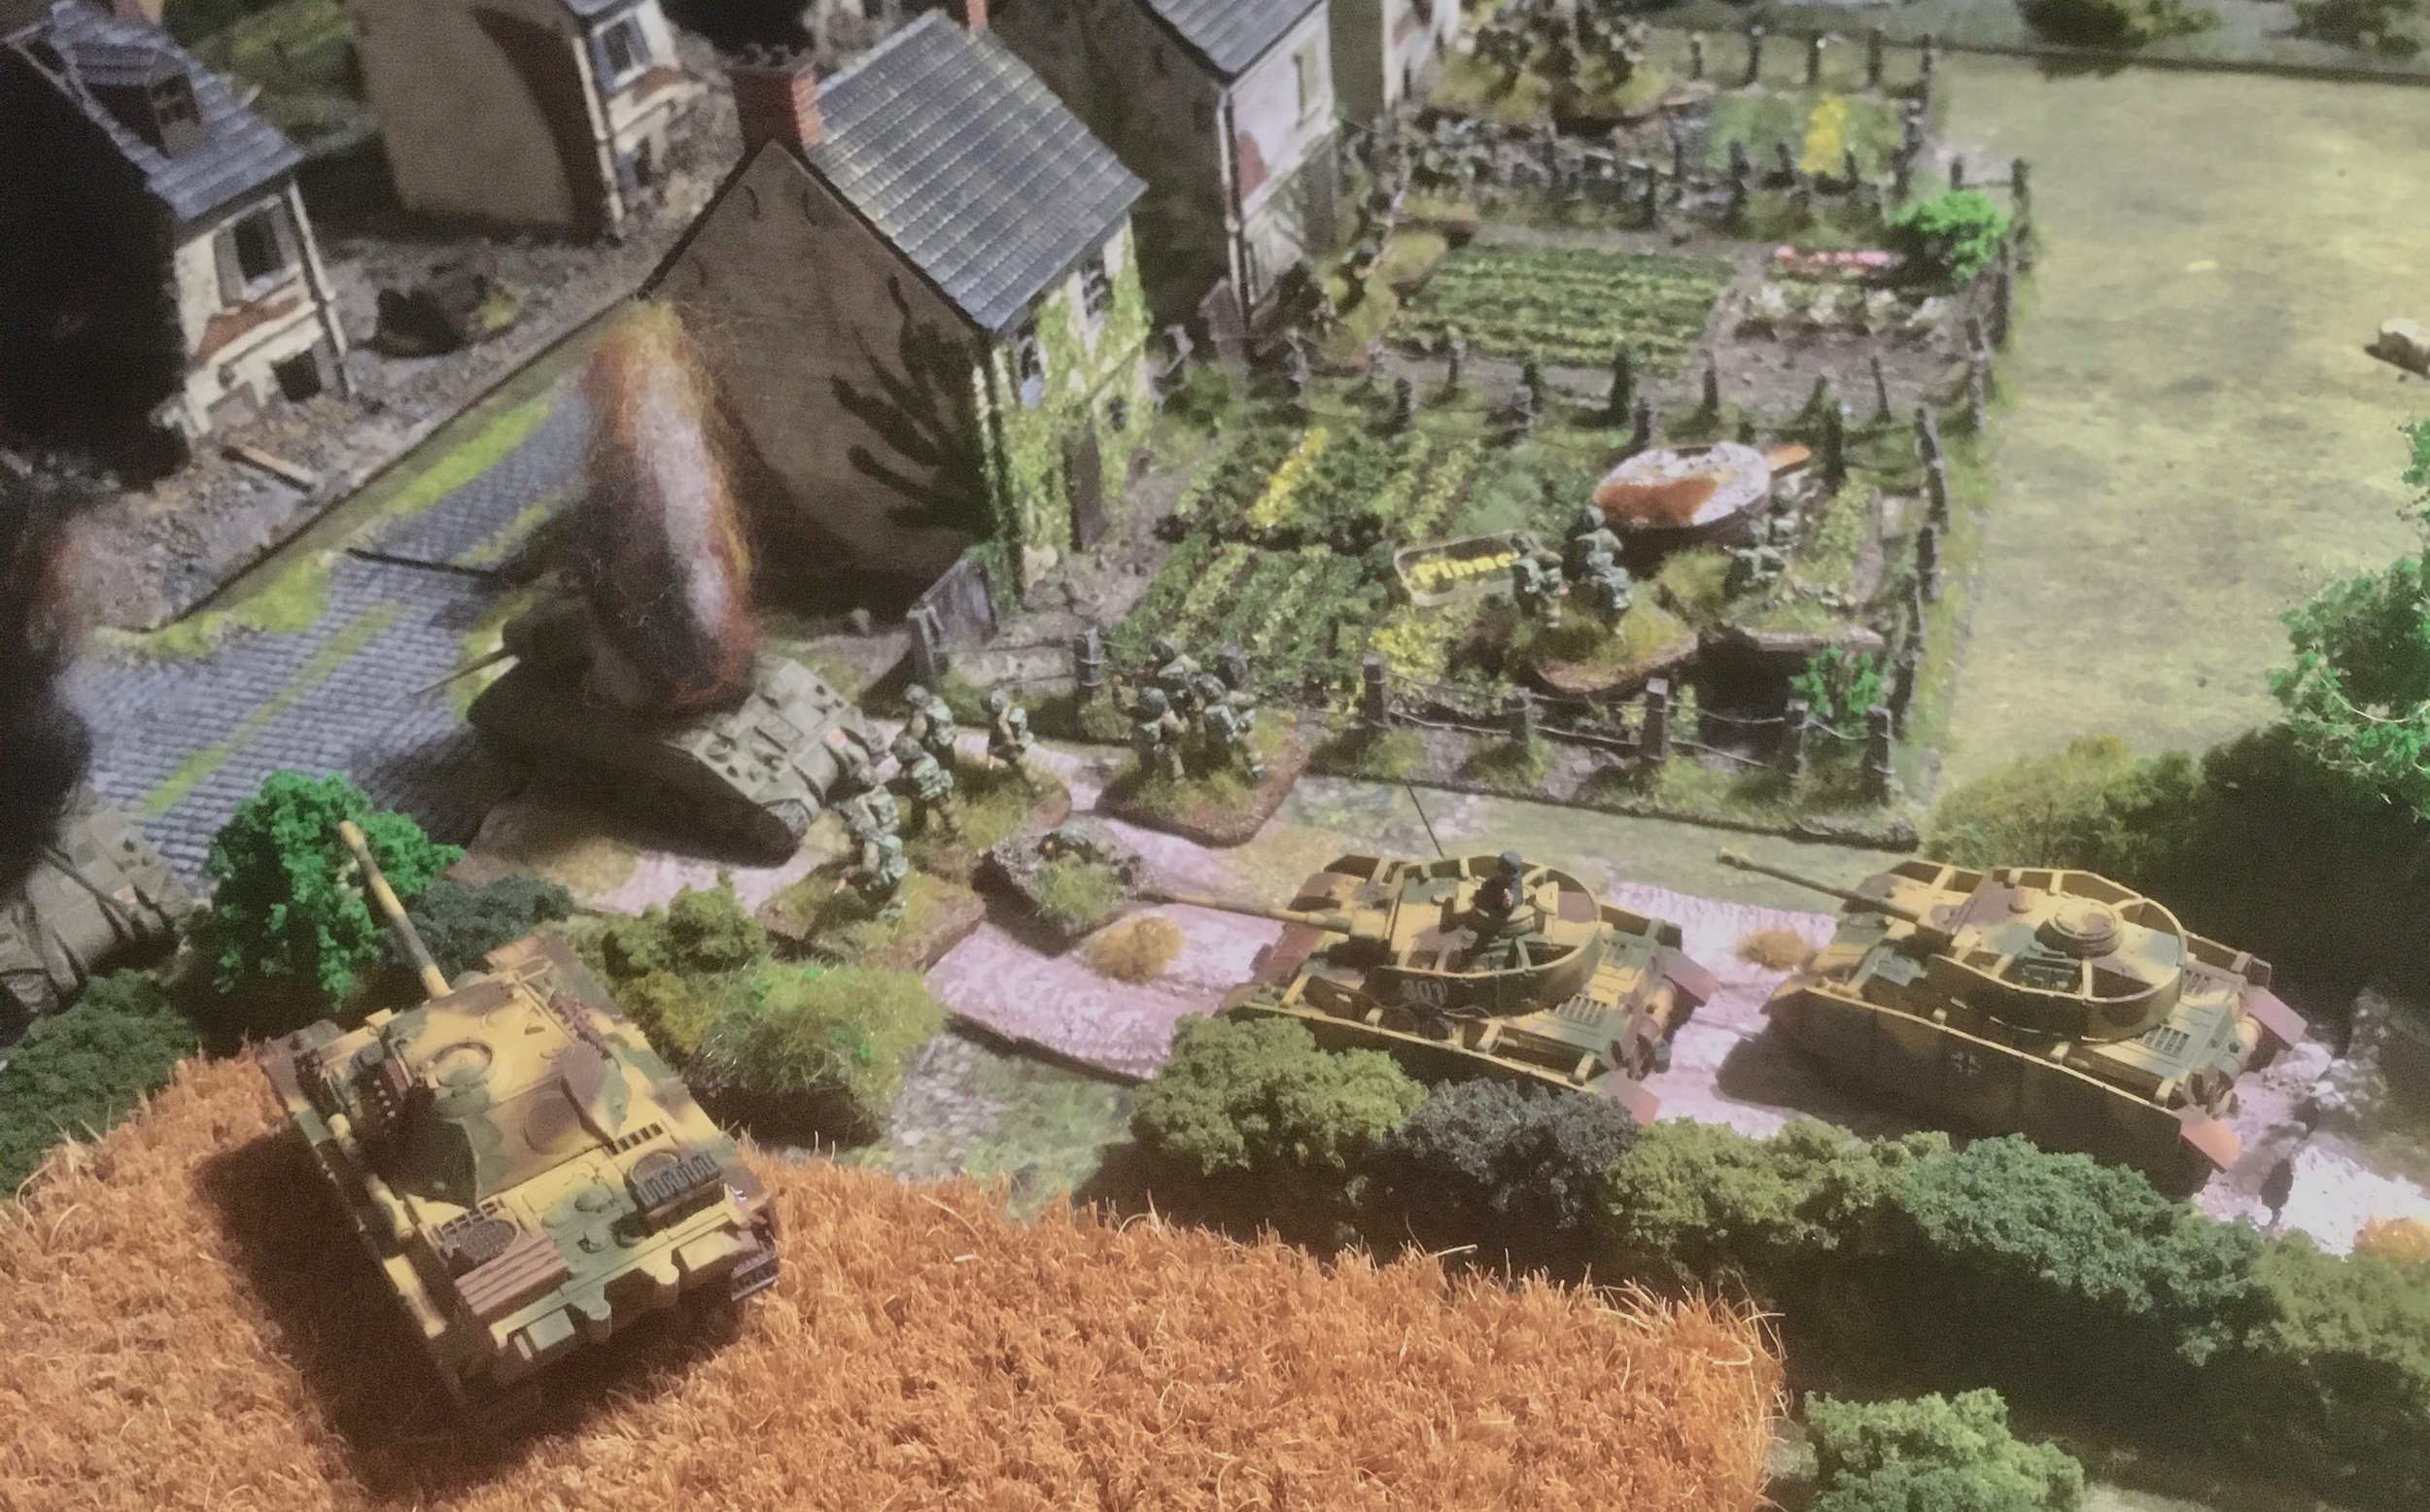
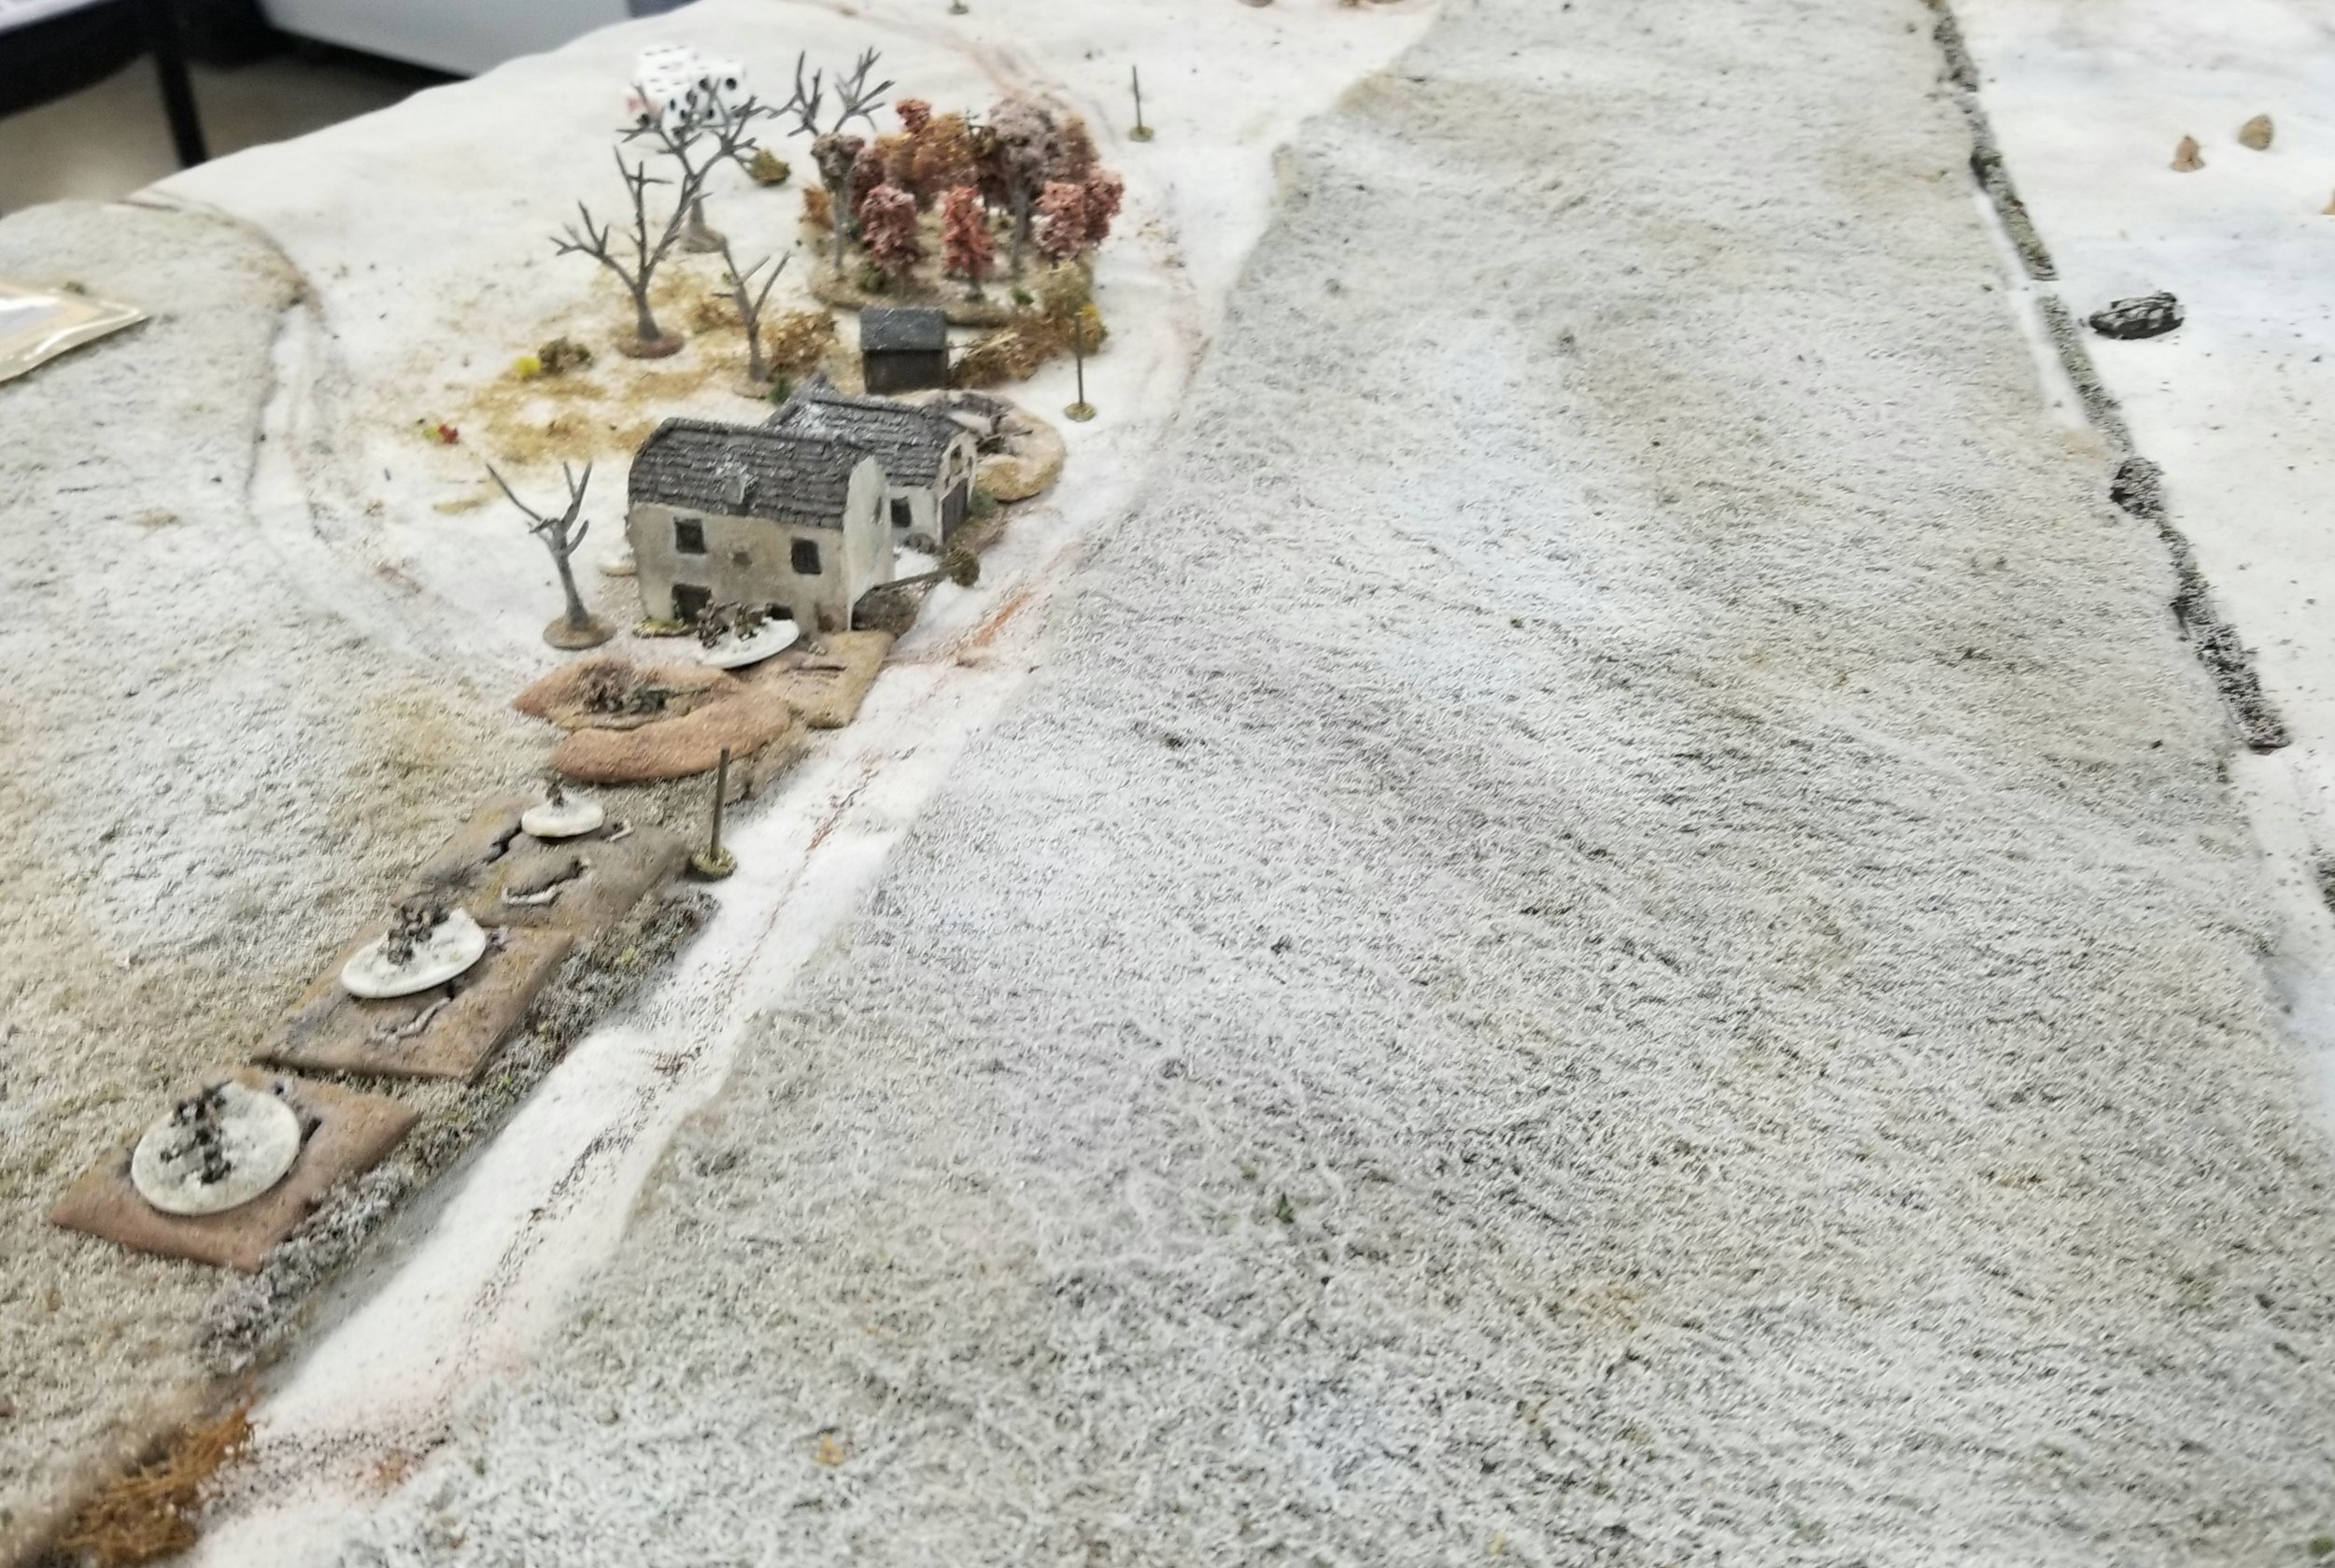
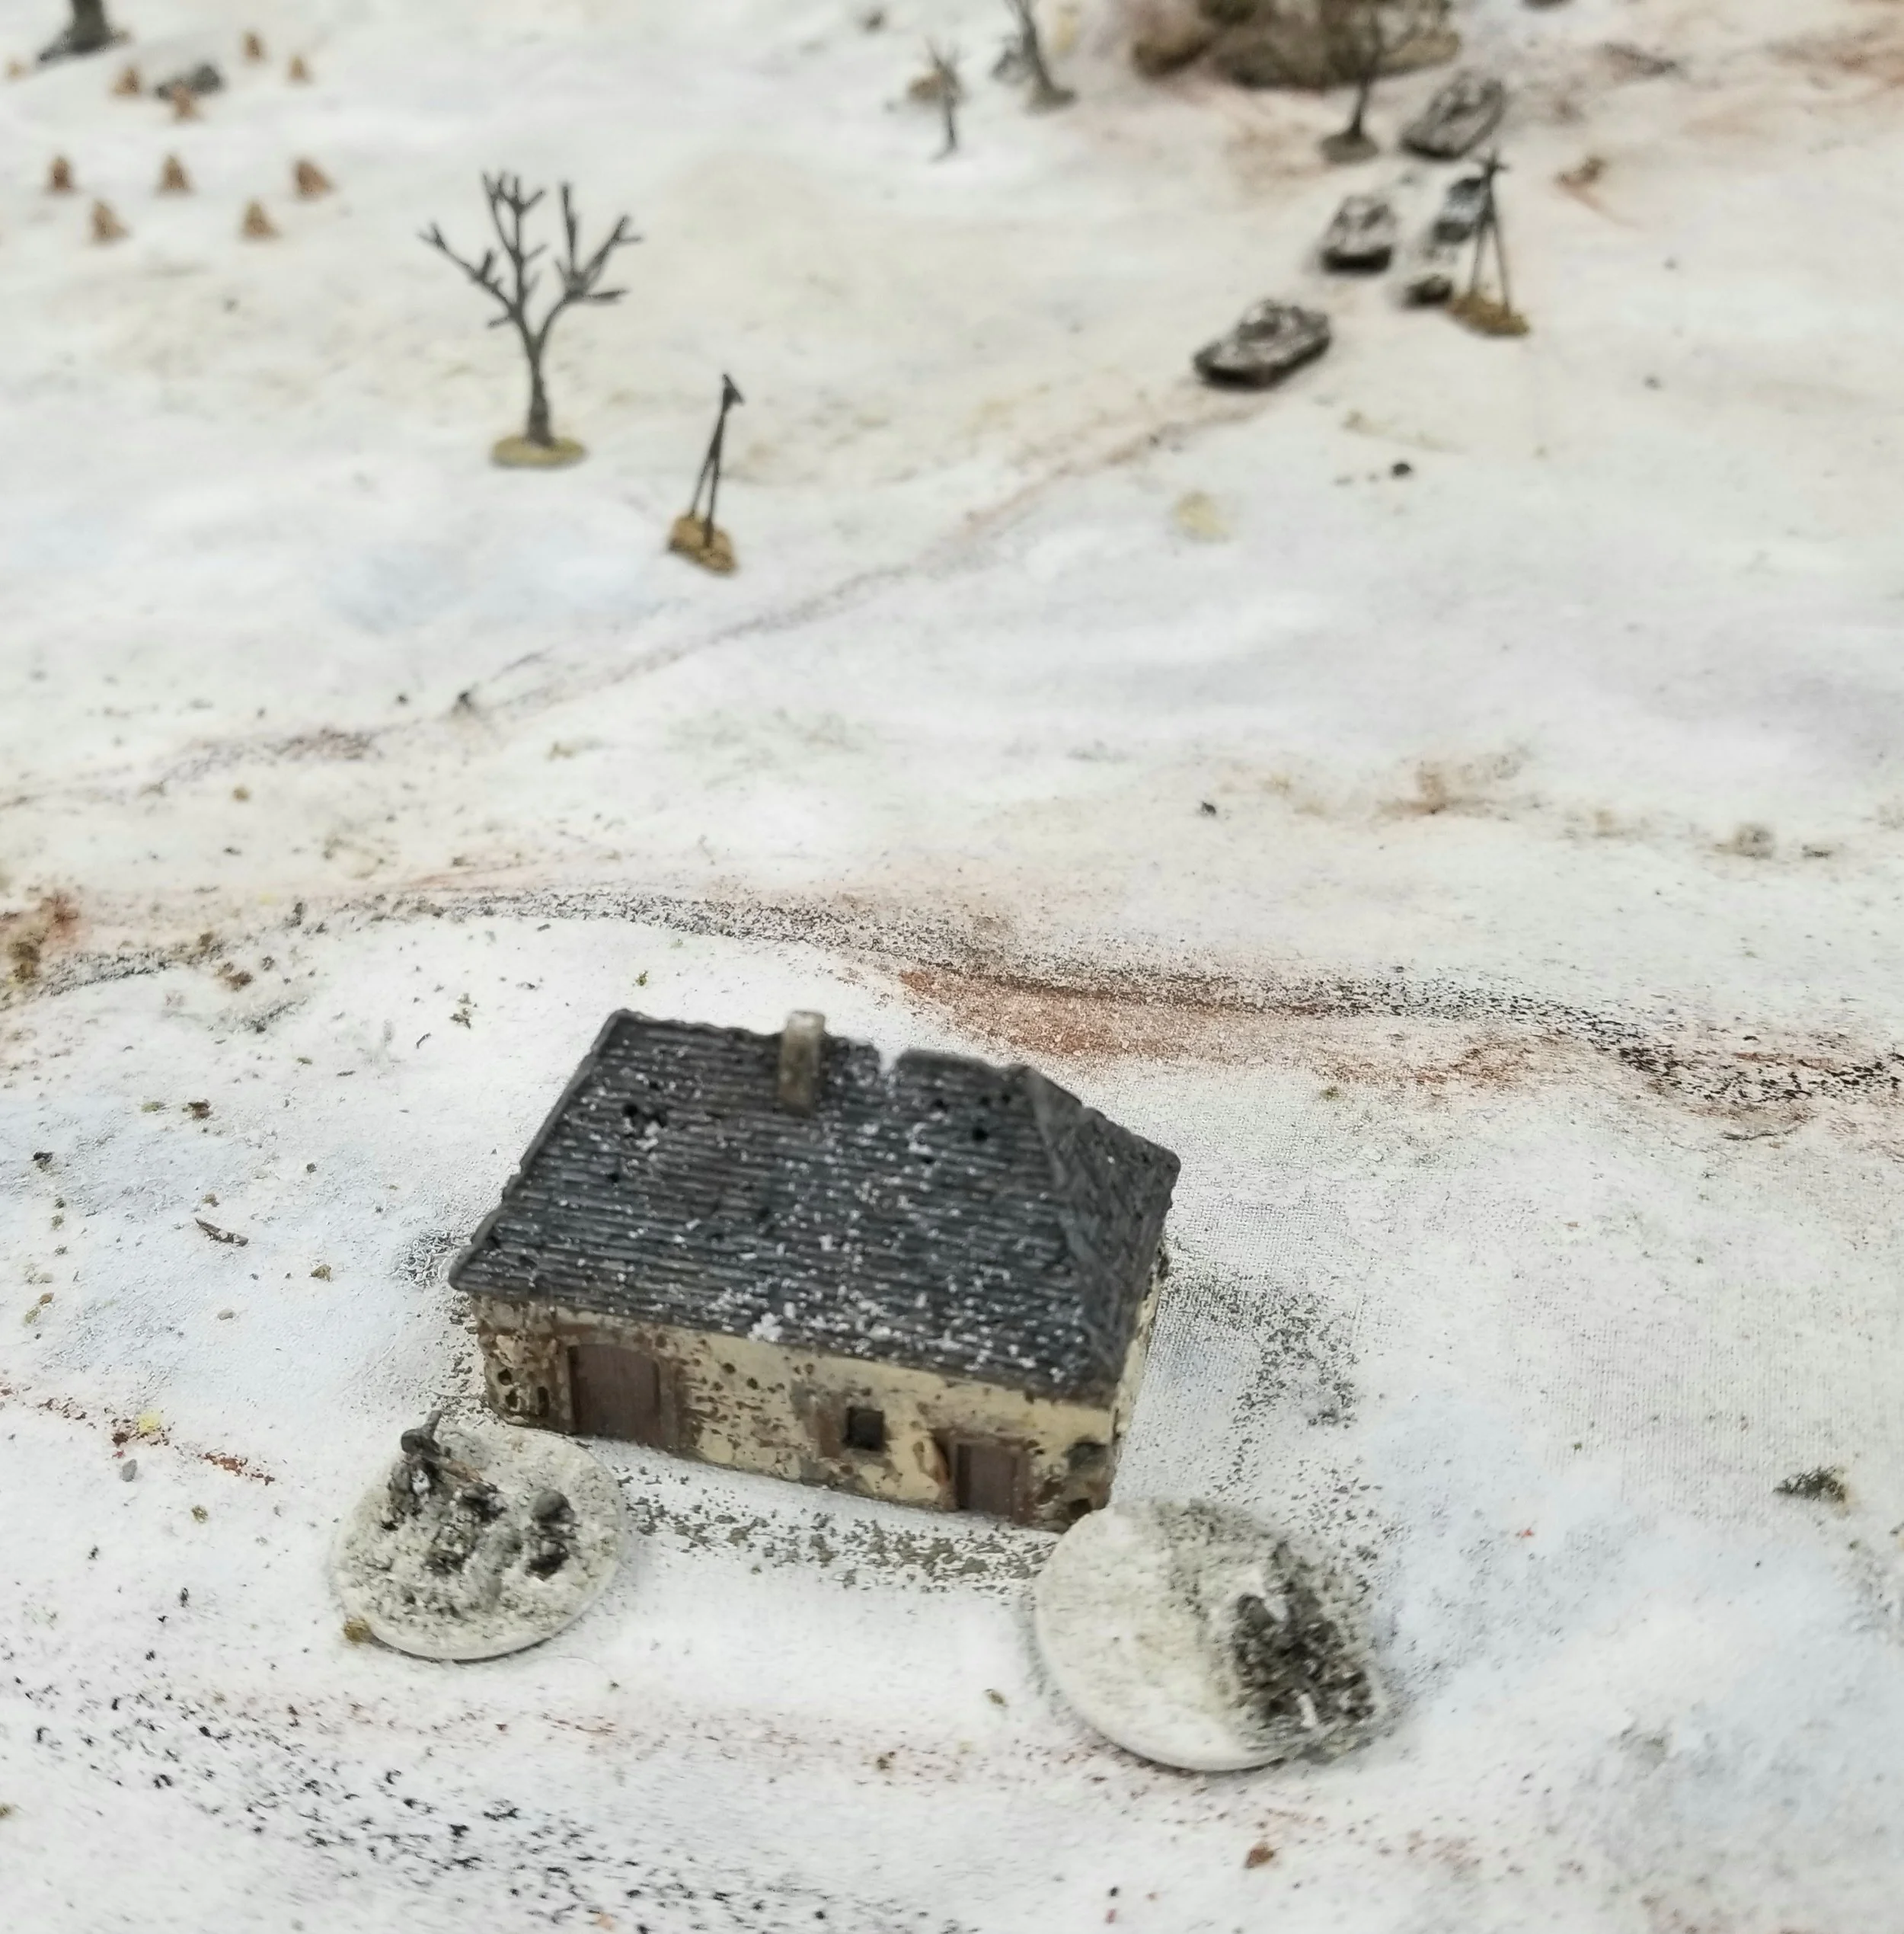
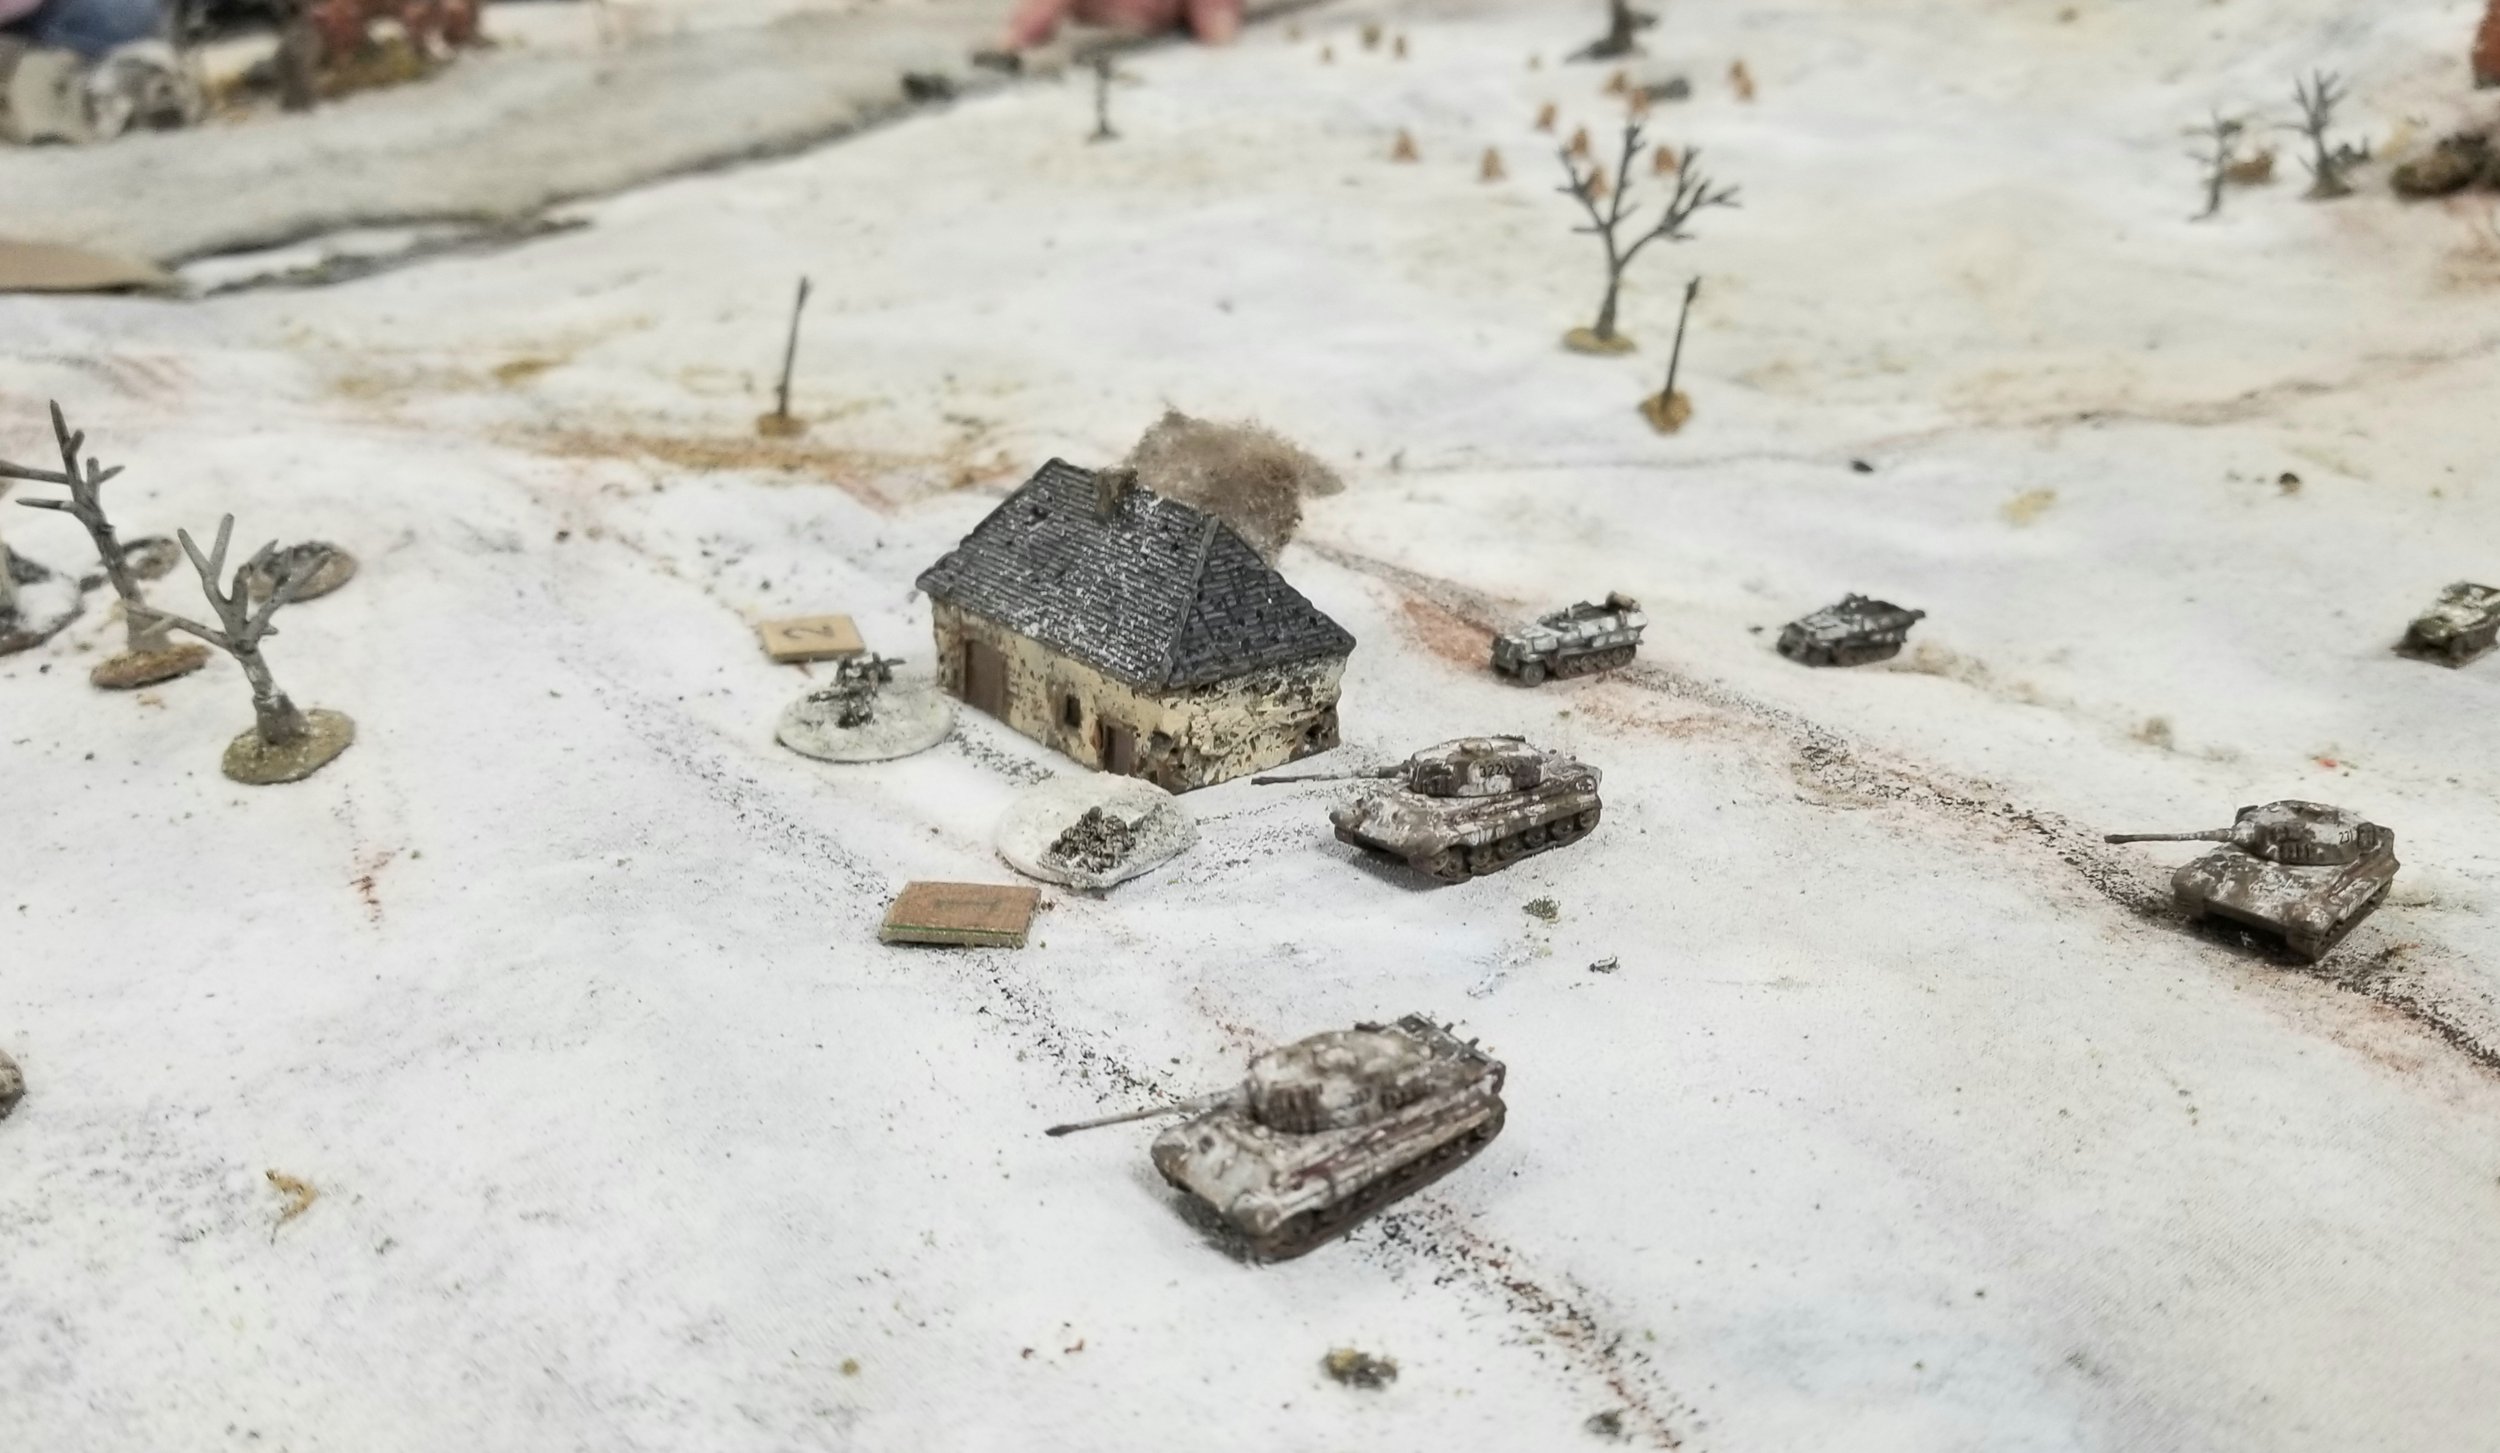
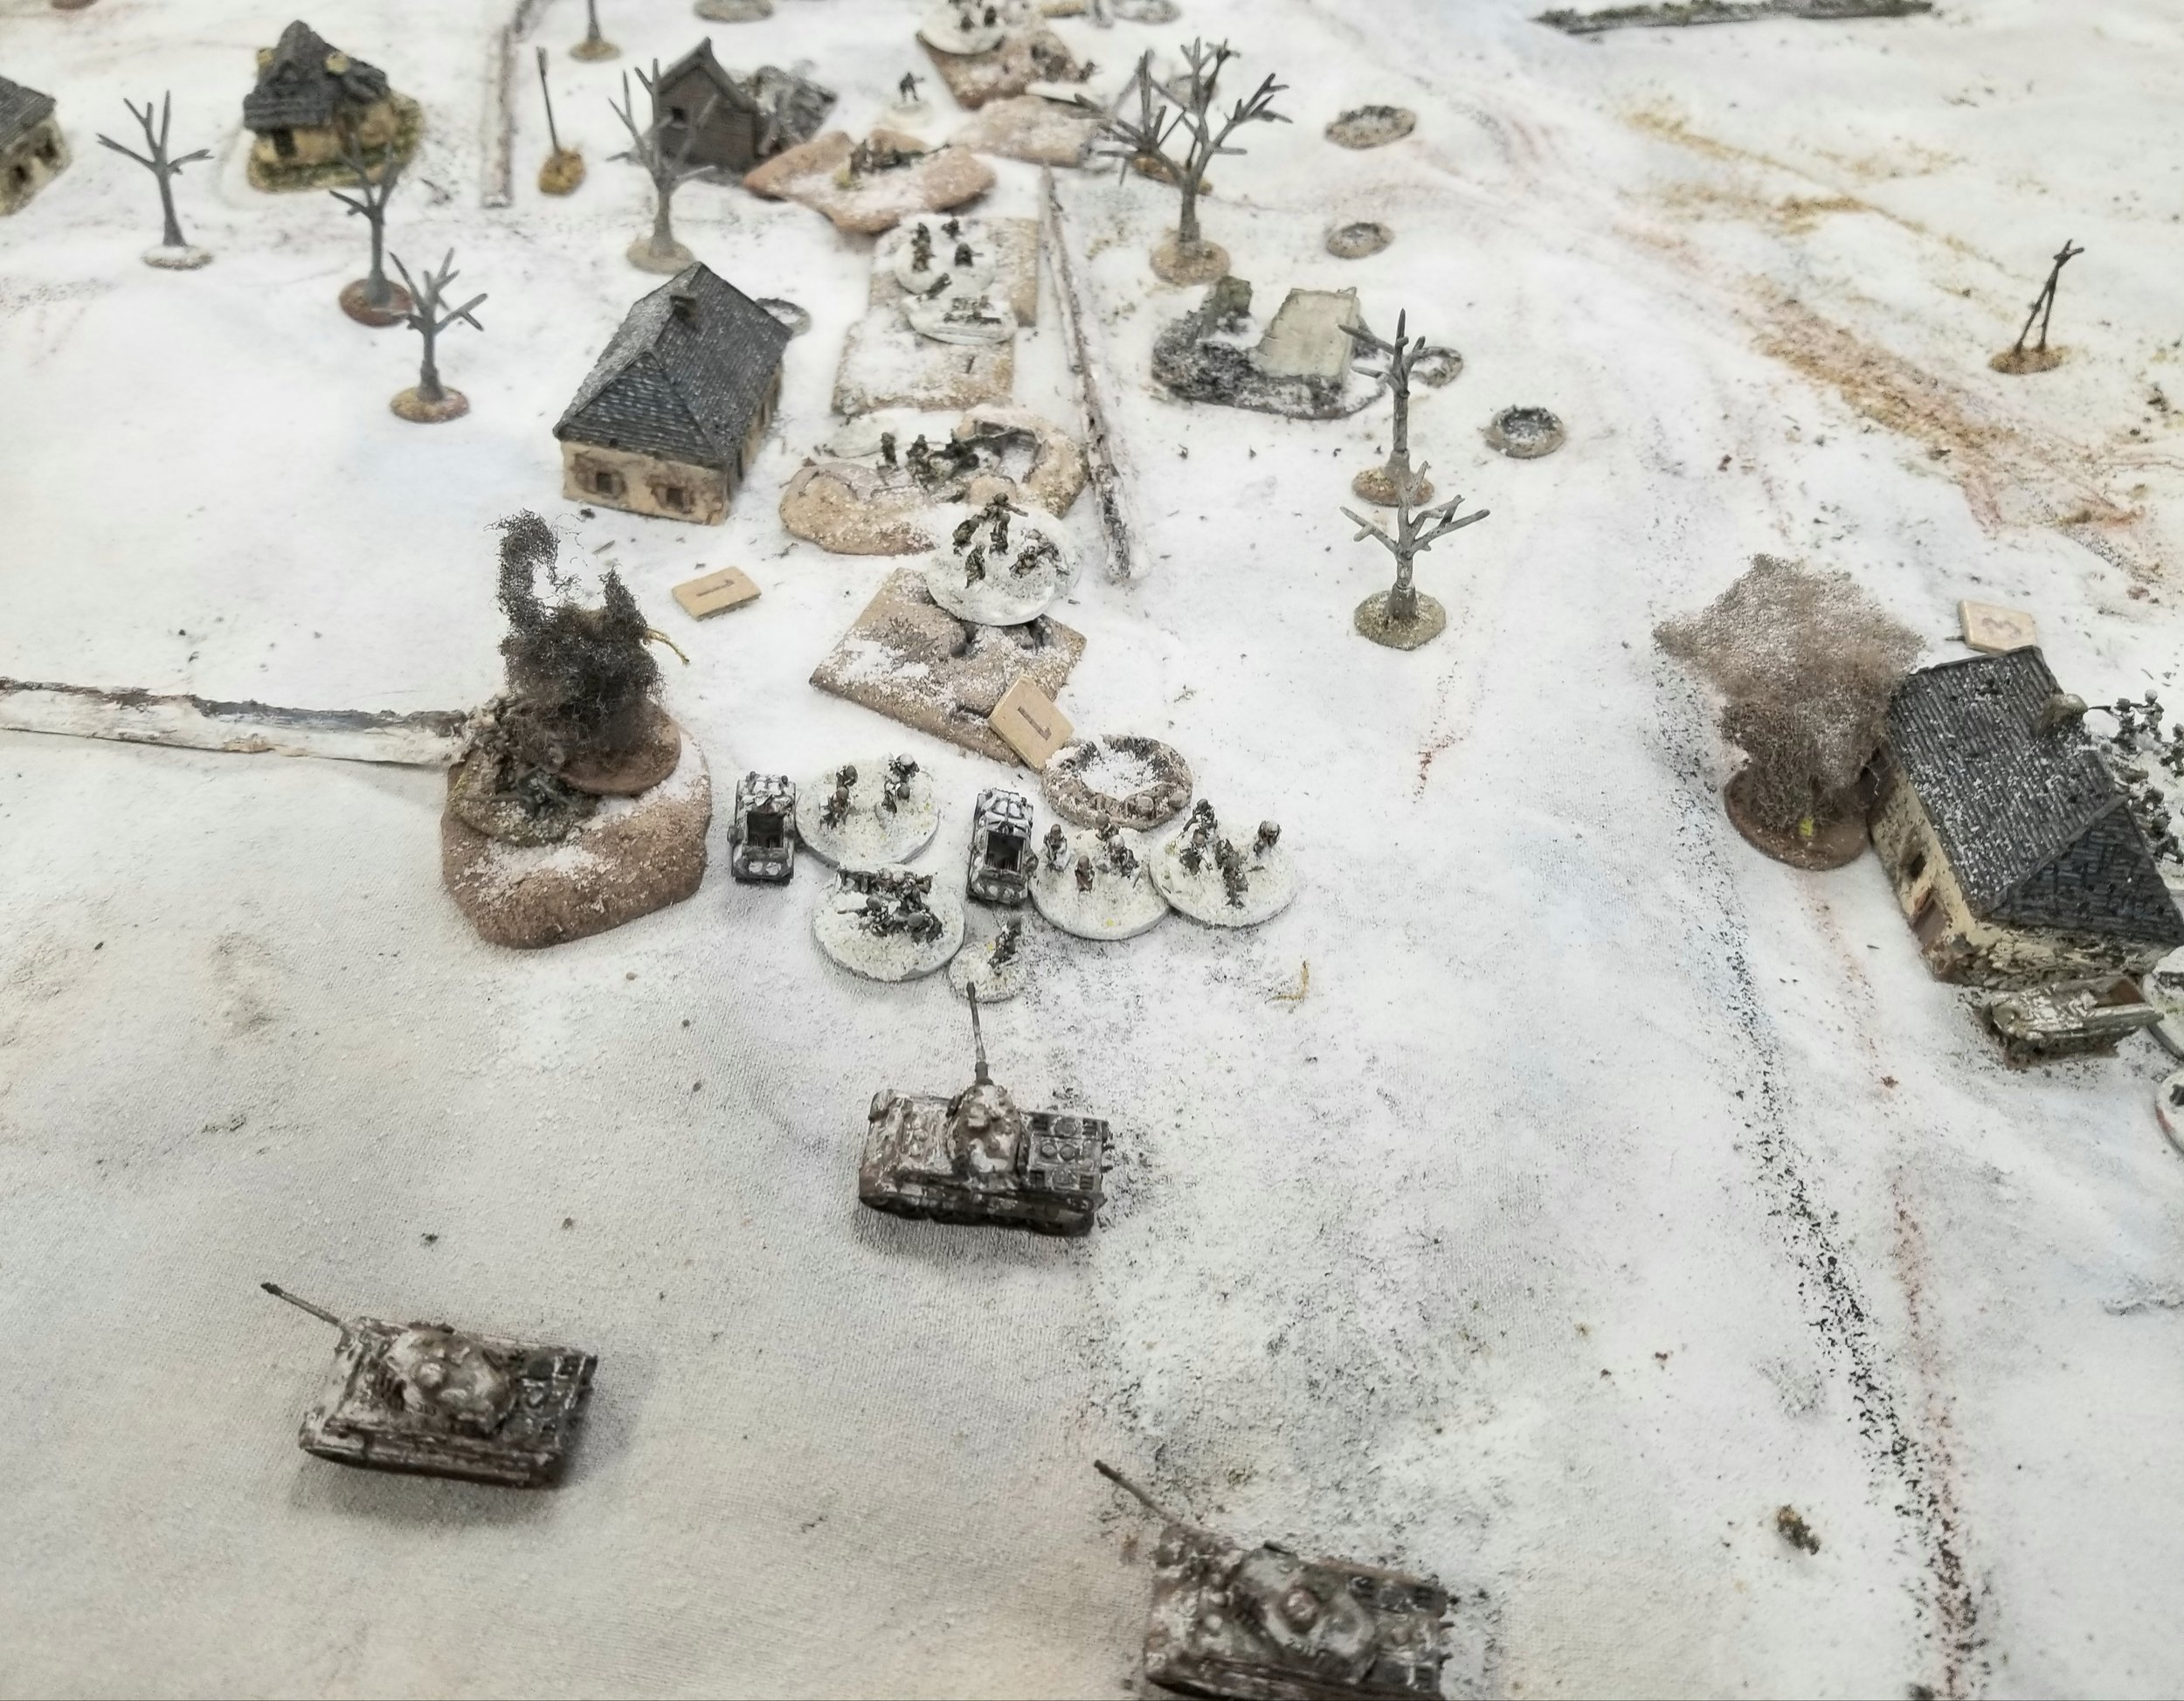
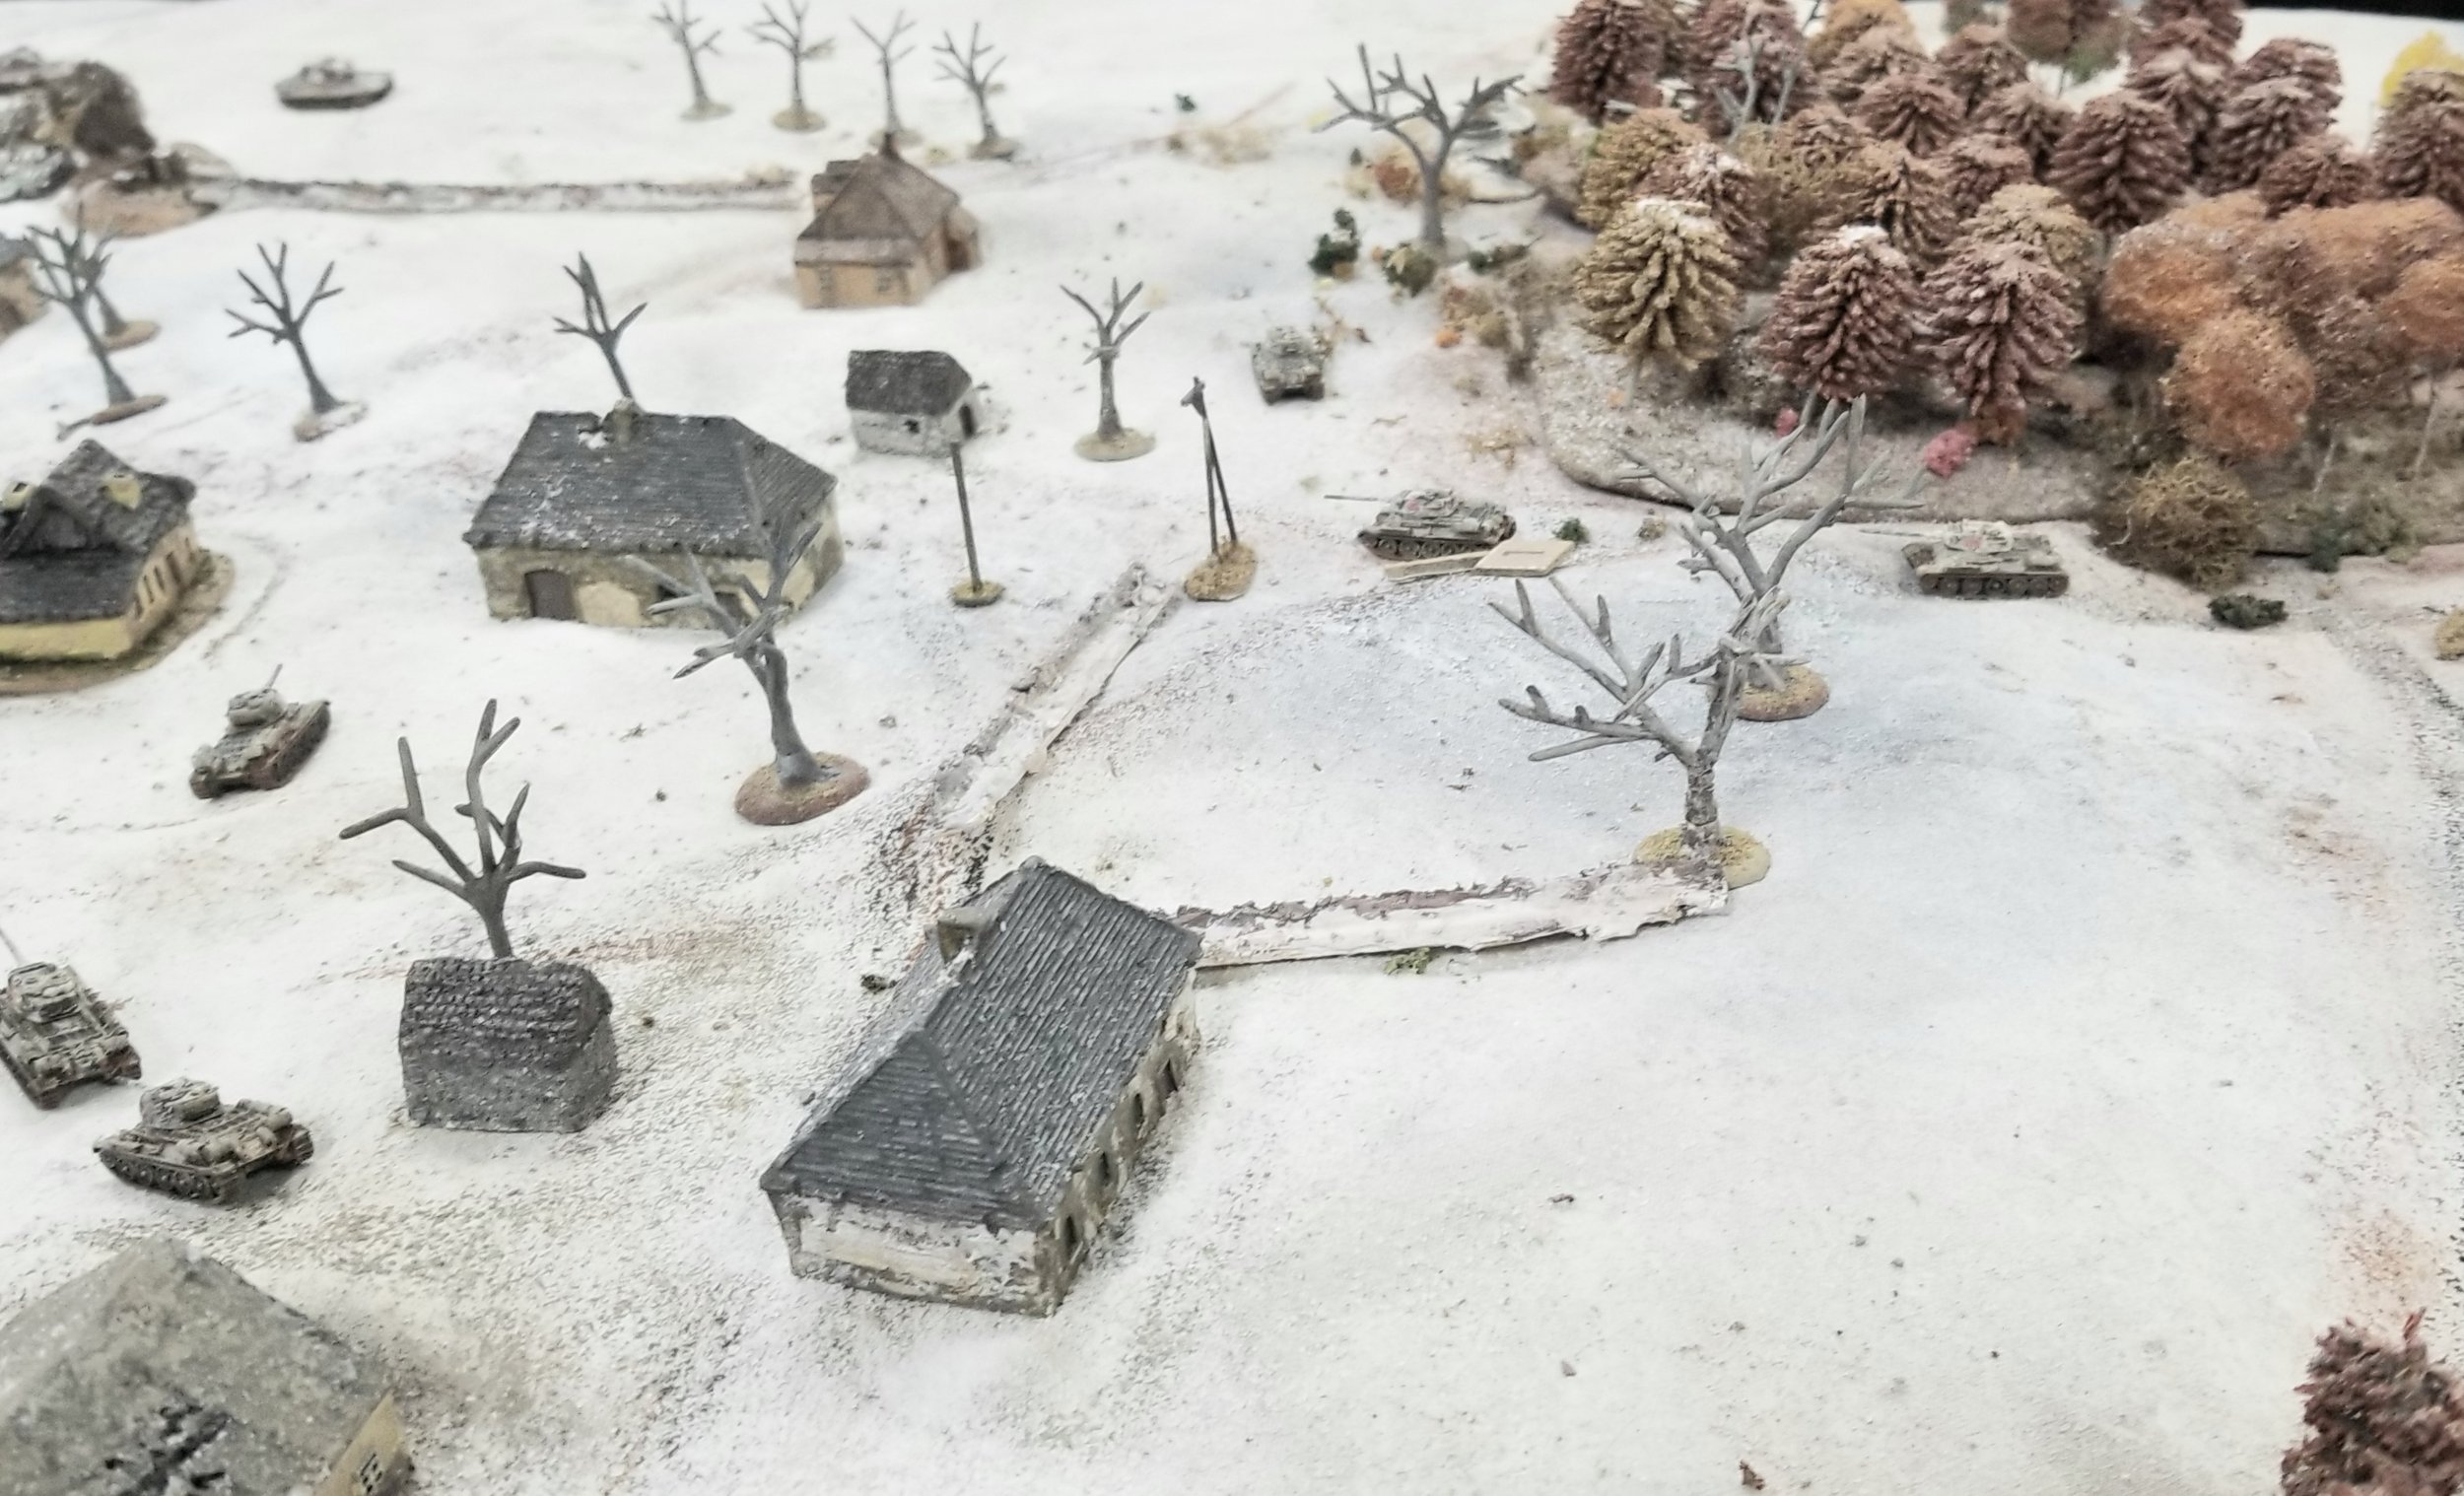
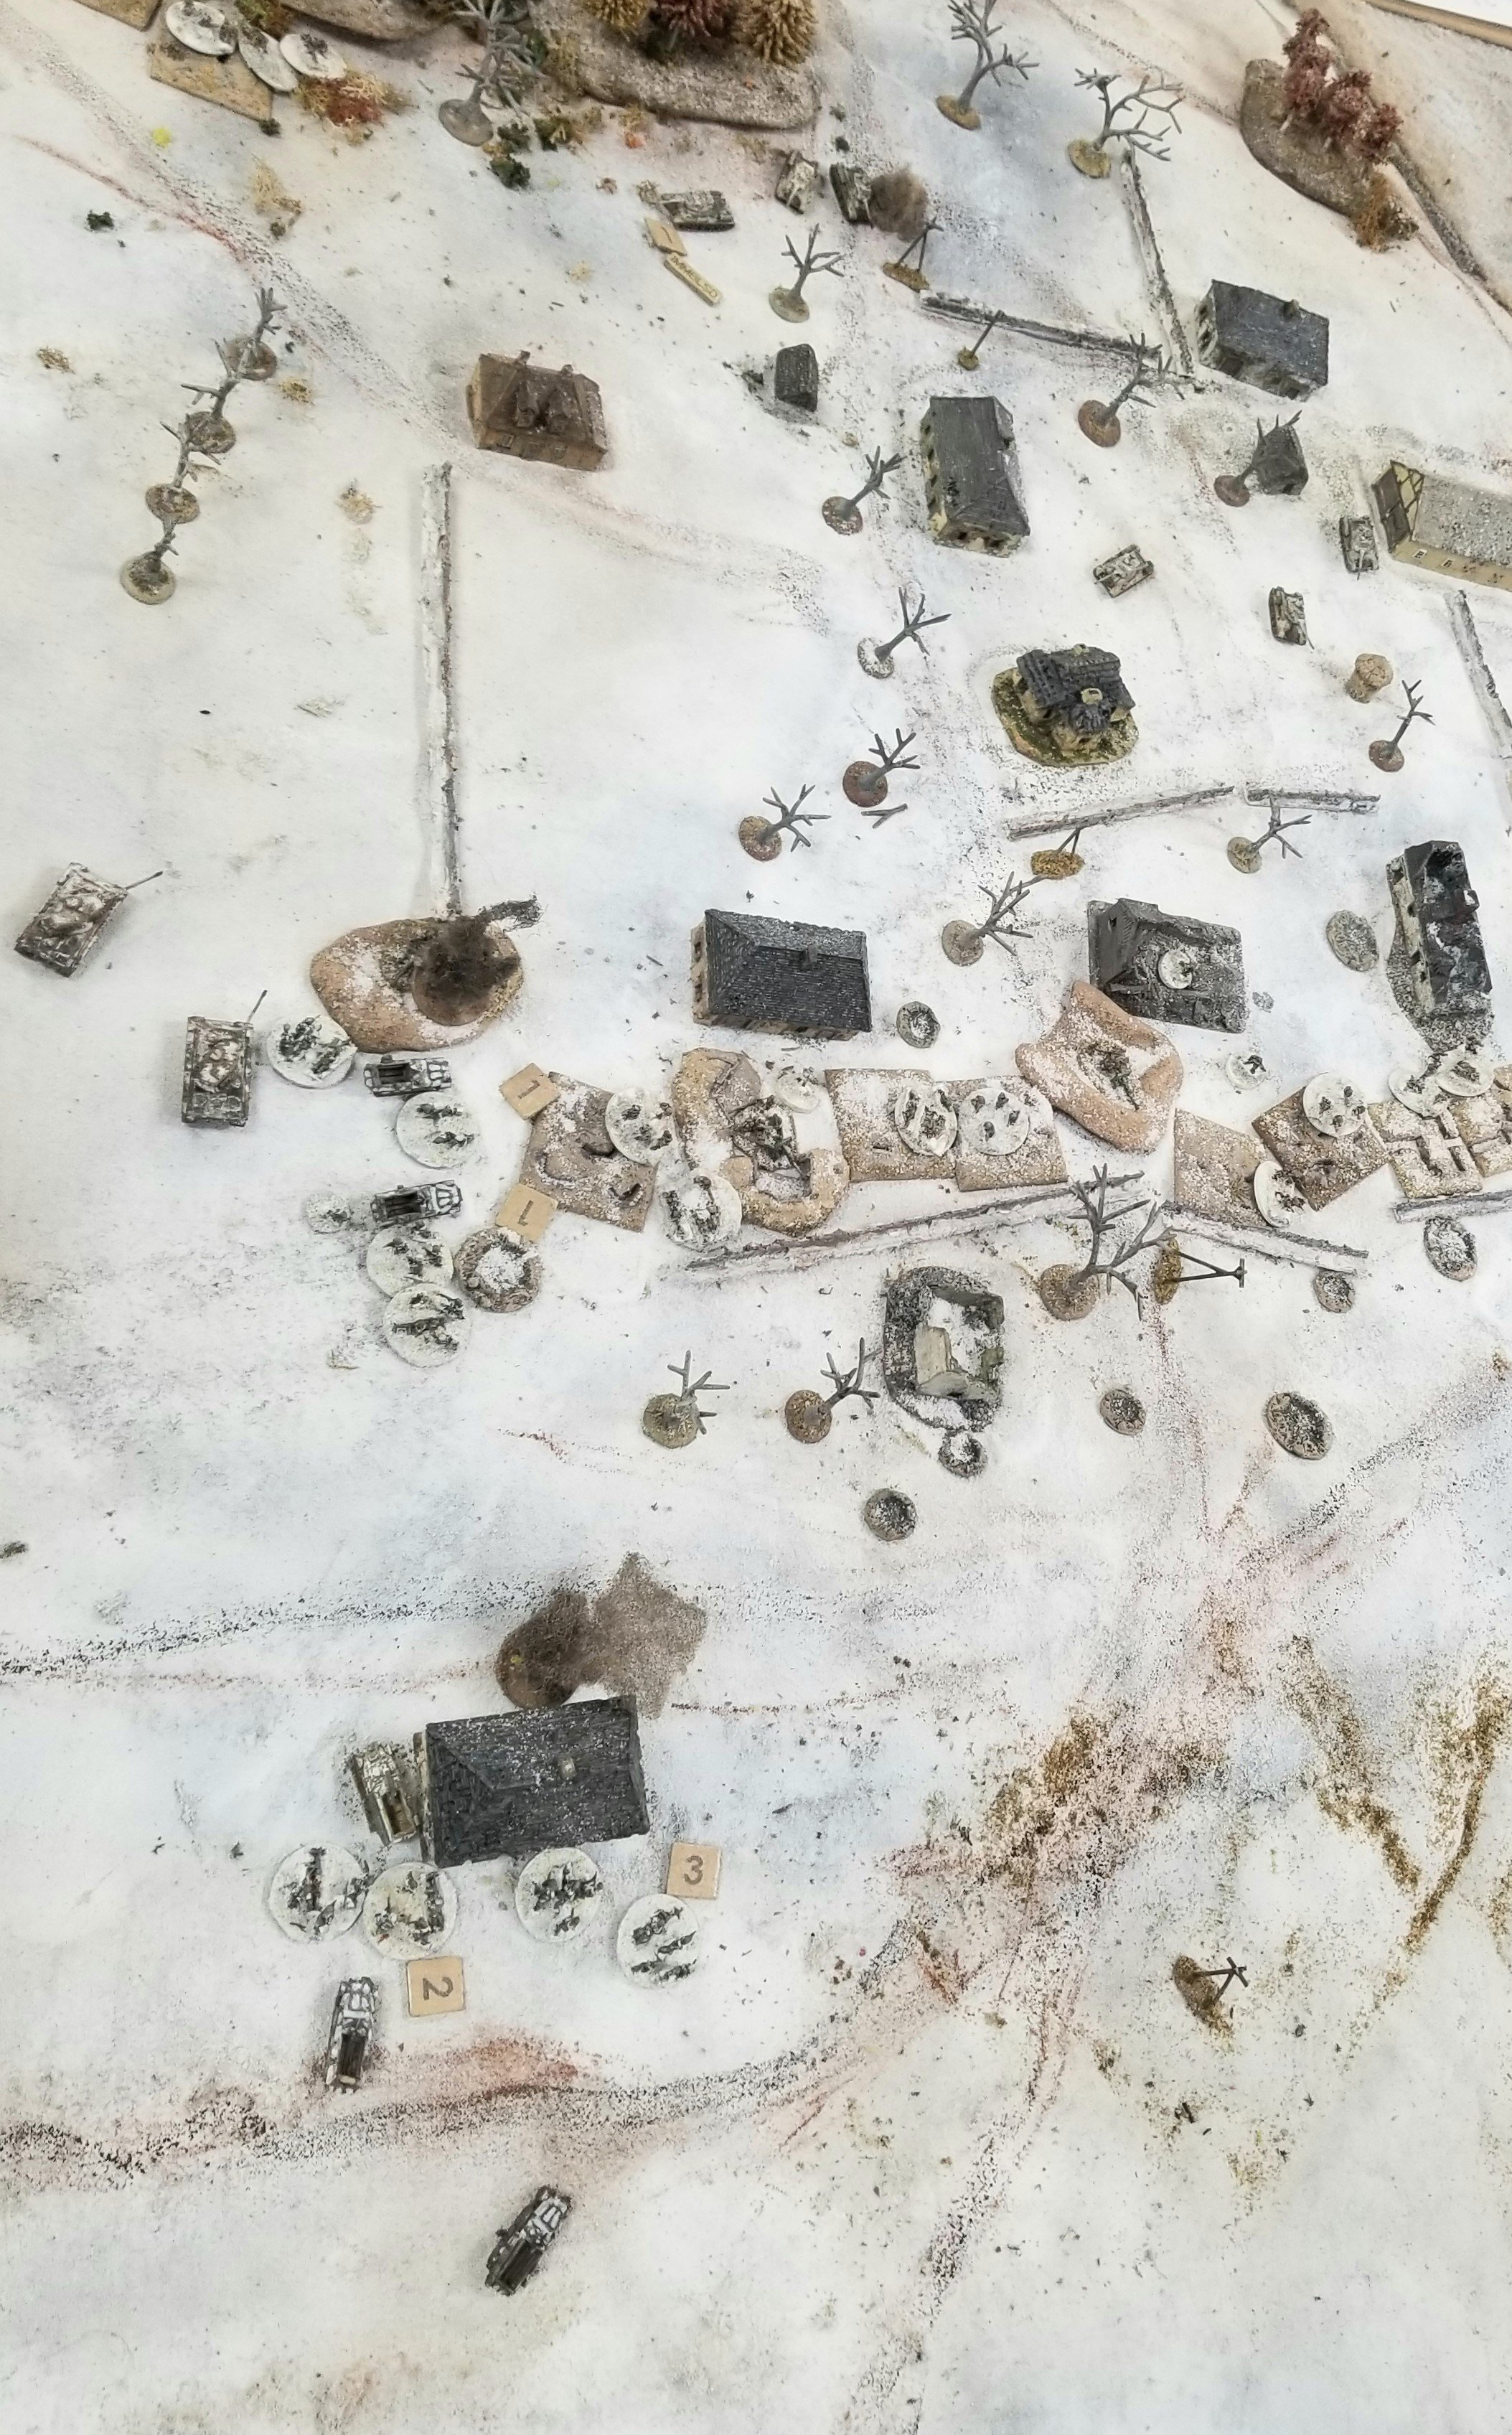
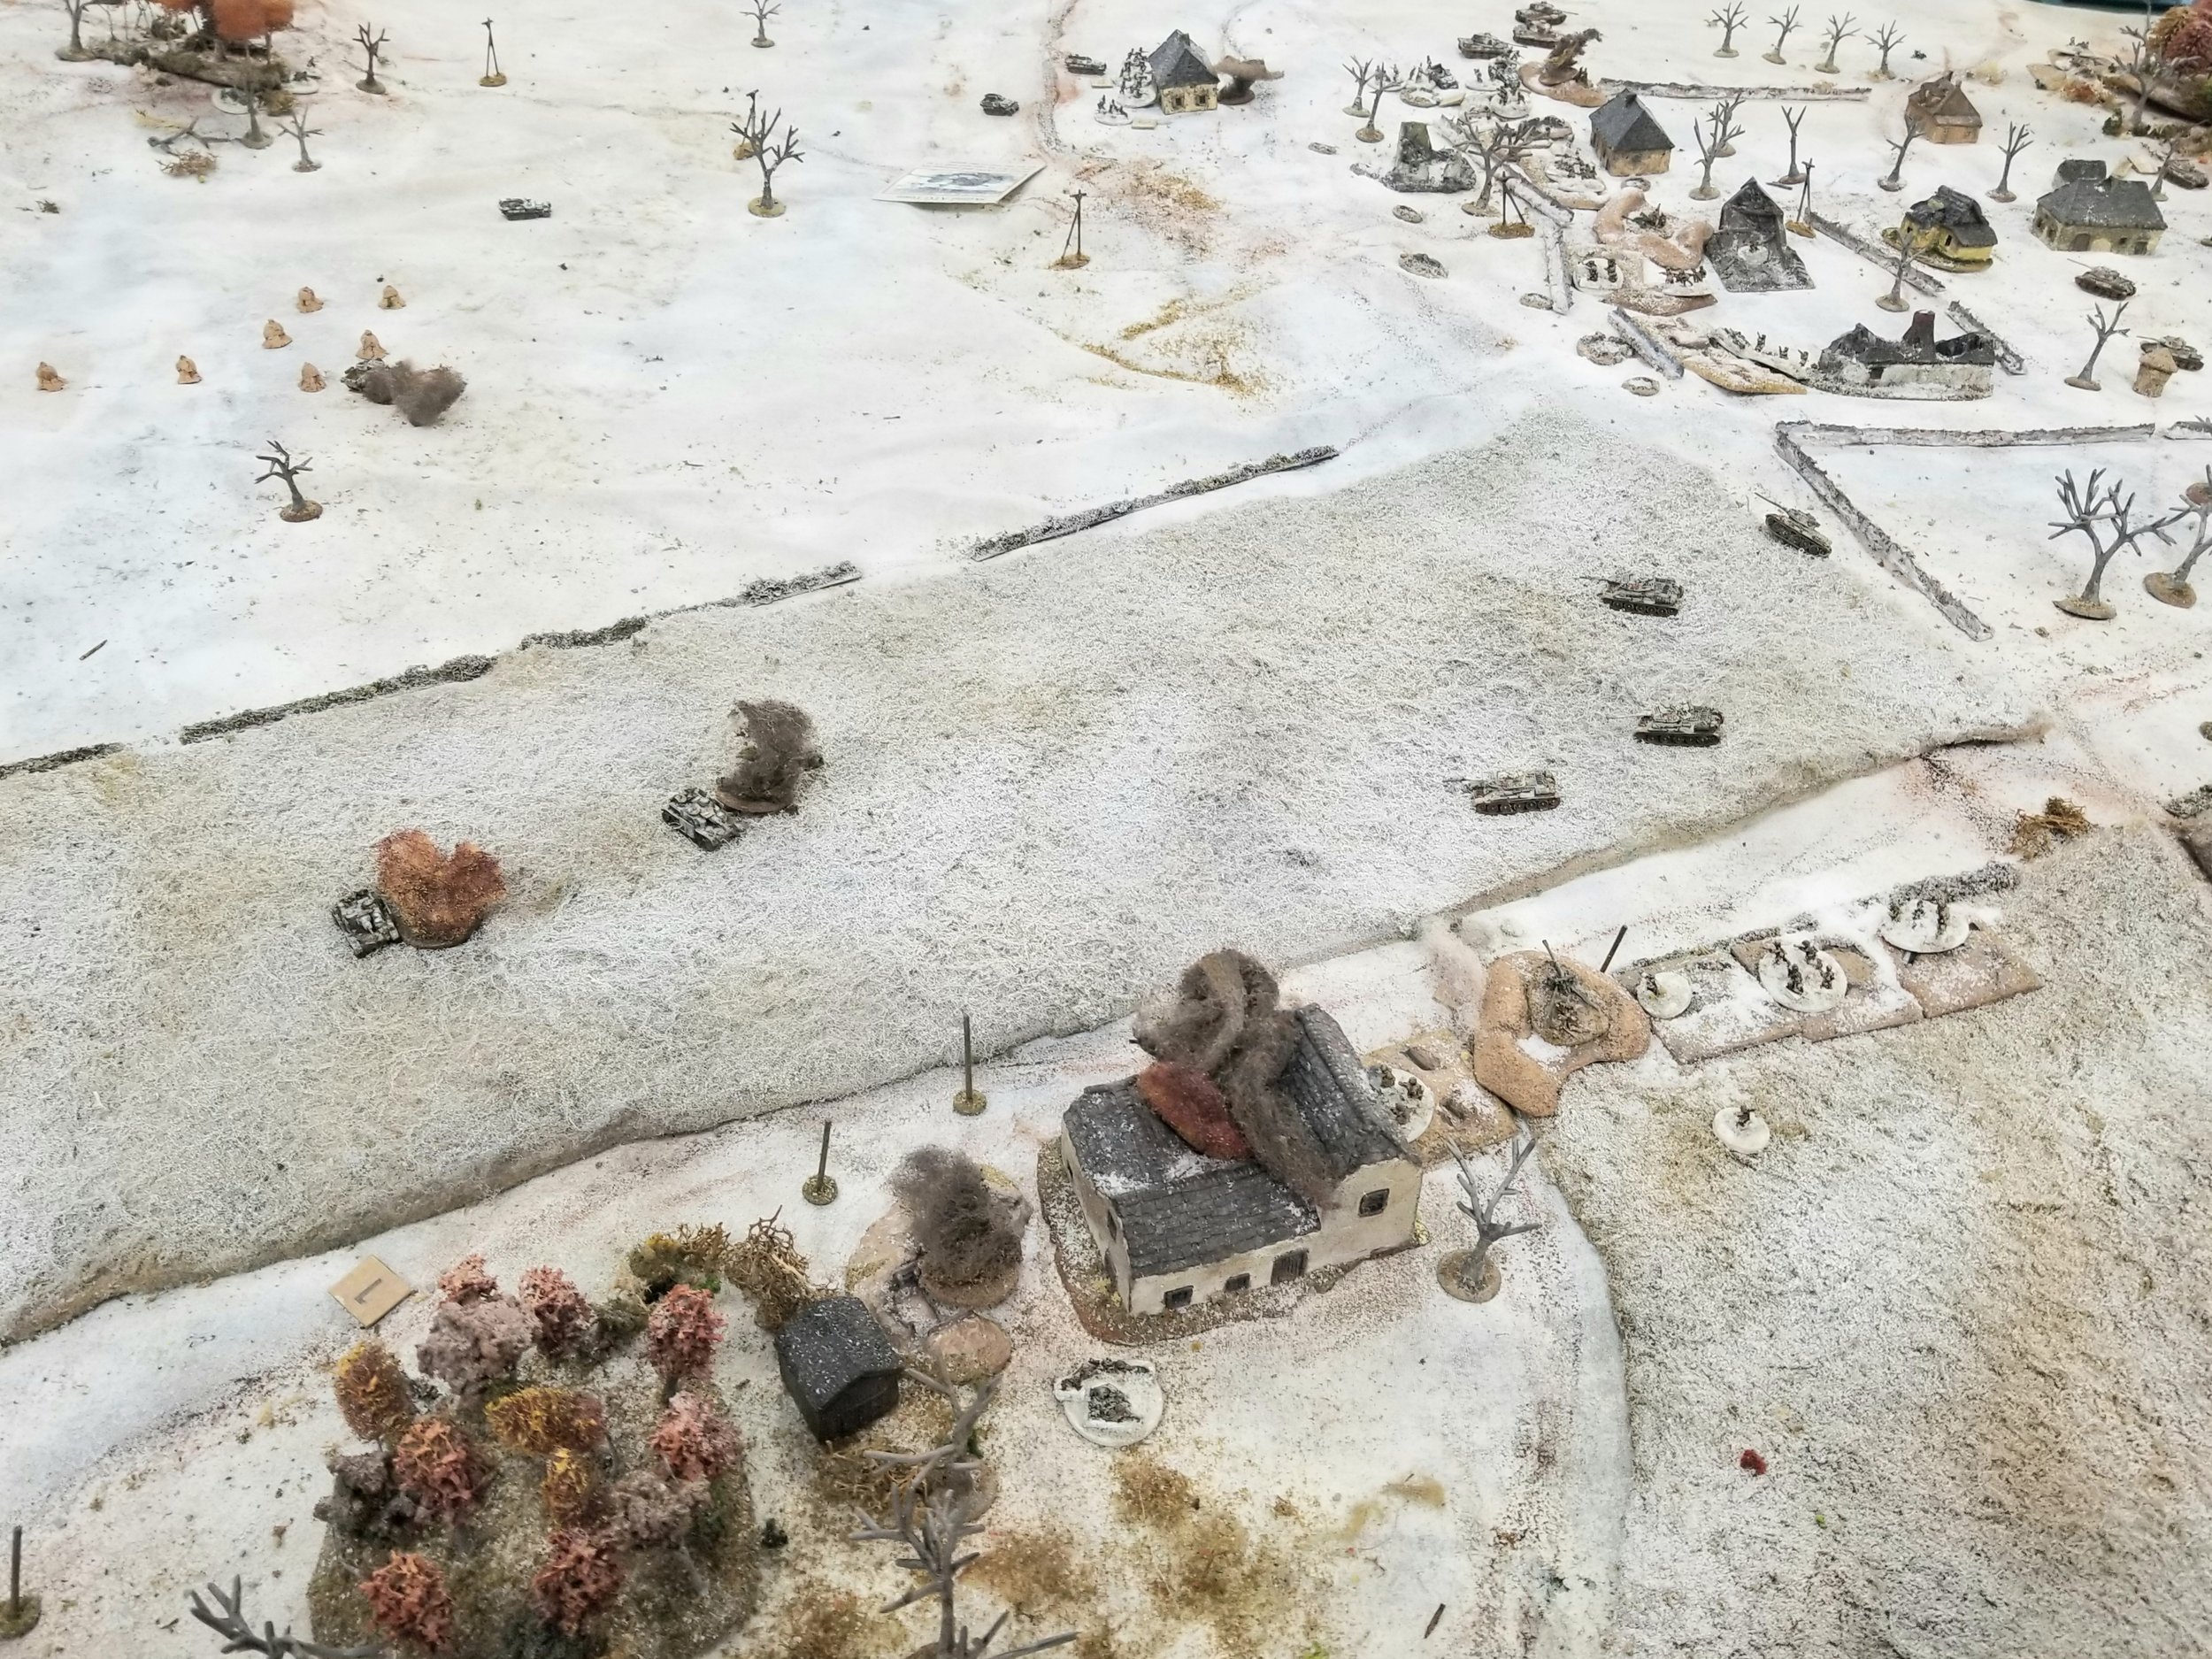
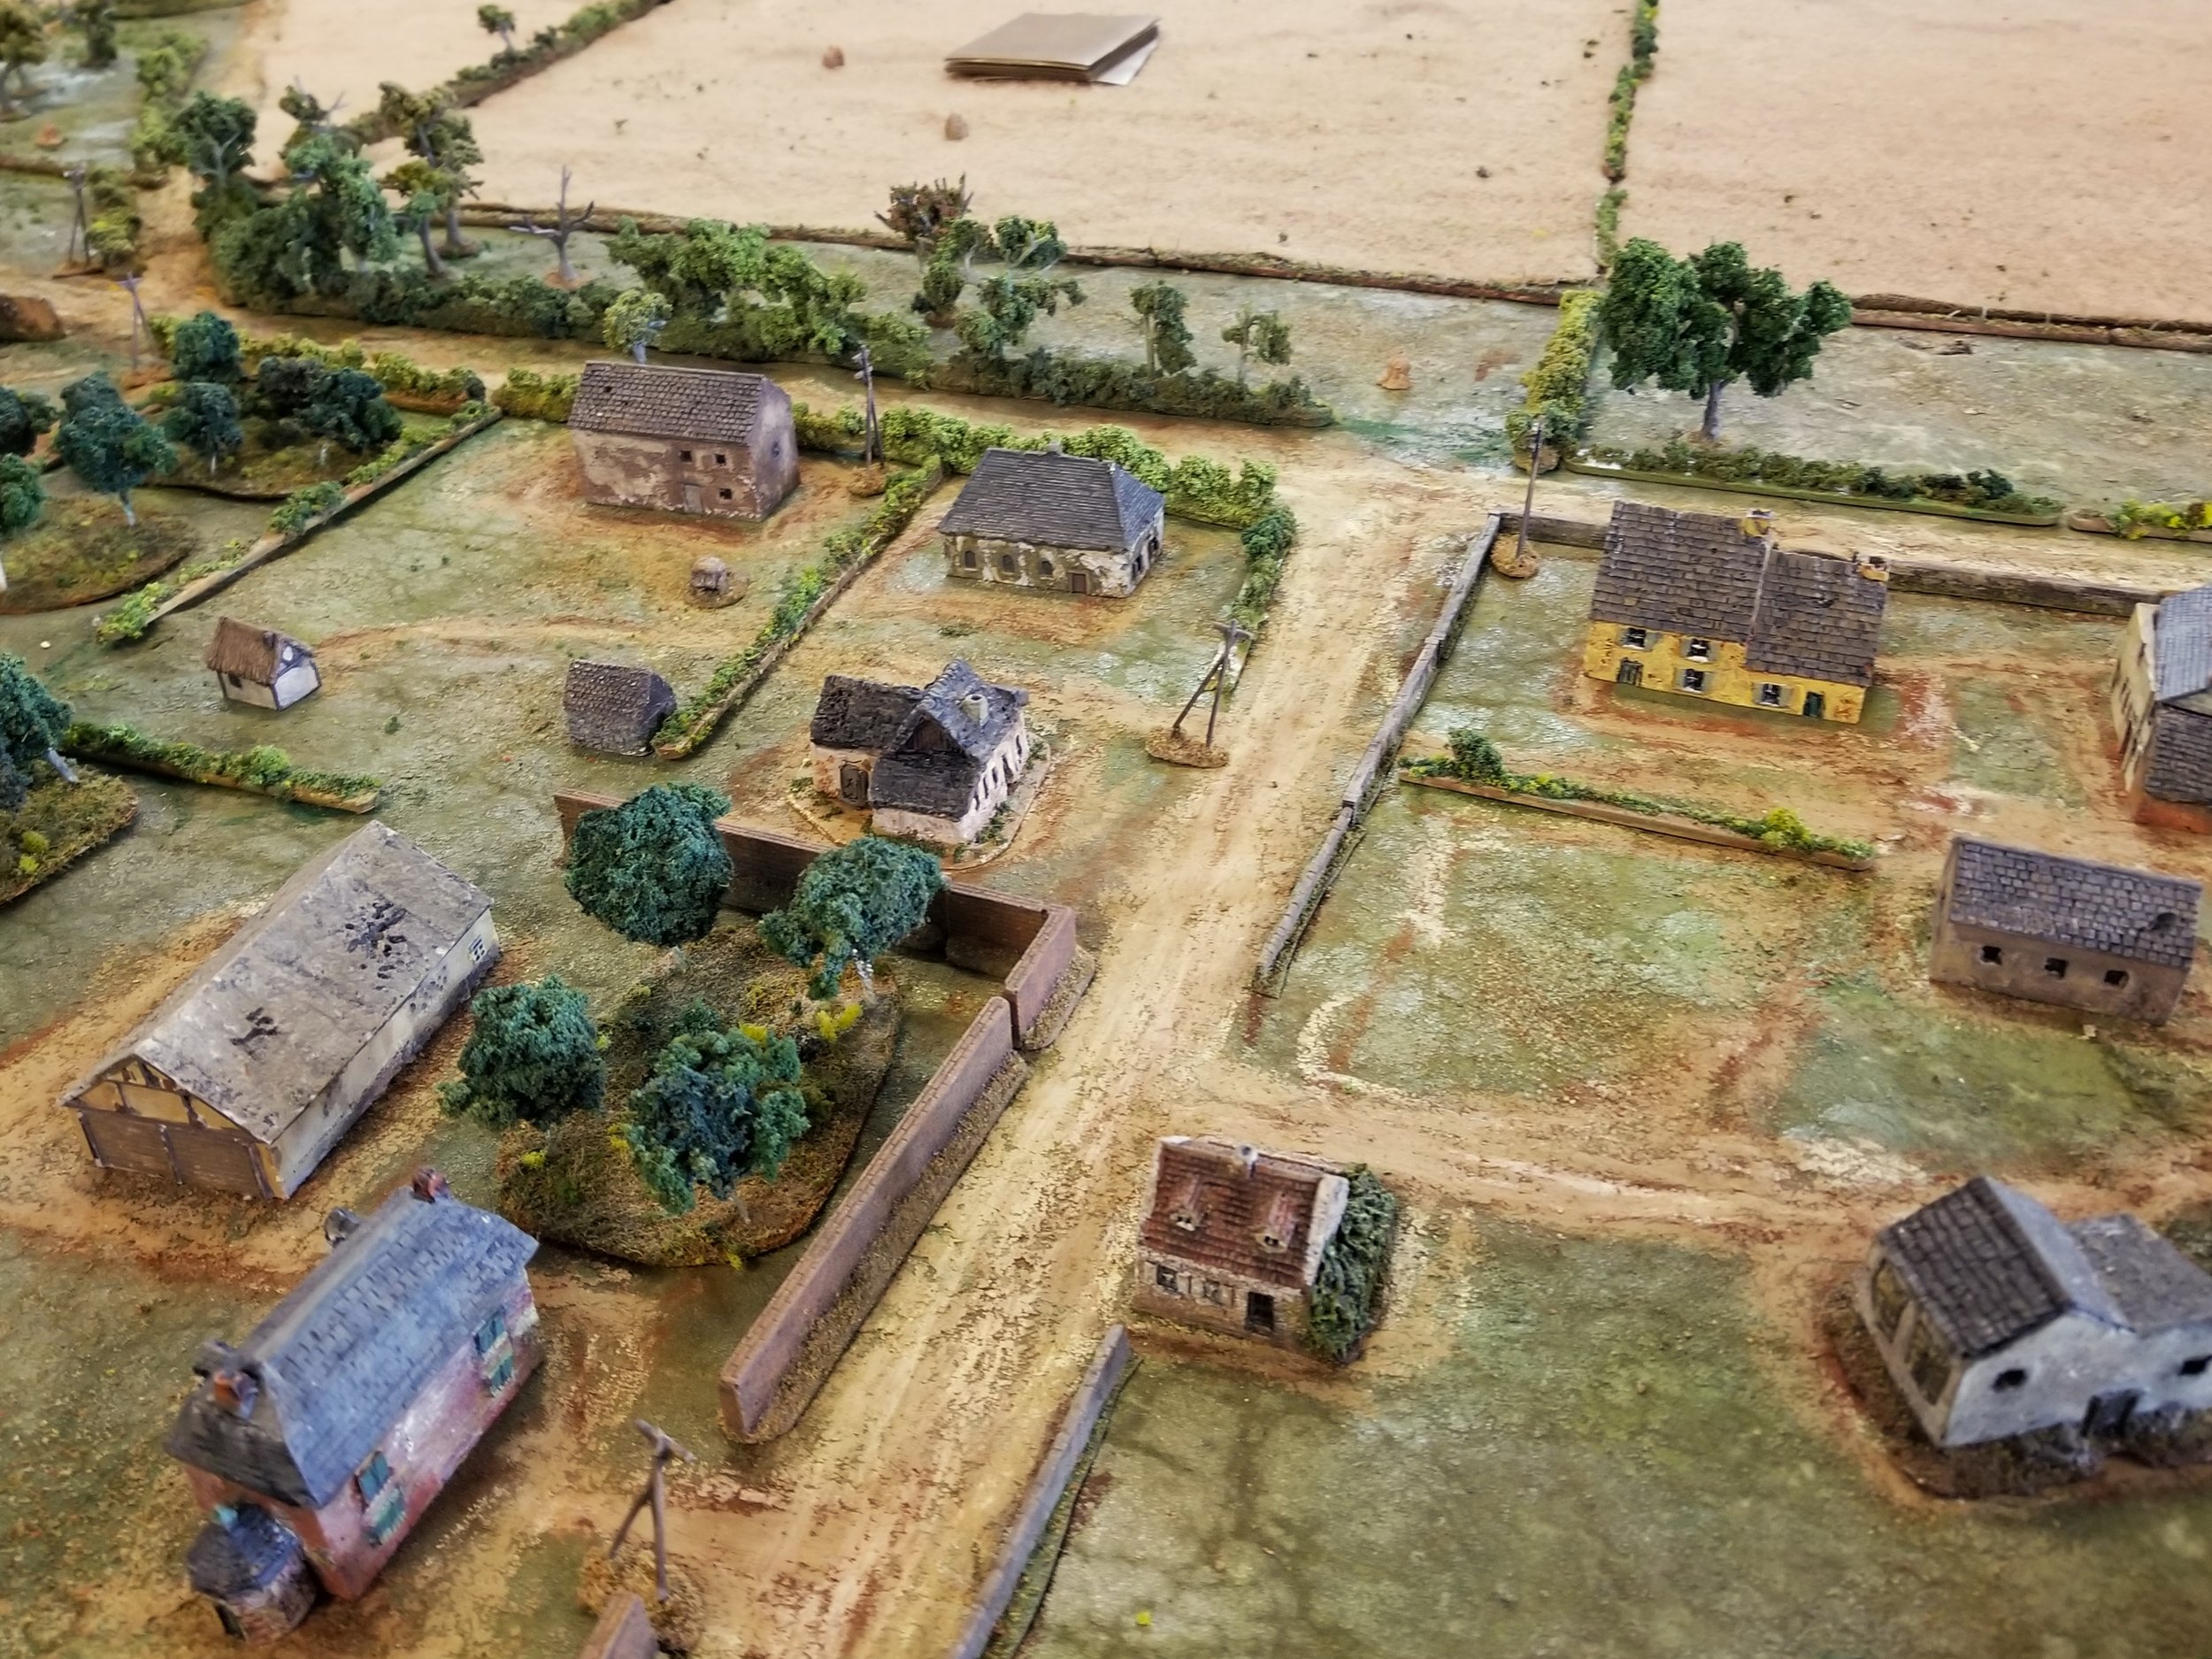
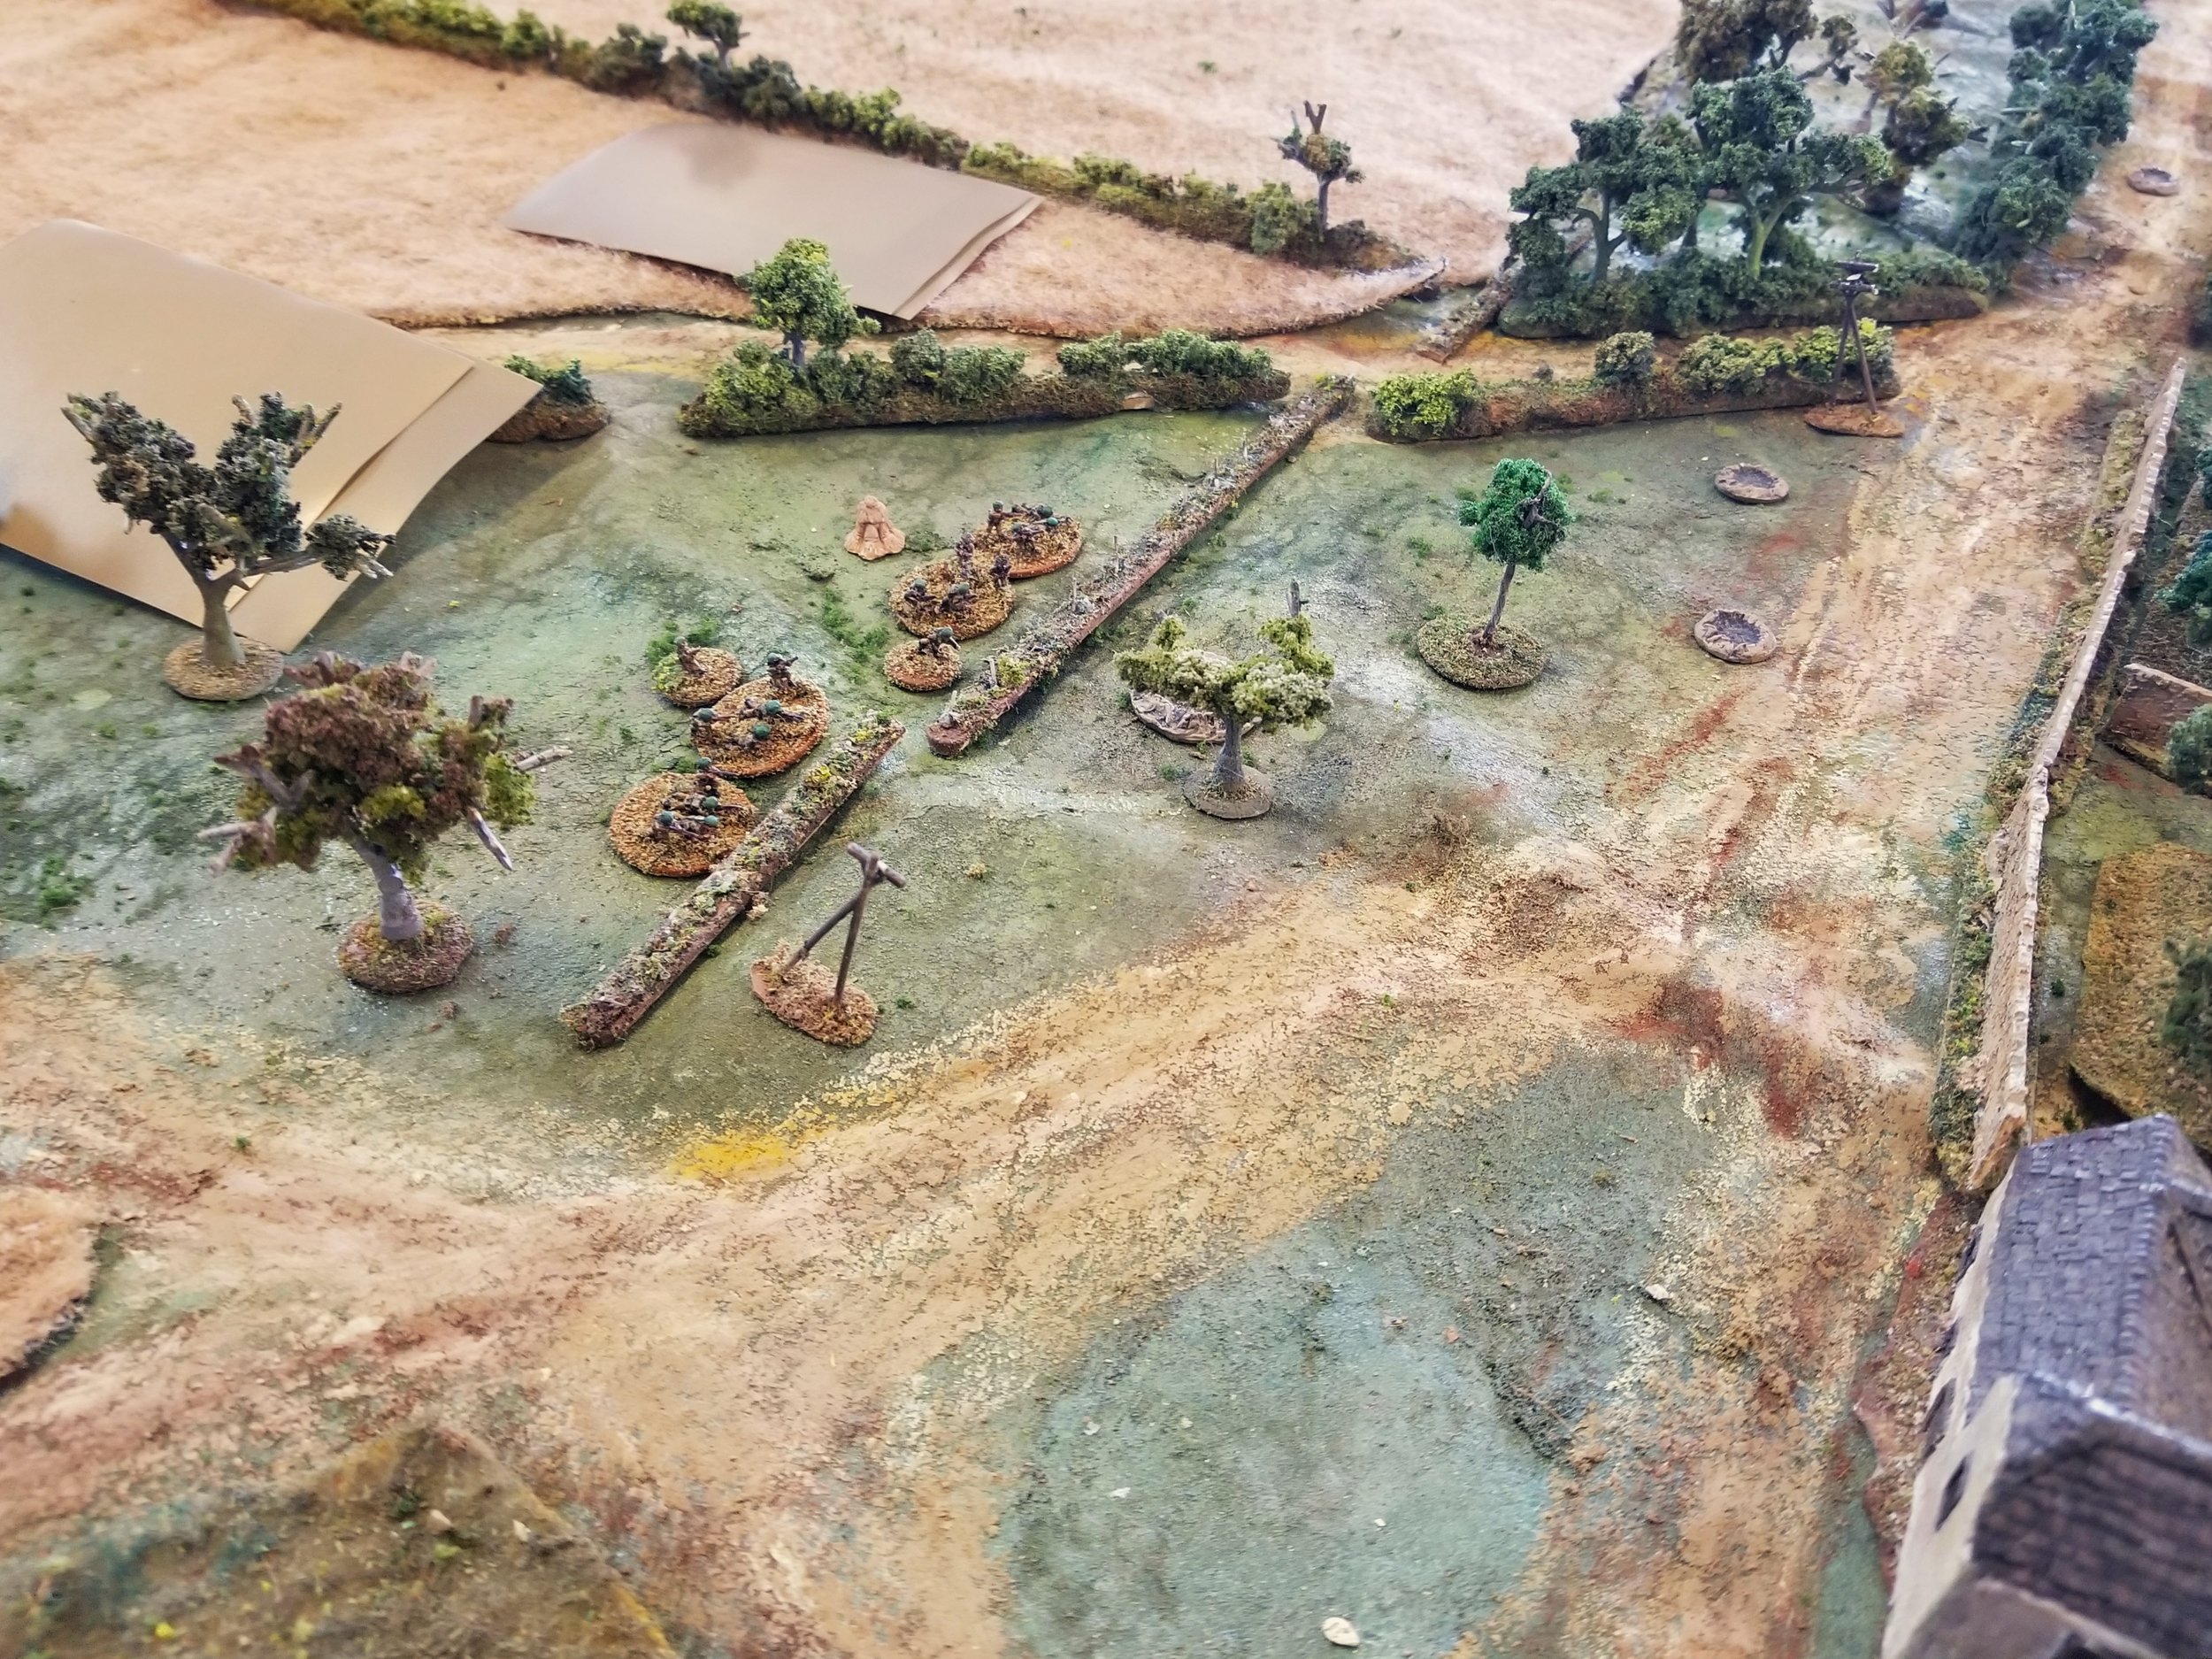
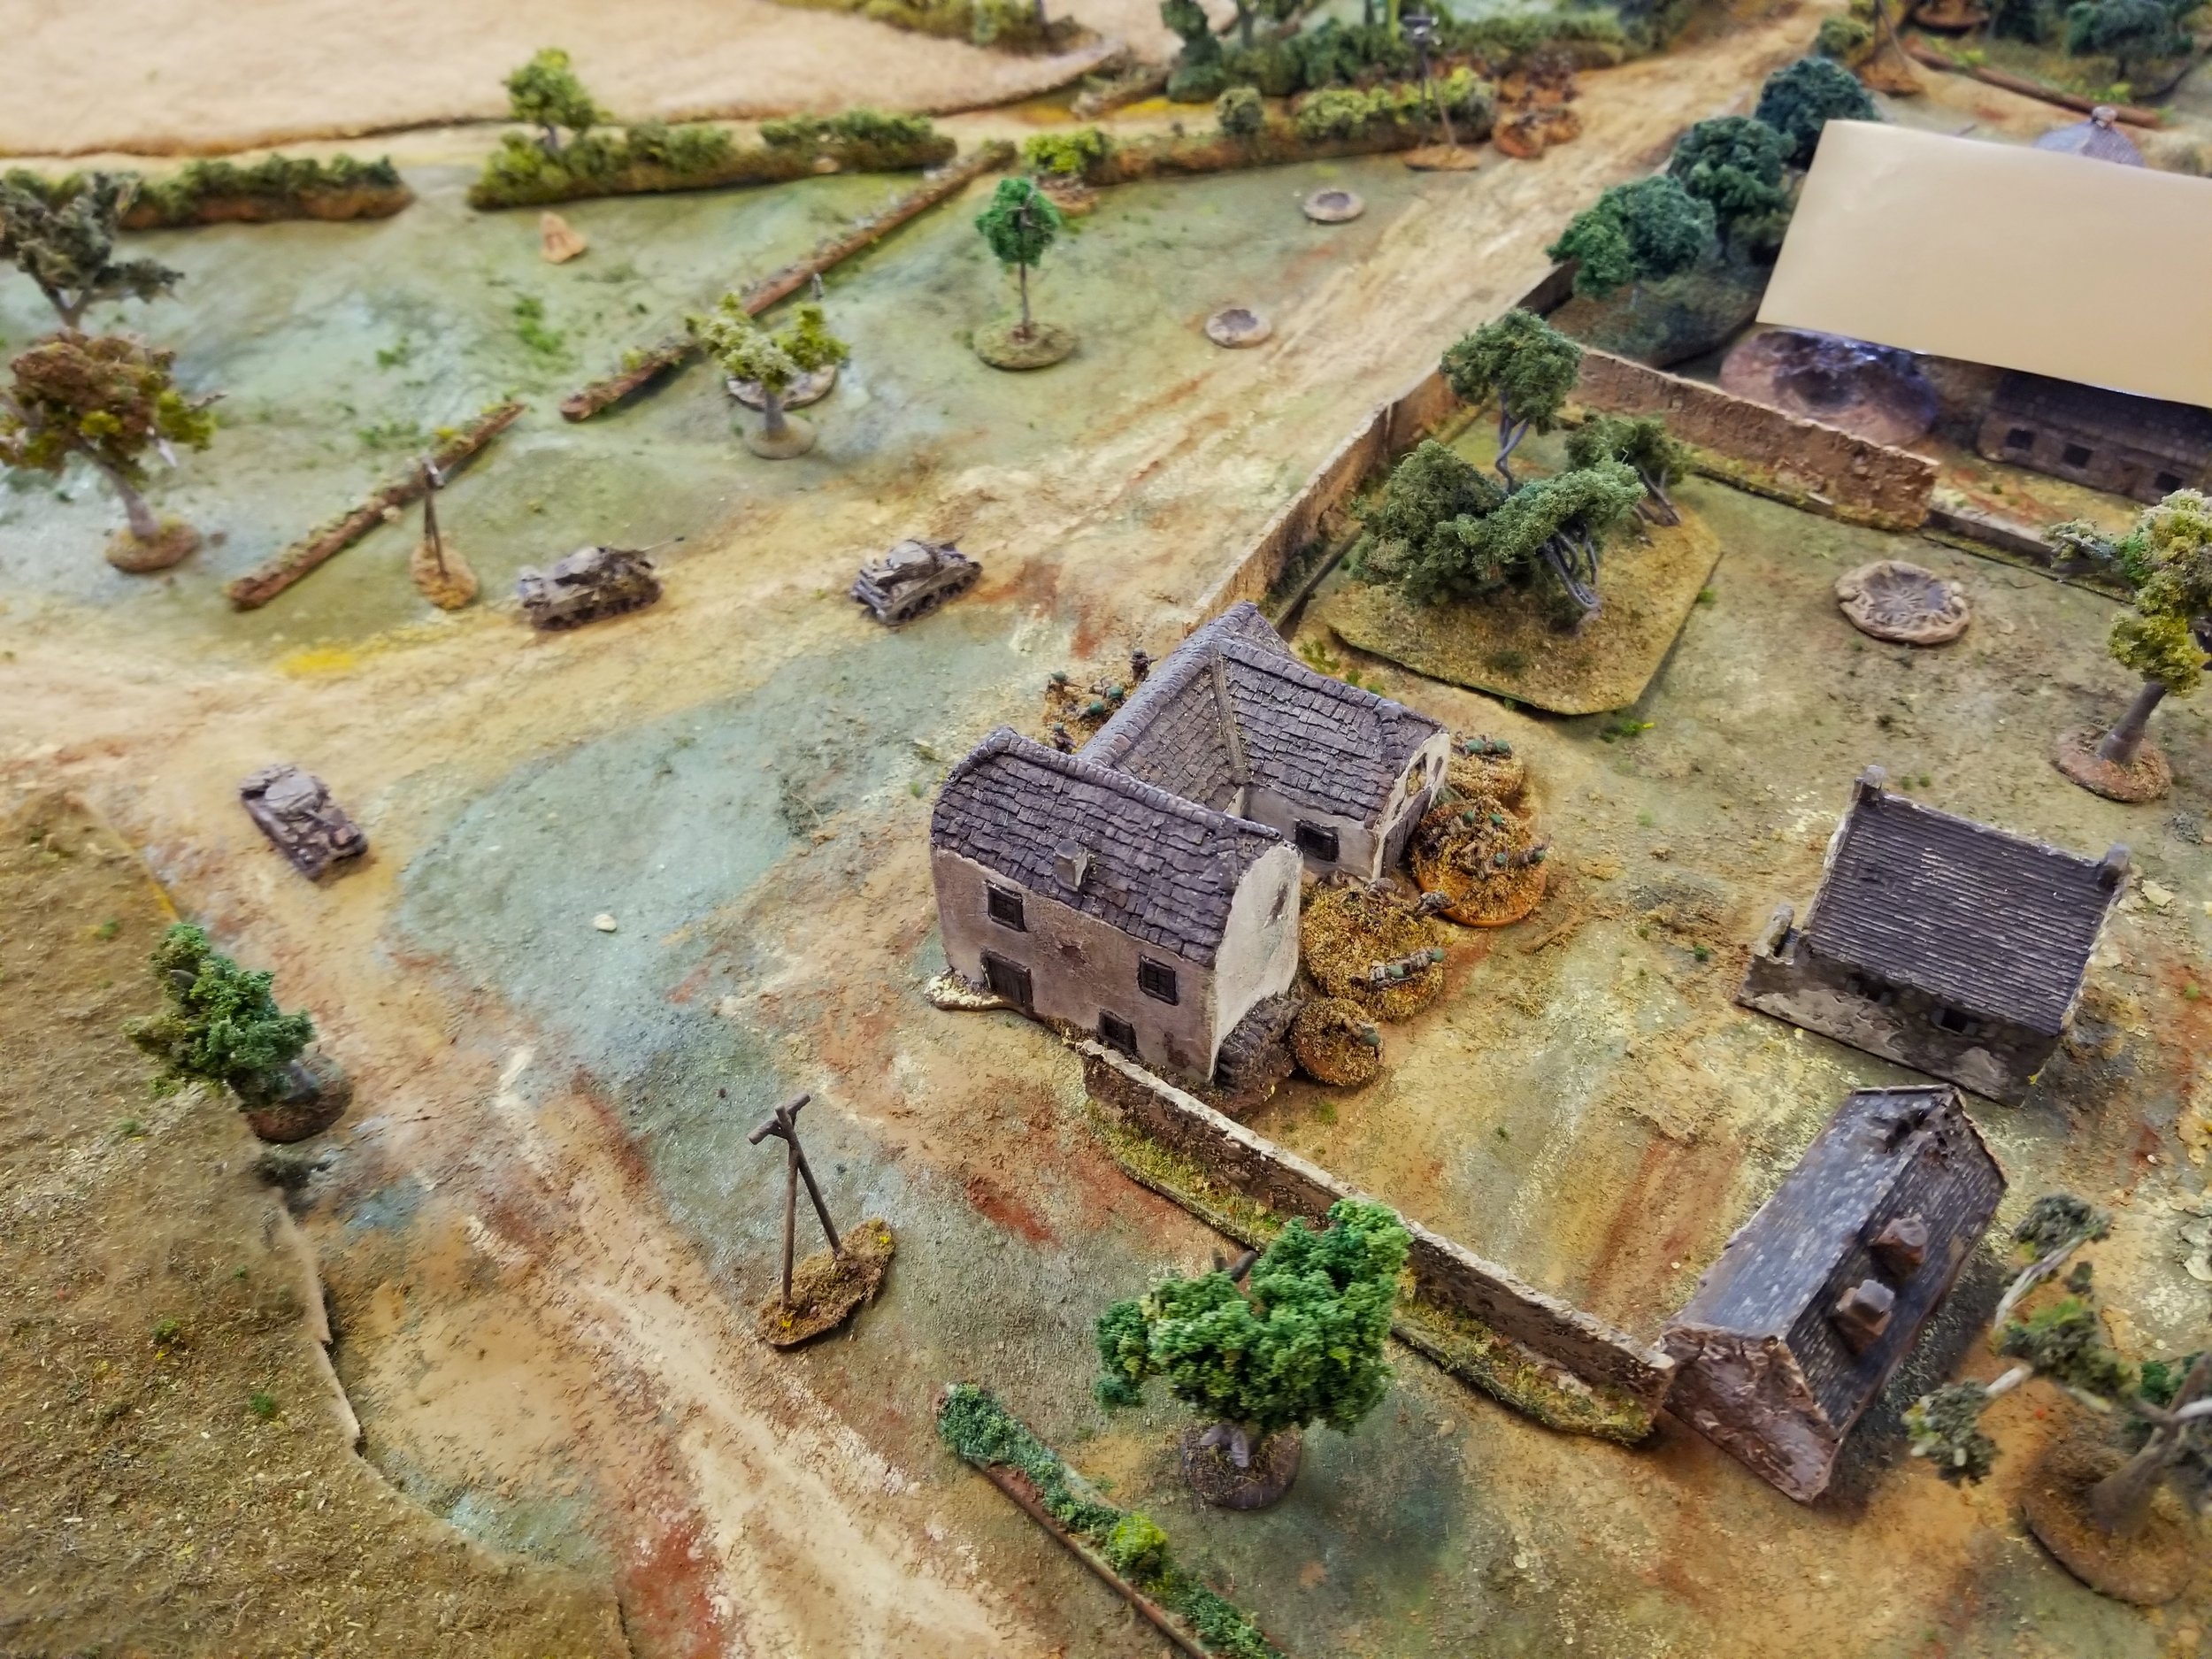
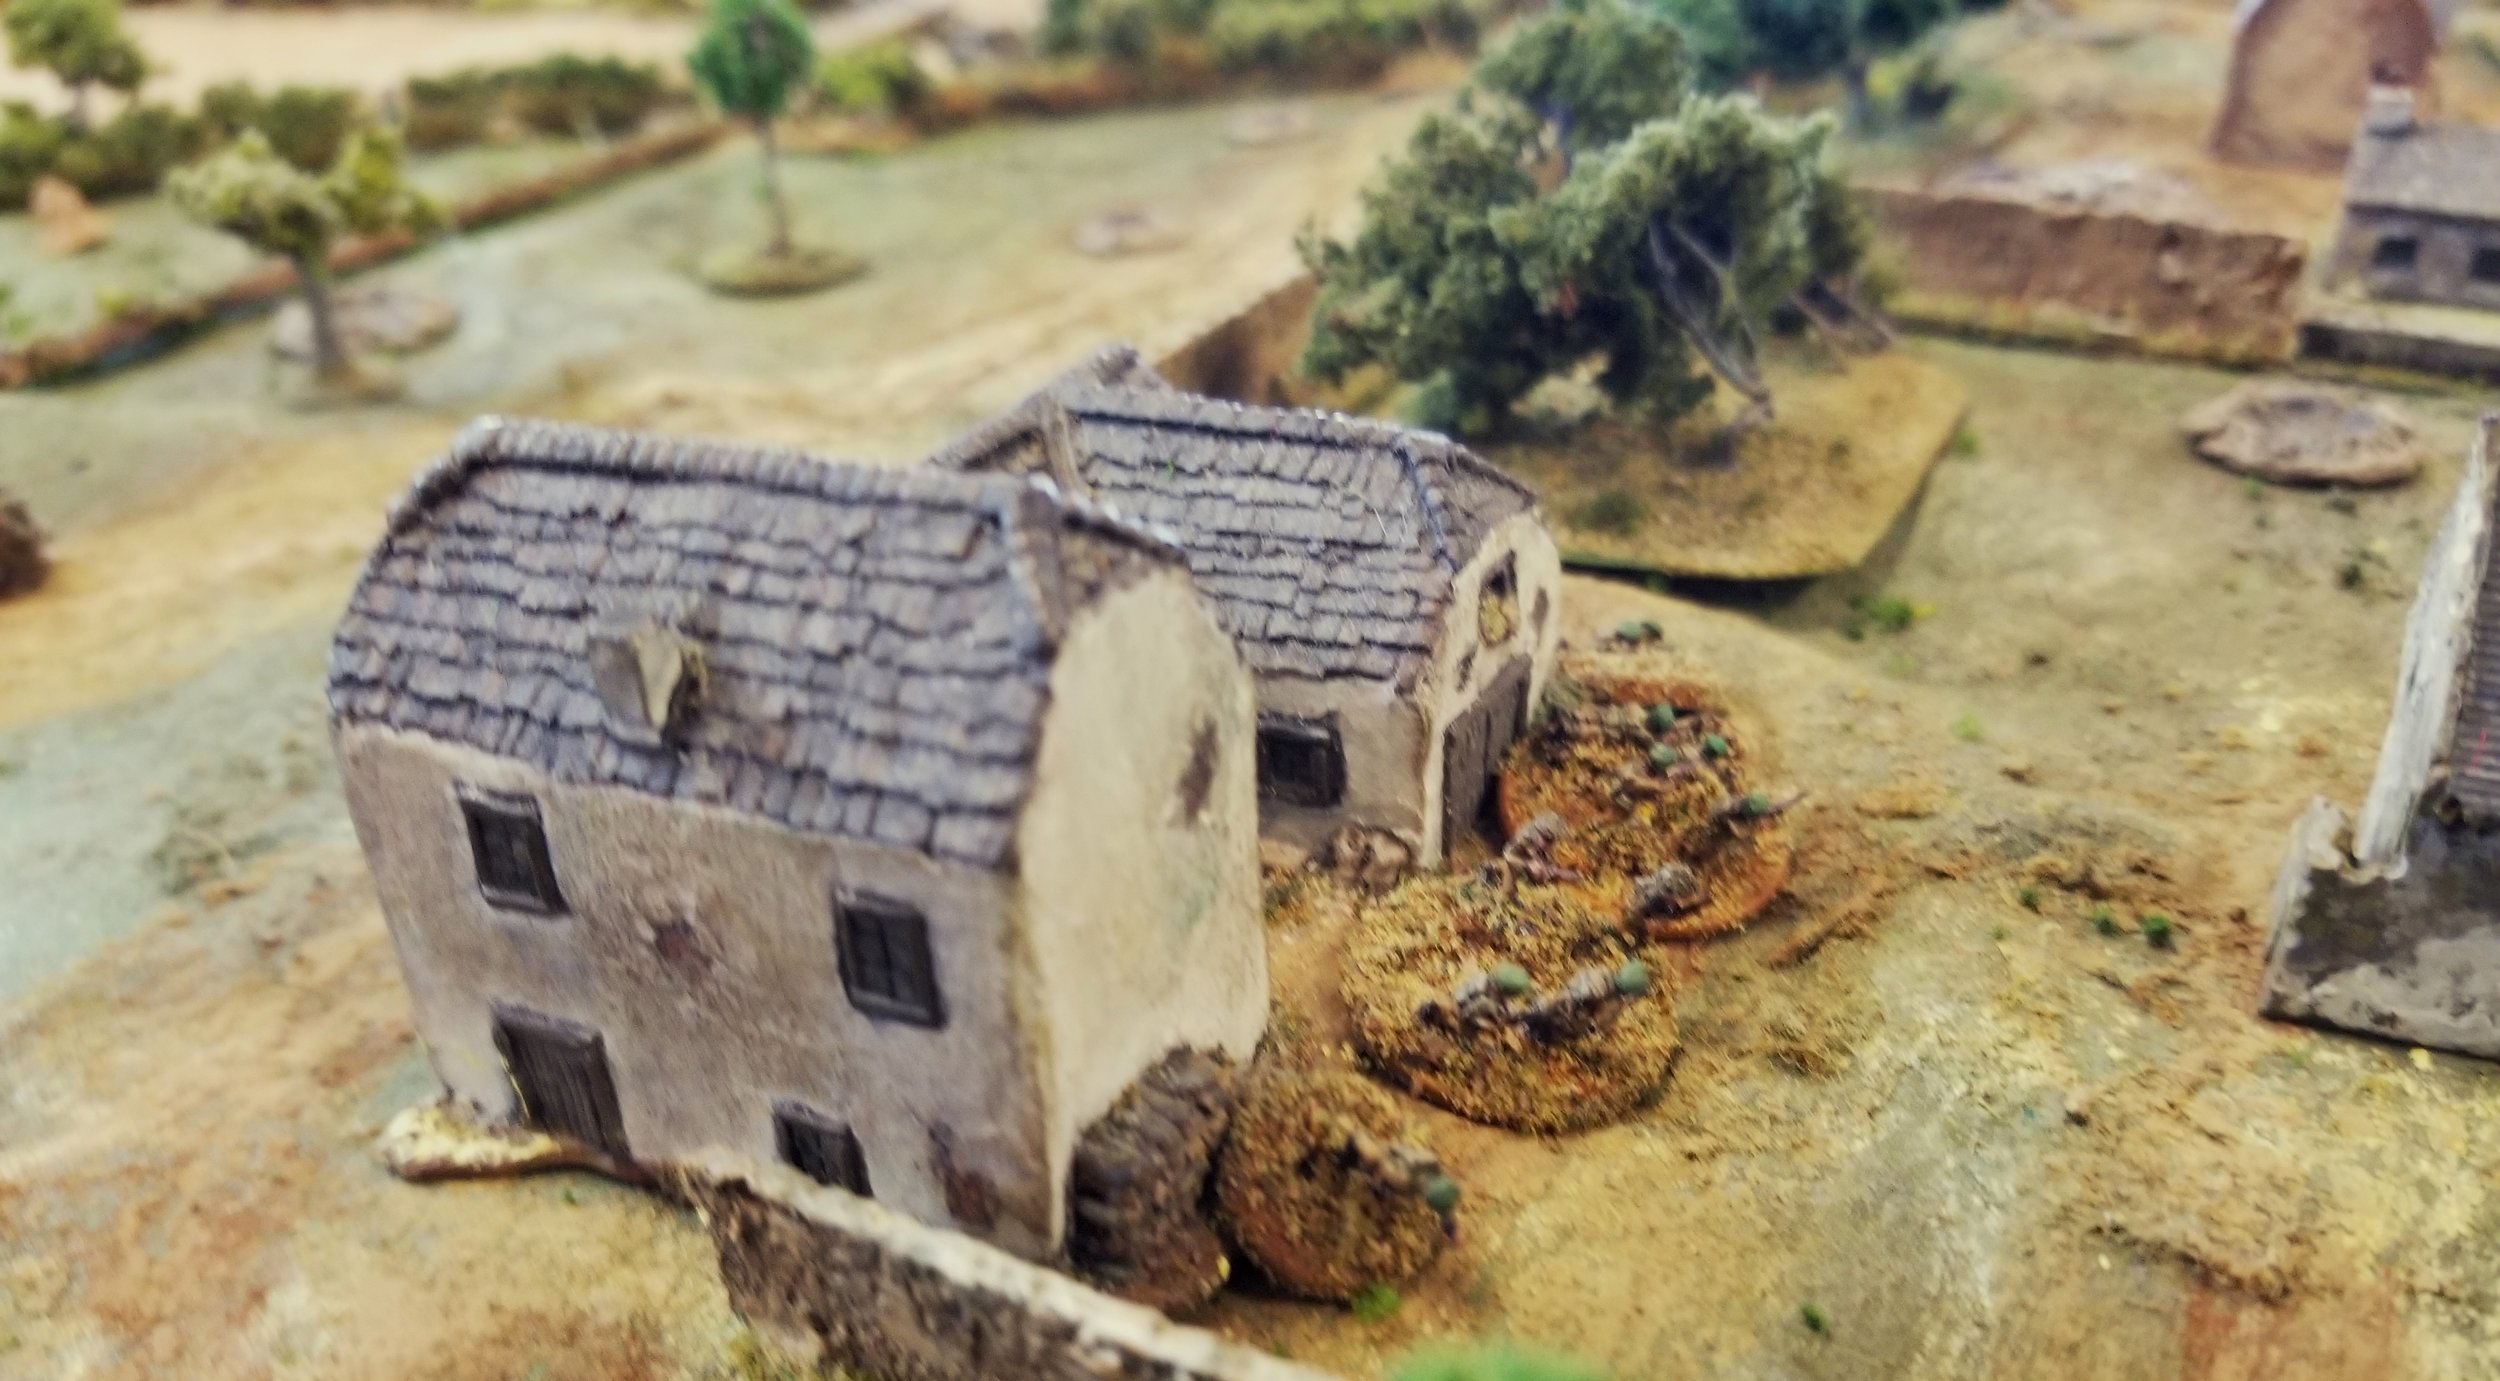
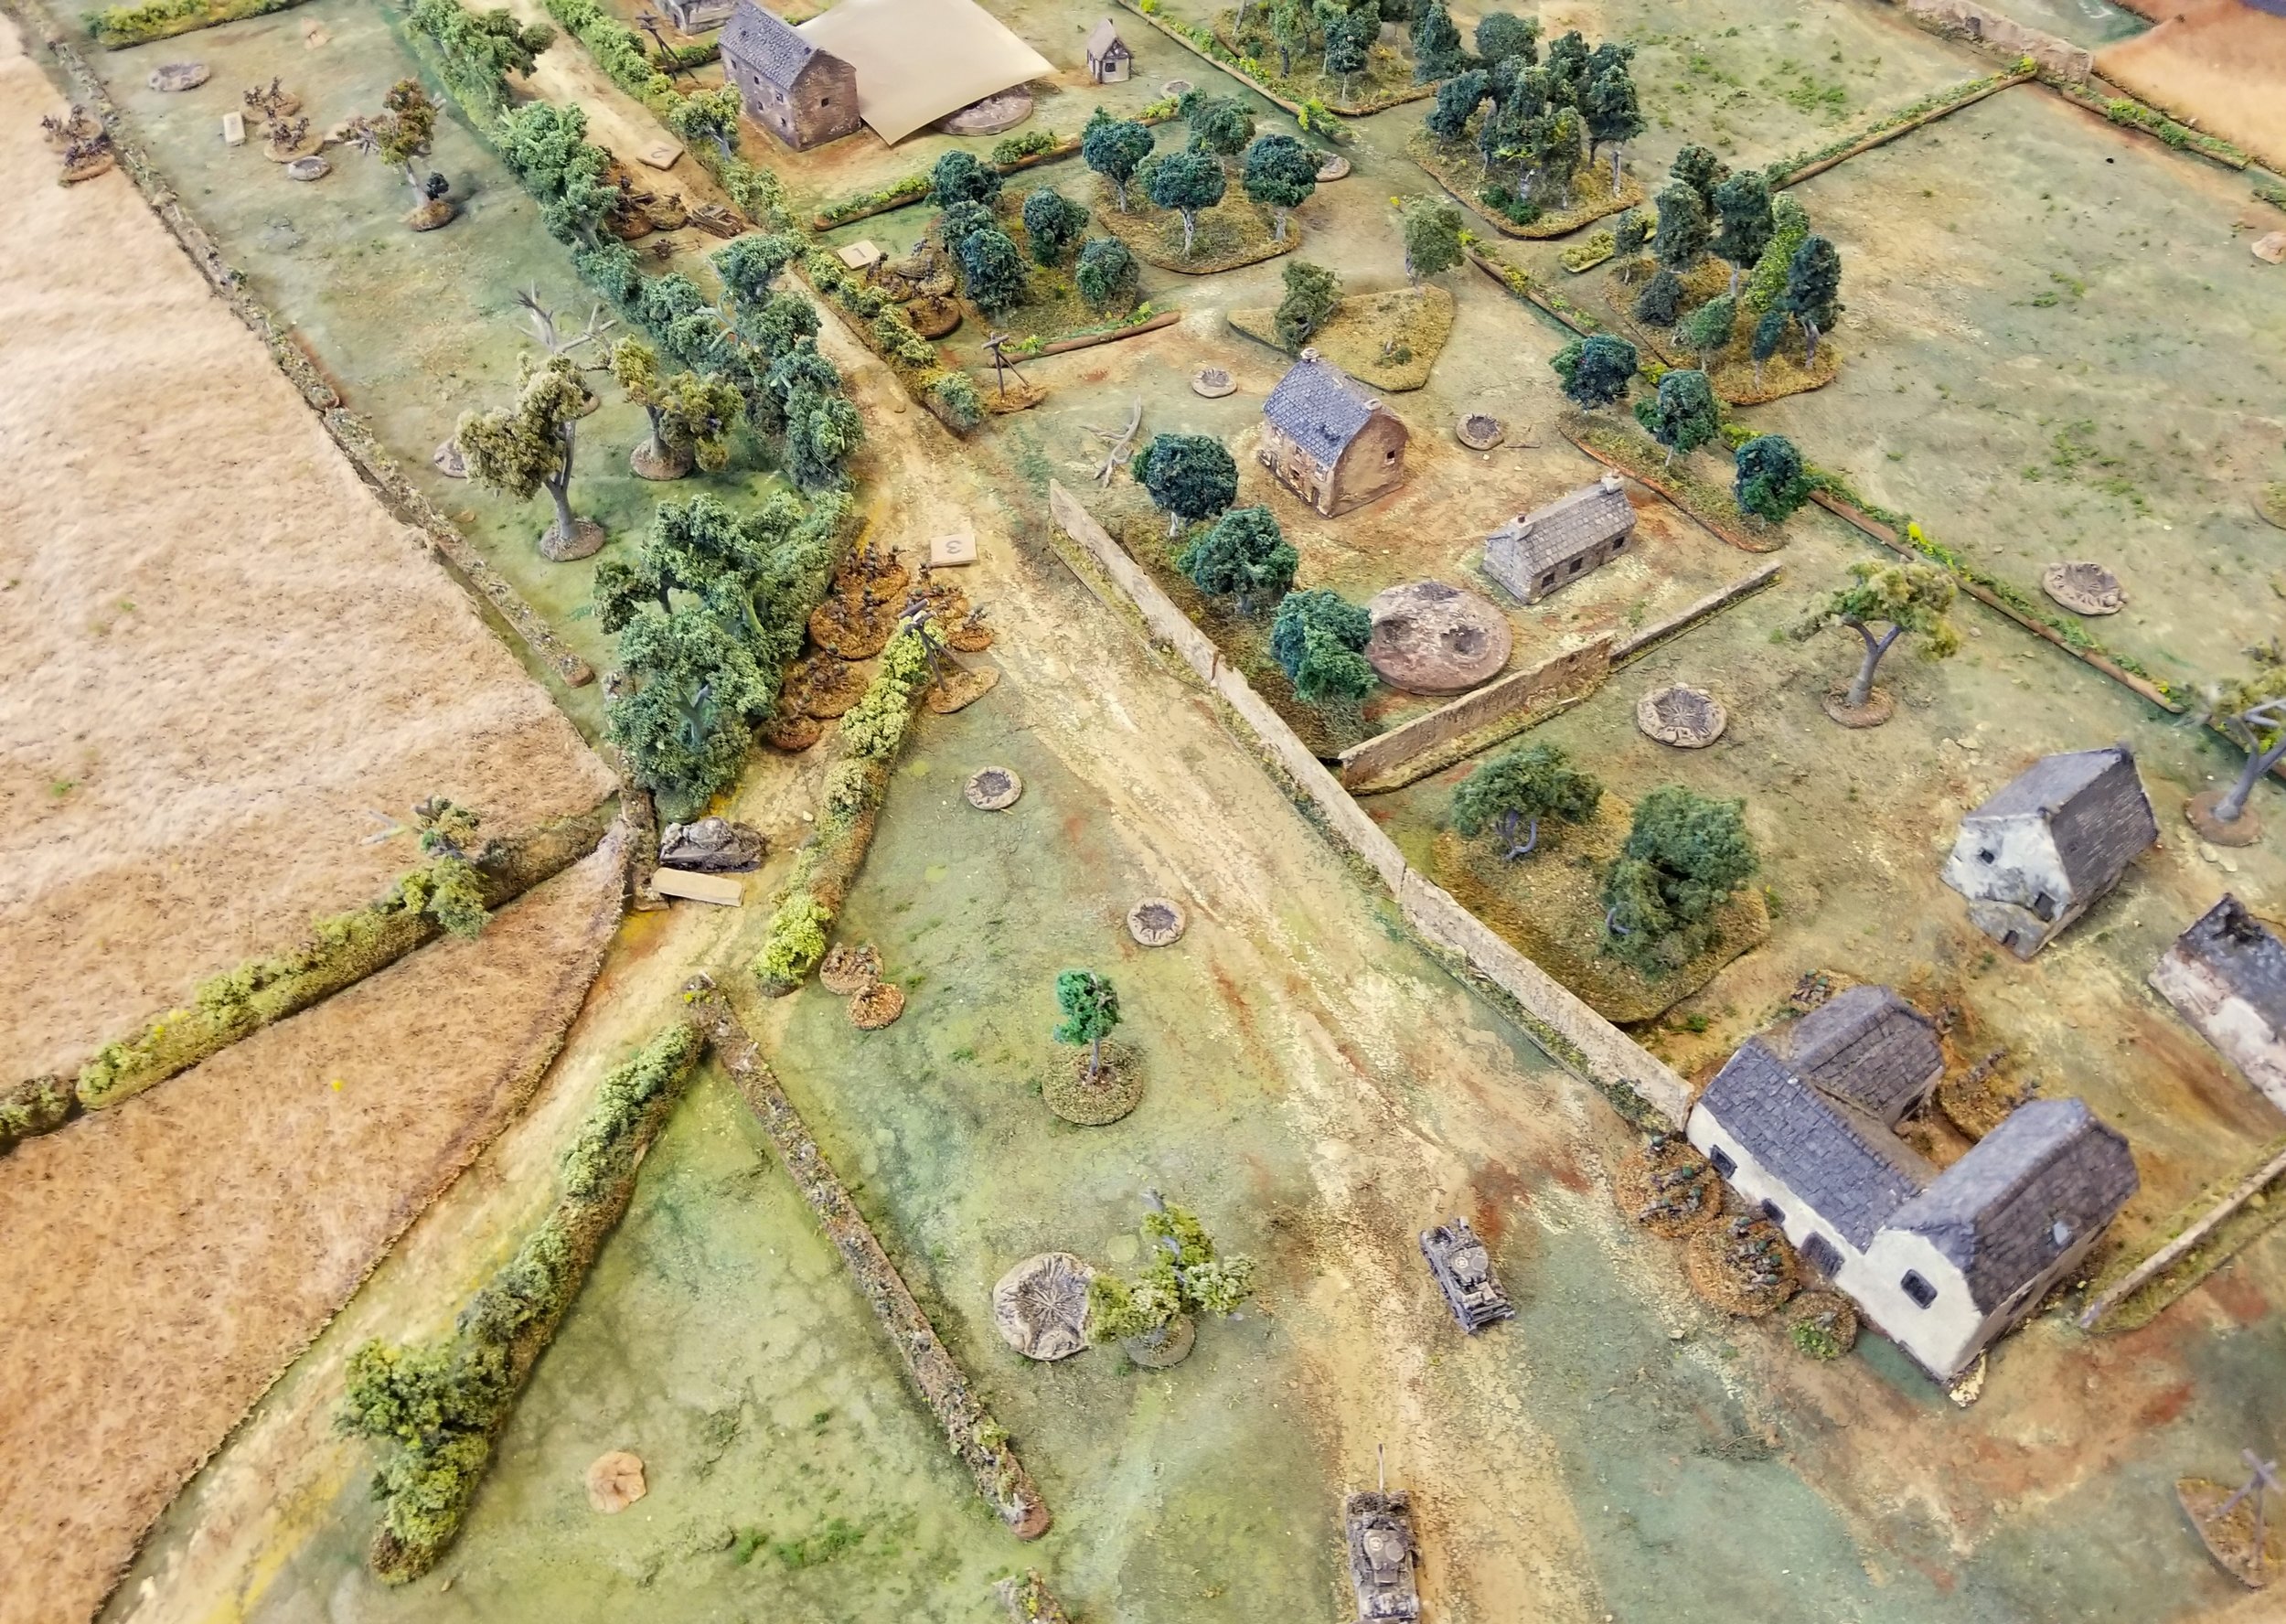
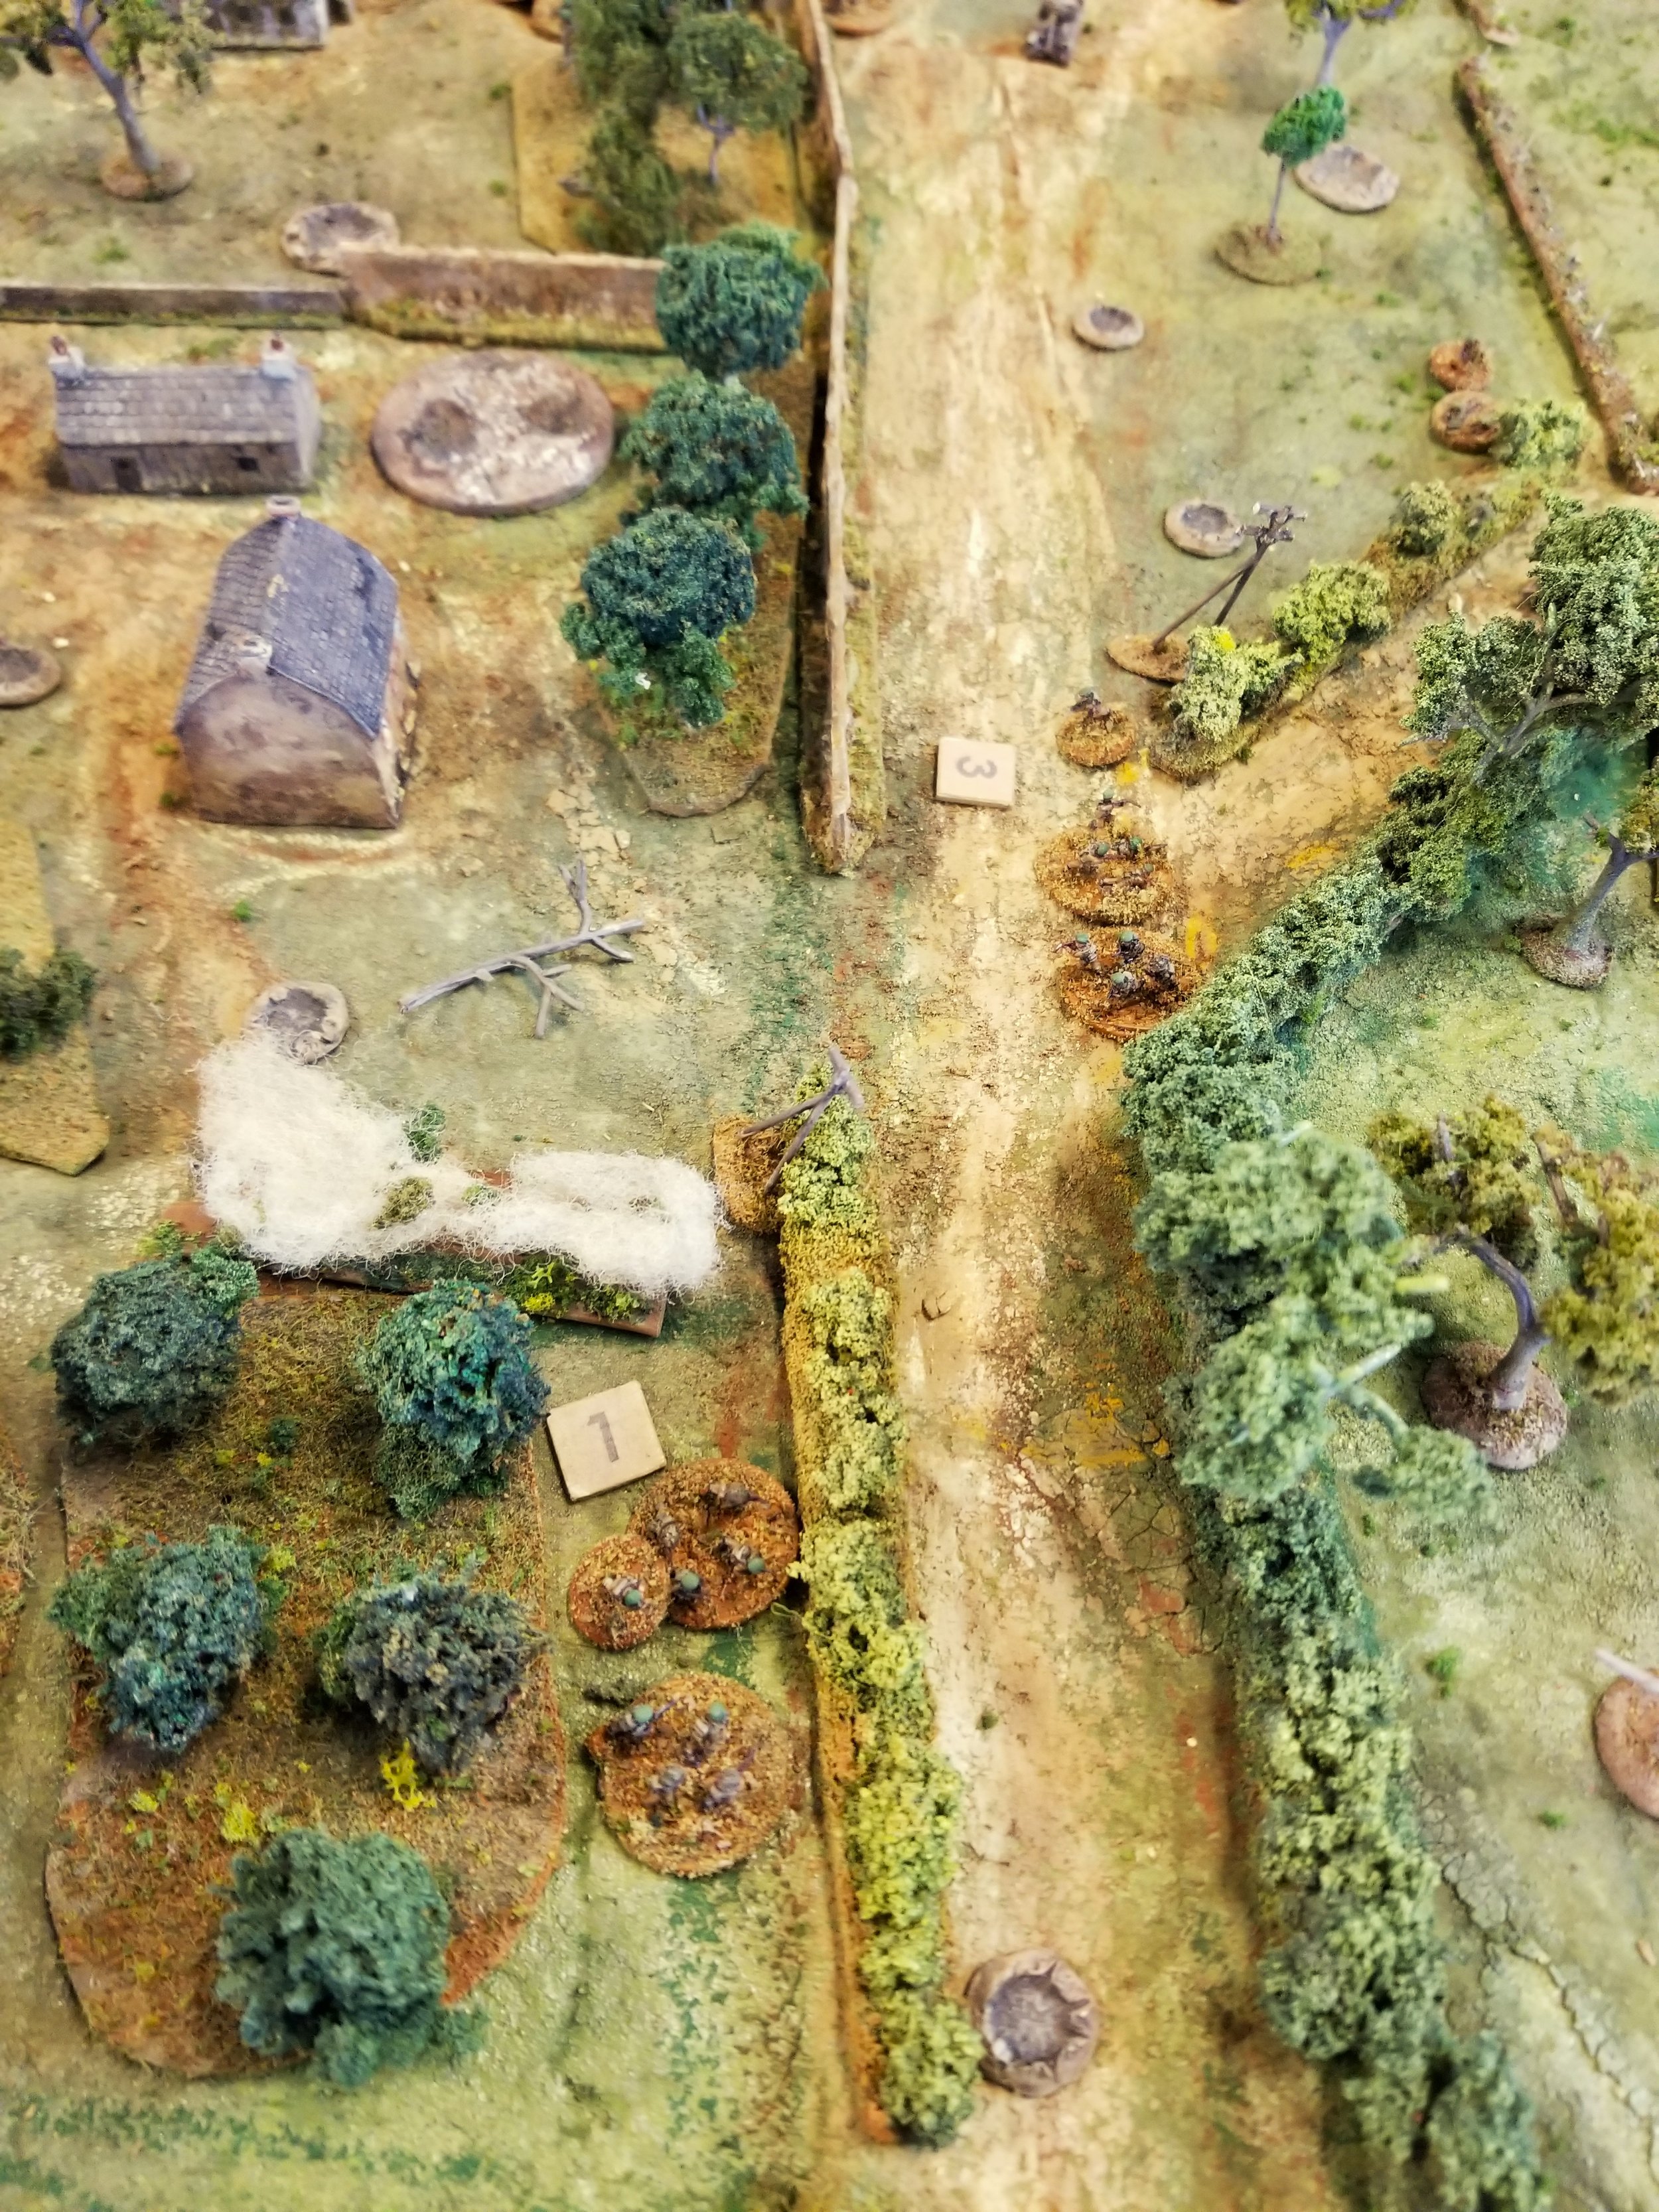
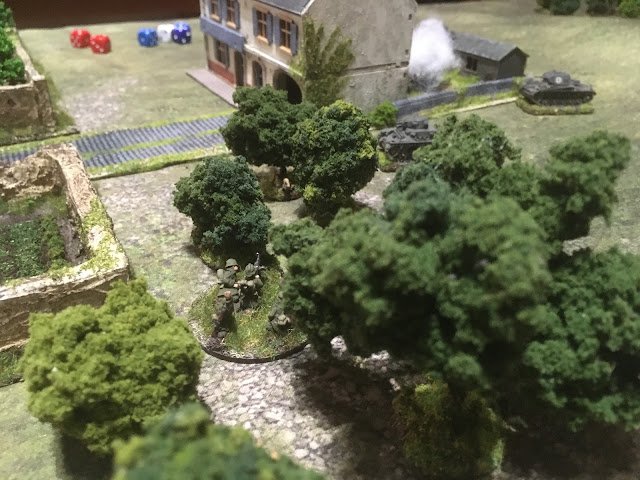
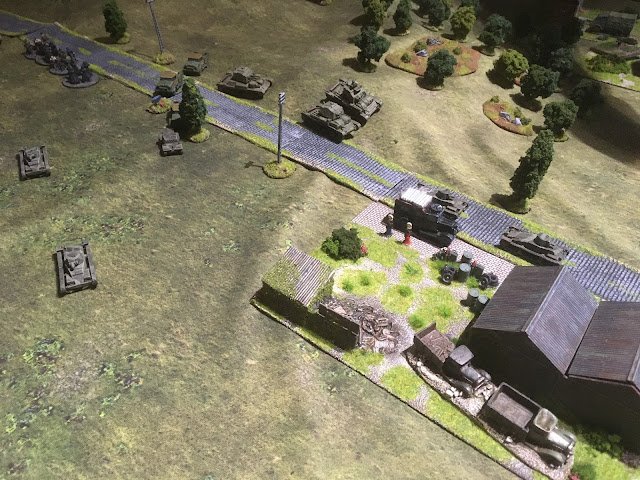
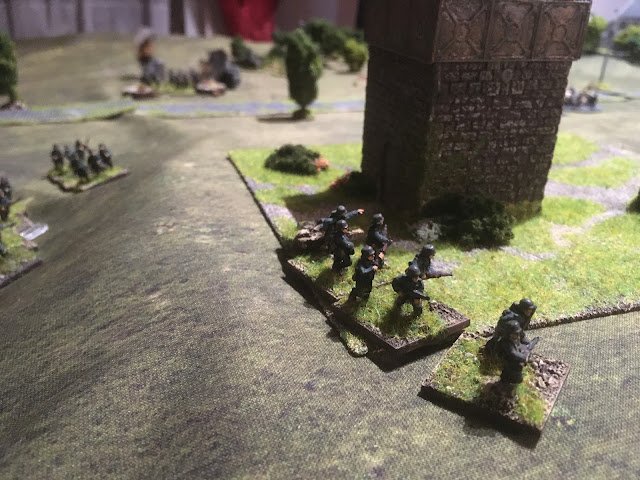
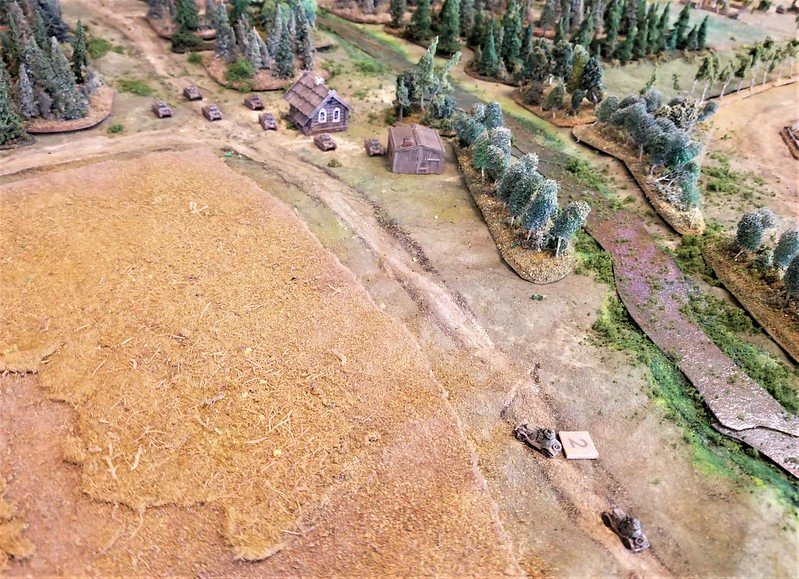
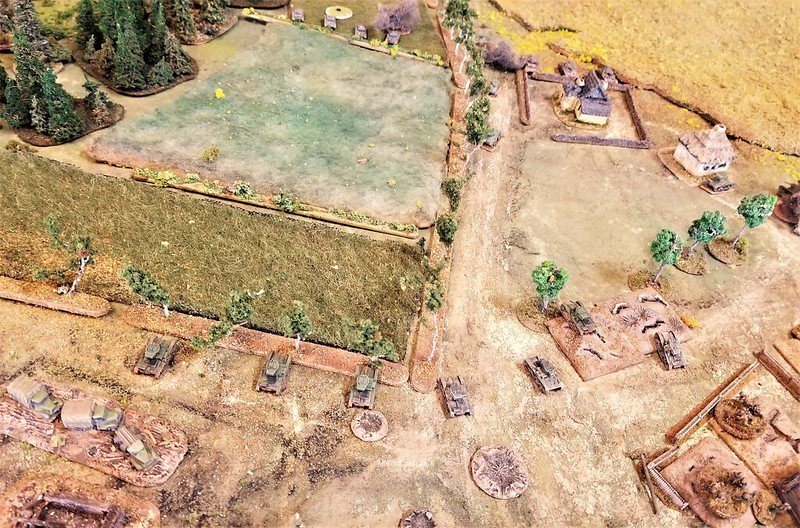
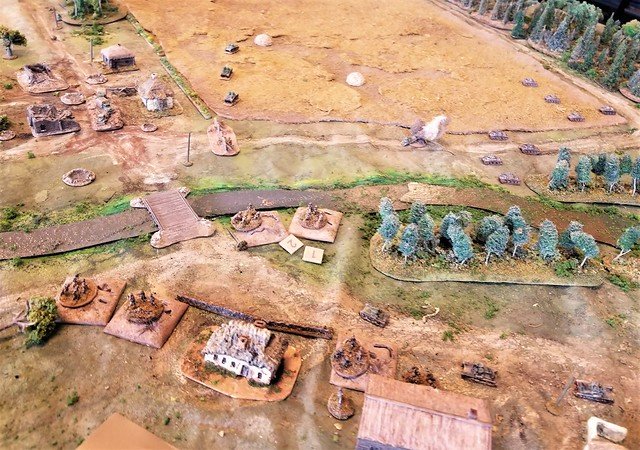
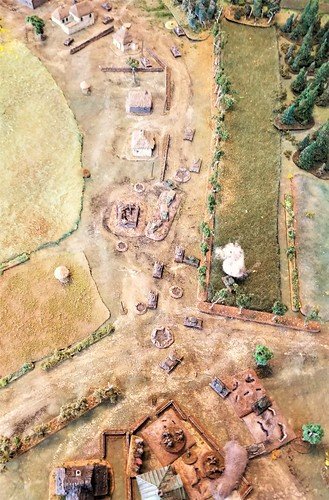
To hold the bridge, the Axis troops would need to capture a manor house and buildings on top of a hill overlooking the bridge. First Platoon crossed the bridge, and headed toward the right flank.

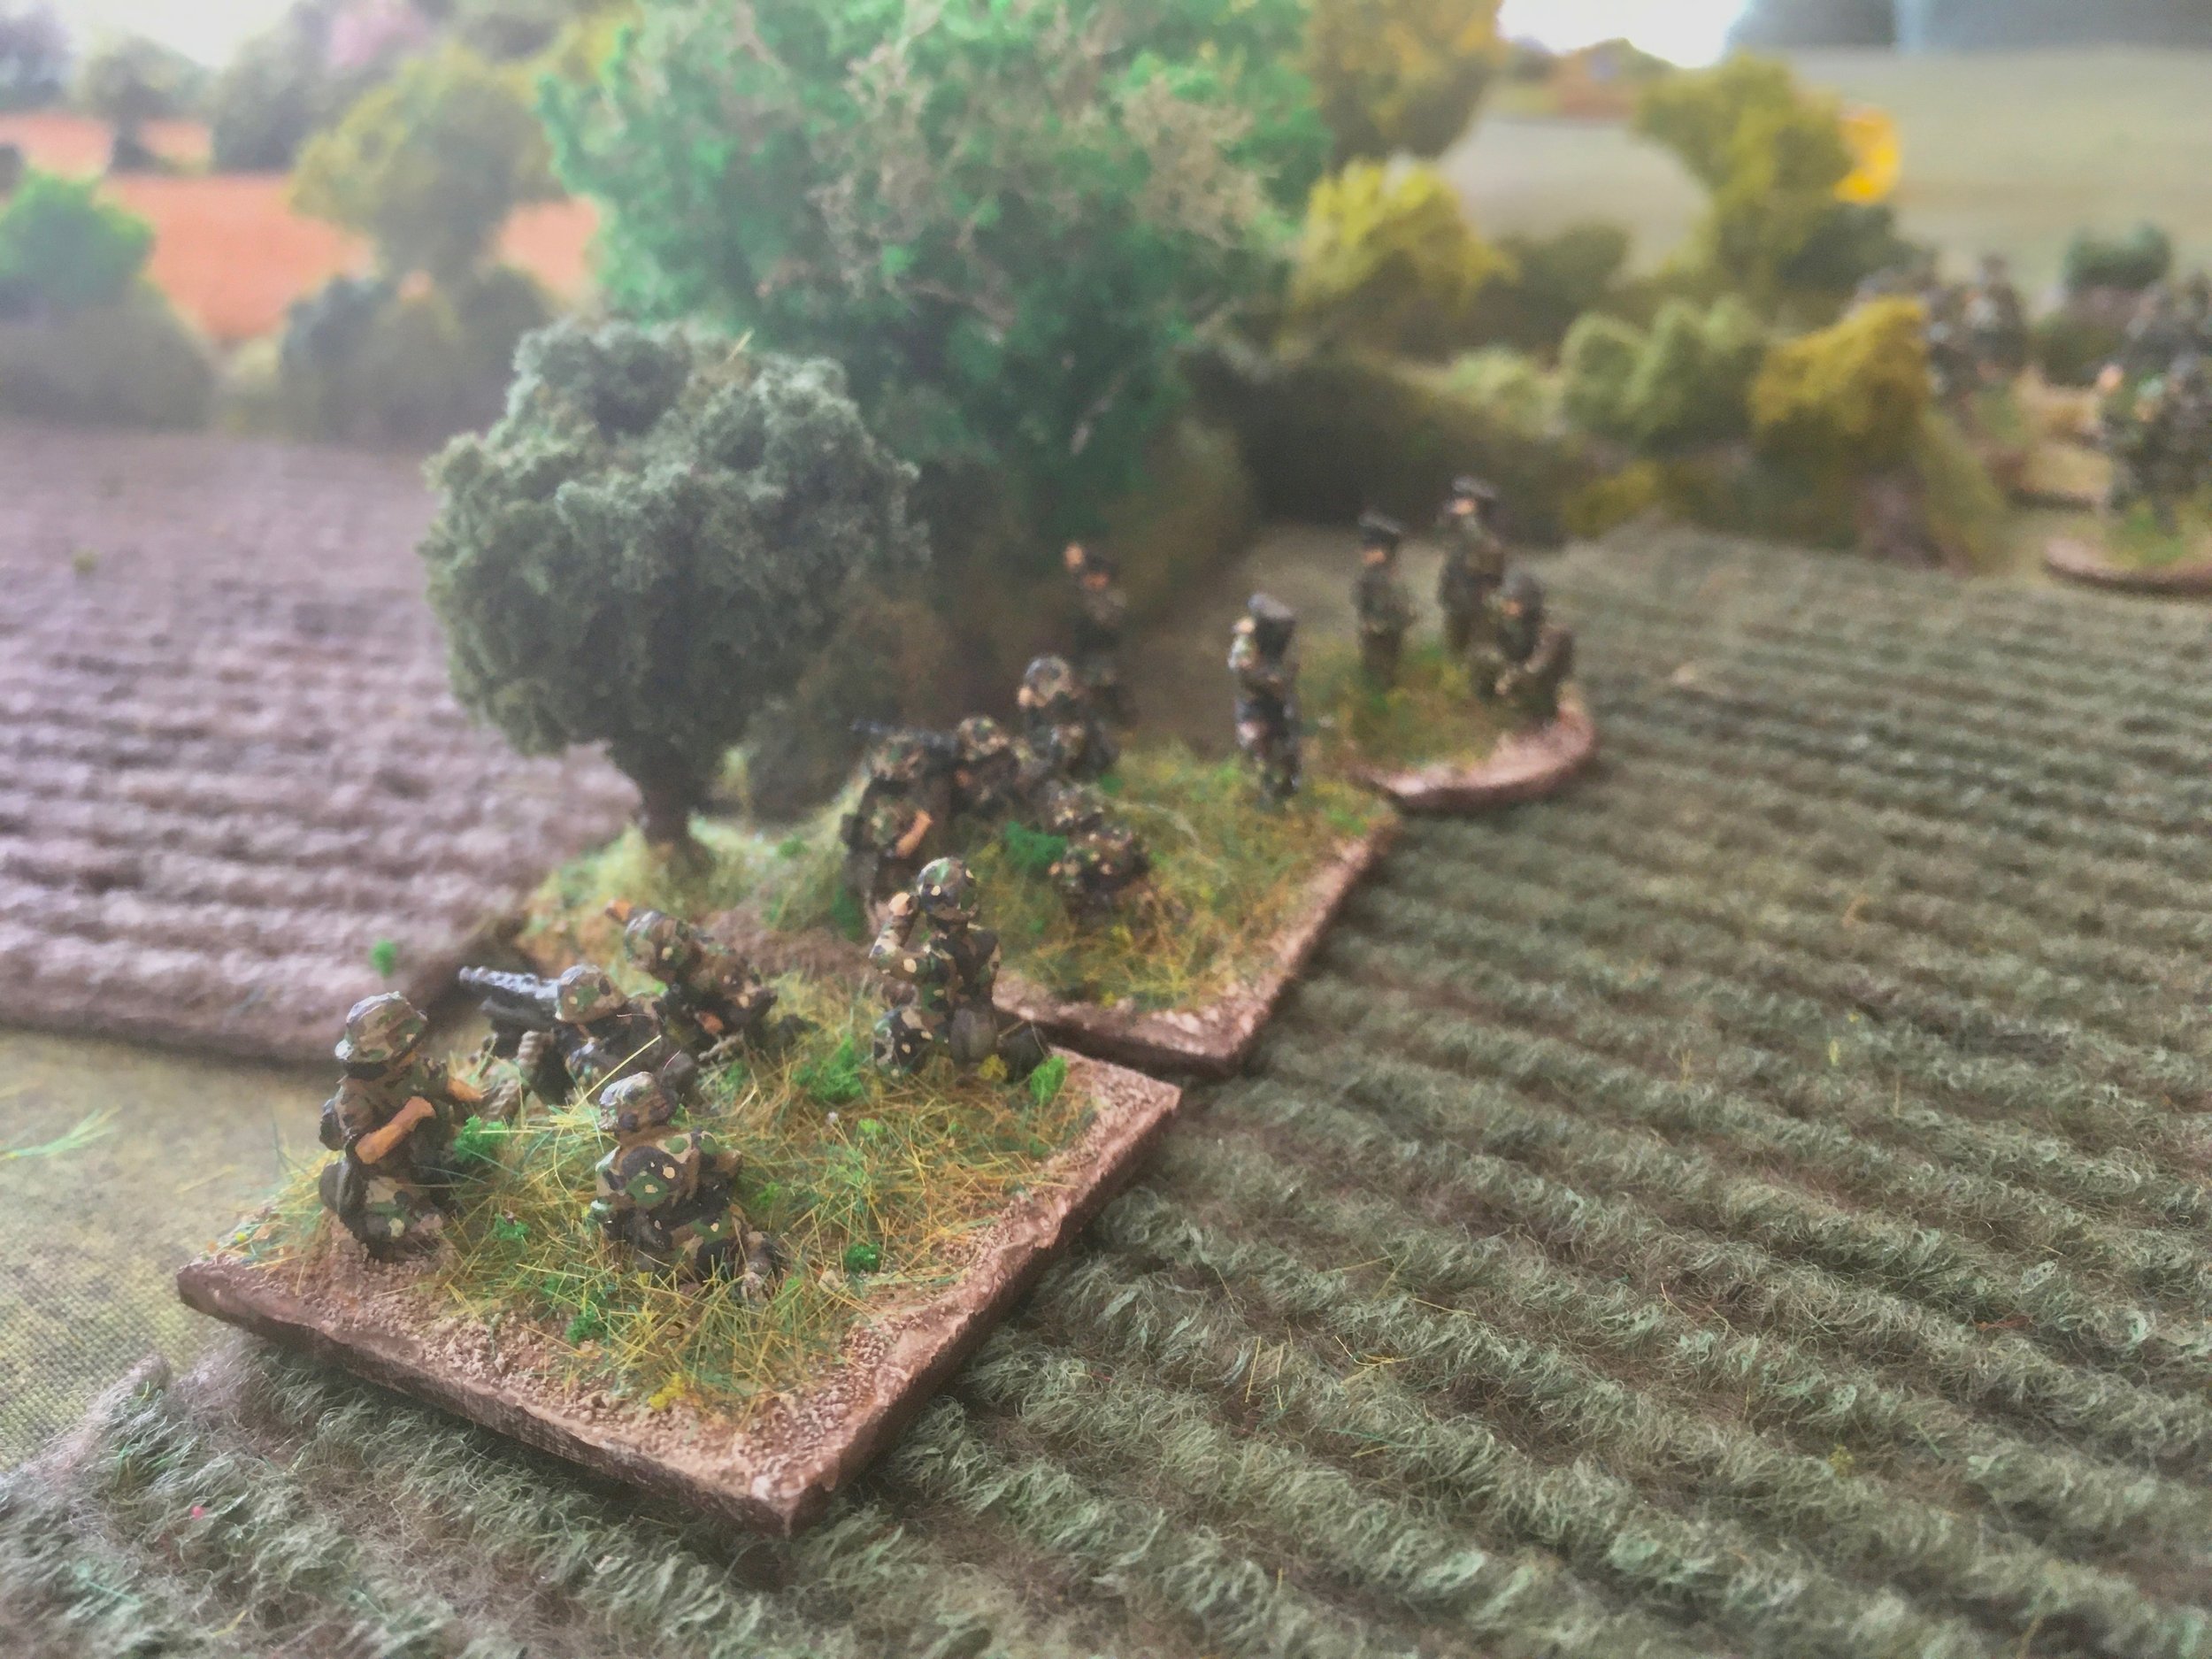
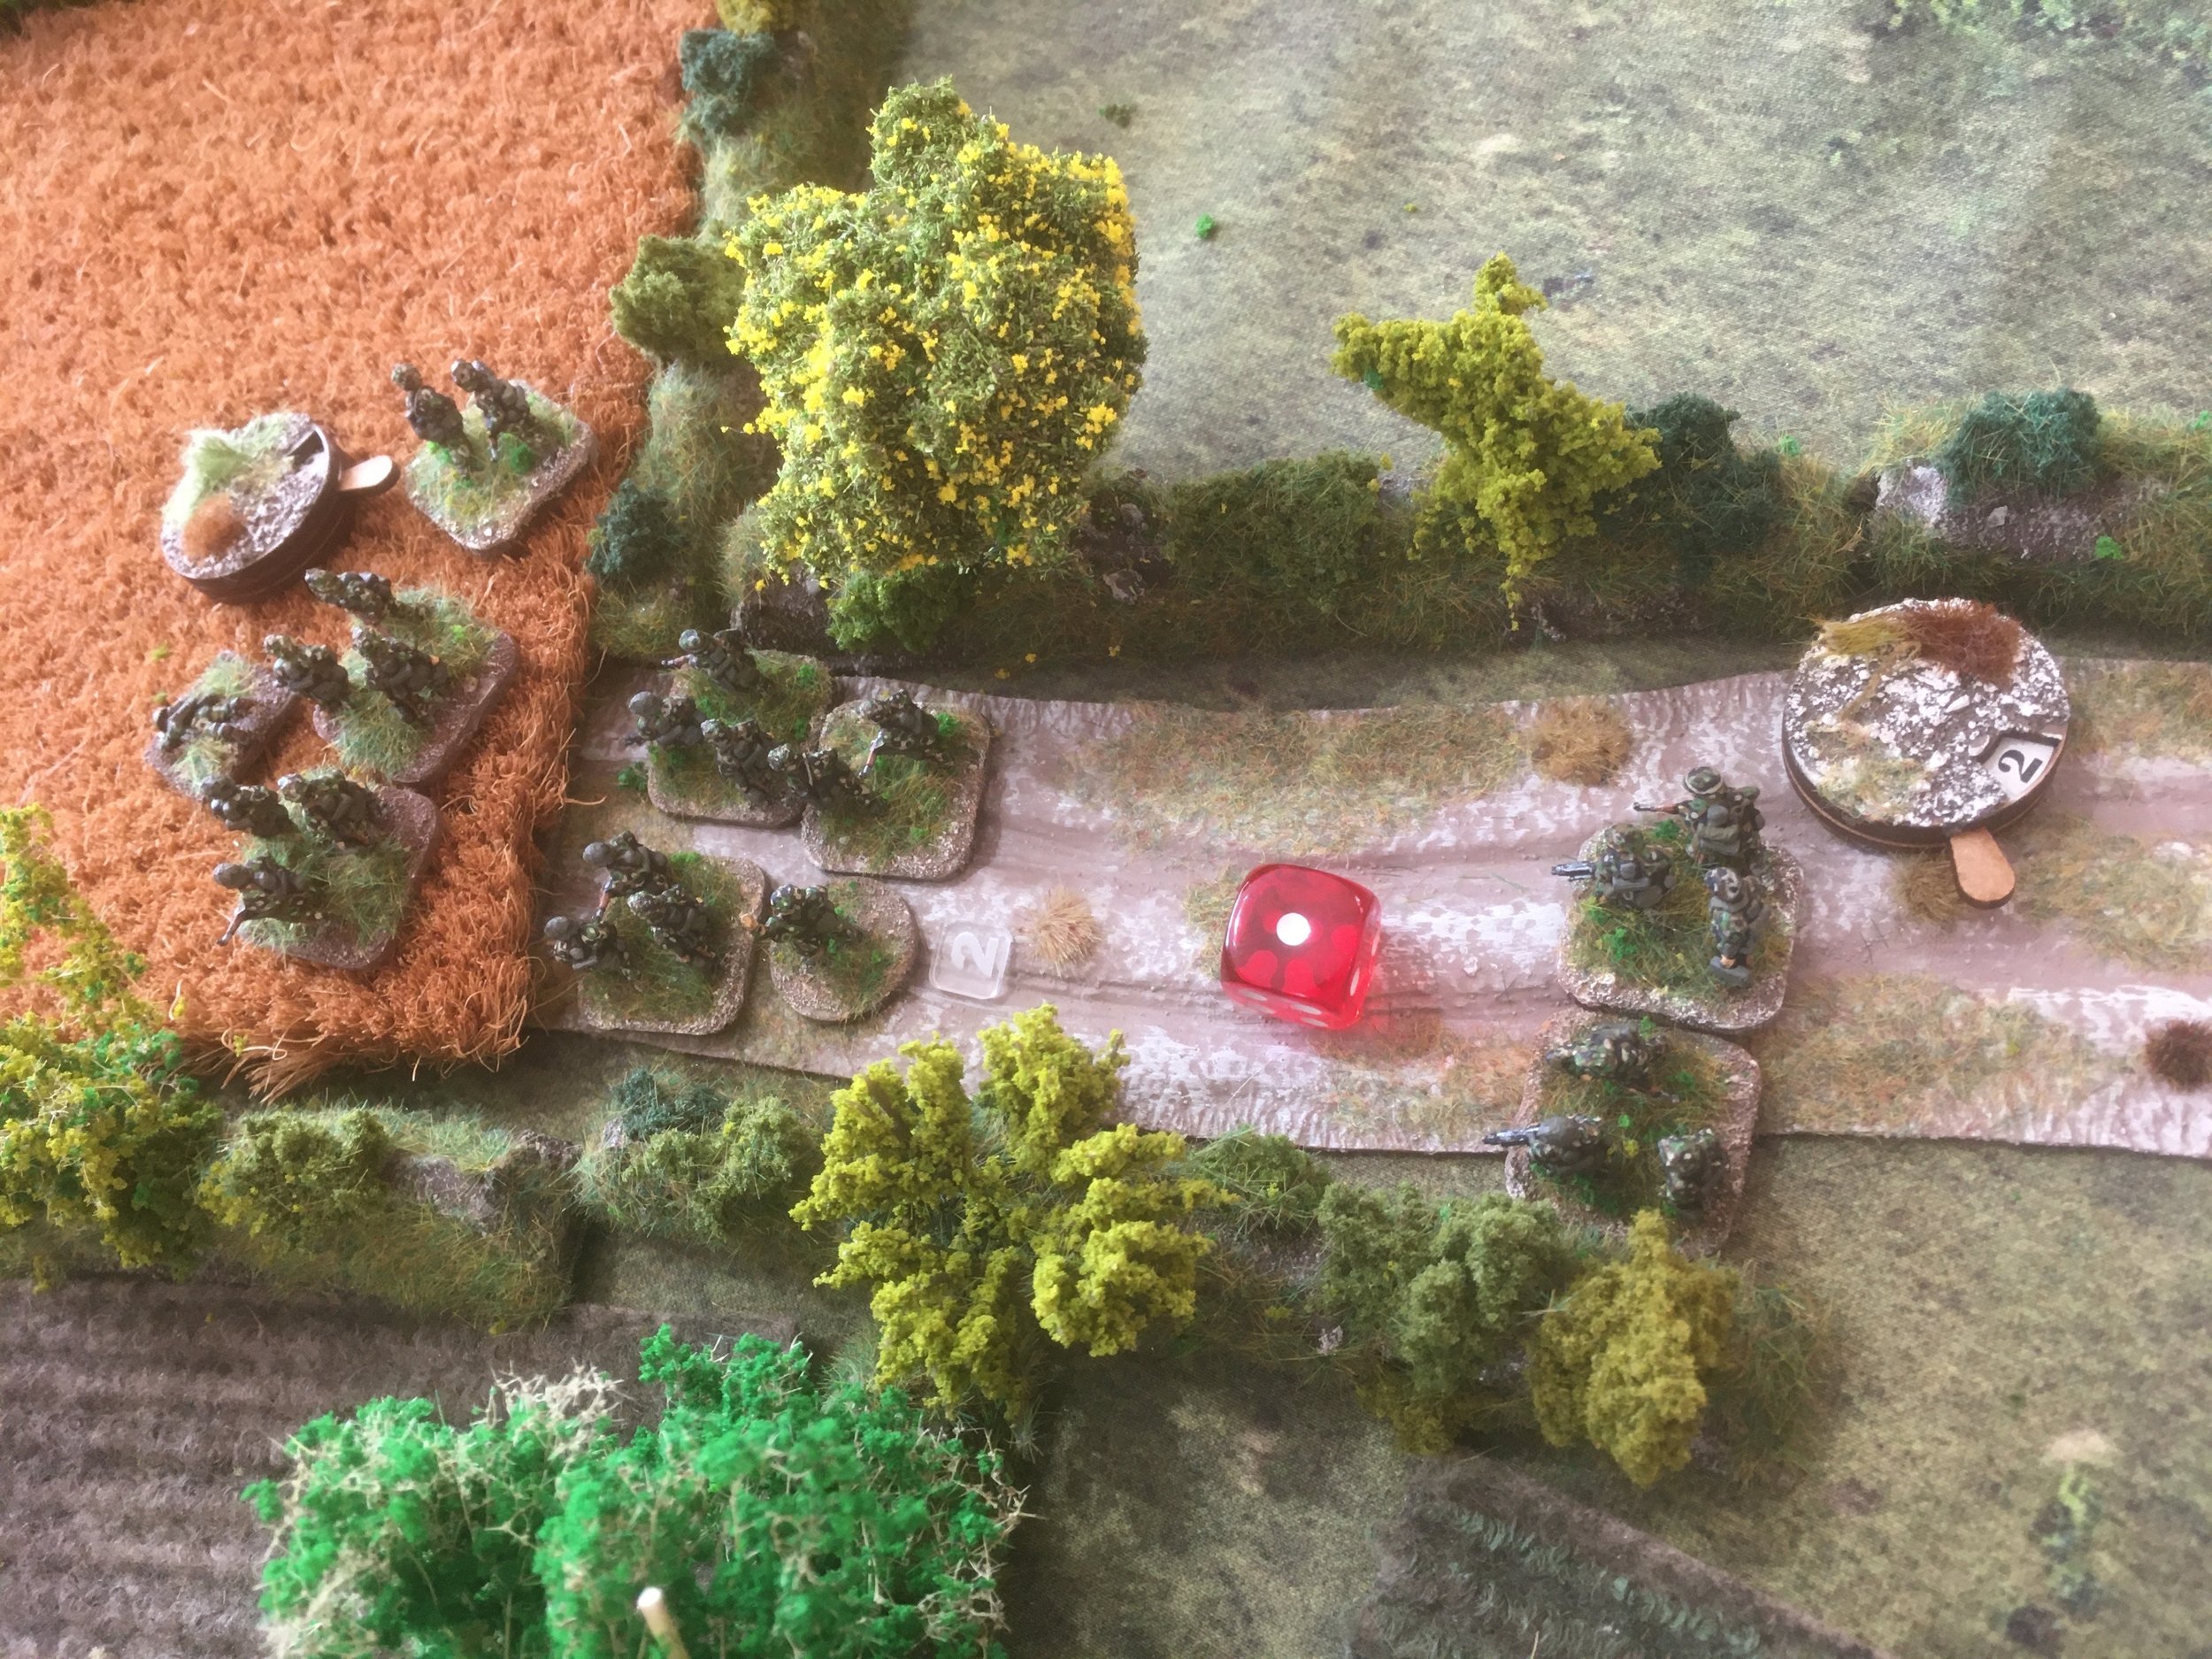
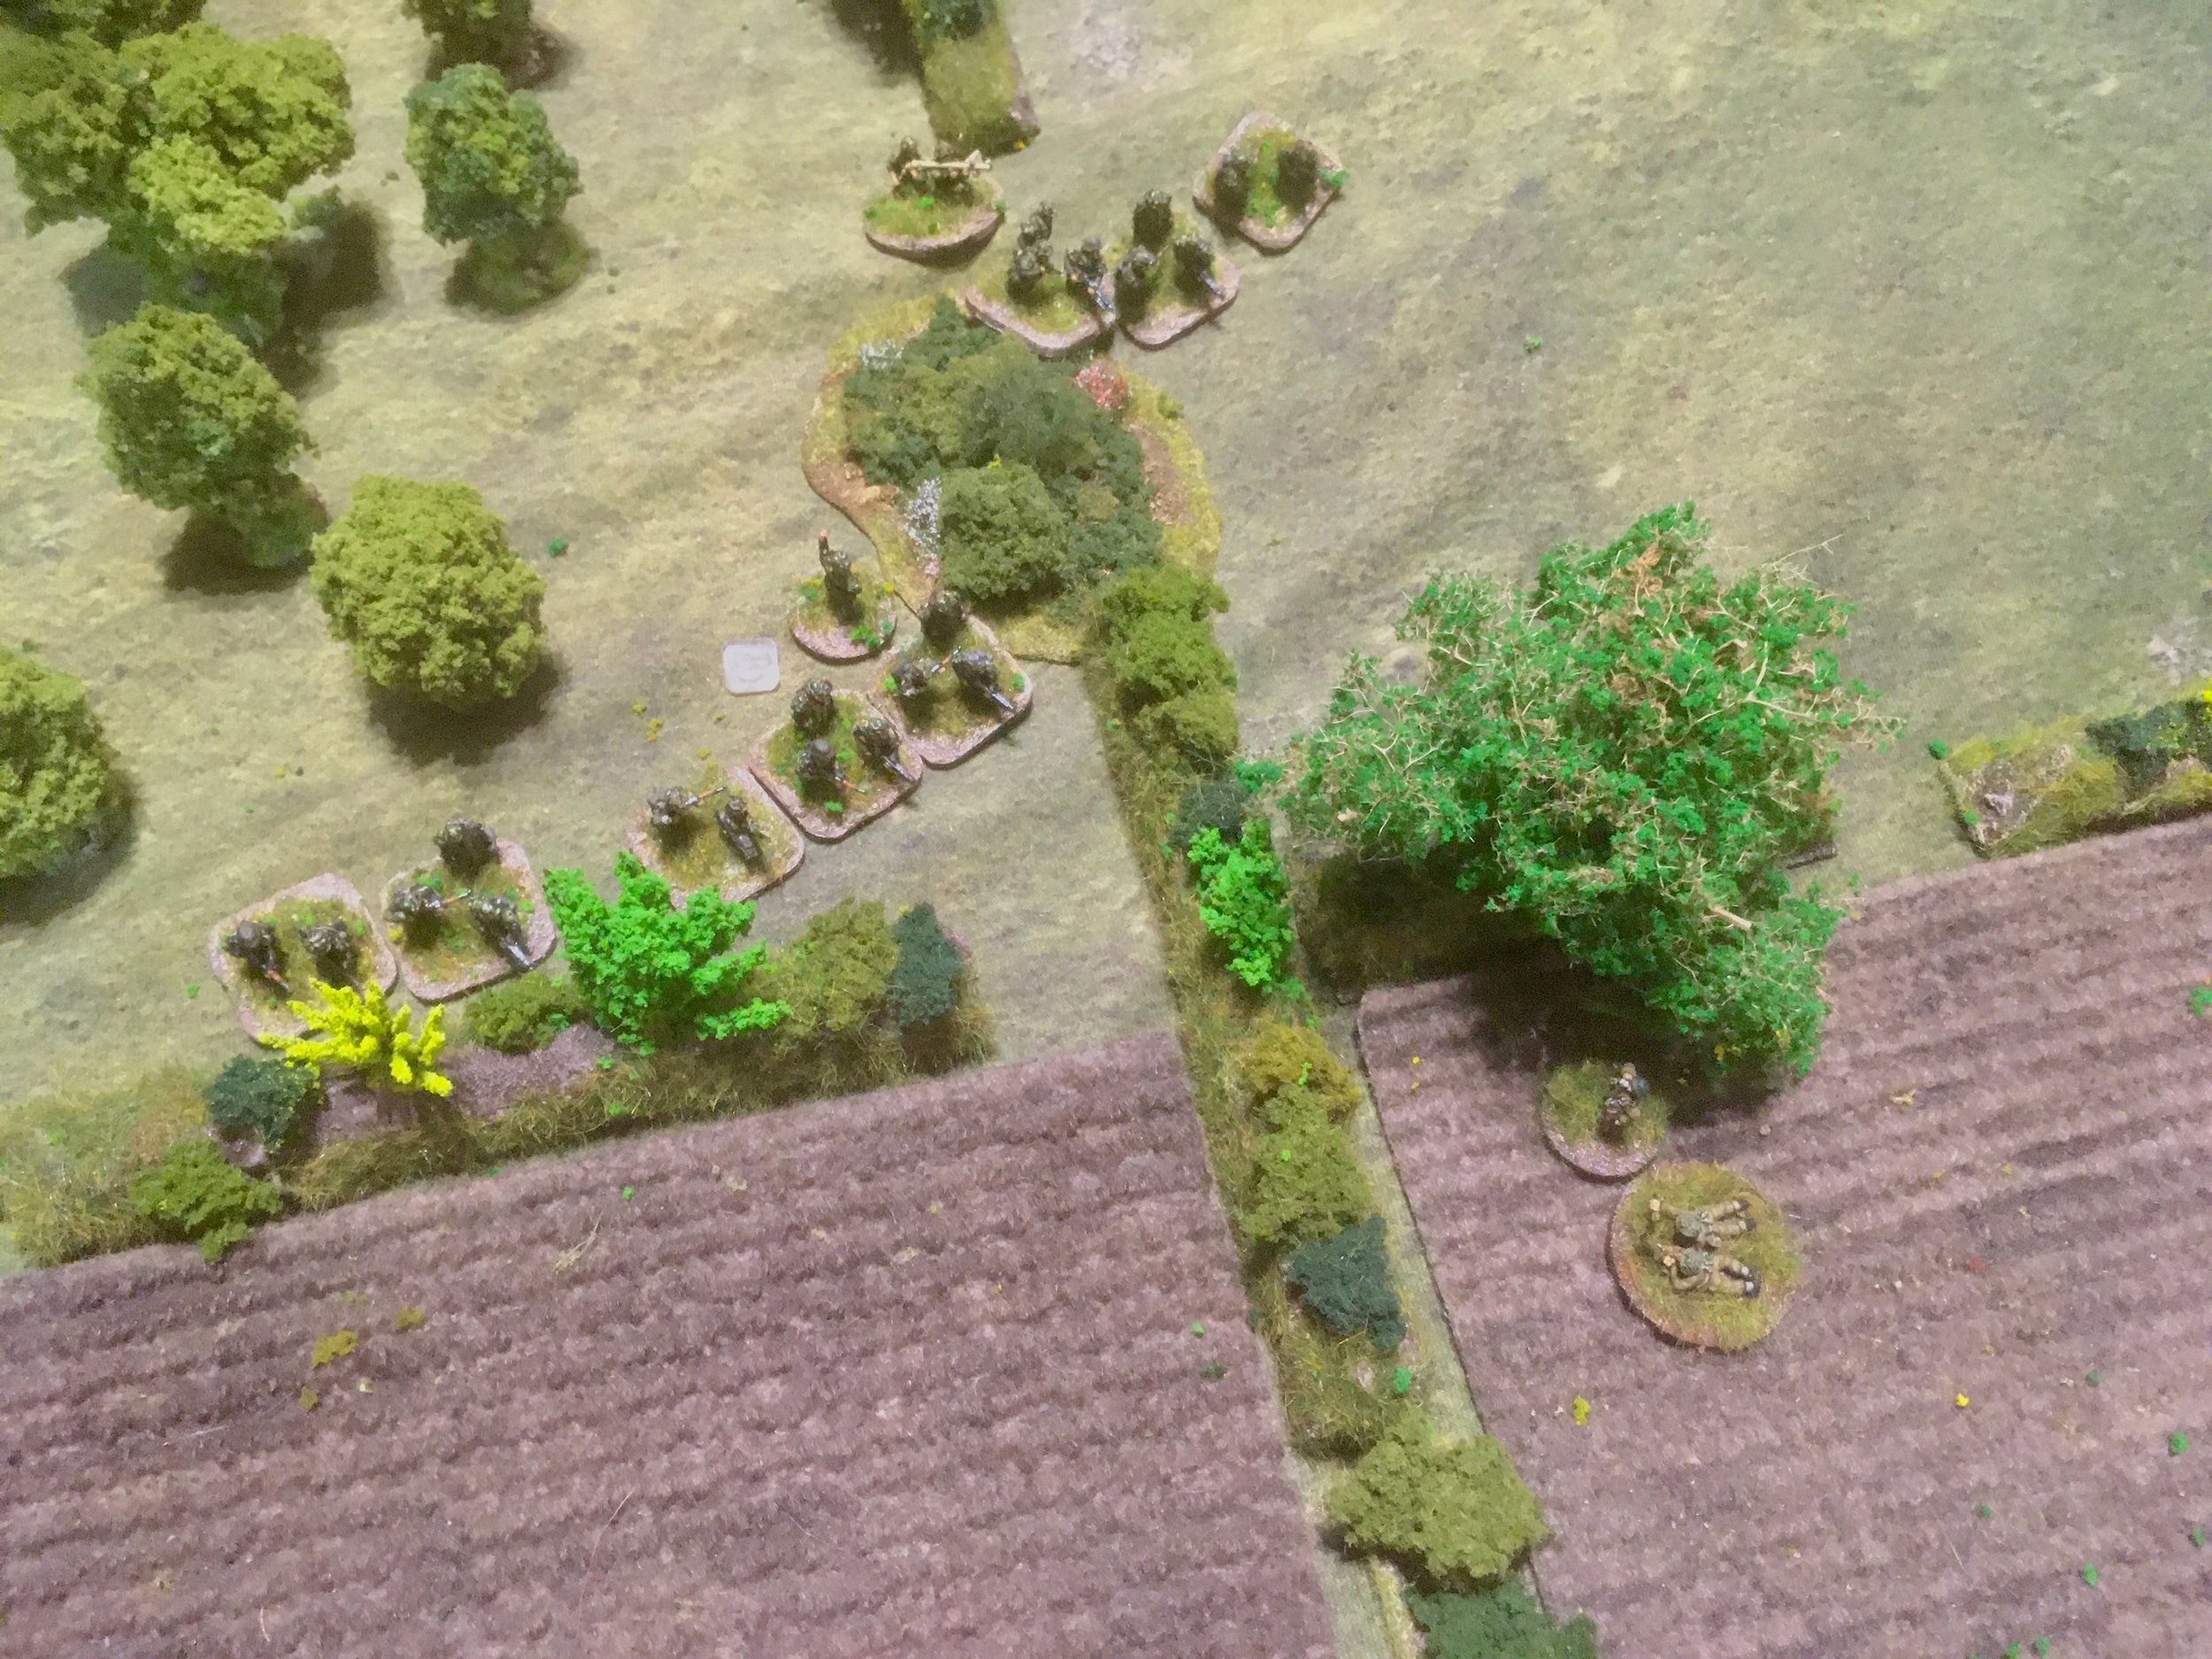
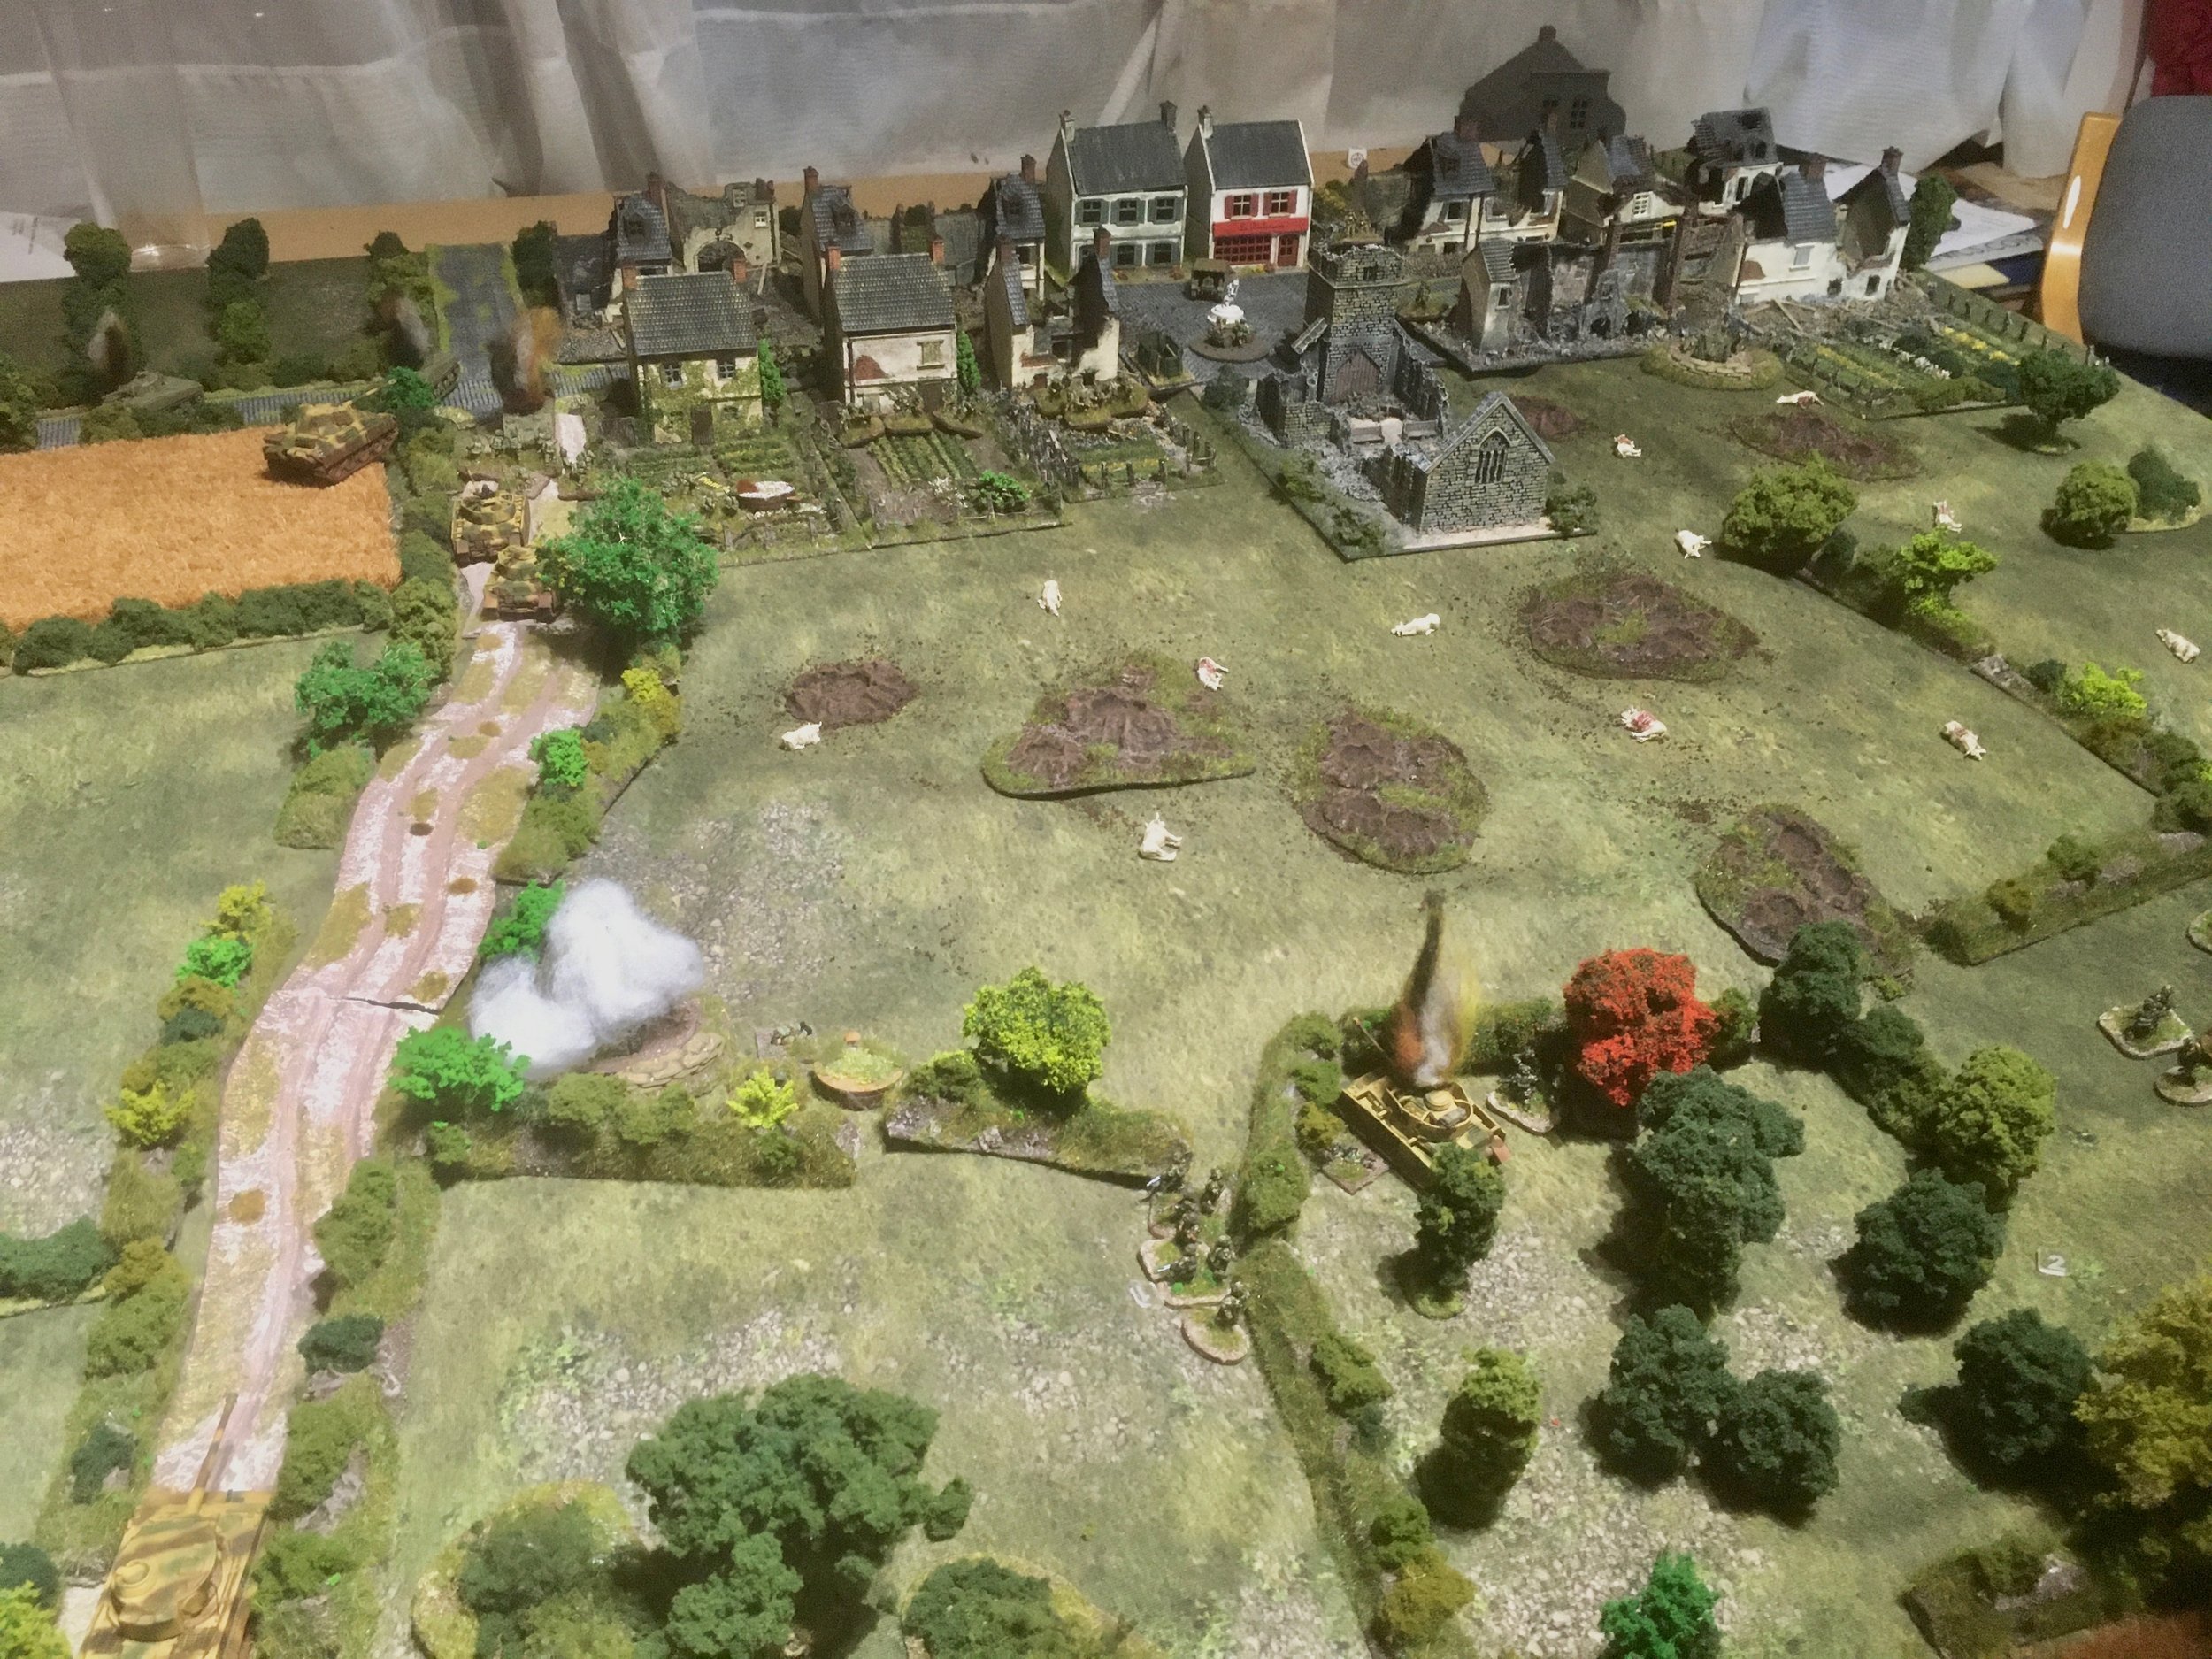
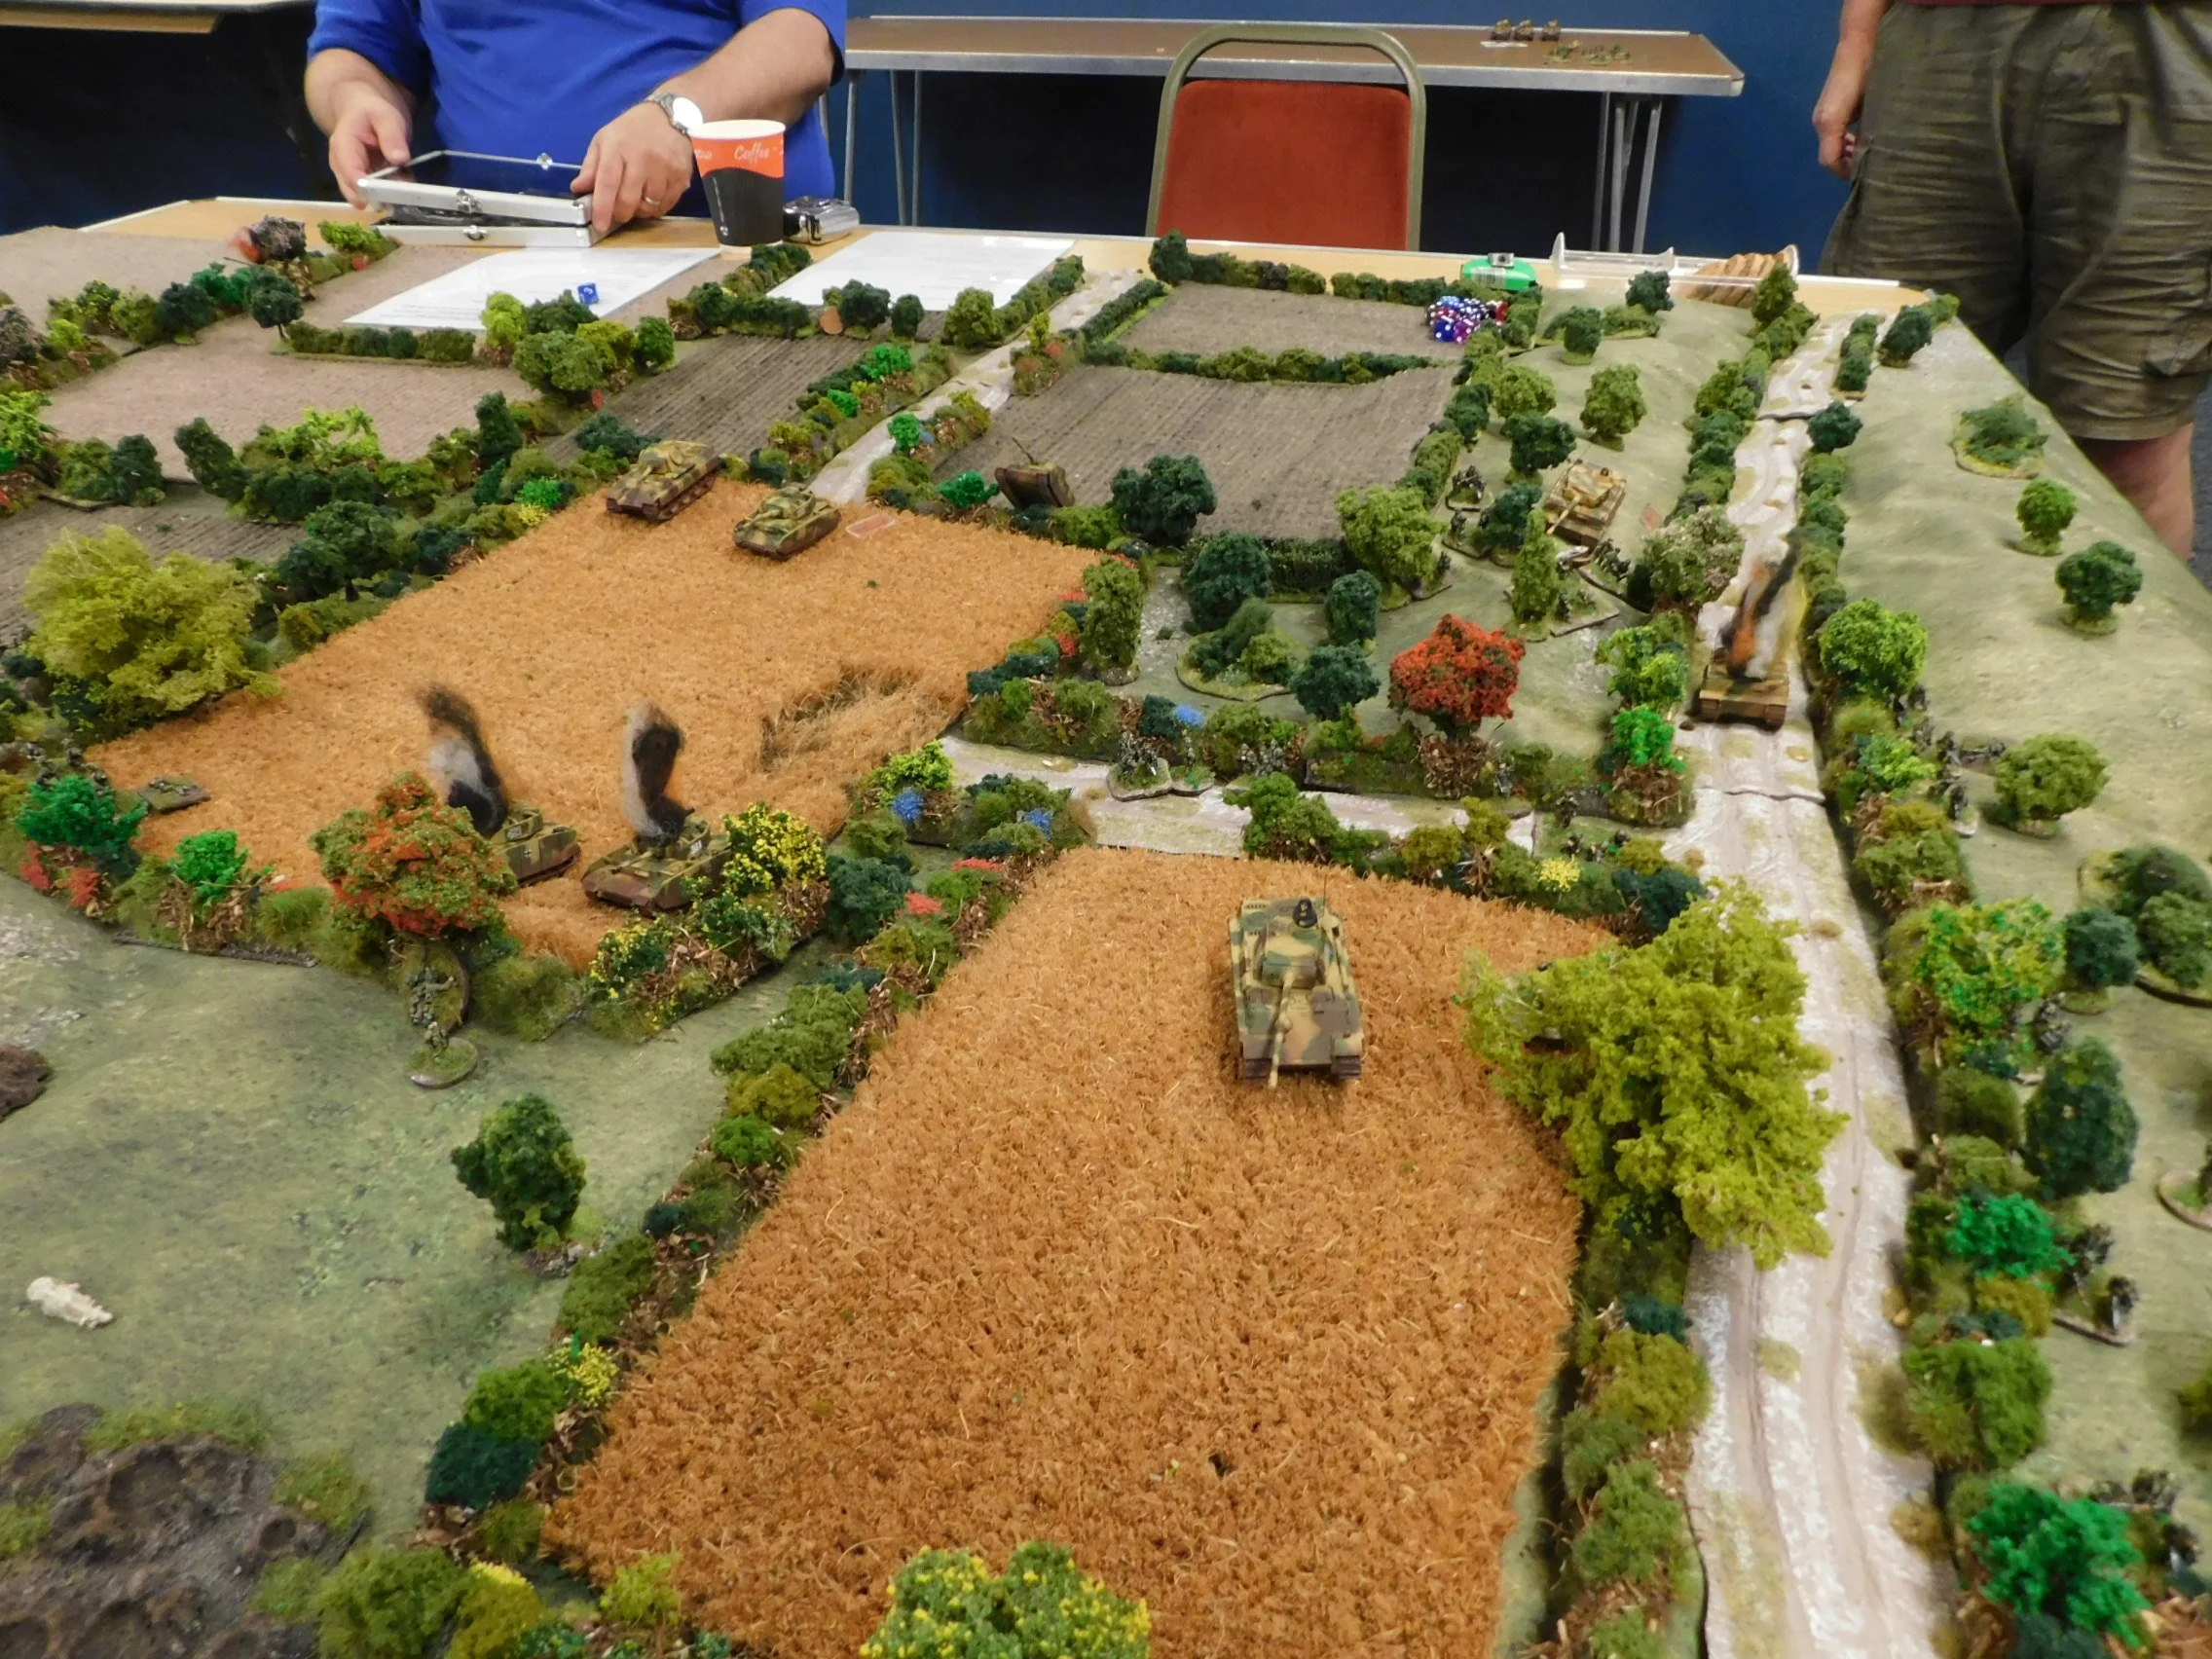
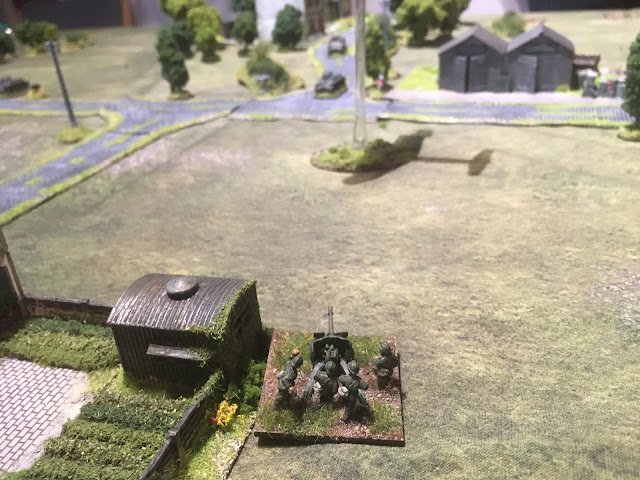
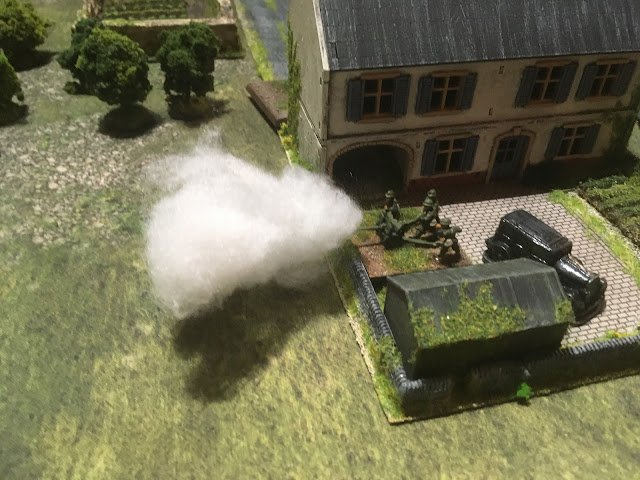
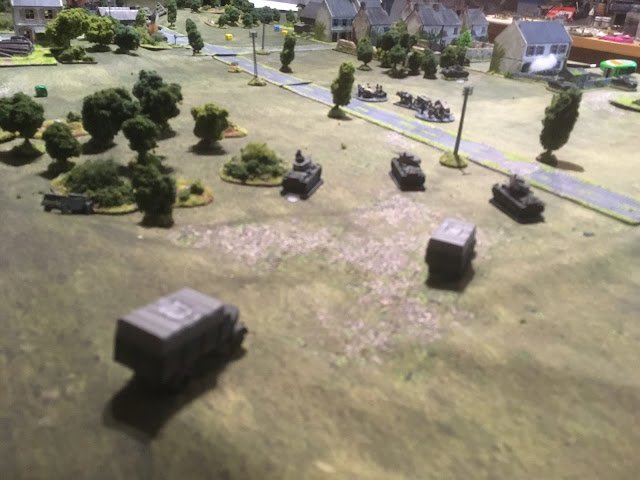
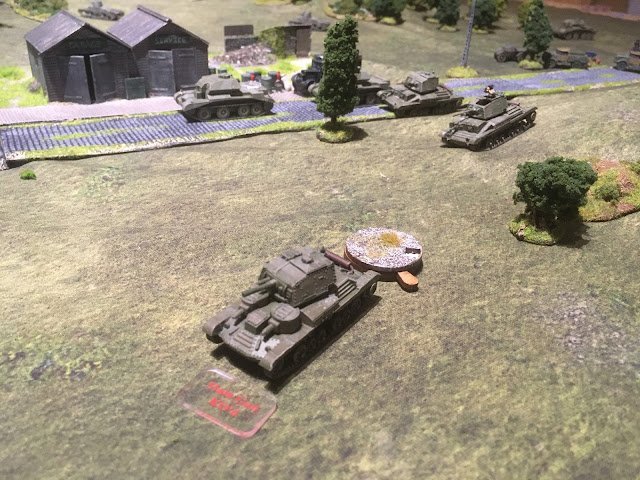
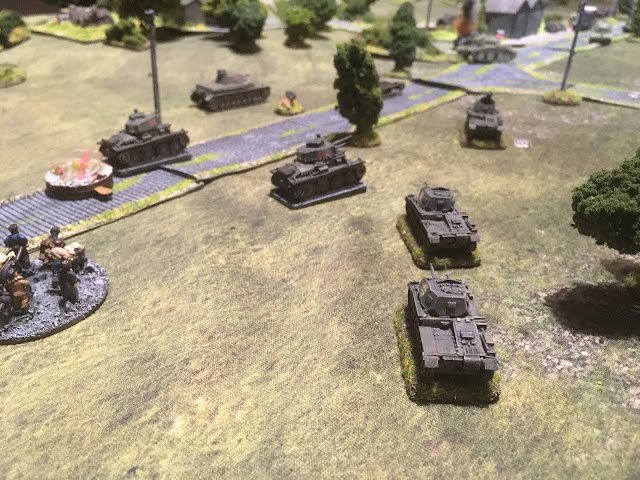
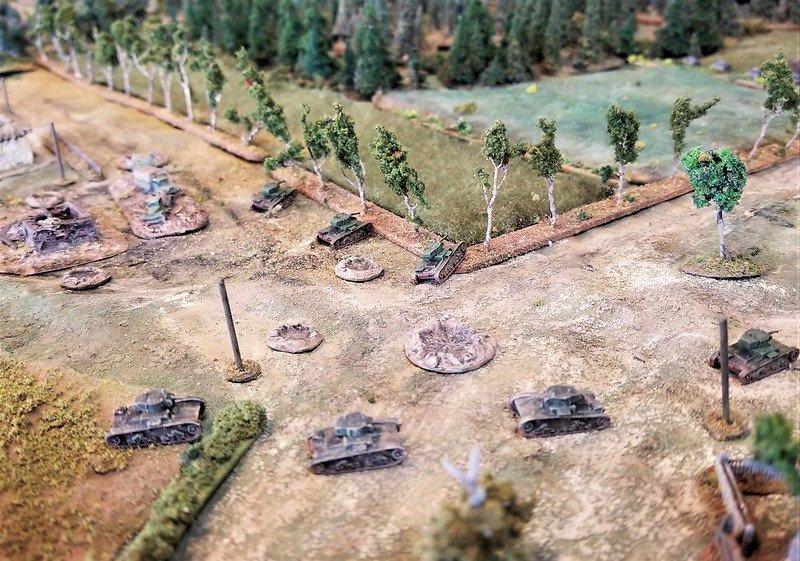
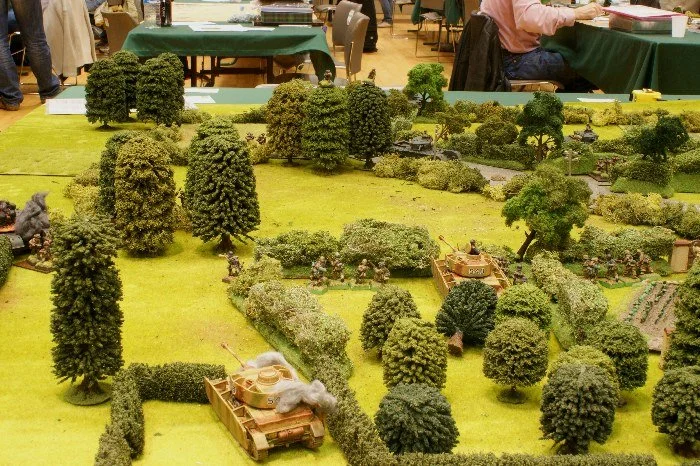
It took a few turns, but the artillery bombardment finally arrived, striking American positions atop the hill to the left. Being dug in in foxholes, they took a few casualties and shock, but easily returned fire, stopping our tanks at the bridge. Being a choke point due to the flooded fields, we had no choice but to send our infantry over the bridge.

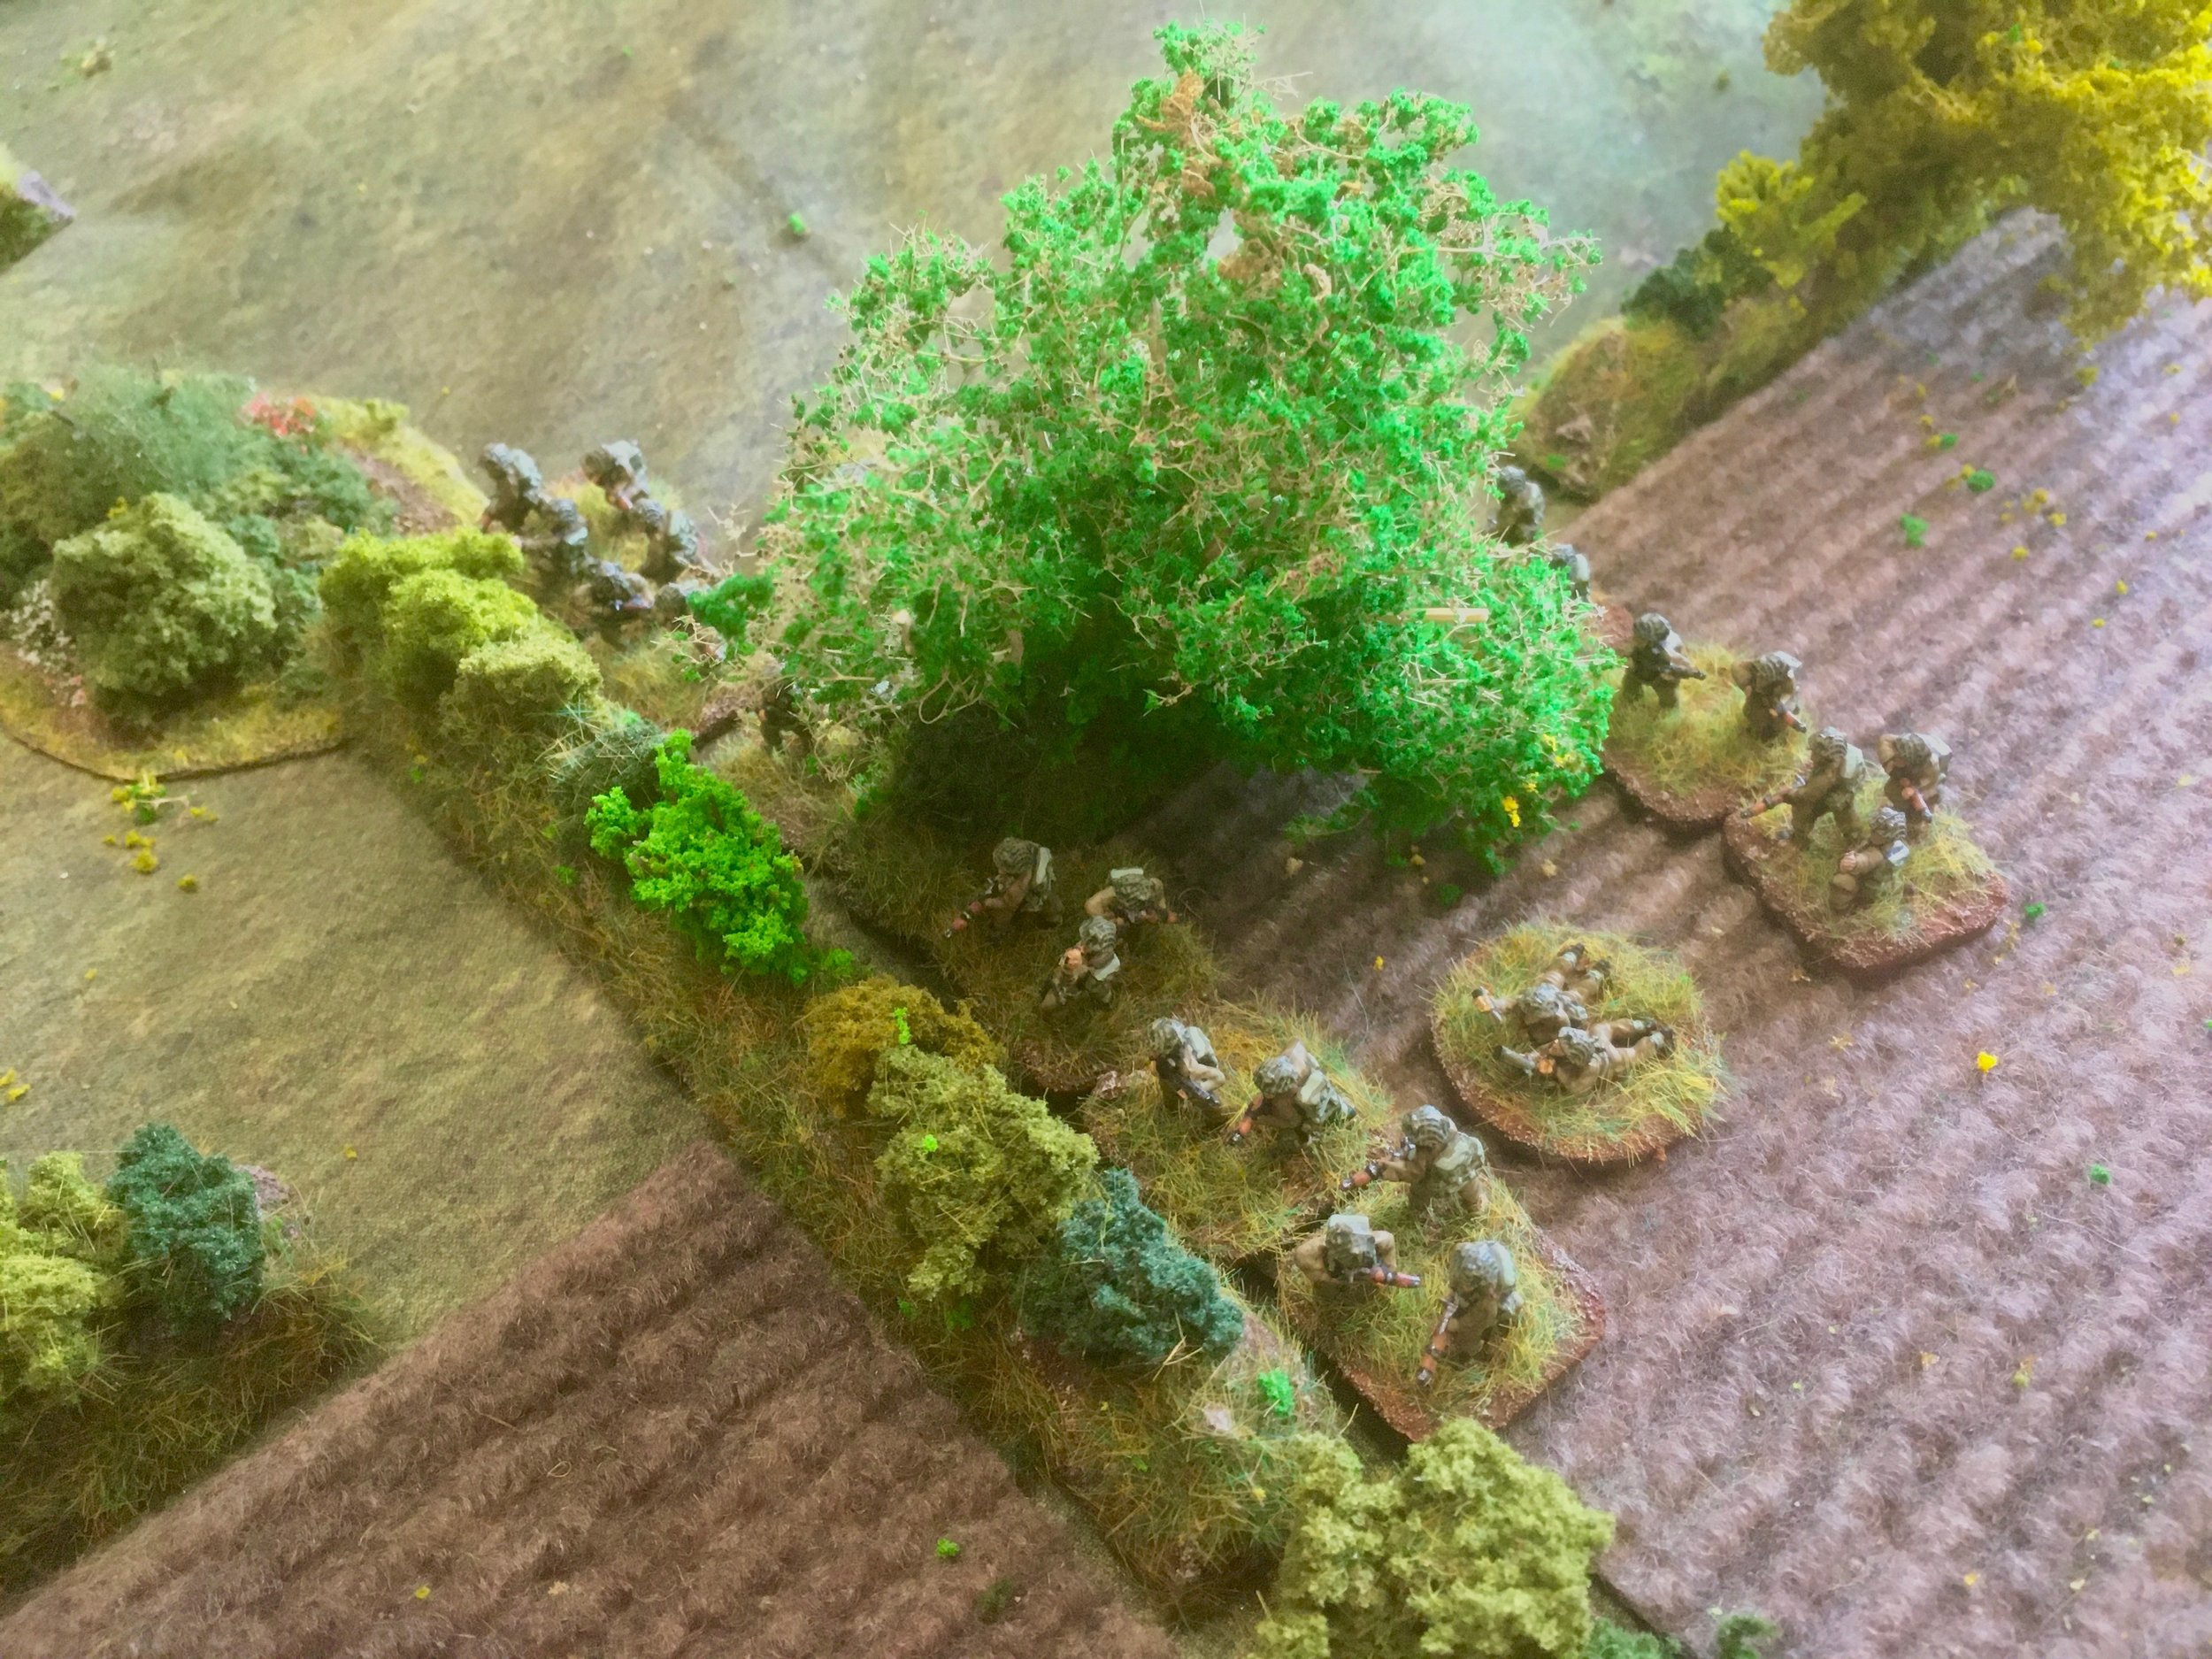
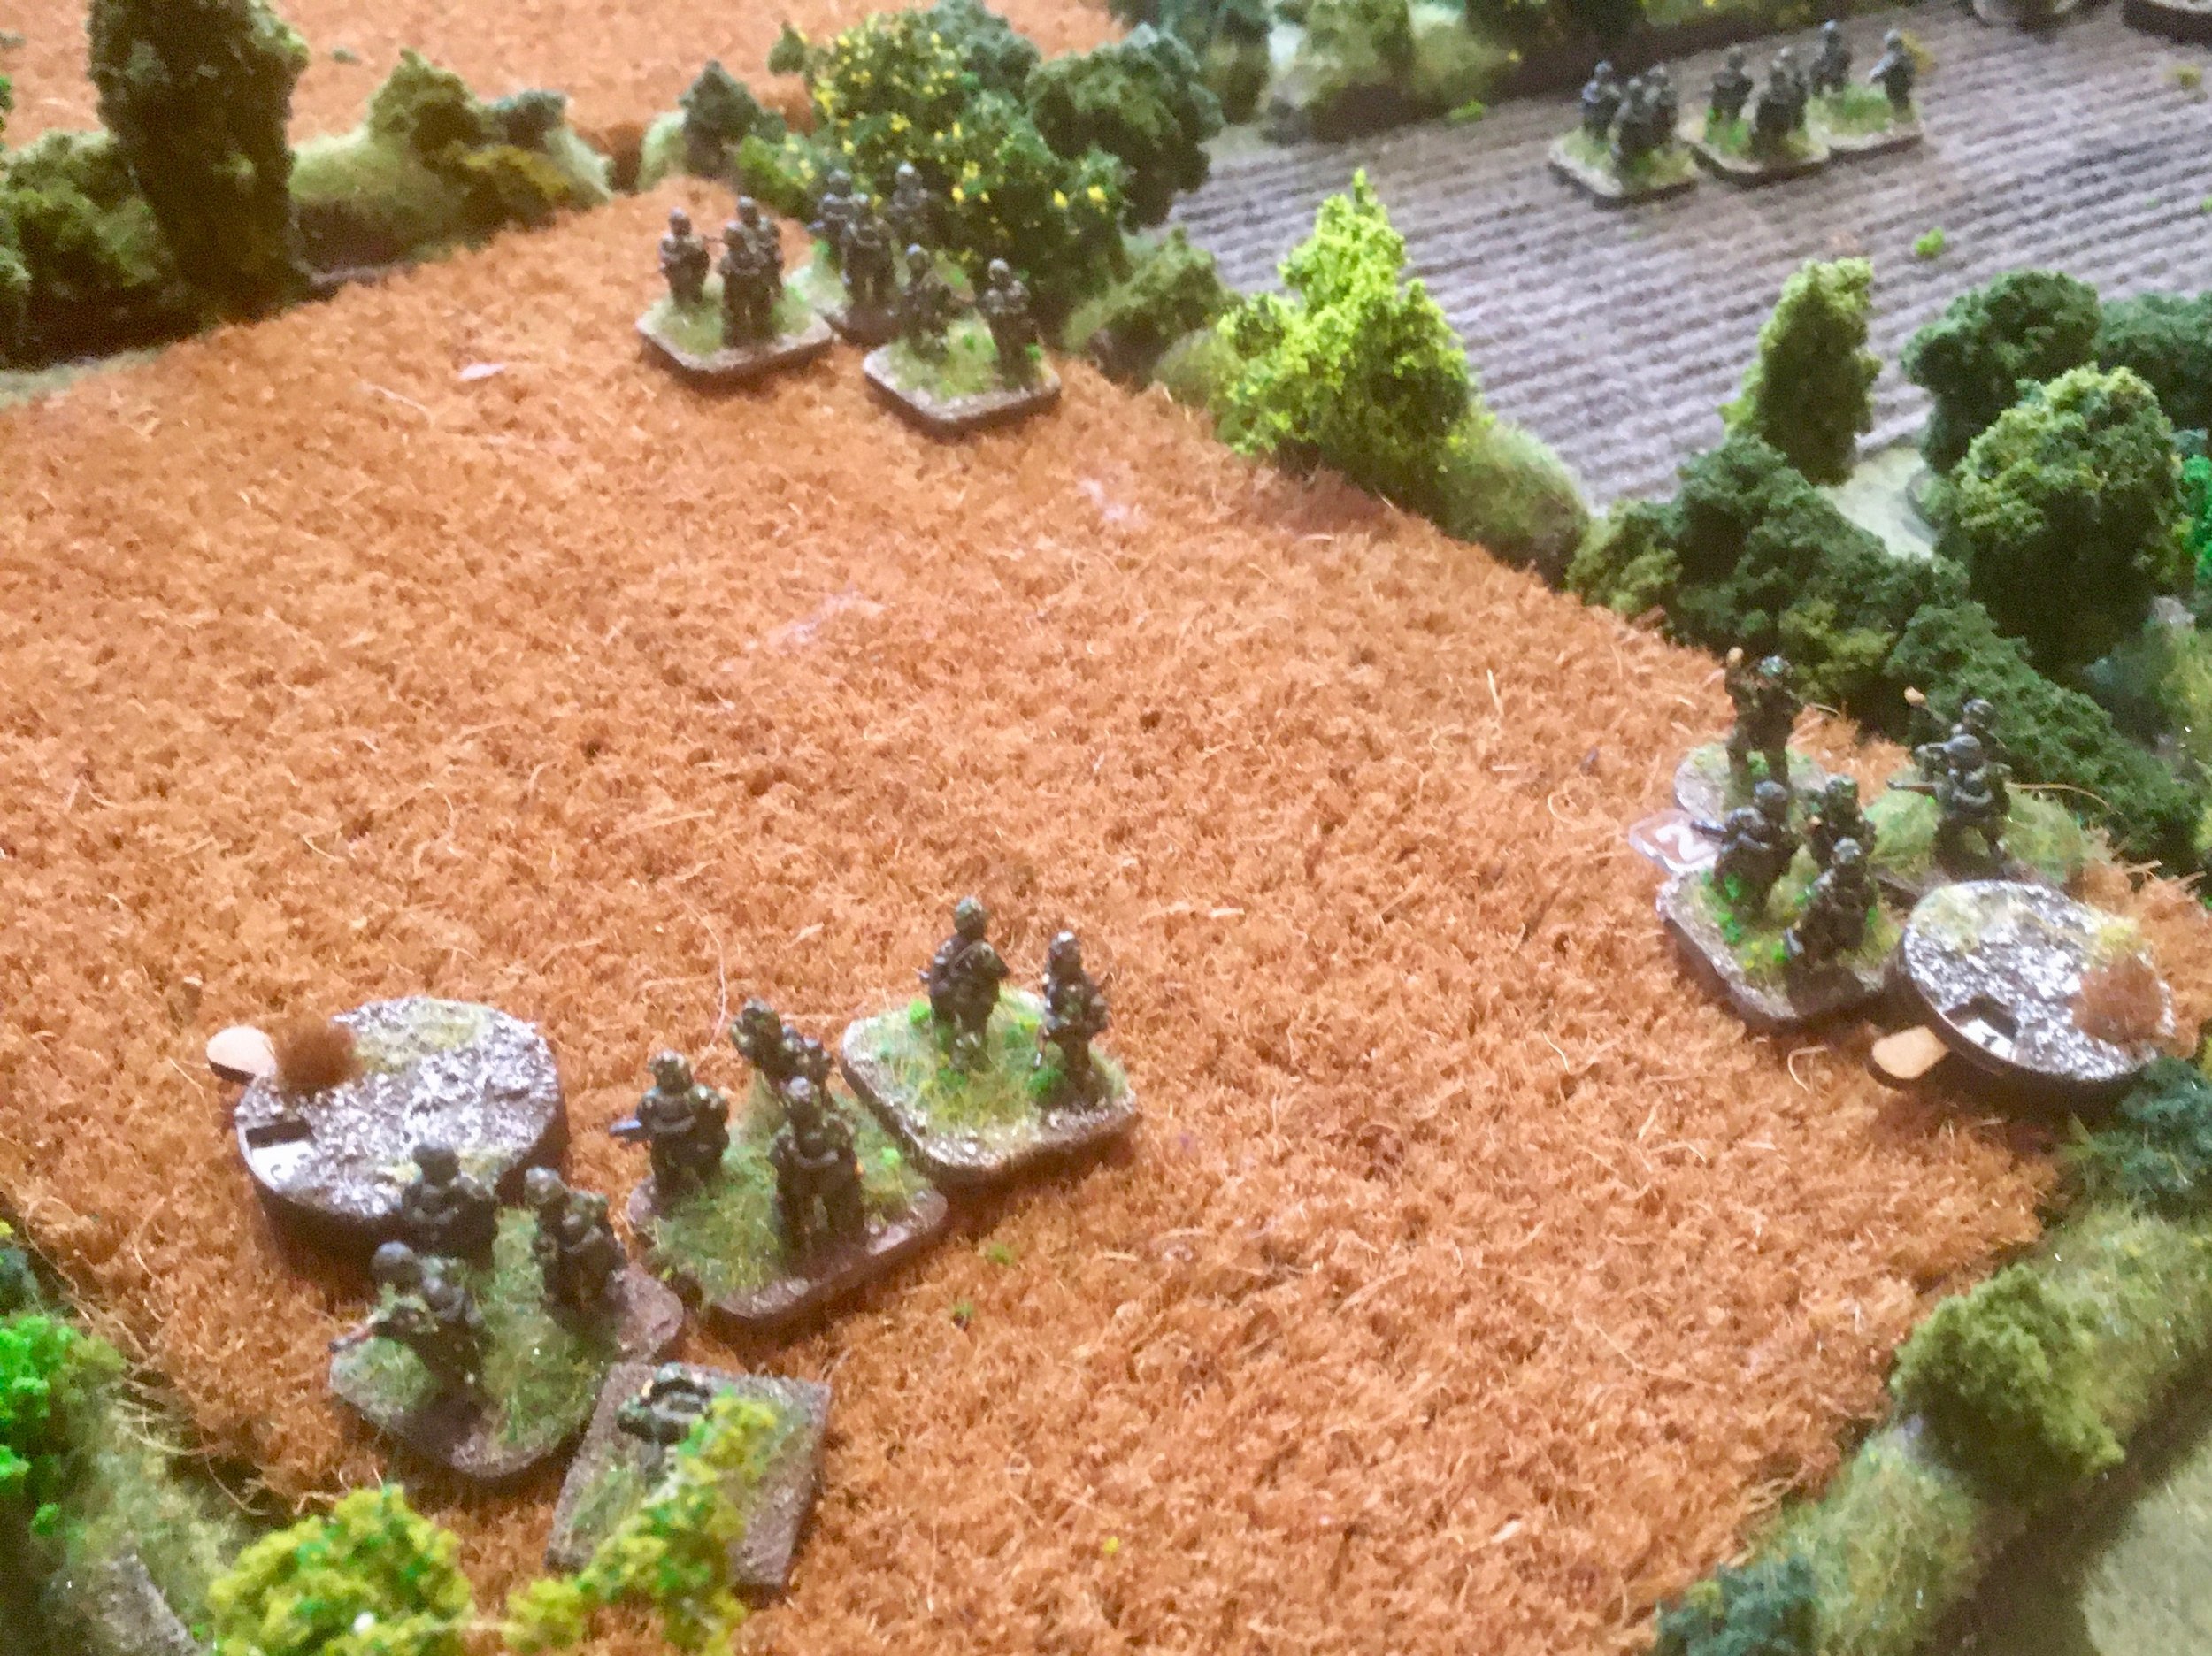
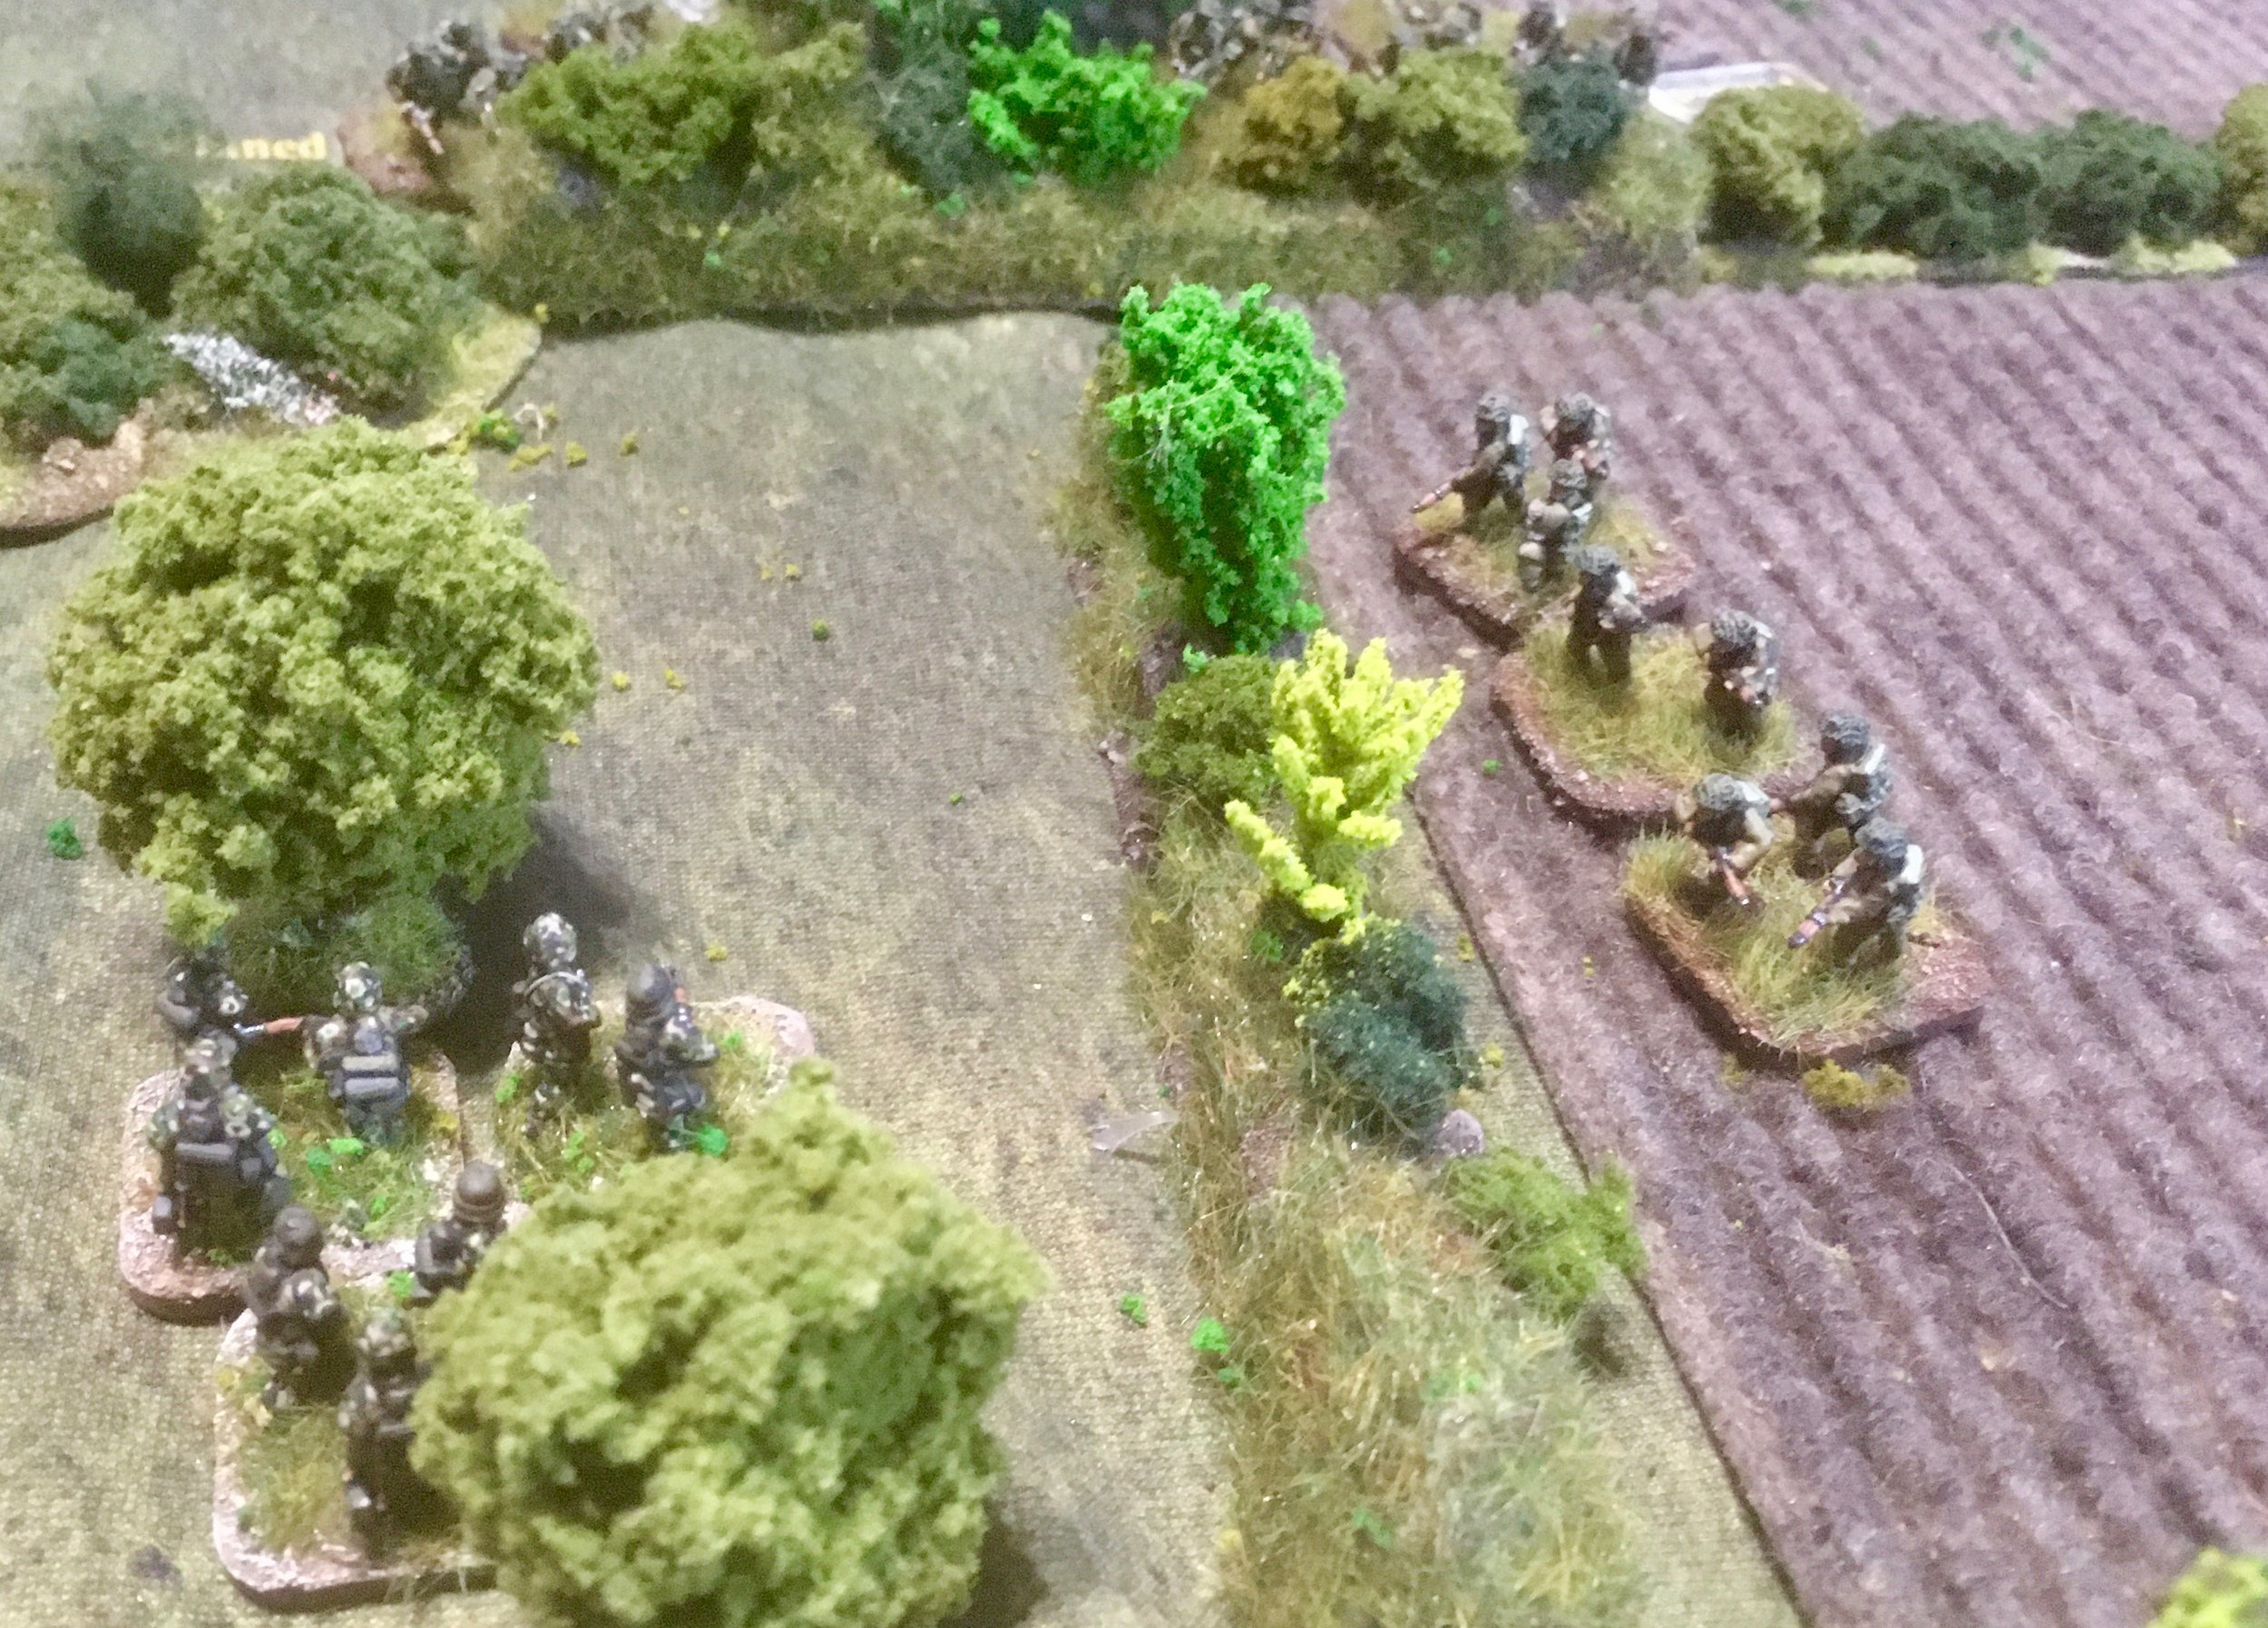
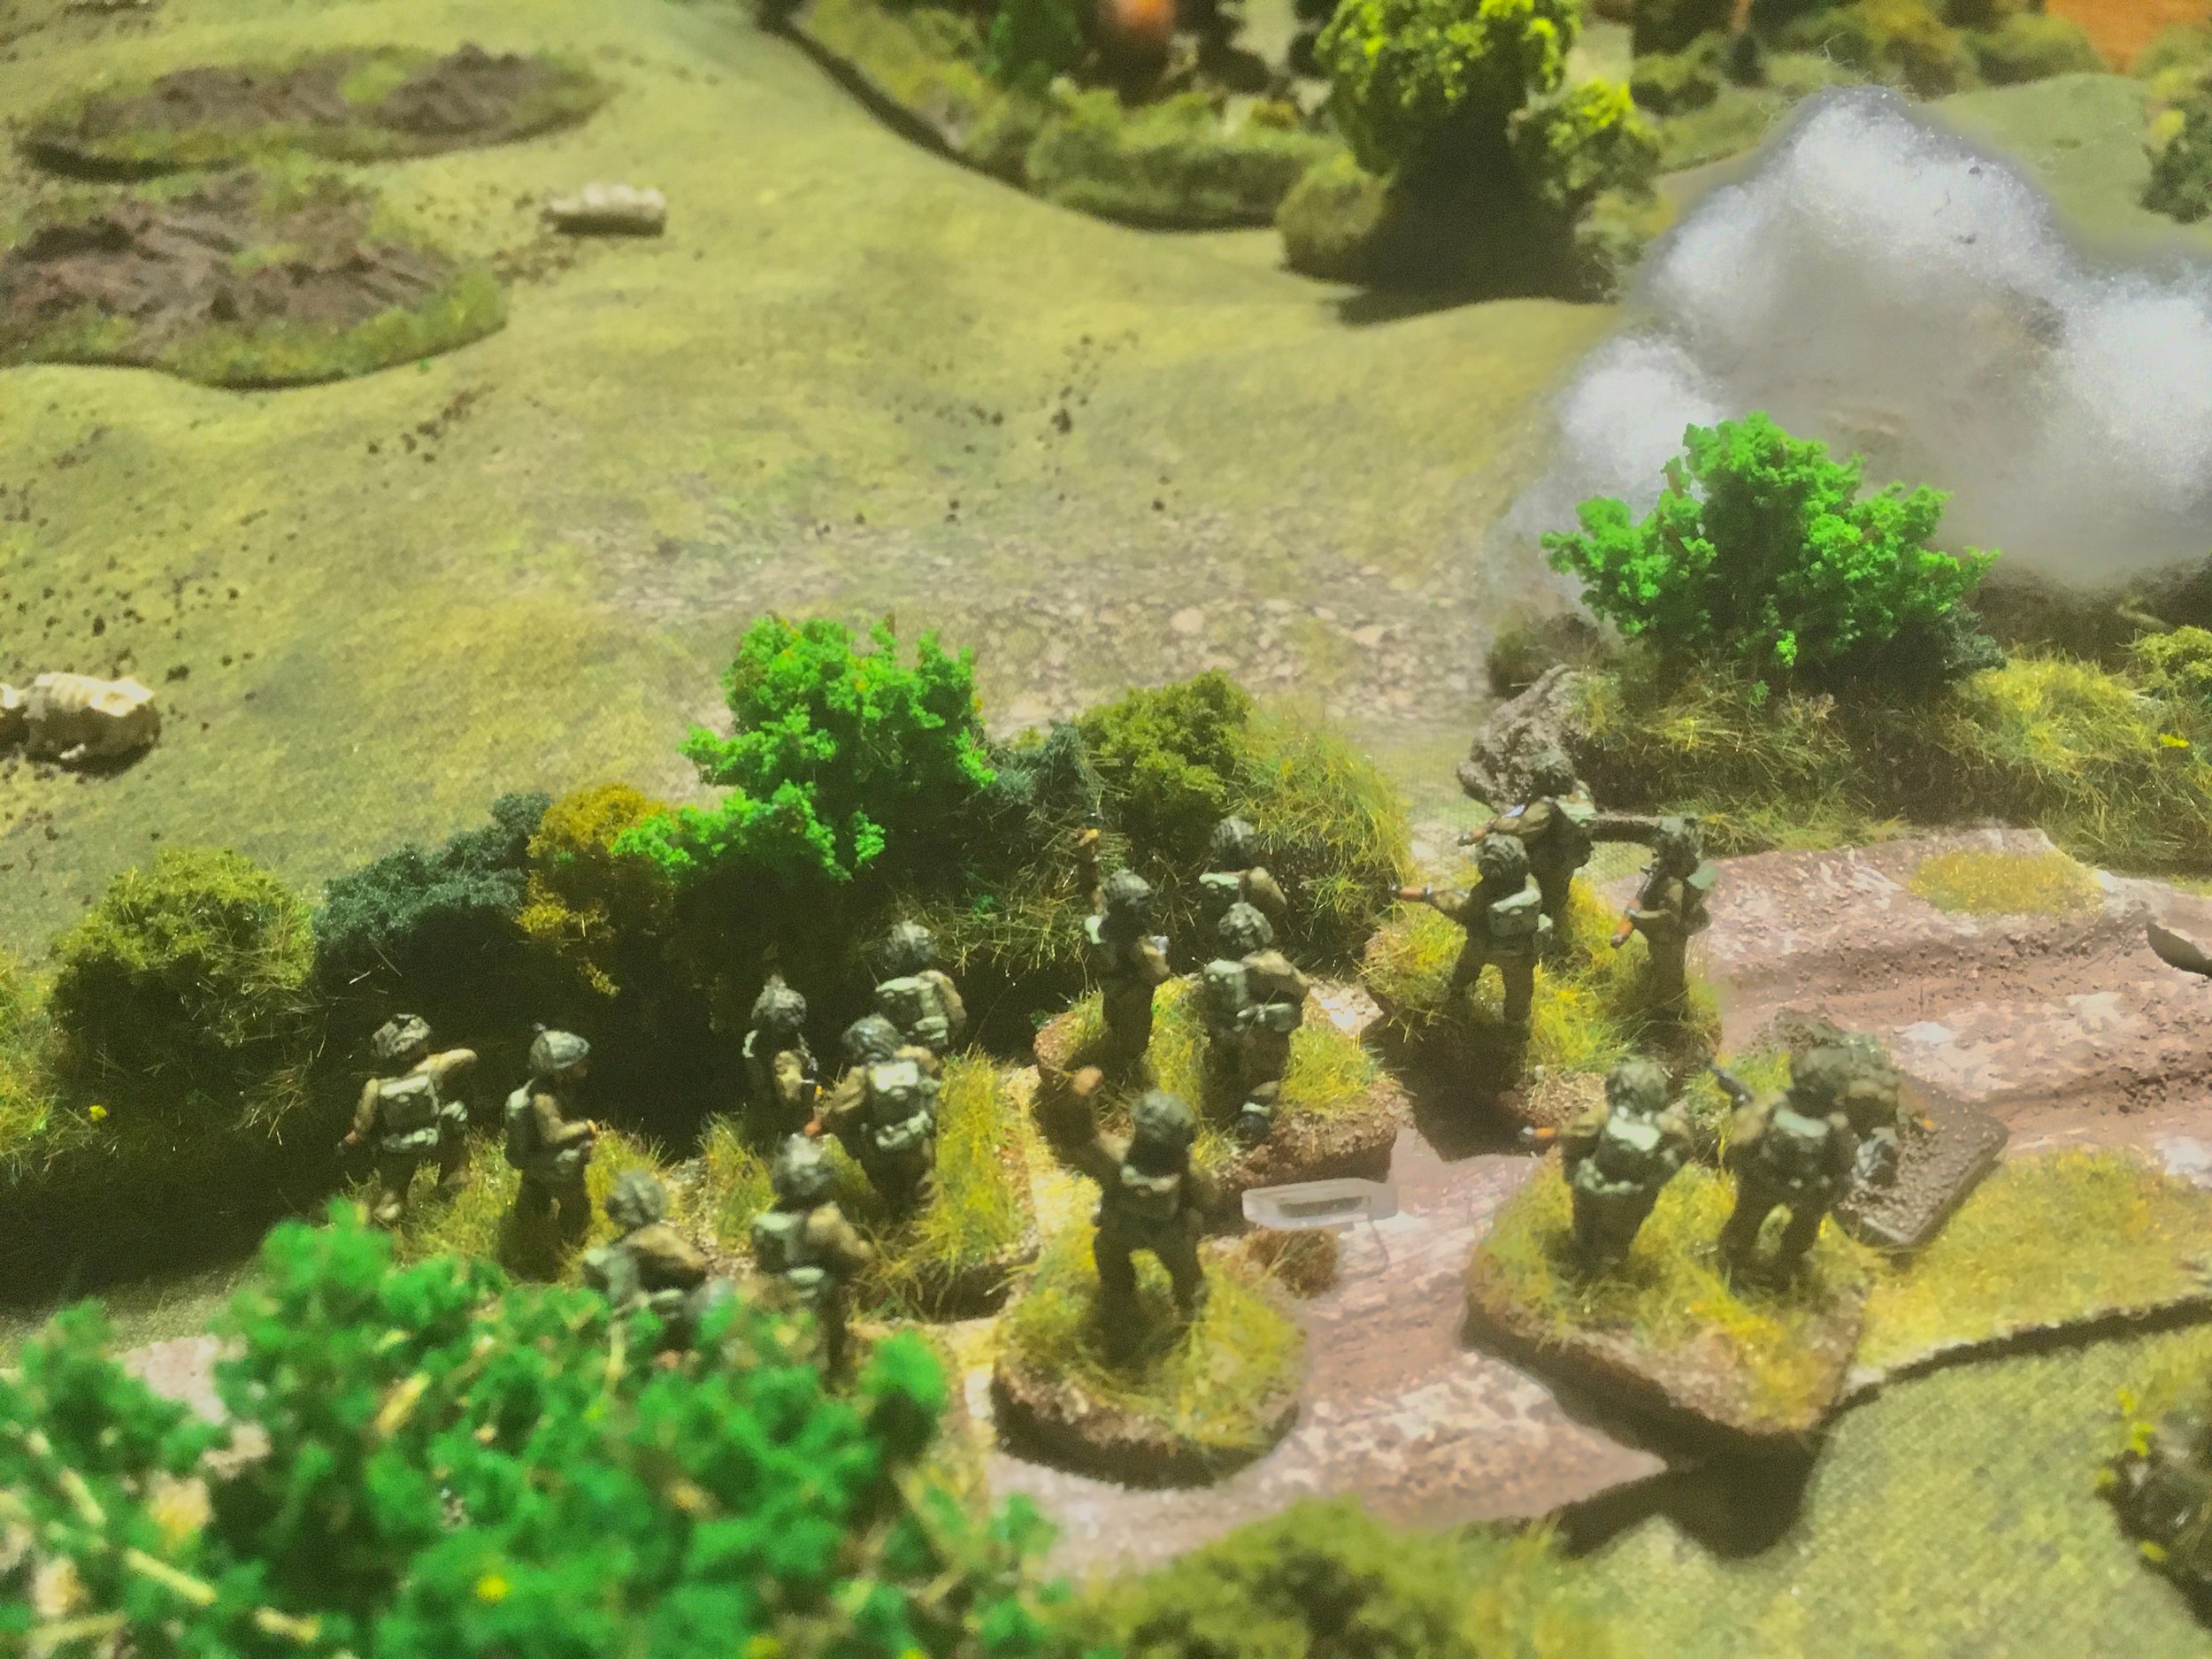
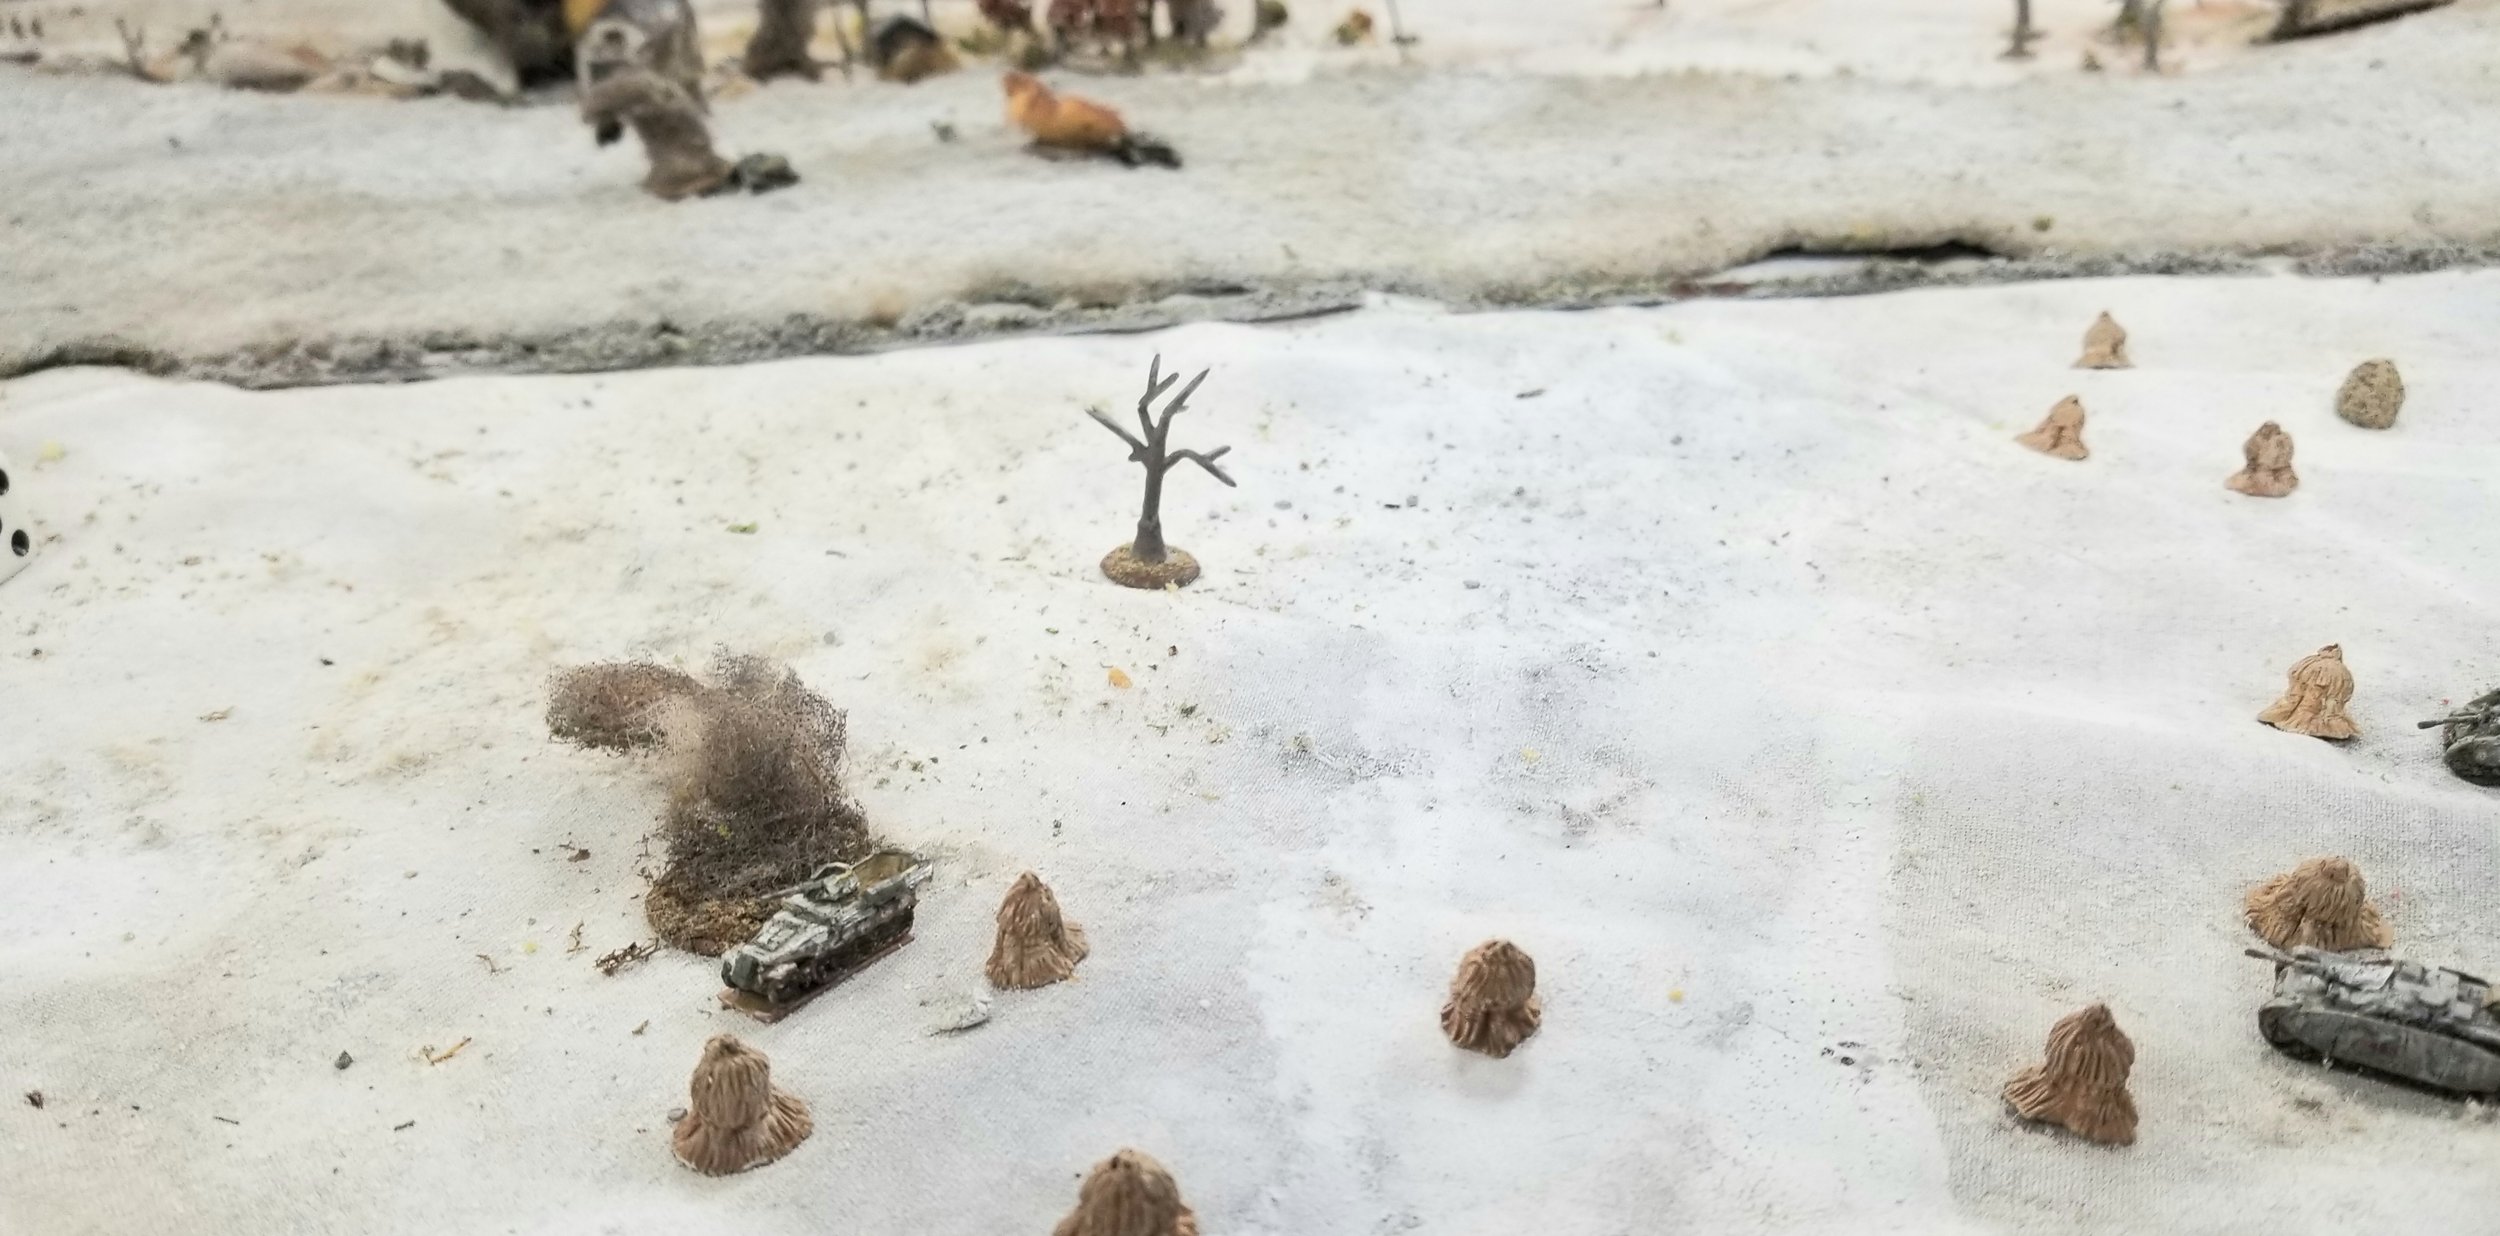
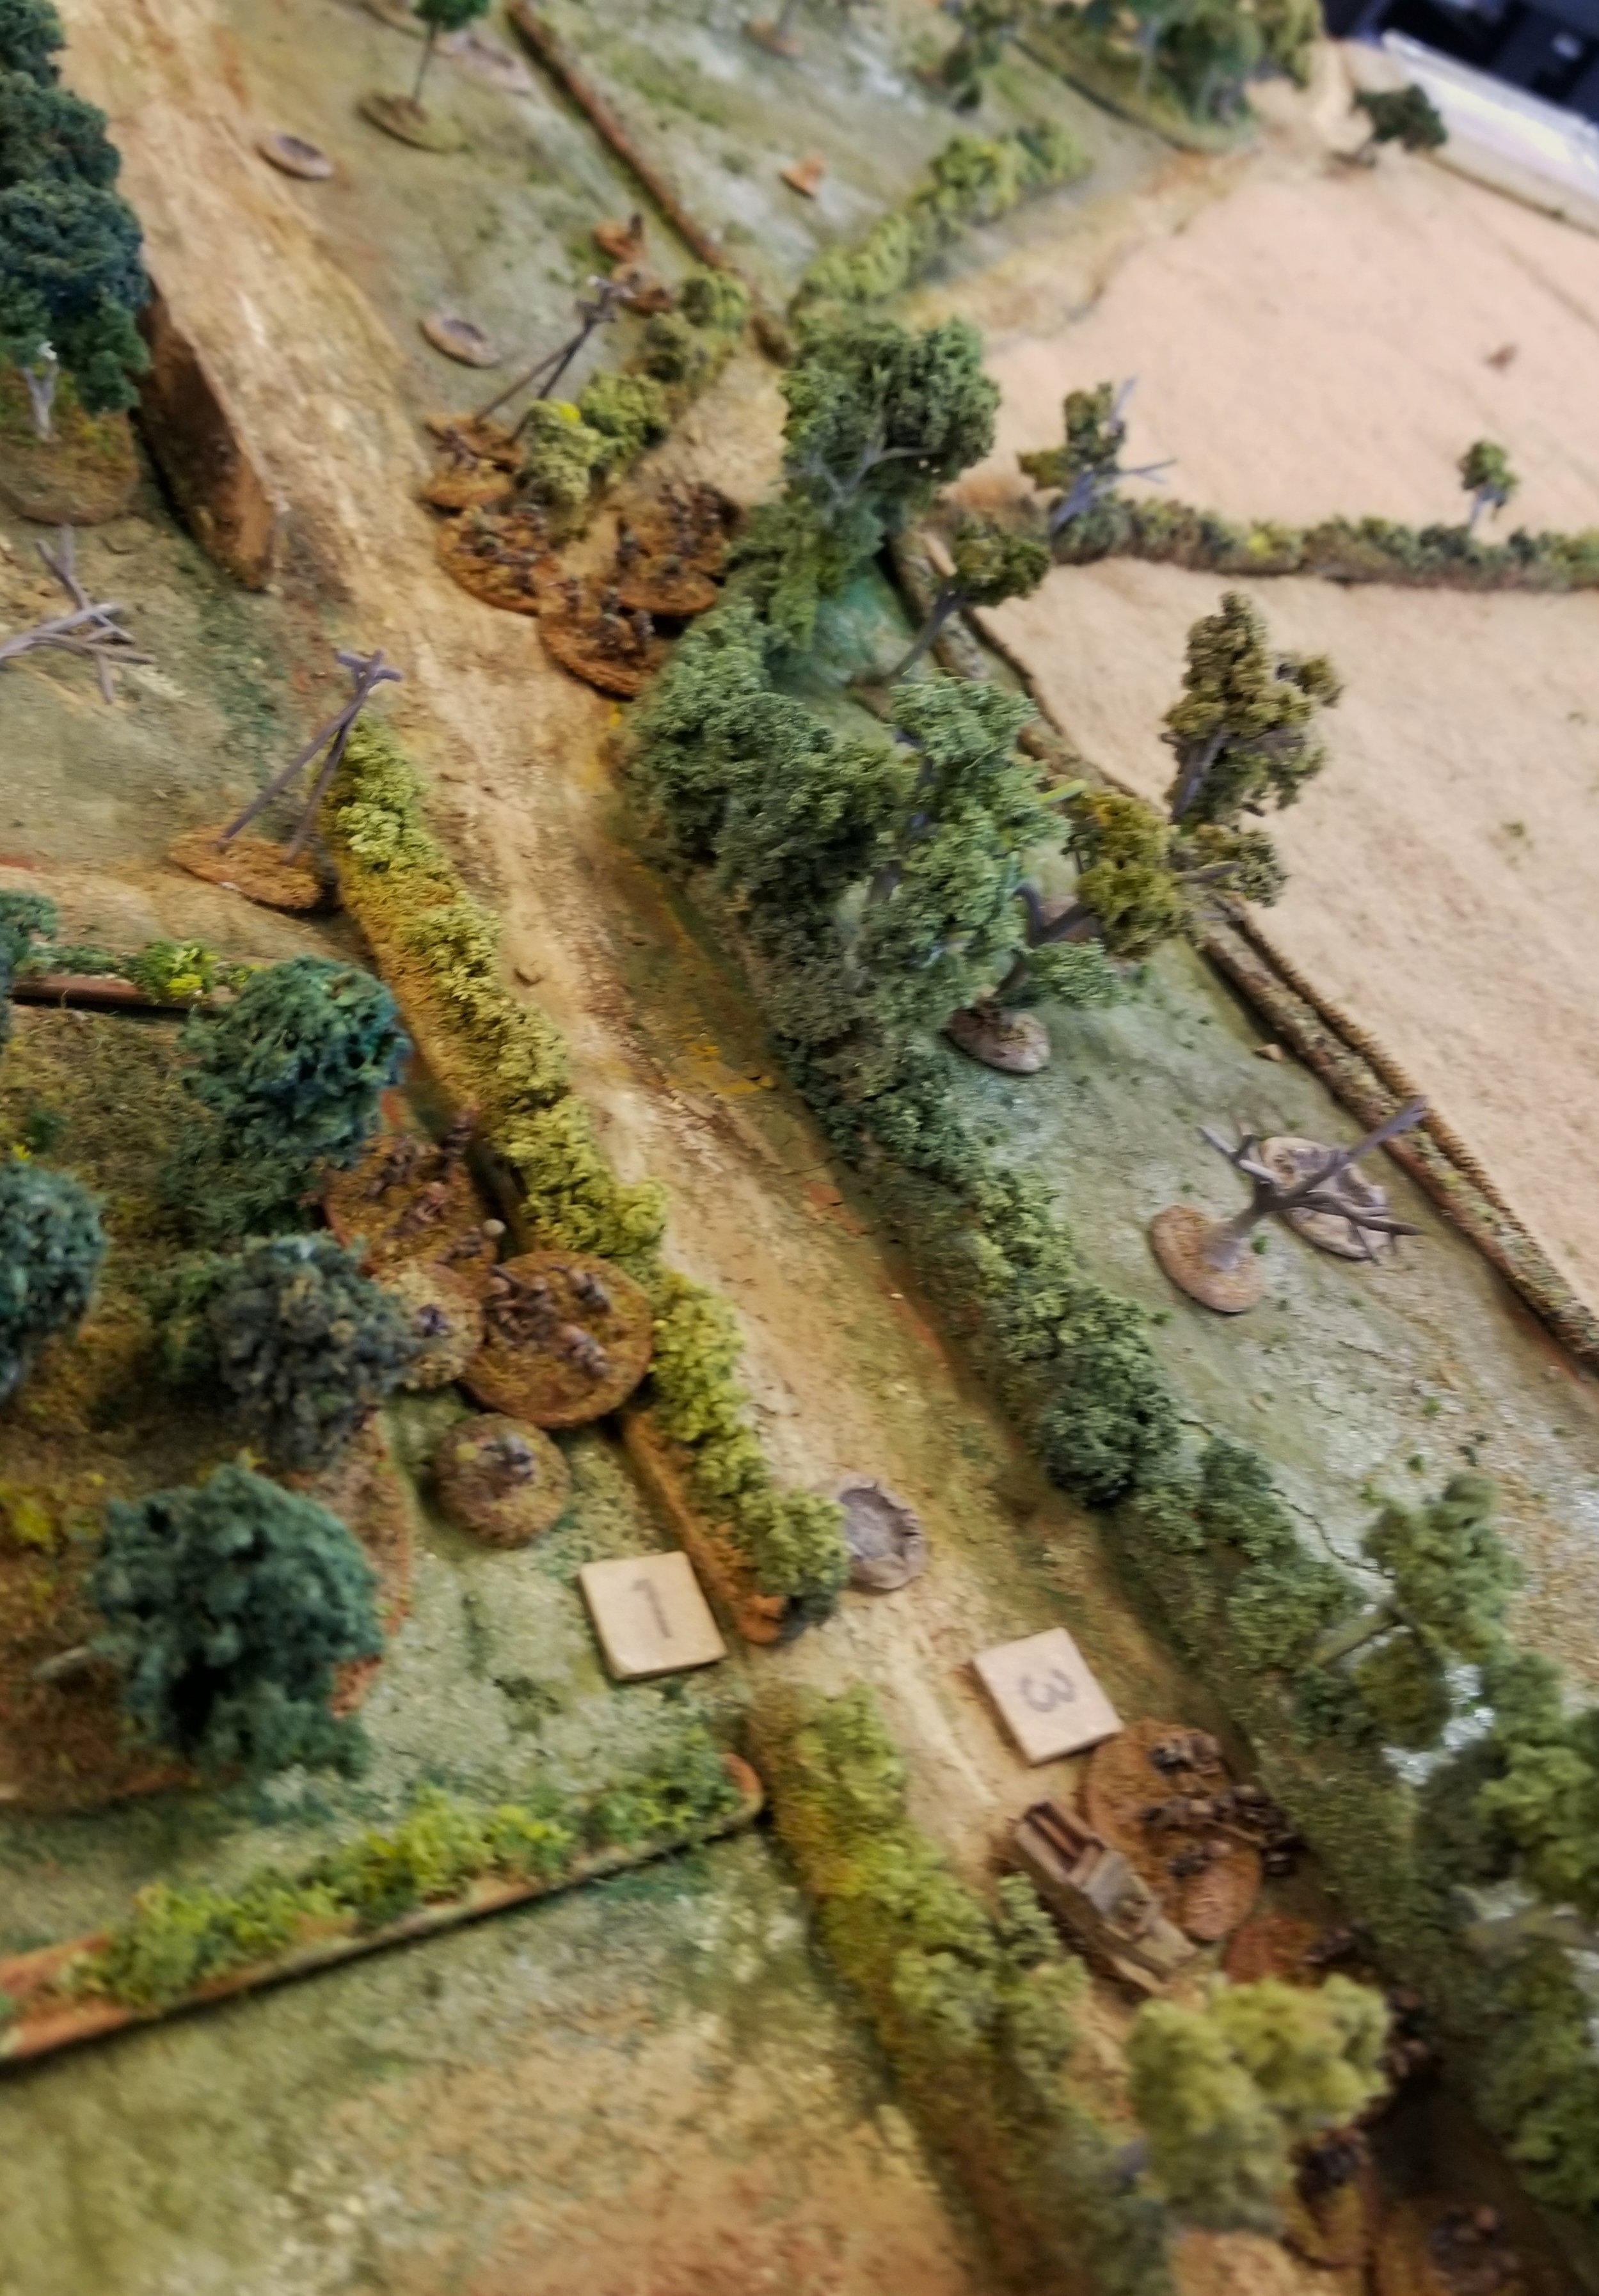
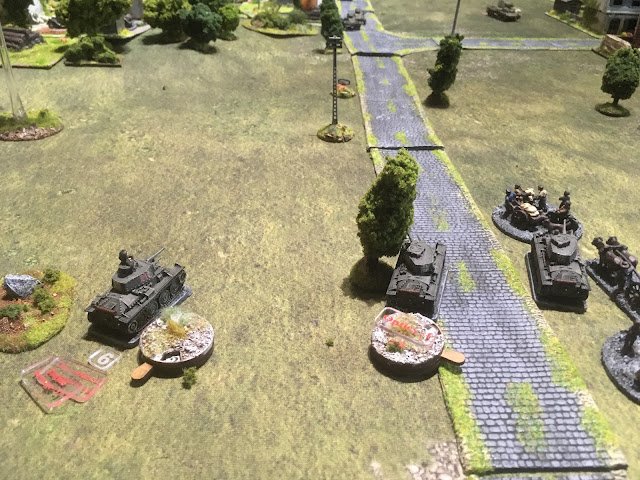
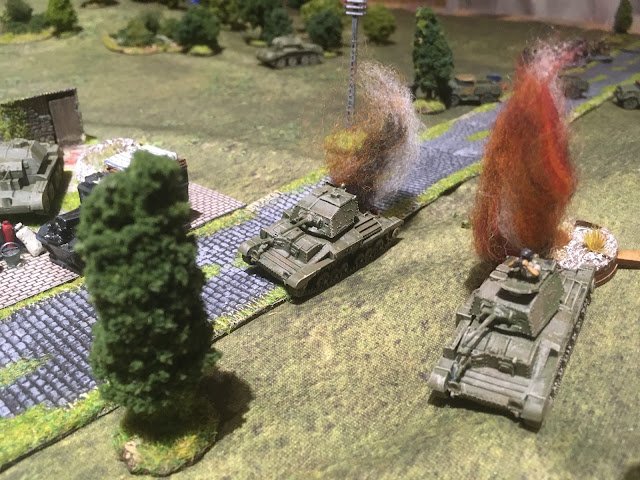
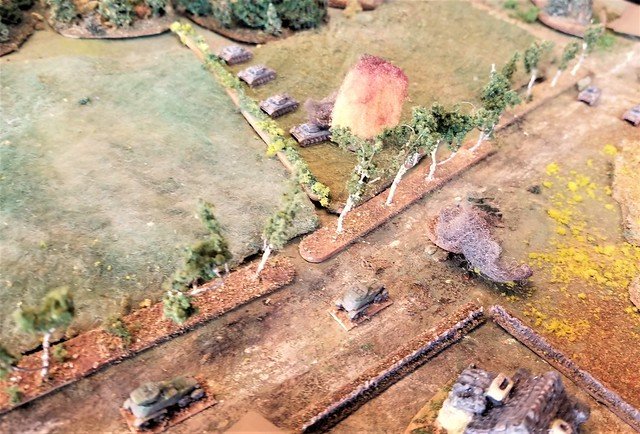
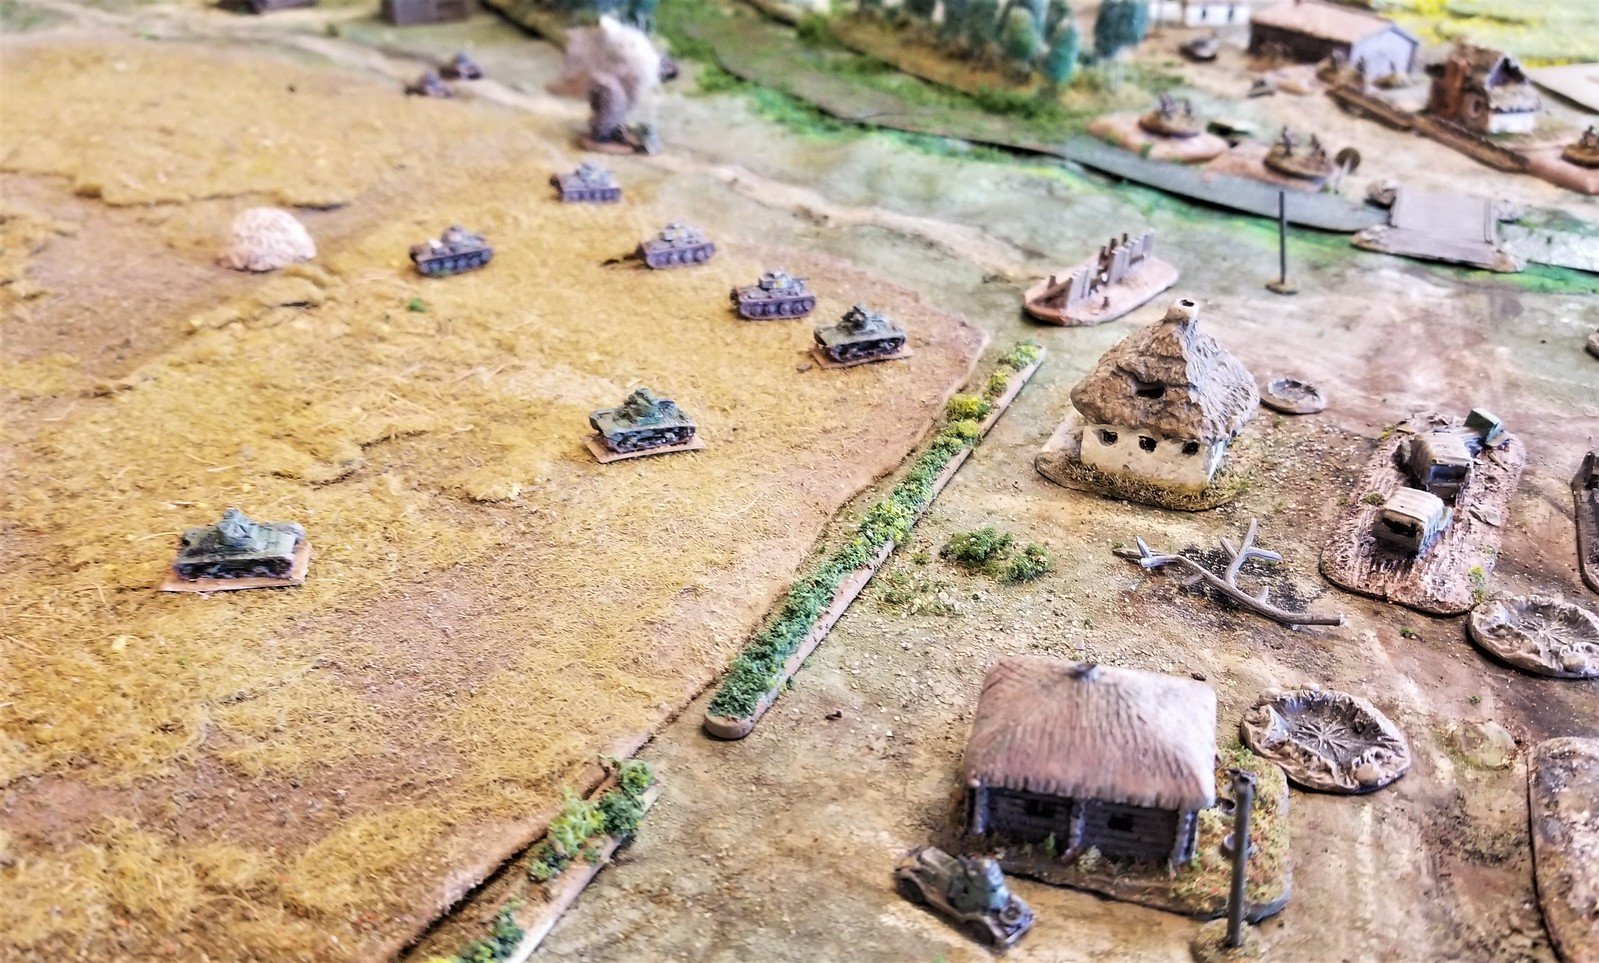
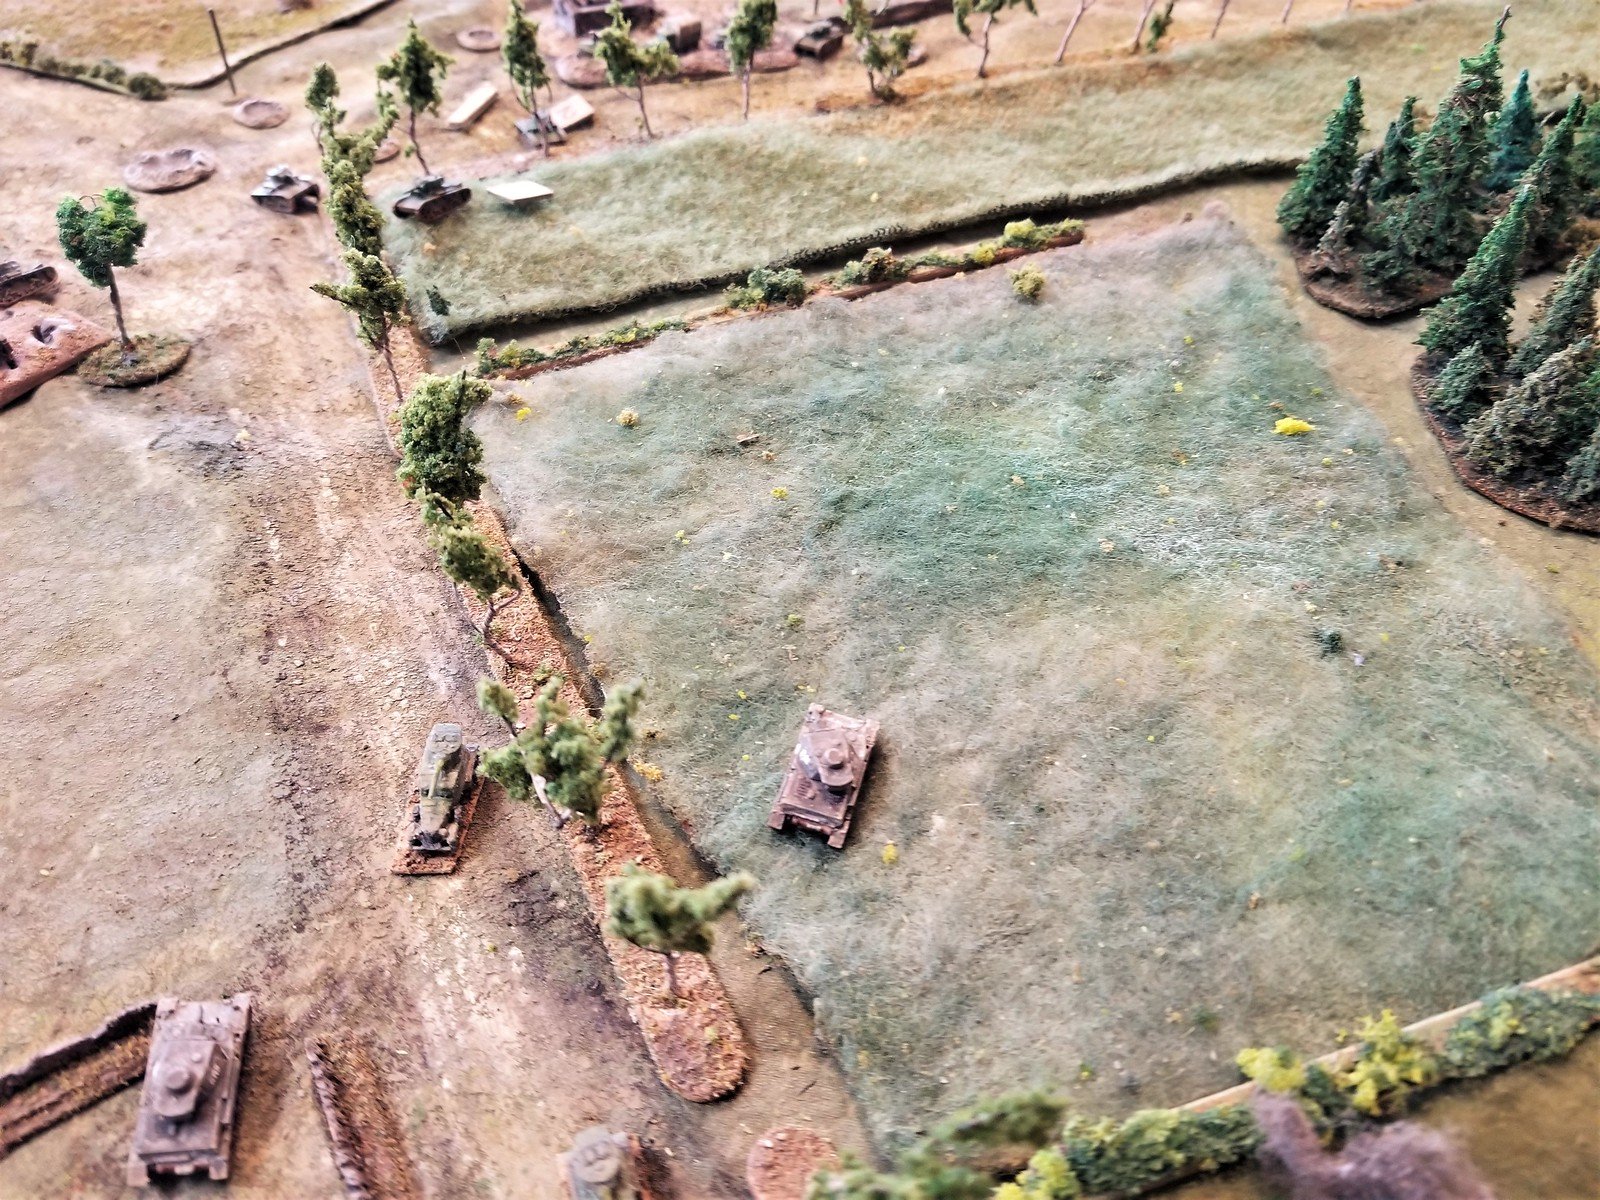
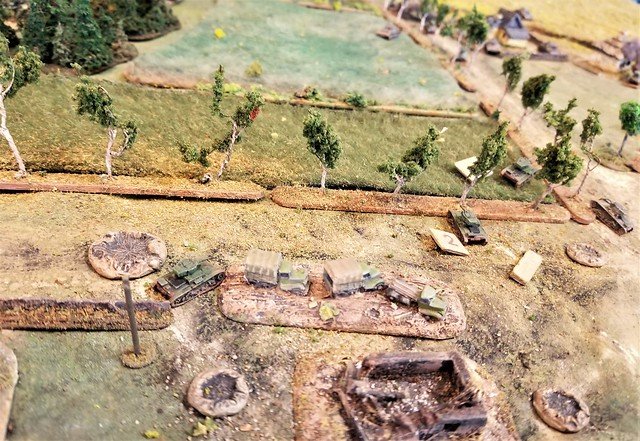
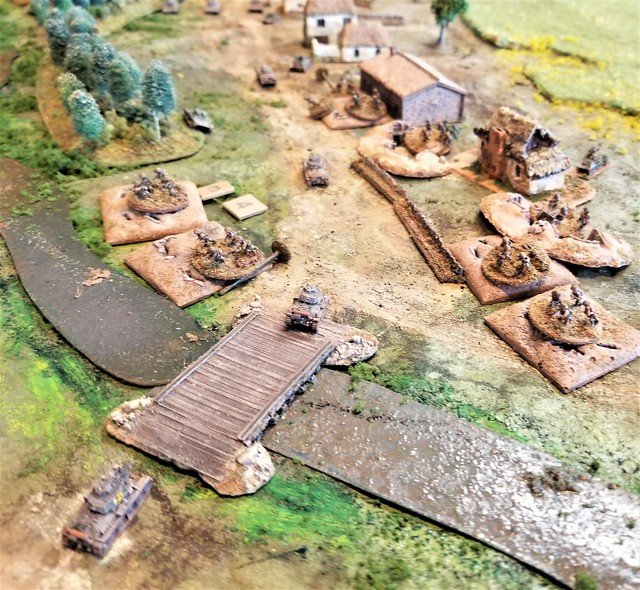
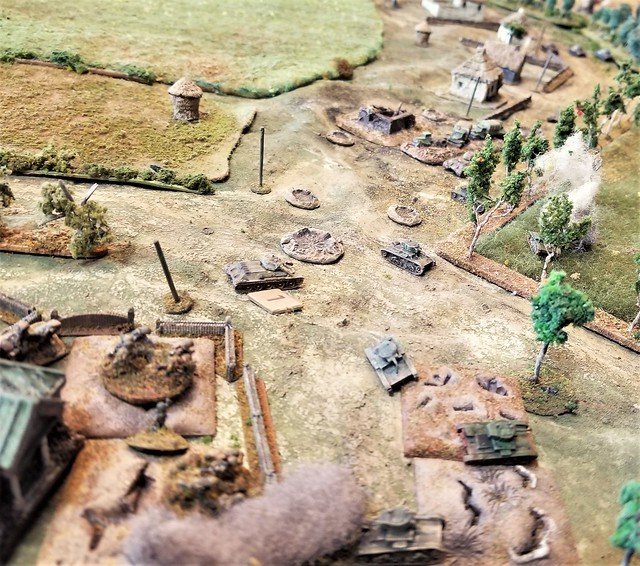
Using disabled and immobile tanks for cover, 2nd Platoon crossed and began to head to the left, but were caught out in the open and were cut to bits by the American defenders, and a friendly artillery strike that landed short.

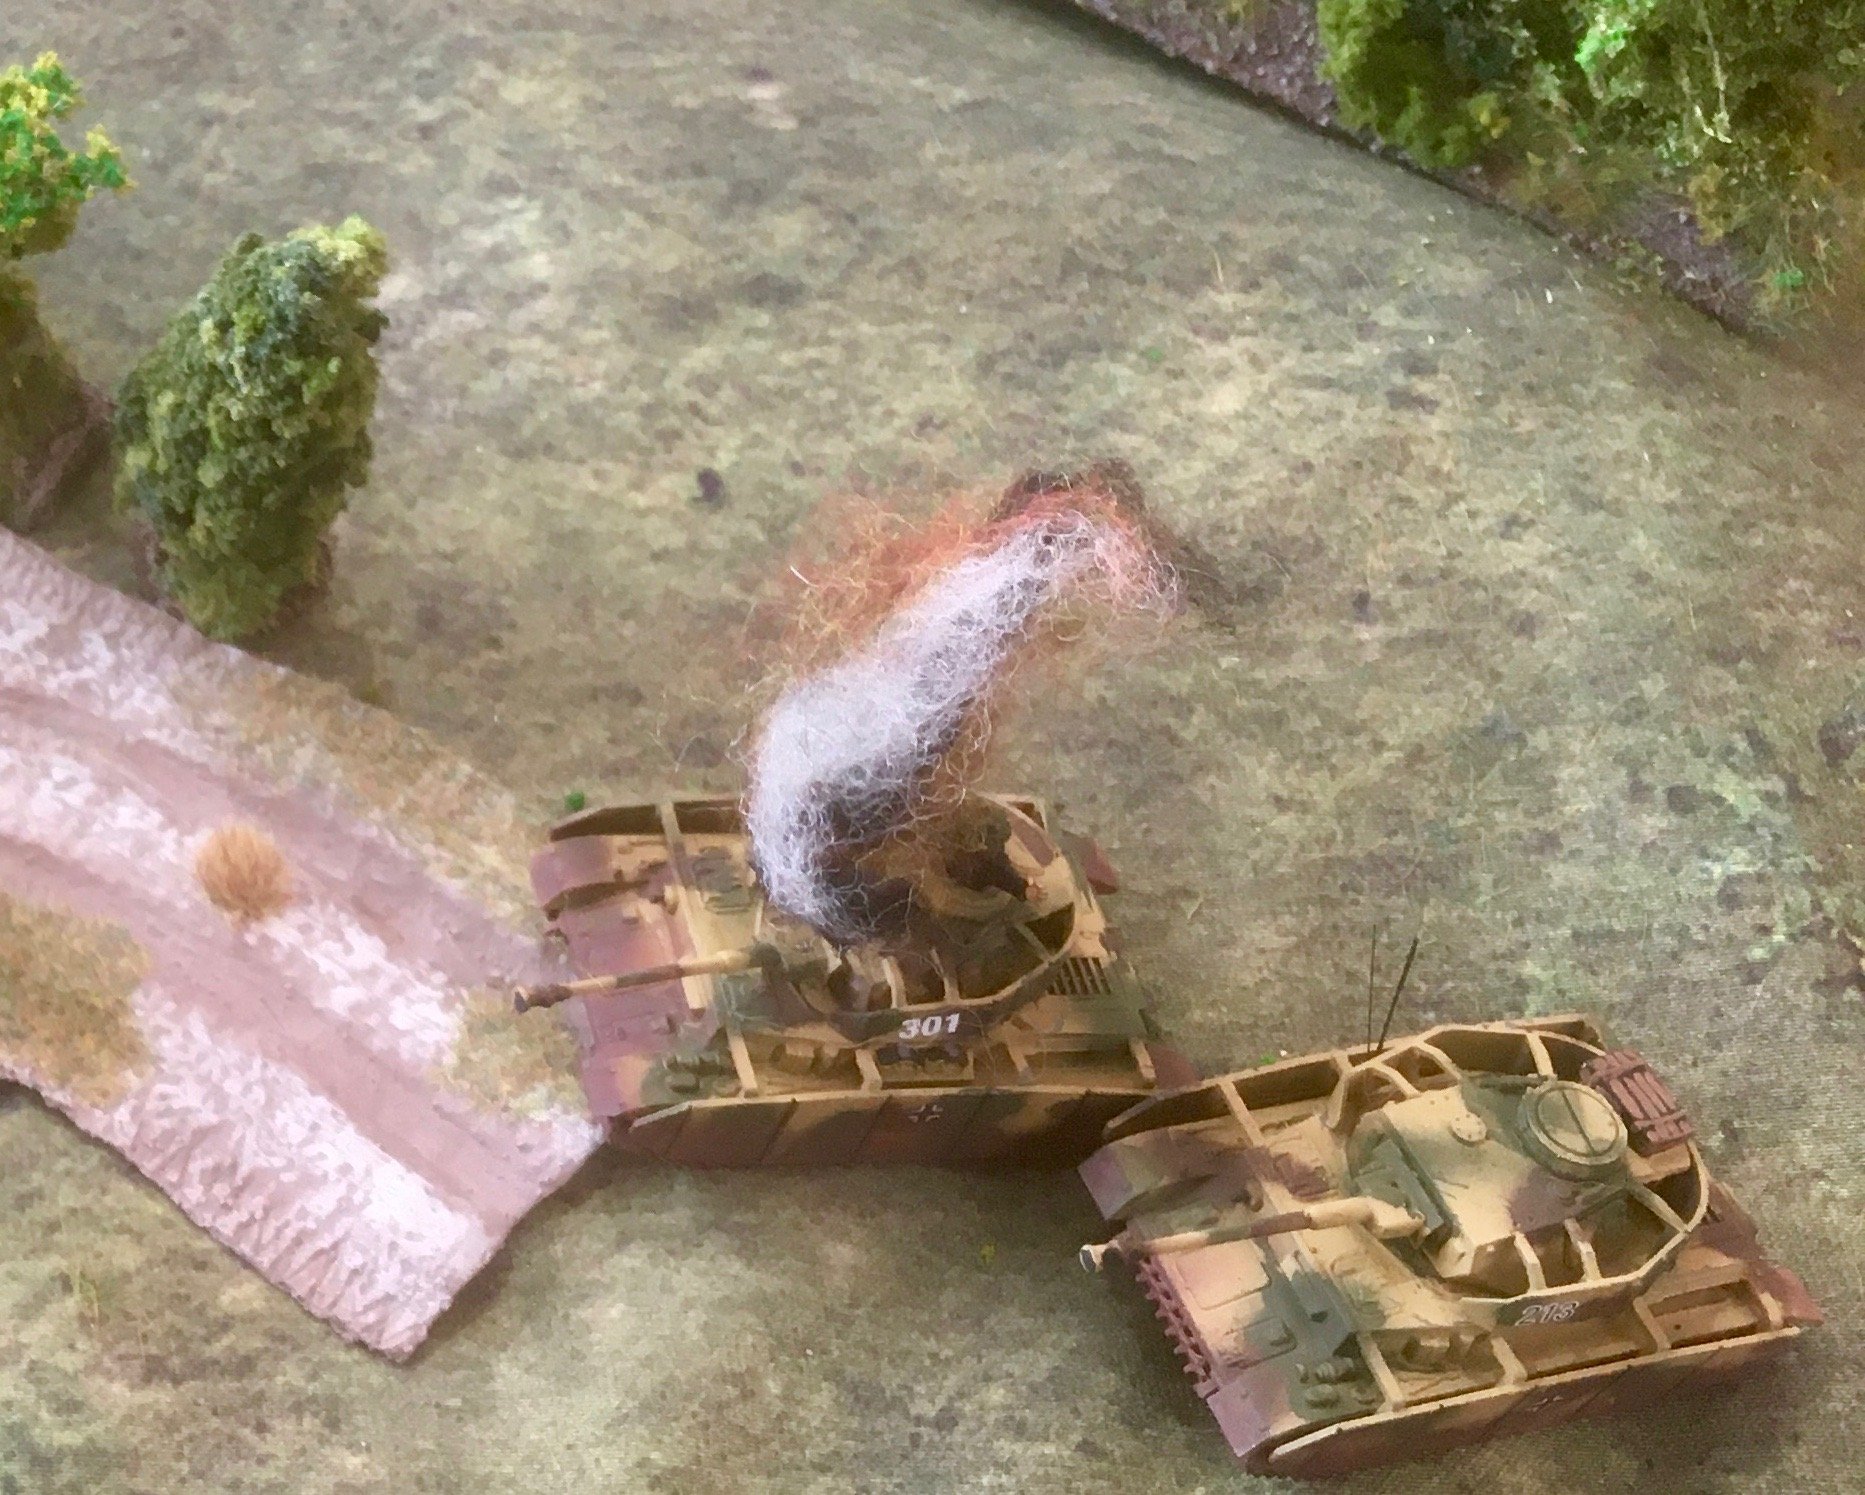
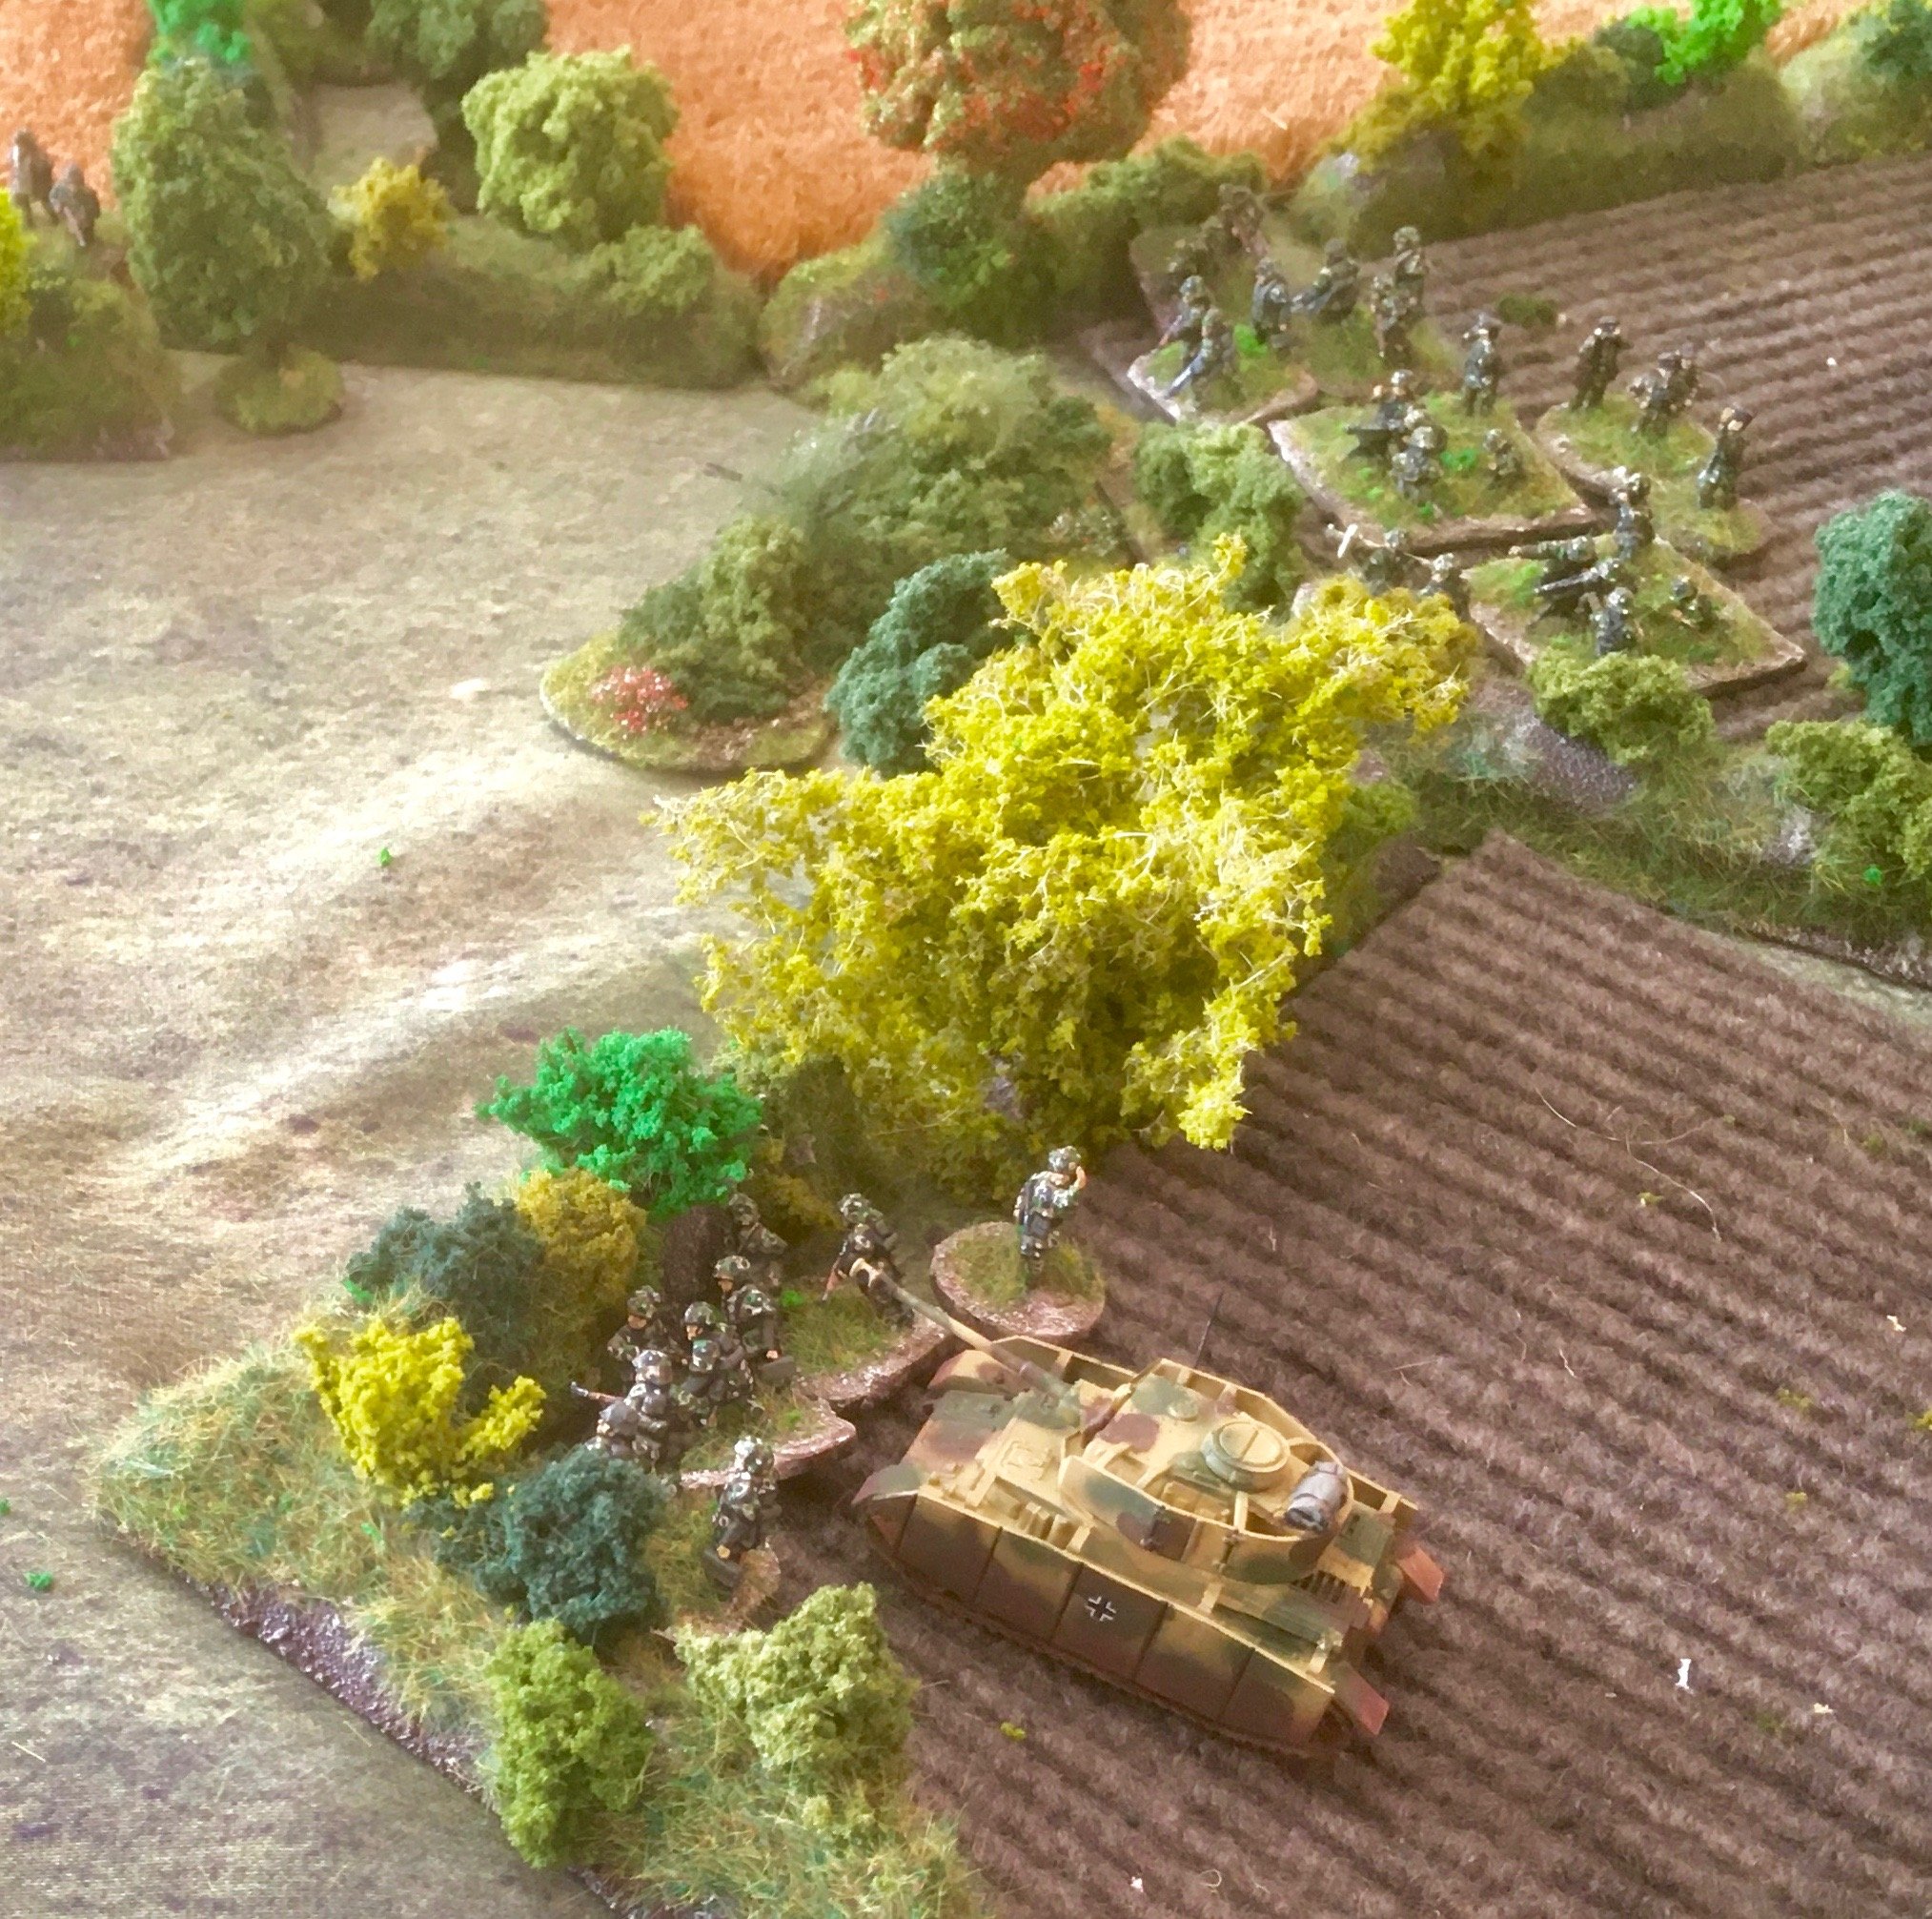
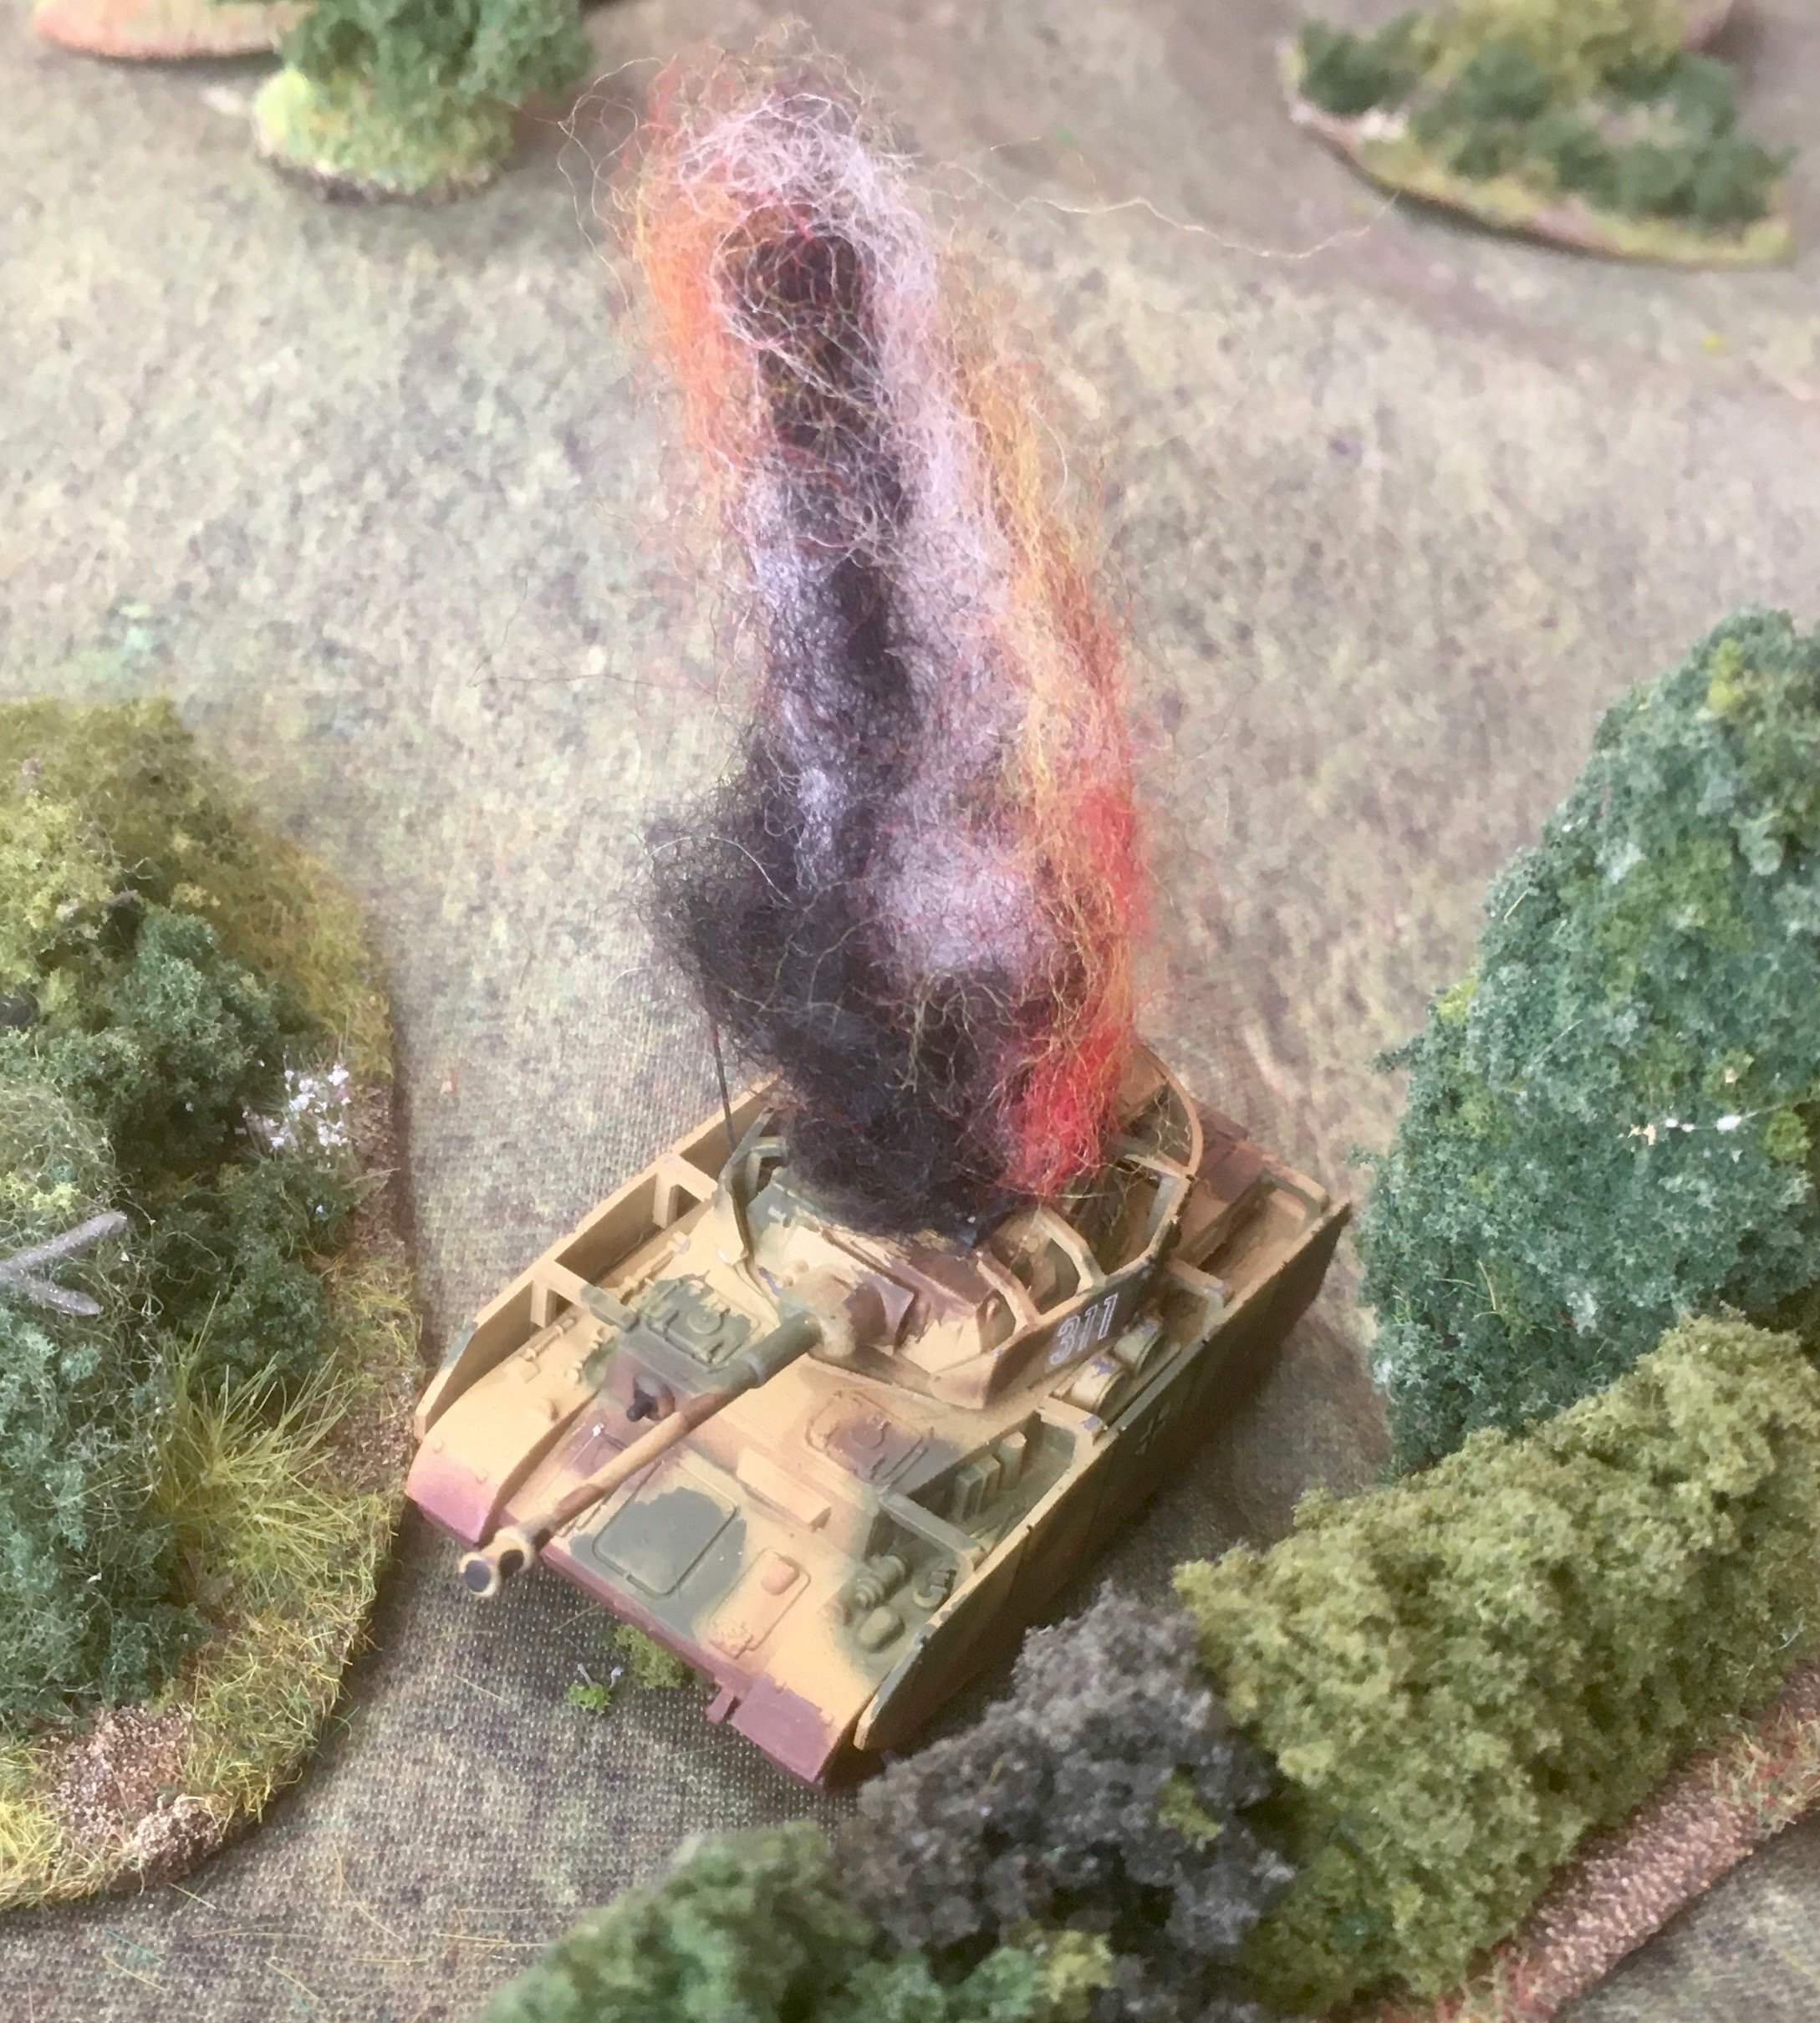
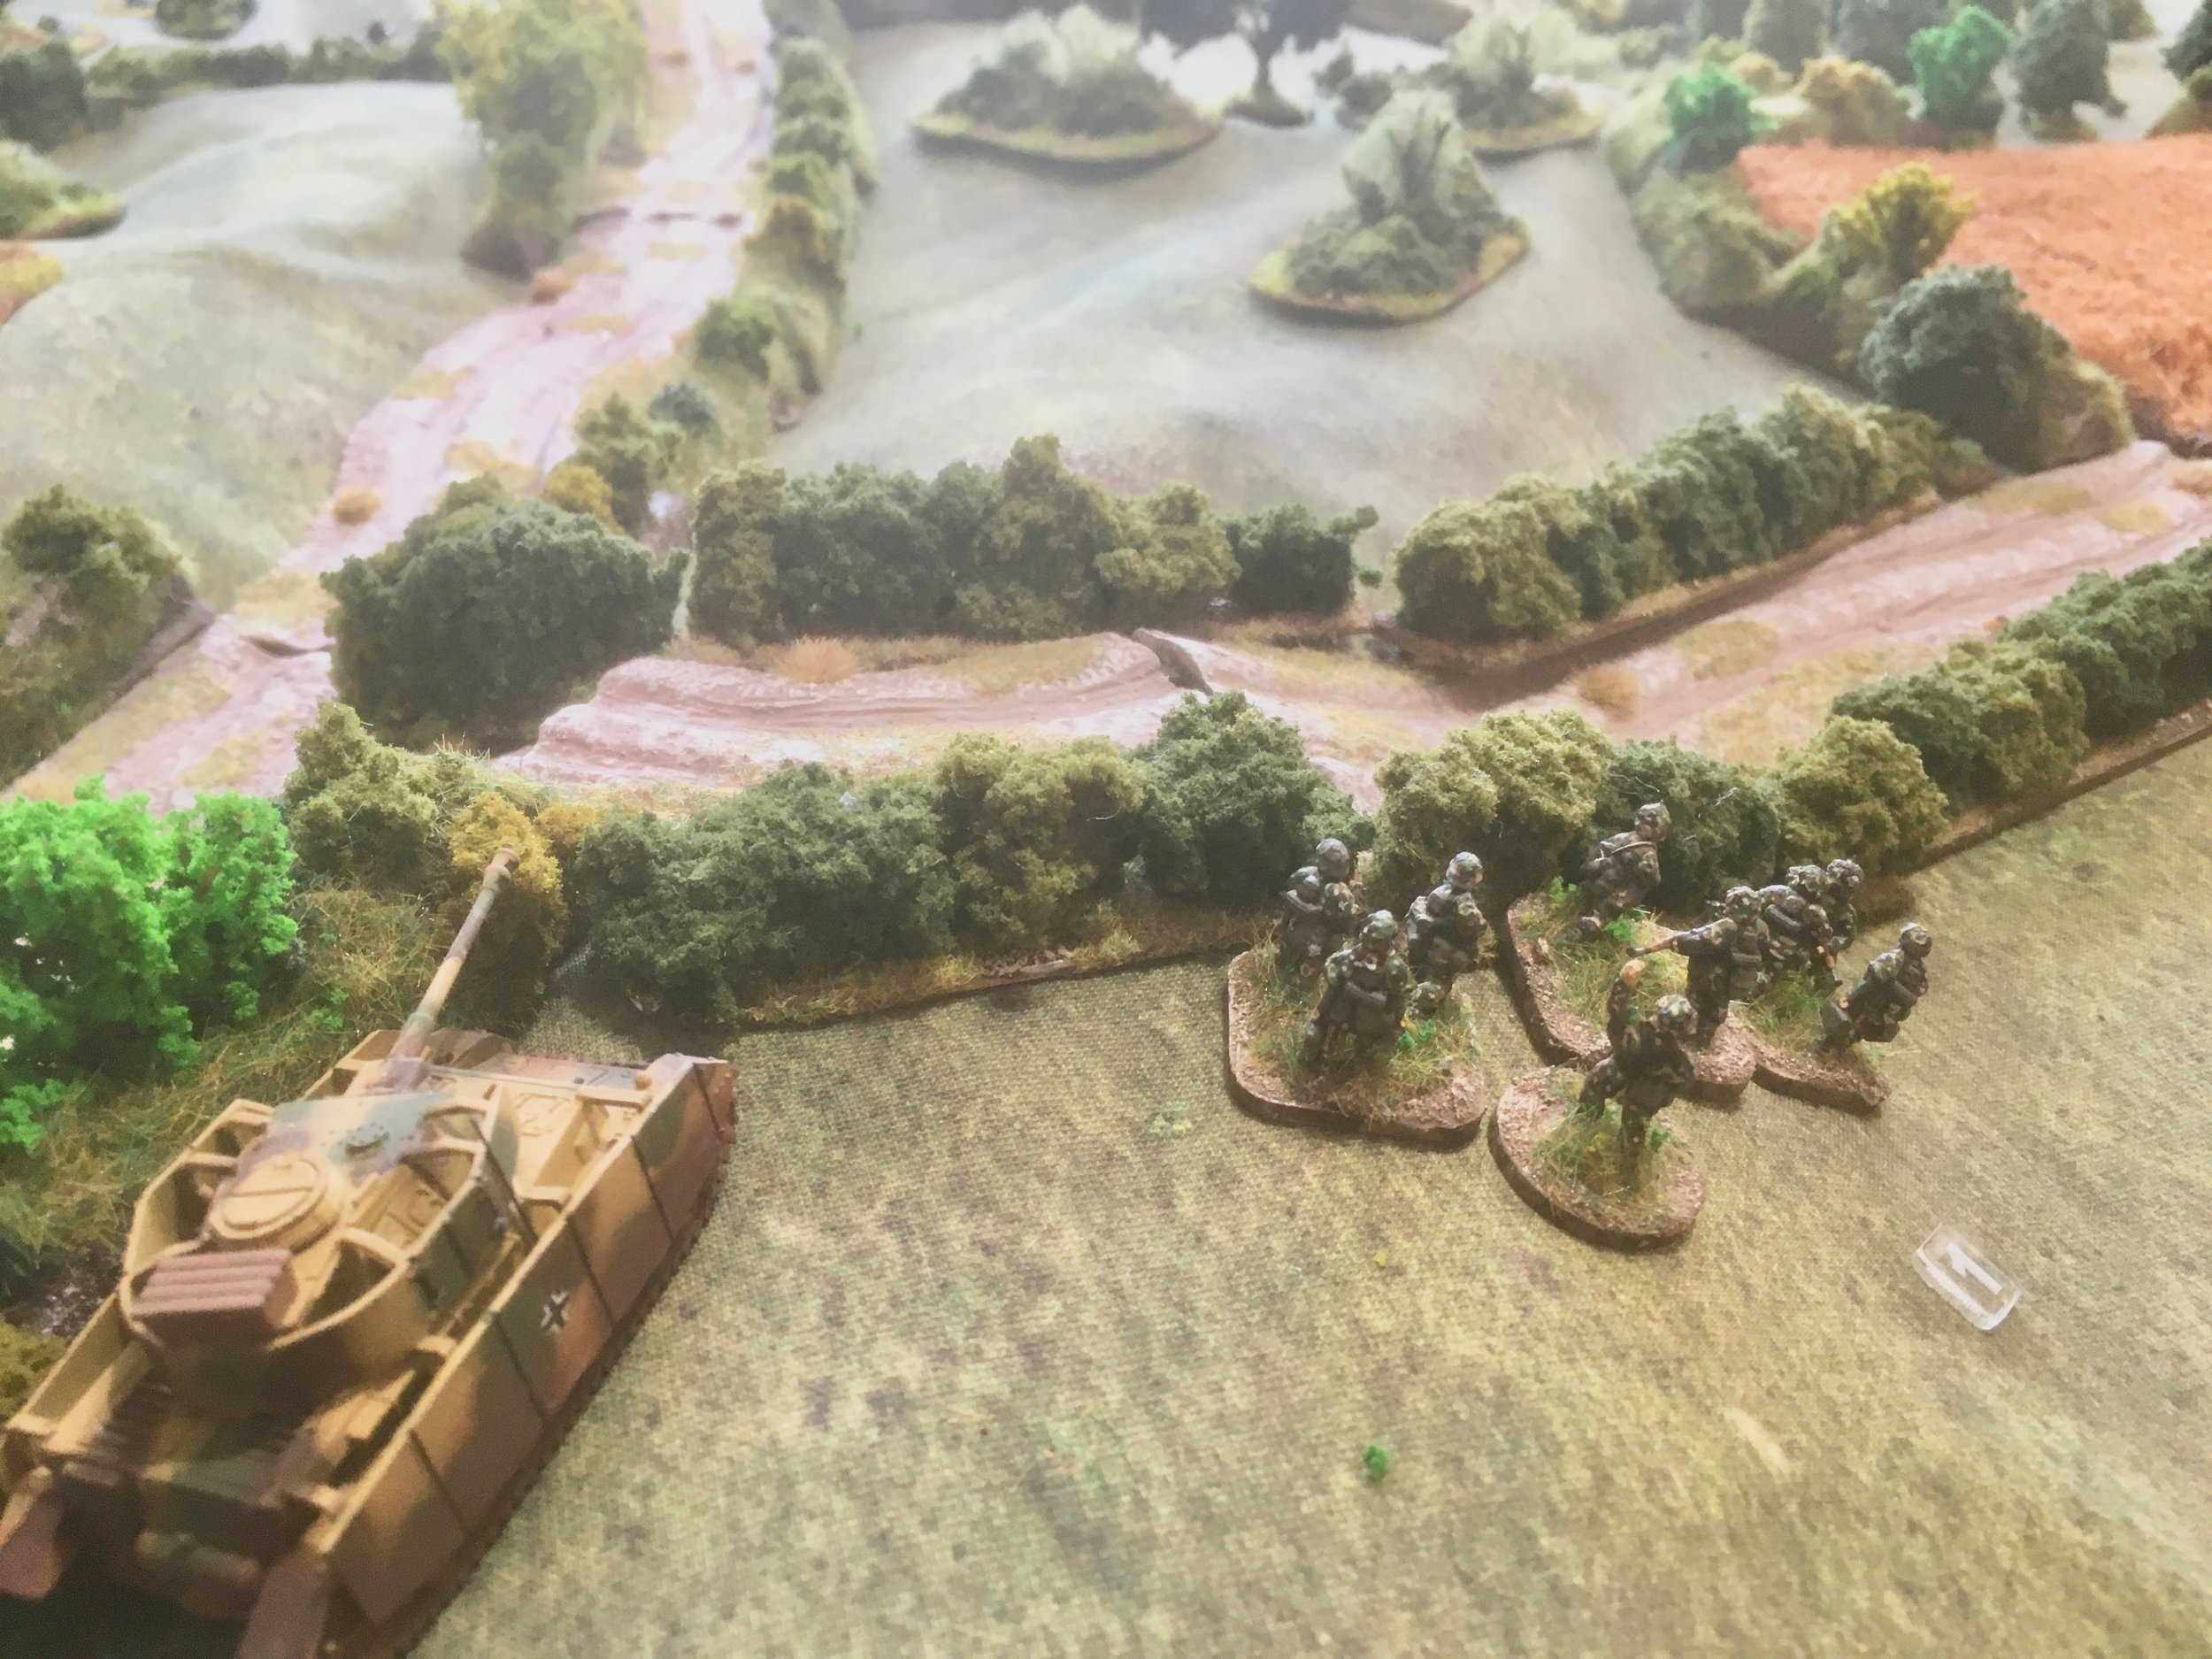
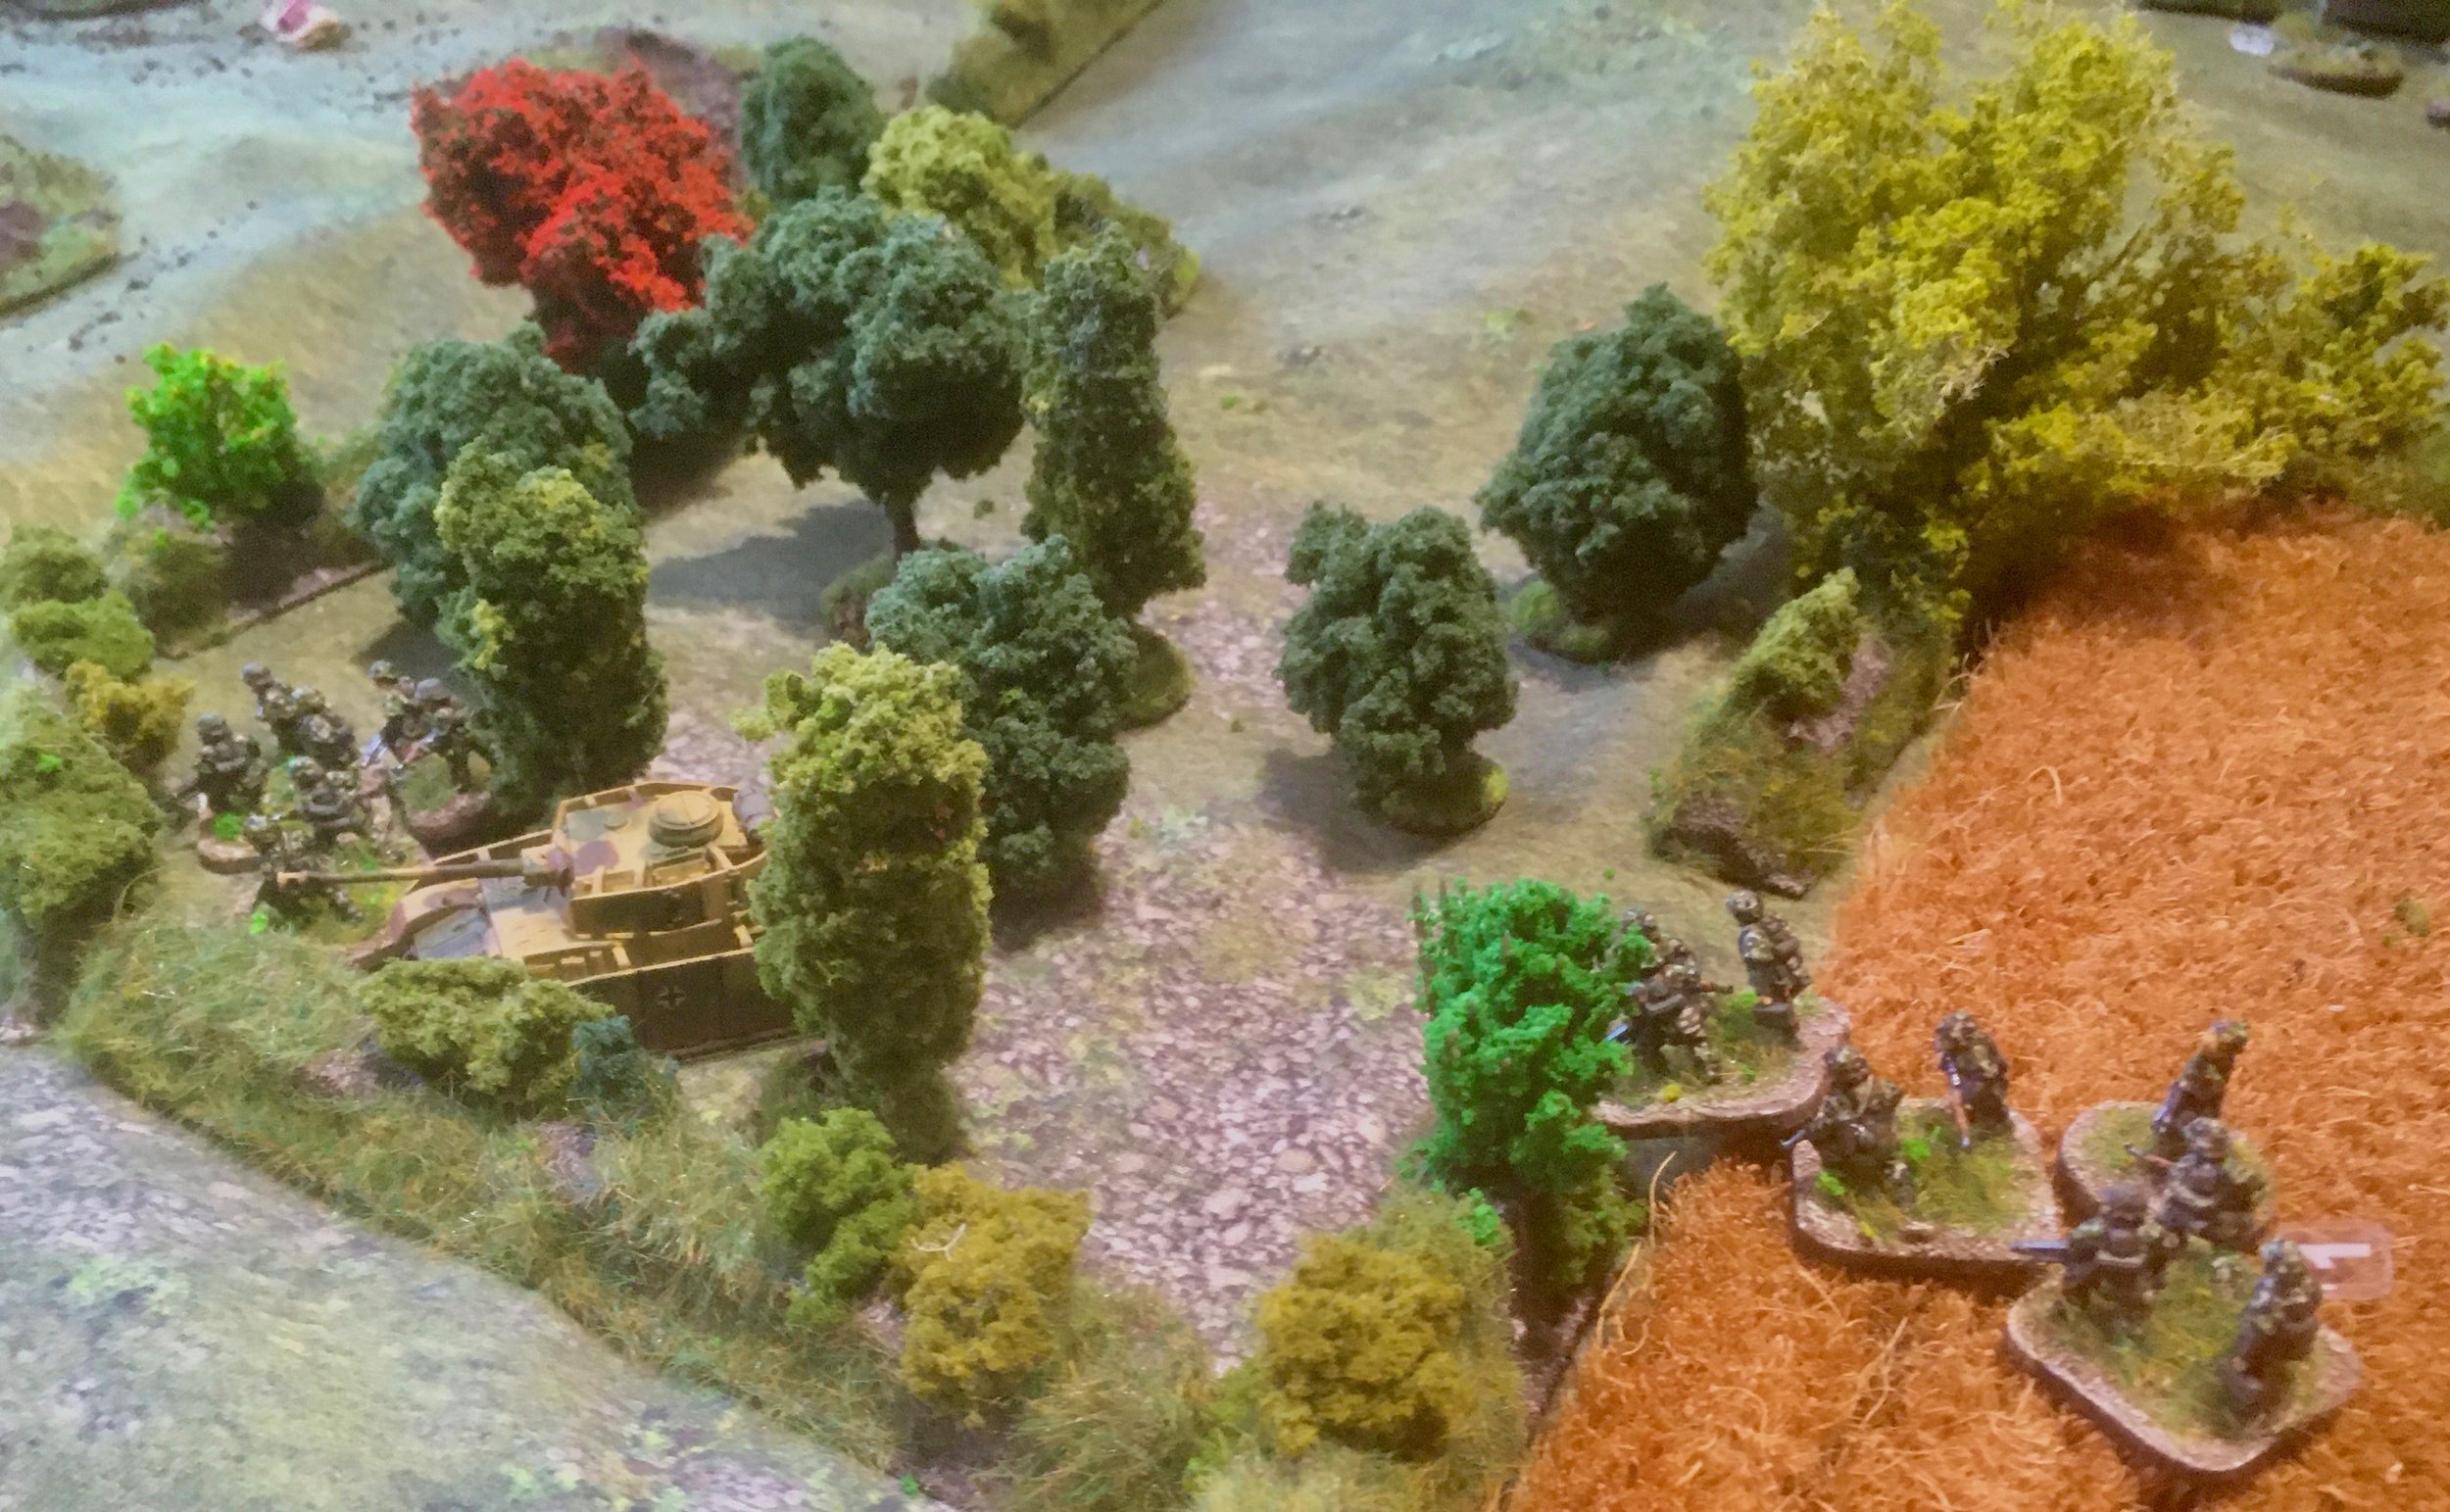
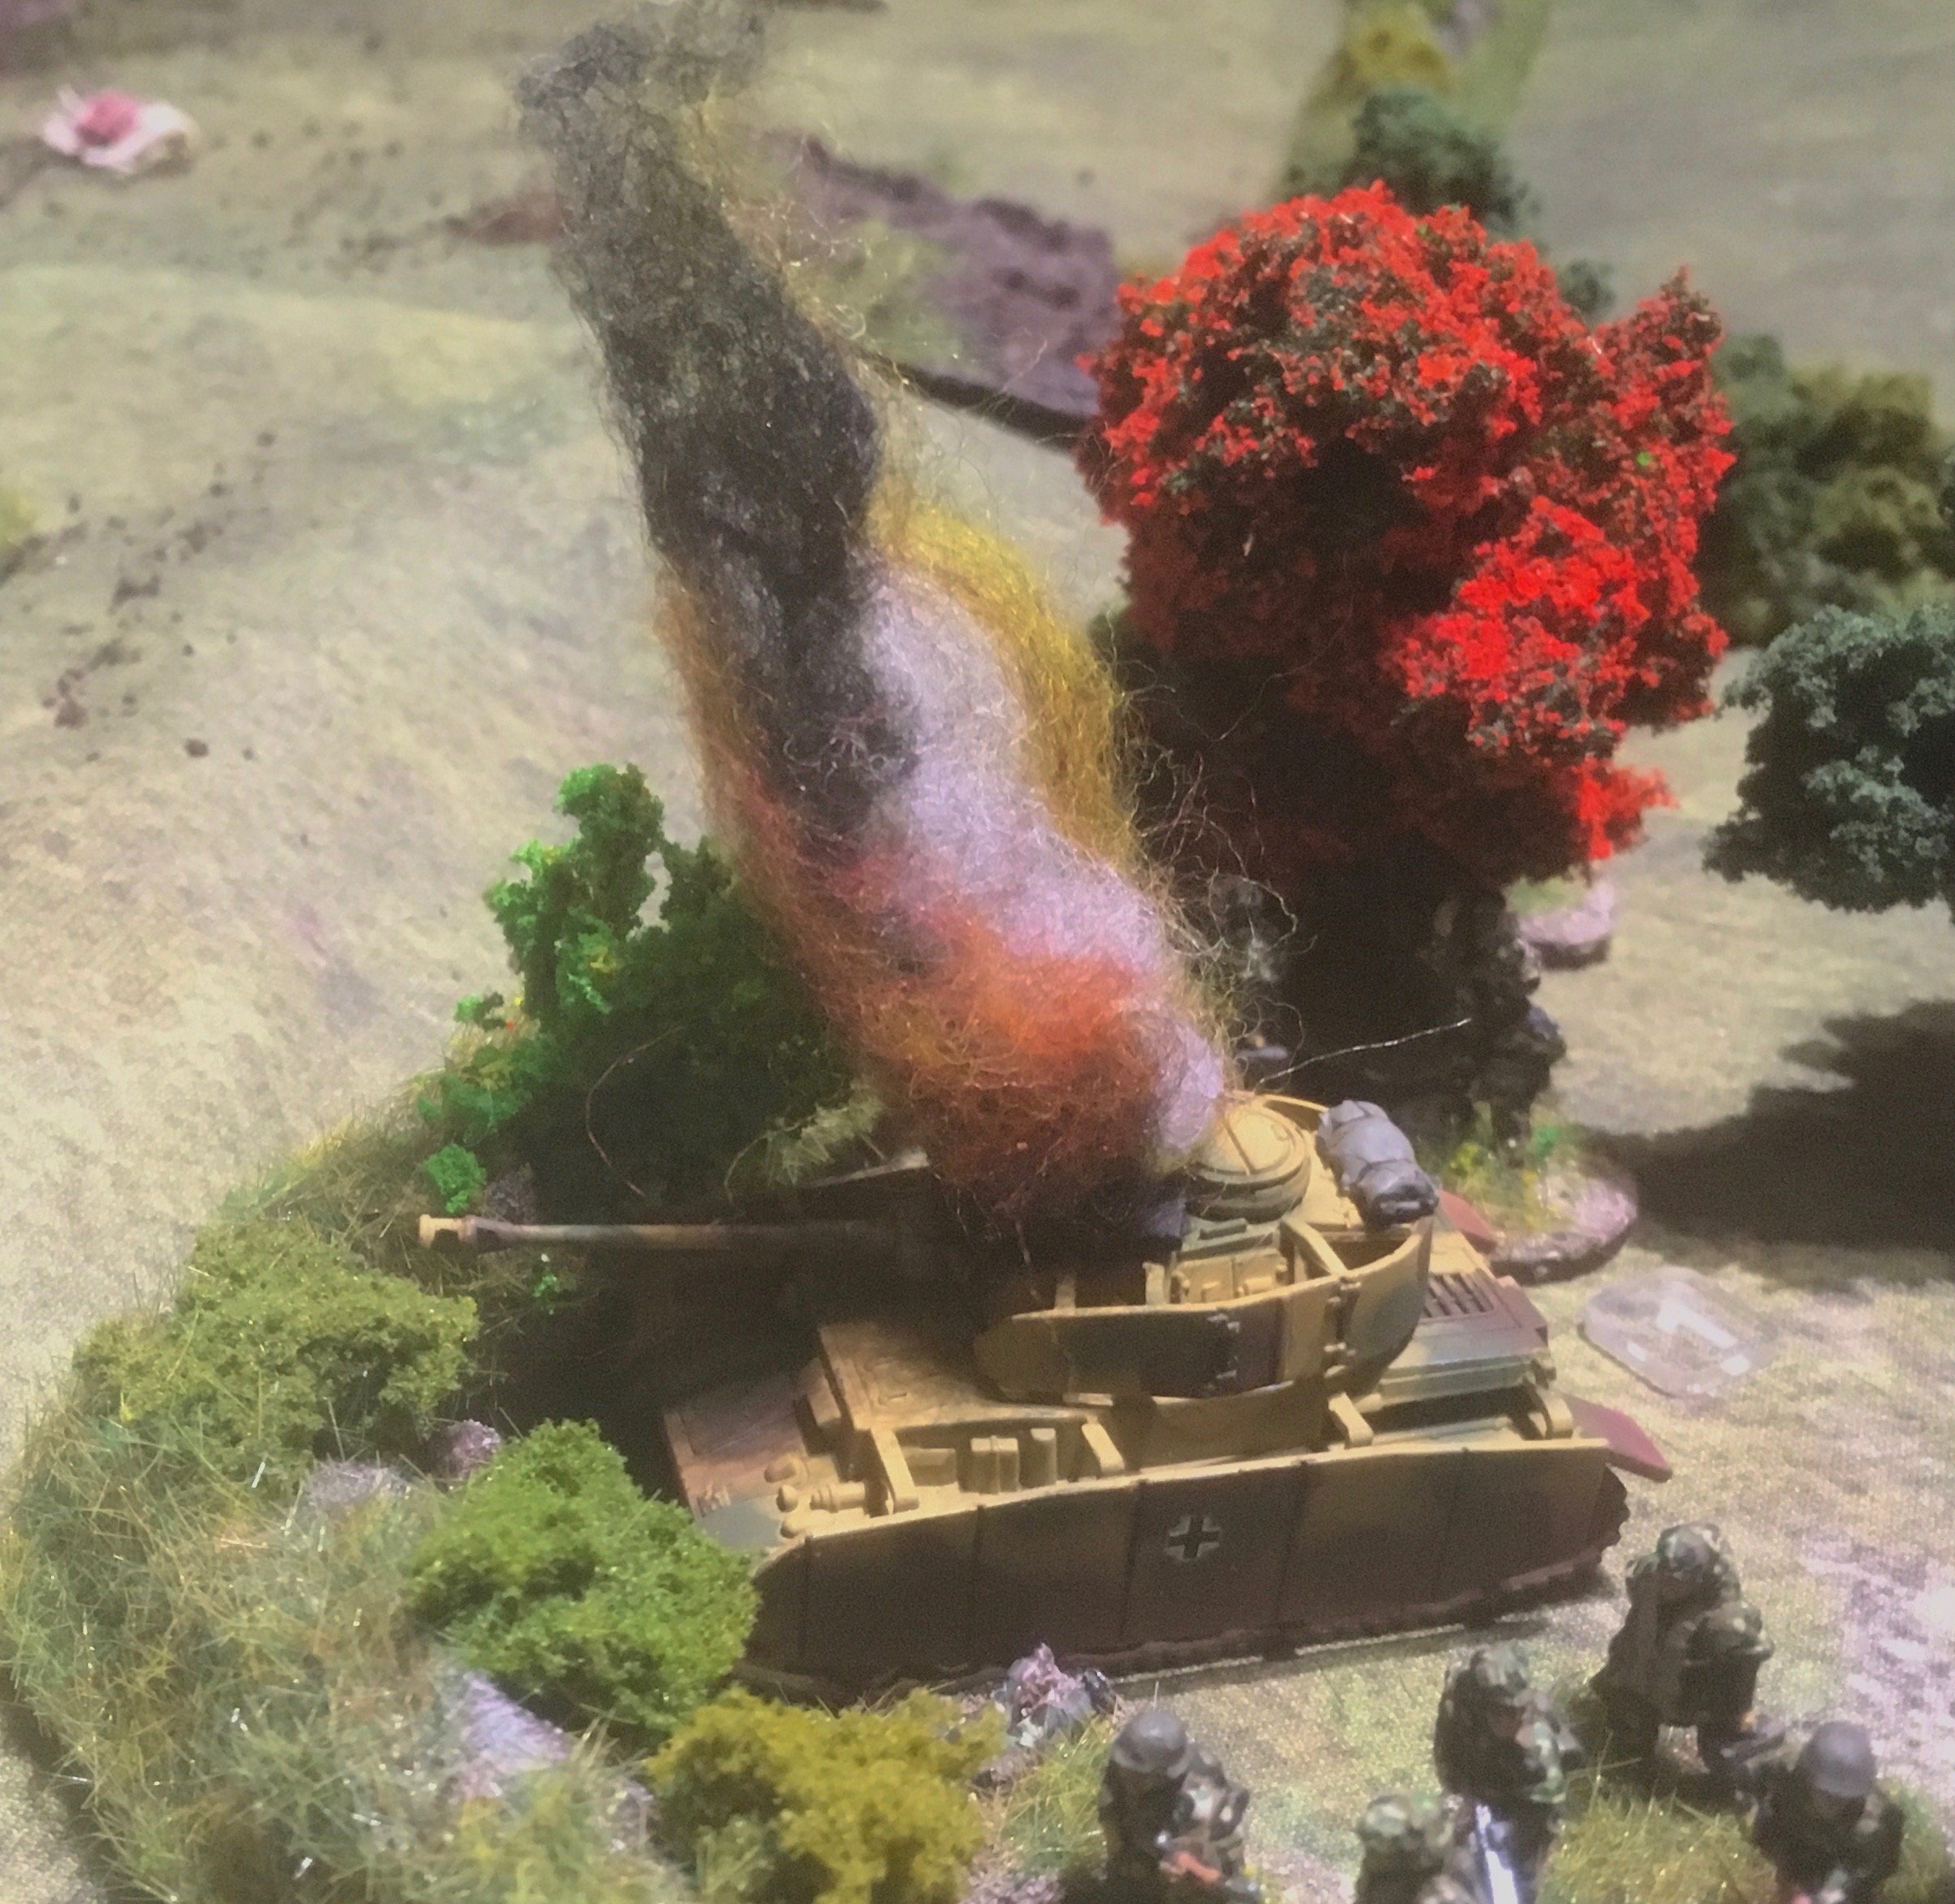
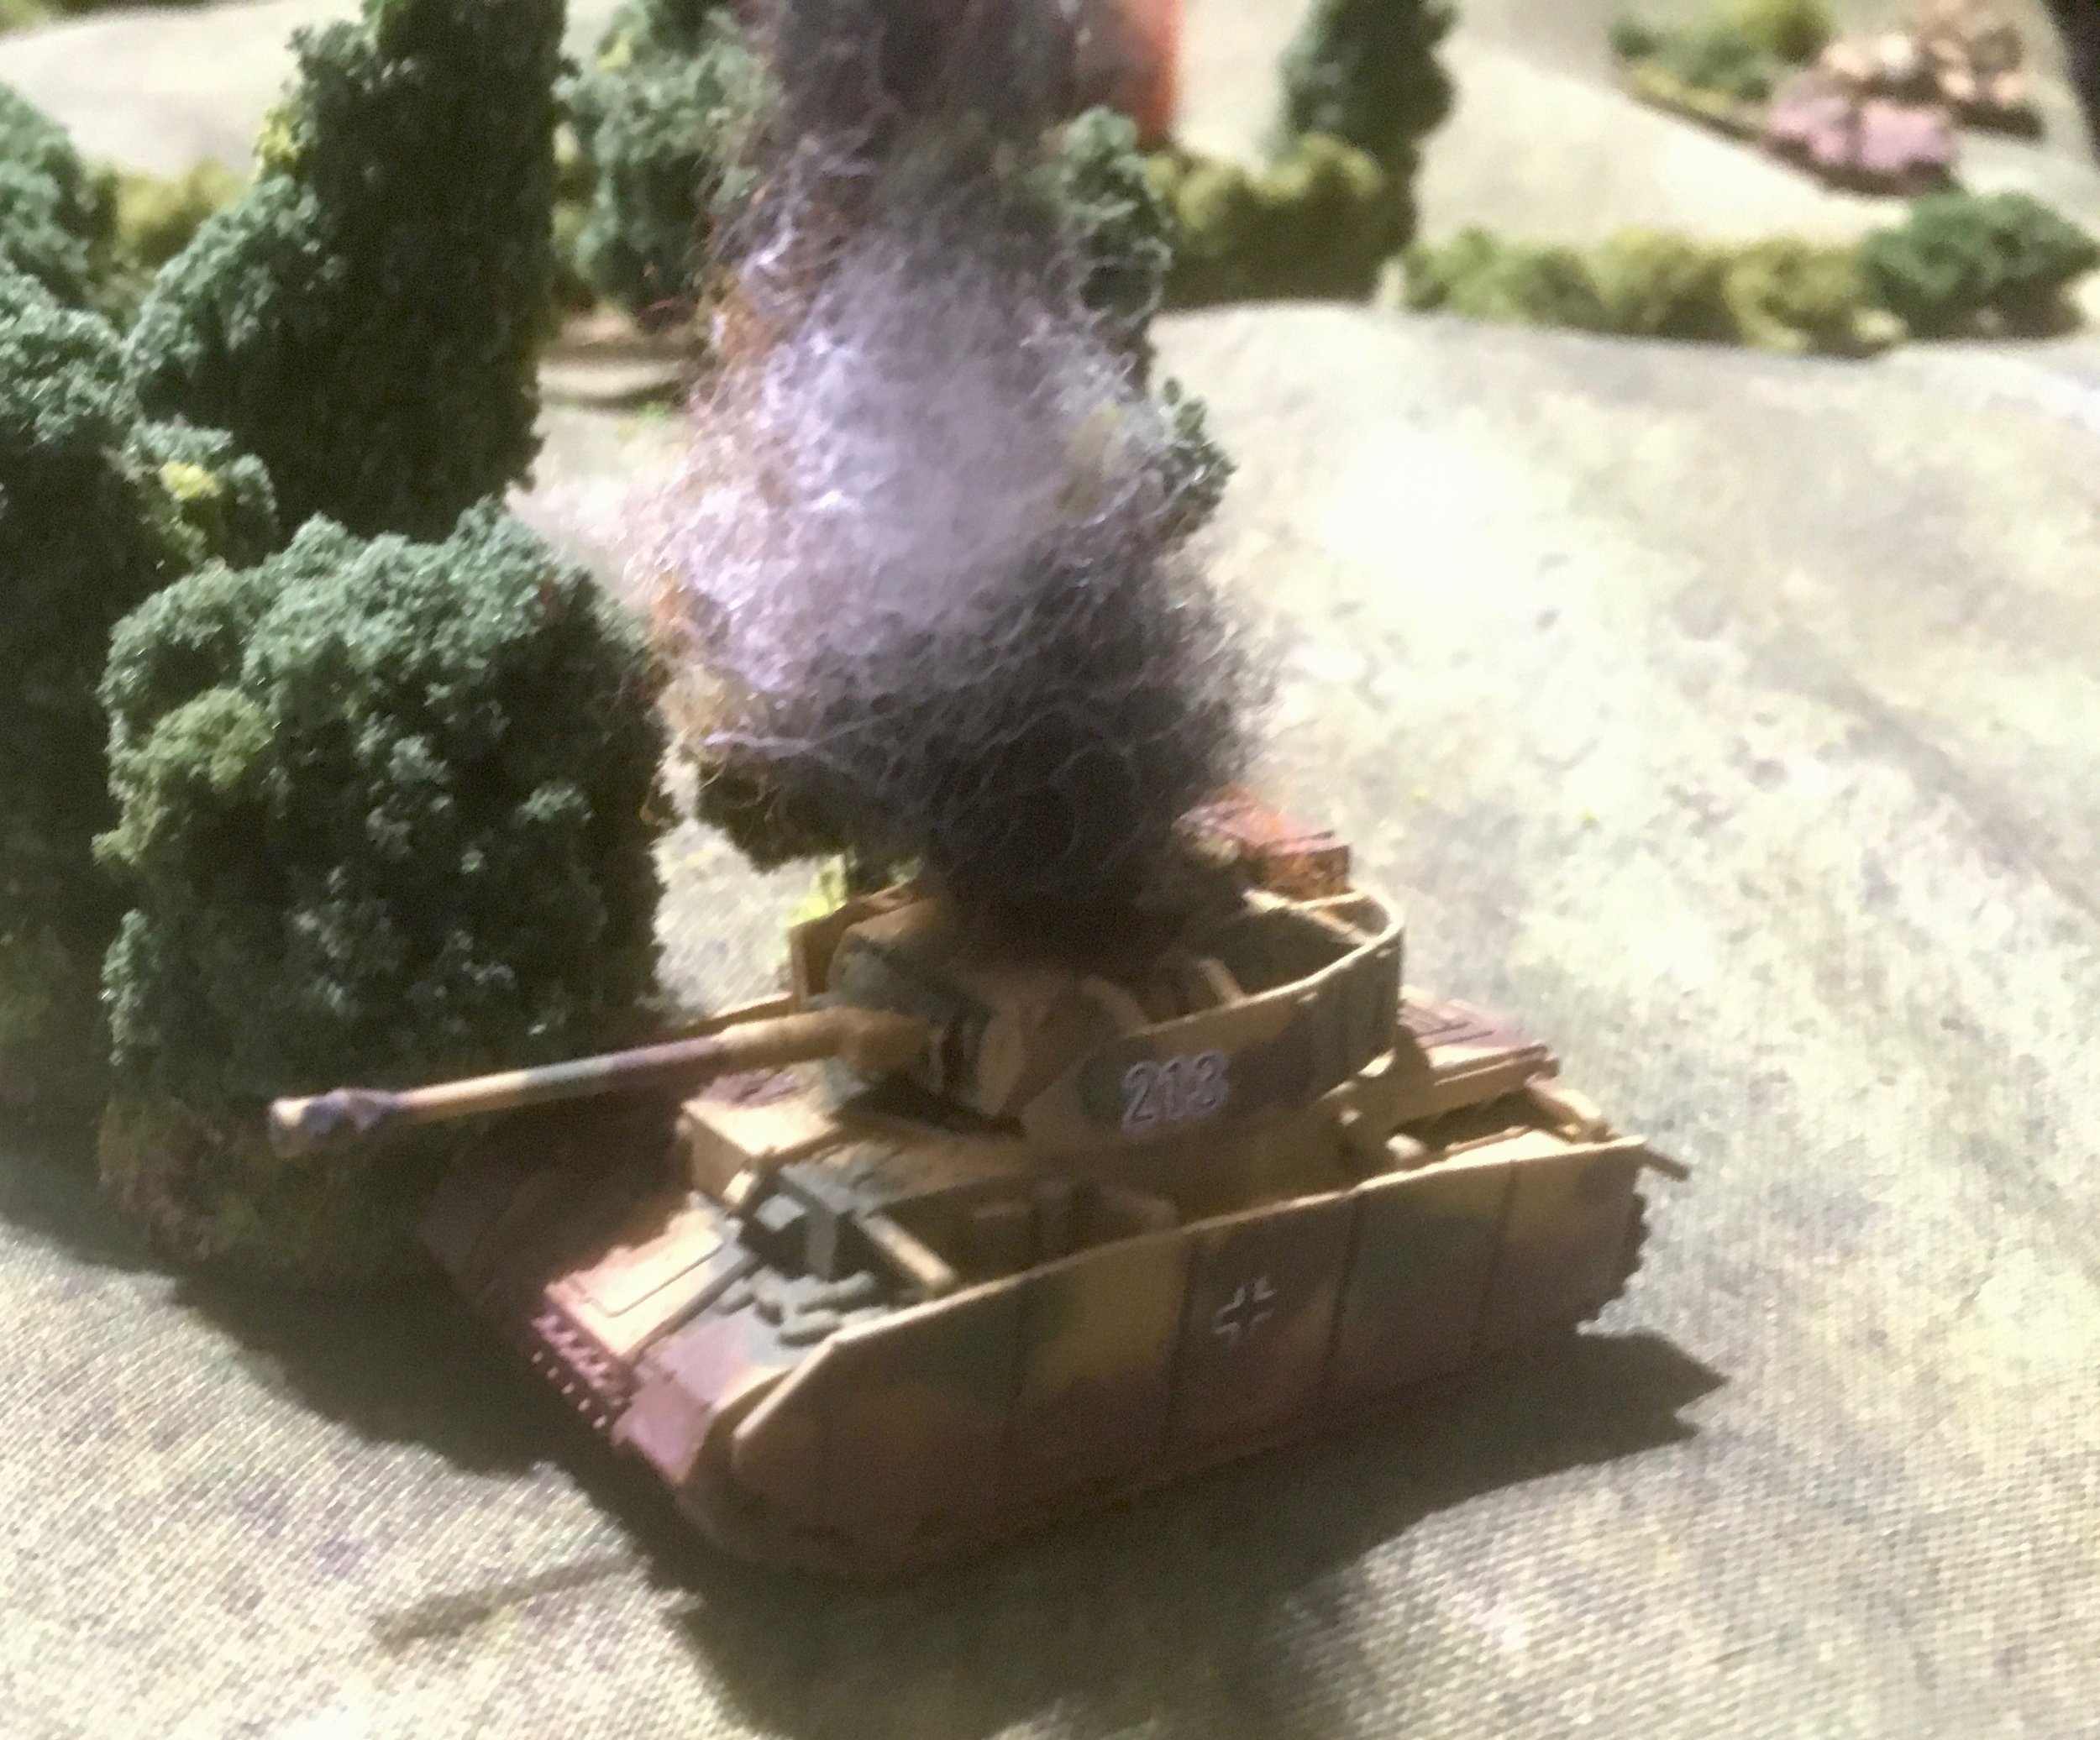
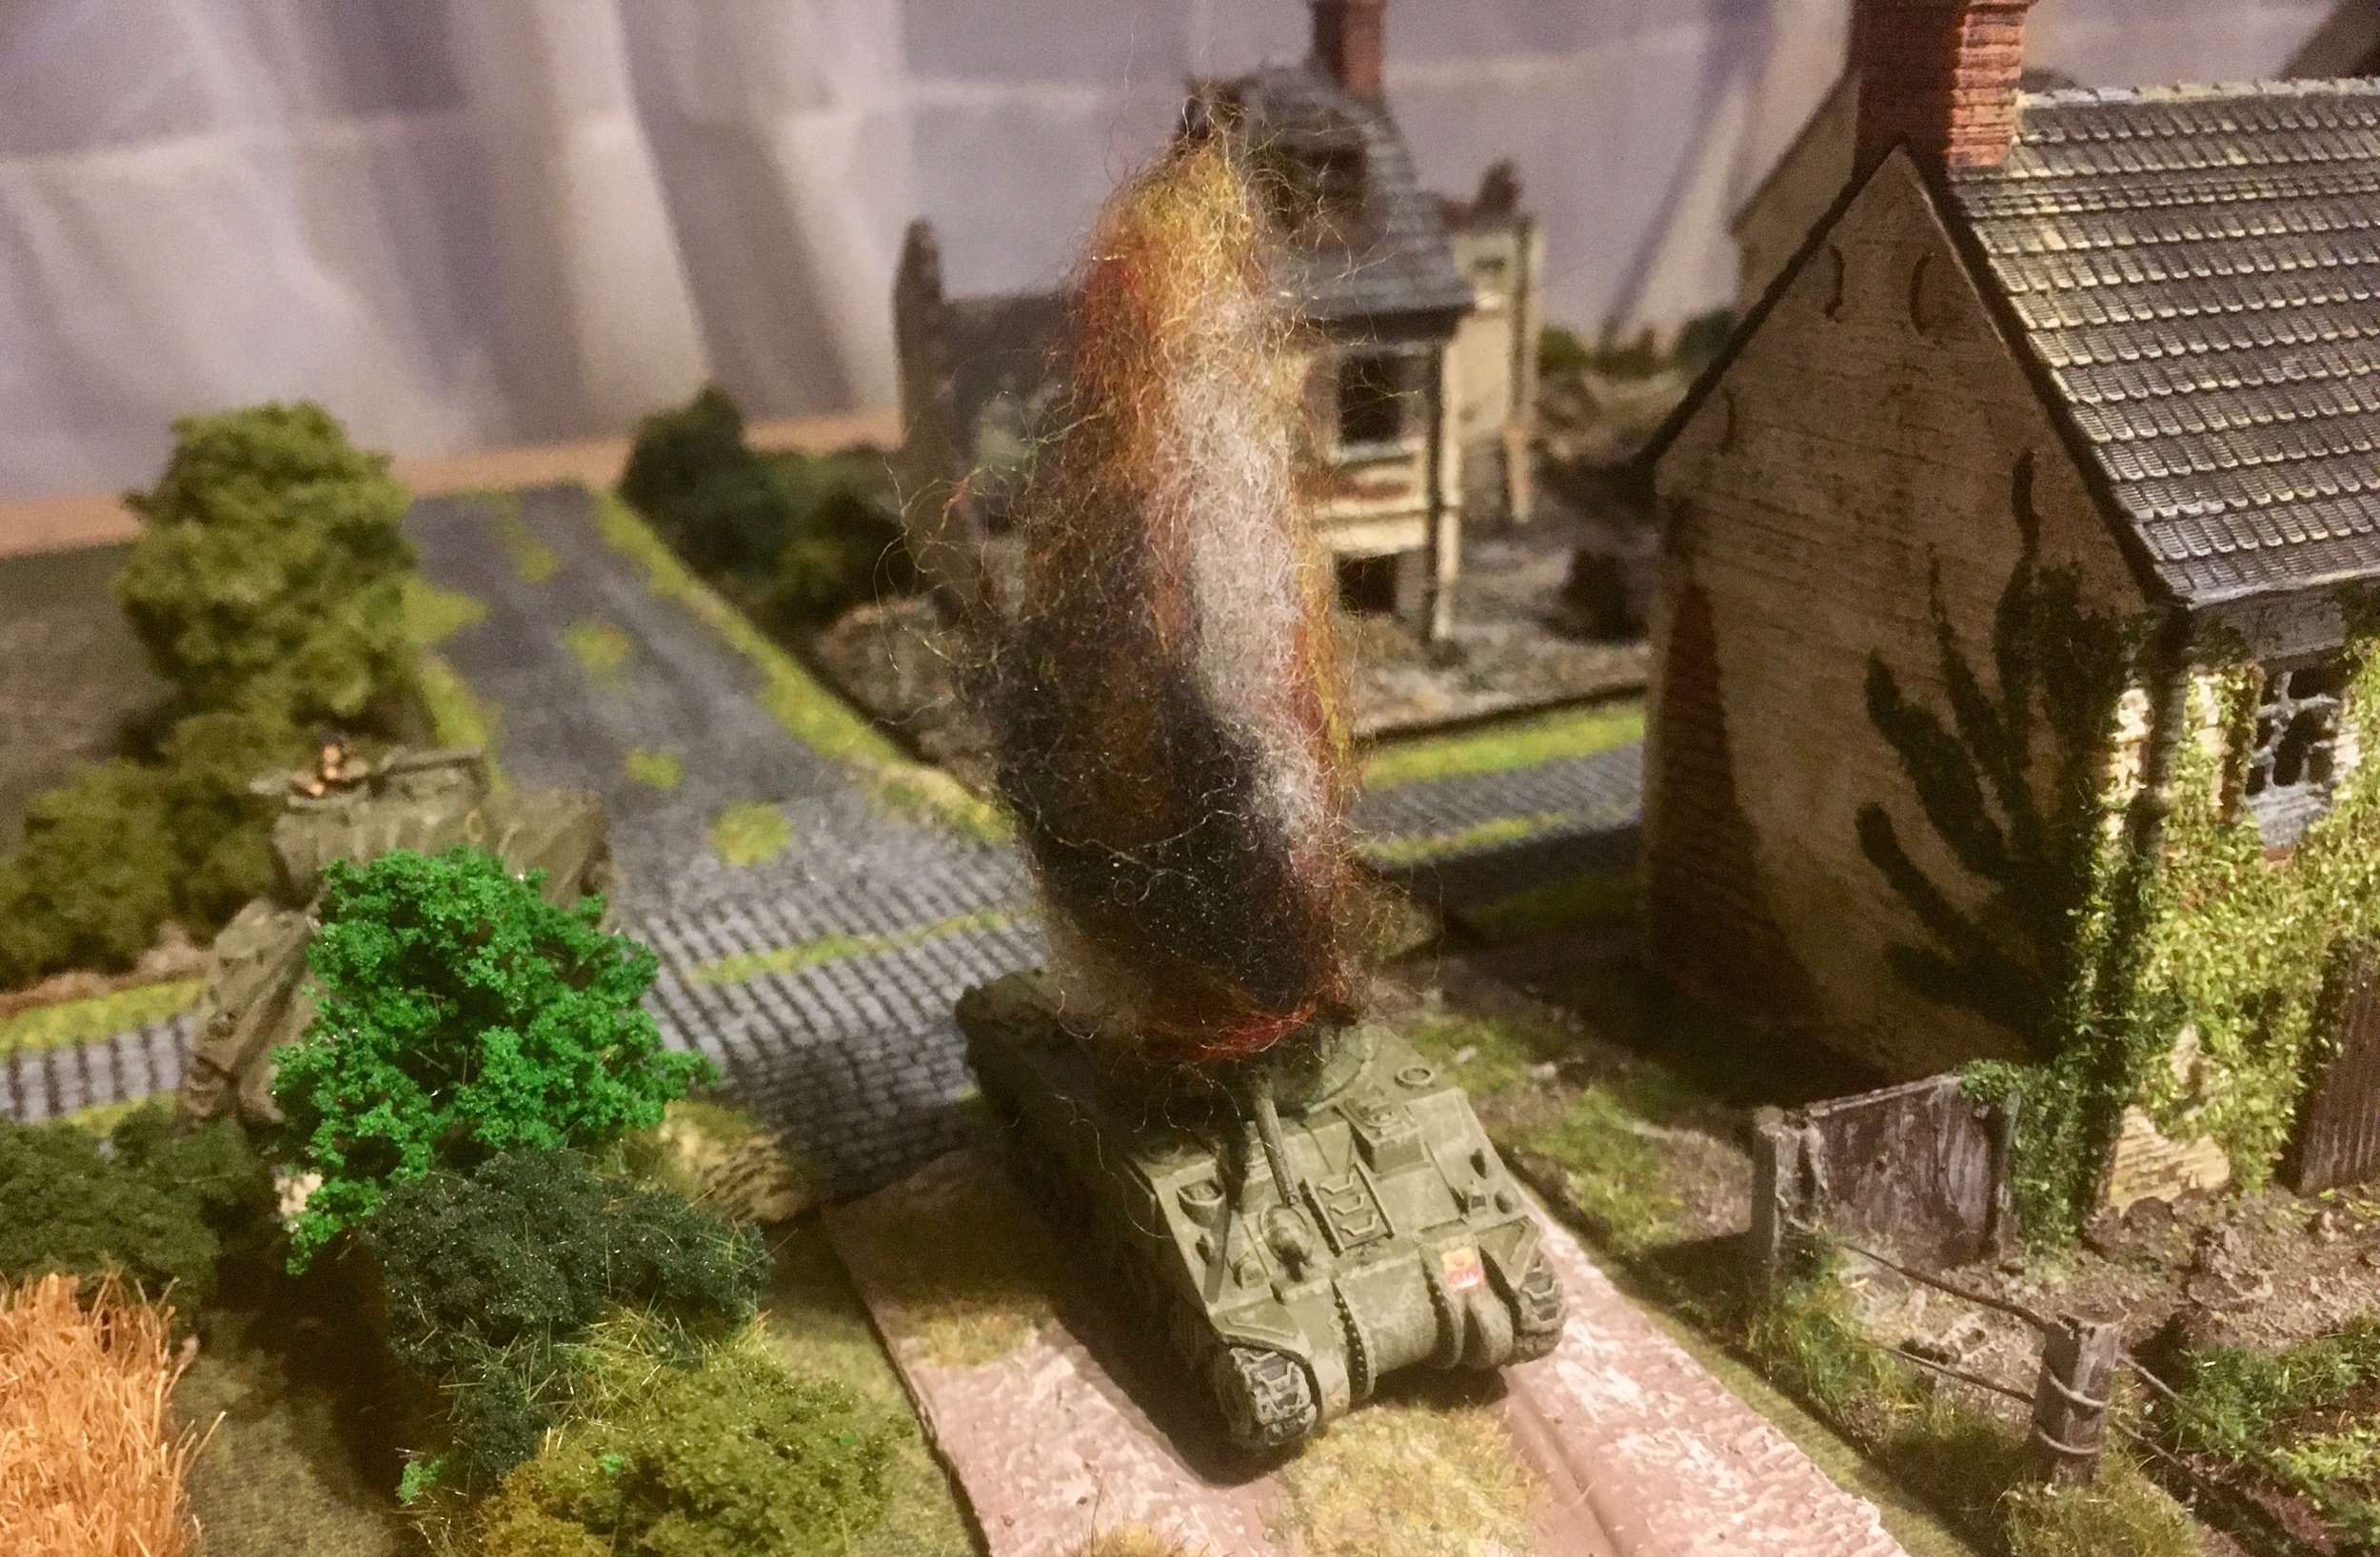
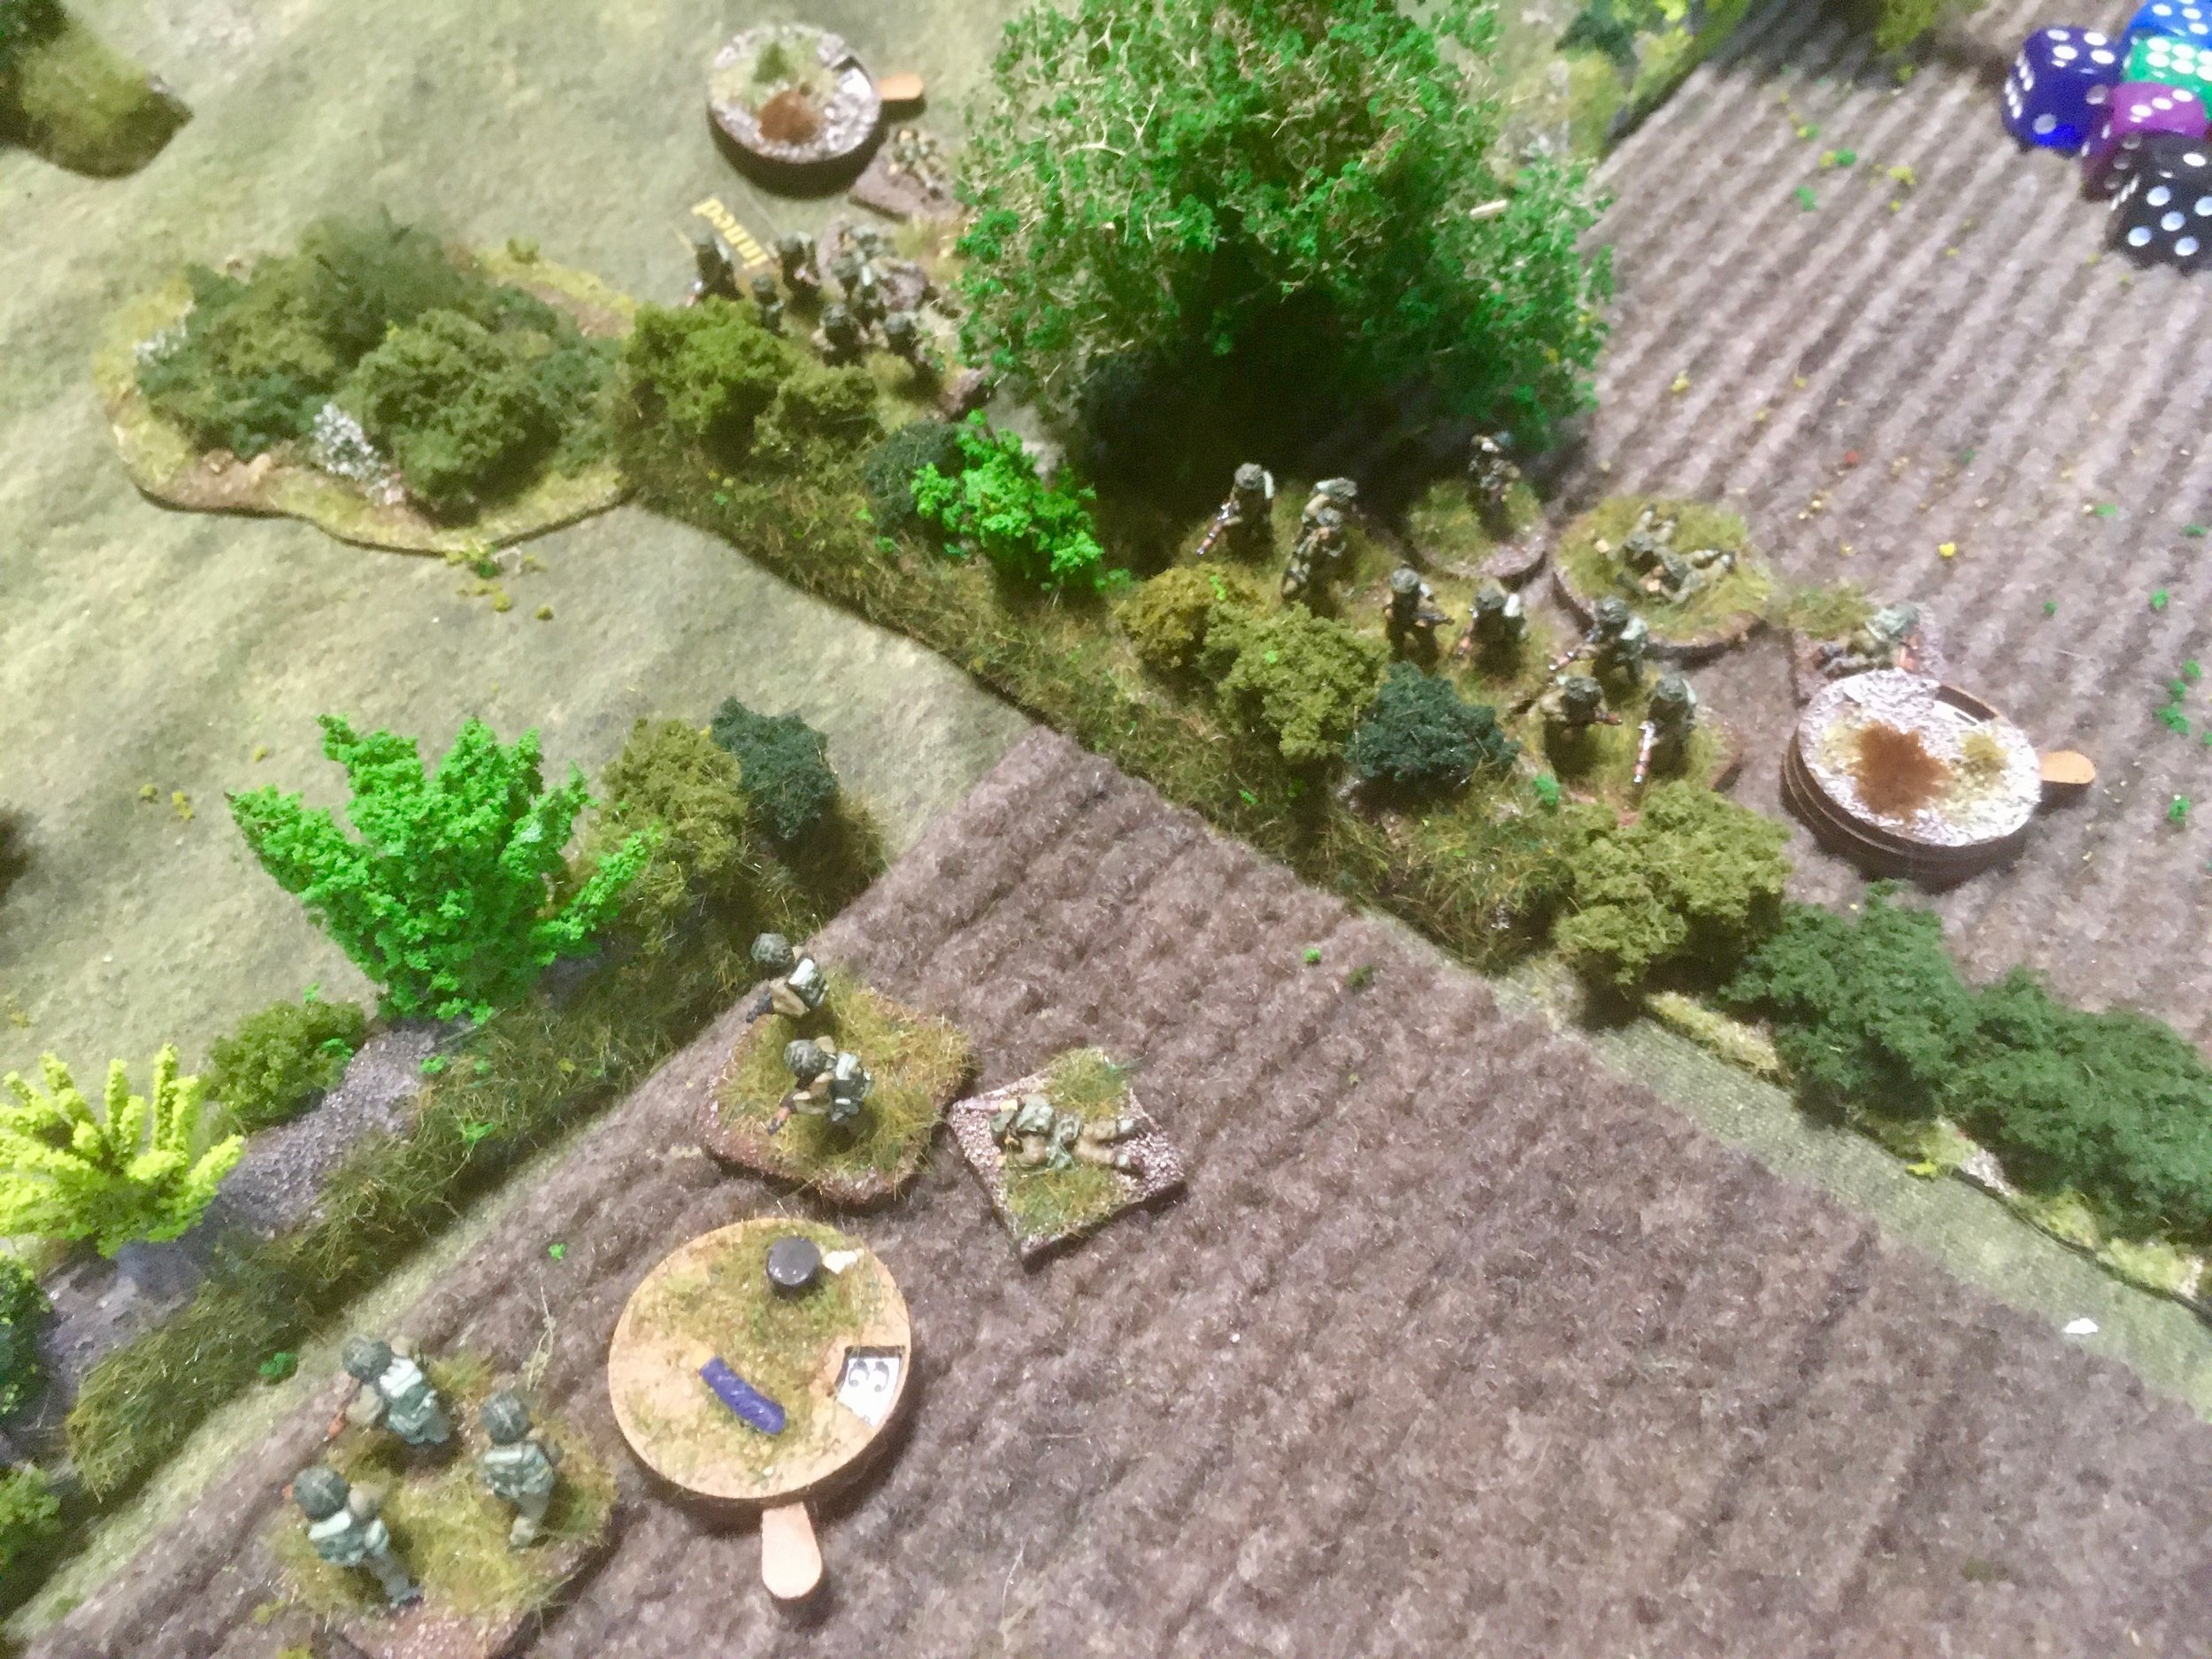
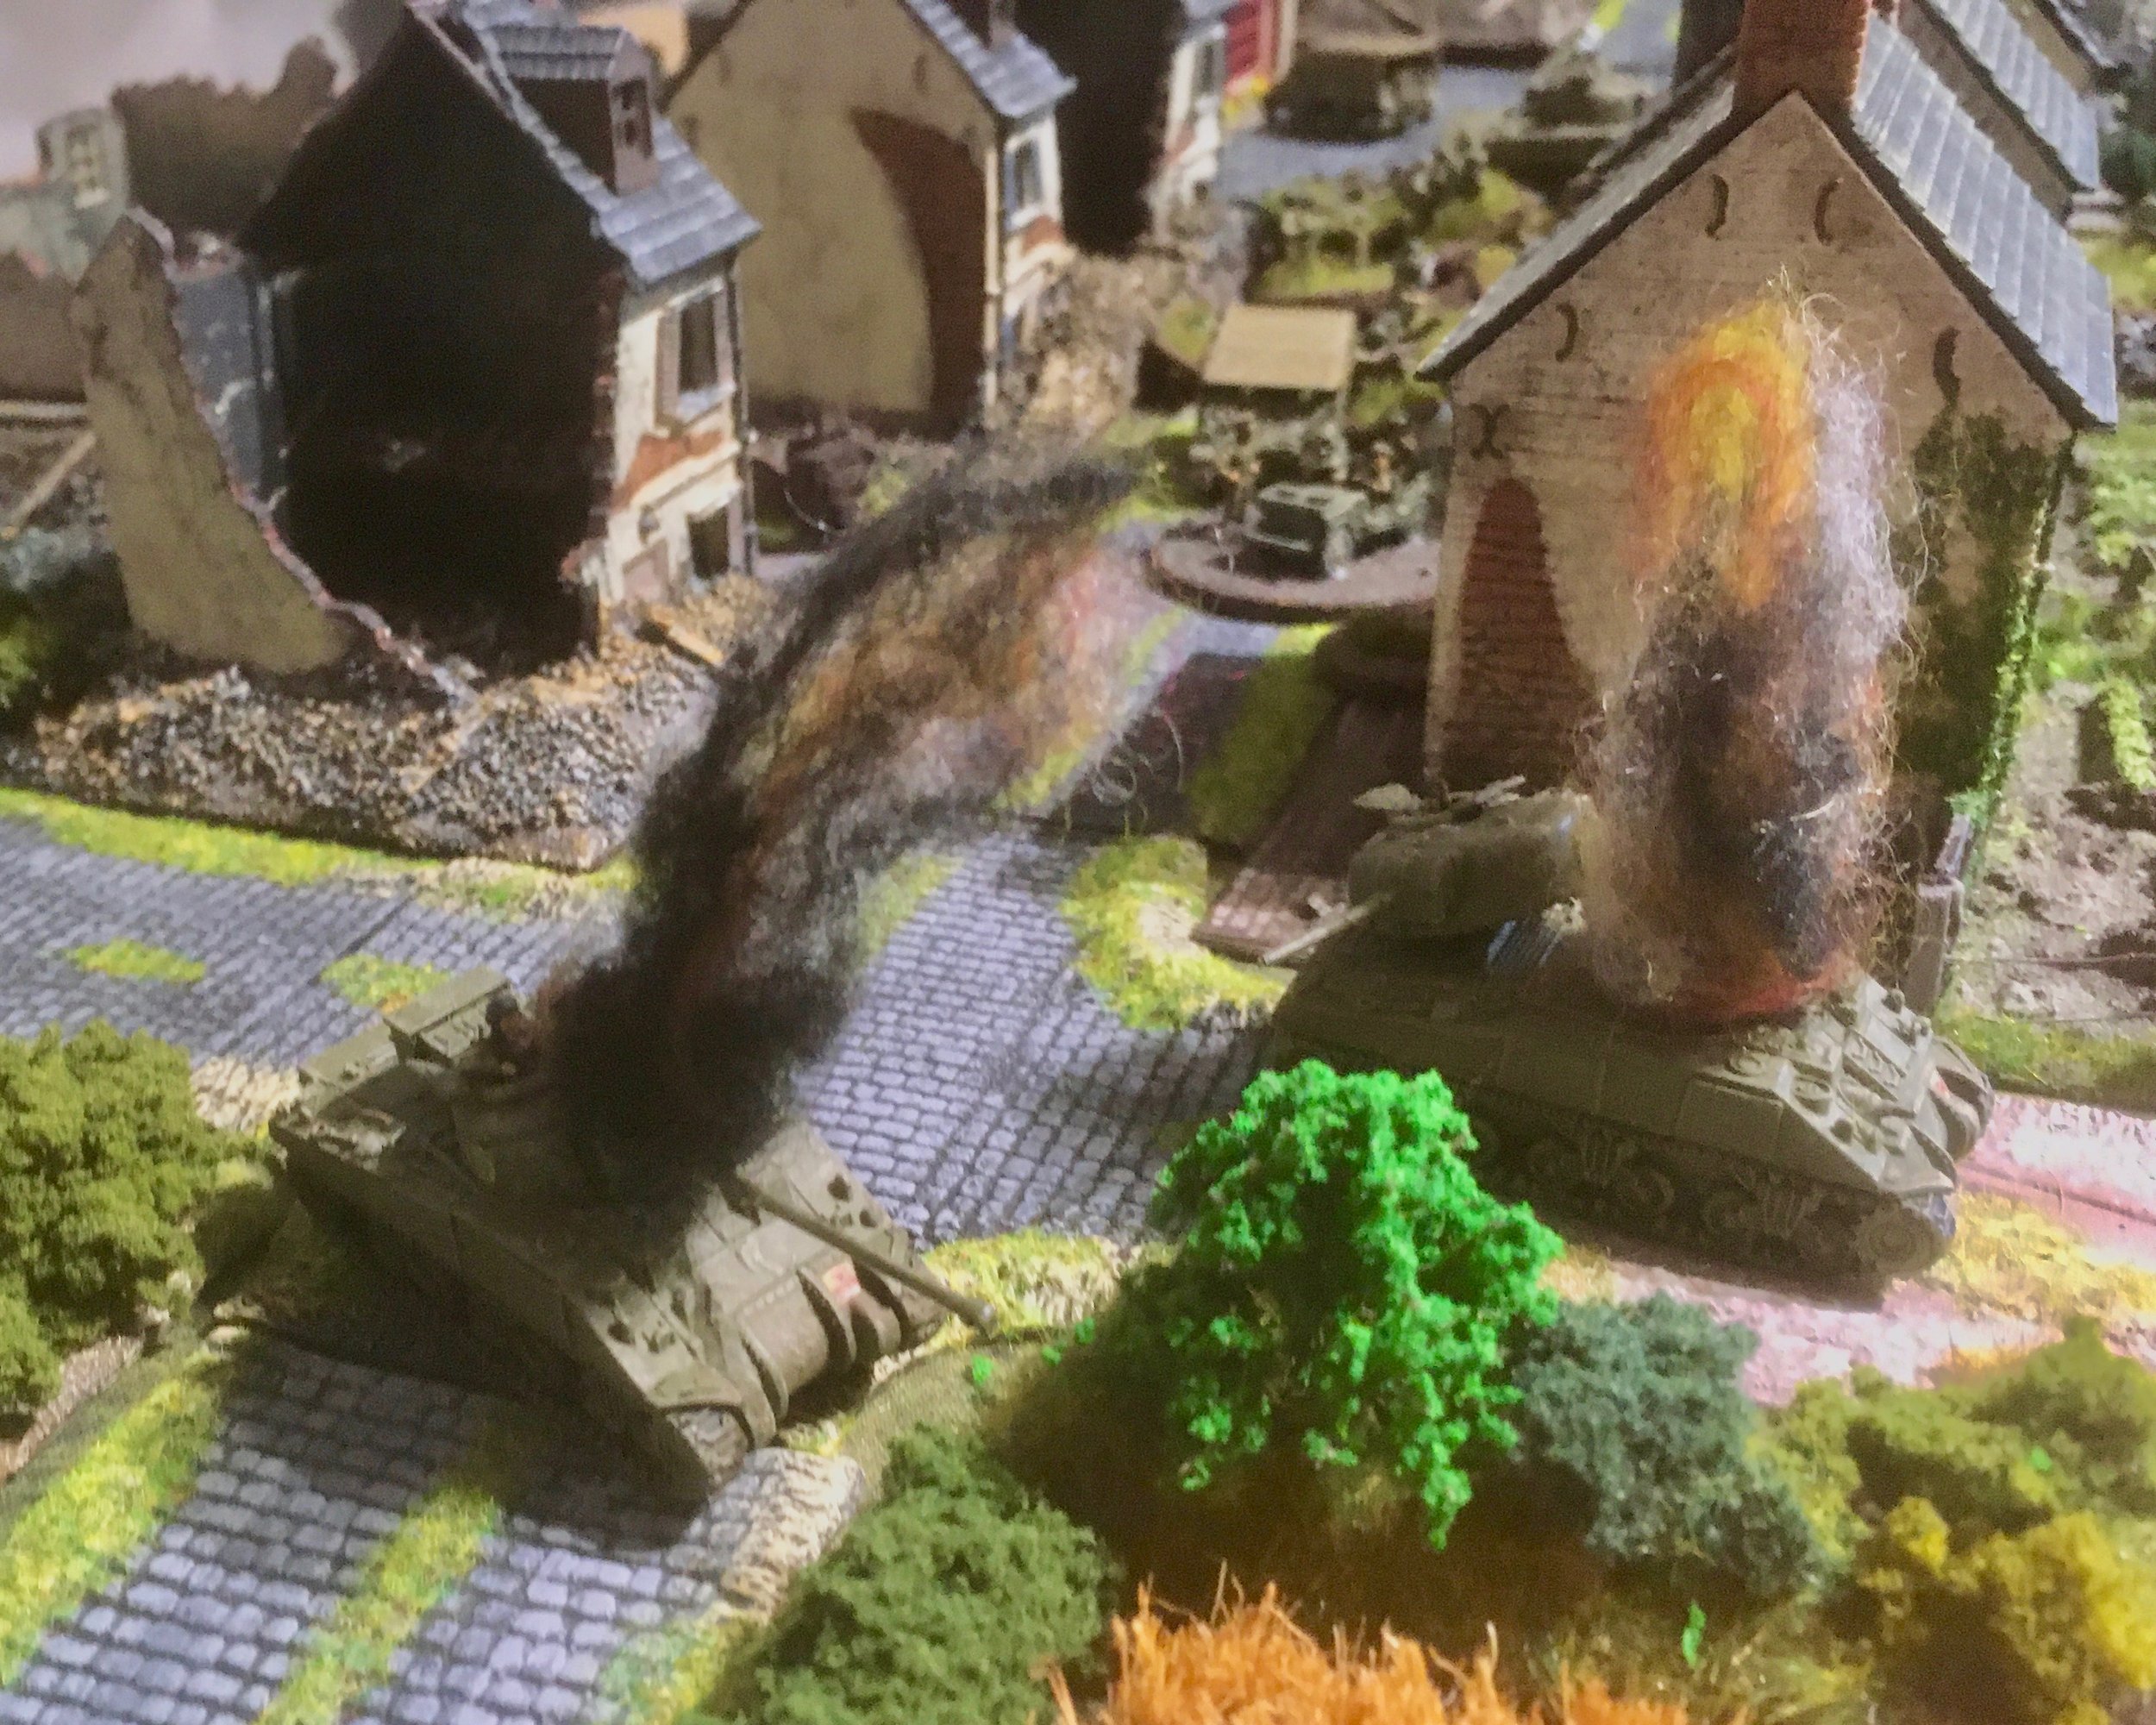
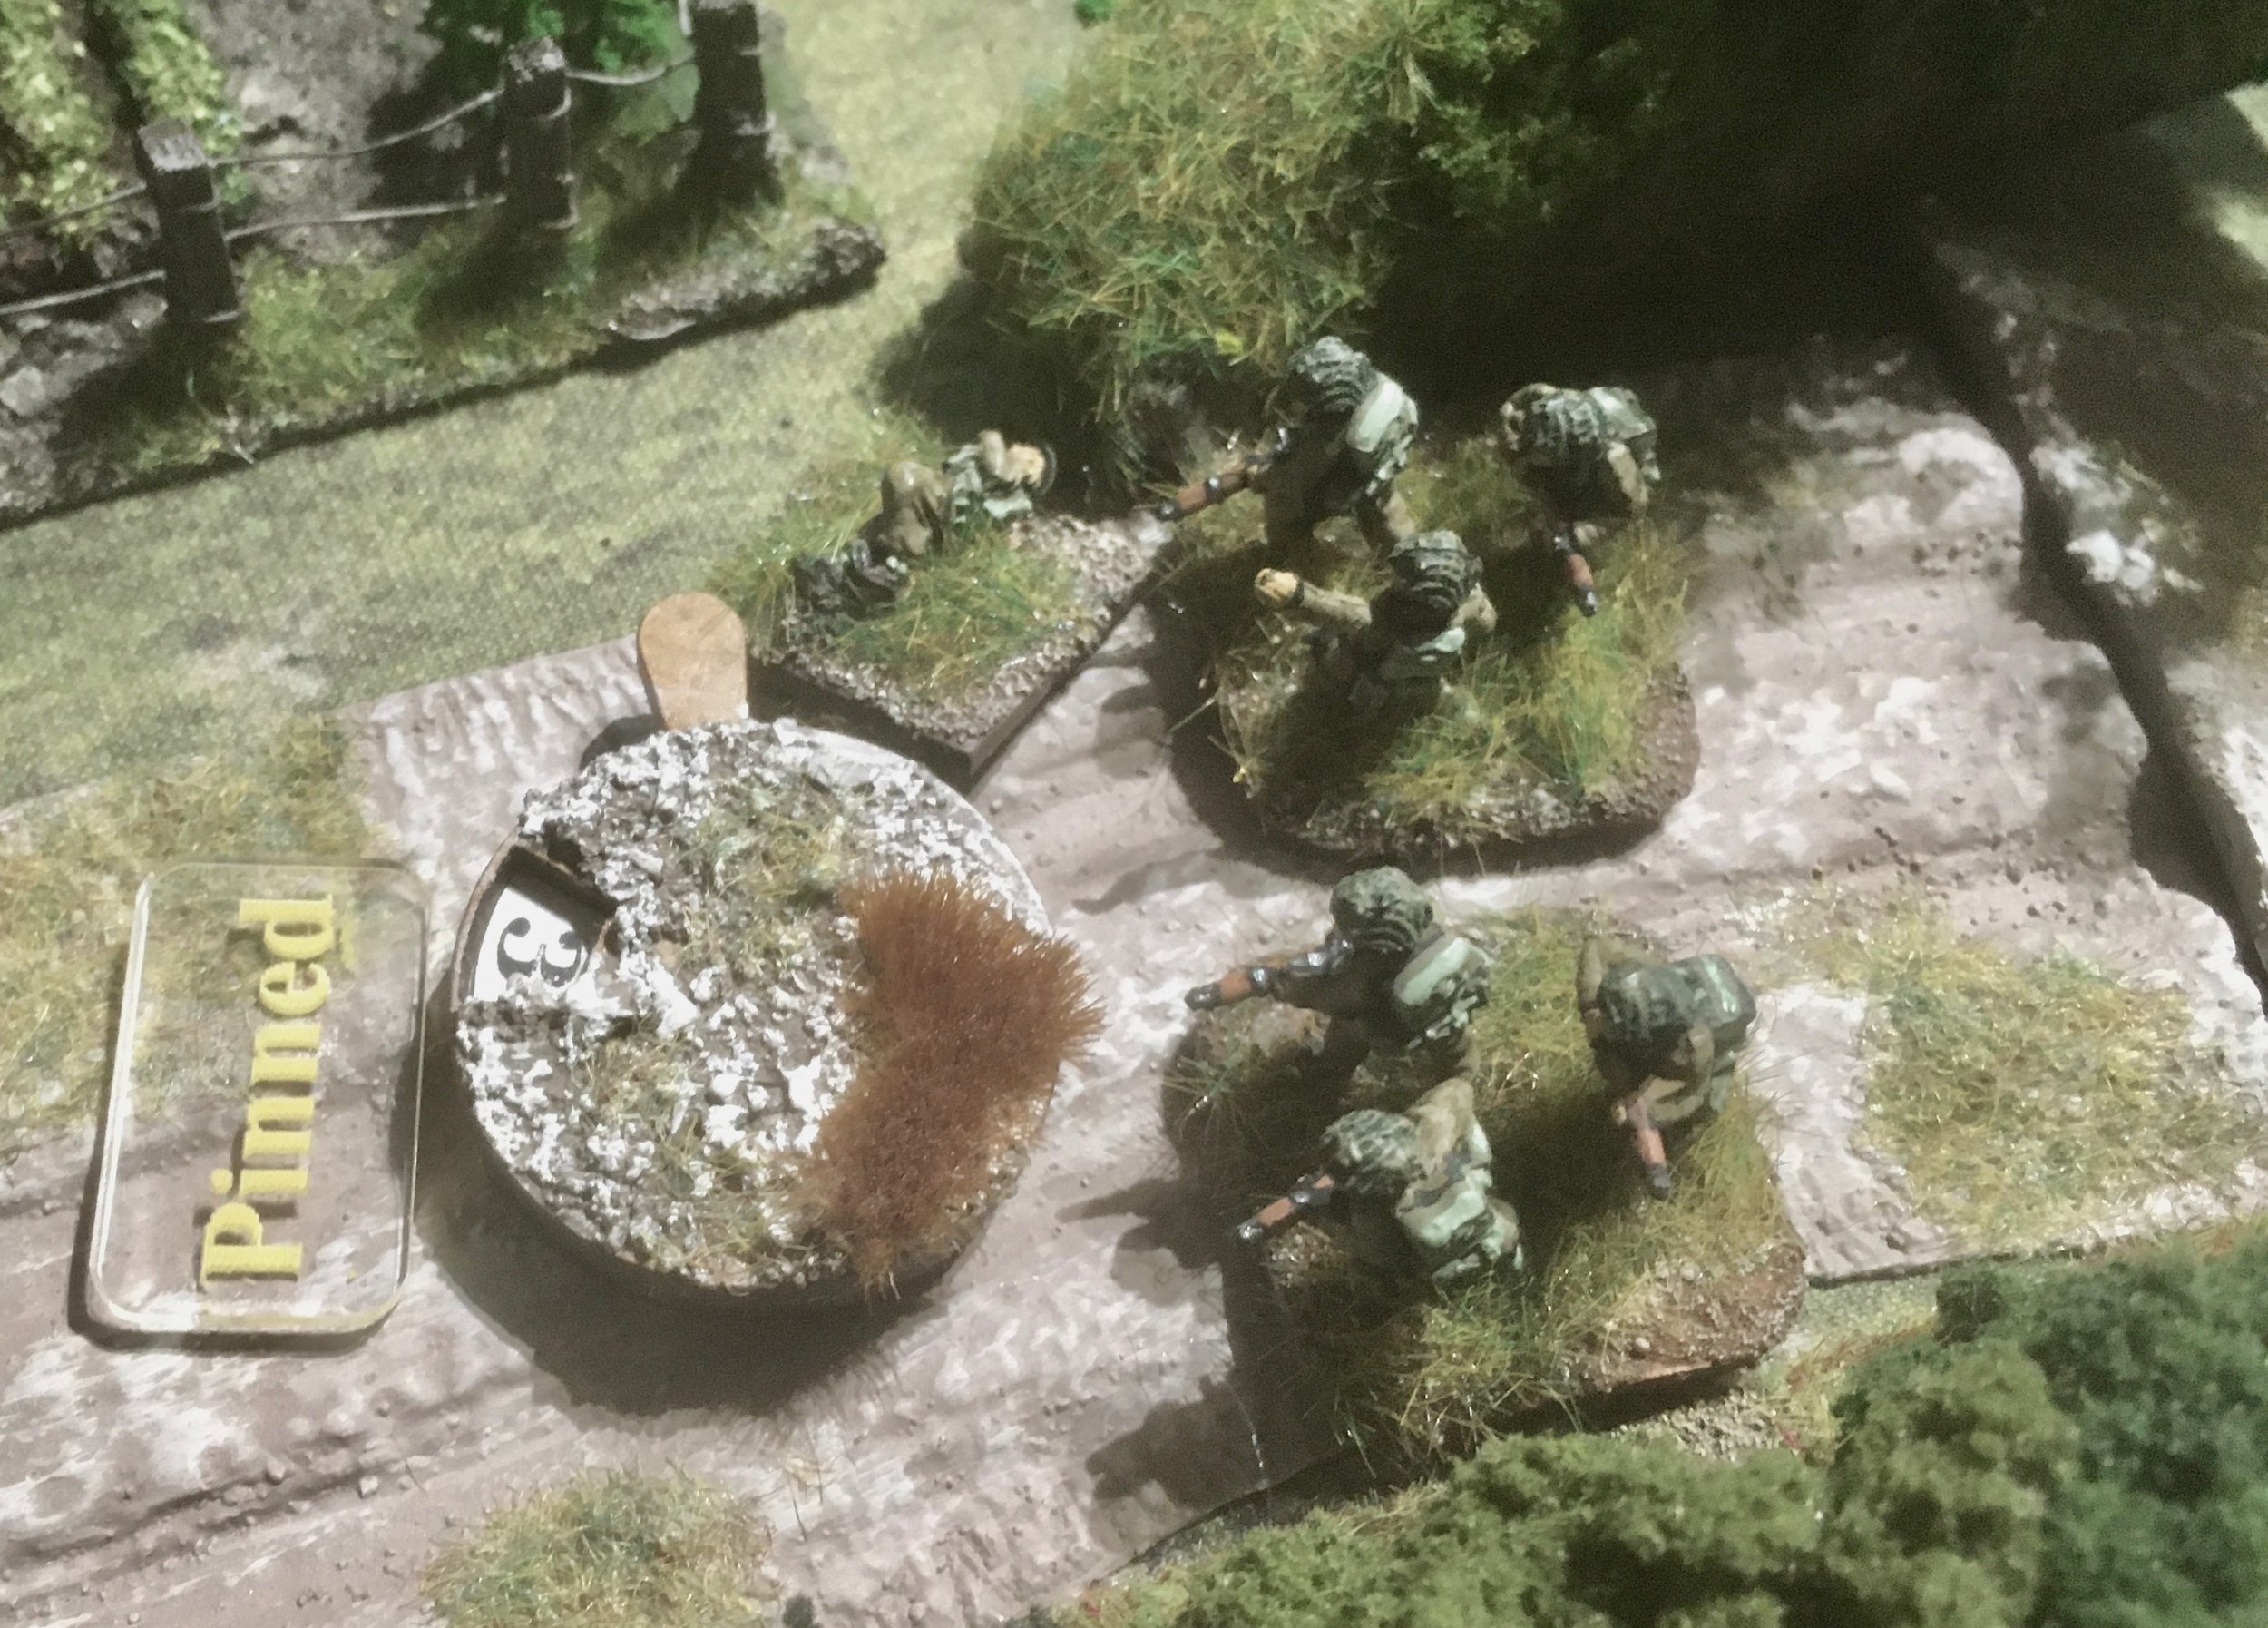
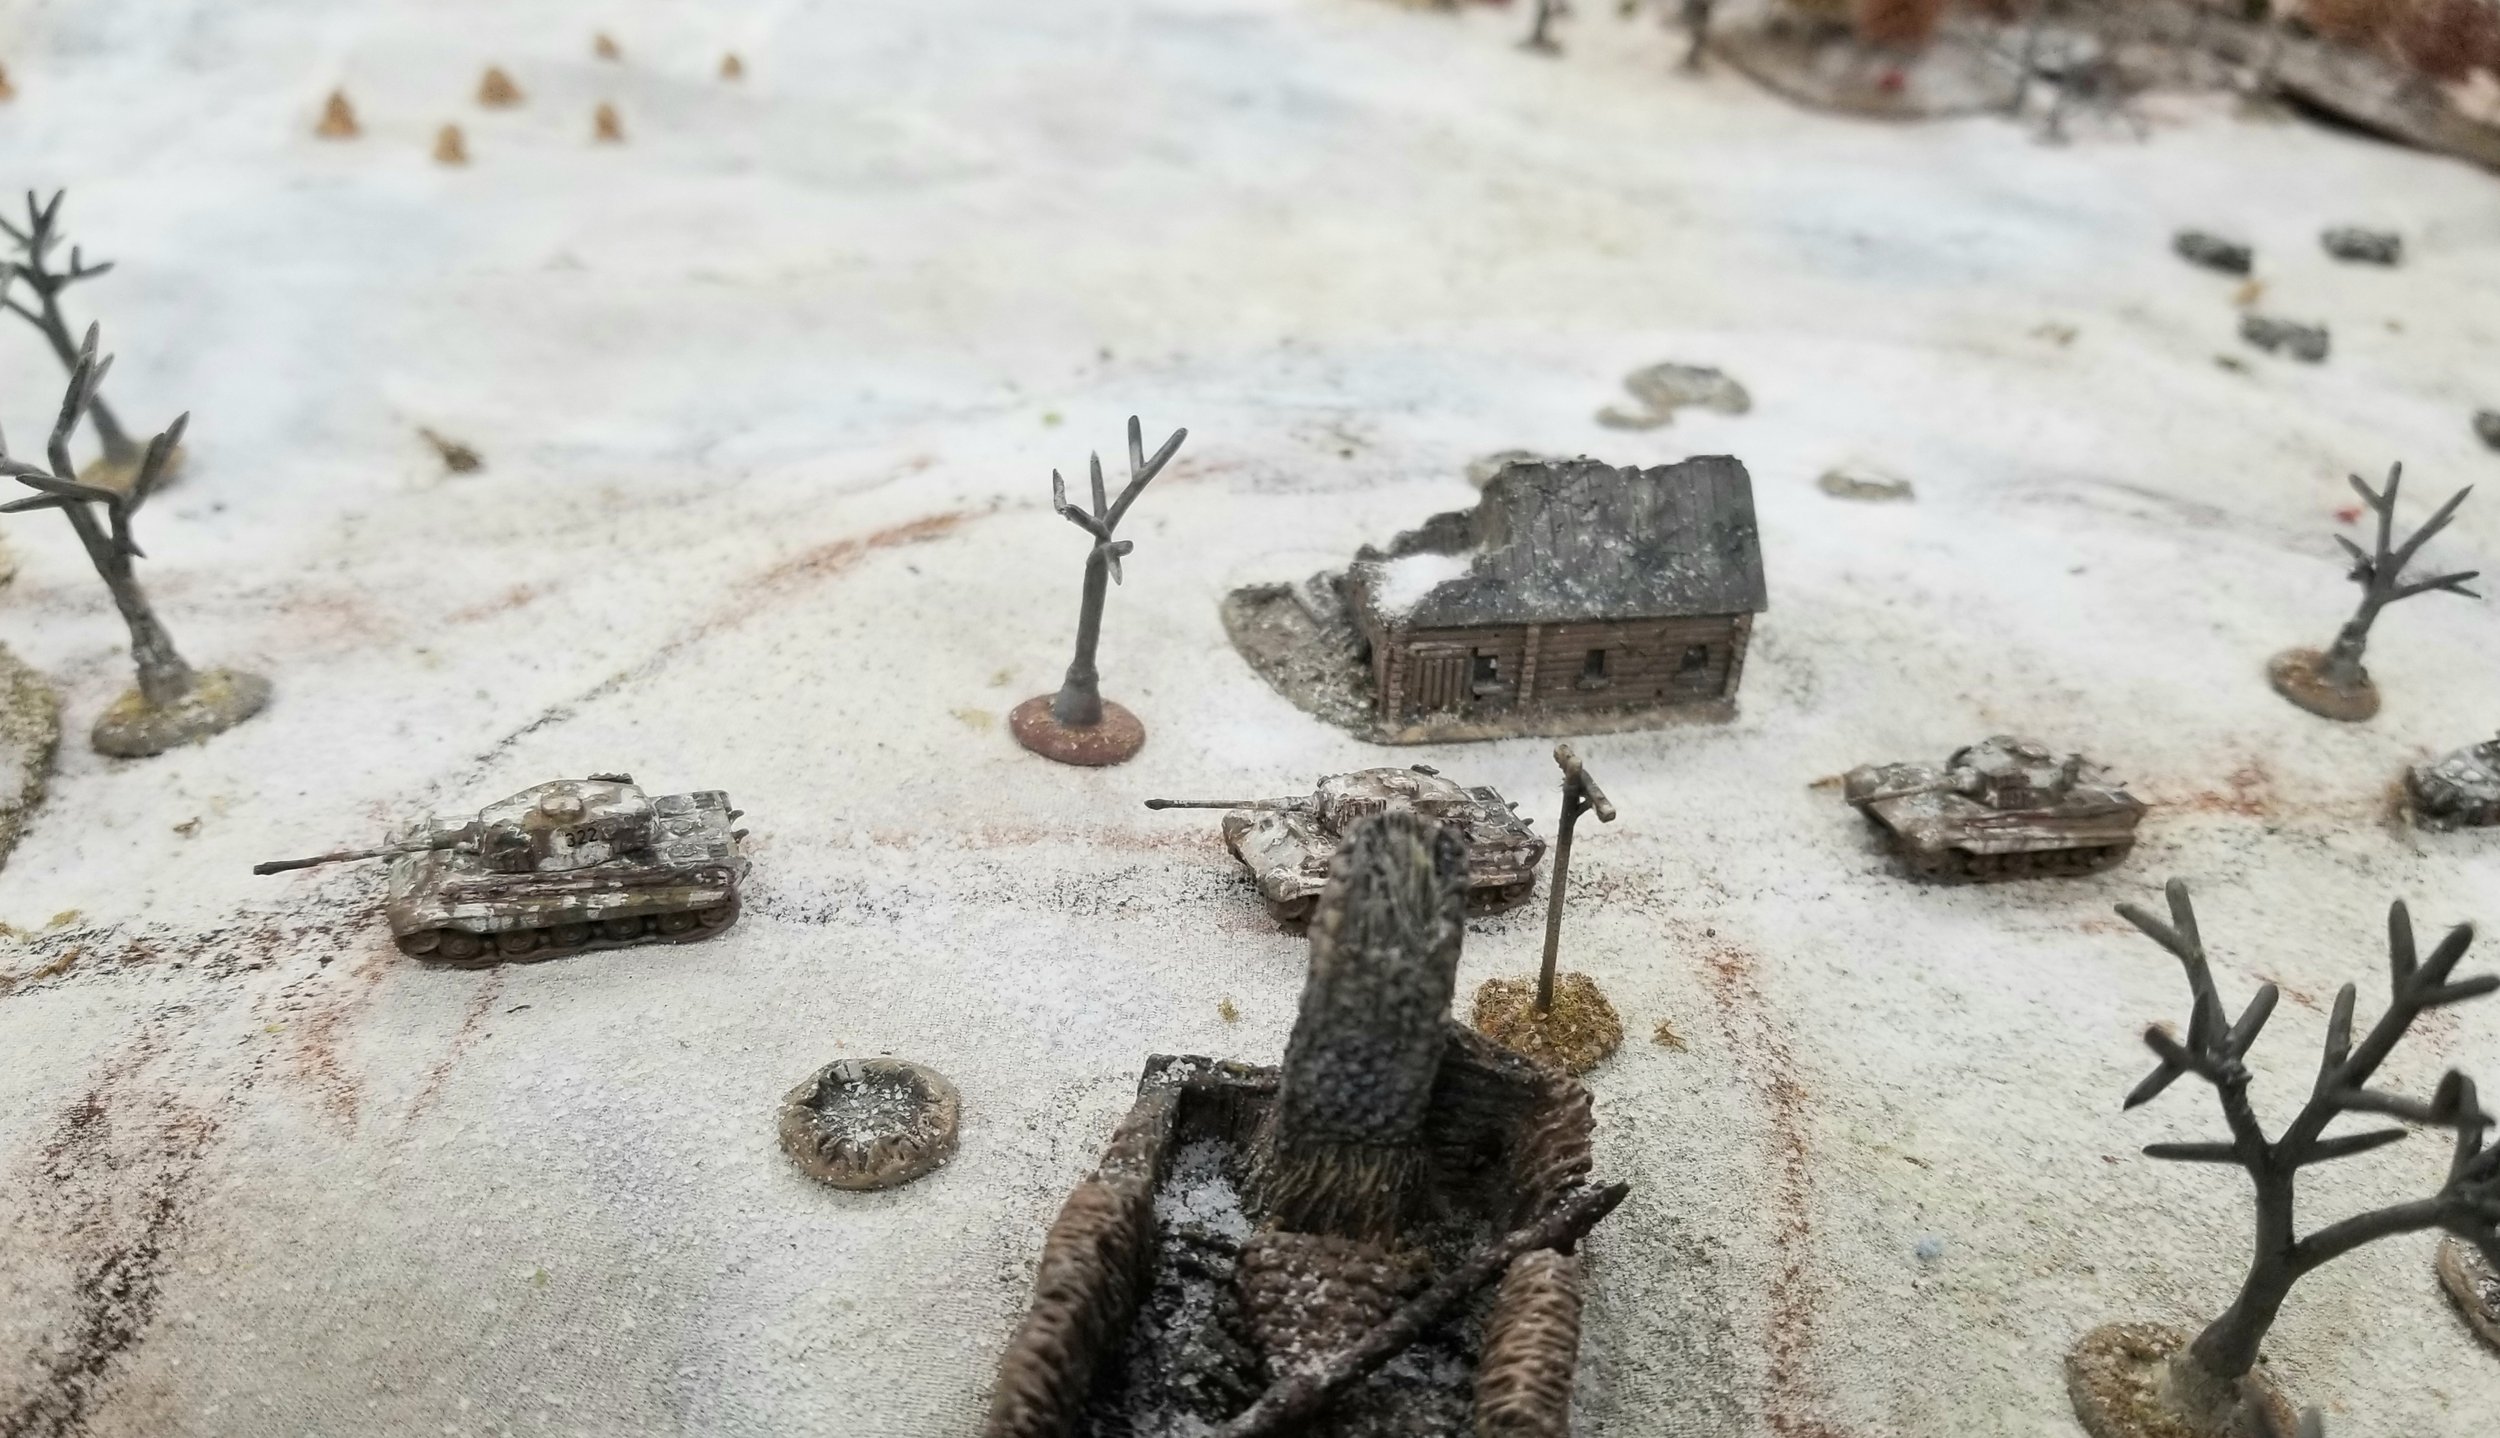
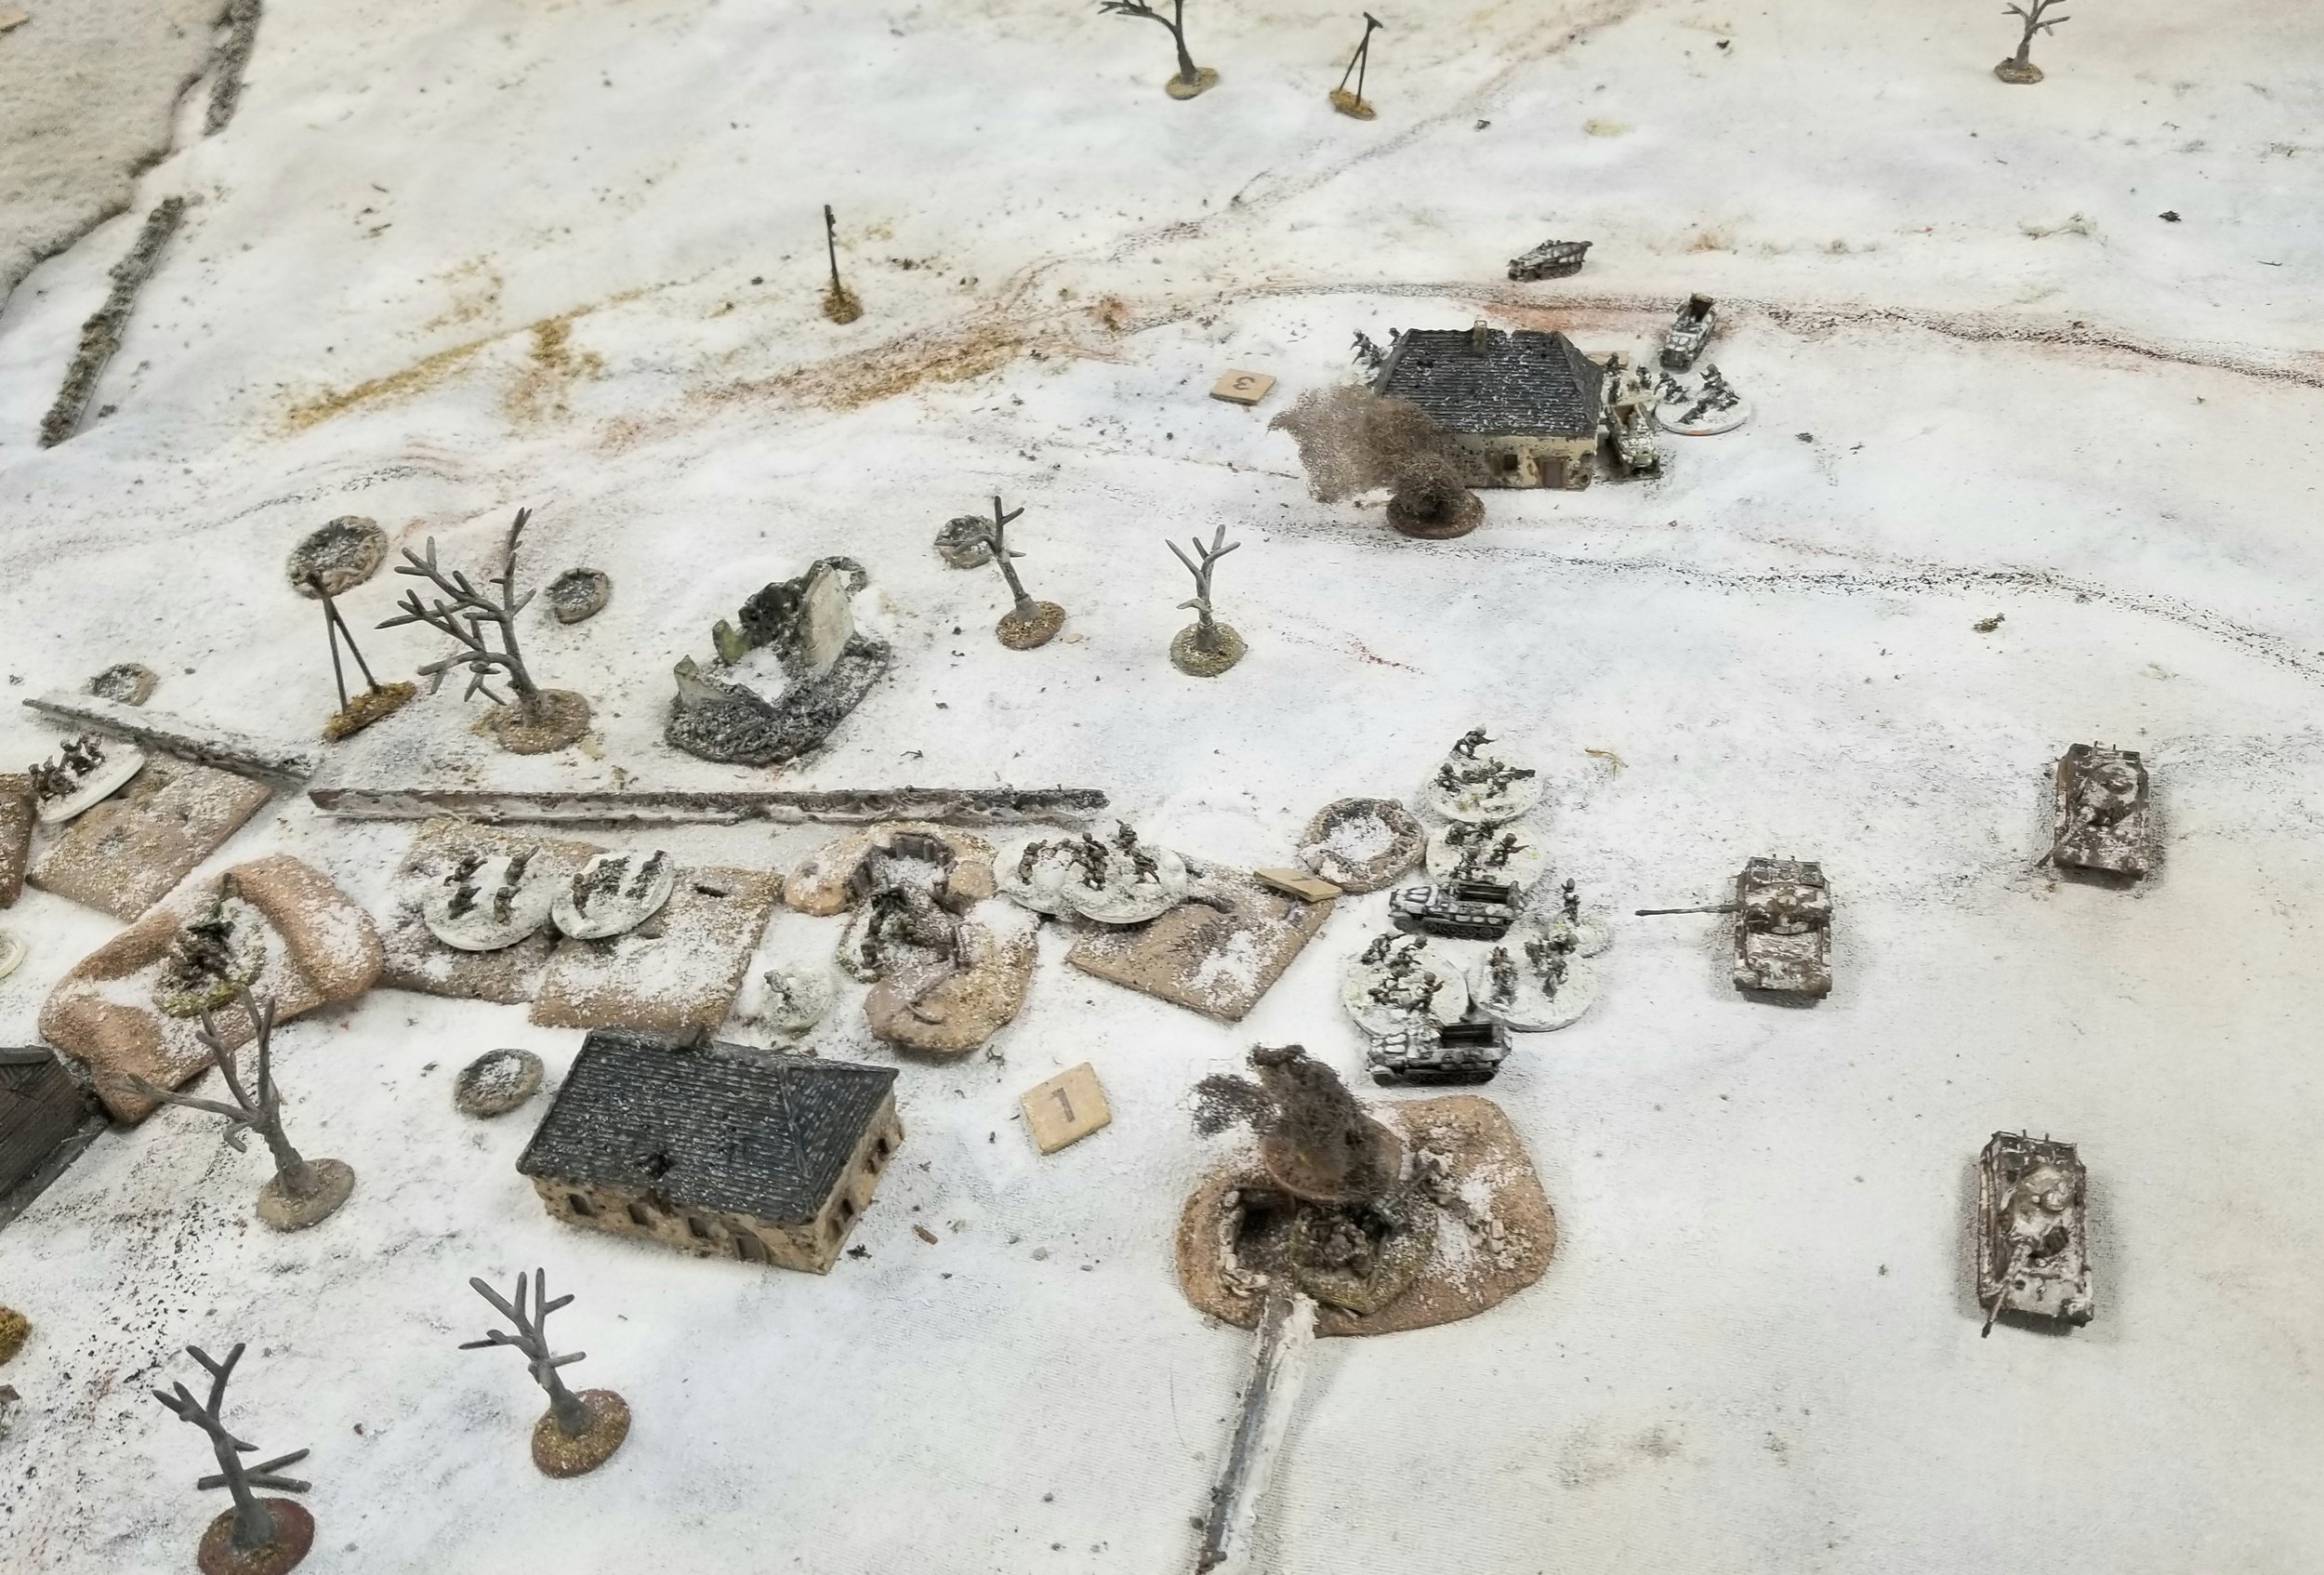
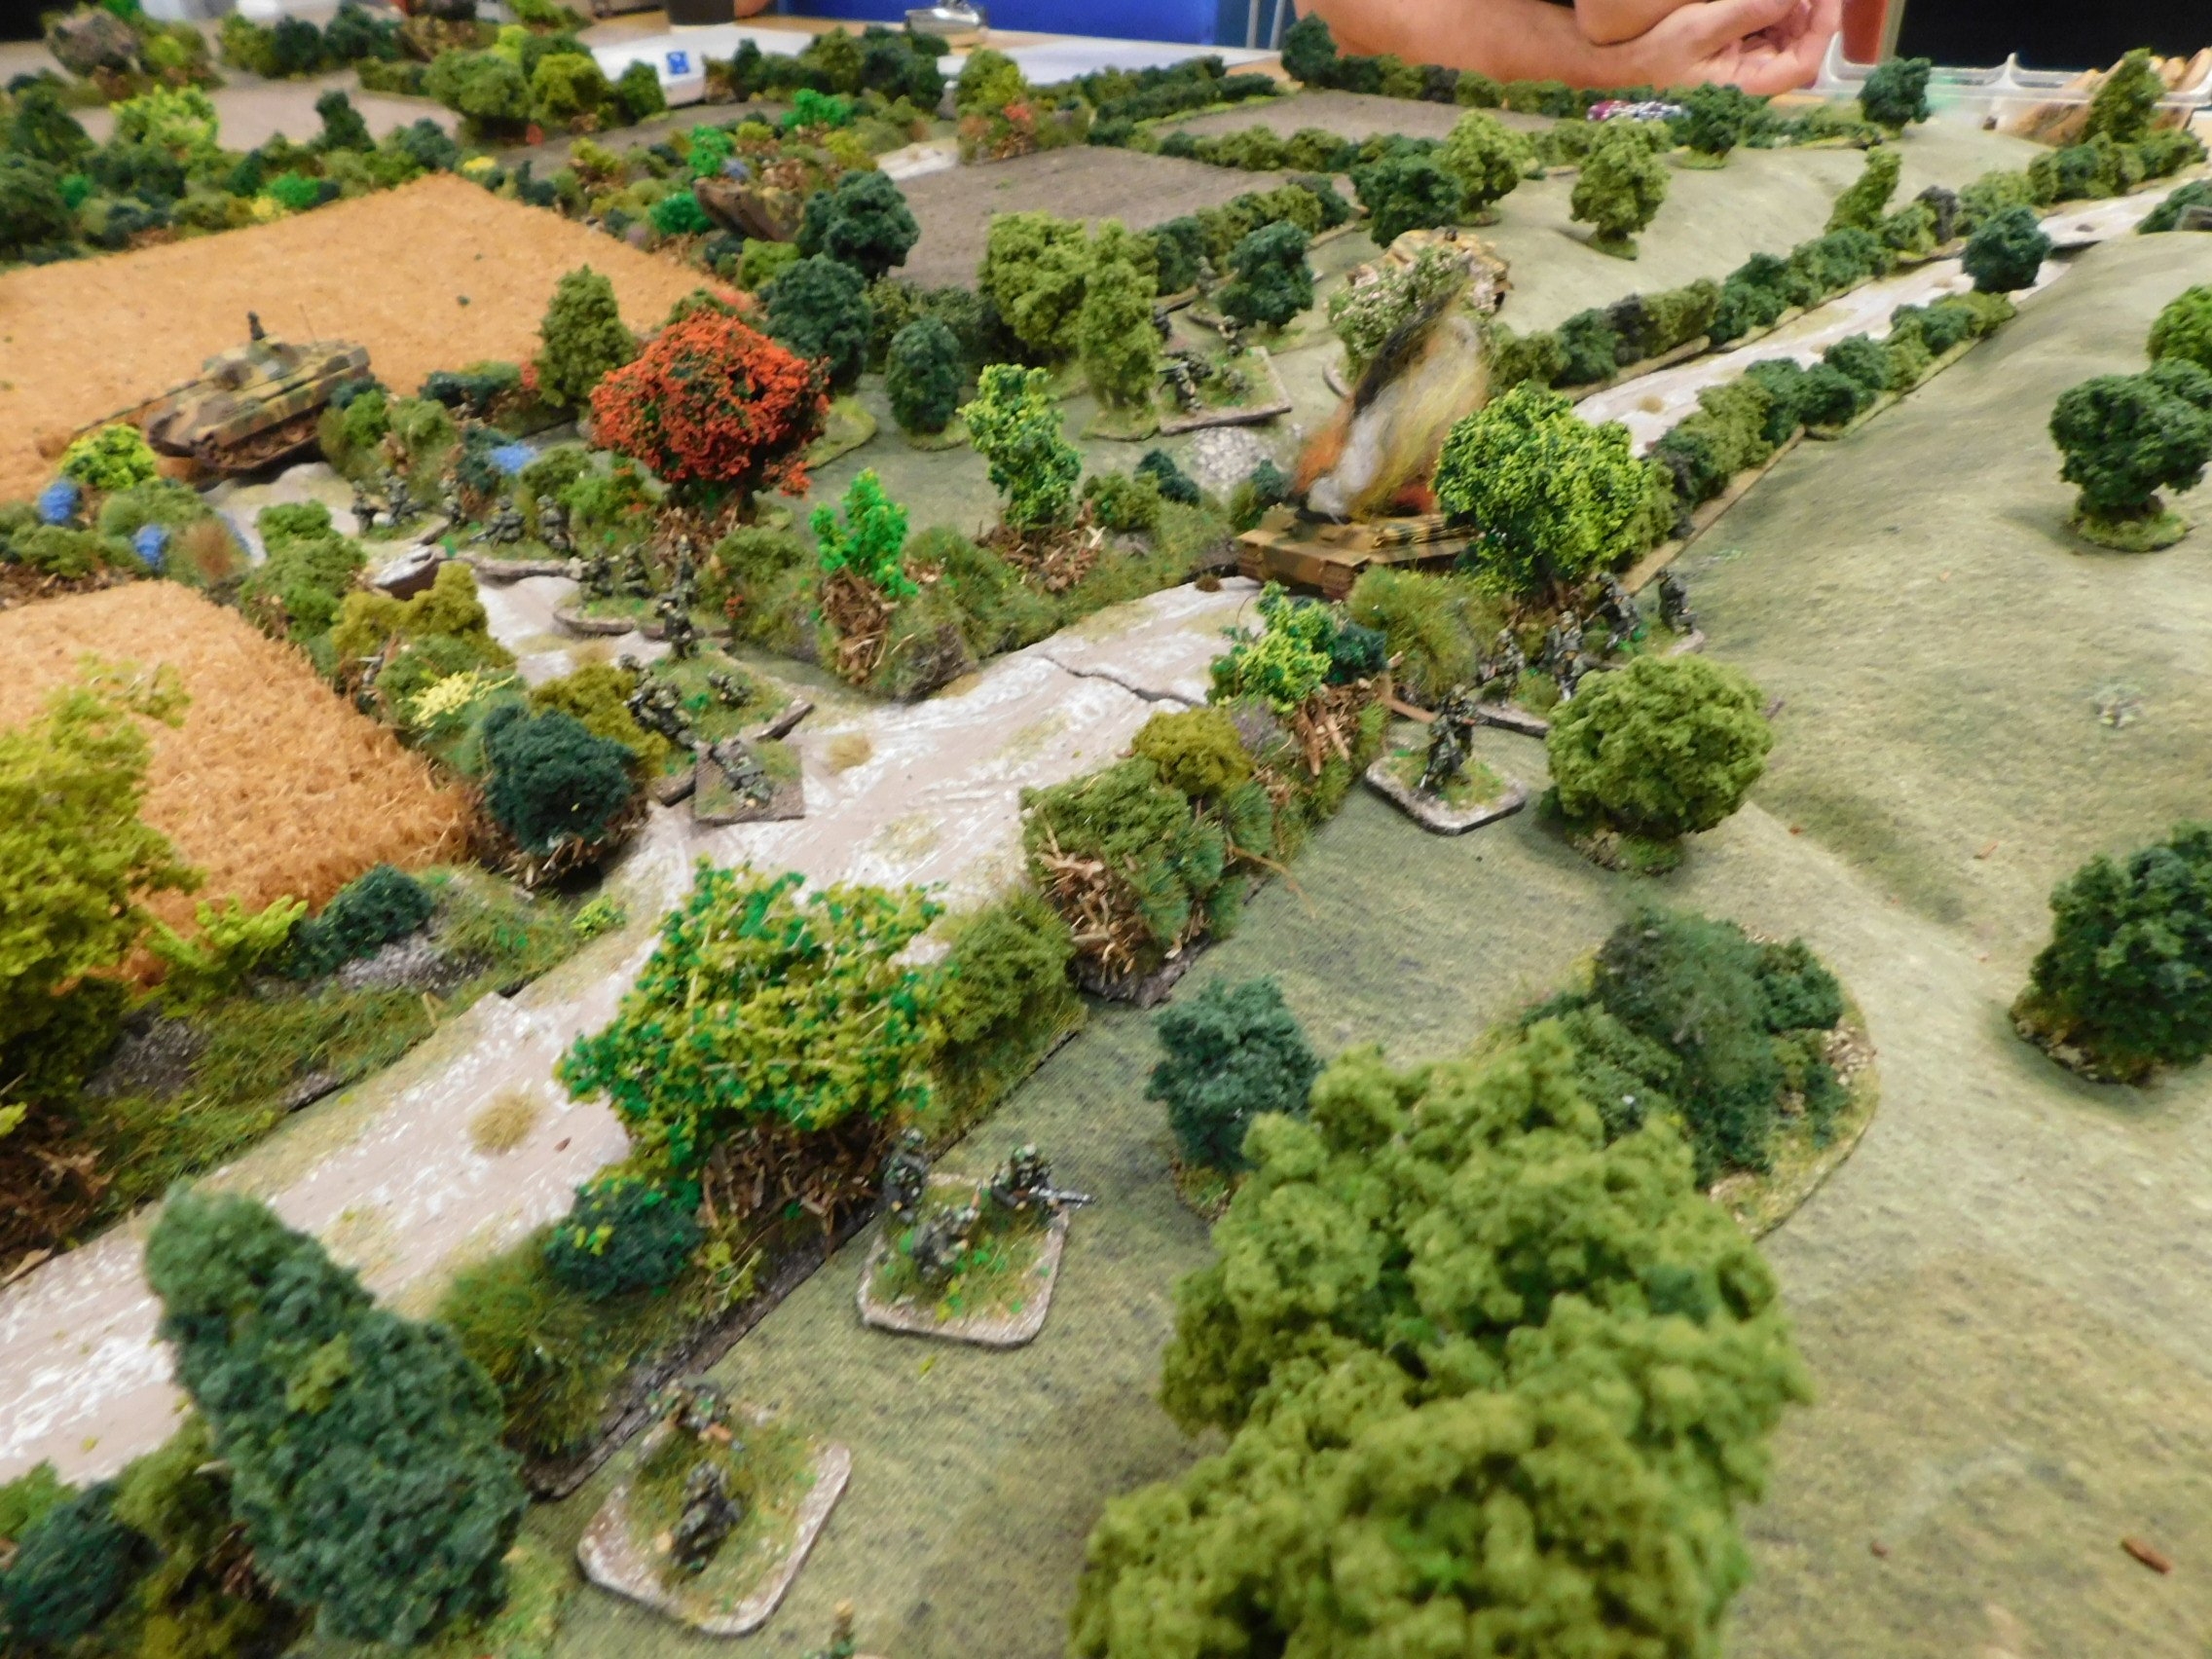
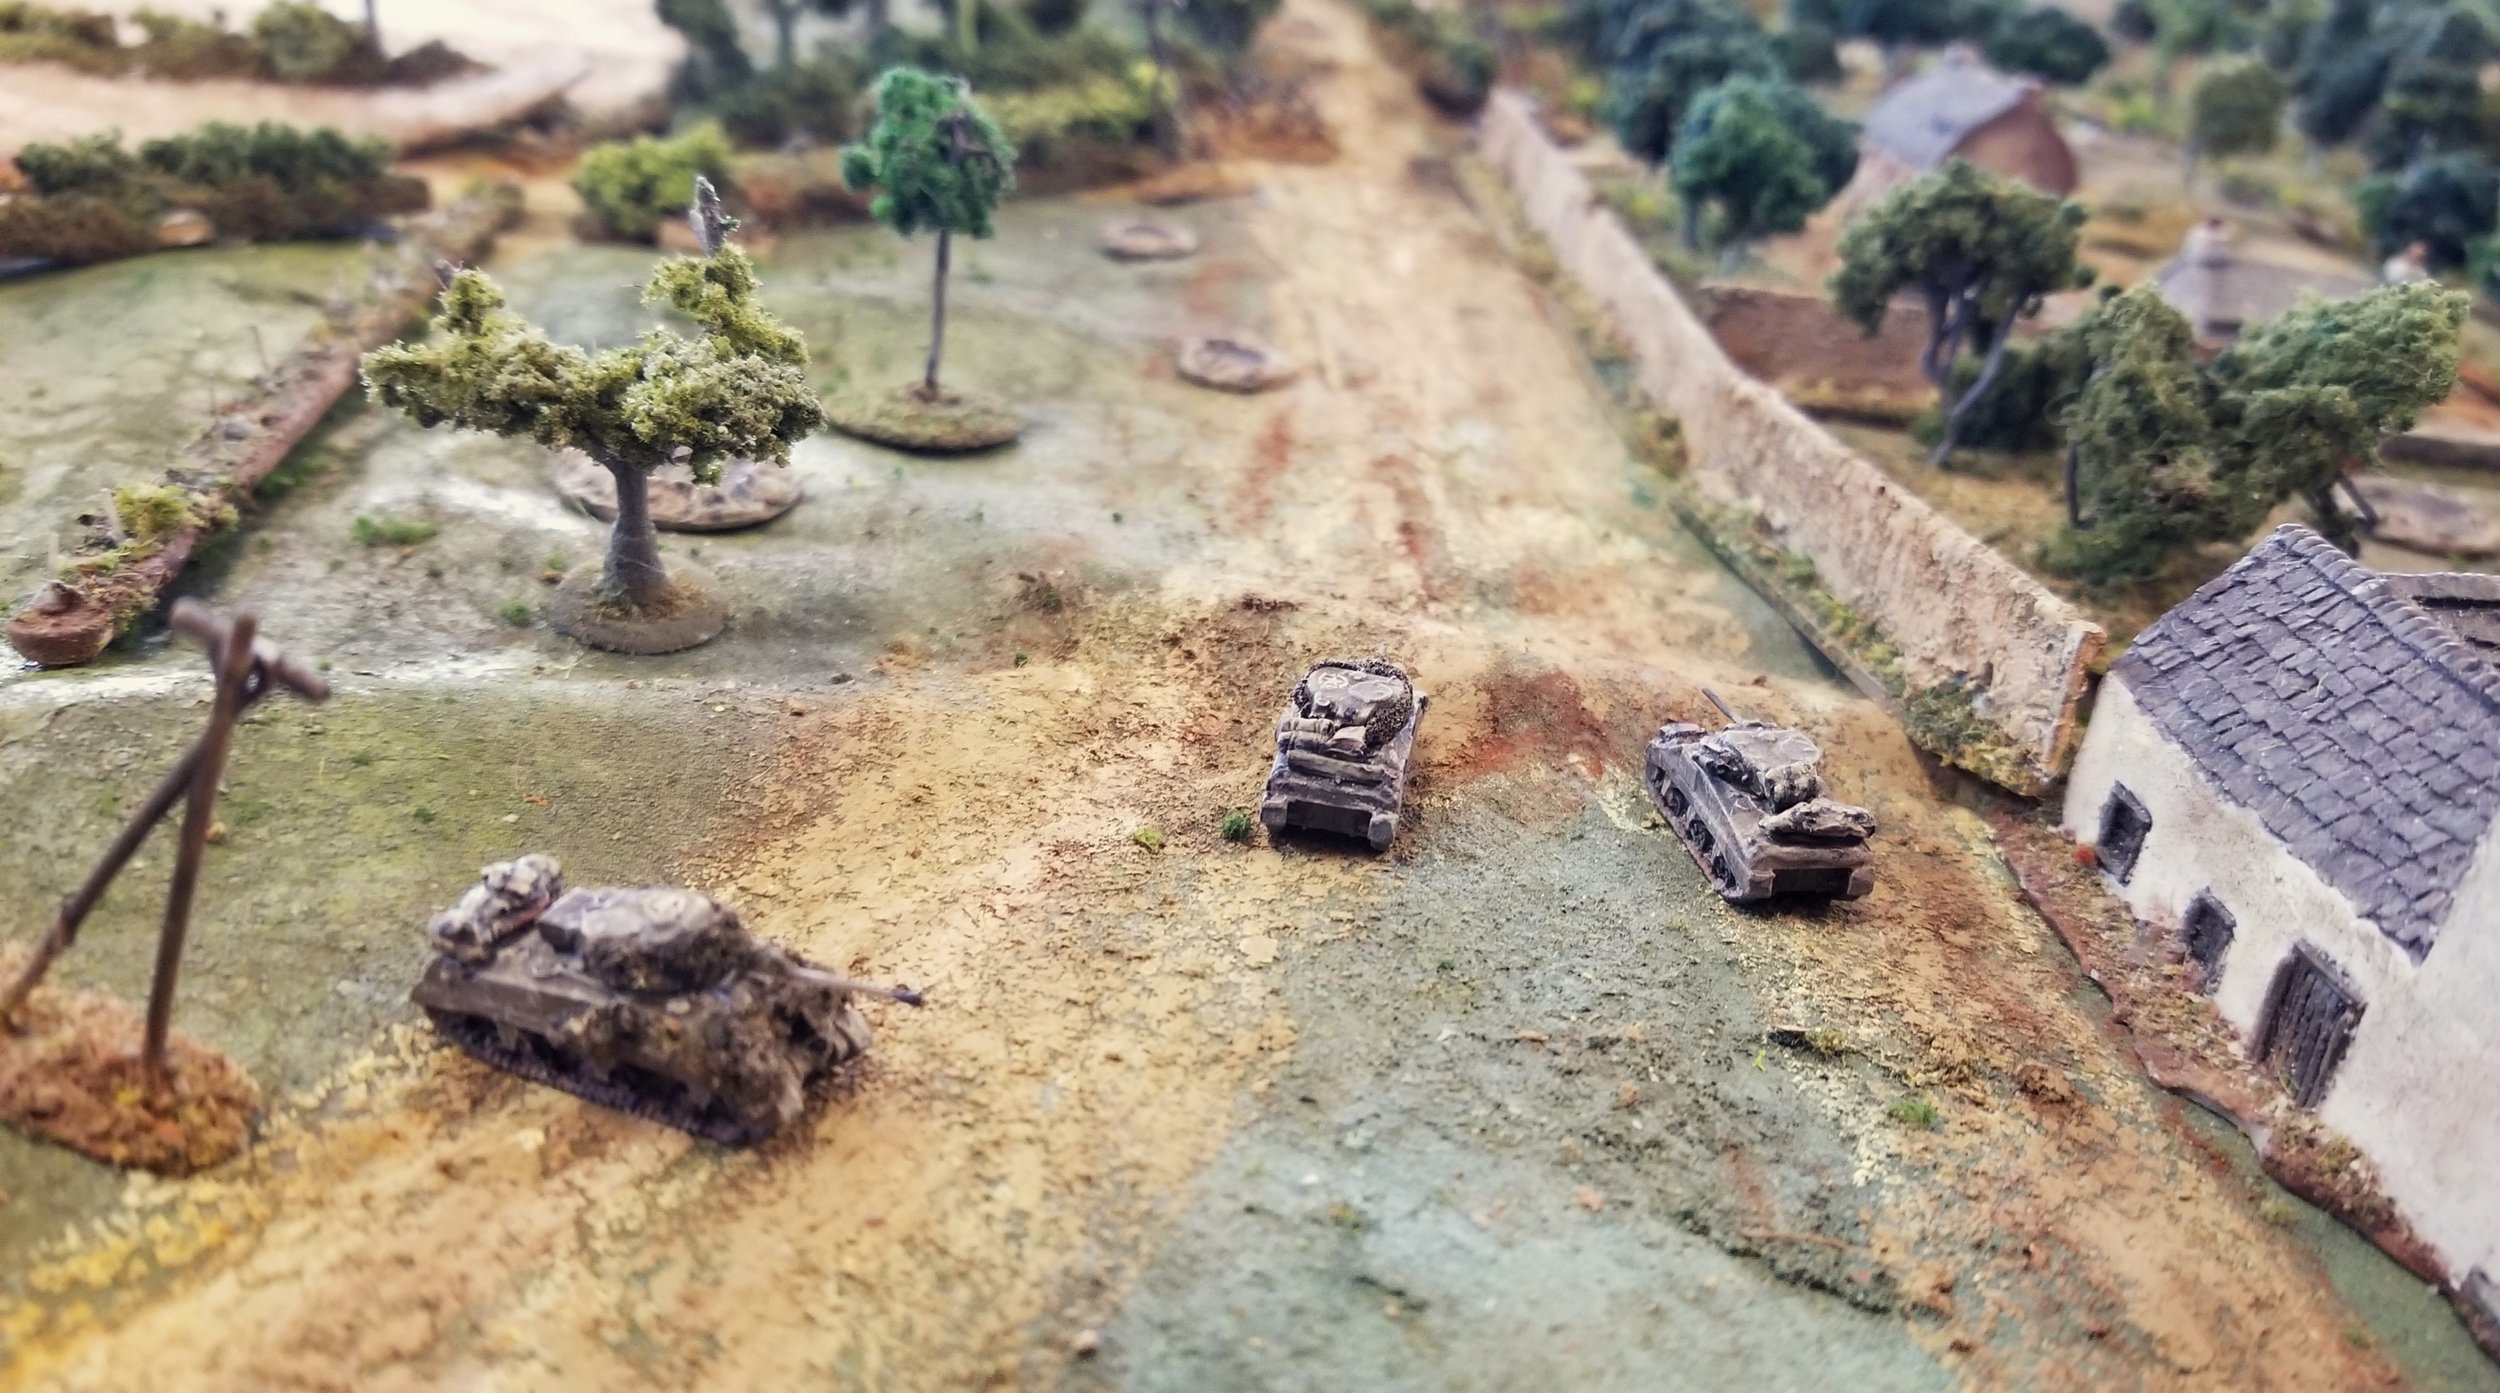
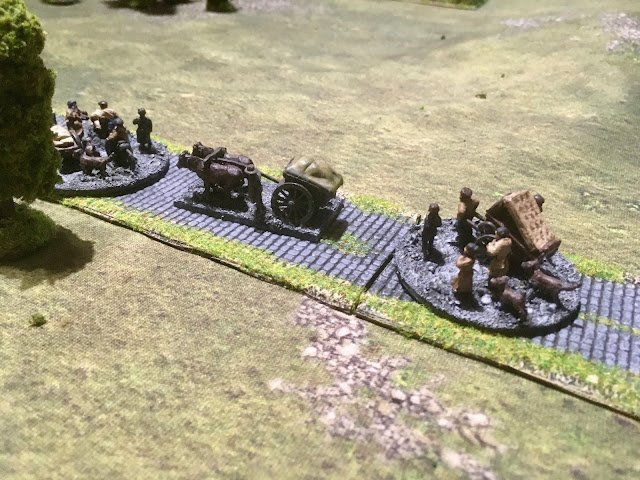
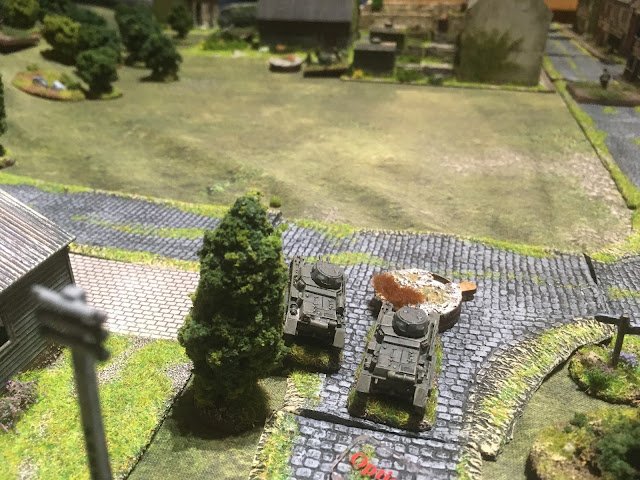
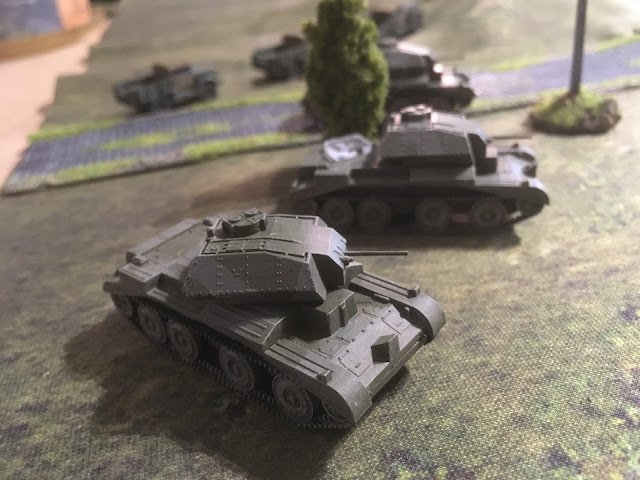
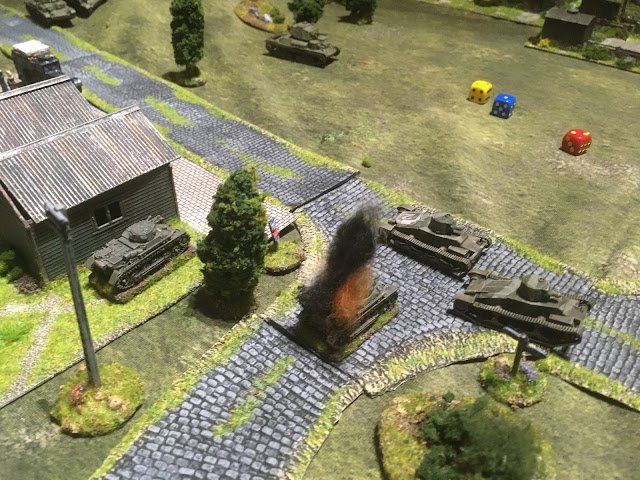
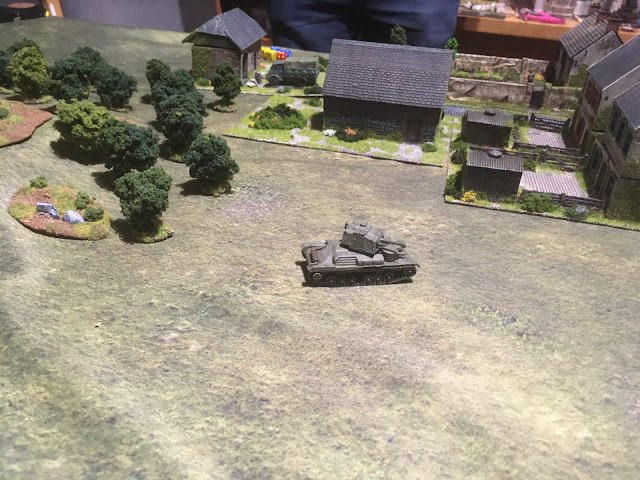
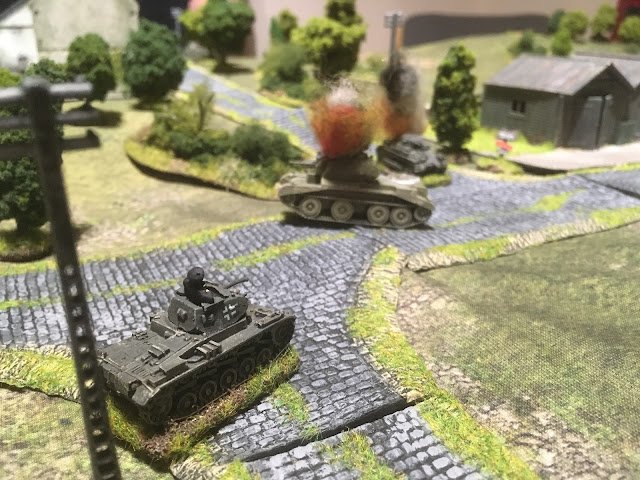
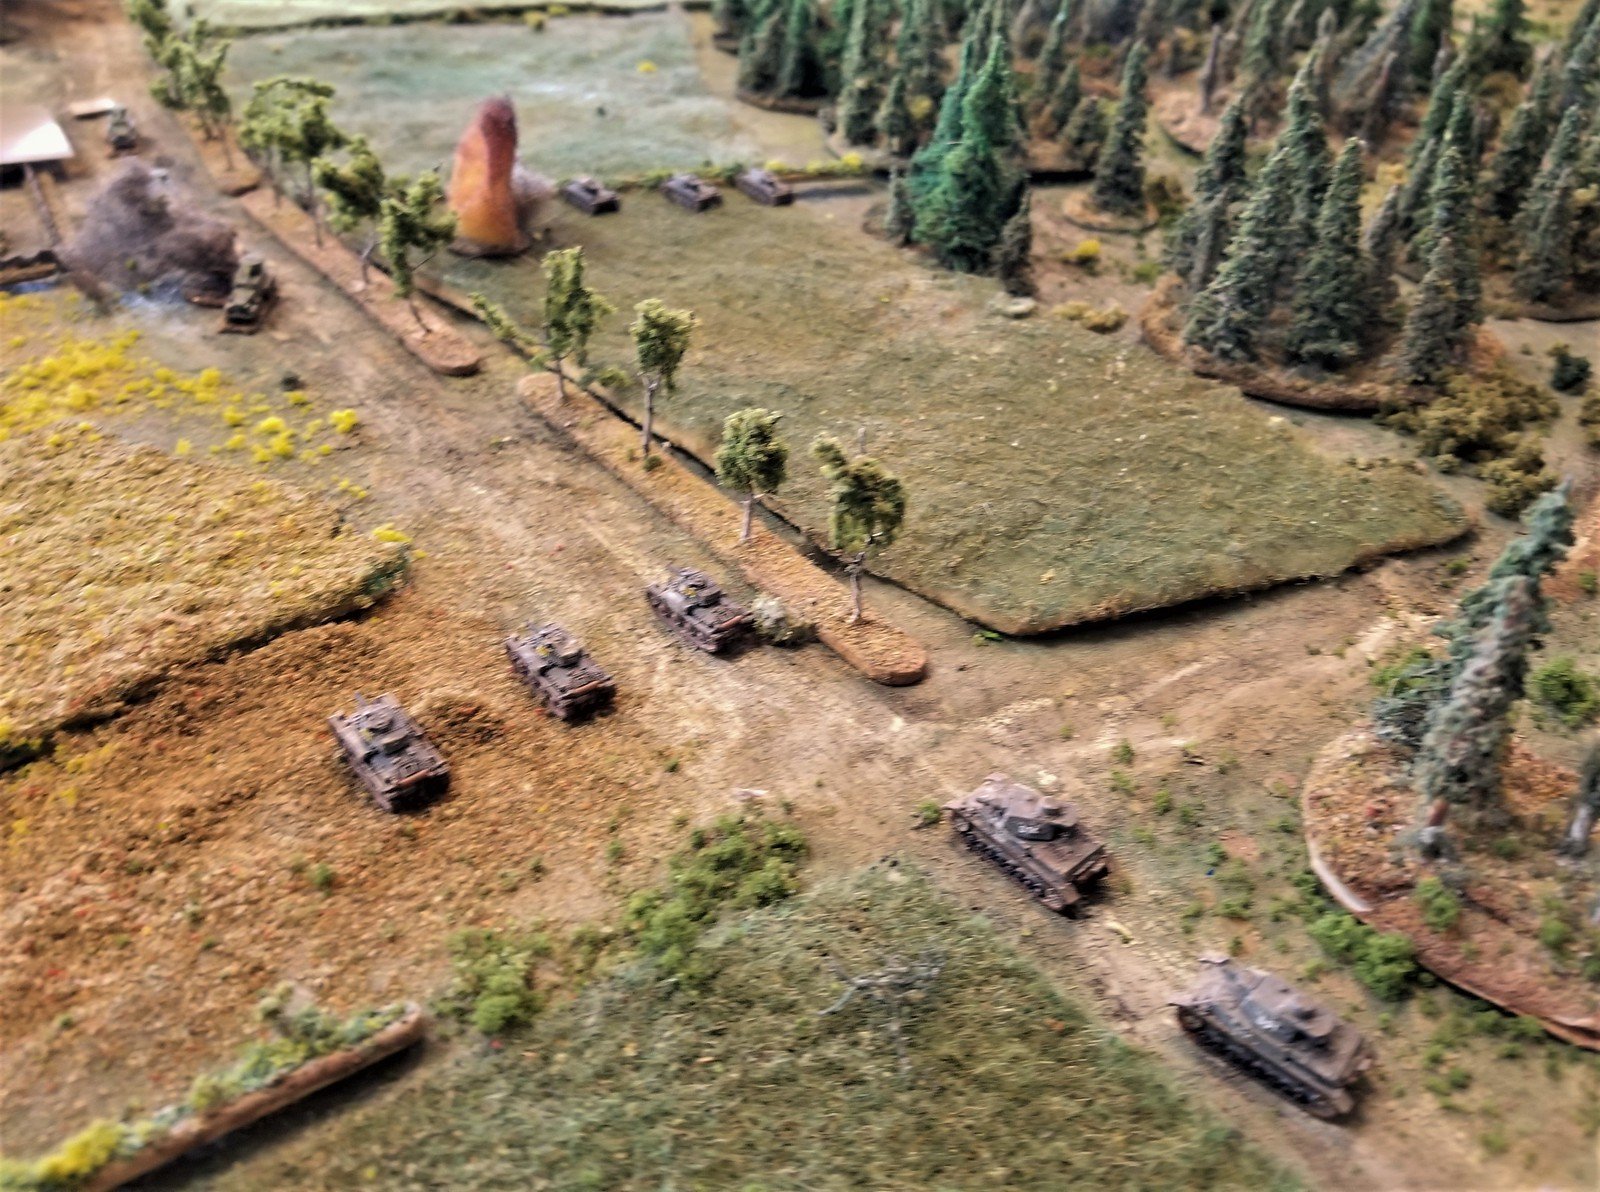
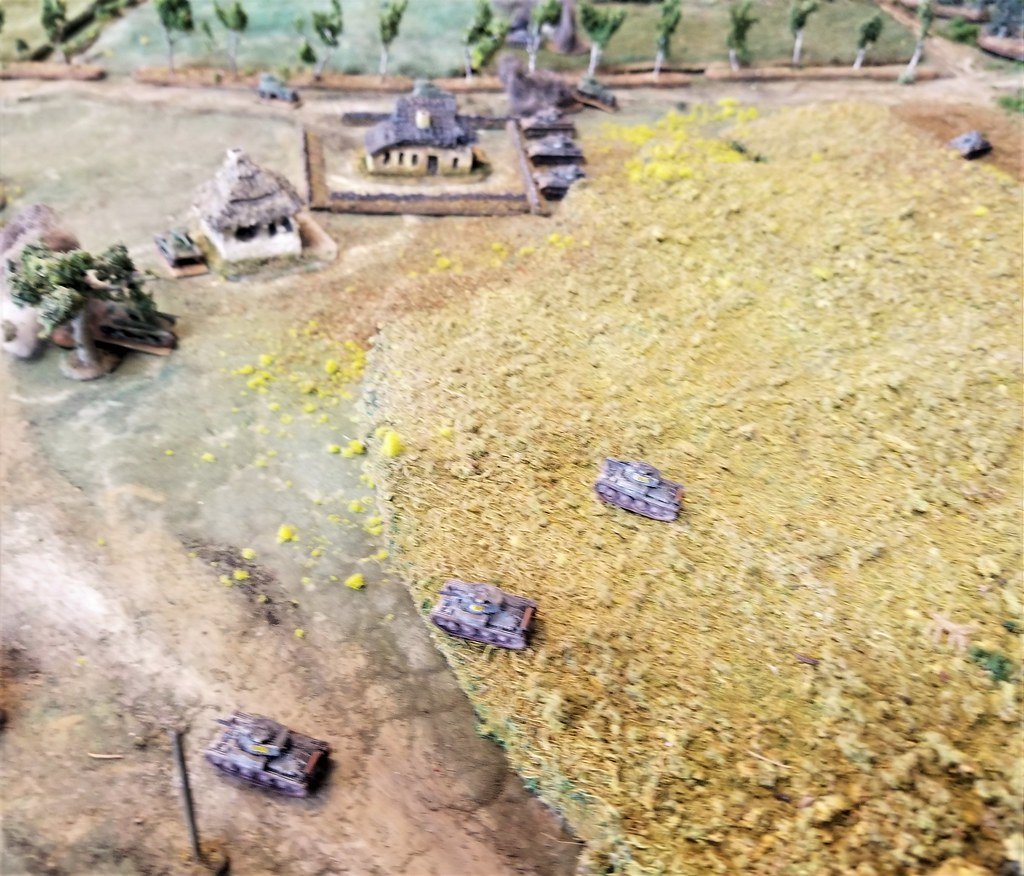
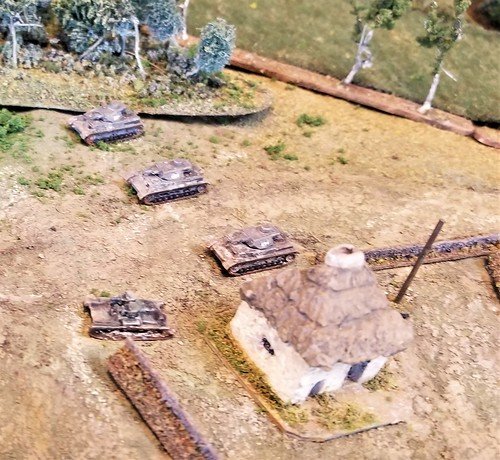
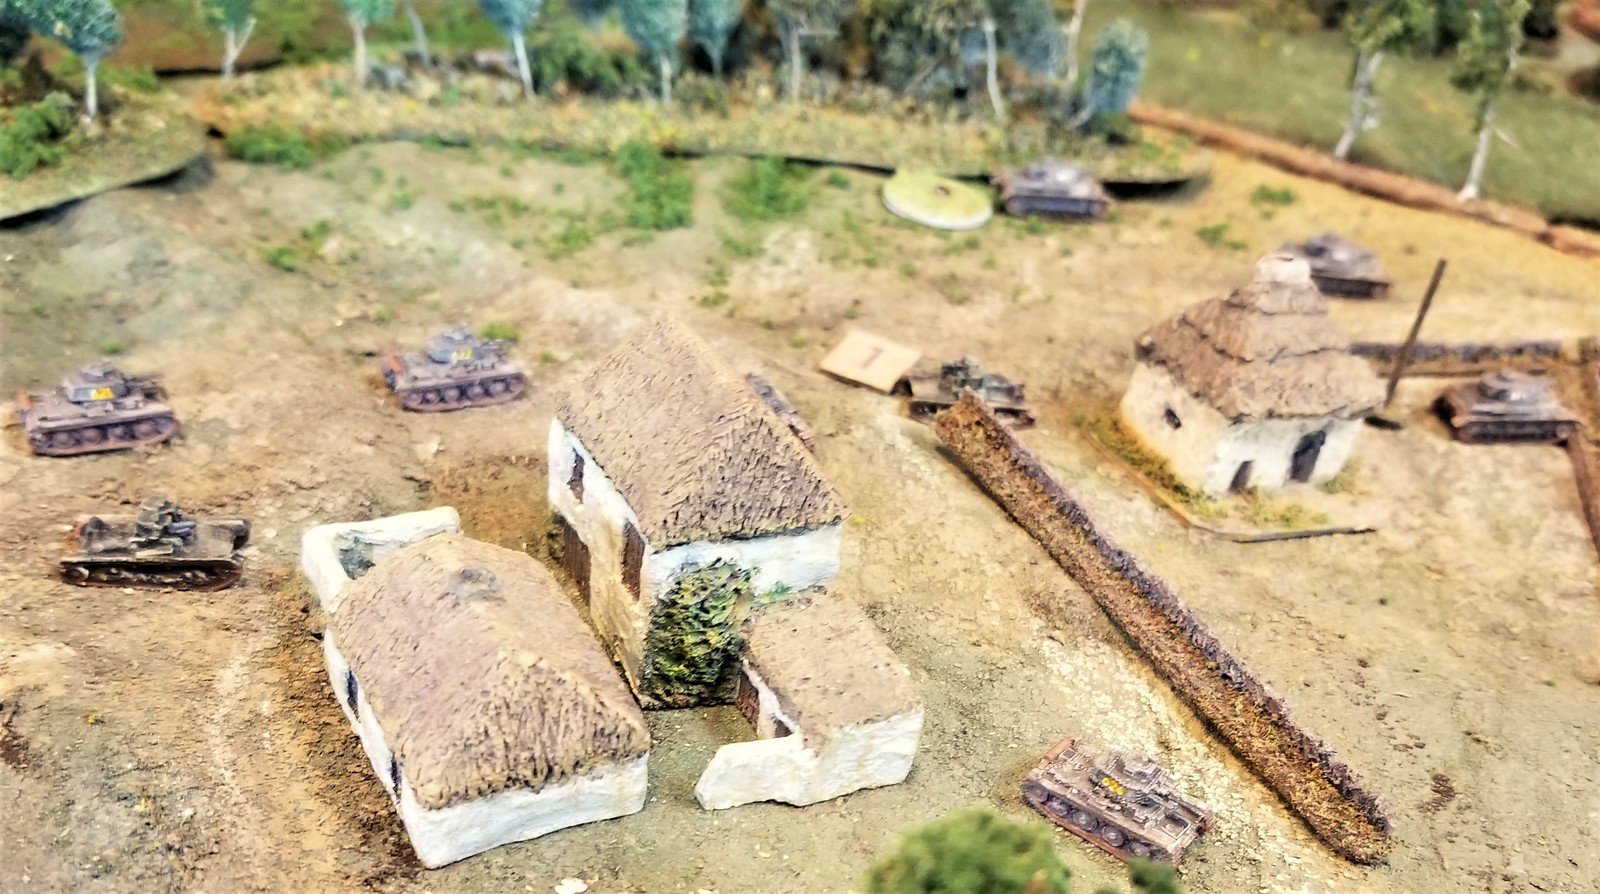
3rd Platoon and our 4th tank had better luck, charging up the center, climbing the hill along the road. While the tank got in some machine gun fire, the infantry pushed the Americans out of thier foxholes, and capturing the anti-tank gun that had been destroying our armor. A bazooka team hit our last tank, causing it to quickly retreat back down the causeway.

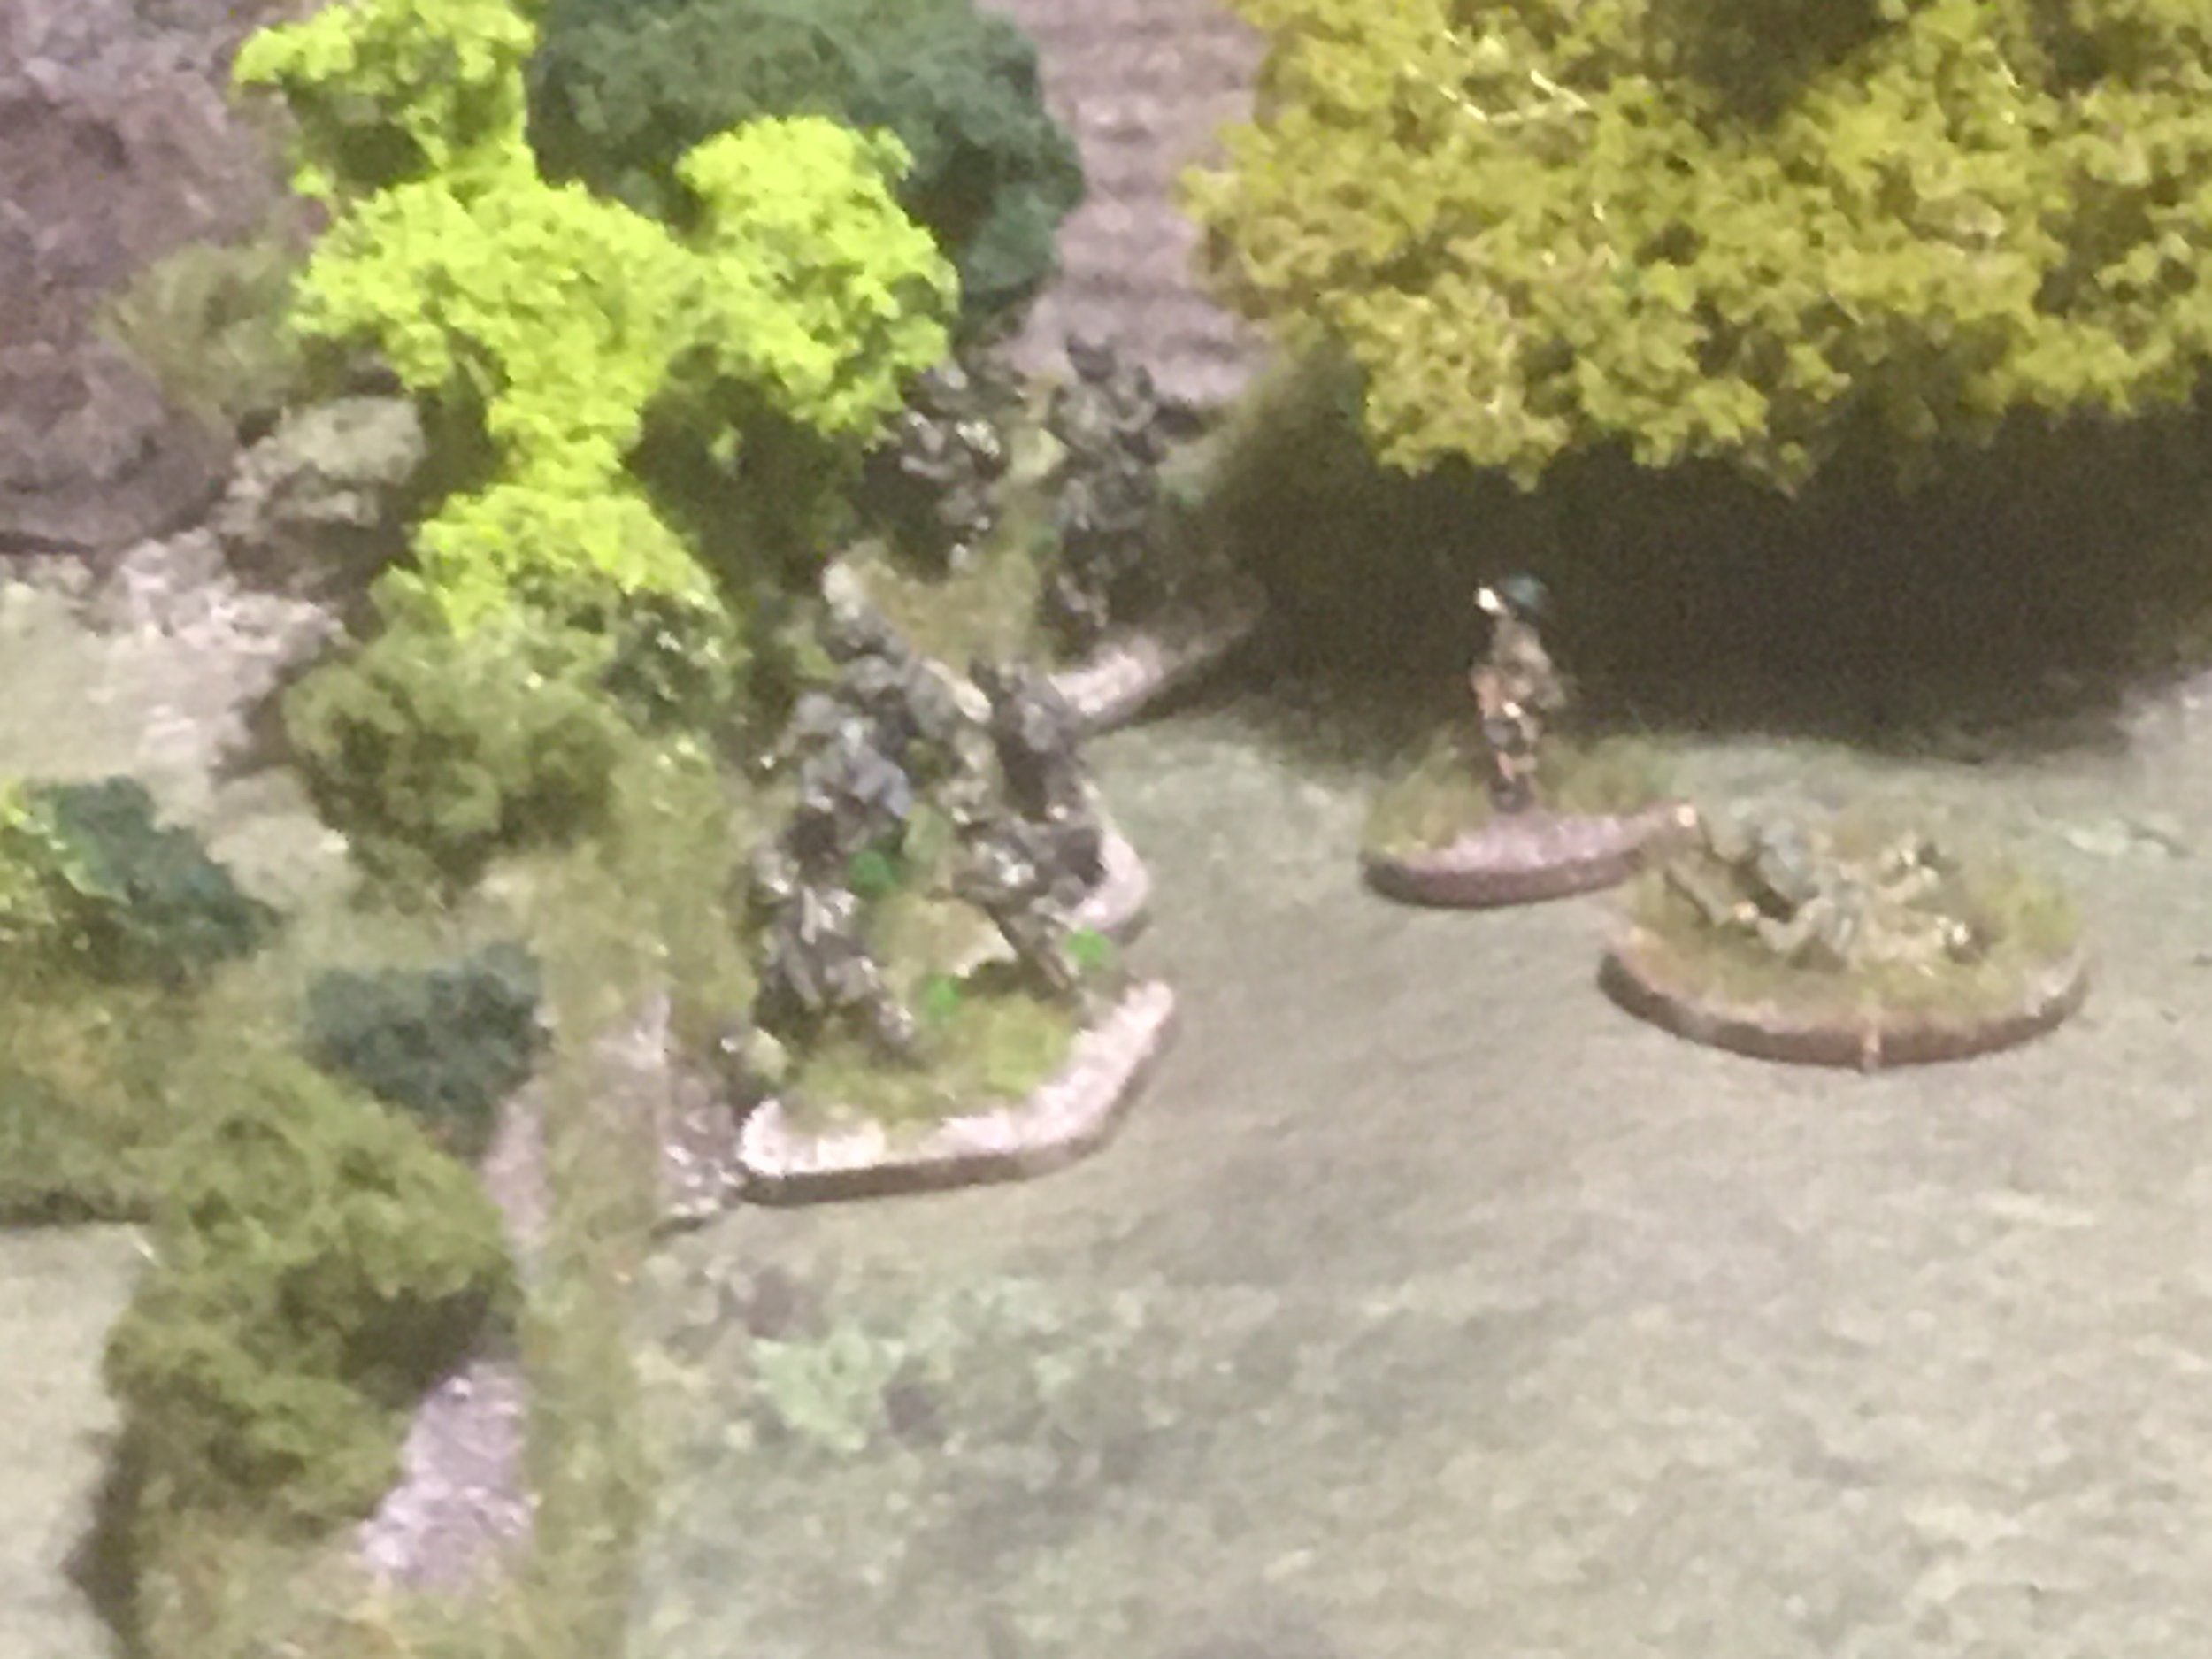
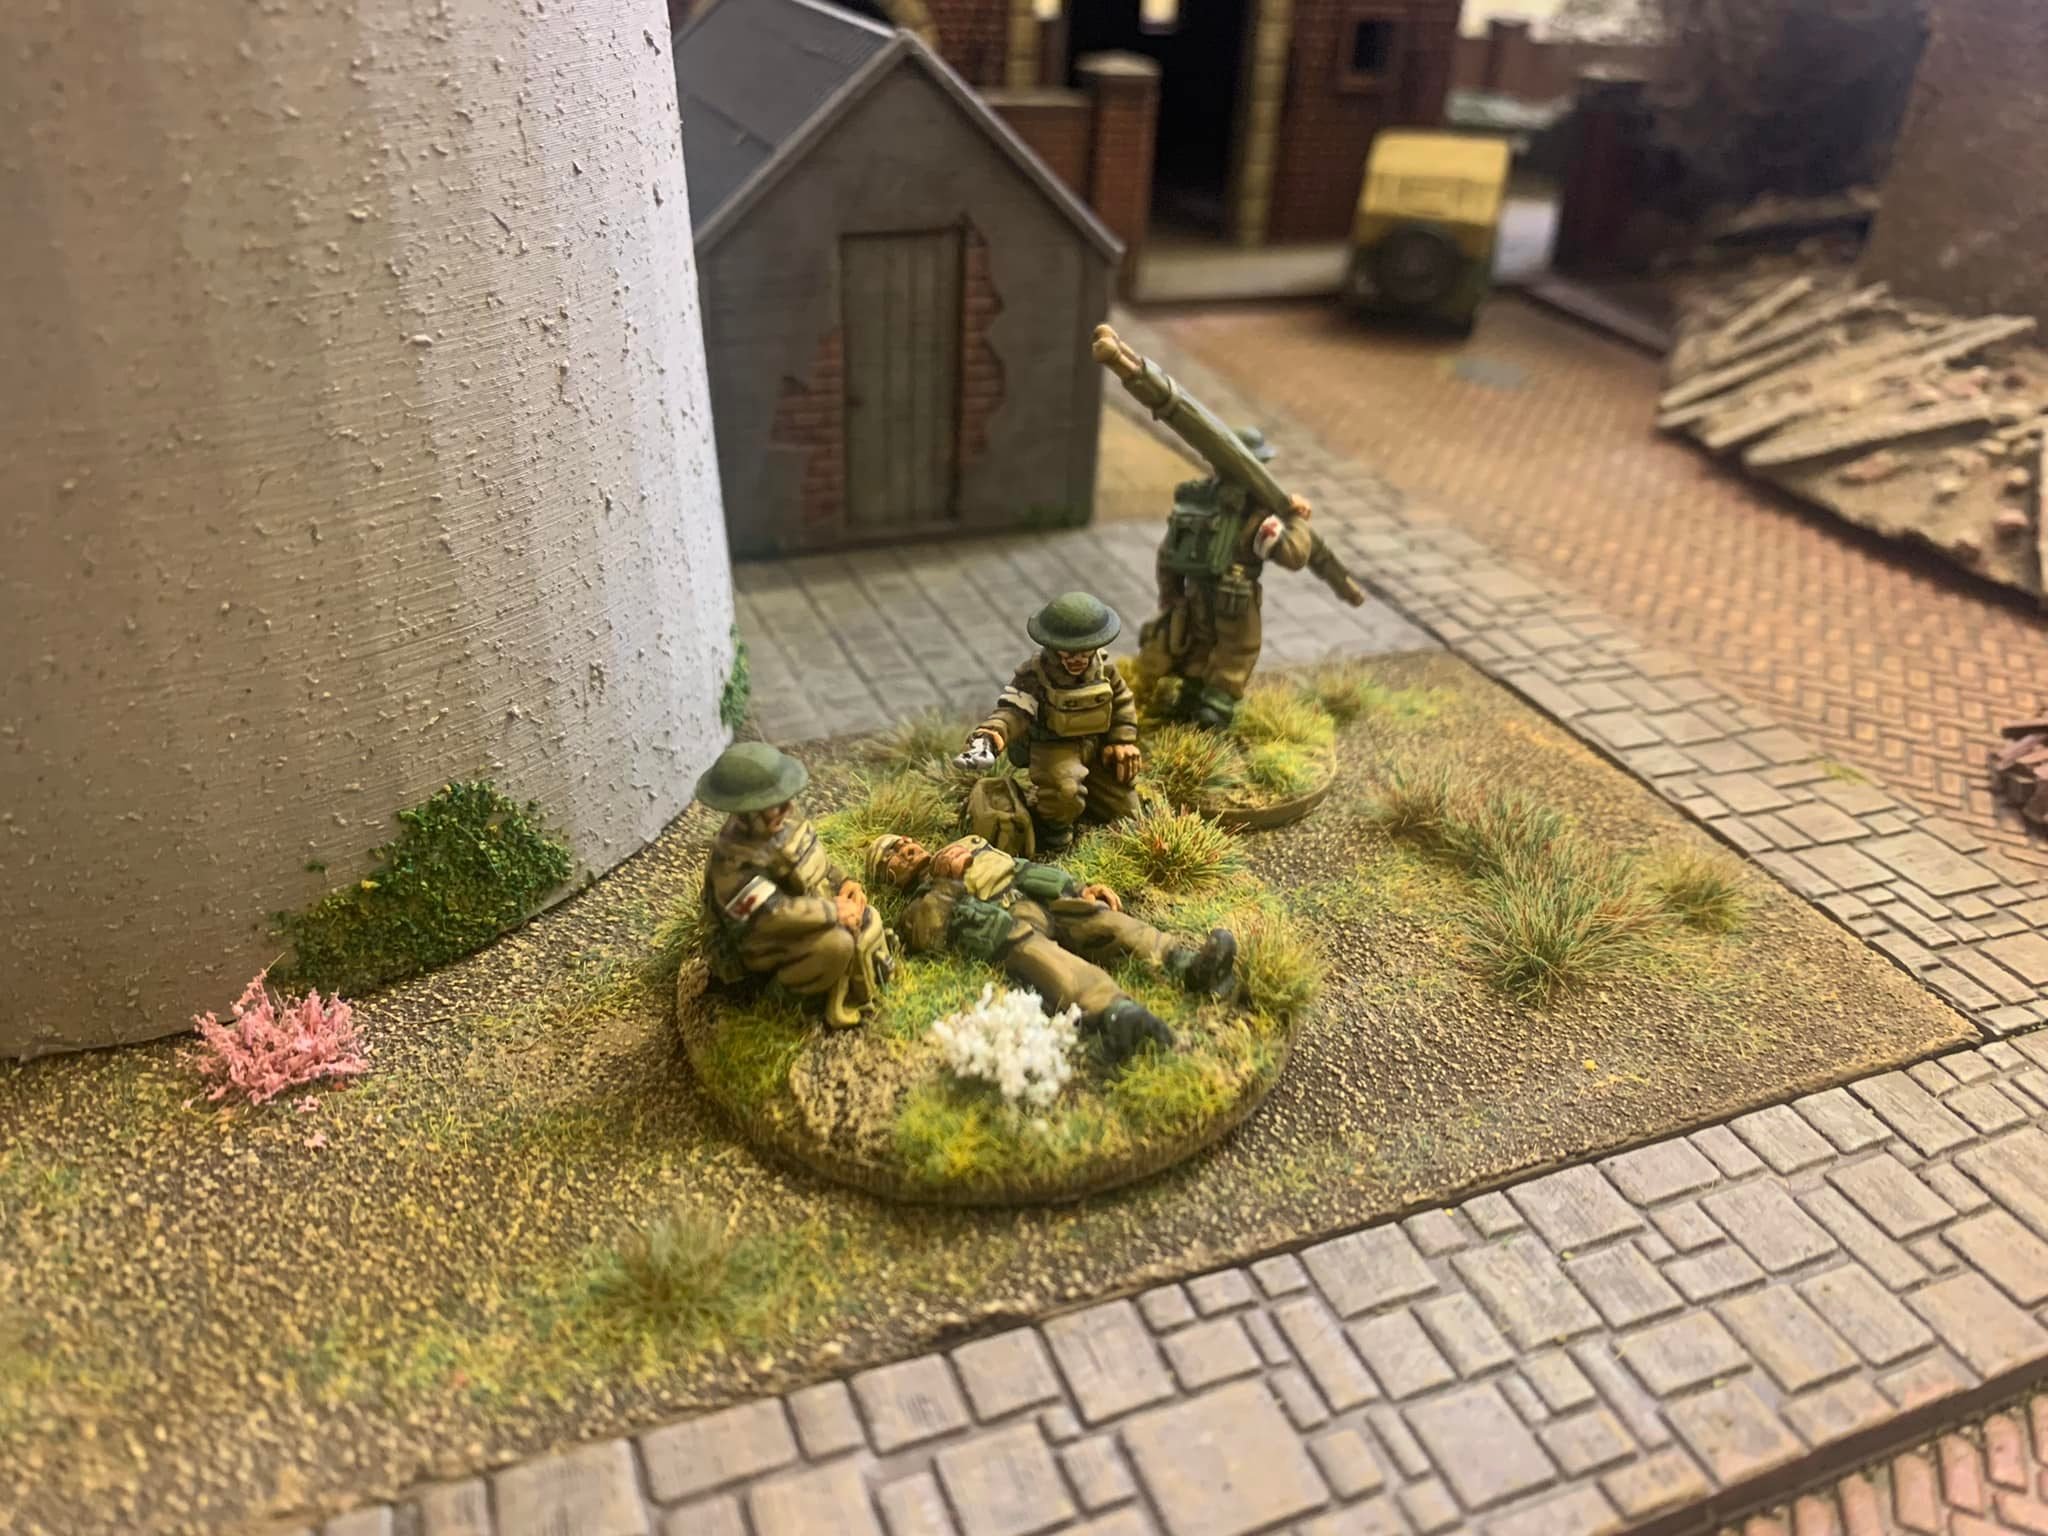
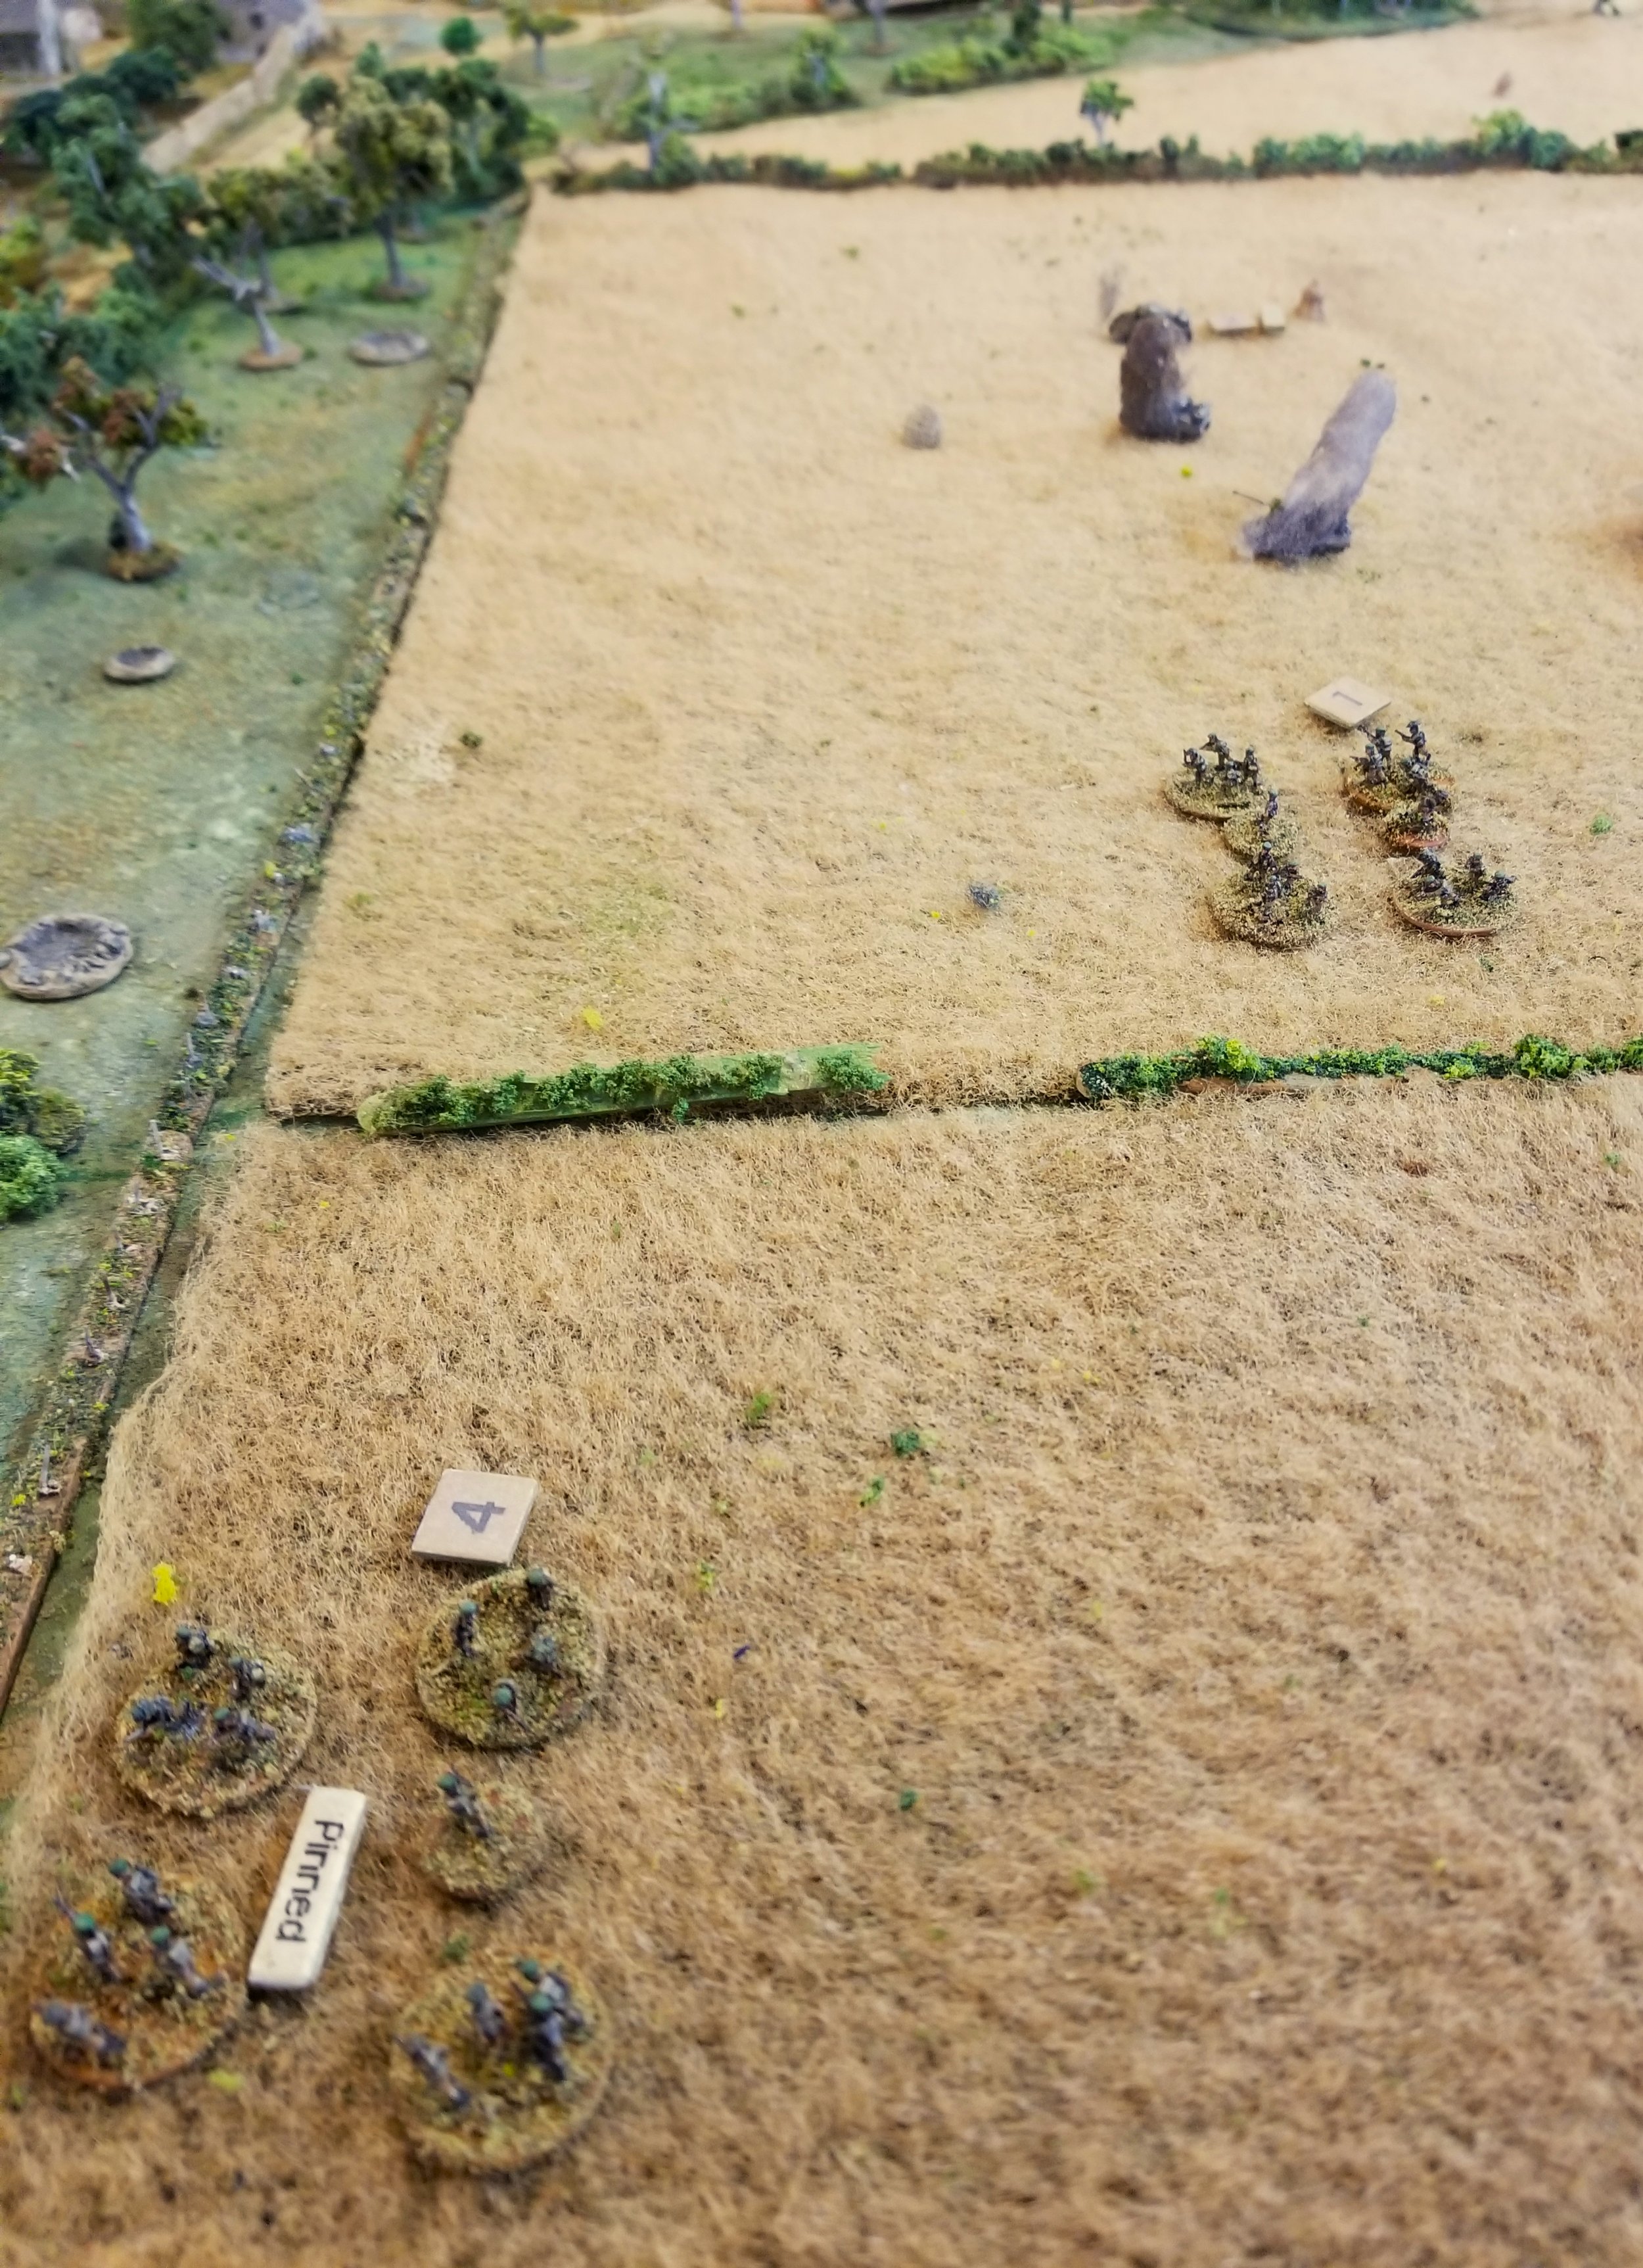
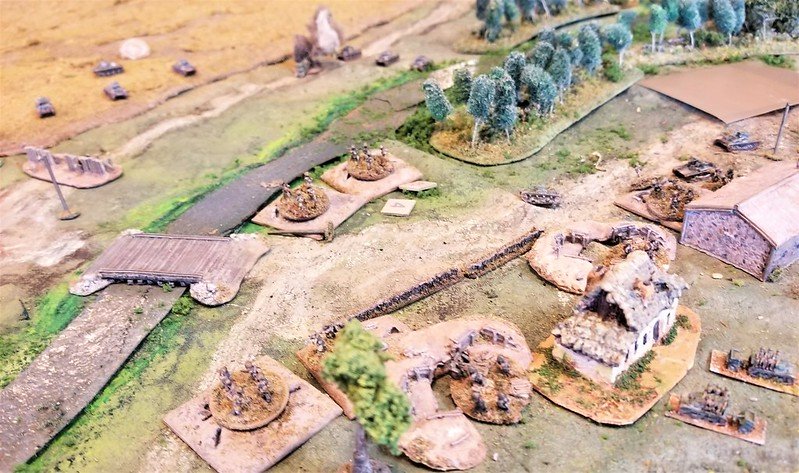
During the chaos, a section of first Platoon became separated, taking heavy fire. They retreated down an embankment, spending most of the game there, trying to shake off their shock.

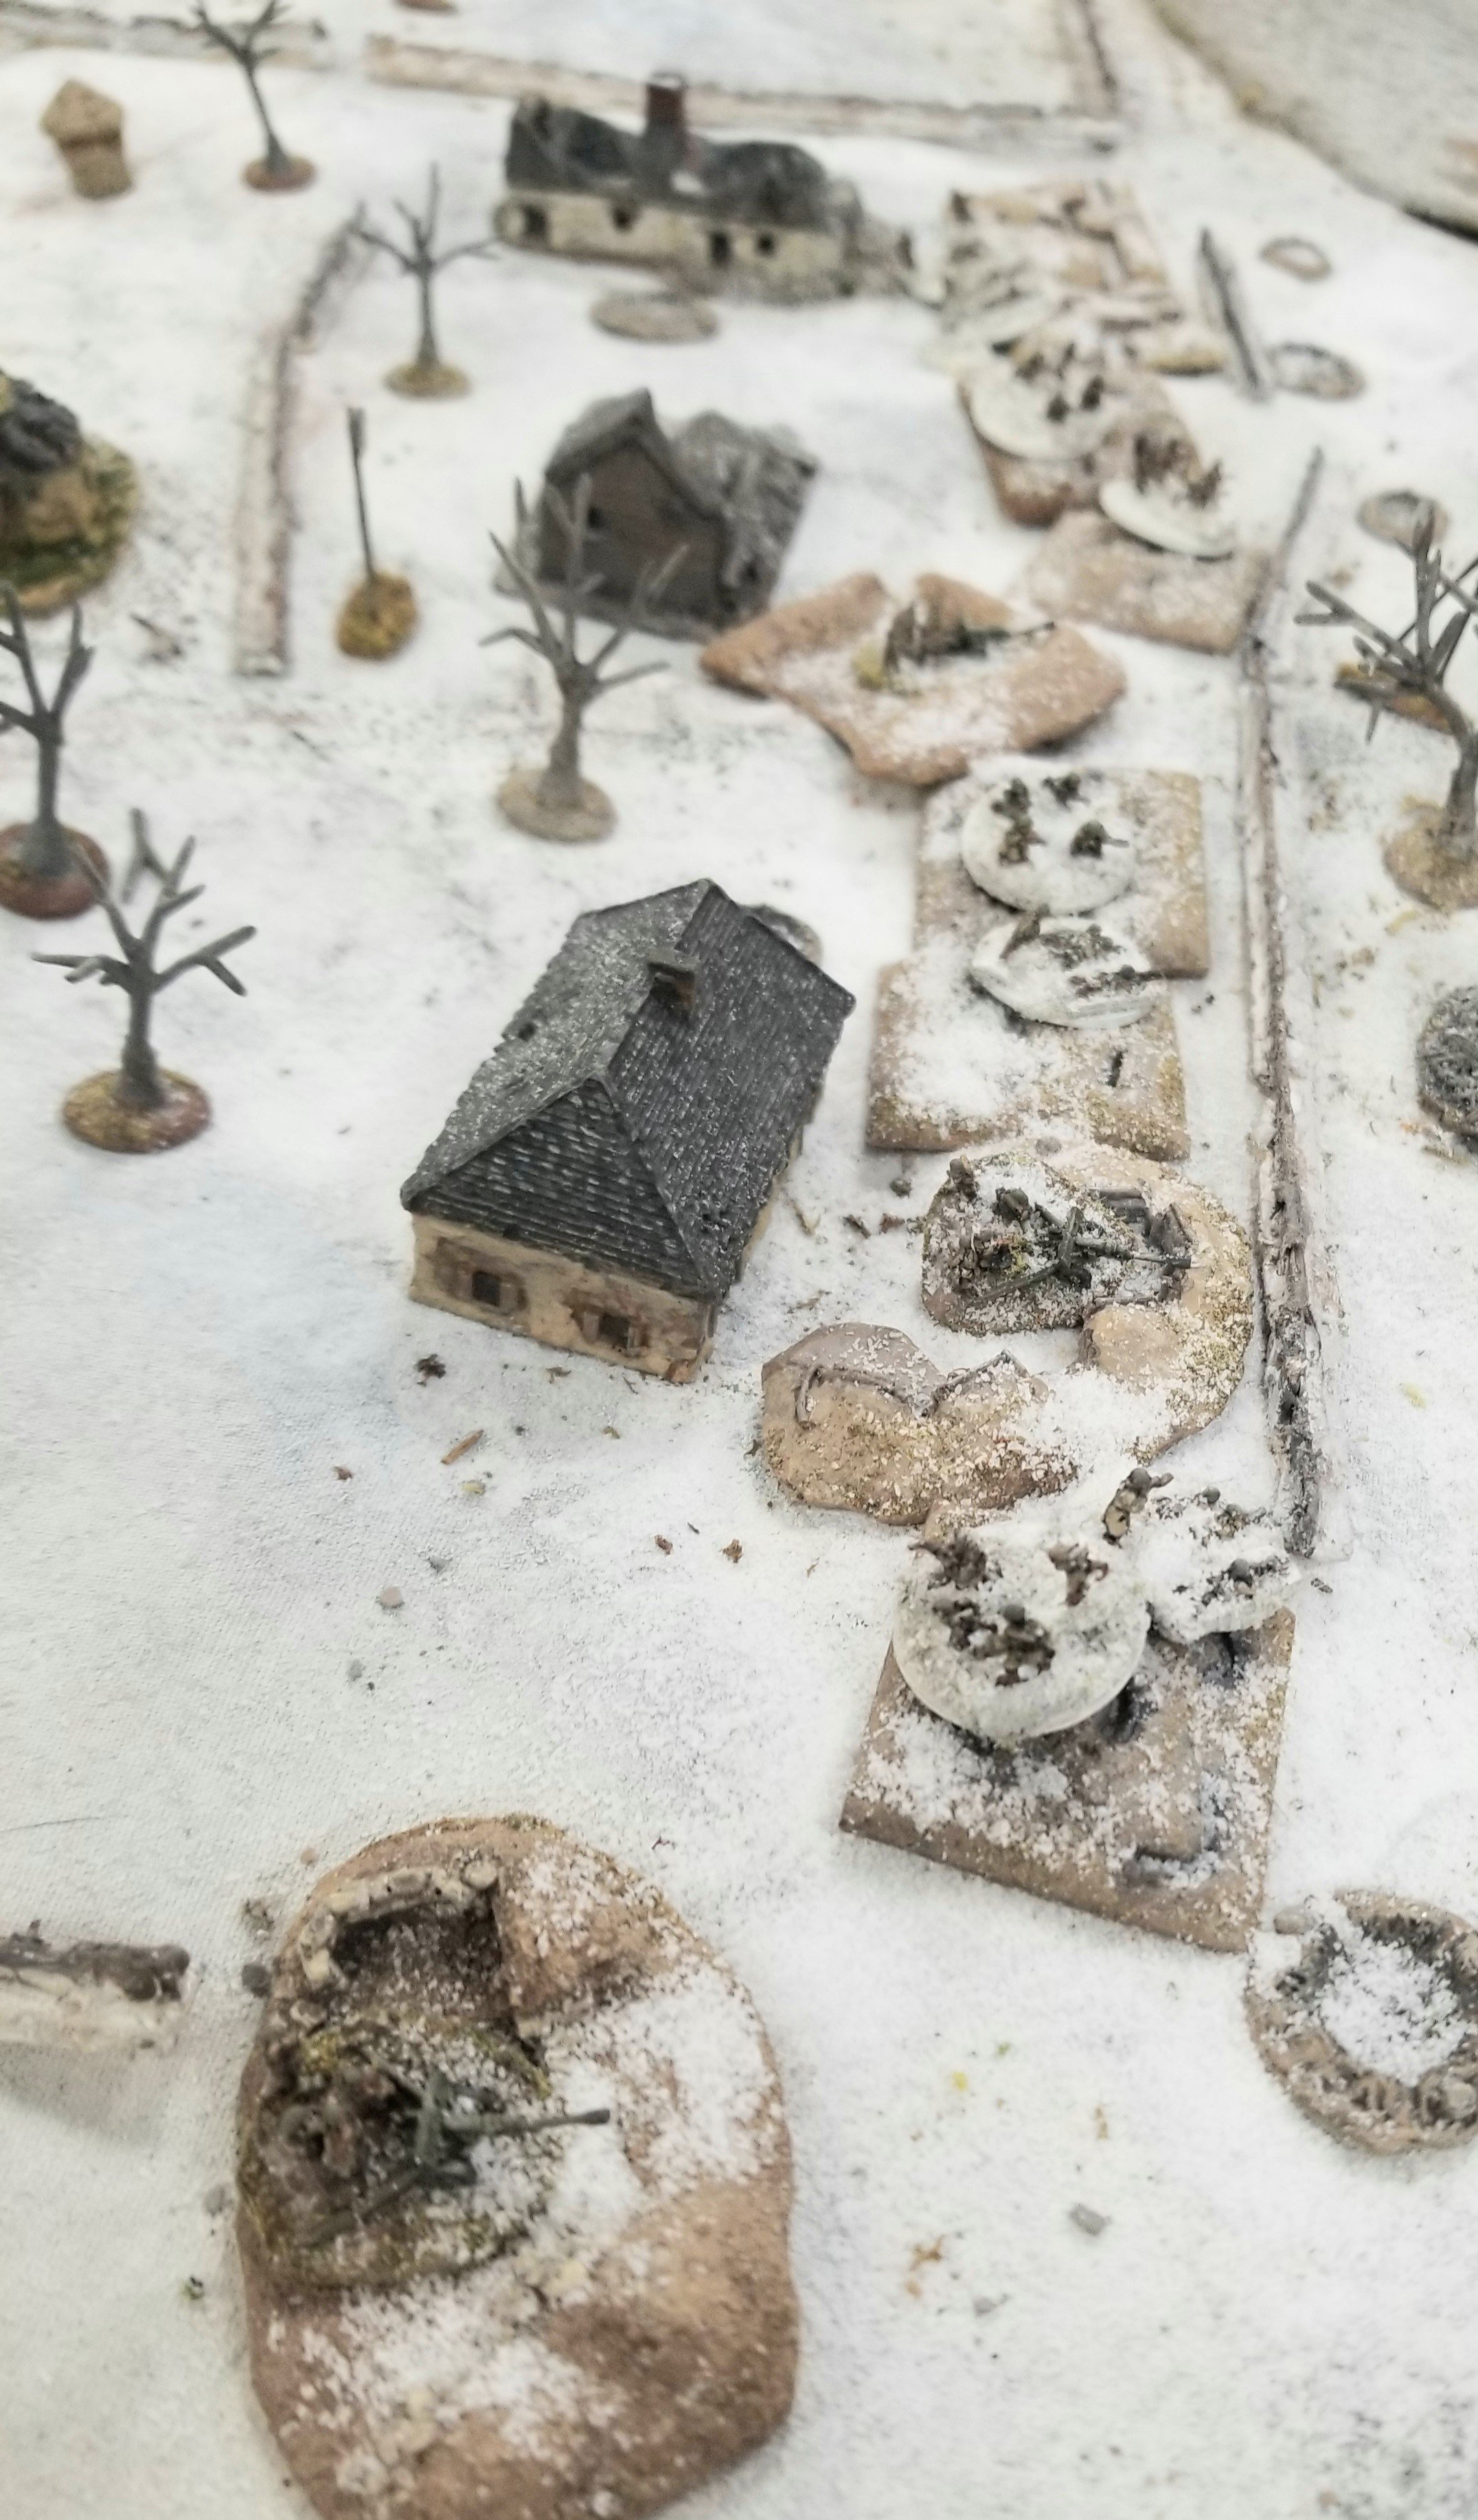
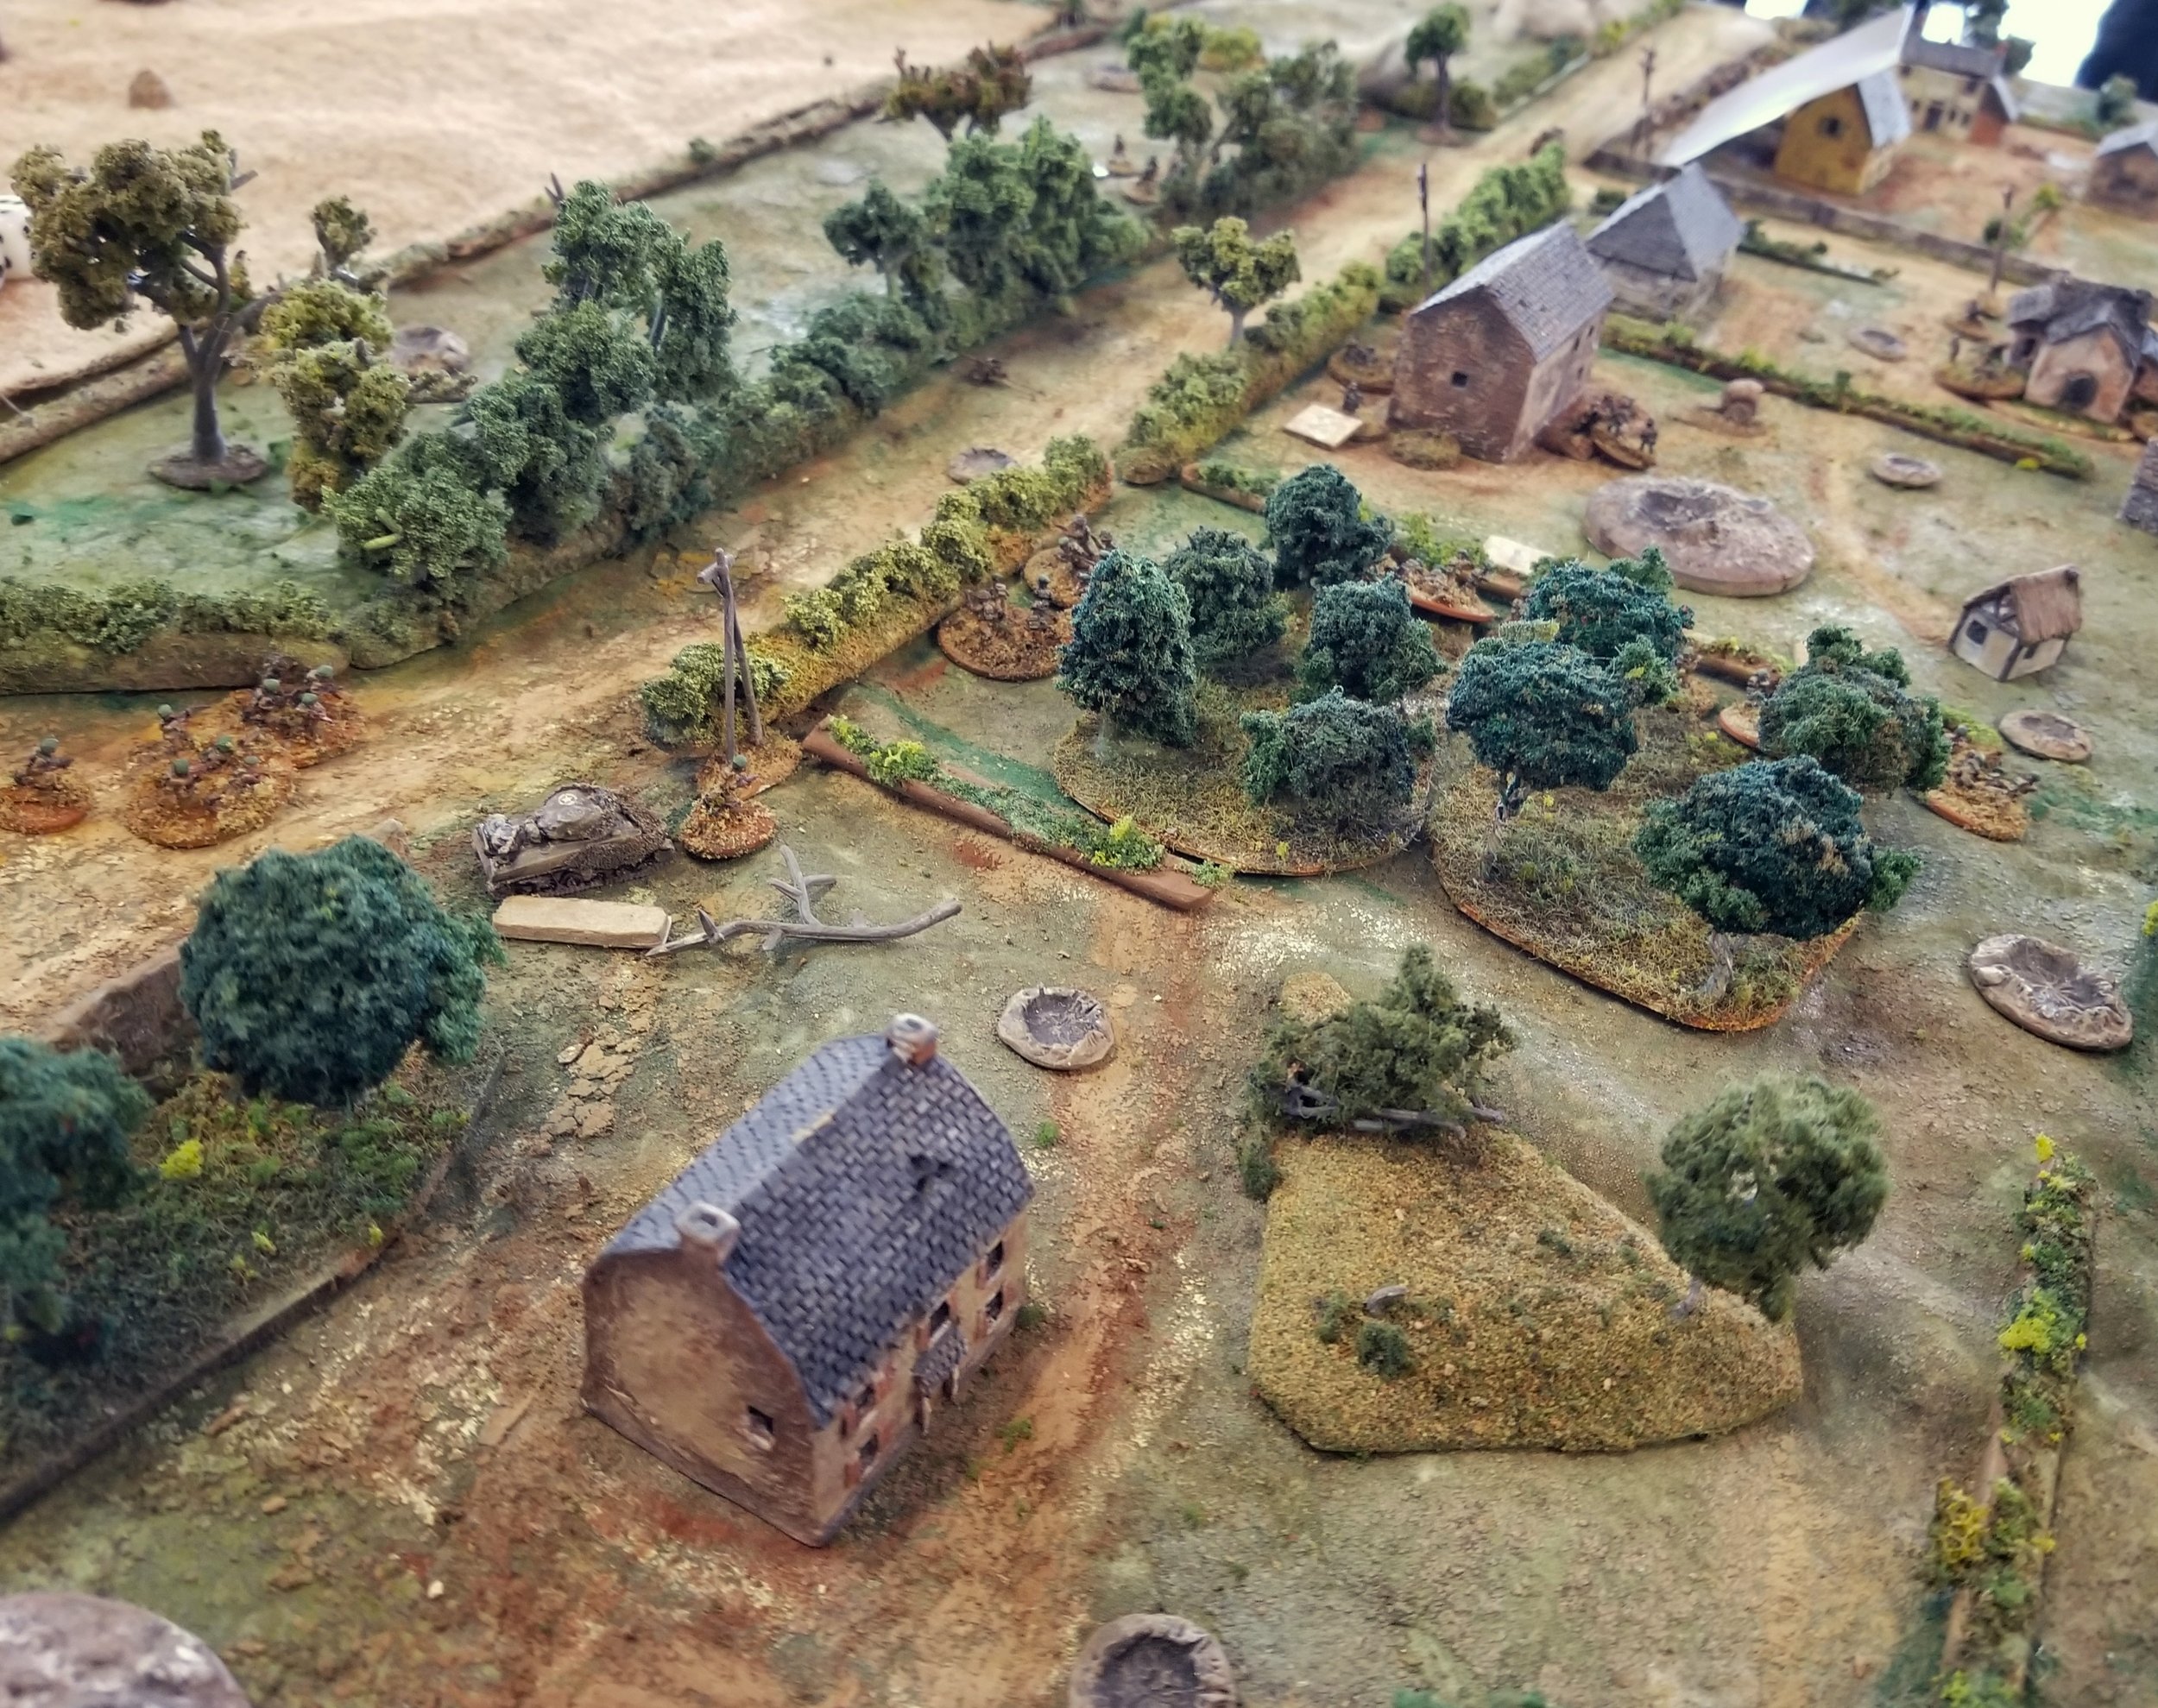
The next few turns involved a back and forth battle over the foxholes on the left. The Germans were pushed out, then the Americans, then the Germans, finally ending with mutual destruction on both sides, and empty but bloody foxholes.

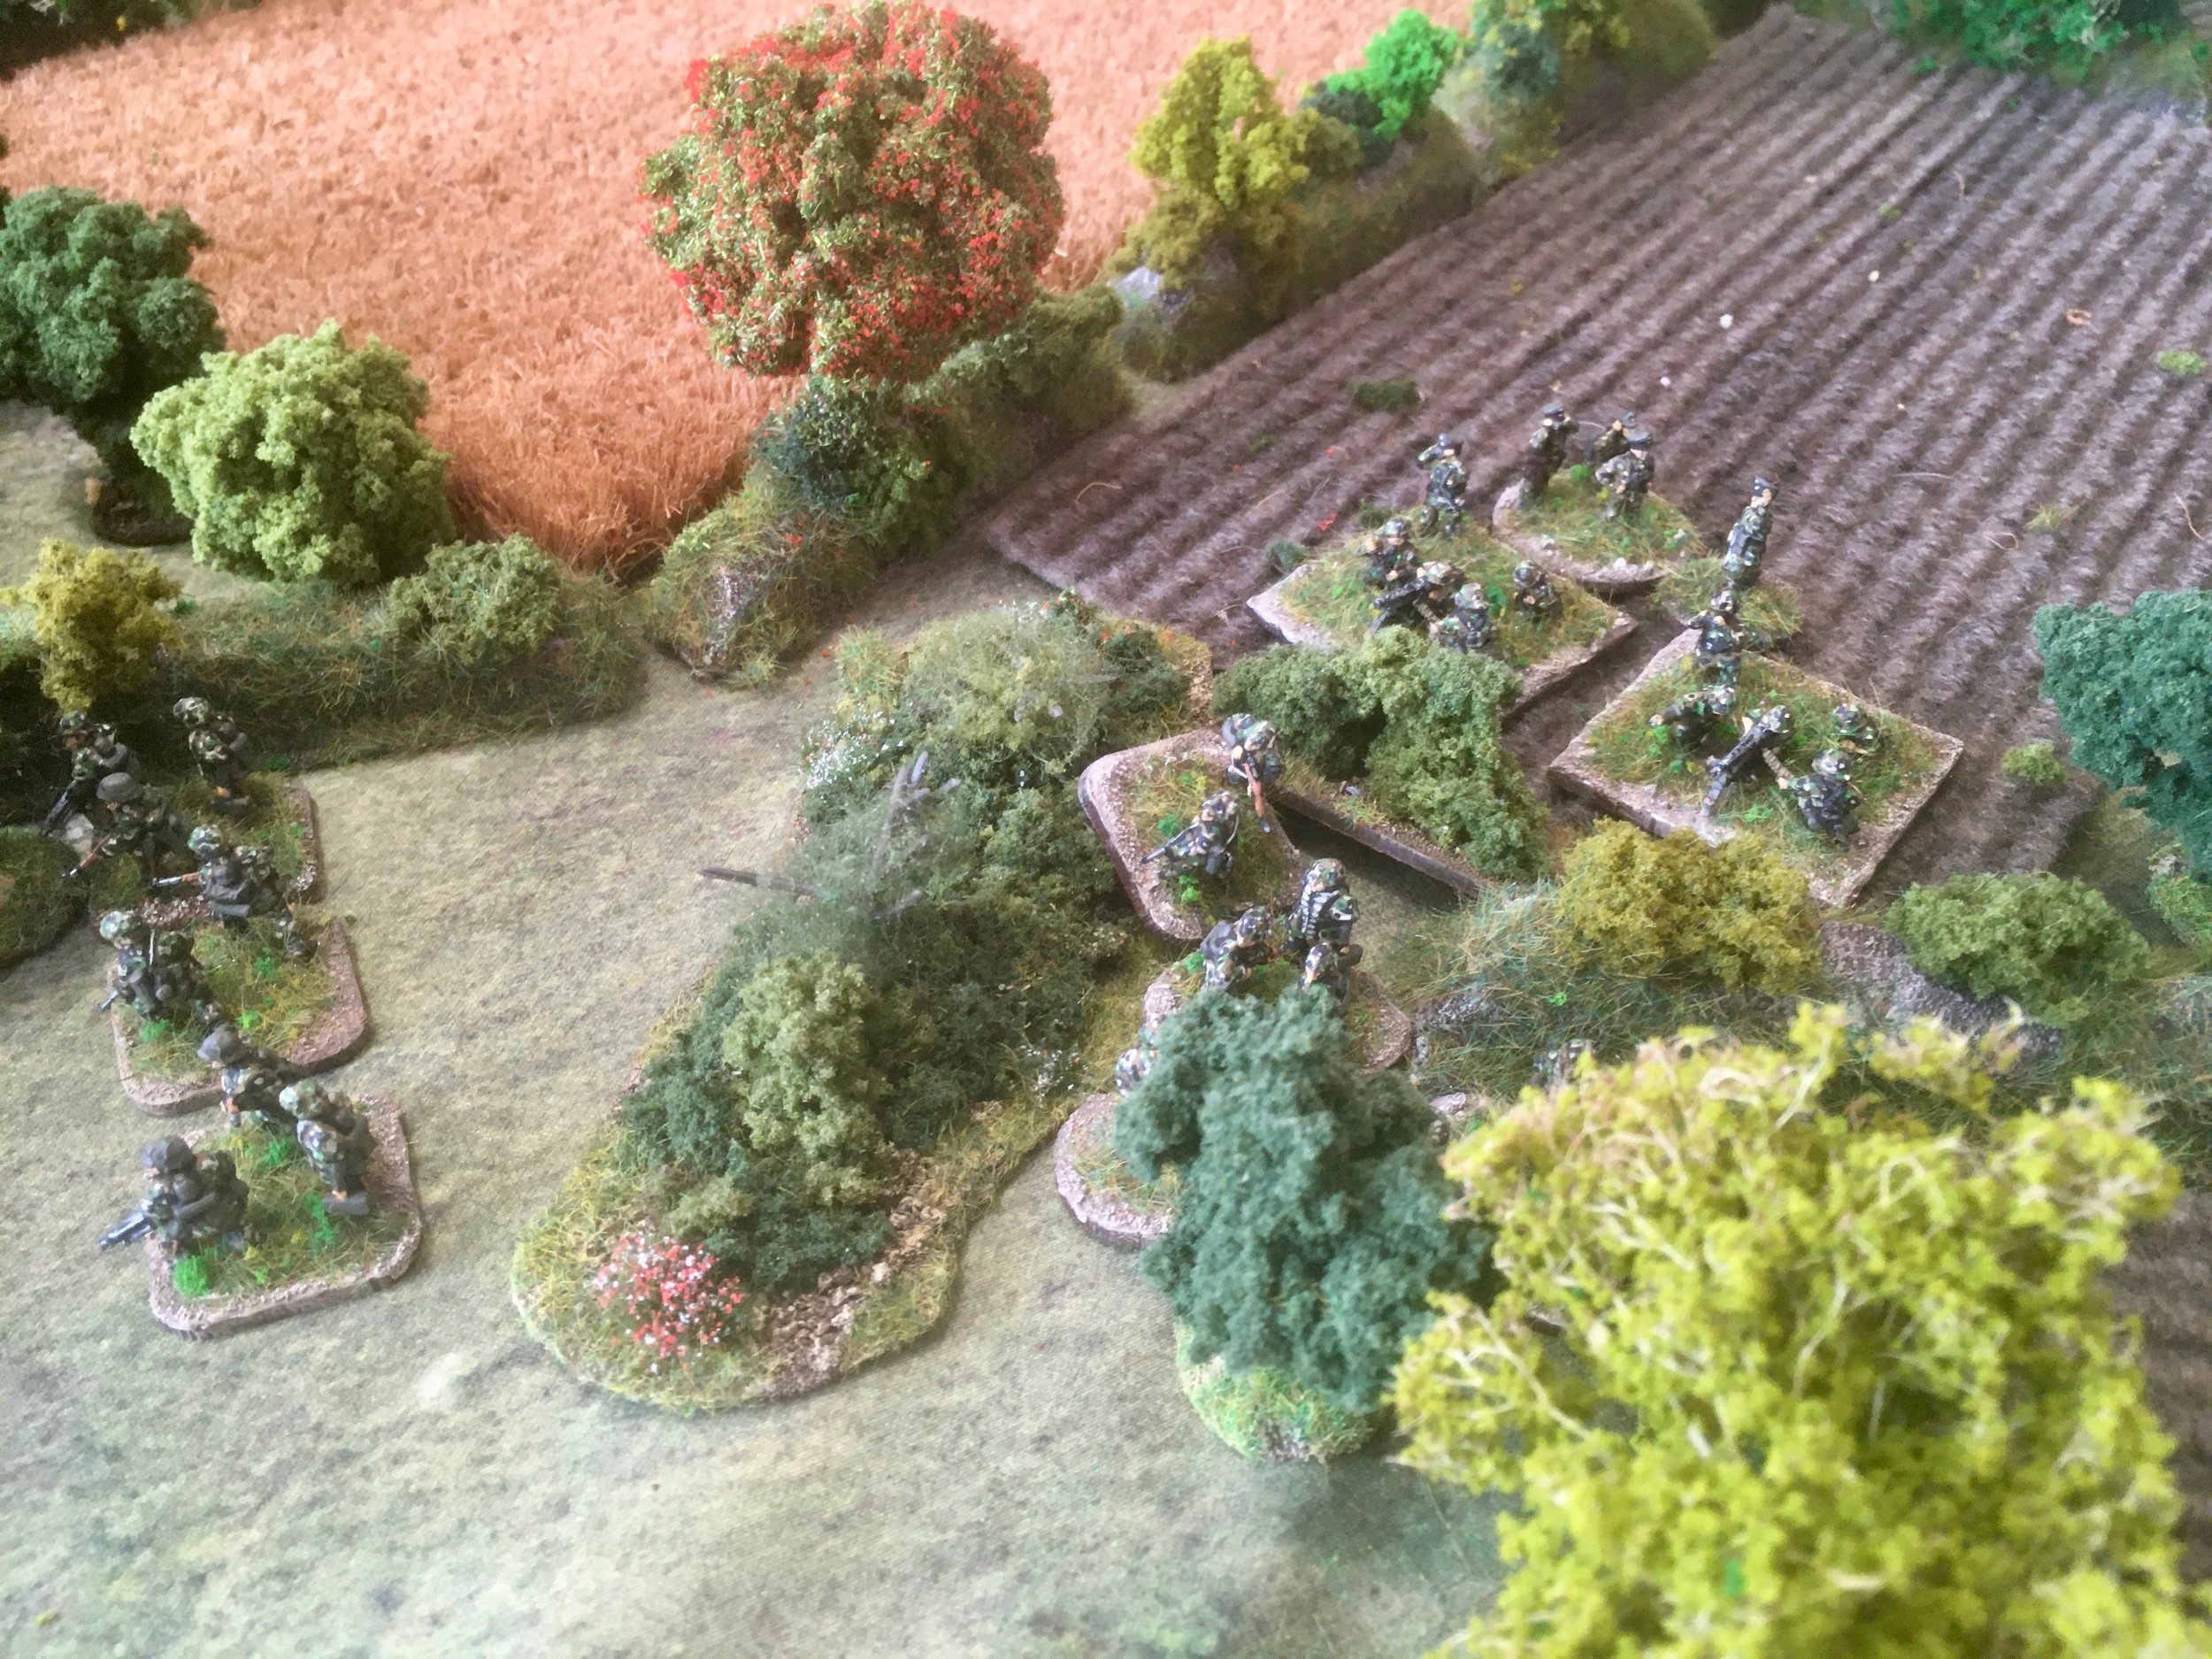
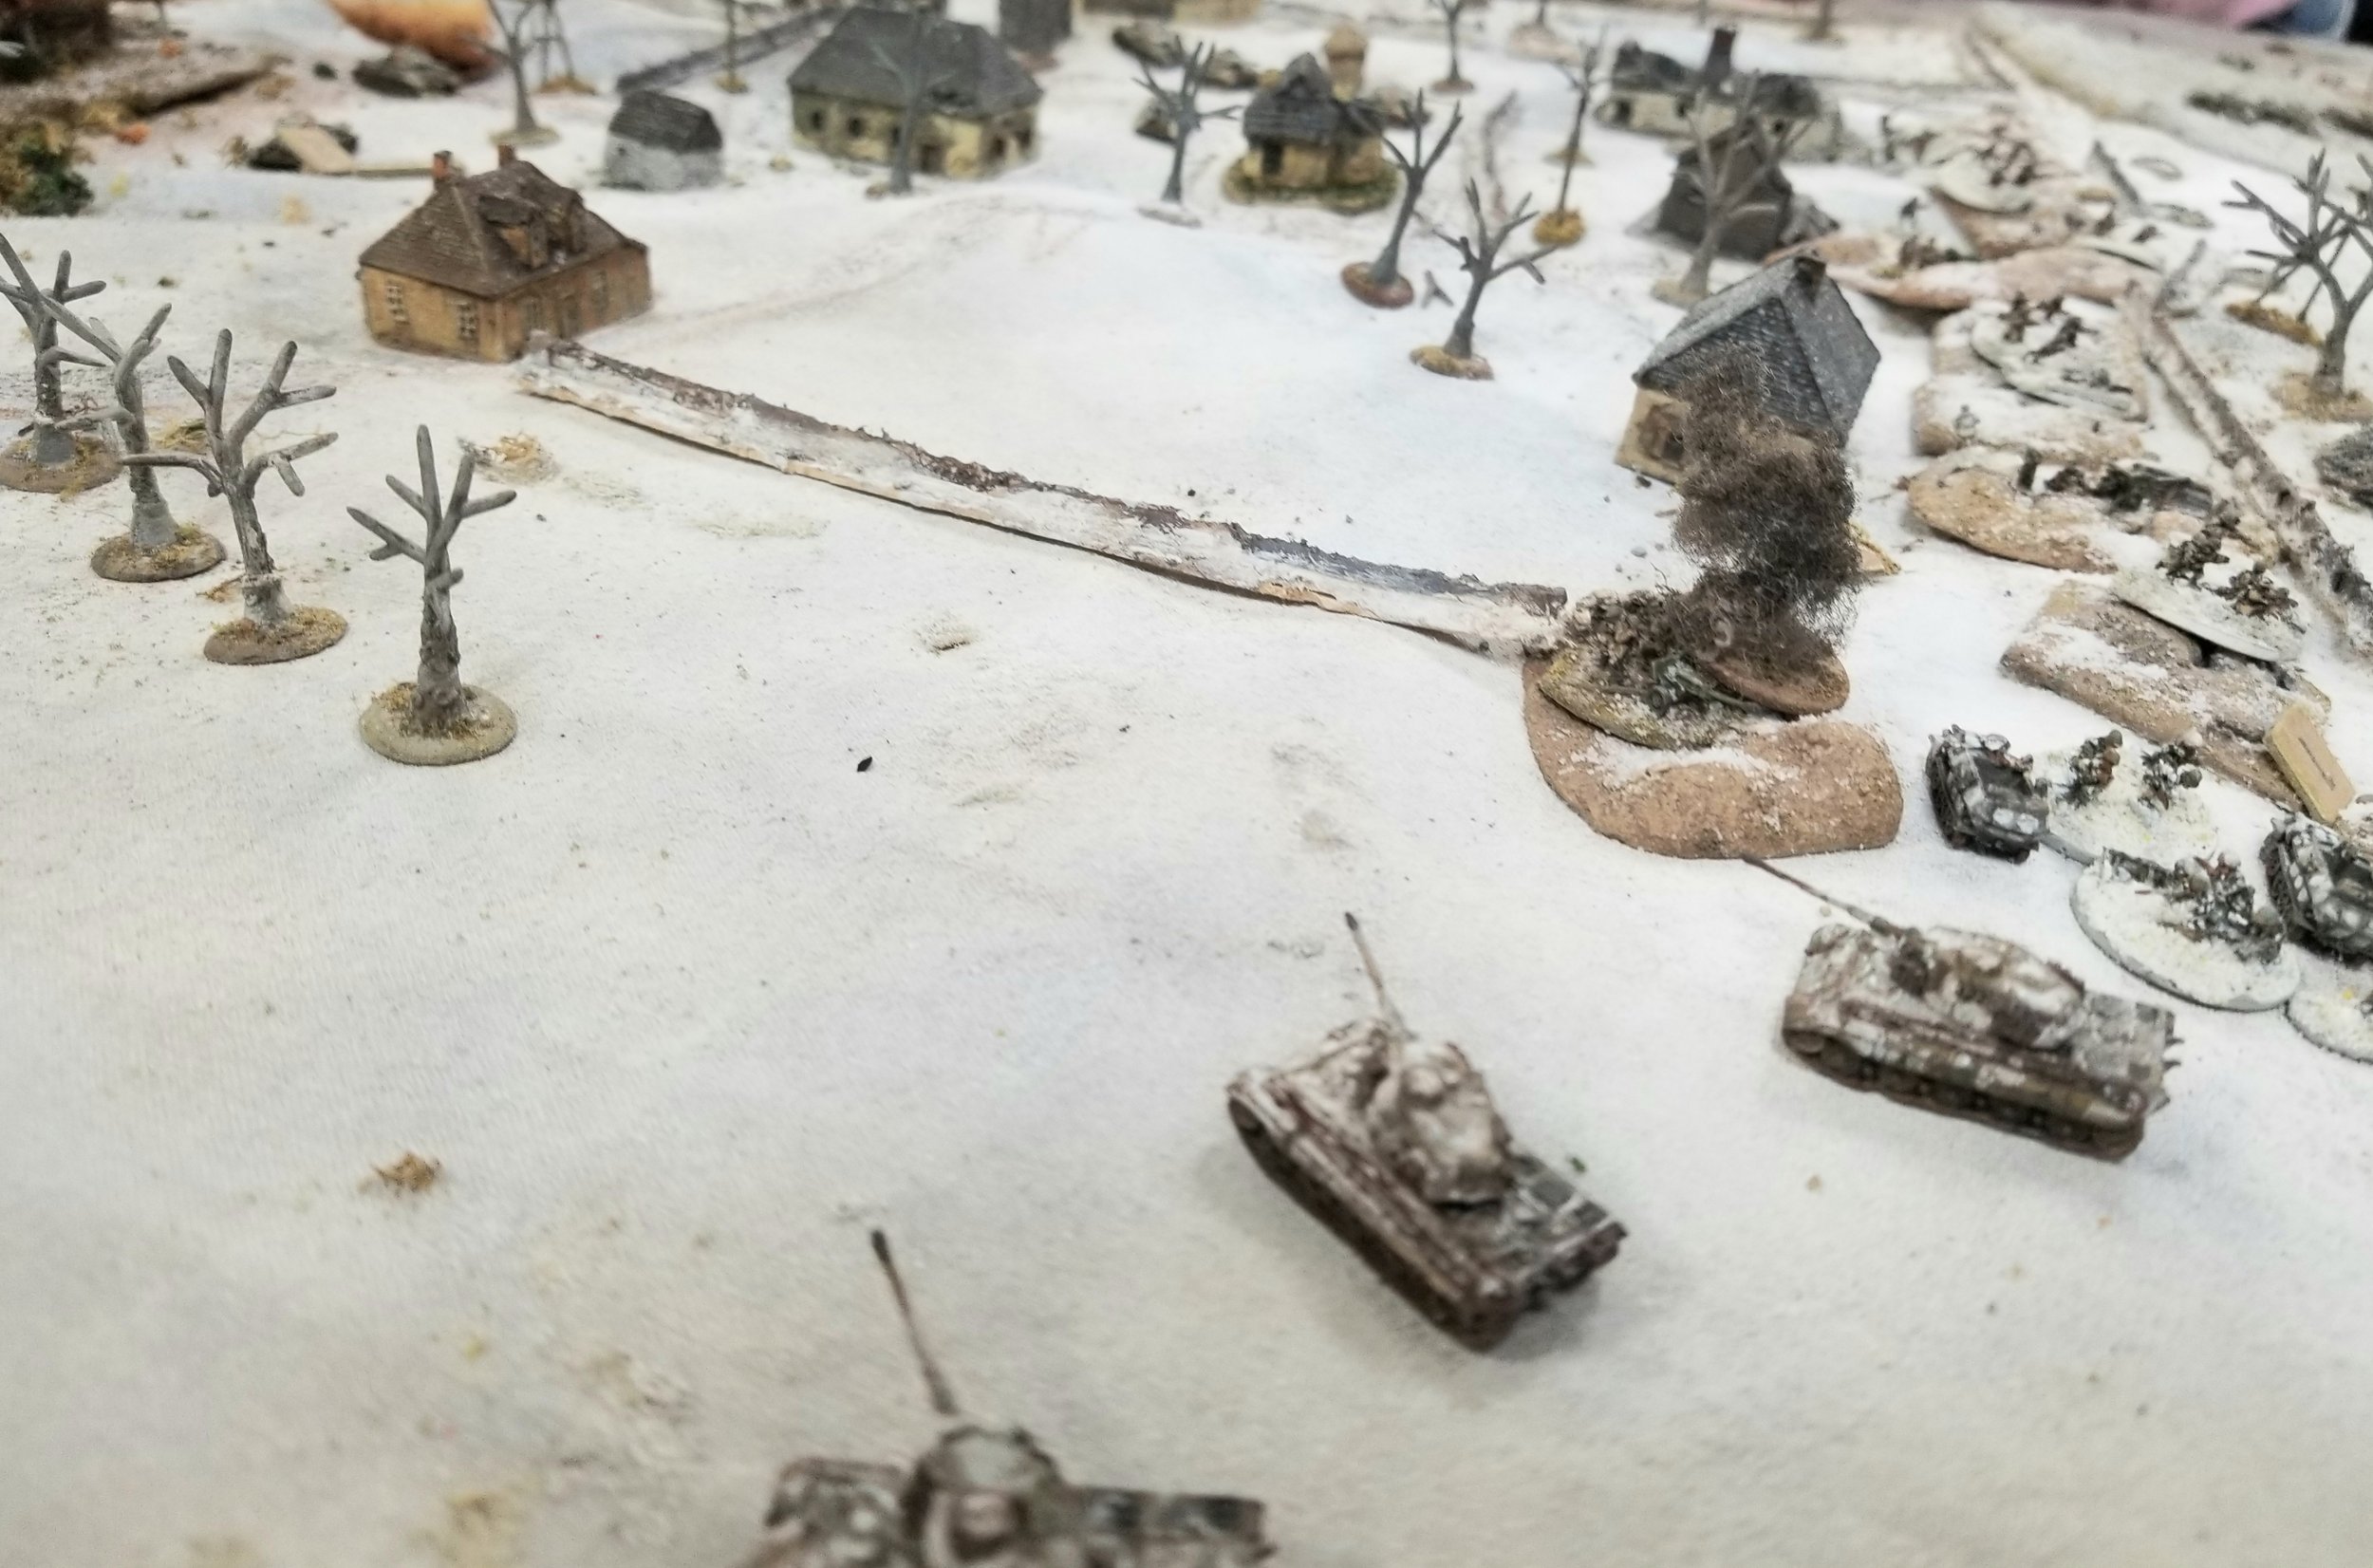
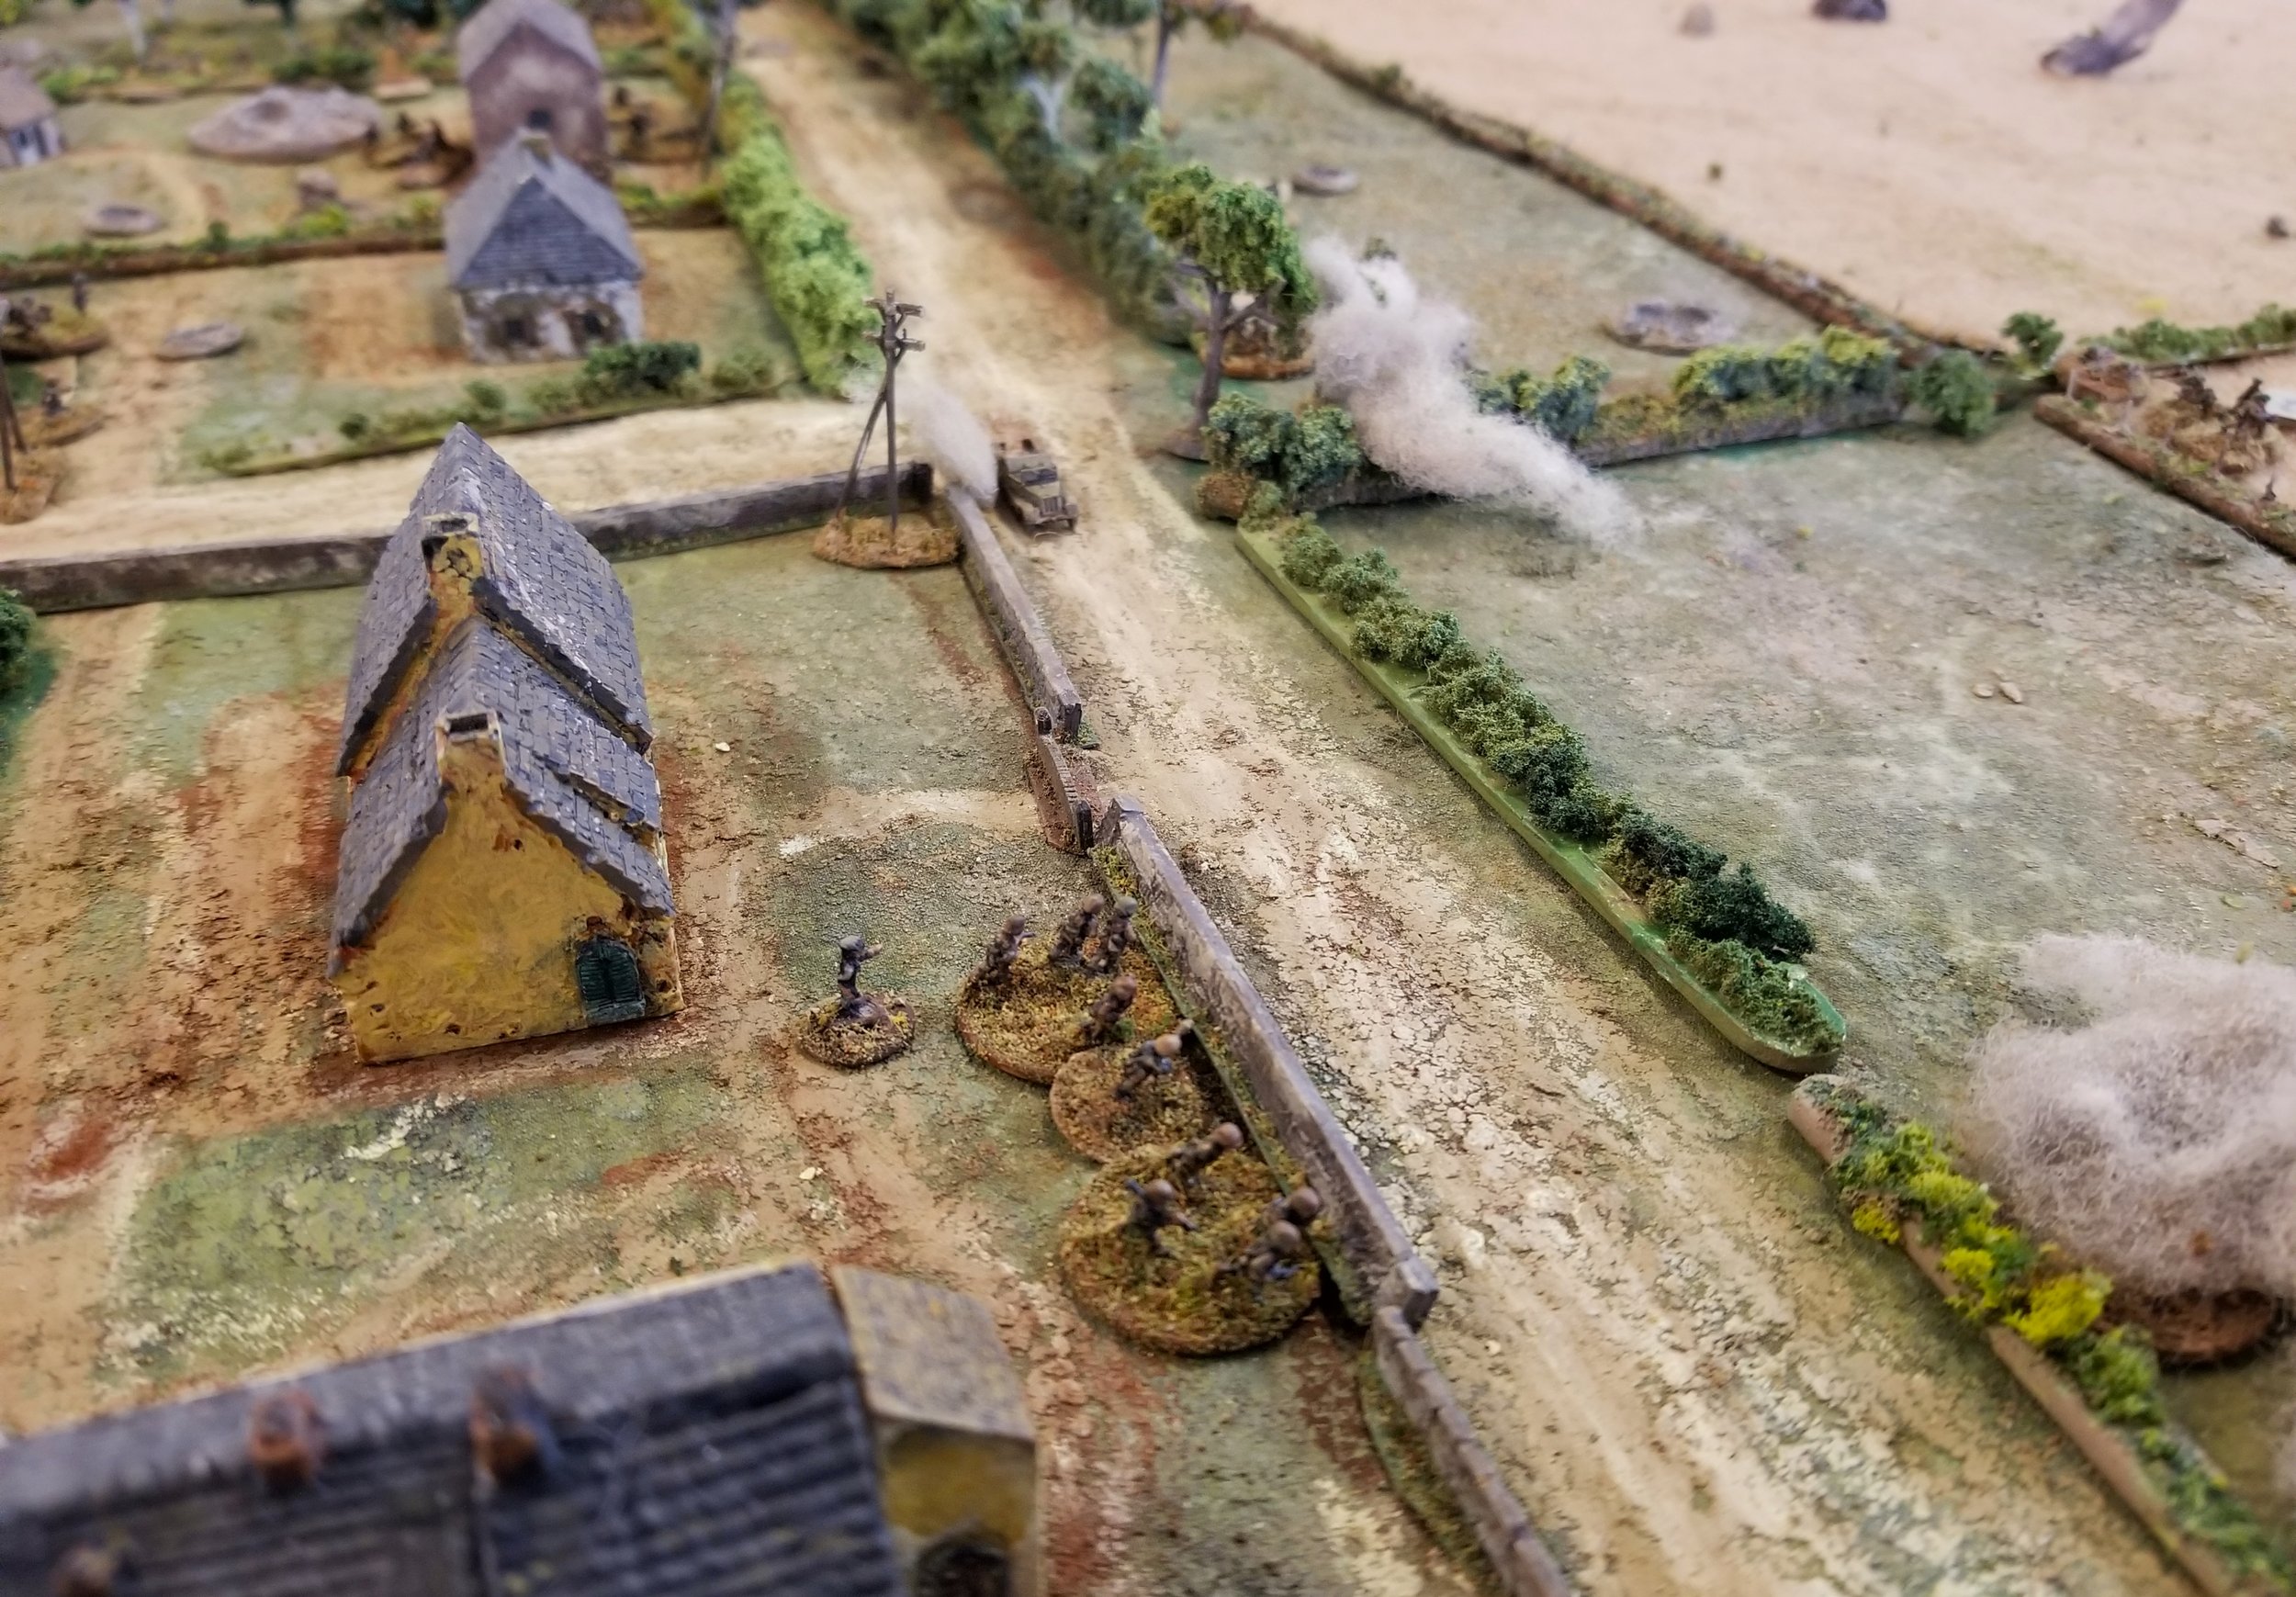
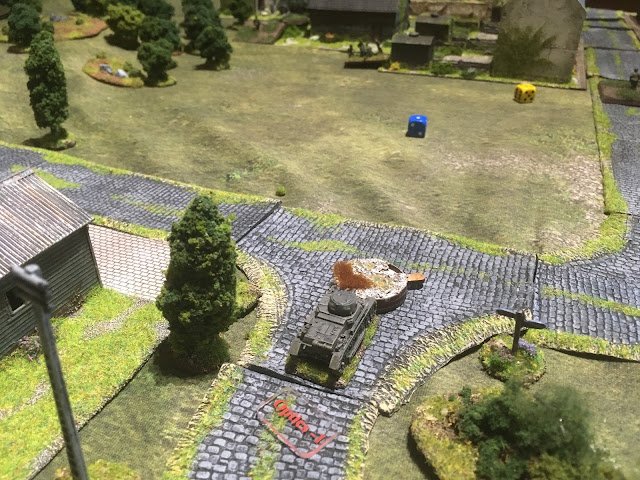
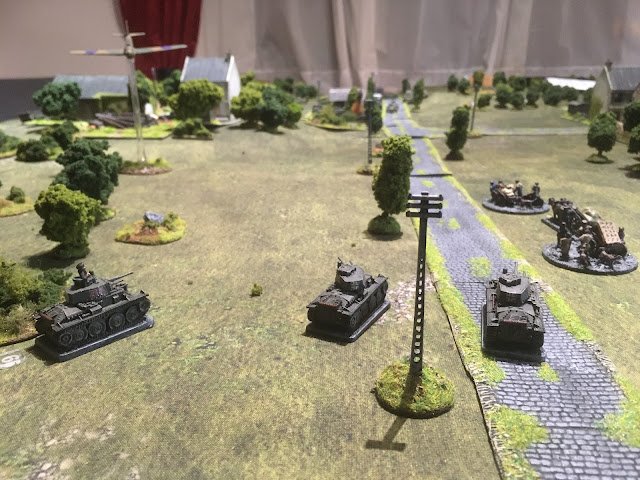
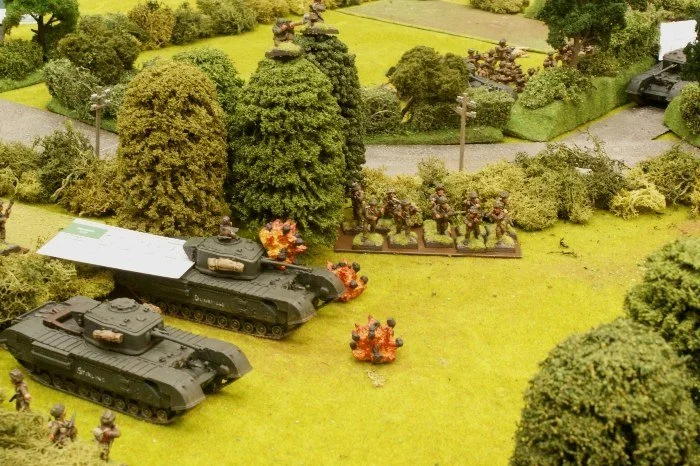
In the center, our German infantry took heavy losses as soon as they cleared the bridge, with 4th Platoon completely destroyed. Being in the open and targeted by heavy machine guns, they were the proverbial sitting ducks.

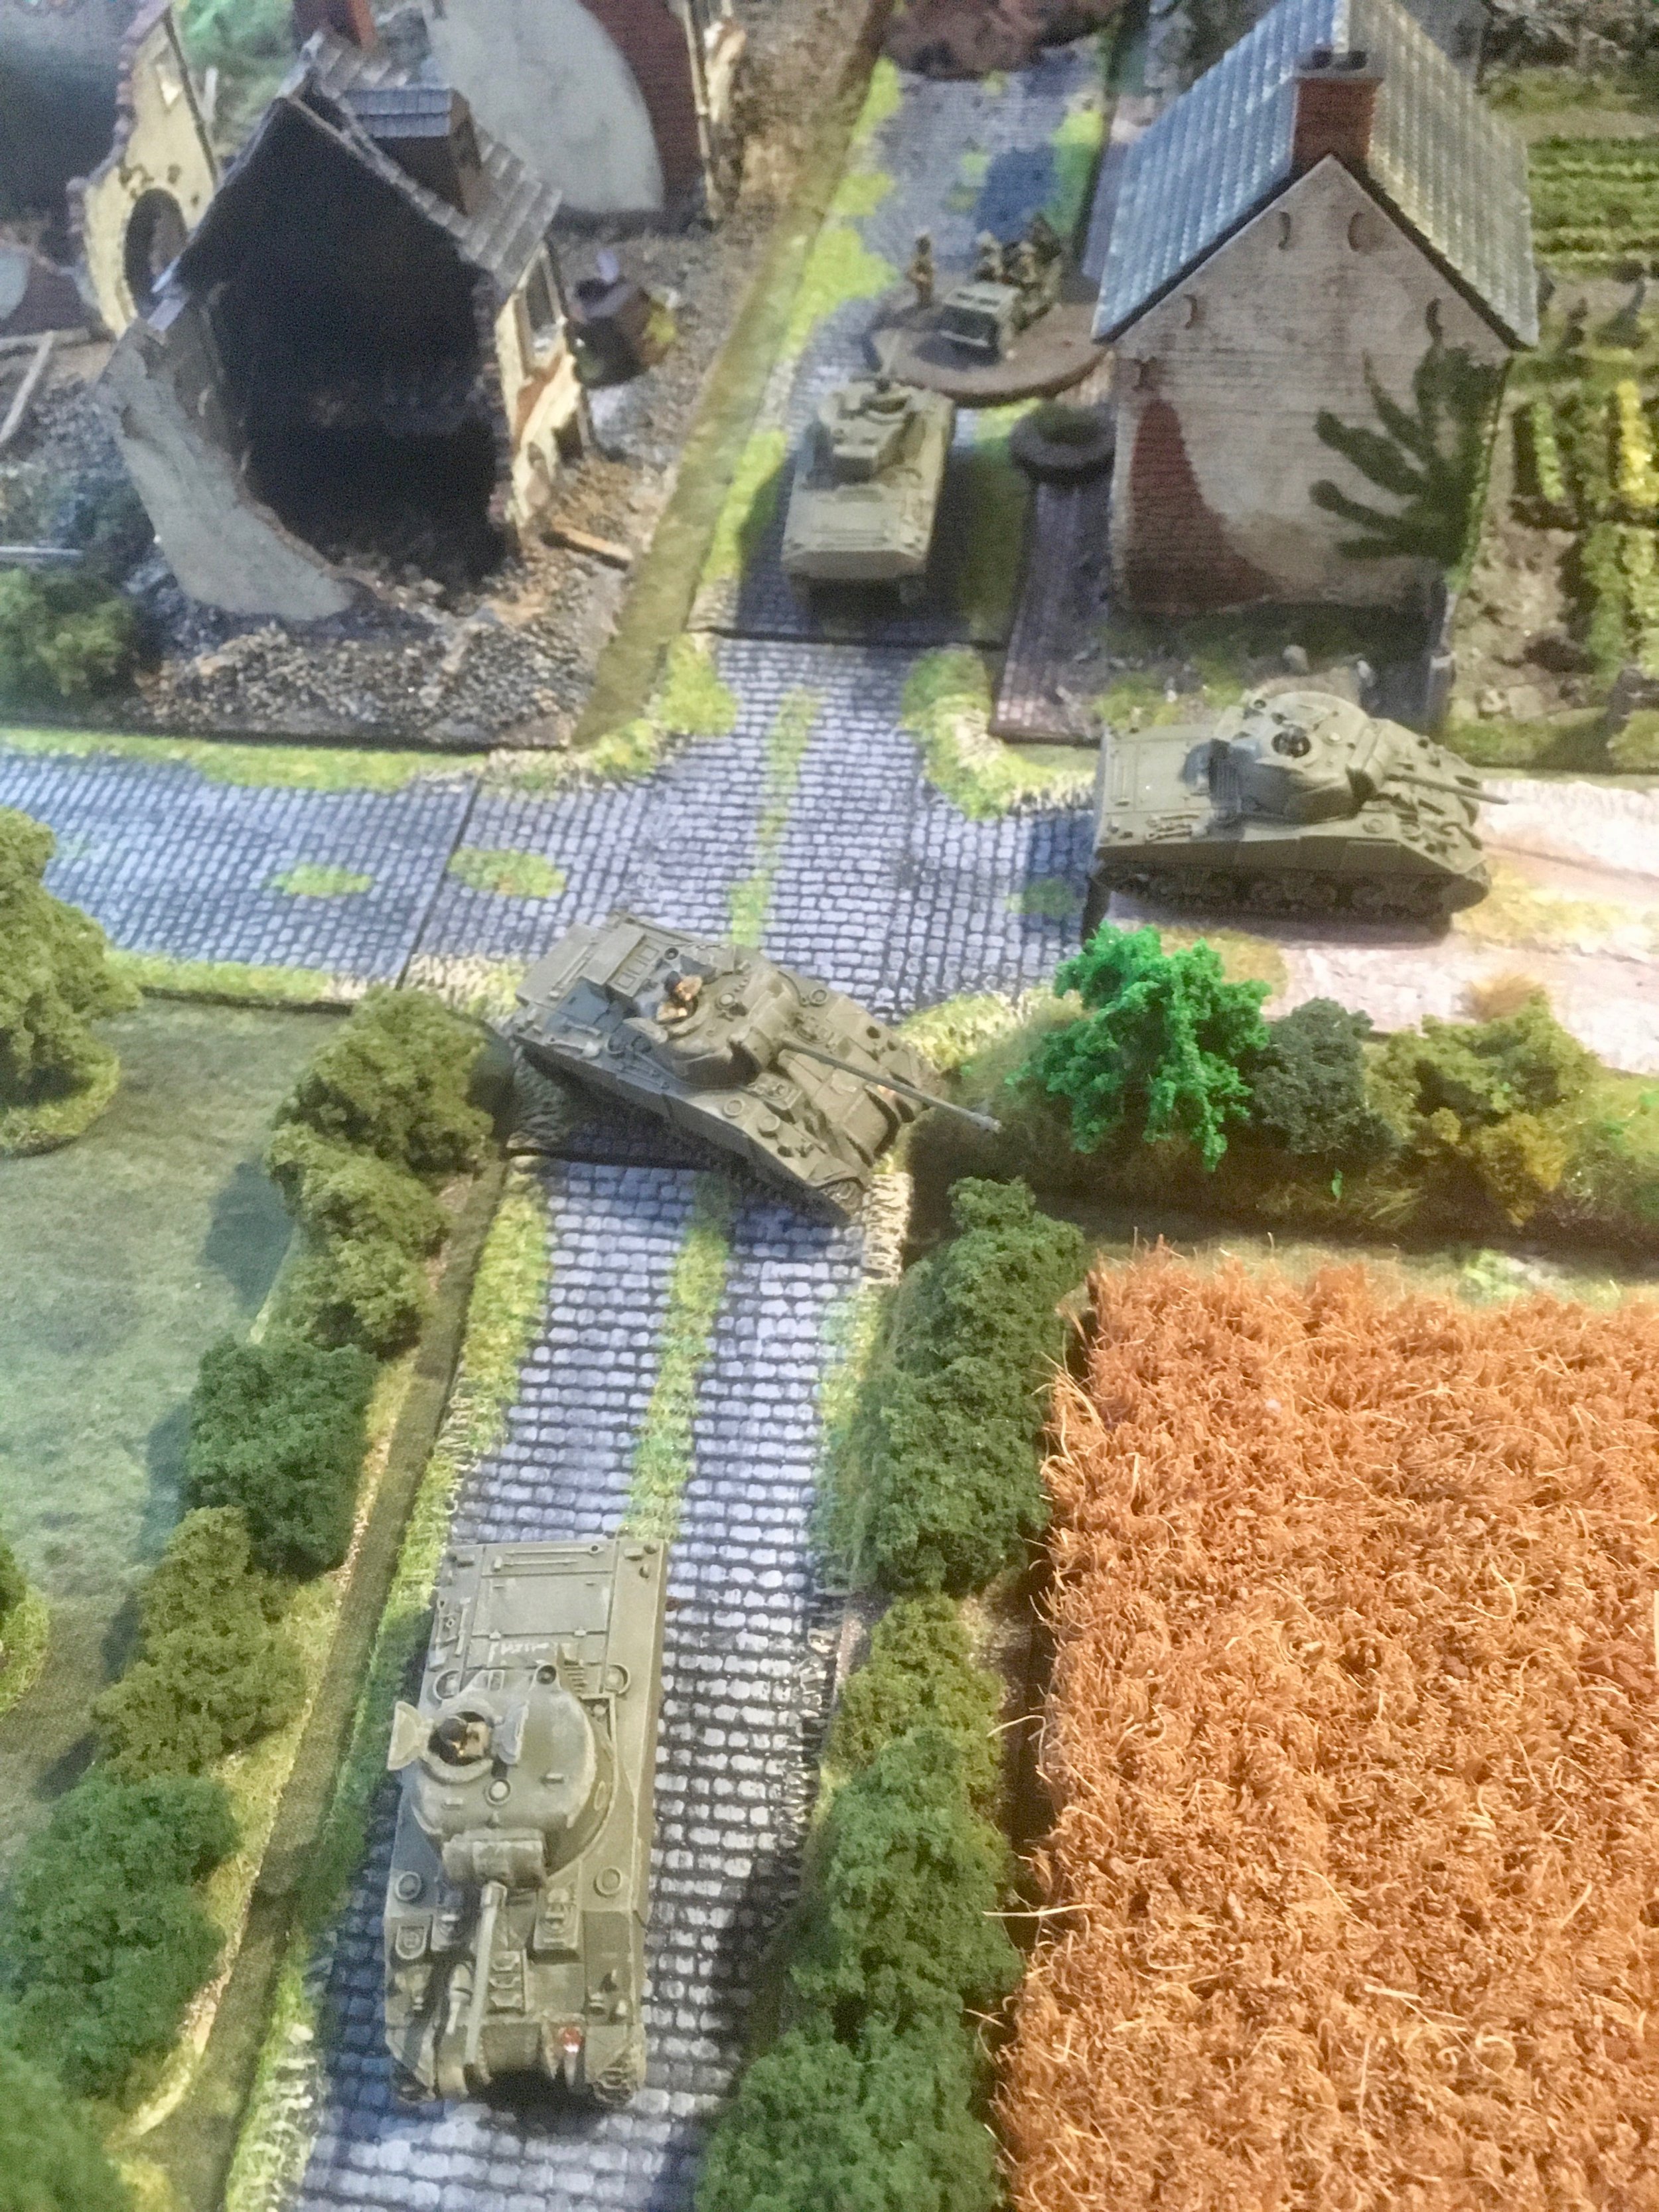
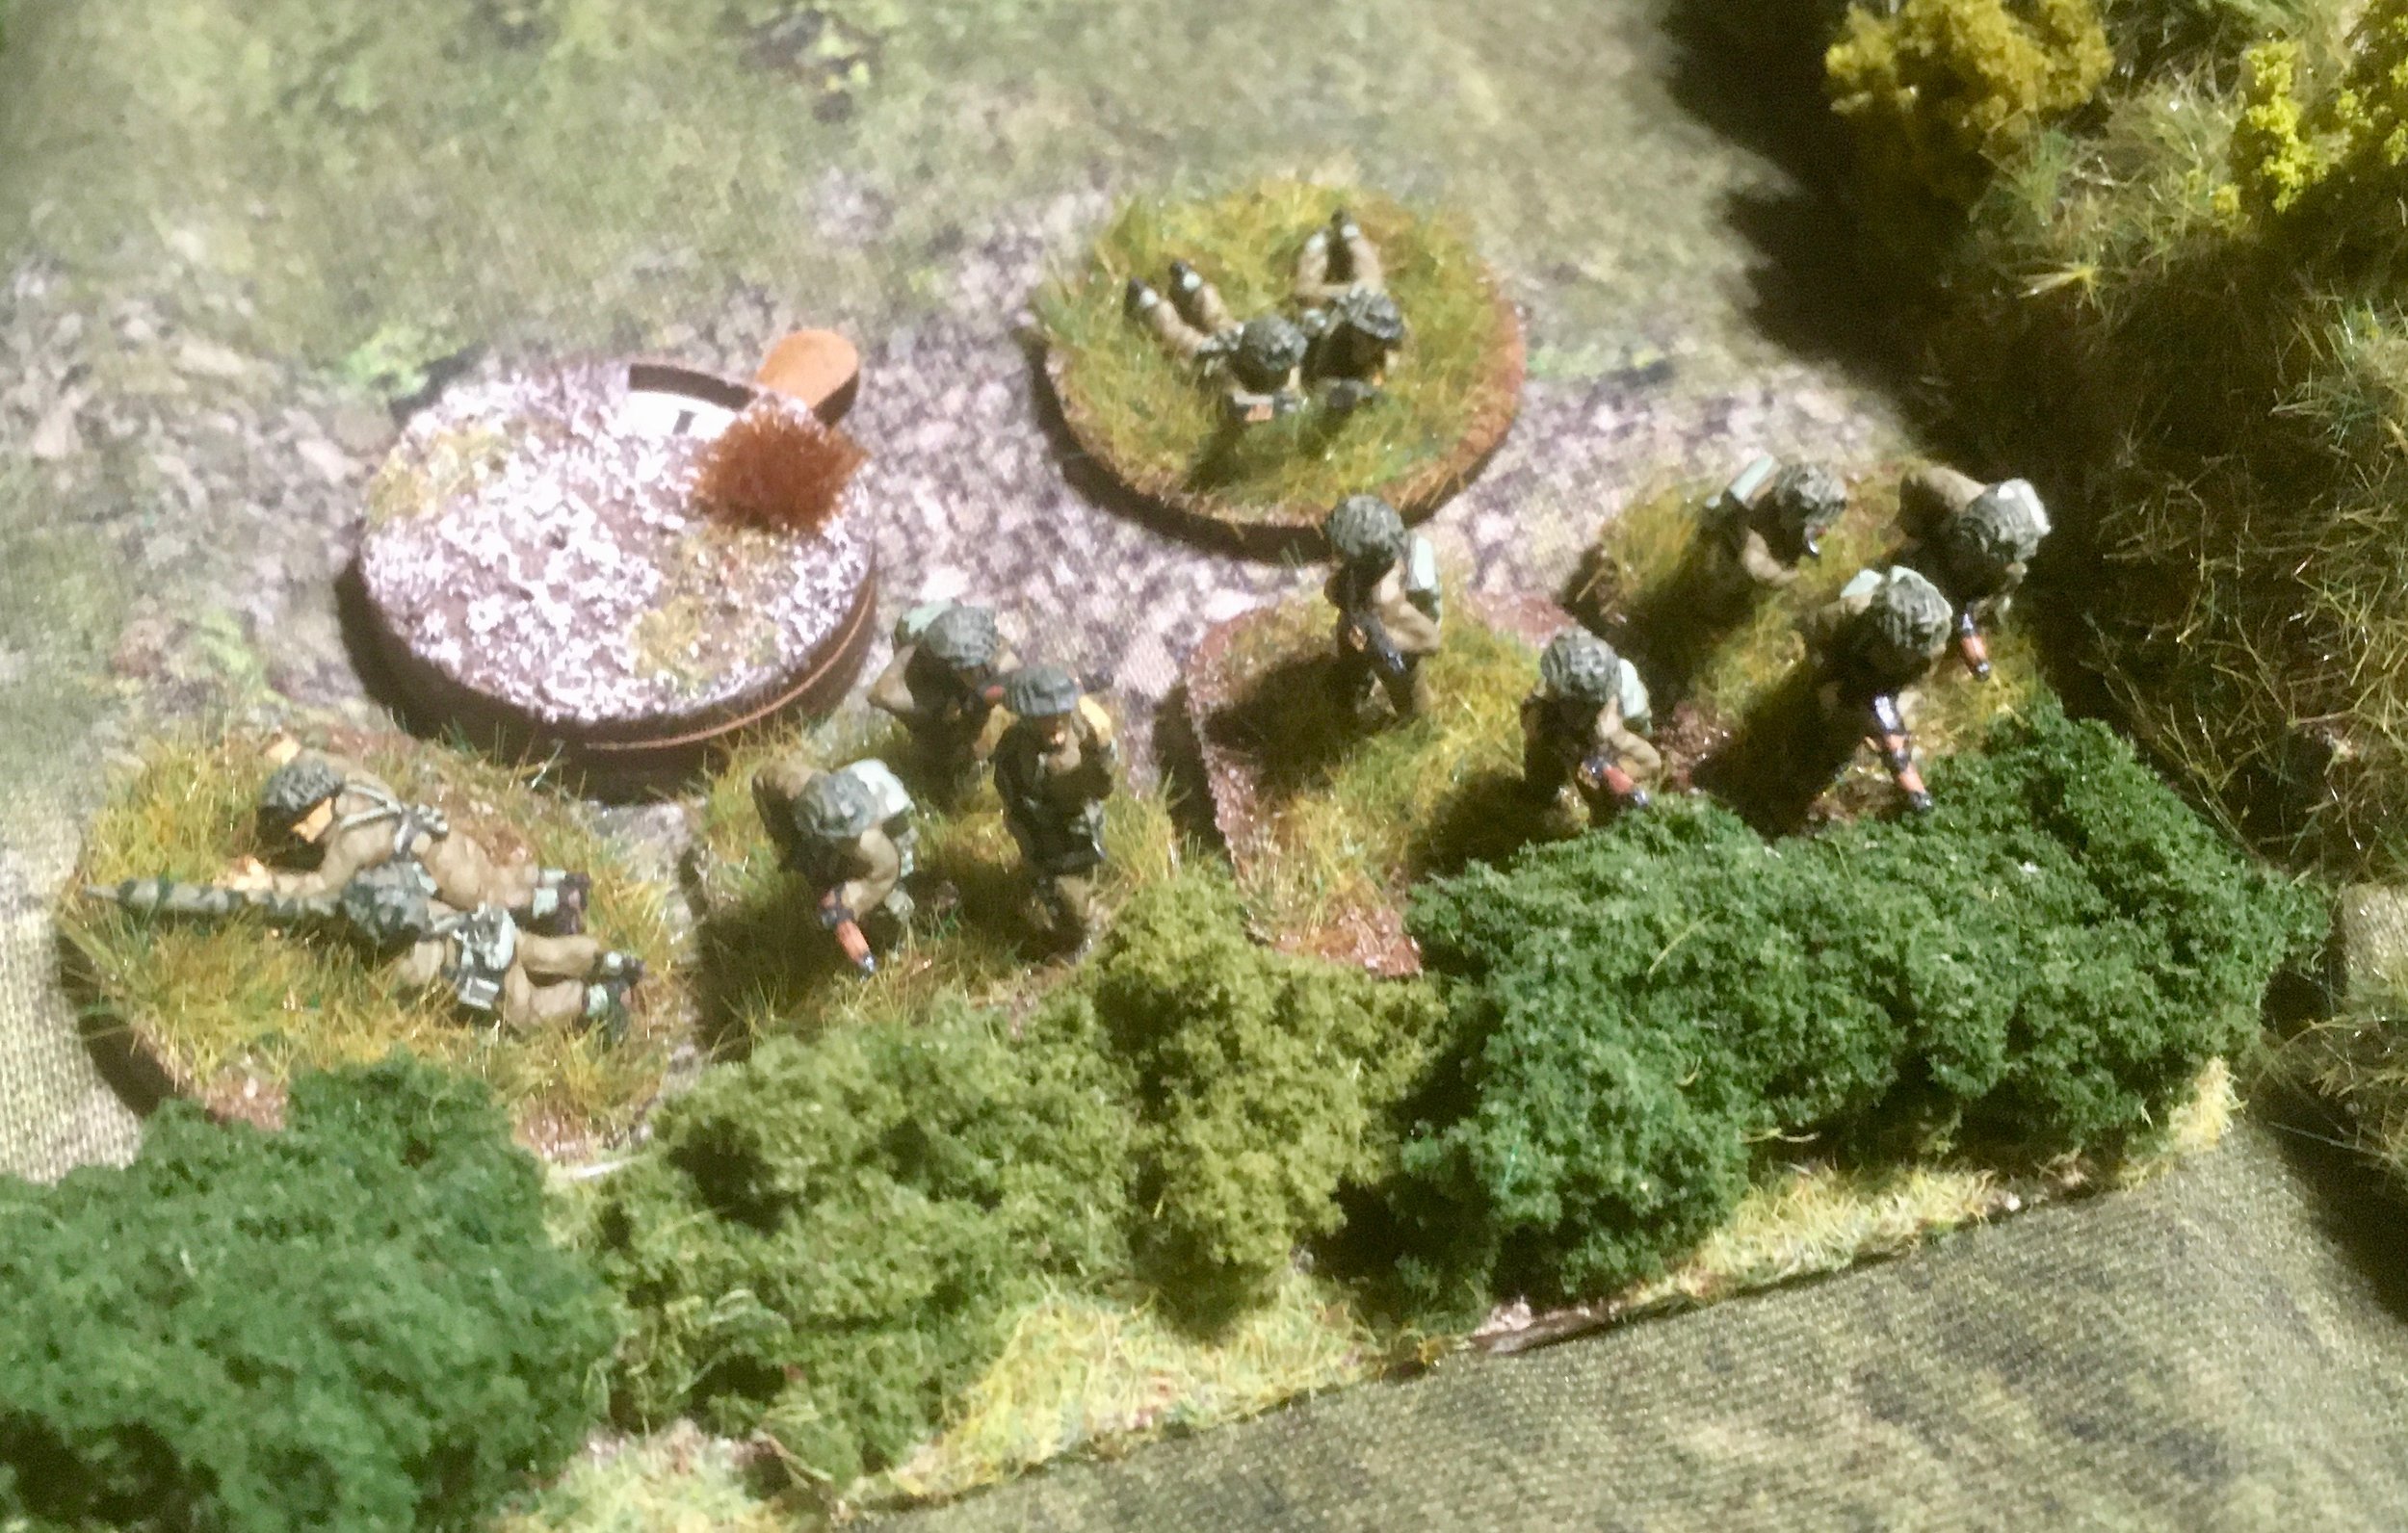
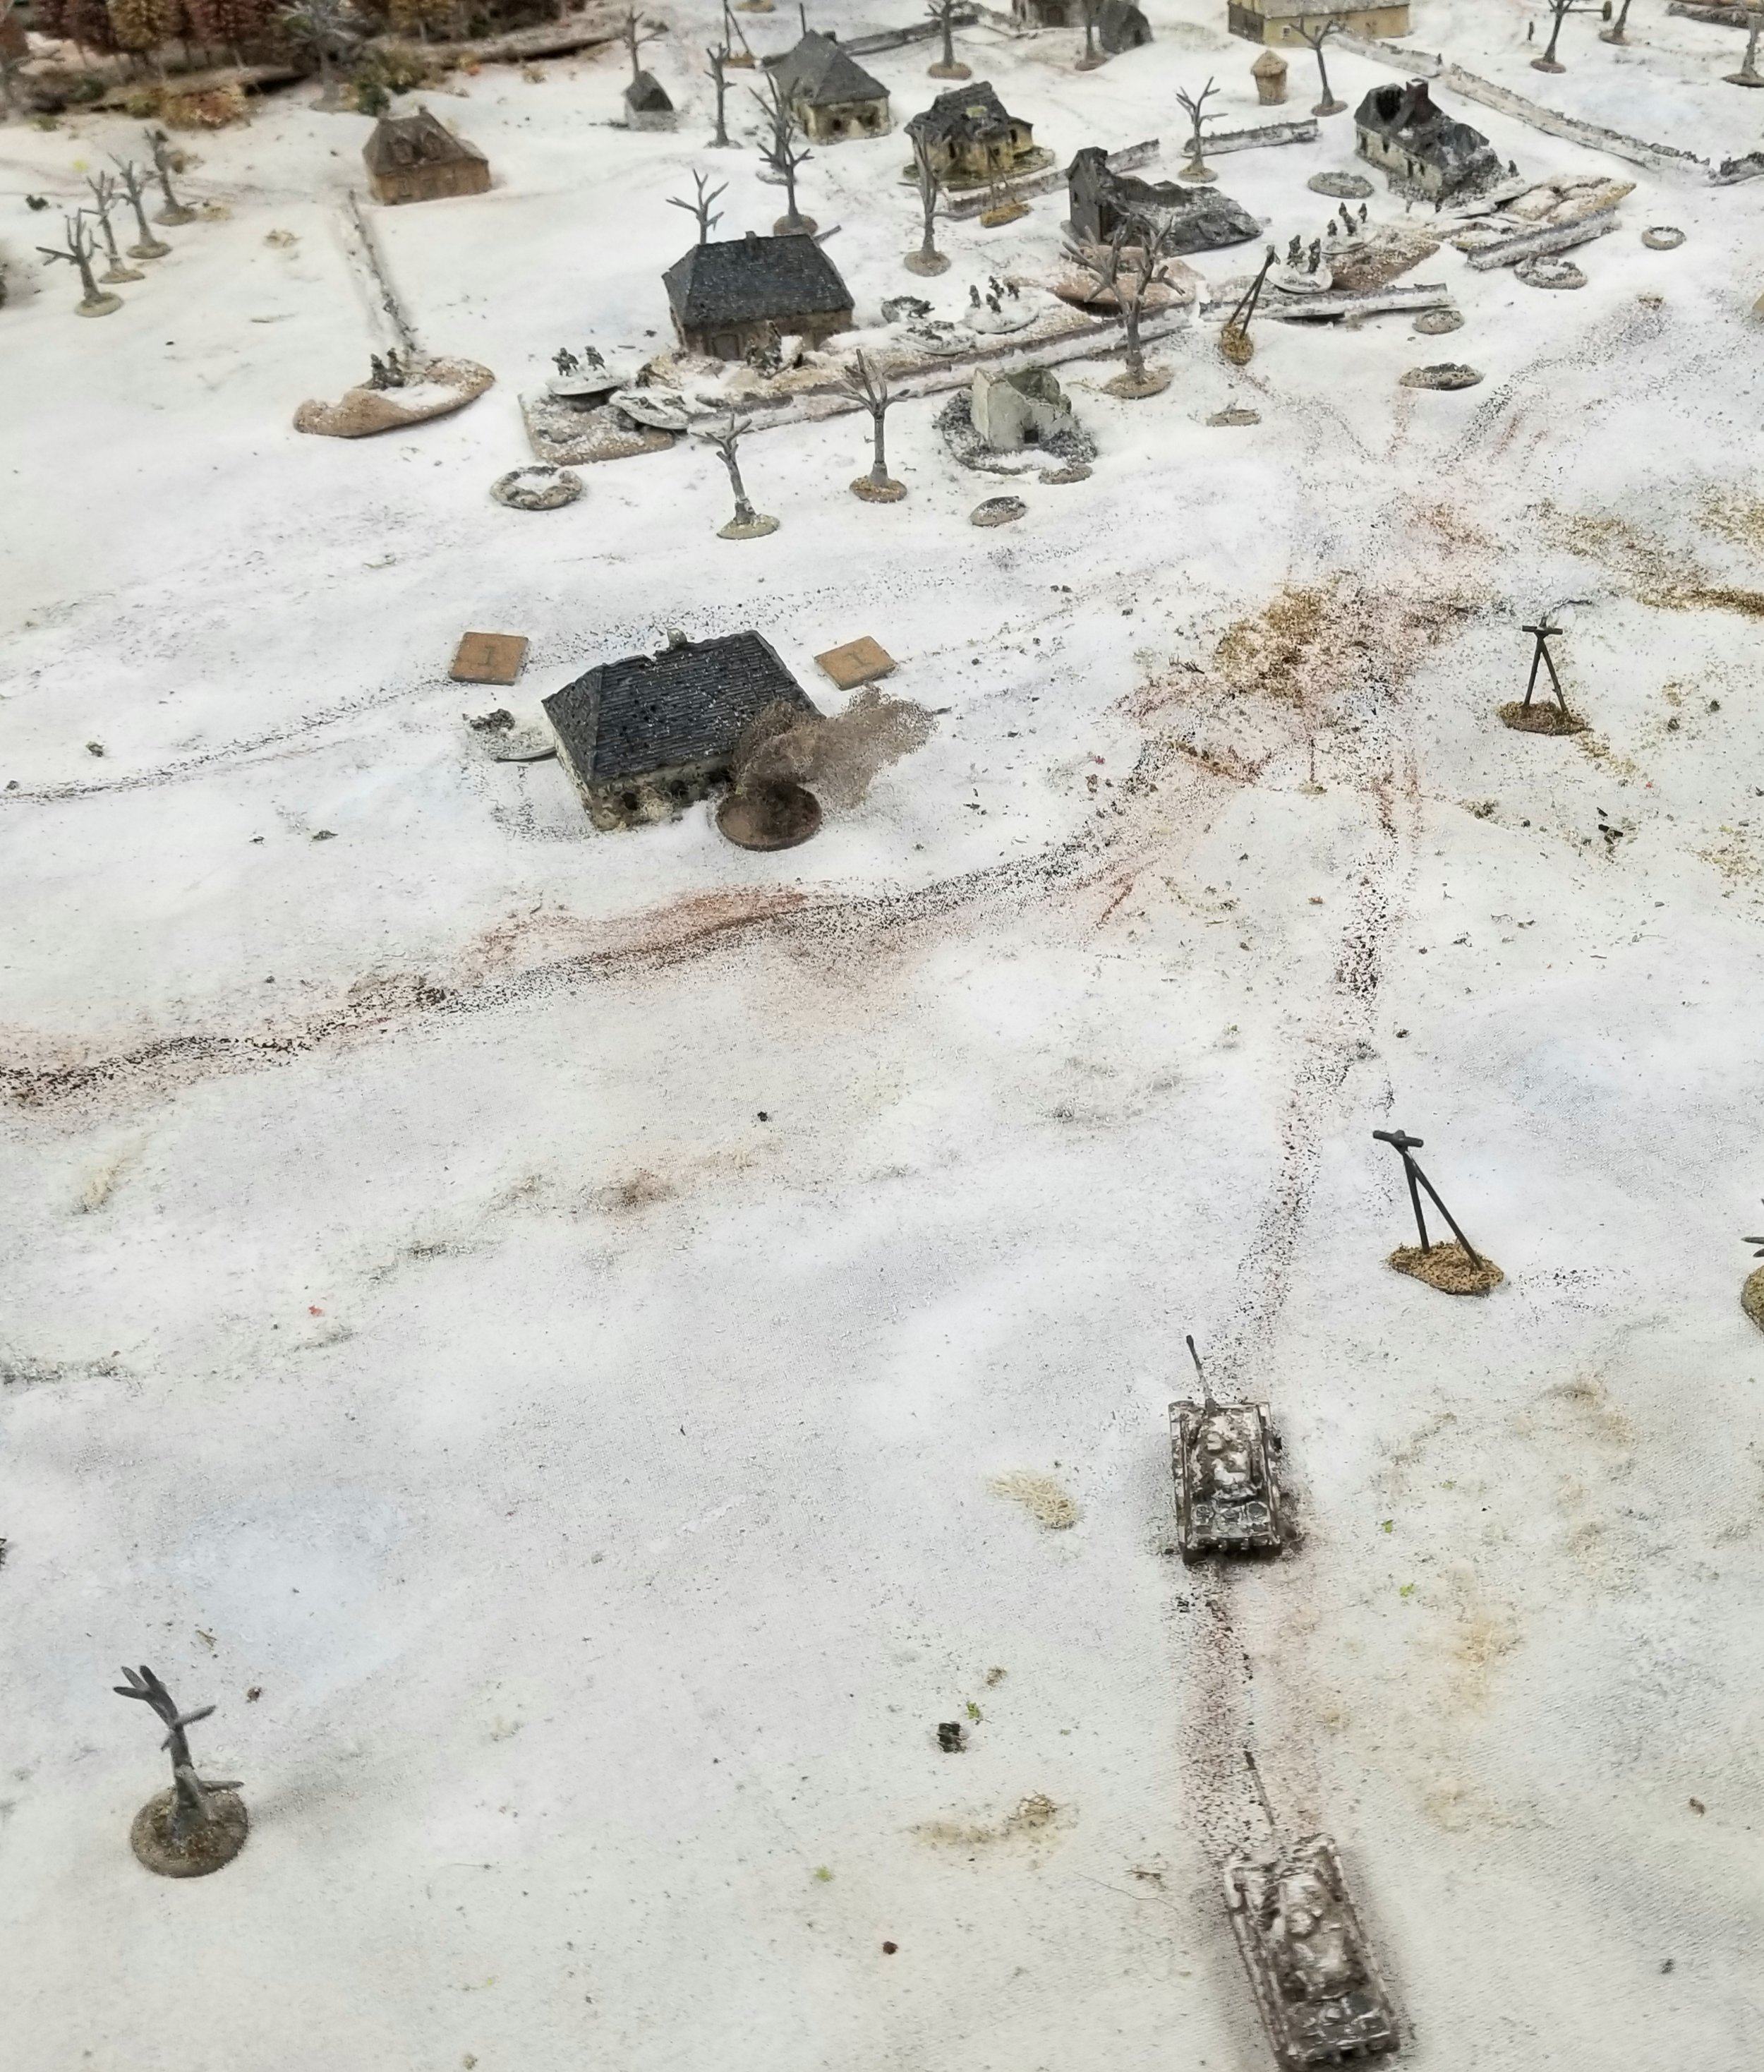
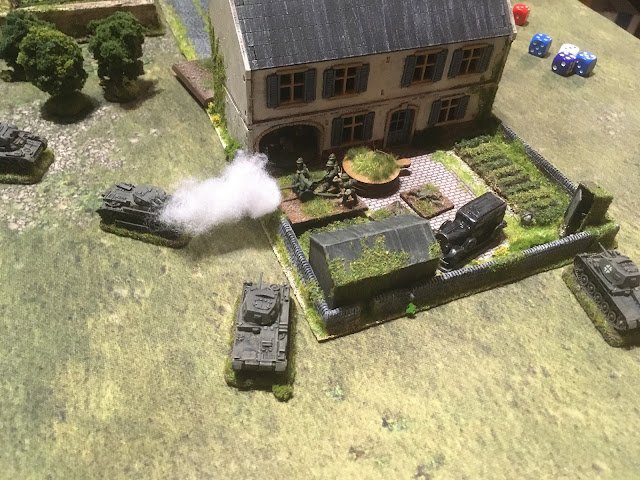
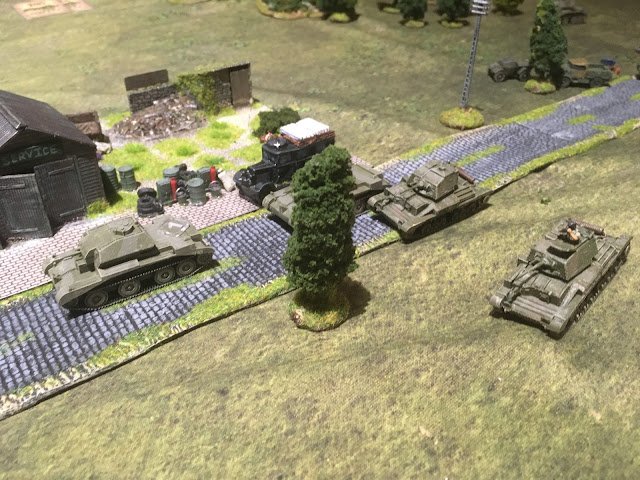
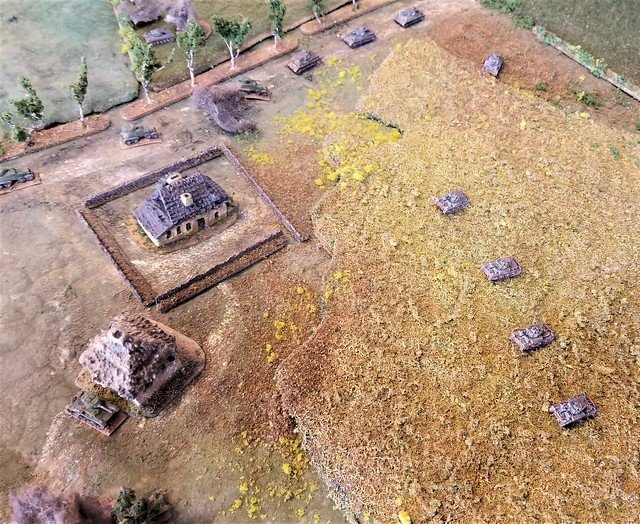
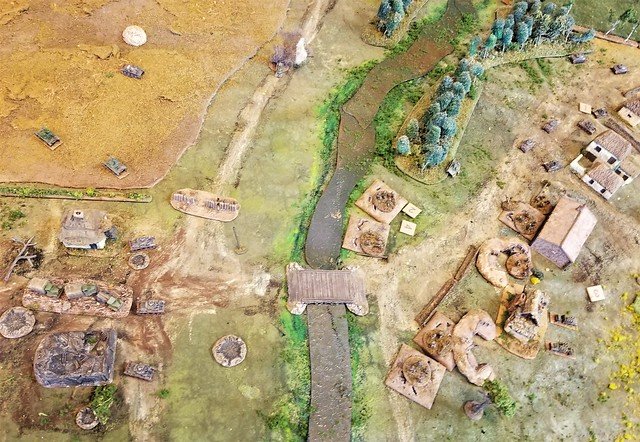
While the left was a stalemate, and the center was a killing field, the Axis troops were able to make advances on the right. A well placed tank shell opened up one if the buildings, which was quickly charged and taken by ground troops of 1st Platoon. Americans quickly poured out of a second building to drive them back. Another bloody fight ensued, causing one American unit to retreat, but leaving only two men on the German side to hold two buildings.

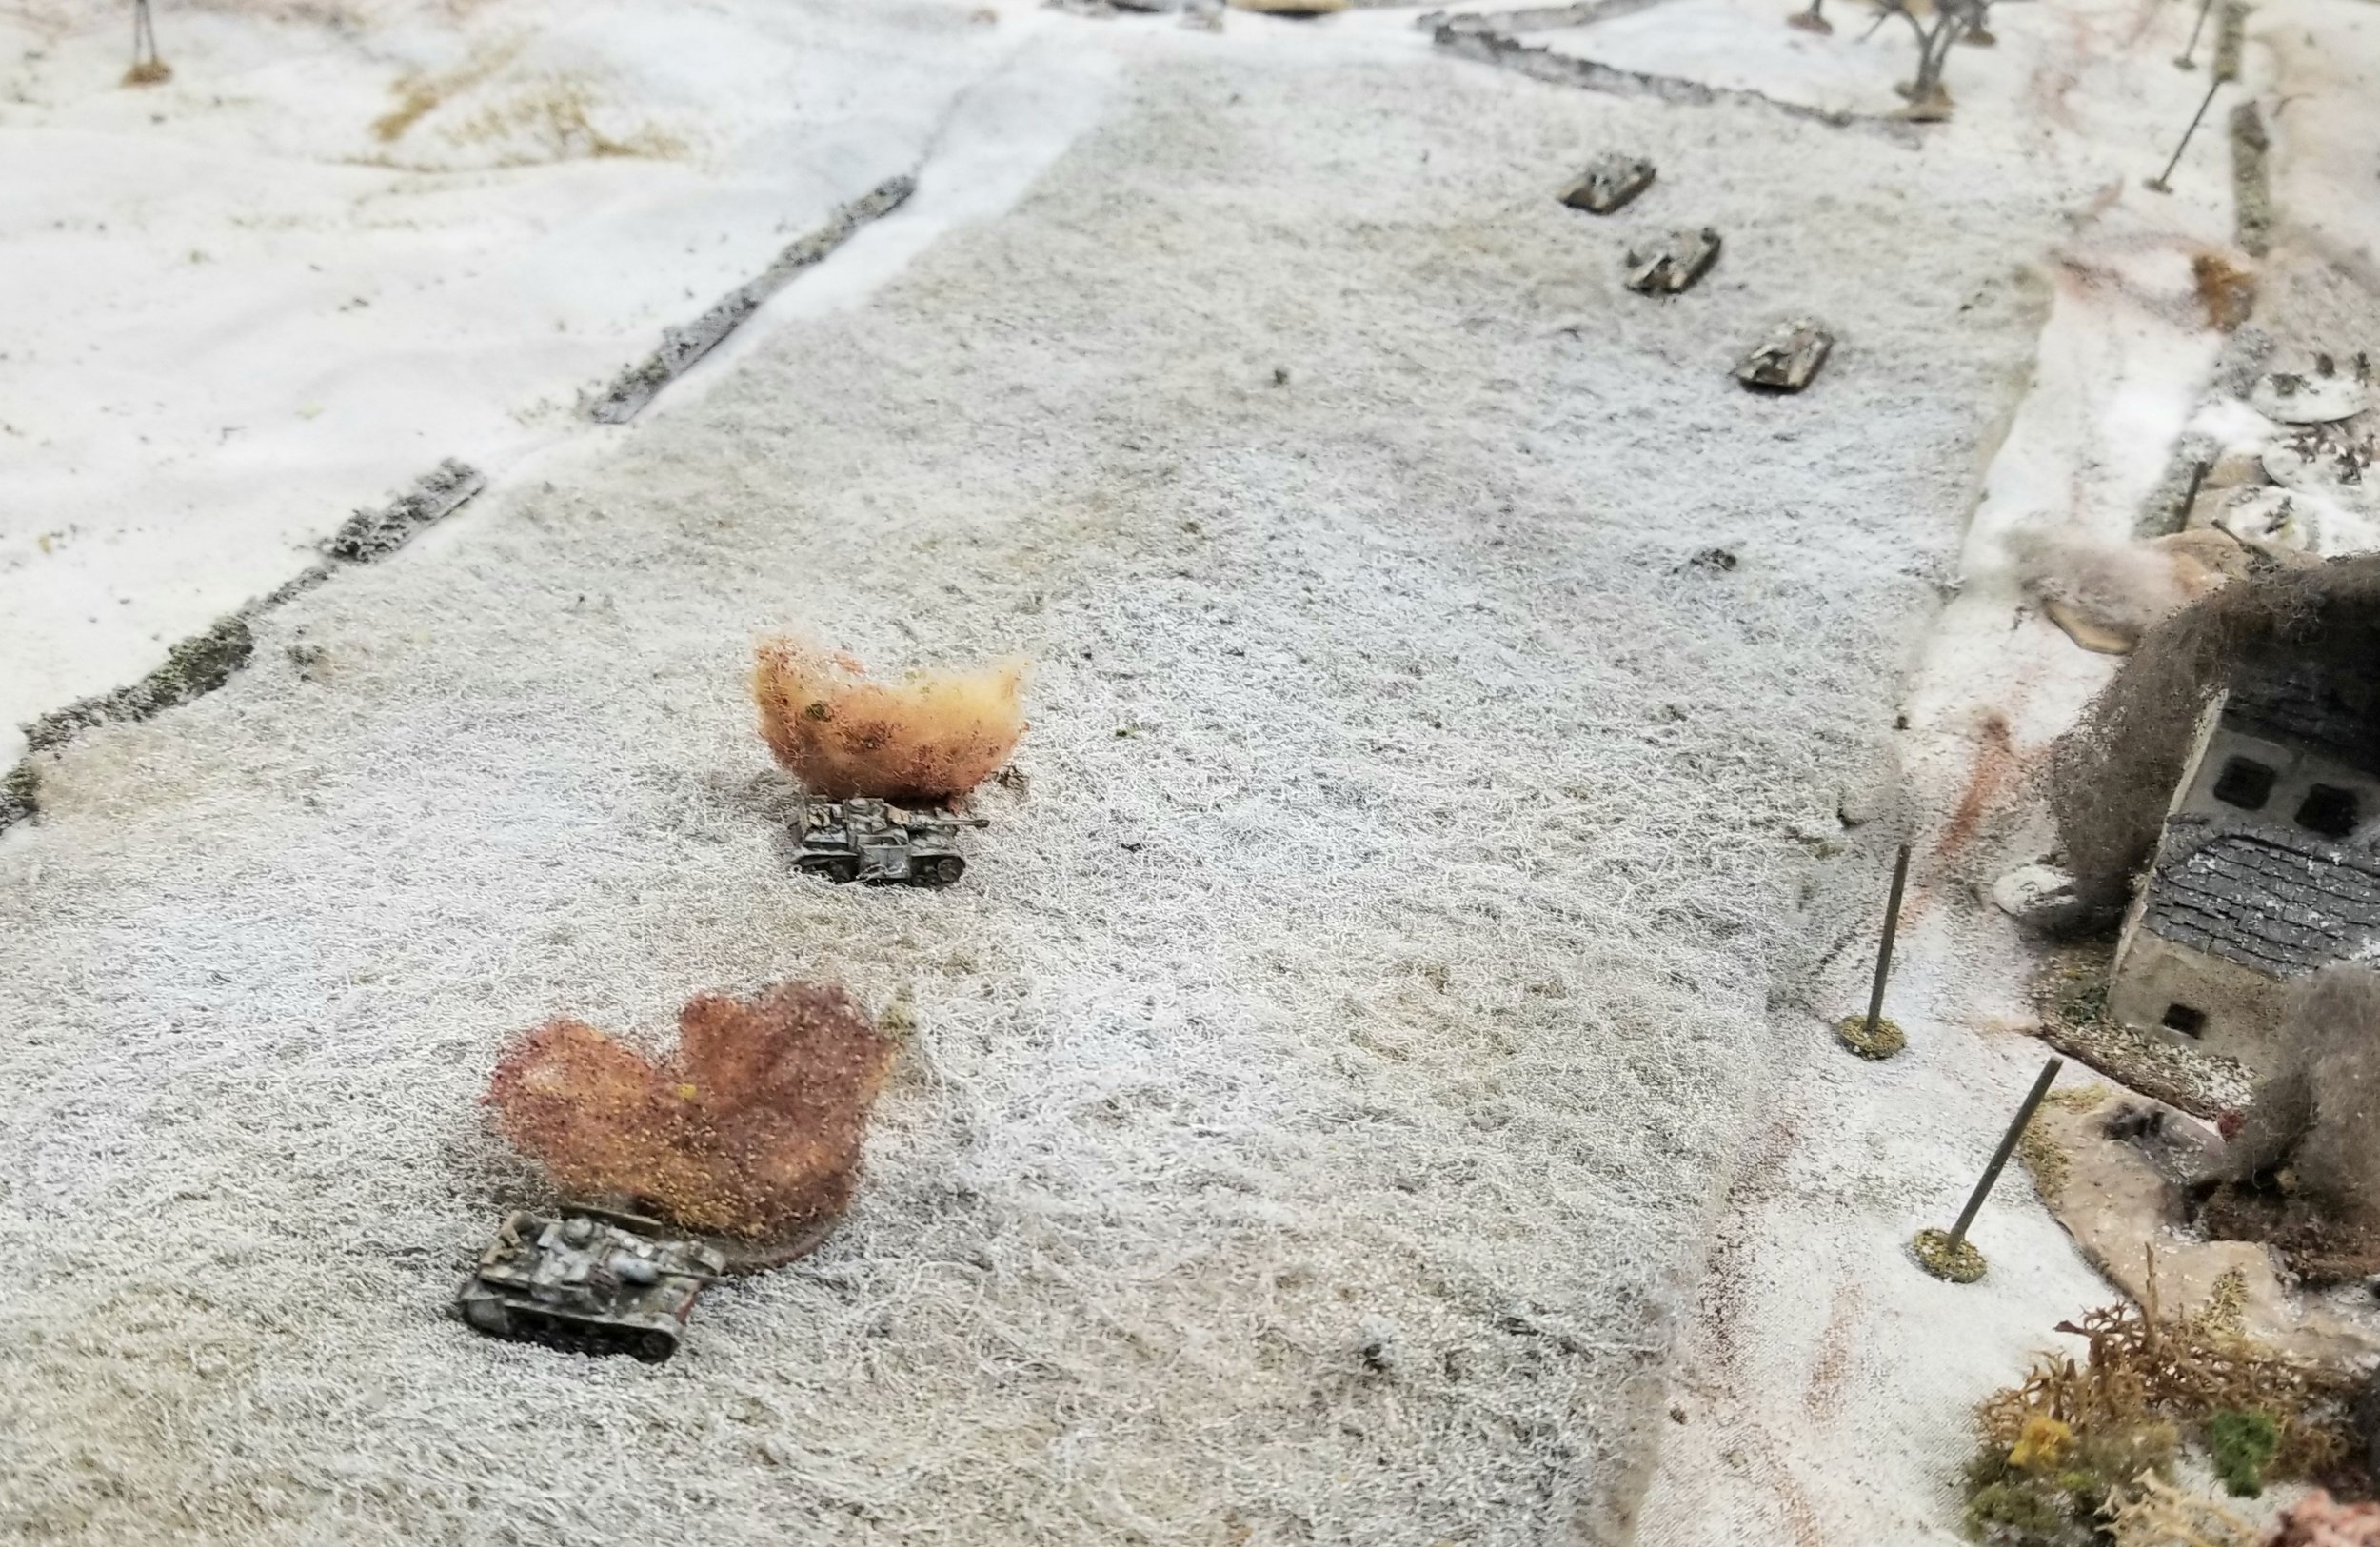
More artillery fire landed on the Americans, but in the end they were able to knock out our last tank, retake one of the buildings, and mop up stray German infantry.

In the end, our German team had one squad of infantry left, right near the bridge, while the Americans had one squad, and one almost complete, though withdrawn, infantry Platoon left on the board.

A very bloody affair, and a great day of gaming.


Following a discussion at the club, various people expressed an interest in playing I Ain't Been Shot Mum by the TooFatLardies.  I had originally planned it for a relatively small game but ended up expanding it to cover 5 players.

The scenario was based on a what-if engagement between B Company of 2/Glosters (with some supports) defending the North West part of Cassel, from an assault by Kamfgruppe von Esebeck - a combined armoured and infantry force.

Here are a few pictures from the game:

Whisperin’ Al


A couple of months back Phil and Jenny invited Andy and myself down to try out an I Ain't Been Shot Mum (IABSM) scenario Phil had devised to run at the Operation Market Larden Lardy Day.

Coincidently it pretty much followed on historically from the Big Chain of Command game Andy had come up with, with elements of 2. SS Panzer-Division Das Reich and 9. SS Panzer-Division Hohenstaufen attempting to recapture the town of Rauray in Normandy from the 1st Battalion Tyneside Scottish.

Though they had put up a brave fight, the men of the 1st Battalion Tyneside Scottish had been defeated.

Well that was an intense game, I seriously doubted the ability of the Germans to make much progress in the face of the dogged British resistance, but the arrival of the heavier German tanks certainly helped turn the battle their way.

Once again Phil and Jenny put on a great game for Andy and myself, so big thanks to them. I understand it went down well at Operation Market Larden as well .

[Ed’s Note: it did: Noddy and I played in the afternoon game as the Brits…and won!]

Steve


Took our Calais game to Britcon today. Ran 2 games during the day. Seemed to go down well with the players and visitor.

The photos are just a random mix from both games. Was a bit busy on the game to take too many.

Many thanks to Jenny Turnerand Phil Turner for making the trip to help run the game.

Michael Curtis

Fingers Lane also took plenty of pictures: these with captions:

And Des Darkin took some pictures from the morning game:


A 6mm I Ain't Been Shot Mum game played at GigabItes Cafe in July 2022.

It has been quite a while since I did a winter game and the temp outside in GA felt like 100 degrees, so time for a cold looking table.

This was just a quickie scenario setup that wasn't based on a specific historical battle, but was inspired by the German actions to relieve Budapest in early 1945. I also wanted to get my Tiger IIs on the board.

At this point we called it. I suspect that the majority of T34s would be taken out and Rob could roll up the trenches, but he definitely failed to exit the table.

The final toll was 2 76mm ATGs wiped out, 1 ATR gone, only 11 Russian infantry KIA and 3 T34s destroyed or abandoned.

But the Germans had 19 casualties among the tank riding plus their platoon CO, all 4 StuG IVs destroyed, the Sdkfz 251/17 destroyed, 10 grenadiers from the HTs KIA along with 1 platoon CO.

All in all, it was a bloody game for the Germans.

Mark Luther


A little Battle of the Bulge action with my son.

Yes, Tiger II’s are slow and M10’s do hurt tigers…

(Terrain is a work in progress)

Rick Staple


Thanks to Jenny and Phil Turner for coming up to run through the play test for the game we’re putting on at Britcon in August.

It’s May 1940, and 3RTR attempt to retreat to Calais after an engagement at St Omer with 1st Panzer Division.

Approaching Calais they bump into more elements of 1st Panzerr Division attempting to assault Calais.

Figures and vehicles by 1st Corps, buildings are all printed.

Michael Curtis


My afternoon game at Operation Market Lardon 2022 was a game of I Ain’t Been Shot Mum run by the legendary Phil and Jenny.

I must confess that I got so into the game that I forgot to note the background properly, but from memory Scottish infantry supported by tanks from the Lancers, commanded by Noddy and I, would be defending a village in Normandy somewhere against an attack by a combined force of infantry and armour from the Waffen SS commanded by Andy and friend John.

View from the British end of the table: superb terrain.

We began the game with three platoons of infantry supporting three 6pdr anti-tank guns and access to off-table mortars. Later on four Sherman 75’s and a Sherman Firefly would appear.

The Germans had lots of troops for their attack: two Panthers, two Tigers, five Panzer IVs, and two (or it might have been three) strong infantry companies and a machine gun platoon.

The Germans ignored the left hand side of the battlefield and attacked down the axis of the roads in the centre (one infantry company, the Panthers and Panzer IVs) and on the British right (the Tigers and the rest of the infantry).

A quick note on the terrain. The table sloped slightly upwards towards the village, so visibility of the opposition was good for both the attackers and defenders. It was also high summer, so the ground was baked hard: movement on any open ground was good and the only real obstacle was the bocage, which infantry would have to clamber over and tanks attempt to bounce over with an attendant risk of bogging down.

The Germans survey the field: my thanks to Andy and John for being excellent opponents.

We had had to cover the whole front, so had an anti-tank gun in the houses on the left, one near the bombed out church in the centre, and one lurking near the crossroads on the right i.e. covering the main road. We had a platoon of infantry dug in around the church; another in the ruined houses in the centre, and one more in the undergrowth on the right. As a bit of psychological warfare, we had two Dummy Blinds towards the German entry end of the table nicely positioned where they would clearly be seen by the advancing enemy.

Lots of pictures follow but, in summary, the Germans advanced very quickly in the centre and on our right. One Panzer got distracted by Noddy’s cunning use of a Dummy Blind and ended up bogged down on some bocage and taken out by a flank shot from one of the Nodster’s anti-tank guns.

Meanwhile the German infantry in the centre had been halted by mortar fire brought in by the British FOO, so the Panzer IVs came forward to suppress the British infantry taking potshots at the Germans from the buildings at the rear of the field. This led to the British AT gun in the centre opening fire and, with a series of what it must be said were very good dice rolls, taking out three of them. The last one had been bogged down as it crossed bocage just behind the advancing infantry.

The game in full swing

On the British right, the German infantry had advanced to within a field’s distance of where the British Blinds were, so the Brits deployed and a firefight broke out. The initial British ambush was disappointing, and we could see the Tigers coming forward to break the deadlock that had formed but, luckily, at that moment our tanks arrived. The Shermans took up positions along the hedgerows, bolstering the infantry, and the Firefly settled down to help our third AT gun cover the road.

Lucky it did so, for at that moment one of the German Tigers appeared hull-down in a dip on the road. The Firefly opened fire and (again the lucky dice) with a superb shot blew the Tiger’s turret off. The other Tiger returned fire and, despite it’s position in cover, hit the Firefly square on its front armour. This was surely Ronson time for the British tank but (do I need to mention the lucky dice?) the Tiger’s gun strike 11 bounced off the Sherman’s armour 6!

The Firefly returned fire and delivered a hammer blow to the German Tiger: bad engine damage and lots of Shock.

Meanwhile in the centre, the German infantry had just about recovered from the mortar fire and, with the two Panthers, were trying to push forward. Two platoons of British infantry had other ideas and, although the German infantry were causing casualties, they were definitely getting the worst of the firefight that followed.

Back to the right, and the British off-table mortars had started to find the range of the German infantry there: with the Tigers beaten back, there would be no advance there either.

As the game ended, the British had pushed a PIAT team along with the CSM forward right up to where the Panthers were. The last shot of the game was the PIAT firing into the flank of one of the Panthers. I’d like to say that it brewed up the Panther as well, but the CSM had forgotten to put his glasses on and the round flew off into the distance somewhere!

So it was a clear victory for the Brits aided, it has to be said, by the dice. Here are the pics:

My thanks to Phil and Jenny for setting up and running a superb game, and to Andy and John for providing the opposition.

Robert Avery


A 6mm I Ain't Been Shot Mum game played at GigaBites Cafe May 2022

This was going to be a two part battle, with the first contest covering the attack by 46 Royal Marine Commando and the Ft Garry Horse on the village of le Hamel on June 11, 1944.

Mark Luther


In the build up to the Bristol Lardy Day Winter Wonderlard II last February, Phil and Jenny asked Andy and myself if we'd be guinea pigs to try the 15mm I Ain't Been Shot Mum scenario they planned to run - Relieving St Omer.

Set during the Blitzkrieg in May 1940 the game was (if I recall correctly) based around efforts by the 3rd Royal Tank Regiment attempting to relieve the French defenders of St Omer who were under attack by the 1st Panzer Division. Phil and Jenny always put on a lovely table...

With only two A13's remaining providing any anti-tank capacity and faced with several Panzers hunting them down, the British armour decided to withdraw and leave the French with no option to surrender...

An enjoyable game, as much as I Ain't Been Shot Mum is a company level infantry game, it is a lot of fun when you start playing tank battles with it!

Steve


Hello London! Hello London!

Robert Avery reporting from the besieged French town of Arras. I’m here with the BEF, happy to report that another Bosch attack has been beaten off!

The Germans attacked from the south, with about a company’s worth of men supported by six light tanks. Our position was in front and behind the railway embankment that runs through to St Quentin, with a platoon of Welsh Guards led by Lieutenant Llewellyn (ably supported by Sergeant Griffiths) forward of the embankment dug in to three houses in a neat line. In front of us, in another house, was a brave section of French infantry: a forlorn hope led by WW1 veteran Commandant Hercule Poumier. Behind us to the left, two sections of sappers led by Lieutenant MacAlpine manned positions along the embankment: equally brave men itching for a fight.

As day began to break, we thought at first that it was some other poor fellow’s turn to feel the might of Adolf’s fist but, as the morning mist cleared, it became apparent that the enemy had snuck forward to within 500 yards of our positions! Facing the sappers were three enemy tanks, with three more behind them; and coming down the road was a mass of enemy infantry.

I hadn’t previously understood the purpose of a forlorn hope before now, but now I see clearly why men sacrifice themselves in such an endeavour…for as the enemy moved towards our main position, they suddenly spotted the French and were forced to react. Some of the Germans continued forward, some moved into the trees lining the main road, but what this meant, as far as I could see, was that the individual German squads of two platoons became intermingled, with what looked like some confusion setting in.

The enemy also sent one tank platoon across the battlefield towards the loyal French. This exposed the flank of one of the iron beasts, and the company Vickers blew its track off, its crew hightailing it back the way they had come.

The two other tanks, however, closed to within forty yards of the French position, and raked it with machine gun fire. At the same time, the enemy infantry were shooting as well, and the brave French lost at least one man killed and were pinned down by the hail of enemy fire.

What they had also failed to spot, moreover, was another German platoon moving into position for close assault. Suddenly the nine remaining Frenchmen, in their positions along the hedge at the edge of the garden, were charged by almost thirty enemy stormtroopers led by two officers! I closed my eyes in anticipation of the carnage that was due to follow.

But what was this? The Germans were held, at least for a moment, and one of their officers killed! Bravo les braves!

Unfortunately, the respite was only temporary: the Bosch surged forward again, and the French were overrun: only Commandant Poumier and two of his men escaping! Sending his two men to the rear, the brave Commandant joined us in the main position: puffing, blowing, and full of Gallic imprecations!

The enemy, however, were now under our guns, and we let them have it with the Vickers and a section’s worth of fire, seeming to knock the enemy infantry over like ninepins!

Lieutenant Llewellyn was, however, very worried at the situation. Most of three platoons of enemy infantry, albeit in somewhat of a confused mass, were coming forward towards his single platoon. Not only that, but two of his infantry sections were manning ground floor positions, and were thus not able to engage the approaching Bosche.

Now, however, he played his trump card. Three light tanks from Cooke’s party rushed from behind the railway embankment towards our main position. The other German panzer platoon opened fire, but two rounds of shooting only managed to halt one of our tanks, it heading back into cover with smoke pouring from a damaged engine. Looks like these Bosch tankers need their eyesight checked! Another three friendly light tanks raked the shooting enemy tanks with fire from behind the embankment, but at this range the damage seemed insignificant.

Although the light tanks were rushing forward, so were the Germans, and they appeared to have the drop on us. The two tanks that had so punished the French moved up to the hedge row in front of the house in which we were sheltered, and prepared to fire. Coming up behind them was the mass of enemy infantry, now finally starting to sort itself out.

What to do? The Boys gunners were dead (although they had managed to jam the turret of one of the attacking tanks), the Vickers was manned by just one brave soul, and the garden too long for even the strongest grenadier to throw over!

Desperate measures were called for. One section of infantry left their positions in the ground floor of the house, rushed up the garden, and engaged the two German tanks with grenades and Molotov cocktails! Their attack proved successful: with the undamaged German tank being permanently immobilised! Their mission complete, the eight brave infantrymen then retired back into the house from which they had come – a bit out of breath, but untouched by enemy fire! An incredible piece of audacity!

Meanwhile, the sappers under Lieutenant MacAlpine had got themselves into positions from which they could fire, albeit at long range, into the mass of German infantry; and Sergeant Griffith’s section on the right had severely punished some enemy who had strayed too close to his house! Despite this, things were still very tight, and Lieutenant Llewellyn prepared to give the order to retire to the embankment.

At that moment, however, it seems that the Bosche had had enough. With half their tanks out of action, and their infantry still some way from being organised into coherence, they decided to retire themselves, quickly melting away as we chased them with more fire.

Arras is still in Allied hands!

A great battle using the first scenario from the Cymru Am Byth booklet. The French forlorn hope did exactly what it was supposed to do: breaking up the coherence of Neil’s attack and forcing him to concentrate men to one flank, exposing them to flank fire as he did so. The fact that Poumier drew a close combat where thirty dice faced ten was an added bonus! The Germans never really managed to sort their men into three clear platoons after that, and could therefore not get organised enough to do the usual two platoons fire whilst one rushes forward tactic.

There were two other truly significant points in the game. The first was two British tanks managing to get from behind the embankment to behind the main British position unscathed despite taking some twelve flank shots from Neil’s Panzer IIs! The second, and this is without a doubt what actually broke the German morale, was a single section of Welsh Guards rushing out of their house, four inches down the garden, knocking out one of the two enemy tanks peeking over the hedge at the garden’s end and, next turn, getting a lucky run of cards and managing to get back down the garden and back into the house unscathed, despite their being some six German infantry sections closing fast!

How tight was the game? Neil conceded just as I was about to withdraw!

Robert Avery


I was in the mood to do an East Front game and hadn't gotten my Panzer 38 (t) and multitudes of T-26 tanks out lately so went with a table inspired by actions with the 7th Panzer and 3rd Mechanised Corps in Lithuania early in Operation Barbarossa.

The Germans lost 2 PzIIs and a Pz38t. Several other tanks were damaged. The Russians had only 1 FAI-M car left. 2 of the infantry sections were gone-1 crushed in an overrun attack. 1 infantry gun was also destroyed.

This was an difficult one for the Russkies even if they got decent die rolls. The random deployment also added to their woes. But so typical of the early days of Barbarossa.

Mark Luther


A great game of 1941 Russian Front IABSM with Dee VonDoom yesterday.

The Wehrmacht is advancing across the Russian Steppe at speed. It is of vital importance that the Ztarmerski bridge over the river Korbynskia is taken before the Ivan’s have the opportunity to destroy it.

A stubborn defence of the village by the Russians slowed the German advance, while engineers prepared the bridge for demolition, and although a Panzer 38t made it onto the bridge, it was destroyed by a T34 before the Germans could prevent the bridge being blown up !!

Phil Turner


The other weekend saw myself, Philip and Ru descend on Desmondo’s shed o’war to take part in another of his magnificent D-Day games (which have been documented here before). Once again I would be taking the part of ze Germans mainly as I had a very heavy night the night before so had hardly any sleep plus a quite substantial hangover so needed to reduce decision making as much as possible!

In a nice change from previous attempts at this scenario Des had increased the run in for the assault wave which helped Ru get to grips with the rules for the game and also increased the chances of things going wrong a bit too. After each landing craft or DD tank is moved we check to see if they ‘drift’ left or right and if they hit another vessel then things can go bang or head downwards quite rapidly and there’s also the added joy for the DD crews that they might get swamped.

These fun and games did lead to Ru losing his Company HQs although nearly all of the DD tanks made it to the shallows and now I was hoping for the chances of the incoming vessels striking mines working in my favour to further write down the attackers. This didn’t go so well with only two boats hitting a mine which caused heavy casualties to one of Ru’s platoons although Philip’s lads fared a lot better, just being badly shocked. It was going to be a tough fight for the defenders.

Once on the beach I could start to engage the invading forces but unfortunately for me the two AT guns I had off table positioned to fire down the beach both had very, very low amounts of available shots (I rolled for this before we started and had 1 shot in 1 gun and 2 in the other!) so I had to choose the right moment to use them and also hope that when those moments did come up I had the dice available to activate the guns.

Luckily for me they did and although one of my 3 shots missed the other 2 both brewed up vehicles (Ru’s Fascine carrying AVRE and Philip’s Sherman Crab) as they reached to bottom of the ramps of the LCT’s blocking the way for the following vehicles to exit. This would force the craft to back up and land again which would not only slow things down for the Brits a tad but also would mean that they might strike a mine whilst doing so, which unfortunately for me didn’t happen.

So, the majority of the assault troops were now ashore and so was a fairly sizable amount of supporting armour and various Funnies all intent on giving me a very hard time. My MG nests, infantry and mortars were doing their bit now too as was the one artillery strike I managed to call in but I couldn’t prevent Philip’s infantry from making it to the sea wall in front of my position even though they were caught in a particularly harsh bout of firing from my lads (a double phase was involved) and suffered quite a few casualties.

Ru’s command was heading over to the right away from the defensive nest and hence suffered less casualties, all his tanks being safe as the AT gun facing that direction was about as accurate as a fairground air rifle! Pretty soon the Brits started knocking out the AT bunkers by concentrated fire from DD Shermans and AVRE’s chucking their dustbins of doom at me and the writing was pretty much on the wall from then on.

Ru was the first one to get off the beach with his Shermans and Infantry taking advantage of the AVLB bridge and then proceeding to blow chunks out of the right hand side of the post whittling down the defending infantry in short order before then starting to advance his infantry further inland.

Phil had his bridge up against the seawall shortly afterwards and tried a rush with an infantry platoon first which I managed to repulse whilst he dropped a fascine on the left of my position which enabled a DD and a bulldozer to exit the beach. I managed to knock out the bulldozer by a lucky shot on the driver.

It was about now when the second wave consisting of another Infantry company plus armour was heading into the beach and Philip took command uttering the famous phrase “Don’t worry I know what I’m doing” and then promptly colliding two of his boats together sinking one! I then added injury to the many insults we were all chucking his way by hitting another boat carrying his Company HQ in with a mortar stonk, killing the CO.

Meanwhile on the beach, he was having a better time and decided to stop fannying about and launched an AVRE up his bridge which proceeded to literally crush the resistance of the infantry at the front of my position whilst also shrugging off an attempt to knock it out from my remaining AT gun. When he managed to take out this final surviving AT asset with his infantry pouring up the bridge behind now unopposed, with Ru’s Shermans behind my position and the second wave landing I decided the gig was up and I chucked in the towel.

Kamerad!

Once again it was a bloody marvellous day’s wargaming all carried in the greatest of sprits and I’d like to thank Des for hosting us and Ru & Philip for being such great opponents, what the hobby is all about.

Iain Fuller

More pictures from Desmondo:


Some pictures from yesterday’s custom breakthrough scenario in Cambridge.

James Moulding


Here is the fifth after action report of a demo game with the scenario "Let’s get at the Bastards" from the supplement Cymru am Byth of the Too Fat Lardies.

On the 9th of August, 1944, northeast of Vire in the bocage, the Welsh Guards supported by tanks of the Scots Guards have to capture a group of buildings on the heights named Le Haut-Perrier. The position is held by elements of the 9. SS Panzer Division Hohenstaufen.

Sergeant Perry


Here is the fourth after action report of a demo game with the scenario "Let’s get at the Bastards" from the supplement Cymru am Byth of the Too Fat Lardies.

On the 9th of August, 1944, northeast of Vire in the bocage, the Welsh Guards supported by tanks of the Scots Guards have to capture a group of buildings on the heights named Le Haut-Perrier. The position is held by elements of the 9. SS Panzer Division Hohenstaufen.

Sergeant Perry


Three companies of Canadians (Willie, Andrew and Walter) faced German Fallschirmjäger (Bart) and infantry (Mark) in a fictional setting around the Battle of the Reichswald, 1945.

The Allies had a huge superiority in tanks (16 to 3 for the Germans ) but bad weather prevented the intervention of the Allied air forces. Moreover, the ground was very soggy from days long rainfall.

We played 12 turn with the now familiar 3rd edition of the IABSM rules. The Canadian advance proceeded very cautiously. By the end of the day the German lines were still intact. so the Germans could claim victory.

The Stipsicz Hussars


Here is the third after action report of a demo game with the scenario "Let’s get at the Bastards" from the supplement Cymru am Byth of the Too Fat Lardies.

On the 9th of August, 1944, northeast of Vire in the bocage, the Welsh Guards supported by tanks of the Scots Guards have to capture a group of buildings on the heights named Le Haut-Perrier. The position is held by elements of the 9. SS Panzer Division Hohenstaufen.

Sergeant Perry


Here is the second after action report of a demo game with the scenario "Let’s get at the Bastards" from the supplement Cymru am Byth of the Too Fat Lardies.

On the 9th of August, 1944, northeast of Vire in the bocage, the Welsh Guards supported by tanks of the Scots Guards have to capture a group of buildings on the heights named Le Haut-Perrier. The position is held by elements of the 9. SS Panzer Division Hohenstaufen.

Sergeant Perry