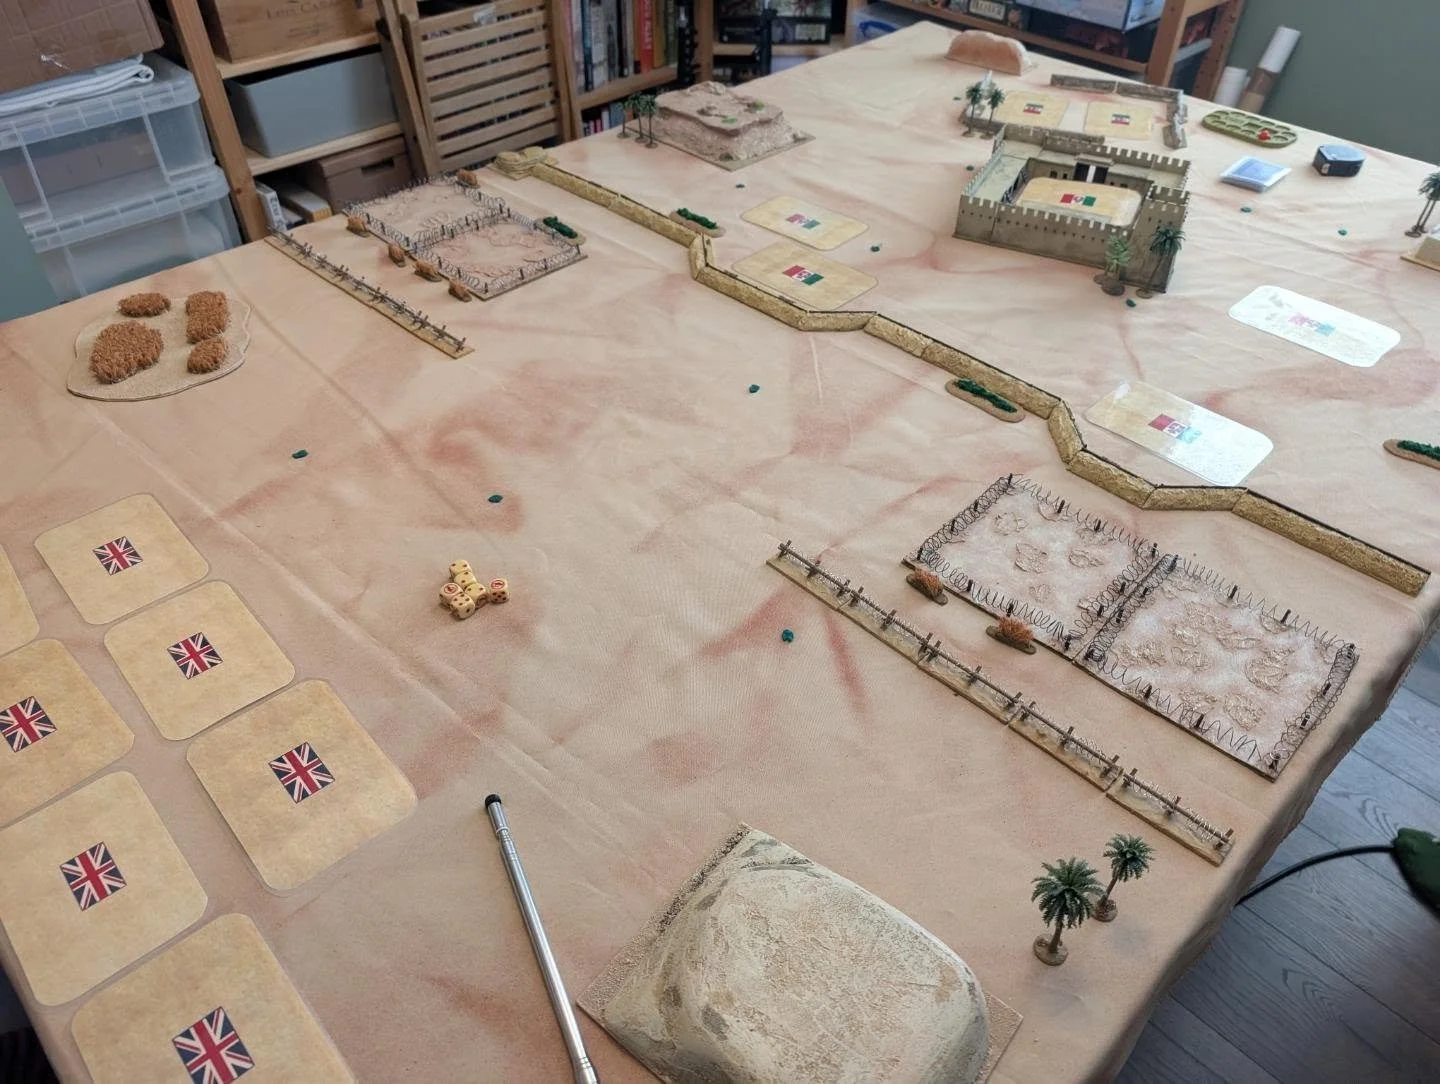
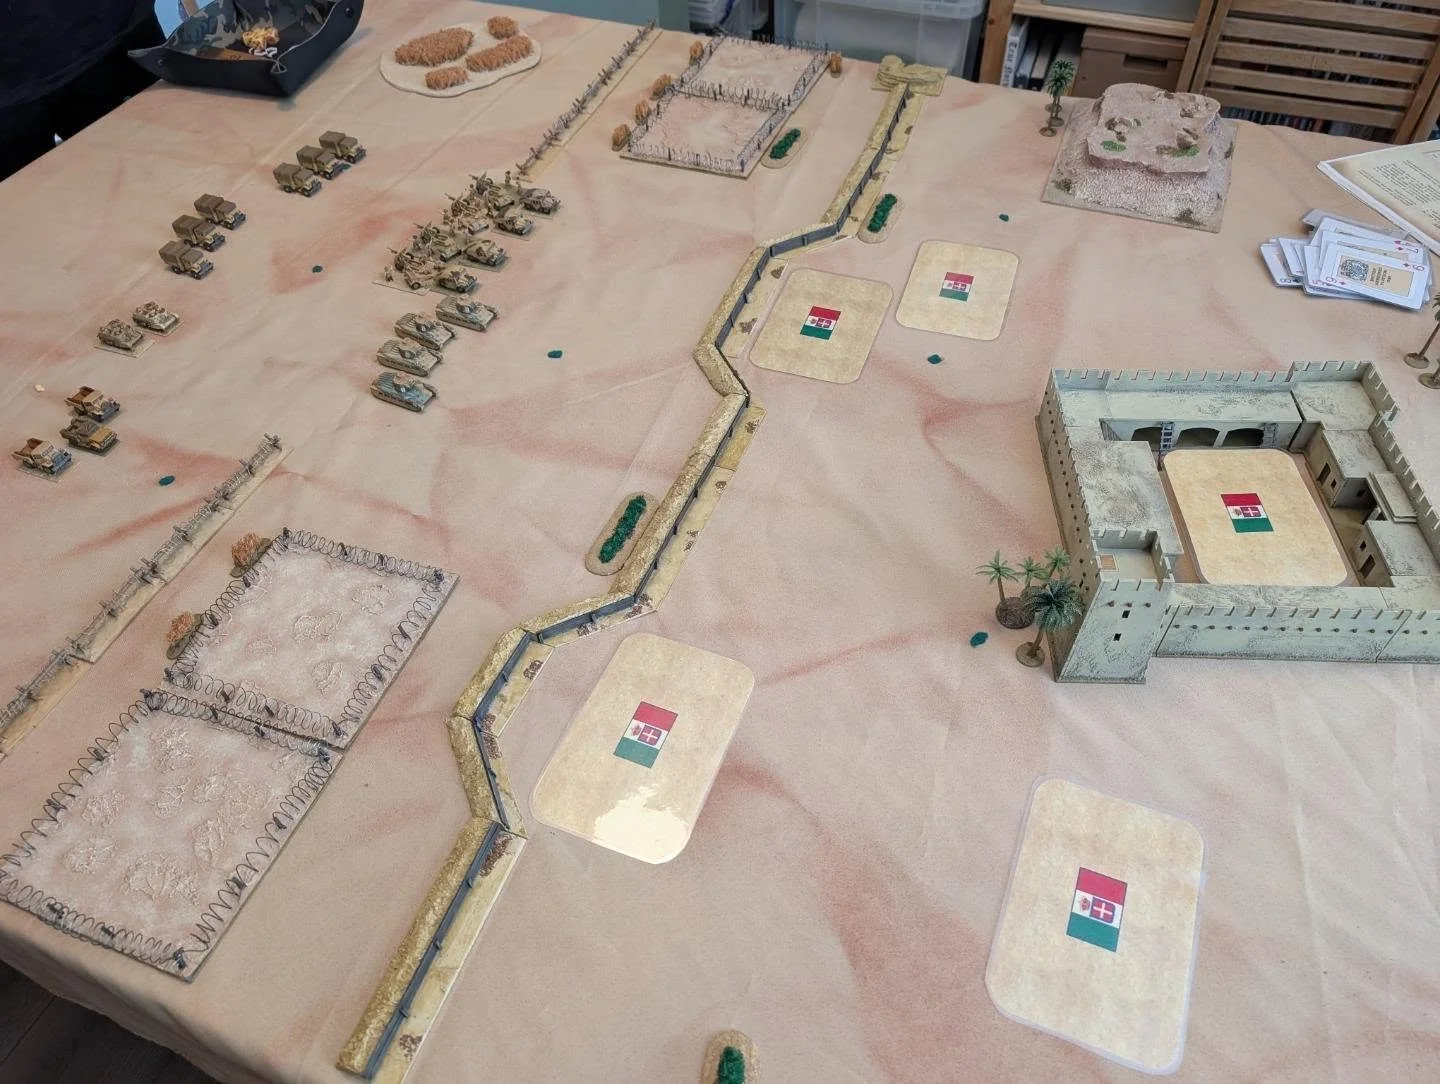
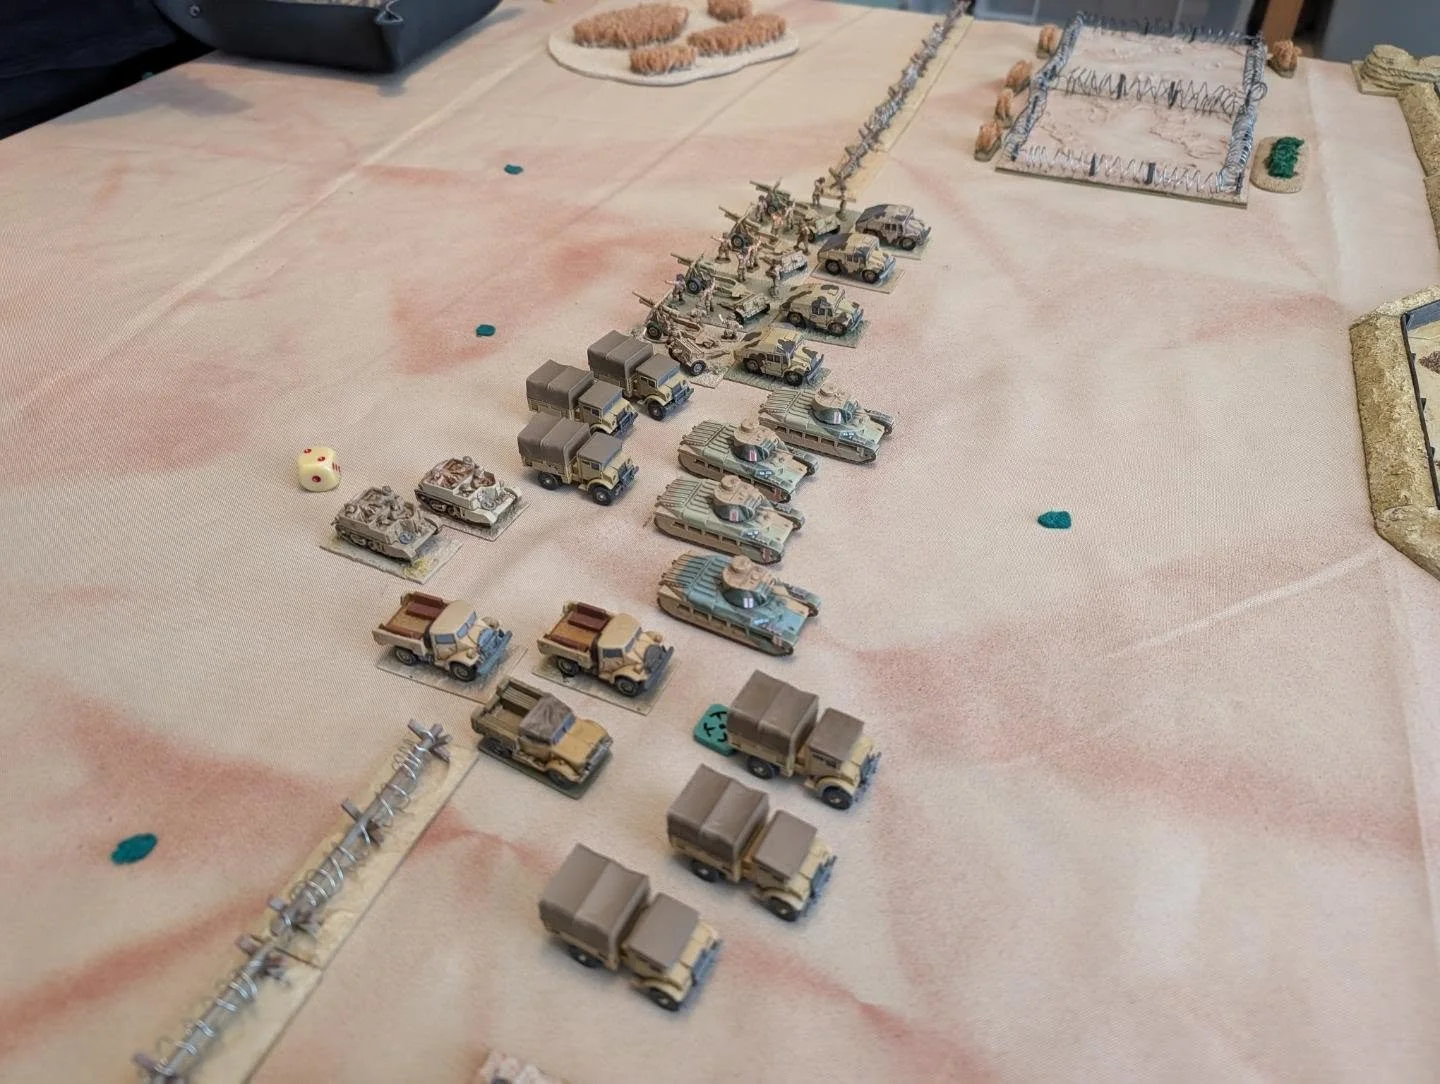
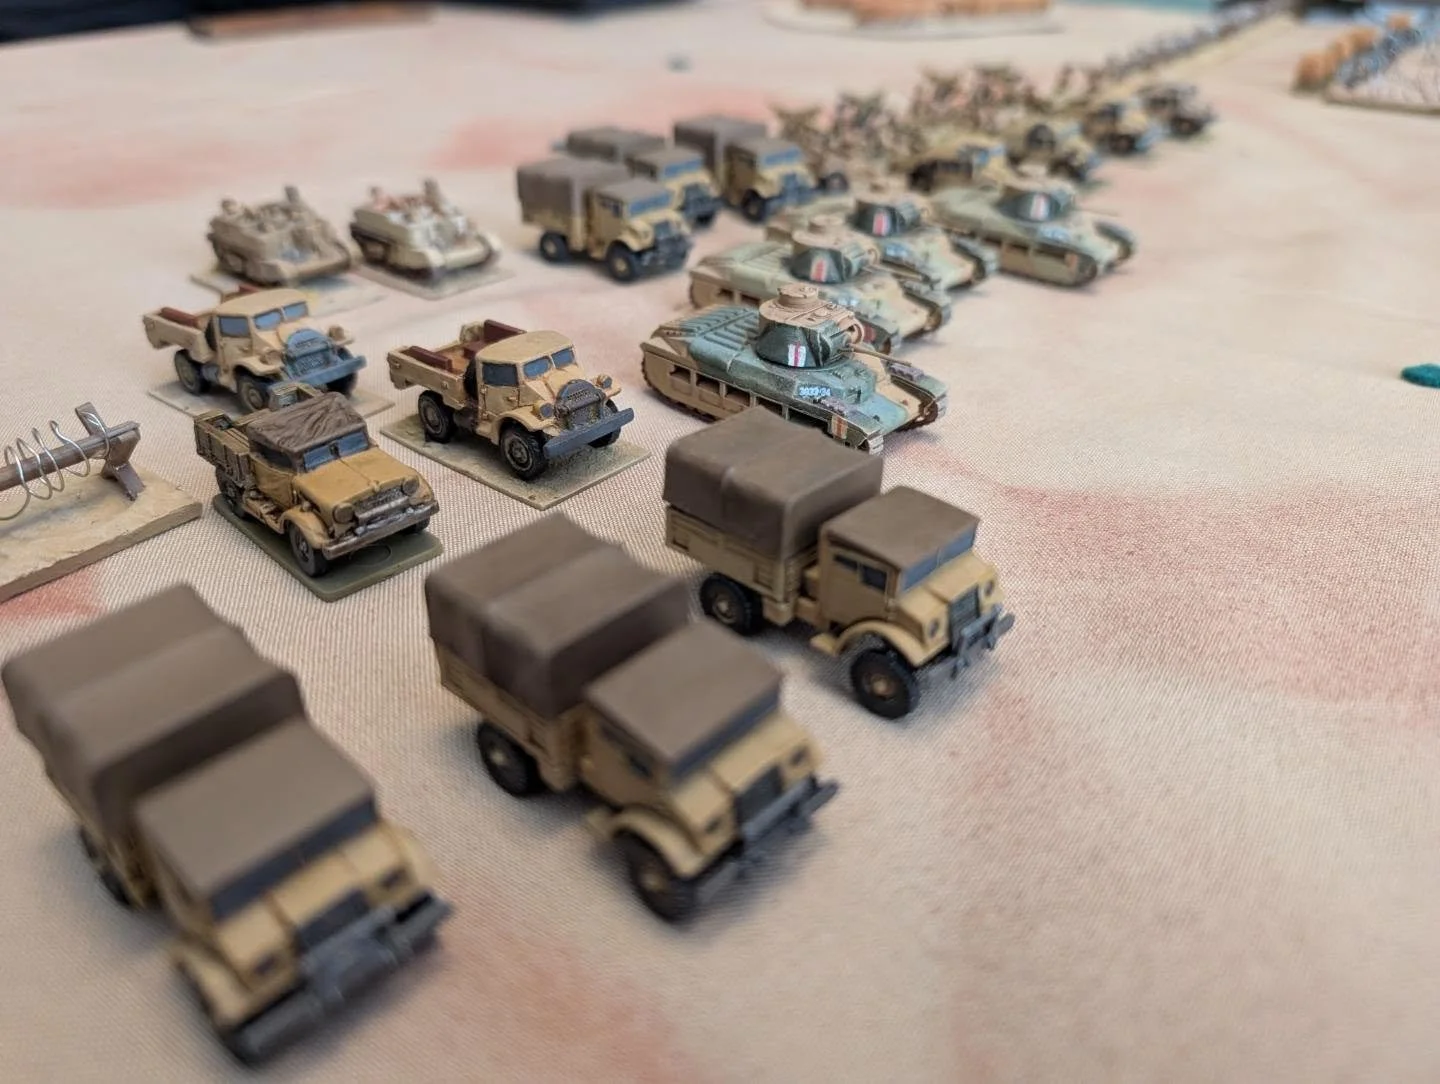
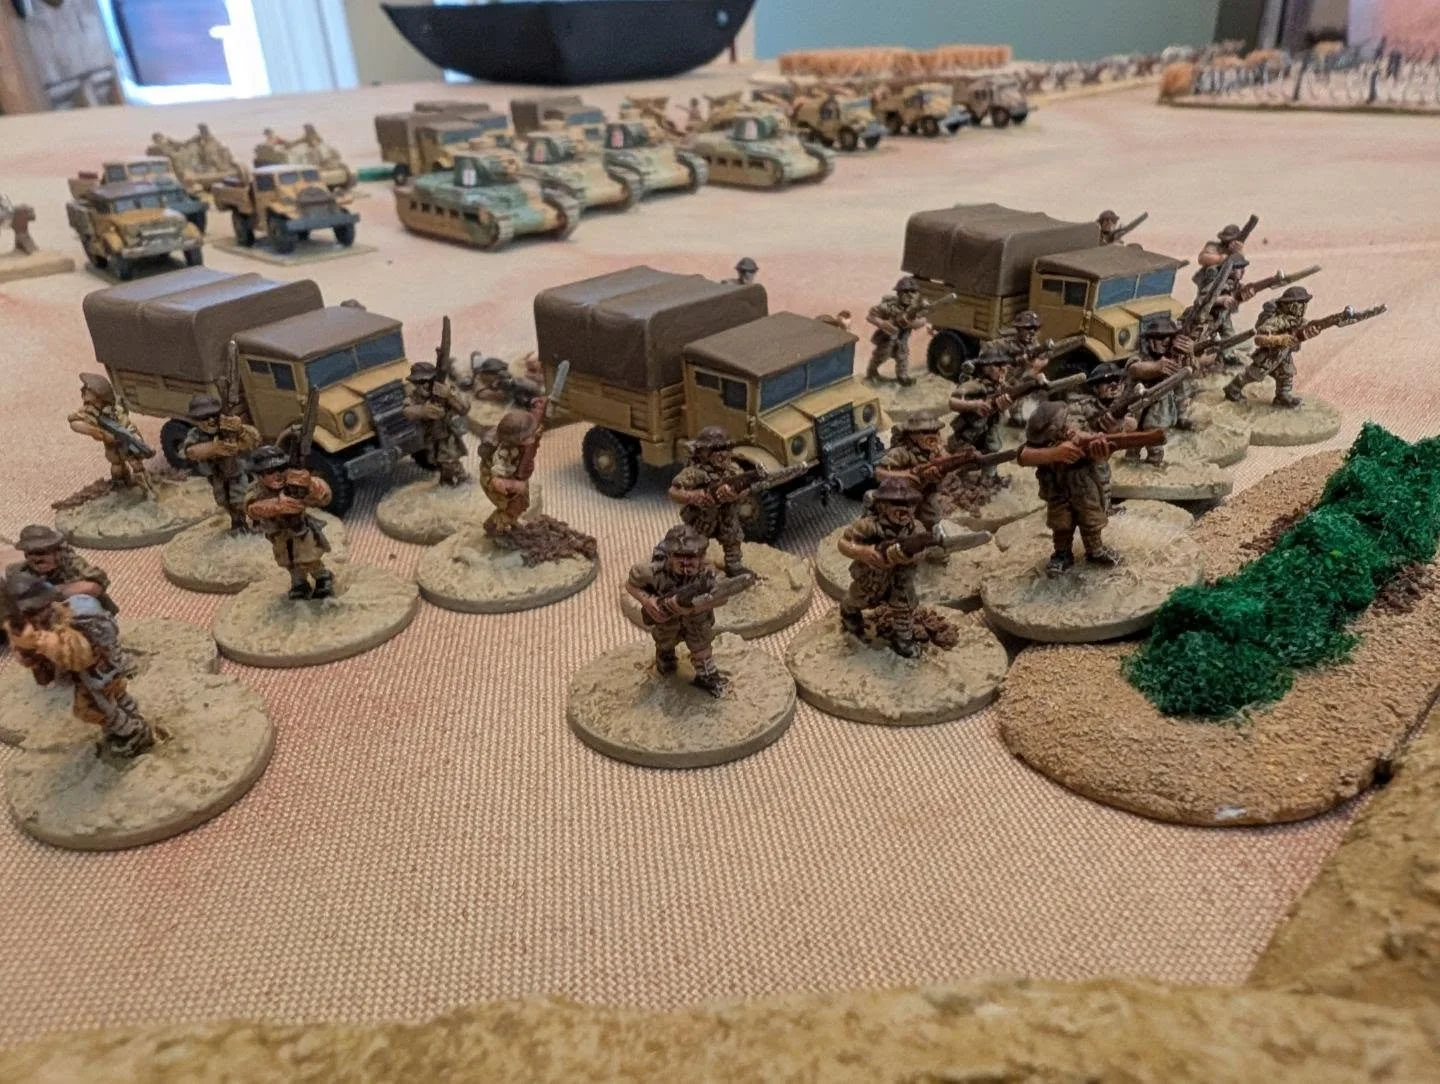
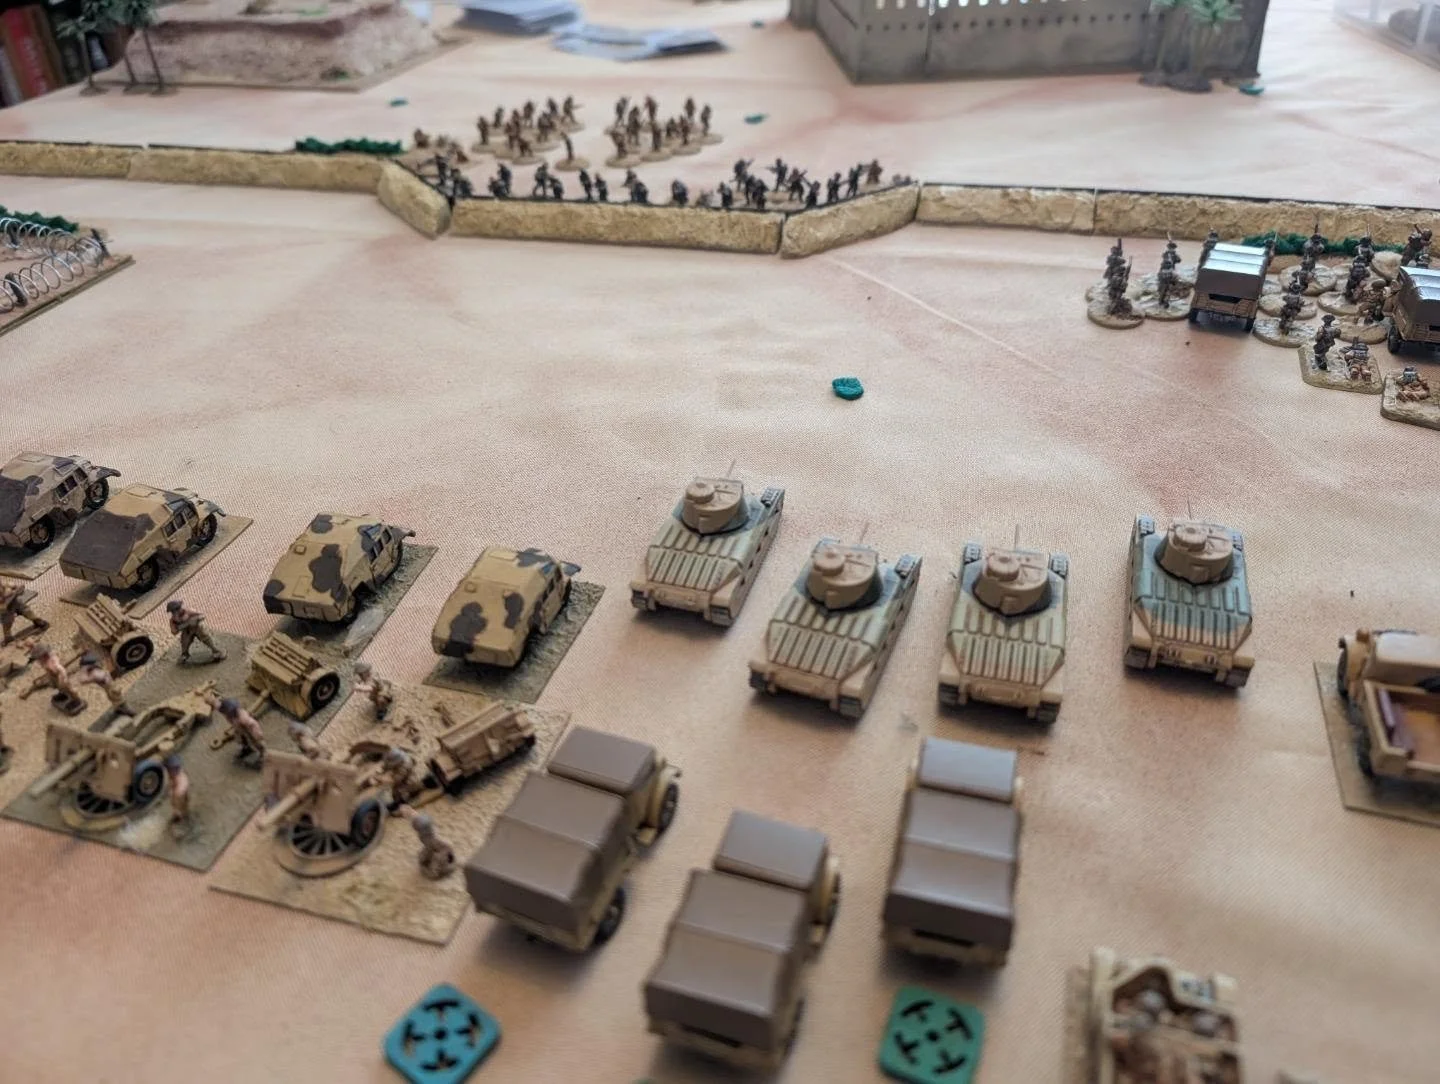
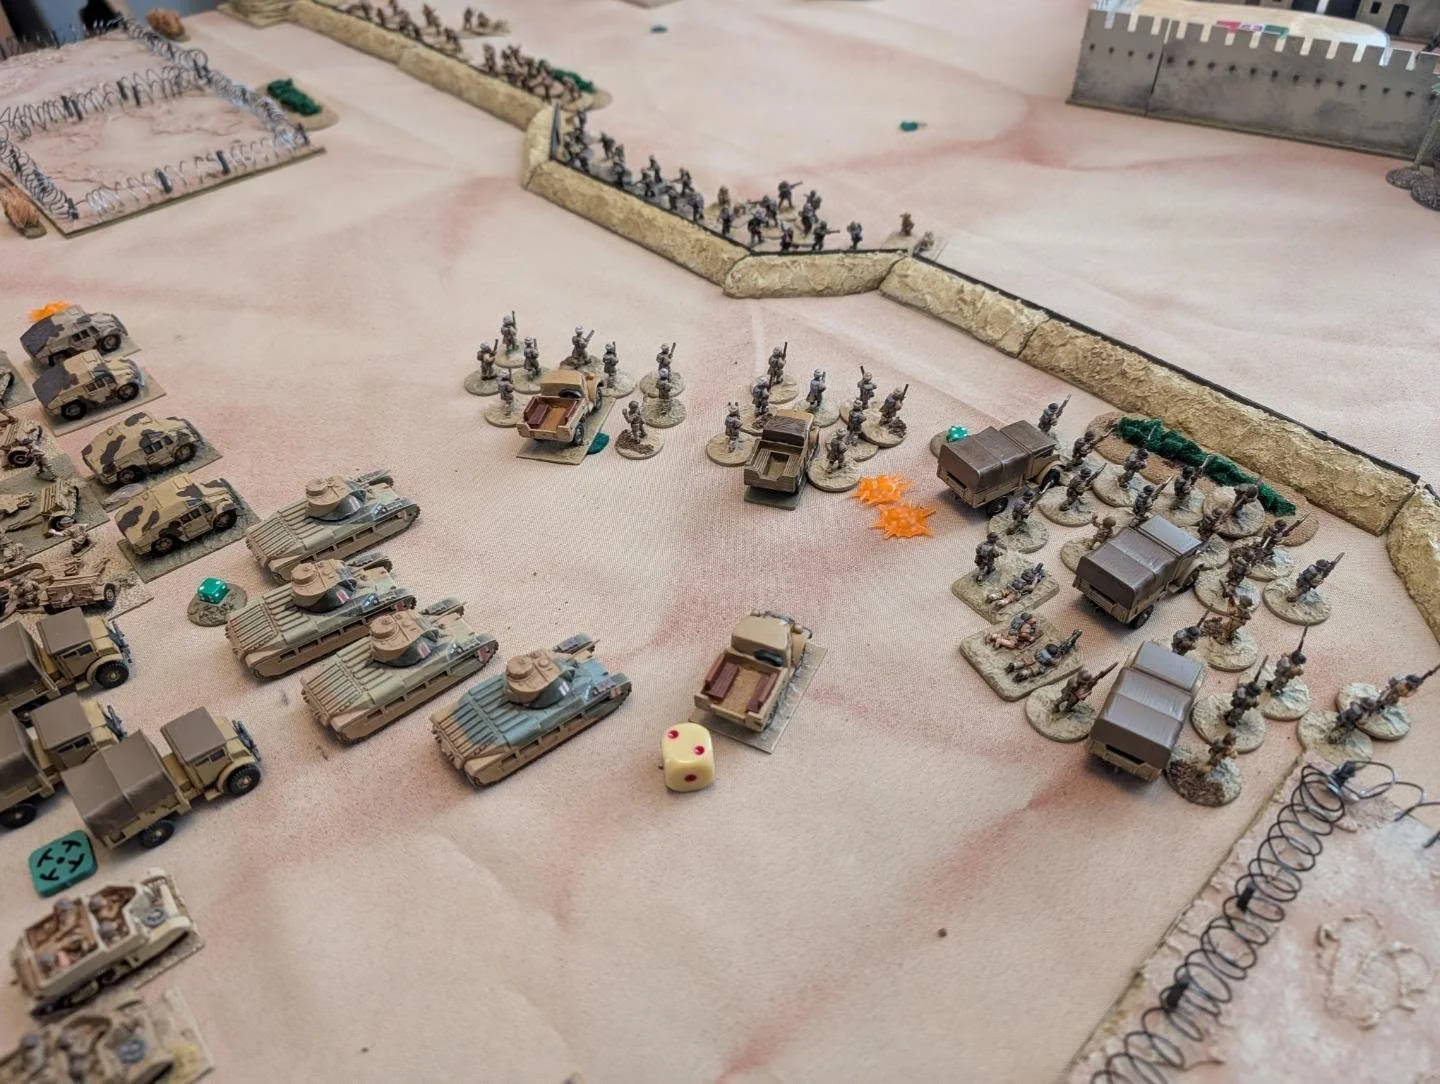
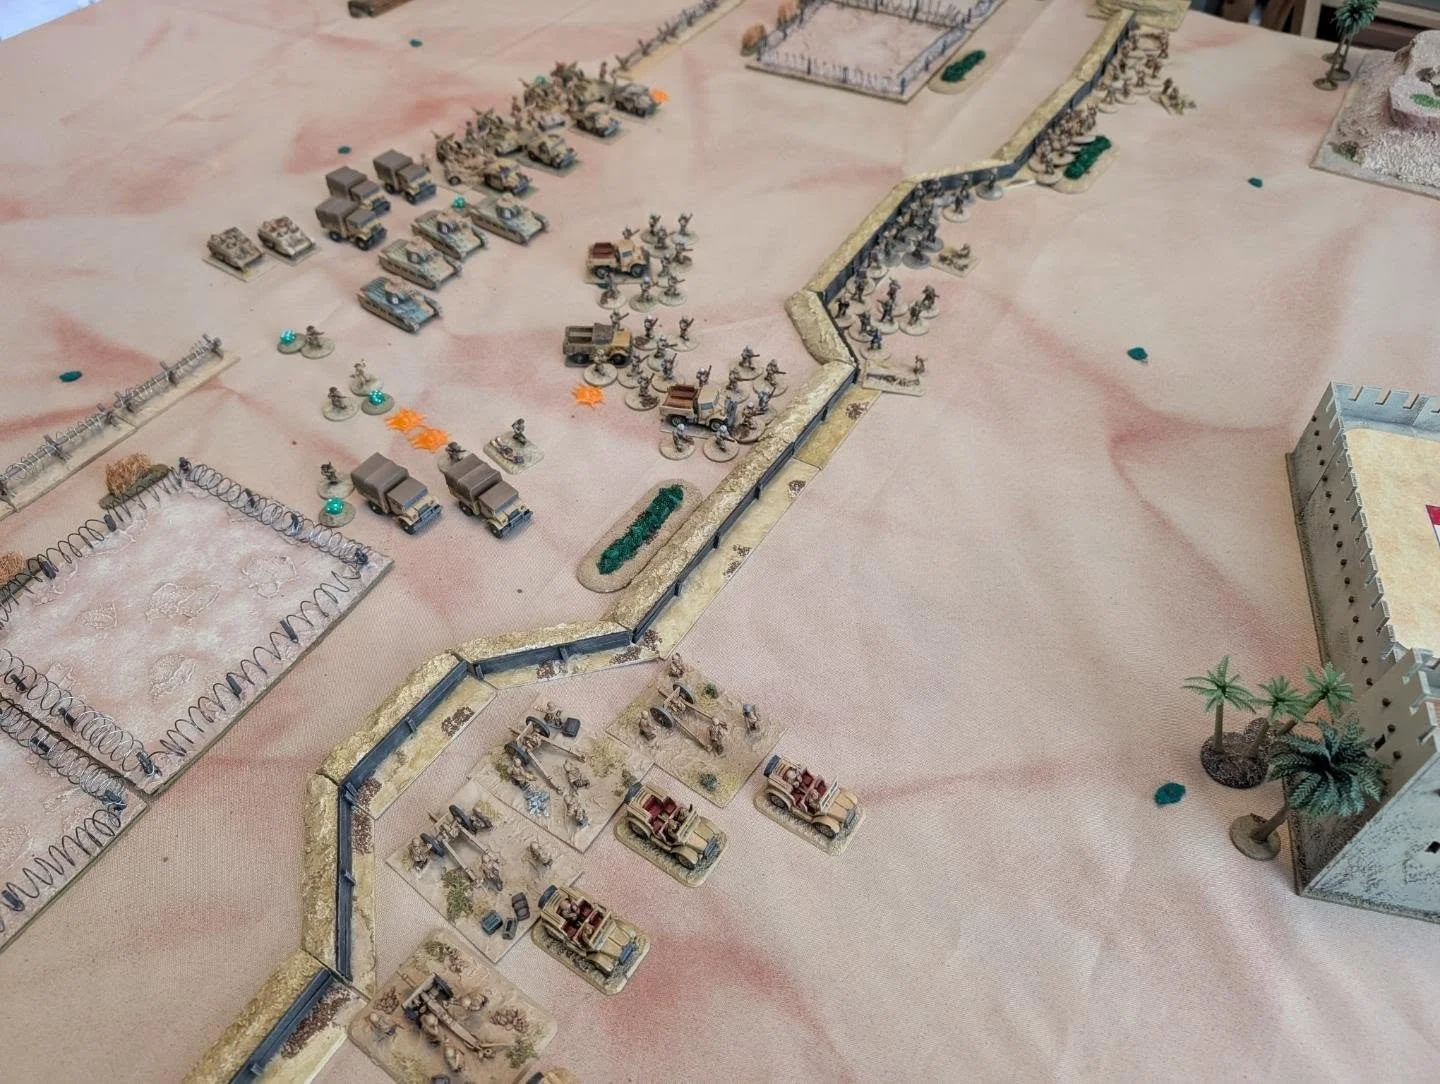
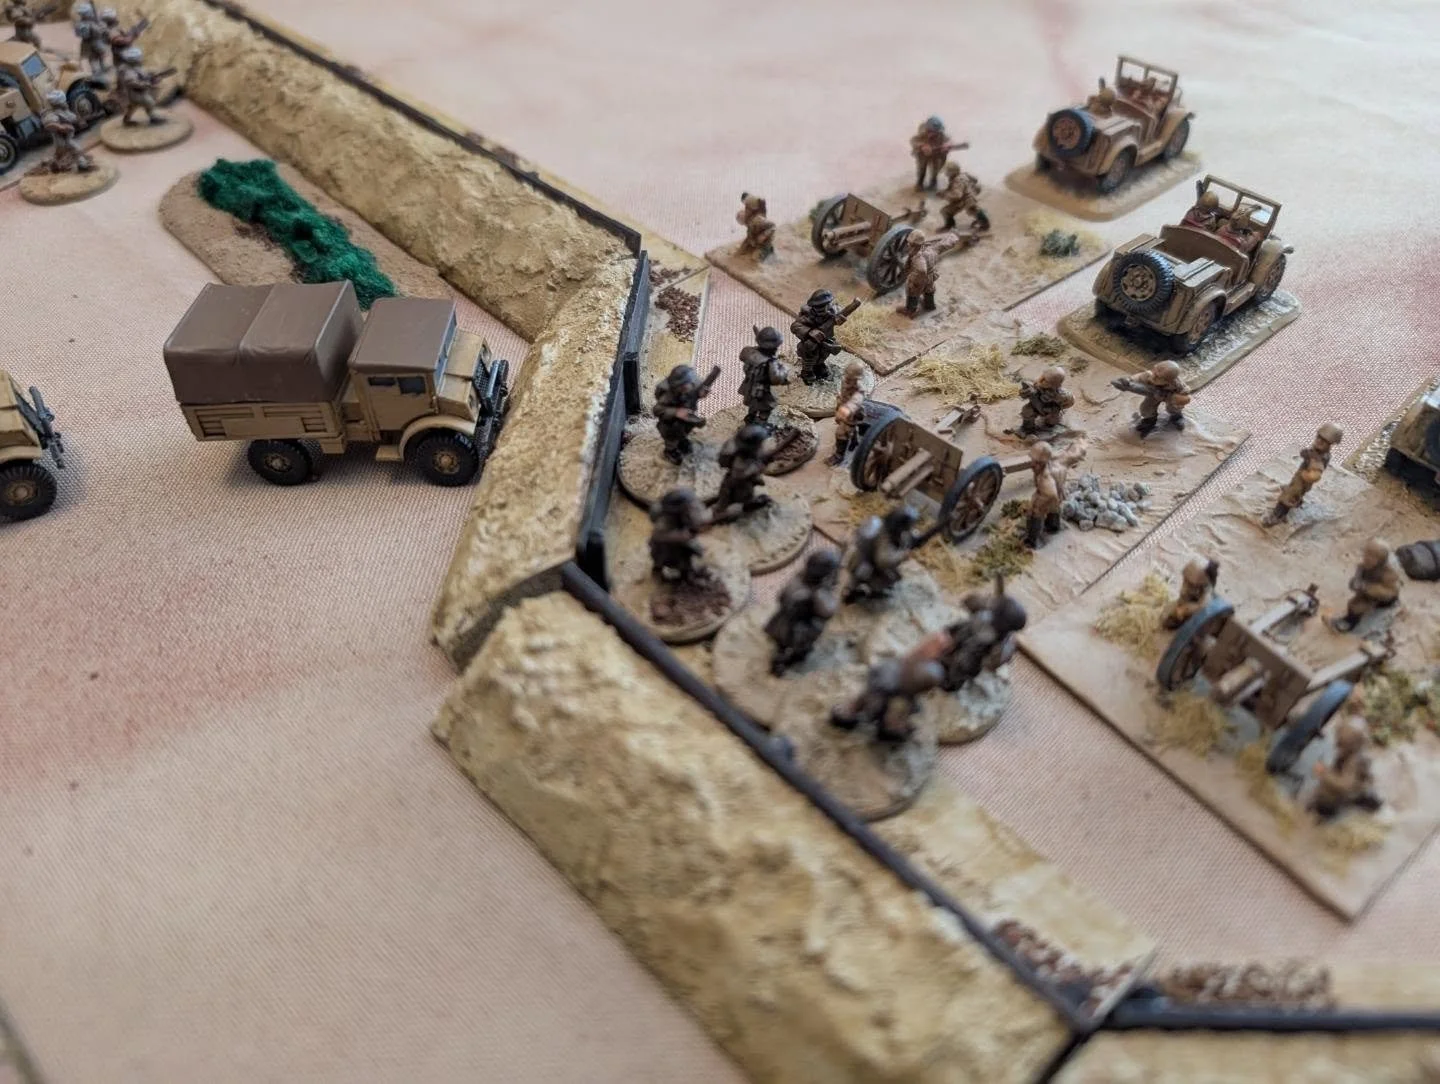
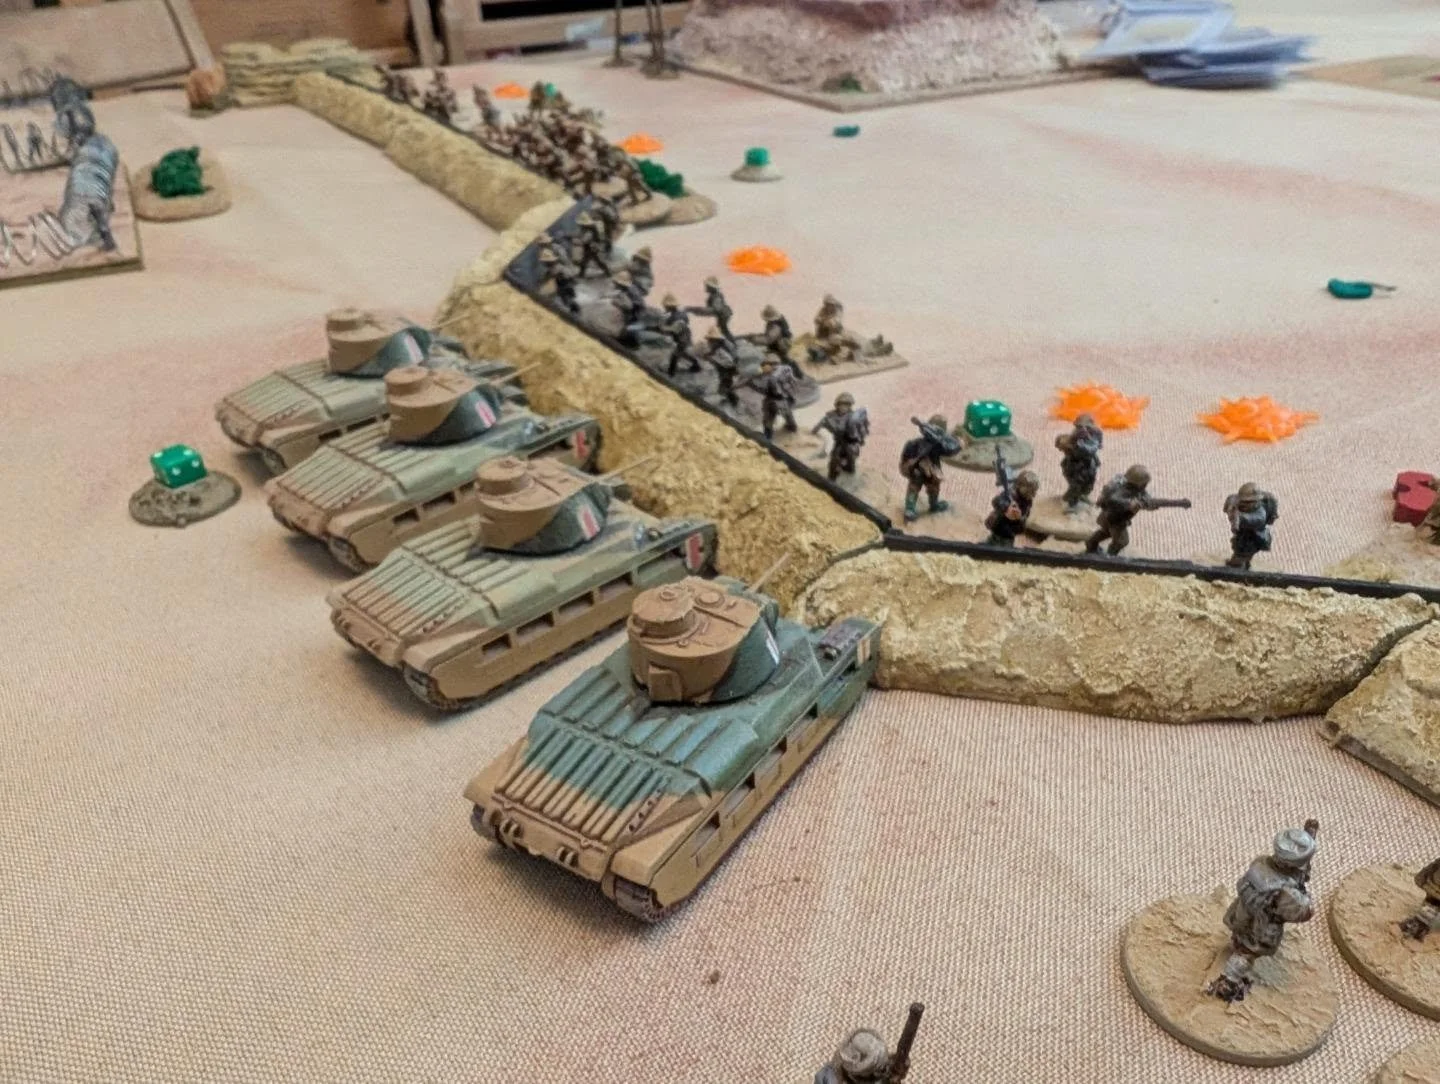
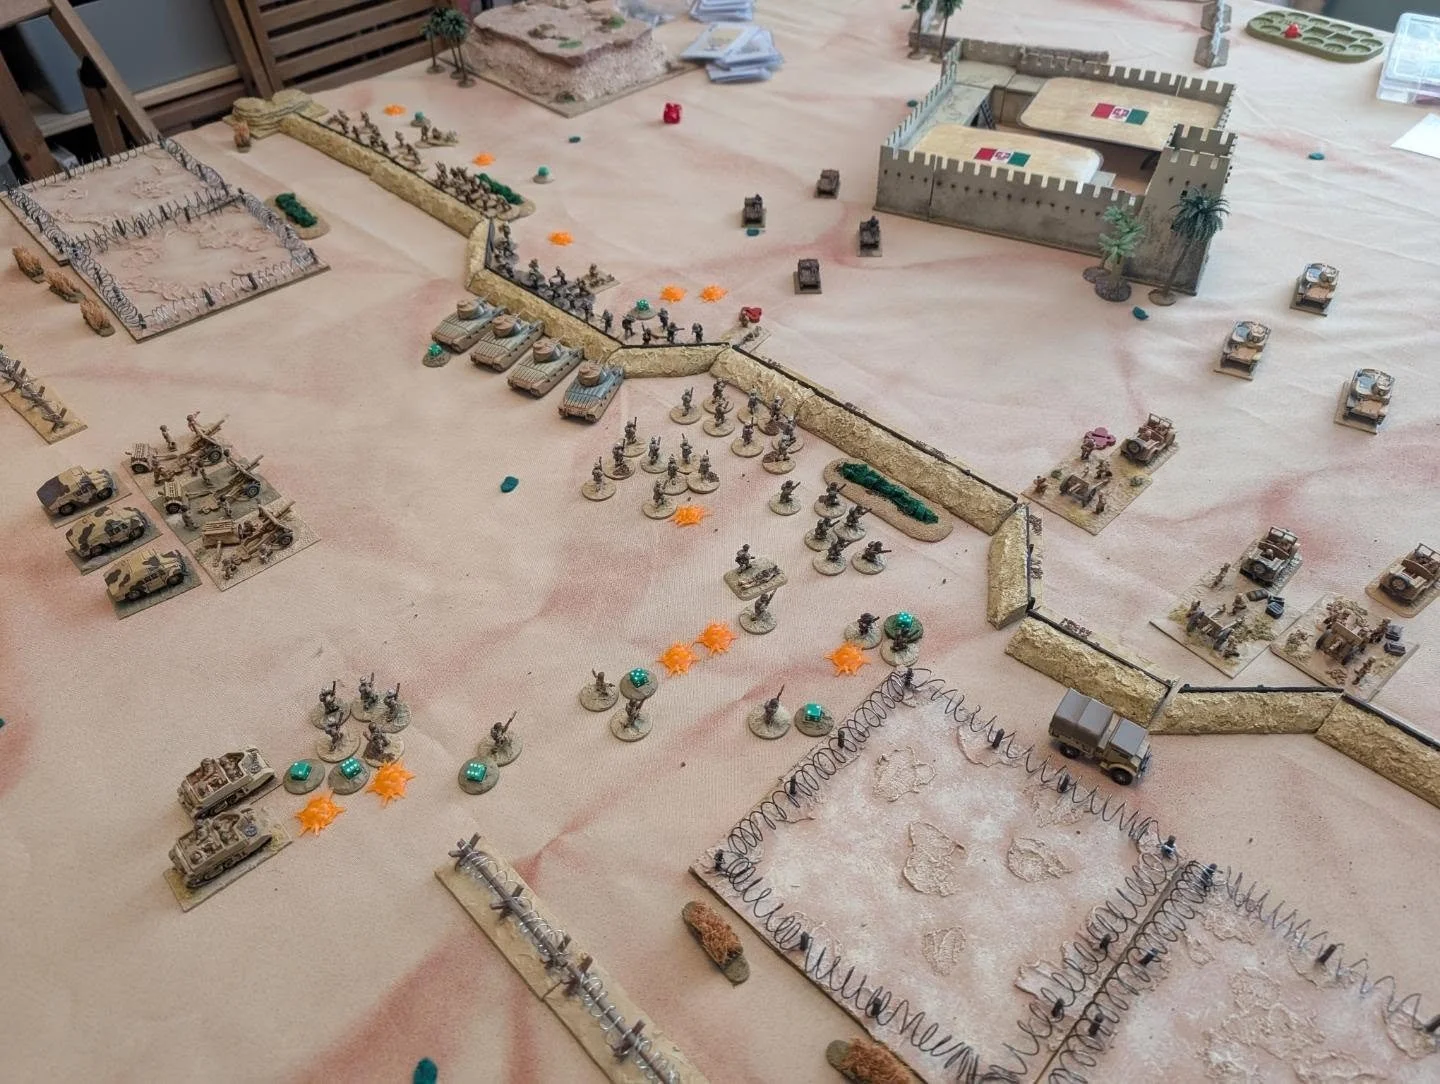
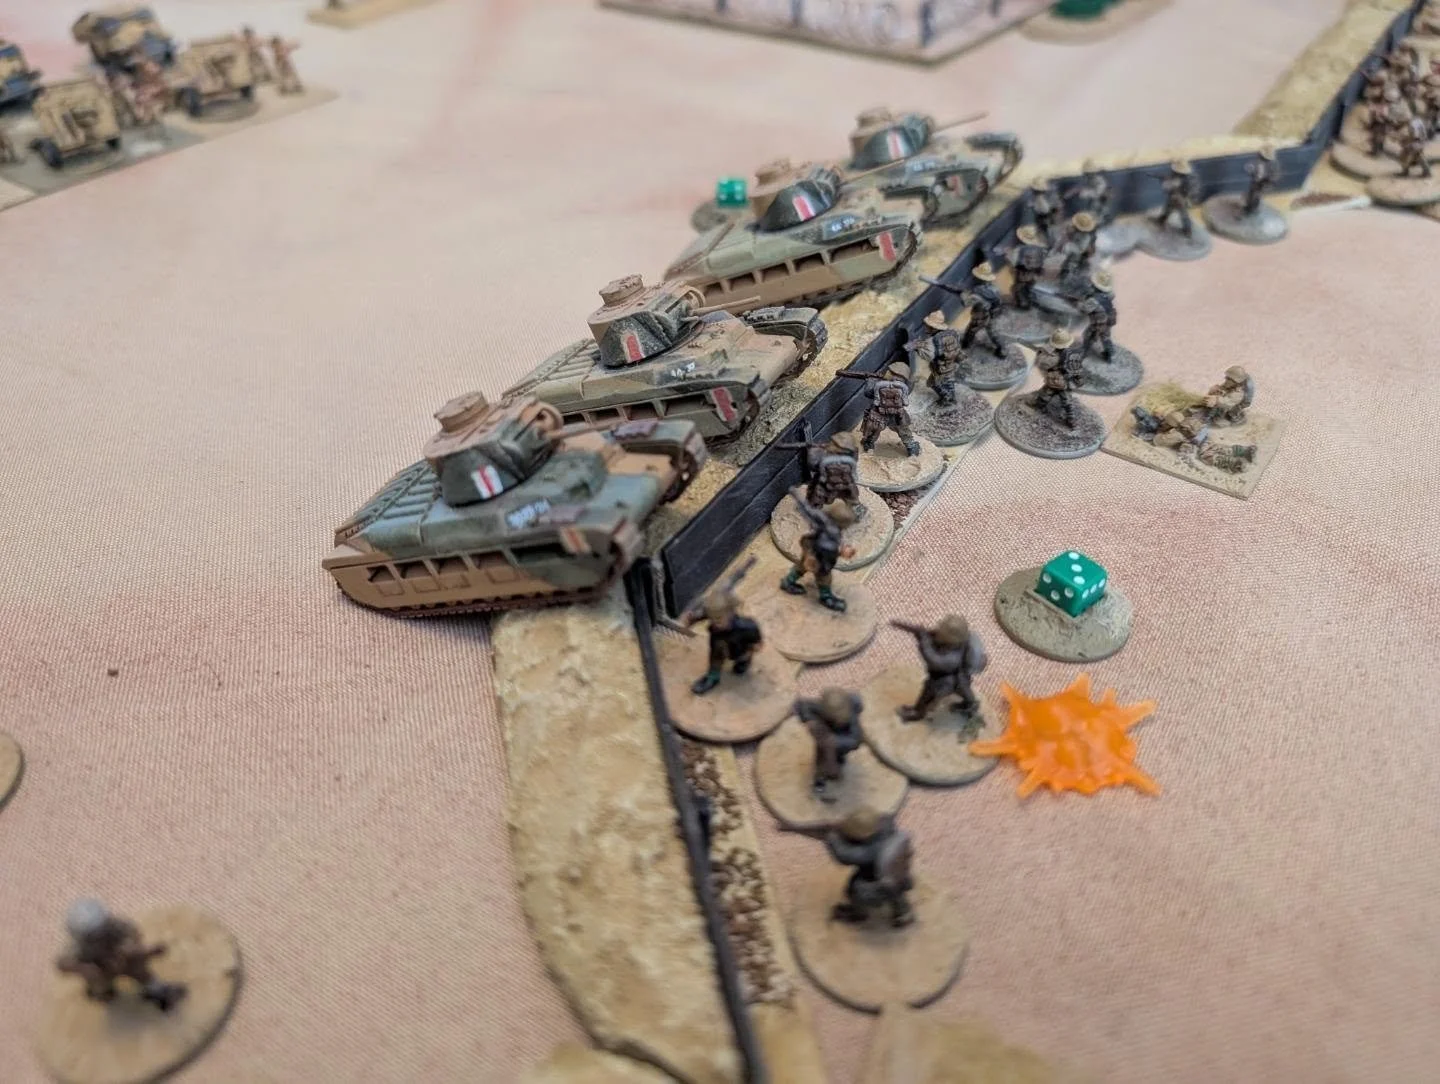
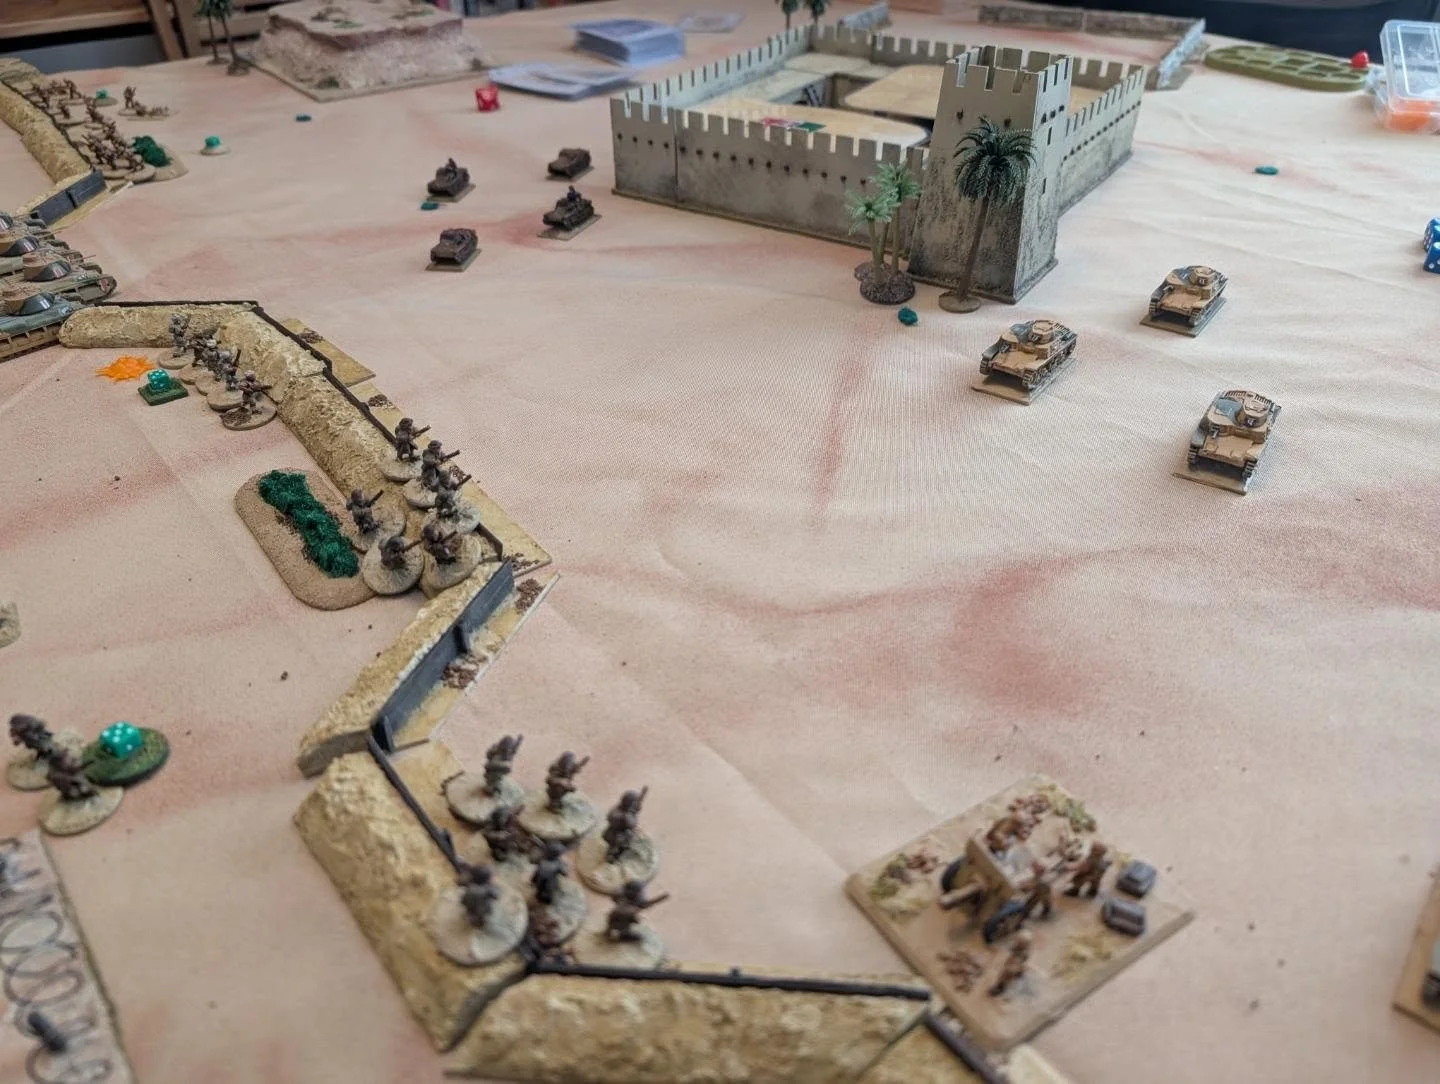
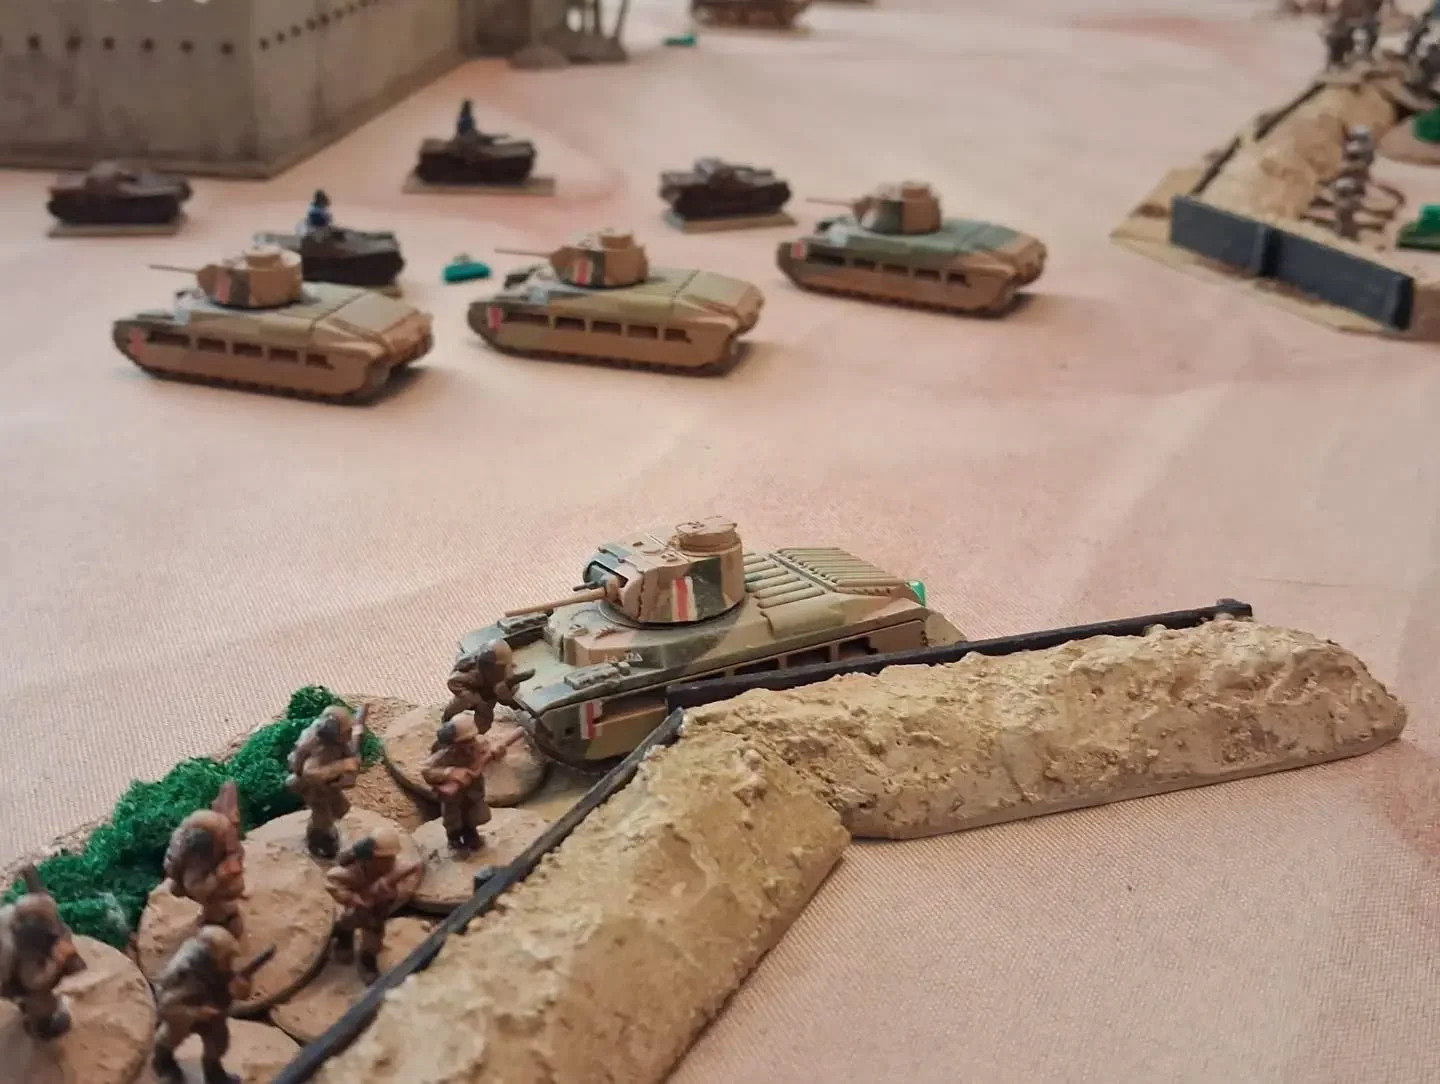
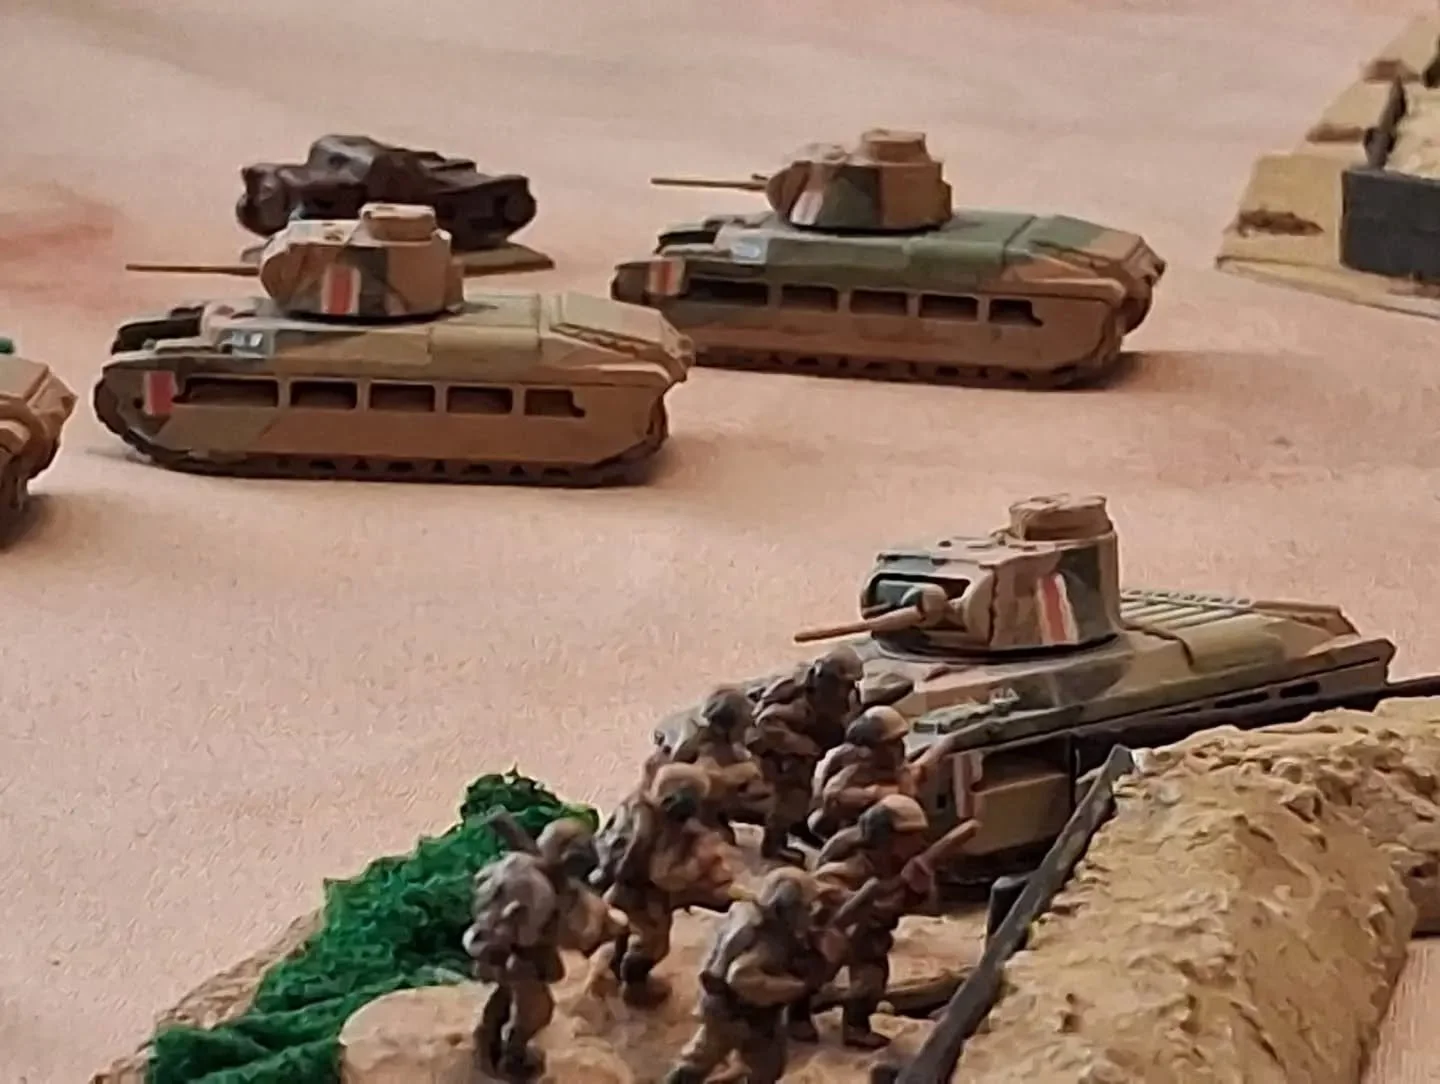
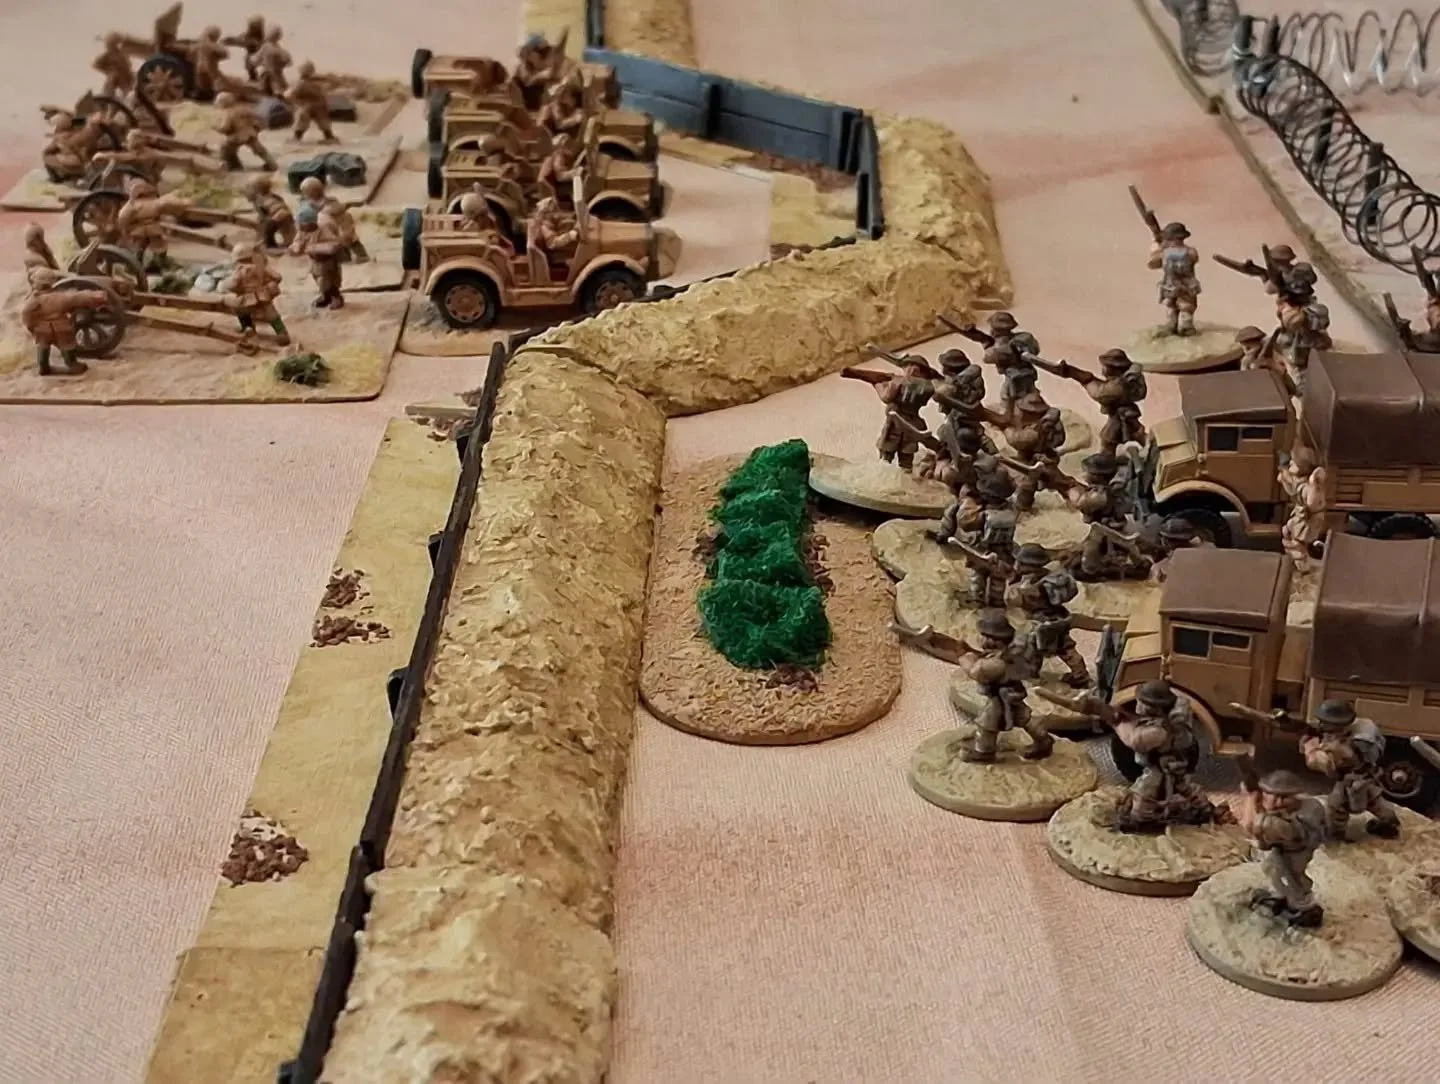
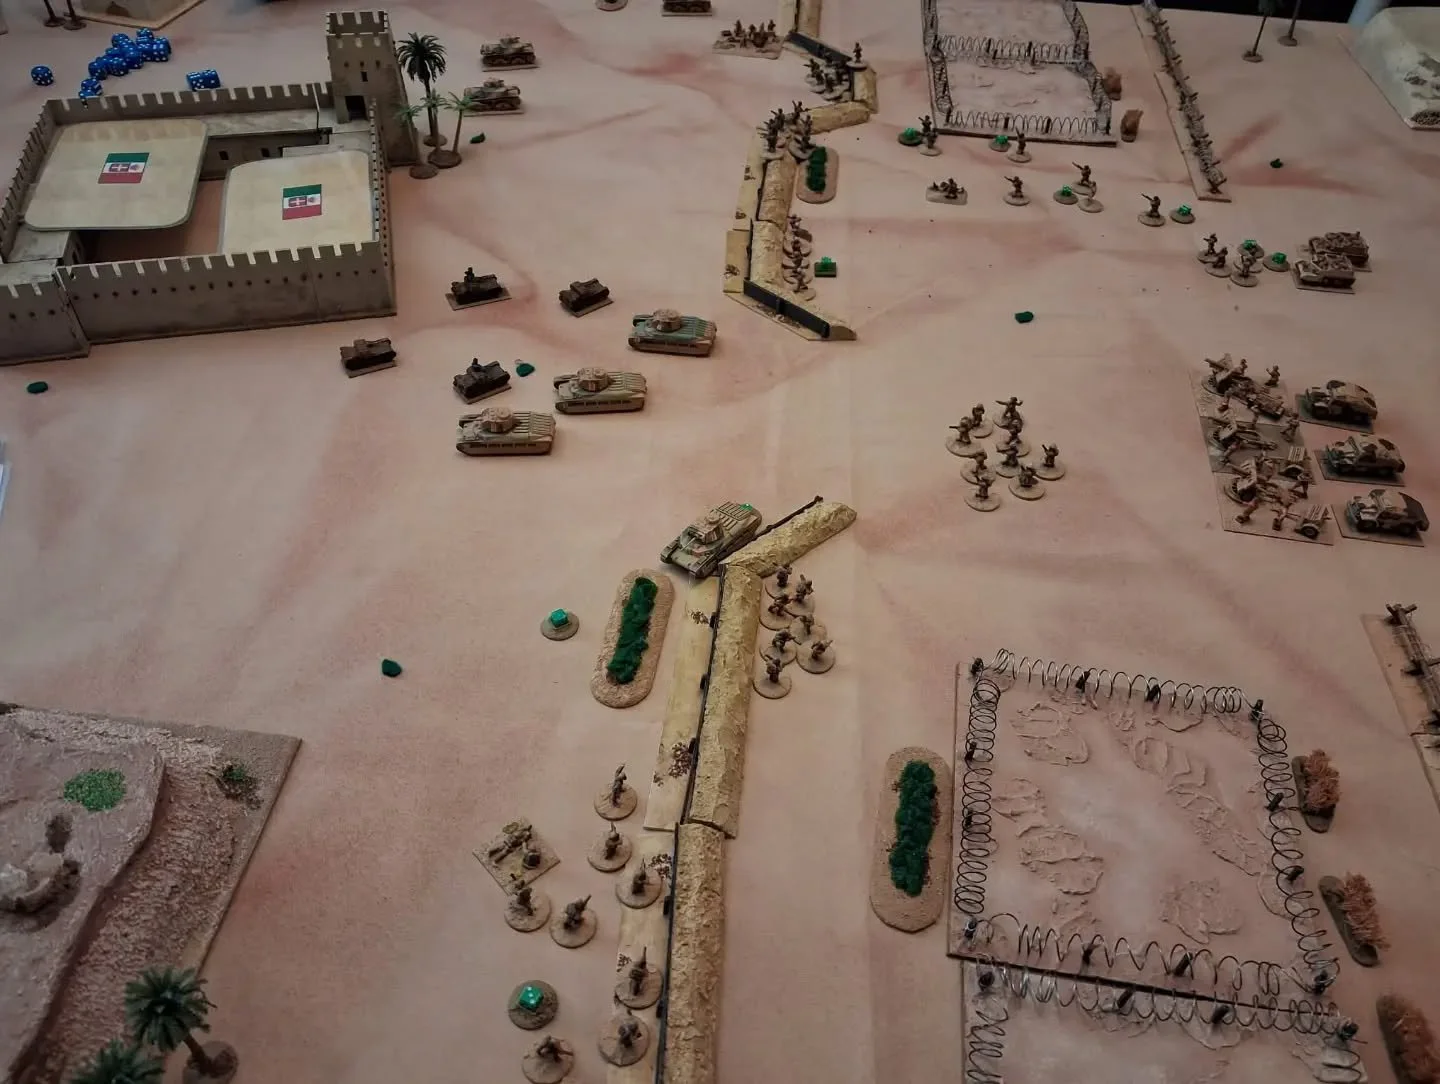
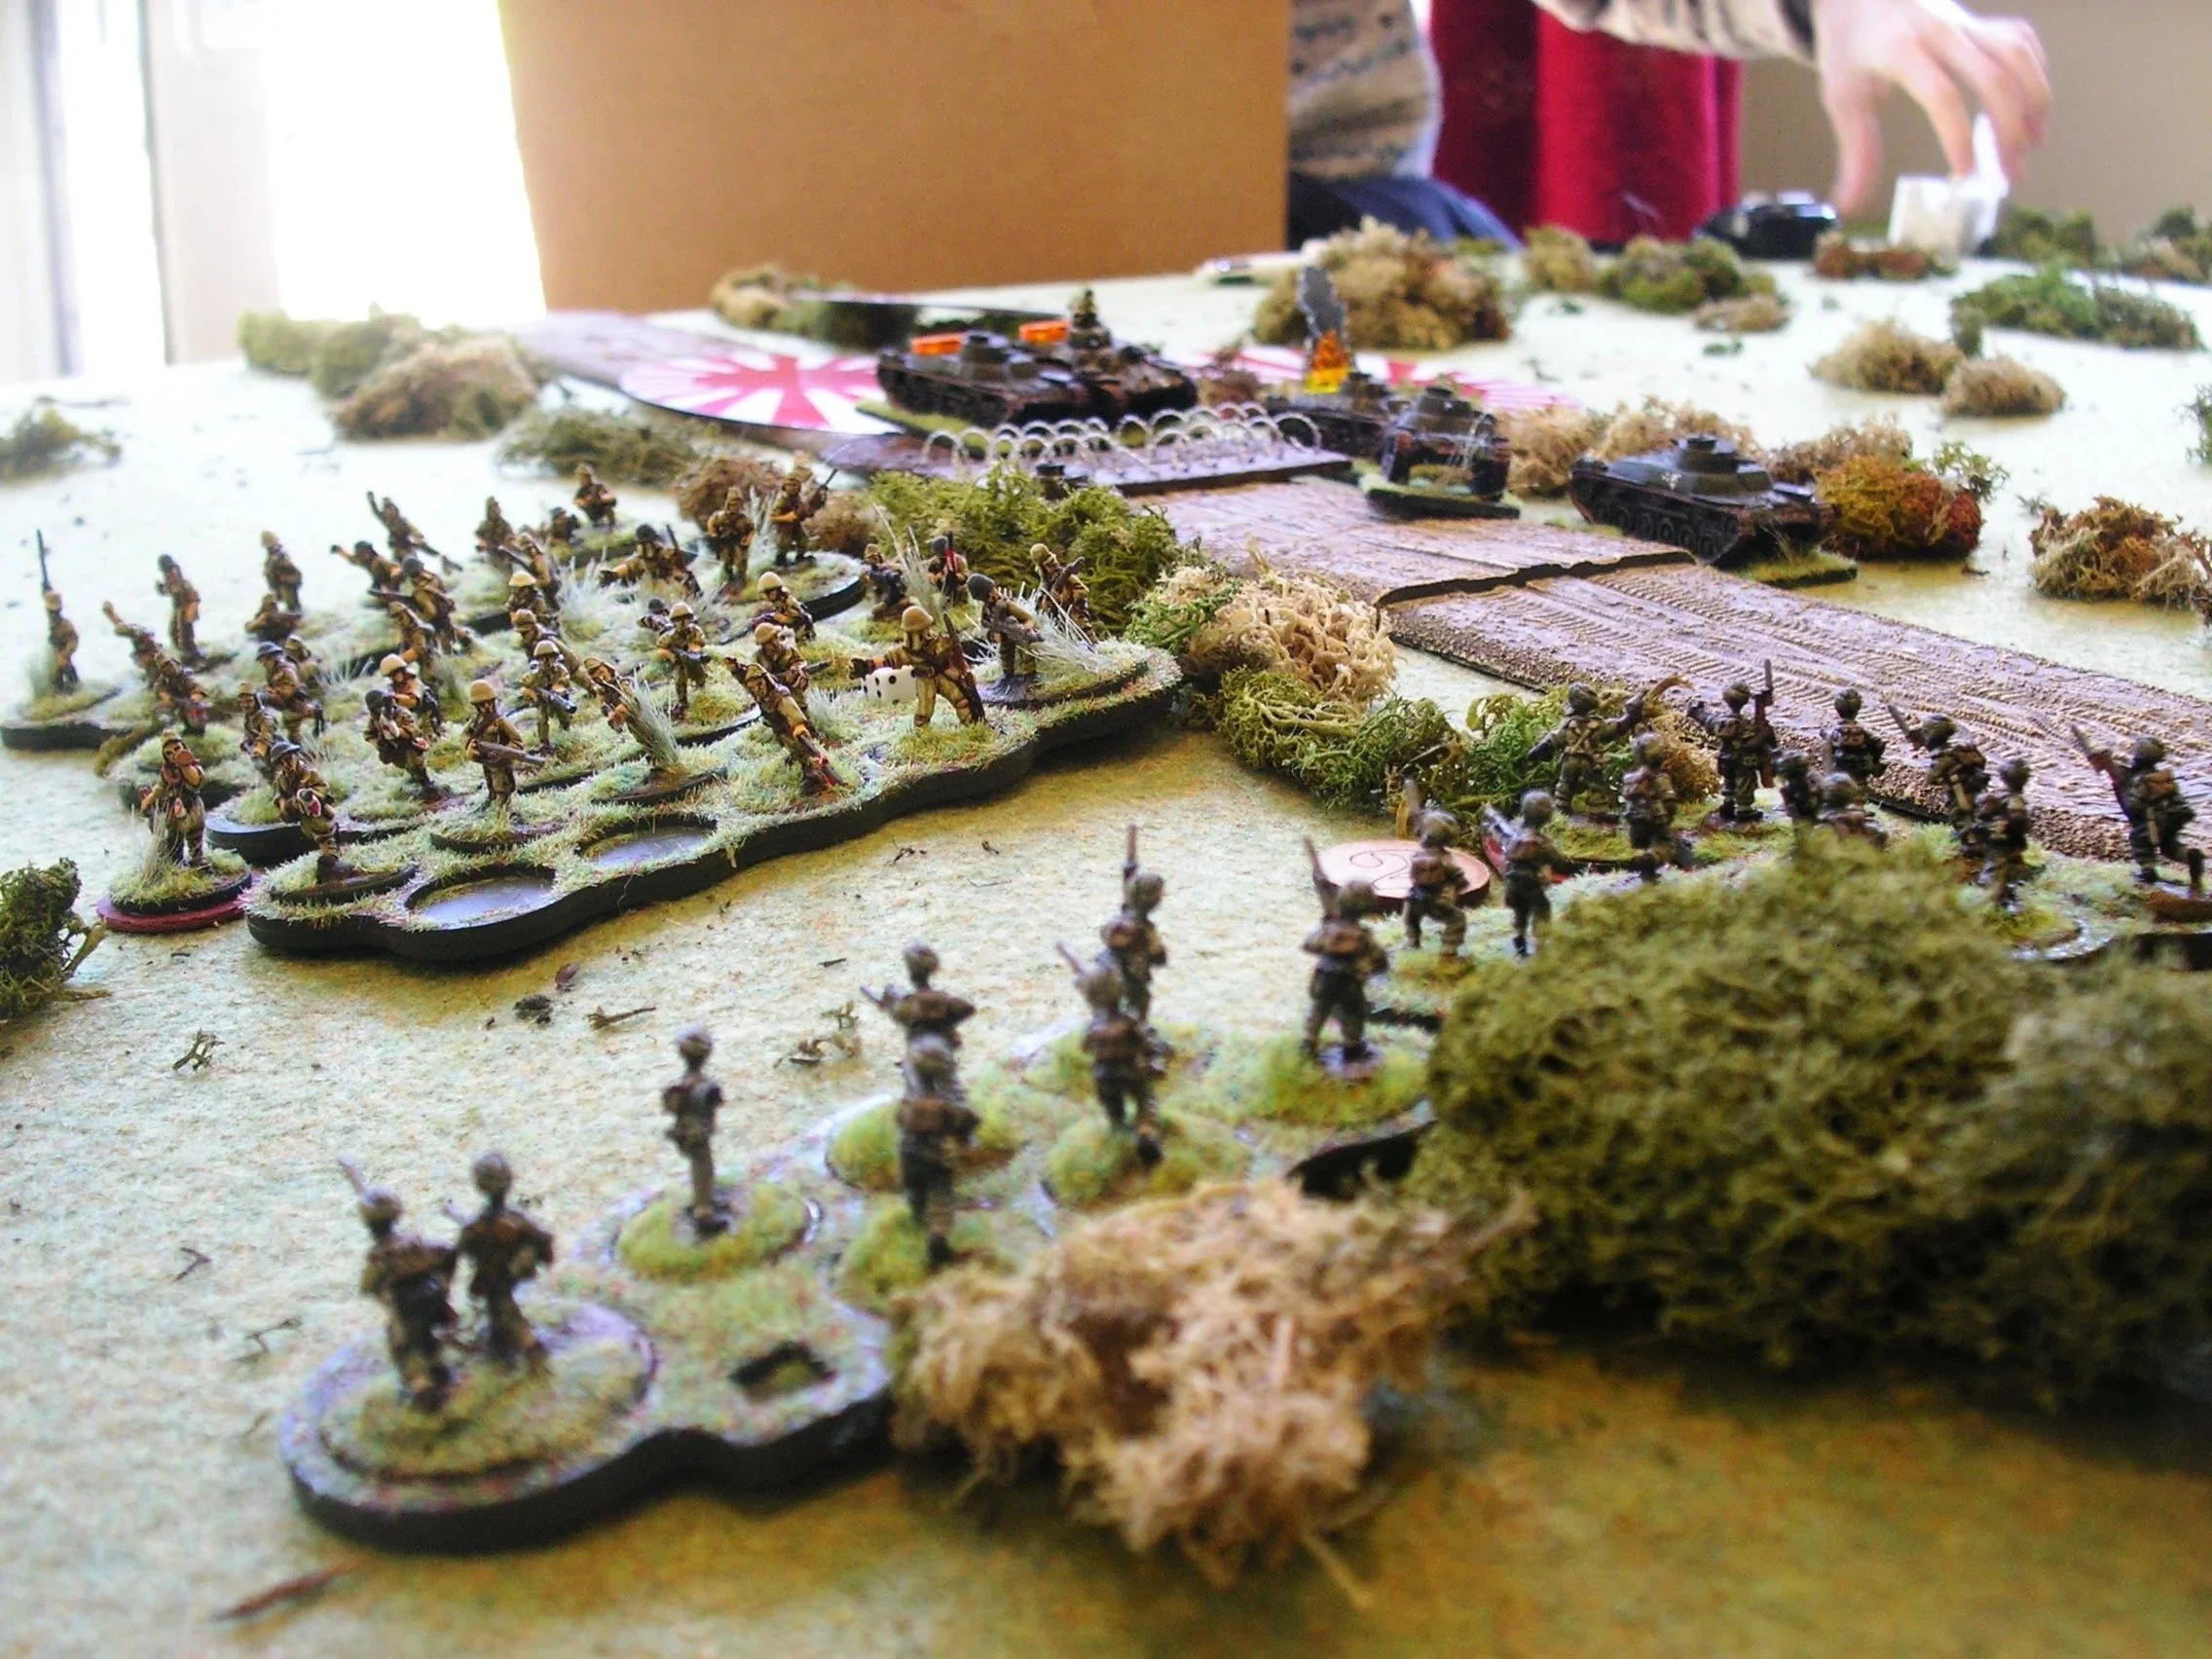
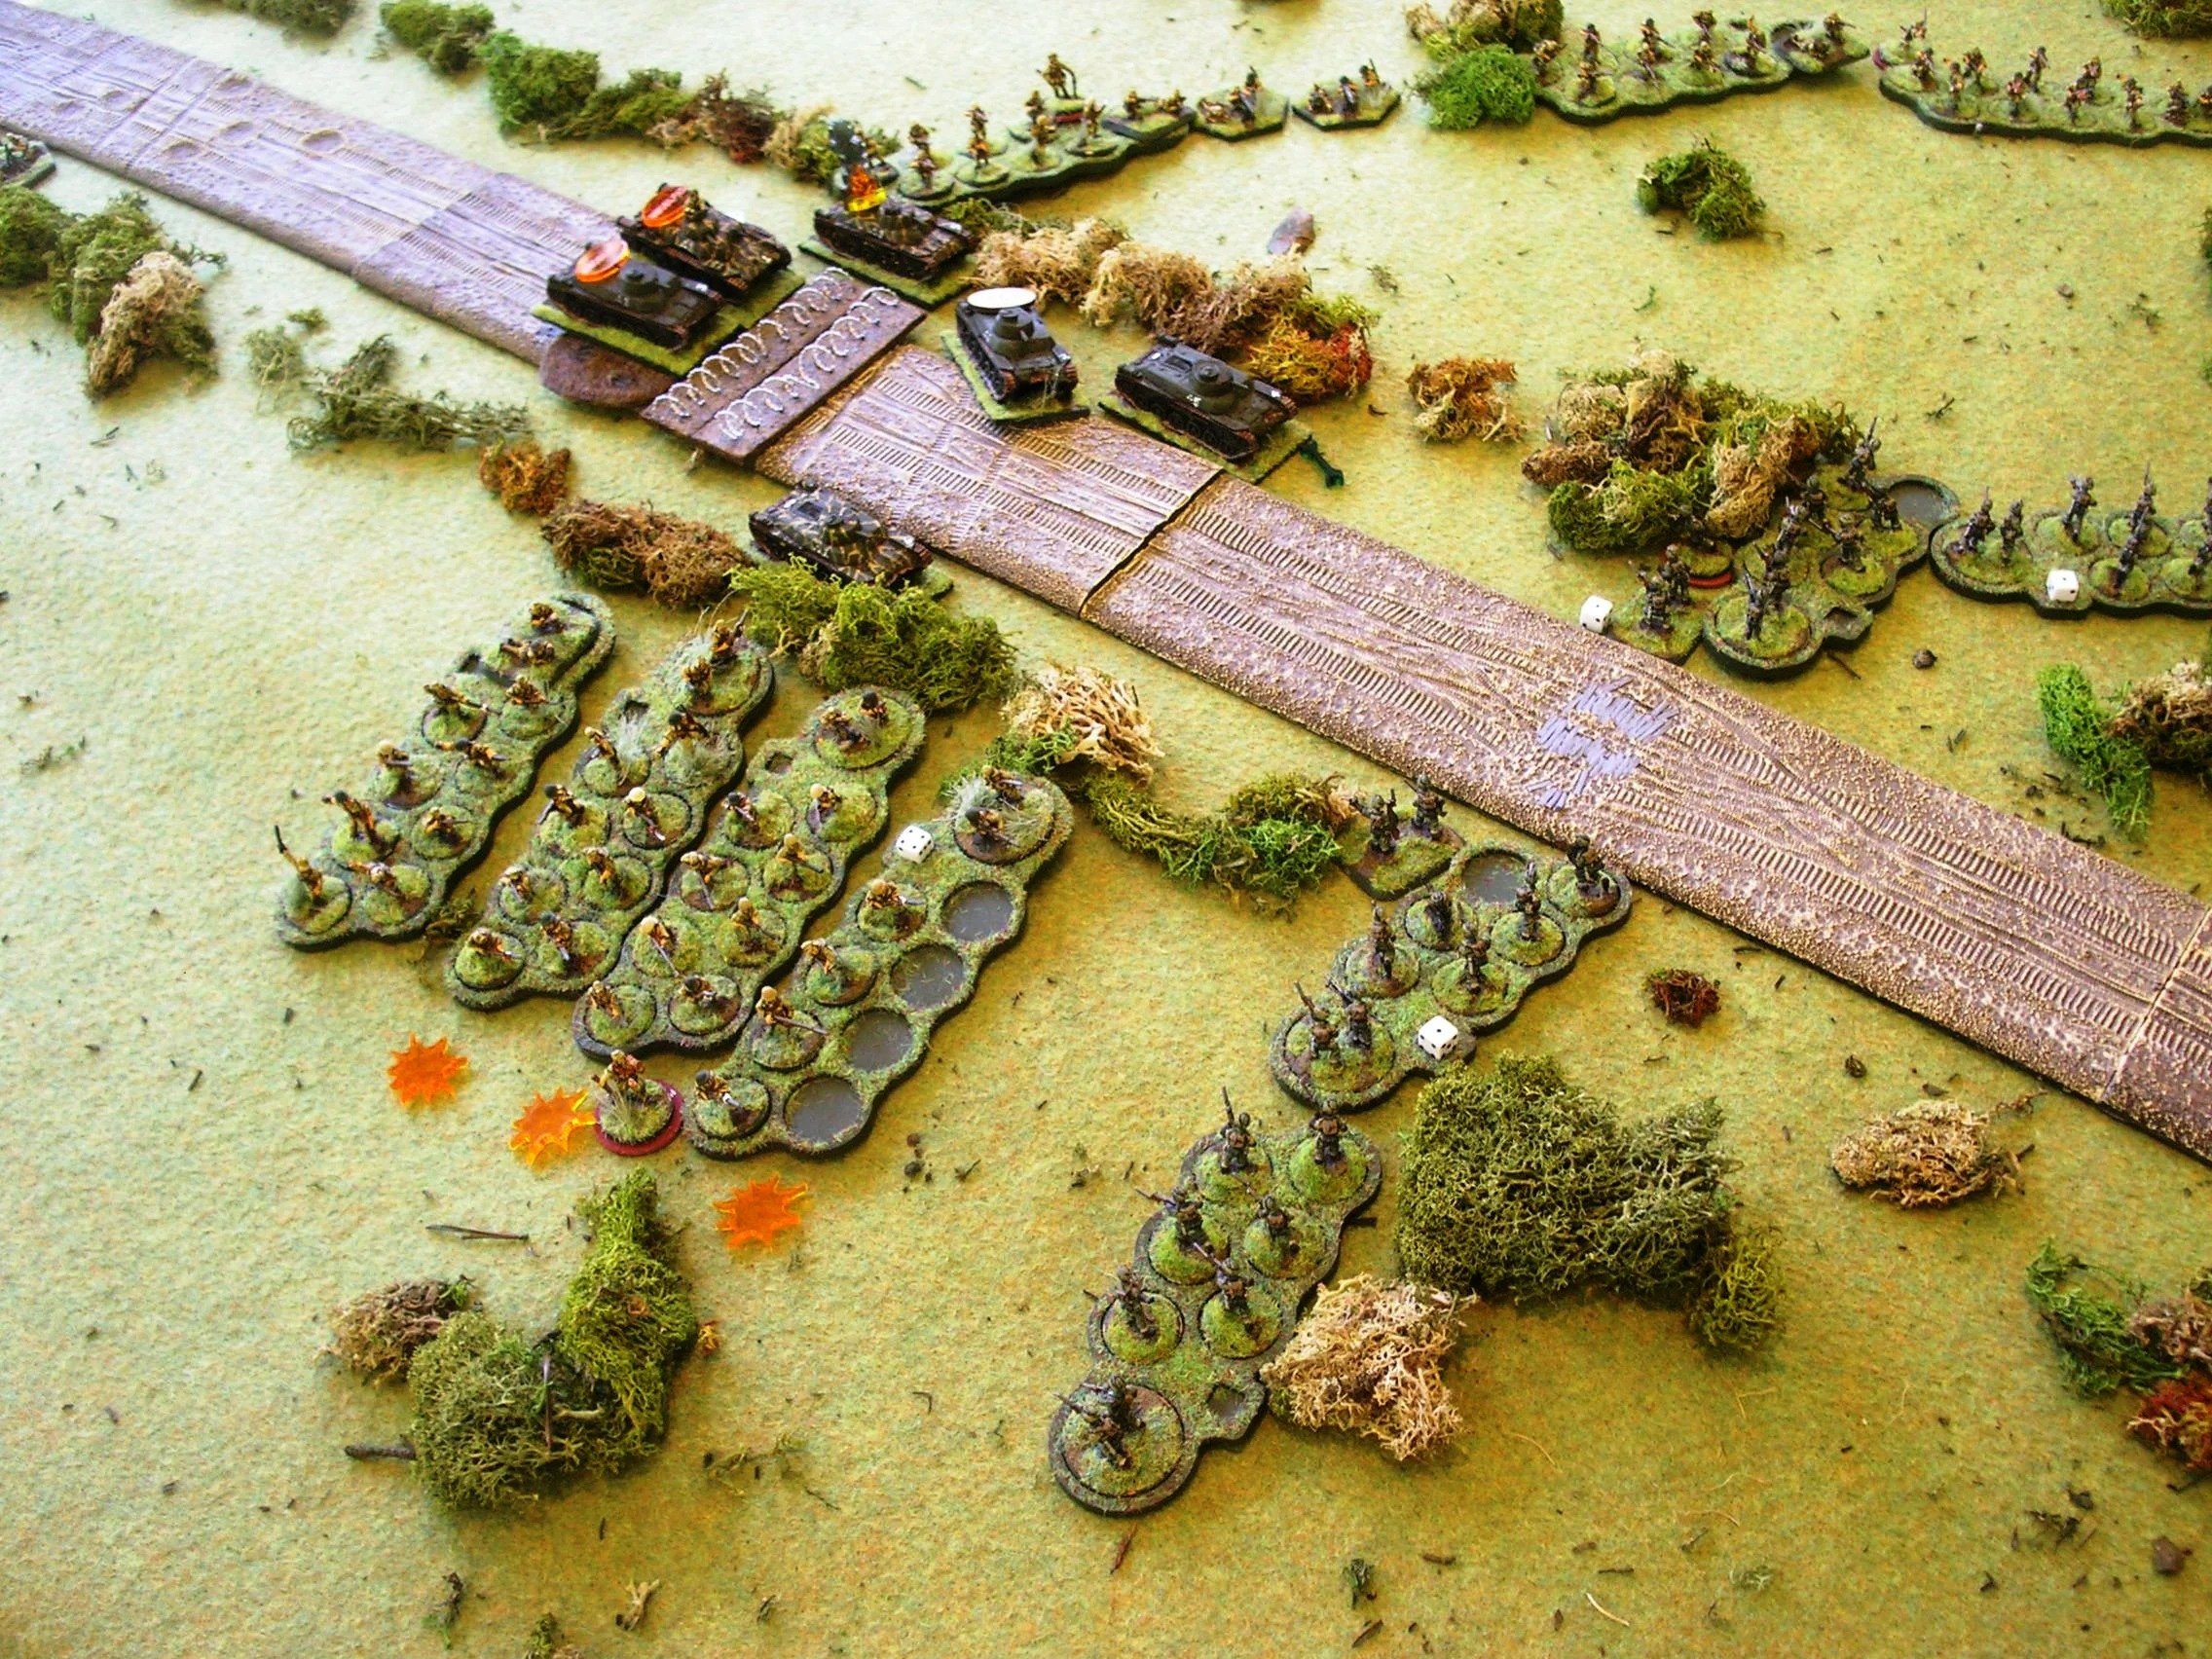
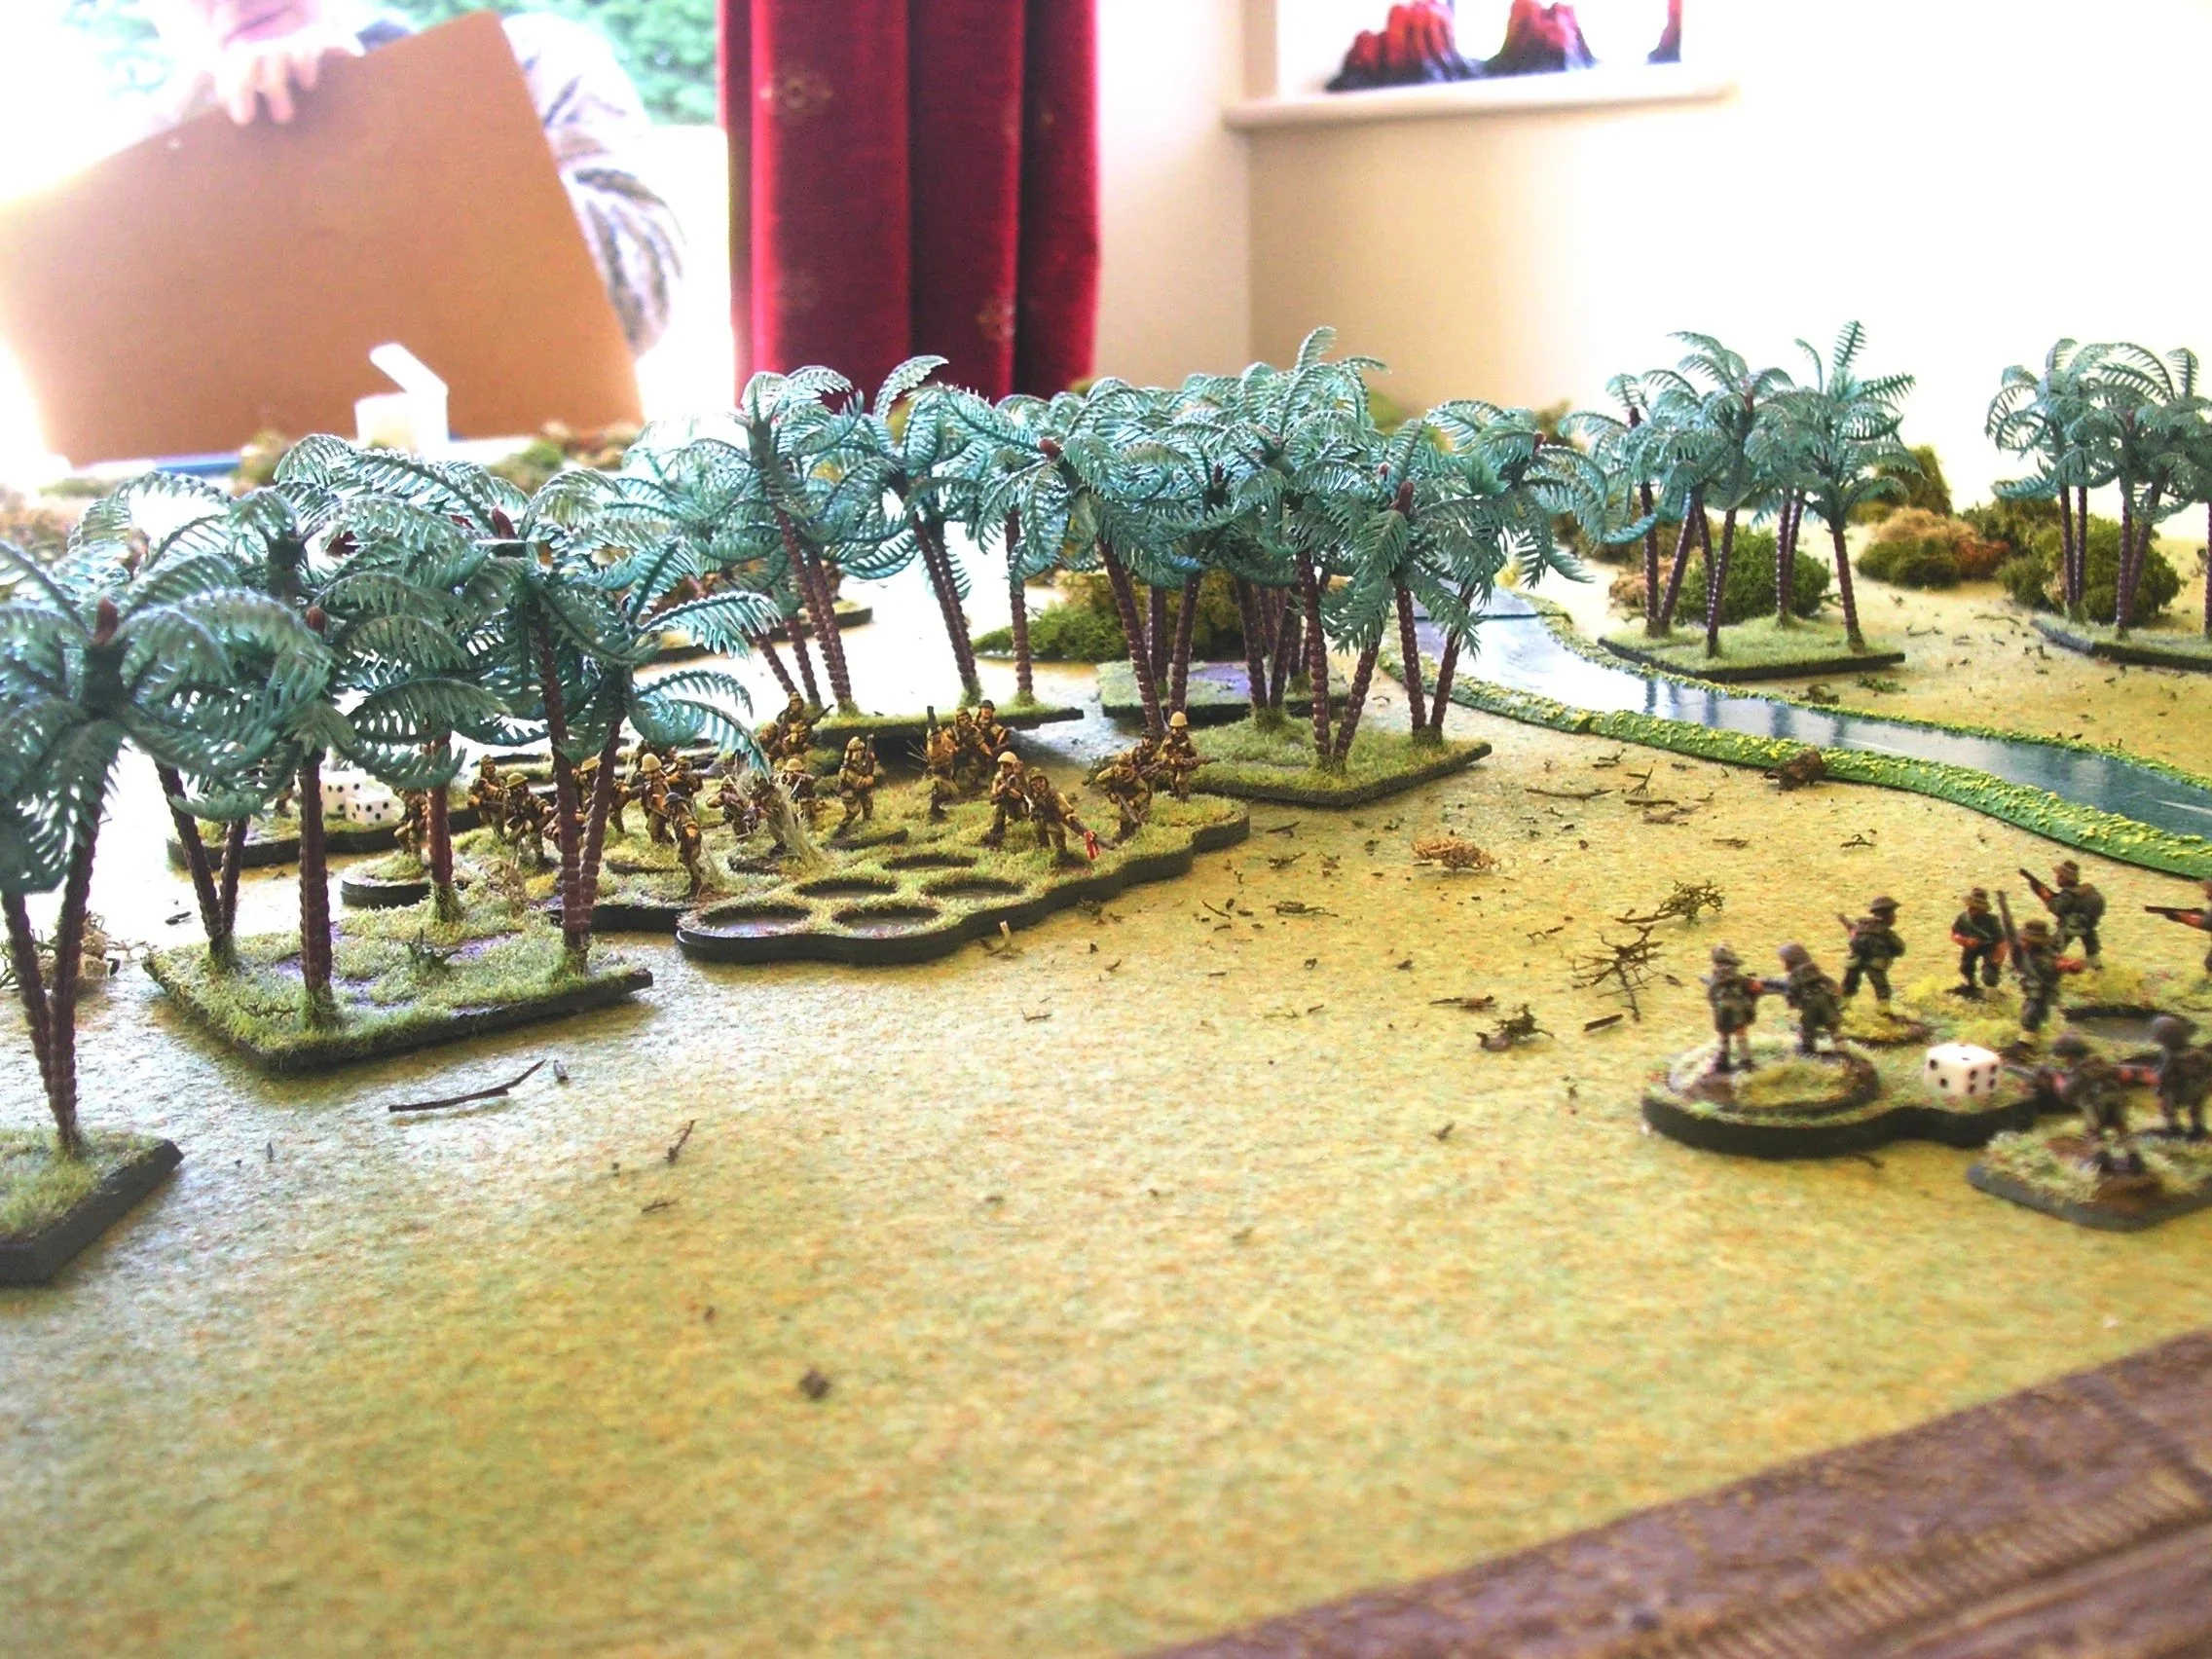
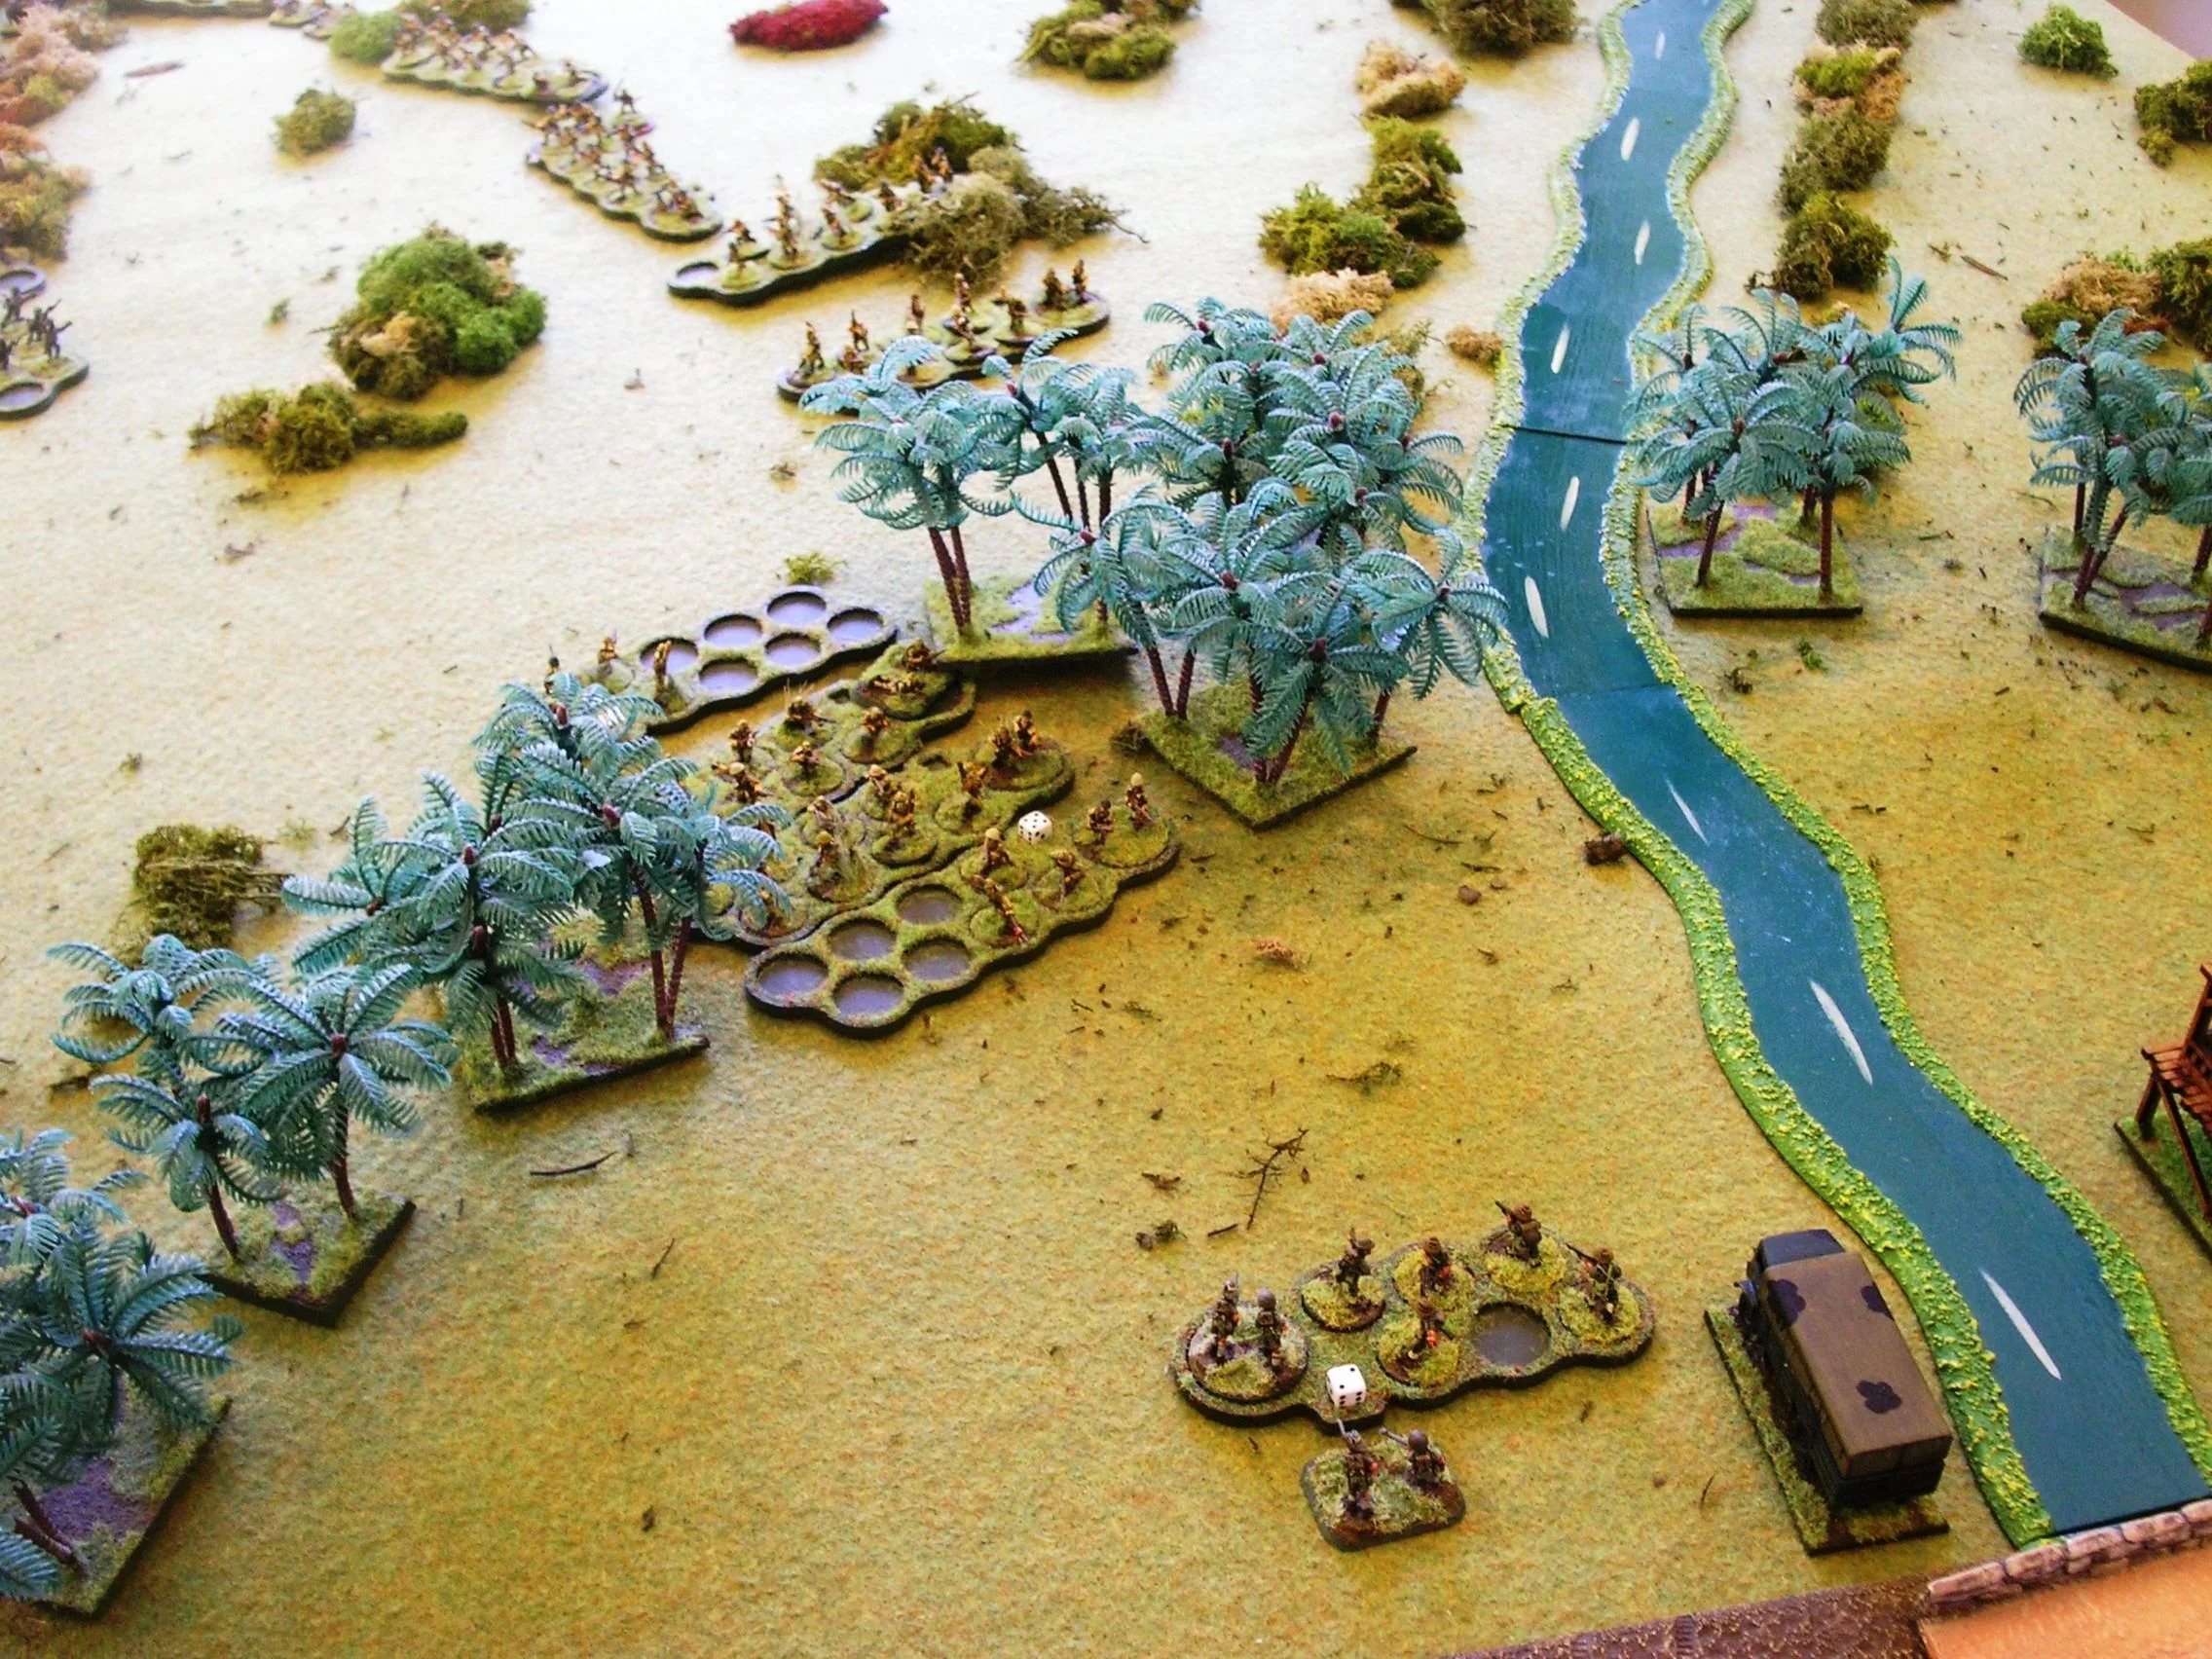
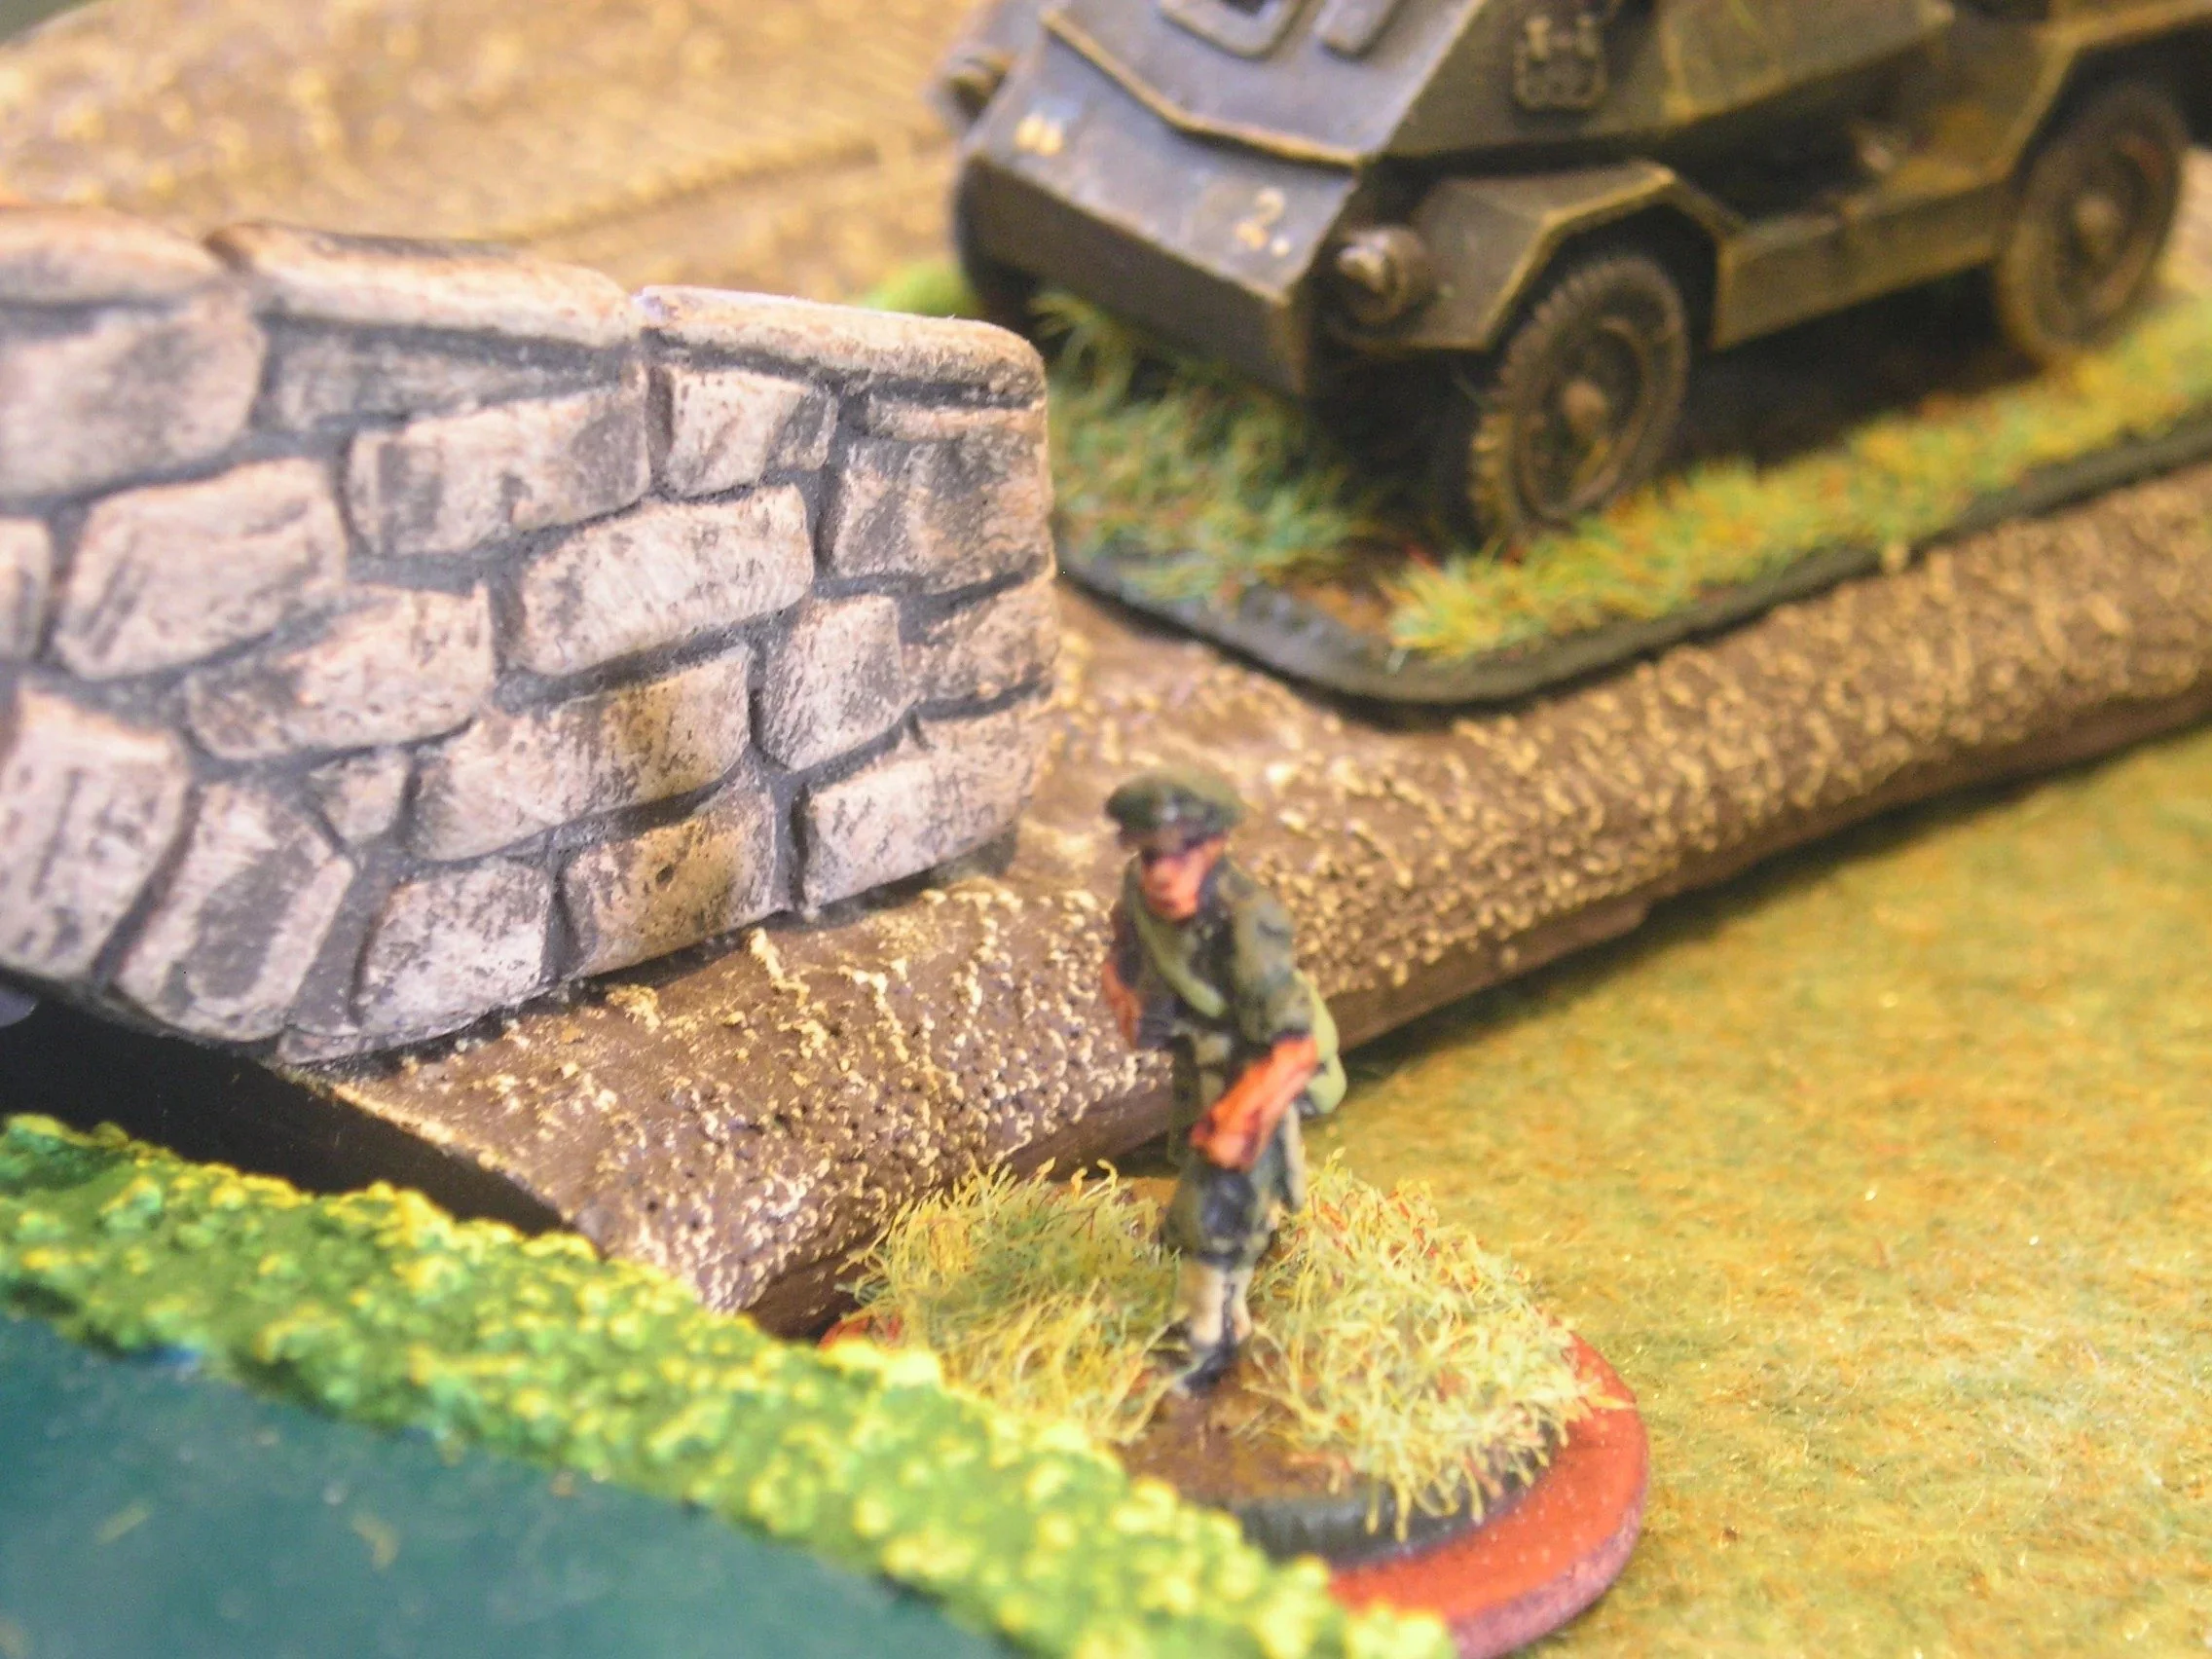
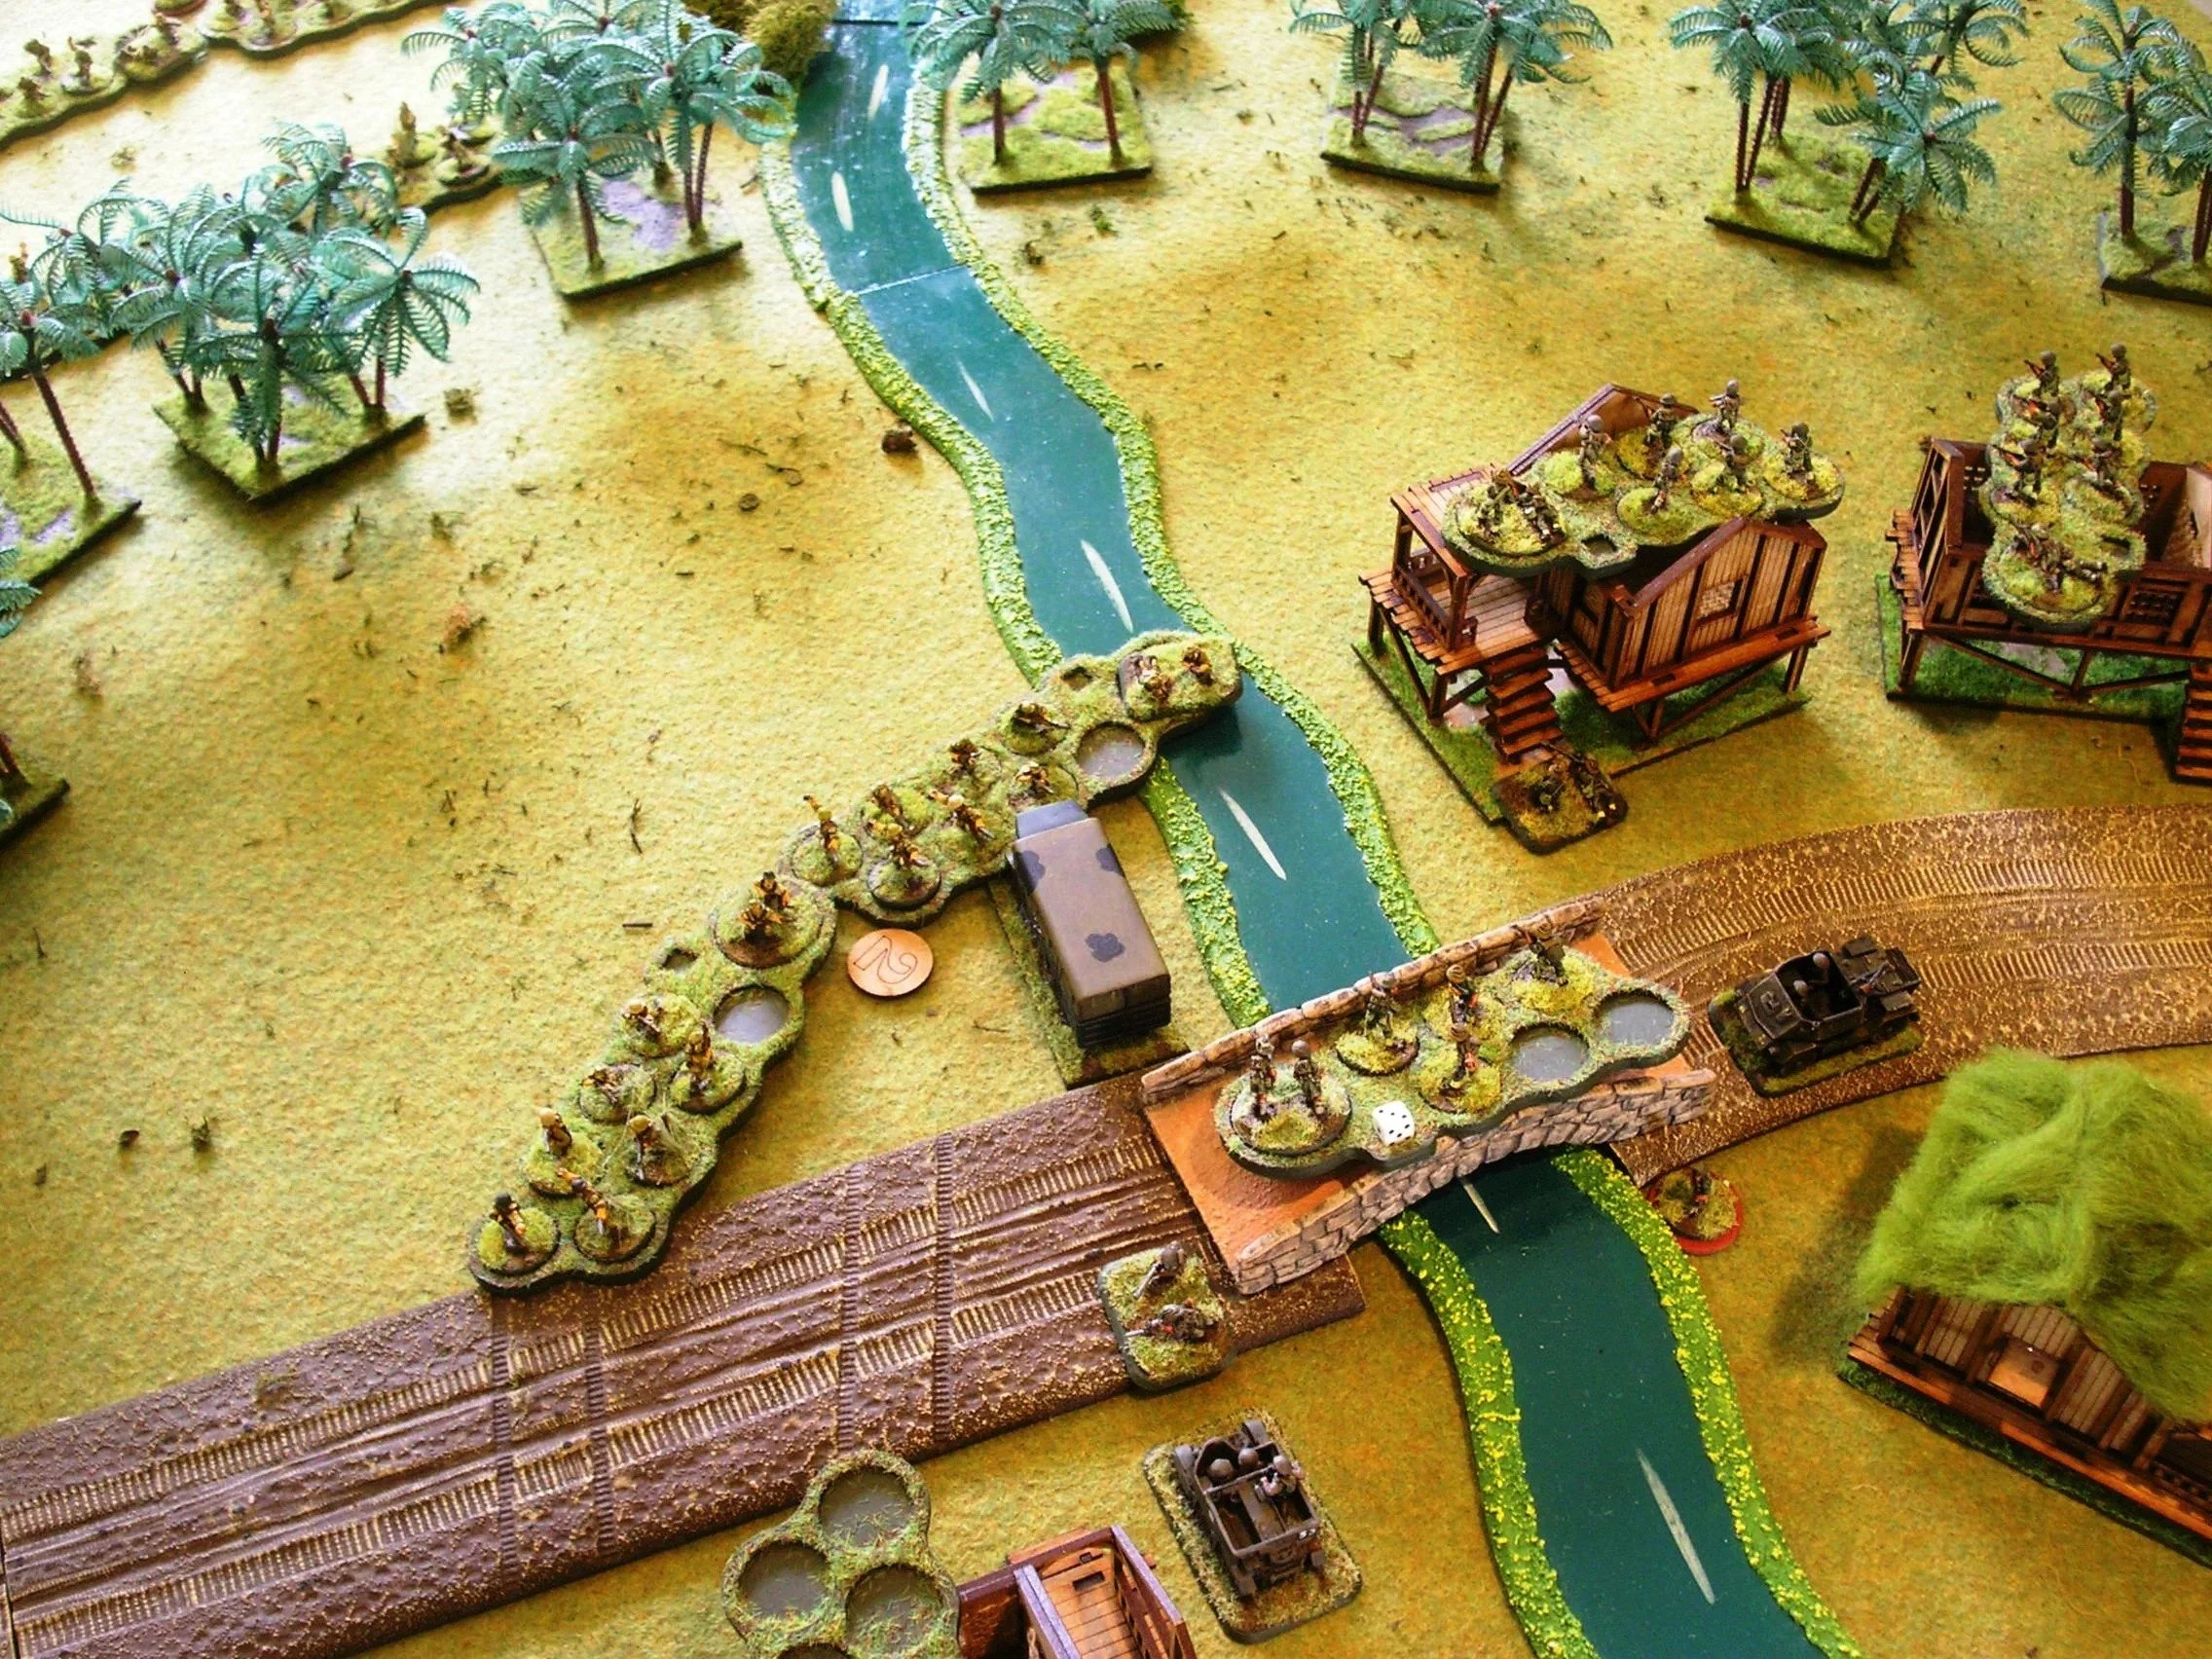
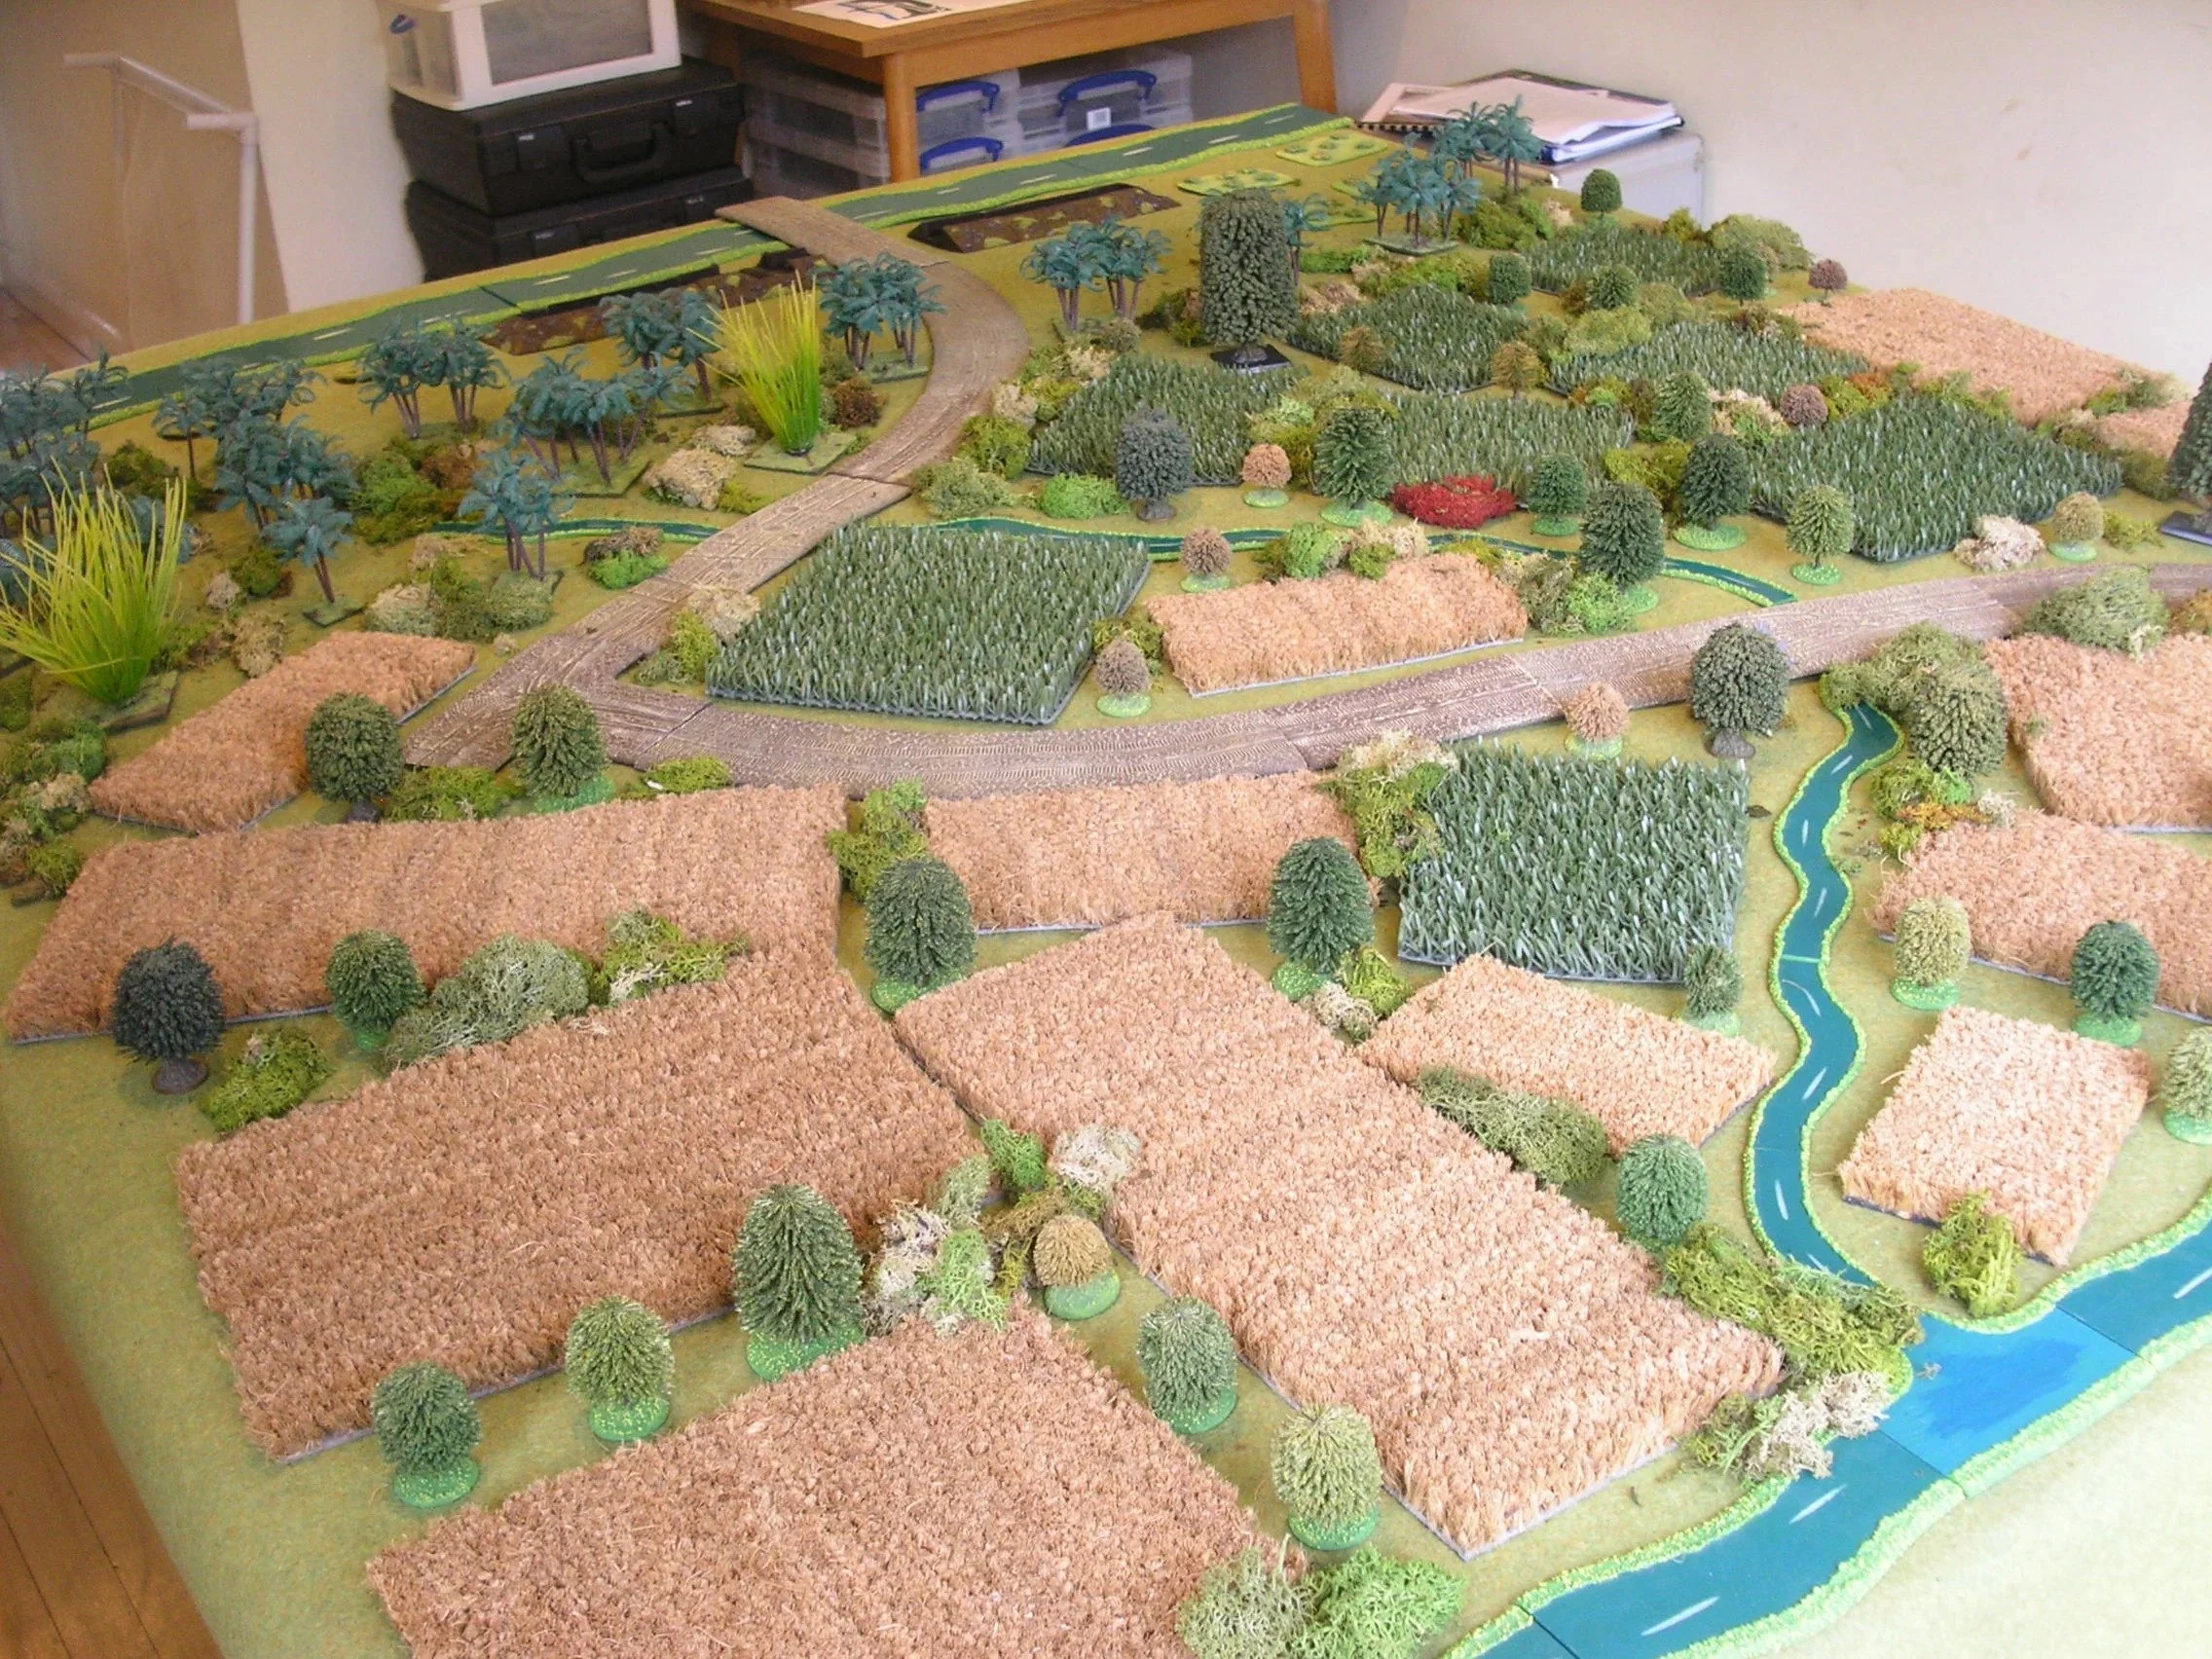
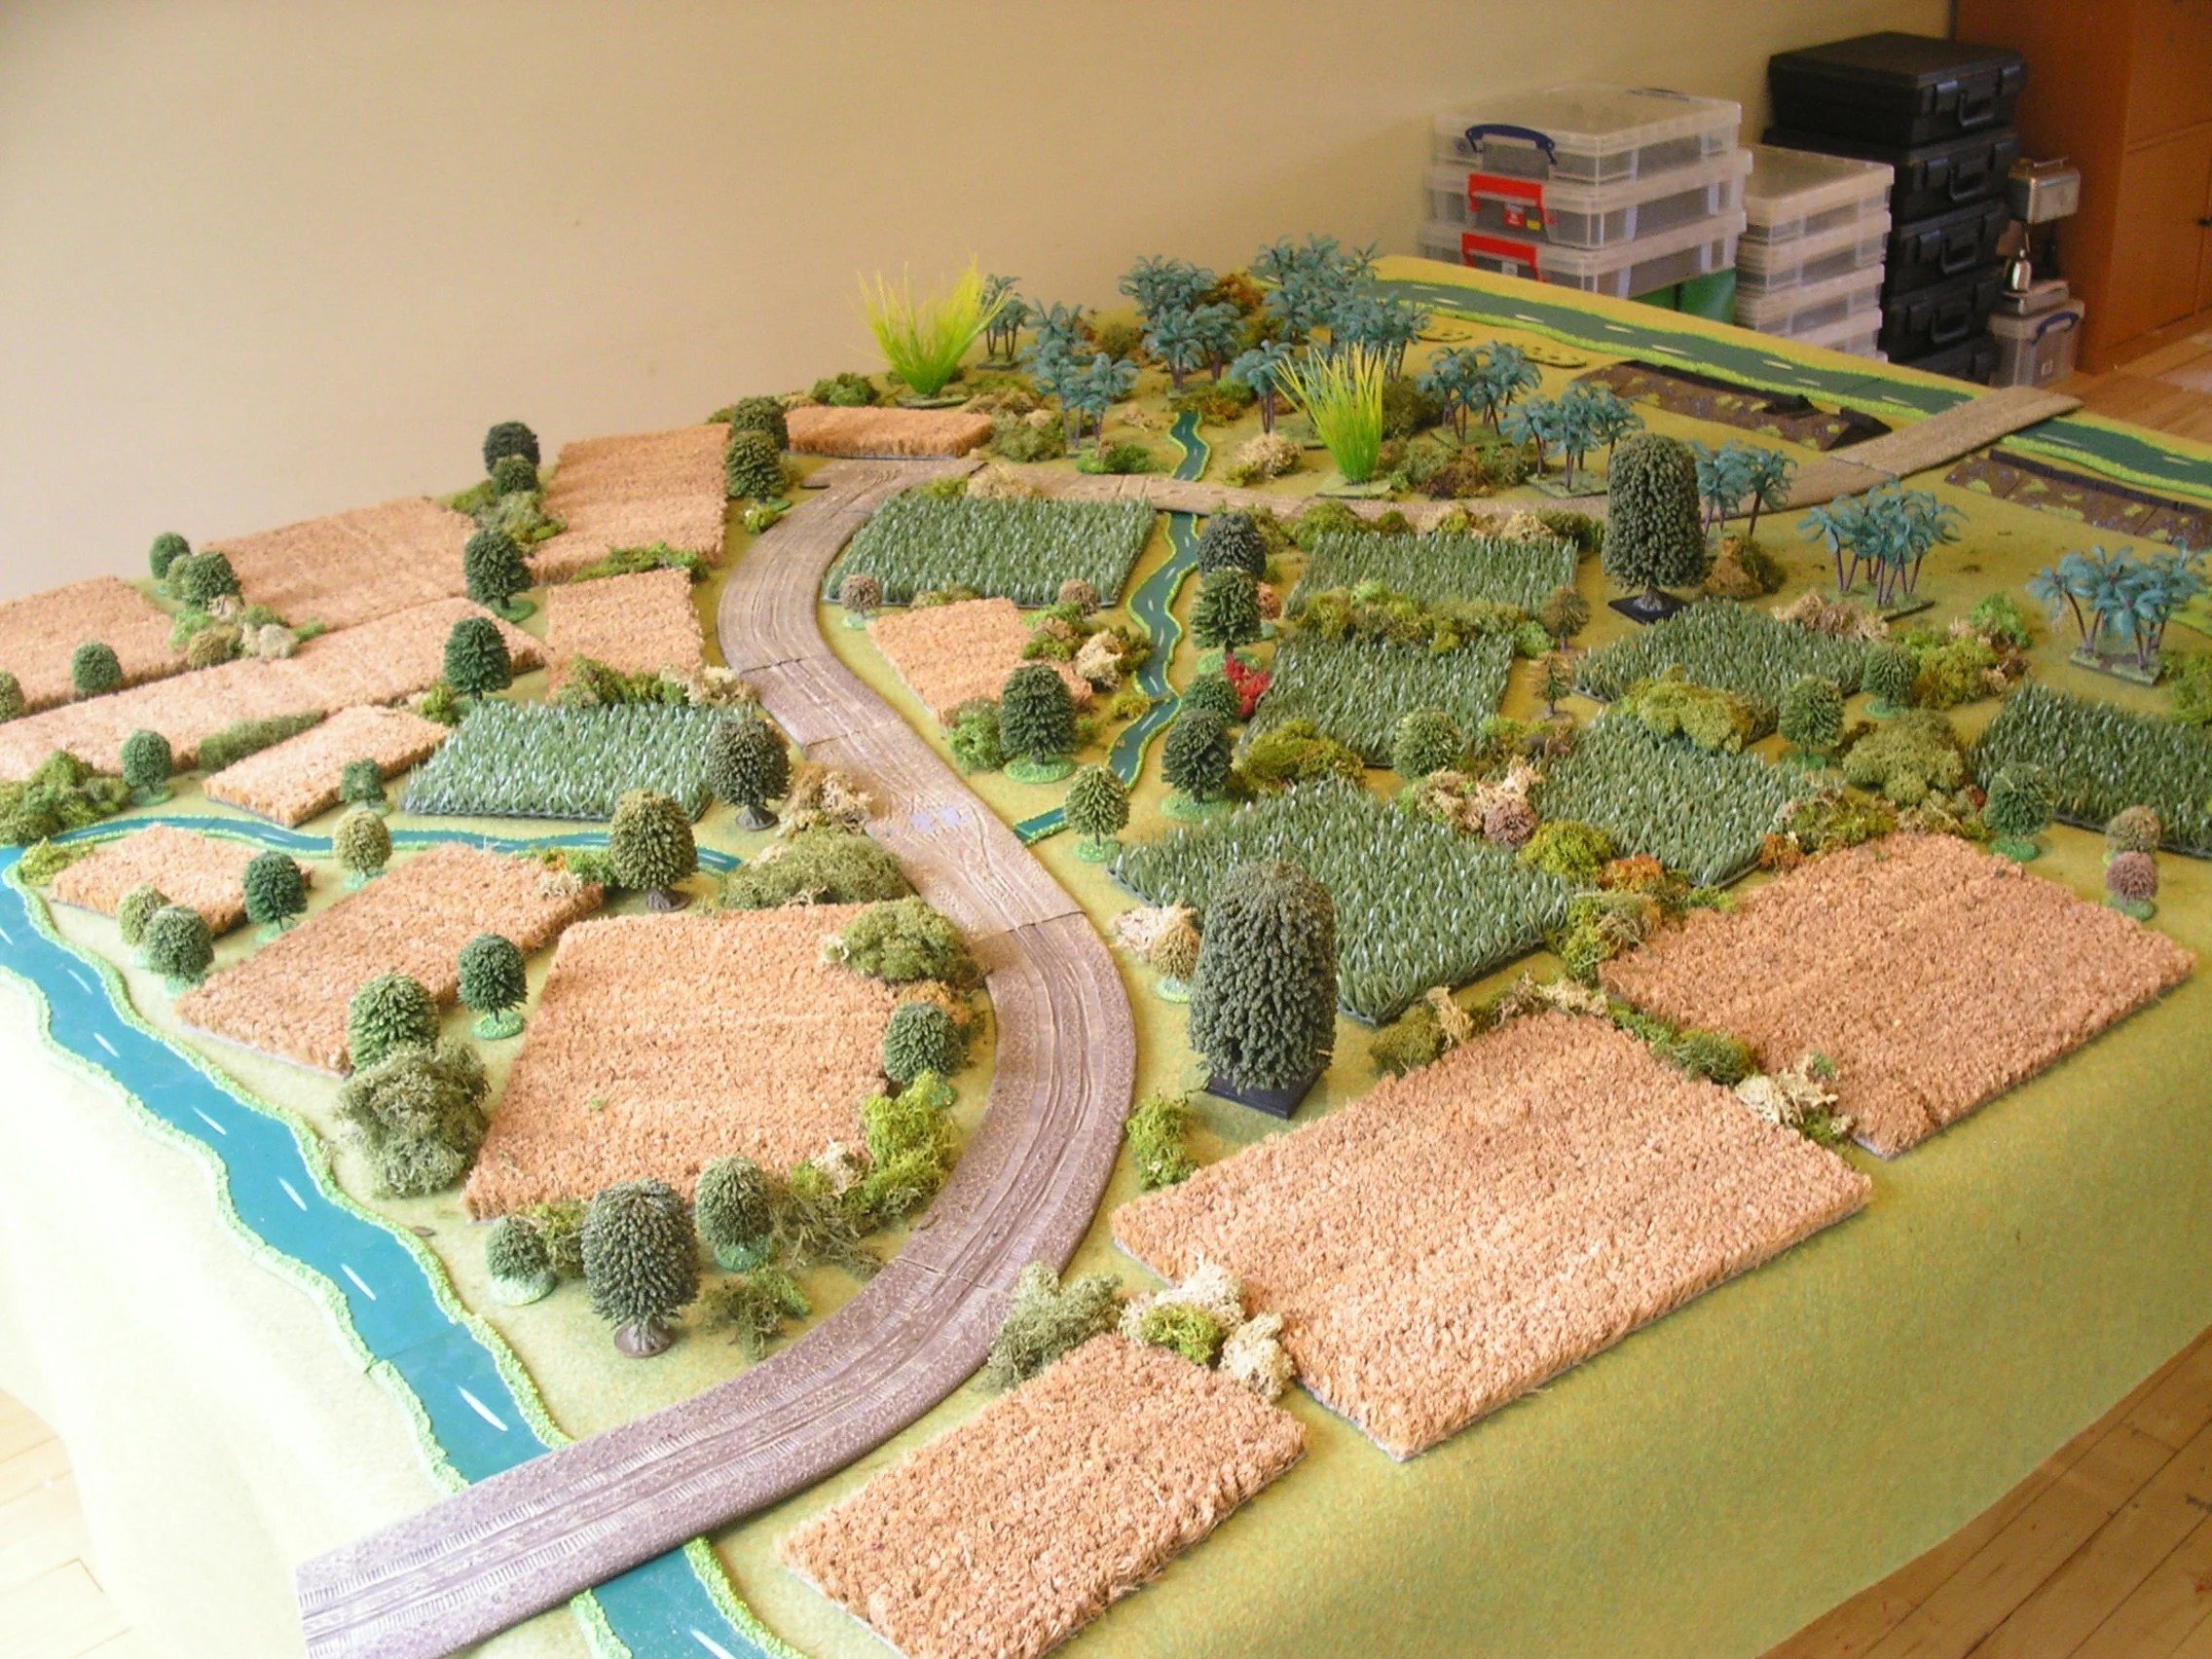
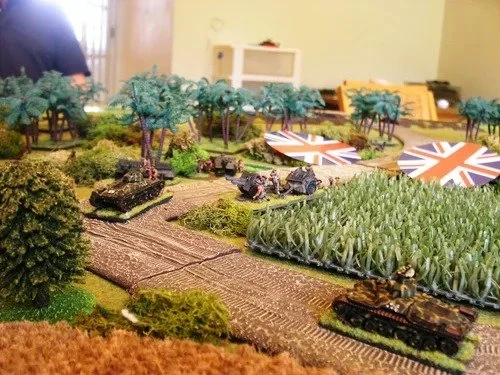
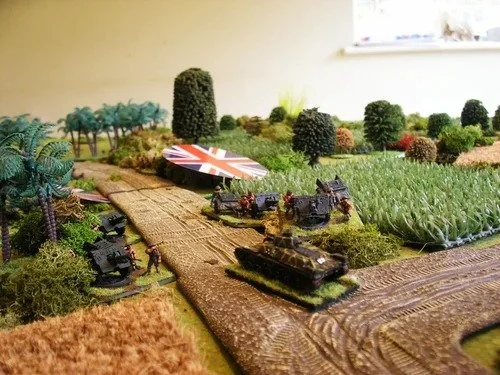
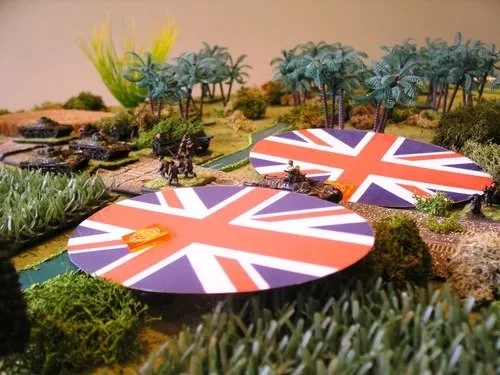
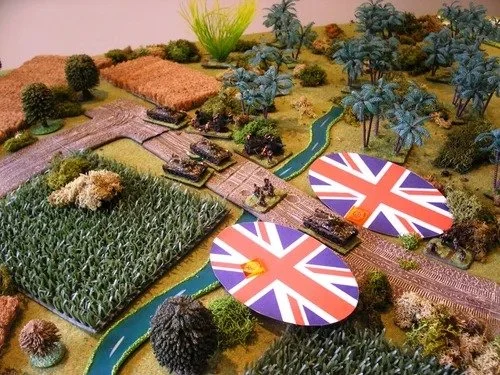
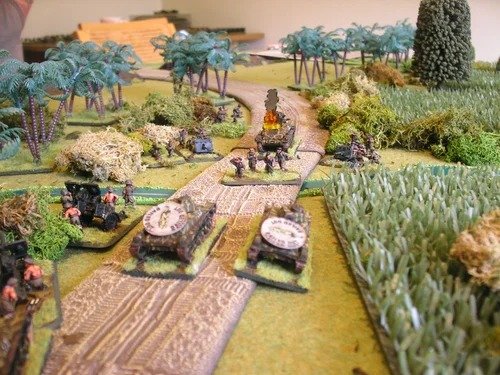
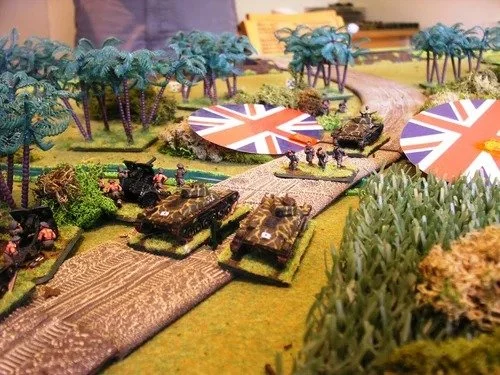
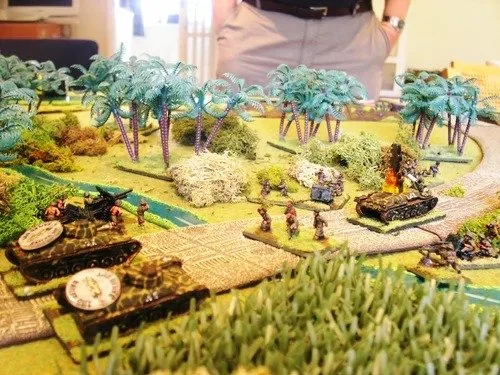
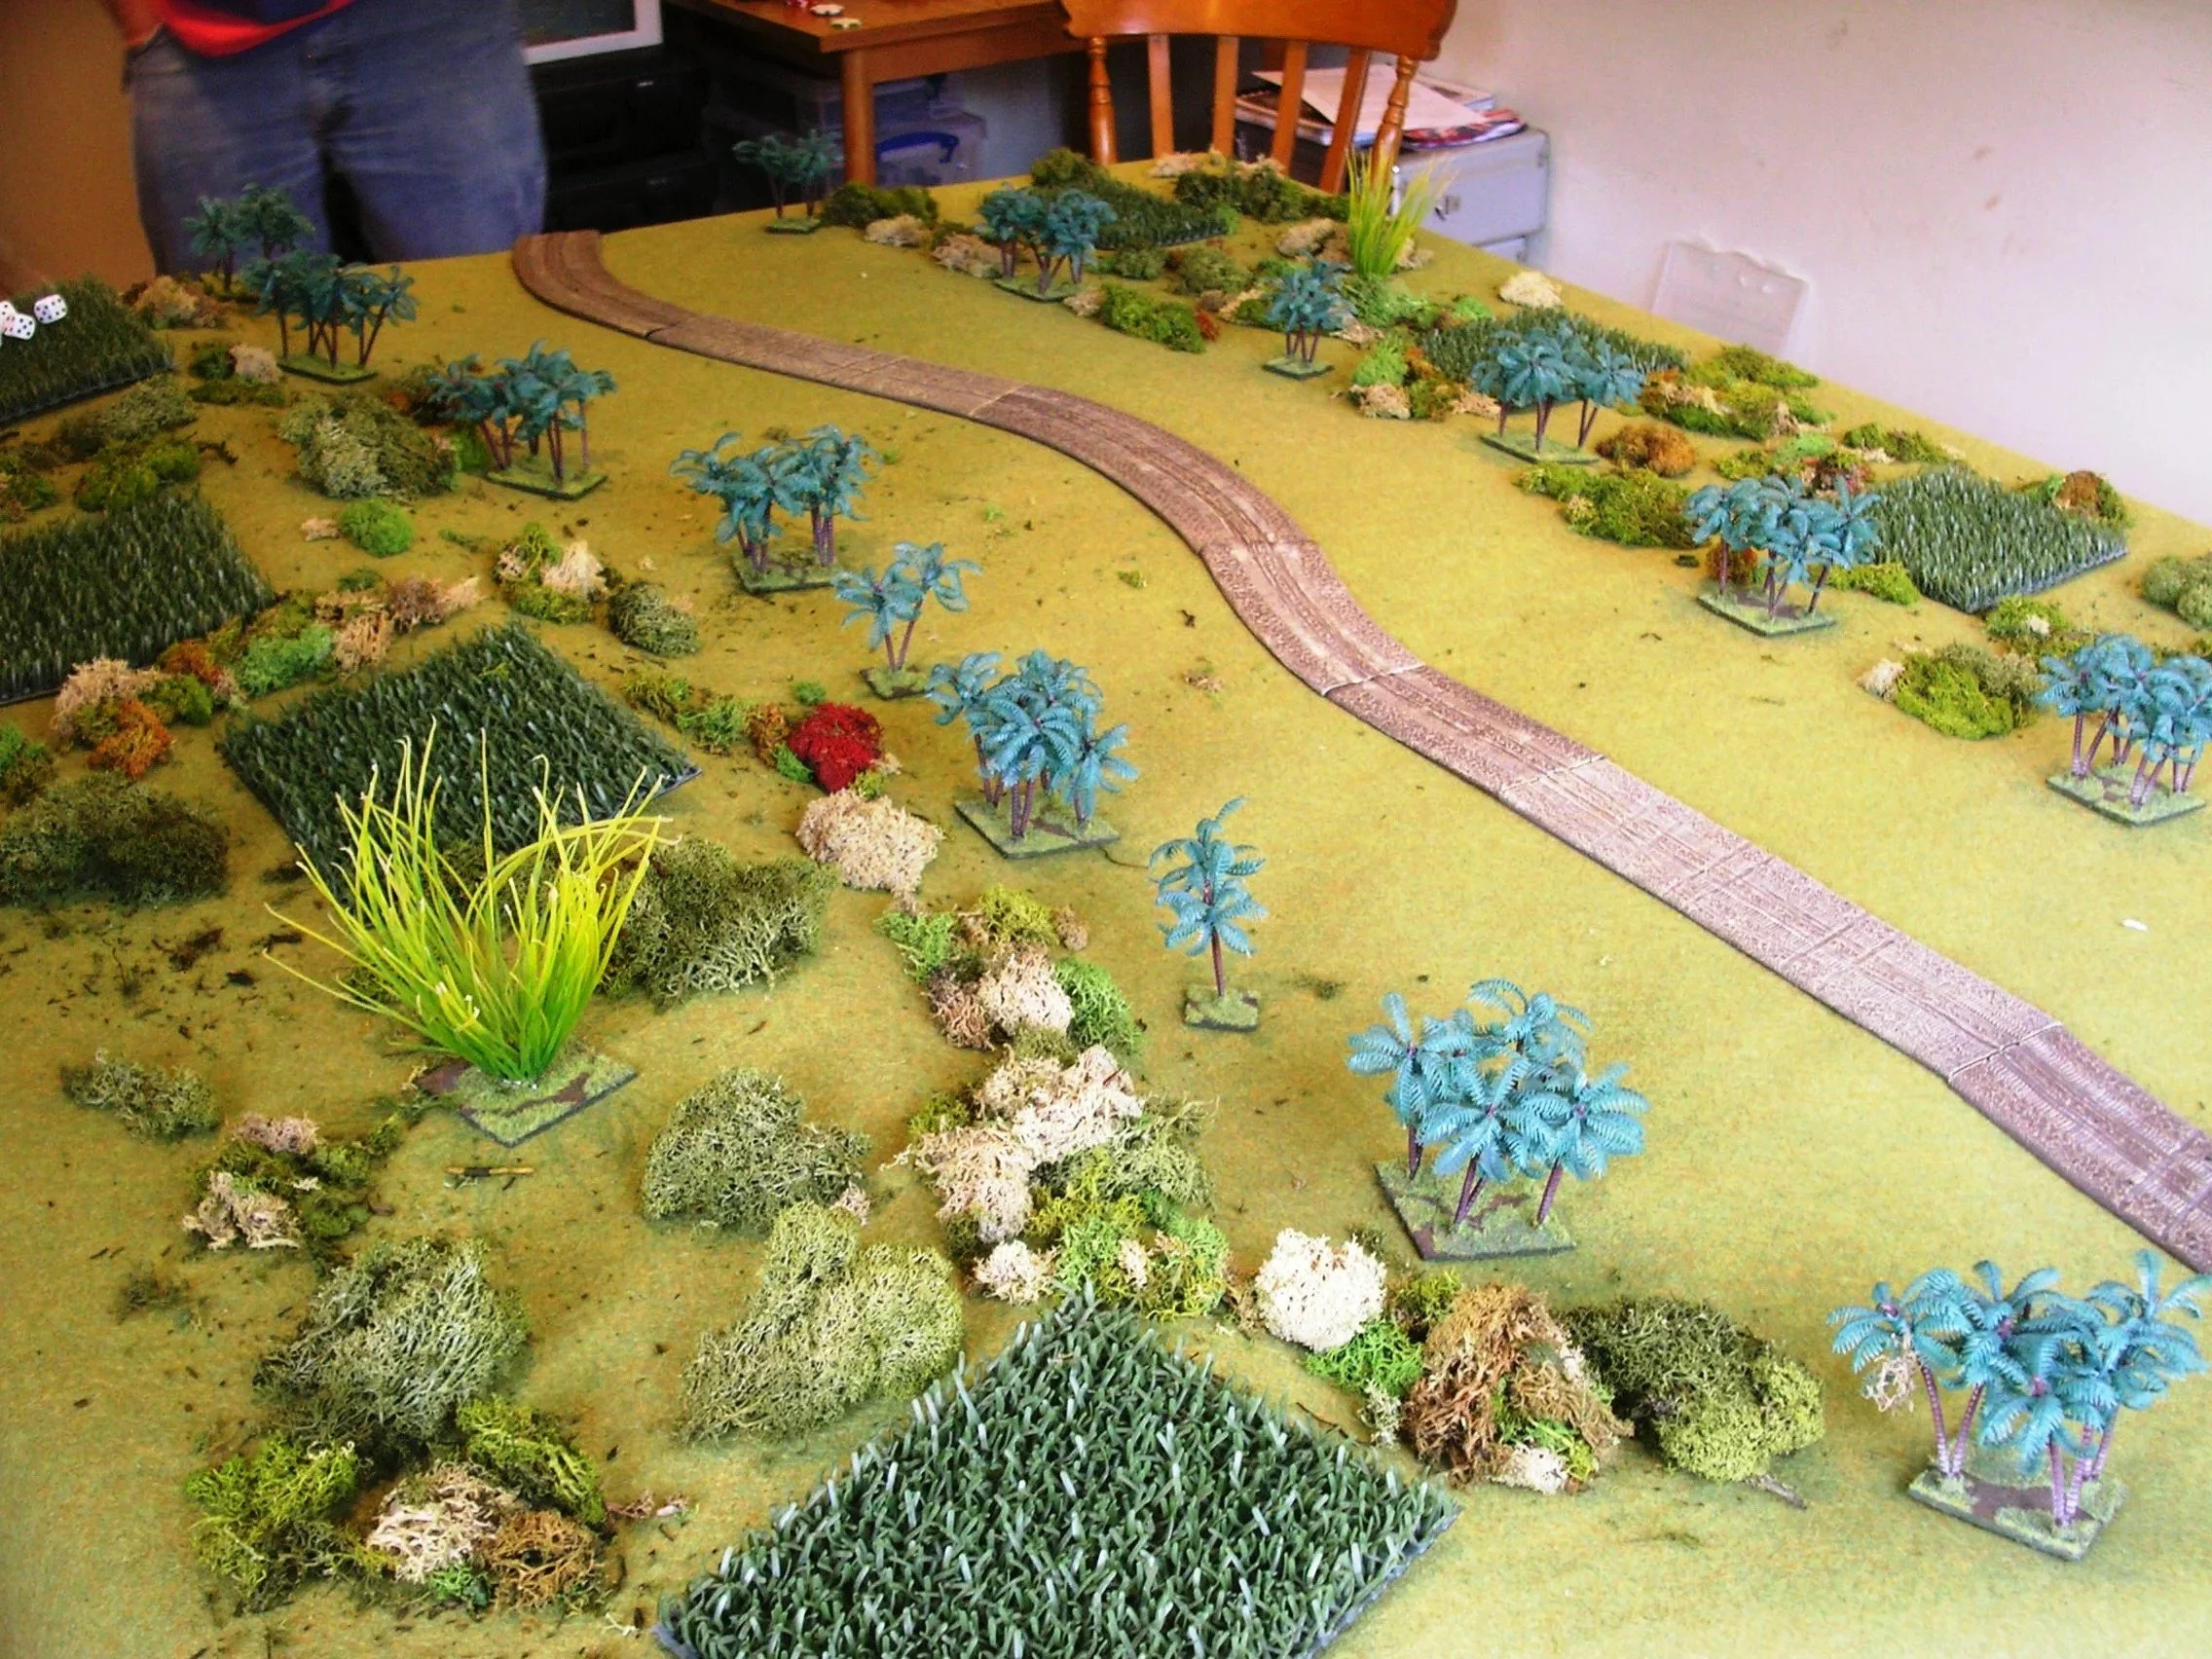
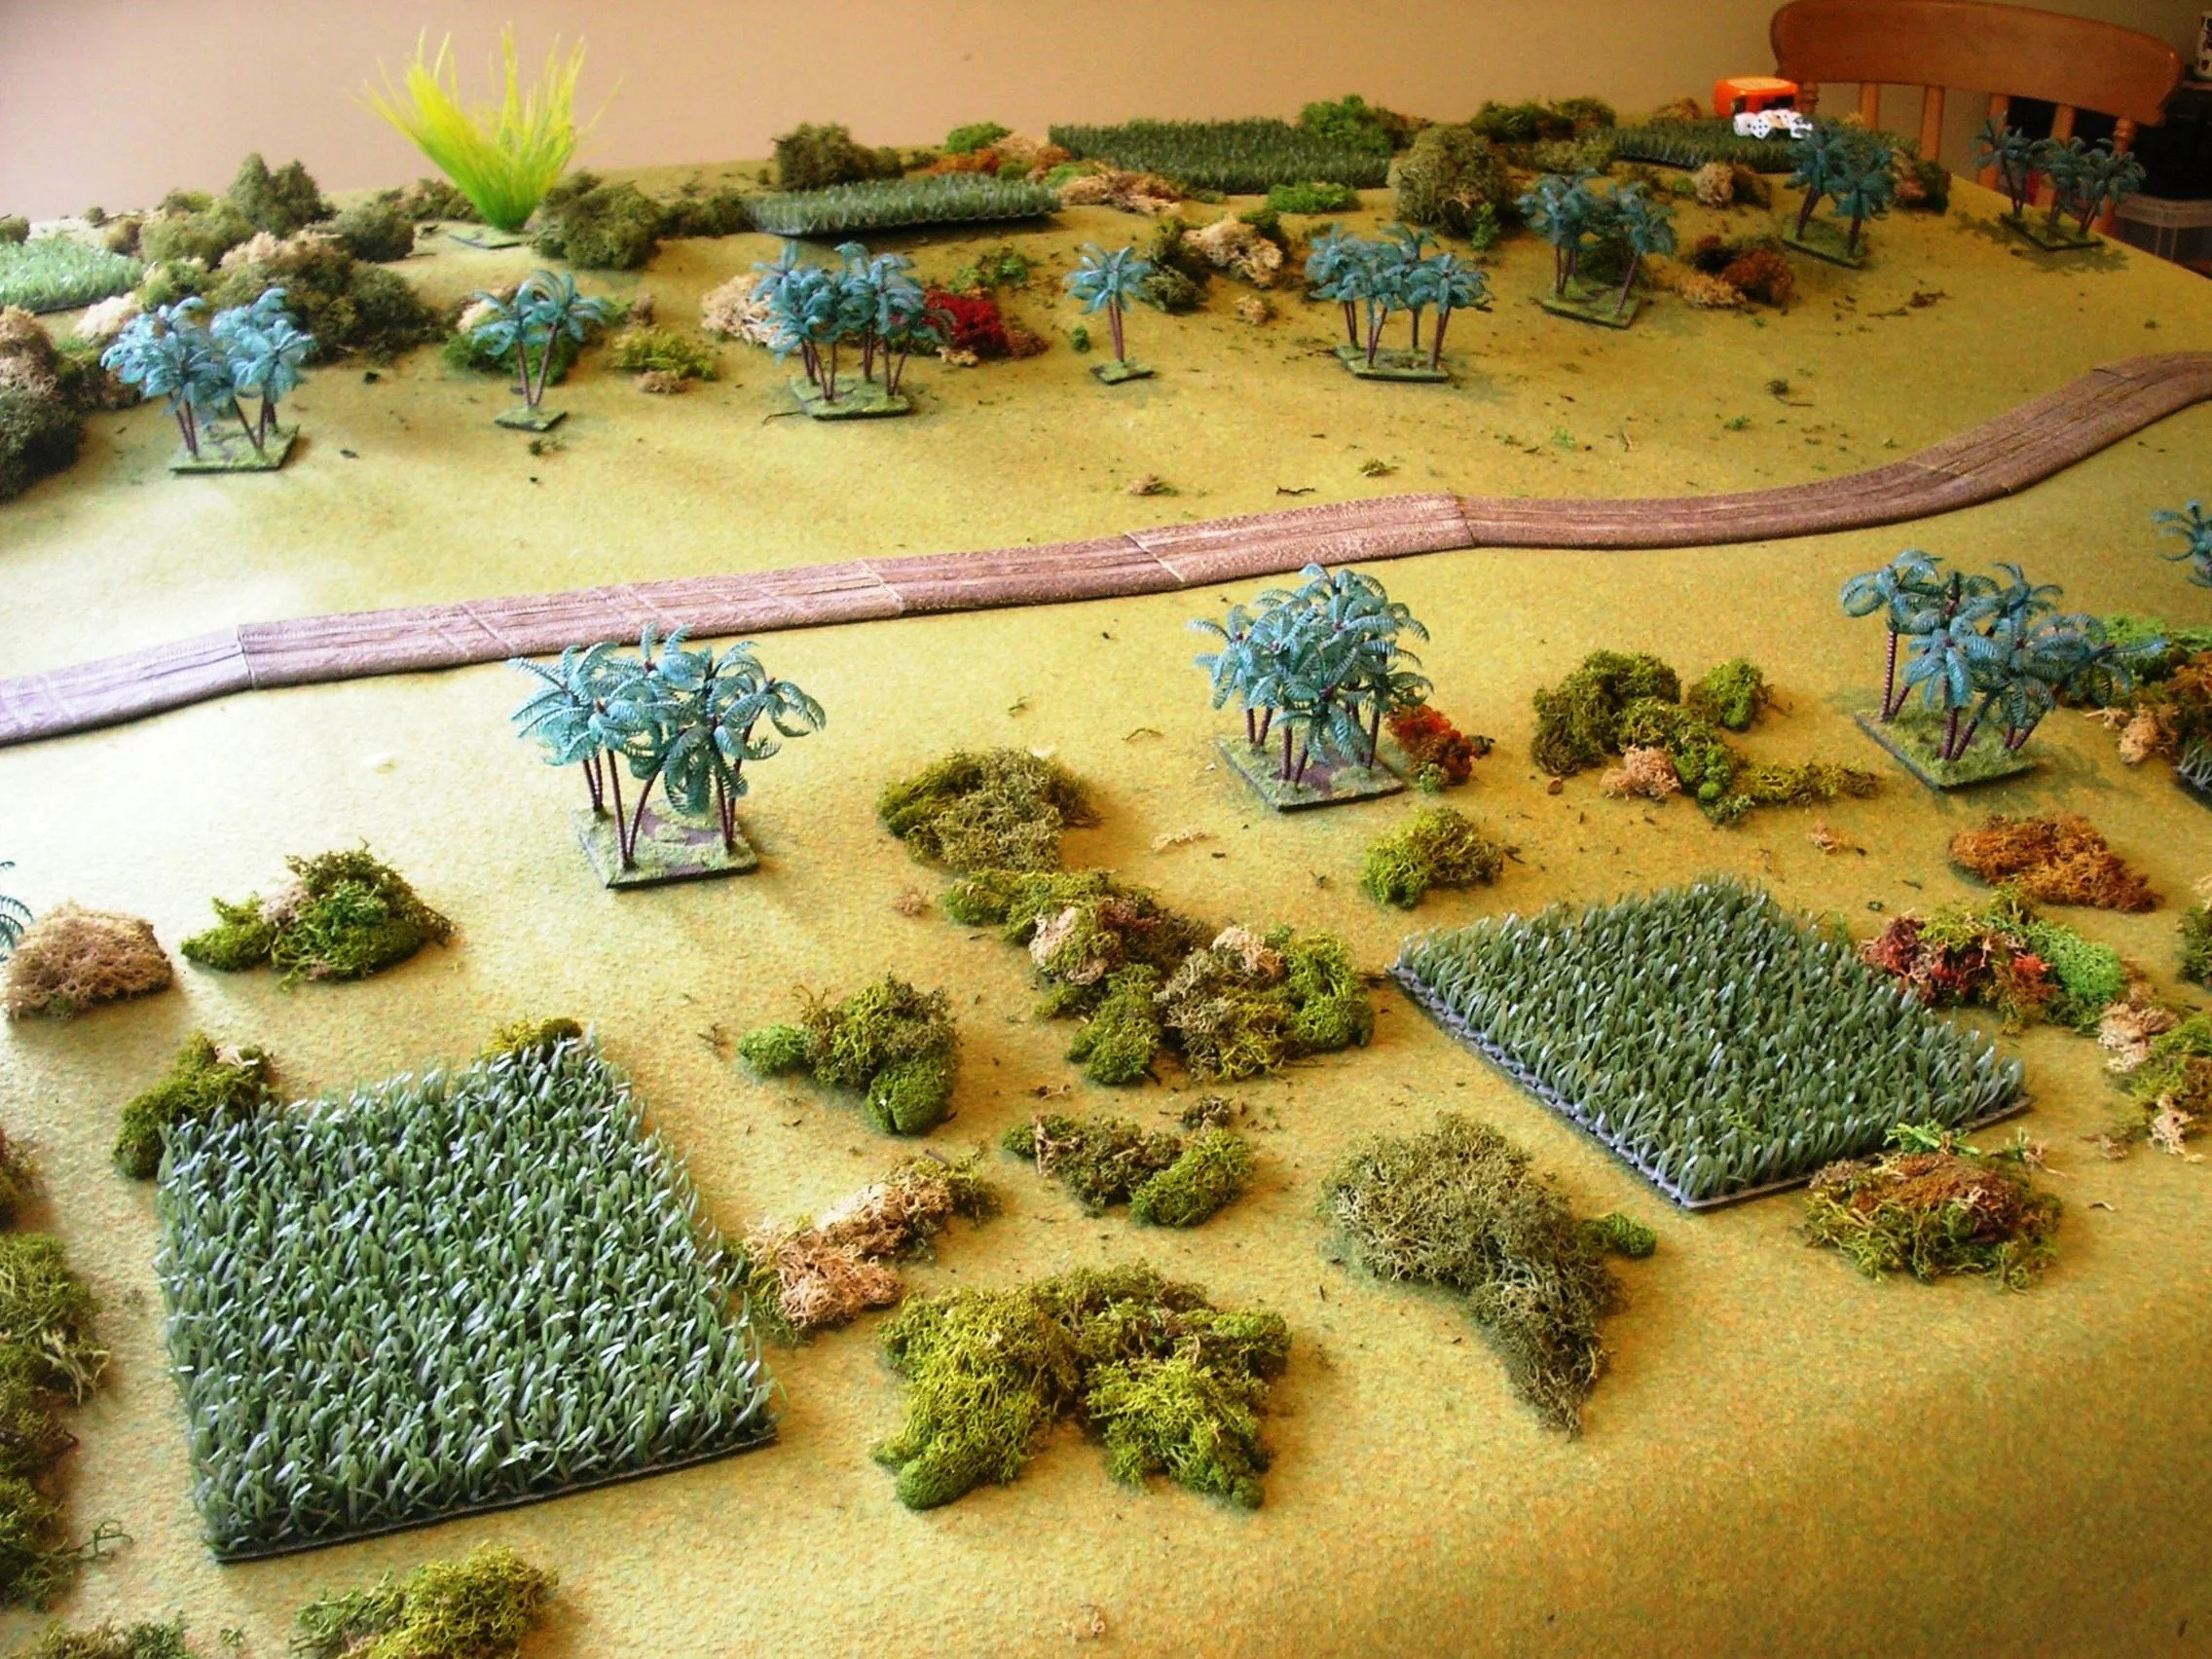
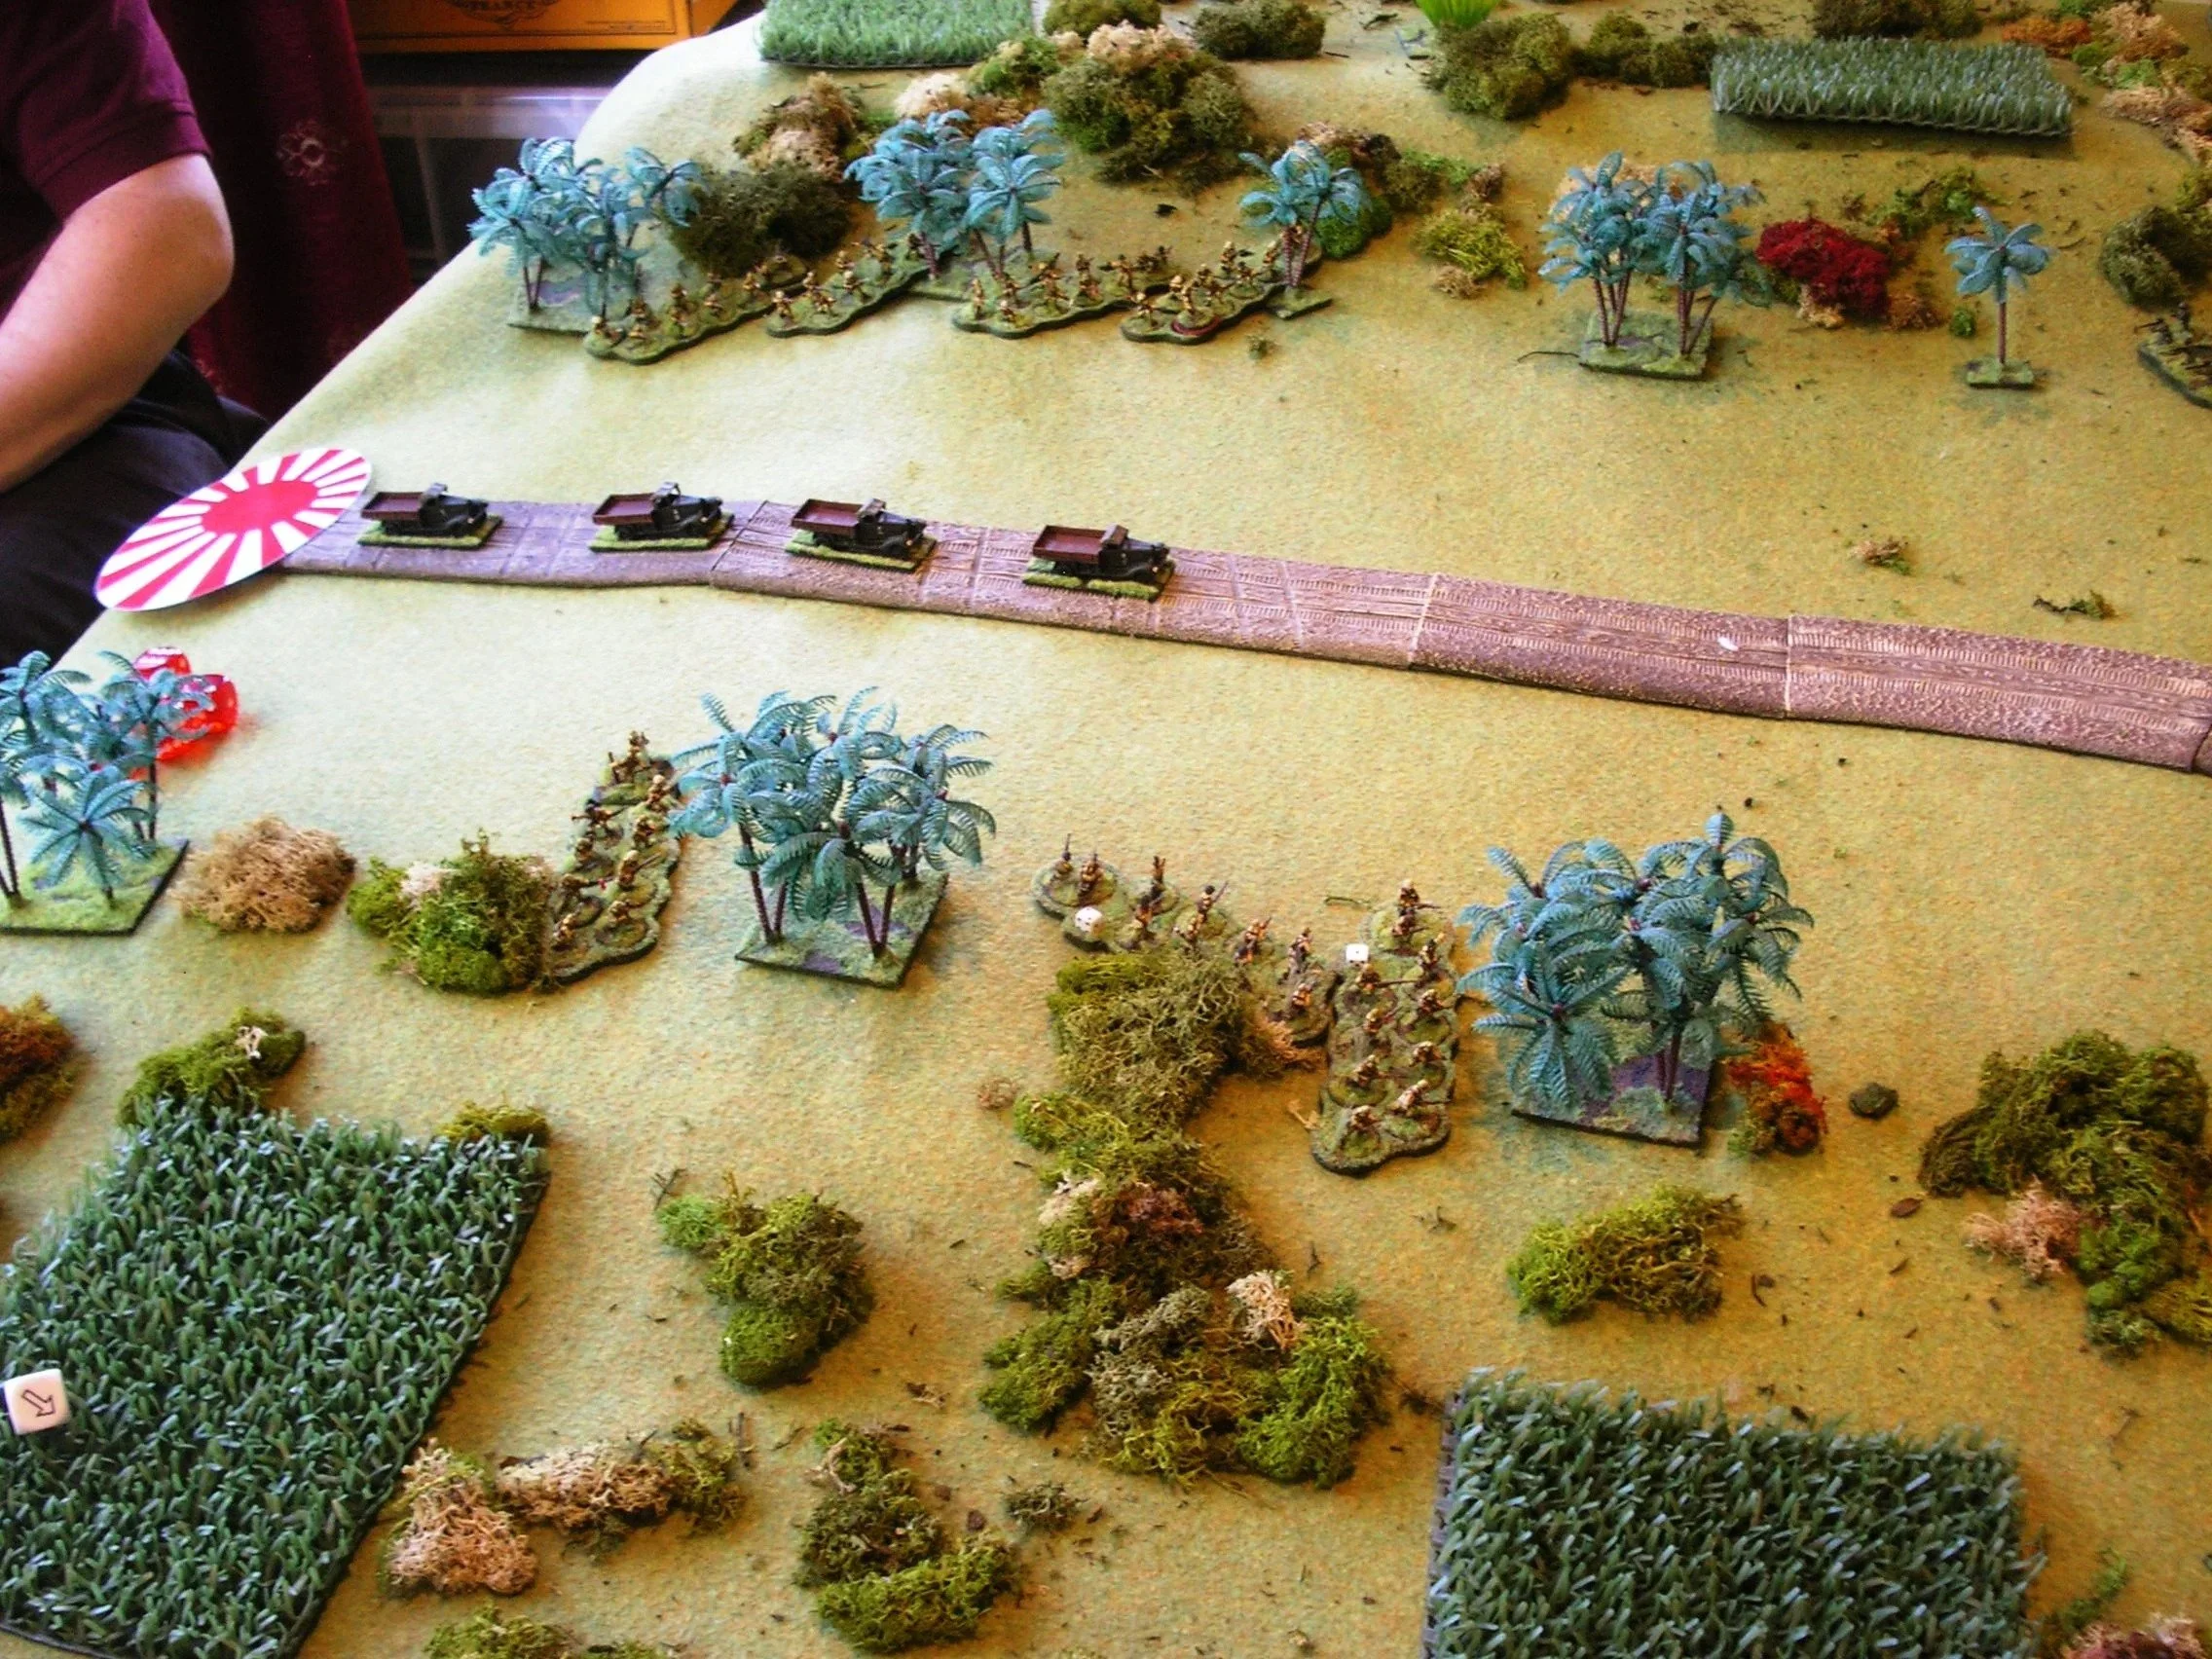
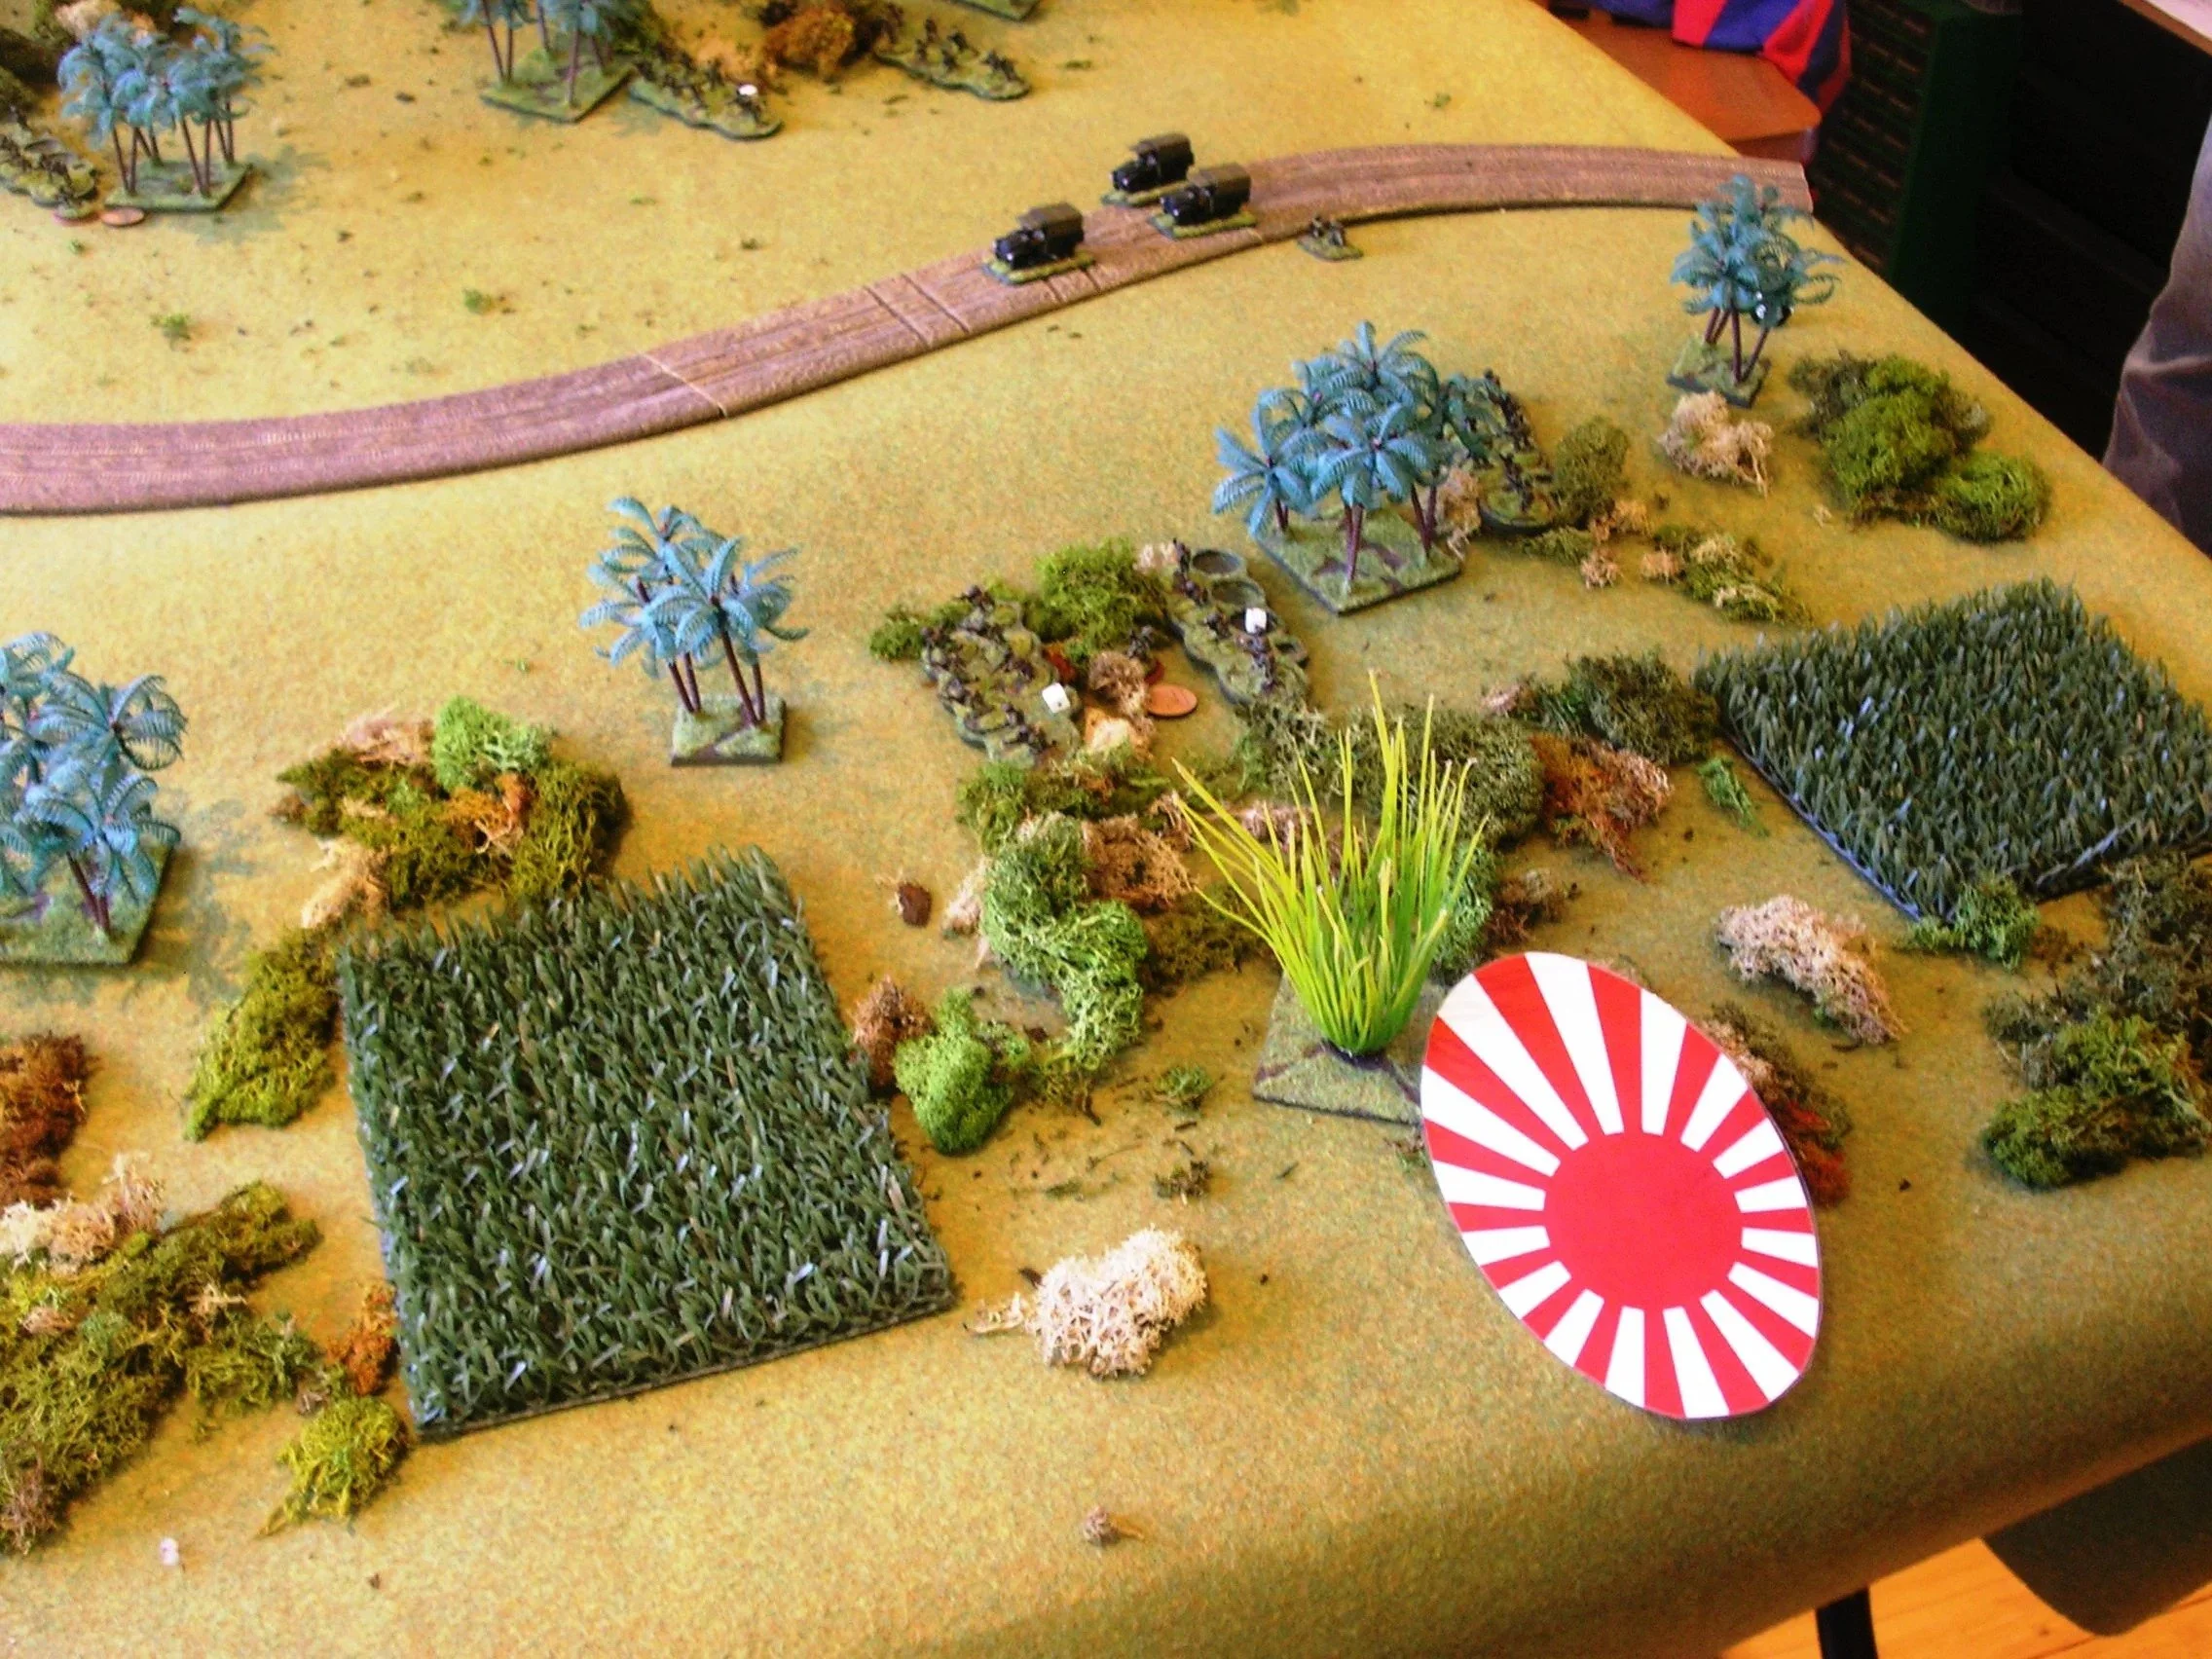
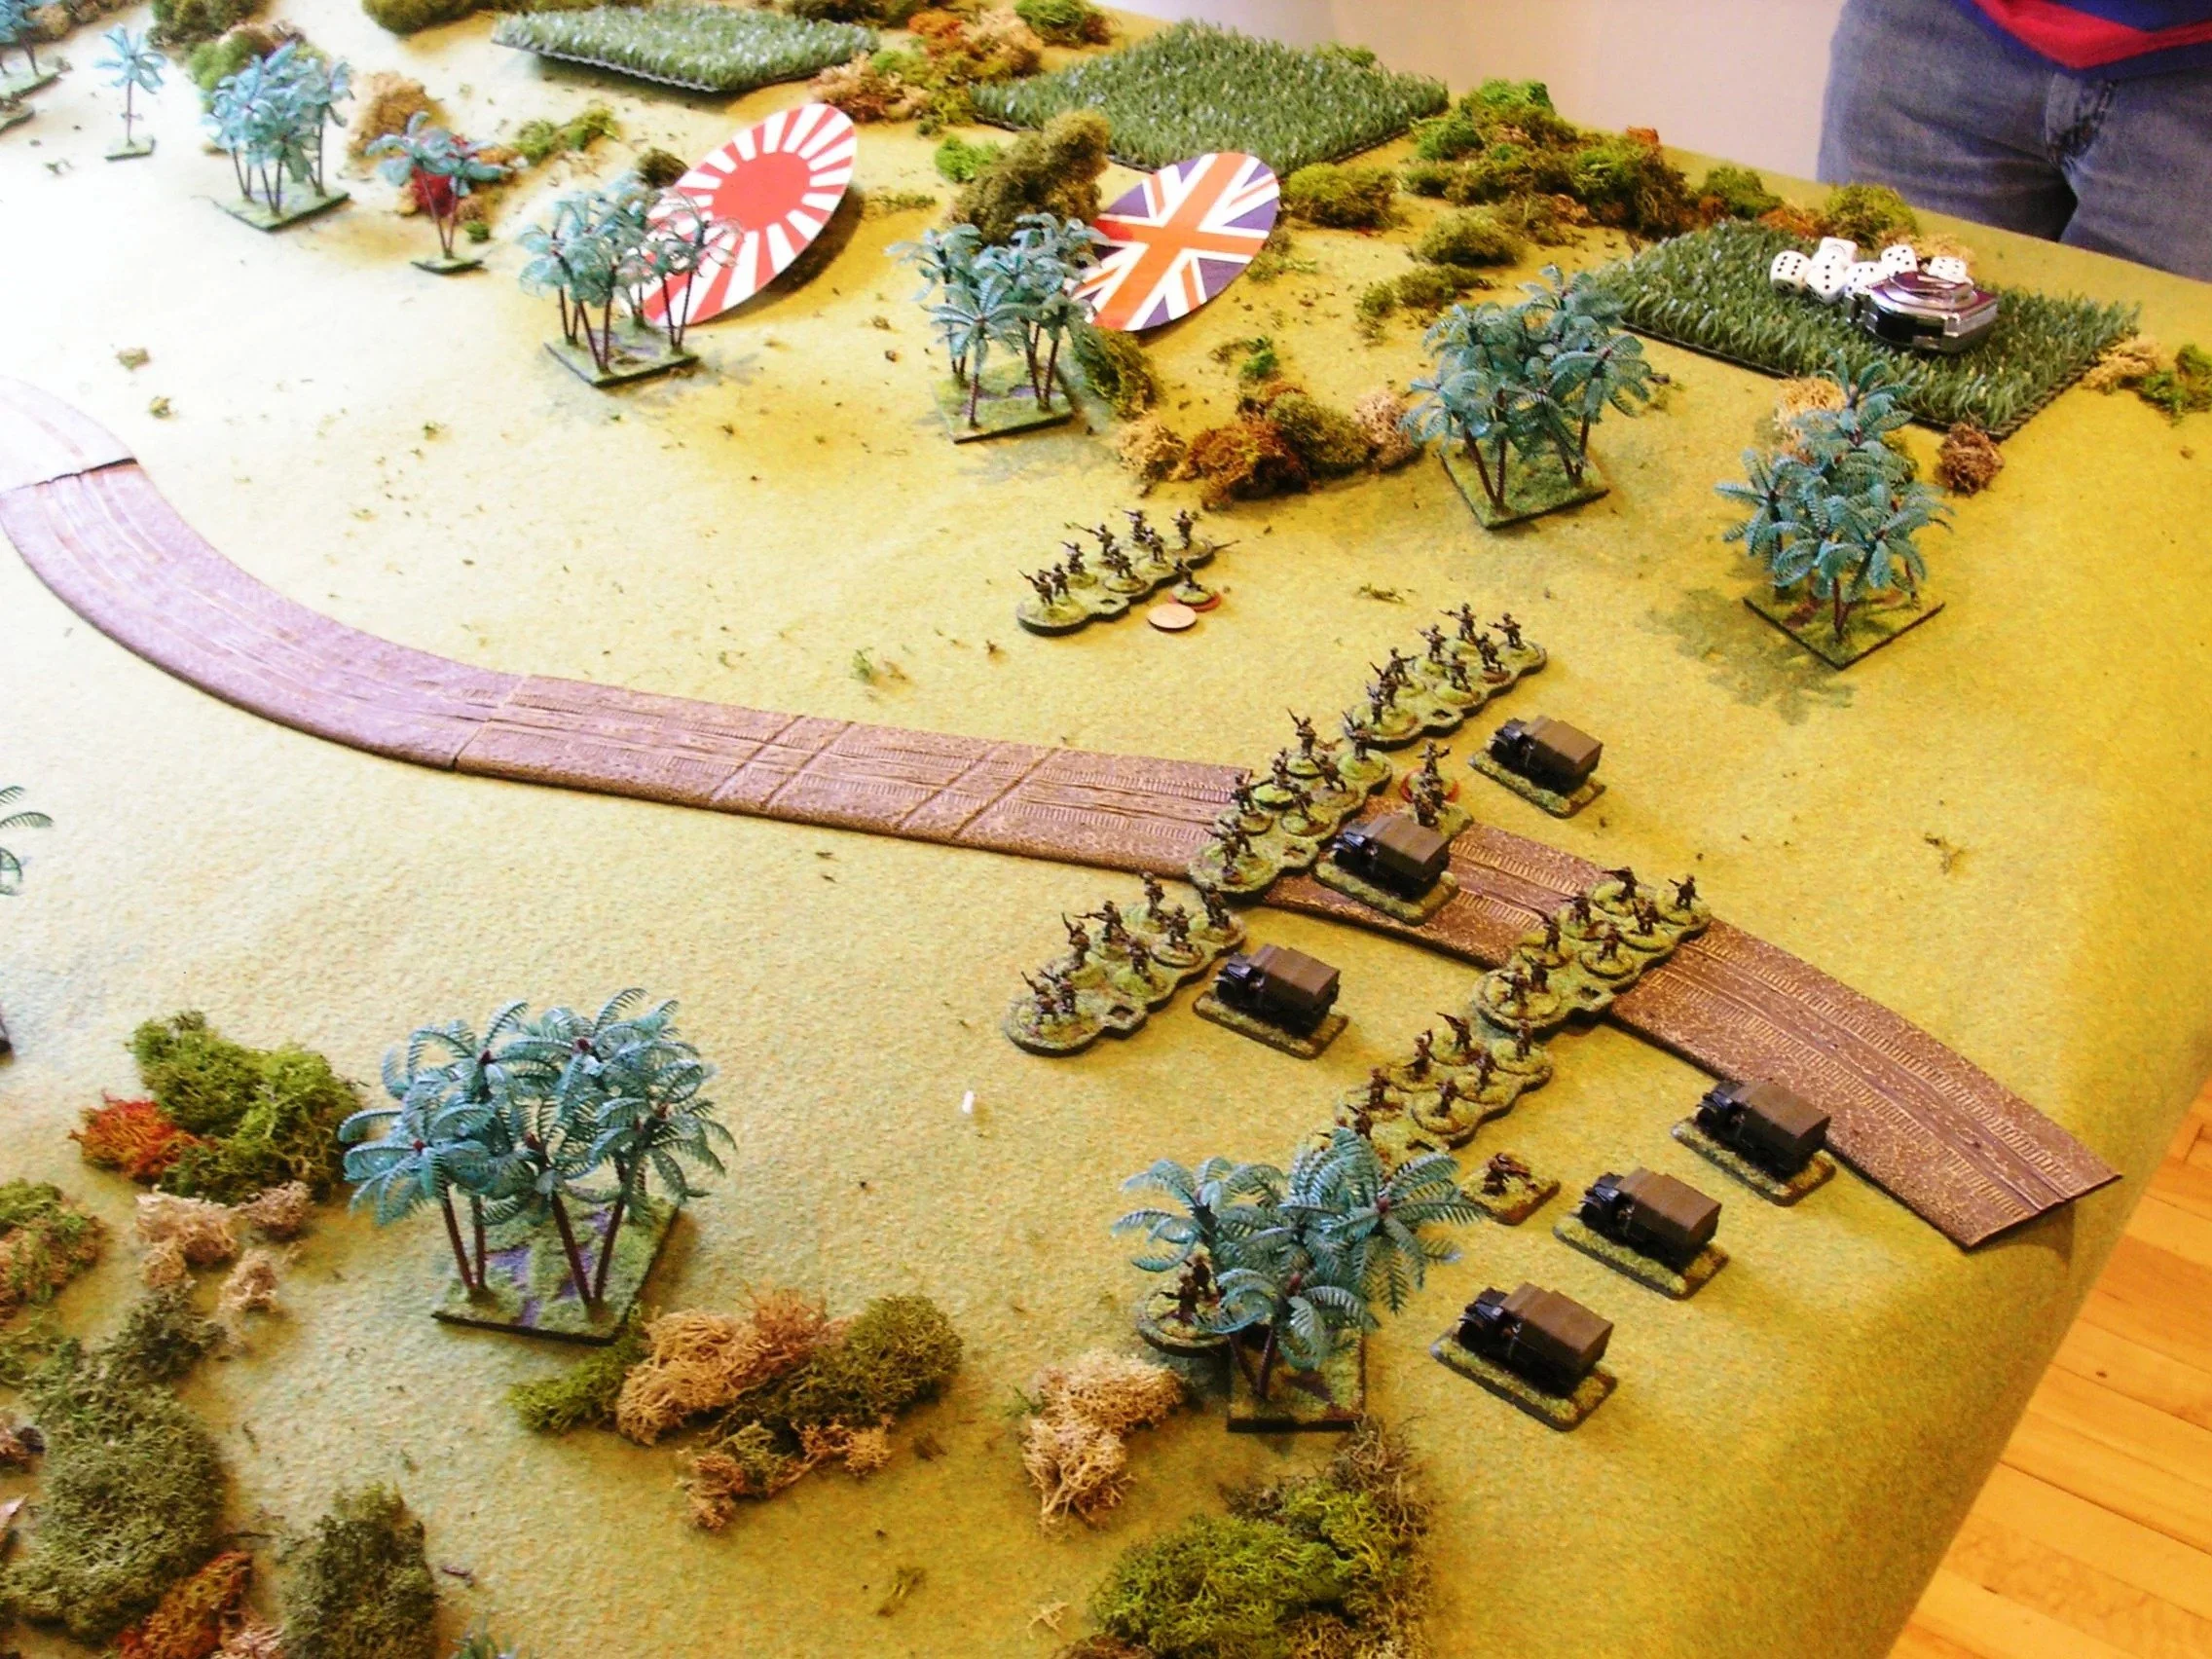
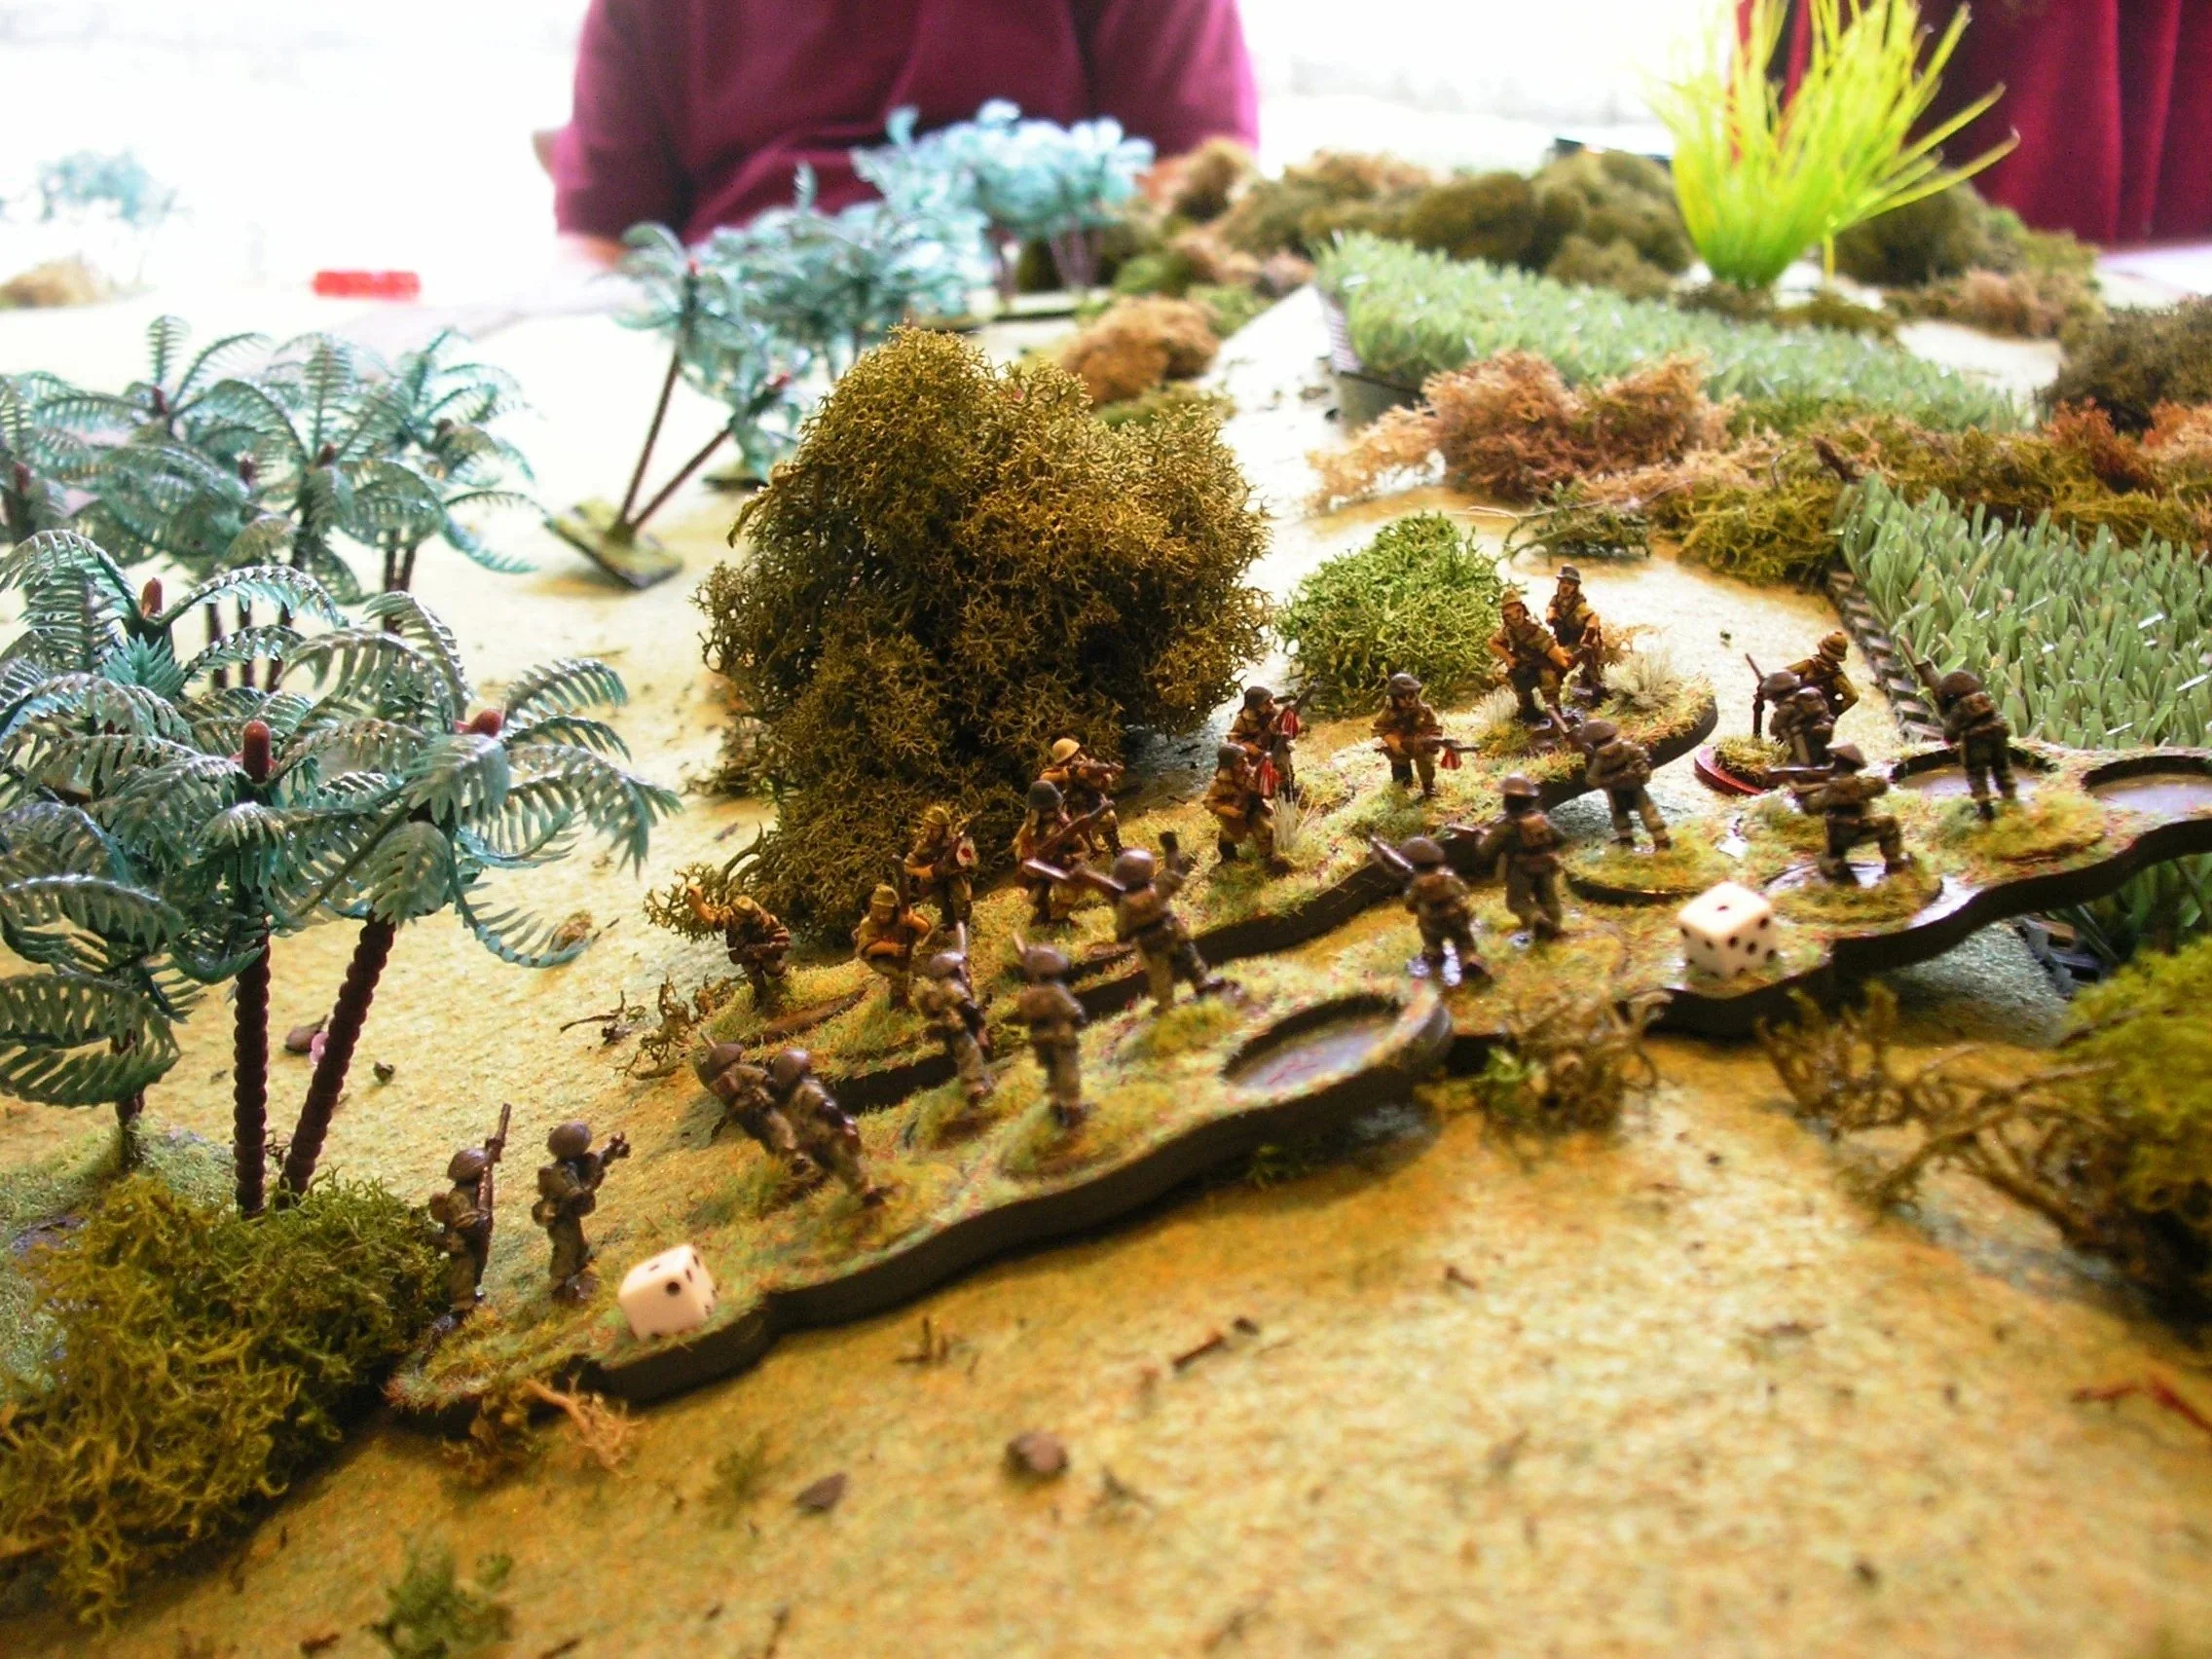
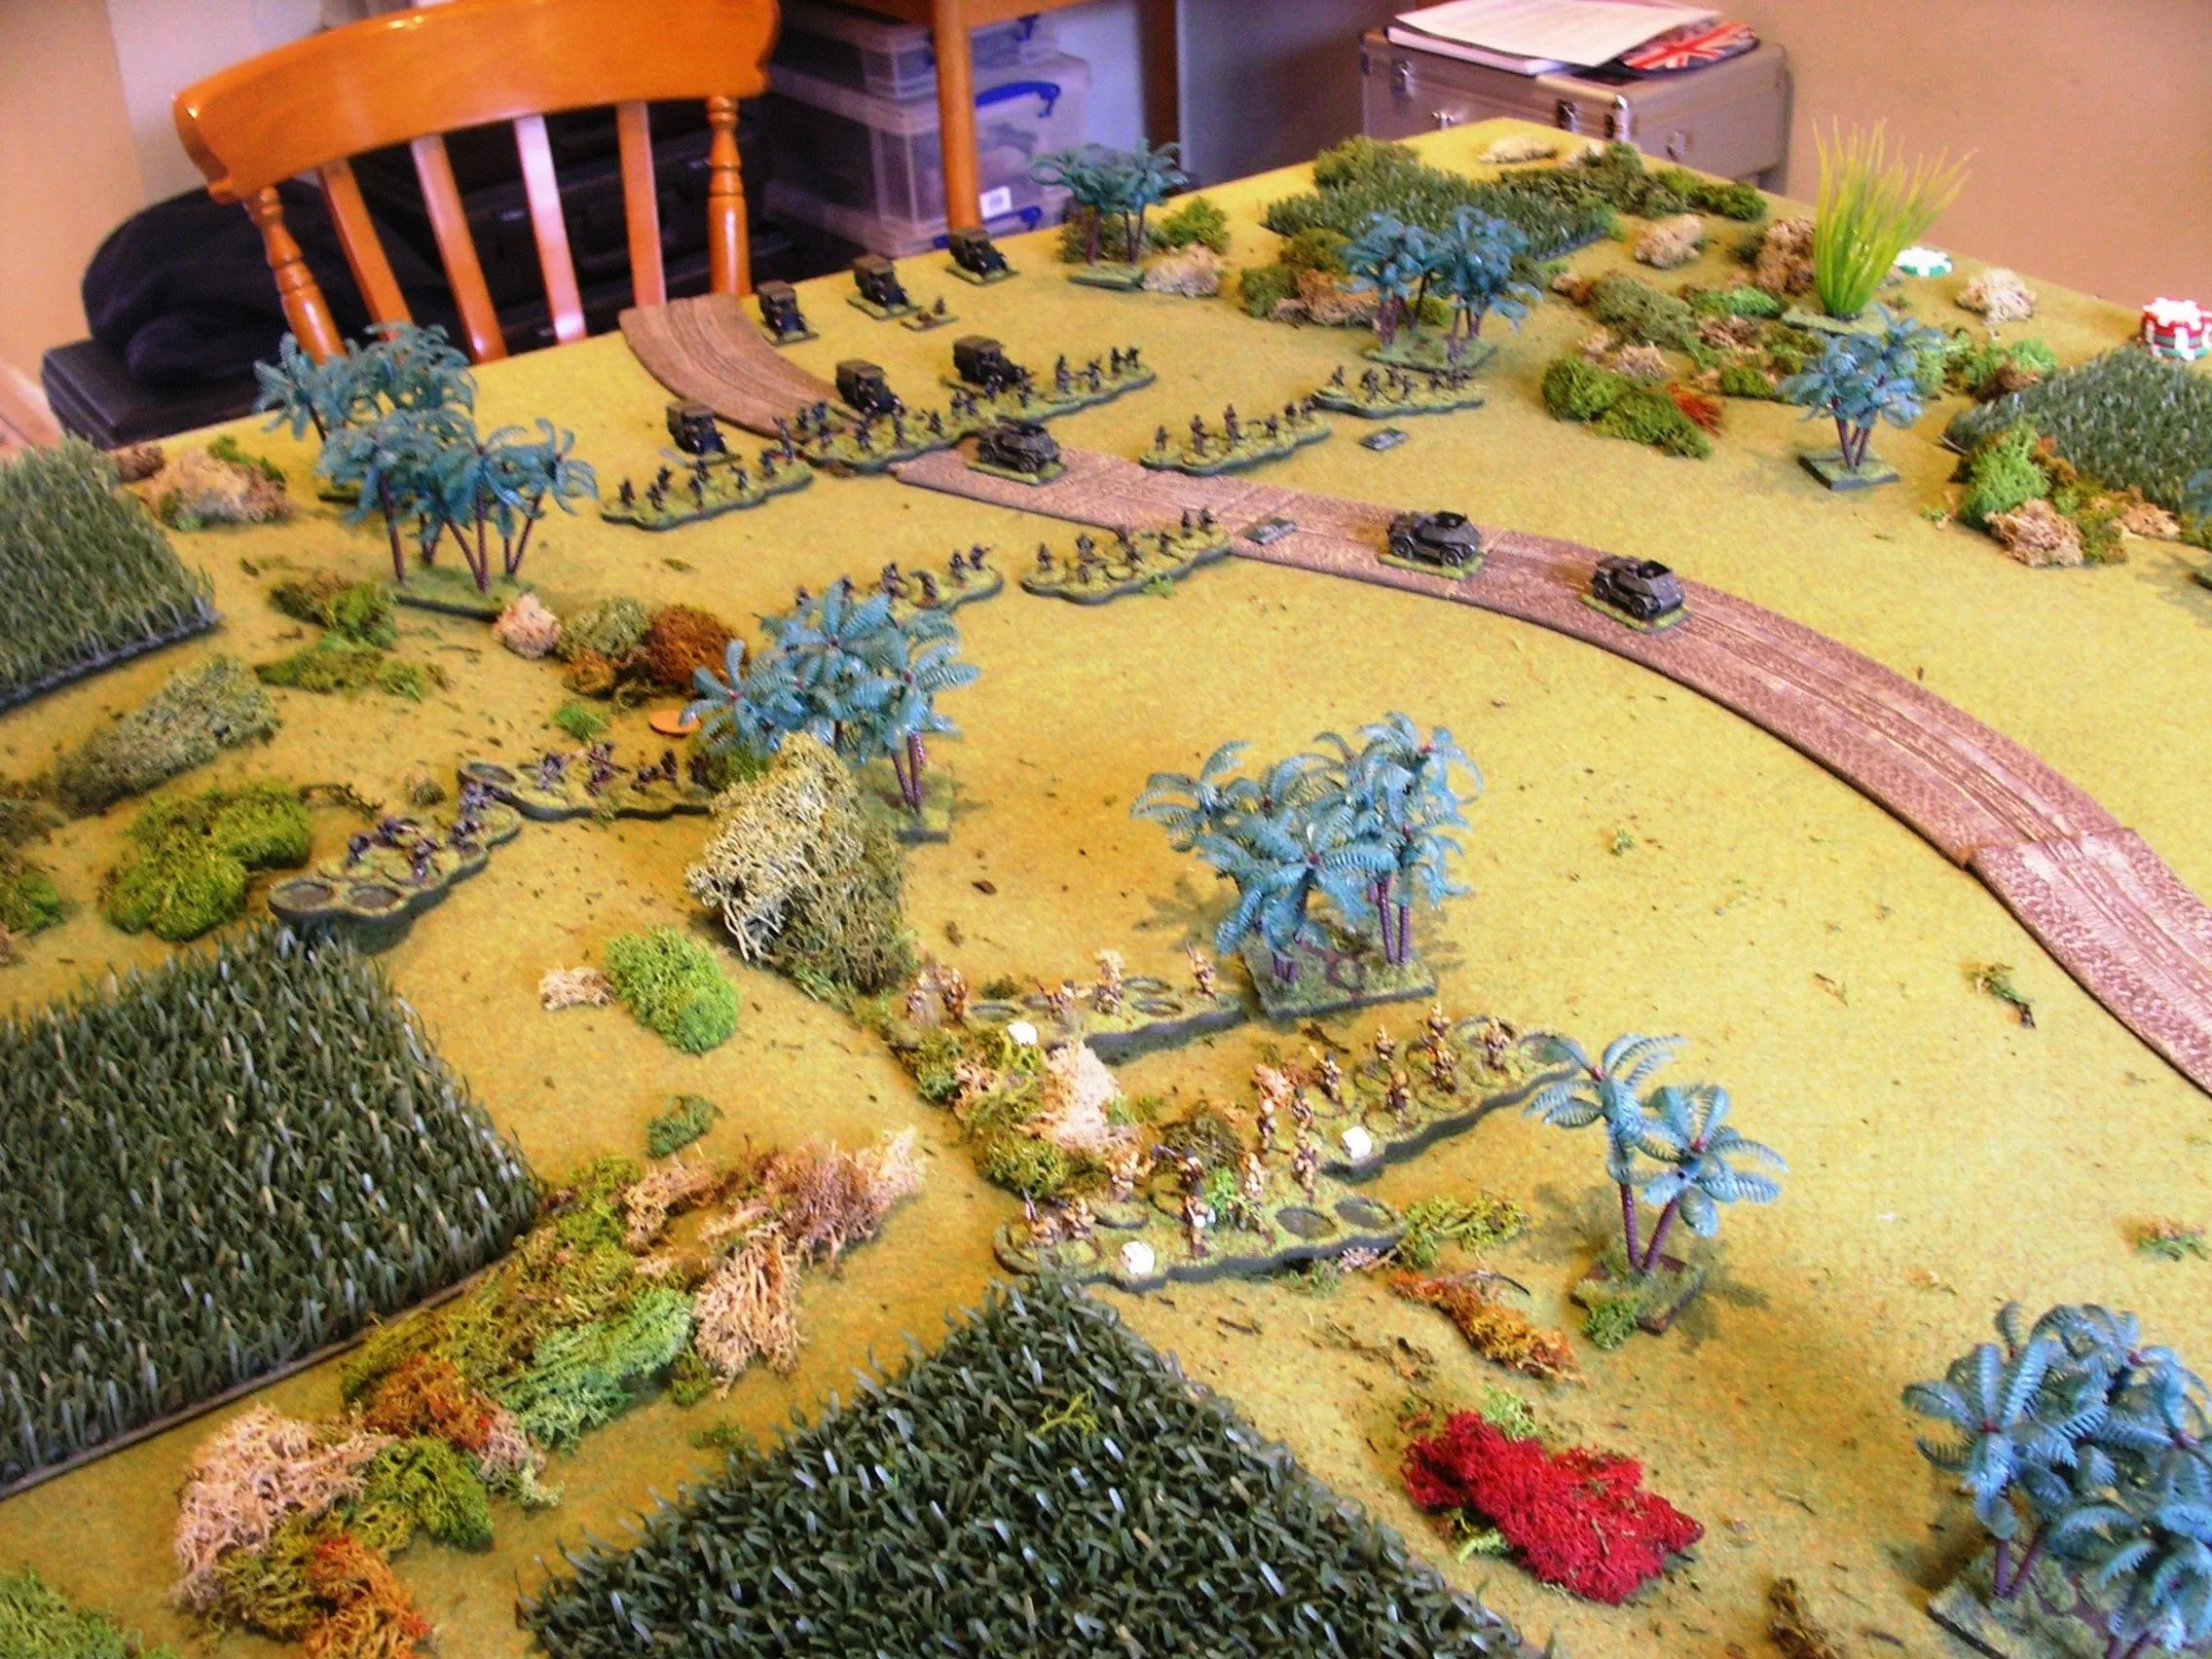
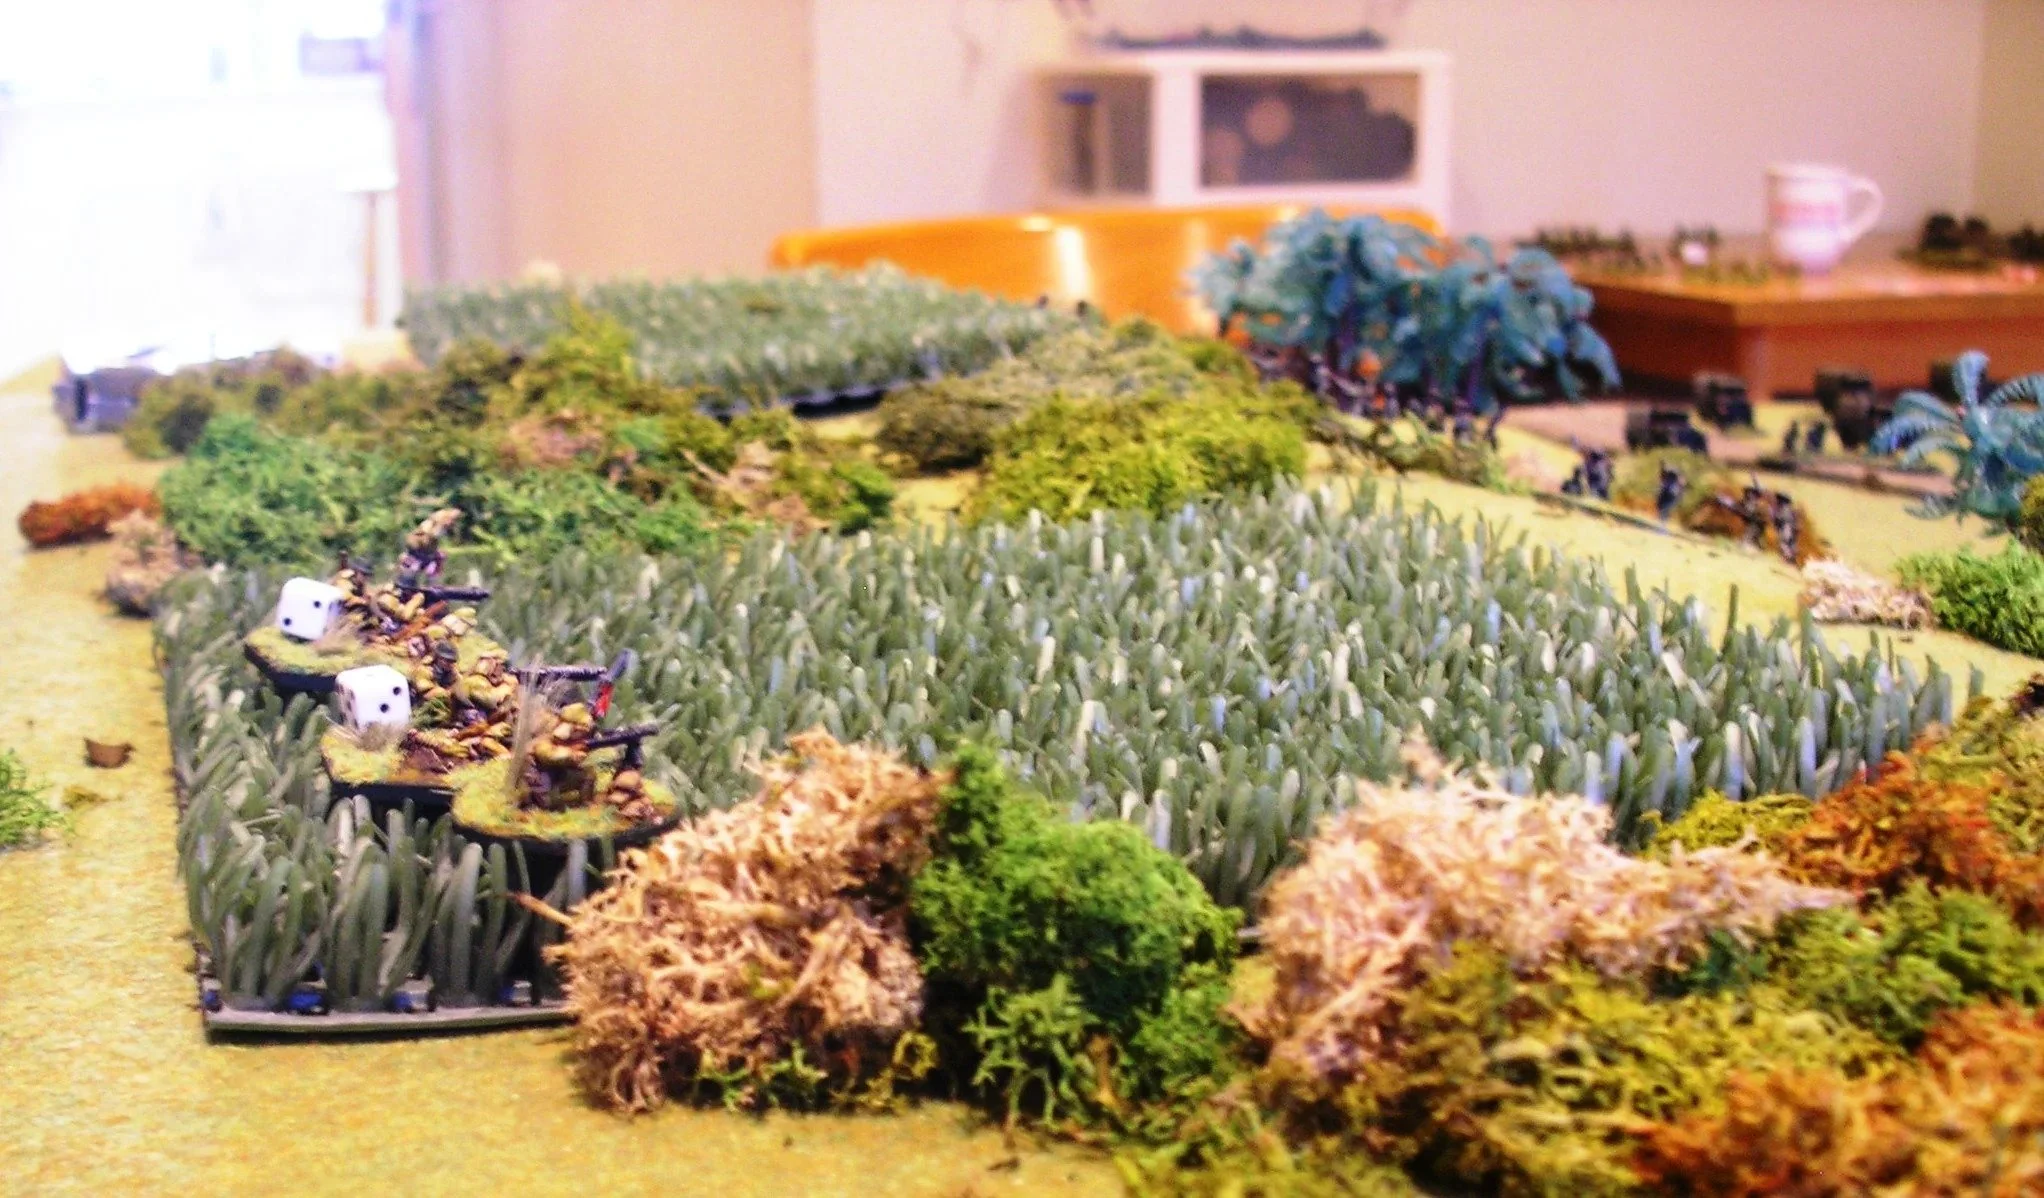
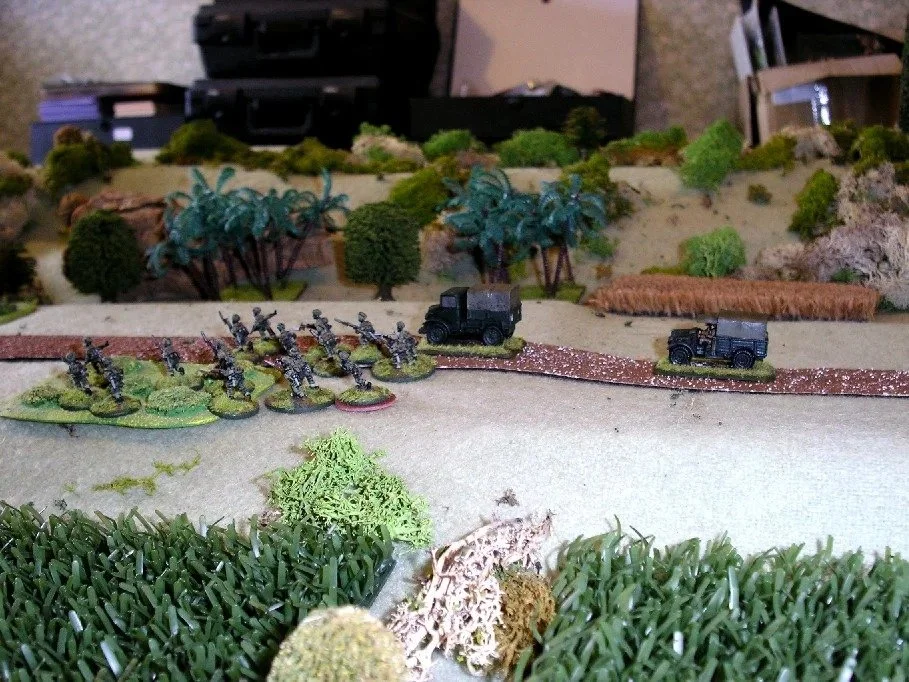
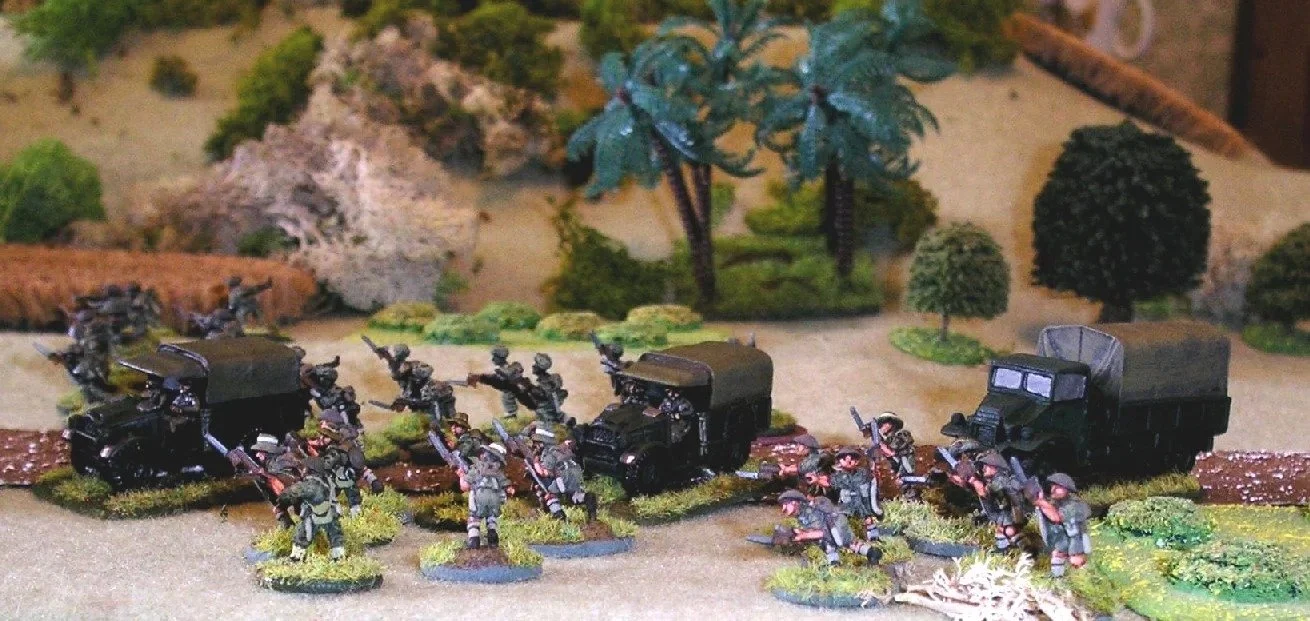
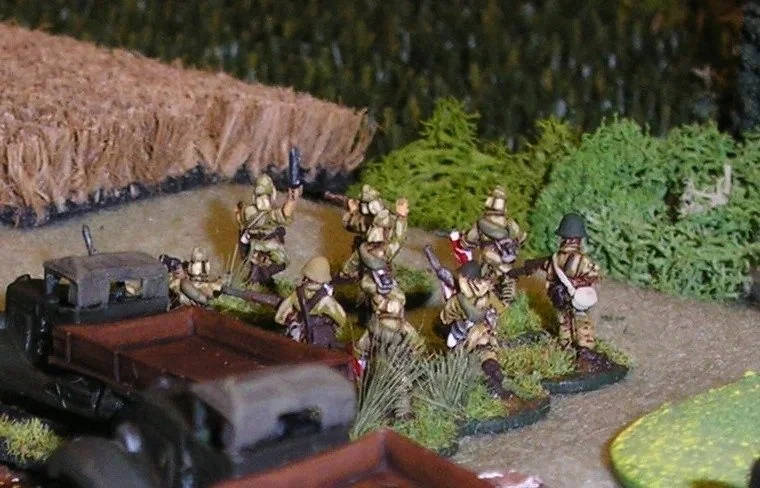
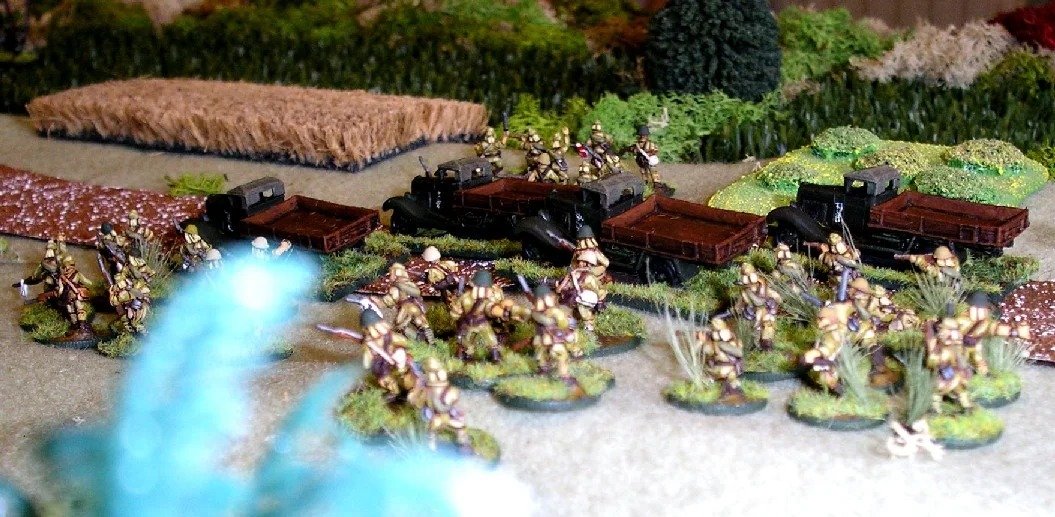
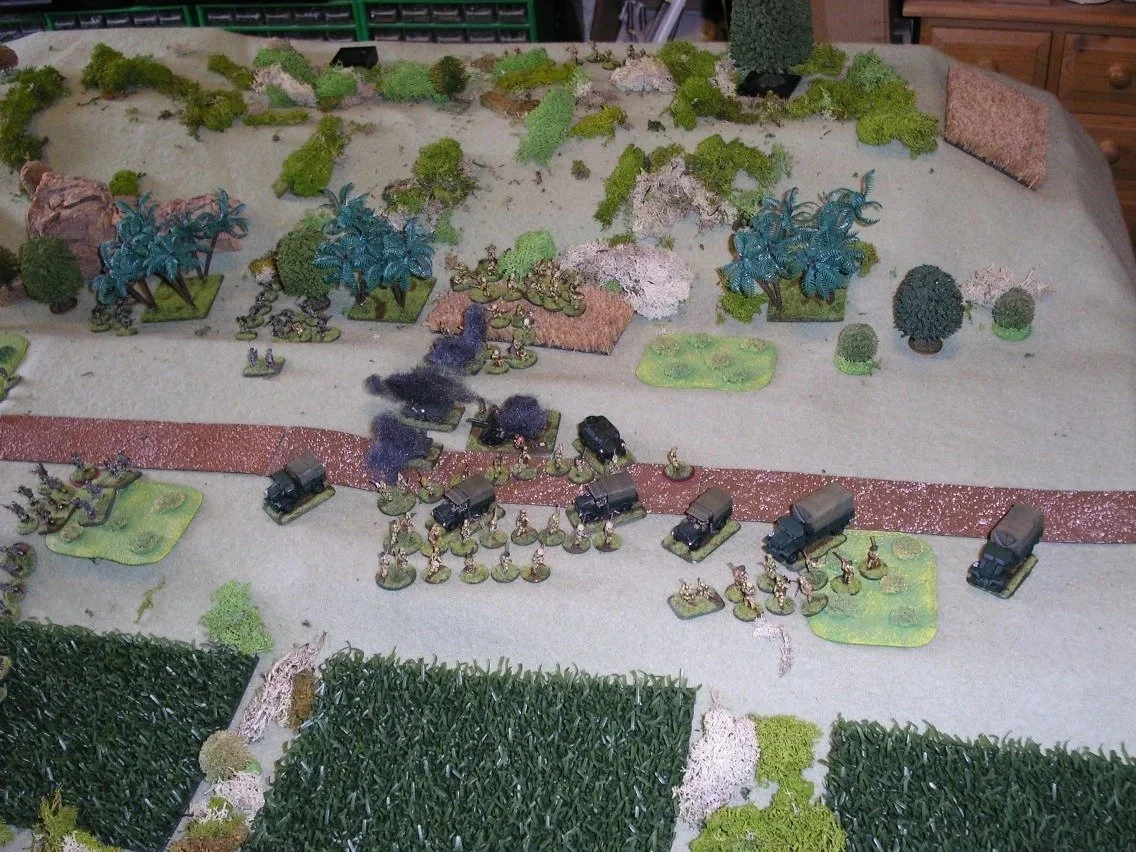
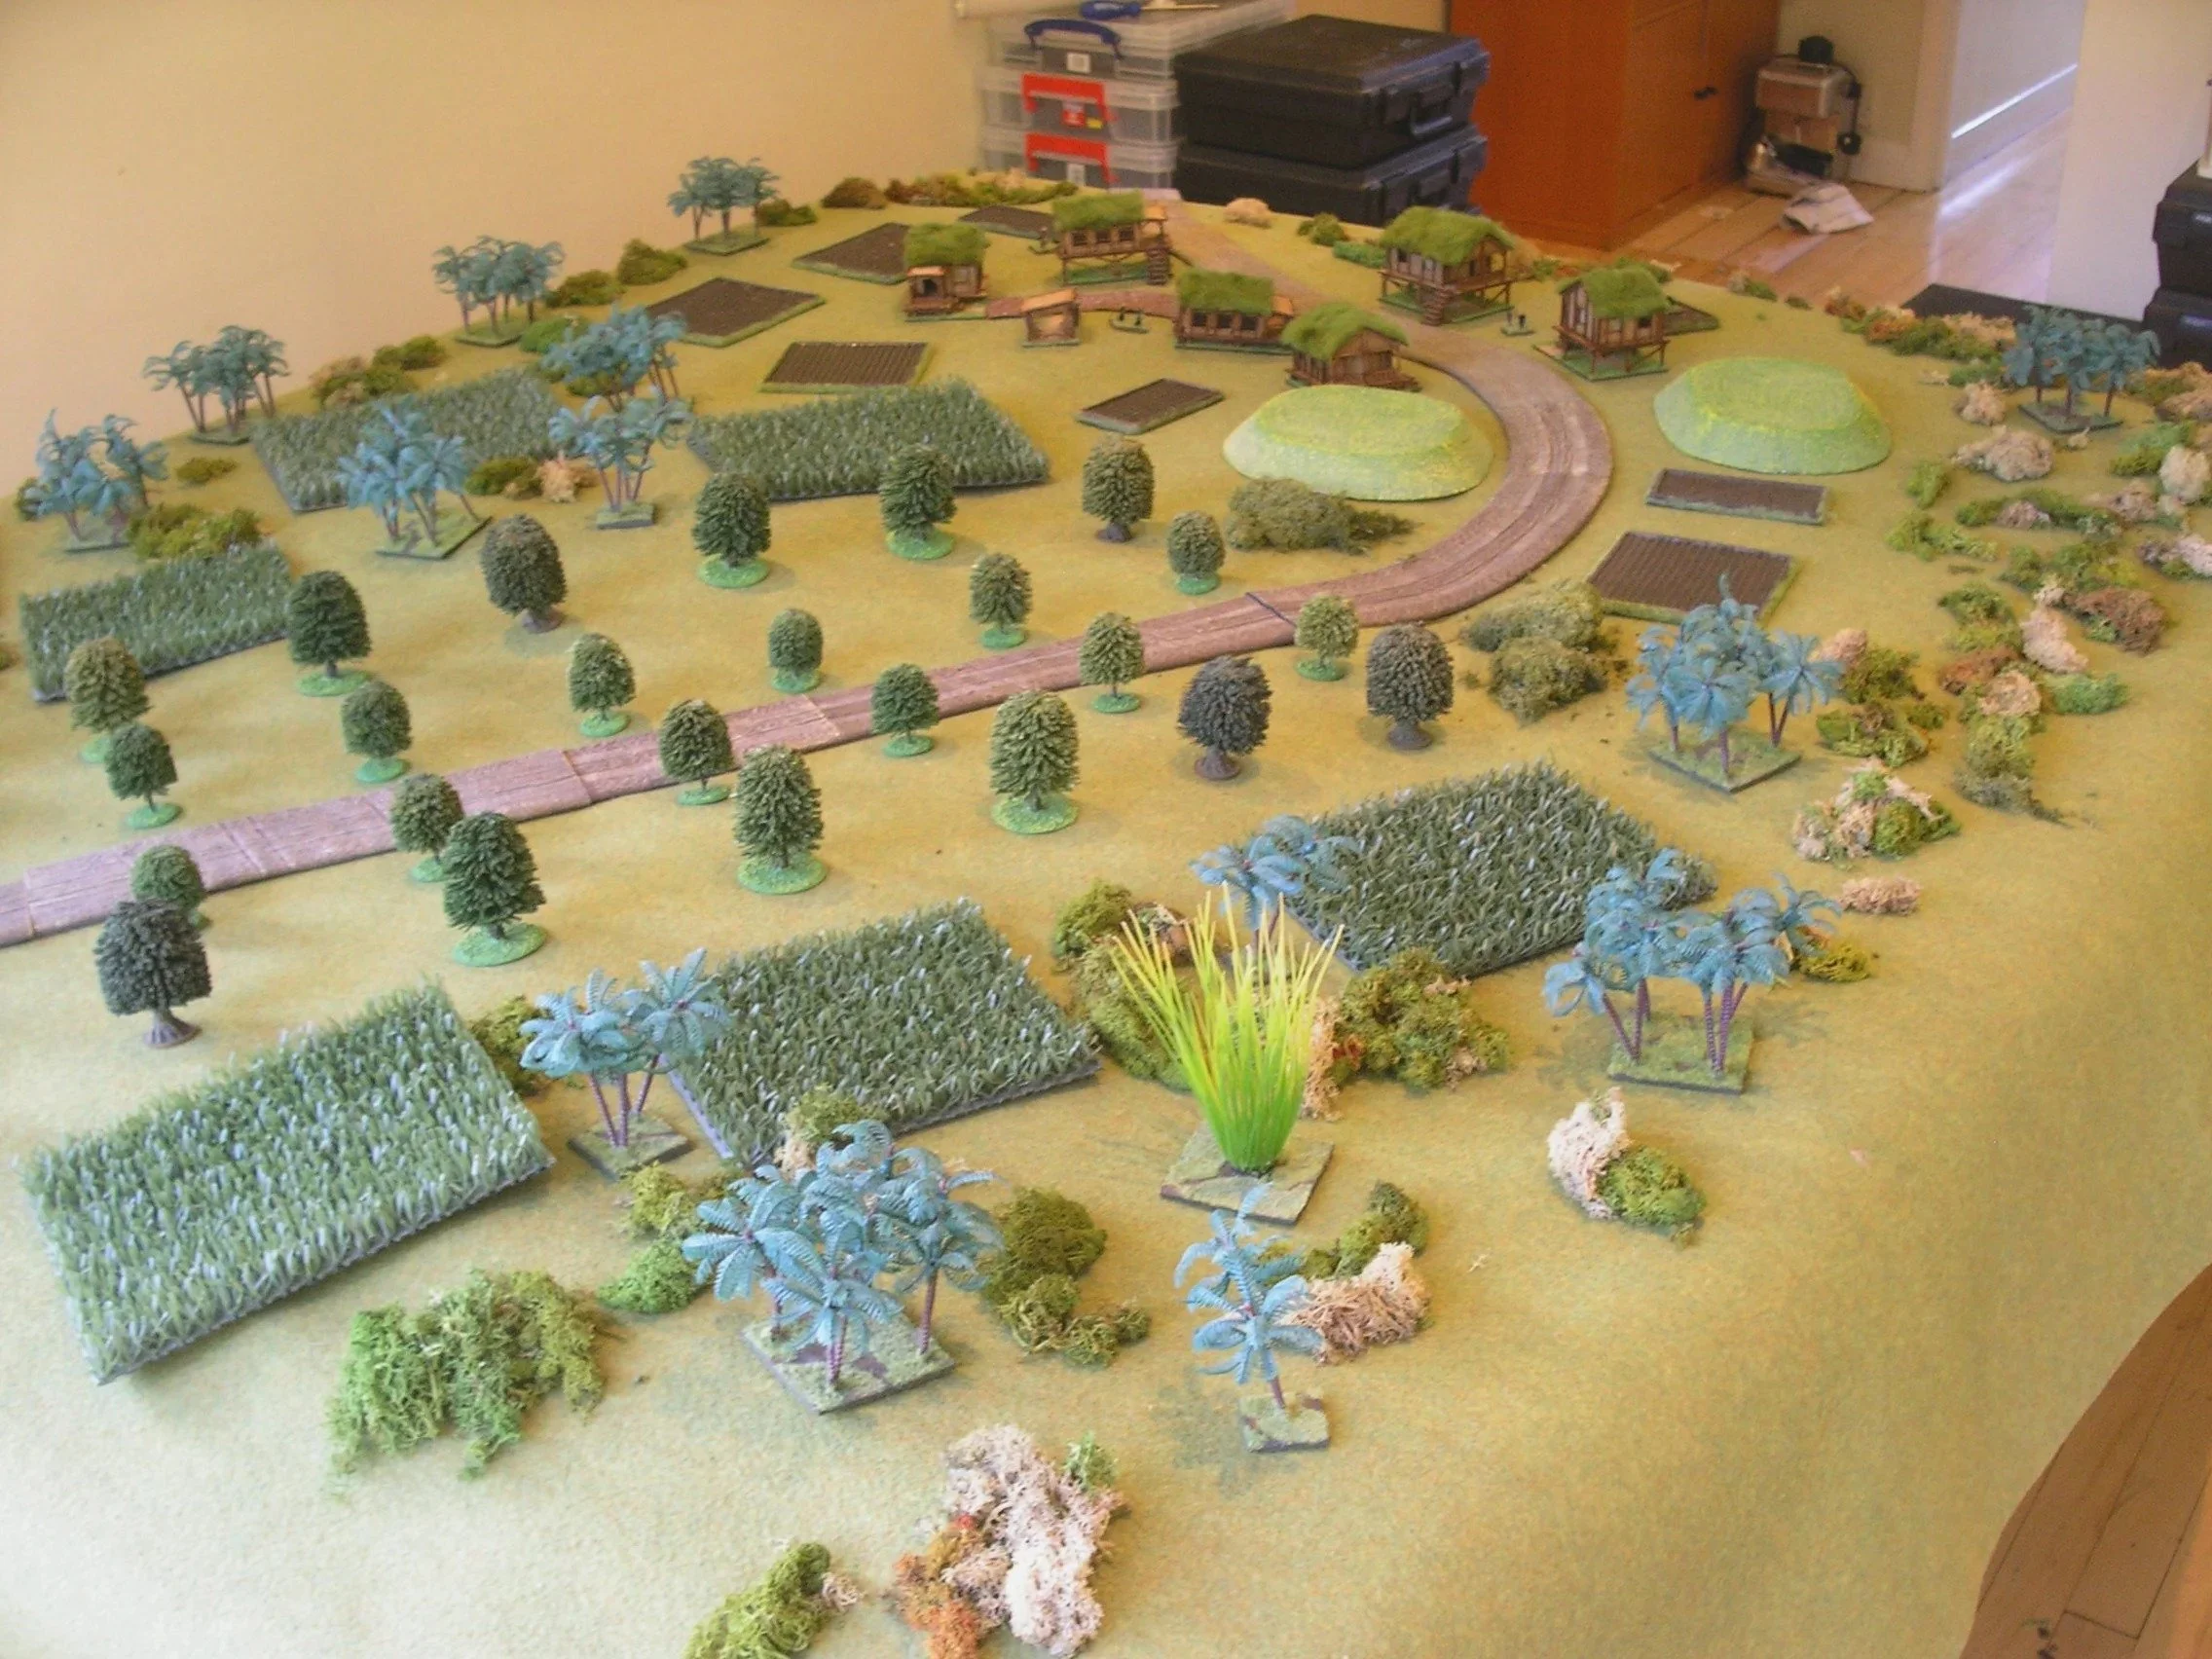
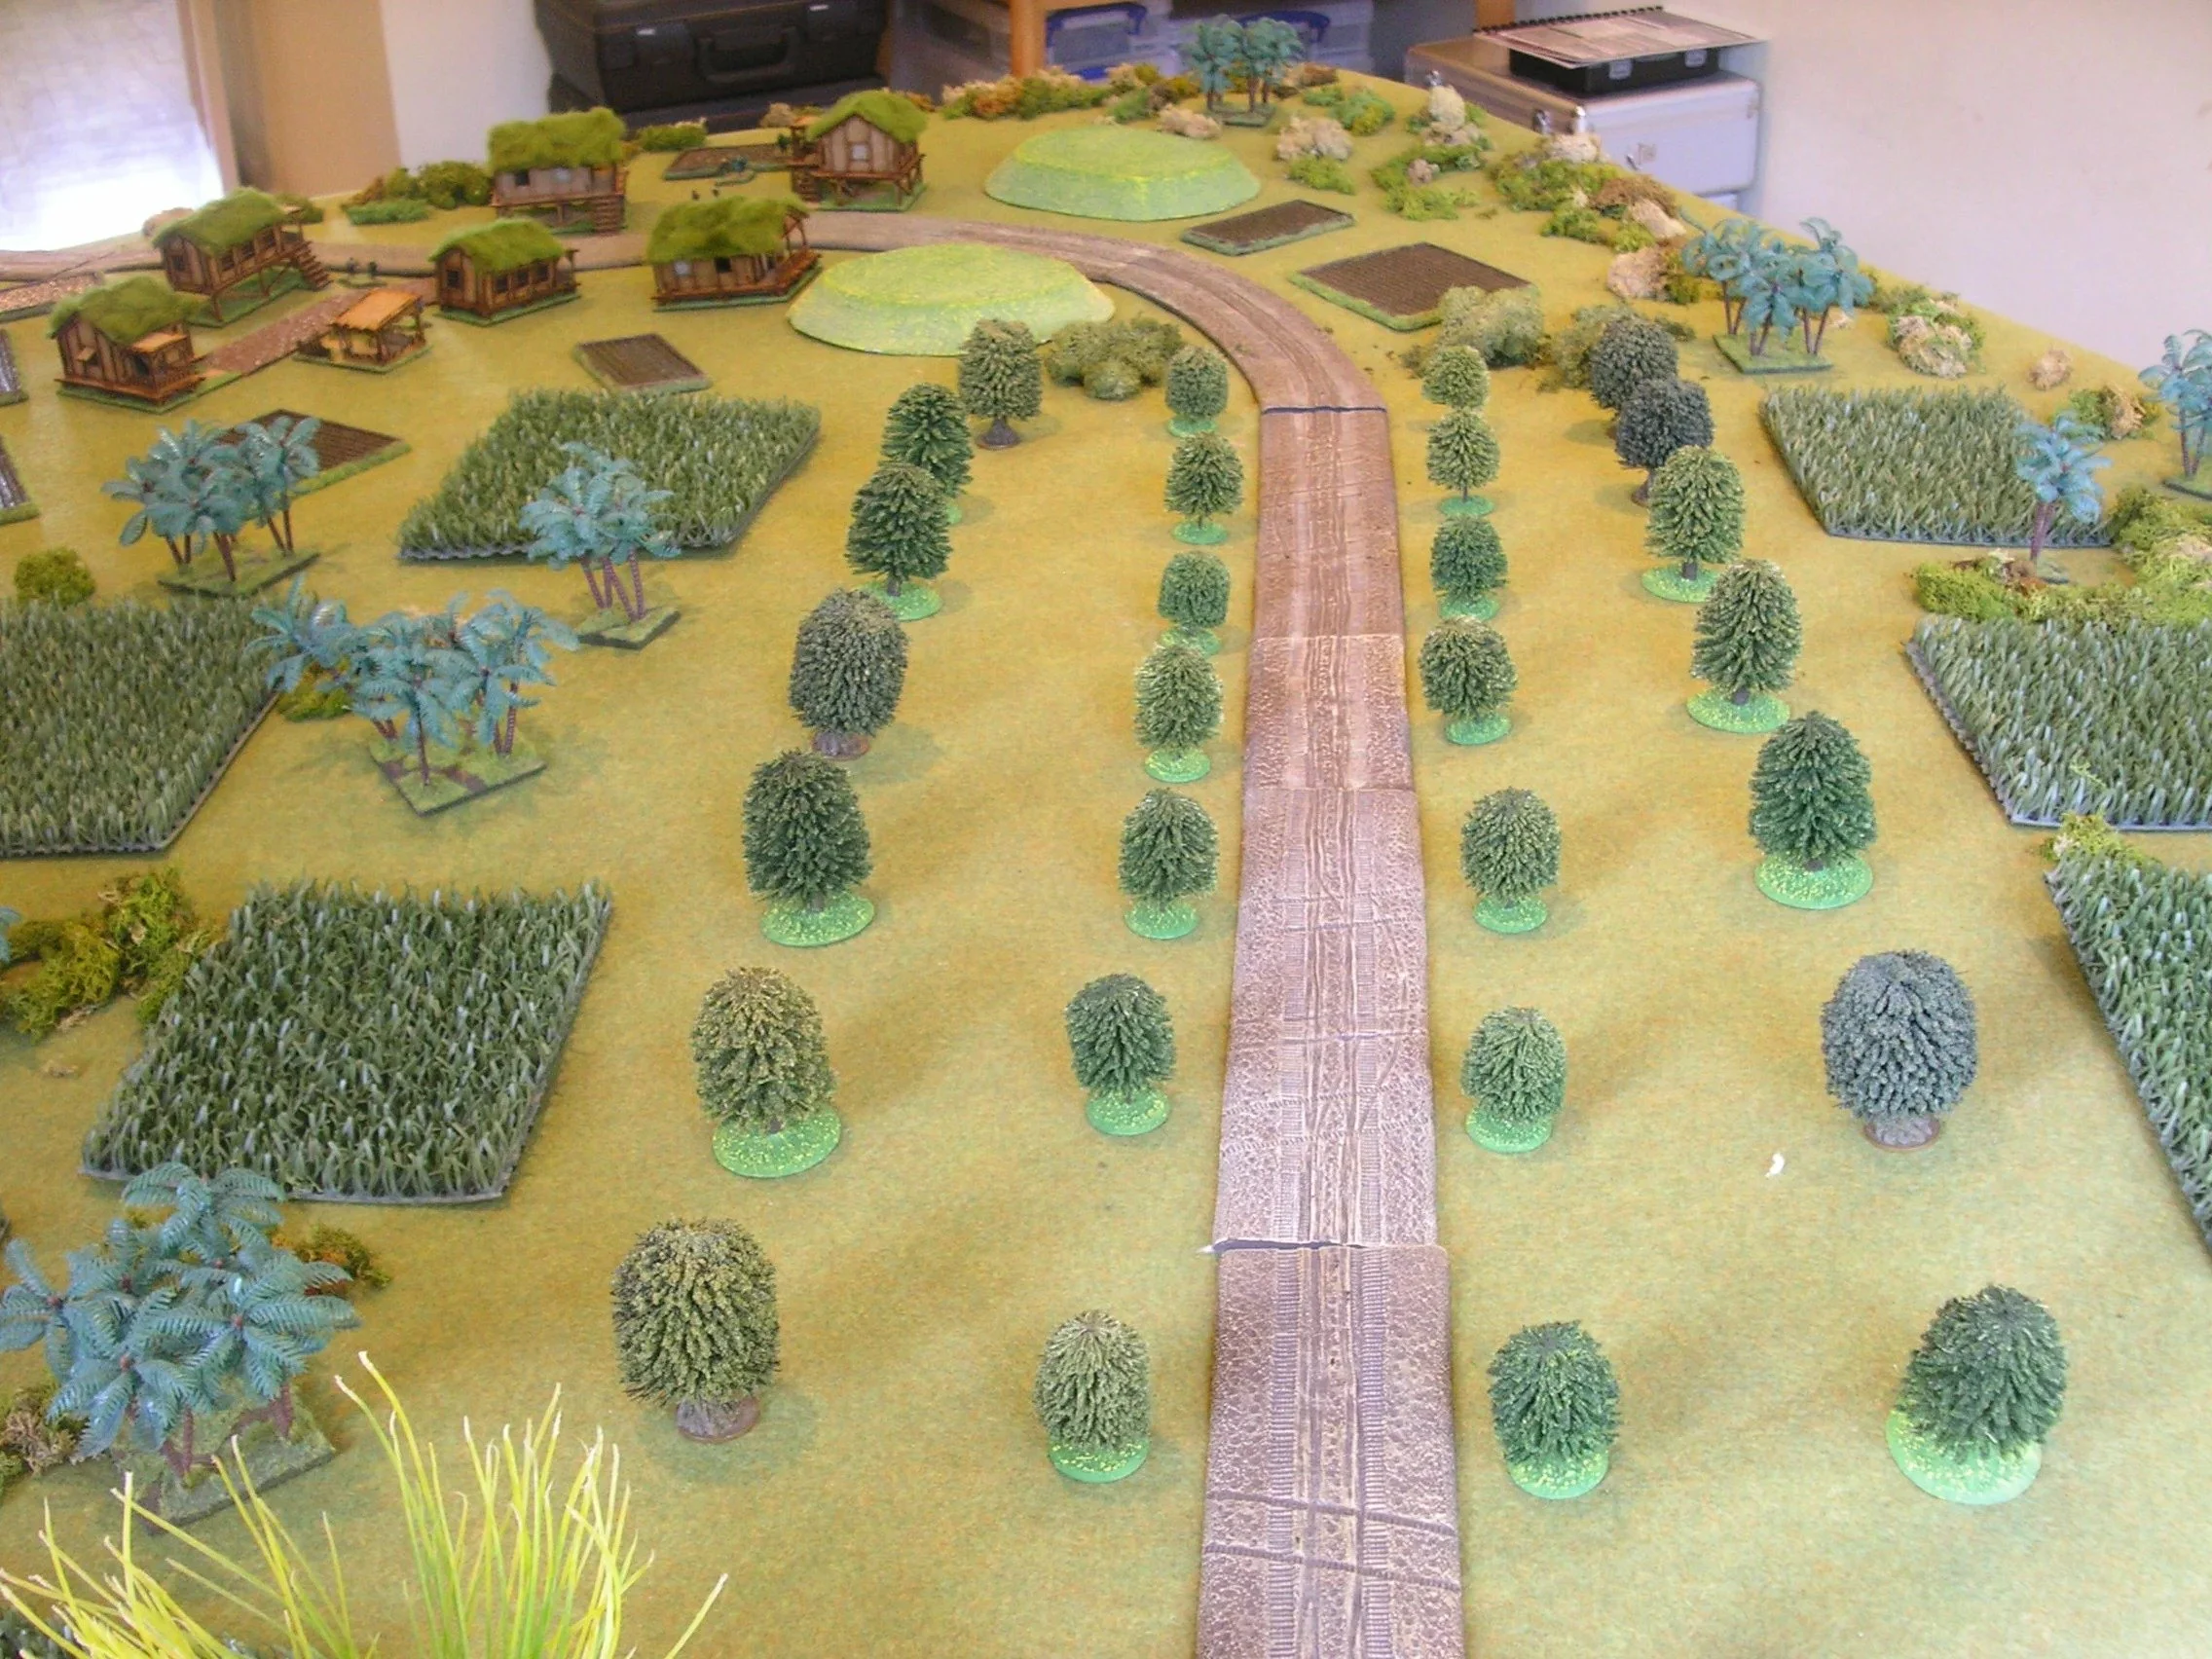
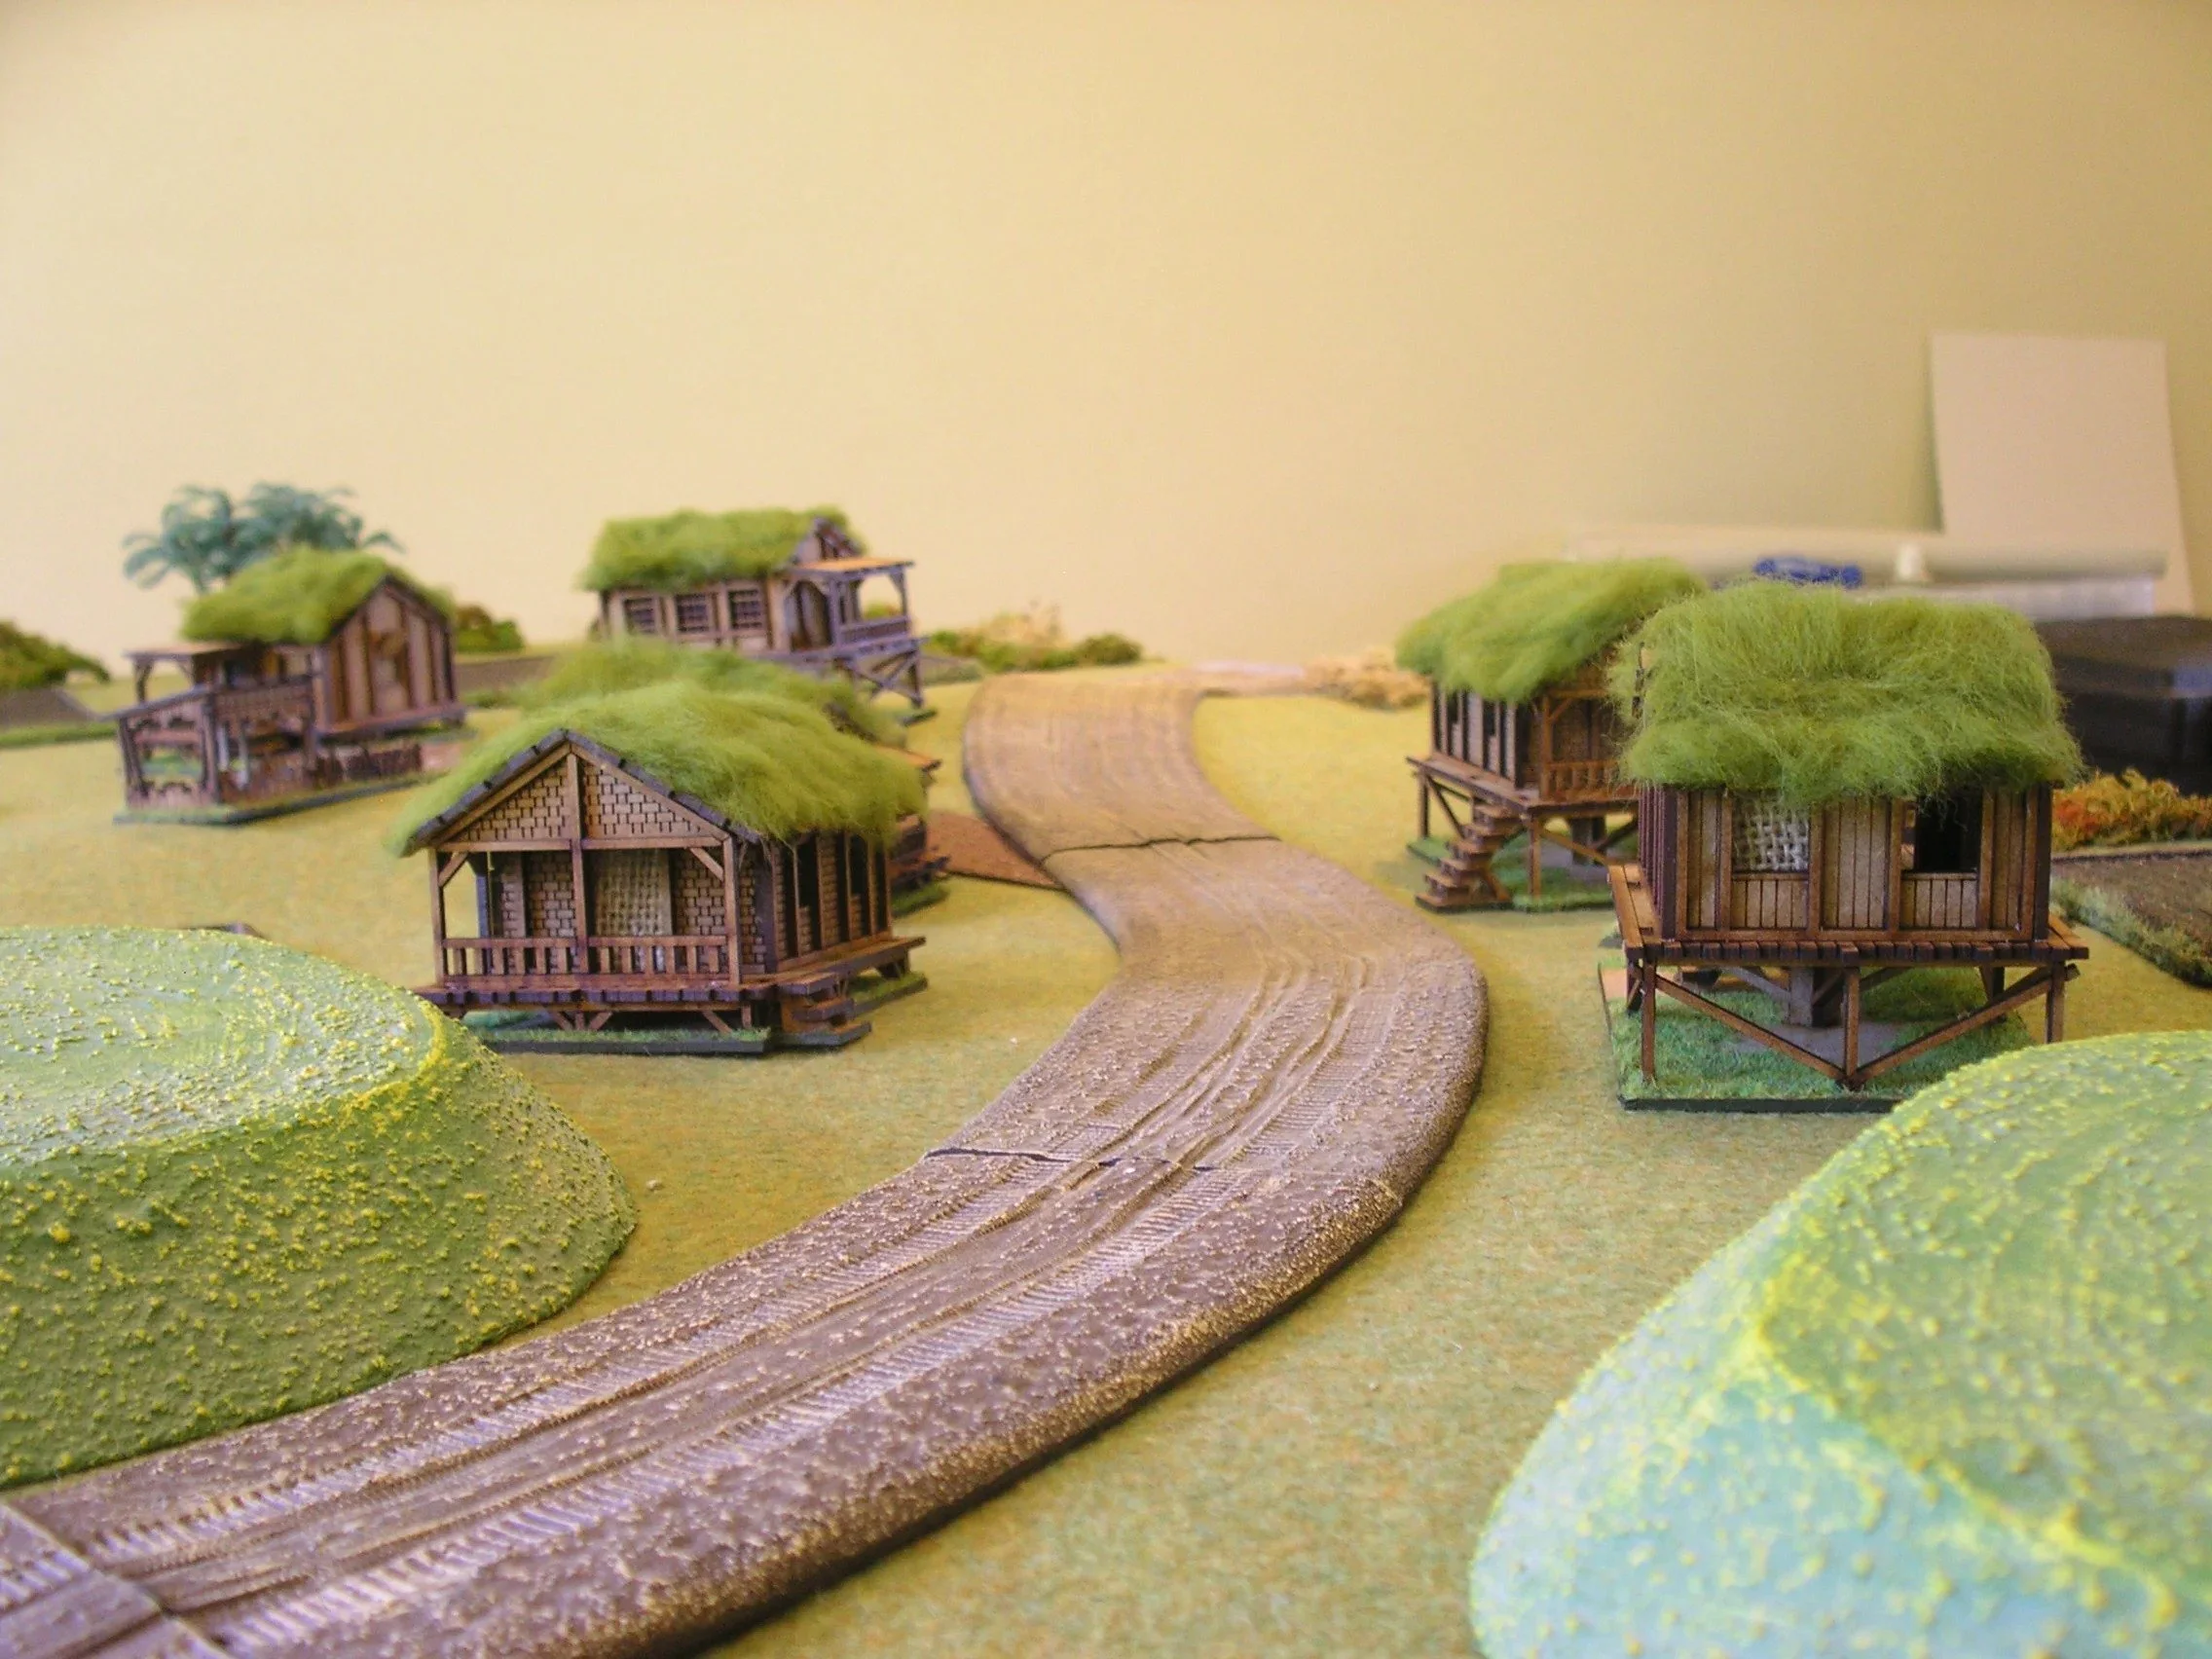
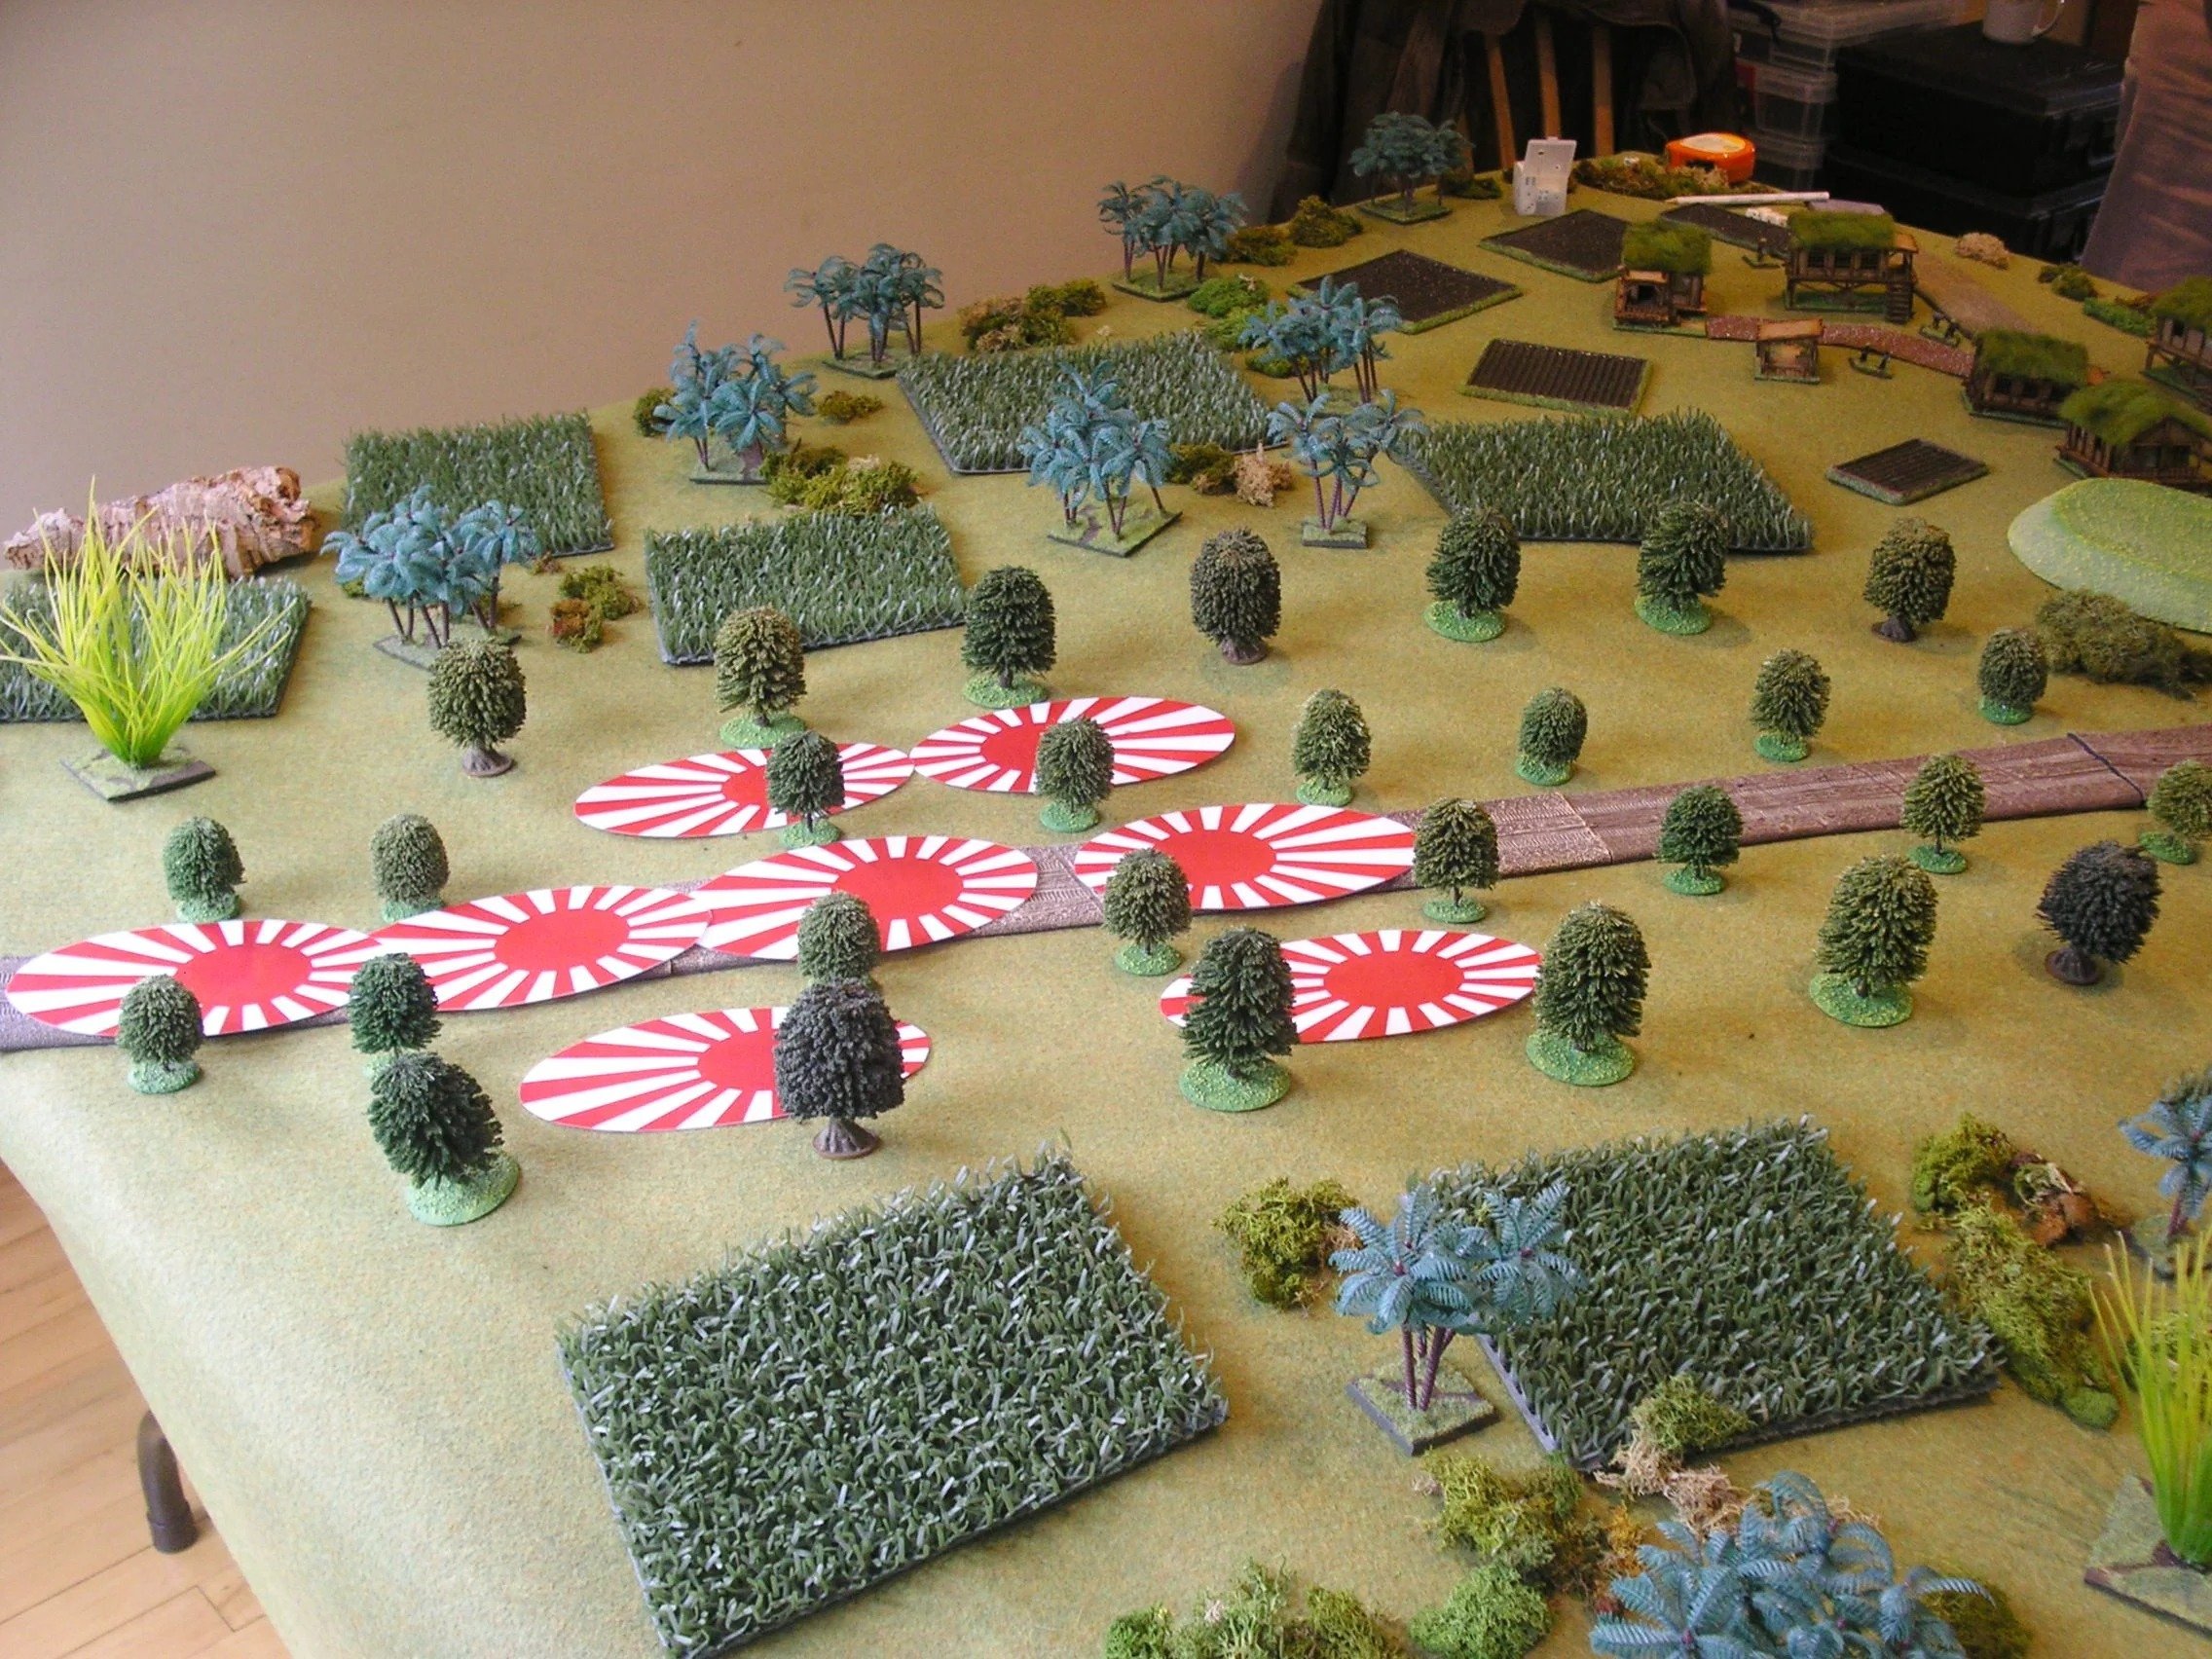
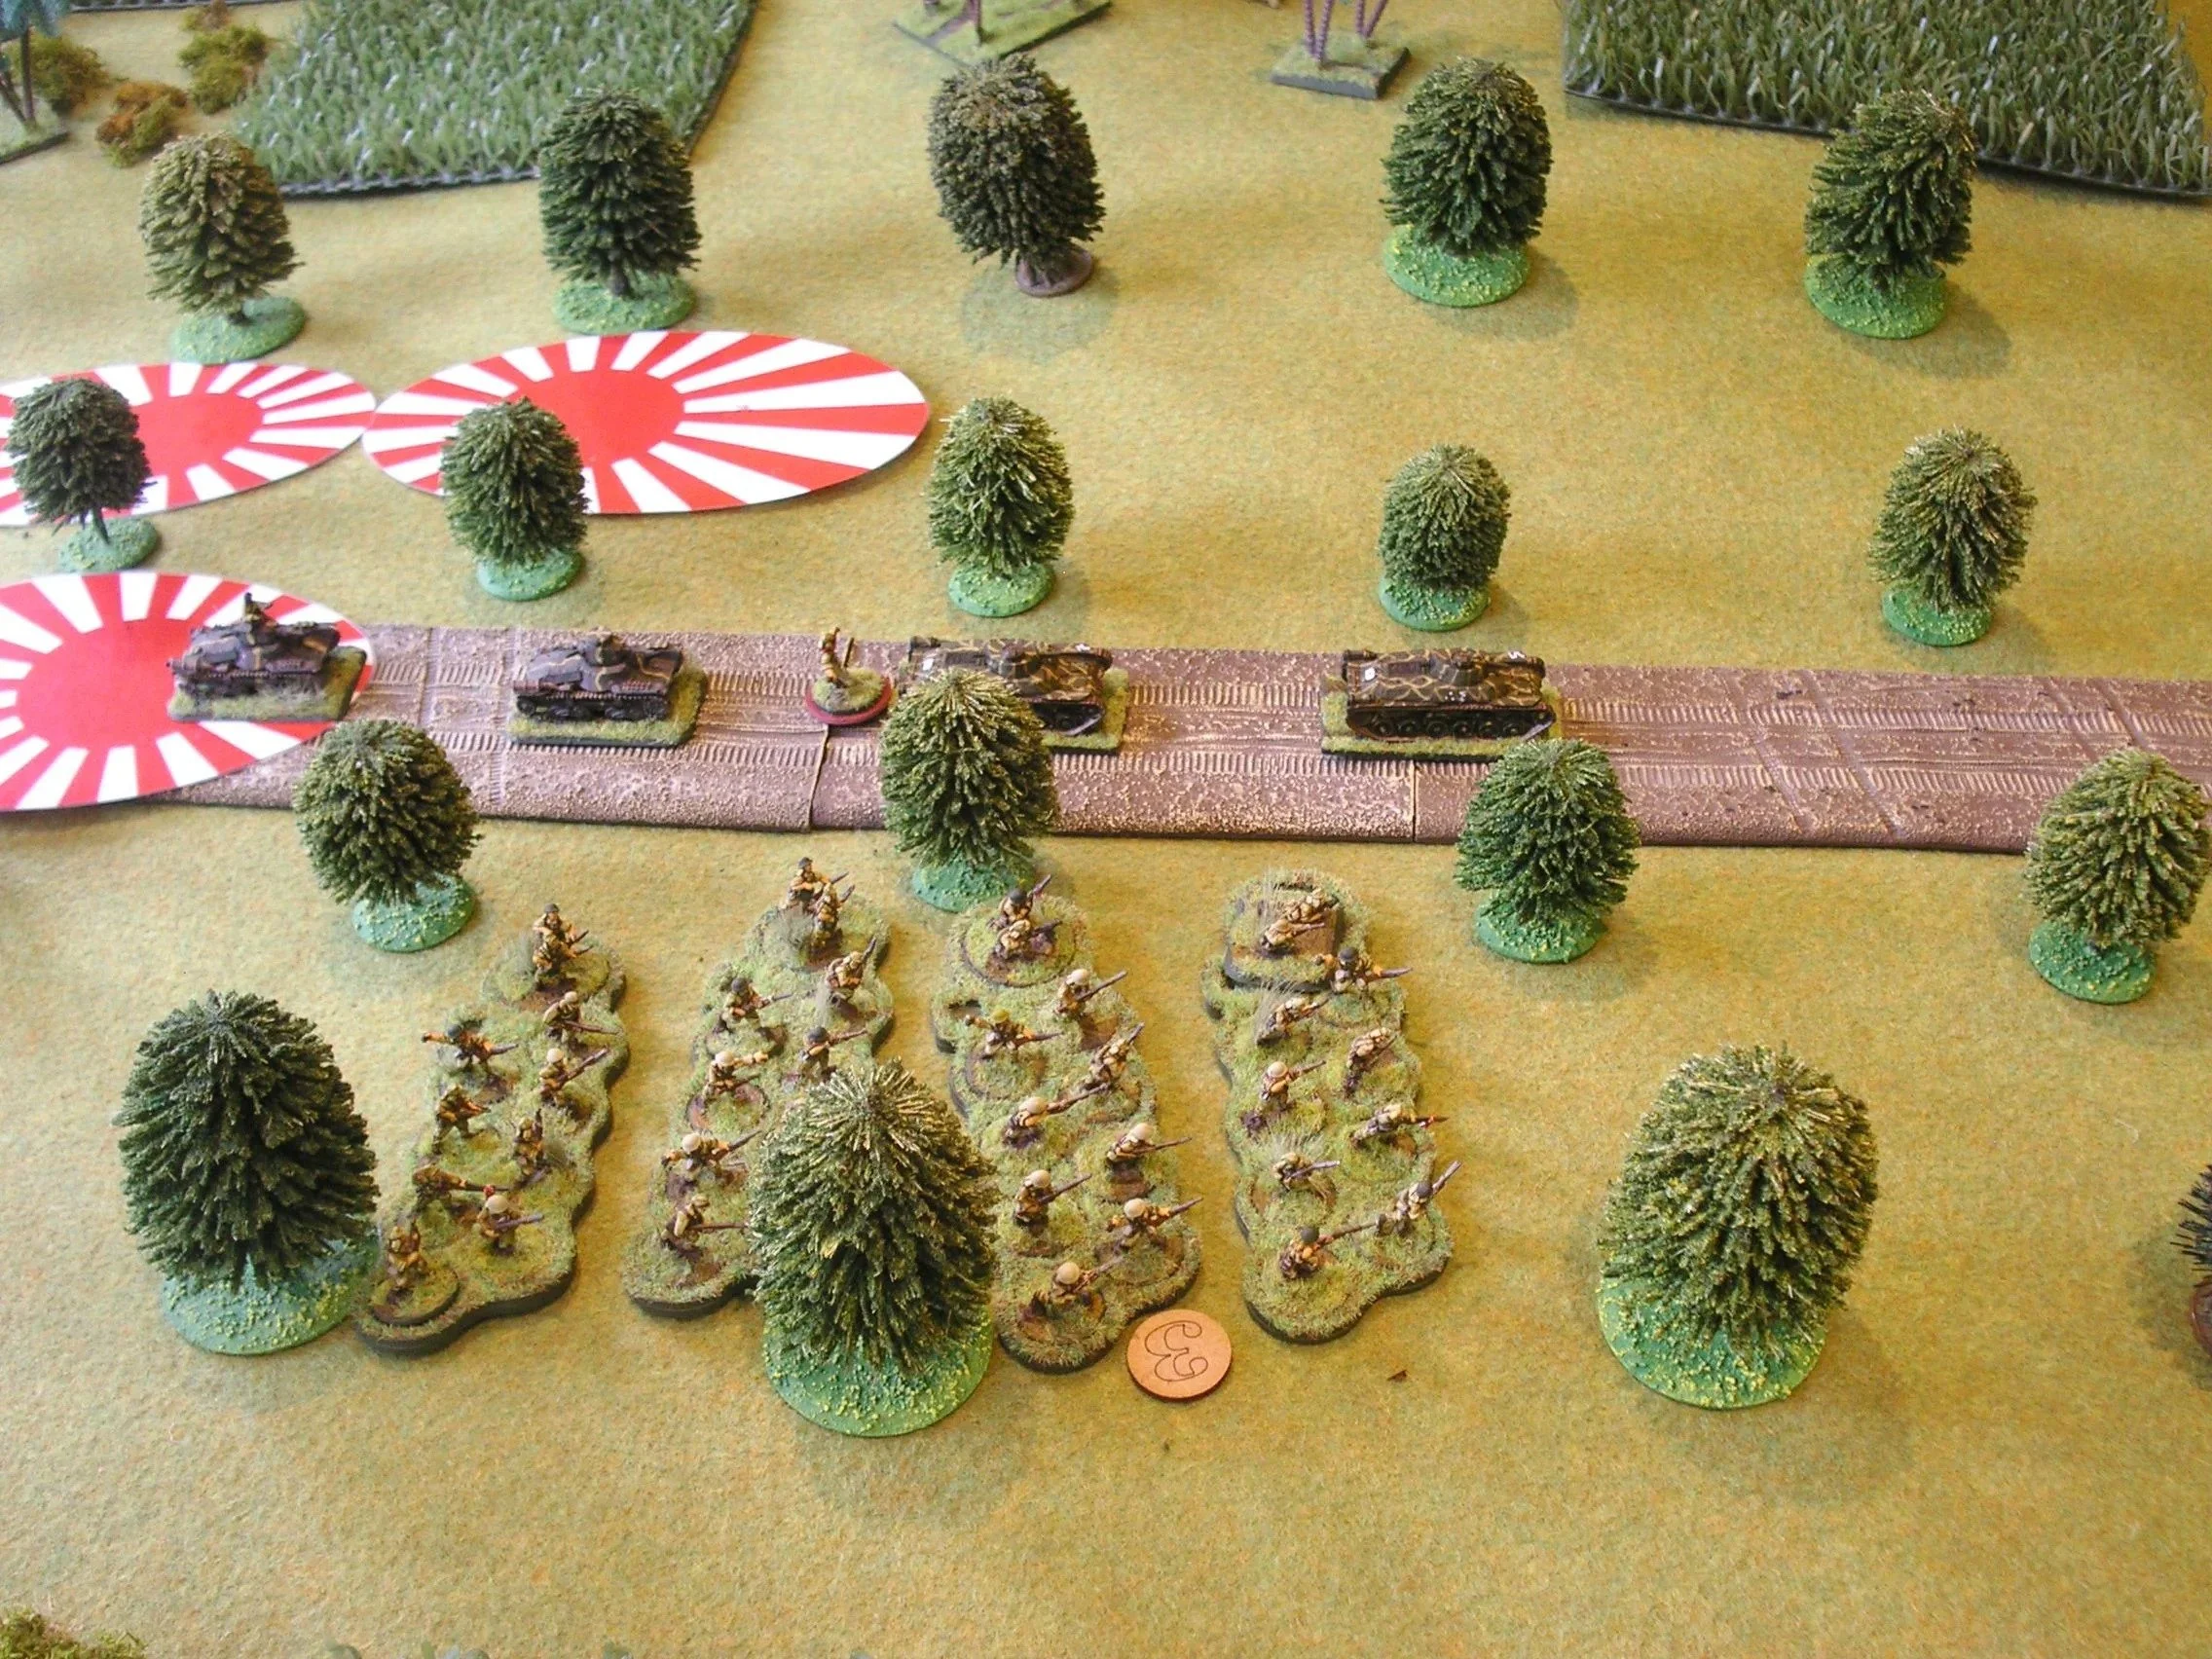
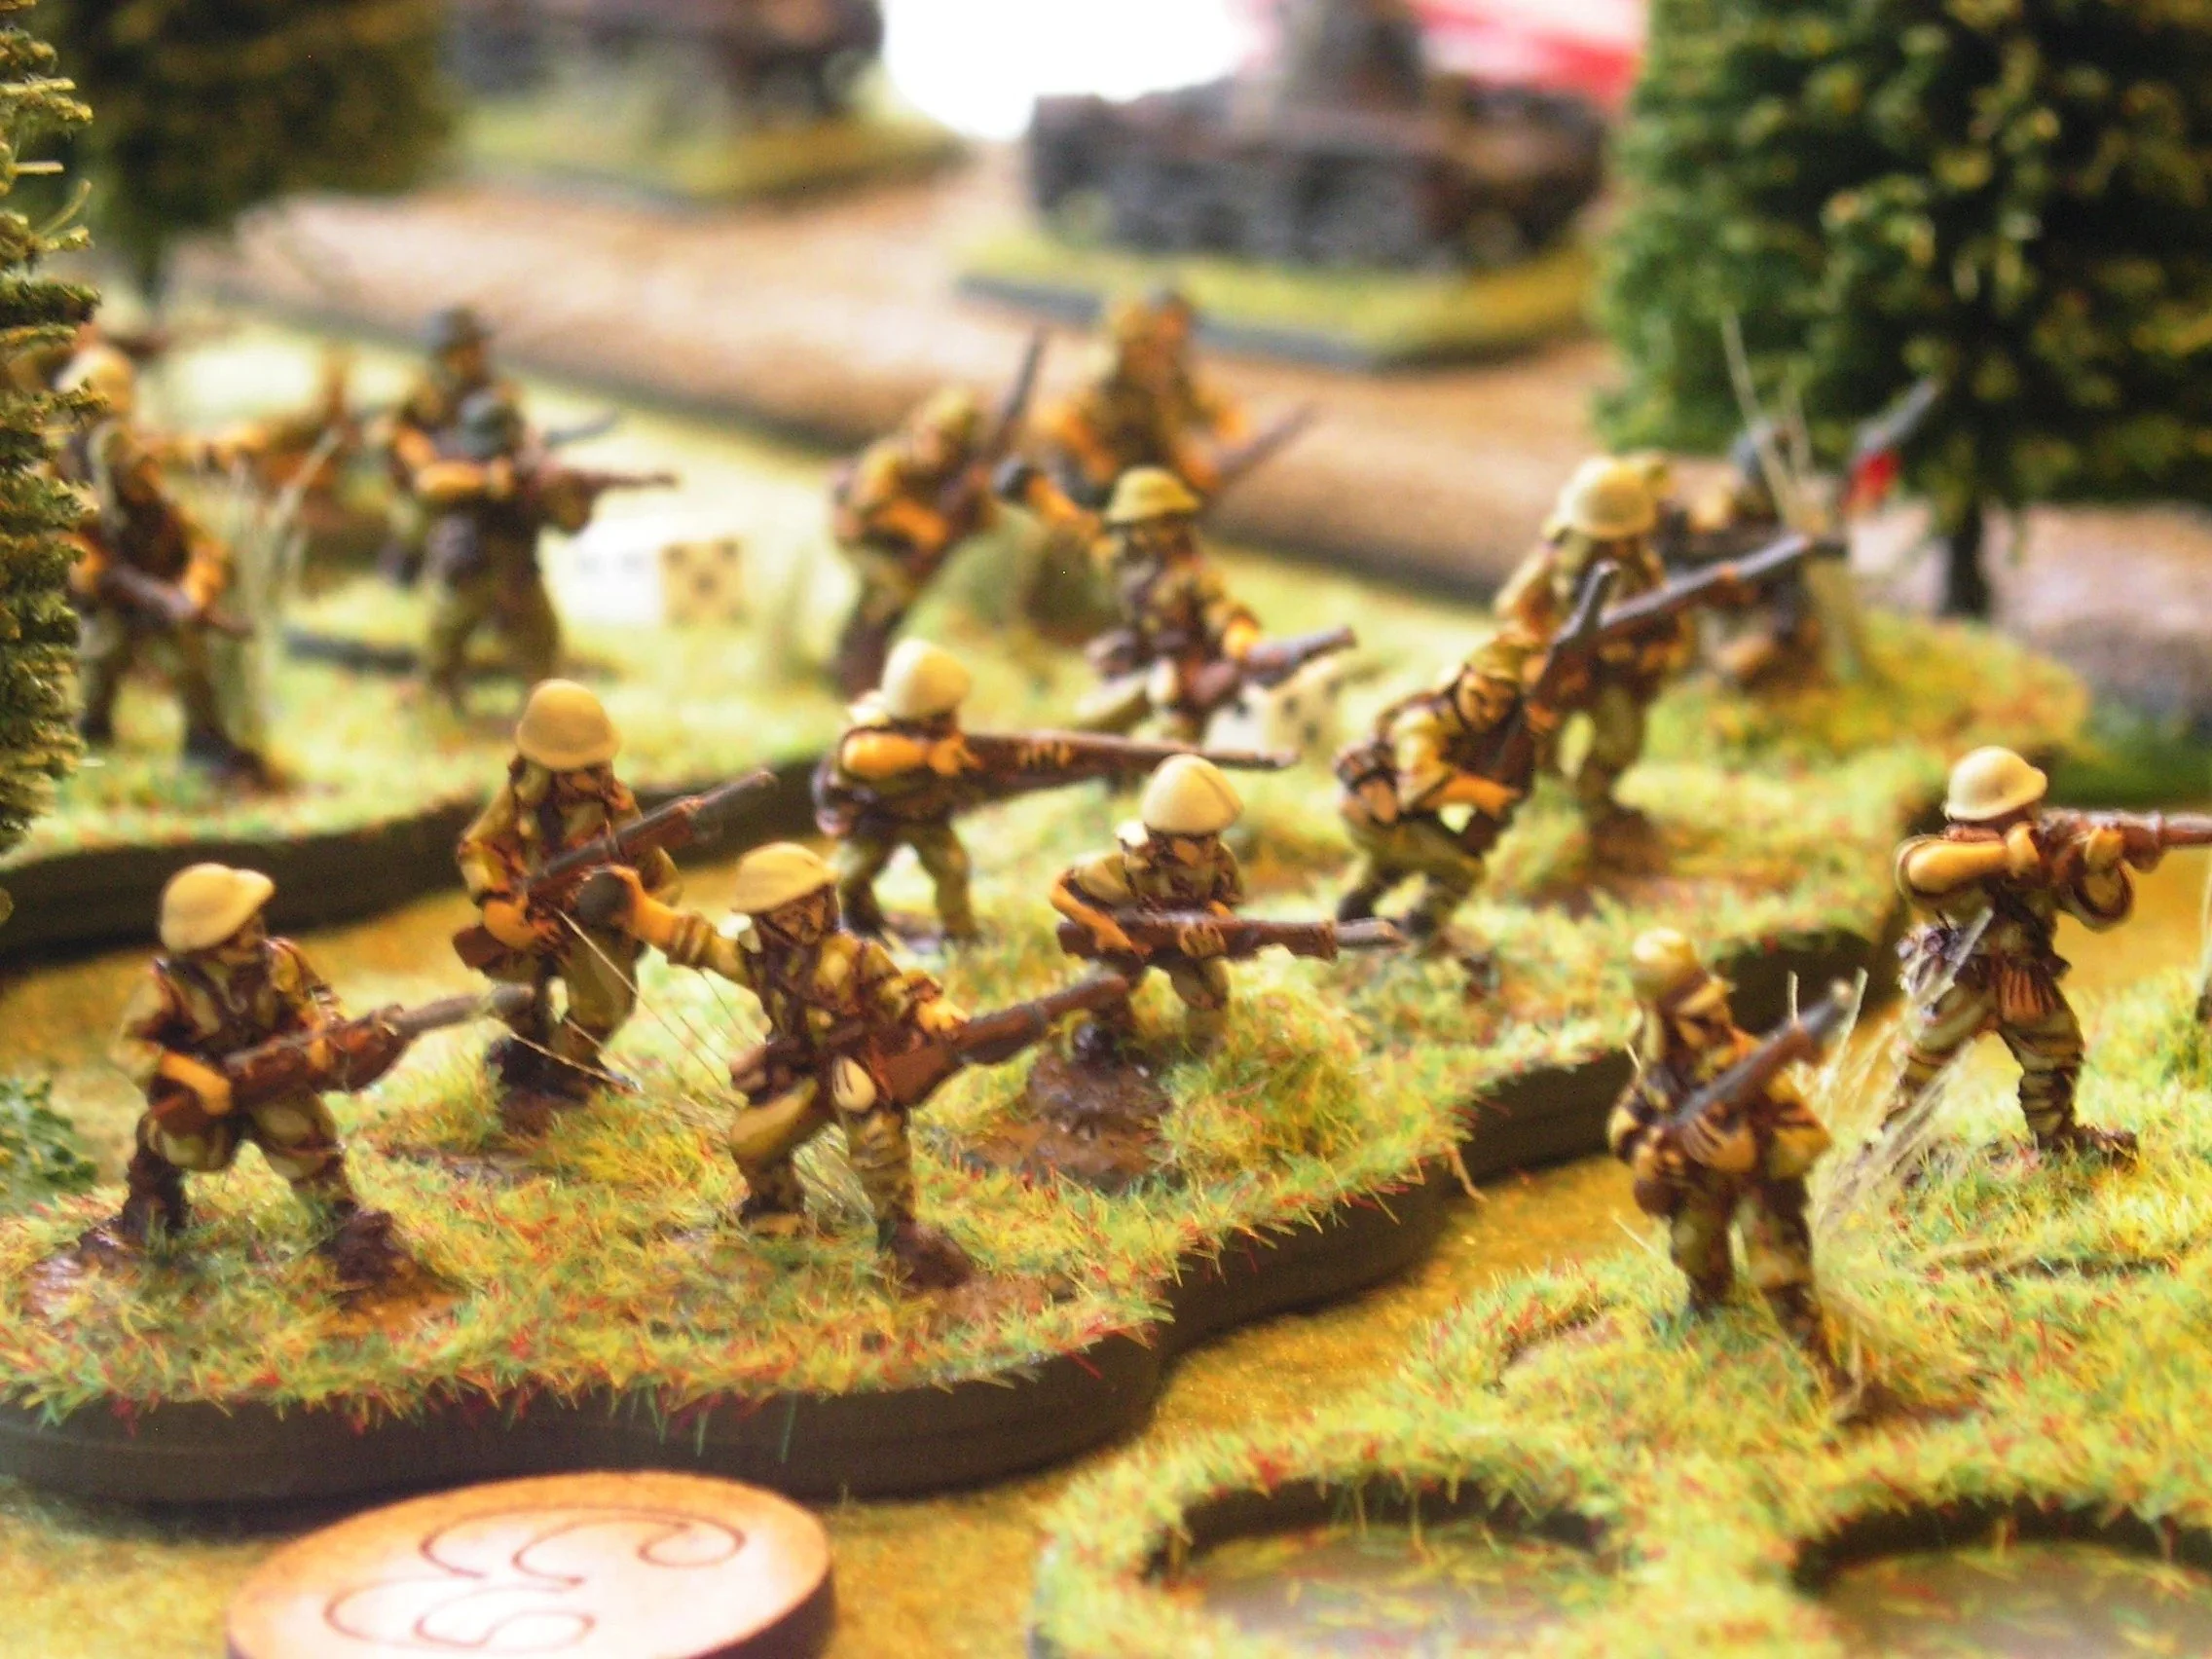
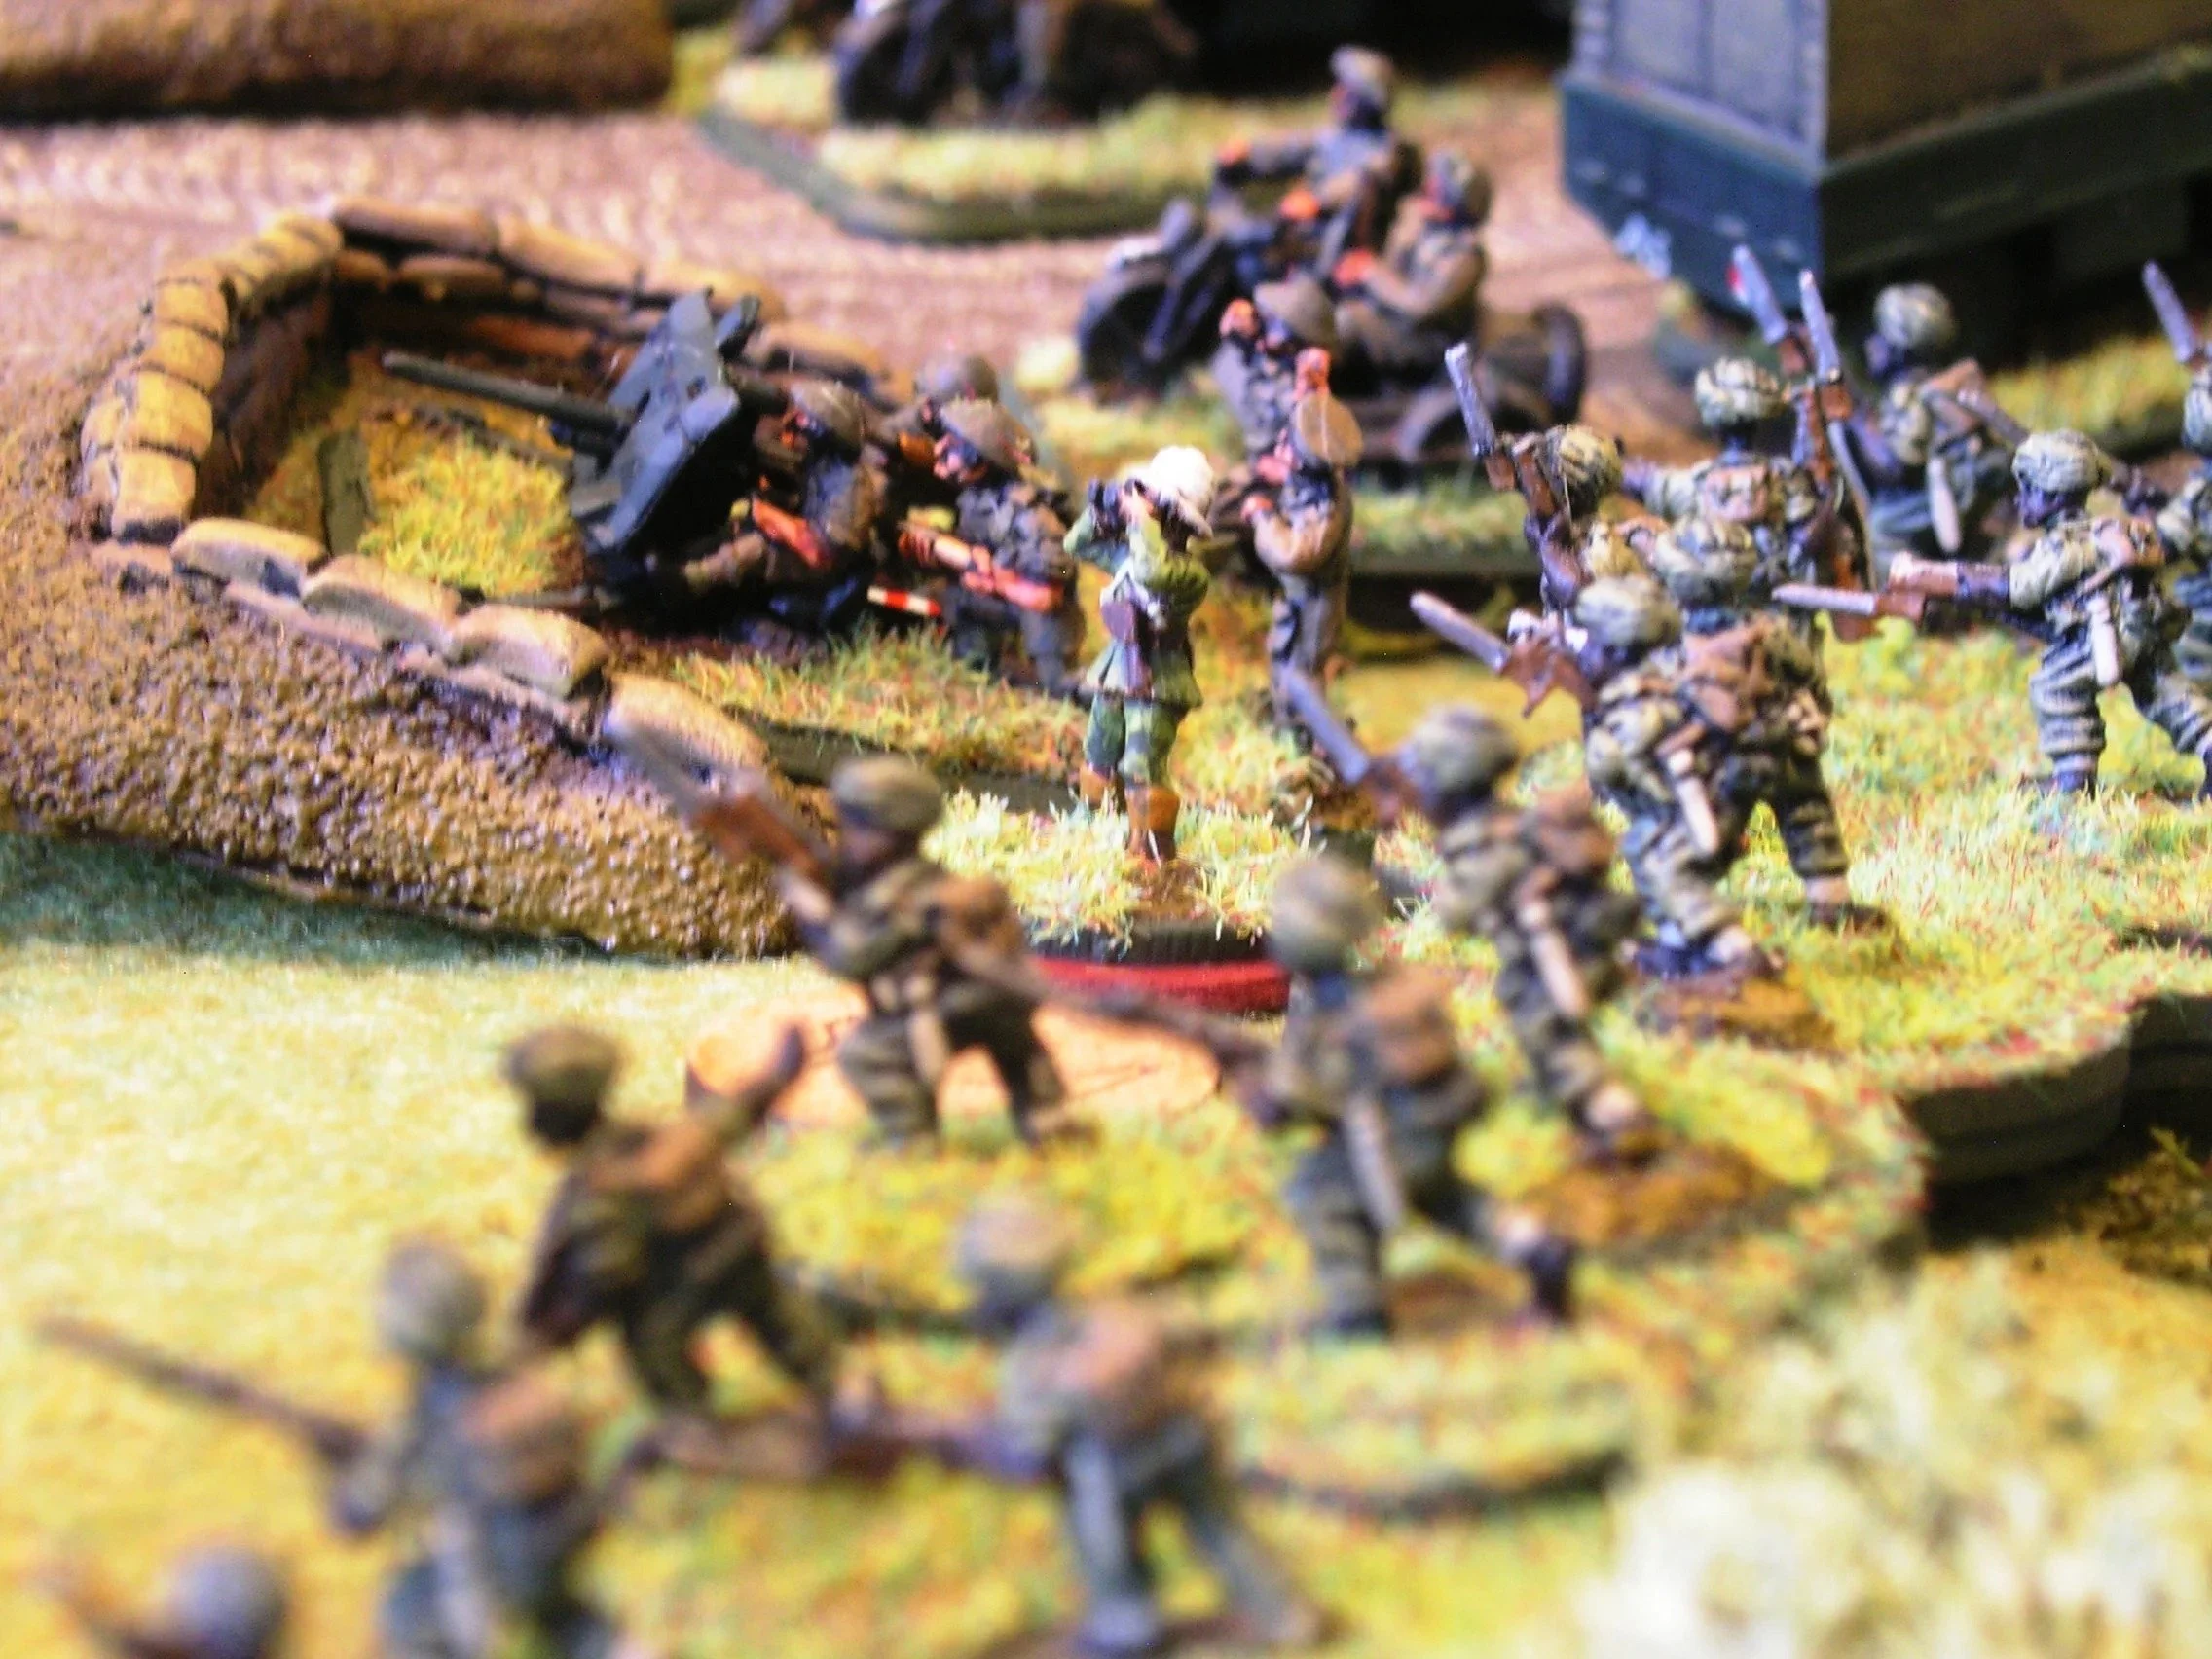
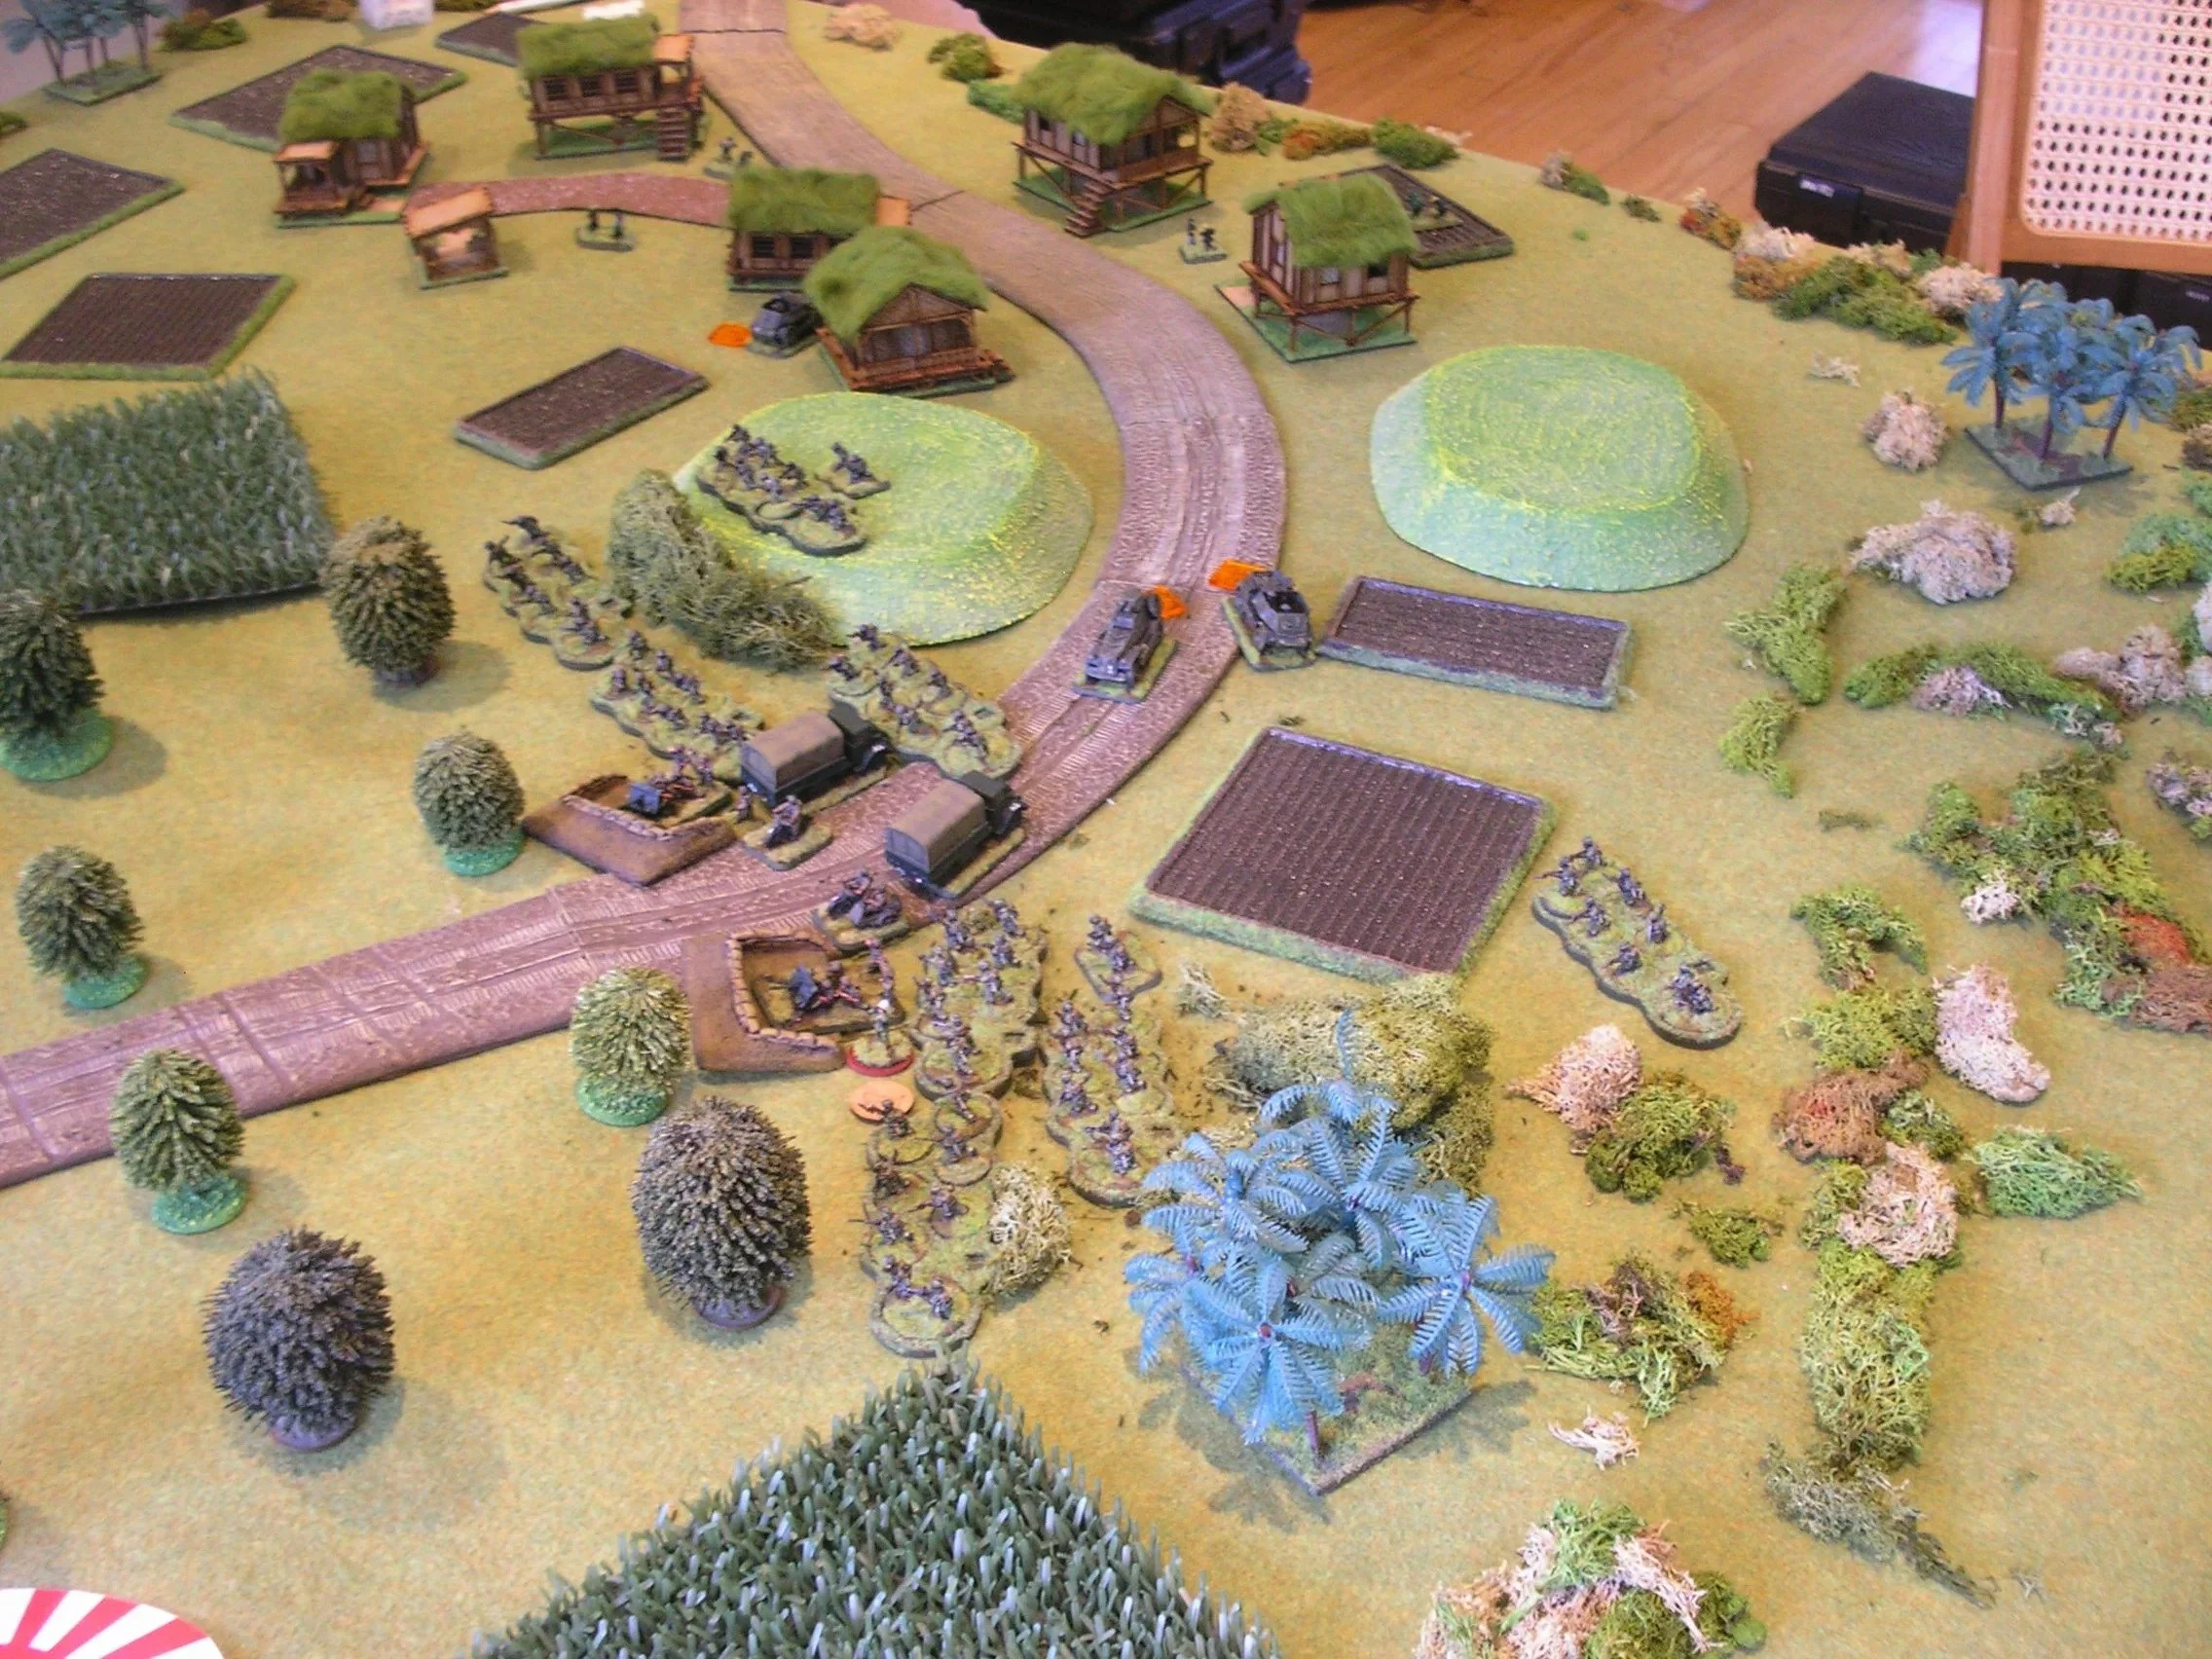
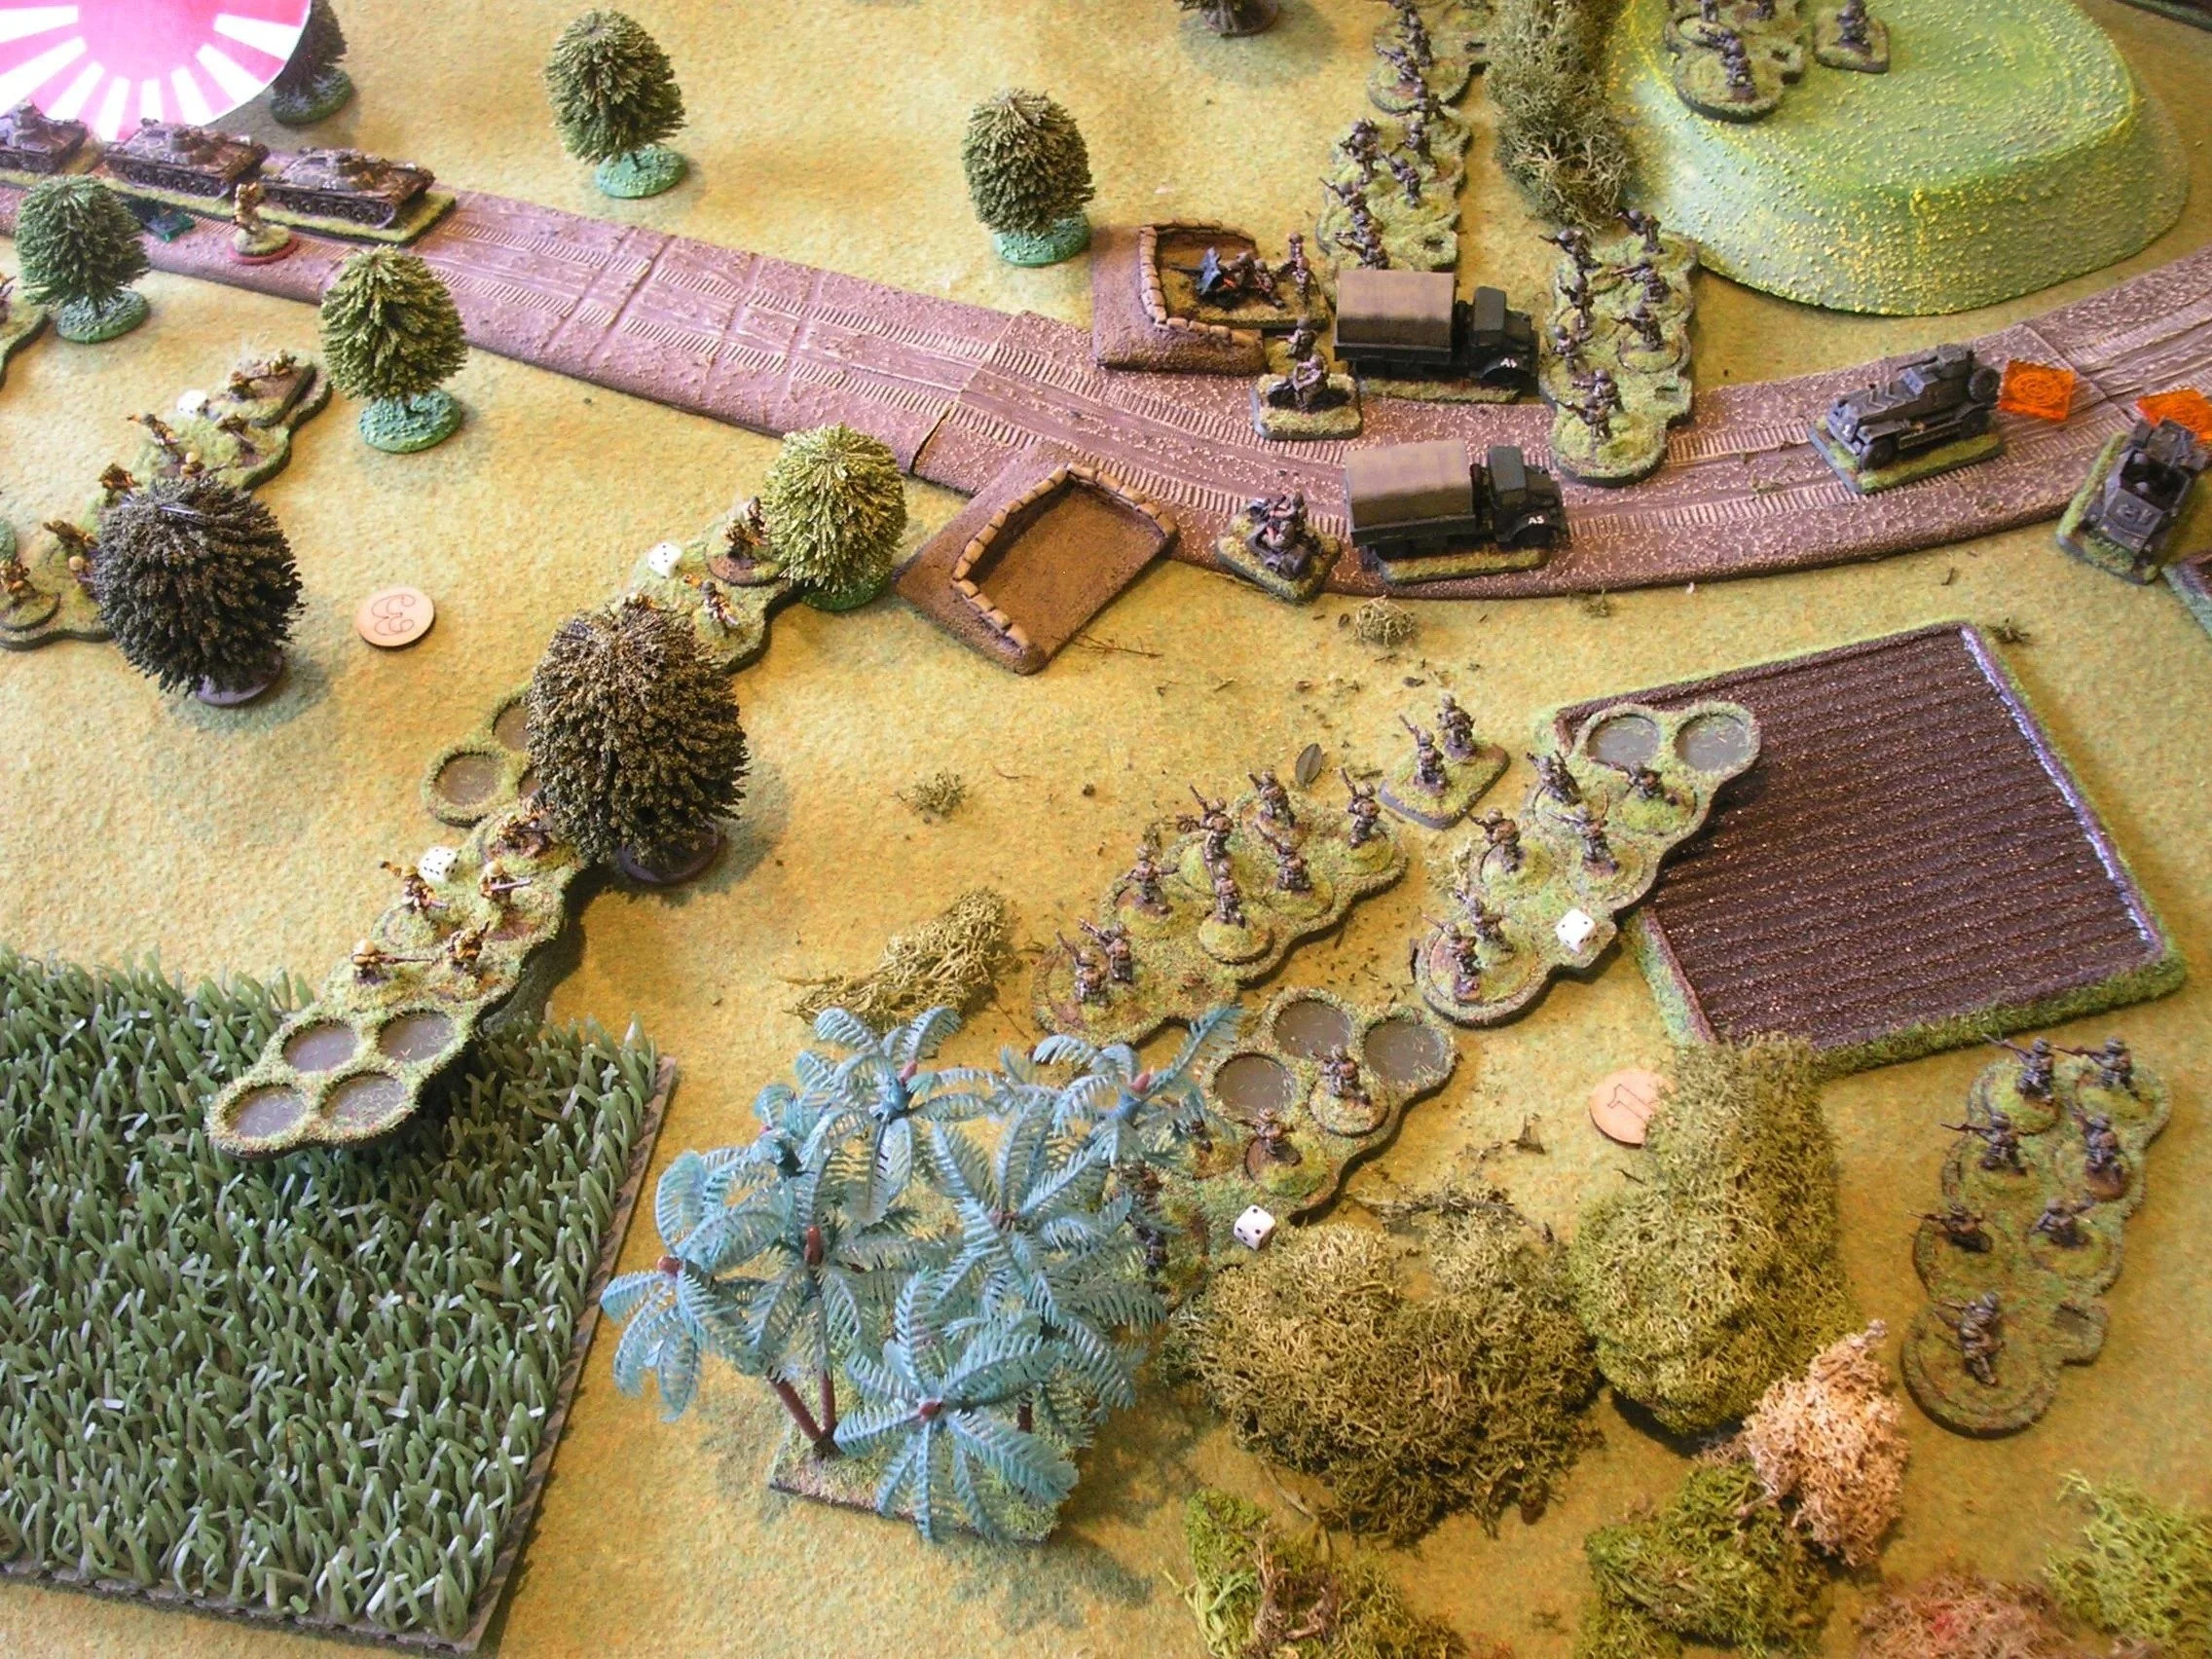
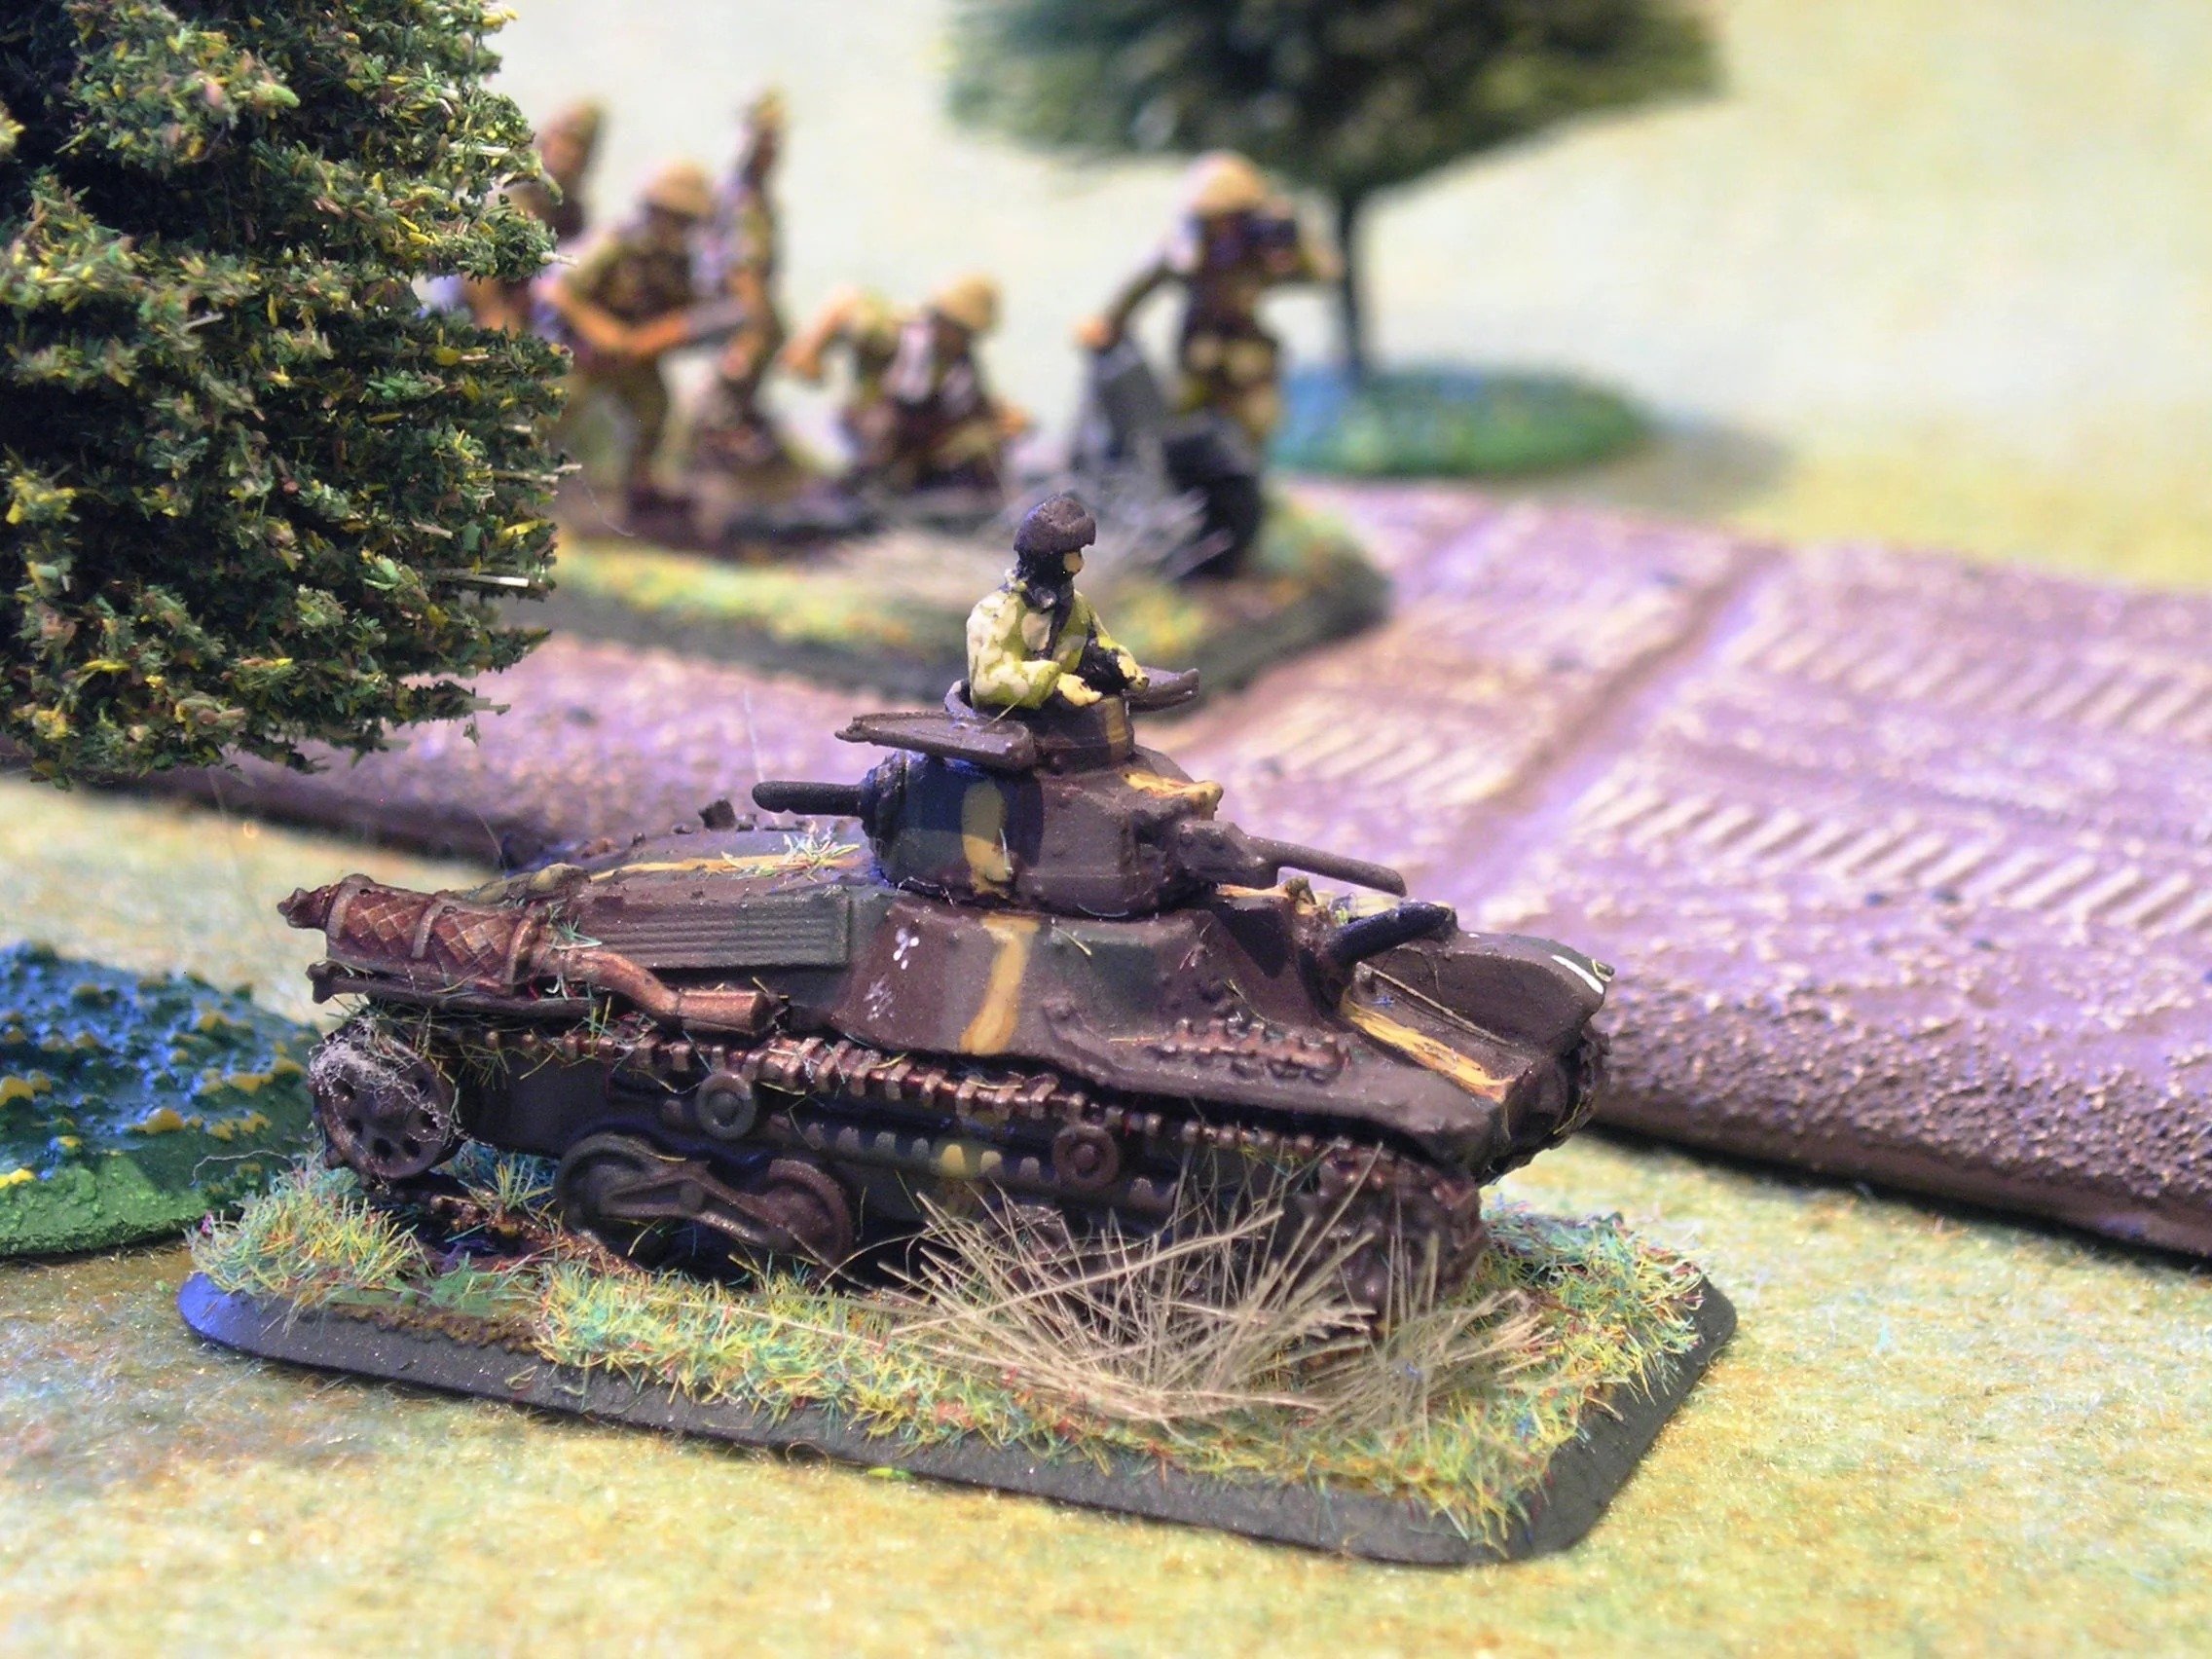
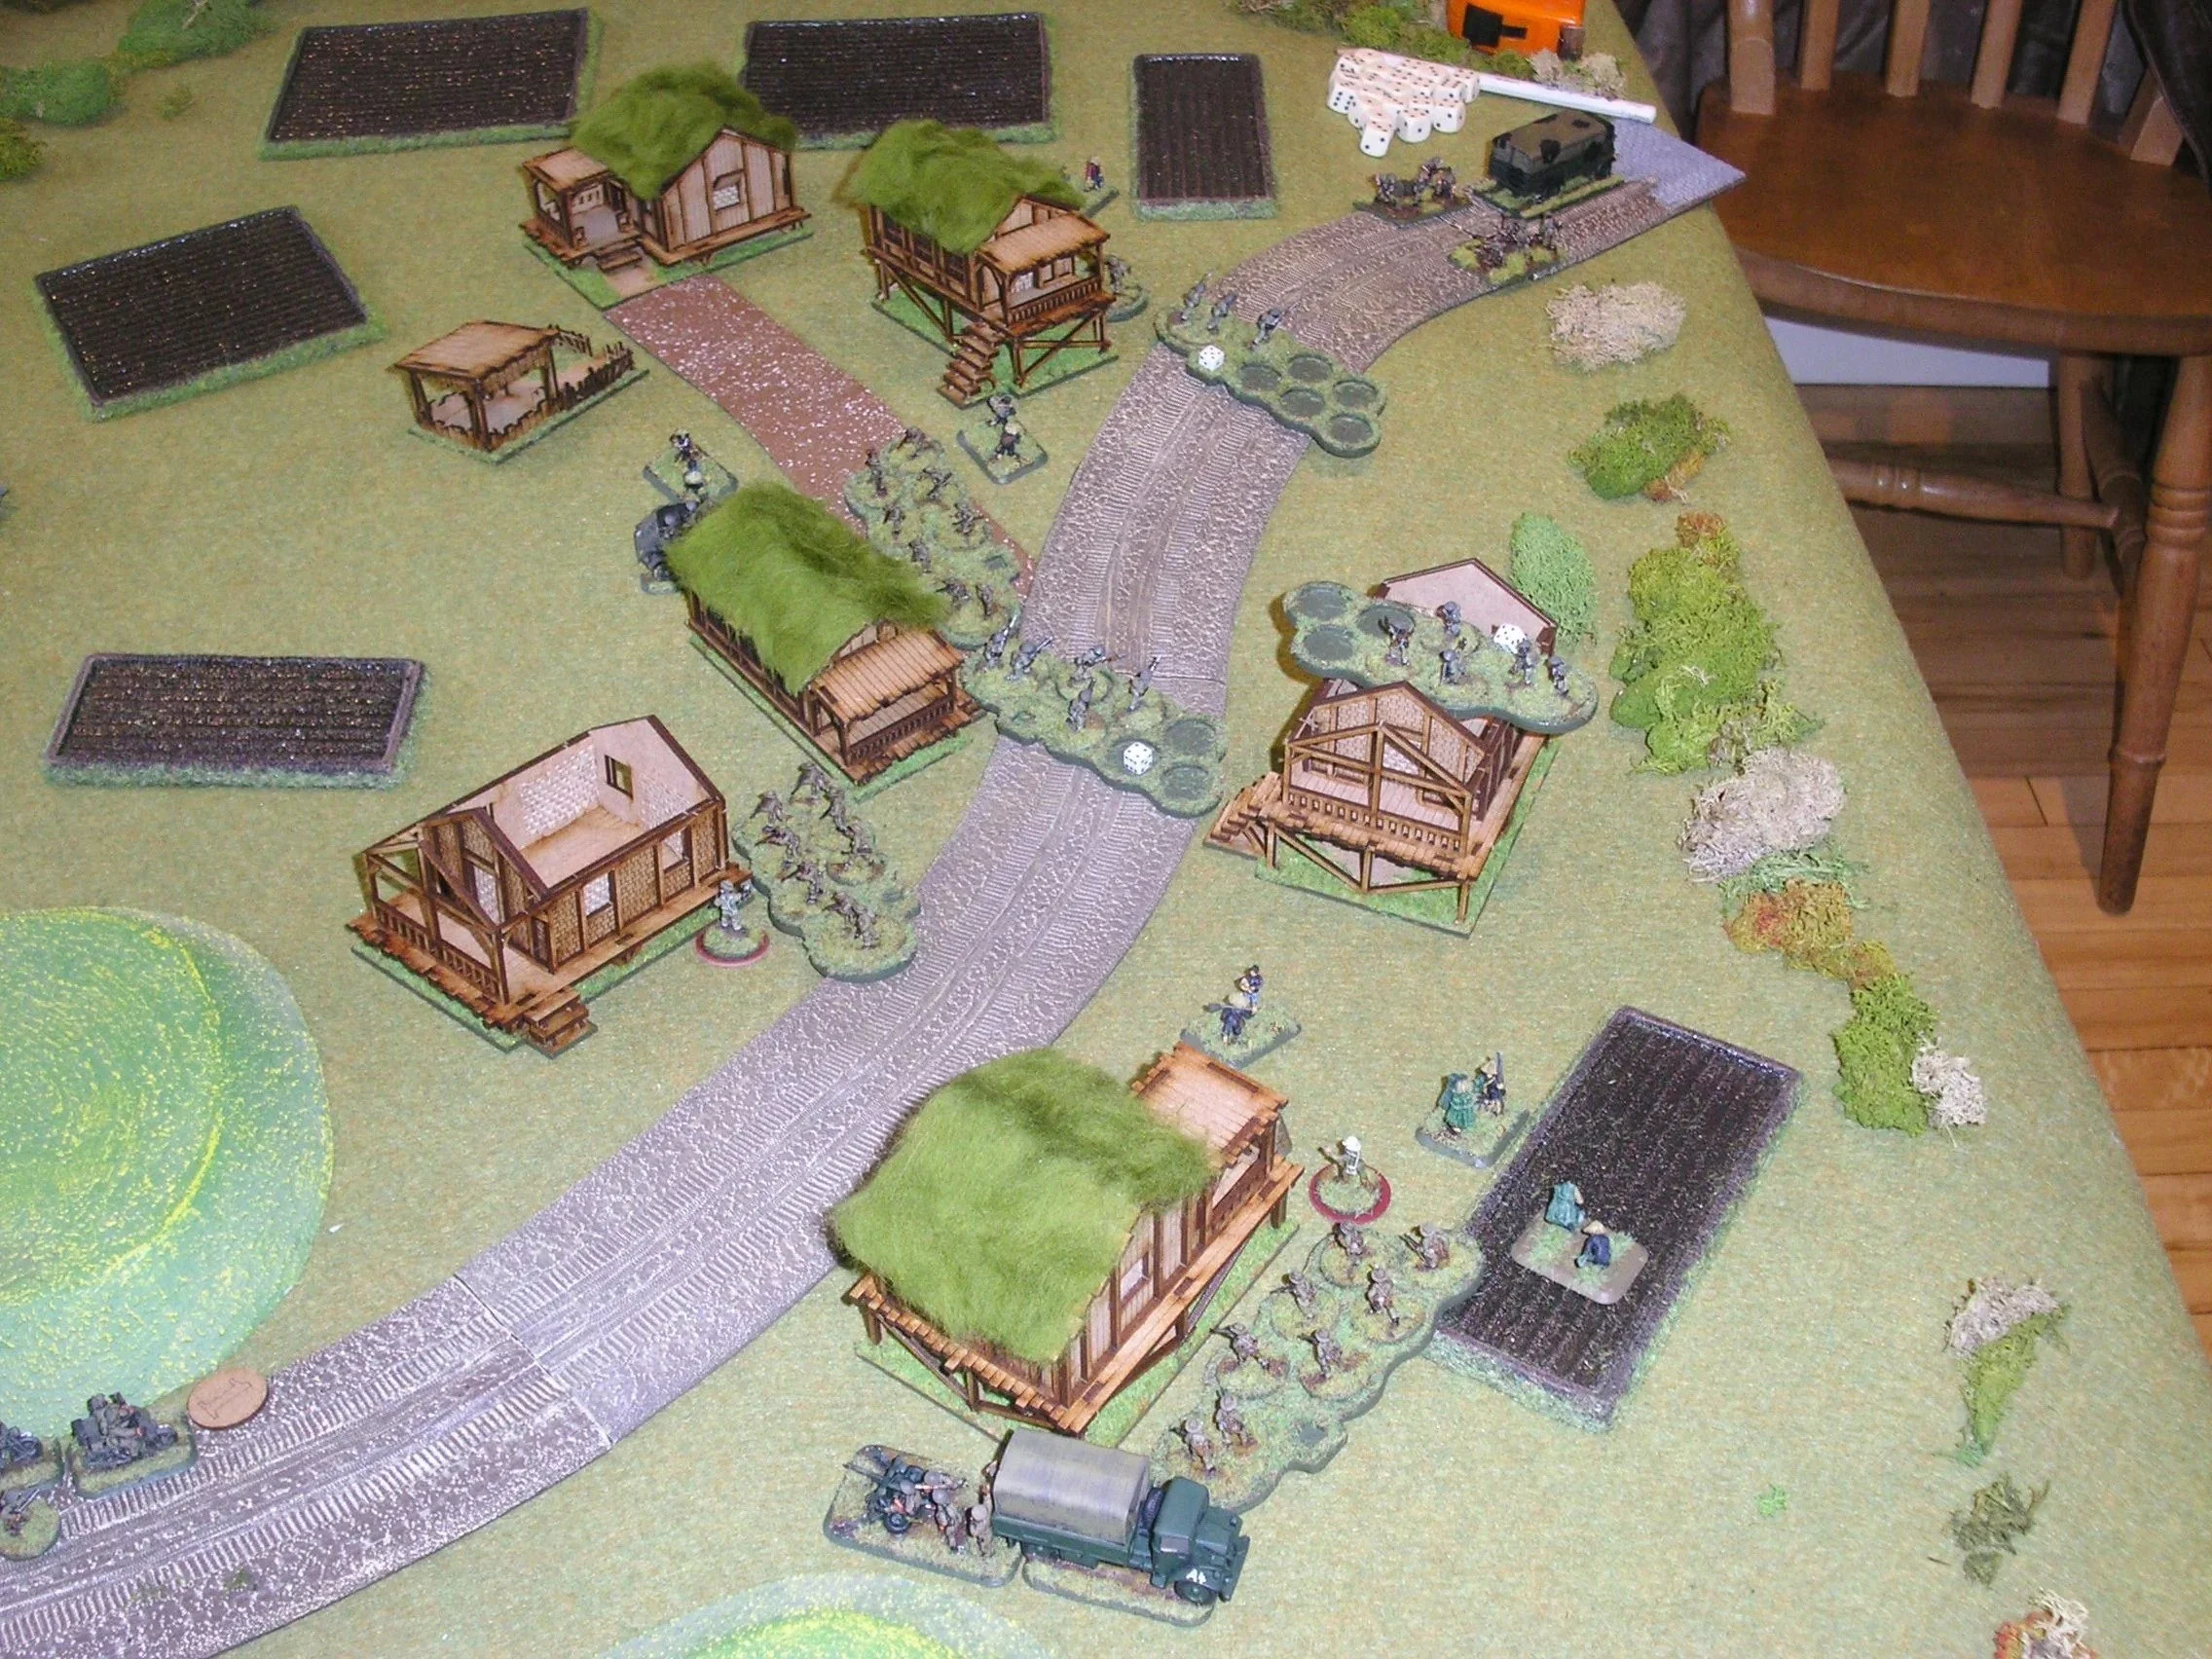
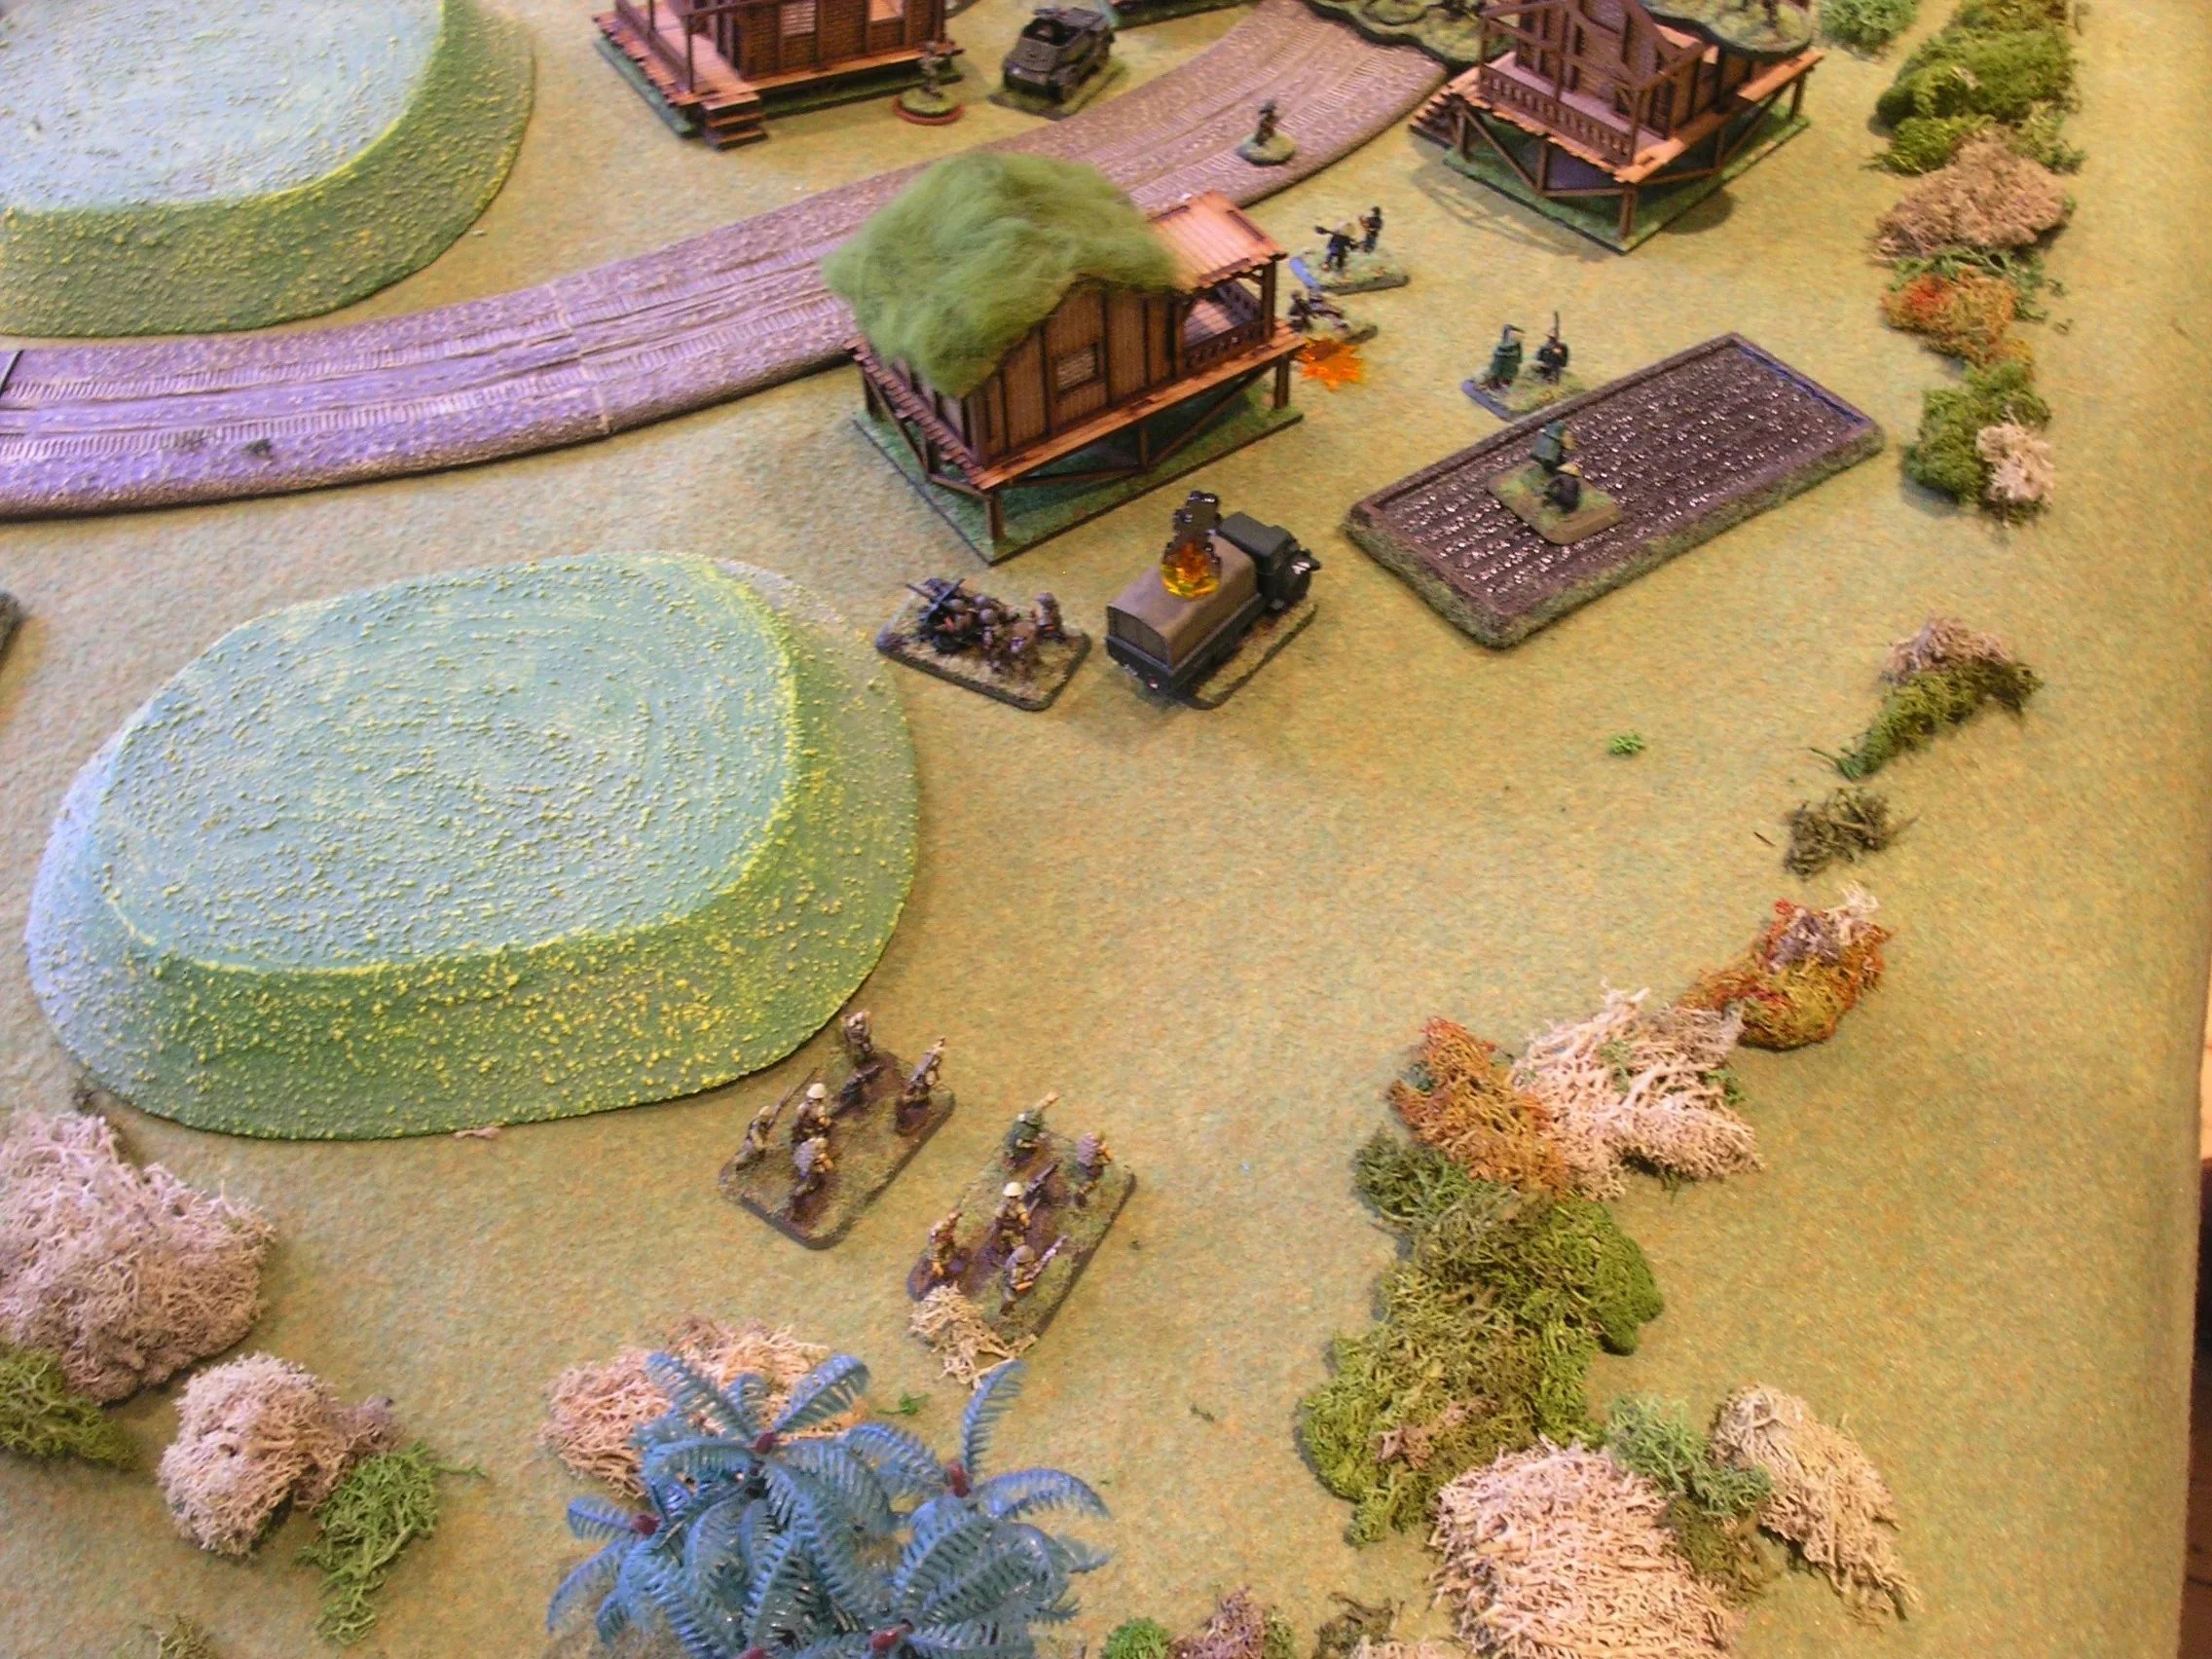
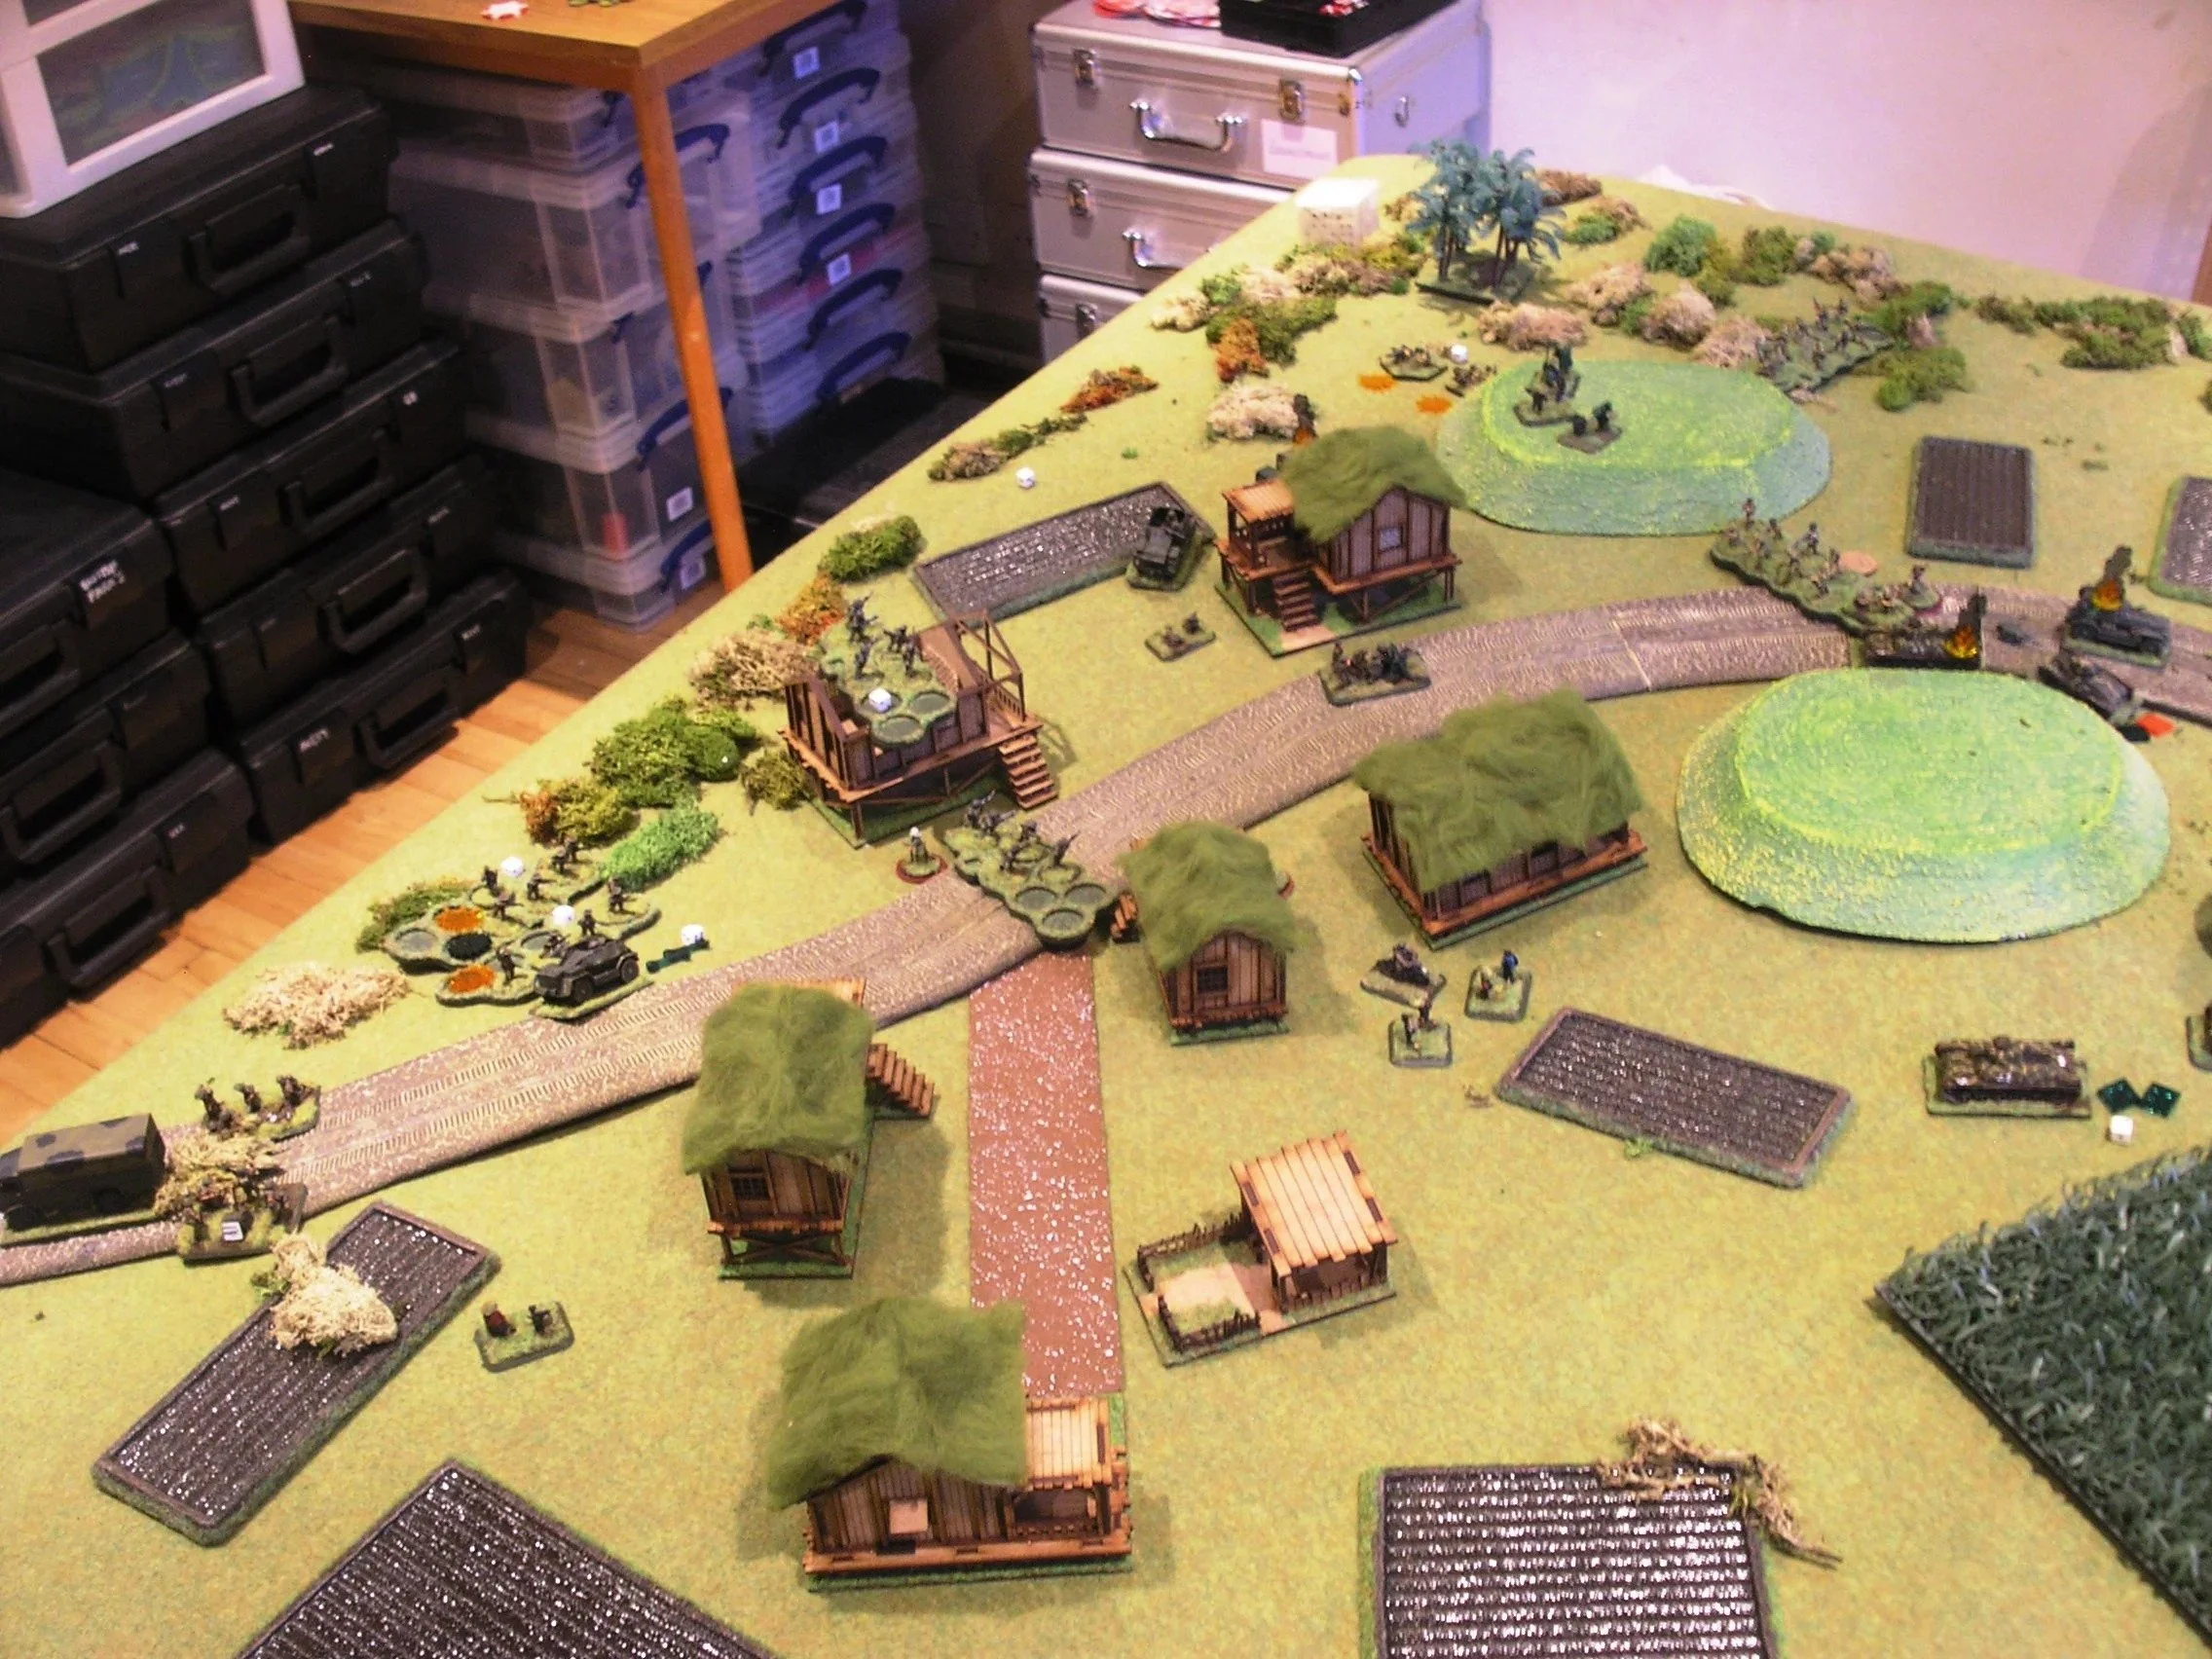
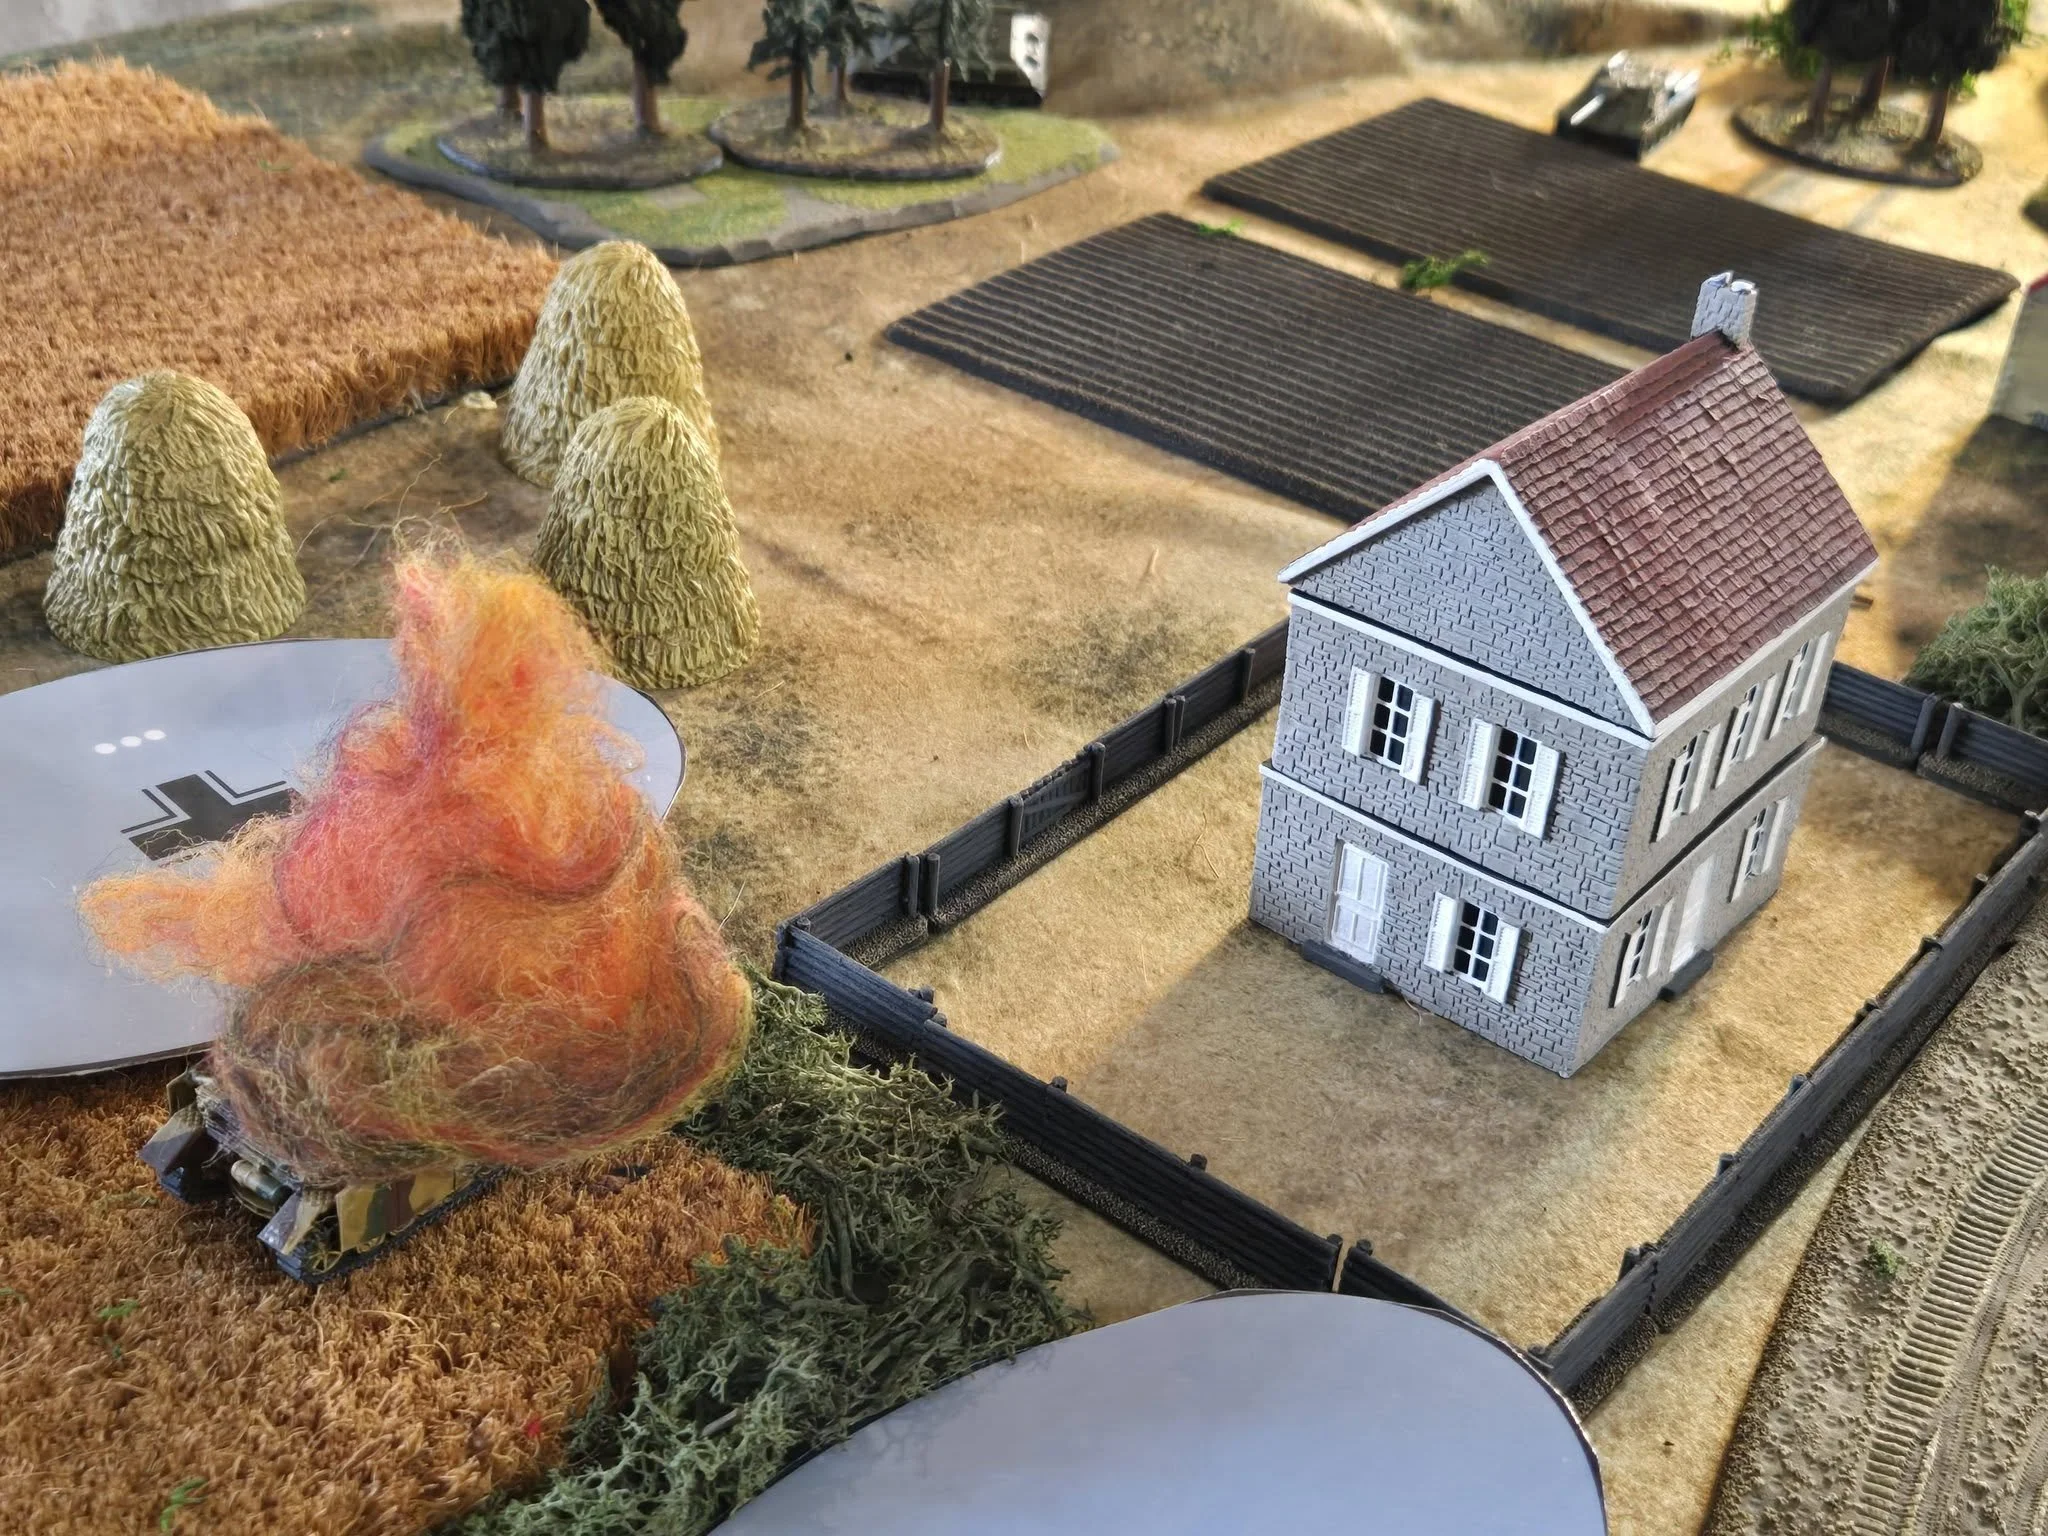
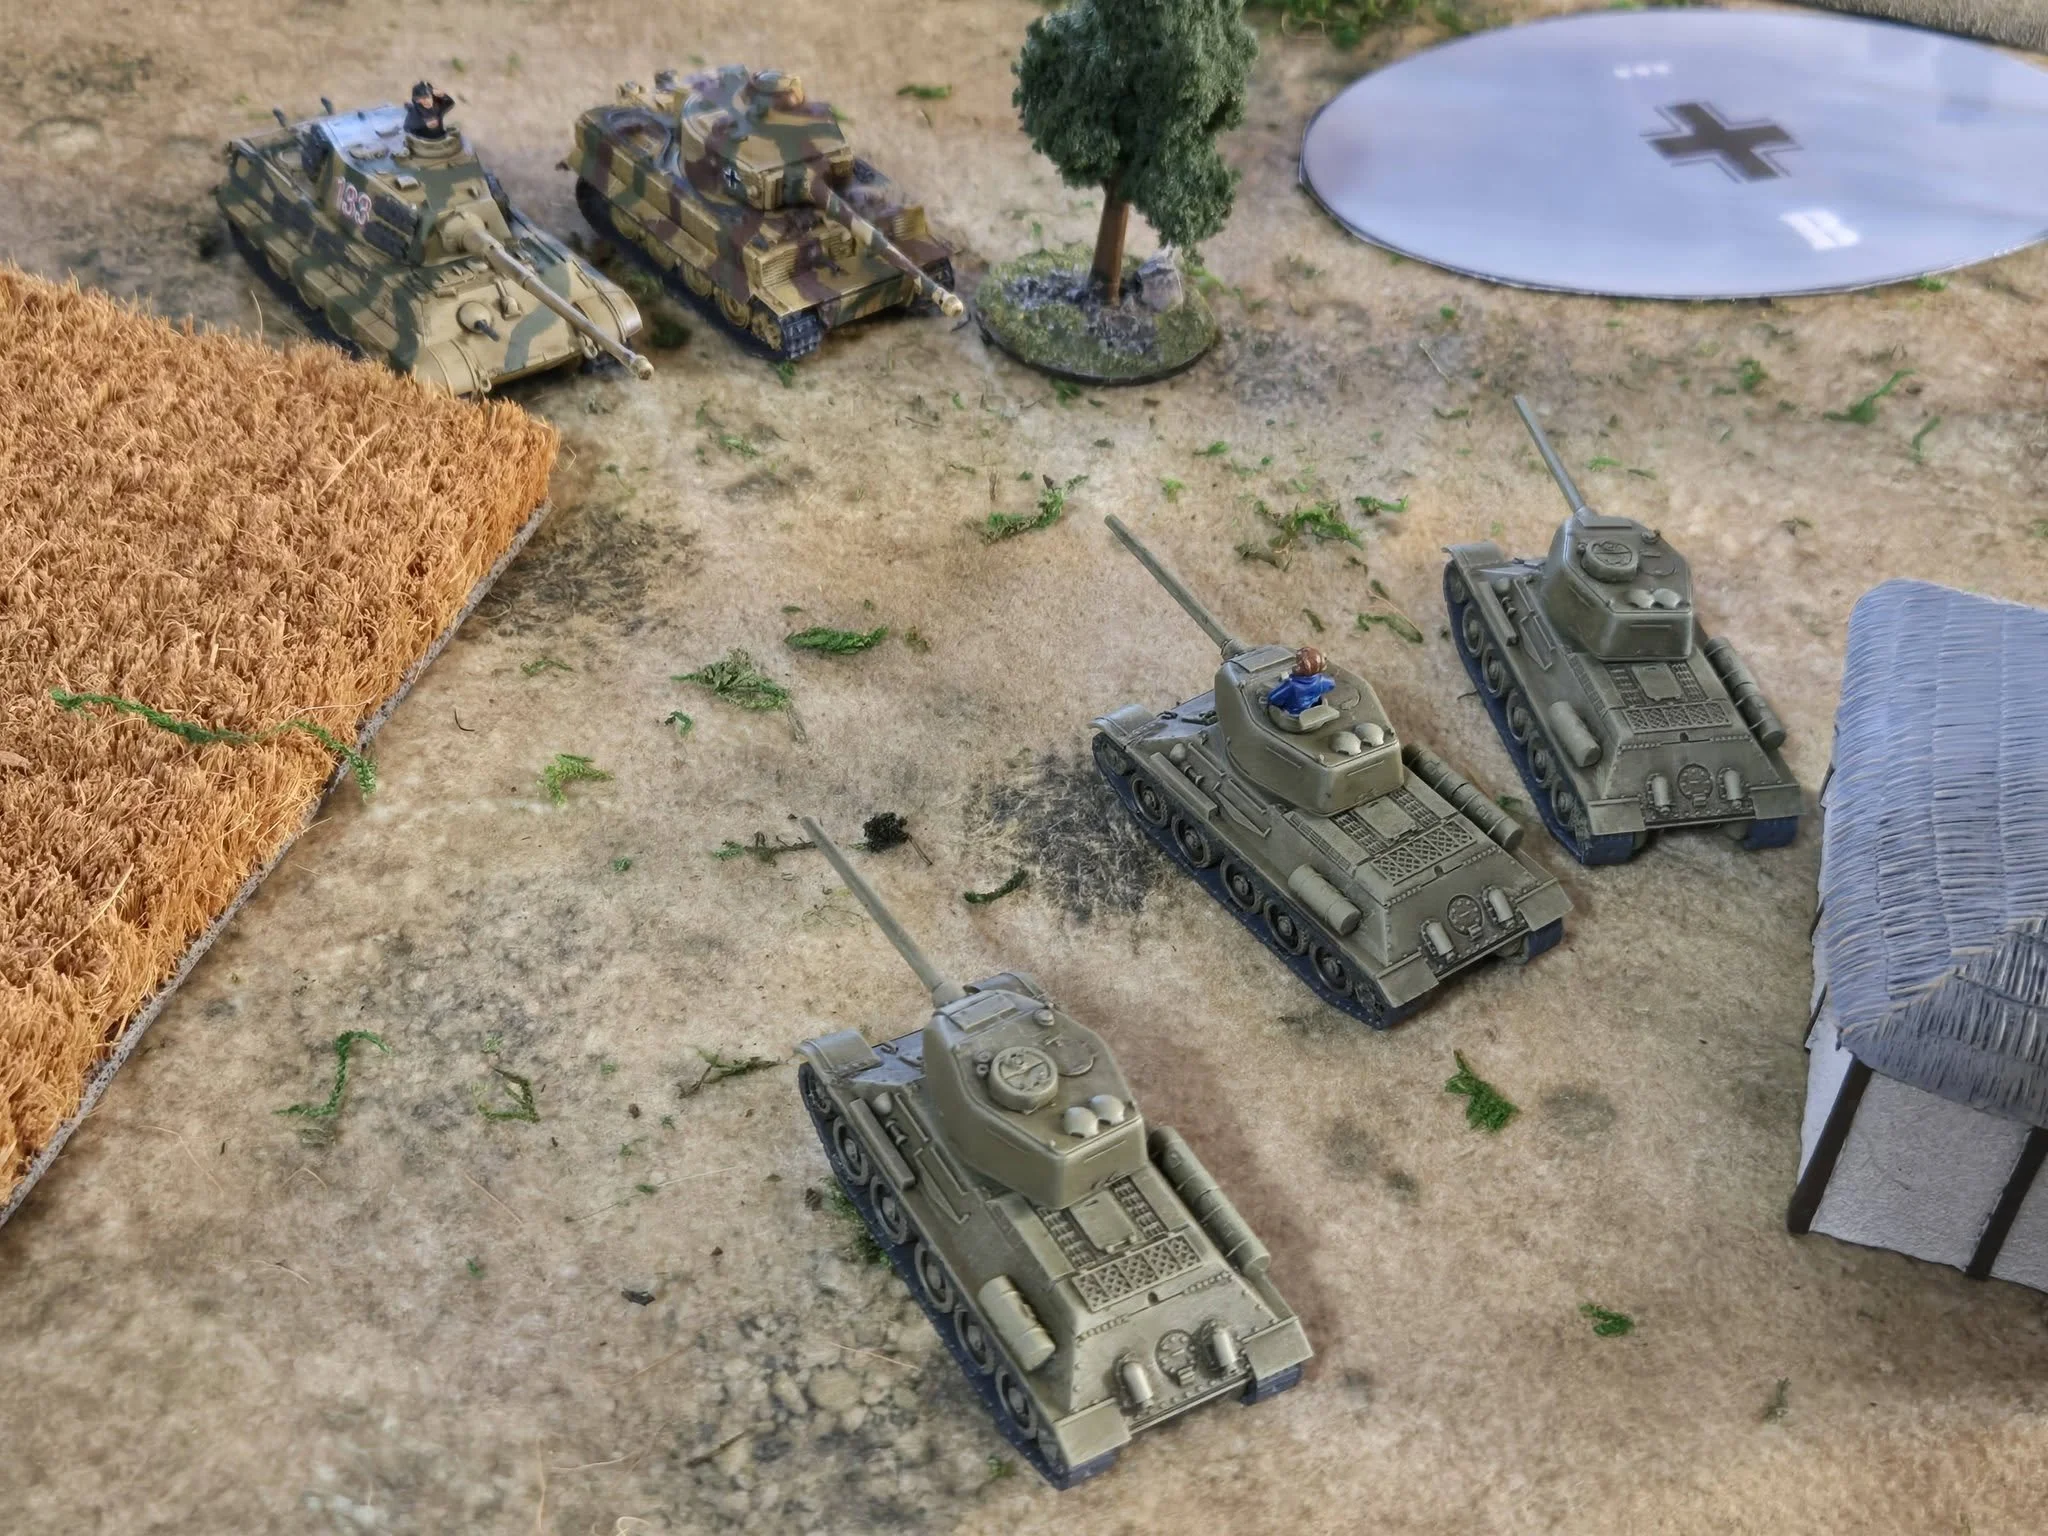
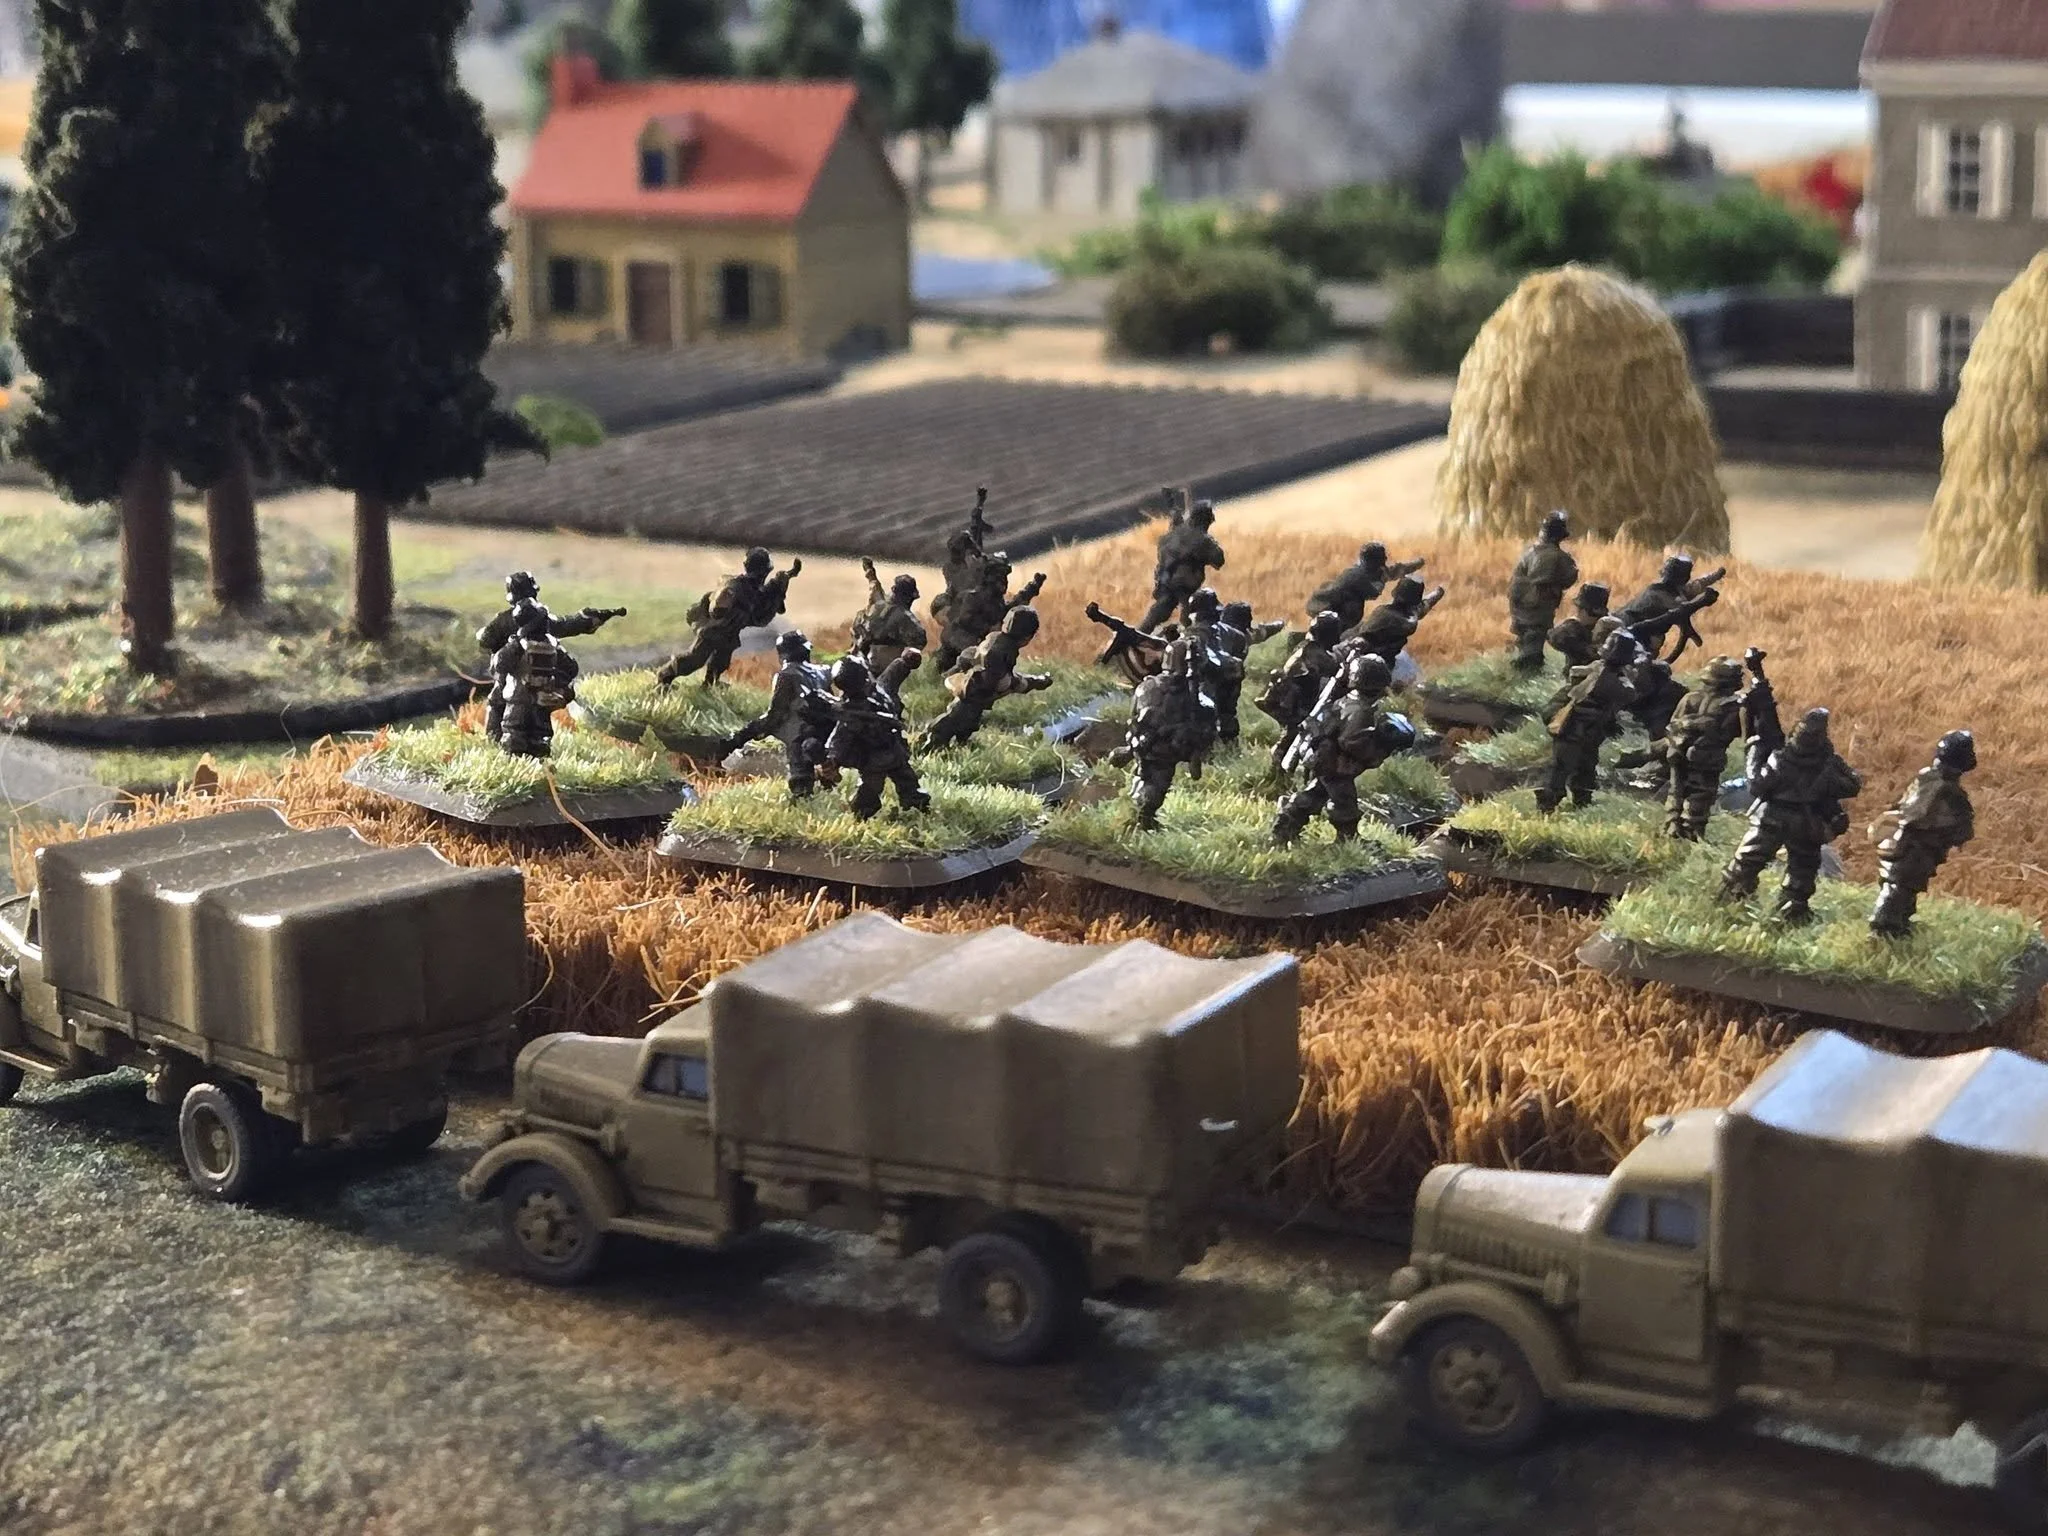
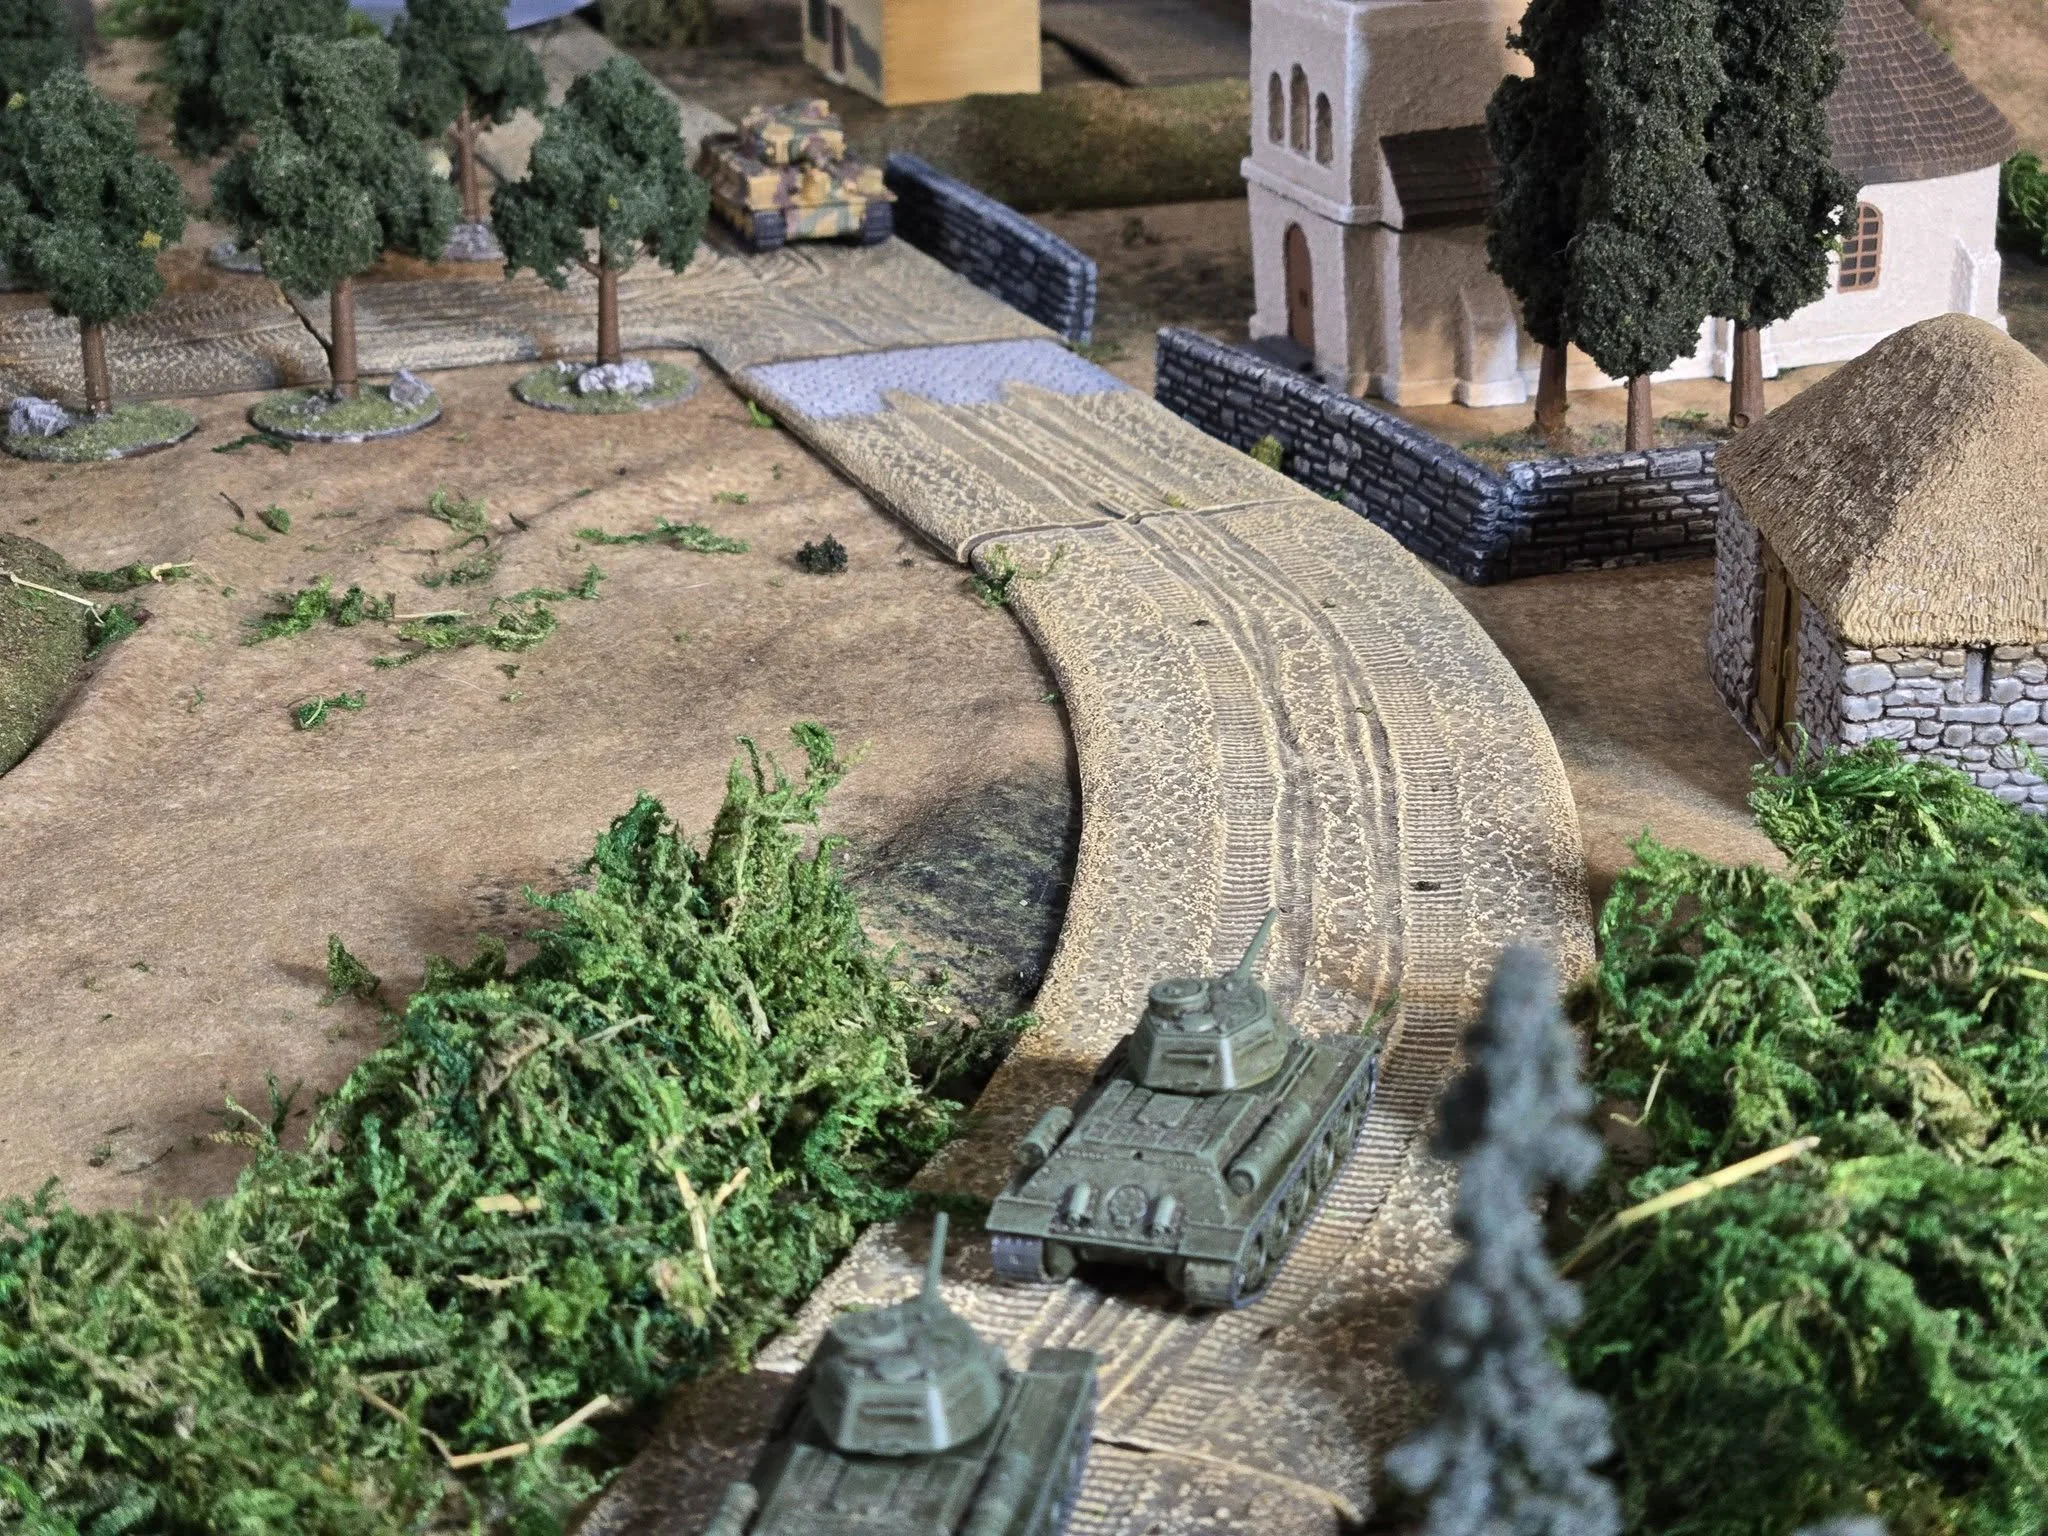
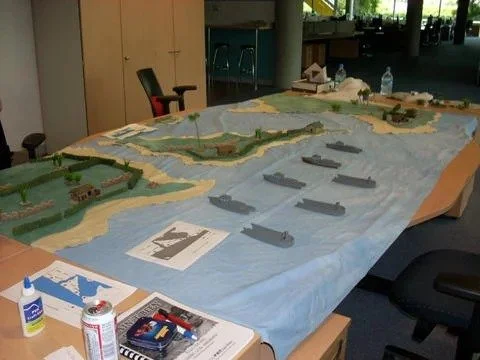
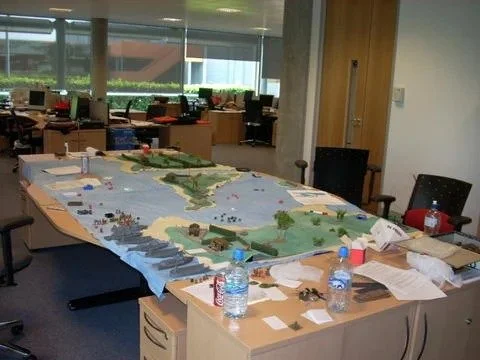
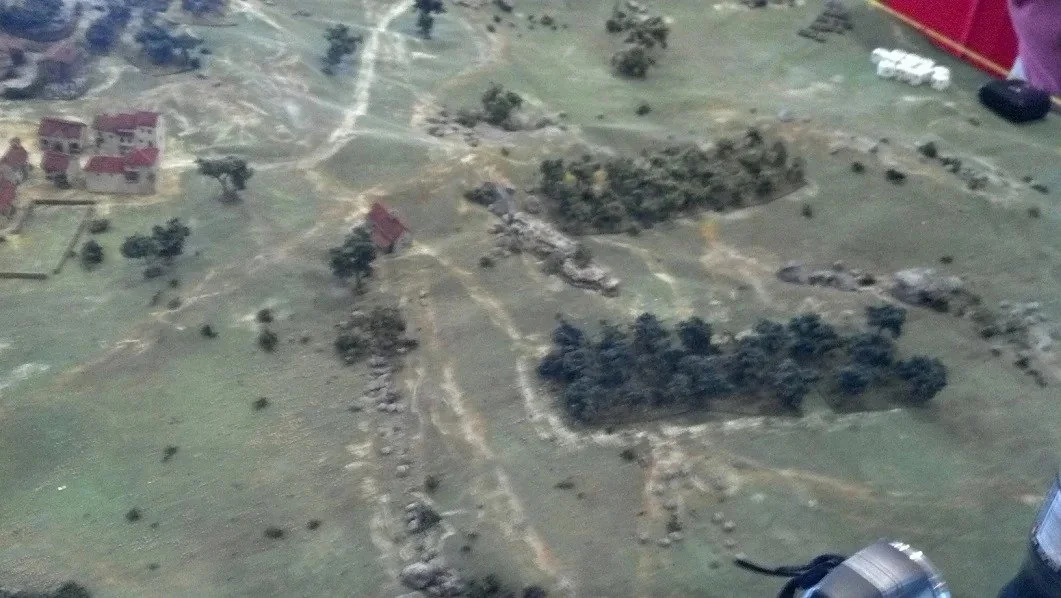
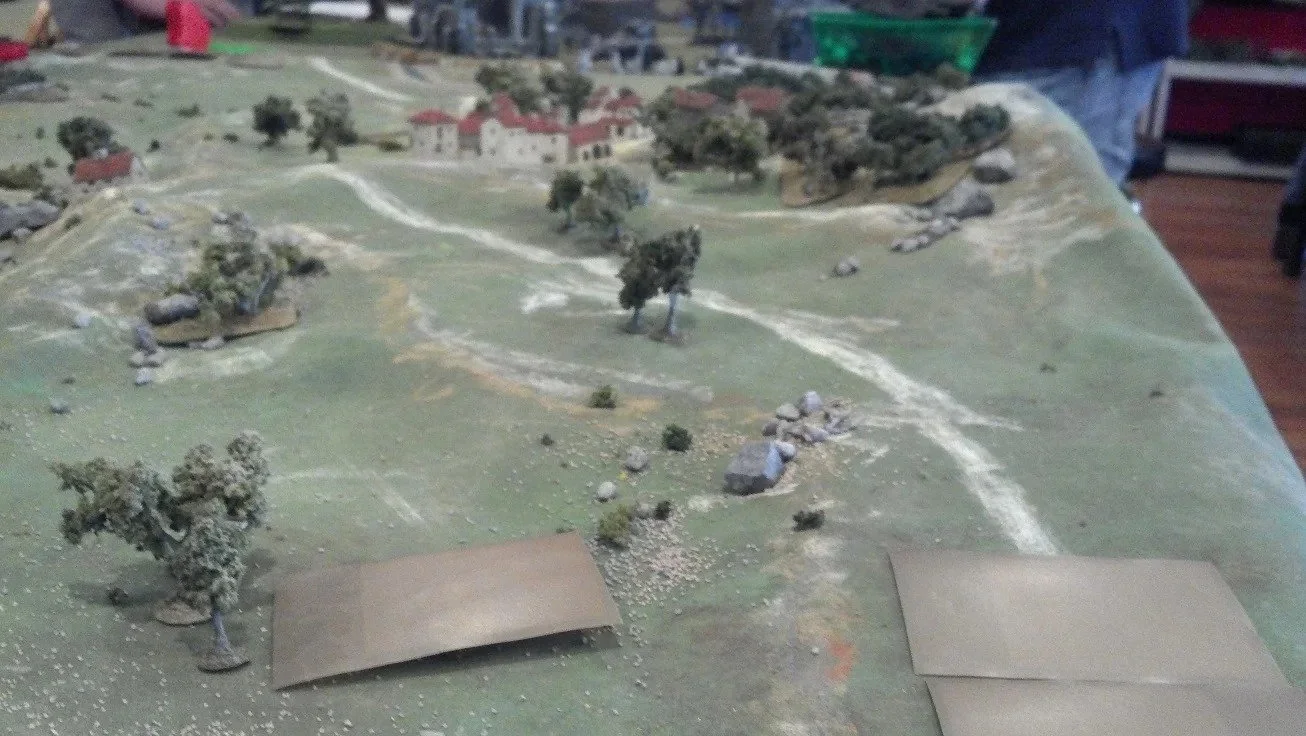
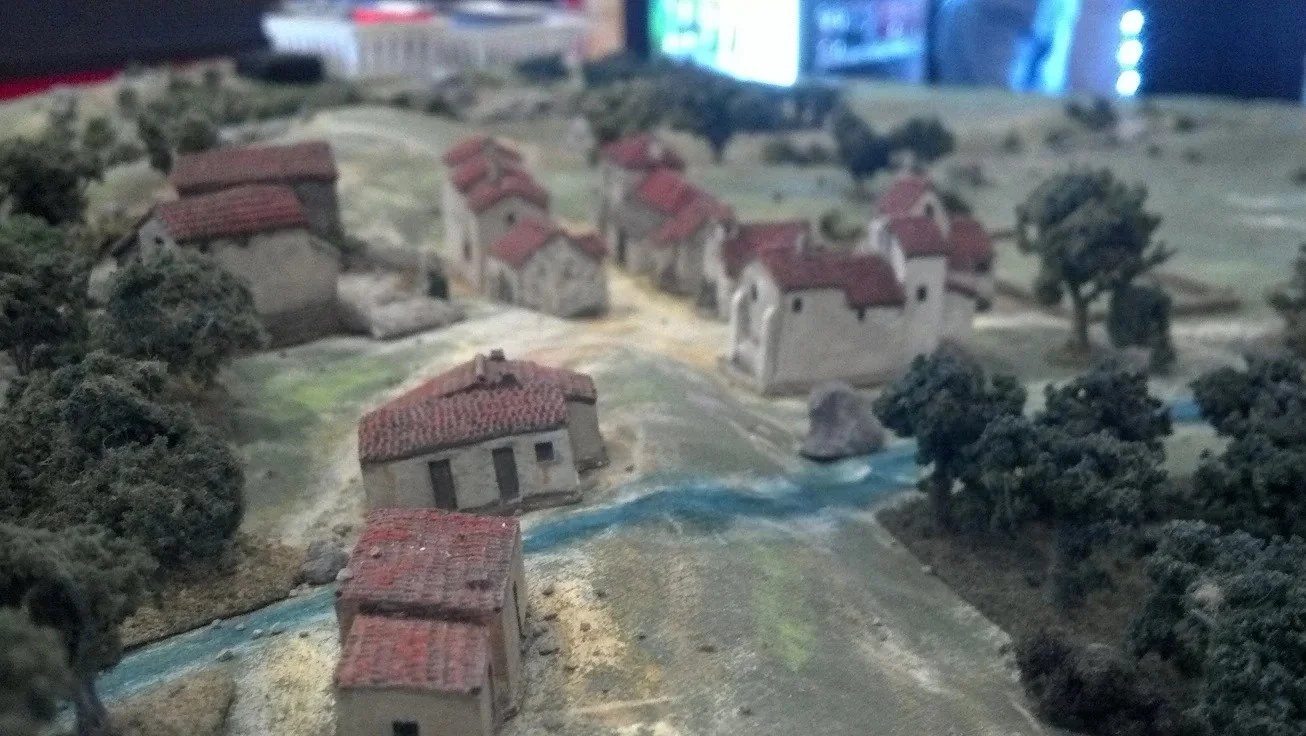
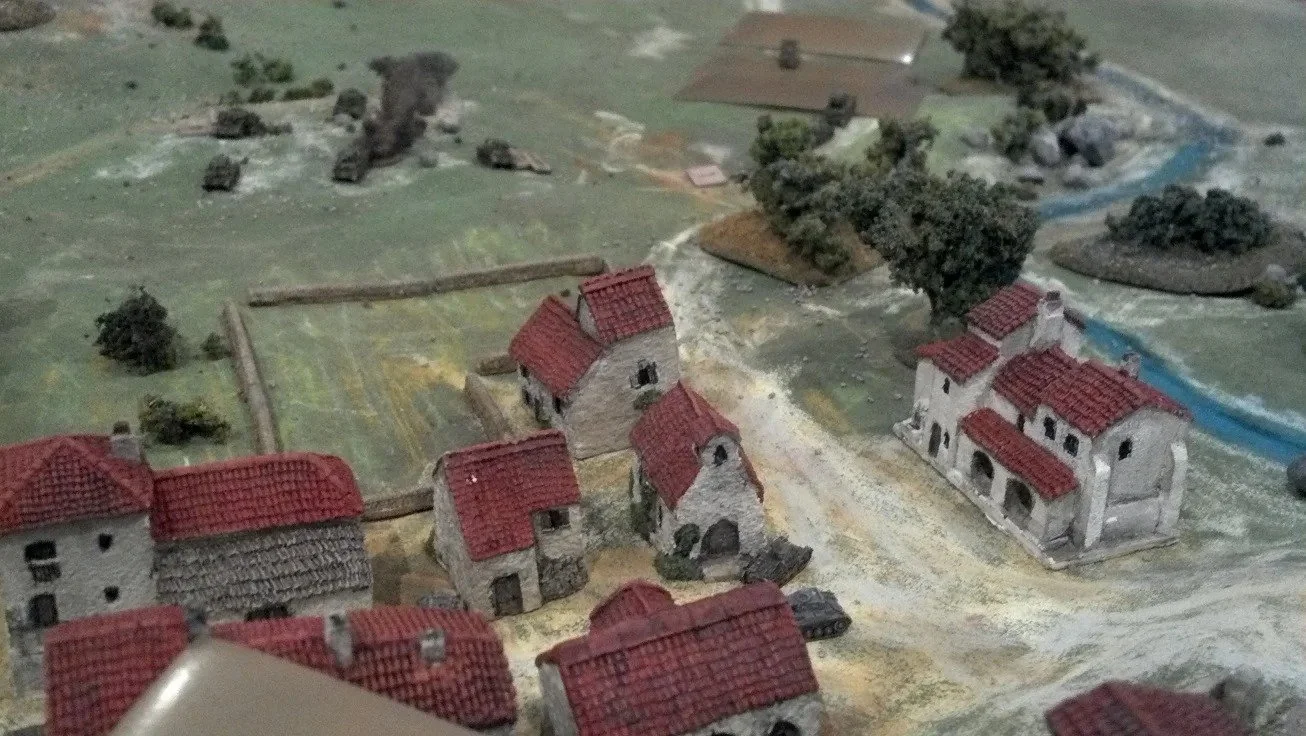
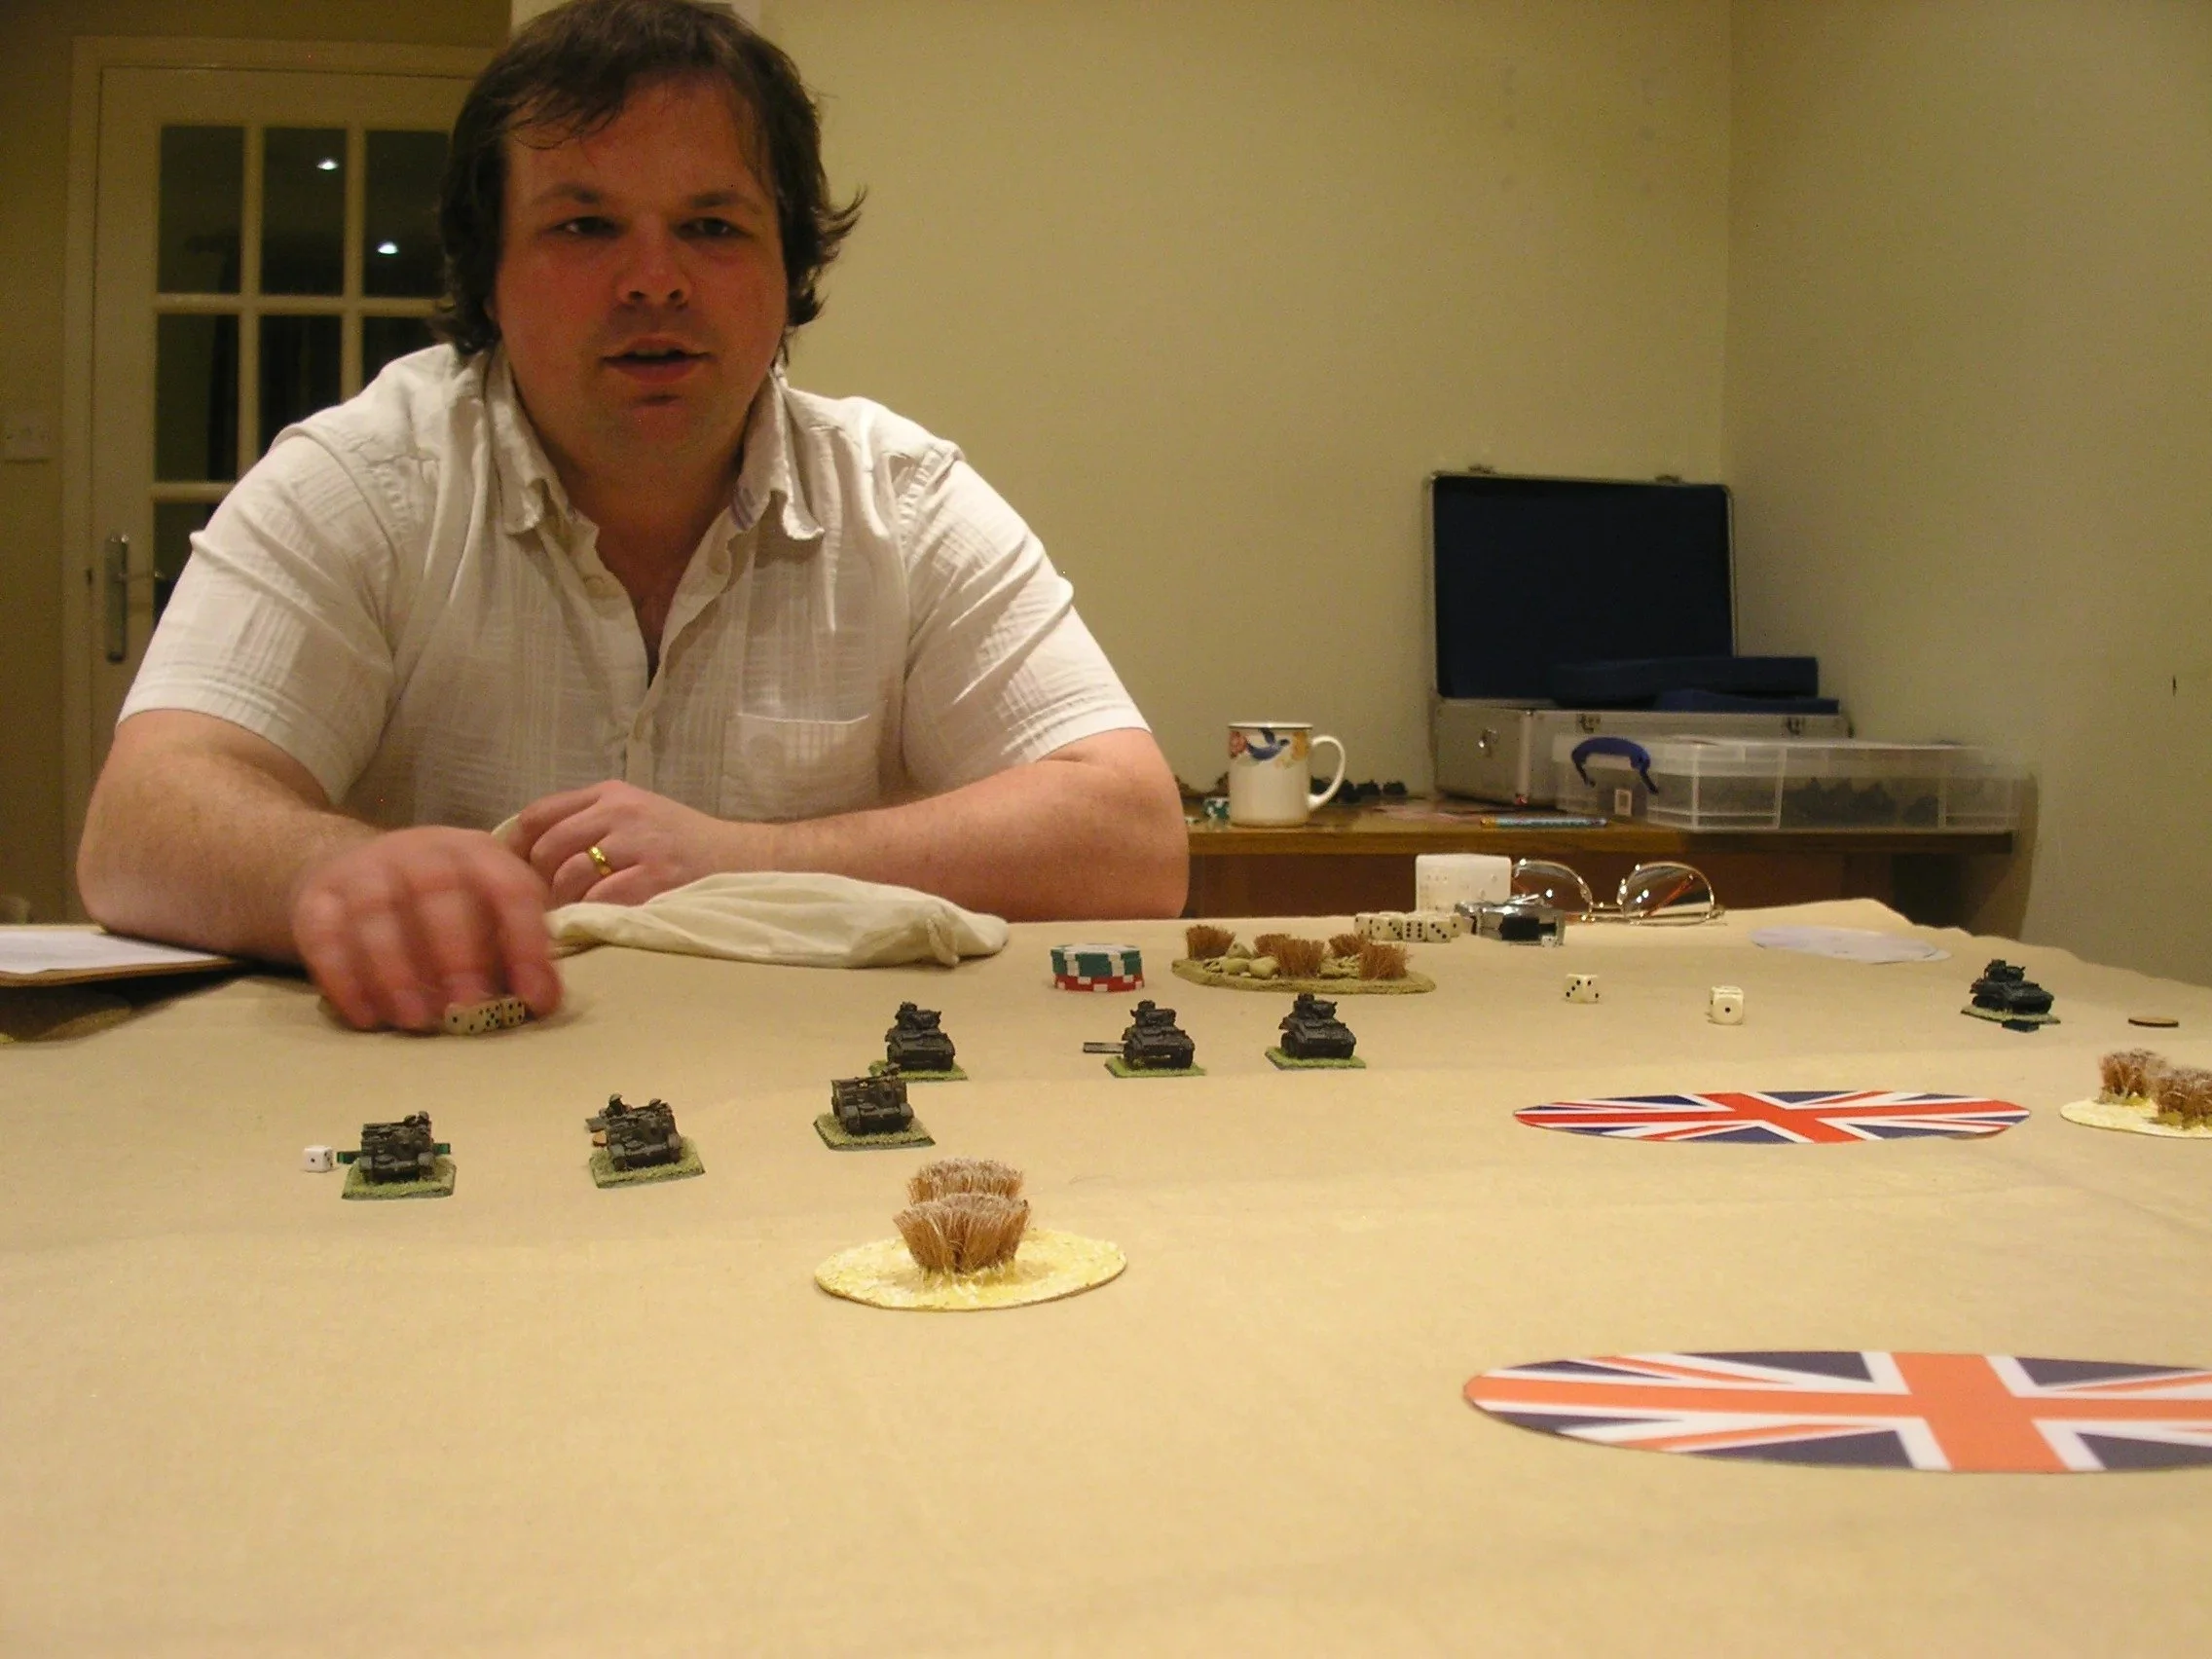
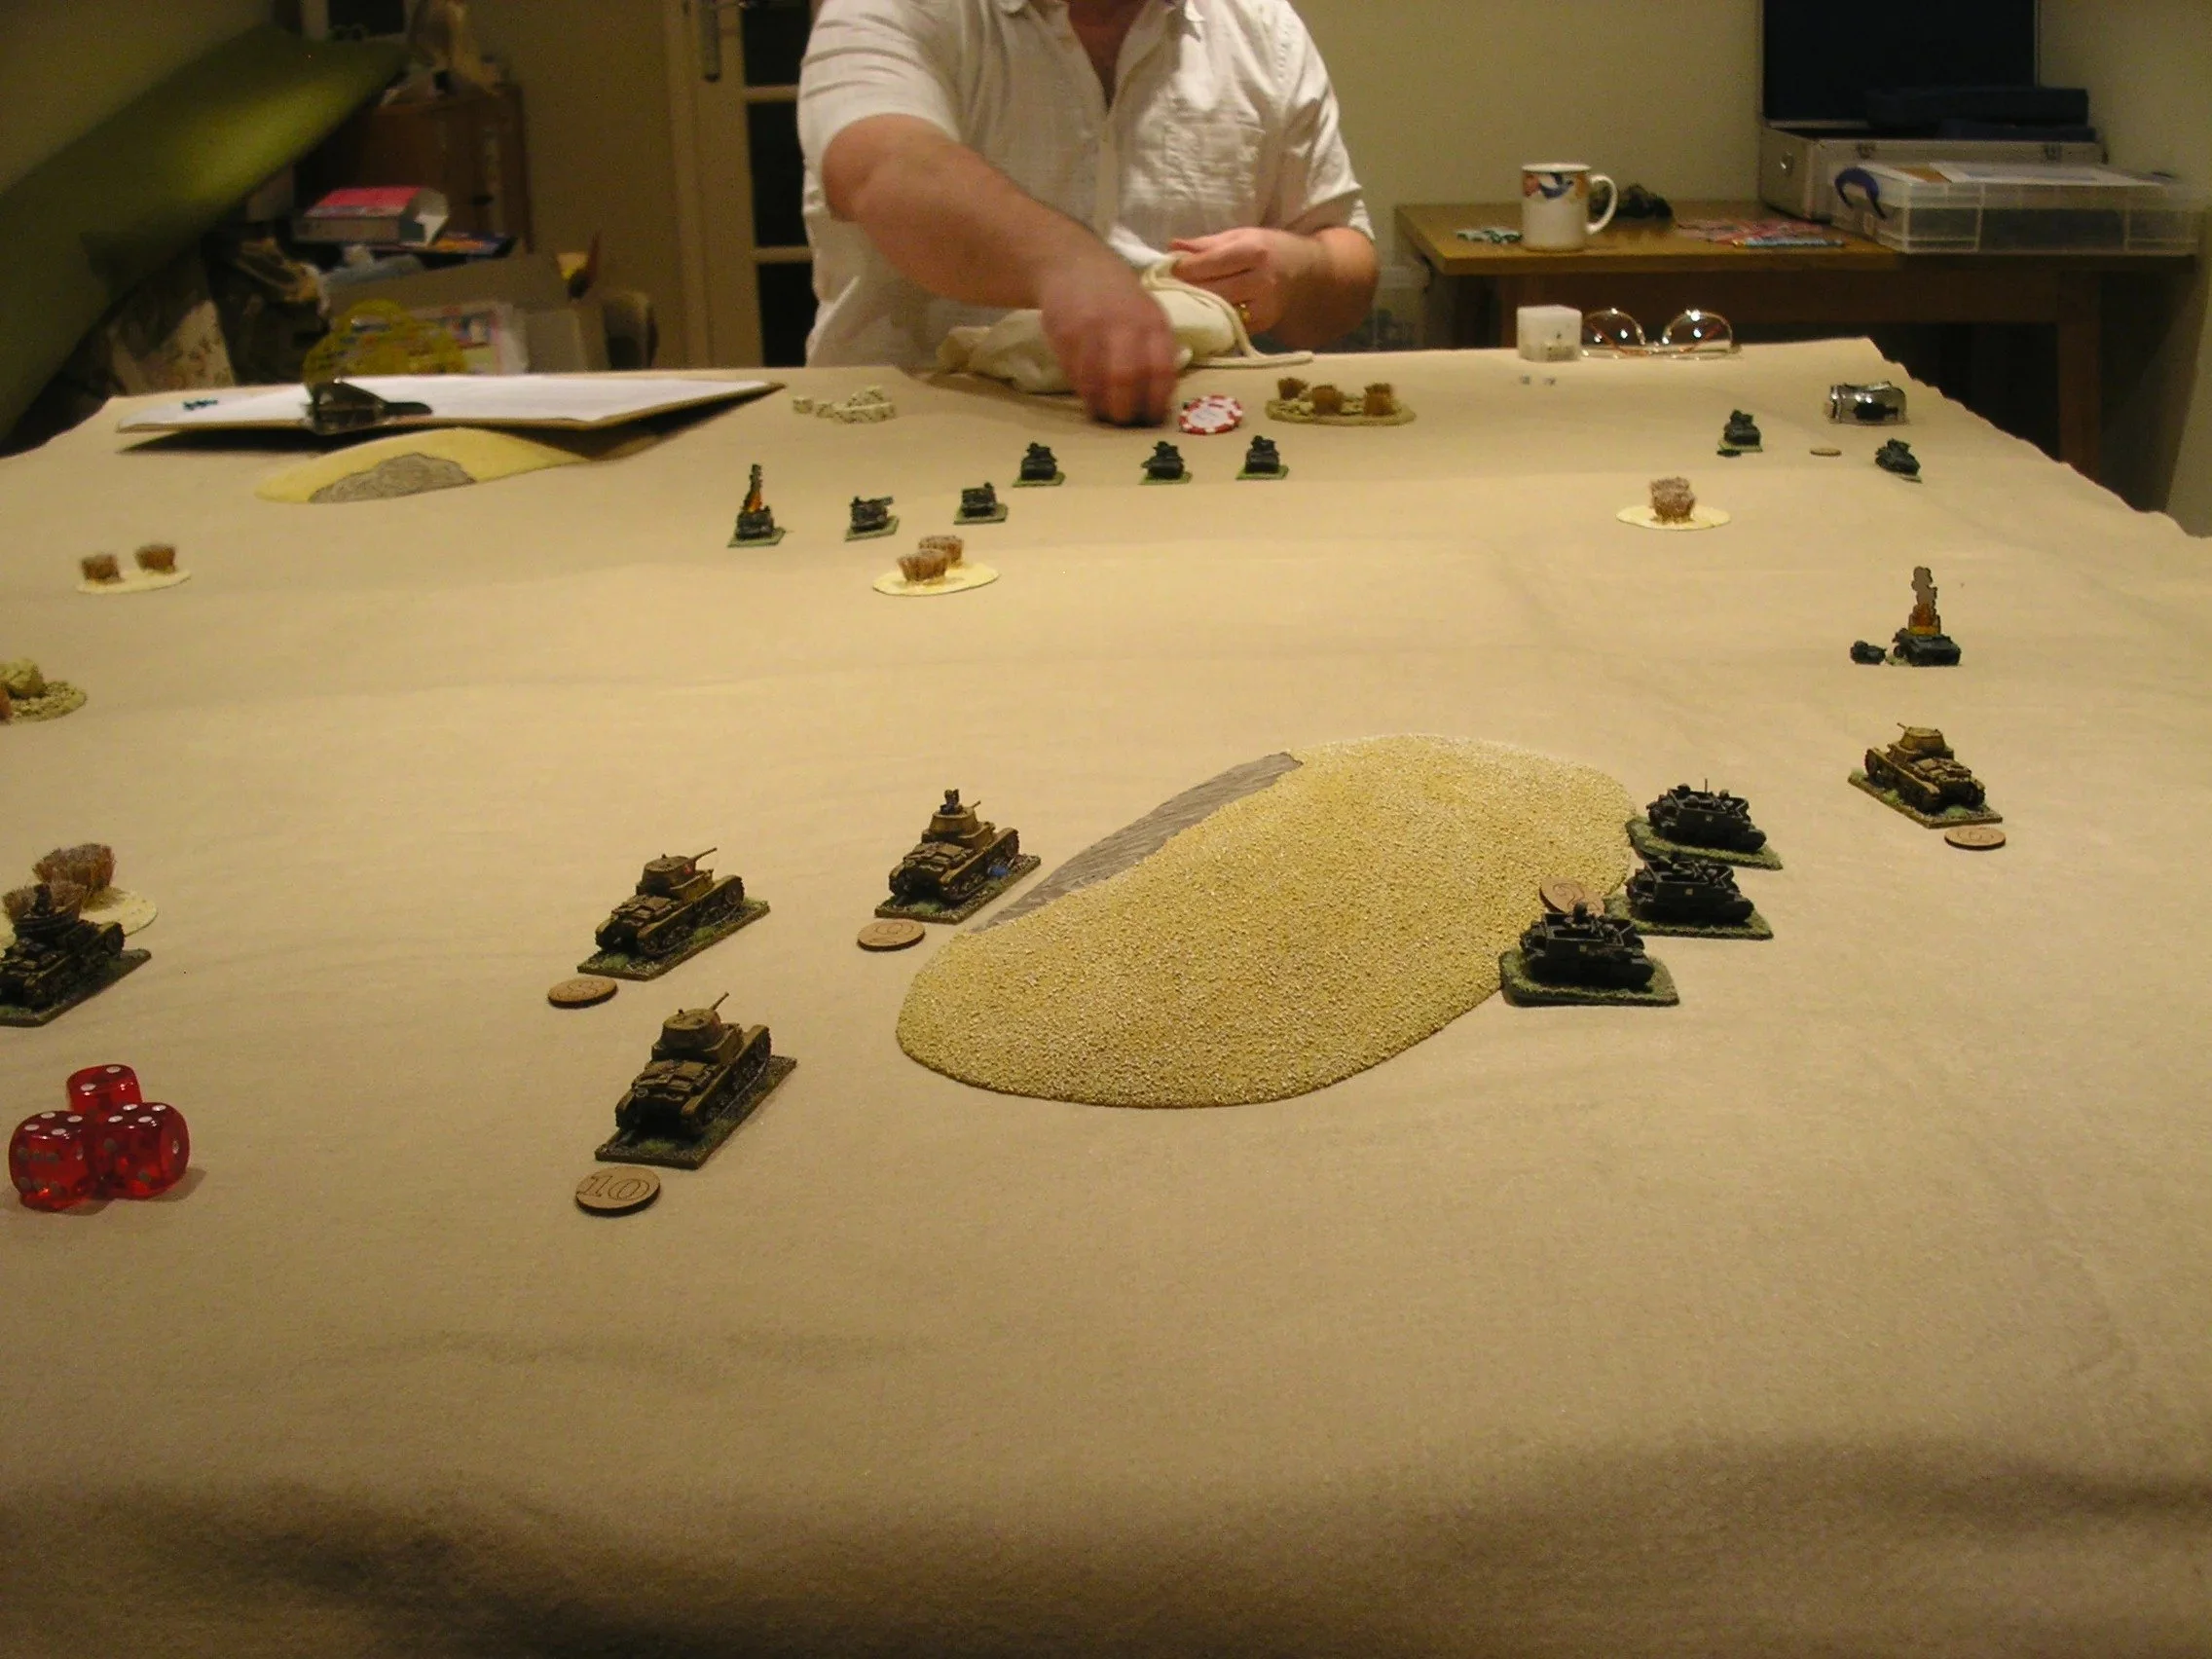
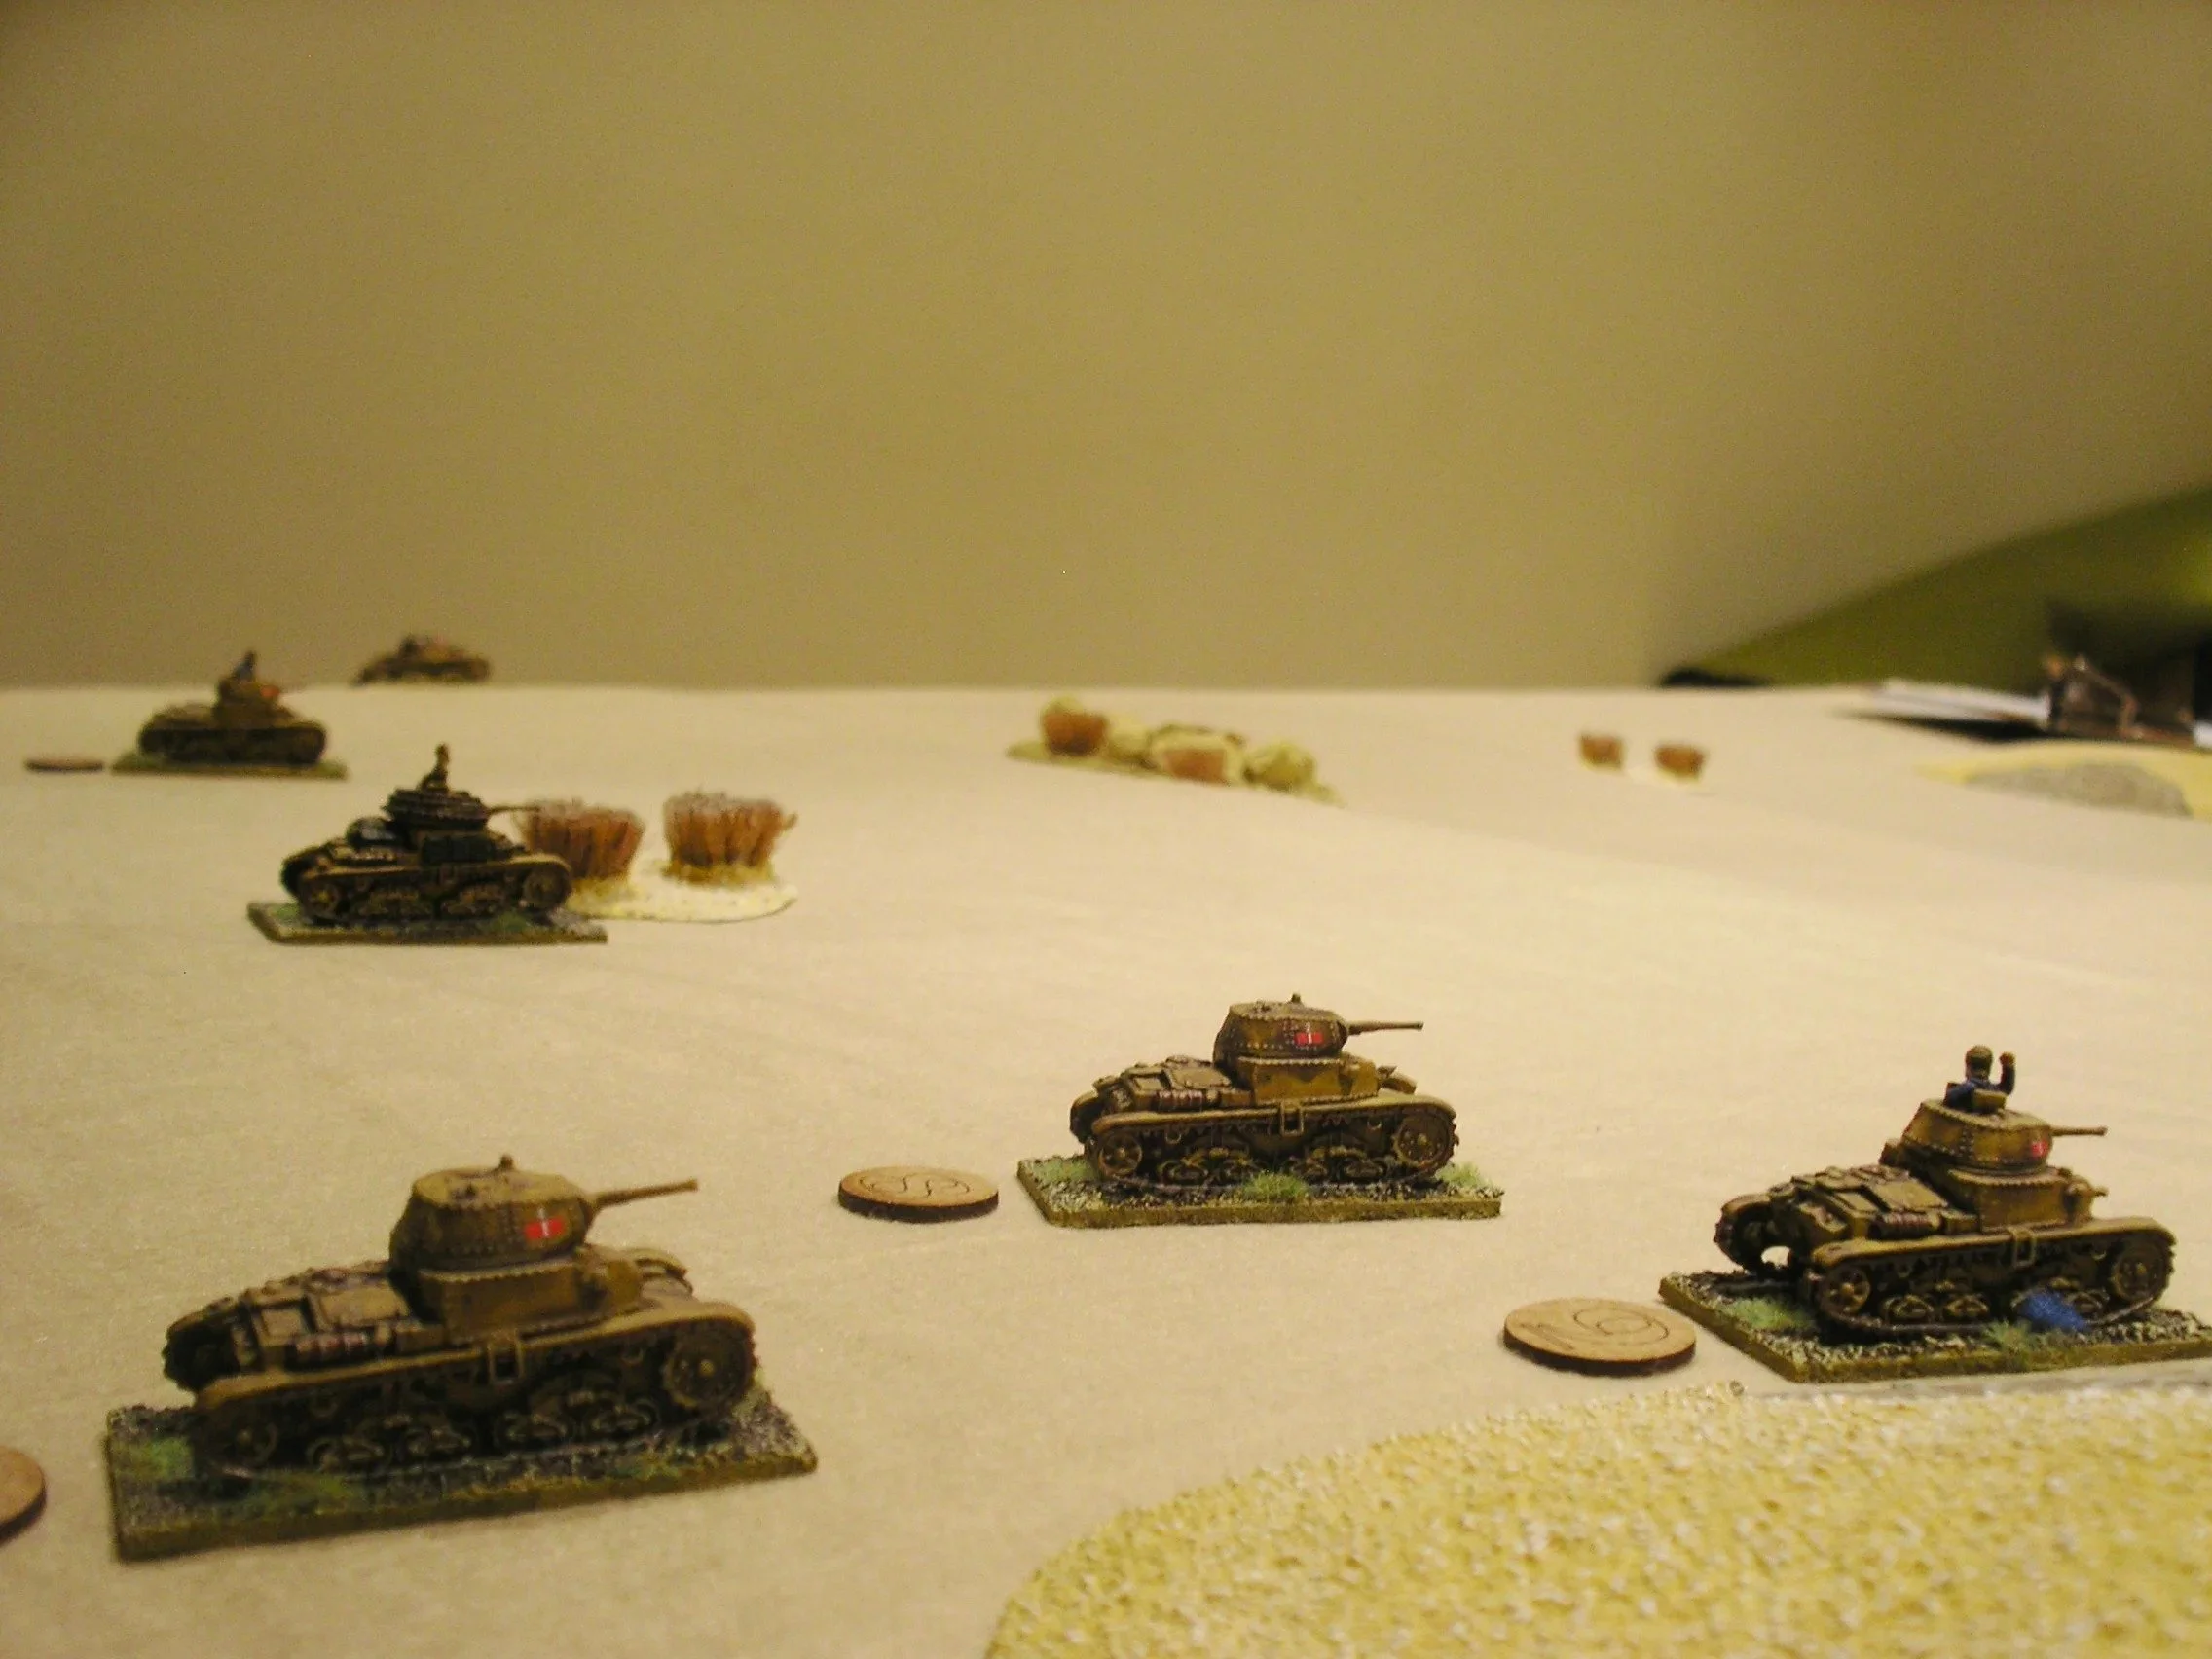
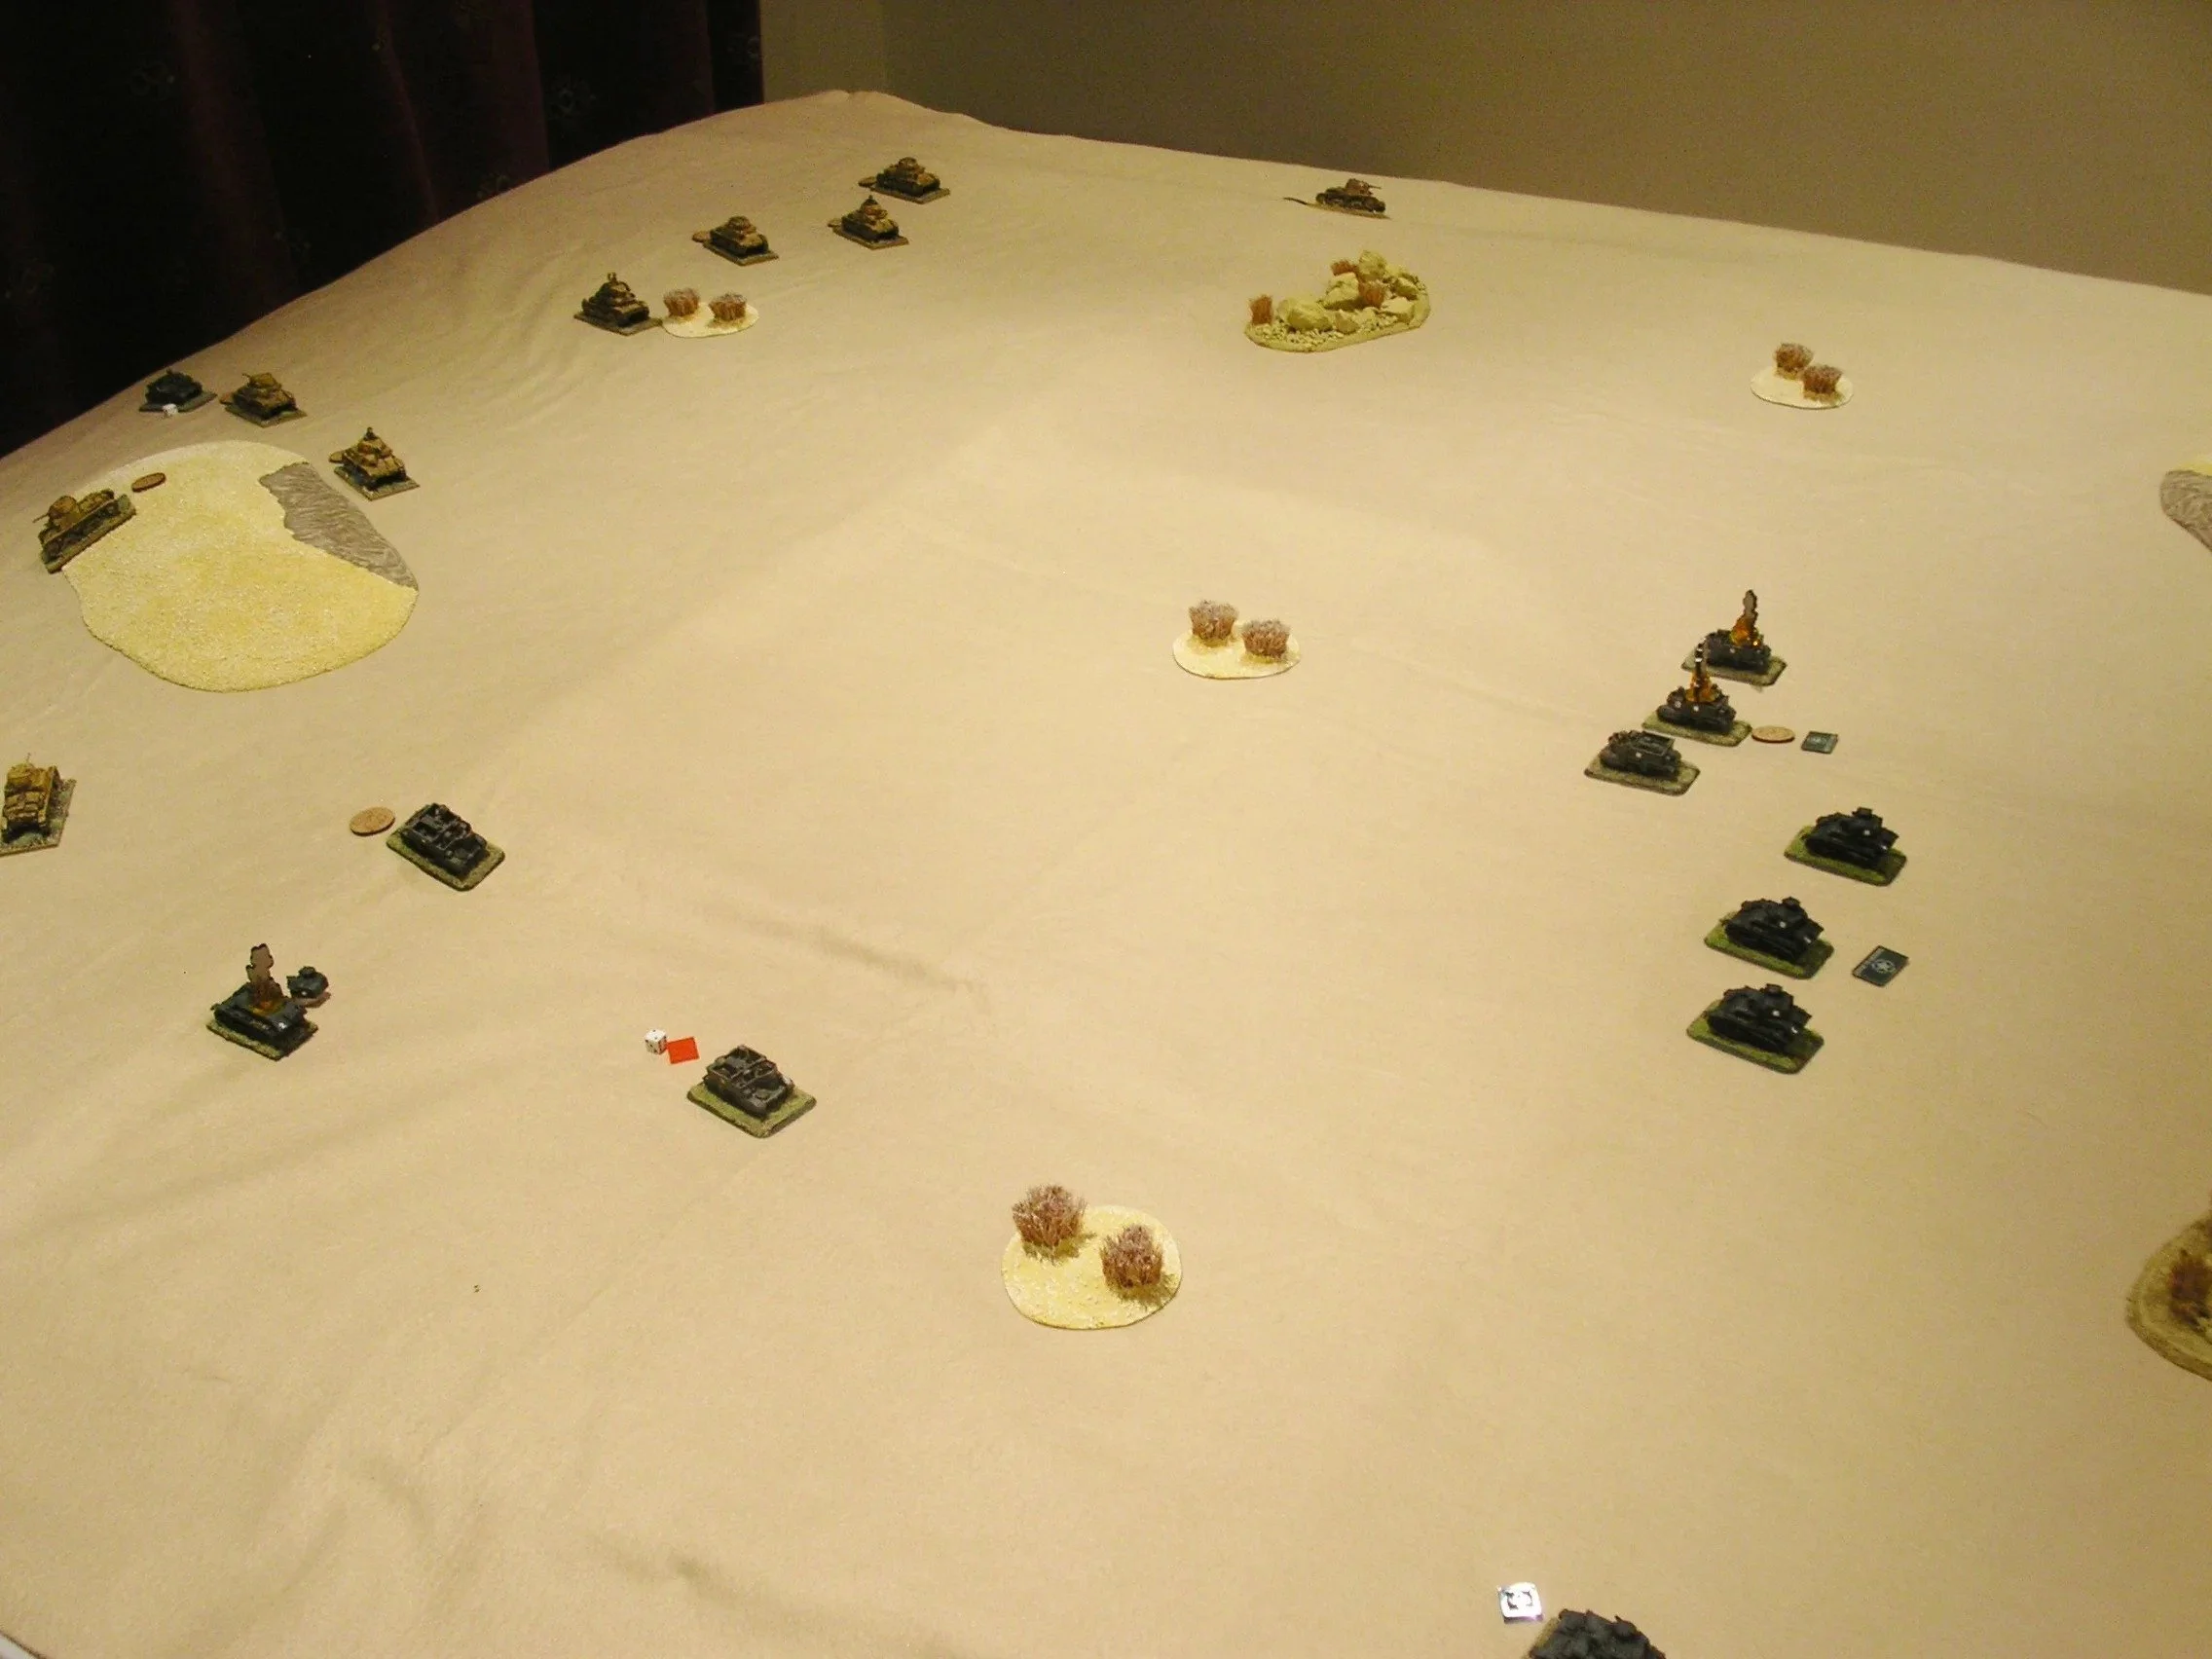
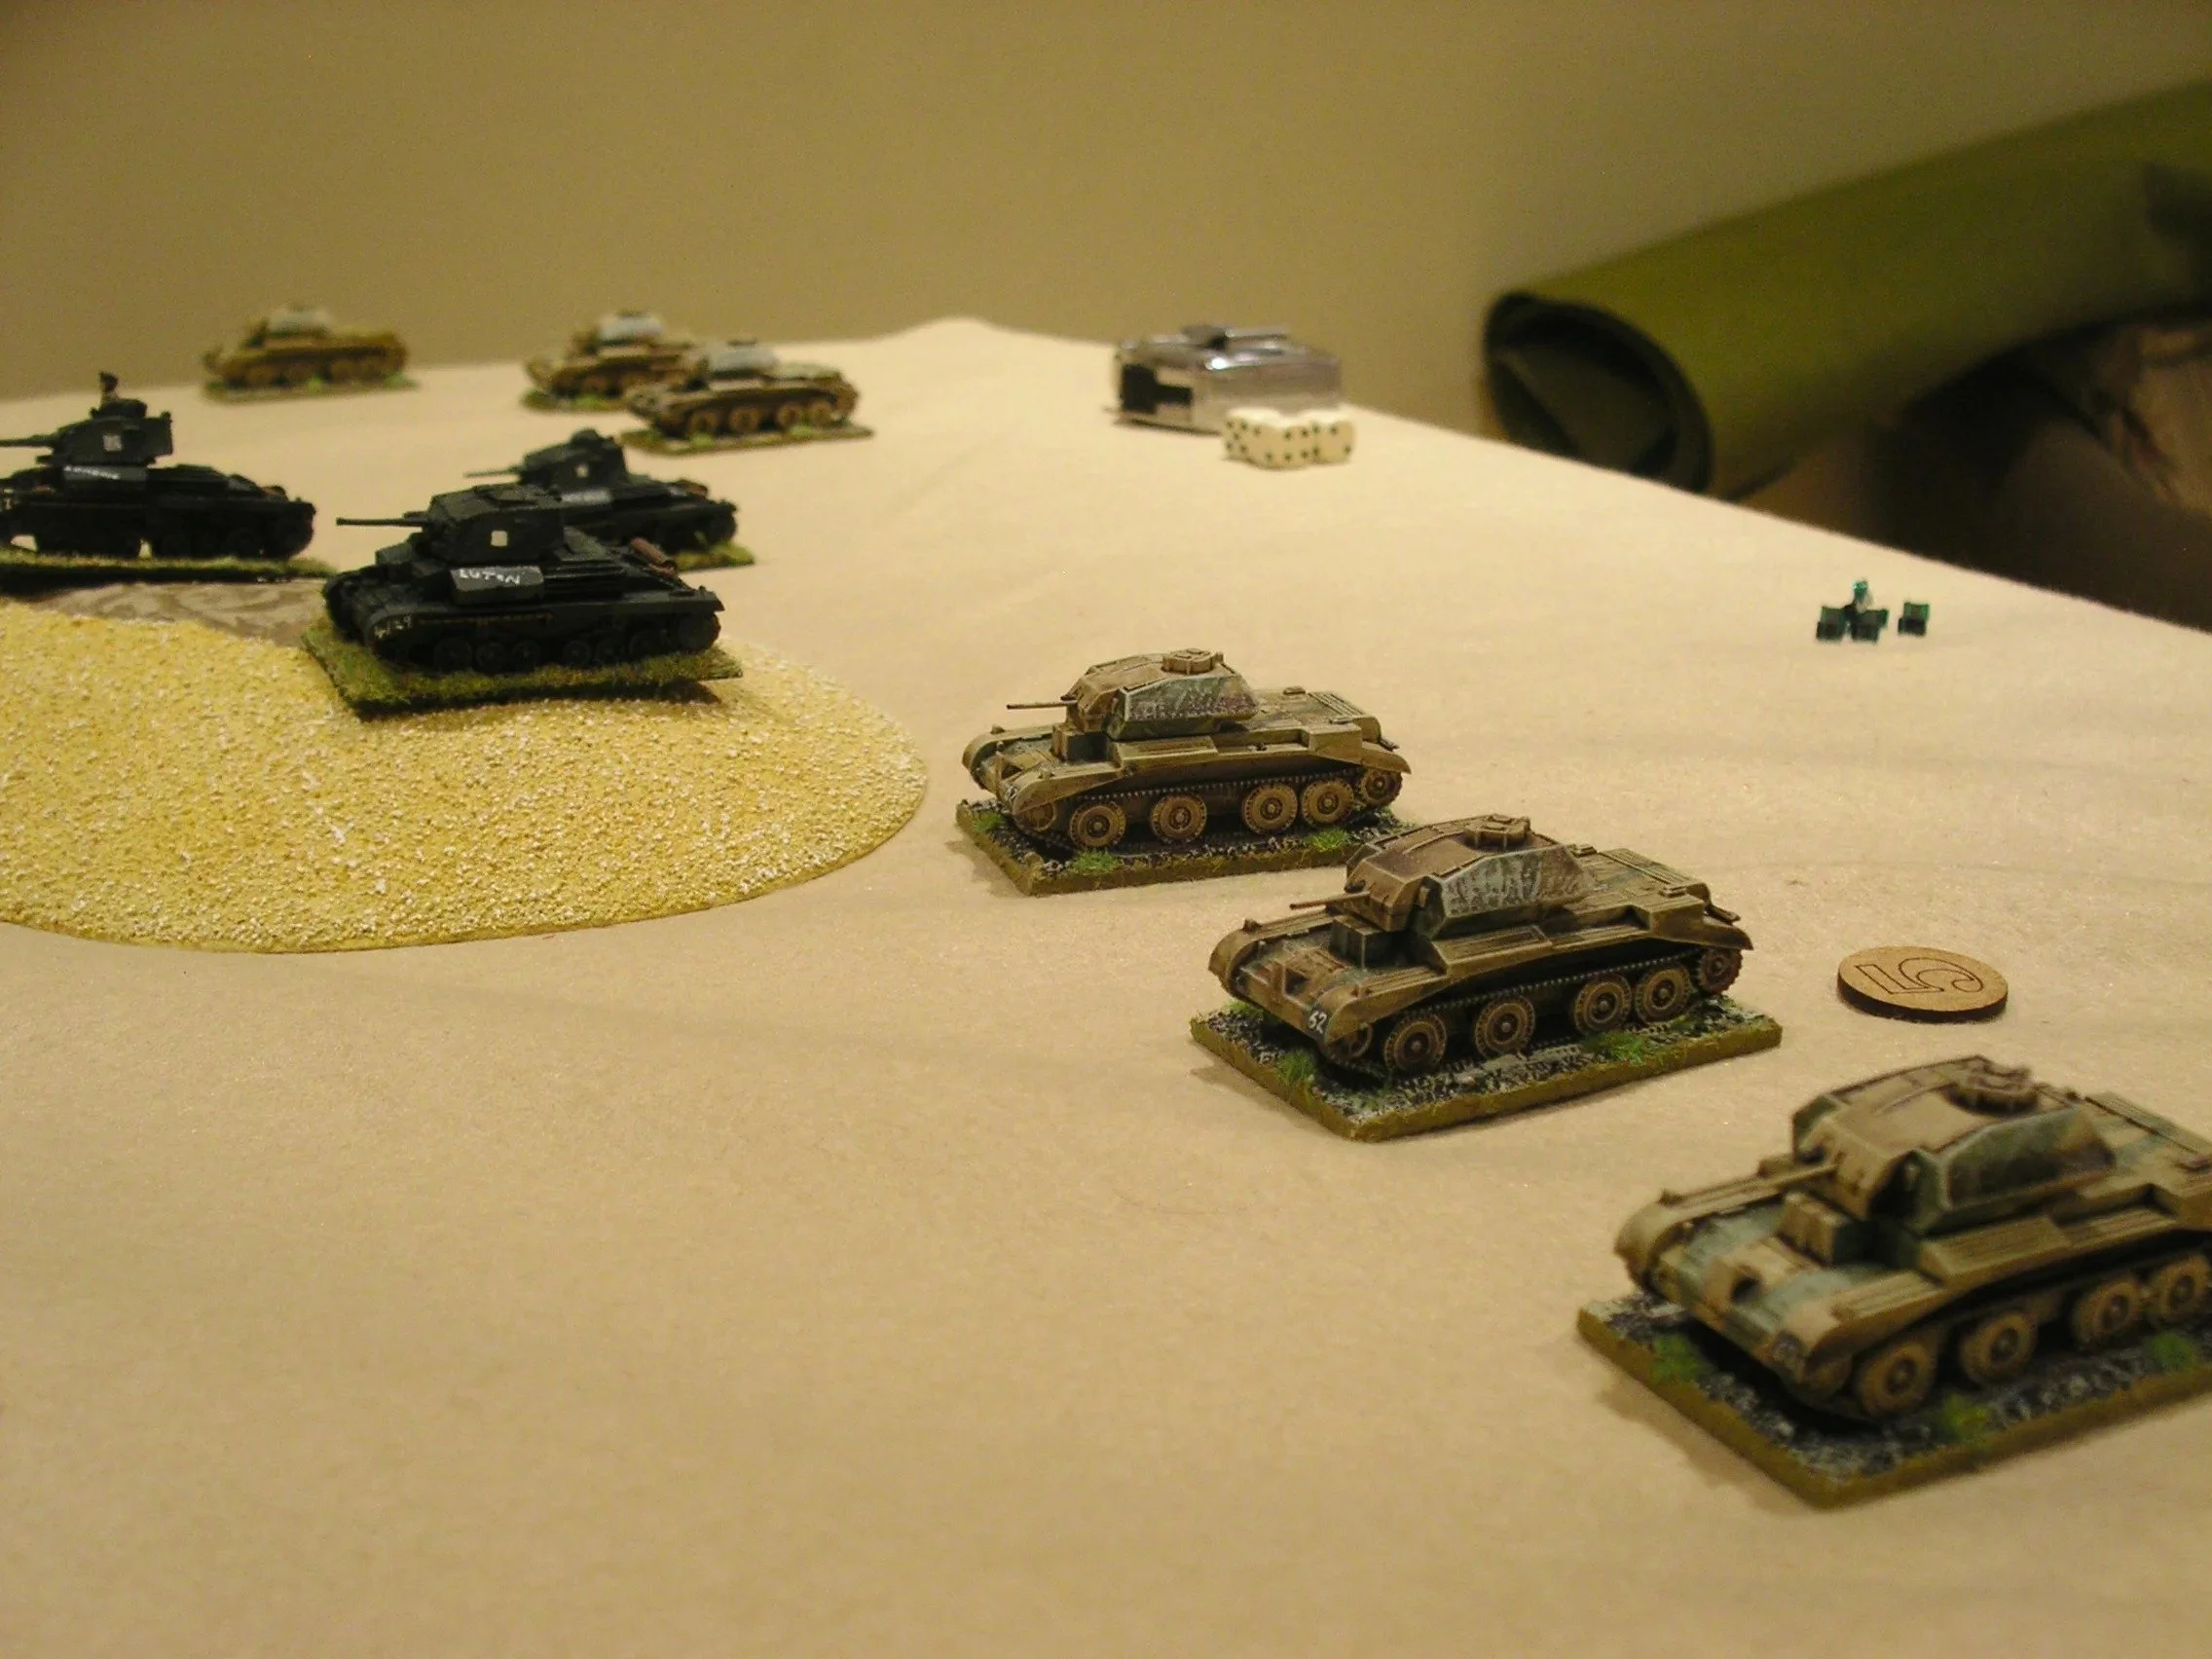
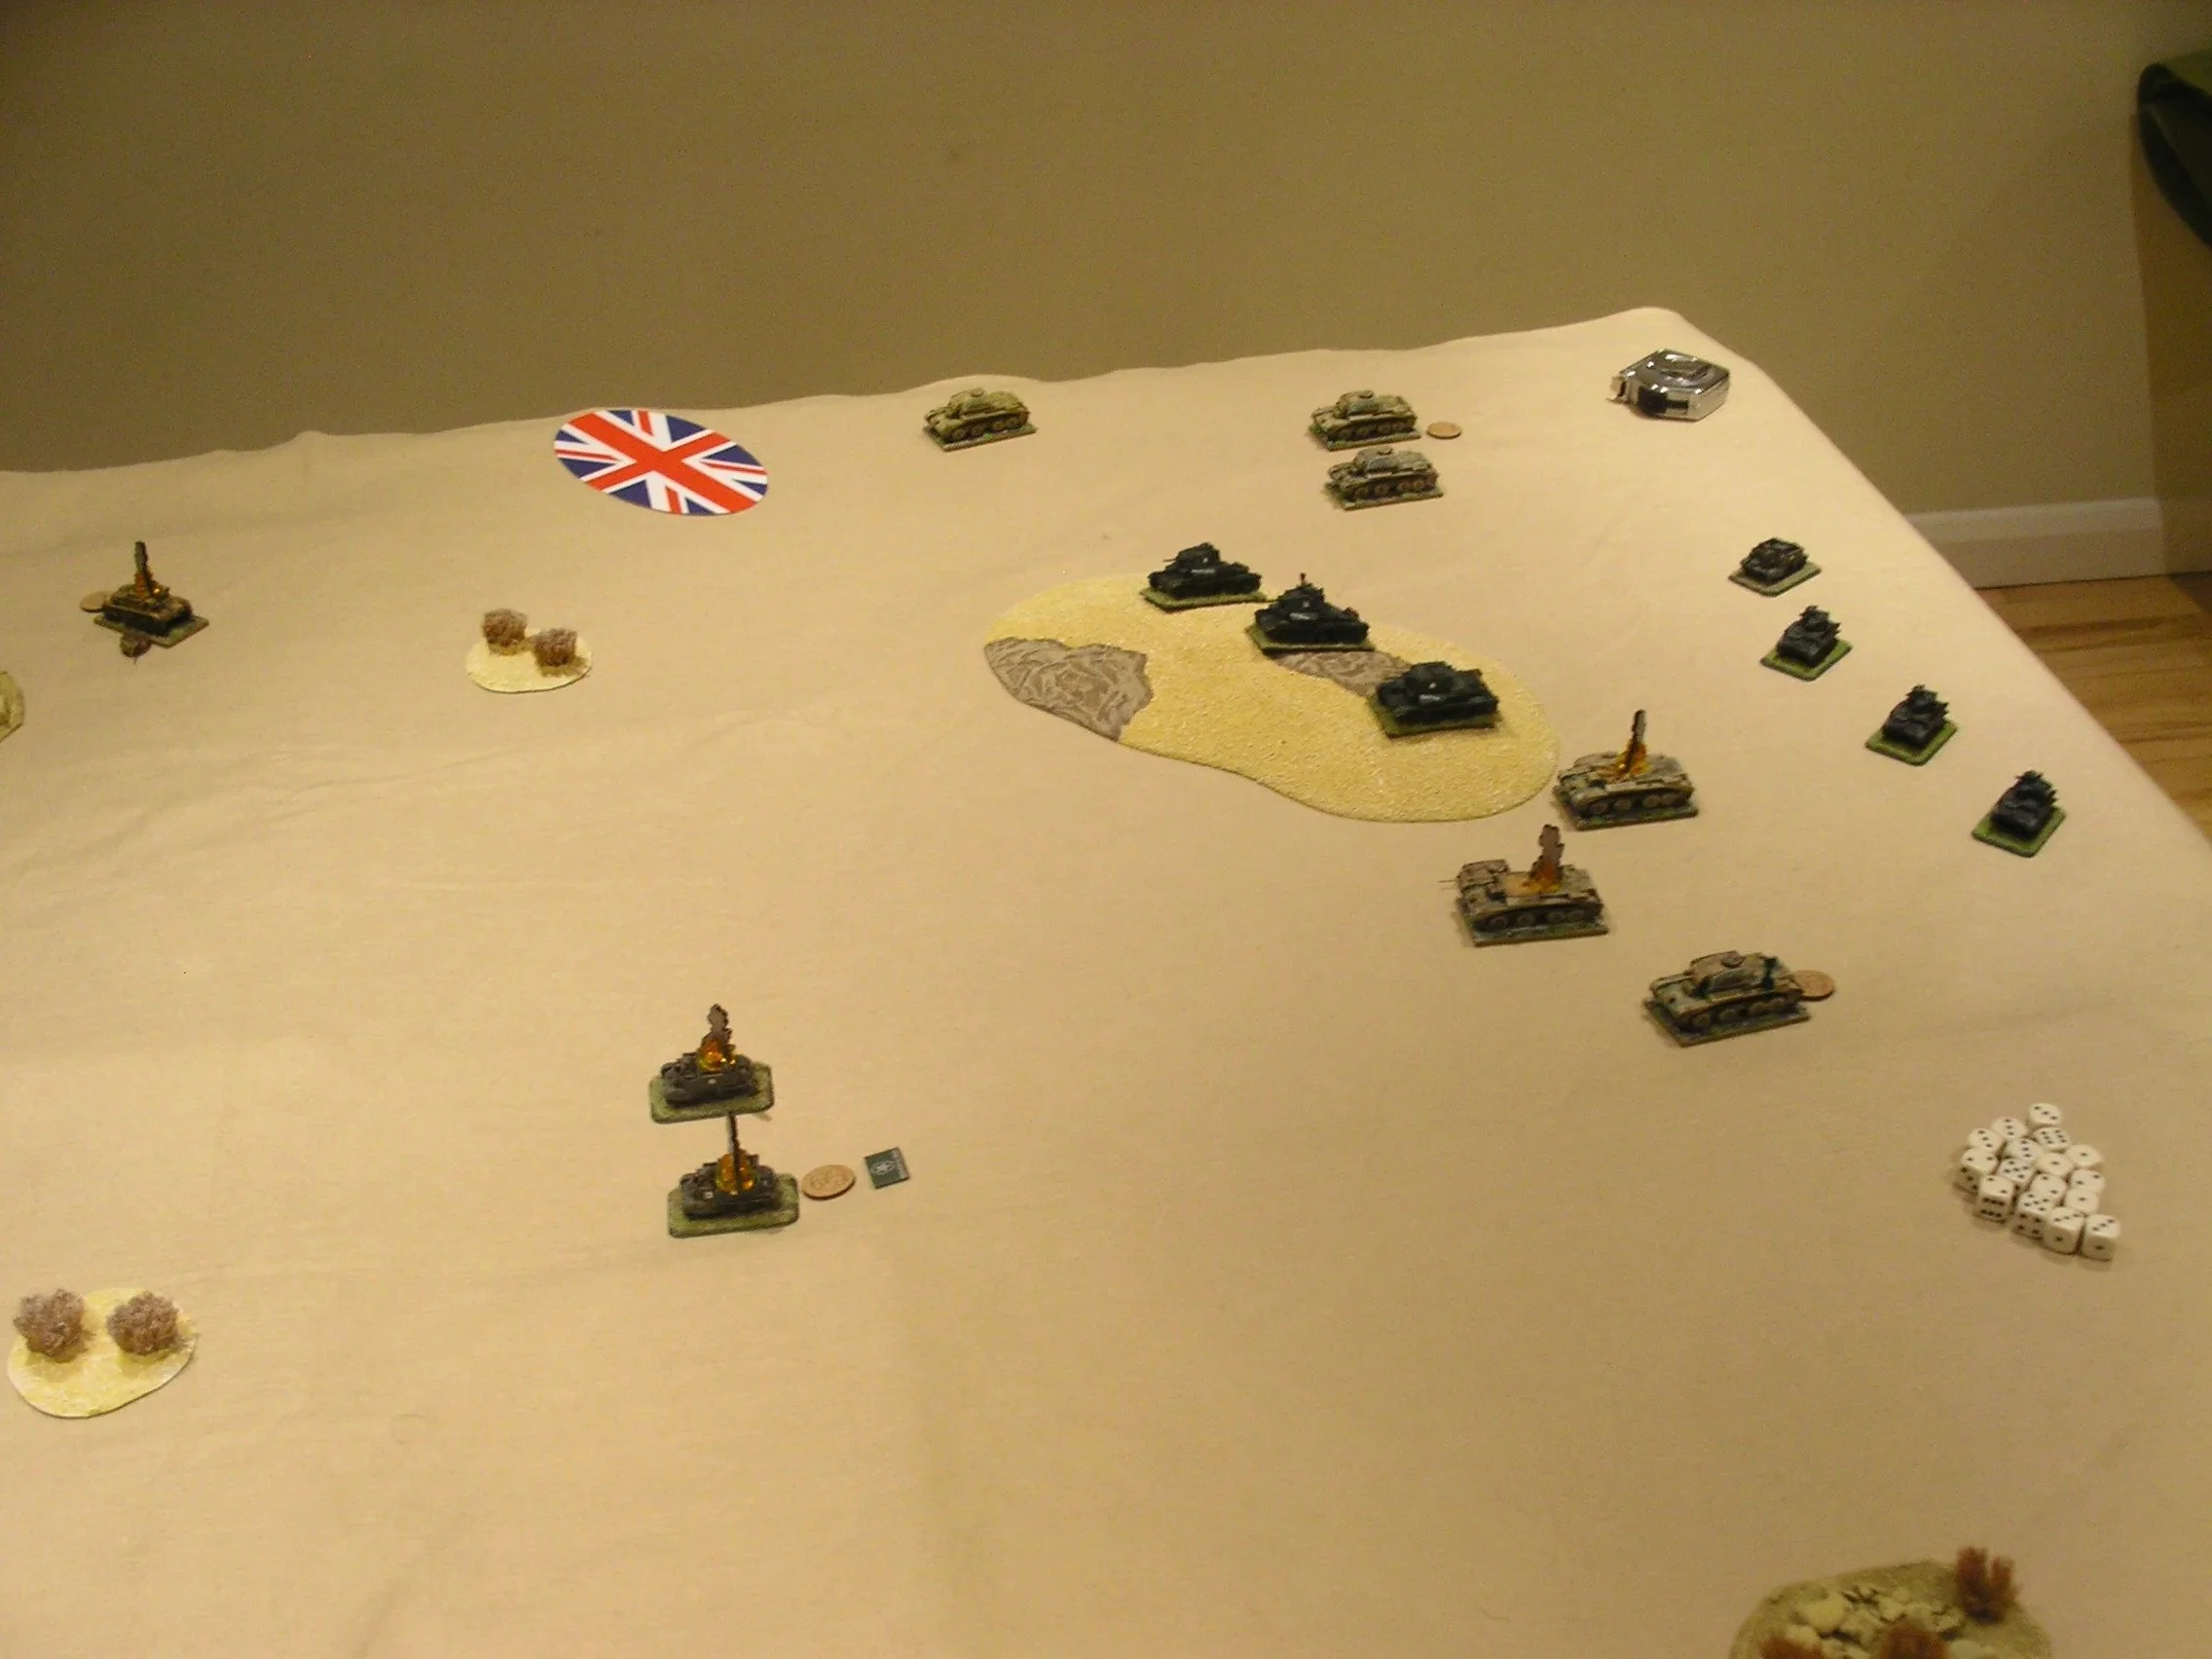
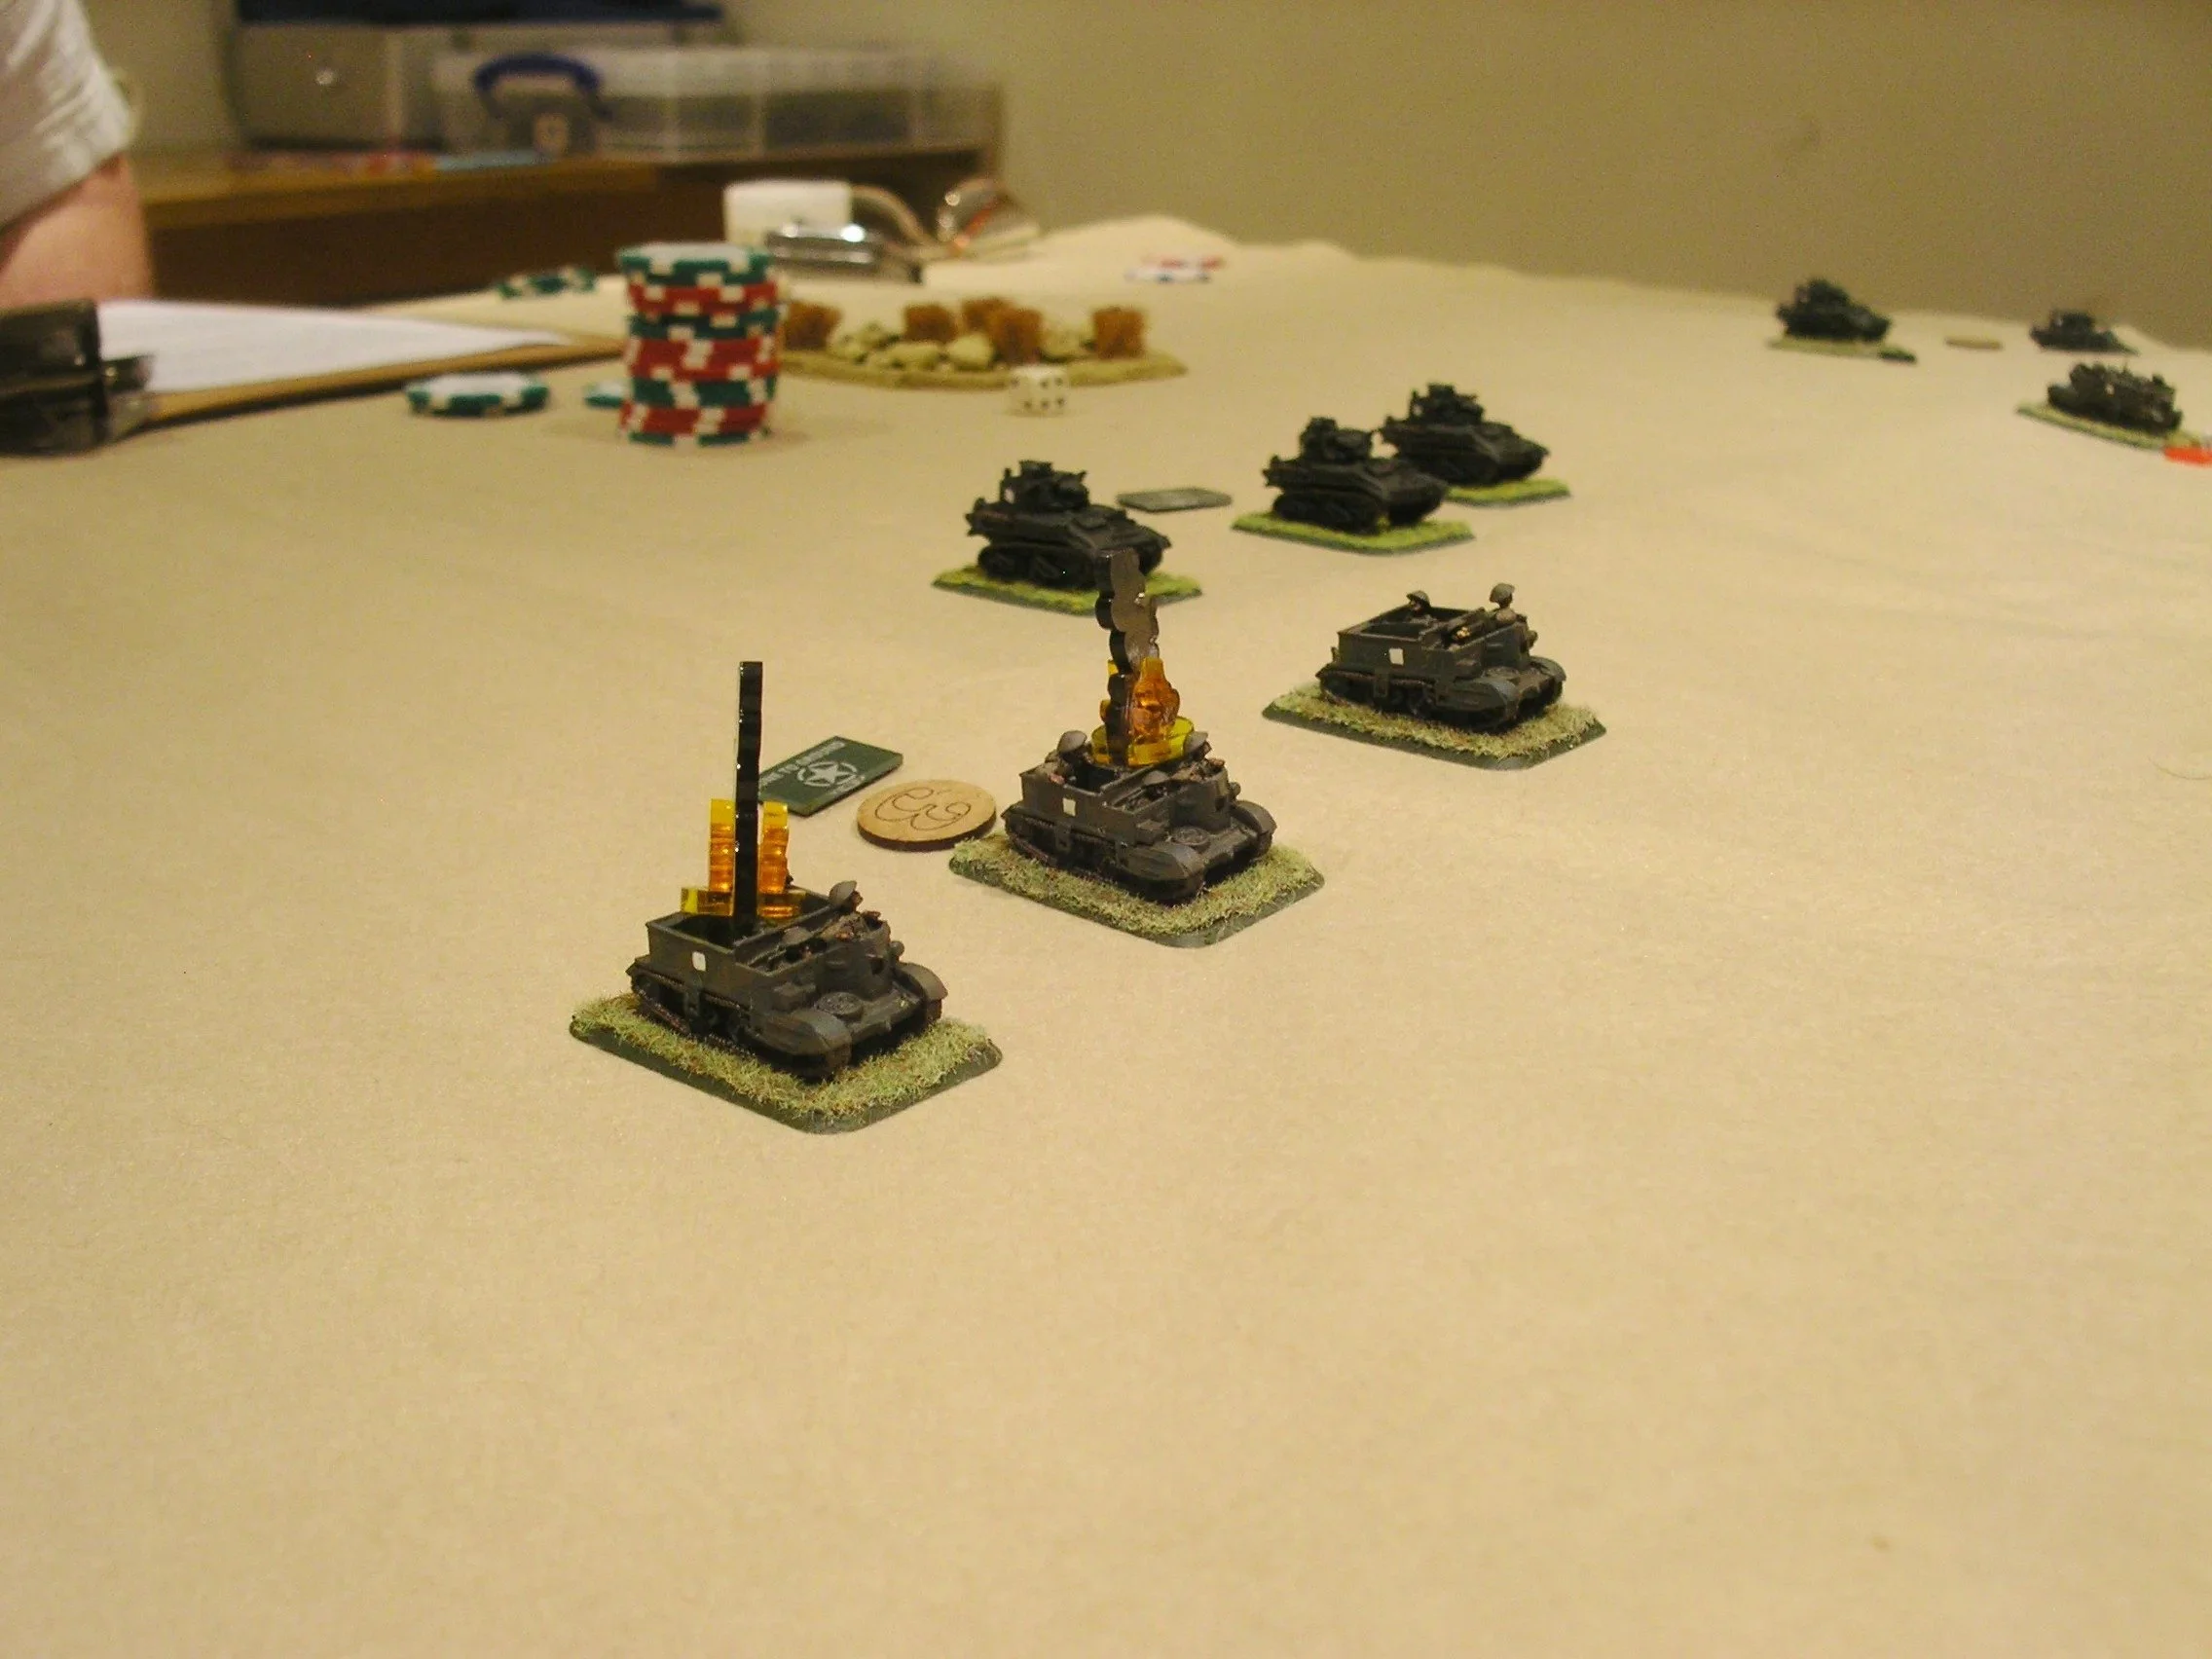
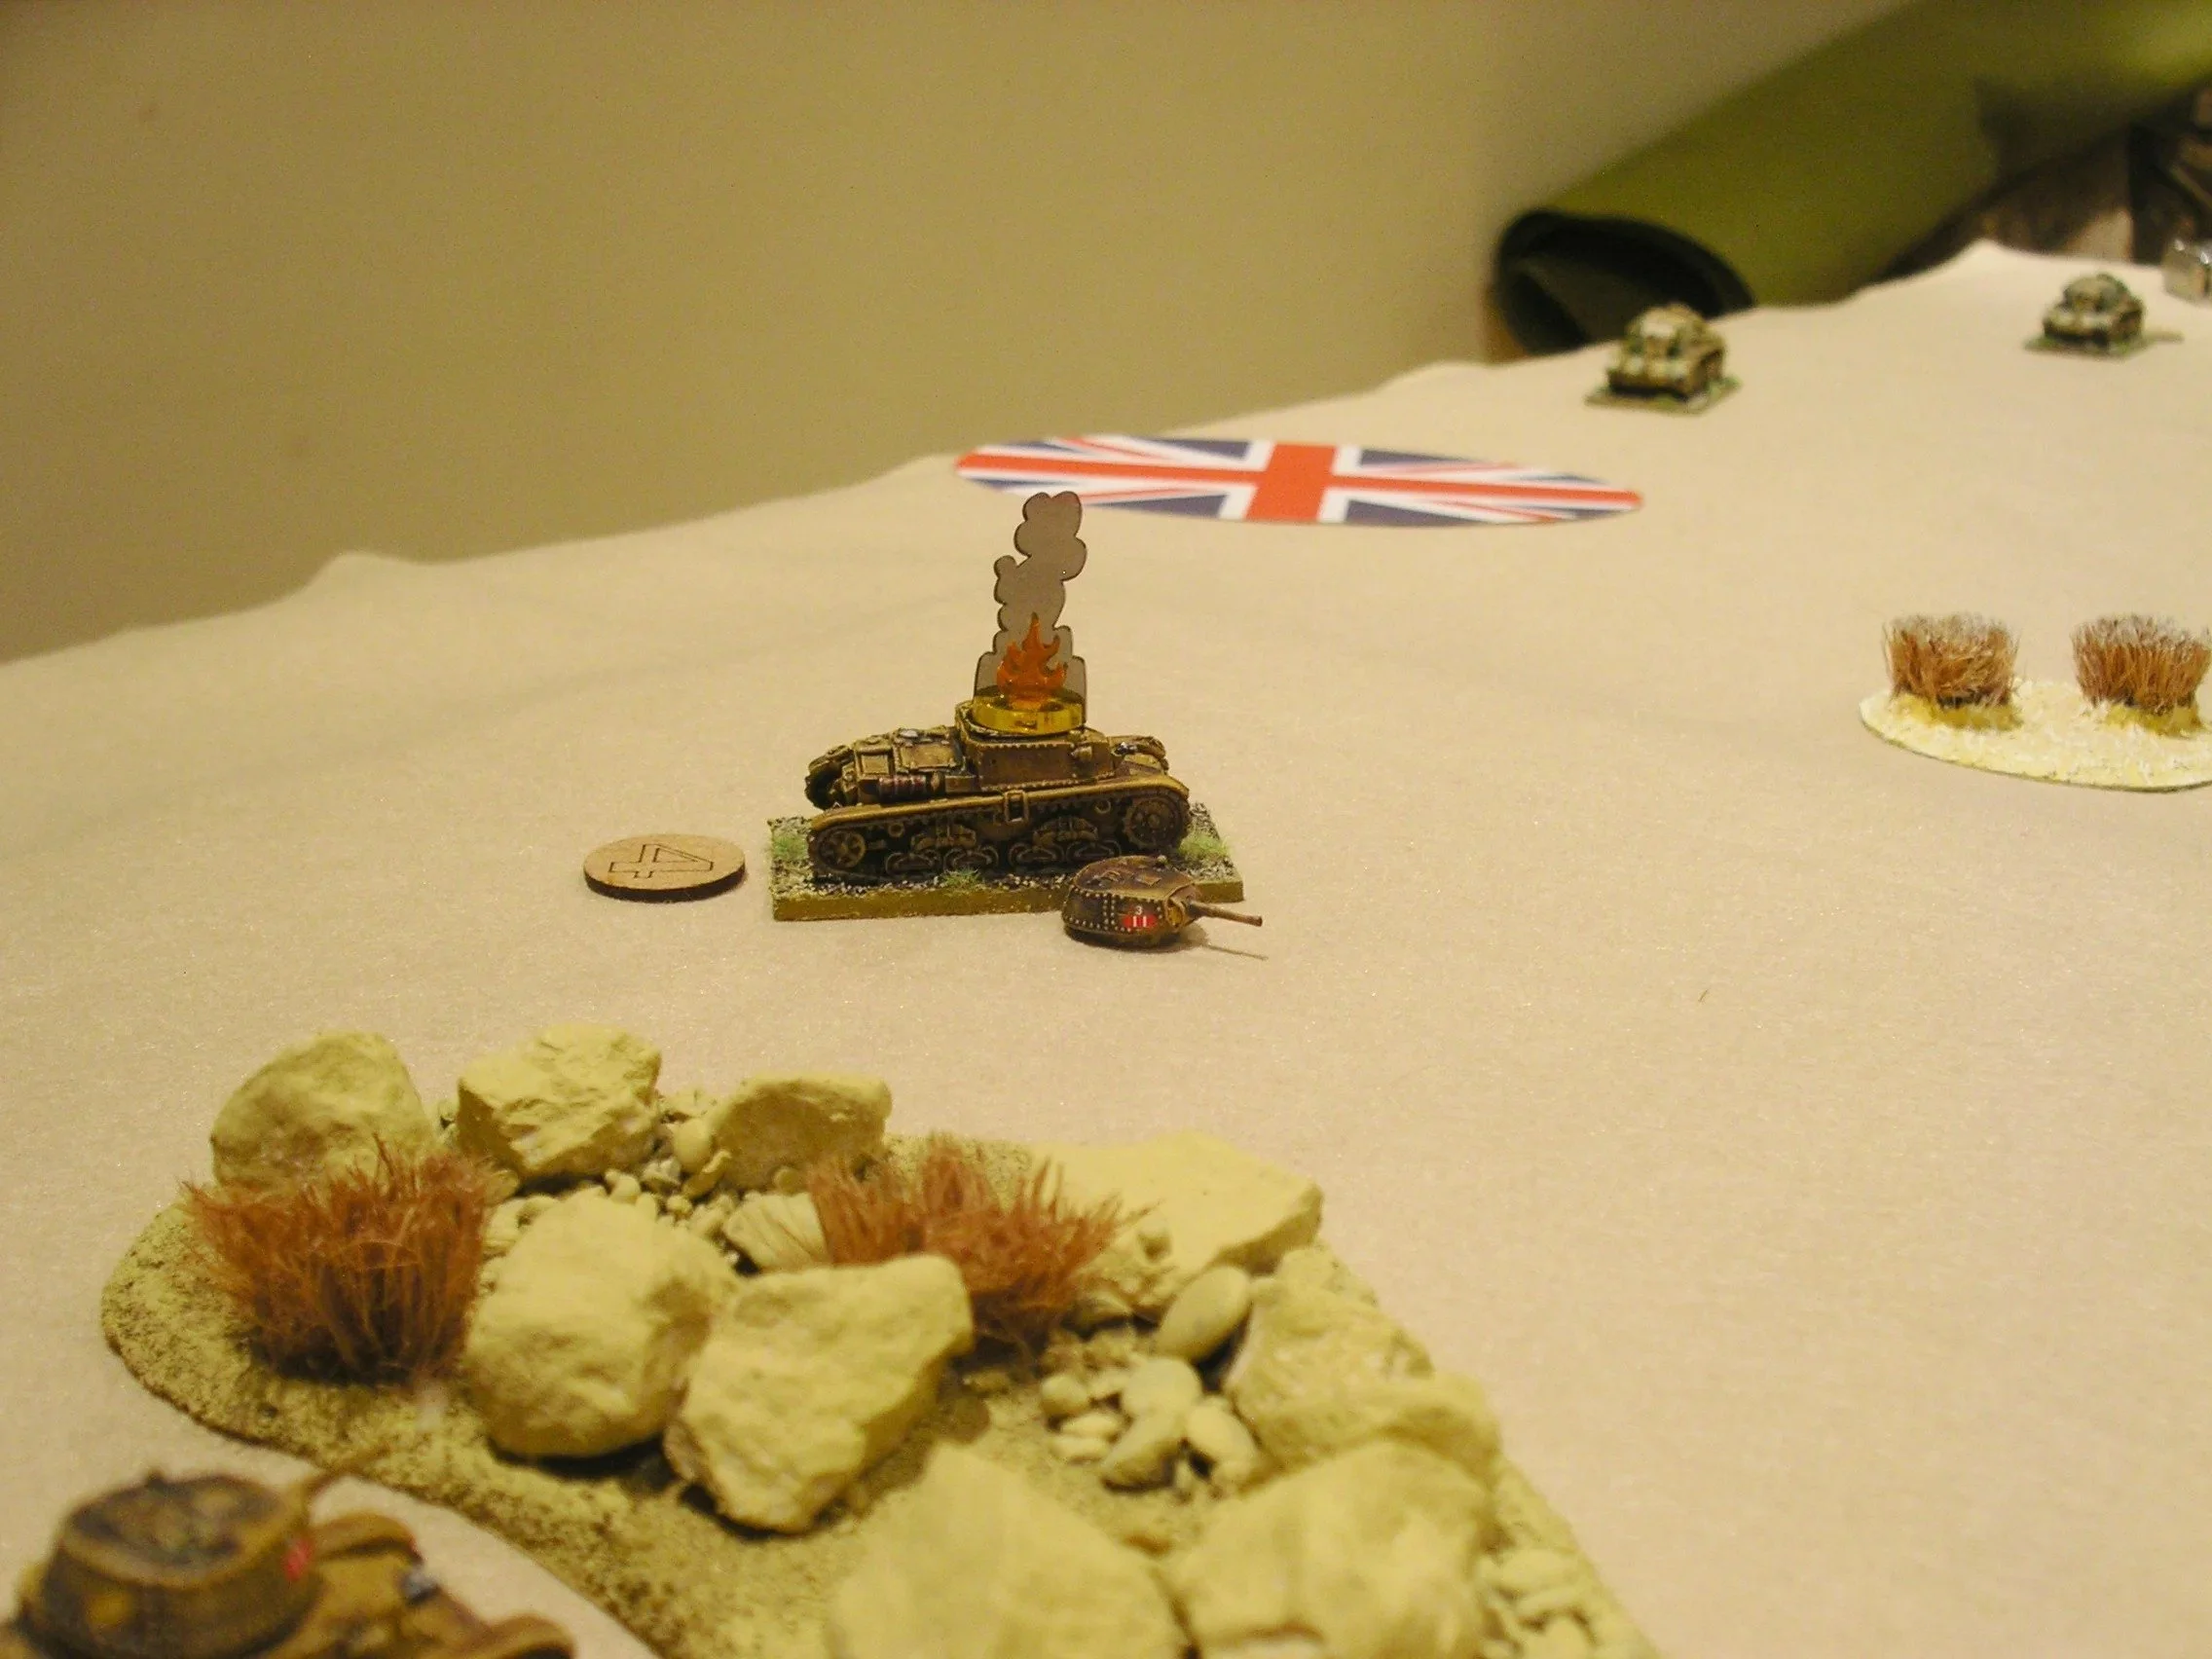
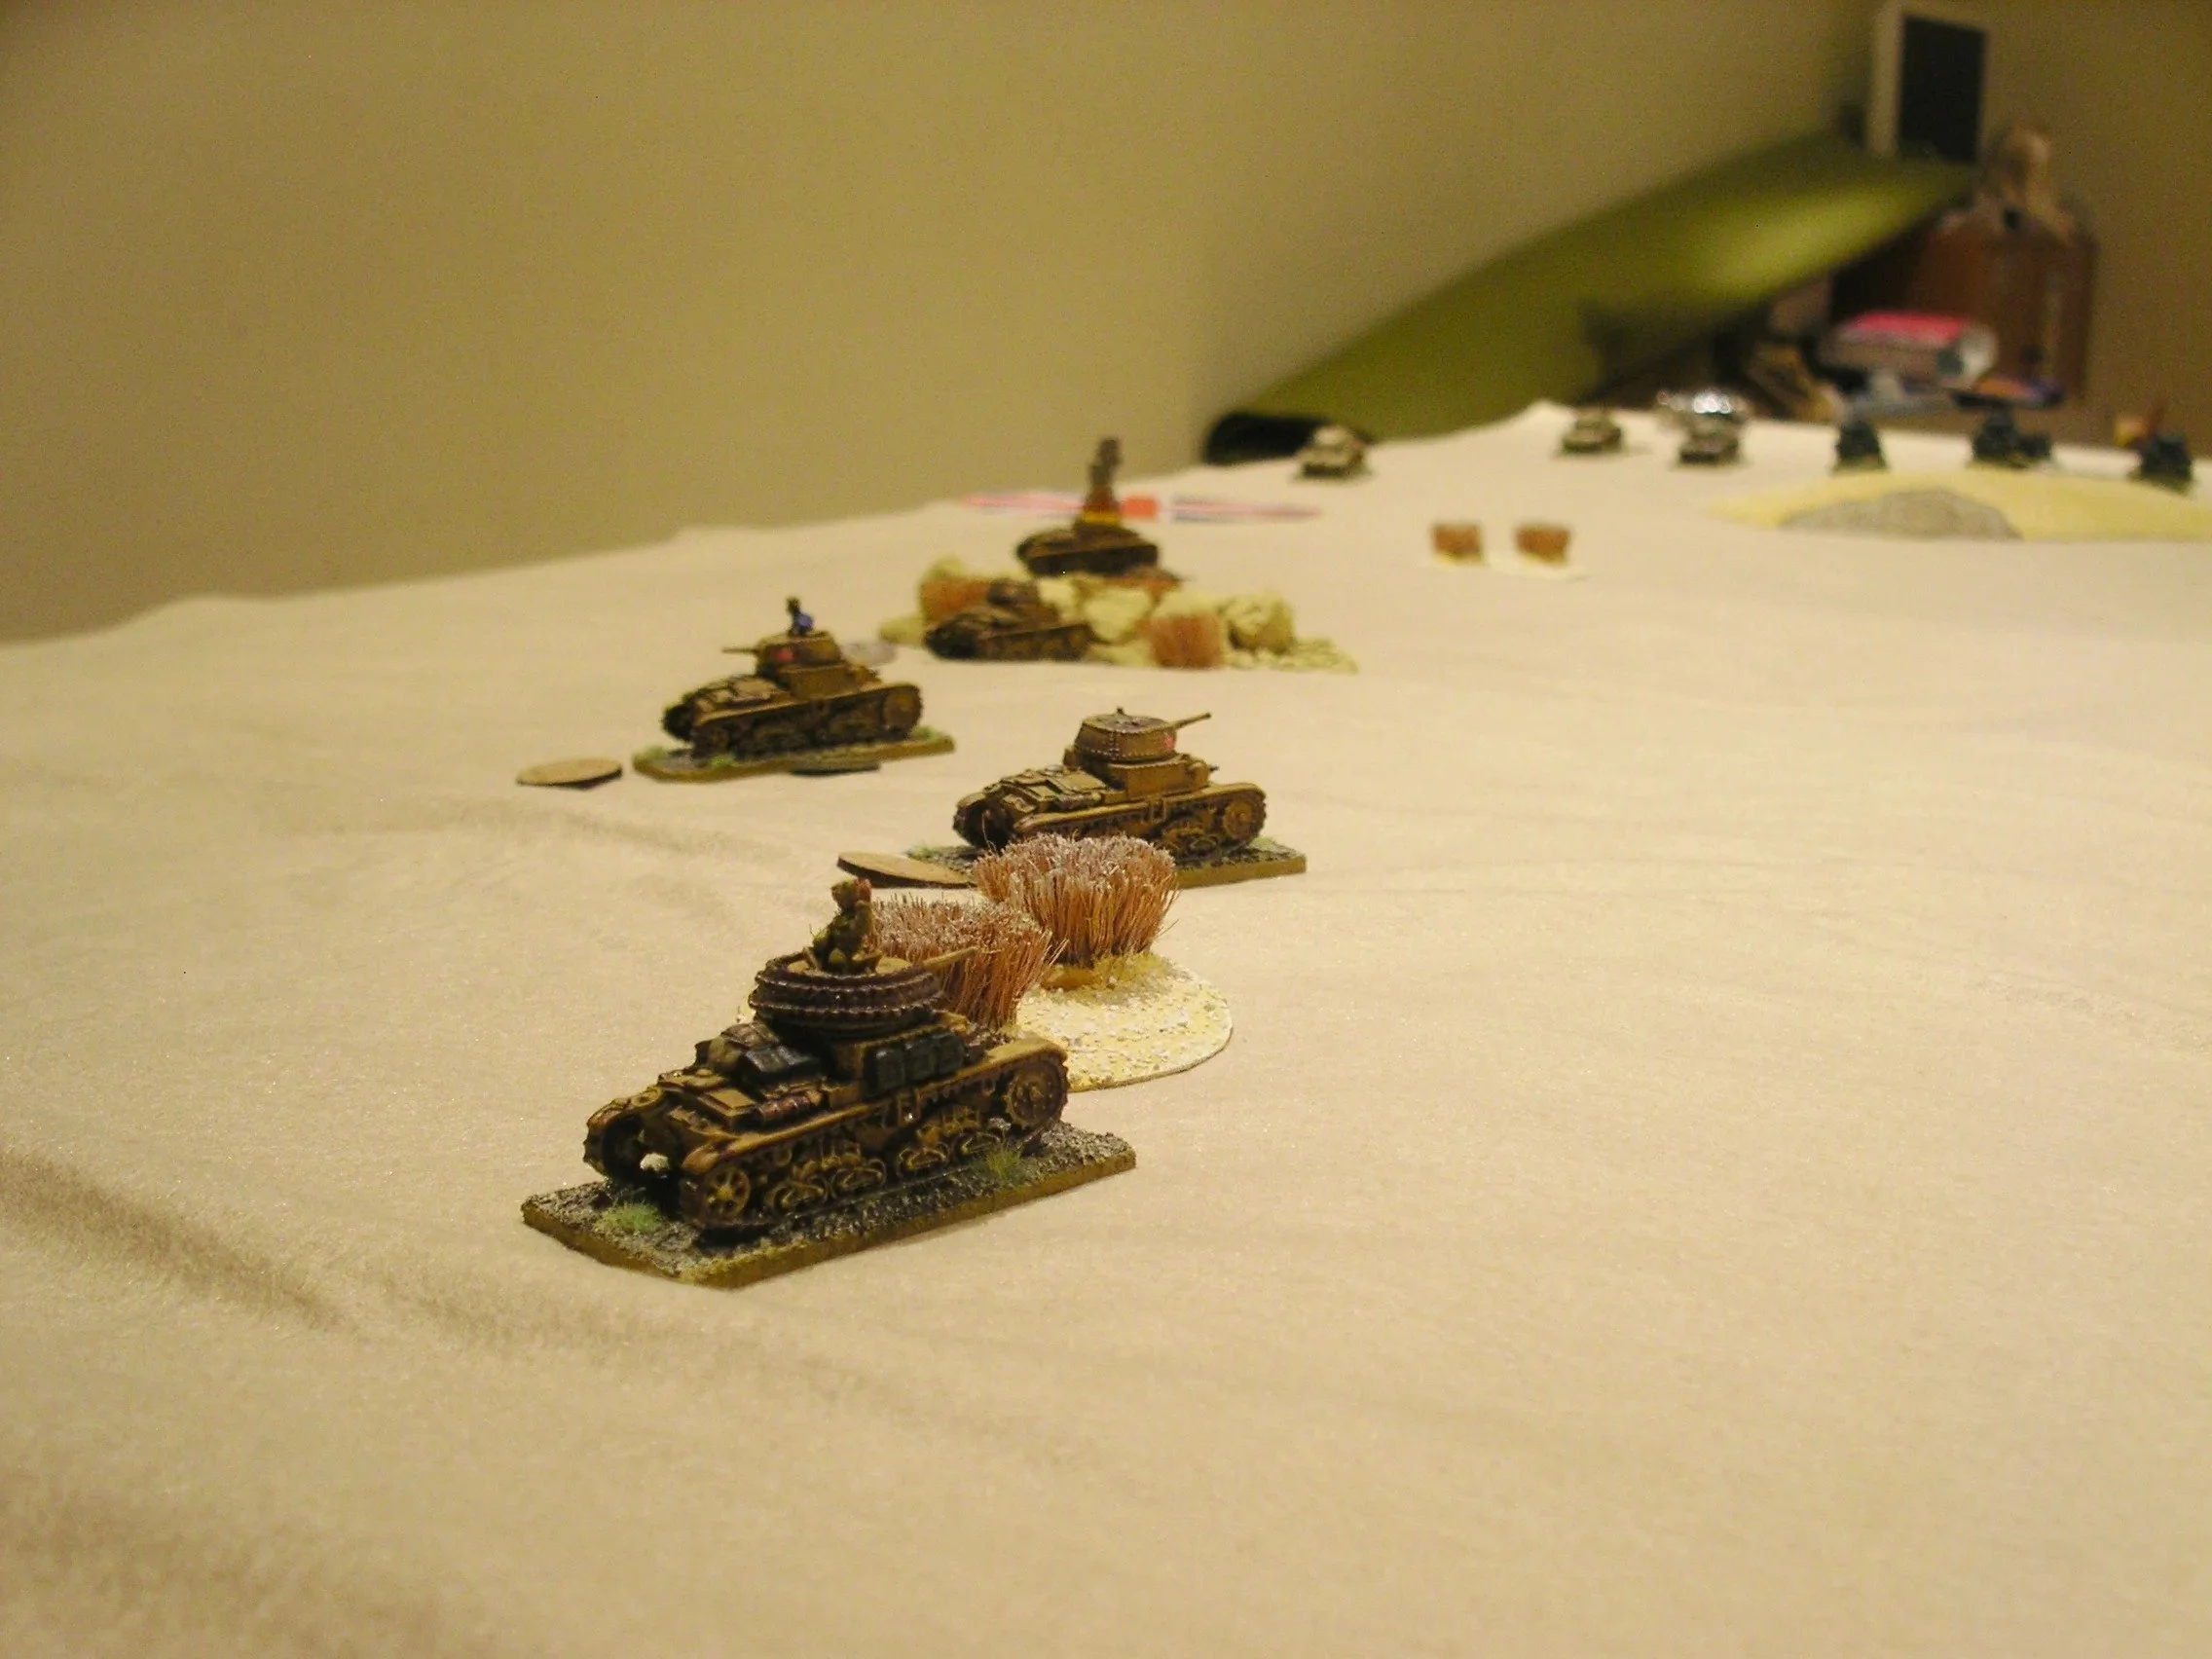
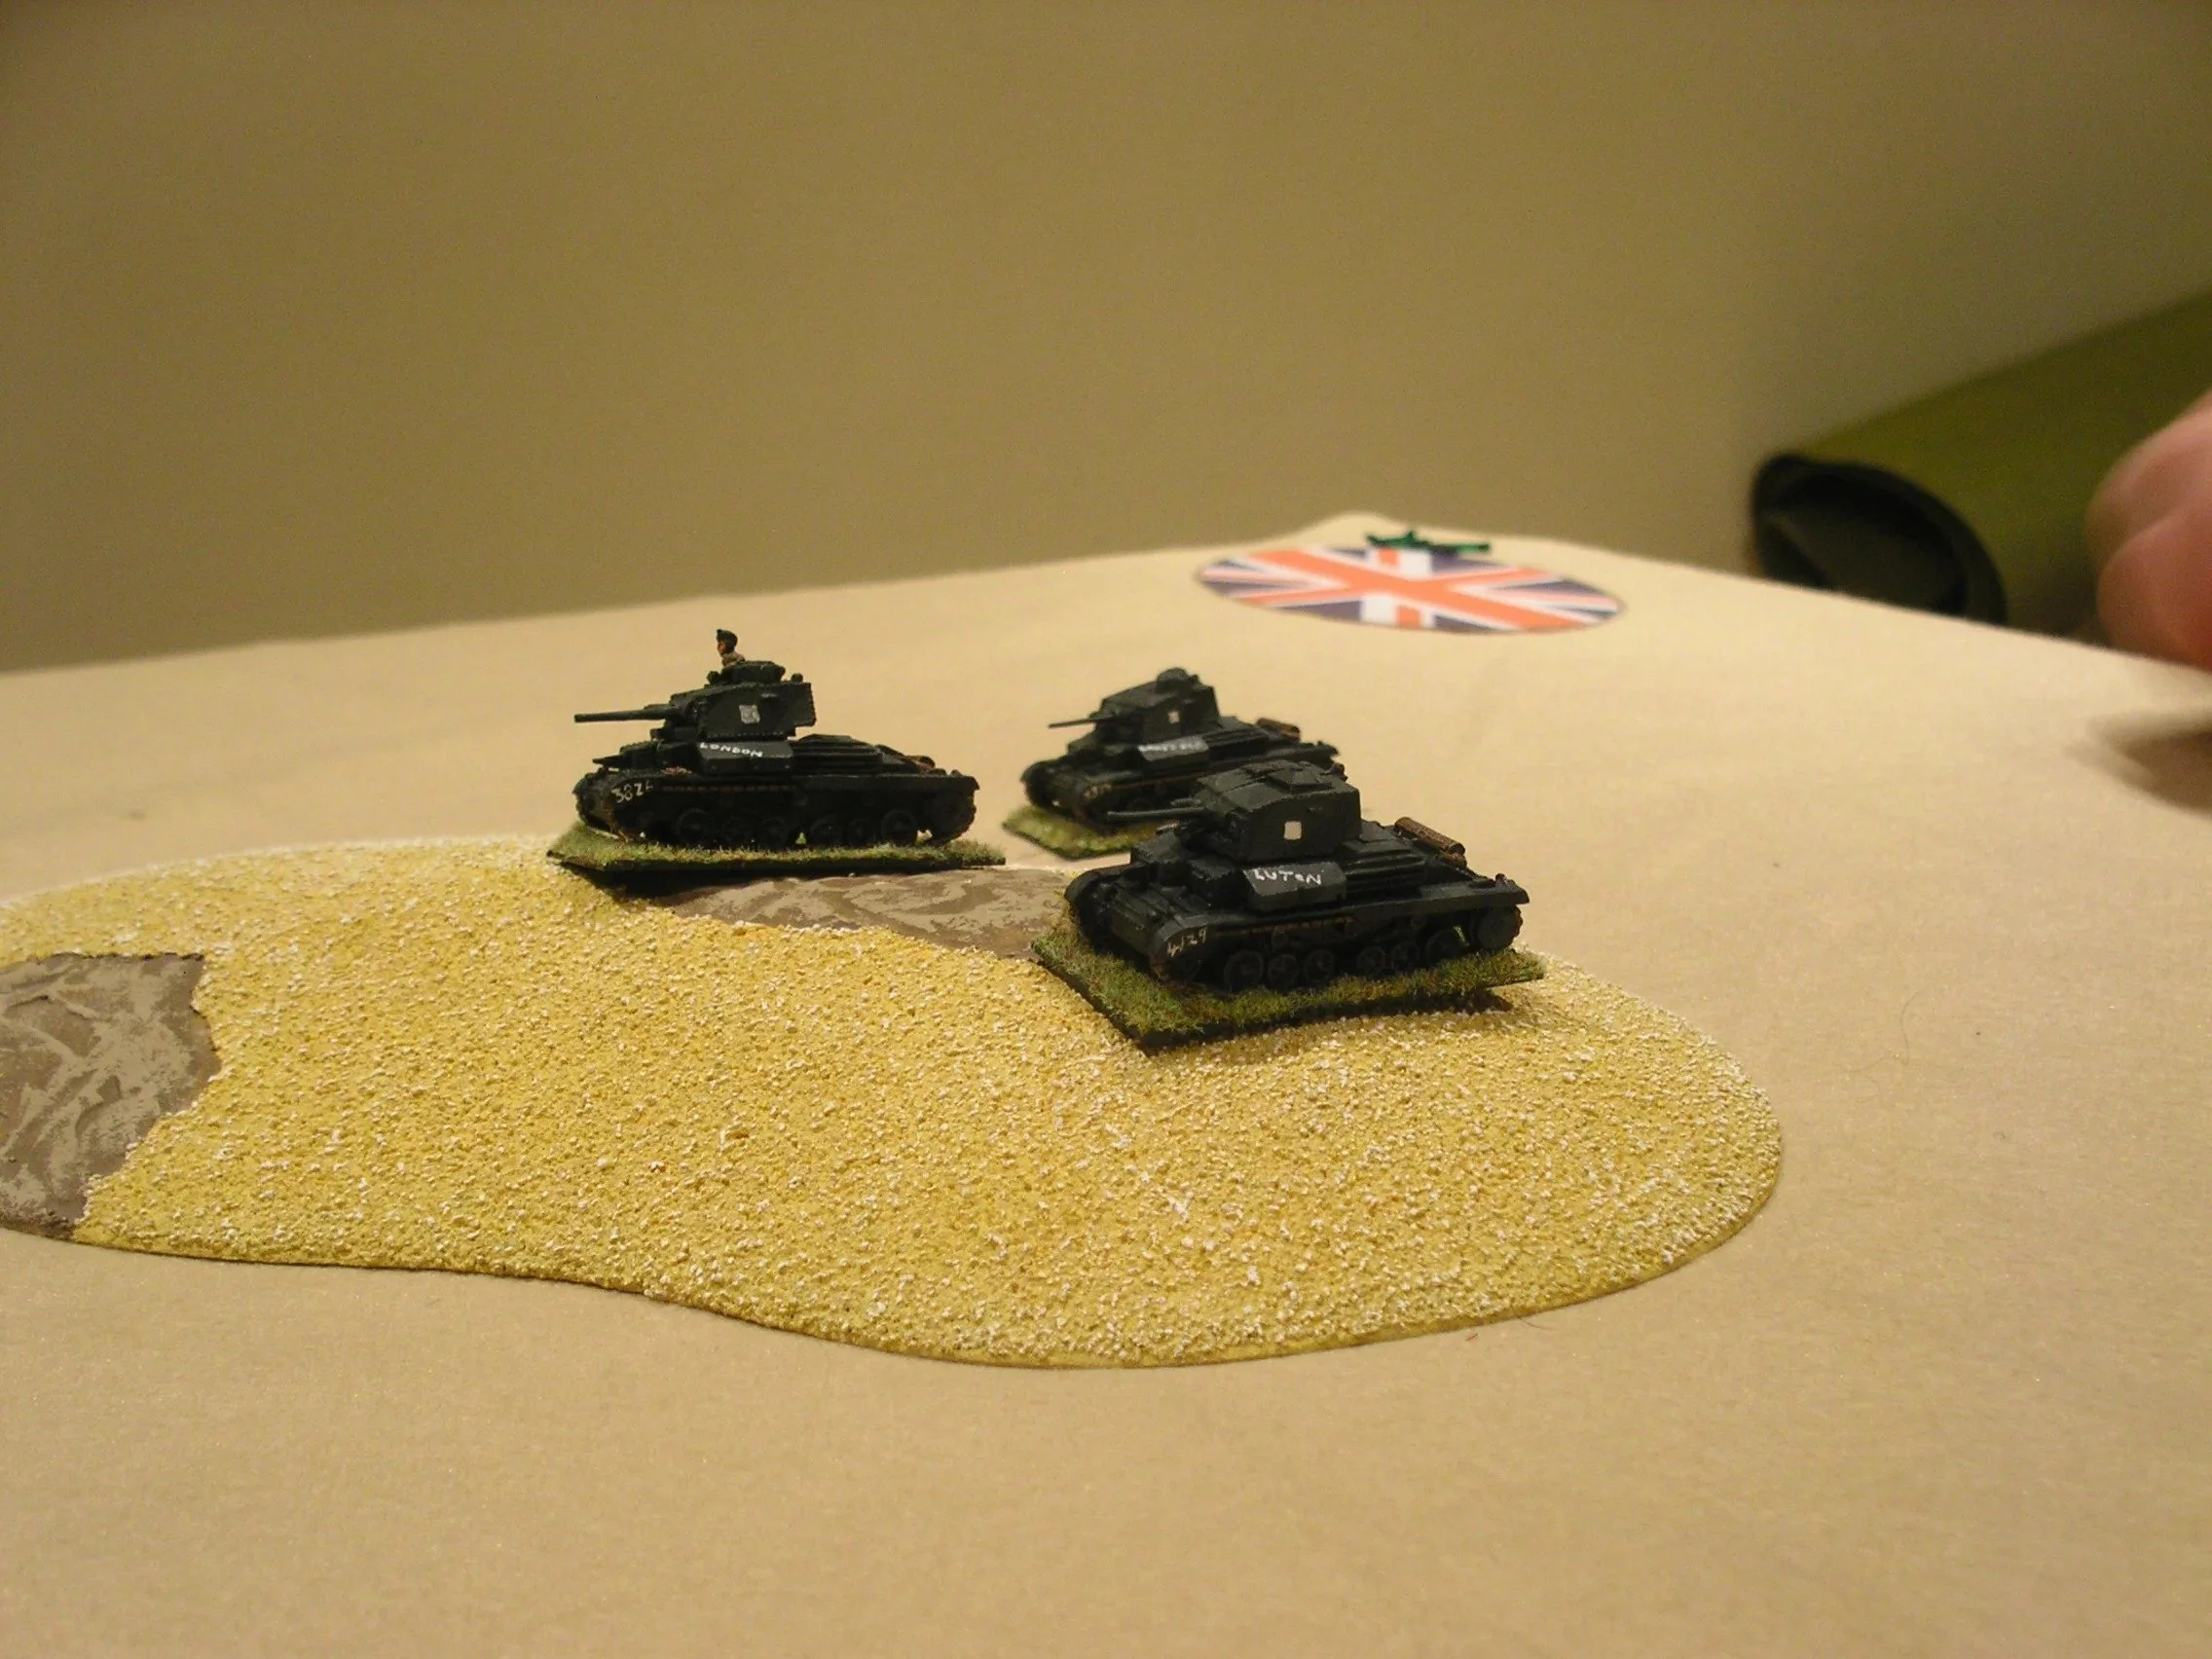
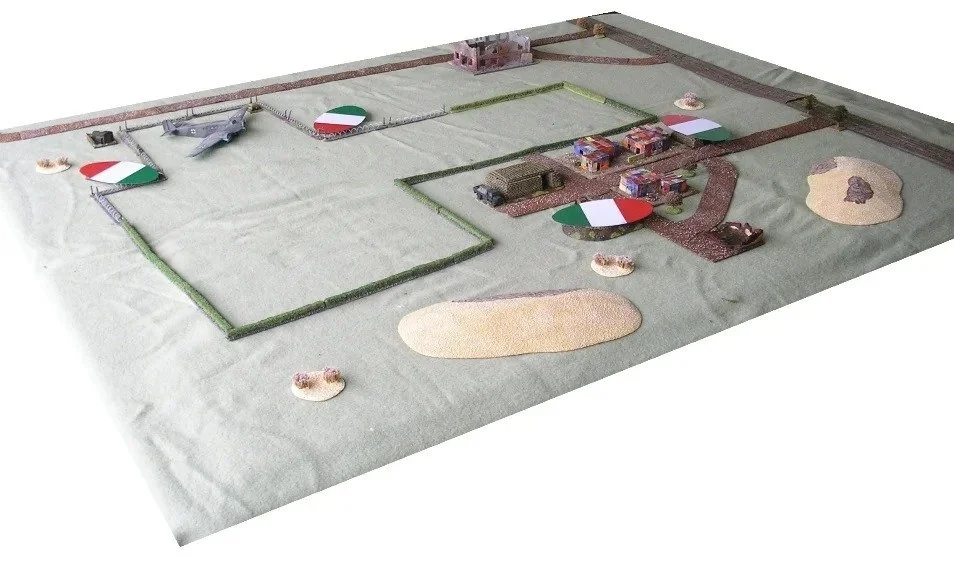
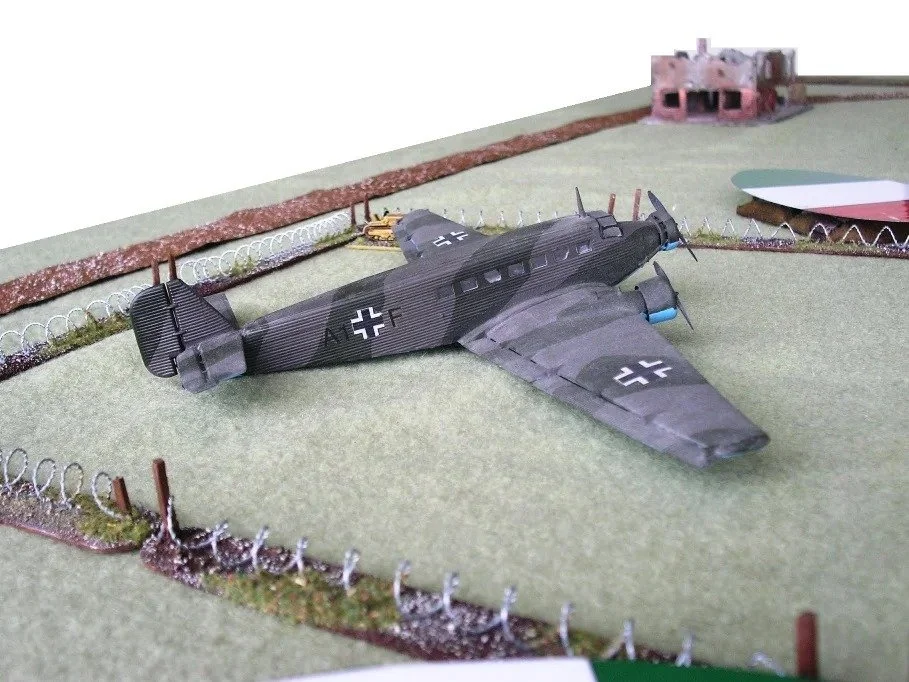
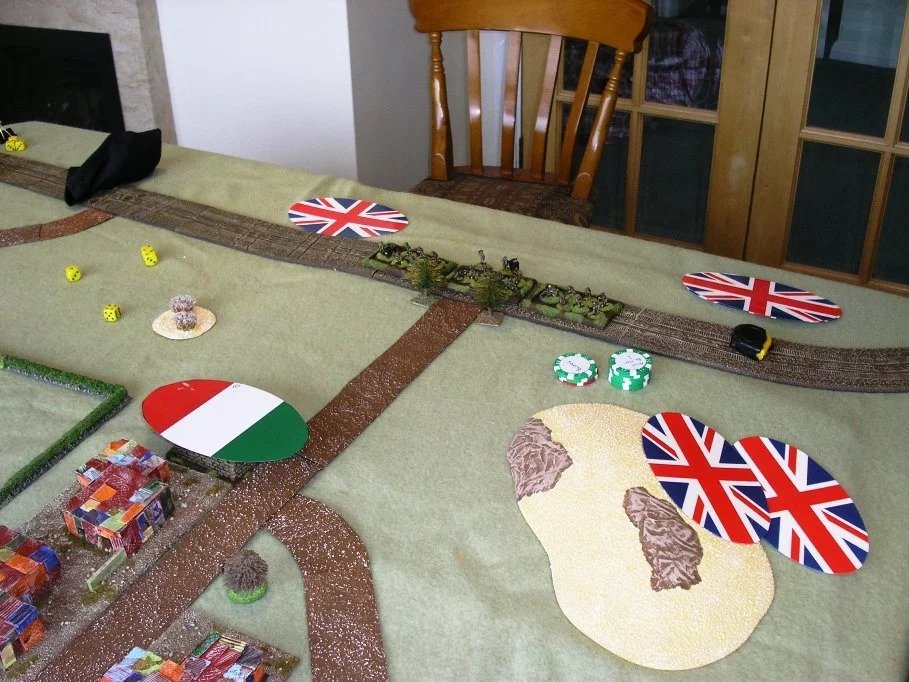
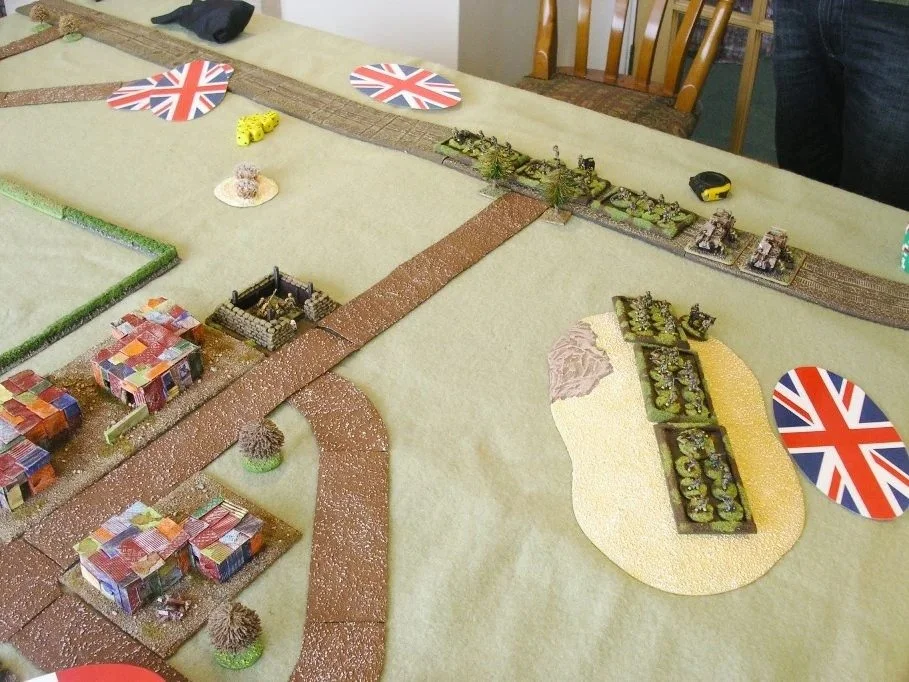
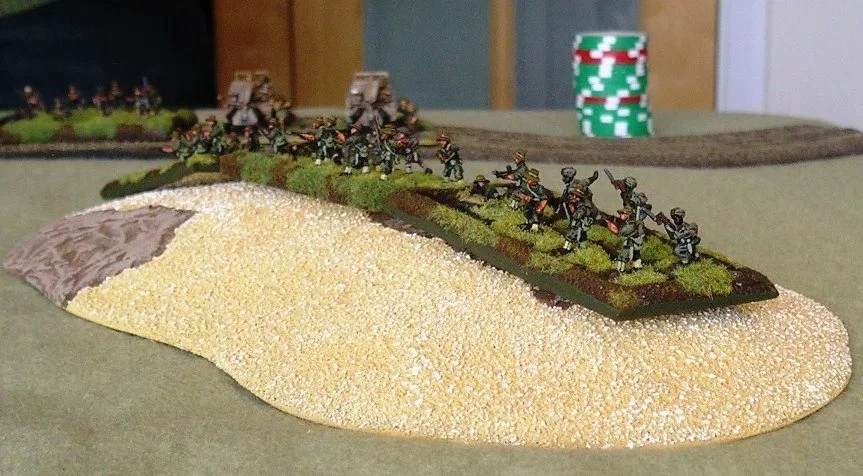
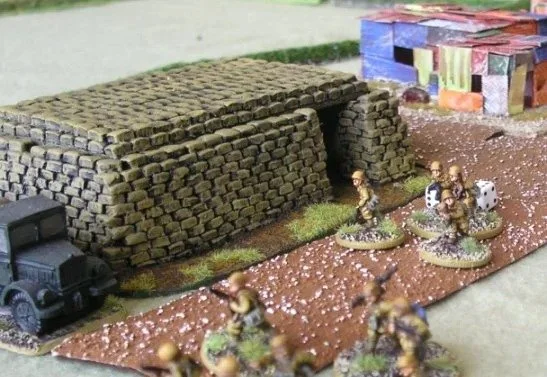
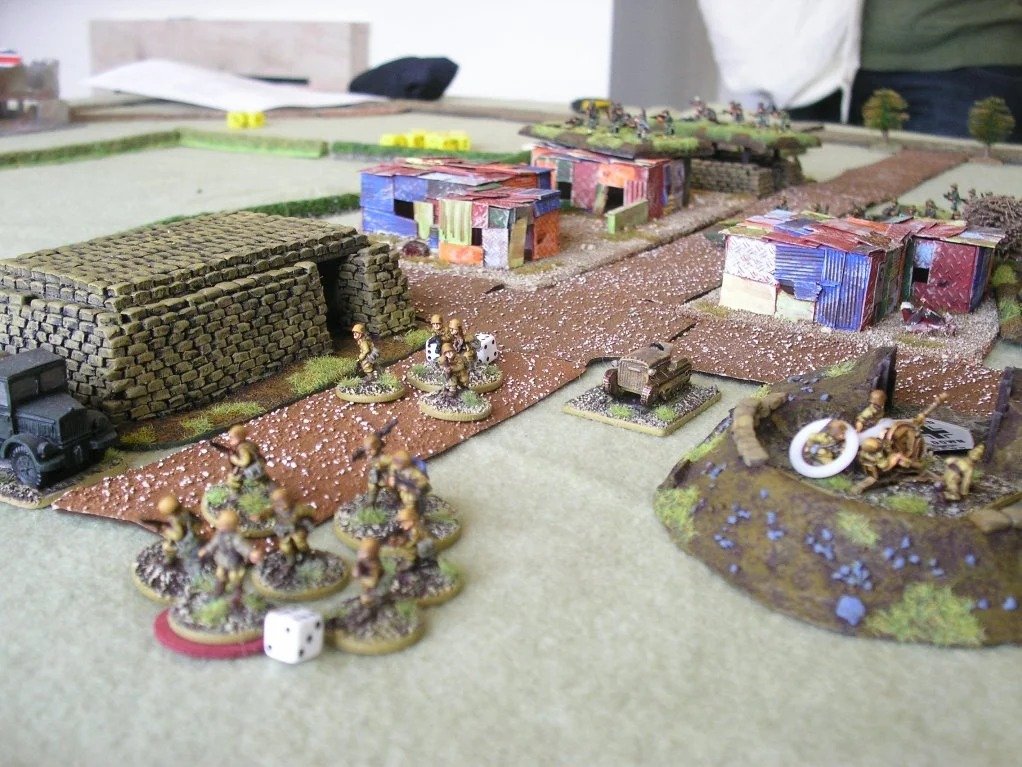
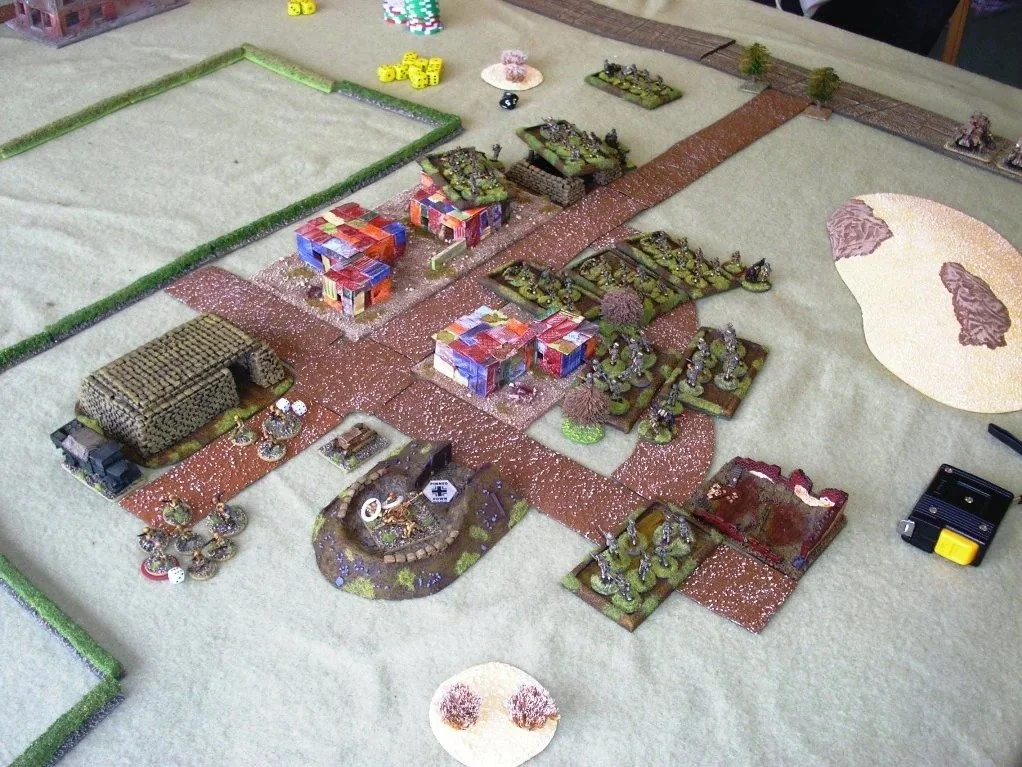
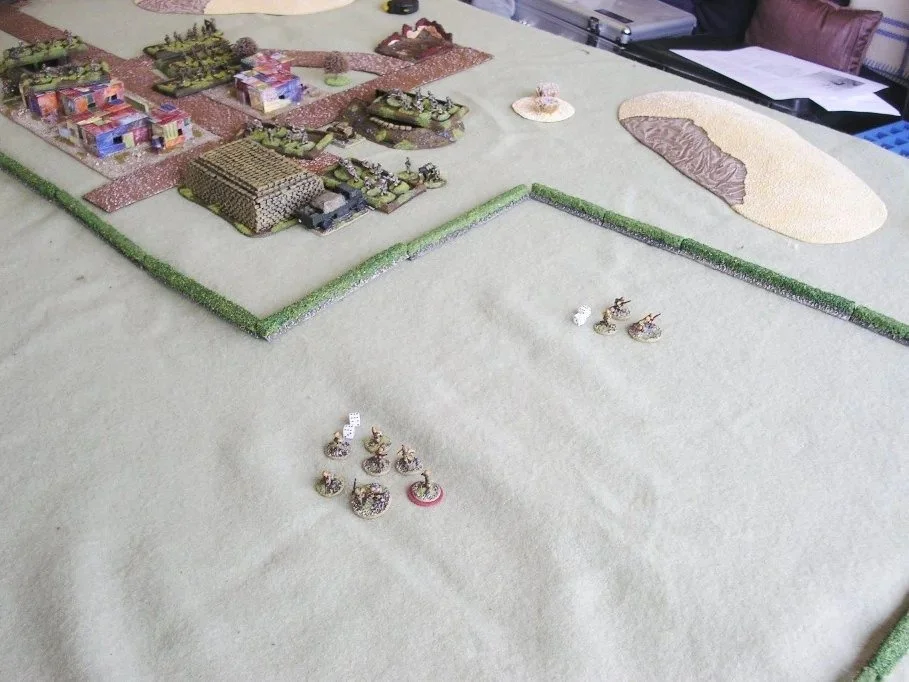
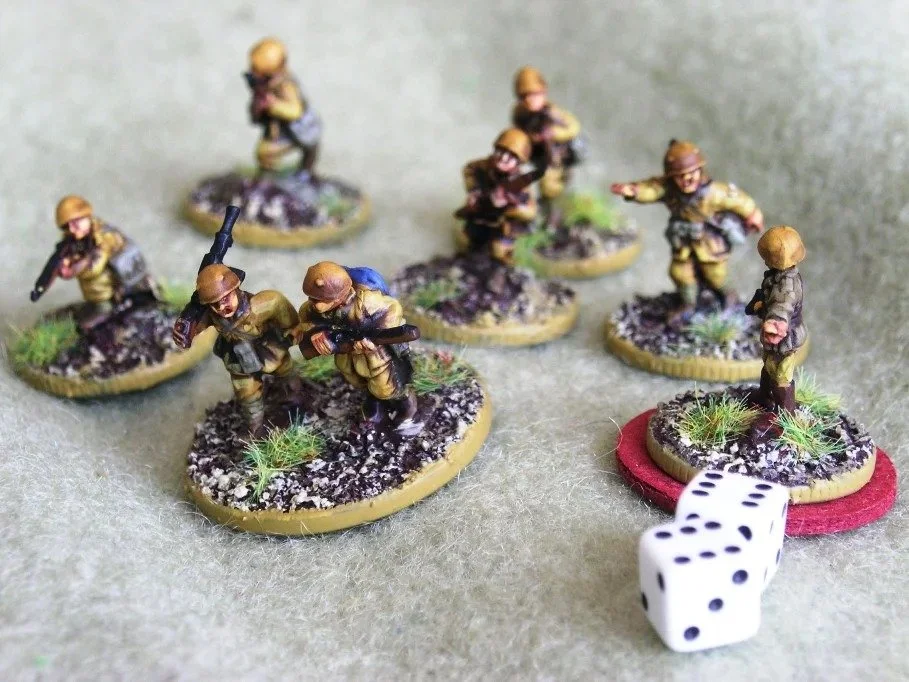
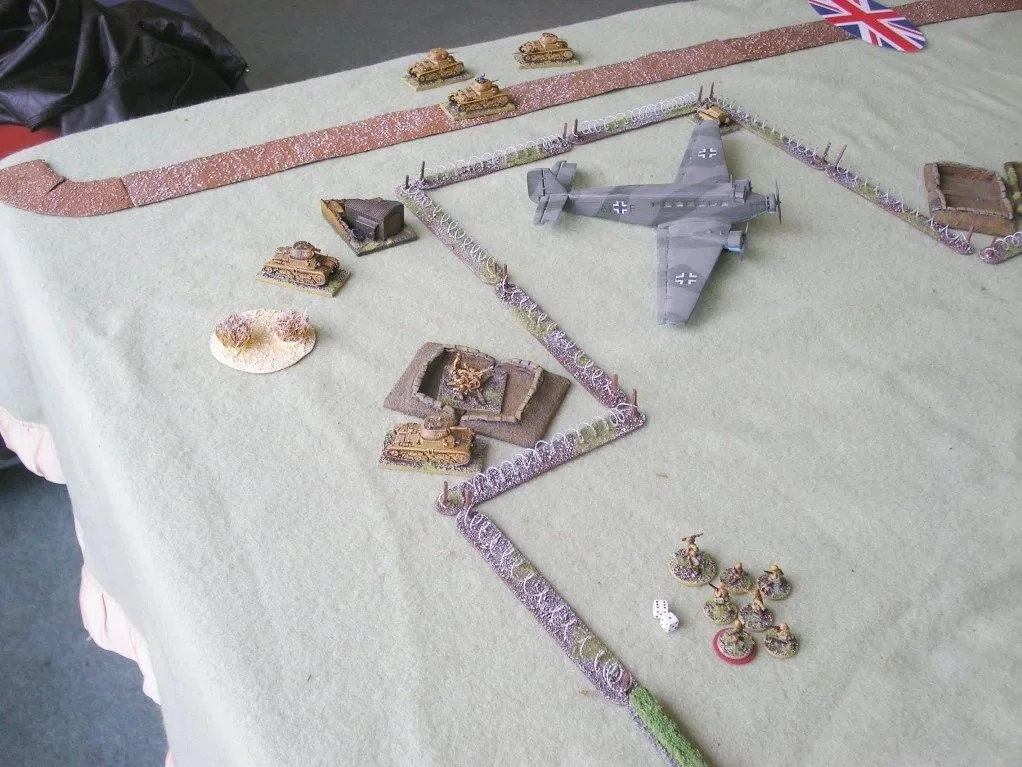
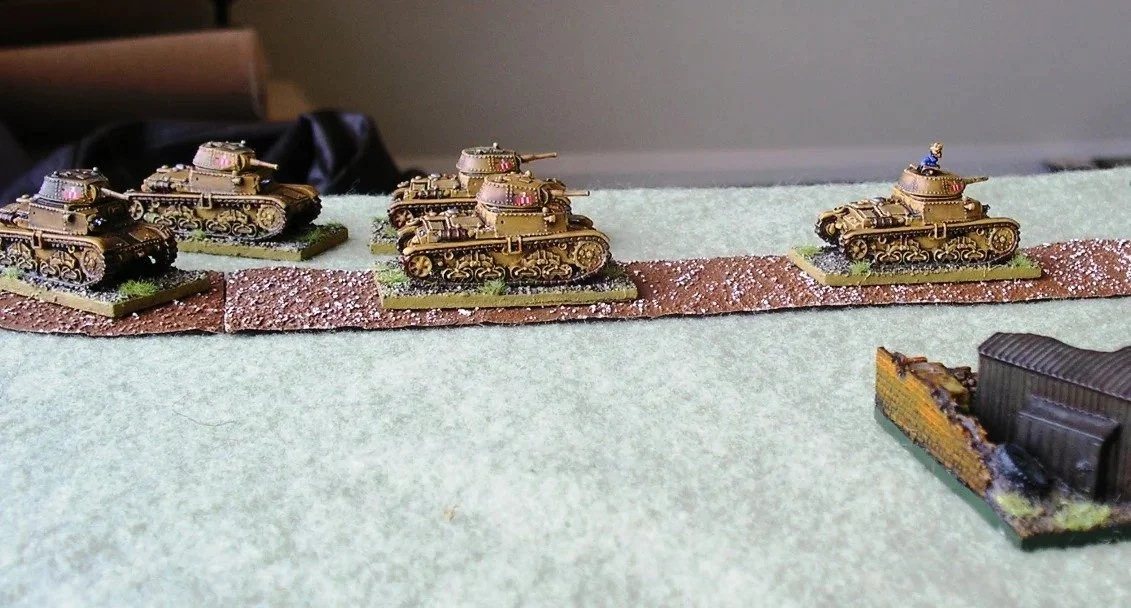
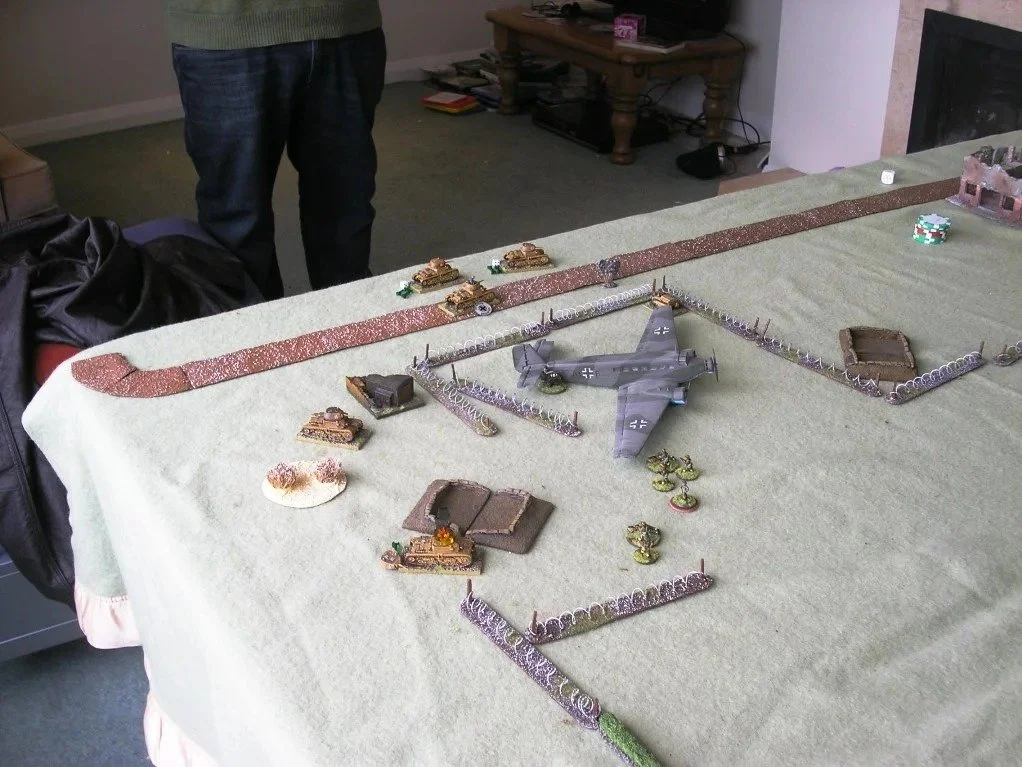
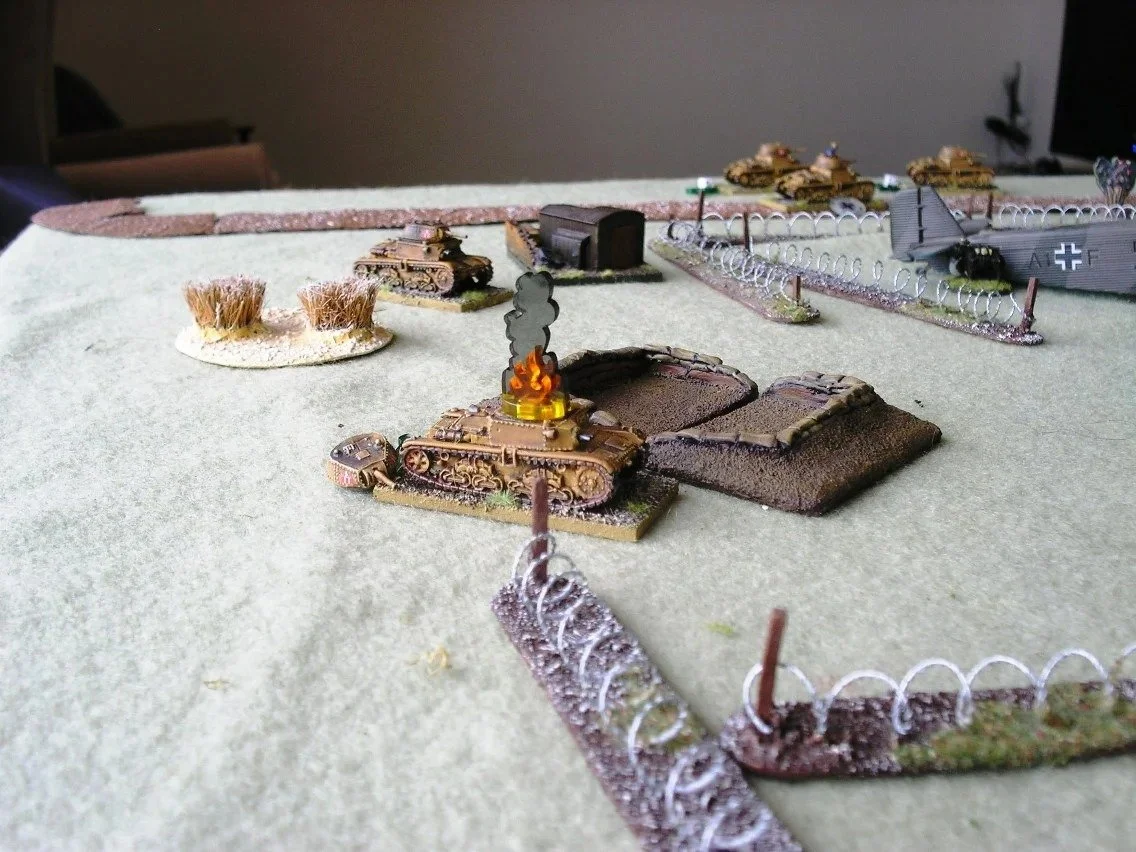
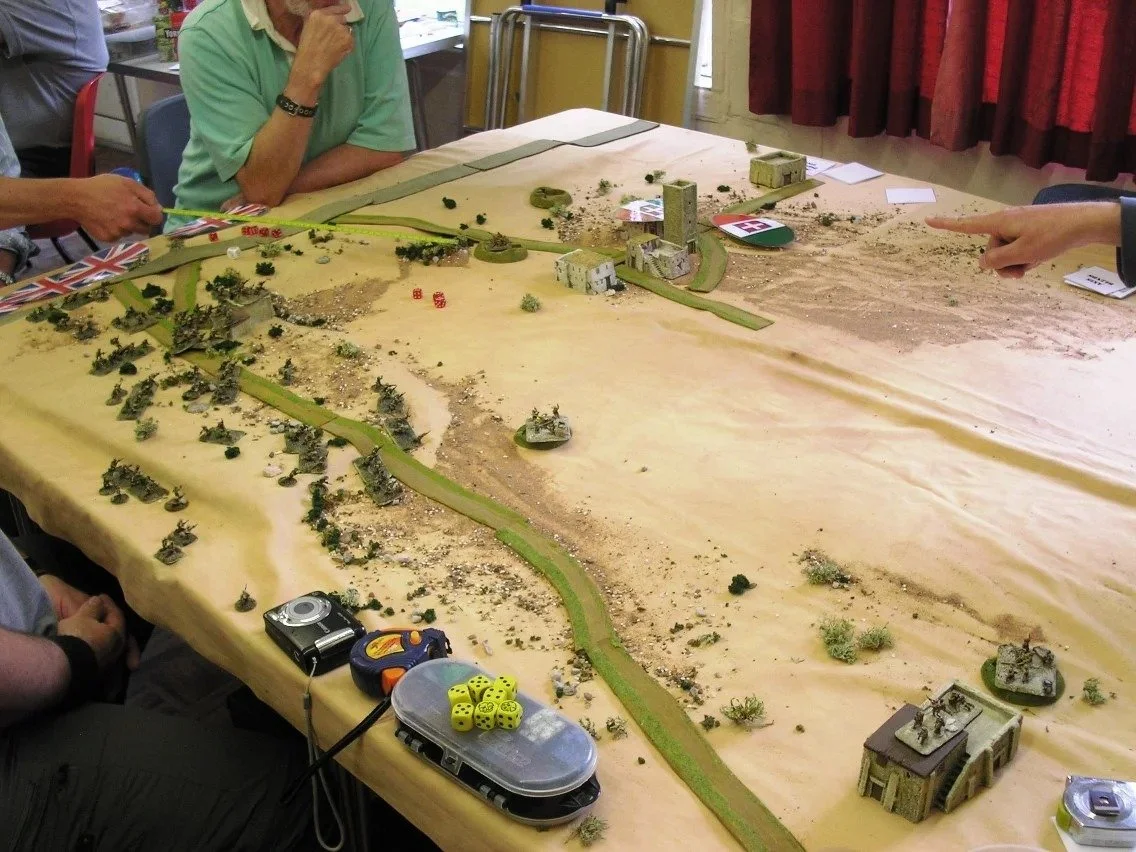
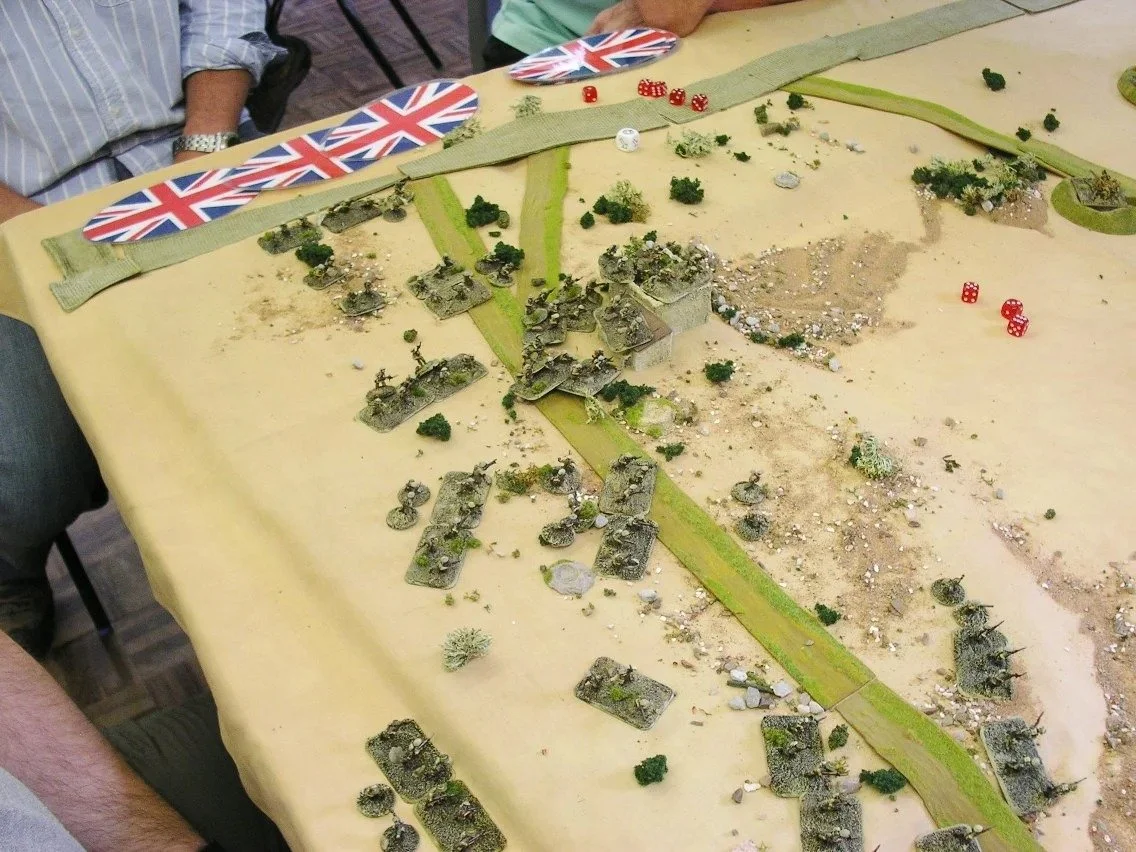
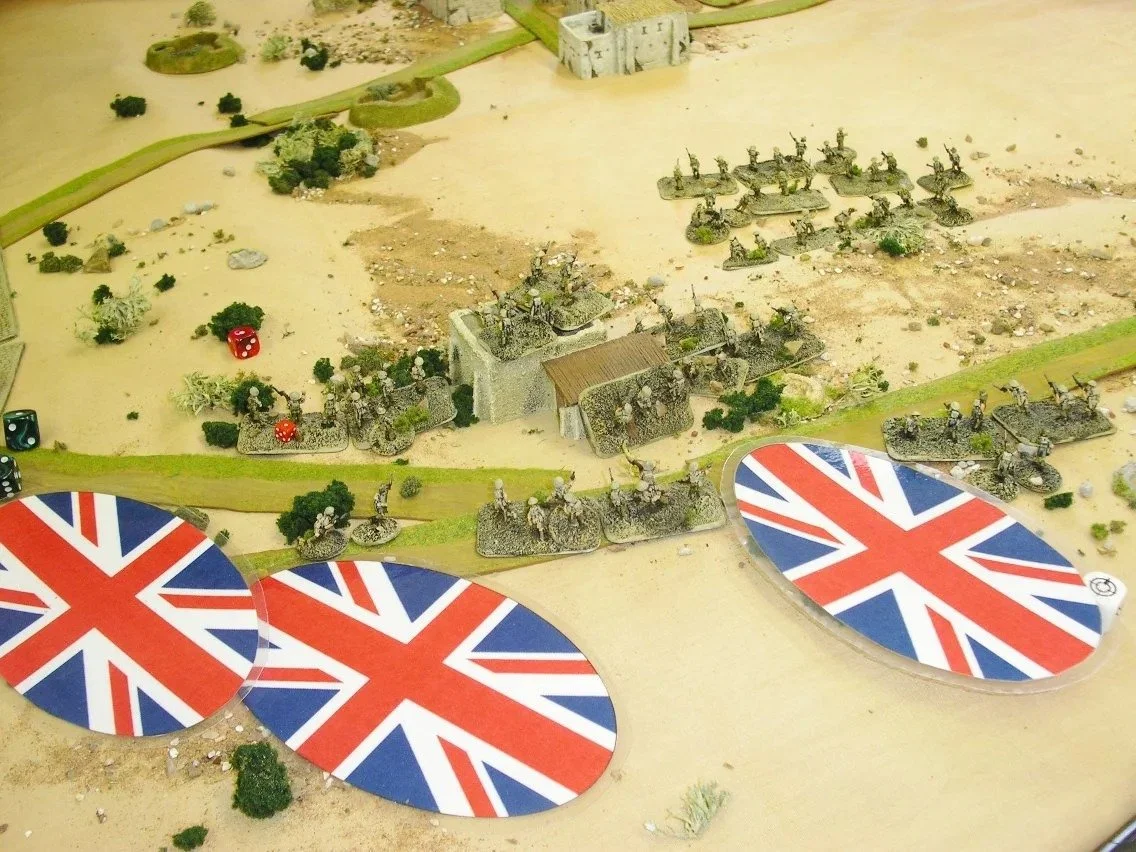
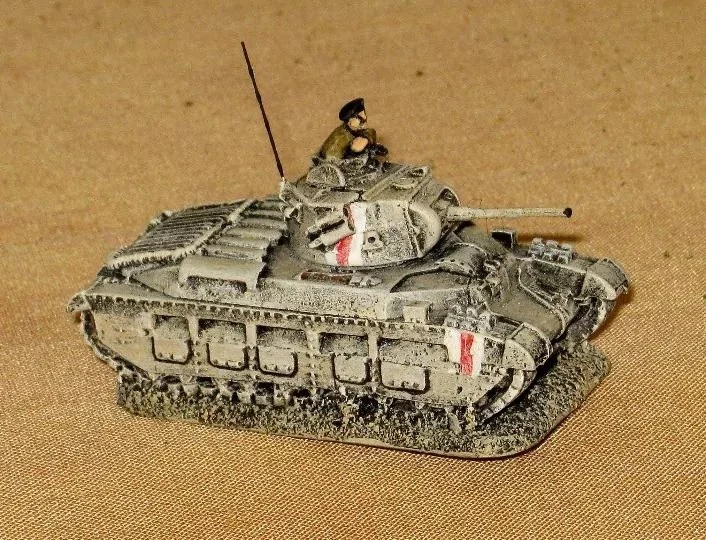
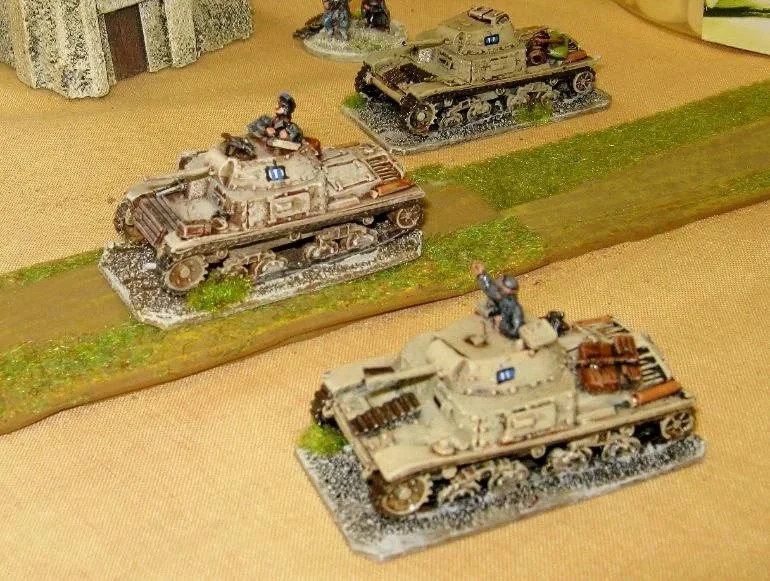
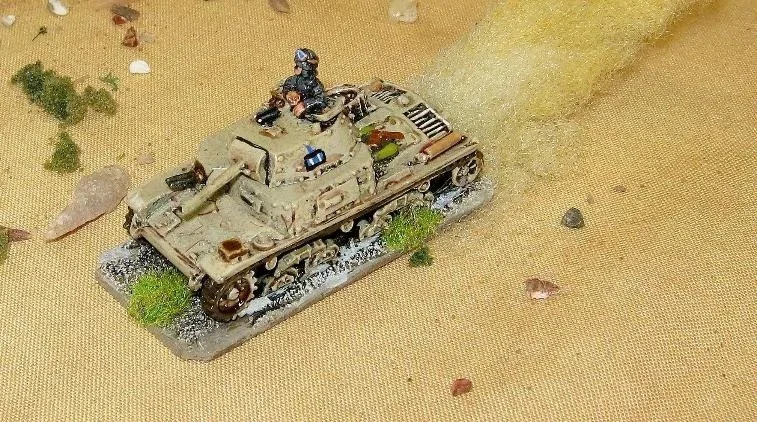
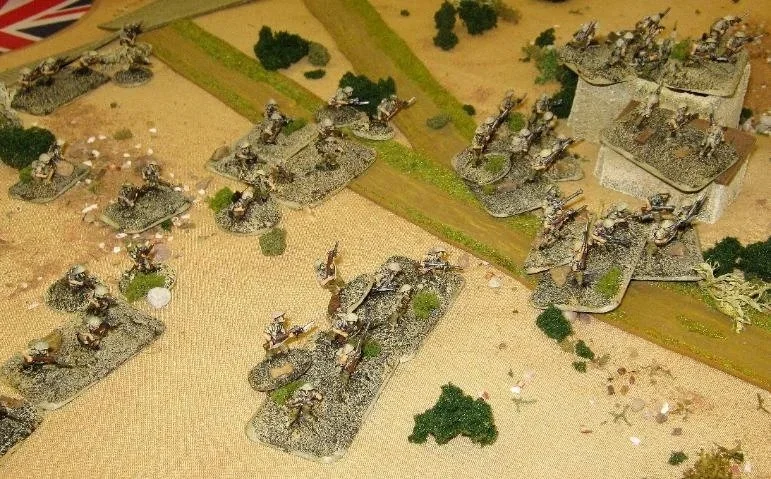
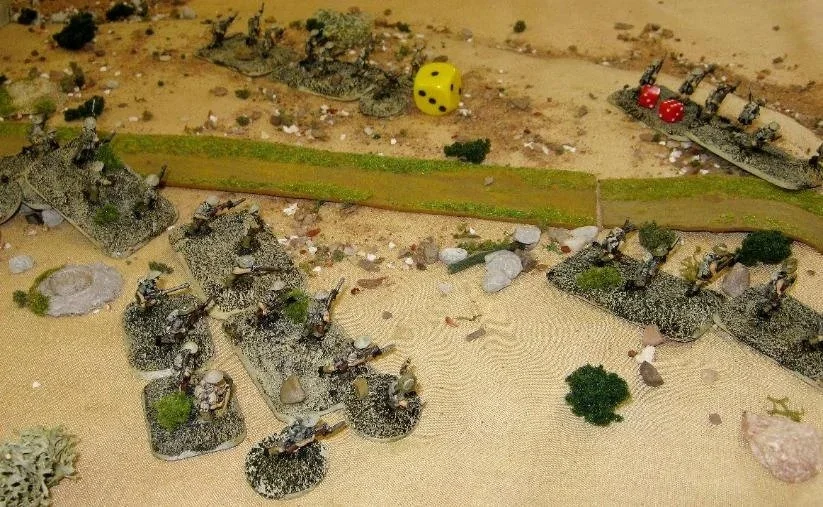
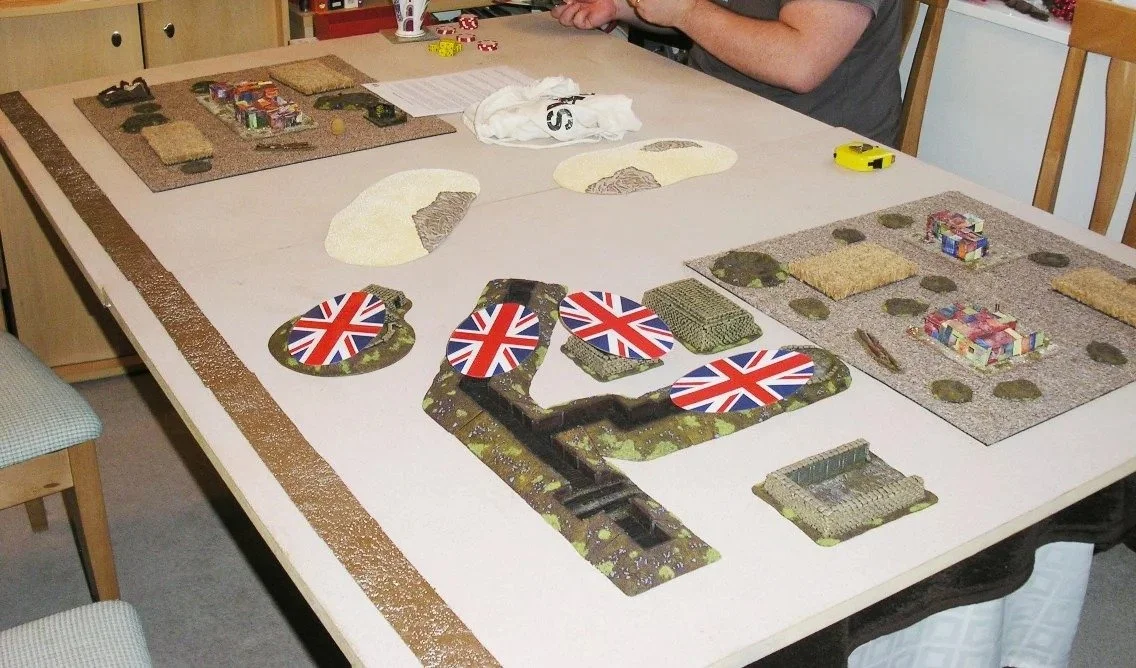
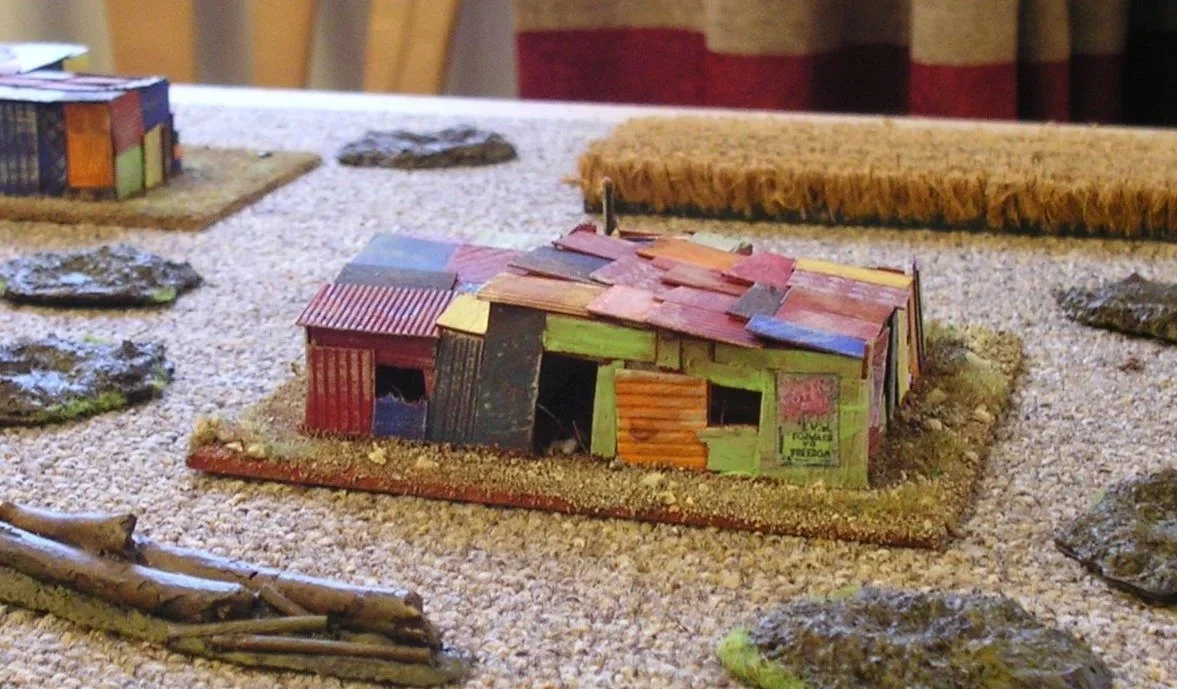
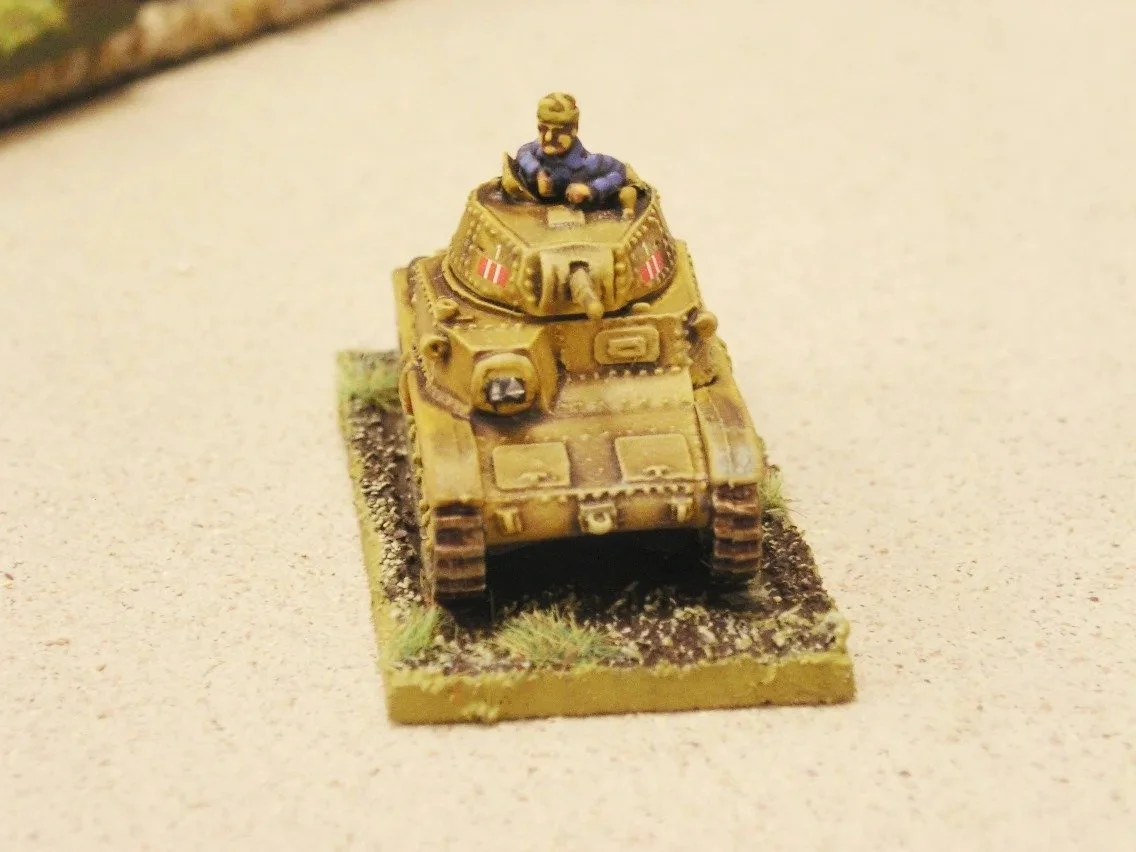
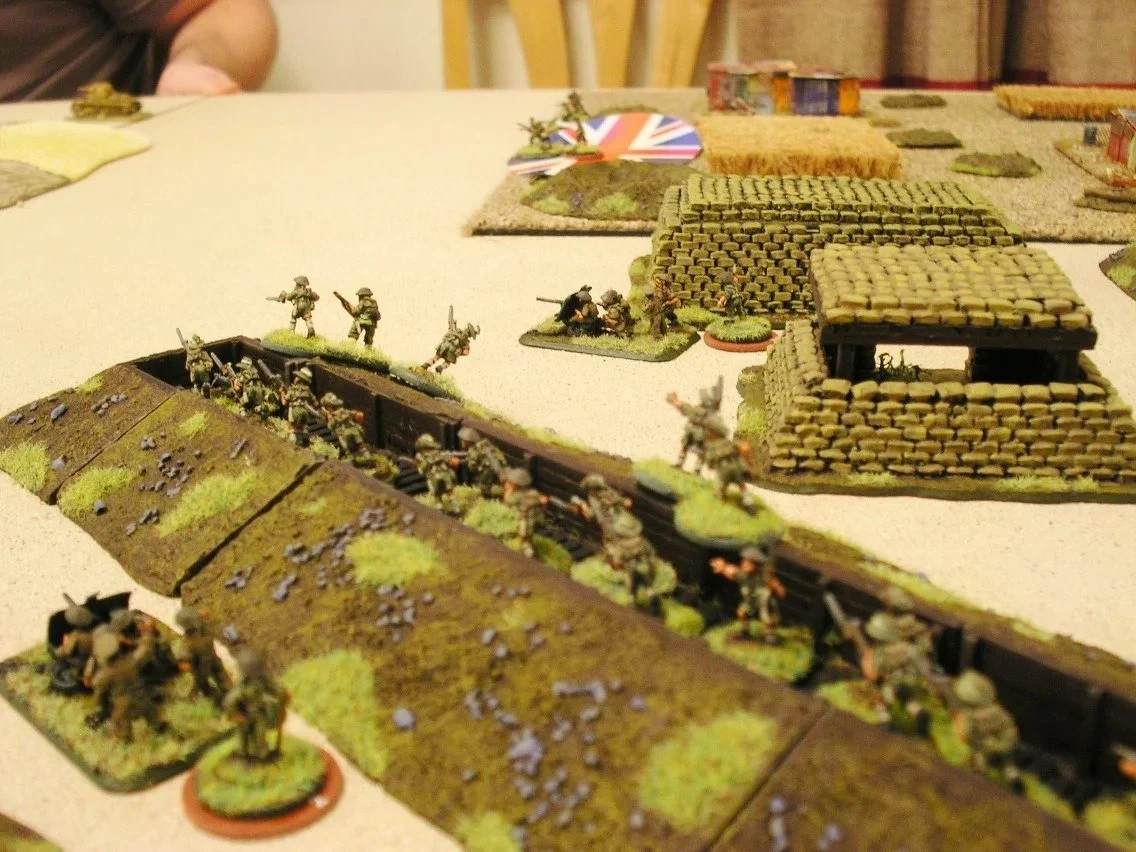
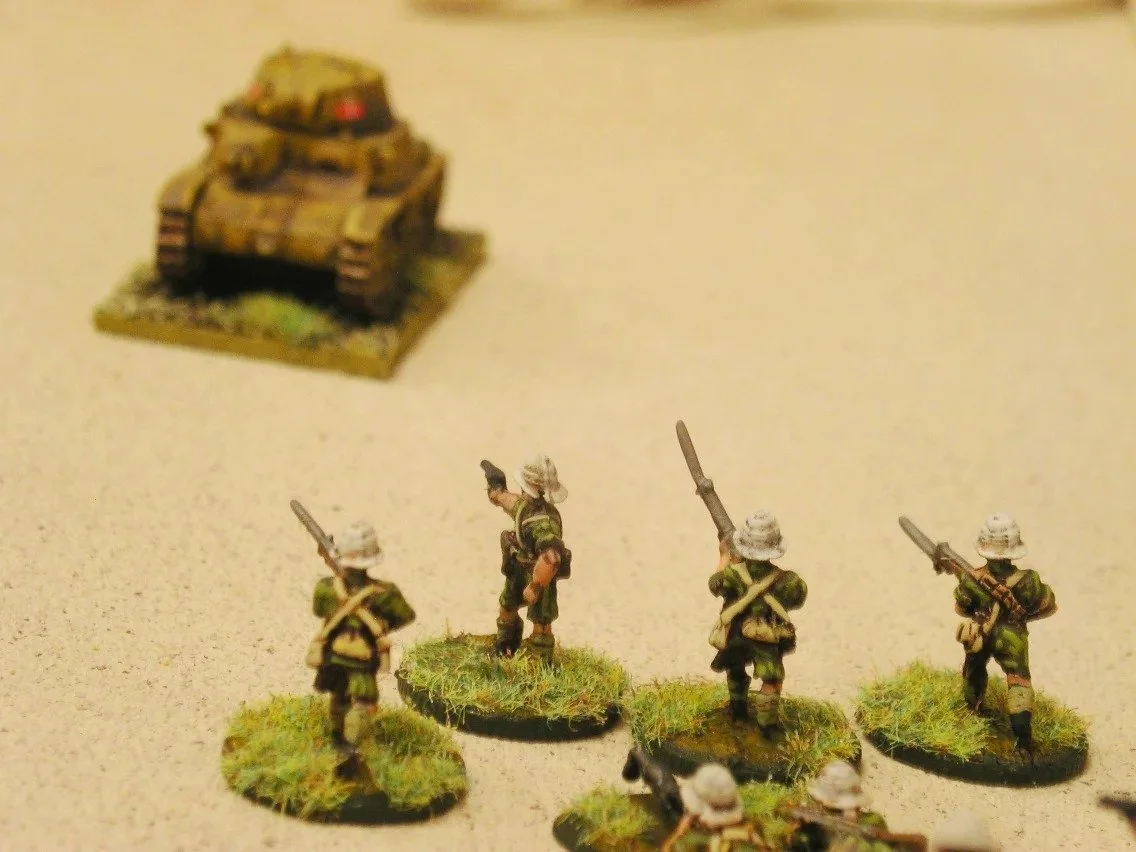
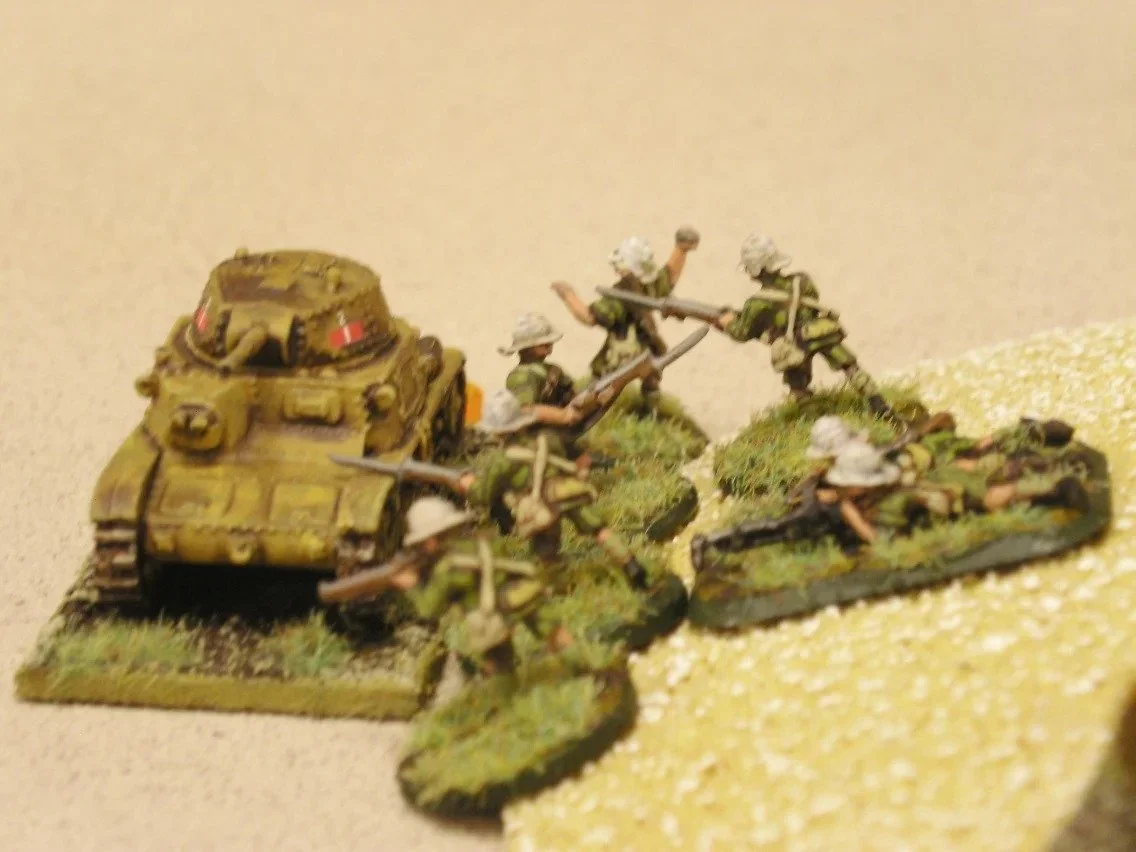
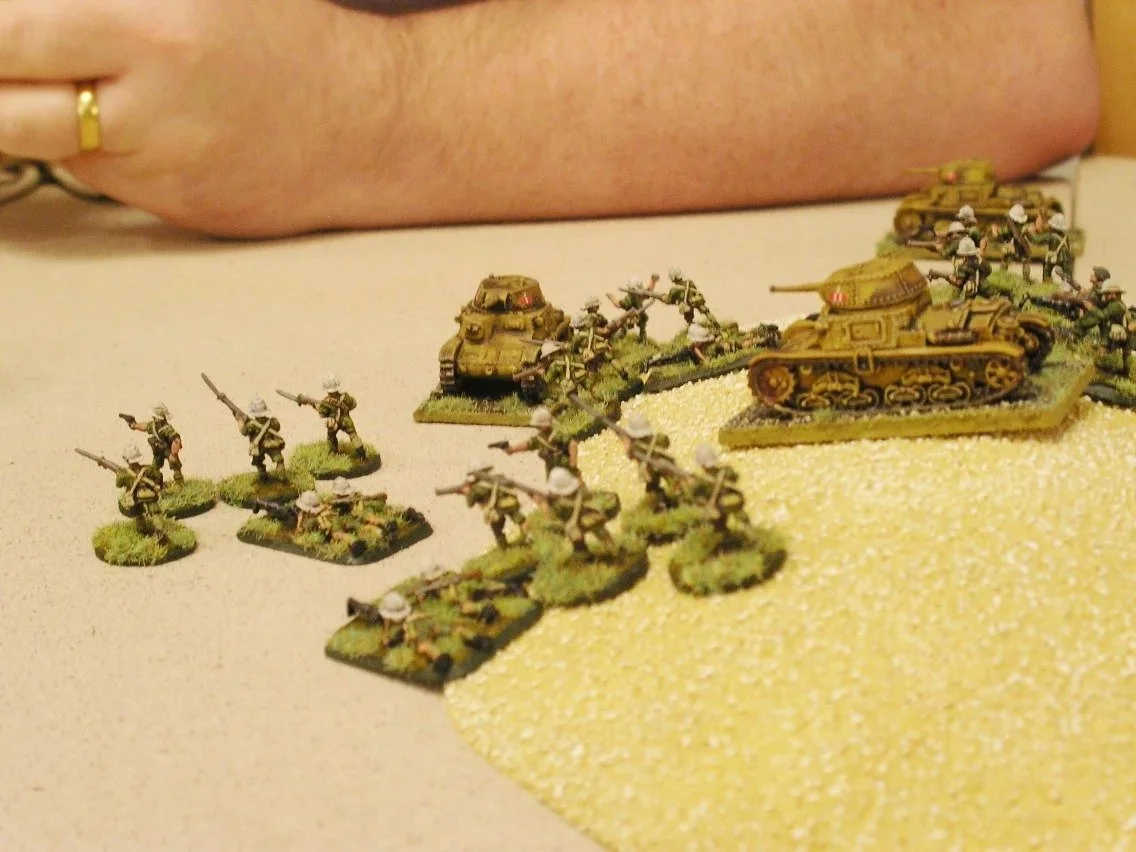
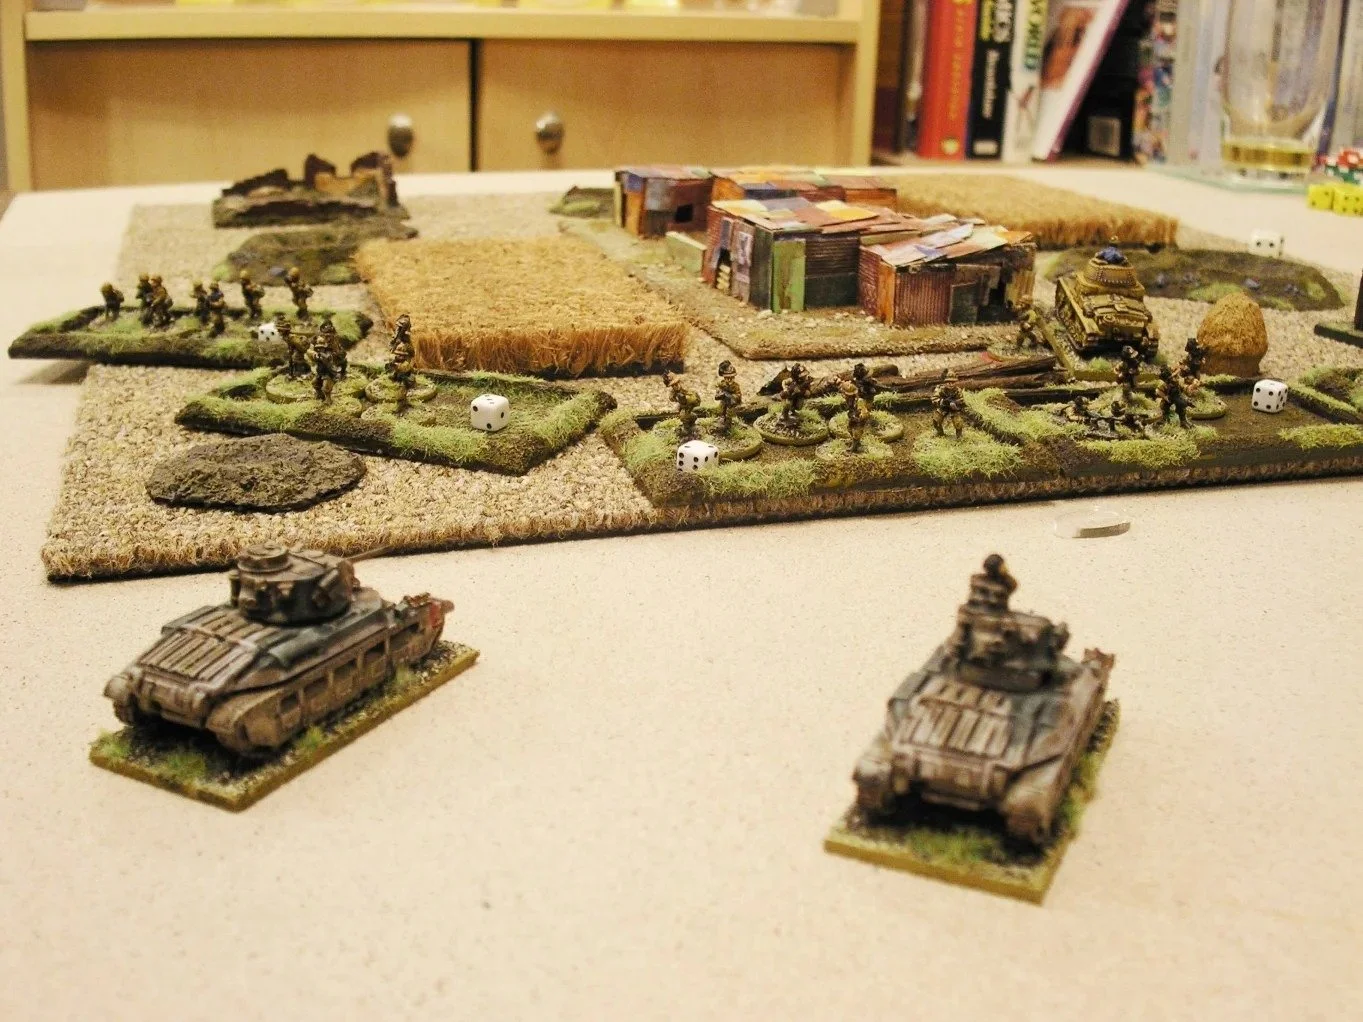
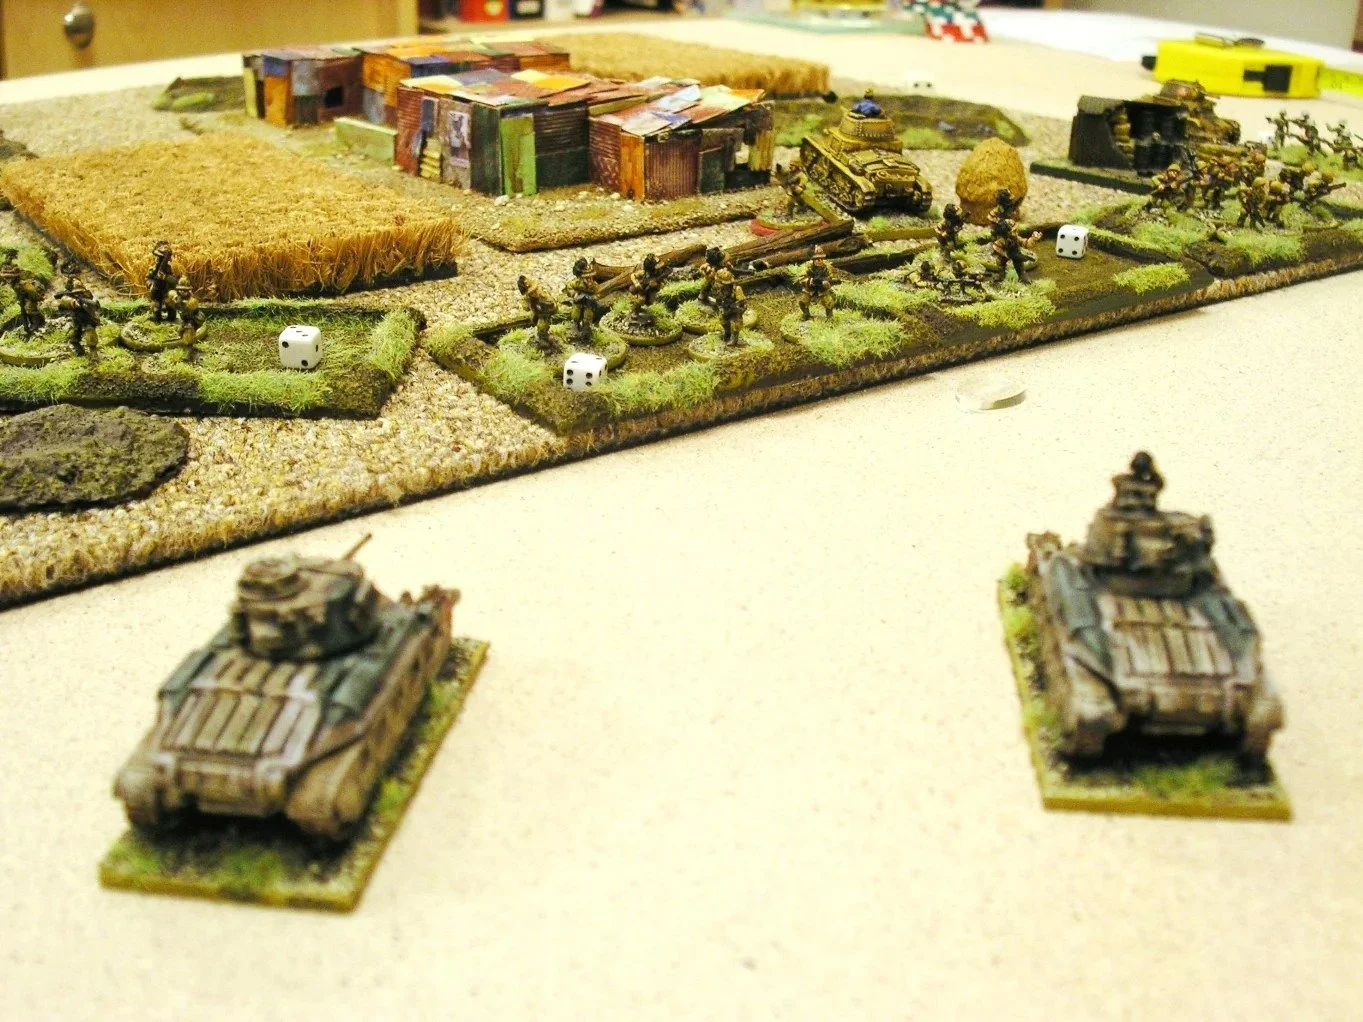
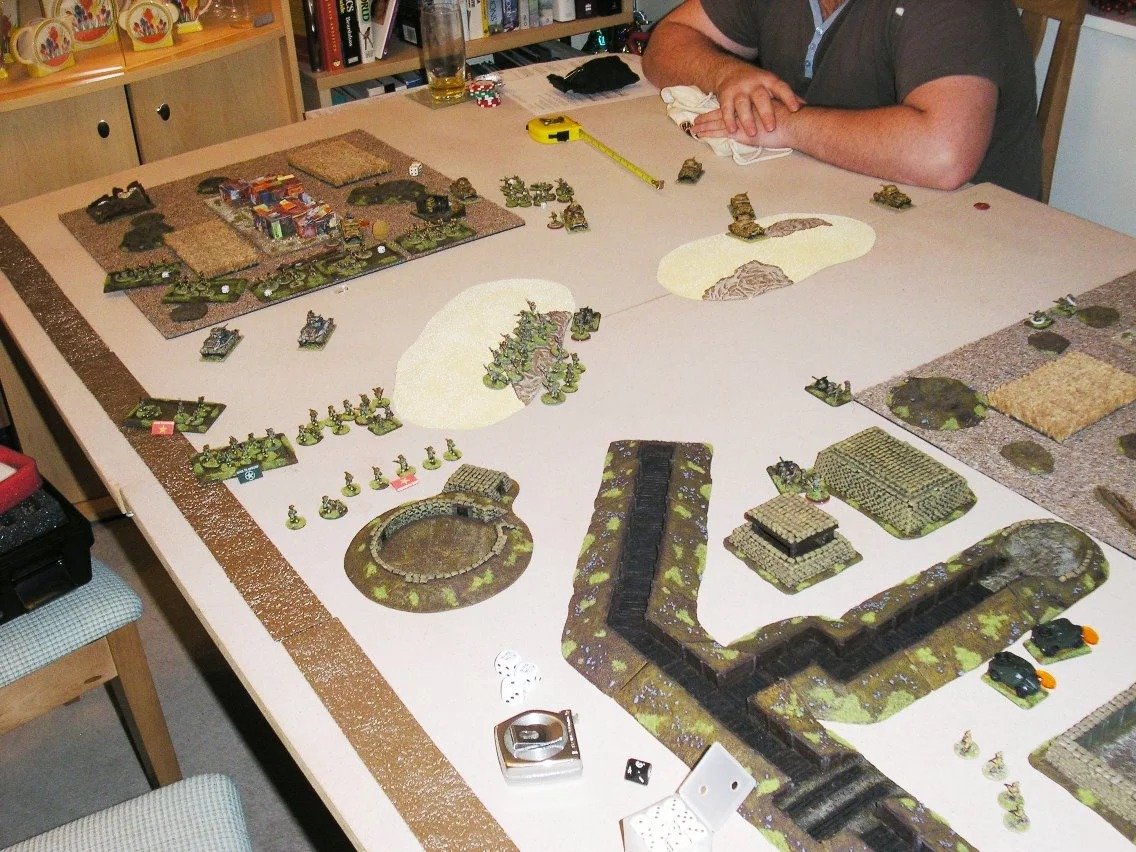
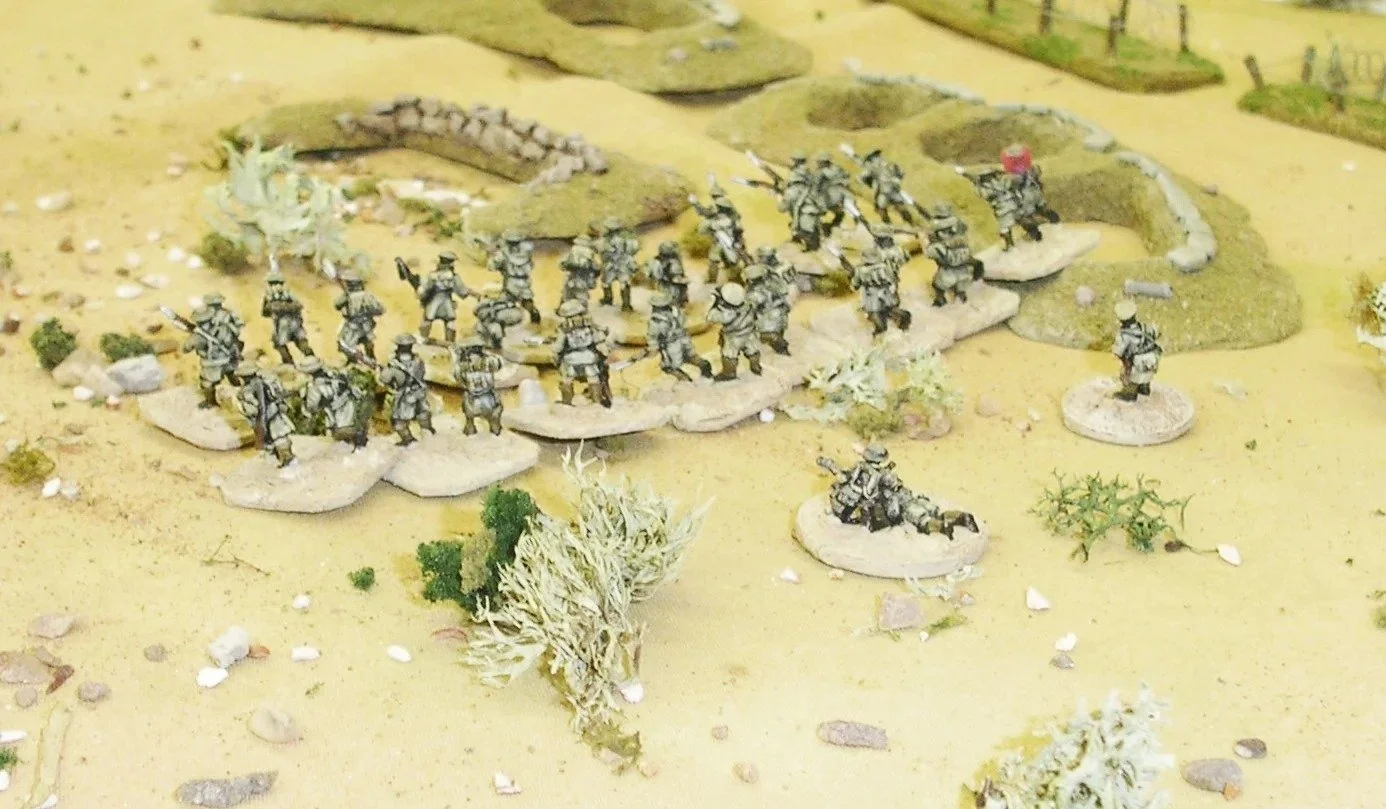
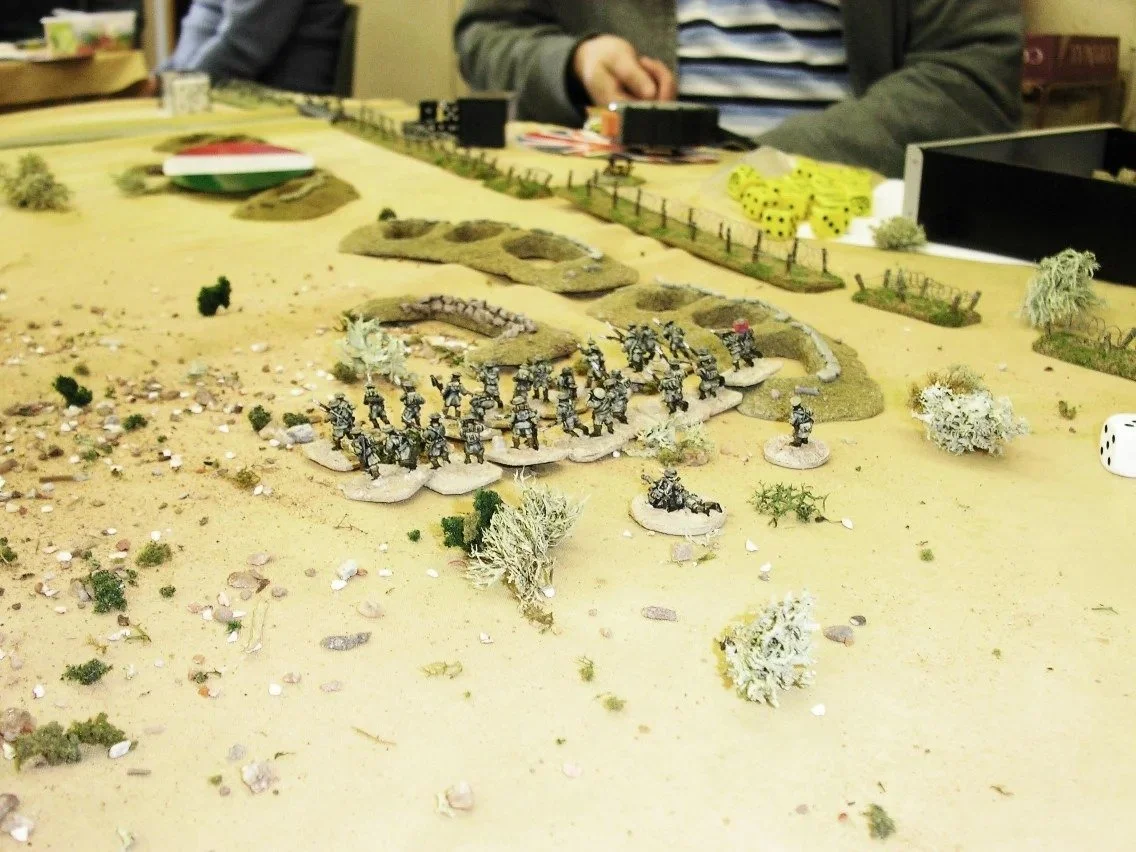
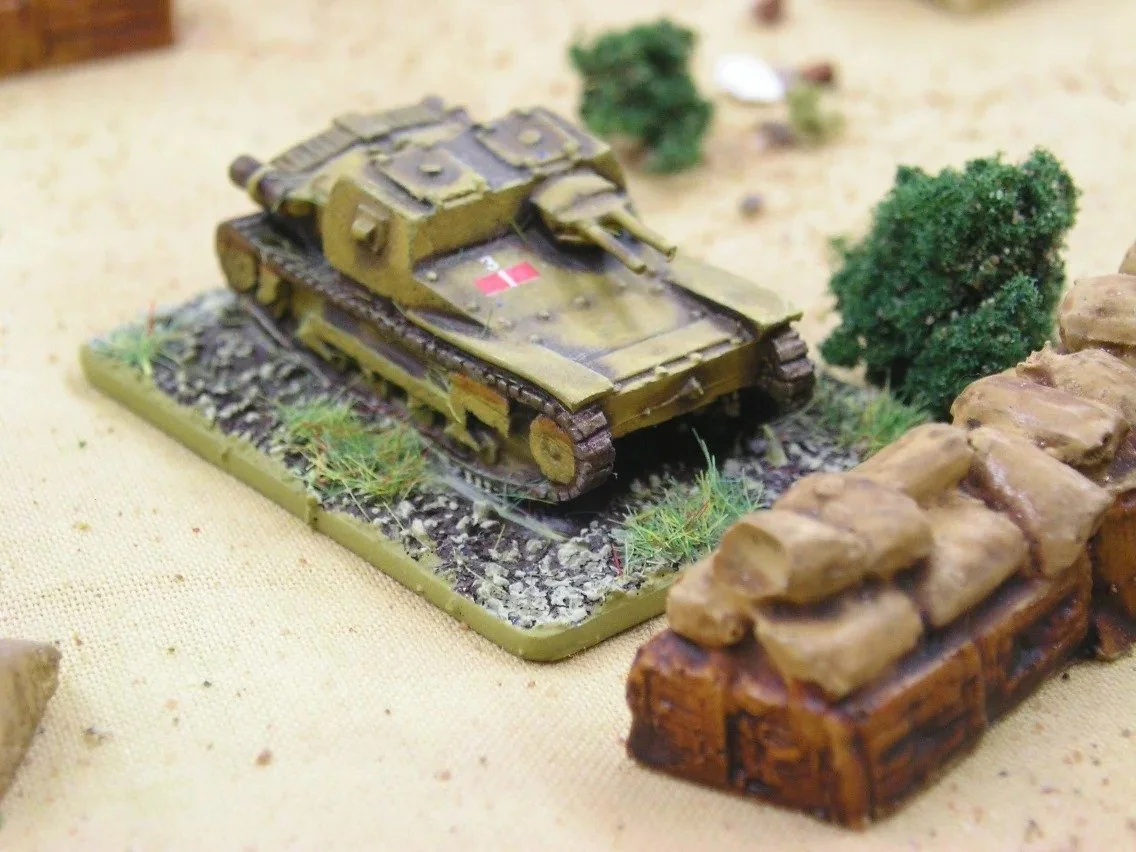
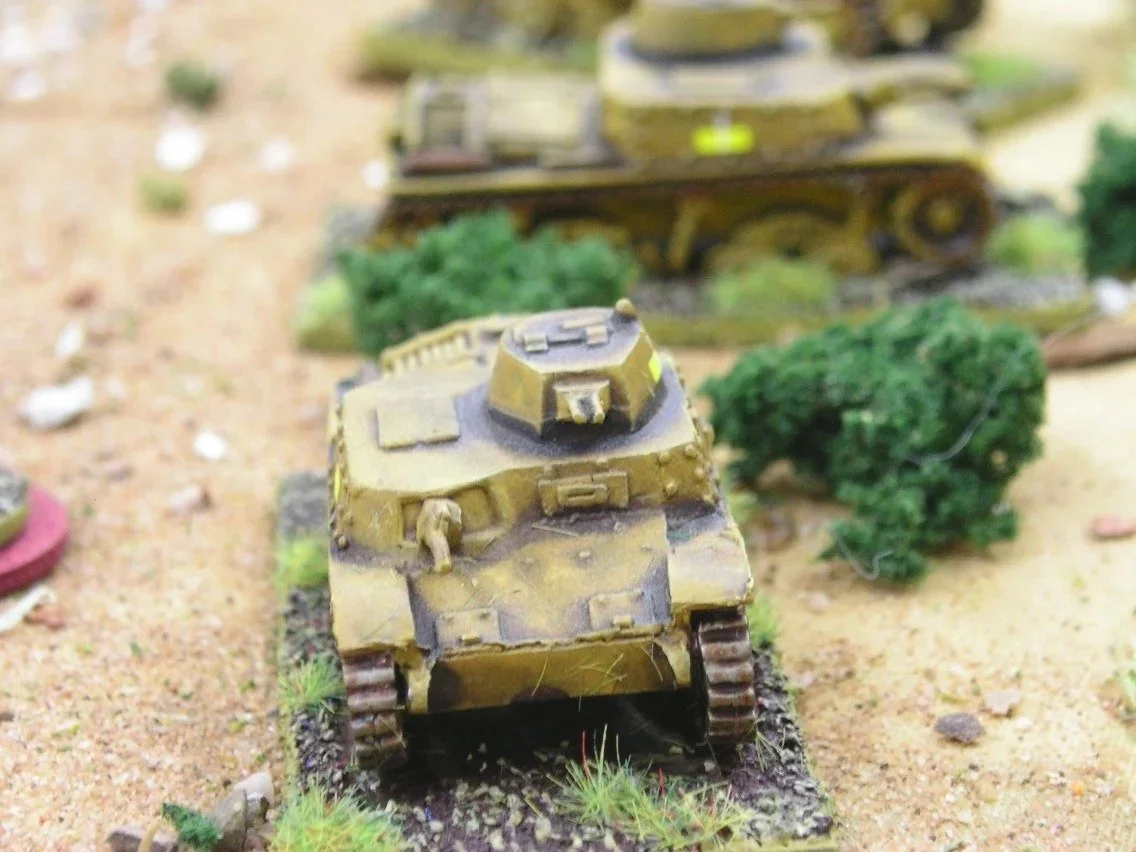
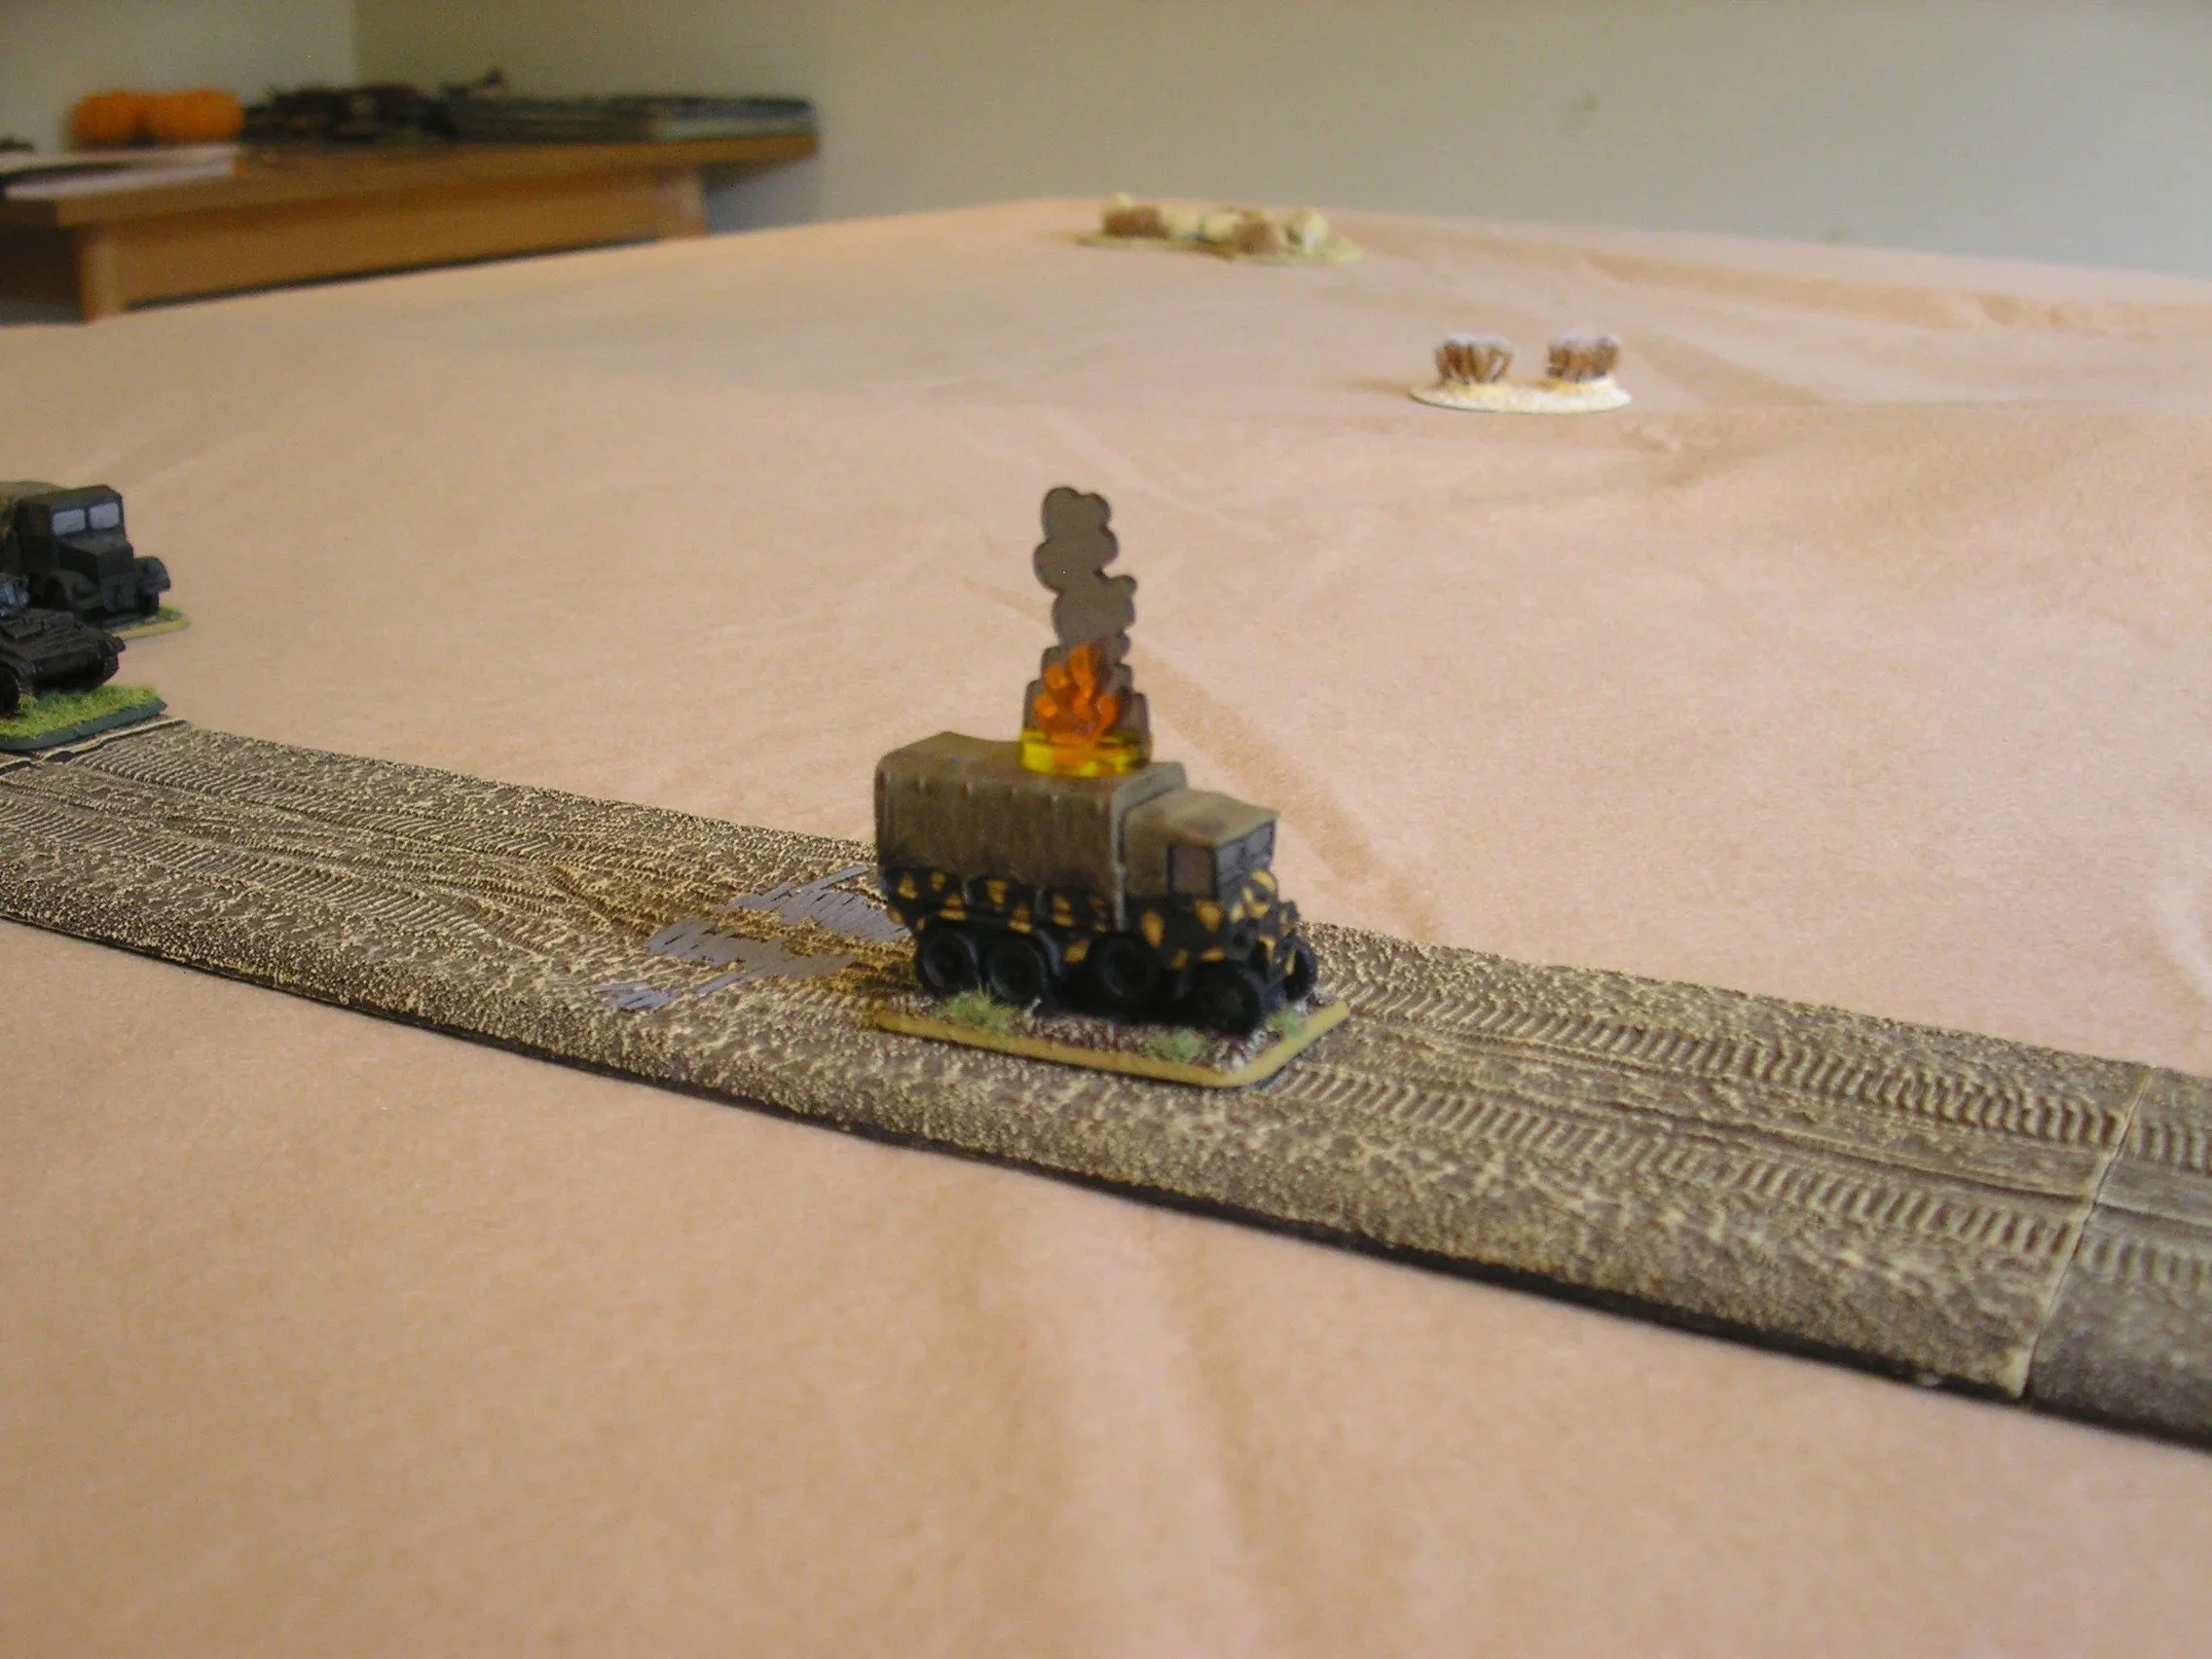
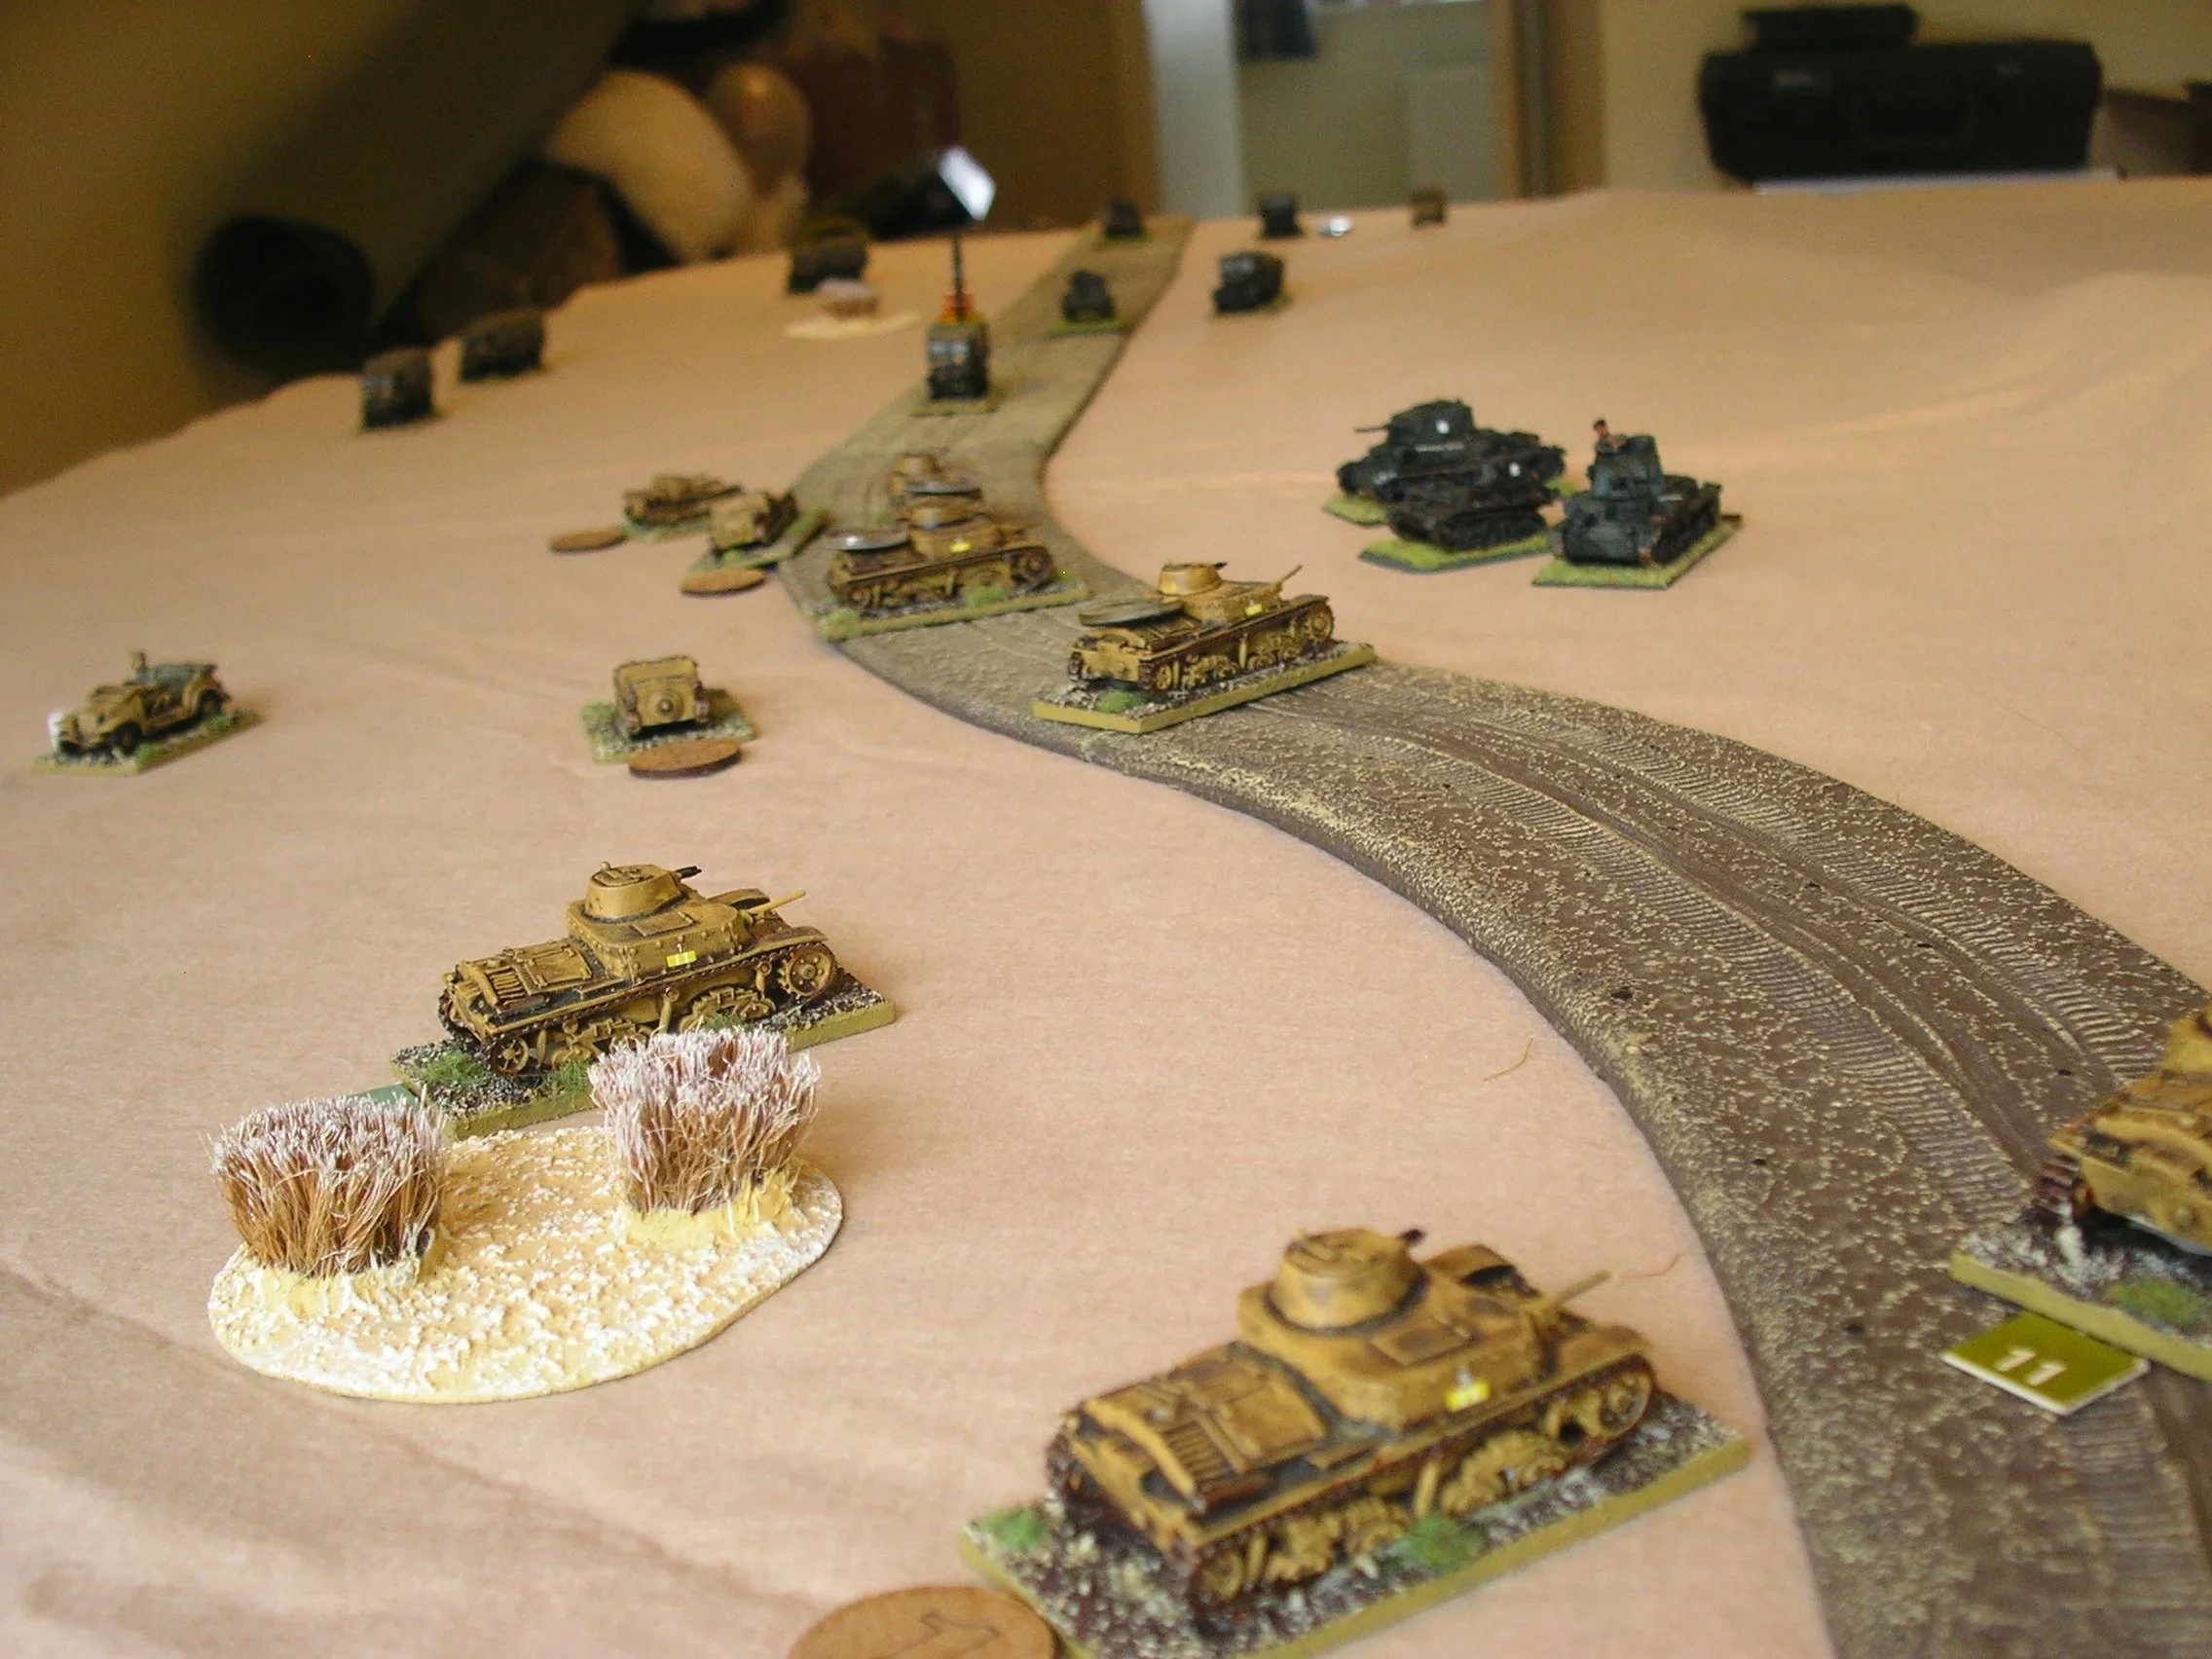
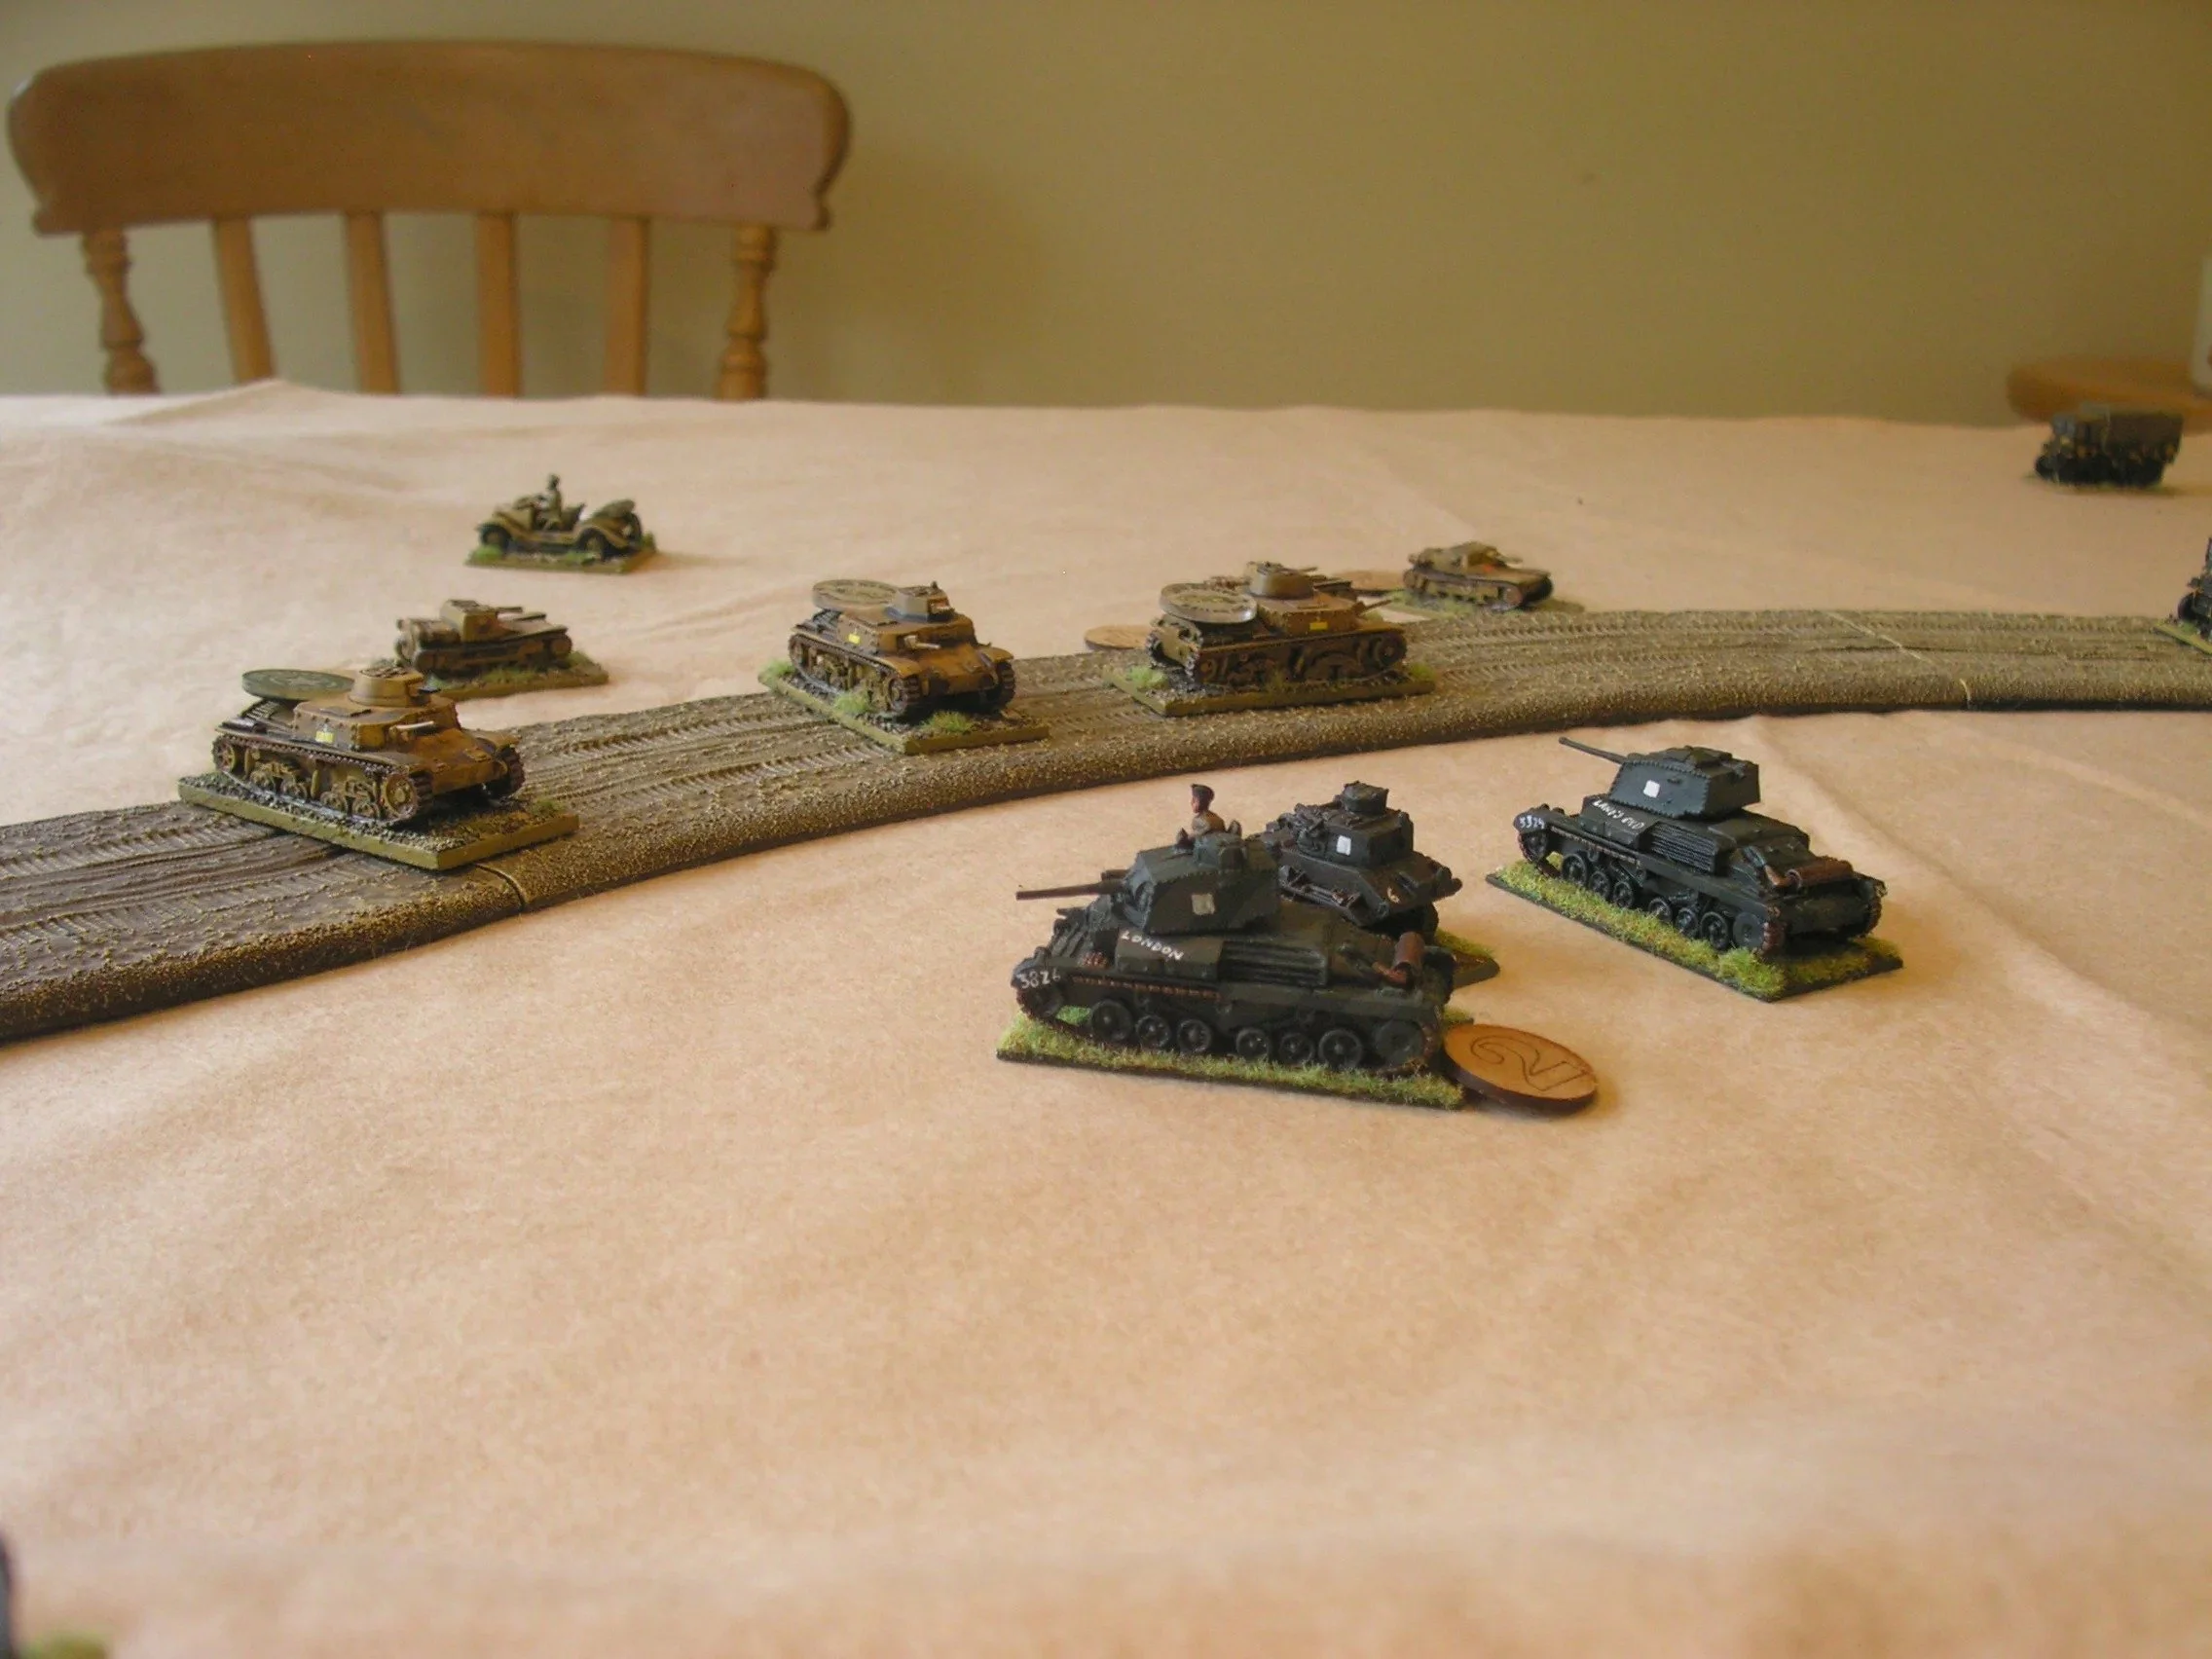
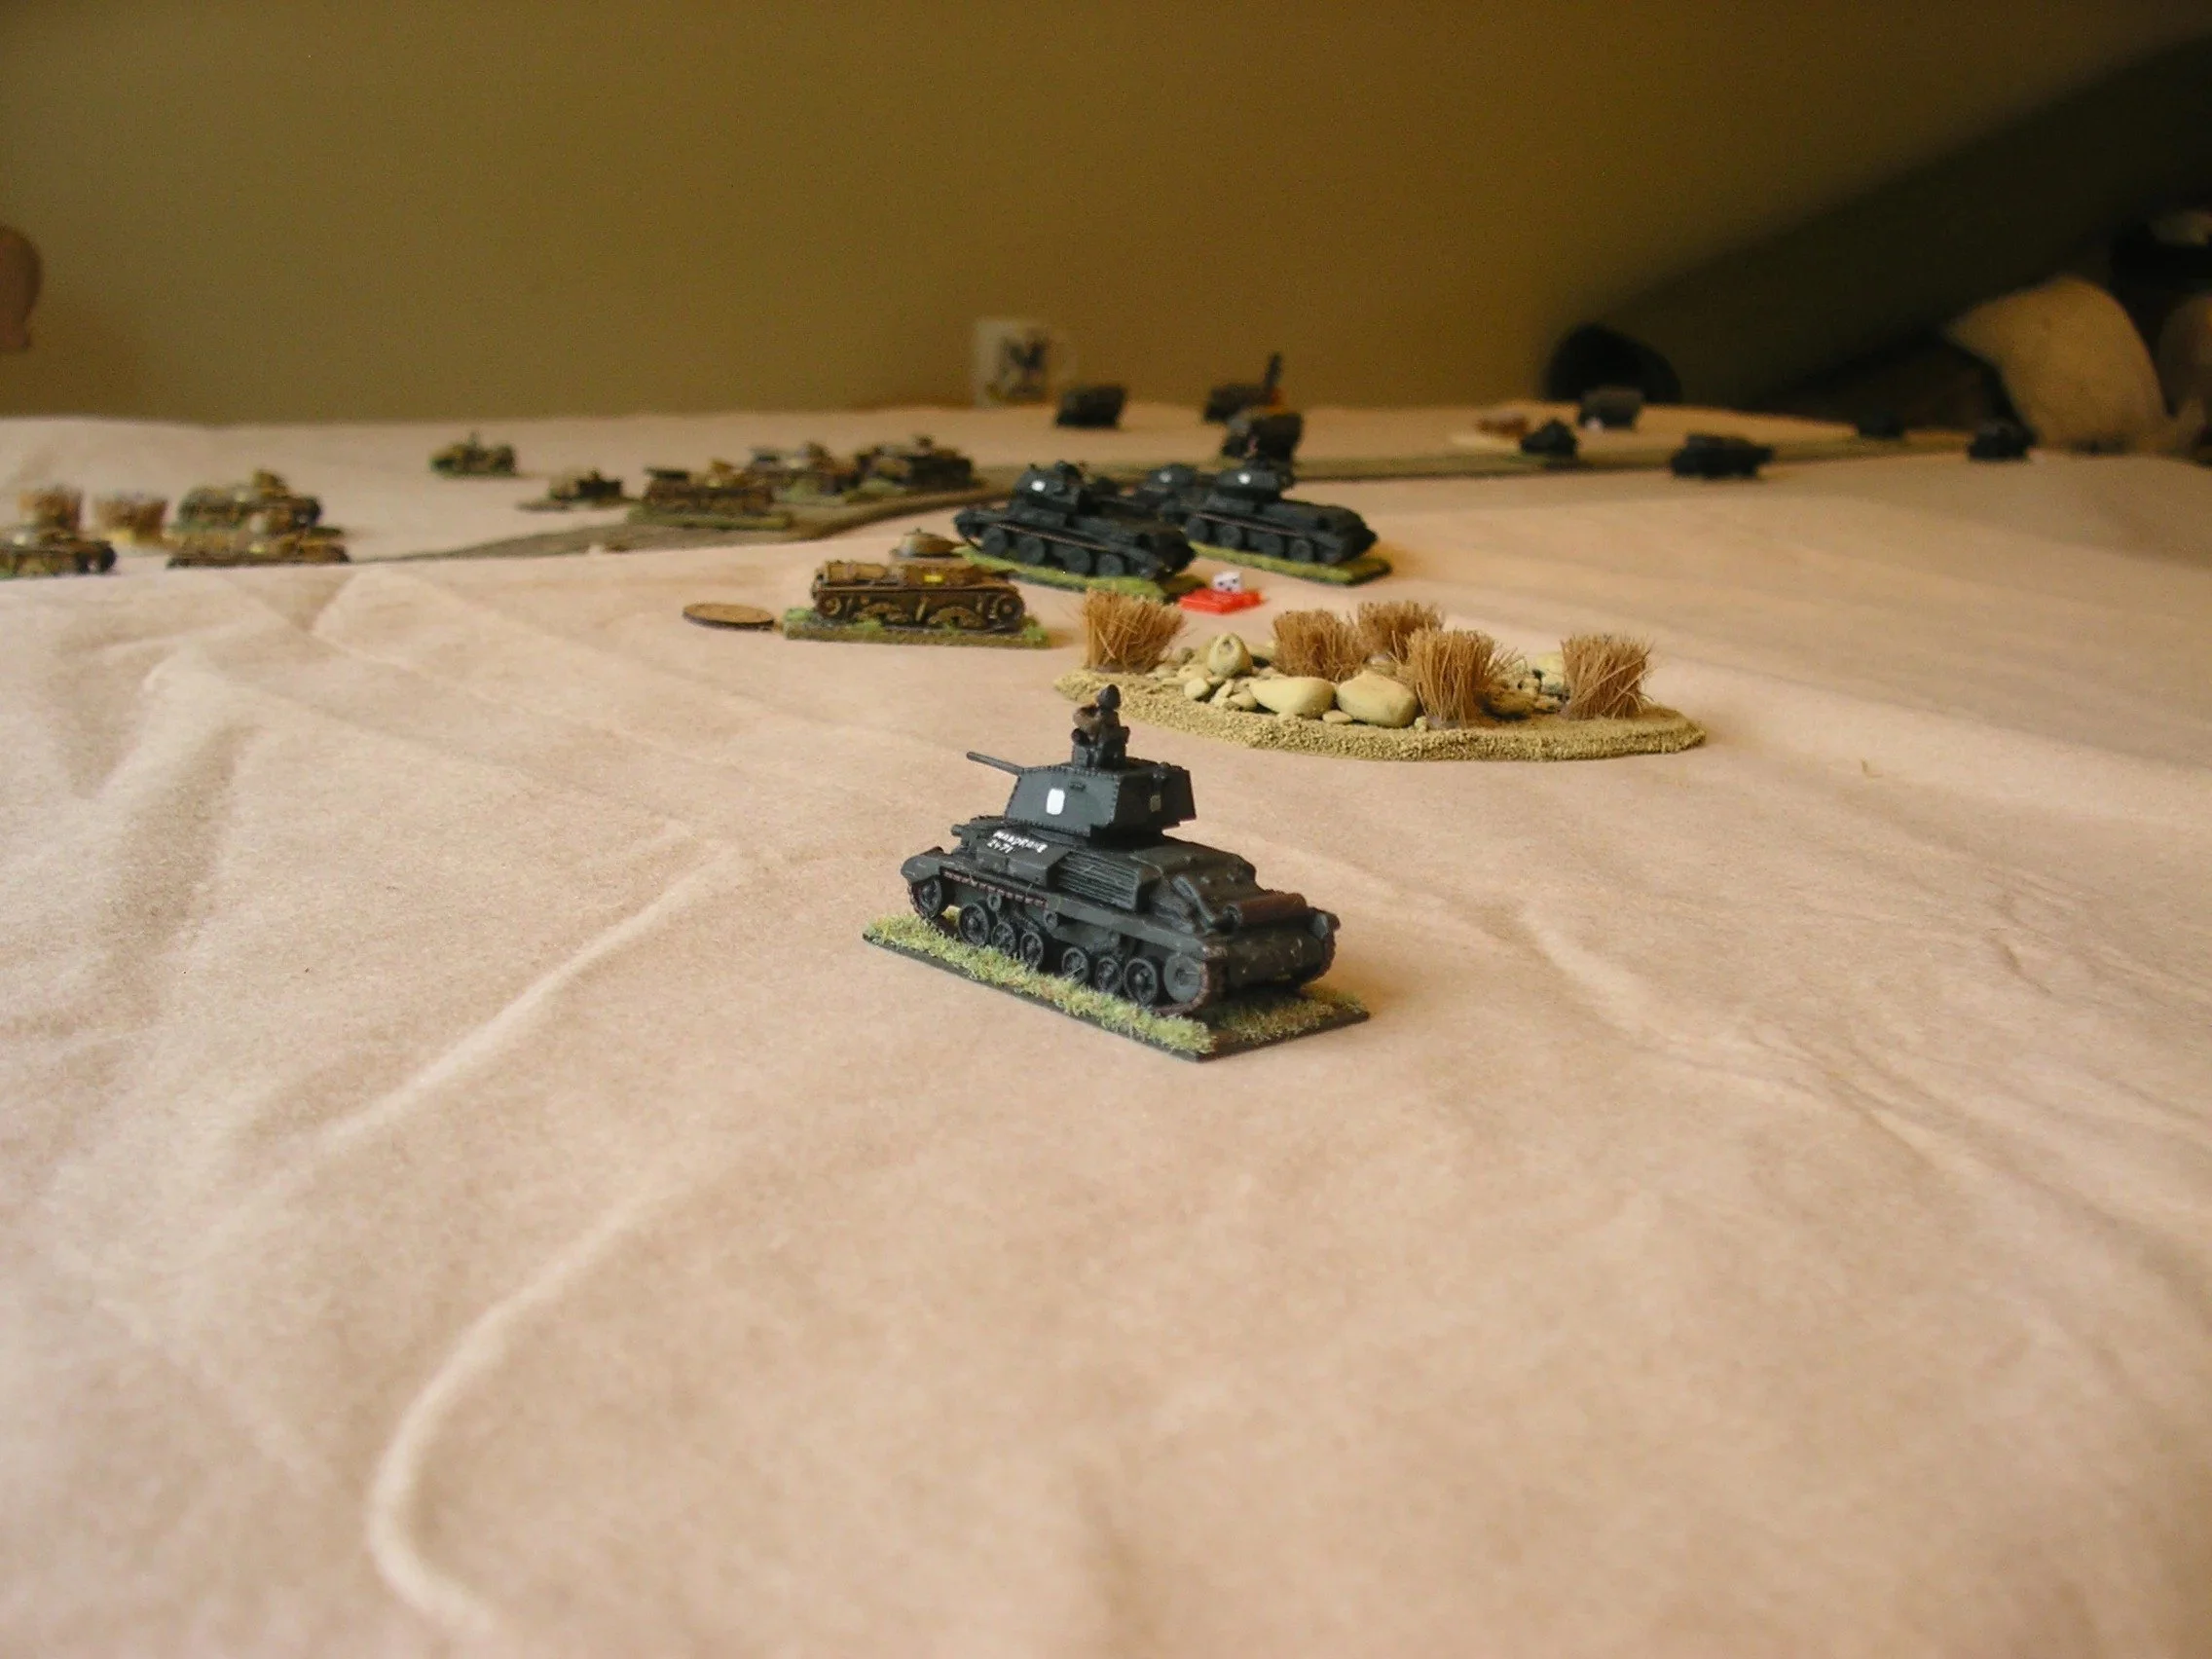
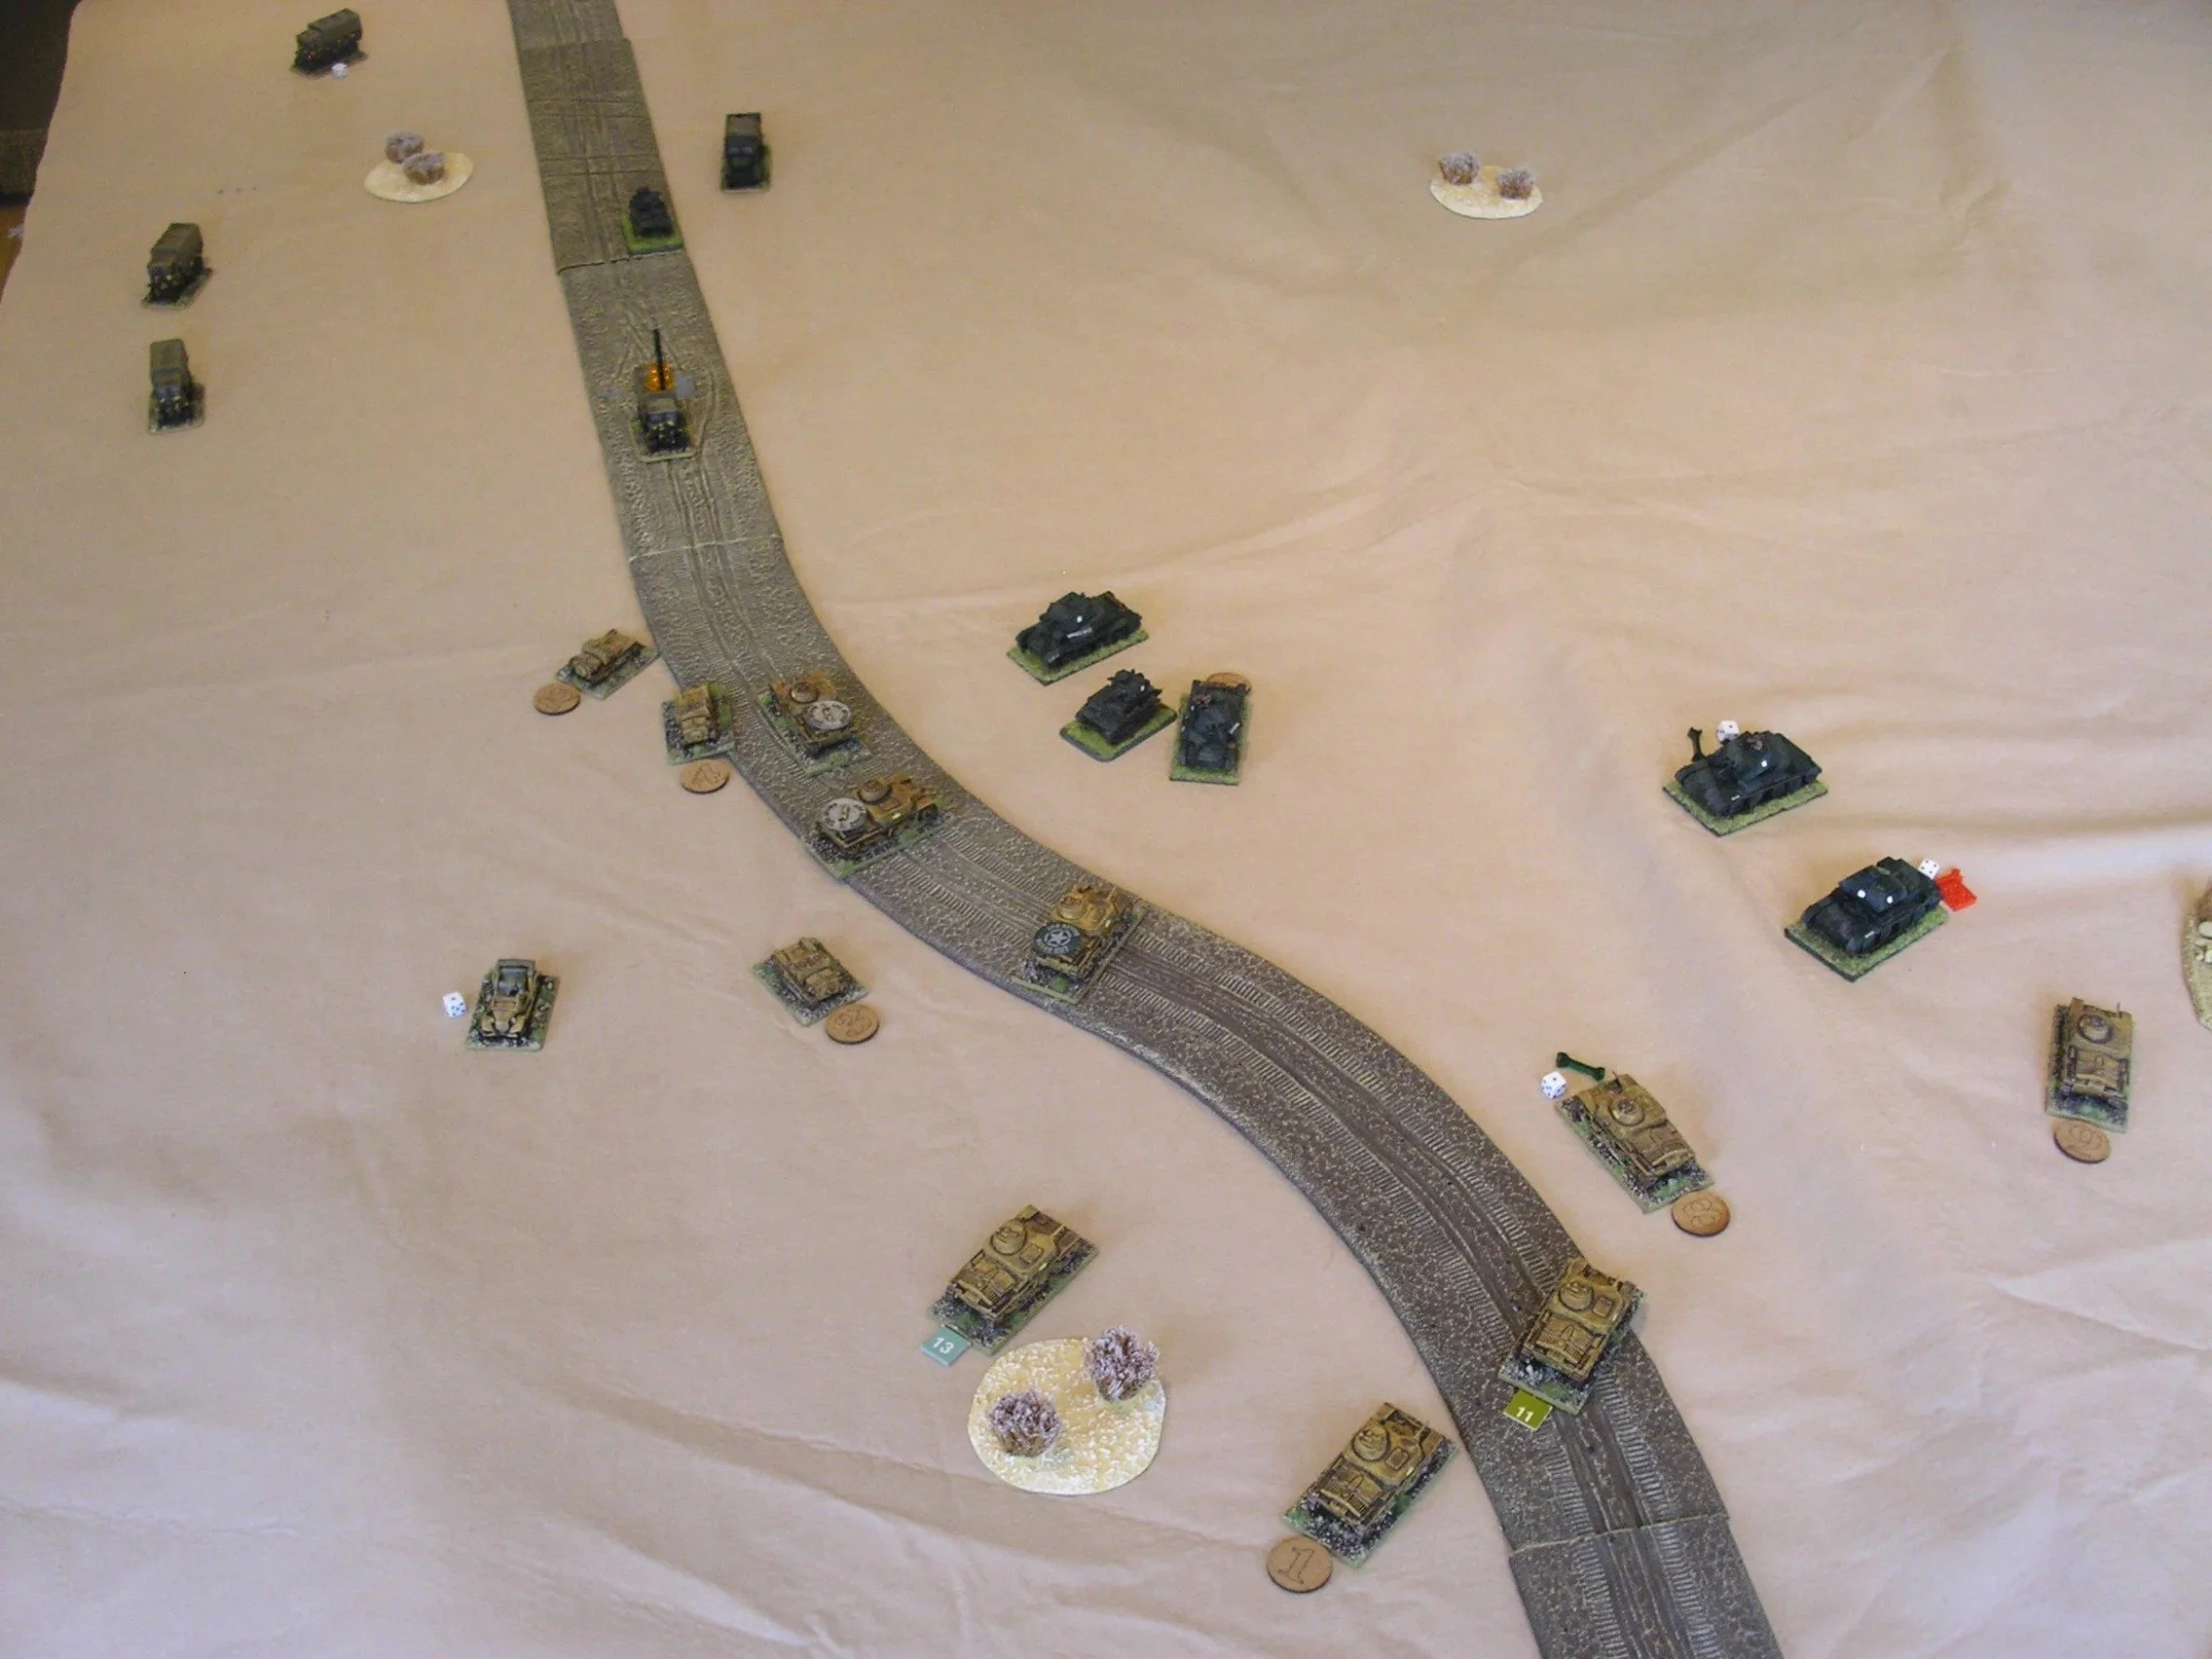
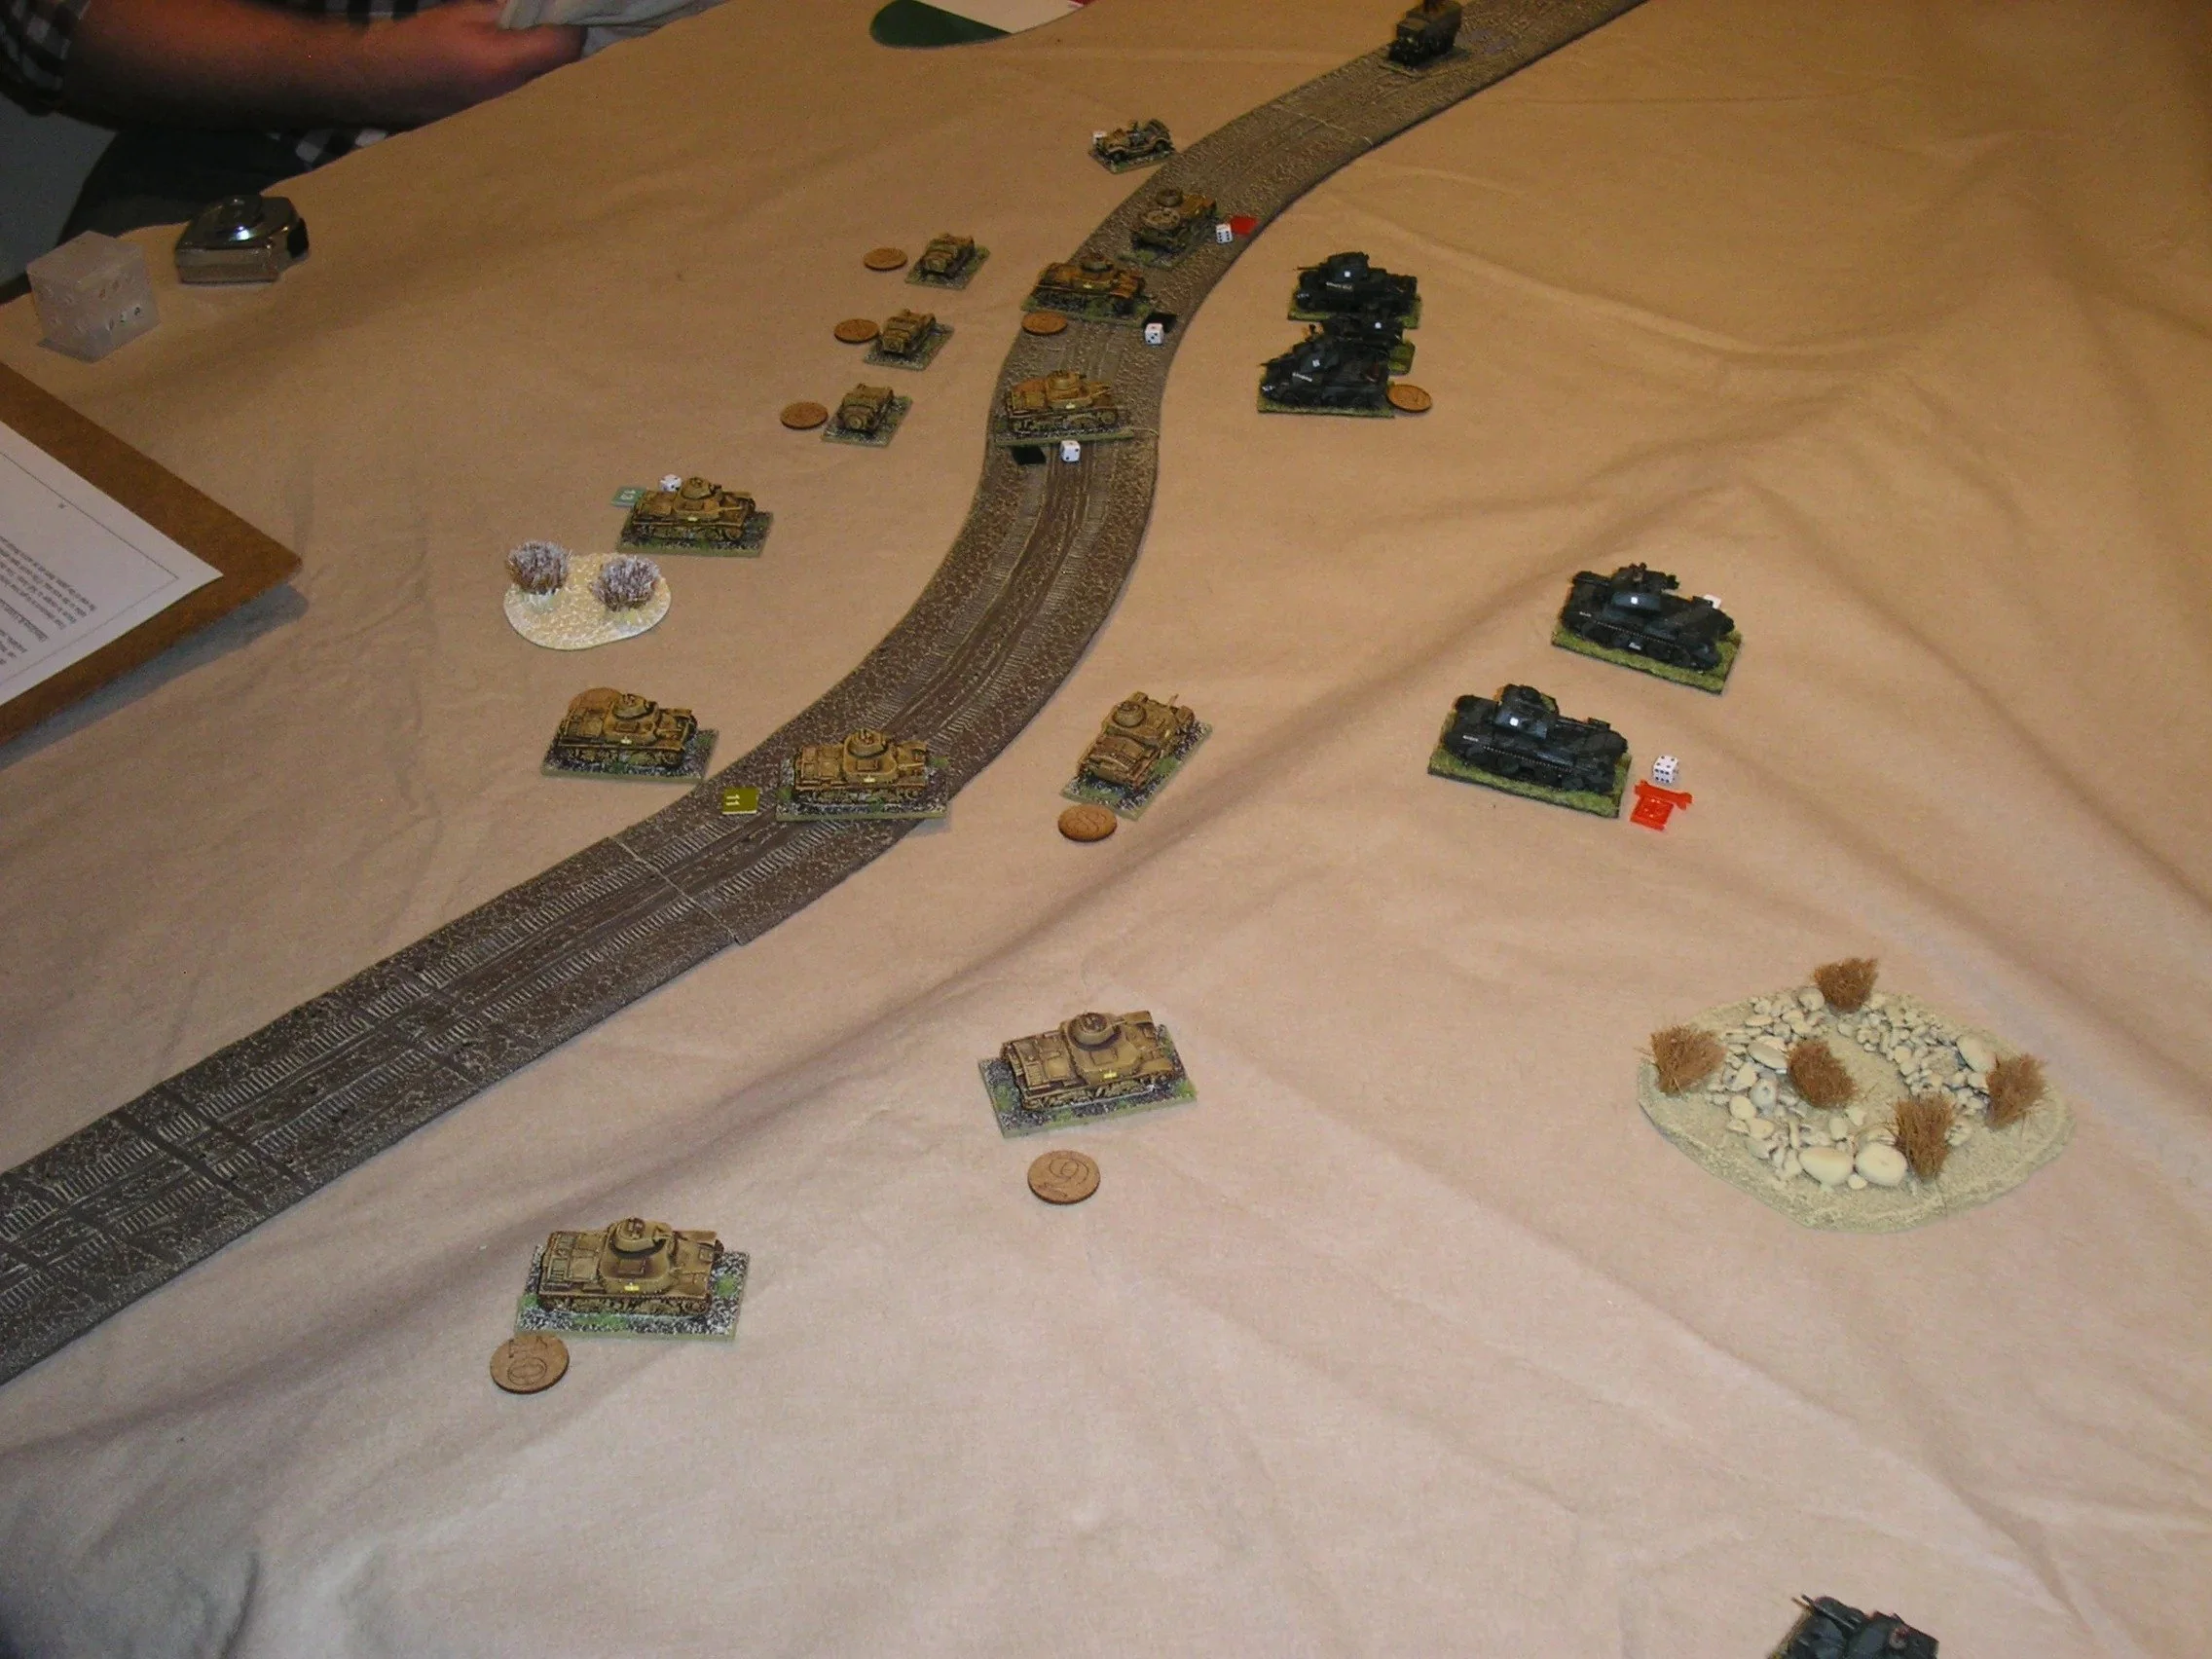
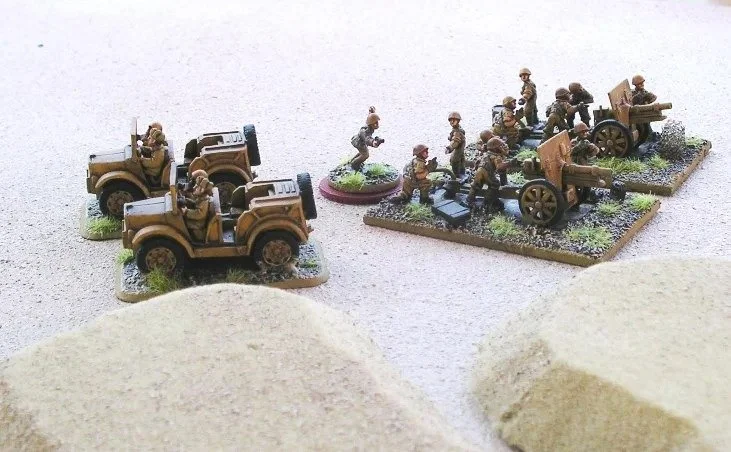
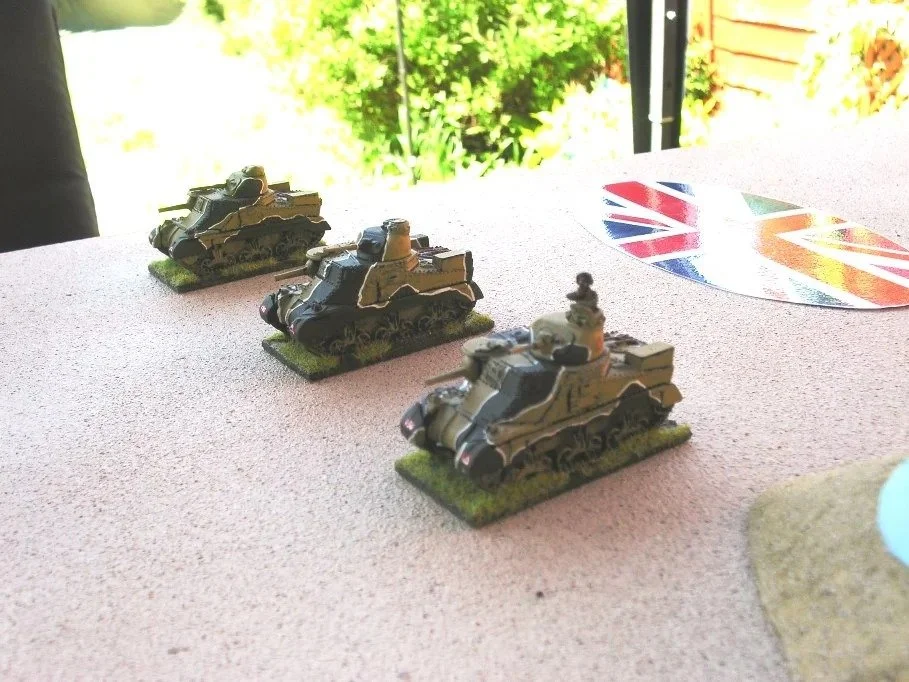
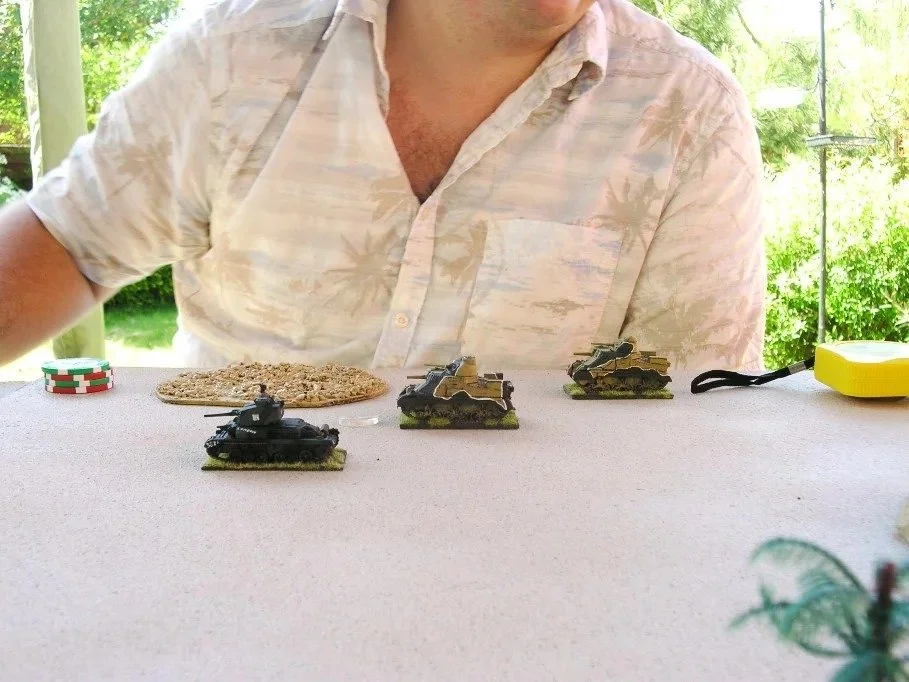
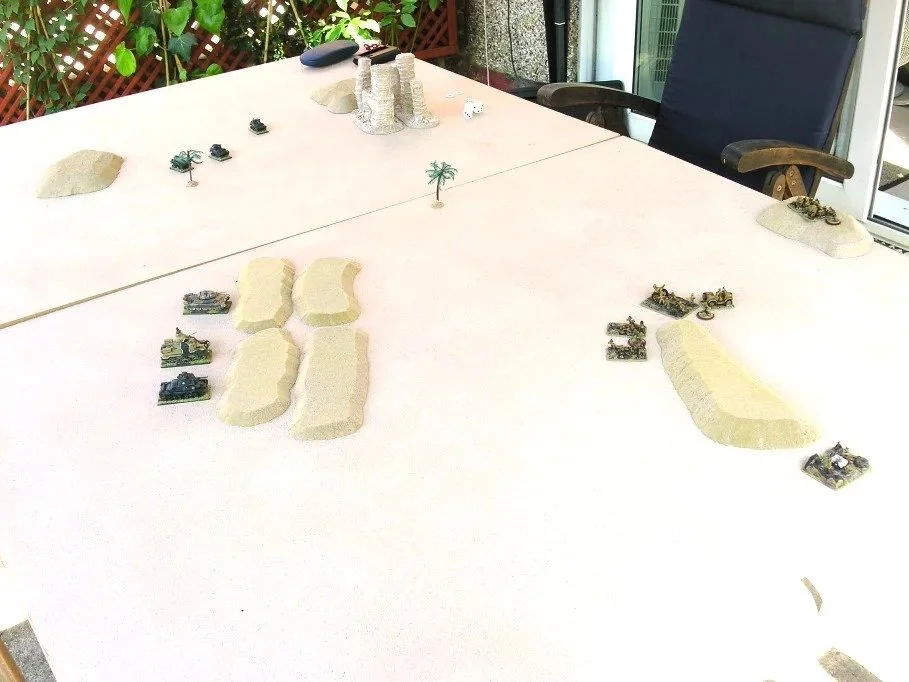
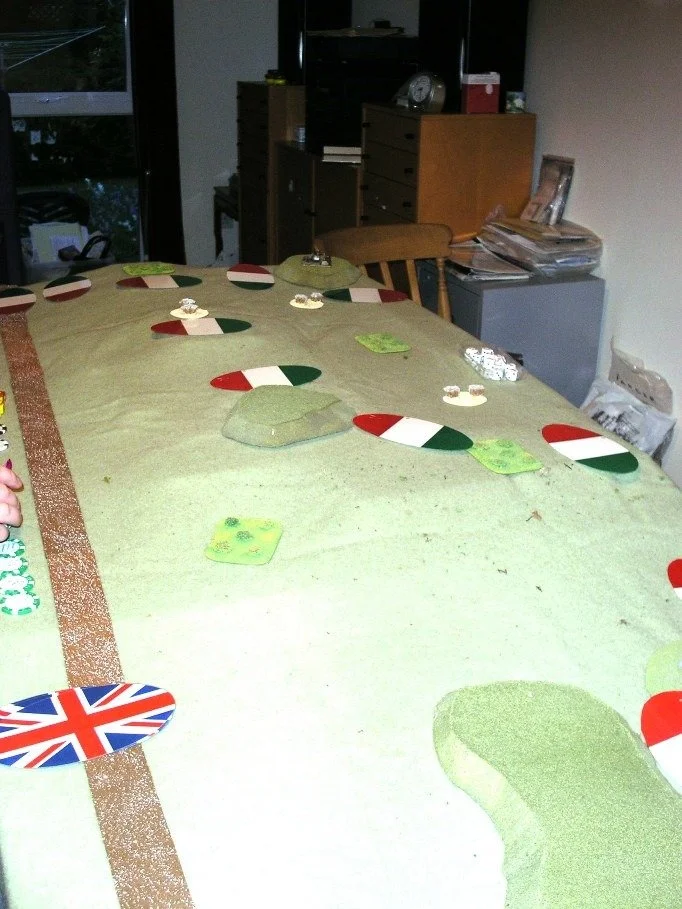
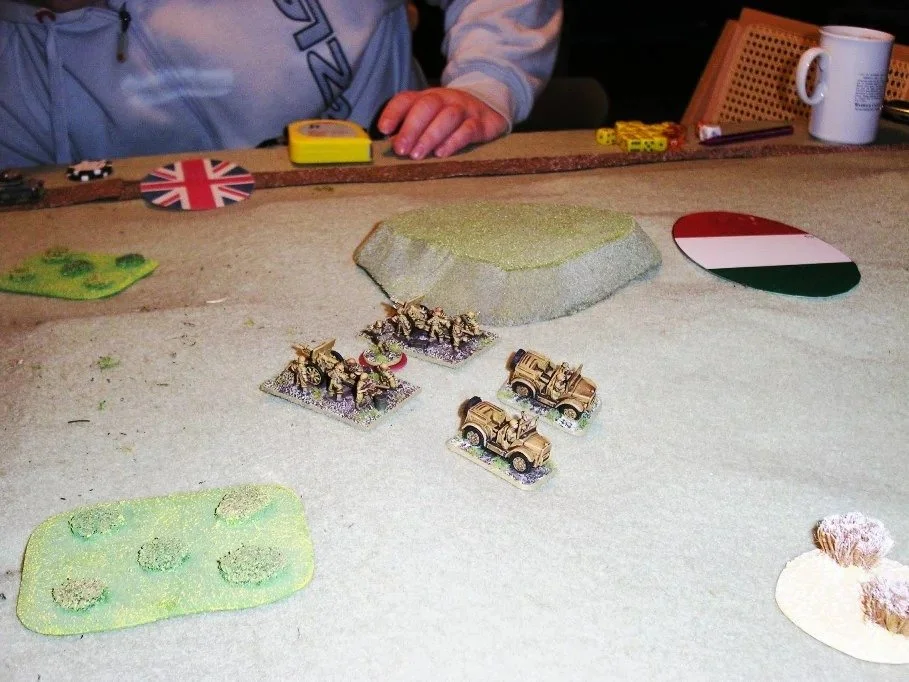
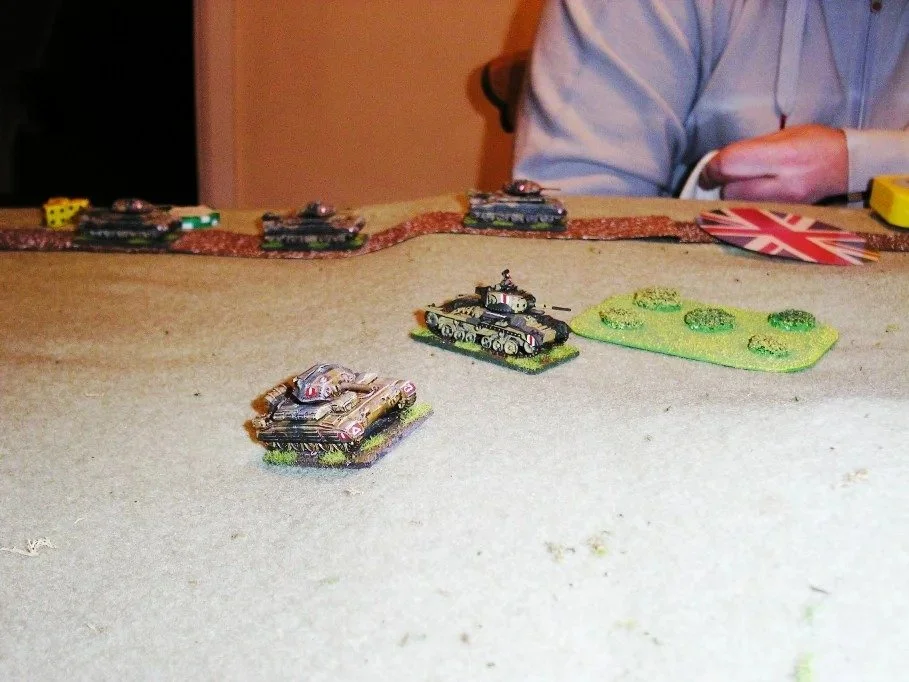
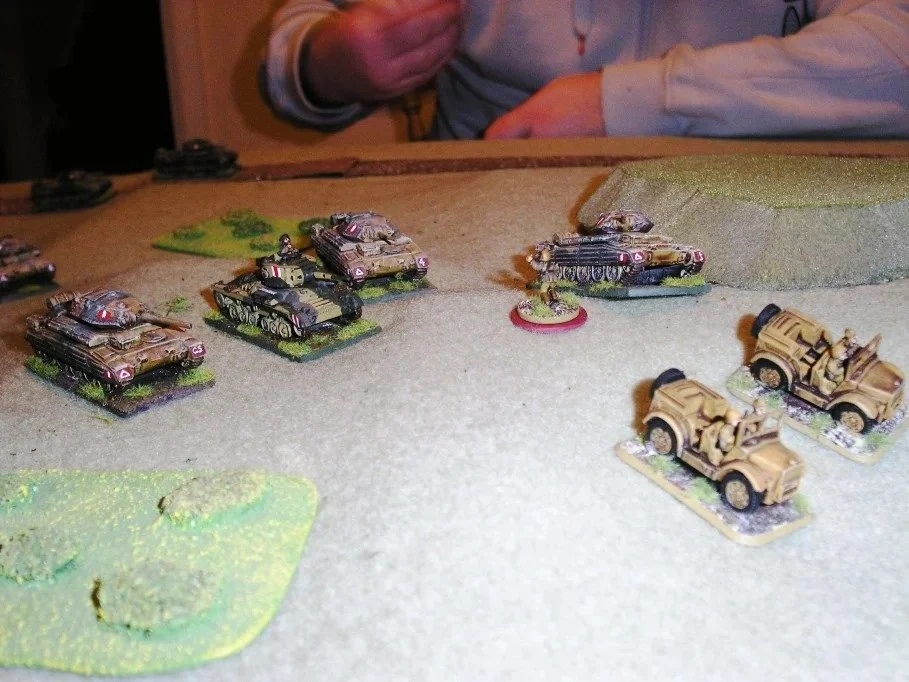
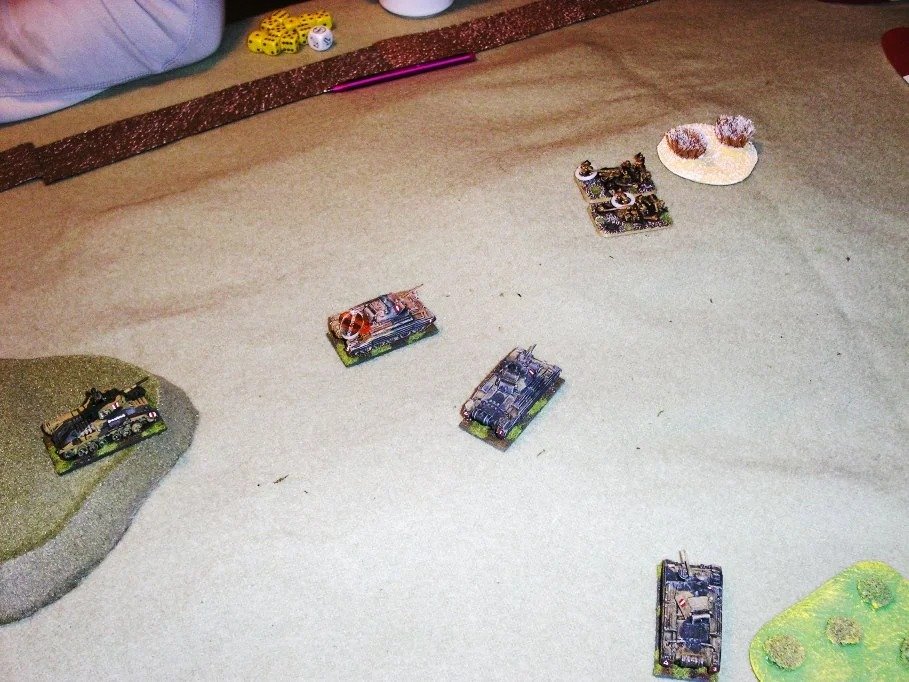
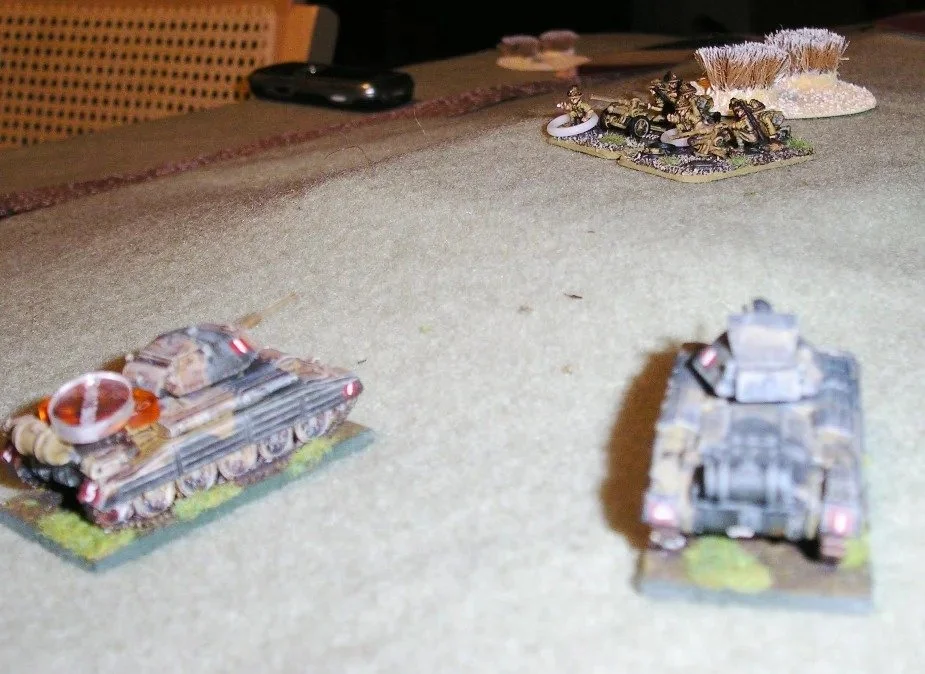
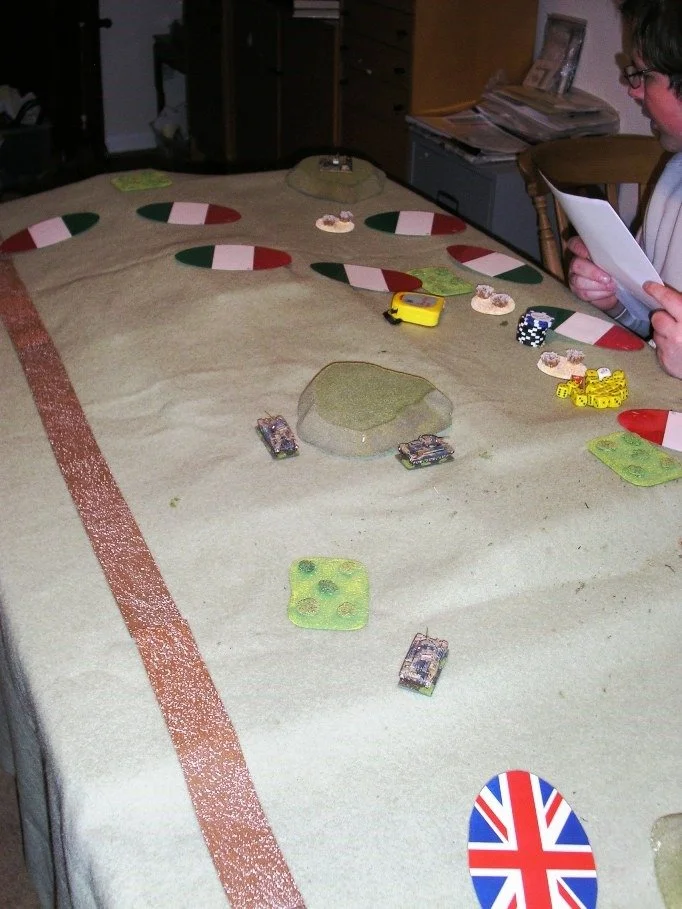
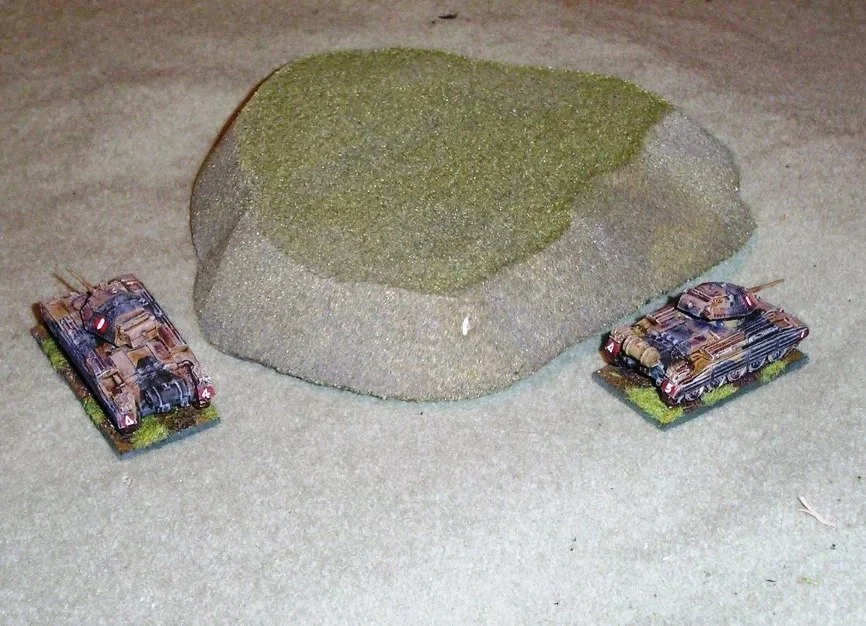
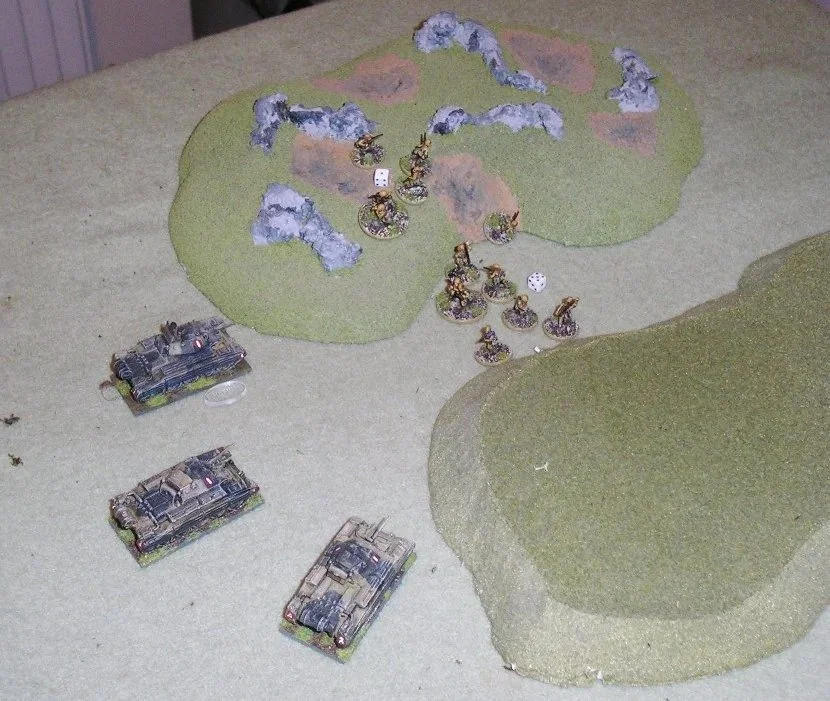
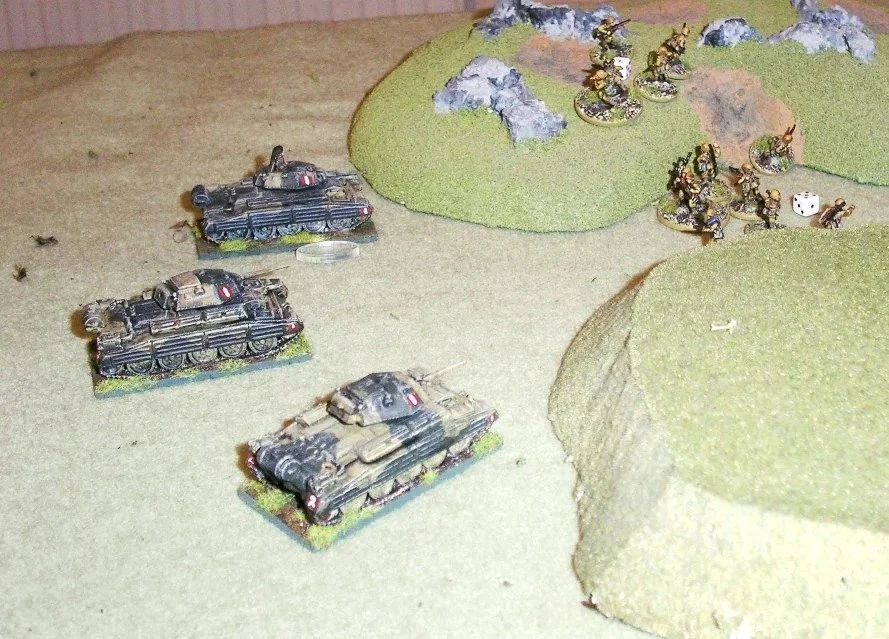
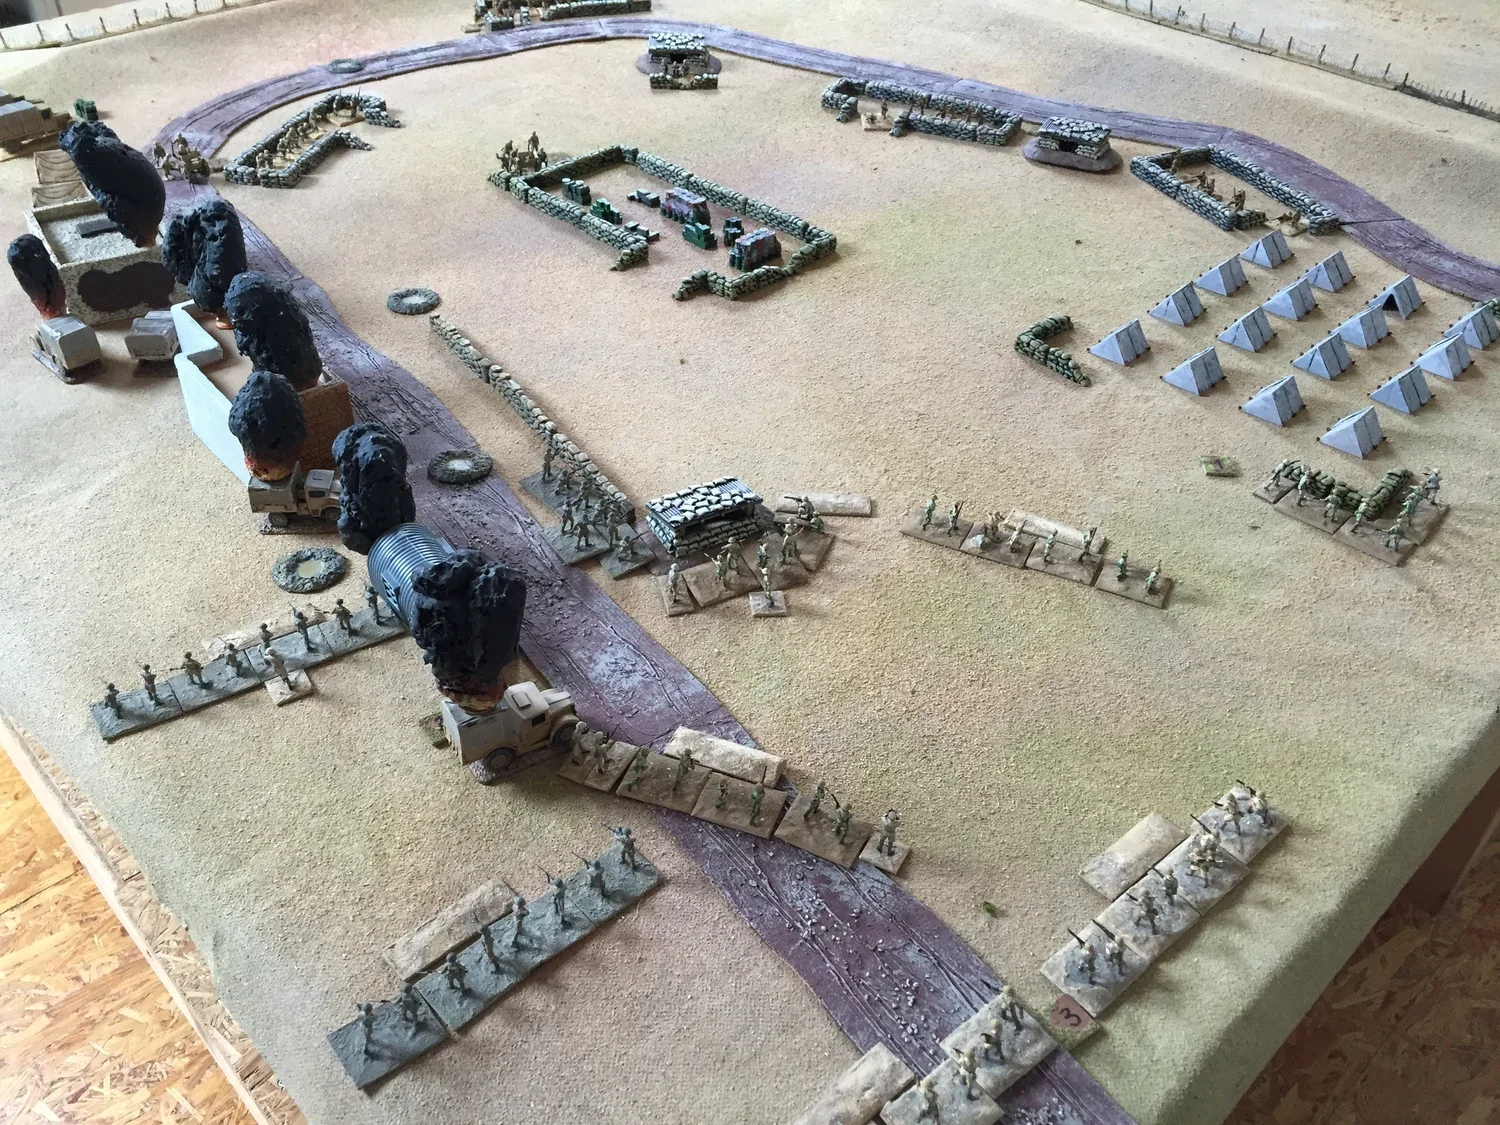
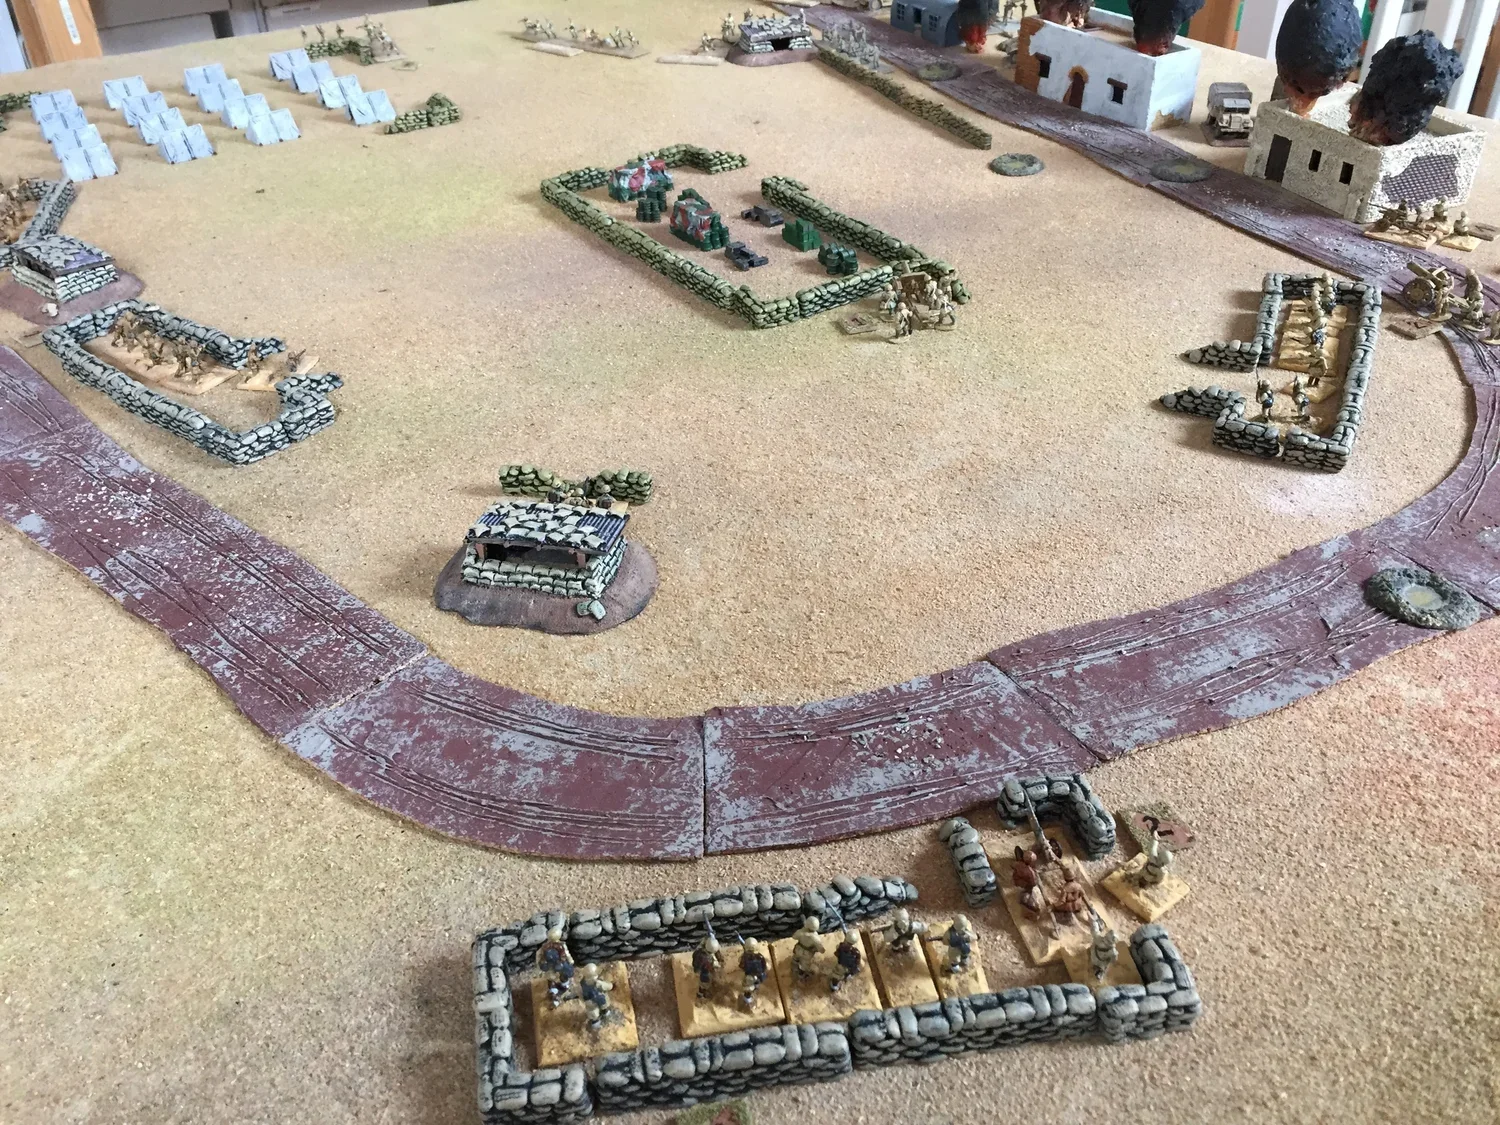
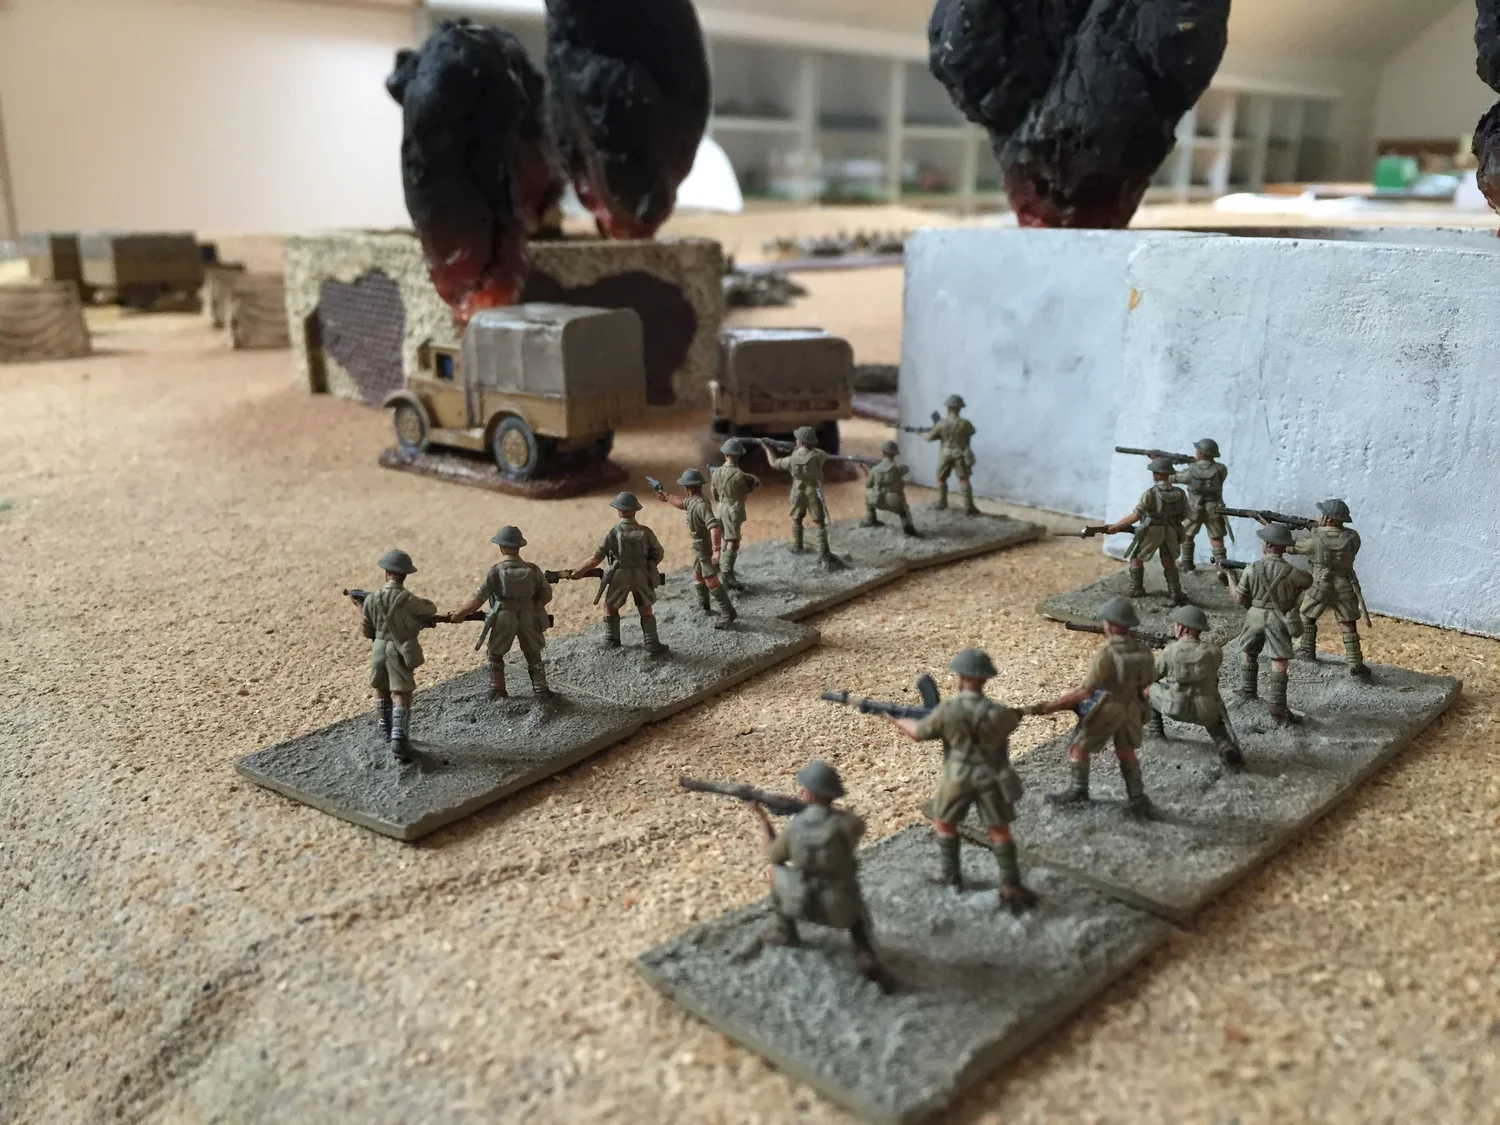
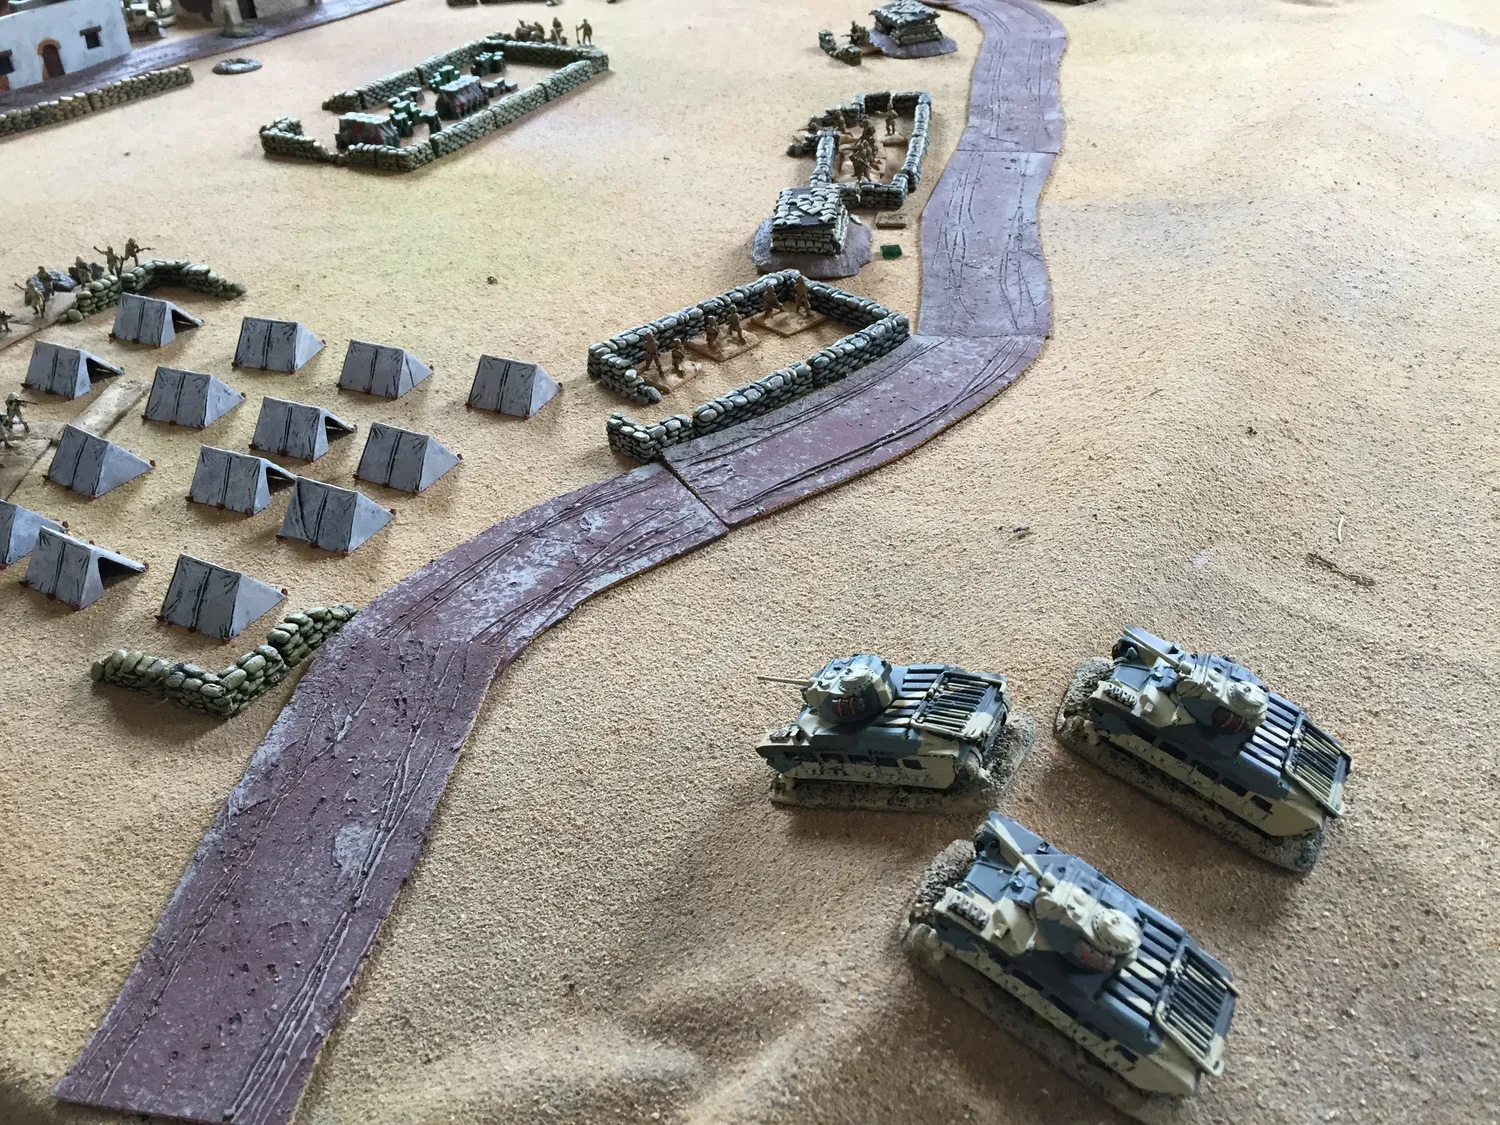
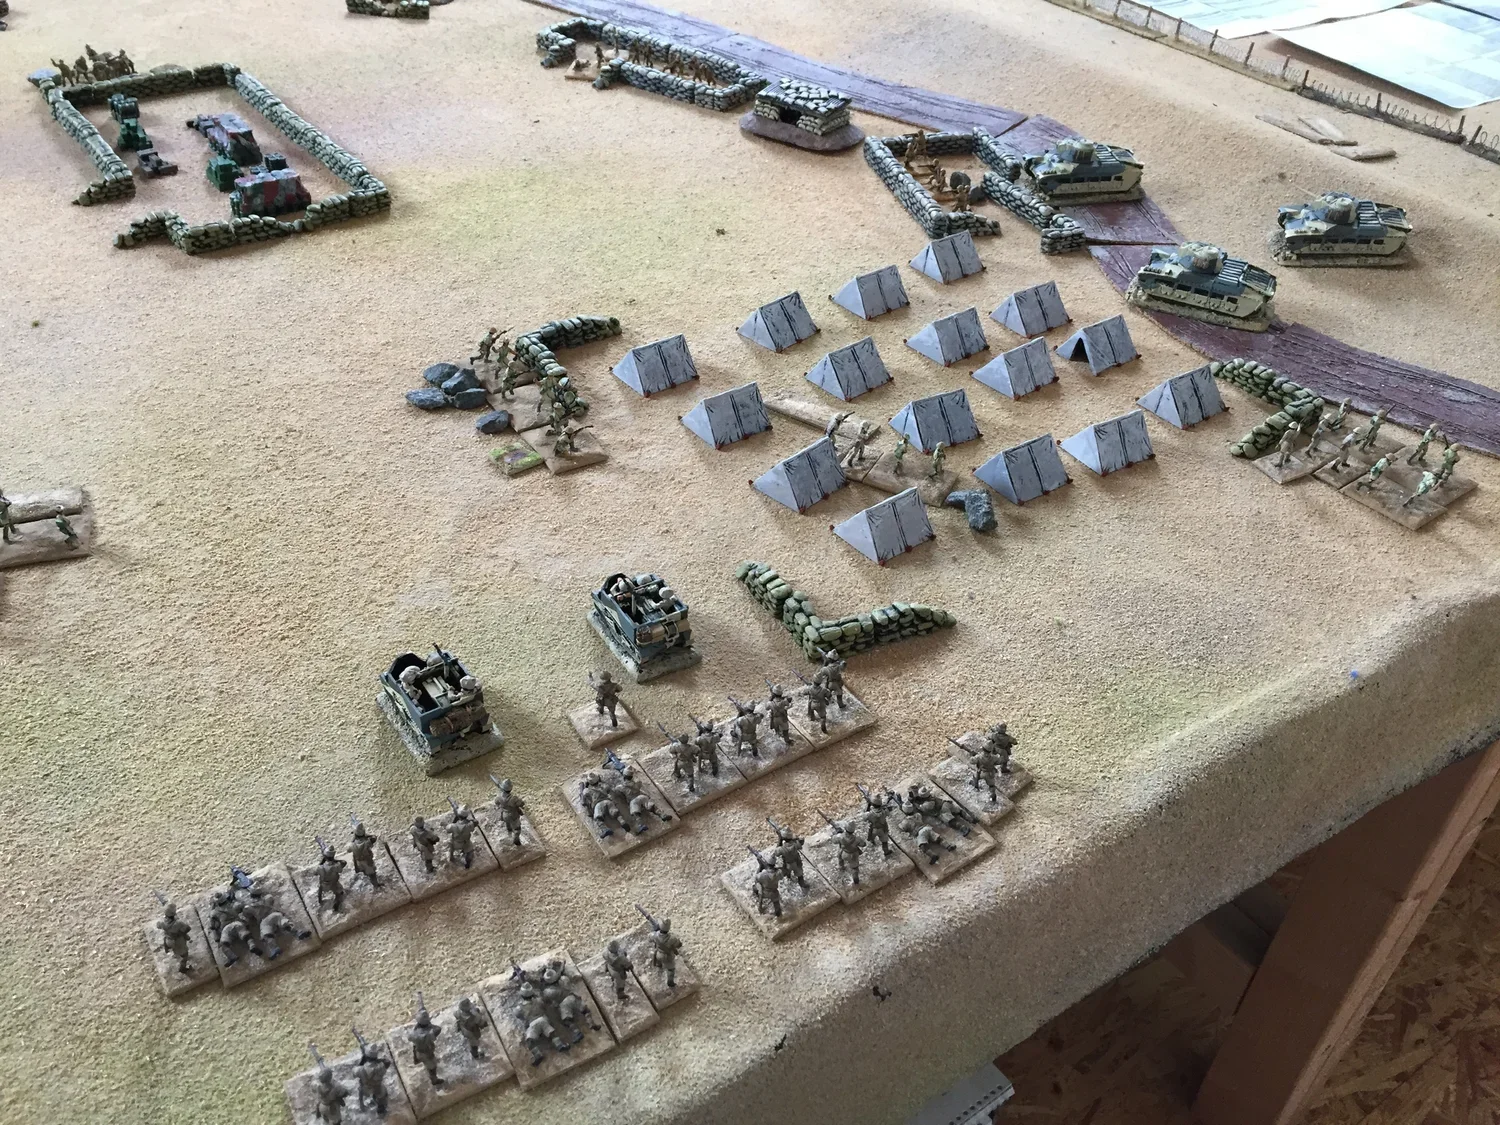
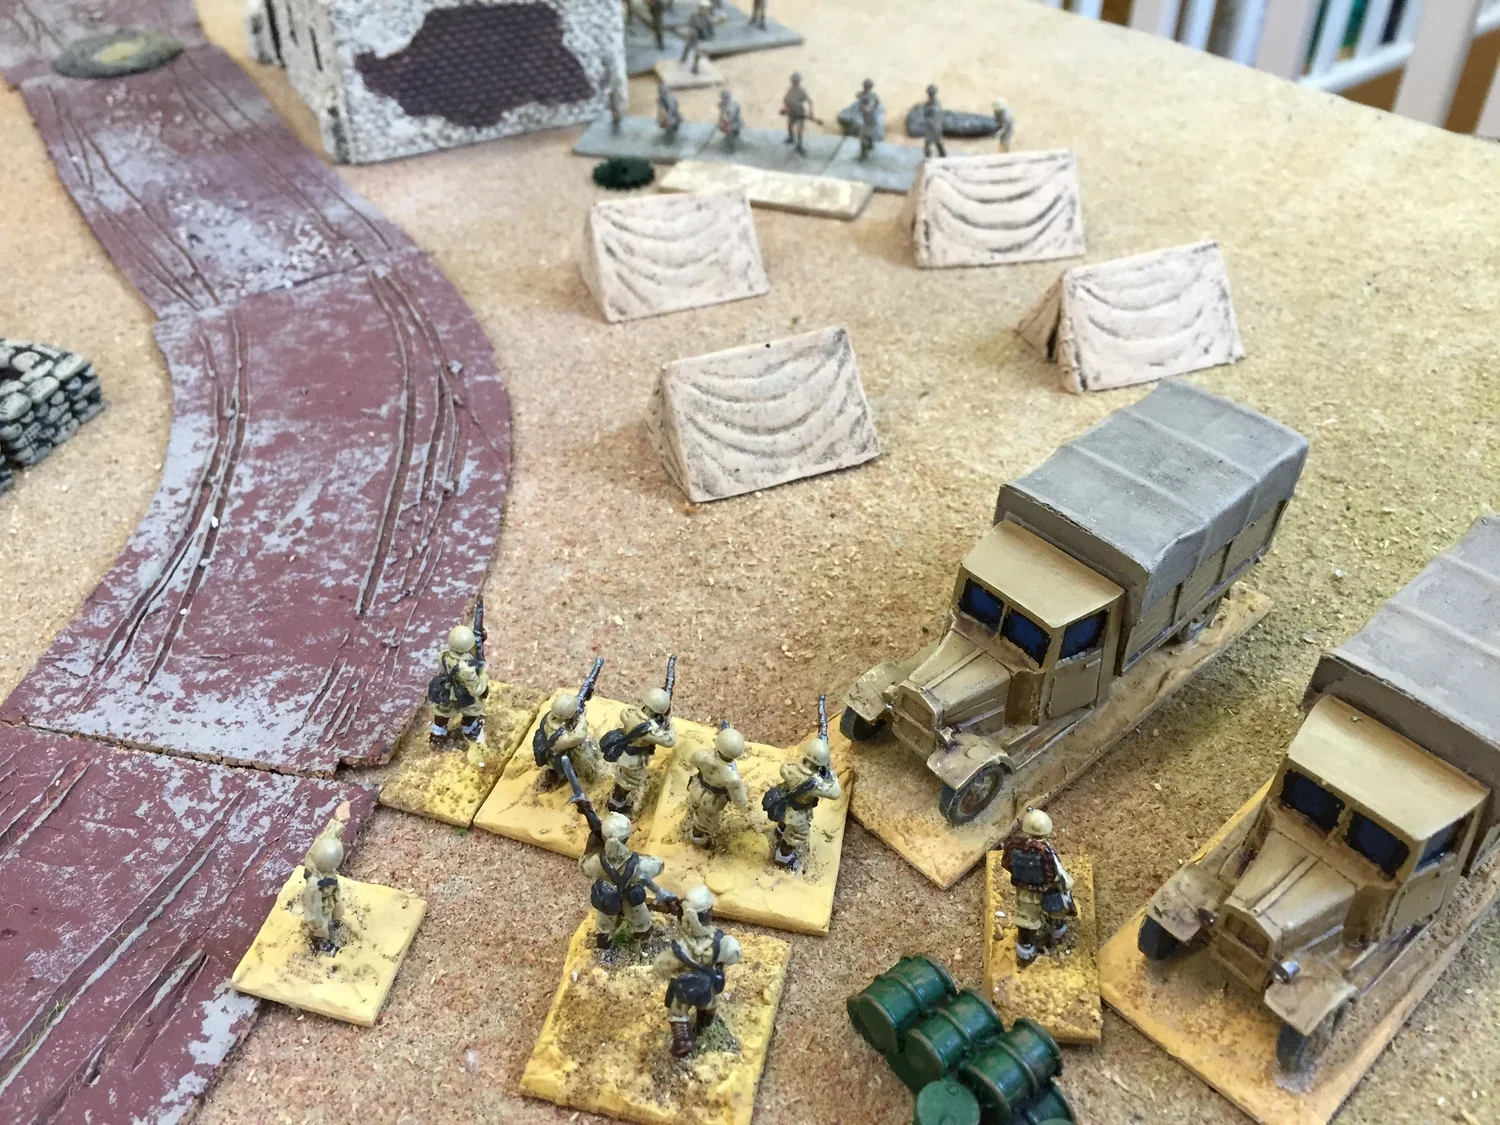
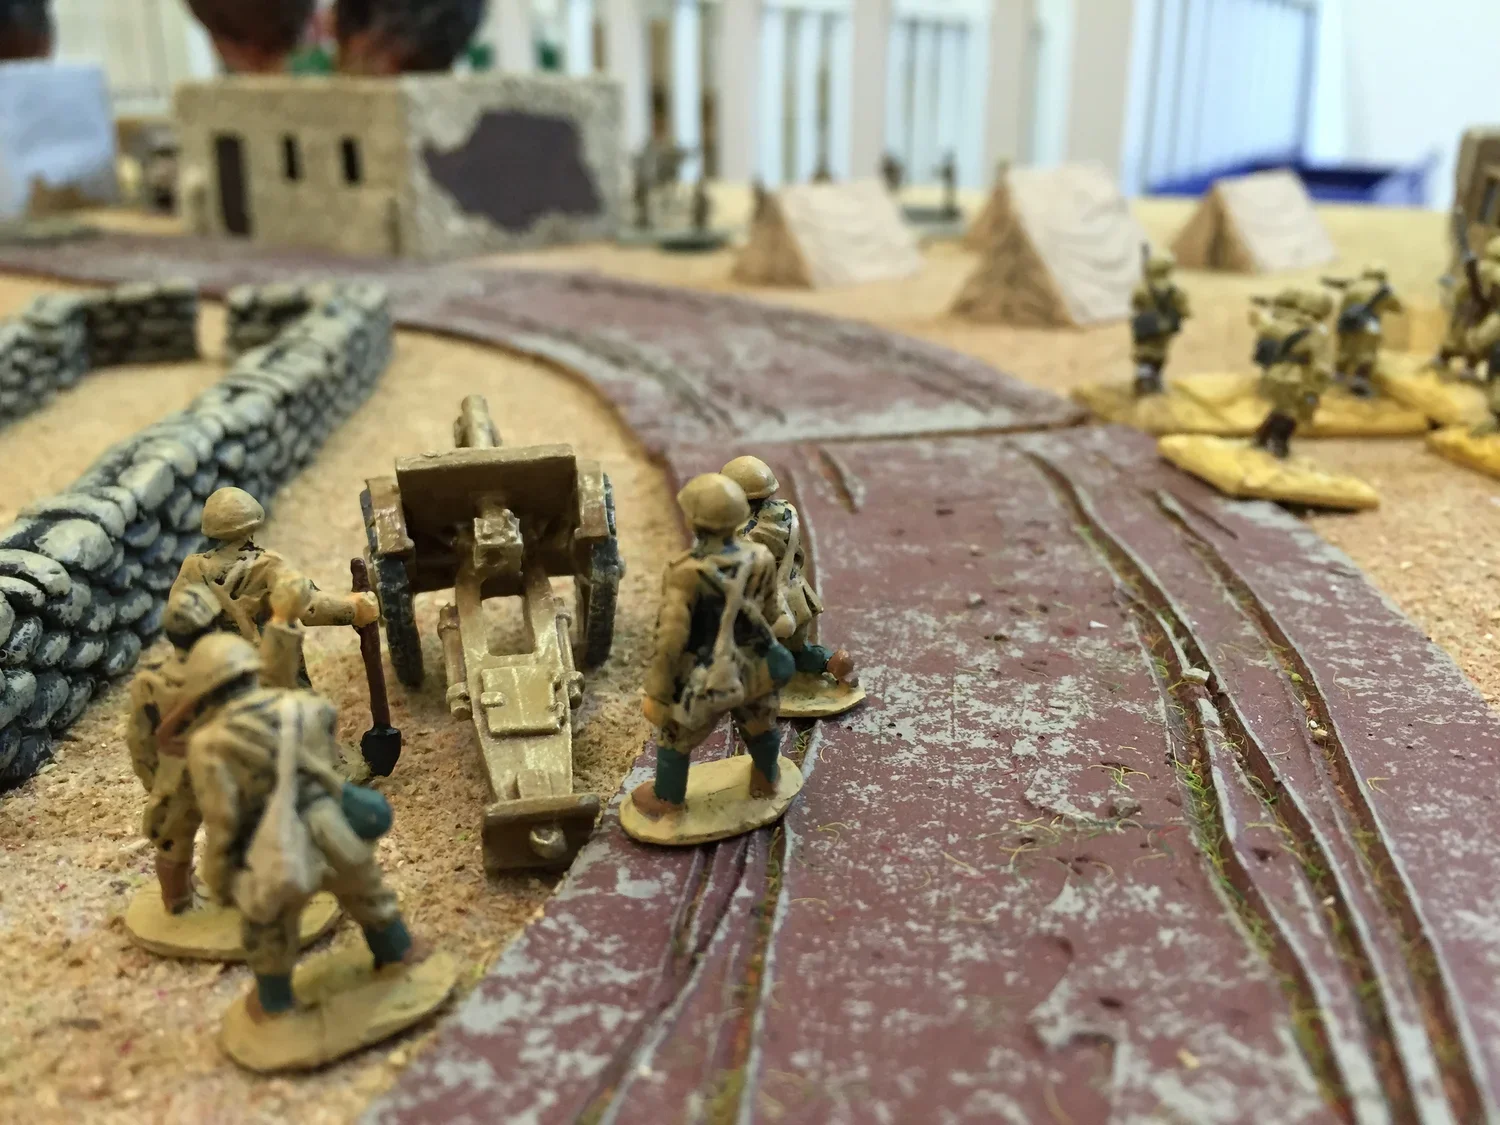
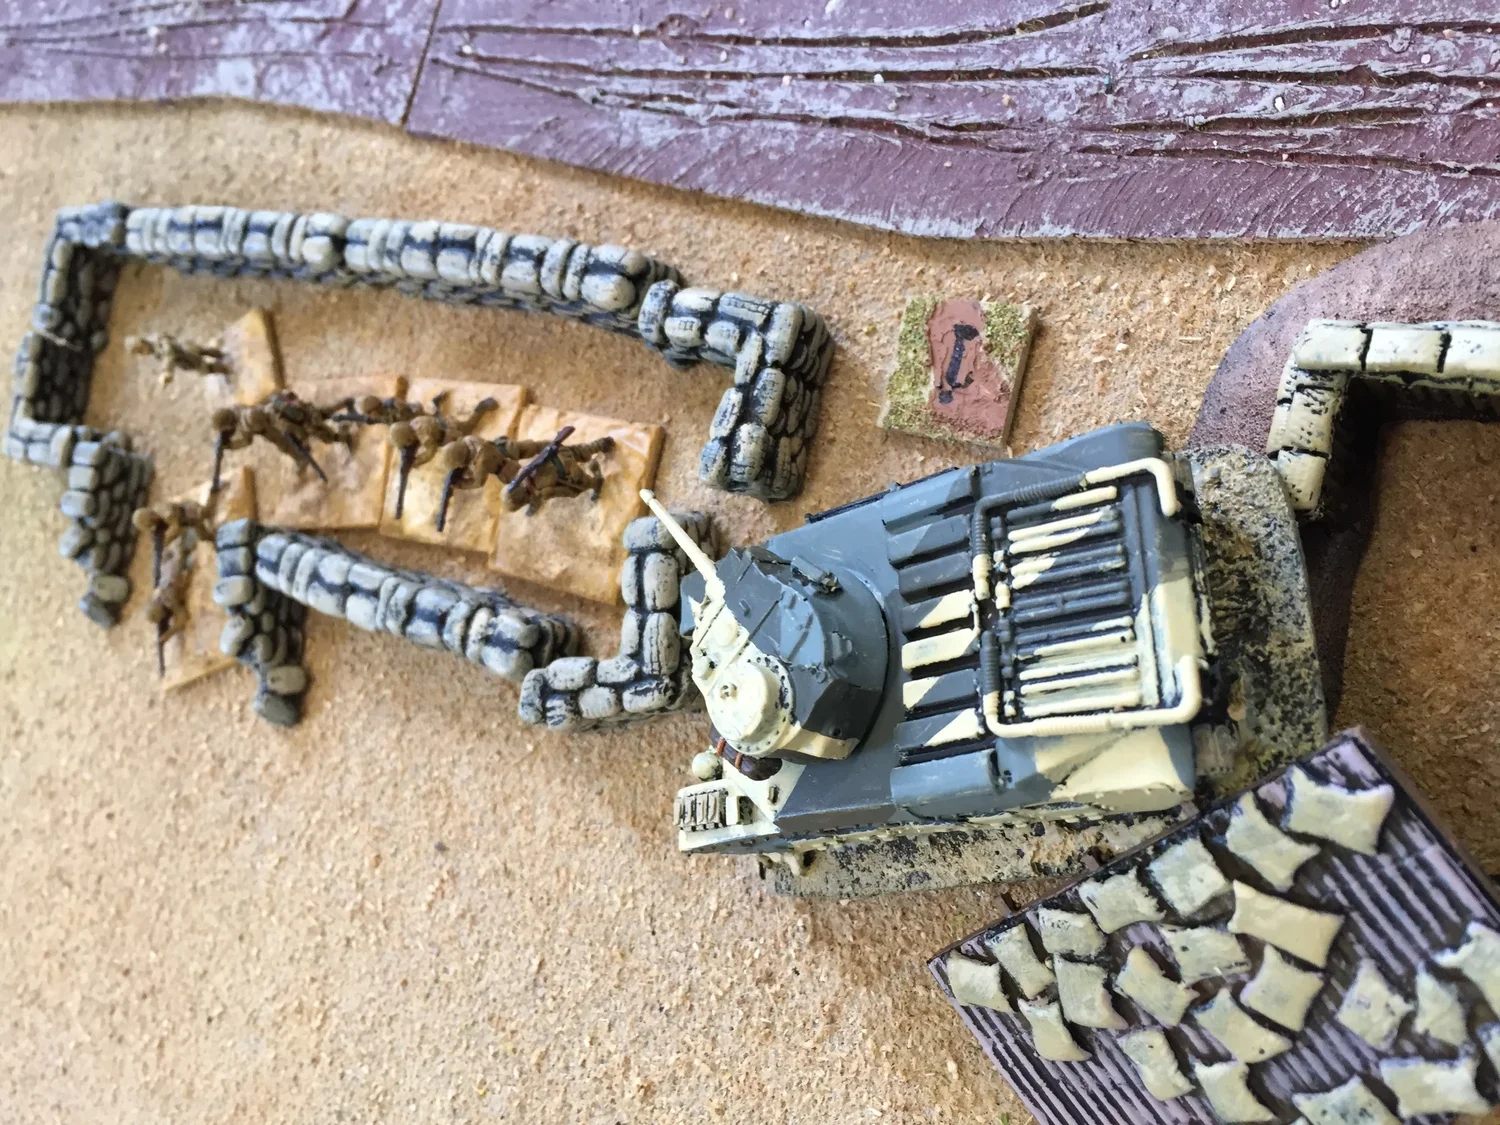
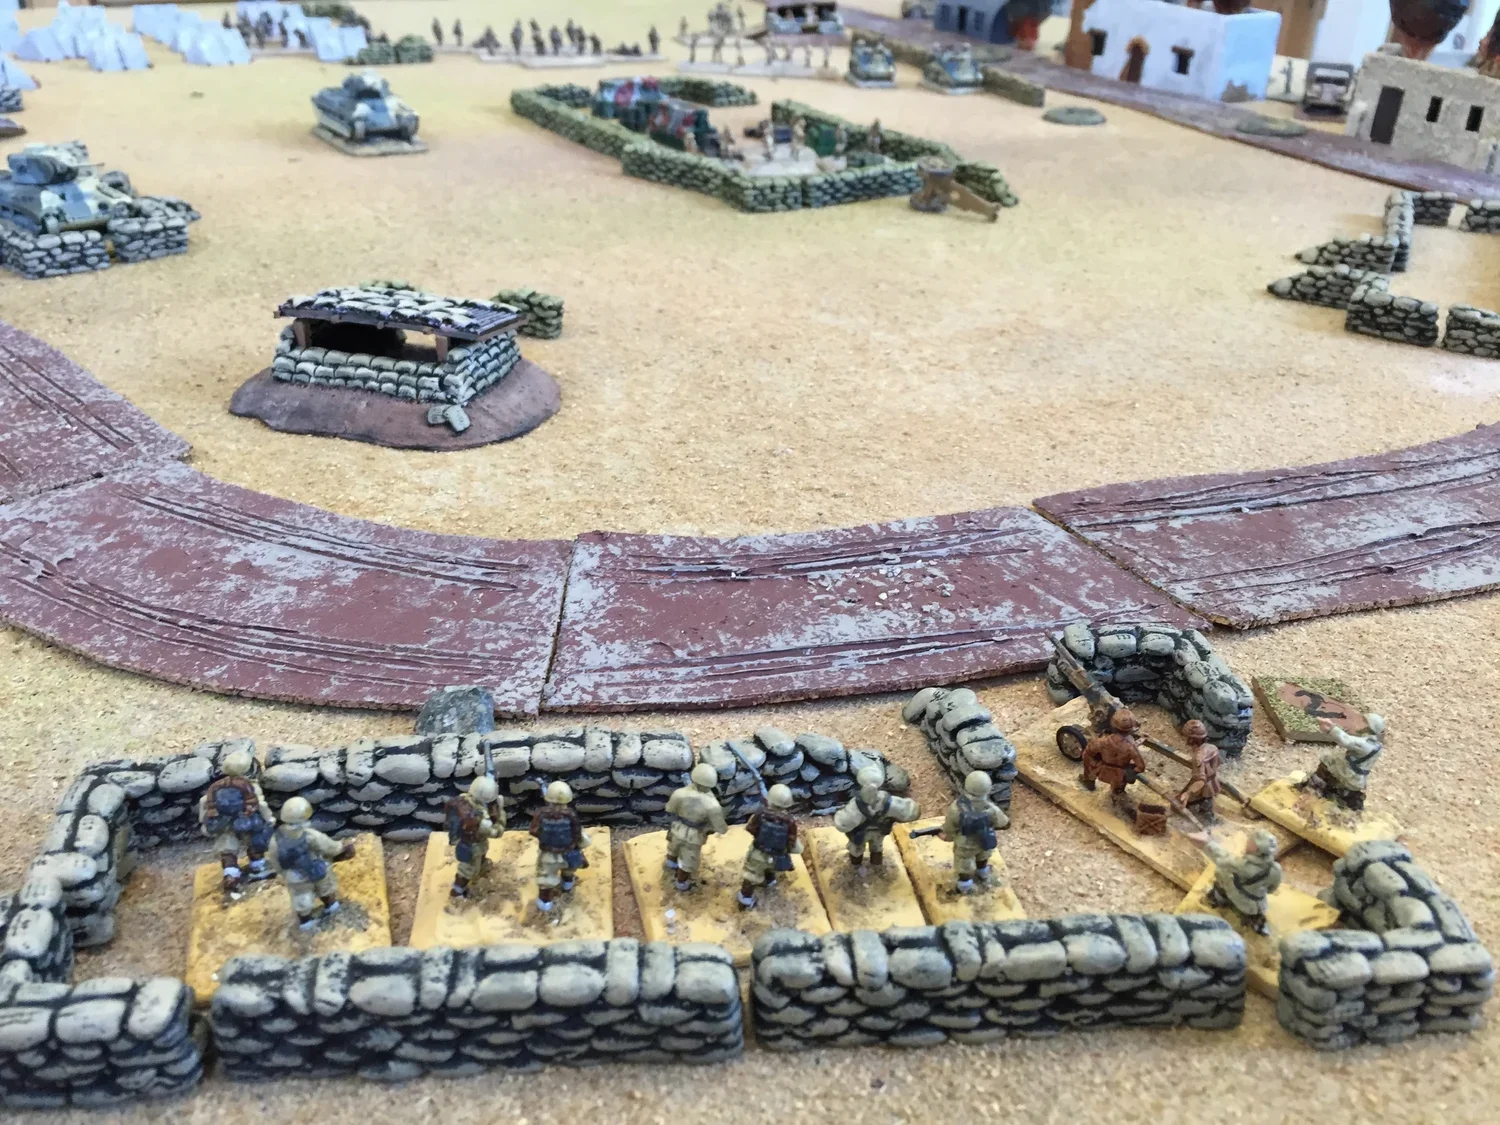
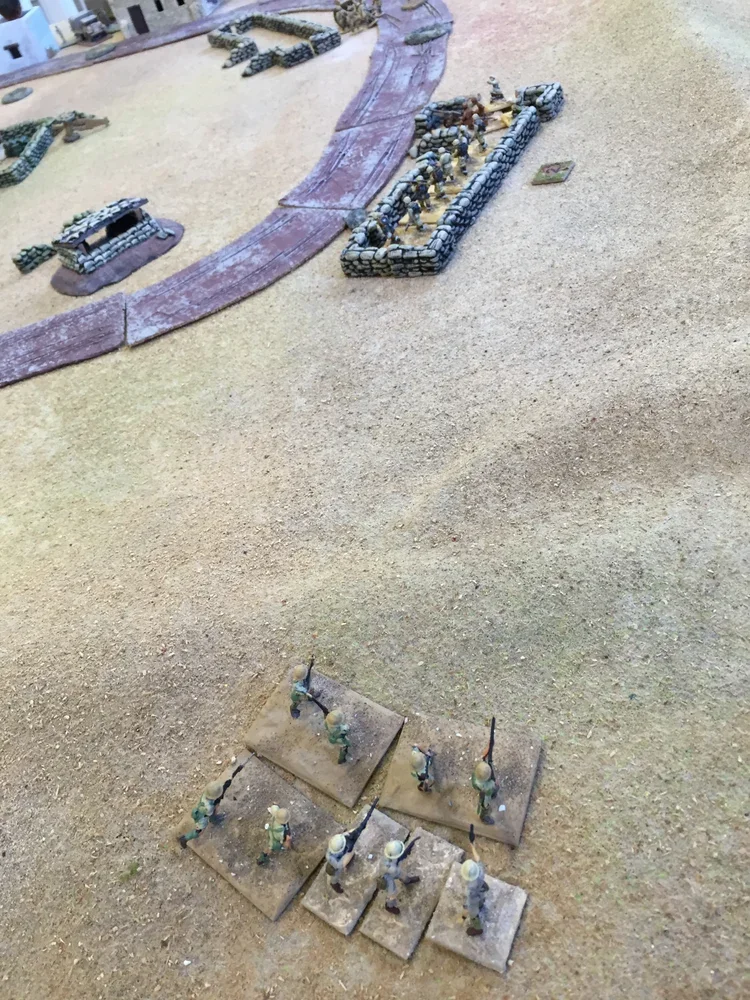
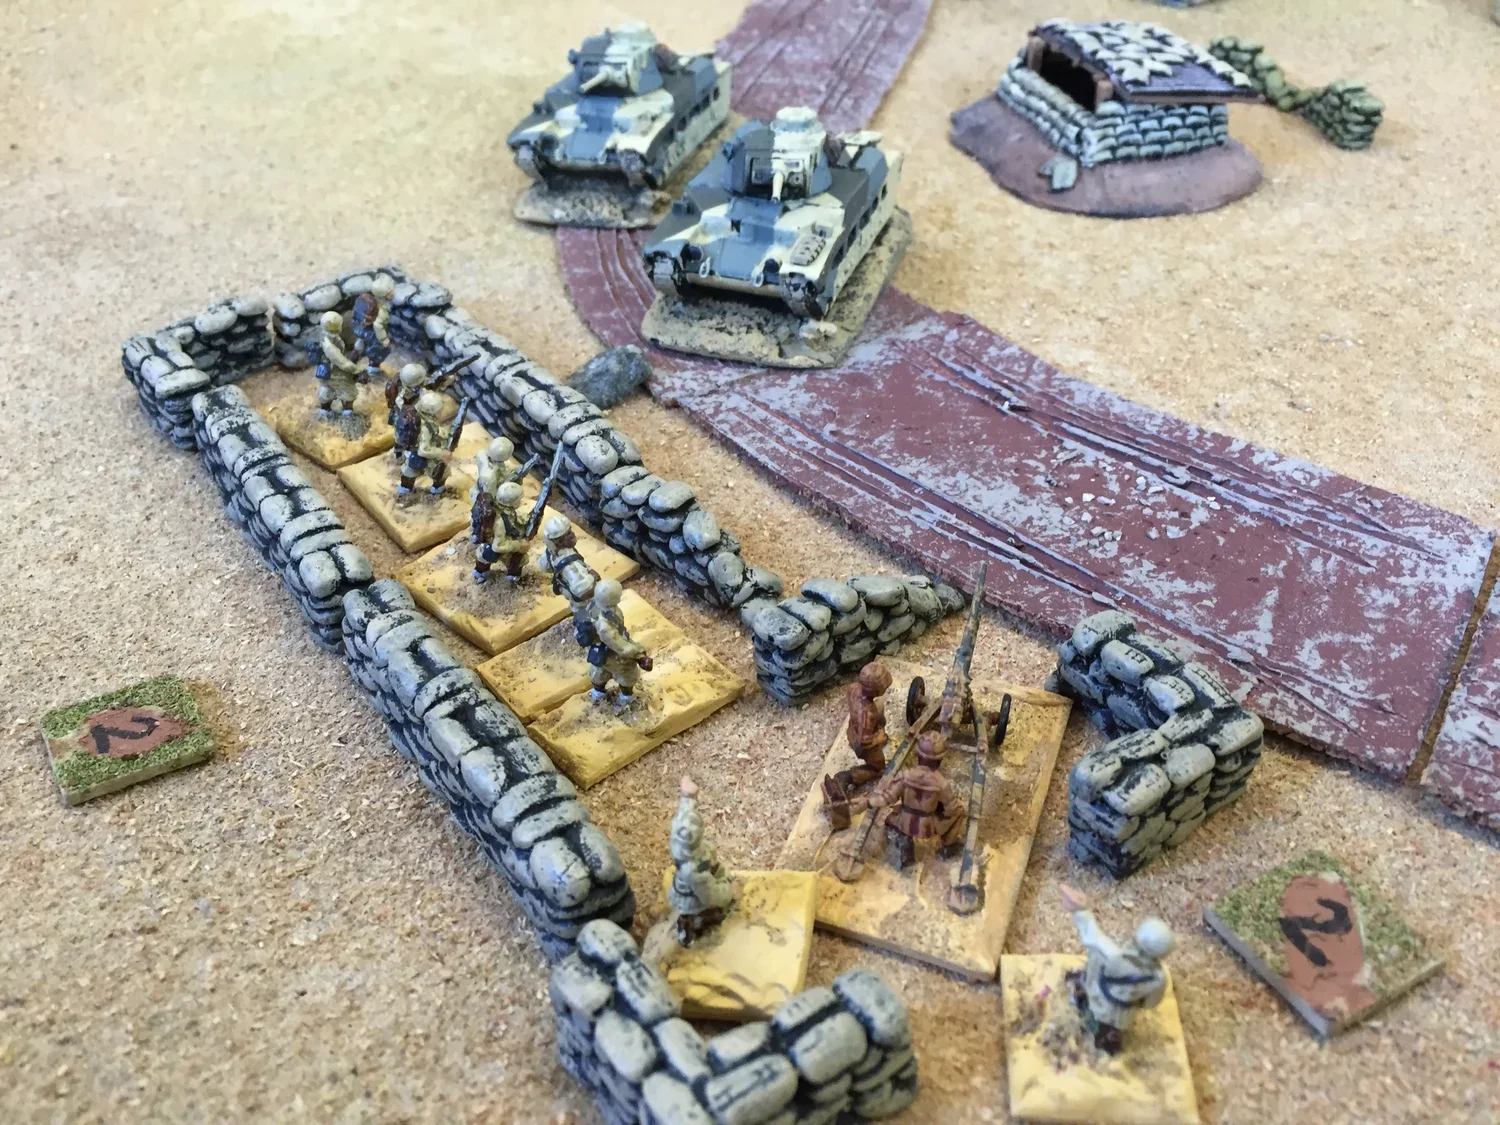
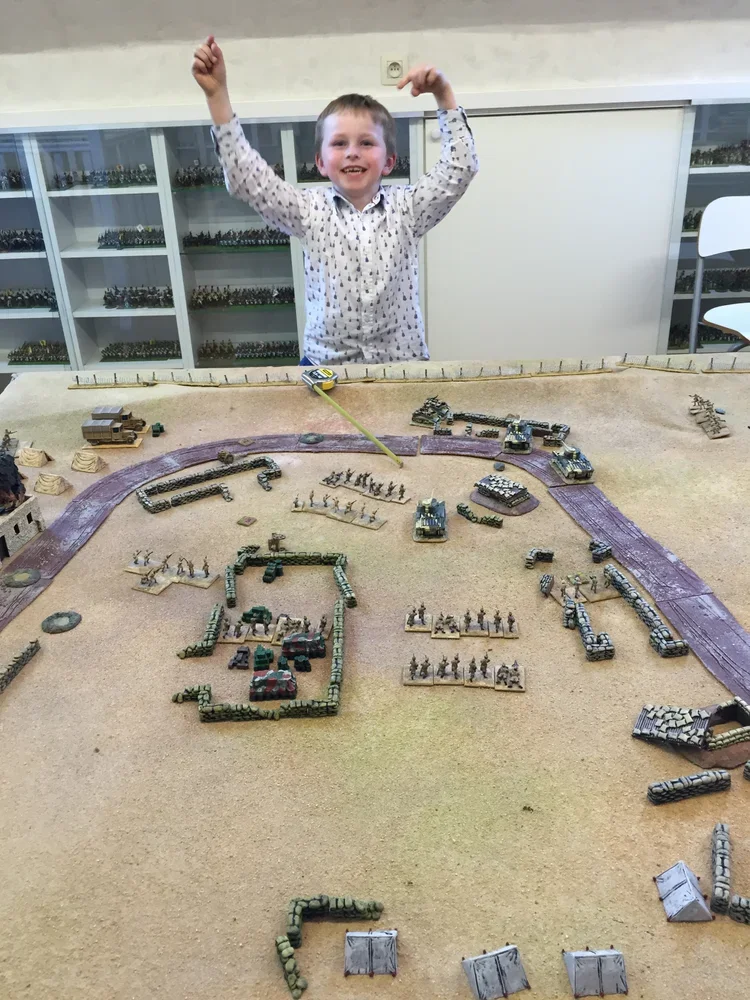
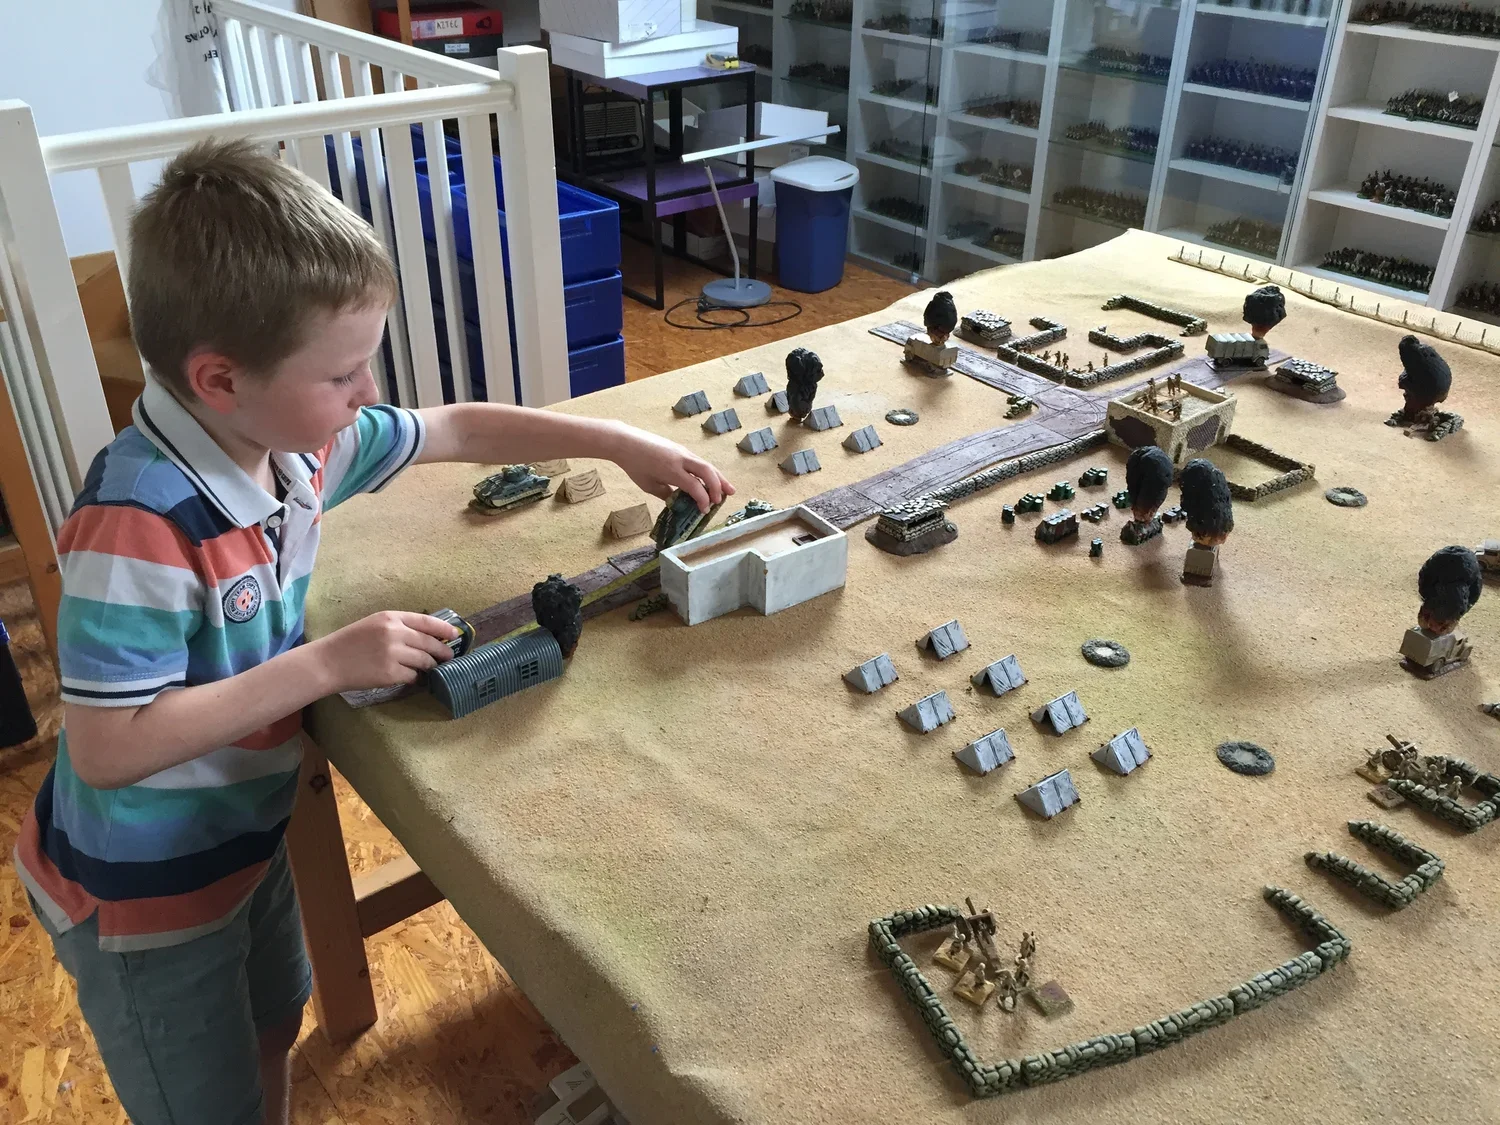
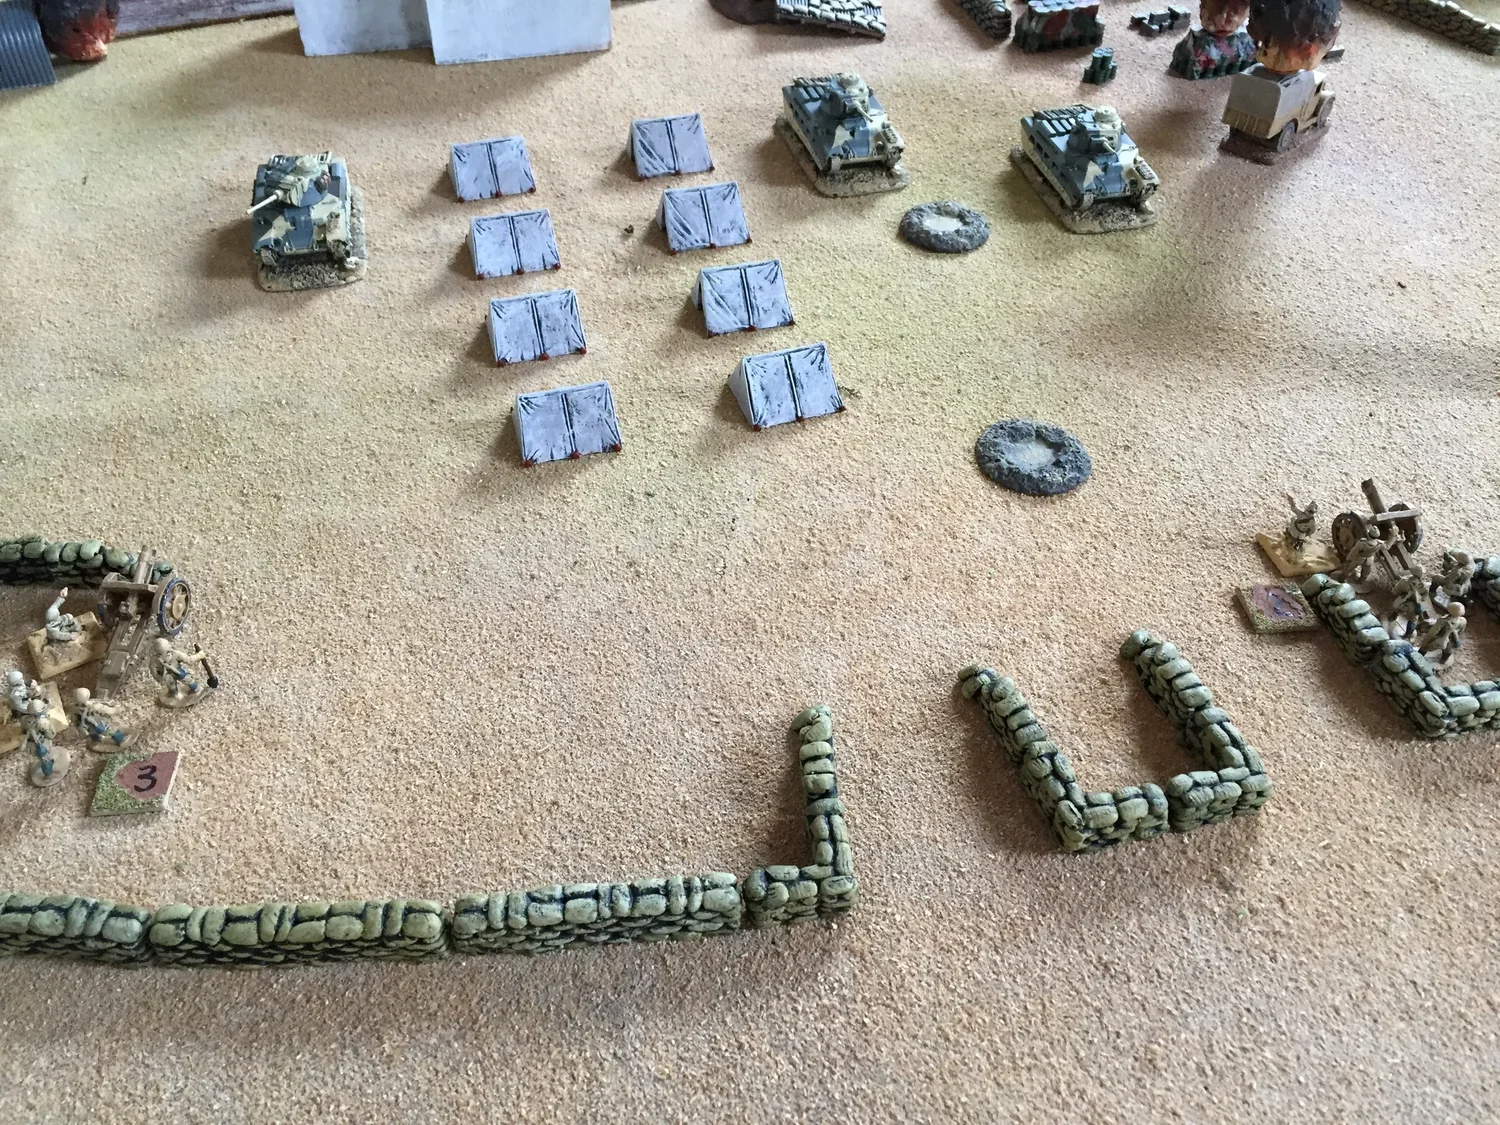
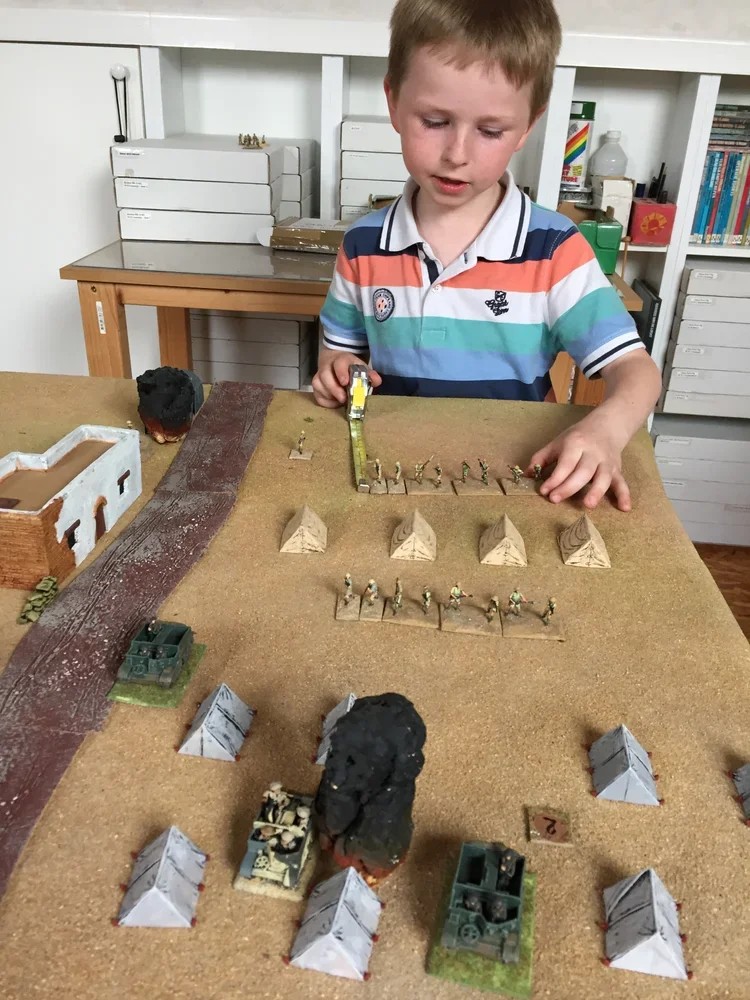
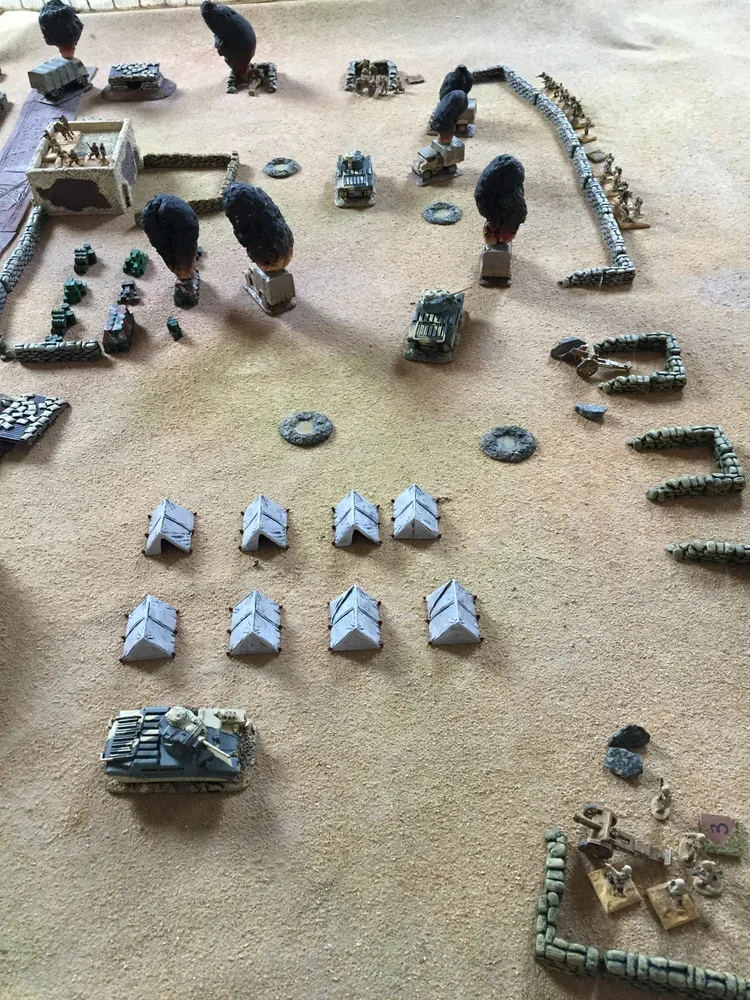
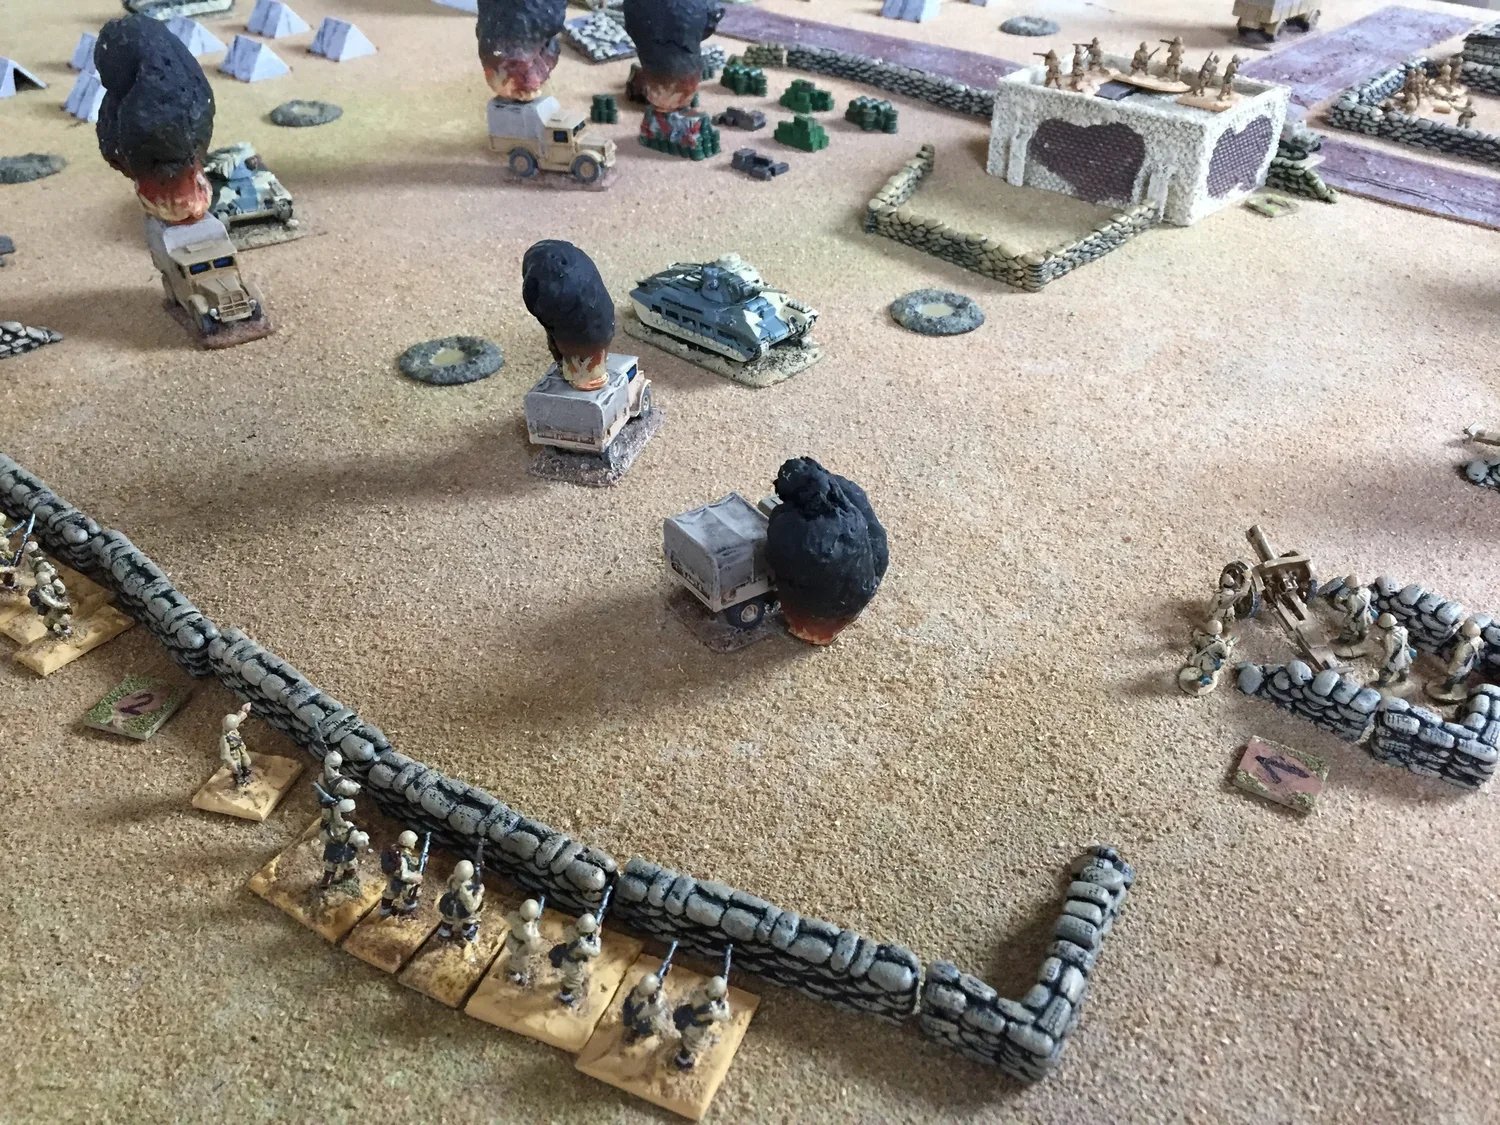
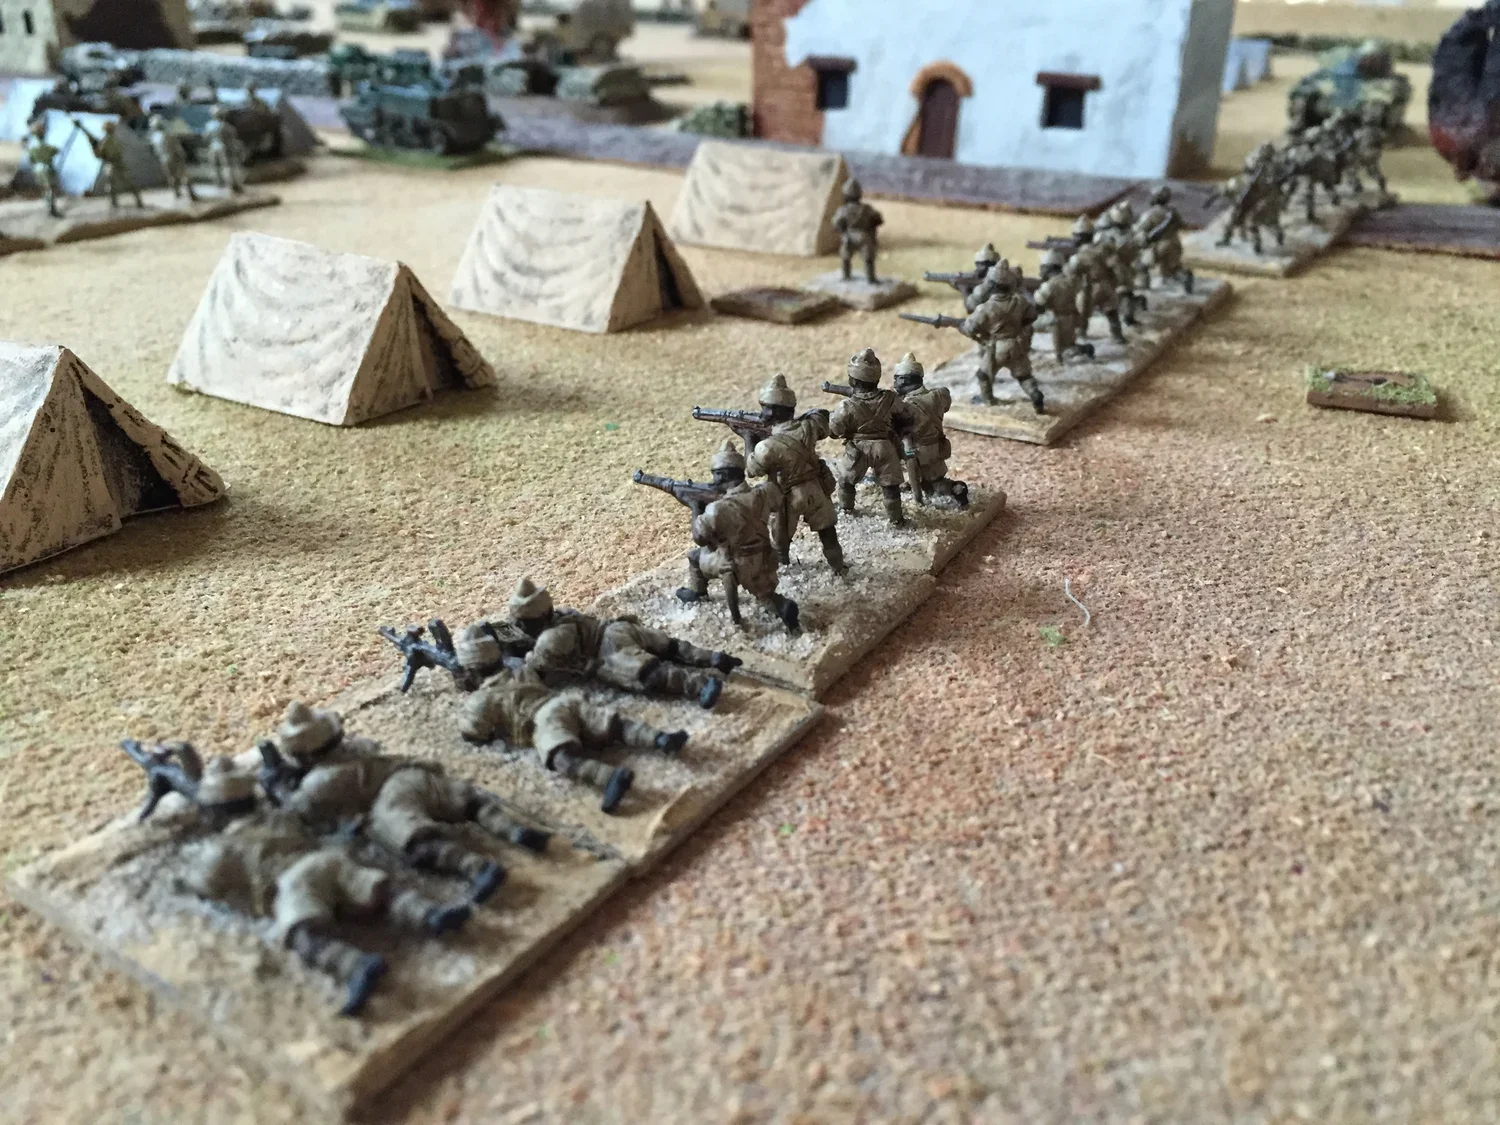
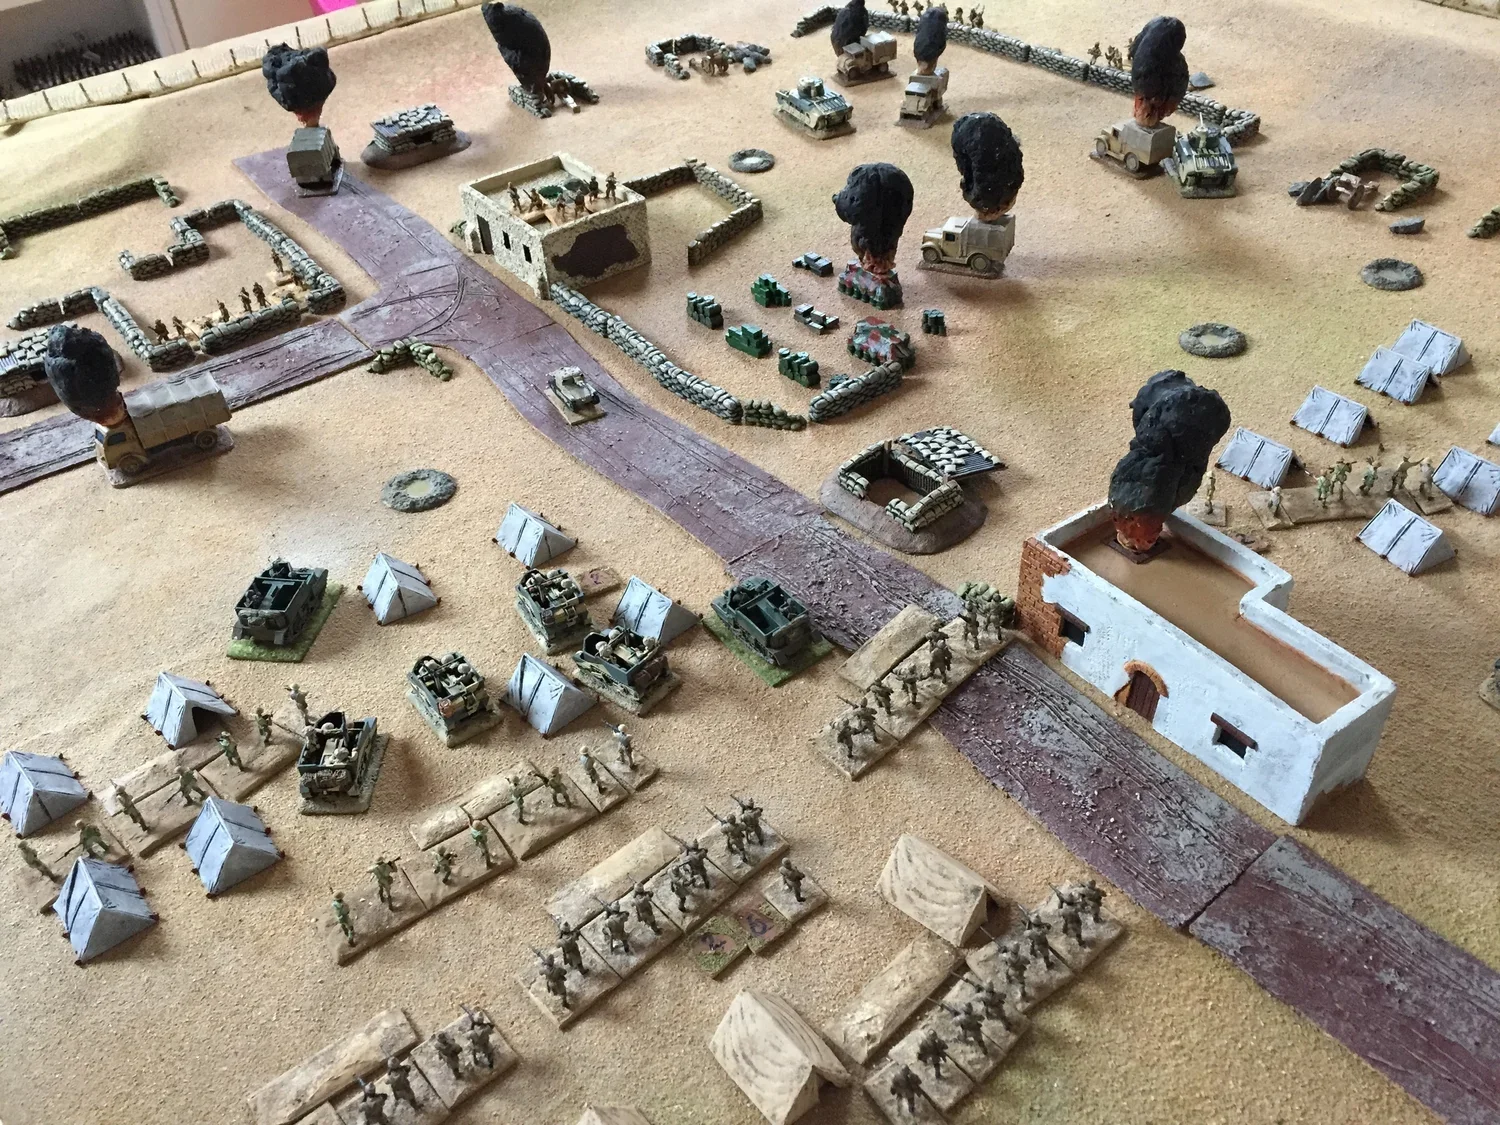
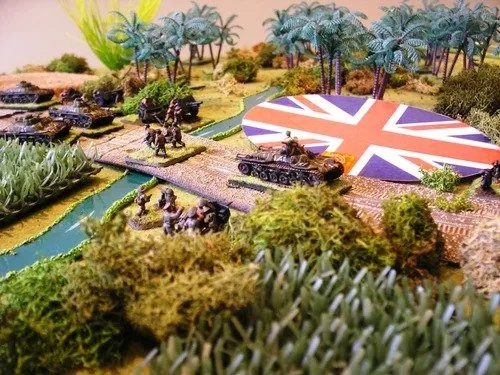
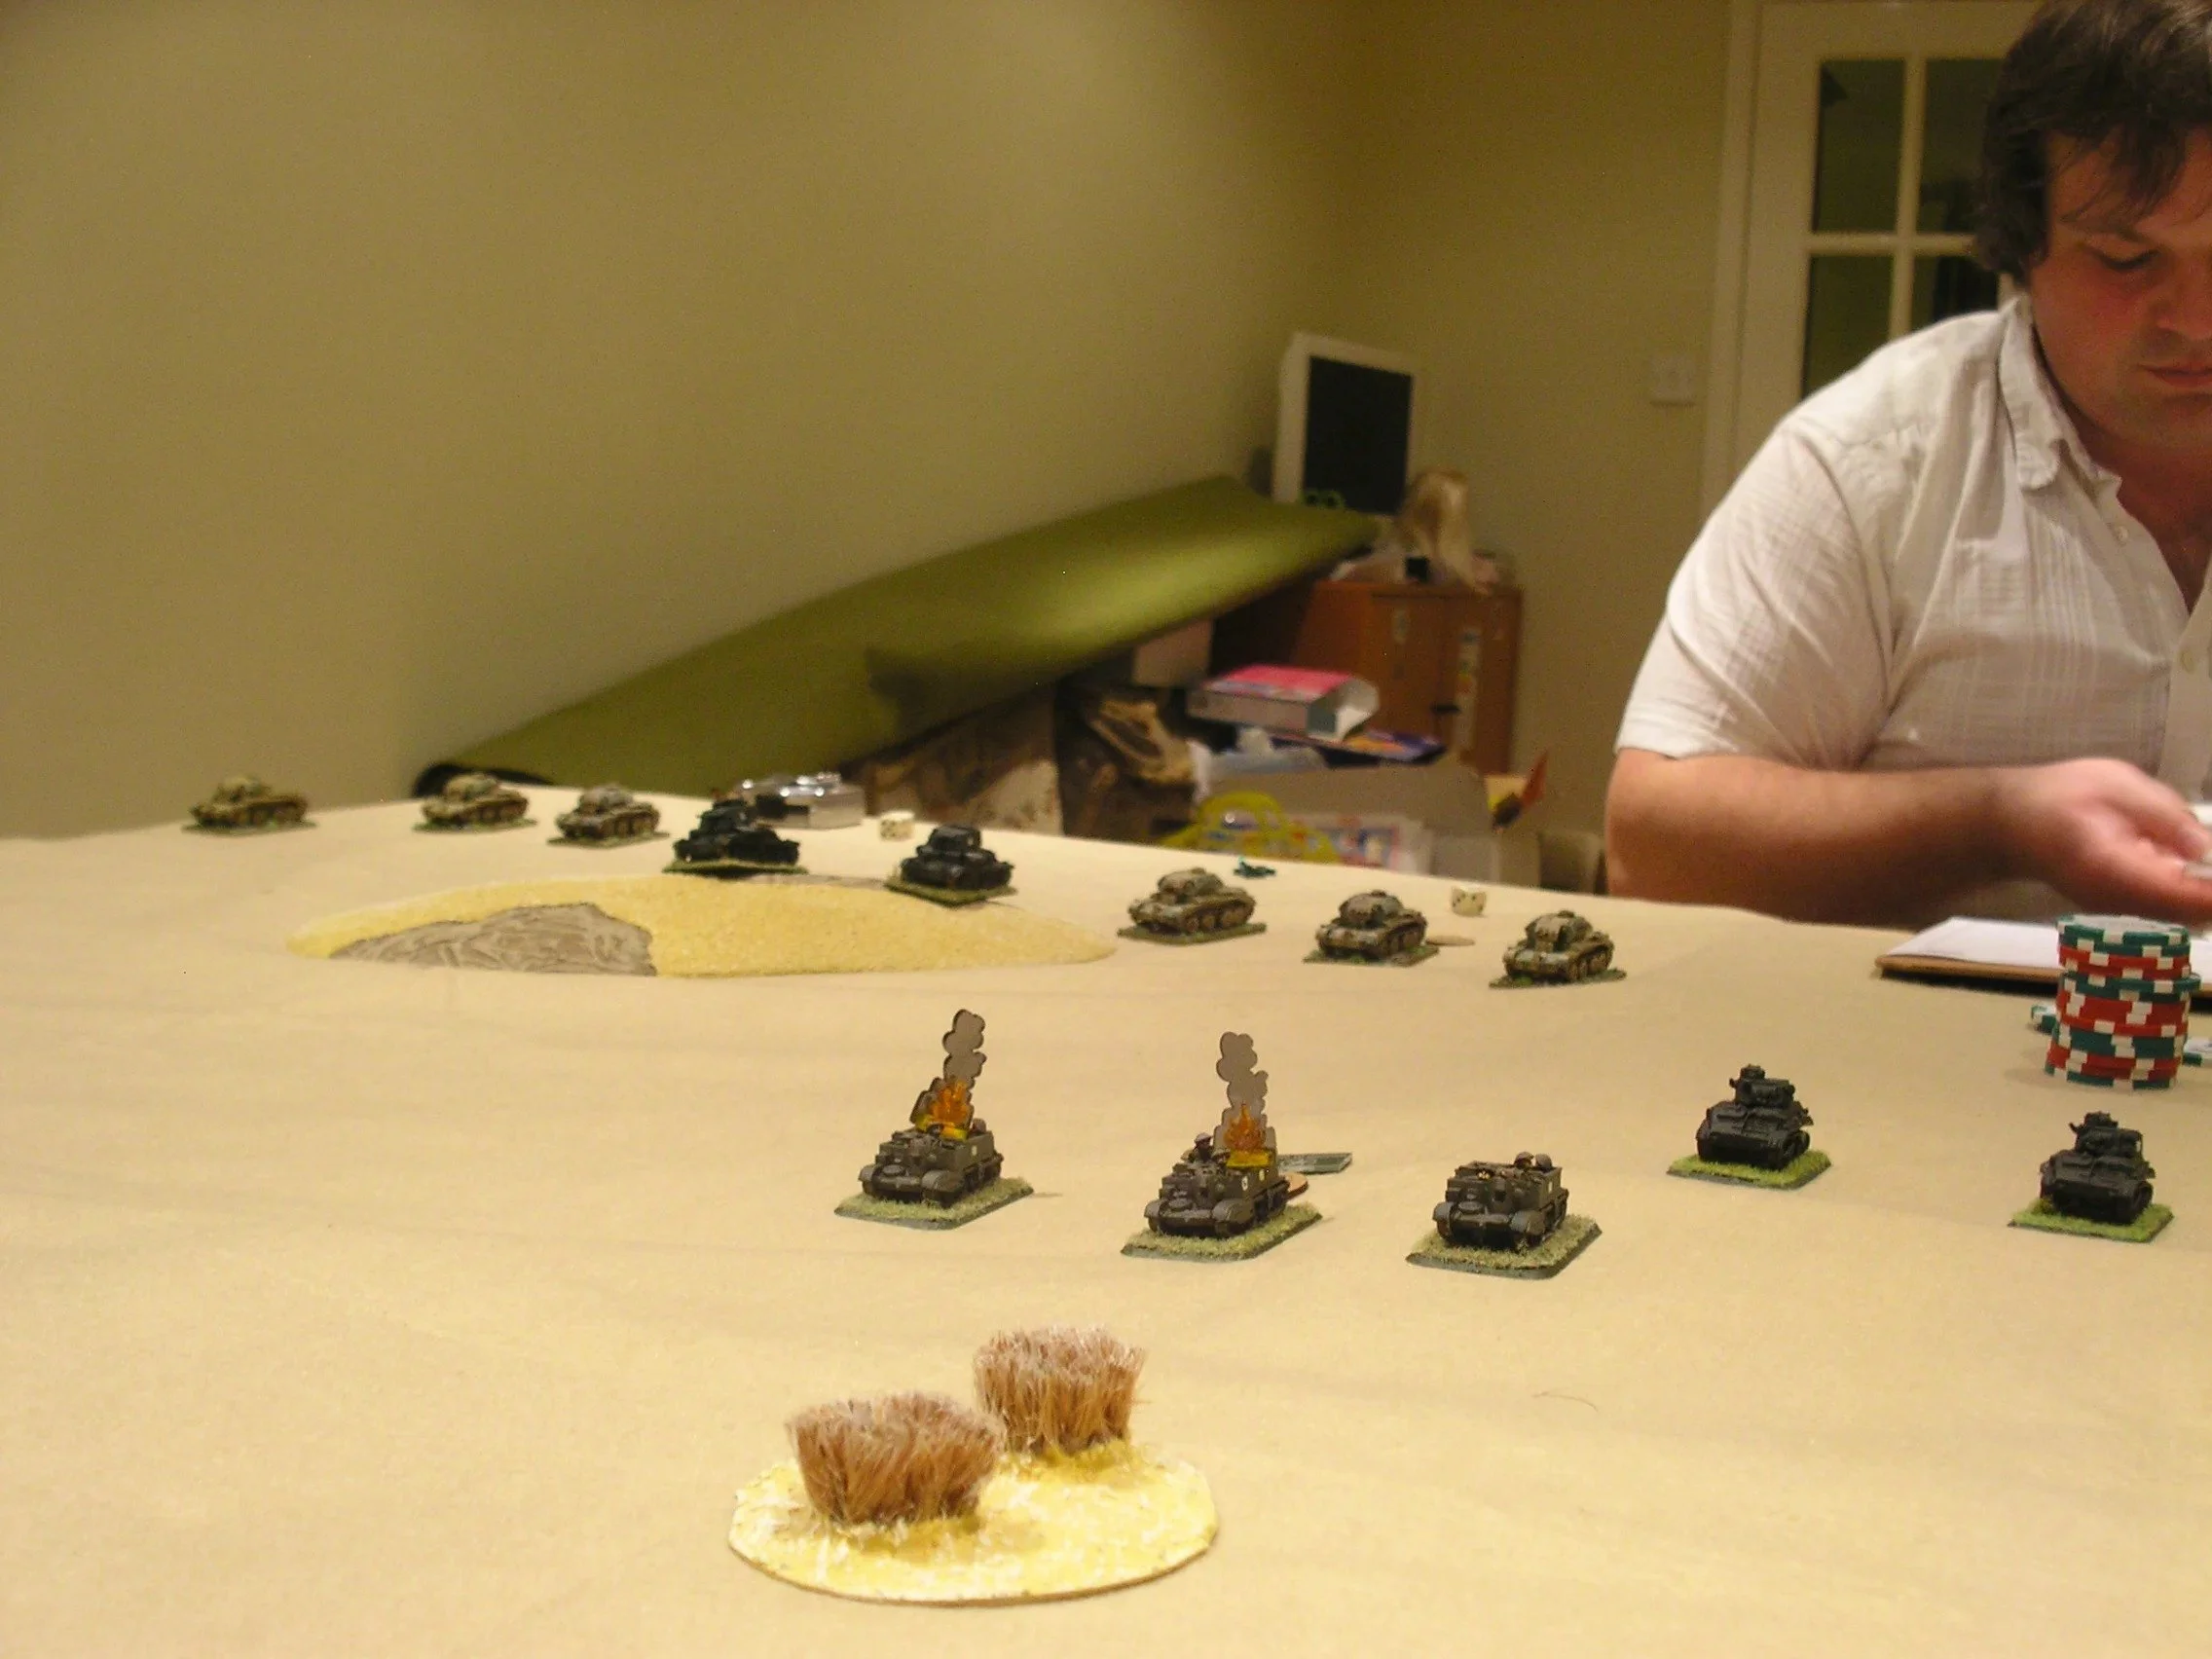
The Battle of Nibeiwa December 1940. British and Commonwealth troops attack an Italian held line with support from the 7th RTR. The Italian trenches held initially, but were slowly overrun and the tanks proved themselves in the breakout. Another excellent game of I Ain't Been Shot, Mum from Dean, with support from Dex.

Alex Sotheran


Scenario #10, Slim River, is one of my favourite battles from the Fall of the Liongate scenario pack for I Ain’t Been Shot, Mum. Taking place on 7th January 1942 (i.e. a month after Pearl Harbour), the Japanese have been hammering down the centre of Malaya, smashing most British Indian troops aside, and slowed only by the efforts of some Gurkha regiments and the Argyll and Sutherland Highlanders. To continue their advance, they launch a sudden thrust down the single road that leads to the village of Trolak, their objective being the bridge there over the otherwise impassable Slim River.

The Forces Involved

The road (which runs through dense rubber plantation that is passable only by light tracks and men on foot) is protected by a small company of Punjabi troops: two platoons of reasonable quality infantry, each platoon being two sections strong. In support, they have two Italian anti-tank guns (captured in the Western Desert during Operation Compass and shipped out to Malaya), two Indian Pattern carriers, and a couple of anti-tank rifles. The Punjabis have laid an anti-tank minefield across the road, and placed concrete cylinders as further blocks to tank movement.

In the village, the remains of the Argyll and Sutherland Highlanders are enjoying a much deserved rest: the truck with their breakfast having just arrived from further south. The Argylls are also a two platoon company, with two sections and an anti-tank rifle per platoon, but are very good quality troops with the additional benefit of being classed as Stubborn in defence and having the magic “Skirl o’the Pipes” card in the pack as well. The Scots have a couple of Universal Carriers parked up amongst the huts, and roaming around off-table are a couple of Lanchester armoured cars which will arrive on the third appearance of the “Turn Card” after the shooting starts.

The Japanese are attacking in force. Their column is lead by six medium Chi-Ha tanks which, although limited to travelling down the road, are heavier than anything the British have at their disposal. Behind them is a company of infantry: an HQ squad, and three platoons each comprising four squads of ten men. Their infantry are good quality and also Aggressive in close combat. In support, they have two MMGs and two medium mortars. On top of this, they have managed to sneak four light Ha Go tanks down trails through the rubber, not marked on British maps, which will appear on the road behind the Punjabi positions: a nasty surprise for the Brits!

Bevan and John played the Japanese; Dave played the British, with me umpiring and helping out with the Argylls.

Objectives and Victory Conditions

Key to success for both sides is the bridge.

The Japanese need to get at least four tanks over the bridge and off-table to the south to achieve victory.

The British, on the other hand, win by holding the bridge intact, but can achieve a draw if they have to blow the bridge…provided there are none of their men on the wrong side of the river. Well, the scenario rules actually say “no reasonably effective friendly units”: something that would cause some debate towards the end of the game!

Opening Moves

The Punjabis had placed a platoon of infantry on either side of the road, dug-in to the edge of the rubber. Their anti-tank guns were placed on the left (west) side of the road, also dug-in, and just near where a small trail not marked on their maps led off into the jungle! Their two carriers were on the right-hand (eastern) verge of the road in between the main infantry position and the anti-tank guns.

At about 0500hrs, all hell broke loose! The six Japanese Chi-Ha tanks appeared at the end of the road and roared towards where the Punjabis had laid the minefield. This proved a nasty surprise for the Japanese tankers, with one tank being blown to bits and another two being immobilised as mines took out their tracks. The other three, however, managed to squeeze past/through unscathed.

At the same time, the four Ha Go light tanks burst onto the road from the trail through the rubber: literally right on top of the two Punjabi-manned, Italian anti-tank guns. Somehow one of the Punjabi crews managed to slew their gun around and fire a round into the flank of the leading Ha Go, brewing it up, but the second tank rammed into the gun, causing its crew to scatter as it was knocked across the road. The tank’s machine guns took care of the other gun’s crew before they could fire, and the third tank mowed the initial gun’s crew down before they could right their weapon and carry on the battle.

In minutes, the Japanese had taken out both anti-tank guns and gotten across the Punjabi minefield!

At the same time as the above, Japanese Blinds concealing infantry platoons had arrived at the end of the road, with one heading towards the Punjabis to the left of the road, one heading through the rubber towards the village, and one (with the machine guns) heading towards the Punjabis to the right of the road.

Punjabis Under Attack

The Japanese platoon on the left (west) of the road attempted to charge the Punjabis in front of them. Unfortunately, they had miscalculated how dense the rubber was in front of them, and they ended up just outside close combat distance.

This left them packed into a dense column of march (i.e. just deployed from a Blind) under fire from the two Punjabi infantry sections, who took full advantage of the situation. Their opening volley killed four Japanese soldiers and Pinned the rest, preventing them from either resuming their charge of moving out of their column and into a firing line where their superior numbers (40 vs 16) could start to tell.

For almost the whole of the rest of the game, the brave Punjabis, intermittently under fire from the Chi-ha’s as well, would hold their position and keep the Japanese in front of them pinned down. It was only right at the end of the battle that they were finally whittled down to the extent where they just couldn’t do enough damage to stop the Japanese in front of them charging home: an event that wiped the remaining Punjabis out. About half the Japanese platoon had been killed, and some of the three remaining Chi-ha’s damaged as well.

The Japanese Advance Through the Rubber

Despite all the noise and gunfire, back at the village the Argylls were still sleeping peacefully! In game turns, this was because the British Blinds card had not yet turned up, and not just because the deck was stacked with Japanese cards: for some reason, the card had decided not to come out and play yet. This was particularly disturbing as one of the Japanese Blinds concealing an infantry platoon was heading full speed towards the village and the vital bridge.

Fortunately for the Brits, the Japanese platoon got a bit too enthusiastic in its advance, and rather than halting at the edge of the rubber to spot into the village and see what was what, they shot straight out of the plantation’s cover and ended up spotted, in march column, half way across the open ground paddy fields that bordered the hut-space itself.

One section of Argylls, the nearest to the Japs, had been auto-spotted onto the table and, from within their hut, opened fire, causing carnage to the front ranks of the enemy platoon: a 4D6 Great Shot at Close Range.

For a second, it looked as if this section could hold the Japanese back on their own, but the Japanese mortars, now set up on the edge of the table and unable to fire at the Punjabis because of minimum range problems, let loose: with rounds immediately falling directly onto the Argylls’ hut. Fortunately the men inside suffered nothing more than a bit of Shock, but the hut collapsed, forcing an interruption to the British fire whilst they sorted themselves out from the wreckage and took cover amongst the pile of wood and leaves that was all that remained.

The Japanese platoon gathered itself to charge forward, but at that moment the British Blinds card finally appeared, the rest of the Argylls woke up, and the enemy platoon was hammered back into the treeline with heavy casualties. Phew!

The Other Punjabis

Meanwhile the other Punjabis were heavily engaged with the third Japanese platoon supported by machine guns and intermittent fire from the remaining Chi-ha’s.

They fought bravely, inflicting more casualties than they were taking, but enemy numbers and quality were just too much for them. They were finally finished off by the remains of the Japanese platoon that had taken out the other Punjabi position: three squads of which had charged across the road and hit them in the flank.

behind you! here come the punjabi carriers!

Armoured Clash on the Road

japanese chi-has can't get through!

If you remember from above, three Japanese light tanks had survived their encounter with the British Indian anti-tank guns. For some inexplicable reason (something to do with believing their orders to try and take the bridge superseded all other considerations perhaps?) they ignored the Punjabi Indian Pattern Carriers right under their noses and headed down the road towards the village.

They had just reached the edge of the plantation when roaring up behind them, in reverse gear, came the two Punjabi carriers. Opening fire at point blank range with their machine guns at the rear of the Ha Go’s, they managed to riddle one of them so full of lead that it brewed up. Using the fact that they had a Big Man on board (Colonel Deakin of the Punjabis) they then did the same to a second and permanently immobilised a third! The Japanese certainly paid the price for leaving an active enemy behind them.

Unfortunately for the Punjabi carriers, the remaining three Chi-Ha’s then arrived on the scene, almost immediately blowing one carrier to pieces. The second, Colonel Deakin’s, had it’s machine gun taken out and its wheels damaged, and could do no more than limp back over the bridge and eventually head off table to the south.

The Japanese commanders were very happy at this point: surely the three Chi-Ha’s could now sweep down into the village and attack the Argylls.

Unfortunately, however, their three burning light tanks had been positioned just in the gap on the road where the plantation ended (they had paused to spot into the village) so that there was no way that the Chi-Ha’s could get past them without going off-road and into the plantation itself…and the plantation itself wasn’t passable for medium tanks. Cue some not very happy Japanese commanders!

The three Chi-Ha’s spent the rest of the game trying to ram or push their destroyed light tanks off the road.

The Climax

With the Punjabis now annihilated, the Argylls reluctantly decided that their only option was to retreat across the bridge and then blow it up. Colonel Deakin jumped down from his wounded carrier as it went past, and assumed position at the dynamite-plunger. The other Argylls on the wrong side of the river (two sections of infantry and two carriers) headed for the bridge at top speed, with one section and one carrier quickly making the other side.

The other section took a bit longer to get there and, worse, the other carrier had track damage, so could only limp towards safety.


japs on the bridge

Meanwhile the Japanese had realised what was going on, reorganised their infantry into attack columns and, throwing caution to the wind, hurled themselves forward towards the bridge. Although they took heavy casualties, two squads of Japanese infantry actually got onto the bridge before the wounded carrier!

Tea Break!

How would the cards fall now?

First out was the carrier’s card and, within a mighty (and probably final) roar of its engine, it shot forward and barged its way across the bridge through the somewhat surprised Japanese soldiers heading towards Colonel Deakin with murder in their hearts.

Next out was British Big Man One i.e. Captain Timothy Turner, the commander of the Argylls, in his Lanchester armoured car in position next to the bridge.

Captain Turner lent out of the Lanchester’s turret and screamed at Colonel Deakin to blow the bridge…which he did…and with a very satisfying “bang” the bridge and the Japanese soldiers on it went up in a cloud of fire and smoke!

Phew, again!

BOOM!

Conclusion

A cracking game that literally came down to the final card drawn/dice rolled.

The Japanese understood how they had come to lose the game: they had spent too much time and effort trying to wipe out the Punjabis rather than just pinning them in place with a small force and then launching a strong and co-ordinated attack on the Argylls in Trolak. A couple of tactical decisions had been wrong as well e.g. the light tanks not pausing for a turn to dispatch the Punjabi carriers.

As for the Brits, the Punjabis had put up resistance well above and beyond what could be expected of them, compensating for the long sleep of the Argylls for the first half of the battle. There was some thought that they should have tried to hold the bridge from the right bank, but it wouldn’t have been that long before the Chi-Ha’s pushed their way into the village and, more to the point, there were several squads of Japanese infantry already on the damn bridge anyway!

Historically, the Japanese blew through the Punjabis with ease, although losing several tanks to the minefield. They then managed to get infantry and the light tanks (bursting out of the jungle in surprise) into the village and over the bridge despite fierce opposition from the Argylls. The bridge was captured intact because, according to the Japanese account, a staff officer jumped down from a tank and cut the demolition cord with his sword or, according to the Argylls’ account, rain had got into the charges. Whatever actually happened, the Scots had to melt away into the jungle as the Japs marauded down the road towards Slim itself, only halting when their lead tank was blown away by the last round available from a 4.5” howitzer from…but that’s another story!

Another great game of I Ain’t Been Shot, Mum!

Robert Avery


December 11th 1941. The Japanese have smashed through the initial resistance on the border with Siam, and are now driving south into Malaya.

the road just around the first bend

The Japanese column, commanded by John, was led by a platoon of four Chi-Ha medium tanks followed by two Ha-Go light tanks. Behind them was a staff car containing three Big Men. Behind them was a long column of trucks (mostly ex-British!) carrying three large platoons of infantry (four squads of ten men each) with their support: two MMGs and two 70mm infantry guns. Their orders were to drive down the road as fast as possible, smashing through any resistance to try and take the bridge at Jitra by coup de main or whatever the Japanese equivalent is.

the road just around the second bend

The road in front of them wound through thick jungle. Once over one river (their start point), they would have to traverse three distinct sections of road before emerging from the undergrowth some 100 yards in front of a second bridge, their objective.

Dave commanded the British. Unlike our previous encounters, his troops were actually quite good…very good, in fact, as he had at his disposal a company from 2/1 Gurkha Rifles. These were backed up with a couple of Punjabi Vickers teams, two 2lb anti-tank guns and a single 3” mortar. Their start point, on the opposite side of the table to that of the Japanese, was a line of trenches guarding the bridge that the Japs were after.

Unbeknownst to both players, there were three pockets of British troops on the road through the jungle. These were left-overs from the retreat from The Ledge to Jitra.

Just past the first bend was a platoon of Punjabis that were so green that they had never seen a tank before. That was soon to change! Just past the second bend were four 25lb field guns…but without crews. These were sheltering from the rain some 80 yards further down the road. Just around the third bend were three Indian Pattern carriers.

As mentioned above, the board was mainly thick jungle, almost impassable (-3” per dice rolled) except along the road.

The Game

The game began with the Japanese column smashing onto the table under Blinds and hurtling around the first bend in the road at maximum speed.

There they ran into the first squad of Punjabis, and could see two more further down that section of road. John decided to ignore the British Indian troops, and ordered his medium tanks, now off their Blind, just to drive straight through the enemy infantry. This they did, with the Punjabis scattering into the jungle on either side of the road.

The Punjabis quickly pulled themselves together, however, and despite the fact that they had never seen a tank before, attacked these monstrous metal machines with grenades, rocks and whatever else they could find. The two Punjabi sections furthest down the road forced the Ch-Has to stop and engage them, and quickly found out that tanks have machine guns that are devastatingly effective at close range: bye bye two of the Punjabi squads!

The third Punjabi squad, however, the one closest to the initial bend in the road, had been bypassed by the Chi-Ha’s and, after forcing the Ha-Go’s to de-cloak from their Blind, had nothing to shoot at except what was under the third Blind in the Japanese column: the staff car containing three Big Men!

This was much more like it: and the unfortunate Taii (Captain) Oshima died in a hail of lead through the windscreen. John was learning why you never leave any effective enemy forces behind you!

The Punjabis were then wiped out by the first Japanese infantry platoon, rapidly de-bussing from their trucks, but the damage was already done.

The Gurkhas Take The Fight Forward

Meanwhile, taking advantage of the fact that the Japanese were bogged down dealing with the Punjabis, Dave had advanced two of his Gurkha platoons out from their trenches and towards the second bend in the road. Each platoon dragged a 2lb anti-tank gun, with his plan being to block the corner with burning tanks!

The Japanese medium tanks, having dealt with the Punjabis, accelerated away again, and drove around the second bend in the road…slap bang into the middle of four 25-pounder guns, two on either side of the road. John almost had a heart attack, and was only revived on hearing that the guns were un-manned, with their crews 100 yards or so further down the road.

Ignoring the guns, the Chi-Ha’s moved forward again, with the lead tank ending up in the middle of the road with a British Blind on either side!

Out came the Tea Break card, and the British Blinds were forcibly de-cloaked revealing the platoon and ATG under each.

This was John’s second coronary of the game: as his infantry were still back near the first bend in the road, leaving his tanks unsupported.

The British ATGs quickly demonstrated why this was not a good idea: dispatching two Chi-Ha’s in as many shots. Almost as bad, from a Japanese point of view, was that two British artillery crews were now sprinting down the road towards their guns.

One crew managed to reach its gun, but was cut down by turret machine guns before it had a chance to fire. A Chi-Ha then ran over both the guns on that side of the road, rendering them hors de combat, but its crew was then forced to bail out as the British 2lb-ers shot it full of holes. The last Chi-Ha, meanwhile, also ran over one unmanned 25 lb-er.

The other artillery crew, however, now reached the last remaining gun, and fired at the remaining Chi-Ha just as its machine guns opened up in return. The Chi-Ha was blown to bits (a 25lb-er will do that to a tin can like a Chi-Ha!) but the gun crew was cut down to one man in reply. Fortunately, there were more gun crew available, and some six brave gunners began manhandling the 25lb-er into a position where they could start firing at the Japanese infantry.

The Japanese Infantry Finally Arrive

At this point, the first of the Japanese infantry began to arrive. One platoon poured around the bend in the road, the other splashed along the small stream directly towards the Gurkha position.

The platoon pouring around the bend in the road were slightly hindered by the burning tanks and mangled artillery in their path. Nevertheless, they made contact with the last 25lb-er and double-crew, and effectively annihilated them.

Unfortunately, this left them under the guns of the Gurkhas to the right of the road, a full platoon, who opened fire and, within two turns, had blunted the Japanese assault, with the few survivors retreating back around the bend.

The other combat proved more interesting. In our previous games, John had easily overwhelmed British Indian troops through close assault. With this firmly in mind, he now launched a full-strength Japanese platoon (40 figures) into a series of Banzai charges against the other Gurkha platoon (24 figures strong).

This proved, as you might expect, and as was historically accurate, to be a bad mistake.

The distance the Japanese had to move, and the fact that the Gurkhas were effectively defending cover, more than compensated for the difference in numbers, and the Japanese were bounced back badly damaged. The Gurkhas lost one section of infantry, but the remainder began pouring rifle fire into the shaken Japanese survivors.

That was two Japanese platoons taken care of. The final platoon came across the corner in the road, led by Colonel Tsuji himself. Again, however, the Gurkhas proved more than adequate to the task and the Japanese infantry were bounced back, leaving the body of their commander behind them.

Let me assure you, the above descriptions barely do justice to what actually happened. On the tabletop, vast numbers of Japanese infantry smashed again and again into ever-shrinking lines of Gurkhas. Both Gurkha Big Men were killed, and the platoon to the left of the road were halved in numbers…but the Gurkhas held…and the Japanese literally ran out of men.

With a pause in the Japanese attacks, the surviving Gurkhas began an orderly retreat to their trenches, where they had a third, smaller, platoon waiting for them.

We ended the game at this point, but all agreed that just one more Japanese charge would have won them the position:  it was just that they had no more Big Men, and no cohesive bodies of men to make that charge.

Aftermath

A terrific game of I Ain’t Been Shot, Mum! that was probably decided the moment the Japanese decided to ignore the Punjabis. This meant that a platoon that could have been easily dealt with was left to cause trouble…and therefore to take longer to deal with and to have the opportunity to kill a Big Man…and therefore delay the advance and give the Gurkhas time to leave their trenches and get forward far enough to defend an obvious choke point.

Full marks to Dave for being bold enough to take the opportunity and, it must be said, to John, for his relentless attacking. In the end, however, the brave Gurkhas held their ground, as they did historically, and would have had to be literally wiped out before the Japs could continue their advance.

Robert Avery


The Christmas break gave the boys from Benson and I a chance for a whole day’s gaming. We’re currently working our way through my Fall of the Liongate scenario pack for I Ain’t Been Shot, Mum!, covering the Japanese invasion of Malaya and Singapore in 1941/2. Today’s game would feature the battle known as “The Ledge”: when a Japanese column from the 42nd Infantry Regiment ran into Krohcol, a British Indian column consisting of troops from 28th Indian Brigade and their parent Corps reserve, on a narrow stretch of the Kroh-Patani road carved out of the side of a mountain just over the border with Thailand.

Two factors make this game particularly interesting. The first is the terrain: although the road runs north-south along a fairly flat piece of cleared land about 24” wide, the rest of the table is covered in thick jungle (-3 pips off EACH dice rolled for movement), with the slope to the east running up and the slope to the west running down. The road really is on a ledge!

The second is that this is an encounter battle. Both sides will start with only one squad of men on the table, with the arrival of the rest of their forces determined by the appearance of the Turn Card and a roll of the dice. On paper the forces looked fairly evenly balanced: each building to a company of infantry plus a few supports. In reality, the Japanese were much stronger: their platoons were forty-strong compared to the Indian troops’ twenty-four strong, and the final two lots of Japanese reinforcements were a platoon of three medium tanks followed by a platoon of three light tanks, with the British having only two anti-tank rifles and a 3.7” howitzer to stop them!

The First Game

For the first game, John and Bevan took the part of the Japanese, with Dave playing the British Indian commander. I refereed.

Both sides began with a single Blind covering their single squad at opposite ends of the table. Each side quickly spotted the other, with the Japanese squad heading straight down the middle of the road, and the Punjabi squad heading into the undergrowth at the side of the road in search of cover.

More British troops arrived in quick succession: the other two squads of 1st platoon and the whole of 2nd platoon, and it looked as if the Japanese would be overwhelmed before they’d had a chance to even get started. A second Japanese platoon then arrived, and then a third, and suddenly things weren’t looking quite so good for the Brits. Casualties were still very light at this stage, as both sides had chosen to take cover in the undergrowth or go into deep jungle and creep towards each other in a very slow but steady manner.

With any further reinforcements on either side seemingly lost en route, the Japanese now had a numerical advantage: 120 infantry verses 48. Worse for the Brits, one Japanese platoon was still under Blinds and had begun to outflank the British firing line by moving rapidly through the jungle to the west (Blinds in the jungle lose only one dice of the four they have available for movement).

The Japanese platoon under the Blind charged forward and hit the 1st British platoon in the flank. The two squads up forward were annihilated almost immediately, but the one squad held back did stirring work: pouring fire into the previously rampaging Japs, causing them heavy casualties.

Unfortunately for the Brits, now down to one platoon and one section of infantry (about 32 men), their reinforcements still showed no signs of arriving, and the other two enemy platoons (80 men) were now starting to get within effective fire and, worse, charge range. Dave decided that discretion was the better part of valour and, as his orders permitted, retreated his remaining troops off the table in good order. Much as happened historically, he had lost the battle, but given the Japs a bit of a bloody nose (only a little one!) and kept enough of his force together to block their advance at Kroh itself.

The Second Game

As Dave had to go, for the second game John played the Japanese again, but I took the British with Bevan refereeing.

The game began as before, with both sides rapidly getting their infantry onto the table, but this time instead of skulking in the undergrowth, I formed two of my platoons into prone (i.e. under cover as much as possible) firing lines across the road as soon as possible. As John’s Japs advanced forward as they had done before, I was therefore able to pour two platoons worth of fire into the rustling bushes at the side of the road, causing either casualties or, perhaps more importantly, enough shock to slow him down significantly. As his troops were necessarily in column, he just couldn’t return enough fire to worry my men, especially as my light mortars were also raining fire upon his closely packed men.

The lead Japanese squad did manage to make contact with one British blind, only to find it concealed two sections of Sikhs, who managed to hold off their charge, and then largely destroy them with fire.

British reinforcements were not so scarce in this game, and soon I had three Indian-pattern carriers up on the road, also pouring fire into the Japanese columns. If things continued as they were, there was no way they were going to break through.

It couldn’t last, unfortunately. More Japanese reinforcements arrived, and two Japanese MMGs set up high on the ridge line and forced one British platoon to take cover. Yes, they were blocking any advance on that flank, but they couldn’t contribute to the fire needed to keep the huge numbers of Japanese back.

Worse, the Japanese tanks then arrived: both the medium Chi-Has and the light Ha-Gos in quick succession. They headed straight down the road and rapidly dealt with the British carriers: two being abandoned by their crew, the other heading for home with bits hanging off it!

By this stage, however, I had my howitzer on the table. Firing over open sights, it blew one Japanese tank to bits (a 3.7” HE shell will do that to a tank with little armour!) but lost a crew member to return fire.

At that point, unfortunately, we had to end the game. The Japanese had easily lost one platoon of infantry, probably more like 1½. They had also lost one tank, and were about to lose another. The Brits were in a good position, but had also lost about a platoon of infantry, and both carriers. The referee declared the game to be a draw, but a draw in the British favour.

A Great Day’s Gaming

In all, it was a great day’s gaming. What really stood out was the need to really be pro-active against the Japanese. No, I’m not suggesting you charge forward at them as they want to do to you, but you do need to quickly establish proper firing lines, supported by Big Men to direct the fire, and to hold your nerve as those large platoon columns get closer. We’re already looking forward to the next encounter!

Robert Avery


Today, Neil, my regular opponent, and I played the third scenario, The Ledge, from the Fall of the Lion Gate scenario pack using the I Ain’t Been Shot, Mum rules for company level WW2 gaming.

The scenario is set in December 1941: as the Japanese invade Malaya from the north via Thailand, the British send a column of Indian troops, Krohcol, to stop them. The game involves a long, straight road bordered by jungle, with both sides beginning the game with just one infantry squad on the table, with the rest of their forces fed in randomly as the game goes on. I played the British.

The British began the game well. Almost immediately the first, second and third elements of their reinforcements arrived, and I decided that my tactics would be to slam forward up the table, set up a fire base reasonably close to where I could expect the enemy to appear, and then shoot him up piecemeal as he did so.

The single Japanese section on the table disappeared into the jungle, so I deployed one platoon to sweep through the heavy terrain towards it, and another to cover the road as they did so. A Japanese Blind arrived at the other end of the table, which I spotted as an infantry platoon, so as more of my reinforcements, this time support weapons, arrived, I deployed them as well. I now had three deployed platoons forward, with a firebase of three MMG carriers and a howitzer behind.

The Japanese then received some reinforcements that also disappeared into the jungle and began heading forward and around both my flanks. I wasn’t too worried, however: I had deployed platoons that could block them.

How wrong I was!

I had forgotten how fleet of foot the Japanese are at moving through jungle under Blinds. As my deployed men struggled to keep to a neat line formation as they moved through the heavy terrain, the Japanese infantrymen under Blinds jogged around them: not worried about maintaining neat lines as they stayed far enough away to be out of both shooting and spotting range (“it’s heavy jungle: you can see some trees…and some bushes…and more trees…but nothing that looks Japanese!”) but constantly moving towards my base line.

What happened next was just ghastly!

My support weapons (MMG carriers and a howitzer) had just begun opening up on the Japanese platoon deployed at their end of the table when a full platoon of Japanese infantry erupted out of the jungle on both sides of the road! The terms “horns of the buffalo” or “nutcracker” just don’t do justice to the carnage that followed! A combination of the right cards (Big Men, Platoons, Banzai, Rapid Deployment and Heroic Commander) meant that my support weapons were charged and neutralised within a couple of turns.

As my infantry platoons struggled back through the undergrowth to help them, the Japanese sent one platoon further on to block my exit from the table, and sent the other, under the CinC, into one infantry platoon as it arrived piecemeal itself. More carnage followed!

Those who have read the scenario background will be pleased to hear that six-foot tall Staff Officer Yutaka Asaeda, commanding the Japanese, survived the game despite leading from the front and taking part in three banzai charges.

At this stage, I had one infantry platoon deployed in the middle of the table exchanging fire with a Japanese platoon at their table edge, and one infantry platoon in the jungle wondering what to do next as the enemy had me surrounded on three sides. Then the Japanese tanks arrived and I called the end of the battle: desperately hoping that at least some of Krohcol would make it back to safety through the jungle, even if finished as a fighting force, as the main Japanese force thundered down the now open road into Malaya.

This was a stuffing of awesome proportions: all the more galling as I wrote the Fall of the Lion Gate booklet and therefore this scenario! My mistake was to deploy my troops onto the table too early, taking away my deployment flexibility against an enemy who could move quickly through the jungle. All credit to Neil for spotting the error, and taking full advantage!

My only consolation is that I now know what it must have felt like to be a British commander at the start of the war in the Far East…not pleasant being an accurate, if understated, summation!

The gallery below has some more pictures. Click on the first one shown to see the rest...

Robert Avery


With regulars Dave and John now properly blooded on early war France and a complete run through of the Vyazma or Bust! Barbarossa scenario pack, it was time to turn our attentions further east and work our way through the Fall of the Lion Gate supplement (FOTLG) covering the Japanese invasion of Malaya and Singapore starting in December 1941.

It was only whilst writing this game up that I noticed that this was the first time I had had my Japs on the tabletop since 2010: far too long. The question was whether all that time in their carrying cases would have reduced their effectiveness!

Ban Sadao is the second scenario in the FOTLG supplement. Here's a quick summary of the background:  part of the British plan for the defense of Malaya consisted of an advance across the border into Thailand, known to be sympathetic towards Japan, in order to deny the Japanese unopposed landings and access to the many airfields there. Operation Matador, as the plan was known, would involve elements of 11th Division advancing along two axes: towards the port of Singora and towards a defensive position on the Kroh-Patani road. The force heading towards Singora crossed the Thai border at about 1500hrs and had reached the village of Ban Sadao before stopping for the night.

The Ban Sadao force, known as ‘Laycol’ and commanded by Brigadier W.O. Lay, DSO, consisted of two companies and the carriers of 1/8 Punjab Regiment, with some Breda anti-tank guns (captured from the Italians in Italian east Africa) and engineers attached. On the tabletop, FOTLG translates this into a three-platoon company of Punjabis, two AT guns, two Indian Pattern carriers and a single Marmon Herrington armoured car. There's also a section of Engineers tasked with being ready to blow a backstop in case of retreat. All the Punjabi troops were Green: meaning they had a maximum two Actions when activated and were absolutely rubbish in Close Combat.

A message dropped from a reconnaissance aircraft had however alerted the Japanese in Singora to the British Indian advance, and they wasted no time in responding. Acting under his own initiative, Colonel Masanobu Tsuji, Staff Officer in Charge of Operations, collected together some medium tanks and a field gun, and headed south. There he met up with the forward detachment of 5th Division, who had been ordered to protect the disembarkation of the main force. Their commander, Lieutenant-Colonel Shizuo Saeki, immediately volunteered to advance to meet the British column and, with no further delay, set off along the only road leading towards Malaya and the enemy.

FOTLG translates the Japanese force into a four-platoon infantry company (with the fourth platoon consisting of two large MMG teams) supported by two Chi Ha medium tanks, two Ha Go light tanks, and a single Type 92 70mm infantry gun. The Japanese infantry were well trained (three actions maximum) but were also Fanatical, which would mean they were pretty hard to stop and very nasty in Close Combat.

As, historically, the Japanese reached Ban Sadao at about 2100hrs, all the action would take place at night, with much reduced spotting and shooting effectiveness at anything other than close range (9") unless the target was illuminated in some way.

Following his success with the Germans in Vyazma, John volunteered to play the Japanese, with Dave very happy to take on the role of the British. Victory conditions were fairly simple: the Japs had to take the village, the British had to hold the village. The Brits could, however, achieve some sort of a draw if they were forced to retreat but managed to blow the backstop...provided they didn't leave any of their men on the wrong side of the obstruction. The game would begin with the Japanese off table, and the British in the positions that they occupied historically: two platoons and the AT guns forward dug in on either side of the road, the rest of their men in the village in reserve.

First moves were therefore down to the Japanese. Following historical precedent, they disdained any subtlety and headed straight down the road towards Ban Sadao. The British watched their headlights getting closer and closer, finally spotting that the lead elements on the road were the tanks, and that there was an infantry platoon threading its way rapidly through the rubber on the left hand side.

Once the lead elements of the Japanese force had been spotted, the British opened fire with everything they had. The AT guns, which historically had almost immediately disabled two Japanese tanks, were having a bad night, and managed only to knock out one medium tank's main gun. The Punjabi platoon on the left of the road, with three sections up, one back, managed to kill a couple of enemy infantrymen, but were in no way close to stopping the Japanese advance.

One thing the British did notice was how fast the Japanese moved through the terrain. They had been told that the jungle was impenetrable, and the rubber plantation pretty damn bad too. The Japs, under Blinds, and who hadn't been told anything of the sort, were losing only one die of movement per turn, and shot towards the Punjabi positions really, really quickly.

So quickly, in fact, that the Brits had time for only one round of shooting before the Japs were upon them. More enemy Blinds were revealed as another infantry platoon on the other side of the road, and both then charged forward and assaulted the Punjabi line.

On the British left, the AT gun crew were wiped out and two sections of Punjabis smashed backwards. Although Japanese casualties were also quite high, it didn't stop them charging again with their third platoon, and this time the left-hand Punjabi platoon was effectively obliterated. One thing that did happen was that the Japanese Big Man leading their first platoon was killed leading the charge, which would have consequences later on in the game.

On the British right, it was even worse. The Japanese knew what they were doing this time, and the Punjabis were bounced back 18": effectively fleeing into the village chock full of Shock. They would play no further part in the game.

As the pictures below show, this first phase of the battle was all Japanese success.  

After

Now the importance of having a reserve came into play. The Indian carriers and armoured car pushed their way through the fleeing second Punjabi platoon and poured fire into the Japanese infantry milling around on the road after their successful charges. This was carnage, with one Japanese infantry squad being utterly wiped out.

Where were the Japanese tanks, I hear you cry? Well they had managed to get themselves into a right tangle in the rubber and jungle and on the road. Punjabi anti-tank rifle teams had caused them Shock, and this combined with the bad terrain, the darkness etc, meant that they just couldn't get  forward to support their infantry.

Another round of carrier-fire did more damage to the Japanese infantry before they managed to sort themselves out and charge the (open top) British vehicles with grenades and the like. The Marmon Herrington was destroyed, either by the infantry or a lucky shot from a Ch Ha, and the two carriers driven back into the village itself, where they took up positions in support of the third and final Punjabi platoon and single remaining AT gun.

The Japanese were still trying to sort themselves out: the lack of Big Men (by now half had been killed in charges), the terrain and the darkness not helping at all. The only units seemingly able to move towards the village were the Company HQ and the fourth, machine gun, platoon.

This latter snuck round (i.e. still on a Blind) one of the hills near the entrance to the village, got themselves all set up, and absolutely mullered a section of Punjabi infantry from third platoon (killed them all!) and managed to destroy the truck that the AT gun crew were using as a tow.

By now the British had decided to play for the draw, taking advantage of the now tortoise-like advance of the Japanese to rush their men out of the village and past the engineers waiting to blow the backstop.

With a huge "boom" the backstop was blown, and the game ended: a win for the Japanese, but a draw for the British!

A cracking game, and a very suitable introduction to wargaming the early war Far Eastern theatre.

The British just could not believe how quickly the Japanese were able to advance through the jungle. They had thought they might get a couple of rounds of fire in before sedately retreating to the village. As it happened, they got off half a volley before finding themselves in hand-to-hand combat and either being killed on the spot or routing backwards as fast as they could go.

Likewise, the Japanese were surprised at how effective their troops were, meaning that they suffered badly at the hands of the British carriers, and despite going through the British advanced position like a tanto through butter seemingly had no second-stage plan for assaulting the village. Their tanks got utterly bogged down, especially when they started taking Shock, and really did almost nothing for the entire game.

Next game, we'll see if any lessons have been learnt!

Robert Avery


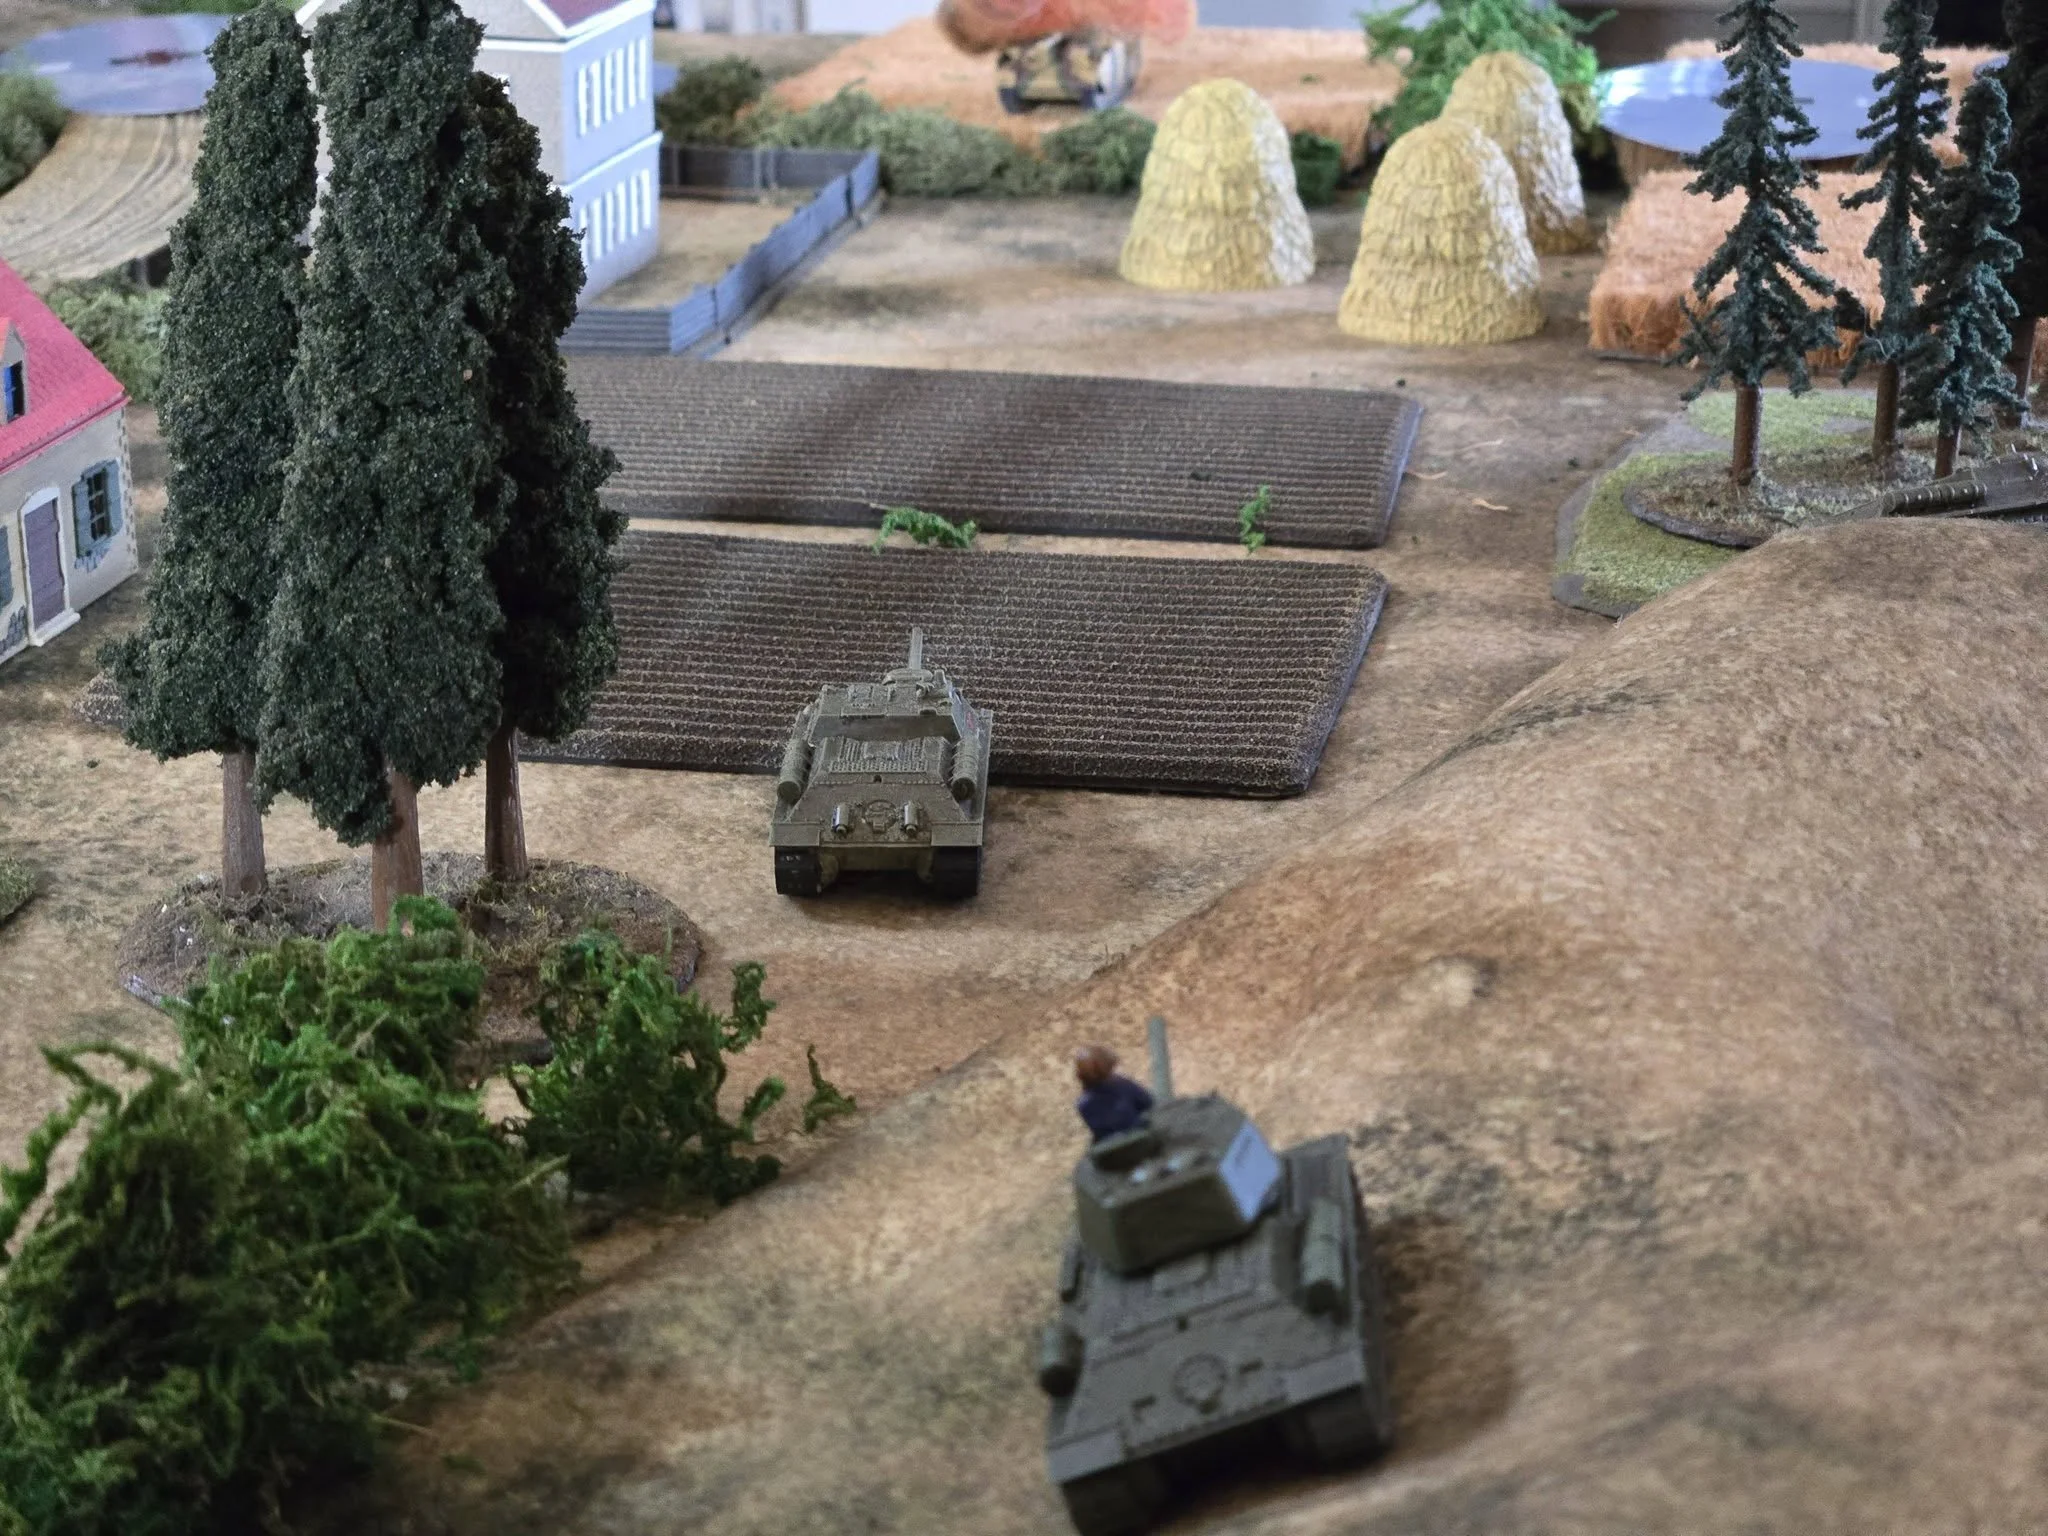
The Soviets hurry to take up positions in the village before the Germans arrive.

Tonight's game of IABSM: the Zhena scenario from Bashnya or Bust.

The objective for both sides was the crossroads at the center of the village. Knowing that Tigers would be showing up, I decided my best chance to survive the encounter would be rushing up to take positions on each side of the village and flank the Tiger II's as they came forward. This tactic worked great on several Panzer IV's that came up which were quickly dispatched by my SU-85's.

Unfortunately, a pair of King Tigers had managed to sneak up between houses while on blinds and appeared point blank in front of my platoon of T-34/85's. I still managed to flank the Tiger's but it was then that I made my worst rolls of the game and ended up only annoying them.

On the infantry side of things, the Germans stubbornly held on to the church at the center of town. I sent an entire platoon to kick them out and they threw my men back with enough shock to get them all the way to Kamchatka.

I had a chance to place an artillery barrage on the church but my Big Man didn't like the idea of blowing up an orthodox church. But after a second platoon couldn't convince the Germans to vacate the church, I started taking shots at it with my T-34/76's, who were happy to do that rather than locking horns with the Tigers.

*knock knock* on the count of three we're coming in

In the end, the Tigers held the crossroads without a worry, and I knew I didn't stand a chance after my flanking maneuver failed to achieve results.

John Paul Hancock


Martin's Introduction: We played scenario number 1 in the excellent Lion Gate campaign yesterday. I have uploaded the photos.

What a monster scenario. We played it on a 10' by 6' board modelled to scale from the map. We used 1 figure to depict 2 men as I'm a few figures short of the amount required. To be honest - even if I'd had the figures - I don't think there would have been the space in 20mm. It was bloody crowded as it was. You will also note that I had to use hooches instead of pillboxes - fresh out of pillboxes! I also used hedges instead of barbed wire. I don't think the overall effect looked too bad.

We only had time for the first three waves. There were enough left over for a fourth wave but we all agreed the result was a British victory. The Japanese simply didn't have the materiel left to do the job.

Subedar Nawin Chandra grimly took up his binoculars and surveyed the scene before him. He had just got off the telephone from the comedian in headquarters who phoned to tell him that there might be an attack on. He allowed himself a small wry grin at the irony of the call before grimacing as another shell burst somewhere far too close. A flotilla of Japanese ships lined the bay and from that flotilla came an ever growing mass of smaller craft teeming with Japanese soldiers. "This is it" he said to himself, it's death or glory time.

The Japanese could not have asked for better conditions, with a clear night, a calm sea and bright moonlight reflecting off the sea in front of the Dogras' positions. Chandra's biggest problem, however, was manpower or rather the lack of it. A force of double their size would have trouble defending this stretch of beach. However, they had made the best fist of it they could, sowing minefields and laying barbed wire to hopefully turn the beaches into a rather hot place for an invasion force to be.

The first wave was nearly upon them, and despite coming under murderous small arms fire and shots from mortars and the saluting gun that was "appropriated" from the Sultan of Kelan Tan, the first wave hit Badang beach relatively intact. Dozens and dozens of Japanese soldiers interspersed by engineers poured forth onto the narrow stretch of land. The sound of gunfire was absolutely deafening as a huge number of rounds cut into the invaders. This sound was punctuated by the muffled explosions of newly discovered landmines together with the clarion calls of artillery shots from the mountains behind them.

Several Japanese squads made it up to the barbed wire surrounding the two pillboxes and it appeared that some of the engineers had cleared and marked a path through the minefields perilously close to Havildar Ik's gun position. Suddenly the invaders broke through the barbed wire and were fighting at close quarters with the Dogras manning the 2nd Pillbox. The fighting was brutal, and Chandra had to finish one of the Japs off with his service revolver before the concussion of a grenade stunned them all. Suddenly the pillbox reverberated as an artillery salvo came down far too close. When the smoke had cleared, the Japs appeared to have melted away. A ragged cheer went up, and Chandra pointed out that there were plenty more where they came from.

He looked around at the scene inside the pillbox. They had been hit hard and although the Japanese invading force seemed to be dwindling – it was clear to him that they could not take on another wave. He risked another look through his binoculars past the carnage outside his position and confirmed his worst fears – there was another wave heading for the same beach. He quickly gave the order to get the reserve up to reinforce the decimated position. He grimly hoped they would make it before the next wave arrived.

Just as the first attack wave faltered, the next wave approached the beach. Subedar Chandra knew it was all down to whether this wave could capitalise on what the engineers had cleared in the wave before. What was left of the first wave was no longer a worry, however, he dreaded to think what would have happened if they had brought the second wave in a little quicker.

This time, good fortune smiled on the Dogras as the waves picked up a little and a couple of the landing craft foundered, spilling their men out into water that was too deep to wade through. In addition, a lucky shot from Havildar Ik blew one of the landing craft out of the water, sending the hapless occupants to a watery grave. Any jubilation was short lived however, as an errant shot from the flotilla of Japanese ships landed close to Havildar Ik's gun position, bringing a tree down on the 18-pounder gun, rendering it useless.

Although the Japanese had suffered large losses, this wave seemed somehow more determined than the first and punched through the barbed wire yet again. This time they completely overwhelmed Jemadar Singh's pillbox and put all to the sword, and the pillbox fell into imperial hands.

The fighting degenerated into a much more staccato affair with ragged volleys of shots between the two pillboxes. One of the soldiers in the pillbox still in British hands risked a look out to sea. It was with some relief he noted that the third wave appeared to be heading for the island beach to the East of their position.

Lance Havildar Do had made the same observation and realised that they were heading for the spit of land on which his pillbox was rather precariously perched. He started to scream down the field telephone to the forward observers, demanding that they shift the focus of the mountain batteries to his beach. Lieutenant Tombs calmly explained that it was a bit risky – some could fall on British positions. "I don't bloody care!" shouted Lance Havildar Do. "There won't be any damn British positions if you don't do something, Sahib!"

Despite the small arms and mortar fire welcoming them, the third wave arrived with only superficial casualties and launched themselves up the spit of land surrounding the pillbox. The fighting was intense and casualties heavy on all sides, but it was clear that the position was not going to last very long. The artillery was once more dead on target and the entire 3rd wave were caught in the devastation. When the smoke cleared all that could be seen were the dead and wounded that littered the beach and the pillbox was no more than a smoking ruin.

As dawn approached, Subedar Chandra surveyed the battlefield. He was as pleased as punch with the pinpoint accuracy of the artillery barrages that Singh and Tombs had brought down on the invaders. Although he could see the signs of a fourth wave forming up, he very much doubted they would risk another in broad daylight. The Dogras had performed well, and he had no doubt that this boded well for the campaign in the far East against the Japanese!

Kevin's Postscript: I have to admit (playing the British) to having some very jammy rolls, for once my artillery was spot on with almost every salvo (only one deviated by 3"), and secondly I rolled more than my fair share of "no damage" for my troops when hit. It was a long game, and we didn't quite finish the 3rd wave (50+% dead), let alone get to the 4th wave, but the outcome was in no doubt by then. Thanks to "Spoons" for setting up and umpiring the game (not to mention writing the initial battle report).

Martin Grimes & Kevin Tait


What a week this has been for me. I have painted a little bit every night and got in a game of IABSM3 today. Mark hosted a game out of my Greek Supplement - Scenario 5: Outflanked. I had the chance to play the Germans while Brian played the British. It was great fun. I also happened to roll better than I have ever rolled in my life. That made up for some of my poor tactics.

The shop that the game was in was dominated by flying space orcs and the like on the various tables. The table next to us had a giant walking robot thing that dominated the table. The table itself had little other terrain. Nearly wall to wall toys.

Mark was able to once again create a beautiful table. It really gave the feel of the village that the scenario was trying to convey. Here are a couple of shots of the table from my cell phone.

The scenario started out with the Germans racing up the road to the village. The Germans were able to reach the town first and held it throughout the game. It was a large scenario and the fight for the town would prove to be very bloody.

The Germans also managed to dominate a small rise just to the right of the village. From there, the German 2nd Tank Platoon deployed in a hull down formation and was able to spot and then destroy several British tanks. However, the deployment proved to be foolish as the tanks were far too close together. When the British returned fire, several other tanks took shock from the explosion of their fellows.

German 2nd Tanks deploy

The British advanced in a large column up the road toward the village. Since the Germans already occupied the village, they had the drop on the British column. The first blind was a fake and the second was a 25pdr gun on its limber. The gun and its truck beat a hasty retreat and their card never turned up for the rest of the game. The cards were there, just never drawn. In the background of the next picture, you can see more burning British tanks. Two platoons of British tanks attempted to move up the middle of the table off road. The tough going slowed them down and make them nice targets for the tanks of the German 1st and 2nd platoons.

Lead British elements are spotted

Did I mention, I love how Mark's terrain looks.

After the British gun ran away from the German tanks in the village, it was a turn or two before the village was again challenged.

German 1st tanks take the village

But that was not to last too long. Brian began to move a platoon up the road to challenge the defenders of the town. Meanwhile in the field, one British tank was abandoned, one destroyed and another immobilized. The second platoon also started to take damage and I think had also lost a tank by this point.

Part 2

We last left off with the British tanks in the center of the table getting increasingly in trouble. A blind of British infantry were spotted and immediately fled to a ditch nearby for cover as they had several Panzer IIIs nearby.

The headquarters of the platoon was unfortunate and was not able to reach the cover of the ditch. The HQ of the platoon was beaten to a pulp by repeated machine gunnings from the tanks in the area. Their Boys AT Rifle was completely ineffective at stopping the Panzer IIIs. Meanwhile, in the village, a traffic jam was developing. The British sent two platoons of Mark IV tanks into the town. All were the C model equipped with machine guns.

British tanks do better at the other village

This led to a point blank tank fight between a Panzer I, a Panzer II and several (6) Mark IVC tanks. It was an ugly fight with little real damage being dealt other than immobilizations all around.

Close combat tank style!

The tanks kept piling into the town. Eventually we had two CS tanks join the Mark IVCs and behind them was a command vehicle with a tank ace. Interestingly, this vehicle had some real potential to cause damage but he spent his time leading rather than fighting. In an attempt to break up the near stalemate in the town, I deployed an infantry platoon in the back of the village. They promptly drew the attention of the CS tanks who fired on the house causing some mild shock.

German infantry deploys

Now, the cards had not been unkind to me. I had some excellent early movement and all of my deployed troops were routinely coming up. But the blind card (which was controlling my reinforcement arrival) was not coming up. I had several blinds that were just idle.

German Blinds stuck

At this point I utilized the Skelton Gambit and deployed all of my on table blinds to get their cards in the deck.

The result of the Skelton Gambit

This proved to be a good strategy as my tank company HQ was immediately in action the next turn. Now my tank commander was not an ace but he sure did act like it. He chose to fire and fire often instead of wasting his time activating troops. Turns out, he was an excellent shot.

German Tank HQ

This company commander would take a shot on a badly obscured target and I got some extremely lucky die rolls to cook a British tank, much to that player's chagrin. Admittedly, that shot was borderline gamey but not out of the realm of possibility. Back to the poor bloody British infantry. They continued to take a pounding. One of the surviving British tanks managed to kill a Panzer III. In spite of loosing a tank, the Panzer IIIs poured fire on the troops in the ditch and slowly mounted some shock on them.
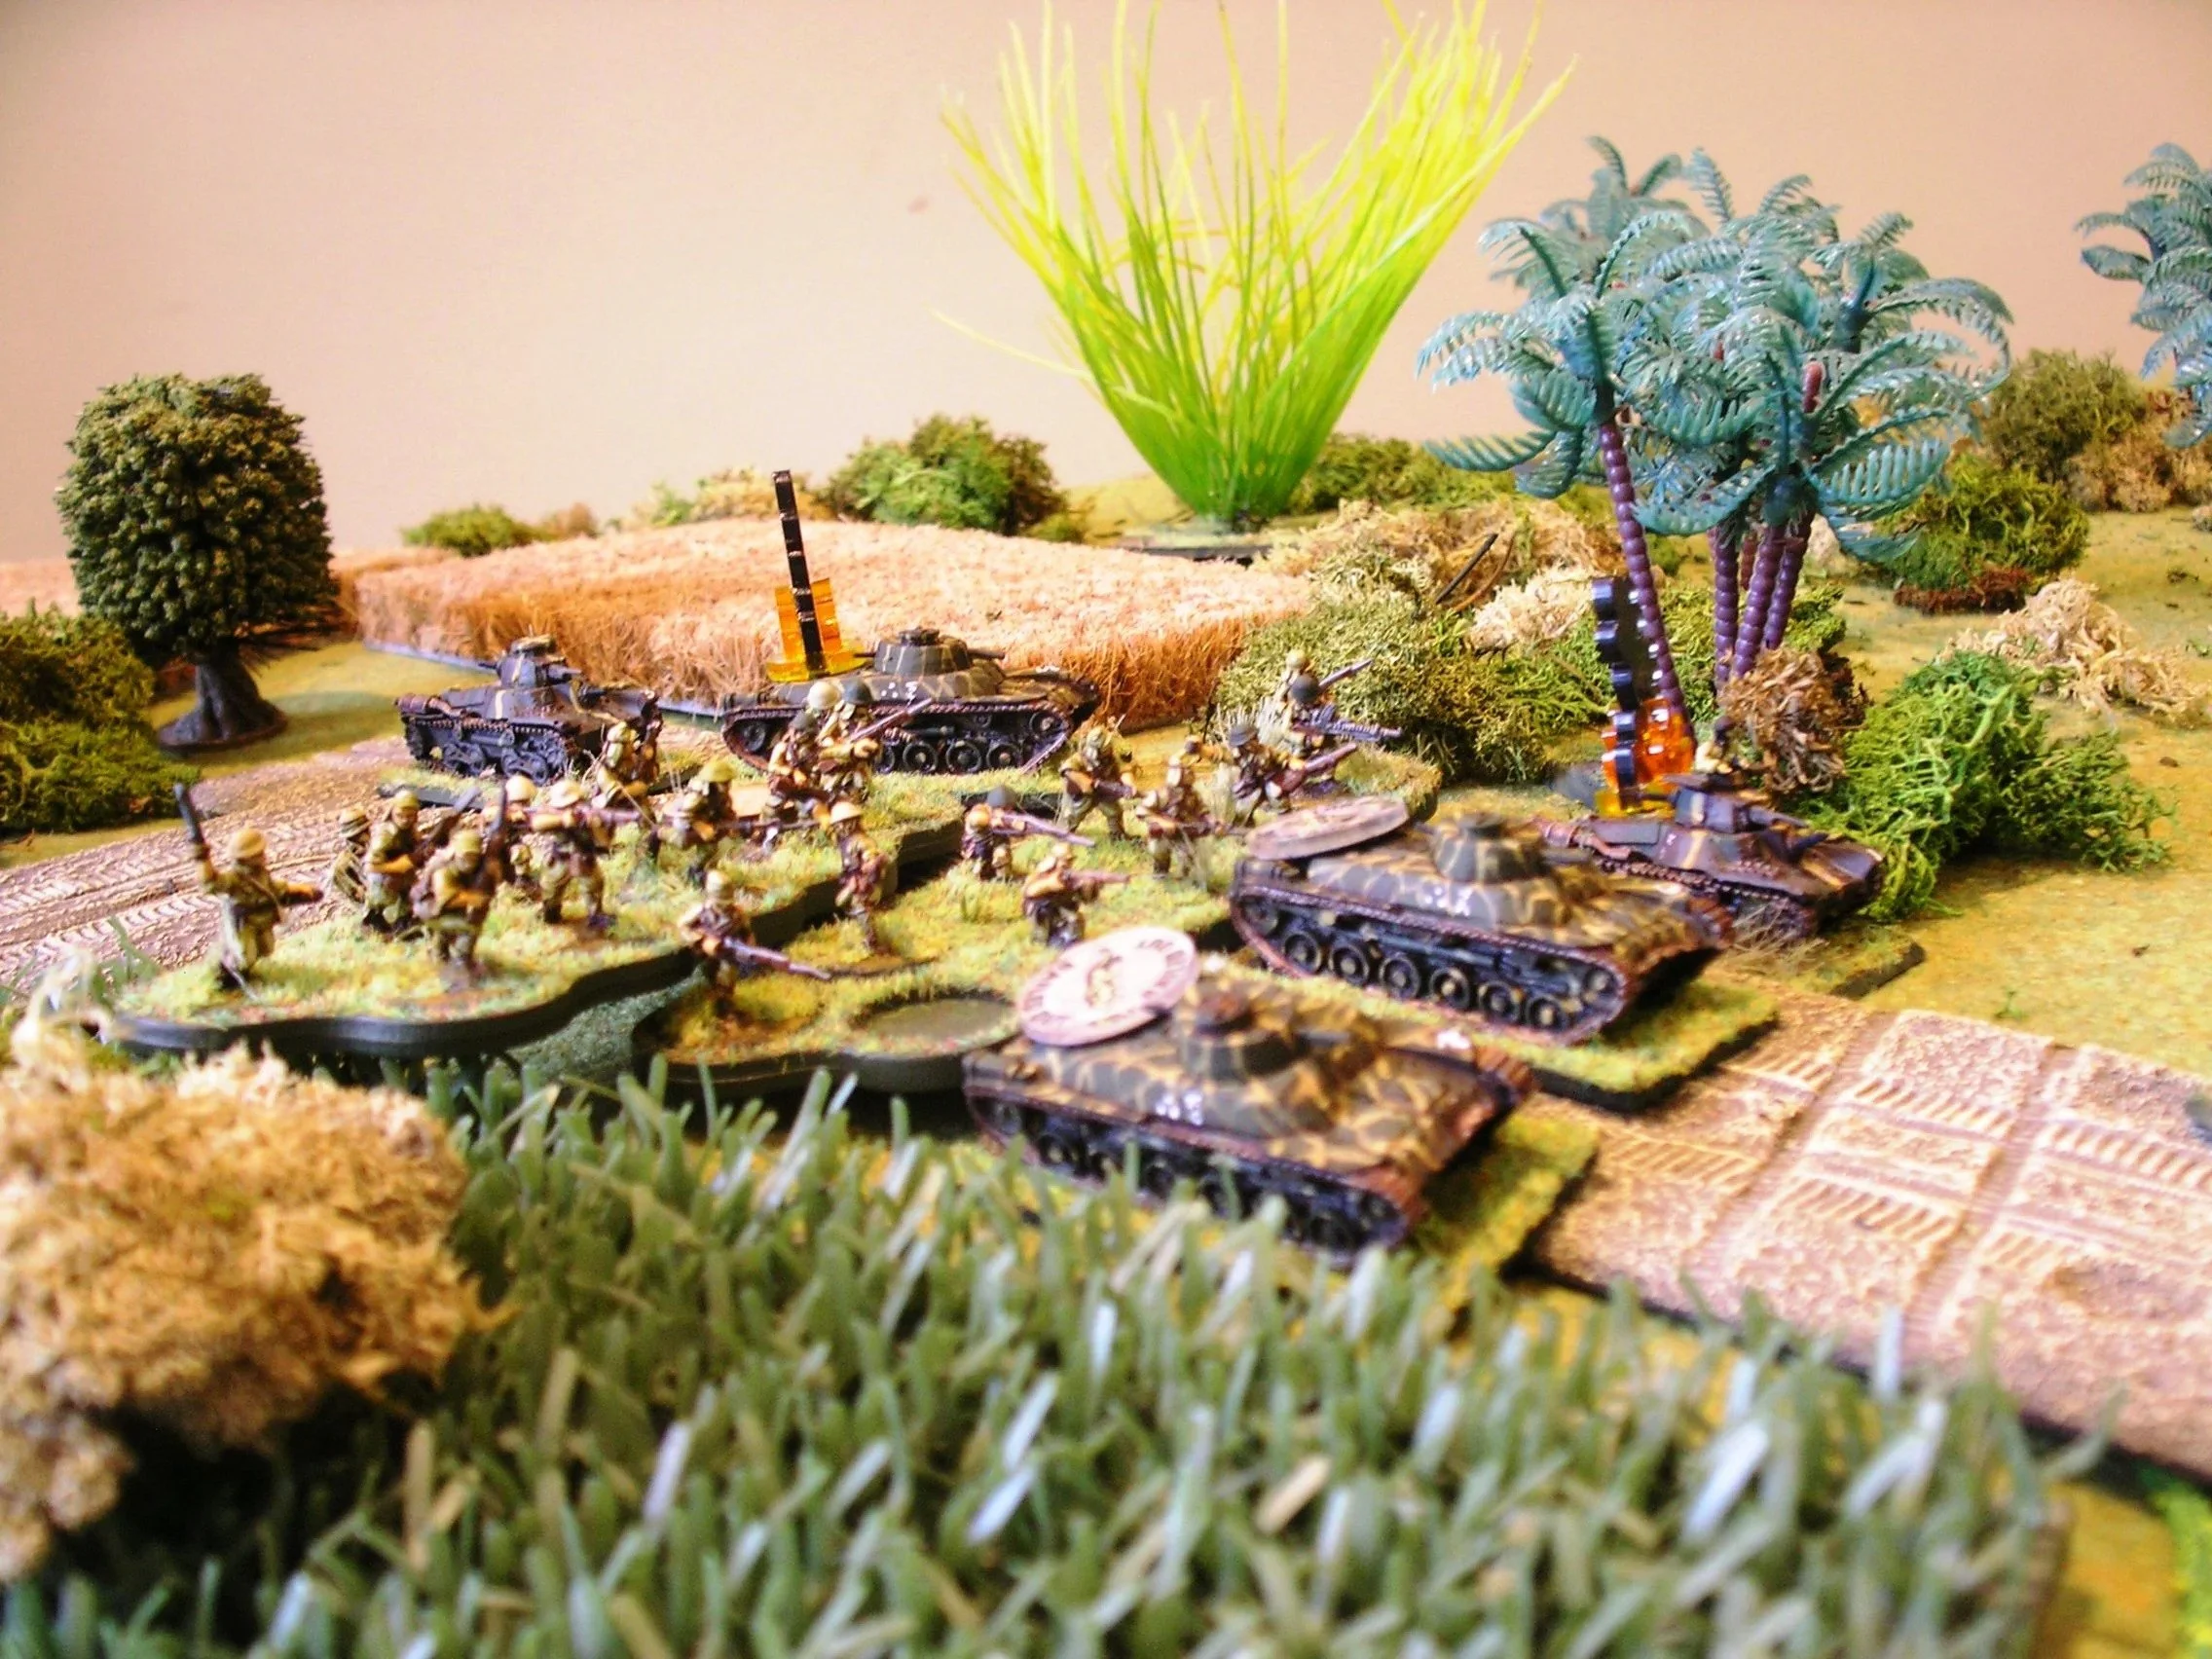
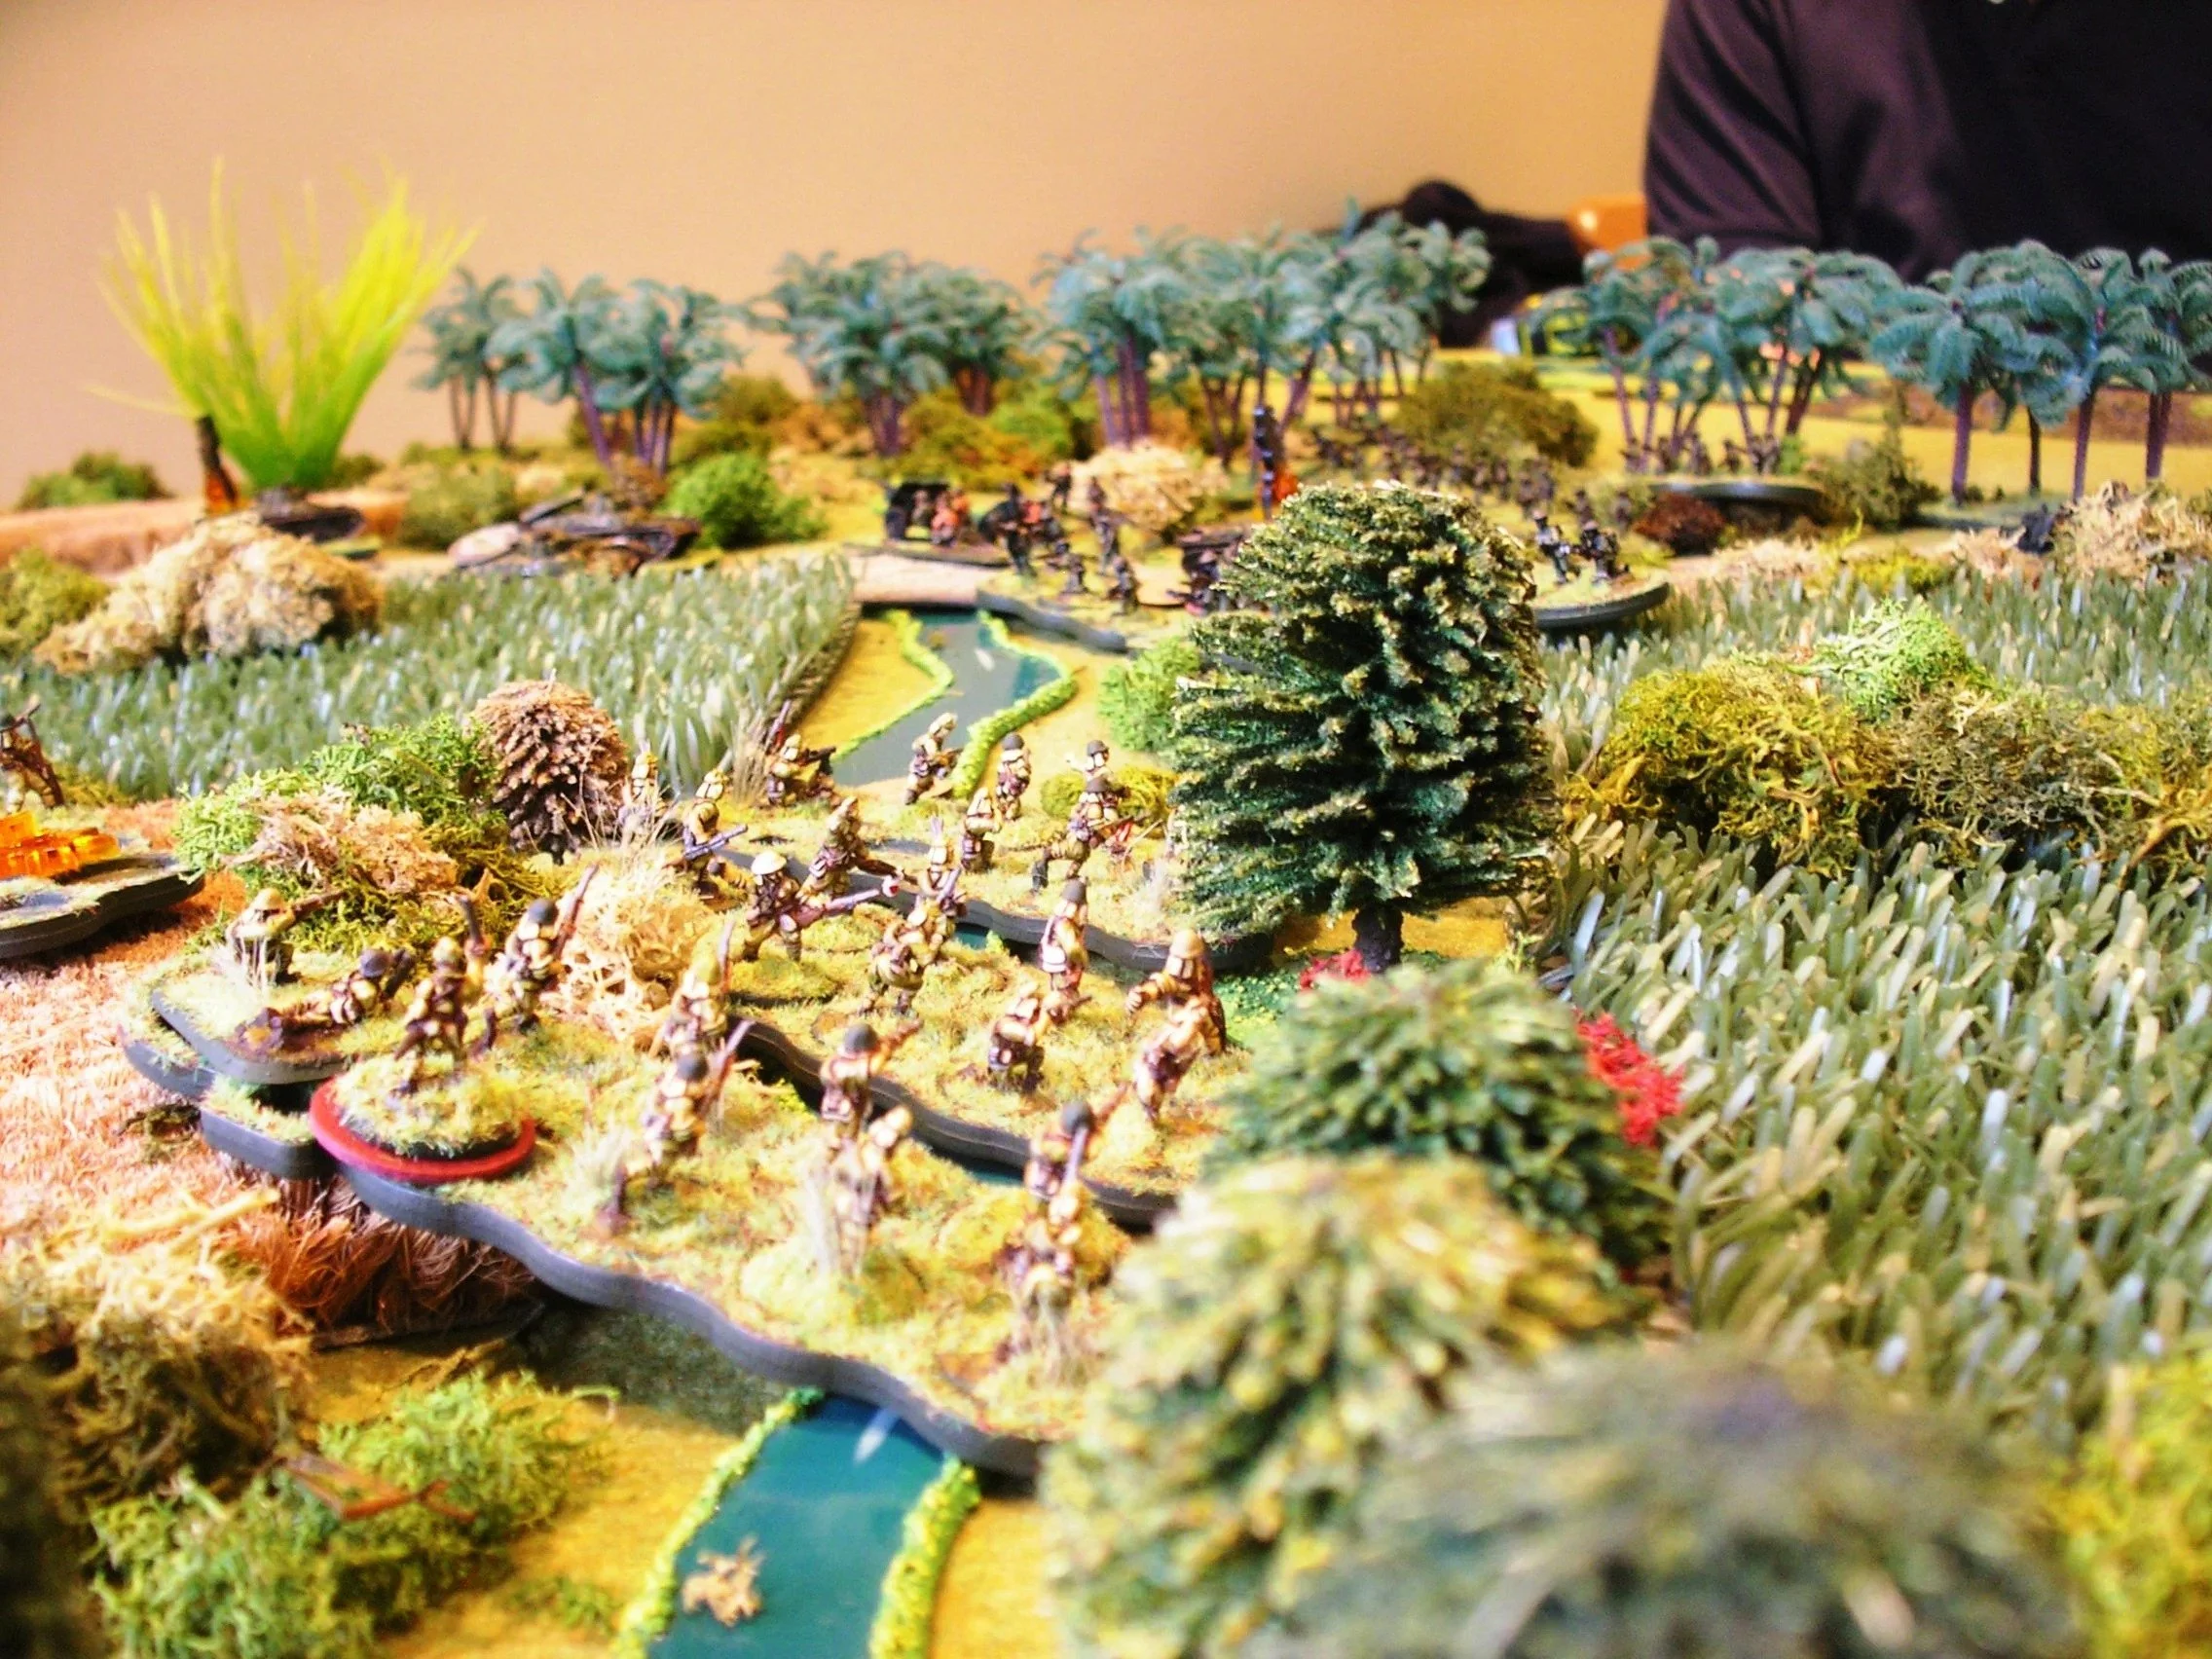
British Infantry take  a pounding

Now the German infantry was not completely idle. Since firing from the buildings was not working, the infantry - one squad after another, began close assaulting the British tanks. In the process they managed to knock out two tanks of the eight in the traffic jam. This was likely an unrealistic attempt as the infantry began to take hideous casualties shortly there after. The picture below actually captures the swarm covering up two of the tanks quite nicely. And quite deservedly so, I might add. No wonder my little lead guys won't talk to me after a game.
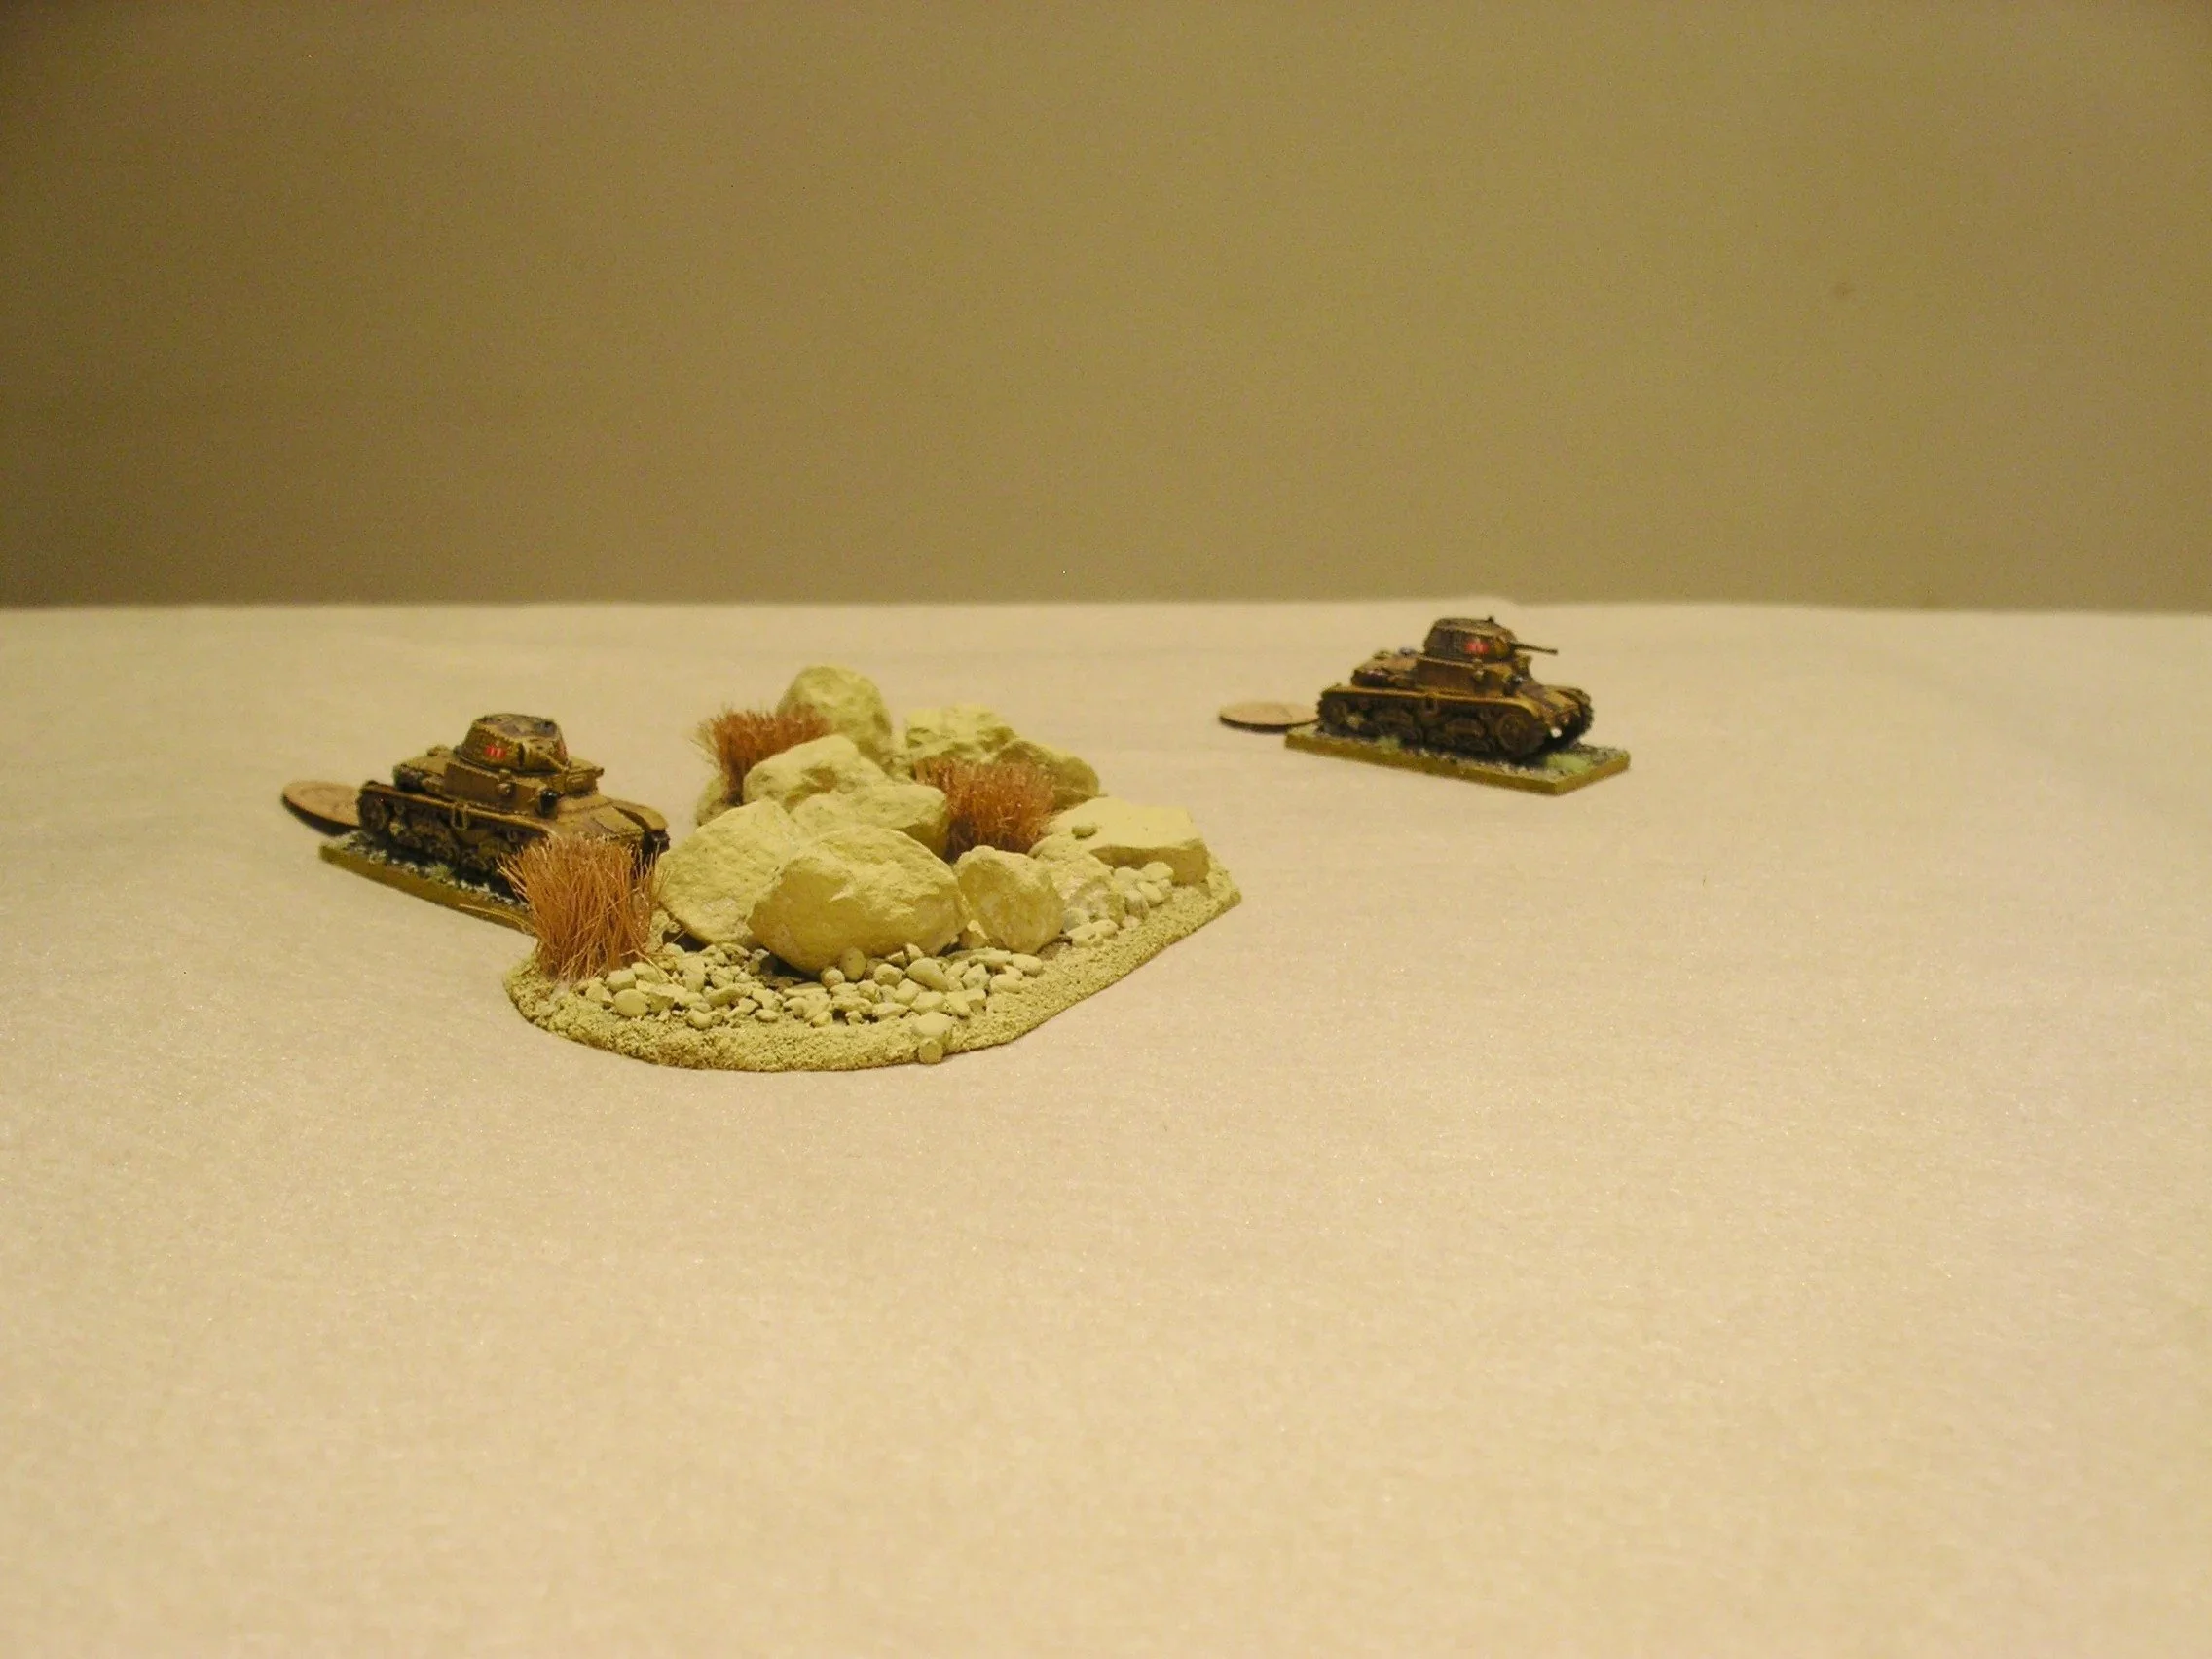
German infantry close assault

While the RAF was truly "Rarer than Fairies" in the Greek Campaign for the troops, the Luftwaffe proved the same in this game. Their card came up very early in the game and they promptly missed their targets all together. The second time their card came up, nothing came of it either. But this was a cool picture that we can blame on them.

Luftwaffe view

By now, the Second German Tank Platoon was able to recover some of their shock and began to advance down hill to dispatch the infantry in the ditch. The moved well on their way towards that goal.

German Second Tanks move in on the infantry

The German Infantry Headquarters attempted to move to a vantage point where they could overlook the town and aid the heavily engaged tanks.

German Infantry HQ moves to  a vantage point

The German Tank Company Headquarters began to flank the town to finish off the remaining tanks in the town. It was at this point, I ran out of time. The British were able to delay the German advance but not enough to really claim a win. The Germans held the town but were heavily engaged. Both the British and Germans had more reinforcements that had not arrived on table yet. At best, I can claim this as a minor German win. I made several tactical mistakes but did not pay for them nearly as dearly as I should have.

Bottom line, this game was great fun and I wish I could have stayed to play it out to its conclusion. Thanks again Mark!

Chris Stoesen


Having enjoyed our last tank-on-tank game, Neil and I decided to play another. This time it would be Mechili and a chance to legitimately use my newly-painted Zvezda A13s.

The scenario is a simple one. Generale di Divisione Valentino Babini's Brigata Corazzata Speciale (Special Armoured Brigade) is positioned at Mechili, in the heart of the 'bulge' of Cyrenaica in Libya. The British 4th Armoured Brigade has arrived nearby and spotted the Italians, and has just spent a day reorganising after a rather taxing night march. As morning arrives on Friday 24th January 1941, both the Italians and the British move towards each other, each with orders to attack and destroy the enemy in front of them.

The British arrived on the battlefield first. It was, as history, very open, with the terrain sloping gently upwards away from the Brits, meaning that any tanks arriving in front of them would be silhouetted against the morning sky. The initial British force consisted of a squadron of twelve MkVI light tanks. Somewhere behind them were the Cruisers, waiting to be told where the Italians were so that they could move to attack them.

[Note that as I don't have twelve MkVI light tanks in my collection (I know, I know!), I was using six BEF MkVIs and six BEF Bren Gun Carriers as proxies.]

Such was the tardiness of the Italians (well, there was breakfast to be had, then the tanks needed washing so as to look their best etc.) that the British light tanks managed to get almost half way towards the enemy start line before the first Italian Blind even made it onto the table.

Once the Italians did arrive, however, things began to happen extremely quickly. Not sure what they were facing, the British tanks were initially unphased by the appearance of a few M13/40 medium tanks. As more and more Italian medium tanks began arriving, however, they quickly changed their minds and started calling for help from the Cruisers. Unfortunately, as in history again, the Cruisers refused to believe the Italians were attacking ("they're Italians, they don't attack") and so refused to move from their start positions just off table.

The Italians, played by me, were beside themselves with glee: this was going to be a duck shoot! What's more, the dice were with me, with the M13/40s rolling fives and sixes as if they were going out of fashion. Two MkVIs were knocked out almost immediately, with several more having lots of bits blown off them. After a couple more turns, the Italians were positioned in a semi-circle about a quarter of the way up the table, with the British in front of them desperately weaving backwards and really, really trying to persuade the Cruisers that there really, really was a substantial Italians attack underway.

There was a brief British attempt at actually attacking the Italian tanks (see the troop of "Mk VIs" just to the right of the hill in the picture above and to the right) but, as I said, the dice were with the M13/40s, and all that happened were that the British tanks were driven off, losing at least one of them, bailed out, in the process.

Things looked bad for the Brits!

Then the British Cruisers arrived...in the shape of three troops of three A13s each, with a Squadron HQ of three A10s.

Concentrating on the right flank, the Cruisers didn't mess about, immediately de-cloaking from Blinds and opening fire on the Italian tanks in front of them. It should have been very messy: the Cruisers were operating by the troop, each headed by a Big Man, and each having three Actions per tank rather than the Italian two. Not only that, but the Italians, operating tank by tank, now found themselves silhouetted against the sky, so were at +1 to hit all the time.

It should have been, but it wasn't...at least not for the next couple of turns.

The luck of the Italians held and, as you can see in the picture above-right, two Cruisers bit the dust fairly quickly. Even more satisfying, it was the Italian Big Man who destroyed both of them: it seemed that Maggiore Cioppino's gunner just couldn't miss!

Well, as you can imagine, the Dice Gods appreciate being appreciated, but my excessive gloating proved too much even for them and, in an instant, all the luck that the Italians had enjoyed disappeared faster than a bowl of cioppino (it's an Italian-American fish stew) in front of a hungry wargamer!

With the Italian magic gone, the battle came down to a straight and decidedly uneven fight. The Italians were losing one or two tanks each turn as the British three-tank troops concentrated their fire. Yes, the M13/40s were firing back, but single tank by single tank and with only two Actions. Within minutes, only Maggiore Cioppino and two other Italian tanks were left operational, and the good Major disappeared in a ball of flame soon after.

It had, however, been a great, fun battle to game. The initial Italian duck shoot accounted for four MkVIs (two less than historically, but we brought on the Cruisers a bit early to make the game flow a bit better) and the fact that I managed to account for two Cruisers made losing all but two of my tanks somehow less annoying than it could have been! The game played out exactly as the battle did in 1941, leaving Mechili in British possession and setting up the race to Beda Fomm that followed soon afterwards.

Robert Avery

Here are a few more pictures of the game:


One of my favourite scenarios from the Operation Compass scenario pack is Tobruk 3: the Australian assault on the El Gubbi airfield. Although I had seen the scenario played at the recent TFL Tobruk Day, I'd never actually played it myself, so when Neil rang and said he'd suddenly become free for a quick game, it seemed the obvious one to play.

The scenario involves a company of Australian infantry attempting to take the airfield from its defenders: two sections of Italian infantry and four 20mm flak guns in weapon pits. The Australians enter from the edge parallel to the main road, the Italians start the game under on-table Blinds. The airstrip itself was totally flat and featureless: a killing ground that for our game I outlined with barbed wire and hedges, not as obstacles but as indicators of where the flat bits started and ended. The rest of the terrain was also largely flat, but rough enough to provide decent cover for prone infantry.

The Australians began their assault swiftly: Blinds appearing rapidly on the other side of the road. Two platoons of infantry were soon spotted by the Italians: one provided a base of fire from the rough ground at the edge of the road whilst the other, backed up by another Blind, looped around the flank of a nearby hill. The nearest Italian AA gun opened up, but with little effect, as the Australians were pressed into the dirt or behind the crest of the hill, only the odd bush hat showing where they were!

The three crew of the first Italian gun were quickly dispatched. On the Italian right, the unspotted Australian Blind moved further onto the flank of the airfield buildings, and another Blind moved up to take control of the bunker where the first Italian gun had been.

Unfortunately for the Australians, there was an hitherto unspotted squad of Italian infantry in the lean to next door, who spotted their enemy and then opened fire. Their target turned out to be the Australian Company HQ which, unwisely, was operating far to the front of their main body. Although not many casualties were inflicted on the Aussie command element, they were effectively shocked into immobility for the next phase of the game.

The other Italian infantry squad and another 20mm autocannon also revealed themselves, inflicting a couple of casualties on the Aussie's behind the crest of the hill.

Obviously keen to get to grips with their opponents, the Aussie troops just charged forward, careless of the consequences. The "back" platoon laid down covering fire with two of its sections and sent the  third one in to assault the enemy infantry squad molesting its HQ; and both "up" platoons charged forward: mostly at the other Italian infantry squad, with one section going for the other Italian AA gun.

Unsurprisingly, all three charges were successful, and the Italians...well, they just fled! Both infantry squads headed out the back door as fast as they could, shock and awe oozing from every pore; and the other autocannon crew surrendered from the effects of casualties and a pin.

The Defence of the Airfield Buildings Crumbles!

The Italian retreat continued, their infantry still carrying way more shock points than their Big Man could swiftly heal.

Finally, however, the Italian secret weapon arrived! Five medium tanks entered the table from the far end, and quickly fanned out to defend the last remaining autocannon.

Unfortunately, only a turn or so later, the Australians' secret weapon appeared: two British-crewed Matilda tanks! Worse than that, the Australian CO had finally remembered that he had a battery of 25-pounders tasked to support him, their first barrage (arriving perfectly to order) landing on the three Italian tanks heading for the Matildas, crippling one that must have taken a direct hit, and severely shocking the others!

Although a few overeager Australian infantrymen were shot up as they attempted to follow up their initial success across the open ground of the airstrip, the result of the battle was really now a foregone conclusion. The Matildas shrugged off any Italian tank shells, and calmly picked off the Italian tanks one by one. The only good thing to come out of their arrival was the fact that I got to use my "tank on fire" markers for the first time...lots of them in fact!

It had been a cracking battle: very exciting despite the fairly small forces involved. Looking at the clock, we were amazed to see that we had fought the whole game from first chip drawn to final Italian surrender in only 2½ hours, and neither of us felt at all short-changed either:  IABSMv3 has once again proved its worth!

Robert Avery


The afternoon saw Mick, Clive and I verses Max and Chris in one of the scenario's taken from the Operation Compass scenario pack.

We had to take an airfield entering from the eastern table edge and exit the western table edge, destroying all enemy forces en route. A tough task indeed.

We had three platoons split between the three players, each of four sections, light mortar, AT rifle and Big Man. Clive also had the Company HQ, whilst I had a pair of AT guns which would arrive at the rear. We were allowed to enter at the south western corner three Blinds per time, and had two False Blinds. We were to be reinforced by two Matilda tanks from the north western corner on the sixth turning of the Turn card.

Quickly we spotted AA guns protecting the airstrip. I was detailed to make a rapid penetration then turn left into the airfield buildings with Mick's platoon in support. Clive, bringing up the rear, would take the buildings and react to the enemy.

I decided (foolishly as ever) to assault the first AA gun with two squads and failed in their three movement dice, falling short by 1" each time. Exposed, a great target and no chance of further activation my troops were opened up on by everything in sight: three AA guns ringing the airfield and two infantry sections, one in the airfield buildings and one on the Italian baseline with another AA gun. I was actually quite fortunate that I decided to keep two sections back and suffered mainly wounds as I was at long range from three AA guns out of the four available.

A second assault saw me finally take the AA gun but still exposed I took heavy casualties.

Our tactic now was to drop Light Mortar rounds on the AA guns to cause wounds as there was no Italian Big Man available nor a Rally card to remove them. The Italians were firing and fighting hard and we were taking casualties as Clive and Mick pressed on to assault the airfield buildings.

Another AA gun fell foul of the Aussies. Mick went in again and cleared a building of an Italian section in hand to hand fighting, killing an enemy Big Man.

Suddenly an Italian Blind appeared on the baseline far away, but facing my battered platoon. Italian tanks, we all thought!

[L to R]  Kev, Clive, Mick & Bif

Fortunately Biff arrived, though only with one Matilda not two, losses from the lunchtime engagement. By now the remaining Italian AA guns were taking hits from Clive and Mick's infantry, and my light mortar. Biff's tank crushed the third AA gun. We successfully spotted the enemy Blind as a platoon of five Italian tin cans. The Italian tanks were poorly armed and armoured, and a long way away. I revealed my AT guns facing off against them whilst Clive and Mick were clearing the buildings. Initially the Italian tanks tried firing their MGs against the AT guns with little effect. My AT guns weren't activating as their cards were not coming up.

Next the Italian tanks tried to get closer but then their cards didn't come up. Clive called down artillery fire on the building on the Italian table edge containing the last section, and adjacent to the last AA gun. The Italian tanks then tried a direct fire on the AT guns and missed. They then switched to 'area' firing on the British guns with their pesky 47mm guns with better effect. With no Big Man anywhere near them, and the Rally card needed to remove wounds and shock points elsewhere, the guns' effectiveness was whittled away rapidly until they had only one firing dice available.

For their part the Italians were having trouble too. With a one man turret and a unable to move AND shoot in the same turn, plus only being able to fire a maximum of twice in a turn, the Italians did well considering. Our artillery was falling amongst them and causing a loss of initiative dice or pinning them preventing them from doing much.

Biff's Matilda now made a bee line for the enemy armour as Clive and Mick left the airfield buildings and advanced on our left towards the enemy baseline. They had taken some casualties but considering they were still able to operate effectively.

My AT guns hit a couple of tanks but had no effect, whilst Clive and me had sent Big Men to try and help their shooting, to no avail. I tried to advance an AT rifle crew but they perished trying to close the distance between them and the enemy tanks. I eventually managed to hit and immobilise an Italian tank at close range then tried to finish it off with an infantry section assault (foolish boy) only to be shot down by MG fire from another tank.

Biff took a couple of hits, but predictably against his armour 9 there was no effect. He then managed to hit an Italian tin can and force it to retreat for a turn with possible engine damage.

Our off table artillery and wounds/shock from the light mortars saw off the last AA gun and the Italian infantry section.

The game ended there pretty much and was considered a draw. We had managed to take four AA guns, two infantry sections and a tank but there were still four more left to destroy to fulfill our victory conditions.

The Allies won just on the day but it was a very close run thing. I must admit the action in the afternoon was much more hectic and so I didn't get much idea what was going on elsewhere but it was a very fun day out.

Kev


The Italians suffered from Poor Discipline early in the game and had to deploy the bulk of their forces on their start line (still out of sight due to the heavy dust/smoke). 

The Aussies sent Sgt Bruce off for the captured anti-tank gun (ATG) at the first opportunity: it arrived very quickly, one Tea Break apart IIRC. 

Zippee & Gerard

The Italian tanks struggled to move in the soft sand between the construction sites, the infantry were reluctant to move out of the construction sites. One tank repeatedly broke down. The Turn cards arrived quickly so the supporting Bofors and Matilda arrived at the same time as the Italian ‘attack’ by two Blinds on the front left of the Aussie trenches (one Blind was a dummy, the other another platoon of five tanks).

The platoon of tanks was promptly spotted and received a hail of anti-tank rifle (ATR) fire, the tanks halted and conducted area HE fire at the trenches. This went on for a couple of turns, resulting in a dead ATR team in 7 Platoon (lead trench). Then the ATG and Bofors opened up and one by one the tanks were knocked out and/or abandoned. Results of the duel between the ATG and tank: score five dead tanks, five dead Aussie crew. 

The ATRs kept up a hail of fire which while not destructive in itself certainly proved irksome, often forcing retirements and the like. Even the Matilda had a go from the baseline with some success, unfortunately she then tried to move and immediately permanently bogged down and with that any thought of an Aussie counter-attack against the two Italian companies and second tank platoon faded. 

[L to R] Zippee's head; Sid, Nick, Joe & Egg

The only infantry action was late in the game when one Italian company spattered the lead Aussie trench with ineffective fire. In retaliation 1st Section 7th Platoon returned fire under direction of Lt Nash and shot an Italian dead. Thus ended the infantry ‘battle’. 

Final score I believe was seven dead Aussies, one dead Italian and five burning tanks – heck the Aussies still had a platoon under a blind at the end, which tells you something about the static nature of the game.

Zippee


My regular opponent, Neil, and I played our first battle of 2011 today. Taken from the Operation Compass scenario book, the action concerns the exploits of the 2/8th Australian Infantry Battalion in the original assault on the Italian stronghold of Tobruk on 21st January 1941. Click on the pictures to see them full size.

The 2/8th Battalion has already successfully cleared the central area of the stronghold, and is regrouping in and amongst a series of Italian trenches in the south-east corner of the table. North and west of the trenches are areas where the Italians have been seeking to extend their fortifications i.e. the equivalent of building sites. Visibility is poor due to the smoke and swirling sand kicked up by the wind: spotting and shooting is limited to within 24".

Casualties amongst the 2/8th have been high, so Companies A, B, C and D have just been amalgamated into A/B and C/D Companies: in game terms, three four-section platoons. Orders have just come through to continue the advance towards Fort Pilastrino when an Italian counter-attack is sited coming in from the north-west corner of the table: two platoons of M13/40 tanks (seven in all) supported by two platoons of infantry.

Through the smoke and whirling debris, the Aussies spotted that the Italian attack was three pronged. One Italian infantry platoon headed south for the building site there, setting up a firing line on the edge nearest the Aussie positions. One Italian infantry platoon headed slowly up the centre, the unwilling Italian footsloggers 'enjoying' the benefits of two Hesitant Troops cards. Finally, the seven Italian tanks headed towards the northernmost building site, now being occupied by the Aussie 1st Platoon along with two anti-tank rifles (ATRs) from the Company HQ. The rest of the Aussie infantry sat still under Blinds: seven tanks, even crappy two-dice Italian ones, are quite formidable opposition. Besides, support had been called for: Sergeant Burgess had gone off after an abandoned Italian AT gun, and the Turn Card had already come out twice!

The Italians hesitated, seemingly unable to decide where to put their attack in. Gradually the Aussies were spotted, but this didn't seem to help Capitano Cavolfiore's decision making process! Finally, the lead Italian M13/40 pushed forward and started area firing HE into the northern building site and Australian 1st Platoon. The tank was met by a hail of ATR fire, none of which did more than chip its paint at that range, but then broke down and was promptly abandoned!

Sergeant Russell returned at that point, dragging a Breda 47/32, and an improvised crew was quickly put together. Several shells were sent flying towards the Italian tanks that had now moved into a more central position but, again, all that suffered was the Italian paintwork. The Italian counter-attack had ground to a halt at this point, and although their tanks were still either area firing or machine-gunning 1st Aussie Platoon, the effects were minimal.

Meanwhile, on the southern flank, Lieutenant Russell and 3rd Aussie Platoon had decided that it was time to get their attack moving again. Emerging from the Italian trenches, all four sections advanced in rushes towards the Italians positioned along the edge of the southern building site, taking a few casualties but doing a lot more. One section from 2nd Platoon joined them, although these brave Aussies soon found themselves exposed to flank fire from other Italian troops and would eventually be suppressed, but not before doing a surprising amount of damage to their enemy.

The first set of Commonwealth reinforcements then arrived: two Bofors 37mm AT guns from 3rd RHA which were quickly manhandled forward into a firing position in the centre of the Australian line. They would continue to hold the Italian tanks at bay, gradually advancing forward, but without actually doing any damage. The Italian armour had, at this point, suffered badly from Vehicle Breakdown: three of their tanks were now permanently immobilised, with the two forward ones abandoned as well.

The Australian 1st Platoon then saw the Italians start to move their second infantry platoon from the centre towards the southern building site. Hearing that their second set of reinforcements had arrived, two Matildas from 7RTR (armour 9!), they advanced west out of their building site and charged up and over a hill towards where the Italian infantry were. A whole platoon of Aussies smashed into two squads of poor quality Italians supported by two tanks. Unbelievably, the poor-quality Italians turned out to be amazing hand-to-hand fighters: the first round of the combat was drawn despite the Aussies rolling 49 dice to the Italian 14! The melee continued, and this time the Aussies pulled out their collective finger, dispatching both enemy squads and tanks.

The Heroic Commander card then appeared, so the Aussie 1st Platoon followed Lieutenant Gately forward into melee with another three Italian tanks! Two were dispatched, their crews abandoning them after minor forms of damage had been done, but the third caused heavy casualties with its machine guns, with more casualties being caused by other nearby Italians.

Aussie 1st Platoon had done the job though: the Italian left flank was utterly broken. Their right flank was also just about to give way: as the two Matildas trundled up into machine gun range, with 2nd Aussie Platoon moving forward to threaten an assault, the Italian white flags broke out. A glorious victory for the Australian infantry, who never really needed the reinforcing AT guns and tanks.

For the record, the game took about three hours from start to finish, and almost exactly followed its historical counterpart except for the fact that the damage to the Italian tanks historically was done by the AT guns rather than by the Aussie infantry. A great fun battle…a great start to the wargaming year.

Robert Avery 


The afternoon saw Elton and I in charge of an Italian counter-attack on advancing Australians. Elton took charge of a line of defences consisting of two MMGs facing the Australian attack and two dug-in, unable to move M11/39 tanks facing the wrong way; and I took charge of the four L3 tankettes and four M11/39s that would carry out the counterattack itself. Facing us was a company of Australian infantry packed up by a small carrier platoon of two carriers and a captured M11/39.

The Australian Blinds advanced really quickly: the infantry soon hopping over the barbed wire on the right of Elton's MMGs. We were lucky in that one of their carriers got permanently tangled in the wire, but the other carrier and captured tank were only delayed by one turn.

One Australian Blind immediately turned right and charged and overran one of Elton's MMGs with no loss, but then suffered some hefty casualties as it did the same to the other.

Fortunately, this delay had given me time to get our tanks forward, and from a central position on the battlefield, they uncloaked from their Blind and started hammering the Aussie infantry with everything they had.

We were positioned in amongst a building site where more trenches were being constructed: a central position, but one that would prove annoyingly difficult to manoeuvre about.

Meanwhile the Aussie infantry seemed to be ignoring both our tanks and their casualties, content to move around the edge of the board seemingly heading for the north-west corner. A brief duel between my tanks and the remaining enemy carrier and captured M11/39 ended with the enemy carrier being taken out and the main gun on the captured M11/39 being damaged beyond repair. This victory was somewhat tarnished when the captured M11/39 rammed my lead tank, permanently disabling both.

I now, however, had seven tanks left, and only a few Boys ATRs against me, so went on a bit of a spree against the remaining Australian infantry that was still moving around the outside of the table. The Australians needed to do something, so left one Blind in transit, whilst their remaining infantry charged my tanks!

A fierce melee developed, with me quickly losing a couple of L3s, but co-operative fire meant that the Australians were still taking heavy casualties. Things would have gone more my way except for the fact that we were fighting in a building site: my idea about getting cover might have worked against enemy tanks, but not against enemy infantry! At this point, the Aussie Blind left the table behind me and the game ended. Elton and I had lost the two MMGs and two dug-in tanks, plus another two L3s and two M11s. The Australians had effectively lost everything they had except for the single platoon of infantry that had left the table.

The scenario victory conditions were read: the Australians, by leaving the table, had got behind my position so affecting my morale to such an extend that the rest of the Italian line would withdraw. A victory to the Aussies, despite their heavy casualties. Annoyingly...incredibly annoyingly...with the other two afternoon battles both ending up as draws, the Australian victory here have the Commonwealth forces an overall victory on the day!

A great game, however, with fierce and bloody action throughout...and only a few mentions of the fact that I had written the scenario so should have known what the Australian victory conditions were!

Robert Avery


The tenth scenario from the Operation Compass pack takes place on 14th December 1940. It covers a real-life incident during the drive to surround Bardia, where Rae Leakey of 1RTR led his his mixed squadron of cruiser and light tanks towards the Capuzzo-Sidi Azeiz road in the pitch black, first shooting up a line of Italian lorries and then withdrawing in the face of a surprisingly aggressive attack by large numbers of Italian medium tanks.

This would be quite an unusual game of I Ain't Been Shot, Mum, as not only would it involve no infantry, only tanks, trucks and lorries, but it would also take place at night, with both spotting and shooting therefore being much more difficult than normal. On top of this, the terrain was also awful: the 'road' running between Capuzzo and Sidi Azeiz was so bad that it would give no benefit to movement, and any vehicle attempting to move off the road having a small chance each turn of getting temporarily bogged down and not moving at all.

The action would take place right in the middle of the 'blue', literally miles from anywhere. The eponymous 'road' runs along the northern edge of the table, with a long, low ridge running parallel and just to the south of it. Things would begin with the arrival of an Italian convoy of supply trucks at the eastern end of the road at the same time as the lead elements of the British tank squadron arrive half way along the southern edge of the tabletop. After four appearances of the Turn Card, Italian tanks would start appearing at the western edge of the road.

Up in the Blue

The Italian convoy consisted of a staff car and seven trucks/lorries organised into an HQ and two groups of three trucks/lorries each. The British tank squadron consisted of an HQ A9 cruiser tank and then three troops: No.1 troop consisting of three MkVI Light Tanks, No.2 troop of two A10 cruisers, and No.3 troop of two more A9s. As British commander, I was slightly nervous about the paper-thin armour on the MkVIs and A9s, and determined not to 'mix it up' with the Italian tanks, but to try and out shoot them from range...which tells you all you need to know about my ability to predict the course of a battle!

The Italian tank force riding to the rescue of the convoy consisted of an HQ M11/39 tank, one platoon of three L3 Tankettes, and three platoons of three M11/39 tanks each. This seems very powerful, but the Italian tanks are without radios, so move individually rather than by platoon, and only have two actions to the three enjoyed by the Brits. On top of that, the main gun on the M11/39 is hull mounted, meaning the whole tank has to turn to acquire a target rather than just being able to swivel their turrets.

The Game

The game began with two Italian blinds entering the table at the end of the road on its eastern edge (the nearest edge in the photo above). Almost at the same time, a British blind (concealing the light tanks of 1 Troop) arrived midway along the southern table edge (where the circular patch of scrub is in the photo above).

Although the British tanks had great difficulty traversing the rough ground, the Rapid Deployment card meant they arrived within about a foot south of the mid-point of the road at the same time as the Italian blinds arrived about a foot east of the same point. The extreme darkness meant that although the British tanks spotted that the enemy blinds concealed a staff car and four lorries, they had no actions left with which to shoot at them.

The Italian lorries slammed on their breaks, then slammed into reverse and headed straight back towards the table's edge. The British MkVIs were about to give chase when they spotted a mass of Italian blinds arriving from the west. One MkVI headed after the retreating lorries, the other two headed west to investigate. More British blinds were now arriving on the southern edge of the table, but bad terrain meant that, again, progress was quite slow.

WHOOPS!

The two MkVIs advanced boldly in the darkness towards the Italian blinds, then got a bit of a shock to the system when the Italians advanced back at them and were revealed due to proximity at the Tea Break as two platoons of M11/39 medium tanks. In terms of real life as represented by game scale, the British light tanks didn't spot what the Italians were until they were only about six yards away!

Now it was the turn of the British to slam into reverse. One MkVI shot back towards the Italian trucks (and would spend the rest of the game chasing them in the darkness), the other spun south and reversed until it was out of sight behind the long ridge.

The two MkVIs advanced boldly in the darkness towards the Italian blinds, then got a bit of a shock to the system when the Italians advanced back at them and were revealed due to proximity at the Tea Break as two platoons of M11/39 medium tanks. In terms of real life as represented by game scale, the British light tanks didn't spot what the Italians were until they were only about six yards away!

Now it was the turn of the British to slam into reverse. One MkVI shot back towards the Italian trucks (and would spend the rest of the game chasing them in the darkness), the other spun south and reversed until it was out of sight behind the long ridge.

I say, chaps, is this what they mean by target rich environment?

Meanwhile the two British A9s of 3 Troop crested the ridge and engaged the flank of the Italian tanks, half of whom turned towards them to engage. Although you can't see it very well in the photo, below, the British cruisers are up on the ridge looking down on the road (the A9s are also being proxied by a couple of A13s).

More Italian medium tanks arrived on the edge of the table, this time heading up onto the ridge and, for the moment, it was eight Italian M11s versus two British A9s!

A volley of shots rang out on both sides, and the British tank crews paid the price for their thin armour: the left hand A9 was permanently immobilised and had its gun knocked out for good measure, with its crew abandoning ship as a result. In reply, however, the Brits managed no more than to drive one of the M11s backwards off the road into cover behind some shrubs. Things were not looking too good for the Brits!

Help was at hand, however, as the other troop of cruisers appeared just east of the ridge and prepared to open fire on the lead platoon of M11s. These had turned to face the arriving Brits, but their lack of initiative and need to physically turn their tanks to get their main guns to bear meant that the A10s survived the initial Italian volley undamaged.

Hyde Park Corner IN Rush hour

In reply, the A10's smashed so many bits off two of the M11s that their crews bailed immediately. That left one M11 still functioning, so the British MkVI that was hiding behind the end of the ridge shot forward into the gap between the two A10s, neatly being in cover behind the medium tanks from any return flanking fire from other Italians, and used its .50 to turn the remaining M11 into a colander, also forcing its crew to abandon.

Yes, my three tanks were right next to each other and vulnerable to a chain reaction if one of them blew up, but one of the great things about early war gaming is the fact that it's actually quite difficult to blow up a tank: you spend your whole time knocking more and more bits off it until it stops moving and firing and its crew decide to bail!

At the same time as the above, the British HQ A9, commanded by Leakey himself, had arrived on the flank of the Italian tanks flanking the A9s on top of the ridge. Some fine shooting quickly forced a bail-out on one M11 and another to retreat off table.

That meant that in one turn the Brits had knocked out five of the ten Italian M11s for the loss of just one of their cruisers. This loss had such a big effect on the Italian morale that Neil, my opponent, called the game at that point, congratulating me on a victory. He just couldn't see how his remaining tanks could survive...which was a pity, as I was looking forward to proving his point for him!

It was a short and most enjoyable game. The Italians were hamstrung by their low initiative, lack of radios and fixed-mount main guns: things the British were able to exploit despite their paper-thin armour and being outnumbered two-to-one. As for my dreams of being able to stand off and shoot from a distance...well, the photos below show that the battle looked more like Hyde Park Corner in rush hour, with the darkness meaning that nearly all shooting was done at less than 9" or 60 yards!

Robert Avery


This afternoon Neil and I fought the second of our paired games from the Operation Compass scenario booklet. This time we would fight BuqBuq twice: once with me as the Italians, then swapping sides so I took the British. The scenario is very similar to the last one we fought, Sidi Barrani, in that it involves a force of British tanks (three platoons, each three tanks: one A9s, one A13s and one Light Tanks MkVI) attempting to suppress a mixed bag of Italian artillery positions supported by some ragtag infantry.

It promised to be a lovely afternoon’s gaming. The table was set up under a canopy on the patio, with Neil’s immaculately tended garden as the backdrop. The sun was shining, but there was a light breeze blowing. The noisy neighbour, who had refused to turn down his music, had gone out. A bar-b-que had been consumed, and there was ice cream for after the battles were done. 

The first battle opened with the British bringing their light tanks and A9 Cruisers on to one corner of the table, desperately spotting in all directions as they tried to locate the Italian gun positions amongst the sand dunes west of BuqBuq. A few false Blinds were located and dispersed.  

The Italians had spotted as well, opening fire at long range as soon as they saw the British tanks. The Italian force revealed itself as a battery of two 75mm field guns behind one h ill facing the British right; a battery of two 65mm infantry guns on top of hill facing the British left; and in the centre a single 100mm howitzer. The howitzer was supported by two anti-tank guns, but they stayed under Blinds for the moment. There were also four squads of infantry lurking around somewhere, but they, quite sensibly, played no part in the battle.

No damage was done by the Italian opening salvo, and the British rushed forward to try and close to effective machine gun range with the Italian guns. On the British right, the A9s (anachronistically represented in the photos by Grants as they’d never been on the tabletop before and I wanted to use them!) fired smoke, partially obscuring the fire of the Italian 75s, with the Squadron Commander also calling in fire support from some off-table 25-pounders. On the British left, the A13s (again anachronistically portrayed by Crusaders as I have them painted up in desert colours) advanced.  In the centre, the MkVIs hung back: nervous of the firepower of the Italian howitzer.

The first serious action was on the British left. Here, using their Armour Bonus Move card well, the A9s rapidly closed with the Italian 75s. One A9 was taken out during the advance, but the threat of the other two, and ranging shots from artillery landing on them, was enough to make the Italian gunners limber up and prepare to evacuate. Unfortunately they had left it too late, and moved too slowly. The crews of both guns died under a hail of machine gun fire from the fast-moving cruisers as they drove towards the main Italian position. 

However, as the A9s congratulated themselves on their success, a strange whistling noise was heard from above. They had forgotten that they had called in artillery and were currently parked right next to the explosion marker that indicated the centre of the expected barrage. The Off Table Artillery chip had come up and the British tanks rocked and shook as 25-pounder rounds landed on top of them! Neil was most dischuffed, despite the fact that his tanks actually took no damage.

On the British left, however, the Italians had done much better. The howitzer and 65s had managed to knockout two of the A13s and the Squadron commander in his A10 for the loss of only the howitzer. The British light tanks were still lurking at the back of the battlefield, but advanced forward only to be caught in salt flats that immobilised them for the rest of the game (which is what happened historically as well).

The British now brought their three surviving medium tanks together behind a hill and prepared to assume hull down position and machine gun what they thought were the only remaining enemy guns: the two 65s on the far hill. Up the hill they went, straight into the sights of the two Italian ATGs that now came off their Blinds. One A9 went up in smoke, and the other tanks retreated back down the hill.

At this point, Neil decided not to continue with this game: believing that there was no way that his three remaining operational tanks could win, given the large amounts of open ground that they had to traverse. I shall spare you his animadversions on the quality of the scenario; the fact that historical gaming didn’t necessarily equal fun gaming; his preference for equally pointed games with each side having a mix of infantry, artillery and armour; and his general unhappiness with, well, everything really!

After a little persuasion, however, he perked up enough to agree to refight the battle, this time with him playing the Italians. He adopted an almost identical deployment as I had, and sat and waited for me to advance.

Game Two

Having seen the consequences of splitting the British force, I had planned to put all my tanks together for one massive thrust up the right hand side of the battlefield. A quick break to get coffee, however, effectively wiped my brain, and I ended up sending the A9s and light tanks up the right hand side of the battlefield; and the A13s and Squadron Commander in his A10 up the left. I mentally kicked myself as I watched all three light tanks and an A9 get KO’d by long range Italian fire.

On the British right, the A9s (this time represented by the correct models) drove up close enough to make the Italian 75s limber up. As the artillery drove away, however, British off-table artillery landed on top of them, pinning them for long enough for the two surviving A9s to catch them and shoot them up.

It was on the British left, however, that the battle was won. A run of movement bonuses got the A13s and A10 into effective range with their machine guns for the loss of just one A13. The Squadron Commander’s card then came up, and he accelerated forward with a stonkingly huge die roll for movement and ended up right on top of one Italian 65mm gun. We rolled to see if his tank was damaged: not even a scratch on the paintwork. That left him in the middle of the Italian gun position: a 65mm gun underneath him, another 65mm gun on one side of him, a 100mm howitzer on the other, two infantry squads looking with astonishment at this metal monster that had appeared in front of them, and two anti-tank guns being pushed round into a position to shoot at him from the next hill along!

Then up came Tea Break. Every Italian gun fired. Both supporting A13s were disabled and would have to roll next time to see if their crews abandoned, but the Squadron Commander’s A10 was untouched.

Next turn began. The British Squadron Commander got to fire first and mullered the 65mm gun next to him. Then came Tea Break. The two disabled British A13s survived the barrage of shells that came their way, bits of their tanks flying off in all directions, frantically shooting their machine guns at any gunners and/or infantry they could see. The Squadron Commander’s tank was, of course, masked by the 100mm howitzer.

Next turn, the Squadron Commander A10’s card again came up first. This time he finished off the Italian howitzer crew on his right. Unfortunately, however, this meant that the Italian anti-tank guns would finally get a clean shot on him when their card came up. Not this turn, however, as the Armour Bonus Move card appeared, and the A10 carefully drove forward deep into the heart of the nearby Italian infantry, effectively screening his tank behind a somewhat surprised human wall.

Tea Break again…and again both immobilised British tanks survived a barrage of shells and wreaked horrible damage with their machine guns. Remember that they hadn’t activated yet, only firing on Tea Break, so hadn’t yet had to roll to abandon!

On the next turn, the Squadron Commander’s card was not the first to appear. It was the A9s, who now appeared behind the Italian ATGs who had slewed round to fire at the A13s and A10. Gunners fell in a hail of machine gun fire and, again, Neil conceded that the battle was lost to the Italians, caught in between the horns of a very British buffalo.

With only the merest hint of gnashing teeth, Neil helped me clear away, ignoring my largely unsuccessful attempts to avoid showing my satisfaction at my two victories. Admittedly our usually convivial post-battle analysis was a little foreshortened, but handshakes were exchanged and, it appeared, good humours restored.

It wasn’t until I was driving home that I realised that I hadn’t been offered my ice cream!

Robert Avery


My regular opponent, Neil, and I played Scenario 8, Sidi Barrani, from the Operation Compass scenario book last night. We played it twice: once with Neil playing the British, once with Neil playing the Italians. 

The scenario features a squadron of British tanks sweeping through sand dunes near the town of Sidi Barrani looking to finally crush the last remnants of Italian resistance in the form of three batteries of guns supported by a few squads of Libyan colonial infantry. The scenario takes place at night, albeit under a full moon, so Blinds are aplenty; and spotting and shooting are difficult at all but close range. The British objective is to take out all enemy guns and make base-to-base contact with an objective marker at the opposite end of the table.

The first game opened with the British confronted by a mass of Italian Blinds spread out over the battlefield. The tanks of 6RTR shot down the road, frantically spotting in all directions. As it was dark, they saw nothing, but an Italian gun position opened up from just to the east of the hill that dominated the terrain: two 75/28 infantry guns with a Big Man.

The Italian fire was ineffectual, but provoked what I can only describe as an all out cavalry charge by all the British tanks that were available: three A10 Cruisers and the Squadron HQ of an A9 and an A10CS. I'm not sure quite what the Squadron HQ was doing charging up a hill straight at enemy guns, but it seemed to work quite well: one gun was overrun by an A10, disappearing under its tracks with a satisfying grinding noise, and the other's crew quickly mown down by concentrated machine-gun fire. The Italian Big Man, Sergente Agnello, survived unscathed for a short time afterwards, but eventually met with the same fate as his men.

Incidentally, those of you who are now trying to reconcile the pictures above with A9 and A10 Cruisers should congratulate themselves on their vehicle recognition skills: the only British tanks I had painted in desert strip were Crusaders and Valentines, so we used them instead of A9s and A10s!

A second Italian gun battery then opened fire at the flanks of the British tanks that were still milling around the wreckage of the 77s. Unfortunately this provoked another charge by the British: the command tank hurtling down the hill, and the final British troop, this one of lighter A9s, coming in from the road. Although these Italian guns were only 65/17 infantry guns, they were able to knock out one British A9 outright, and send another off the board to seek repairs, before being destroyed once again by machine-gun fire.

At the same time, two squads of Libyan infantry appeared from the hill top above the destroyed 77s (you can just see the edge of their Blind in the picture above: the obvious Blind is a fake), and charged into close combat with the British tanks. Although the infantry was dispatched in fairly short order, they did manage to cause the Squadron HQ CS tank to withdraw to seek repairs. That made three out of eight British tanks off the table. 

Next spotted was the final Italian gun position: this one housing two 45mm anti-tank guns. at last: something that you'd think would slightly worry the British tankers. Not a bit of it! As you can see from the picture, above, a troop and the Squadron HQ tank charged forward again. These guns proved a bit more deadly, however, and although eventually KO'd, two more British tanks were taken out or forced to retreat. That left three British tanks verses the only other Italian opposition: another two squads of infantry.

In the event, the infantry didn't manage to do much at all, so it was a British victory, but at a cost of five valuable and (in campaign terms) irreplaceable tanks, at least two of which were completely brewed up. I now took charge of the British for the return leg.

Game Two

Again the British were confronted by a mass of Italian Blinds. I now conducted what even Neil called a text book attack on the position. Hunting out the Italian gun positions with my heavier A10 Cruisers, who could probably take a hit or two, I then brought up my A10CS and laid down a barrage of heavy mortar fire on the hapless Italian gunners. The lighter A9s were kept in fire brigade mode: suppressing one infantry platoon and then using their superior speed to overwhelm the real danger, the Italian anti-tank guns, before they could do more than knock a track off one tank.

In the end the Italians were utterly defeated again, but this time with the loss of only two British tanks: one temporarily immobilised and one that had sought repairs after its turret had jammed. Just goes to show the benefits of Captain Hindsight!

A great night's gaming with a scenario that neatly characterised the differences between Compass and the other scenarios we've played recently. Next stop is probably Buq Buq (and I love the (genuine) quote from one British tanker who when asked where he was replied that he had "reached the first Buq of Buq Buq") where a similar action will take place, but with no CS tanks available and a nice surprise lying in wait for the Brits!

Robert Avery


In this scenario, the Brits have to clean up some pockets of resistance in the Italian camp, Tummar West.

They start the scenario, however, without their Matilda tanks, so the British infantry had to attack on their own and suffered fairly significant losses.

But Elias threw the required six without difficulty, and all his reinforcements were soon on the table: three Matildas, two Bren carriers and a company of Indian infantry. From that moment on it was business as usual...but it still took until turn 13 before the entire camp was under British control.

The Stipsicz Hussars


Like all other scenarios of Compass that we have played so far, this scenario is very one-sided. The British attack camp Nibeiwa with three Matilda tanks against Italian guns only capable at most of scratching the paintwork of the lumbering beasts.

As soon as the guns are neutralised, the Italian player has only Libyan colonial infantry with which to fight the tanks: and they can't even scratch their paintwork! 

You must possess a certain level of sadomasochism to want to play with the Italians. But Elias enjoyed himself immensely. And my just-painted Indian infantry company had their first outing on the tabletop.

Result: all Italians in the camp dead or captured. On the British side: two Scots and one Indian killed.

The Stipsicz Hussars