With the outbreak of the Zulu War in 1879, the prince, with the rank of lieutenant, forced the hand of the British military to allow him to take part in the conflict, despite the objections of Rouher and other Bonapartists. He was only allowed to go to Africa by the special pleading of his mother, Empress Eugénie, and by the intervention of Queen Victoria herself. He left England on 27 February 1879 with letters of introduction from the Duke of Cambridge, the British commander-in-chief, in the hope he might be allowed to follow the movements of the troops.
Once he arrived at Durban, he joined the General's Head-Quarters and met Frederic Thesiger, 2nd Baron Chelmsford, the commander in South Africa, on 9 April and was nominally placed on his staff. The prince accompanied Chelmsford on his march into Zululand. Keen to see action and full of enthusiasm, he was warned by Lieutenant Arthur Brigge, a close friend, "not to do anything rash and to avoid running unnecessary risks. I reminded him of the Empress at home and his party in France."
Chelmsford, mindful of his duty, attached the prince to the staff of Colonel Richard Harrison of the Royal Engineers, where it was felt he could be active but safe. Harrison was responsible for the column's transport and for reconnaissance of the forward route on the way to Ulundi, the Zulu capital. While he welcomed the presence of the prince, he was told by Chelmsford that the prince must be accompanied at all times by a strong escort. Lieutenant Jahleel Brenton Carey, a French speaker and British subject from Guernsey, was given particular charge of him. The prince took part in several reconnaissance missions. However, his eagerness for action almost led him into an early ambush when he exceeded orders in a party led by Colonel Redvers Buller.
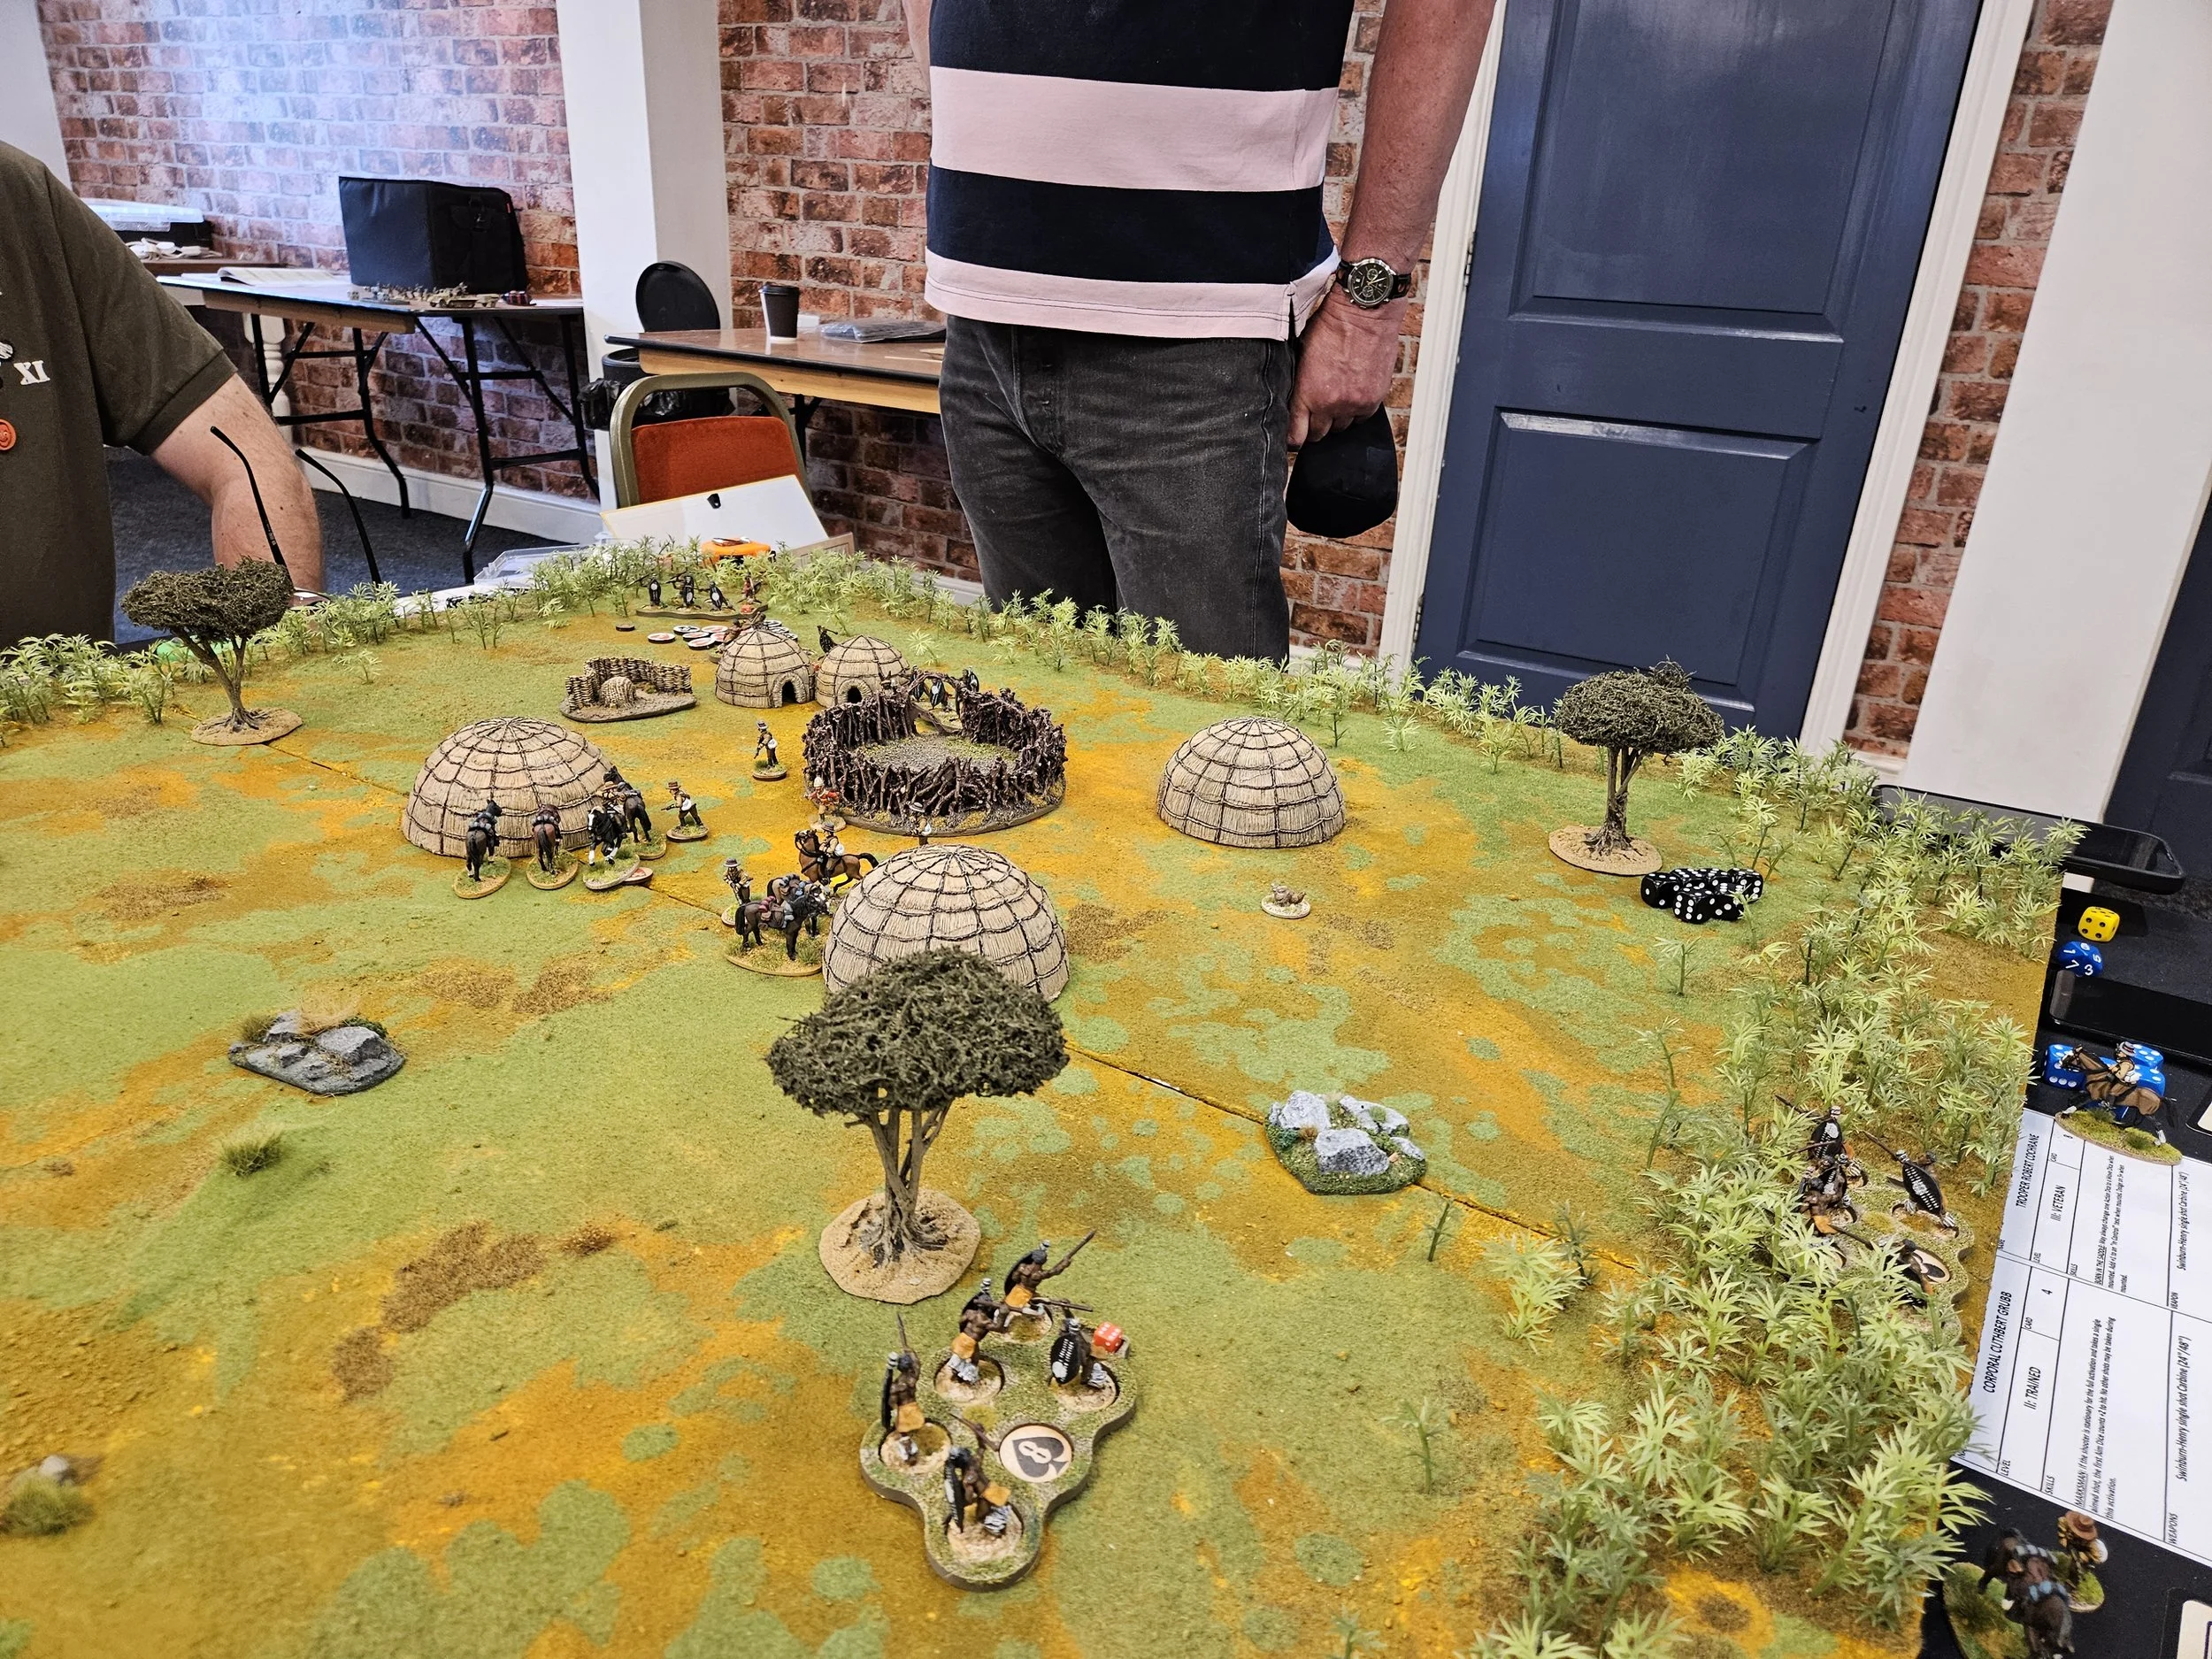
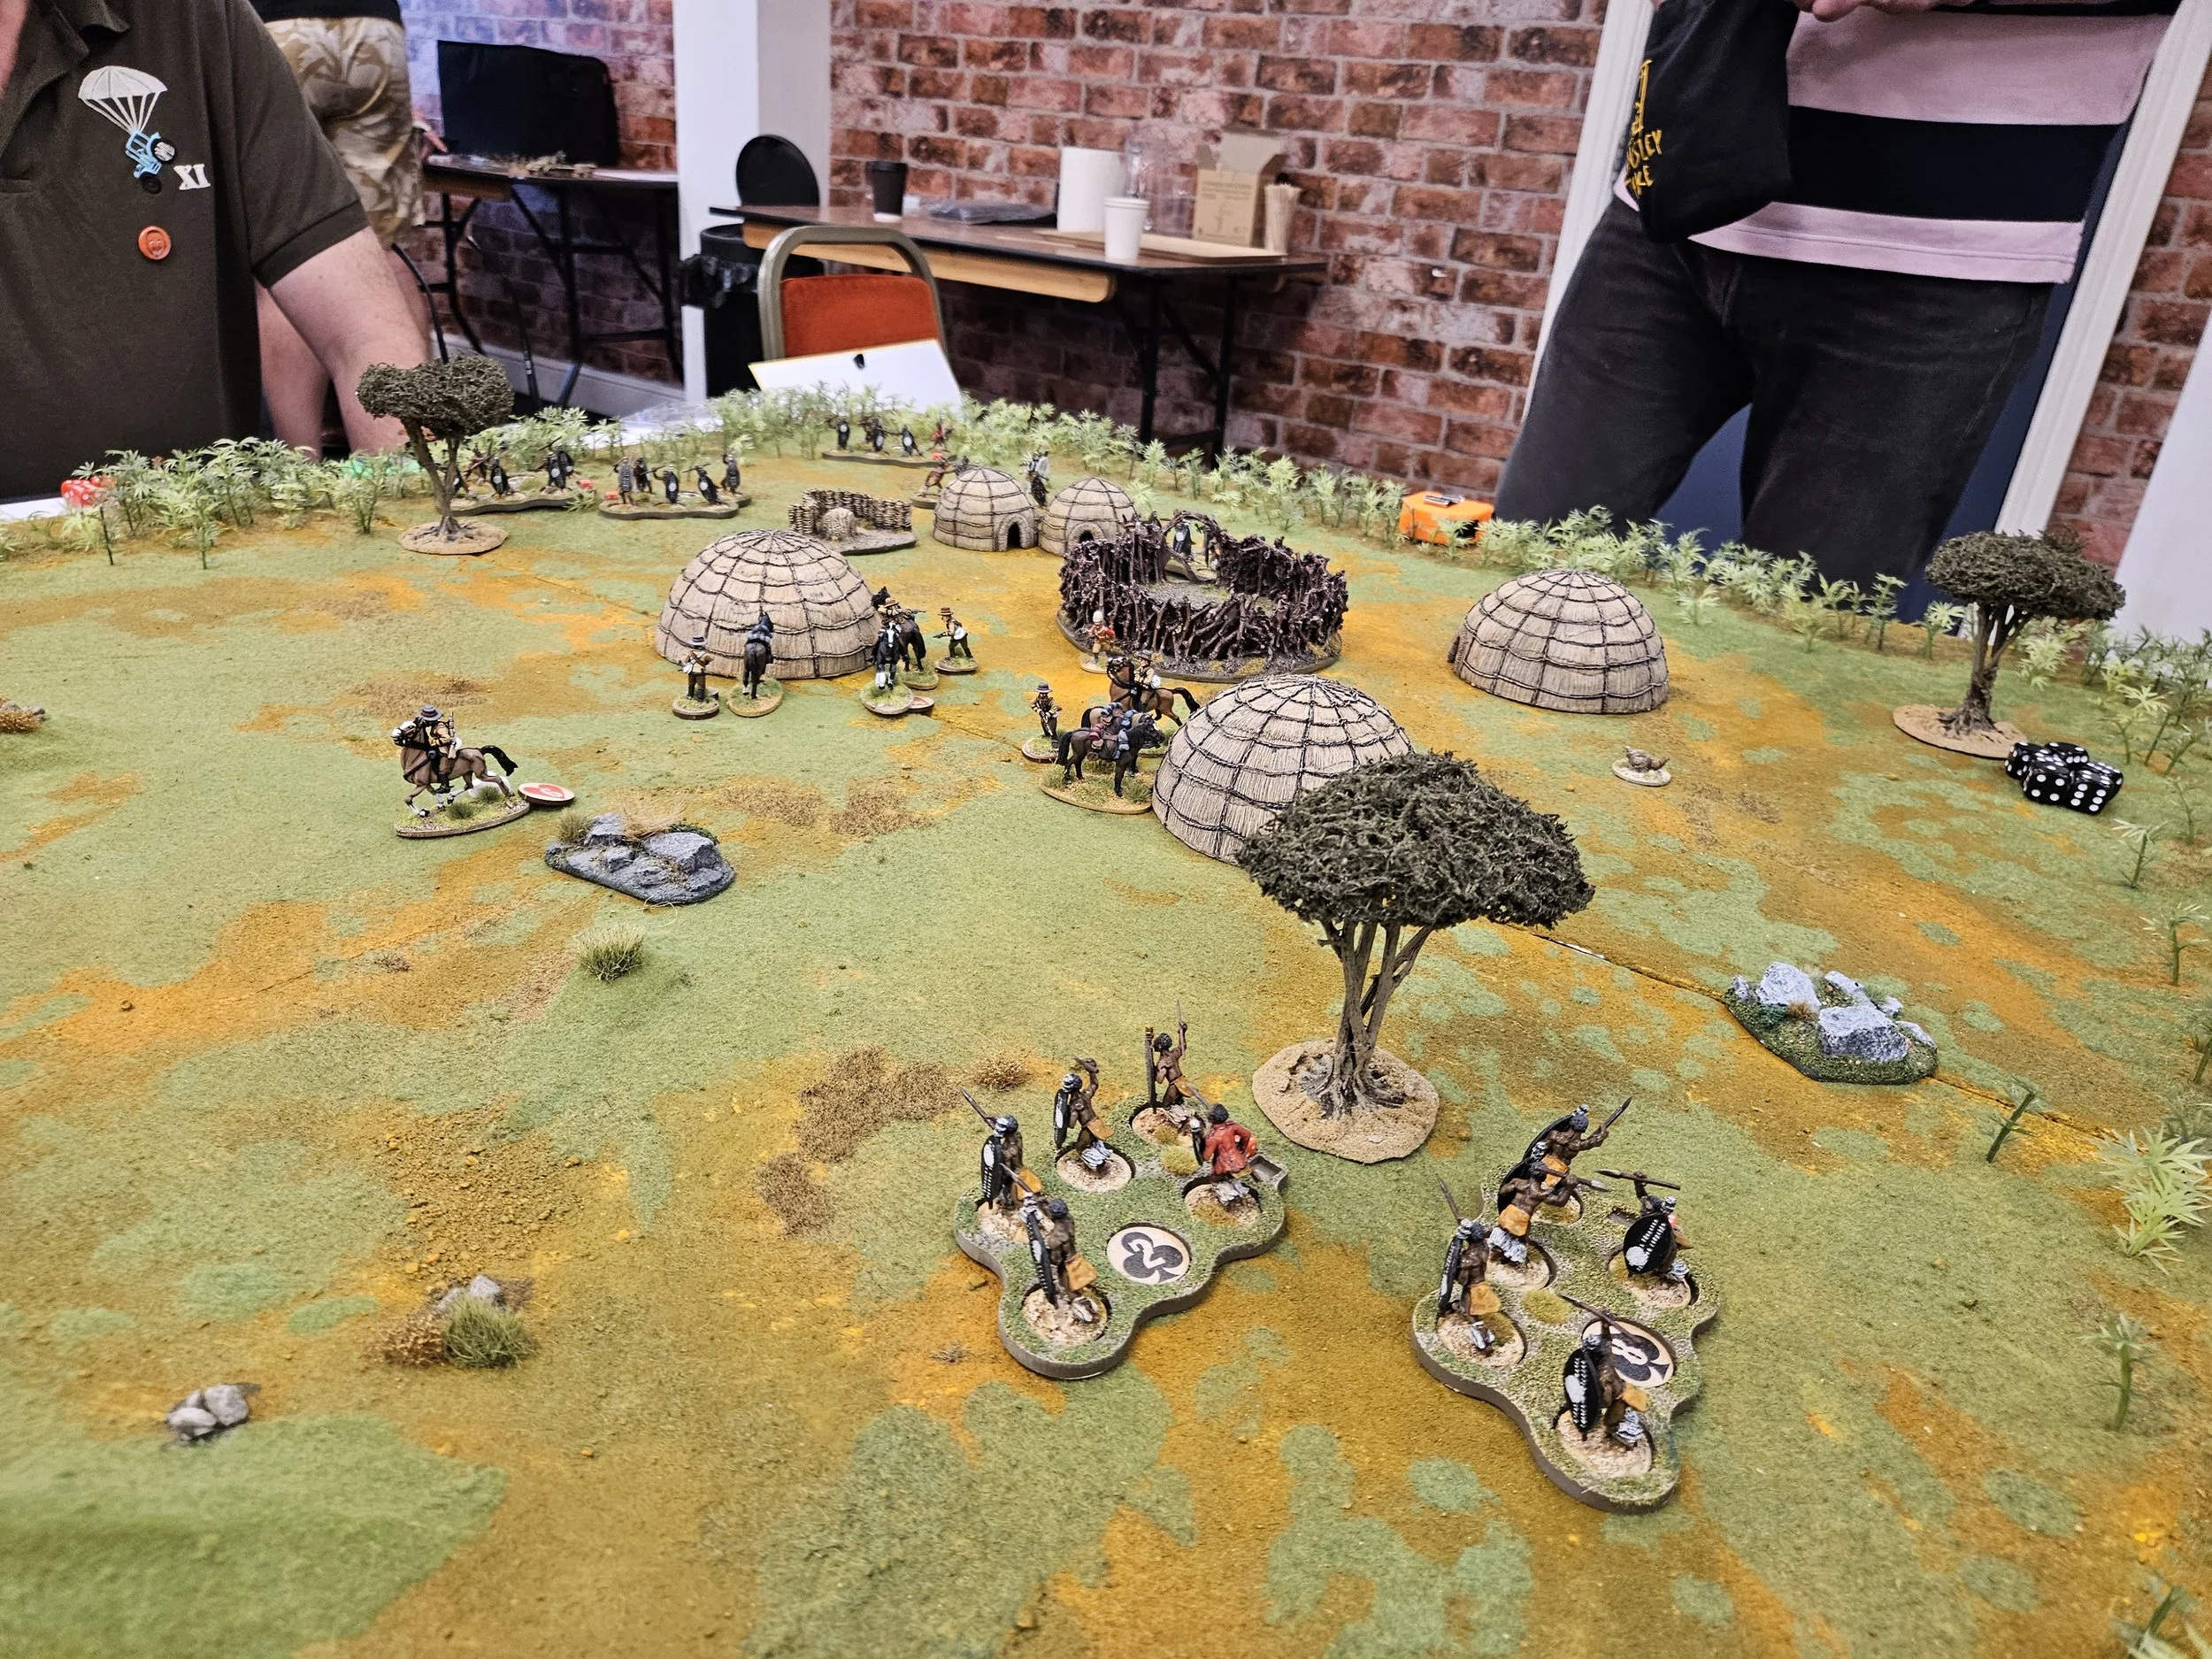
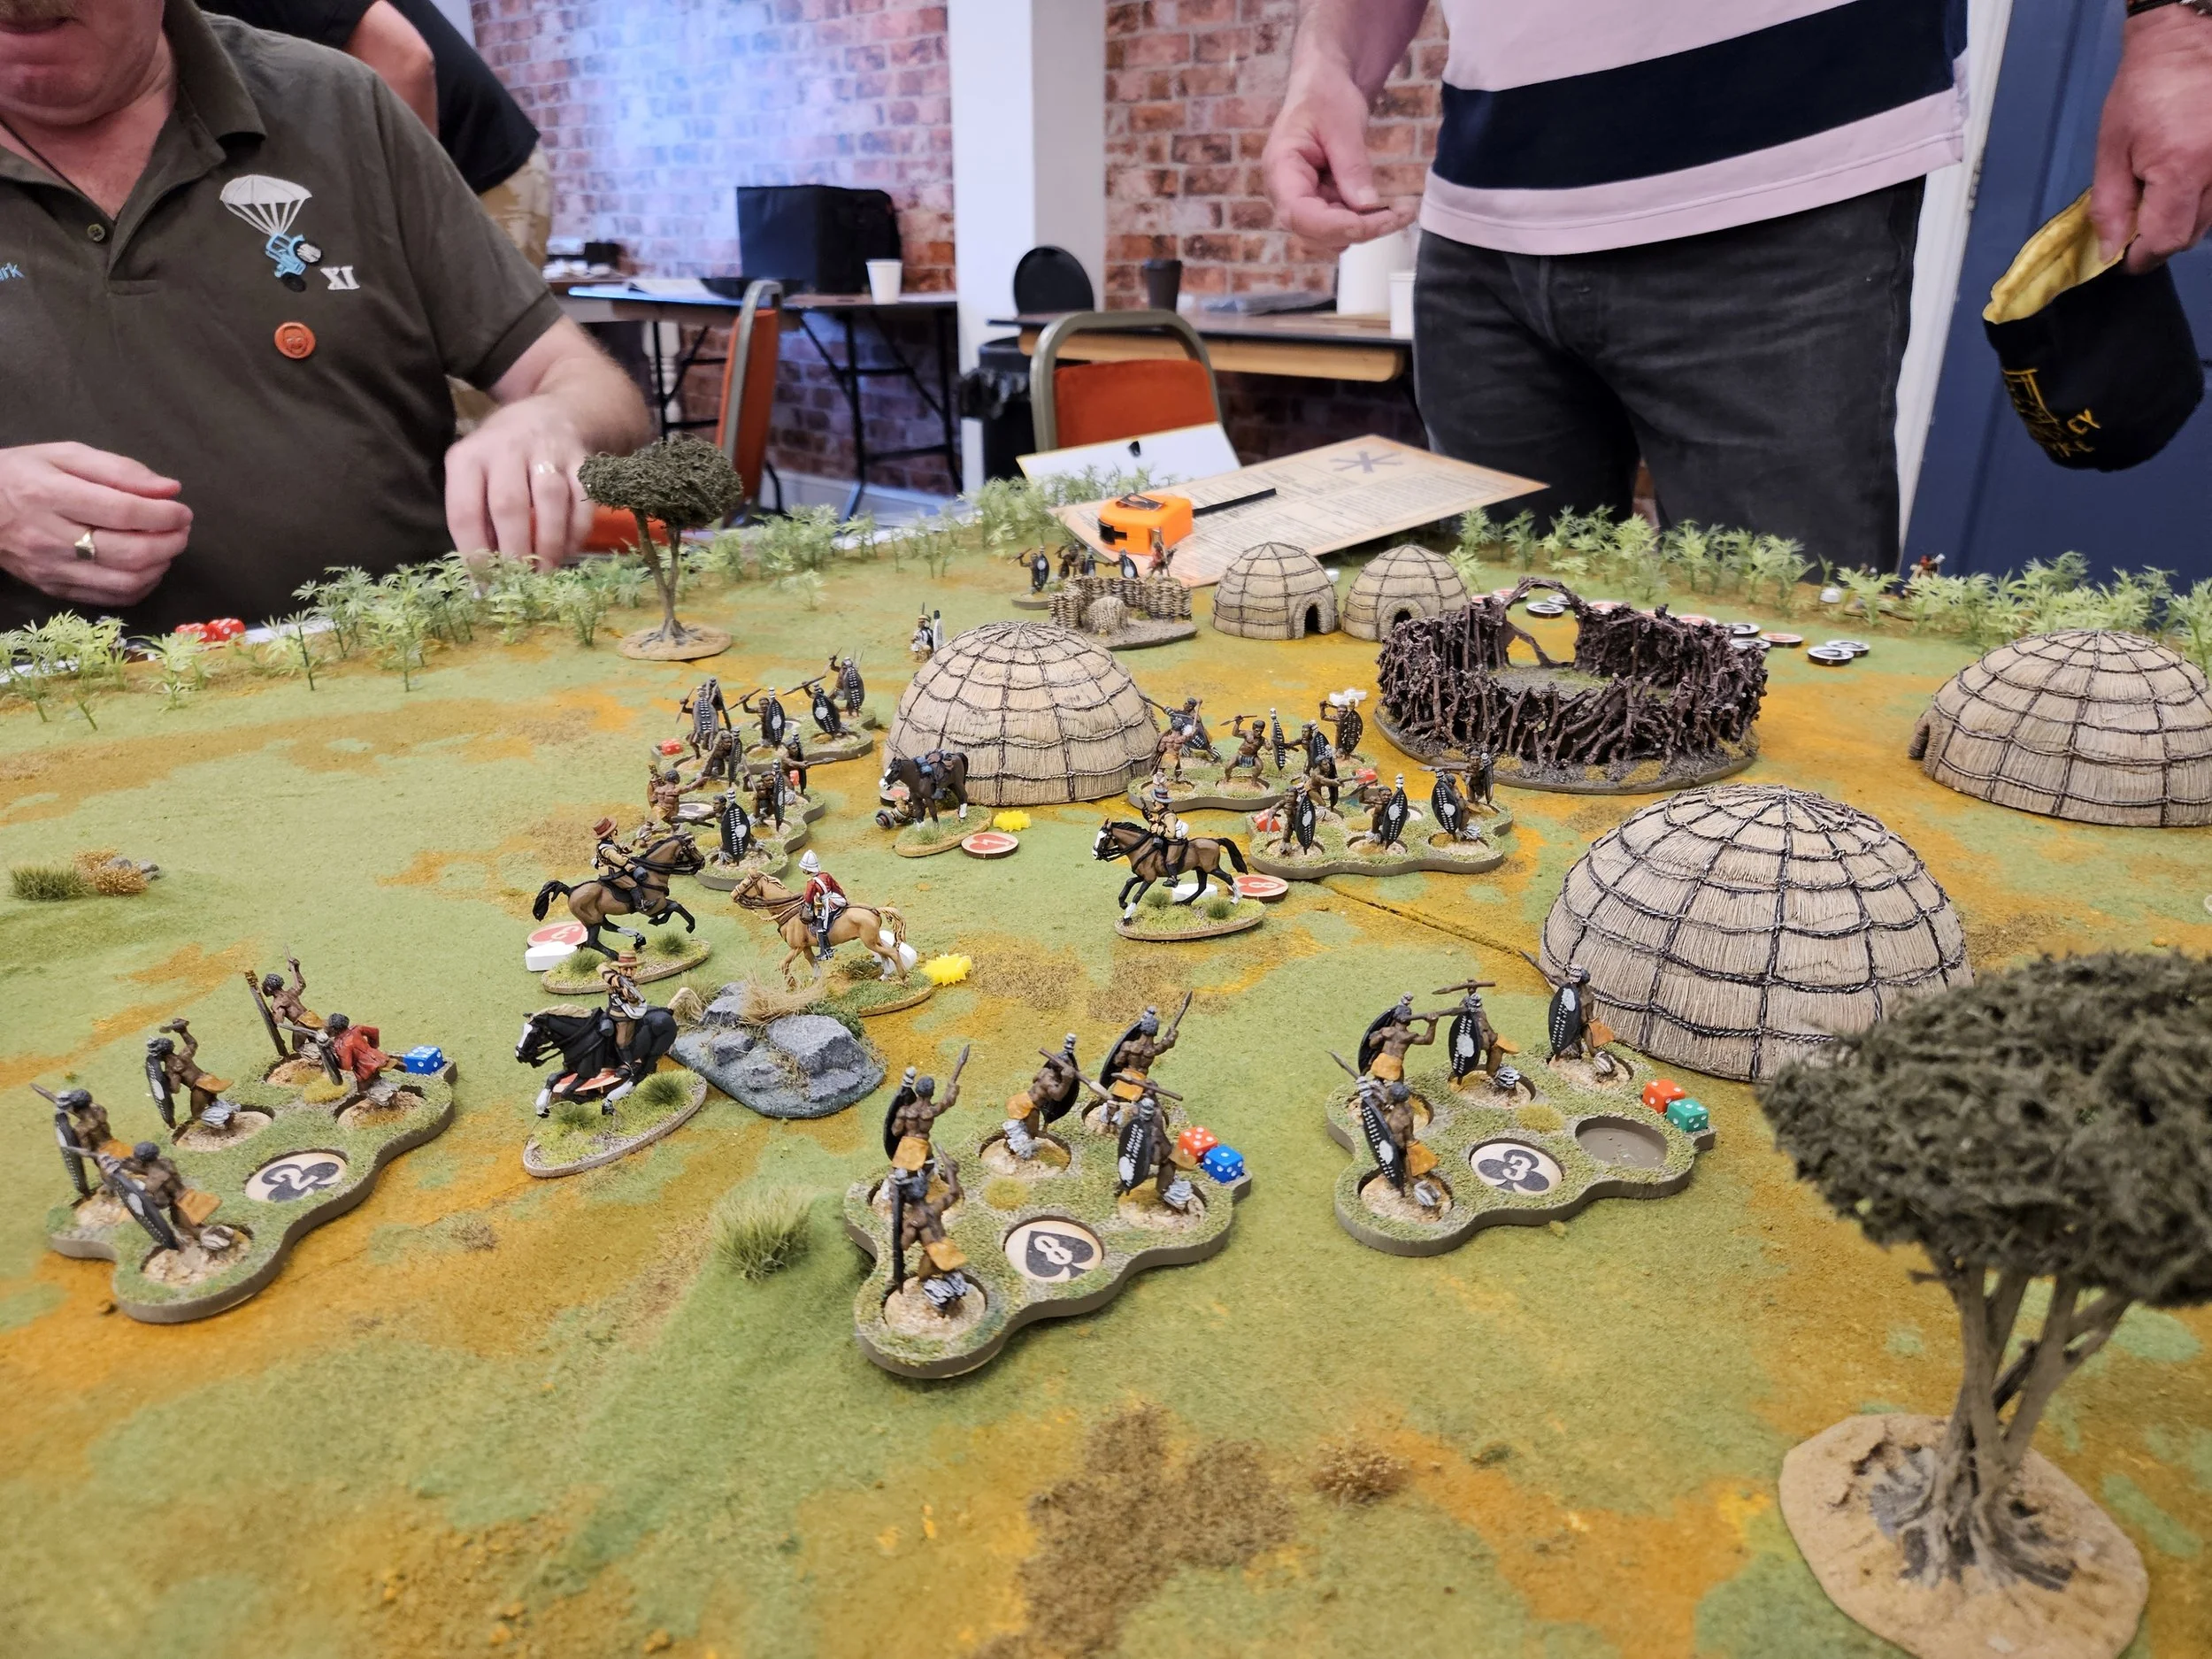
Despite this, on the evening of 31 May 1879, Harrison agreed to allow the prince to scout in a forward party scheduled to leave in the morning, mistakenly believing that the path ahead was free of Zulu skirmishers.On the morning of 1 June 1879, the troop set out, earlier than intended and without the whole escort, largely owing to the prince's impatience. Led by Carey, the scouts rode deeper into Zululand. Without Harrison or Buller present to restrain him, the prince took command from Carey, even though the latter had seniority. At noon, the prince halted the troop at a temporarily deserted kraal. The prince and Carey made some sketches of the terrain and used part of the thatch to make a fire. No lookout was posted. As they were preparing to leave, about 40 Zulus fired upon them and rushed towards them, screaming. The prince ran to mount his horse and was able to grab onto the holster on the saddle of his horse. The prince's horse then dashed off before he could mount. After about 90 metres (100 yards), the strap the prince was clinging to broke and the horse kicked the prince in the belly, winding him. The prince fell beneath his horse, and his right arm was trampled. He leapt up, drawing his revolver with his left hand, and started to run, but the Zulus outpaced him.
The prince fired three shots from his revolver at his assailants, but he missed each shot. The prince then fired two more shots, albeit slower, in order to better aim. However, these, too, missed. One of the prince's assailants, a Zulu named Langalibalele, threw his spear at the prince, but missed. Another spear, thrown by a Zulu named Zabanga, struck the prince's left shoulder. The prince tried to fight on, wielding the spear thrown by Langalibalele in his right hand and his revolver in his left. However, weakened by his wounds, the prince sank to the ground and was overwhelmed. Zabanga stabbed the prince again with an assegai, followed by Gwabakana; and then the prince suffered a final blow from Klabawathunga – who stabbed the prince in the right eye – penetrating the prince's brain and killing him.
Two troopers of the Natal Native Horse, Abel and Rogers, as well the Zulu guide accompanying them, died with the prince during the Zulu ambush. Carey and the four surviving men came together about 50 yards (50 m) from where the prince made his final stand but did not fire at the Zulus. Carey led his men back to camp. The prince's body was recovered the next day. After a court of inquiry, a court-martial, and intervention by Empress Eugénie and Queen Victoria, Carey returned to his regiment. Carey died in Bombay on 22 February 1883.
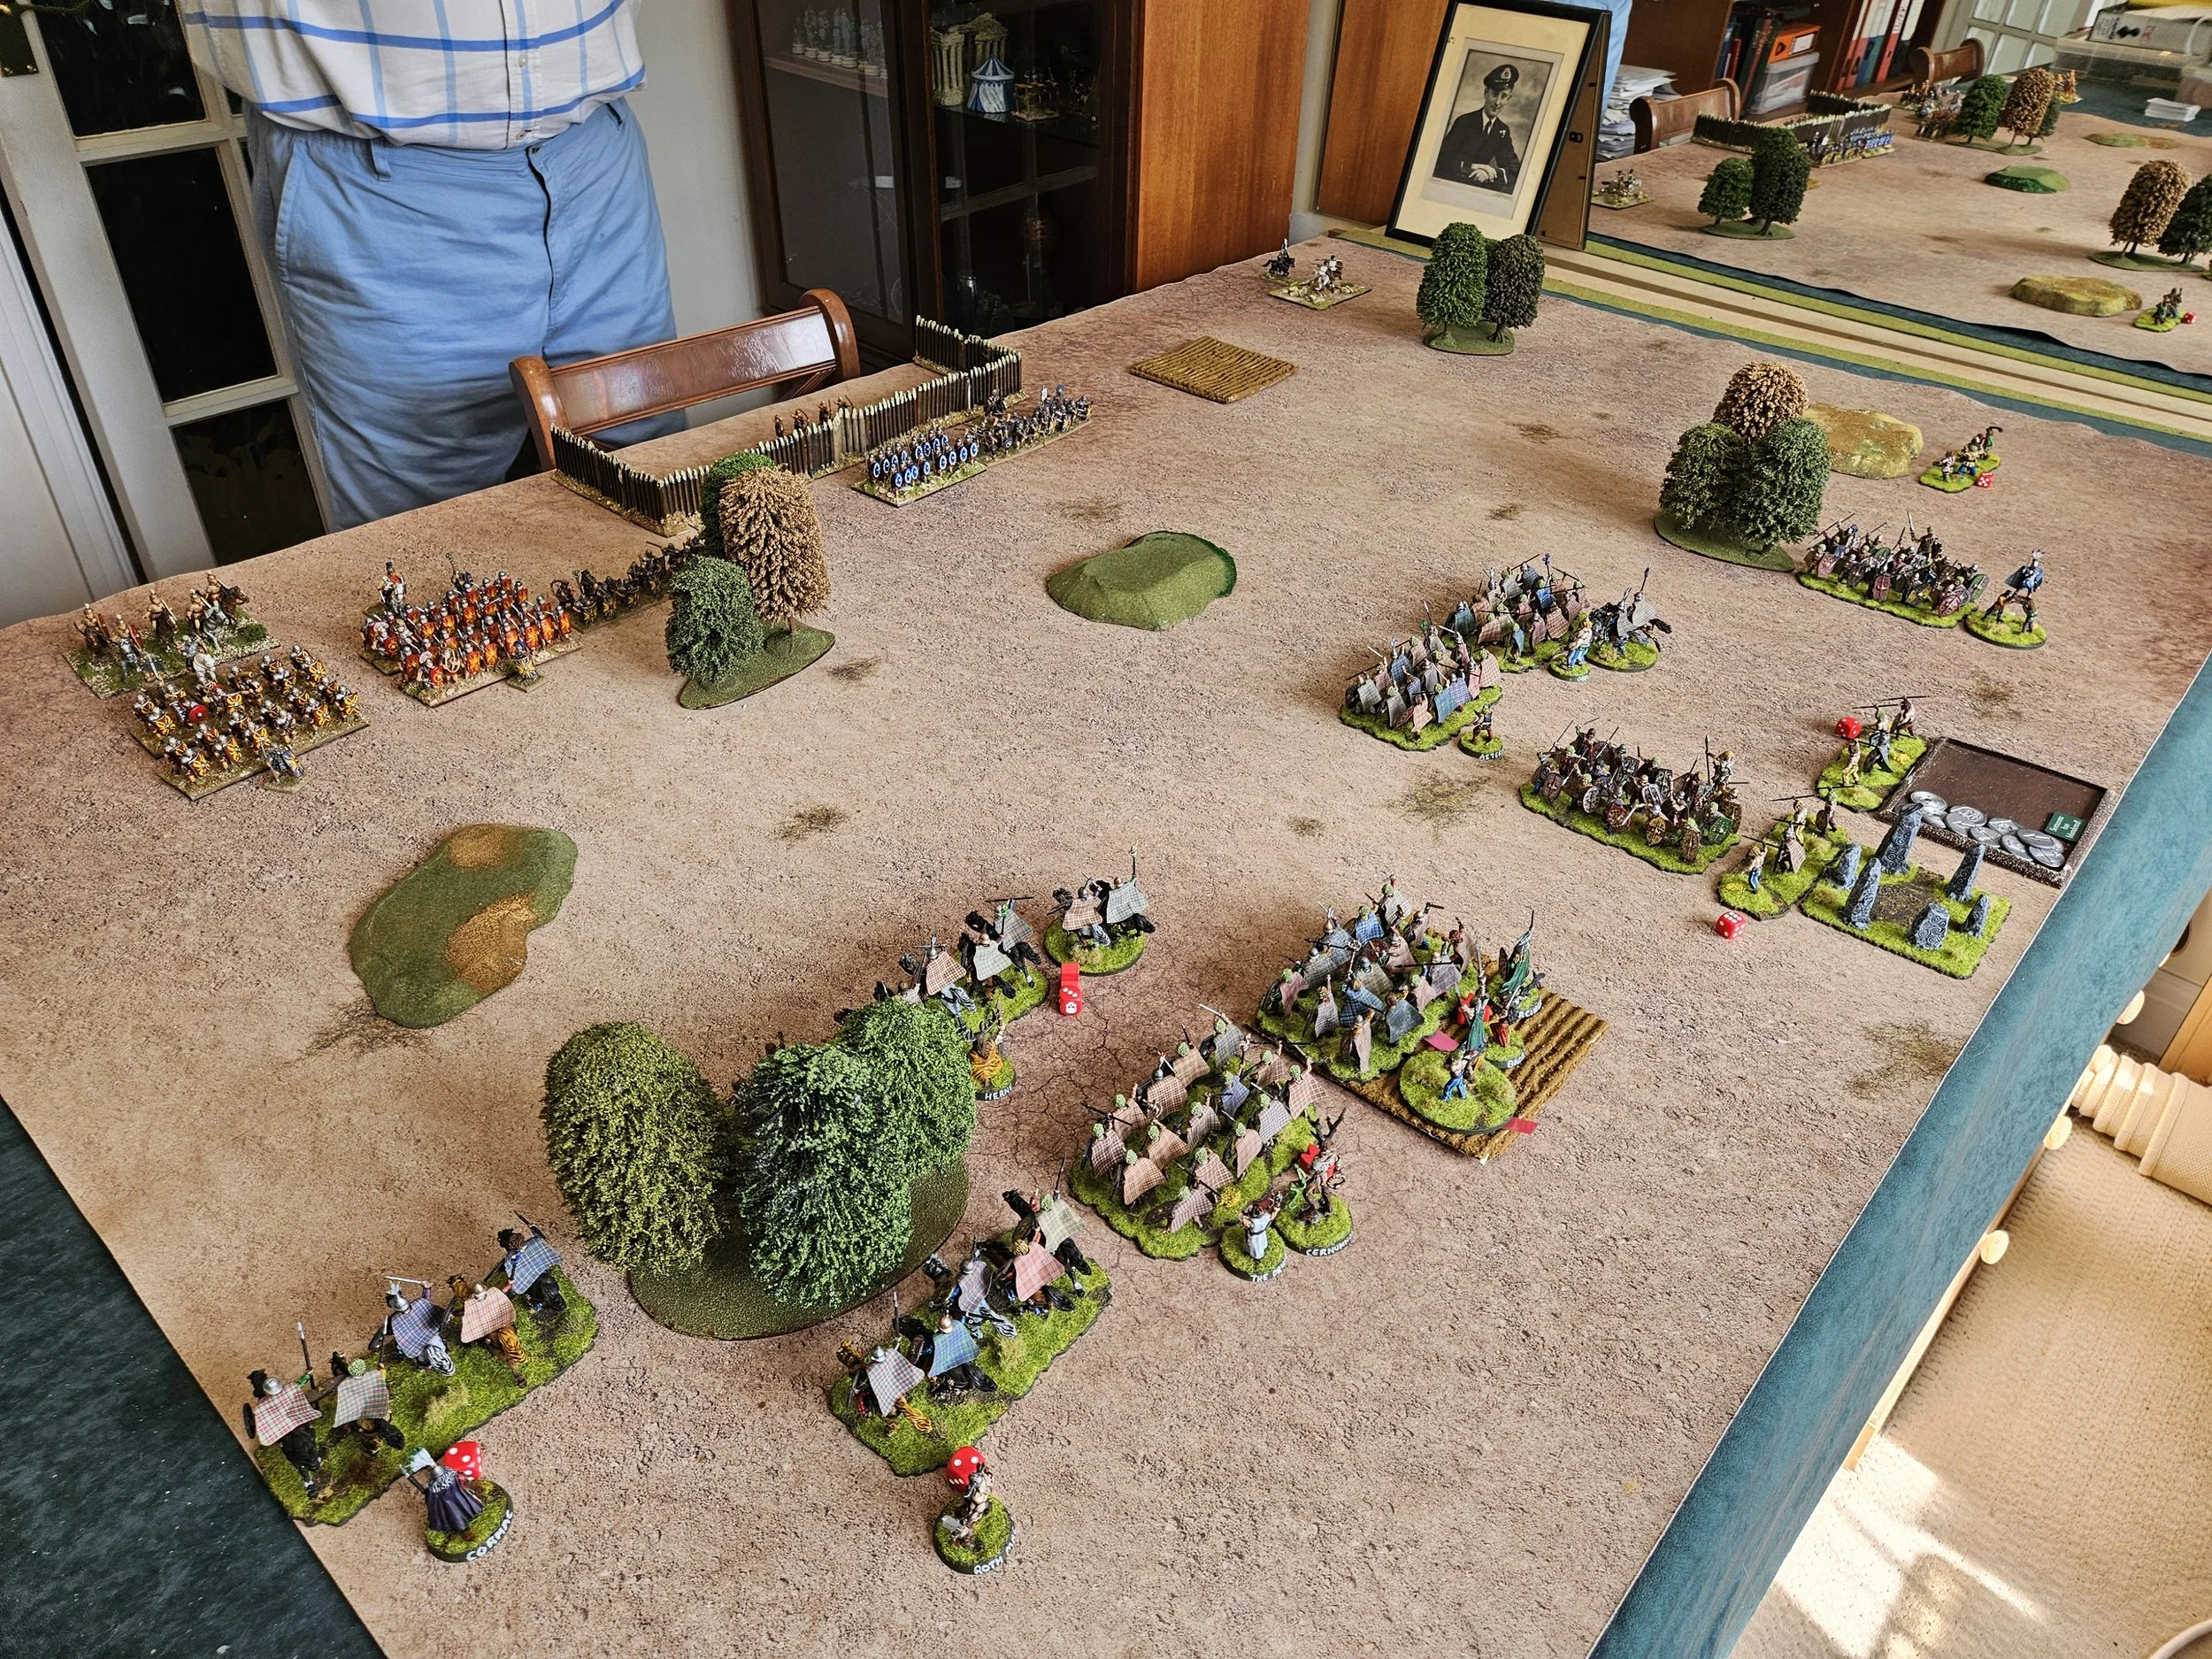
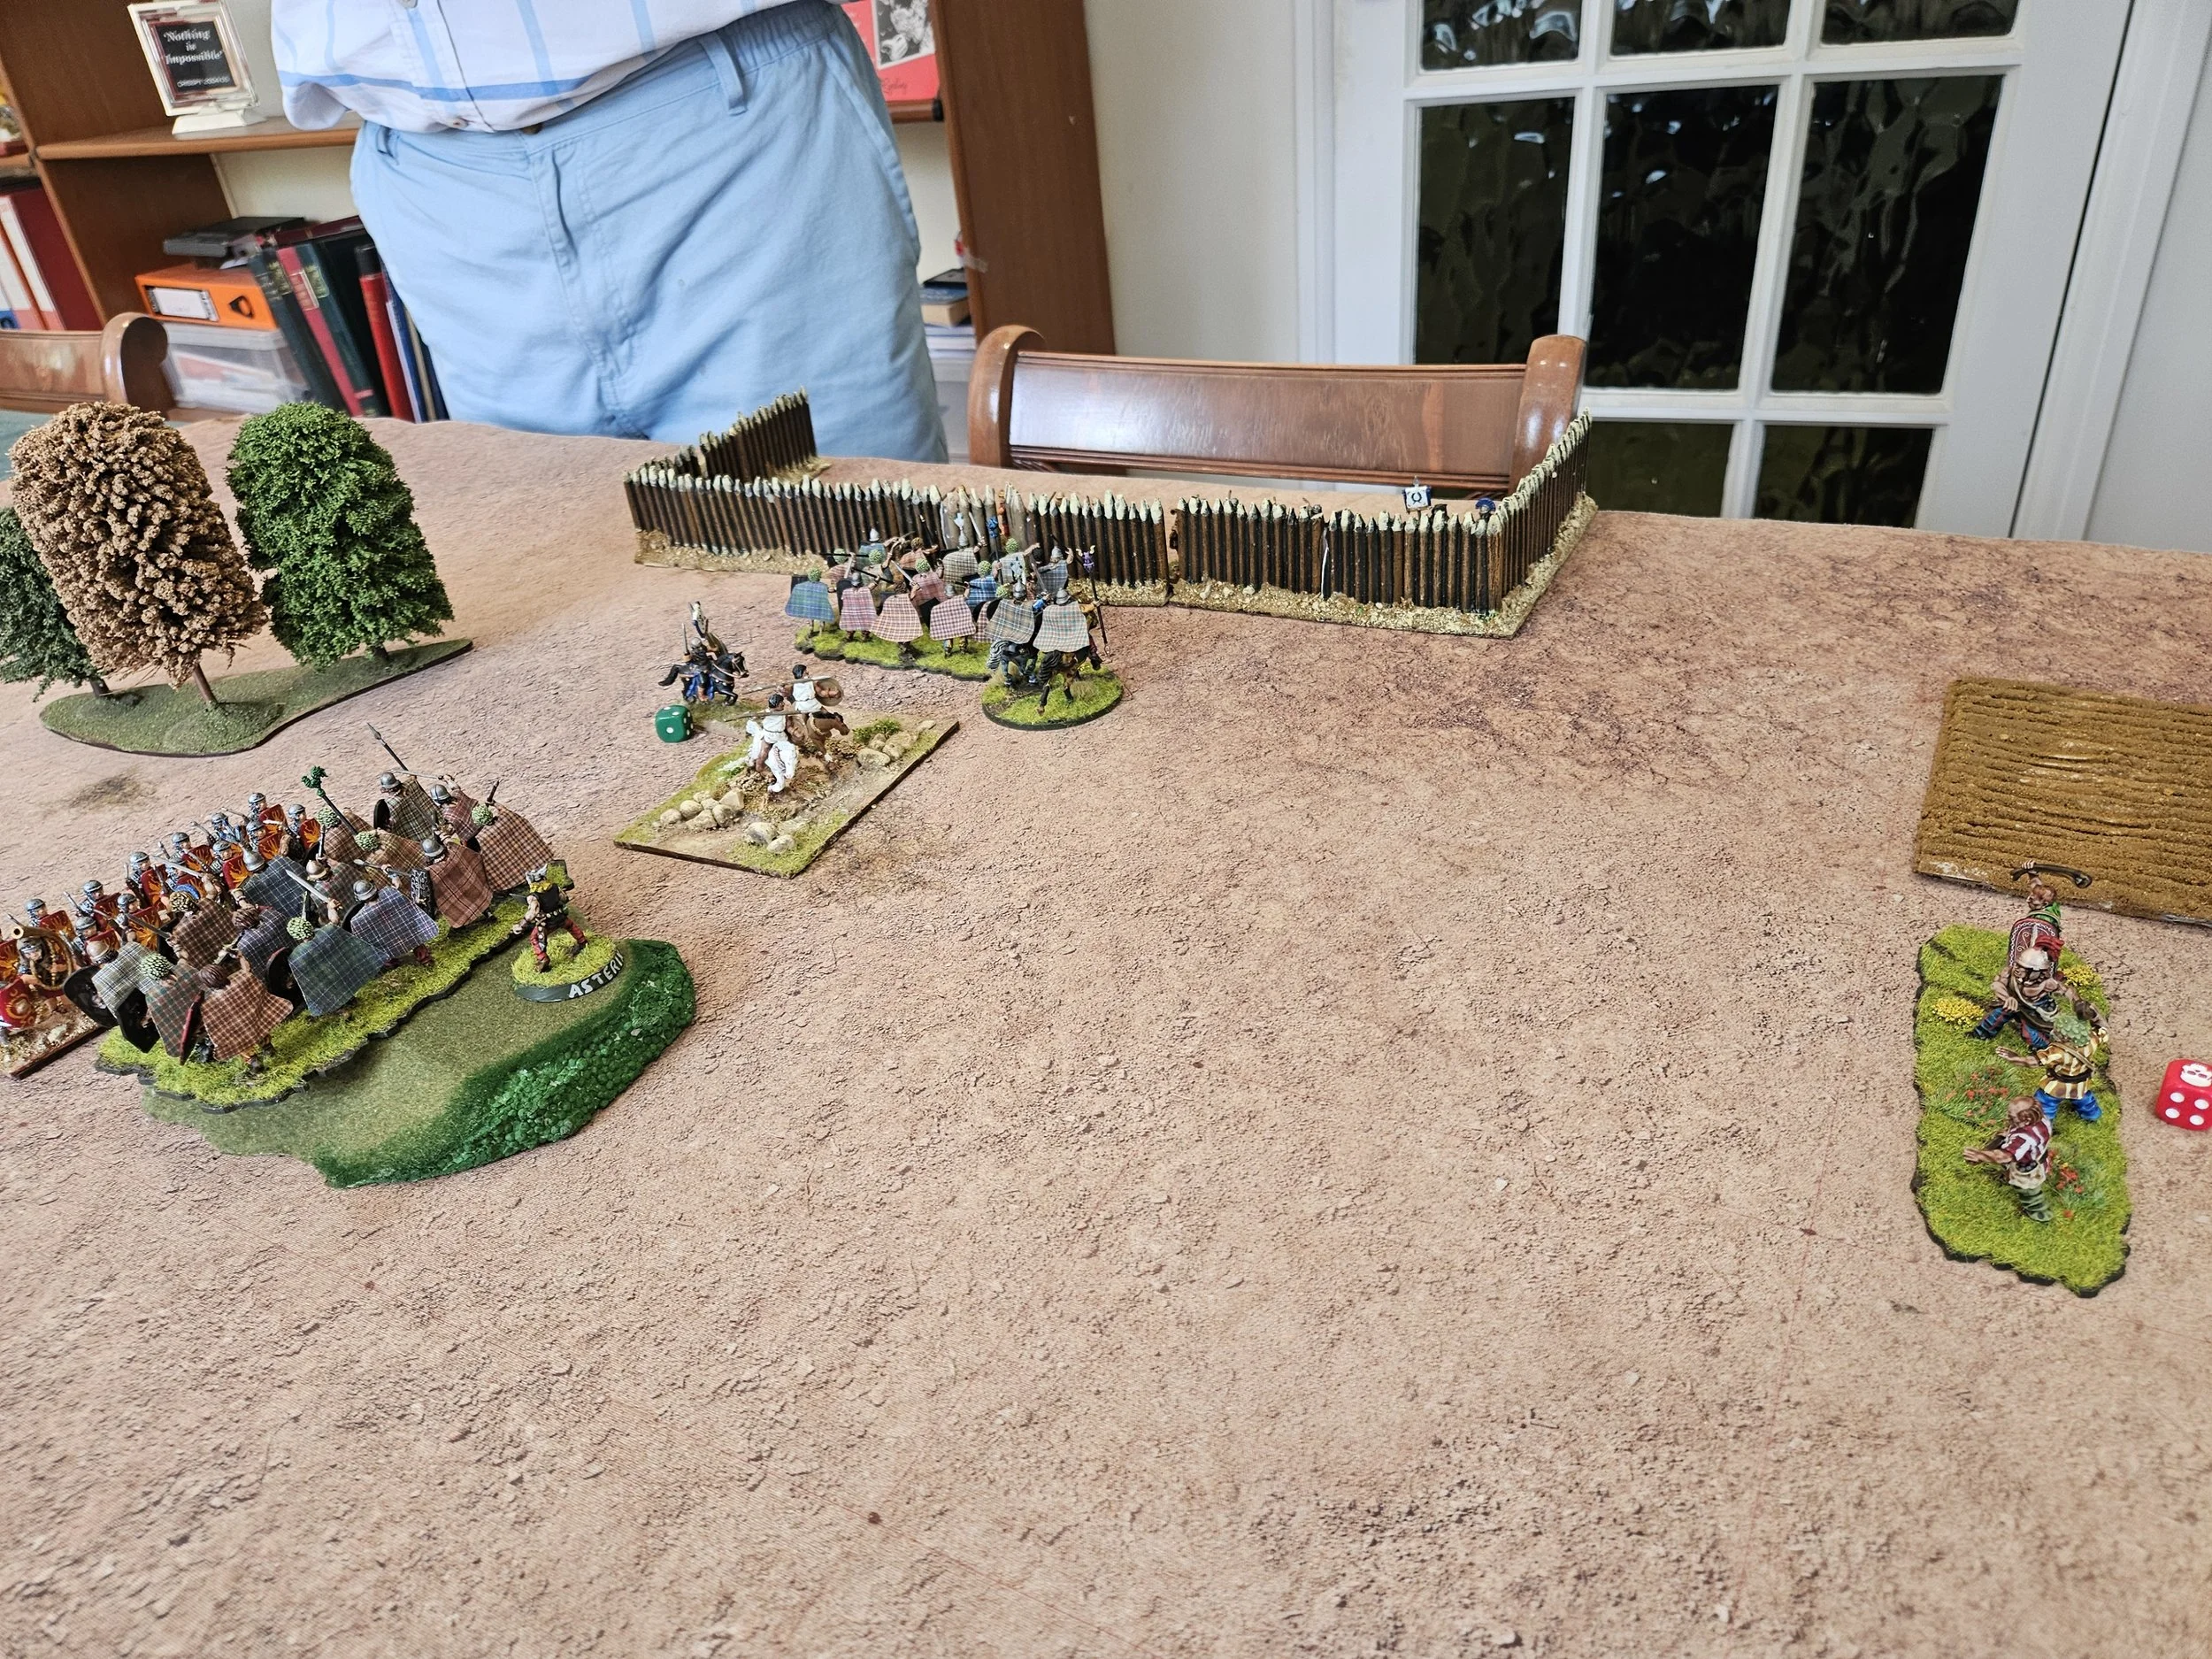
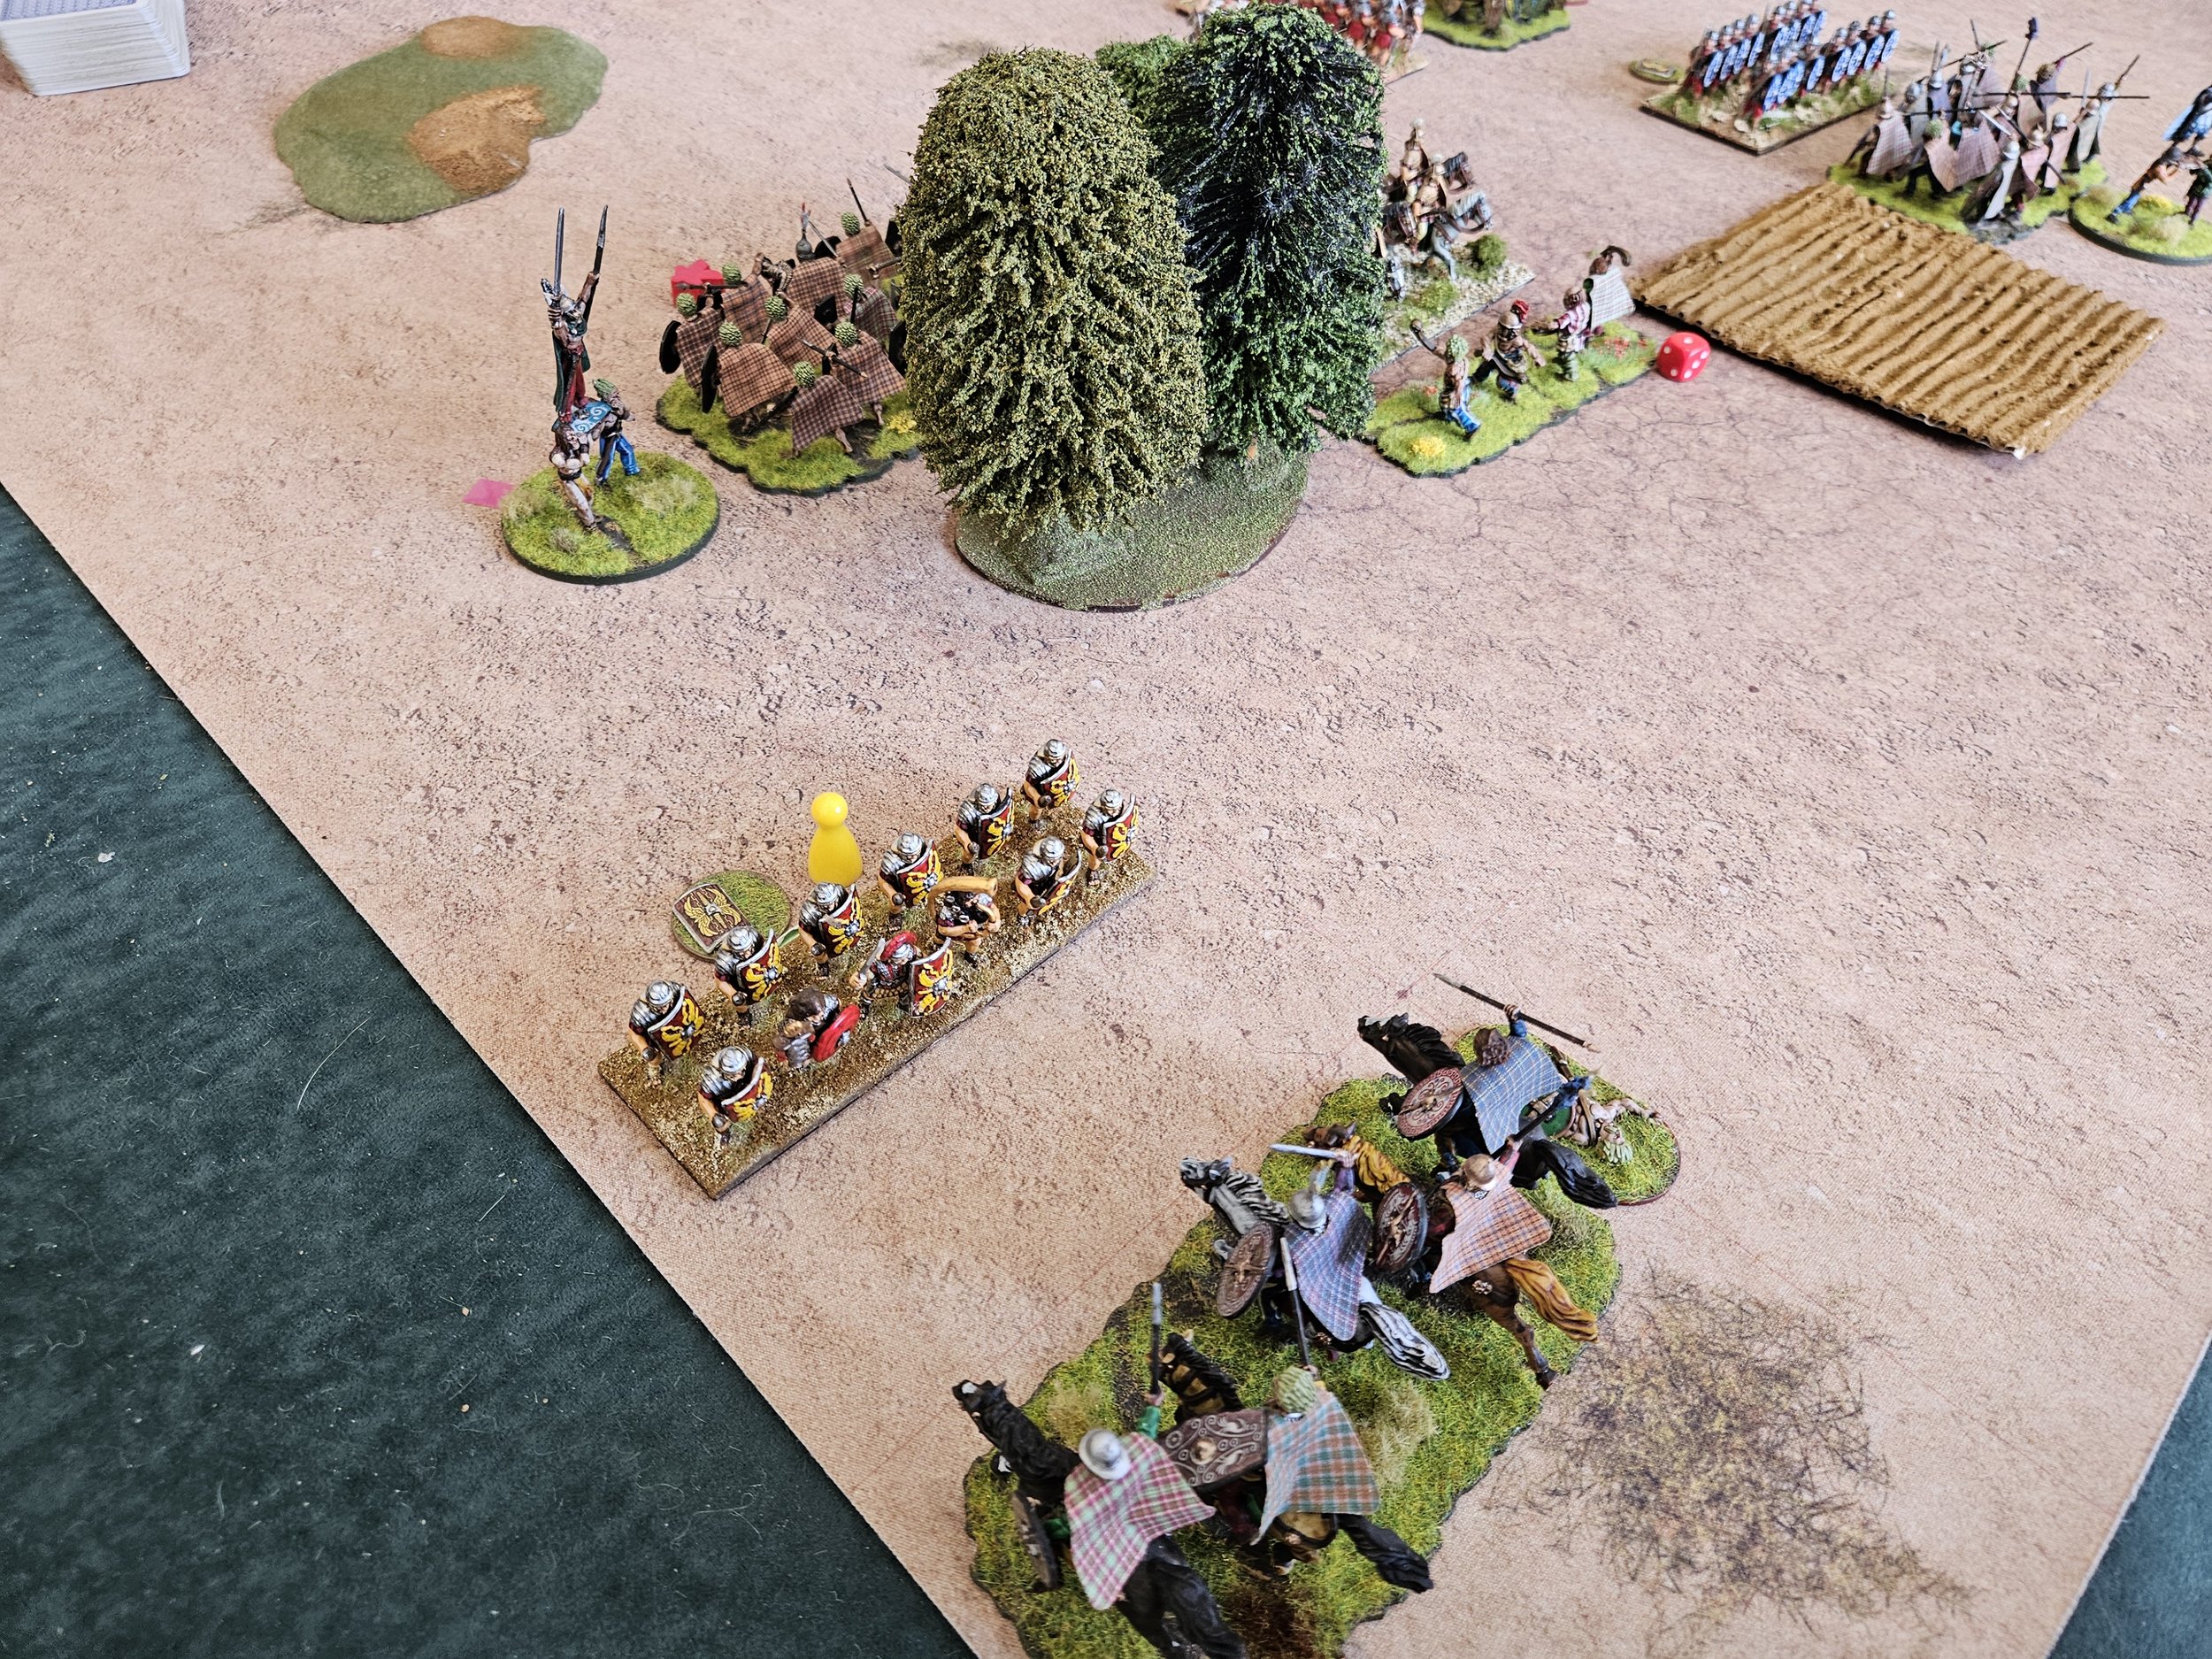
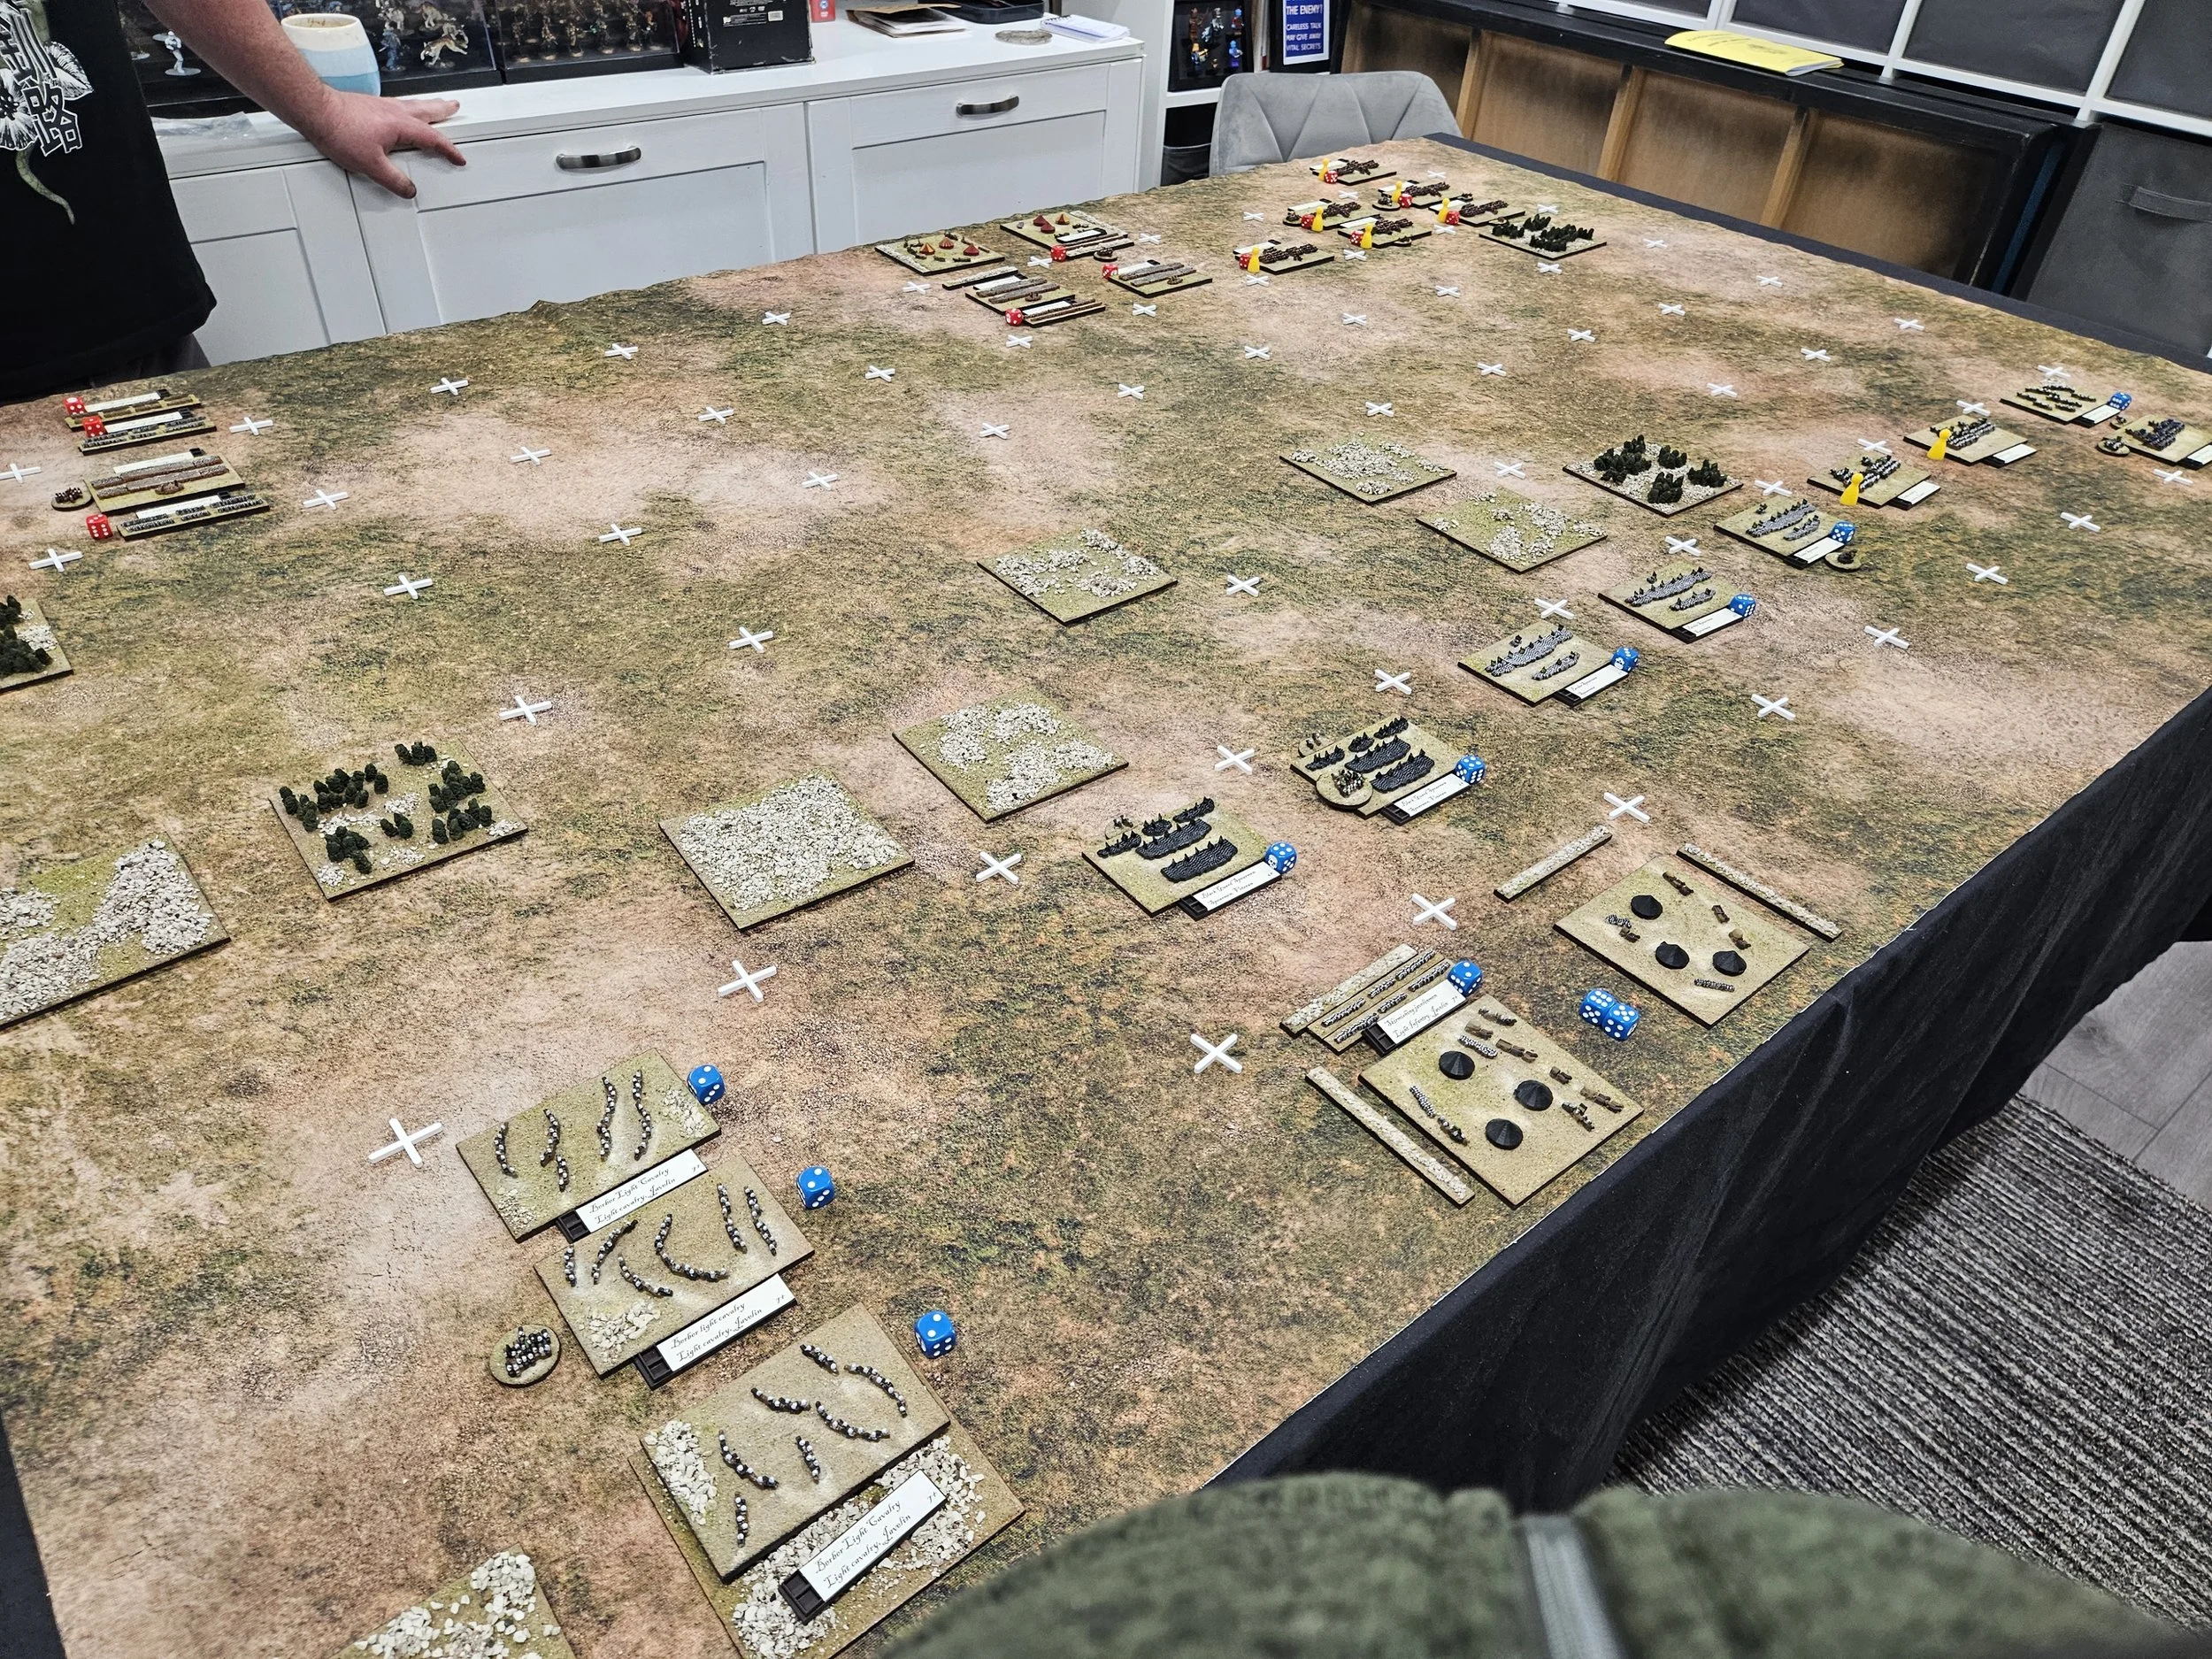
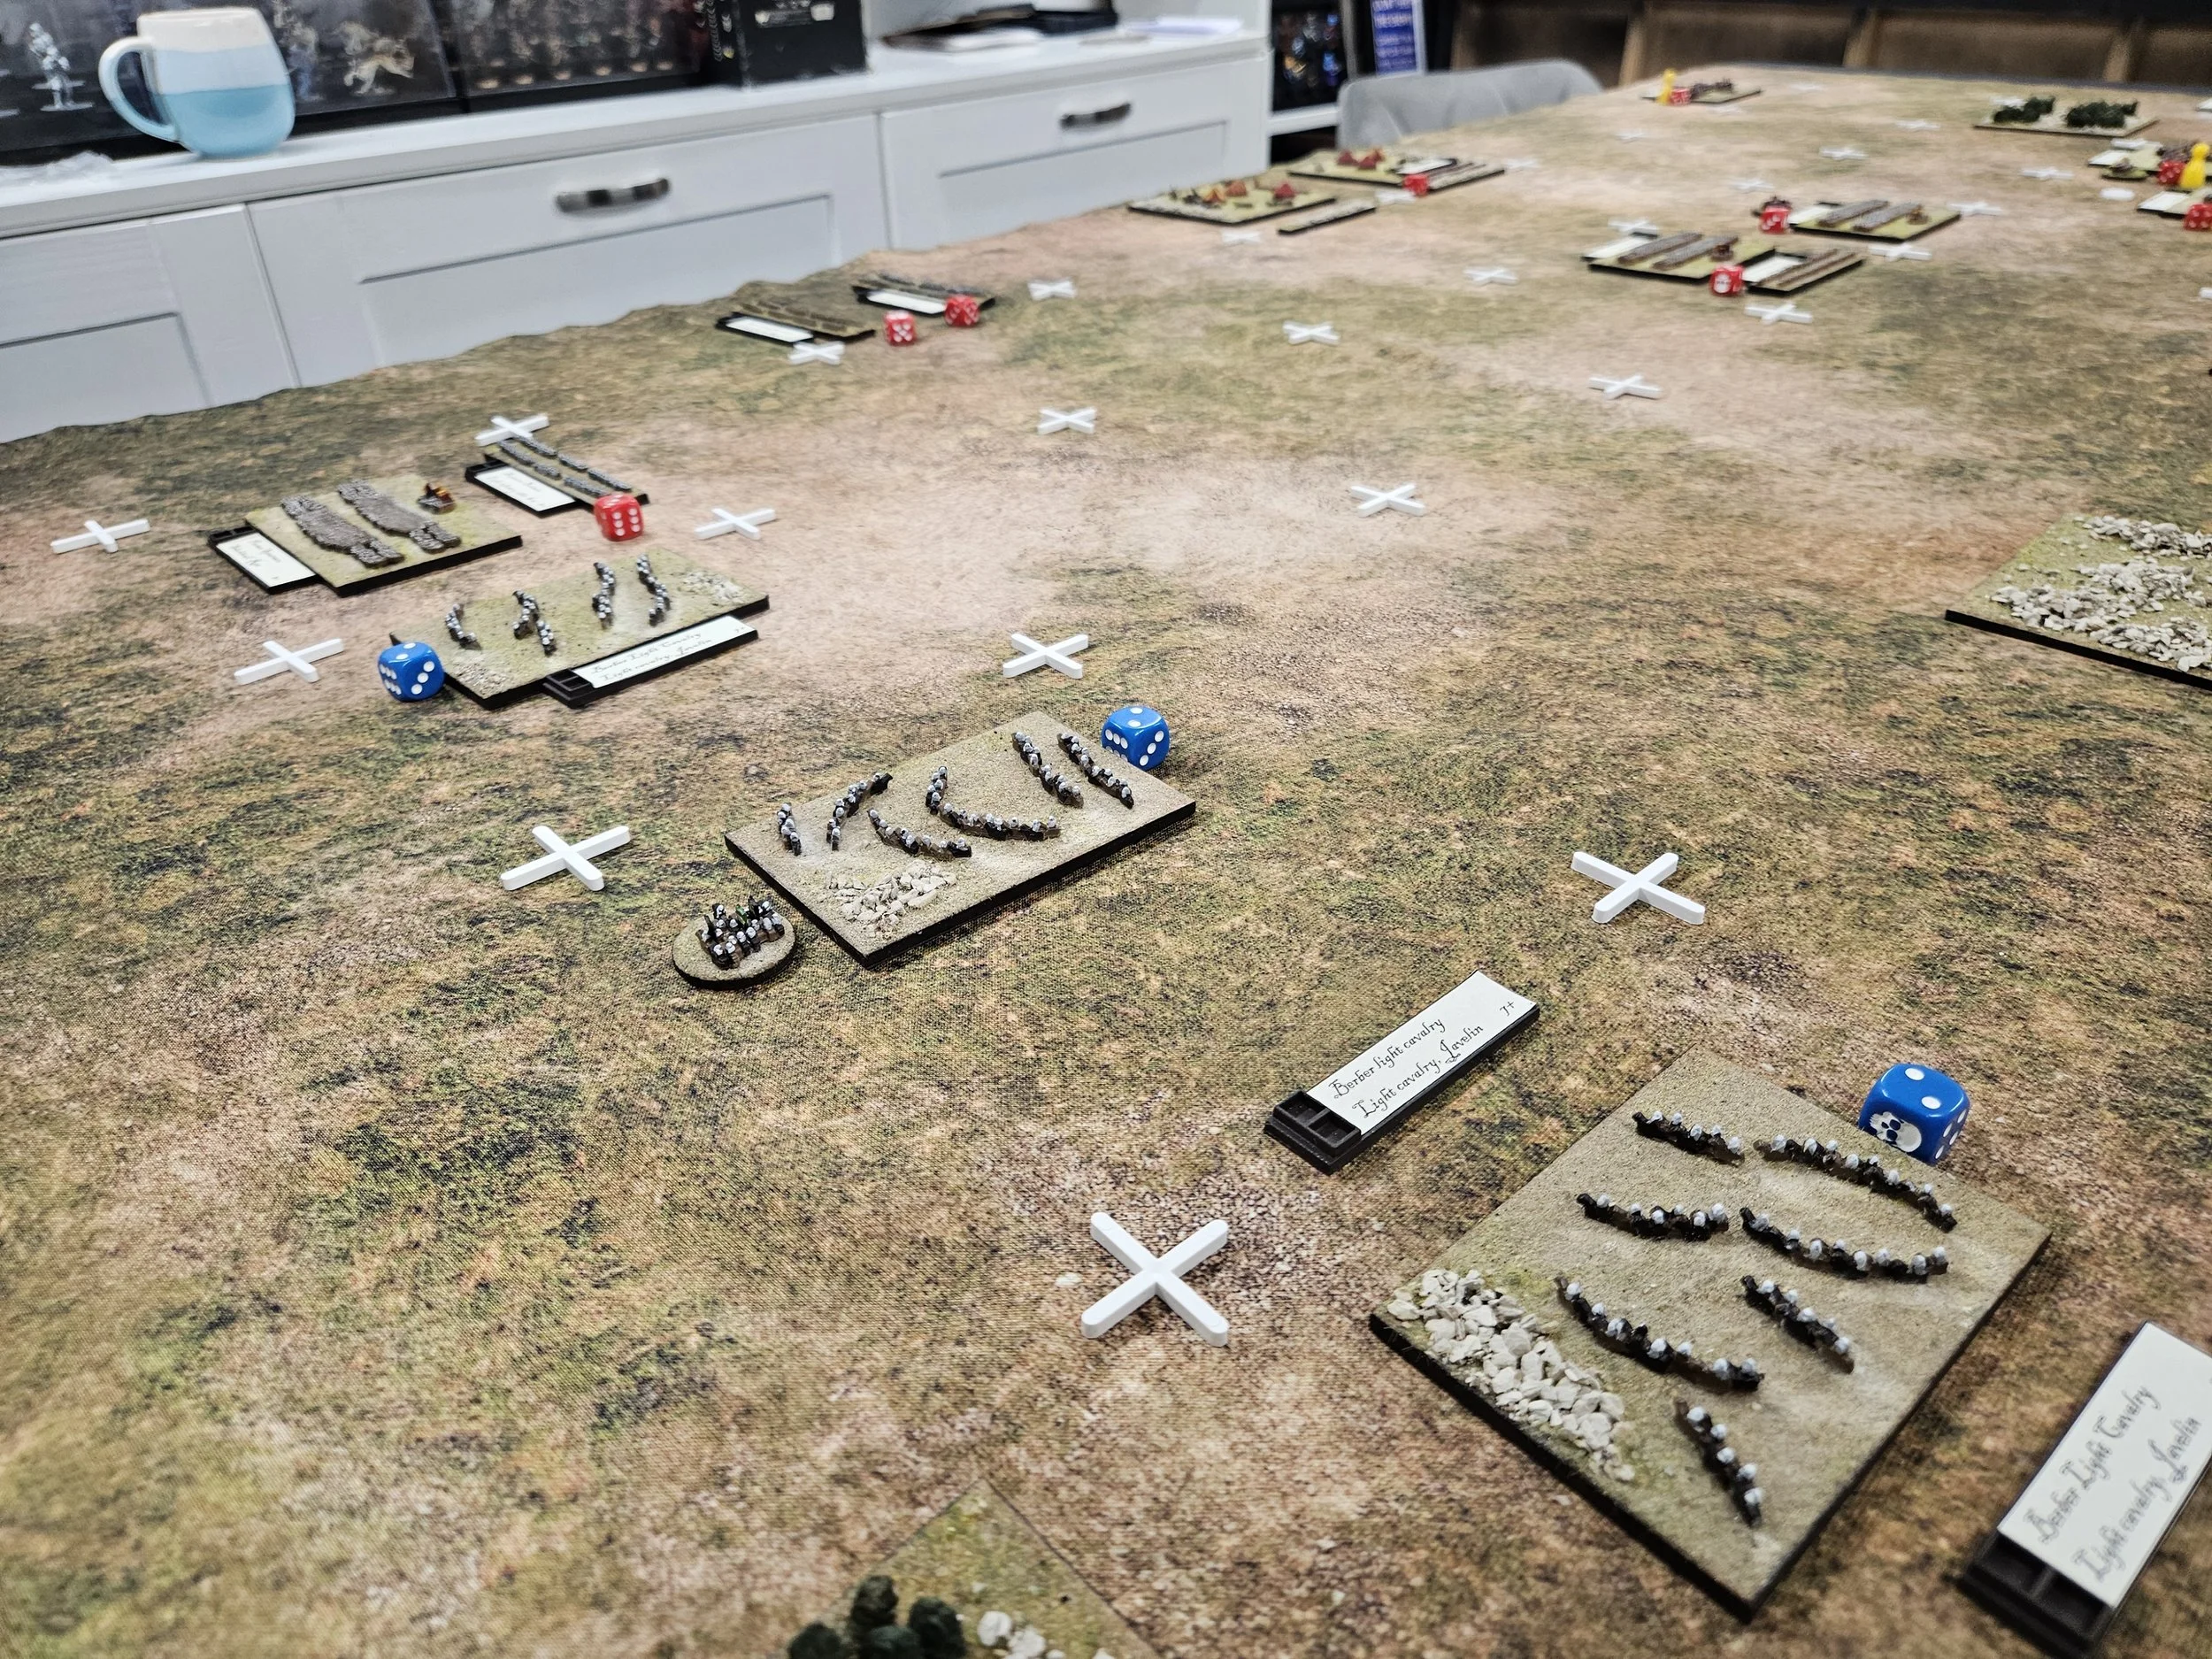
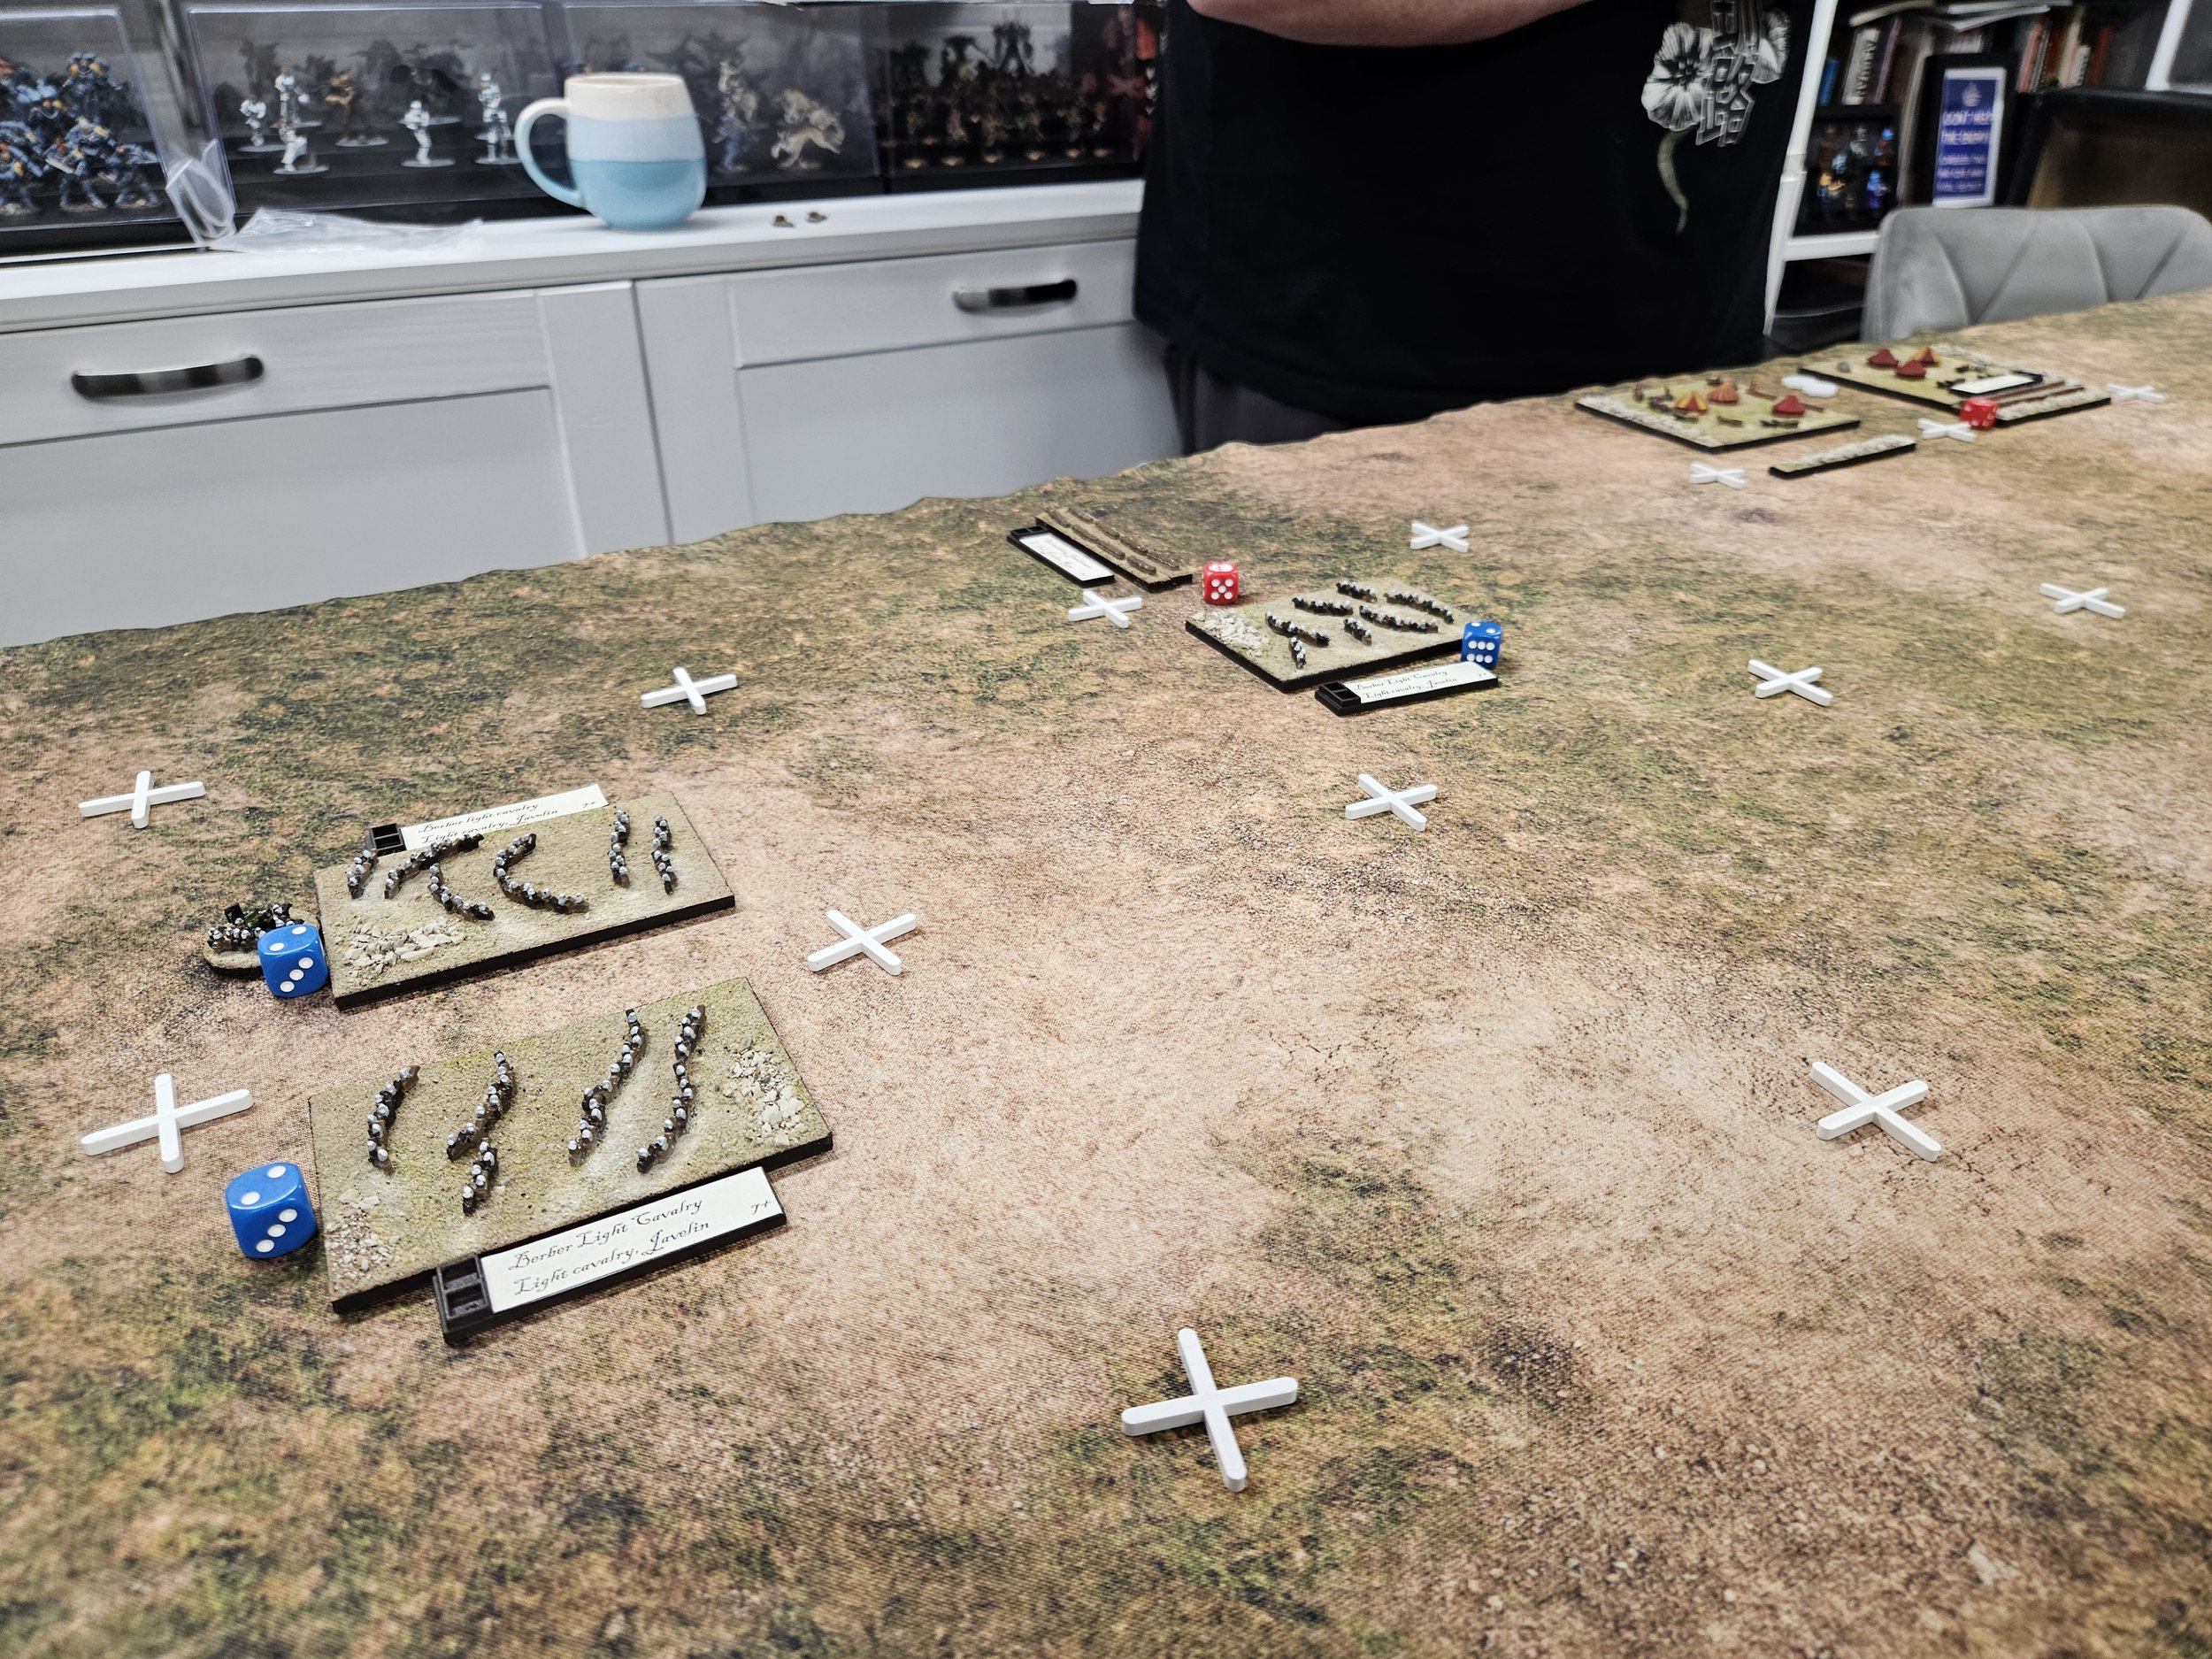
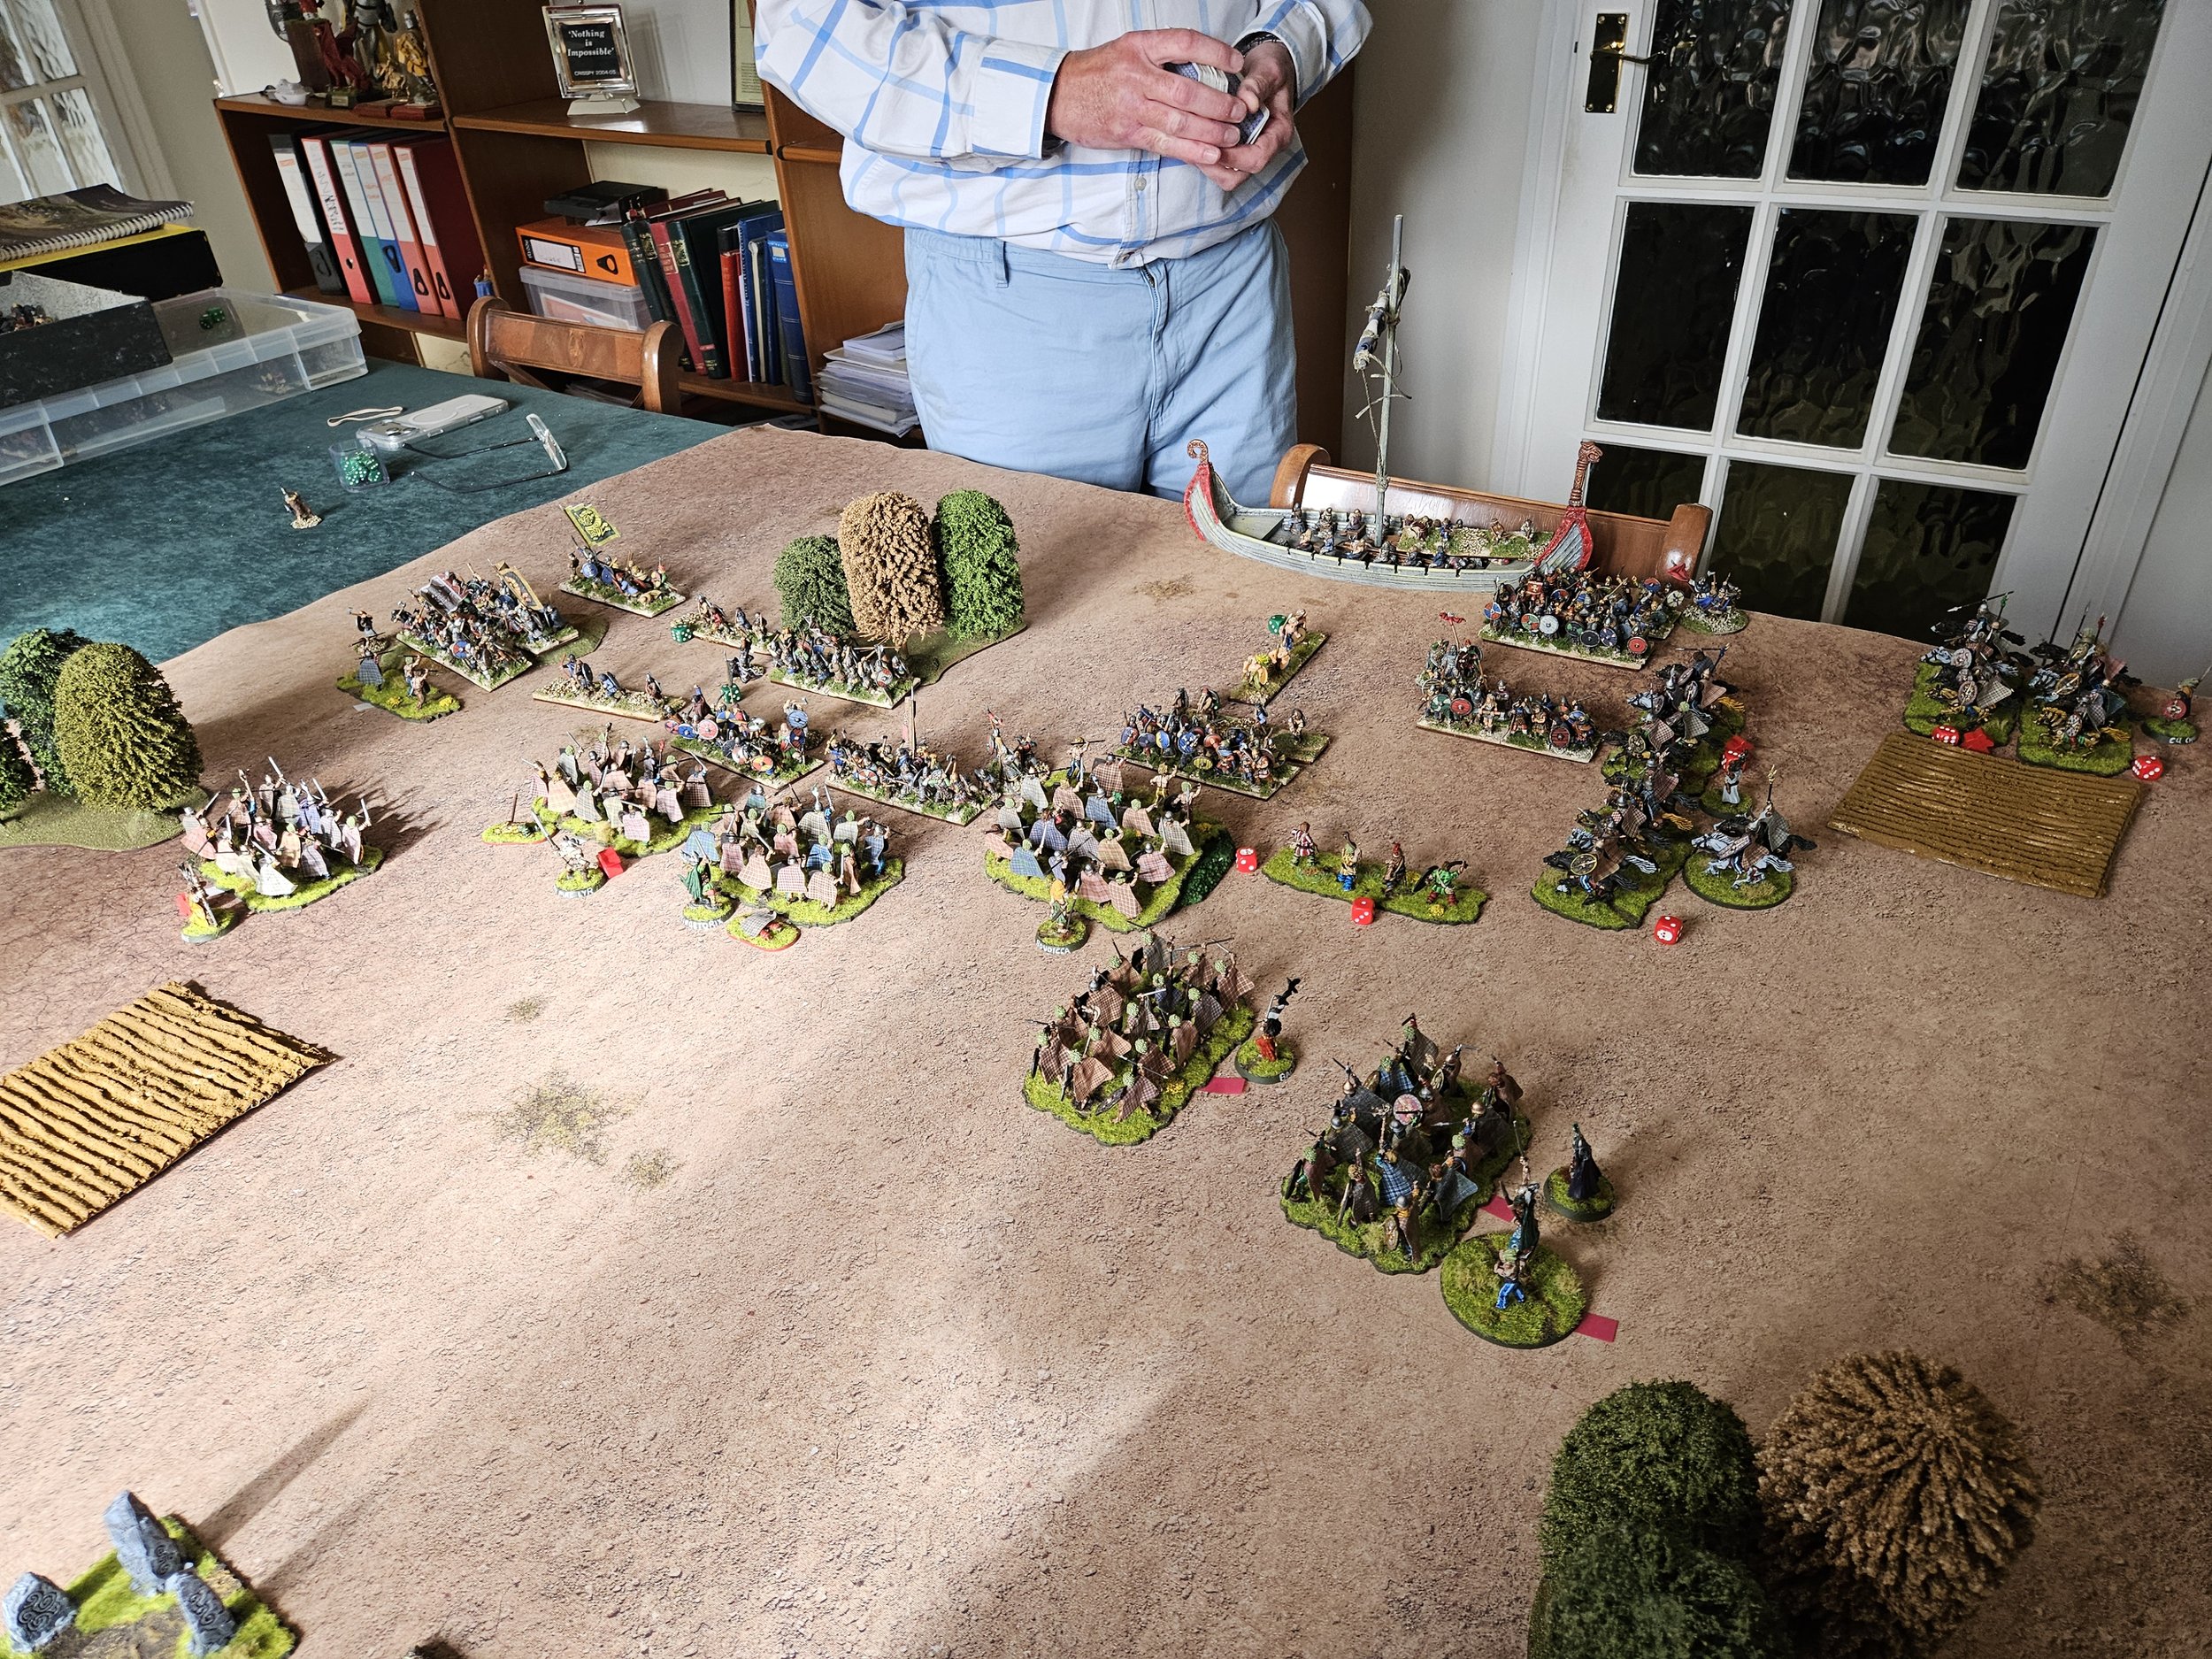
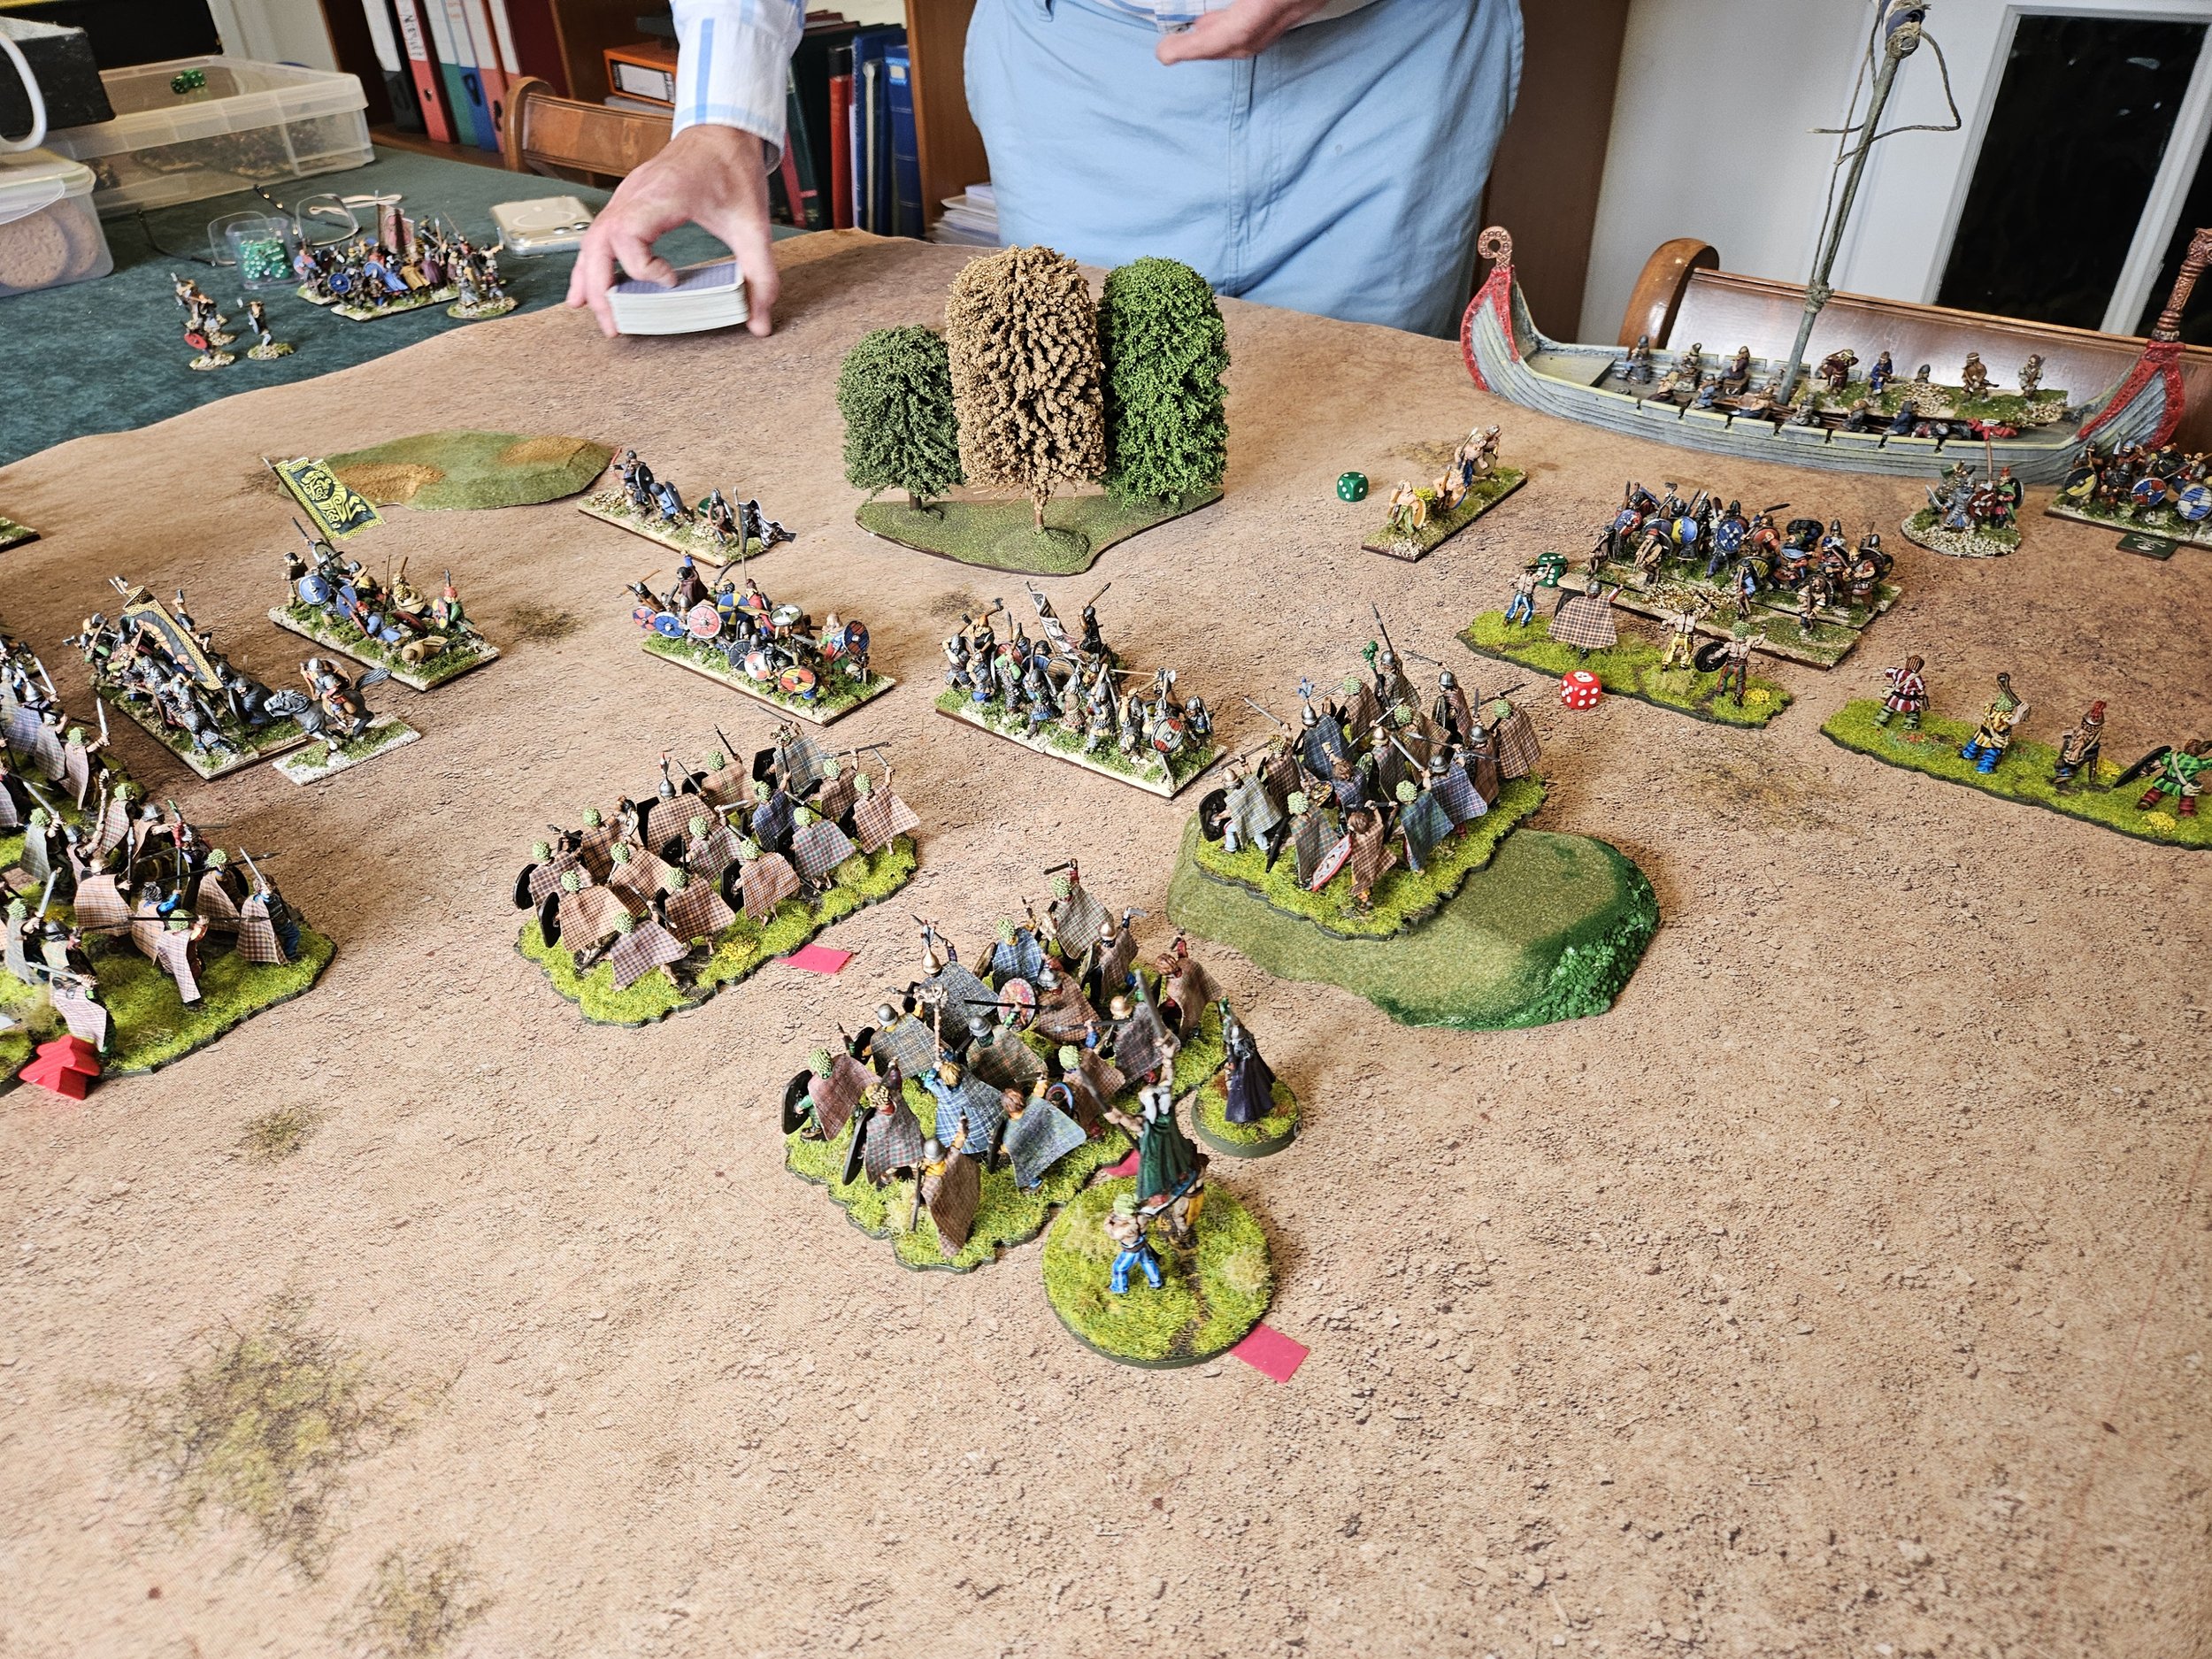
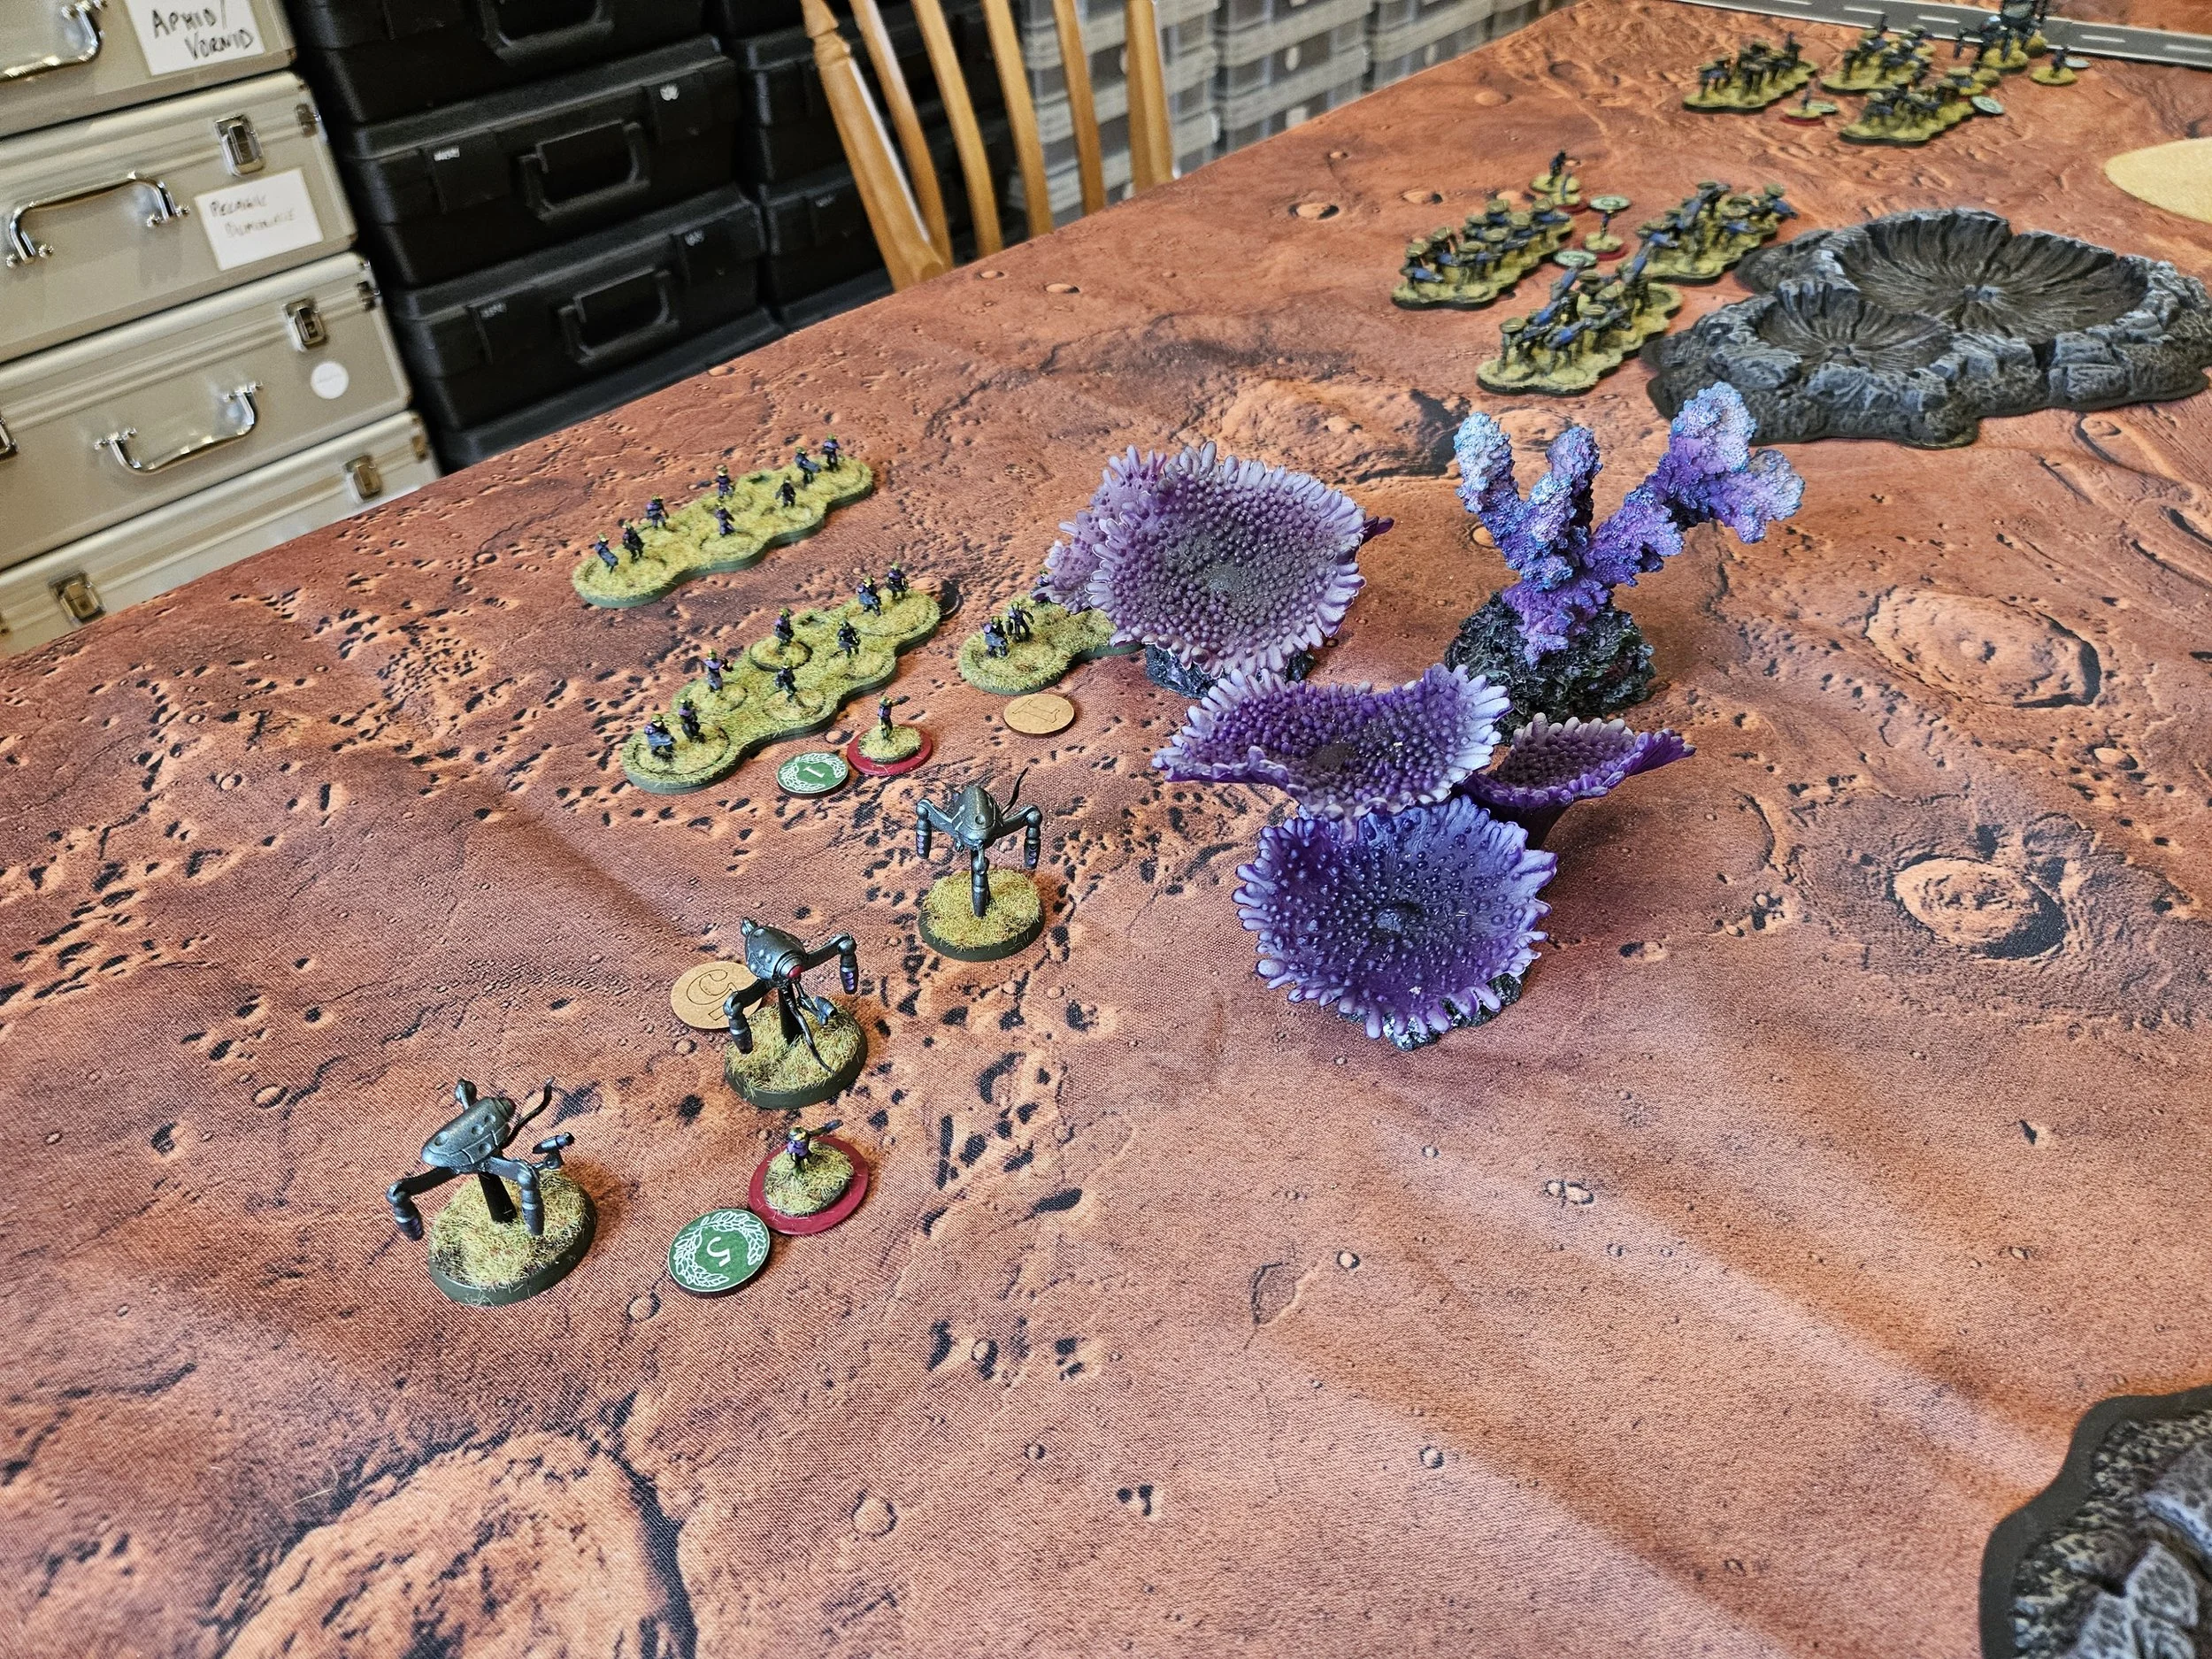
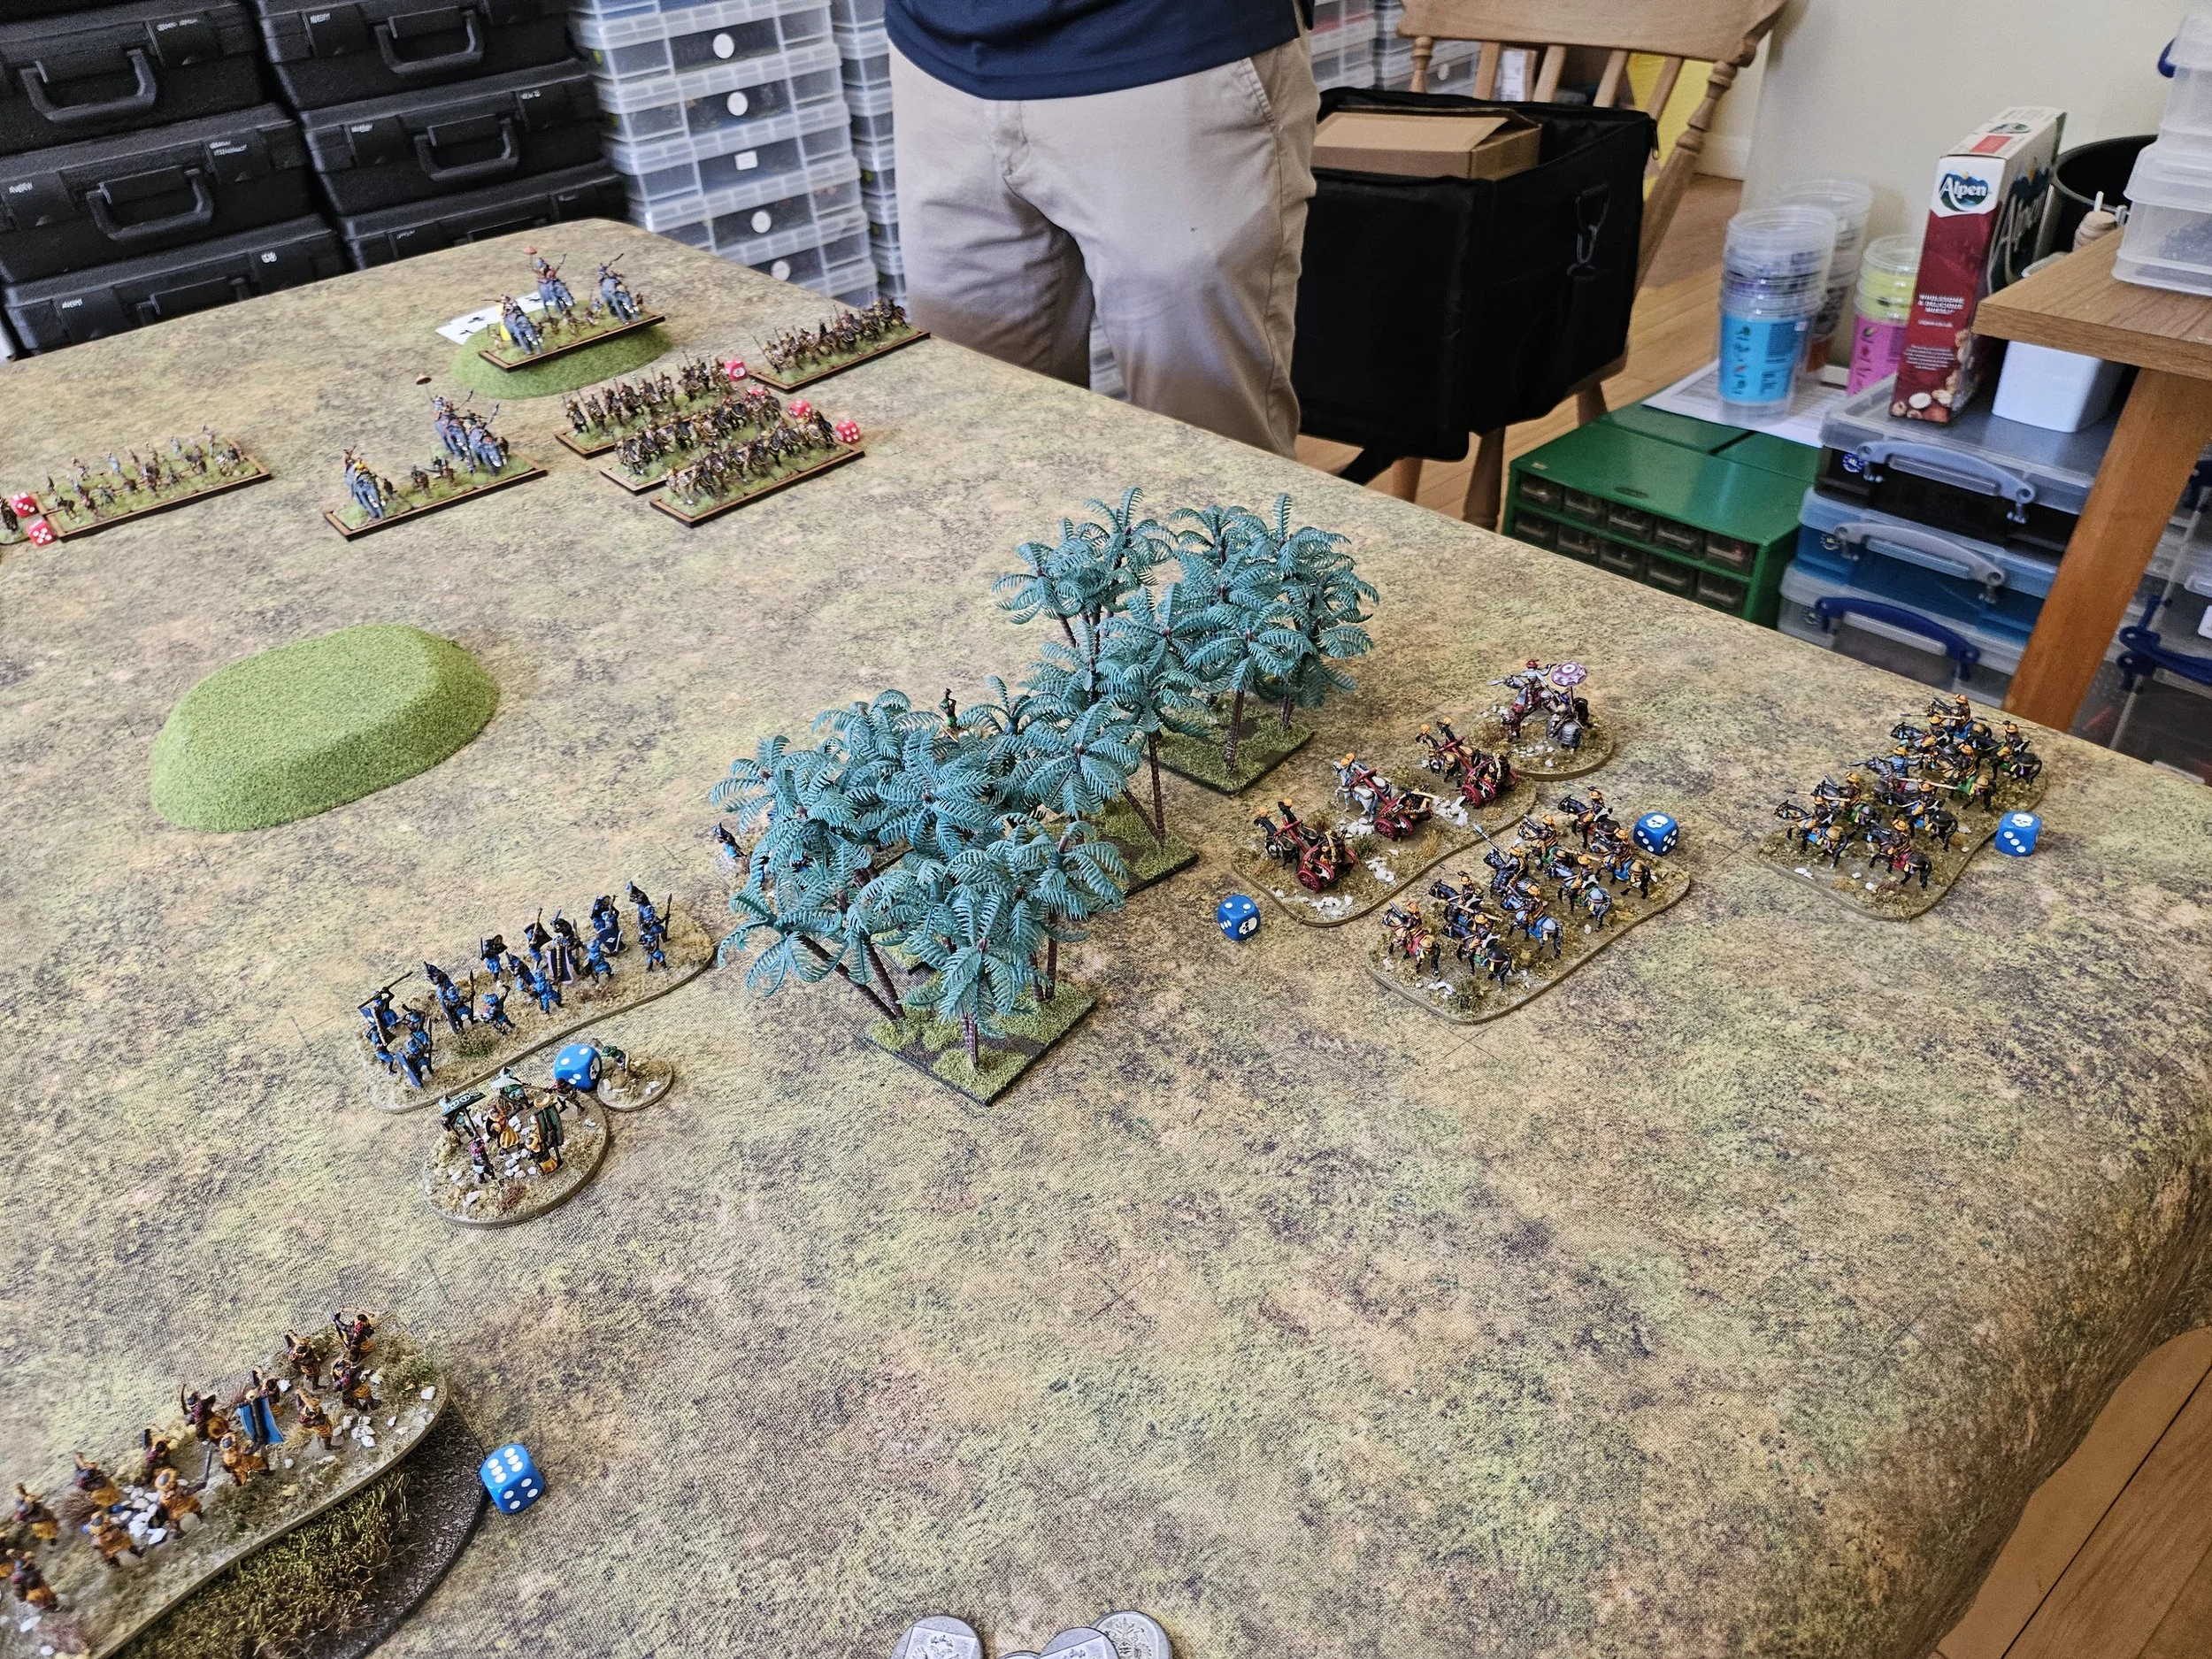
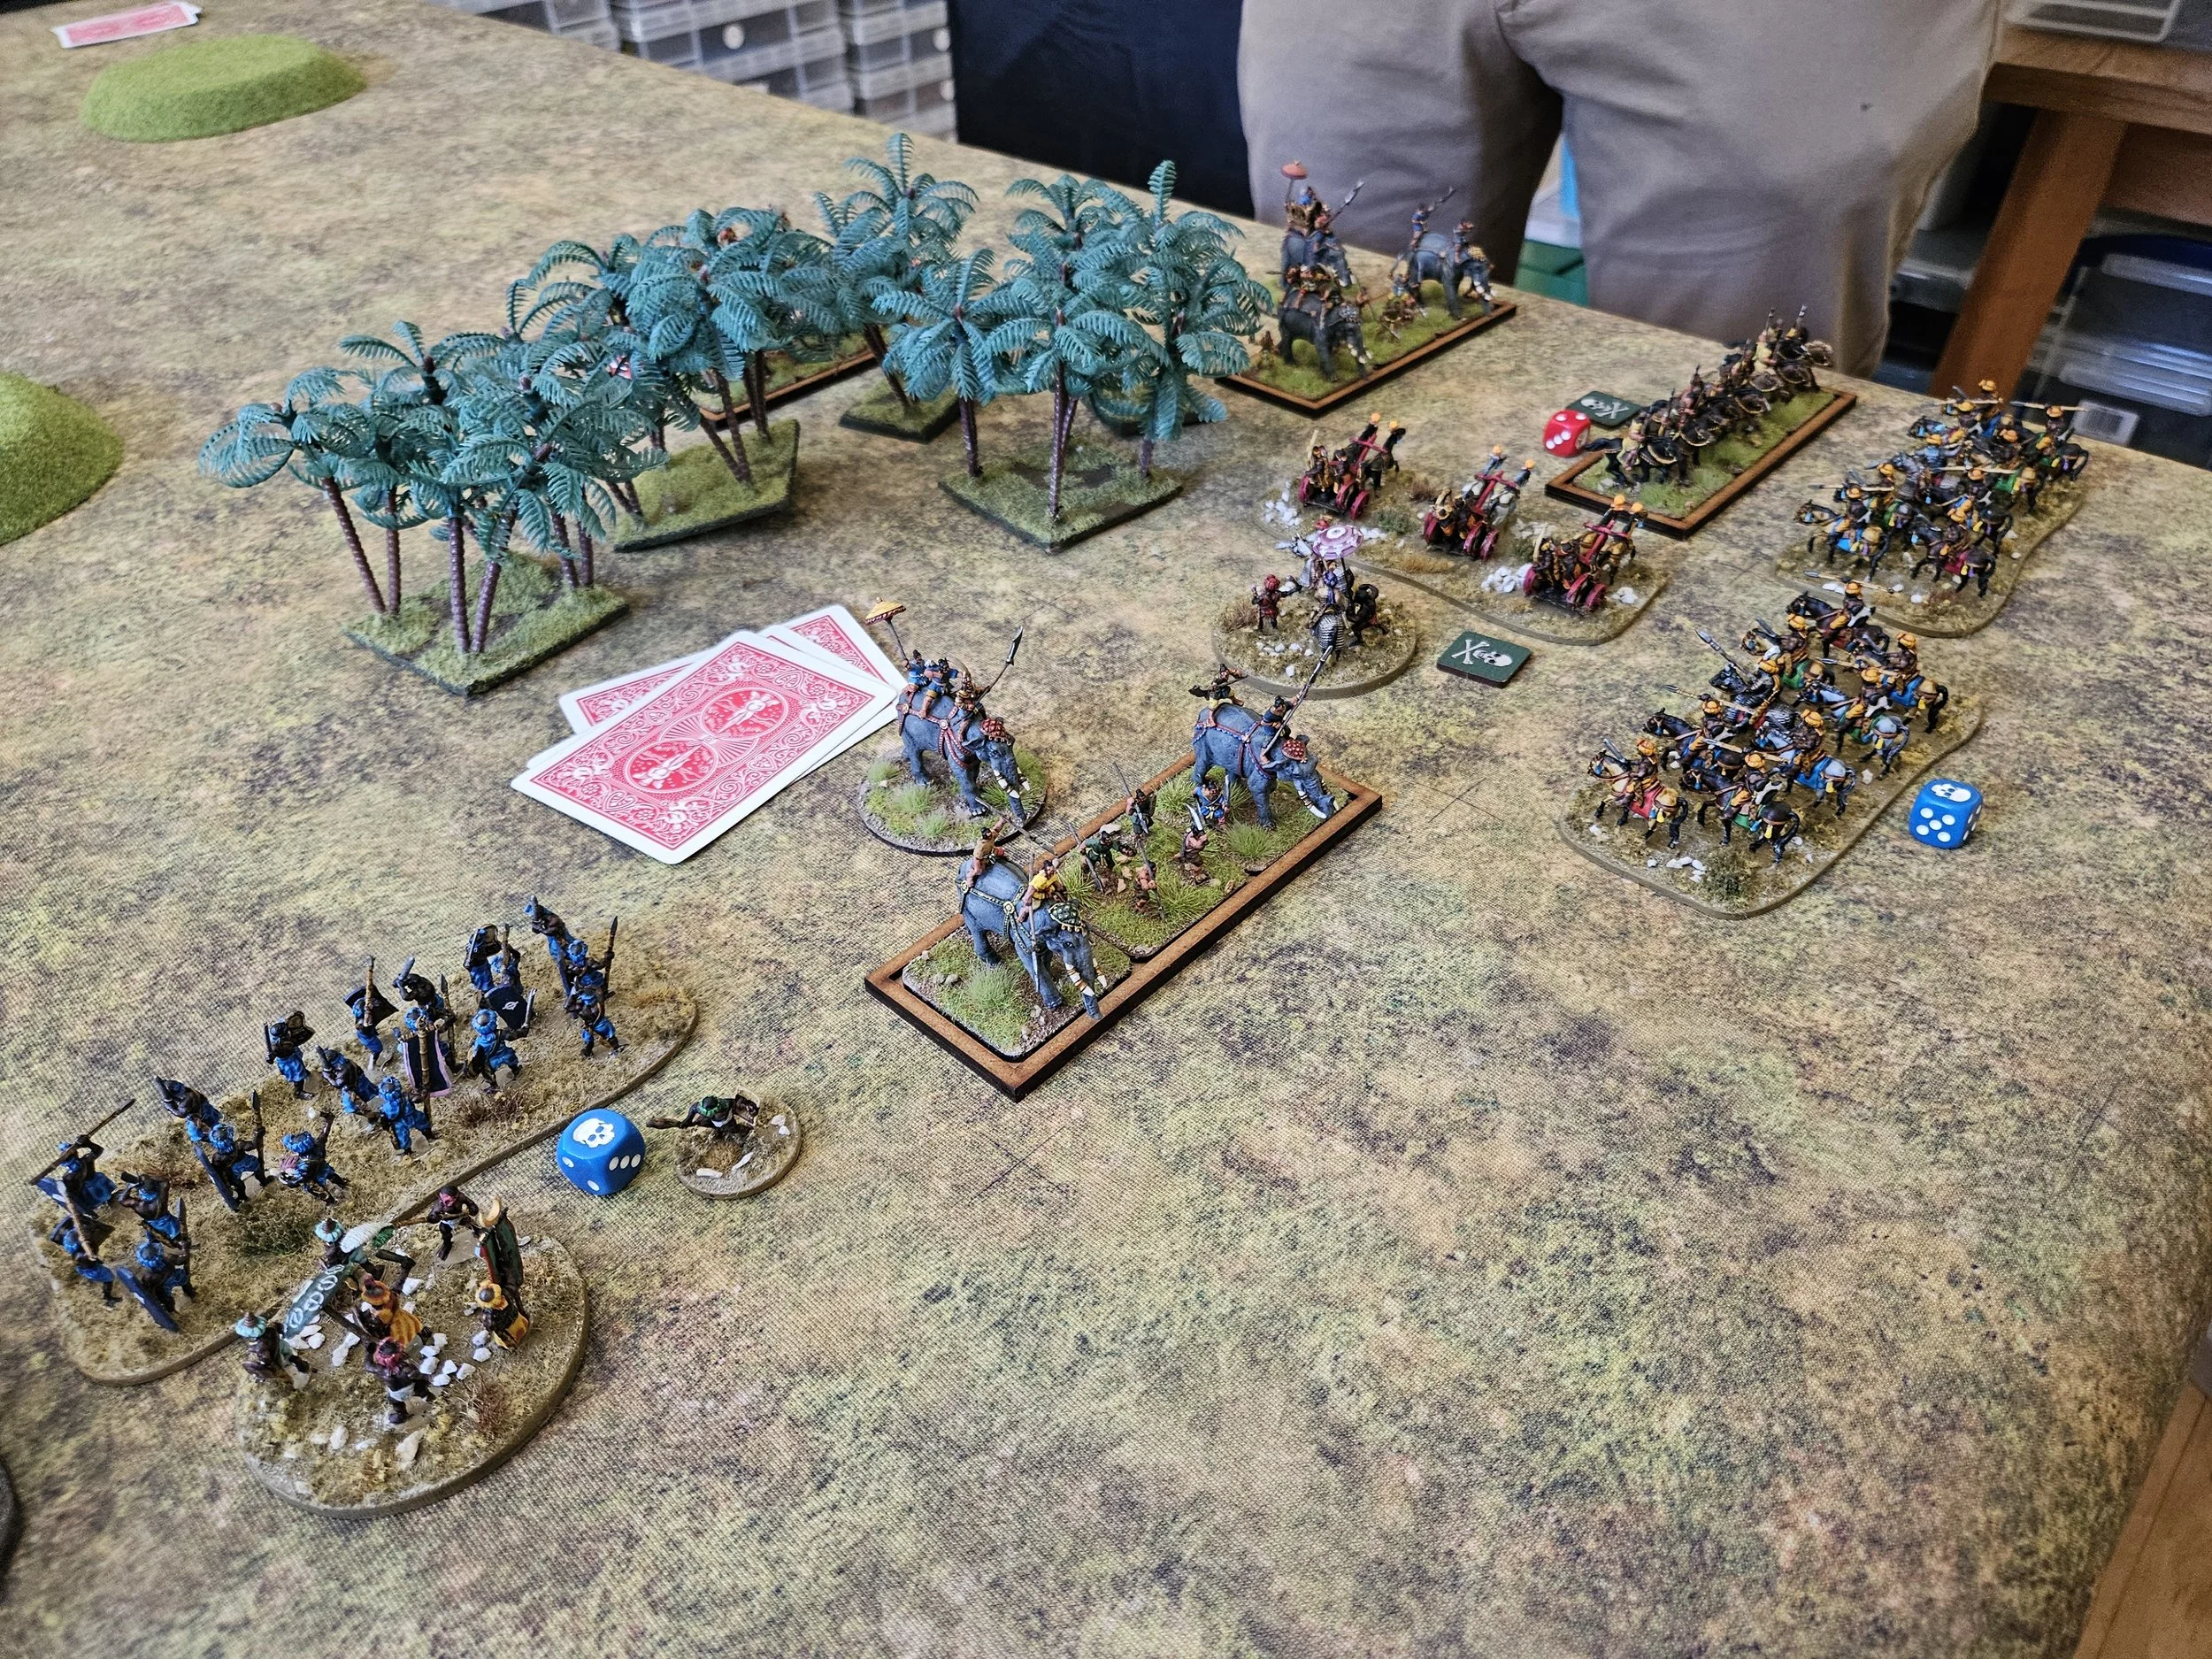
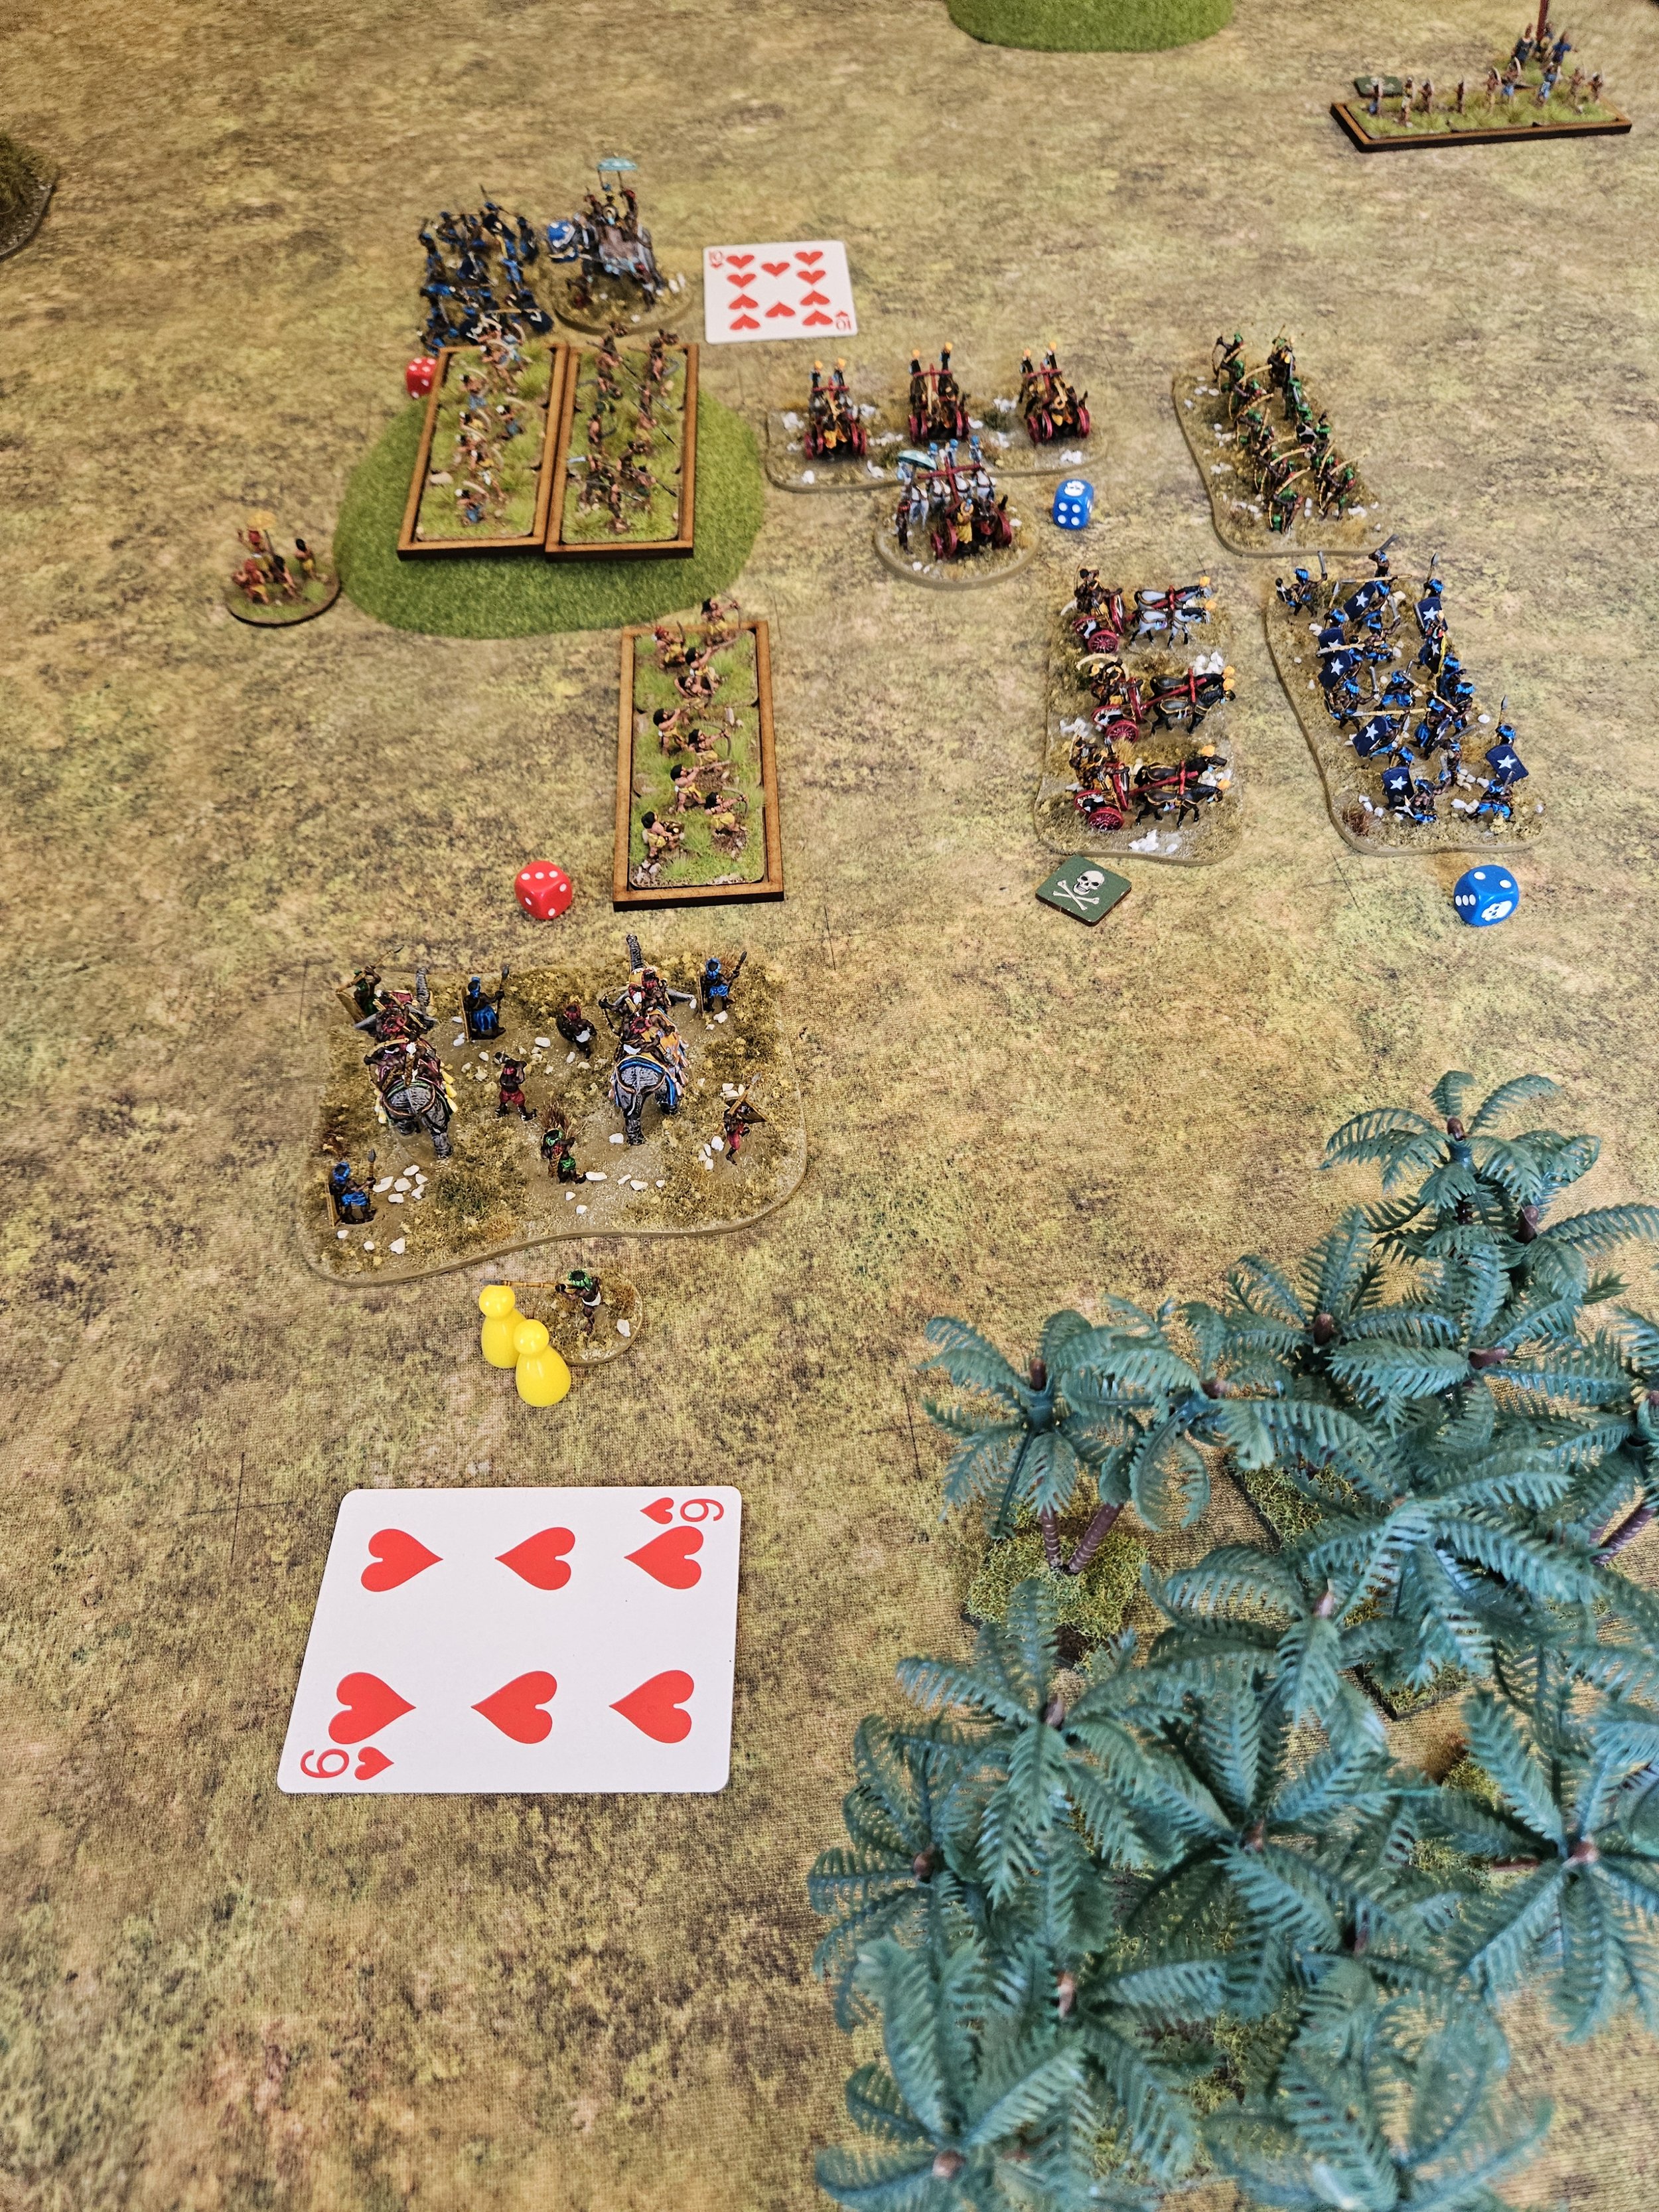
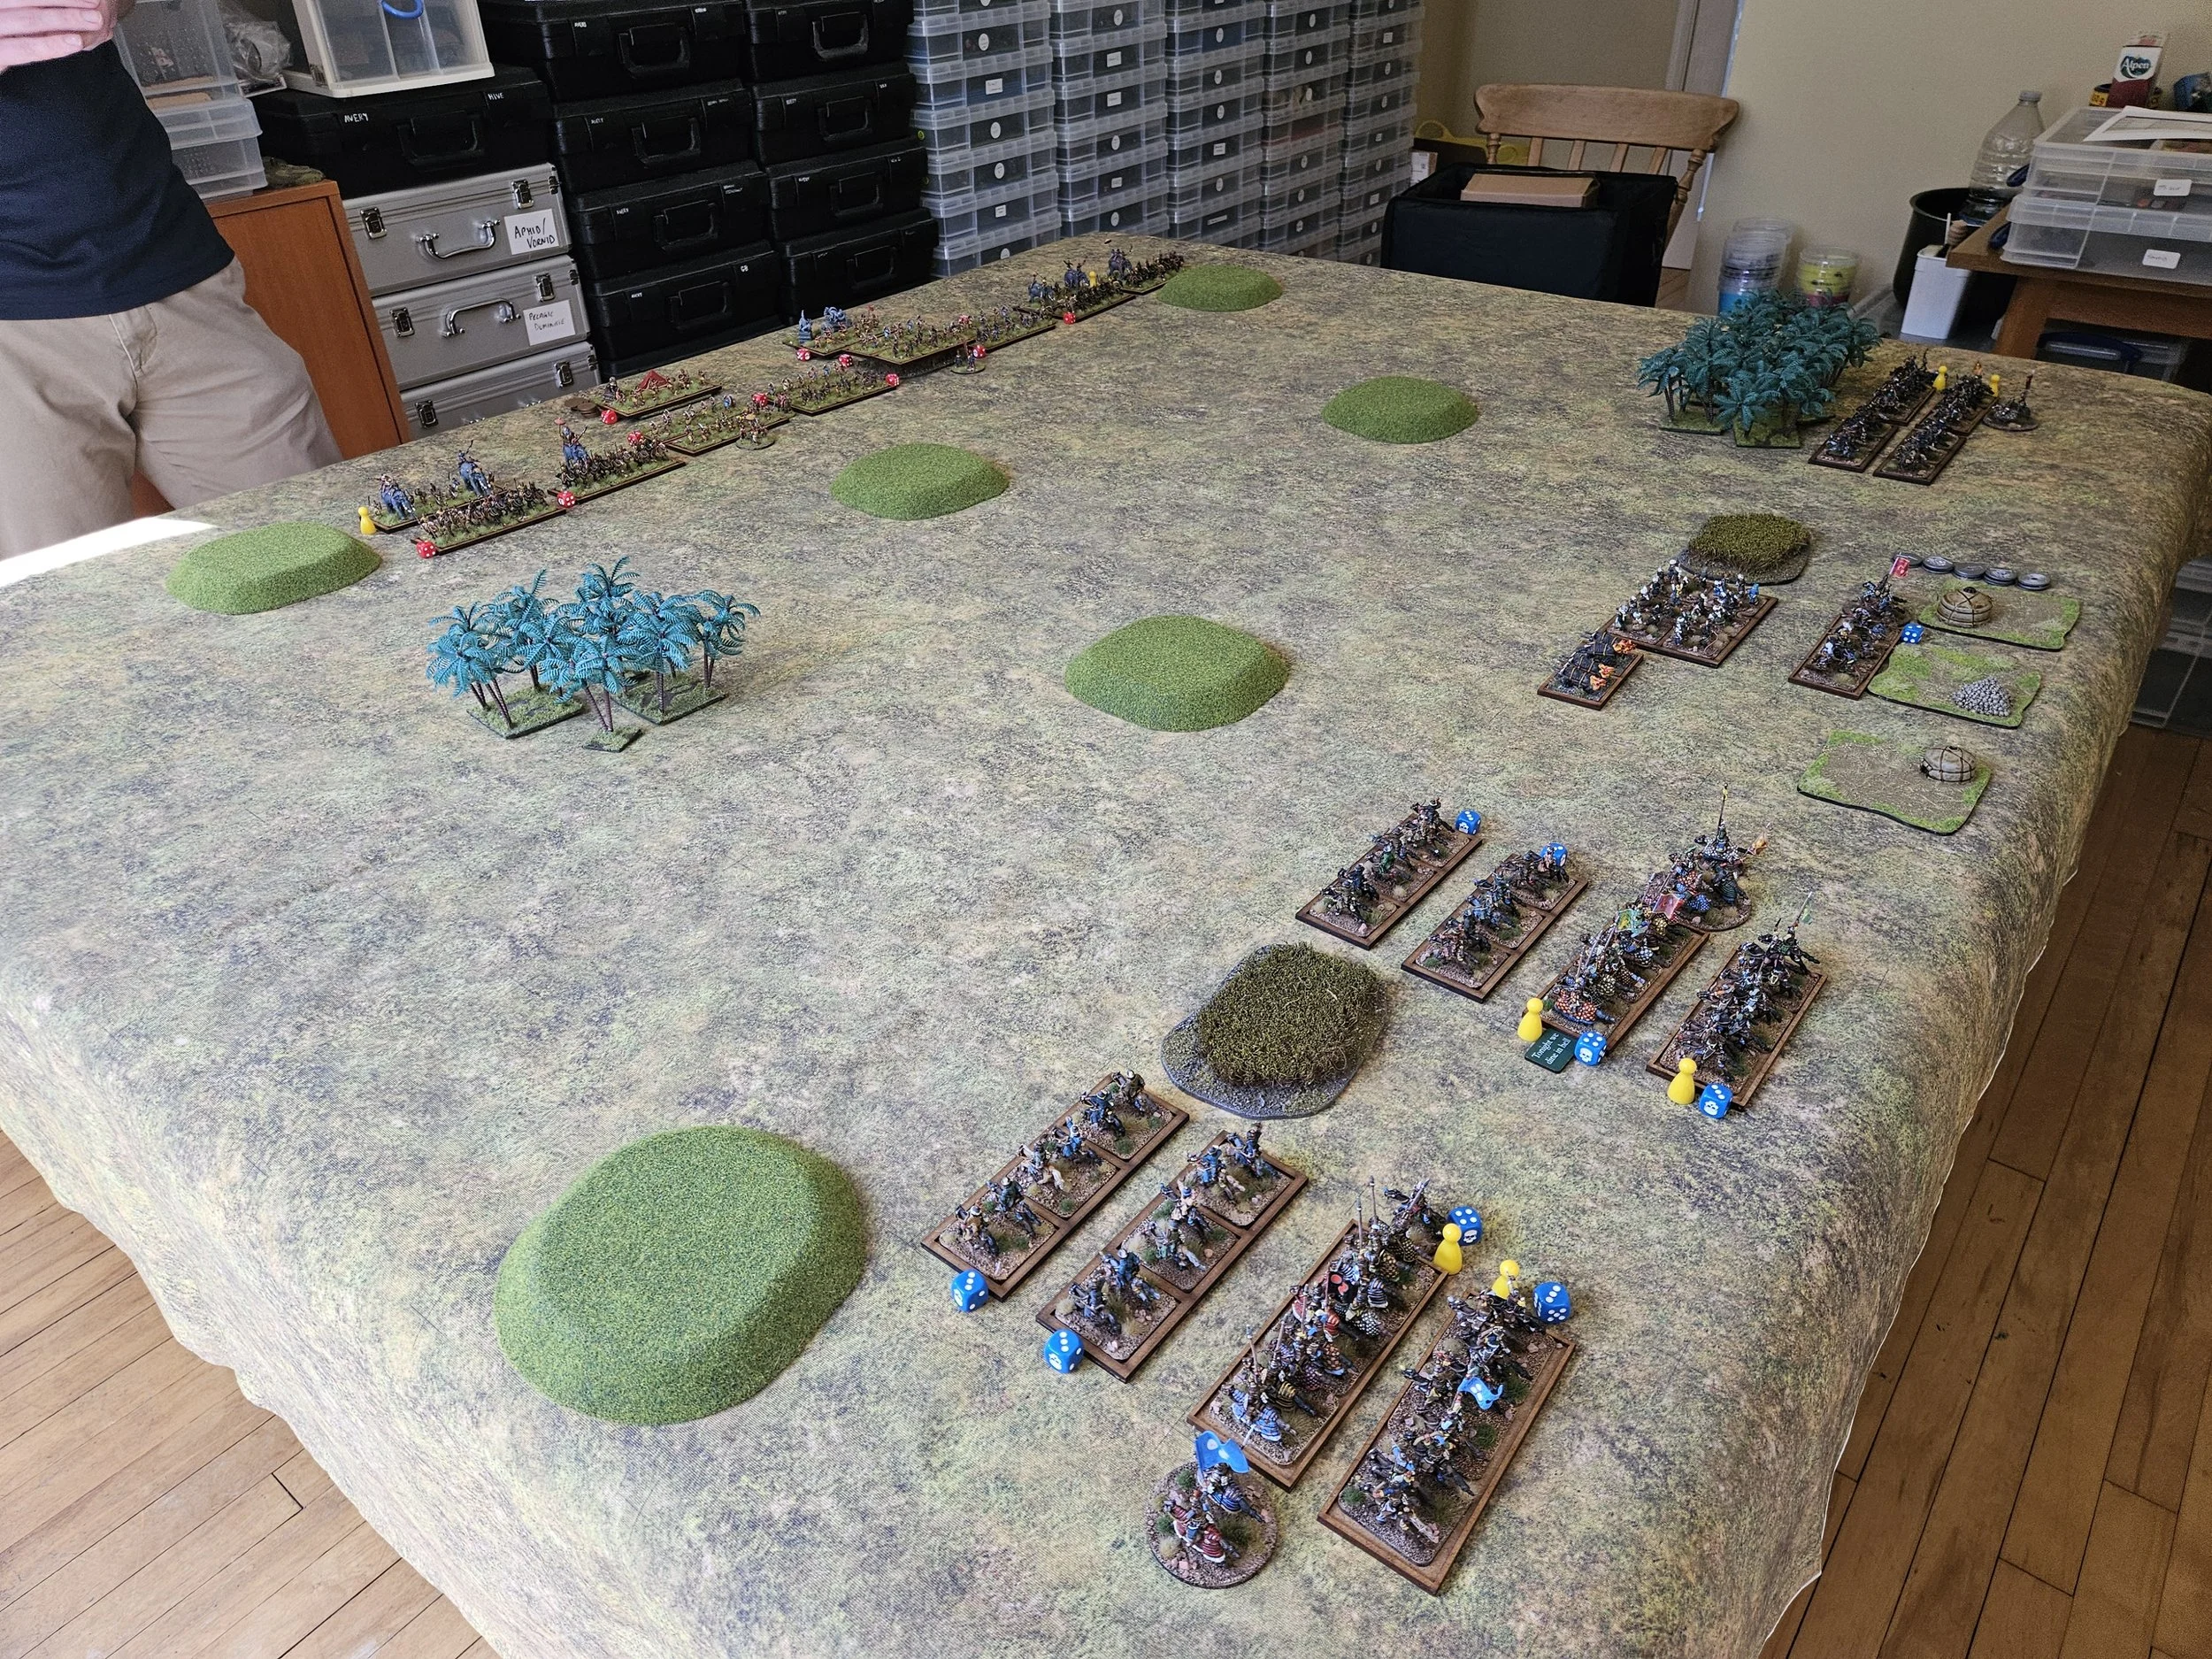
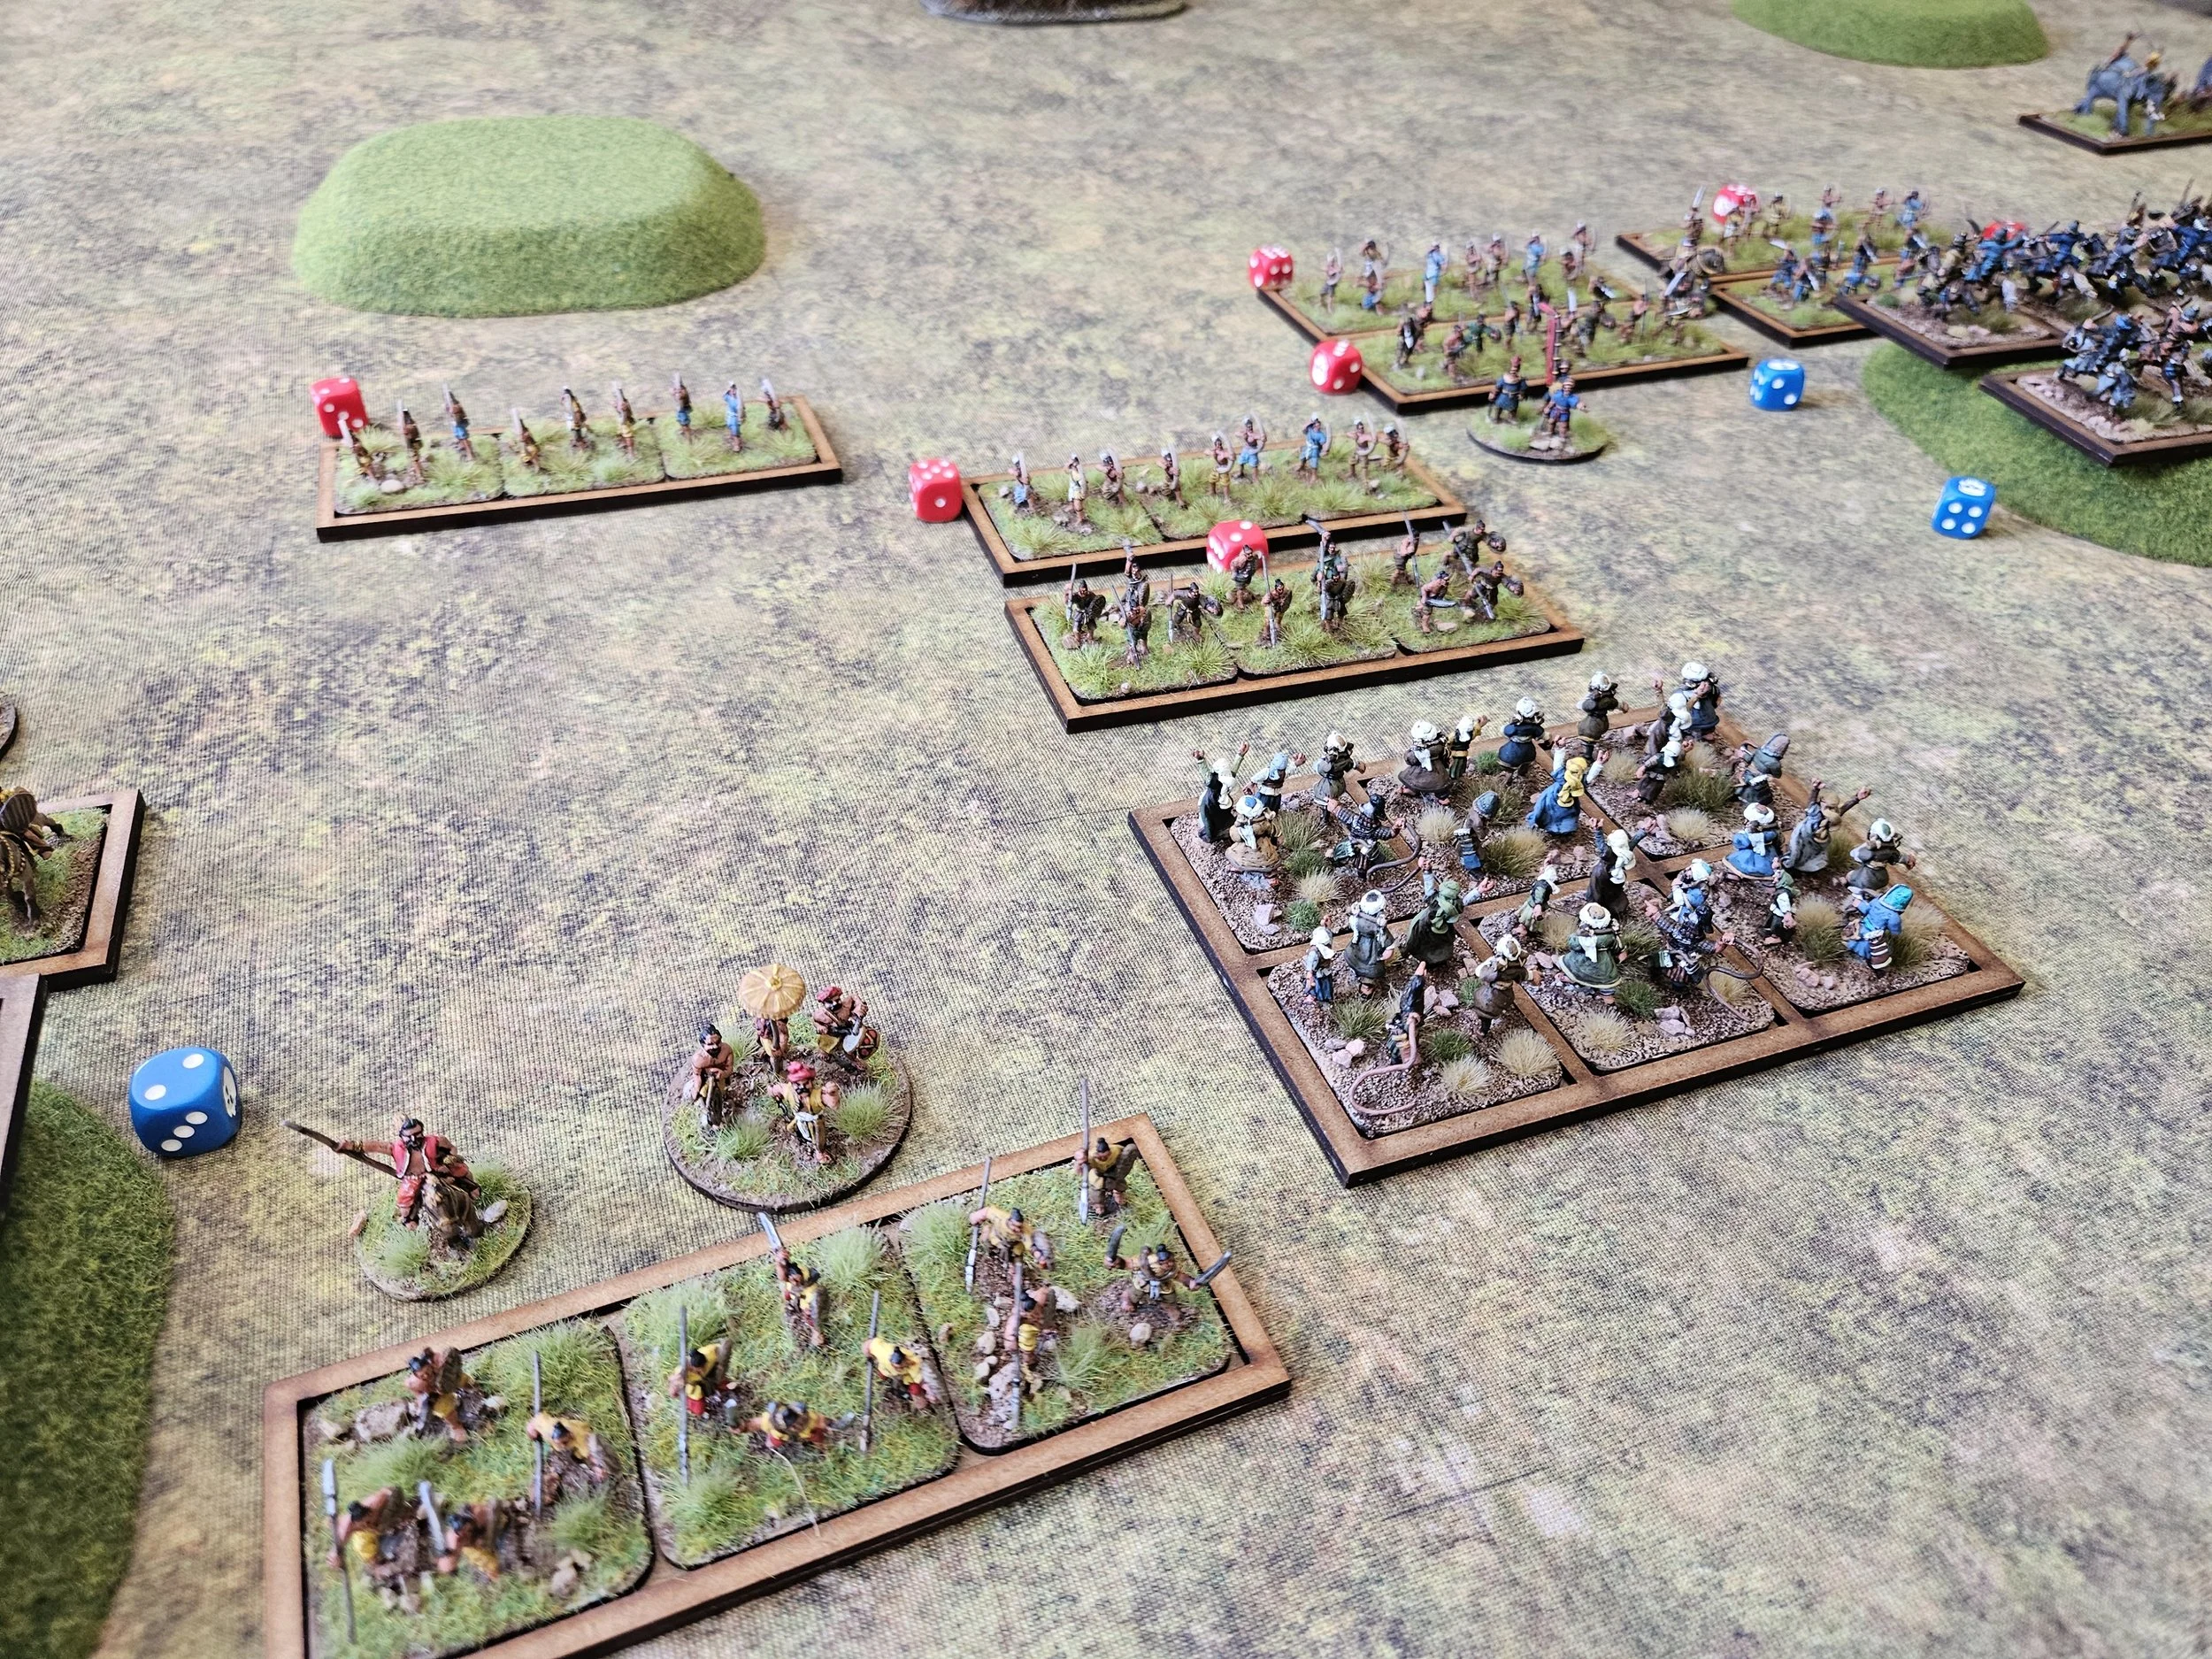
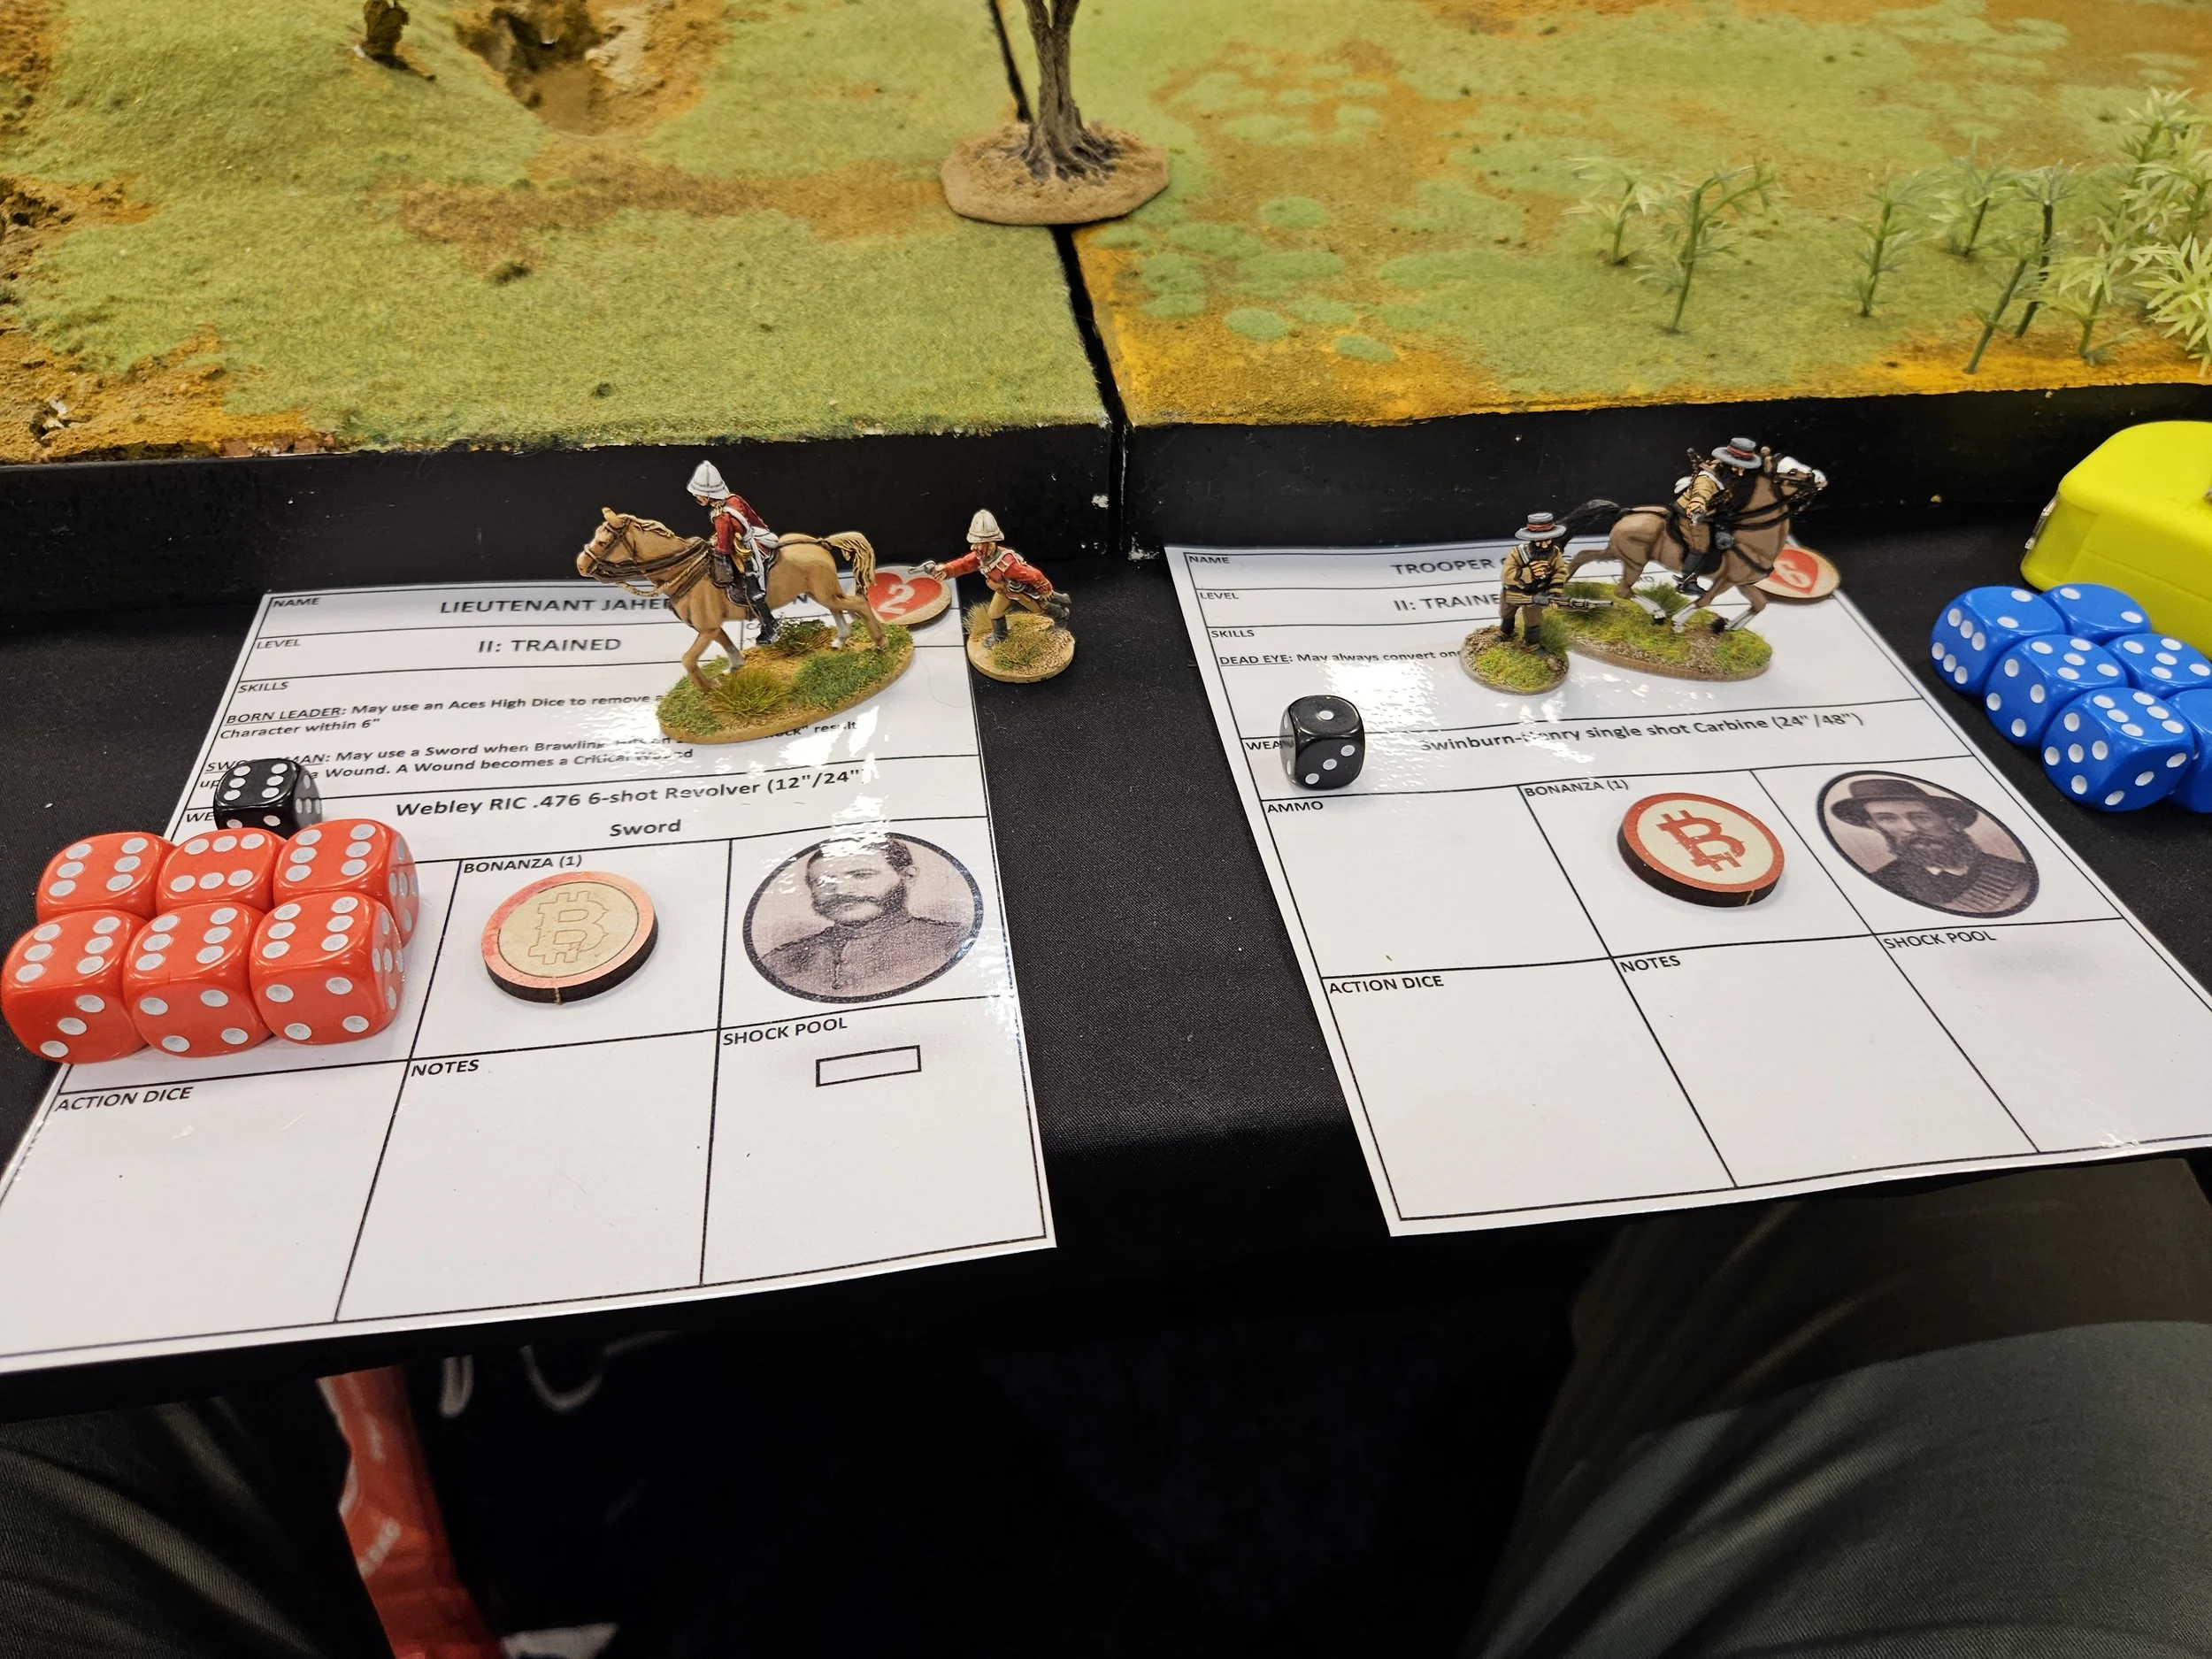
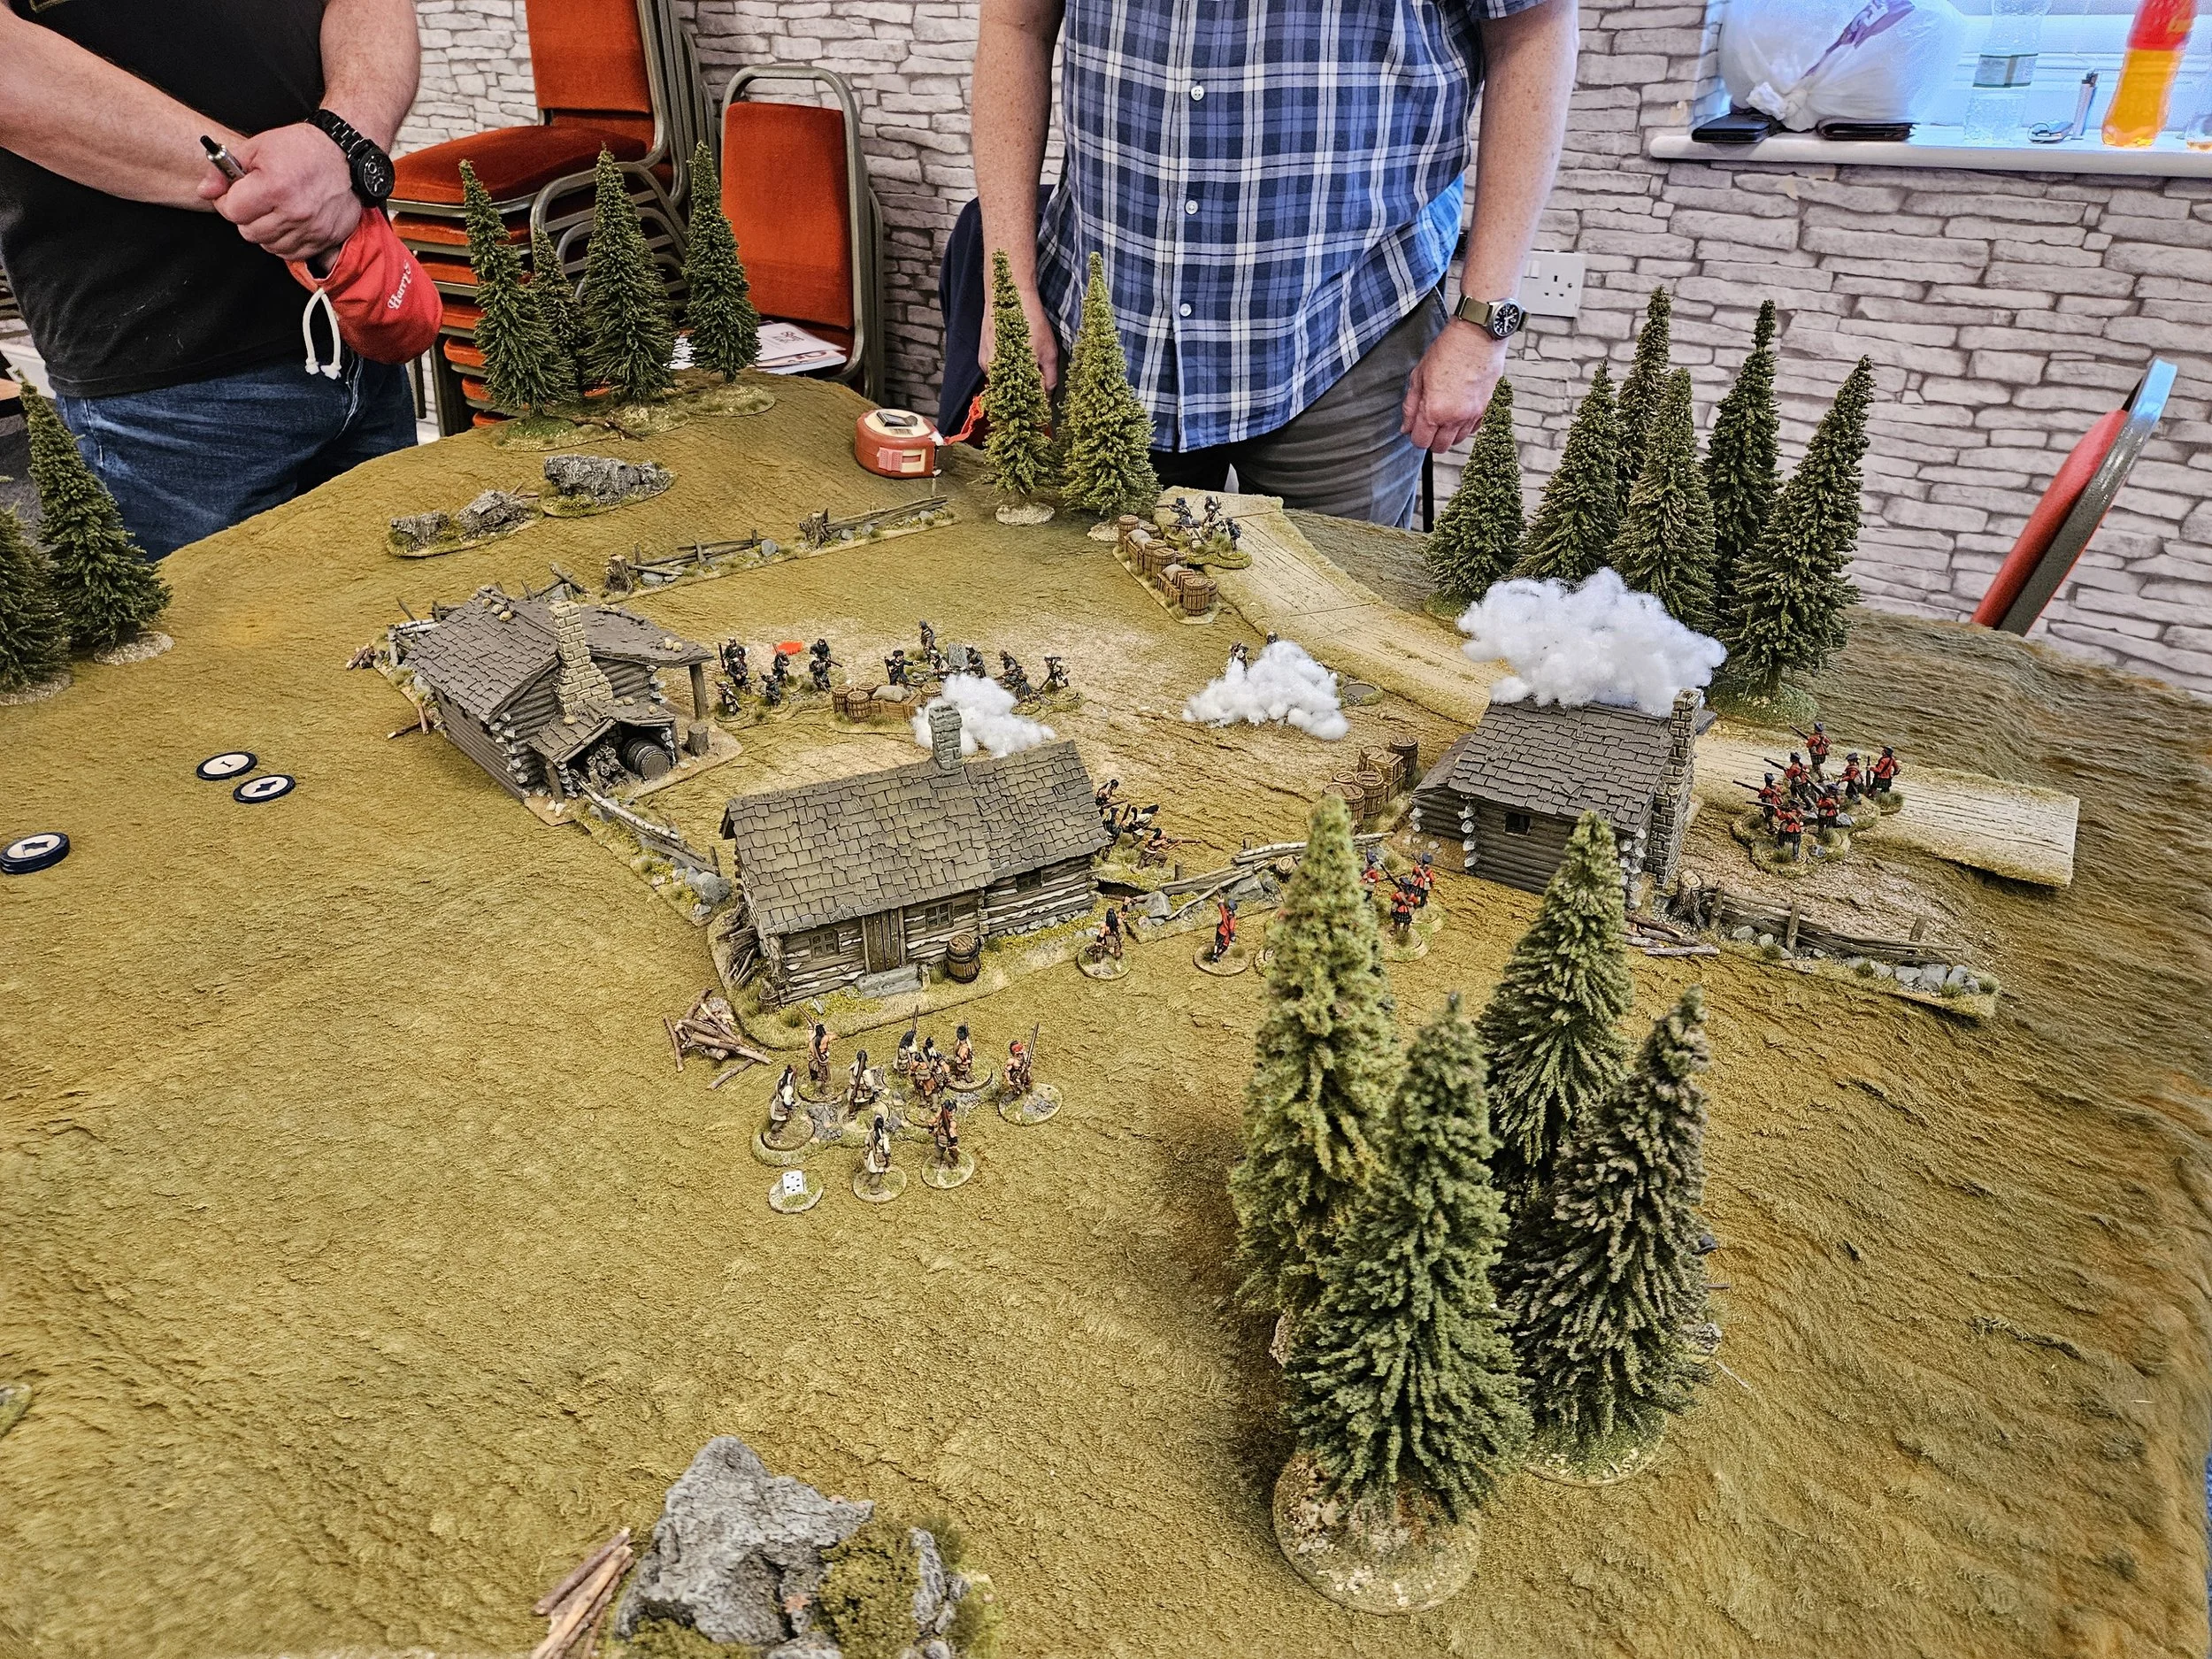
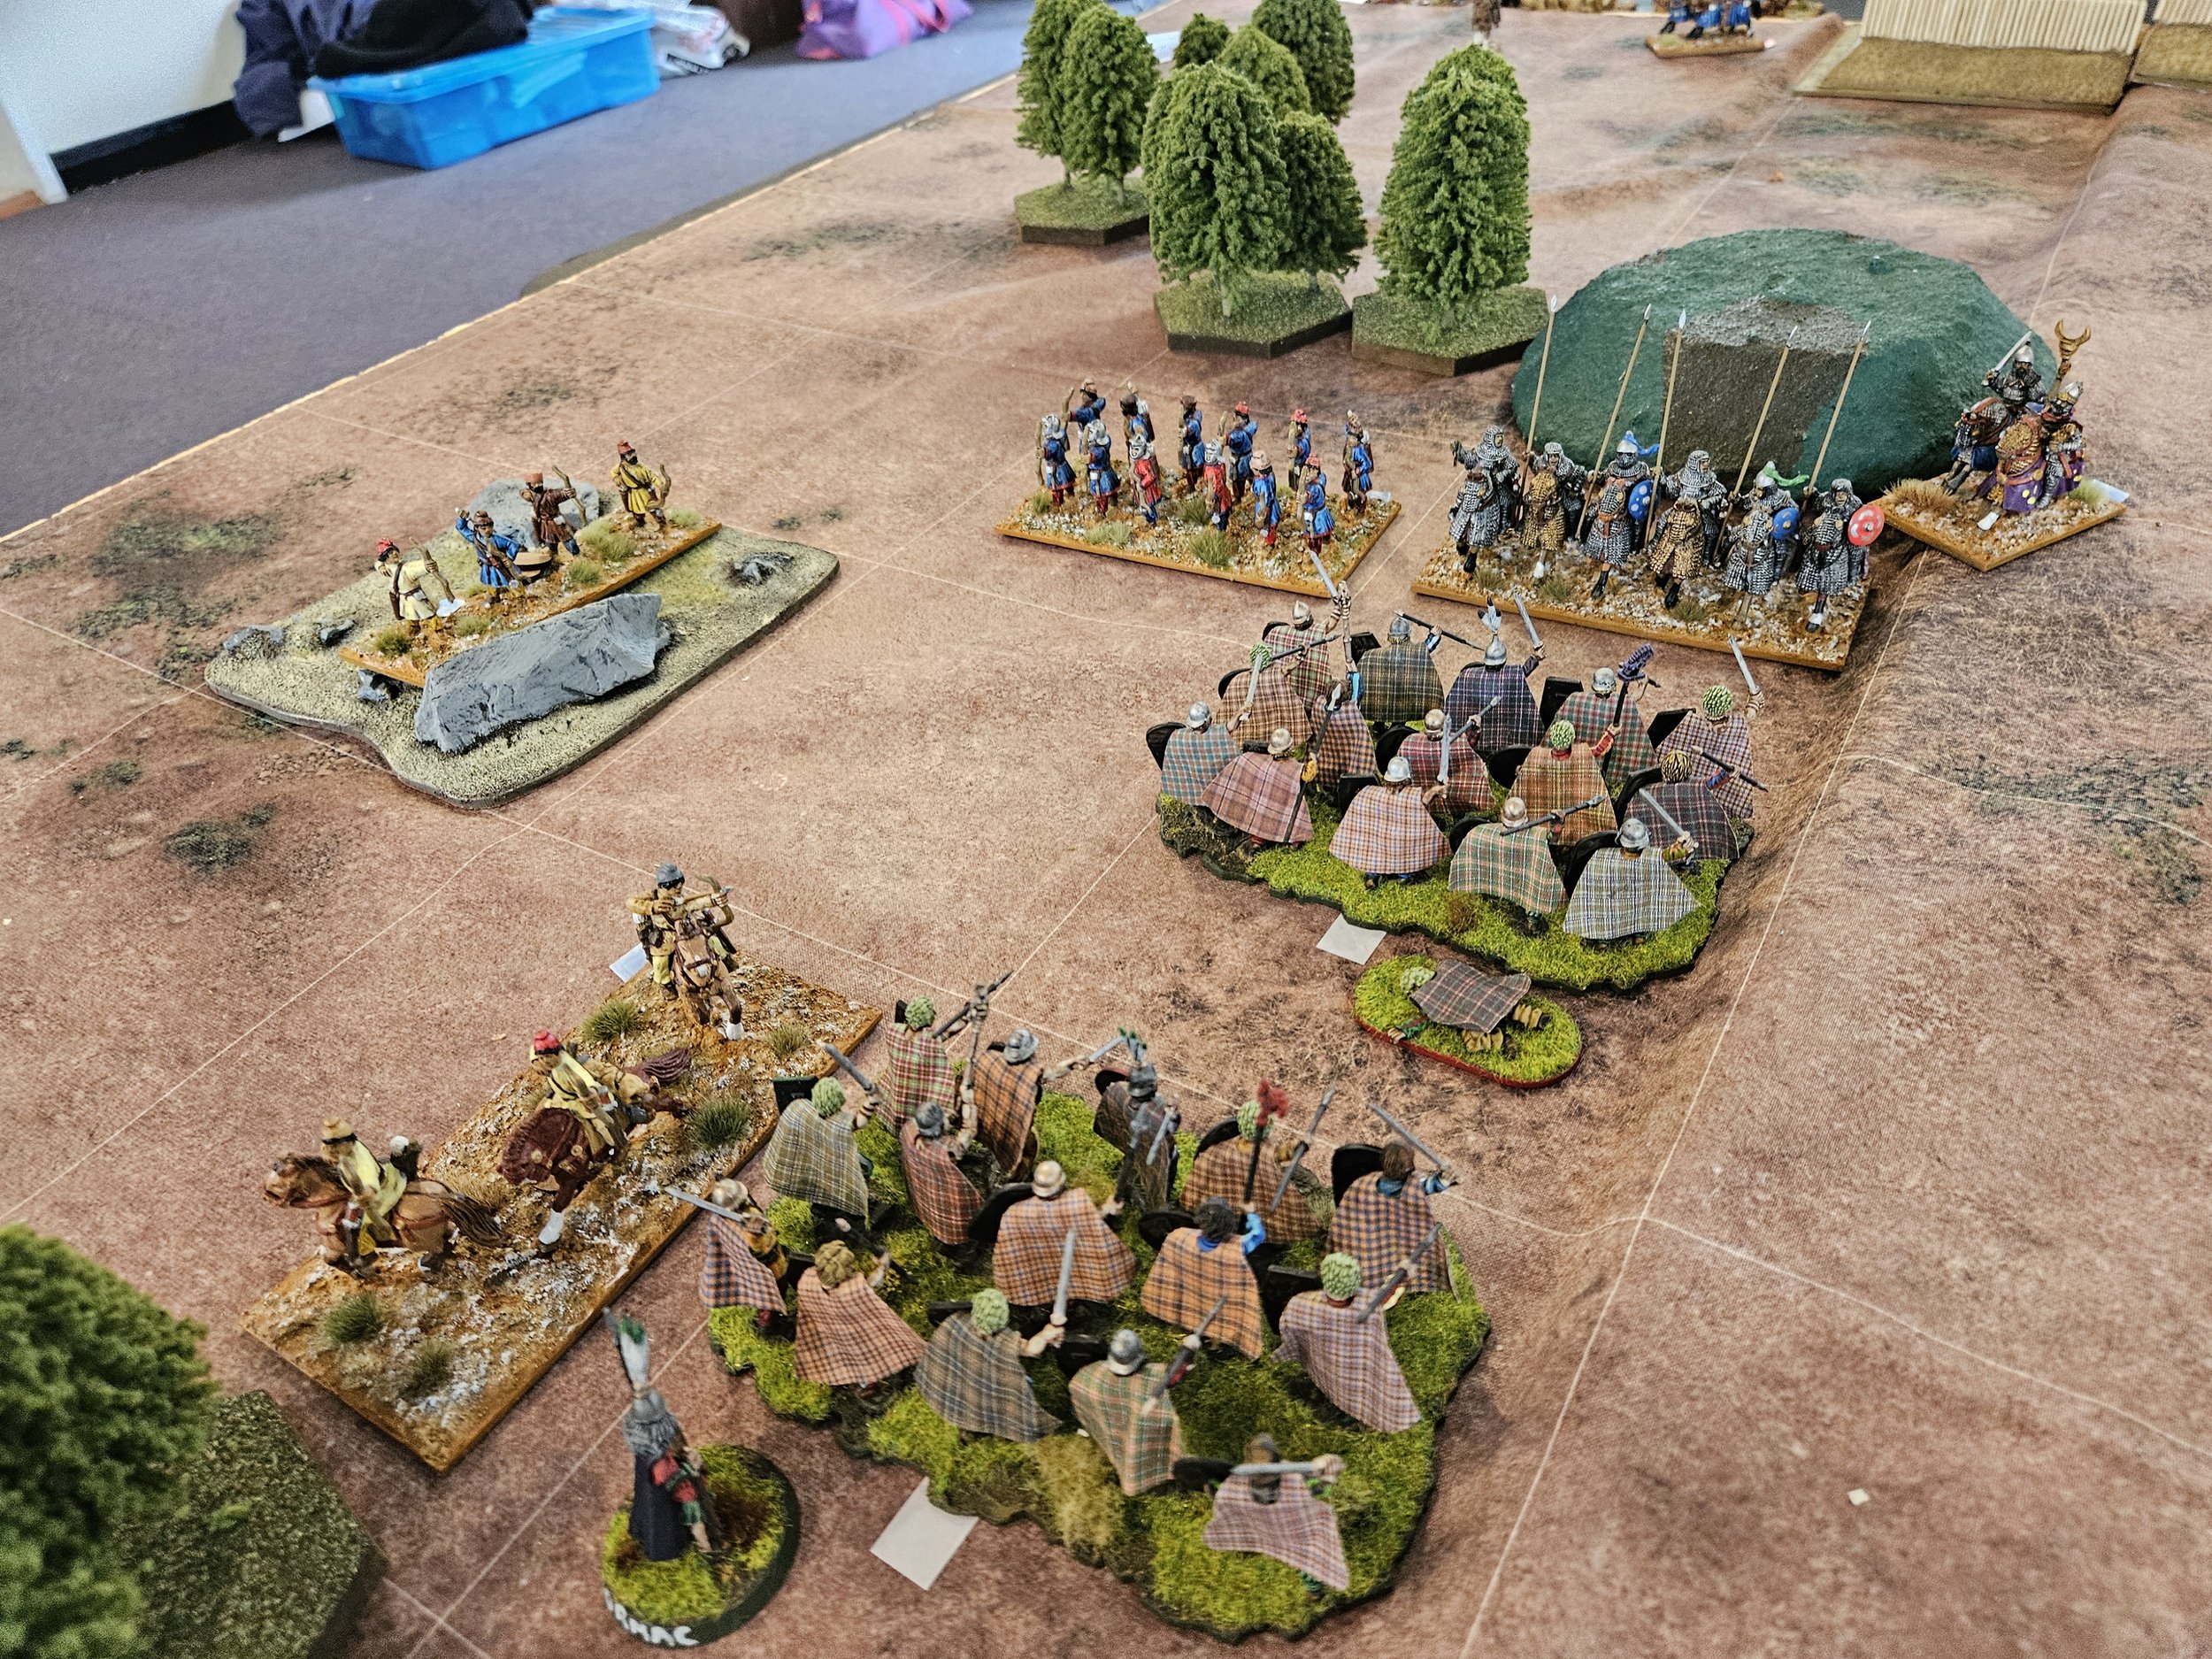
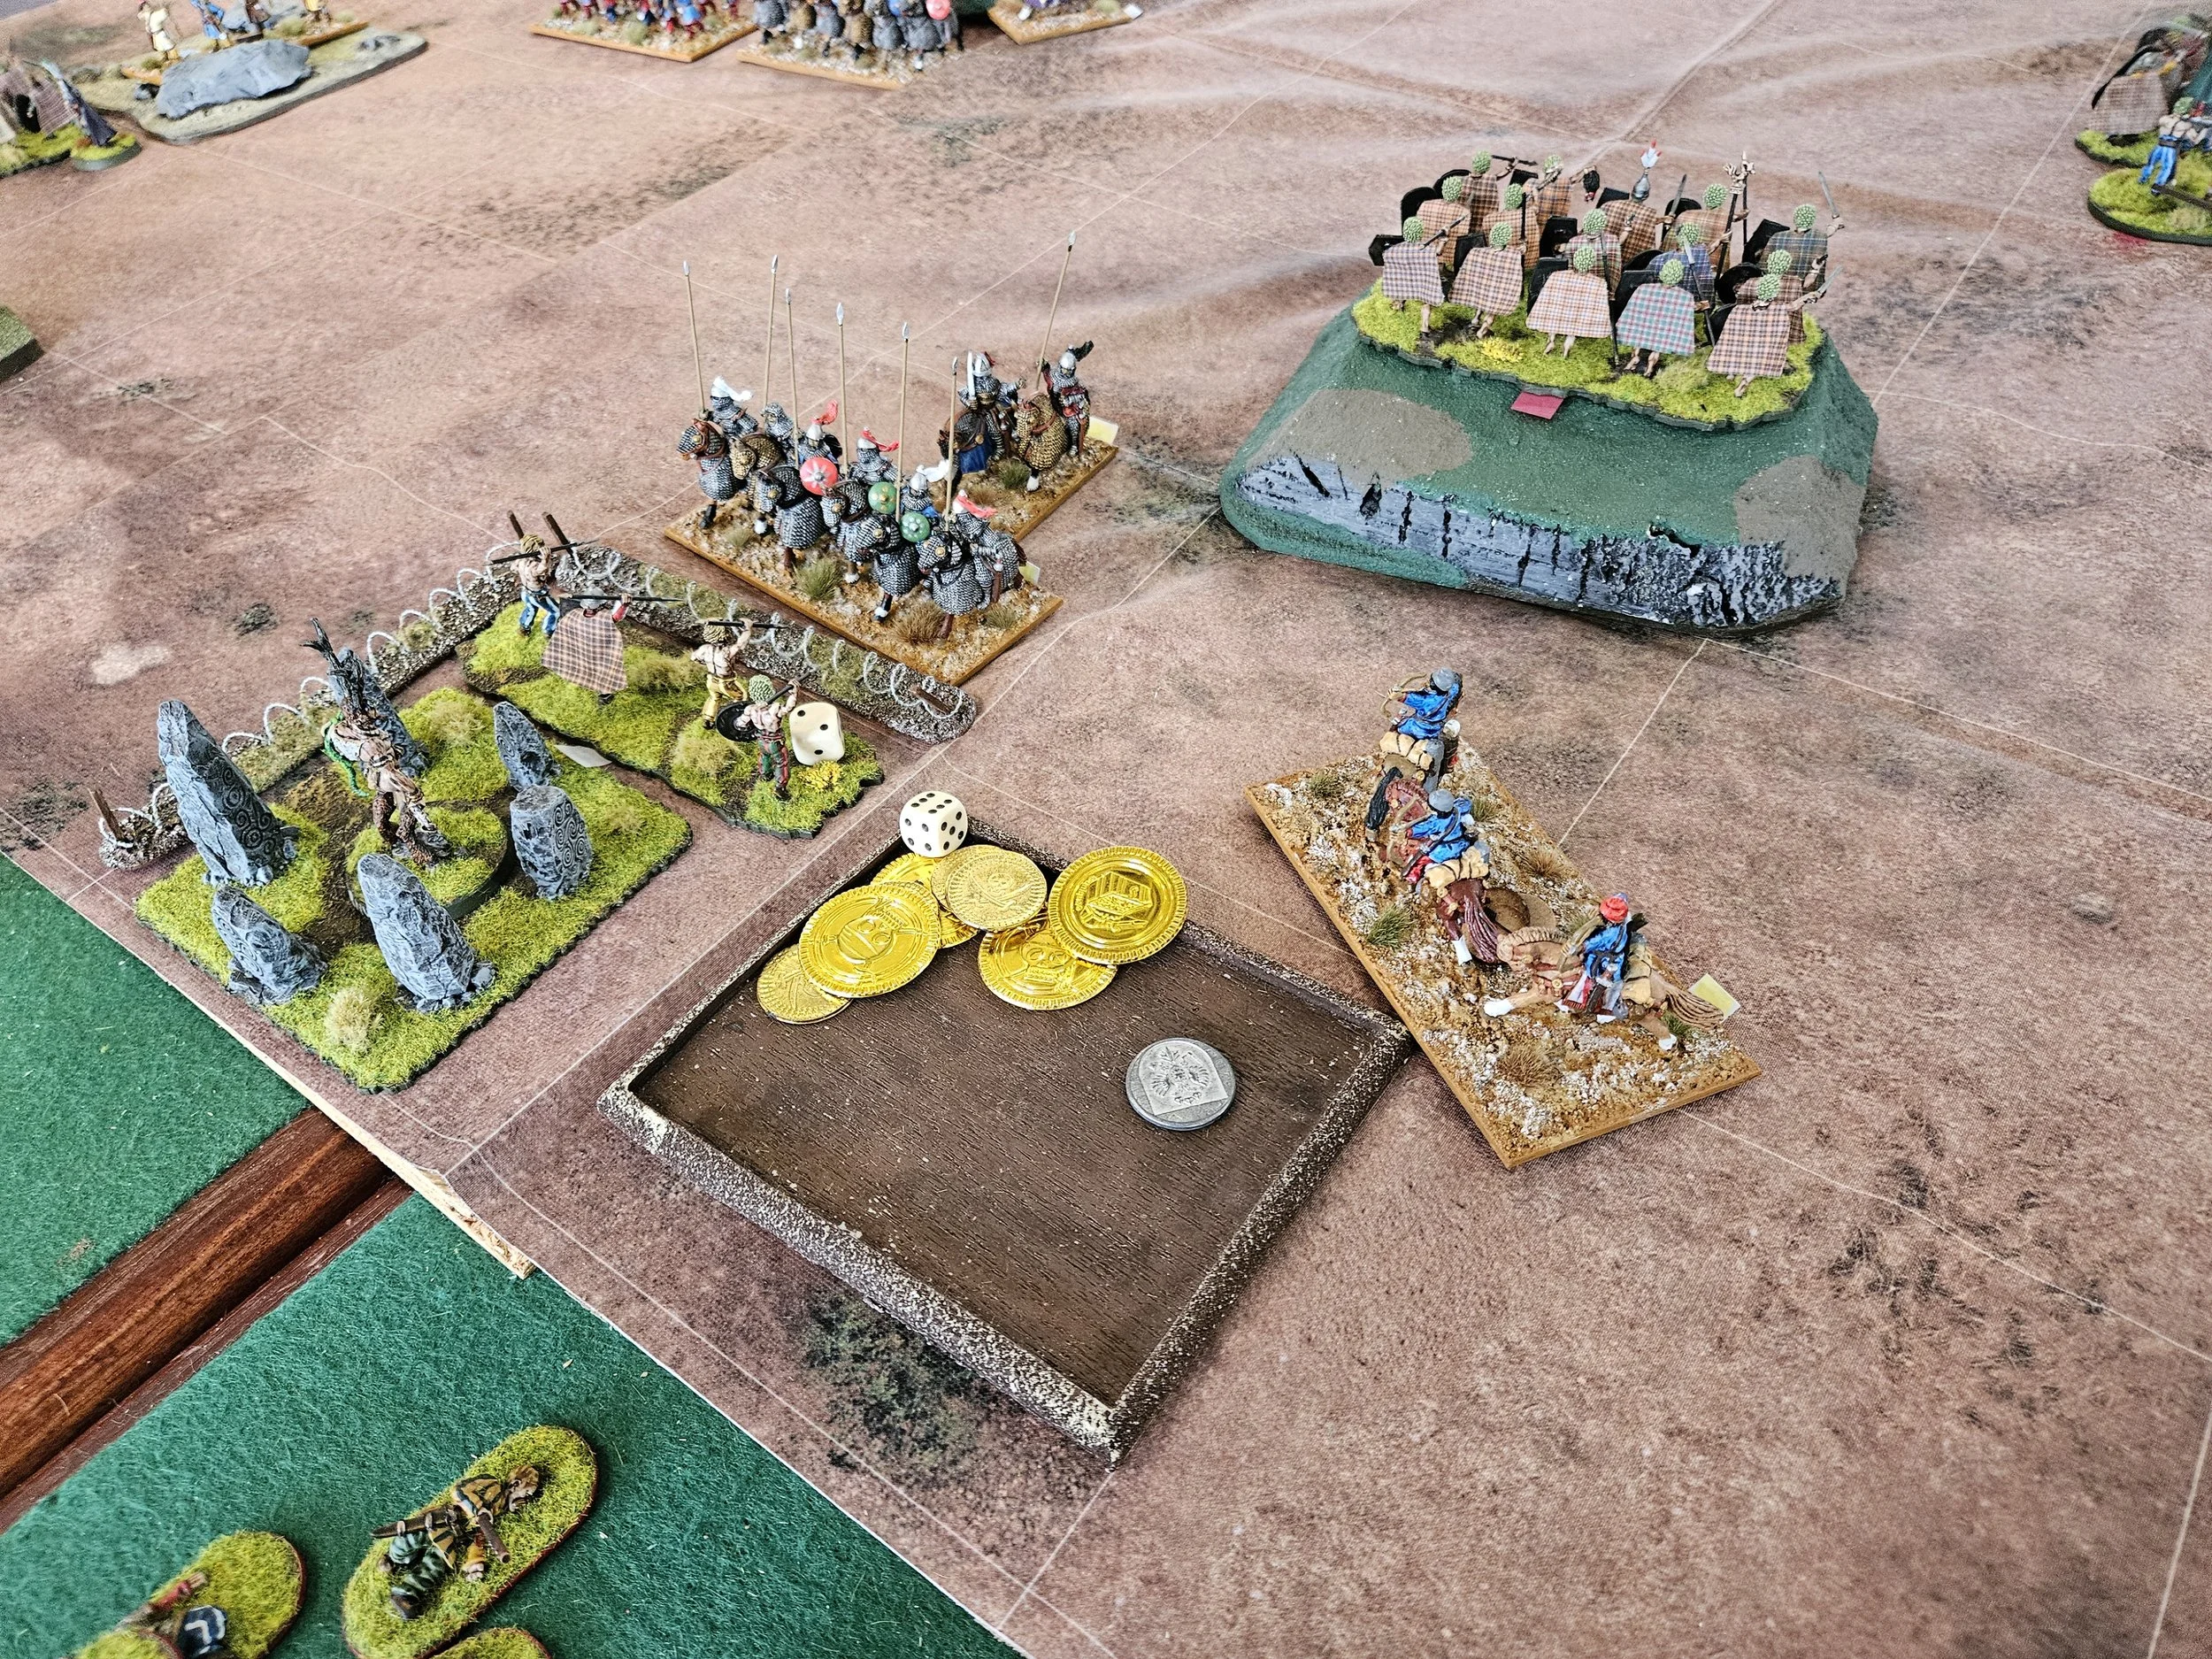
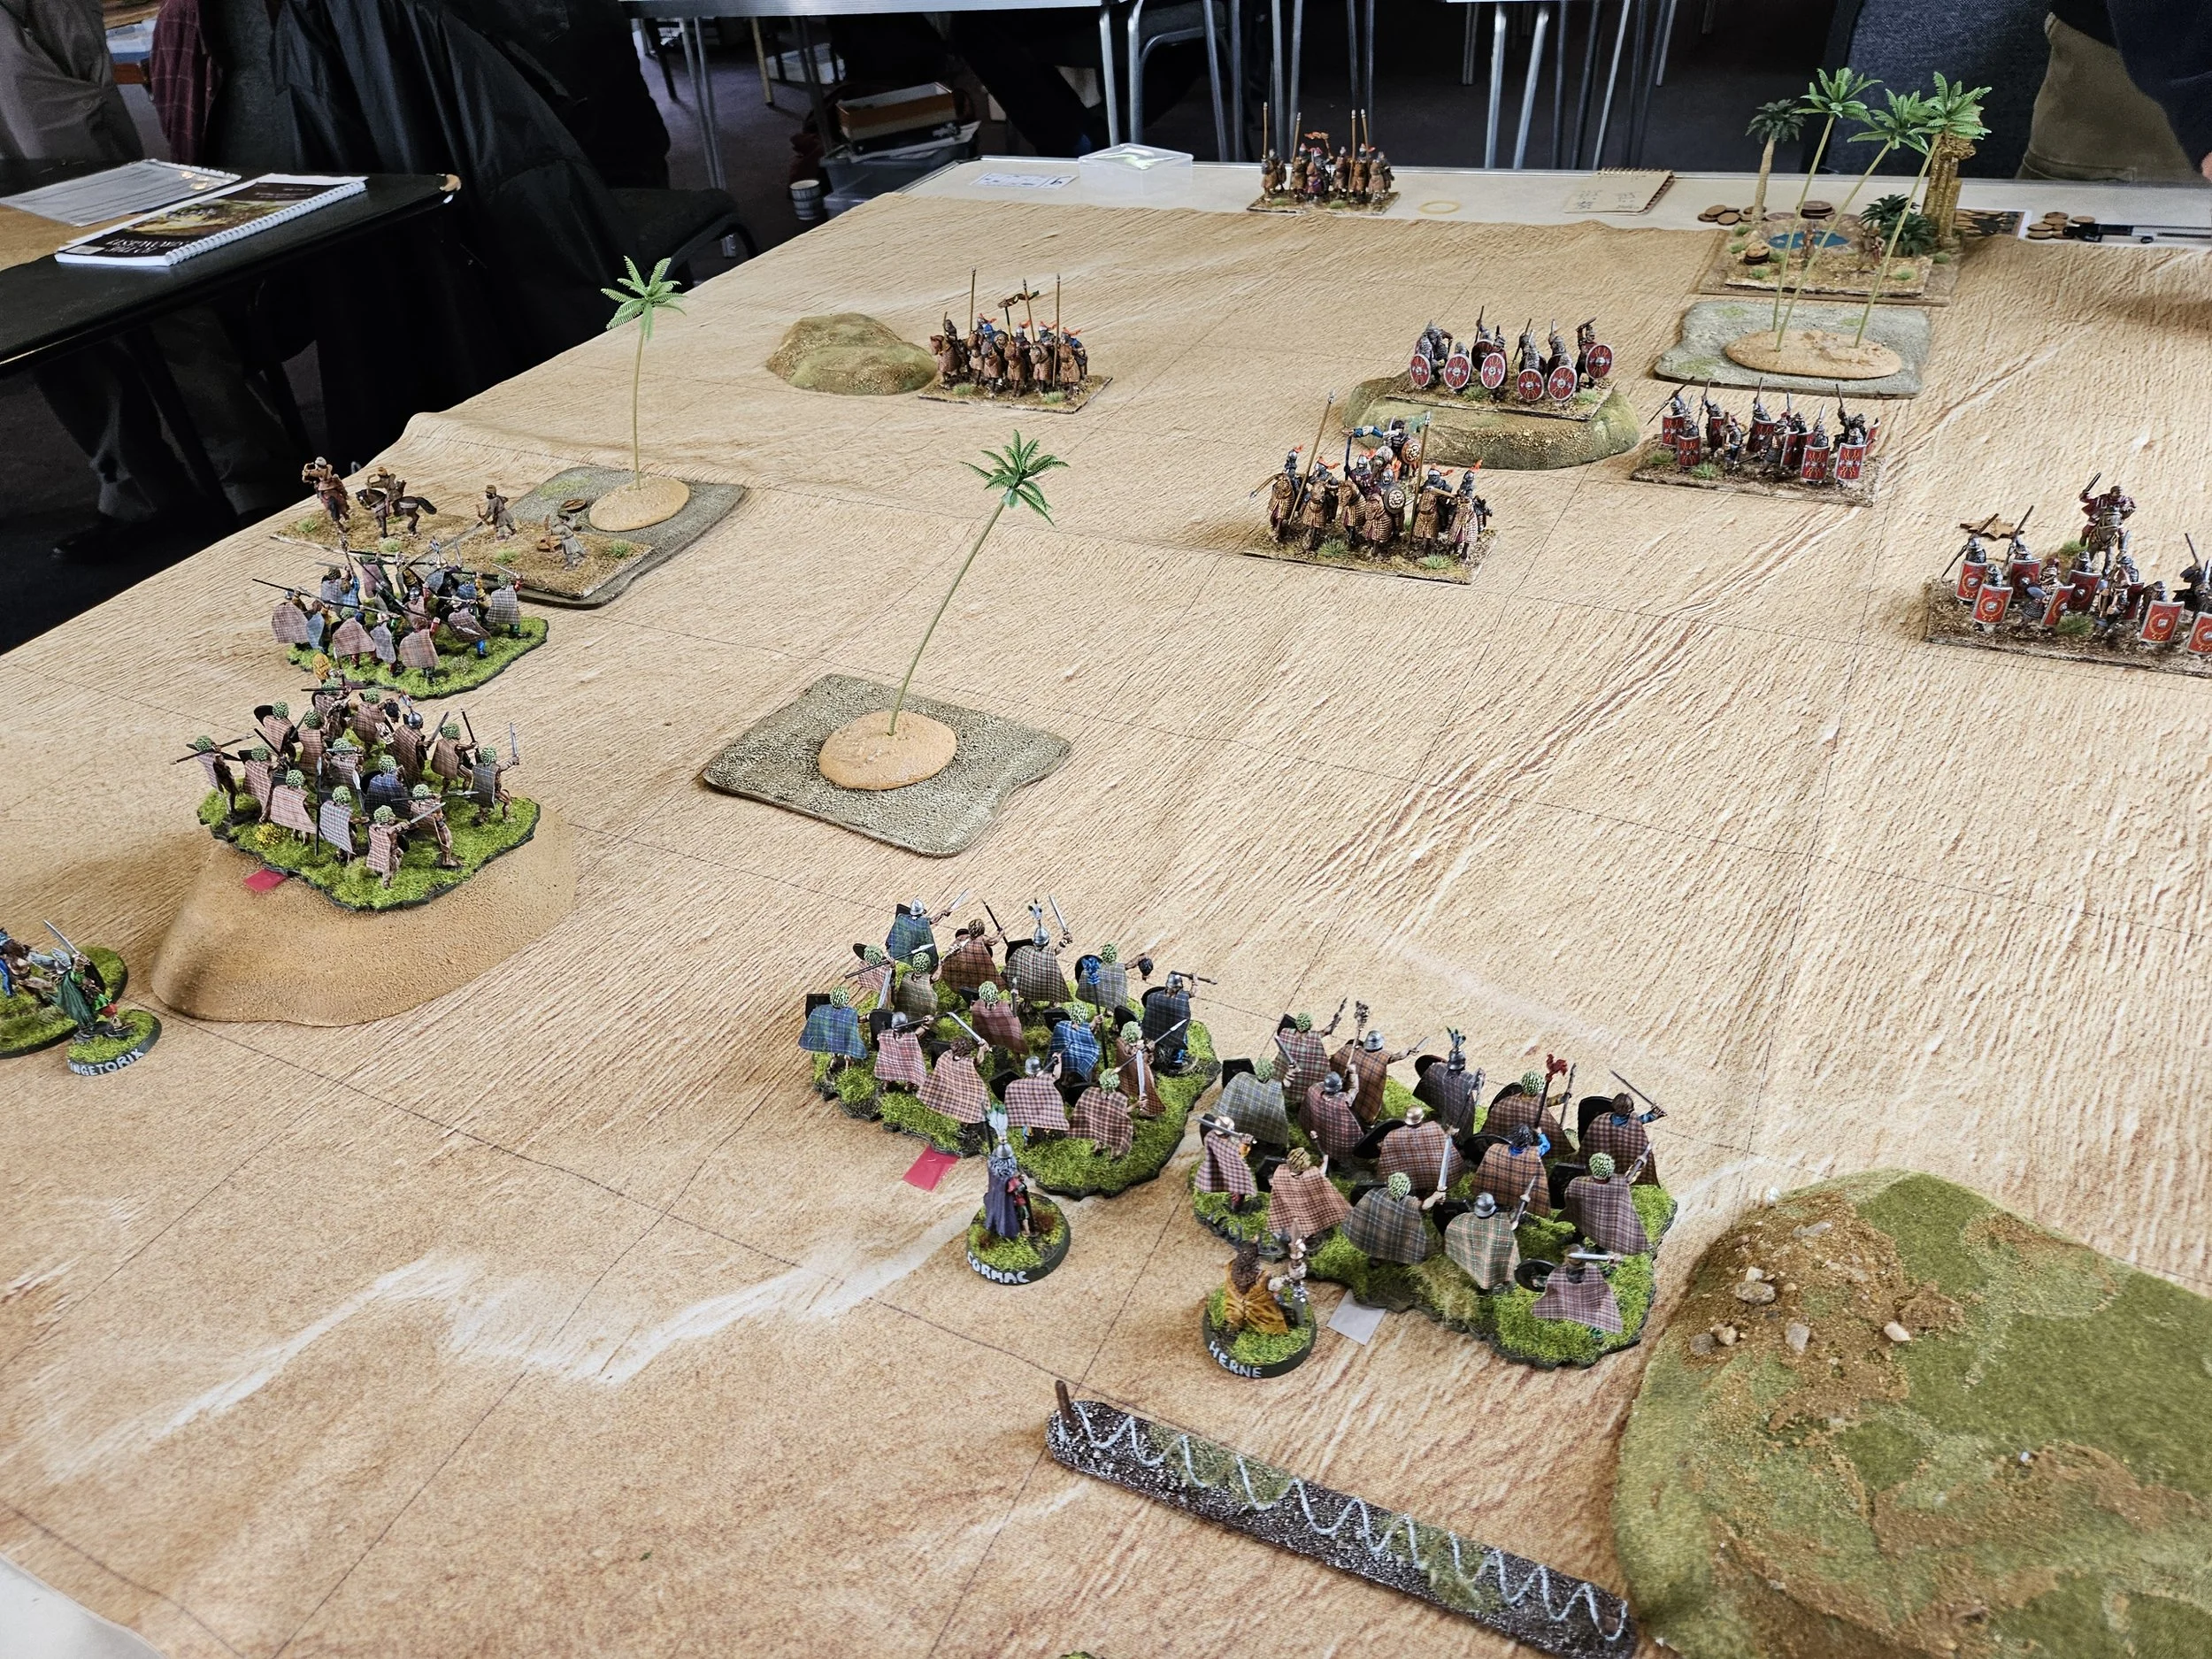
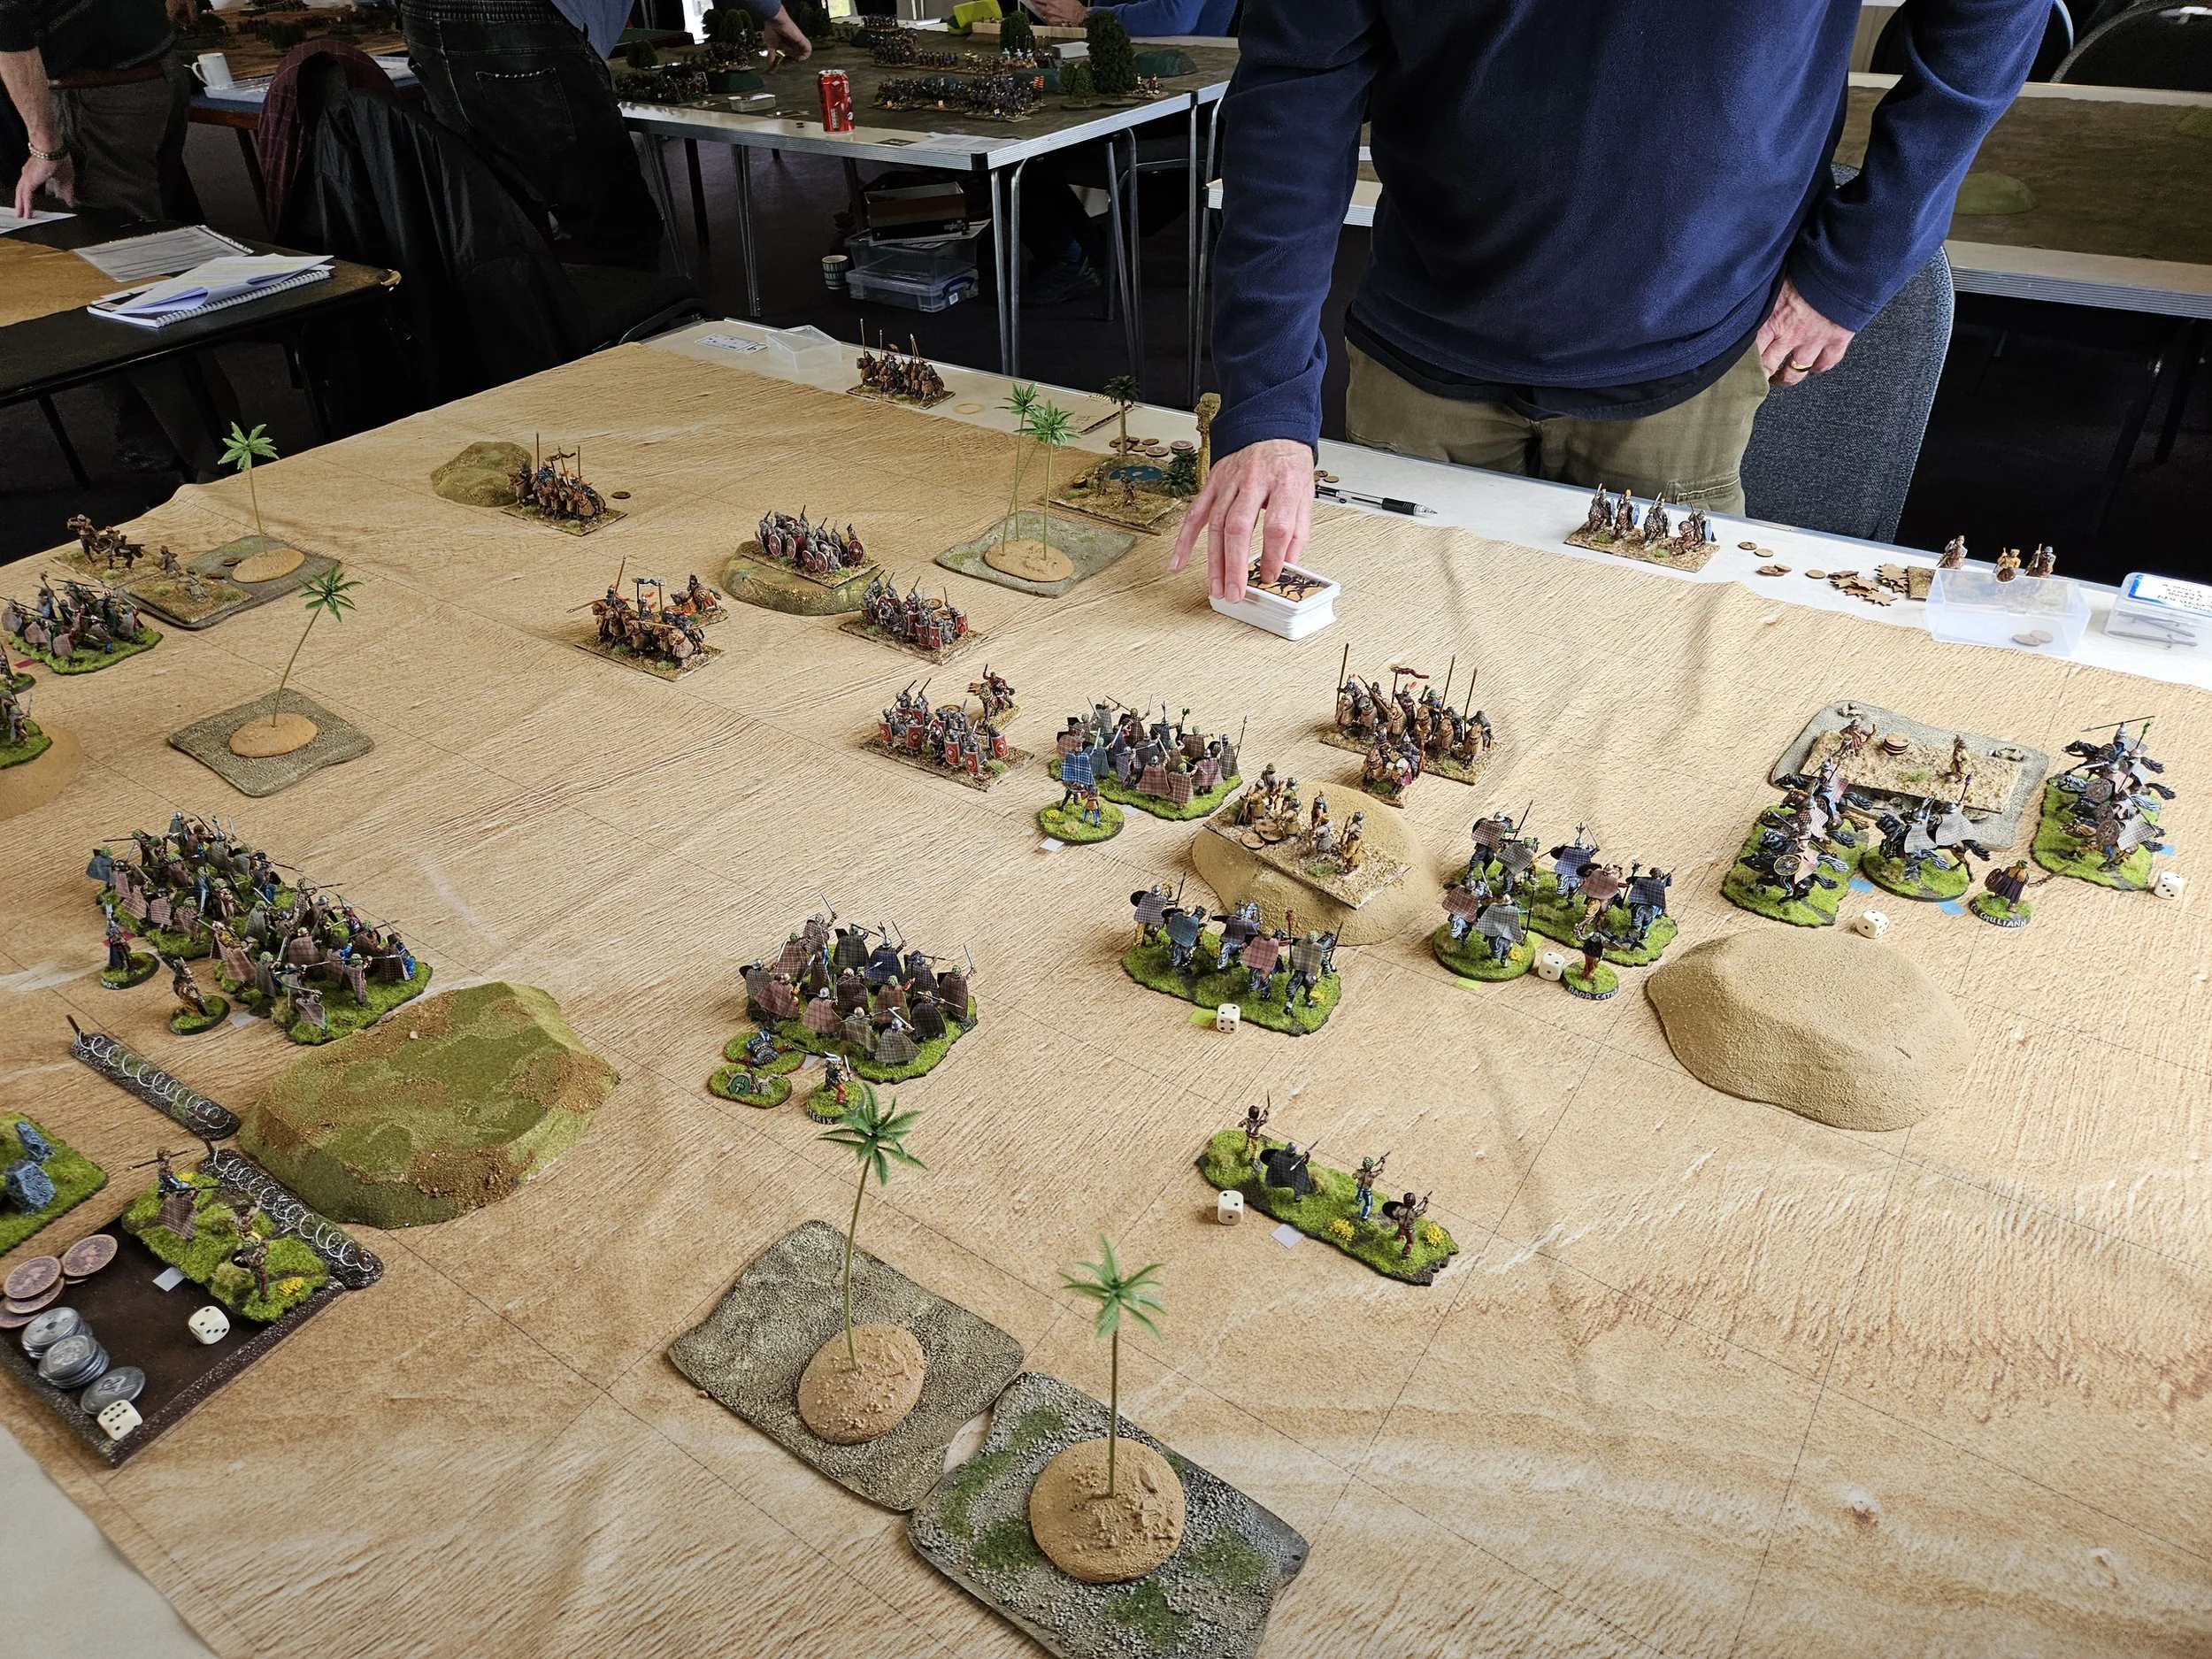
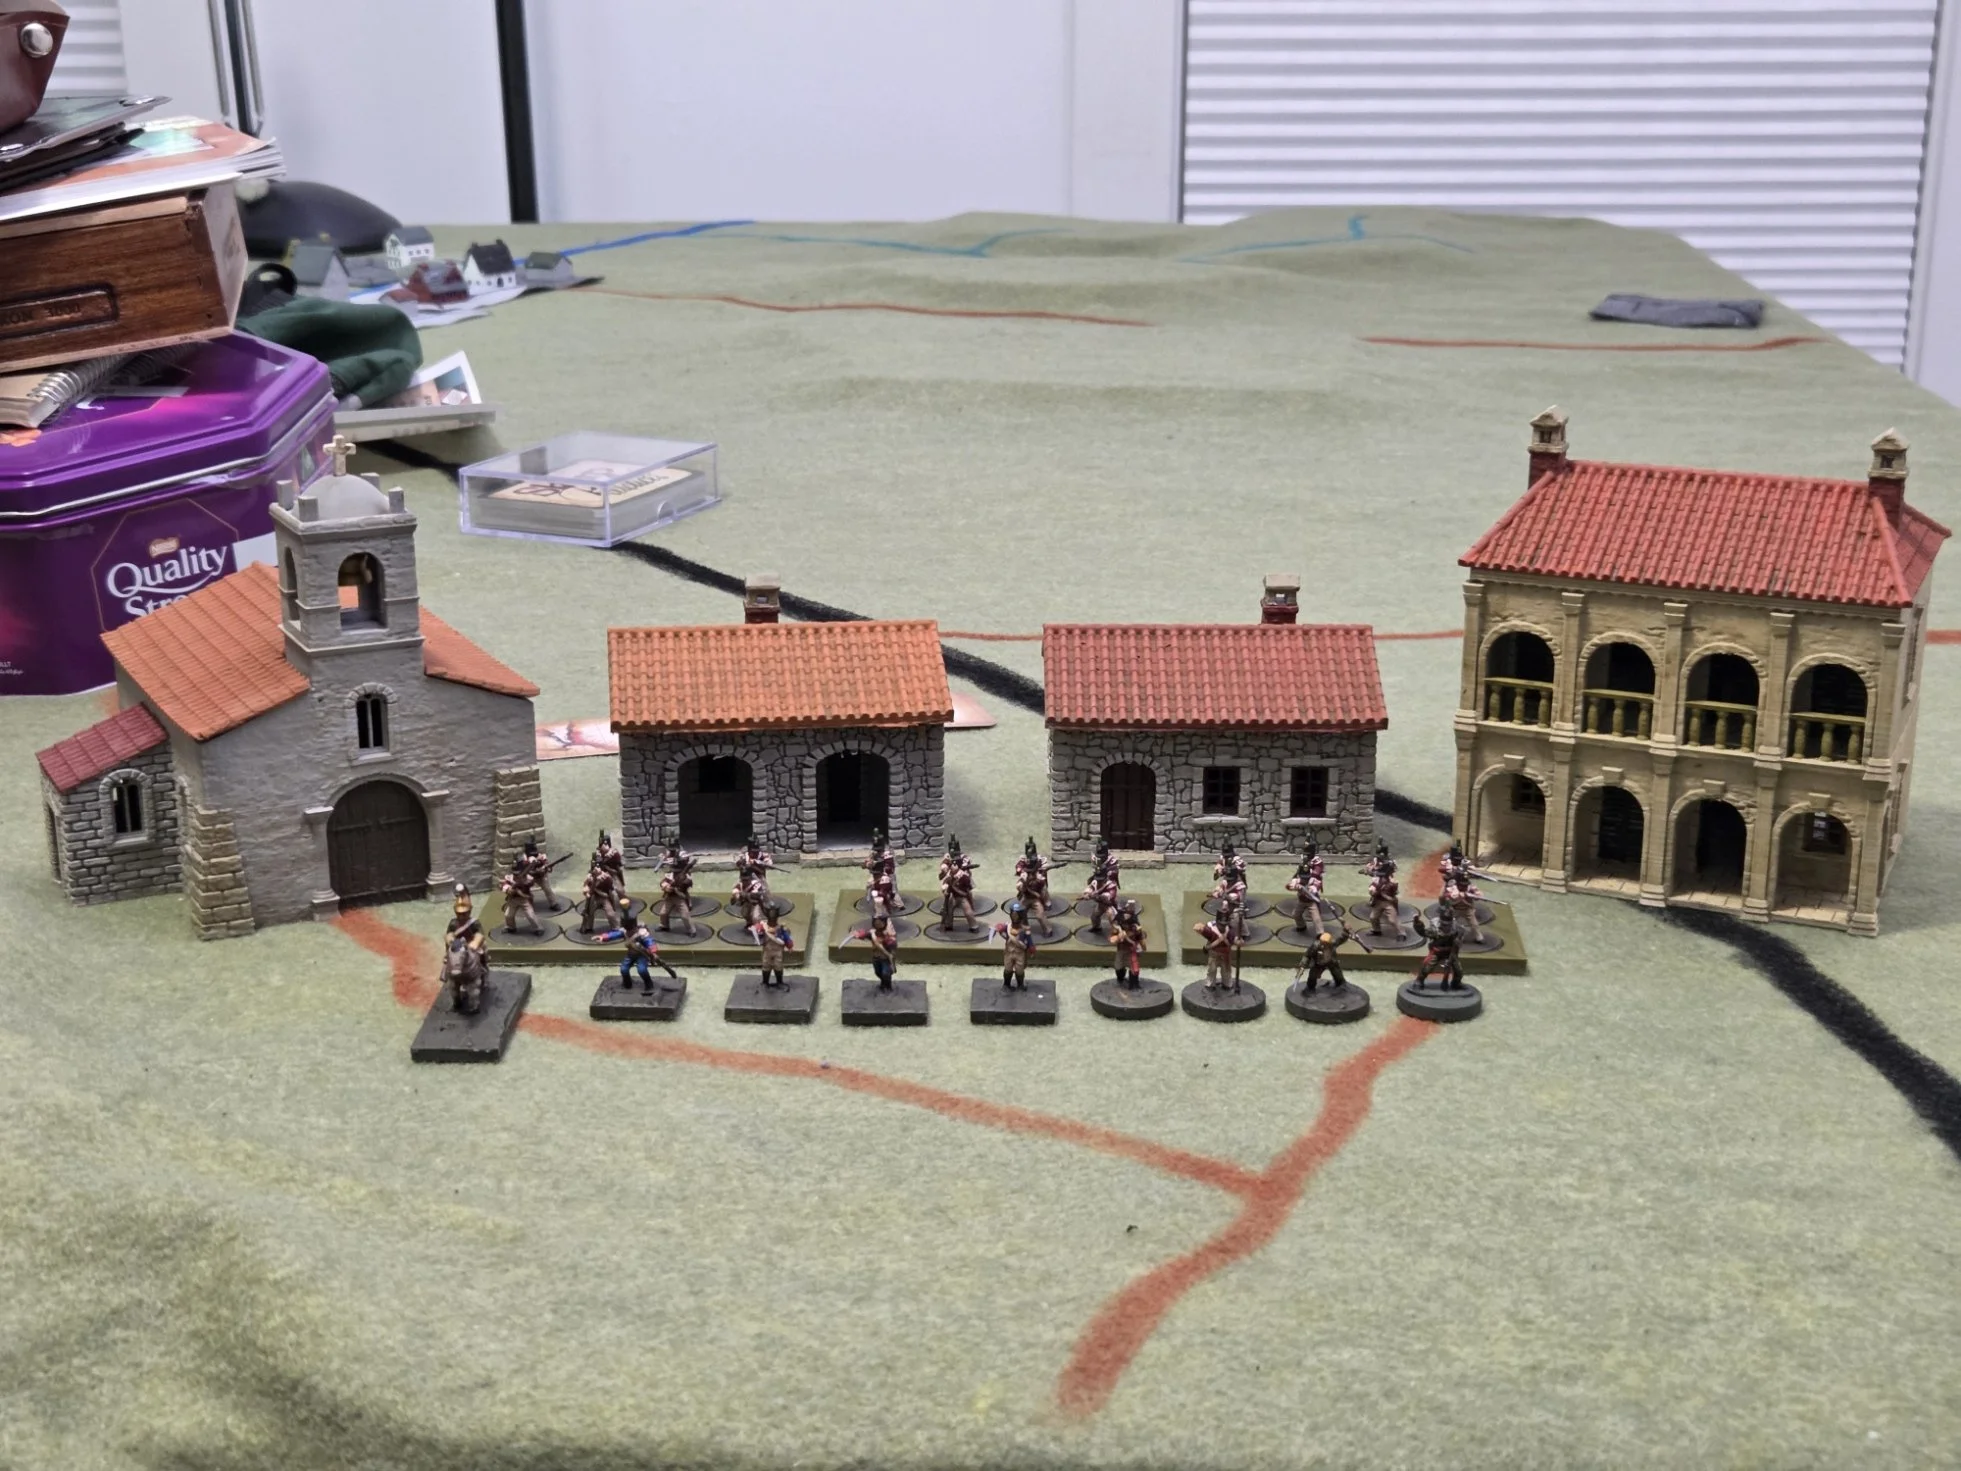
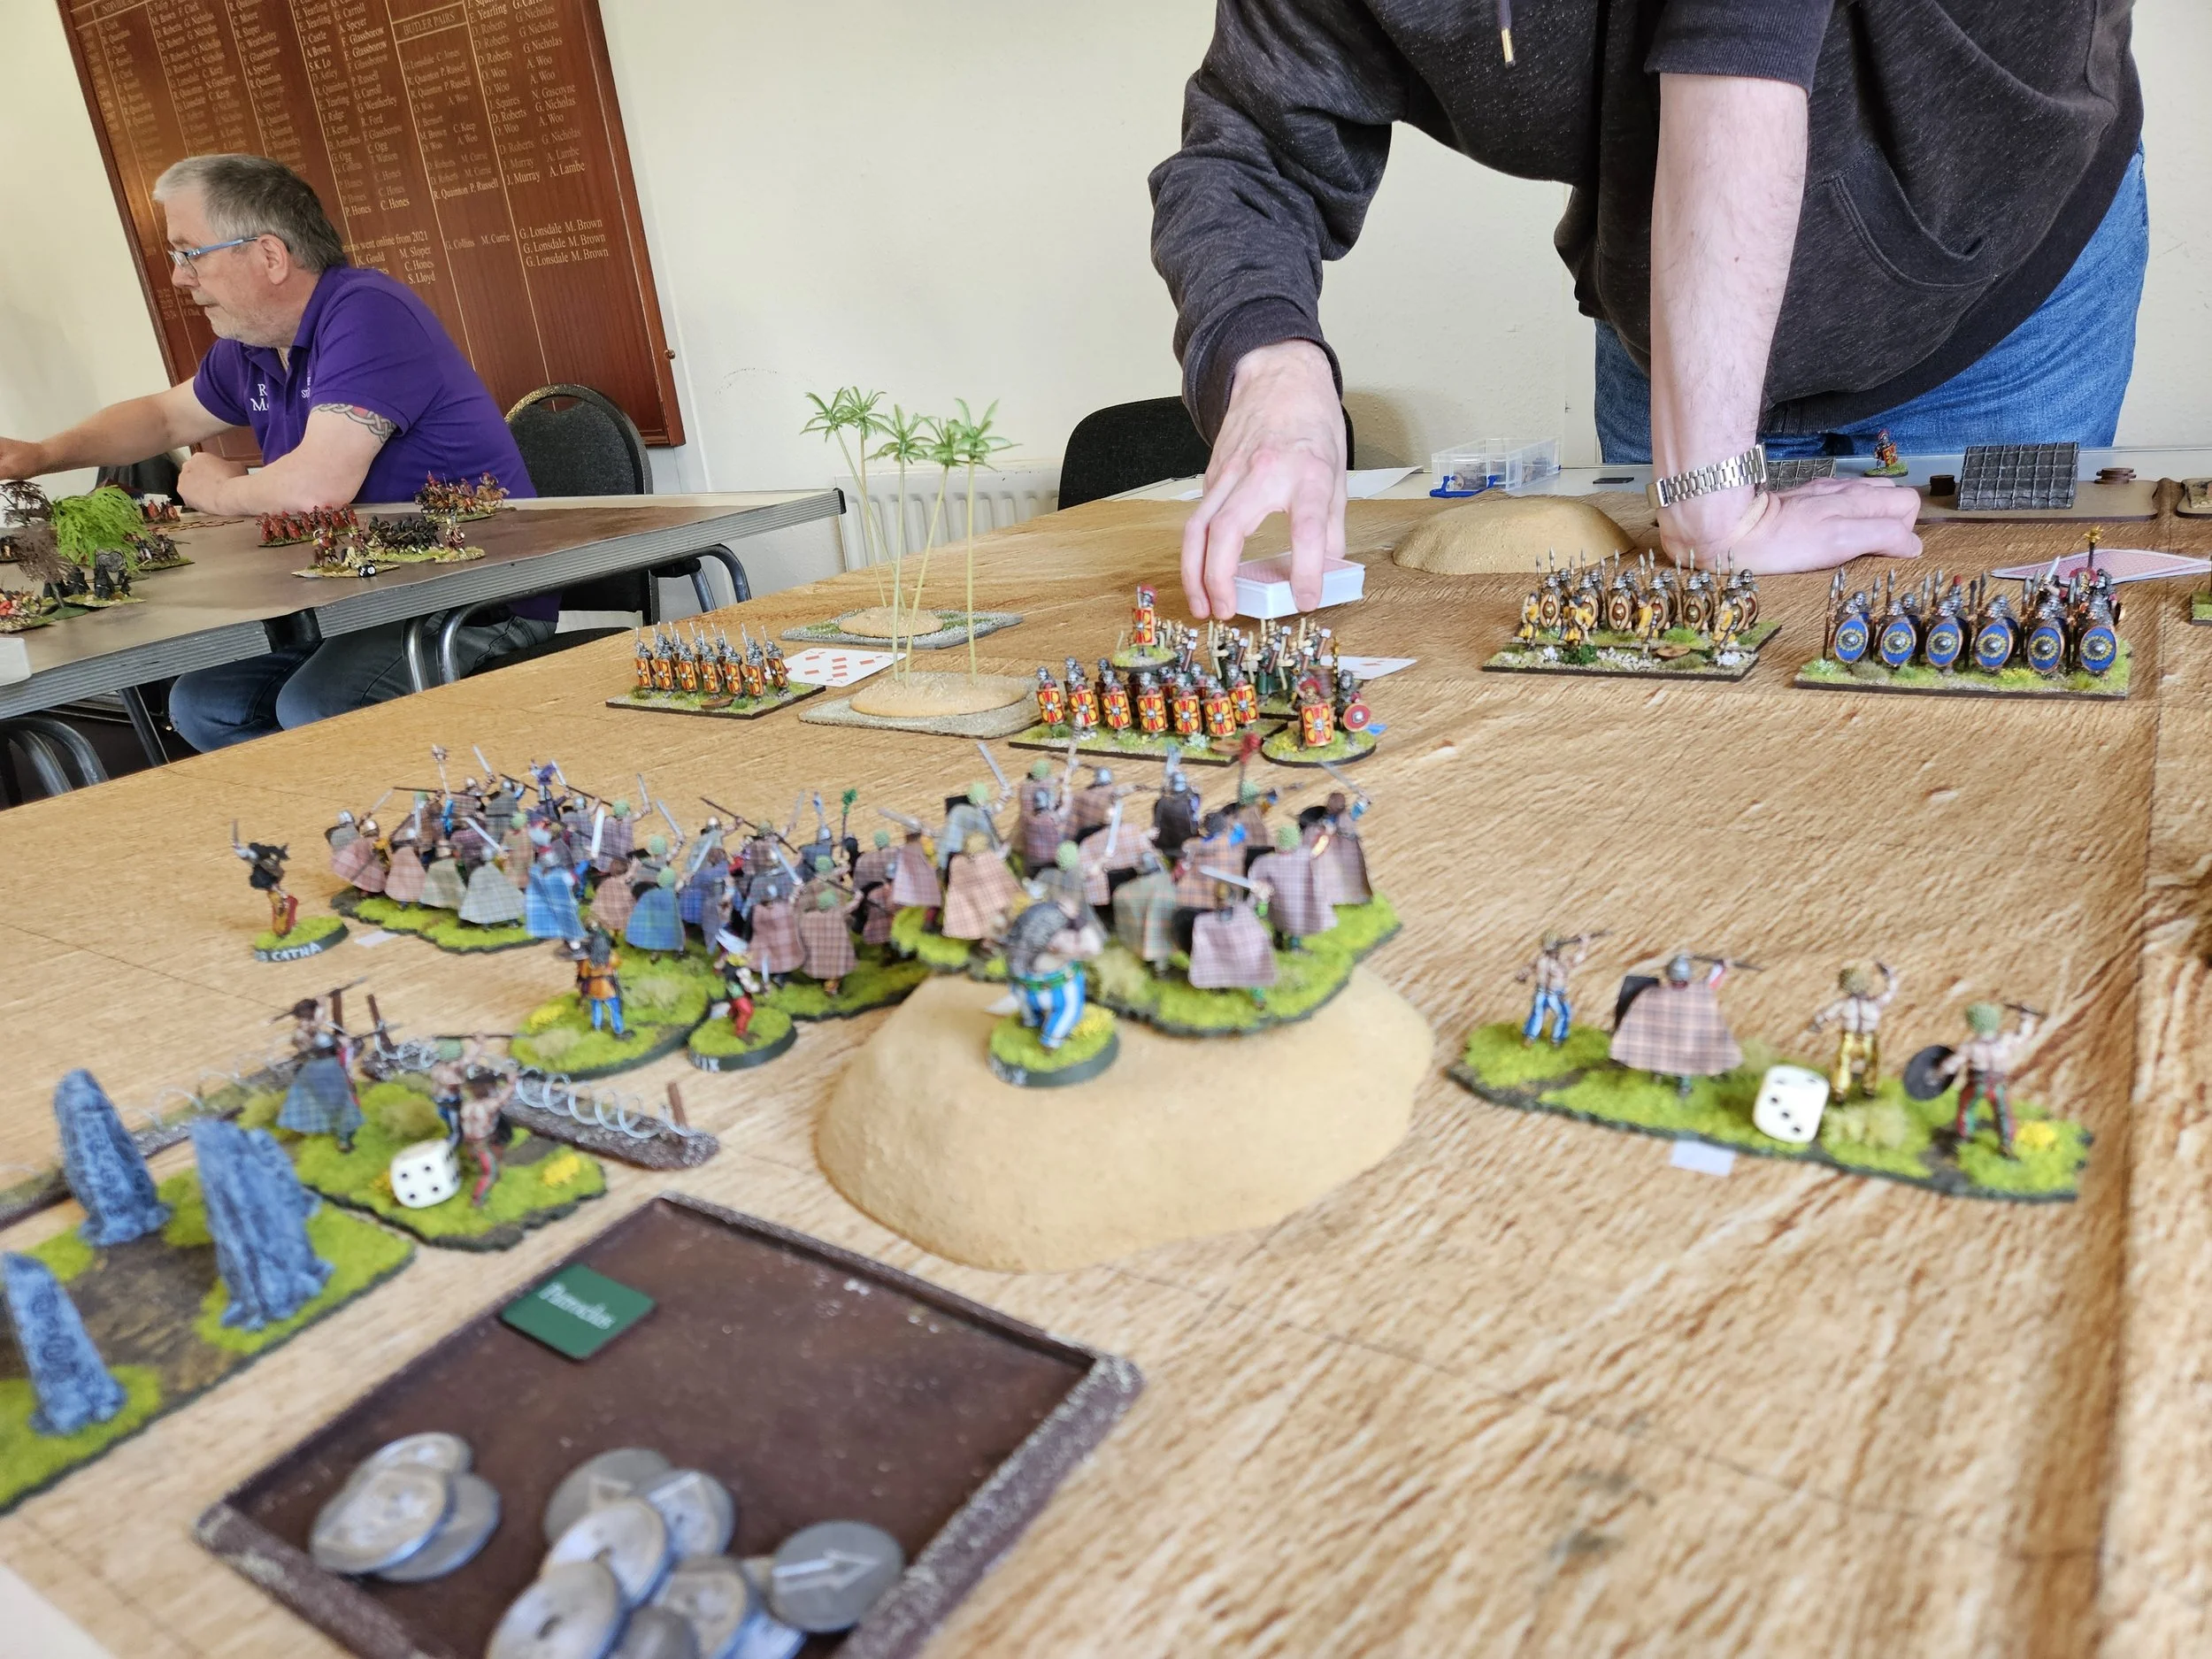
The game would begin at the moment the Zulus are first spotted, and I would play Lieutenant Carey and Trooper George Rogers. As you can see in the picture on the left, below, both my characters began the game stuck in the goats’ corral!