The second game of the Wyvern Lardy Day was a meeting engagement between a Soviet recce company of BMPs and T64s and a similarly-sized West German force of Marders and Leopards. The object of the game was to seize the crossroads near to the small village of Lardsburg.

A view of the table from the south with the Soviets entering from the right as the two sides read their briefings and concoct cunning plans:

The Soviets entered first but the West Germans sent a platoon to grab a vantage point on a small hill where they quickly deployed:

The Soviet direct thrust for the crossroads was spotted and the Germans poured fire into the BMPs and infantry. The Marders' cannons made quick work of the BMPs while small arms failed to inflict casualties but caused shock on the infantry:

A Soviet recce section had managed to infiltrate the village undetected and sprung a surprise on the Germans:

.... destroying a Marder with an RPG and inflicting casualties:

The Soviet platoon left its wrecked BMPs behind and moved through the village to engage its ambushers:

Making use of local knowledge, the Germans move through the wood to the south:

The Soviets engage the Germans in a firefight from the cover of the buildings:

The German outflanking move clears the wood but is concerned about the possibility of Soviet forces in the wood in front:

The effect of the Soviet fire is felt as 3 Marders are hit and the infantry take shock:

The main Soviet attack develops to the north of the village as the tanks platoon advances with the other motor rifle platoon:

The Soviet commander observes the action from a vantage point:

Deciding that there is nothing to worry about in the woods, the German tanks move towards the objective:

It's a game of cat and cat as the Soviet tanks move to engage:

...and inflict 2 kills:

Although a T64 is immobilised in return:

The Soviet infantry advances from the village:

.....as the Germans withdraw from the hill. To their right the other German mechanised platoon pours fire into the village, the 20mms inflicting major casualties and forcing a Soviet withdrawal from the buildings:

By the end the Soviet infantry had suffered crippling losses but they had 2 tanks fully operational, while the Germans had lost one of their mechanised platoons and their tanks. Control of the crossroads was disputed with both sides needing reinforcements to succeed in their missions. it was another hard fought action in the best spirit of the day. Thanks to Noddy and Elton for commanding the Soviets and to Nathan for leading the West Germans.

Maxim to Milan

 
MORE AAR
HOME


Last Saturday I was privileged to attend the Operation Market Larden games day hosted by the Wyvern Wargames Club in Bishampton near Evesham. There was a good selection of excellently presented games using TooFat Lardies rules - both released and under development - covering the Russo-Japanese War, WW2 (both company and platoon level), Arthurian Britain, the Napoleonic Wars, the Wild West and Diesel Punk air combat, in addition to my latest playtests of IABNM. There were about 30 attendees and a good time was had by all, so hopefully it will become a regular event. Thanks again to the Wyvern lads for a well-organised day, and some great cupcakes.

I ran 2 games, this first was the battle for a village appropriately named 'Lardsdorf' defended by a company of West German Panzergrenadiers who had dismounted from their M113s and swapped a platoon for a pair of Leopards. They could also call upon some helicopters lurking off-table.

The attacking force was a Soviet BTR Motor Rifle Company supported by a platoon of T64BVs.

The quiet before the storm. A view of the table from the south, the Soviets will enter from the east (right):

And from the north:

A close-up of Lardsdorf (In the rush to escape the approaching red horde someone forgot his Porsche):

The attack is preceded by an artillery bombardment and a smokescreen:

Soviet forces move on blinds to outflank Lardsdorf from the north:

West German forces stay hidden waiting for a glimpse of a target:

A Soviet platoon is spotted making thrust for the northern edge of the village:

West Germans prepare for to repel the attack:

As the smokescreen thins the Soviet platoon runs into an ambush.....

.....and quickly sustains casualties. All three BTRs are destroyed and the infantry are either killed or put to flight. The first Big Man casualty of the day is suffered:

The Soviet artillery observer sees the fighting at the edge of the town and calls for support:

A second platoon dismounts and attempts to roll up the defenders outside the village. Some good shooting wipes out one West German section quickly and the rest of the platoon falls back to the village:

A BO105P spots a BTR in the open and destroys it with a HOT:

The Soviet commander sends in his tanks:

Which is what the West German tank commander is waiting for:

Firing from hull down a T64 is hit and knocked out. The Leopards also account for the BTRs that survived the helicopter attack. A standoff develops as the remaining T64s dare not advance into the sights of the Leopards:

With the attack faltering in the north, the Soviets attempt a move to the south:

Spotting the danger, the Leopards move to deal with the threat:

One tank is a bit slow to move....

and the Soviet tanks see a chance.....

...that they take:

The Soviet tanks advance on the village pouring high explosive into the village as they go taking advantage of their stabilised guns to offset their movement:

The Soviet move to the south is recognised as the remaining 2 platoons:

The remaining Leopard drives through the village to provide some extra firepower:

The Soviet third and support platoons dismount using a wood for cover from the defenders in Lardsdorf....

....and advance through the wood:

The West Germans take up new positions along the south side of the village:

The T64s get to the village....

where one receives a nasty surprise.....

...from the Leopard:

The Leopard quickly turns round and heads back through Lardsdorf.

With a perfect display of driving and shooting it is thrown around 2 corners and claims a third T64:

The remaining T64 draws a bead on the Leopard's side along the street and takes it out:

The fighting is getting desperate as the result is in the balance and a West German section throws itself at the Soviet tank to no avail:

The West Germans need help and get it. A BO105P spots the T64.....

......and delivers a HOT into its side. The reactive armour saves the tank from being destroyed but it loses its main armament and shakes the crew:

At this point we called an end to the fighting. The Germans held the village although they'd lost their tanks and most of one infantry platoon. Thanks to Noddy and Elton for ably commanding the 2 sides and making it an exciting and hard-fought game.

Maxim to Milan

 
MORE AAR
HOME


Last week I went to Leighton Buzzard where Martin, a veteran of TooFatLardies’ rules, had agreed to be a guinea pig. It was the debut for some of my new 4Ground buildings, although neither my new trees or road arrived in time

The scenario was based (very) loosely on an action from the Vyazma or Bust! supplement for IABSM, with one change being that the Germans were defending against the Krasny Armii.

The West German force consisted of a weakened Jaeger company supported by a pair of Leopards, facing a Soviet recce company of 2 platoons of BMPs, a platoon of T62s an AOO who could call on higher level artillery.

A quick view of the table with the Soviet from the north:

The first Soviet blinds entered the table while the Germans sensibly stayed hidden:

One of the mechanised platoons advanced quickly along the road. Despite using a wood and building for cover it was spotted and placed on the table:

The leading vehicle was targeted by a Milan

and, despite making a desperate dash to put the wood between it and the launcher, was hit. The infantry successfully baled out taking 2 points of shock:

Meanwhile the company commander had moved to a position covered by a wood and dismount from his armoured car to walk through the trees:

The tank platoon deployed off blinds and went onto overwatch

to cover the advance of the other BMP platoon as they sought to envelope suspected enemy positions from the south:

In the centre the surviving 2 BMPs avoided further hits and unloaded their passengers

to clear the wood in order to secure the northern edge of the road. They came under fire from a defending German section but used their full platoon firepower to make headway.

To the south the Soviets met determined resistance and incredibly accurate fire! One tank was destroyed by a Milan (a double 6 on the damage result left no doubt as to the effect!):

A tactical error led to the remaining 2 tanks leaving overwatch to pour HE into the Jaegers defending the edge of a wood which gave the hitherto hidden Leopards their chance to move in and take them out with a pair of well-placed fin-stabilised rounds. With the attack faltering it was left only for the Soviet commander to fall back and book his place in the gulag.

Overall a decent try out for the rules with most of the after-match chat concerning tactical matters as opposed to rules issues. Of course there will be a few tweaks before the next game.

Maxim to Milan

 
MORE AAR
HOME


This was the first playtest using Version 0.2 of the rules which incorporated changes from my first playtest and one by Derk in the Netherlands. It was another attack by a Soviet force against a West German held position. The table is below and incorporates a hamlet astride a road bordered by three small woods. On one side of the table was a ridge while the other held corn fields.

The Bundeswehr force was a deployed on blinds and consisted of dismounted Panzergrenadiers:

  • Company HQ

    • Level 3 Big Man

    • Level 1 Big Man

    • Infantry section of 9 men, Carl Gustav SG550, Pzf44, Handflammpatrone

  • Platoon 1

    • Level 2 Big Man

    • 1 Infantry section of 9 men, Carl Gustav SG550, Pzf44, sniper, Handflammpatrone

    • 2 Infantry sections of 9 men, Milan, Pzf44, sniper, Handflammpatrone

  • Platoon 2

    • Level 2 Big Man

    • 1 Infantry section of 9 men, Carl Gustav SG550, Pzf44, sniper, Handflammpatrone

    • 2 Infantry sections of 9 men, Milan, Pzf44, sniper, Handflammpatrone

  • Panzer Platoon Detachment

    • Level 2 Big Man

    • 2 Leopard 1A4

  • Off-Table ATGM (BO105P)

Orders were to prevent any Warsaw Pact advance.

The Soviet force was a reinforced Motor Rifle company:

  • Company HQ

    • Level 3 Big Man

    • One BTR70

    • Infantry section of 7 men, RPG 18, sniper

  • Platoon 1

    • Level 2 Big Man

    • Three BTR70

    • Infantry section of 7 men, RPG 18, RPG 16

    • Infantry section of 7 men, RPG 18, RPG 16

    • Infantry section of 7 men, RPG 18, RPG 16, sniper

  • Platoon 2

    • Level 2 Big Man

    • Three BTR70

    • Infantry section of 7 men, RPG 18, RPG 16

    • Infantry section of 7 men, RPG 18, RPG 16

    • Infantry section of 7 men, RPG 18, RPG 16, sniper

  • Platoon 3

    • Level 2 Big Man

    • Three BTR70

    • Infantry section of 7 men, RPG 18, RPG 16

    • Infantry section of 7 men, RPG 18, RPG 16

    • Infantry section of 7 men, RPG 18, RPG 16, sniper

  • Machine-gun / Anti-tank Platoon

    • Level 1 Big Man

    • Two BTR70

    • One machine-gun section of 6 men

    • Three AT4B Spigot teams of 2 men

  • Tank Platoon

    • Level 2 Big Man

    • 4 T62MV

The Soviet commander was told that capitalist forces had been detected ahead of the advance and he was to attack their expected position so as to ensure unimpeded progress along the road. Two pre-planned stonks hit the German forces causing casualties and shock on the second platoon that was holding the wood in front of the hamlet and the German left. This softening up was accompanied by a smoke screen that blinded most of the defenders.

The Soviets entered and immediately came off blinds. The MR company was concentrated in the centre with the infantry dismounted and the BTRs following in a mixture of close and distant support. The tank platoon was kept intact instead of being broken up to add intimate support to the MR platoons and carried out a rapid advance on the right flank.

The Soviet advance was rapid making the most of the effects of the initial bombardment

Making use of bonus moves the tank platoon and an infantry platoon advanced rapidly around the German left flank losing one BTR to a lurking anti-tank helicopter that appeared in the right part of the table.

The 2 Leopards had been hidden behind a wood at the rear of the German right flank and moved to engage the Soviet flank attack.

The German 2nd platoon came off blinds and opened fire on the advancing communists. One Soviet section was pit out of the battle in the initial exchange. Concentrated Soviet fire from 2 platoons and their supporting BTRs destroyed one German section but not before the Soviet company HQ section was devestated, the Big Man being amogst the dead.

The Leopards engaged the T62s helped by a Milan from the 1st infantry platoon. One T62 took a hit from a tank and an ATGM losing its gun sight and being immobilsed whilst taking out one Leopard. The other Leopard finished off the T62 and destroyed another before making full use of its gun stabilisation to move away from possible retaliation.

The game ended with one German platoon smashed and sufficient Soviet forces remaining to make life difficult of the other. So a Soviet win was declared.

It was quite a quick game consisting mainly of one big firefight . Flaws in the German deployment meant that their forces struggled to support each other so a rapid Soviet attack carried the position. The Soviet player took a big risk as even a limited amount of German artillery (he was not aware that there was none available) could have casued carnage.

There were a few areas to review in the rules, a lesson in scenario design and I really need to get some better terrain done for the next game!

Maxim to Milan

 
MORE AAR
home


Last Thursday was my first chance to playtest IABNM. It was also the baptism of fire for my 15mm Cold War West Germans and Soviets.

A Soviet recce company of was scouting ahead for its parent Motor Rifle regiment

looking for trouble. It consisted of:

  • Company command - 2 BRDM2U with a Level 3 Big Man

  • 1 Light Recce Platoon - 2 BRDM2 with a Level 2 Big Man

  • 2 Mechanised Platoons - each 3 BMP1 carrying an infantry section and commanded

  • by a Level 2 Big Man

  • 1 FOO in an ACRV2 with Higher Level artillery available.

The Soviets deployed six blinds including one for being a recce force.

Facing this was a Heimatschutz Jaeger force of:

  • 1 Level 3 Big Man in command with an infantry section

  • 2 platoons - each of 3 sections (one with Milan) and a Level 2 Big Man

  • Off-table helicopter support (BO105Ps with HOT)

The West Germans player had played IABSM before. The Soviet player had not

played any Lardy game before but had been in the Royal Tank Regiment in BAOR in

the later 1980s.

The table is set. The terrain is improvised for the first game and will get better when I make some buildings and road.

The West Germans deploy their blinds, seemingly concerned about a Soviet thrust around their left.

After sending attempting to uncover German positions with some dummy blinds, a move that is quickly rumbled, the Soviets send a platoon of BRDM2s along the road. Poor convoy movement dice mean that these fail to make much headway and also fail to spot any German blinds.

The first 2 BRDMs are destroyed by well-aimed German Panzerfaust 44s. A HOT launched by an off-table helicopter soon acounts for the fourth armoured car. The Big Man directs his driver to shleter behind the nearest building.

A platoon of mechanised infantry arrives and deploys 2 of its sections who advance using thei vehicles for cover.

One of the BMPs is hit in the side by a MILAN and brews up inflicting shock on the infantry it was supporting. The infantry then come under small arms fire.

The other 2 BMPs are also hit forcing the Big Man to escape with his section.

The other mechanised infantry platoon attempts to outflank the German left flank. The first BMP is knocked out by an off-table helicopter and the infantry bail out. The other 2 BMPs continue to advance with infantry mounted.

The Soviet artillery observer arrives and takes up position in a building.

One Soviet section advances through a wood towwards the edge of the hamlet.

The Soviets storm one edge of the hamlet and, after a lengthy close combat, drives the defenders out.

One German platoon launches a counter-attack to retake the lost building.

At the end the Soviet attack had been held. It was a useful game, showing up a number of areas for attention in Version 0.1 of the rules, and the participants were keen to play again.

Maxim to Milan

 
MORE AAR
HOME


Some eye candy from our most recent game … had a blast!

Russell Smith


MORE AAR
HOME
 

The Milton Hundred Wargames Club took a game of Charlie Don’t Surf to the Rapture Festival last weekend; inspired by the Battle of Snoopy’s nose. Here’s a few of my snaps.

Everything here is my collection, and I think it turned out rather well!

Steve Thomas

 
MORE AAR
HOME


Second IABNM outing. This time based on a battle in Battlegroup. In the book, four light role infantry companies (two Regular, two TAVR) clear the village Hehausen, the village covering a gap in minefield.

I do not have that many troops so it’s one Regular company and two understrength TAVR companies, all three are short of support so only one MILAN section for the regulars and one WOMBAT section for the TAVR. The MILAN team is short of missiles so only two per launcher and only two LAW per section. Their mission is to clear all long range anti-tank weapons from the south edge of village before engineers breach the minefield at dawn in two hours. Also to hold the junction of the Eastern and Northern roads.

I made a couple of changes to the rules. First the rules say each turn represents about one minute: change that to each turn is one minute of action within a 5 to 15-minute period. Each BV card roll a D6: a 1 means 5 minutes have passed; a 2,3,4 or 5 means 10 minutes have passed; a 6 means 15 minutes have passed. So dawn is somewhere between 8 and 24 turns away.

The second change is that artillery Illuminating rounds last one turn. As long as the battery commander is available, an illuminating fire mission is fired at the start of a turn. If his card then turns up and he has called an illuminating mission, the card is ignored.

First photo shows village from Eastern Edge. The buildings are 15mm: a mix of Battlefront, Sarissa, and 4Ground. The red roof are 4Ground.

Continuing the game. End of move six: 55 minutes of time gone. British seem in a strong position.. Already cleared one of the AT positions. But on the left trouble is brewing. One platoon is stuck can not move due to MG platoons and a couple of tanks. WOMBAT held in reserve moved up. The Soviet command has got most troops into cover except one platoon moving to cover the HQ position.

End of move 12 the two hours point. Things went for a ball of chalk. The BV card came up 3rd or 4th moves in a row. The British lost momentum. The Soviets were in cover and managed to push the TAVR platoons back.

Near run thing if not for BV card British might have pulled it off.

Phil Venables

 
MORE MODERN AAR
HOME


First go with these rules. Swedish against Naval Infantry.

Phil Venables


More Modern AAR
HOME


MORE AAR
HOME
 

A game using just tanks to see how the CDS rules handle them but used Bolt Action dice for activation. The US lost badly which was a surprise! (The tanks still need to be painted).

Dan Wade


MORE AAR
HOME


Great game tonight - played through Scenario 5 from Surfs Up in full (last week we had a couple of trial turns).

ANZACS sent one platoon via the jungle side of the table and 2 platoons plus Company HQ toward the rubber plantation on the opposite flank. The VC security bravely raised the alarm before retreating very rapidly (Awe effect!) off the table.

The NVA then intercepted with a platoon on each flank. All went well on the jungle flank as dug in AA HMGs and light mortars supported the platoon and the ANZACs were forced back with casualties mounting.

Things were going reasonably well in the rubber plantation with the ANZACs aging forced back caring numerous dead. Unfortunately the Aussie Hog gunship support then arrived and caused bloody havoc. The ANZAC superior command played heavily as they recovered and pressed forward.

Where was the NVA third platoon I hear you ask - lost in the damn tunnel leading from the jungle to the middle of the village! They are probably still wandering……

So , just as the NVA were getting the upper hand on the jungle flank the artillery support arrived covering the jungle tree line where the mortars and AA HMGs were entrenched. Bang goes the NVA fire support.

A clear military victory for the ANZACs with two thirds of the NVA MIA or heavily shocked (beyond the point of Awe) and the VC having legged it,

However, a political victory for the forces of Communism due to the high number of ANZC dead and several dead villagers - killed in the attempt to clear the paddy fields of VC!

Great fun!

Nick Bellamy


MORE AAR
HOME


A few photos from our first game - scenario 5 from Surfs Up. ANZACS advanced through the village and routed the local VC platoon - ending up charging one VC section in the rear as if retreated due to Awe. On the other flank Main Force came to grips with the ANZACs in the dense jungle.

Before the Game

The Game

Nick Bellamy


MORE AAR
HOME
 

Egypt, noble are your children.

Loyal, and guardians of the reins.

Be we at war or peace

We will sacrifice ourselves for you, my homeland.

Bilādī, laki ḥubbī wa fuʾādī (Egyptian National Anthem)

Having played a couple of October War games using Seven Day To The Rhine I came across a blog where Robert Avery had been using Too Fat Lardies’ Vietnam rules, Charlie Don't Surf (CDS), for Arab-Israeli games.

This might seem a bit of a leap but CDS has its heritage in I Ain't Been Shot Mum (IABSM), the Lardies' company level WW2 rules, so I suggested to Andy we might want to see how it played as a large scale tank game which, given Andy's familiarity with IABSM and lack off with CDS (which he bought a couple of days before we played) led to us playing a fun hybrid we called Don't Surf Down The Suez, Mum (I'm sure such a catchy title will prove popular!)

Despite being on the receiving end of such a resounding defeat I actually enjoyed that. Cohen Don't Surf Down The Suez, Mum... gave a good recreation of the tank battles of the October War with the IDF tanks destroying a lot of Egyptian armour when not worrying about Saggers and Commando RPG teams.

The card system with the limited number of Big Men for the Egyptians certainly worked well. My only bone of contention was the stats from the 'briefings' on the Vis Lardica blog we used. The only difference between a T-55's stats and the next generation T-62 is one point - on its Strike (firing) roll, and the Sho't armour stat is 16 compared to the T-62's 10 which seems somewhat disproportionate (you wondered why they blew up so easily?) - oddly a Magach 3 (M48A3) armour is only 12 so I wonder if the Sho't's was typo. The Centurion was a good tank but not that good in 1973!

Steve Blease

Ed.’s Note: The Sho't/Centurian armour value is taken straight from CDS itself, but you're right on the T-62: armour value should be 13. R


MORE AAR
HOME


"Bad luck? Our mistake was to play like regulars..."

Sooo...to Vietnam, the border with Laos and "Playing The Beanball", scenario six from Surf's Up, Too Fat Lardies' scenario collection for Charlie Don't Surf. 

The Free World mission?  Evacuate the village, then deny Communists the future use of the hooches.  The Communist mission?  Ensure that at least some of the Hooches remain standing when the Free World depart, preferably after launching three successful ambushes.

It was going so well for the VC.  The RVN police platoon had deployed in the depths of jungle and exhibited a great deal of hesistancy in leaving the cover it afforded.  Not one but two US platoons had been distracted and drawn by a pair of retiring VC squads to the south-east, away from the village that was to be evacuated and destroyed.  The remaining US platoon was unwittingly advancing towards to what would hopefully be a second successful VC ambush.

It then went all Du Long* for the VC, in a fit of uncharacteristic hubris...let's rewind and look at events from the Free World's point of view.

As stated previously, on their very first turn of the Free World Blind chip, the RVN police platoon chose to come off their blind and attempt to advance upon the village from the east, but they made exceptionally slow progress.  The controlling player (Jerry) rapidly realised the benefits on remaining on blinds, but sadly in the manner of one who shuts a stabledoor after the horse has bolted.  To compound matters, the RVN police found themselves to be hesistant in the extreme, and so played no part in the ensuing events!

A pair of Free World Blinds confidently advanced towards the village from the east, but along a clearer part of the jungle to the south of their RVN allies.   Unfortunately, they got no further than 150 yards before they were revealed as US 1st and 2nd Platoons (controlled by relatively veteran CDS player Mr. Bowman).  The VC CO deemed the time right to launch the first of his ambushes, and US 2nd Platoon began to take shock.  The Free World were clearly riled by this, and both the platoons' COs ordered them to divert from their route in order to plunge into the jungle and seek revenge.  To add insult to injury, the VC CO deemed the time right to bring a sniper into play, to harrass the blundering US platoons.  

Quite rightly, the time came for the VC CO to begin the orderly withdrawal of his sole platoon to be revealed thus far.  Fire was exchanged as each side advanced and withdrew by turns.  Soon, two VC squads had made it to the outskirts of some hooches set apart from the main village, with one remaining squad just breaking free of the tree line.  Two US platoons had been successfully diverted from the focus of their mission, and (despite efforts of COs) were struggling with shock amidst the dark jungle.  Clearly, the VC were poised to continue their withdrawal, in order to launch another ambush....

In the meantime, US 3rd Platoon actually stuck to the plan (they were also controlled by Jerry, and providing him with a good deal more entertainment than the RVN Police).  Encouraged by their CO and NCO, they rapidly made their way across towards the village, and began the process of gathering the various groups of villagers in preparation for their evacuation.  At the same time, slicks were called in by the Company CO.  Unfortunately, it was at this point that a VC MG opened up upon them from a concealed bunker.

Two successful VC ambushesAll their forces still concealed bare one MG-filled bunker and one platoon.  What could go wrong for the VC now? 

The title quote for this post is a clue.  The VC platoon which had so successfully distracted two US platoons took us all by surprise by going on the offensive, and trying to meet the US in pitched battle.  Suffice to say, this did not end well for said VC platoon.  The brace of VC players were also rattled by being on the end of a highly-successful bunker-bustin' shot from US 3rd Platoon over in the village. 

Their morale appeared to snap with the prompt arrival of the slicks.  With AA fire found to be ineffective, another VC platoon revealed itself to the west of the paddy fields skirting the village, and it attempted to close with the squad from US 3rd Platoon.  Unfortunately, the chips did not fall (literally) in favour of the VC.

To be precise, the slicks left - albeit with only half the villagers - only to be followed with frightening speed by a Hog, which unleashed firey doom upon the VC platoon that found itself out in open paddy field.  Unleashing its entire payload in short order, the Hog zipped off as fast as it arrived; the US players were clearly satisfied by the havoc it had wreaked.

By now, the VC resolve had crumbled, and they began to withdraw.  Remaining VC aggression took the form of their sniper having a couple more potshots before withdrawing, and US 1st Platoon finally contacted one of the VC minefields, but came through unscathed.   It was time to consider victory, military and political...

Aftermath

In the end, military victory was deemed by all to have gone to the VC.  Whilst terribly blooded, they had- by close of play- undertaken all their ambushes, and most of the village was still intact, perfect for a base of future operations.  By contrast, the US had only evacuated half of the villagers, and only two hooches had been fired.

Politically, the US had this in the bag.  They successfully policed the battlefield for various intelligence markers and managed to turn a number of estimated kills into confirmed kills.  By comparison, for all the Shock successfully inflicted, the VC had very few kills.

Lessons learned?  Well, to paraphrase the players...

Jerry: "Stay on blinds for as long as possible for cohesion; make sure Free World Big Men are where they can coordinate as many of their men as possible!"

Mr. Bowman: "Stick to the Free World mission, man!  Don't be afraid to pour on the direct fire support when civvies aren't about"

Smallridge & Sharman: "VC are not Regulars; VC are not Regulars; VC are not Regulars**..."

*Not sure this is the correct spelling, but it does scan for the purposes of Mockney rhyming.
**Repeat as required.

Penfold

 
MORE AAR
HOME


The build up of US forces in the spring of '65 was followed by a summer of increasingly aggressive missions.

Captain Miller Tyme (a level III Big Man) was ordered to take his company to the village of Go Long on the Smelly Fish River, evacuate the civvies, seize anything of interest and destroy the village, known to be strongly communist.

Commander Van Go (IV) is a Viet Minh vet. He has been warned that US forces will be visiting Go Long and Commissar Tru Wok (II) insists that a welcome be arranged as the village is a major rest and supply location.

The VC stronghold has three bunkers and six mined strips. The village is on the river and receives supply by sampan. There are rice paddies along the river north and south of the village. The approach to the village is through light terrain with heavy terrain dotted about.

Comrade Van Go obediently planned a double layer of defence with his three guerrilla platoons well forward of his bunker and mine defences.

Lieutenant Johnny Walkers' (IV) 1st Platoon advanced on the right with Lieutenant Jim Beams' (II) 2nd Platoon on the left. Captain Tyme and the FO were with Lieutenant Bud Wizers' (II) 3rd Platoon in the centre rear. Walkers' 1st Platoon immediately got into trouble, being ambushed by Tran Van Cas' 2nd VC Platoon with serious losses including one critical requiring immediate Cas-Evac.

Meanwhile Lieutenant Beam spotted Chucks in heavy going and drove Nguyen Van Trocs' 3rd Platoon back with losses. Hearing the dustoff call he turned his 2nd Platoon to the right and took the VC 2nd Platoon under fire, killing Tran Van Ca.

By Turn 5, the VC 2nd Platoon has been hit hard, and Walkers' 1st Platoon got its revenge in a close assault that sent the VC 2nd Platoon survivors running. The VC 3rd Platoon was hit by artillery called in by the FO, with the fire killing Van Troc. Two of the three VC platoon commanders are now down, the two most effective.

Beams' 2nd Platoon returns its attention to the VC 3rd Platoon survivors while Walker cleans up the ambush site and Lieutenant Wizer takes 3rd Platoon to clear the woods in the centre. But Wizer is killed by fire from Vo Tranhs' (I) 1st VC Platoon. Sergeant Sandy Mann (II) gathers a 6-man squad from 1st Platoon and advances on Van Tranhs' position but is hit by accurate sniper fire and is driven back with loss. The rest of 1st Platoon drives Van Tranhs' men off with losses, only two squads escaping.

A lull occurs at this point while both sides reorganize. The US forces have met with heavier resistance than expected, is just less than half way to the village, and has not yet encountered the bunkers and mines. The VC are also badly hurt: Van Go is only able to organize one strong platoon. Comrade Tru Wok orders the civvies to load supplies into the sampans. Captain Tyme now personally commands 3rd Platoon and requests reinforcements due to the damage taken by 1st Platoon.

While waiting for assistance Lieutenant Beam spots one of the bunkers and gets artillery on it. Fire is again rapid and accurate, and the bunker and an HMG are history. But the two US reaction platoons are slow to arrive and "Eagle Eye" Beam and his men fail to spot Comrade Van Go leading the composite VC platoon around to their rear. The VC locate the US 2nd Platoon and launch an assault into their rear, driving the US platoon sixty yards  towards US 3rd Platoon. Eight US bodies are left behind. But even as the VC try to follow up their success, Lieutenant Jim Yellow Sky and a reaction platoon arrive on their flank. Comrade Van Go cuts his losses and leads the survivors off the VC tactical edge.

By the time that the now five US platoons pass the now abandoned bunkers and into the village, Comrade Tru Wok has gotten the supplies loaded and escaped by sampan.

Policing up acquires some forgotten documents and a well informed prisoner, but another man from 3rd Platoon is lost to a booby trap. The VC have a third of their survivors dispersed. The final tally gives the US the military victory, but the VC gain a minor political victory mainly due to the ambush of 1st Platoon and the rear attack on 2nd Platoon.

The game was challenging, a good time was had by all and we consumed a good deal of booze with the AAR that followed.

Charles Eckhart

 
MORE CDS AAR
HOME


Commander Ly Chi looked down from the veranda of the Pagoda towards the river. Several members of the local community were working to get the river water through to the new rice beds that would soon be feeding his men. Chi was commanding the advanced guard of the 37th Main Force battalion of the Viet Cong. The main body of the force was still in Cambodia waiting for news that their accommodation was ready, and that would be very soon. Already the arms cache in the village was being moved into the freshly dug tunnels. It would not be long before Ly Chi and his comrades would be able to take on the imperialists and free the South to enjoy the benign rule of the Communist Party. Nothing could go wrong.

Even from many thousands feet the jungle clearance and the excavation of new paddy fields was clear to Major Milton Clamburger in his OV-10 Bronco, the freshly dug red soil a visible scar on the landscape, and fresh paddies could only mean one thing, more mouths to feed. VC mouths.

Captain Butch Taylor moved along the sweep line, words of encouragement came easily and his men responded well. Butch was a soldier’s soldier, and Charlie Company appreciated that, and yet a sweep through an area know to be occupied by the VC was always a mission fraught with danger. Men smoked, swapped jokes and laughed, and yet the tension could be read on their faces. Then the word came.

“Let’s move out”

Lieutenant Hung Lo looked down from the Huey, his eyes scanning the ground in an attempt to read the terrain. There were several LZ near the Pagoda, all of them potentially killing zones, choosing the right one and getting his men on the ground would be critical to the success of the operation. If Charlie was allowed to just melt away then the press would have a field day. Again.

In the Hog Lieutenant Walter Greenbaum made his approach, flying in a shallow dice through the fire that was coming up from the treeline. He watched the rockets as they flew straight and true and exploded with a shattering impact among the shadowy figures in black pyjamas.

Lieutenant Carter Beauford jammed another magazine into his M16 and fired again. He could see very little, but the firepower produced by his platoon must mean that he was winning the firefight, and that is just what they’d told him to do in OCS.

To the right of Beauford’s platoon Lieutenant Randy Buckmeir had already won his firefight. Well, he presumed he had as Charlie was no longer firing at him. He had brought his men forward to the edge of the clearing, but with the firing continuing to his left he was loathe to cross the open space. God, this war is Hell.

Movement down to the right. The pilot was signalling to Sergeant Gi as the Huey descended. This was the moment of truth. They were landing very close to the fringe of the jungle, ripe for ambush, but there was no choice in this small clearing where only one slick could drop its men at a time. The first squad of ARVN Rangers leap down as the chopper hovered eighteen inches above the ground, the door gunner liberally spraying the edge of the jungle. In seconds they were gone, the squad forming up and deploying their weapons as the Huey lifted off. Almost immediately fire came from the far side of the clearing. The pilot had been right; VC. Gi tapped the M60 gunner on the shoulder and pointed towards the muzzle flashes, and a stream of bullets stitched their way across the clearing even as the next Chopper approached.

“Burn the Goddam place” Lieutenant Brad Whitford looked at the pile of AK47s and ammunition that had been found below the floor of the hooch. In the previous building they had found stocks of rice that were suspicious, but could have been the store for the hamlet, now there was no doubt. Sergeant Leroy Burlesque flicked his Zippo and enjoyed the momentary aroma of fuel. They light every time.

“Move you mothers!” Captain Butch Taylor had never been know for his patience and he was convinced that a charge with the bayonet would overwhelm Charlie. It was a matter of a dozen yards, but in this terrain it was slow going. Three men were killed as they crossed the intervening ground, and when they got there Charlie had gone. Mind you, he was clearly beaten as he had abandoned the bodies of three of his dead. Taylor grabbed the radio. Nothing. He swore. Little did he know that the bullet that had destroyed his PRC 25 would otherwise have killed him.

“Holy mother, the artillery”. He ran across to Lieutenant Buckmeir, with the first ranging shot coming in from Firebase Hillary he needed comms!

Lieutenant Hung Lo was forming his sweep line now. The clock was ticking. If he could move across behind the pagoda he could cut the line of retreat. From the radio traffic he knew that Charlie was starting to move out, and he was sure there was movement to his front, he did not want to walk into an ambush.

Pac Choi emerged from the tunnel. Yes, they were behind the Americans. His men spread out silently as Choi watched his enemy preparing to move on. The volley was violent and brief, the effect of the AK-47 fire more shocking than anything else, and the American troops dived for cover. Pac Choi and his men ran. They had done all they could, they had been betrayed by traitors, lap dogs of the American Imperialists. They would pay with their lives! Now his objective must be to keep his force intact and reach Cambodia.

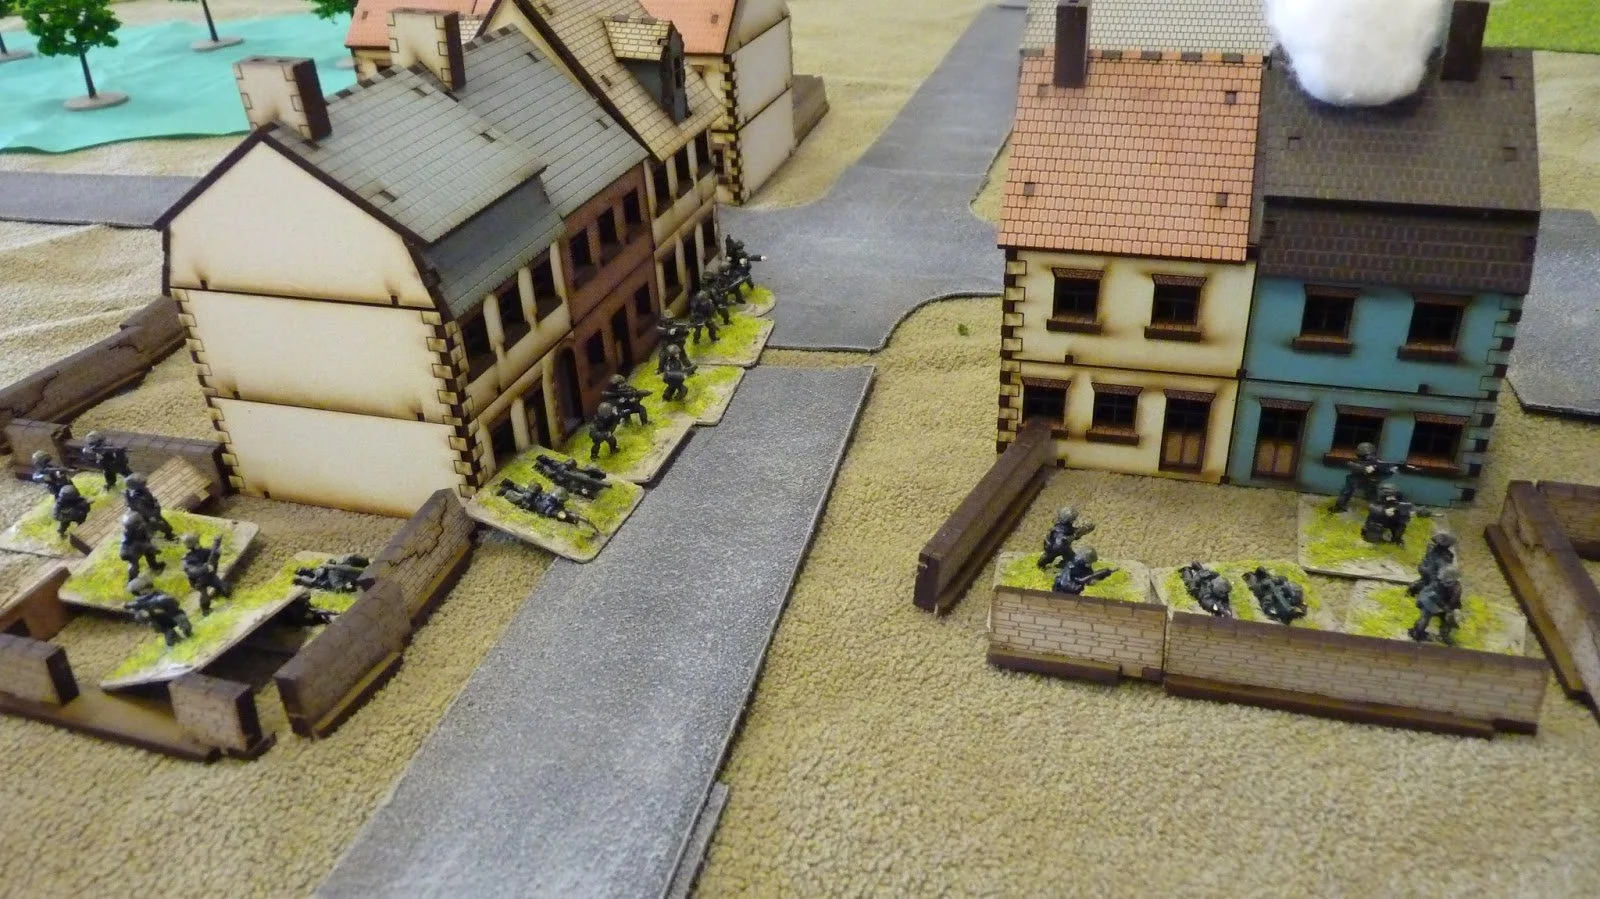
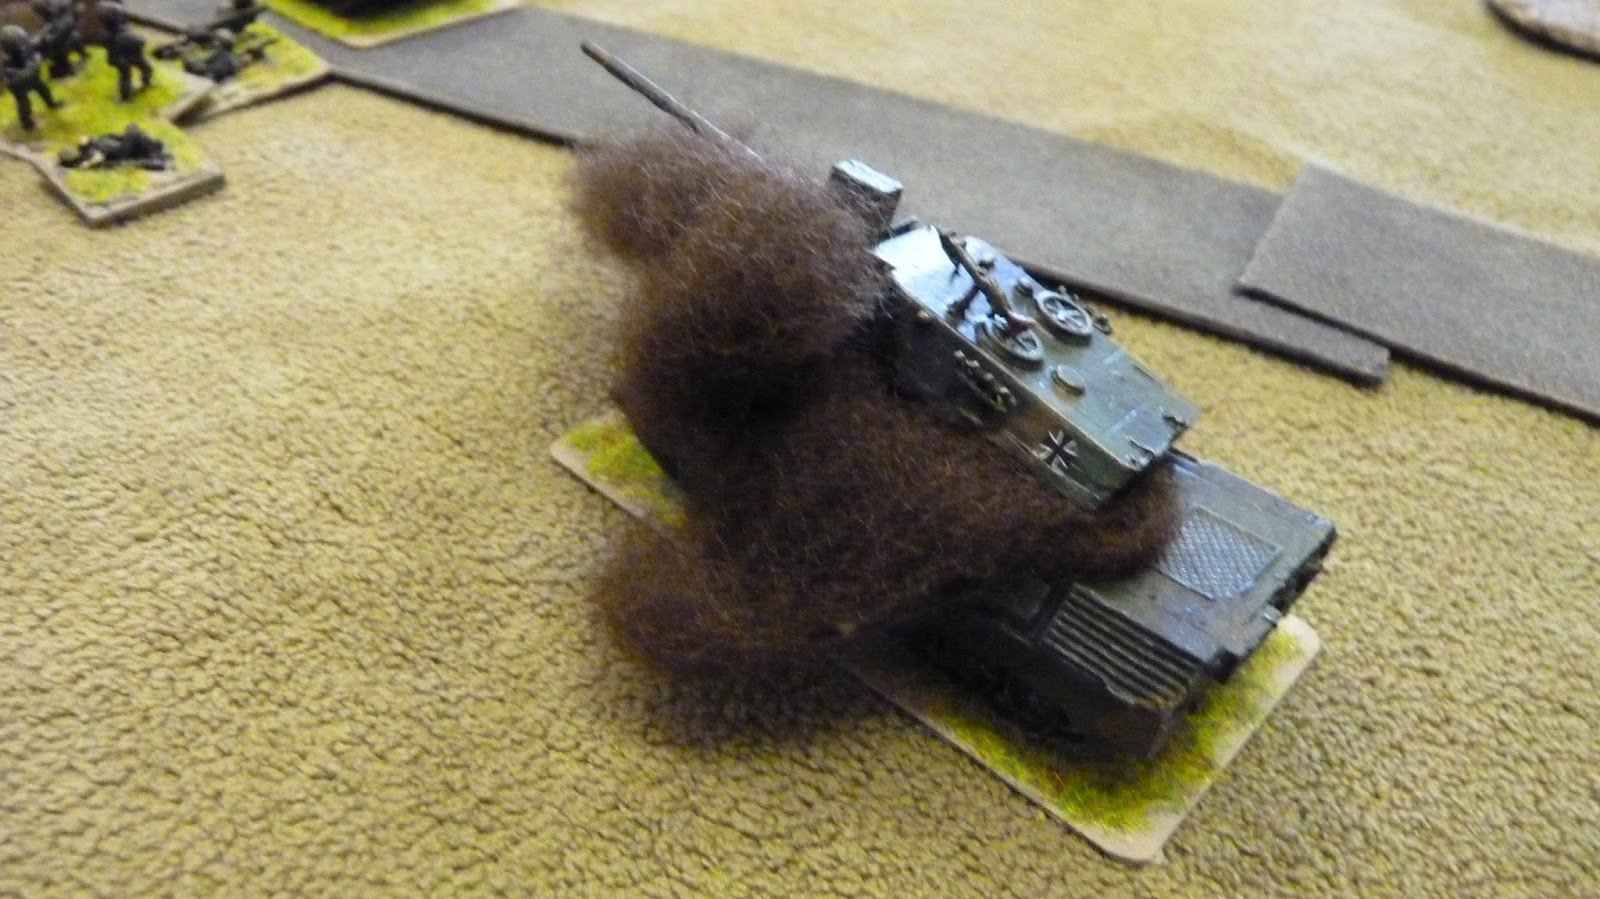
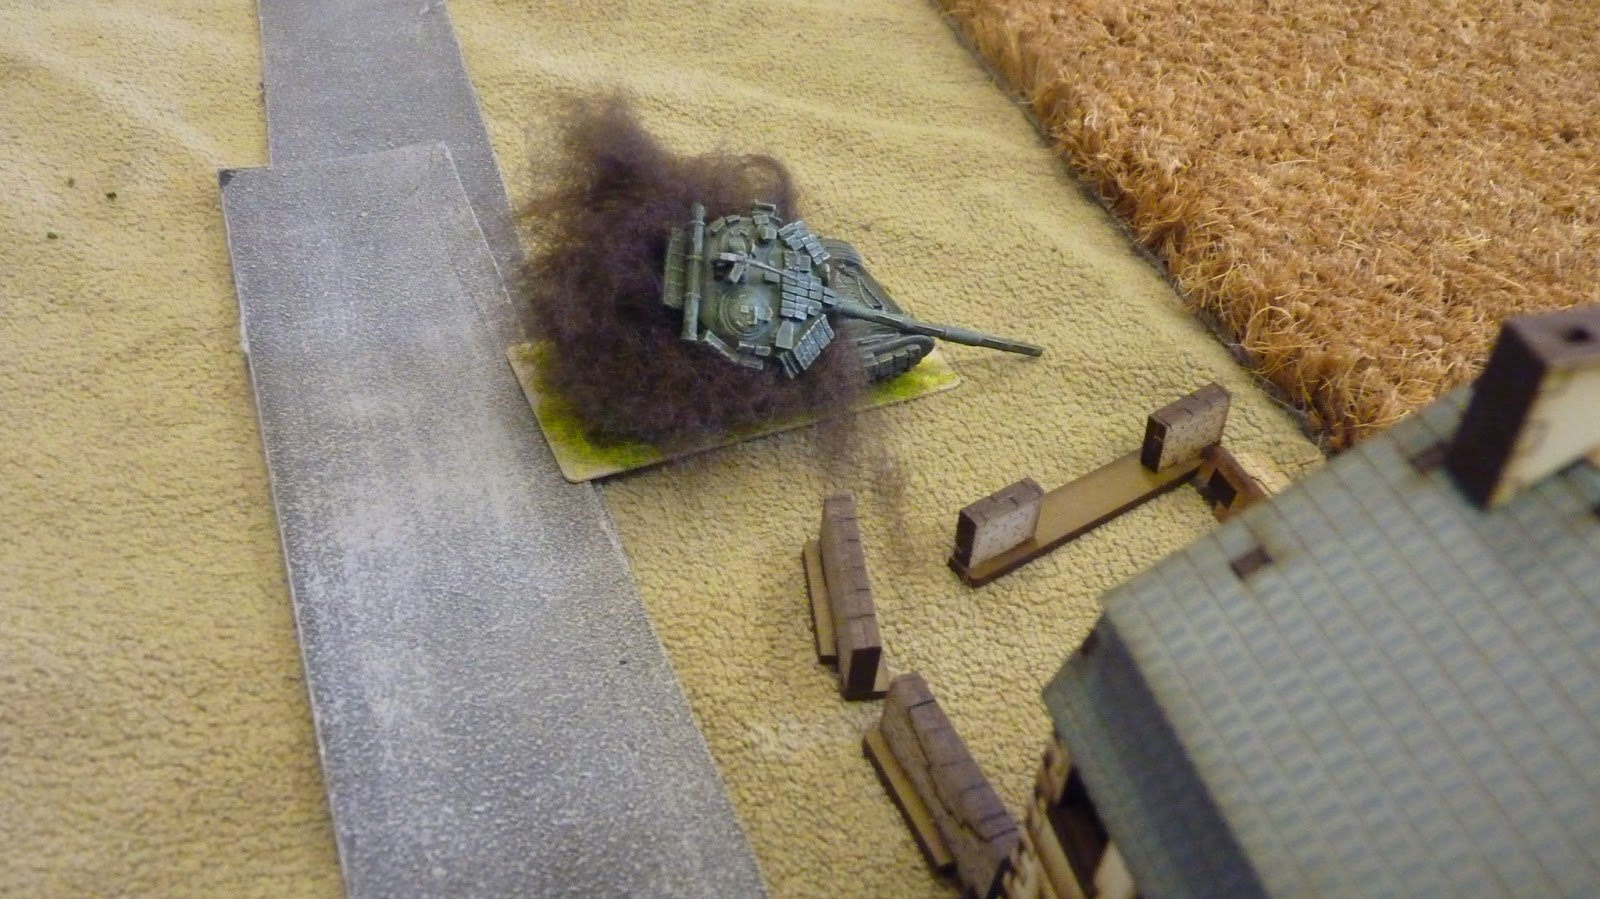
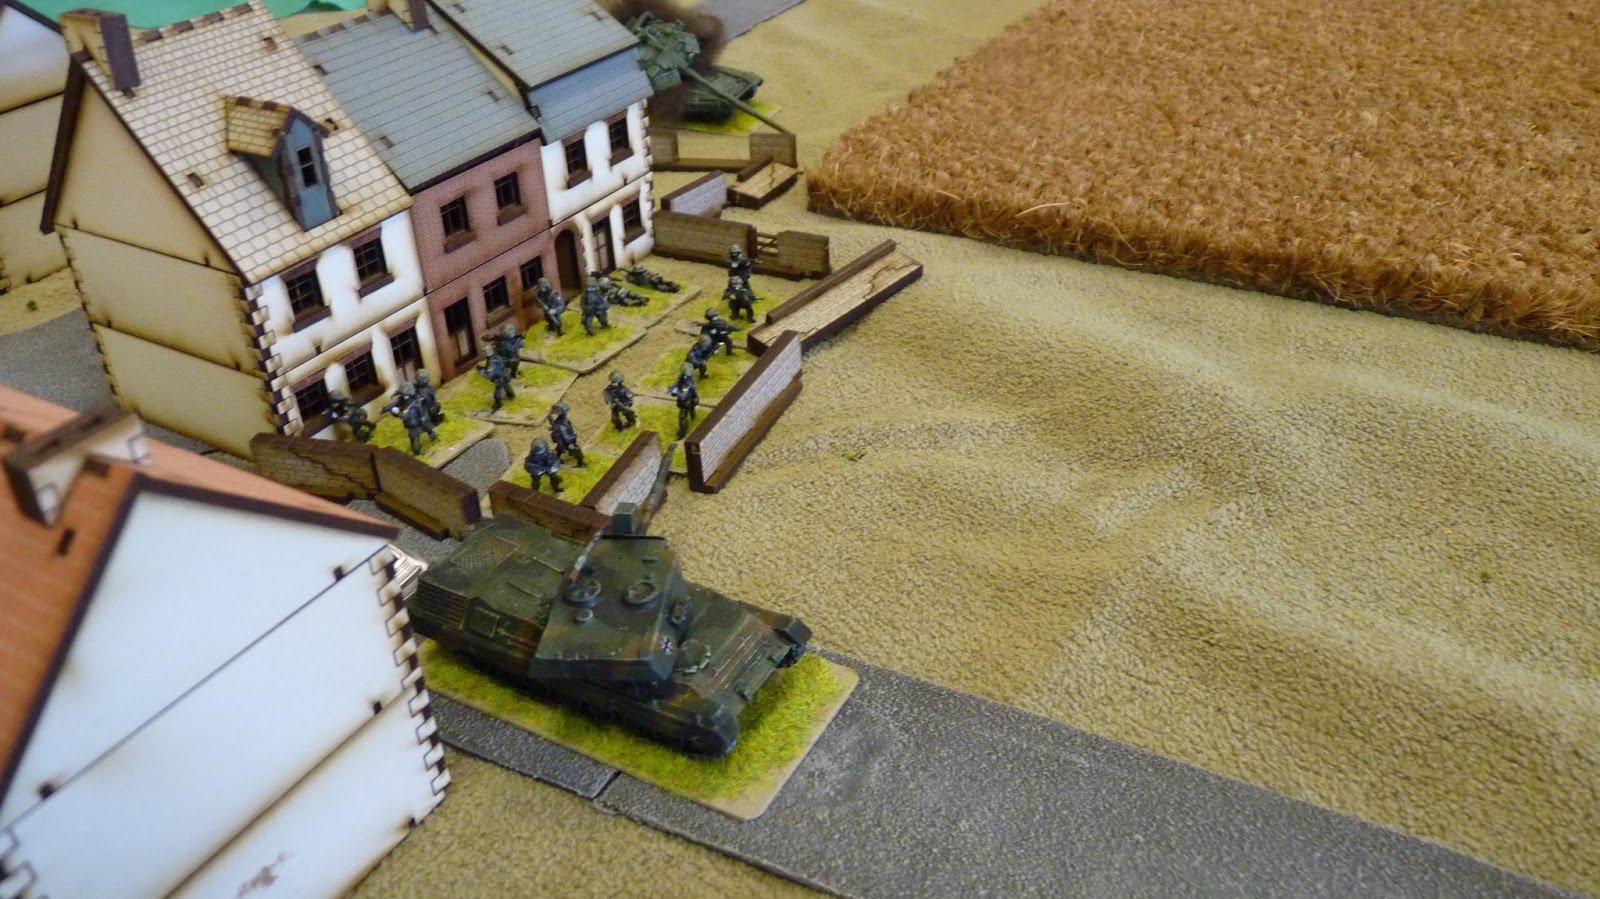
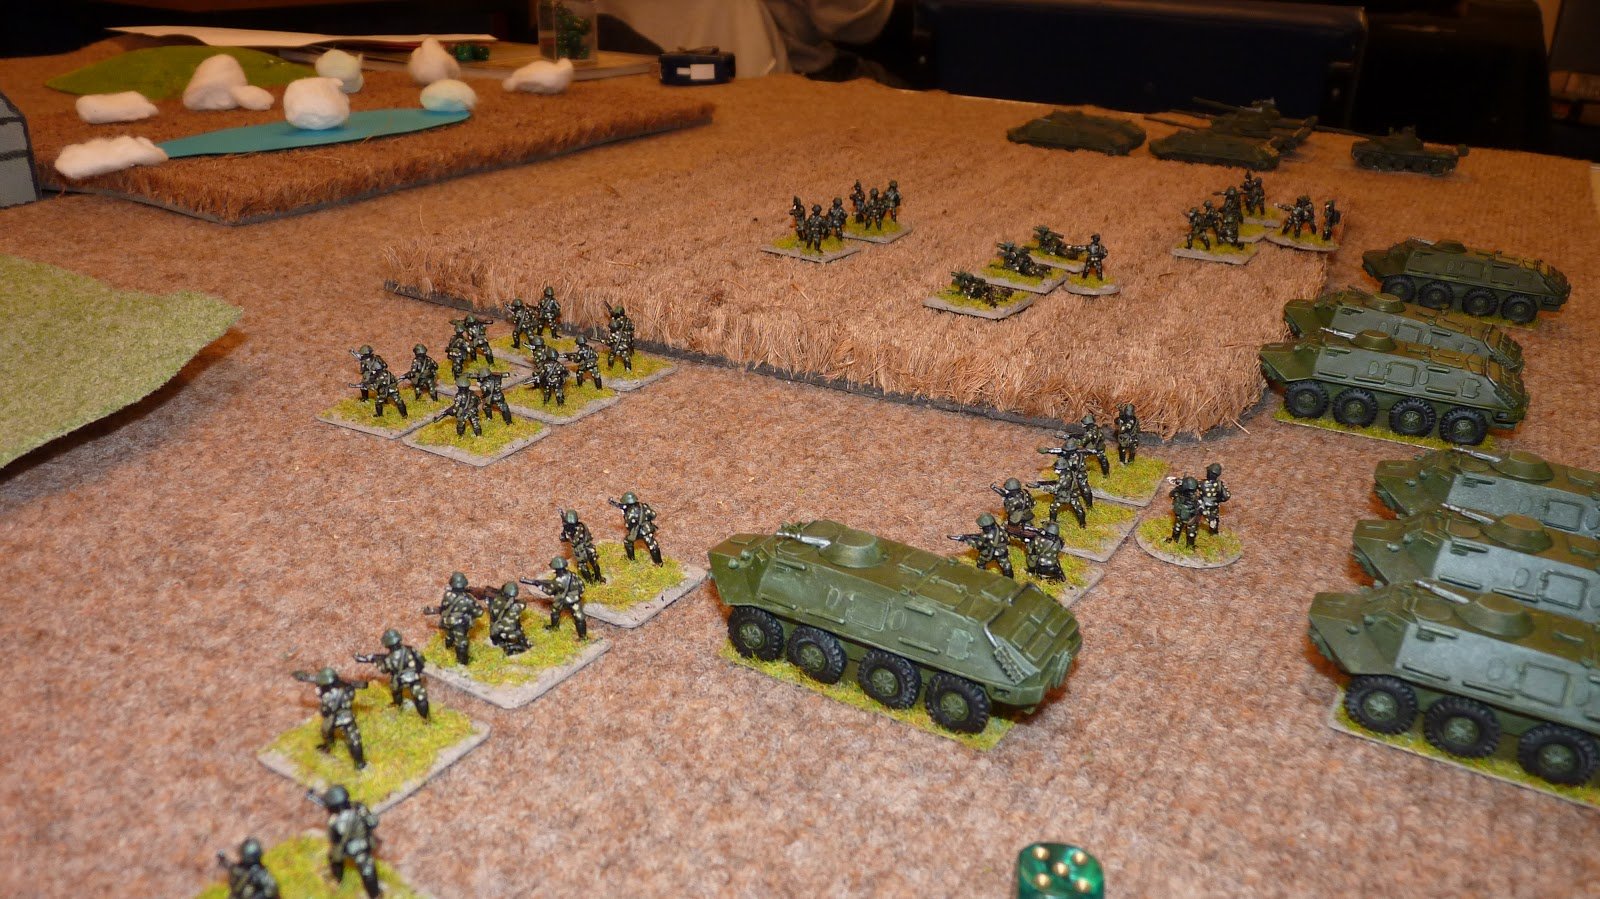
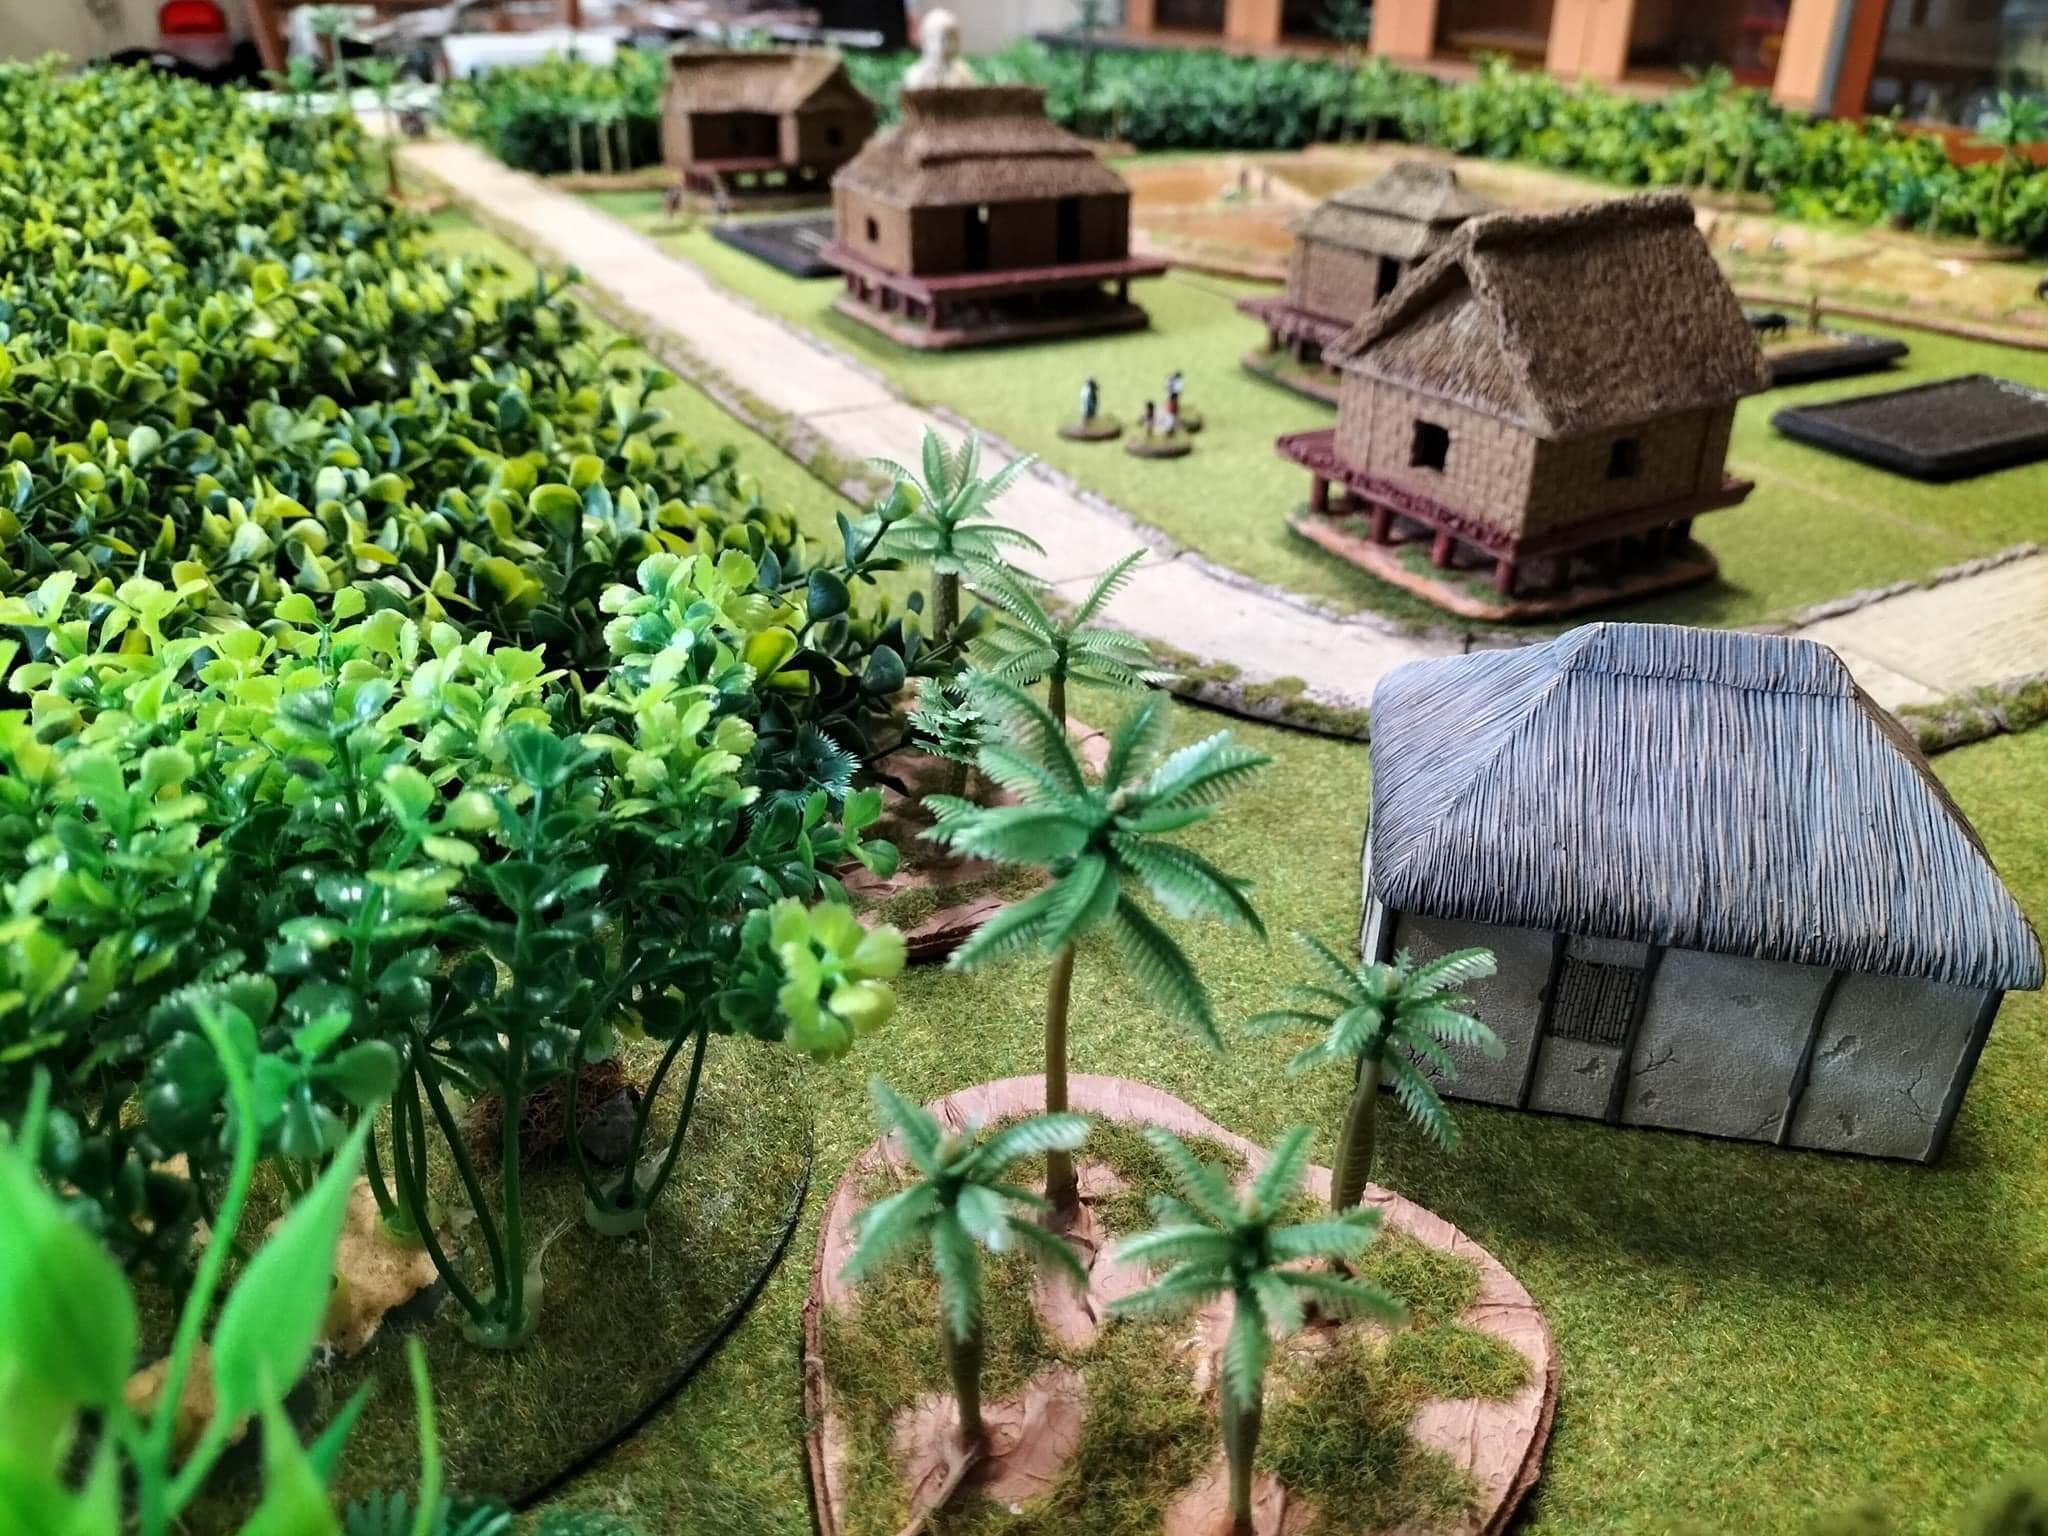
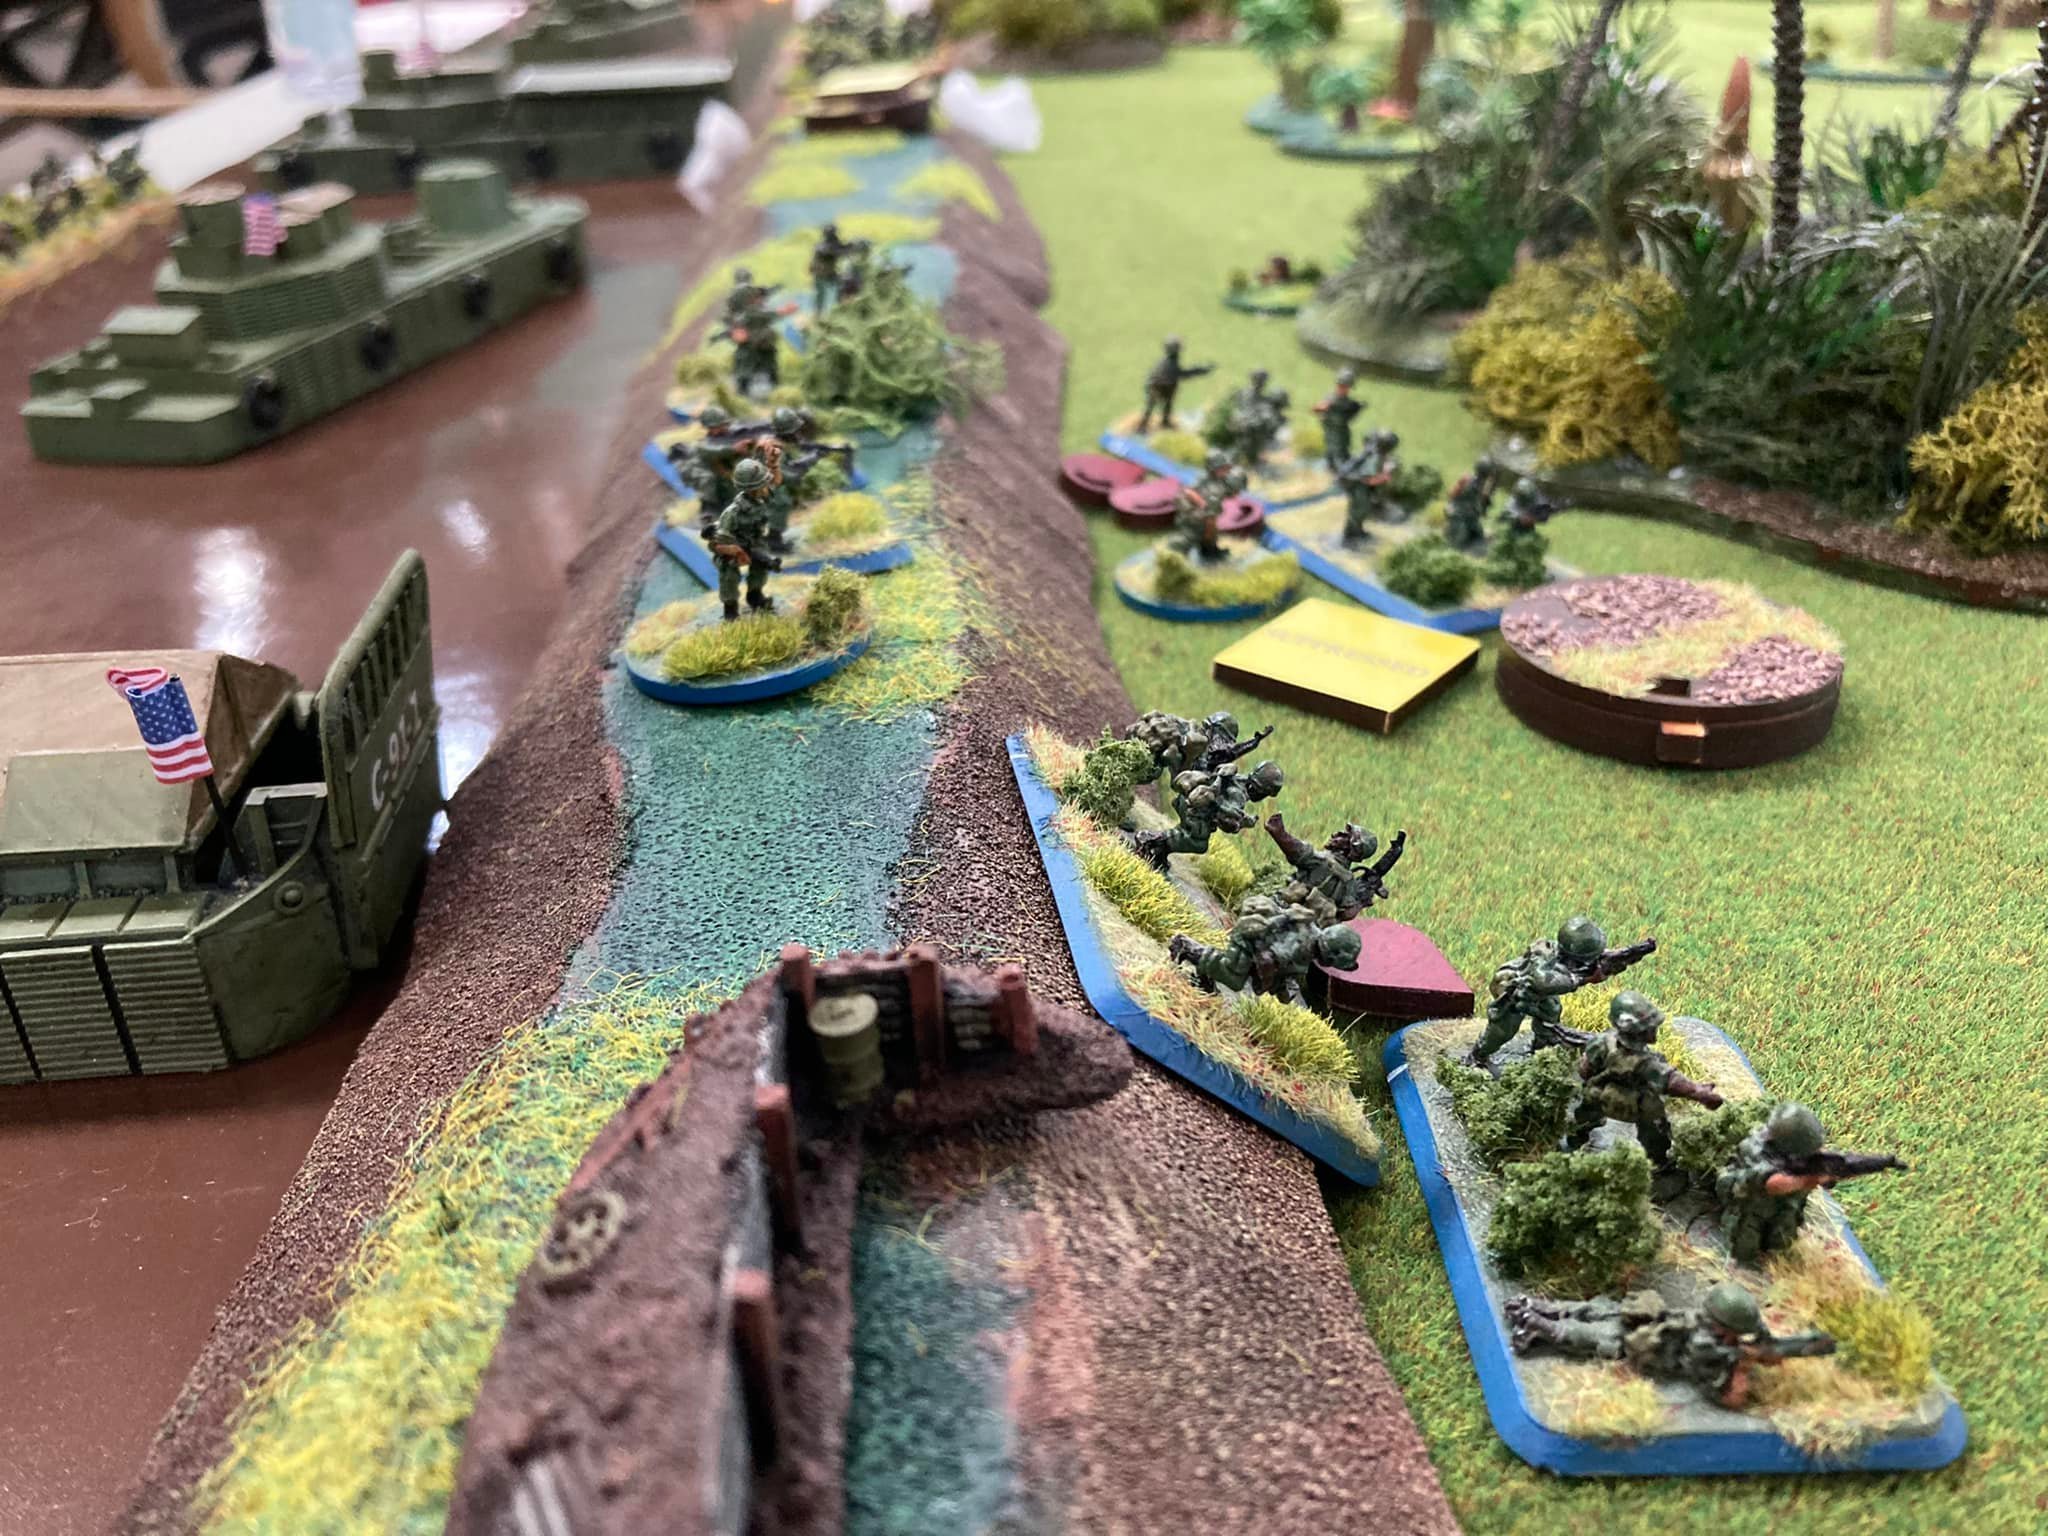
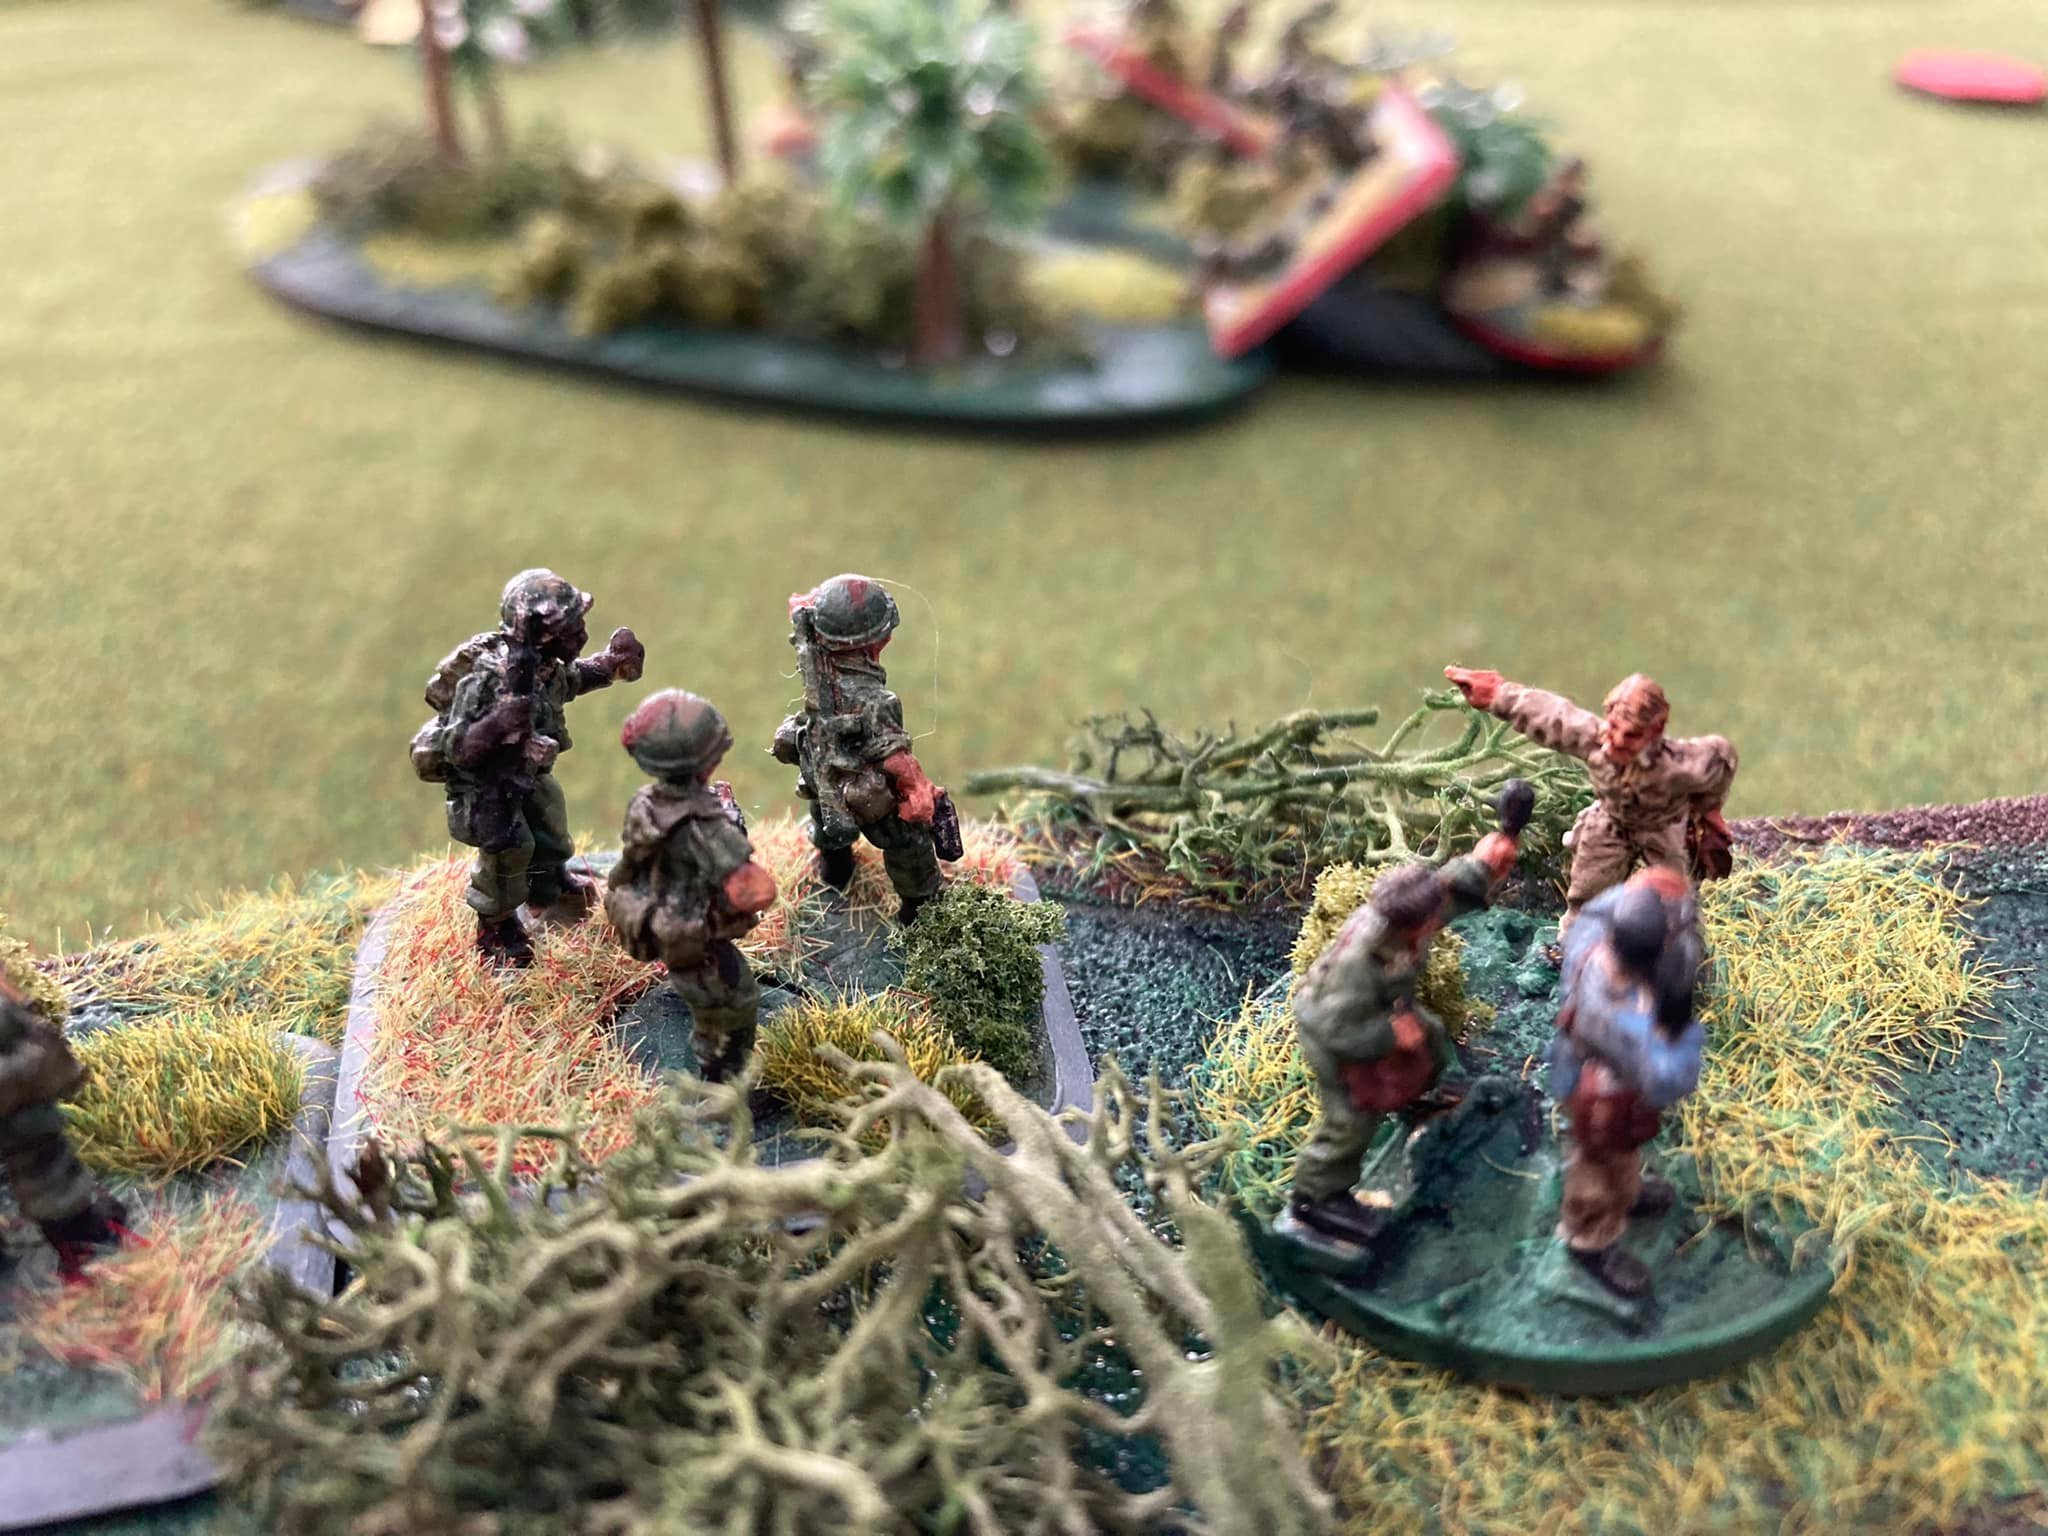
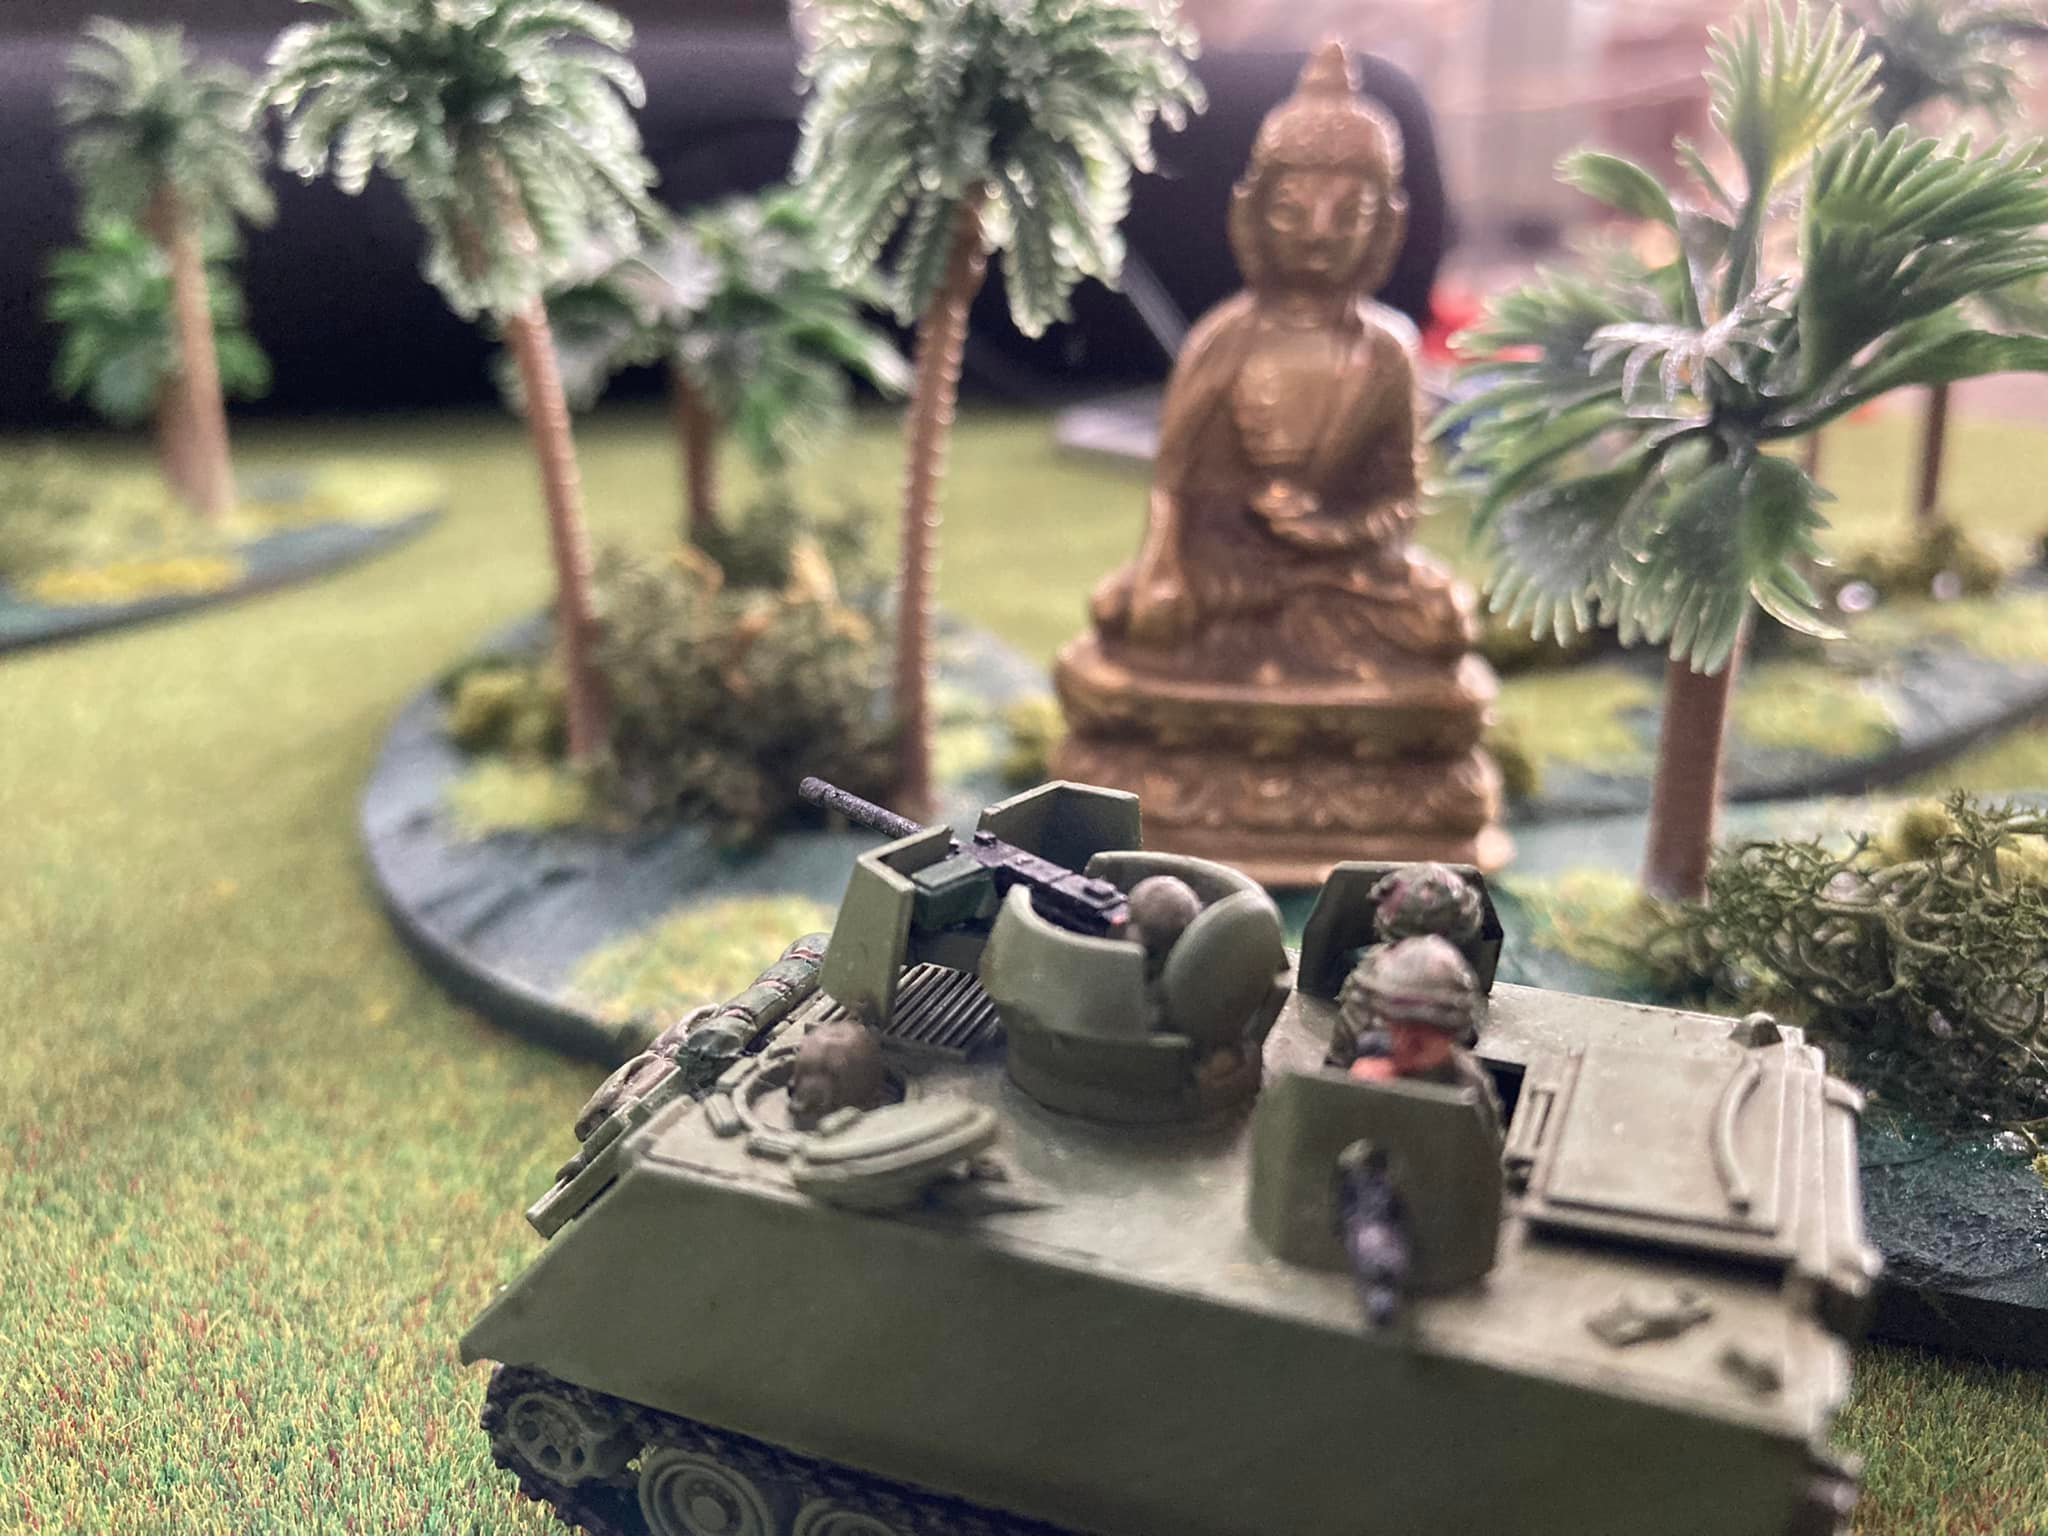
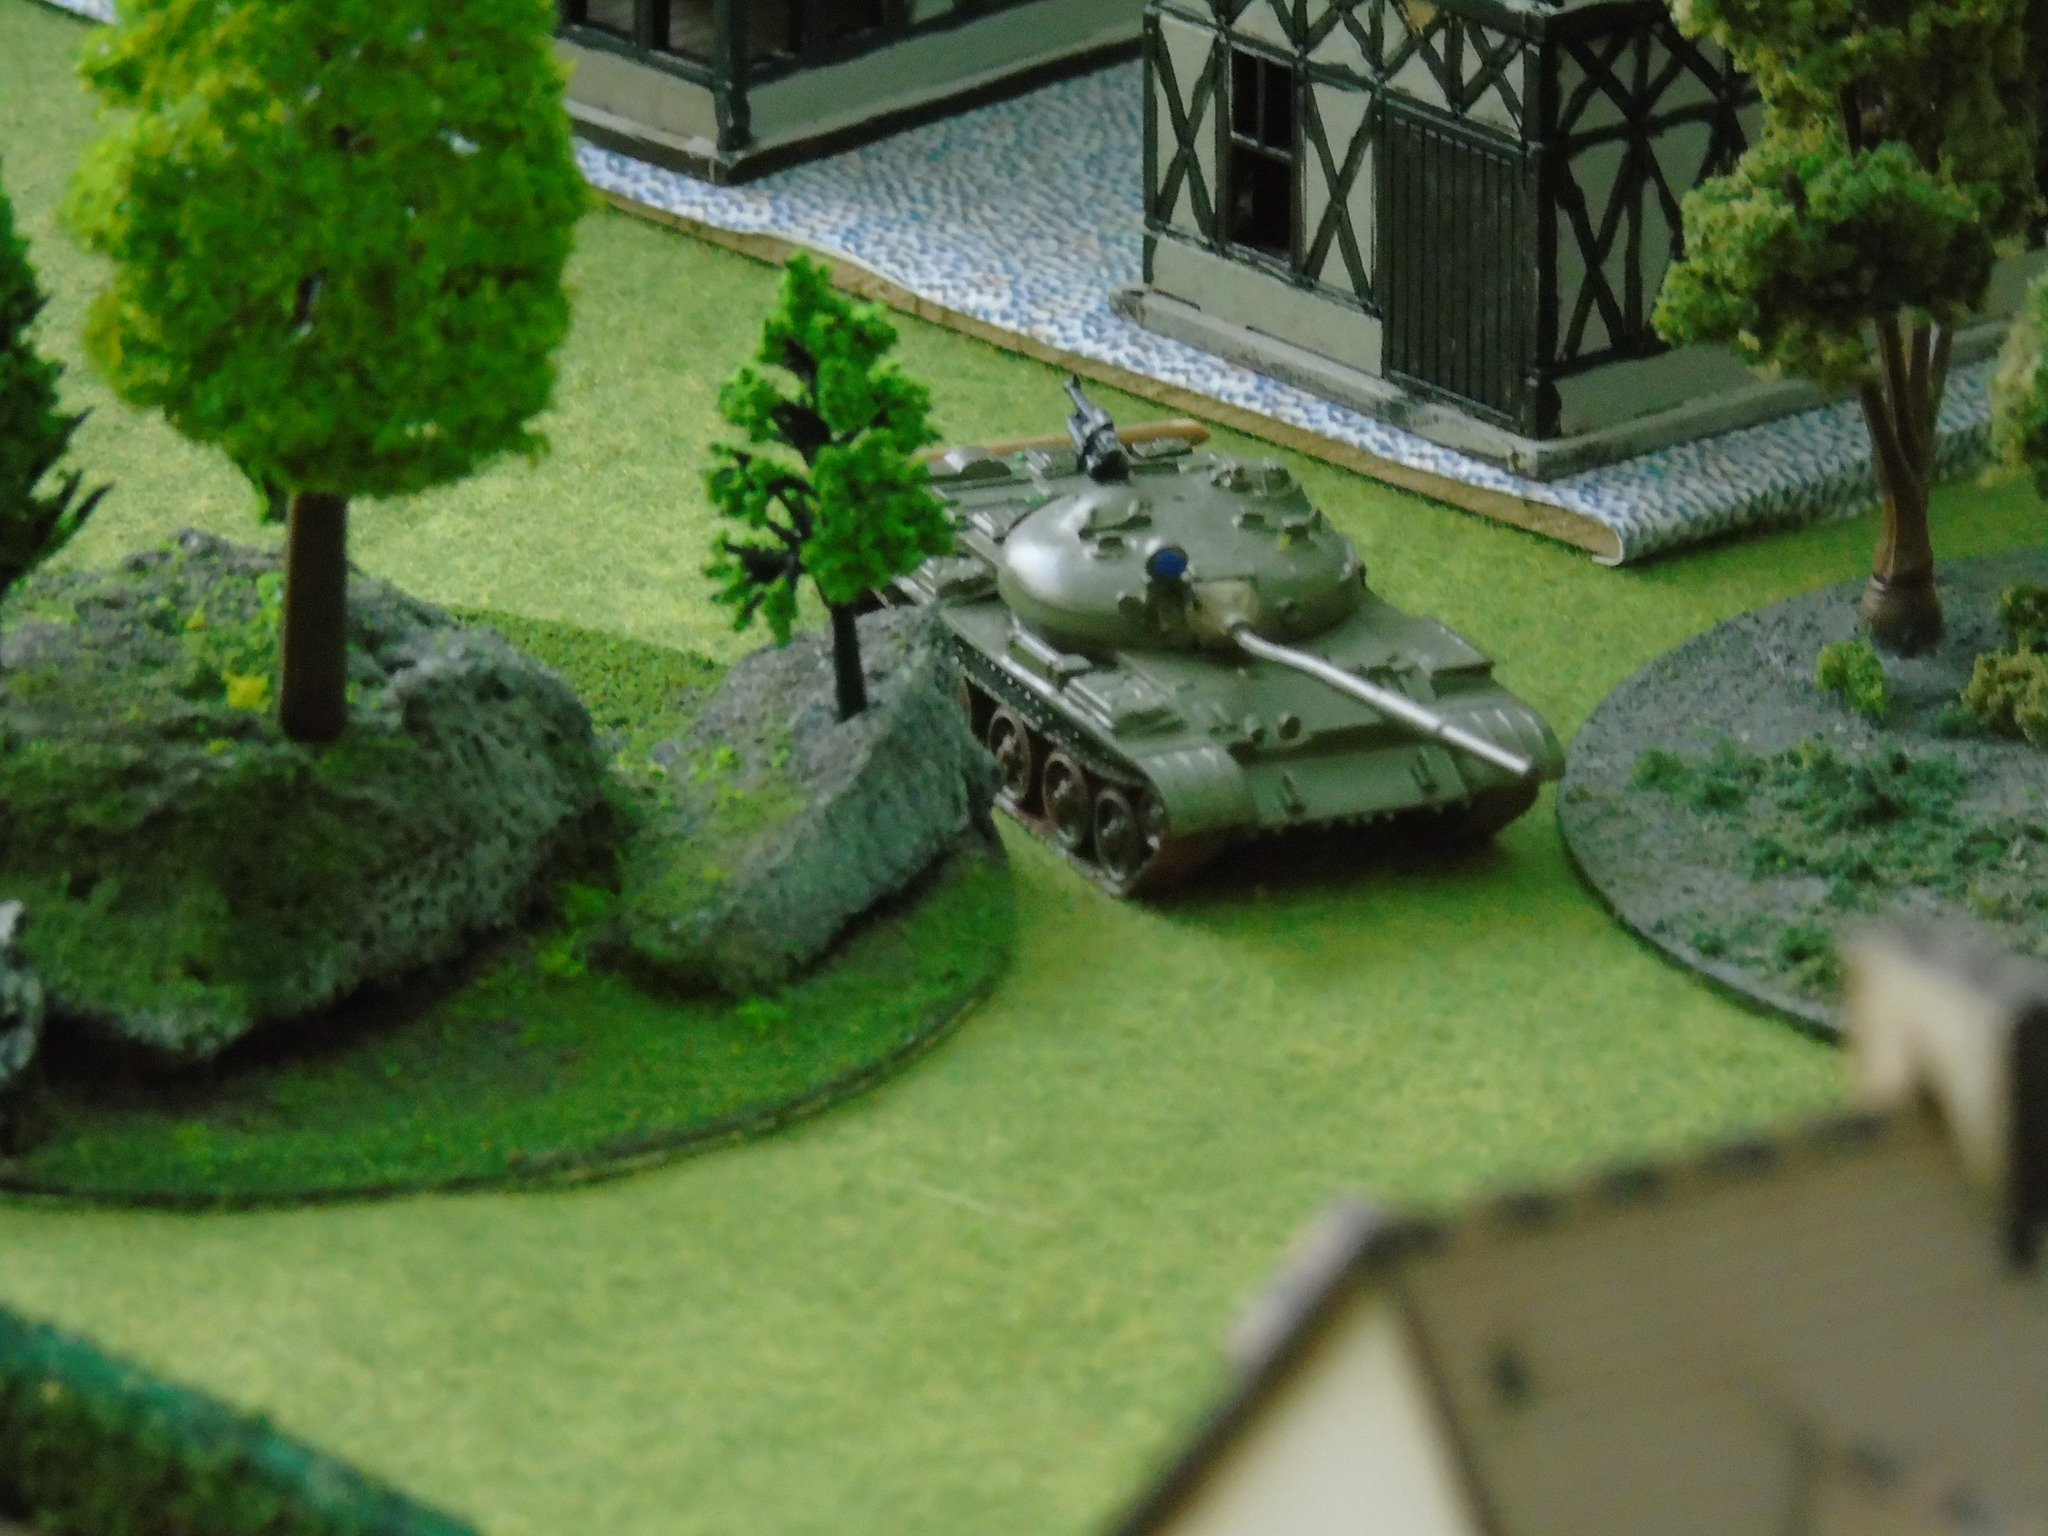
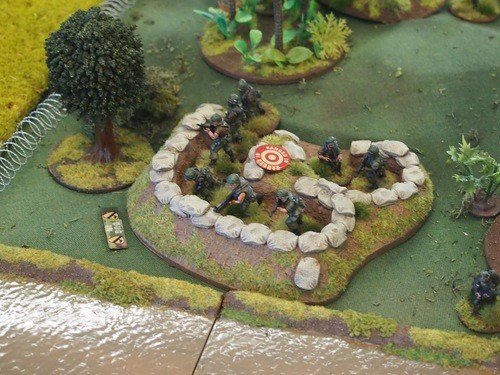
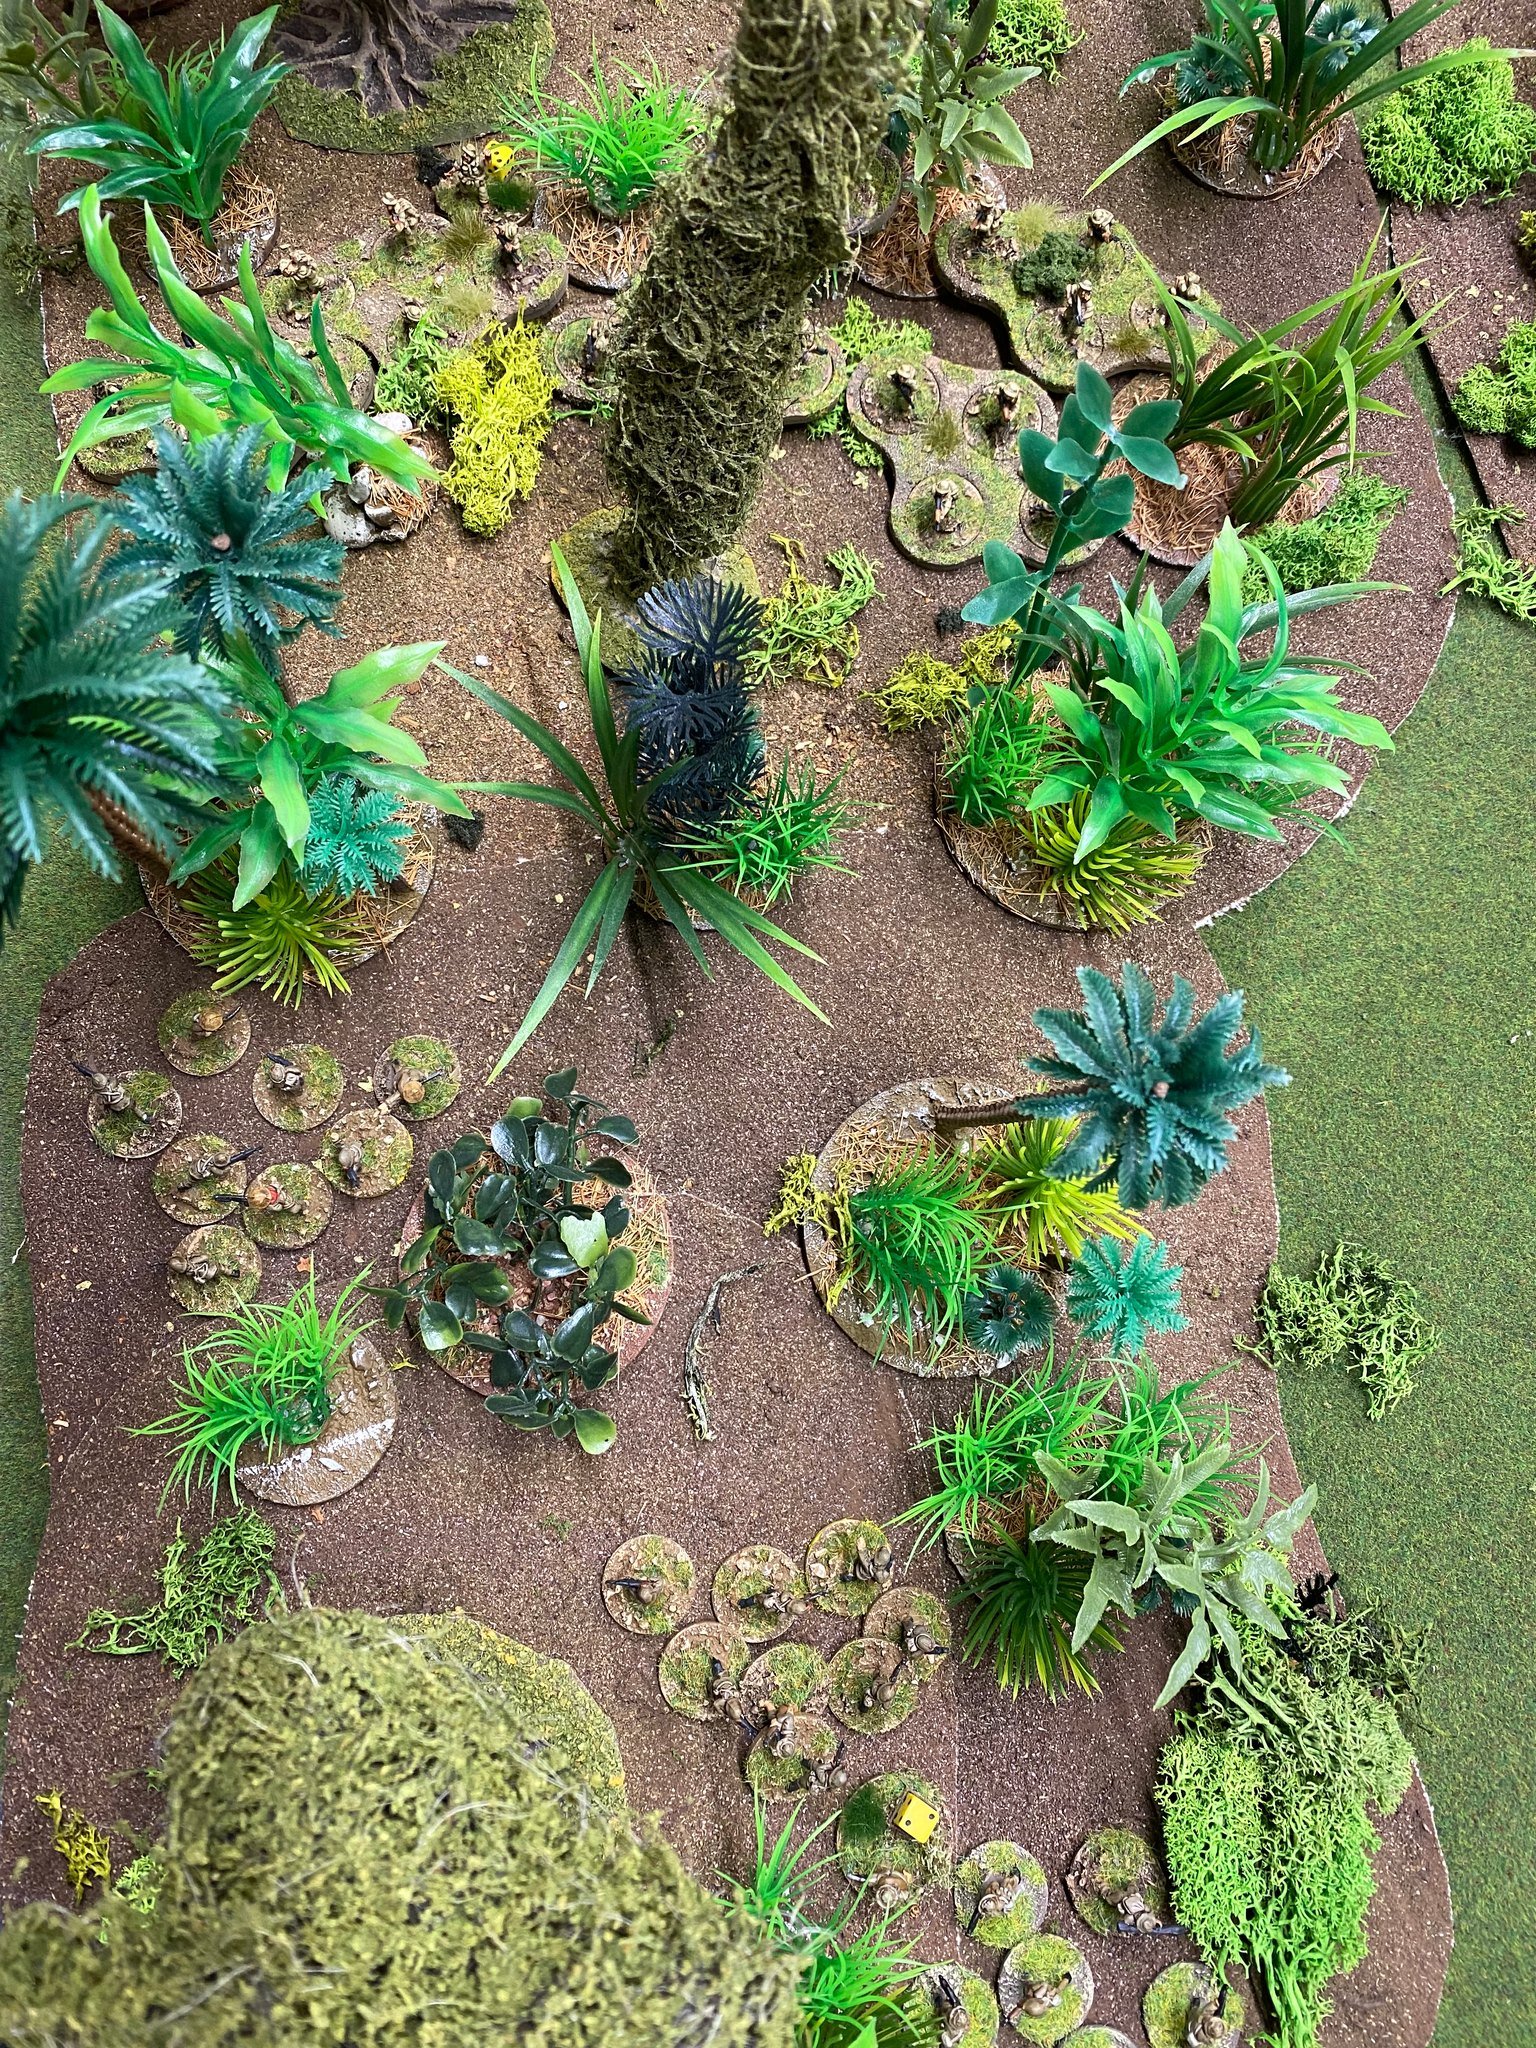
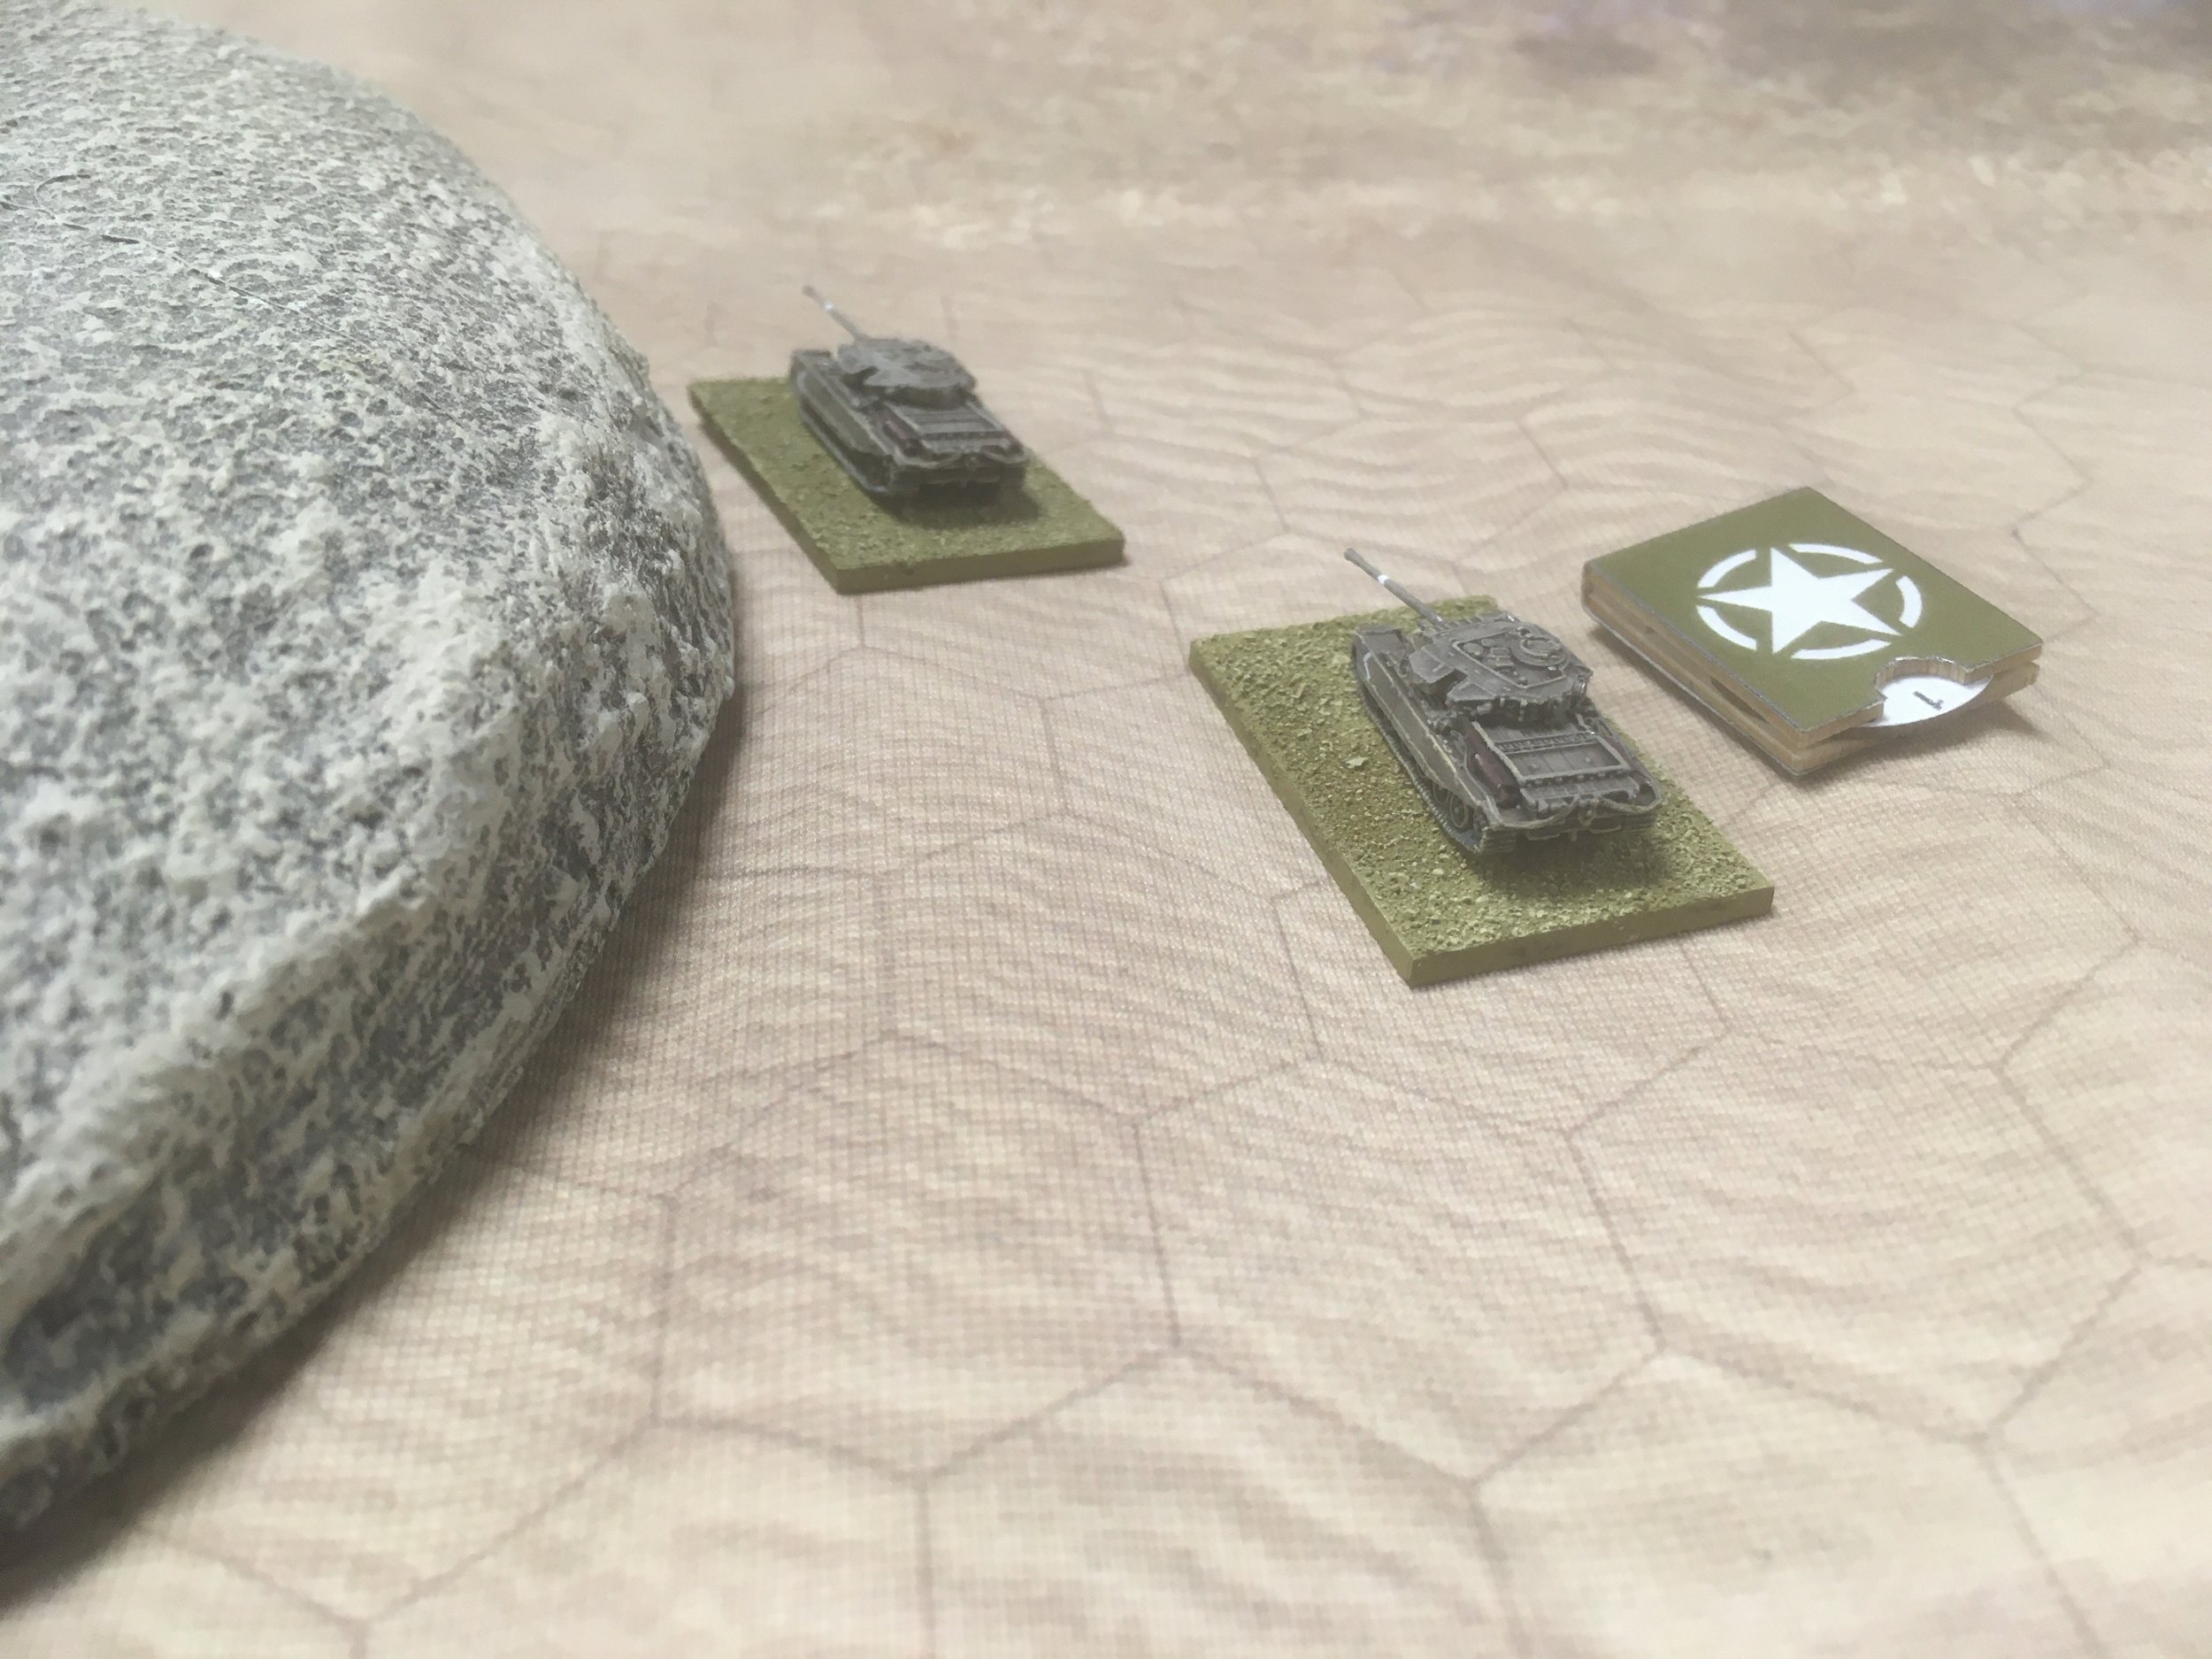
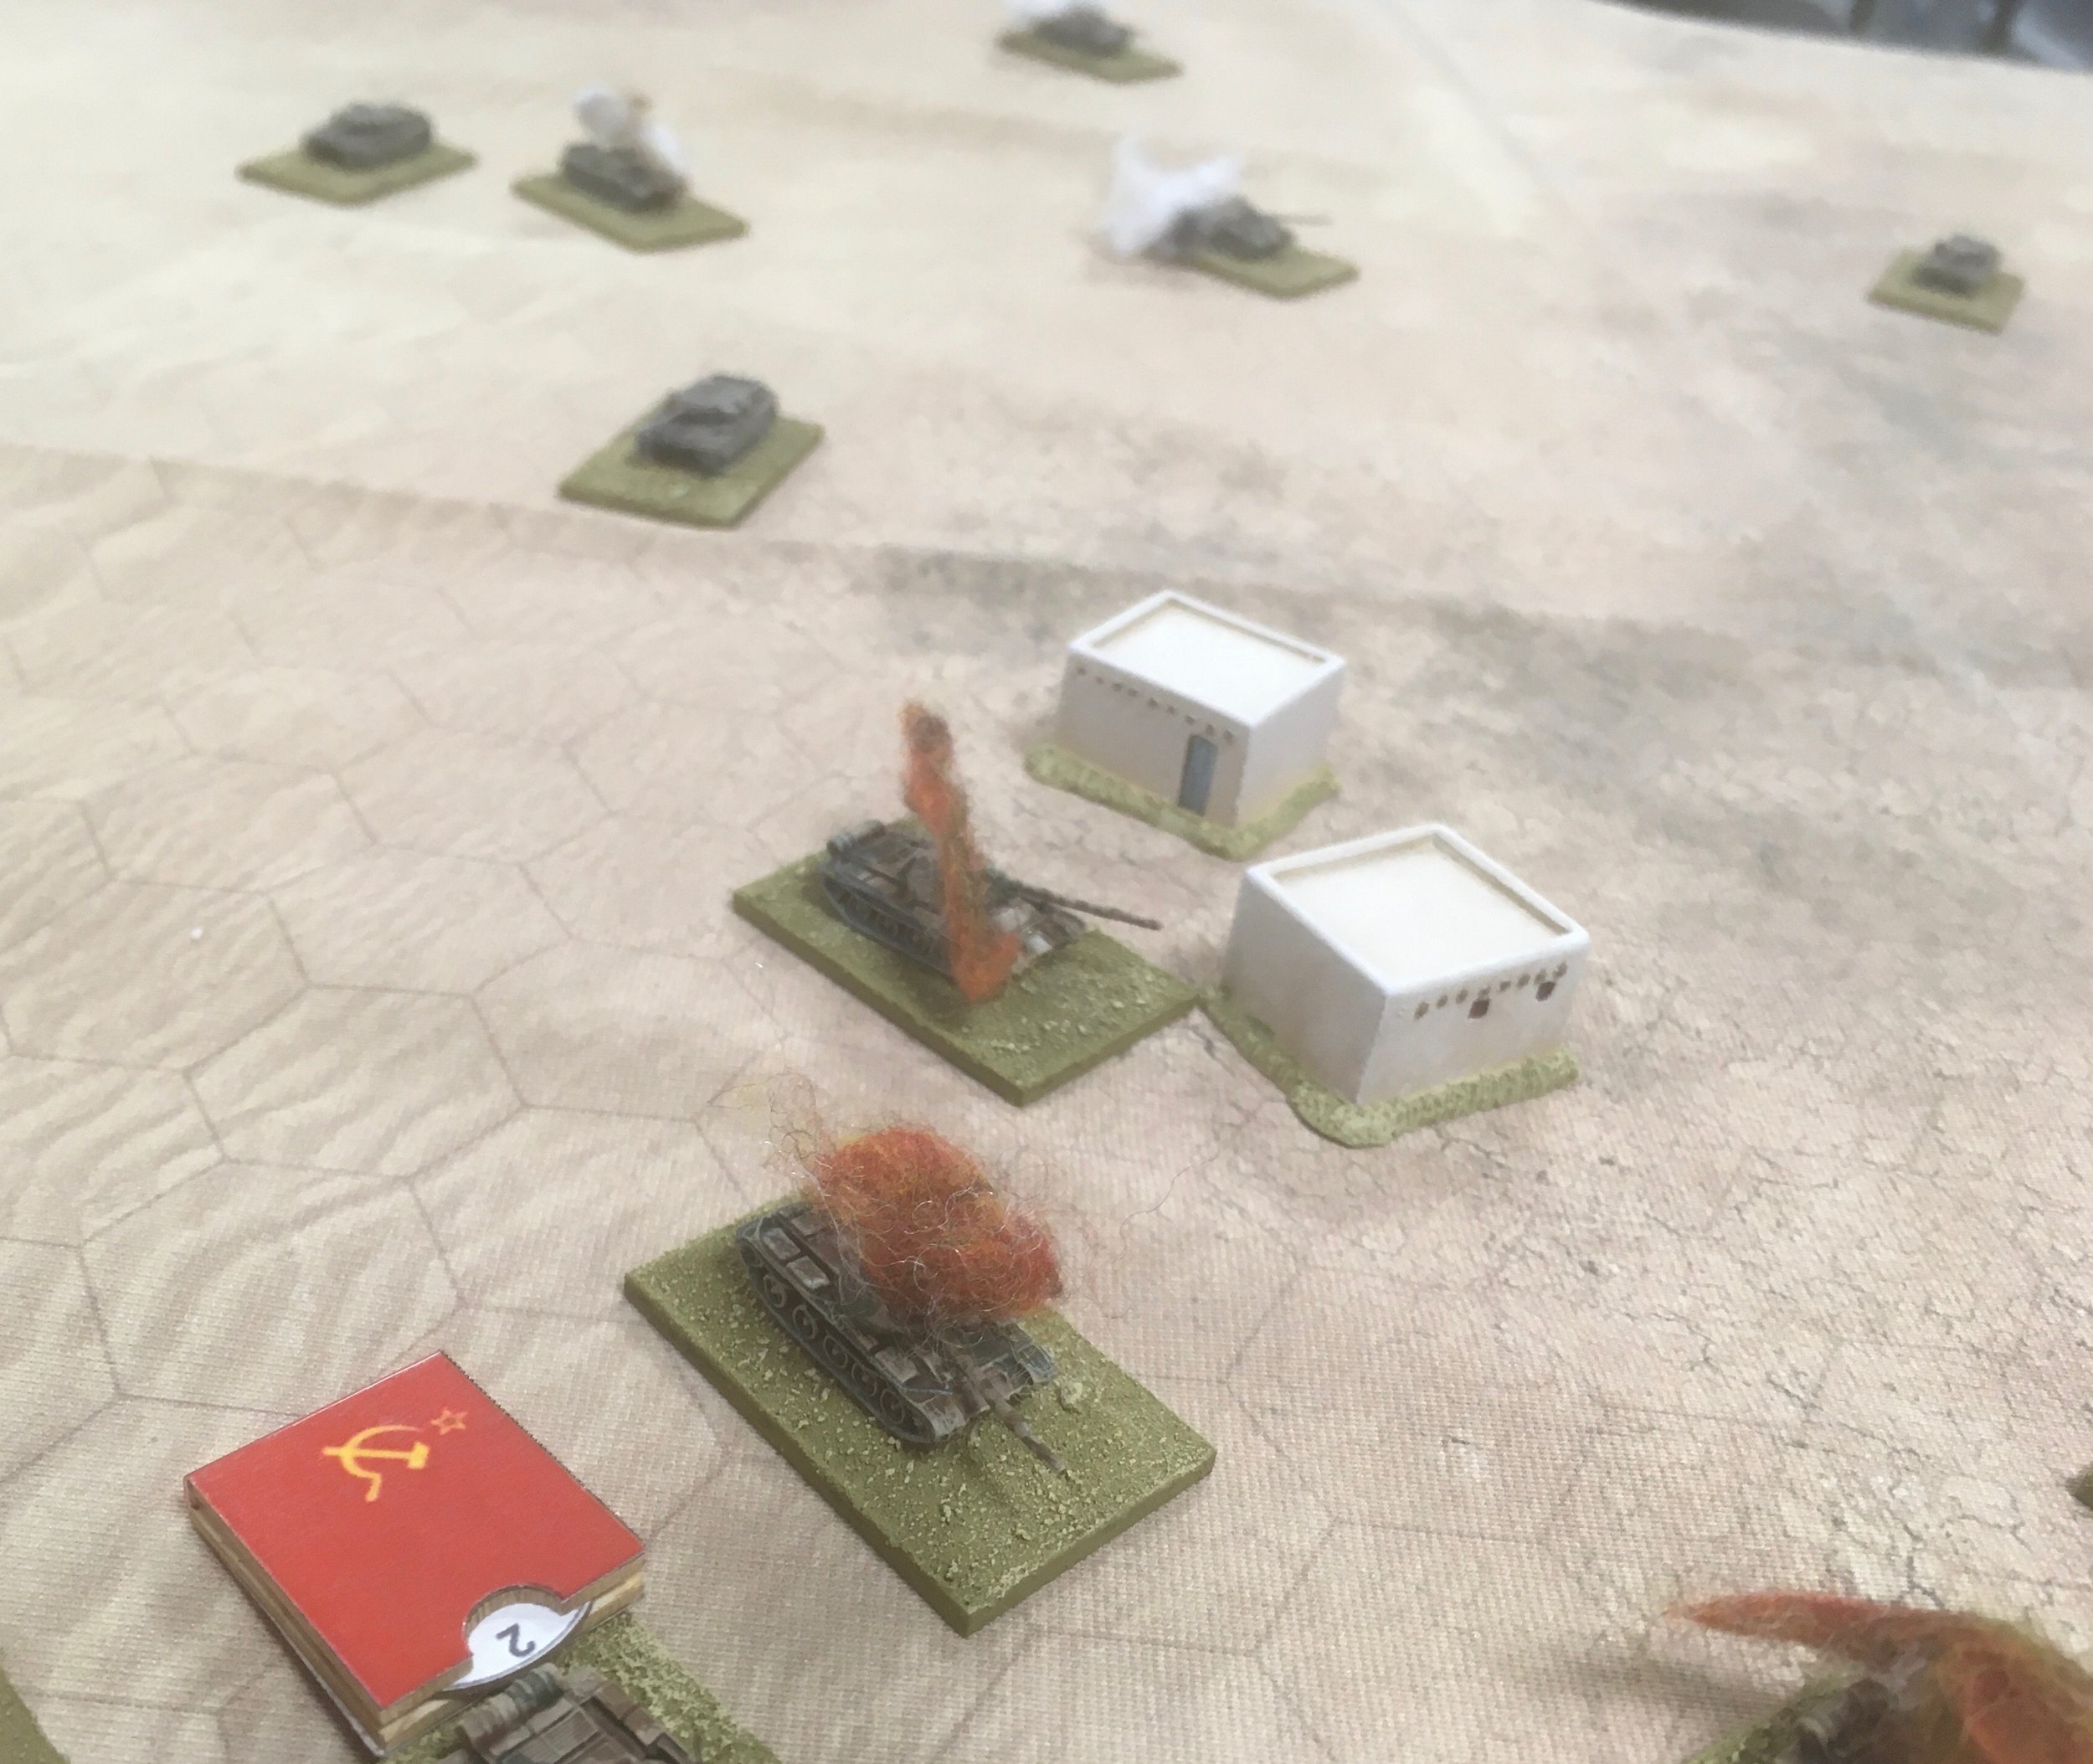
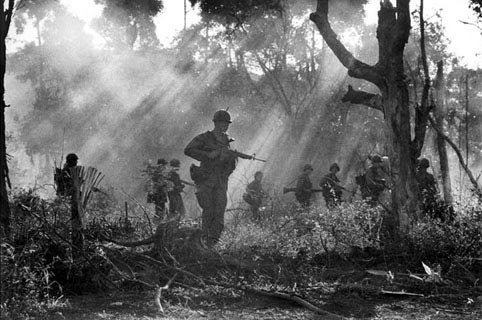
Up to this point the US and ARVN forces had killed six VC and lost five men dead. They had discovered weapons and food in the hamlet and most importantly the tunnel complex. The discovery of the latter was solely due to Pac Choi’s emergence and parting ambush before he ran for the border. Had he simply slipped away it is likely that the Free World forces would have missed the tunnels. A further dozen VC were cut off from their exit route, six being captured by the ARVN Rangers. So the operation was a military success for the Free World Forces, but verging on a political victory for the VC due to the losses they inflicted. Had Butch Taylor relied on his firepower rather than going in with the bayonet he’d have saved the lives of three men and won a complete victory.

The game was designed to test some of the victory conditions in the rules which, as suggested above, are two-fold; military and political. One of the things that has taken the time with developing Charlie Don’t Surf is getting the game to tick two key boxes that are interlinked. It must represent the reality of the war in Vietnam without being a parody, and it must give both sides a real challenge and an opportunity to get a victory on a very uneven playing field. It would be easy, far too easy to produce a game that is a parody of this complex conflict, and even easier if that parody was that seemingly appealing winner – the war as it “should” have been rather than the war as it was.

What do I mean by this? Well, one of the frustrations of any counter-insurgency campaign is that one side generally won’t play fair. The Free World forces in Vietnam were, above all else, seeking to bring the enemy to battle and defeat him. Had Charlie played ball and done the decent thing, standing up and fighting, then he would have been in big trouble. So quite naturally he stuck to his own game plan.

This can be a real issue for wargamers and in particular game designers. We could make the assumption that in our games Charlie is particularly rough, tough and nasty and ready to play the stand-up fight game, and then the Free World forces could deploy all of their very sexy assets to gun him down wit style and aplomb. Easy rules to write, easy game to play, probably very popular, but frankly a complete load of hog wash. Nothing more than a Vietnam version of ‘Whack a Mole’, with Charlie popping up from his tunnels and Rambo blasting him to the Stone Age.

The real challenge in designing Charlie Don’t Surf has been to develop a game where both sides can fight their own war; where both have strengths and both have weaknesses and both need to attempt to dominate the battlefield by developing their plans to take these into account. The net result this far is a game where the double whammy of a military and political victory is hard to achieve, where there is frustration on the ground as the enemy won’t do what you want him to do, but where by playing to your own strengths, by clear thinking and careful planning either side can dominate the battlefield if his opponent allows him to.

Critique

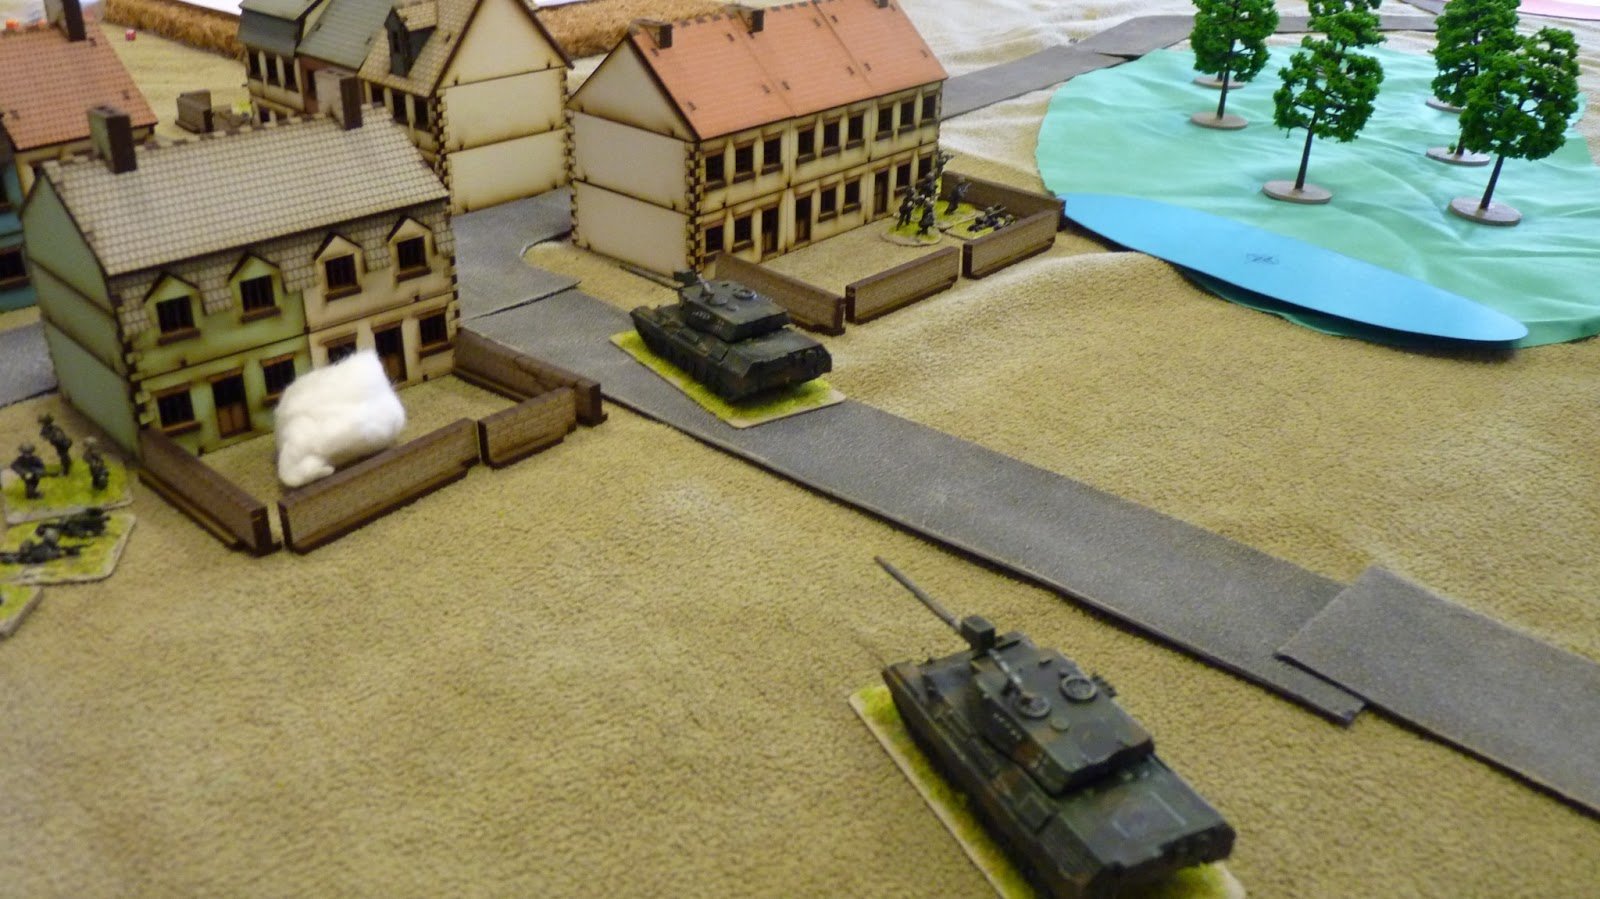
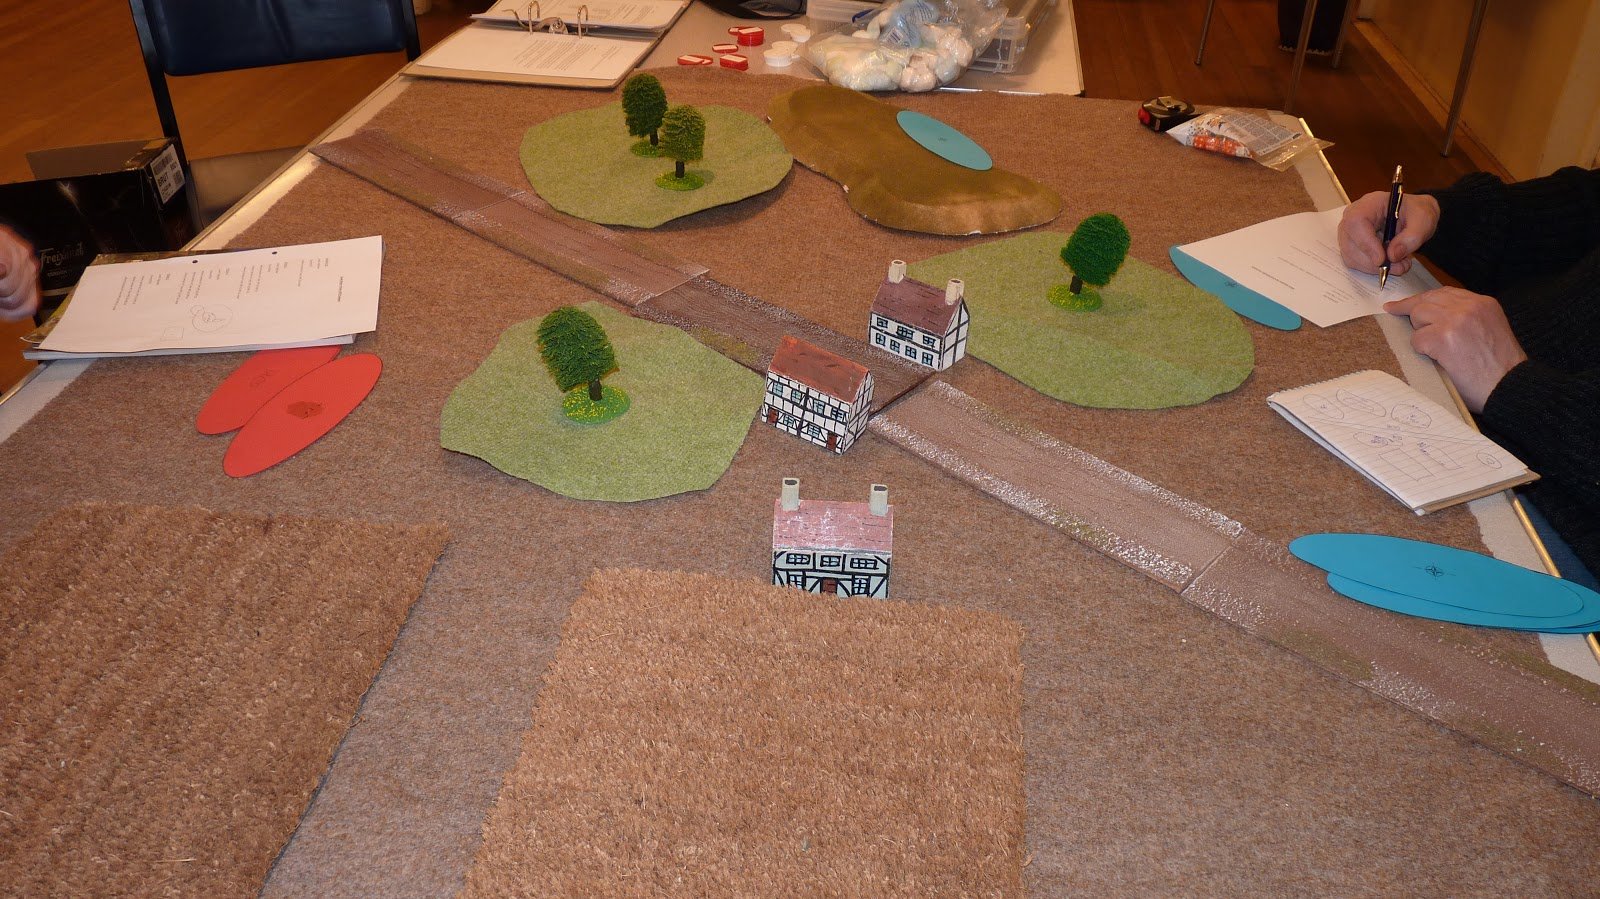
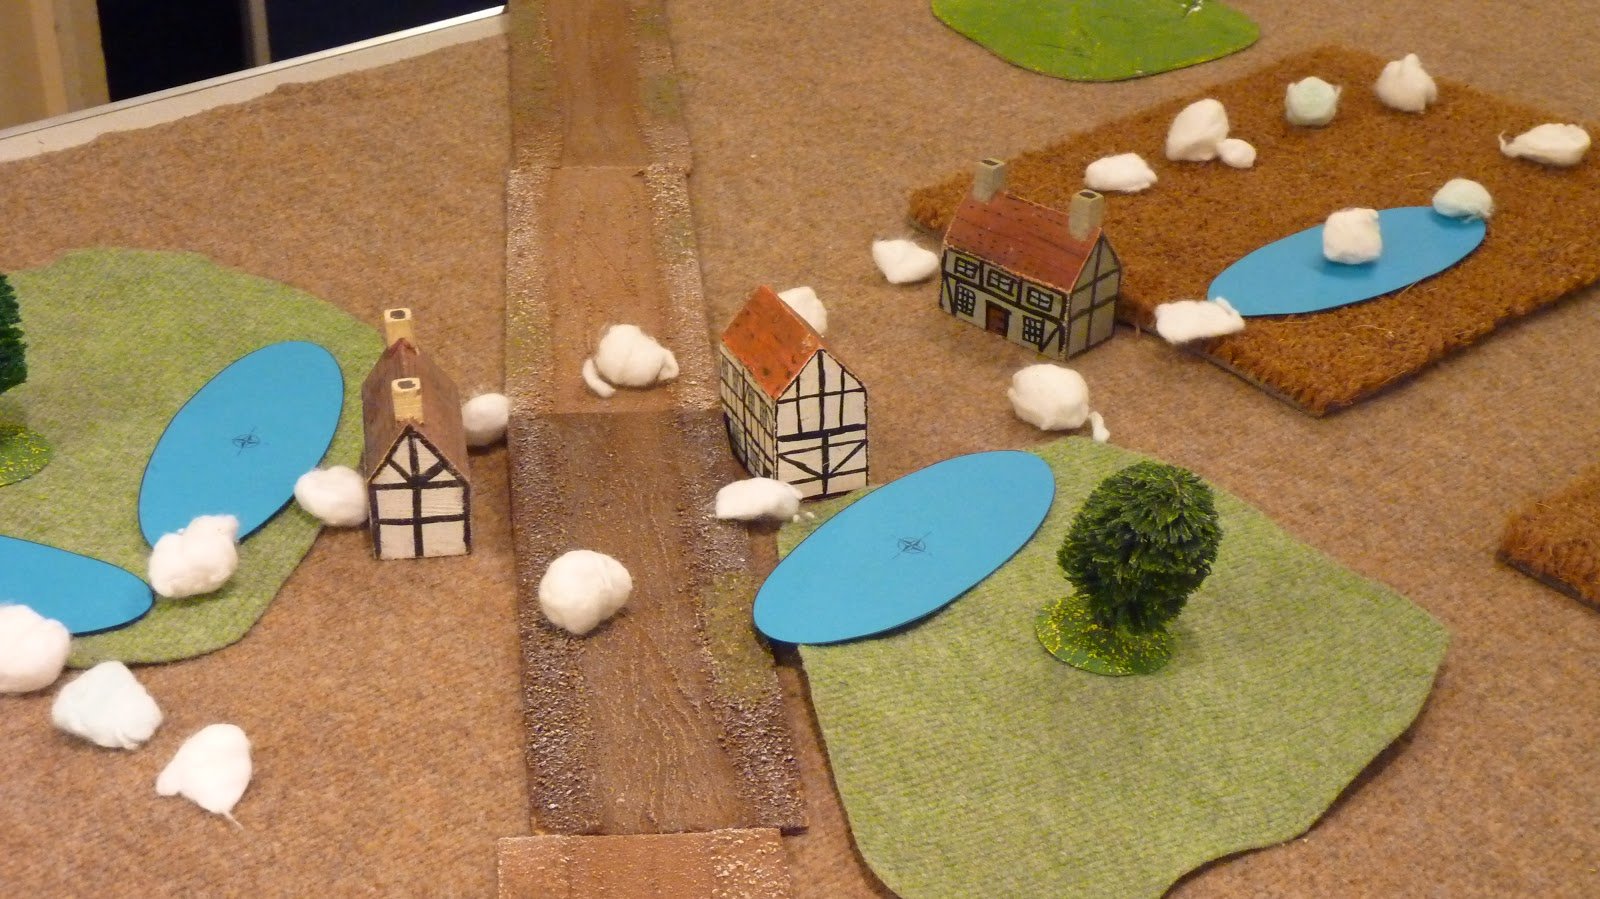
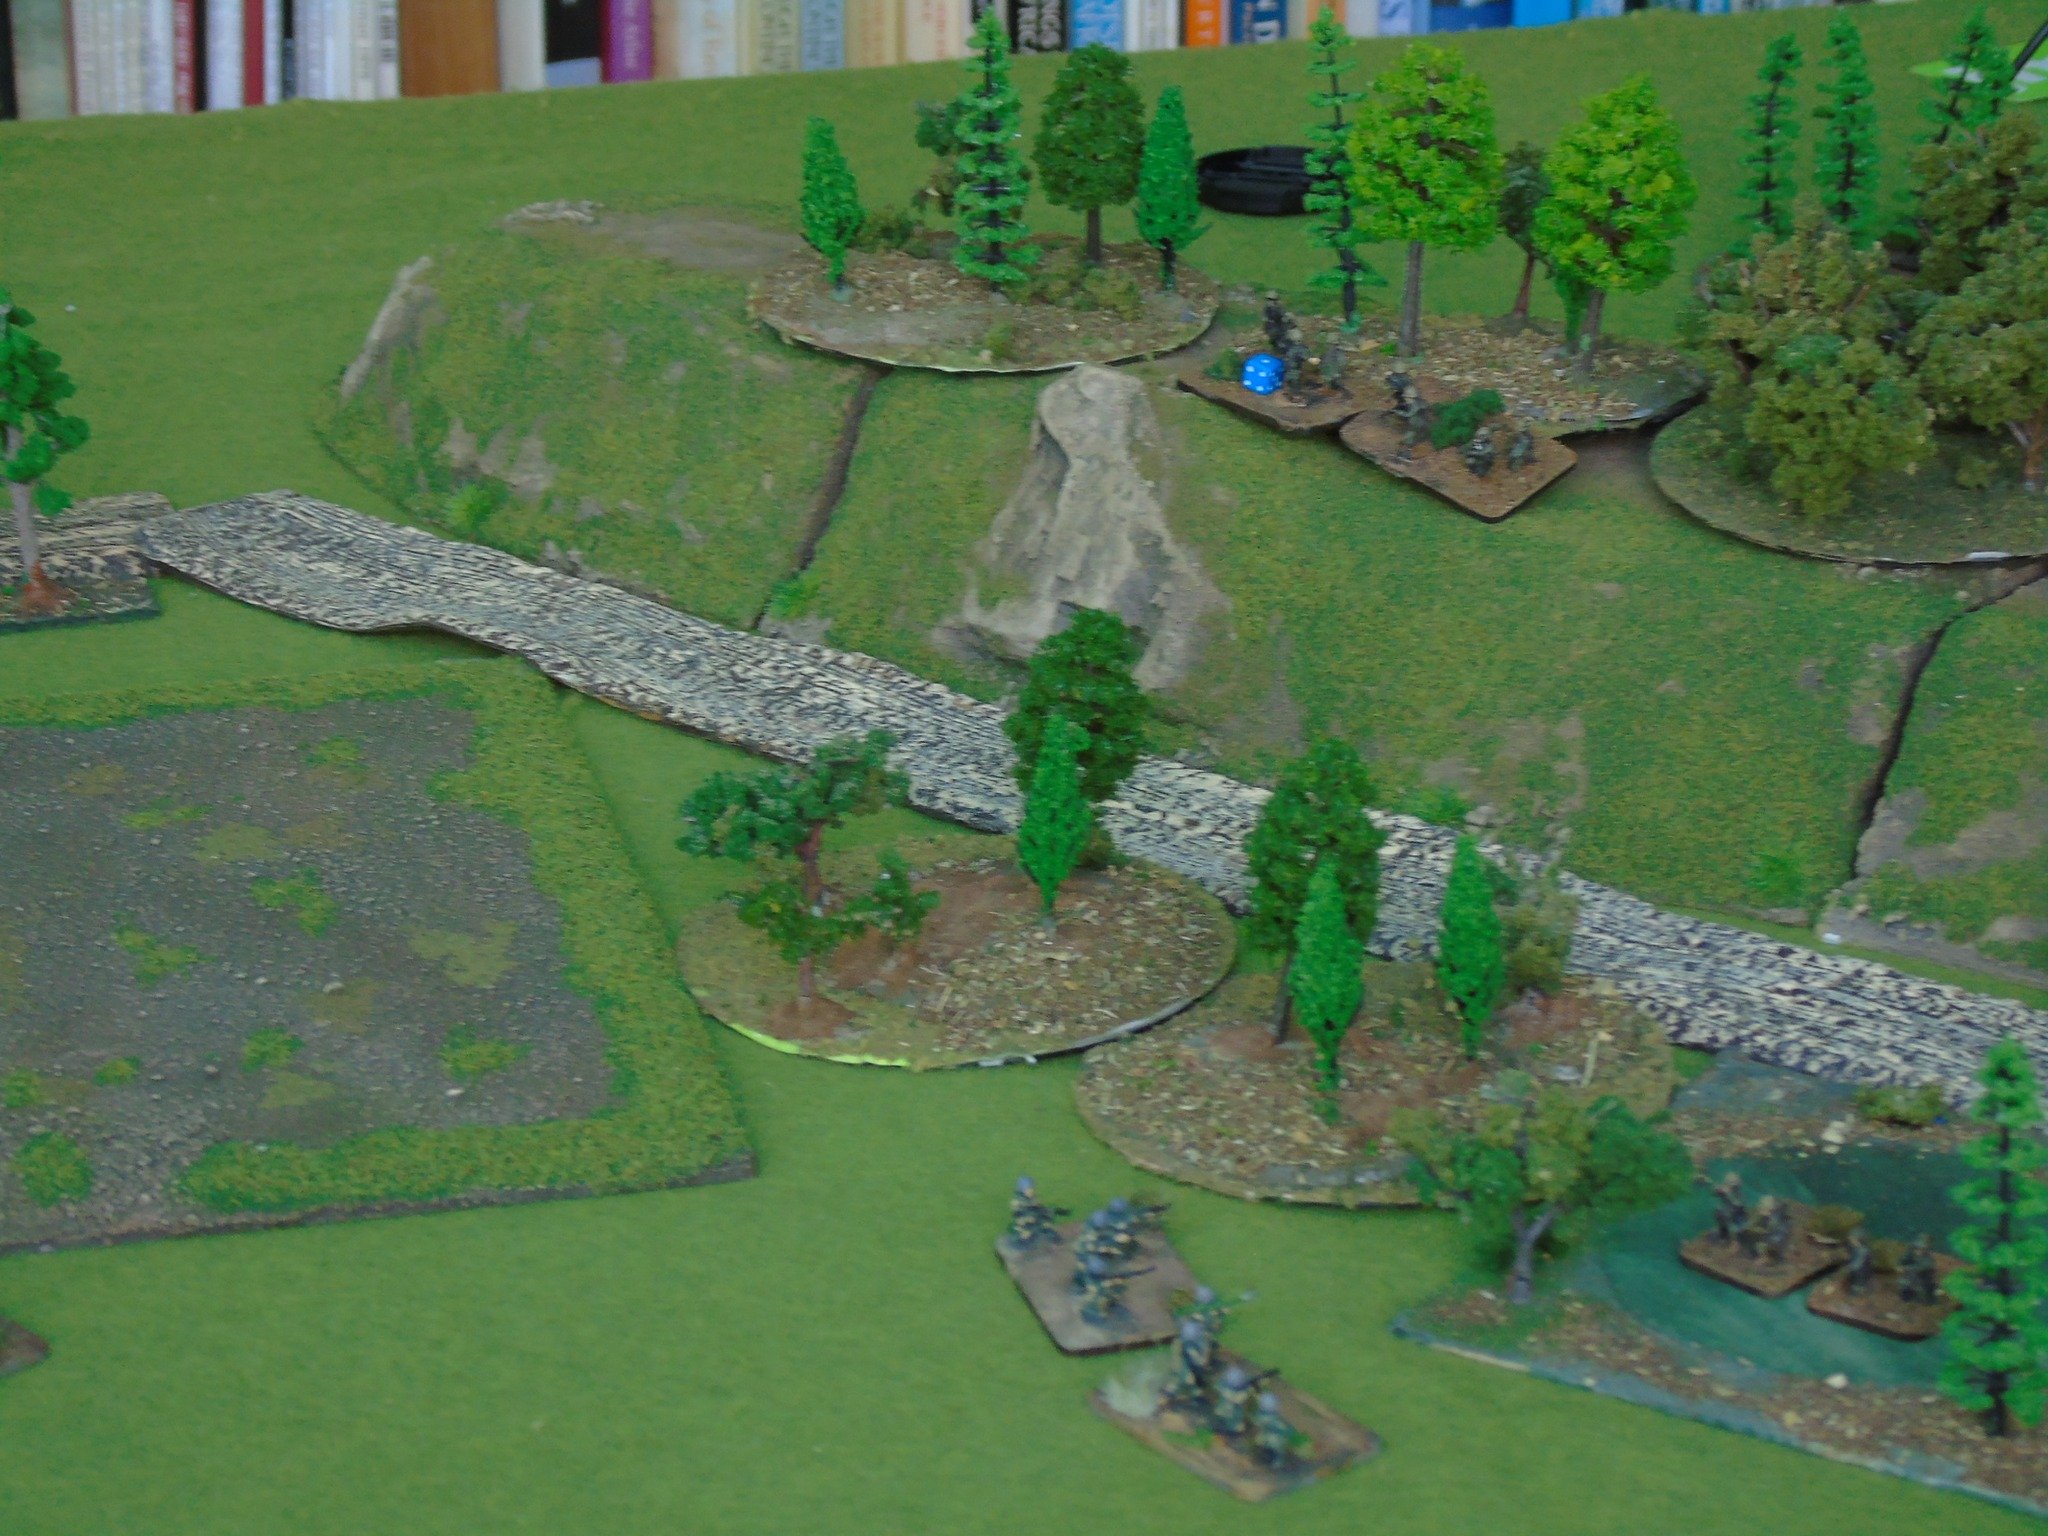
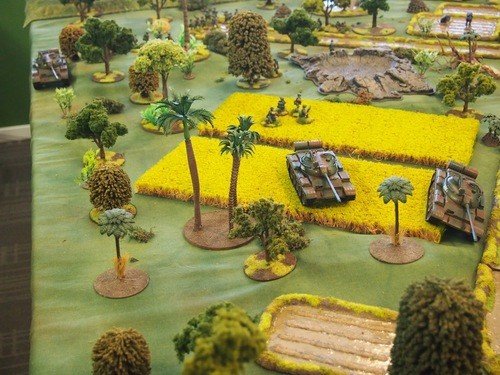
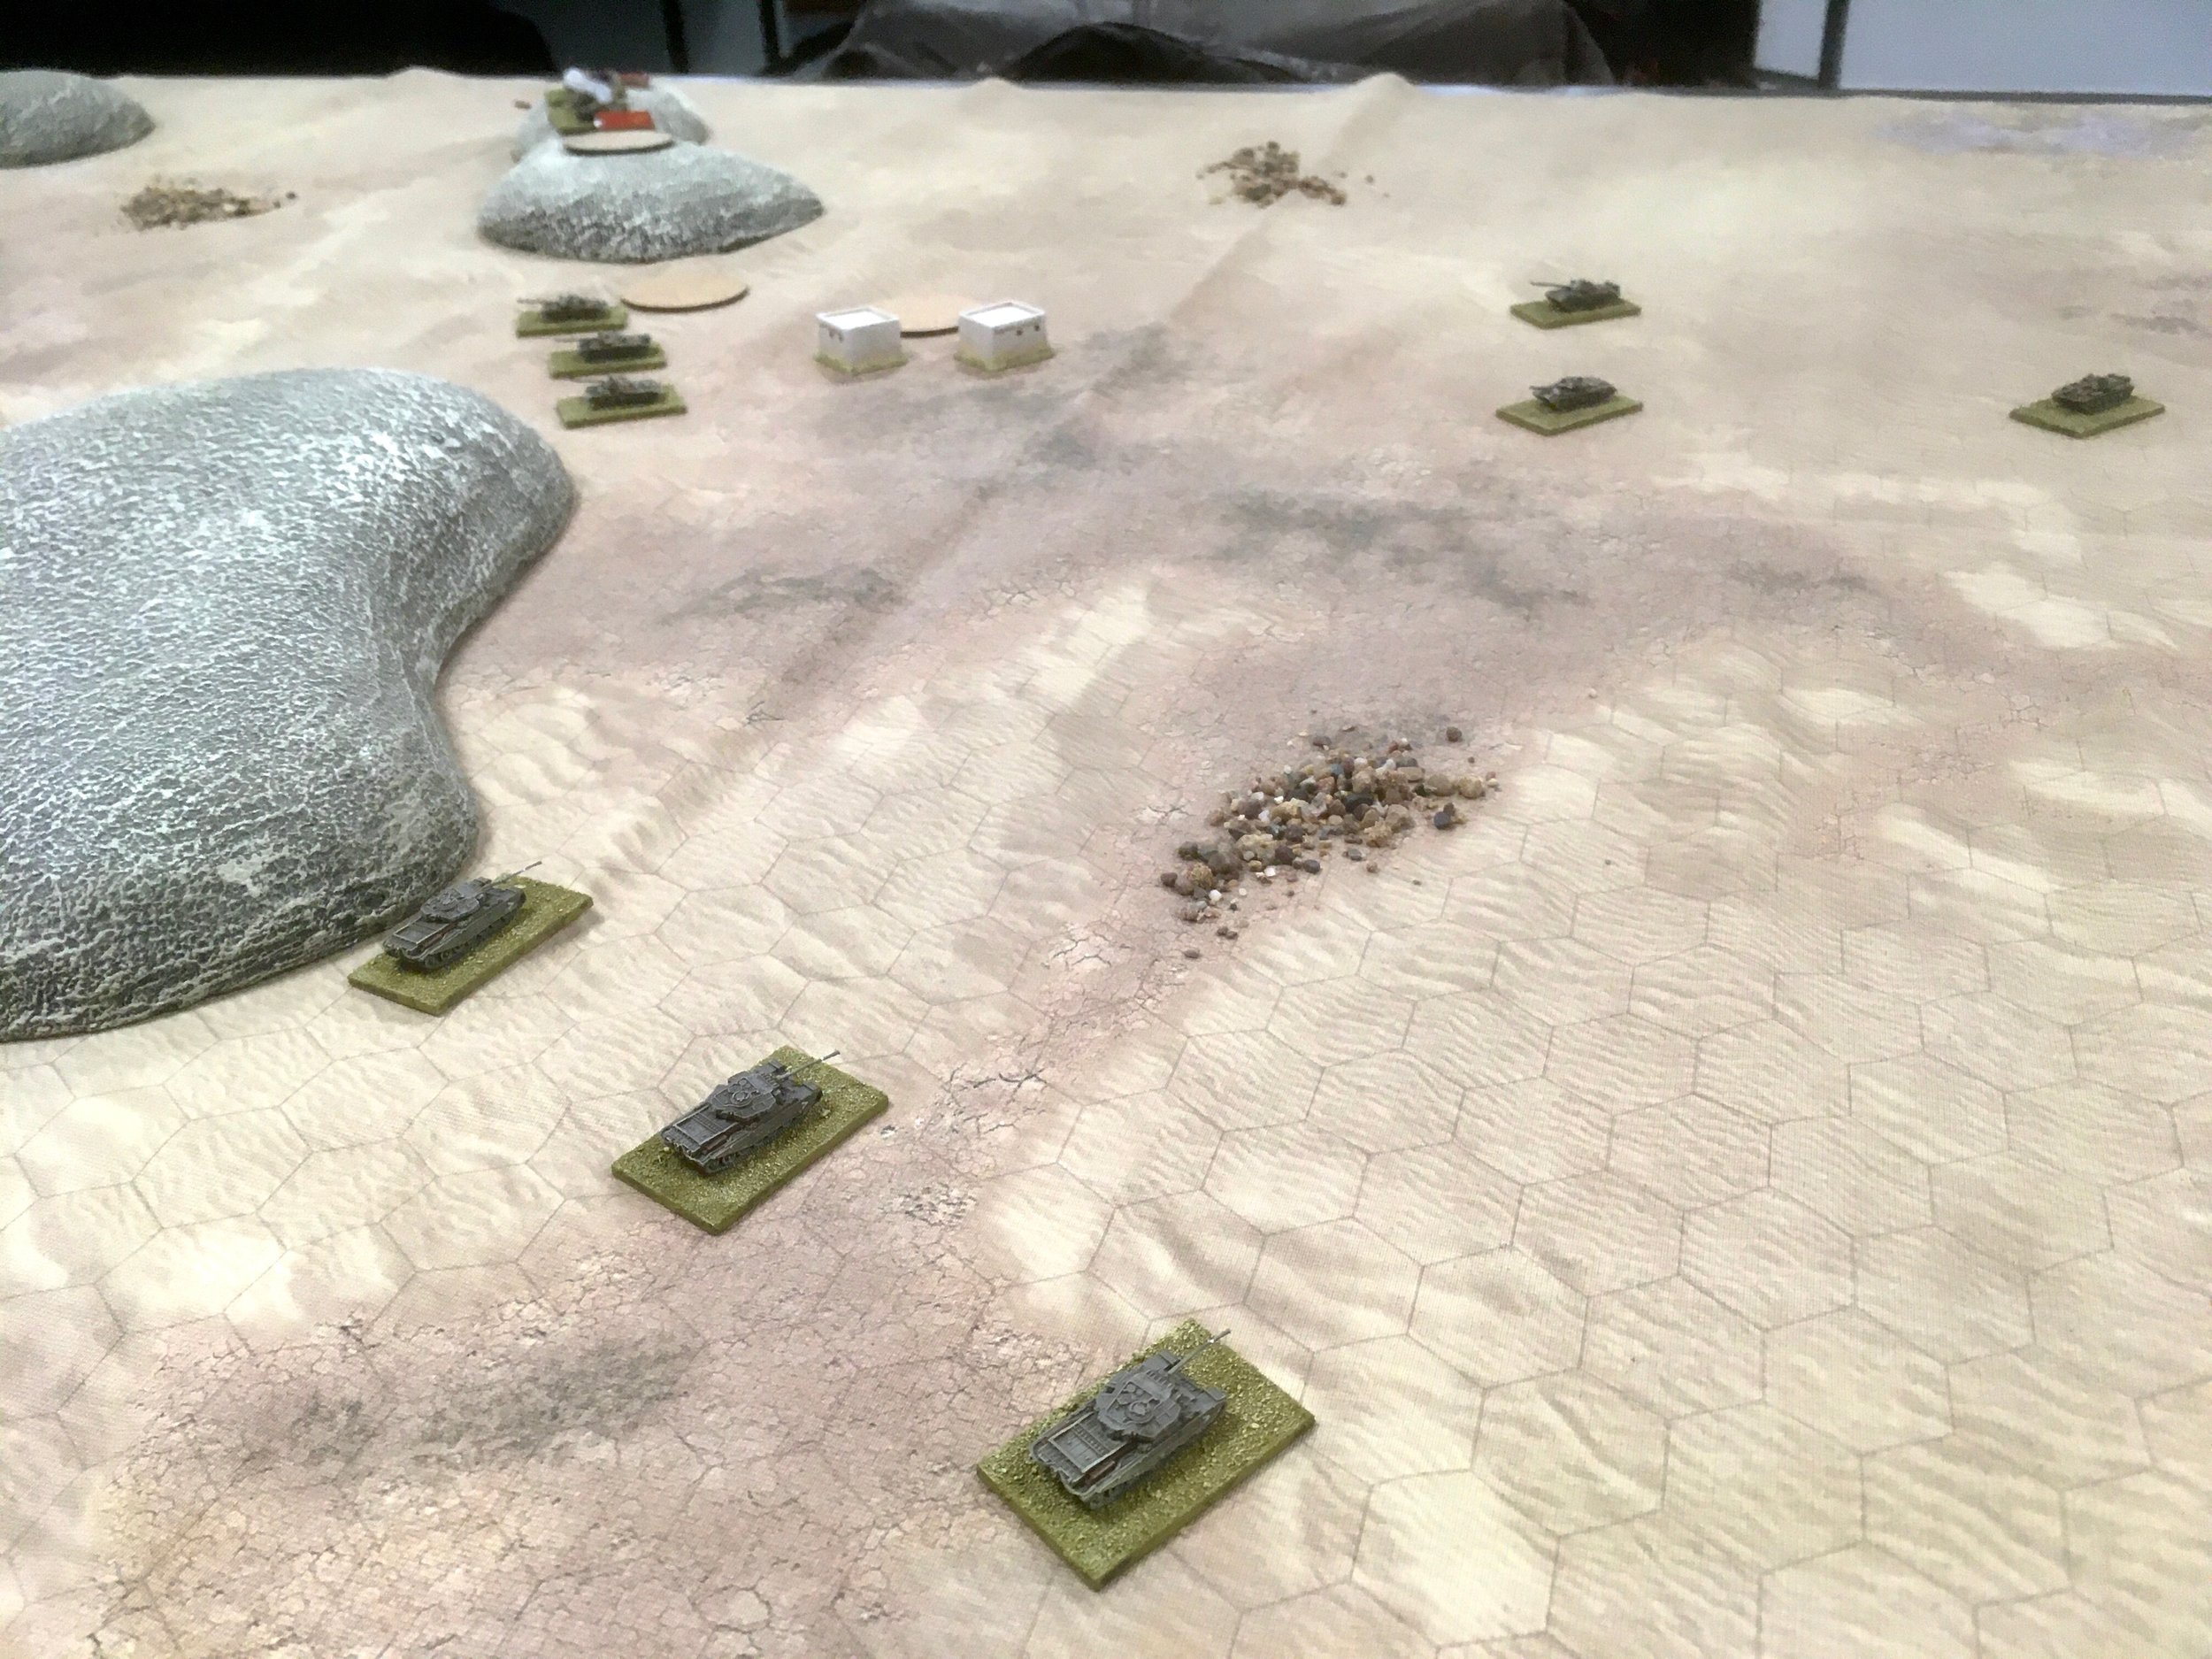
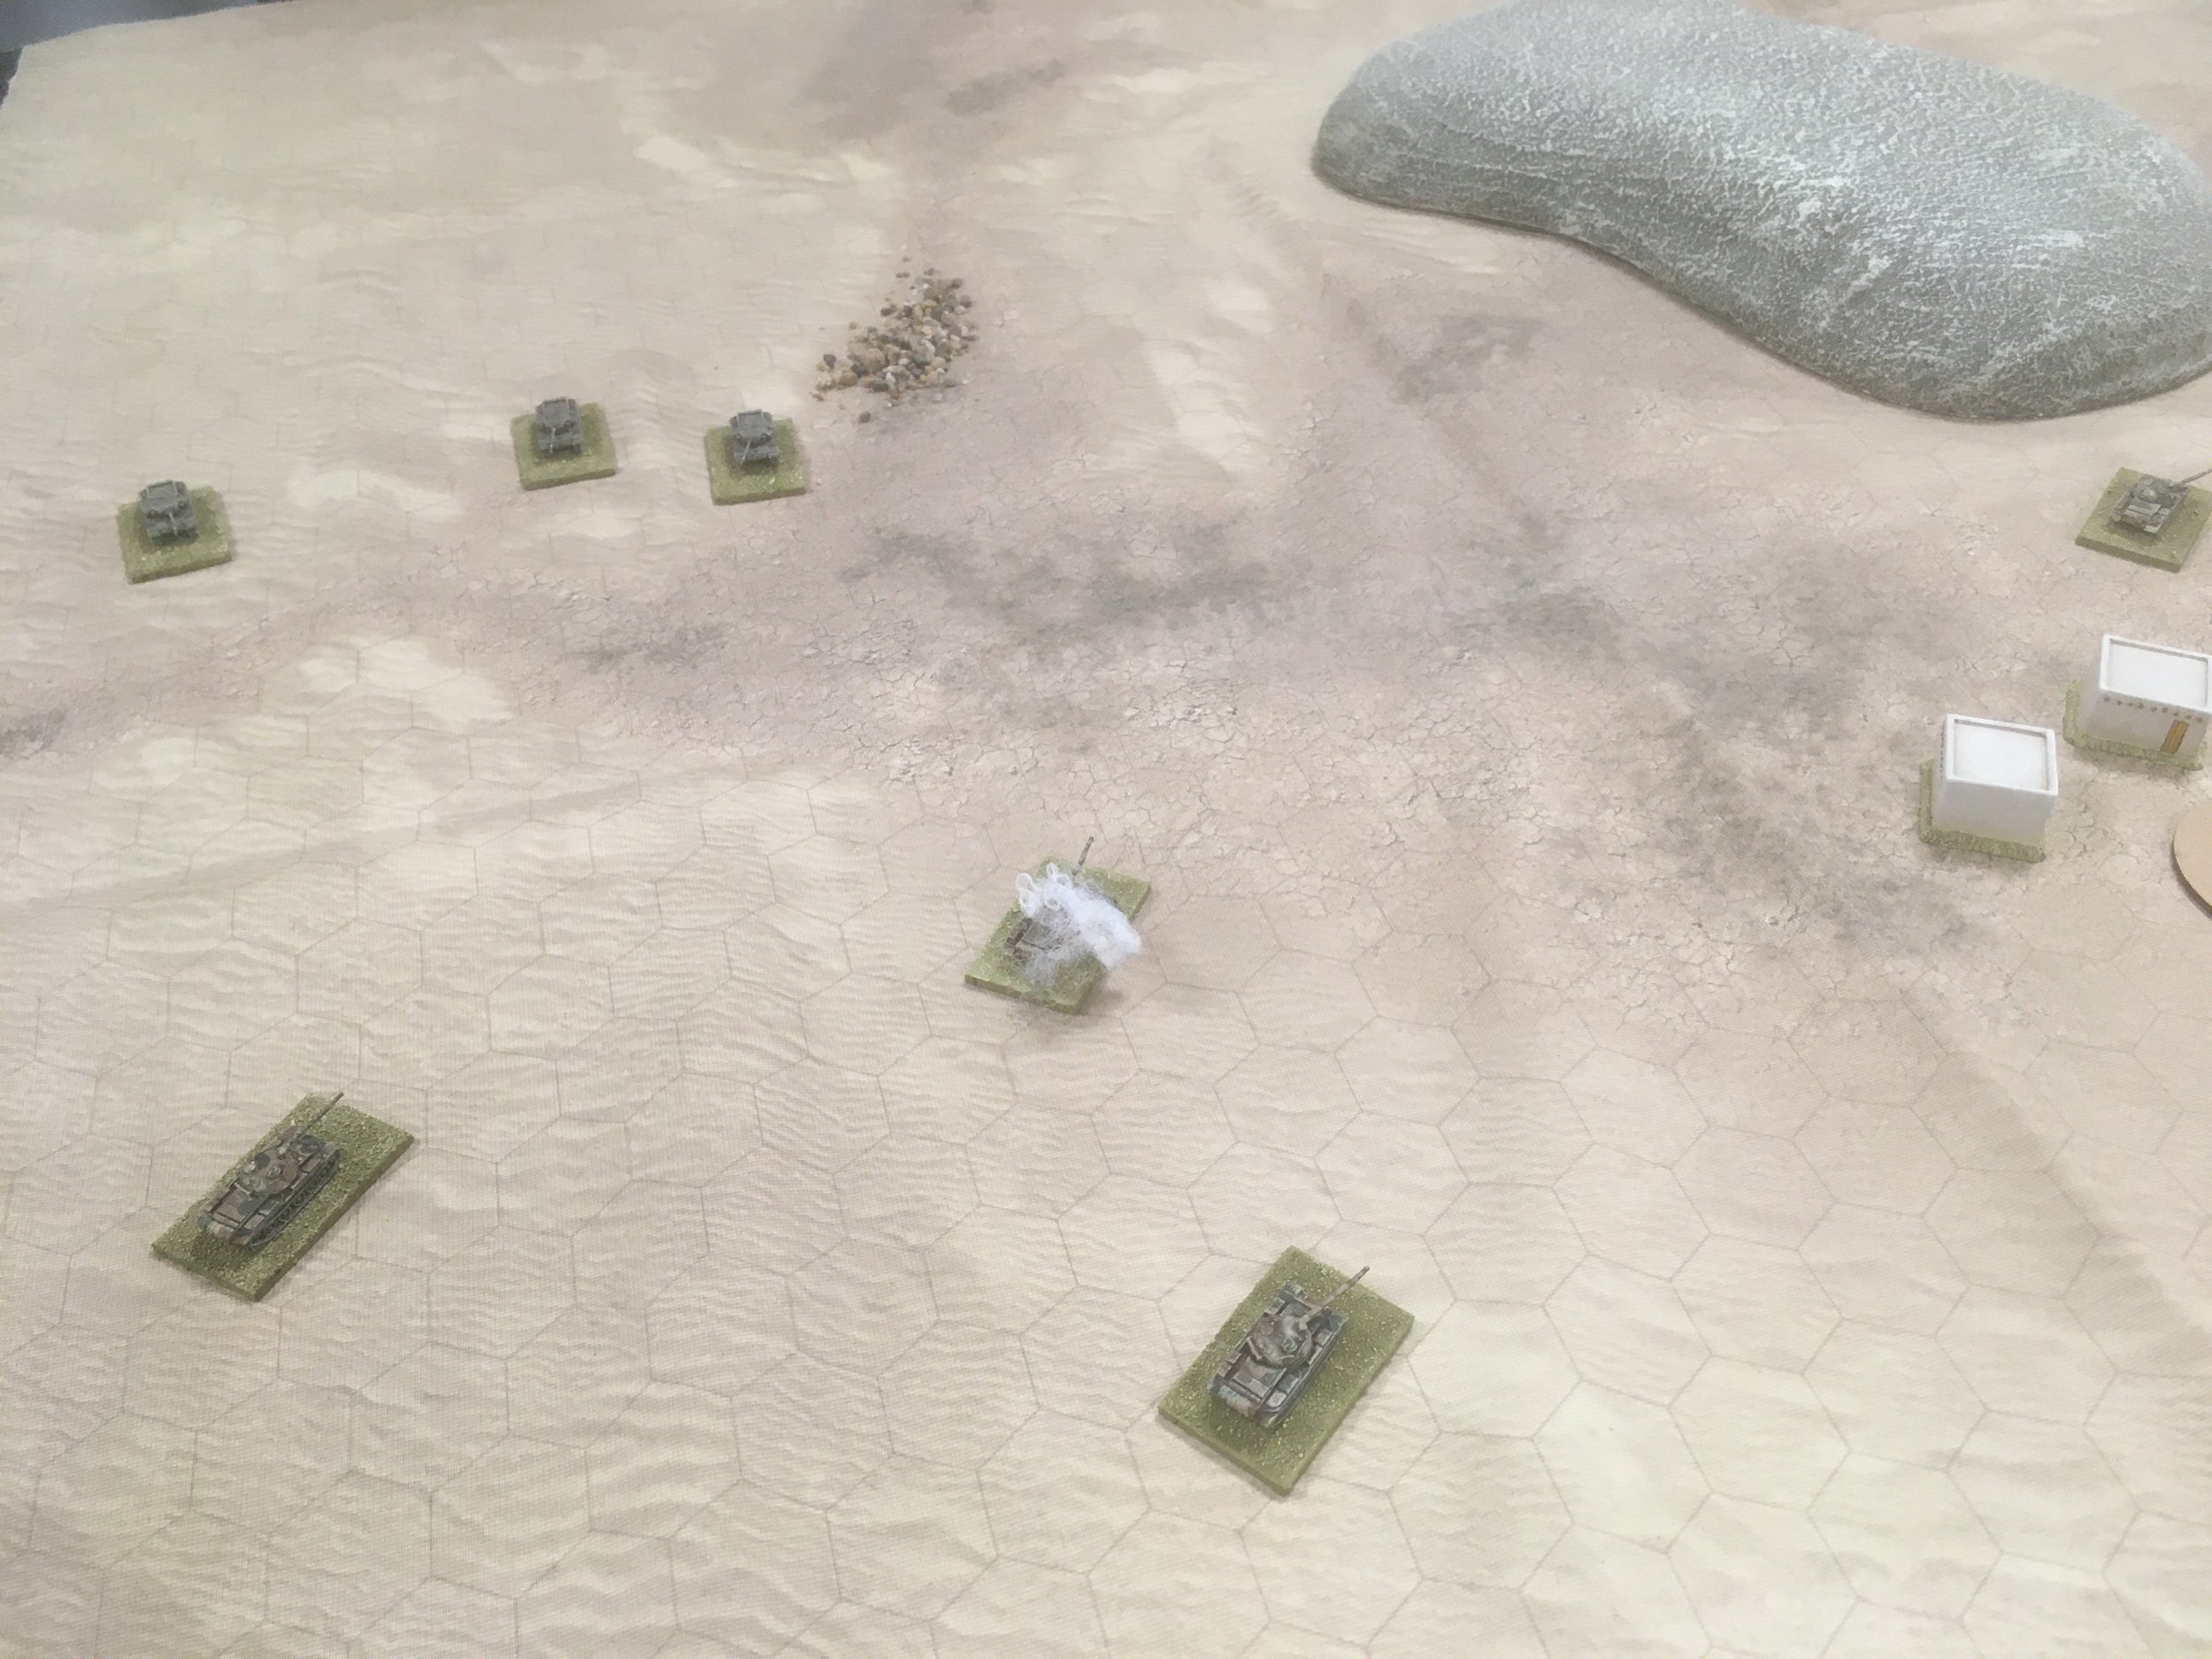
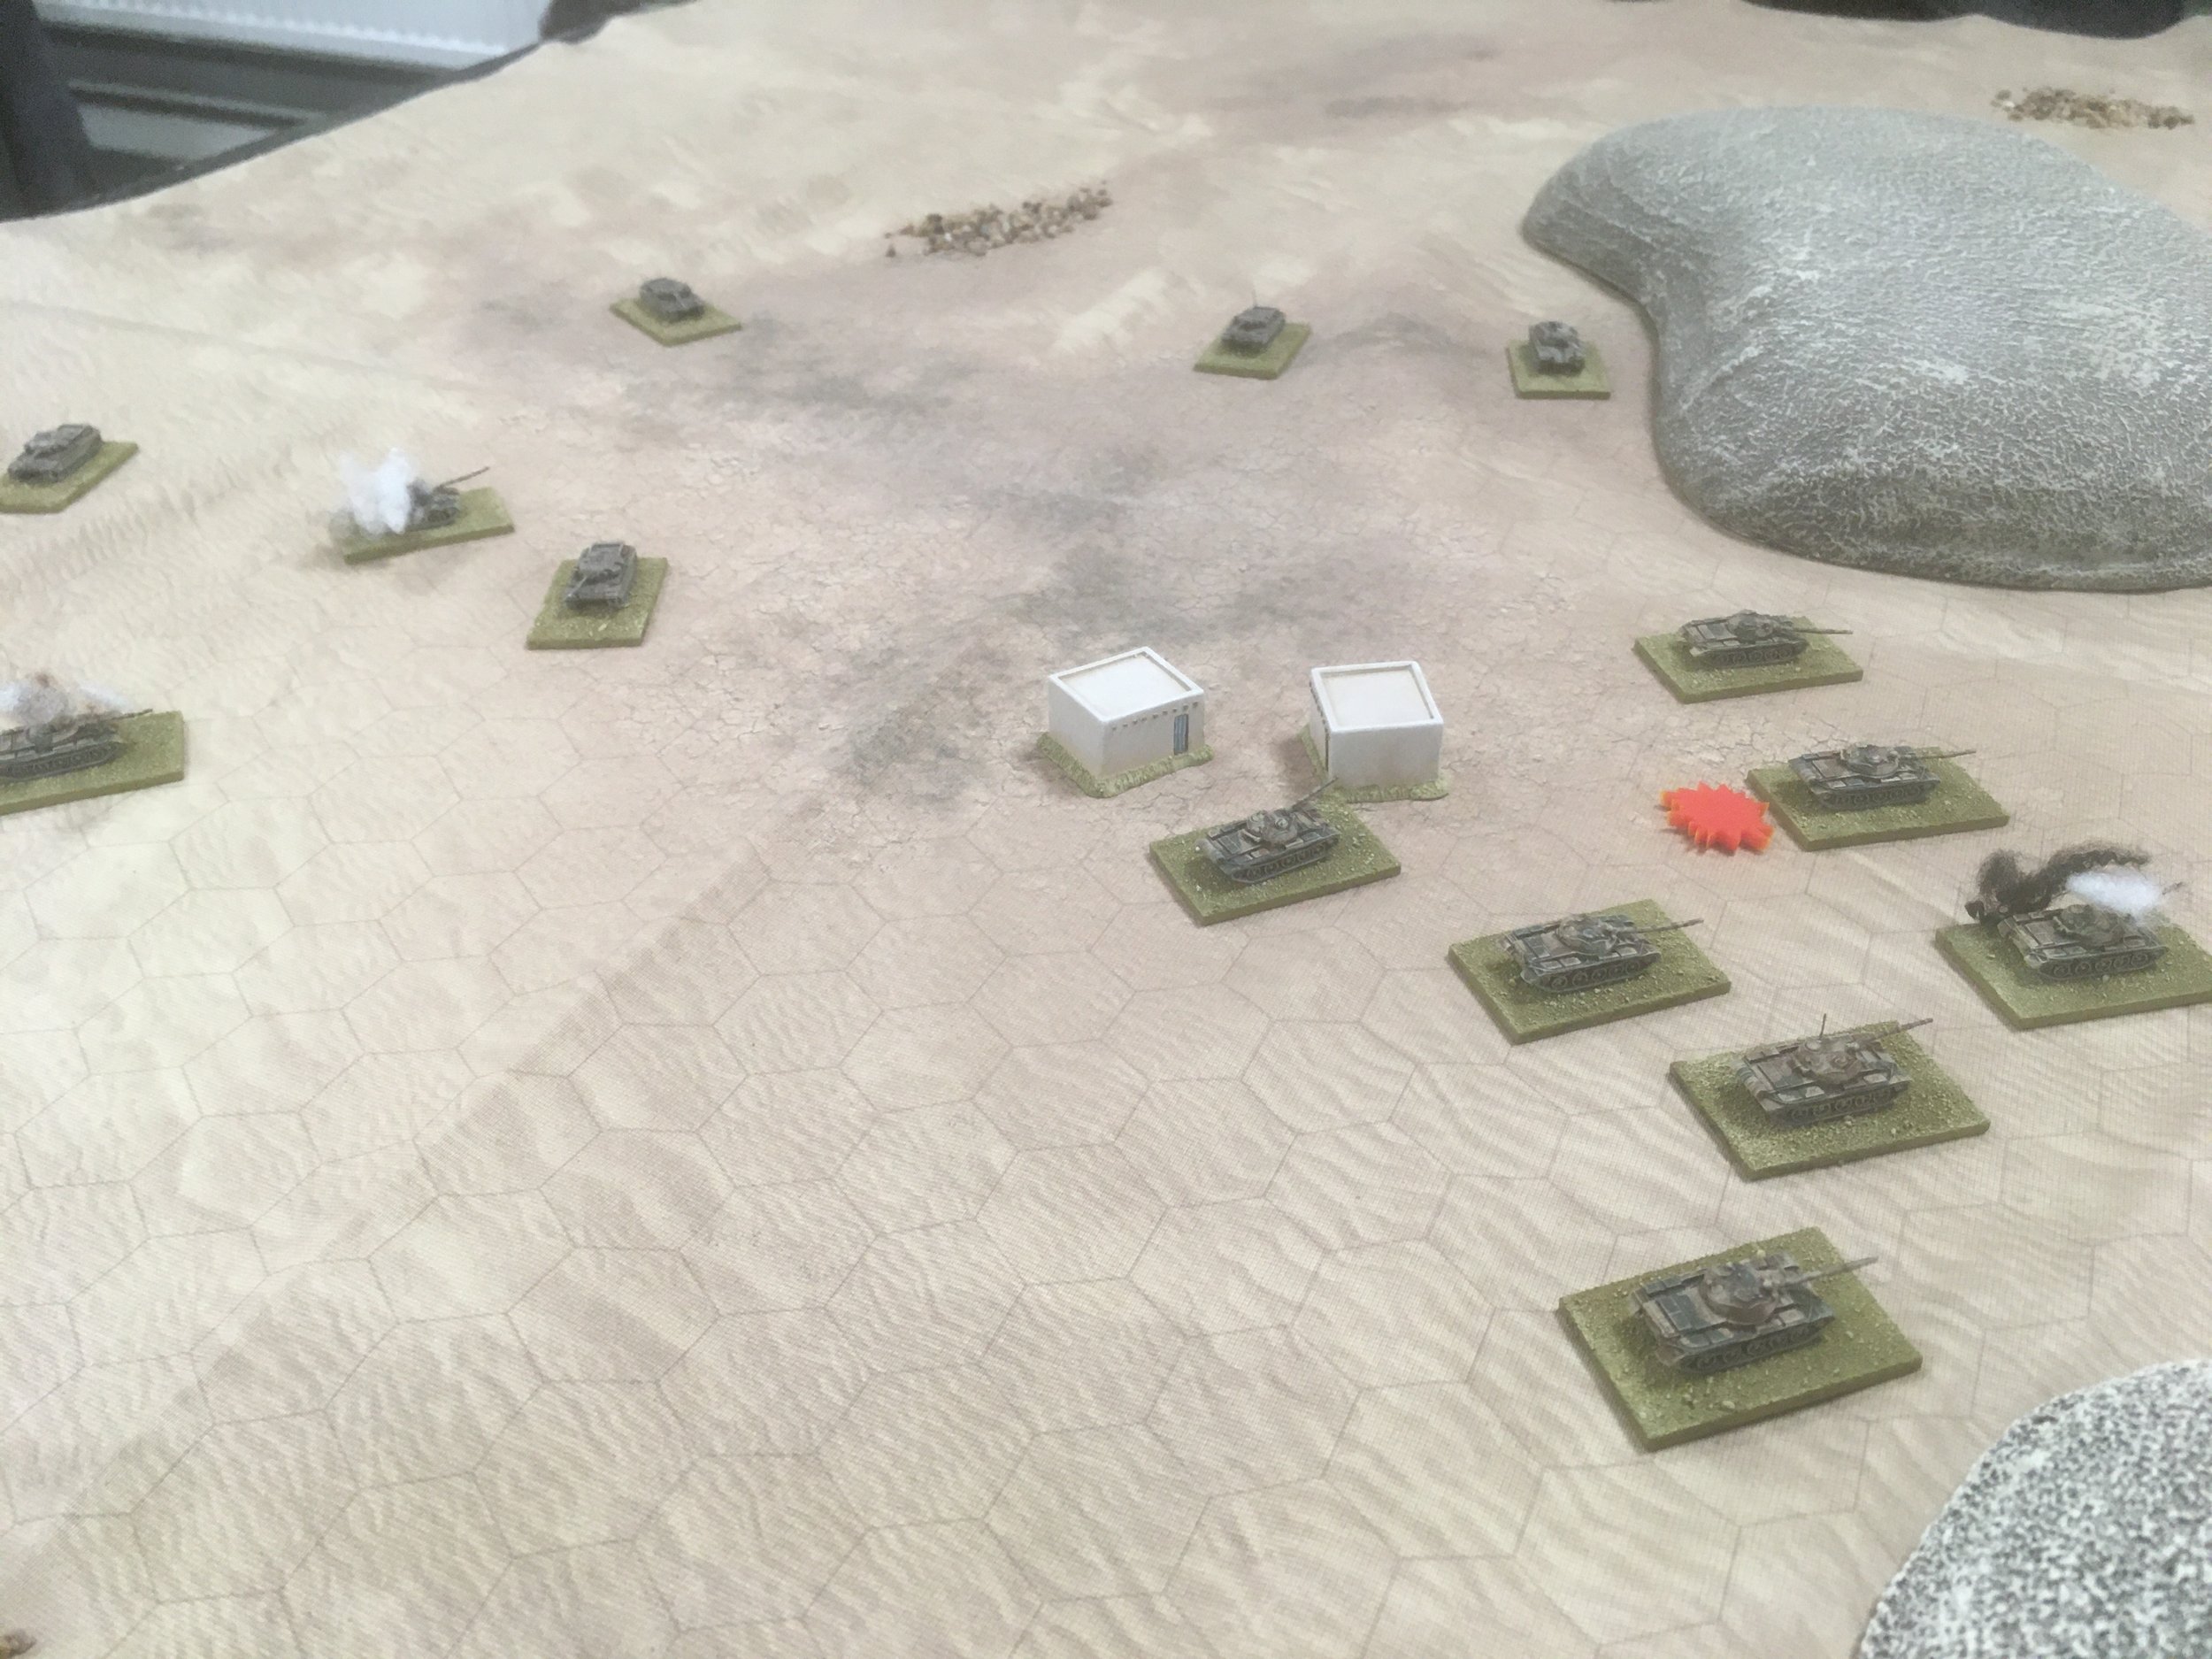
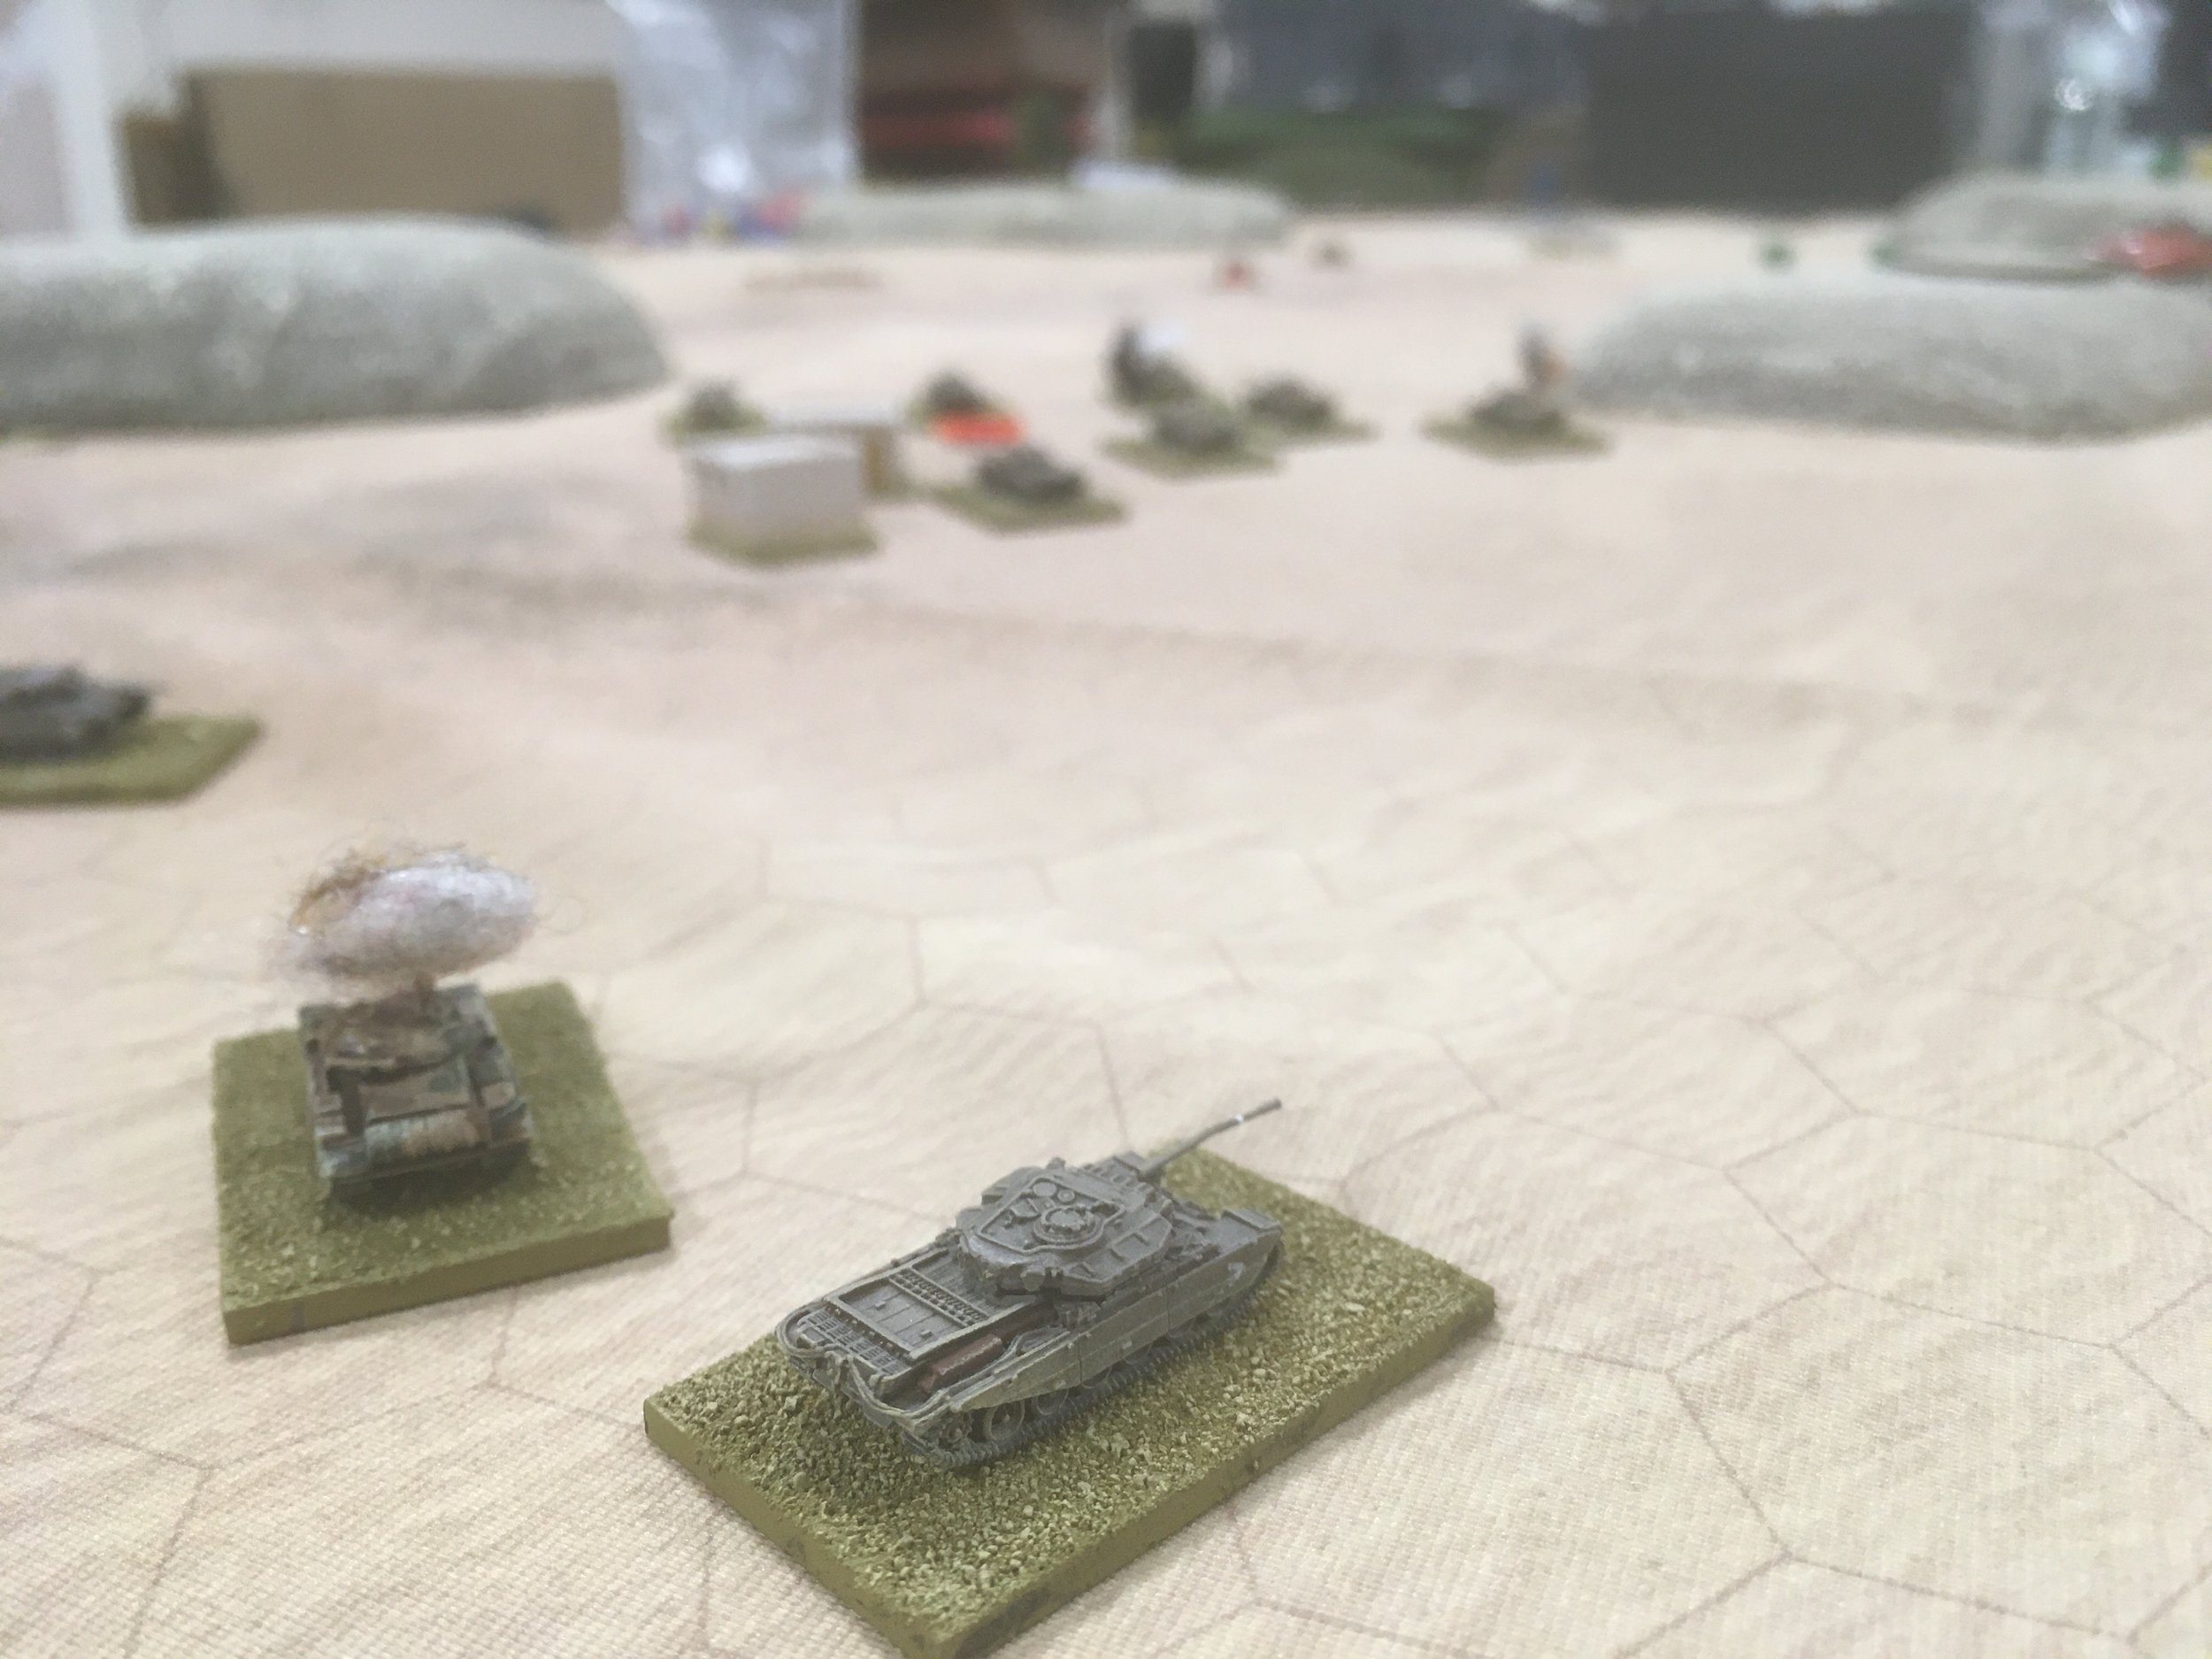
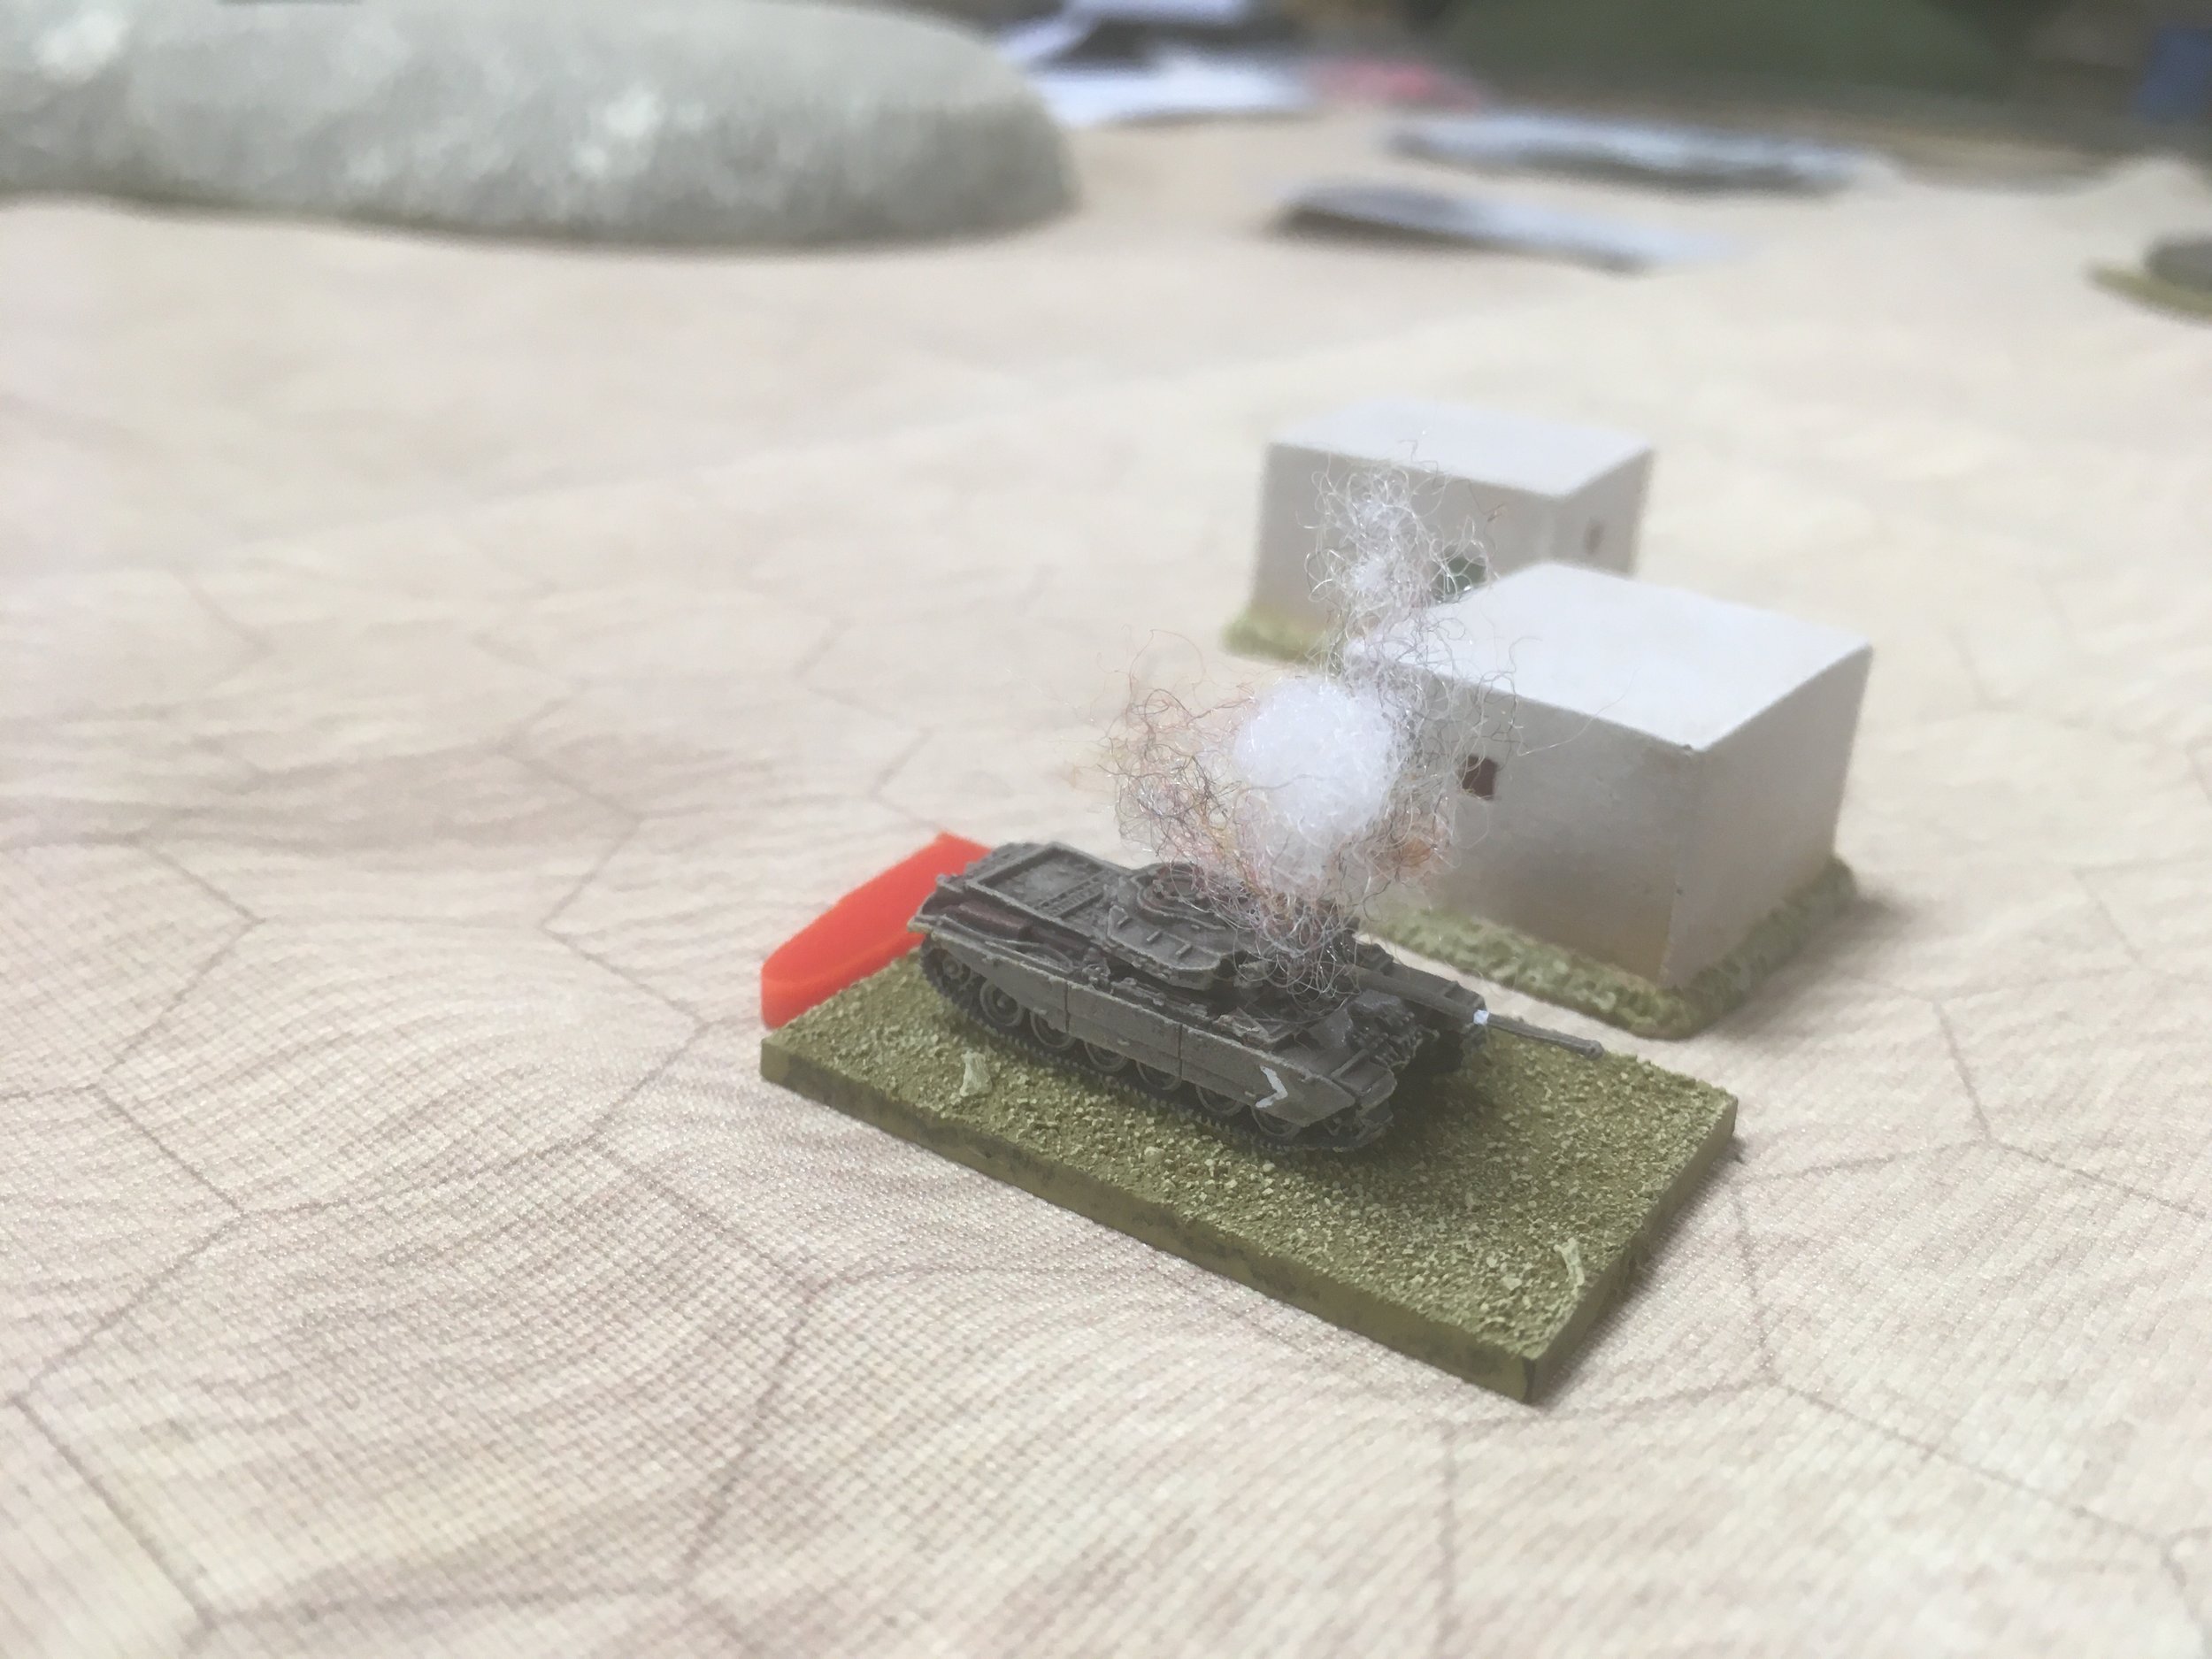
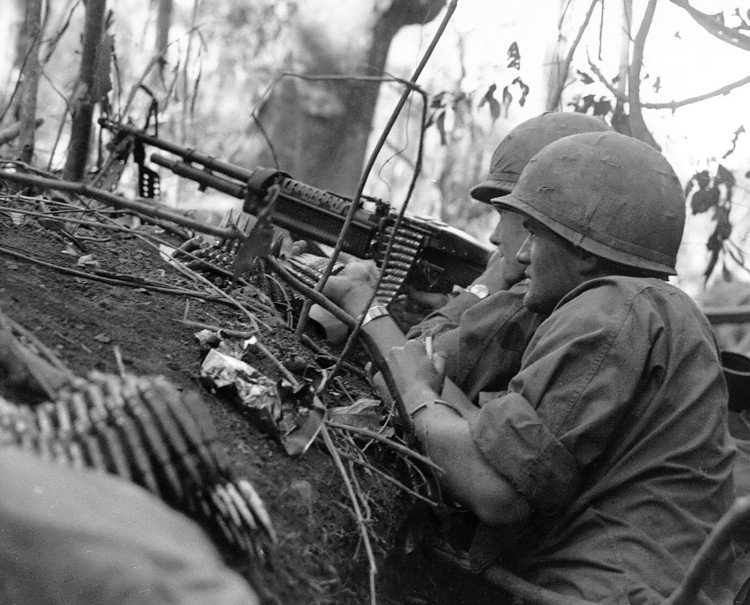
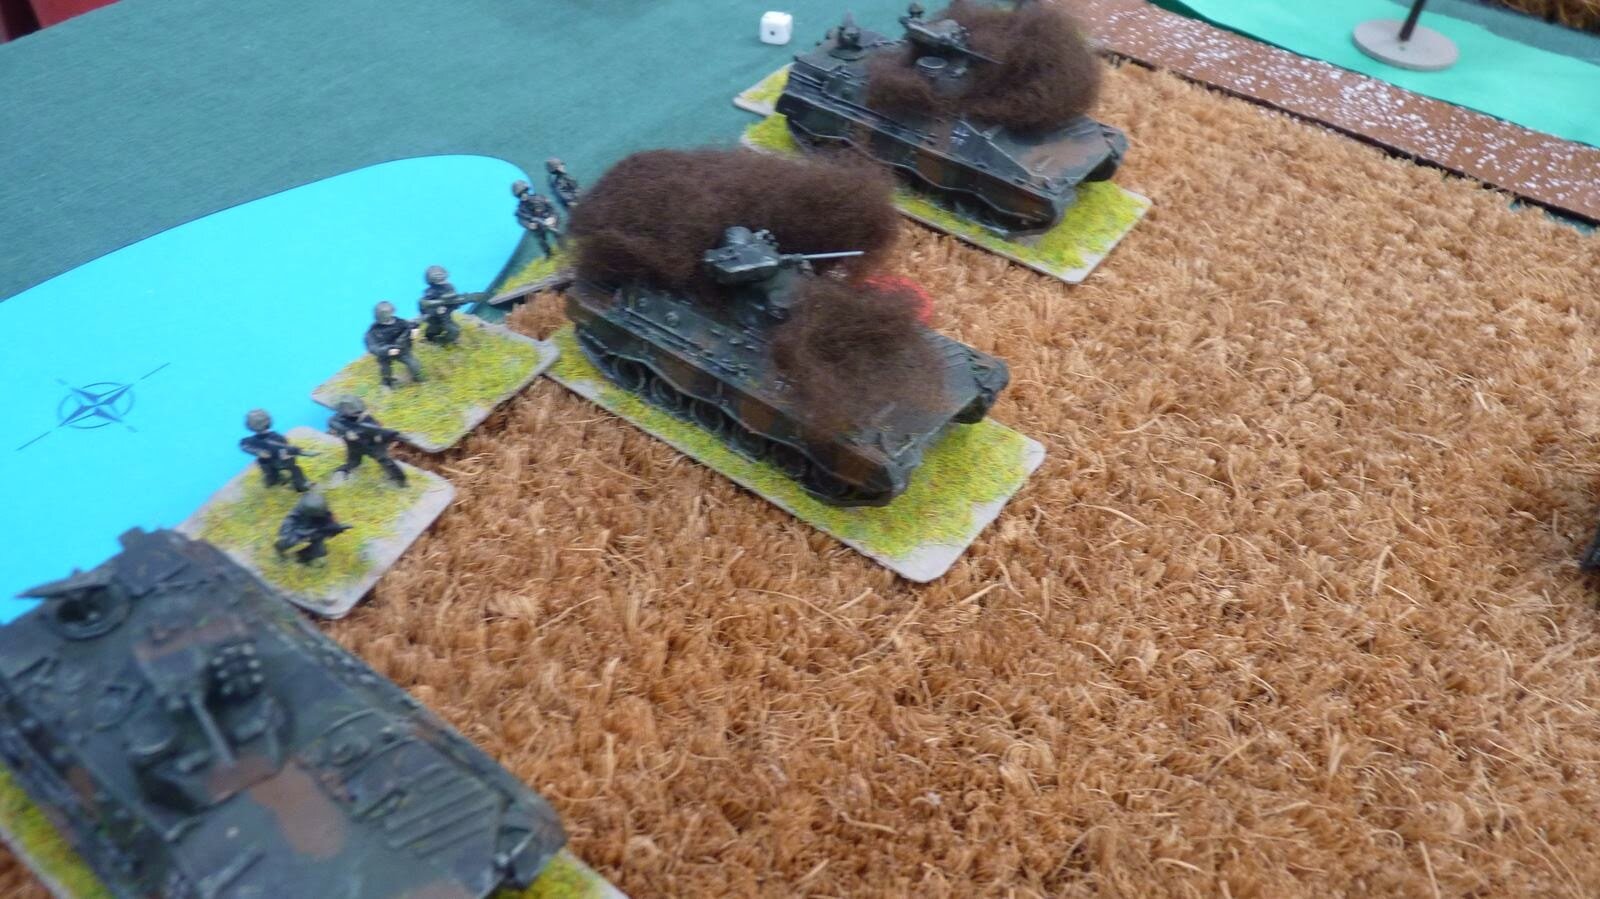
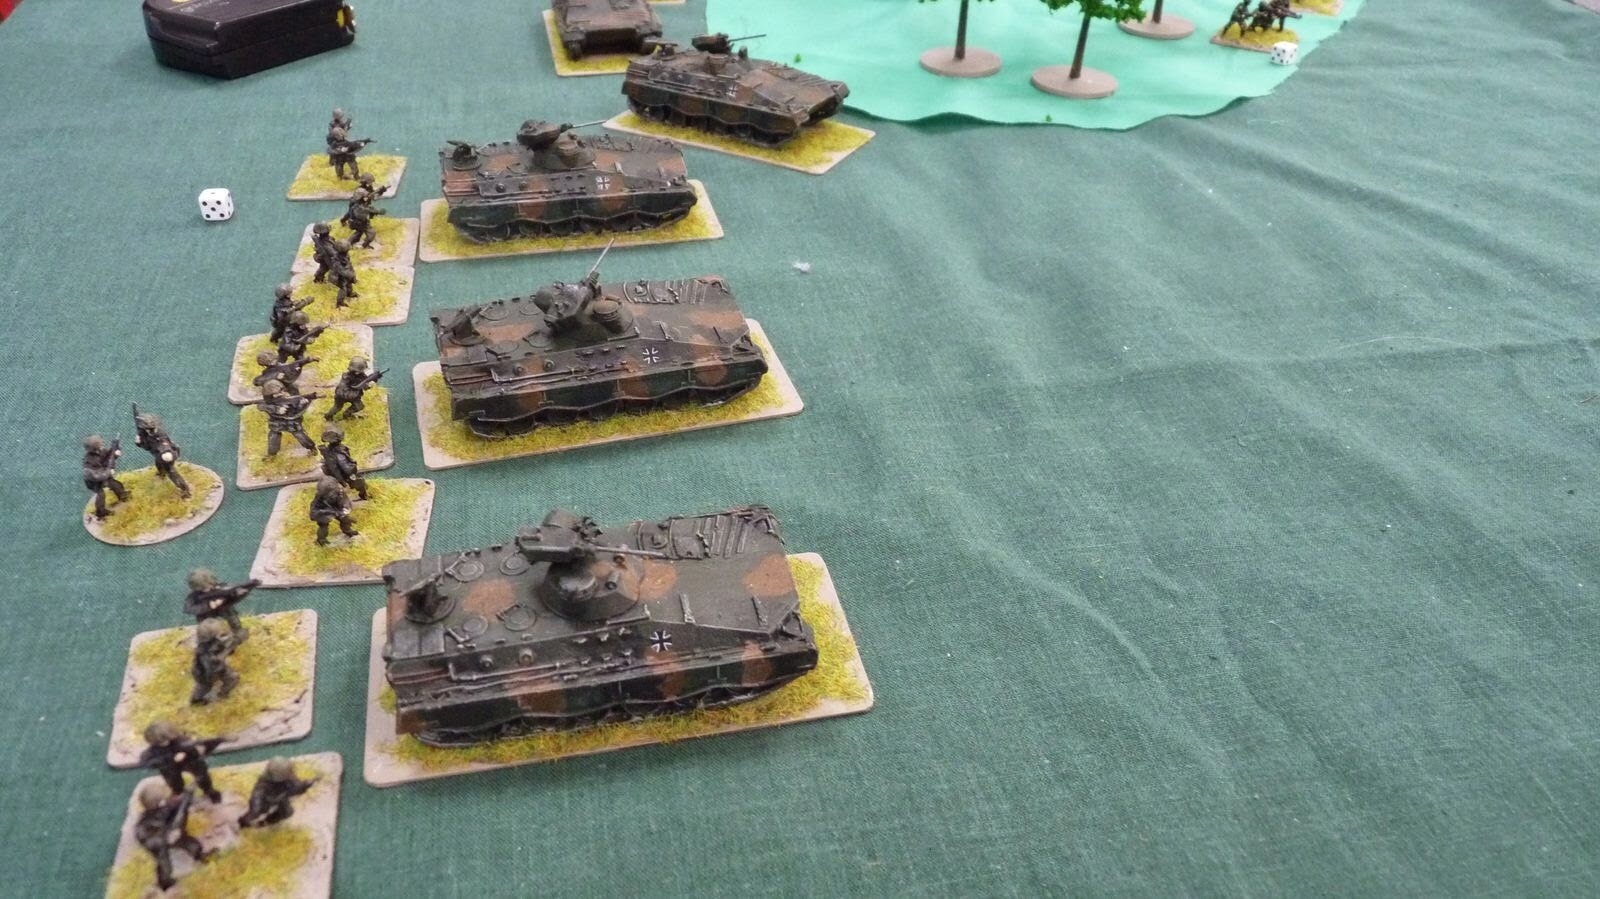
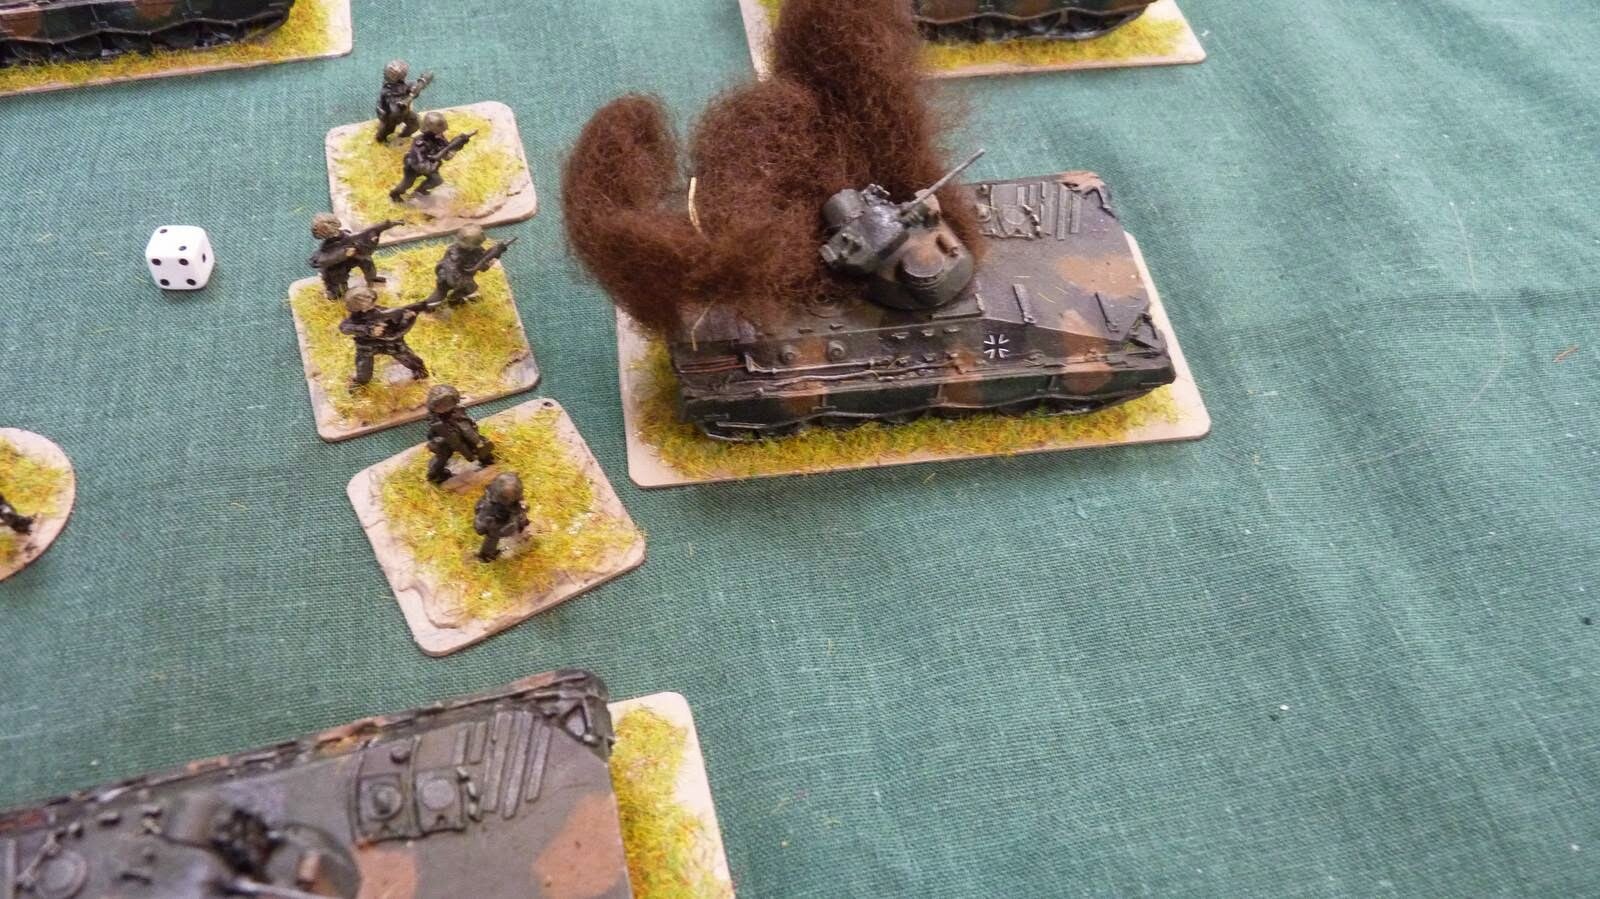
This was a “nearly but not quite” operation for the US forces. They lost too many men, largely due to the lunatic charge when firepower would have done the job better. They were too late bringing in the ARVN platoon; in essence the hammer was striking before the anvil was in place and that allowed many VC to leave the table unchallenged. Part of this was the limited size of the LZ stopping a fast deployment. All the more reason for putting the ARVN in early.

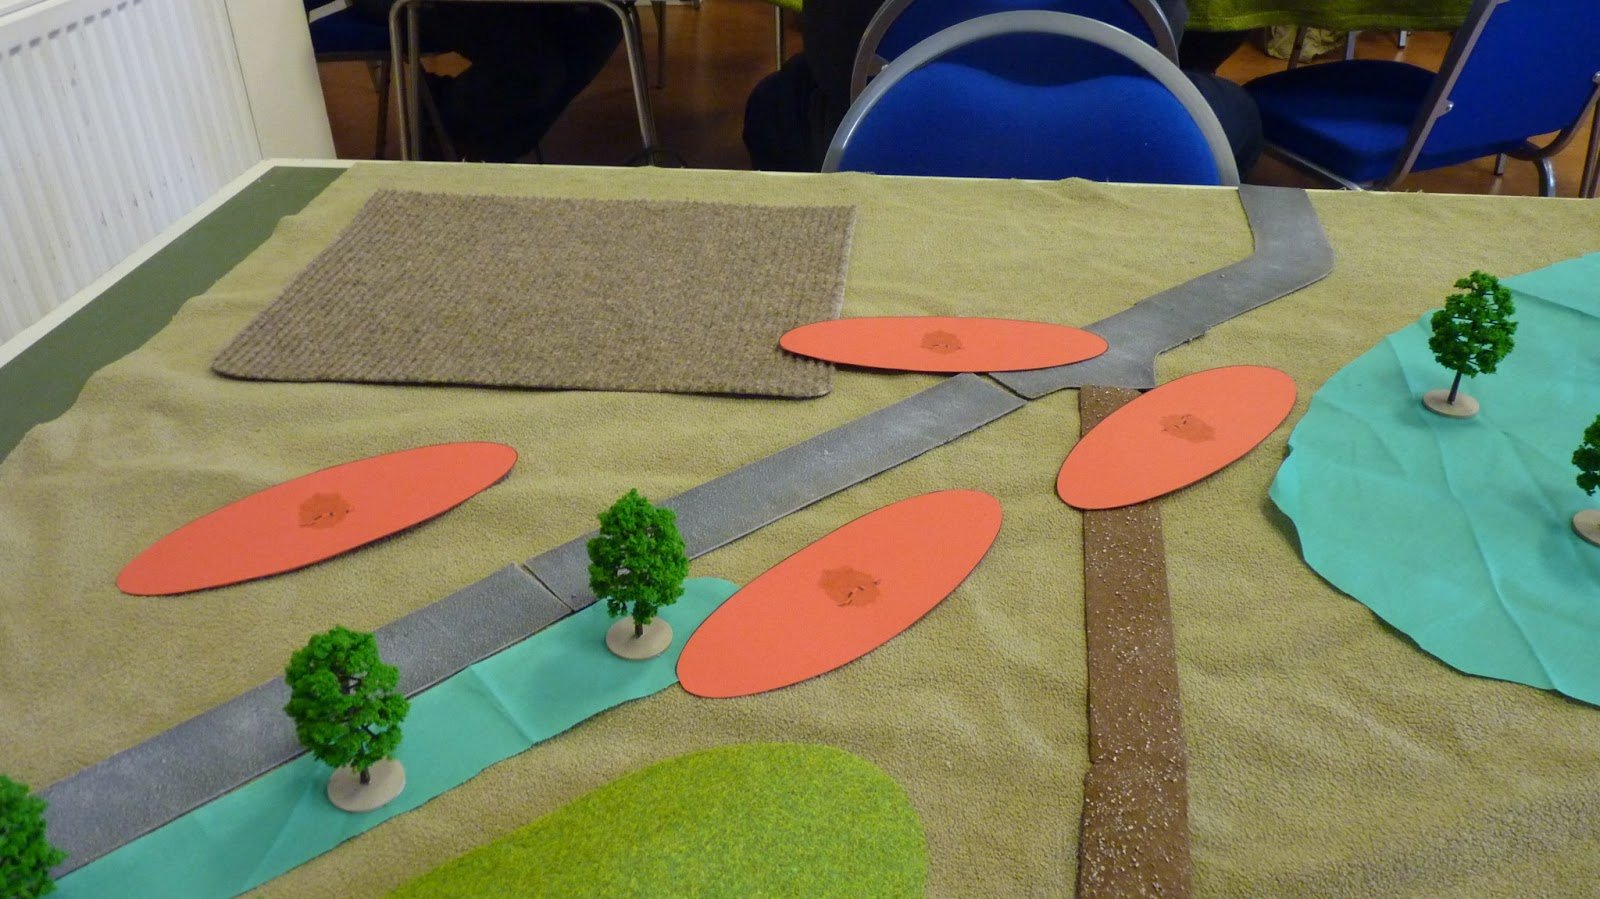
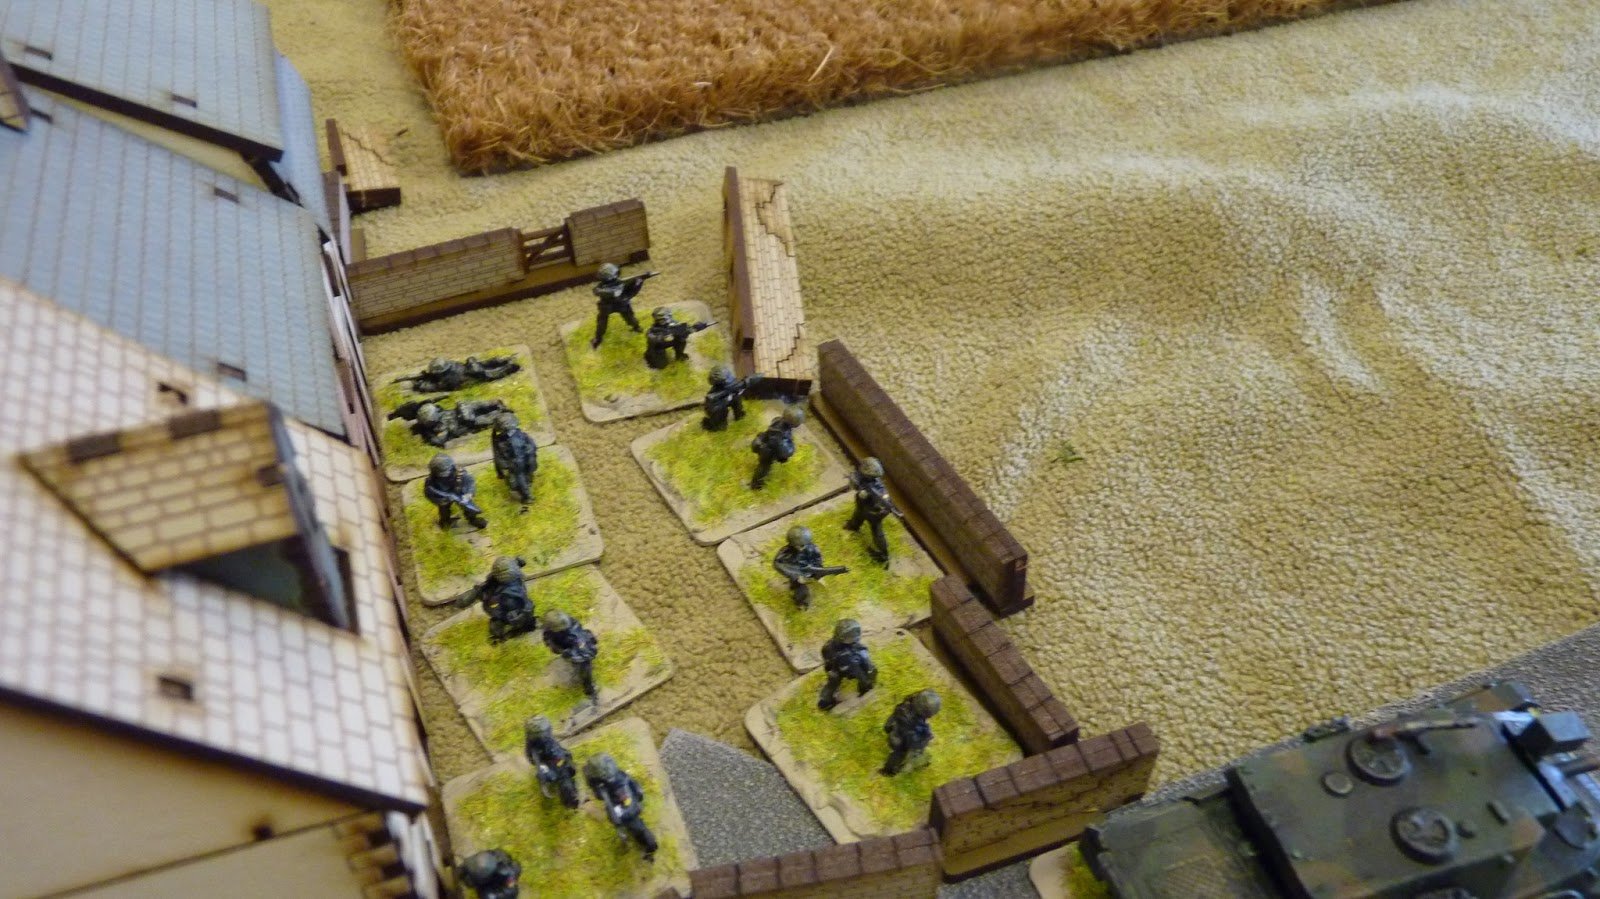
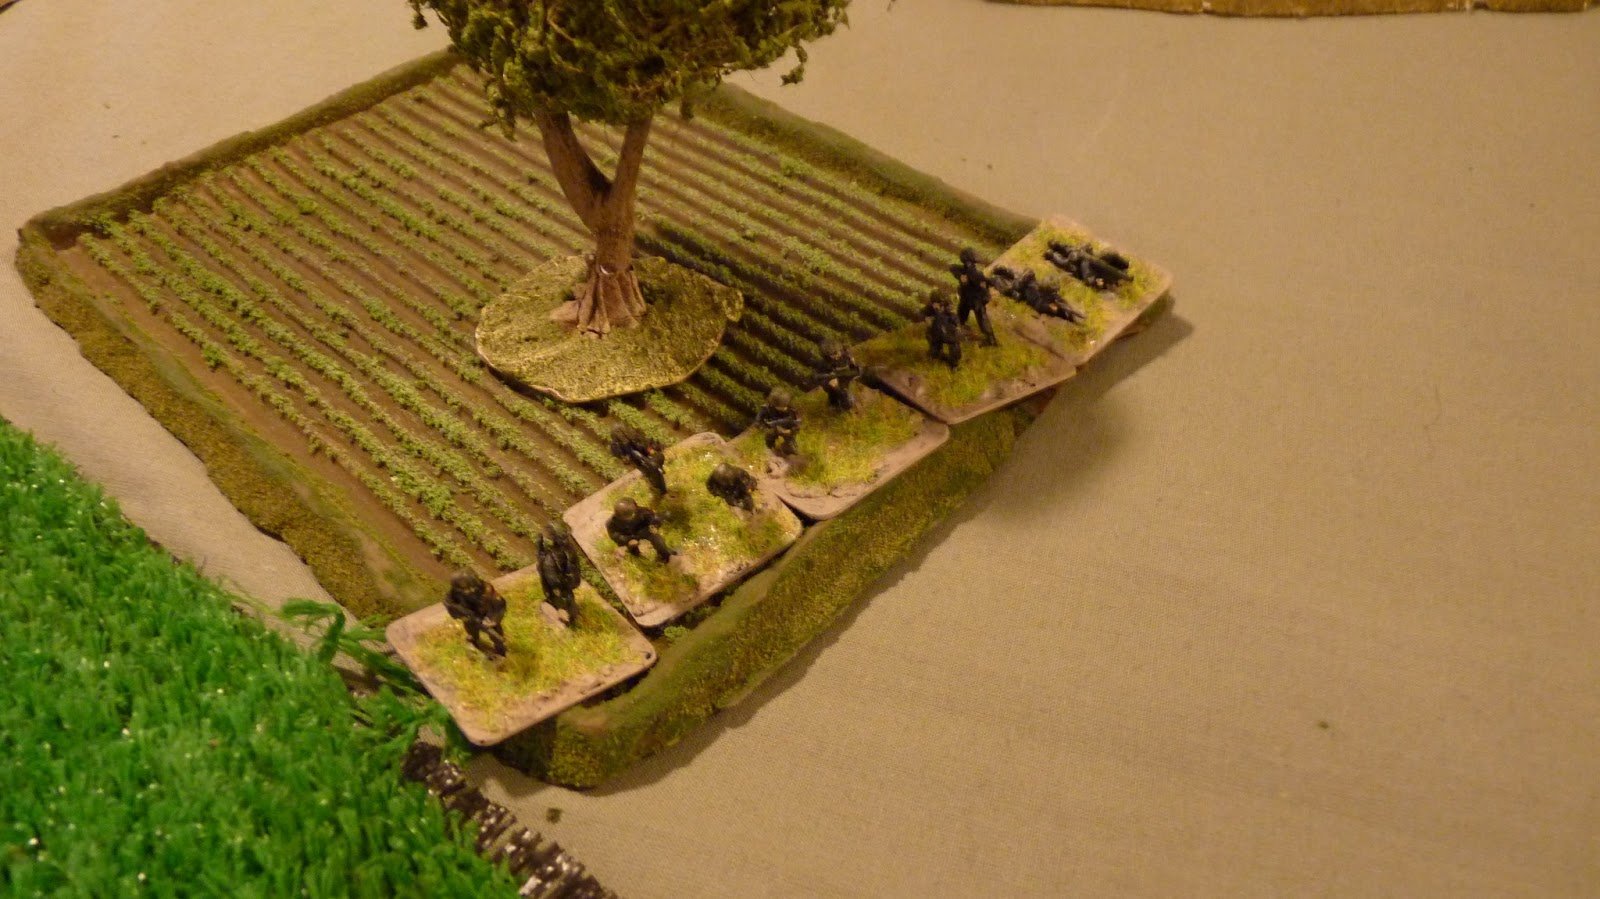
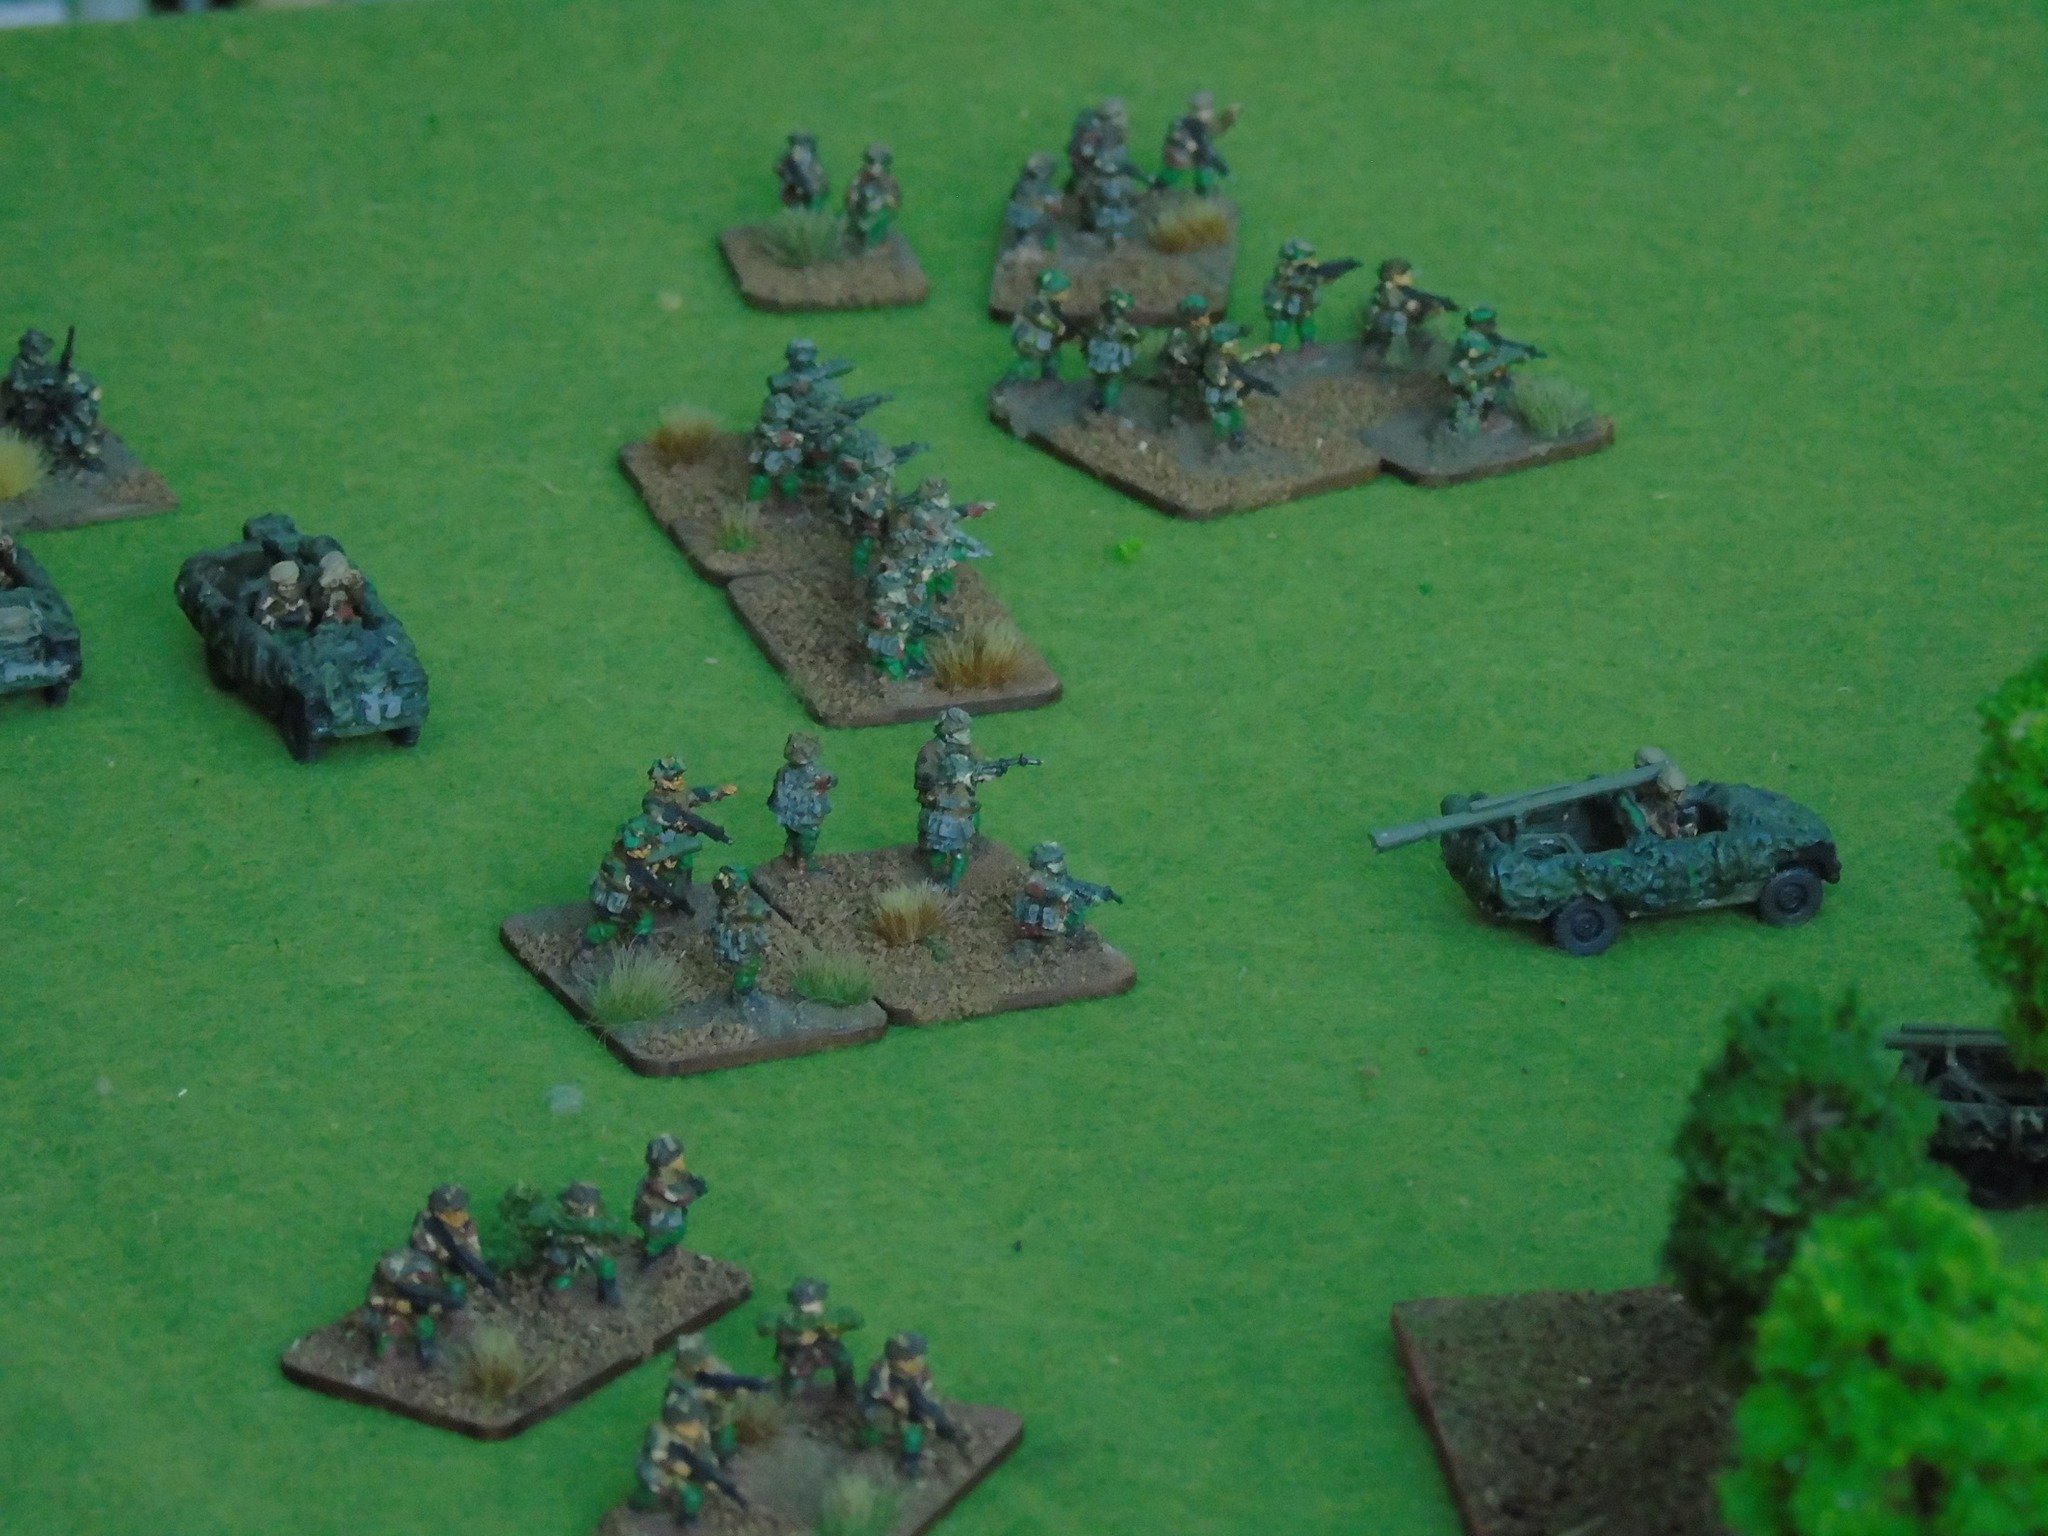
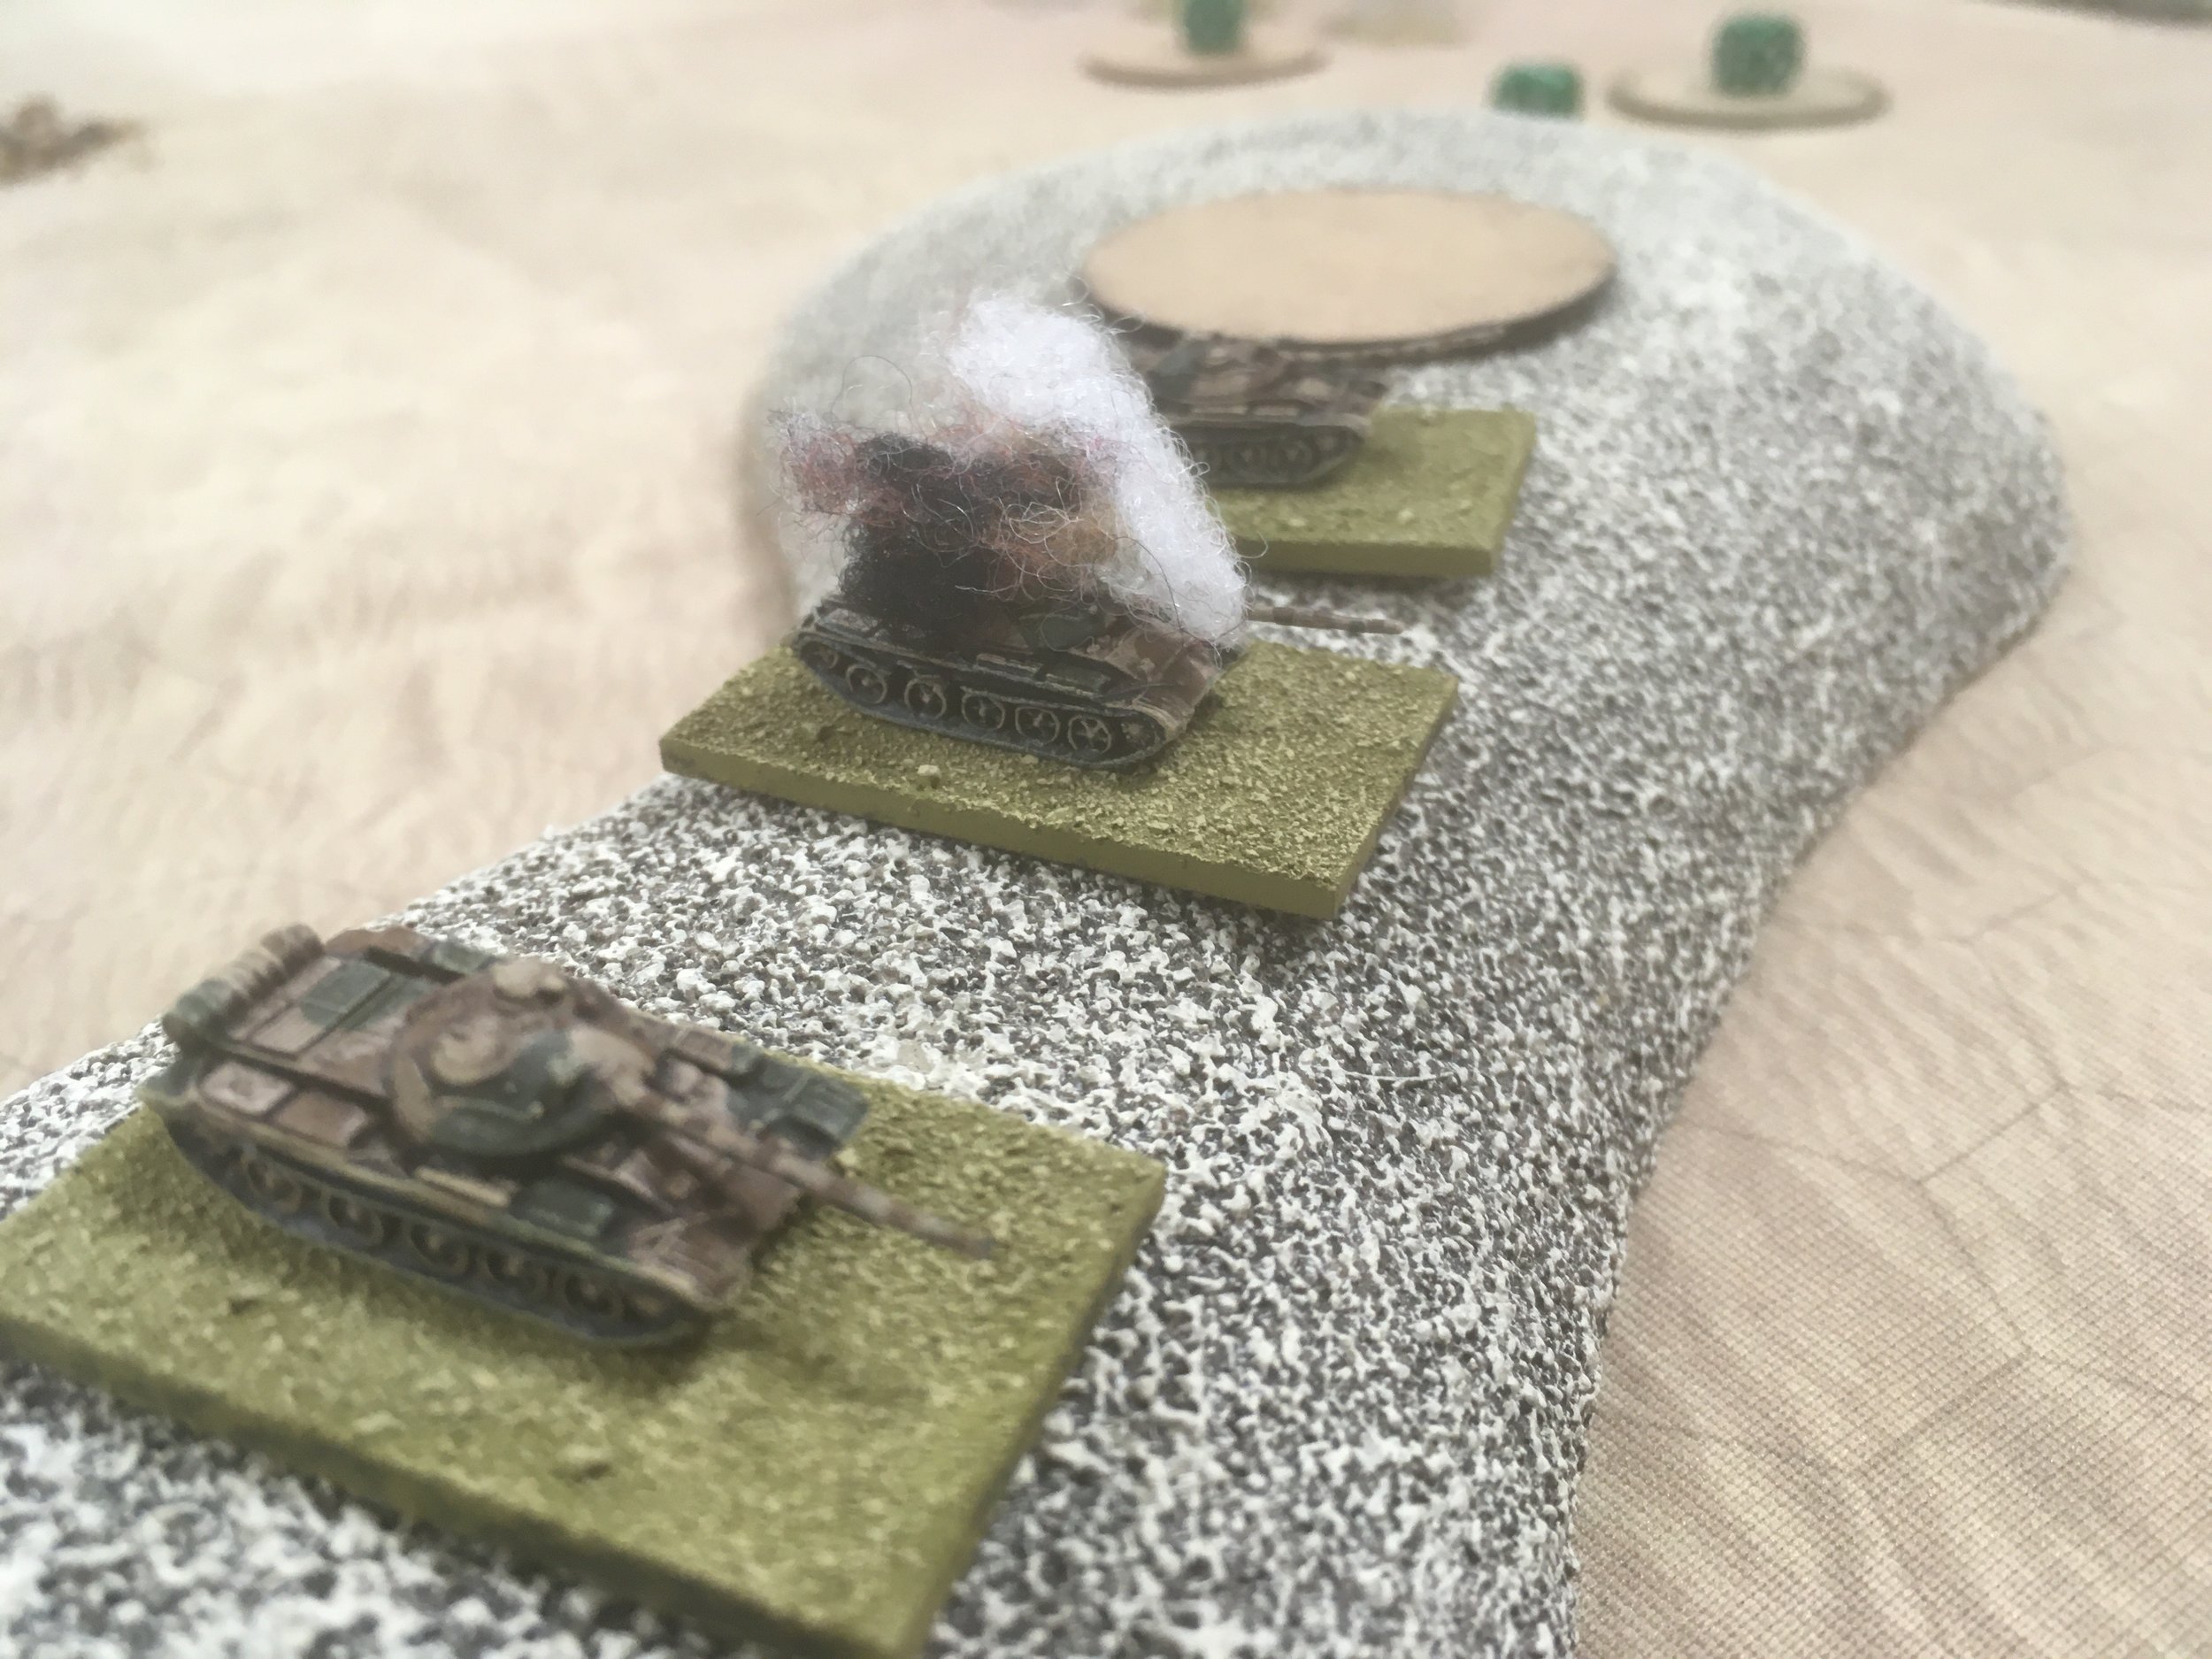
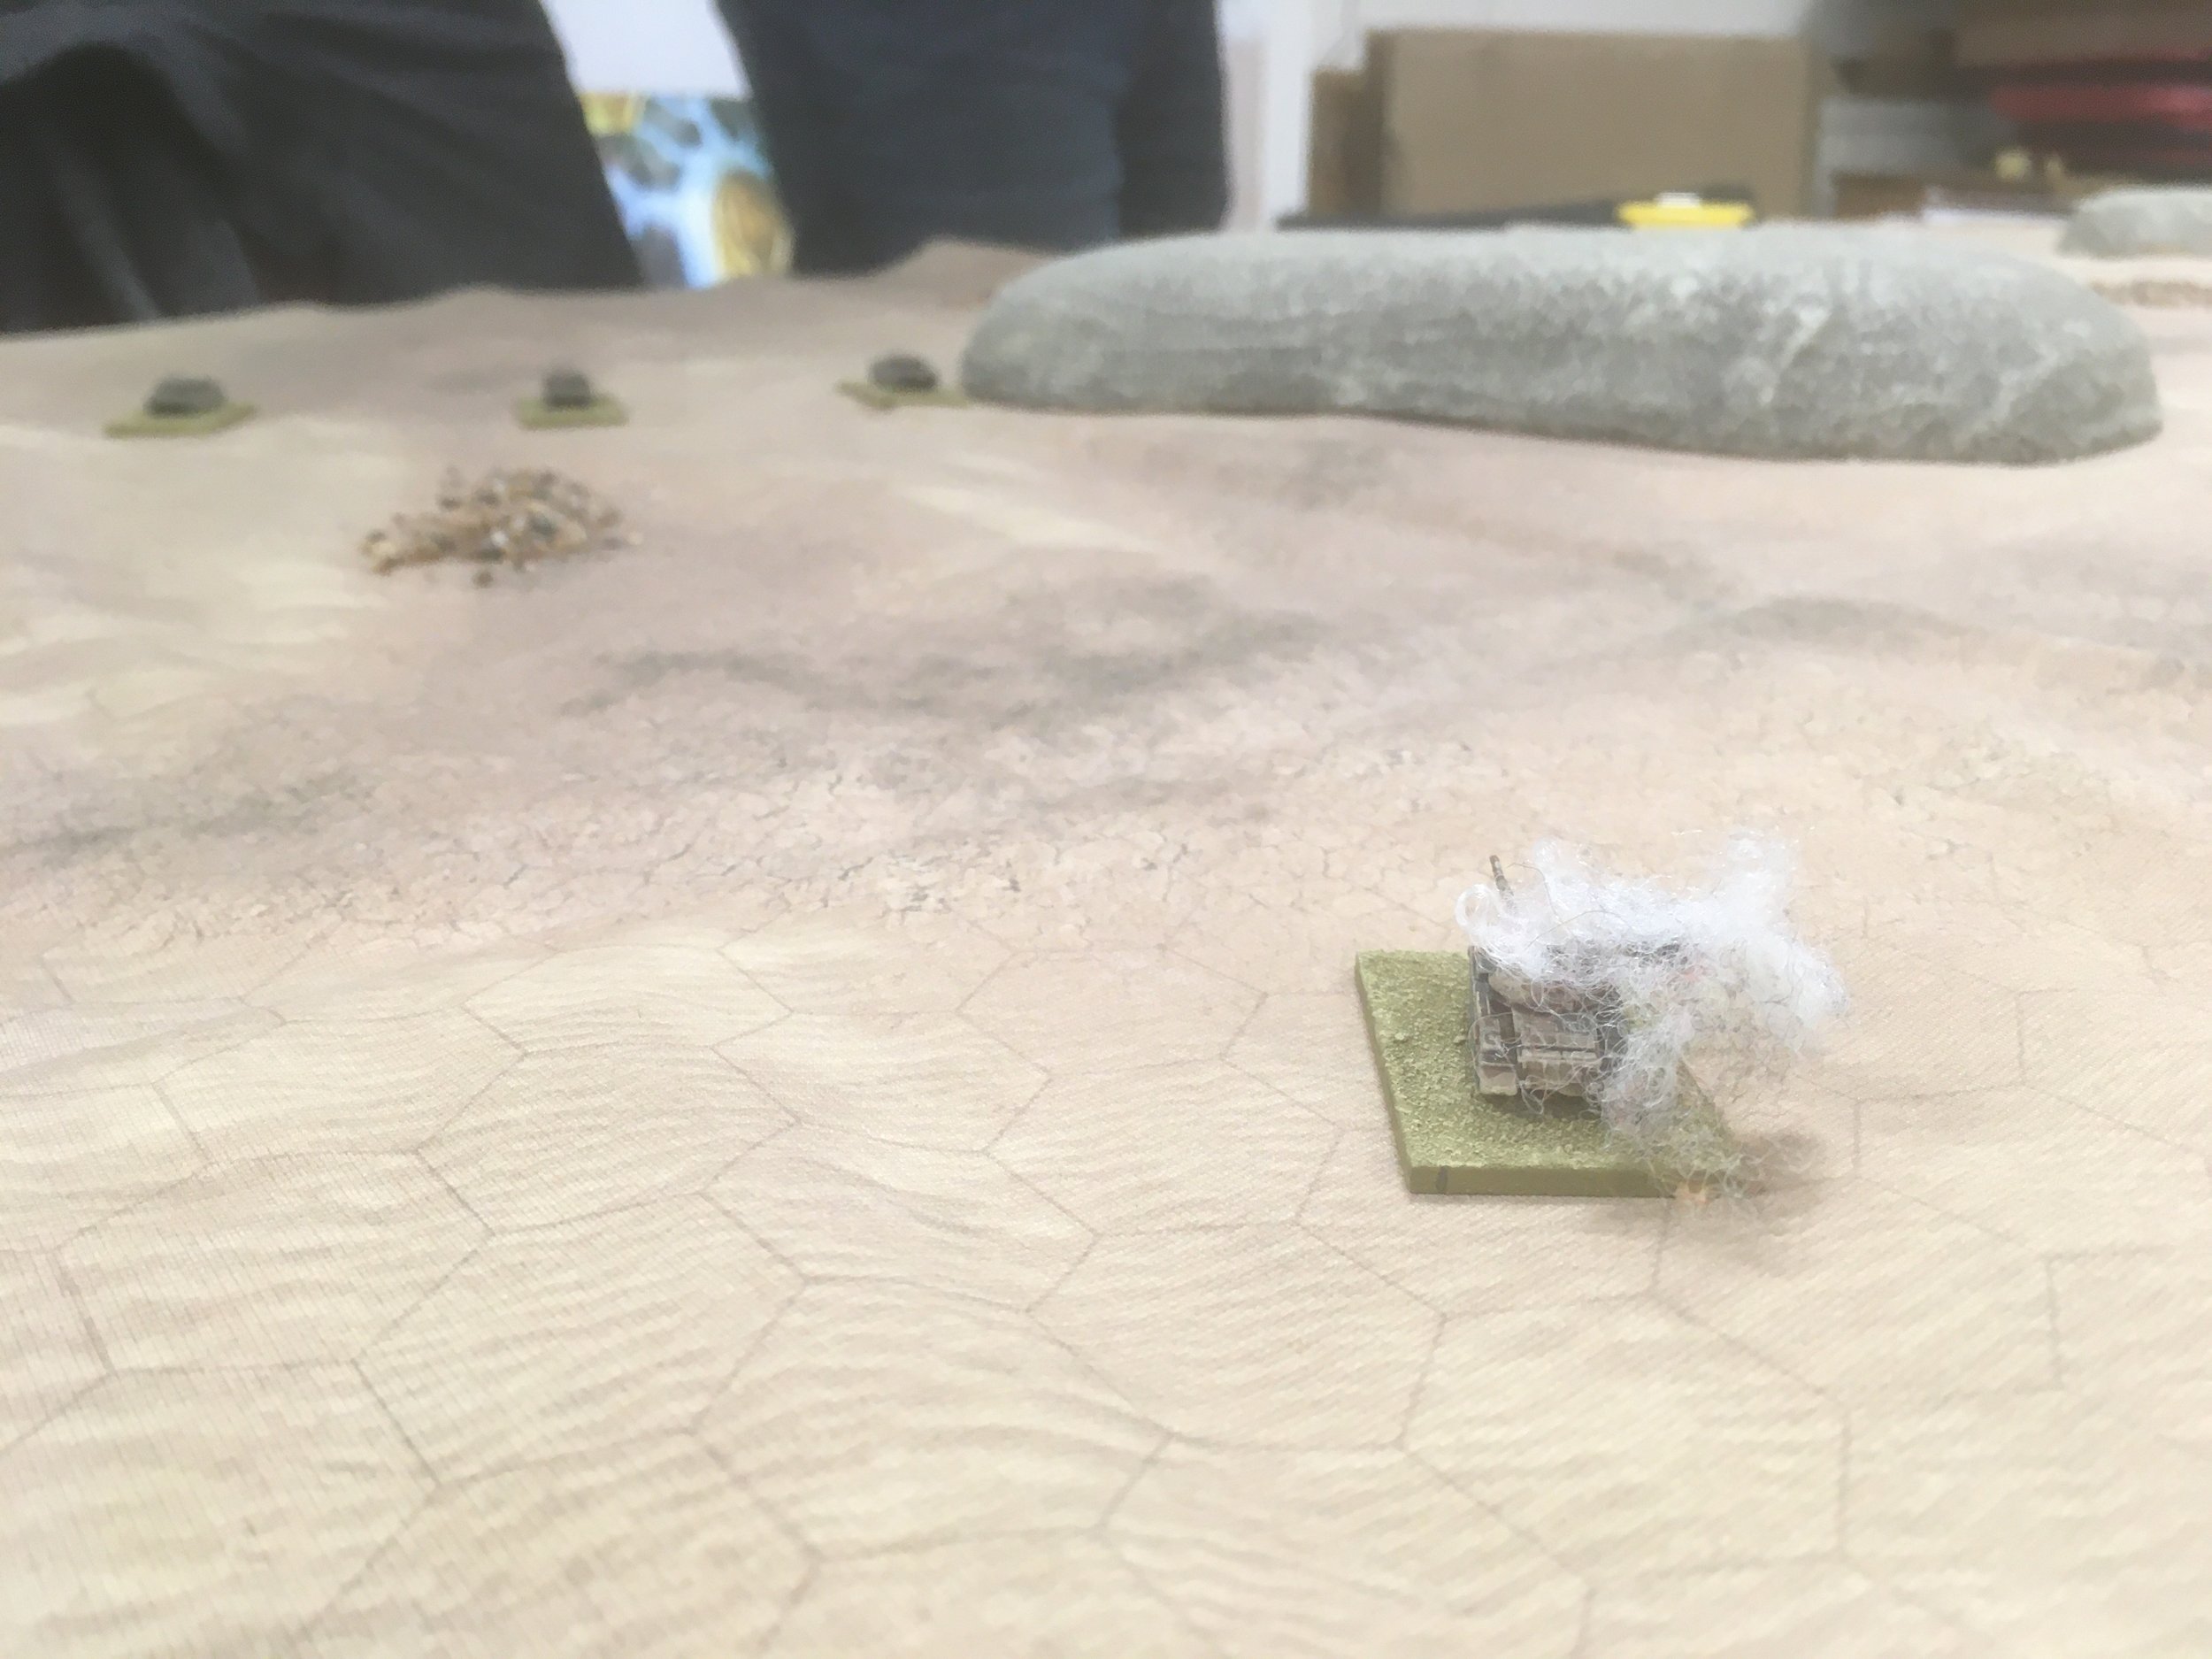
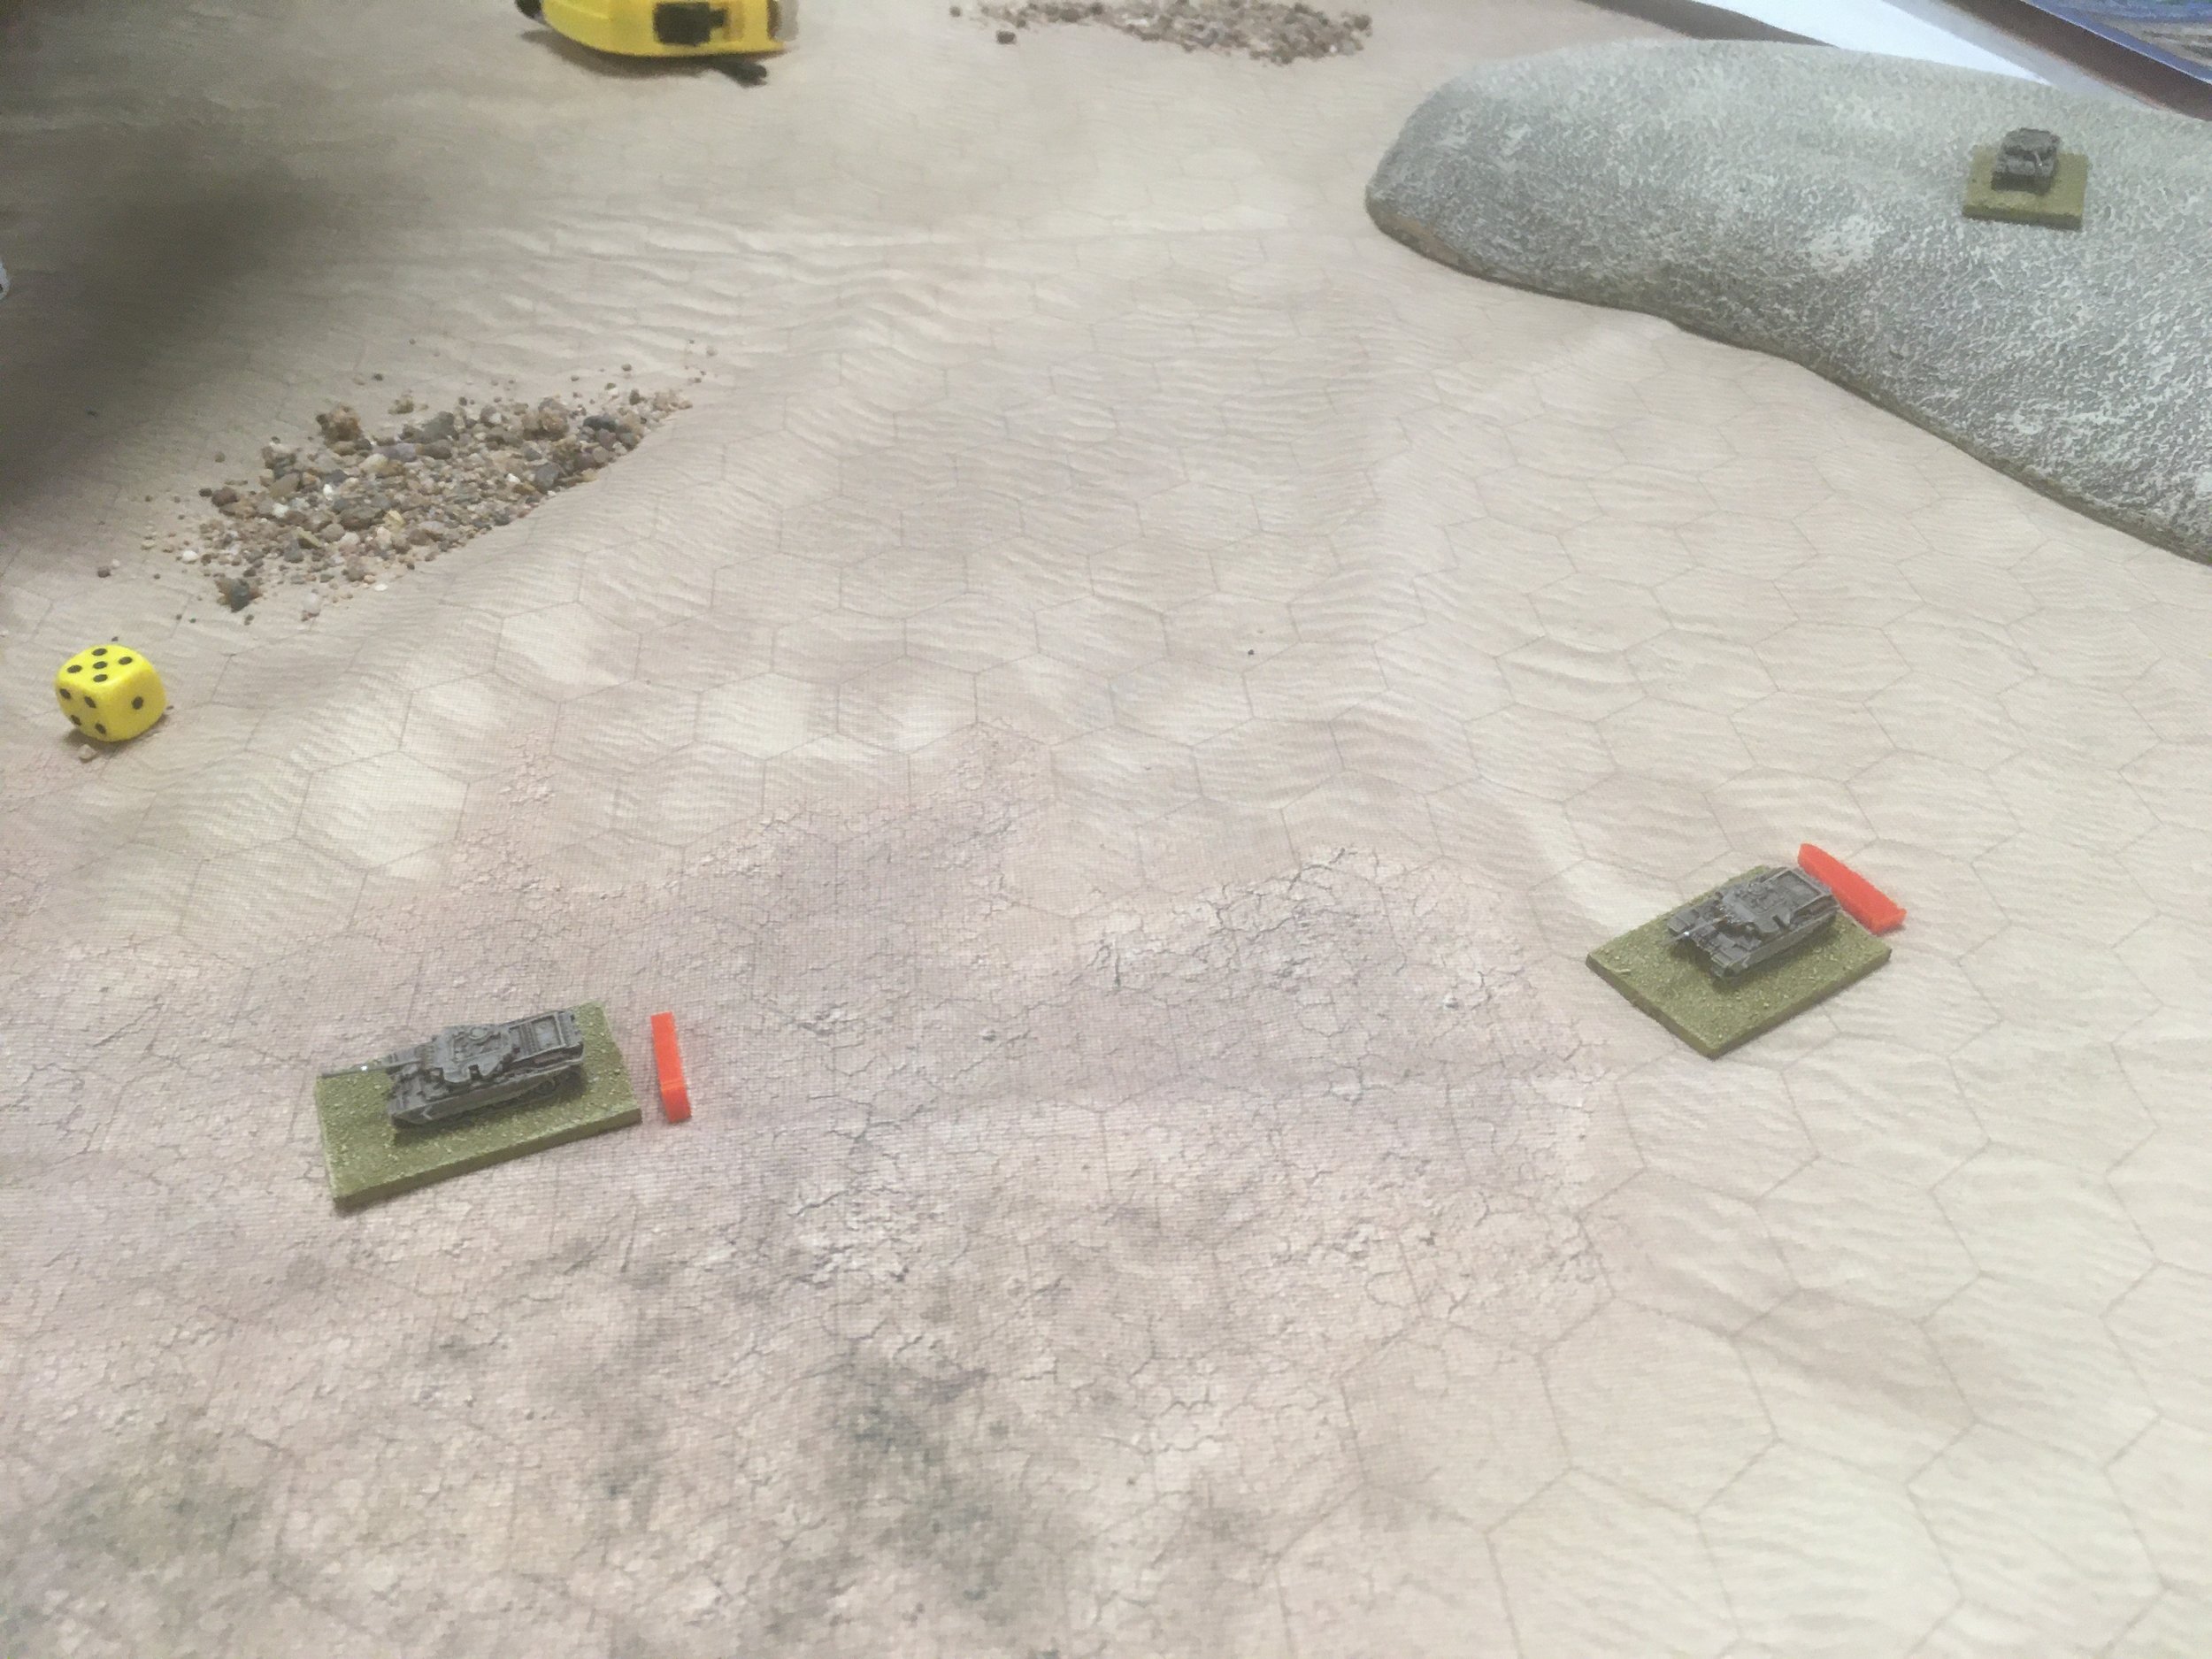
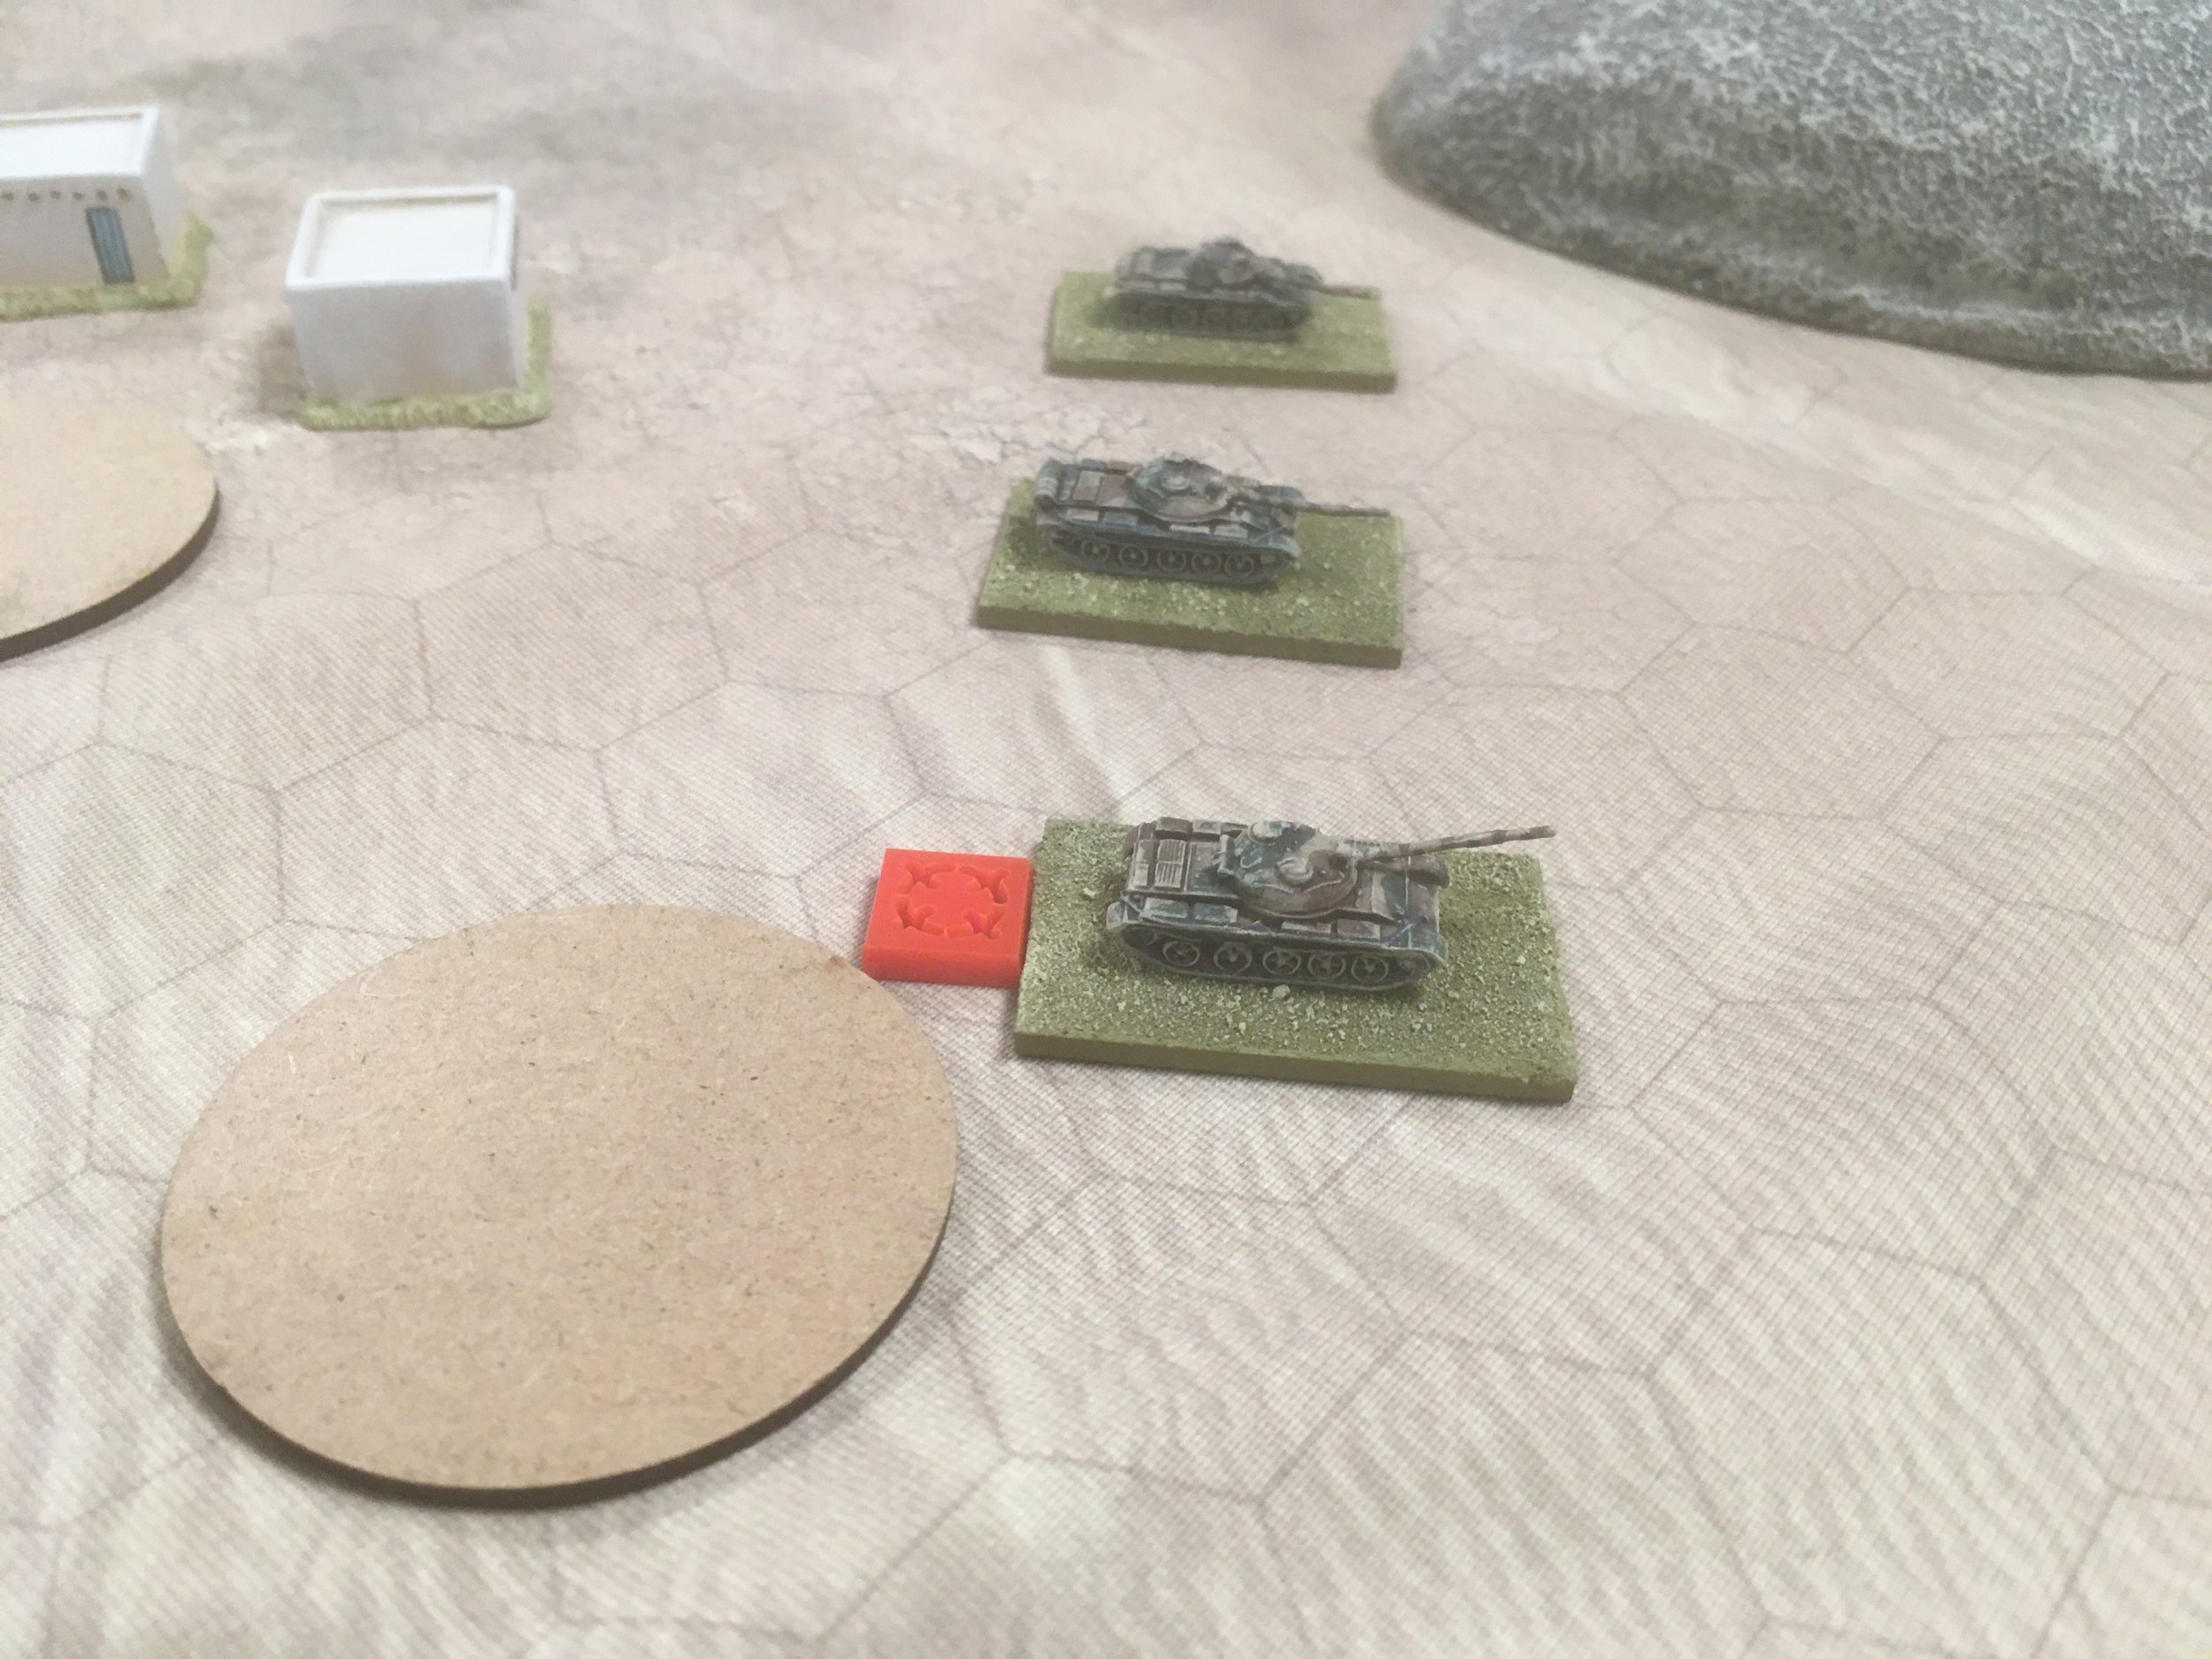
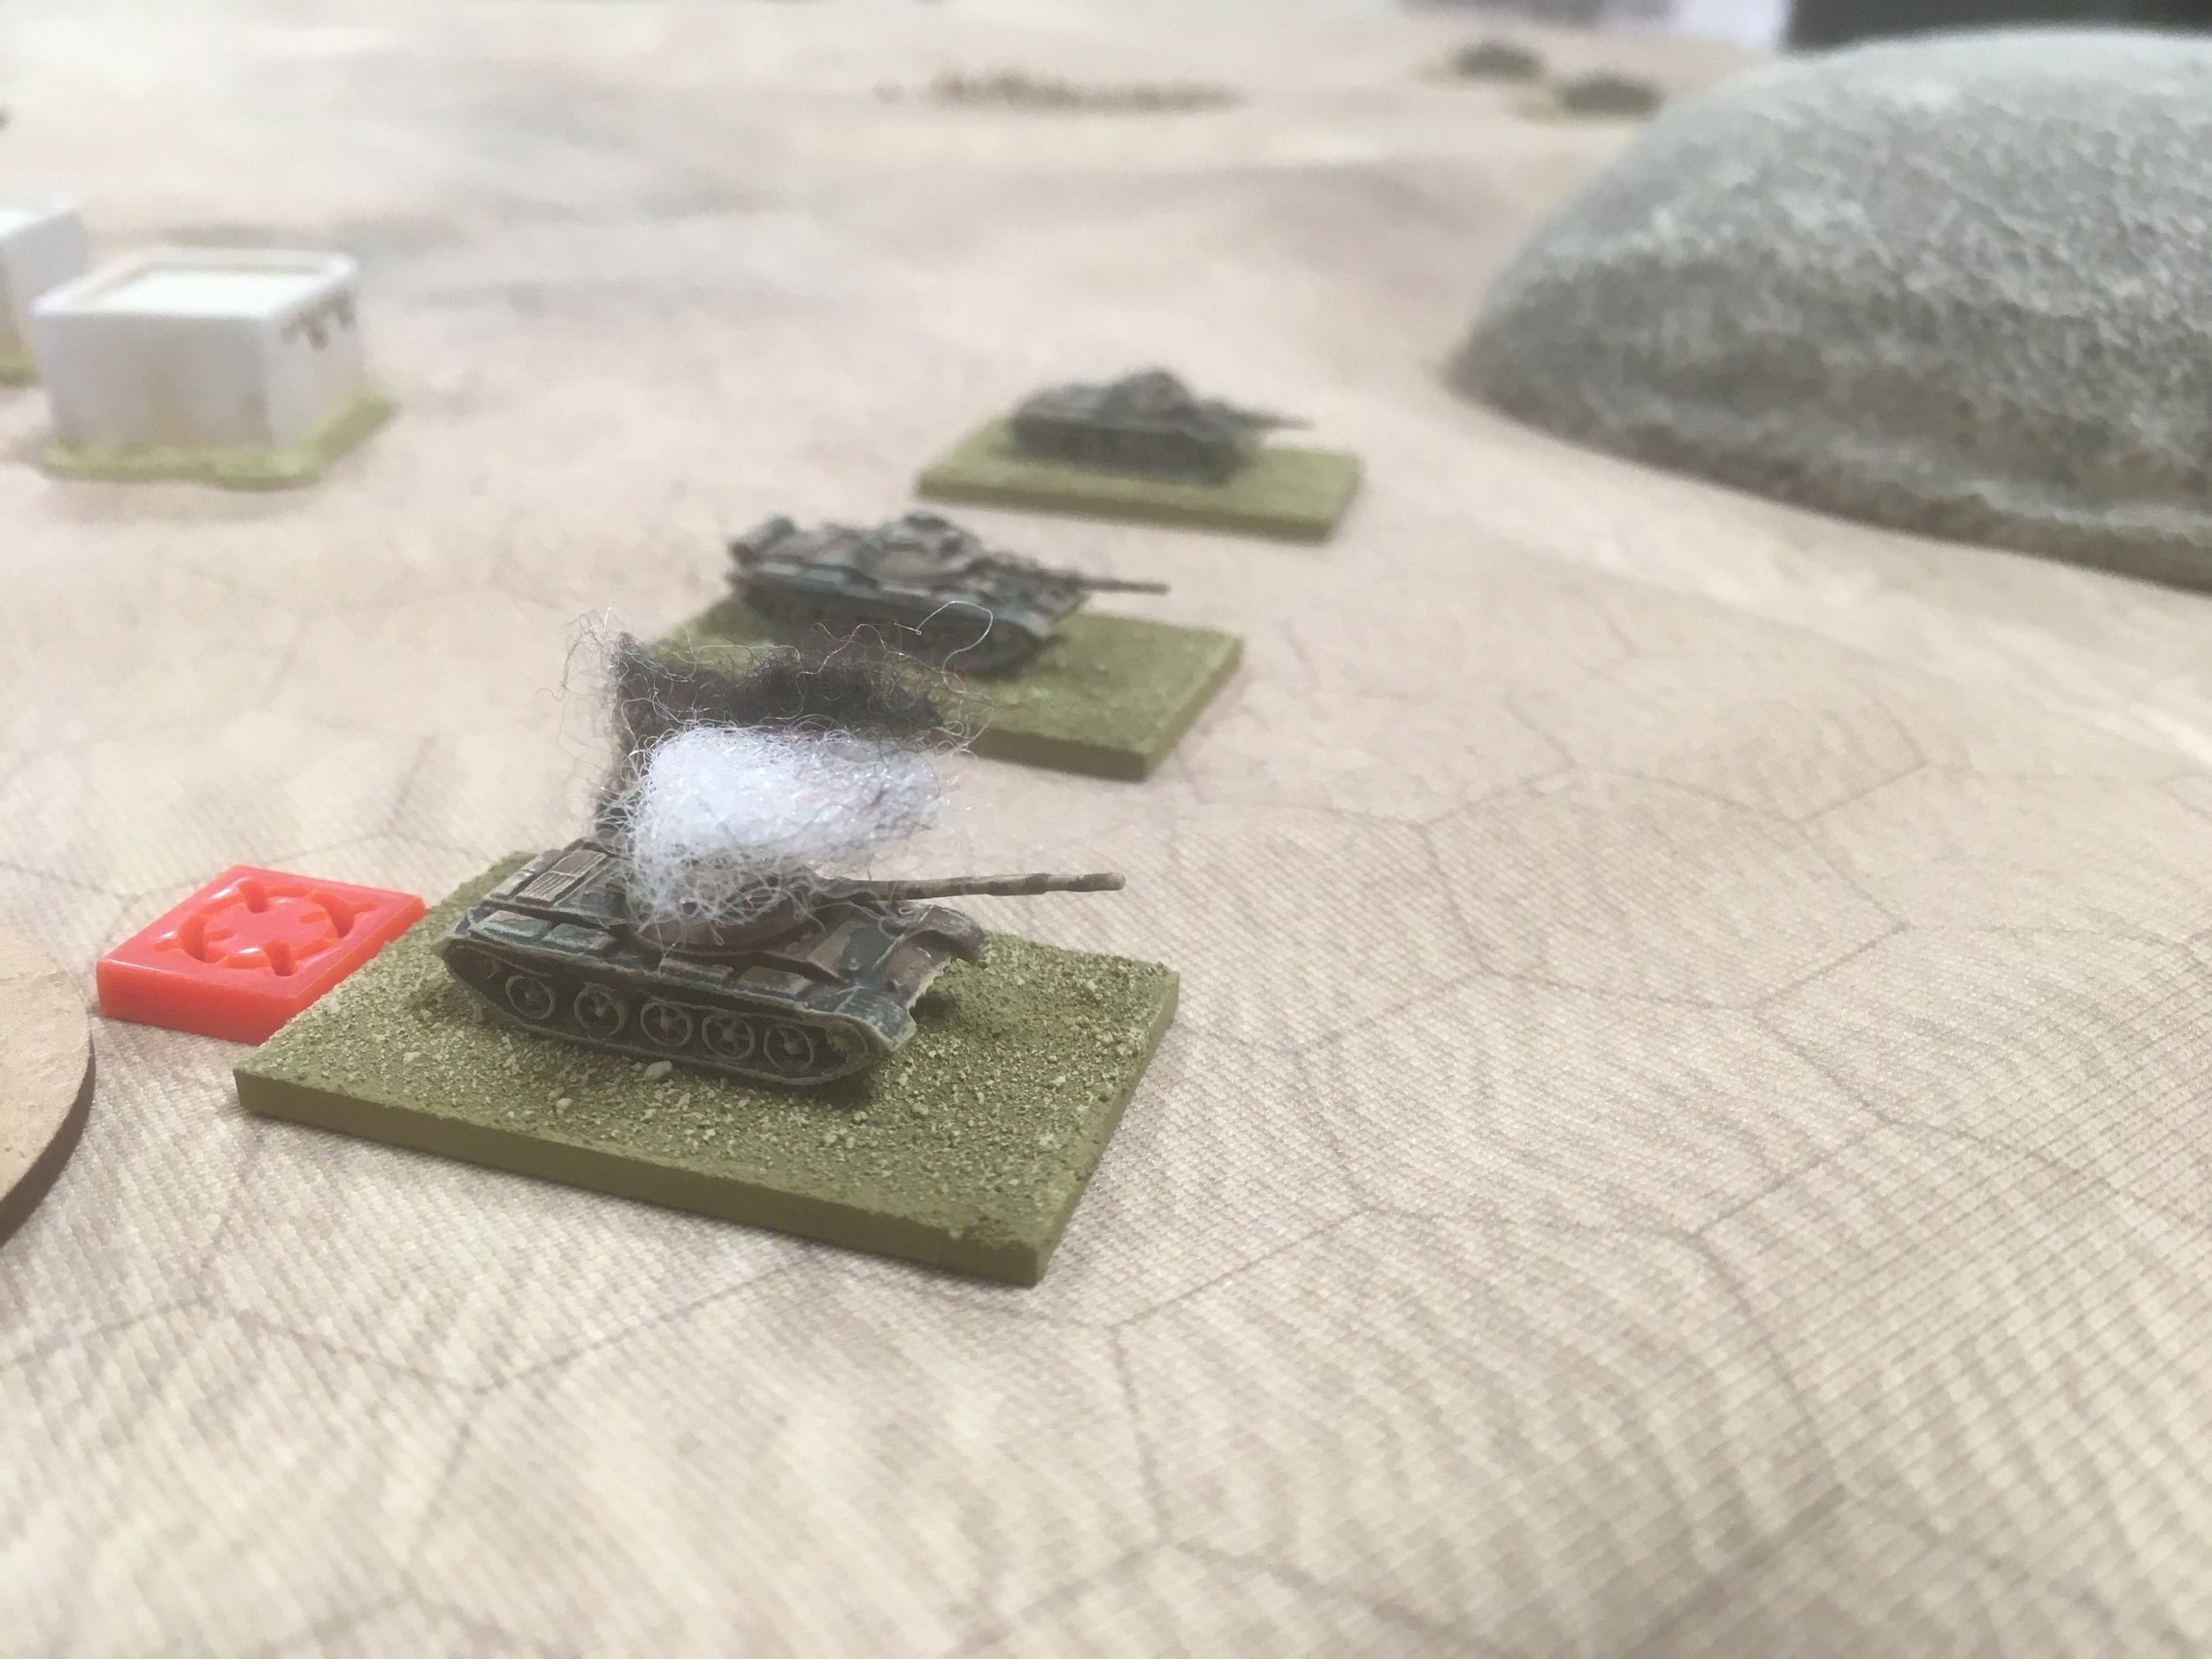
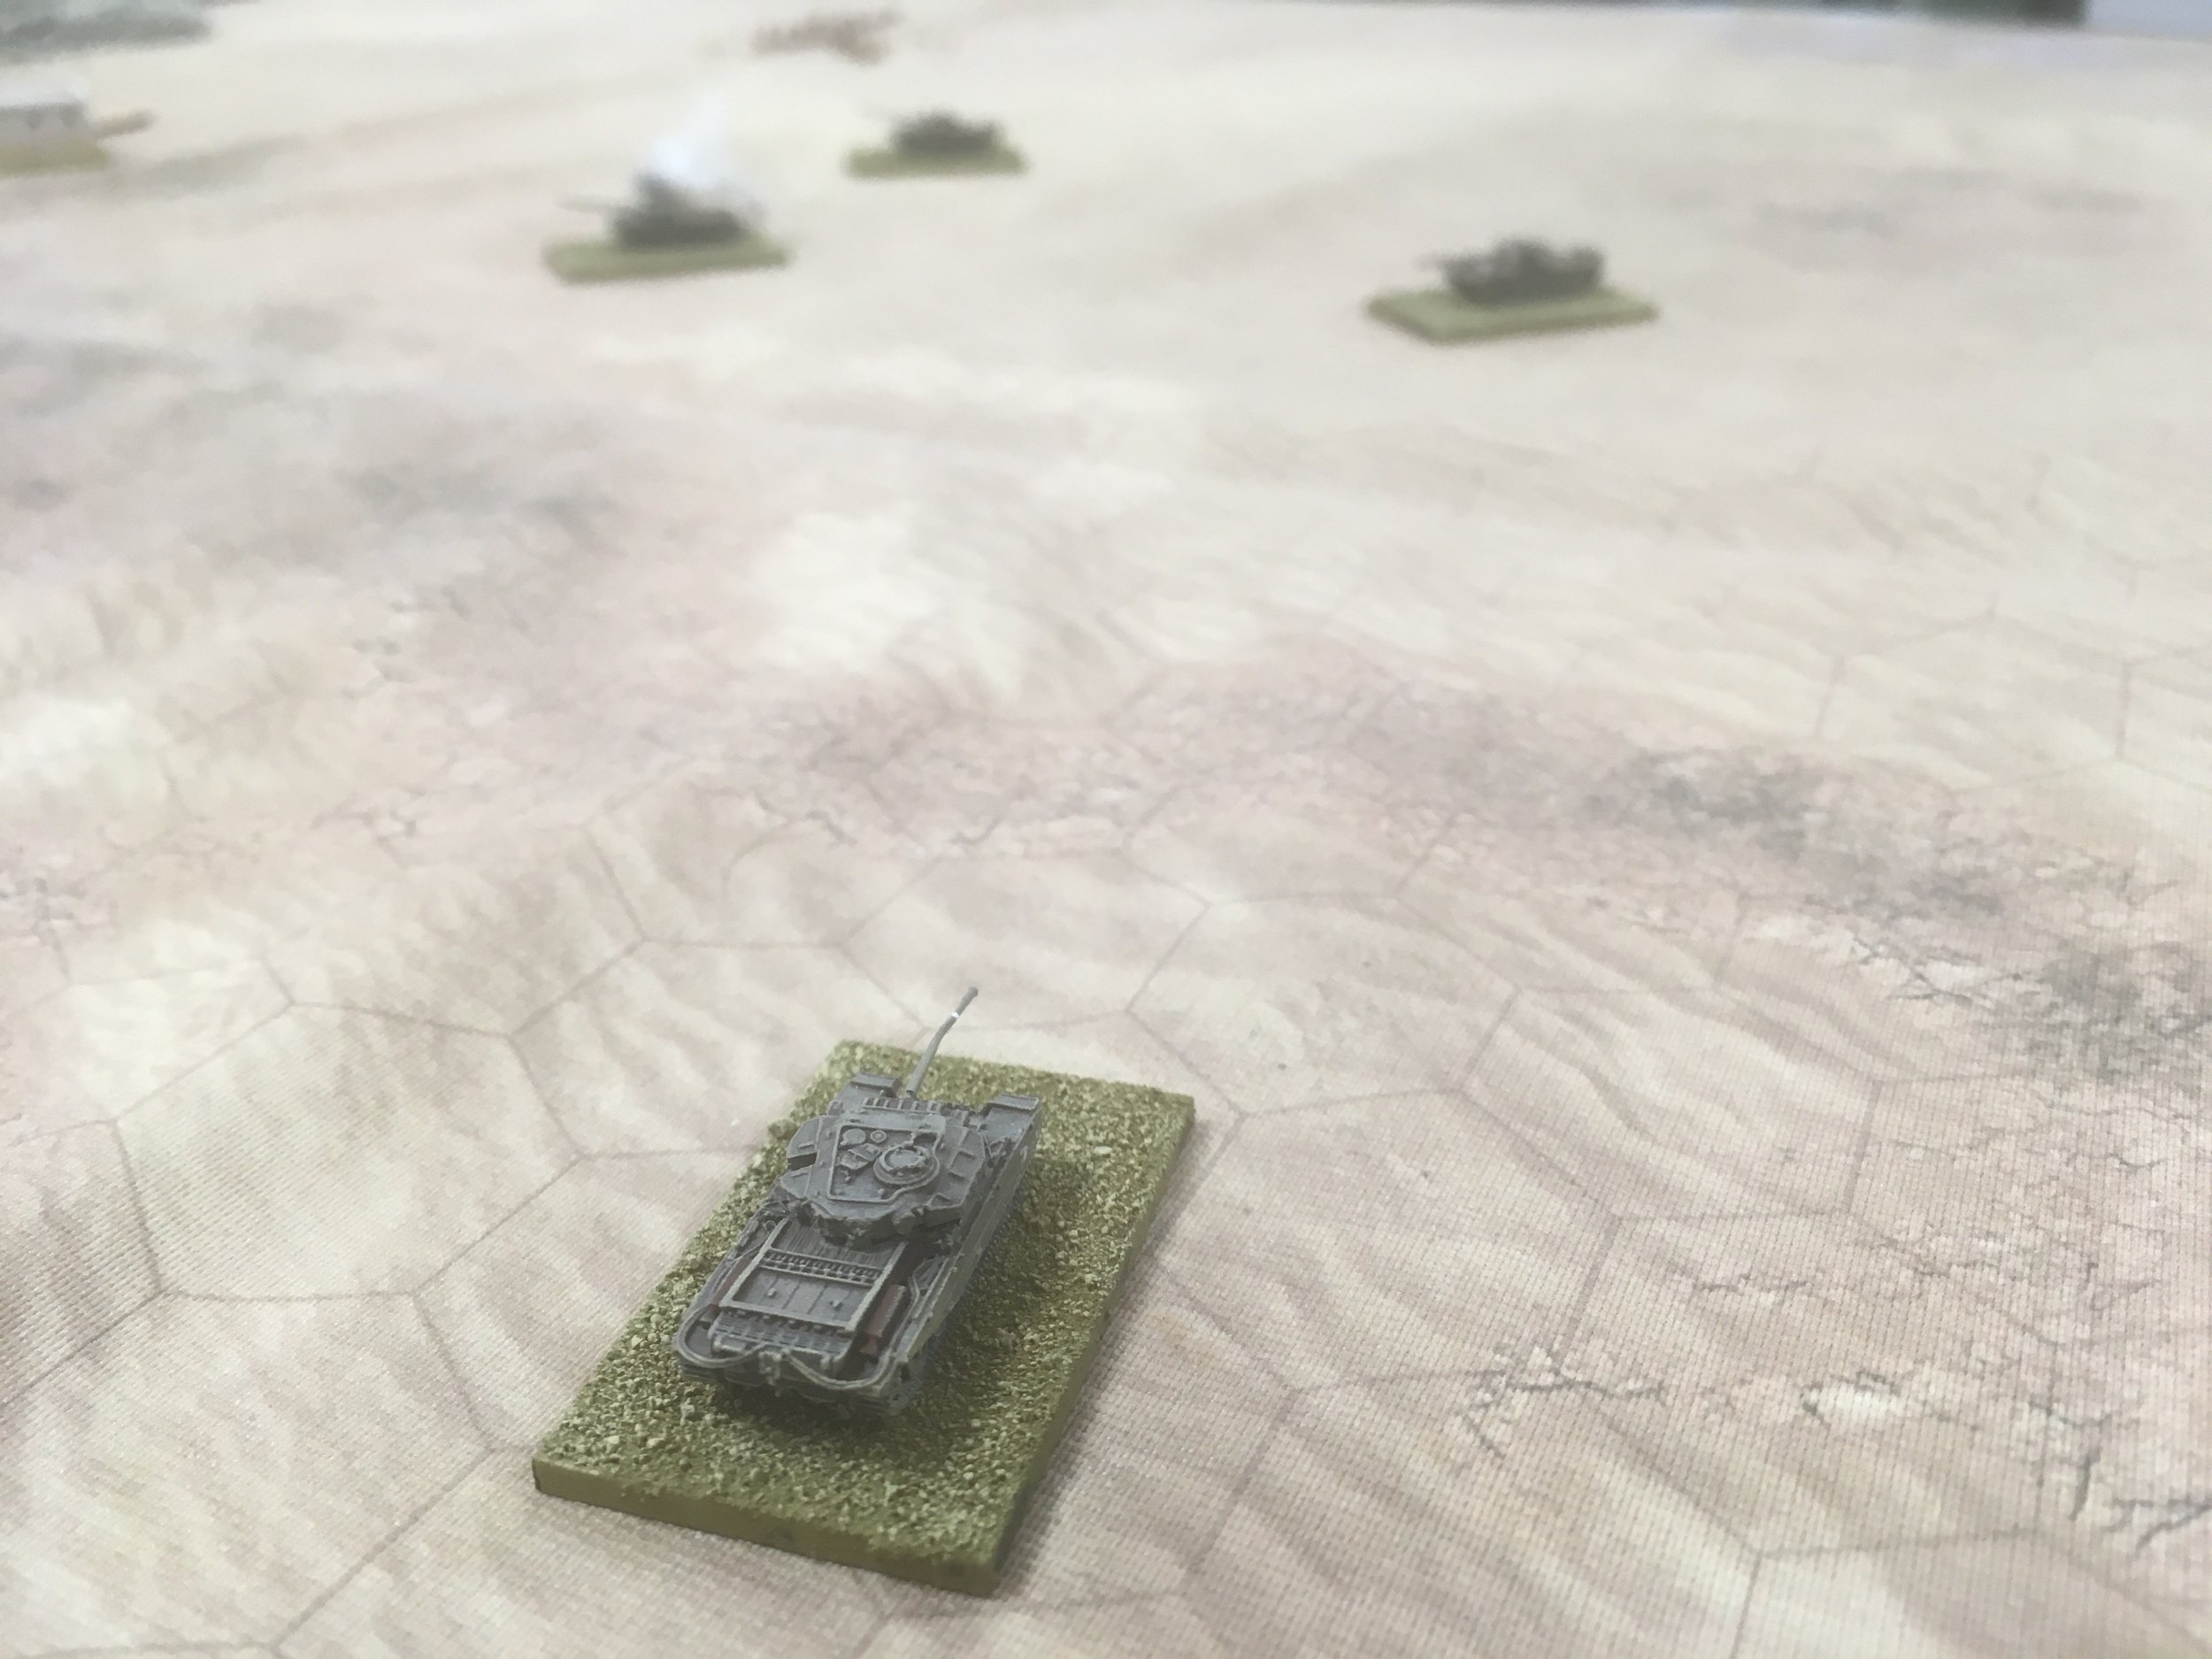
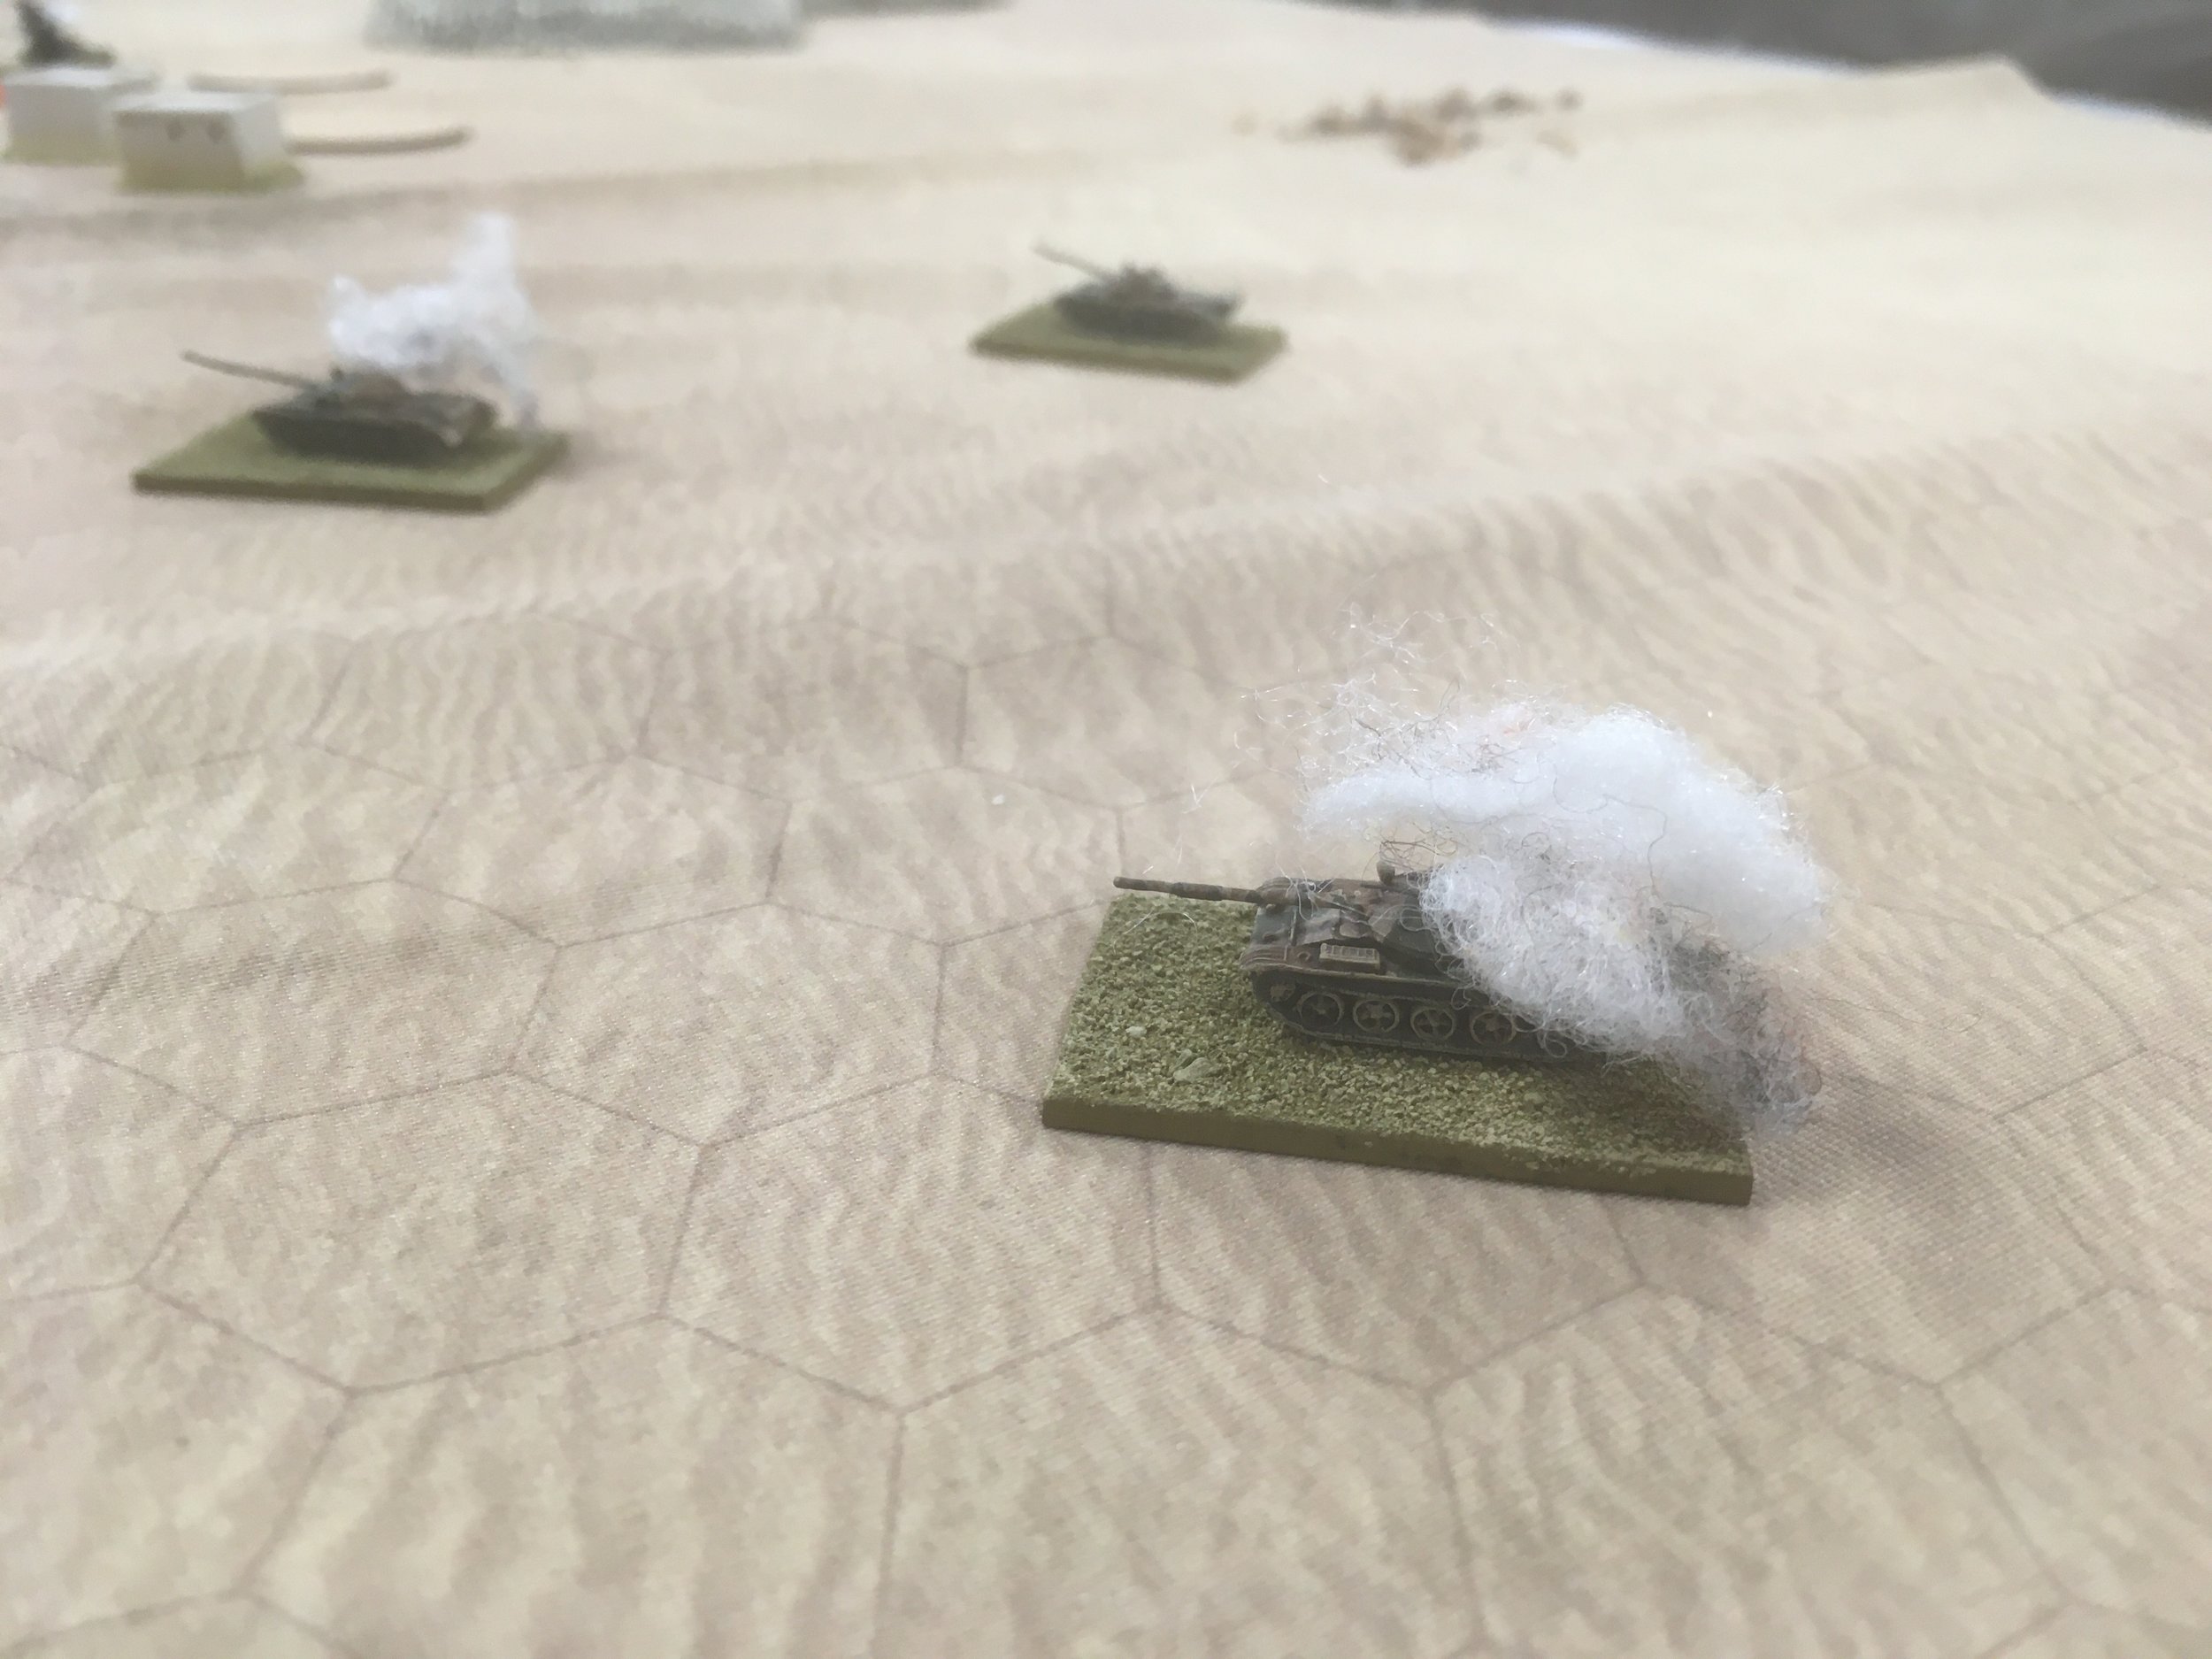
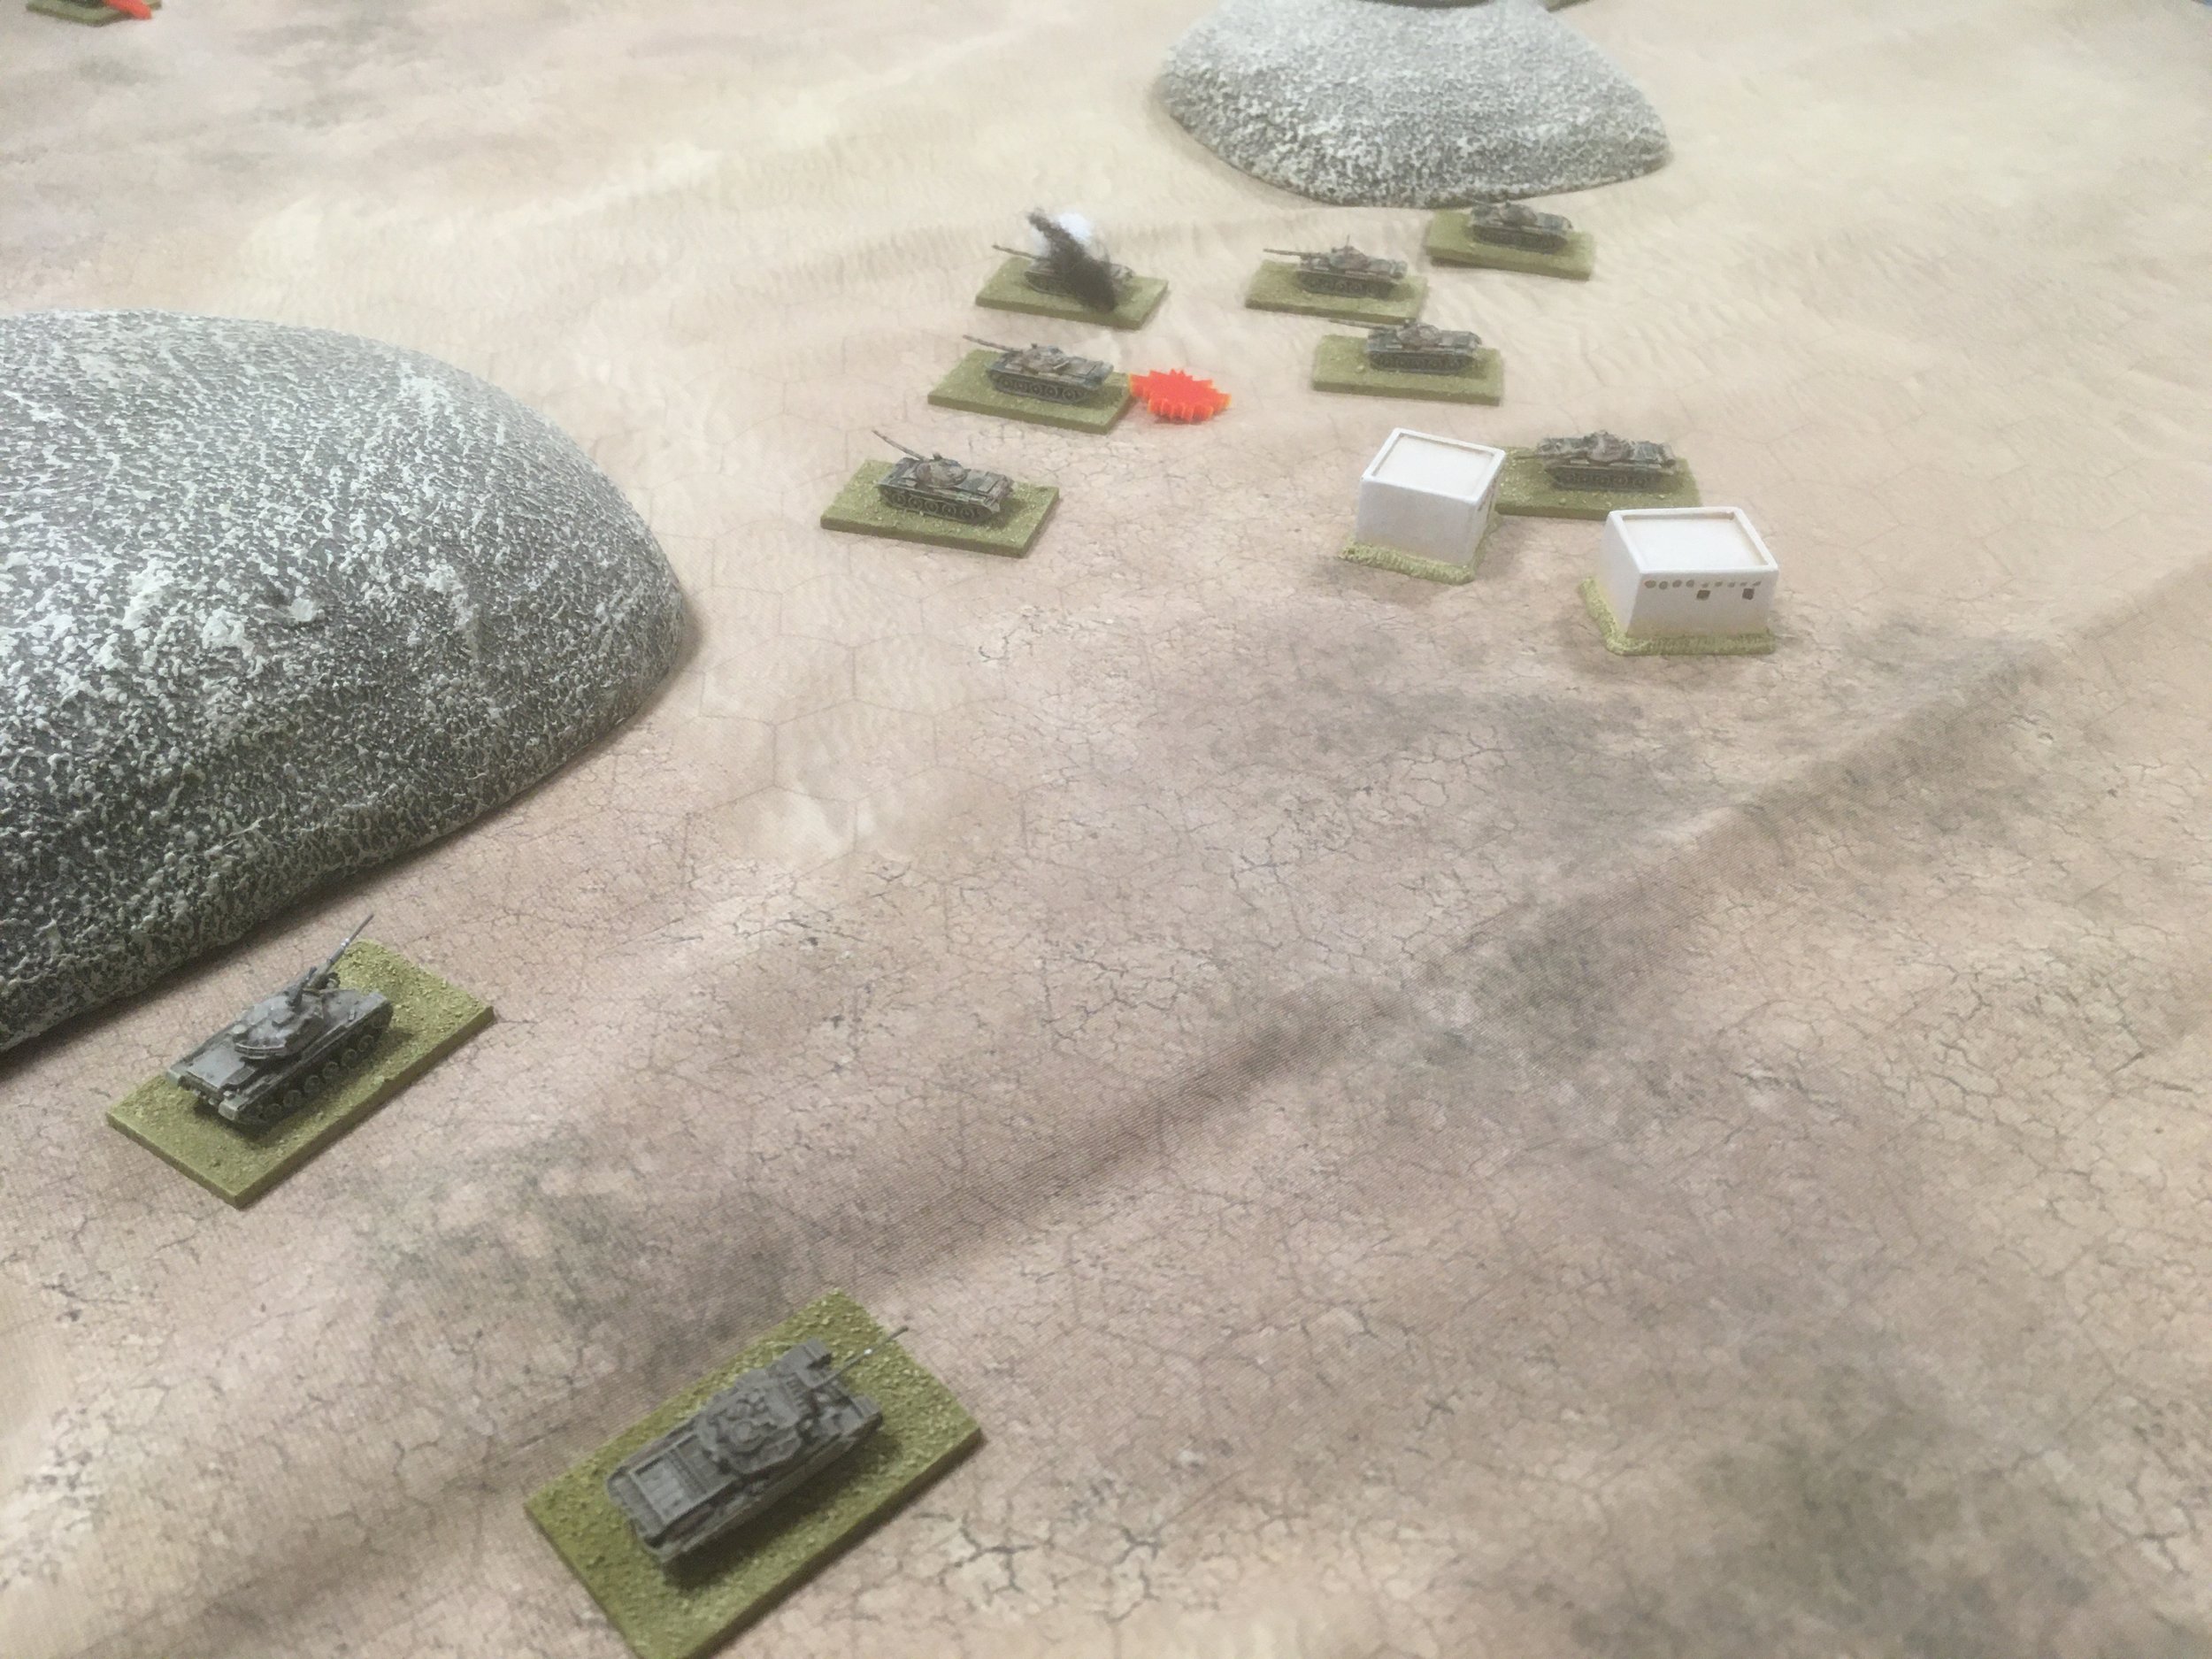
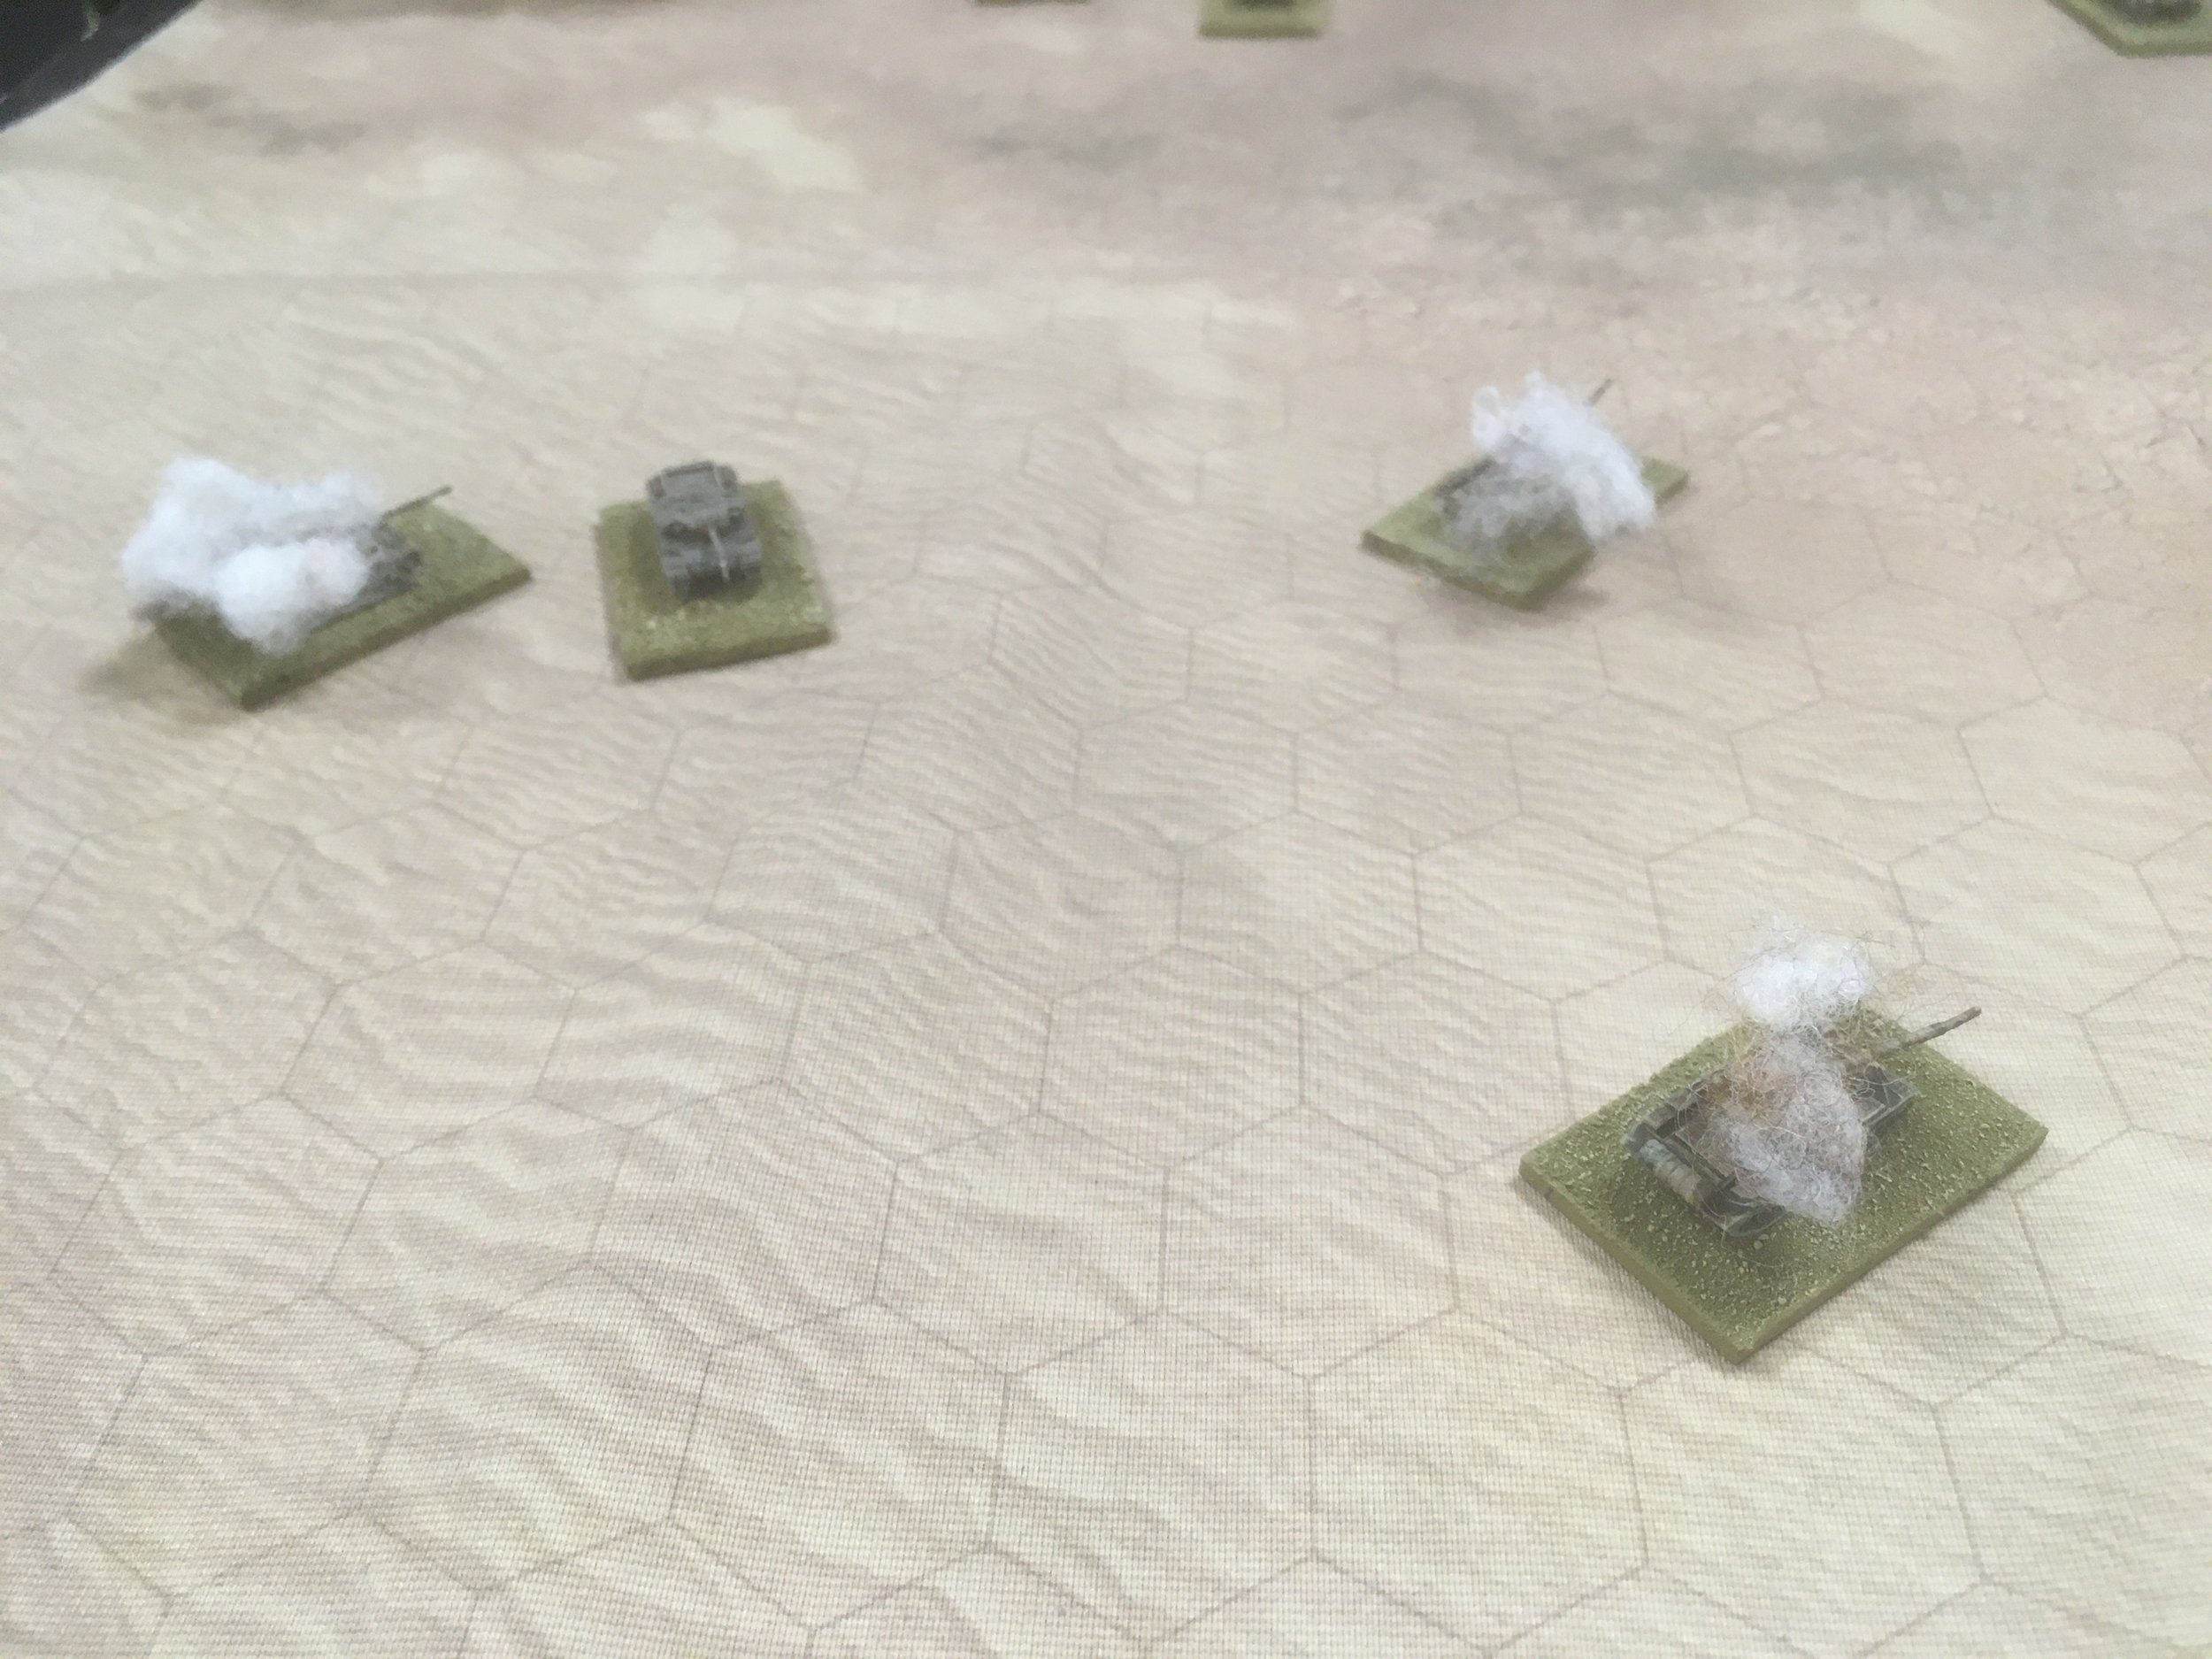
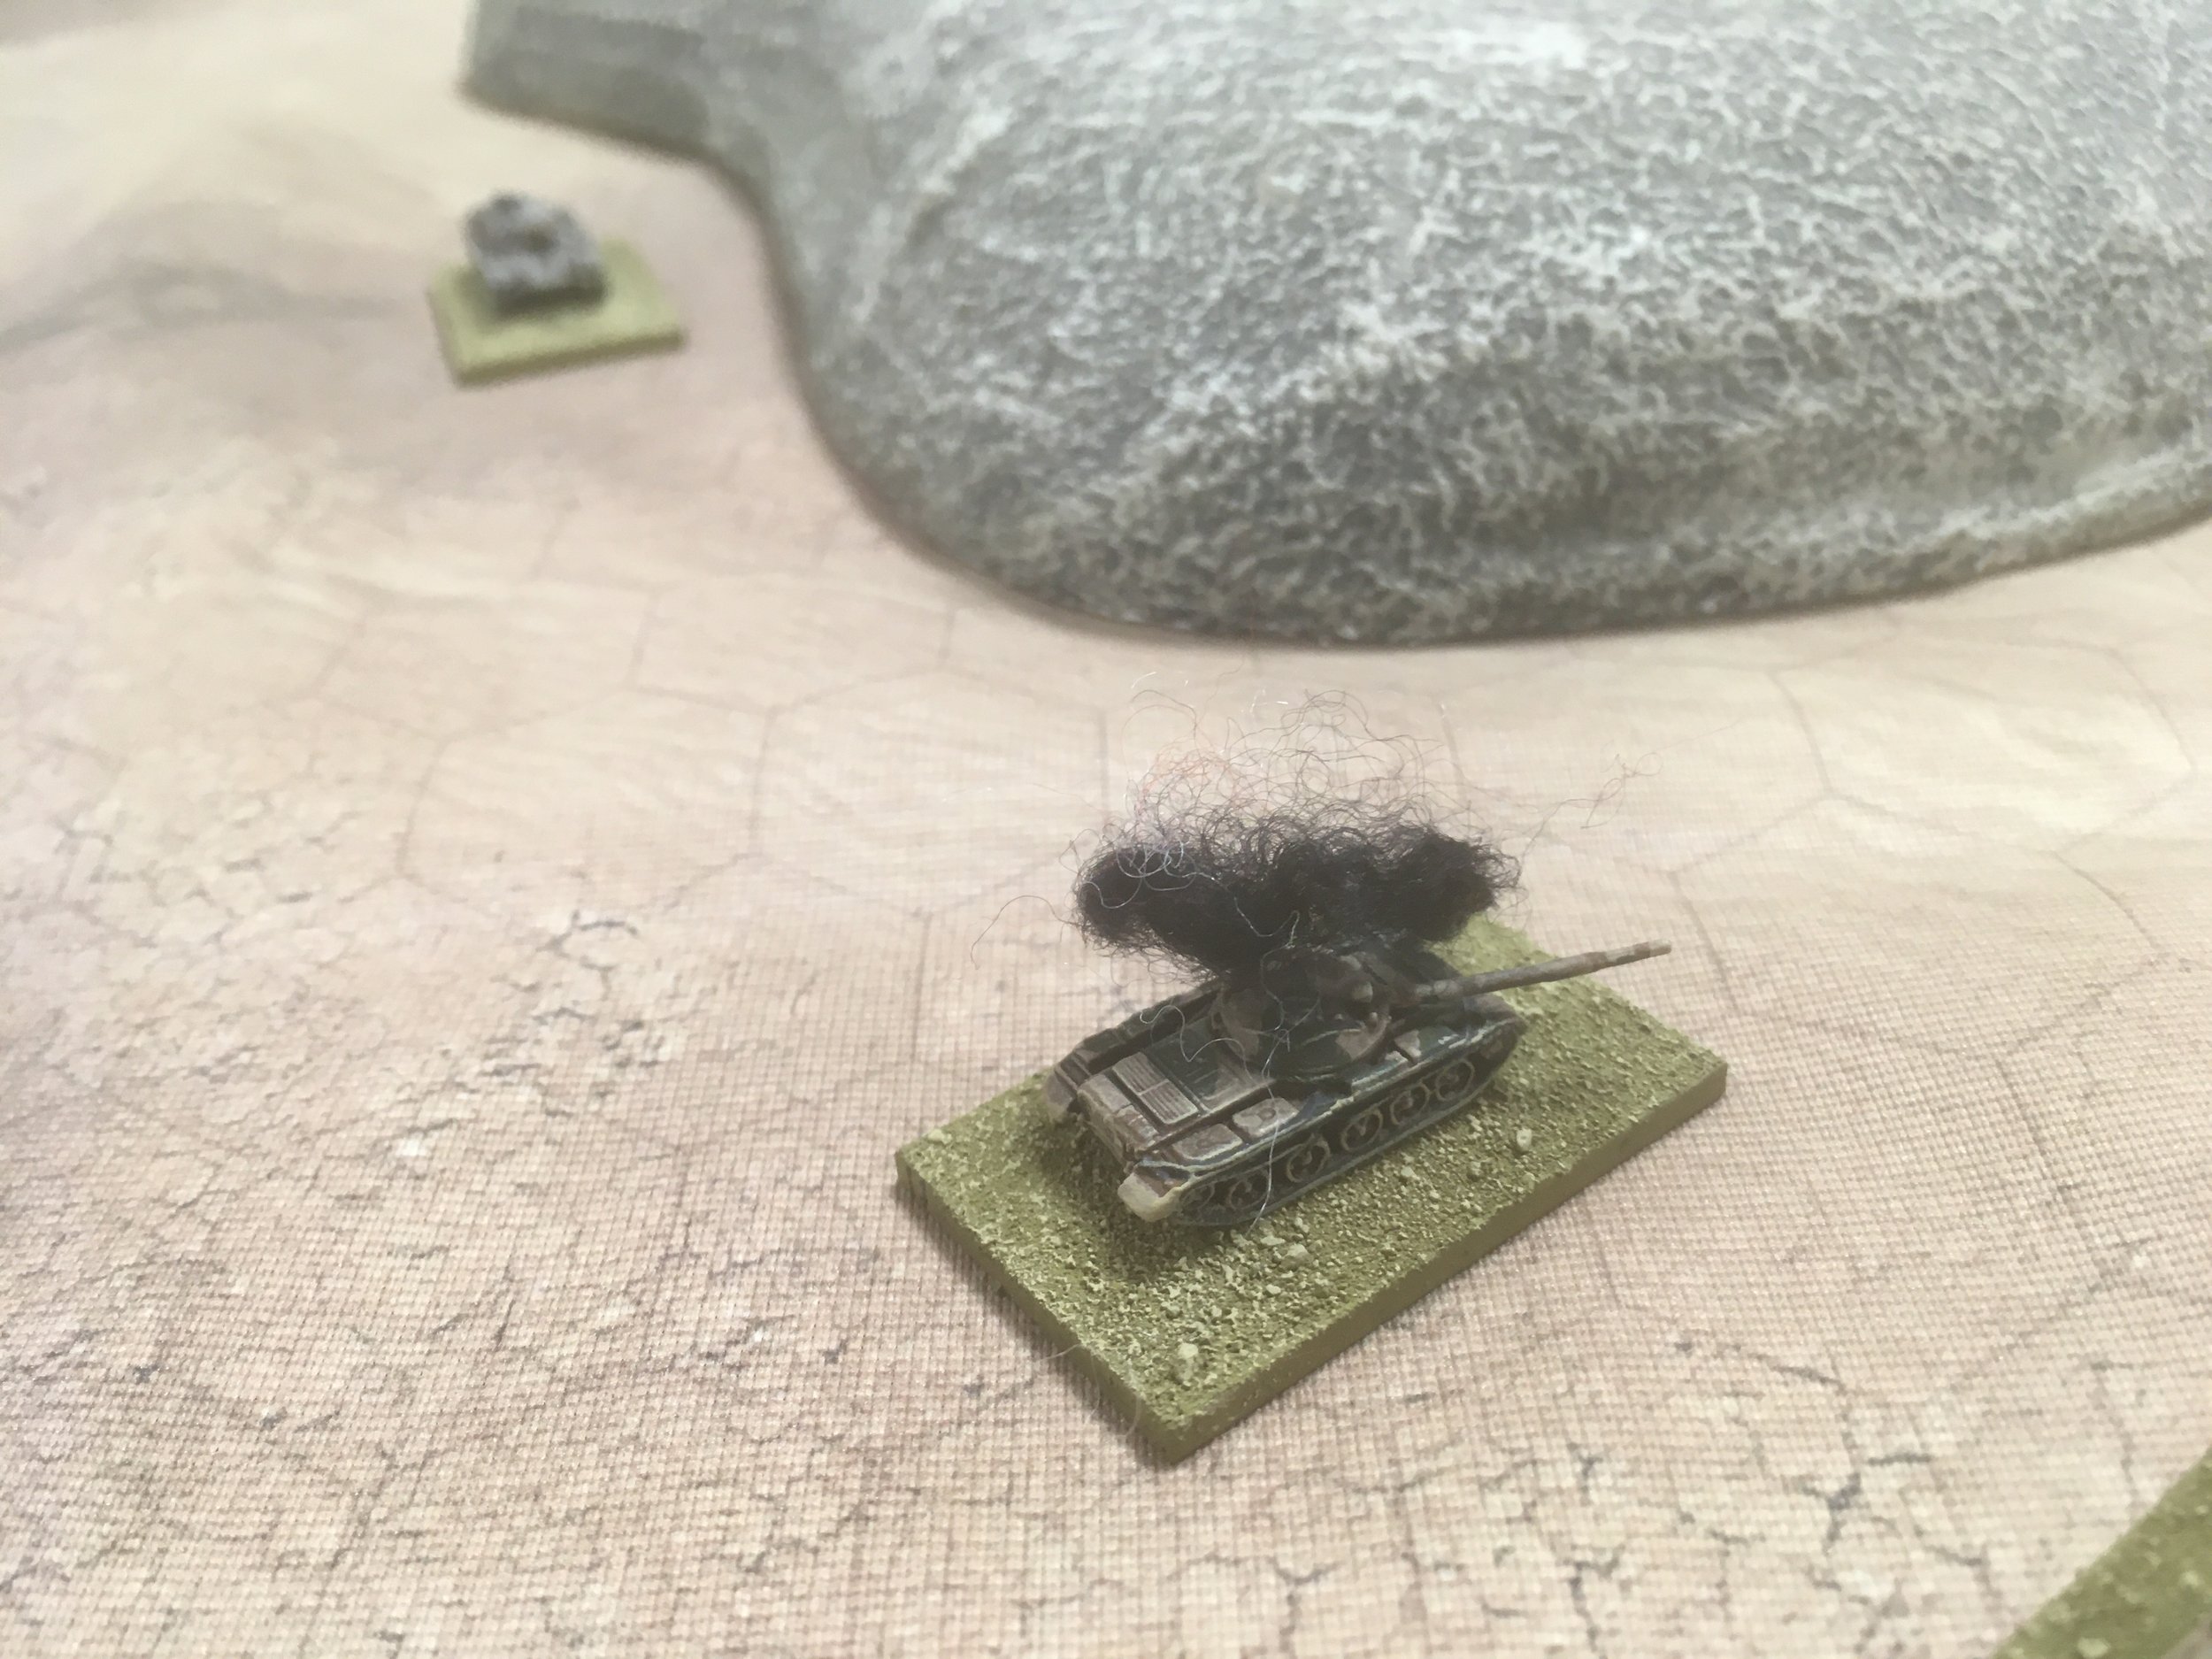
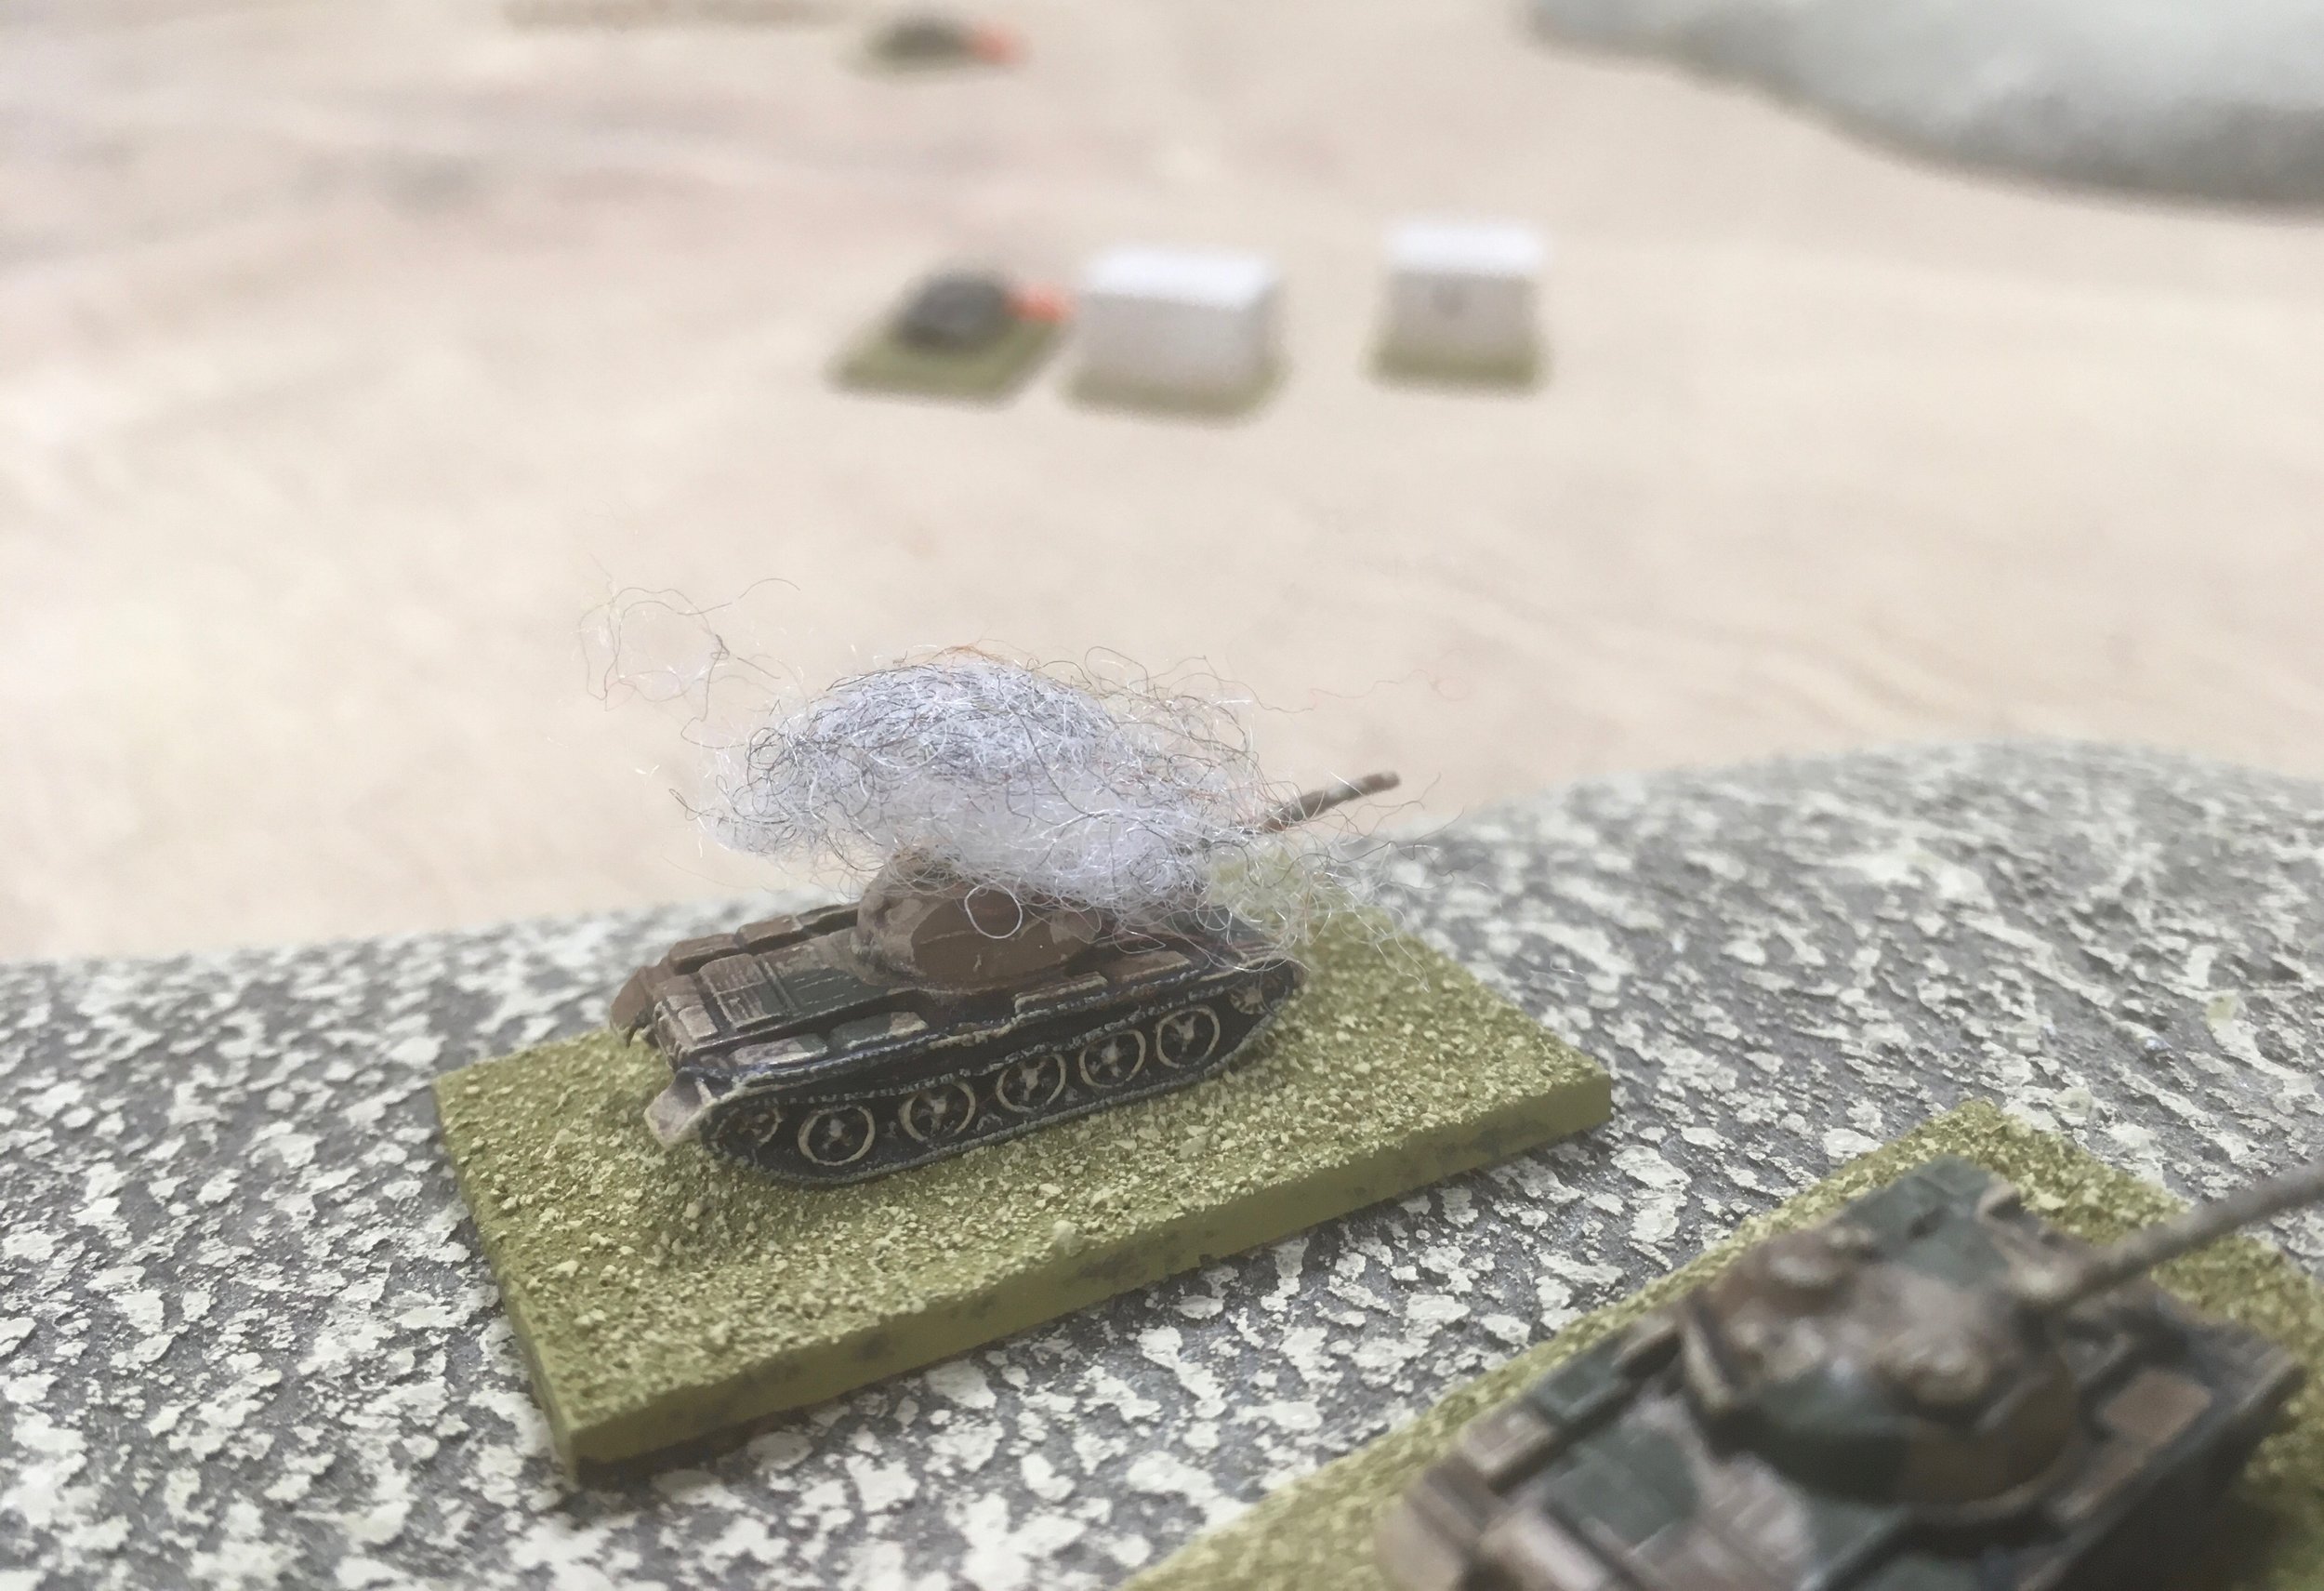
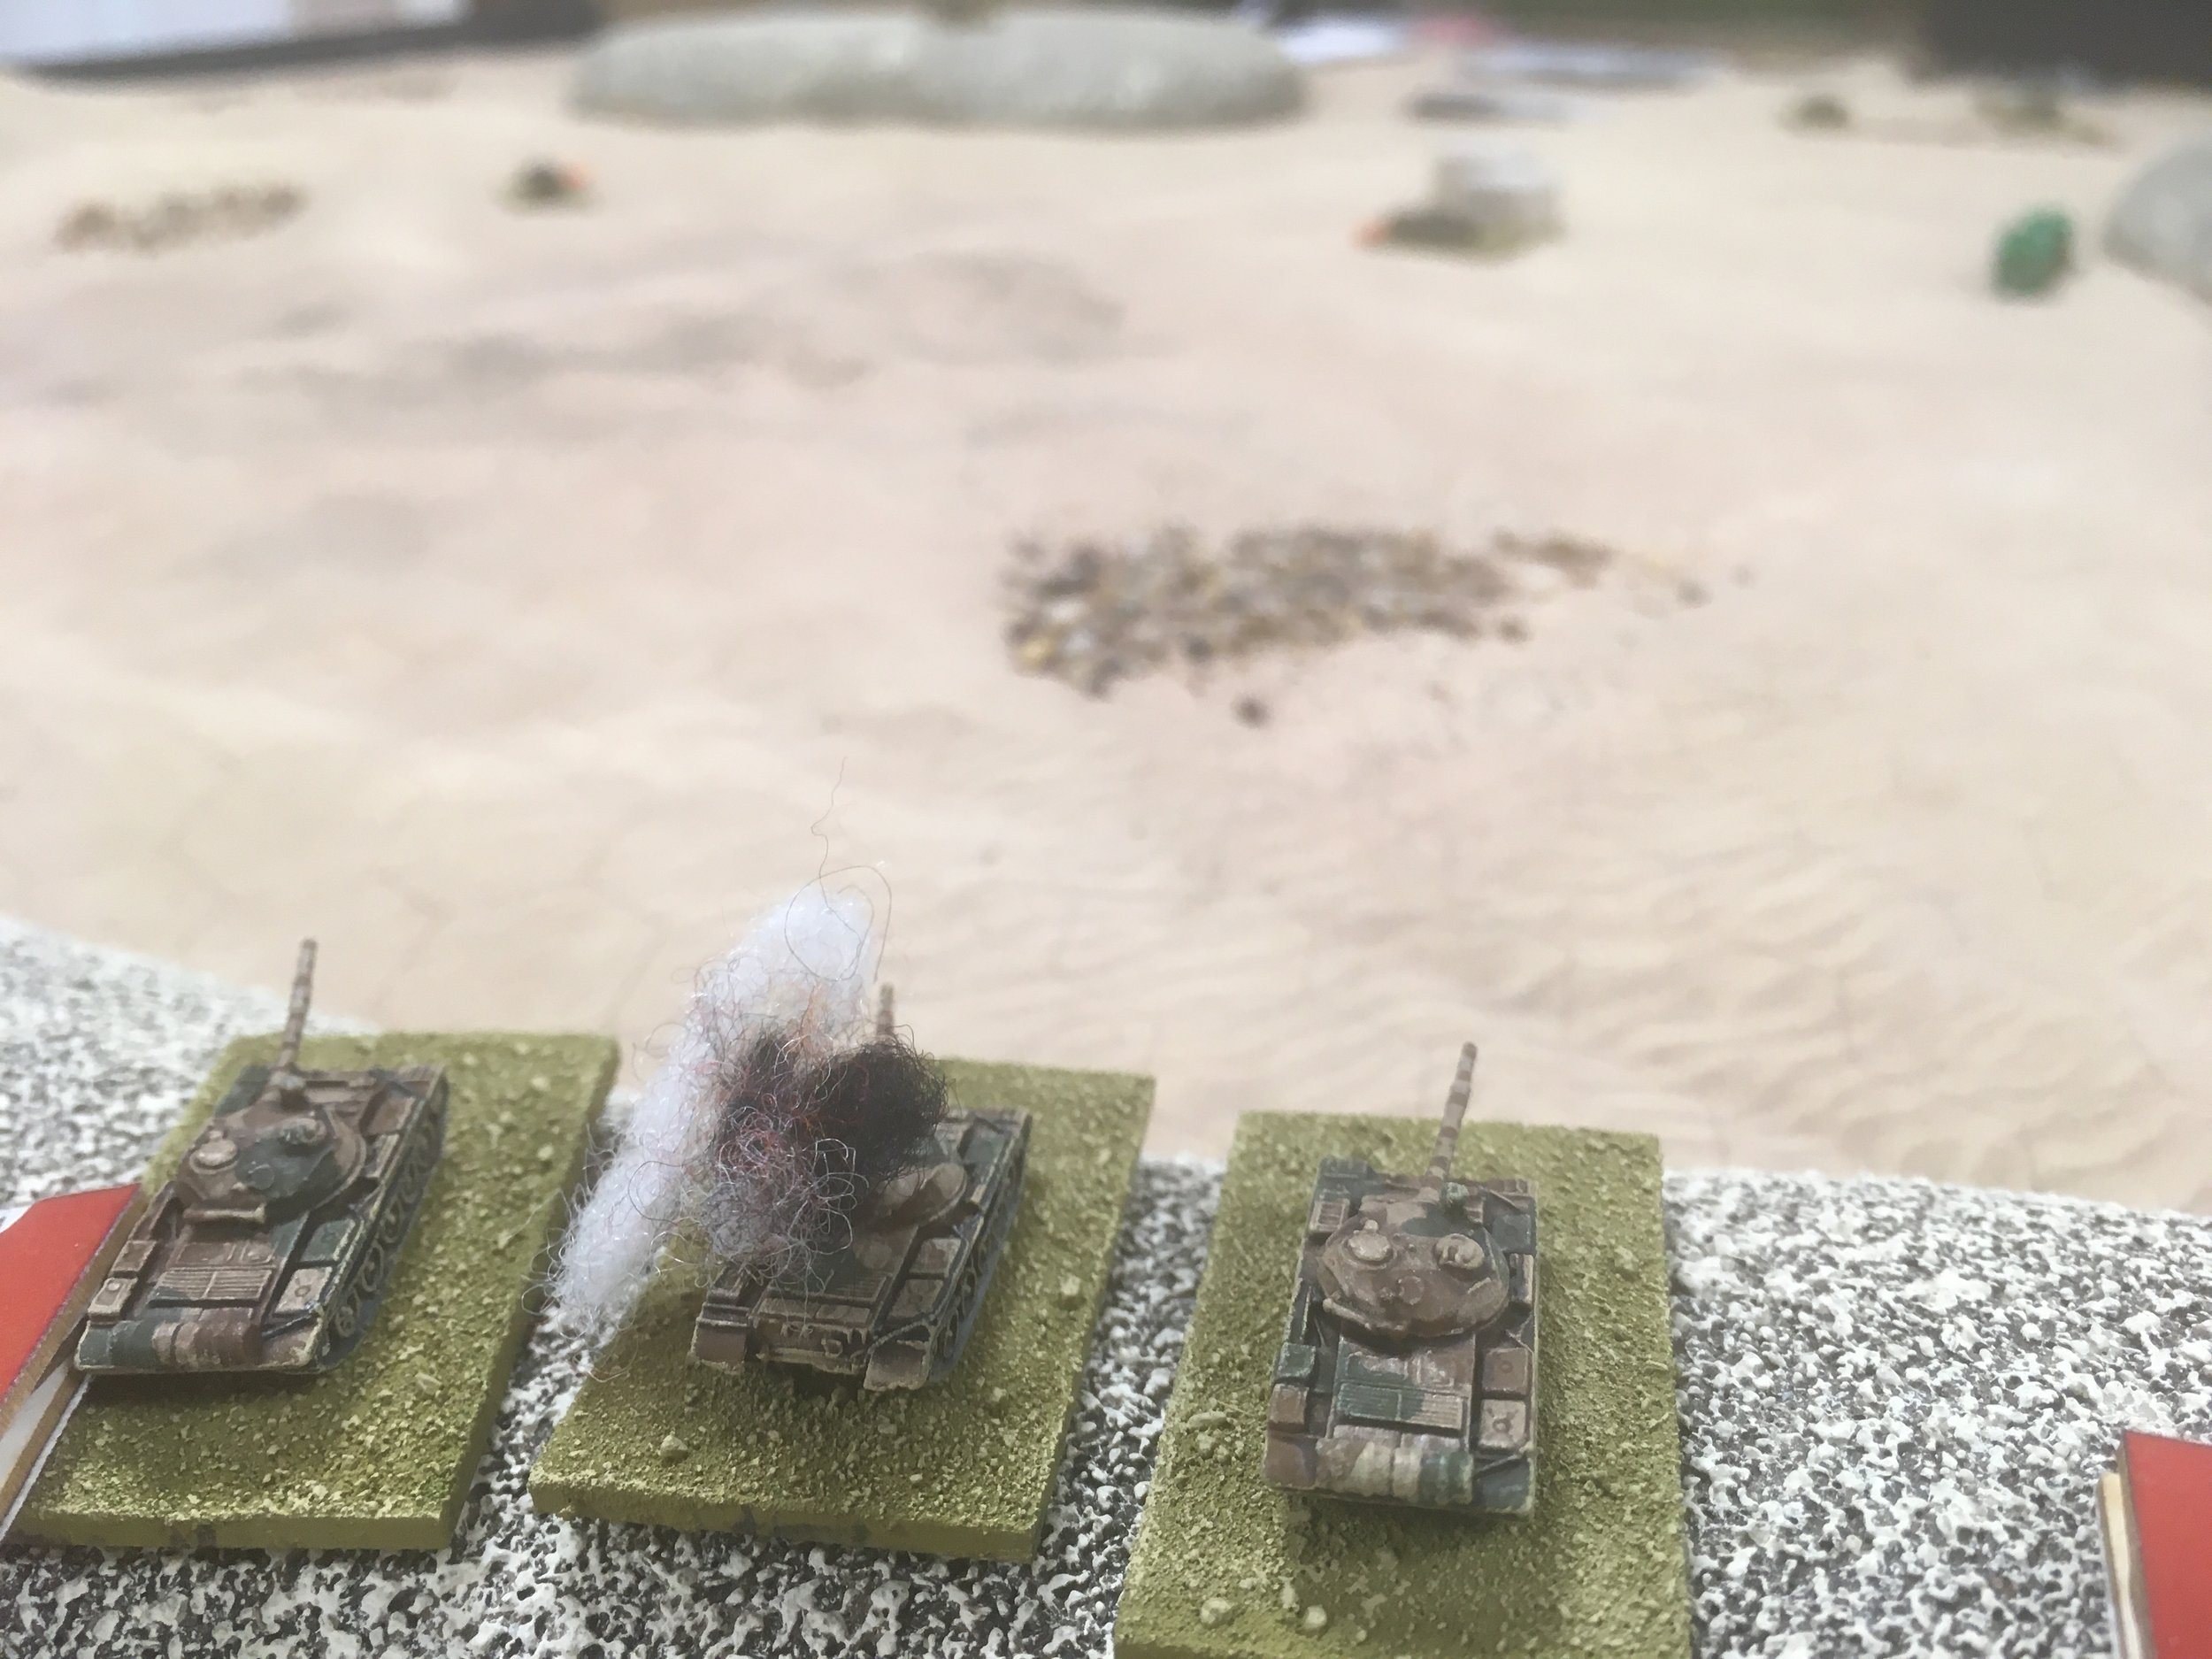
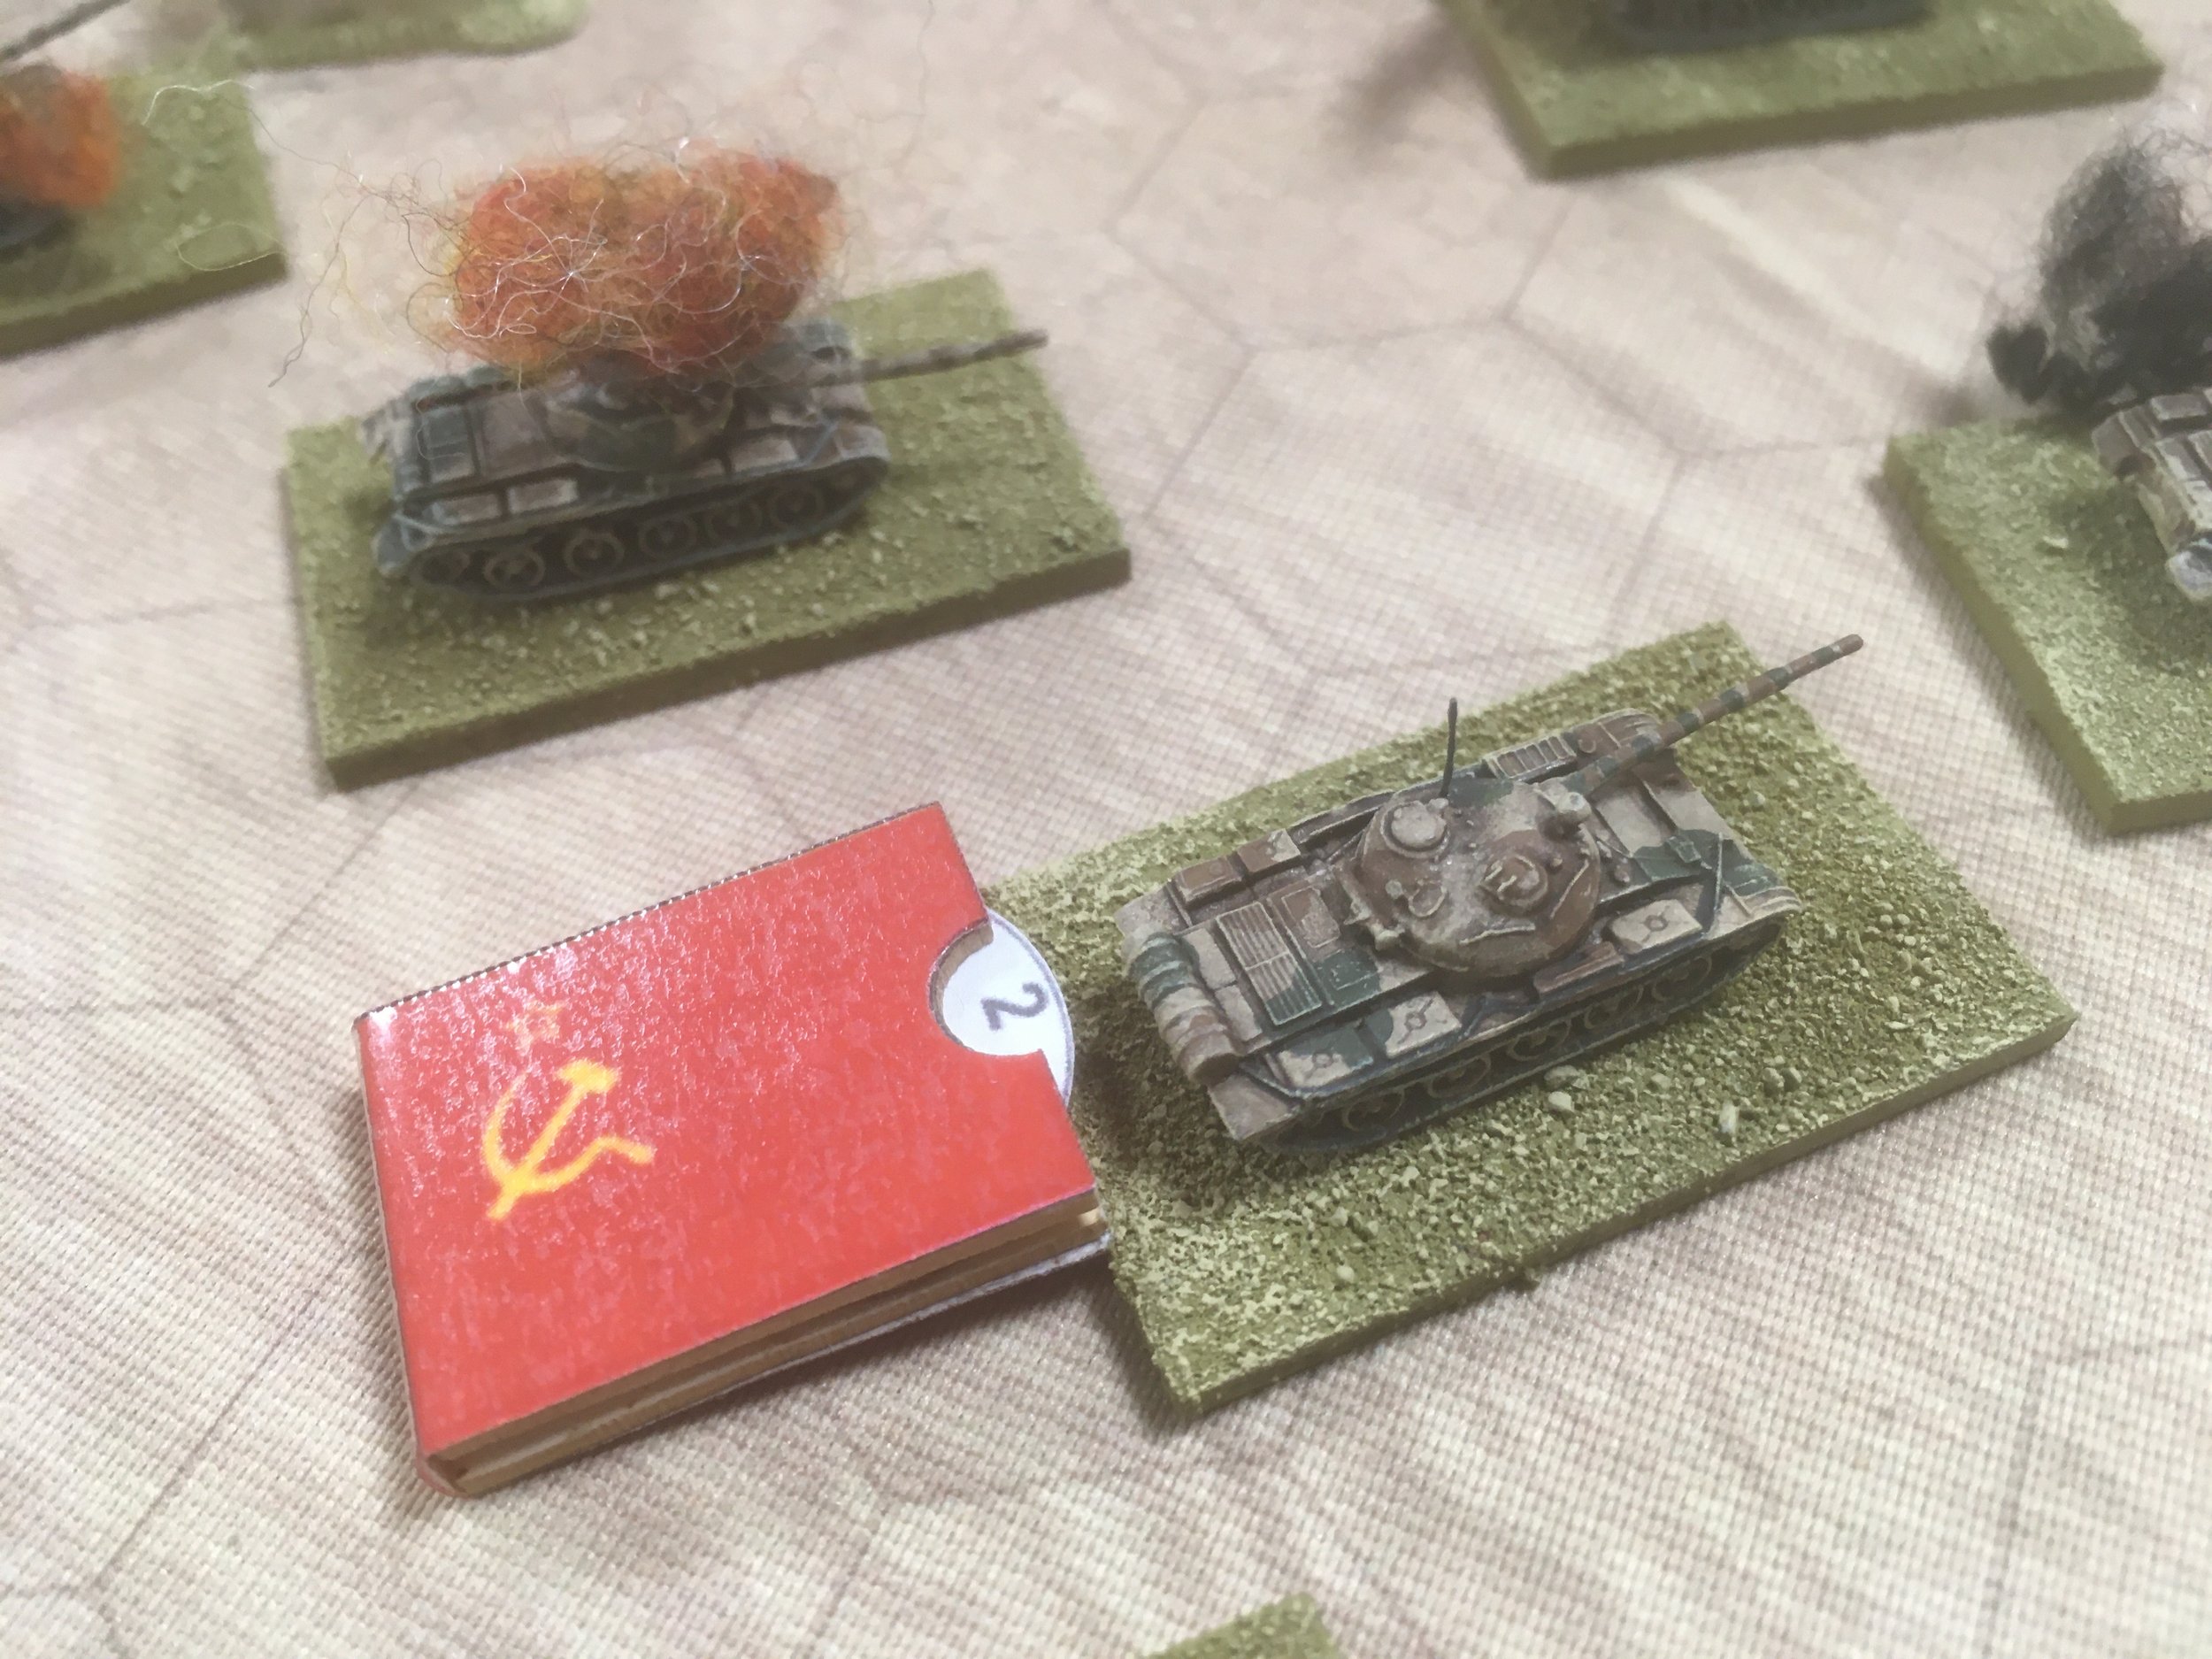
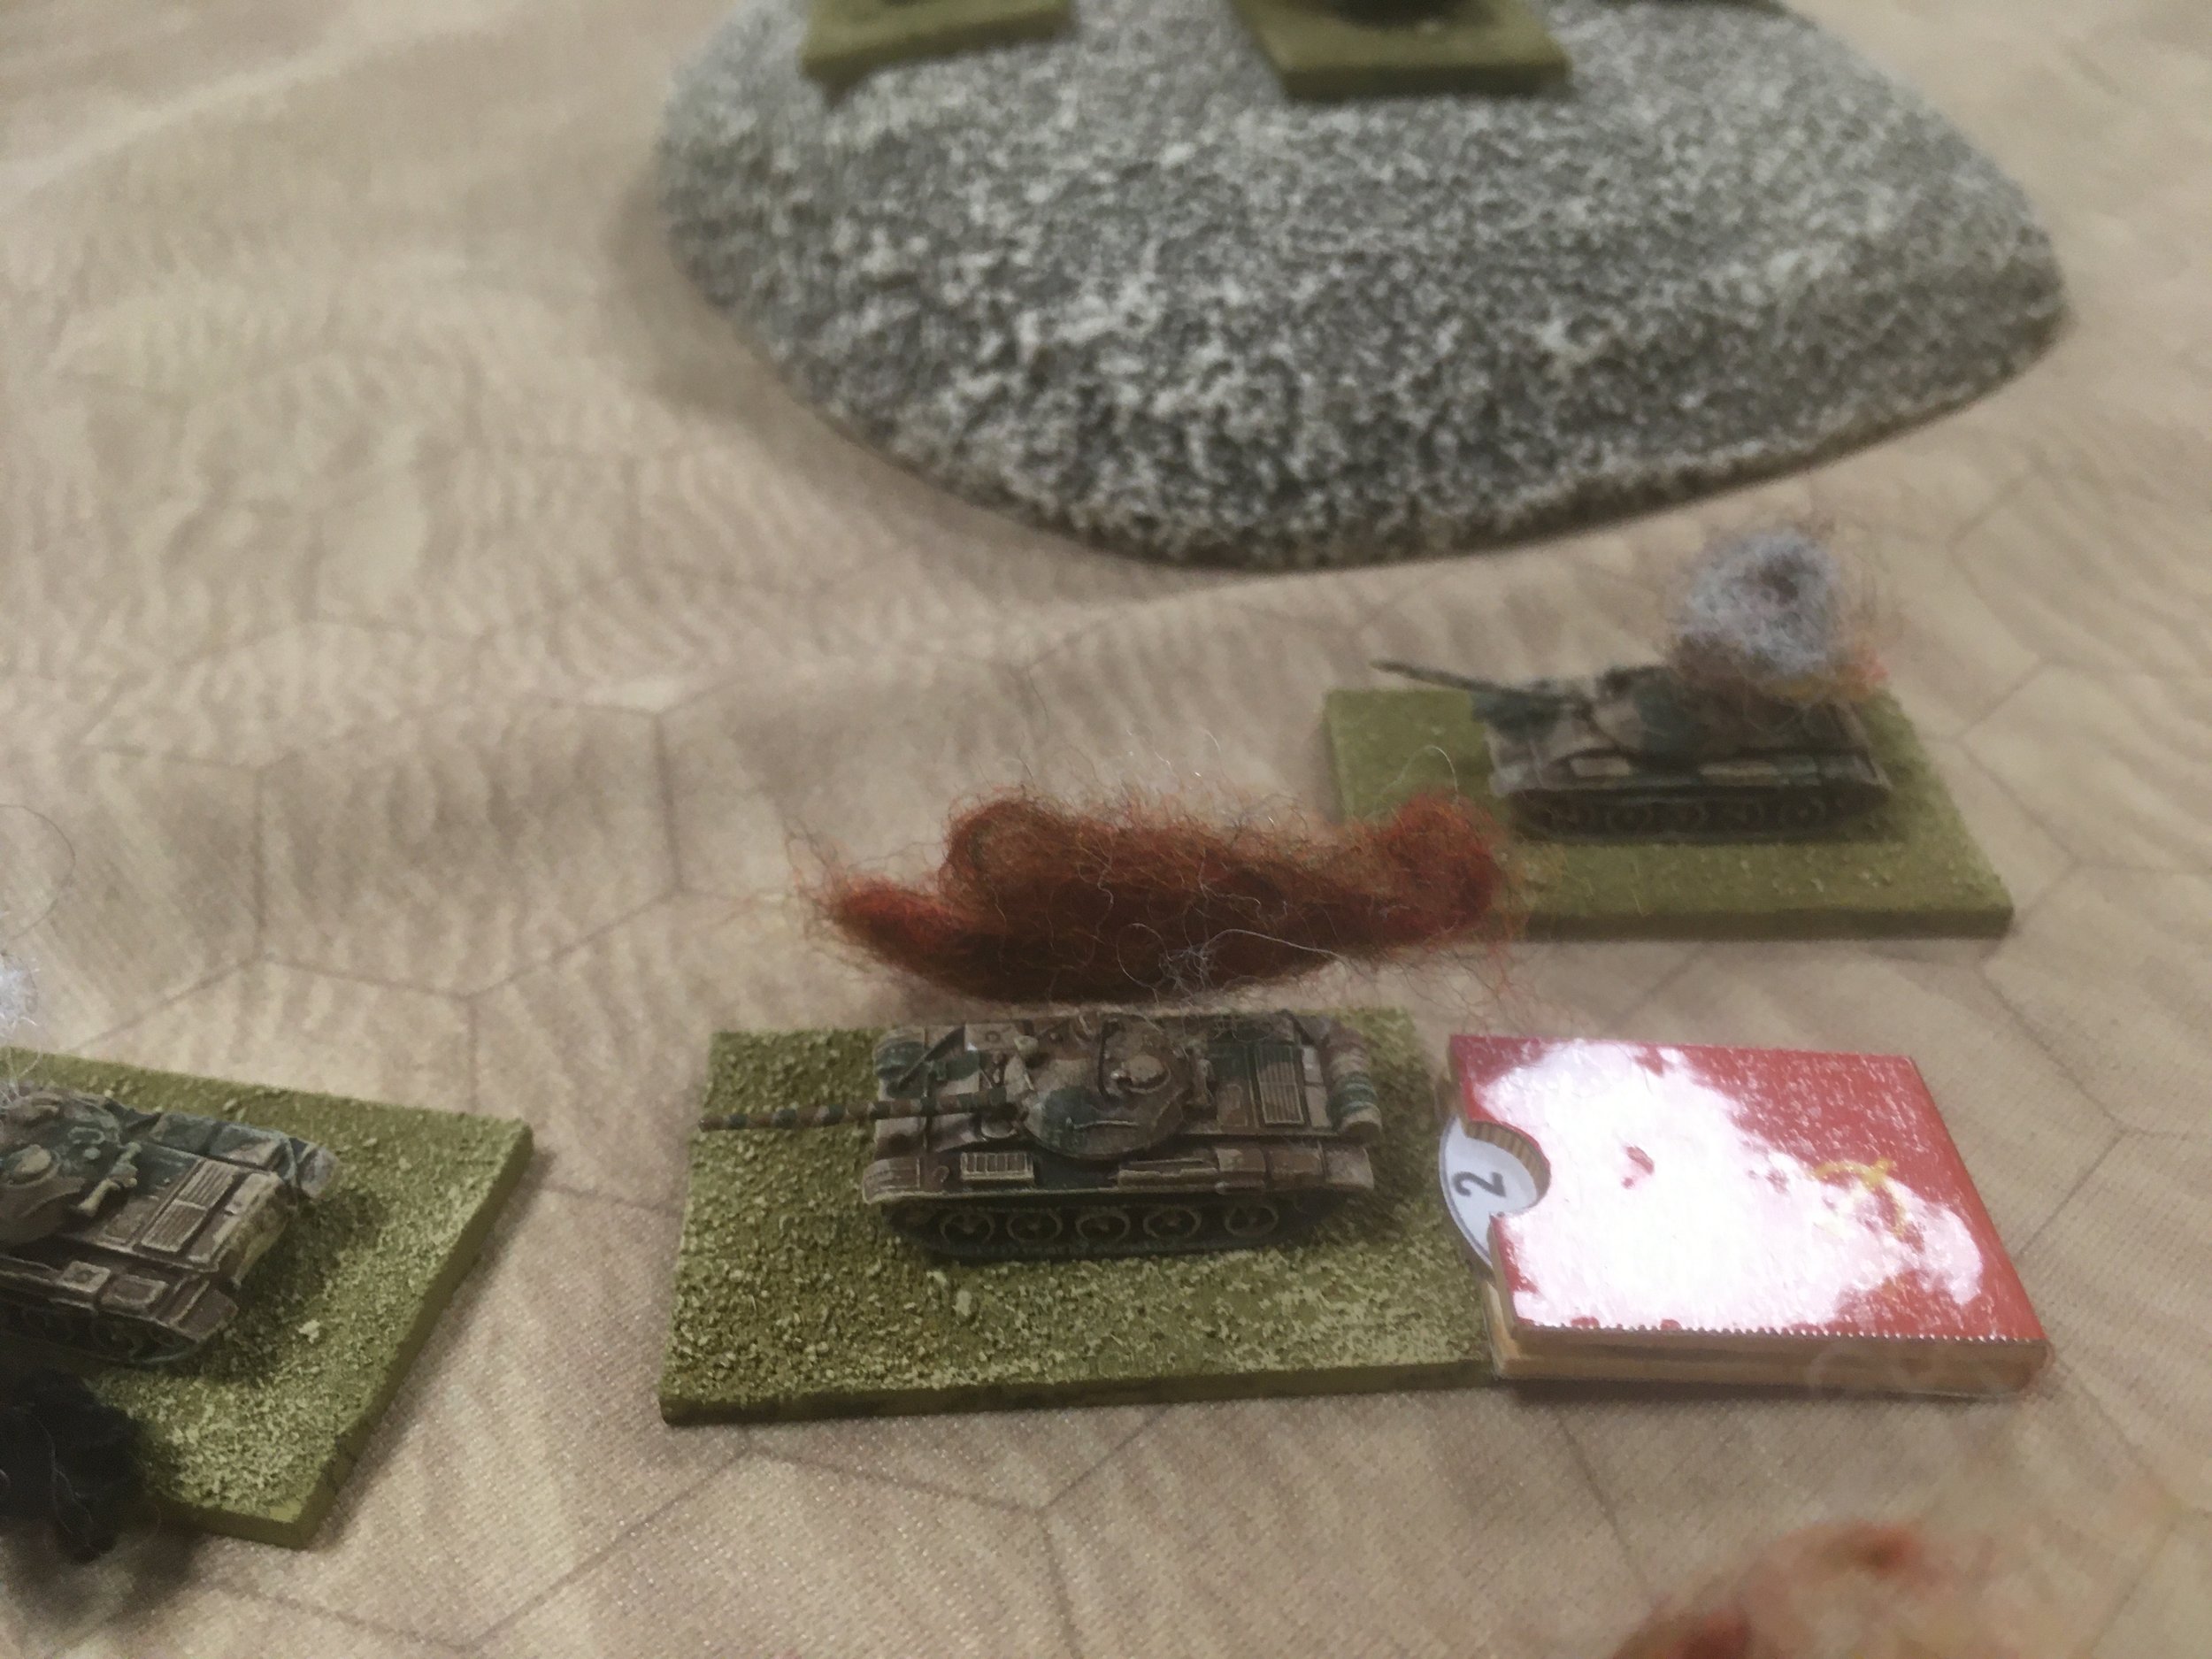
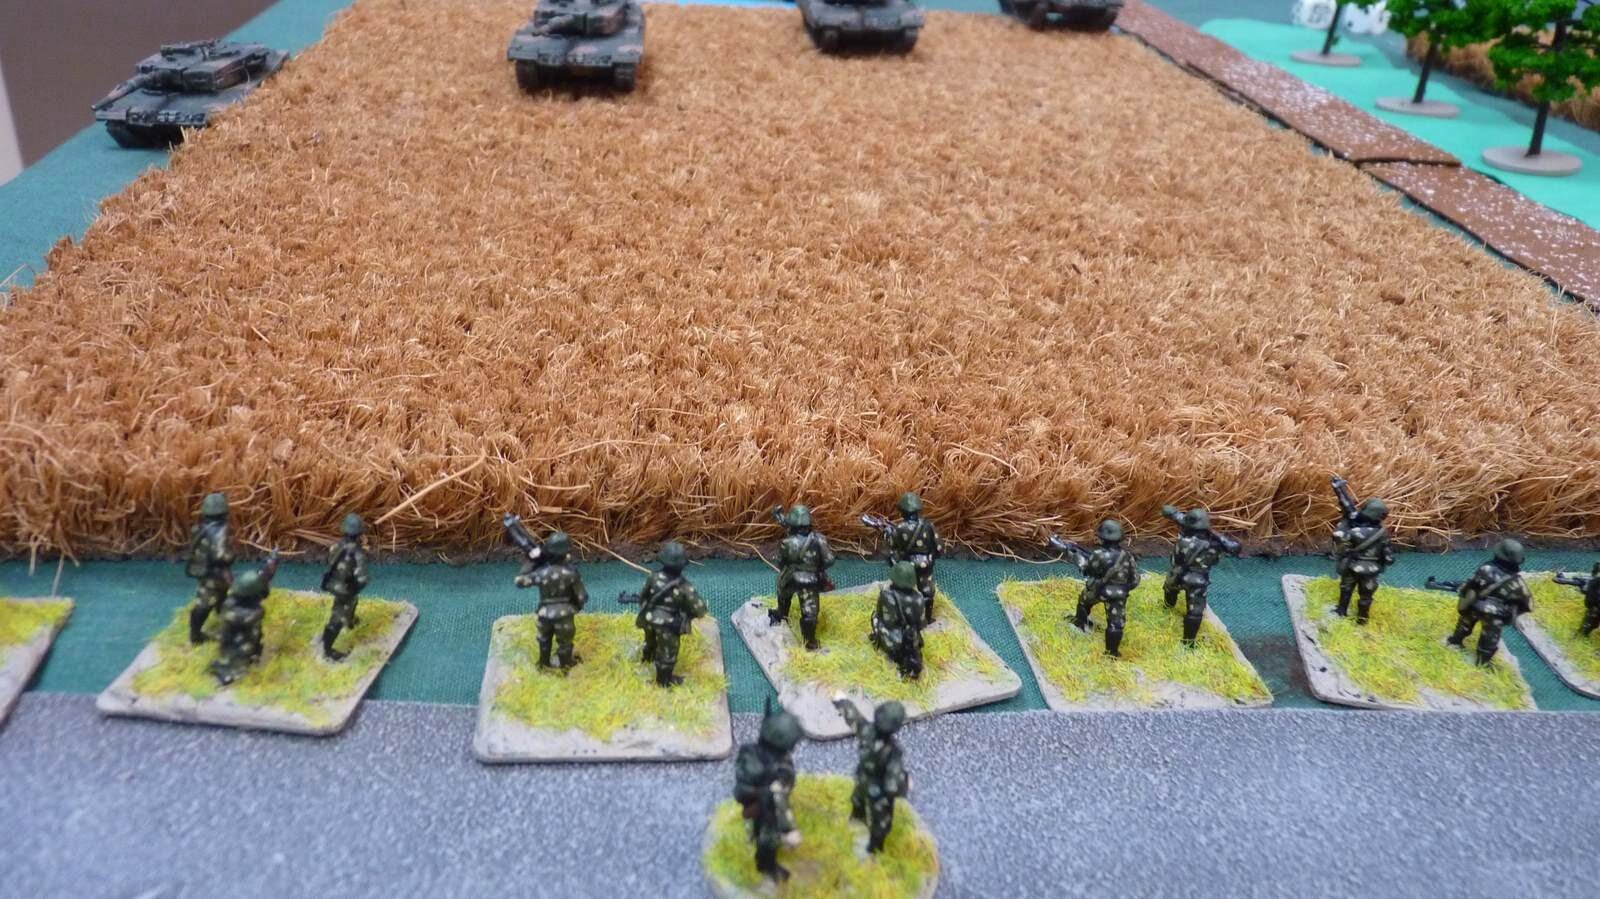
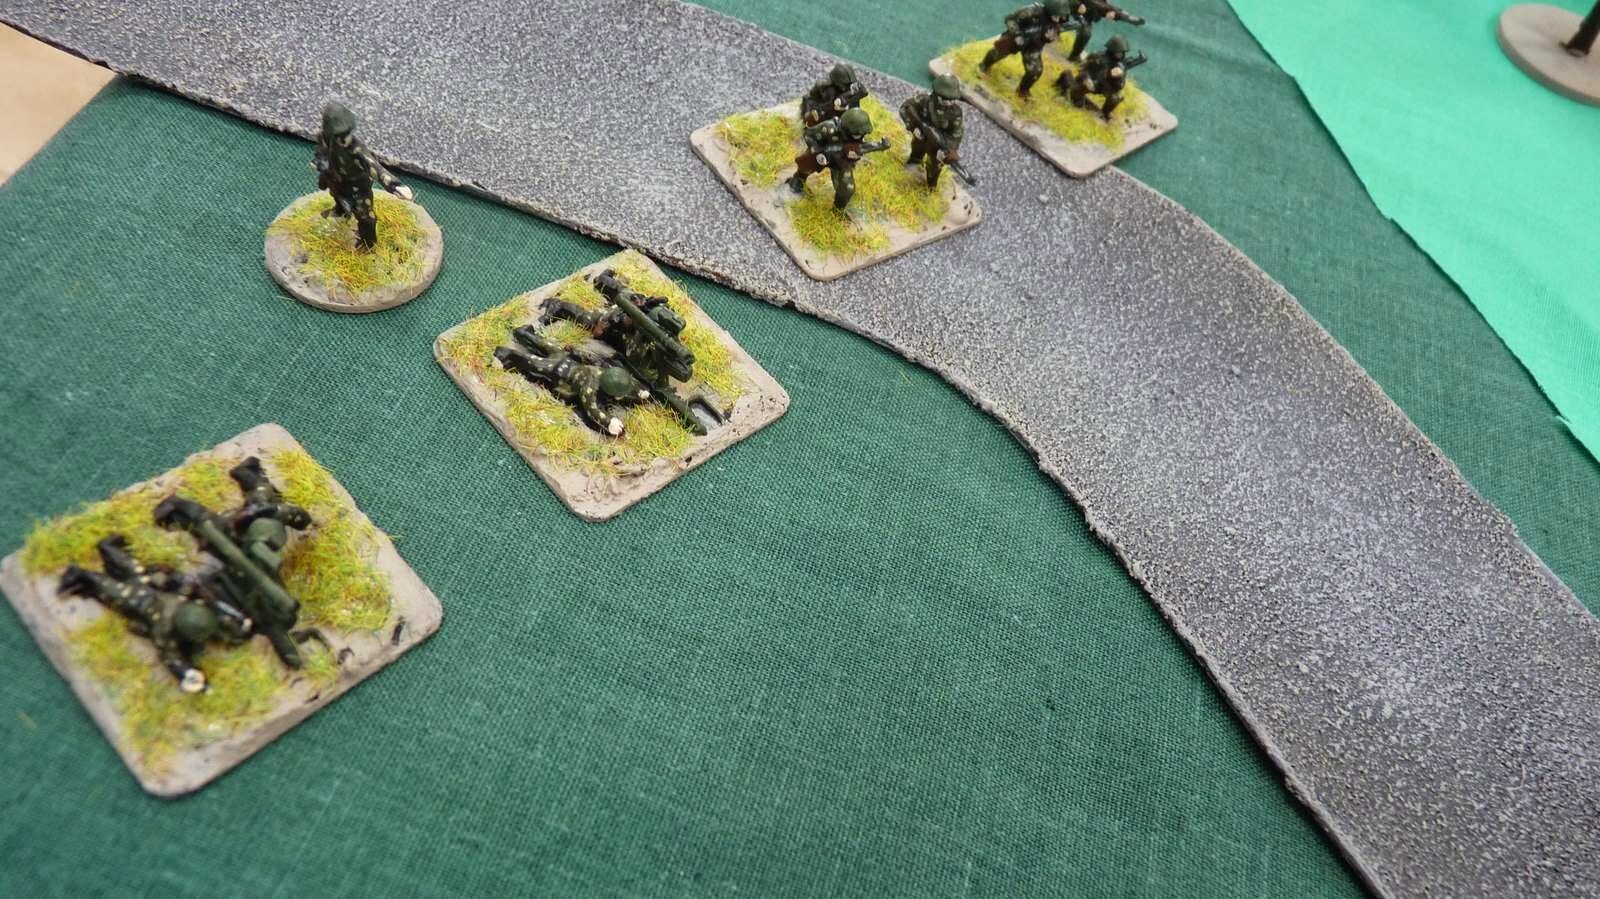
For the VC a failure to concentrate their forces meant that they never really hit hard in any one place. They did, however, take full advantage of their ability to sneak off and set up another ambush. Bizarre they left two HMGs they had in the tunnels, the extra firepower could have really hurt the US forces. What has been interesting over the months of playtests has been watching the players learn to use the correct tactics. The US forces are aware now that avoiding ambushes is almost impossible, so you move tactically to limit their effects when they are sprung. You also make sure that the supporting troops are close enough to add their firepower when it is needed.

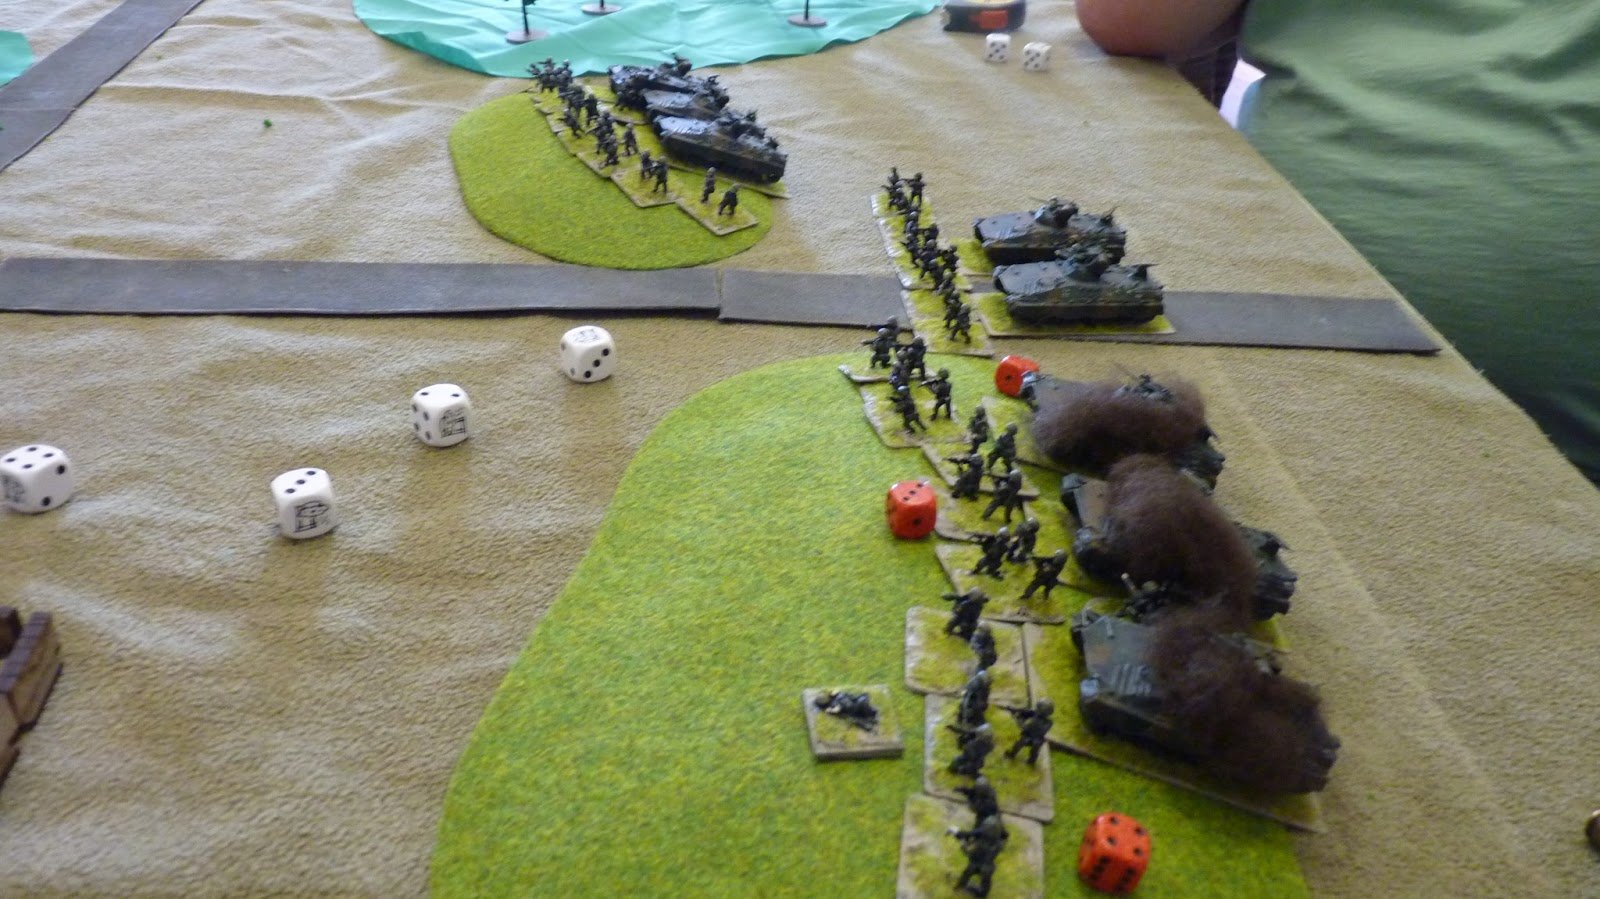
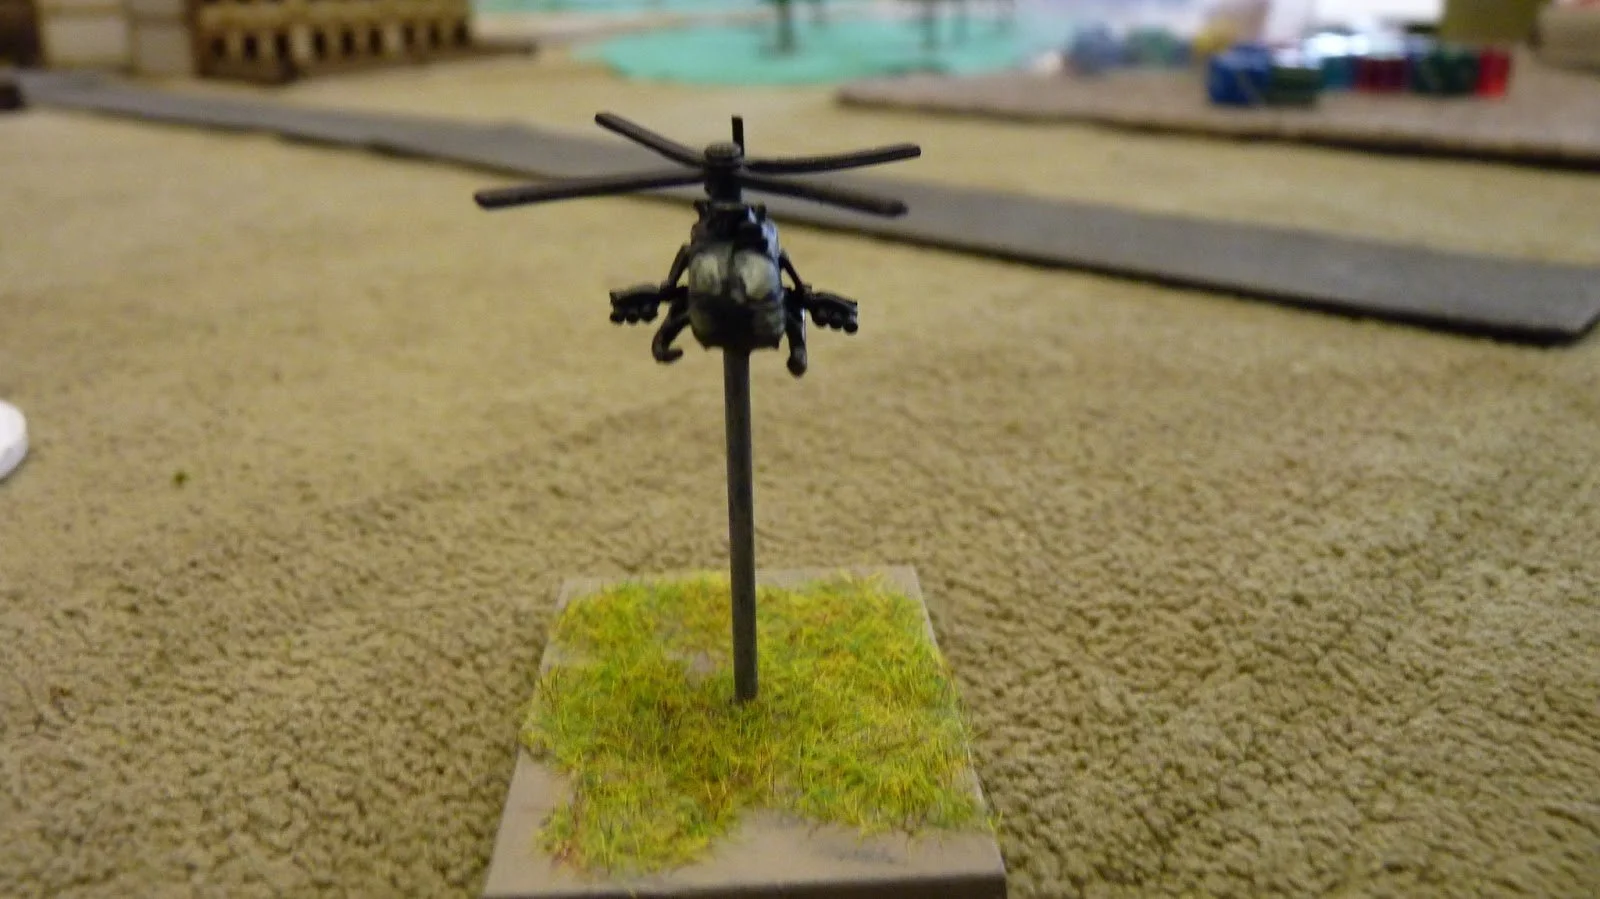
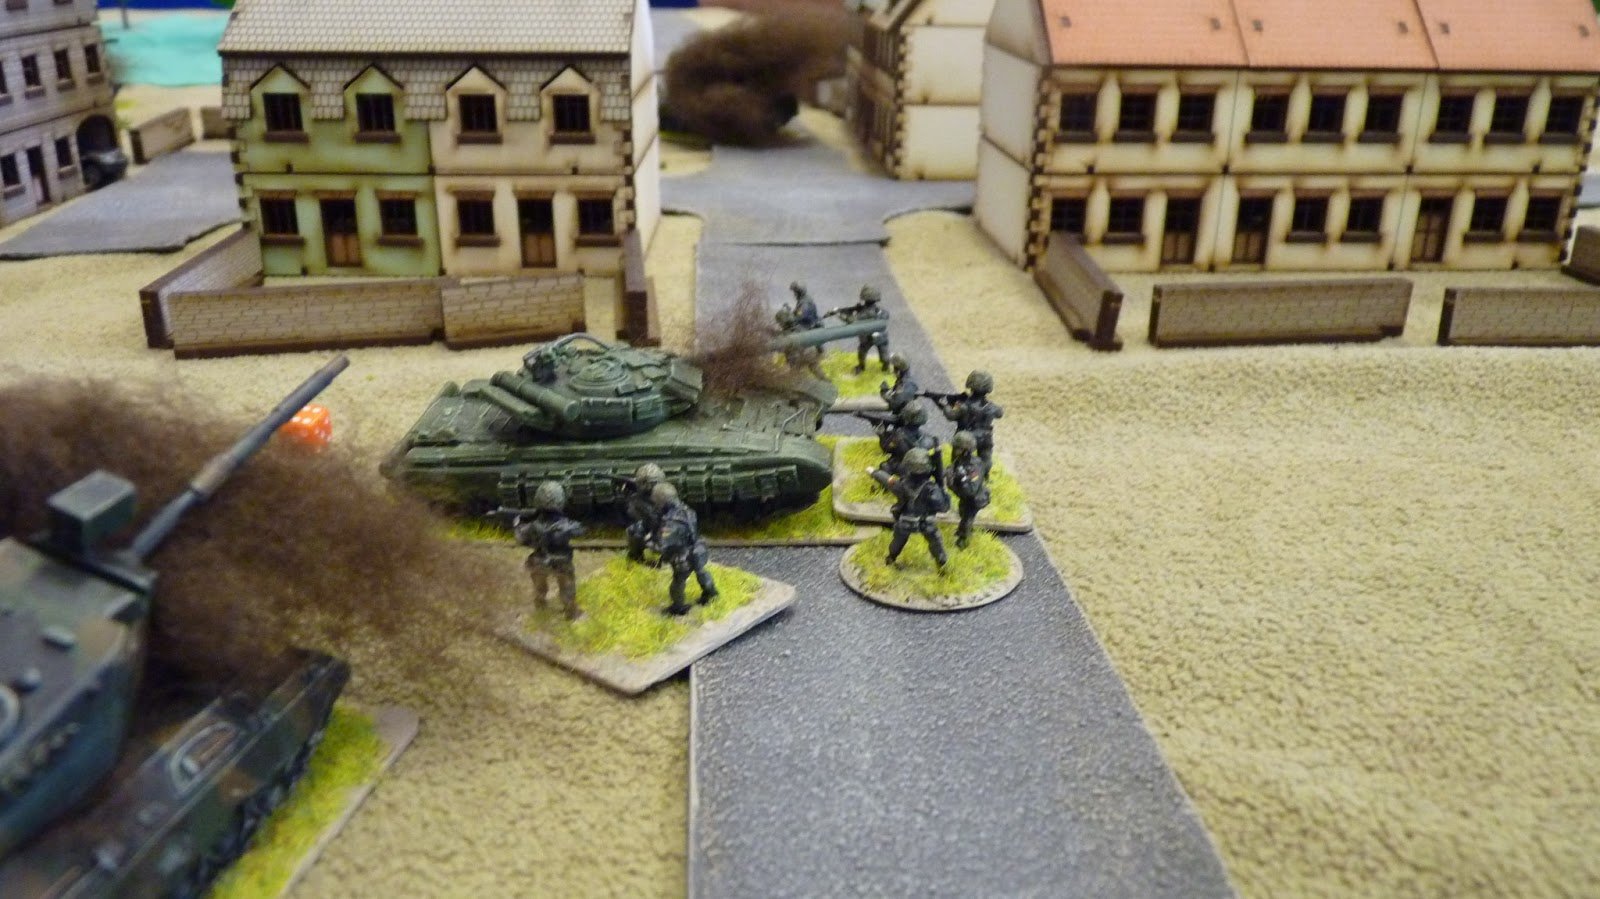
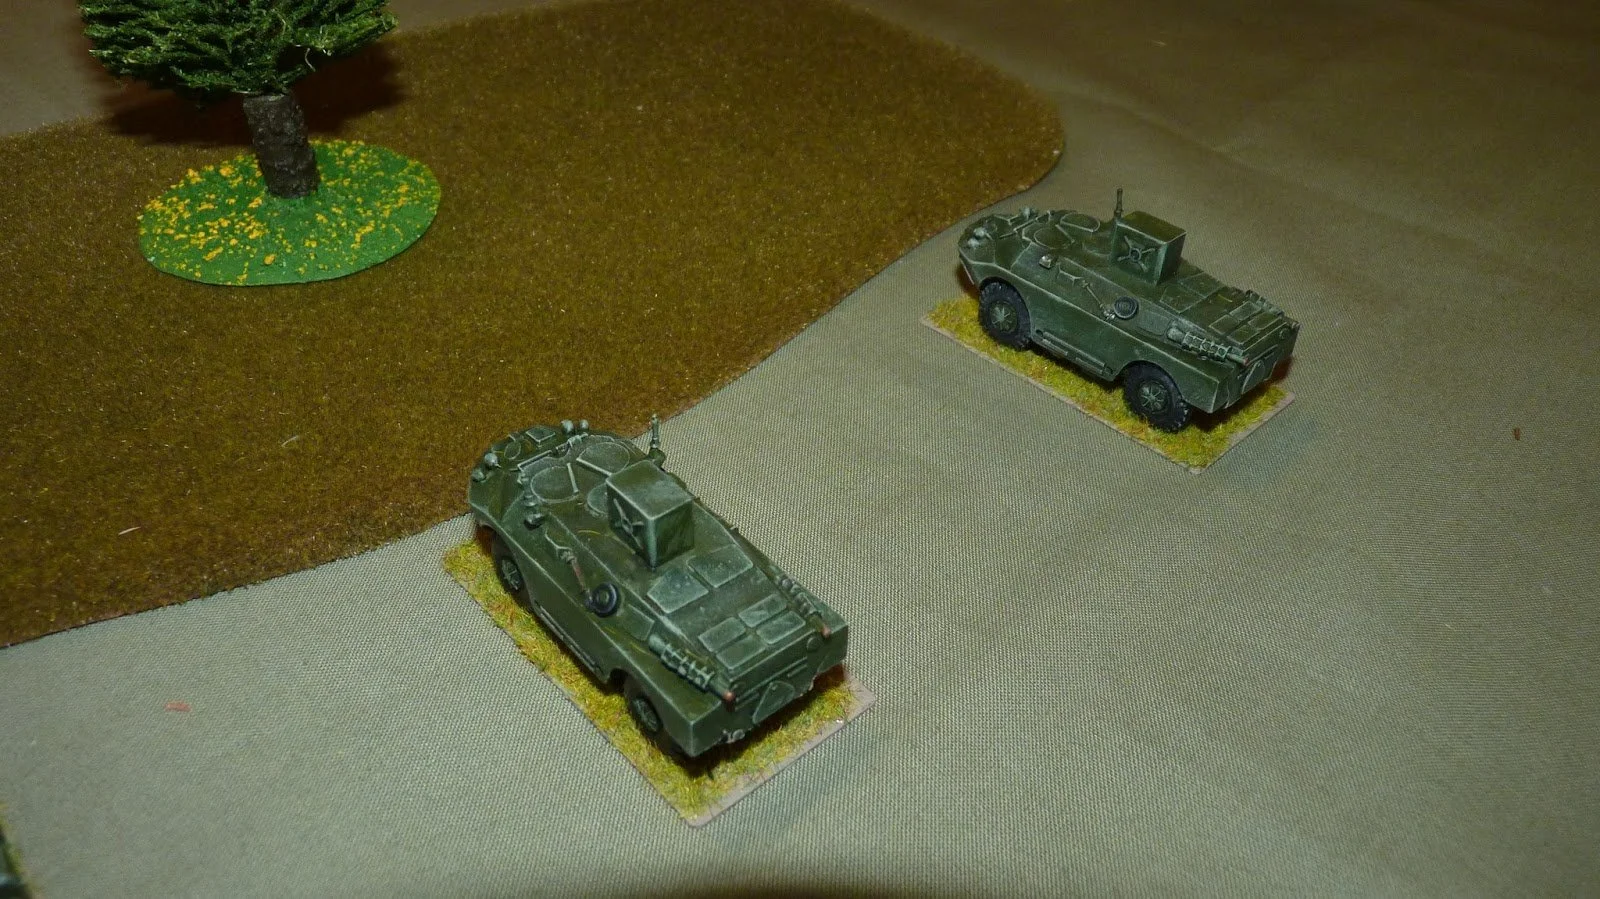
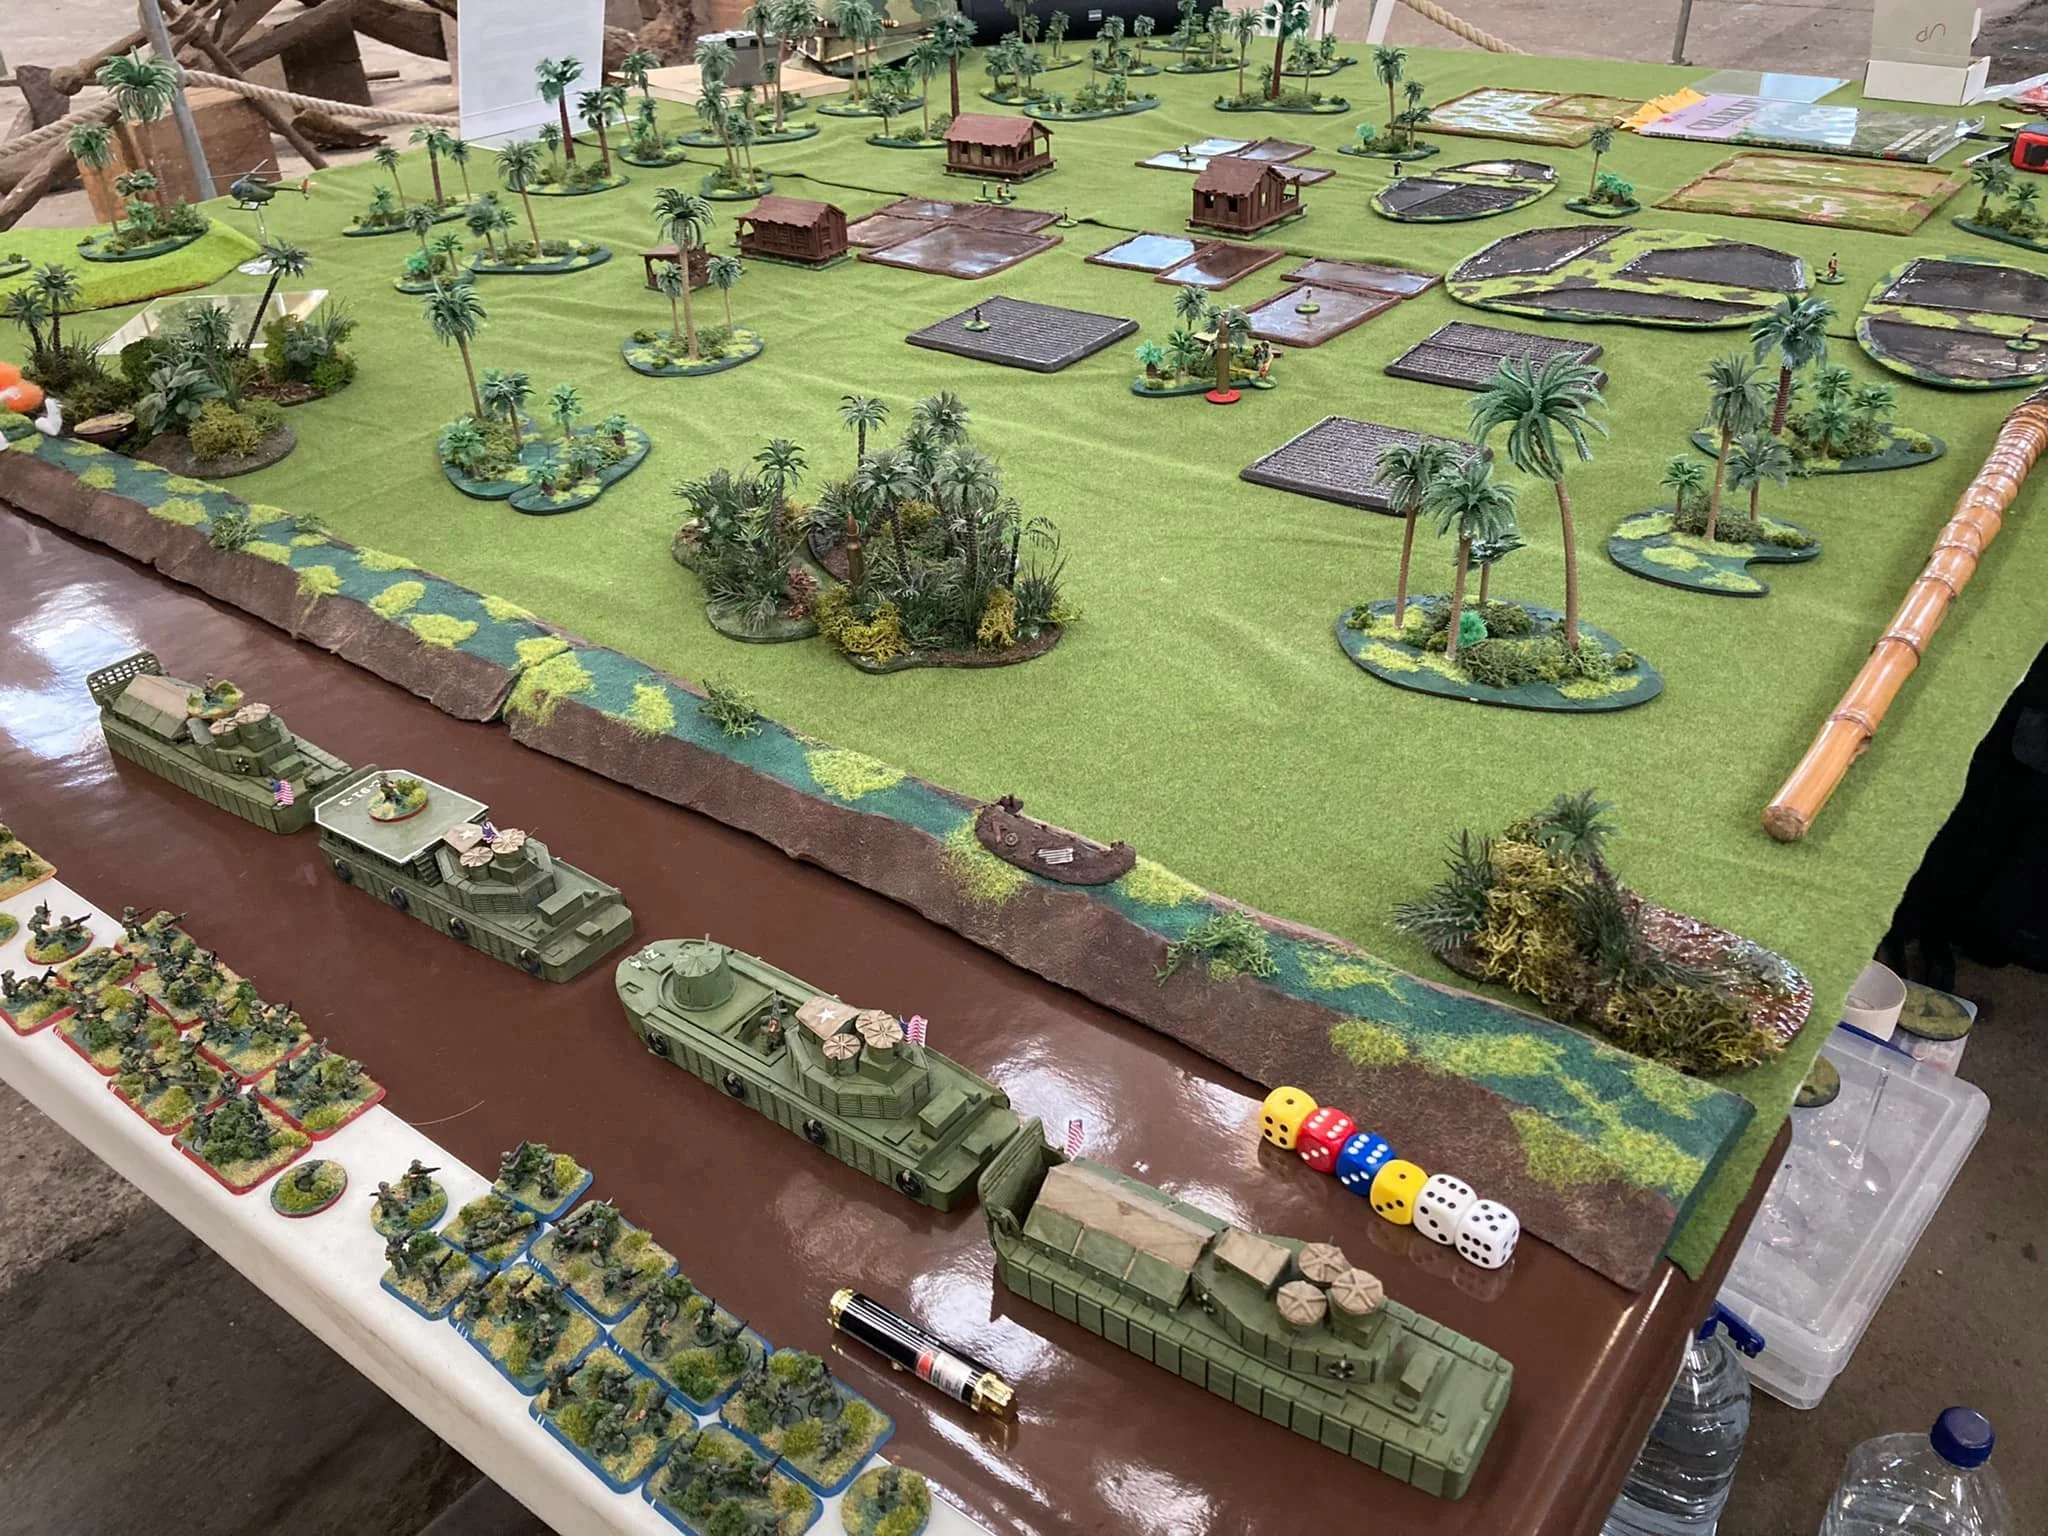
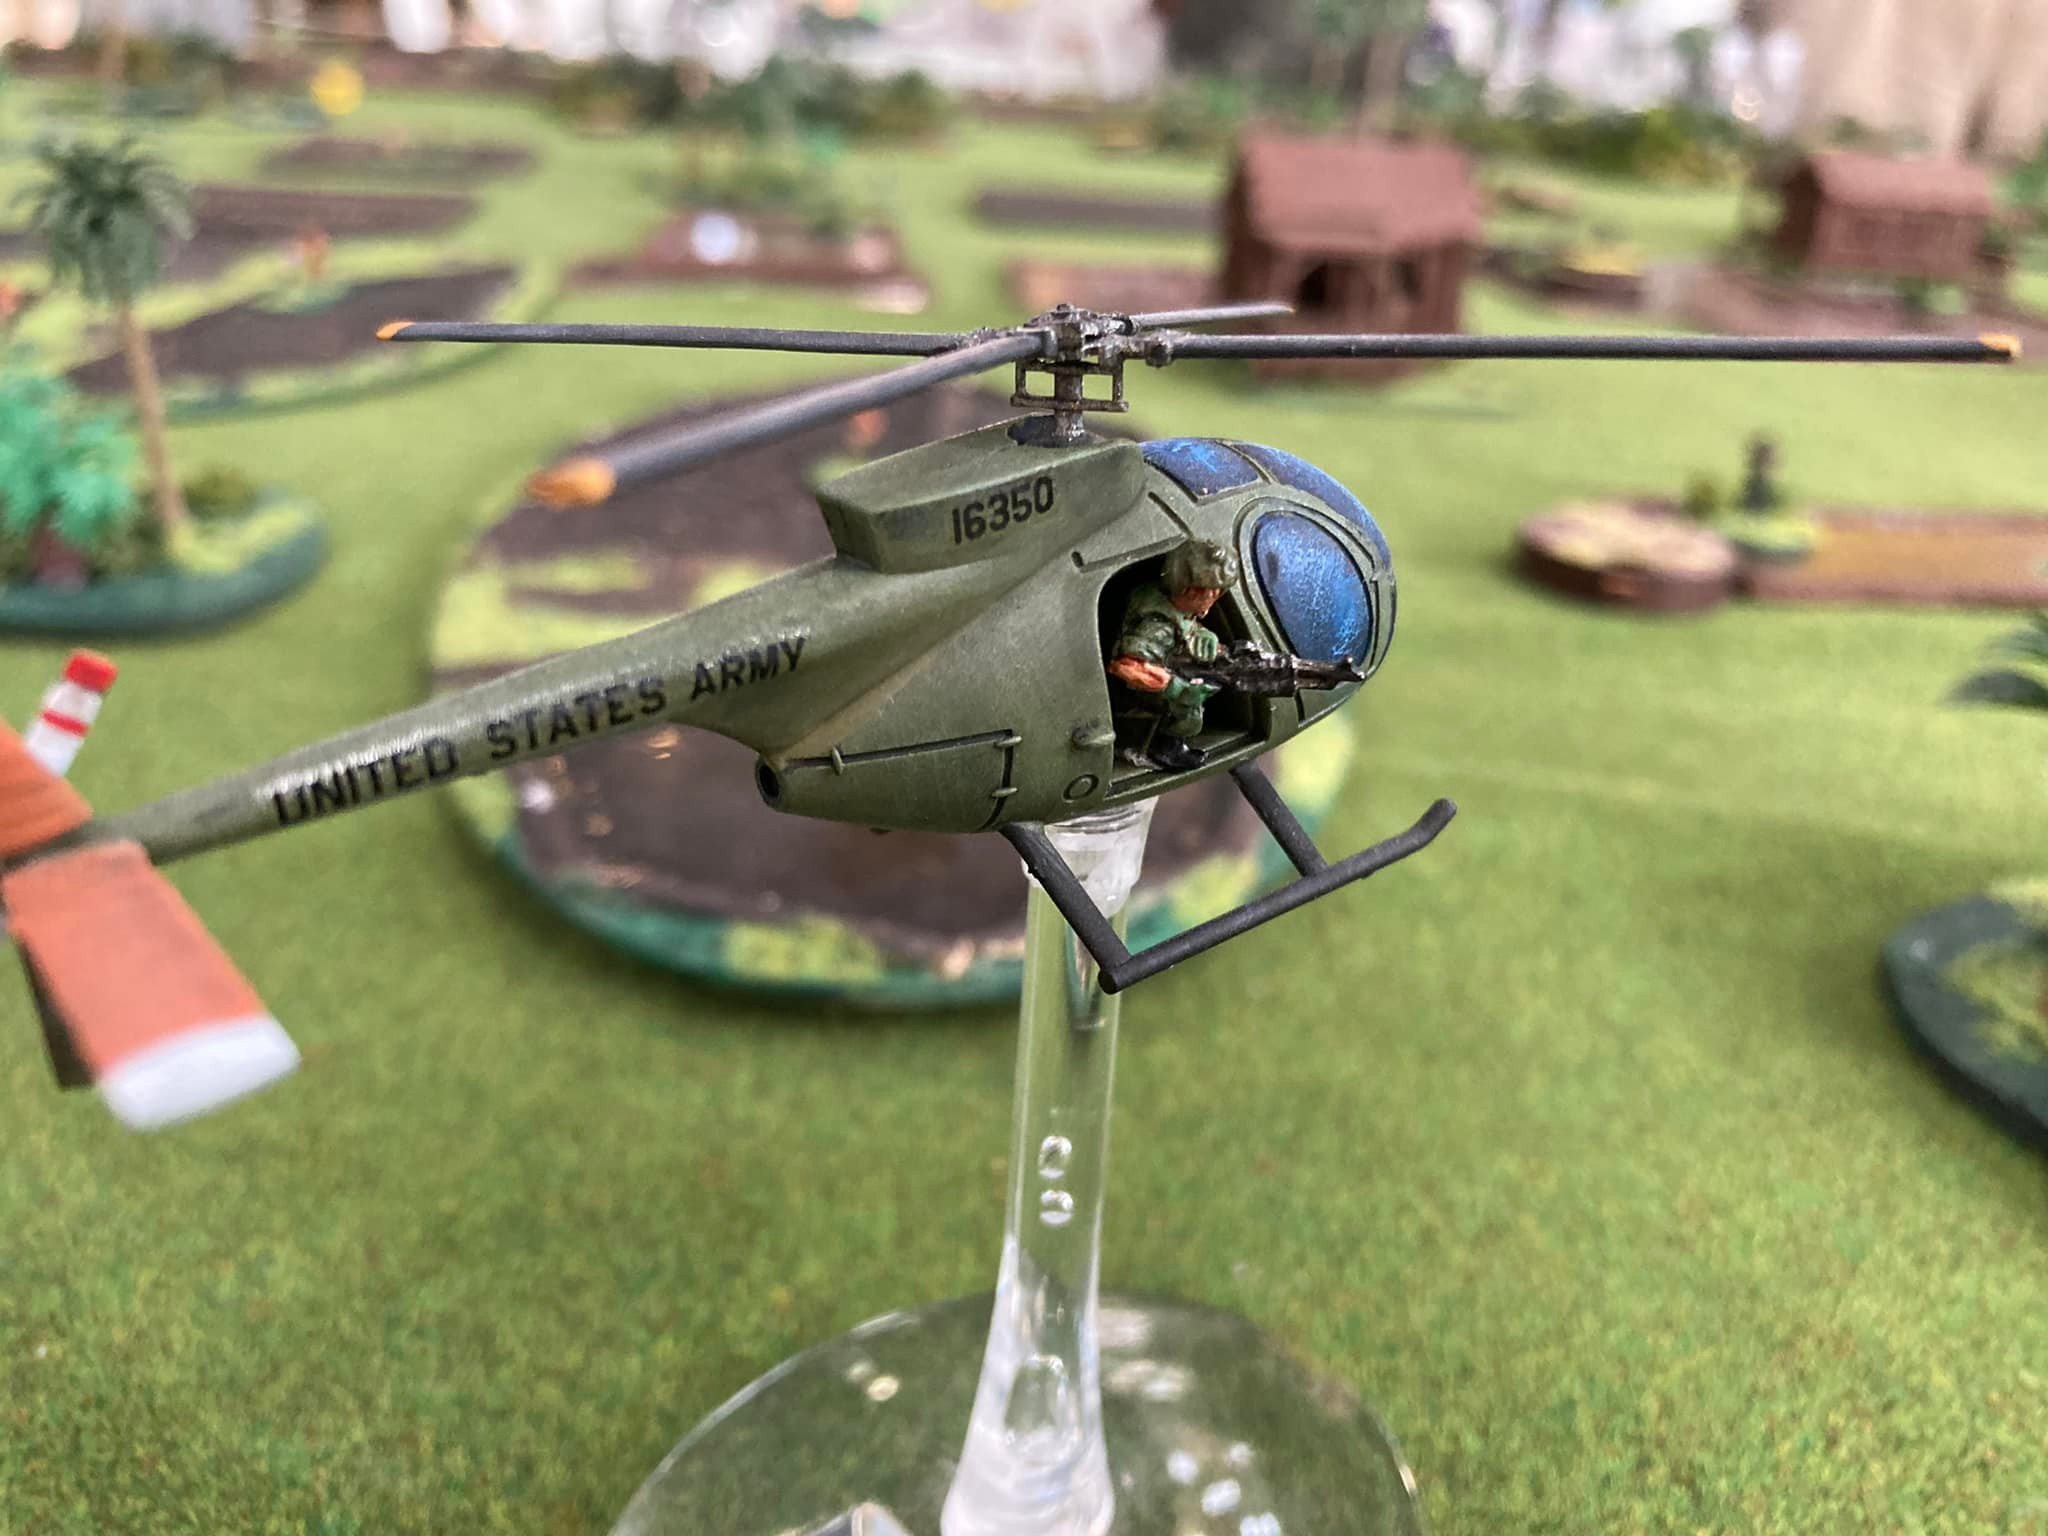
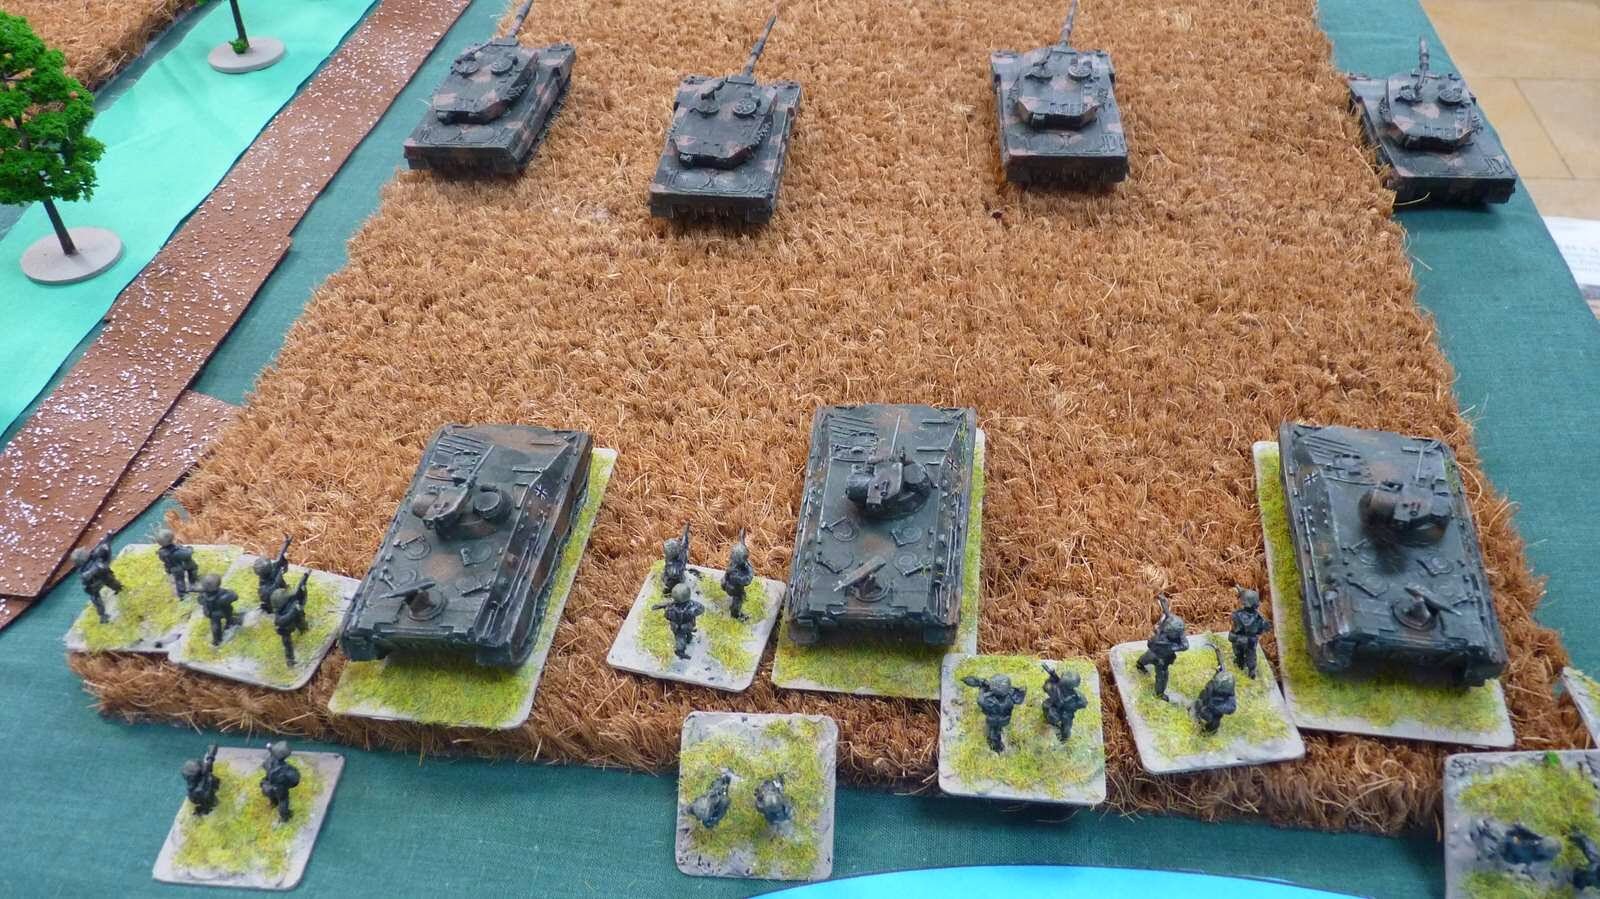
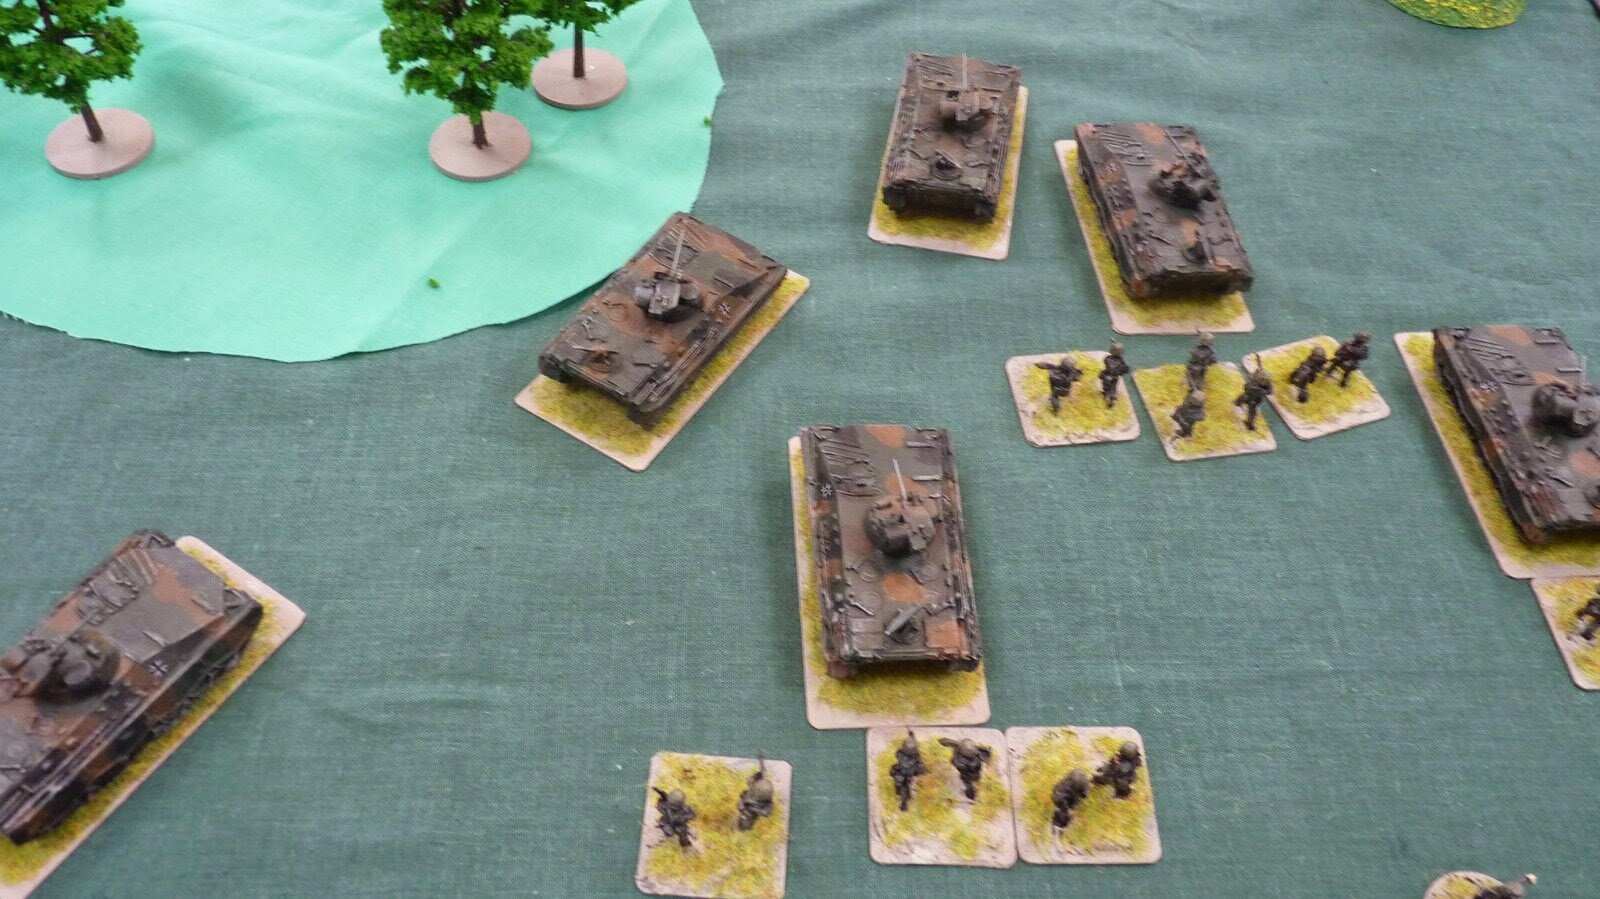
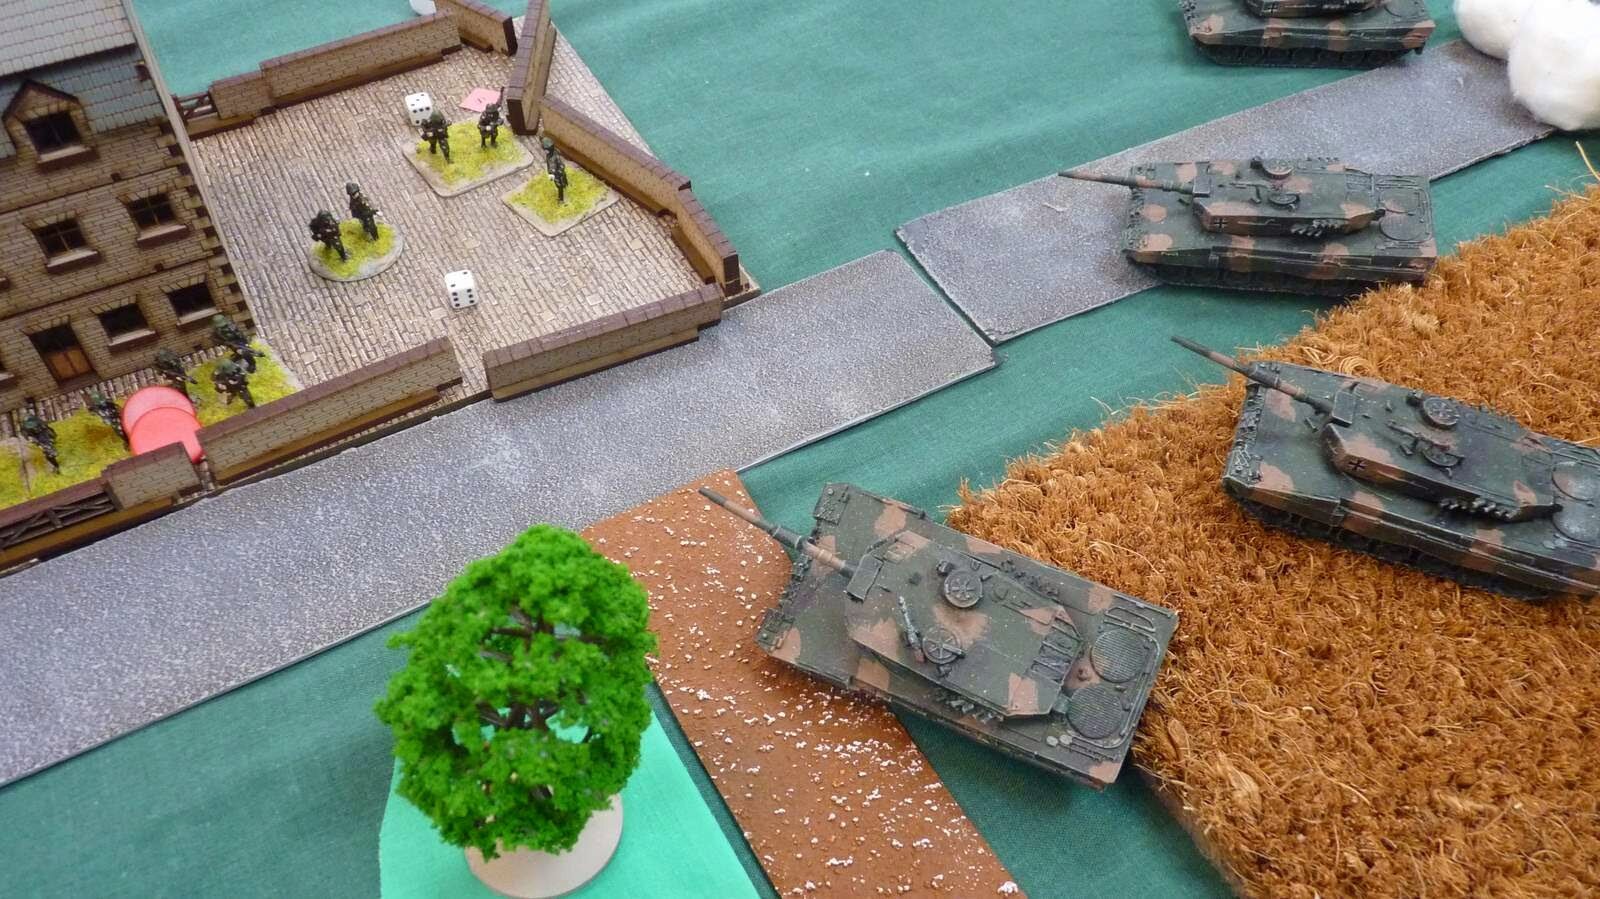
The VC players are really learning to hit hard and then slip away. They now know that in the confusion after the ambush the US player’s knee jerk reaction is to form a base of fire and get himself organised, providing the VC with valuable moments to simply disappear. Our game saw a full company of US forces (the weapons platoon was off-table with its mortars) plus an airmobile platoon of ARVN Rangers and a Huey Hog gunship in support faced with just two platoons of Main Force VC imbalanced game if we were to use any points system, and yet the VC came very close to winning a political victory, and could easily have avoided handing the US a complete military victory if they had not given away the position of their tunnel entrance in the final moments. What was more both sides really enjoyed the game.

Great game for me as umpire. My enthusiasm for these rules is almost boundless at present and I get a real sense of satisfaction as we finally declare the rules watertight and now move on to work on the final presentation and wording. After eight long years it seems that Charlie will, at last, surf. Projected release date is May.

Richard Clarke

 
MORE CDS AAR
HOME


October 12th is a national holiday in Spain and what best to celebrate than playing another game in Vietnam. As usual, we used Charlie Don`t Surf from the TooFatLardies factory and its companion scenarios book Surf's Up.

The scenario chosen was "Combat Engineer" and involved an engineer squad supplied with mine detectors with the mission to clear a major road traversing the table west to east. The squad was escorted by two light US infantry platoons (only the rifle sections but not the weapon support section) under command of a relatively newly arrived in-country Captain ("hesitant commander" class).

A routine mission in principle, unknown to the US there was a major VC force lurking in the area, travelling to a major concentration of troops for a surprise offensive on the Free World Forces camped nearby. Their orders were to cross the table in a north-east to south-west direction and whether possible, to mine the metallic road.

The US forces deployed first and out of blinds, entering the table through the west edge, one platoon covering each side of the road and the engineer squad clearing mines on the road itself.

Note: for game purposes we considered the engineers were successful clearing a 6 x 6 inches area by achieving 4 or more on a d6 roll; engineers were activated on their card, had 3 action dice and could act as a rifle squad if the situation got too hot.

US Forces: Initial Deployment

The VC player had two infantry platoons and a sapper squad. They deployed in blinds and had two dummy blinds in addition that could be placed anywhere up to 36" on the entry point.

The following chart show the situation at the start of the game:

The red markers at the north-east corner of the map above were the main VC force. The two blinds on the road were dummy blinds (ie., scouting or patrolling units).

Although the scenario did not include any, I decided to introduce a peaceful group of civilians entering the road through the east, probably coming back from the local village market day and leisurely returning home (a hooch located at the west edge of the table).

They moved randomly throughout the game (3d6 + deviation dice) and were activated on the blank card. Initially, they deployed in a blind, creating much confusion (to my amusement) to both players as belonging to neither, they showed to be really concerned about what was going on there. Once both players spotted the blind, the civilian deployed.

This poor group of peasents unexpectedly crossed from time to time the line of fire of the combat units. As the rules state that negative victory points are awarded to players who cause civilian casualties, they had to decide whether to risk or not shooting the enemy when civilians moved nearby.

Returning now to the action, as in many other games the players today seem to forget their orders (and the victory conditions) and instead both hurried to go into direct confrontation. Bad tactics for the Americans, as in this game they were in net disadvantage in terms of fire power (no LMGs) and commanded by relatively weak leaders.

The VC player, making good use of the Di Di Mau card, hide one platoon in the jungle, in the pathway of the American unit moving at the north of the road. The Americans advanced (carefully) towards the other visible platoon (still in a blind) only to be ambushed in short time by the hidden enemy.

Ambush!

One US squad was hors de combat almost immediately and a second severely mauled. But the VC player sensing the scent of blood, decided to bring the second platoon into the fray instead of taking advantage of the situation to move their forces quickly and unmolested towards the exit point (south-west edge of the table).

The VC did not realize that they were losing precious time engaged in a nonsensical fire-fight while the US engineer squad kept moving relentlessly along the road, clearing any potential mines.

Even more astonishing (to me), the VC sent BACK its sapper squad to the eastern edge of the road (opposite to its exit point) to plant a few mines there; not only they were happily giving away their chances of winning the game, but this was basically a useless action as the US engineer would be cleaning that part of the road in a few turns!!

After some initial hesitation, and facing overwhelming odds, the US players seemed to come to their senses. First, the Company commander took control of the platoon in the north side of the road, helping to reduce the level of shock and pulling back from the fire in good order, forming a defensive perimeter along the road bank and protecting the flank of the engineers on the road.

Second, the US platoon south of the road sent a squad to reinforce their beleaguered comrades, while the two remaining sections and the commanding Lt advanced to chase the VC sappers, which they do in short time.

The VC player also seemed to recover some sense and came to realize that the mission was NOT engaging the Free World Forces in combat, but to join their main parent force to take part in the future major offensive. Both VC platoons also disengaged from combat, bypassed the Americans and moved as fast as possible towards the exit point.

A VC squad broken by a fierce attack of the US reinforcement section had to remain in the area, after accumulating so much shock that it could not move of fire with some significant effect. I mention it because, should it had routed and left the table through the north edge, or being caught prisoners, it would have broken the final tie result of the game in favour of the Americans.

The final few turns saw both players rushing to comply with the victory conditions: the US forces clearing the road from mines and the VC leaving the table by the south-western edge.

VCs Heading South

It was now time to bring the game to an end and declare a draw. The gross of the VC forces were already reaching the exit point and the Americans had almost finished the road clearing work. In terms of casualties both also presented a tie, the initial advantage of the VCs after the ambush lost when their sapper unit fell to the deadly American M16 fire. And the section stranded in the north, were put under command of a VC big man who managed to maintain the shock level under control, avoiding a the rout of this small force.

A surprisingly simple but really interesting scenario. Both player teams really enjoyed the game and ranked it high in the list of games player so far with CDS. I see some potential to be used as a basic skeleton to develop more complex scenarios, involving airmobile insertions or adding some traps or ambushes to force the US side to play more careful.

Benito

 
MORE AAR
HOME
 
 
Picture2.png


Well, this Sunday we did another play test of IABSM3 to introduce more of the rules like indirect fire, snipers, and night fighting. We did this play test at Wargamer’s Cave (link) again, but this time using my 20mm Falklands figures. The scenario was a fictional engagement of two platoons of UK Para’s with some support (a SFGPMG team, a Carl Gustav team, and a half battery of 105mm on call) vs. a weak platoon of Argentine Army Commandos with some support (a SFGPMG team, a section of 81mm mortars with a FOO, and a sniper). Steve H. was running the Para’s and Curtis T. was running the Commandos. Each Para figure was equal to two men and the Commando figures were 1 figure to 1 man. I didn’t get my Falkland’s Blinds done, so I was using Viet Cong blinds for the Commandos and the Para’s did not start under blinds. I also did not get my Art Cow cards yet either.

Argentine Commandos in defensive positions

Argentine Commandos in defensive positions

The background of the scenario is that the Commandos were camped out at a farm, but expecting a push by the British, was able to deploy his platoon and support in about the center of the board. The Para’s were on a time schedule, so had to advance in a fairly straight line until an engagement broke out.

The Para Platoon making a flanking attack

The Para Platoon making a flanking attack

I failed to take photographs until about half way through the game. So, what happen earlier in play test was the Commandos were very observant and spotted the Para’s right off at the get go, but the Para’s were have some problems spotting until their Big Men started using their flares. Thanks to the flares and the poor dice rolling by Curtis, the Commandos were losing men, but doing no damage to the Para’s.

Preparing to seize the hill crest

Preparing to seize the hill crest

One of the Para platoons laid a base of fire as the other started to flank the Commandos. The Para’s never got their FOO in to a position to call in the 105’s, but the Commandos were able to eventually get their 81’s to fire for effect on one of the Para sections. The flanking Para platoon crested the hill next to the Commandos. With that, the Argentine commander orders the one section of Commandos still around to charge up the hill against two Para sections. It did not go well for the Commandos.

Moments before the Commando's charge

Moments before the Commando's charge

The Commando's charge

The Commando's charge

The result from the Commando's six dice, two Para's killed

The result from the Commando's six dice, two Para's killed

The results of the Para's 20 dice, 12 Commandos killed

The results of the Para's 20 dice, 12 Commandos killed

At the end of the game, fourteen Argentine Commandos were killed, mostly from the charge up the hill. Three Para’s were killed, with two from the Commando charge and one from the mortar attack. I think everyone enjoyed the game, but we still need to get more familiar with the new Big Man rules.

Sapper Joe


Picture2.png


This is an attack-defence scenario based on a West German counter-attack after Soviet forces had been halted by NATO resistance. The Germans had a Panzergrenadier company in Marders supported by a platoon of Leopard 2s and the battalion 120mm mortars. They were faced by a motor rifle company minus its BTRs, but with a pair of 100mm anti-tank guns (yes they still had towed anti-tank guns in front line units) in support and the battalion Zampolit (commissar) on hand to remind the troops of the historic inevitability of their victory.

Result - a decisive West German victory. The Germans were able to focus their firepower on while the Soviet anti-tank assets were unable to affect the result, firing only briefly and with a lack of accuracy.

The new firing table with amended rules on pinning  and suppression were effective and the new tank platoon orders worked. Overall a good test of the rules.

Nick Overland


HOME
MORE AAR