Tankfest 2026
/For Christmas last year, the kids got me a ticket to Tankfest 2026, held at Bovington Tank Museum in Dorset at the end of June.

Although I’ve been to the Tank Museum many times, this was my first Tankfest…and a great day out it proved to be. Okay, it was the hottest day of the year, but there was plenty of shade in the museum when things got a bit much outside, loads of free water stations scattered throughout the site, and regular warnings from the organisers about the need for sun cream and hydration. Plenty of toilets too: no queueing involved!
So what was it like? Parking is easy - all laid on and included in the price of the ticket - and the queue to get in was fast-moving and well-organised.
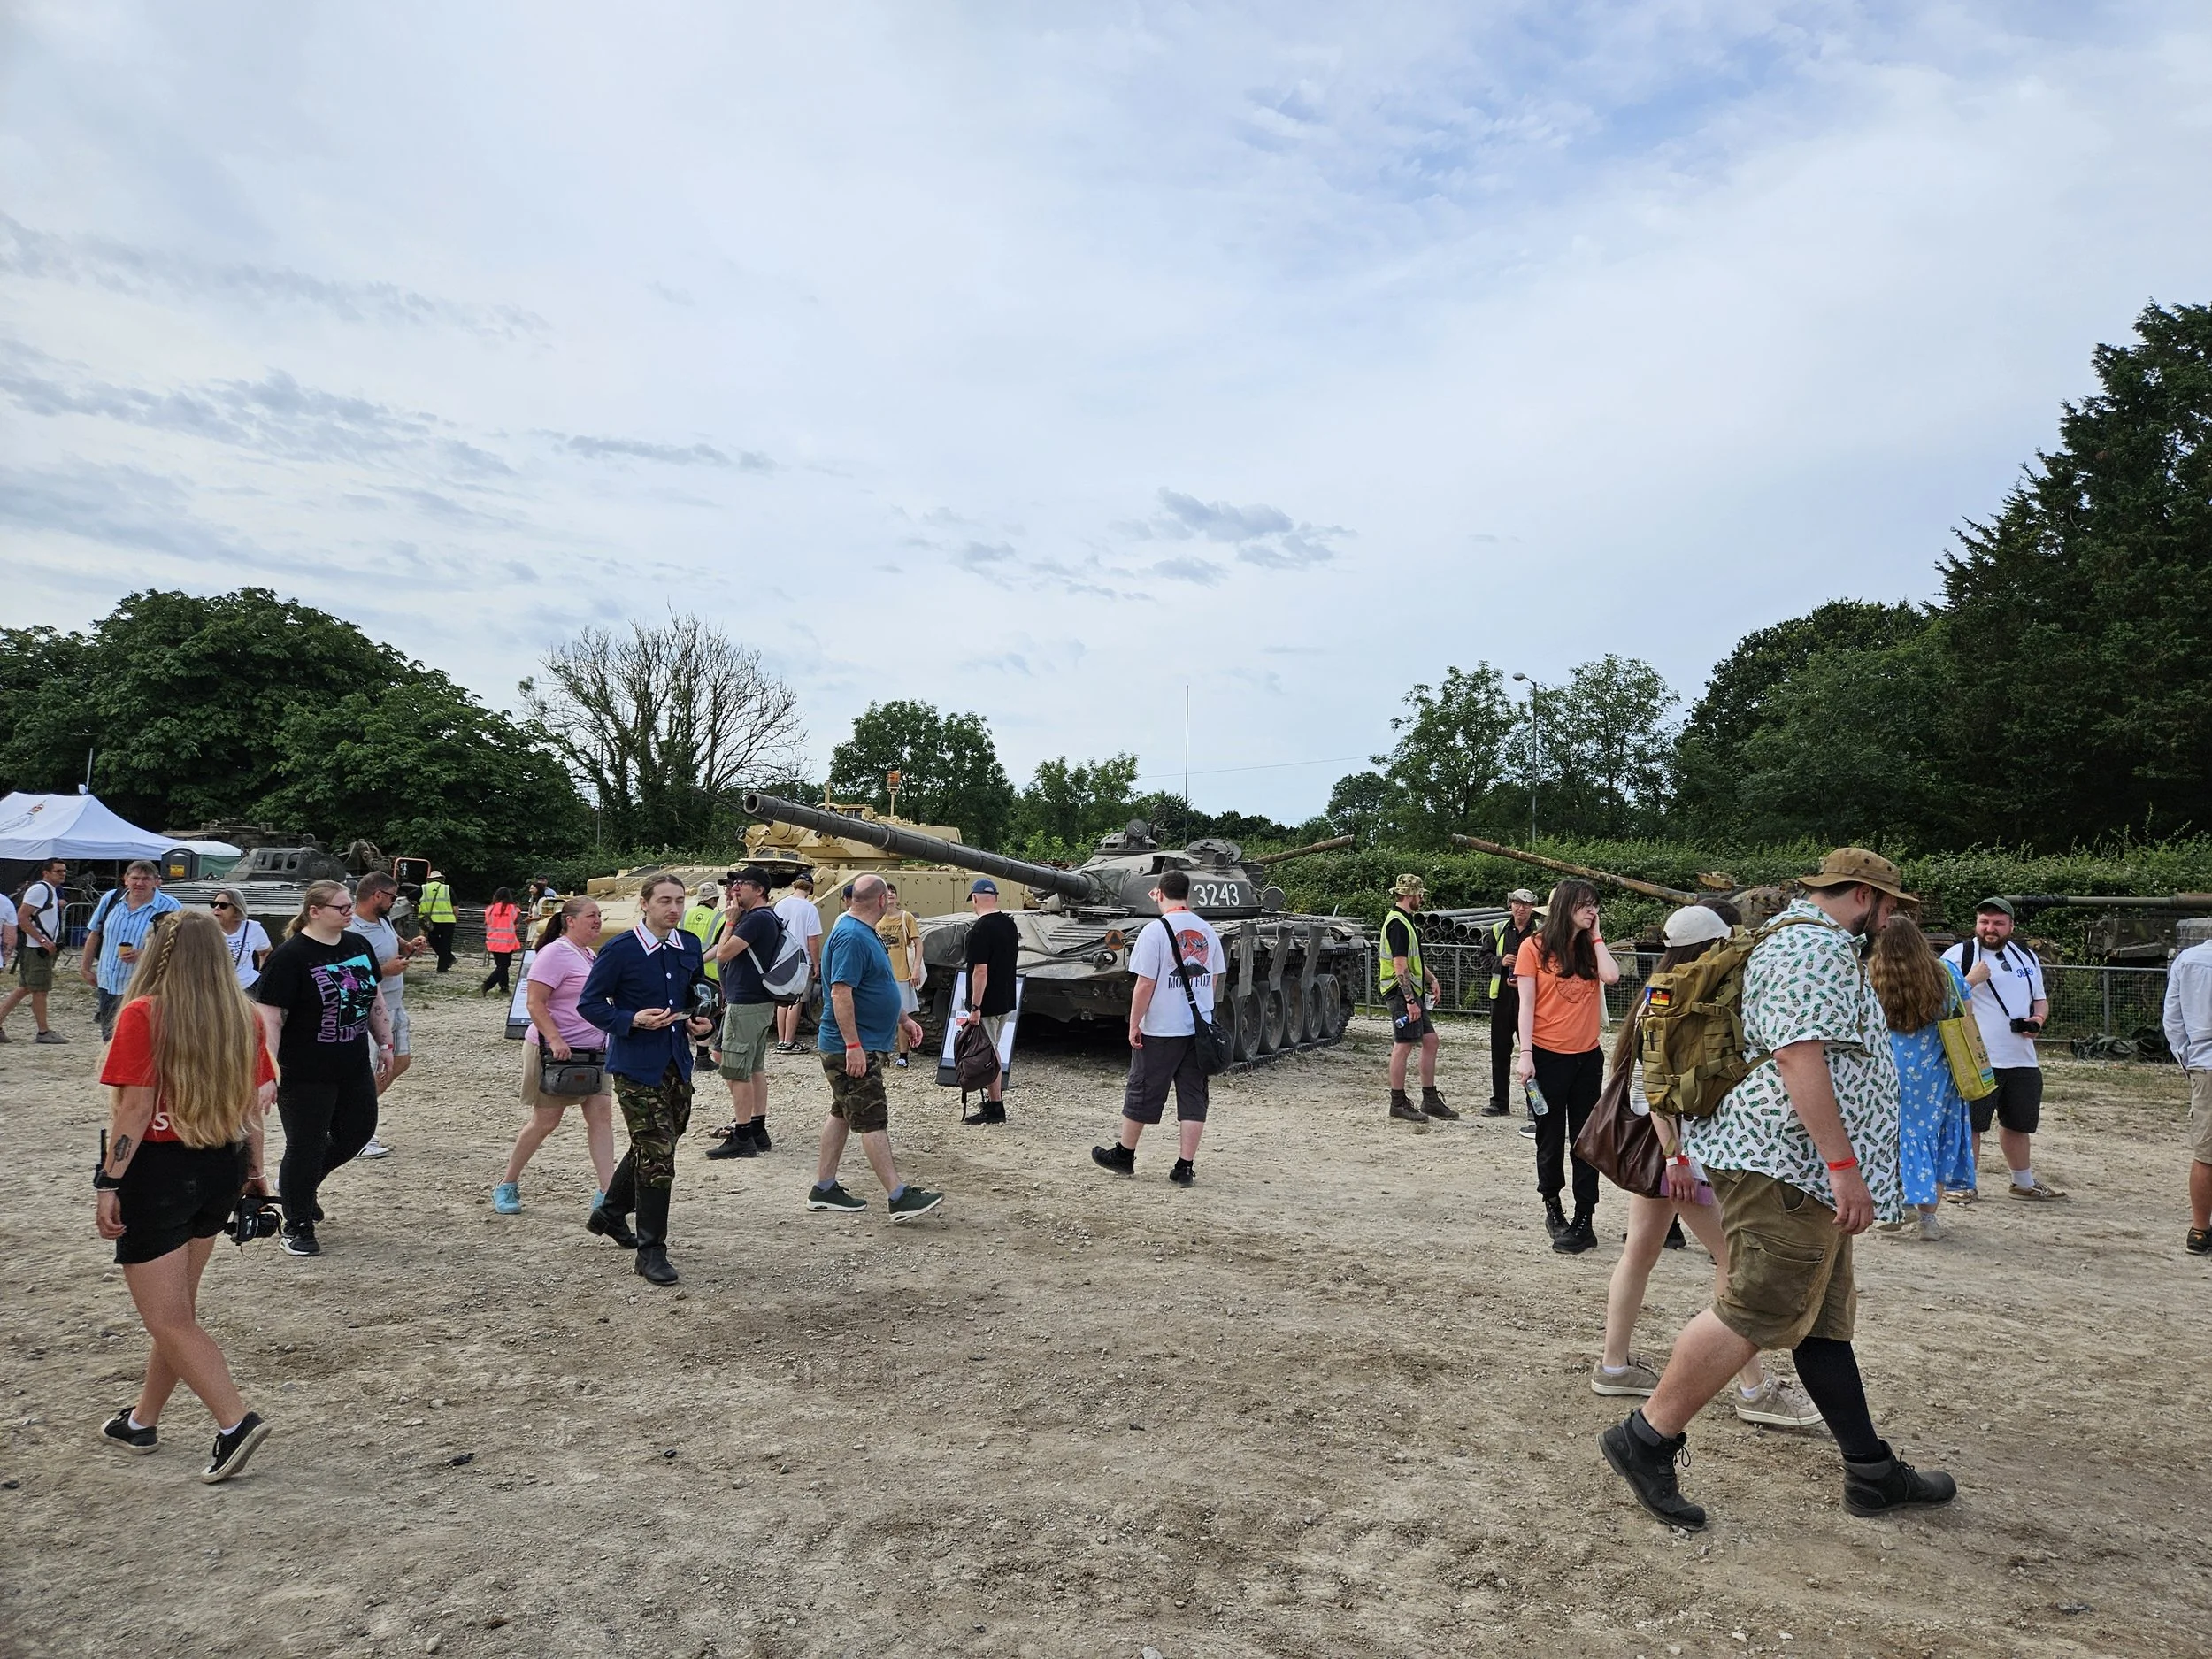
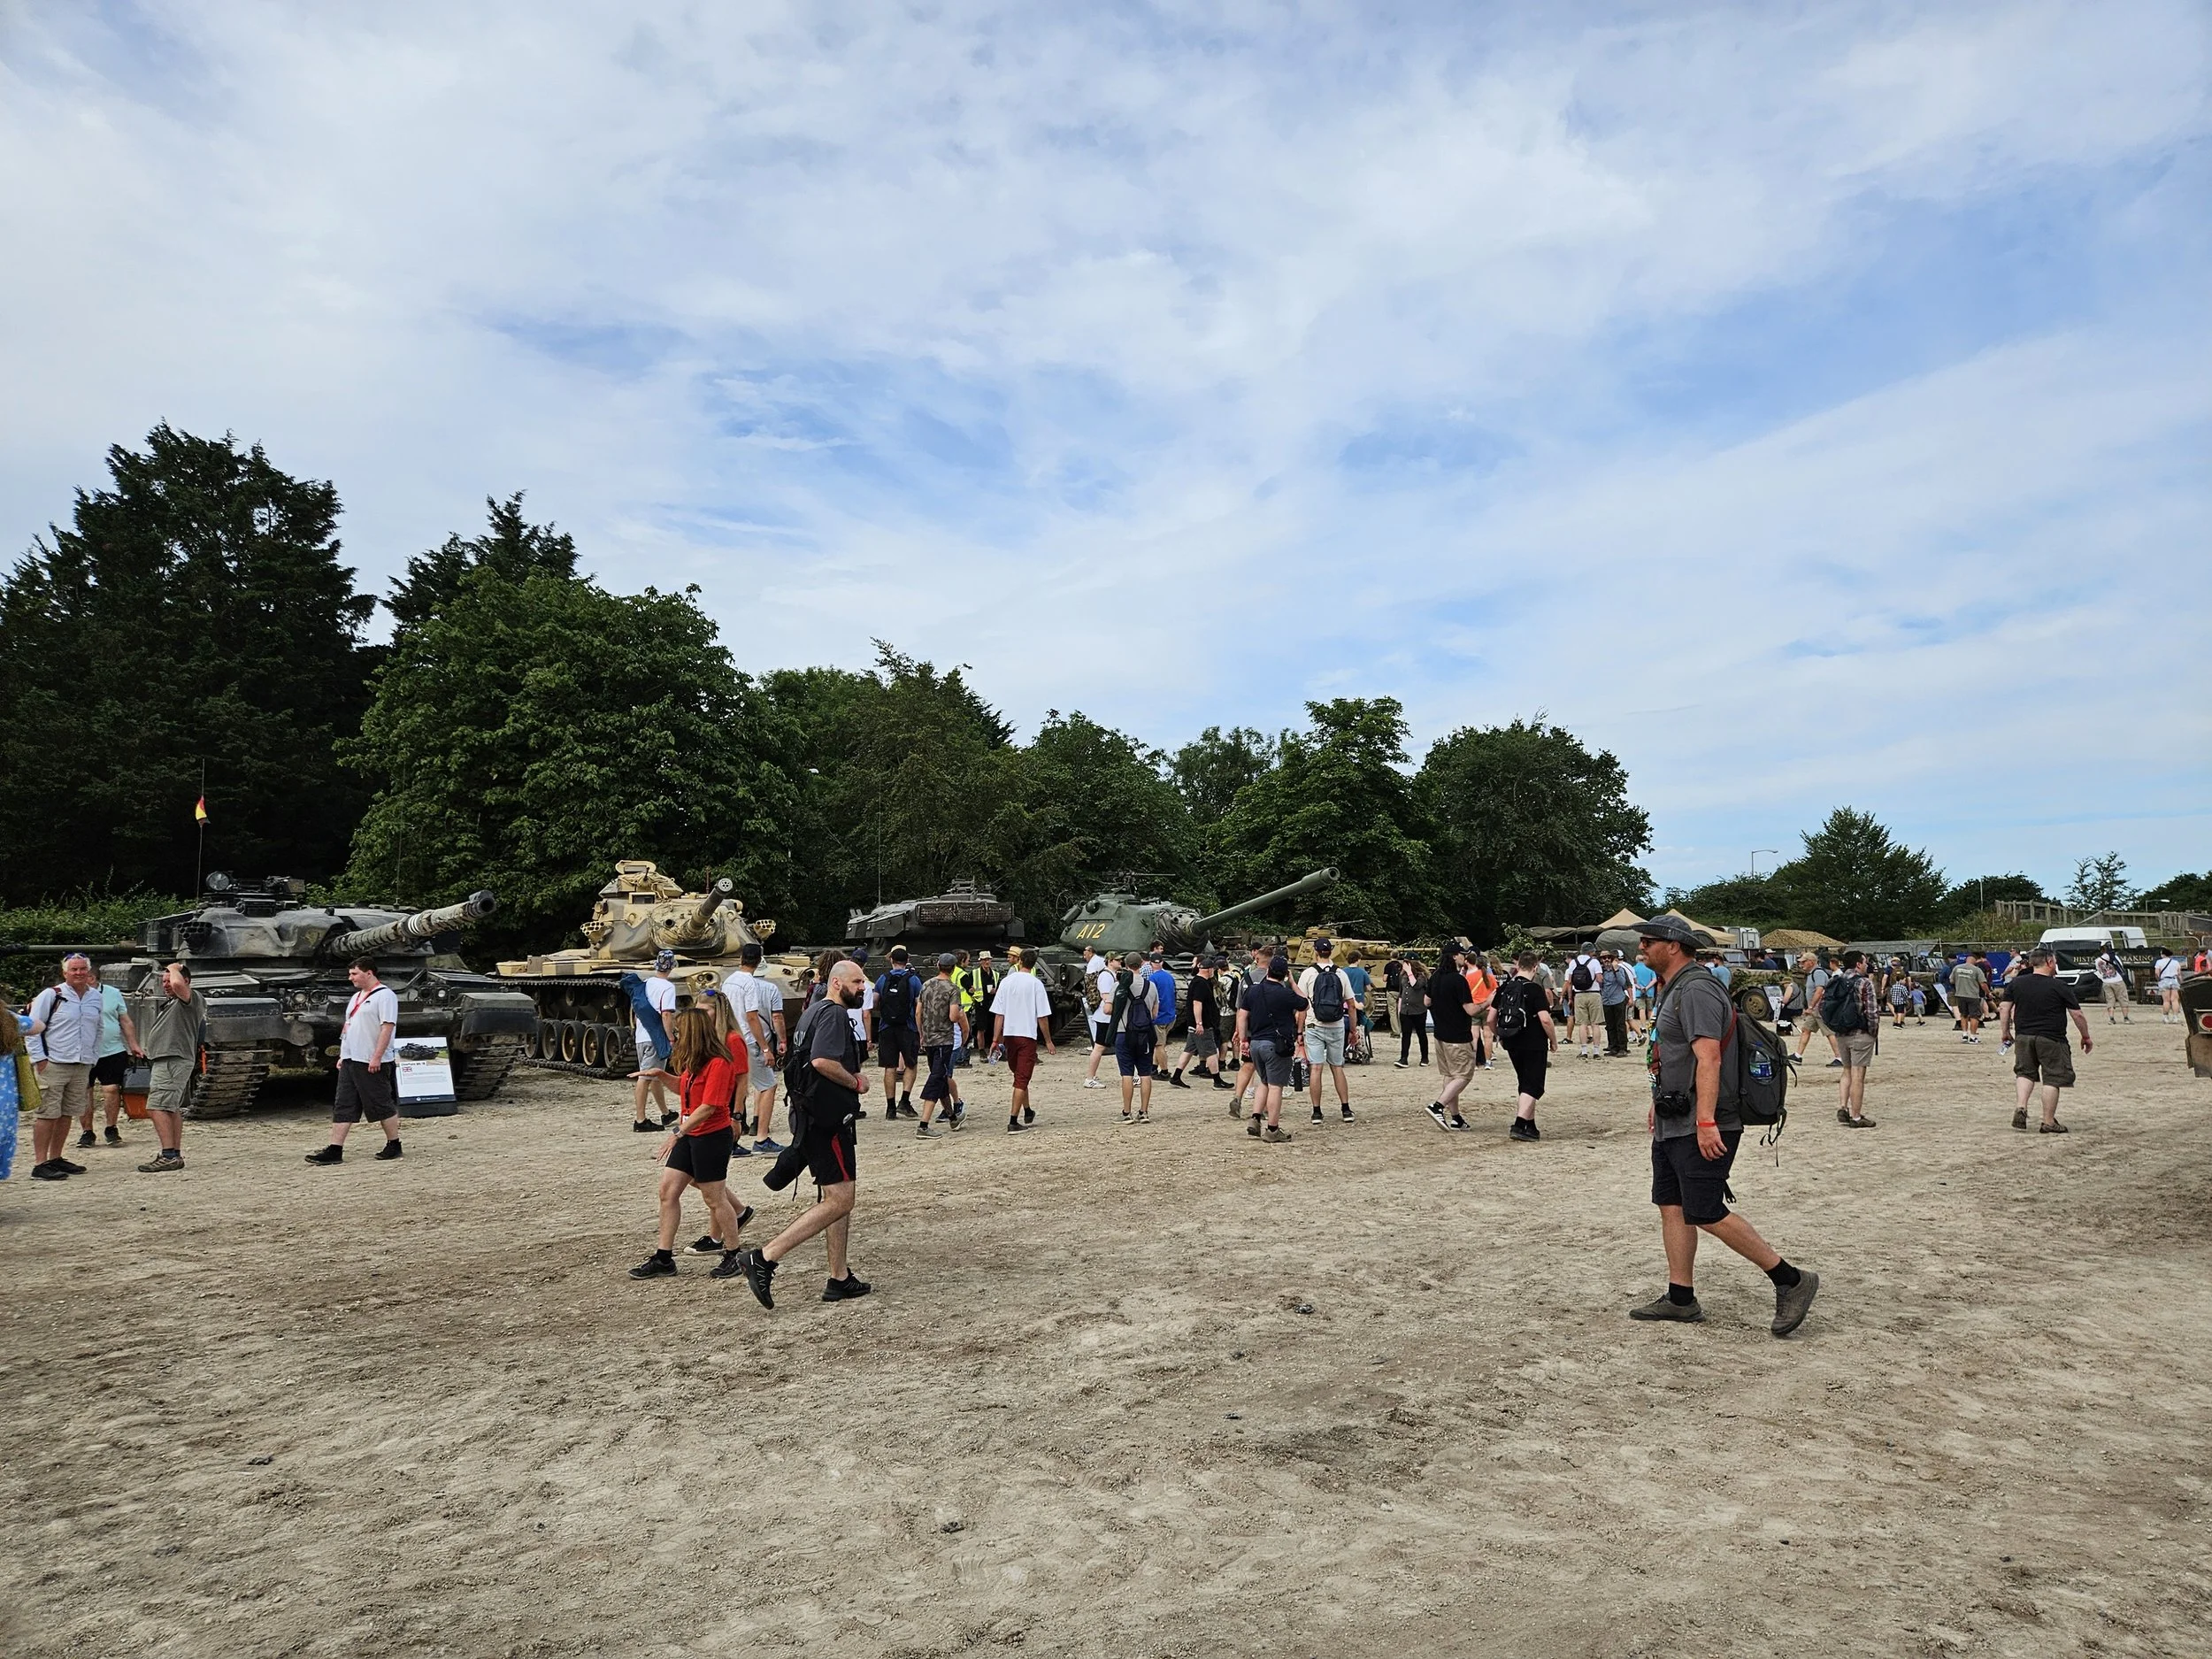
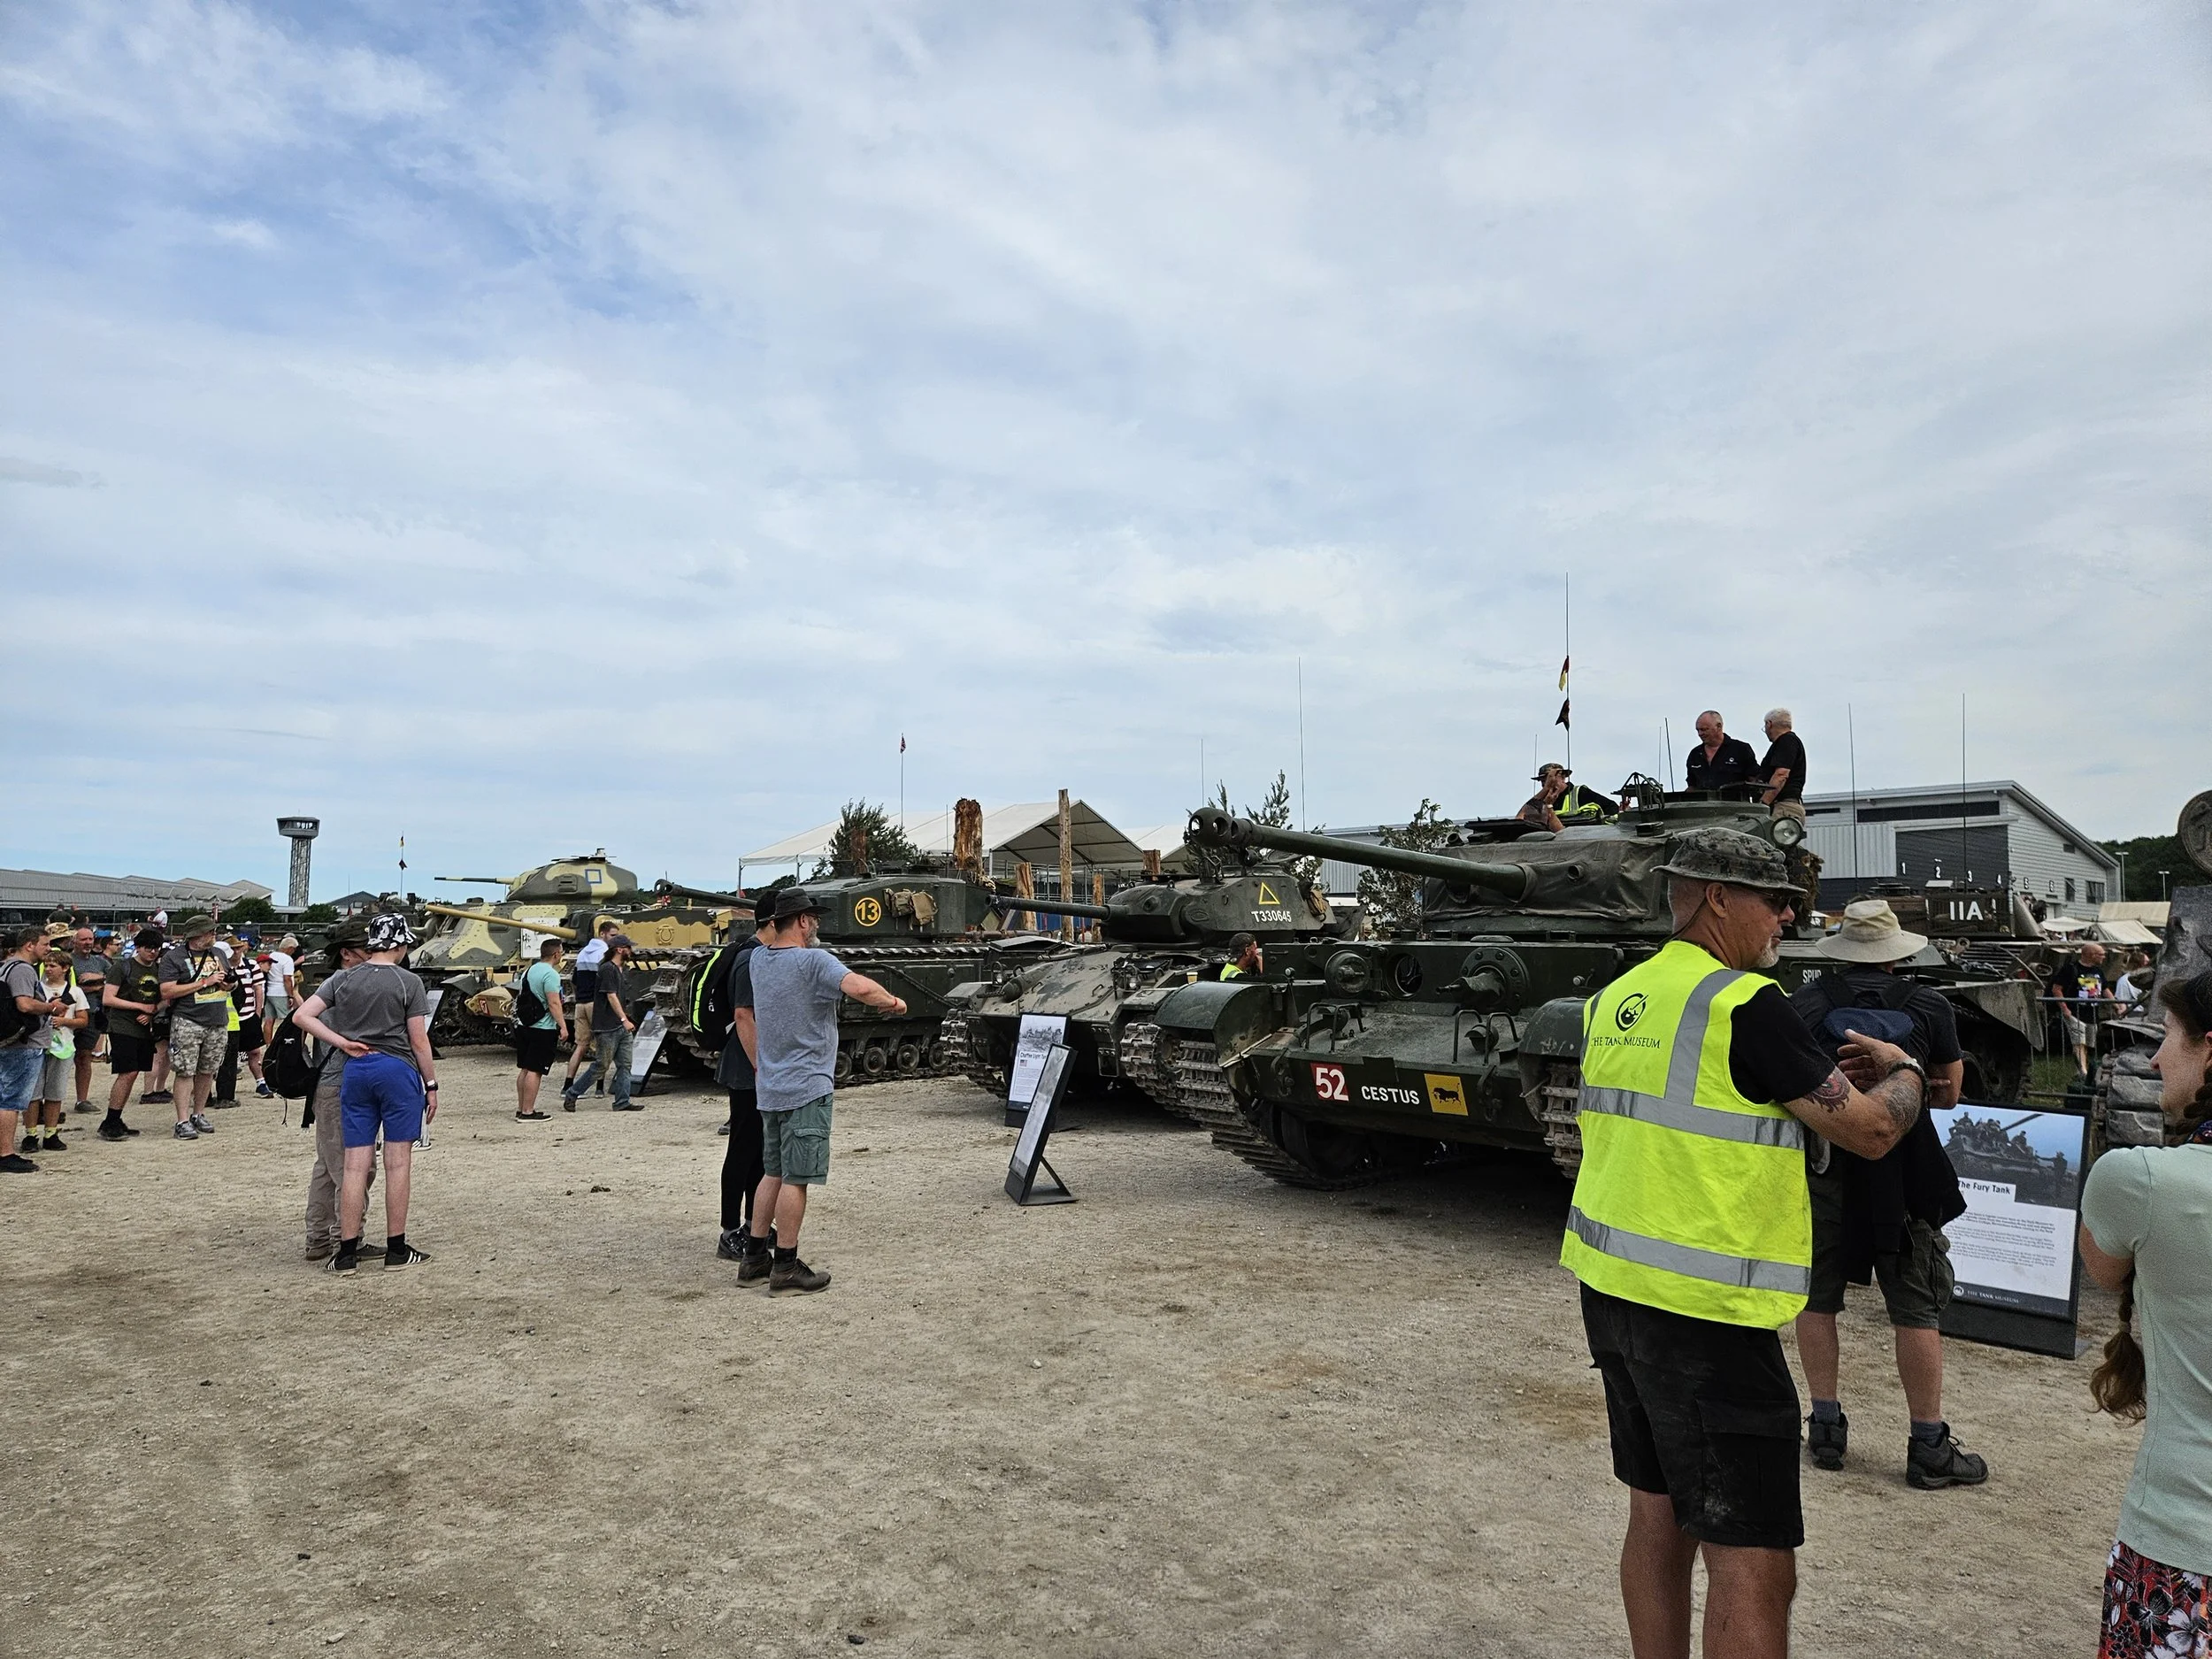
The entrance leads you into the main outdoor area: a combination of lots of living history stands and installations, the tank park, concession stands selling food and drink, and a mini-market area with stalls selling tank- and/or military-themed items. There were even two pop-up wargaming stores: one from Entoyment in Poole and one from Warlord.
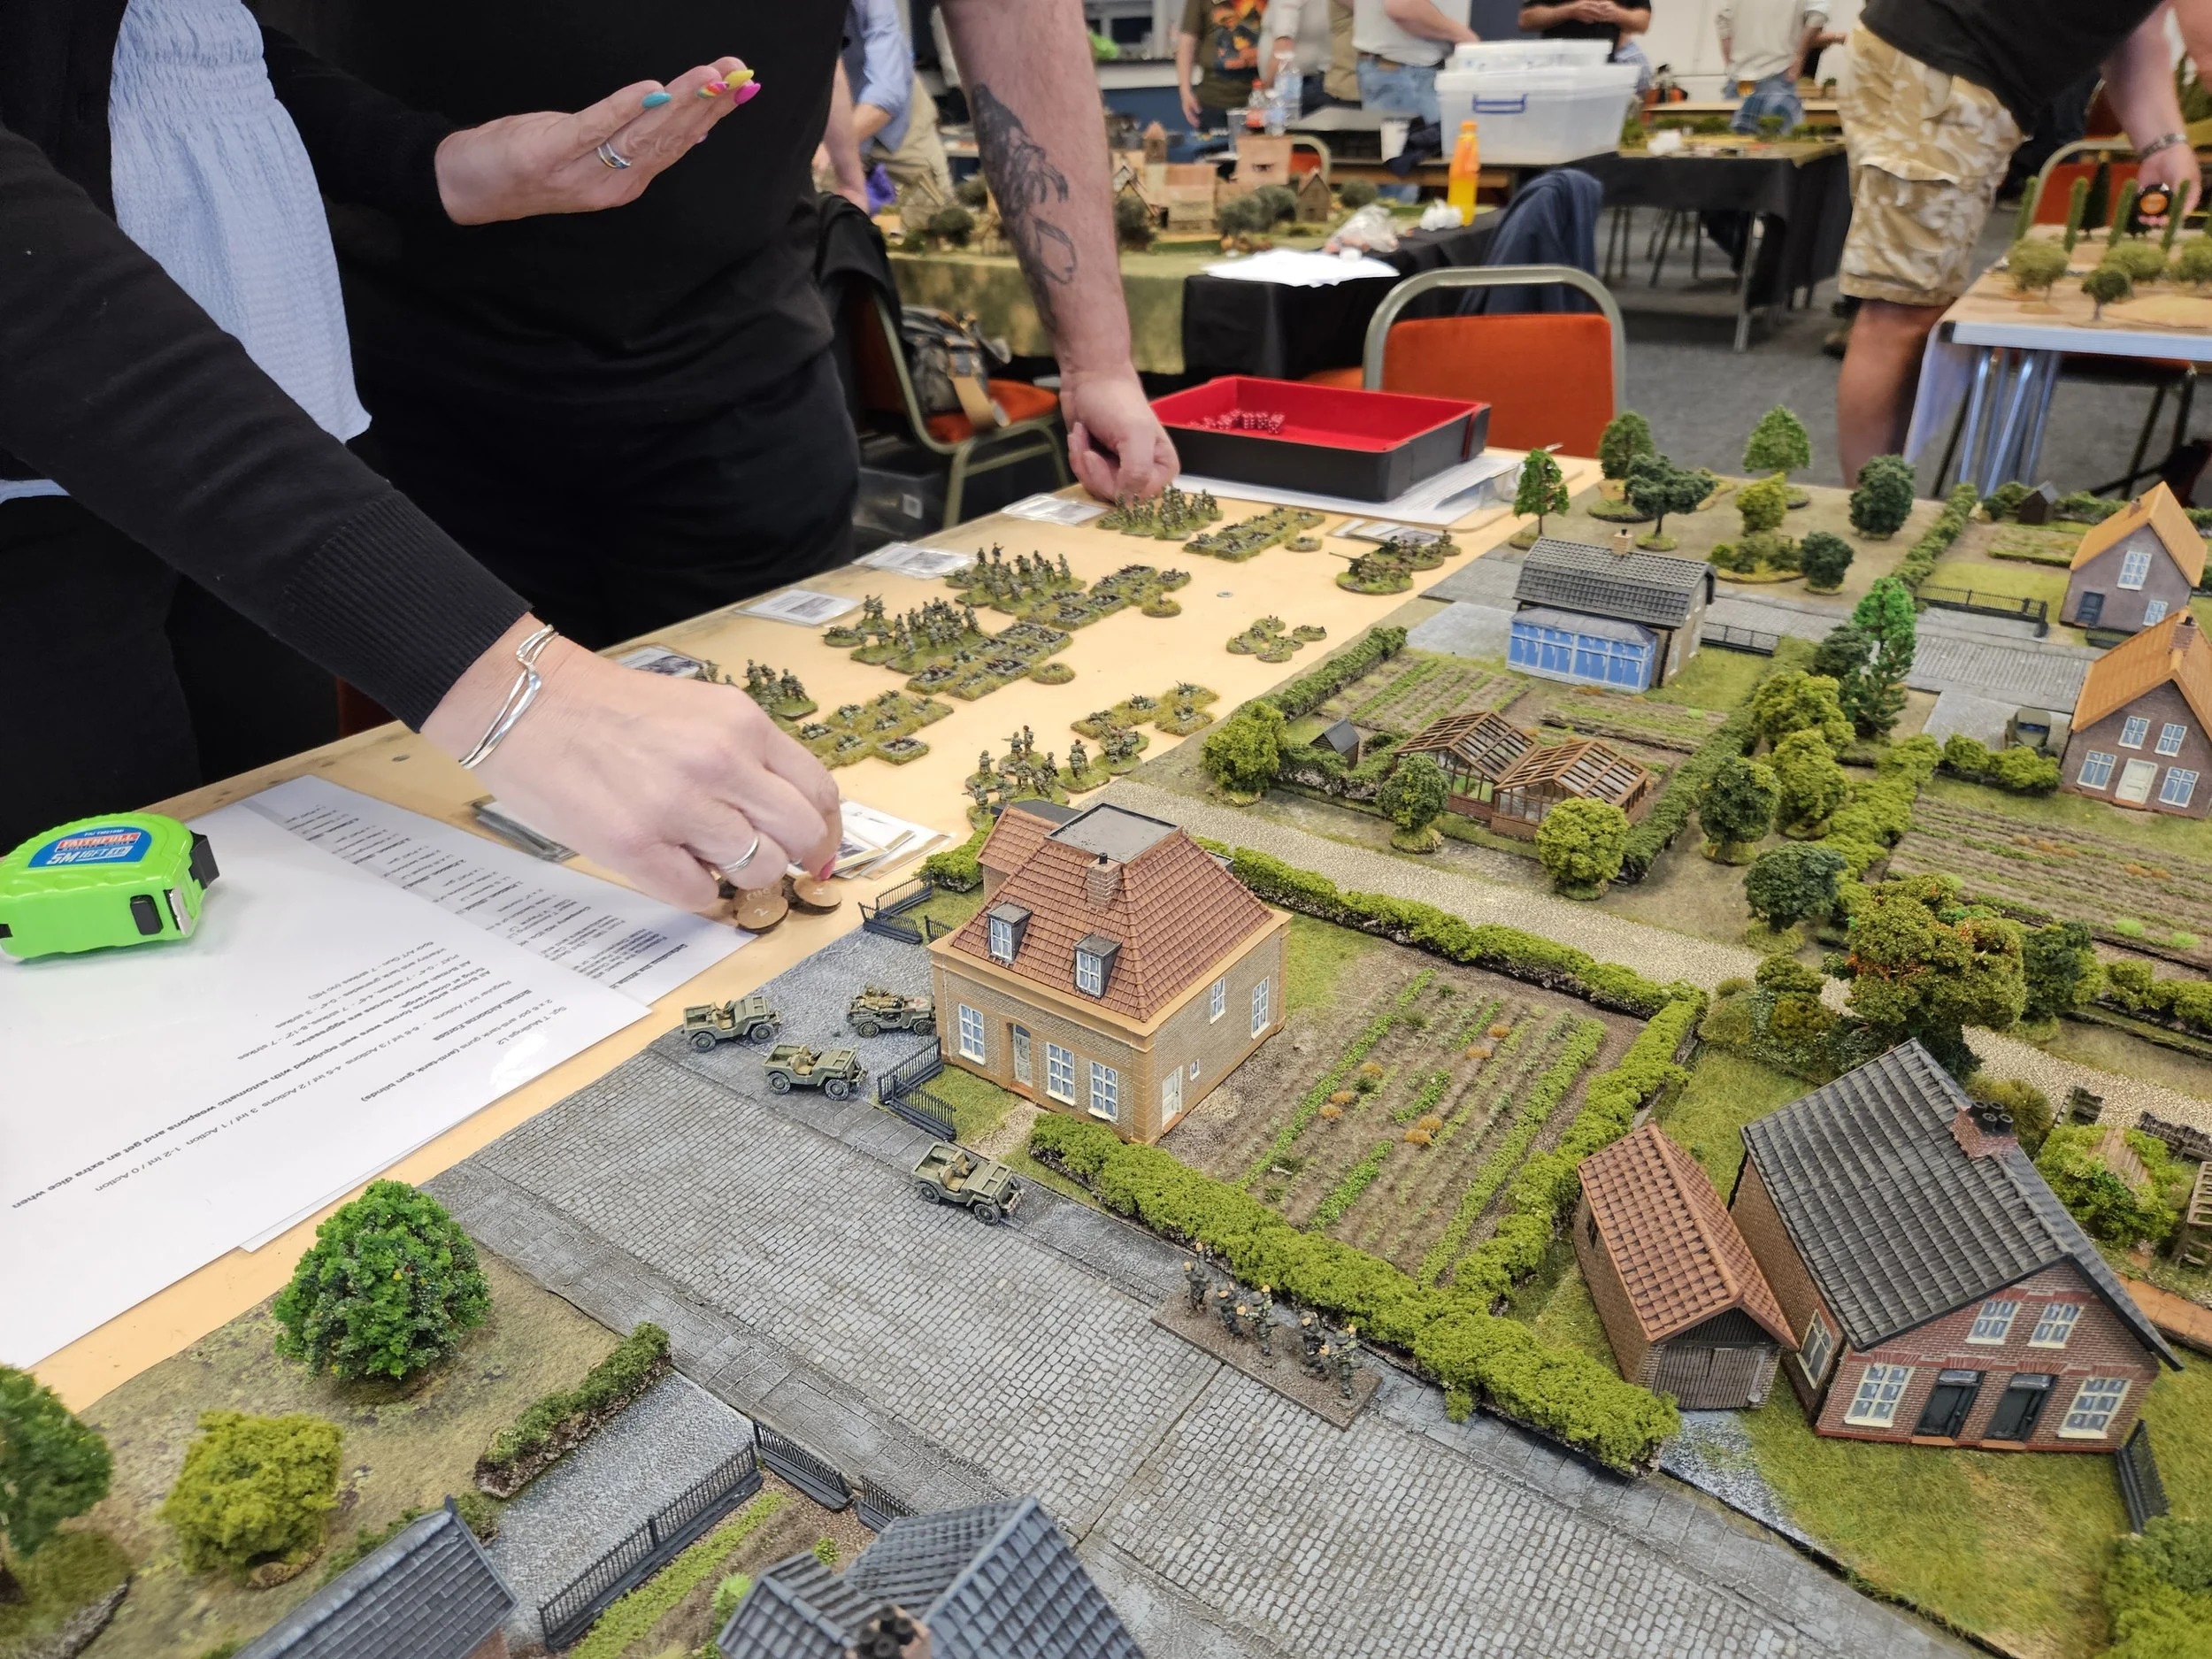
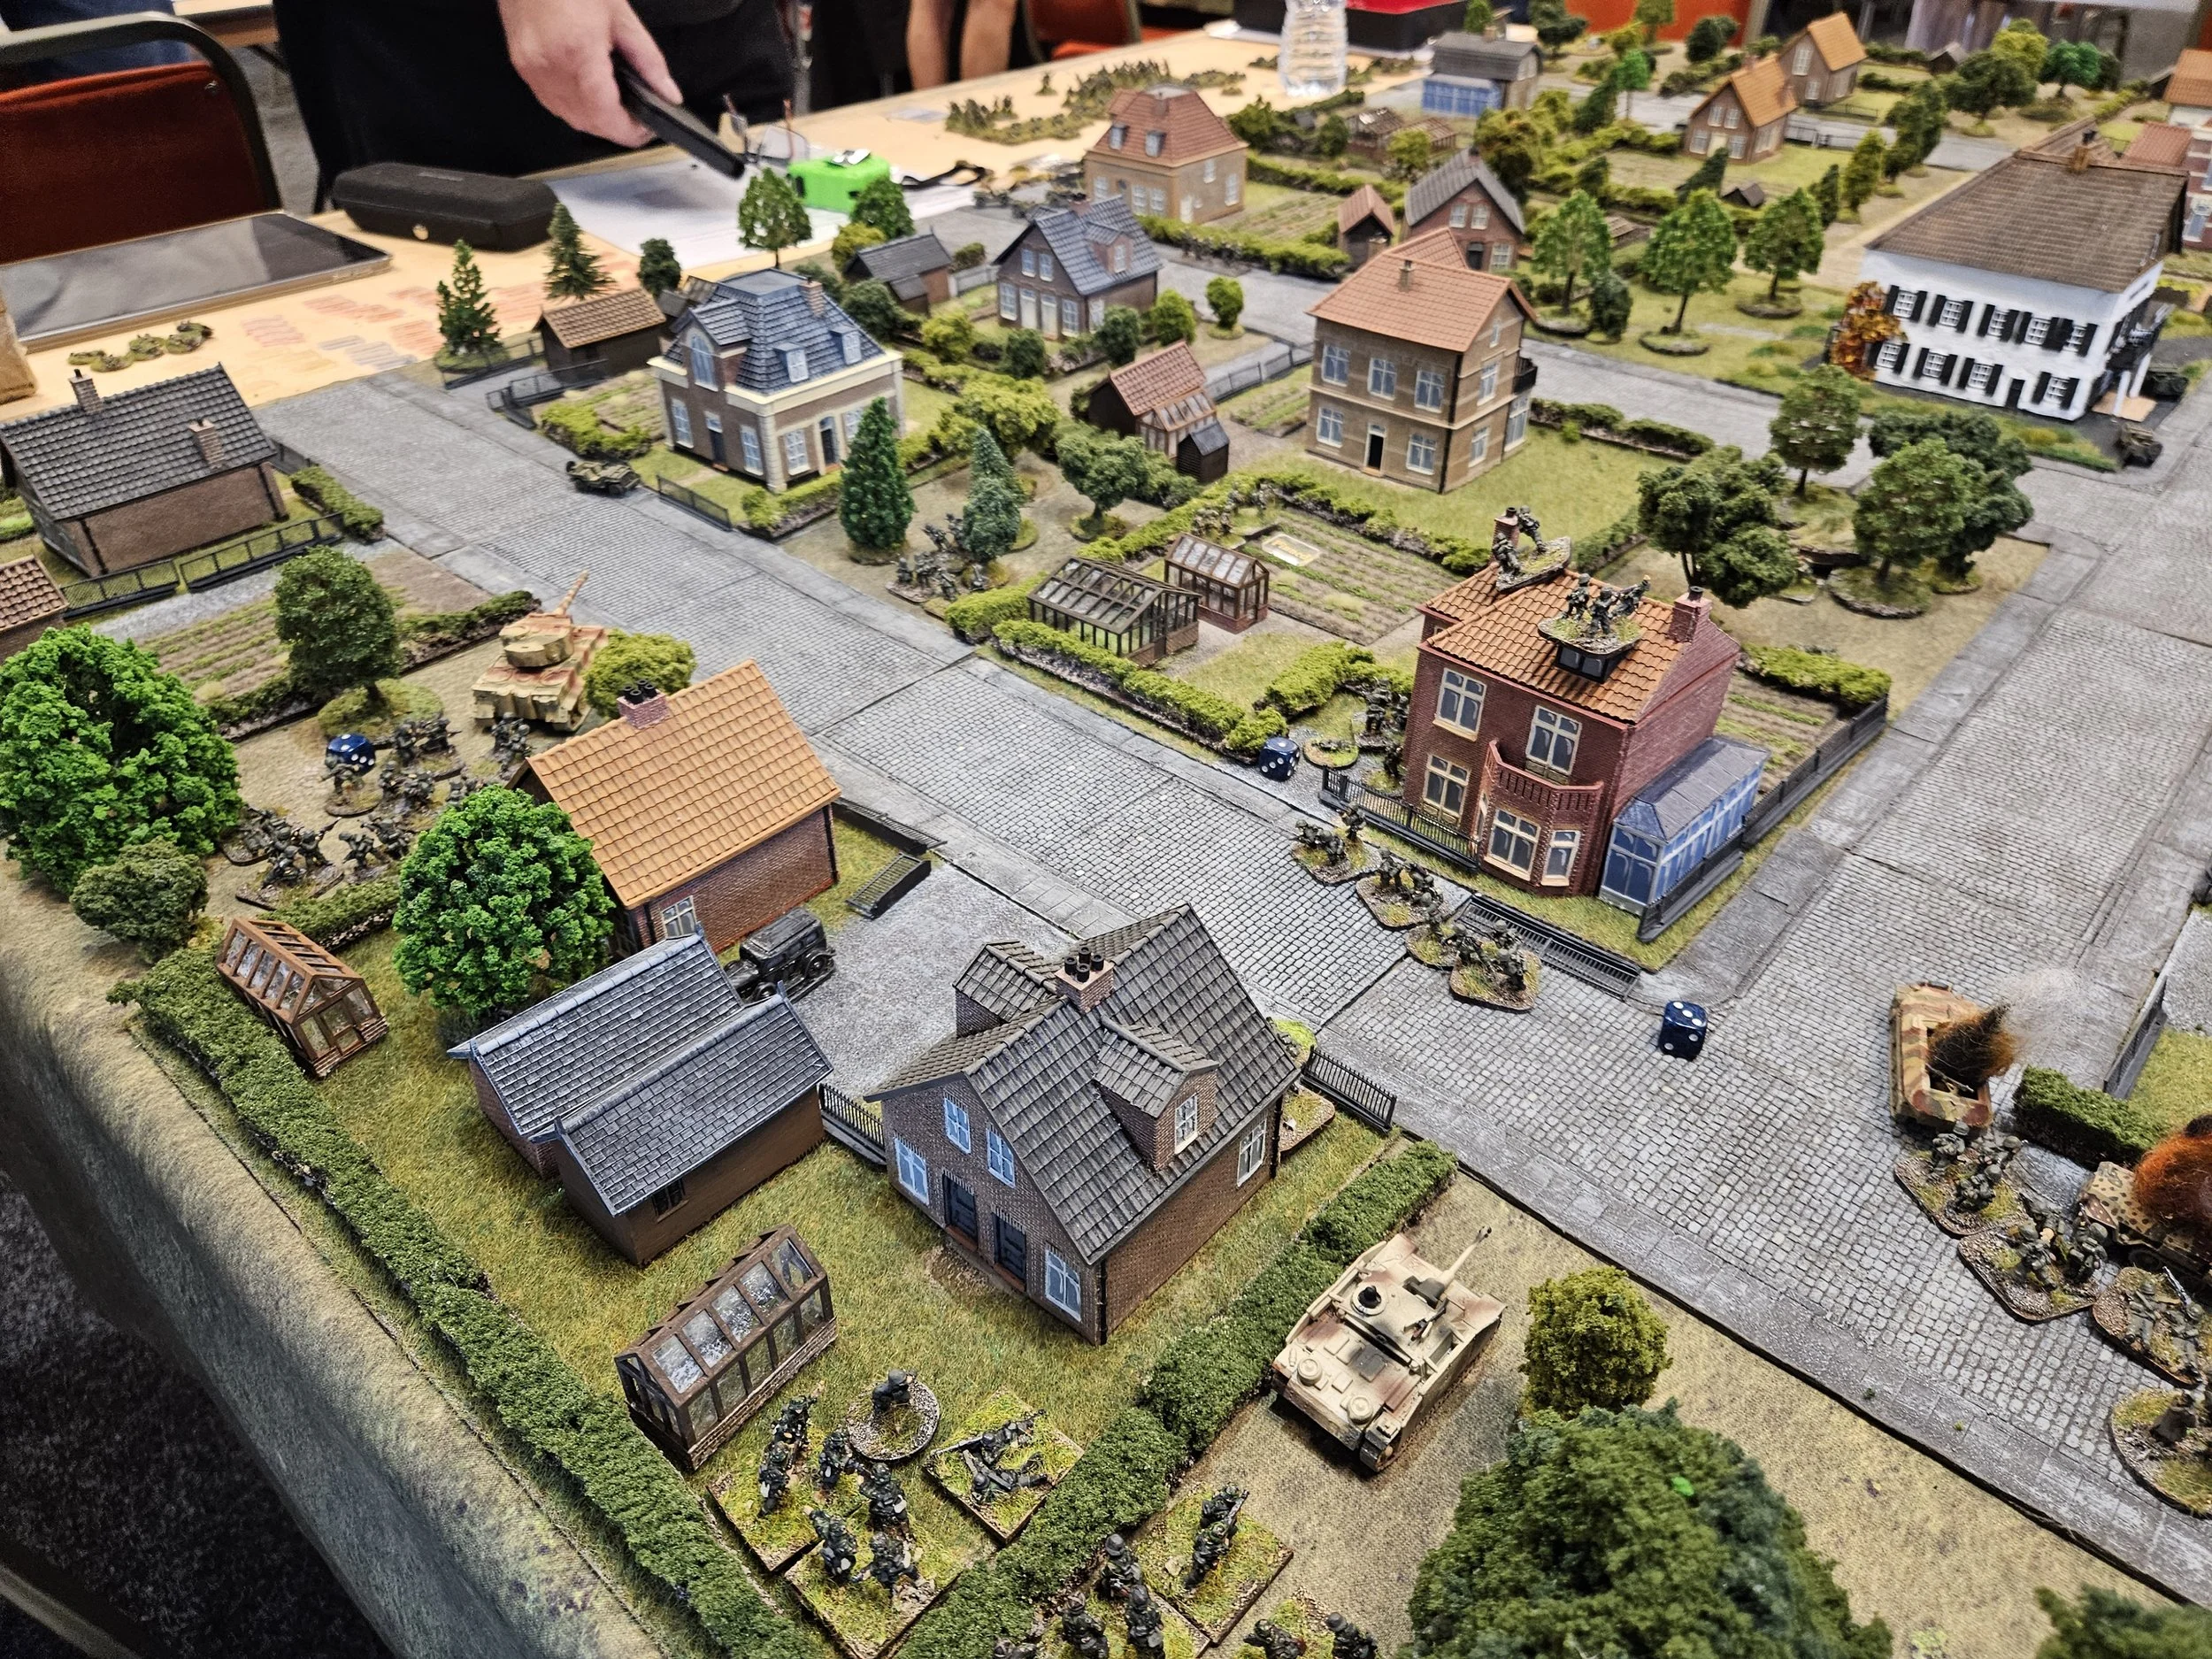
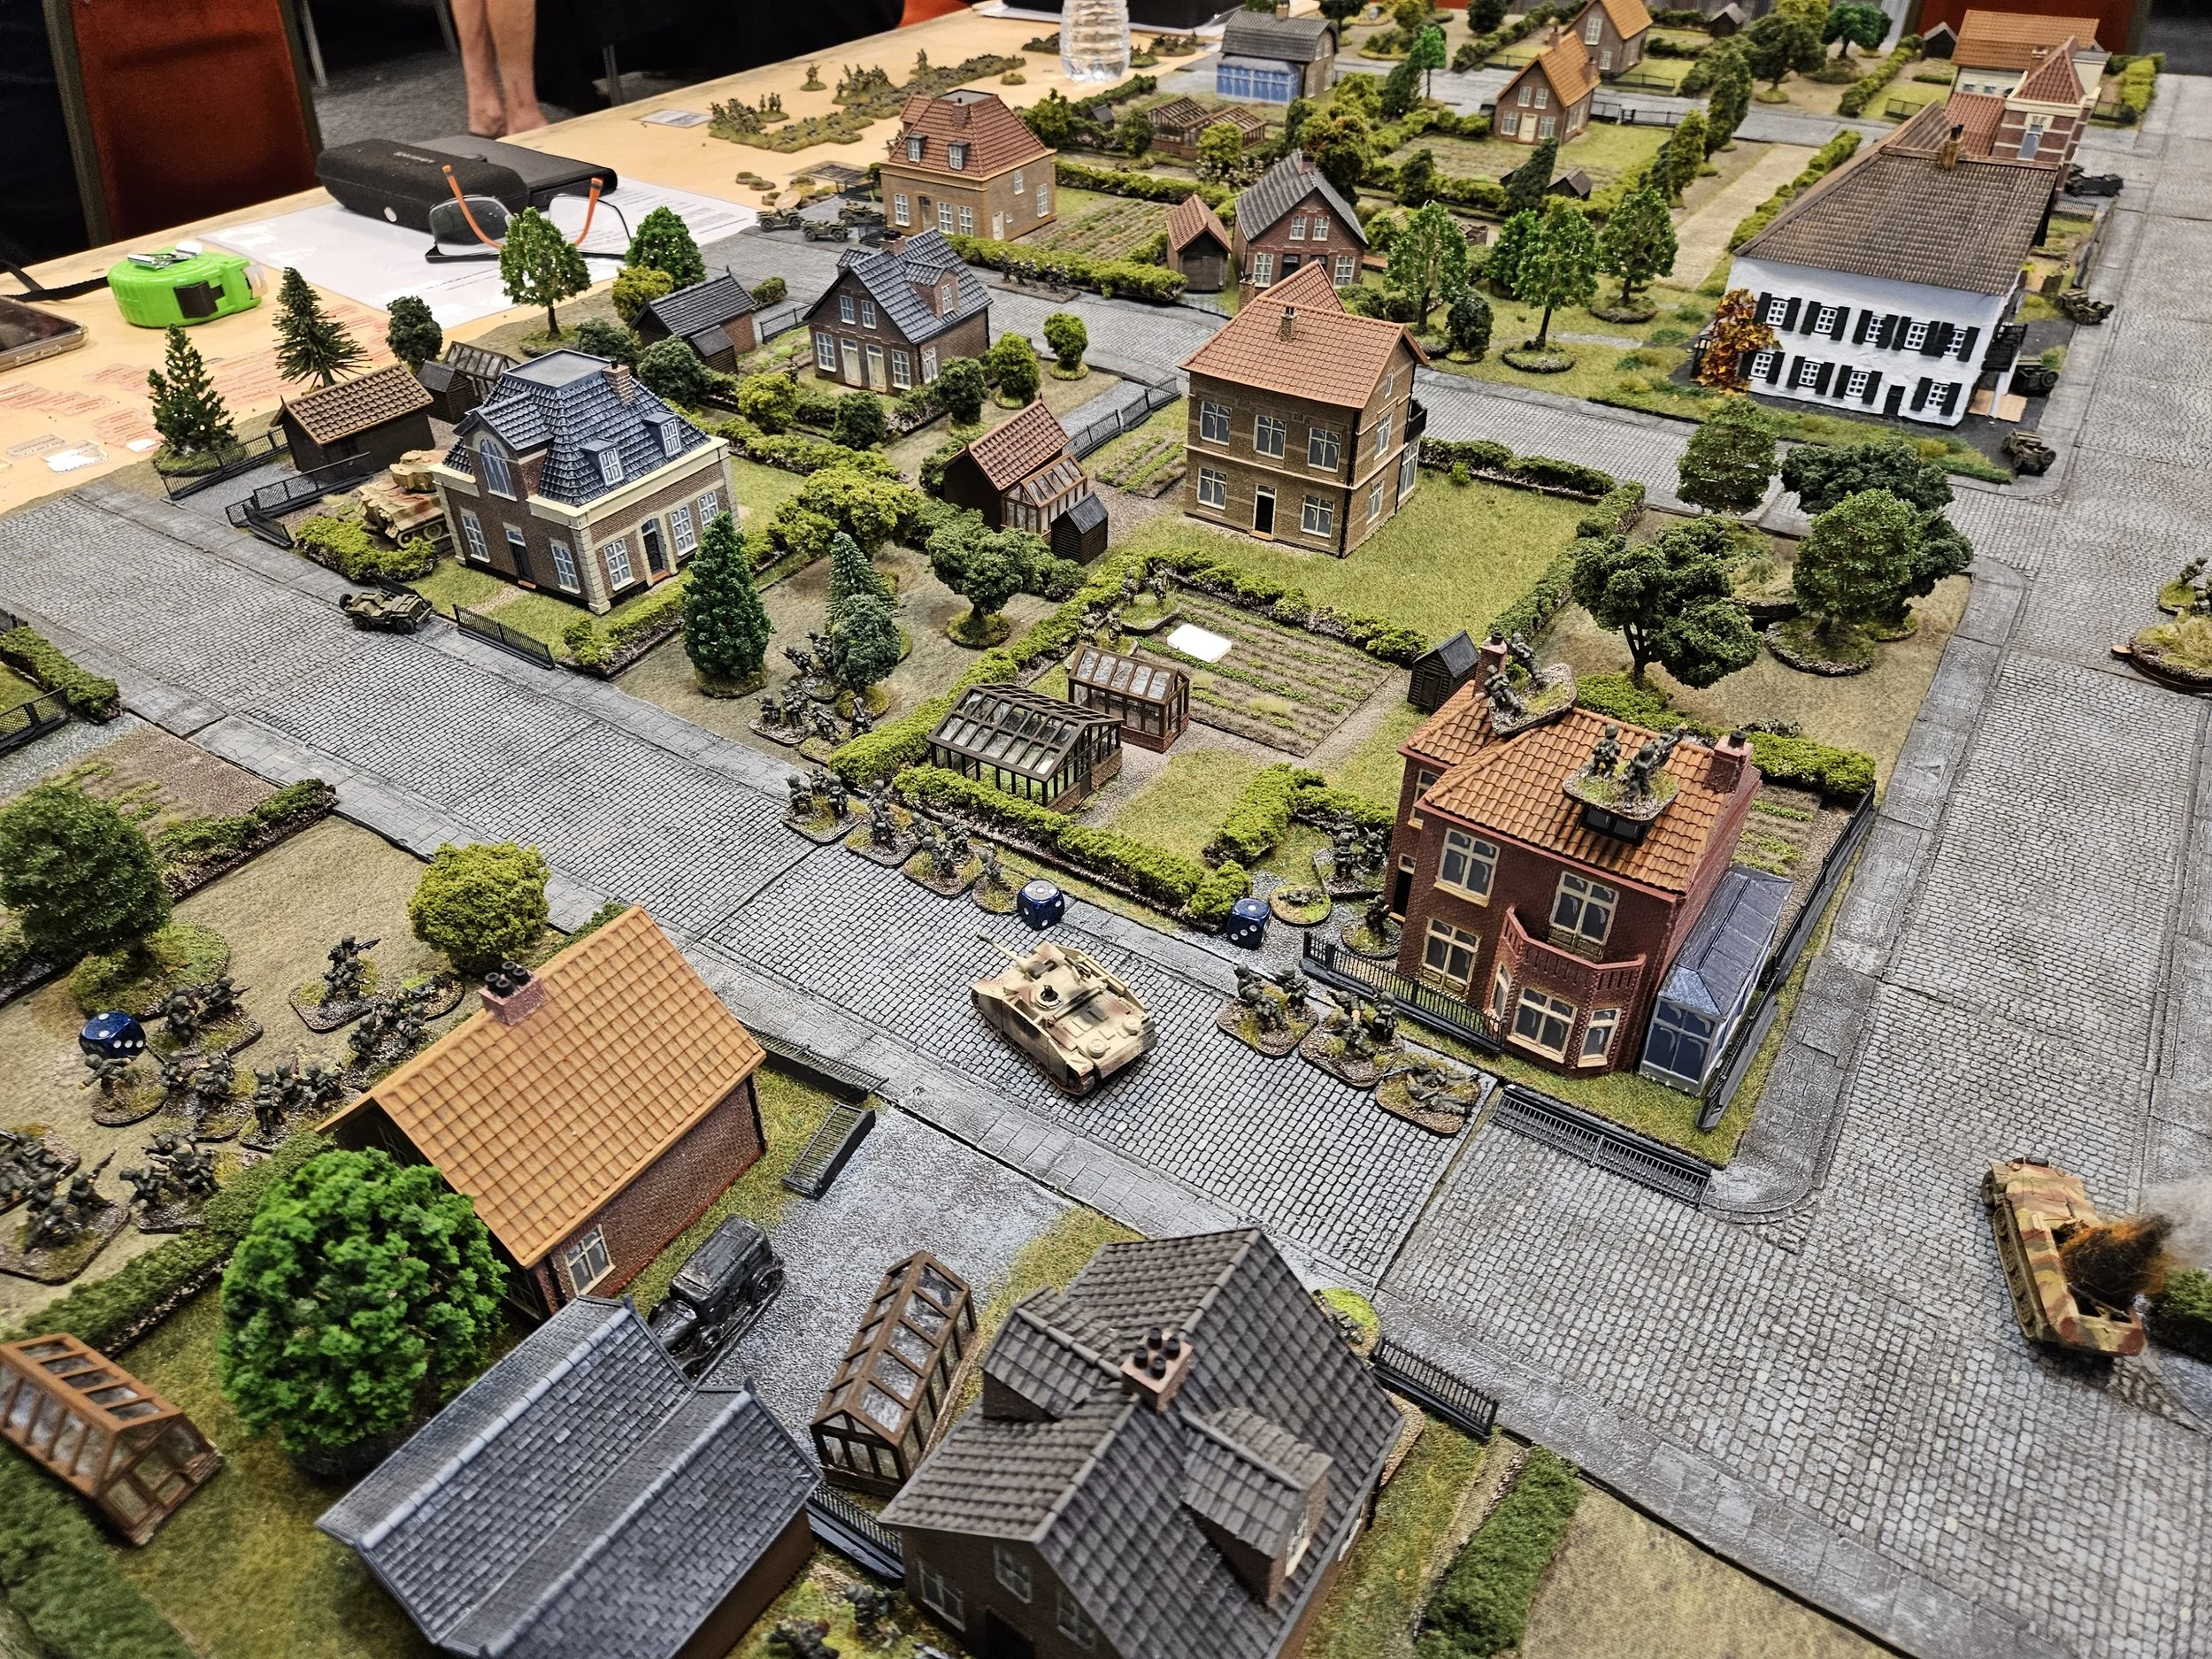
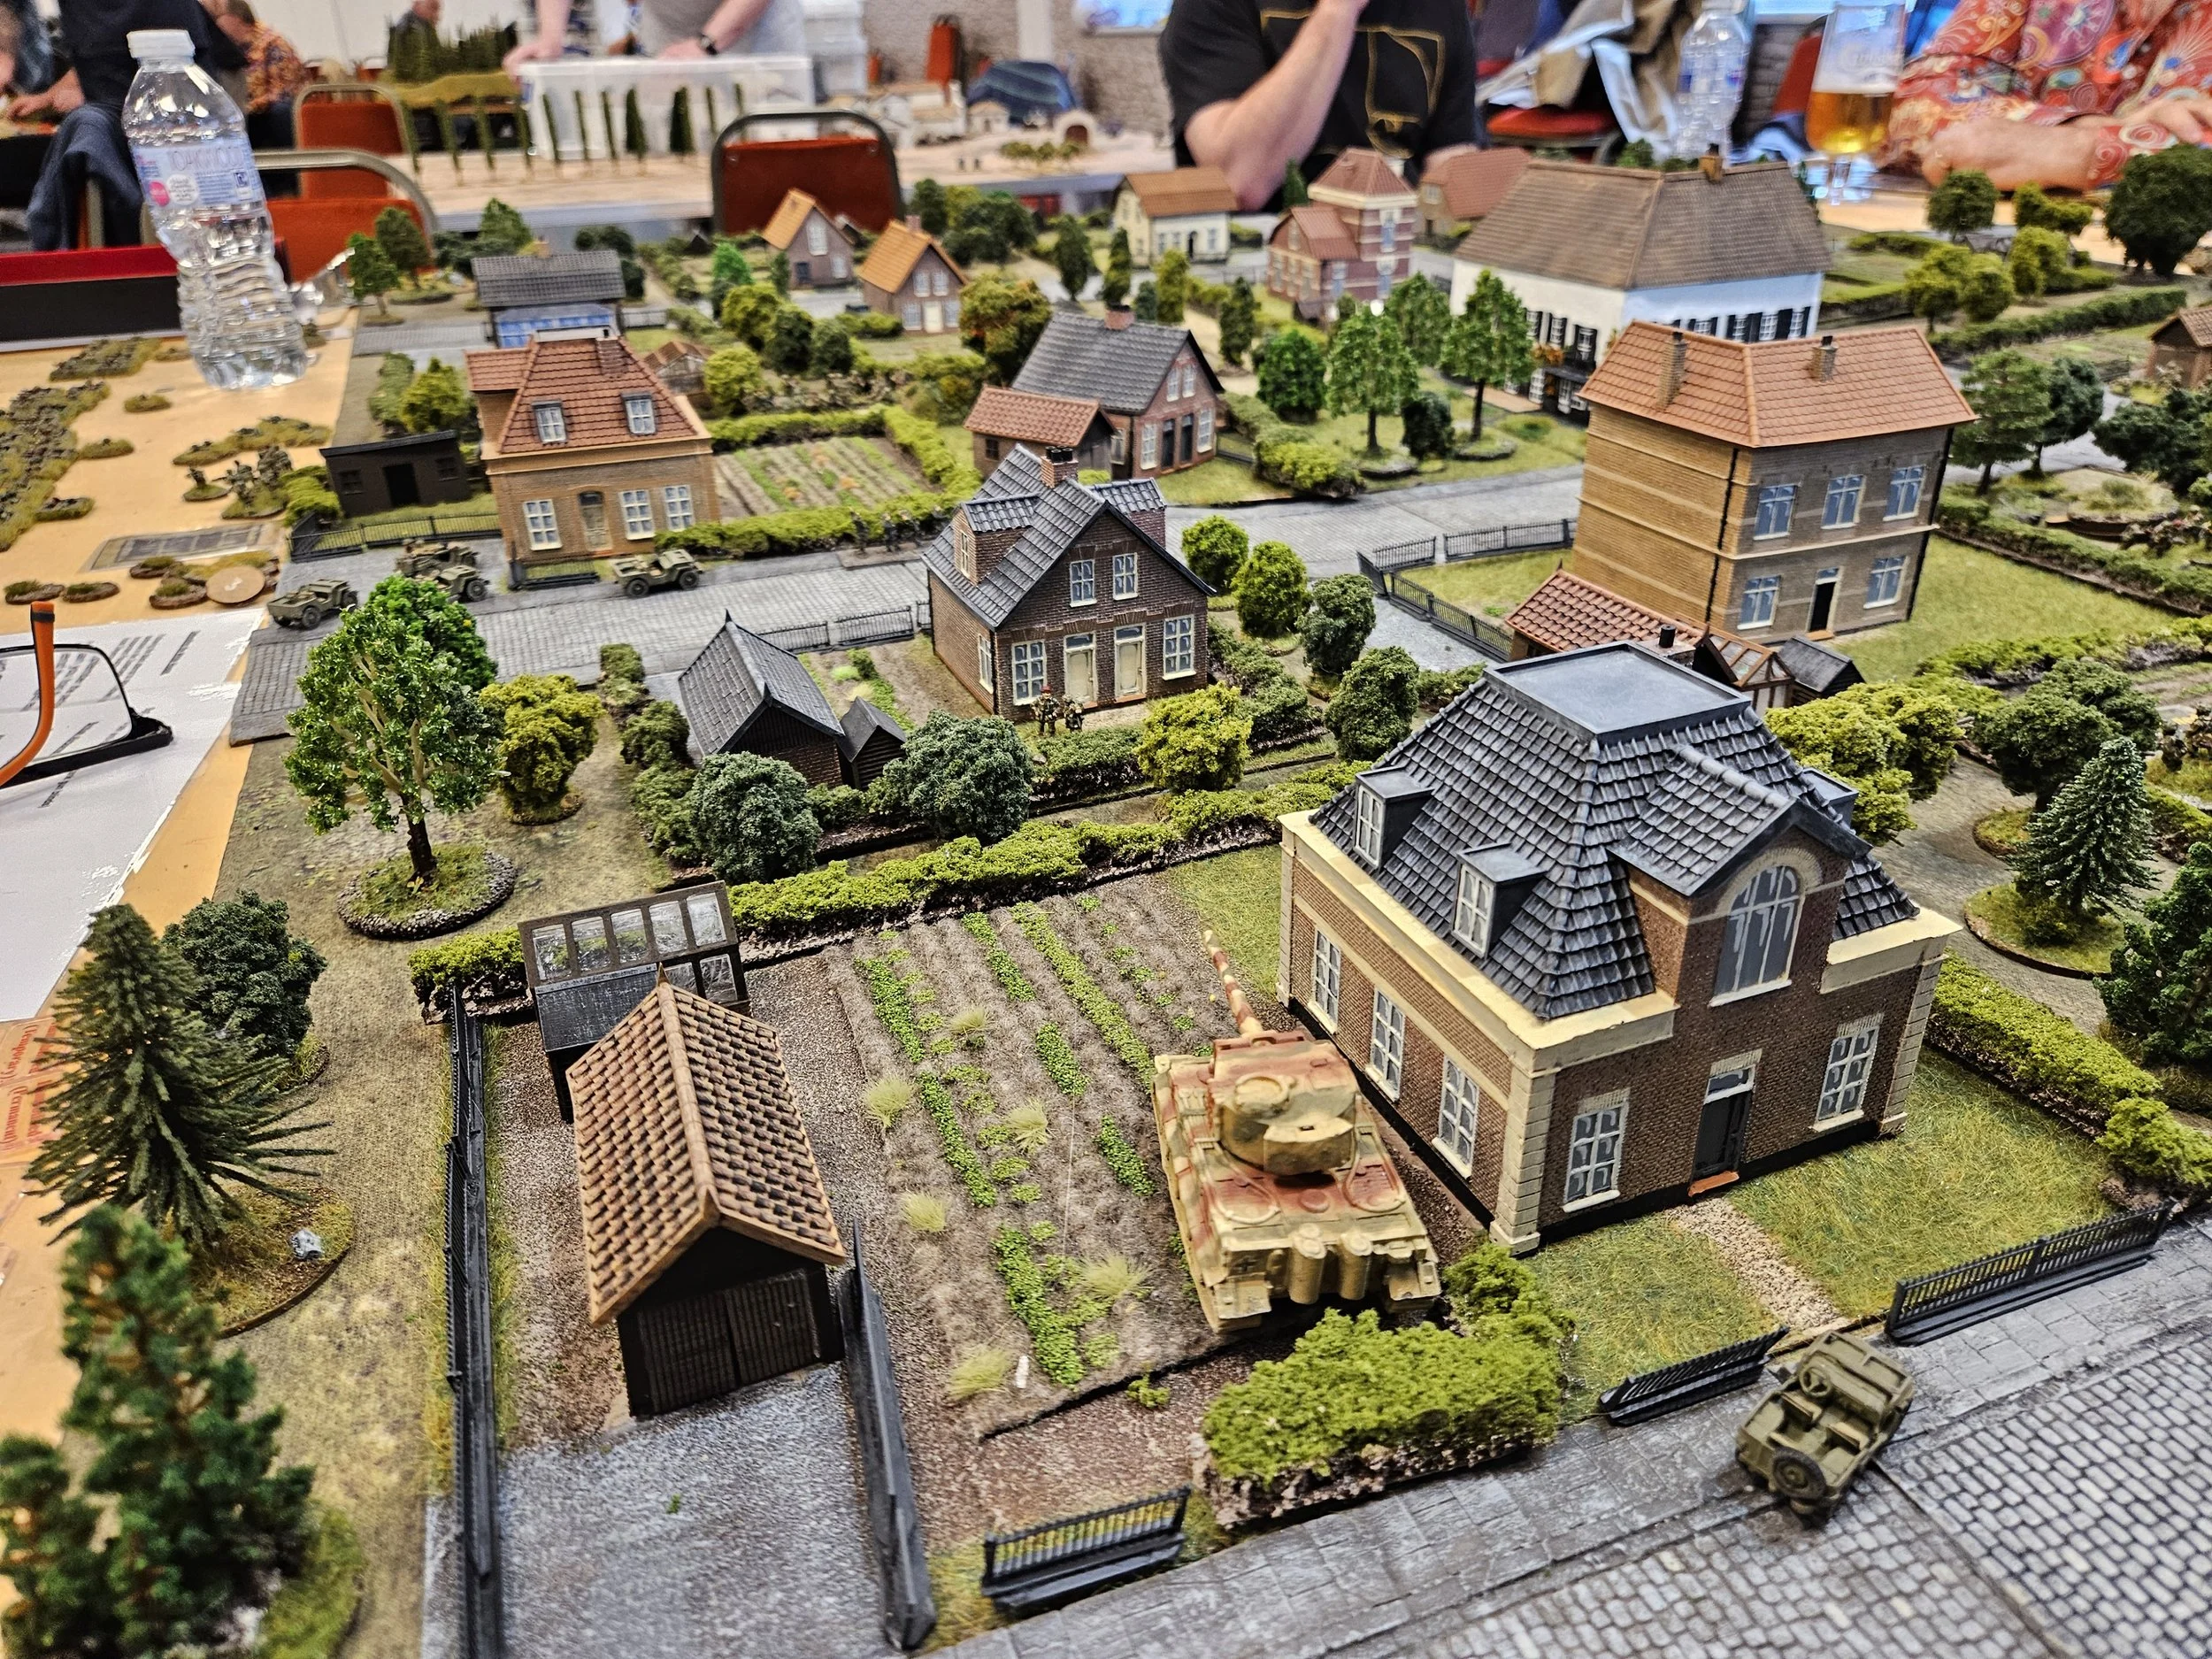
I spent a very happy couple of hours wandering around this area, trying to take it all in. The tank park gives you the chance to see everything from a Mother to a Challenger right up close, and you could handle a wide variety of smallarms and man-portable anti-tank weapons. Everyone manning the stands was very friendly and keen to share: highlights included the StuG and Nashorn on a visit from the Nederlands
The queues for the concessions stand were variable: not long if you picked your moments, a right pain if you wanted something at peak times. Good variety on offer: pizza, burgers etc plus ice cream and cakes!
Past the main outdoor area is the arena where you can actually see the tanks in action. Next time I go I’ll book a grandstand seat, but only because of the sun this year: you can see the action really well from anywhere around the arena. It’s here you get to really understand the sheer power and noise of the vehicles, especially the modern main battle tanks. According to the commentators, modern MBTs have the silencers removed from the engine as the noise the tank makes is part of the intimidation factor, and you can certainly feel the tanks going by in your bones as they pass.
As a special treat this year, the new Challenger 3 had it’s first public appearance: very cool, and now with a reversing camera!
Interestingly, the StuG threw a track whilst taking part in a mock battle in the arena: they then had to break out an ARVE and recover it so the track could be reseated. Took a couple of hours to get it all done, and that was without people shooting at them!
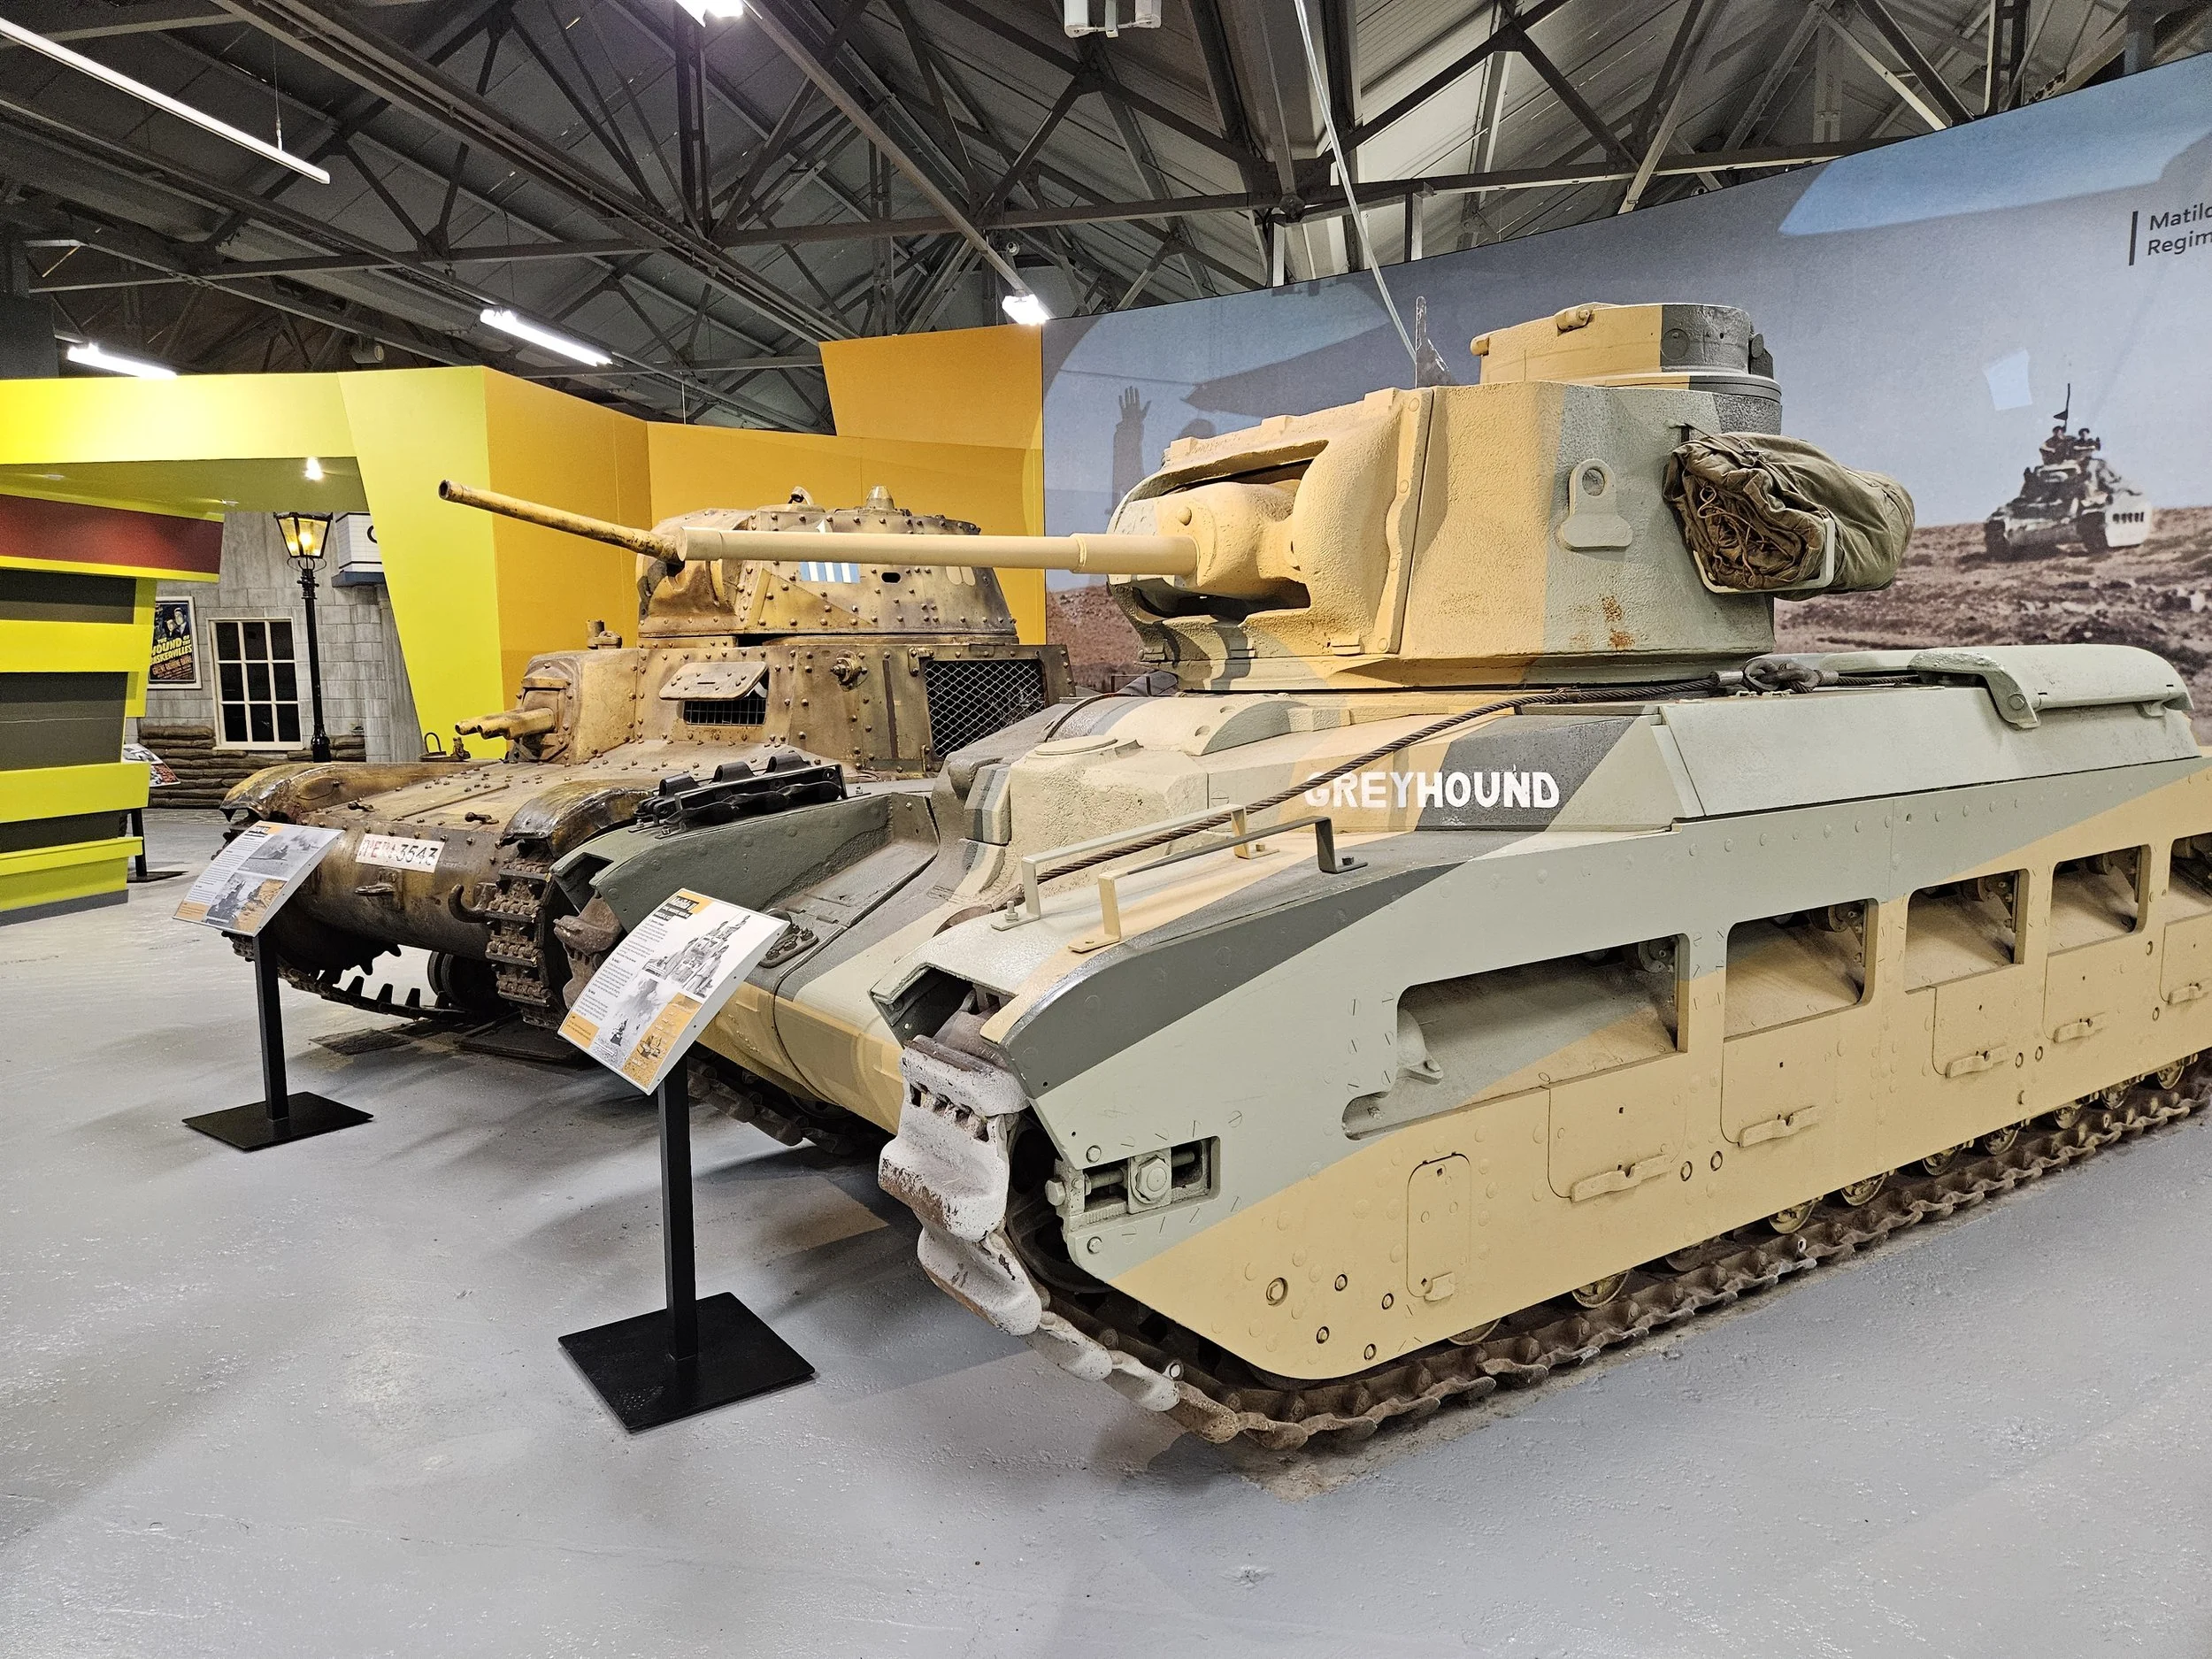
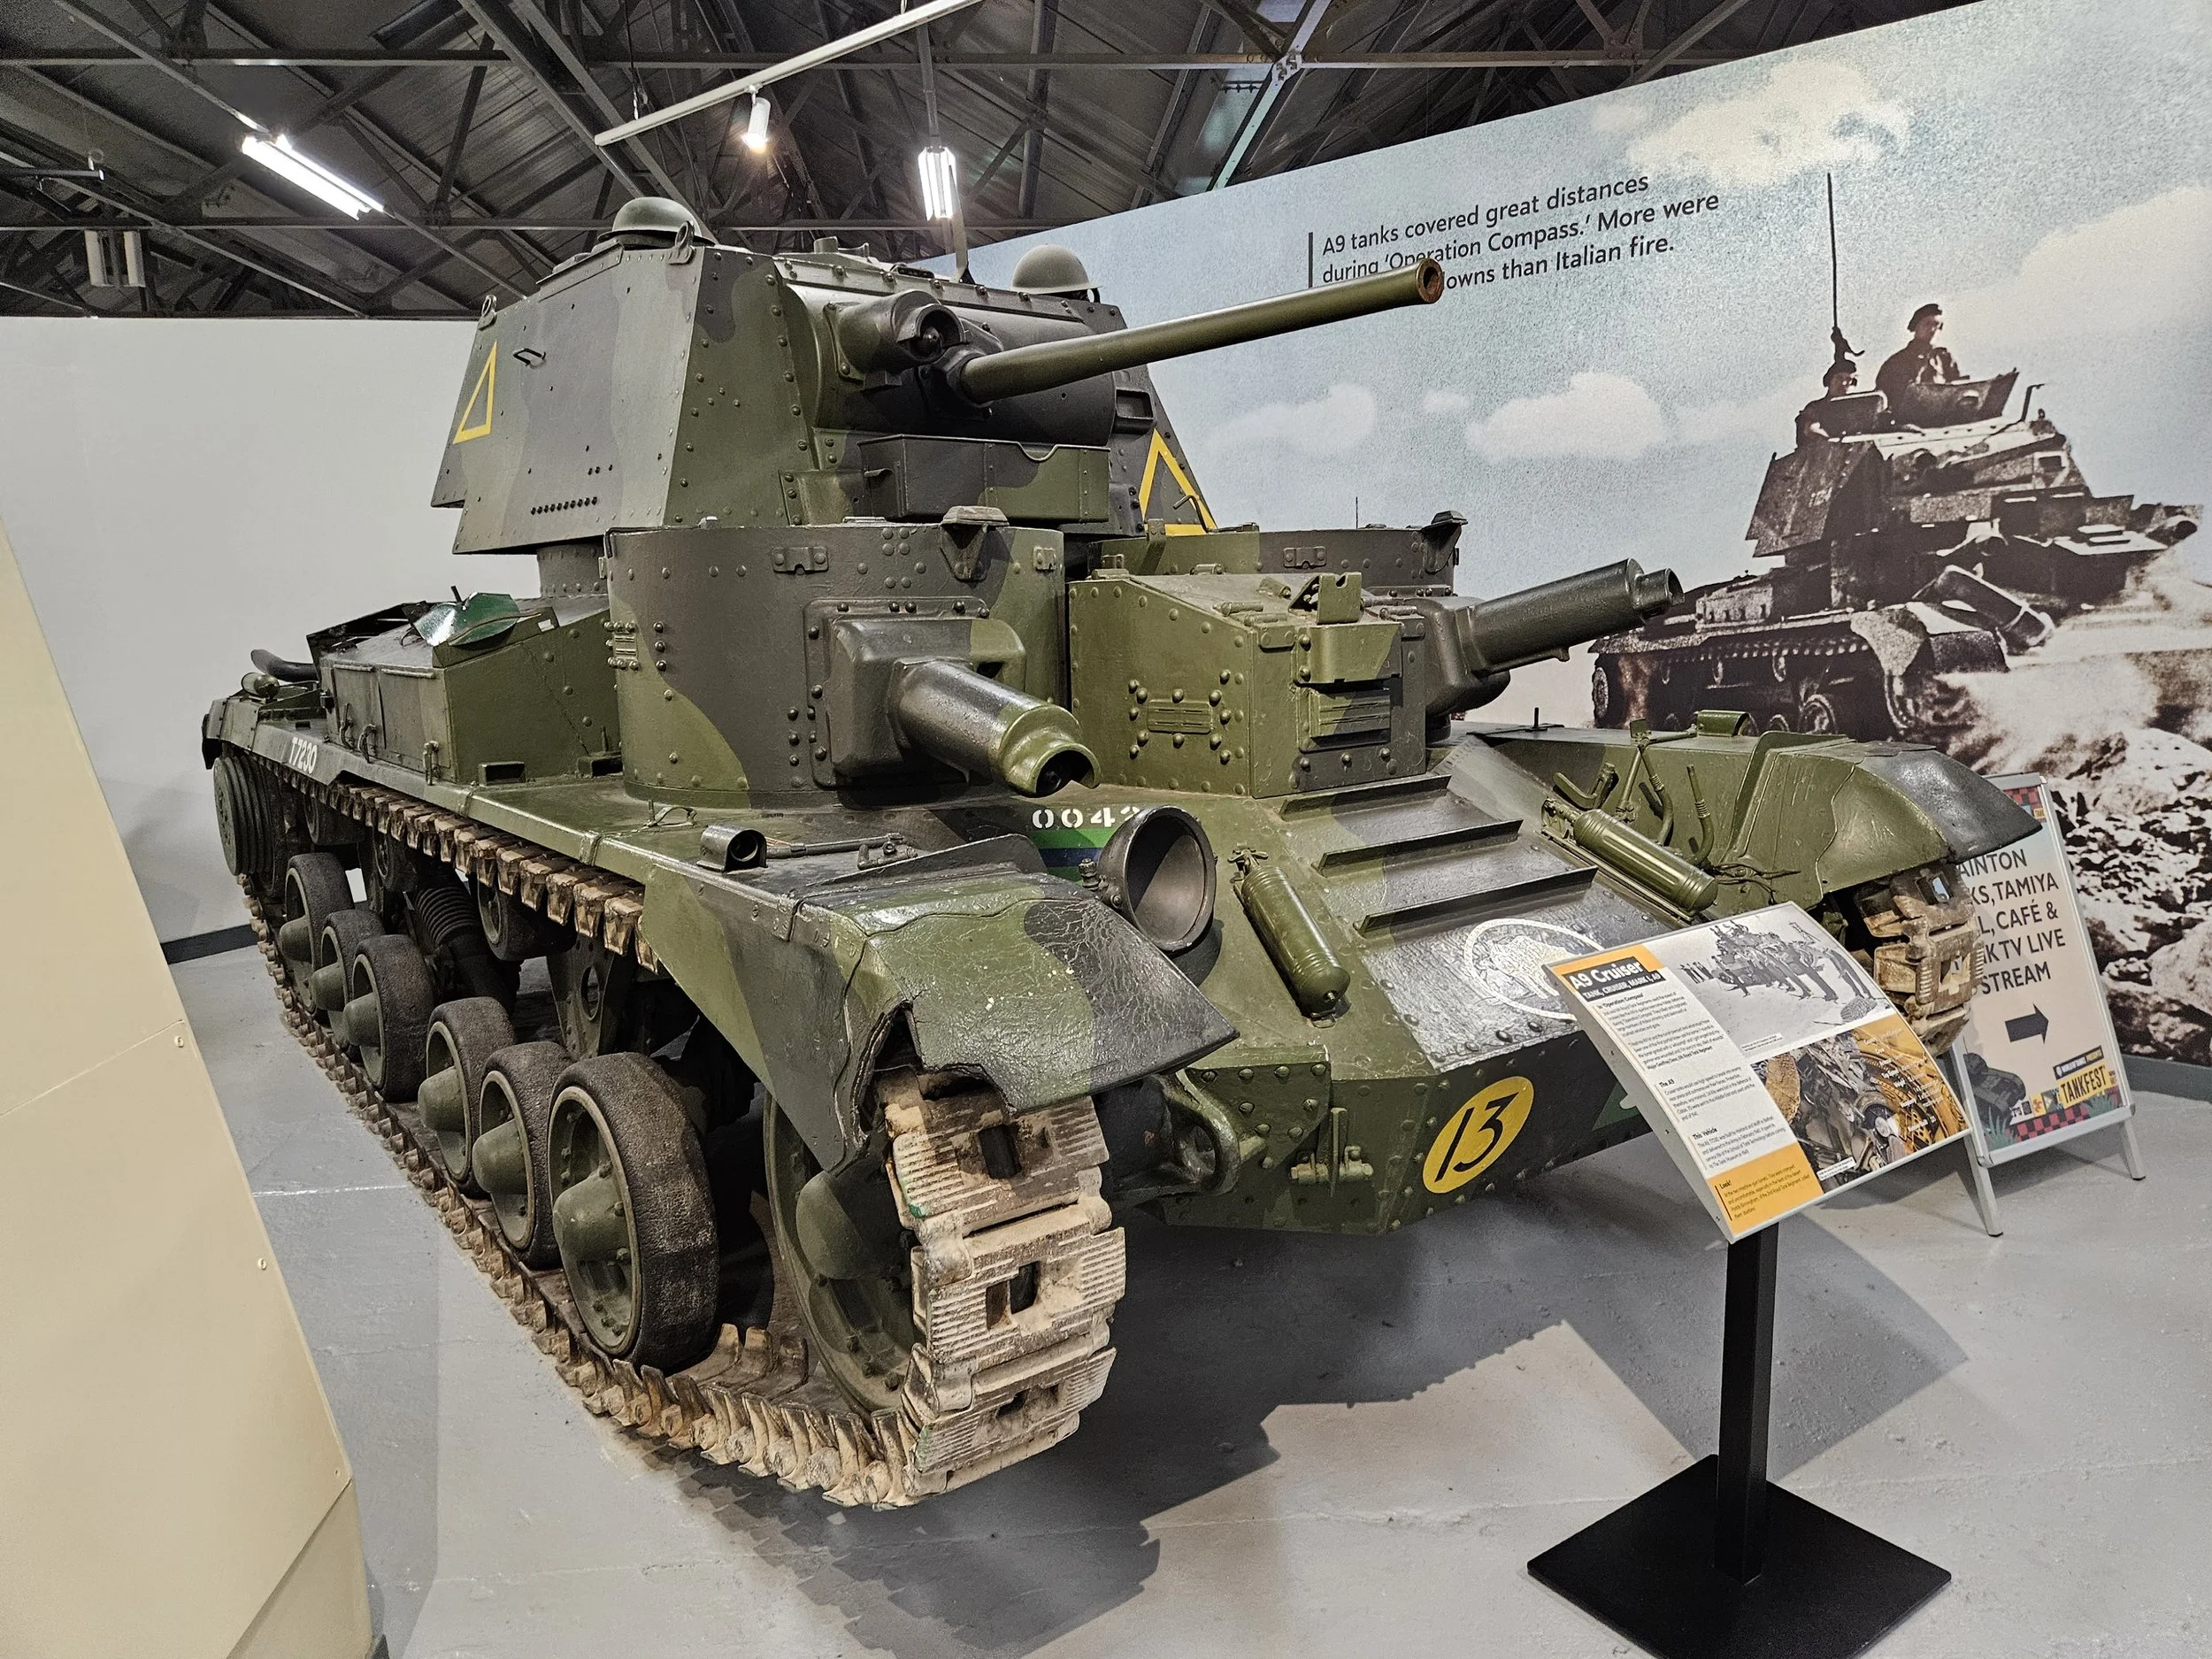
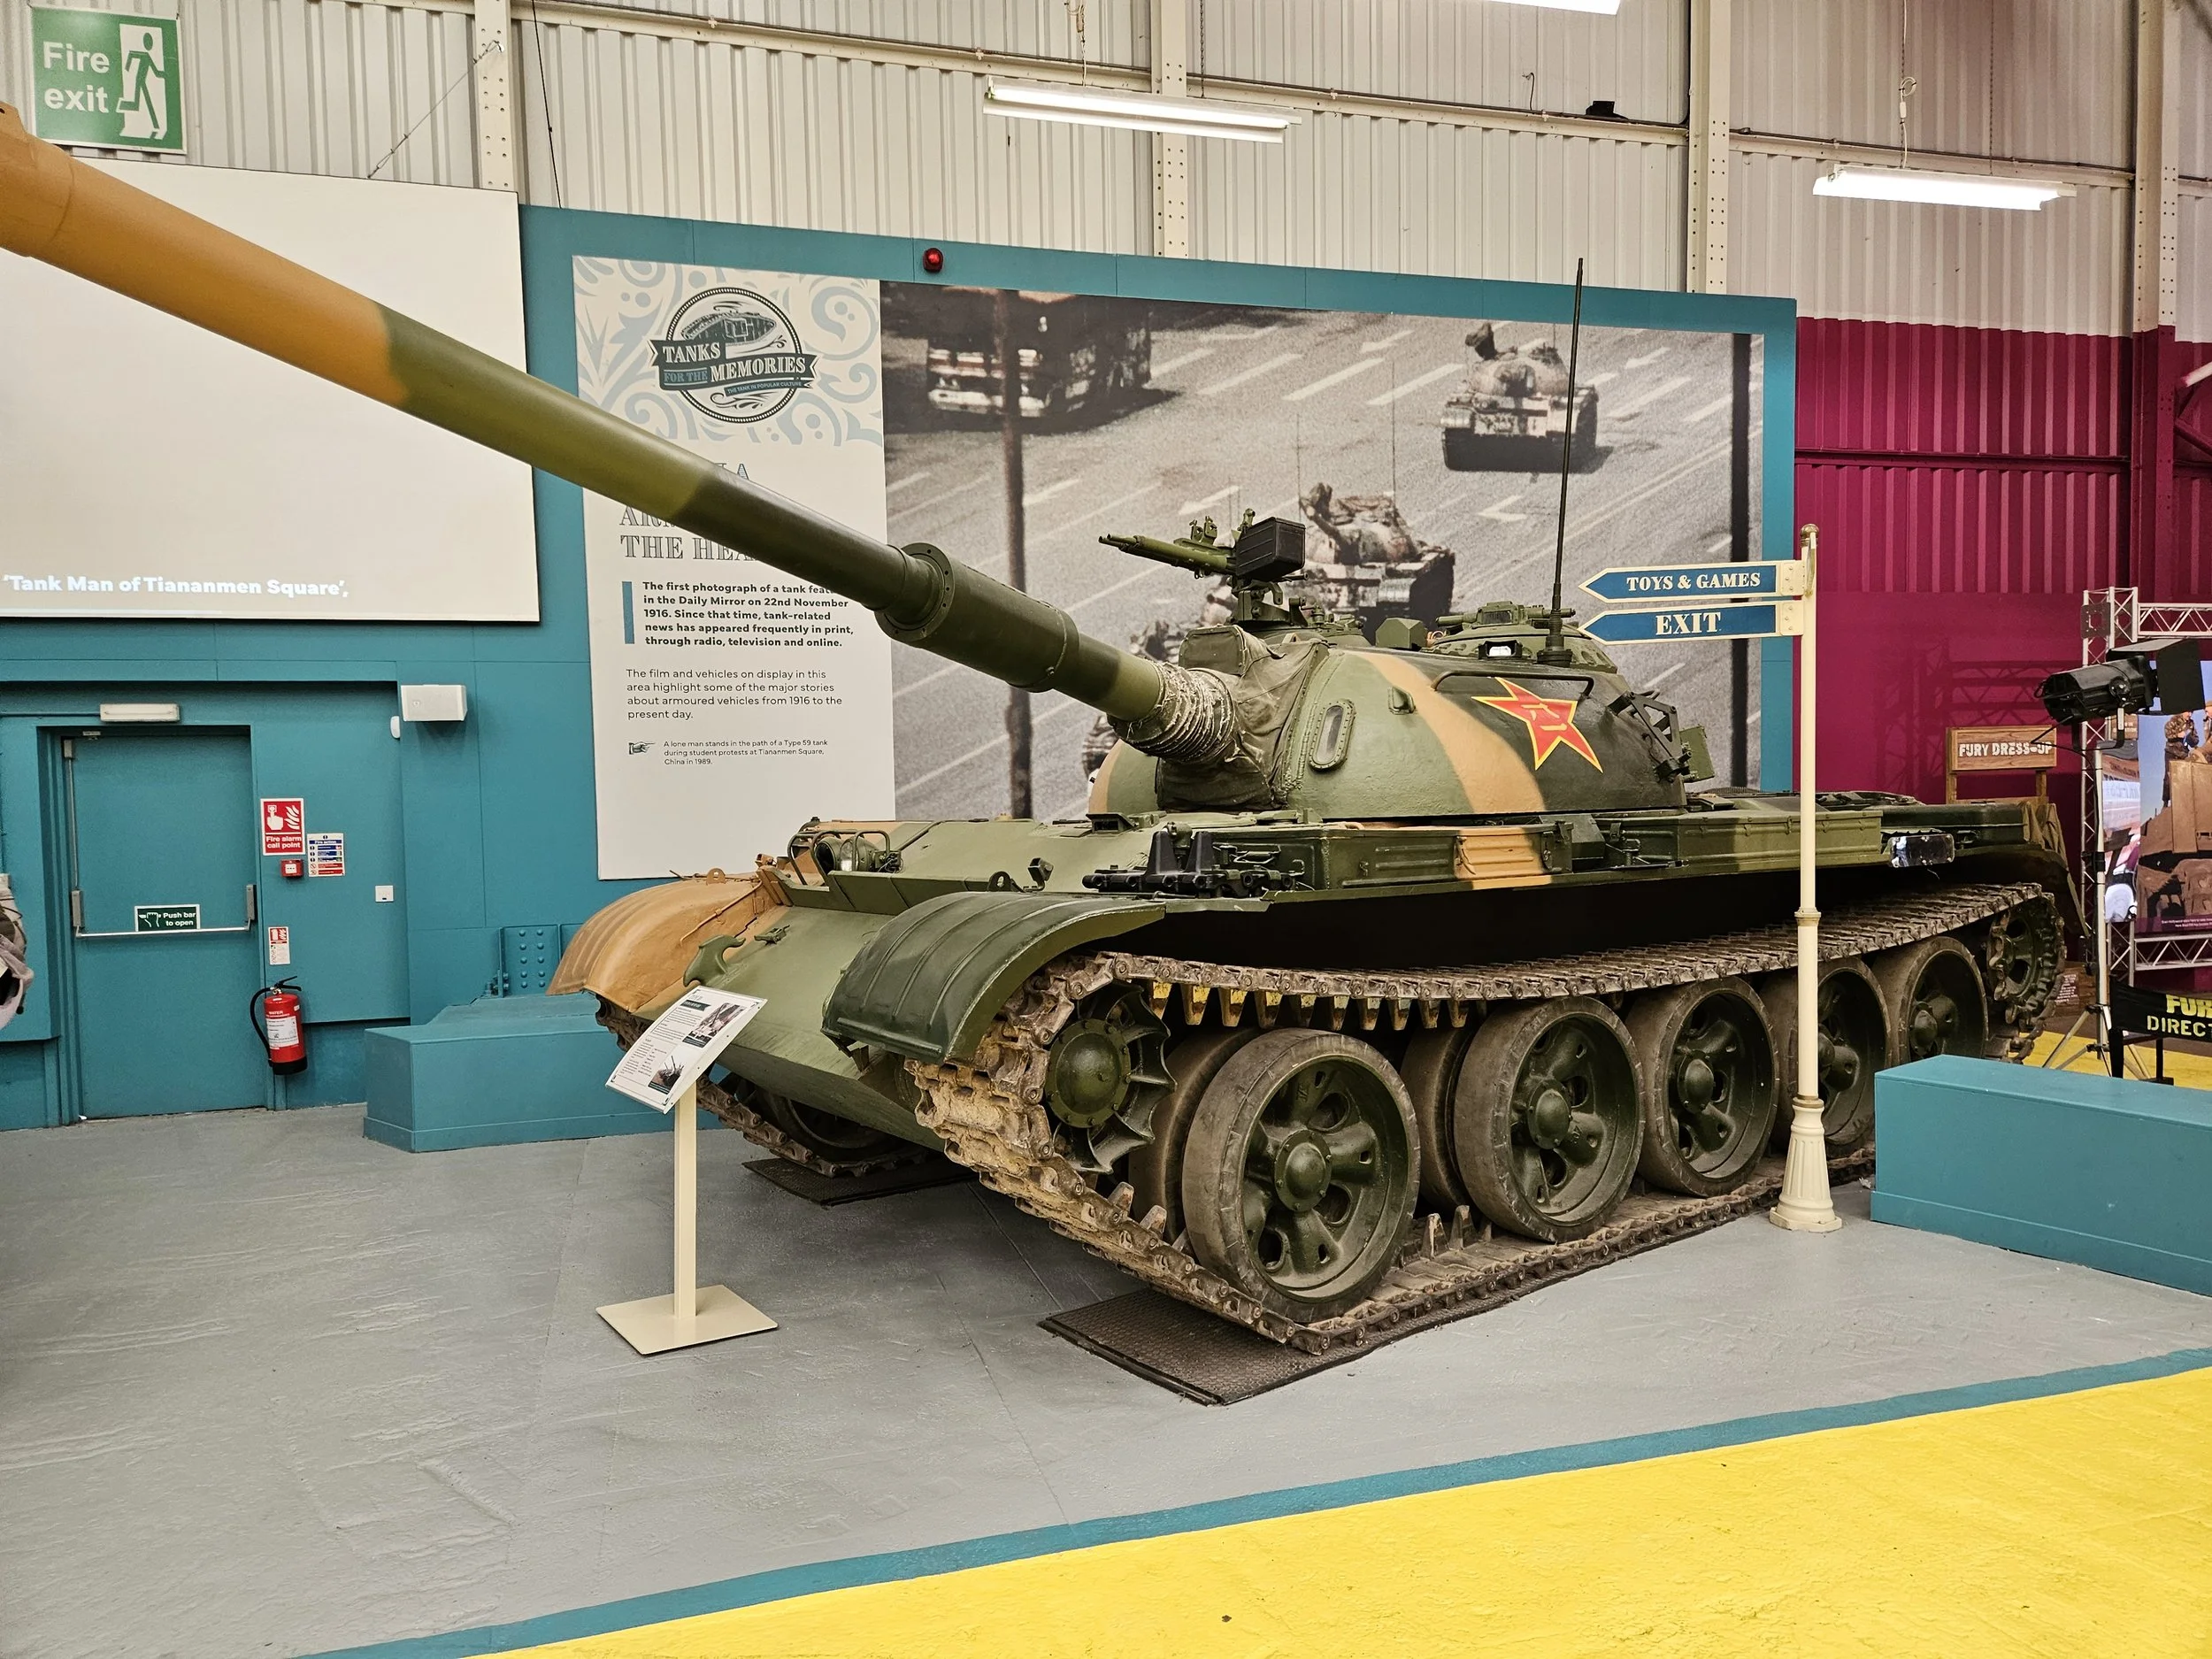
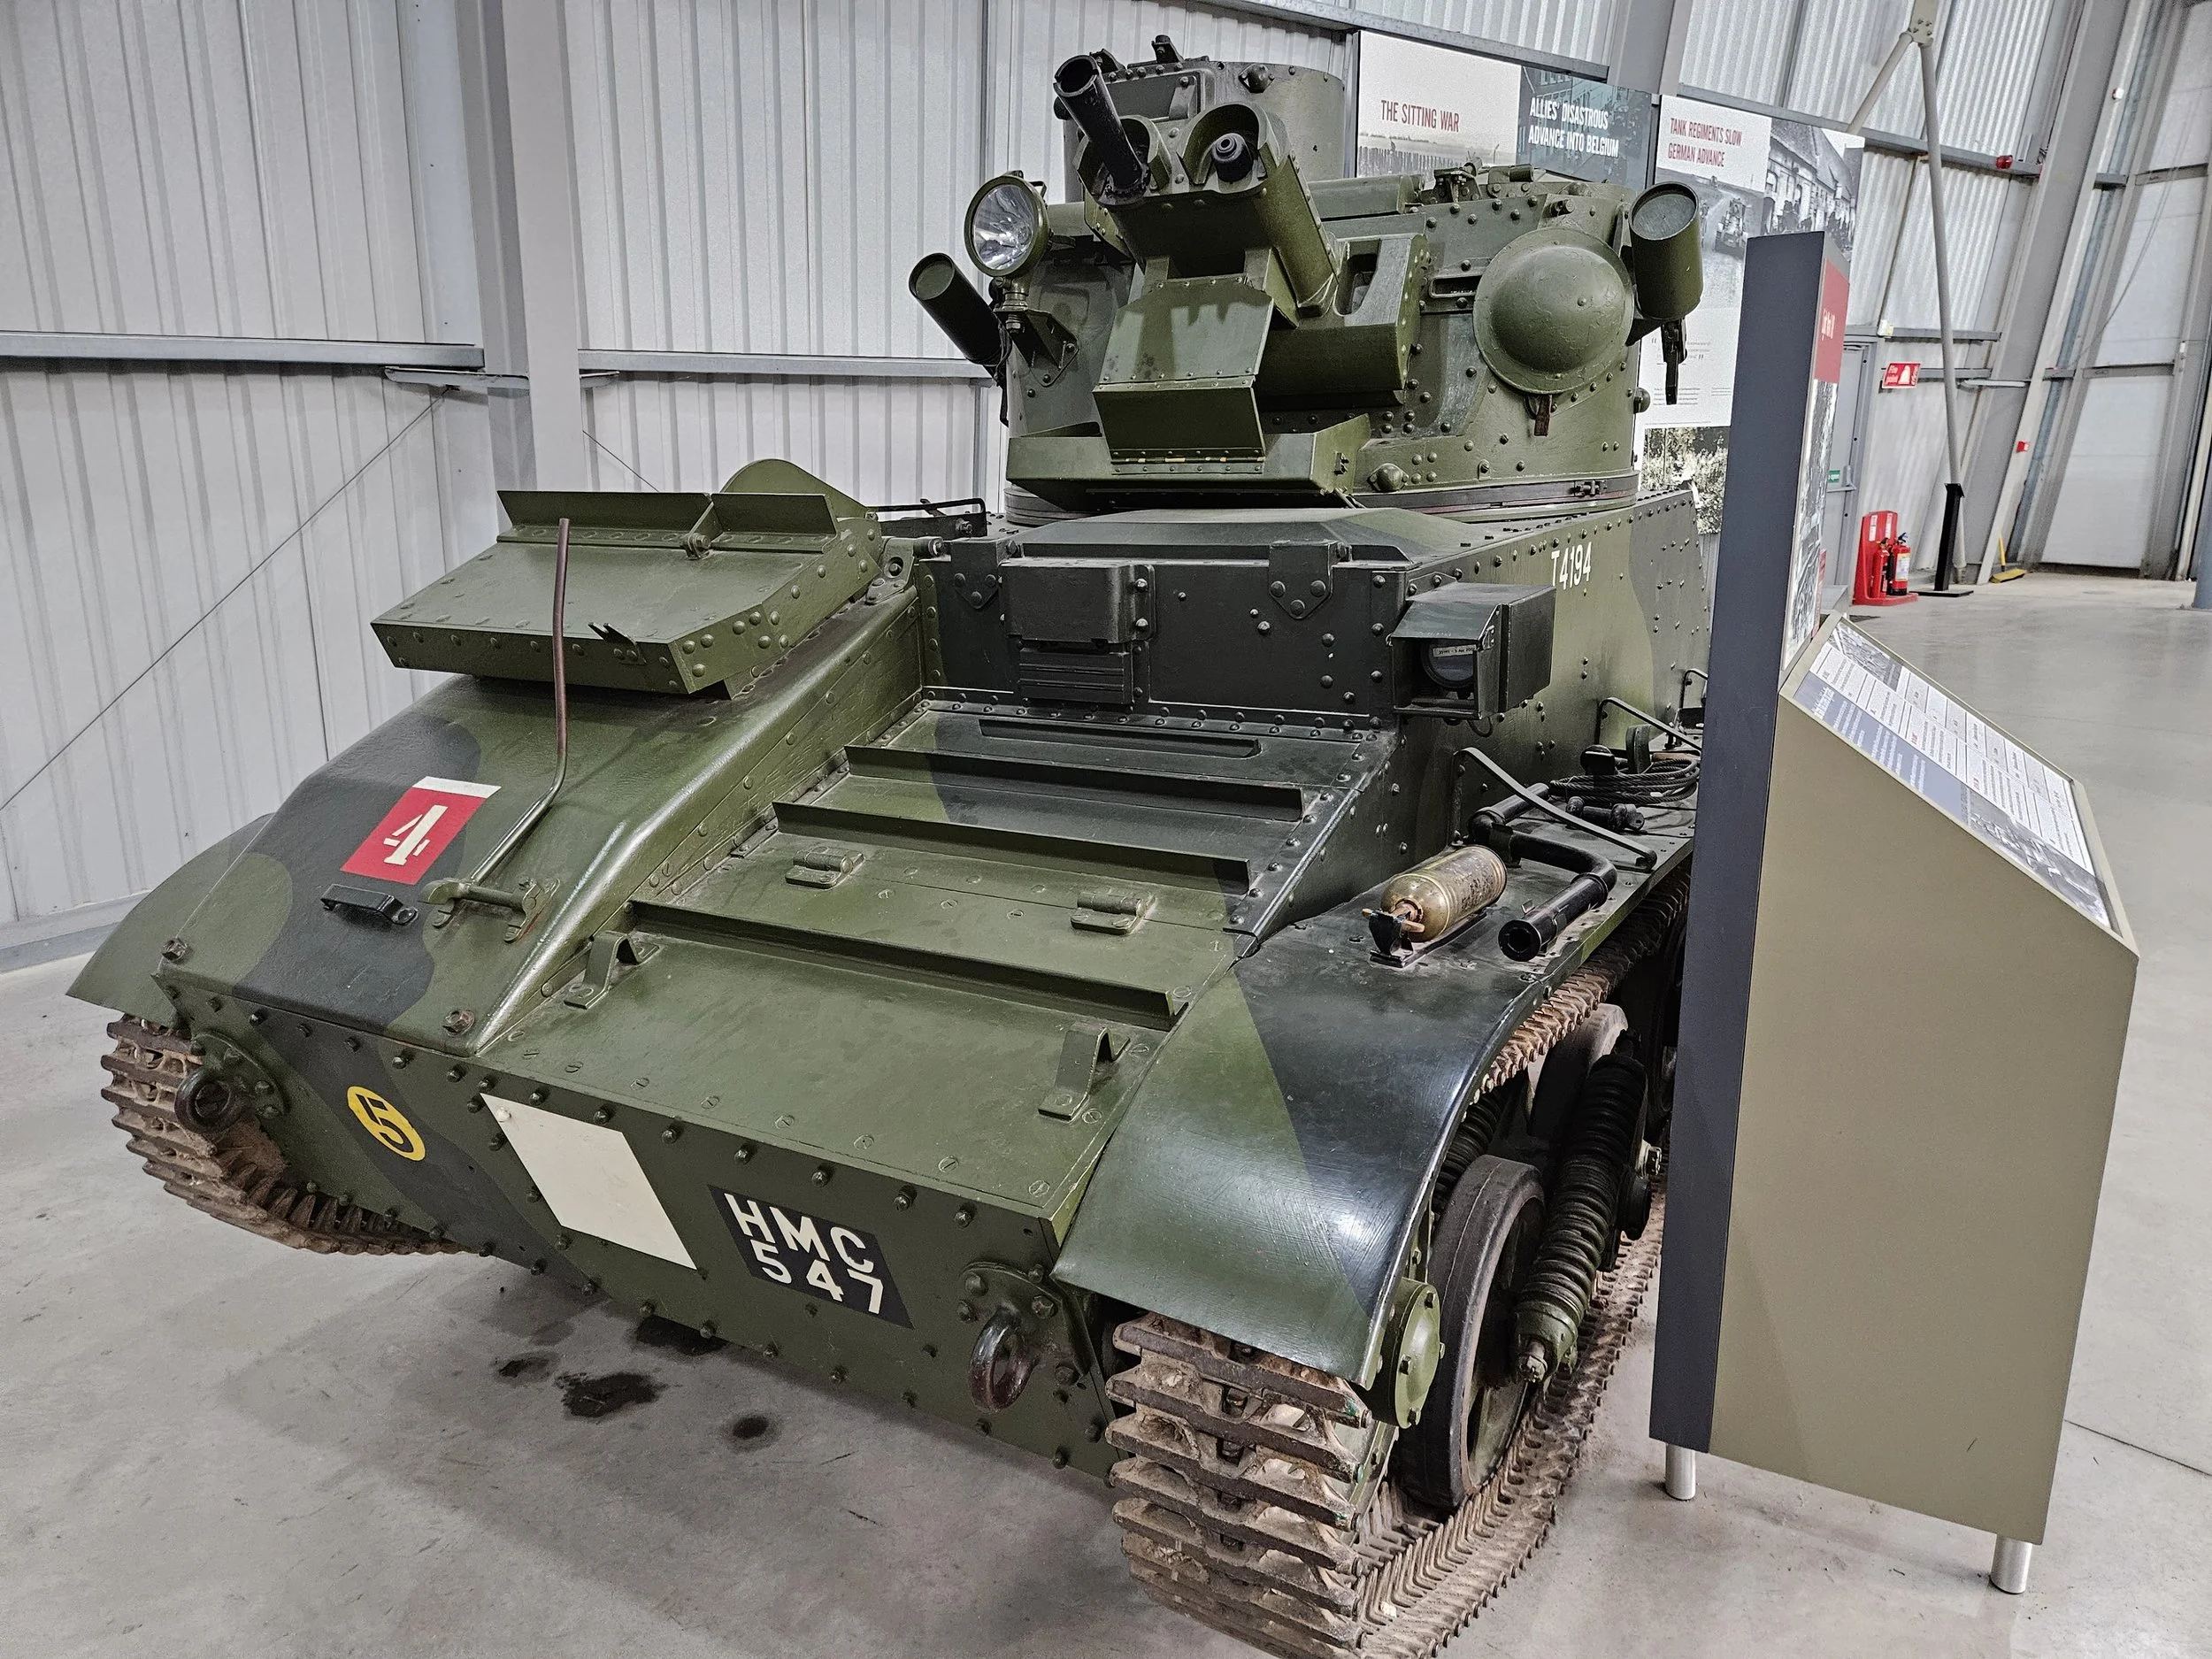
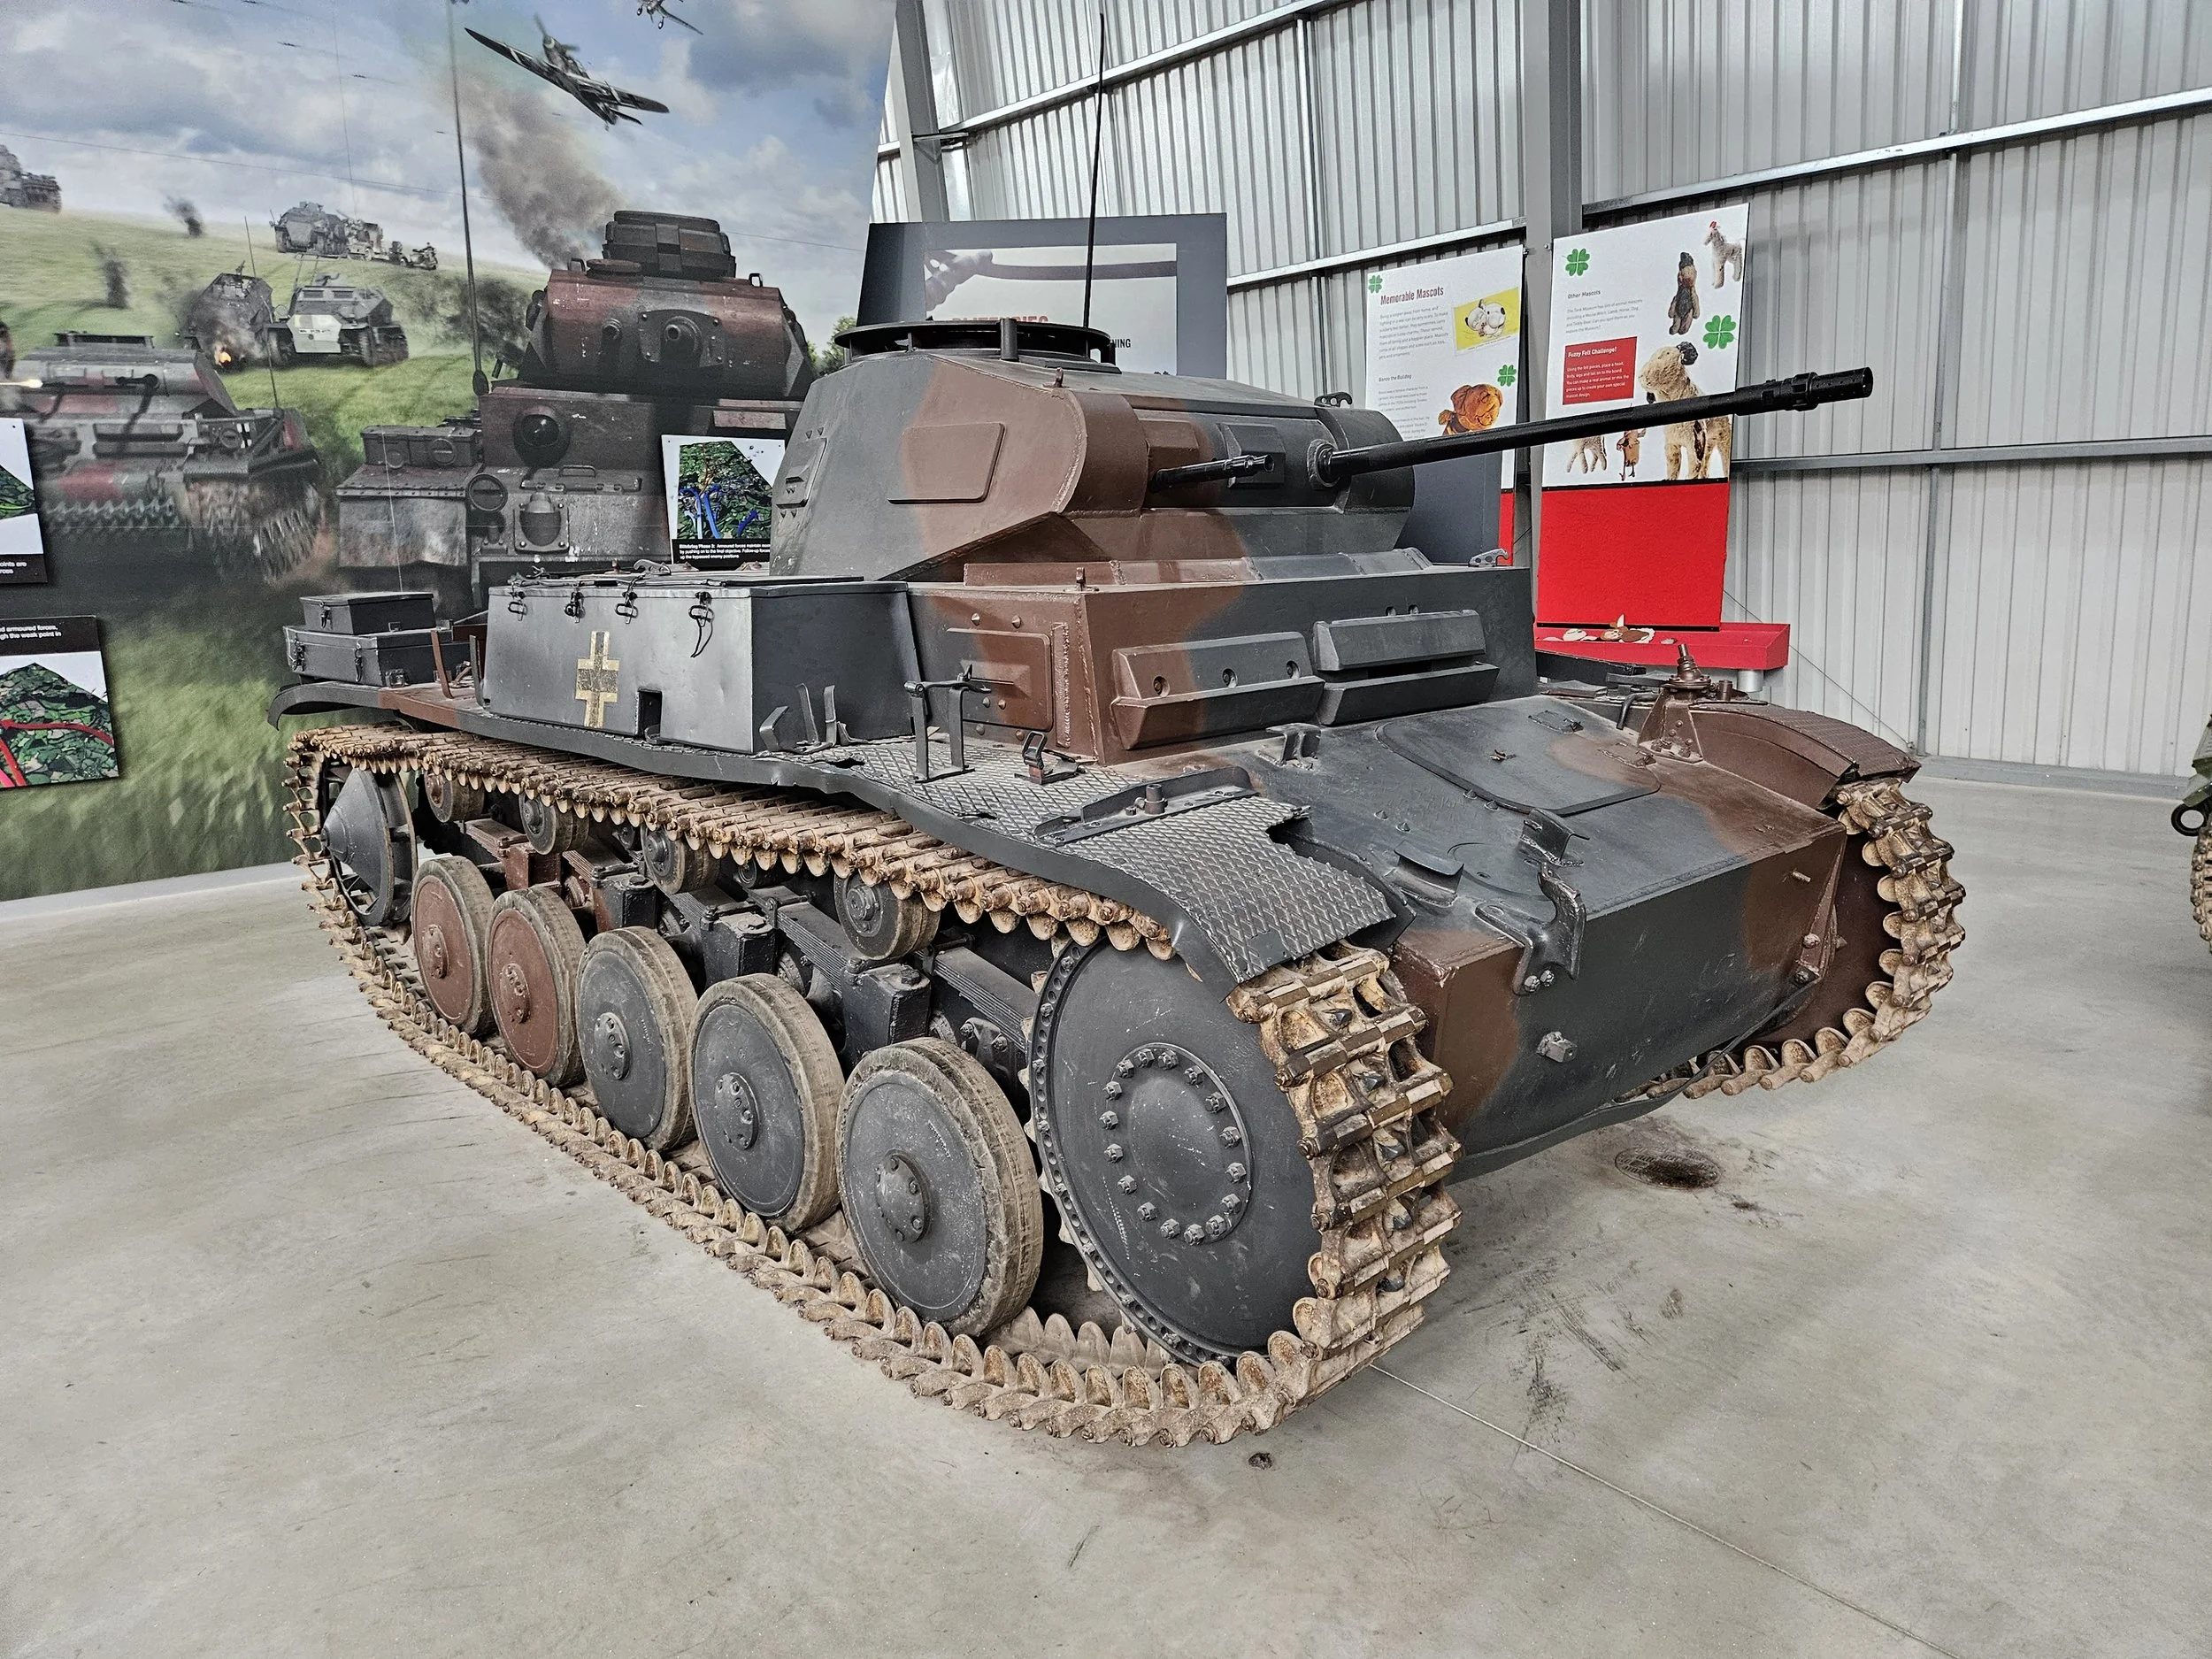
In addition to the above, you can visit the Museum itself: highly recommended in its own right. There were loads of new things to see since my last visit, and getting around everything took me a good couple of hours, and that was moving quickly.


So all in all Tankfest gets a big thumbs up from me. I was there from 8.30am (when it opened) until 4pm, so left before the main British Army demo. I almost stayed, but I’d had enough sun by then and had a 2½ drive to get home to look forward to.
Highly recommended!