Blenneville or Bust: a new Campaign from Too Fat Lardies for I Aint Been Shot Mum rules. I downloaded this as soon as it came out last week, being a sucker for TFL games and having only recently finished our Eastern Front campaign from the Vyazma or Bust supplement.
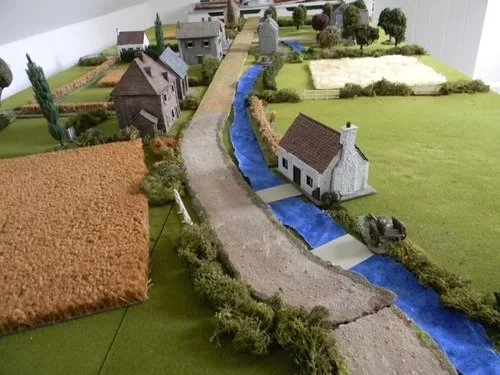
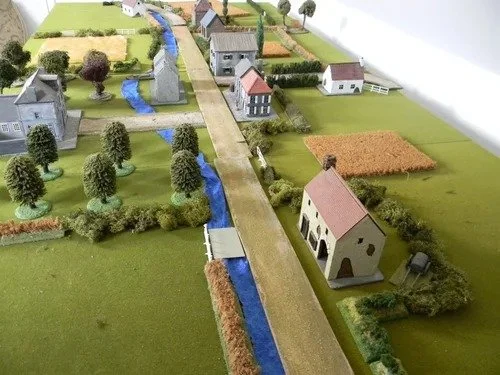
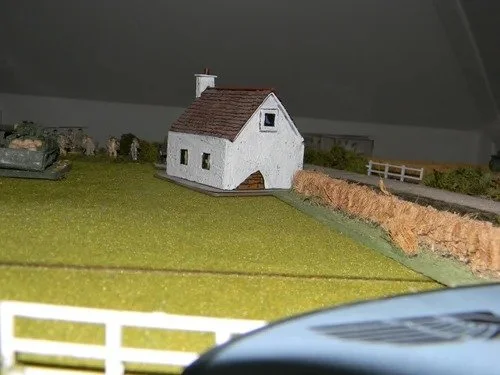
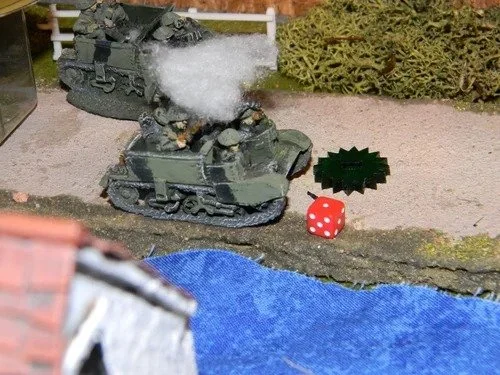
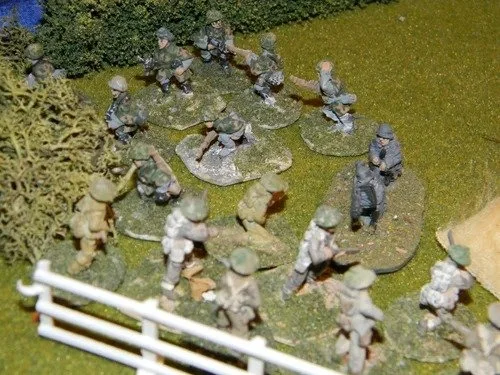
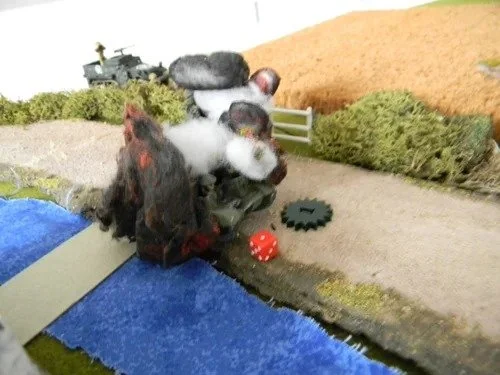
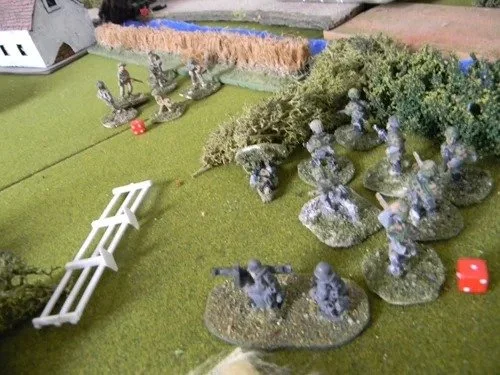
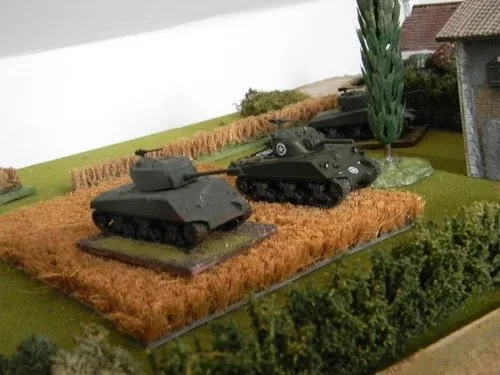
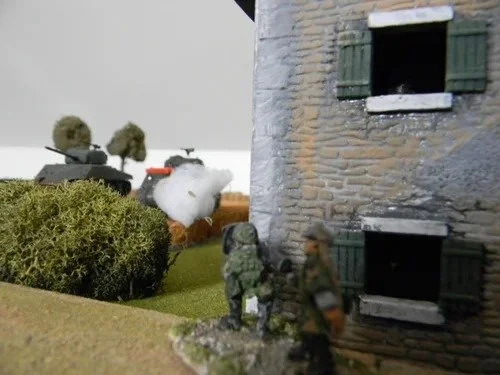
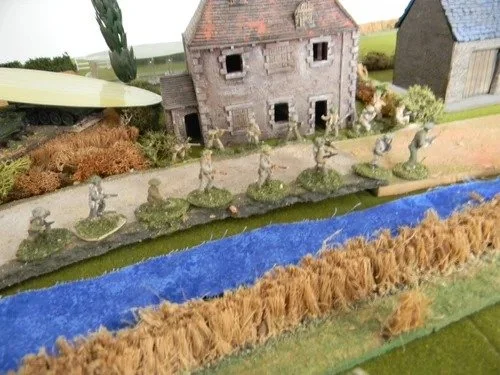
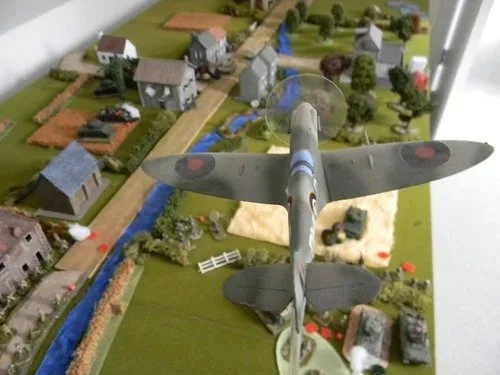
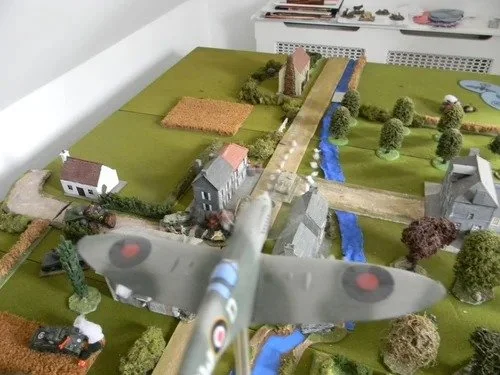
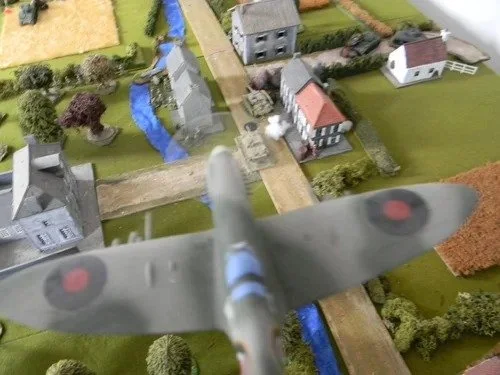
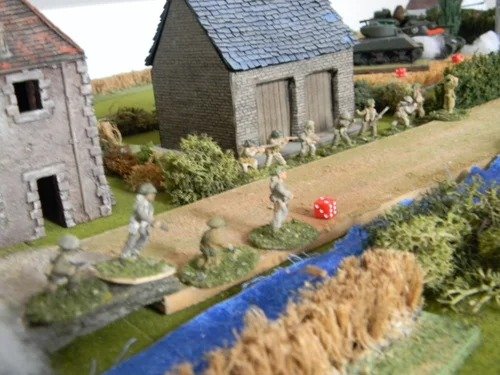
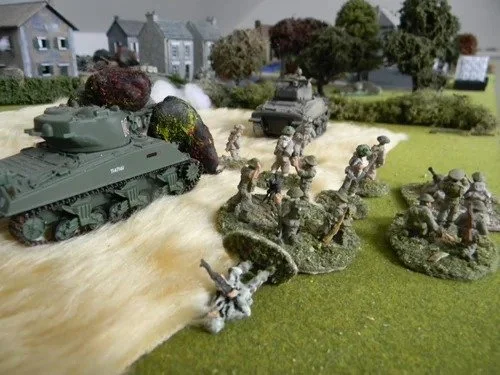
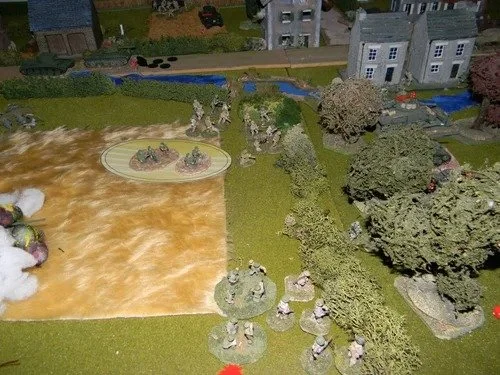
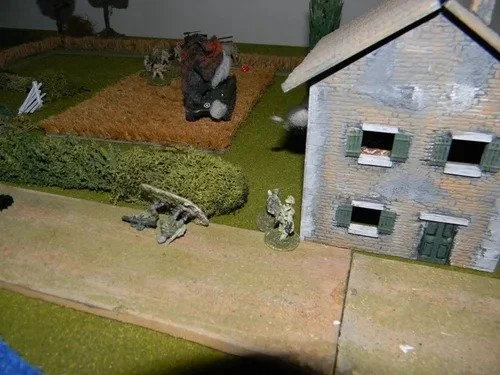
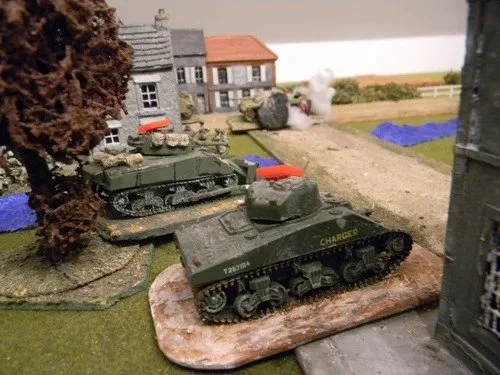
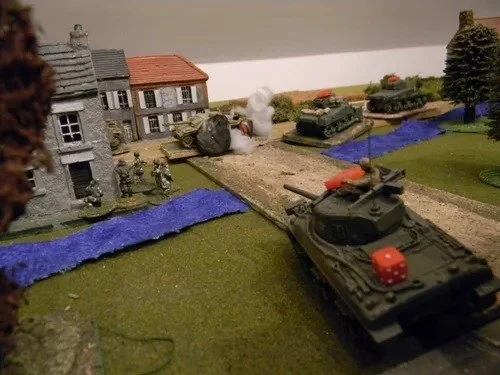
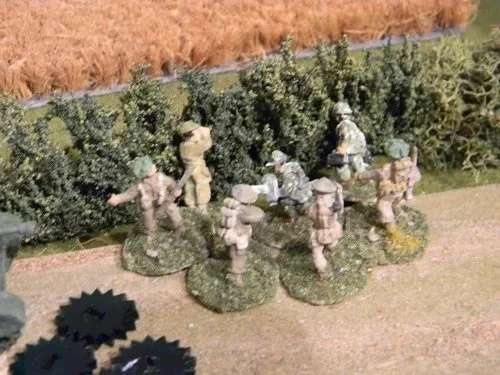
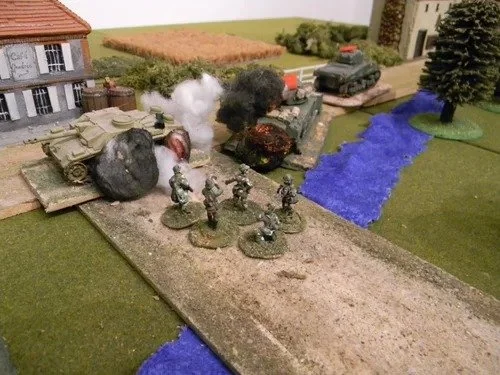
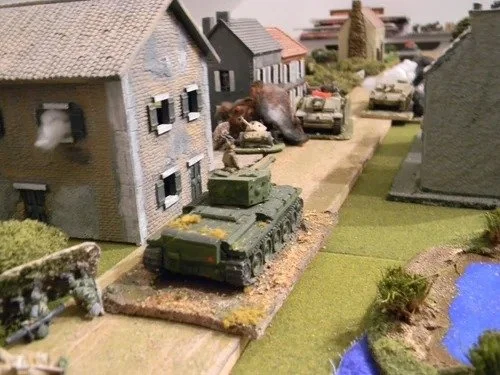
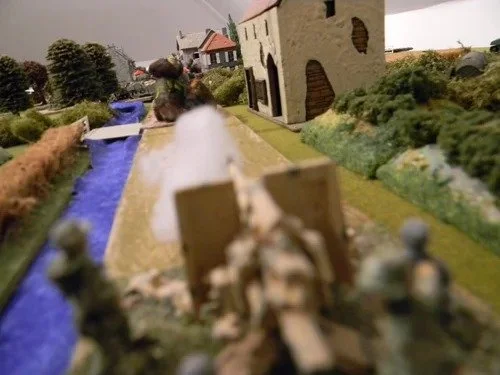
My first go at it (solo) is the British attack at Avaux by tanks from 101st RTR plus a company of infantry from 1st Royal Windsor Foresters - and no, don't going looking for these as neither the places or the units really exist!
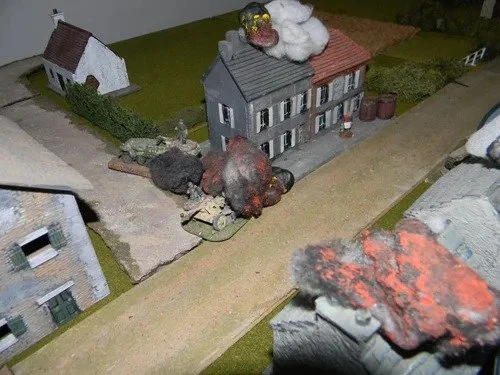
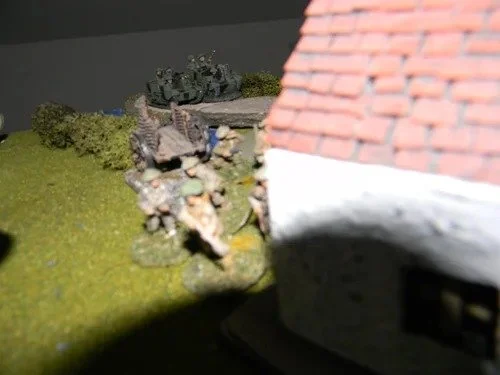
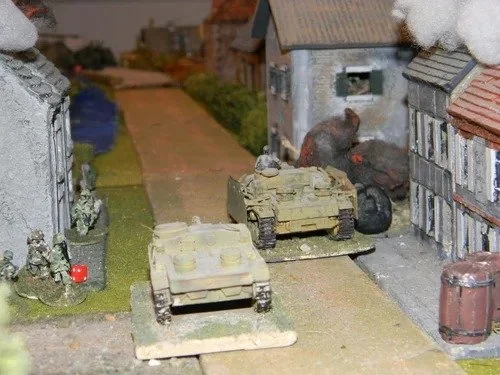
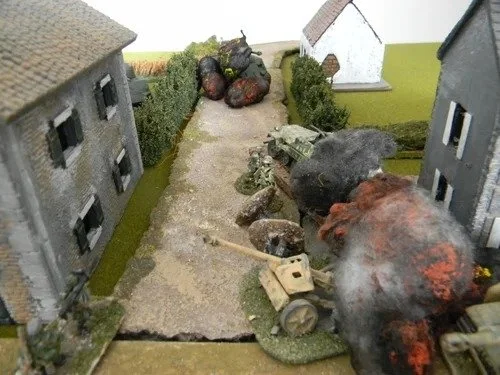
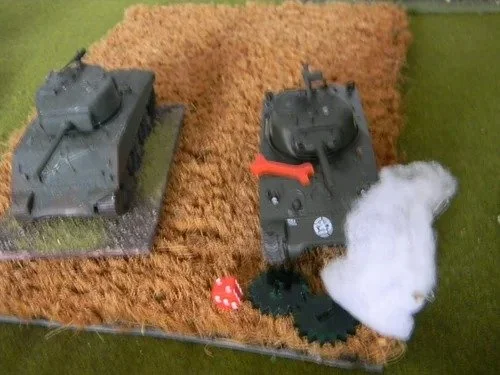
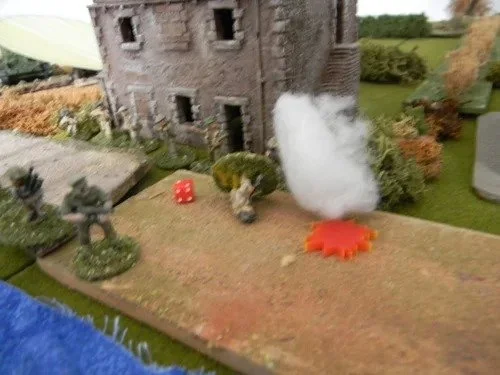
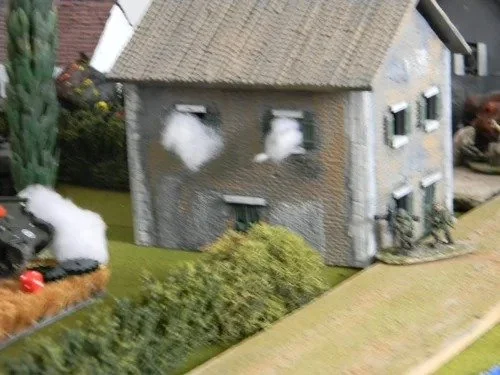
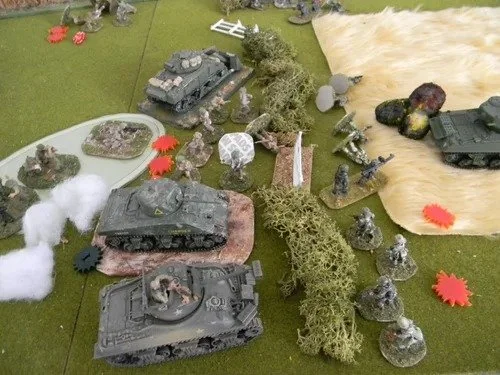
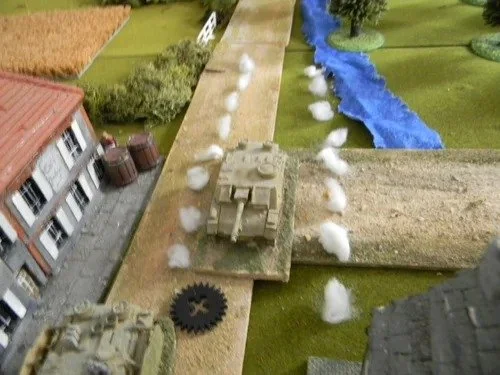
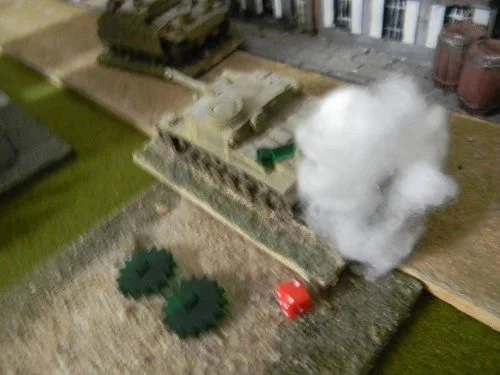
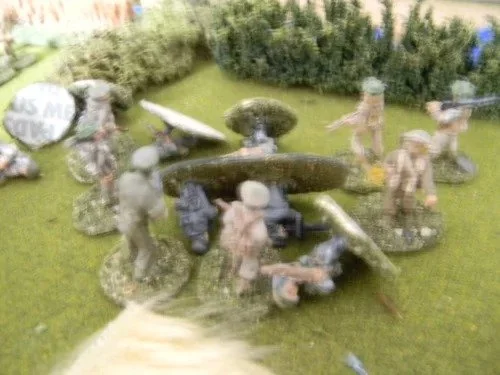
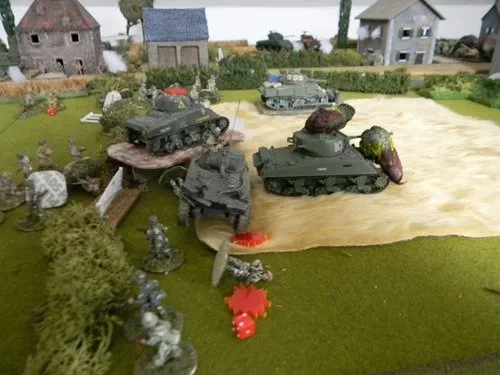
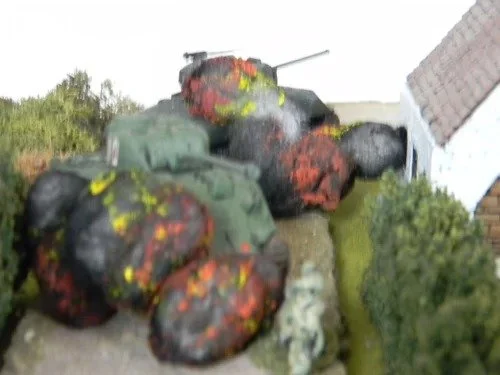
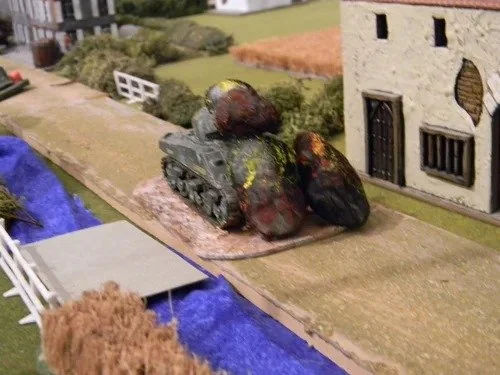
This was a proper blood bath. The village has fallen but at such a cost and too many tanks were lost. Monty is going to be furious!
Norseygamer
View fullsize
Here's a view of Avaux from the direction of the British attack
View fullsize
And another view from the German player's end
View fullsize
Opening stonk!
View fullsize
Forward units of German infantry hidden in the bocage spy British tanks and supporting infantry heading straight for them.
View fullsize
Some are investigating the cottage to their fore
View fullsize
This is quickly occupied by the British
View fullsize
Lt. Carlyle's troop of Shermans head around the outskirts undetected by the German defenders
View fullsize
Whilst Lt. Salisbury made straight for the hedge line in front of him with his four Shermans - bad mistake, the German infantry were waiting and took out Salisbury & his Firefly lead tank.
View fullsize
Meanwhile, two STuGs emerge onto the road in the village and engage the British carriers which had just appeared in the distance.
View fullsize
The lead carrier is hit but is not knocked out.
View fullsize
A section from the Windsors' 1st platoon close with the foremost German infantry.
View fullsize
The STuGs take out the 2 MG carriers.
View fullsize
A section from the Windsors' 1st platoon close with the foremost German infantry.
View fullsize
Tank killers get a Sherman in the lane
View fullsize
But there's three more where that one came from
View fullsize
Another tank killer team notch up a kill.
View fullsize
The kill!
View fullsize
British infantry rush up the road.
View fullsize
So the STuGs decide to fire at them.
View fullsize
Backed up by MGs firing from the top floor of the building hiding a tank killer team too.
View fullsize
No.1 Tank troop push forward again.
View fullsize
And here come the "Fly Boys" to add a bit of punch.
View fullsize
Attacking the StuG.
View fullsize
The fighter manages to bracket a STuG without scoring a single hit!
View fullsize
Infantry HQ vehicle takes a hit and the only survivor is the Adjutant.
View fullsize
The fighter returns for another go and this time smacks the STuG on the rump, causing some shock to the inhabitants.
View fullsize
That'll keep them quiet for a moment.
View fullsize
British infantry take the first bocage defence line.
View fullsize
As No.1 Troop by-pass their commander's burning Firefly.
View fullsize
The dreaded tank killers have scored another hit.
View fullsize
As a brave Lieutenant leads his men forward.
View fullsize
The dash for the second line of bocage.
View fullsize
The tanks are over...but not without damage.
View fullsize
2nd Platoon follow up but are engaged by fire from the cottages.
View fullsize
Another Sherman brews up.
View fullsize
No. 1 Troop catch a STuG in the flank.
View fullsize
And 2 Shermans speed forwards with another trying to catch up.
View fullsize
British infantry hug the bocage.
View fullsize
As the German CO with his HQ men set a charge on one of the Shermans passing by.
View fullsize
The tank CO now charges forward to engage the remaining STuG.
View fullsize
But horror of horrors, an 88mm appears at the end of the street and takes out the lead Sherman!
View fullsize
The game is up as the British do not have enough tanks left.
