

This game was inspired by the Operation Martlet CoC campaign and will use the CoC/IABSM variant using dice, not cards. Des put the game on in his shed o'war using his fantastic 15mm kit.
We played a full three-company attack by the Duke of Wellington regiment supported by tanks and Divisional artillery on the 12th SS positions. The British will need to secure Le Grande Ferme, St Nicholas Ferme and push on towards Rauray. Tessel Woods will be on the flank and an eye kept on that as it was defended by elements of the Panzer Lehr.
Here are some RAF photos from the 6am overflight:


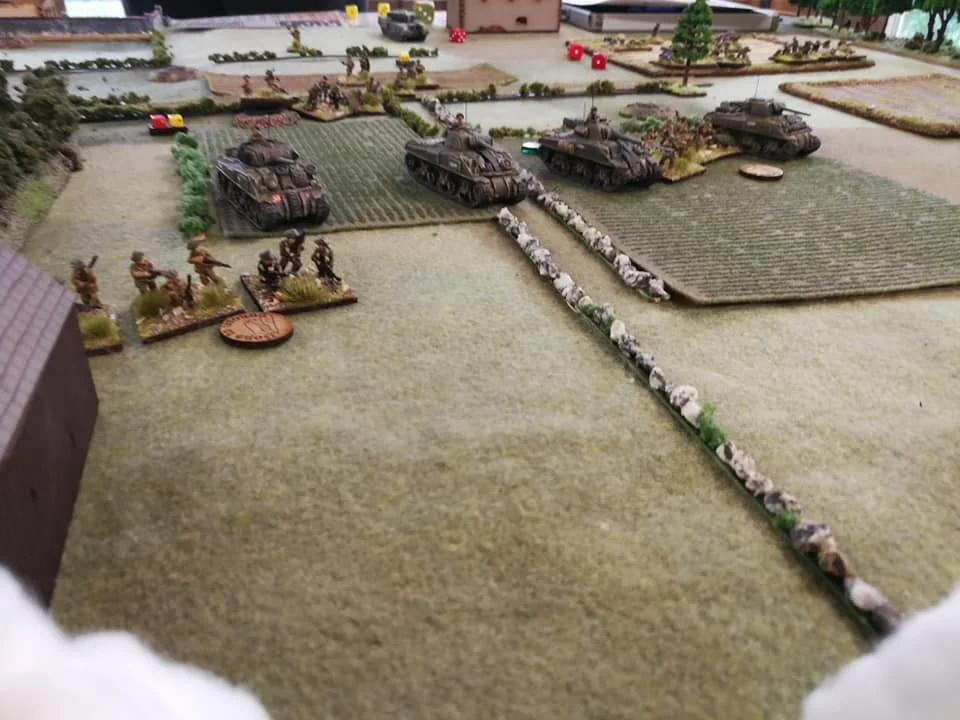
Pictures of the Duke of Wellington Regiment and support moving up to the start line.


The British players have indicated pre-game stonk targets, and “The Off” is at 10.00am GMT.
Update: mist and traffic jam delaying the attack (one player missed his bus!).
The Briefings
Below you will find the two briefings given to the players: downloadable pdfs.
British briefing
German briefing

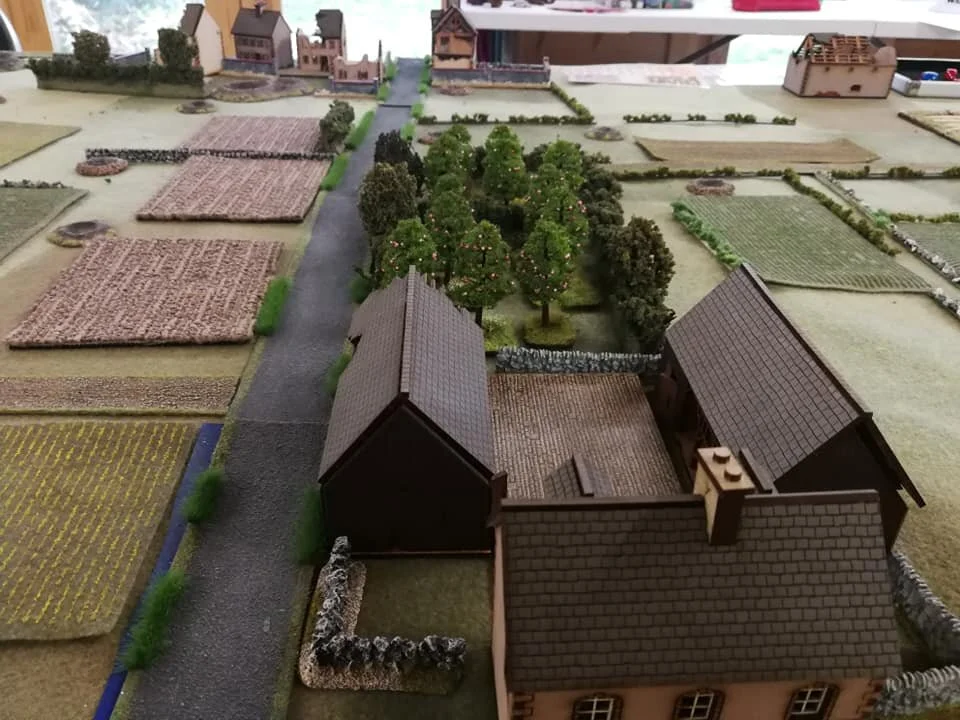
The view from Tessel Woods. Le Grande Ferme is neatest. The British start line is on the left.
The Game Itself
A terrific day of gaming and banter yesterday with The Fuller, The Bombardier and Maureen taking commands.
The Duke of Wellington Regiment successfully breached the 26th Panzer Grenadier line, but at some loss. 40 infantry were killed or wounded, but tank losses were light, with only two abandoned and one brewed up. German losses were heavy in the infantry, with no losses in the supporting AFVs (more on that later)
The British players had no plan, were late and brilliantly (but accidentally) mirrored the command of this regiment on the real day! The German player had a far better grasp of what was needed, but had very little chance of defending everywhere. The siting of his MMG's was crucial, and use of the farmhouses, and orchards. The fields gave great fire zones, but revealing the defenders units too early could just bring down concentrated fire from the British. A delicate balancing act was required.
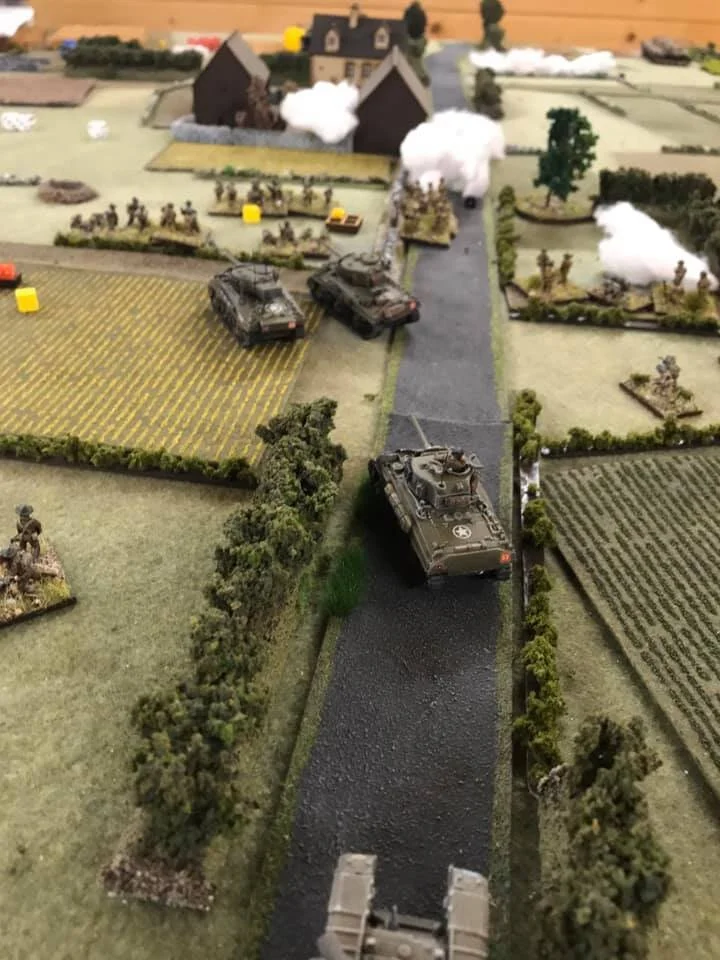
To all our surprise, The Bombardier and Maureen used British tactics, and stated deploying off blinds and using the 2" mortars to lay smoke screens. Infantry and tanks all steadily moved up, and the The Bombardier had great success moving on St Nicholas Ferme. Maureen was determined to clear the orchard in front of Le Grande Ferme and deployed a platoon to do so. In the ensuing action two MG34 teams were eliminated, but the platoon was somewhat damaged from blundering into them and instigating Close Combat.
Things were still looking good for the British as they had two companies to work with and a squadron of tanks, so a gradual move forward, eliminating all defenders bit by bit was working. Maureen decided to throw a right hook and released the two troops of tanks past Le Grande Ferme and engage the farm from the flank. At that very same time, the reinforcements that the Germans had been trying to get released and on table made an appearance. Five Panther tanks deployed off Blind and looked menacingly at the oncoming British Blinds. In a series of die rolls The Fuller could not make his mind what to do with his precious Panthers, while Maureen took one look and ordered a general "redeployment” away from the Panthers!
The fight for Le Grande Ferme continued, but it was now a numbers game as the British piled on fire from all the platoons. St Nicholas Ferme was also receiving a lot of fire, while in the centre the tanks engaged the dug in Panzer Grenadiers but were careful to stay out of Panzerfaust range. Bit by bit the German defenses were eliminated. The Panthers still were the concern for the British, and the combat area around Le Grande Ferme became a stalemate. The British tanks would not advance in the face of the five Panthers, while The Fuller held back his Panther tanks, menacing either attack (The German player had picked an Armoured Bonus Card and was harboring it for a sudden rush on the British).
At that point Panzer Meyer ordered the redeployment of the Panthers to help stop Operation Epsom (which was now underway) and the British players looked on in confusion as the five Panthers moved off table(where are they going, are they being moved off table to reappear?) Their tiny minds were a whirlpool of uncertainty!

Near the end...
With the withdrawal of the Panthers, the German commander realized that there was only one chance to keep his command intact and withdraw to Rauray. He needed a diversion, and it came in the form of a halftrack zug from HQ, deploying on the main road from Rauray. It appeared on table and battered the British platoon that was working its way down the road toward Rauray. The Bombardier was suddenly recalled to HQ (Mrs. B does not like him staying out after dark…..) and so I stepped in to command his forces. I immediately pushed another platoon and tanks towards the far left baseline. There was no German defenders remaining and it was clear that the time had now come for the 26th Panzer Grenadier Regiment to withdraw.
The Fuller used his halftracks to lay down covering fire and the infantry began to move off table. Snipers were left to play havoc on the British troops following up.
It was a great day of gaming and it was so pleasing to see the dice version of IABSM stand up to a big game test like this.


Uncaptioned Pics


Iain Fuller & Desmondo Darkin

A fine gathering of GentlemAn wargamers