A game of IABSM from the Blenneville or Bust! scenario pack.
Introduction
Although US reconnaissance units failed to locate the bridge over the river Moire, other American troops managed to beat off a German counter-attack near Belle Maison, allowing American engineers to throw their own bridge across the Moire. This allowed the Americans to assault Pierrecourt from the flank but, despite this advantage, the attack failed. The Germans then successfully counter-attacked through Belle Maison and, as the campaign reaches its climax, threaten the rear of the Allied armies at Diot.
And so here it was, the final game in the campaign. The Germans were on a roll and seeking the maximum victory they could achieve.
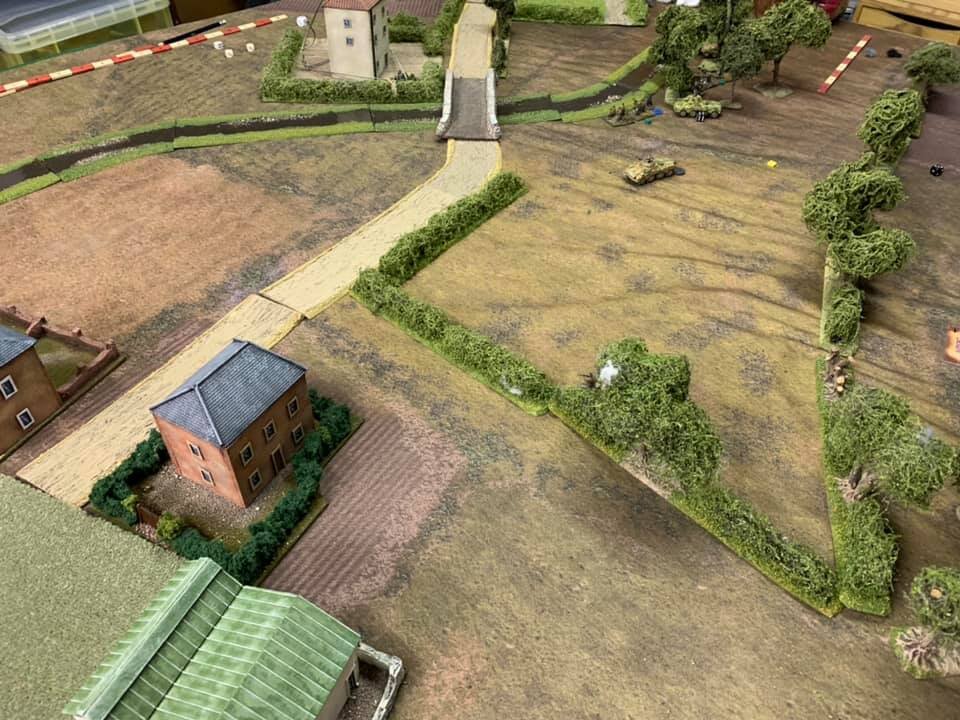
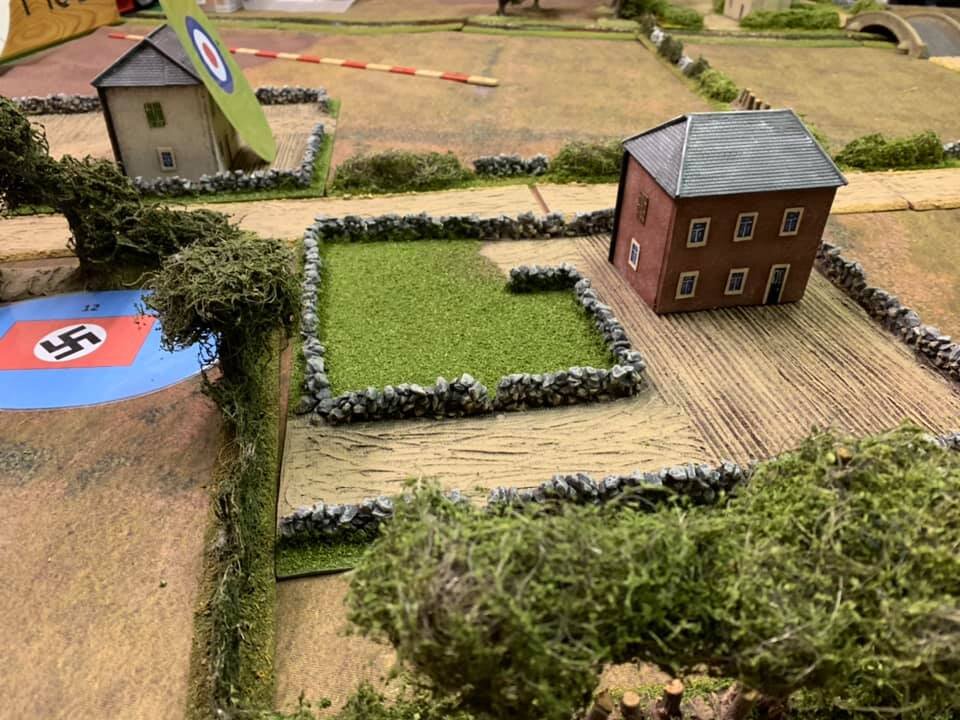
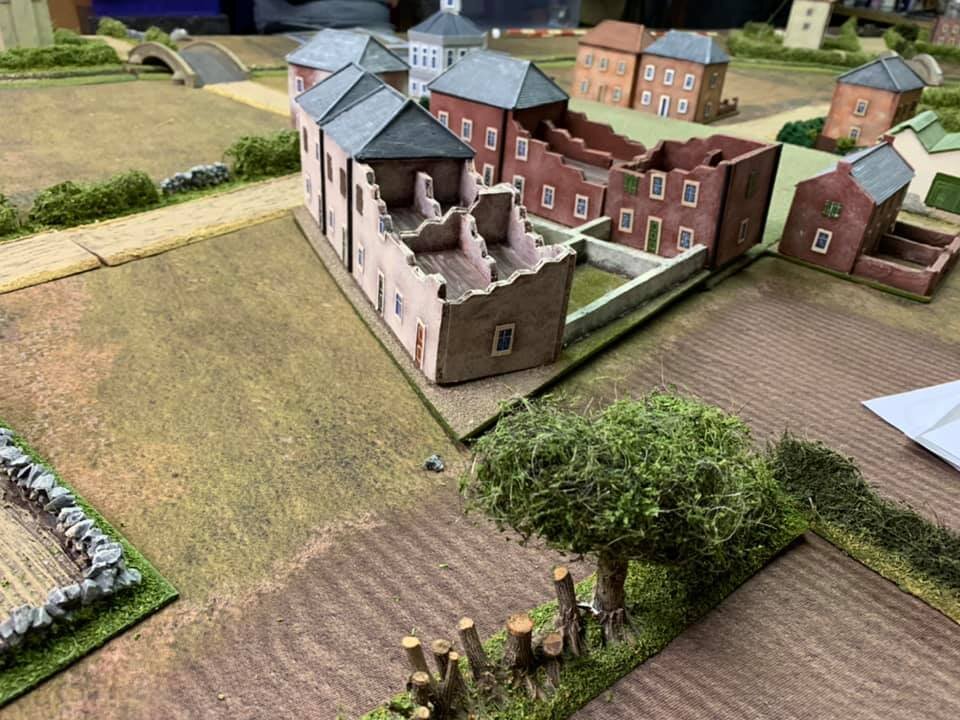
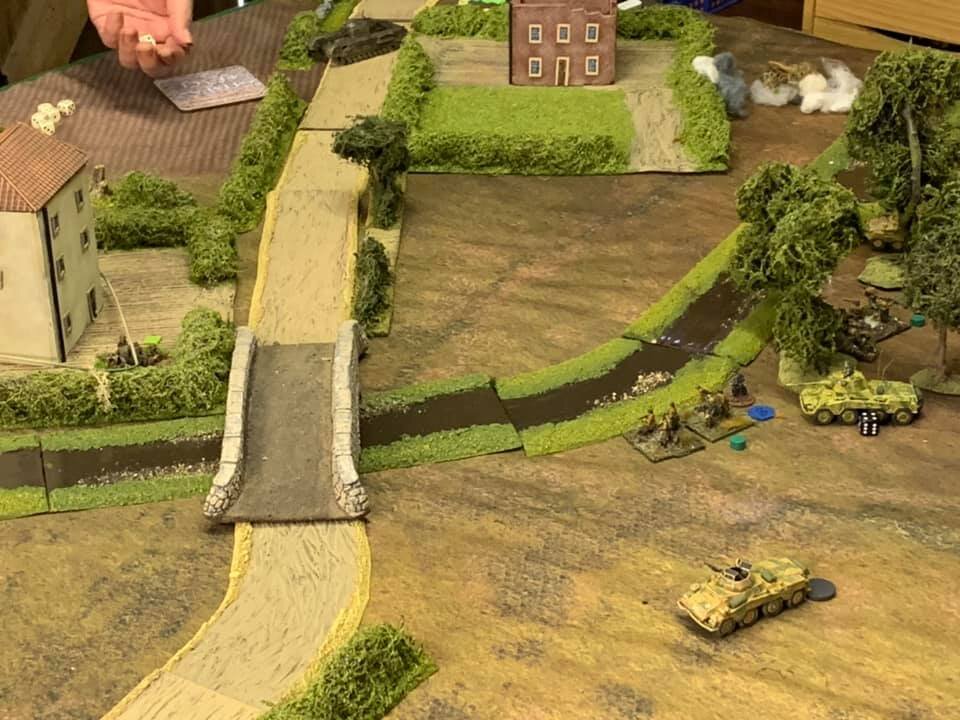
Diot was an interesting table setup. A huge town square in the centre of the table surrounded by houses and shops on every side. Running the length of the table and close to the British edge ran a large and unfordable river, which could be crossed only by one of the two bridges still intact.
As we started the game everything looked eerily quiet. In this final game I once again play the Germans this time with the assistance of Ralph. The opposition, the British Alban Regiment along with it supports, were played by John and Barry. Martyn once again took the role of the umpire.
The Game Begins
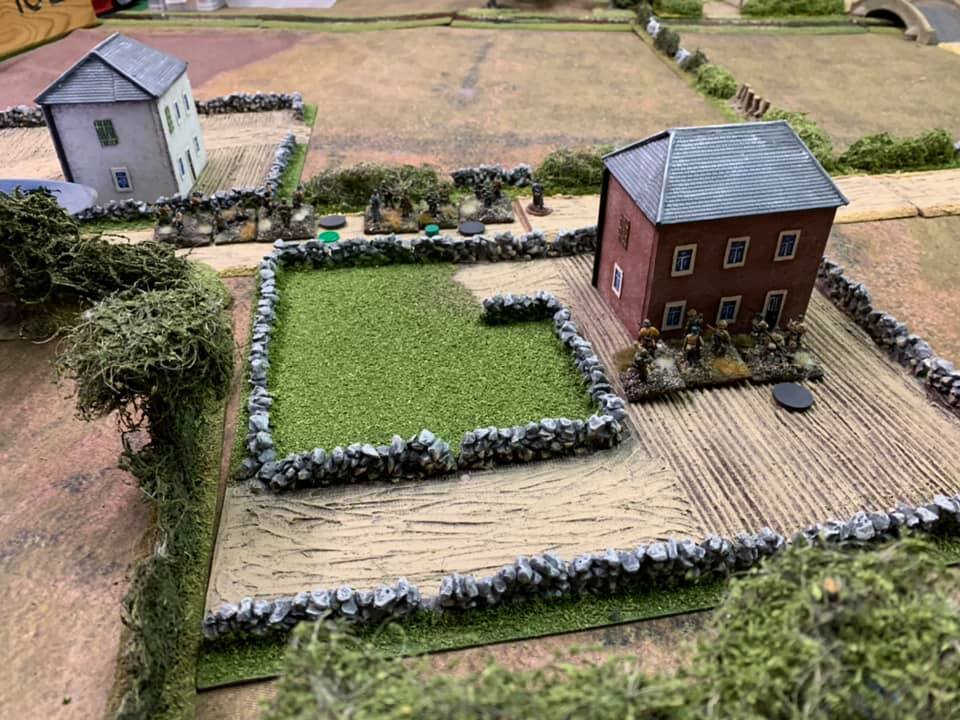
Ralph and I decided that we would avoid town centre at all costs and aim for the two bridges using a pincer attack. on our centre-right we deployed a series of blinds, primarily to act as observers and to draw enemy units out of their cover in order that we could seek their positions successfully.
We used four blinds initially, two of them were false and two were real units; the reconnaissance platoon of three armoured cars including a very useful Puma and one of the three infantry platoons that we had at our disposal. The latter made its way along the leaside edge of a Boccage hedgeline which gave cover from the buildings of the town square.
With so few cards in the game deck the initial returns came thick and fast. The British had deployed everything on hidden blinds and so we had to commence a lengthy series of spotting activities during this early part of the game. We had mixed fortunes in that regard, but slowly and surely we scanned the majority of the hedgelines in front of us successfully. Nothing was lurking about.
However it was not too long before the British artillery bombardment started with ranging rounds pitching around our blinds in the centre to right-hand sector of our deployment area. The British ranged in pretty quickly and soon the blinds were taking casualties.
The British now started to use their forward units currently hidden under blinds to observe our blinds, rapidly discovering the infantry and one false blind. Taking a slow reconnaissance start to the game was one thing, but being under a targeted barrage was another and we decided to press on as fast as we could.
The reconnaissance platoon still under its blind made rapid advancement through the gap in the hedgerow and out to observe the enemy's left flank paid particular attention to a house and enclosure close to the bridge in that sector. This time our luck was out and we couldn't see very much at all, only successfully scanning one section of hedgerow where we found nothing.
The armoured cars made great use of a small copse to limit the lines of sight it was exposed to, whilst still being able to undertake observation missions itself. The infantry platoon took a different tack and split up into its various sections in order to avoid the worst of the bombardment which was now 'targeted in' and starting to cause casualties in some numbers.
Deploying into individual sections provided the Germans with the opportunity of undertaking even more observations and soon much of the board area between the German right flank and the centre of the table was observed to be clear.
The big question was where were the British and most importantly how many of them were there?
The British Reveal Themselves
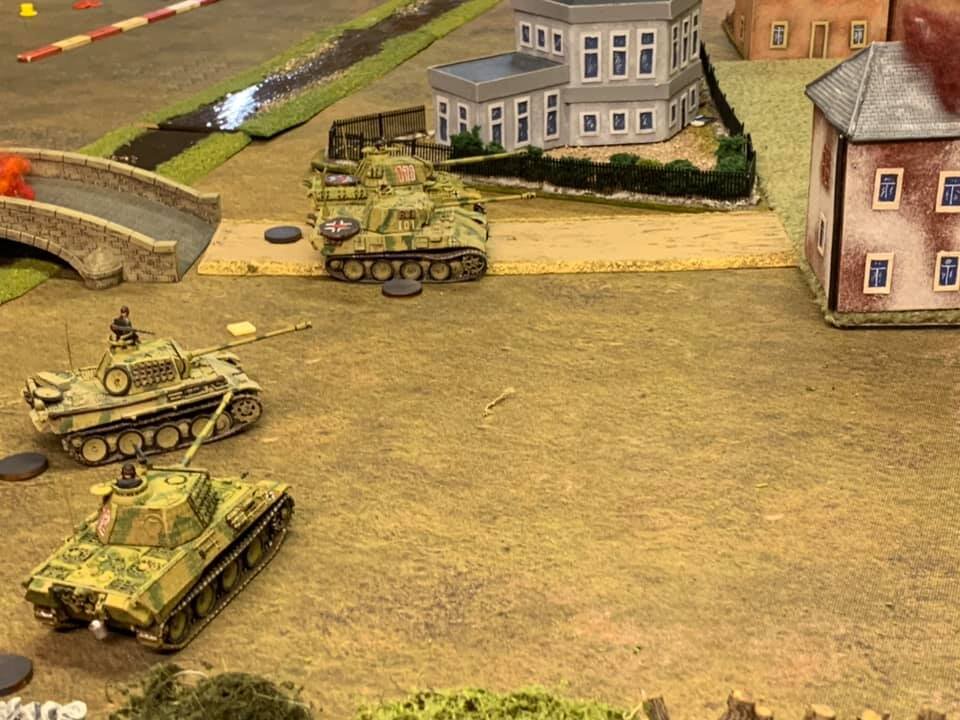
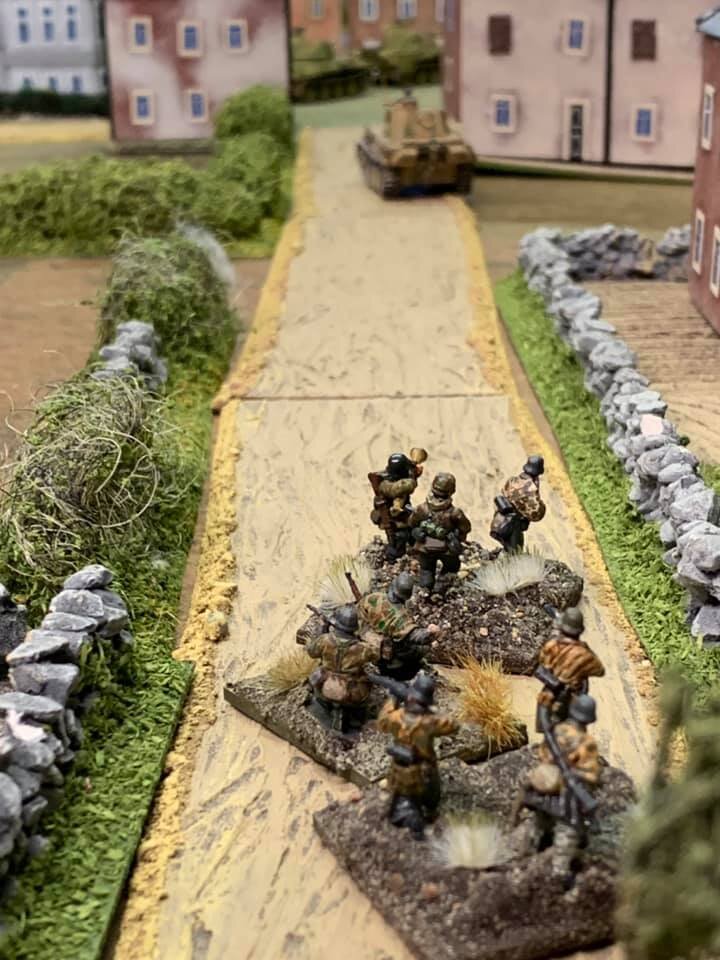
The first question was soon answered as the armoured cars were spotted and the Churchill opened fire from within the enclosure near the bridge. Hits were received and the armoured car was severely damaged but not out of the game yet. Perhaps that was fortunate for the Germans who were able then to identify the threat and make considerations for the reserves to be brought on the table. In this scenario the Germans had recovered their heavy tank platoon and Ralph and I agreed that the two Tigers should be brought onto the table, in order to combat the threat posed by the Churchill next to the bridge.
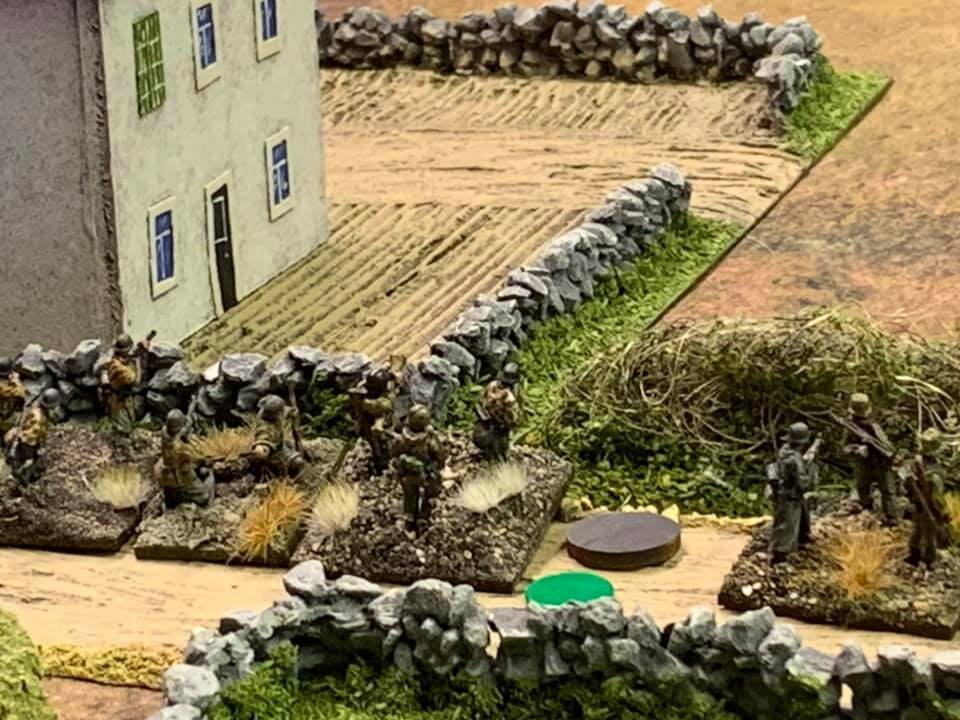
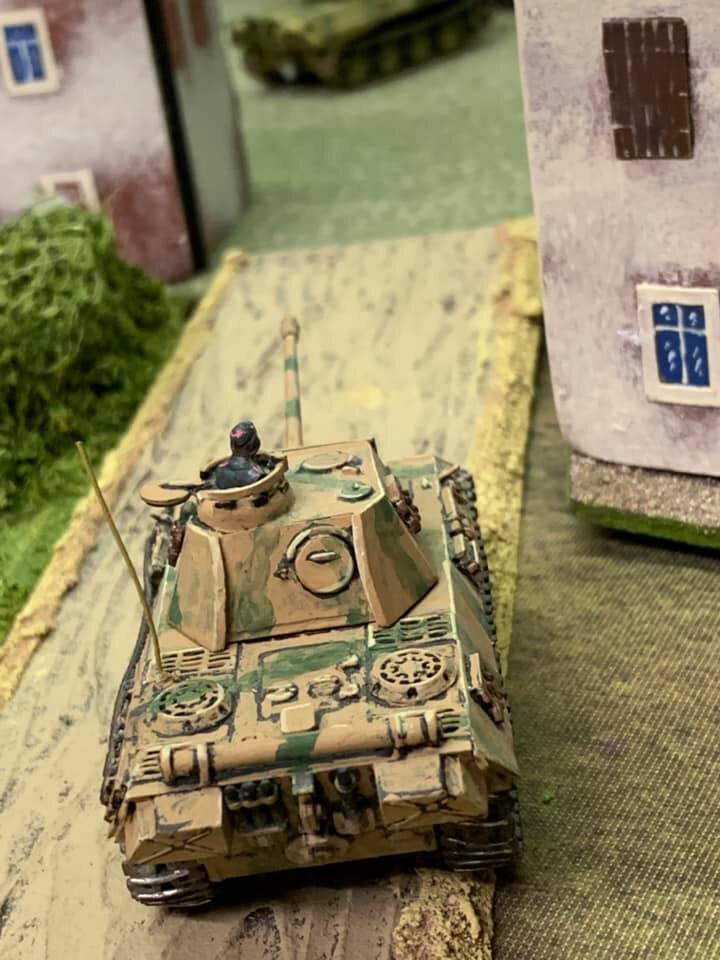
That also set the scene for where we would deploy our Kampfgroup commander with his two Panthers and a second tank platoon of three Panthers. These we determined should make a sweeping thrust up the left flank, circumventing the village and round to the higher bridge where they could make a dash for it whilst providing their own covering fire. However before they were deployed a second infantry platoon undertook reconnaissance under blinds along that left flank, but was unable to determine if there were any enemy there or not.
Despite undertaking several observation attempts nothing could be seen (the troops continue to fail to spot as a result of extremely poor dice rolling). Fortune favoured them and they were able to take up positions within gardens and a house covering the road adjacent to where the left flank attack would take place and thereby enabling at least some covering fire to be laid, should it be required when the panther attack went in.
The British continued to make repeated observation attempts on the remaining German blinds with limited success. There were clearly troops within the village but we were unsure how many and where. They would have to be flushed out.
The Germans concluded that this would be objective for the second infantry platoon, whilst keeping a weather eye open on the panther assault. Reconnaissance usually brings dividends and in this case it flushed out British infantry units within the edge of the village. It also suggested the village was heavily defended and that our decision to avoided it been the correct one.
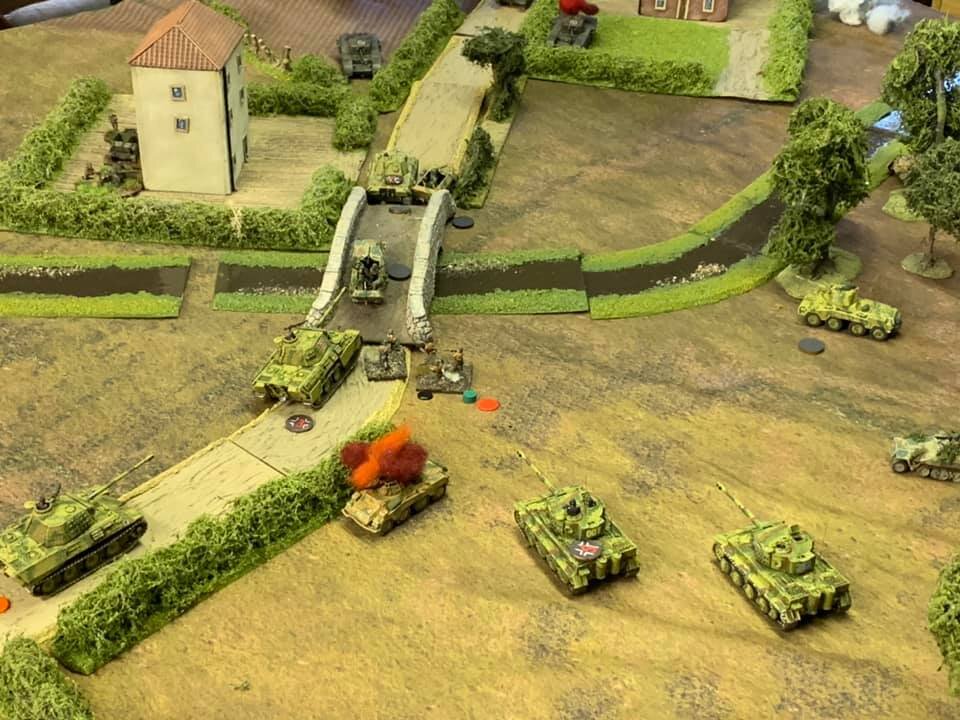
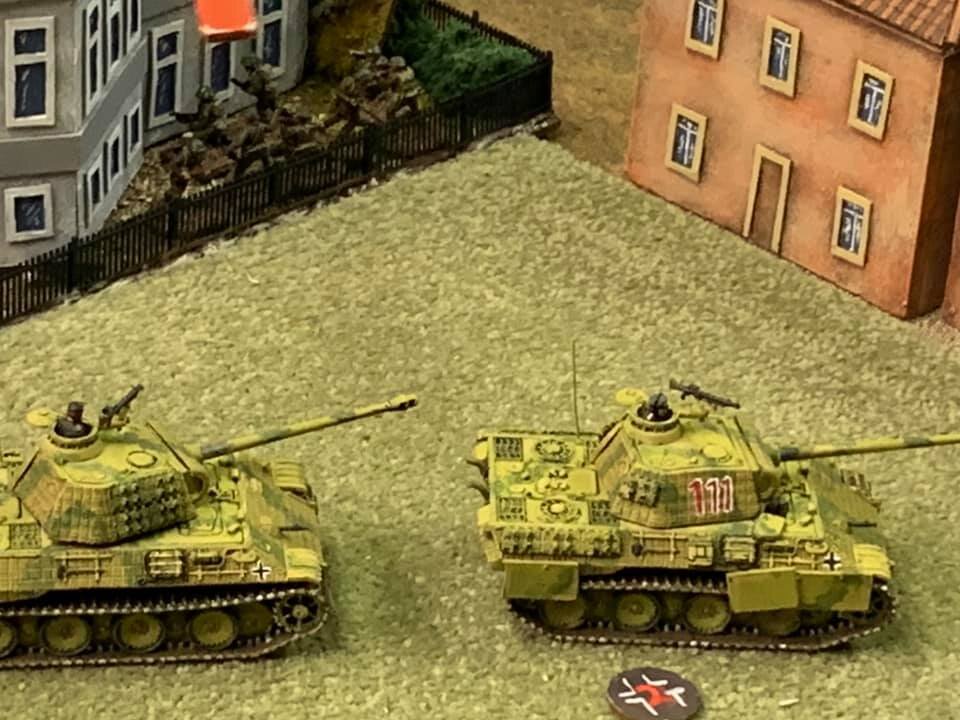
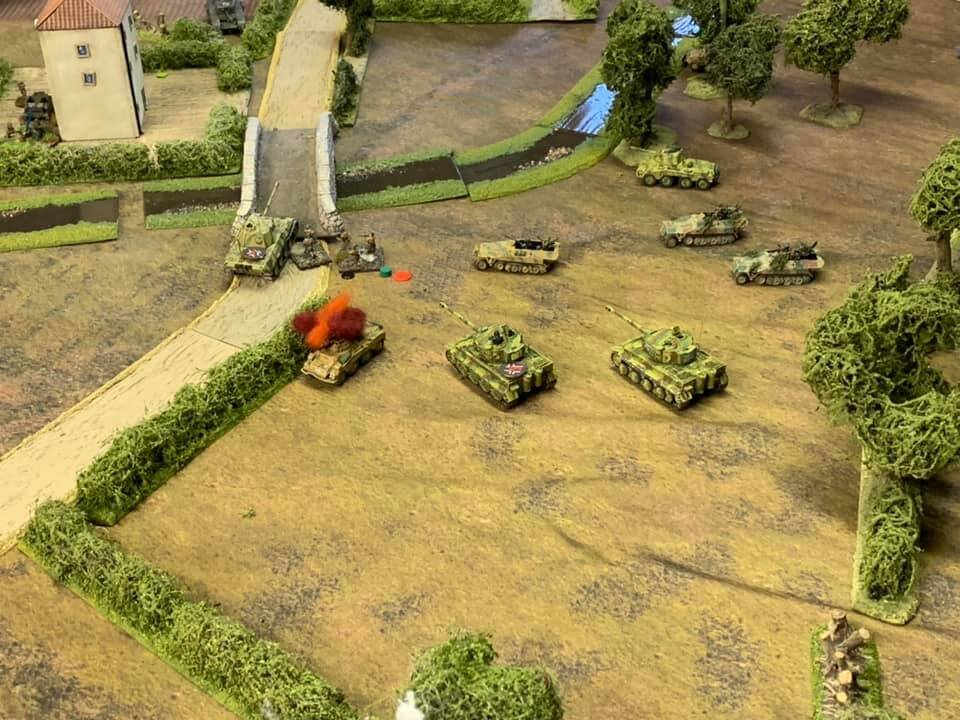
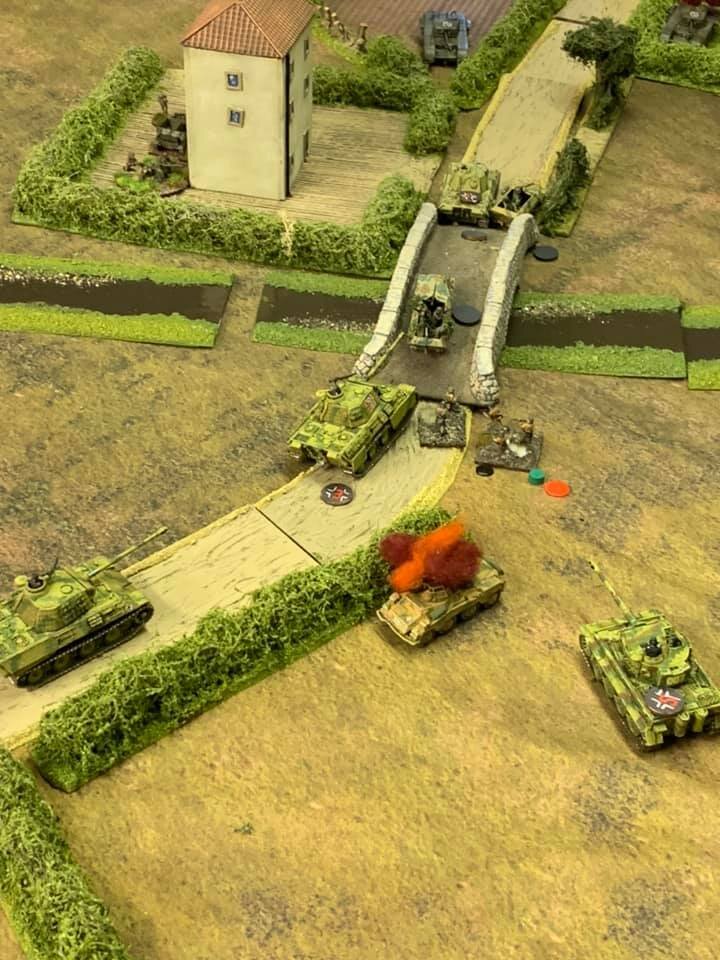
Over on the right flank a series of shots were exchanged between the reconnaissance armoured cars and the Churchill. The Puma being eventually destroyed and abandoned. Enter the Tiger platoon. With limited long-range fields of fire available to us we sought the best sweeps and made maximum use of the 88 mm guns;soon the Tigers were engaged. A glancing blow on the Churchill was enough to convince it to retire and it did so out of the enclosure and back along the roadway leading to the bridge, safe in the knowledge that we had now lost our line of sight and that in order to regain the advantage the Tigers would have to advance. Whilst very tempting, we felt that that was probably drawing it into a trap so elected to keep the area under surveillance with the pair of big cats.
On the left flank the Panthers deployed quite rapidly and the sight of five fast-moving and heavily armoured vehicles caused some dismay amongst British players. A discussion of table followed between myself and Ralph and we concluded that some more reconnaissance was the order of the day, particularly on the right flank where the reconnaissance team could now move out into safe territory with the Churchill gone. However, as usual, that identified a six pounder anti-tank gun sitting in a hedgerow adjacent to the bridge. Even for the Tigers that would be a difficult gig. But move out they did and immediately a torrent of fire opened upon them. Nine rounds of anti-tank fire came from what was not one Churchill but a full troop of three vehicles.
It was not the British players day and of the nine rounds only one hit was scored the remainder appearing to be useless against the heavily armoured beasts now prowling in the open terrain in a menacing manner and heading straight for the lower bridge. What followed was a game of cat and mouse, literally, with both sides conscious not to drive into obvious kill zones.
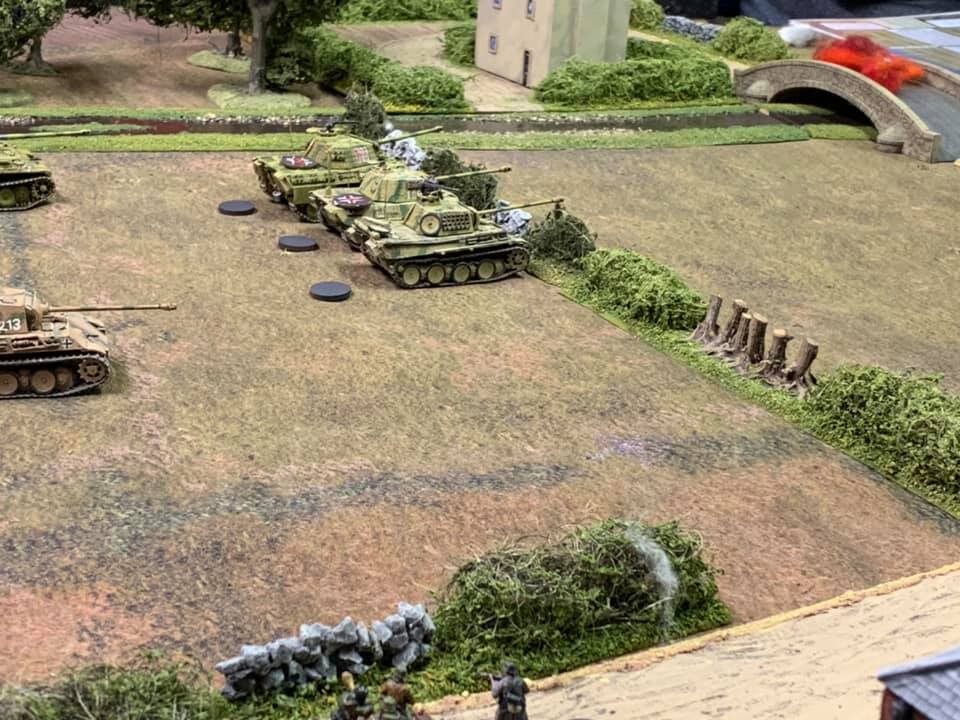
On the left the Panthers advanced towards another Boccage hedge but a successful draw of the armoured bonus move card allowed for one vehicle to breach the hedge row and create a gap for others to follow shortly.
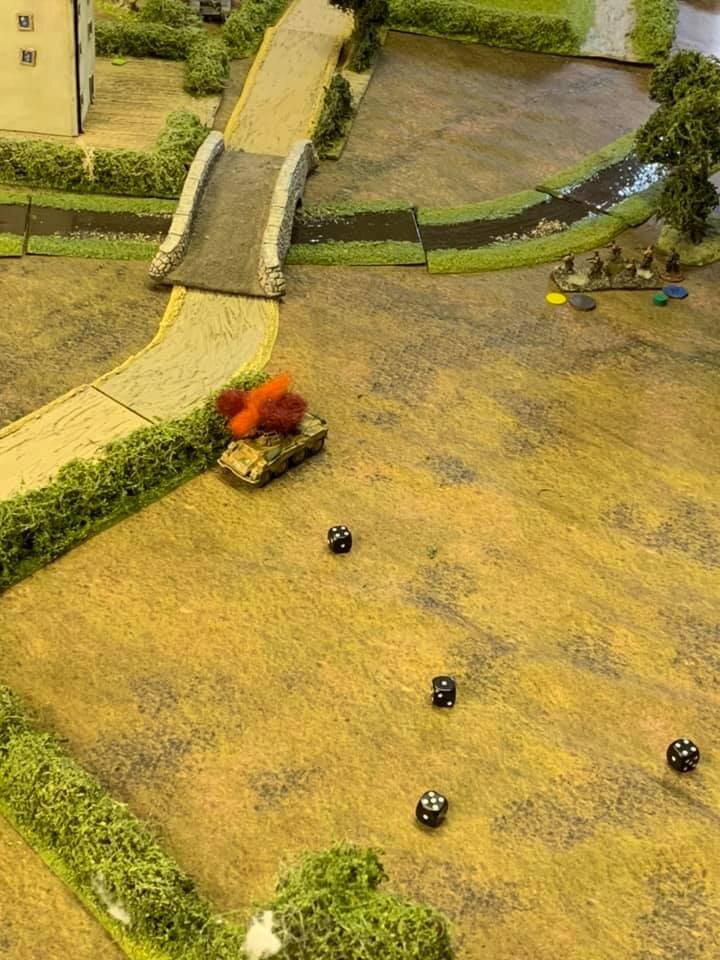
Again favourable cards drawn allowed the Panthers to move into the next field, closing the distance to the bridge and the village. Almost inevitable came the howl of excitement from the British players when they interrupted our next card with fire from the second anti-tank gun next to the higher bridge. The round hit the flank of the nearest panther and wounded it severely. However whilst sustaining a loss of the next two actions, it was clearly not out of the game and this may have been the time at which the British could be said to have lost the game.
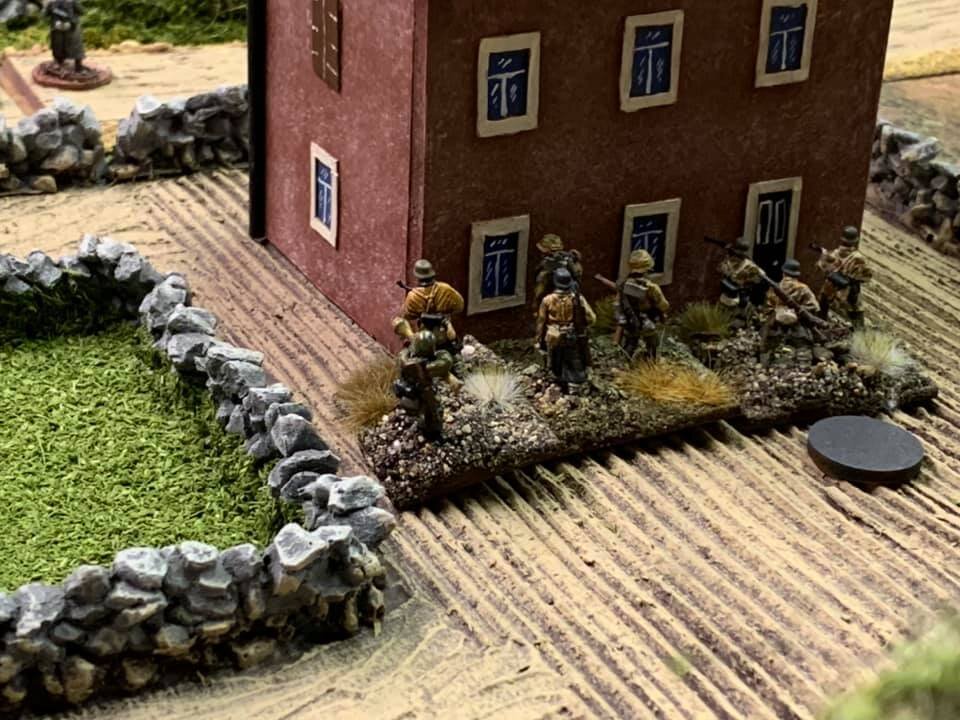
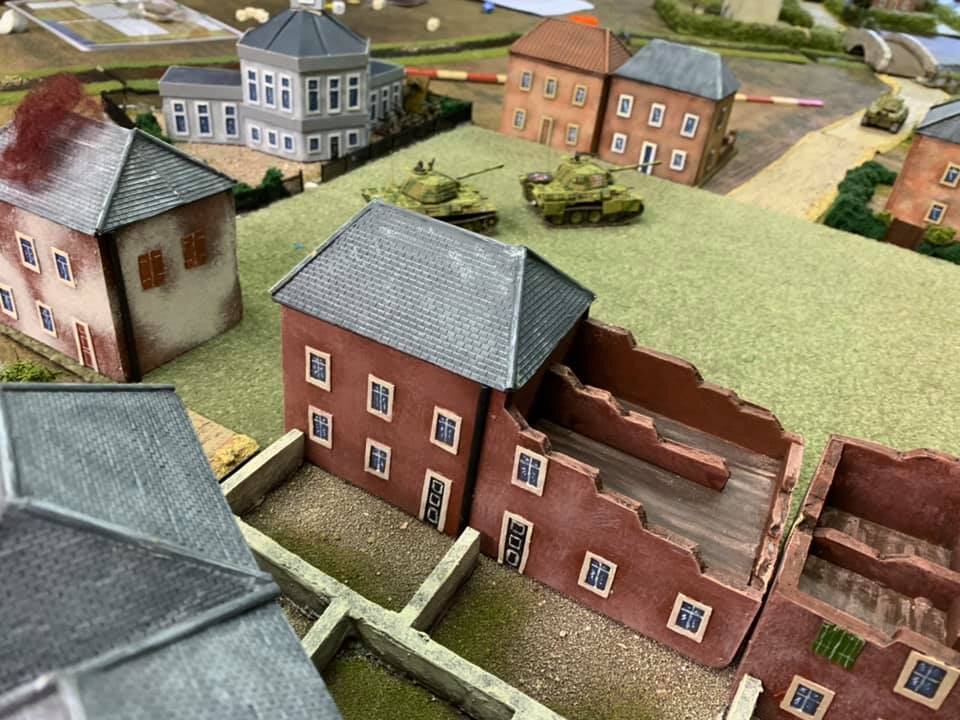
The Panthers reacted viciously with three breaking away from the area on a succession of bonus cards; motoring at full speed into the town square, while simultaneously, the second infantry platoon was engaged in a firefight with the British infantry in that area and therefore distracting them in their efforts to avert the armoured thrust.
The remaining panther took up a position to protect its colleague and continued to fire high explosive roundsinto the vacinity of the bridge, causing several casualties on the anti-tank crew. The temptation was too much and the fear too great and so the British players elected to blow the bridge and prevent the Panthers from achieving their objective.
Up it went with a massive explosion. The German effort was now focused on the lower bridge.
Fight for the Lower Bridge
The battle for the town ensued with casualties being exchanged on either side. The British wary of the counter-attack elected to move their bombardment into the vicinity of the panther attack. A risky business given the proximity of their infantry hiding in the town buildings around the square.
The Panthers went to work in retaliation. Round after round of high explosive slammed into the structures housing the British infantry and once again many were both set on fire and structurally damaged, forcing the infantry to evacuate to the next bolthole. A separate British platoon brought it's PIAT to the fore and launched a couple of rounds into a panther tank racing through the square. Miss! Hit and deflected!
The Germans had another stroke of luck. The Panthers would not be there long enough to endure more fire from that quarter.
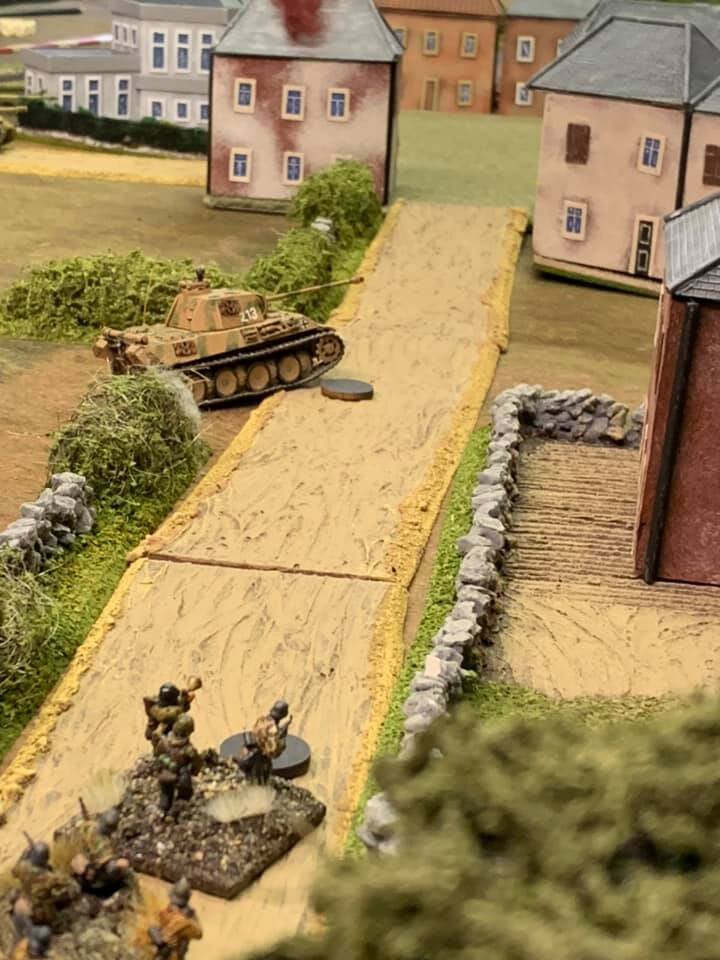
Back on the right flank Ralph was losing casualties from his infantry platoon and so was forced to bring on the third motorised infantry platoon in their half tracks. Just in the nick of time too. Their additional firepower was brought to bear on the anti-tank gun in the bridge initially, but when it pulled back further into cover of the enclosure these new reserves raced off behind the Tigers to give close support.
The pack had had the scent and they were after that bridge. Would the cards fall right for the Germans?
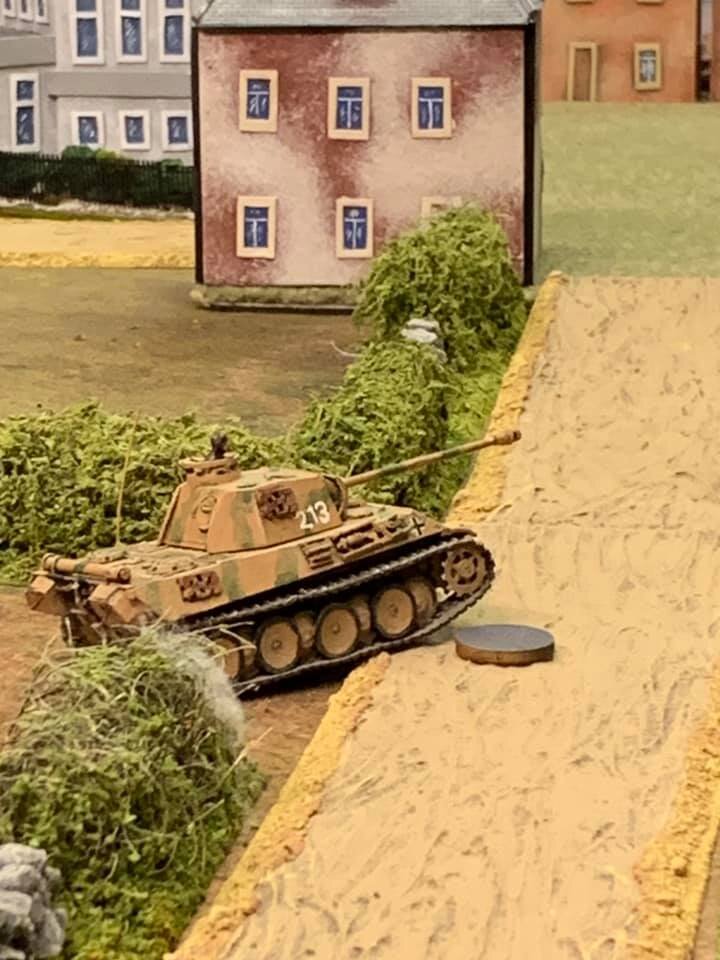
On the left flank the remaining anti-tank gun was silenced by further high explosive fire from the Panthers whilst those Panthers in the square took advantage of every bonus card and raced towards the lower bridge.
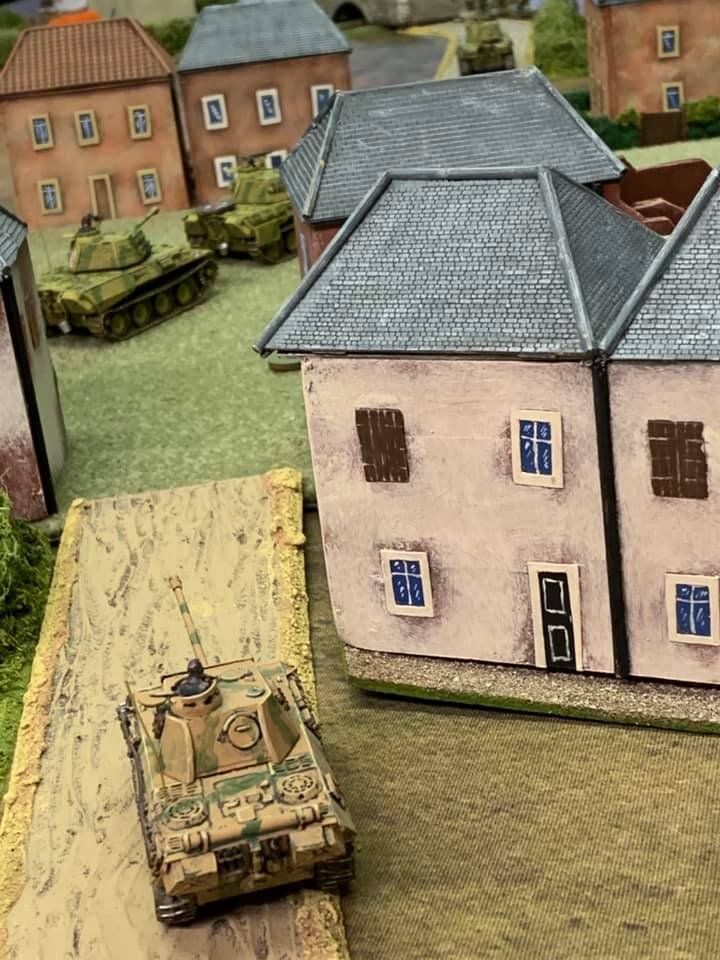
Anti-tank fire criss-cross the table. The lead panther took a hull down position on the bridge. The Churchill which had suffered a retire earlier in the game now opened fire again but to no effect. A difficult shot against a poor target, hull down resulted in more misses. The panther was not so kind. It destroyed the Churchill with his first shot and then did the same to a second emerging Churchill. A third Churchill was engaged by the rapidly advancing Tigers and it to was dispatched without loss.
The Germans now sensed victory and raced every available half track onto and over the bridge support in the Panthers successful sweeping manoeuvre.
They had raced up the left flank, survived a flank attack but were disappointed that they had not captured their target. They went on, somewhat rashly, racing through the centre of the village towards a second bridge where they were eventually successful in securing a crossing.
Campaign’s End
All in all another exceptionally well executed attack and one which saw the campaign end in a major German victory.
Of the five game scenario campaign, the Germans had lost one game but won four. An excellent month's worth of gaming had been enjoyed by all.
All agreed that they had enjoyed the experience and looked forward to another campaign; the Normandy or Tunisia or even the German invasion of Russia perhaps. However none of that would take place until after we had endured the storm of the coronavirus; so entering a period of wargaming drought..
We hope to bring you more when normal service resumes.
We hope you have enjoyed these narratives and after action reports on our first foray into an IABSM campaign.
Tim Whitworth