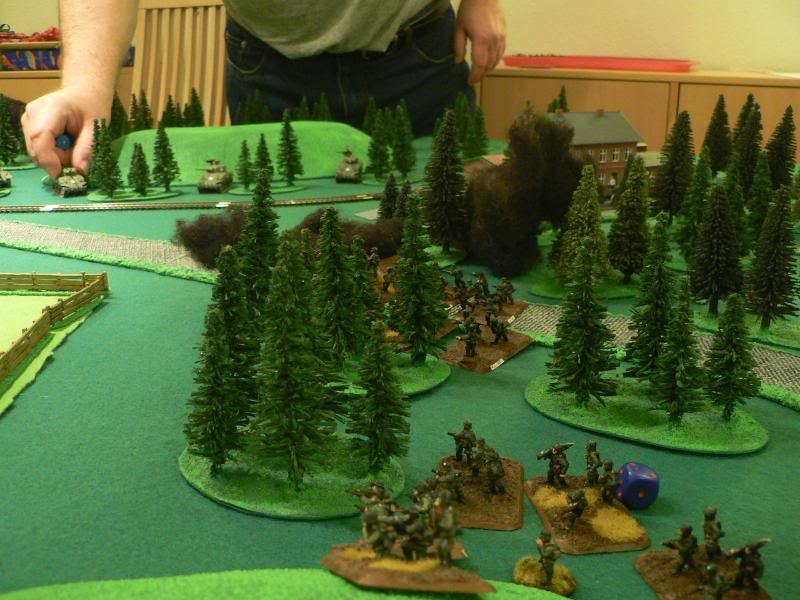
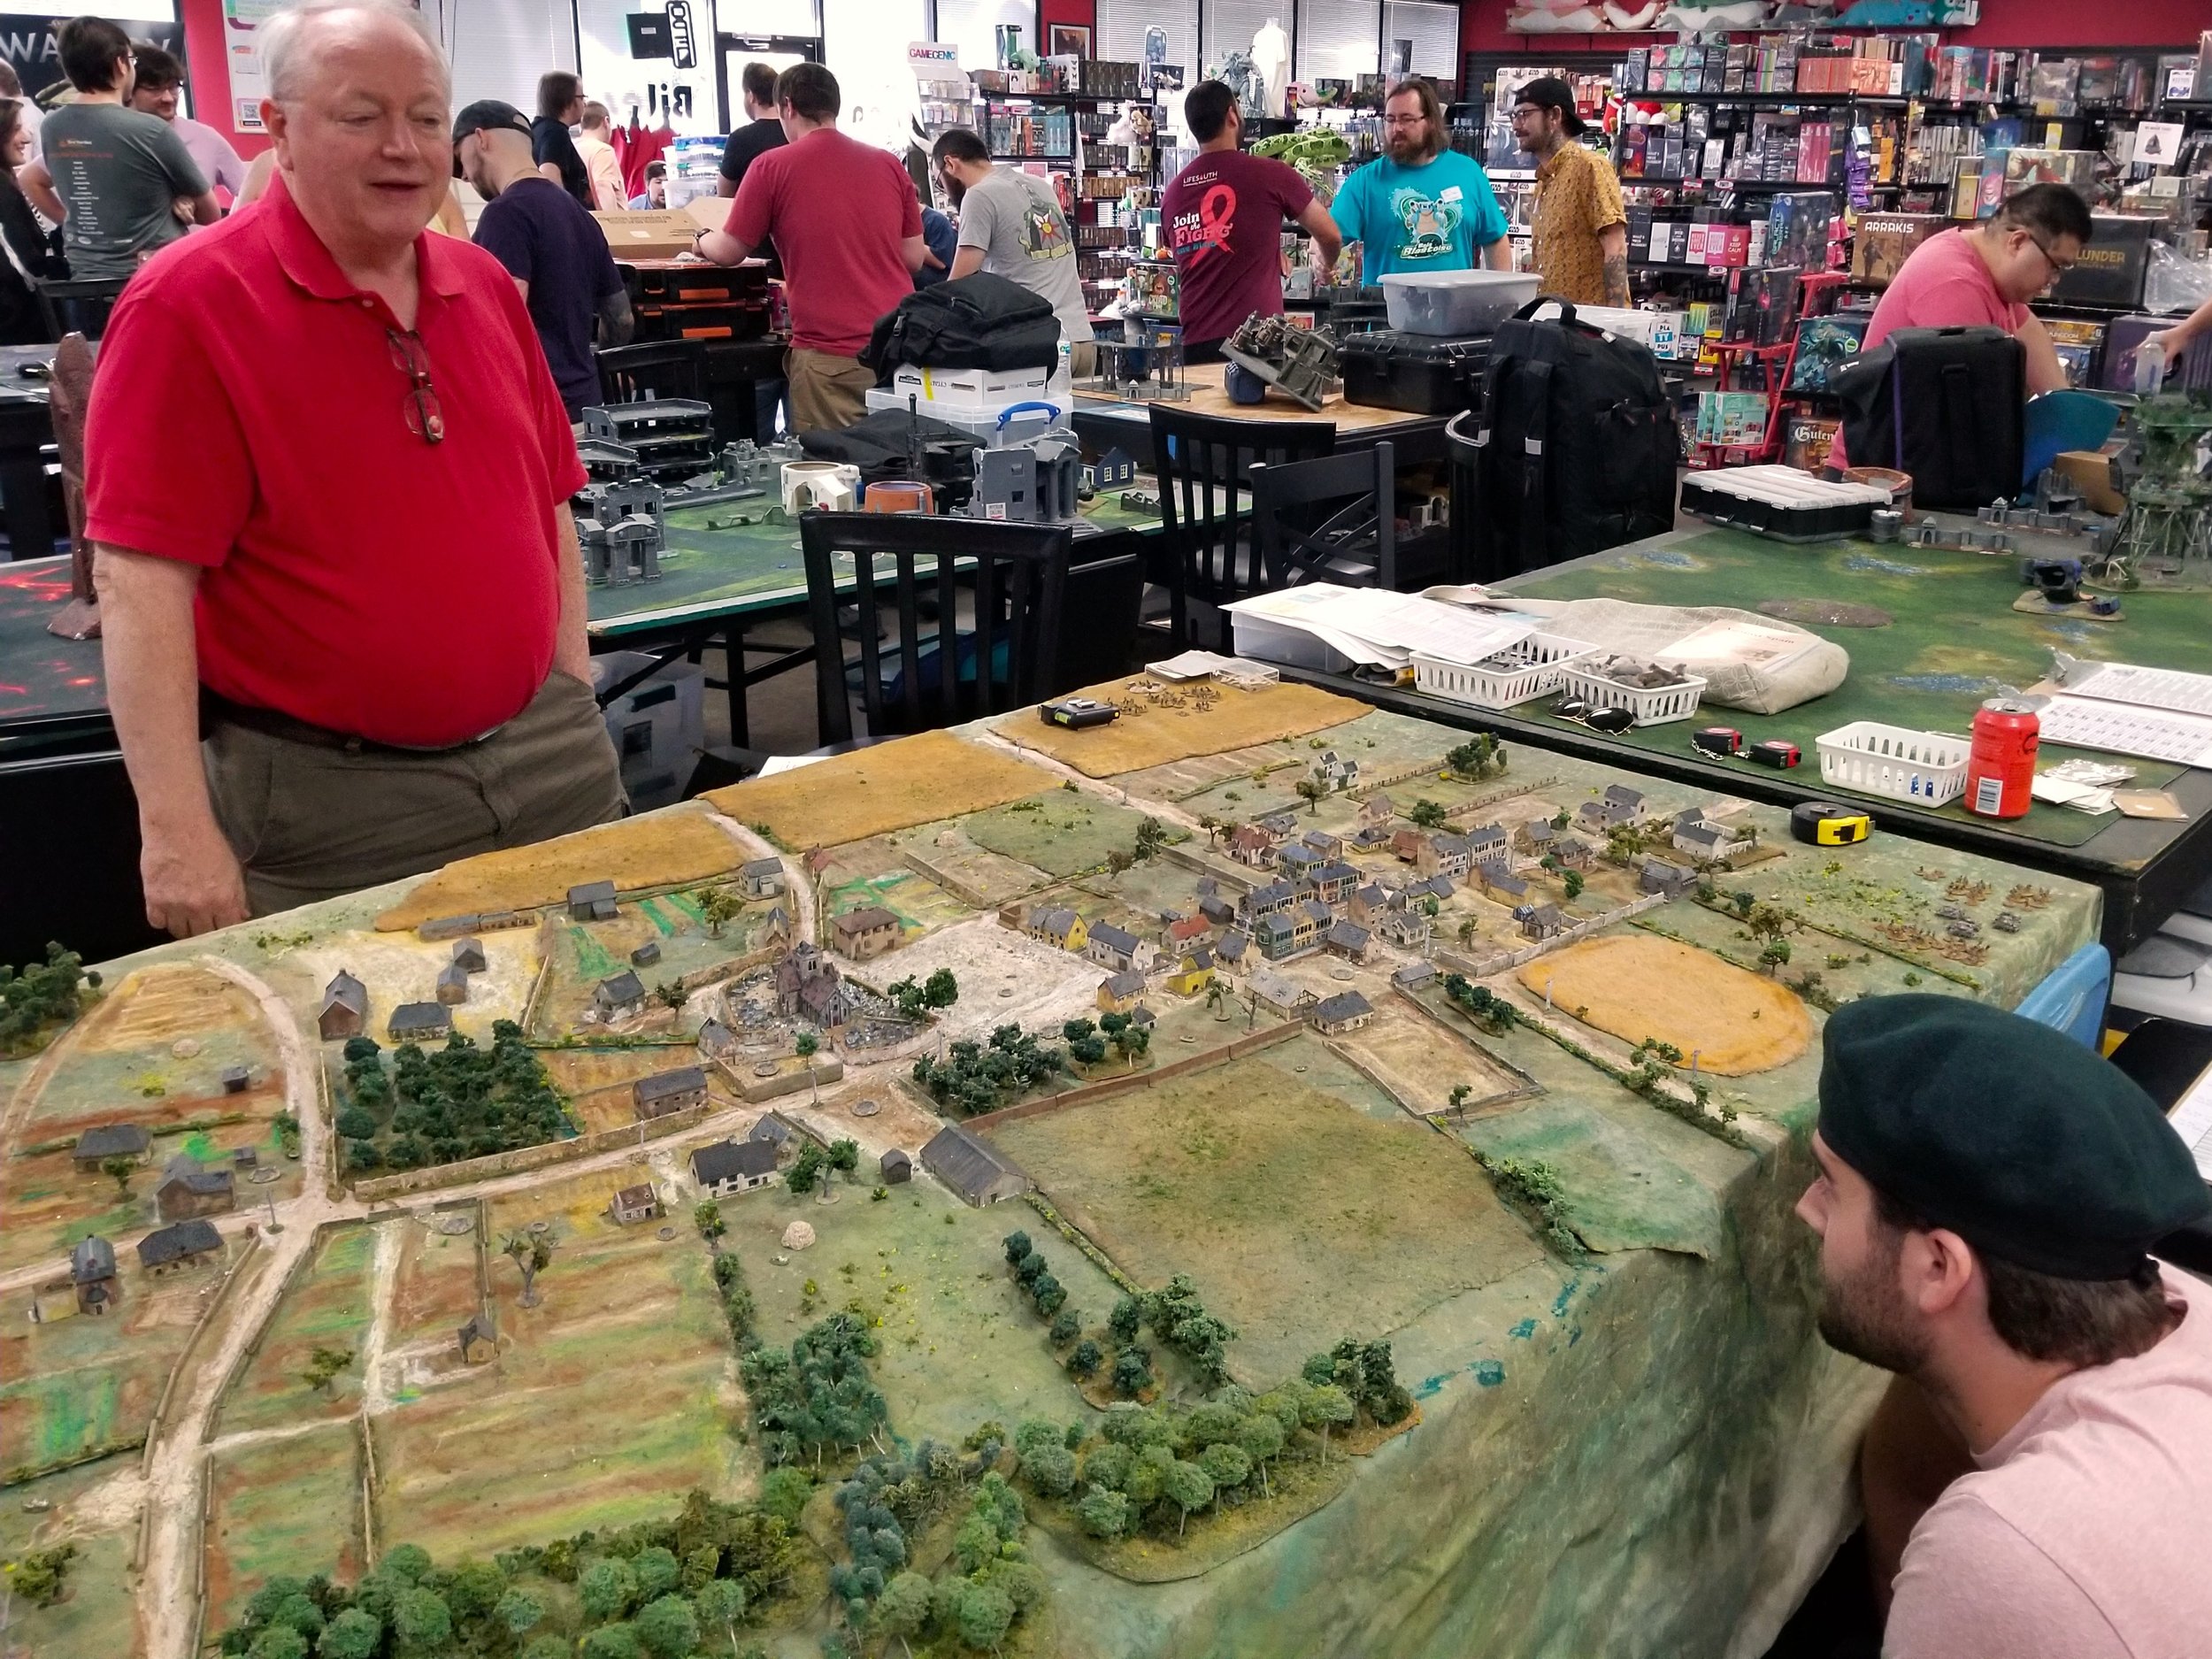
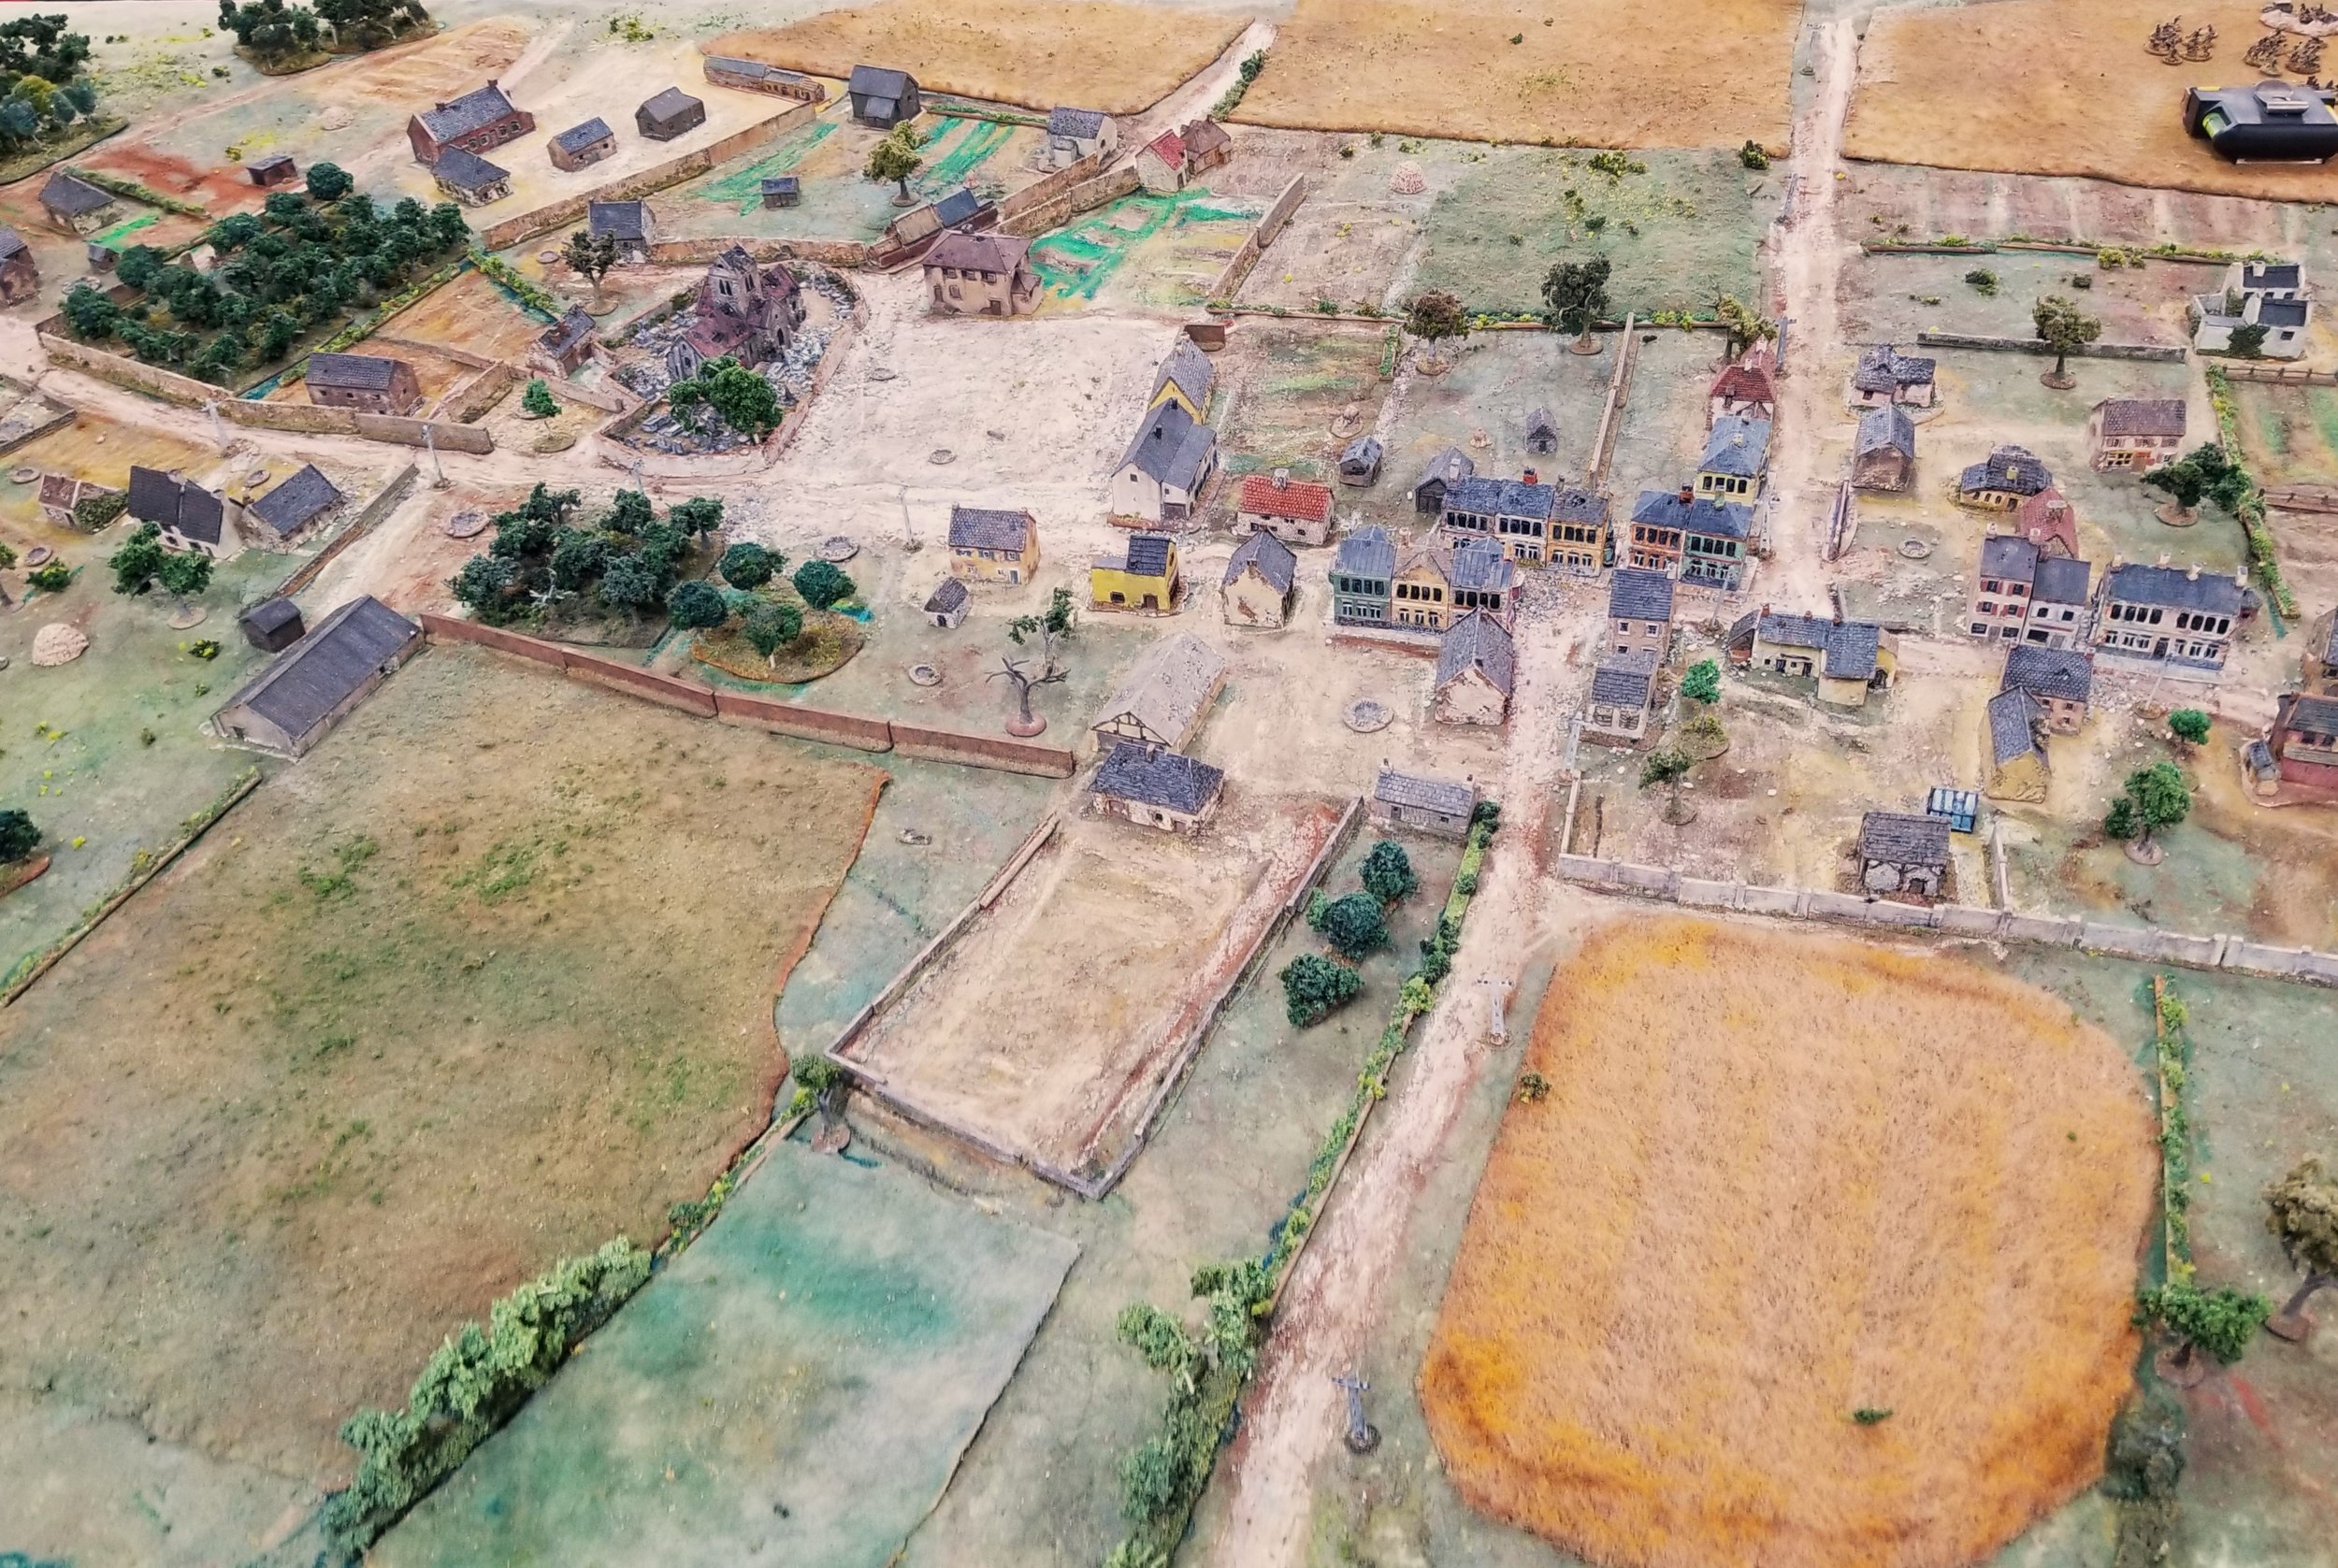
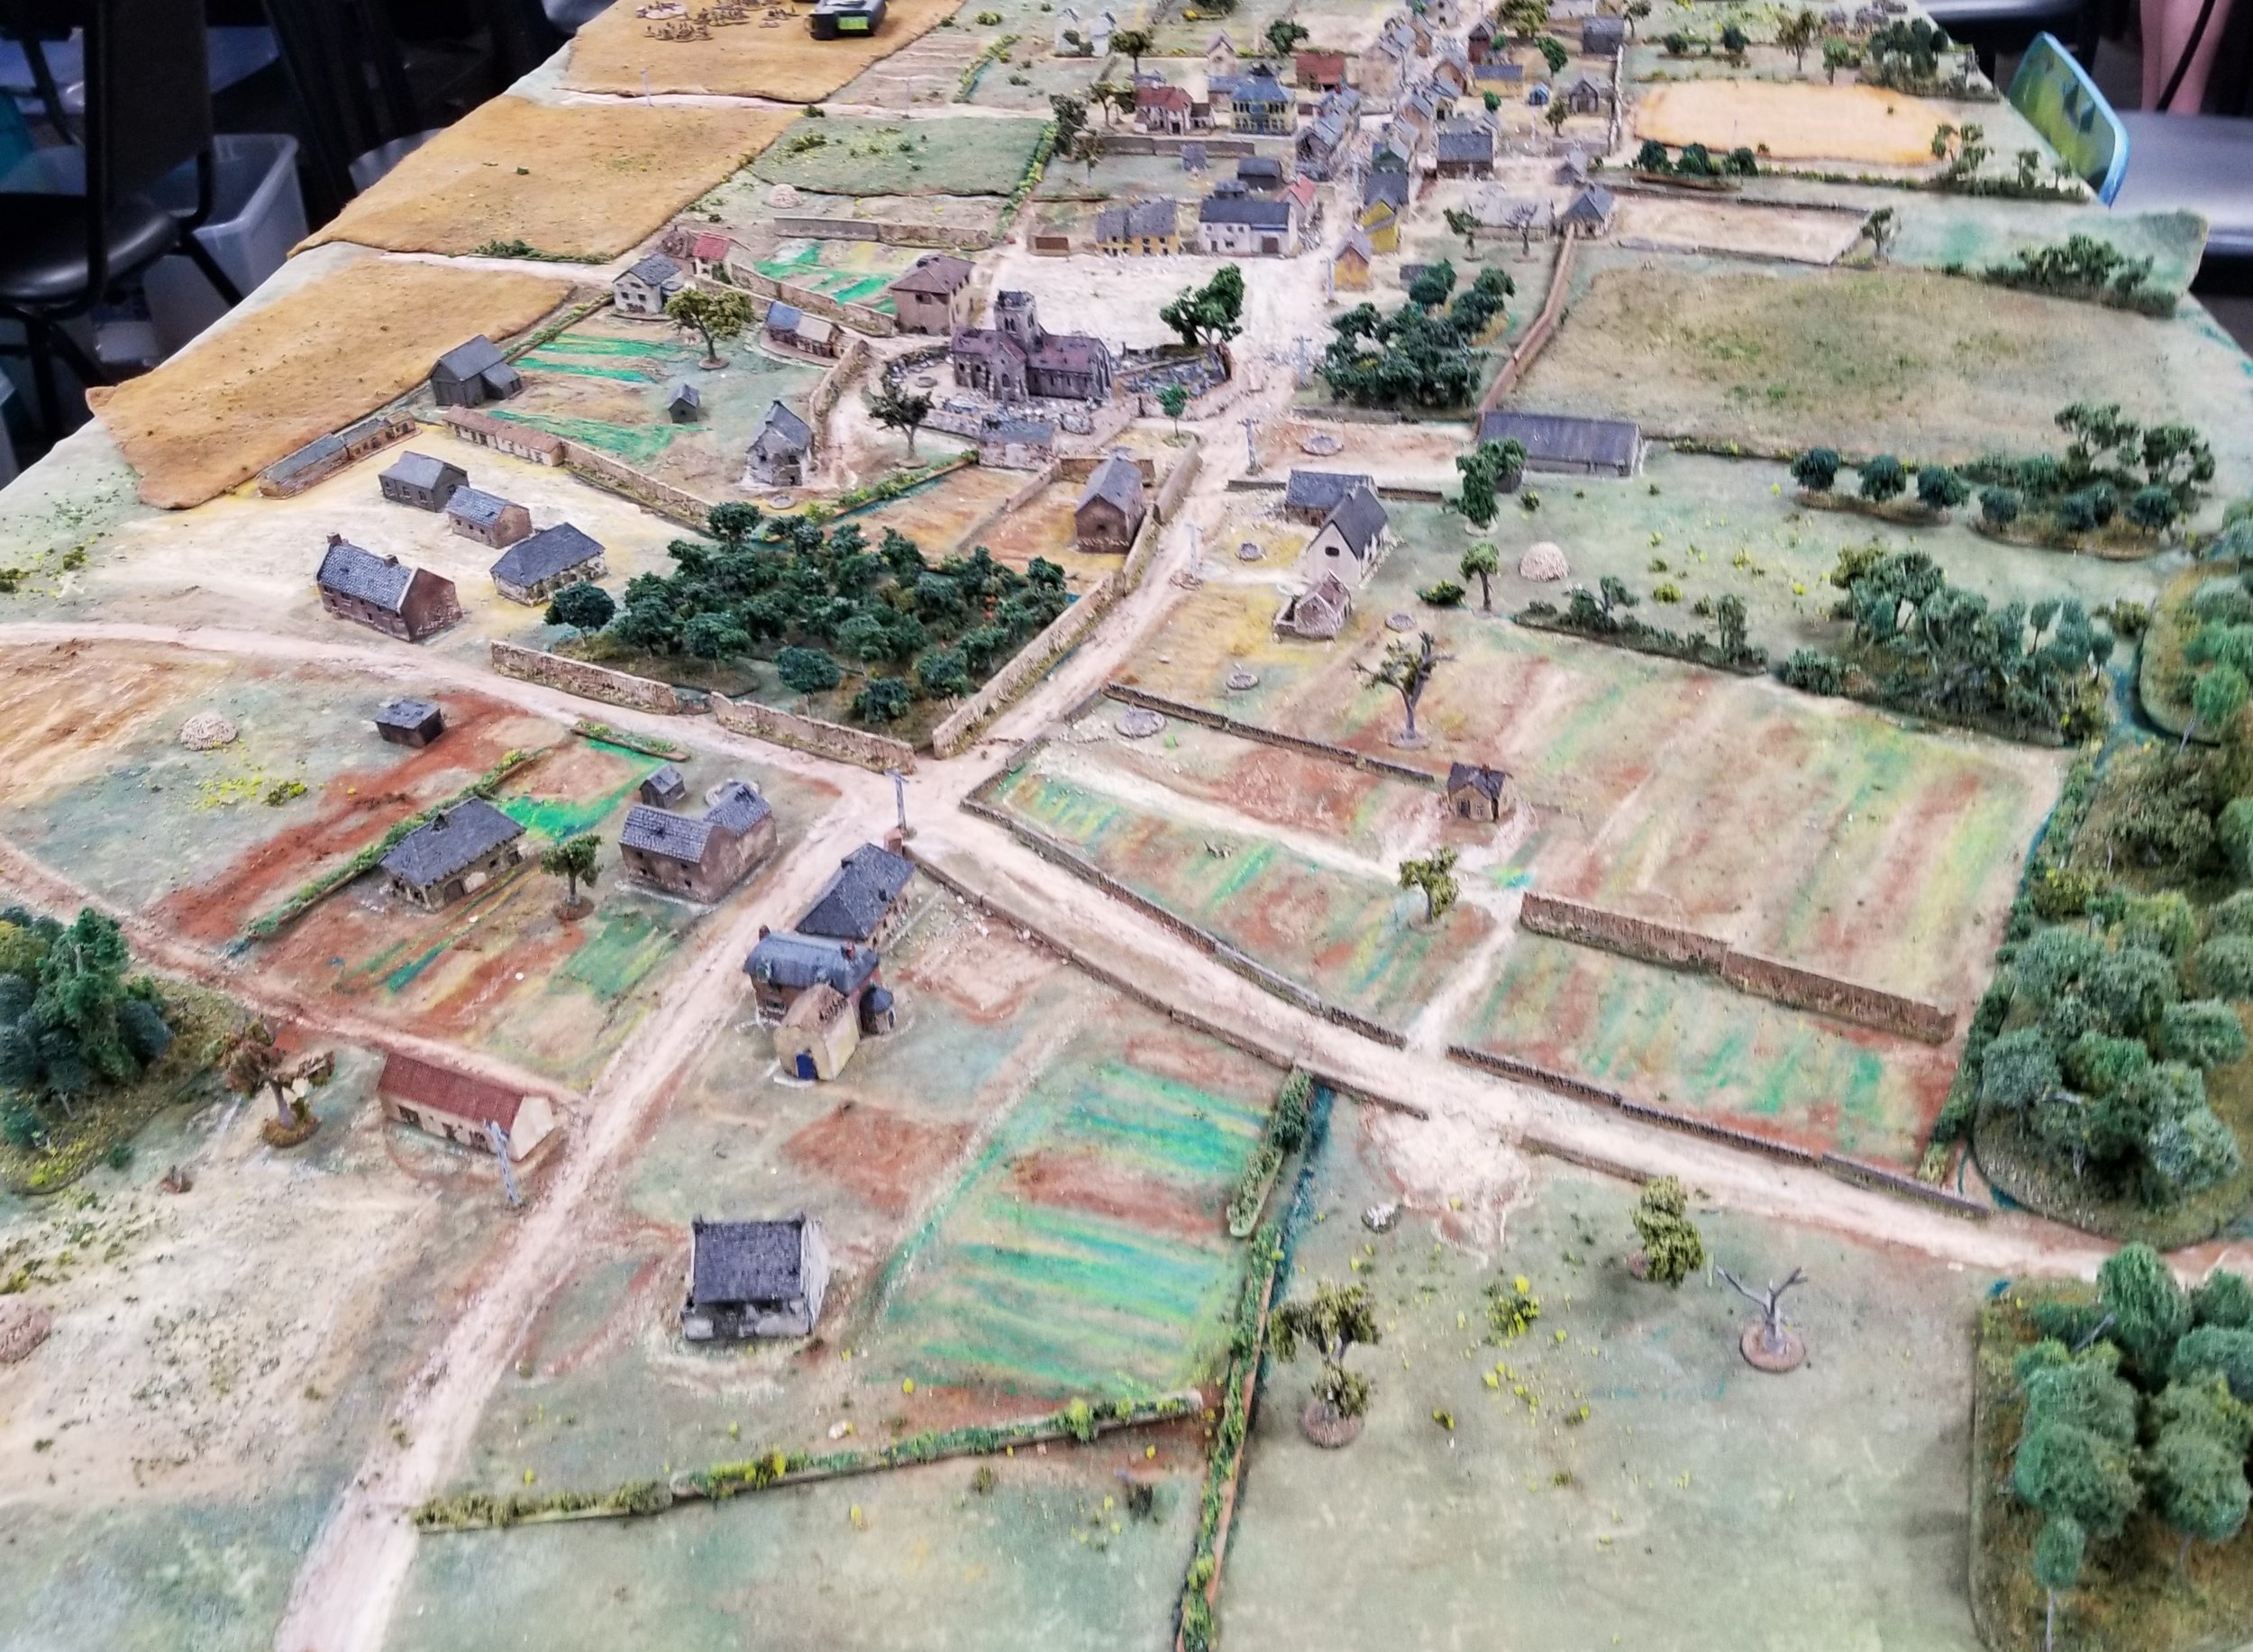
Had the privilege today of playing a game of "I Ain't Been Shot Mum" on this beautiful table by Dan Albrecht. The scenario was Casa del Priolo, Sicily, 10 July, 1943. My partner Shane and I took on the role of the Italians, while Hunter Myers and his partner Jon played American paratroopers.
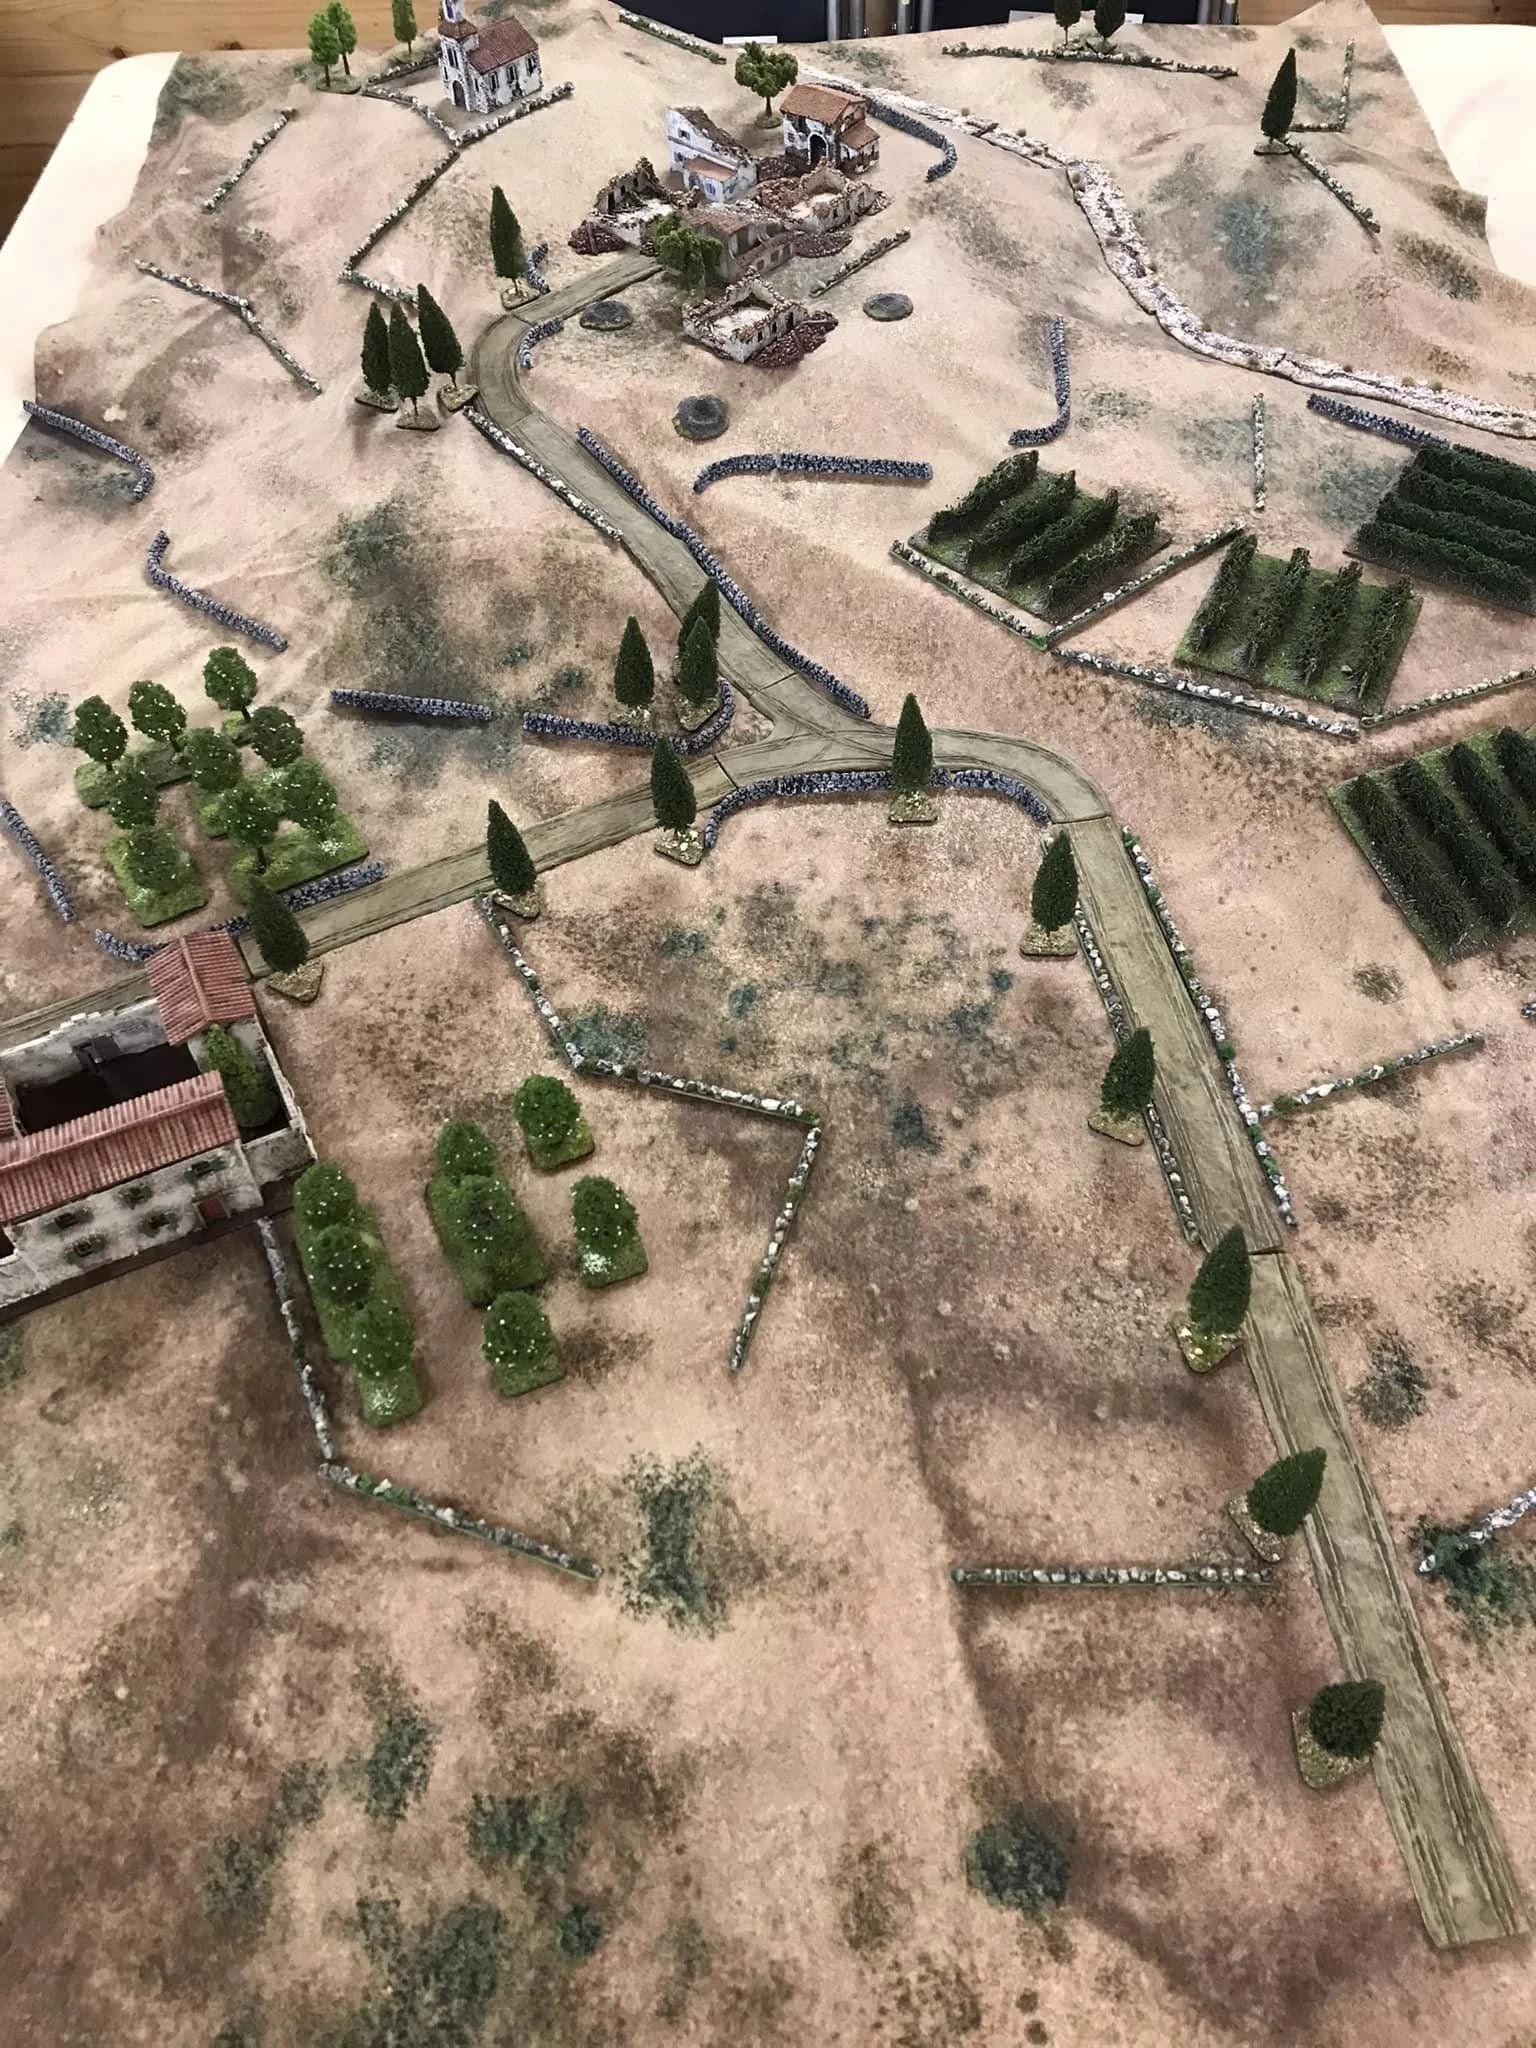
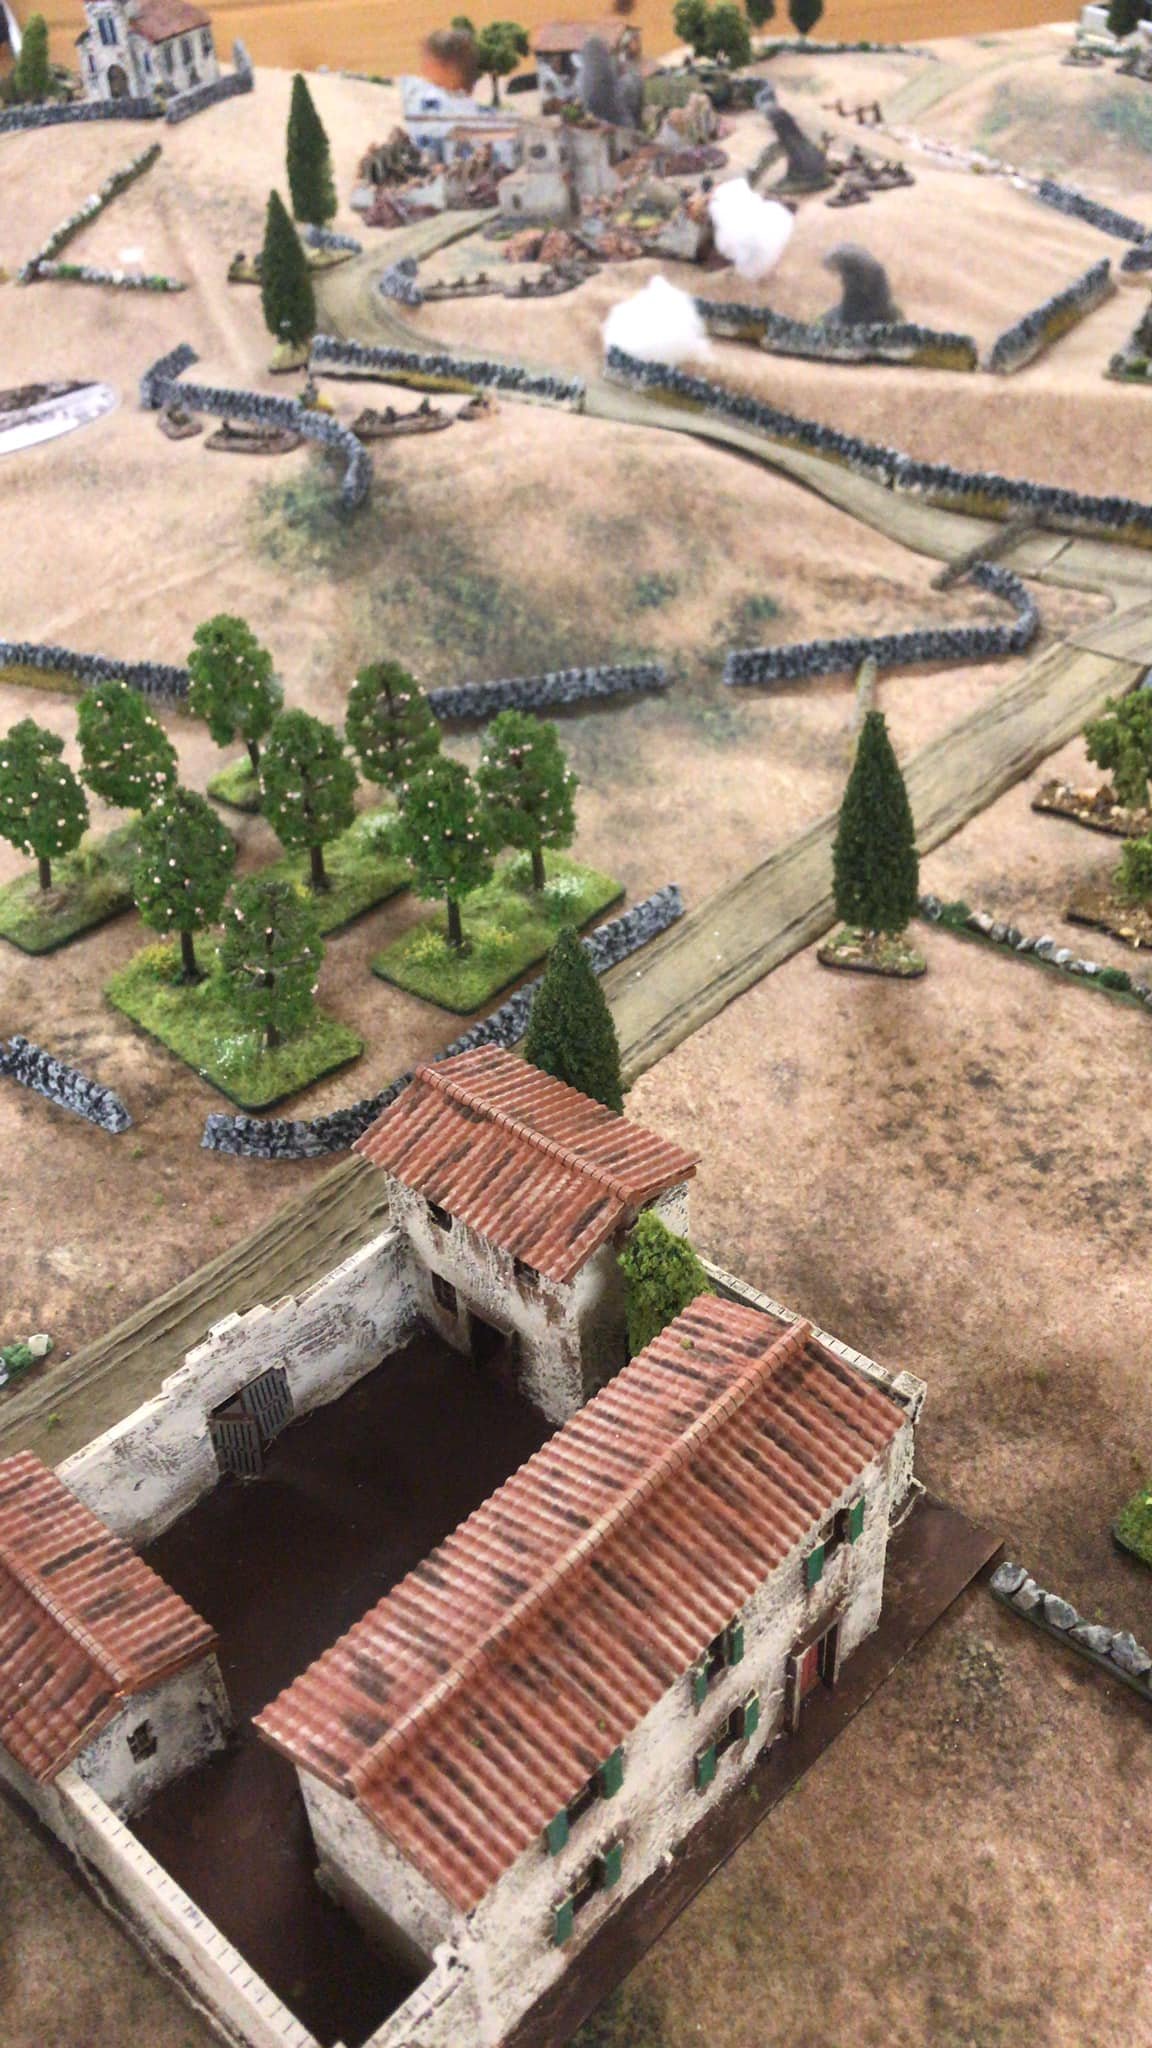
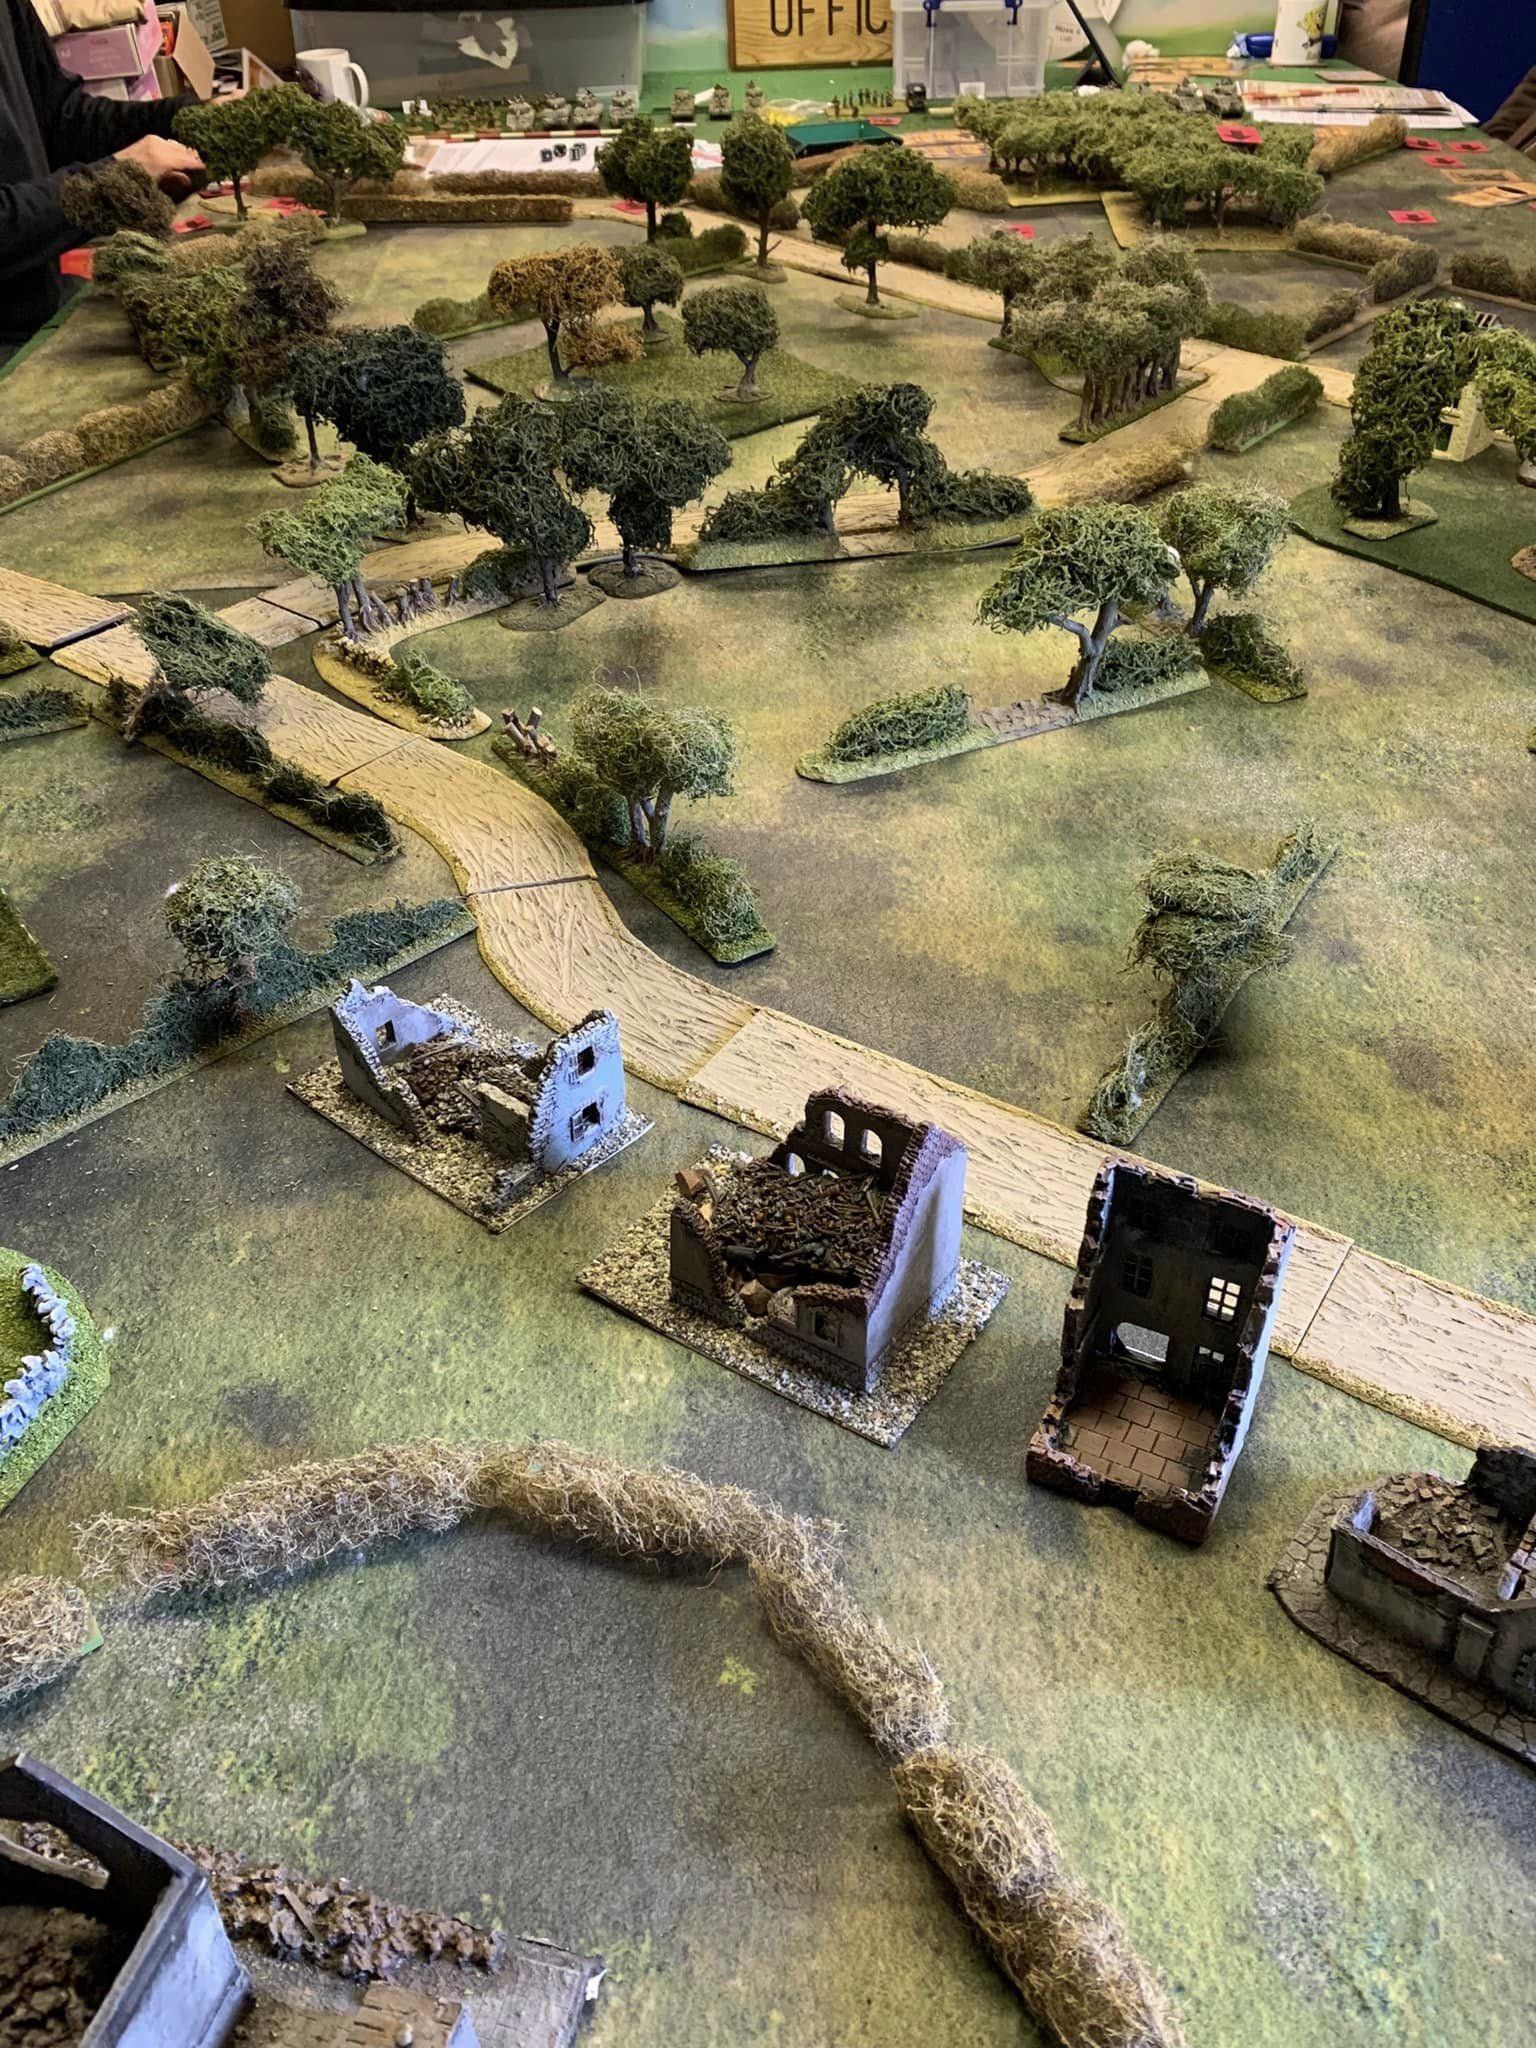
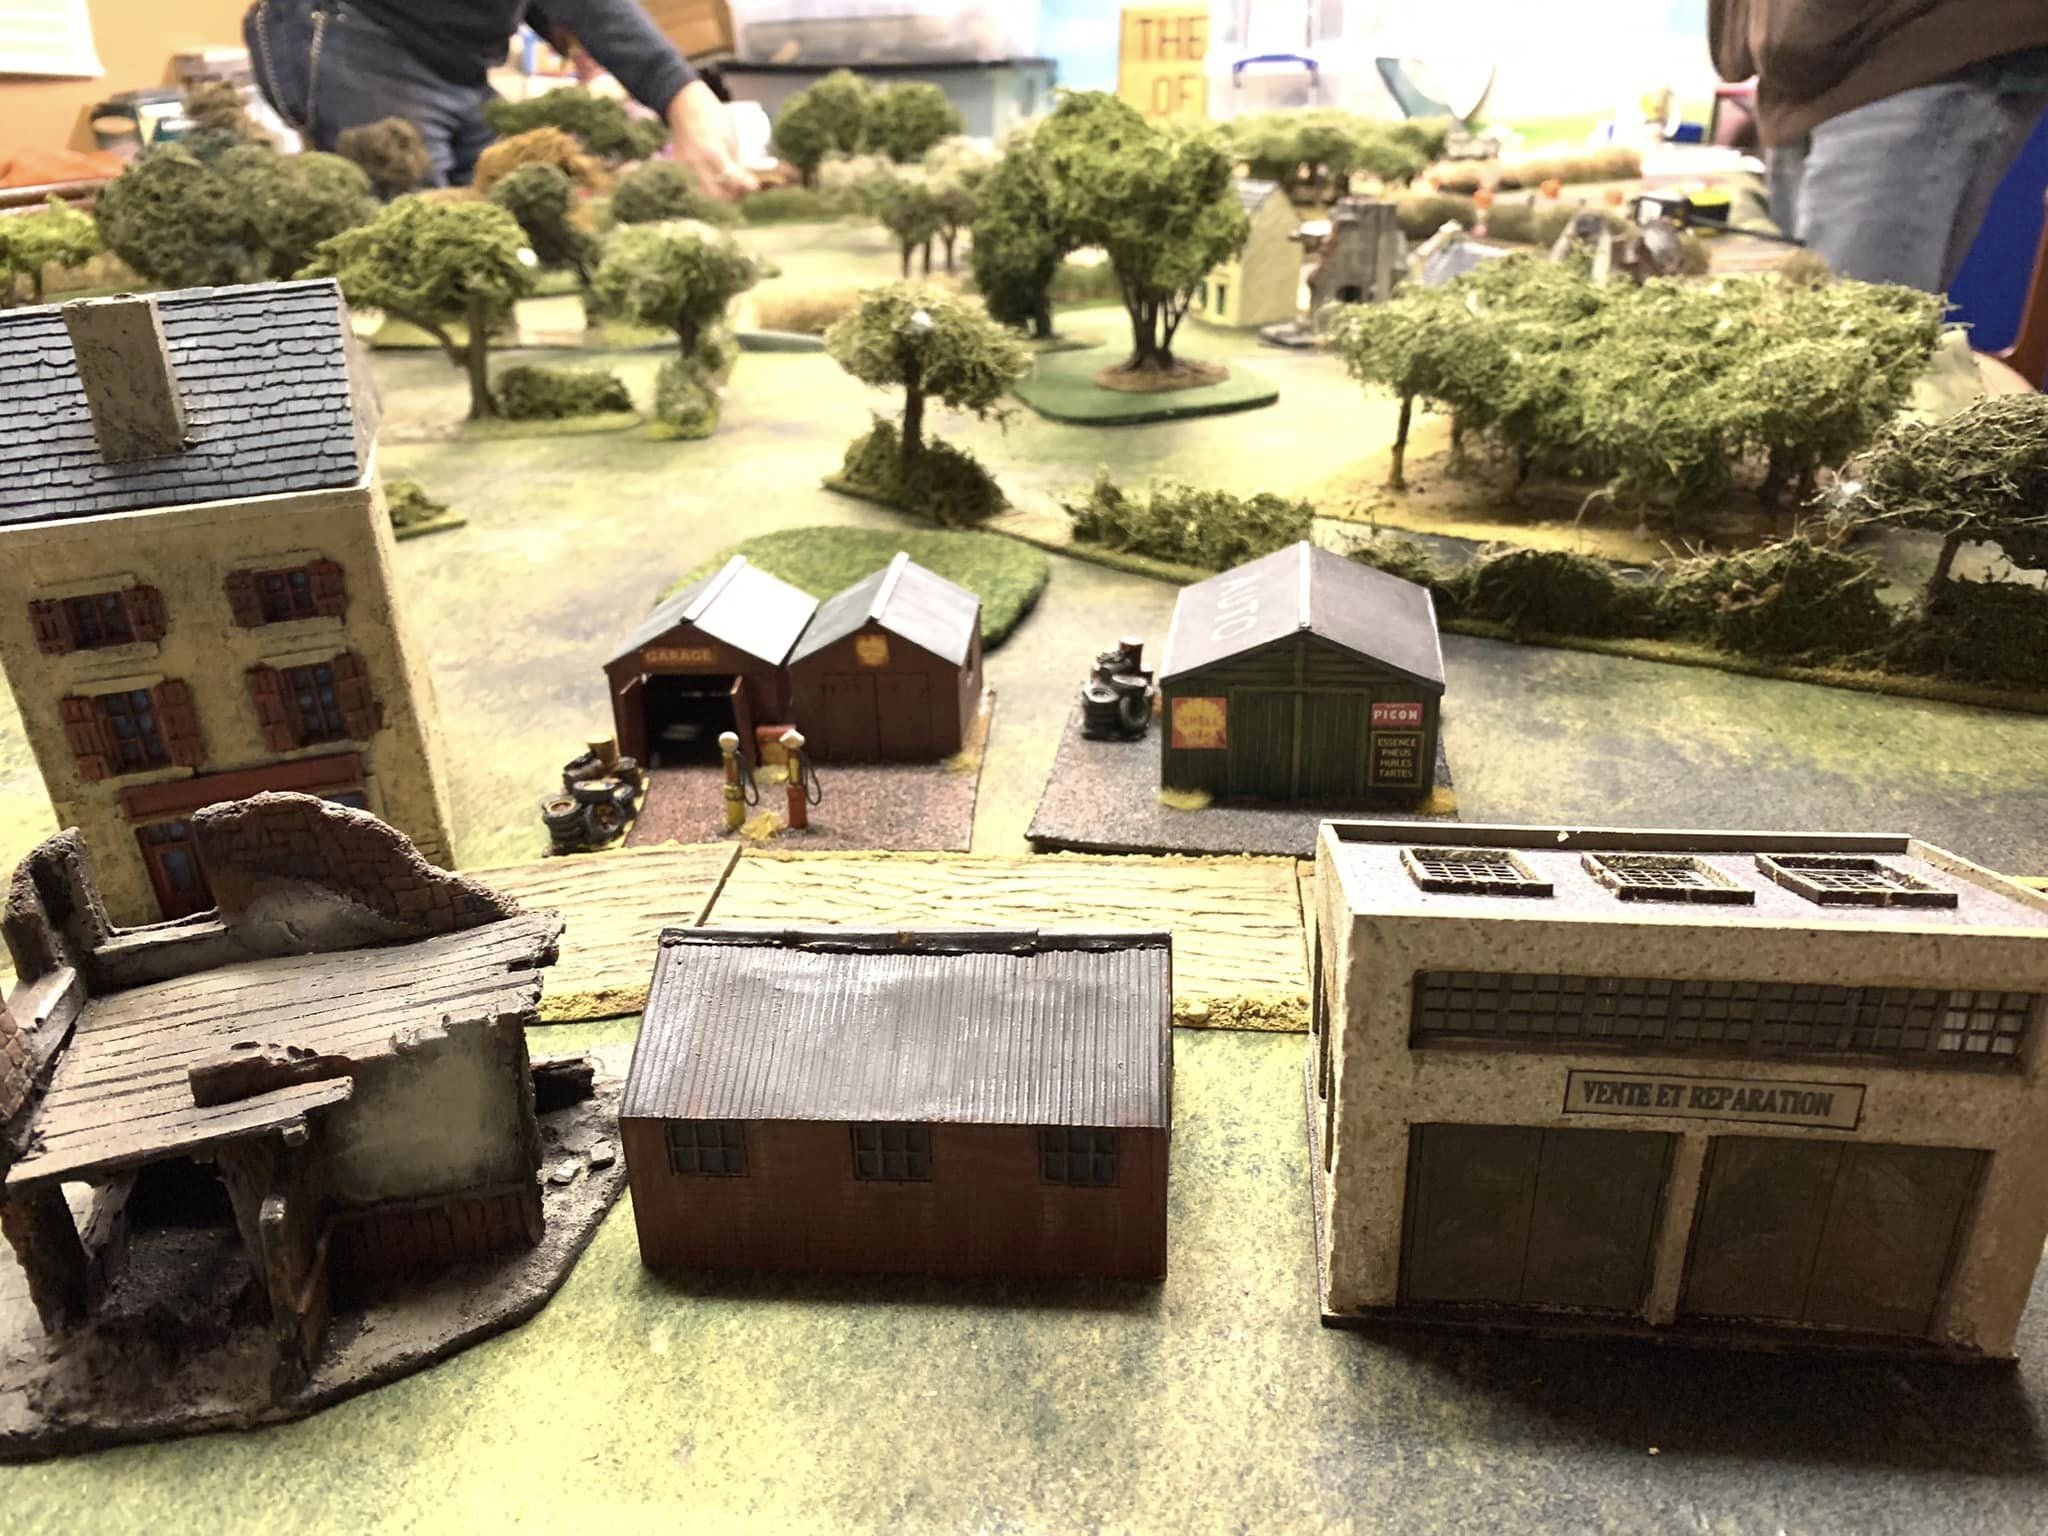
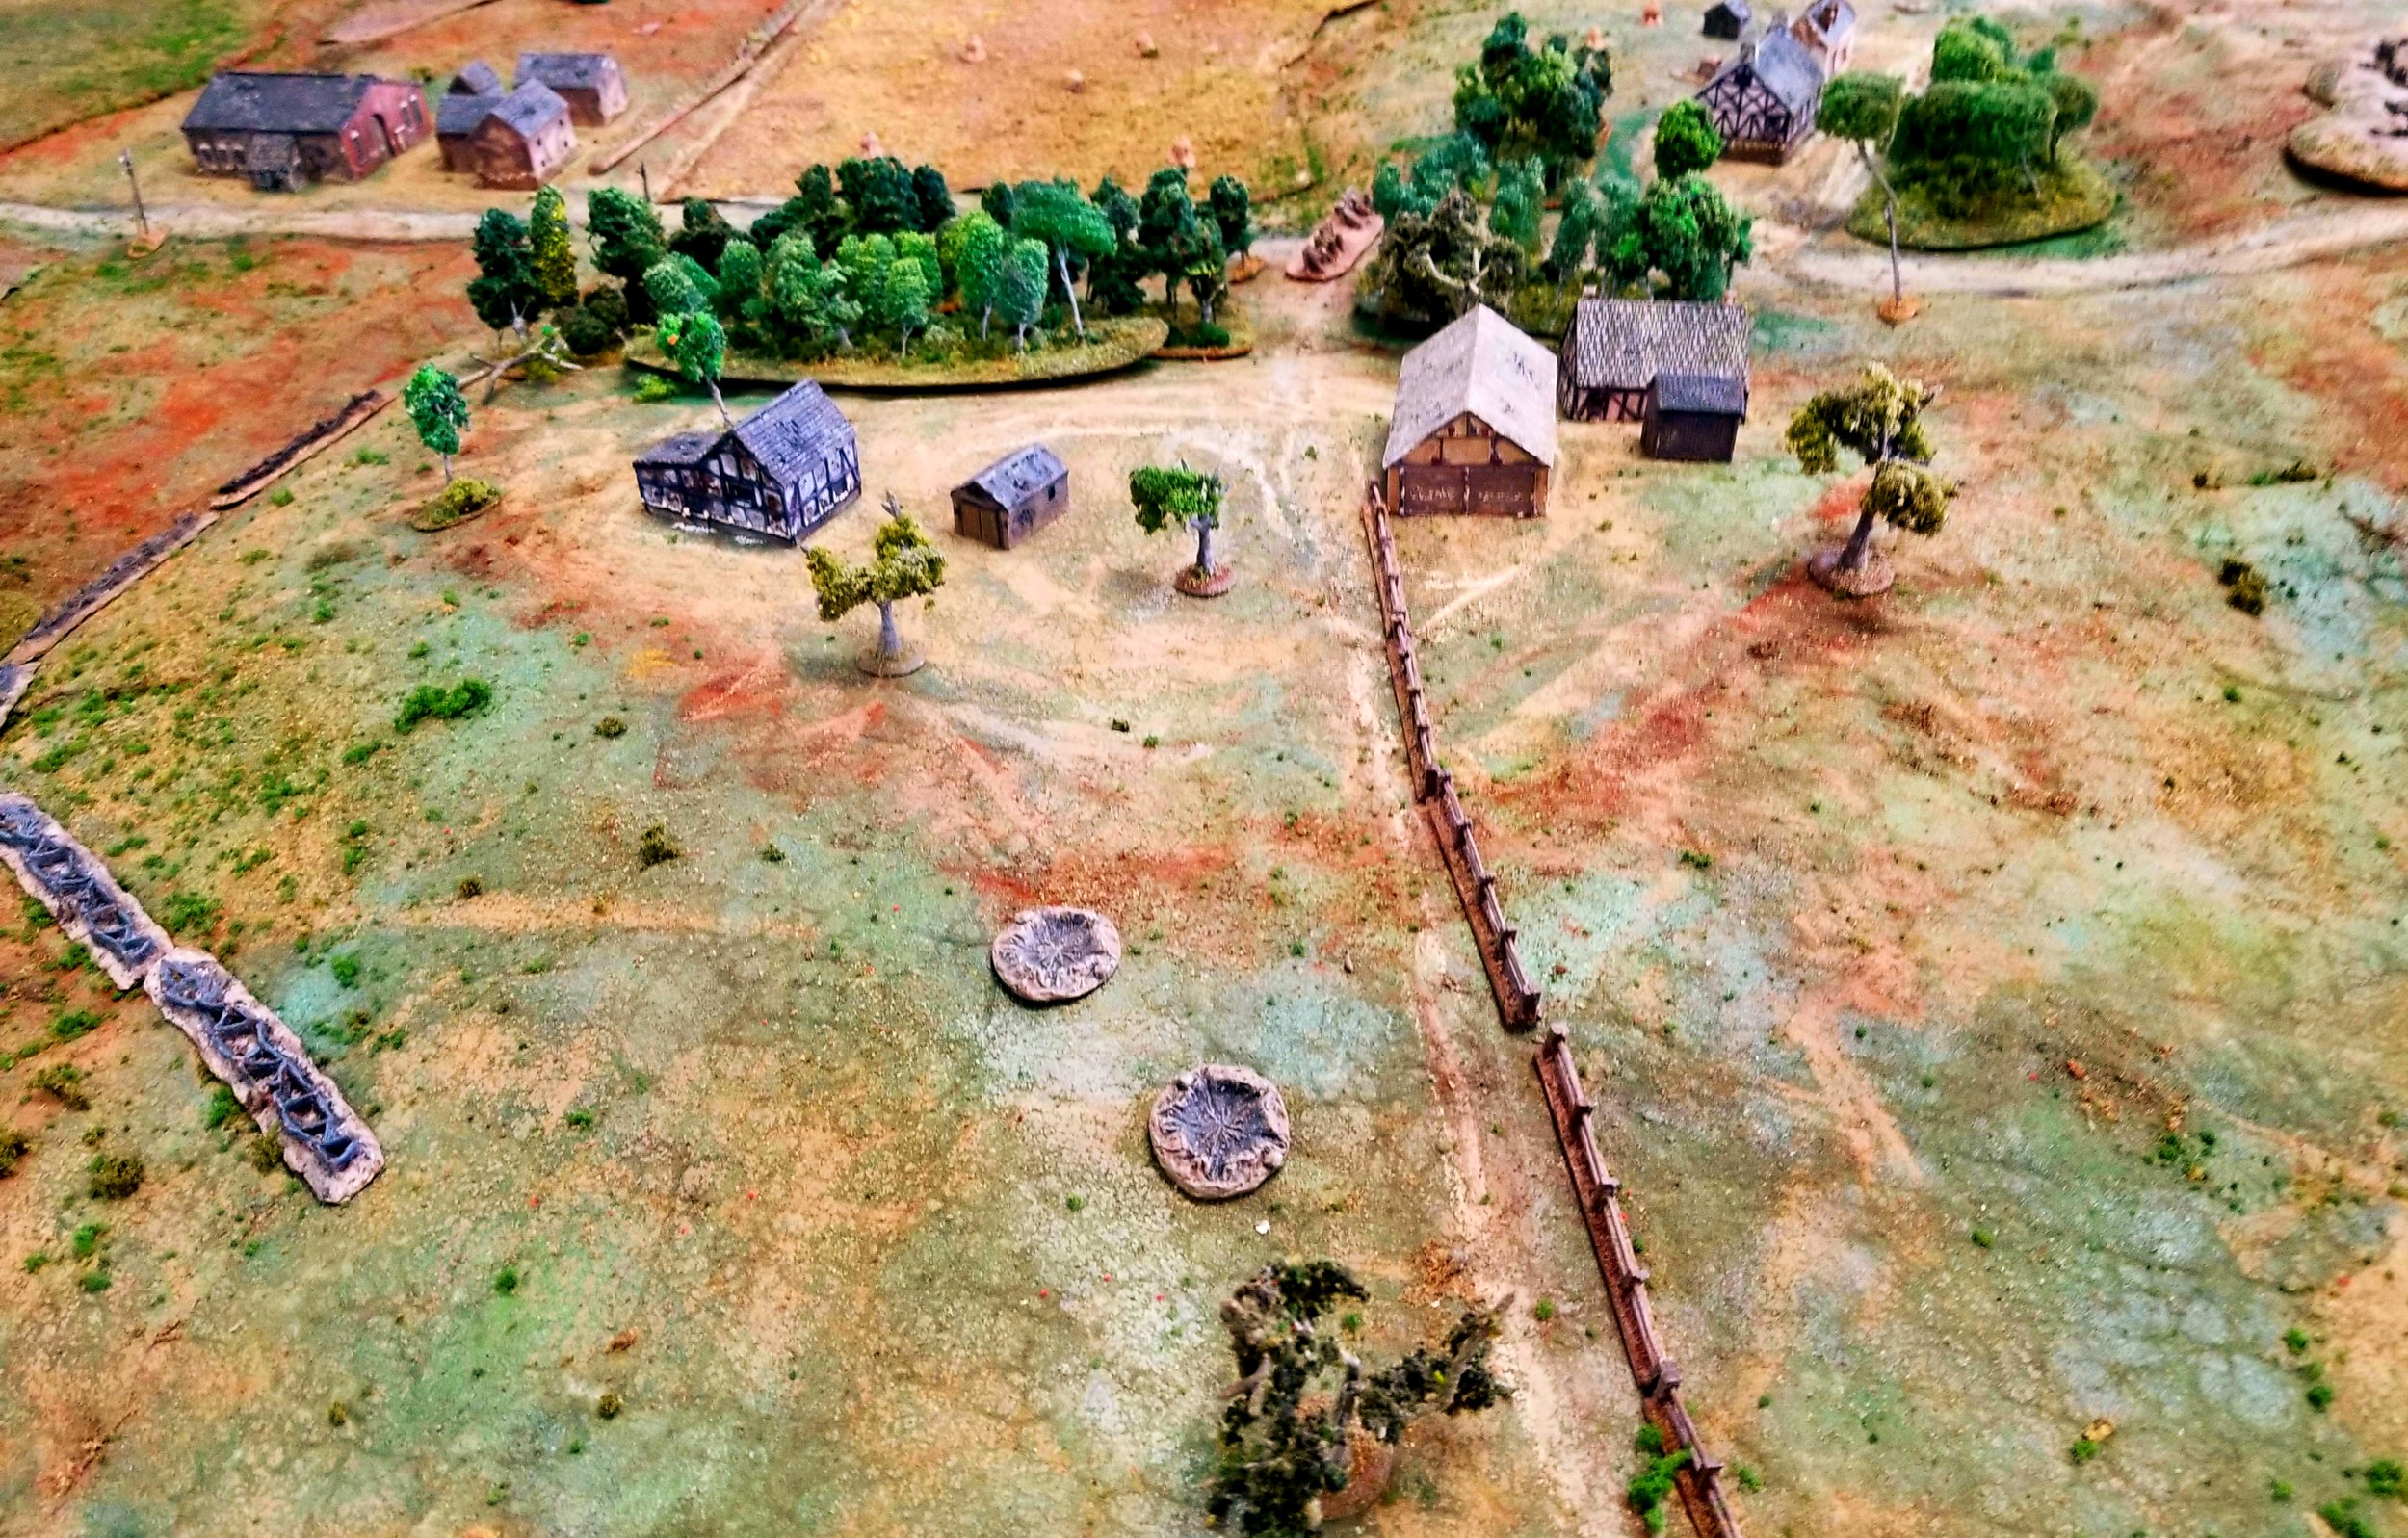
Sicily, 1943

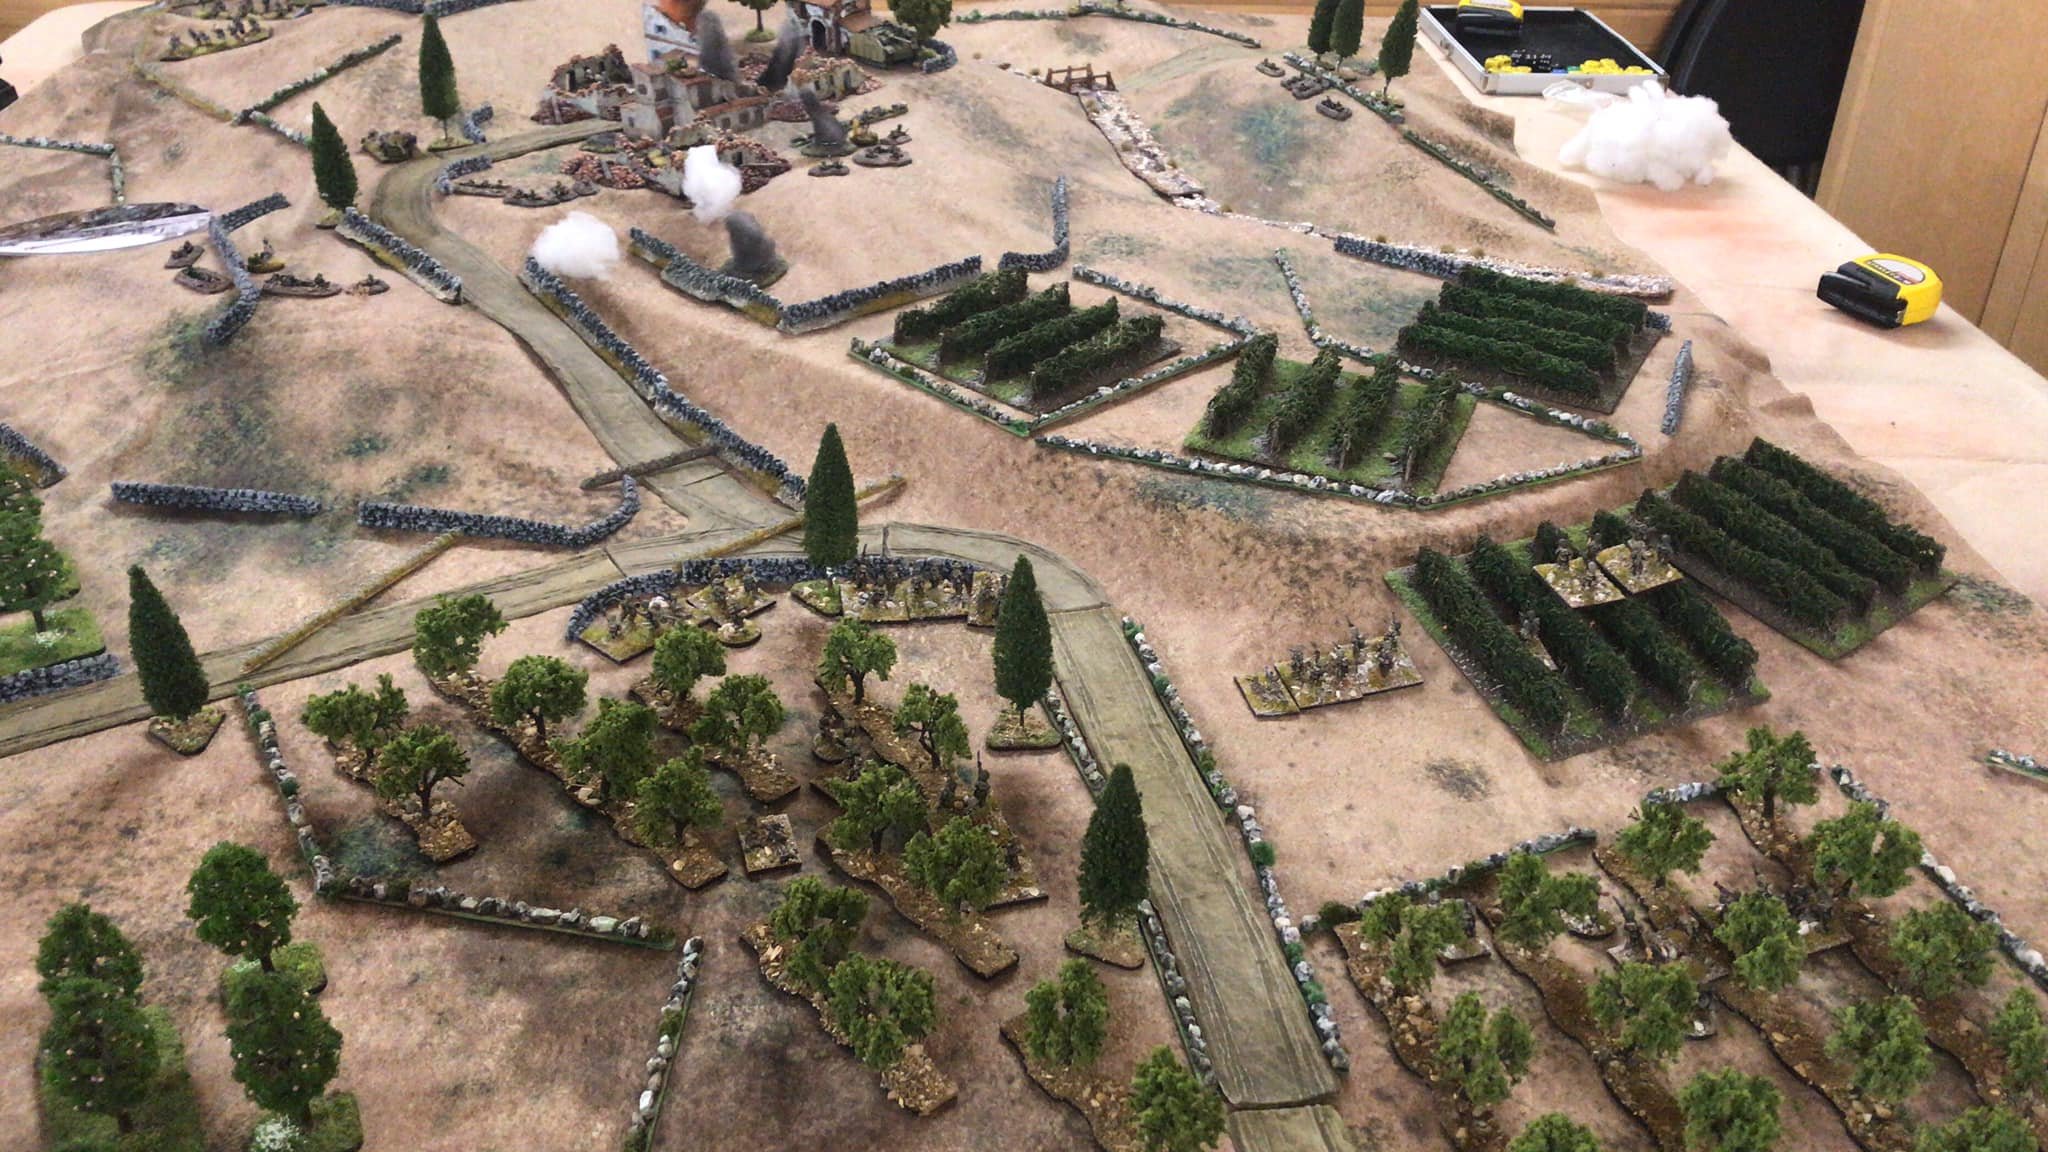
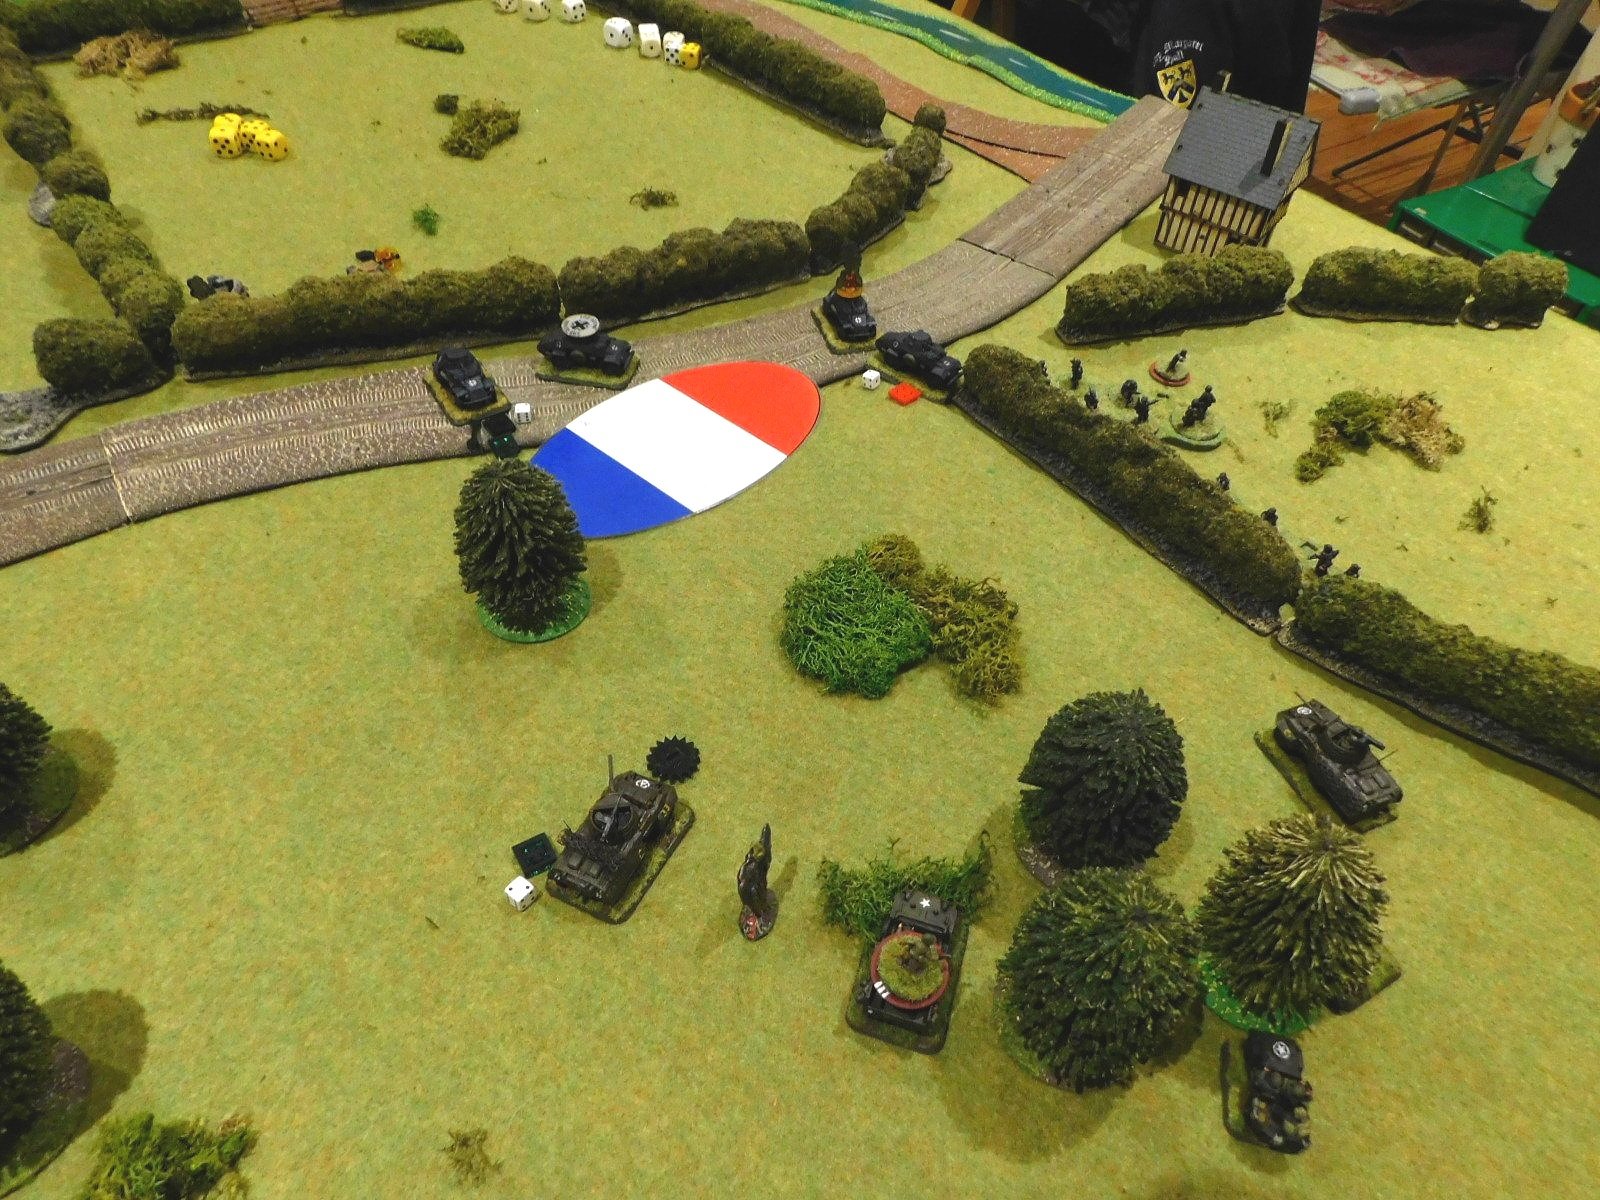
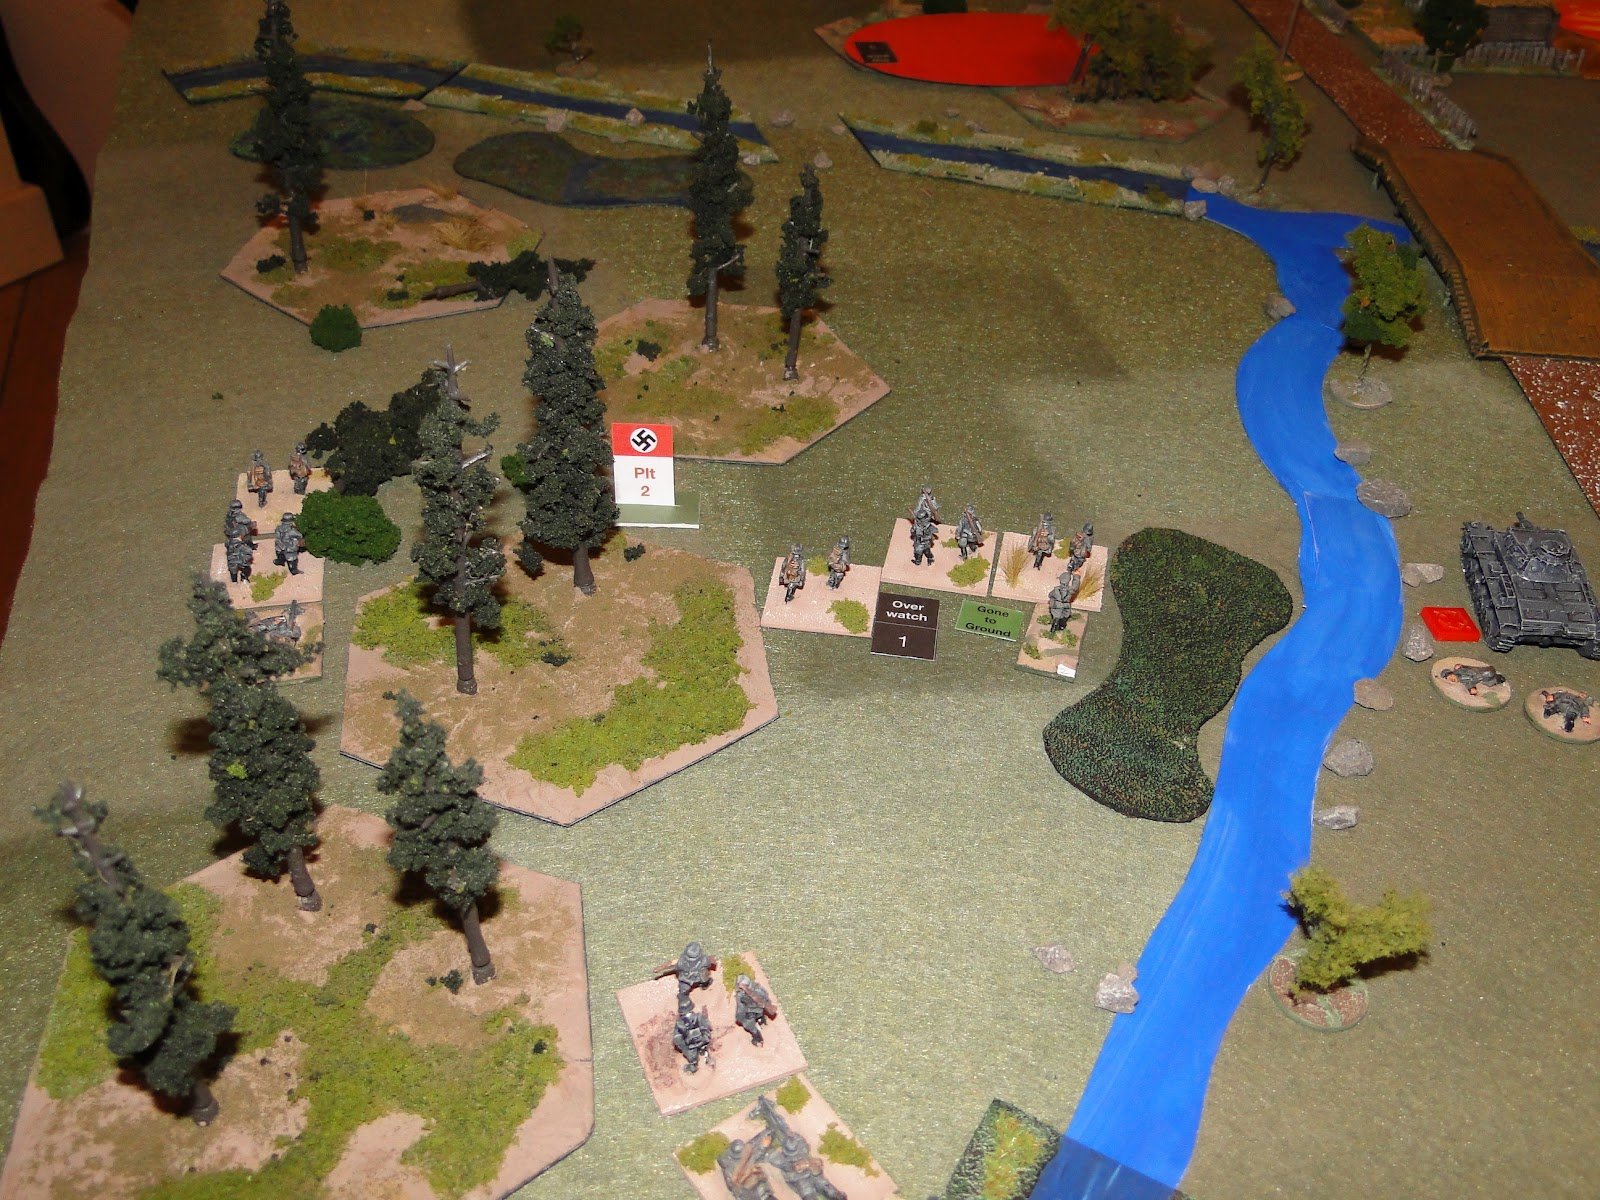
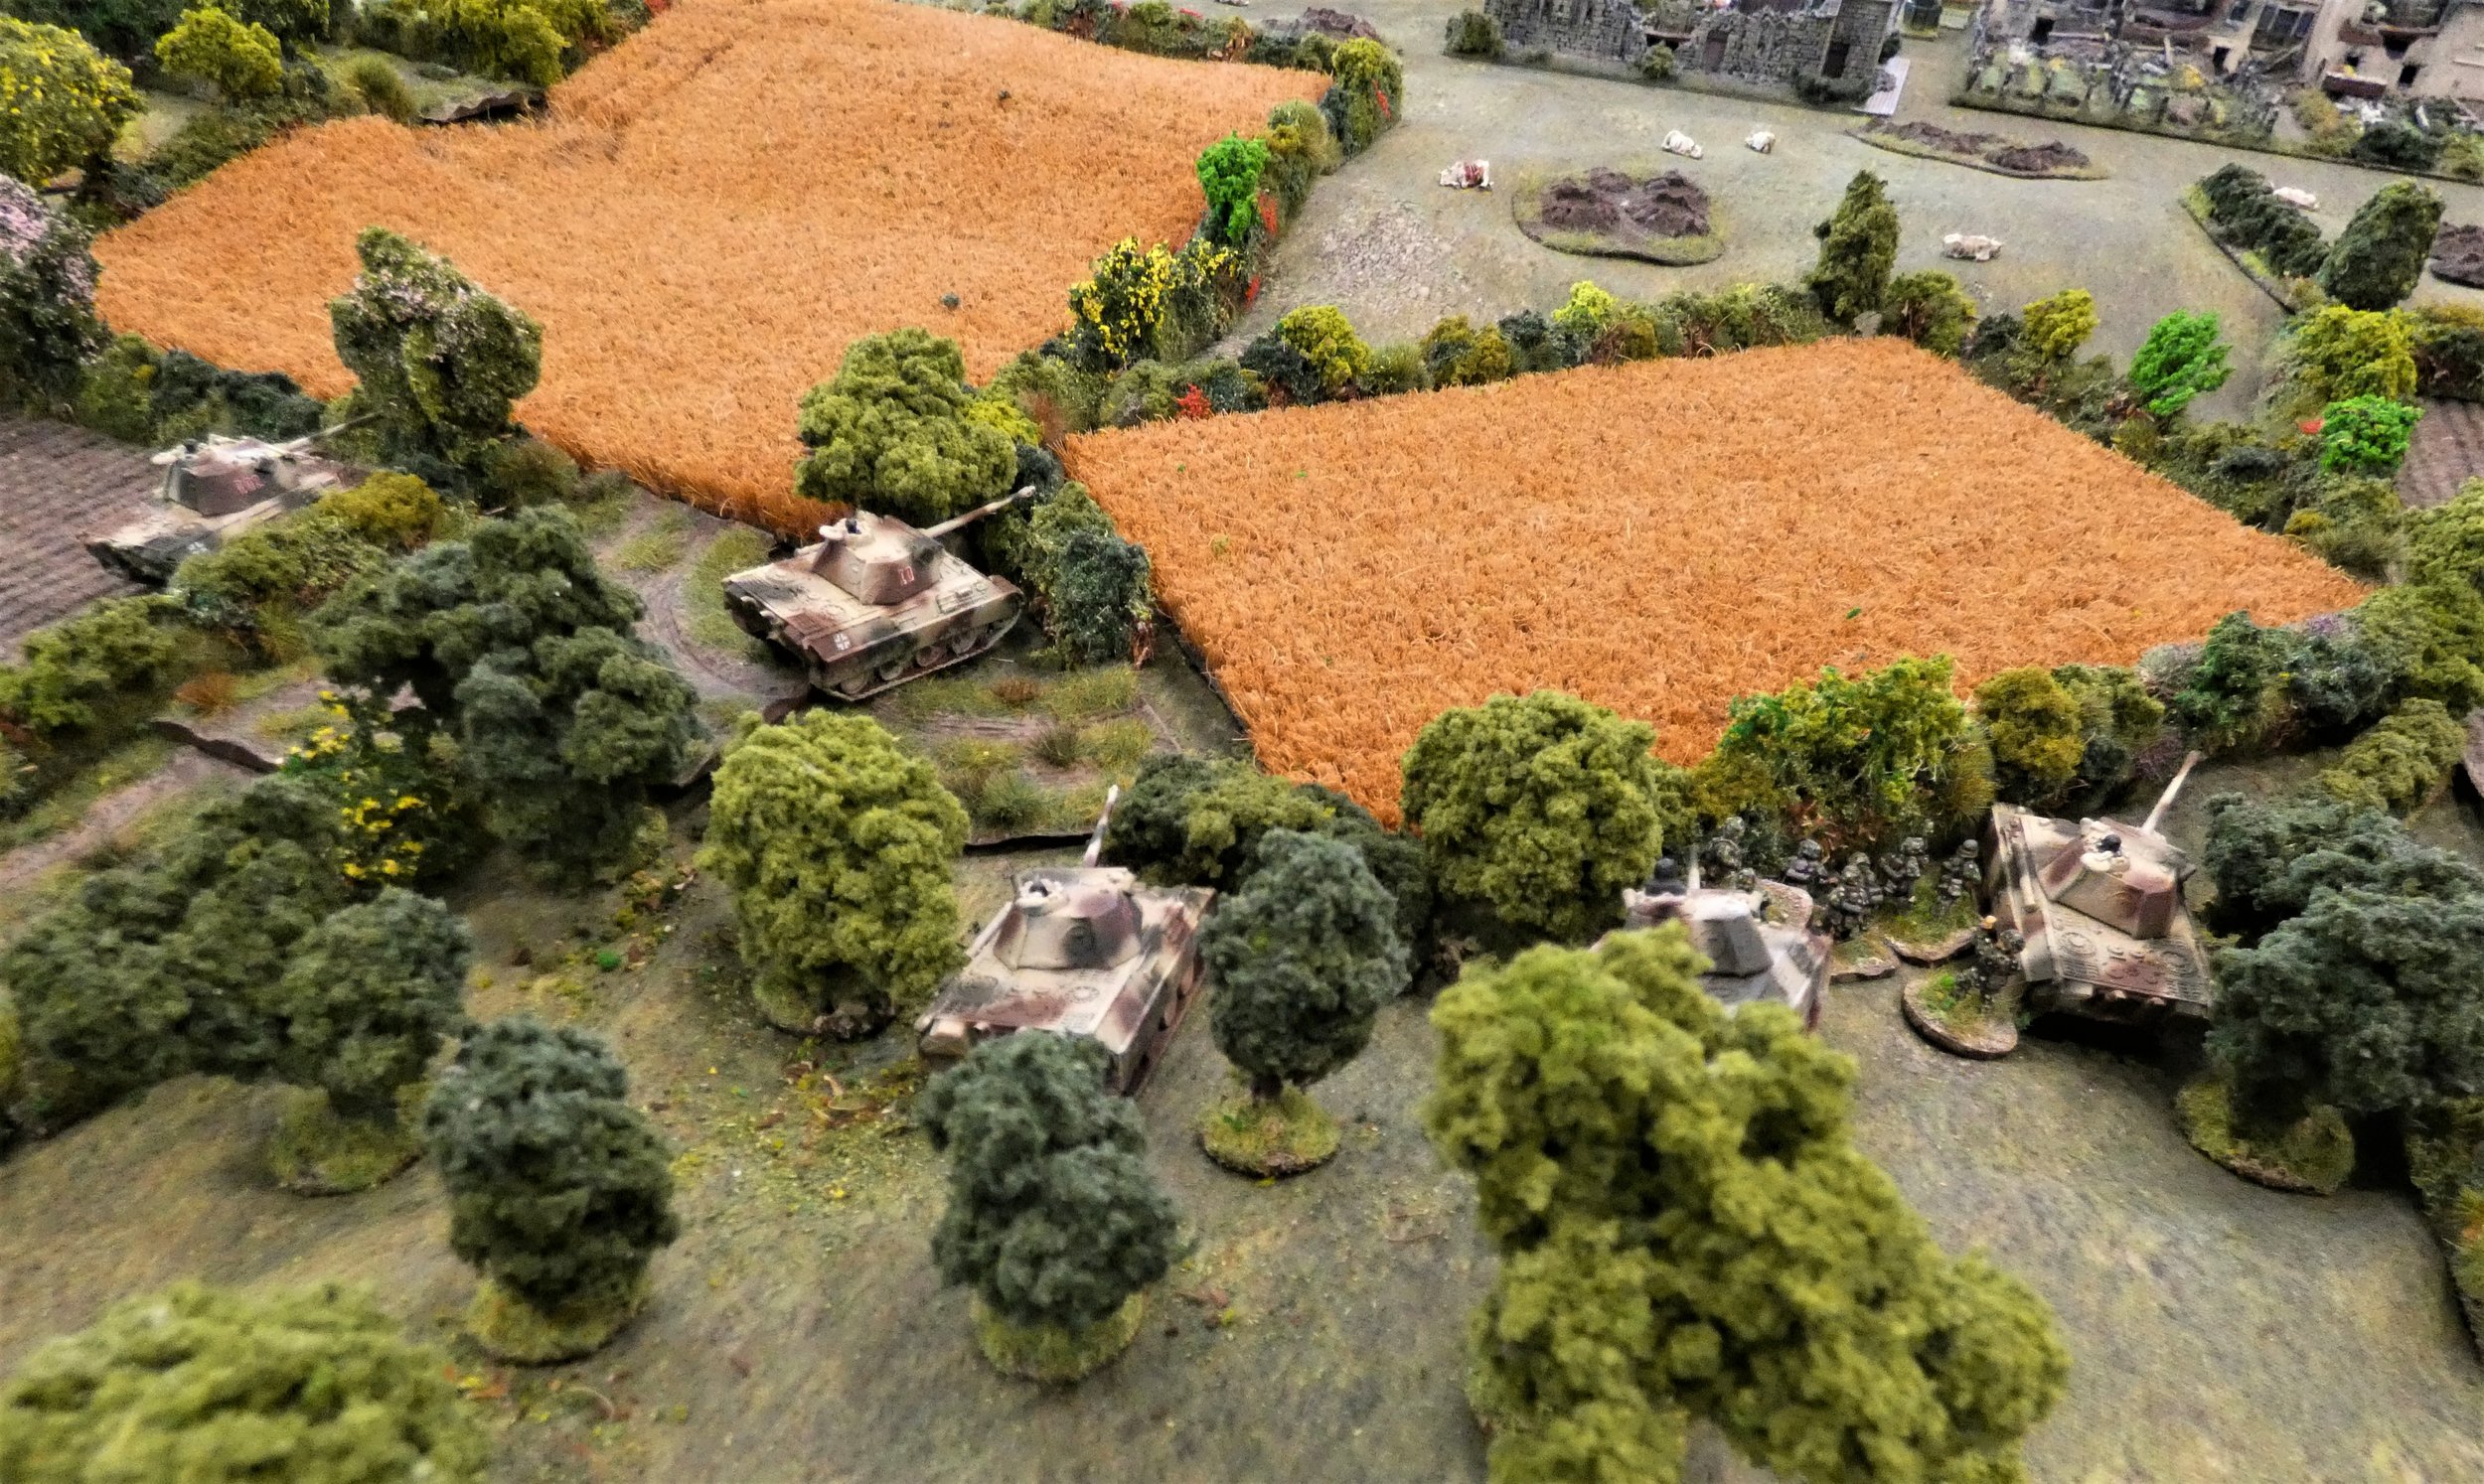
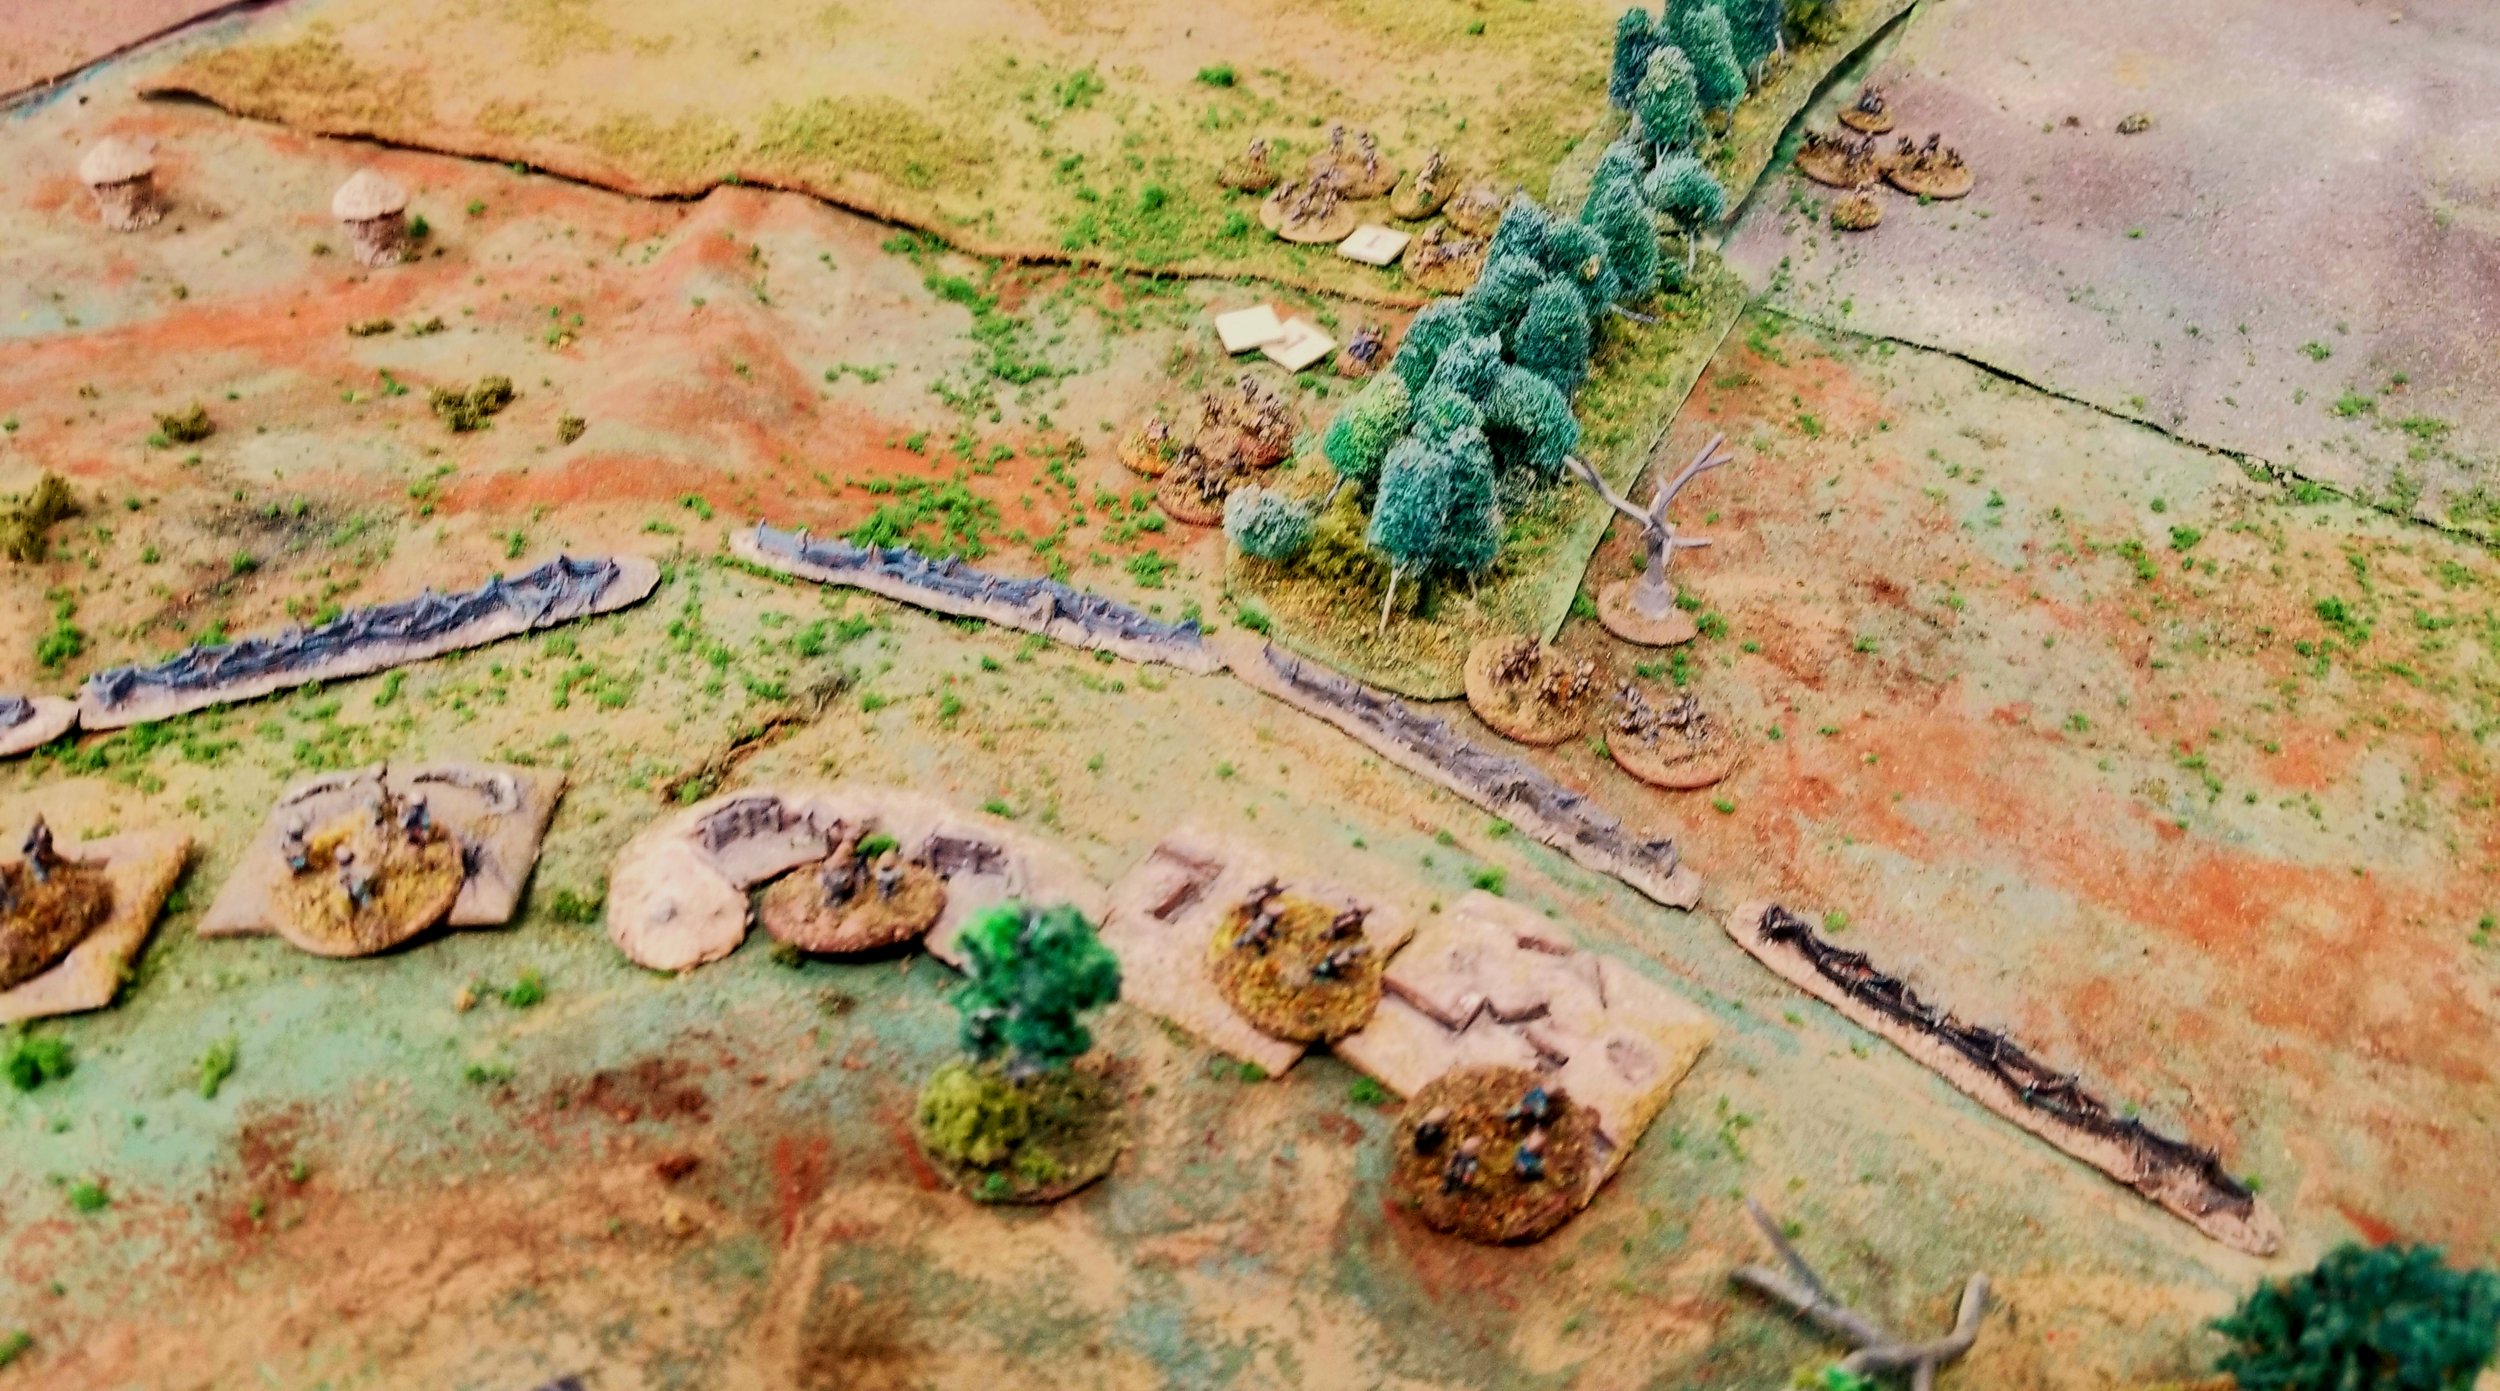
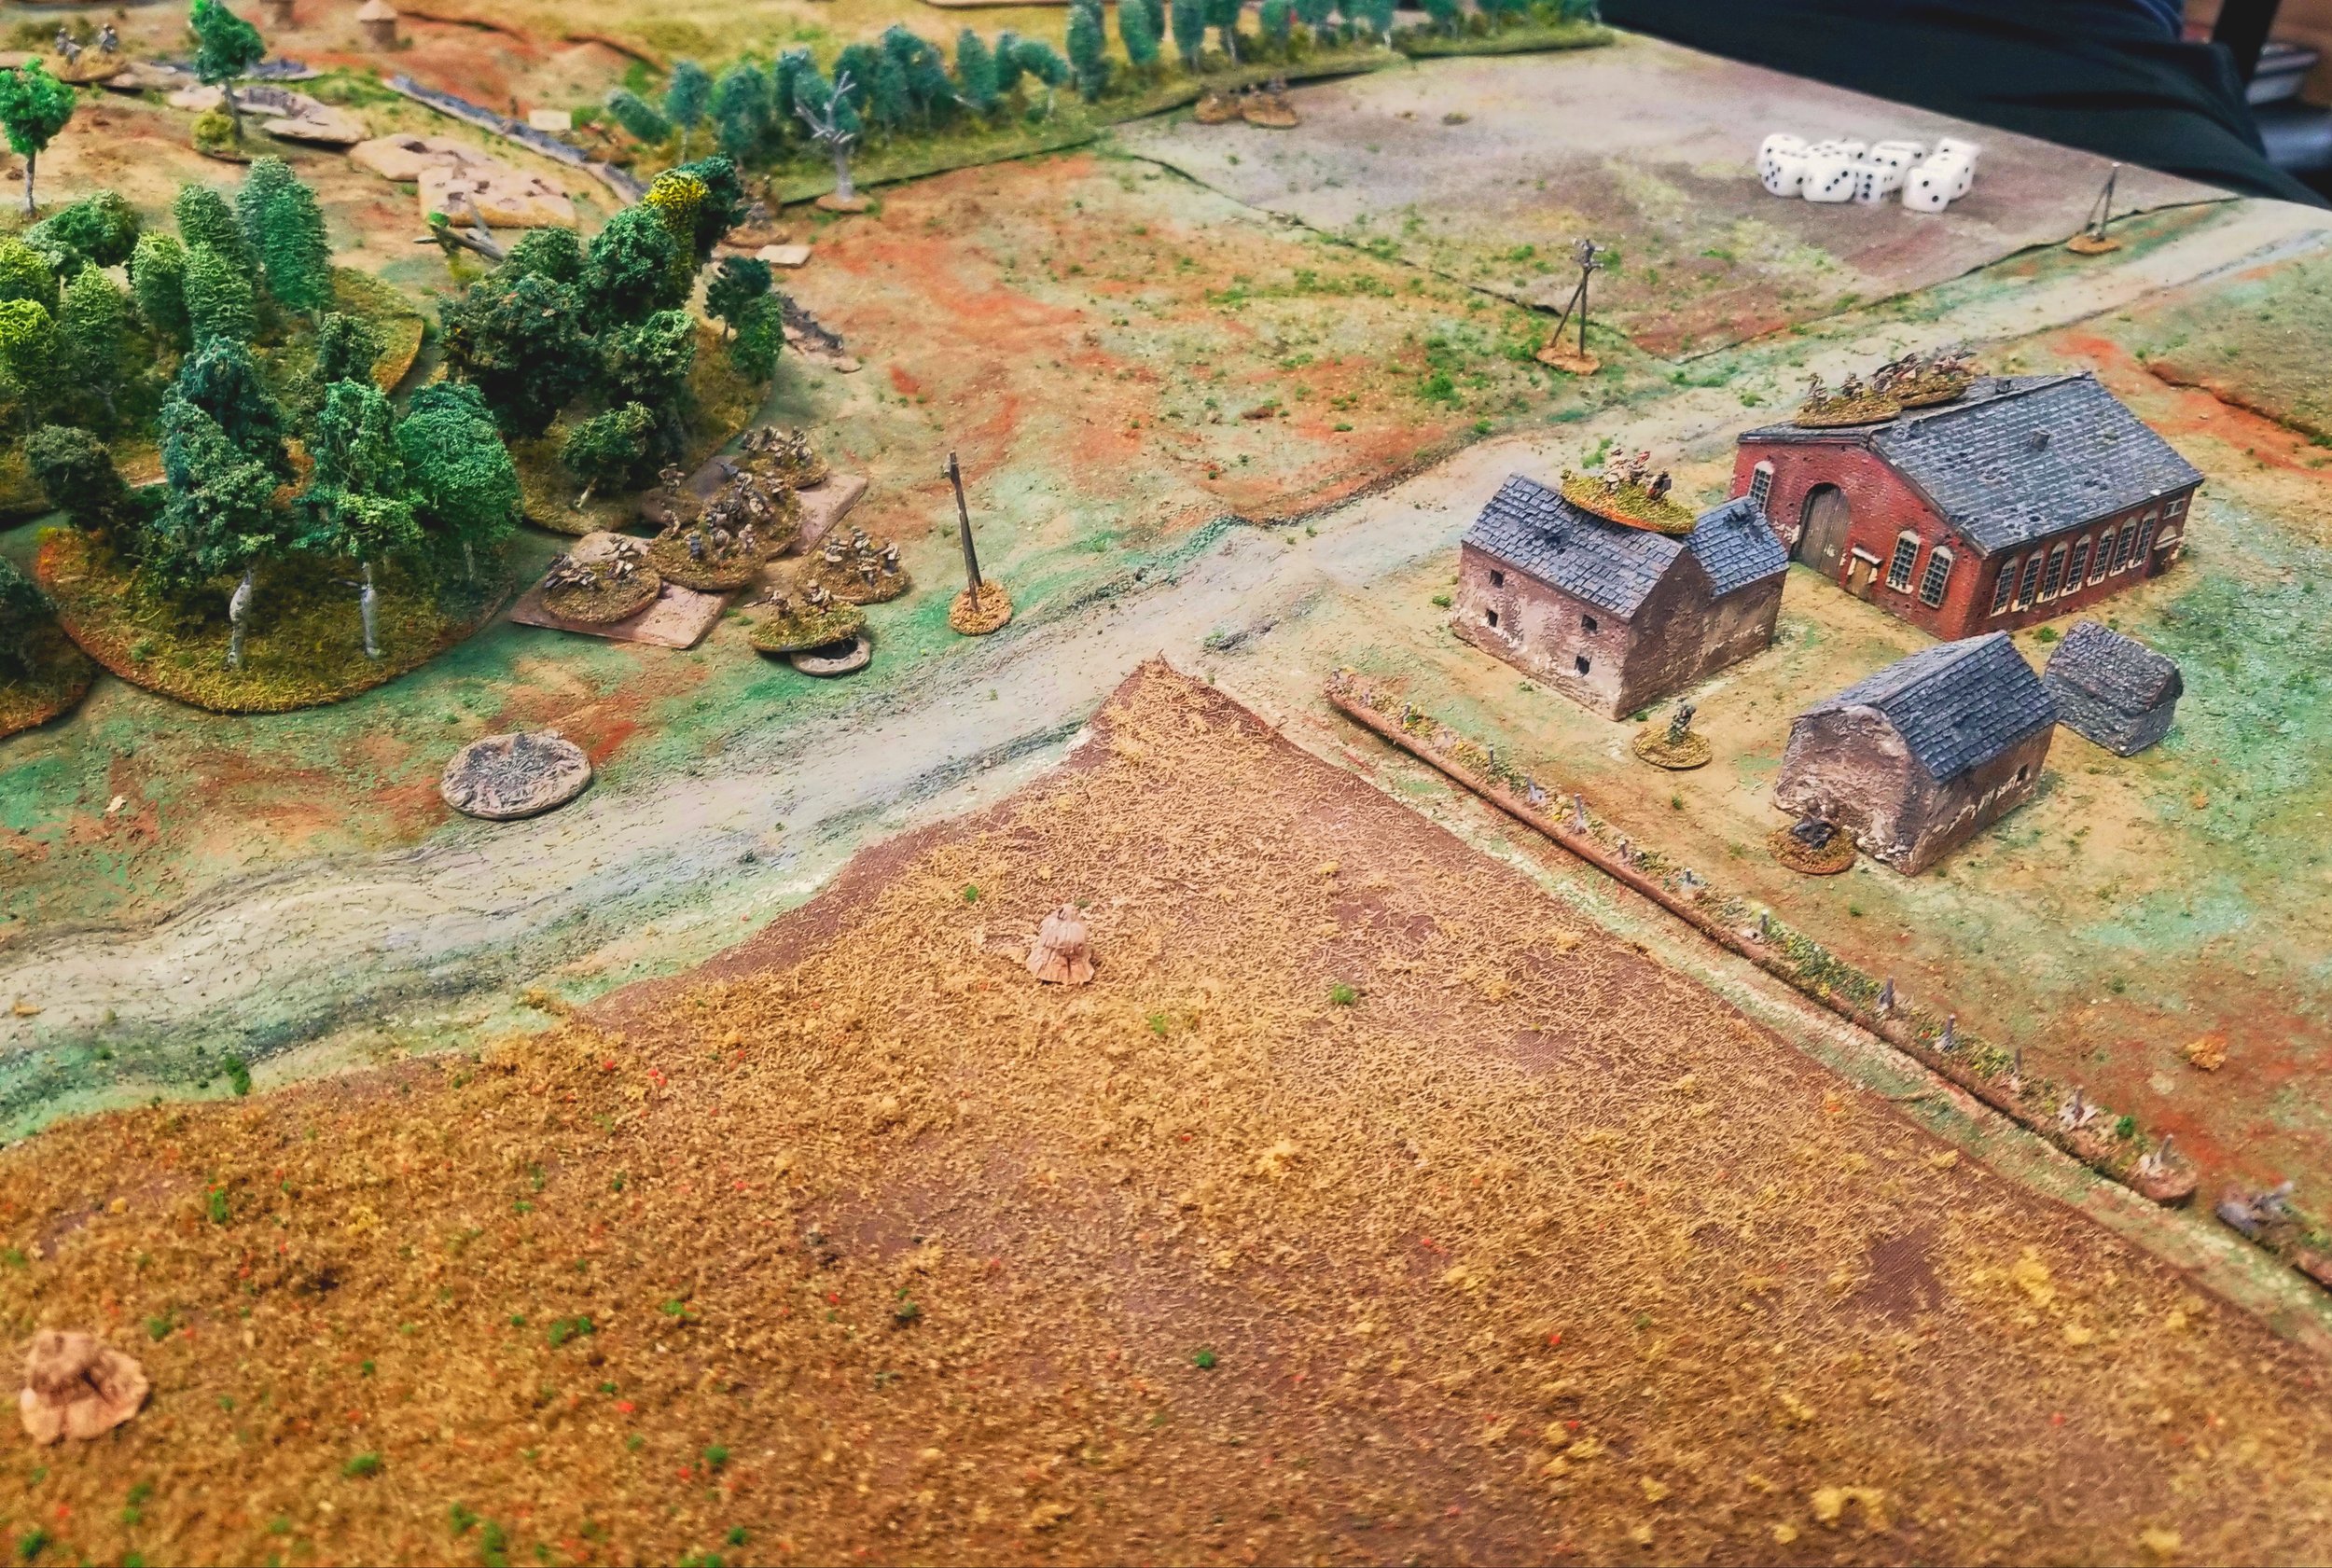
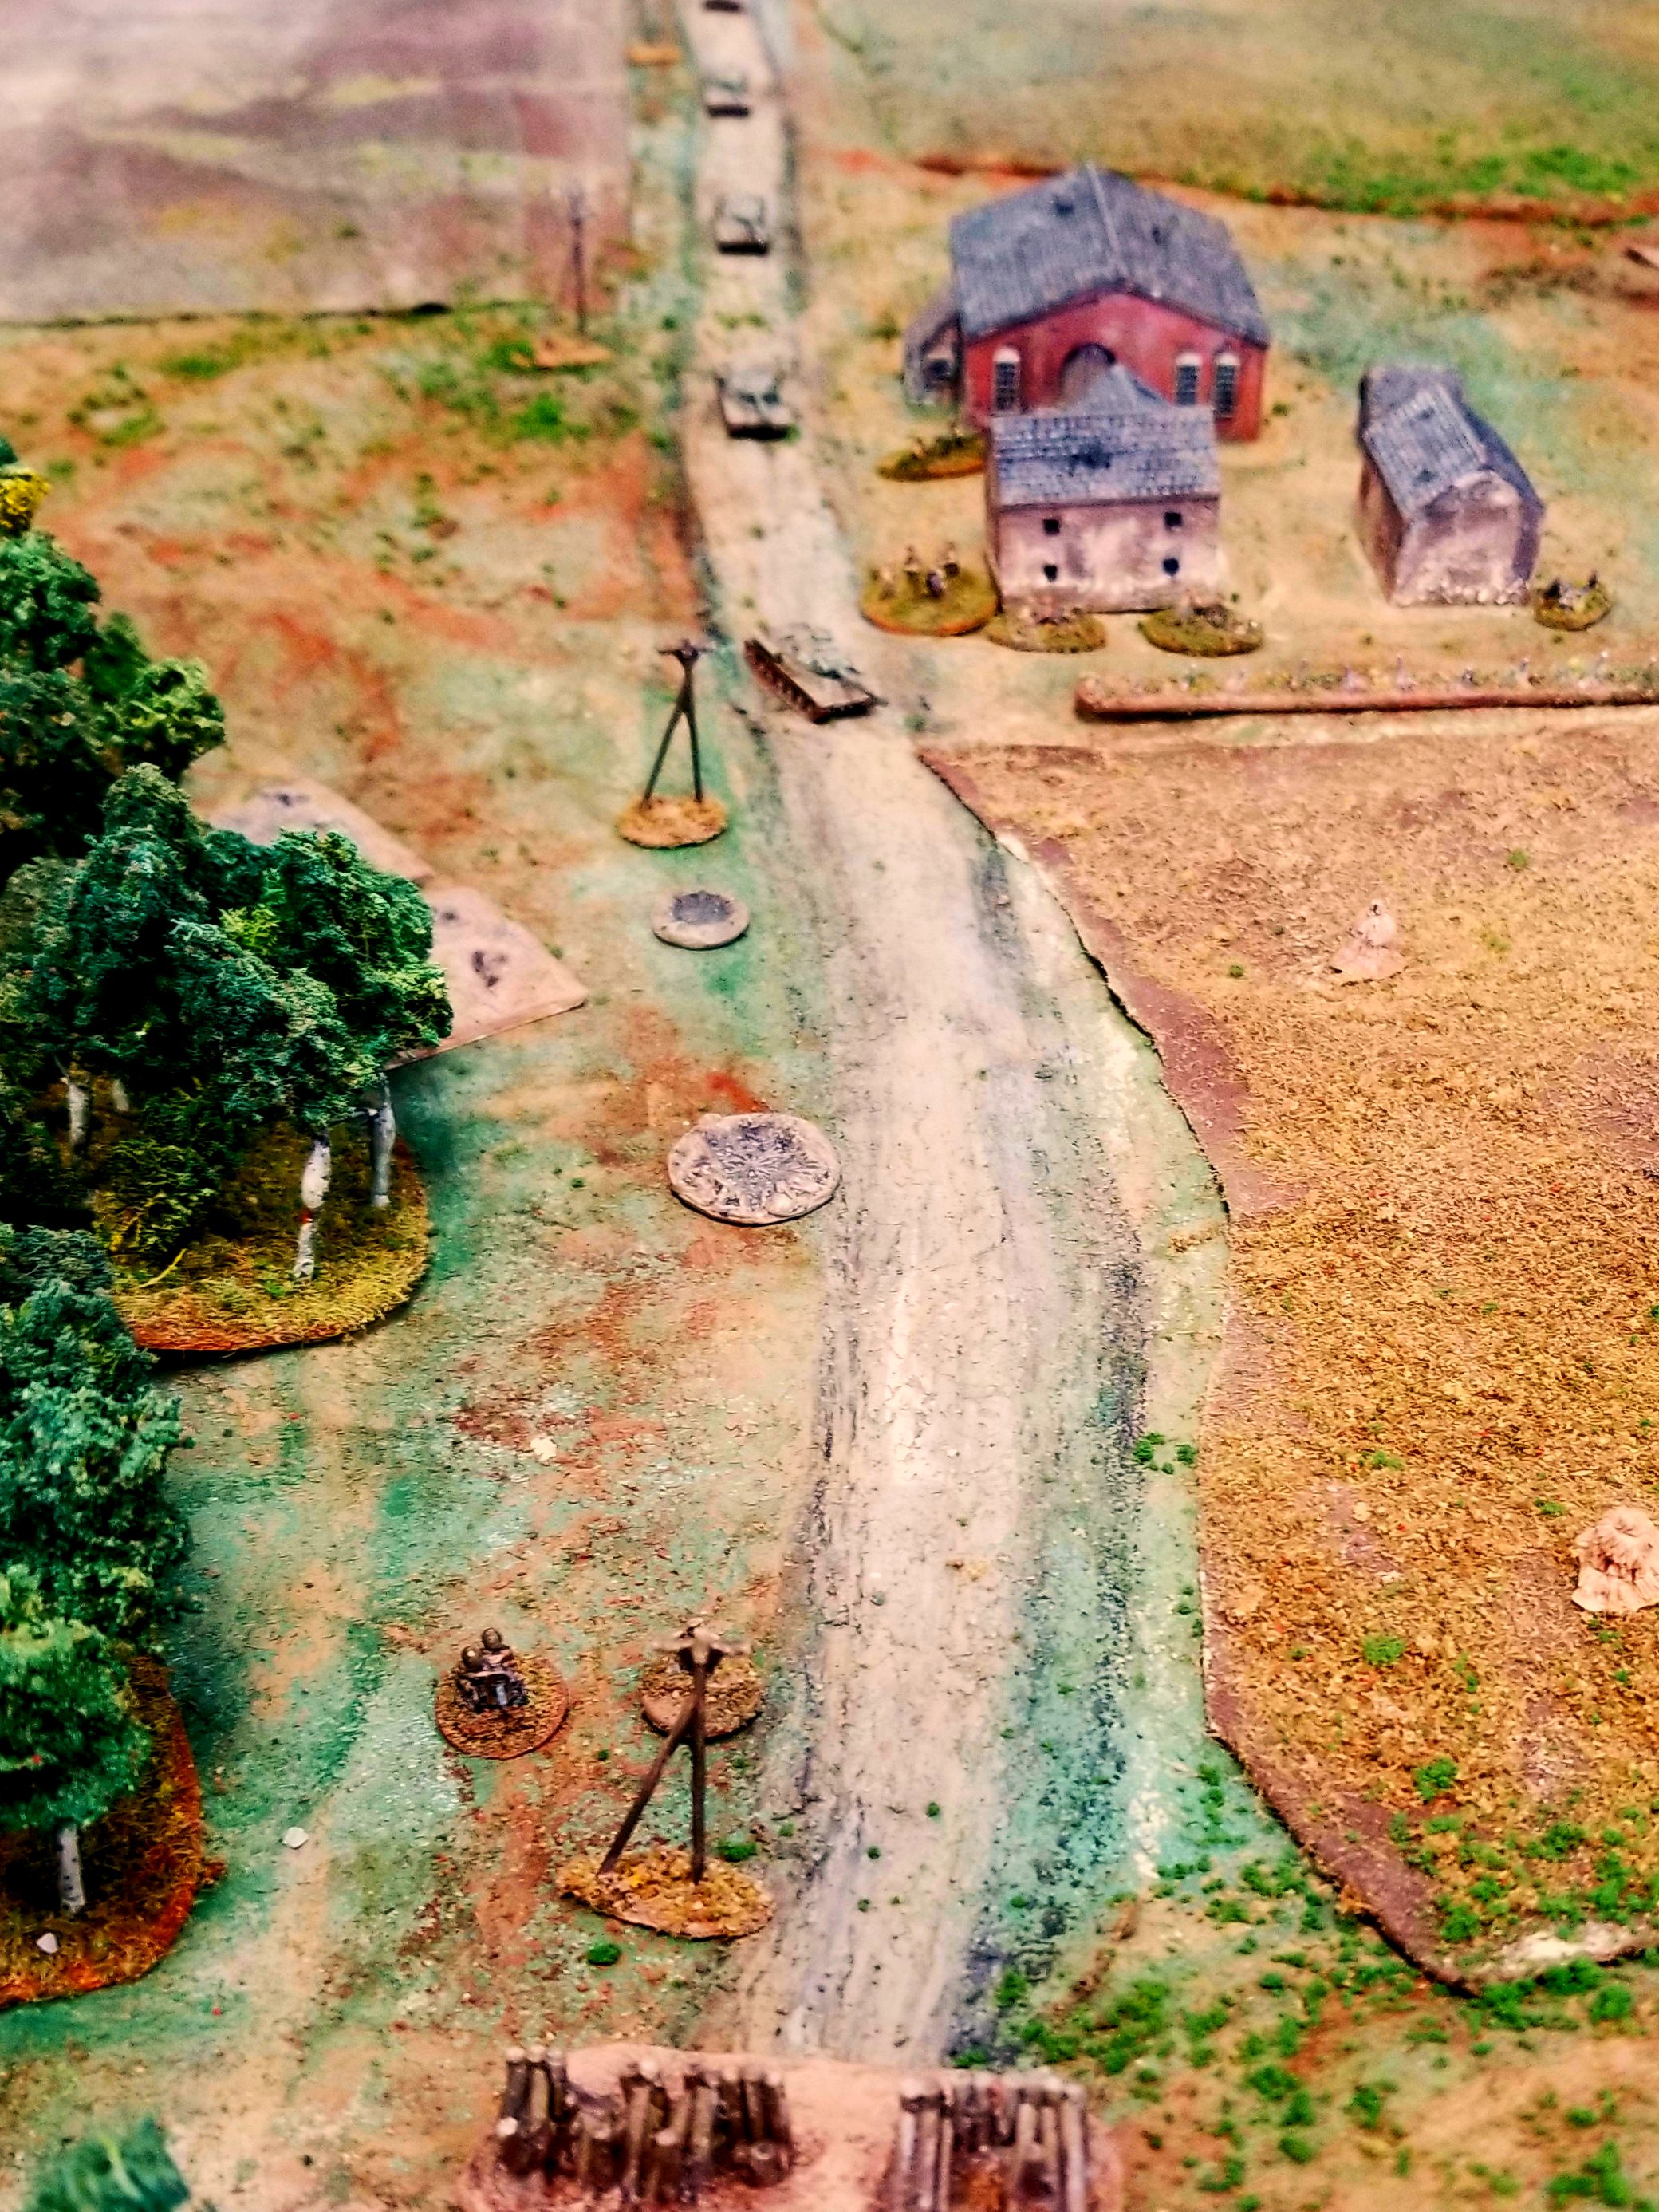
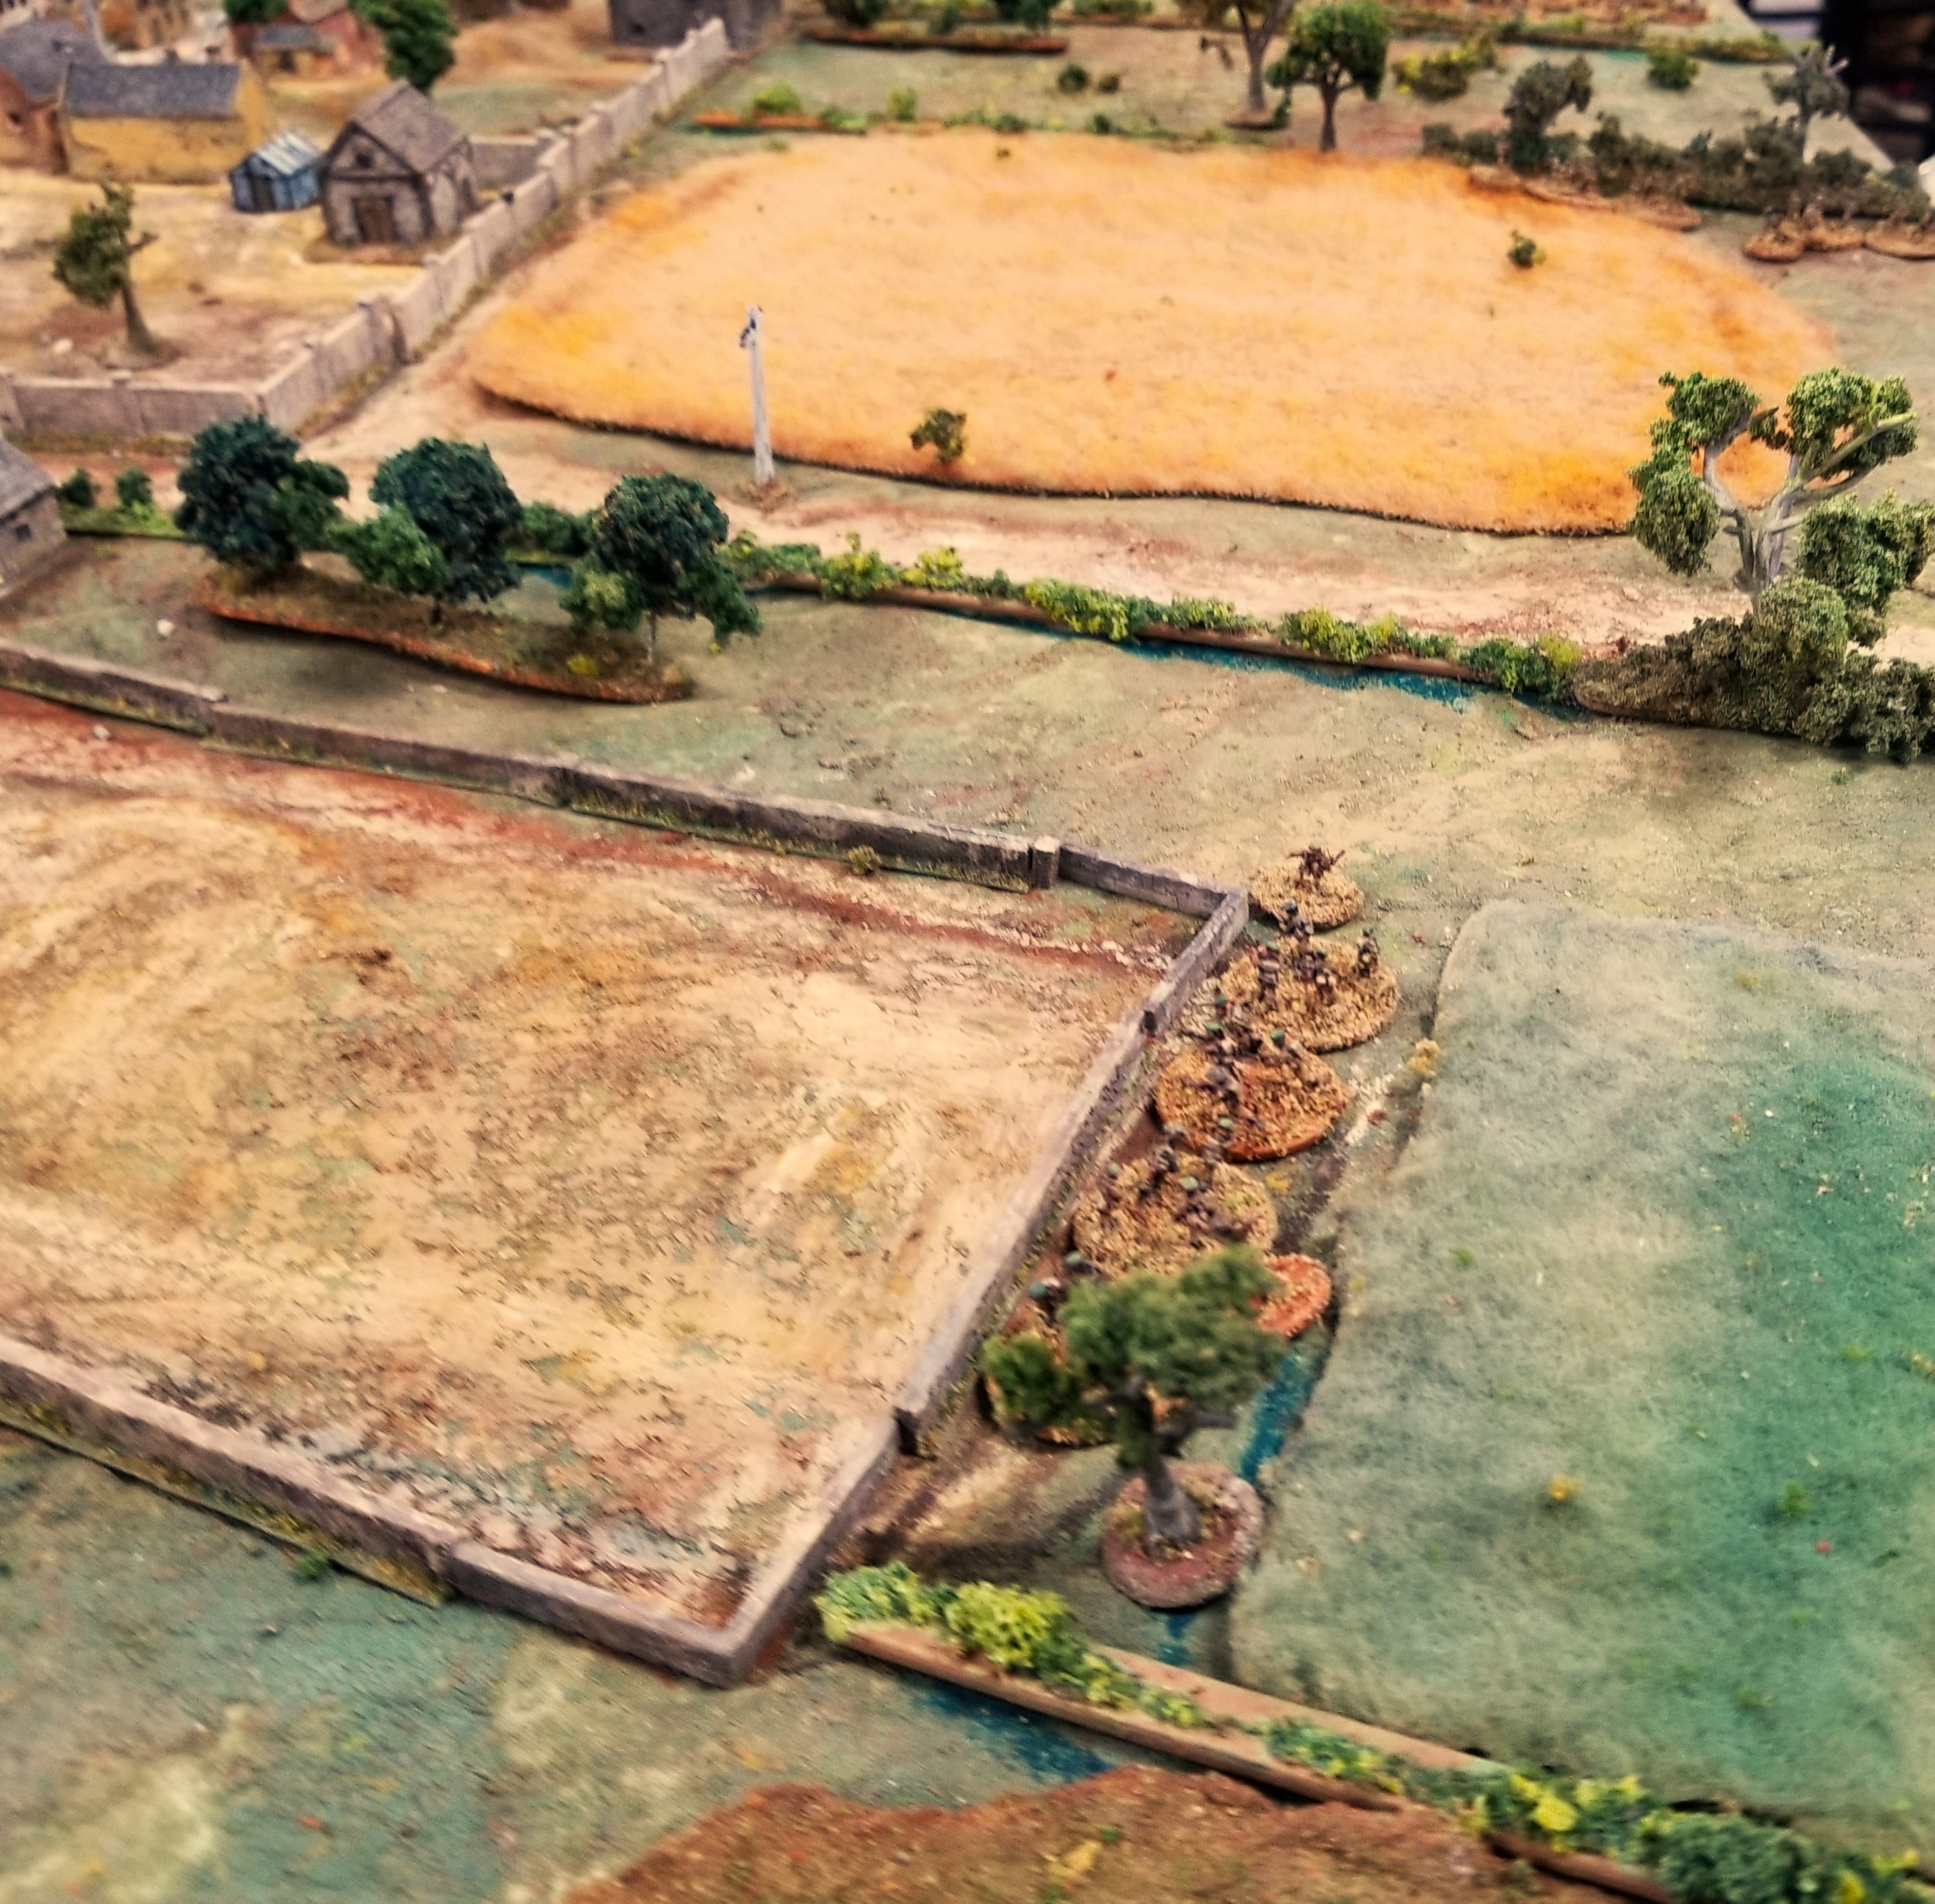
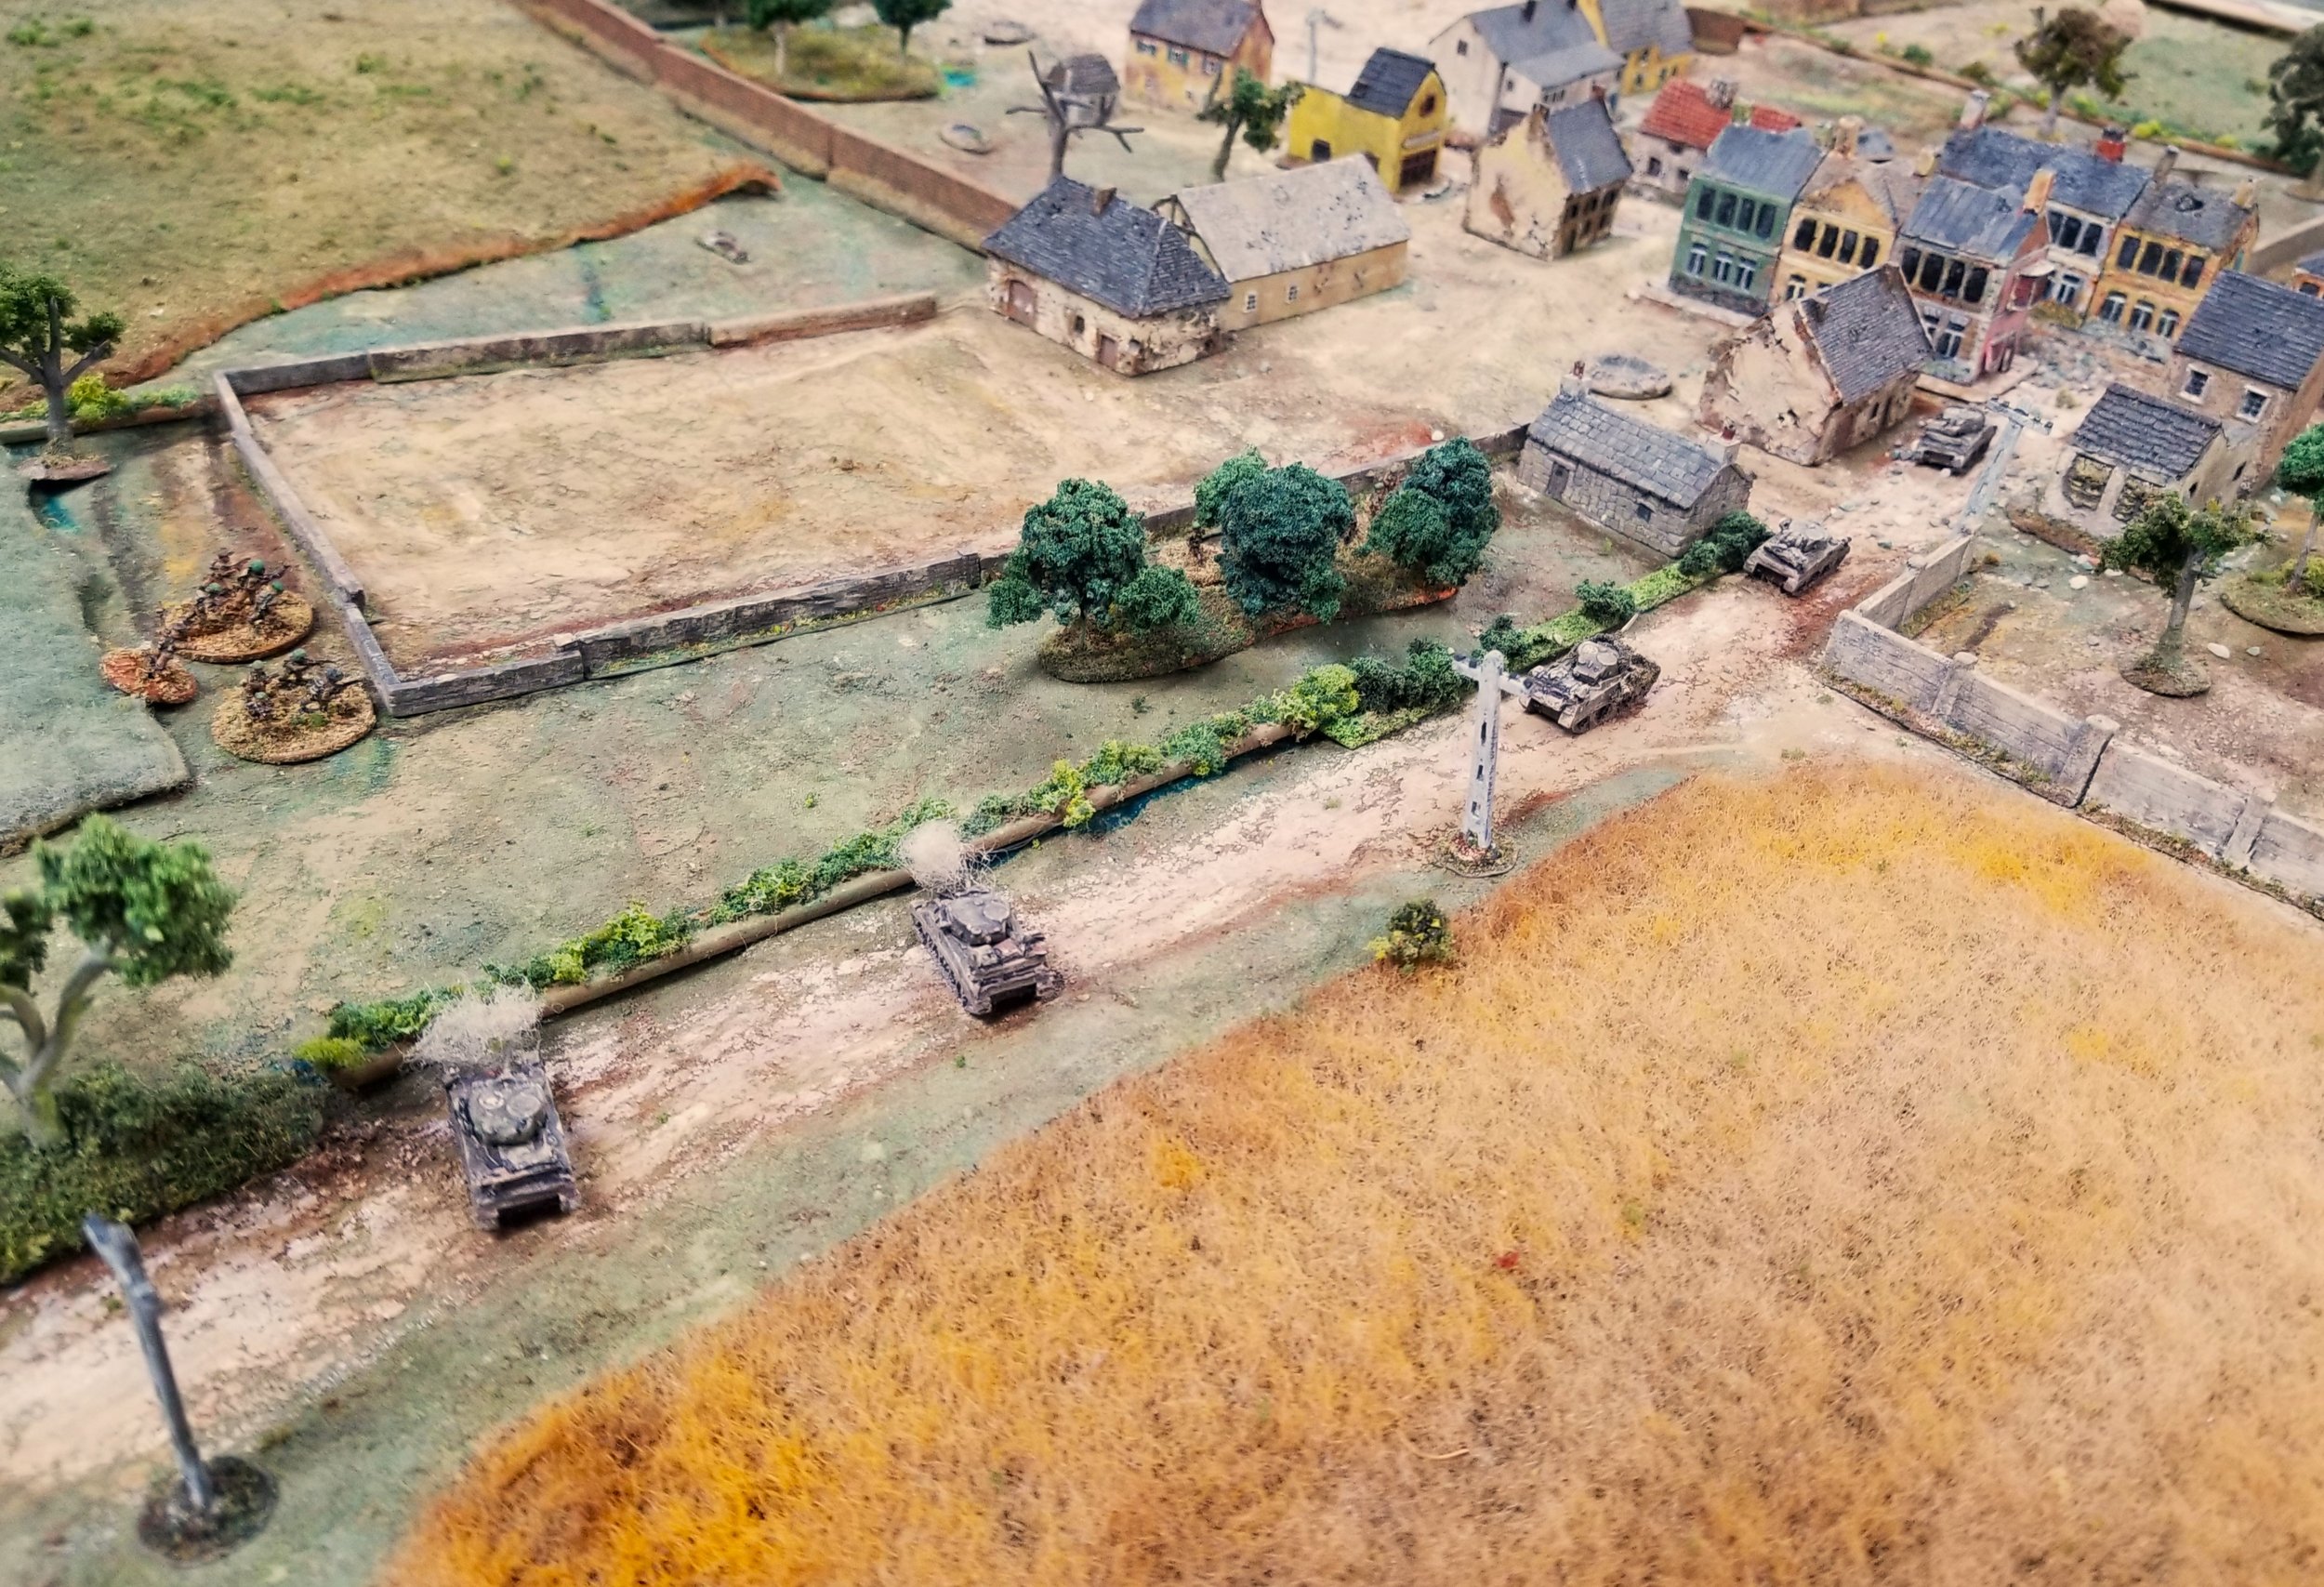
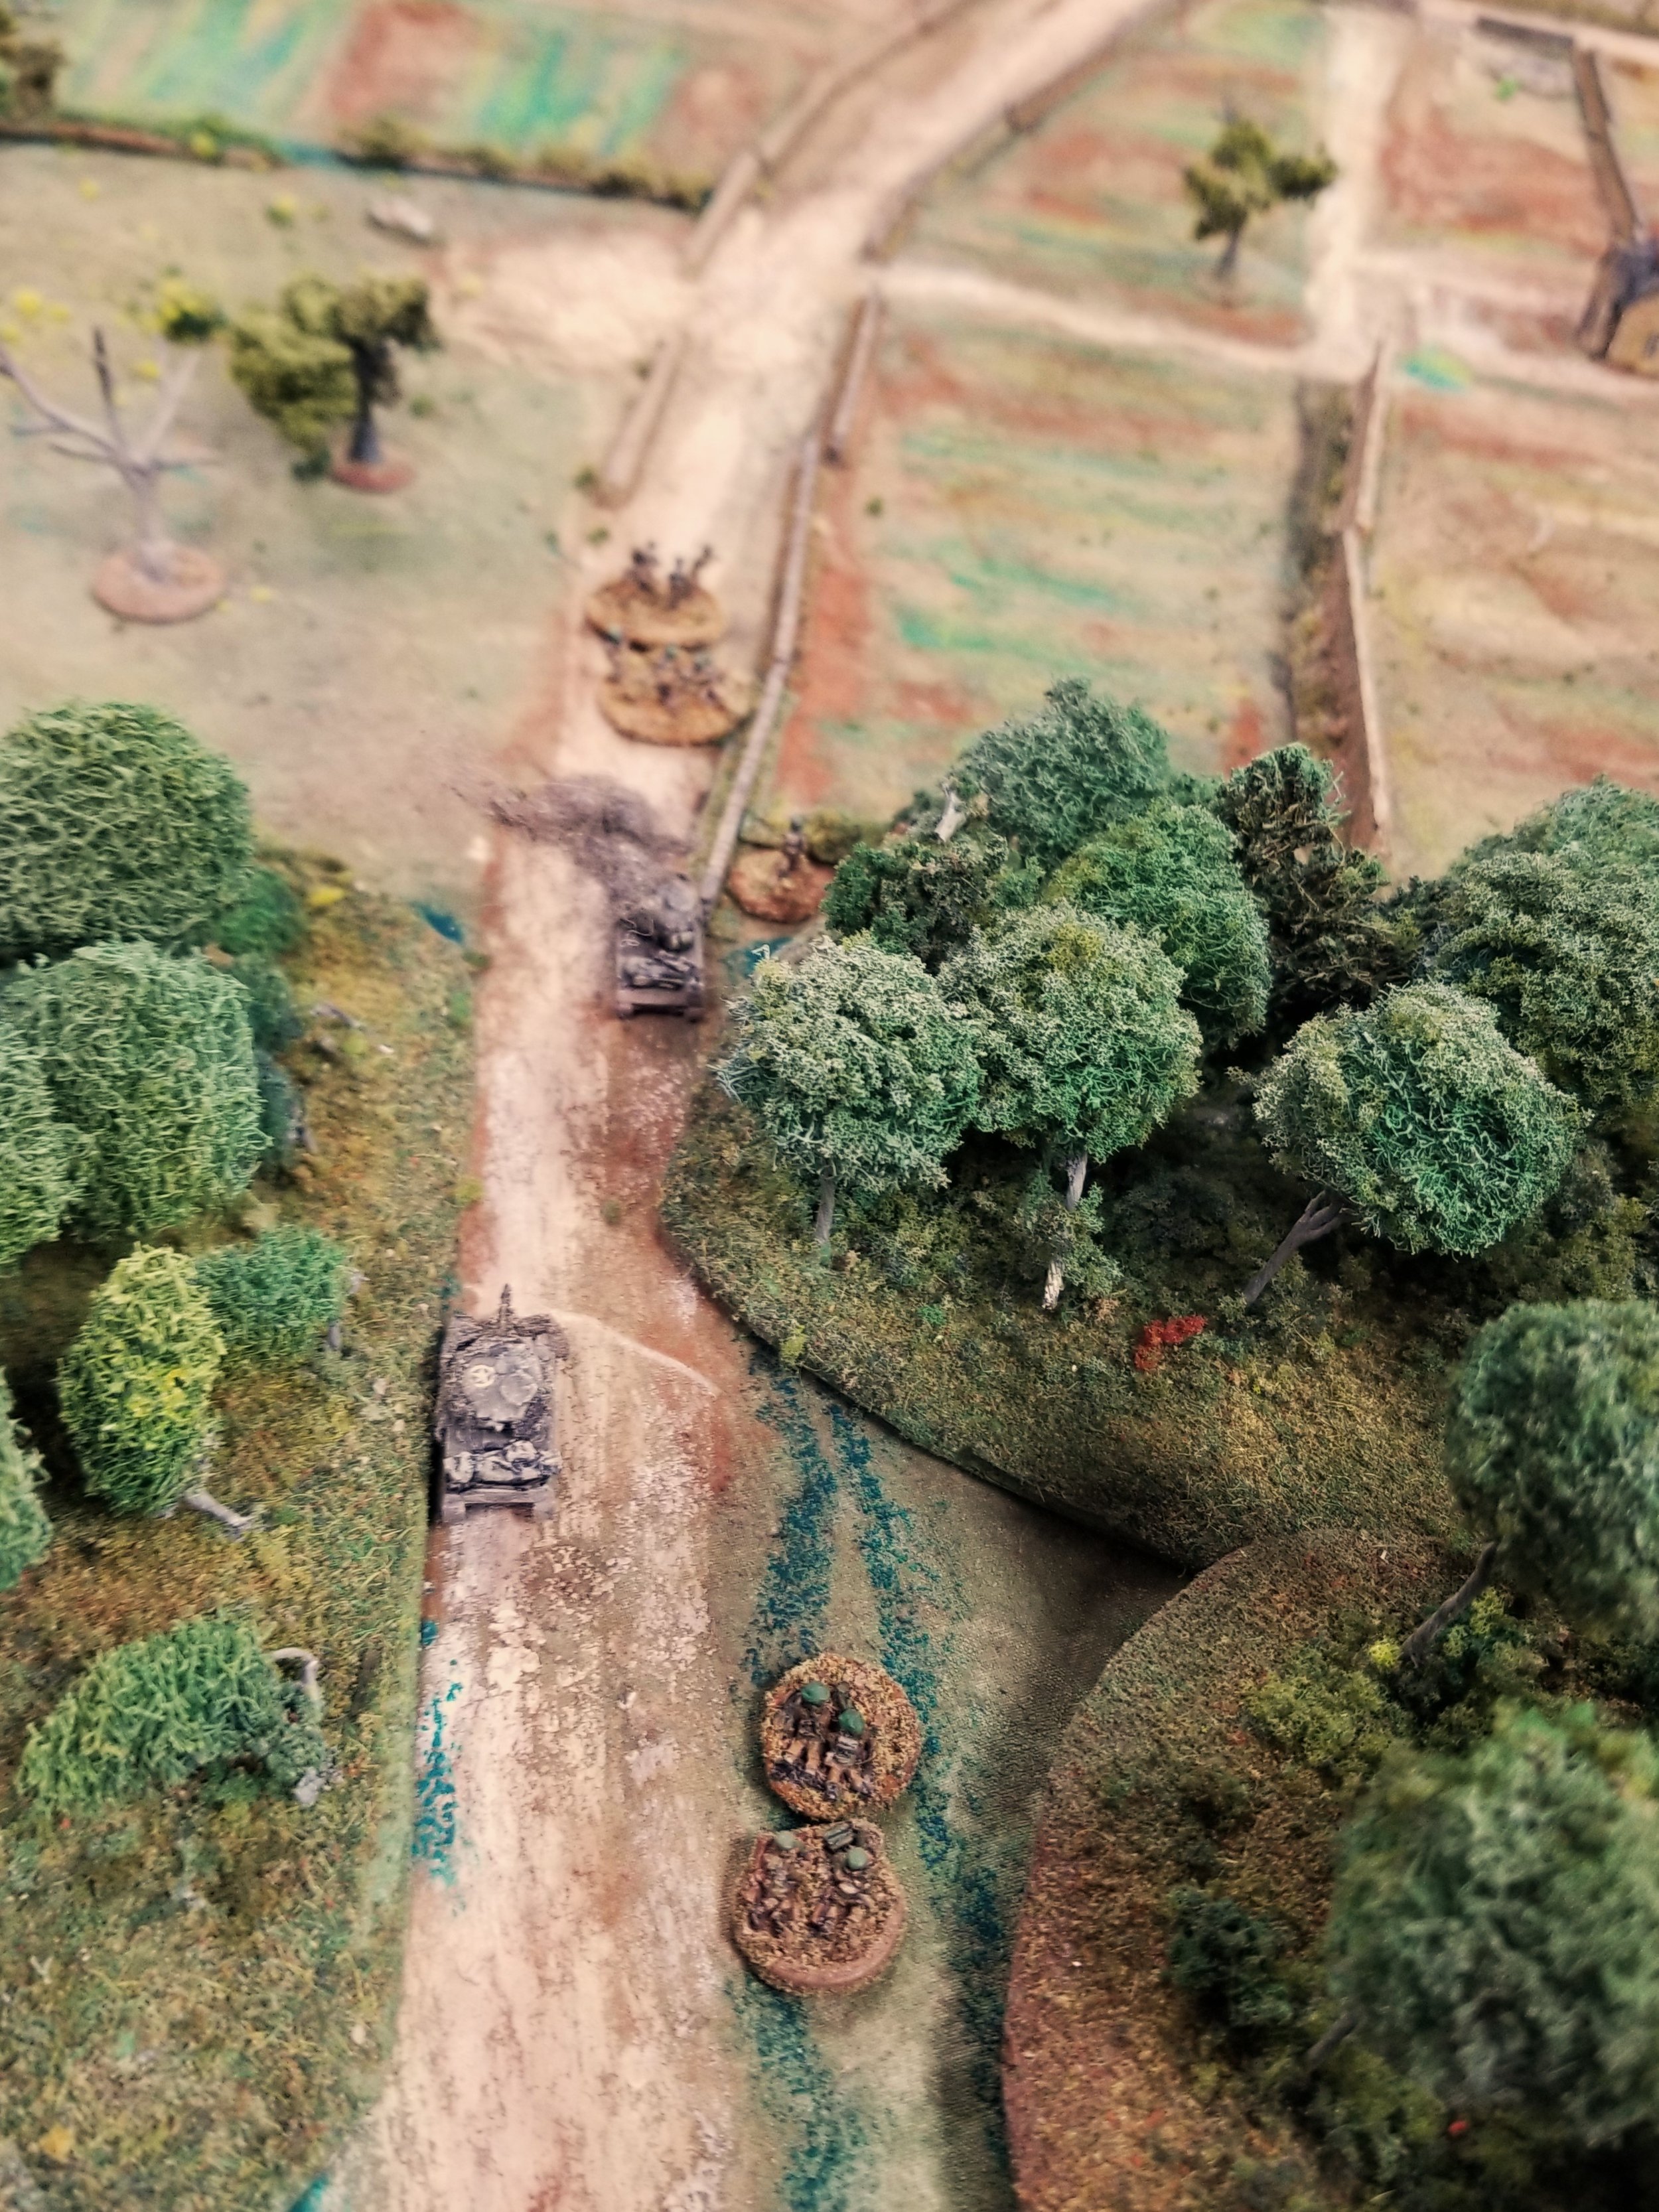
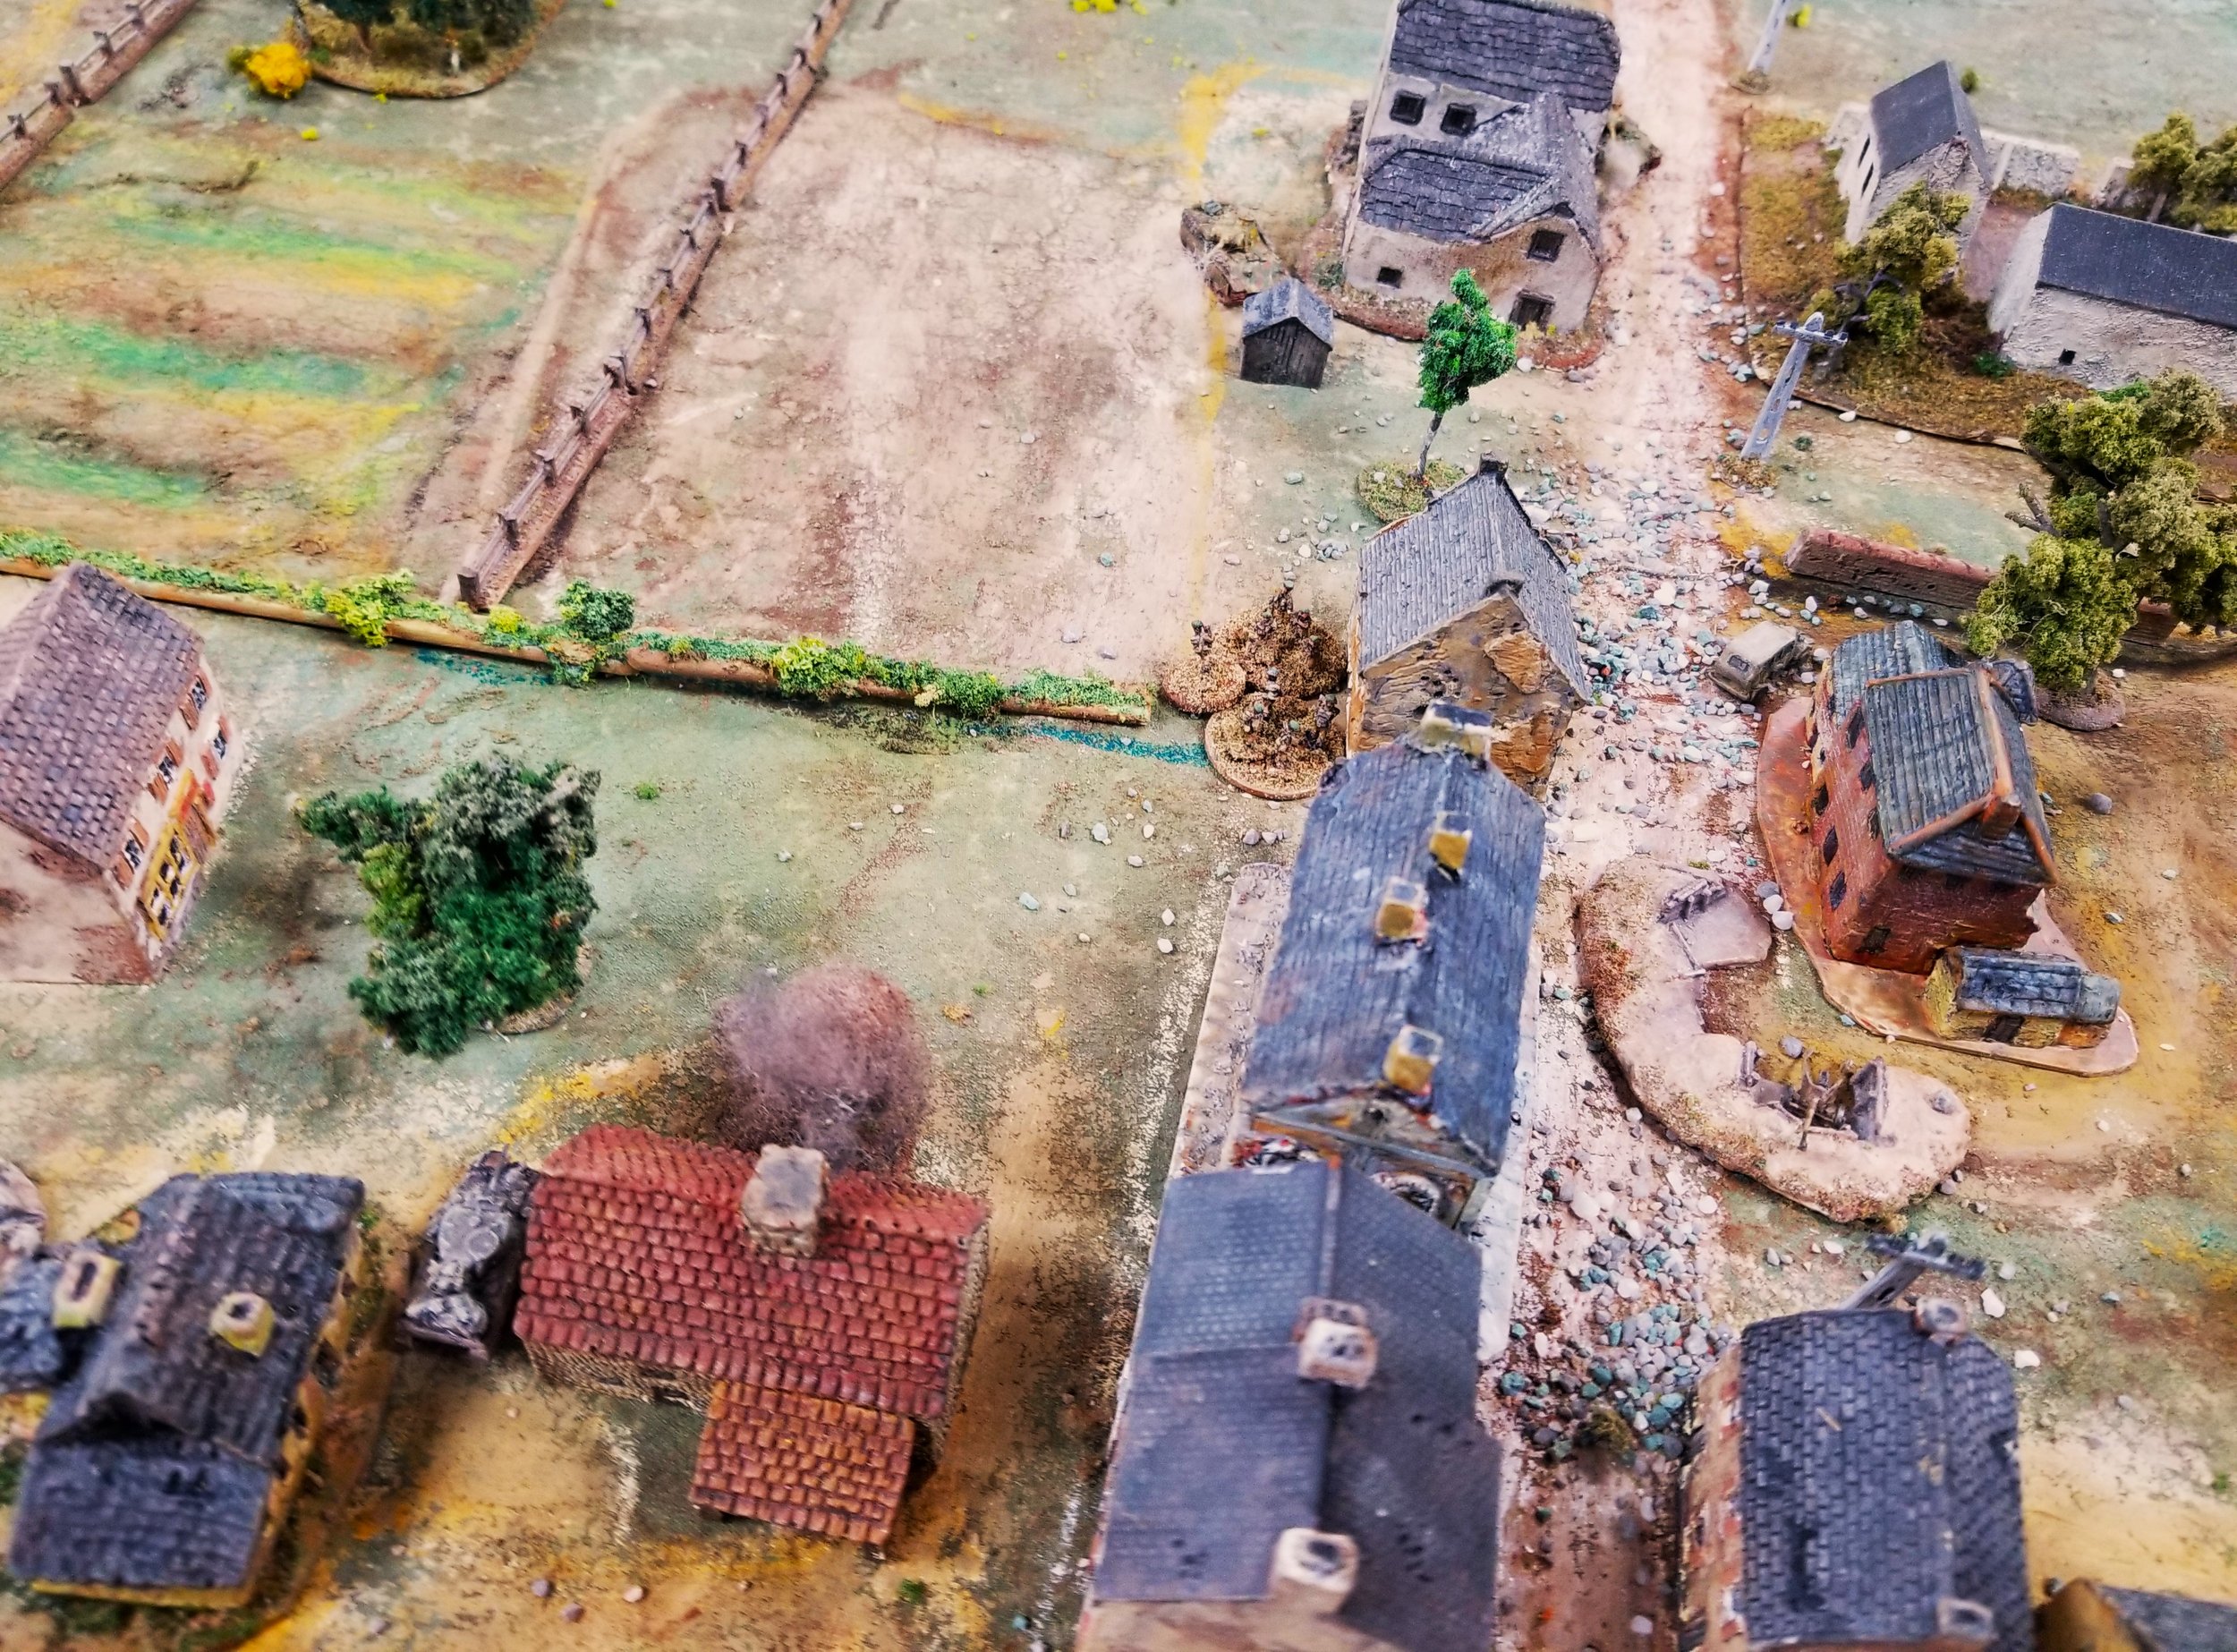
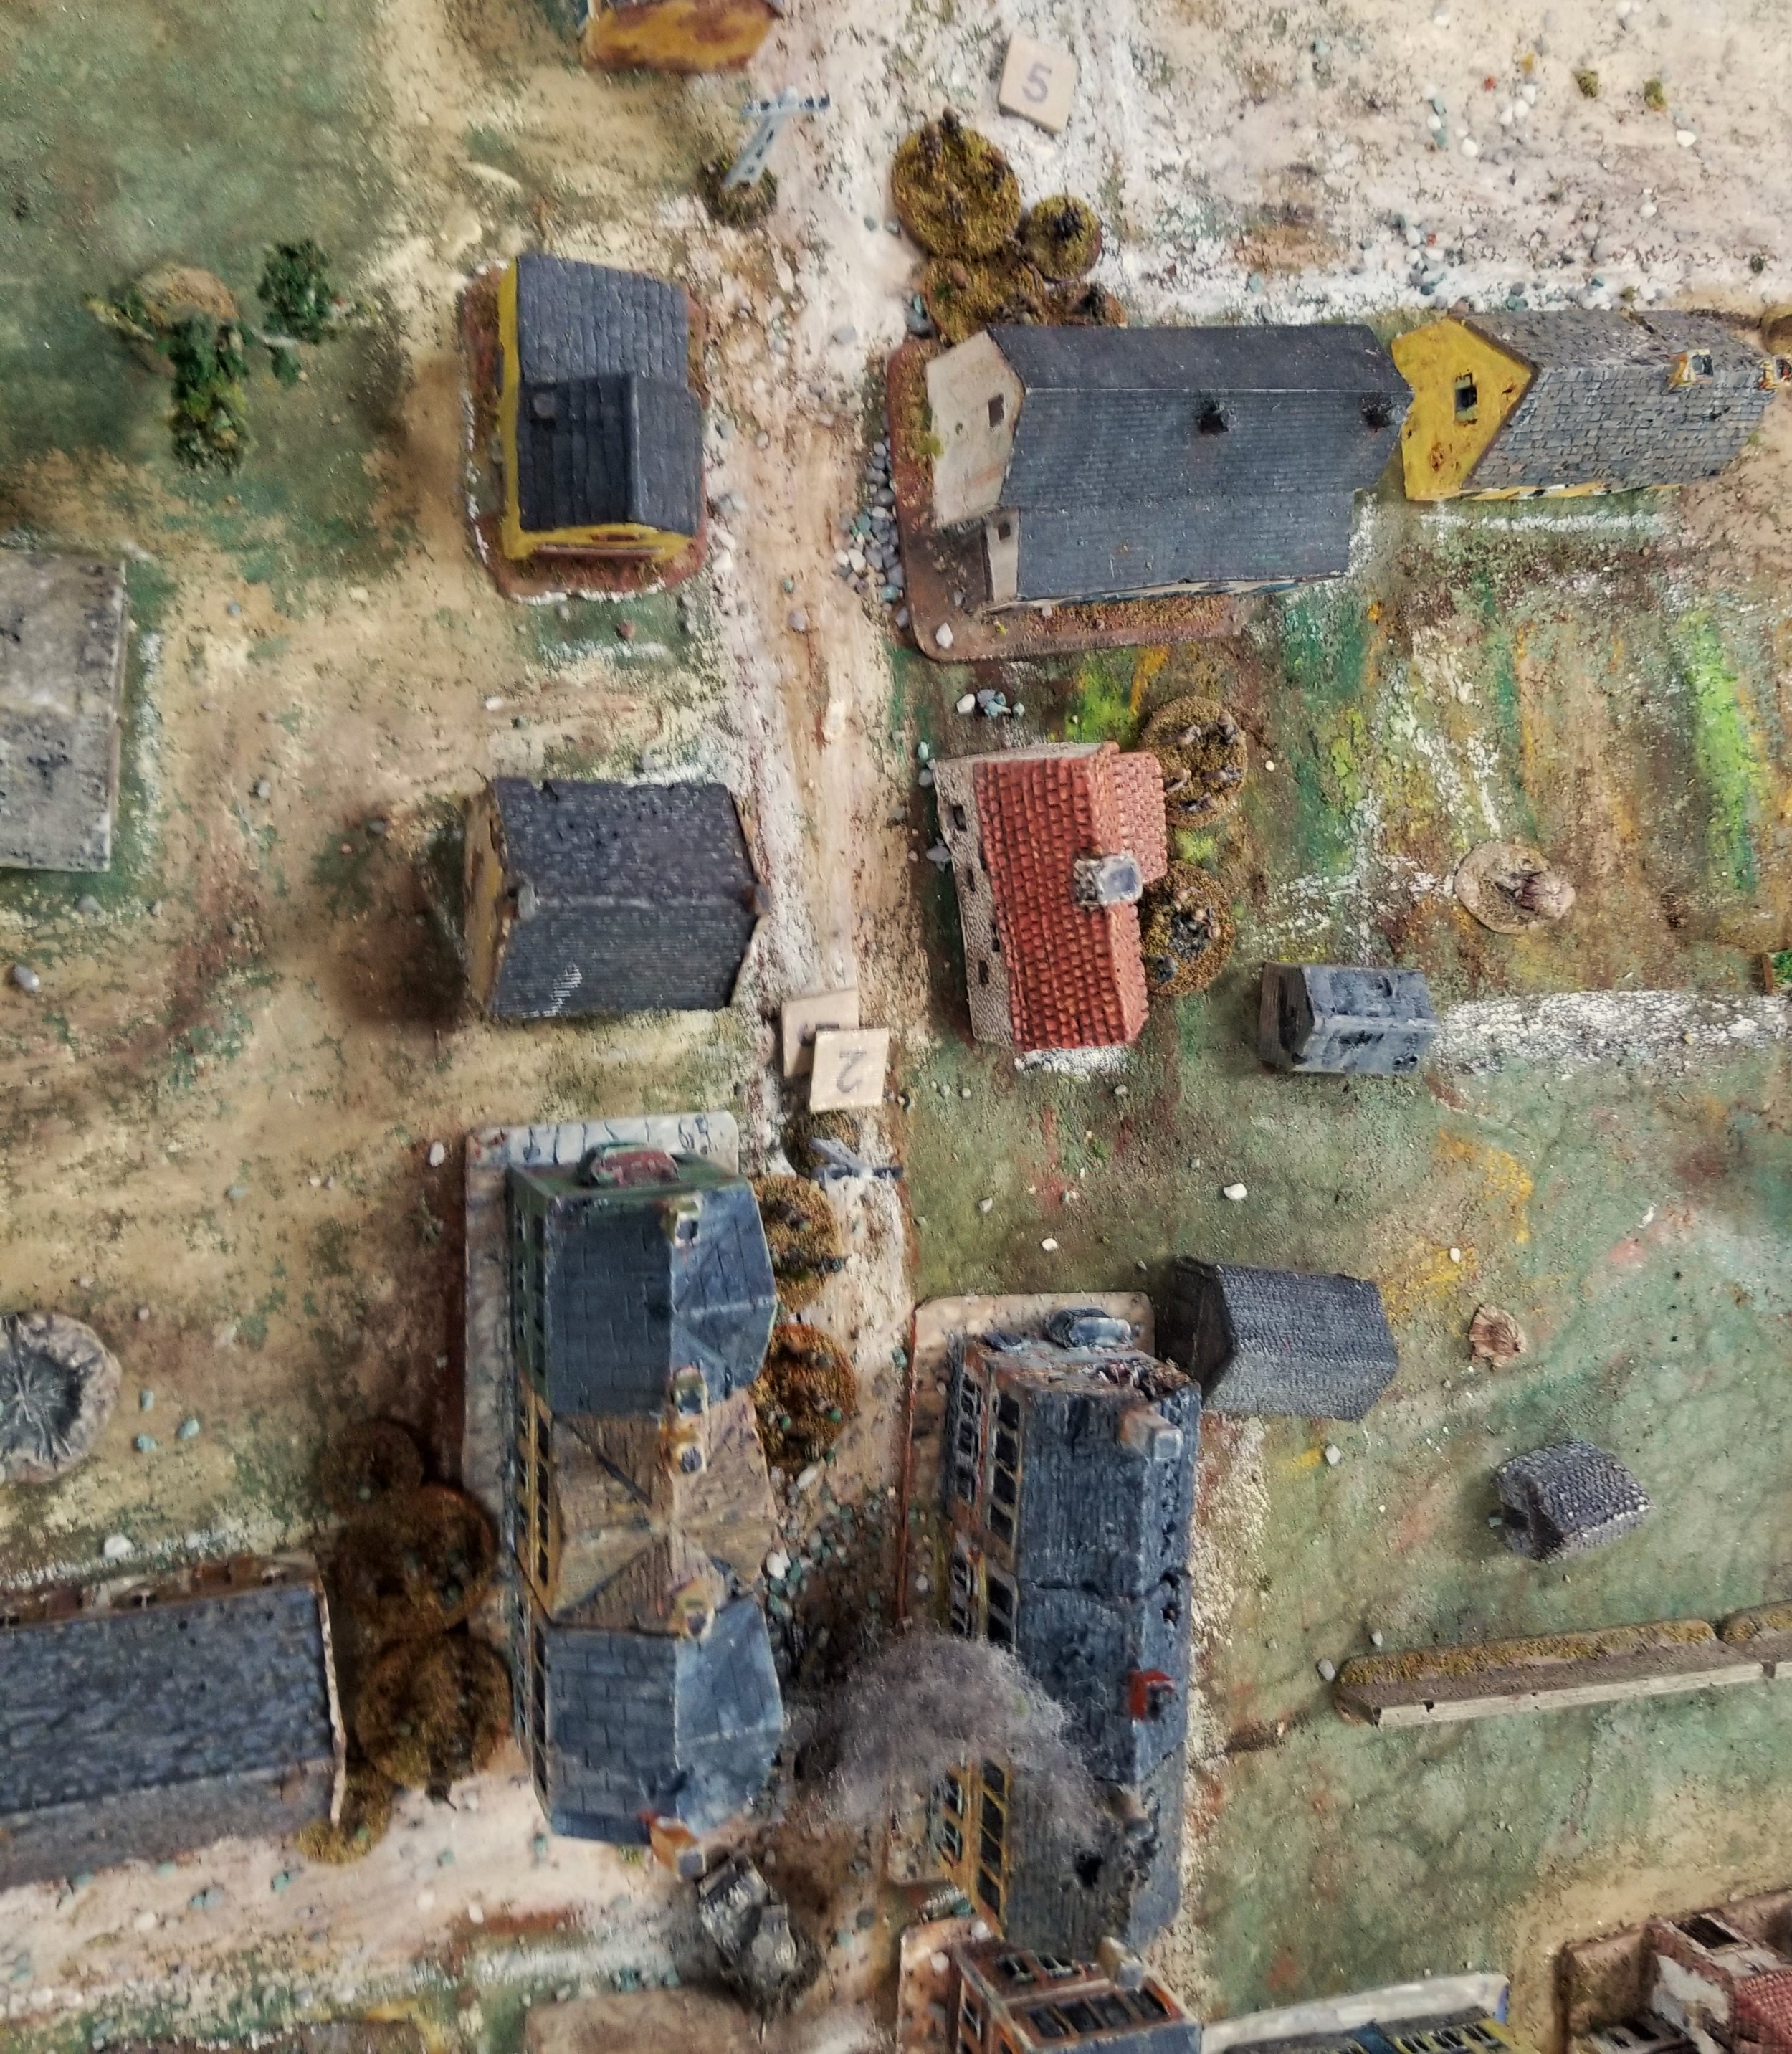
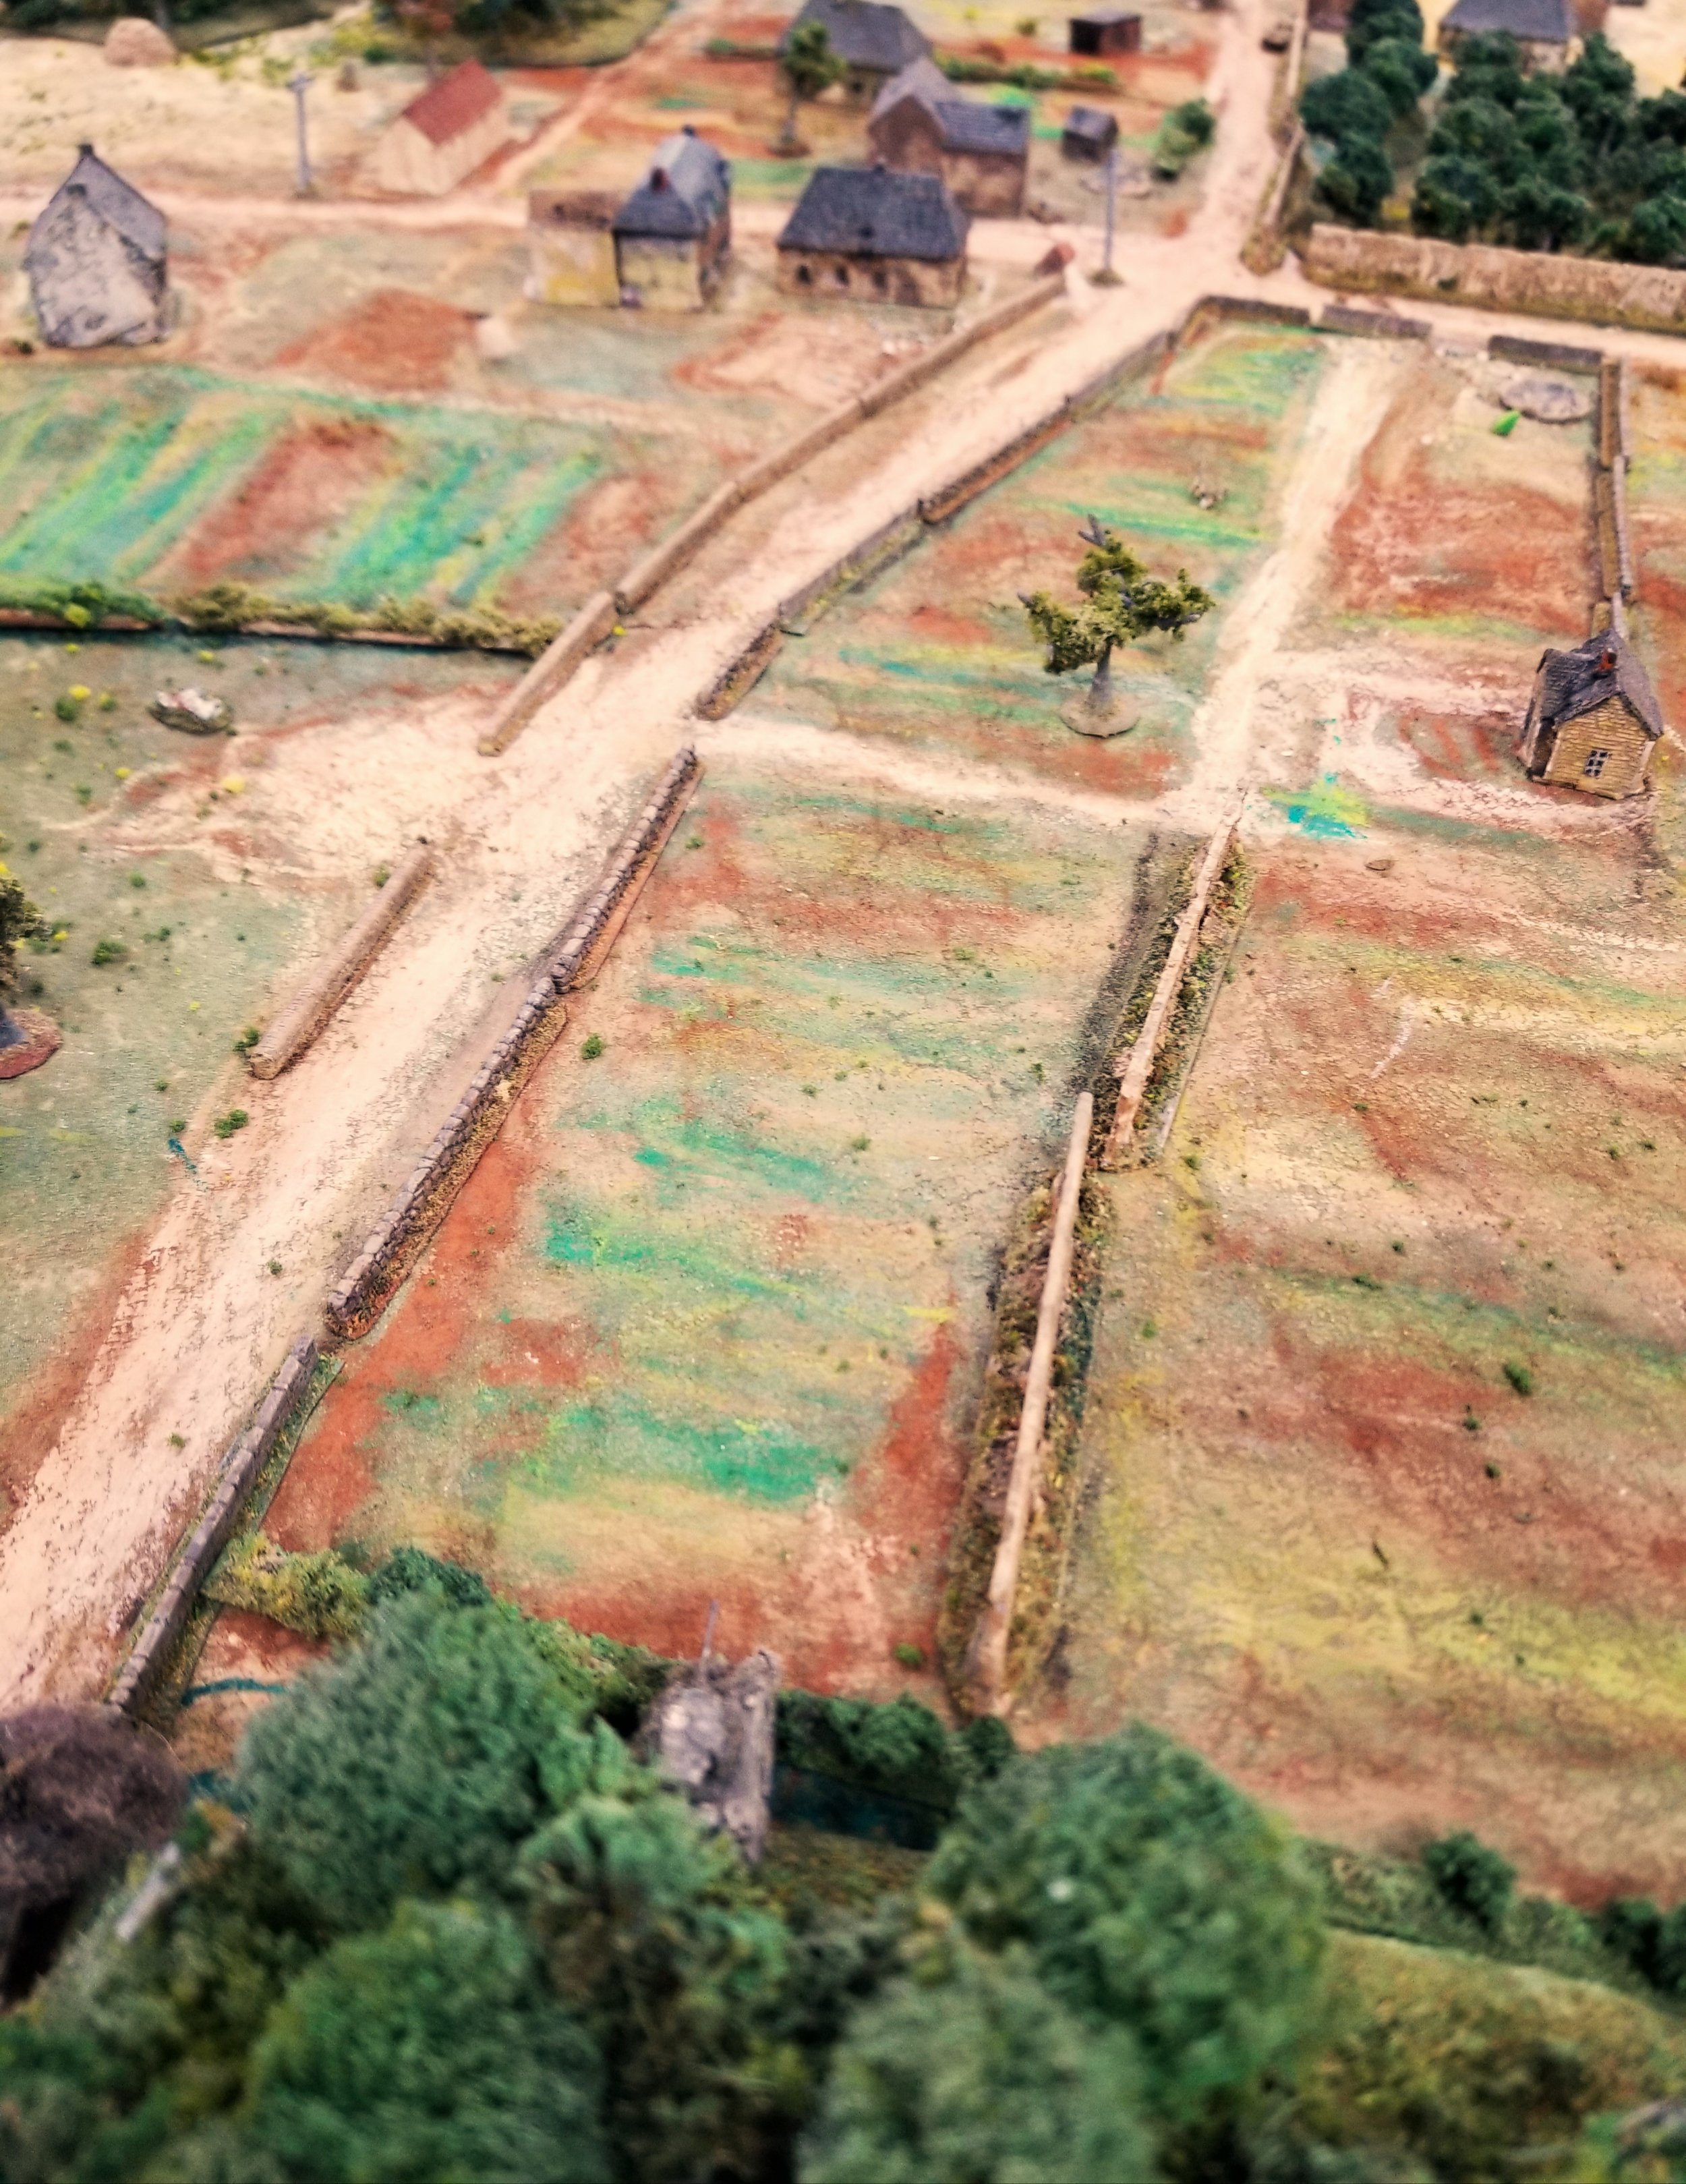
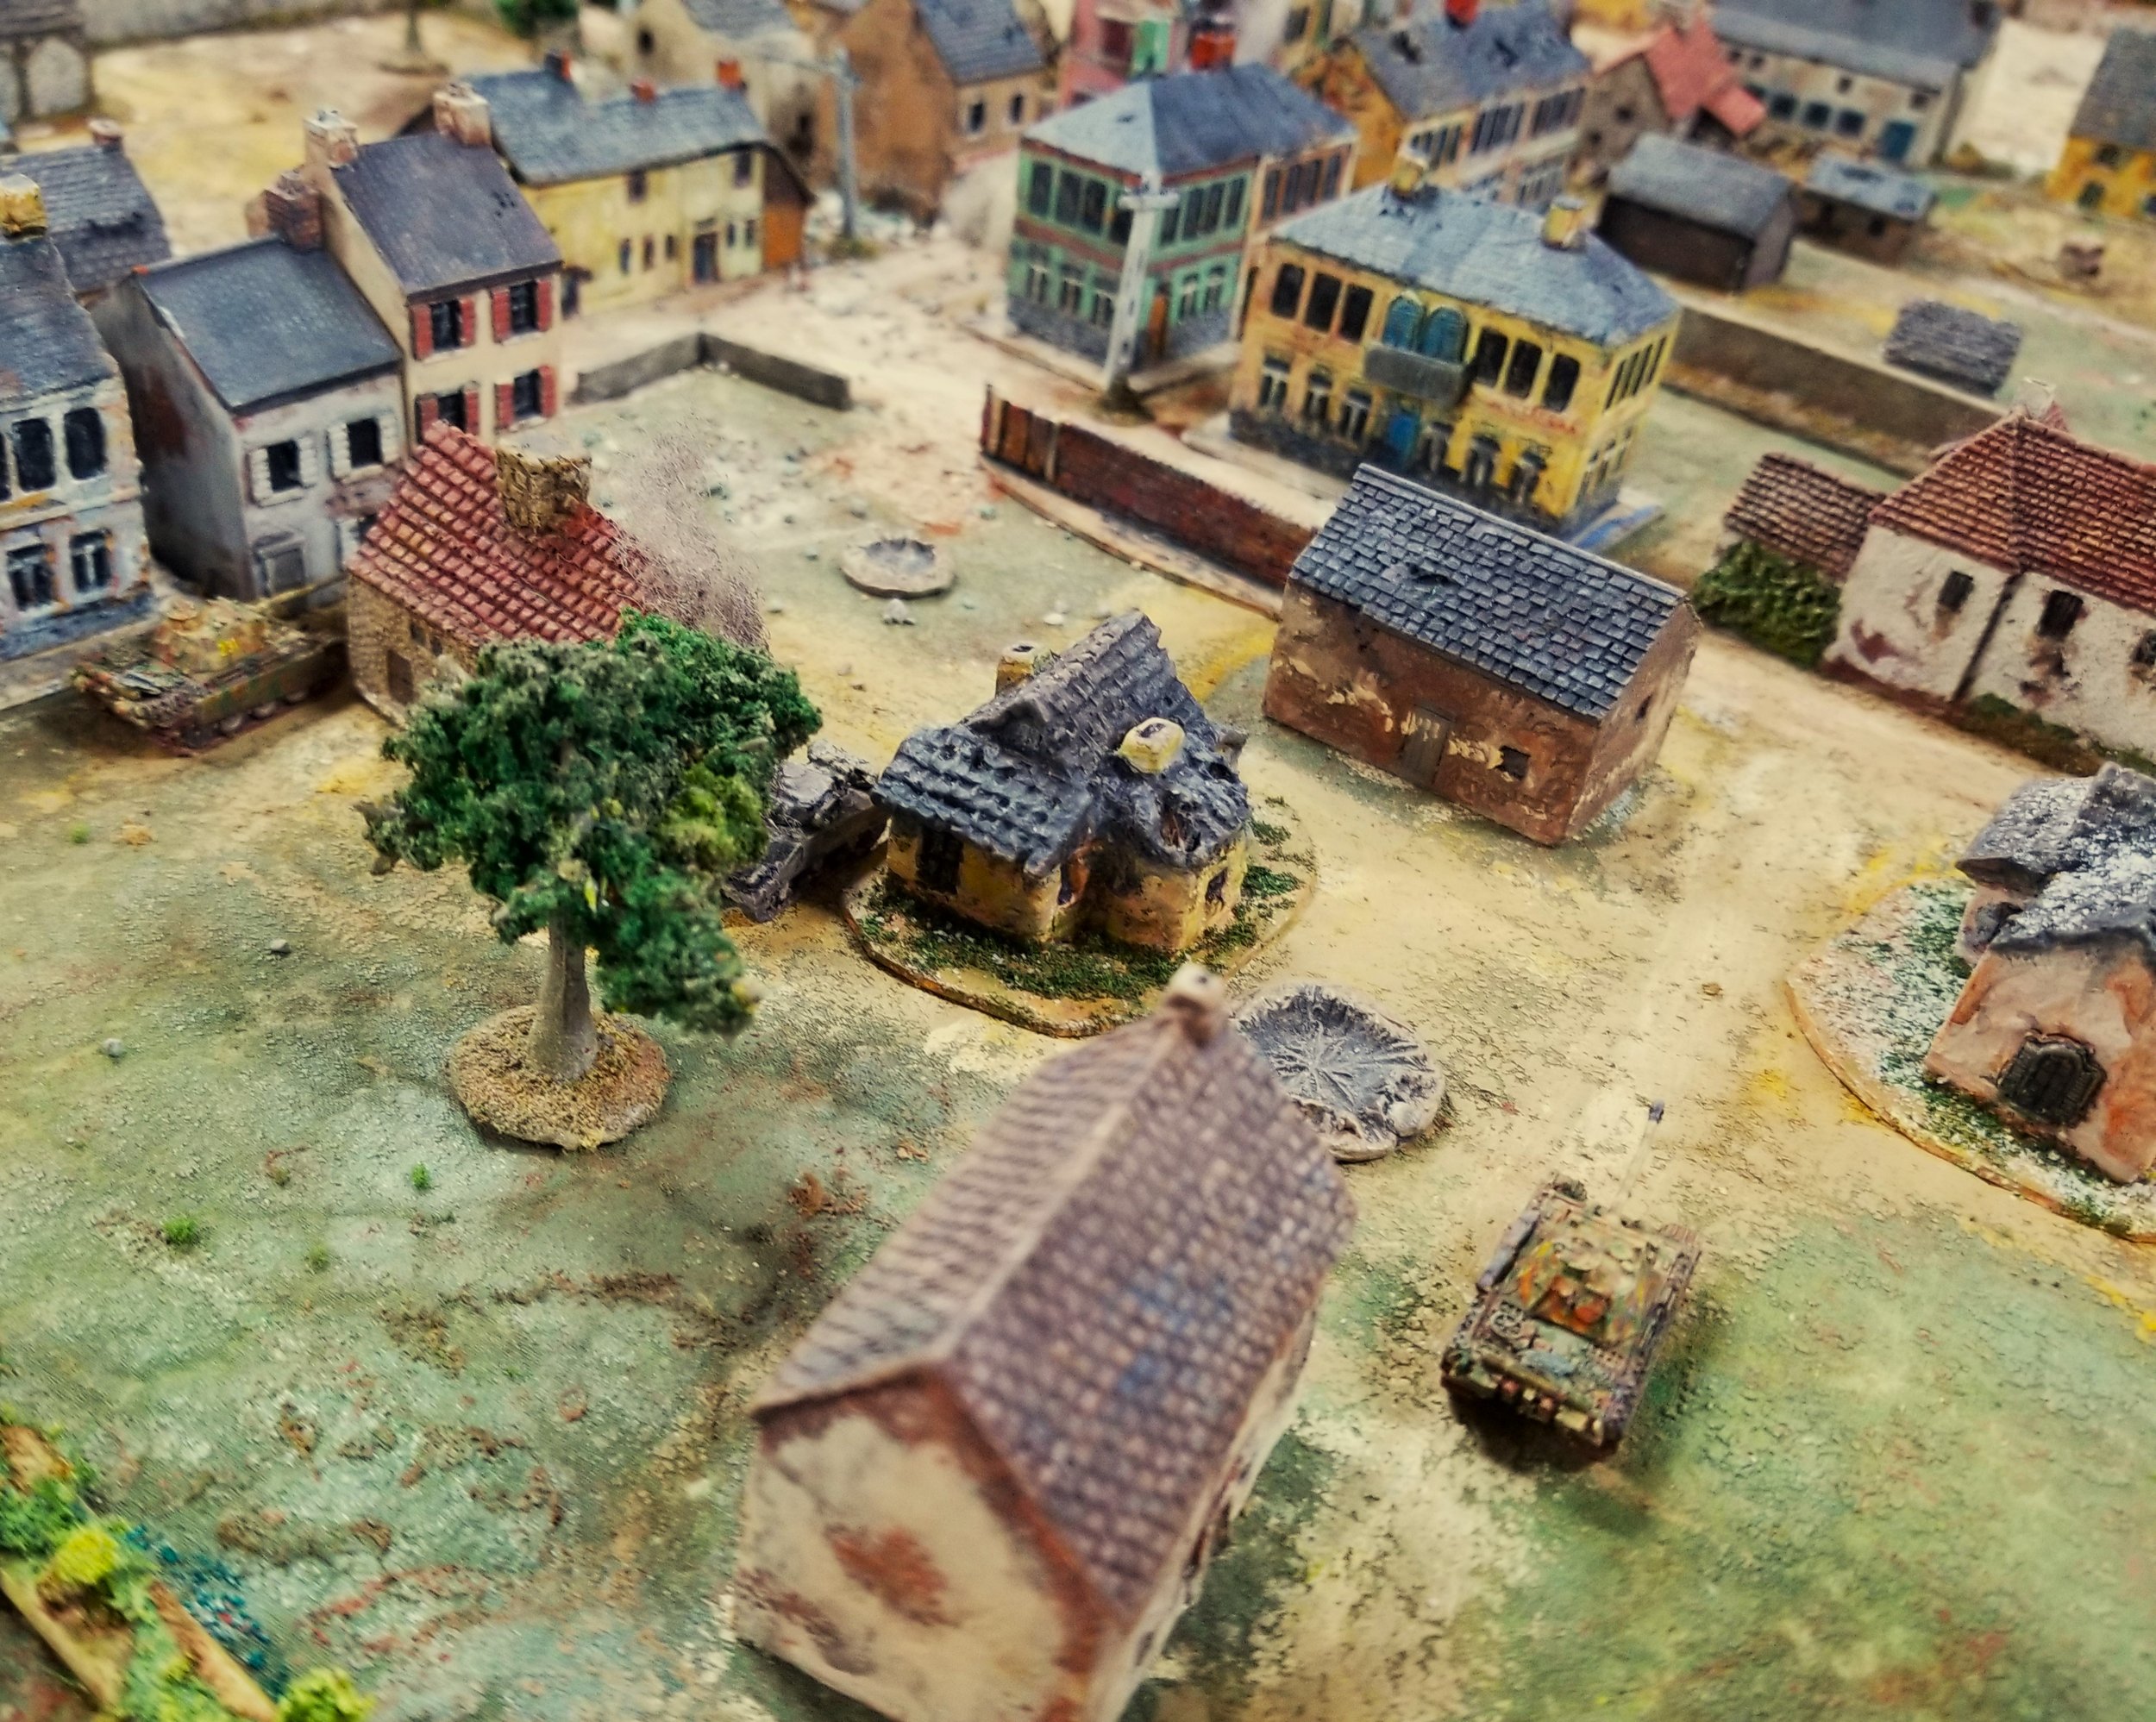
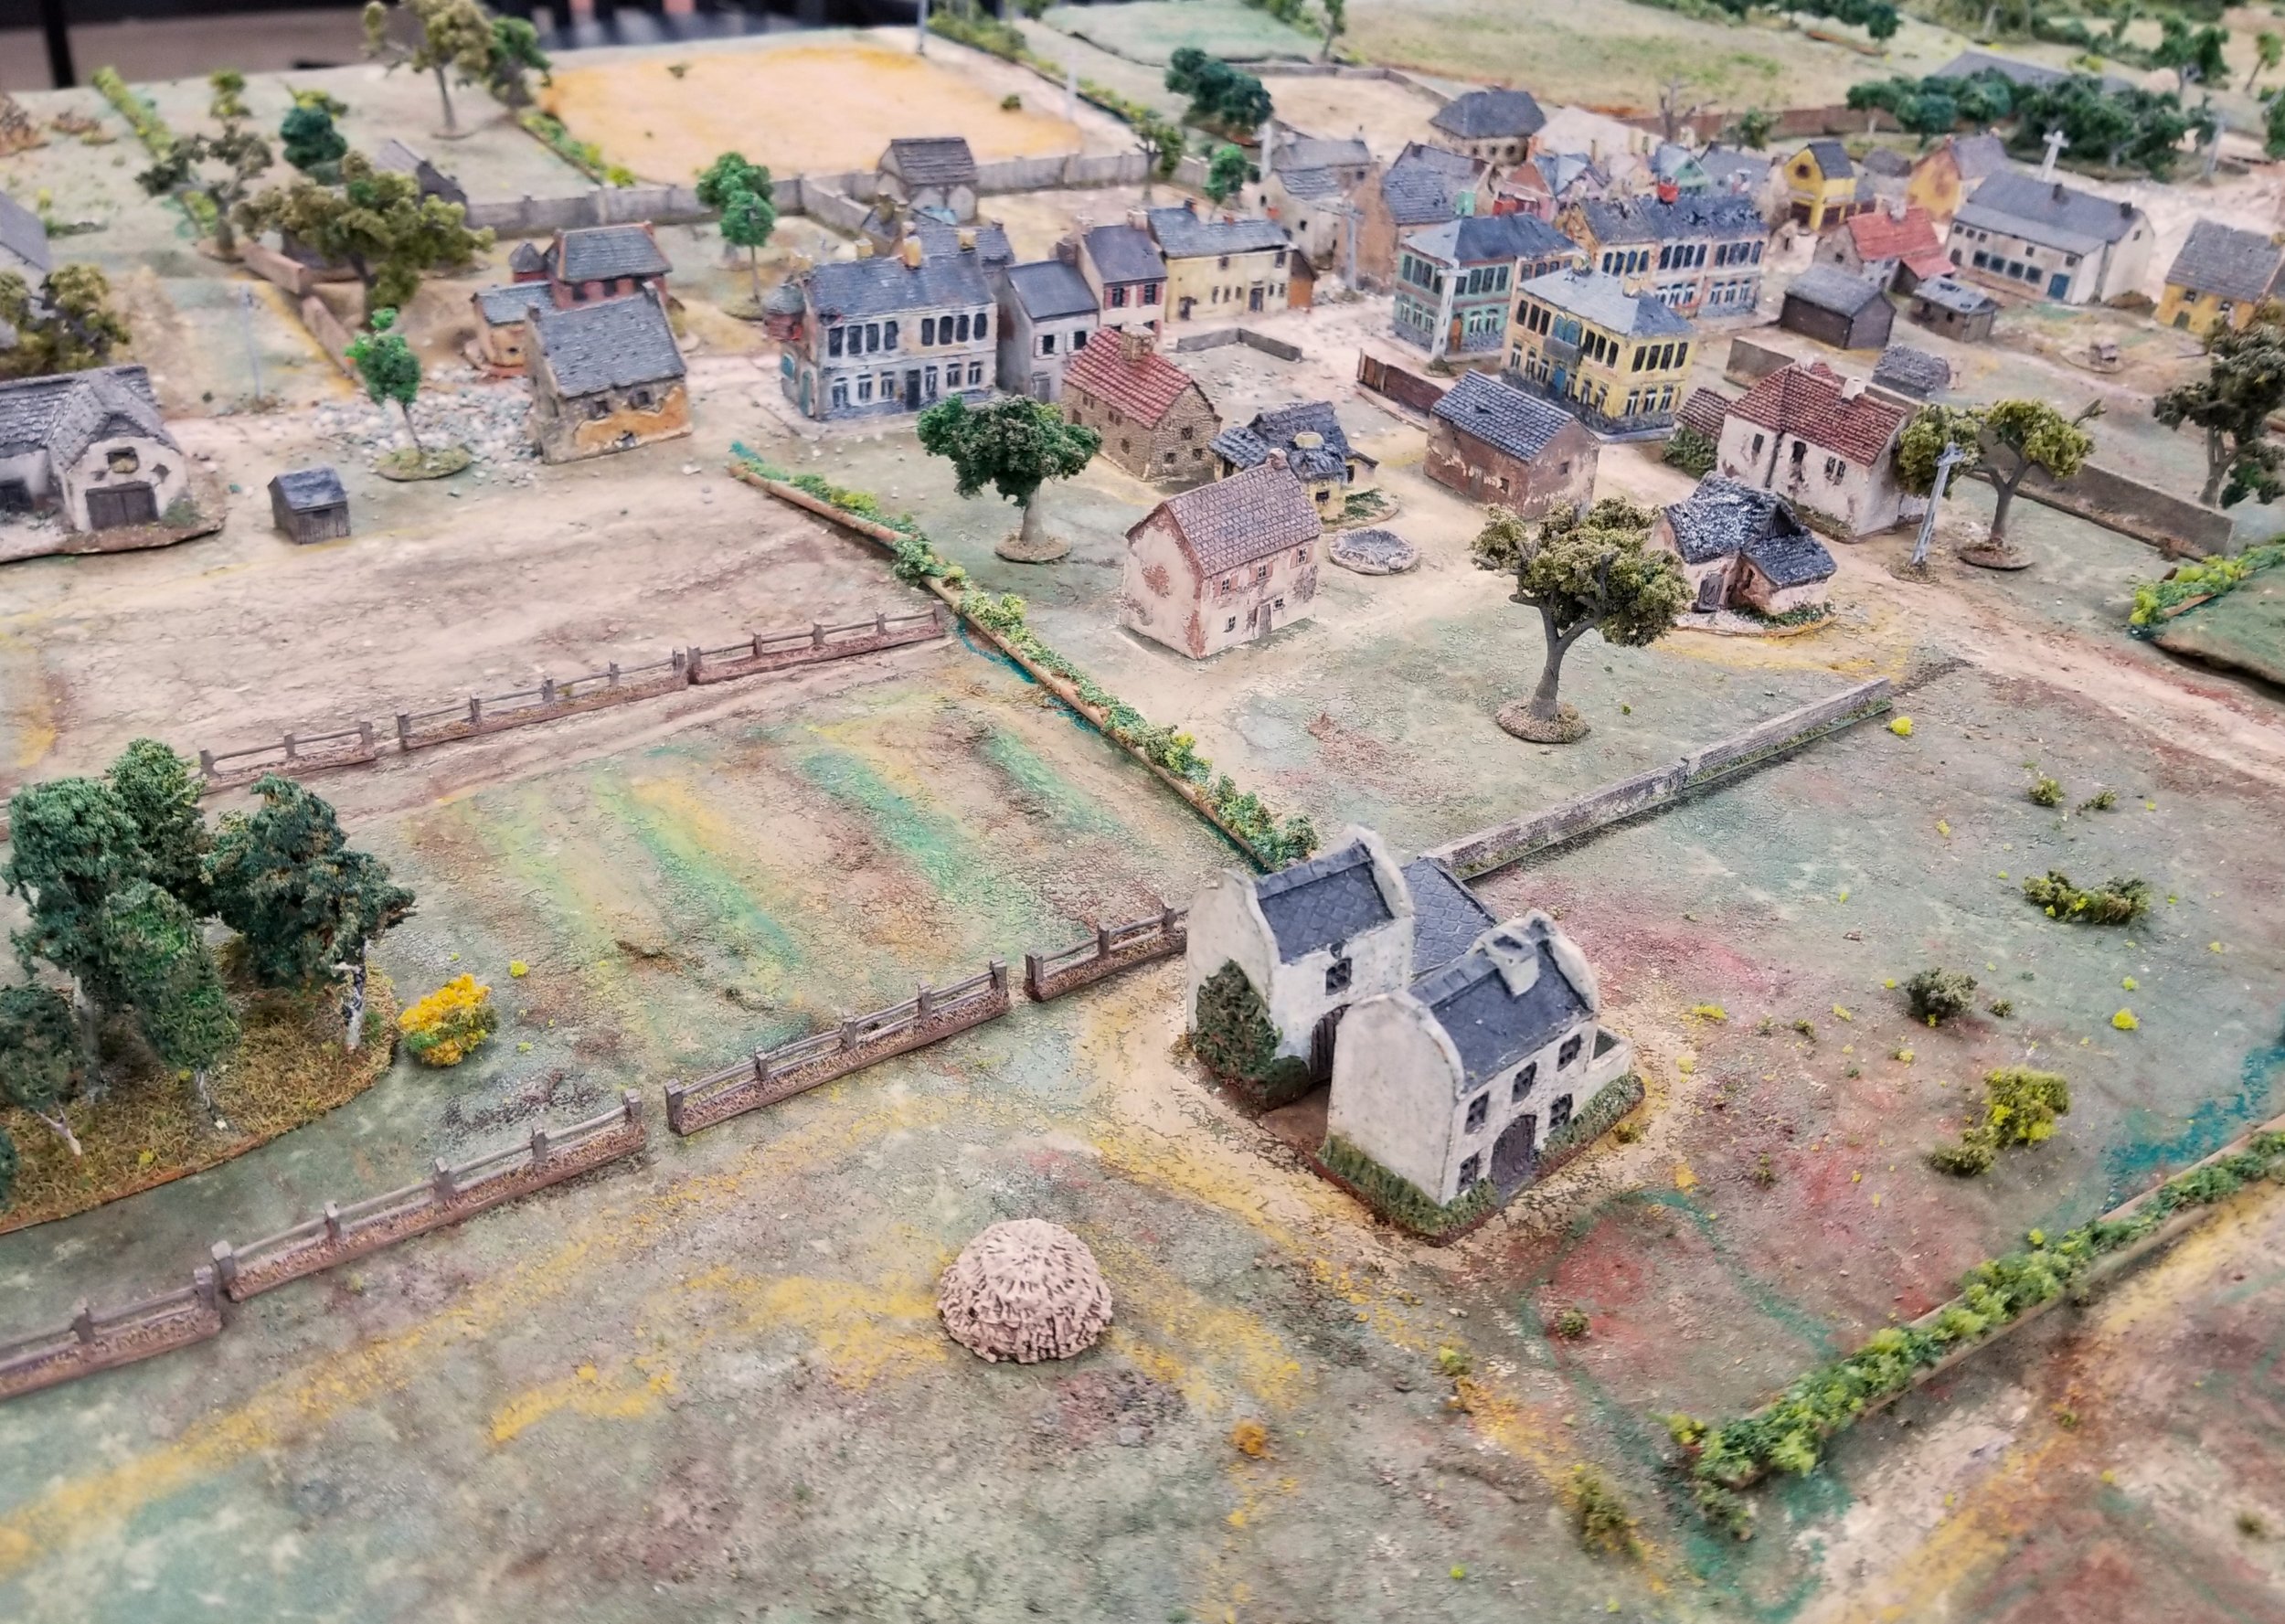
The Italians began the game in column along a road. The paratroopers began in hidden positions, though we highly suspected they'd be manning the pillbox and trenches on our left. Our mission: Move our tanks off the opposite end of the board.

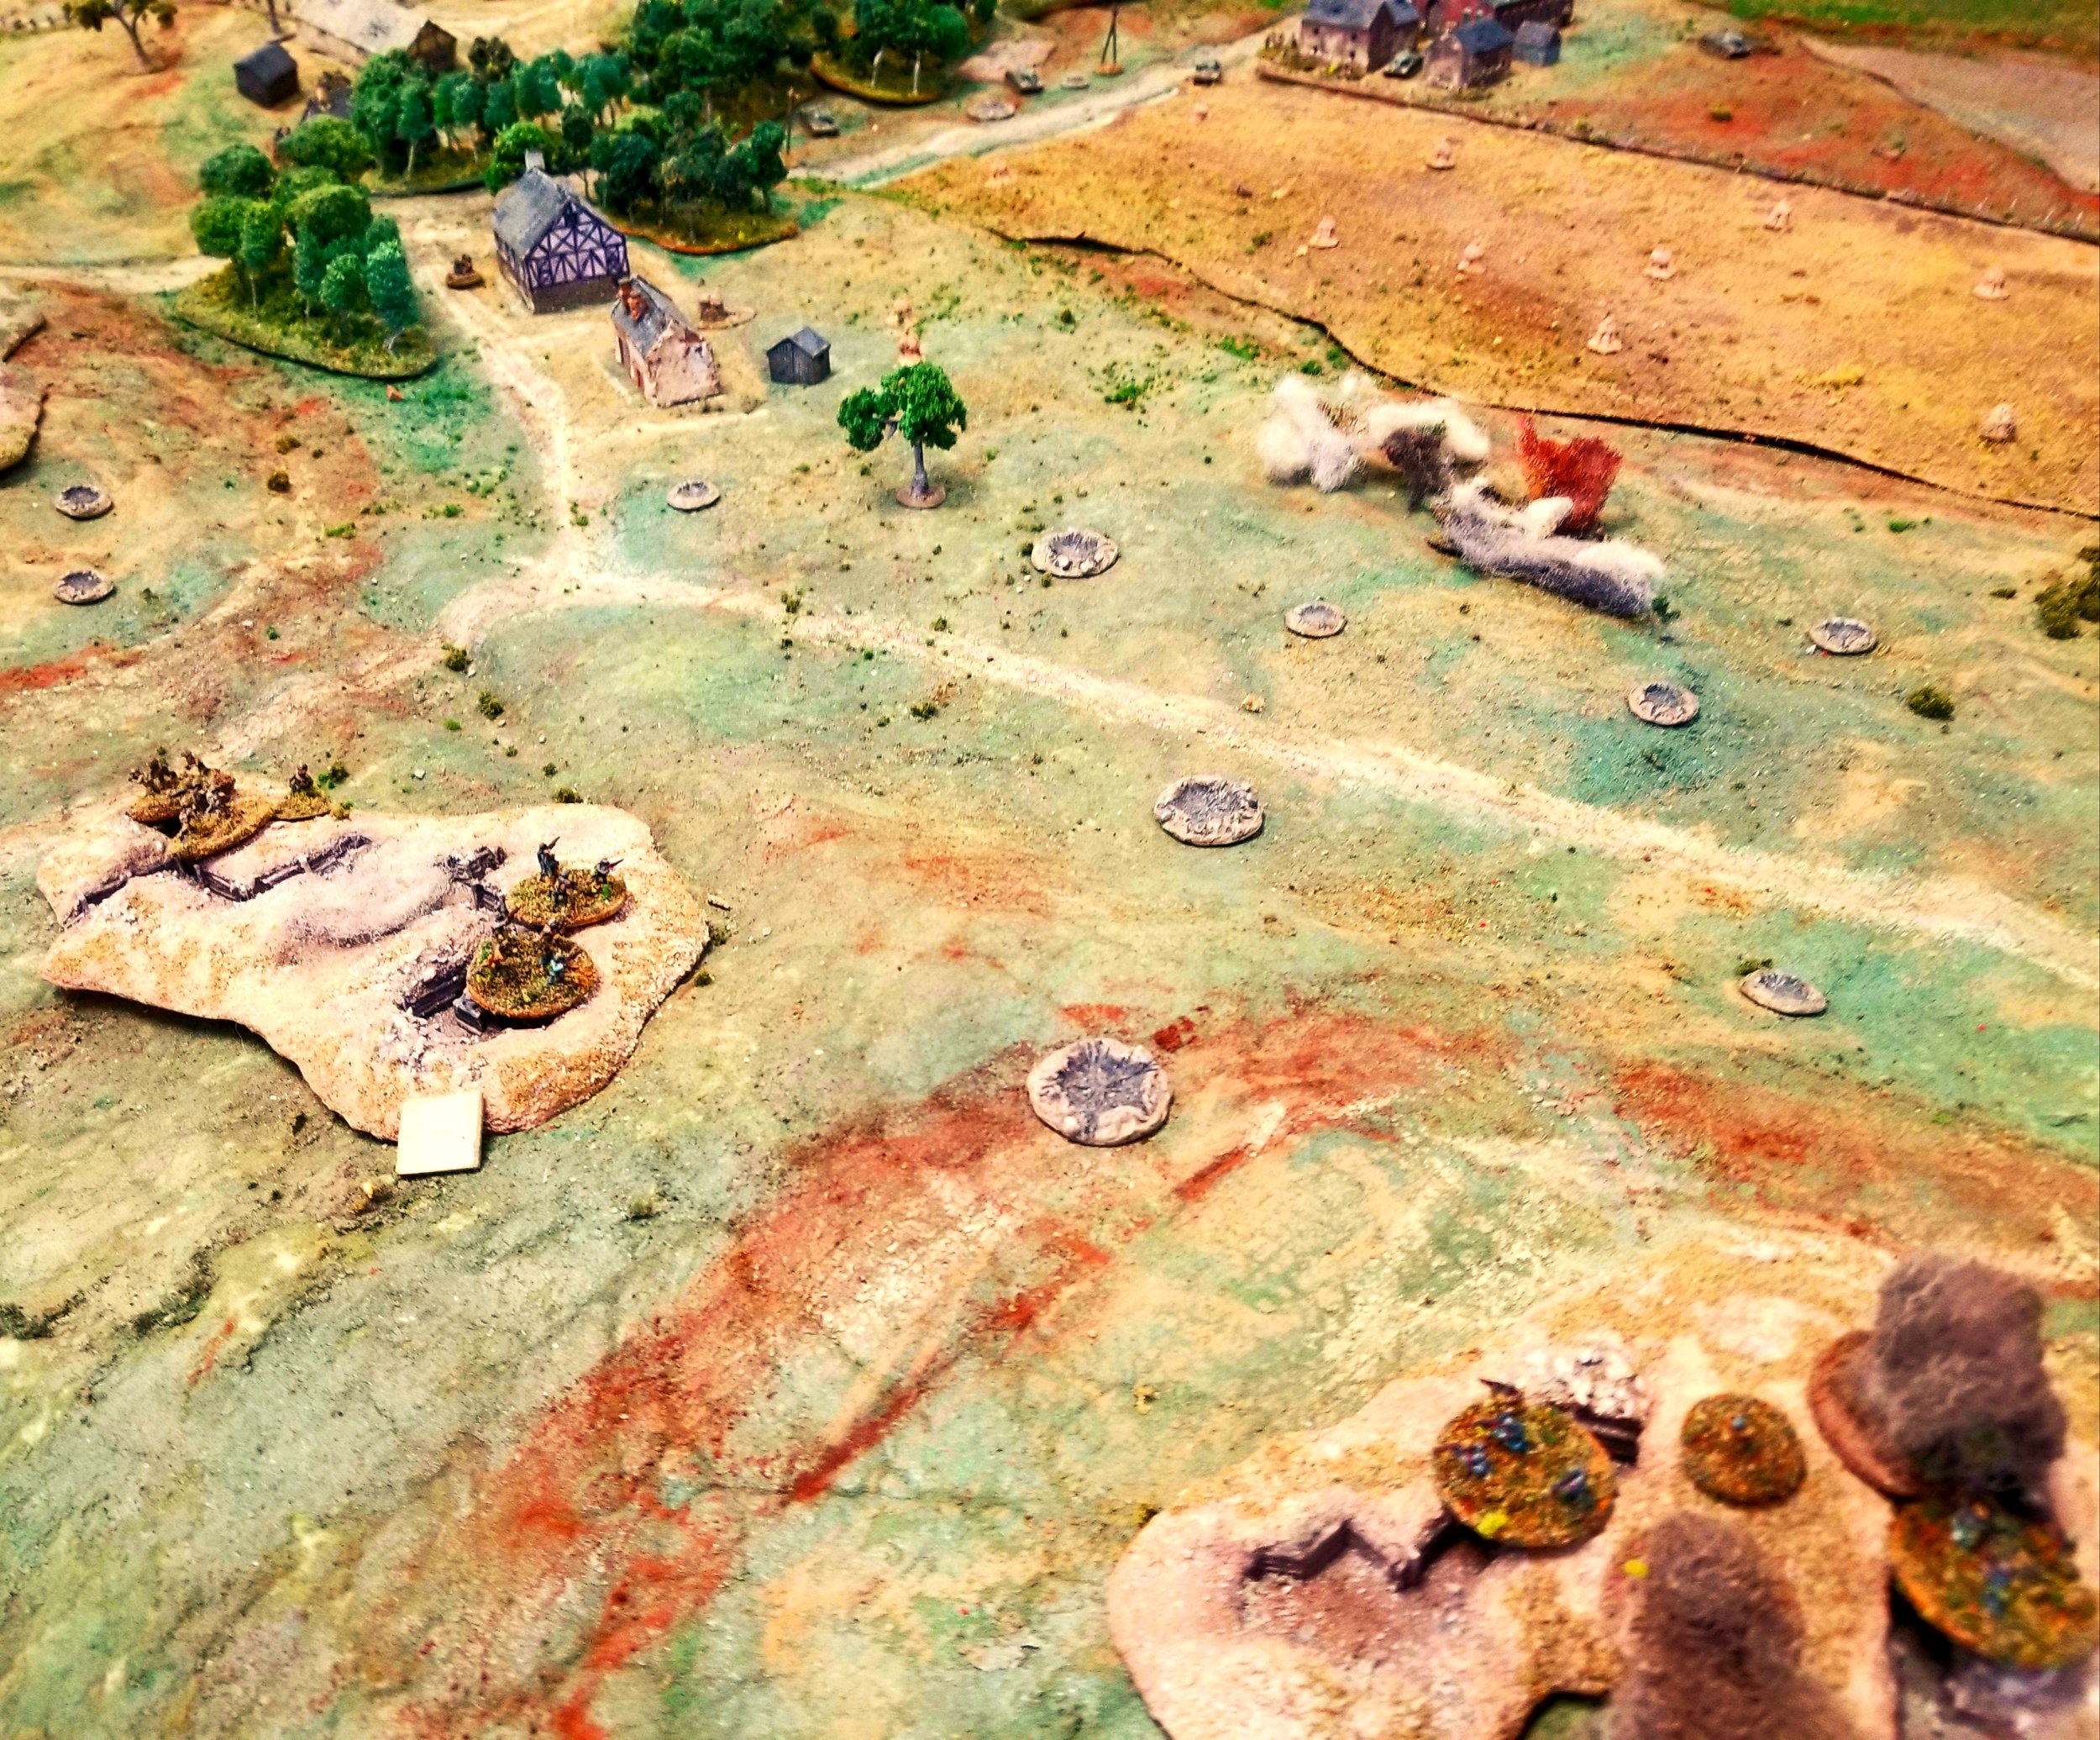
The first turn opened with our lead scouts, mounted on motorbikes, getting hammered by off-board artillery. Apparently the Navy had zeroed in on the road ahead of time.

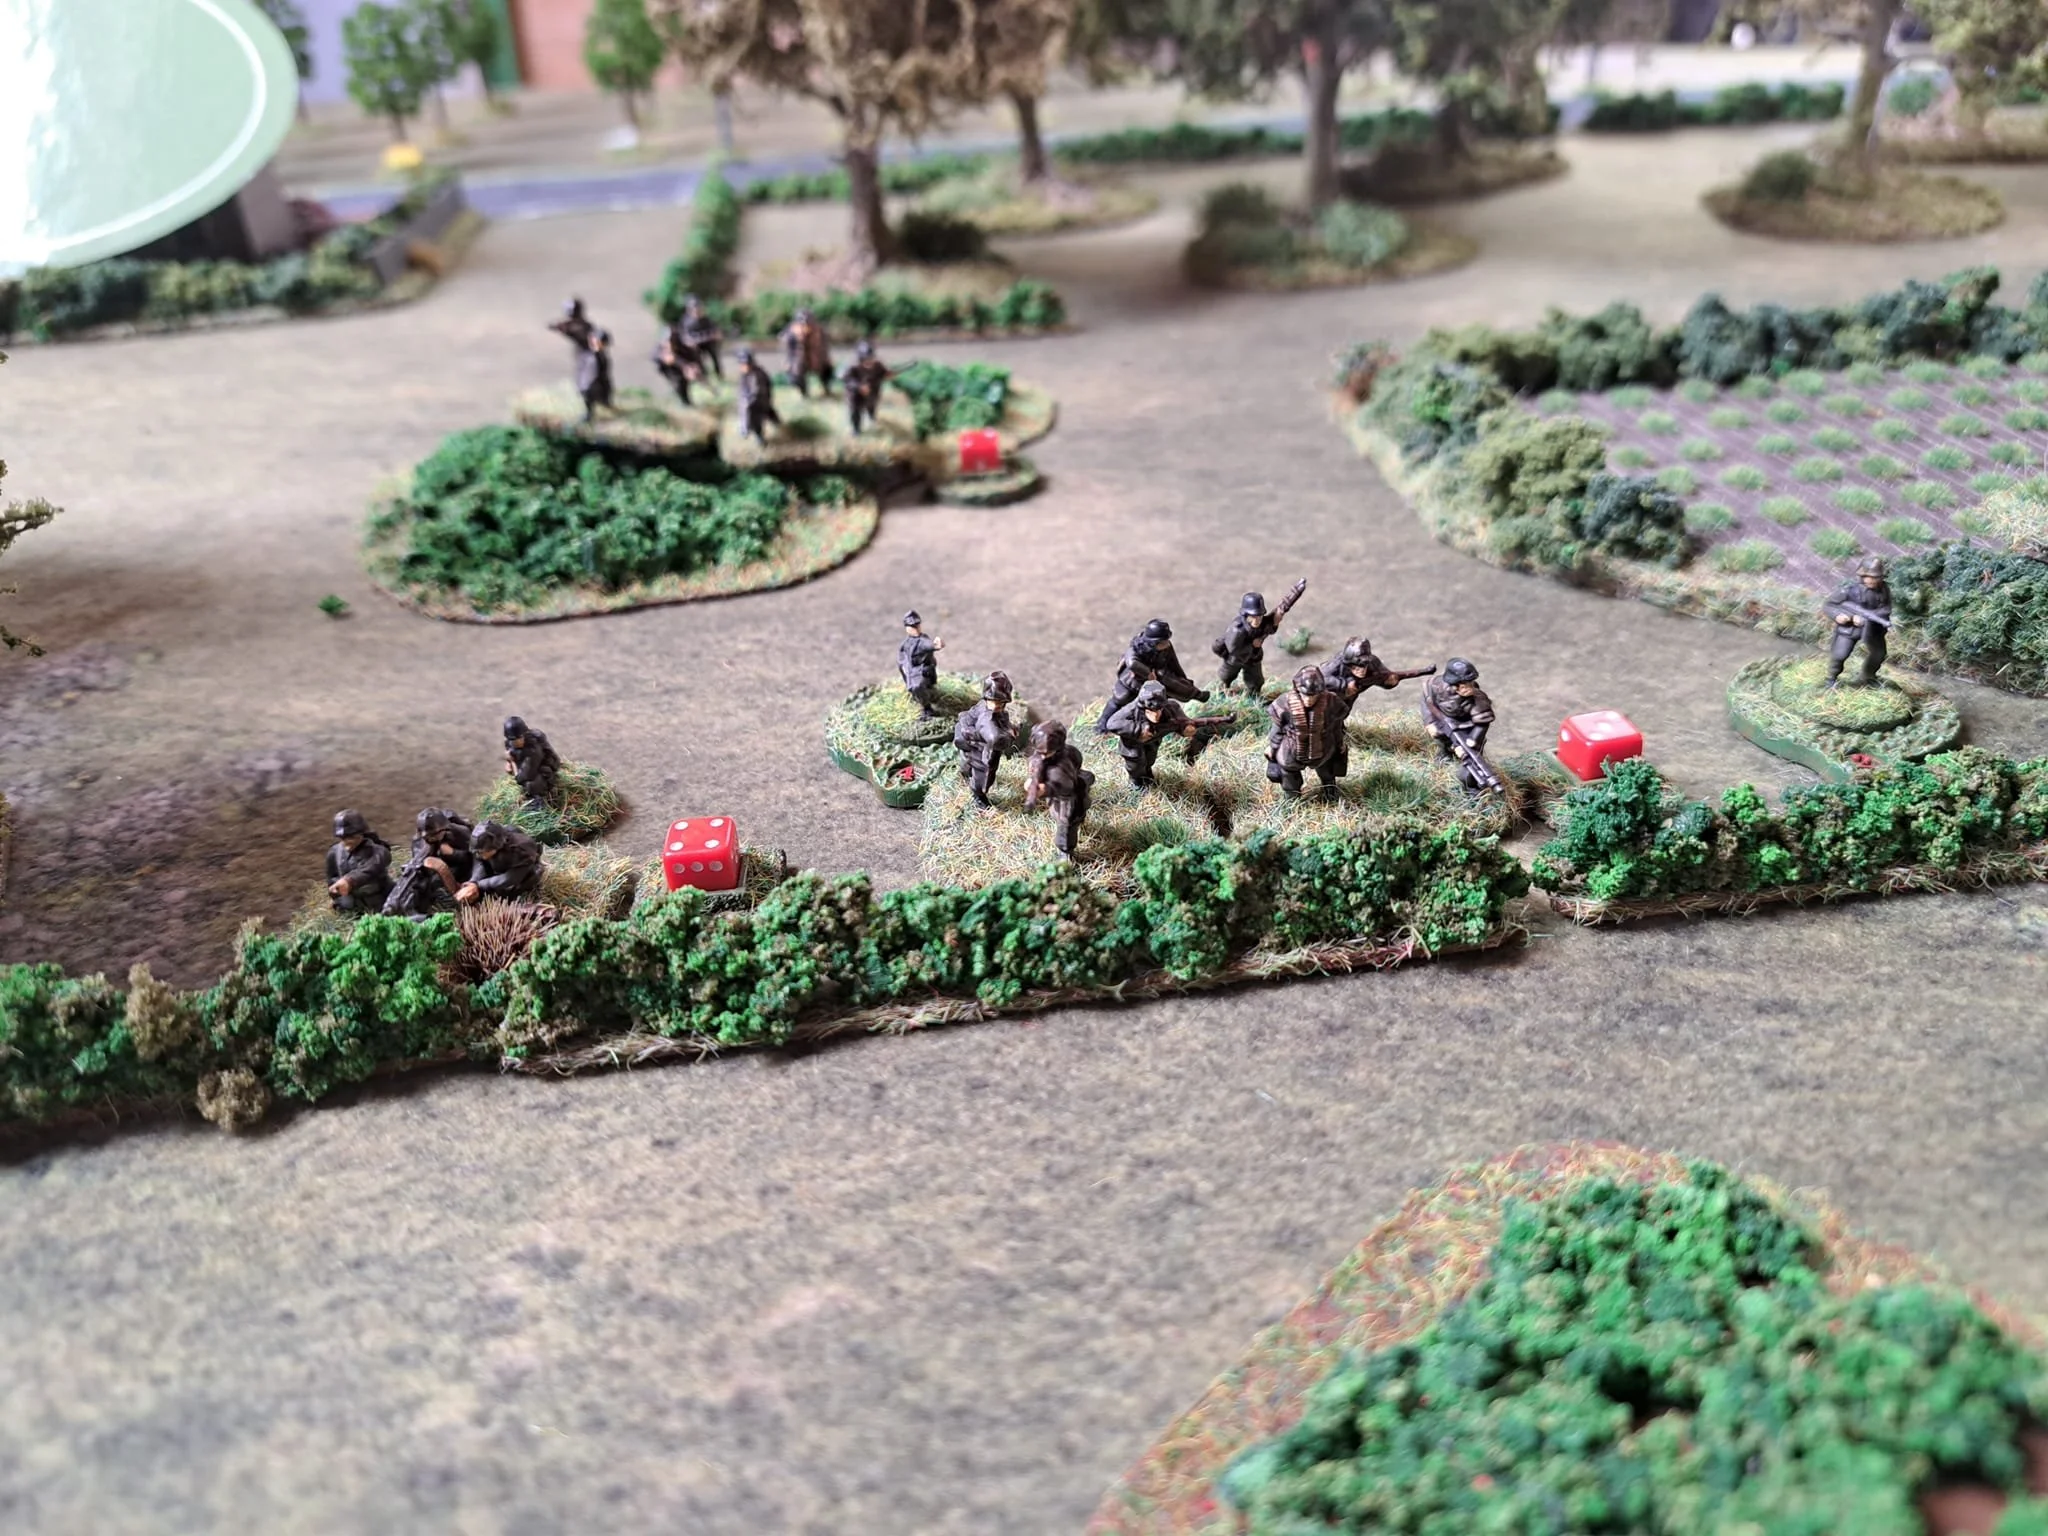
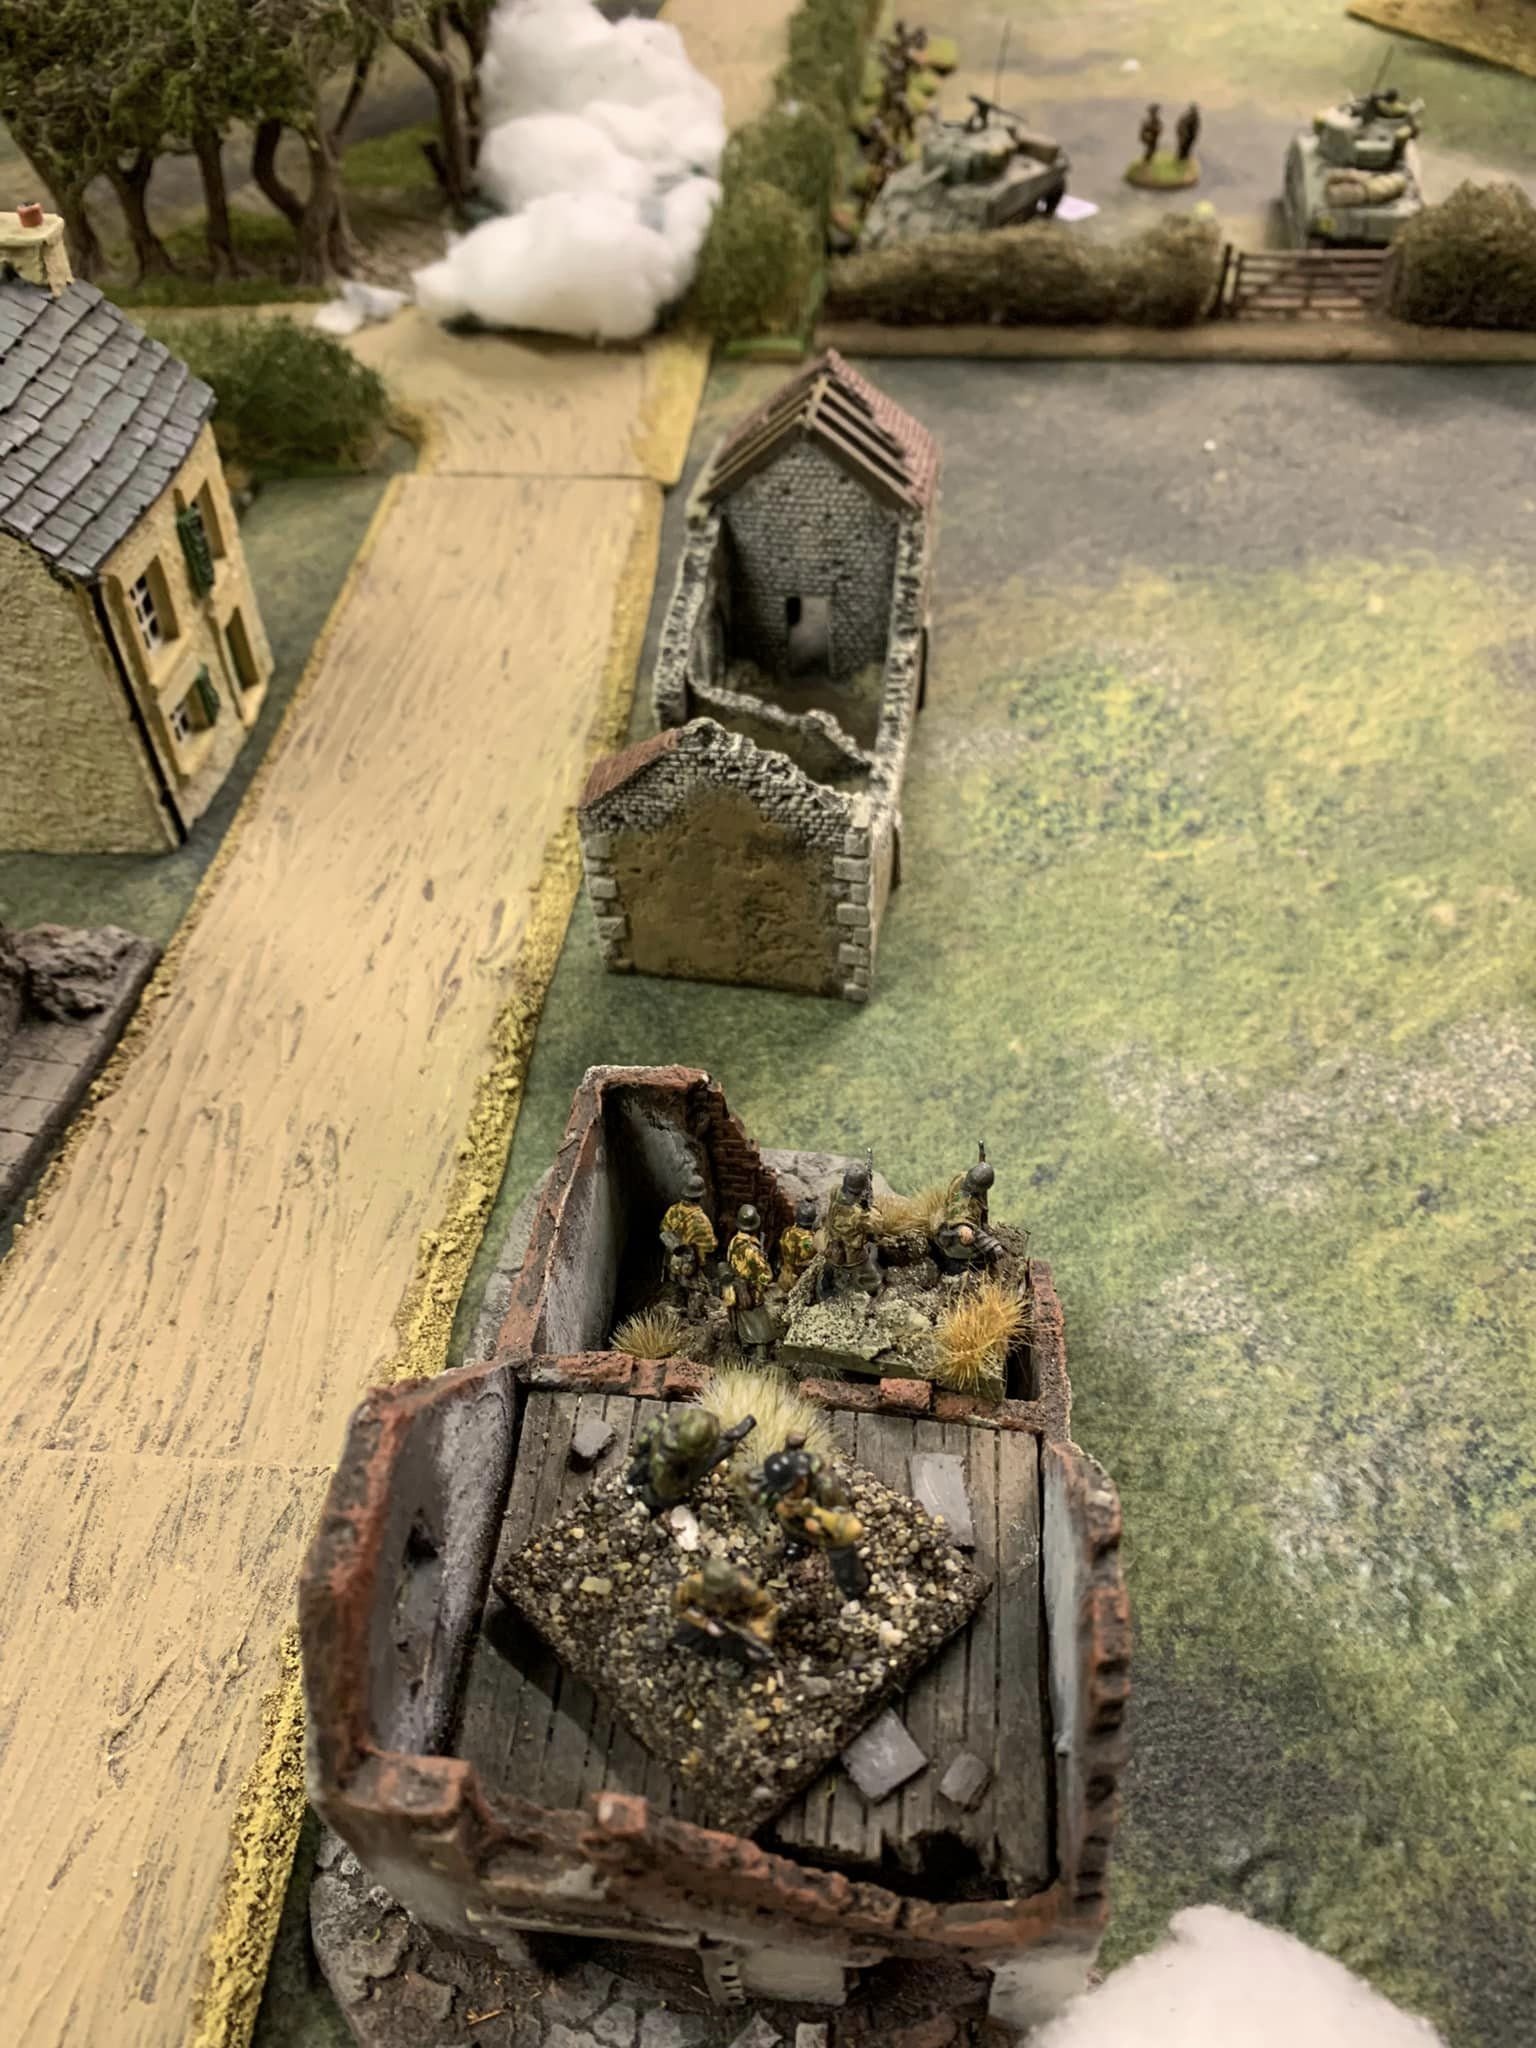
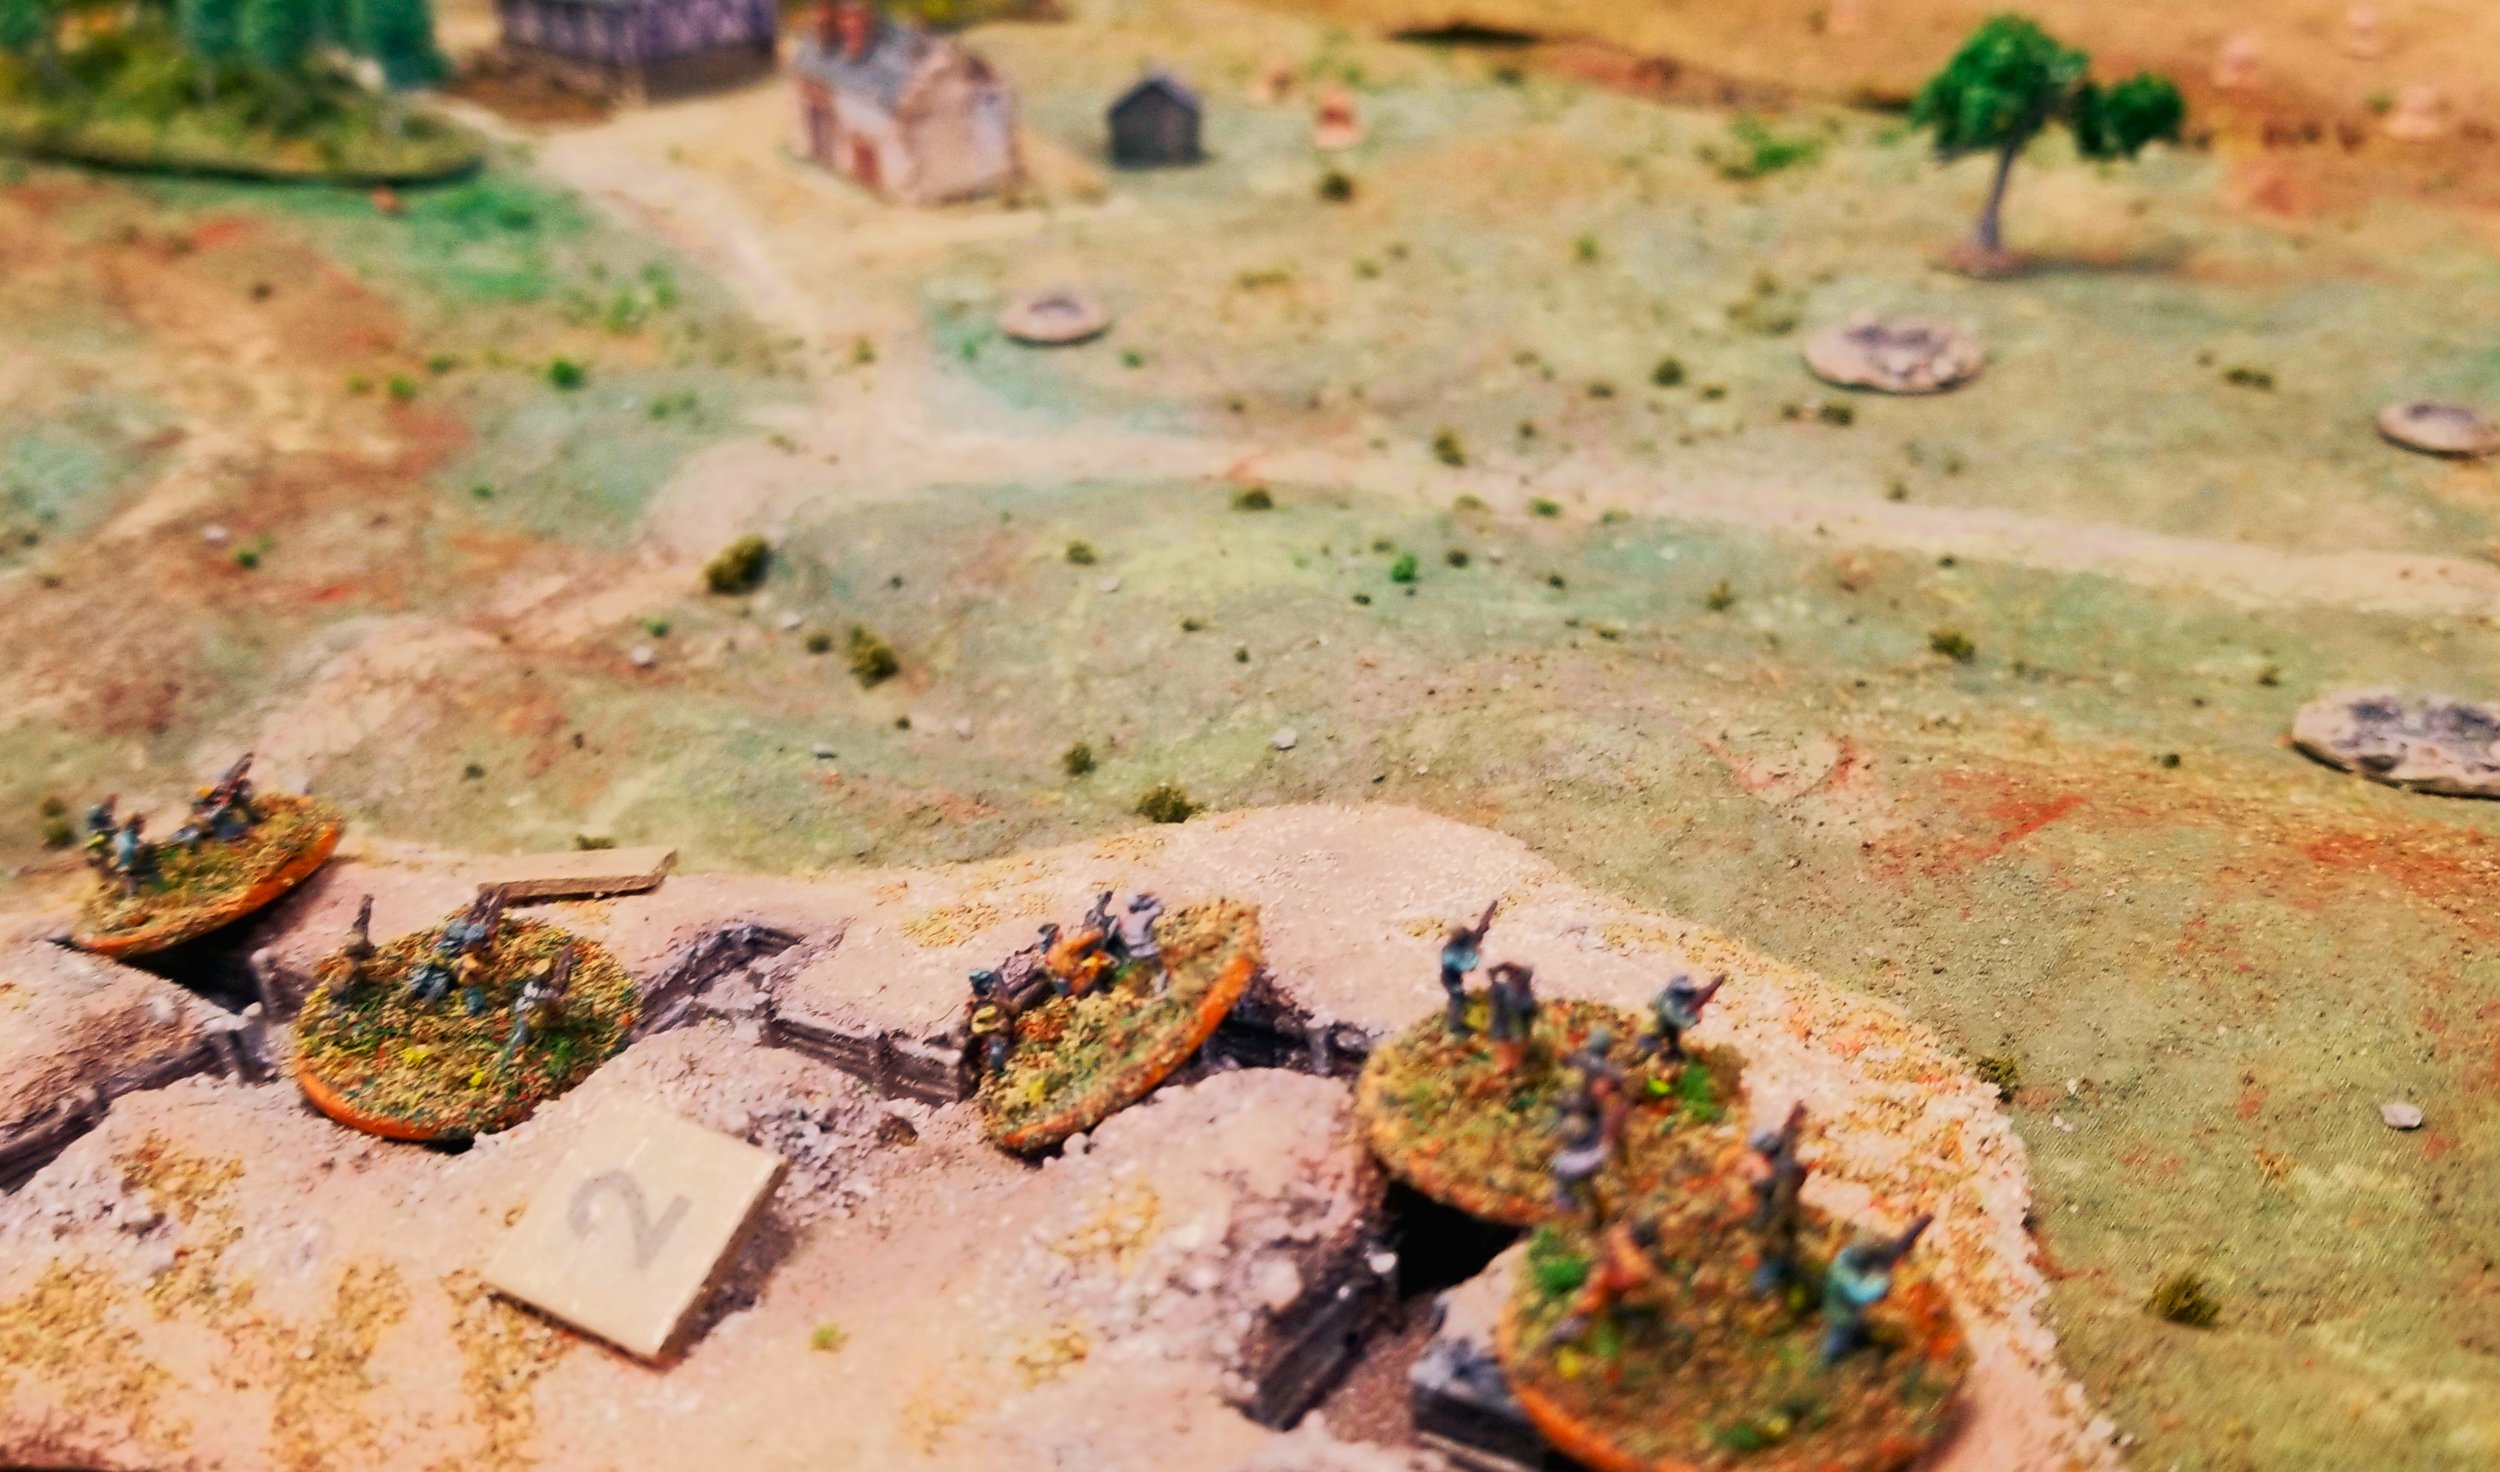
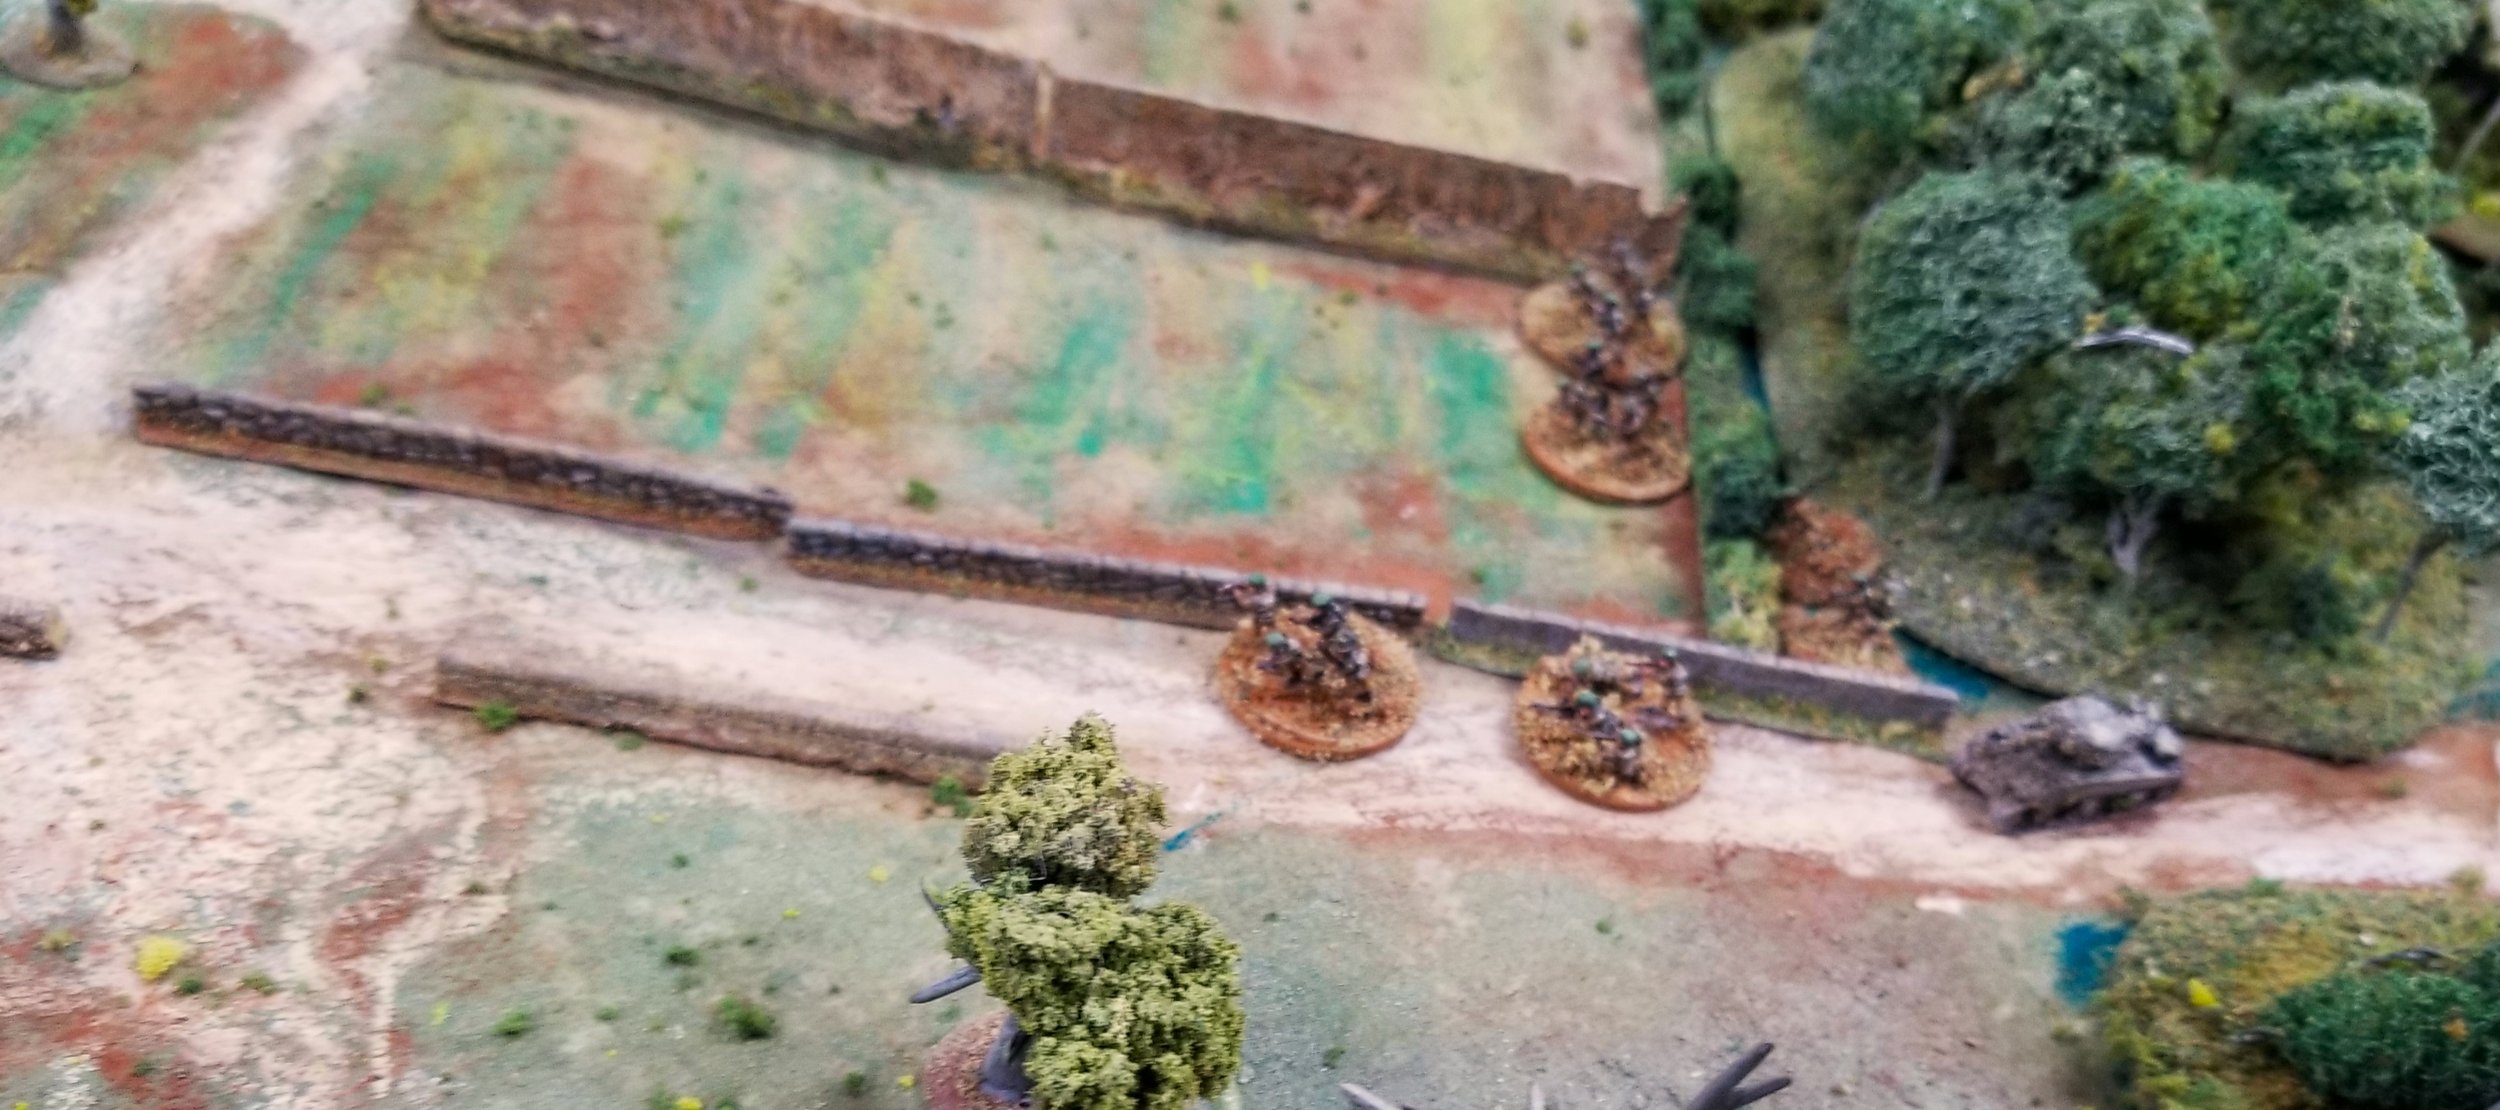
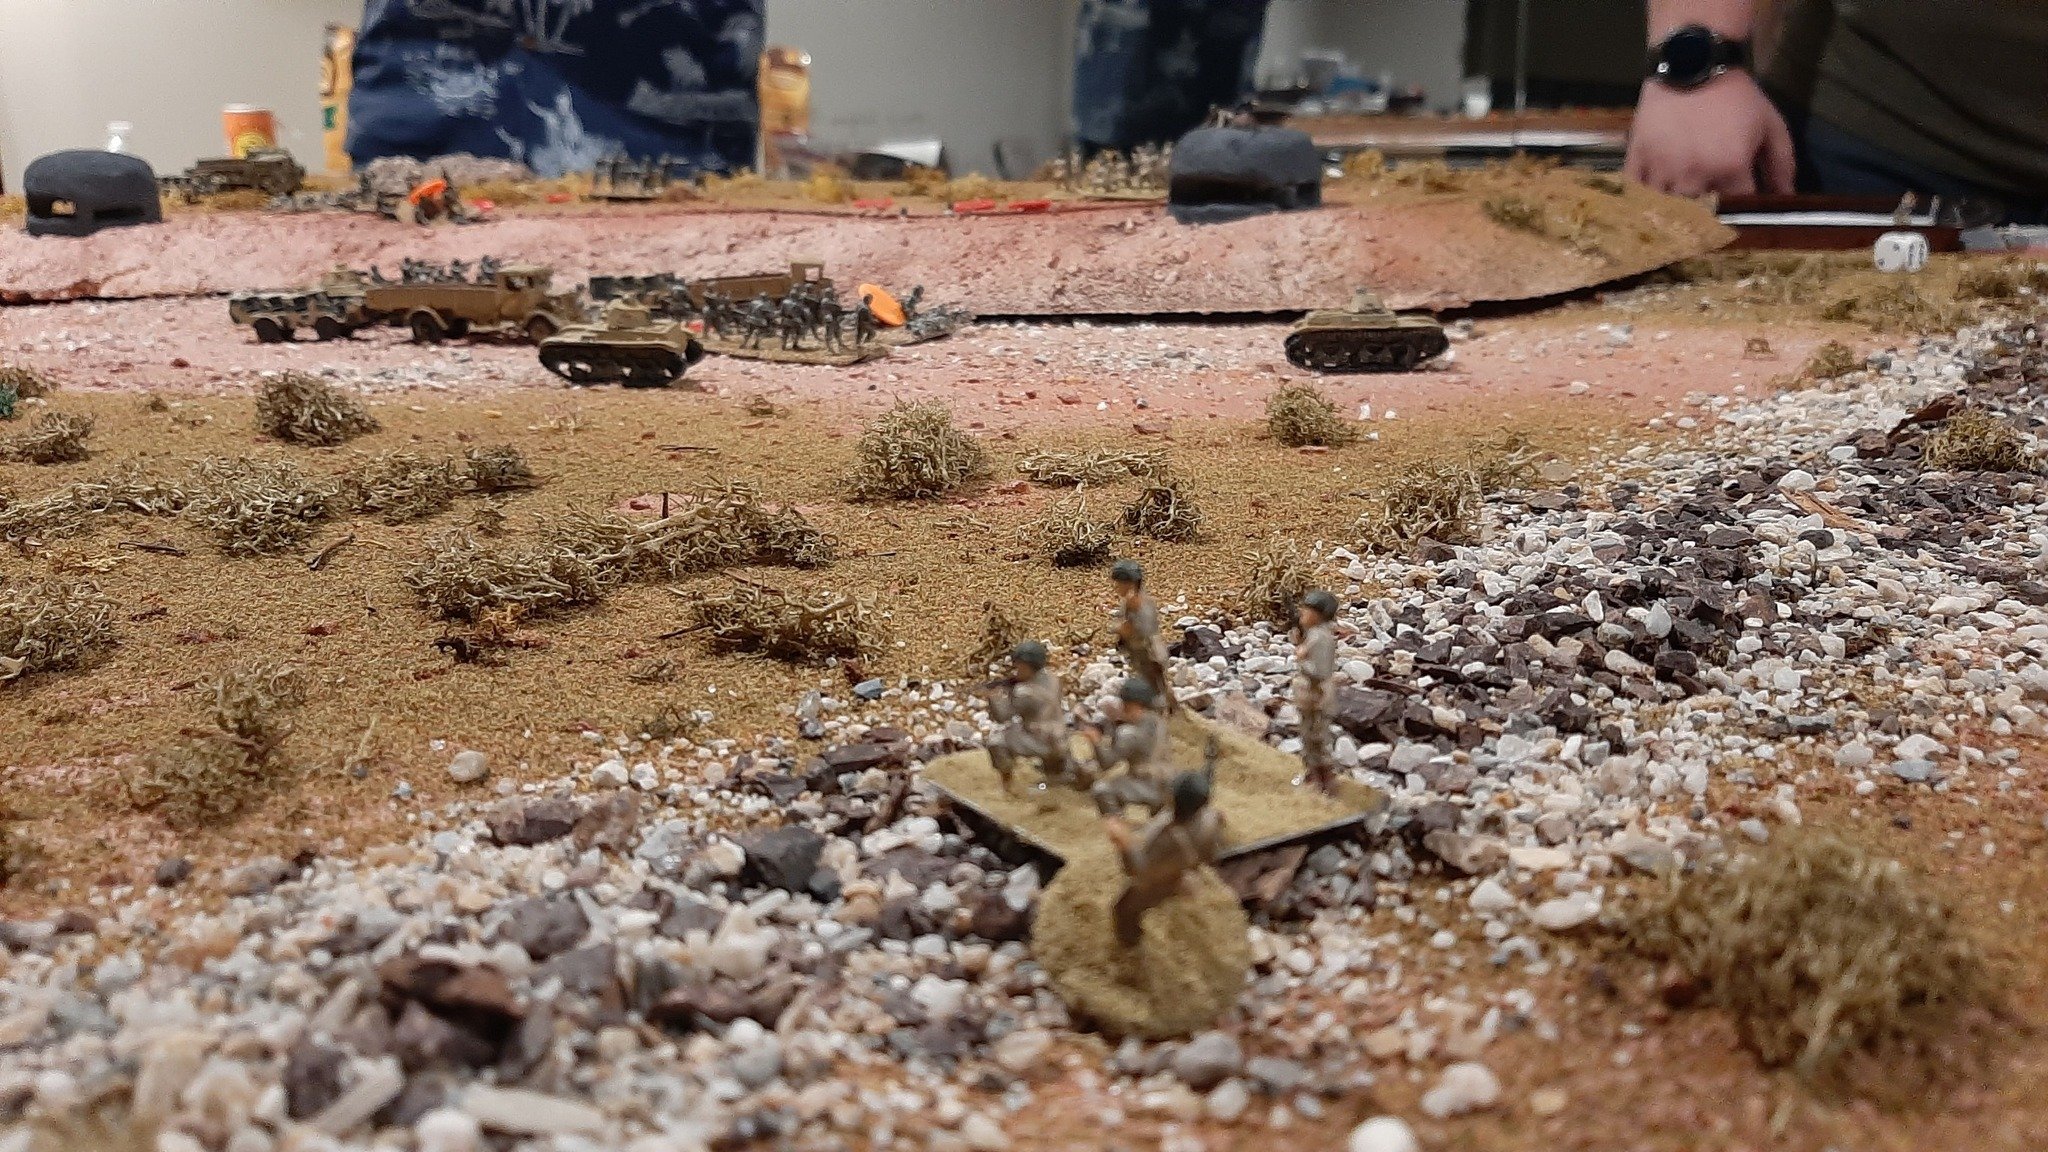
To make matters worse, we stepped right into an ambush, with paratroopers firing from behind stone walls lining the road. One motorcycle squad made it through, one was destroyed outright, and the others were forced to dismount in order to return fire.

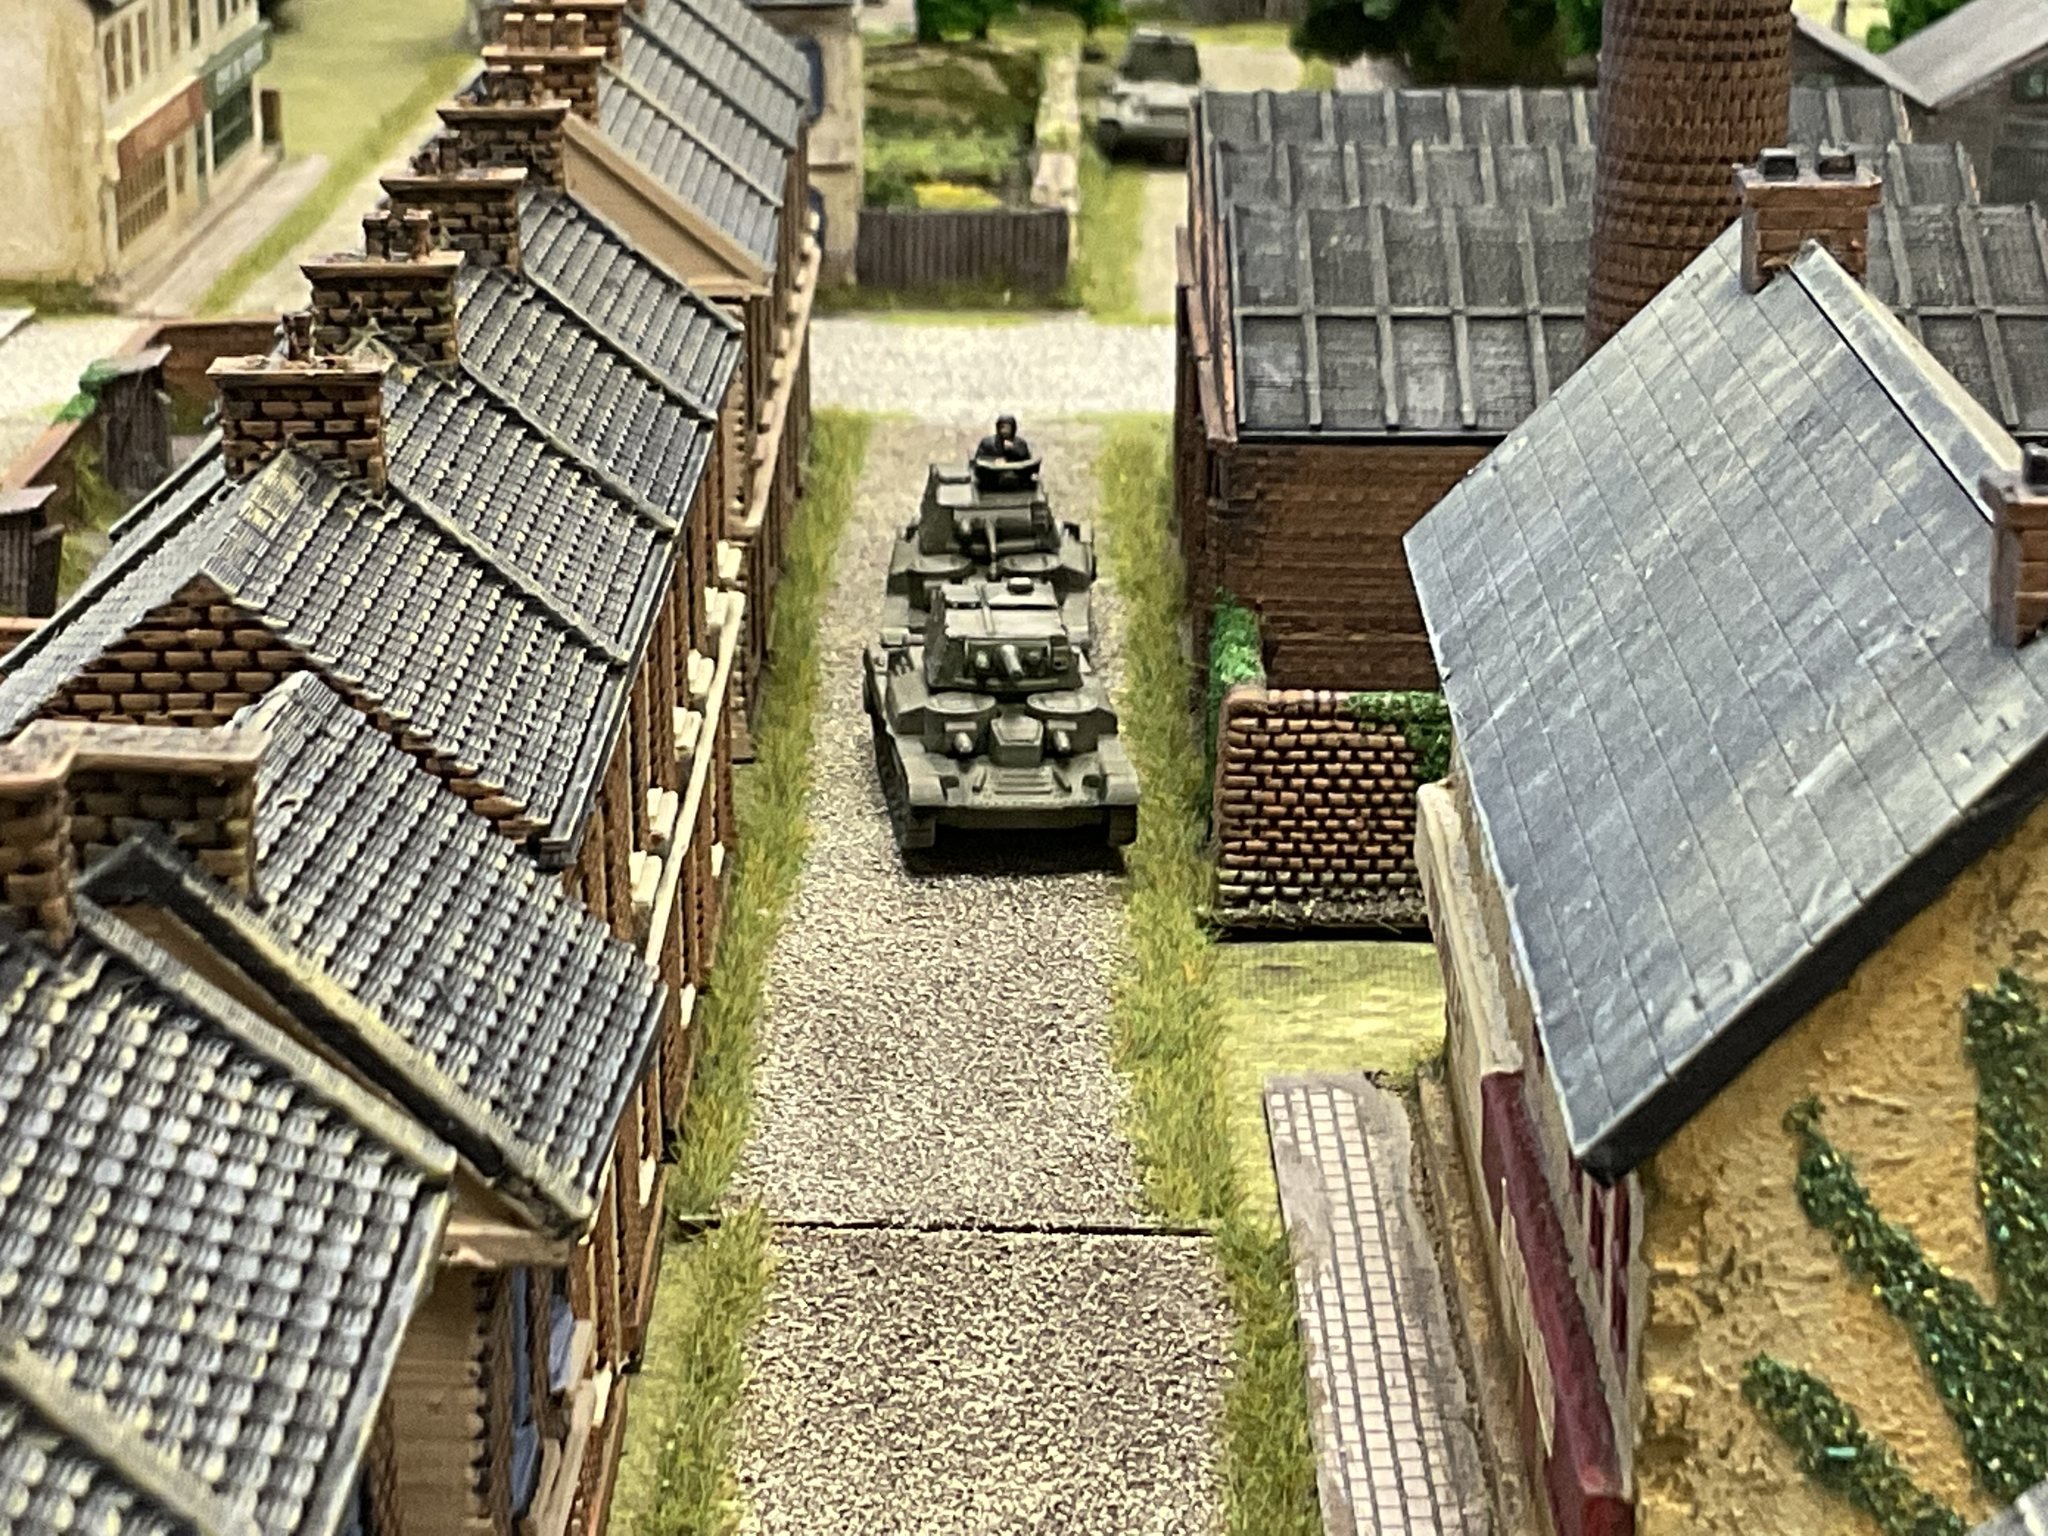
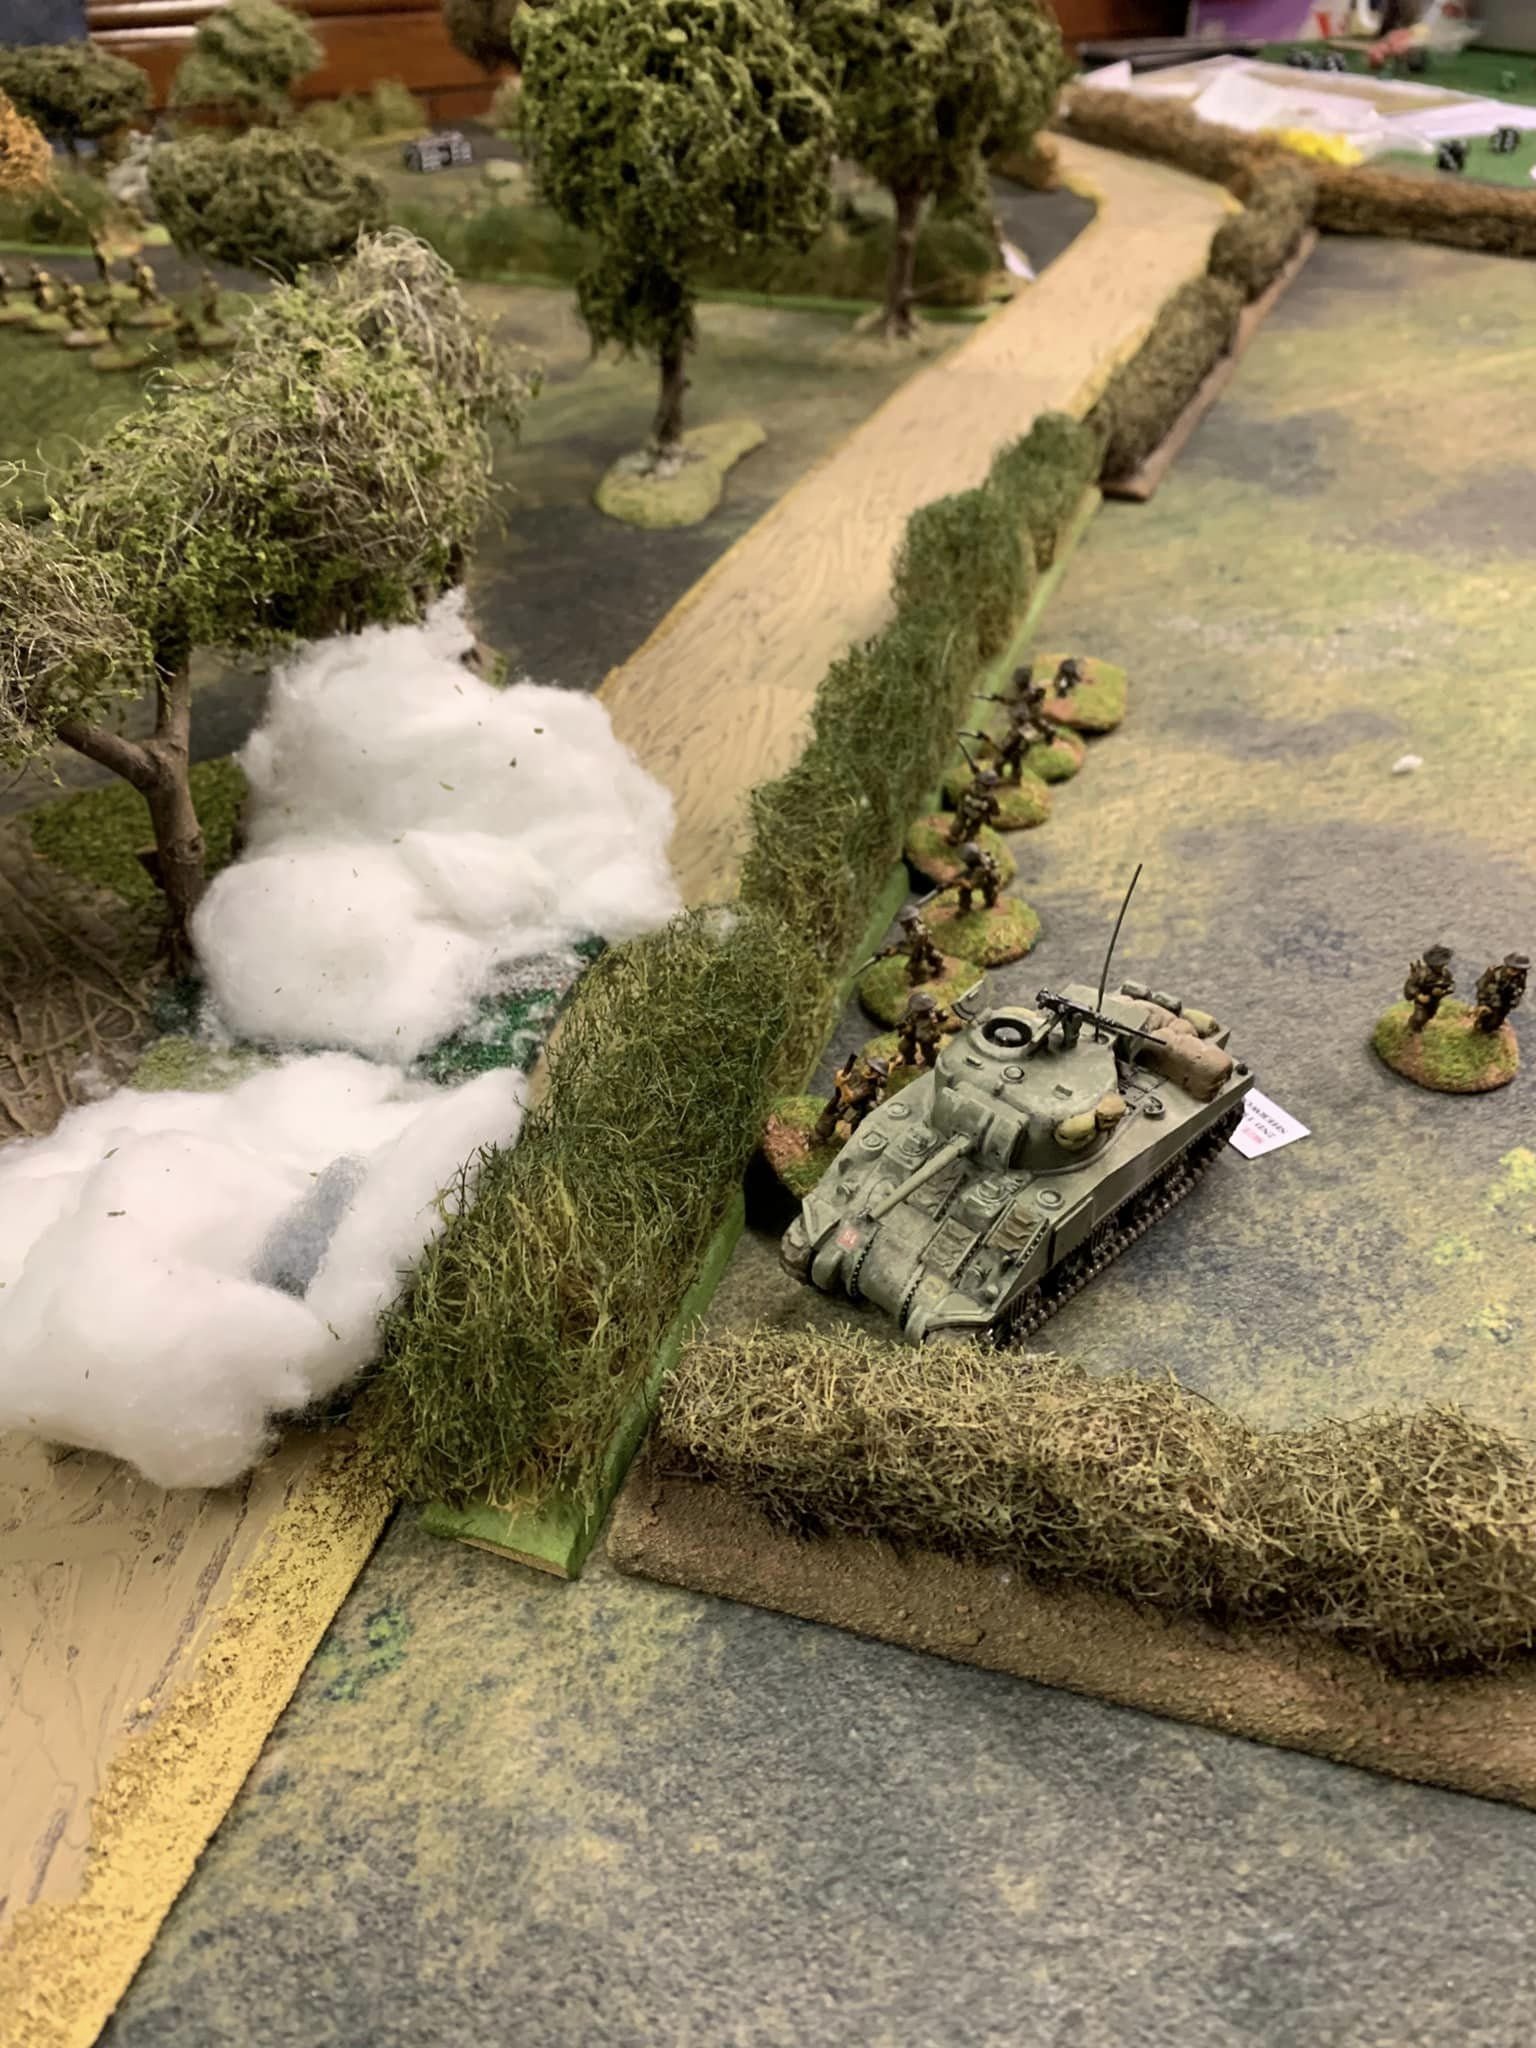
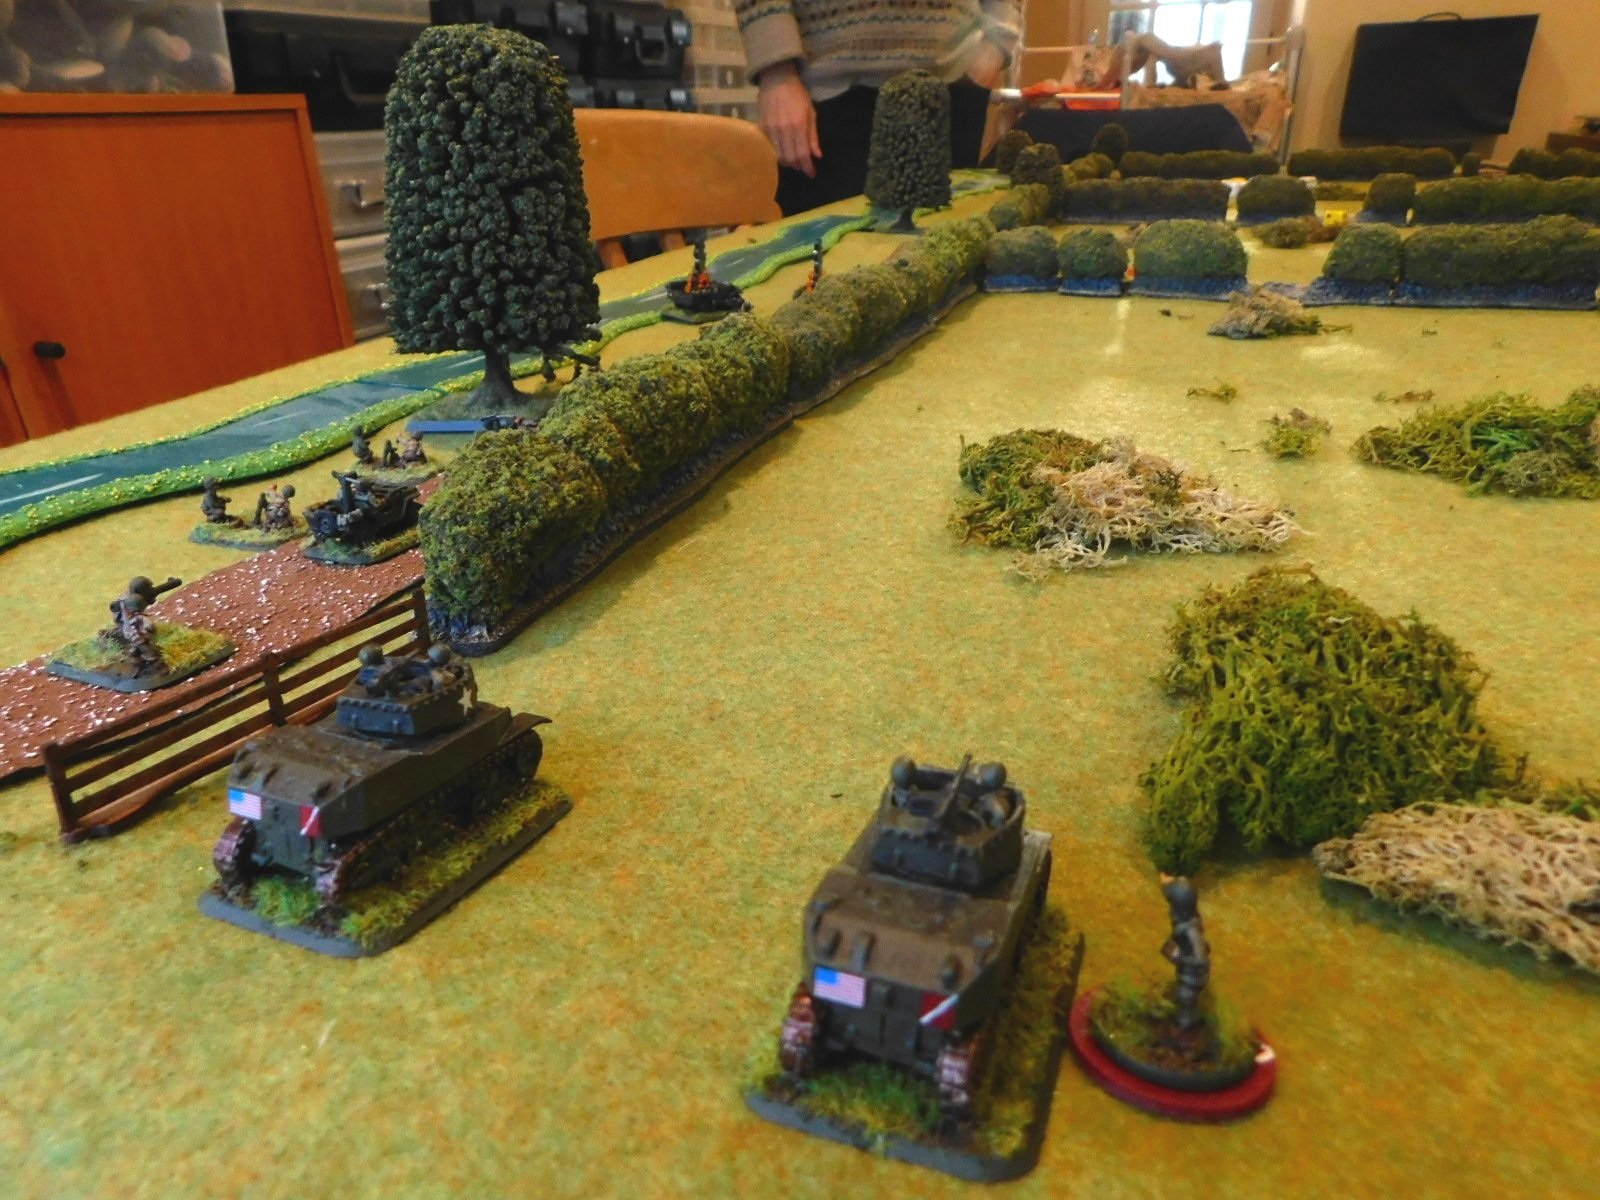
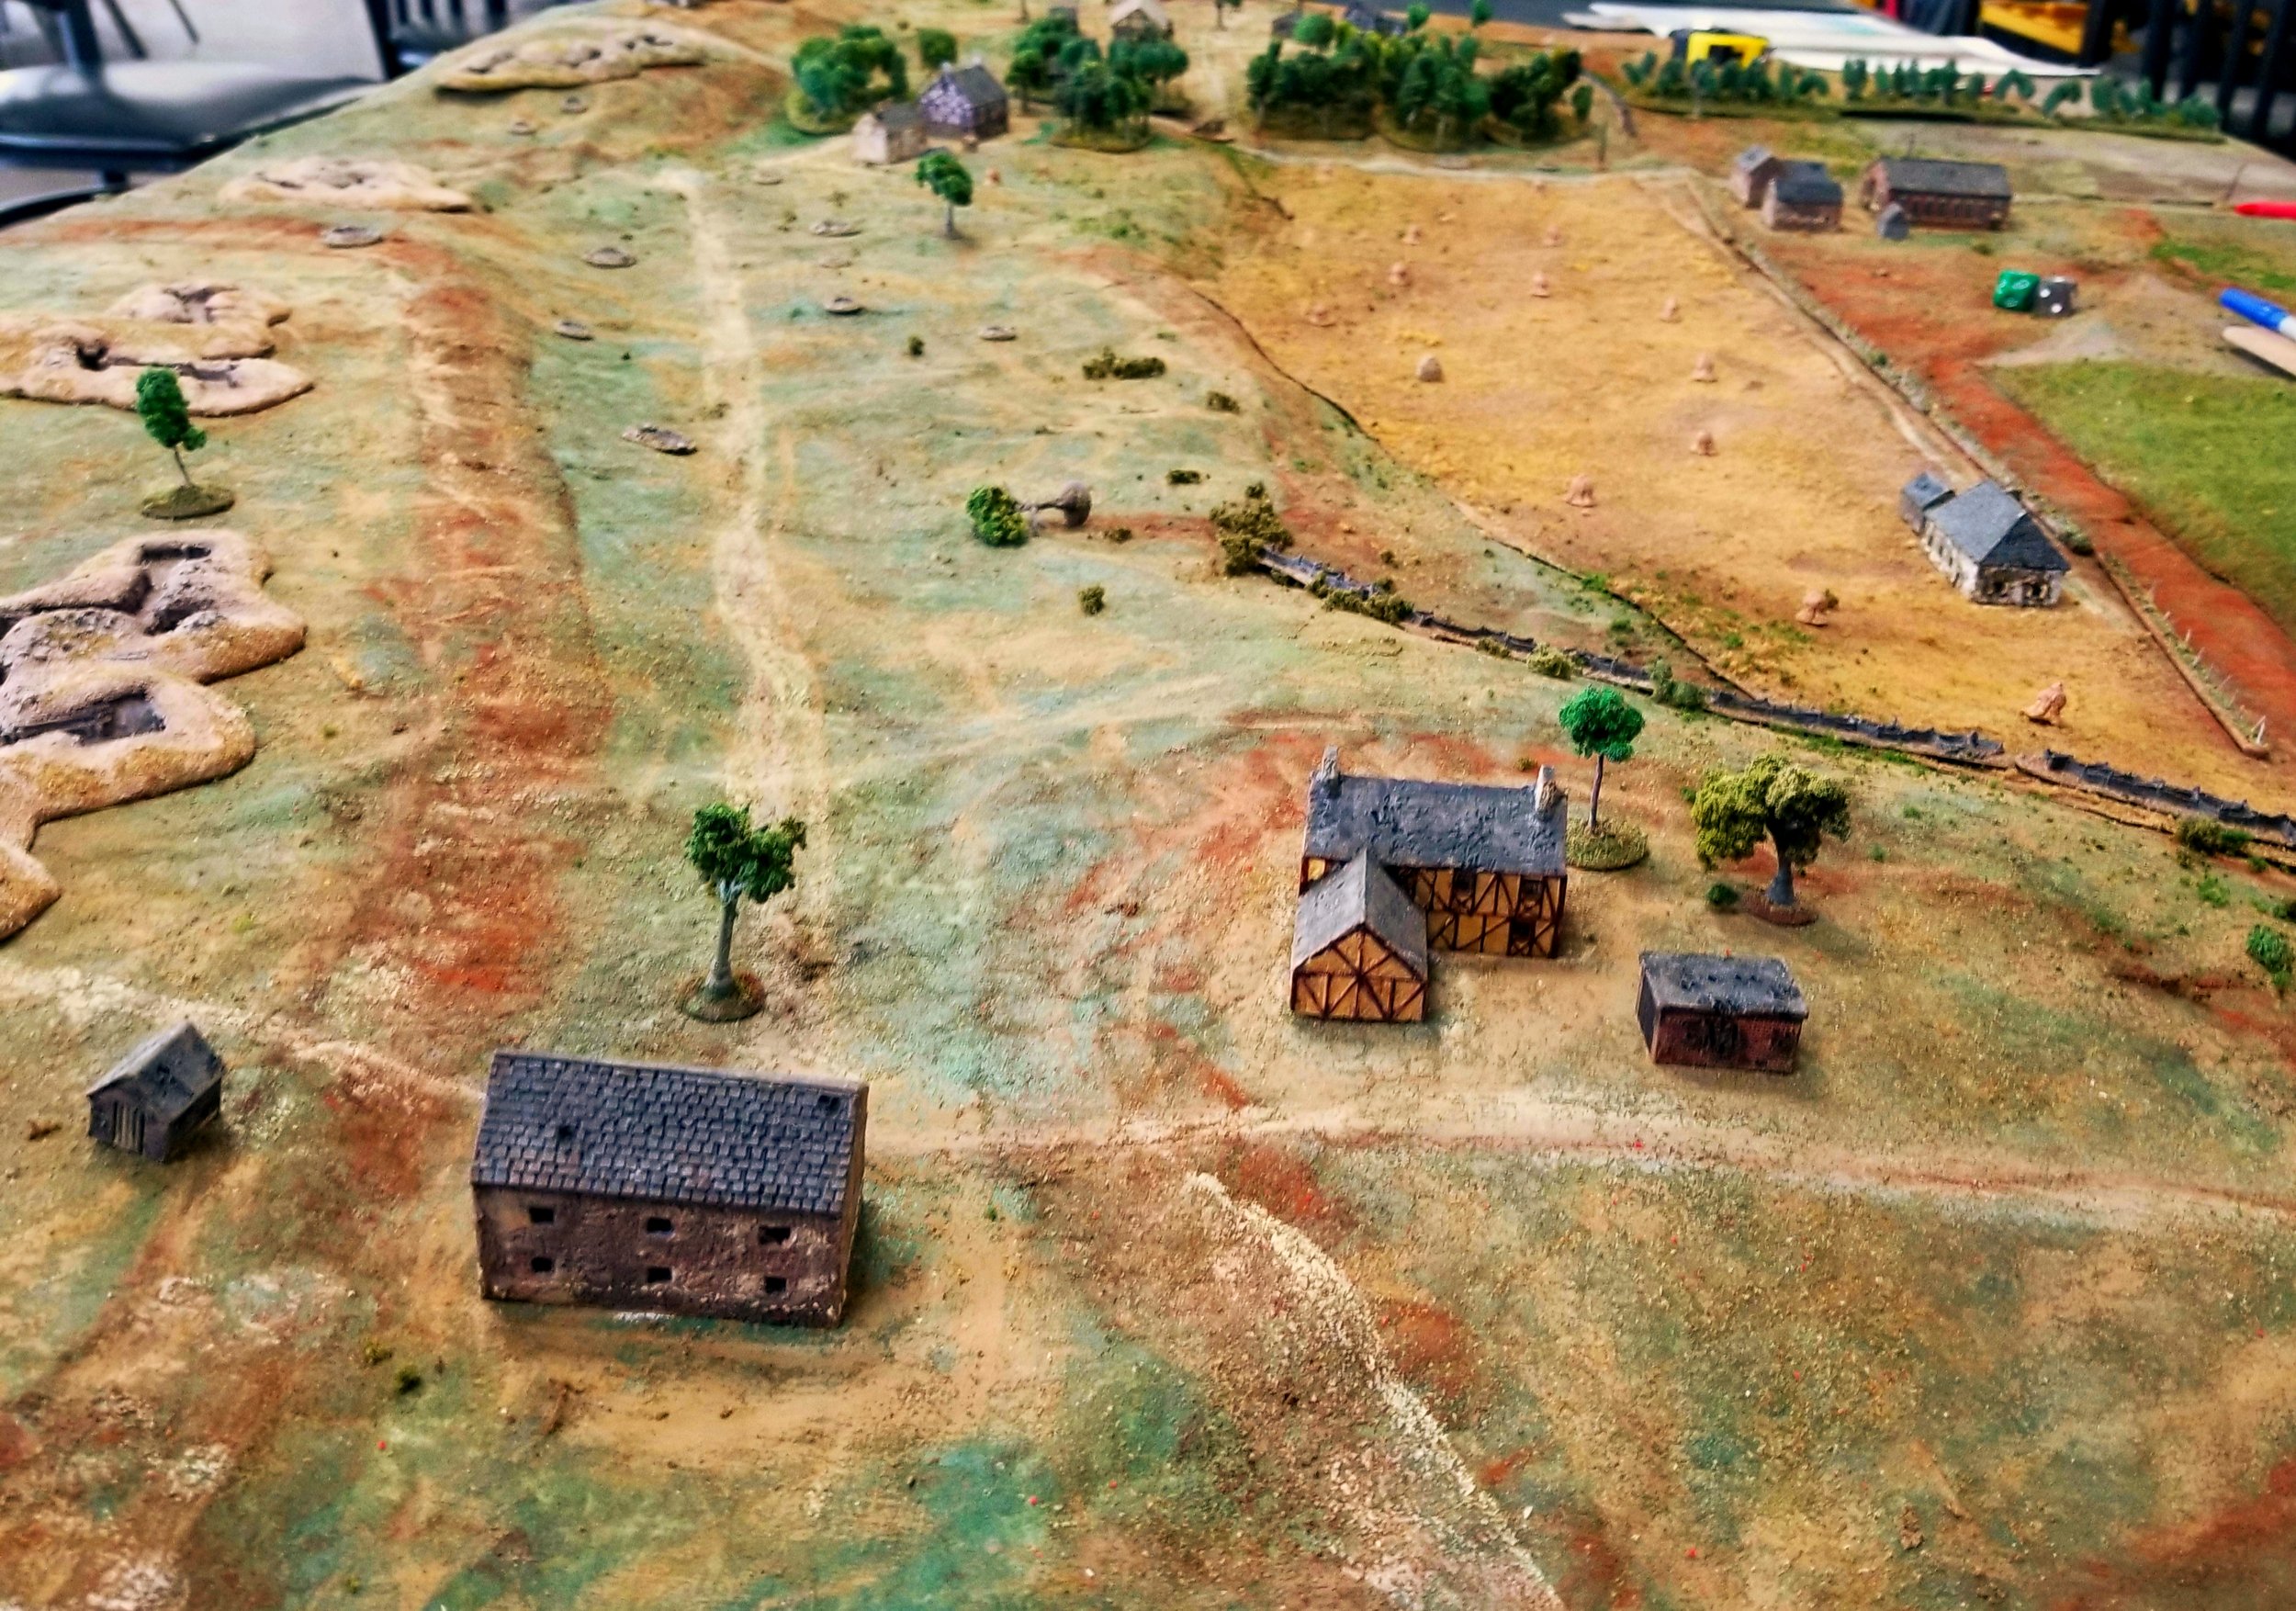
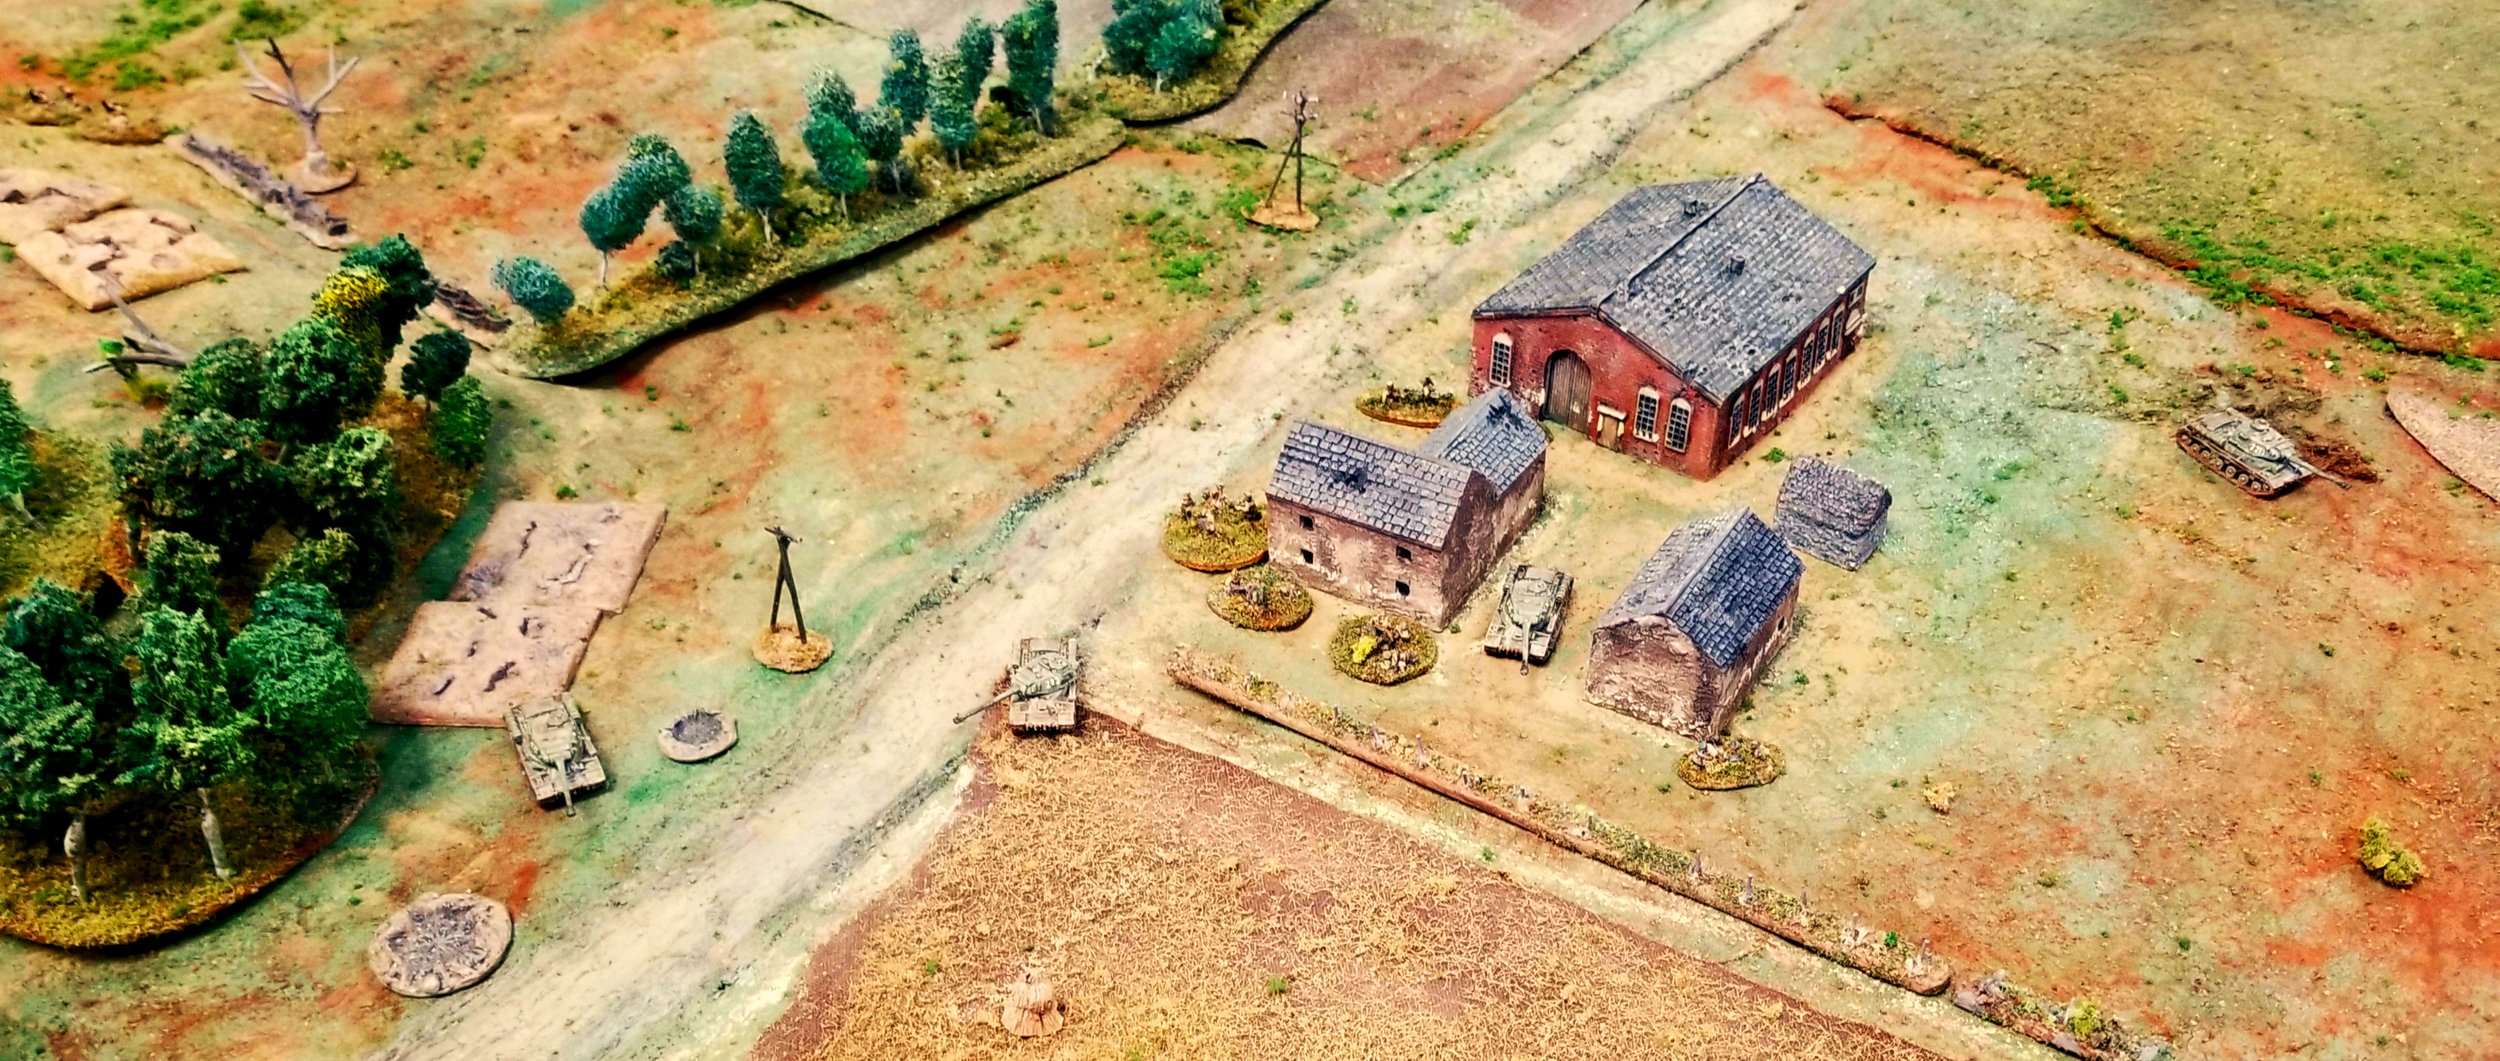
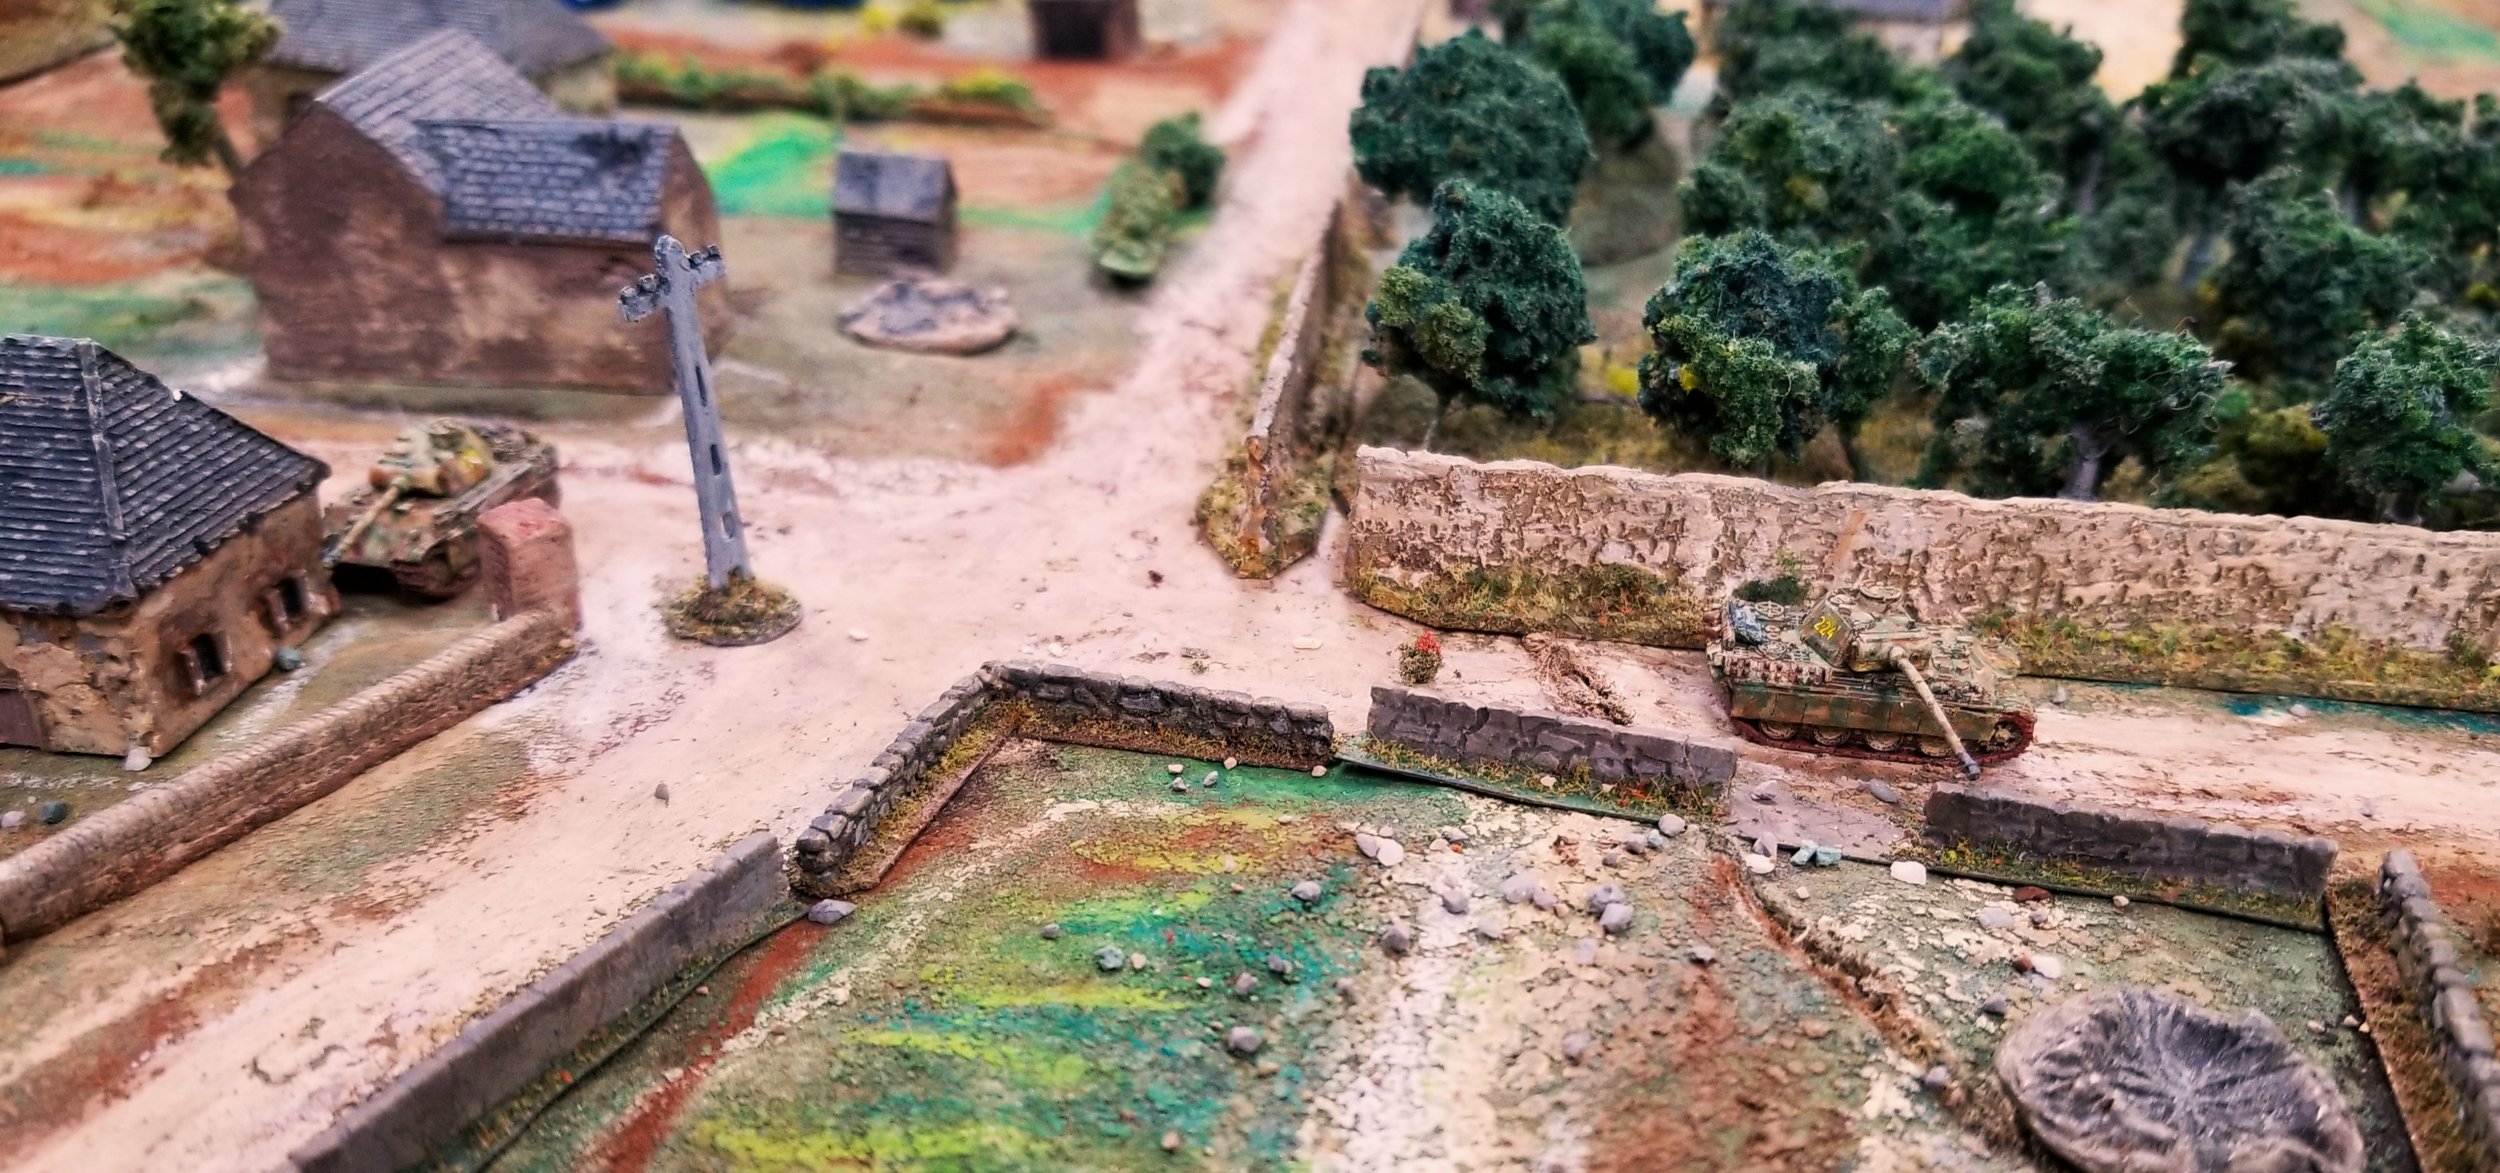
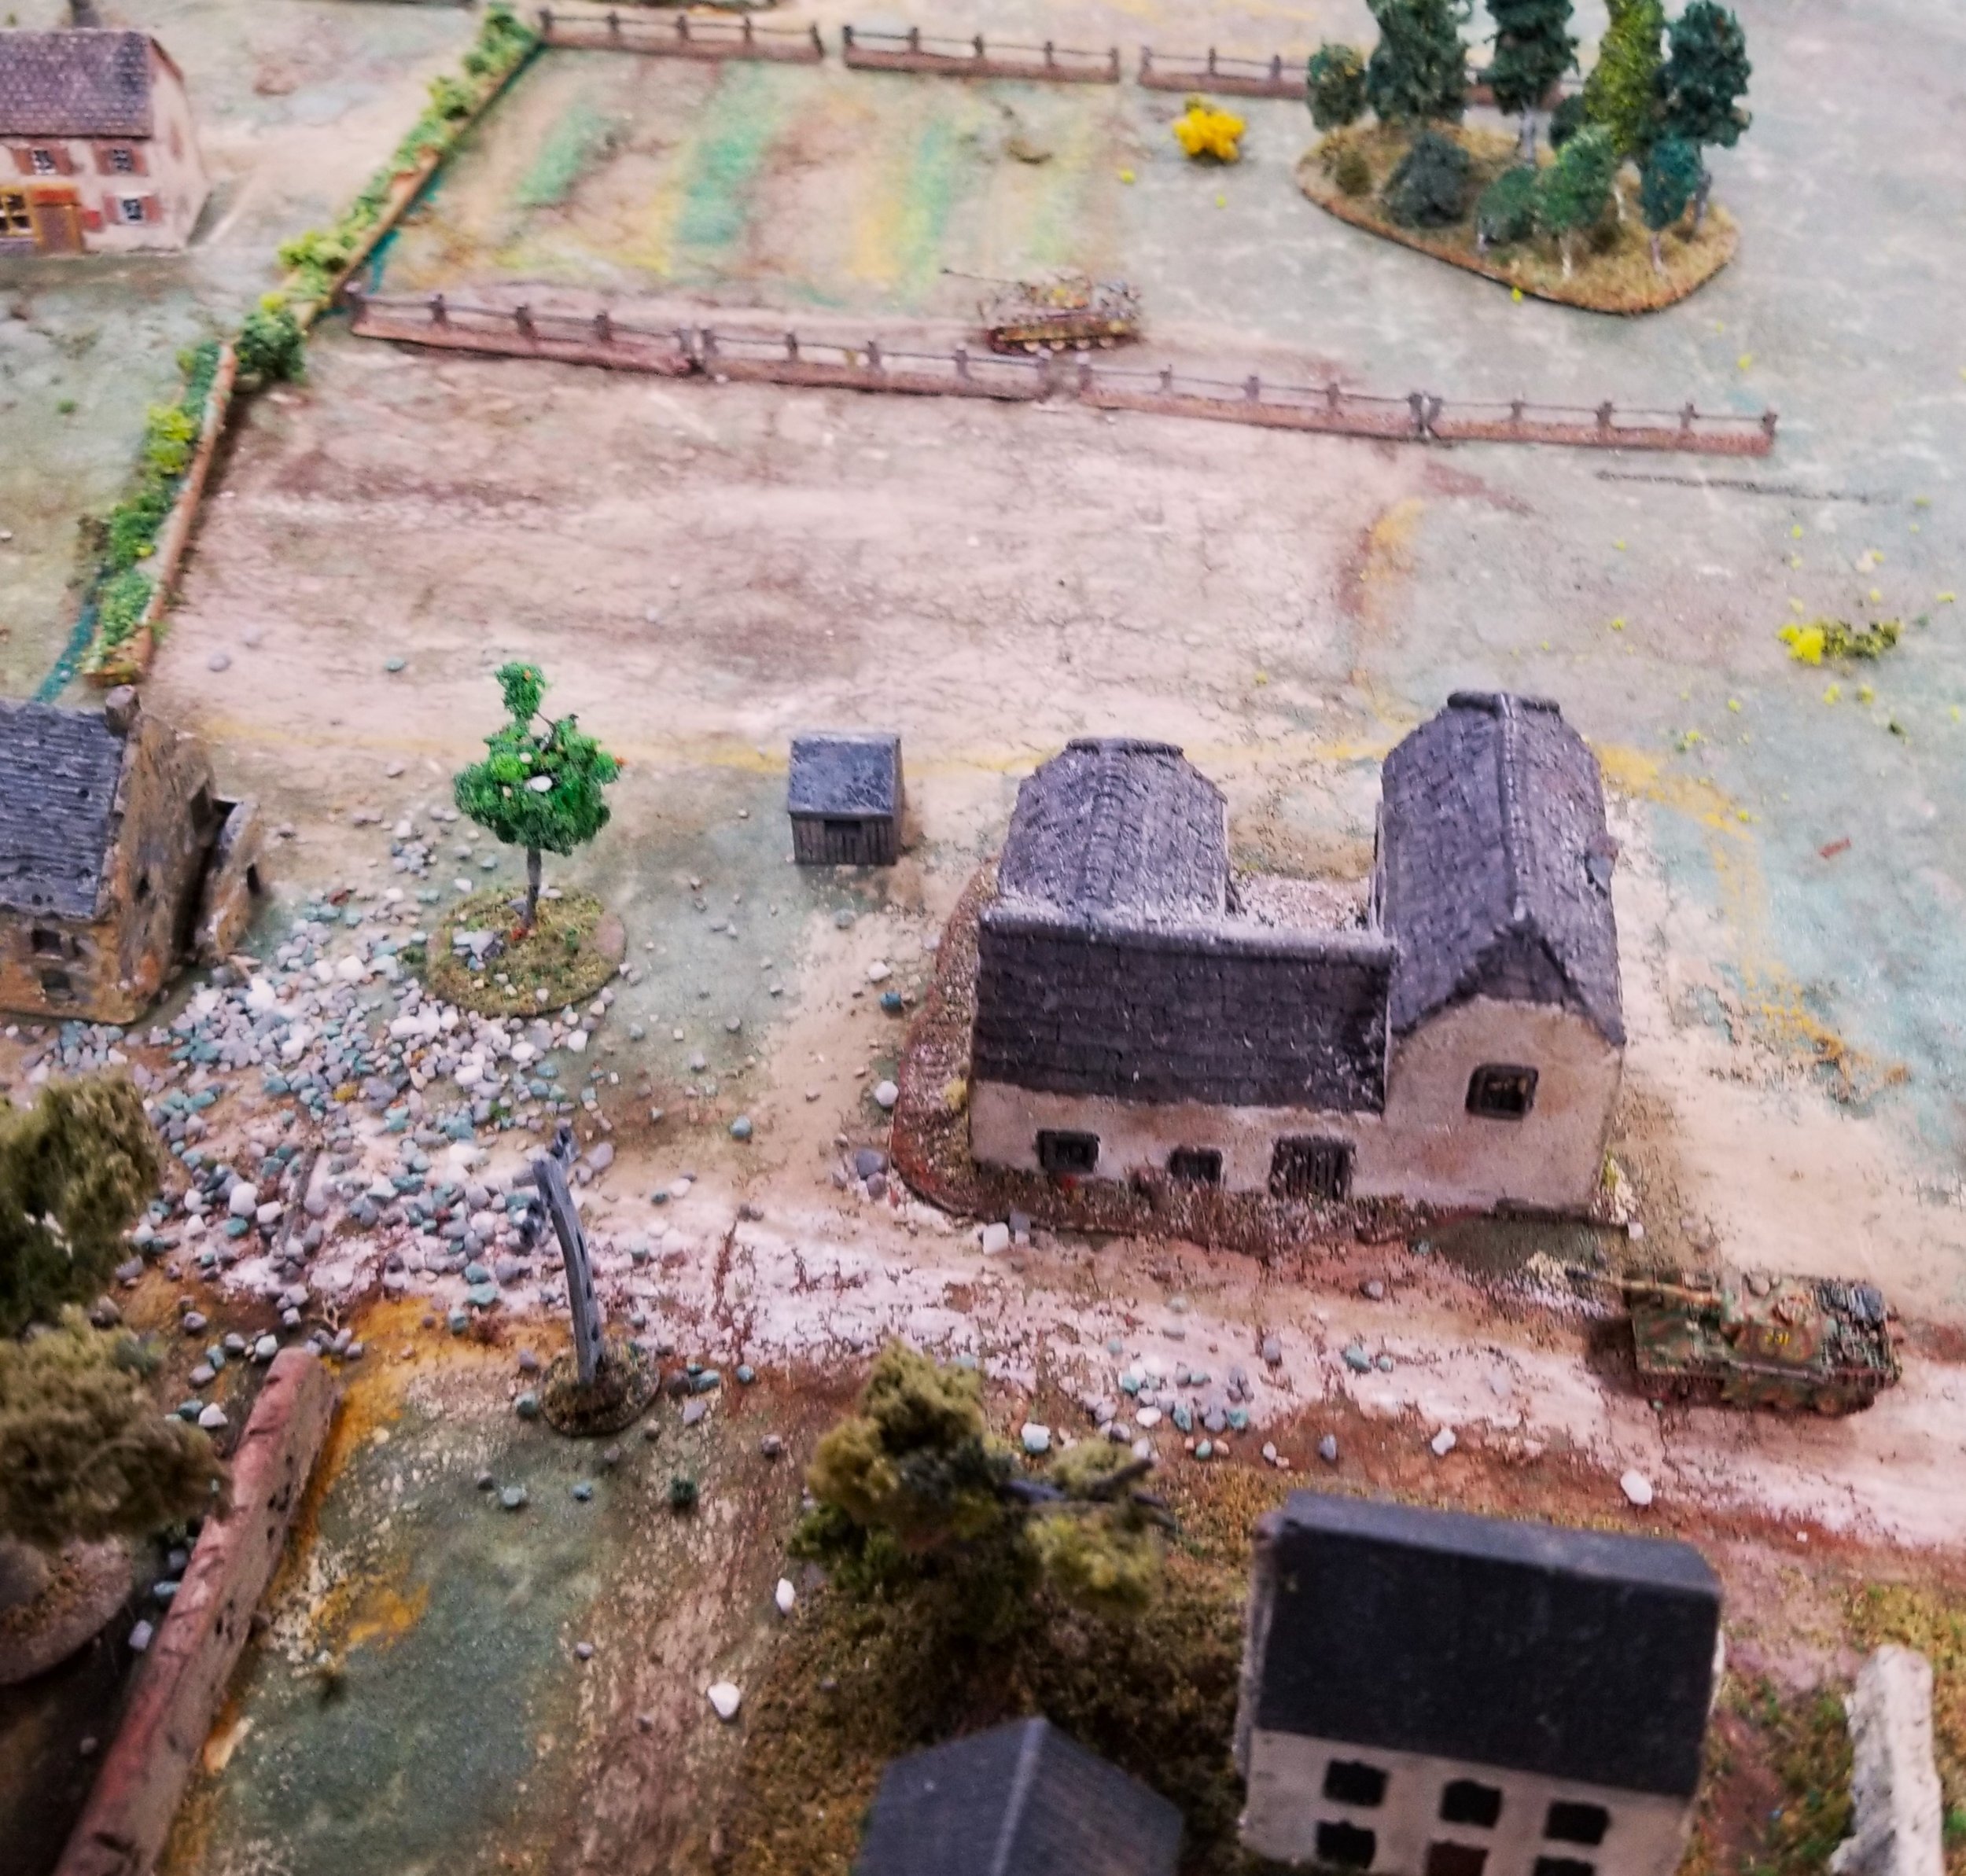
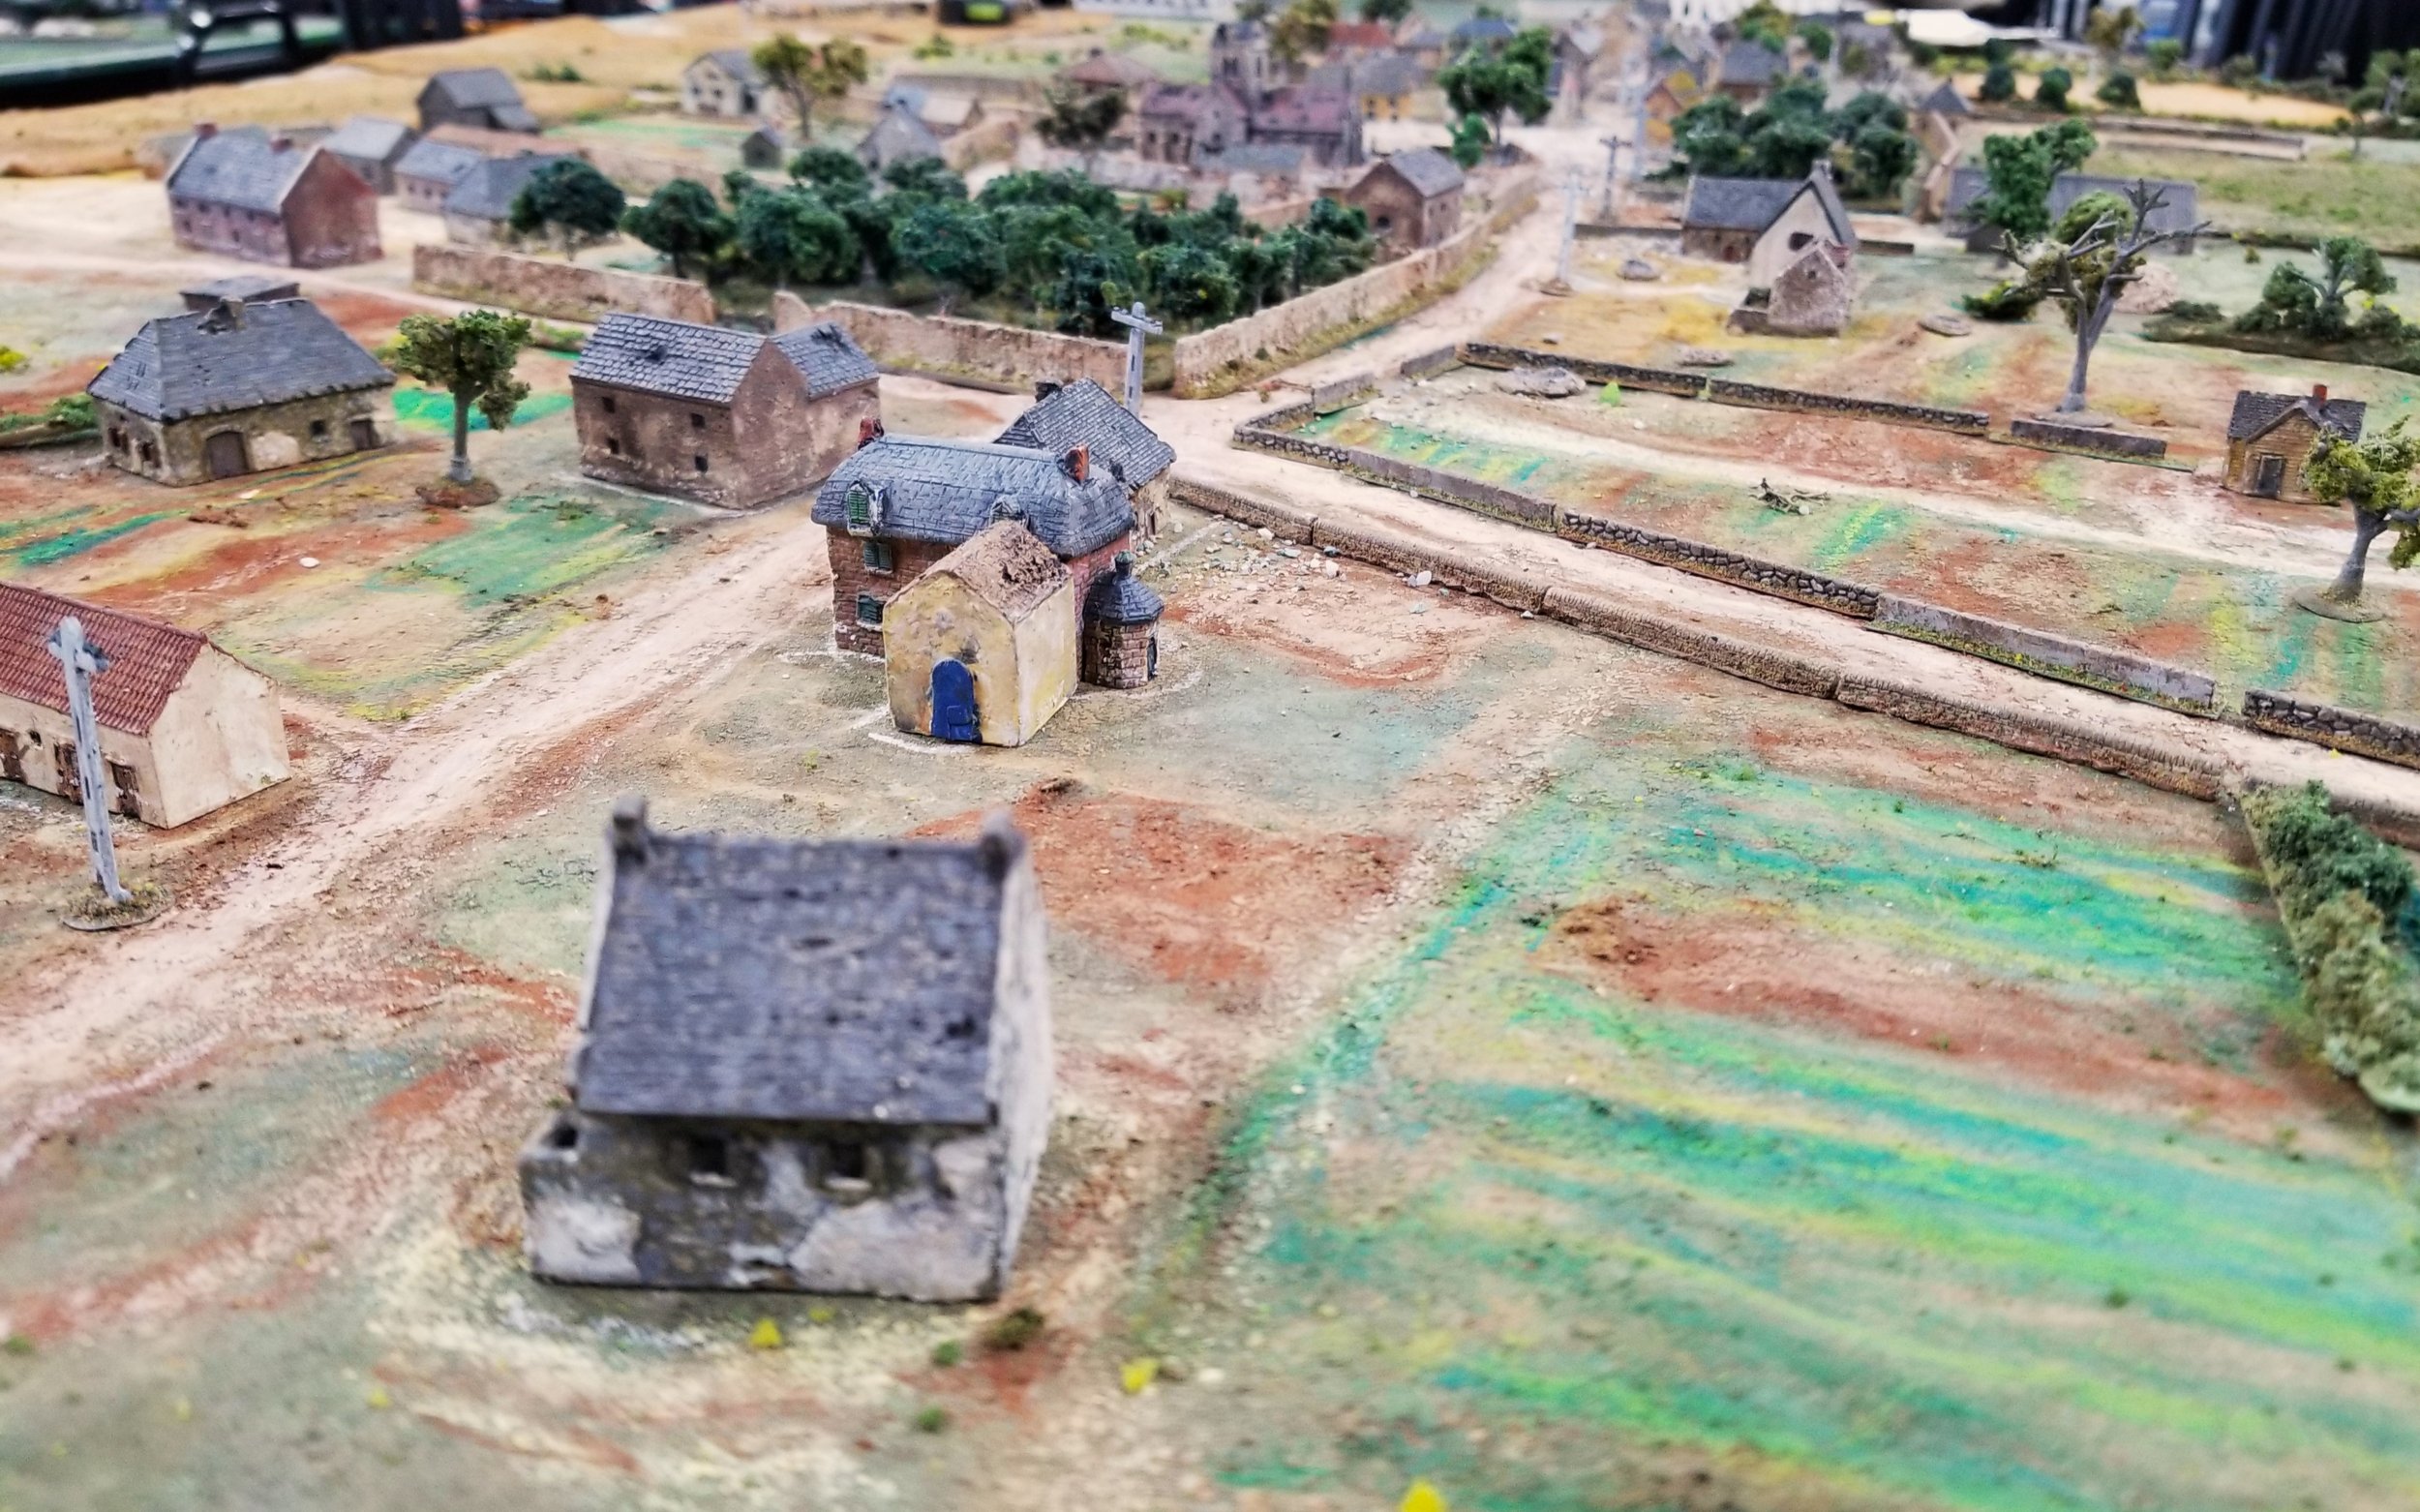
To our left, we brought on our first tanks, which we advanced along the base of the hill. The Americans on that side stayed hidden.

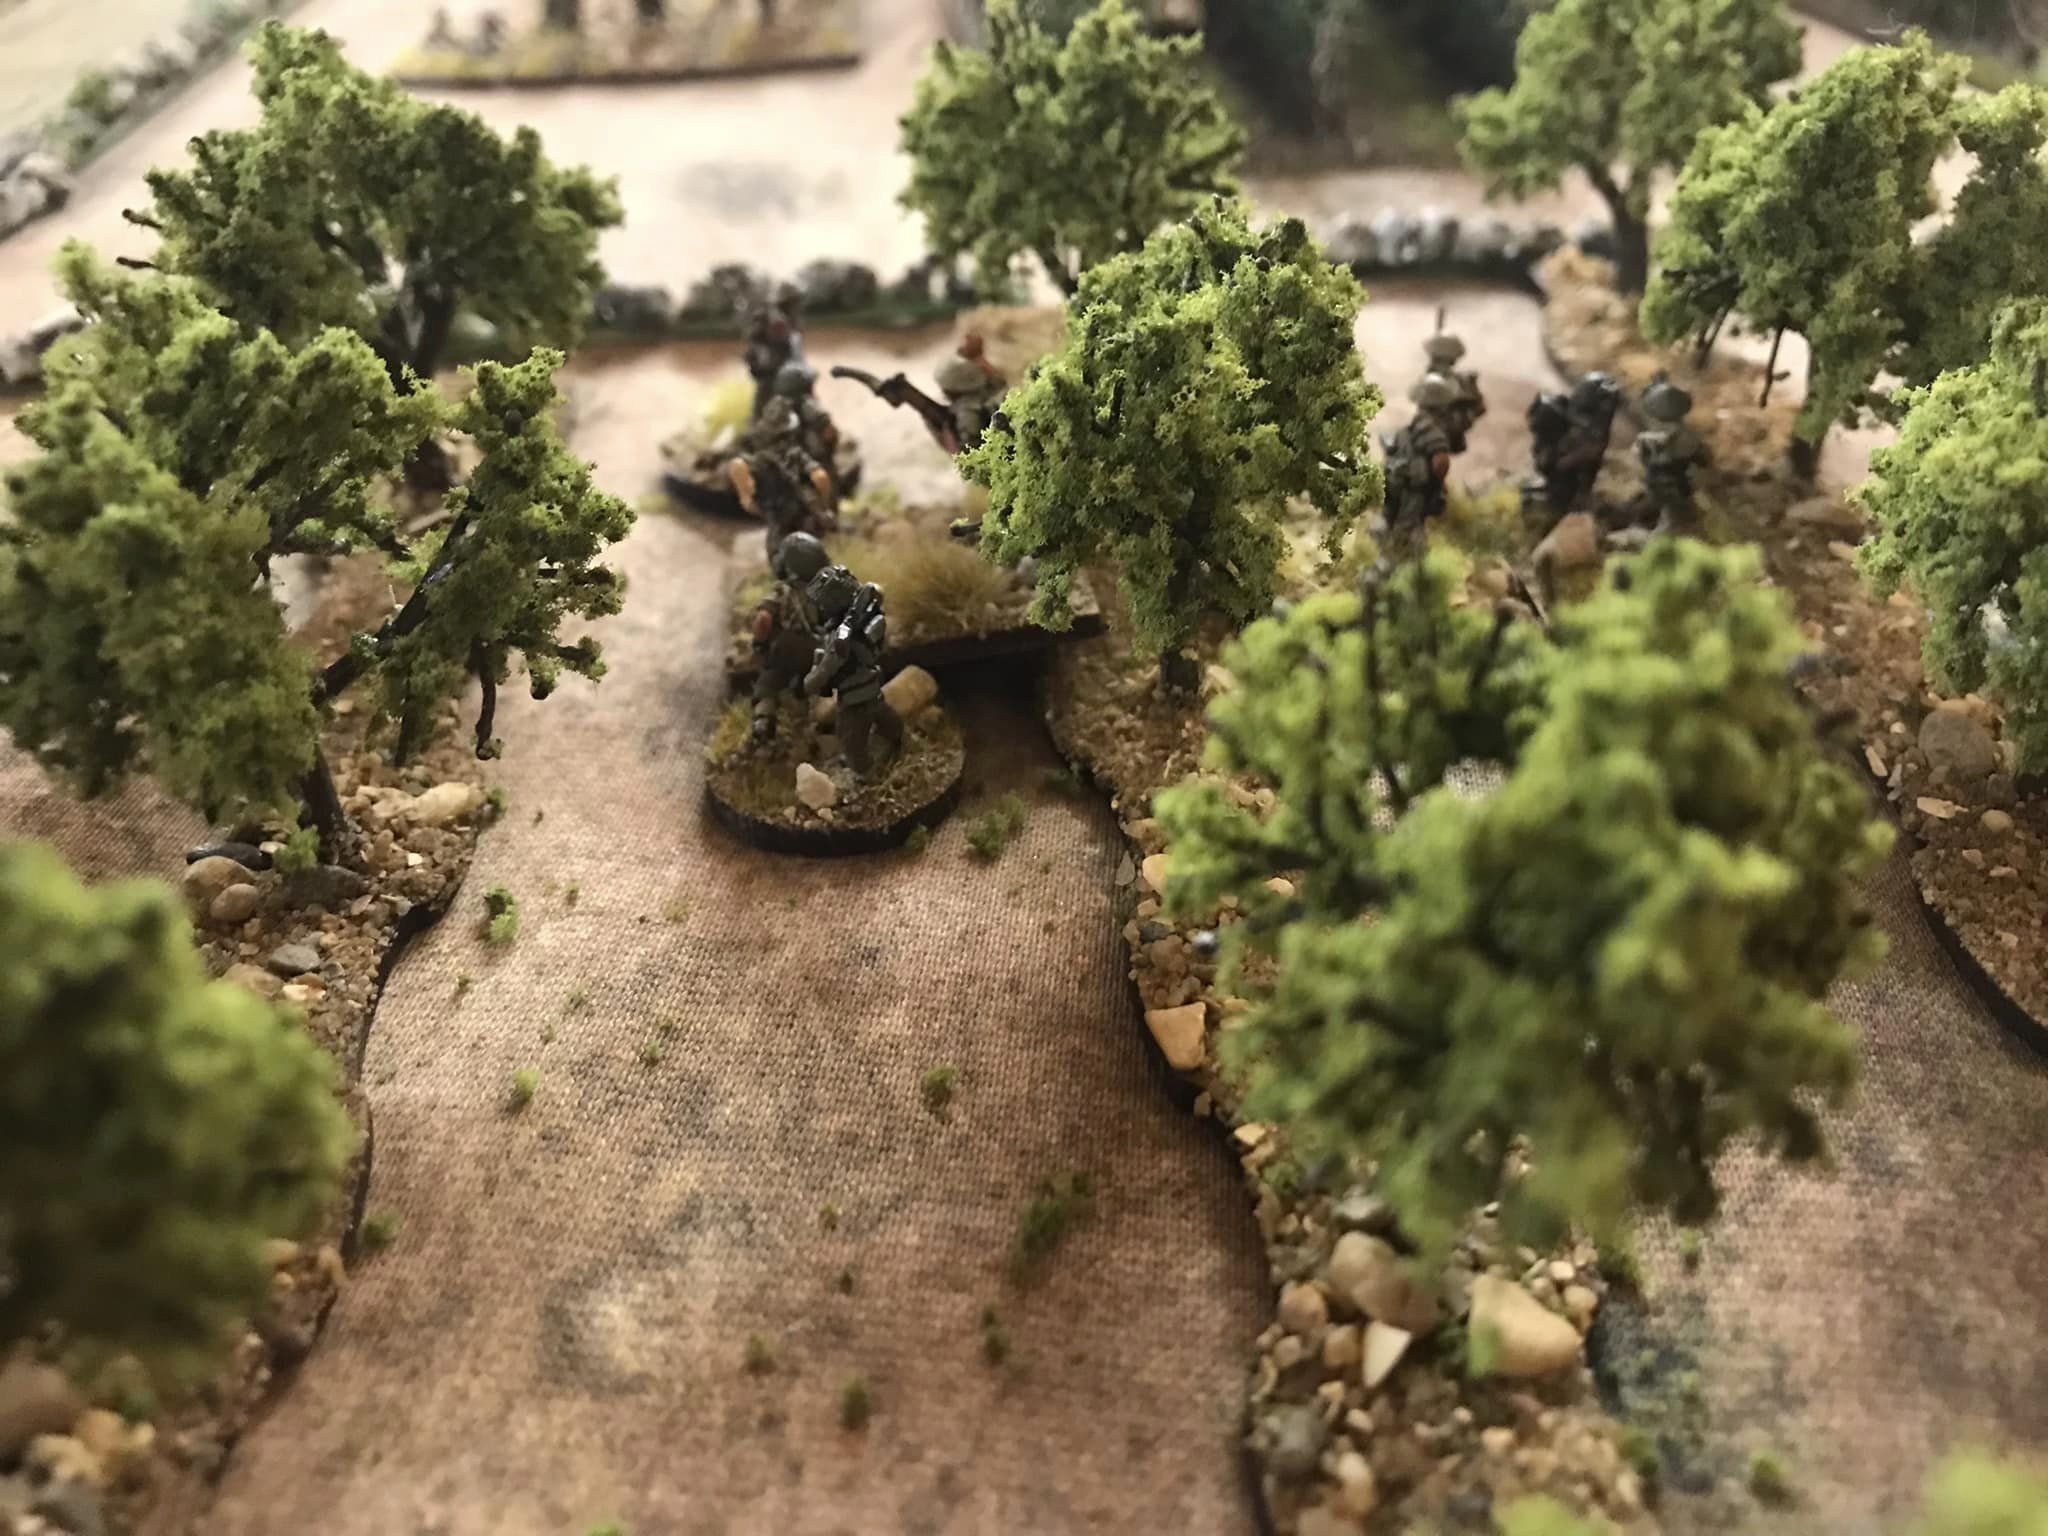
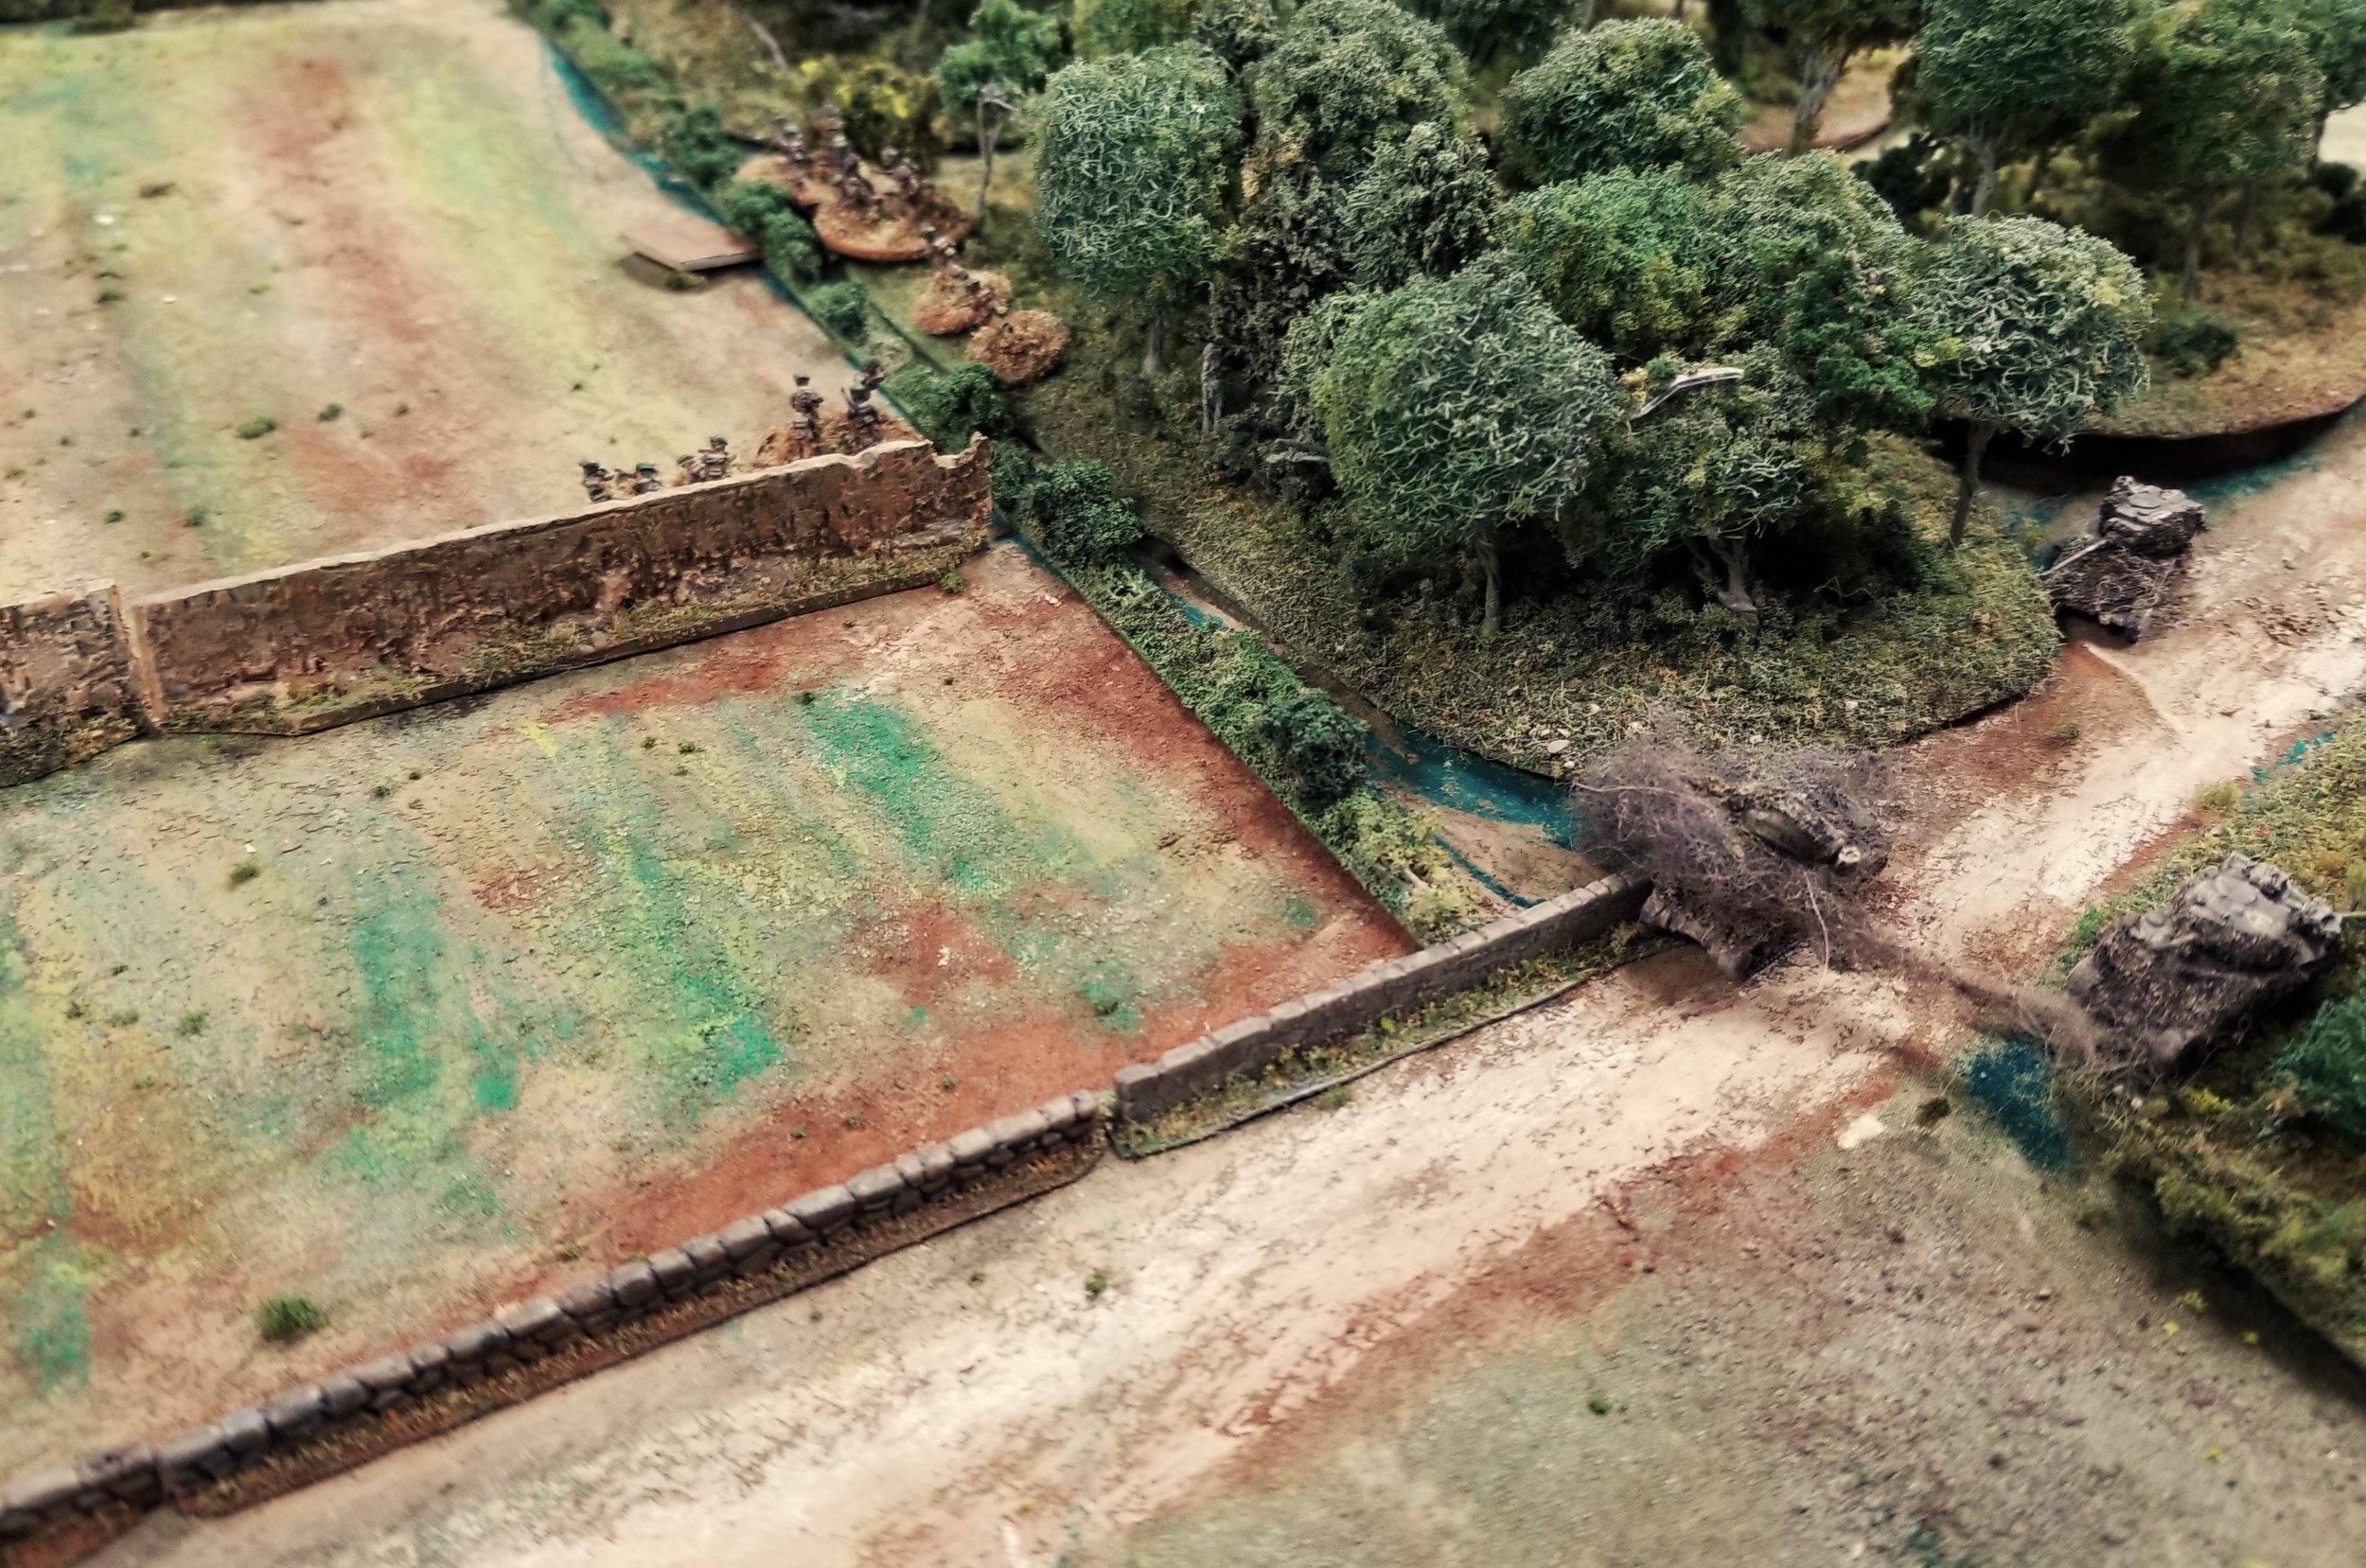
A short firefight ensued on the road while artillery exploded around both sides. The paratroopers, having dealt out some death, moved back to a gulley, giving them cover, and a route to the center of the board.

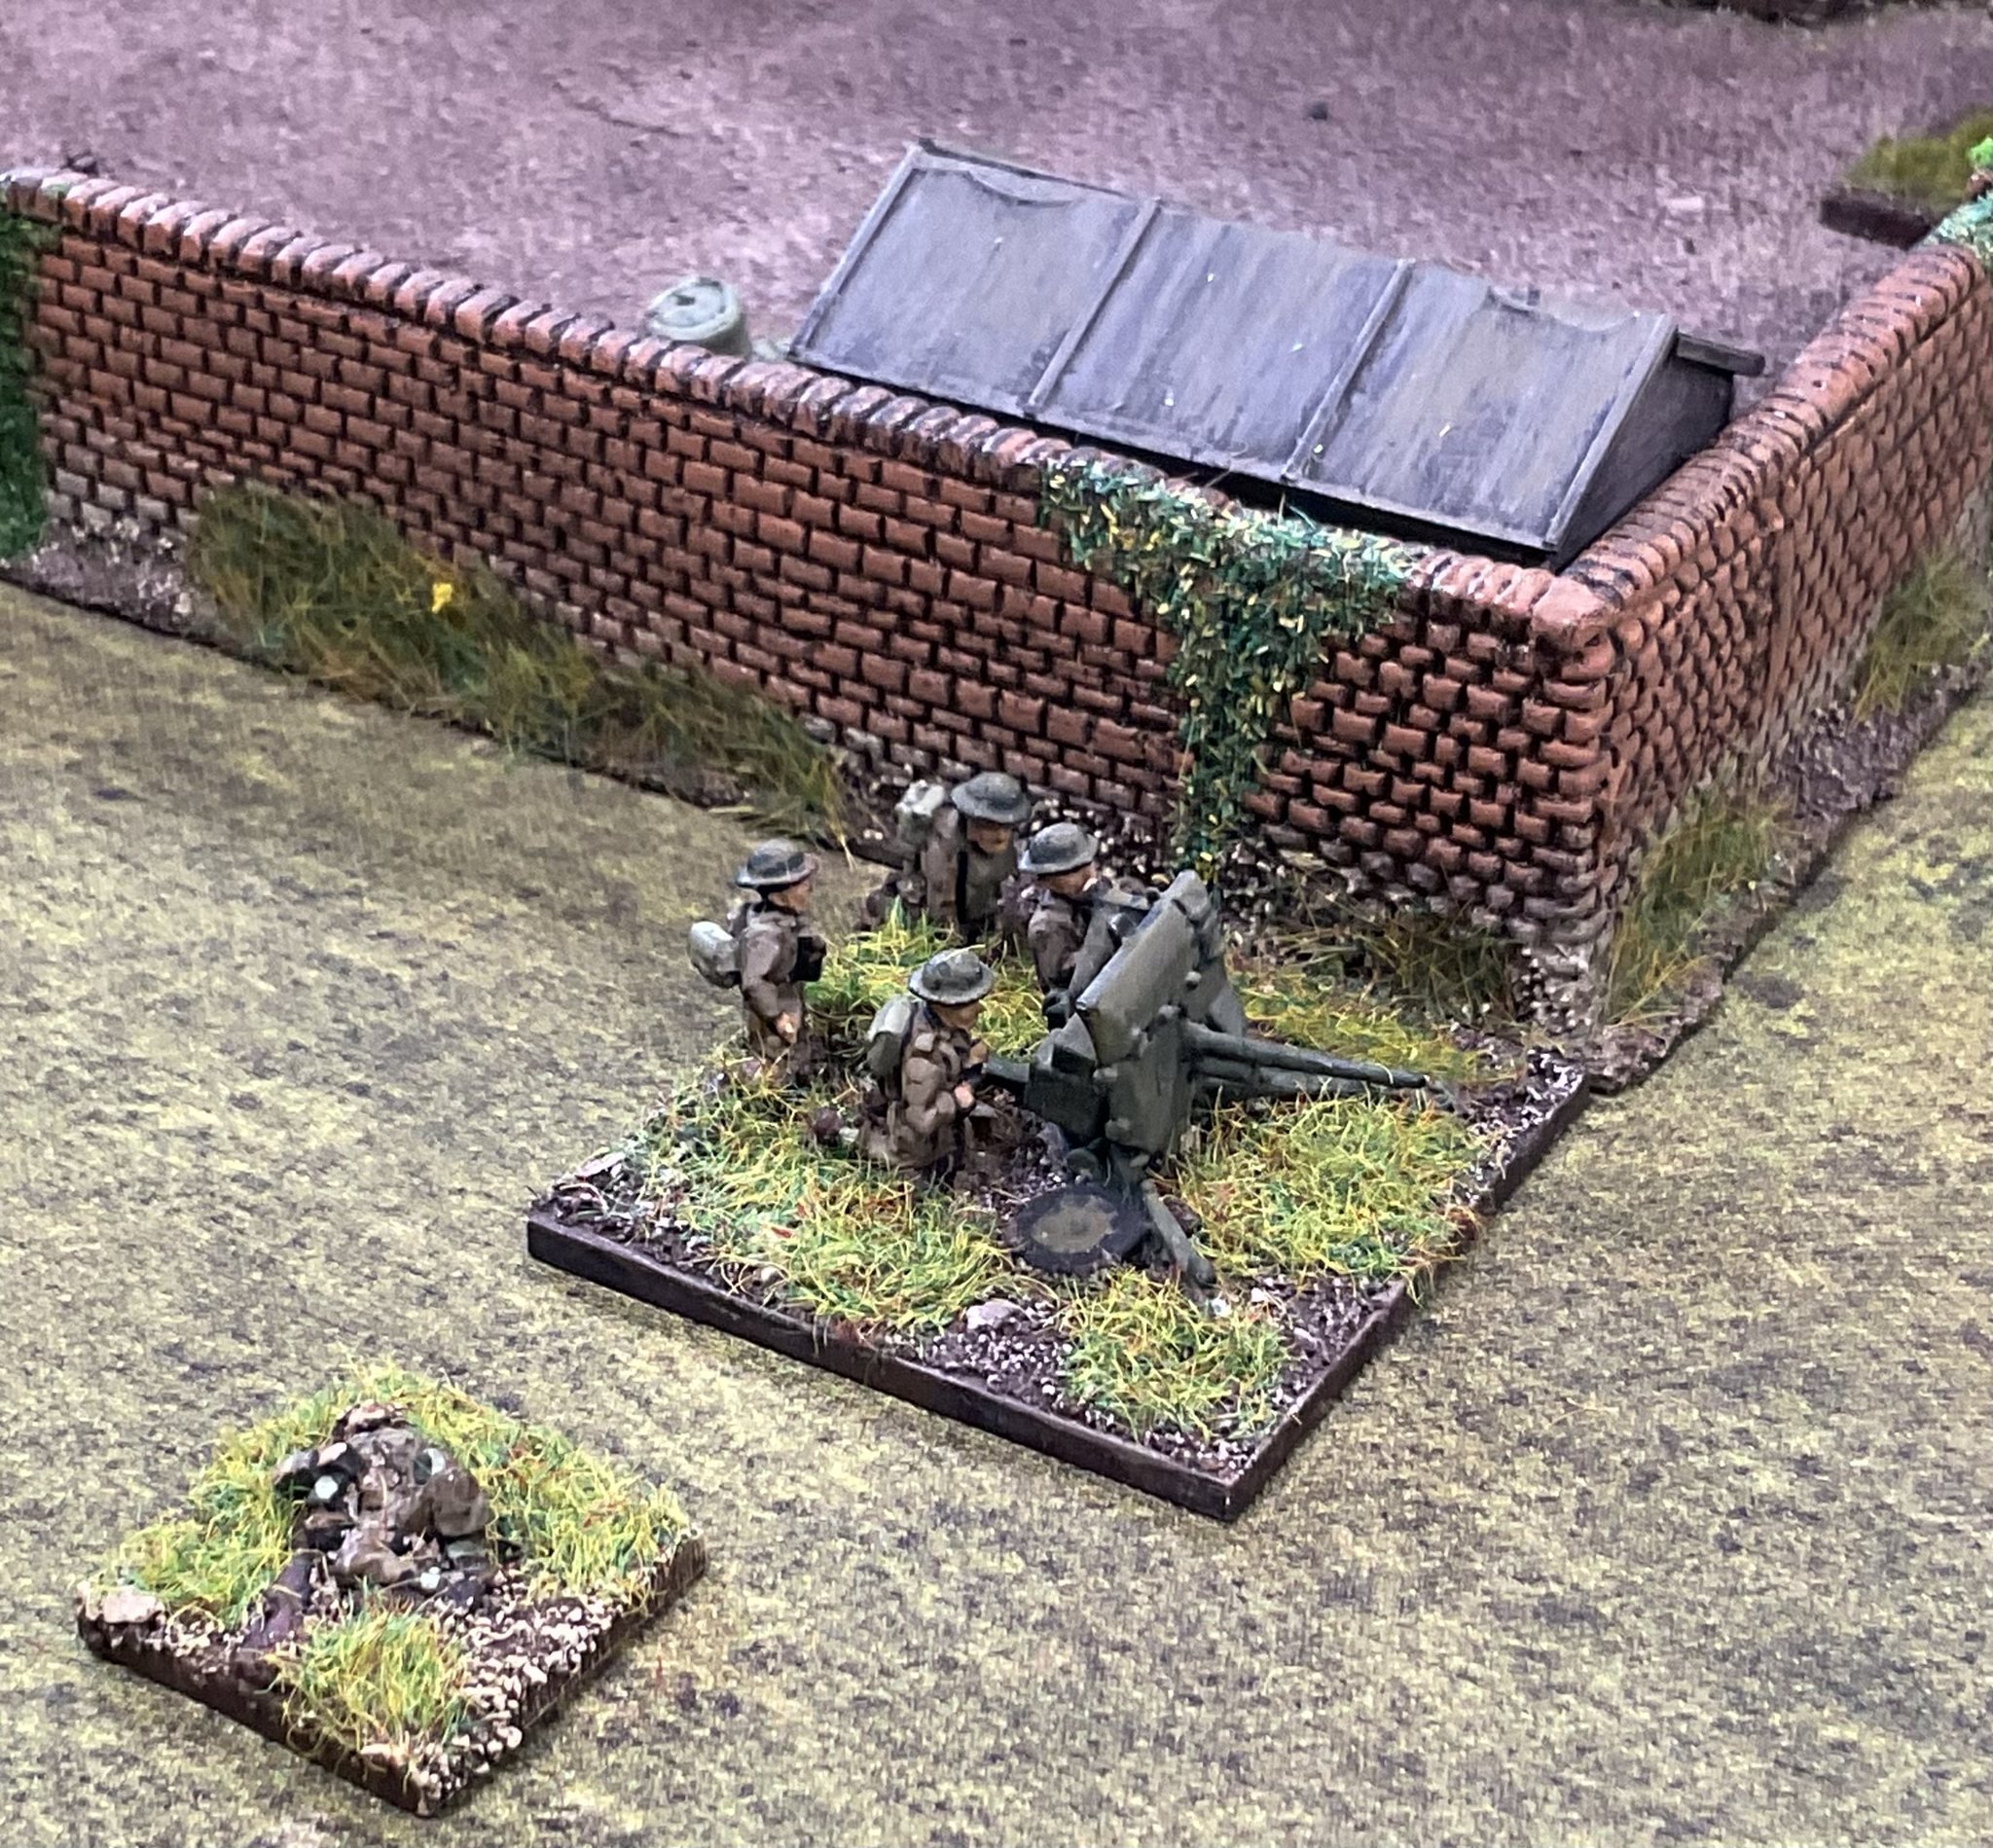
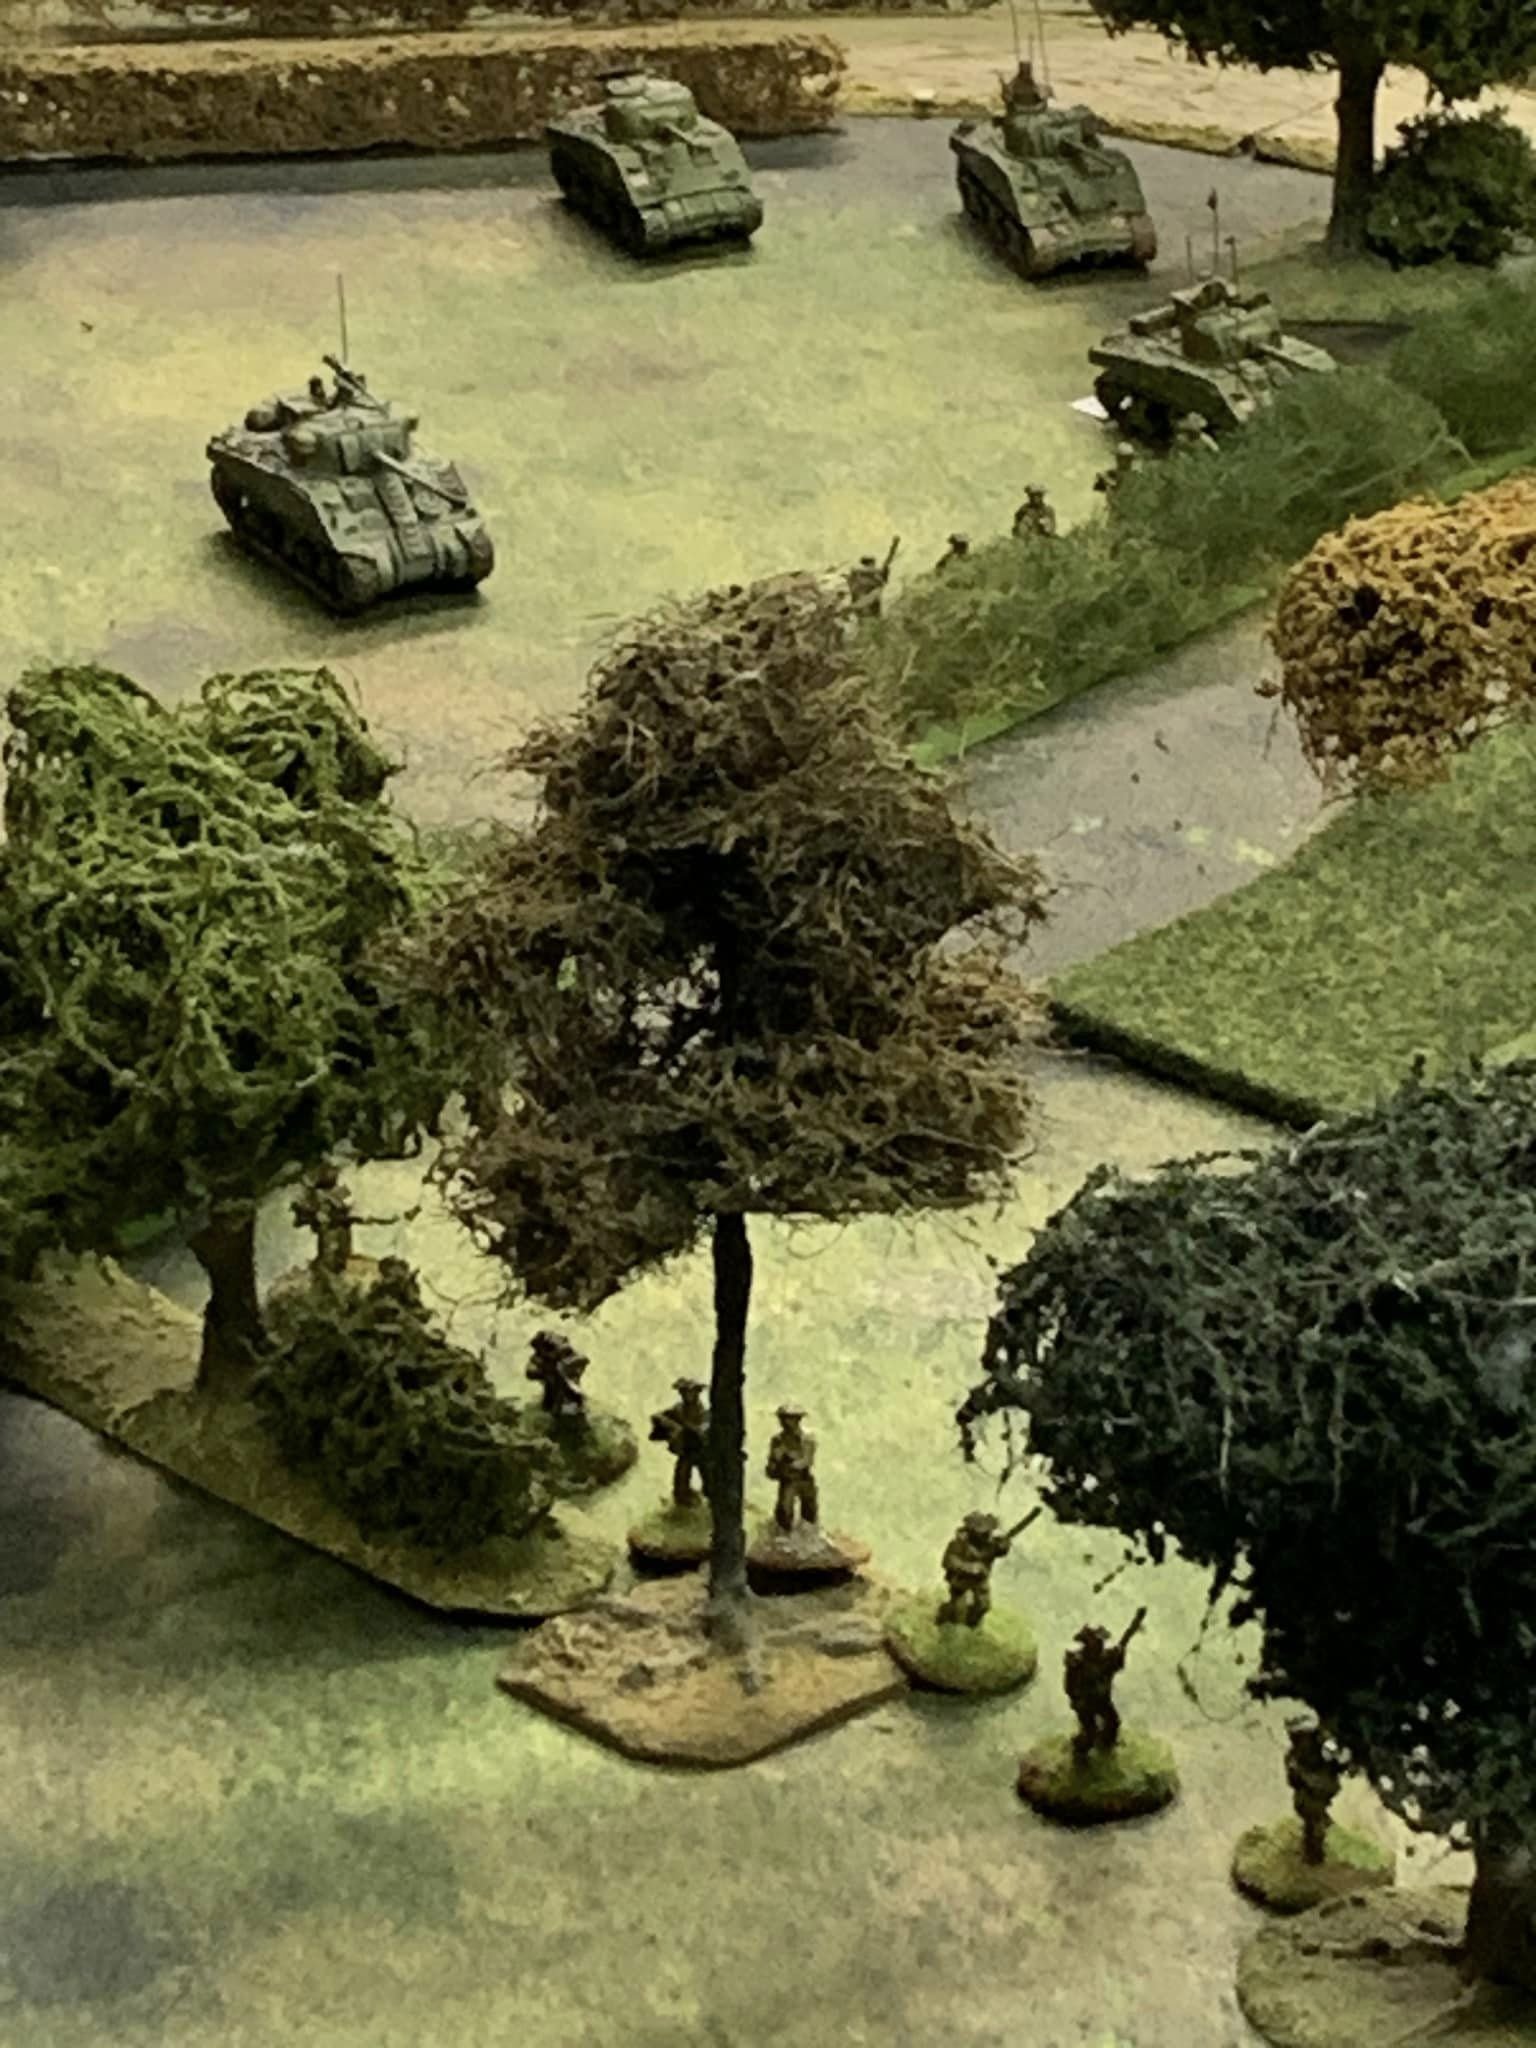
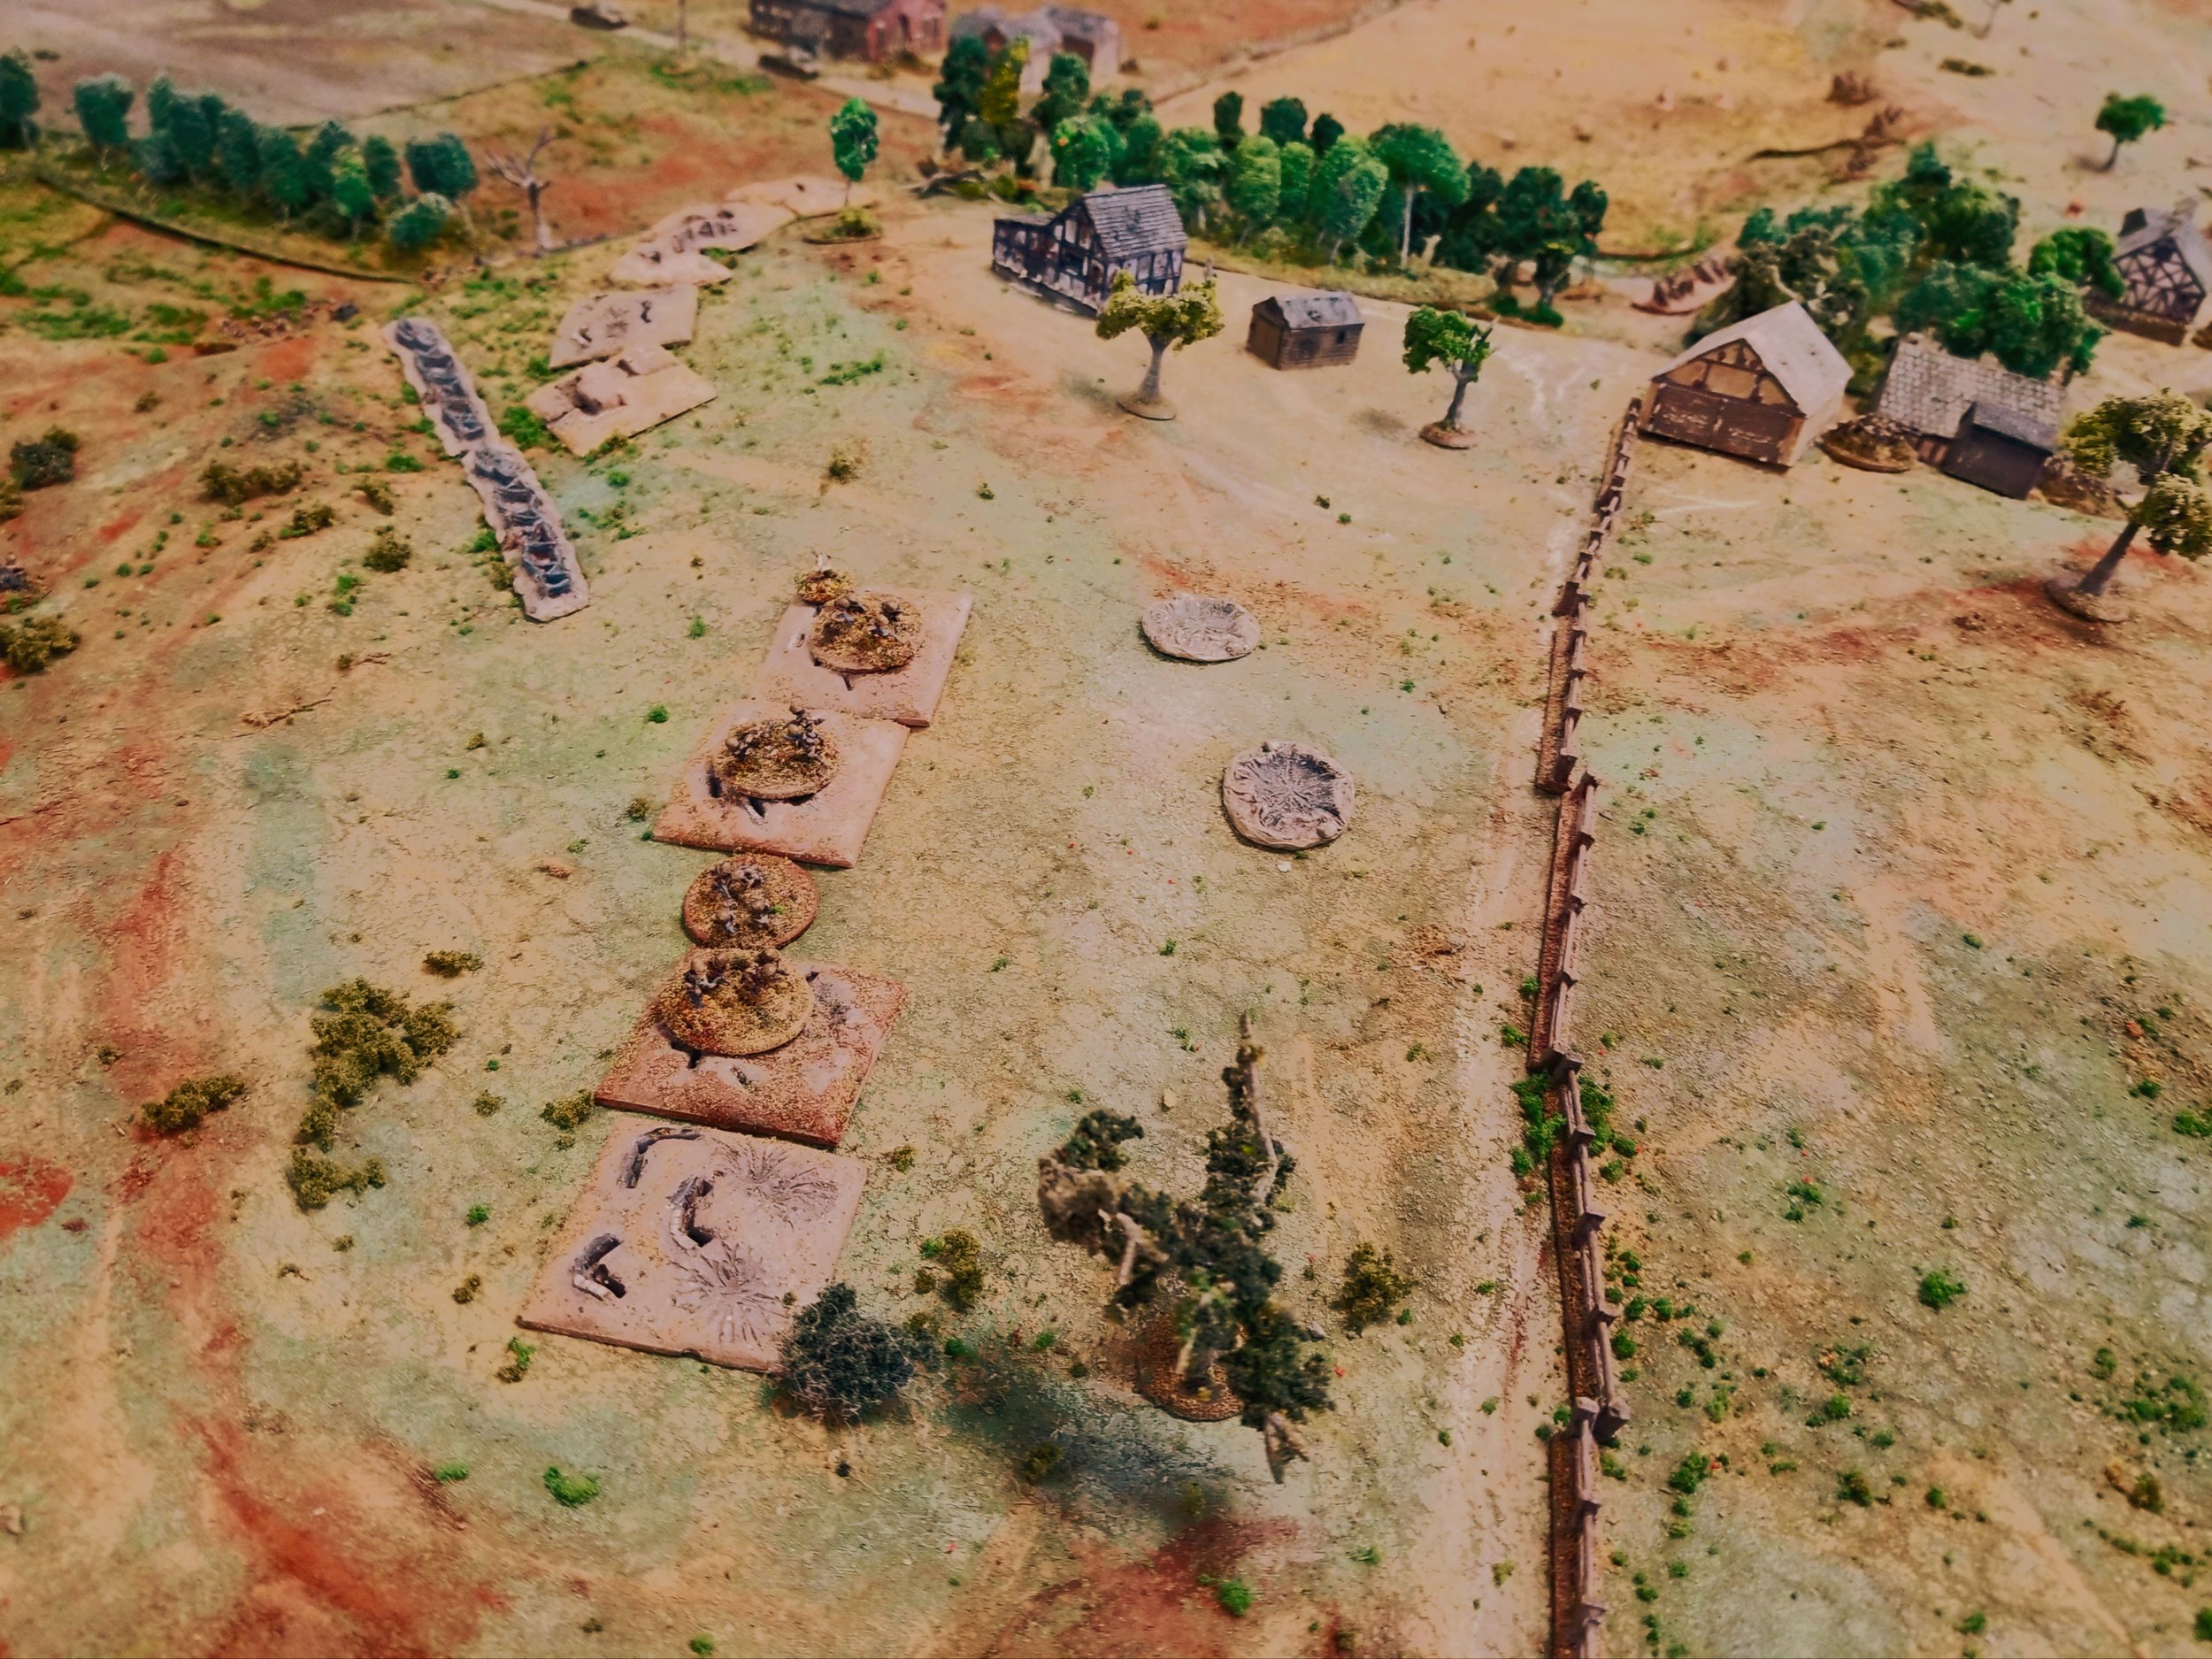
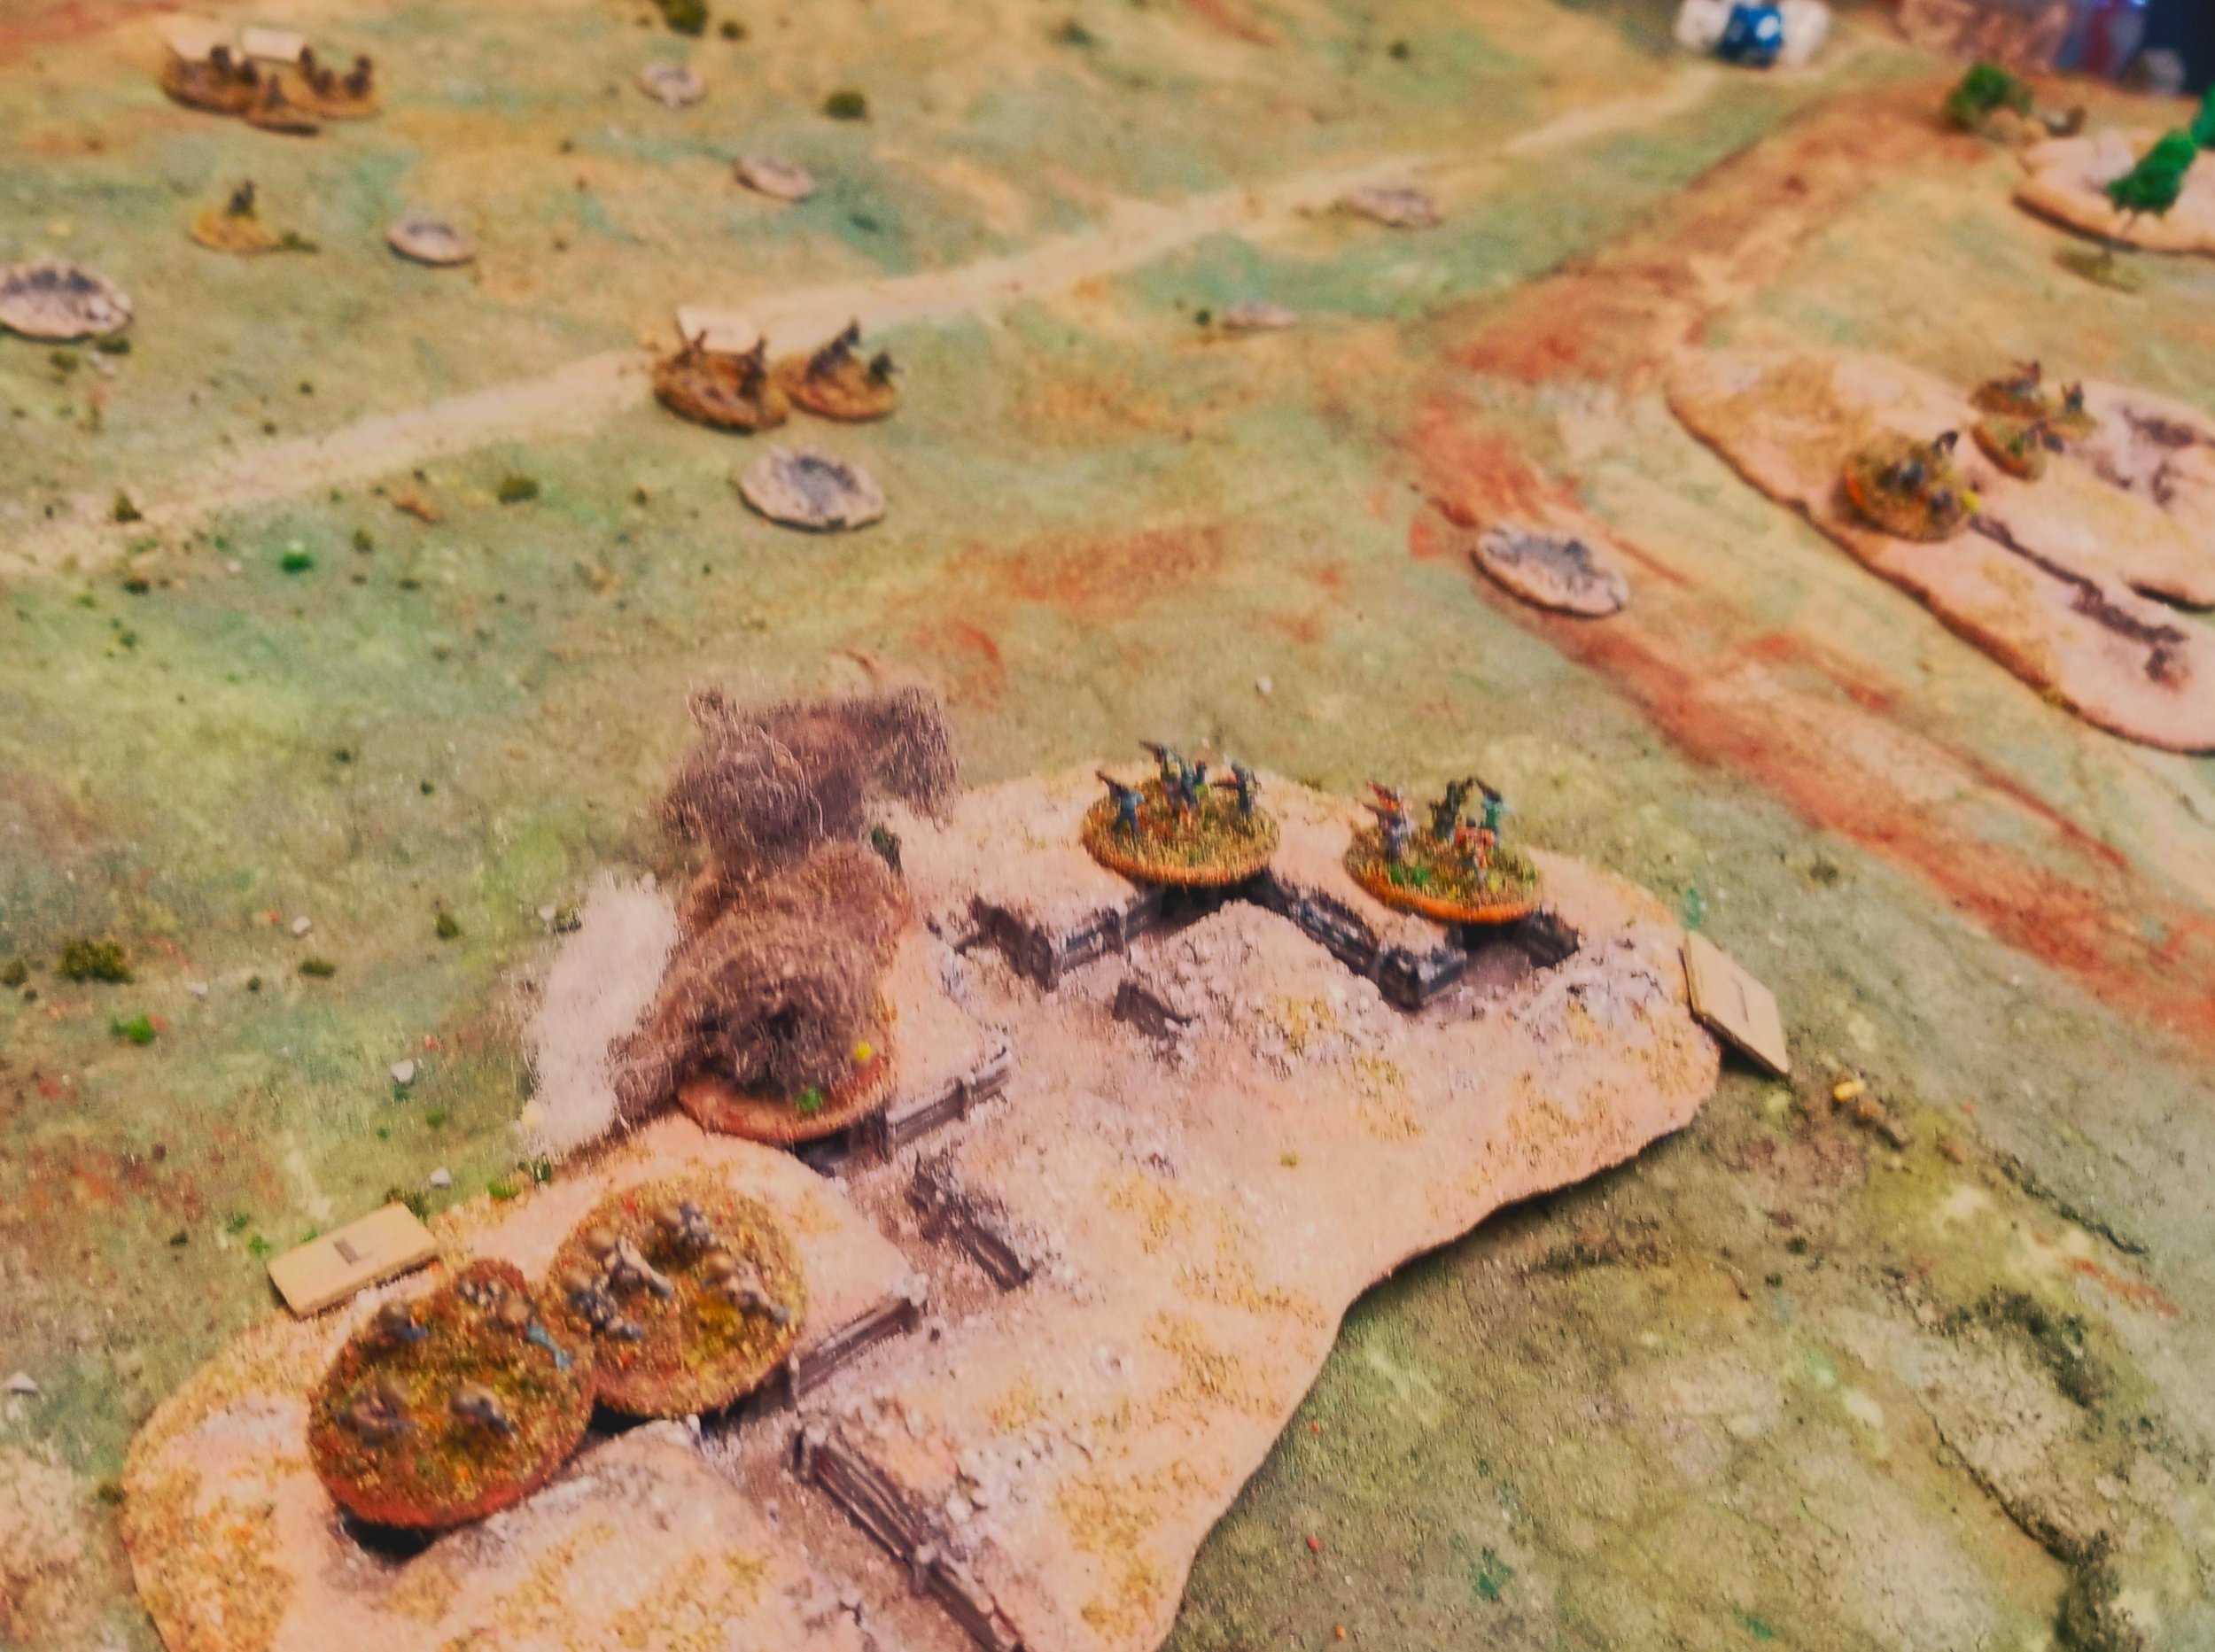
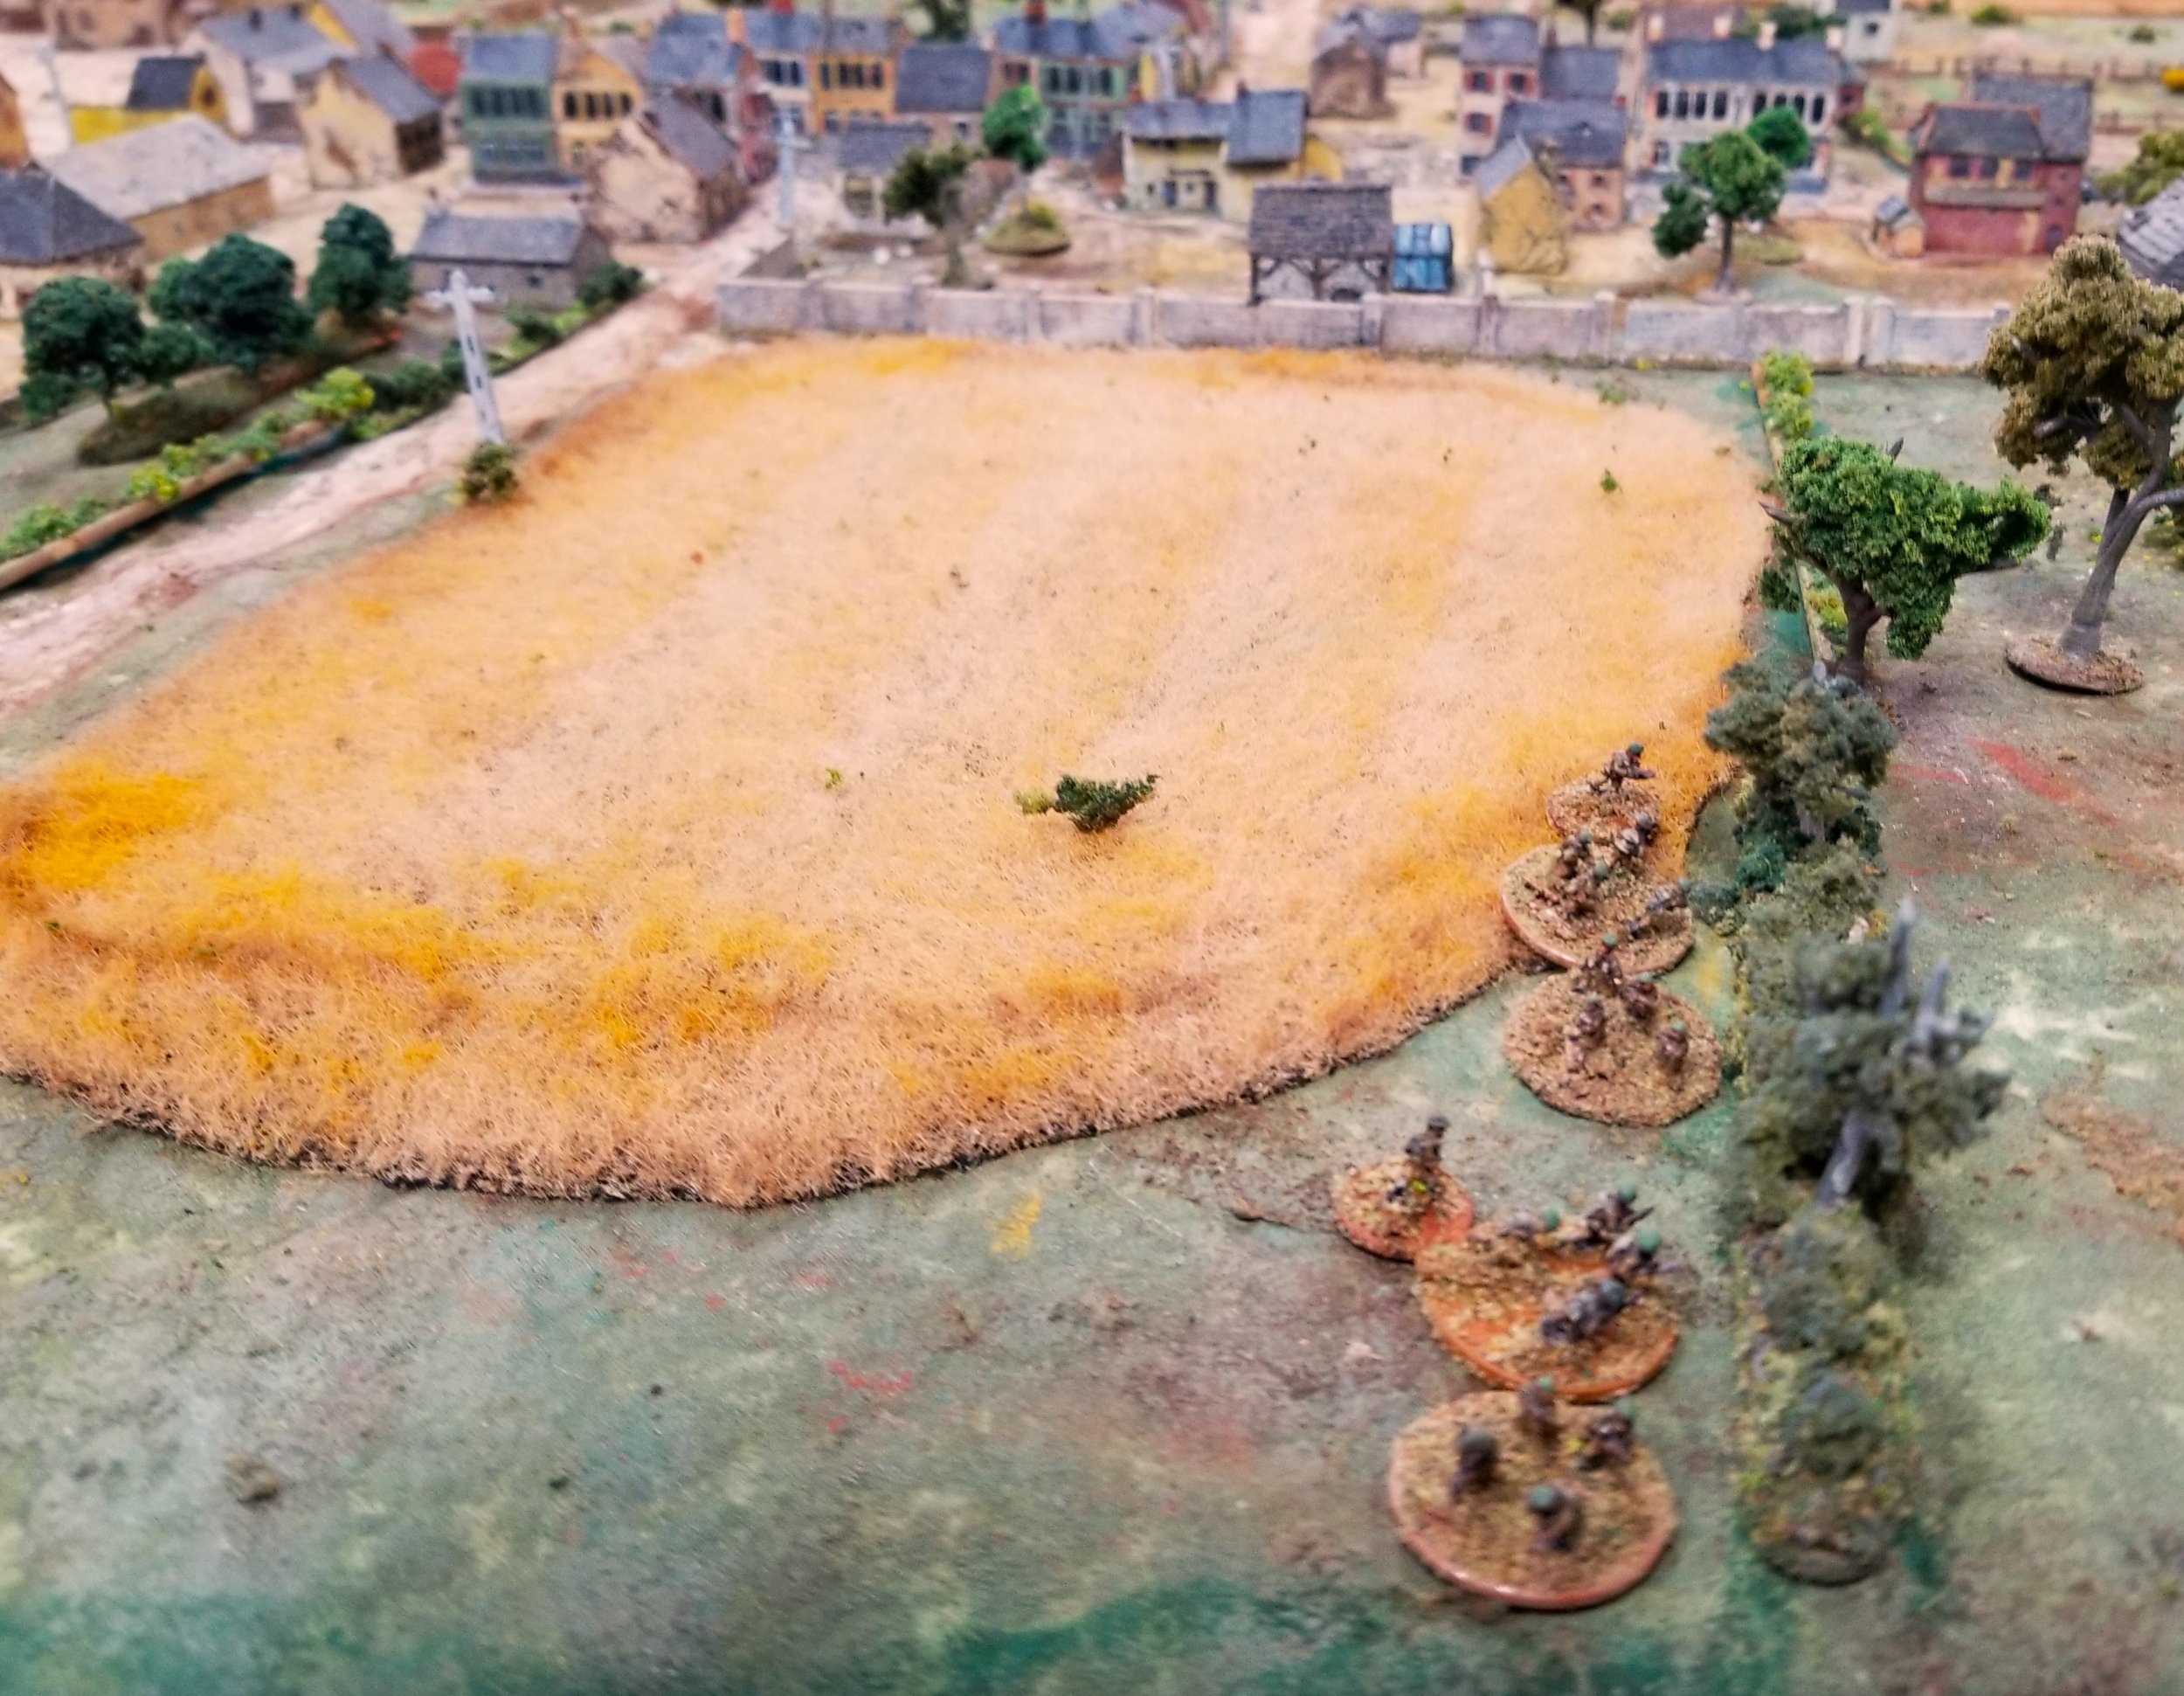
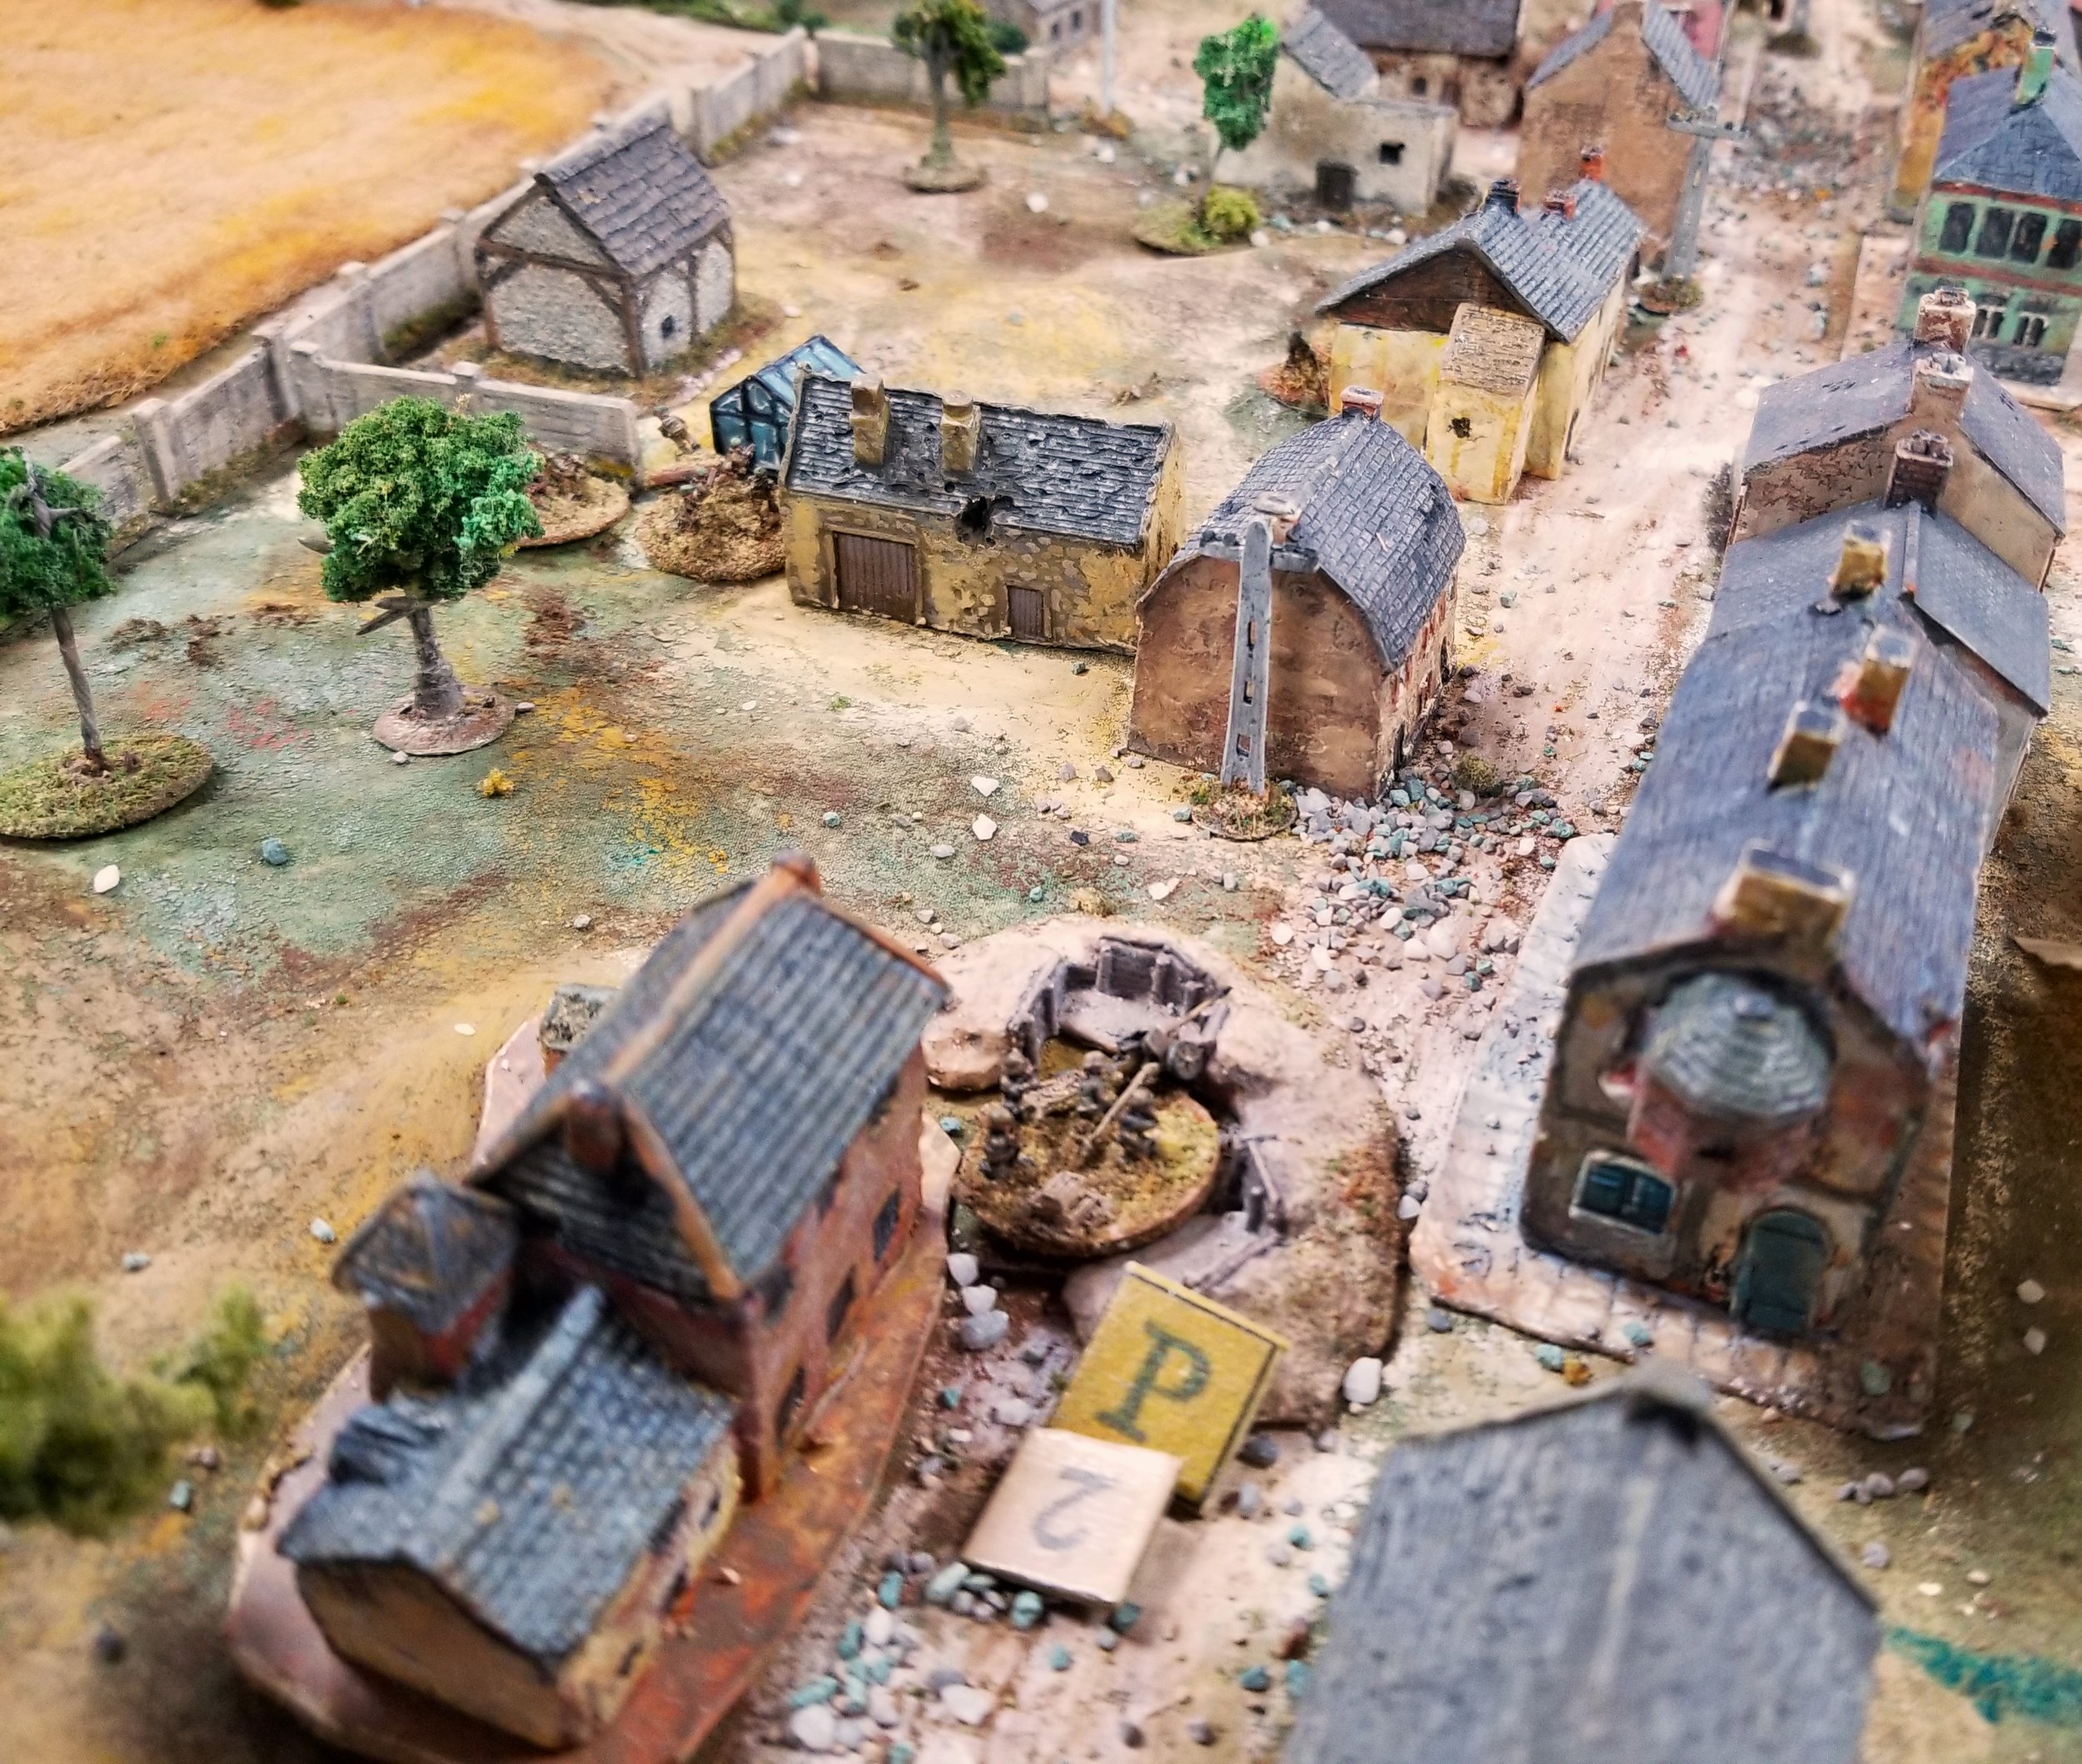
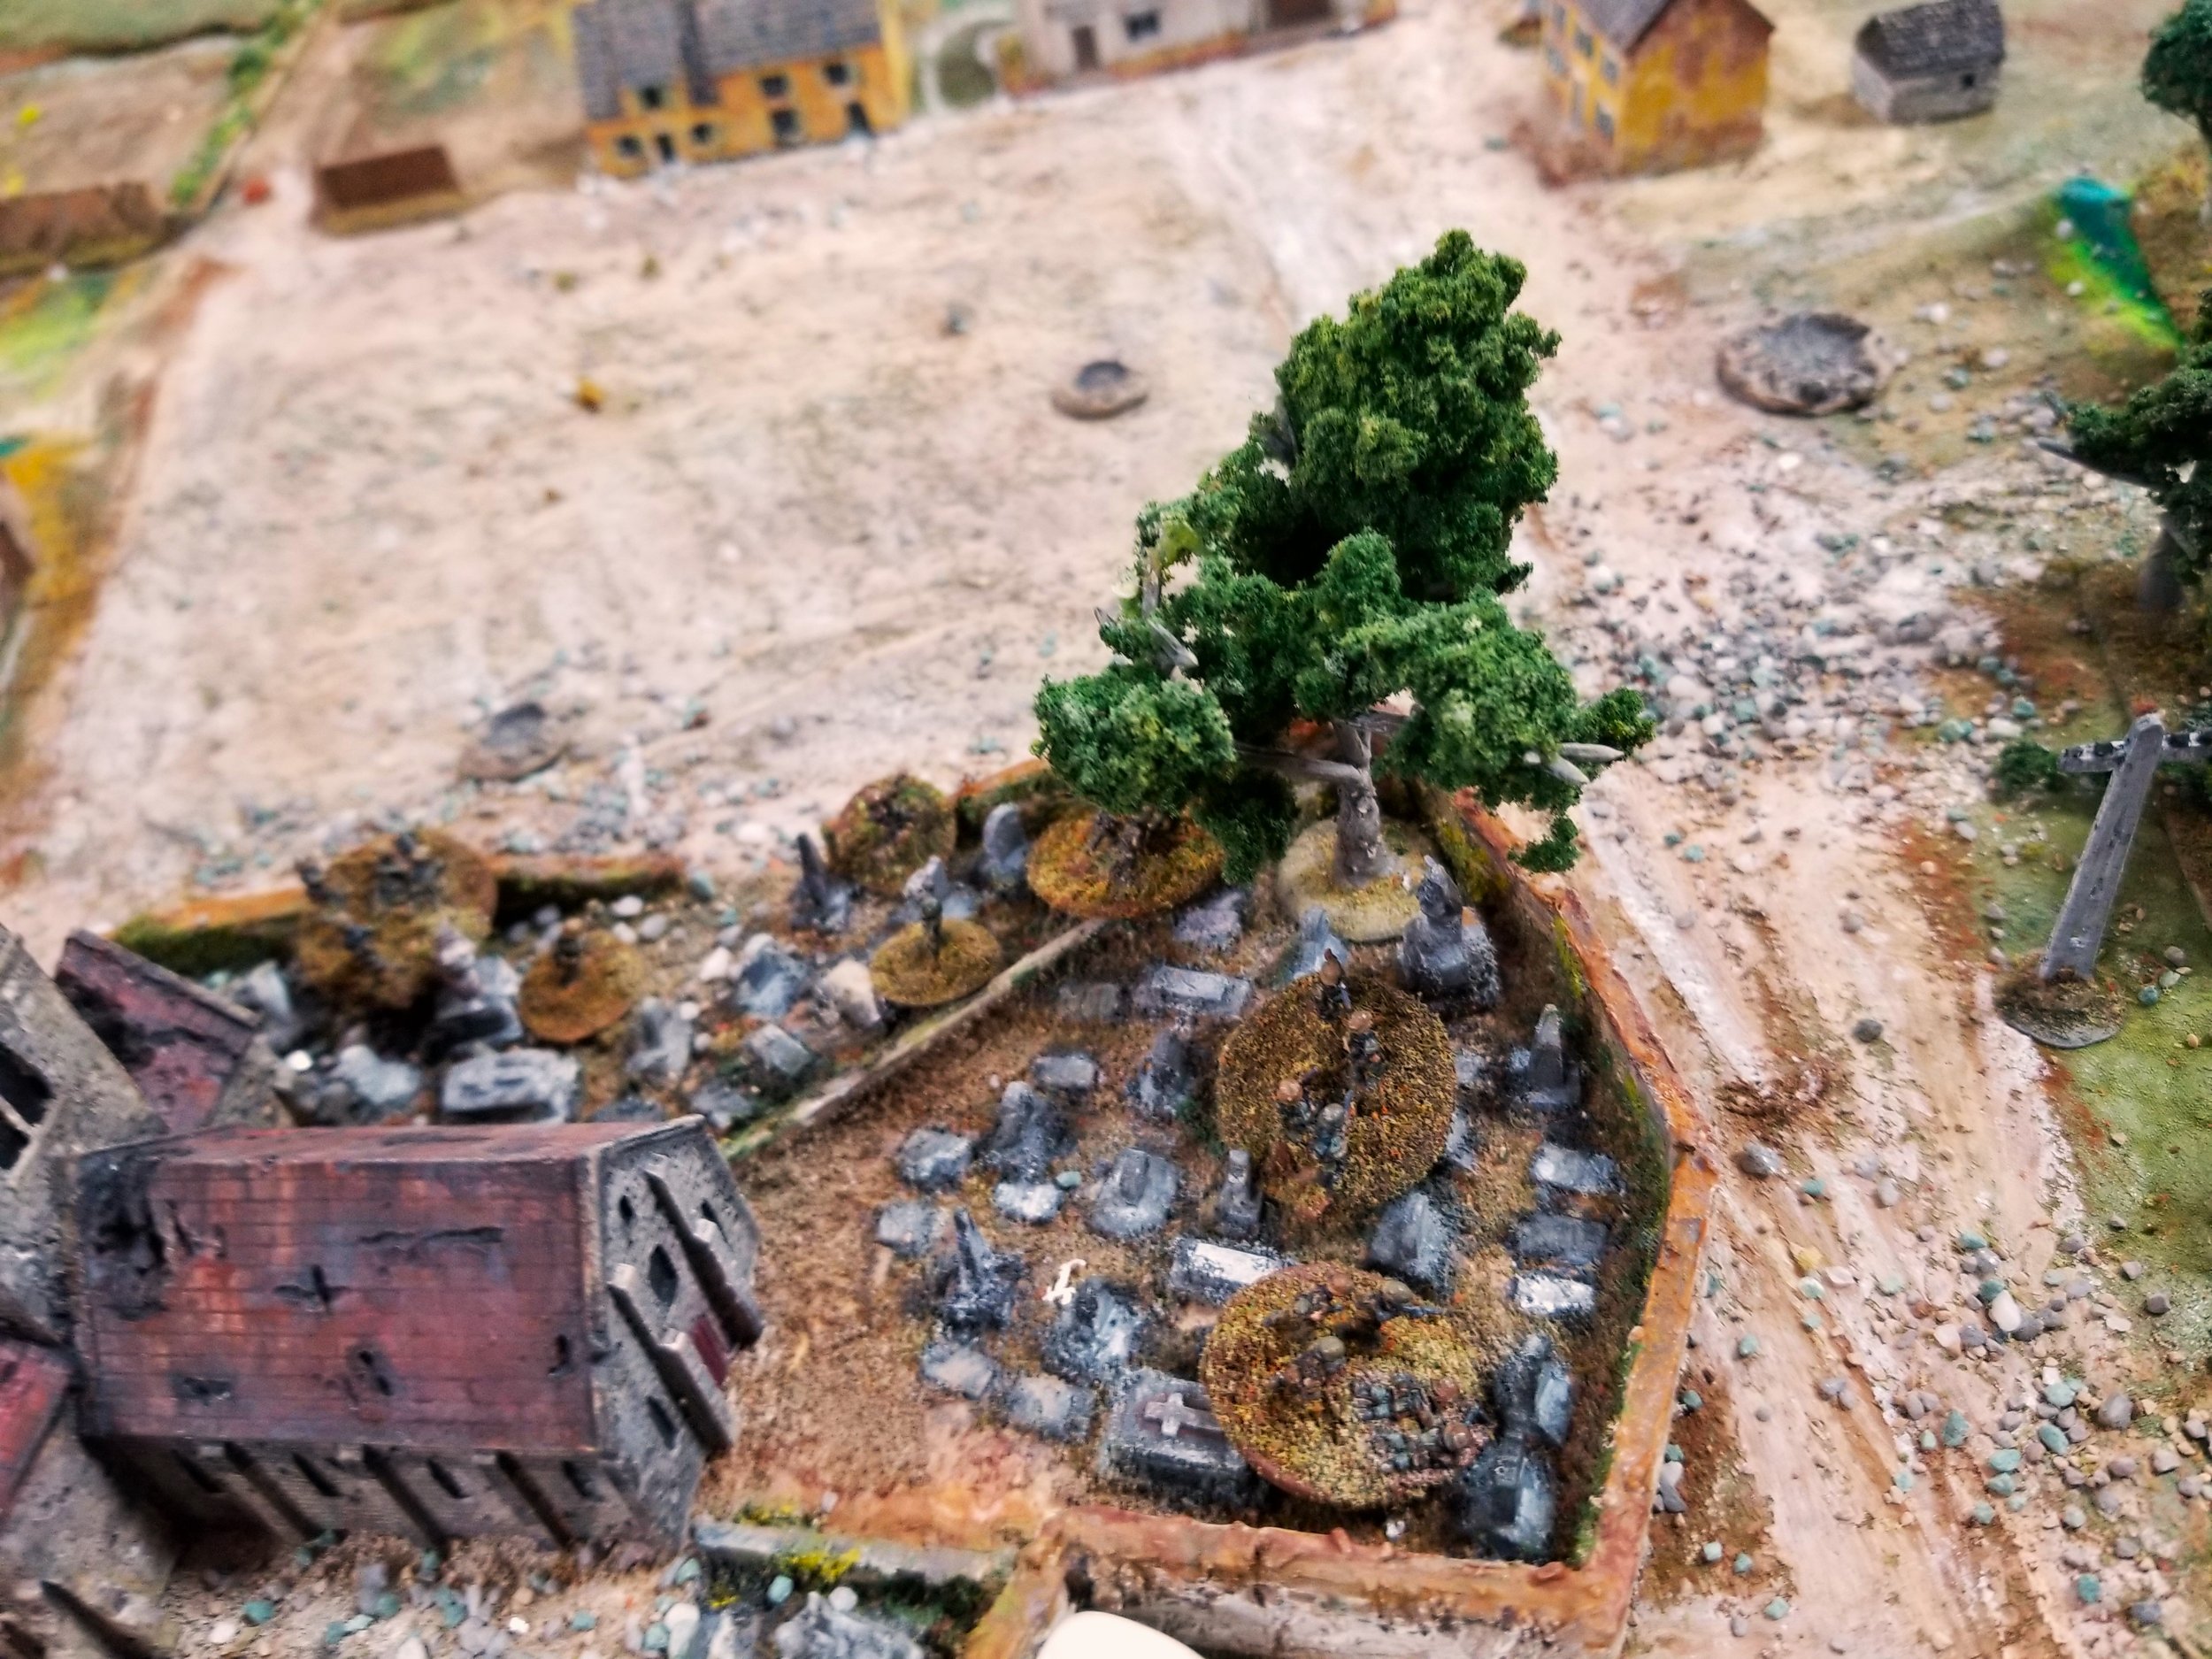
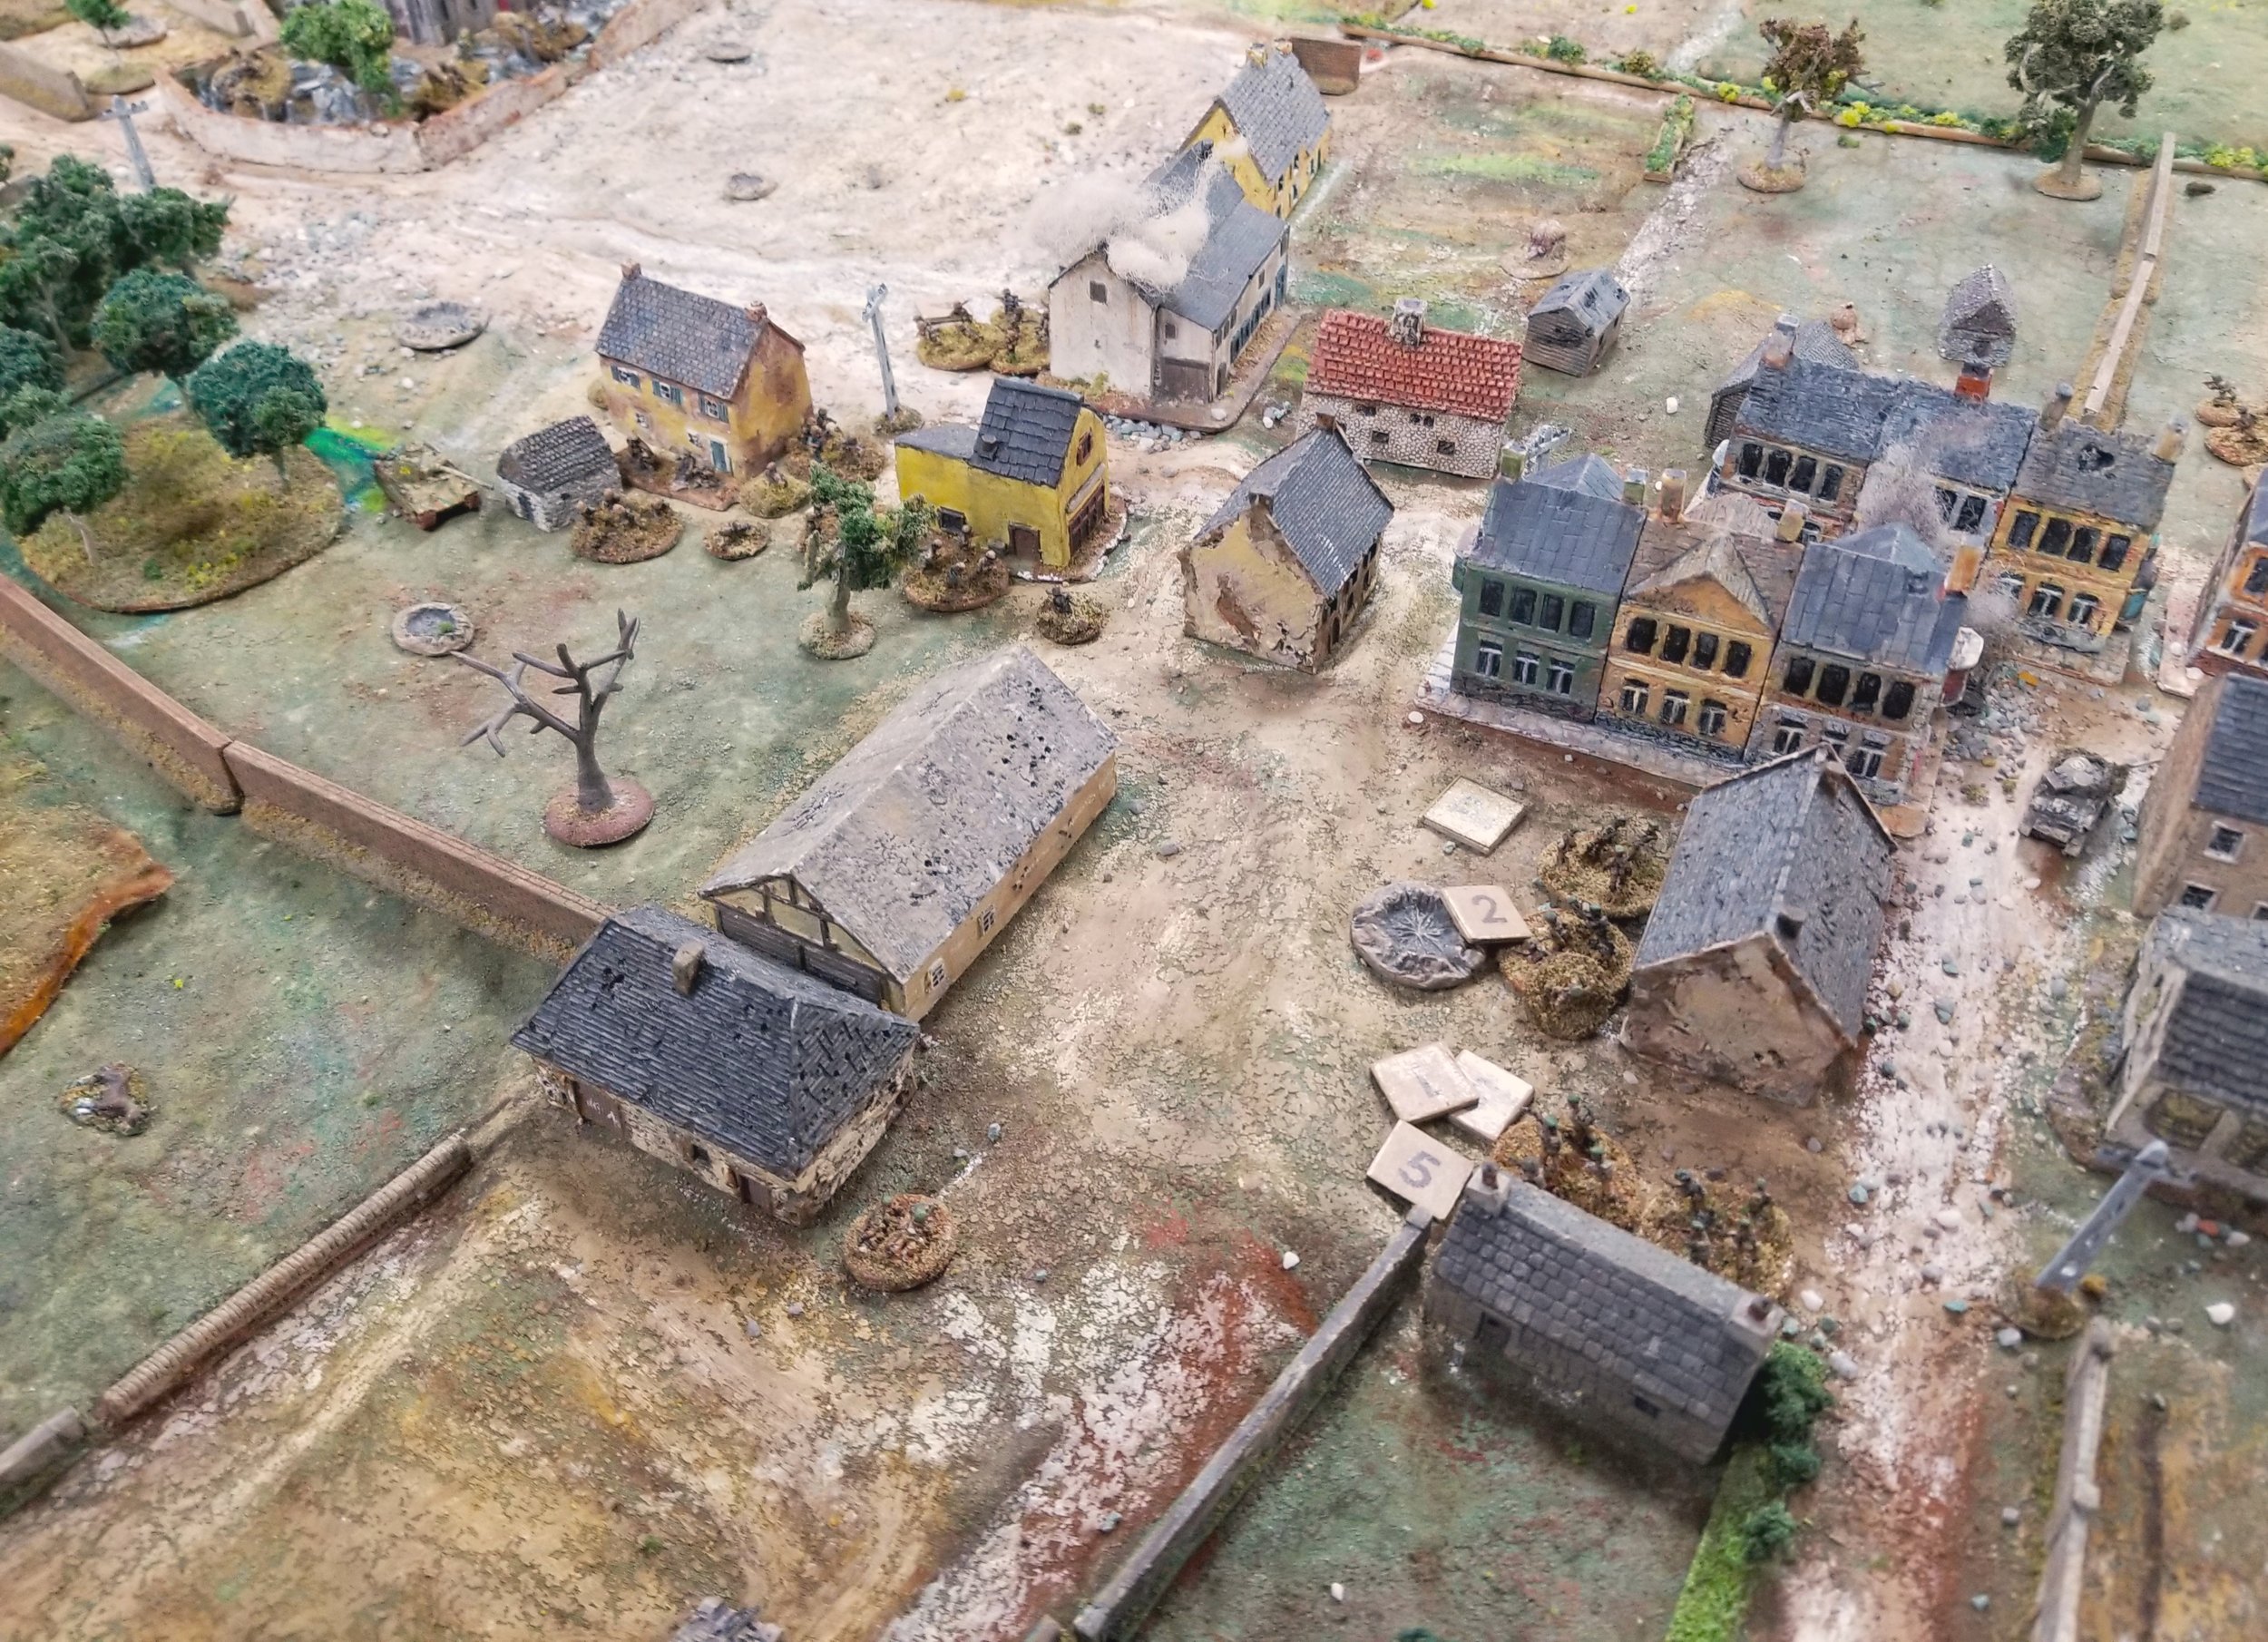
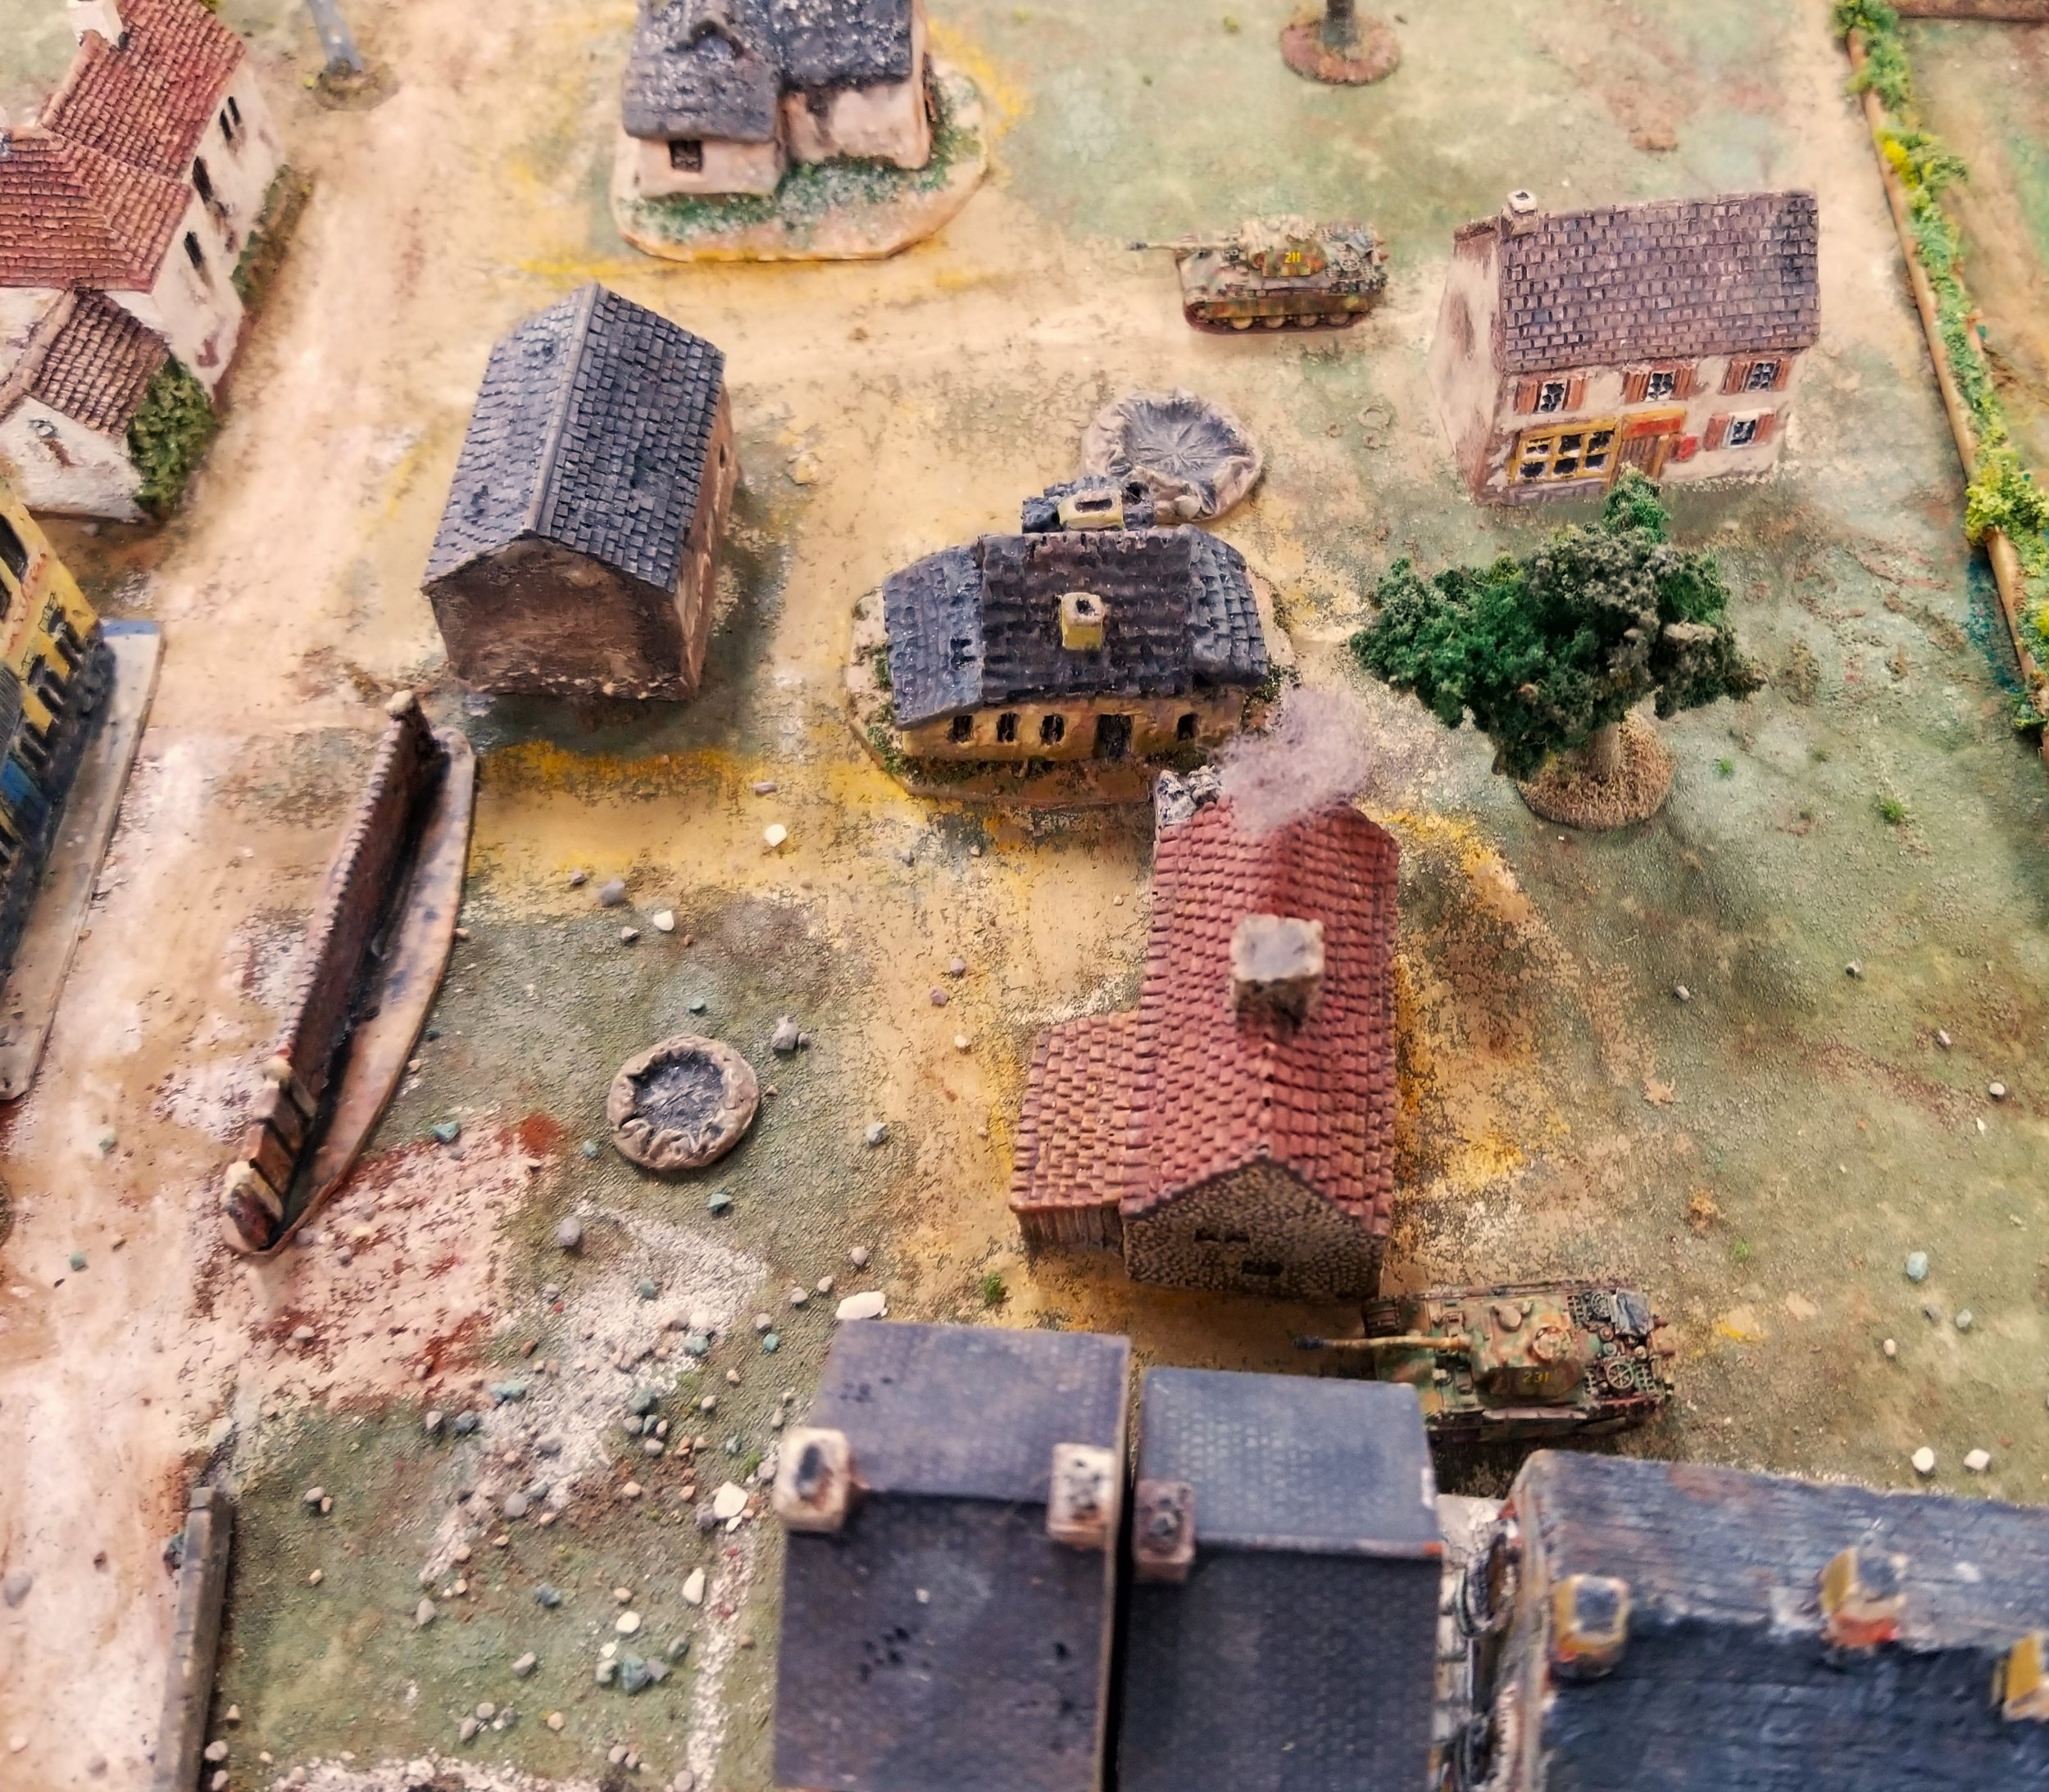
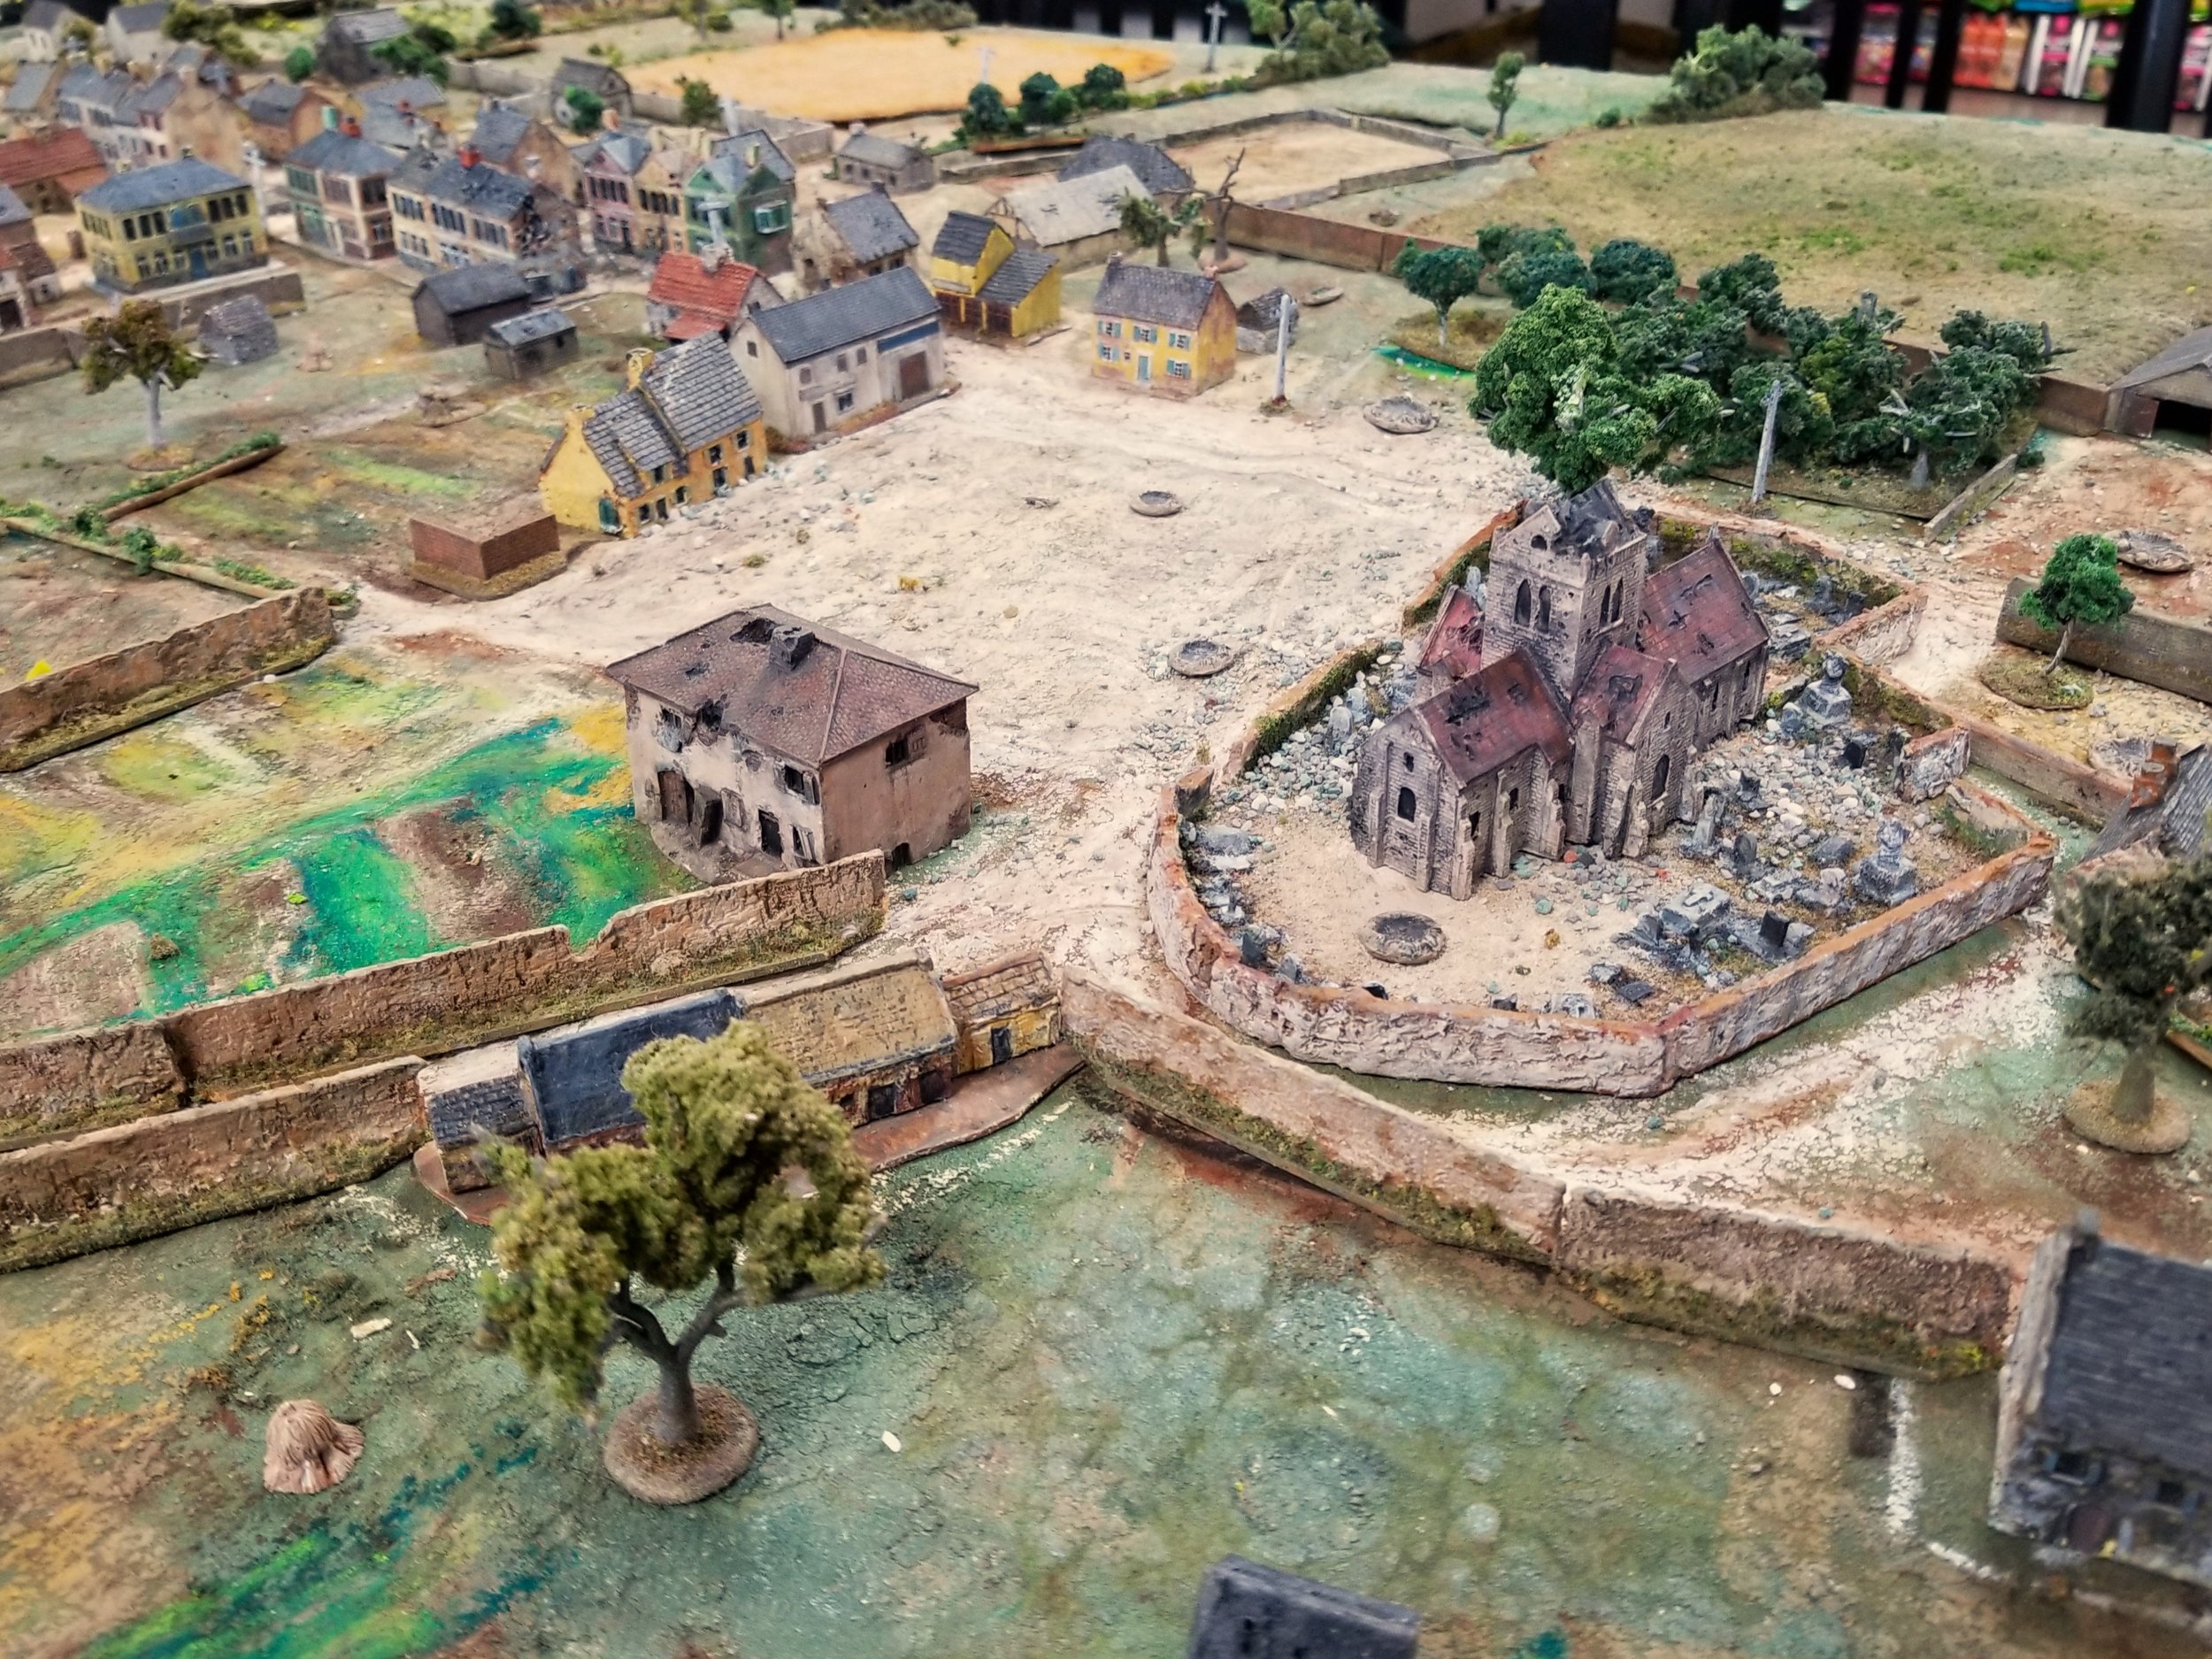
We kept advancing our tanks, keeping an eye on the top of the hill. Our infantry, to their left, arrived by truck atop the hill. Dismounting, they attacked the end of the trench line. Upon entering the trench, they were immediately hit by the buzz saw of a hidden machine gun nest, quickly halting that advance.

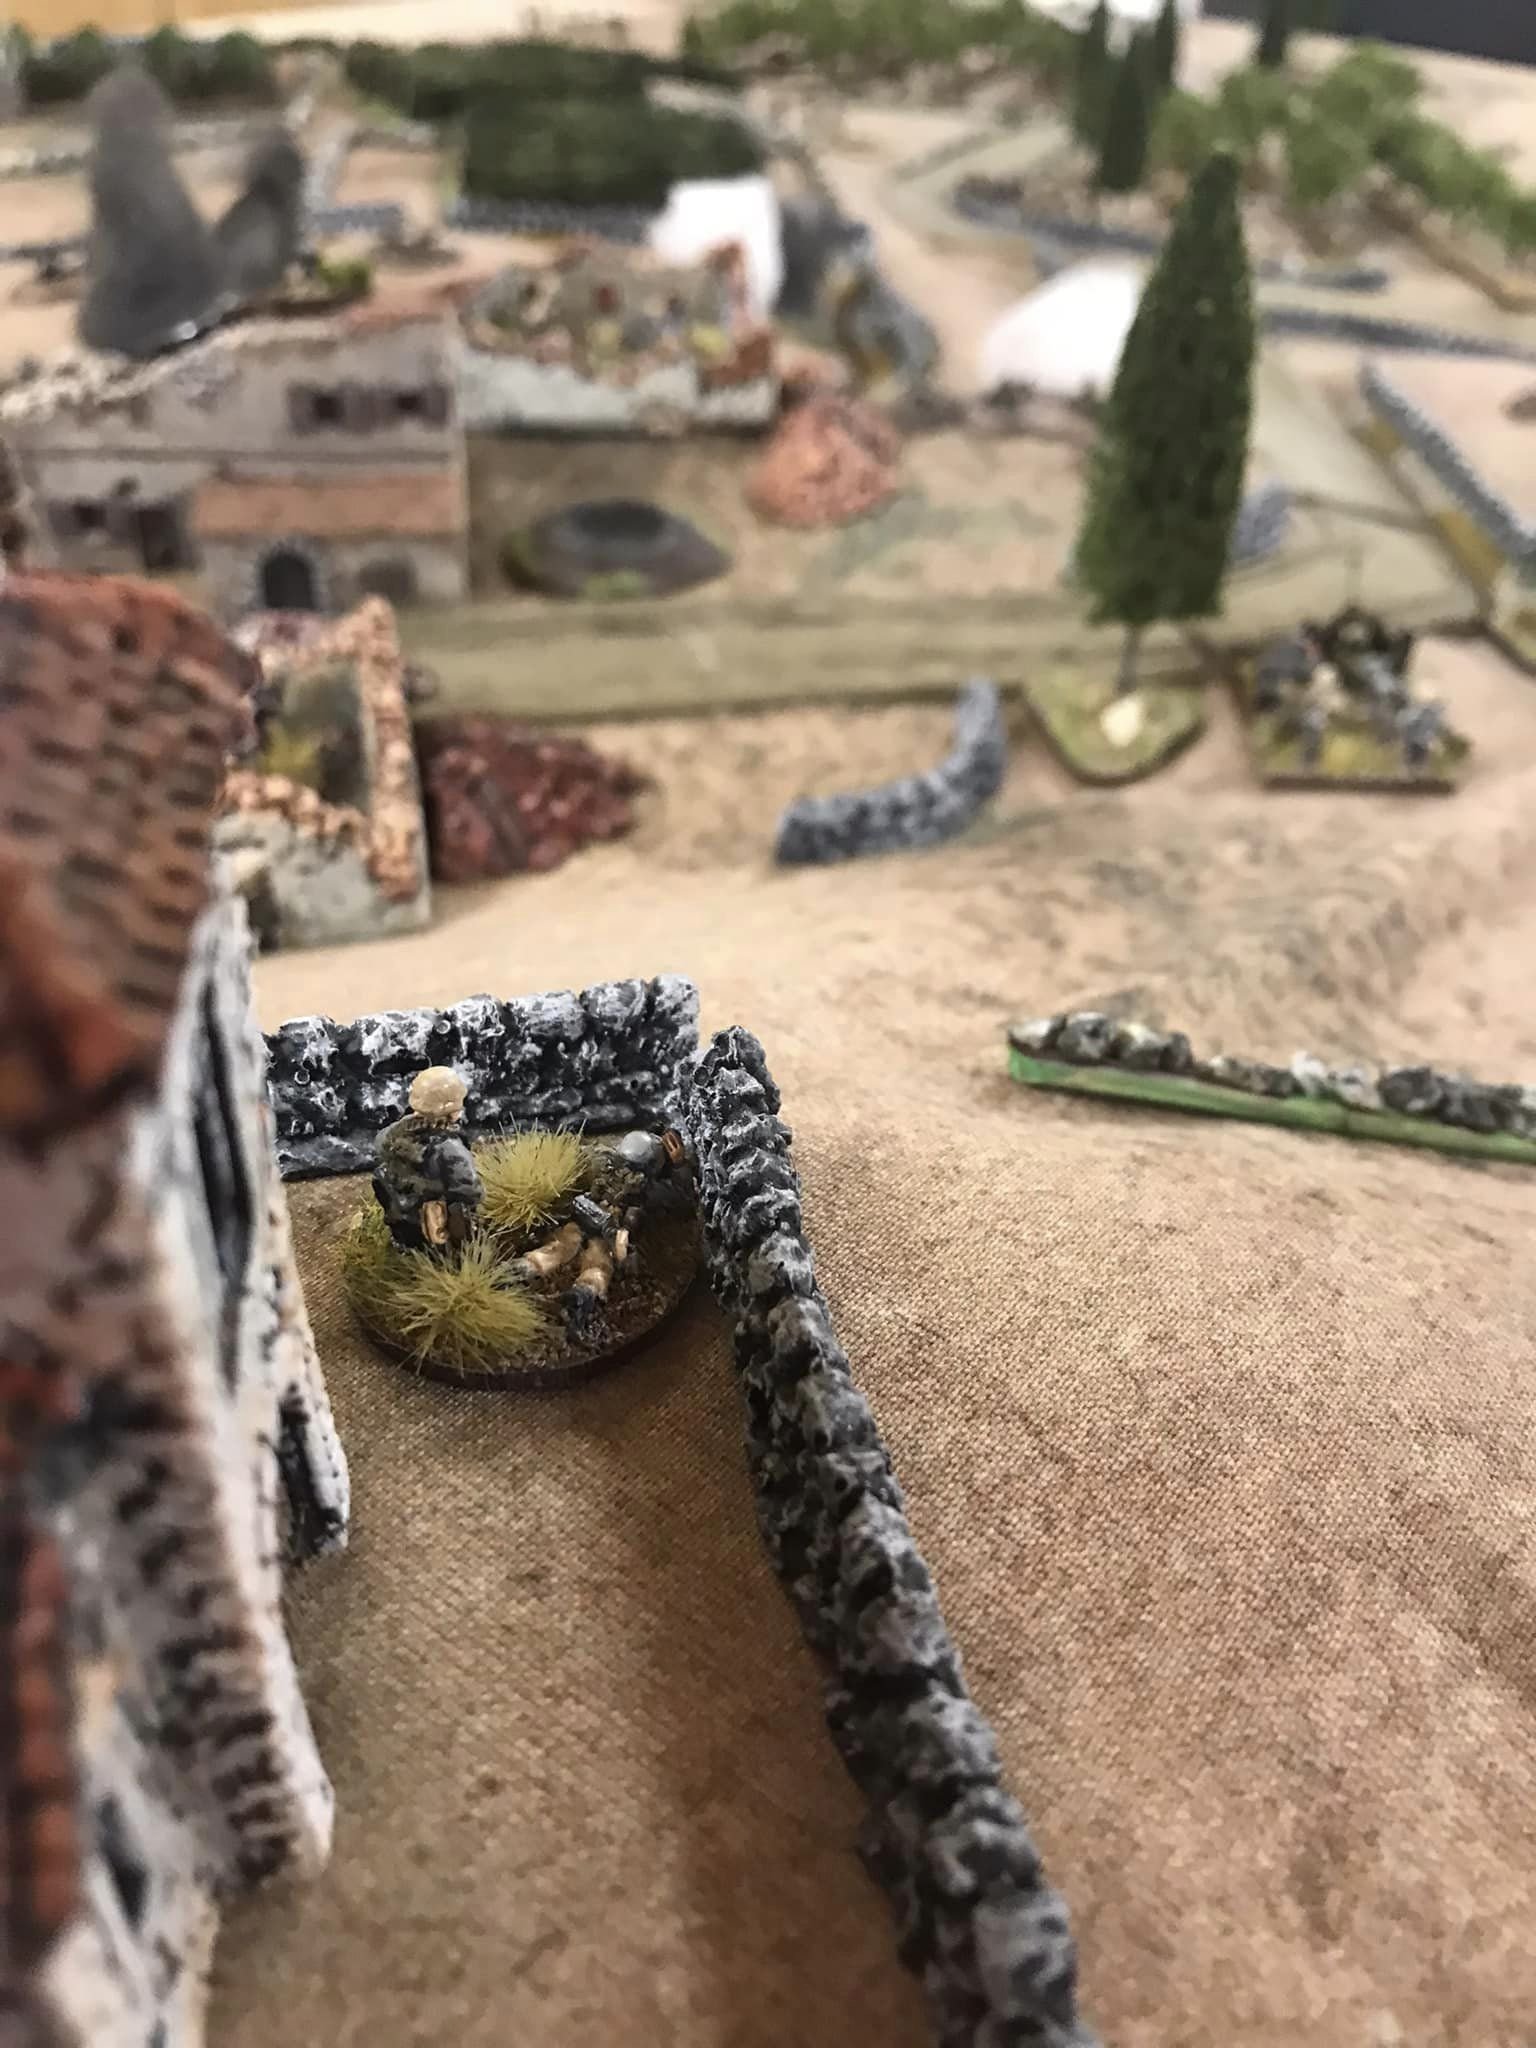
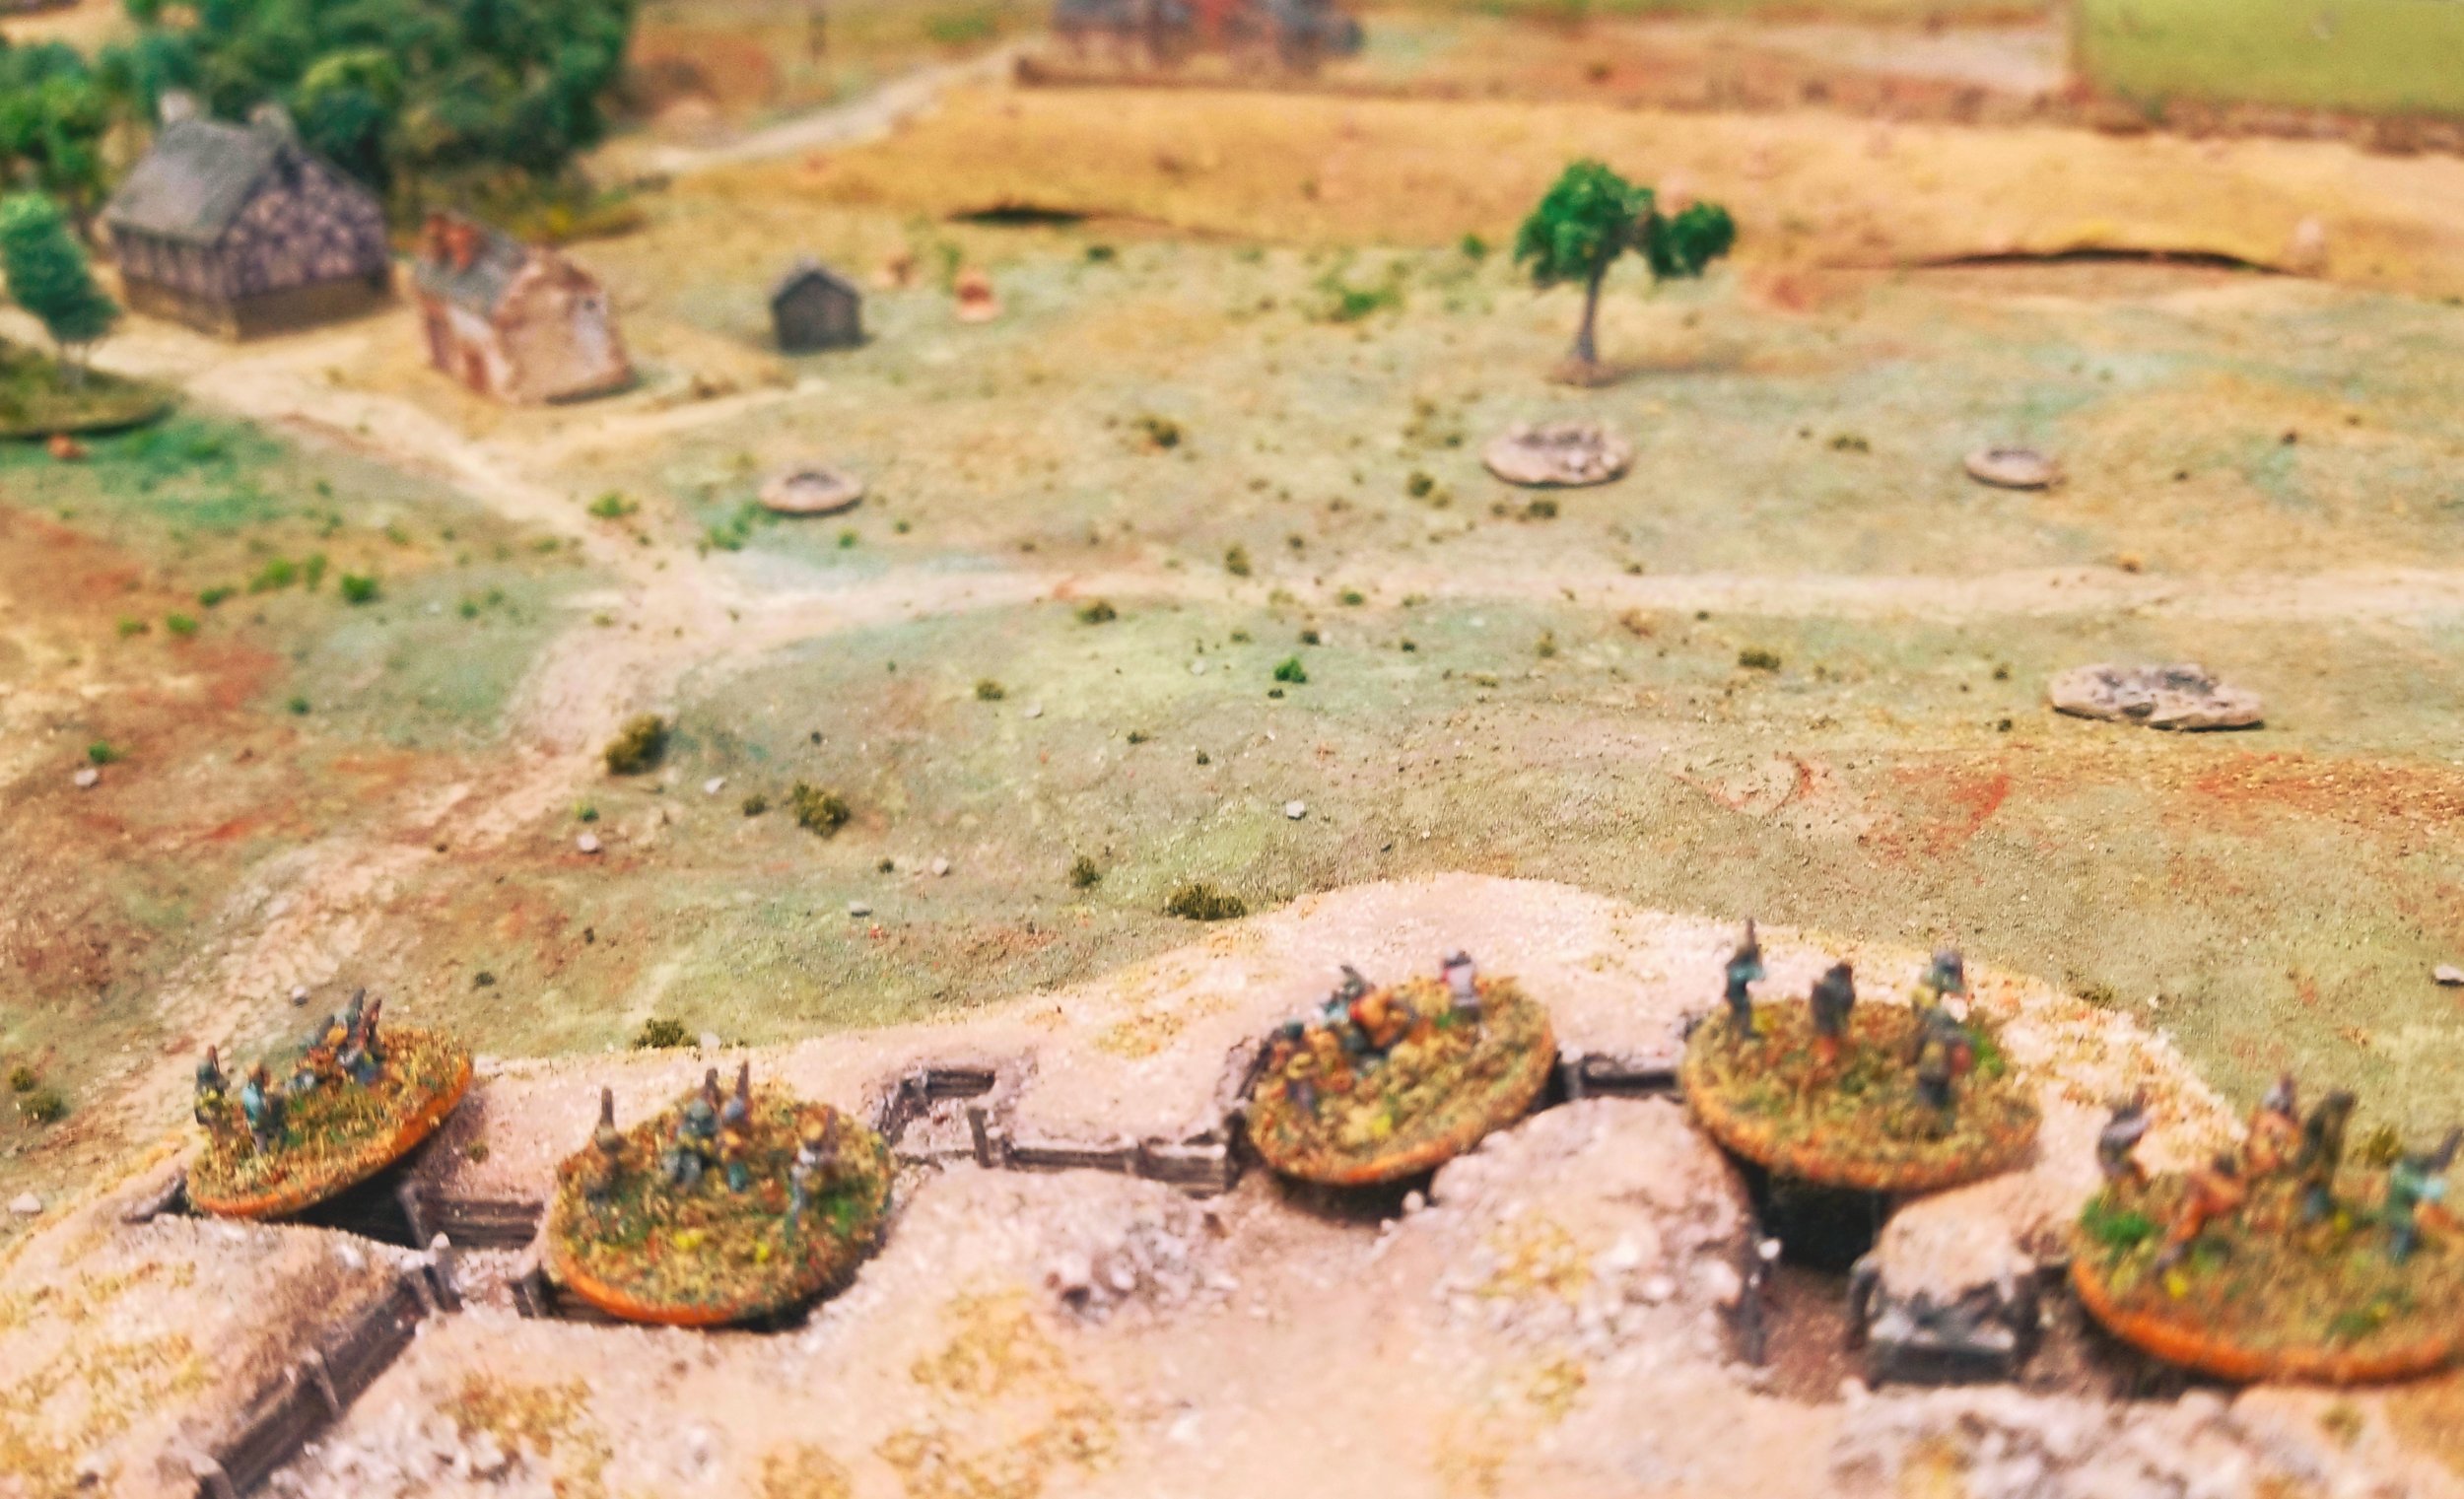
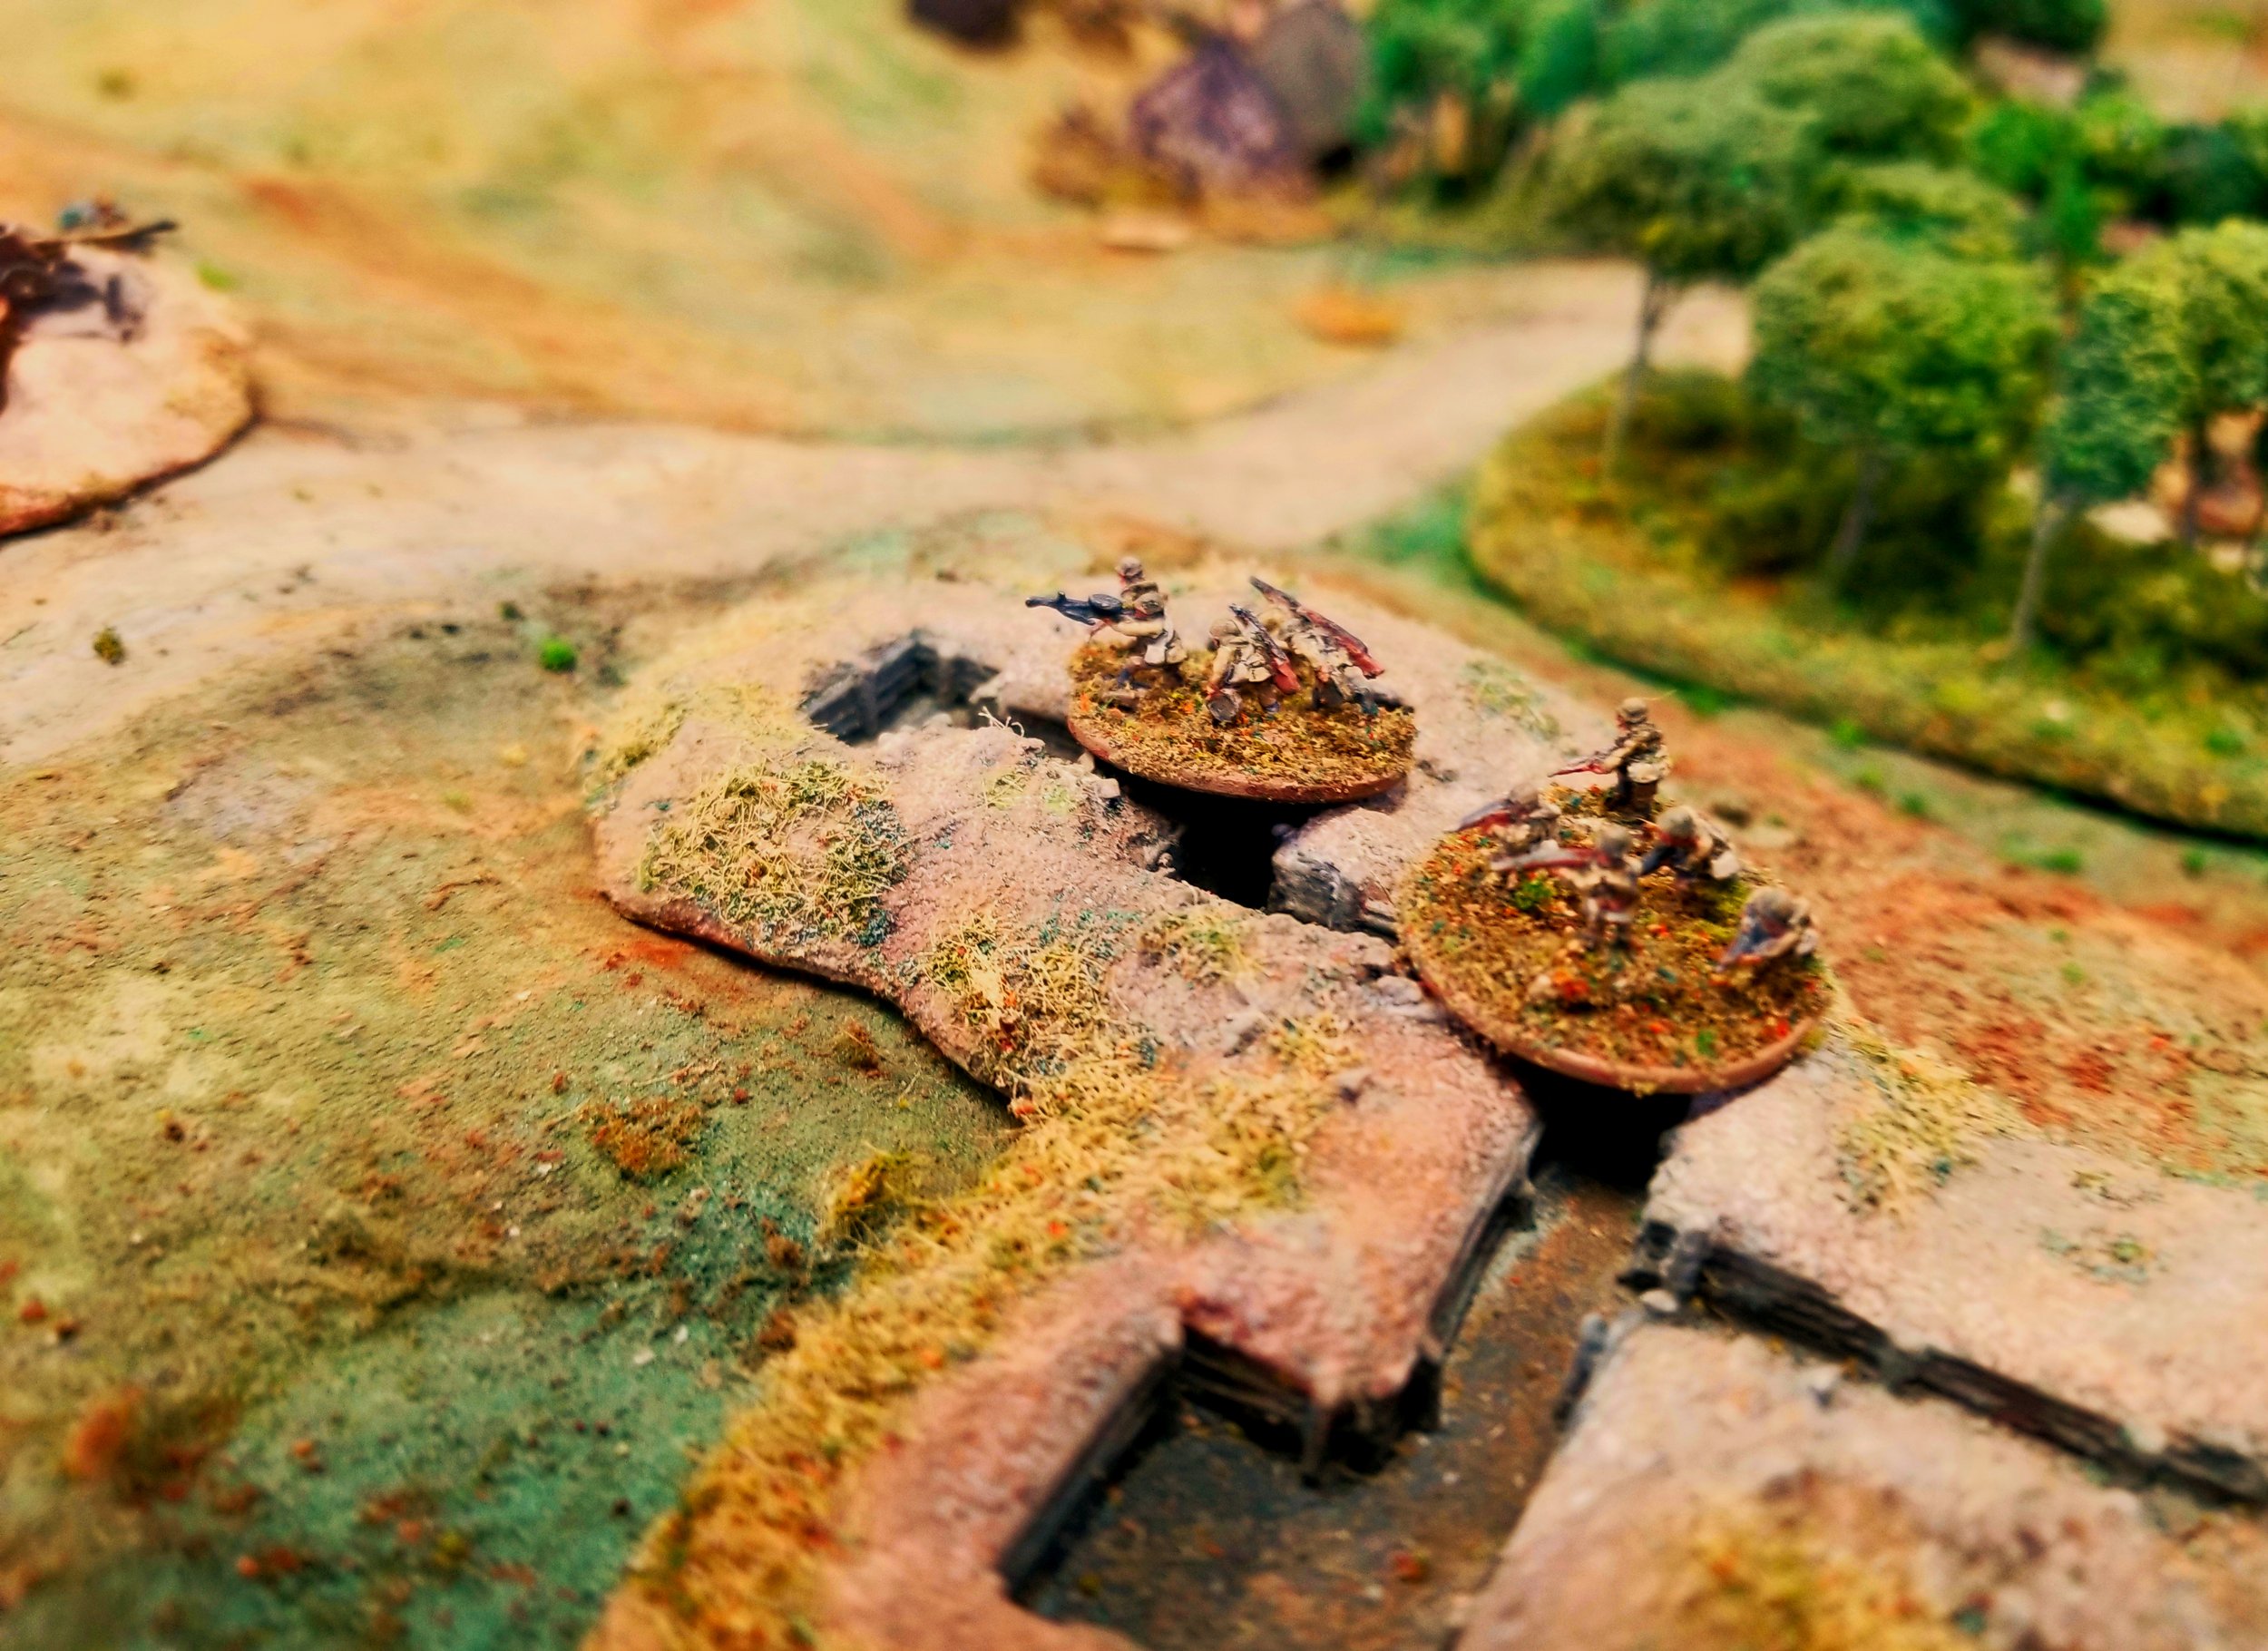
The paratroop commanders strategizing

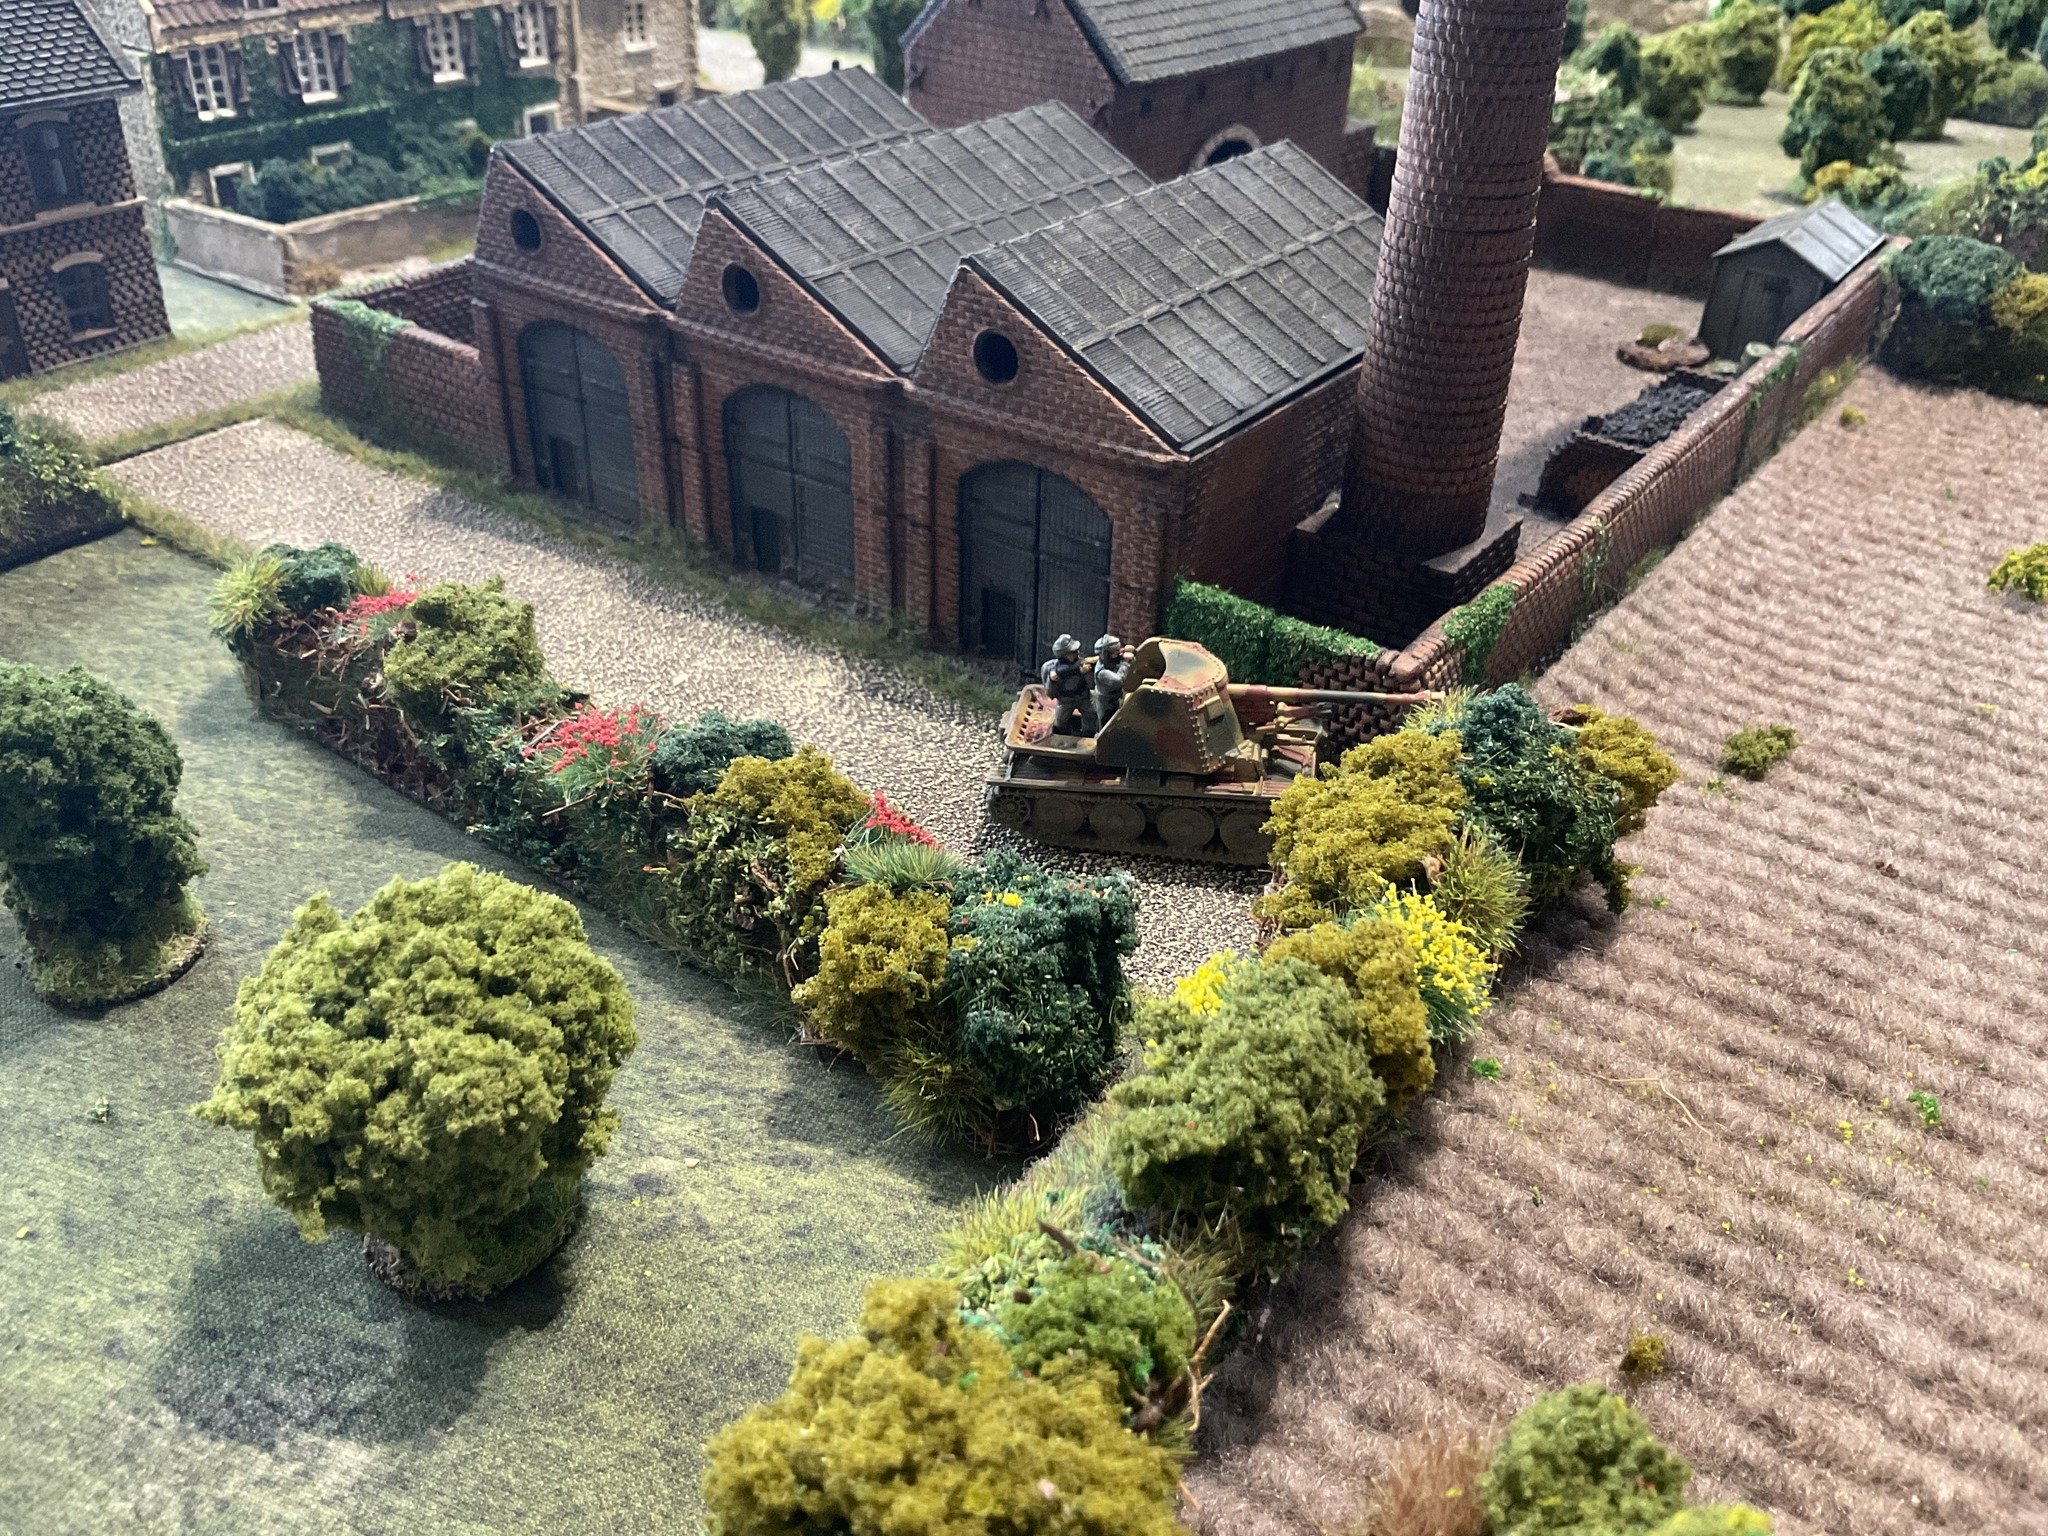
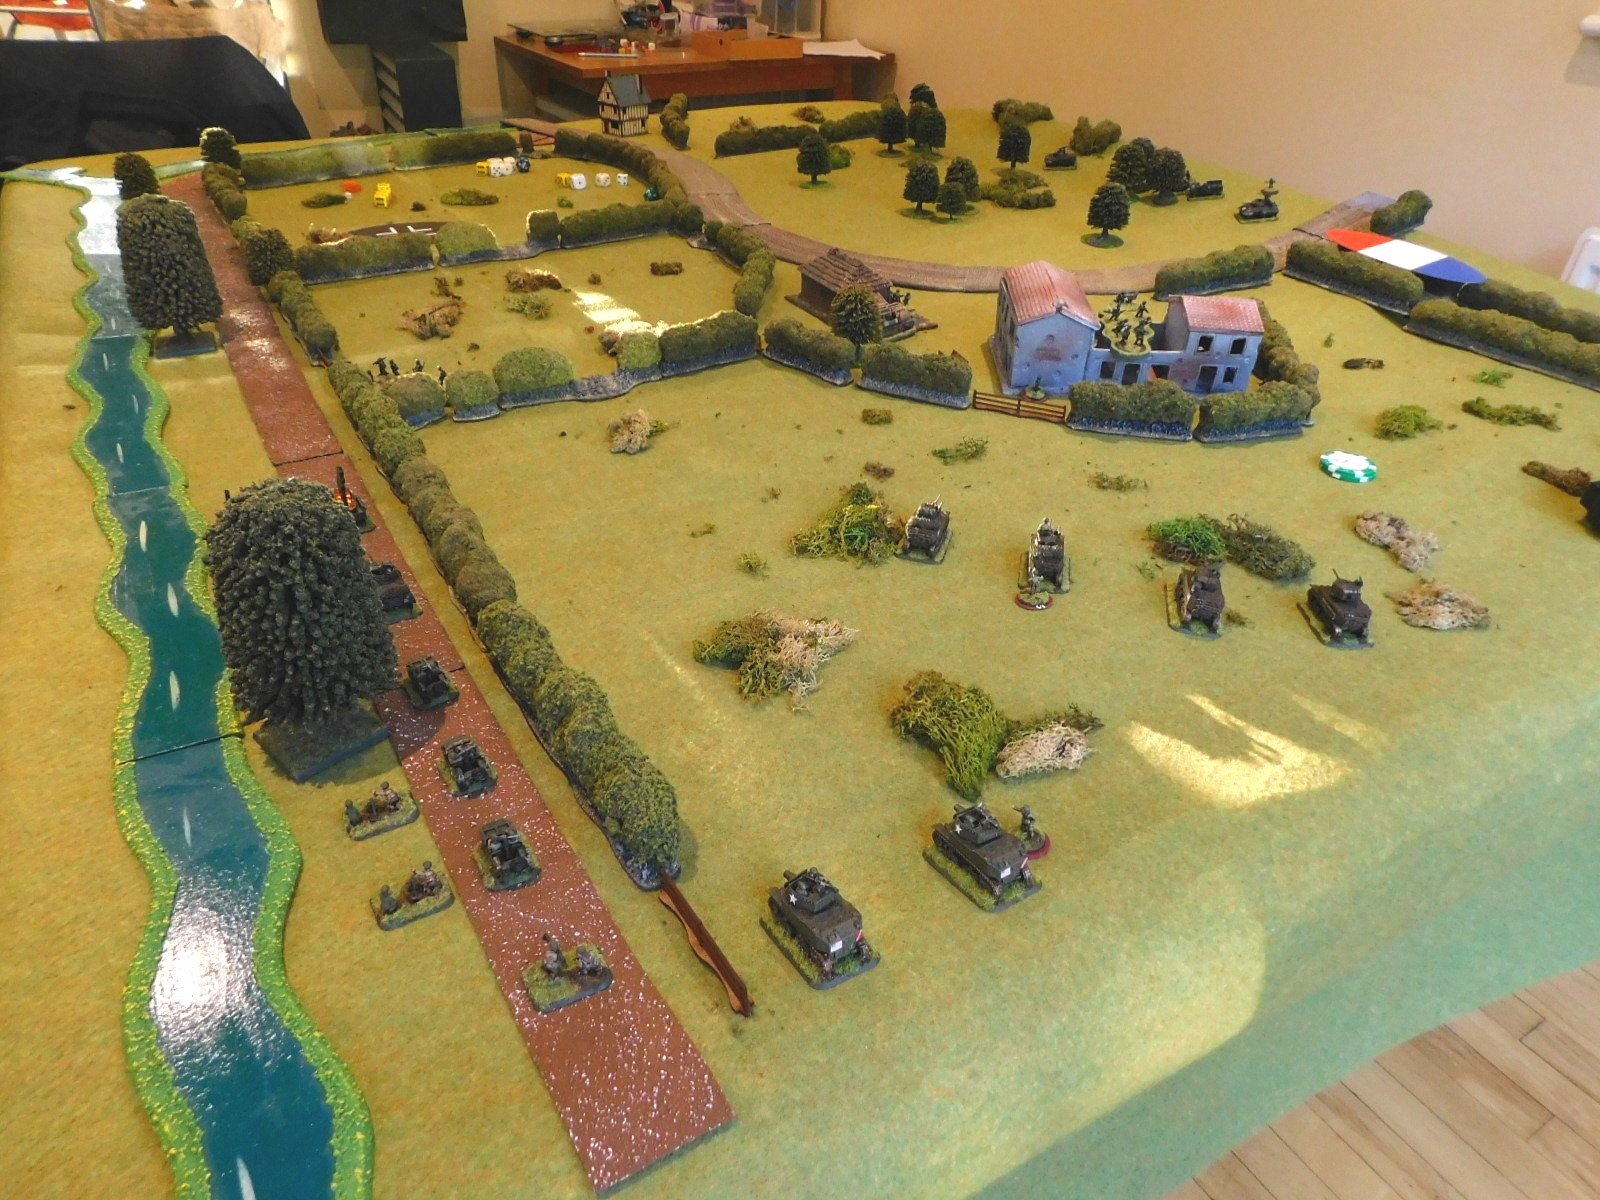
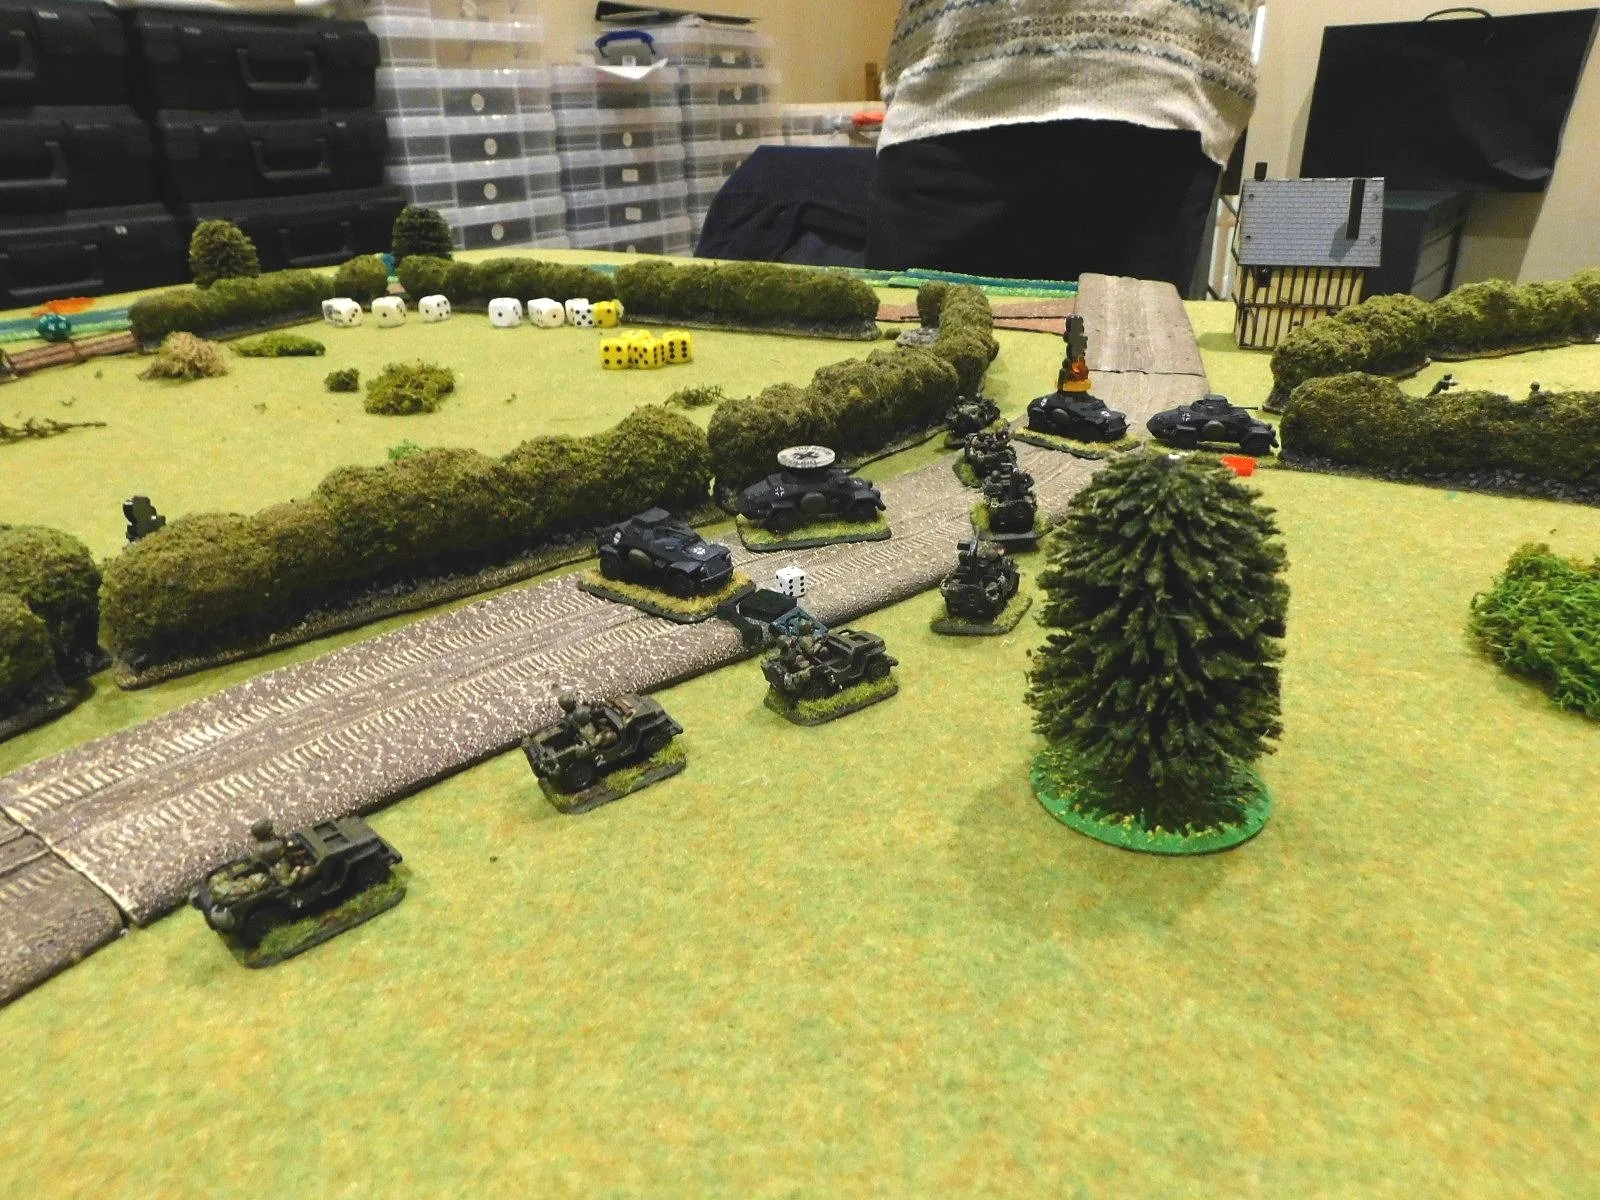
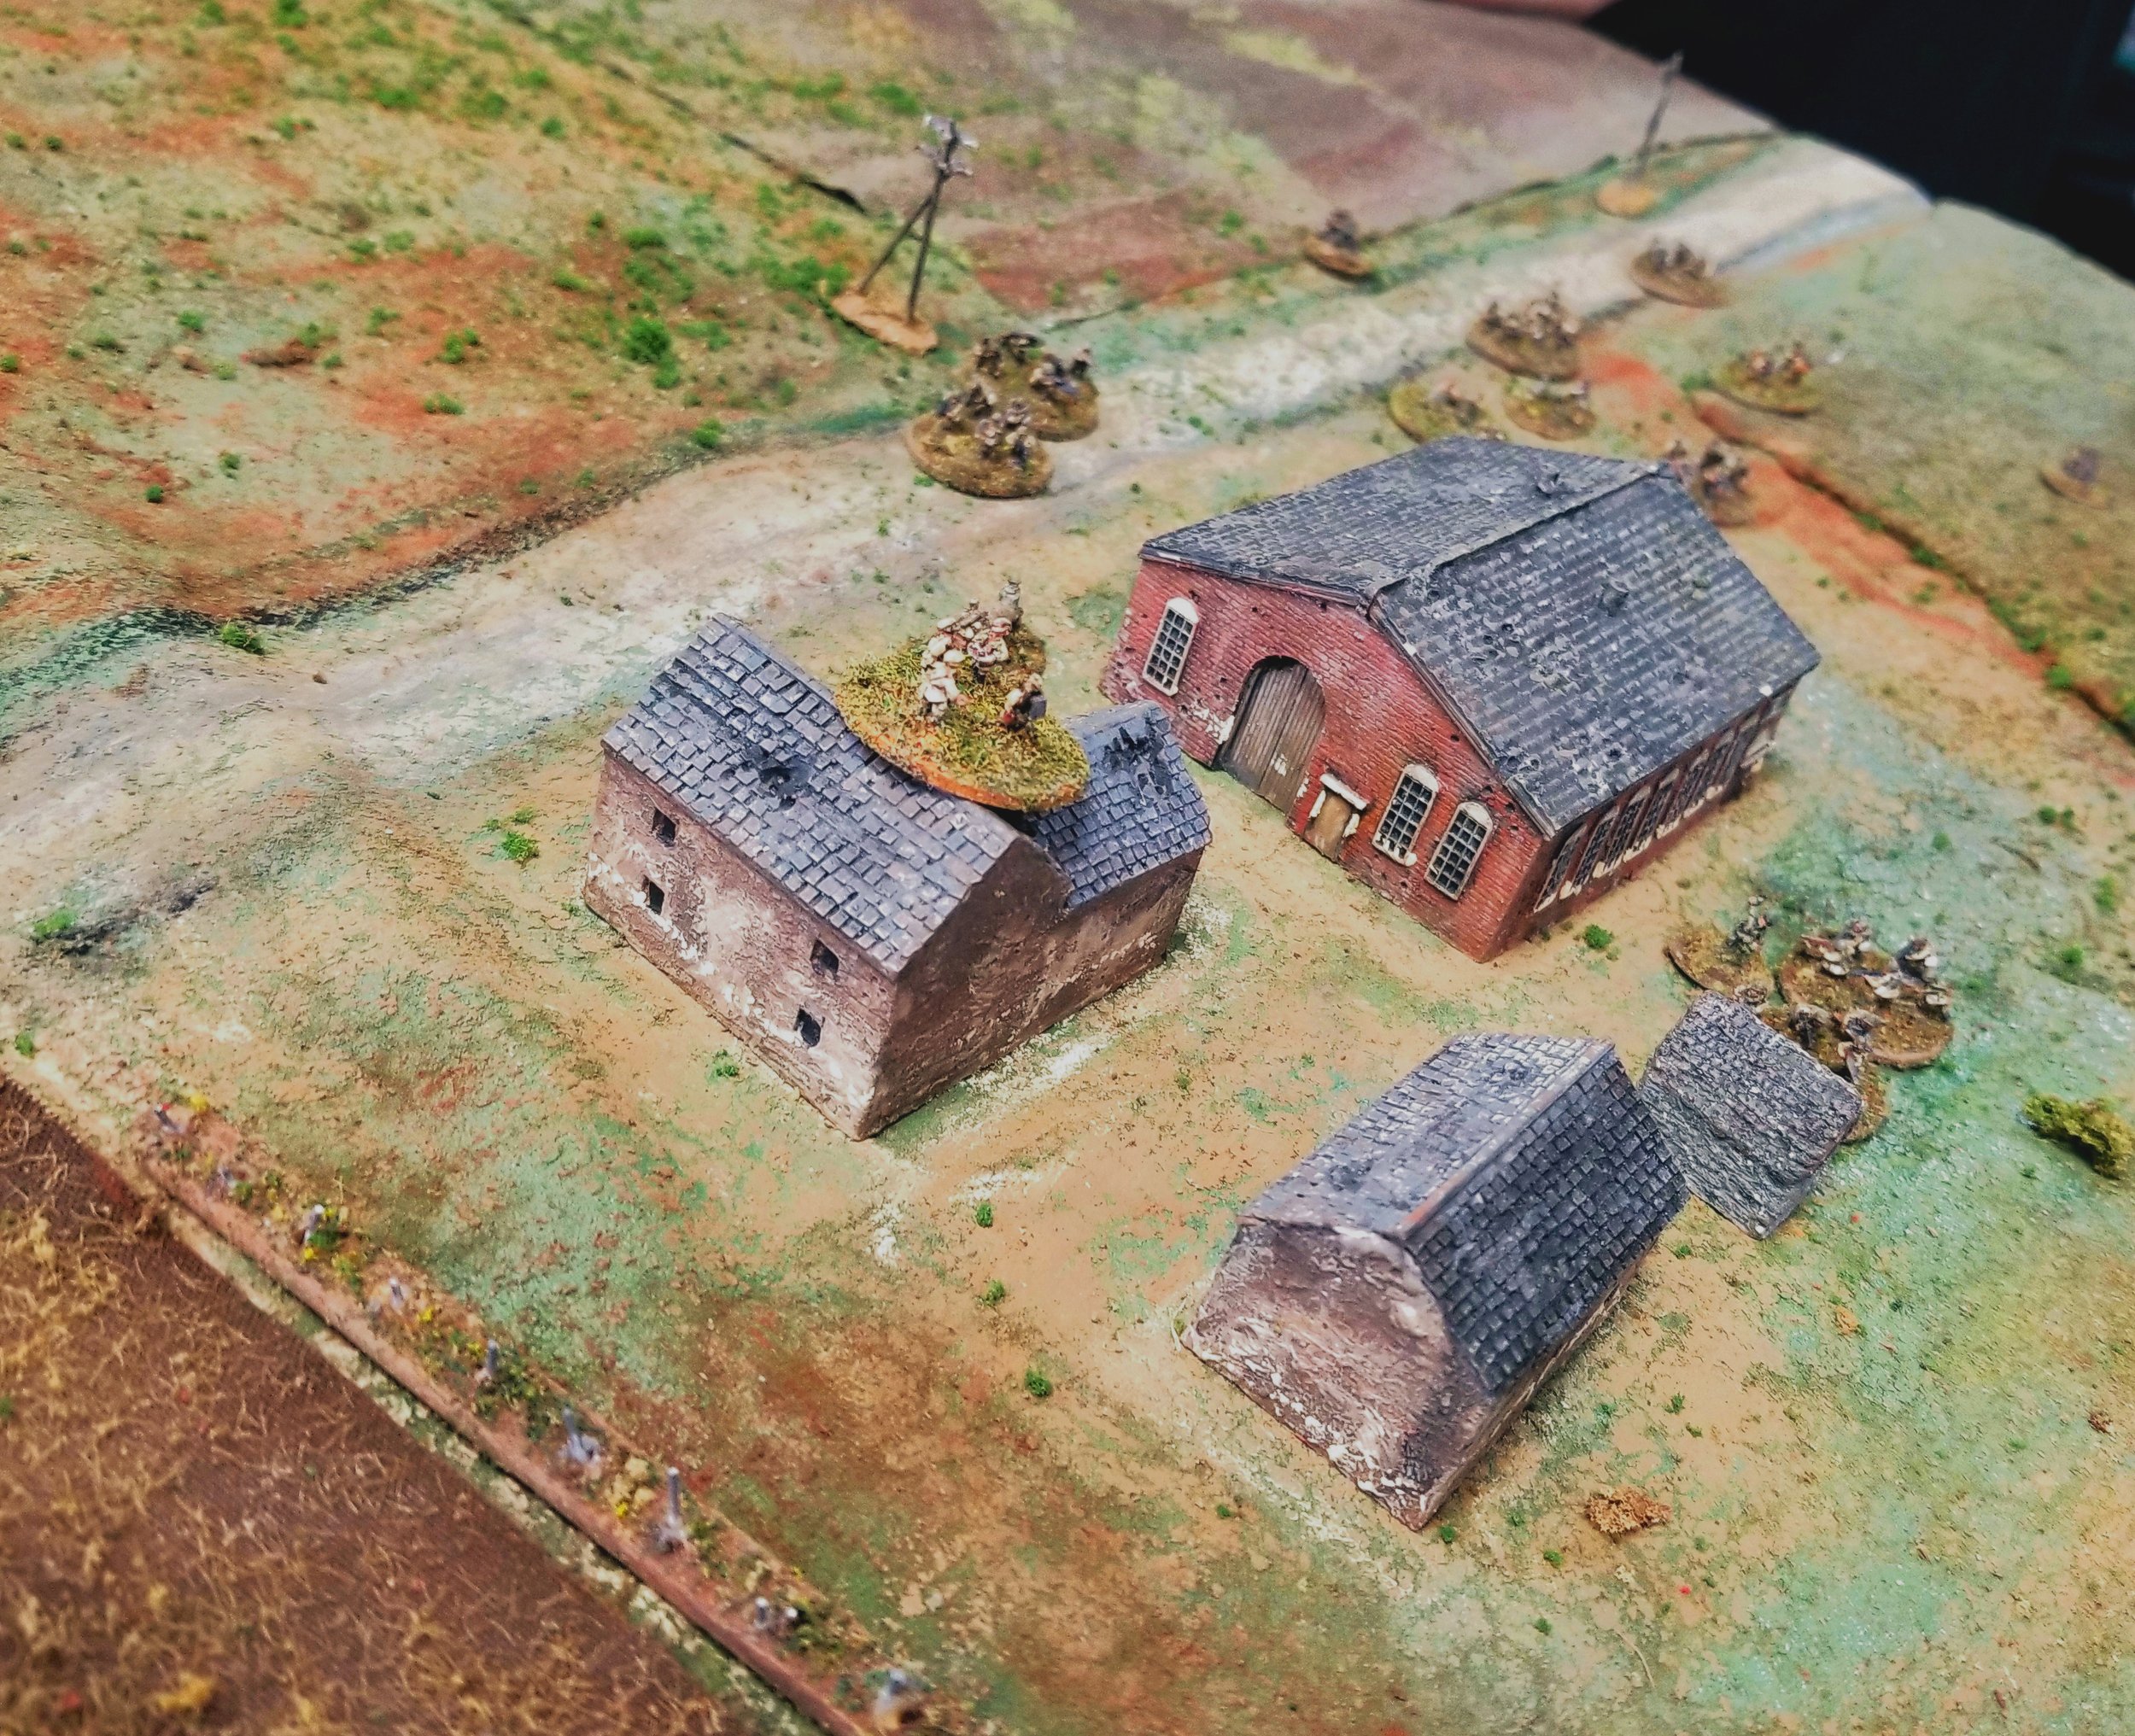
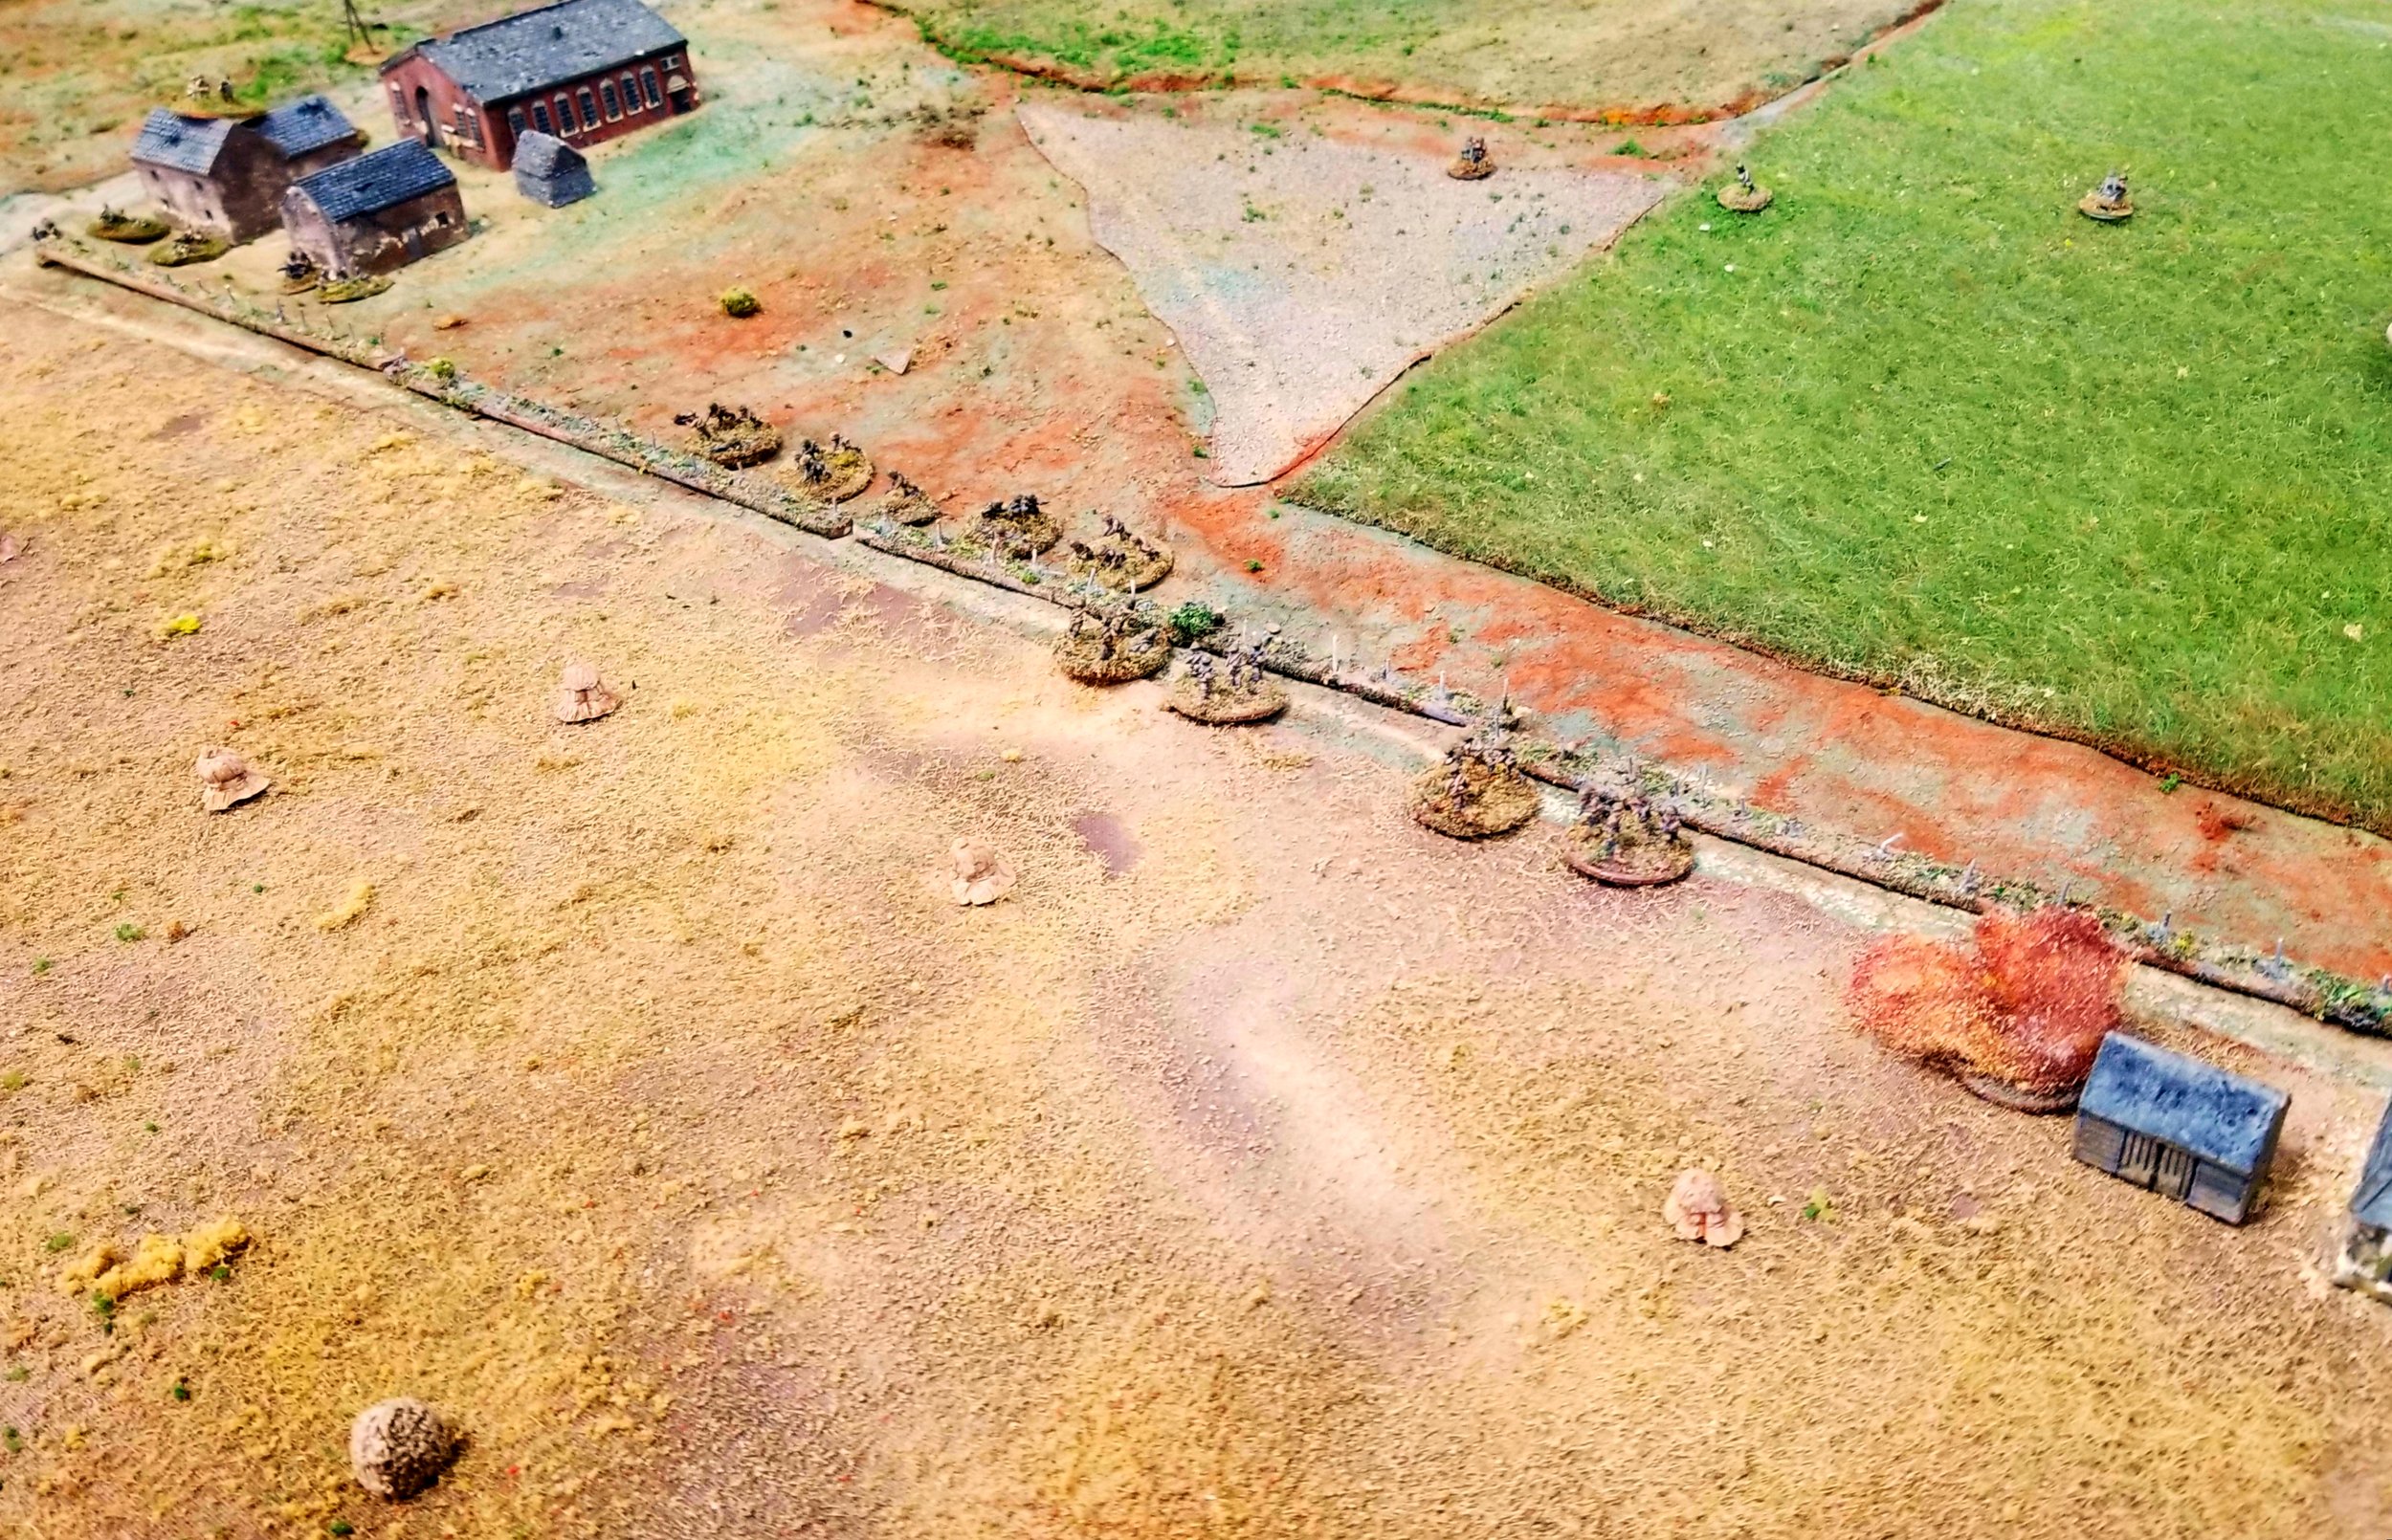
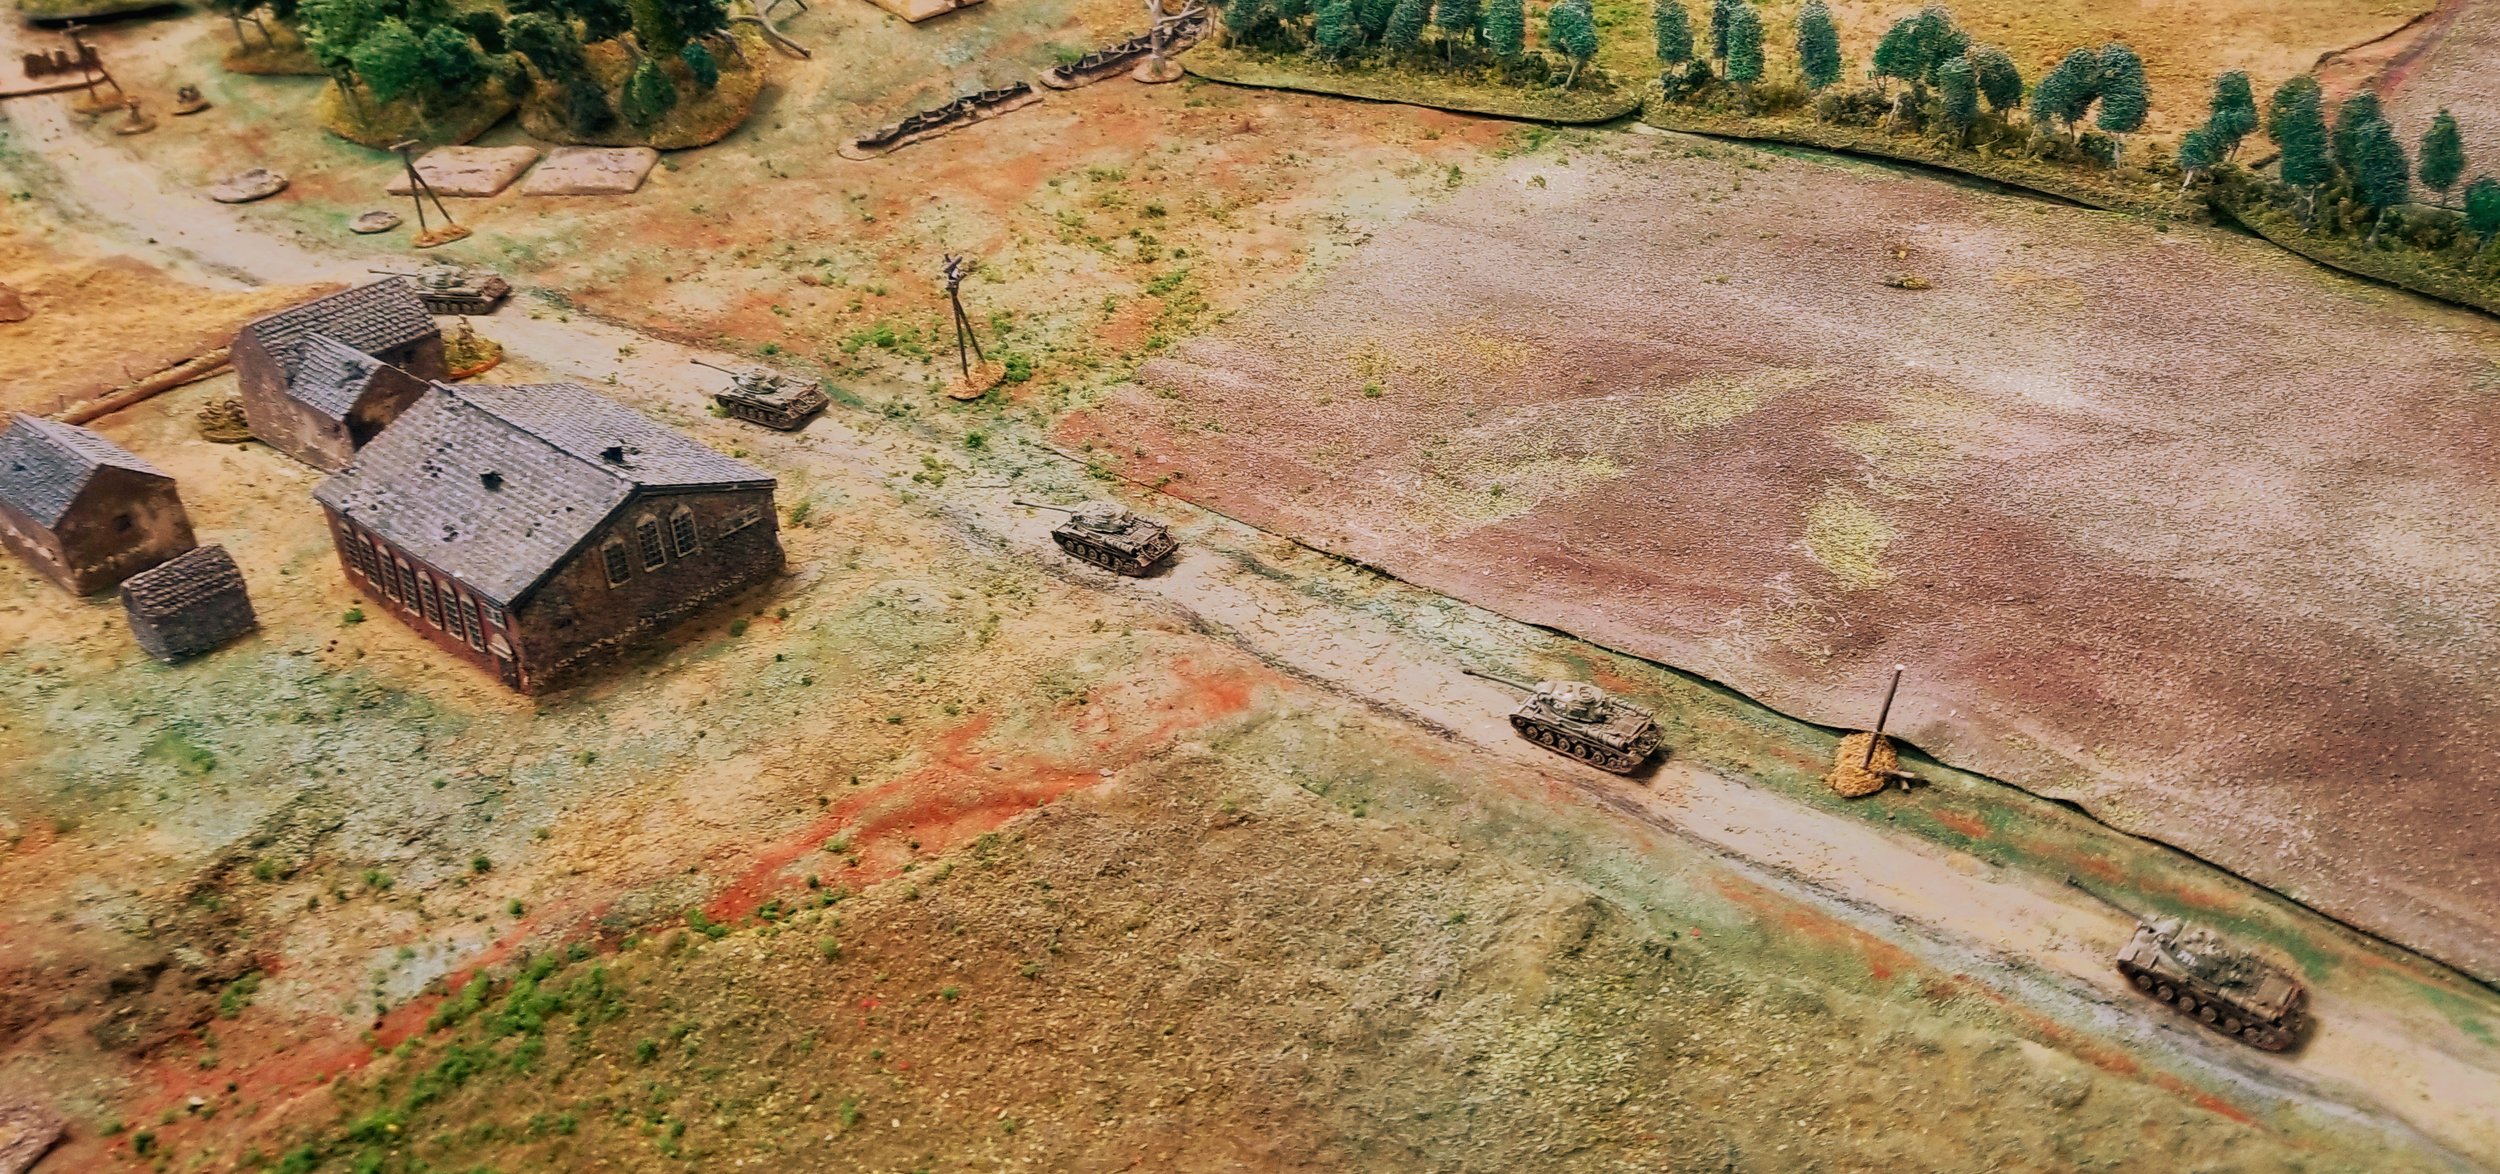
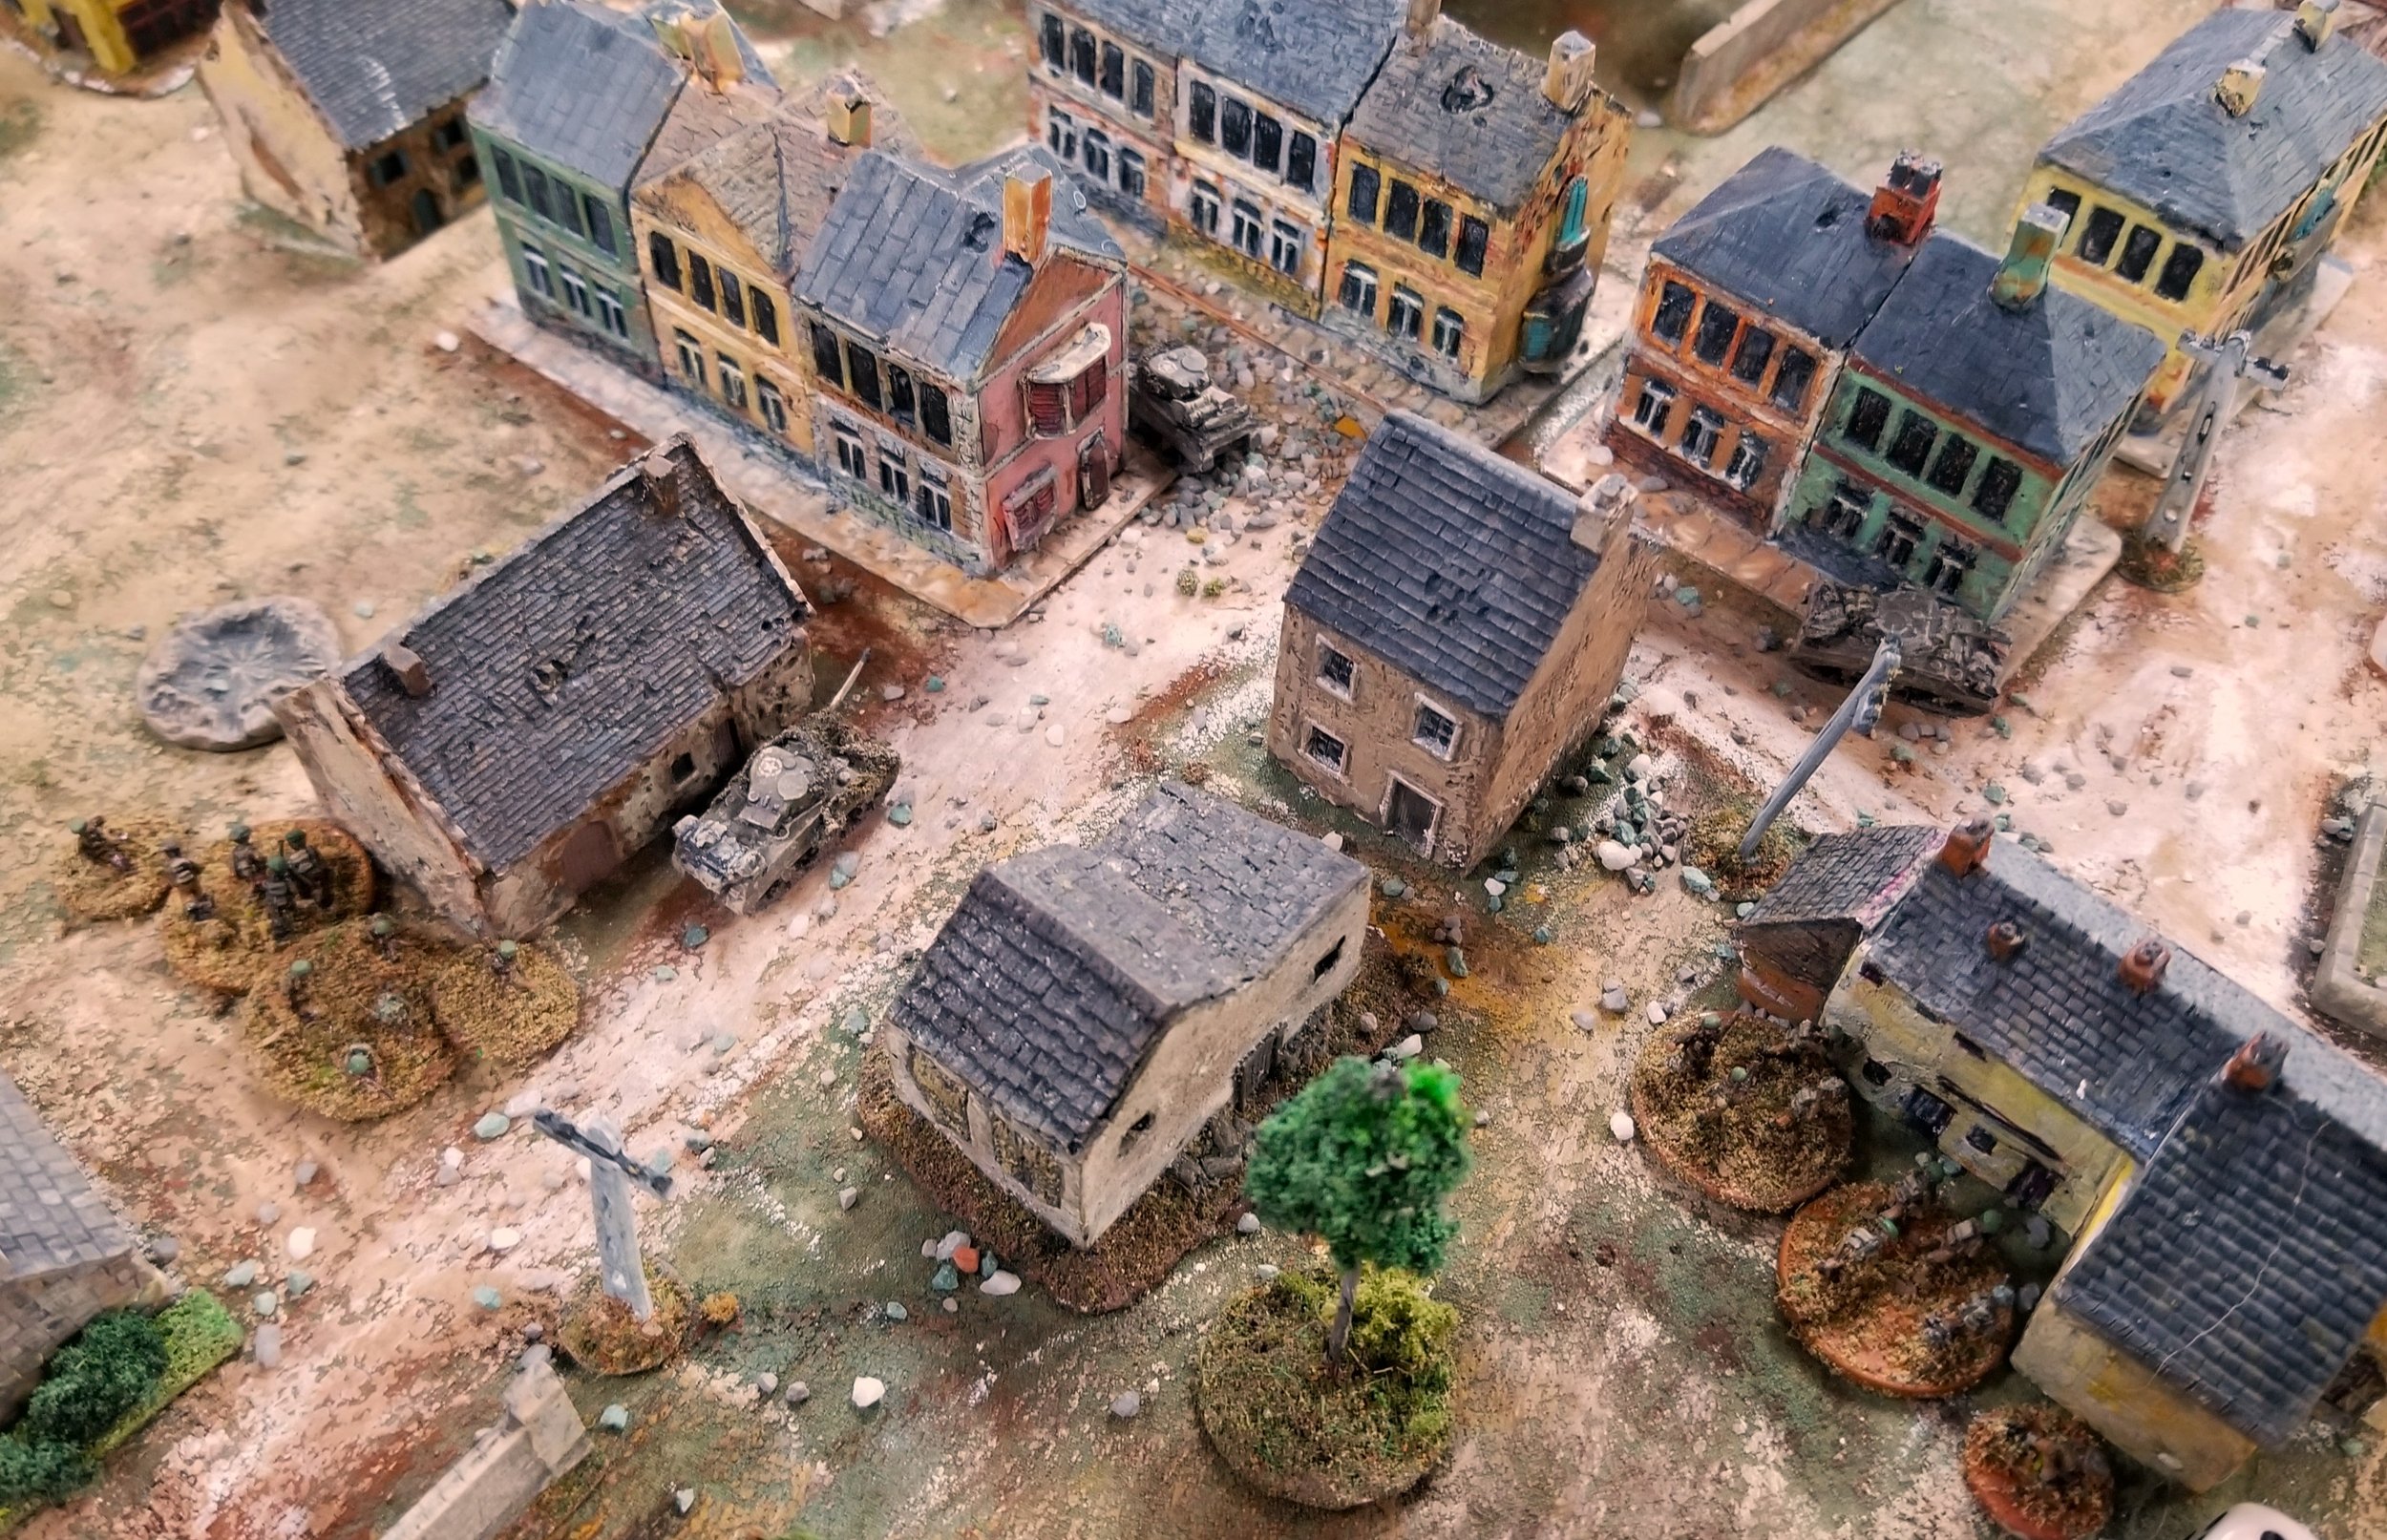
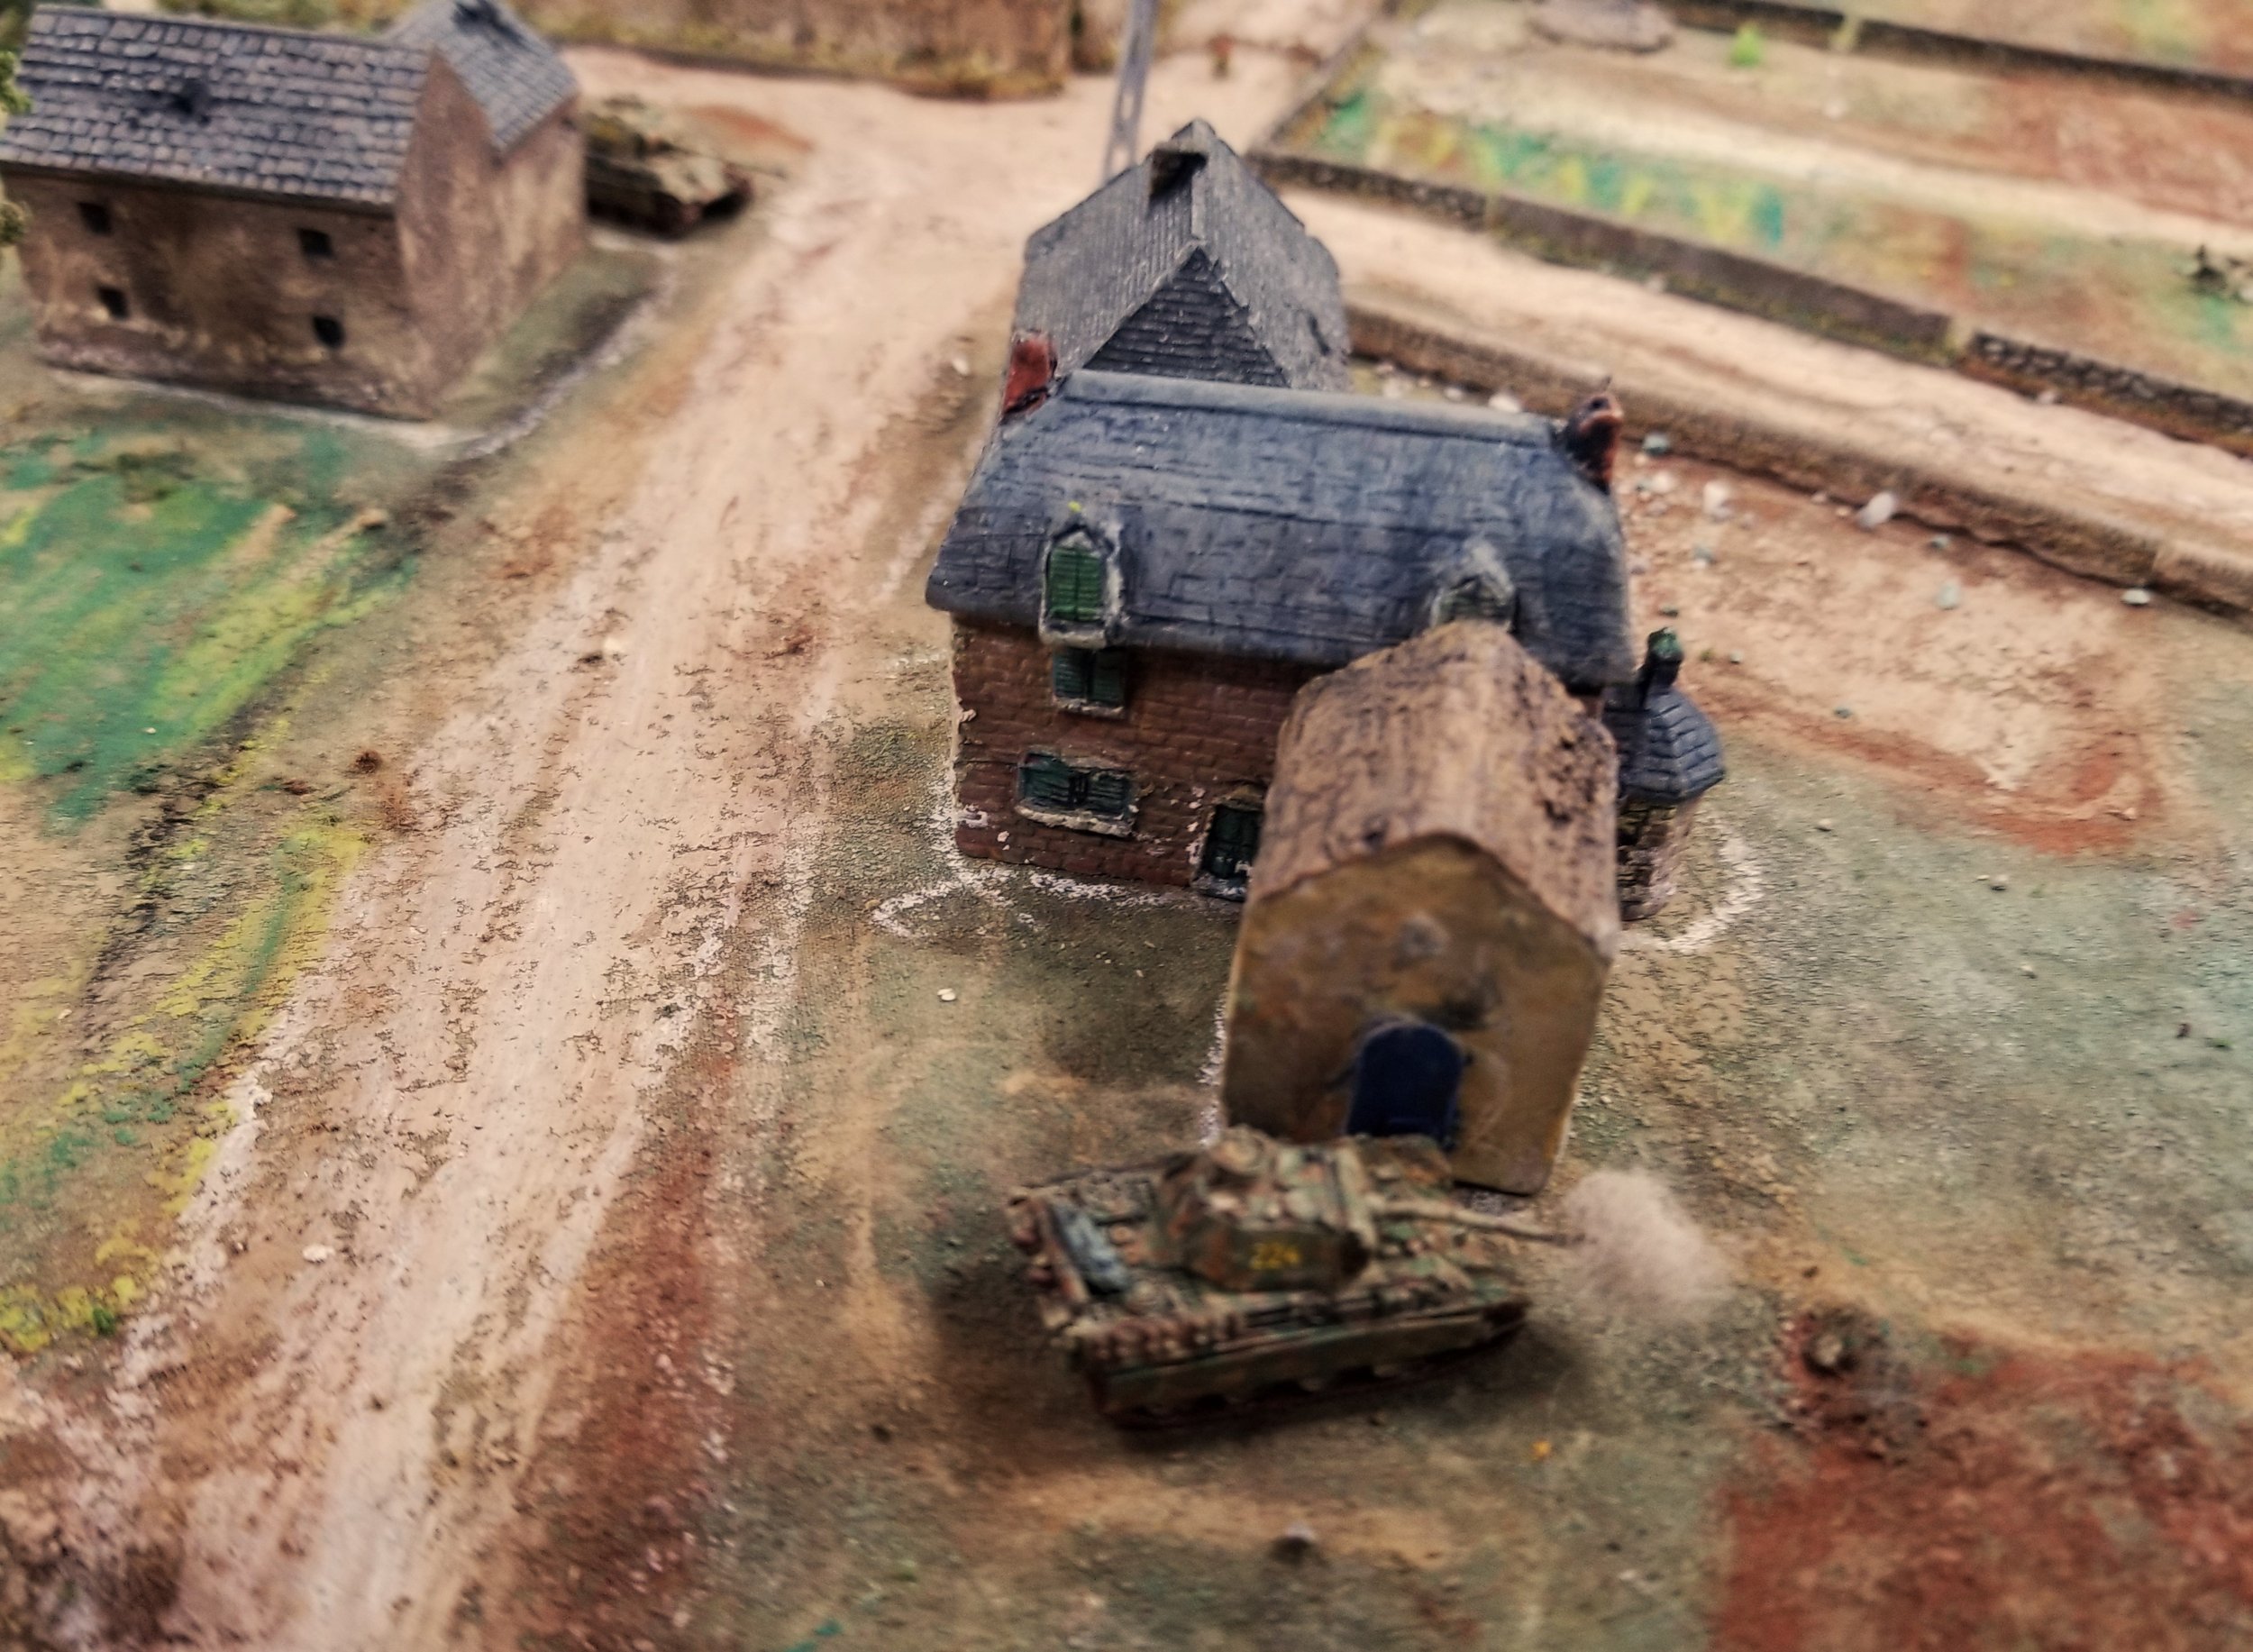
On our right, the head of the column along the road collapsed, but we kept advancing. In the center, more truck mounted infantry arrived to support our tanks.

At about this point, my partner had to leave, so I was left to my own devices.

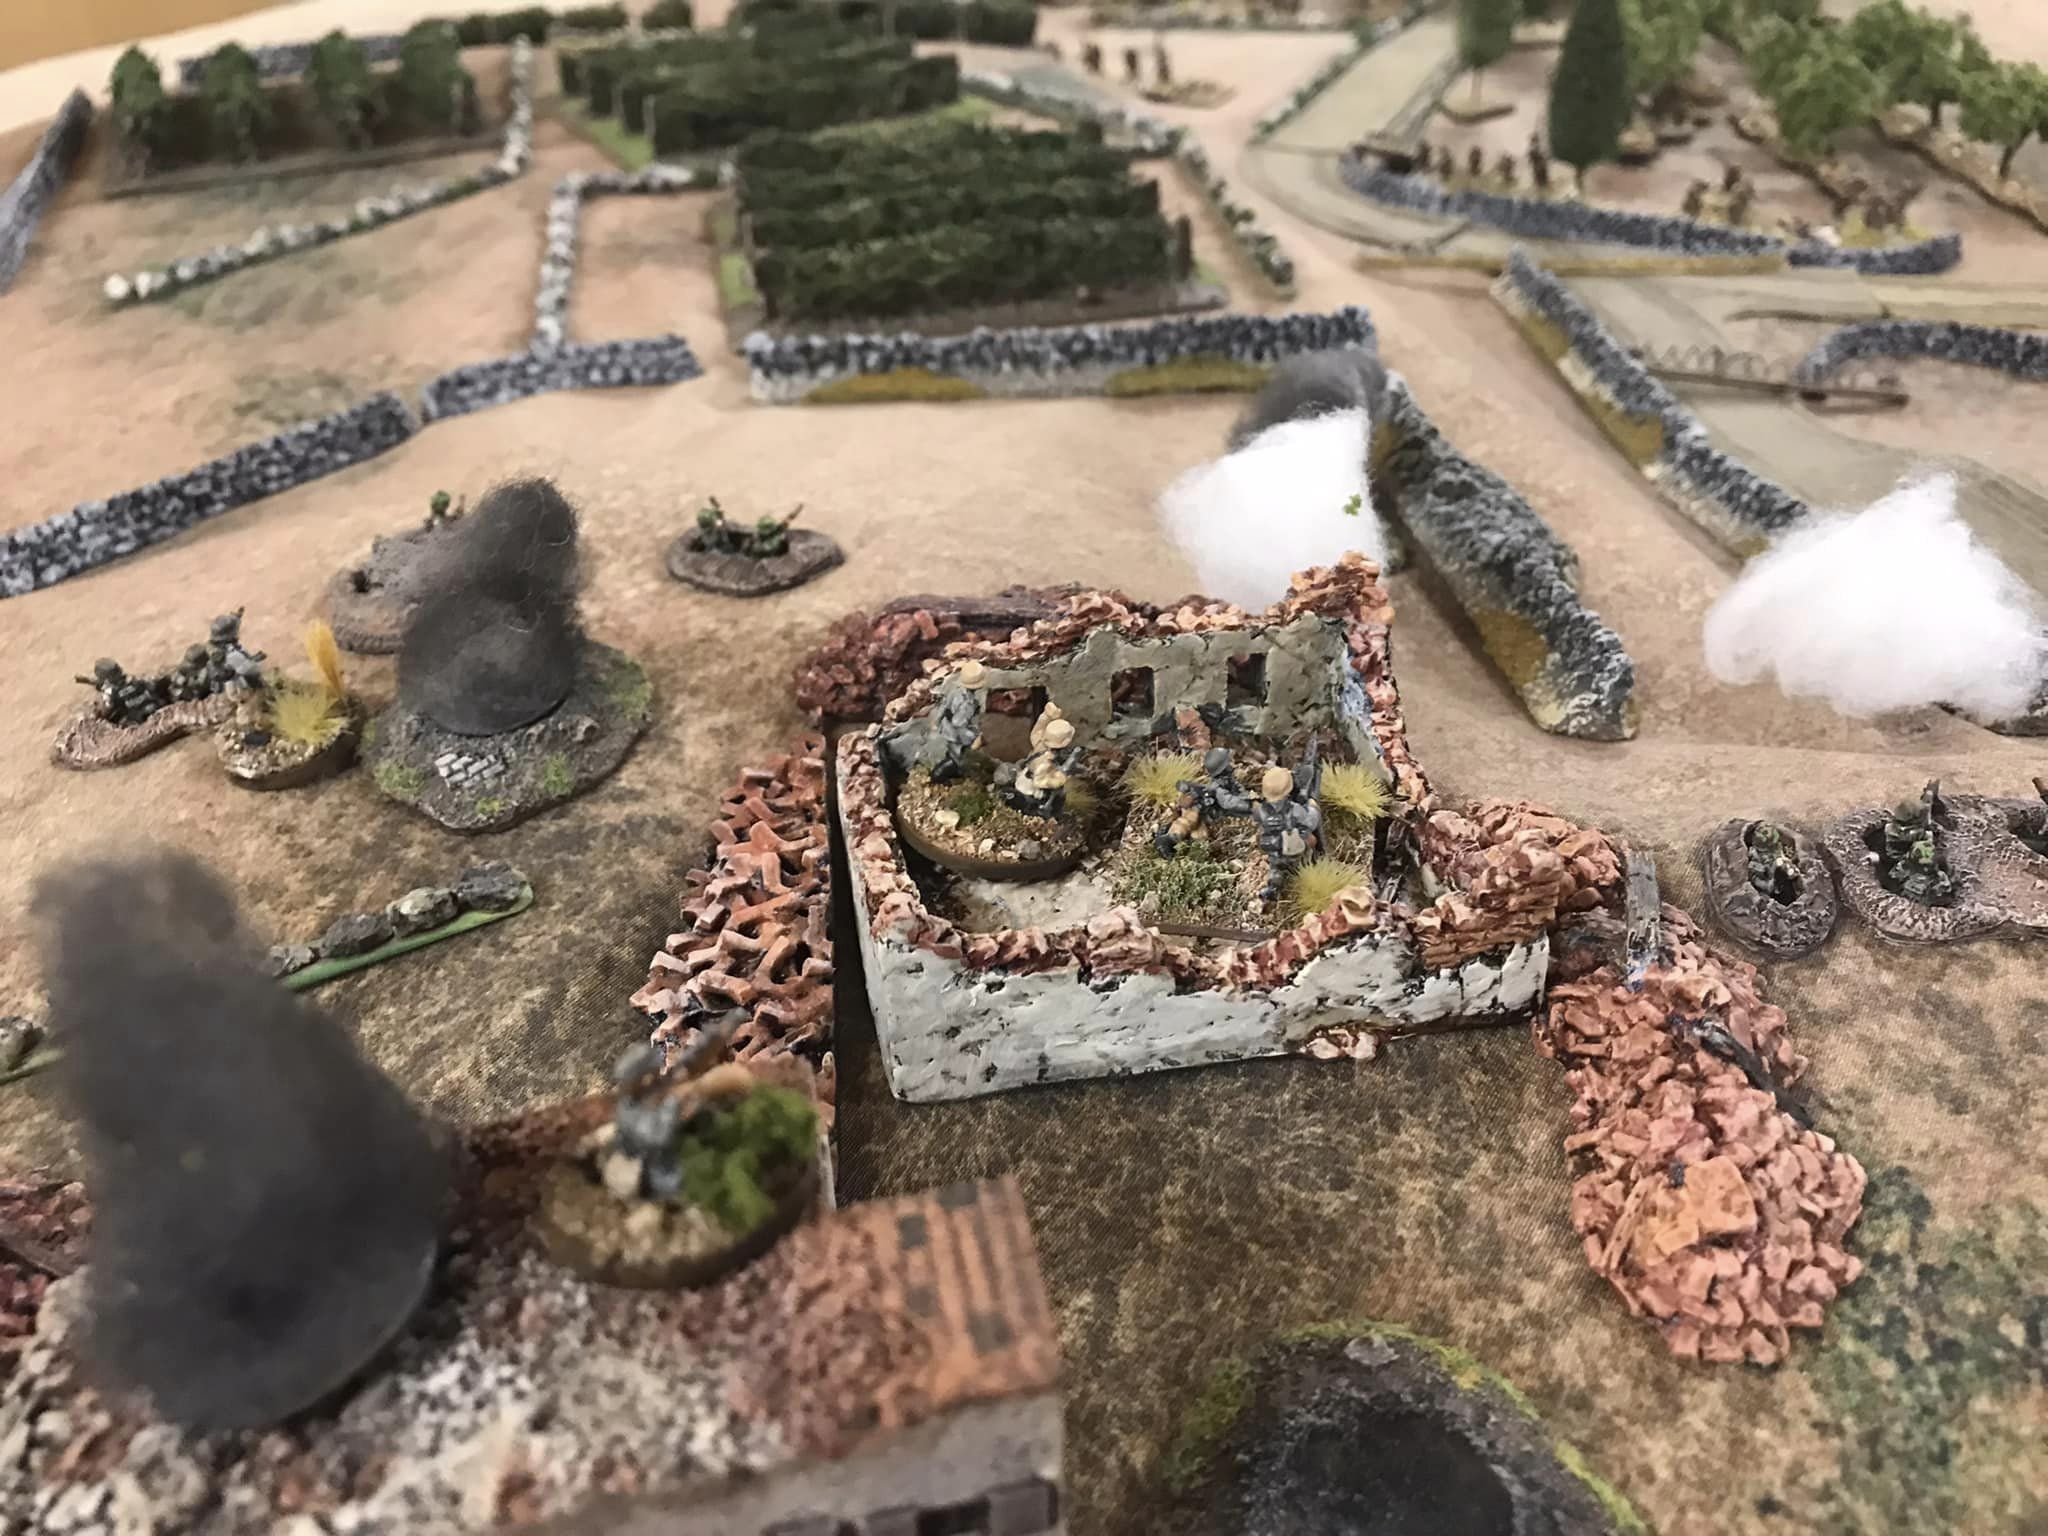
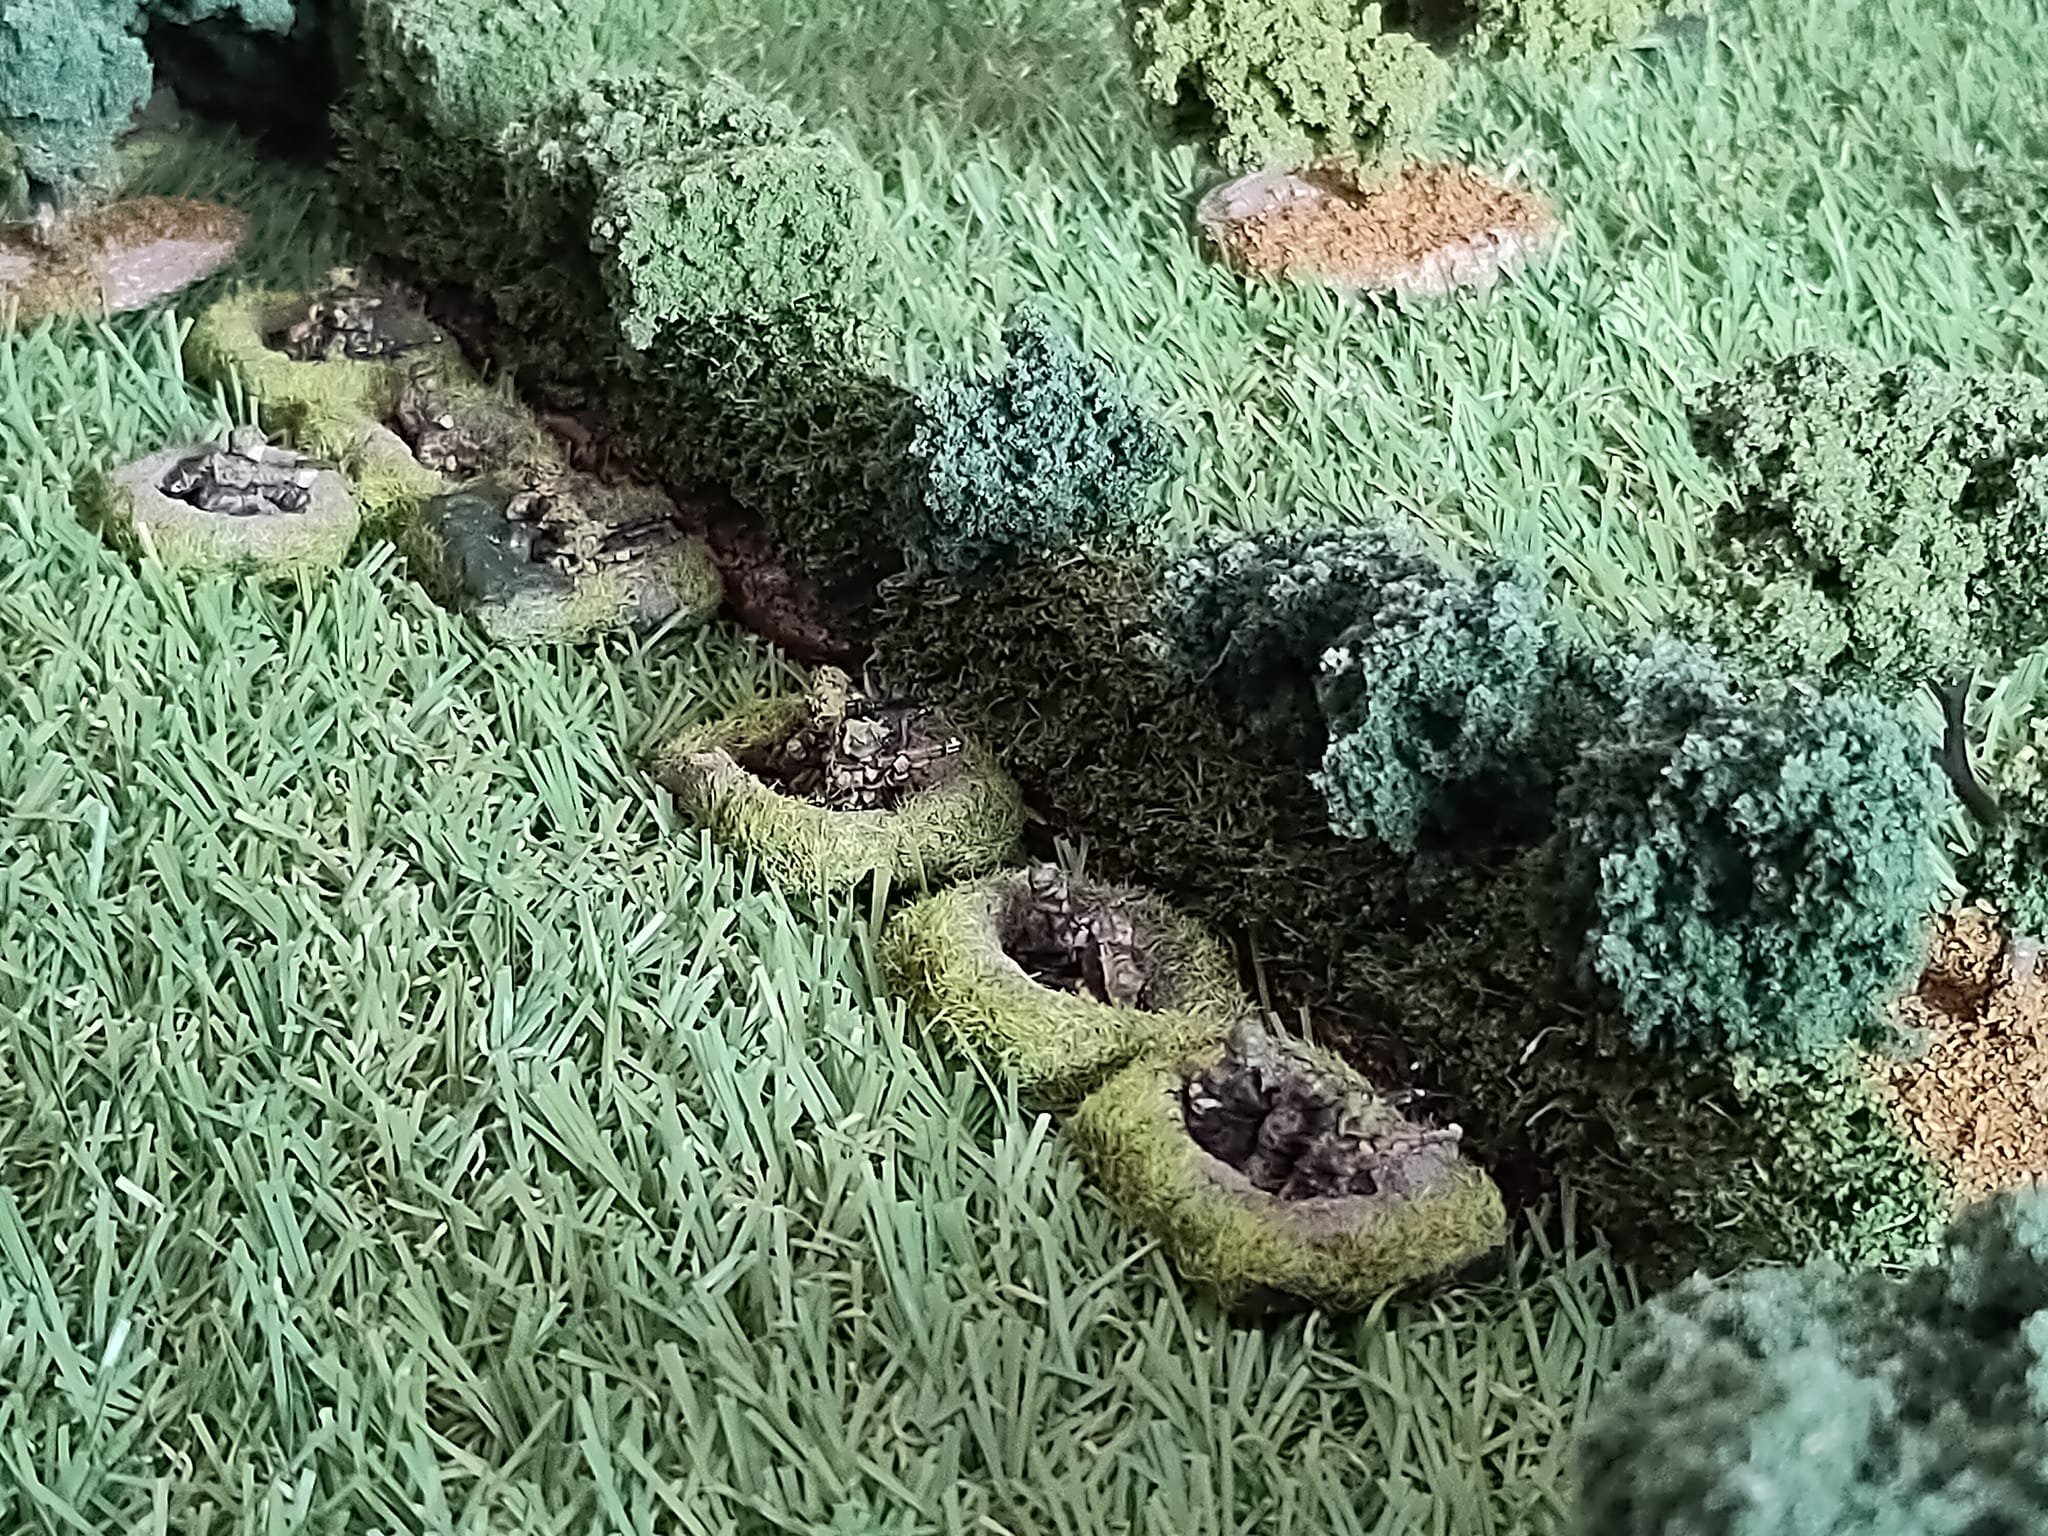
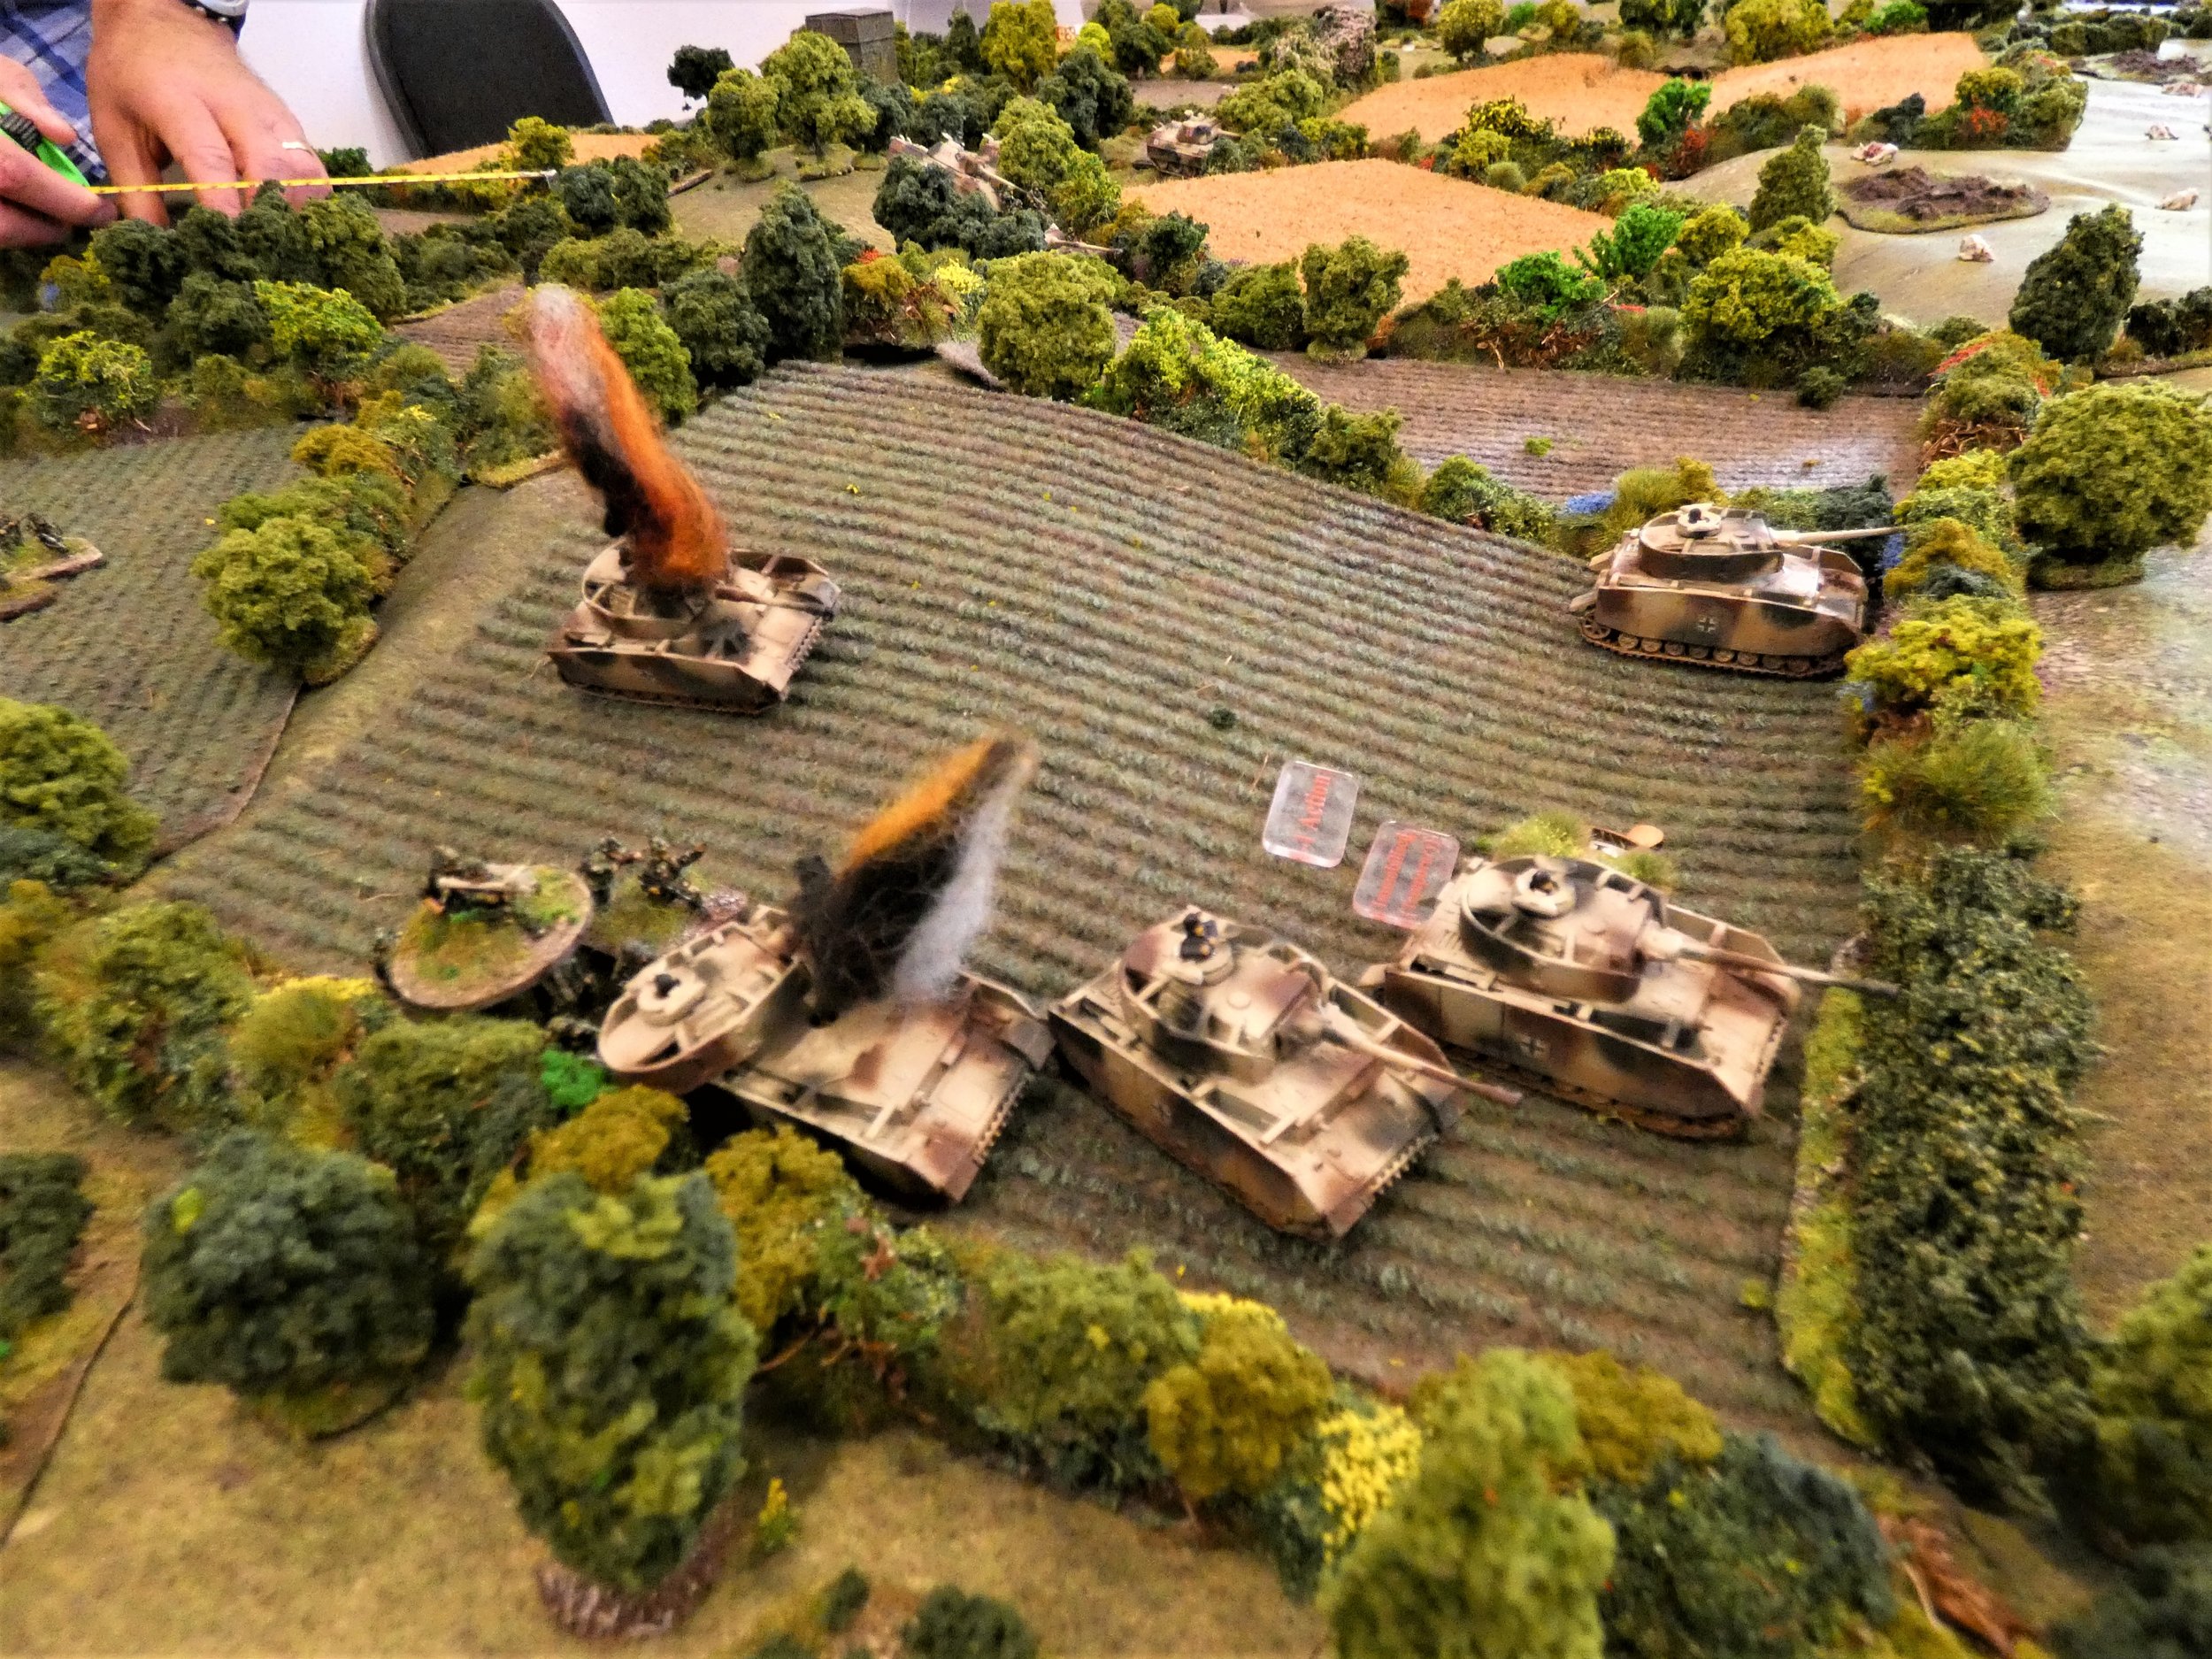
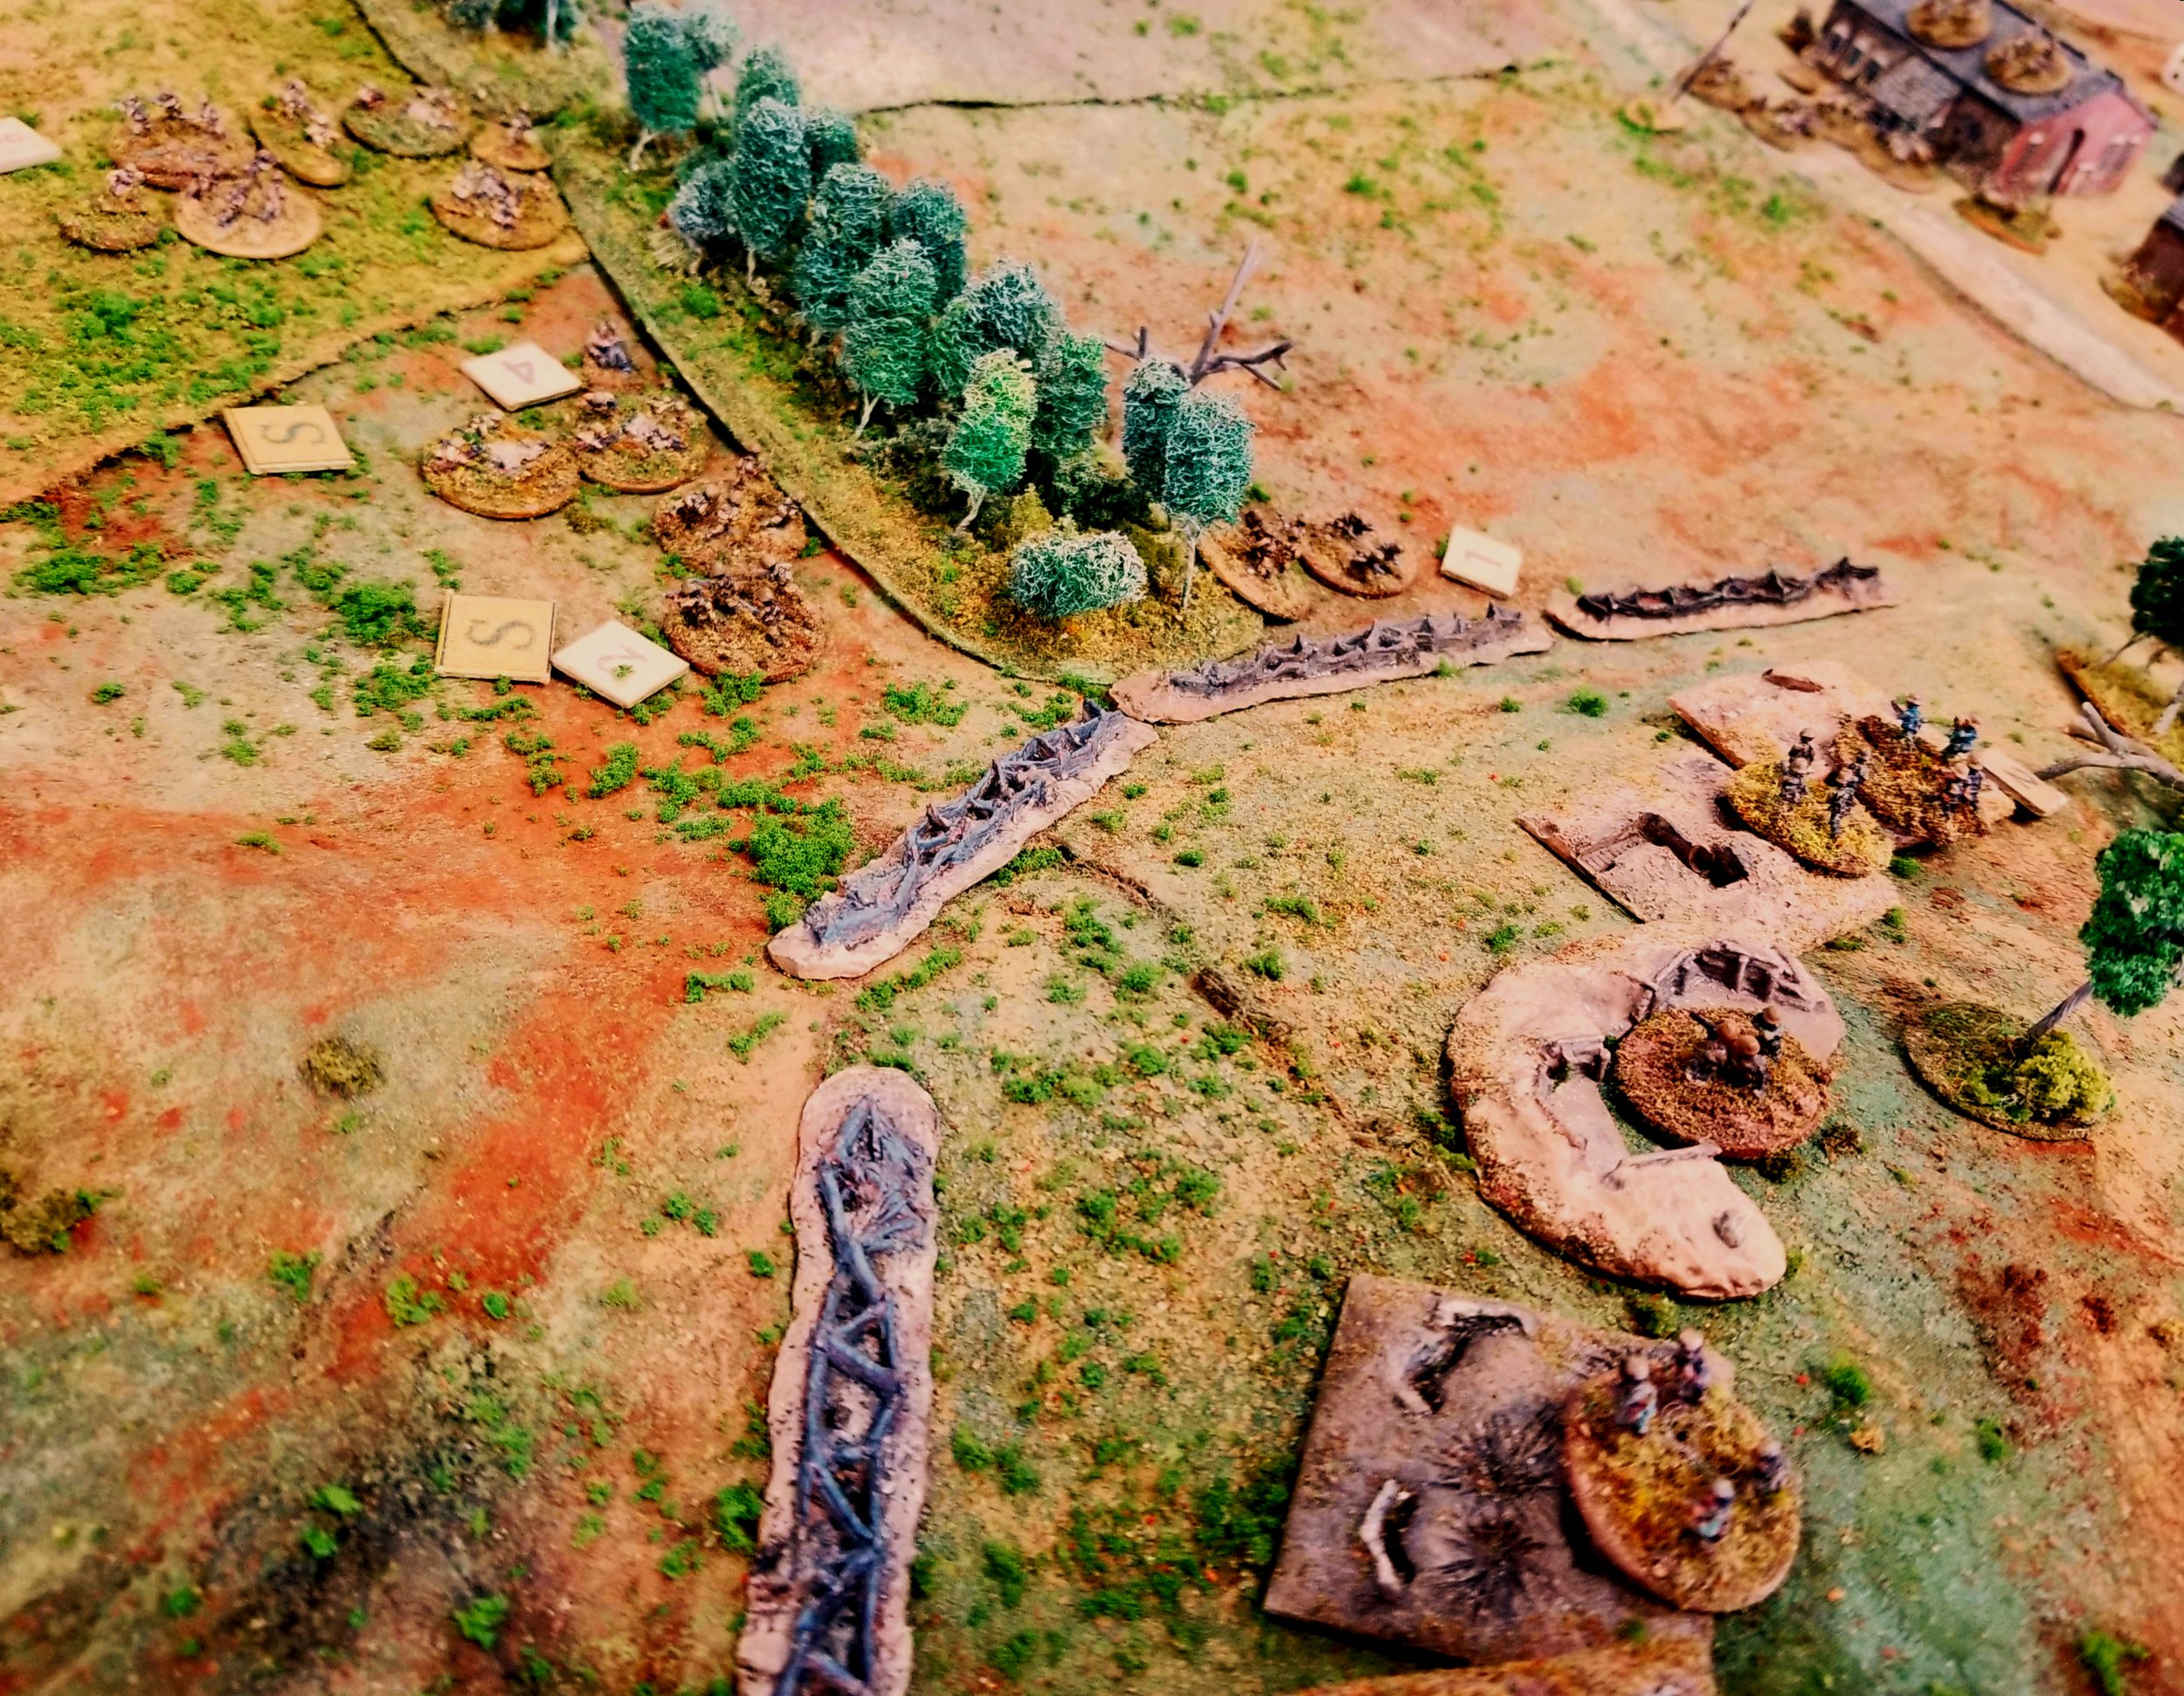
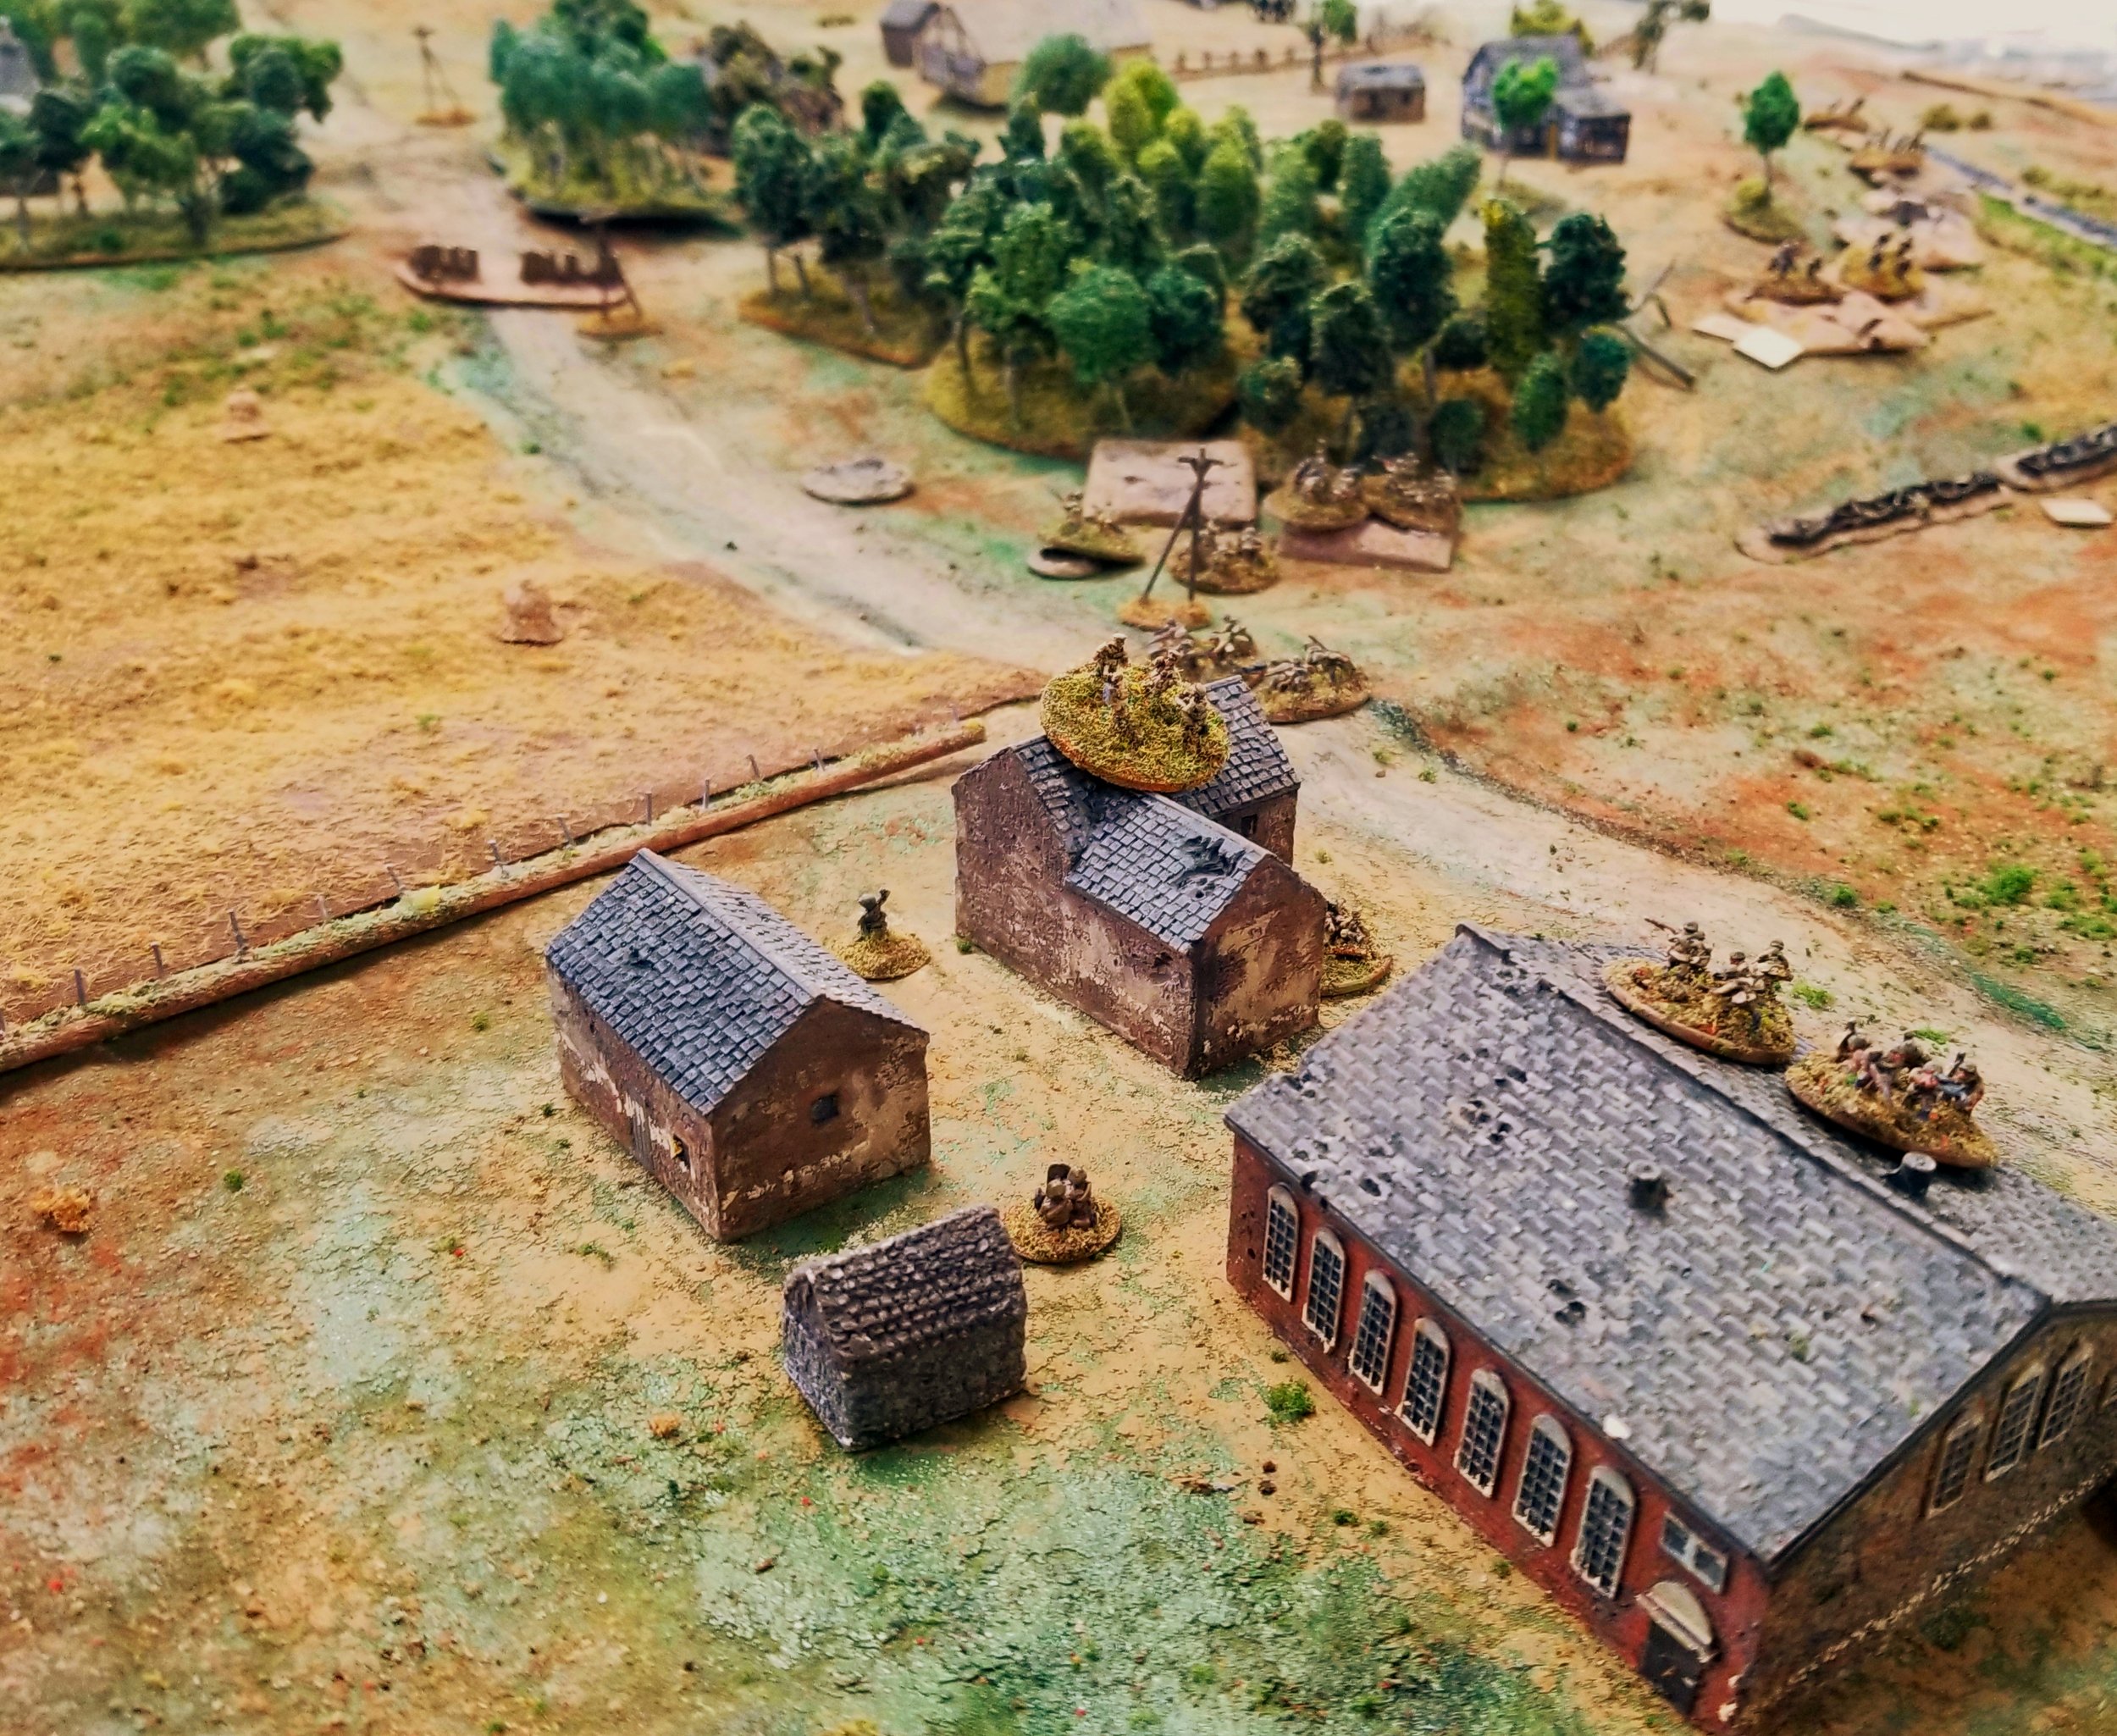
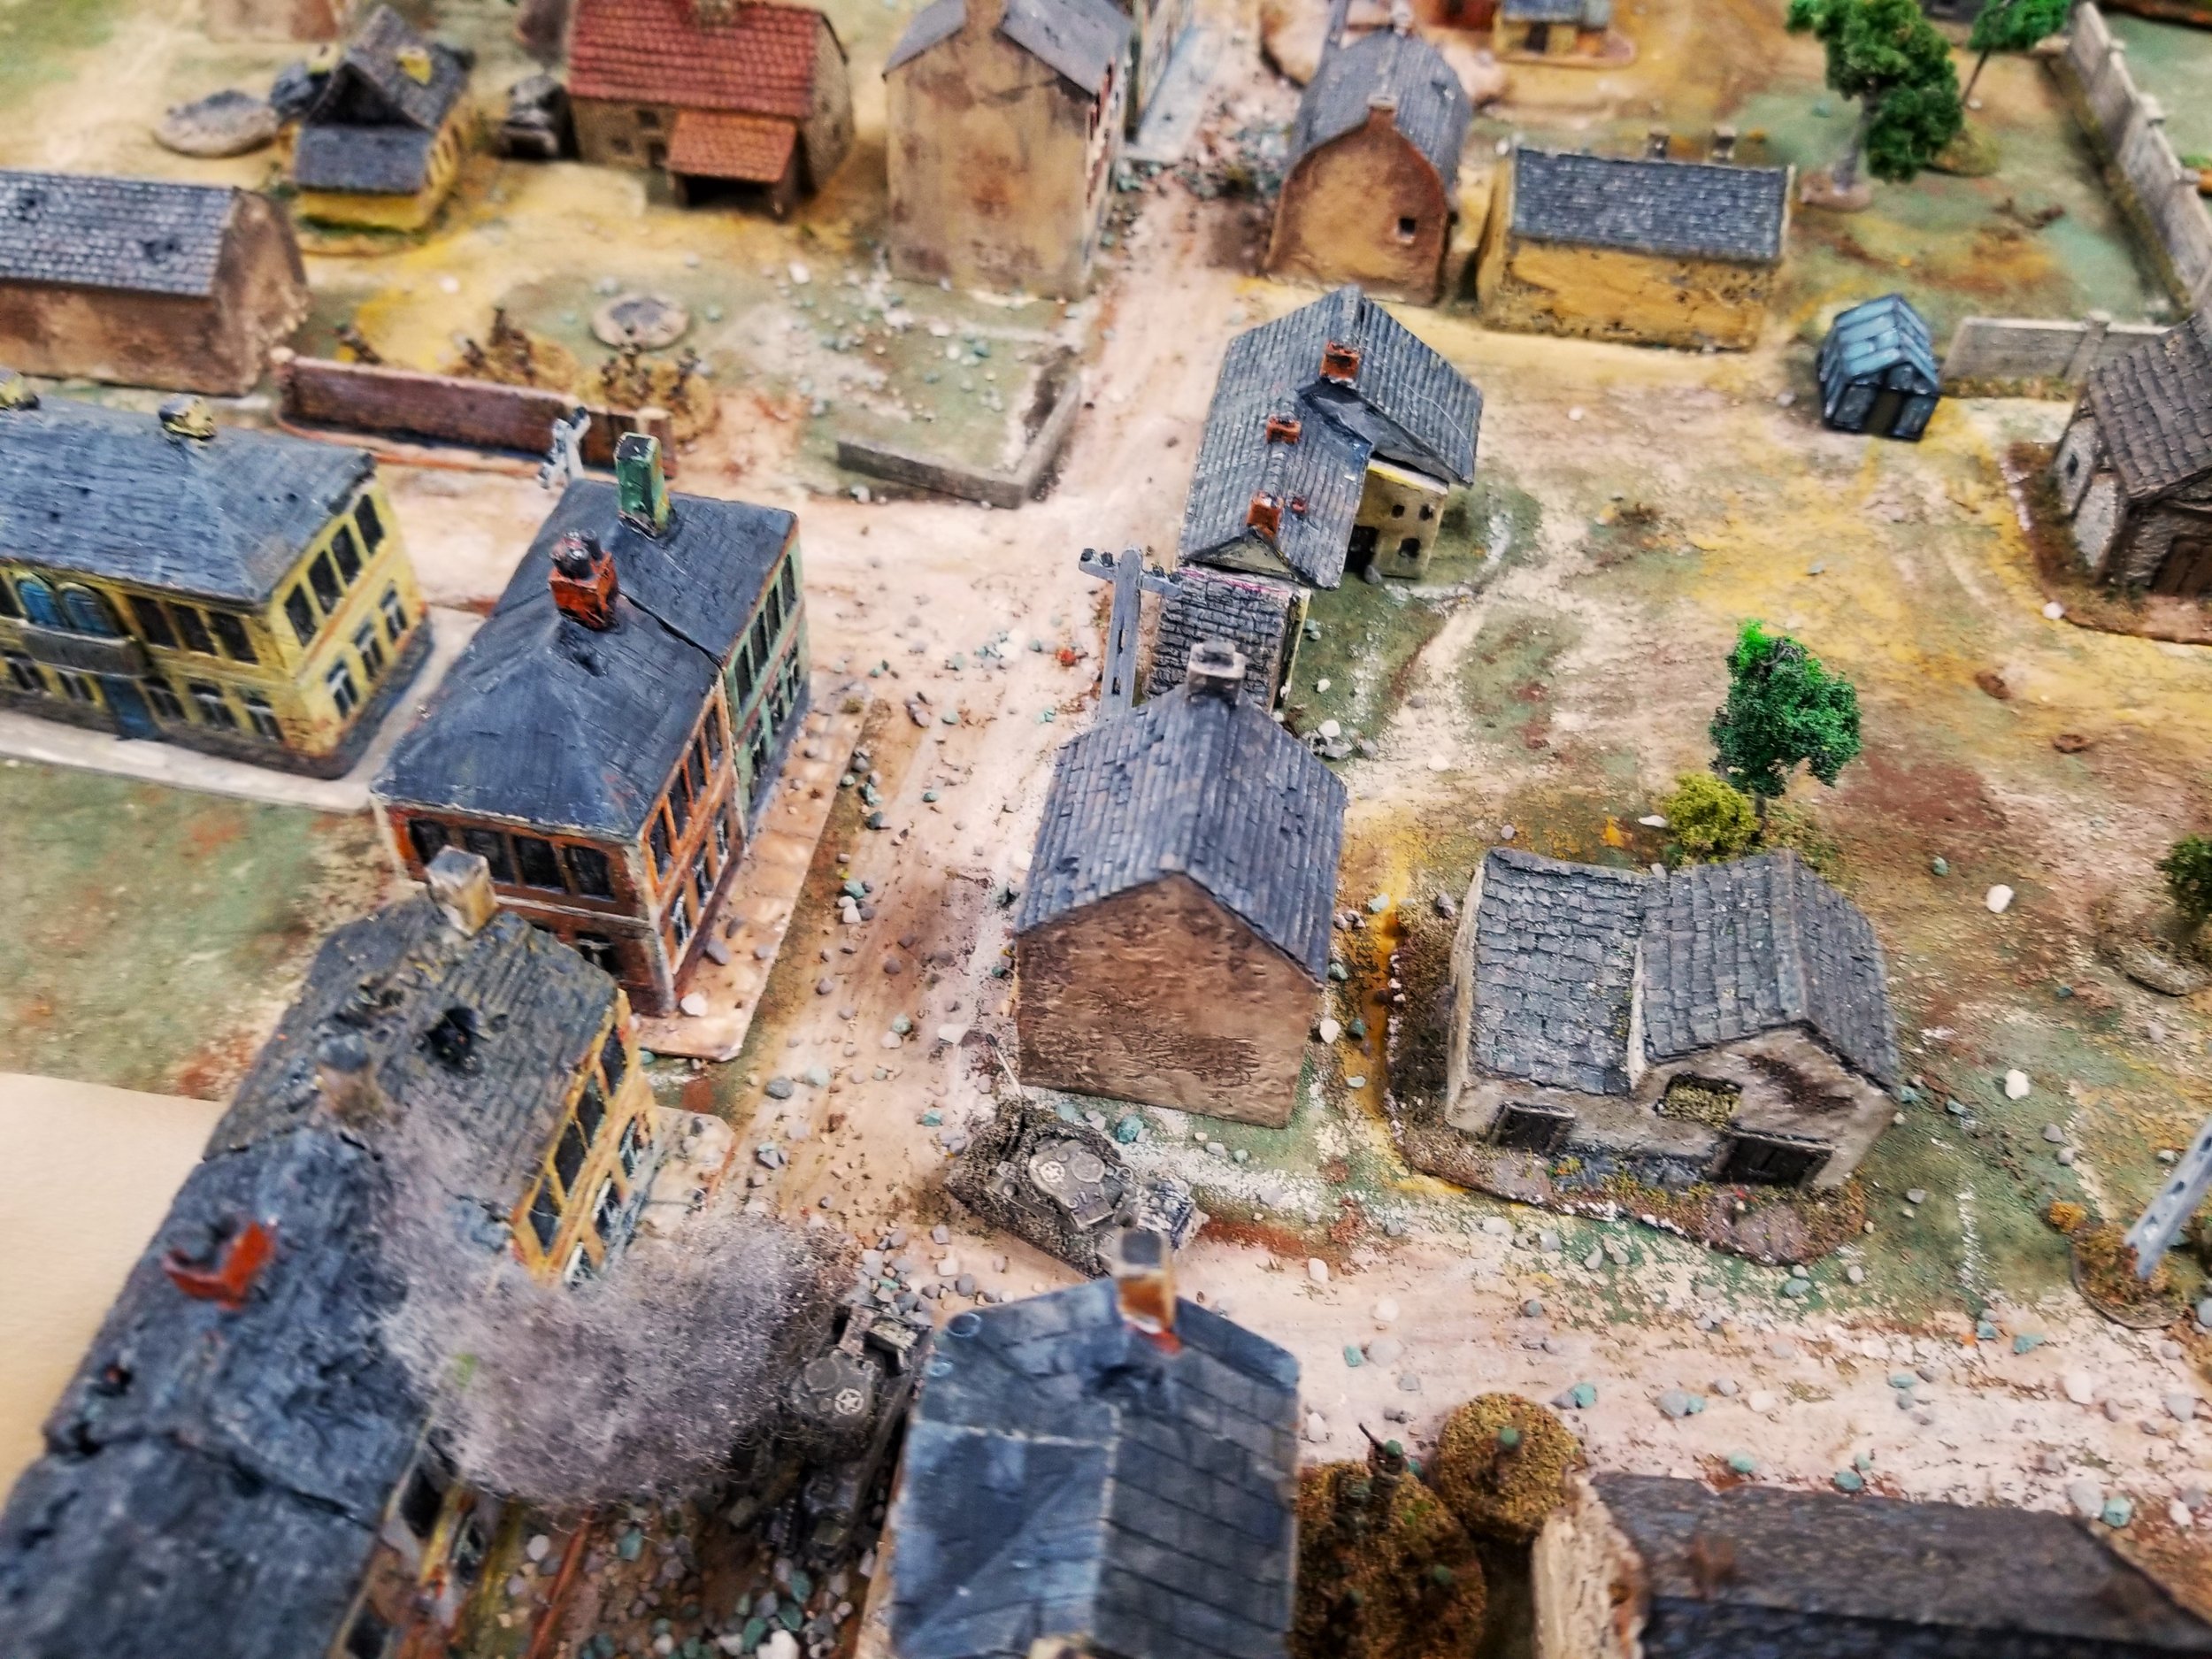
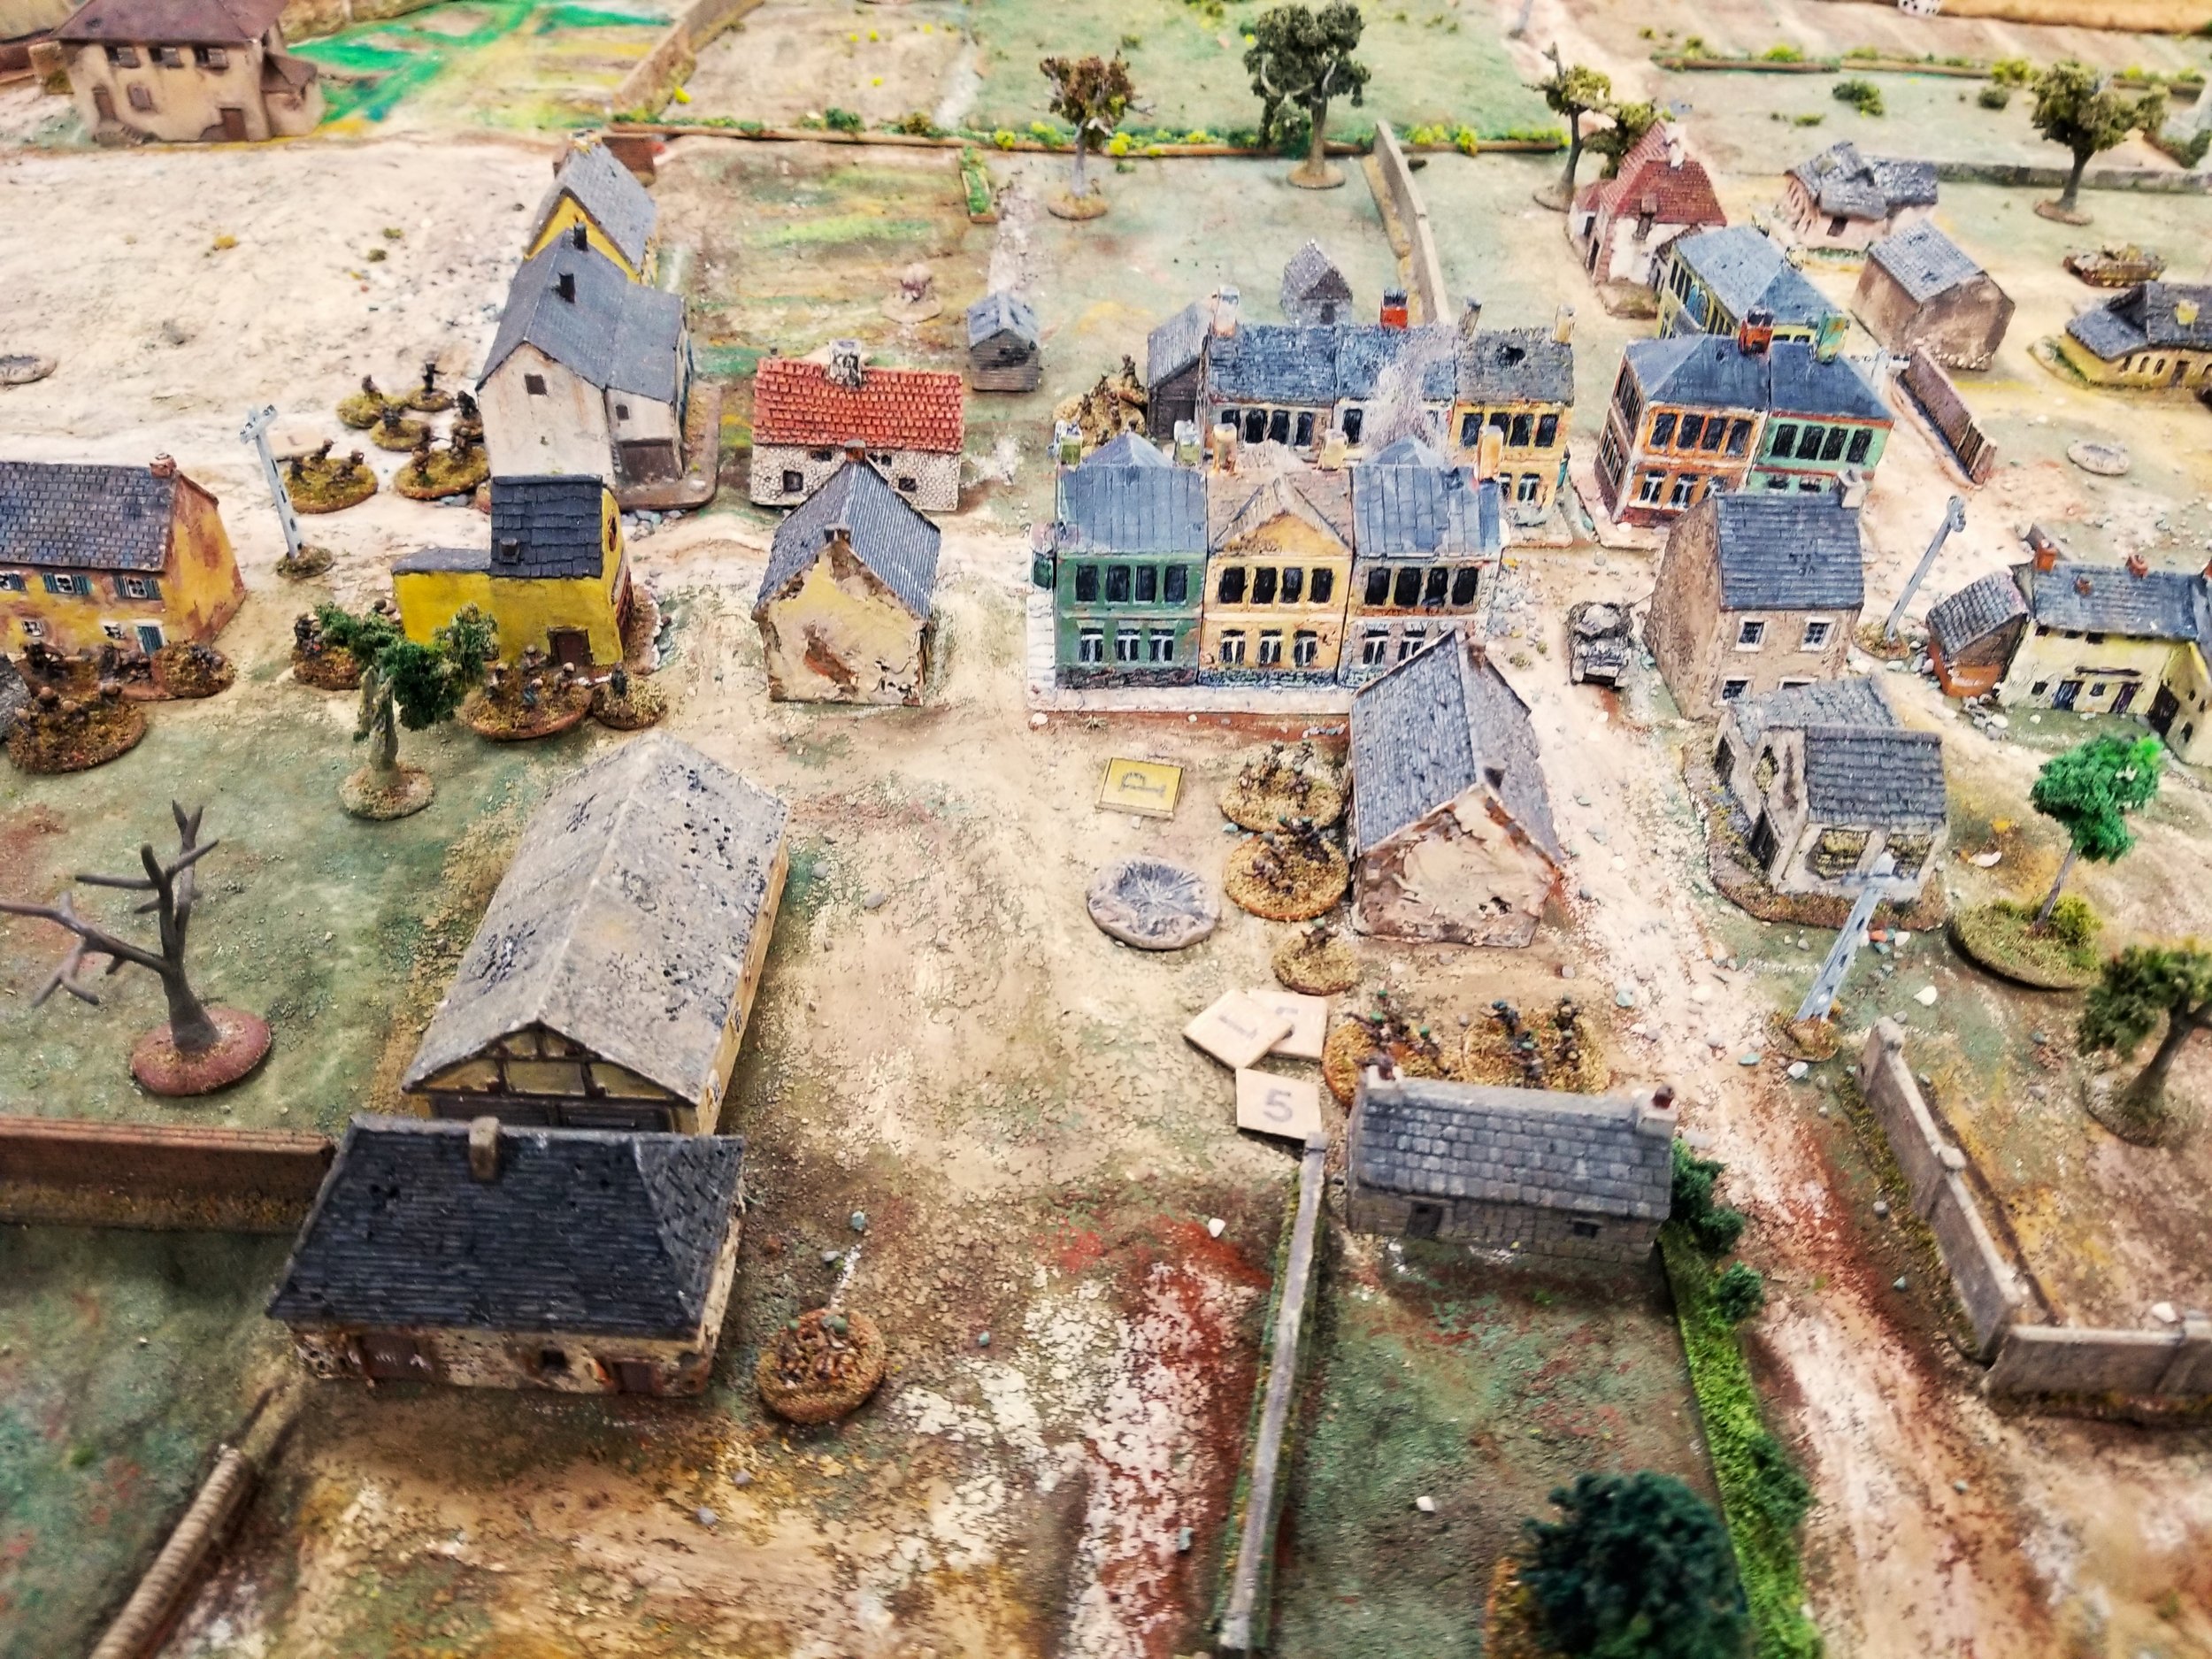
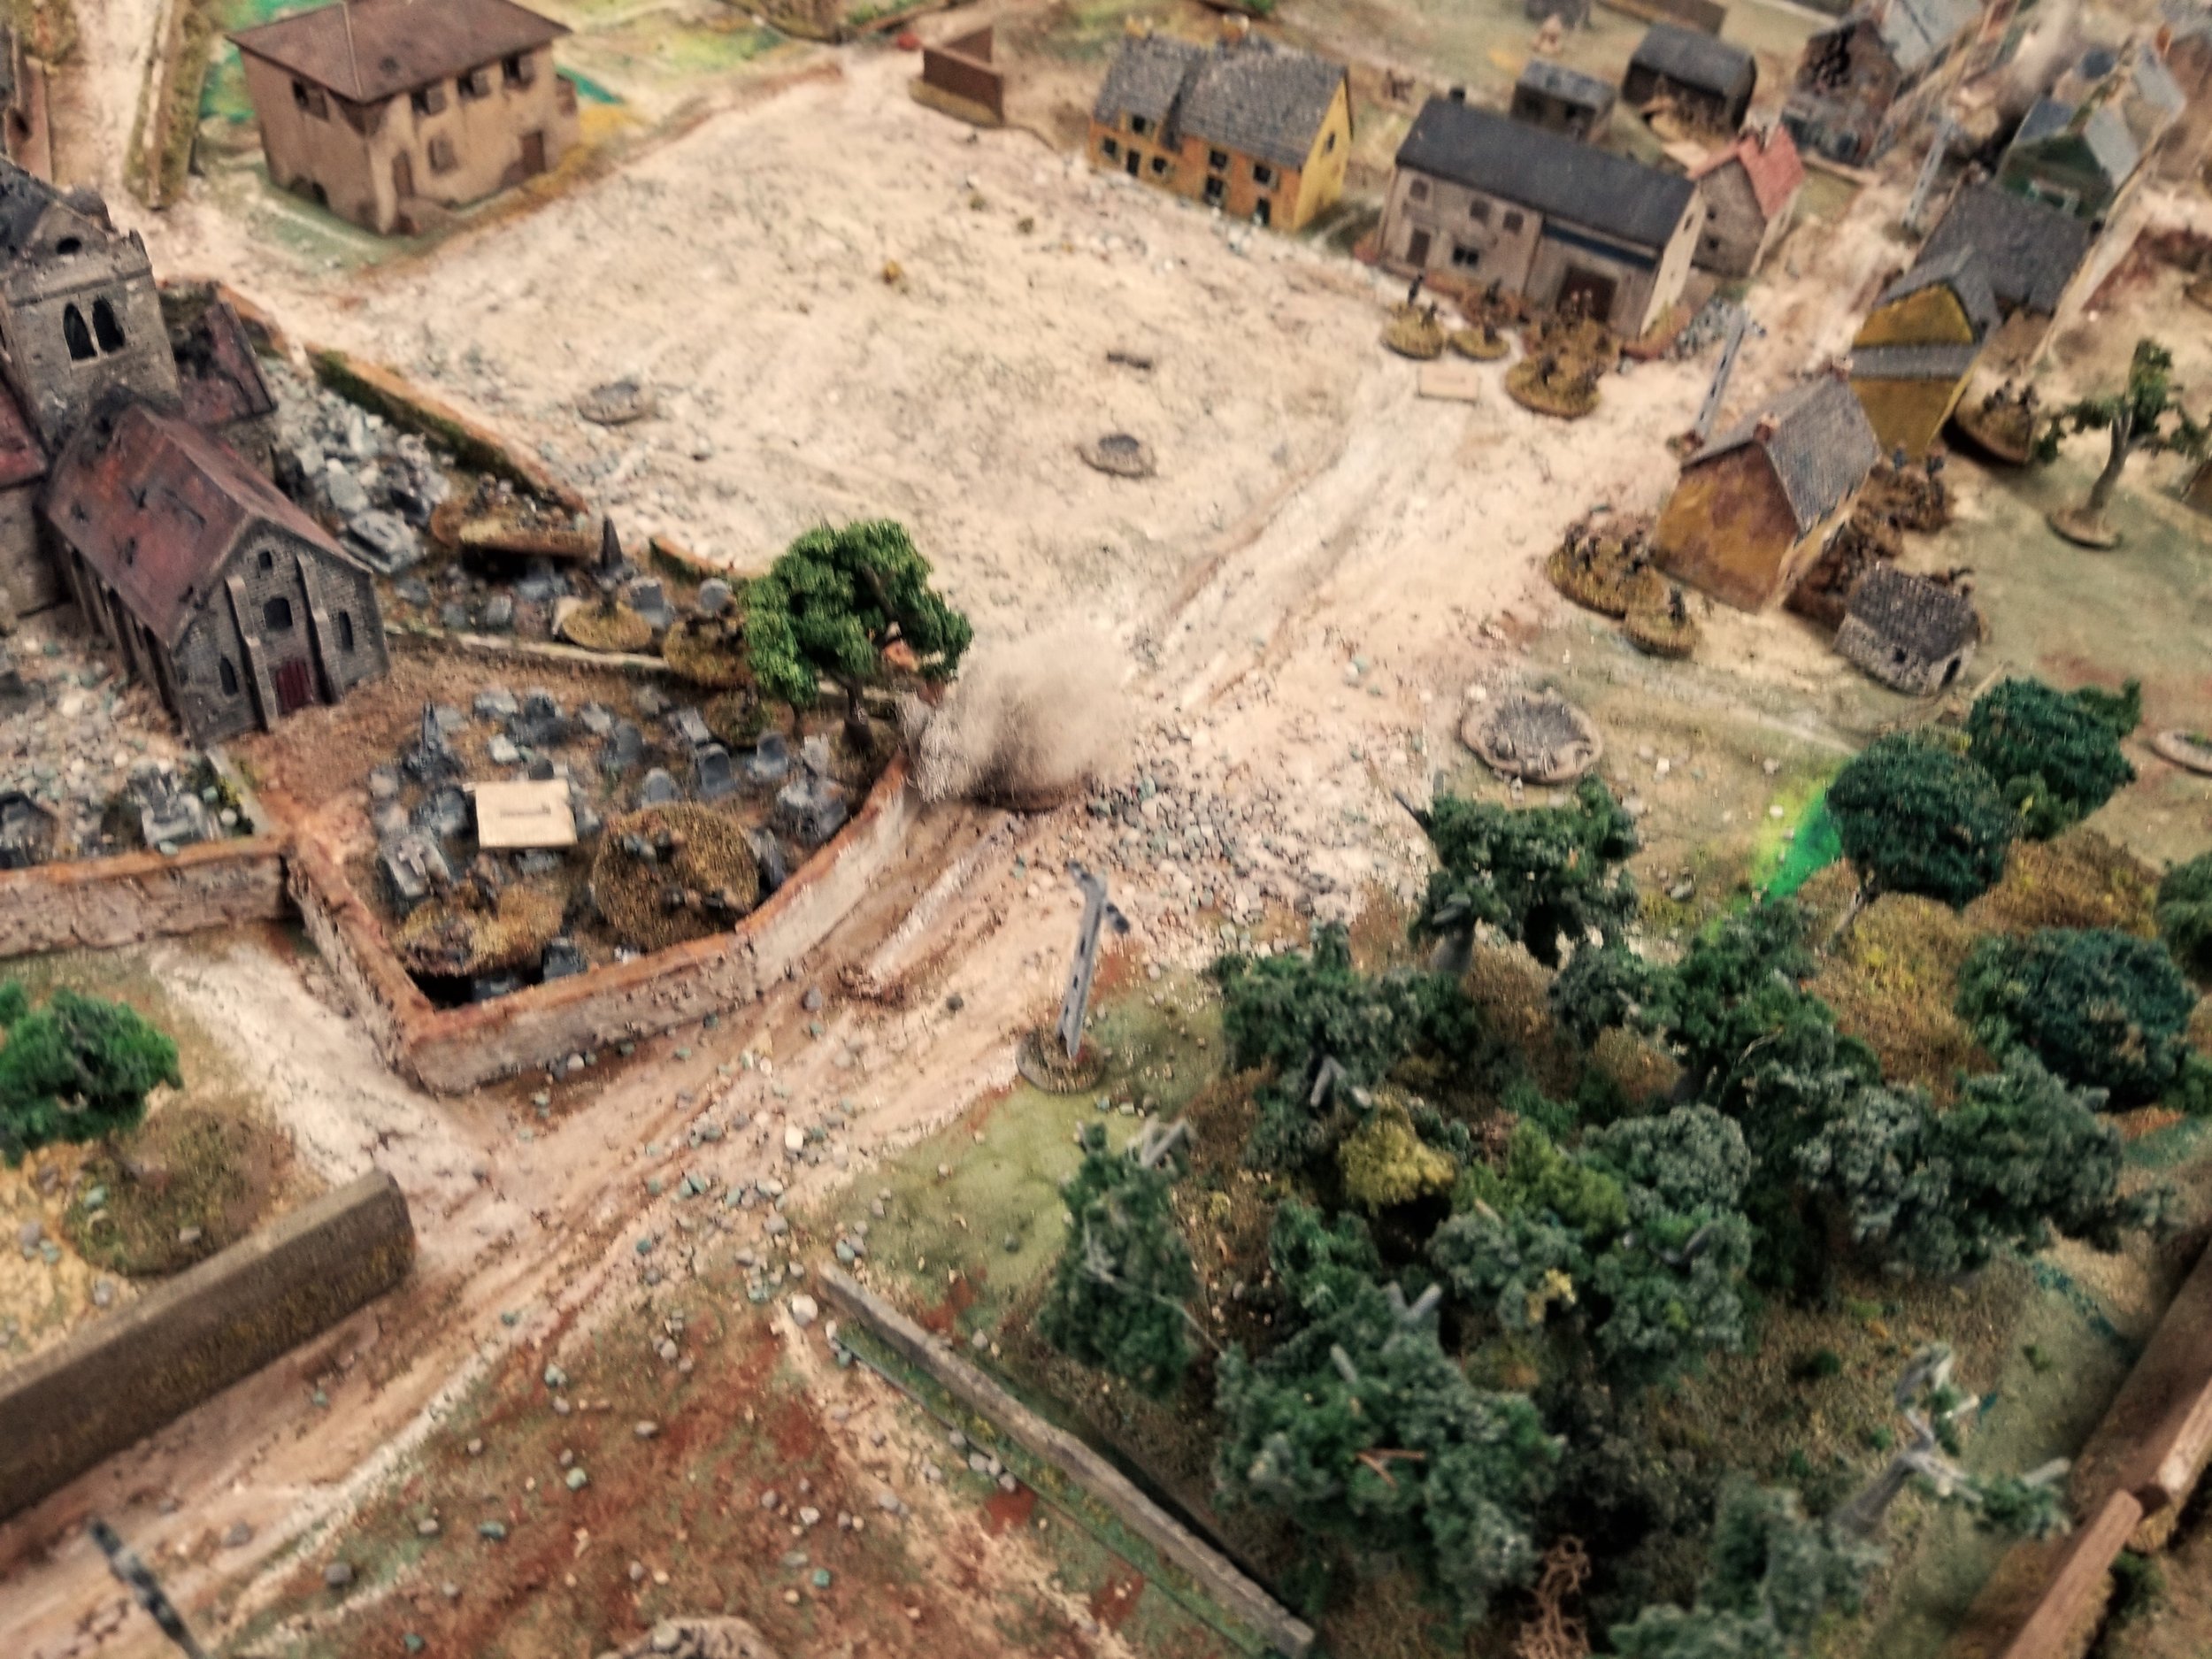
Thankfully, the artillery cleared a bit, or hit far enough away for a round or two to not cause issues for either side. I continued advancing the tanks and infantry below the hill, while the infantry along the ridge engaged the enemy. Some time around this point, a machine gun opened up from within the far pillbox, and paratroopers within the trench revealed themselves by opening up.

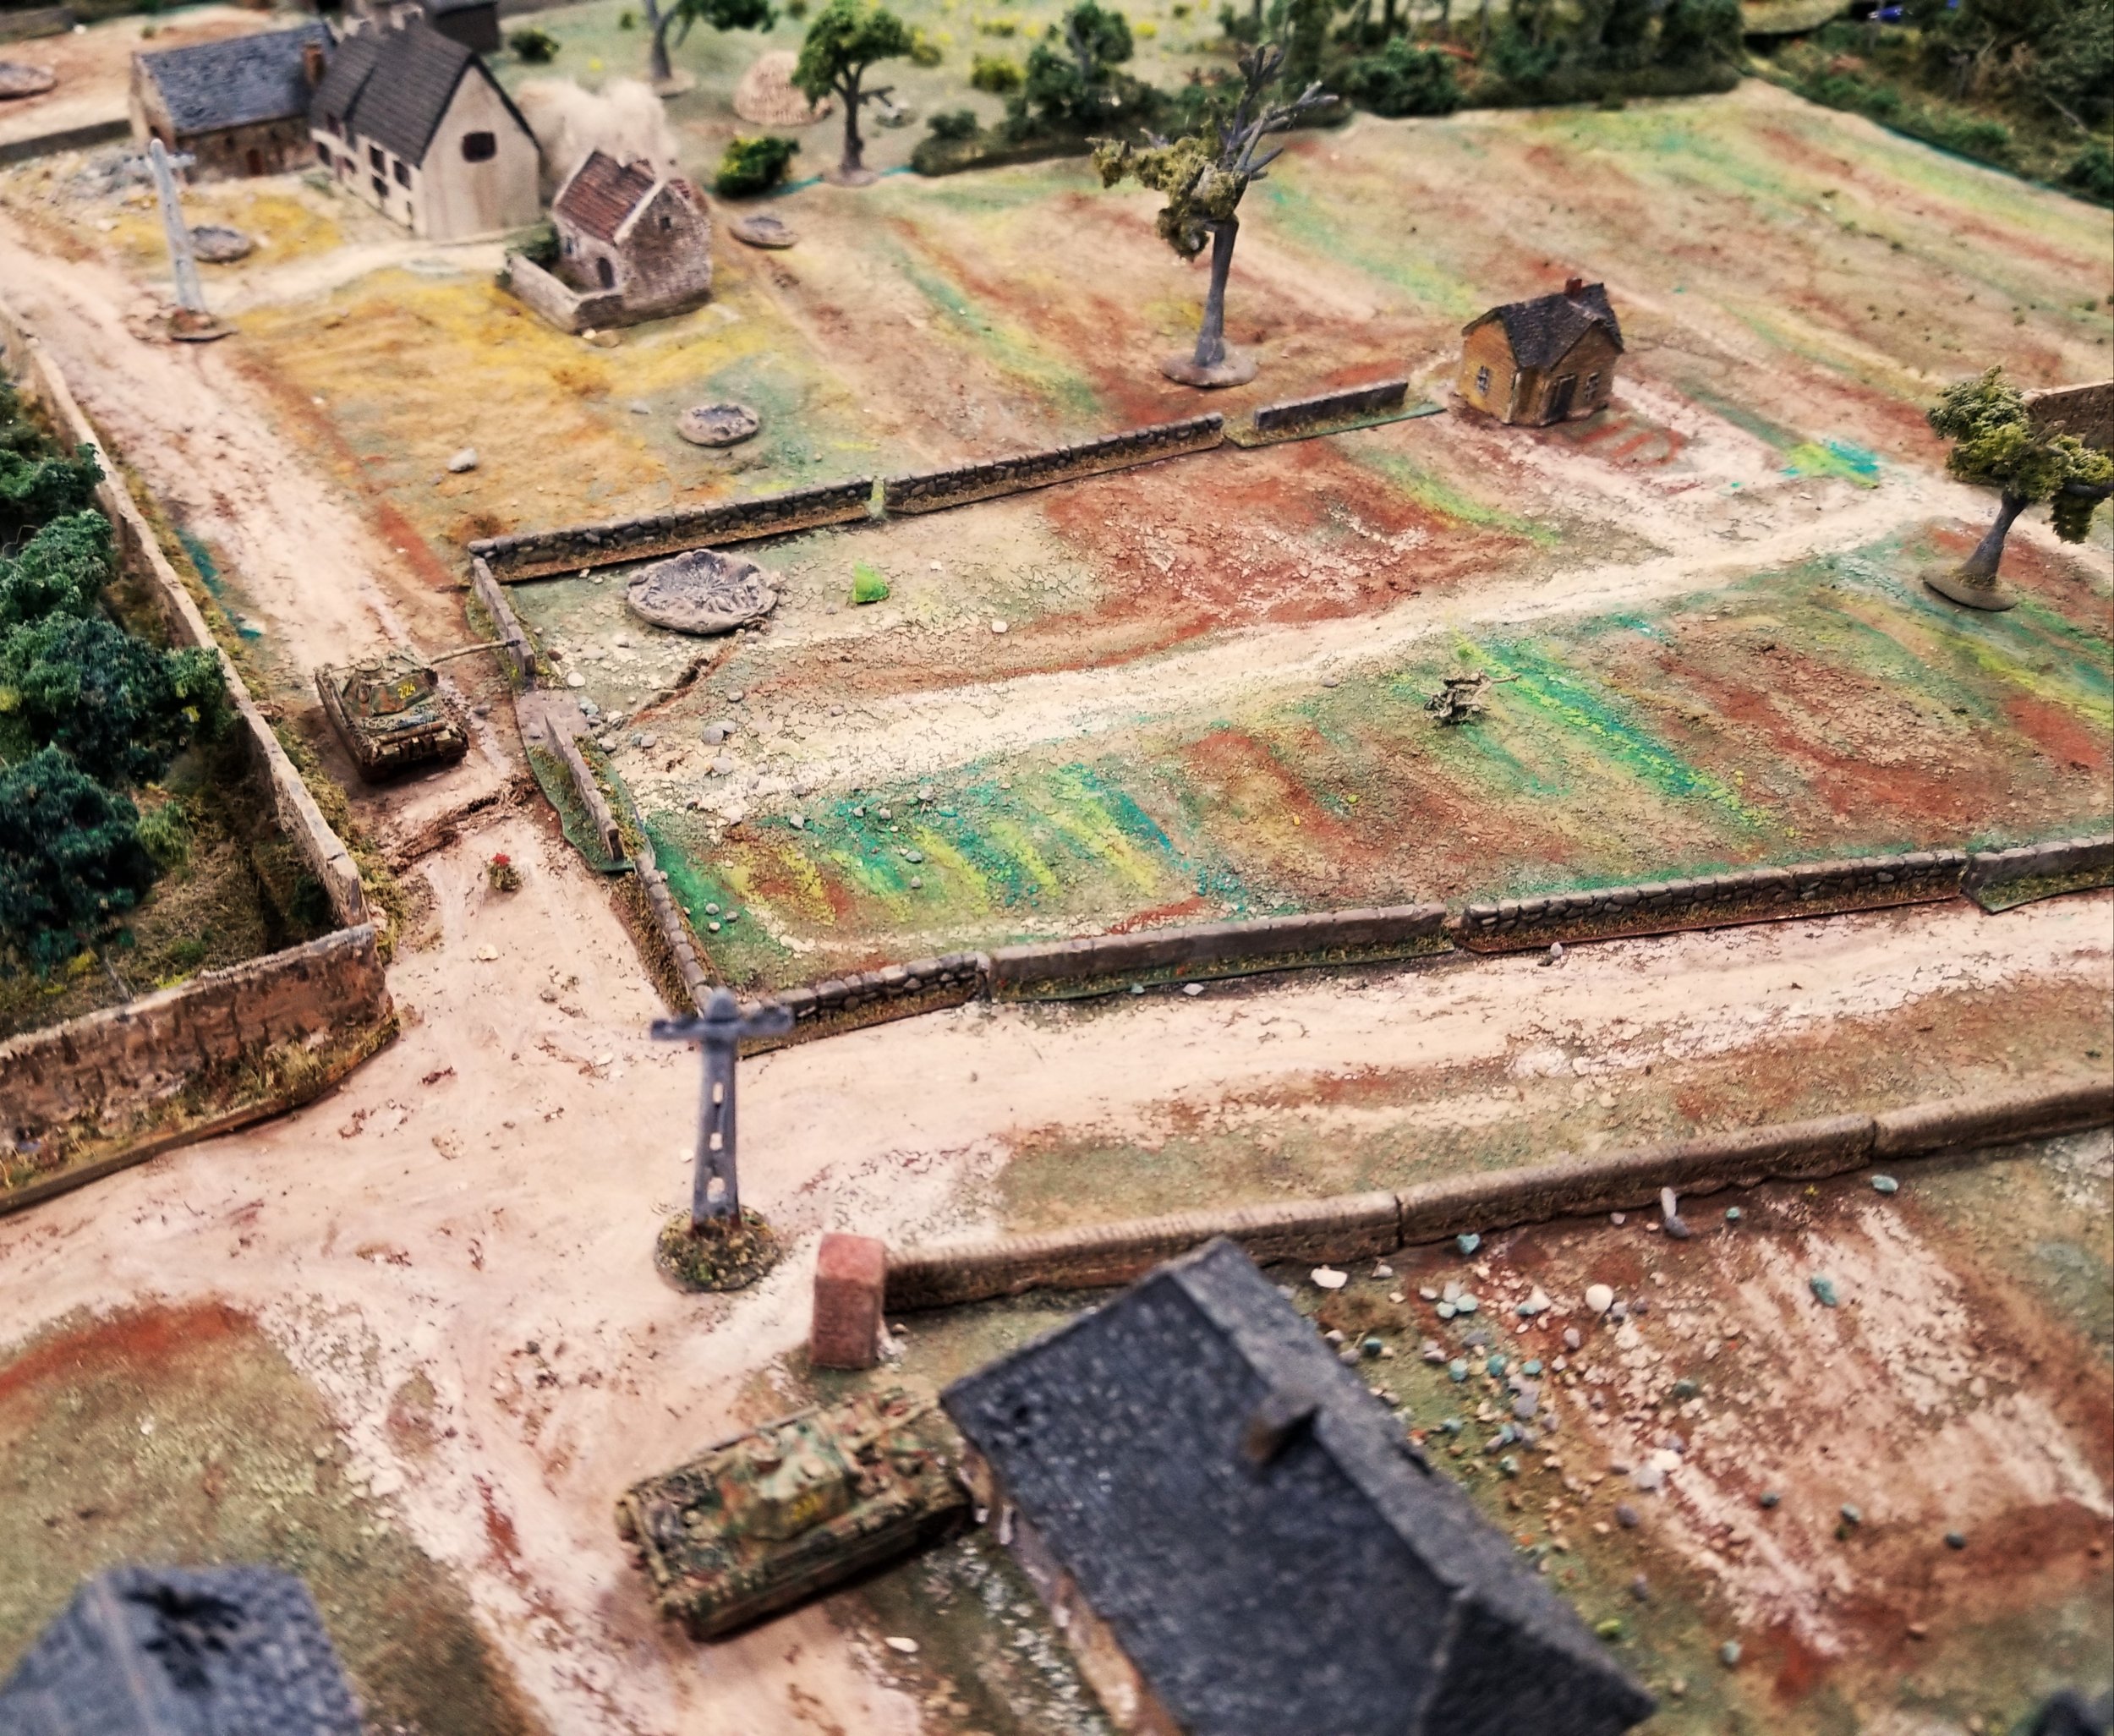
Responding to the new threat, the lead Italian tank engaged the pillbox, scoring hits with its machine gun. In a wonderfully cinematic moment, the infantry supporting the tanks leapt from their trucks, swarmed up the hill rifles blazing, and stormed the trenches, destroying a large number of the defenders and driving the rest away.

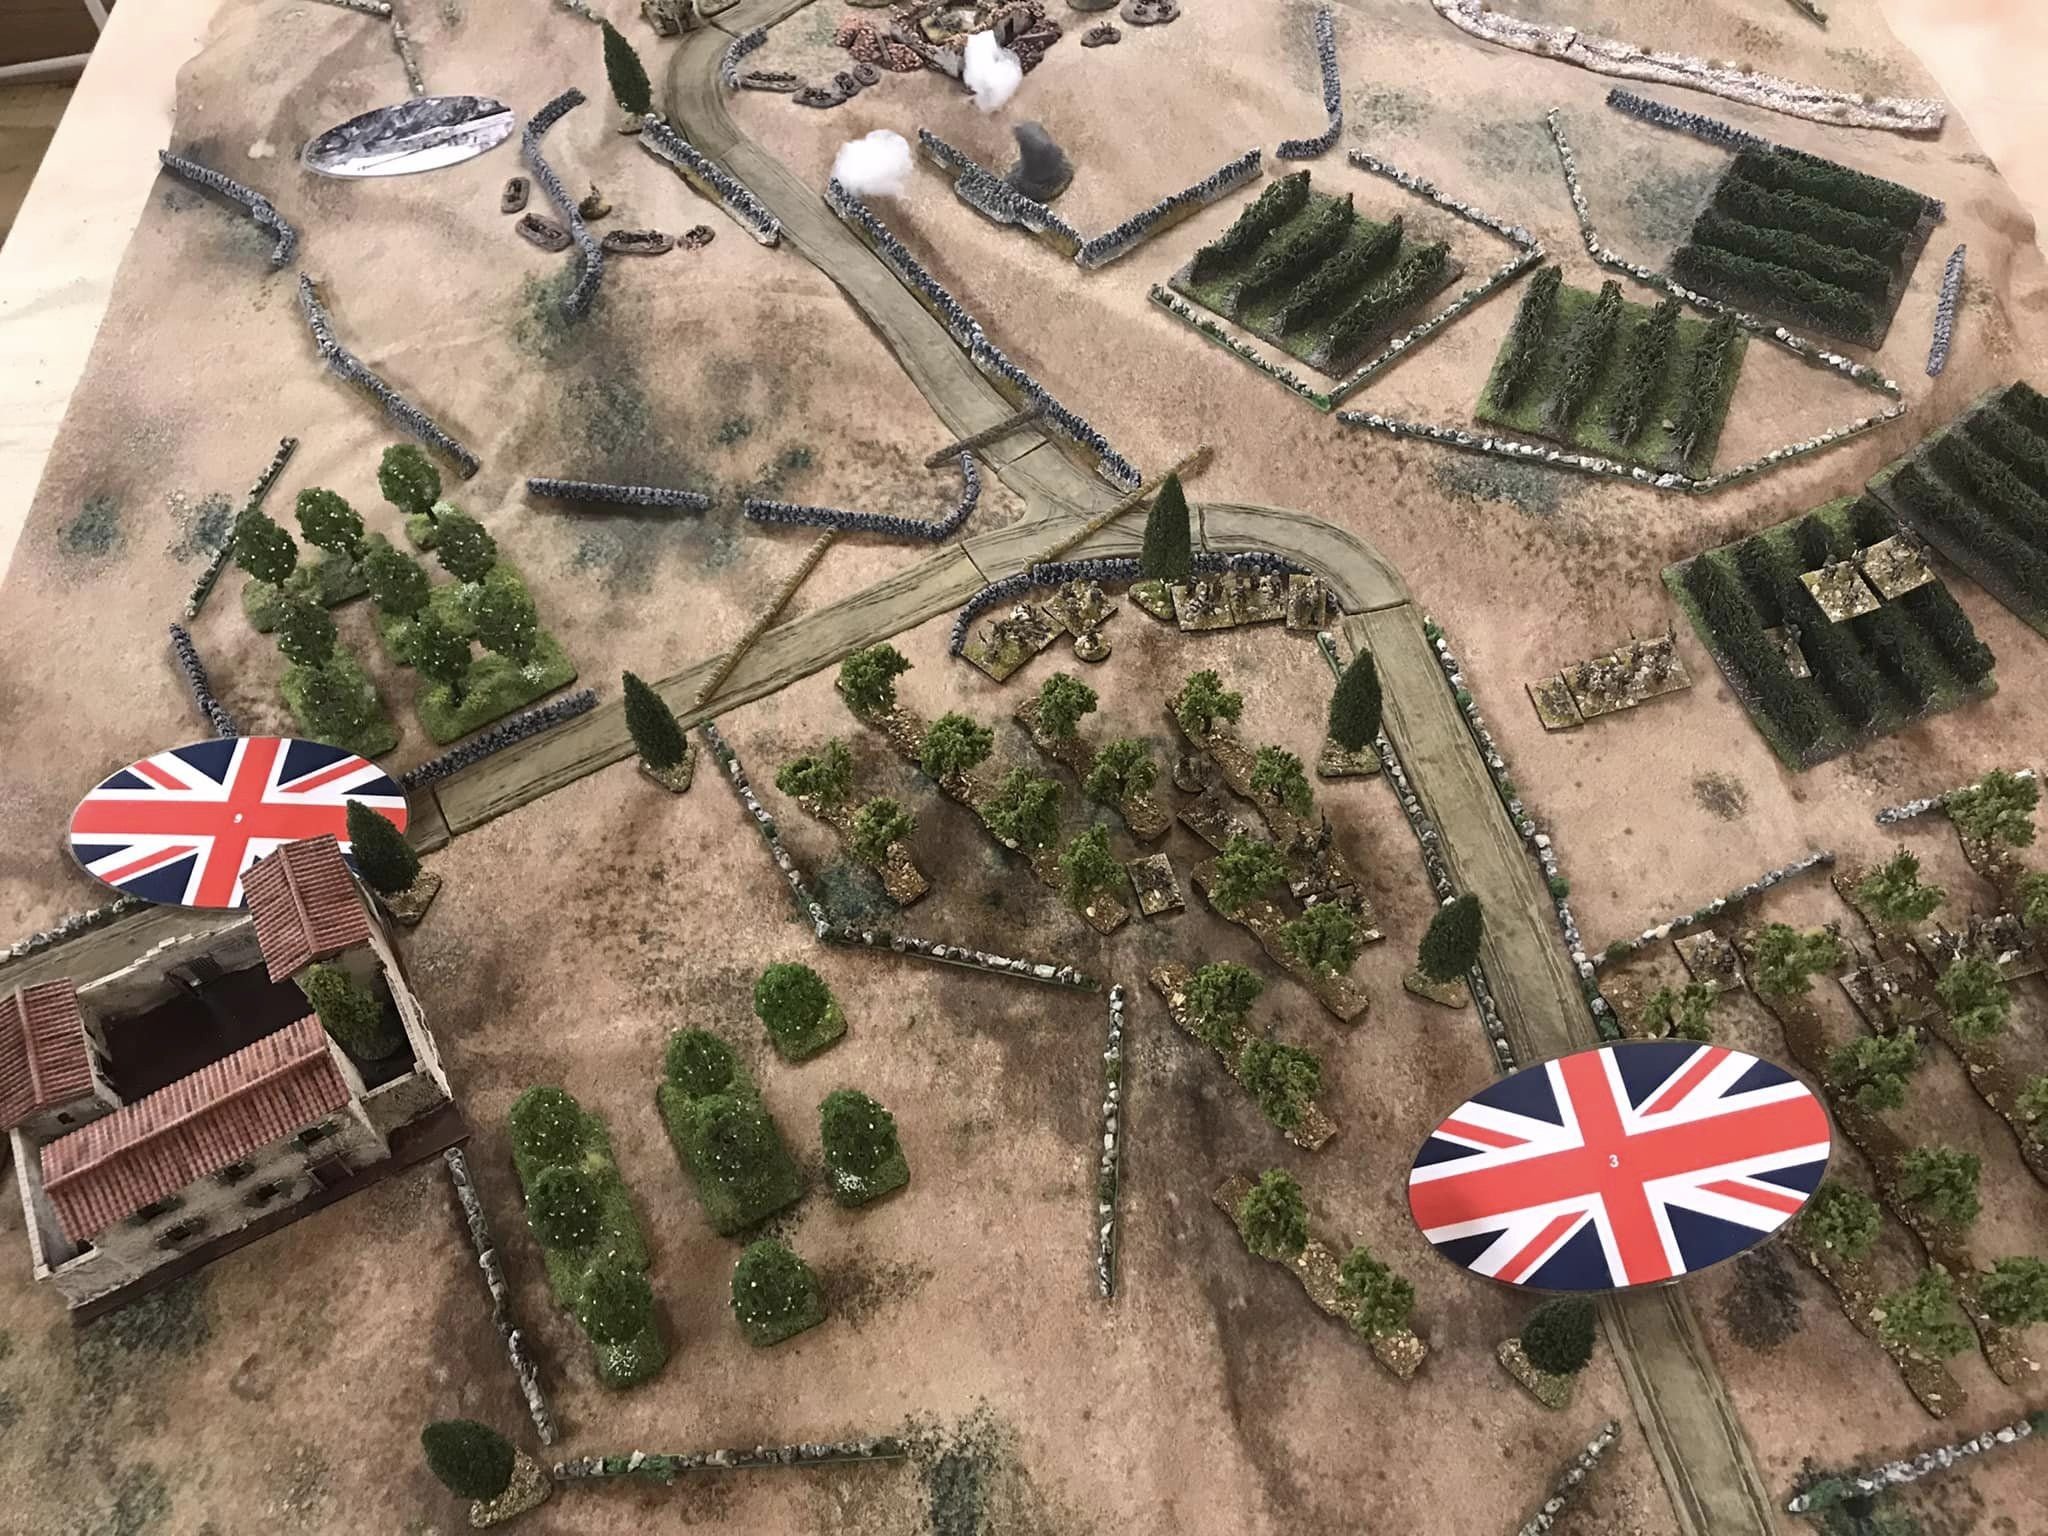
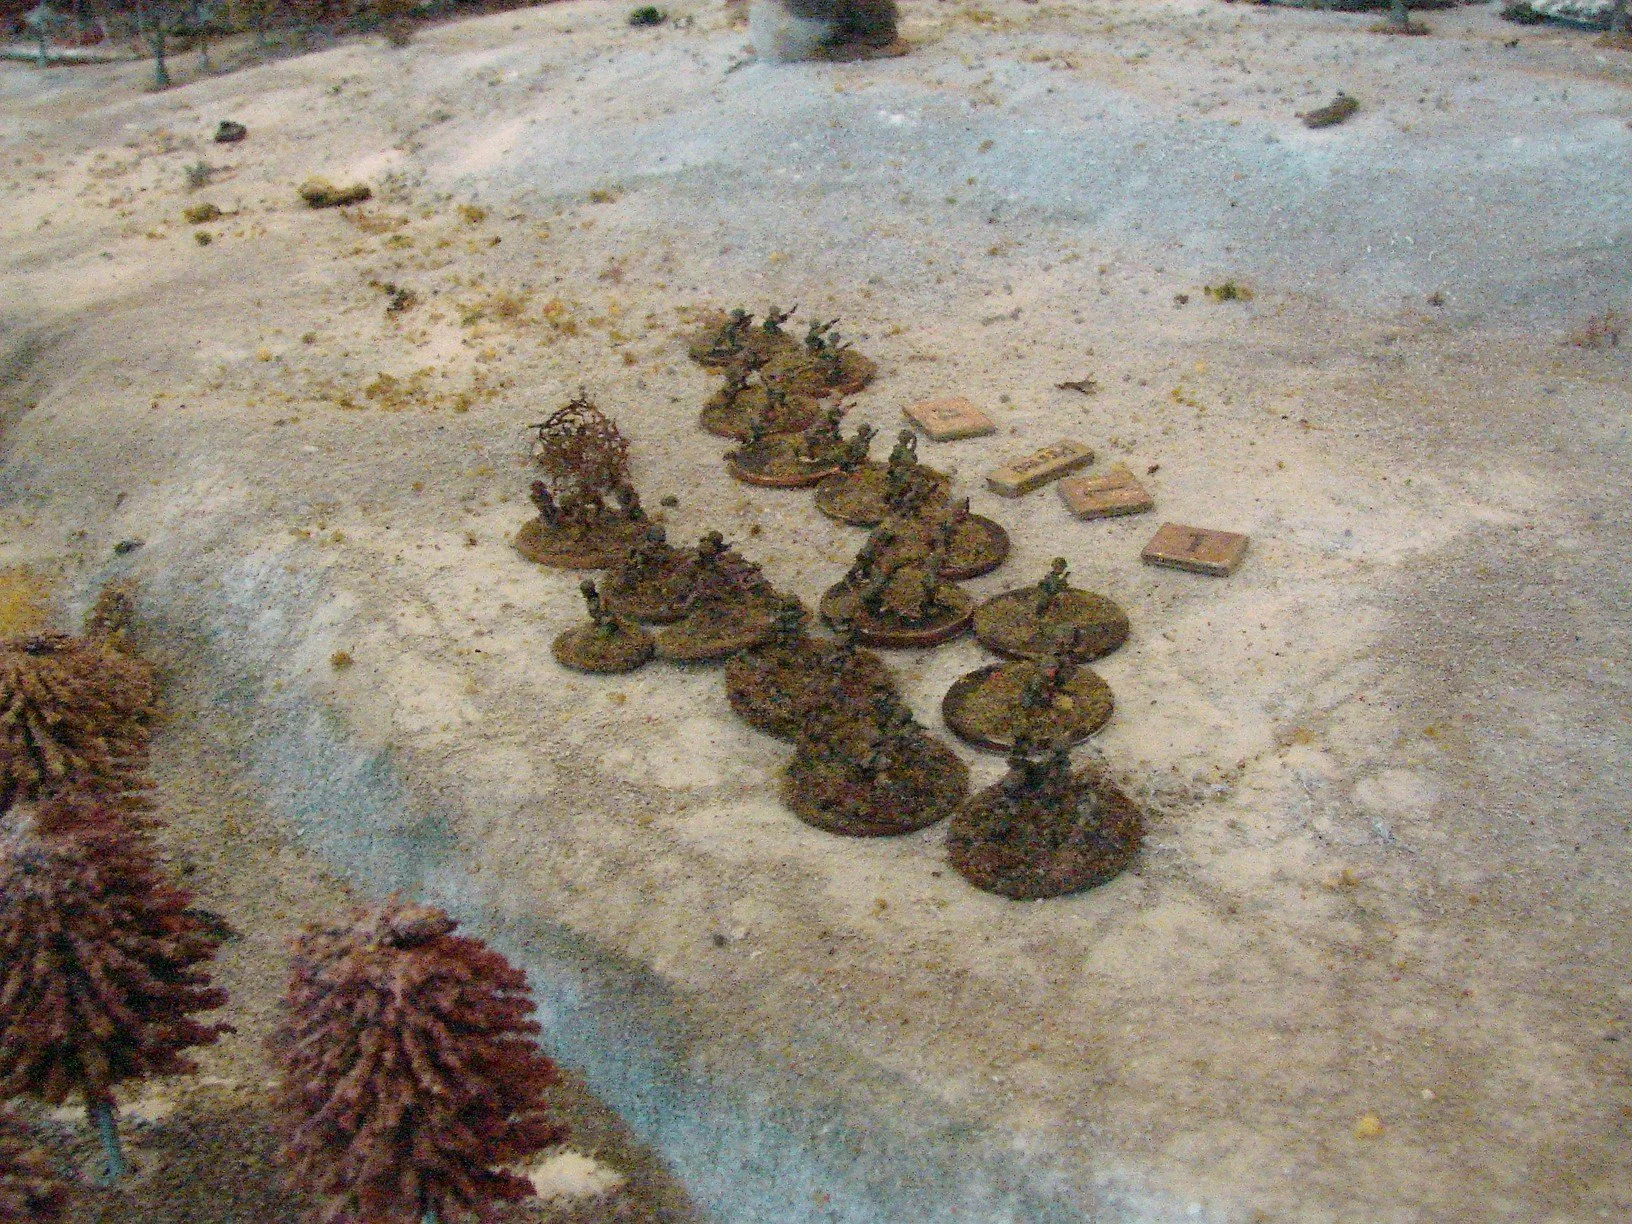
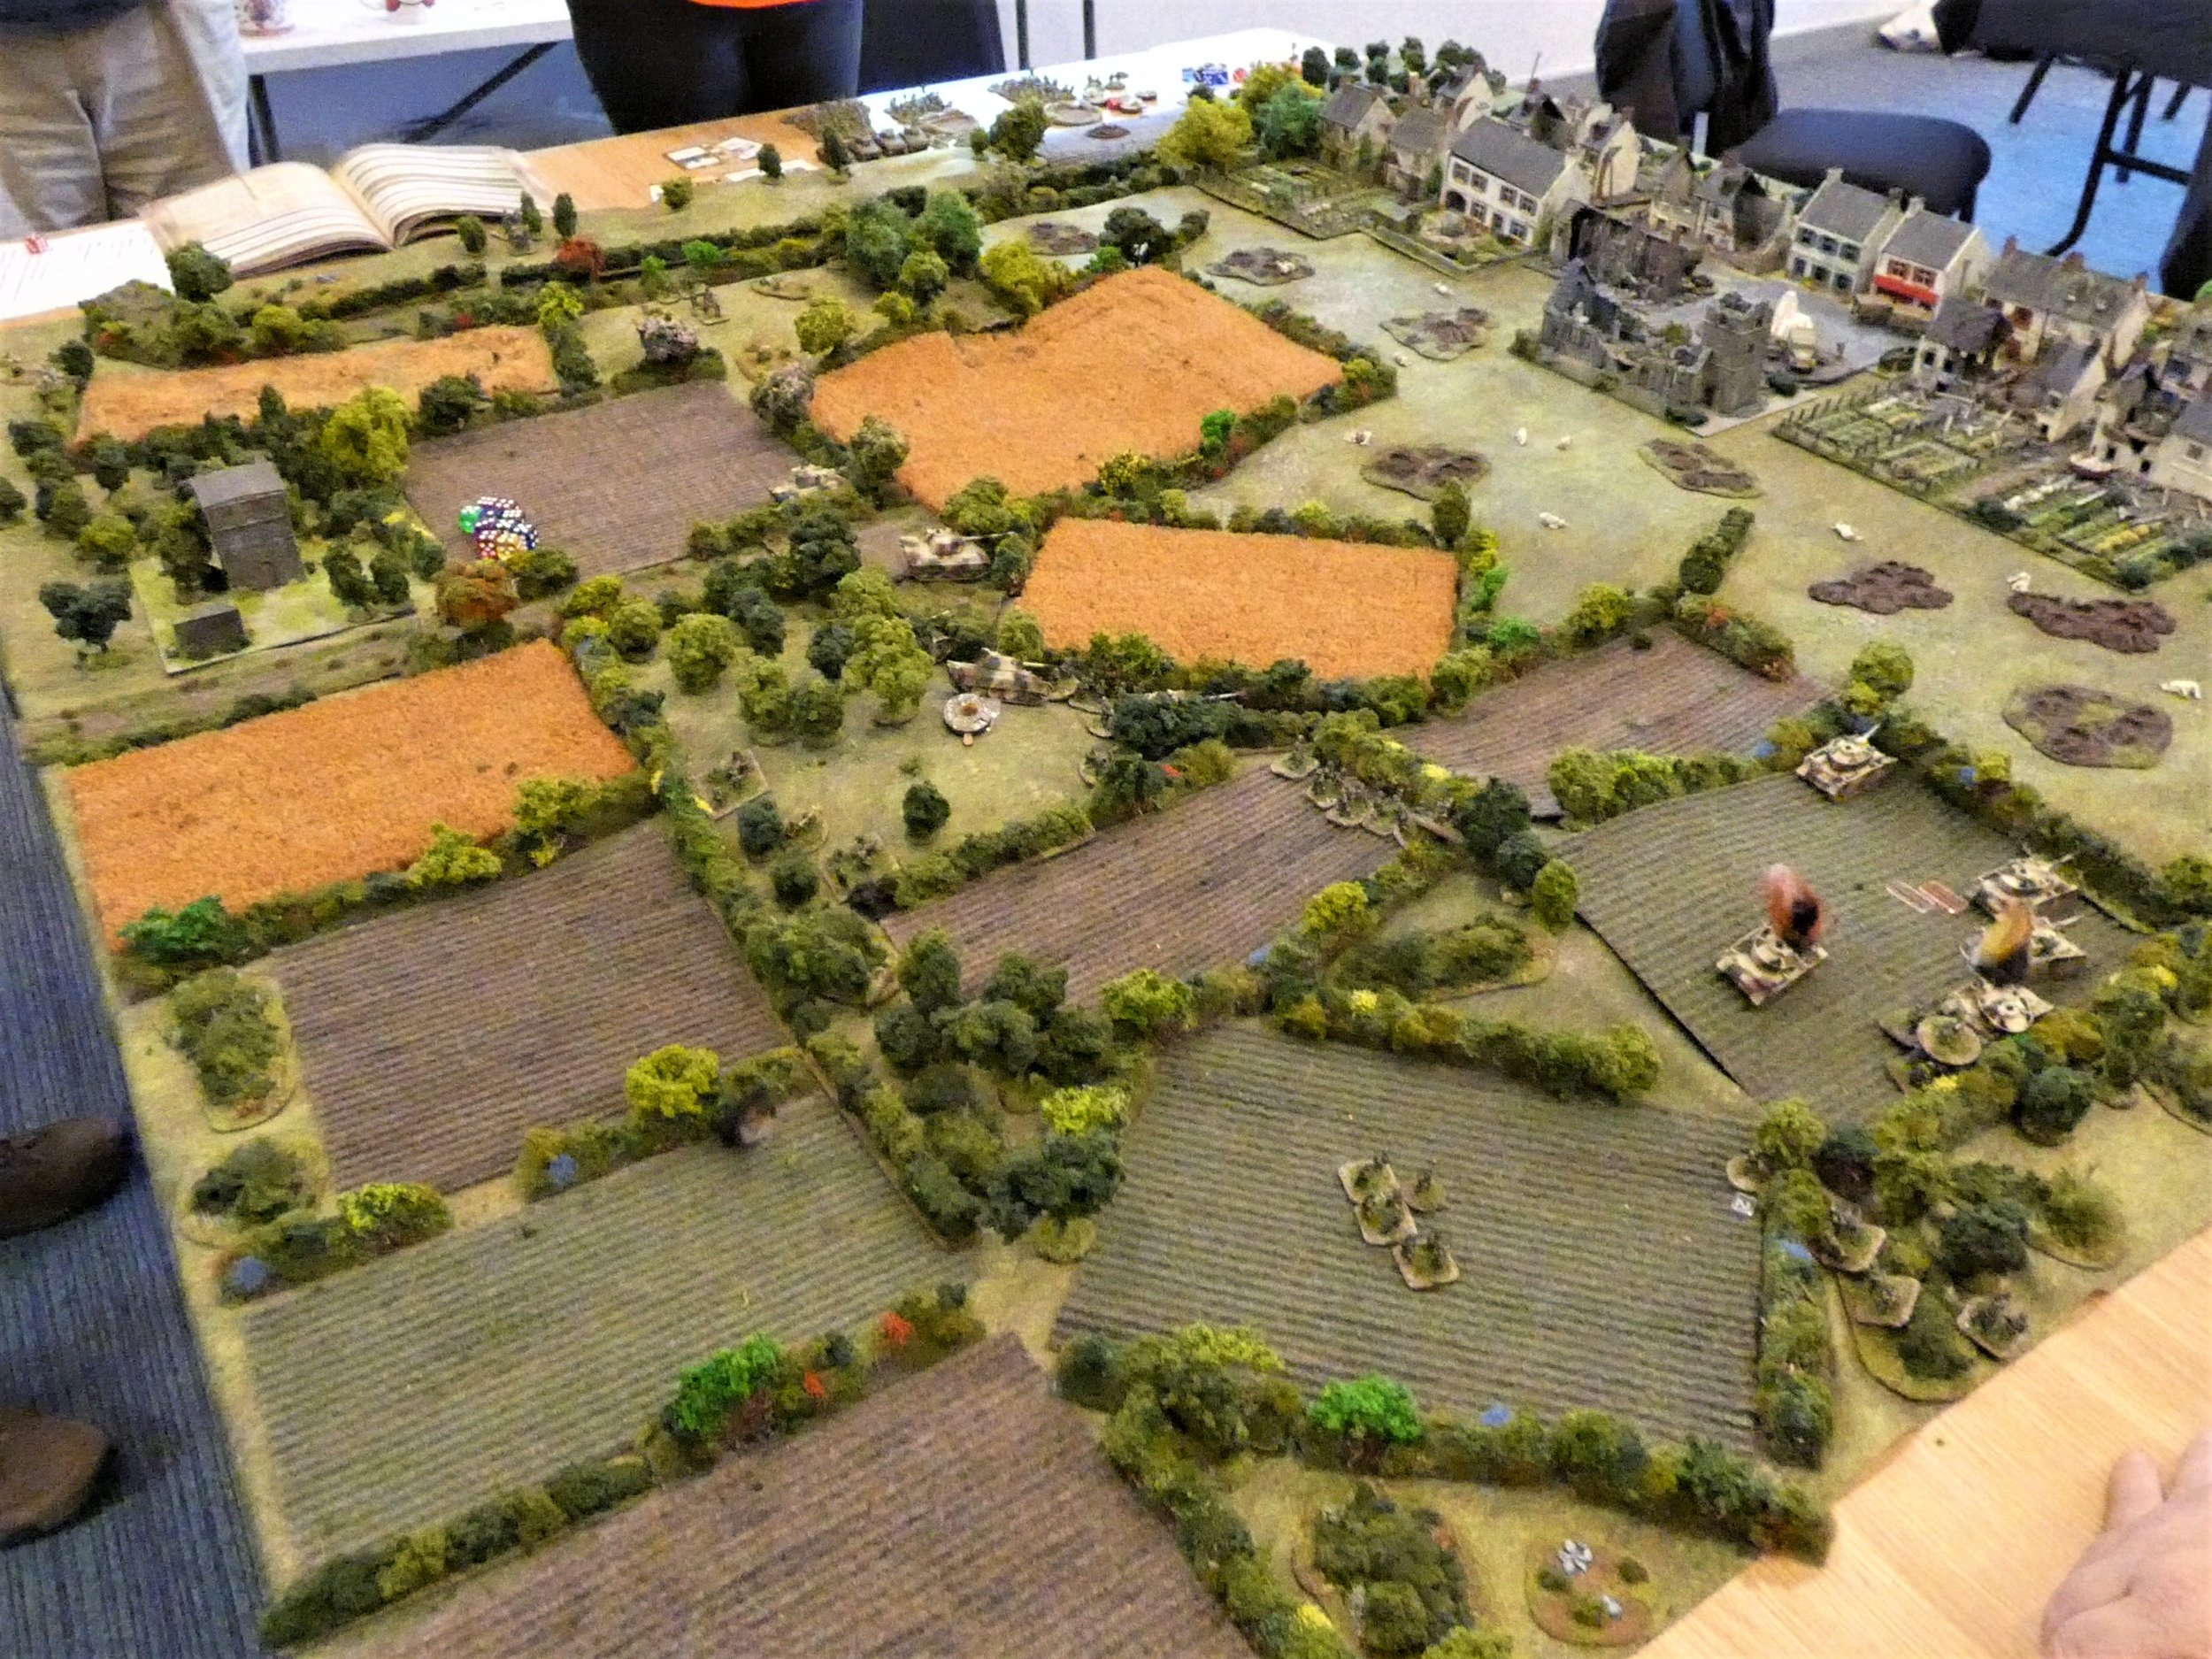
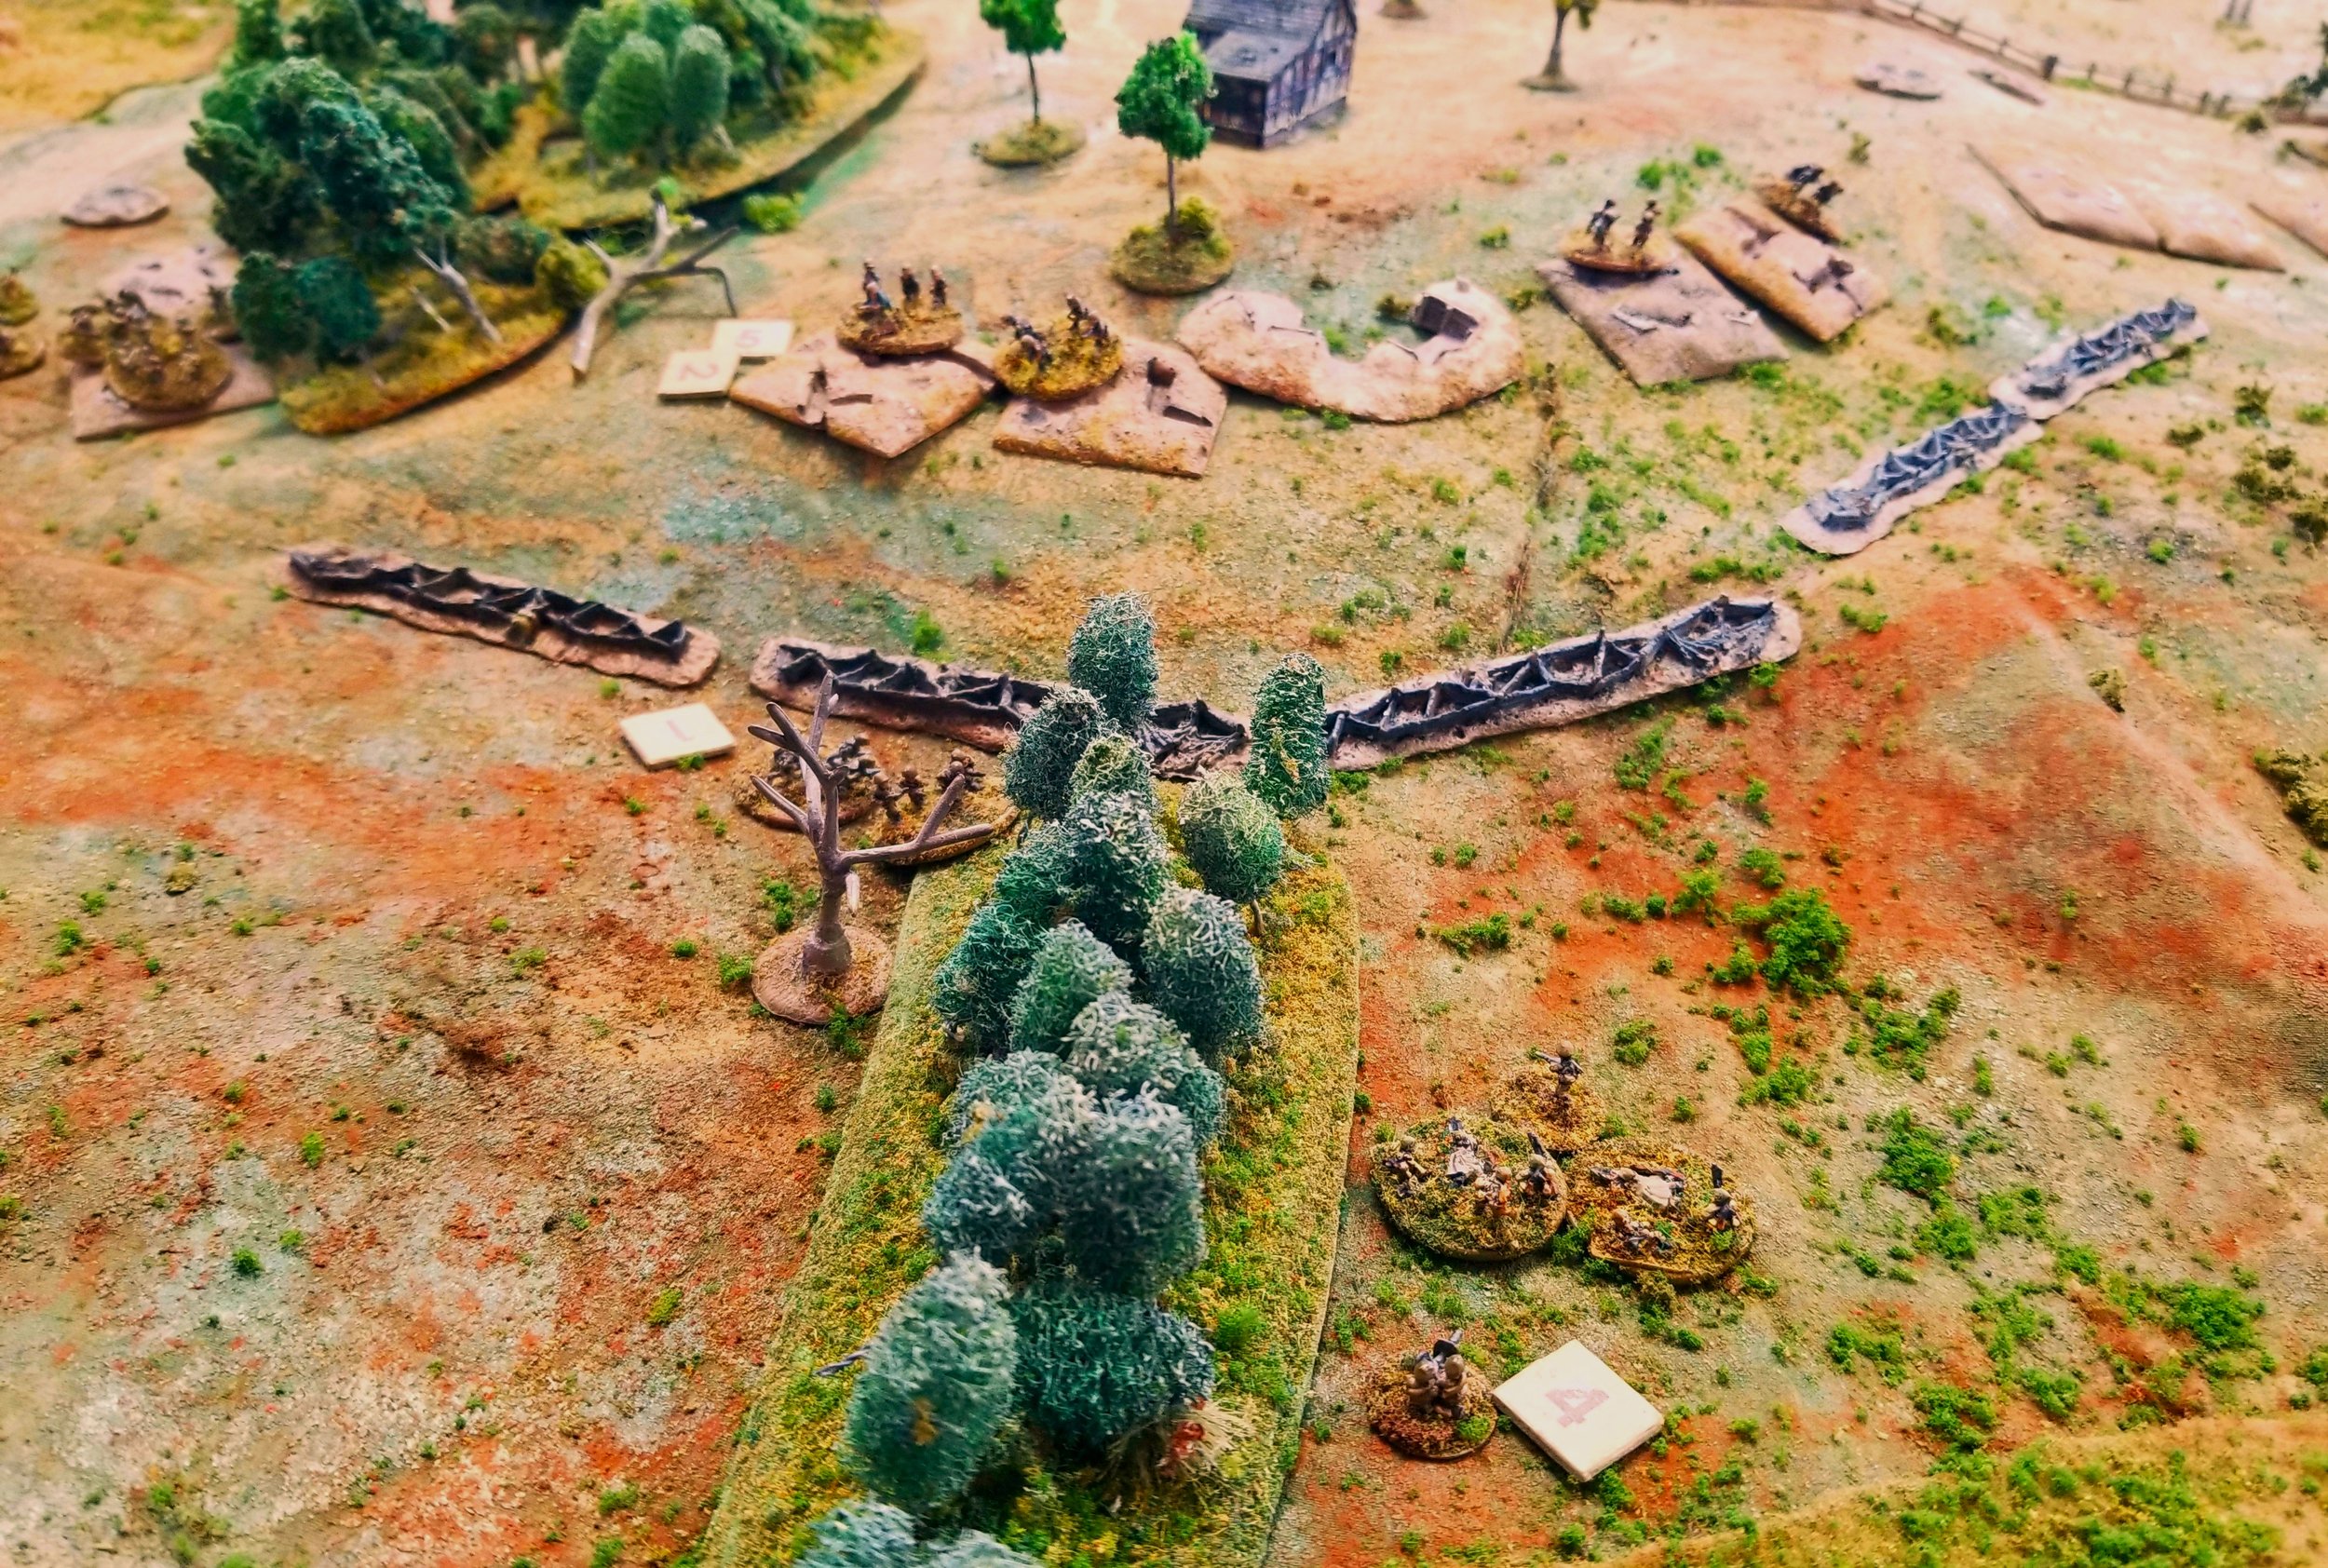
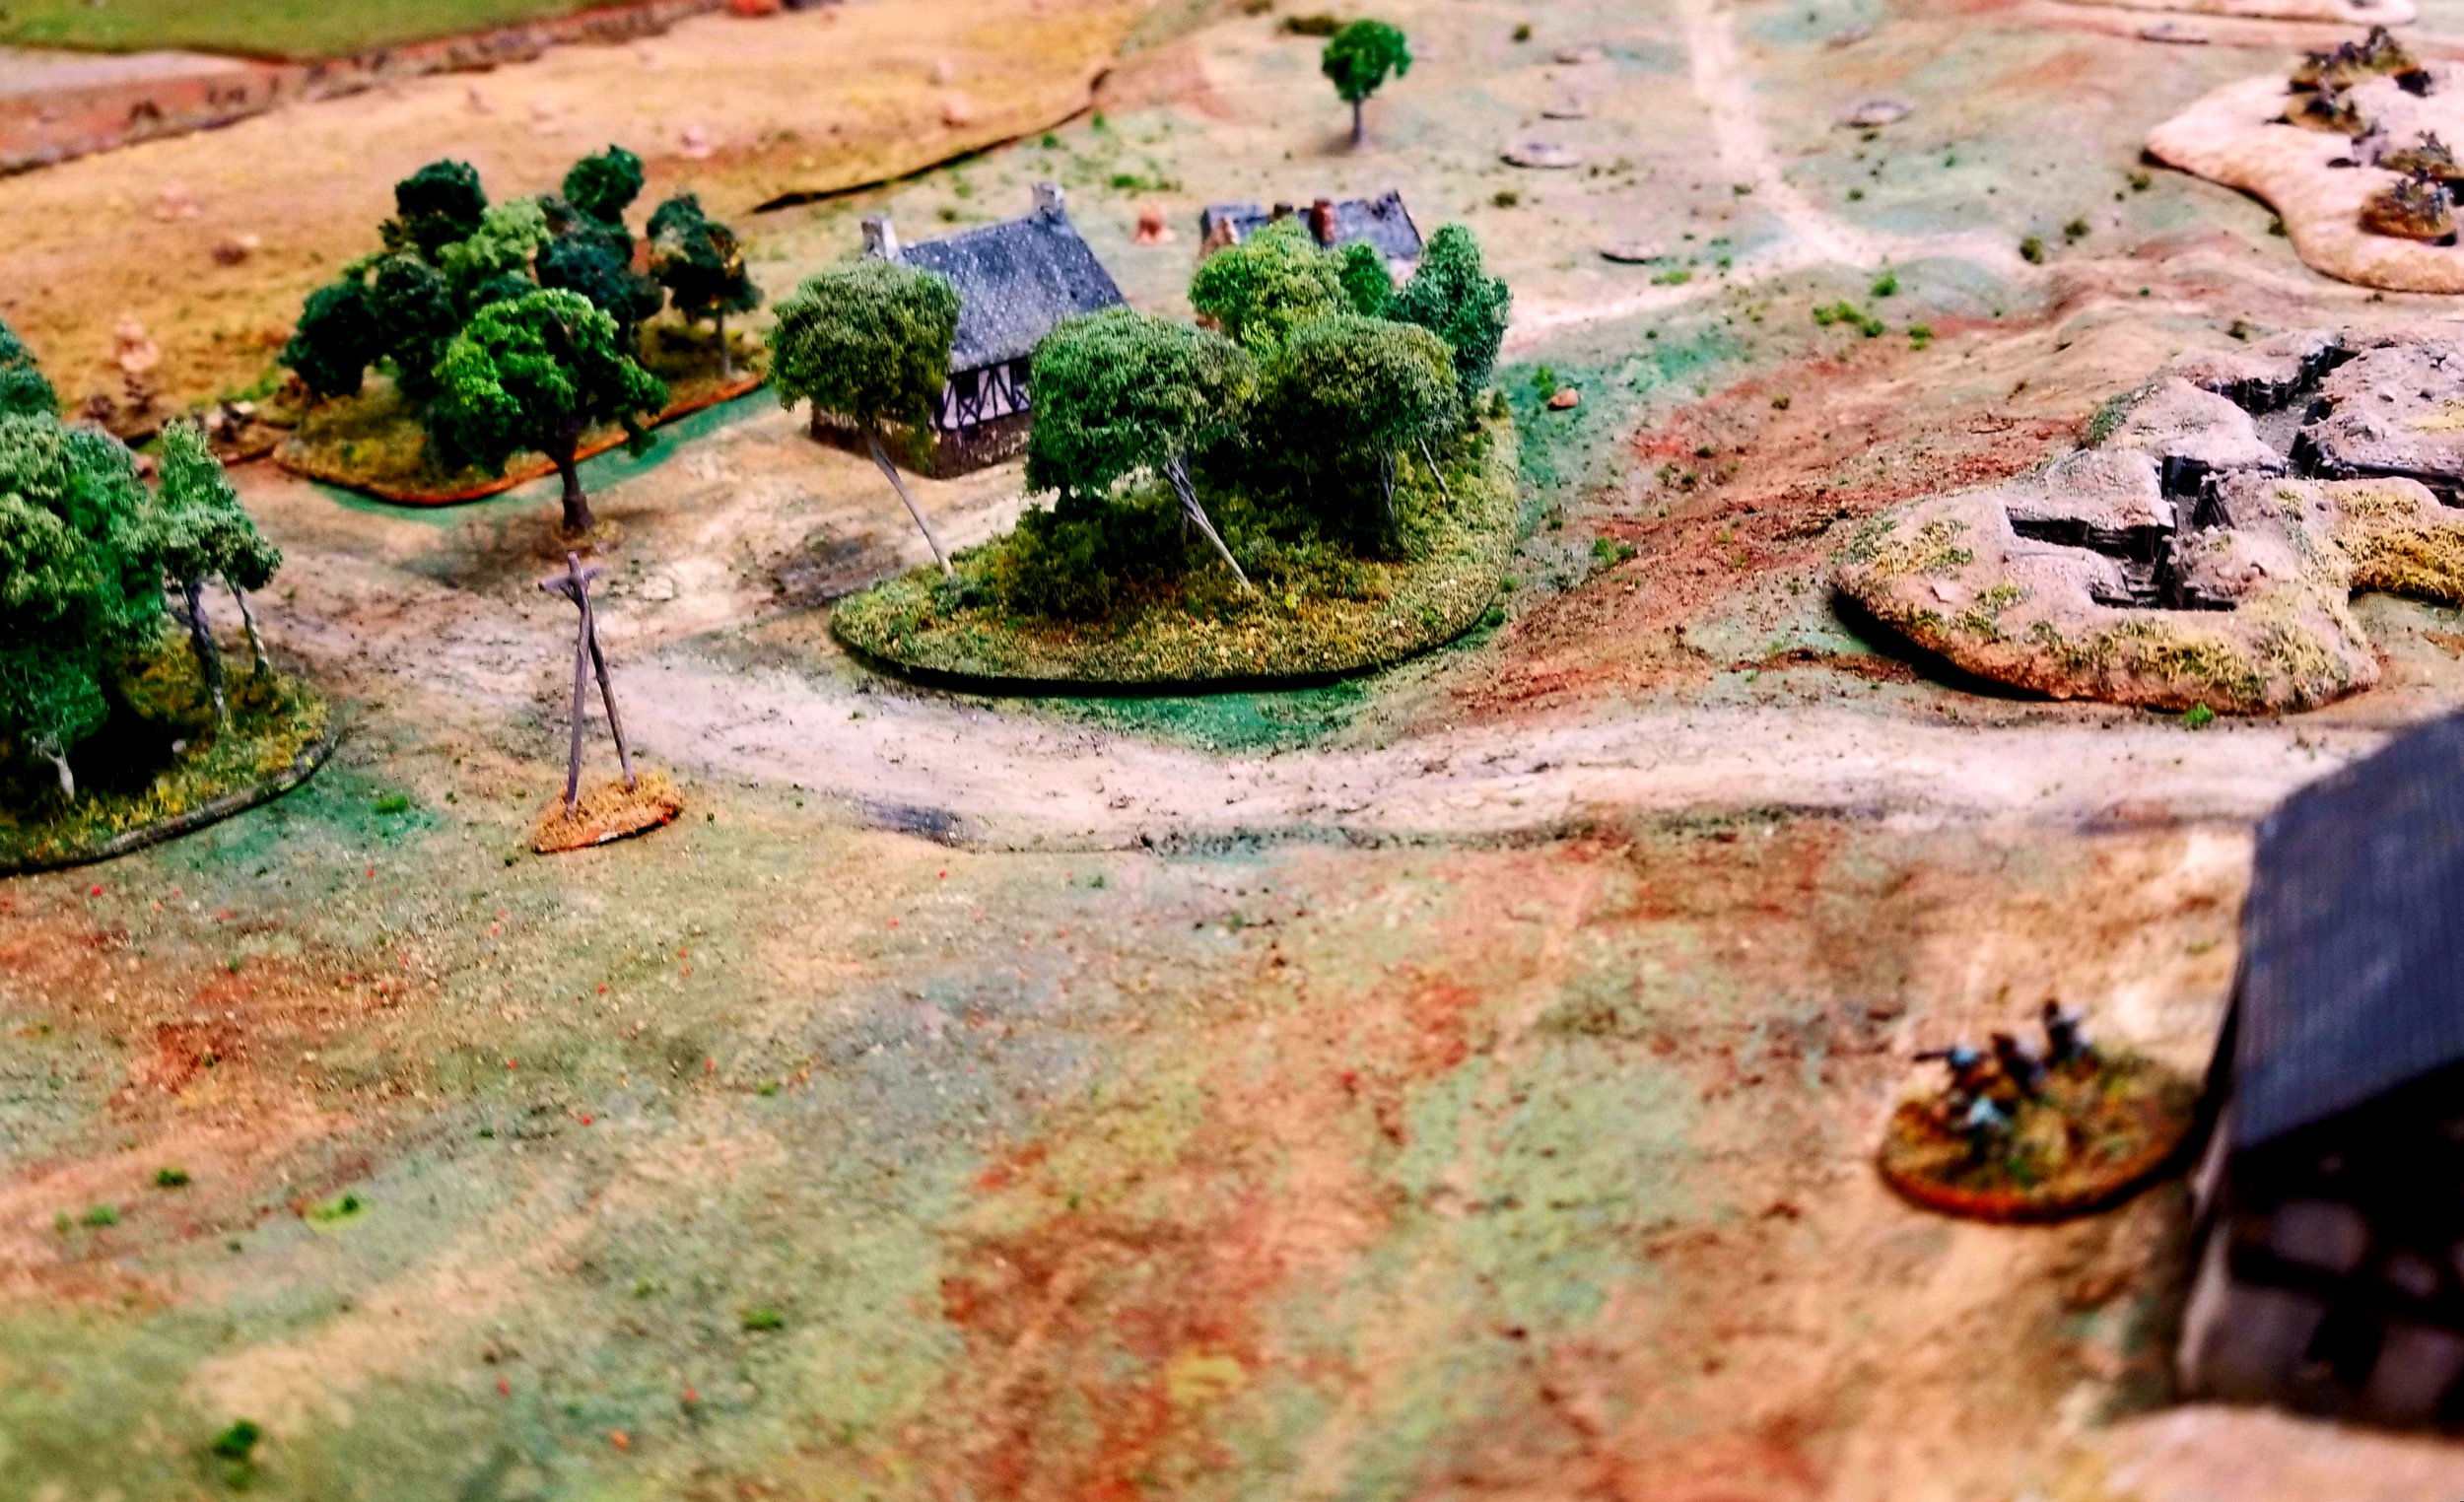
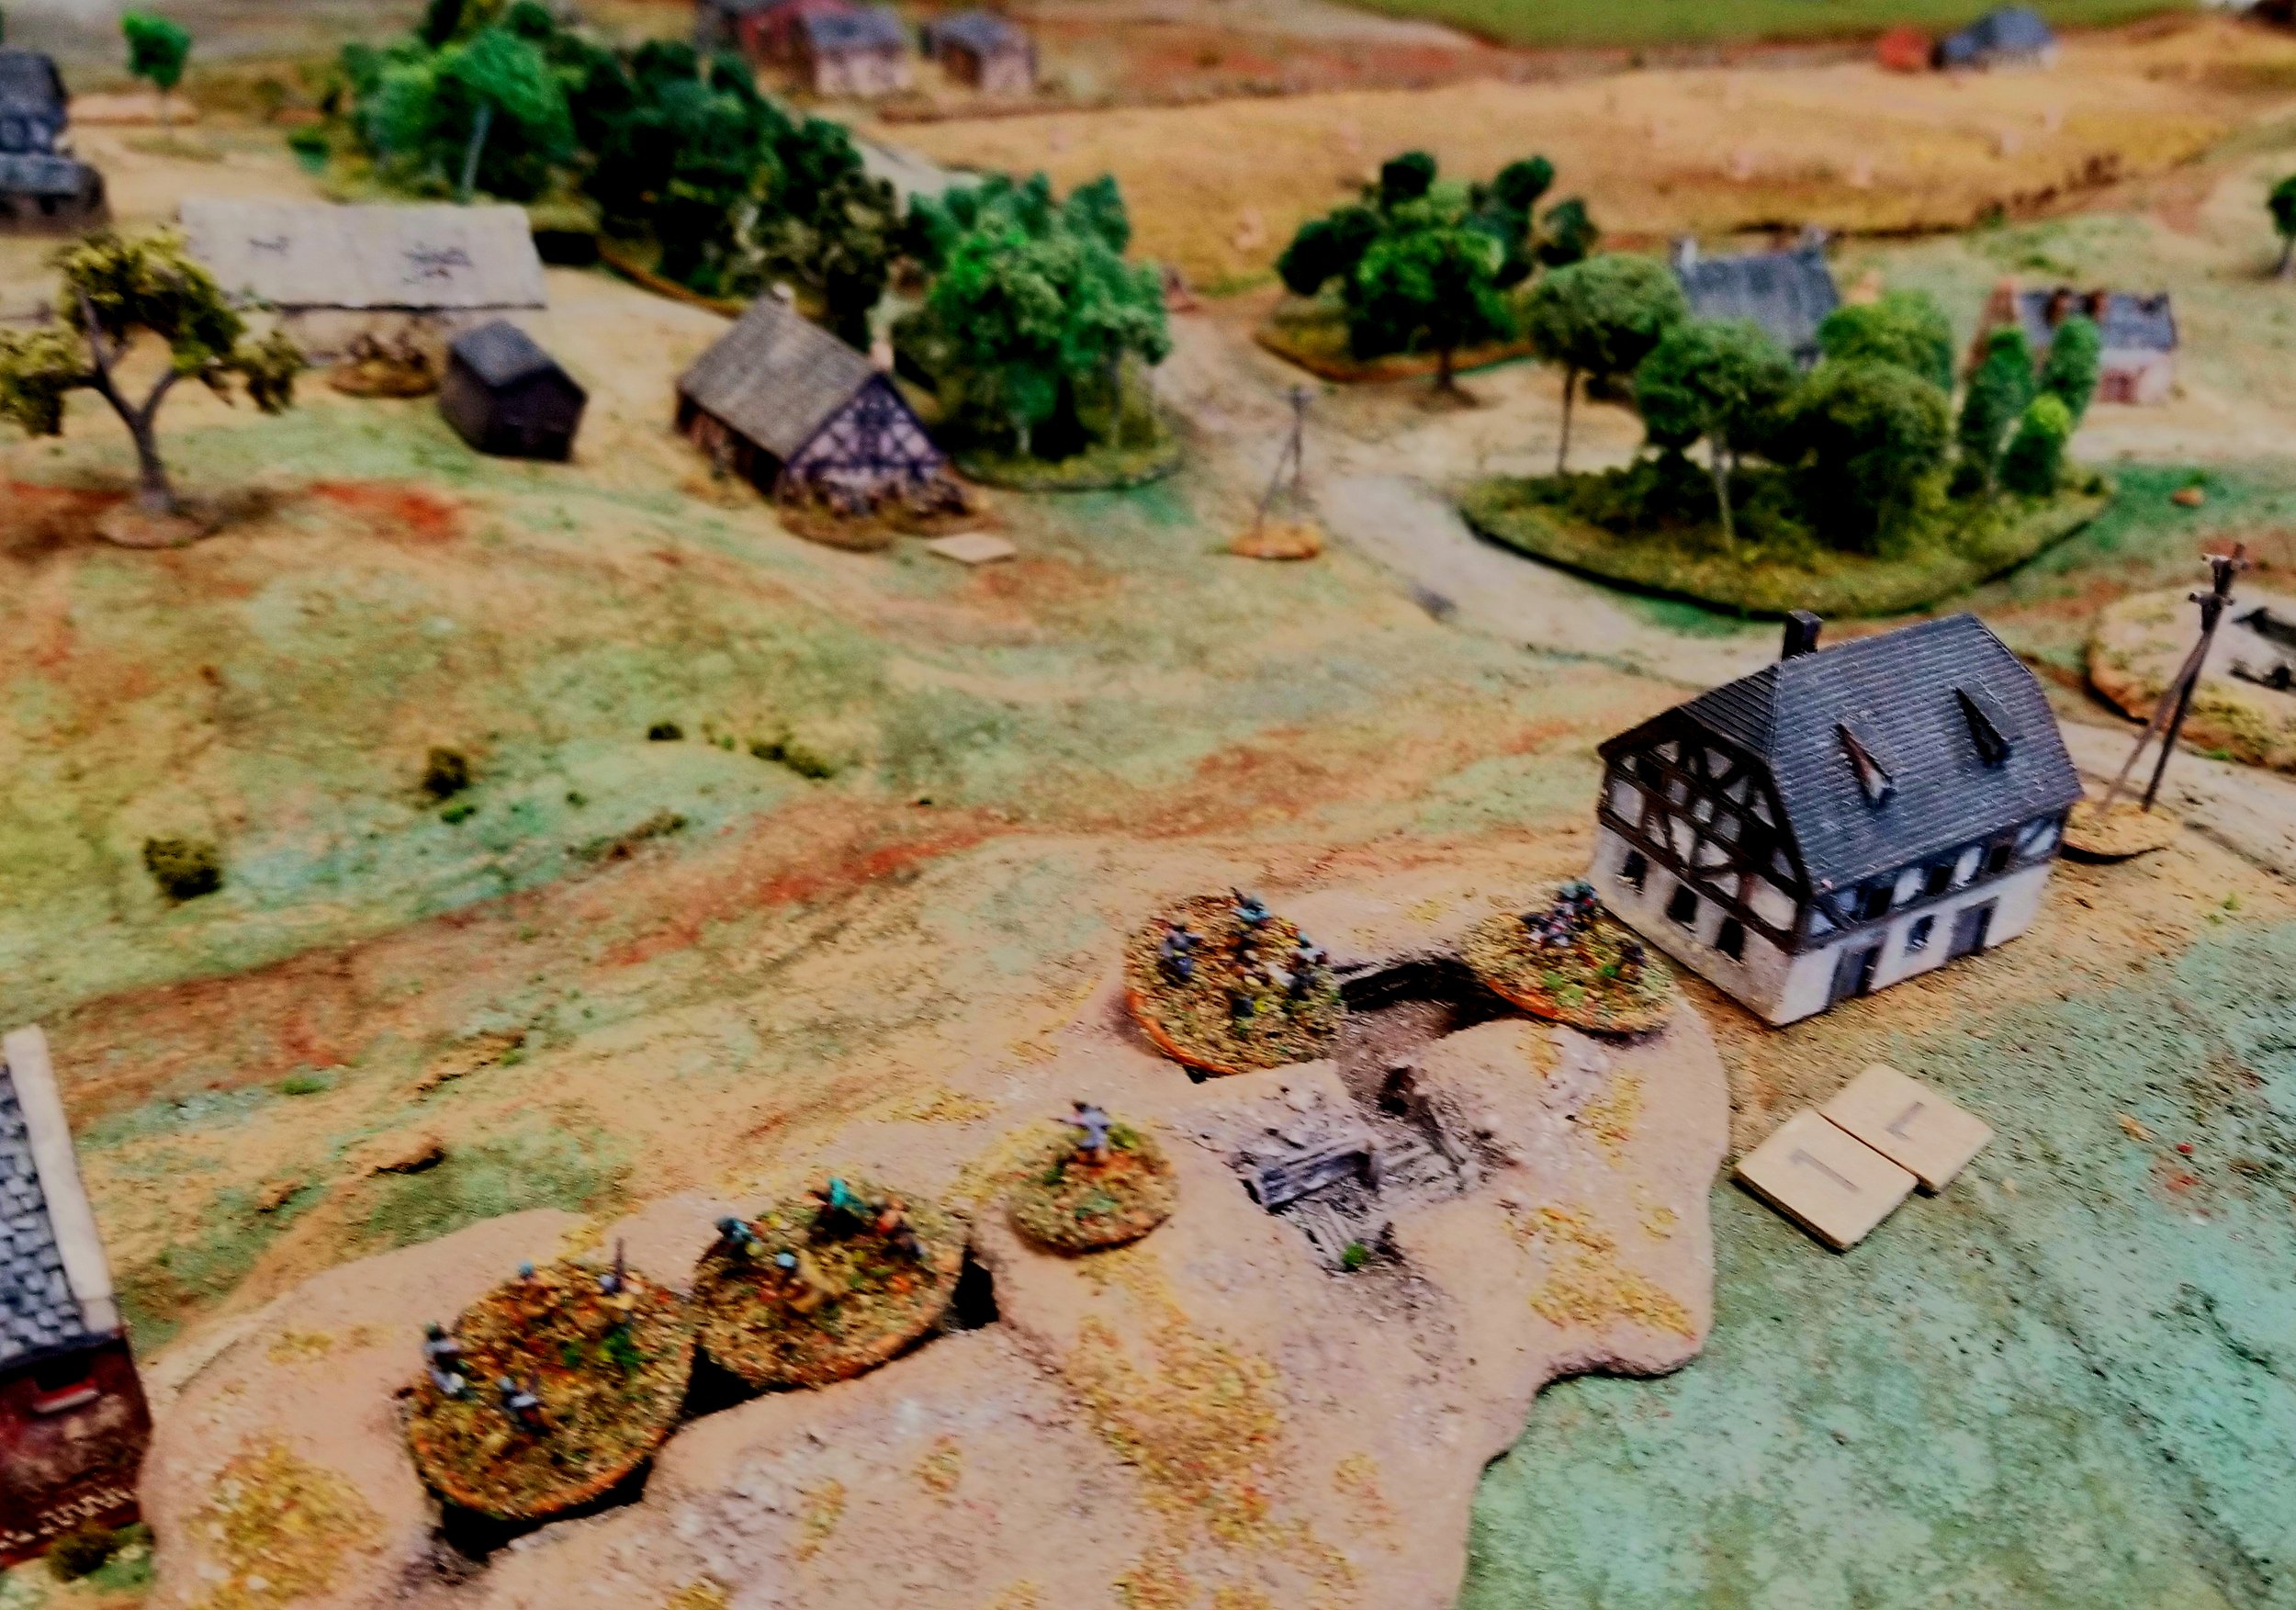
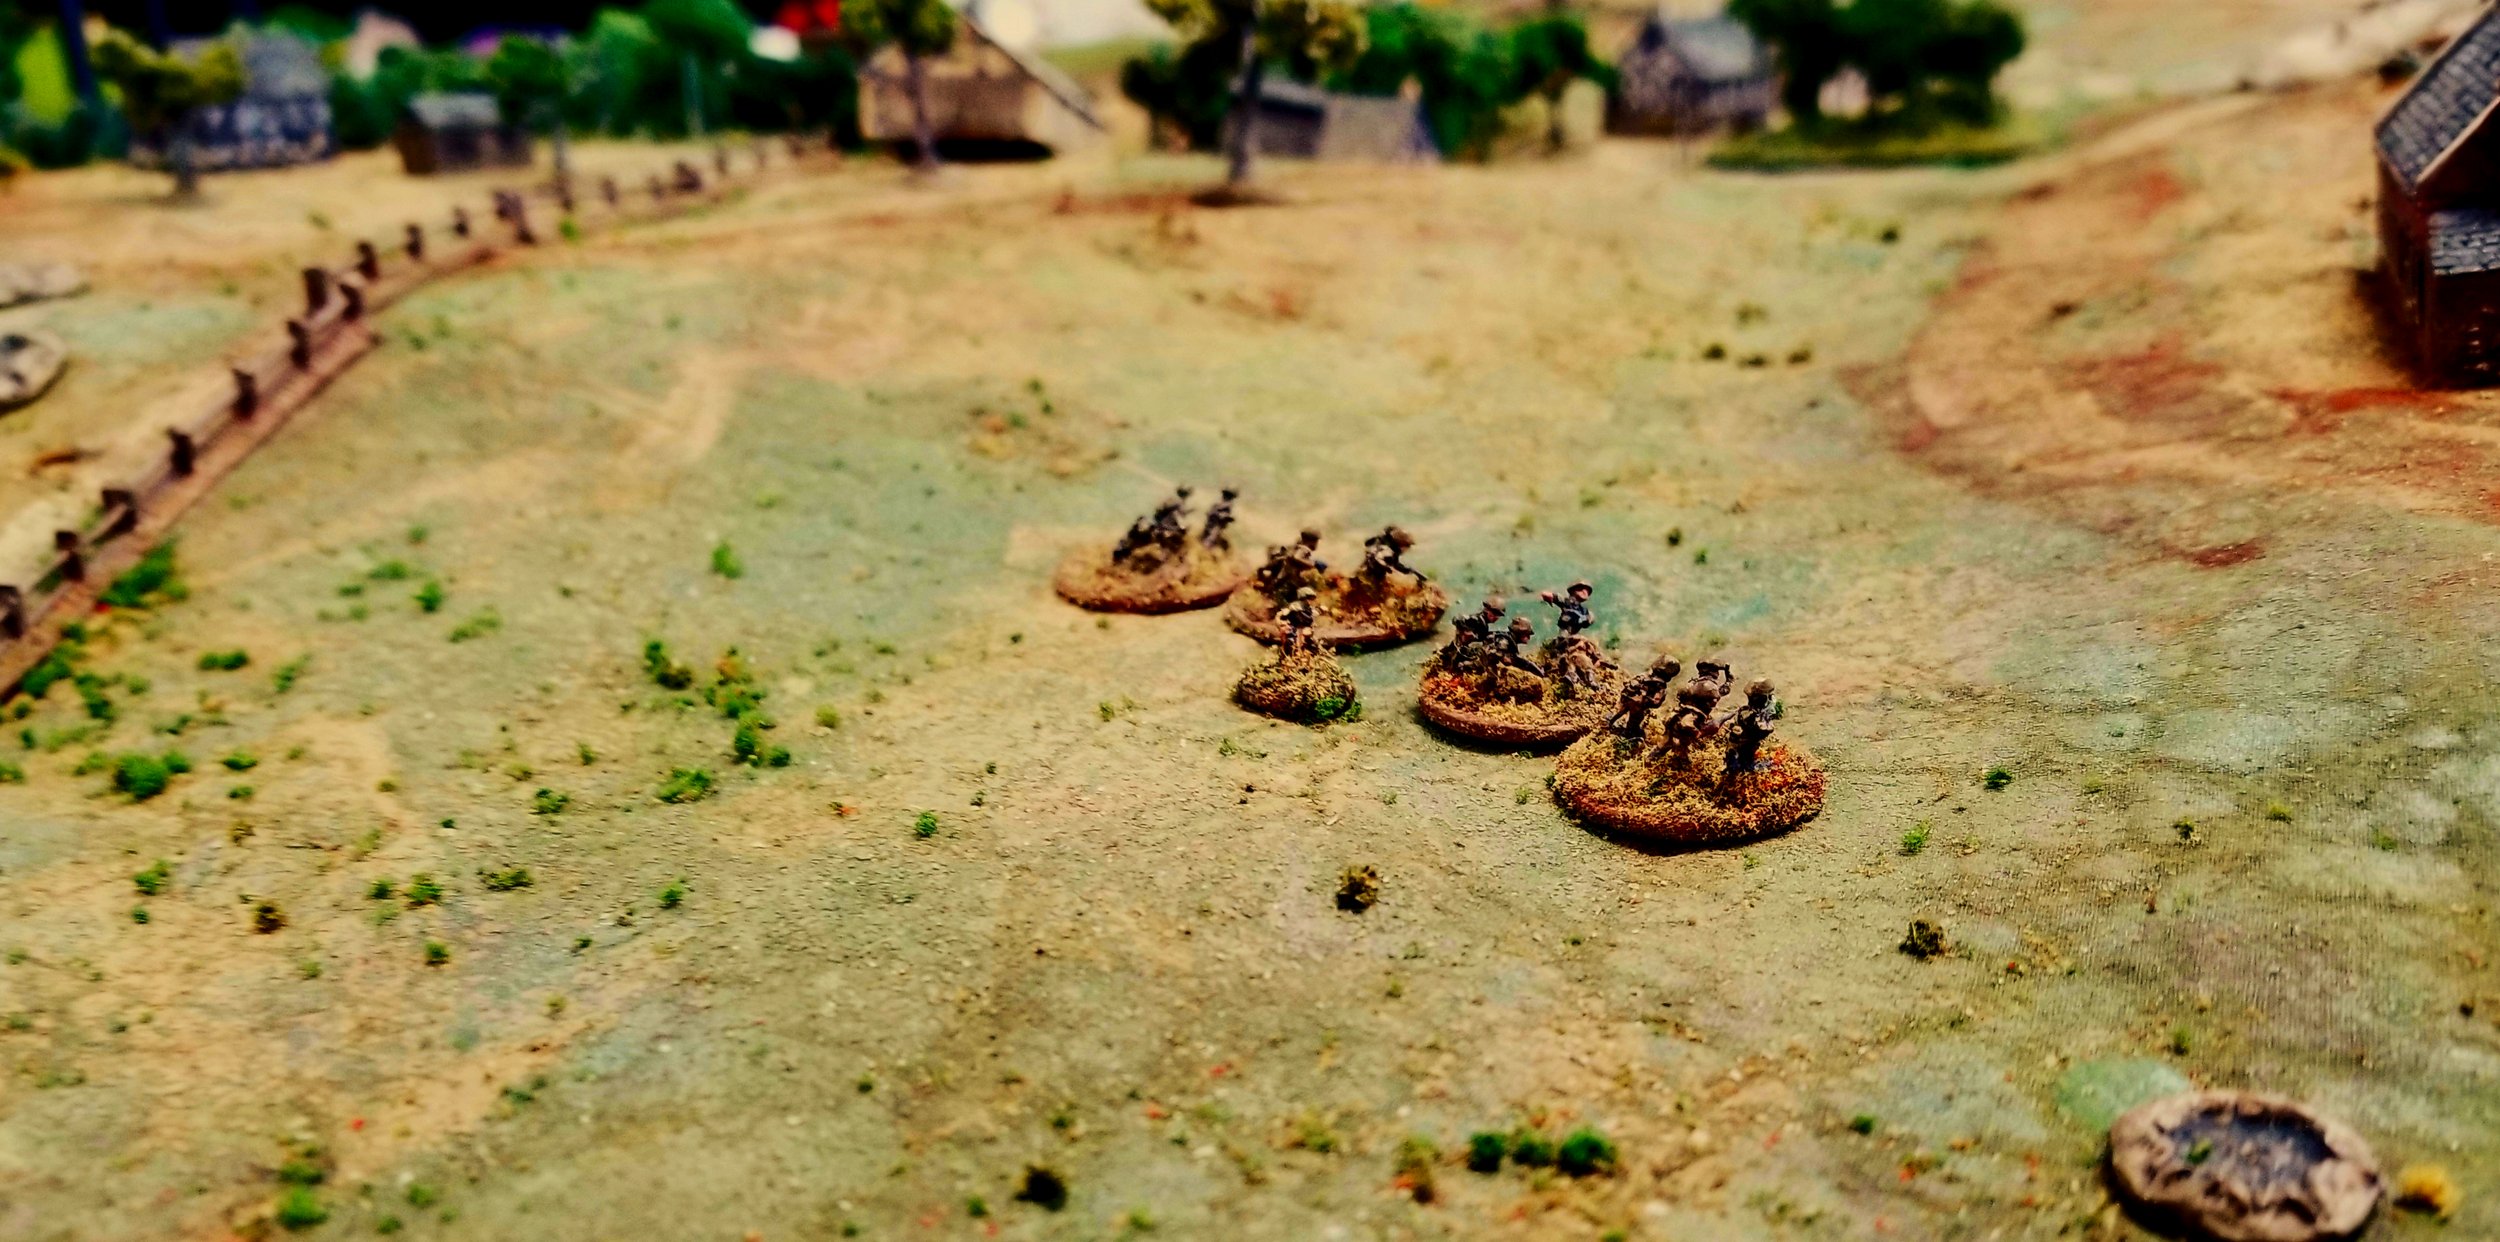
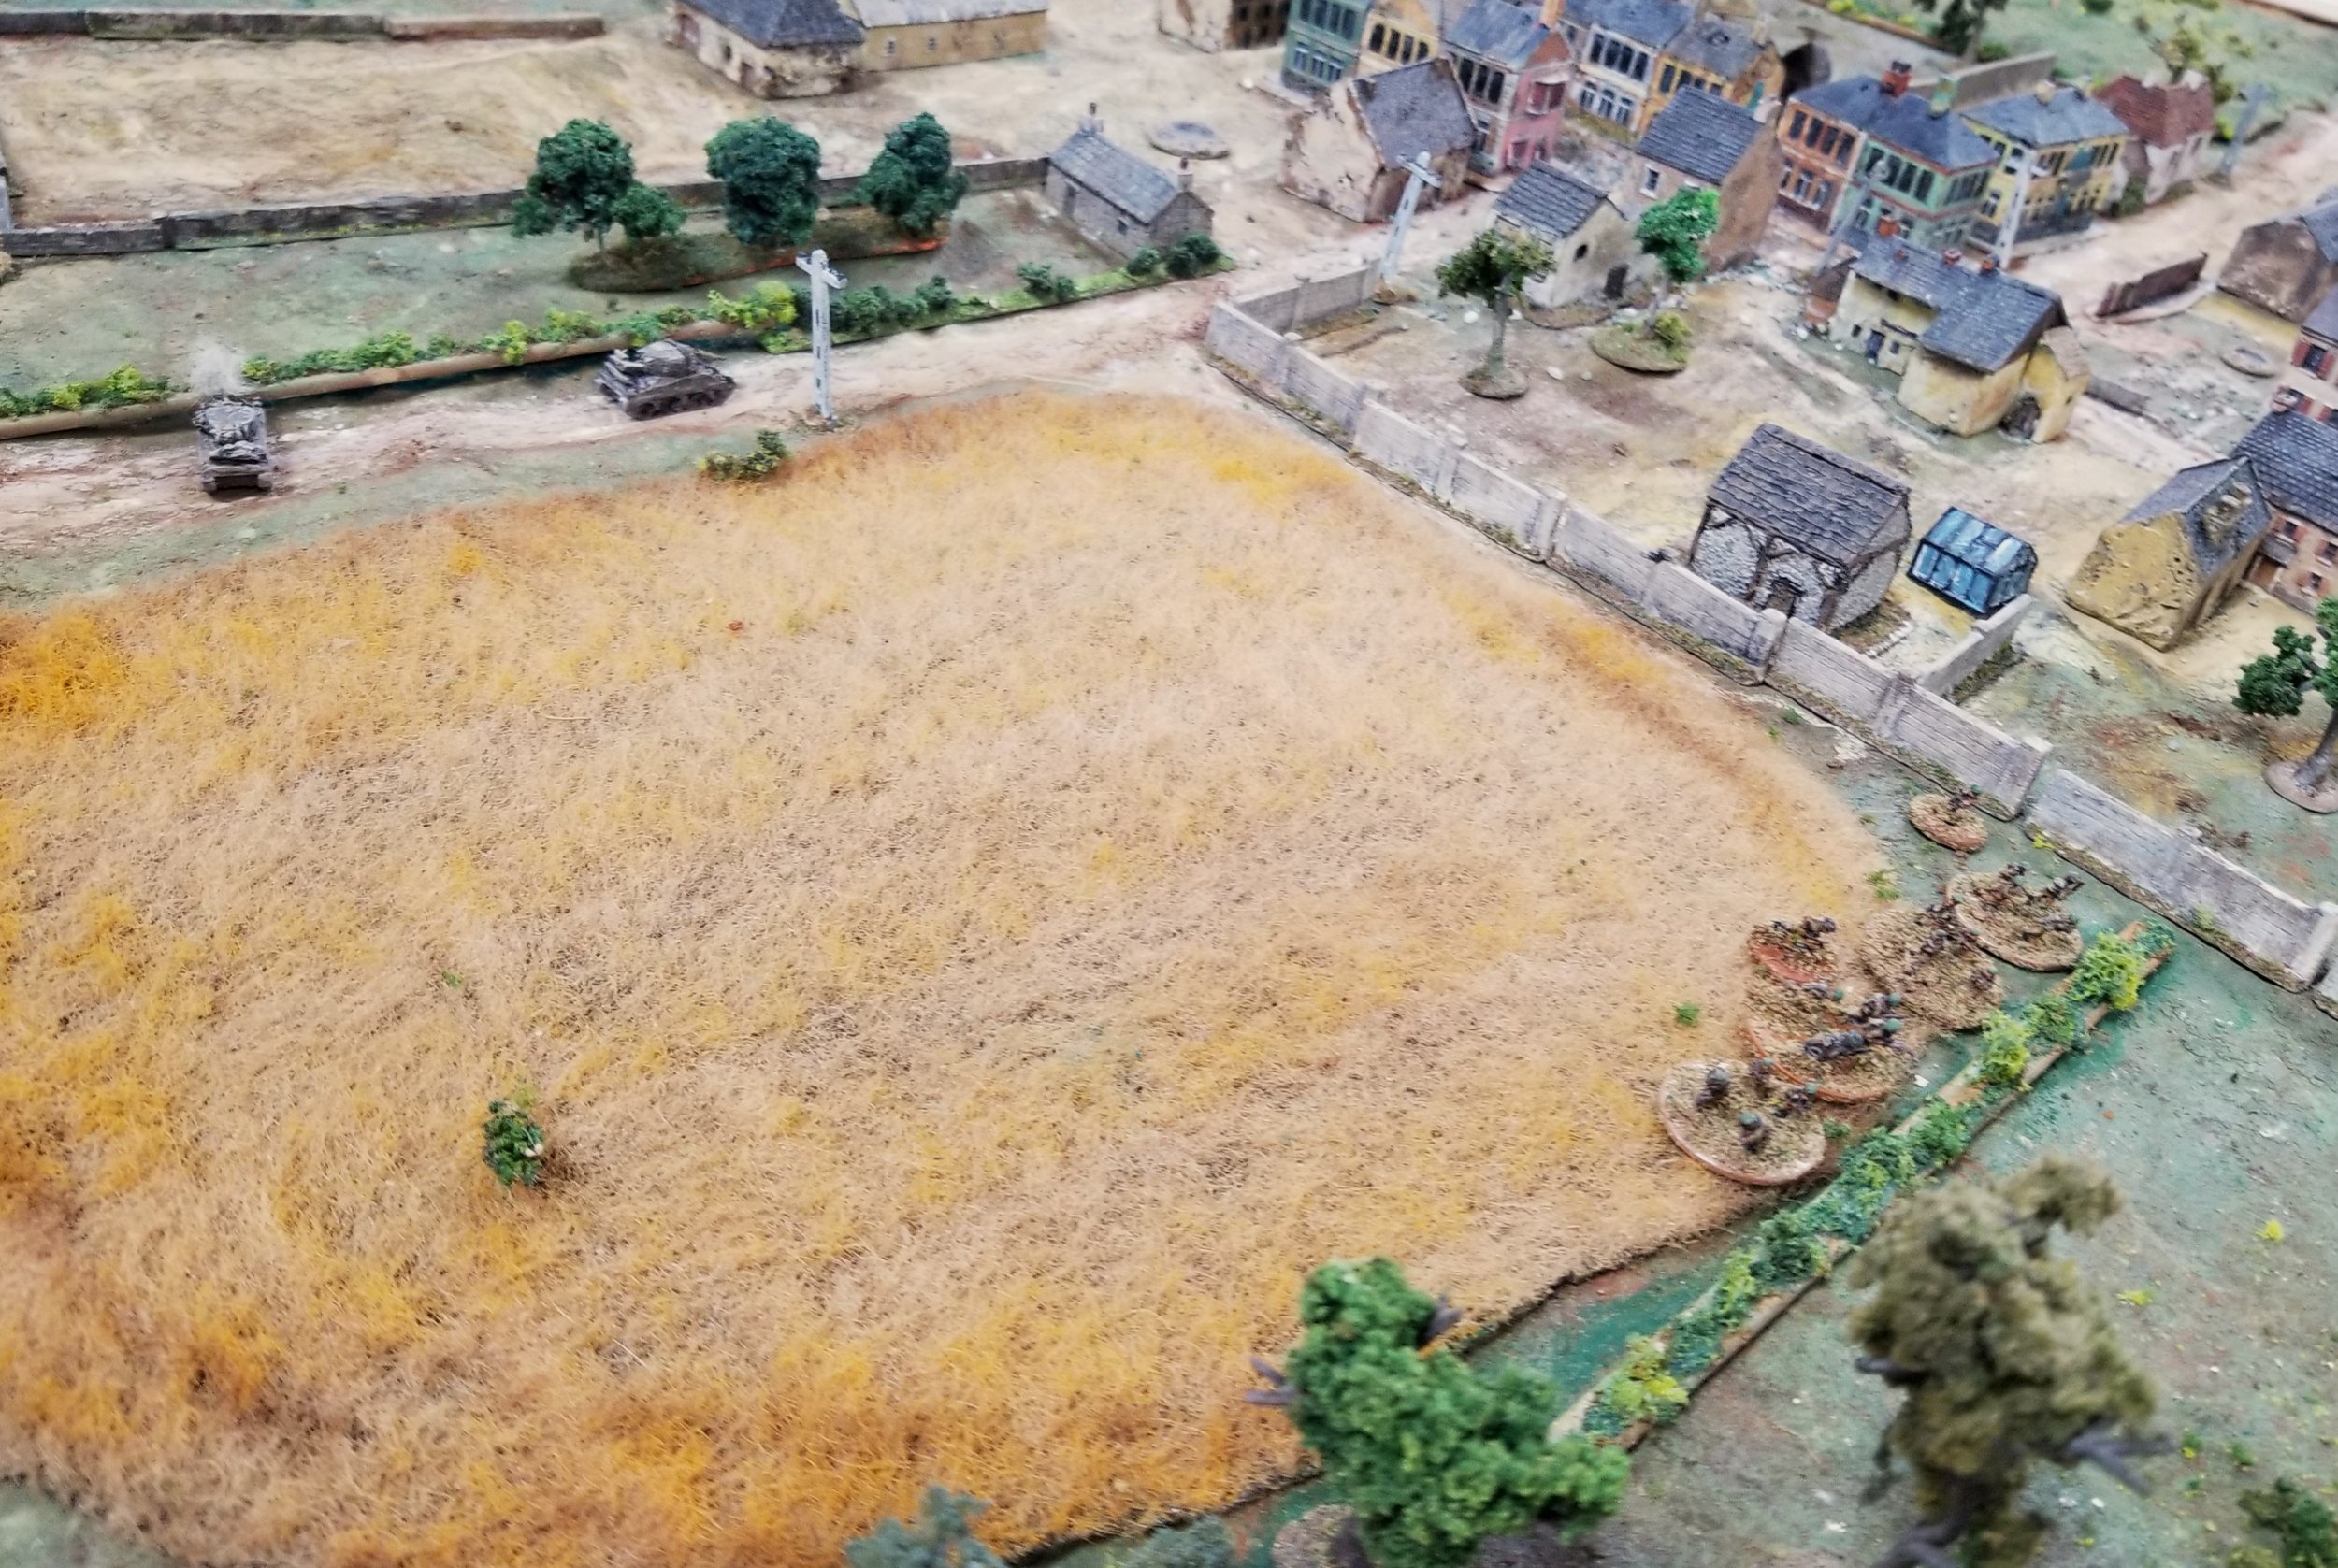
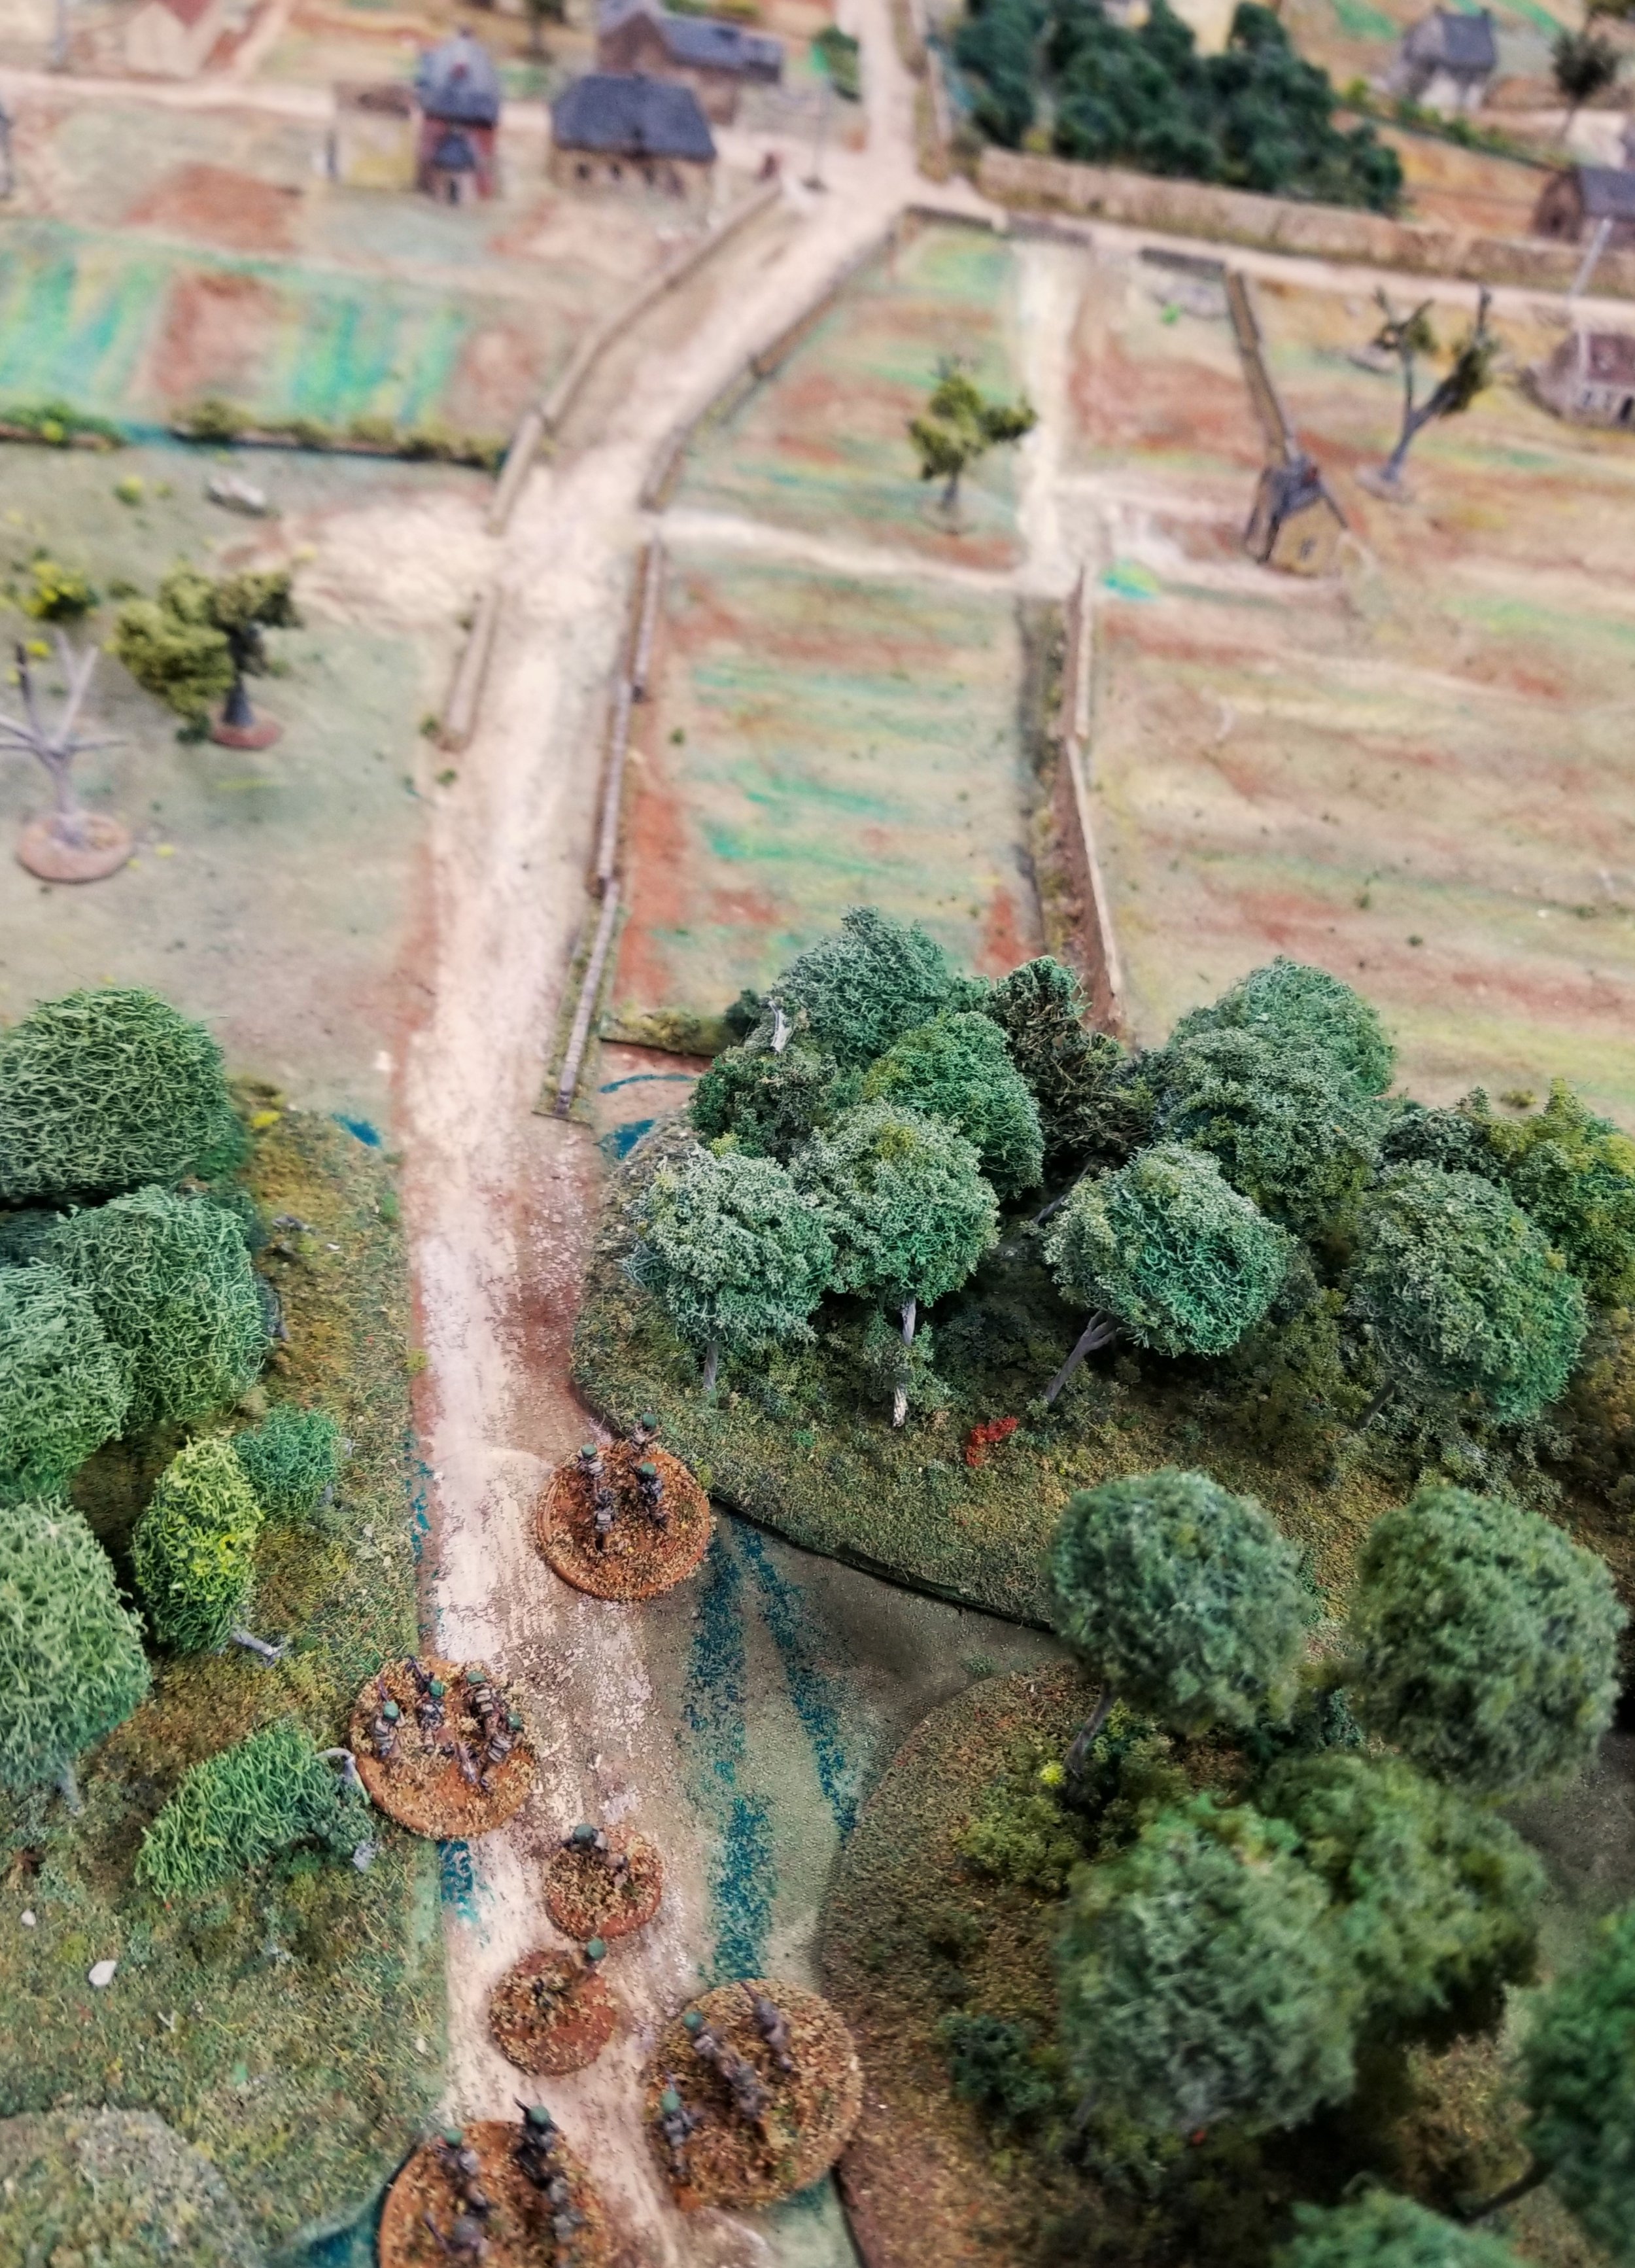
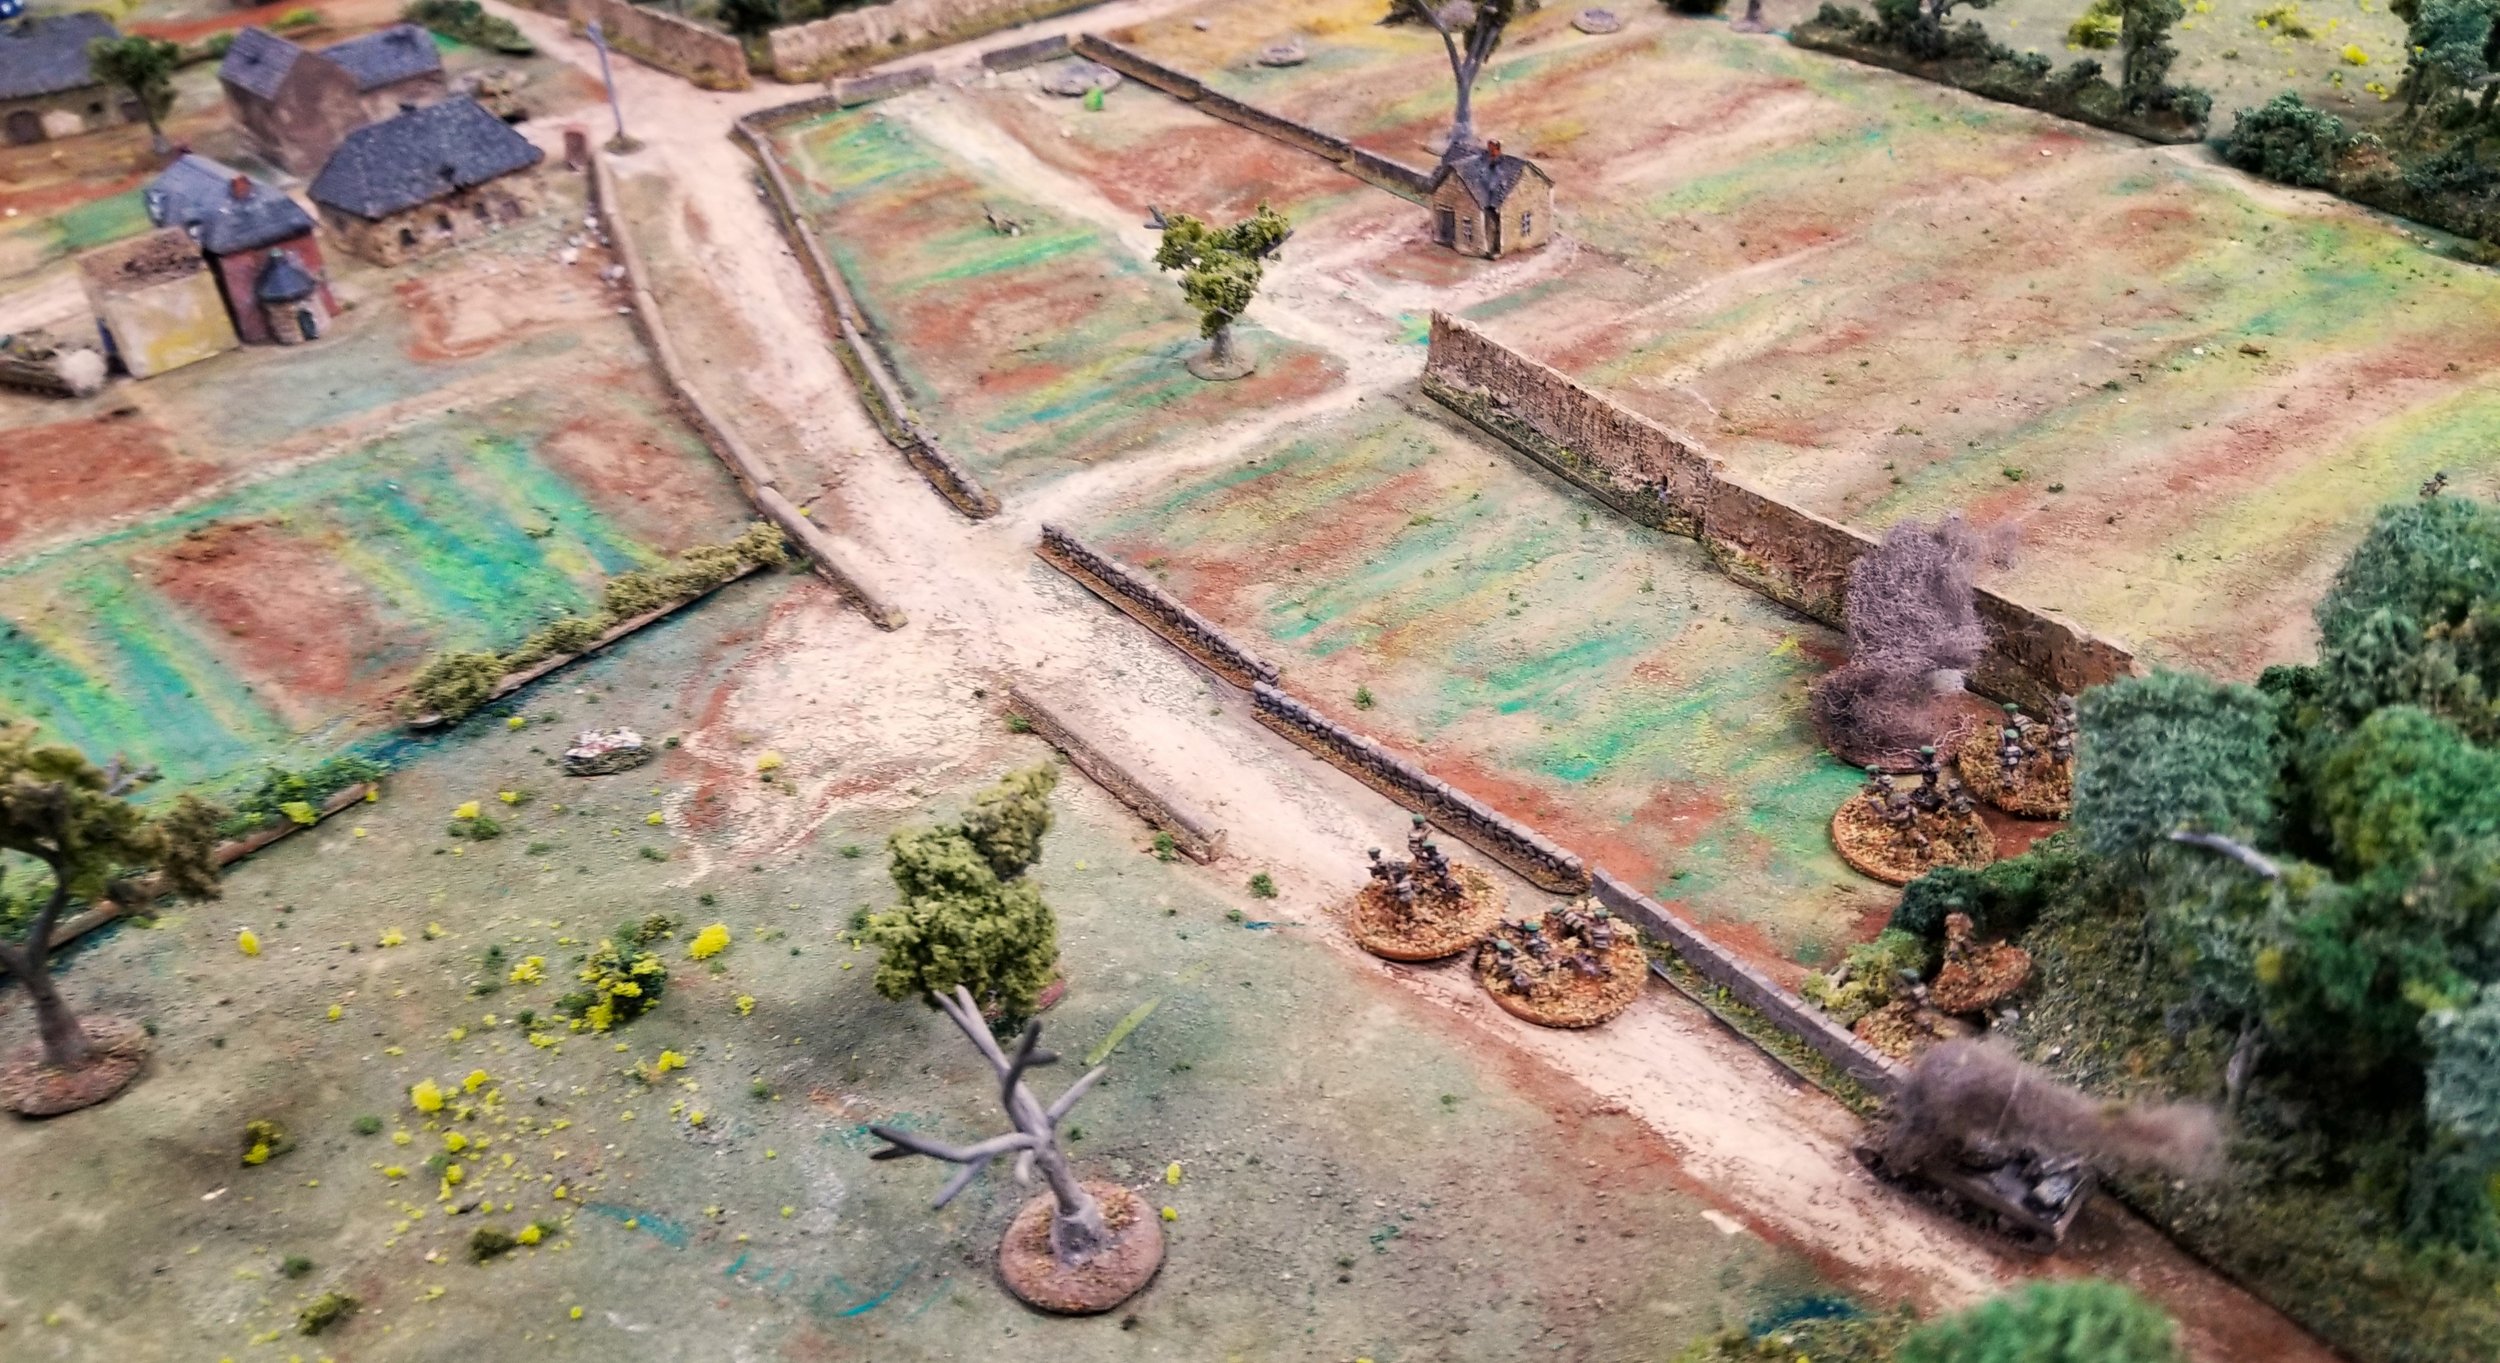
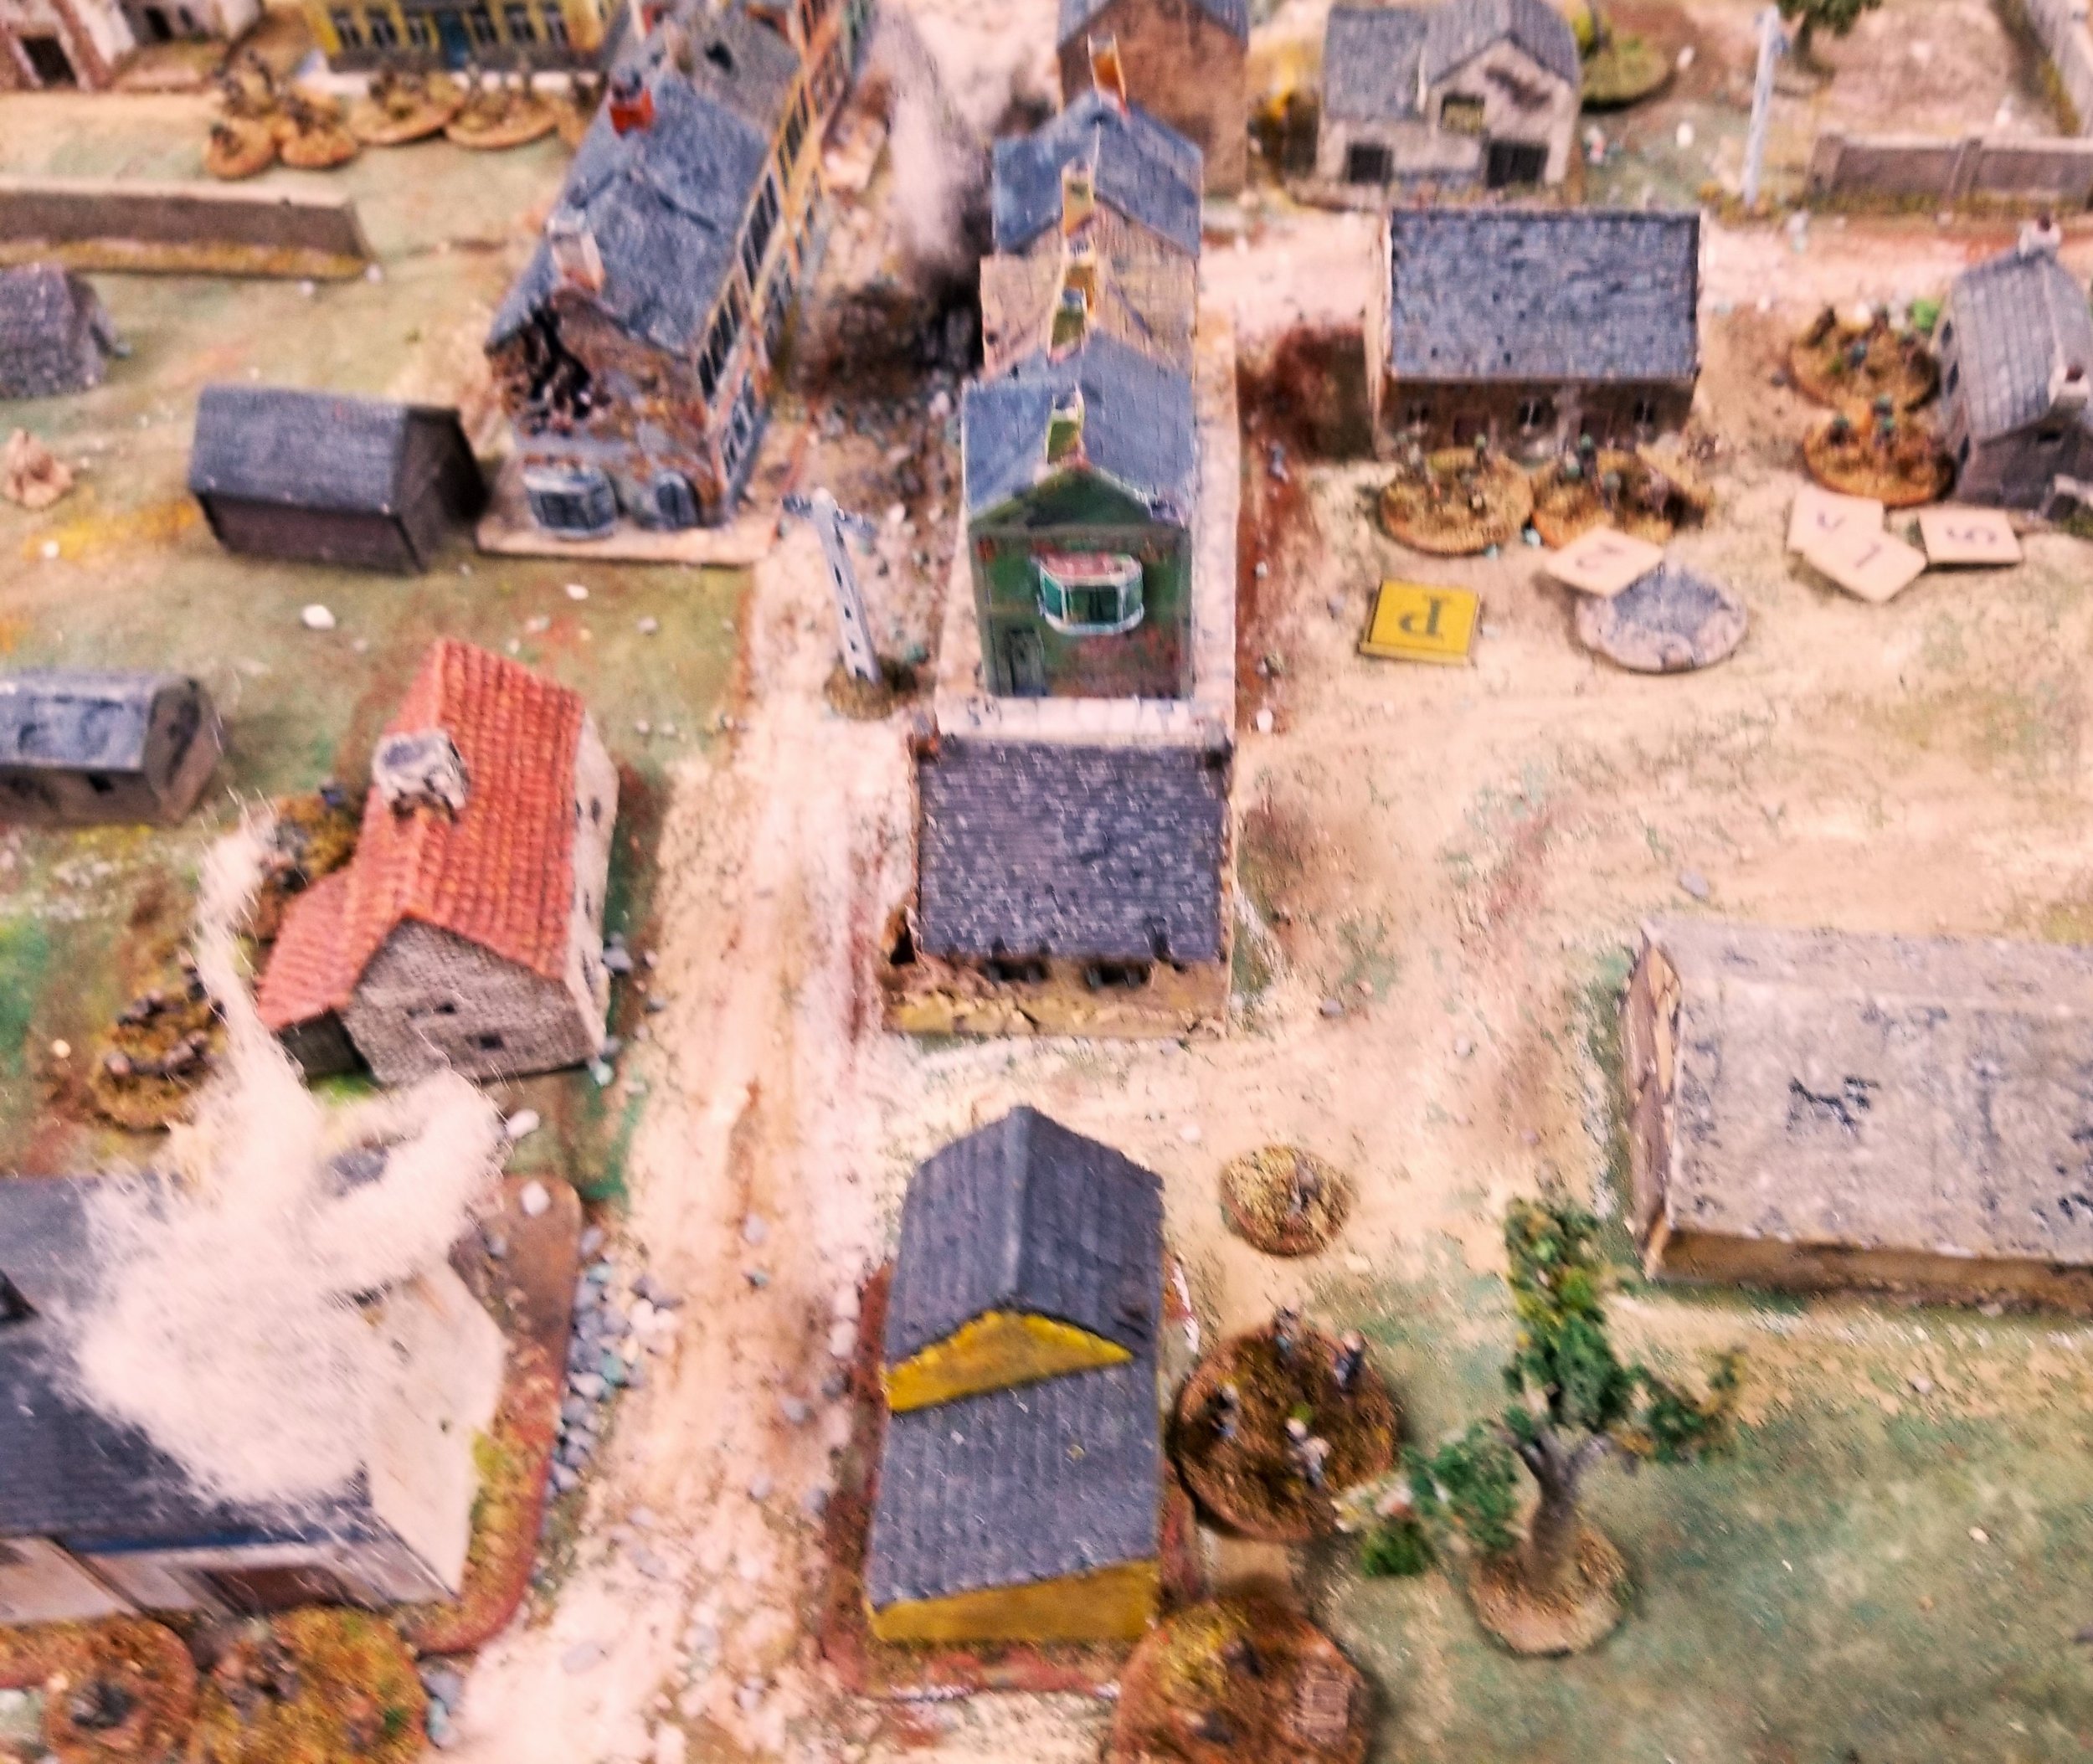
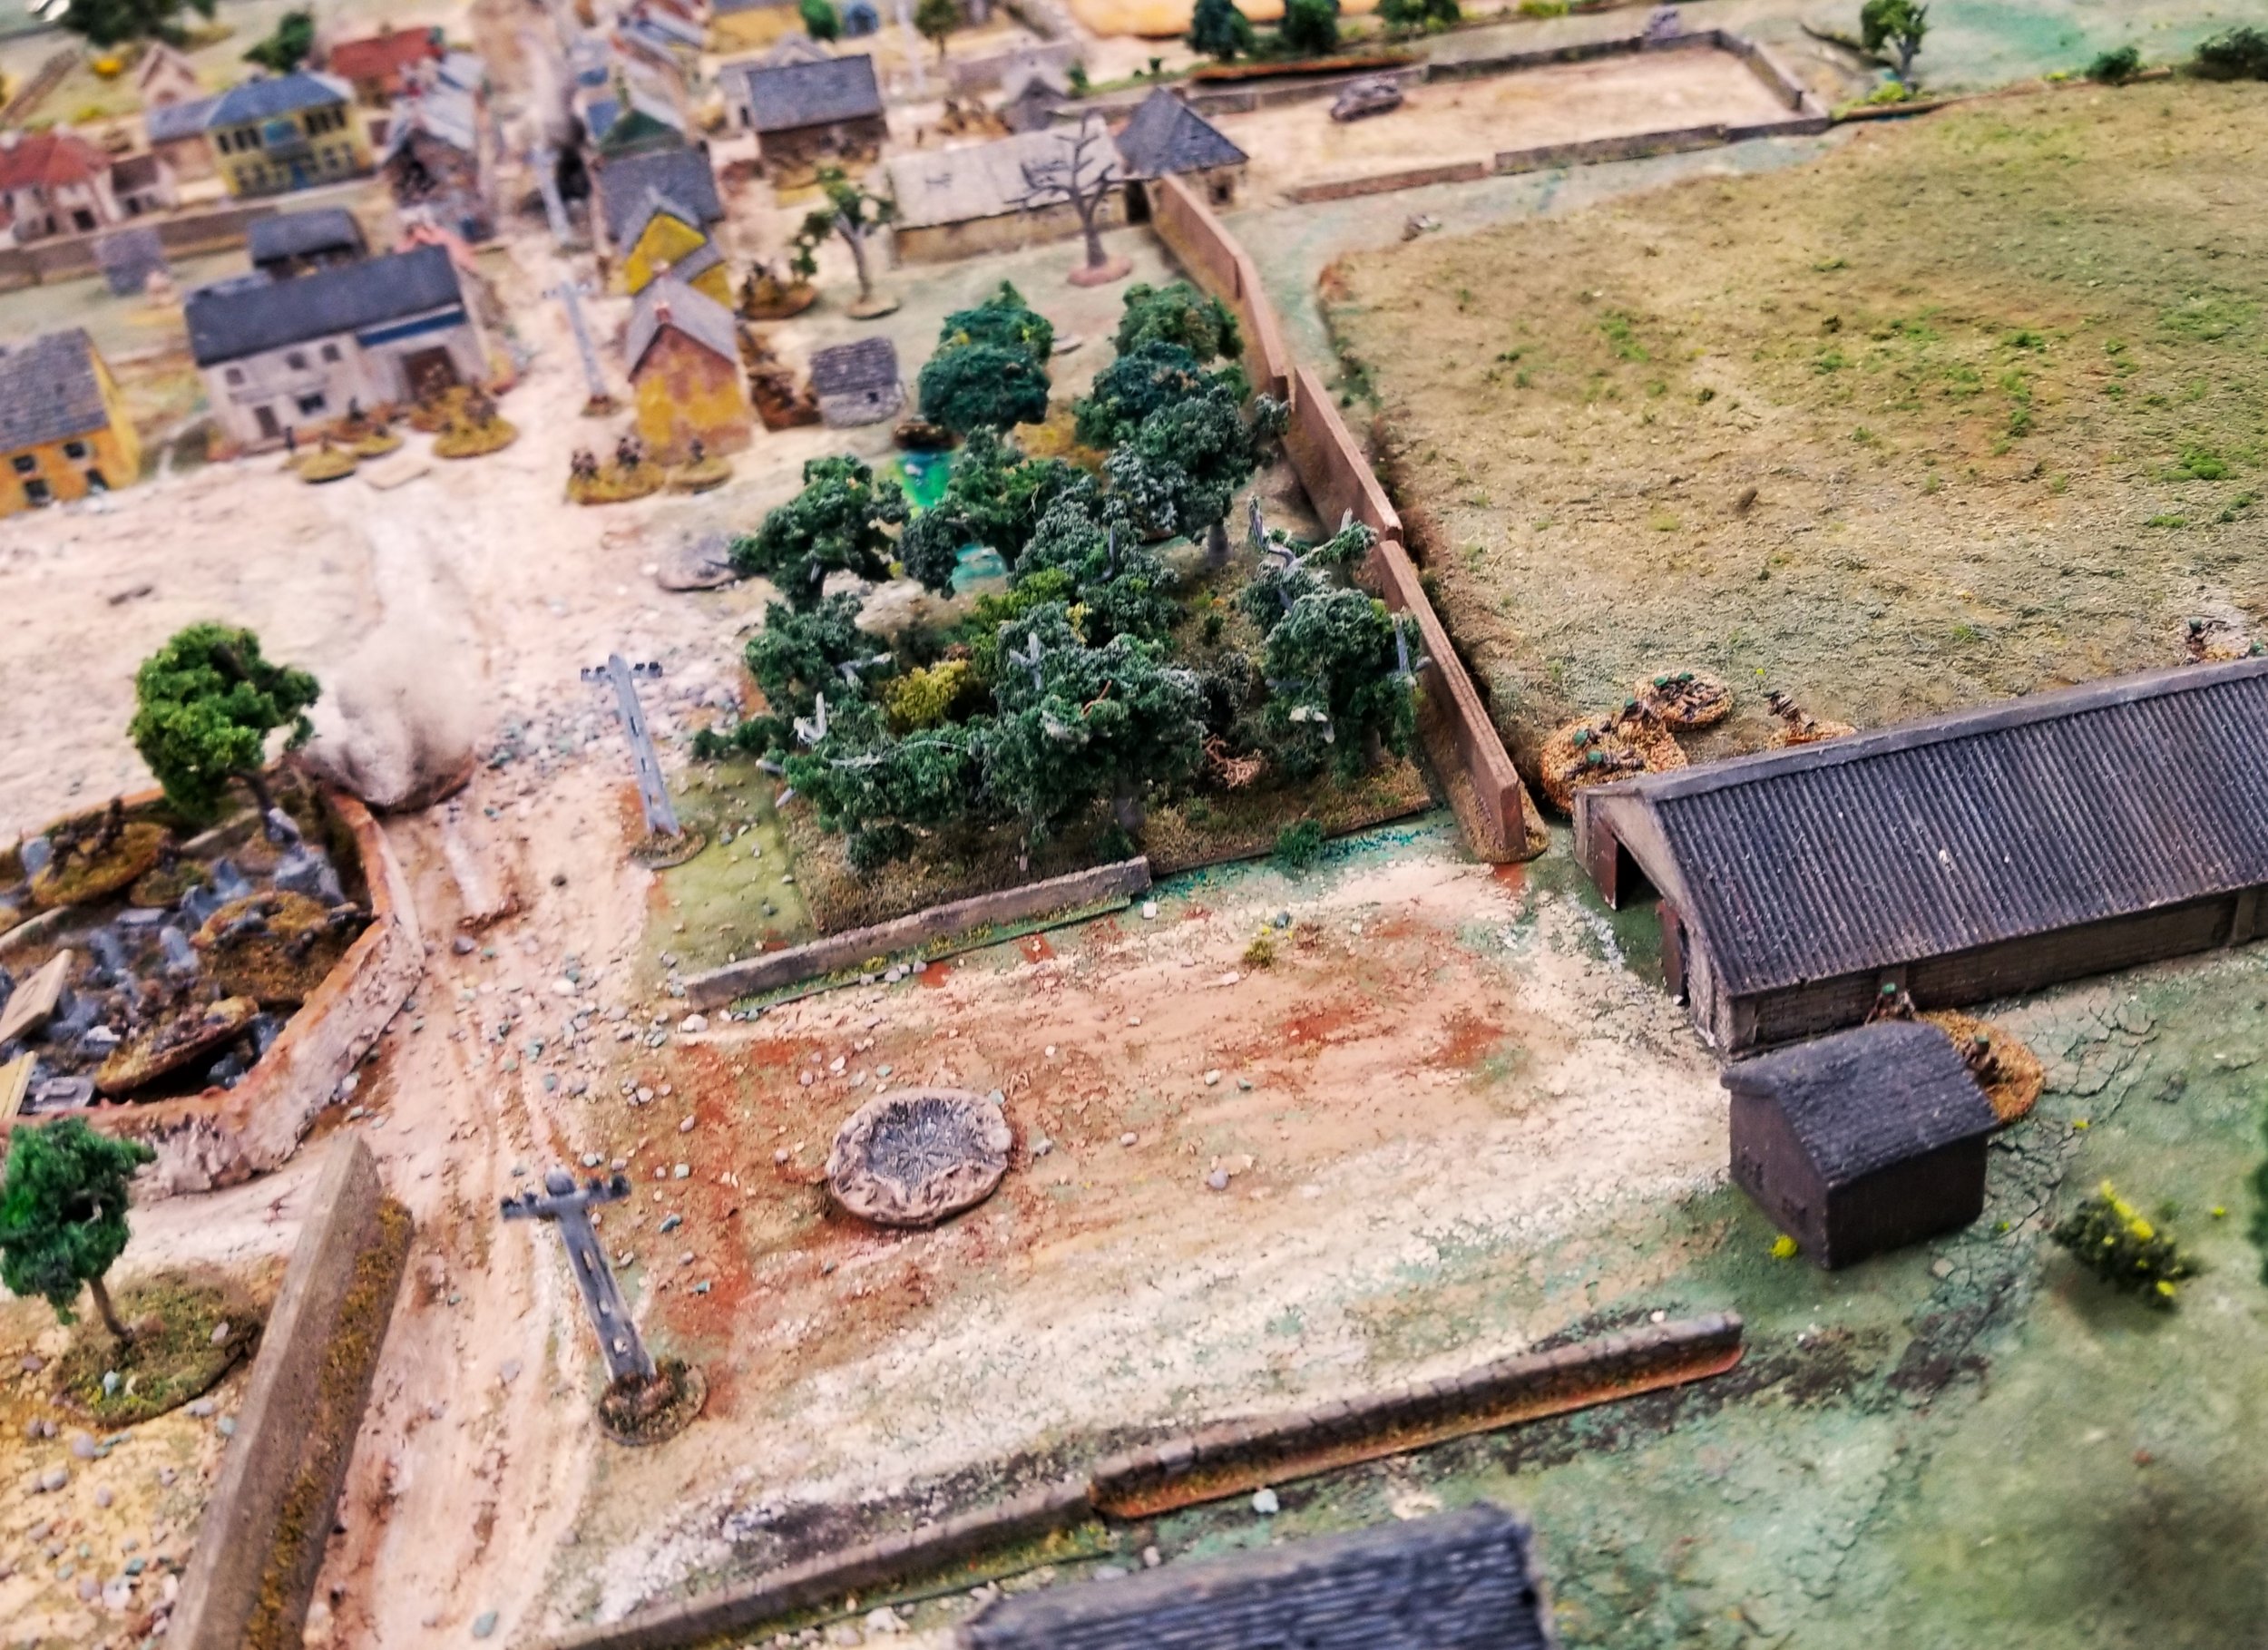
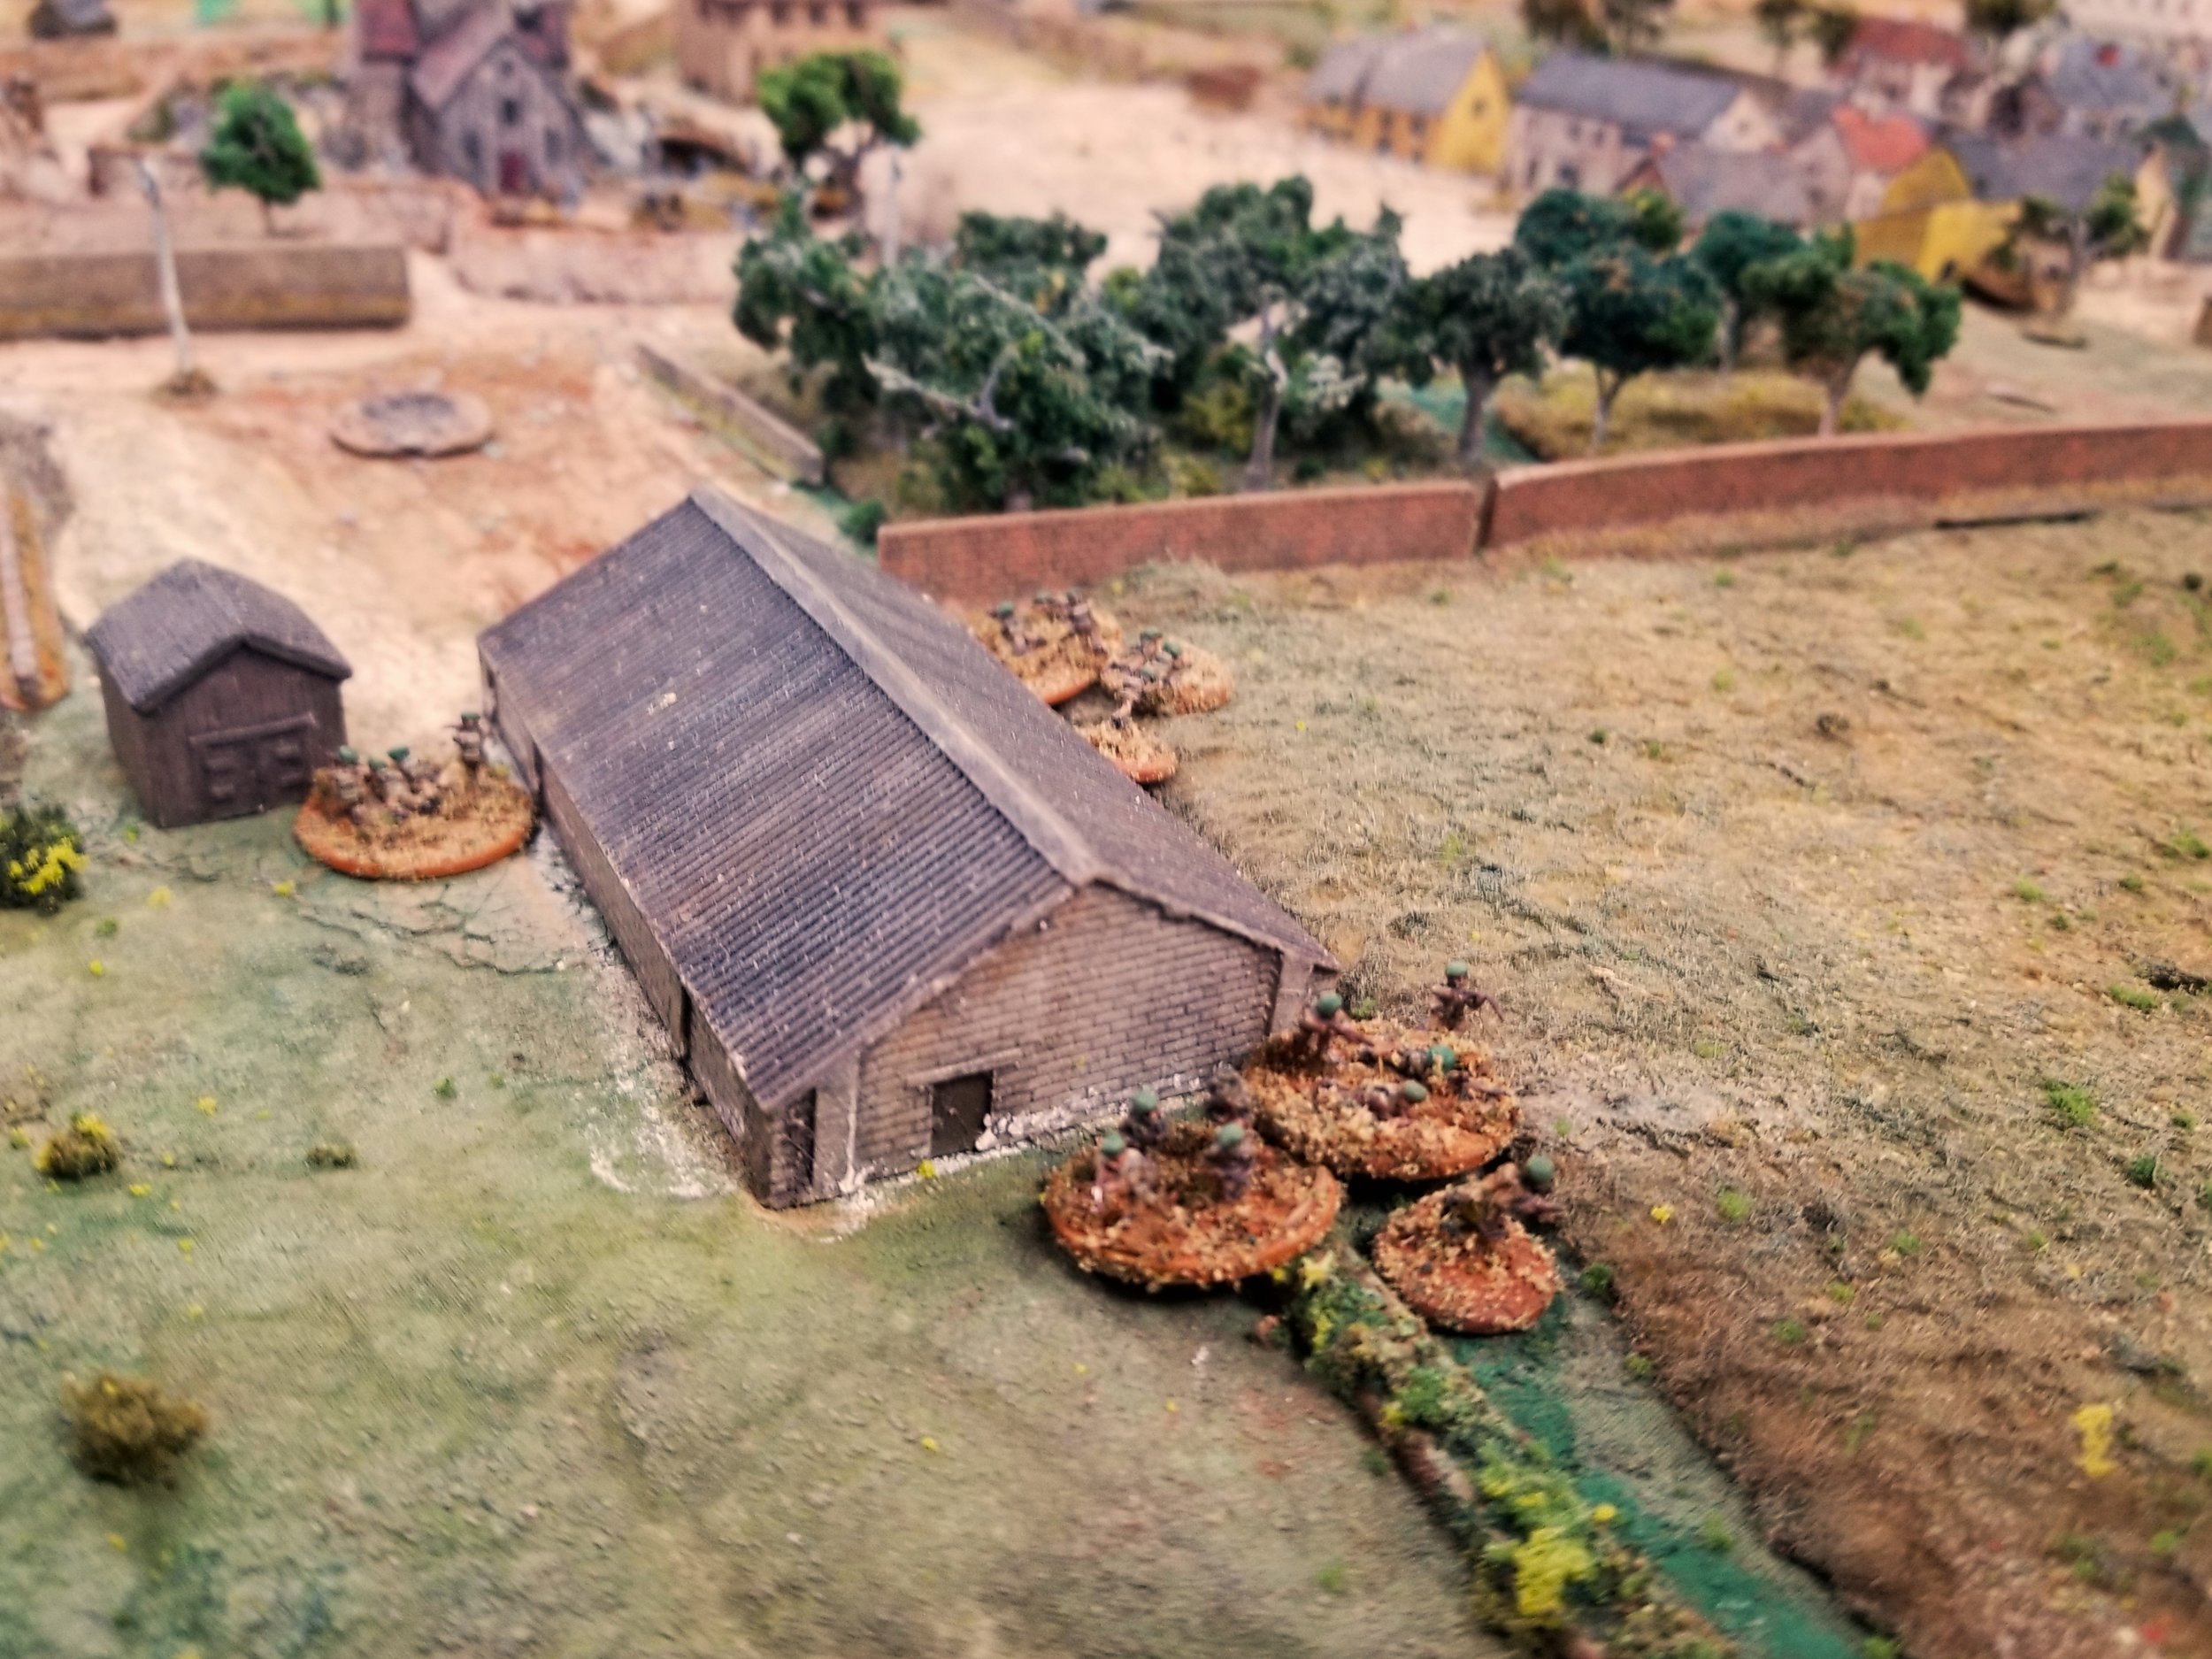
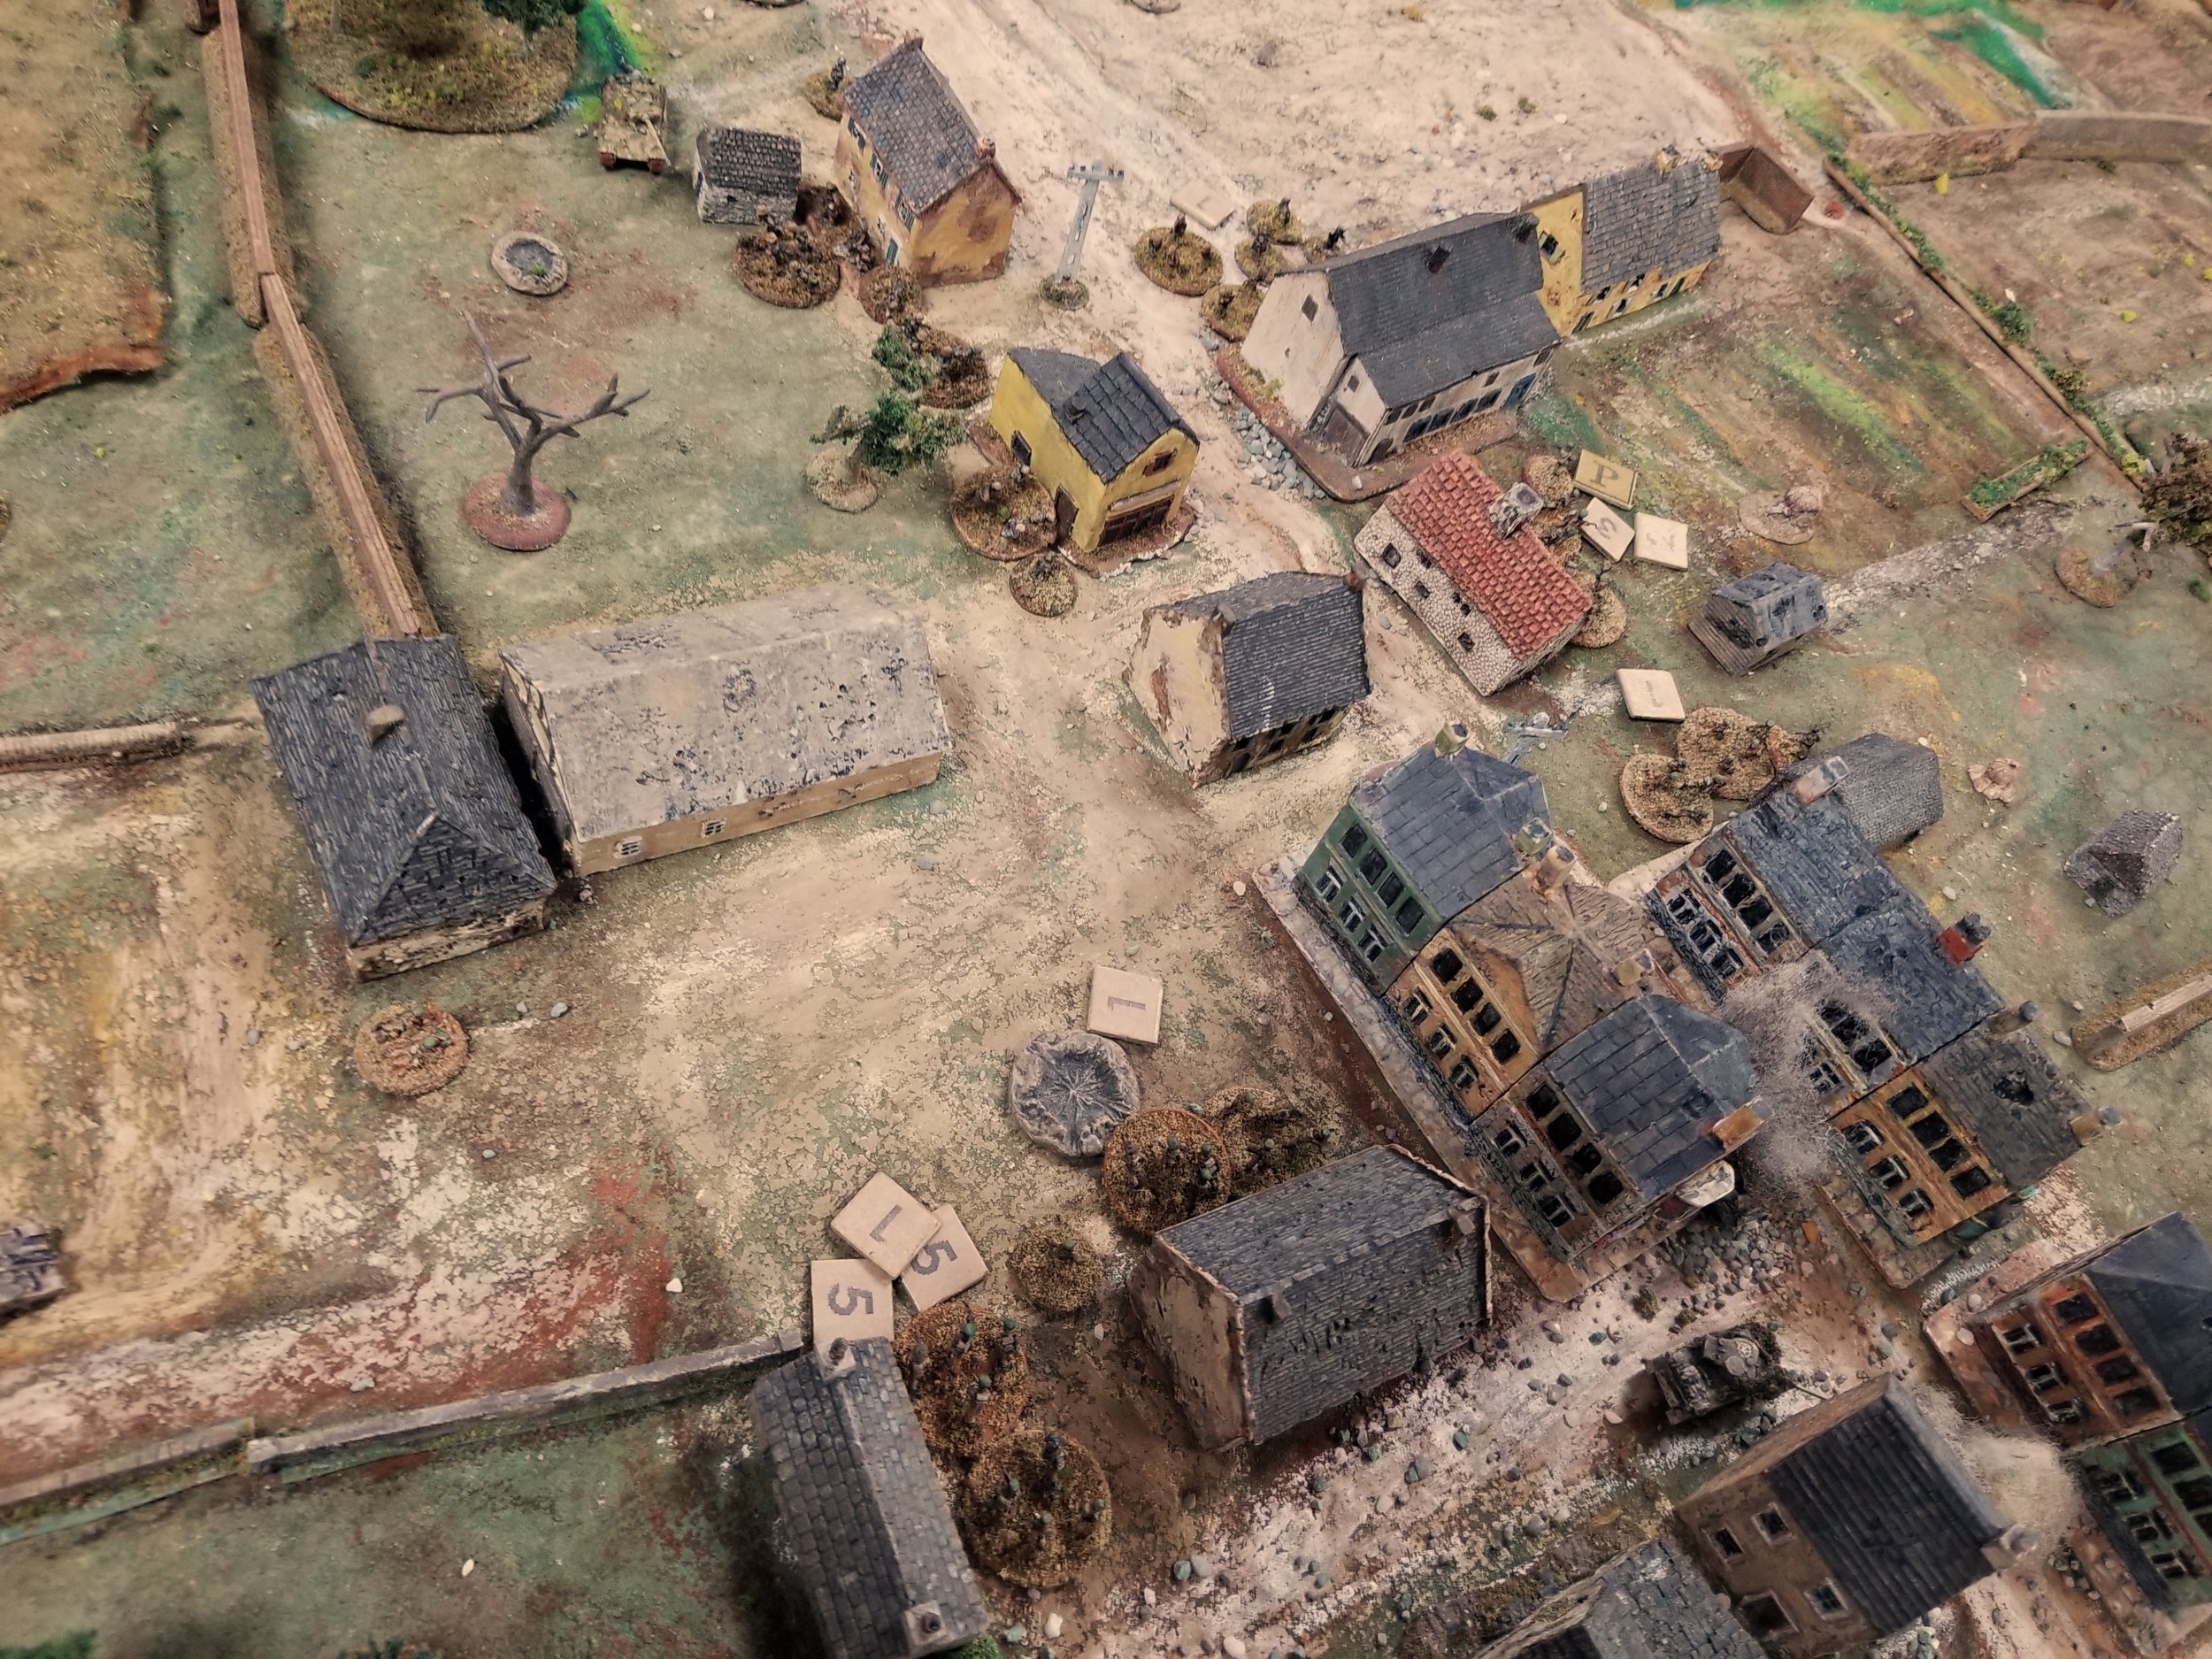
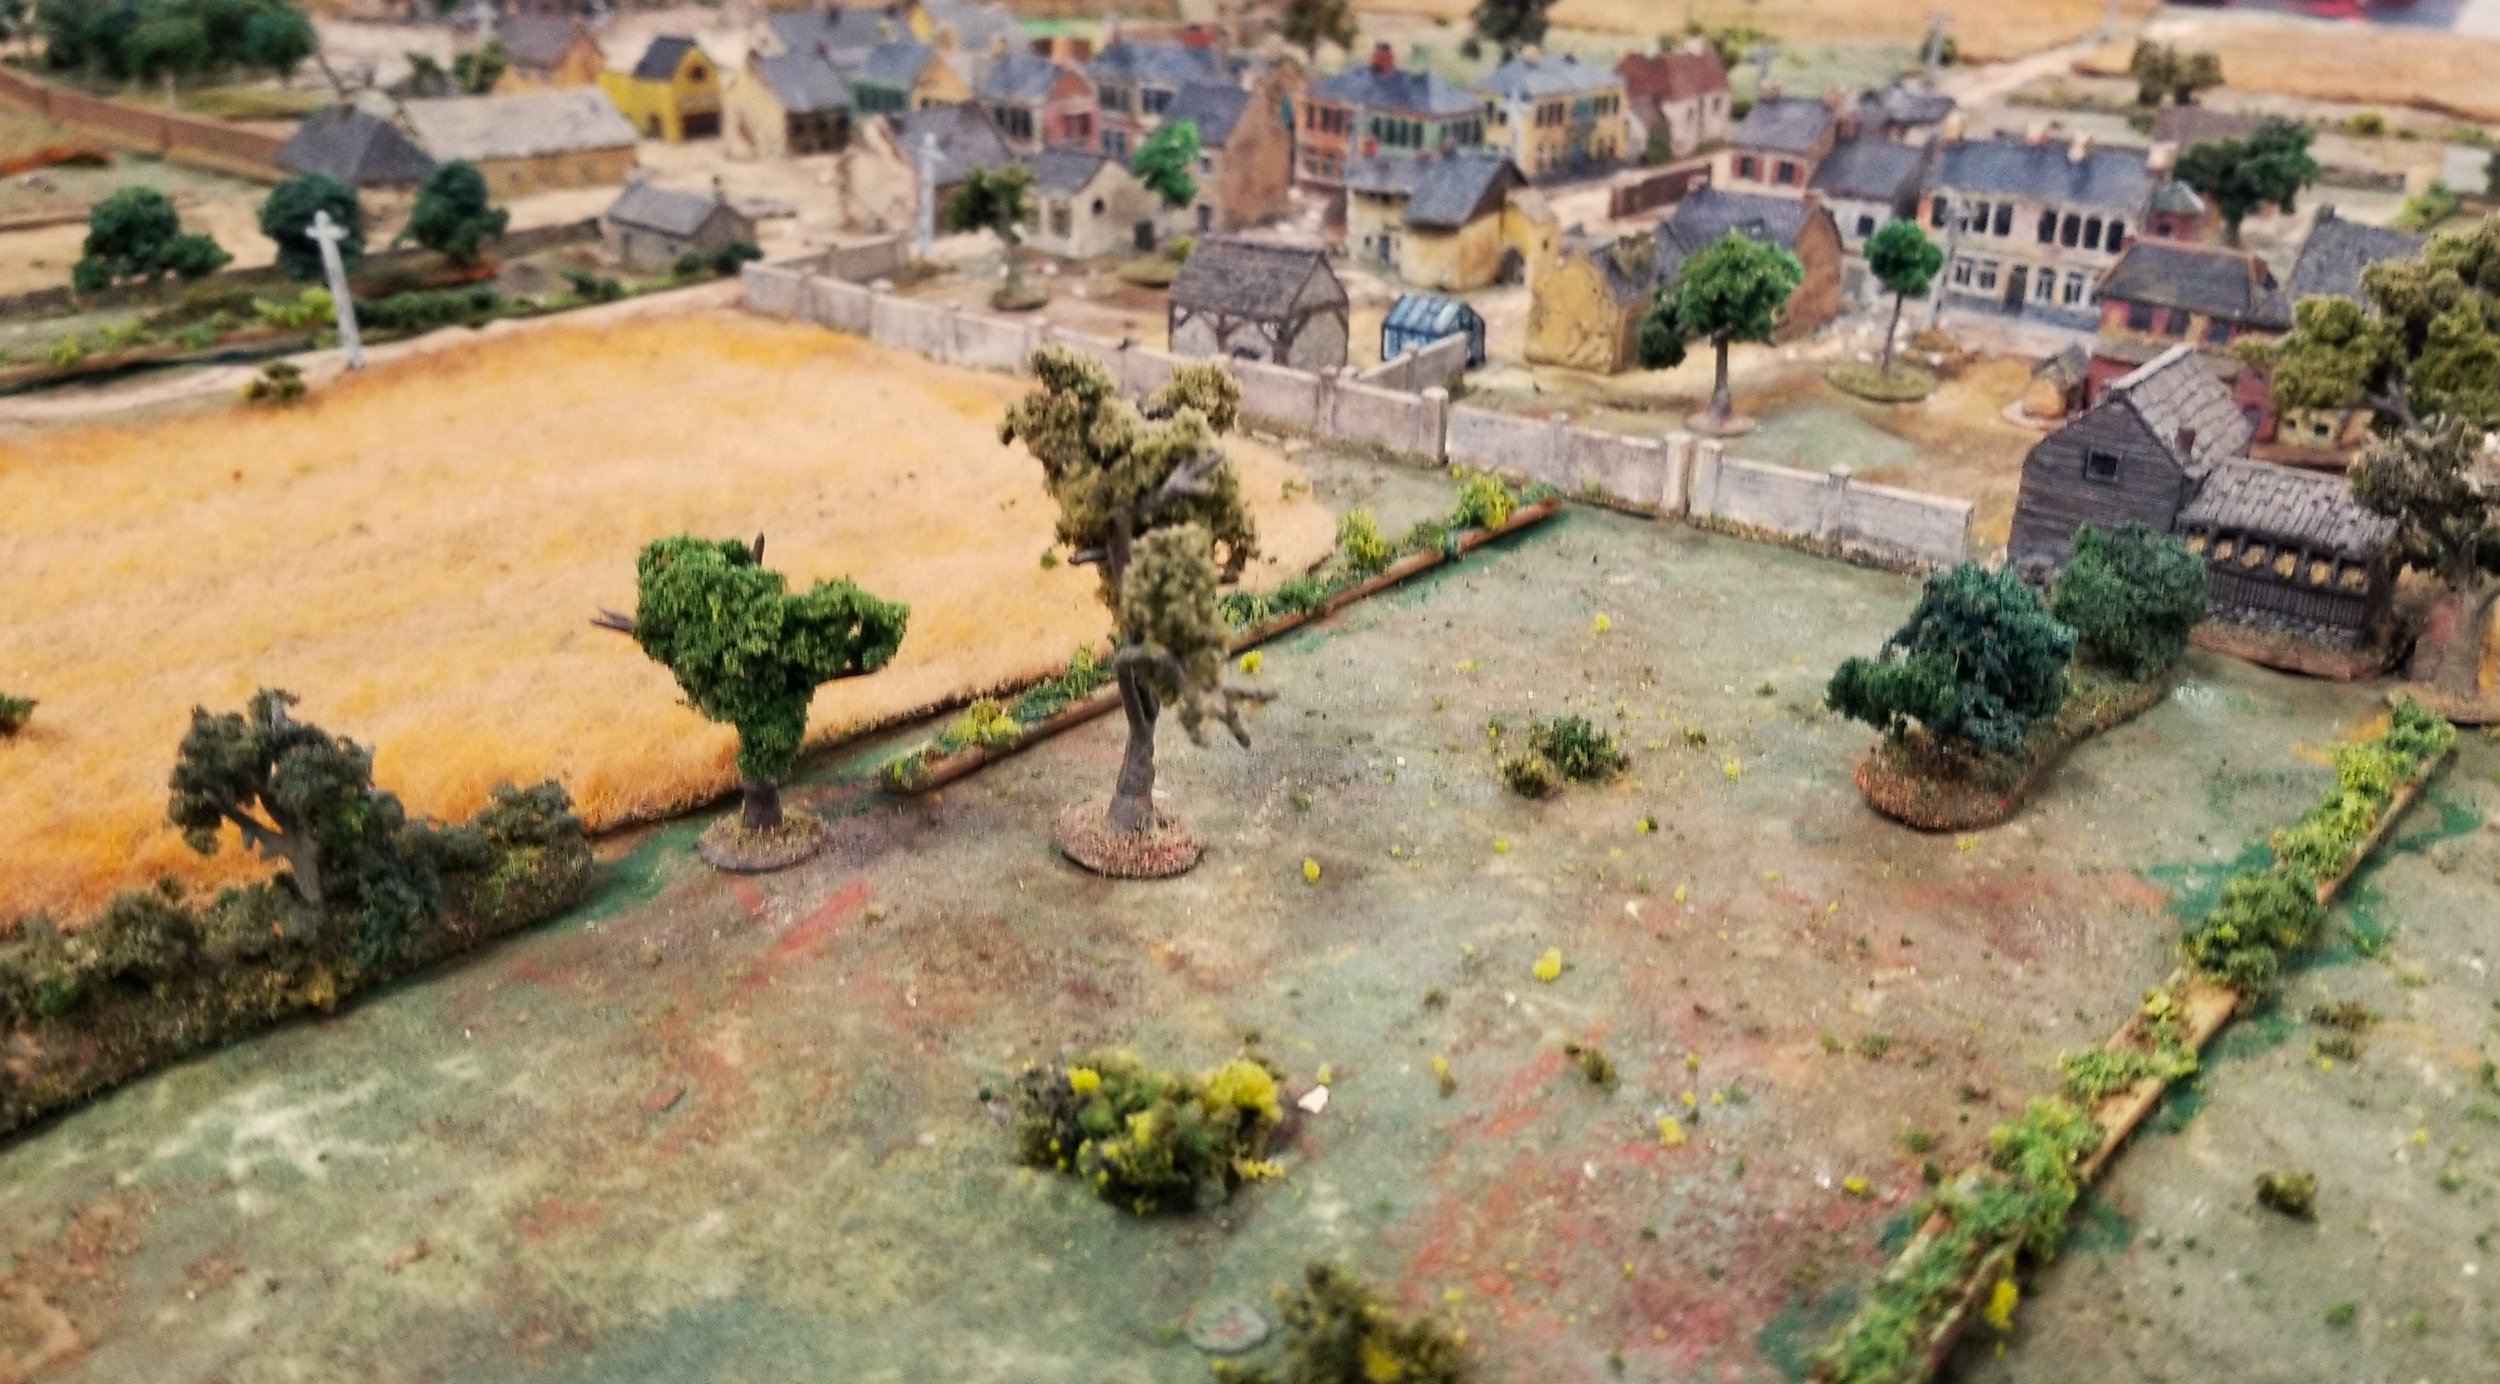
Here, the paratroopers began to pull back, moving toward or into the gulley on both sides. On the right, my motorcycle squad had dismounted and set up a machine gun, covering the end of the gulley. My infantry on that side moved forward, following their opponents into the small ravine.

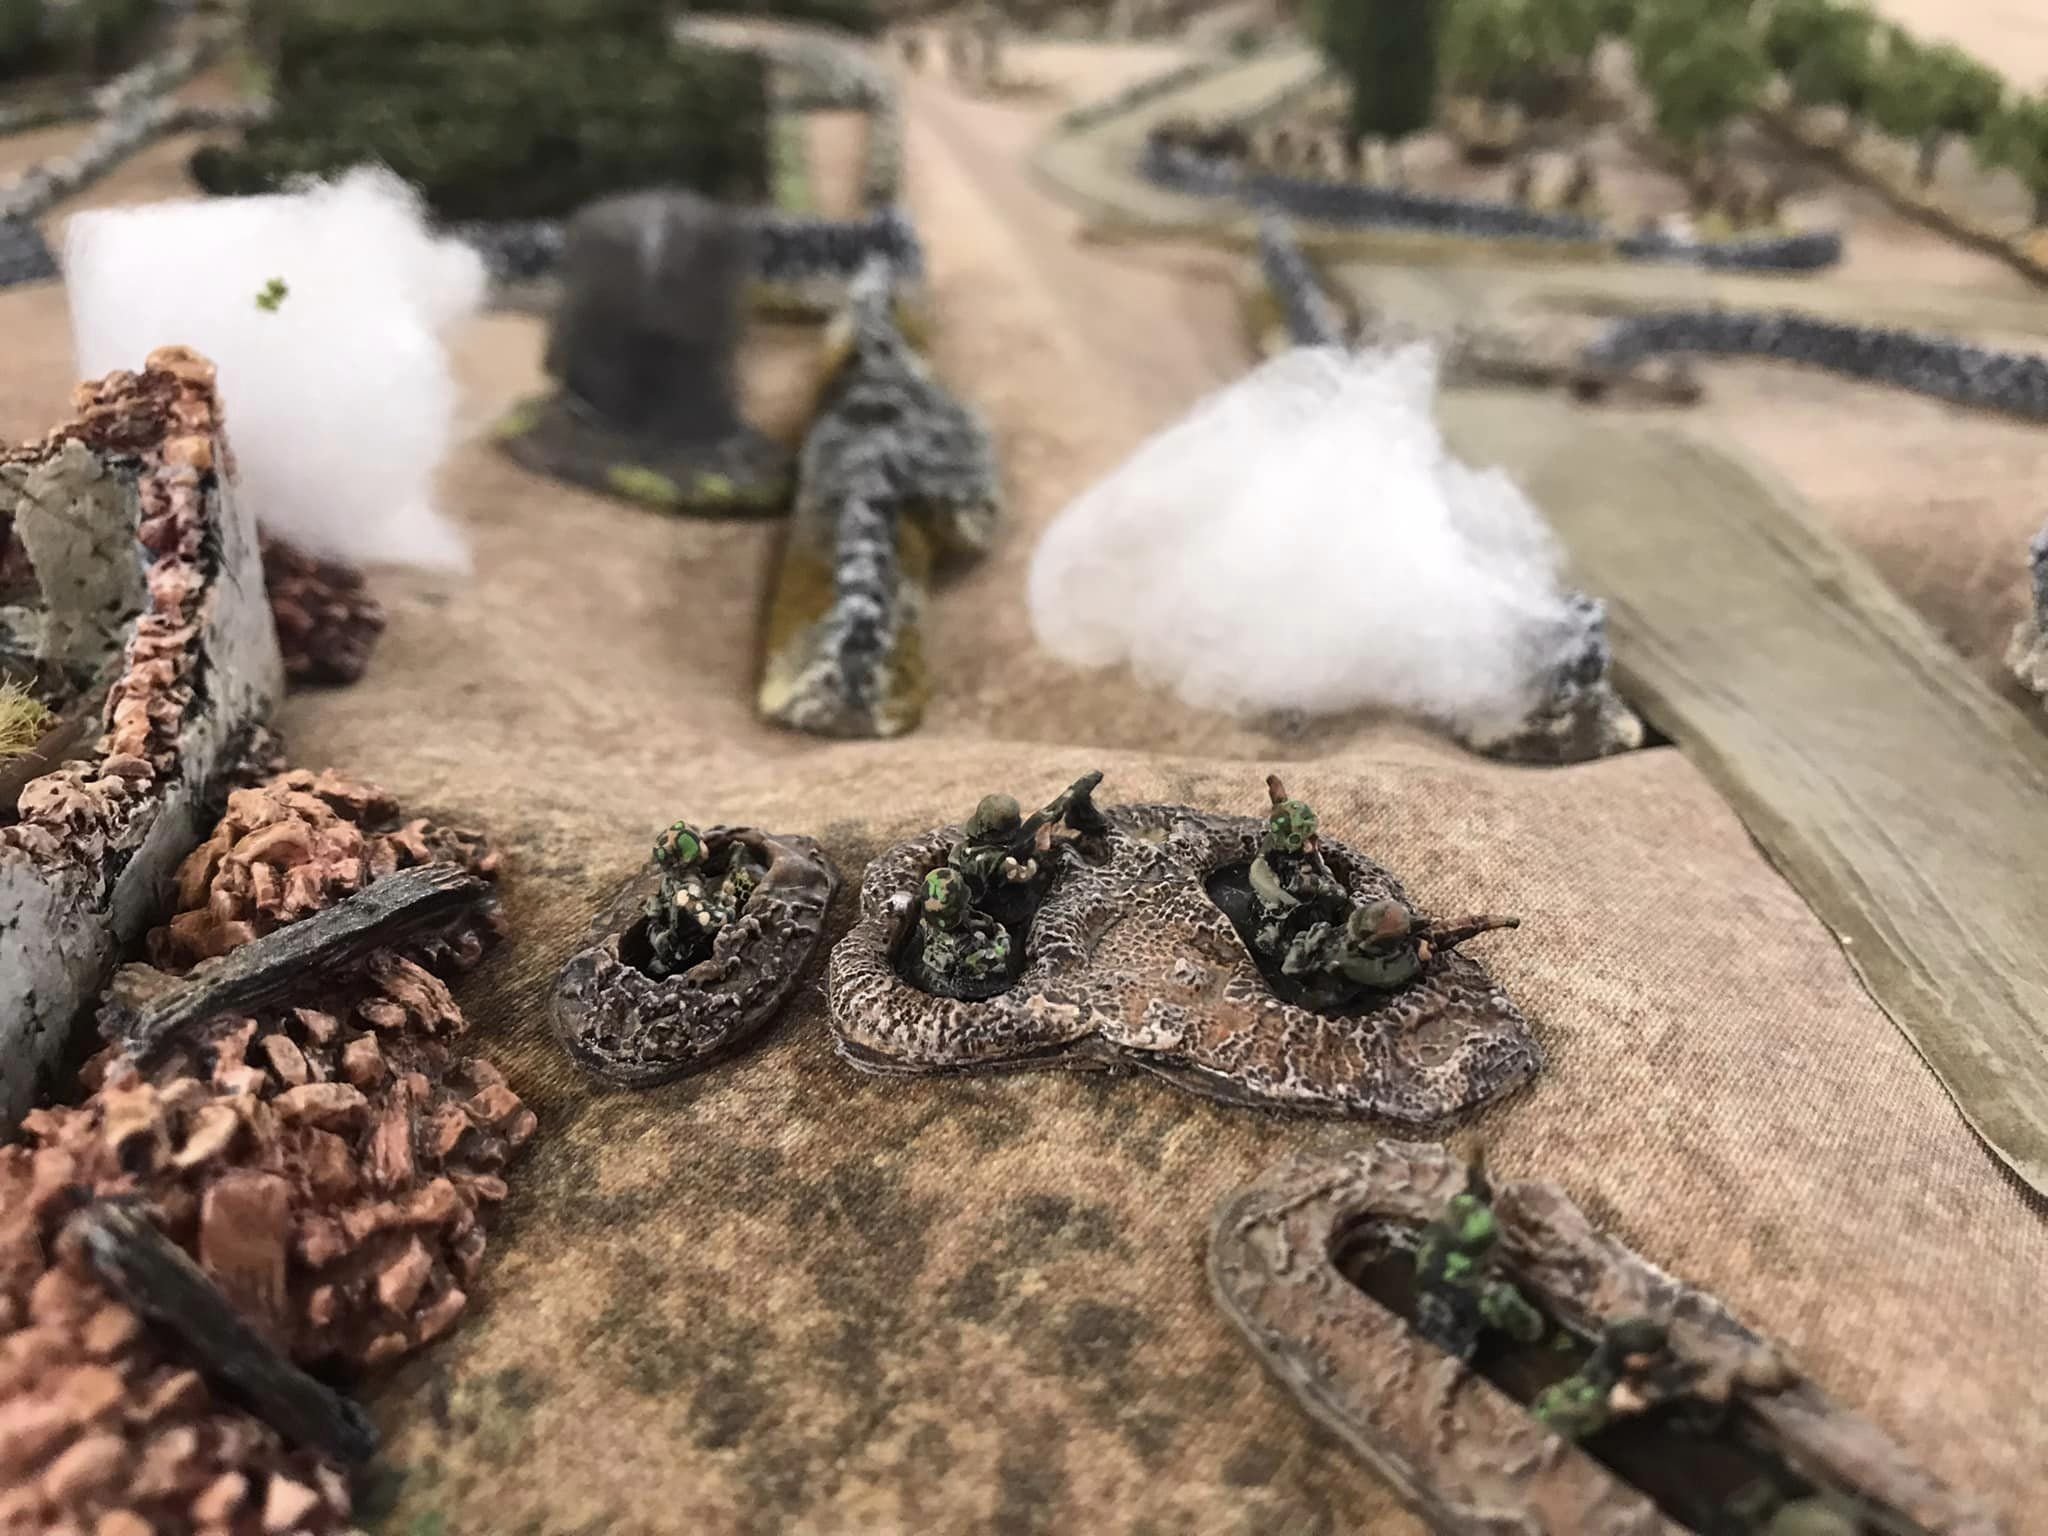
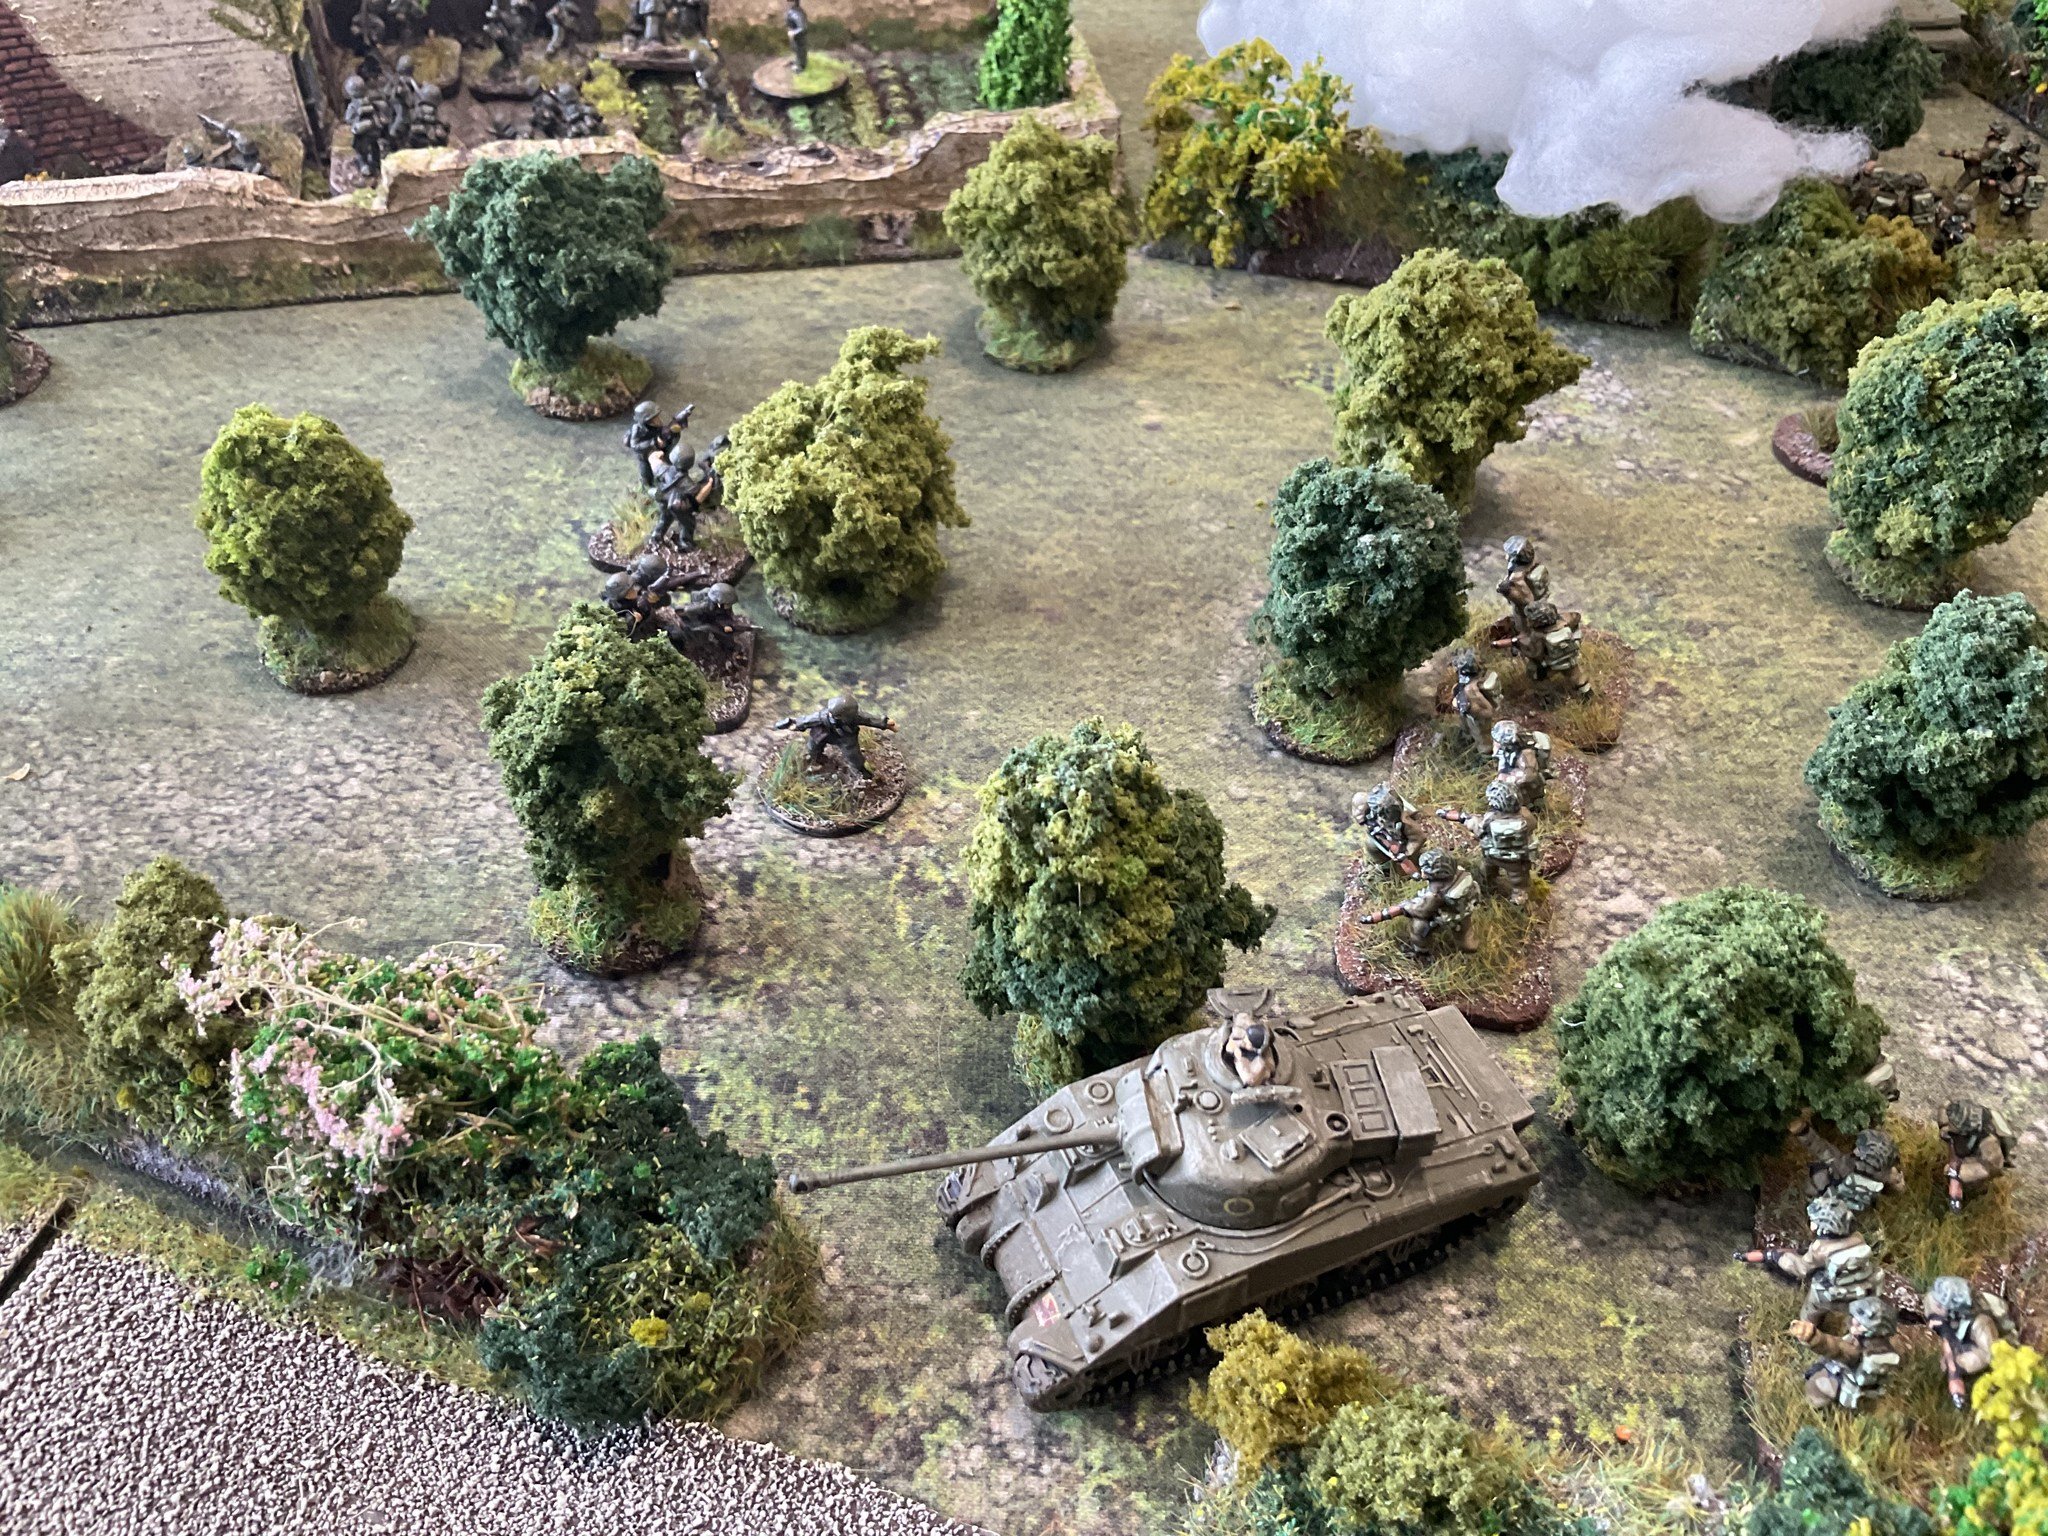
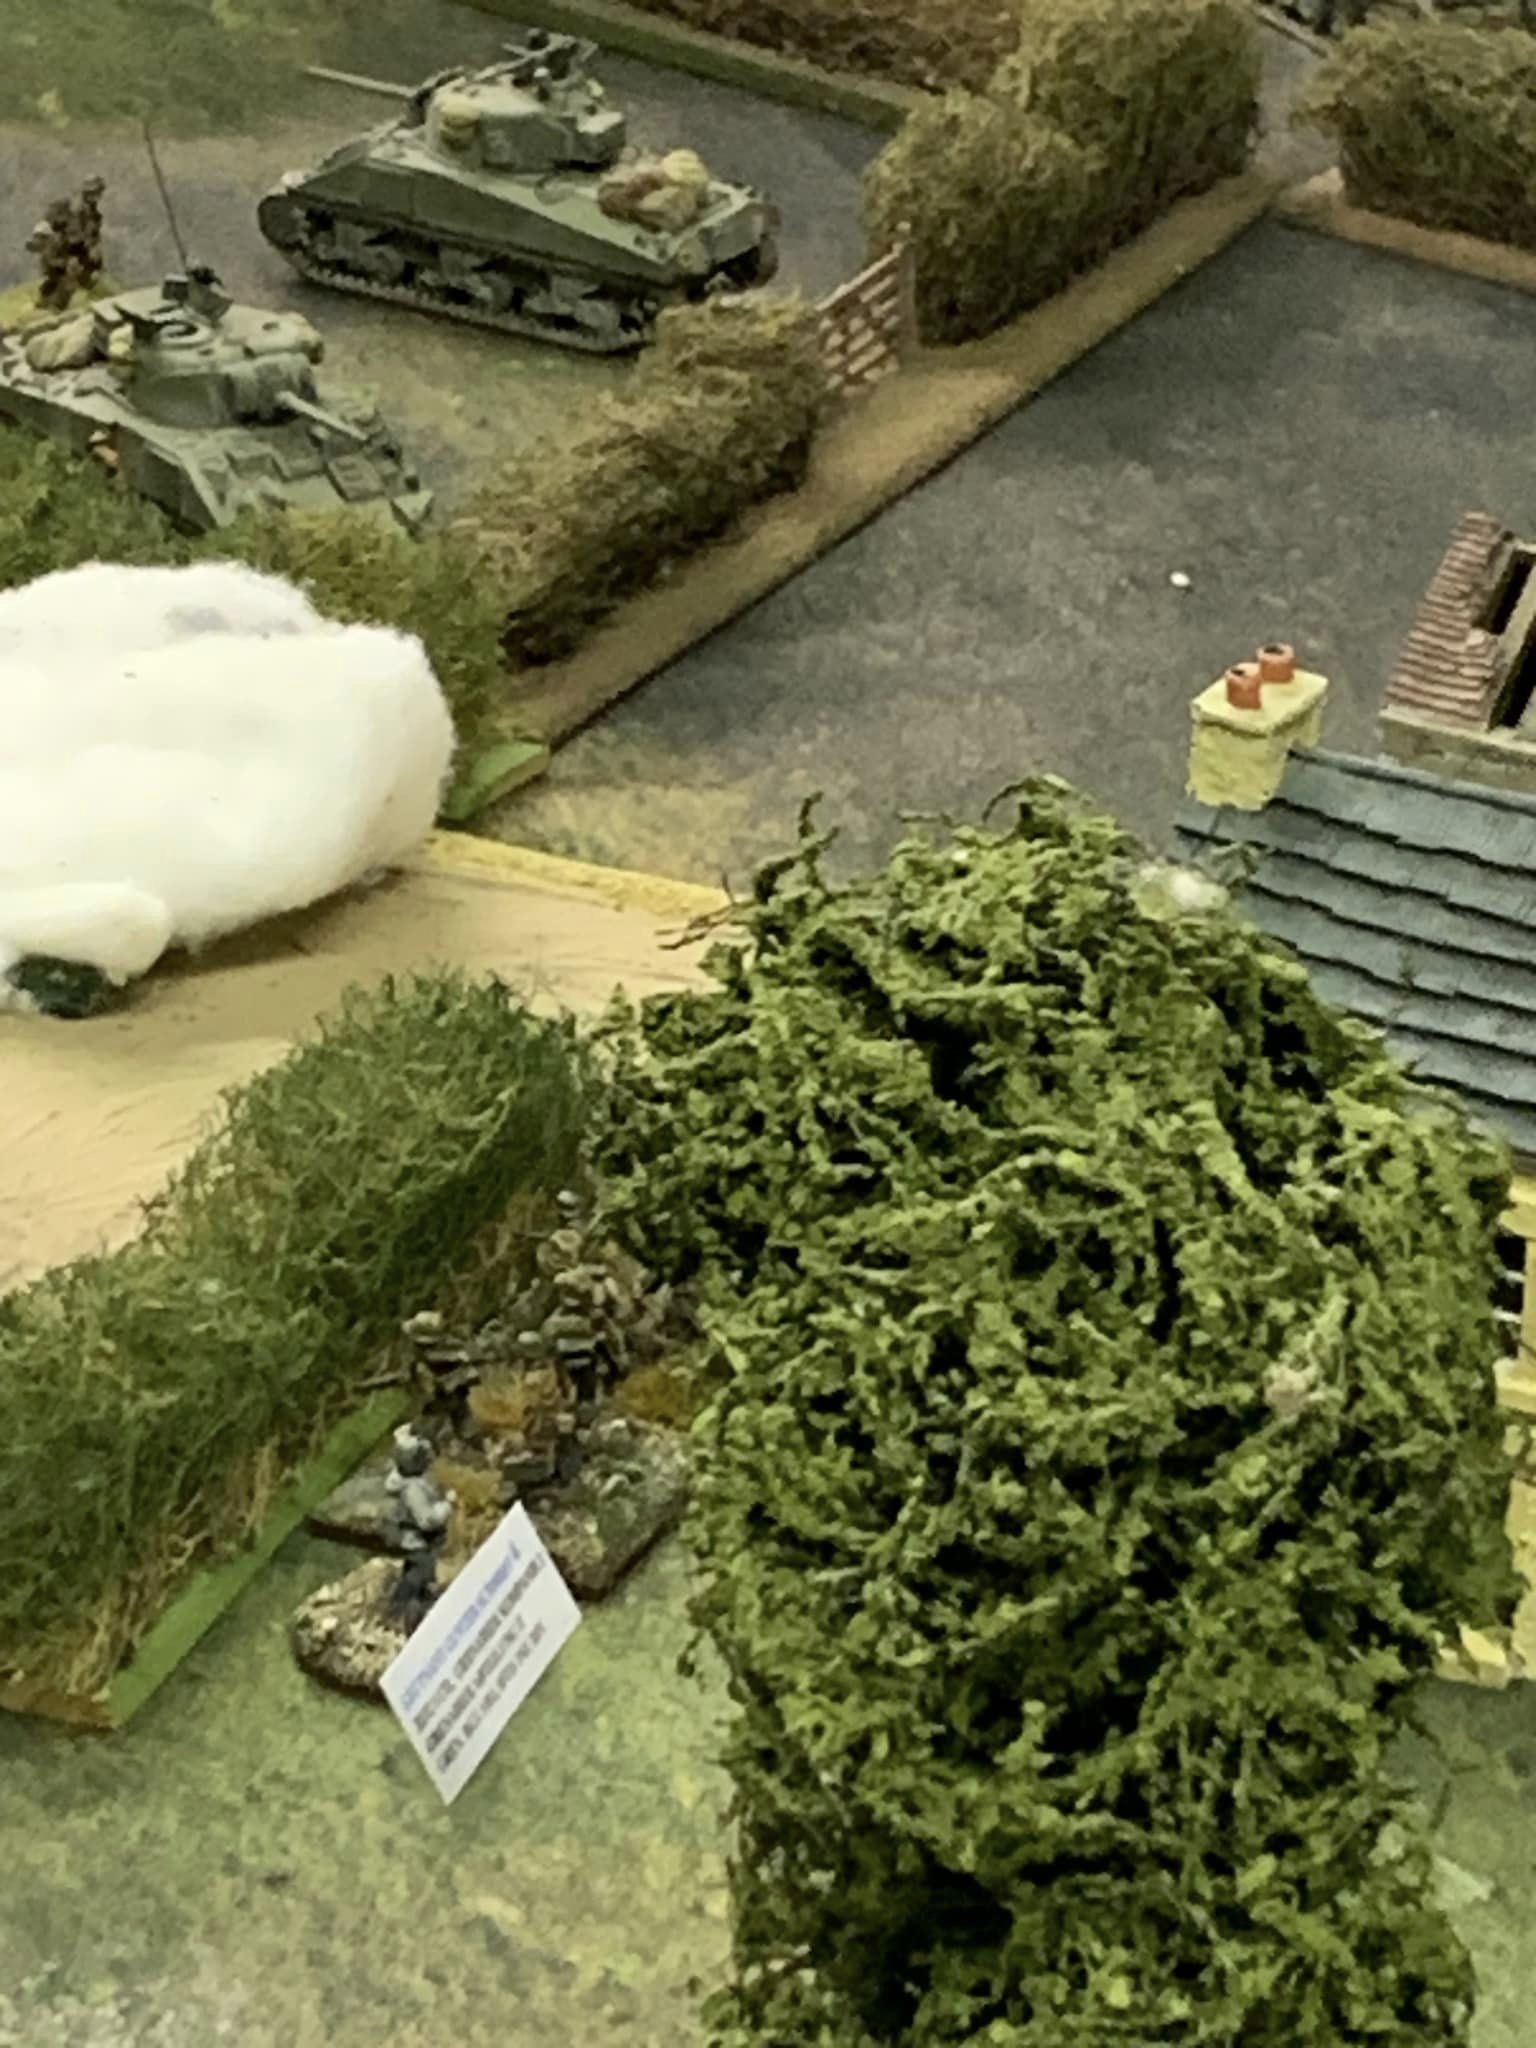
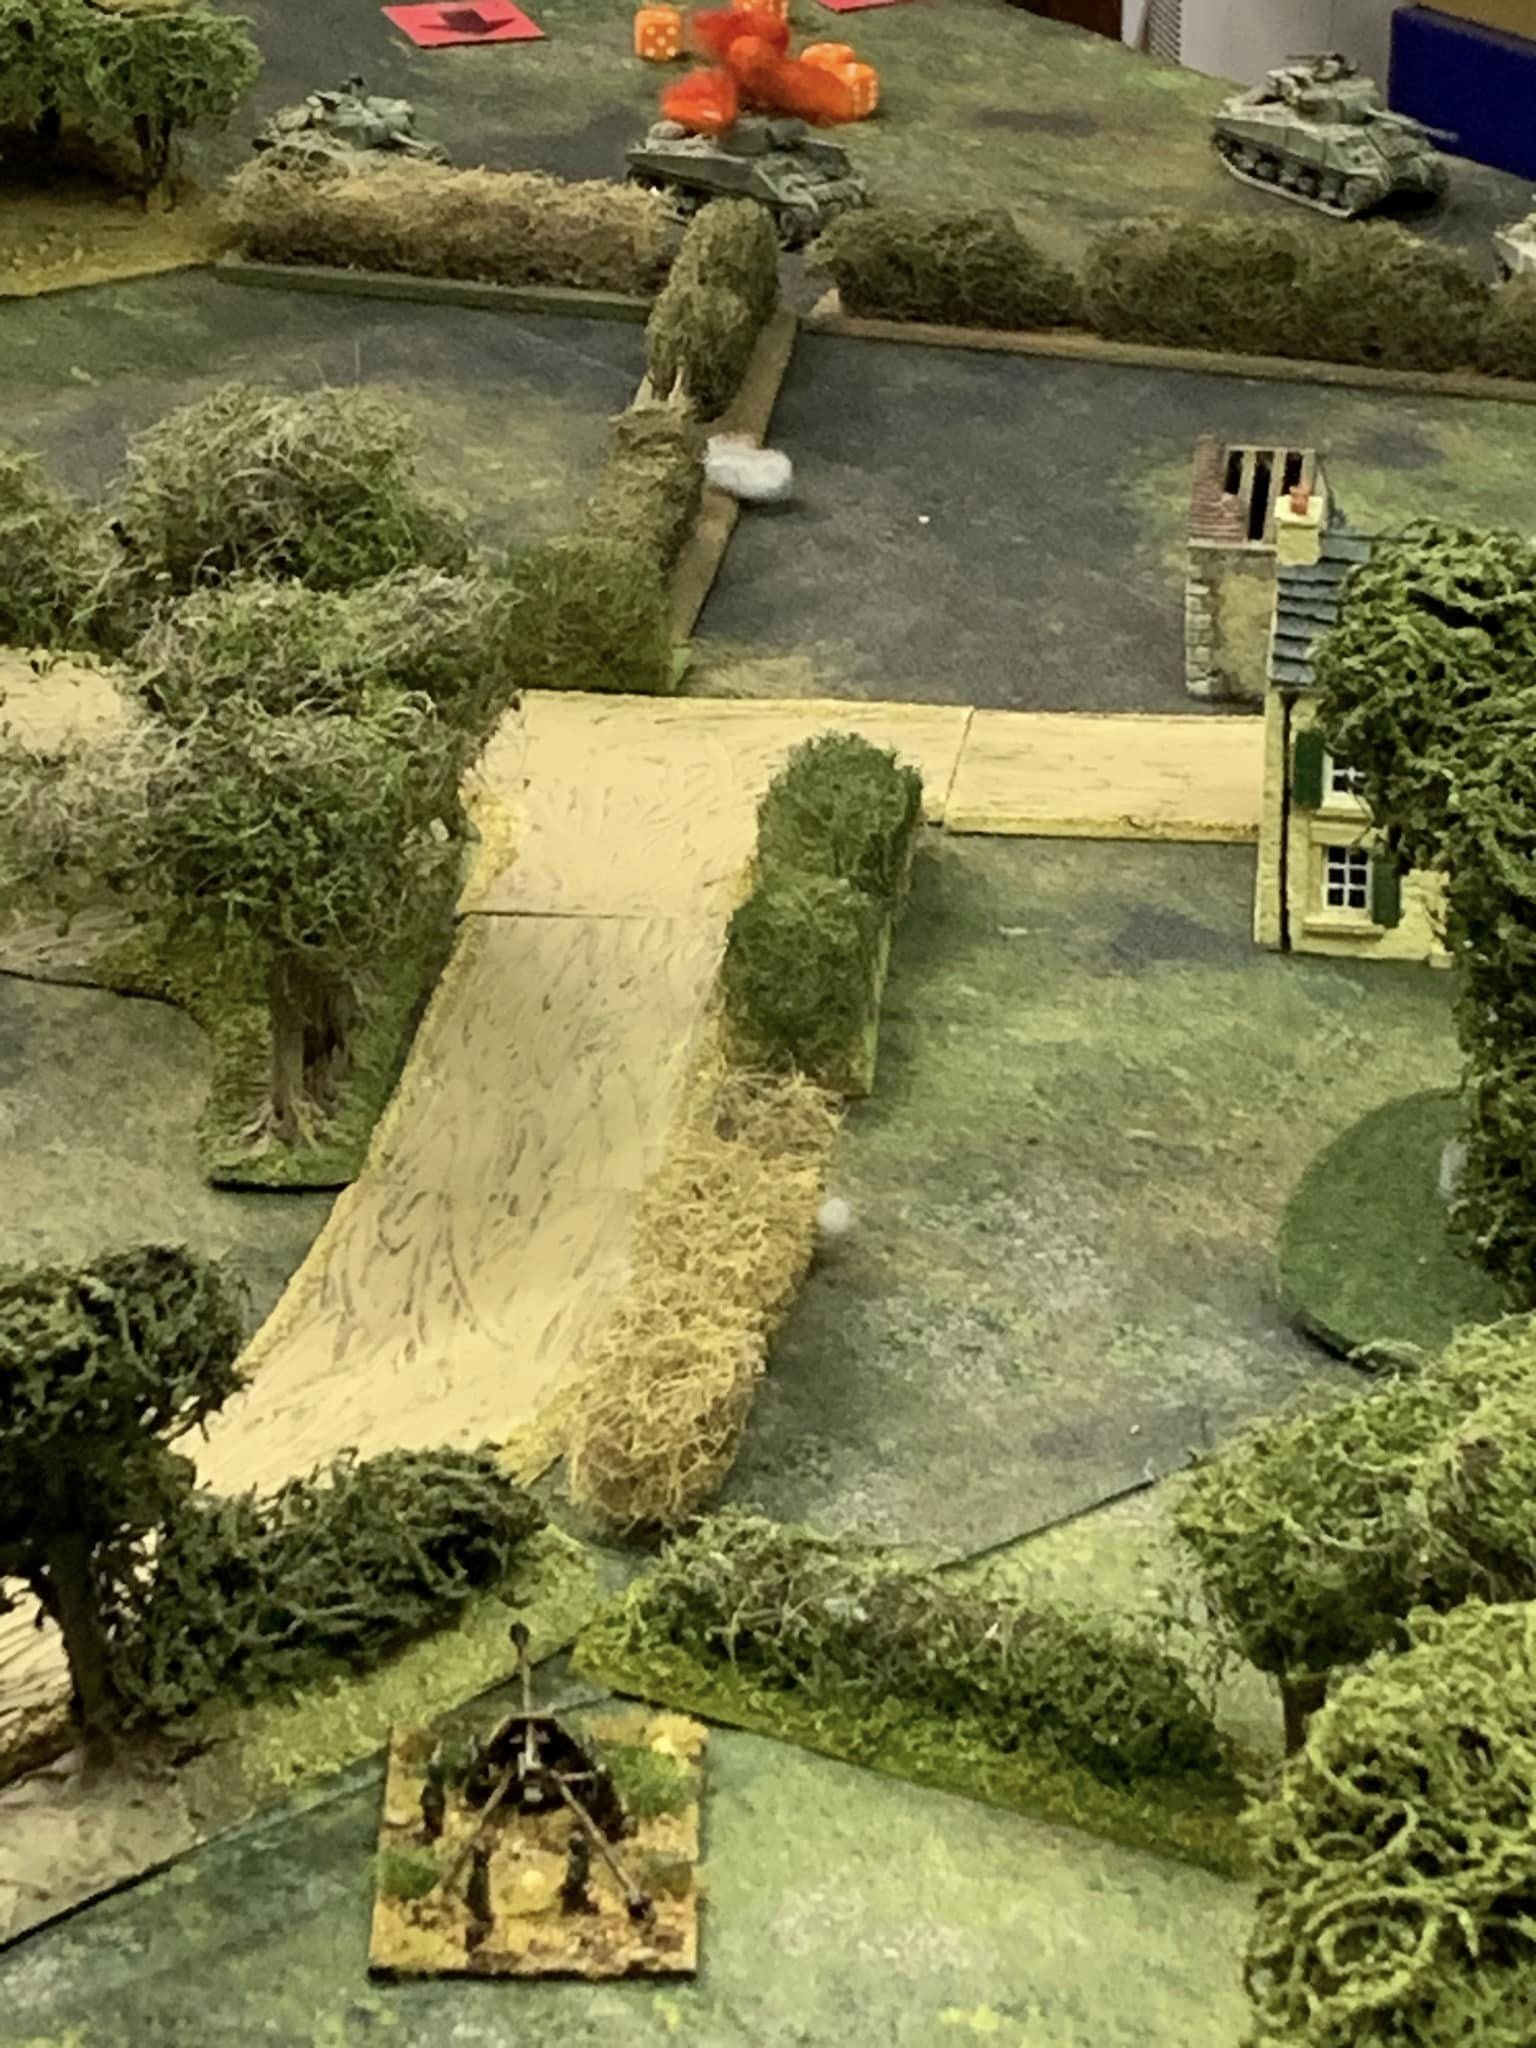
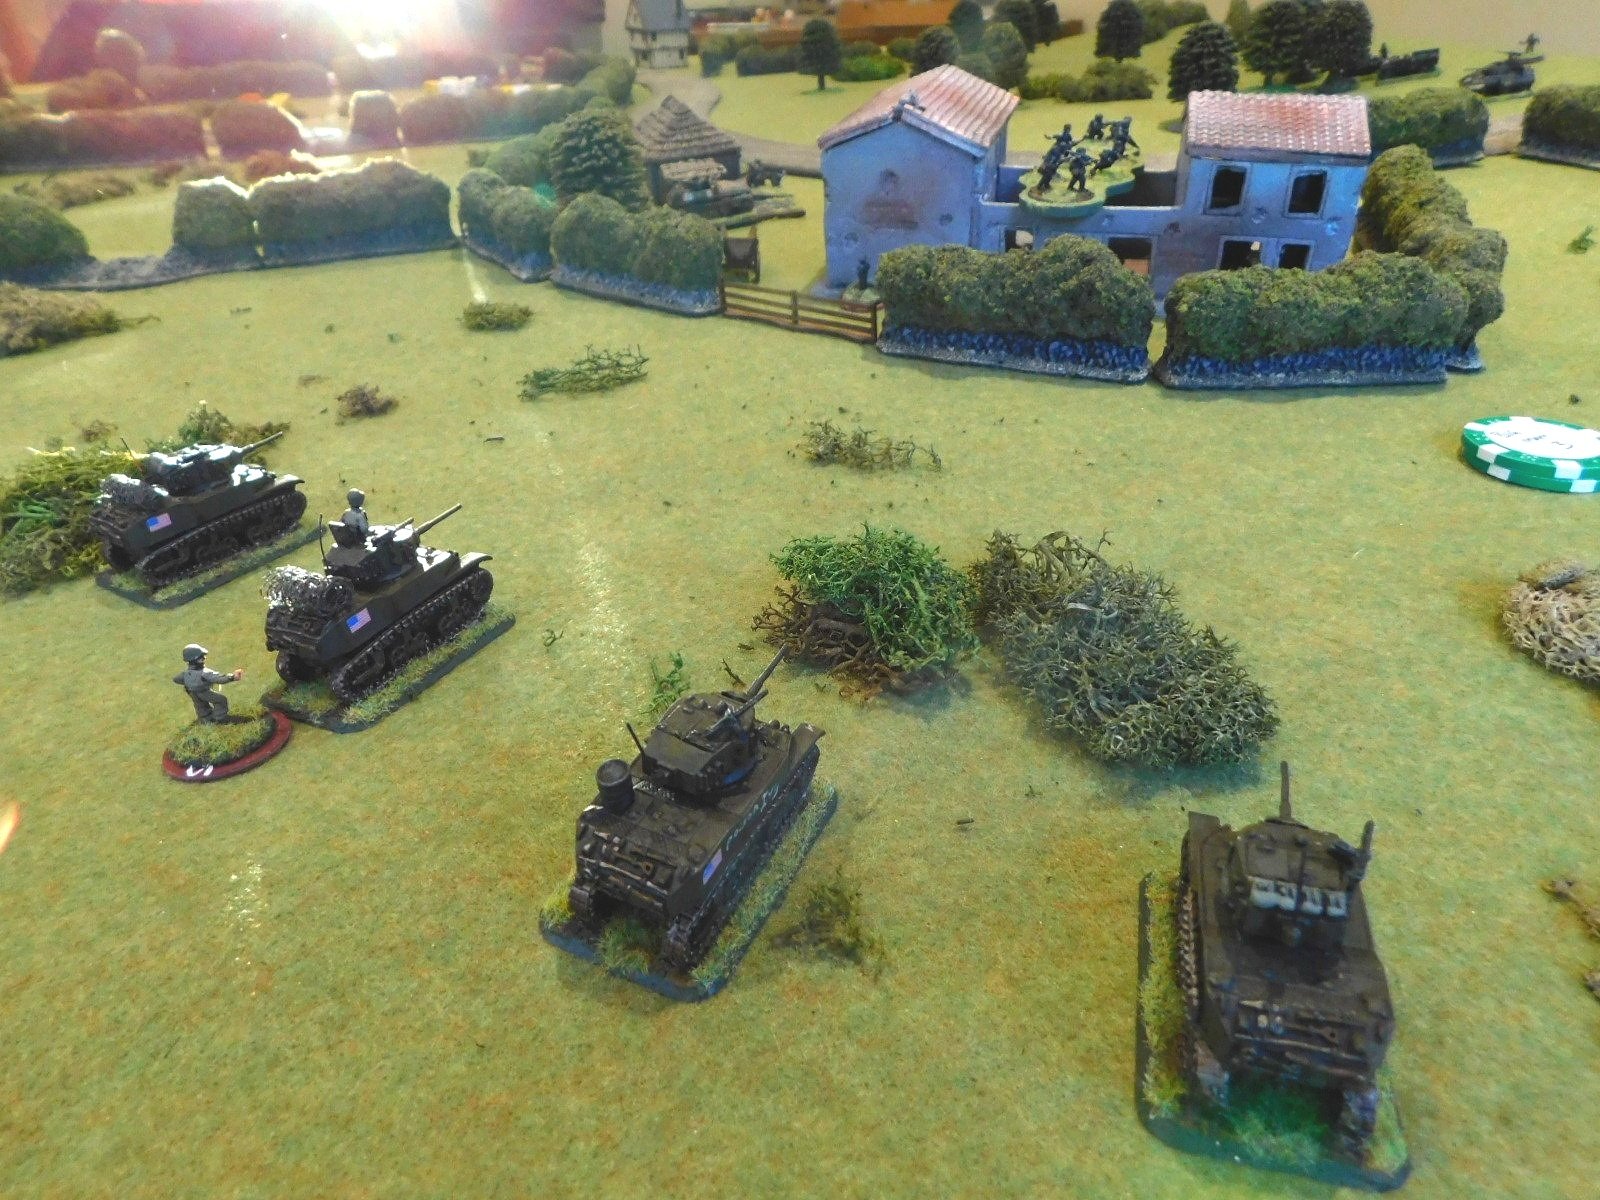
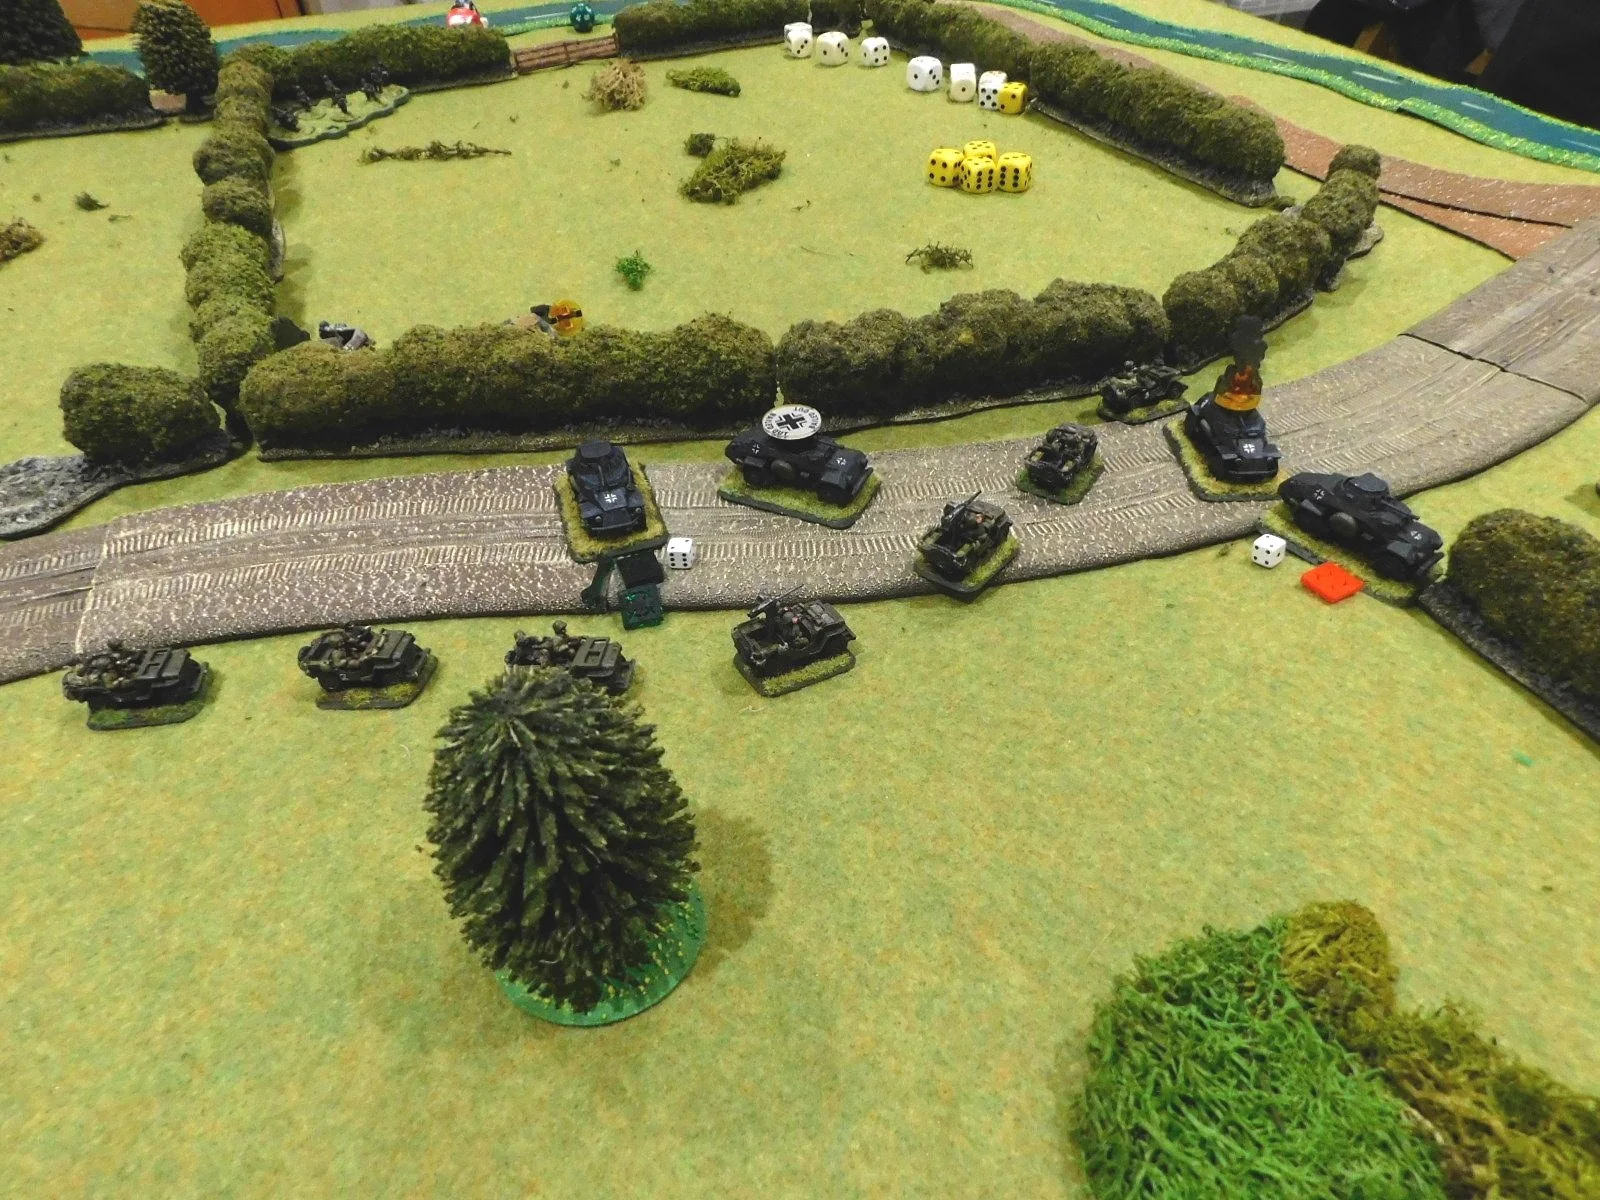
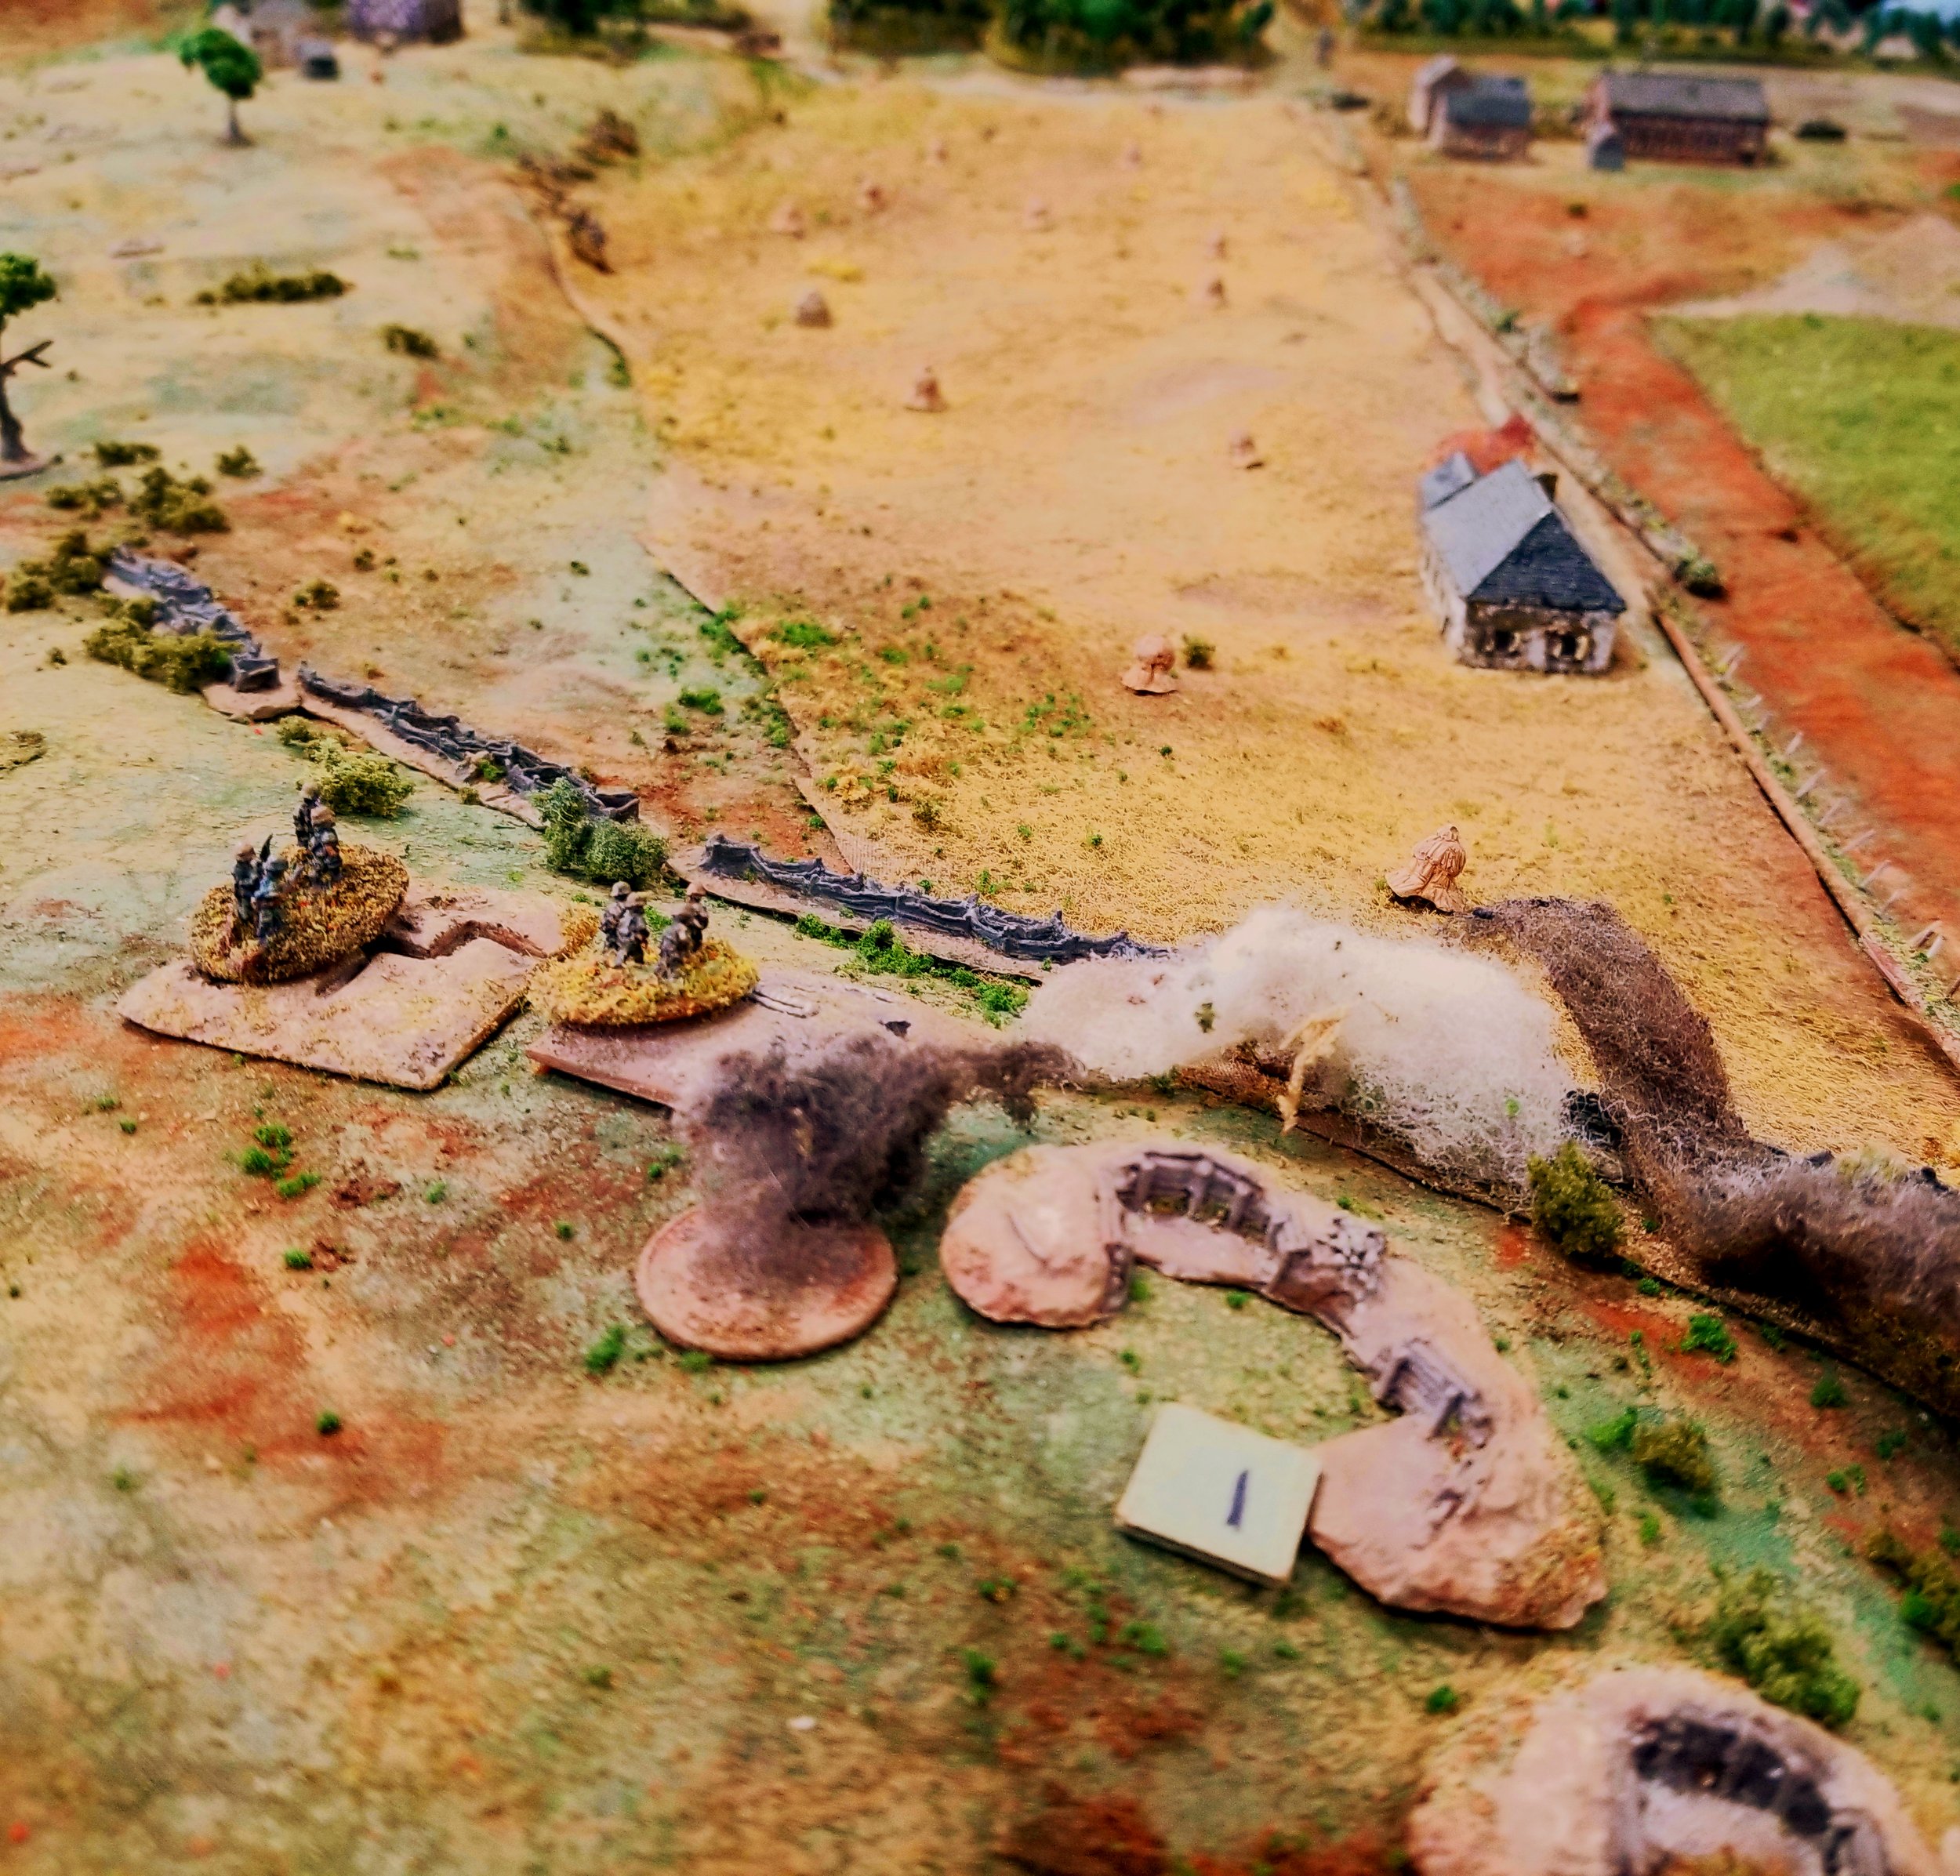
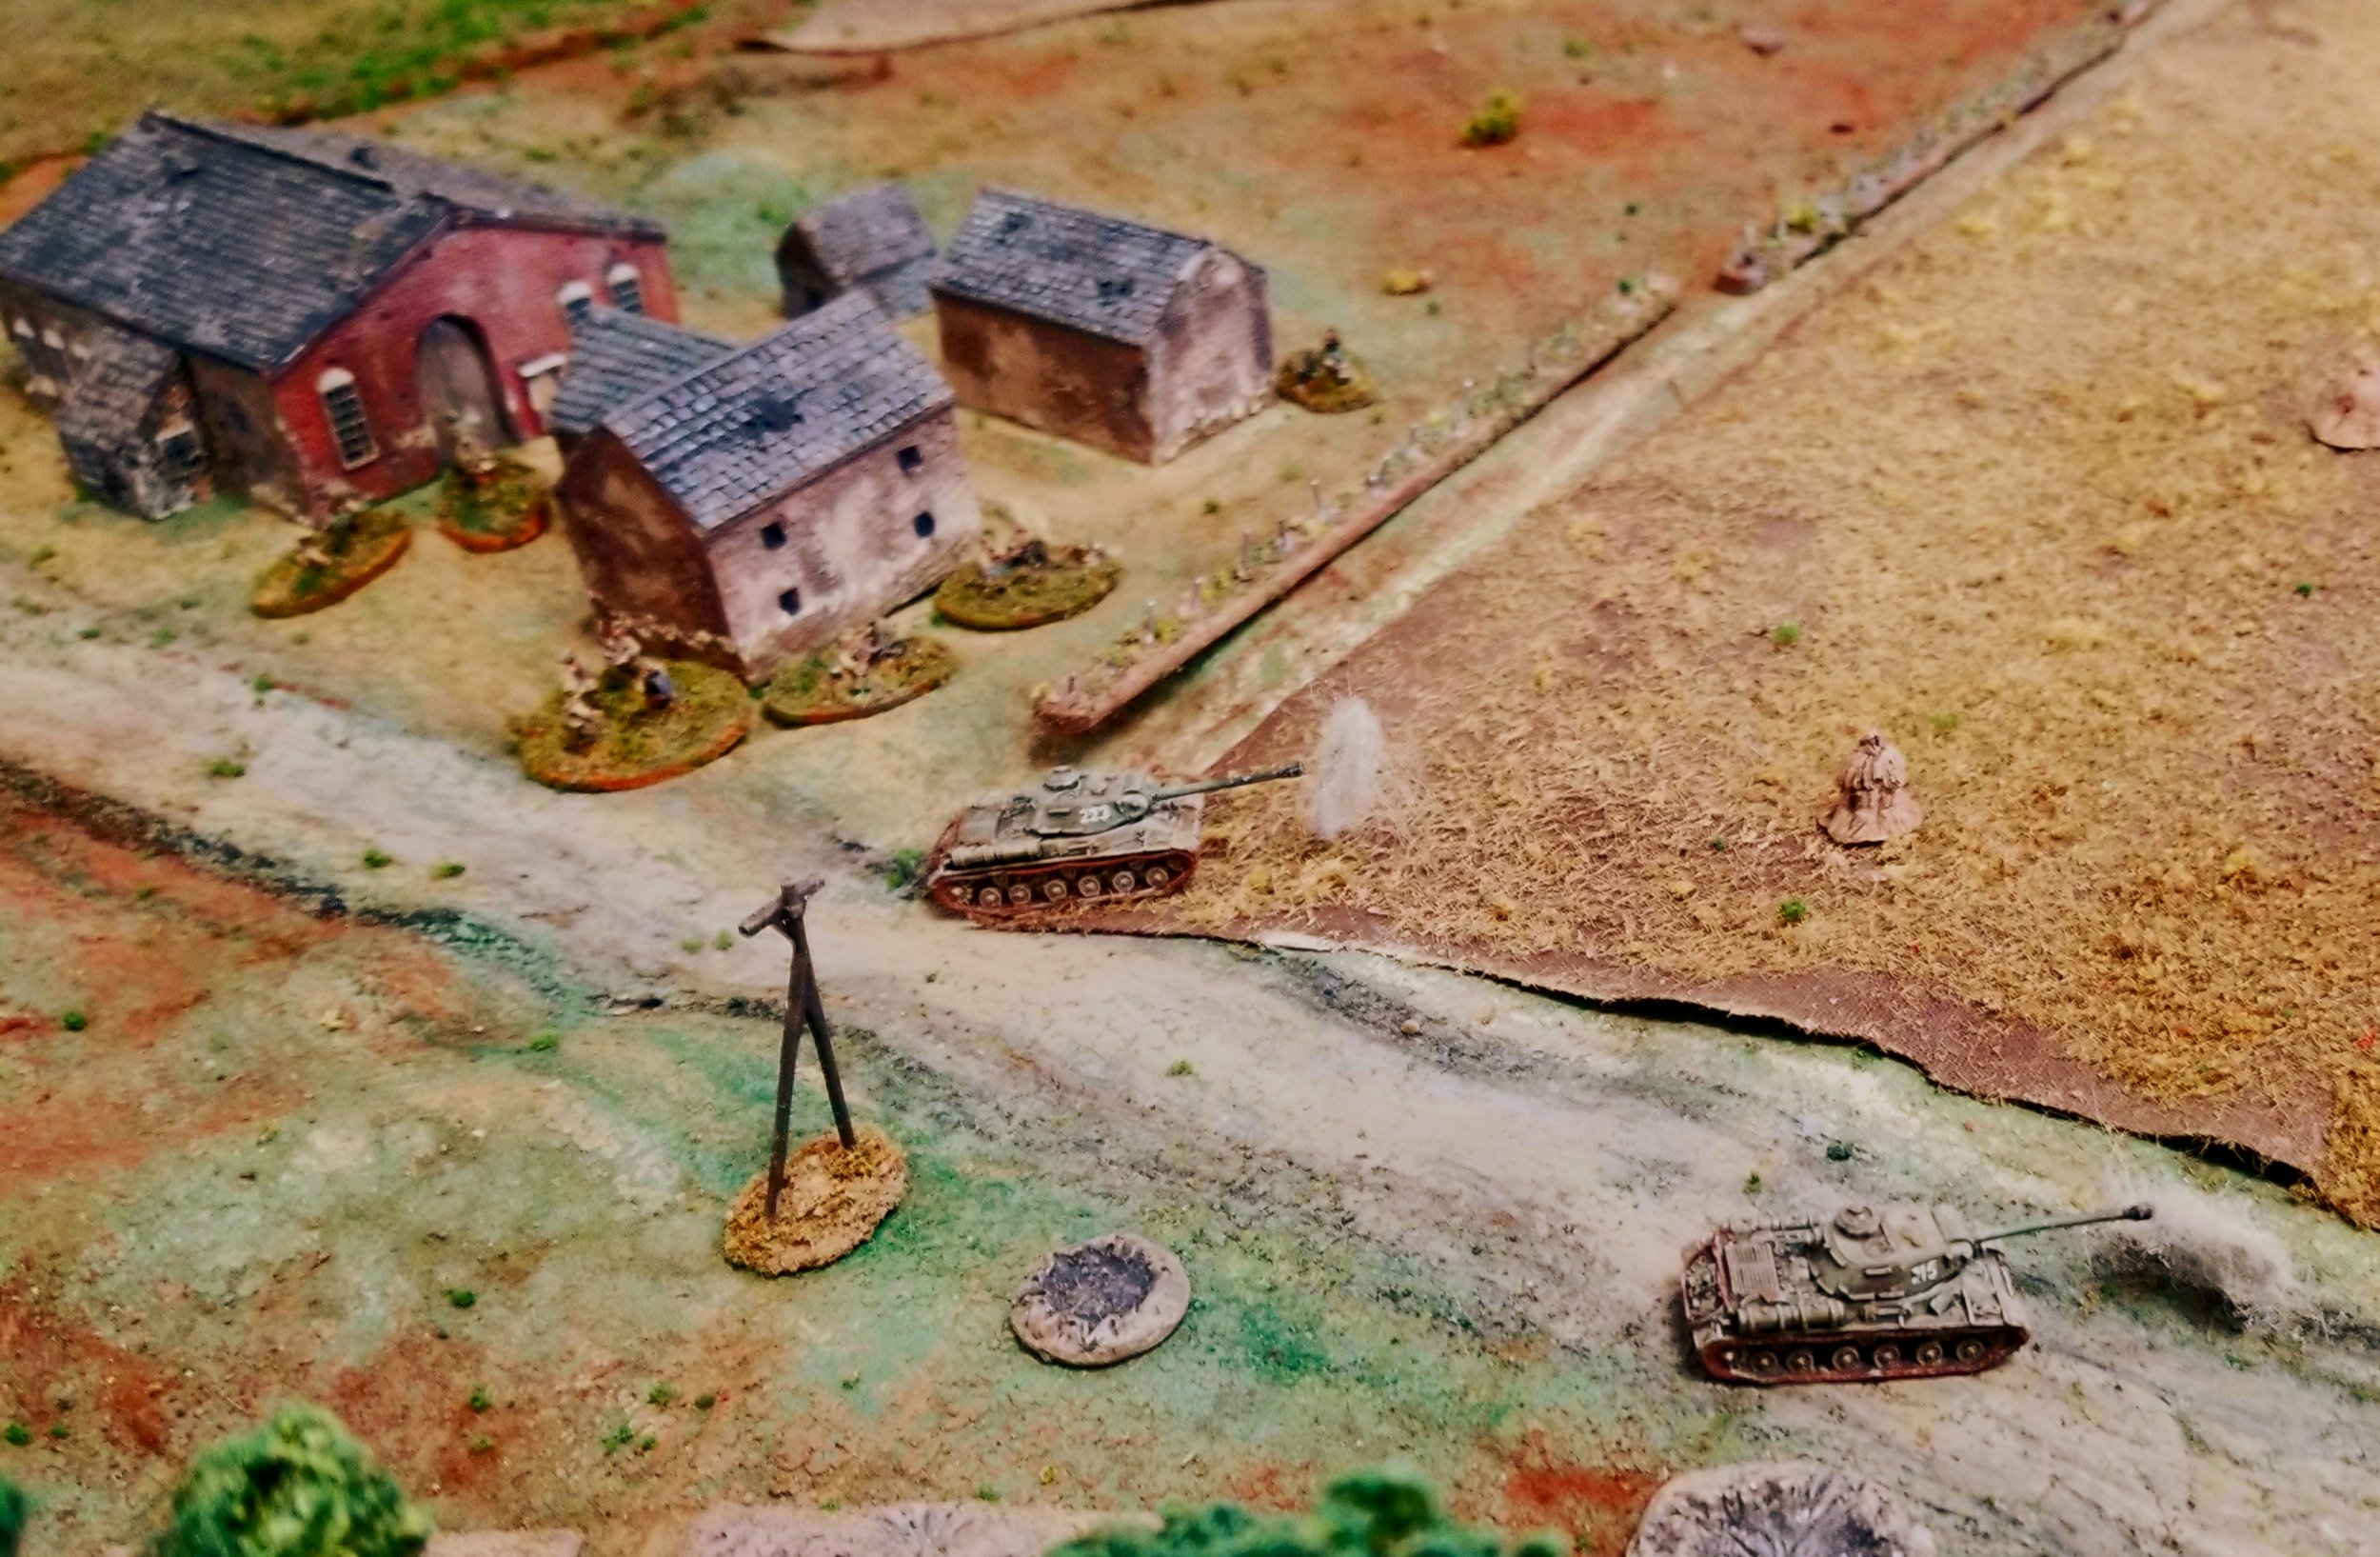
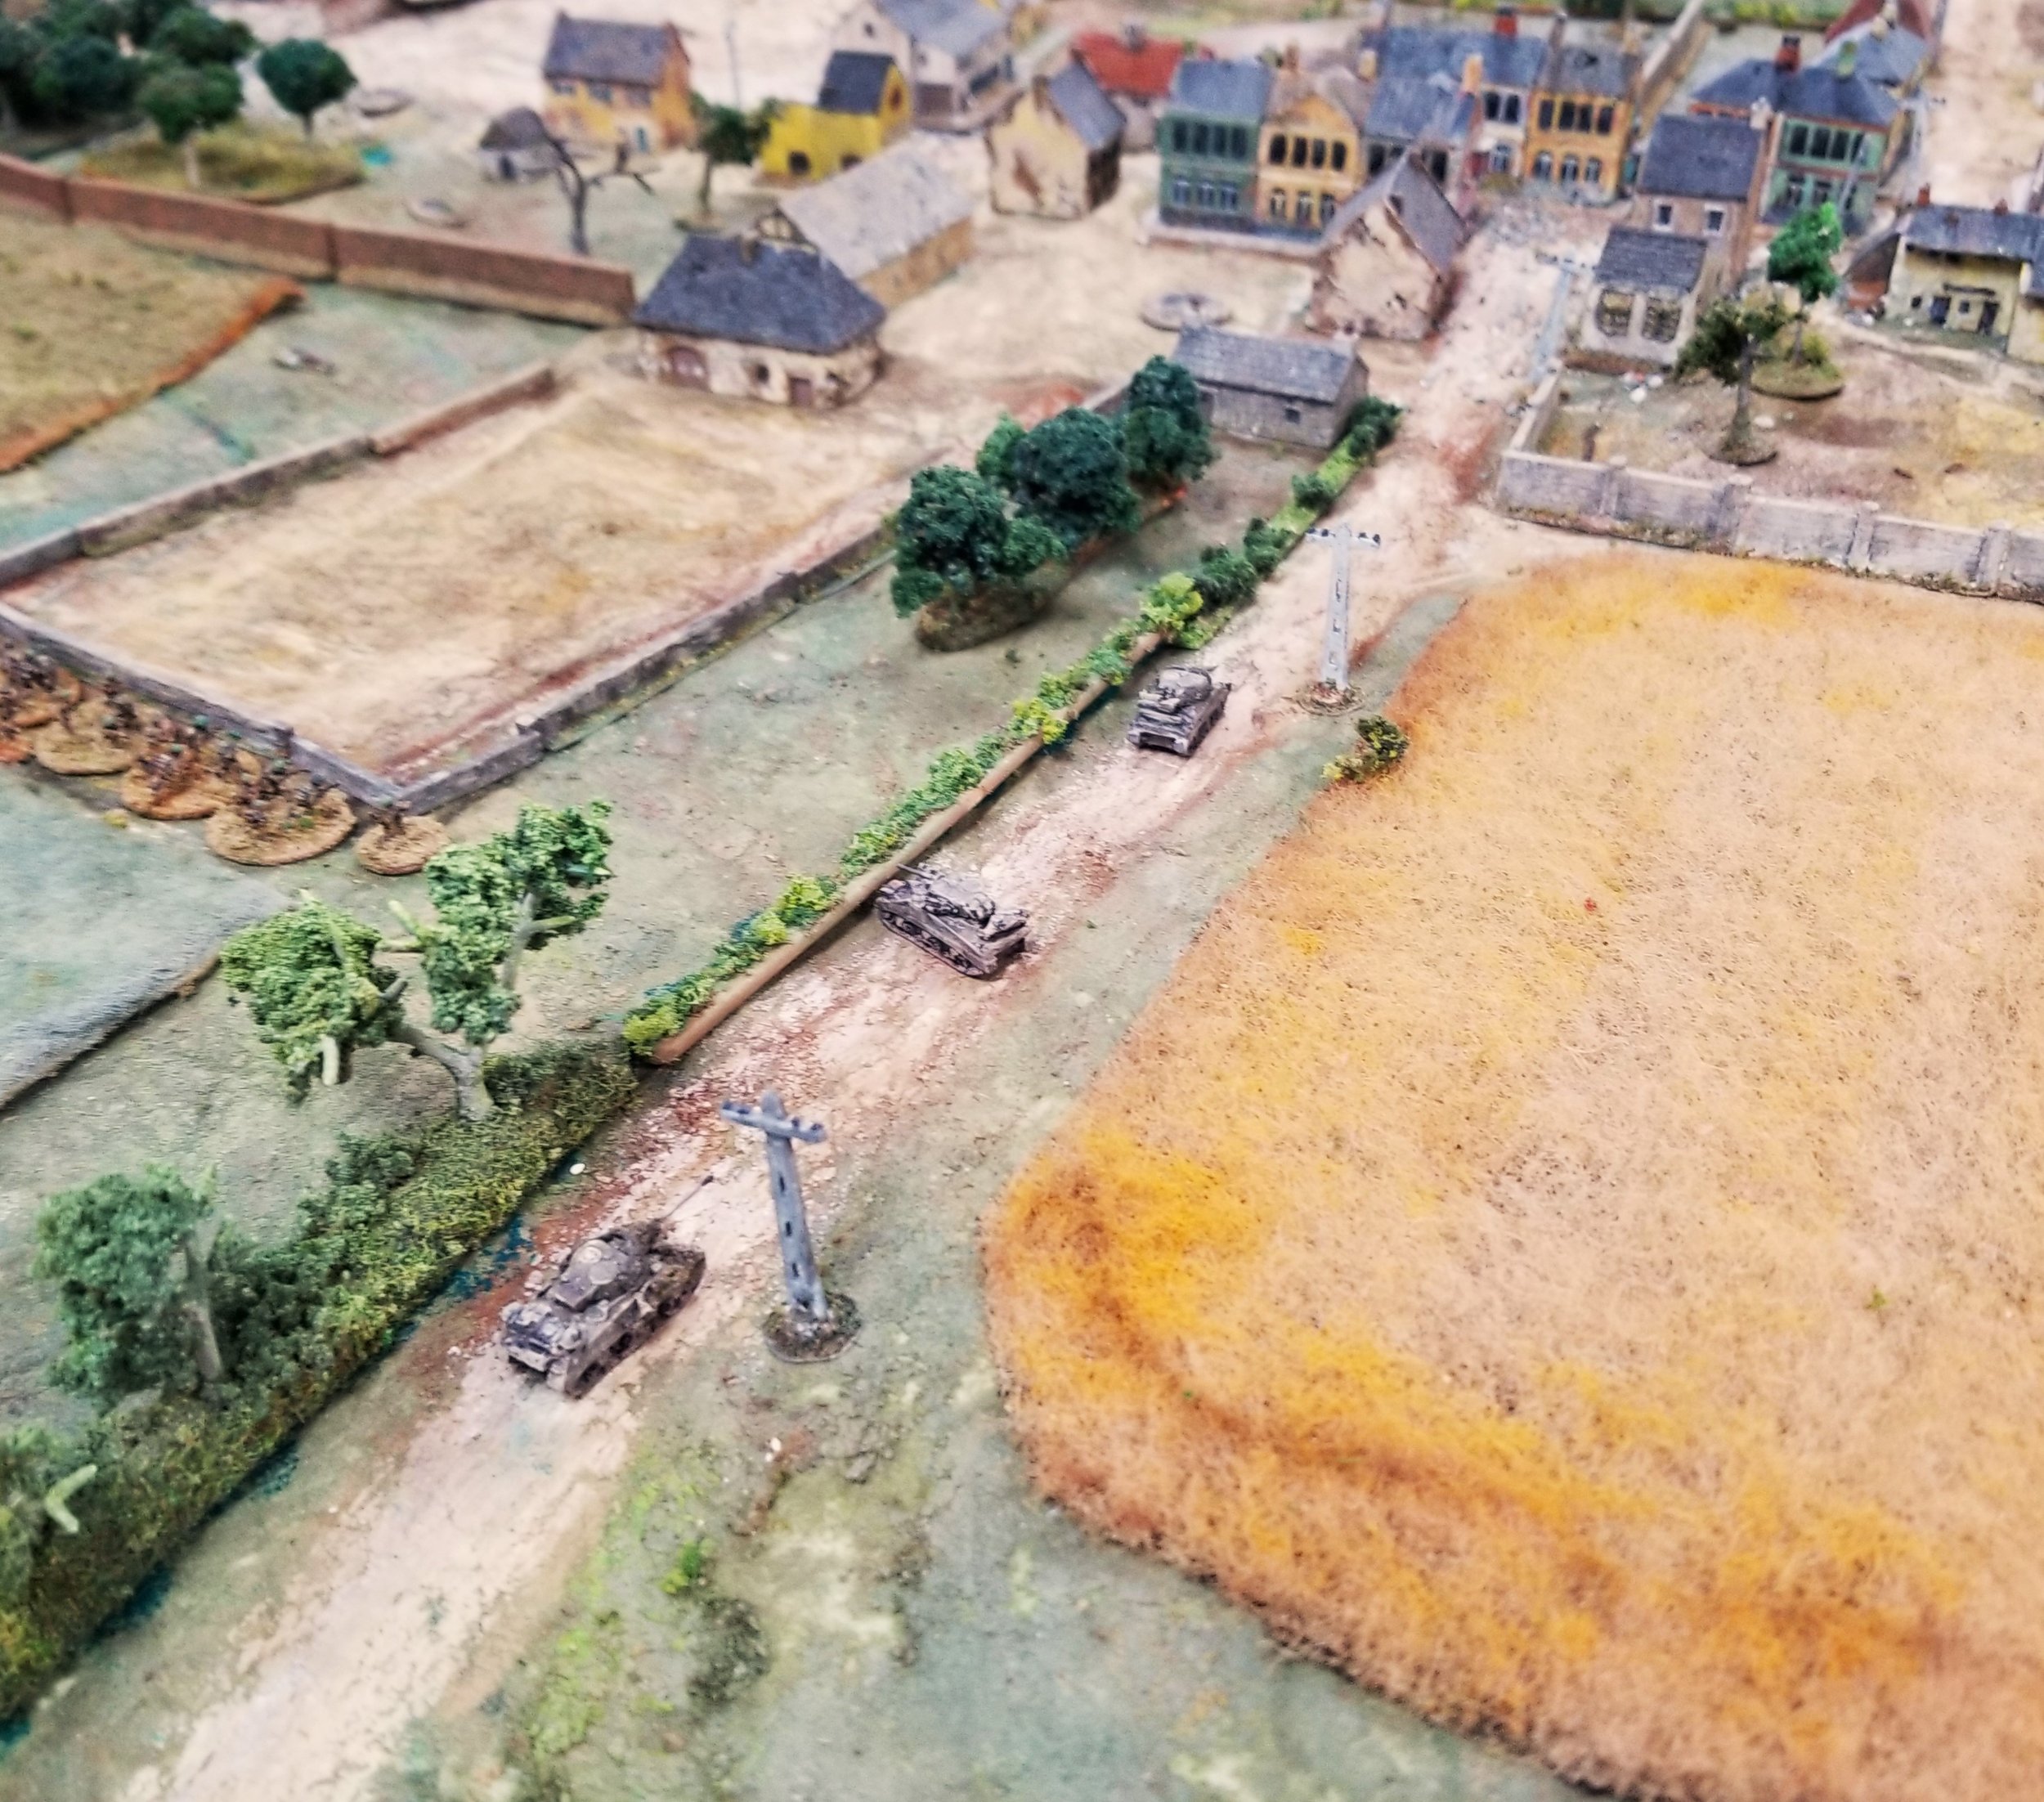
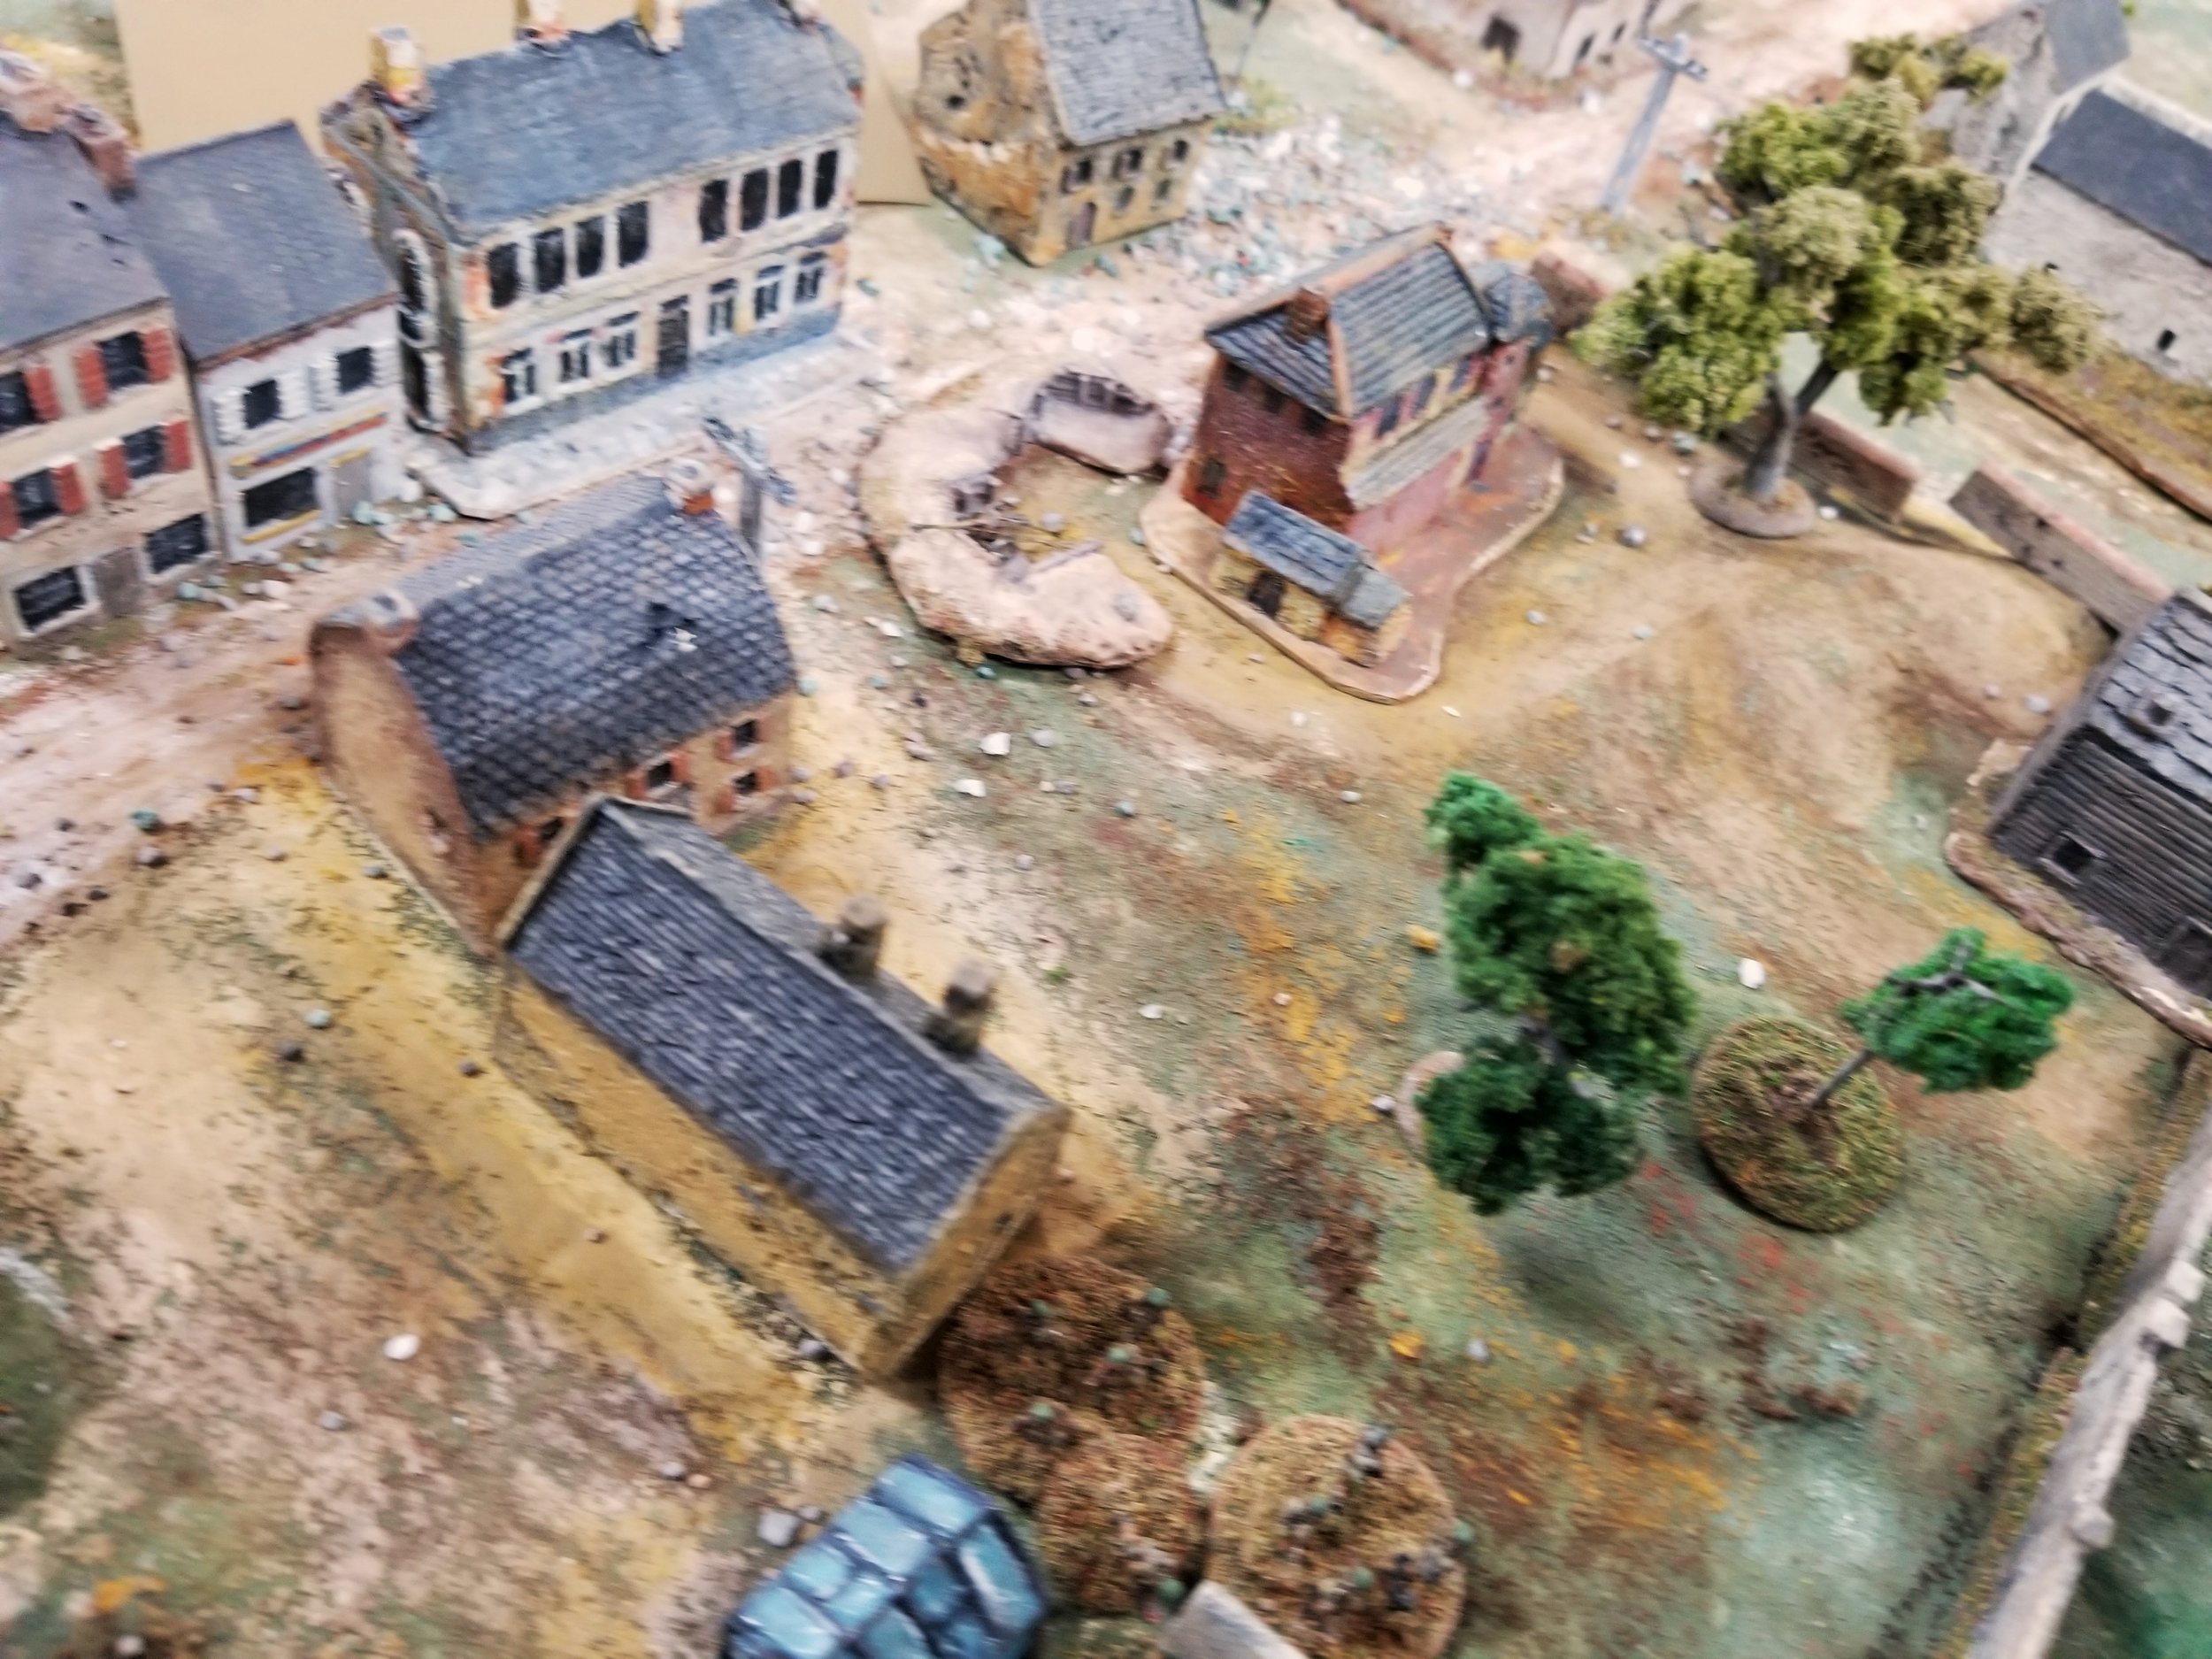
As we cleared the top of the hill and the rest of the fortifications, the tanks came to a halt. In the center a bazooka team had revealed itself, bouncing a shot off the lead machine's armor. We swung our turret to engage.

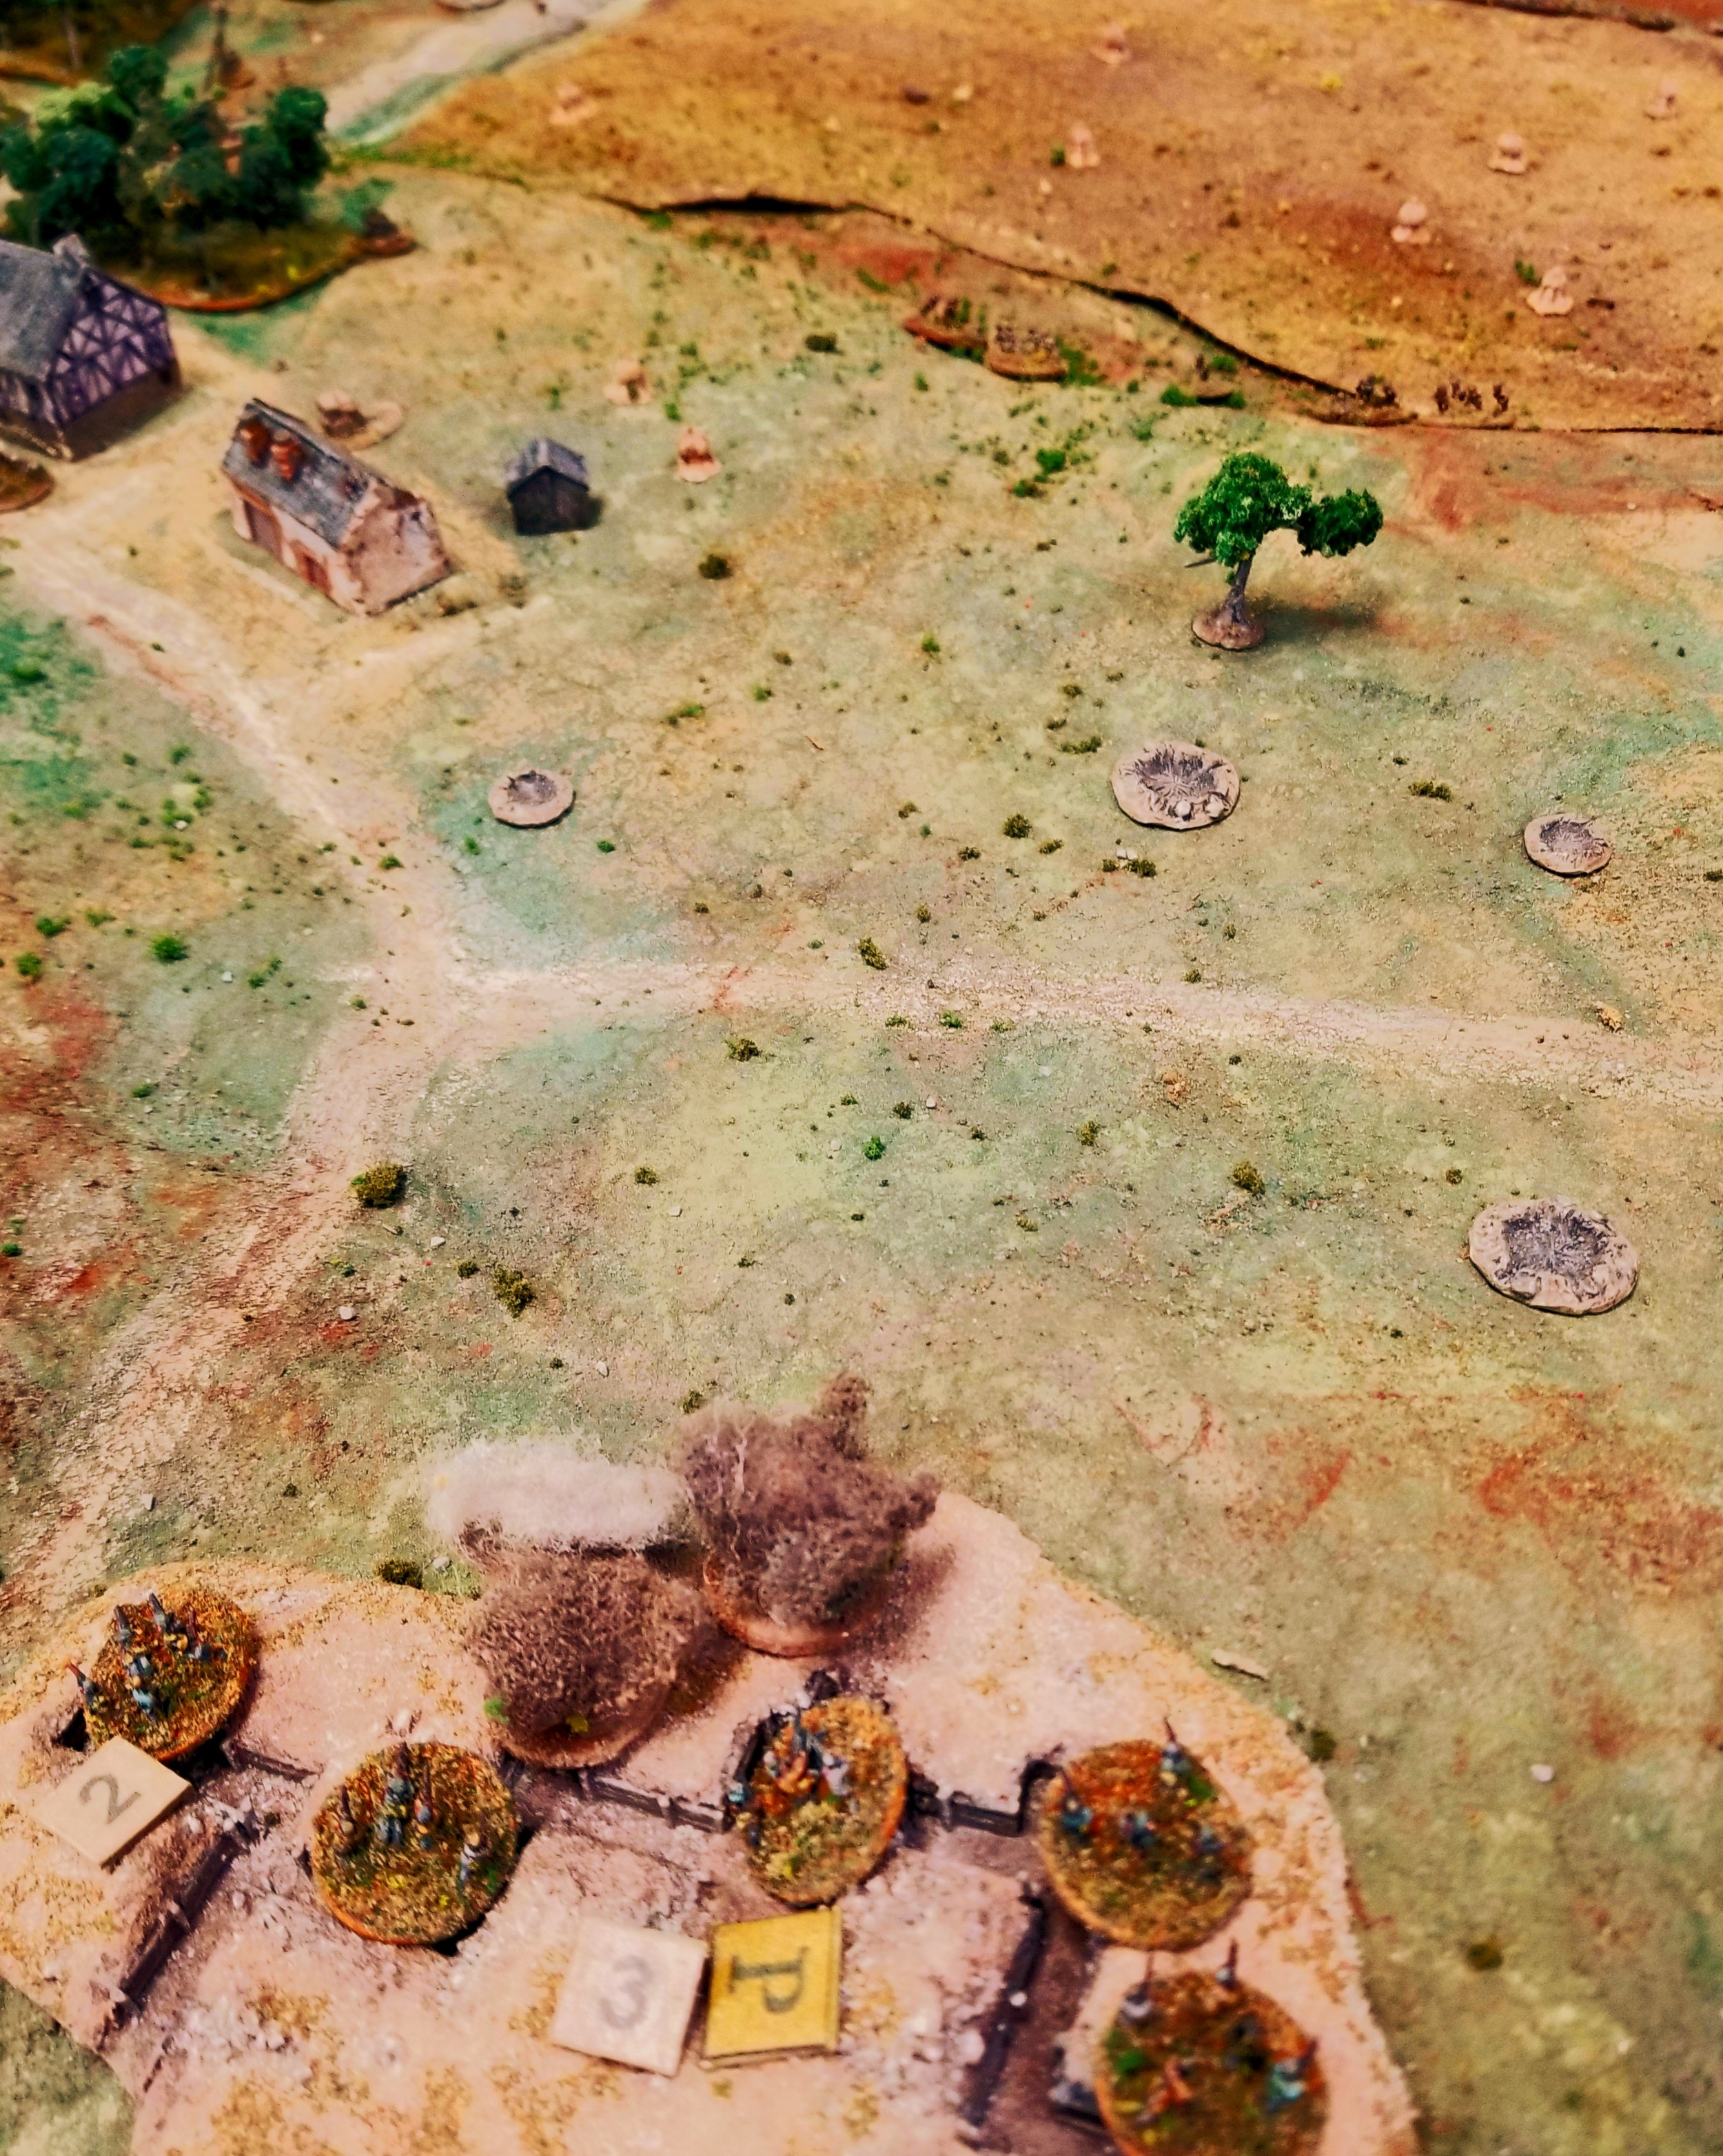
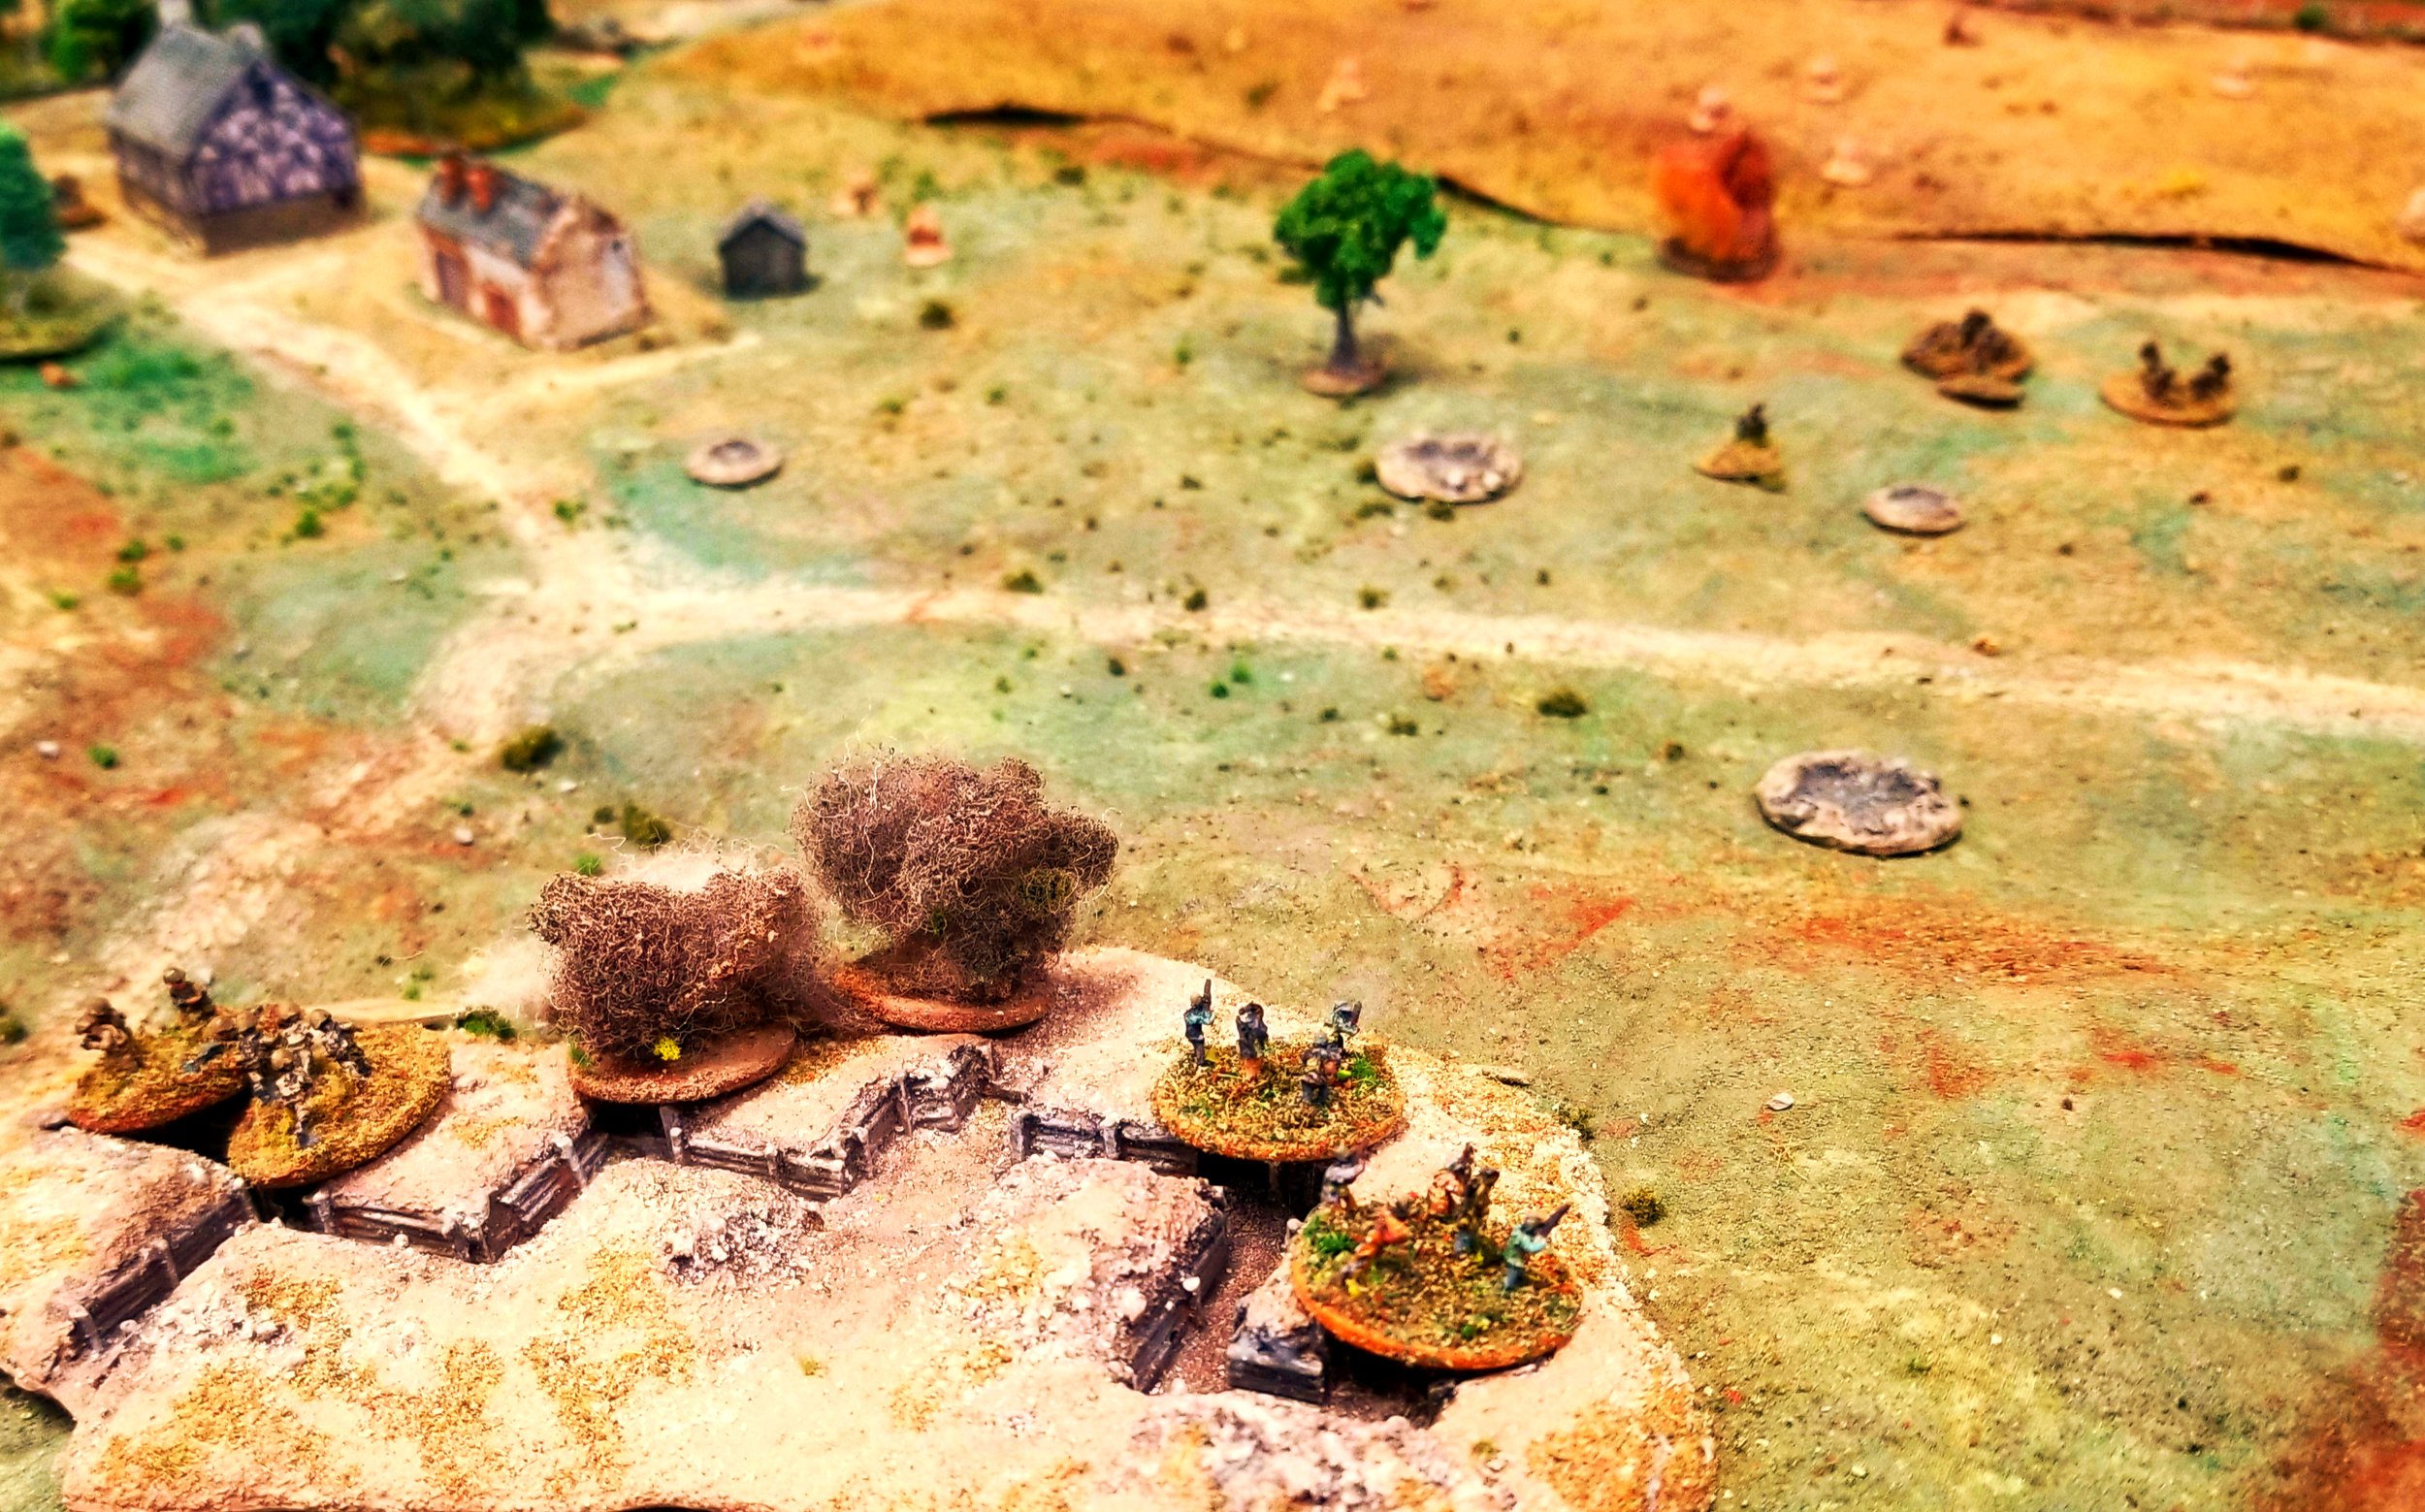
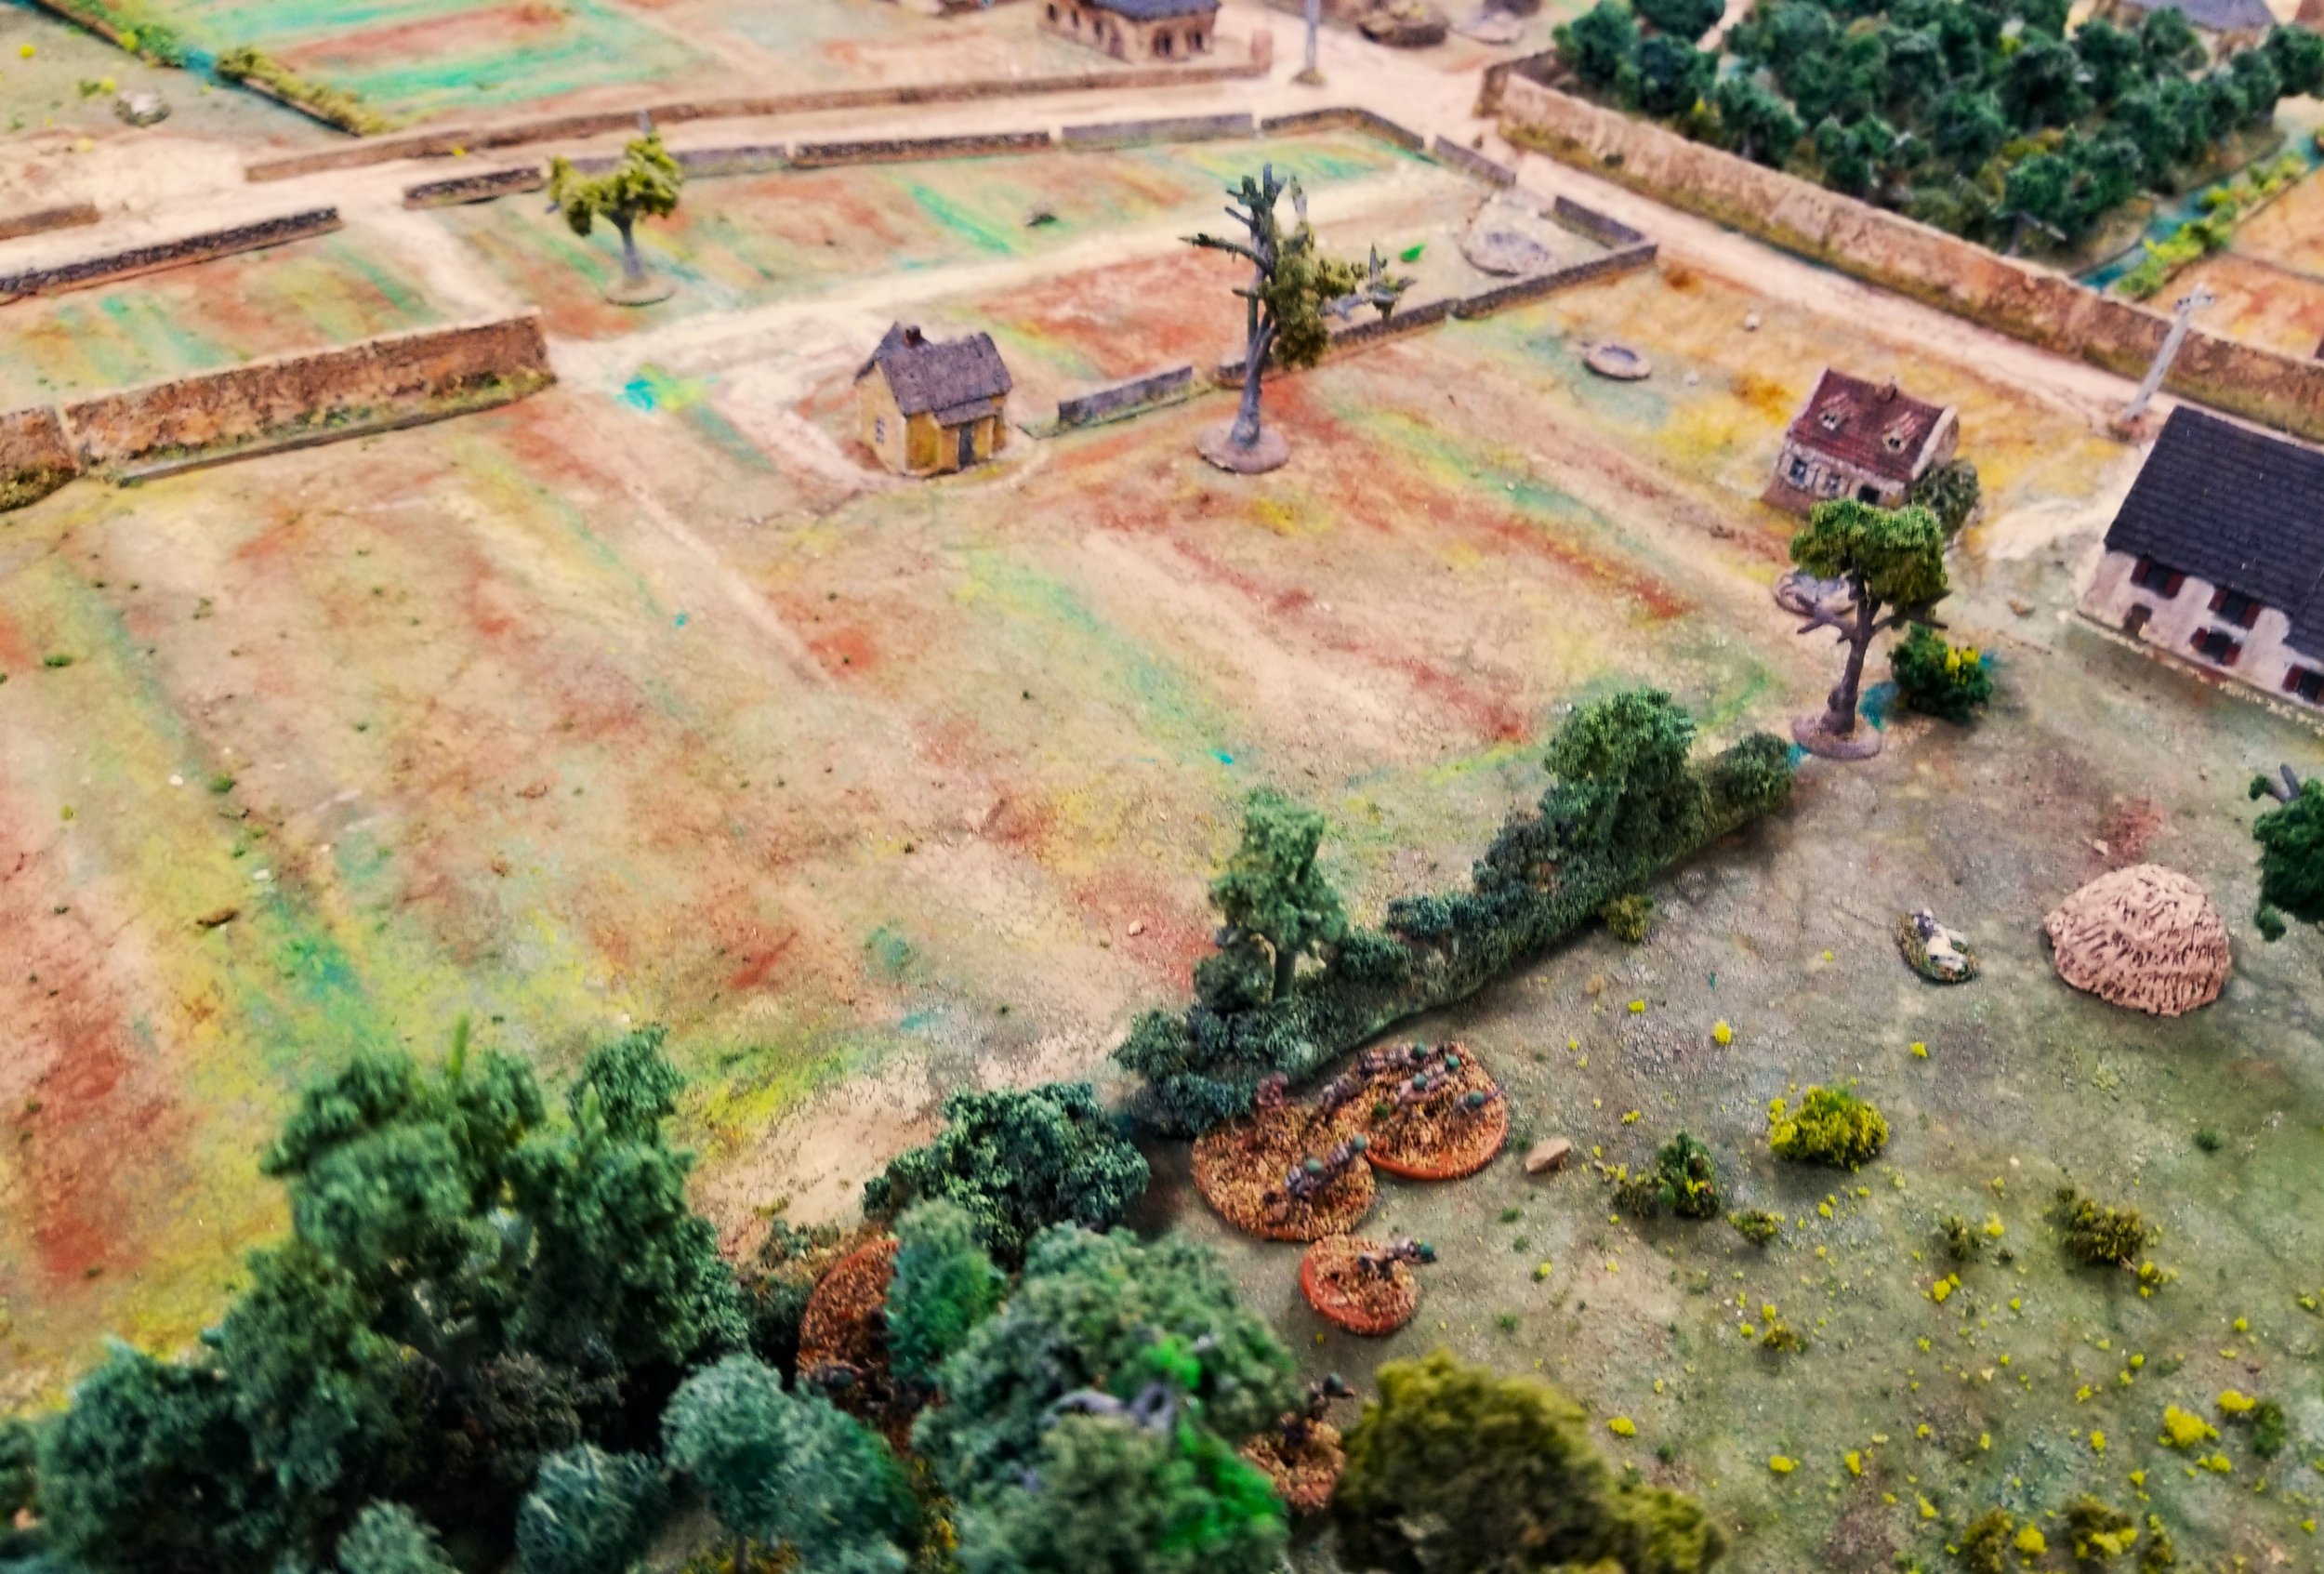
More paratroopers began to reveal themselves, having been hunkered down in foxholes or taking cover in the gulley. Along the road, my second set of tanks arrived. Just in time for the artillery to open up again. The bazooka fired again, scoring a direct hit, but, miraculously, I rolled a save of four 6s, saving the tank.

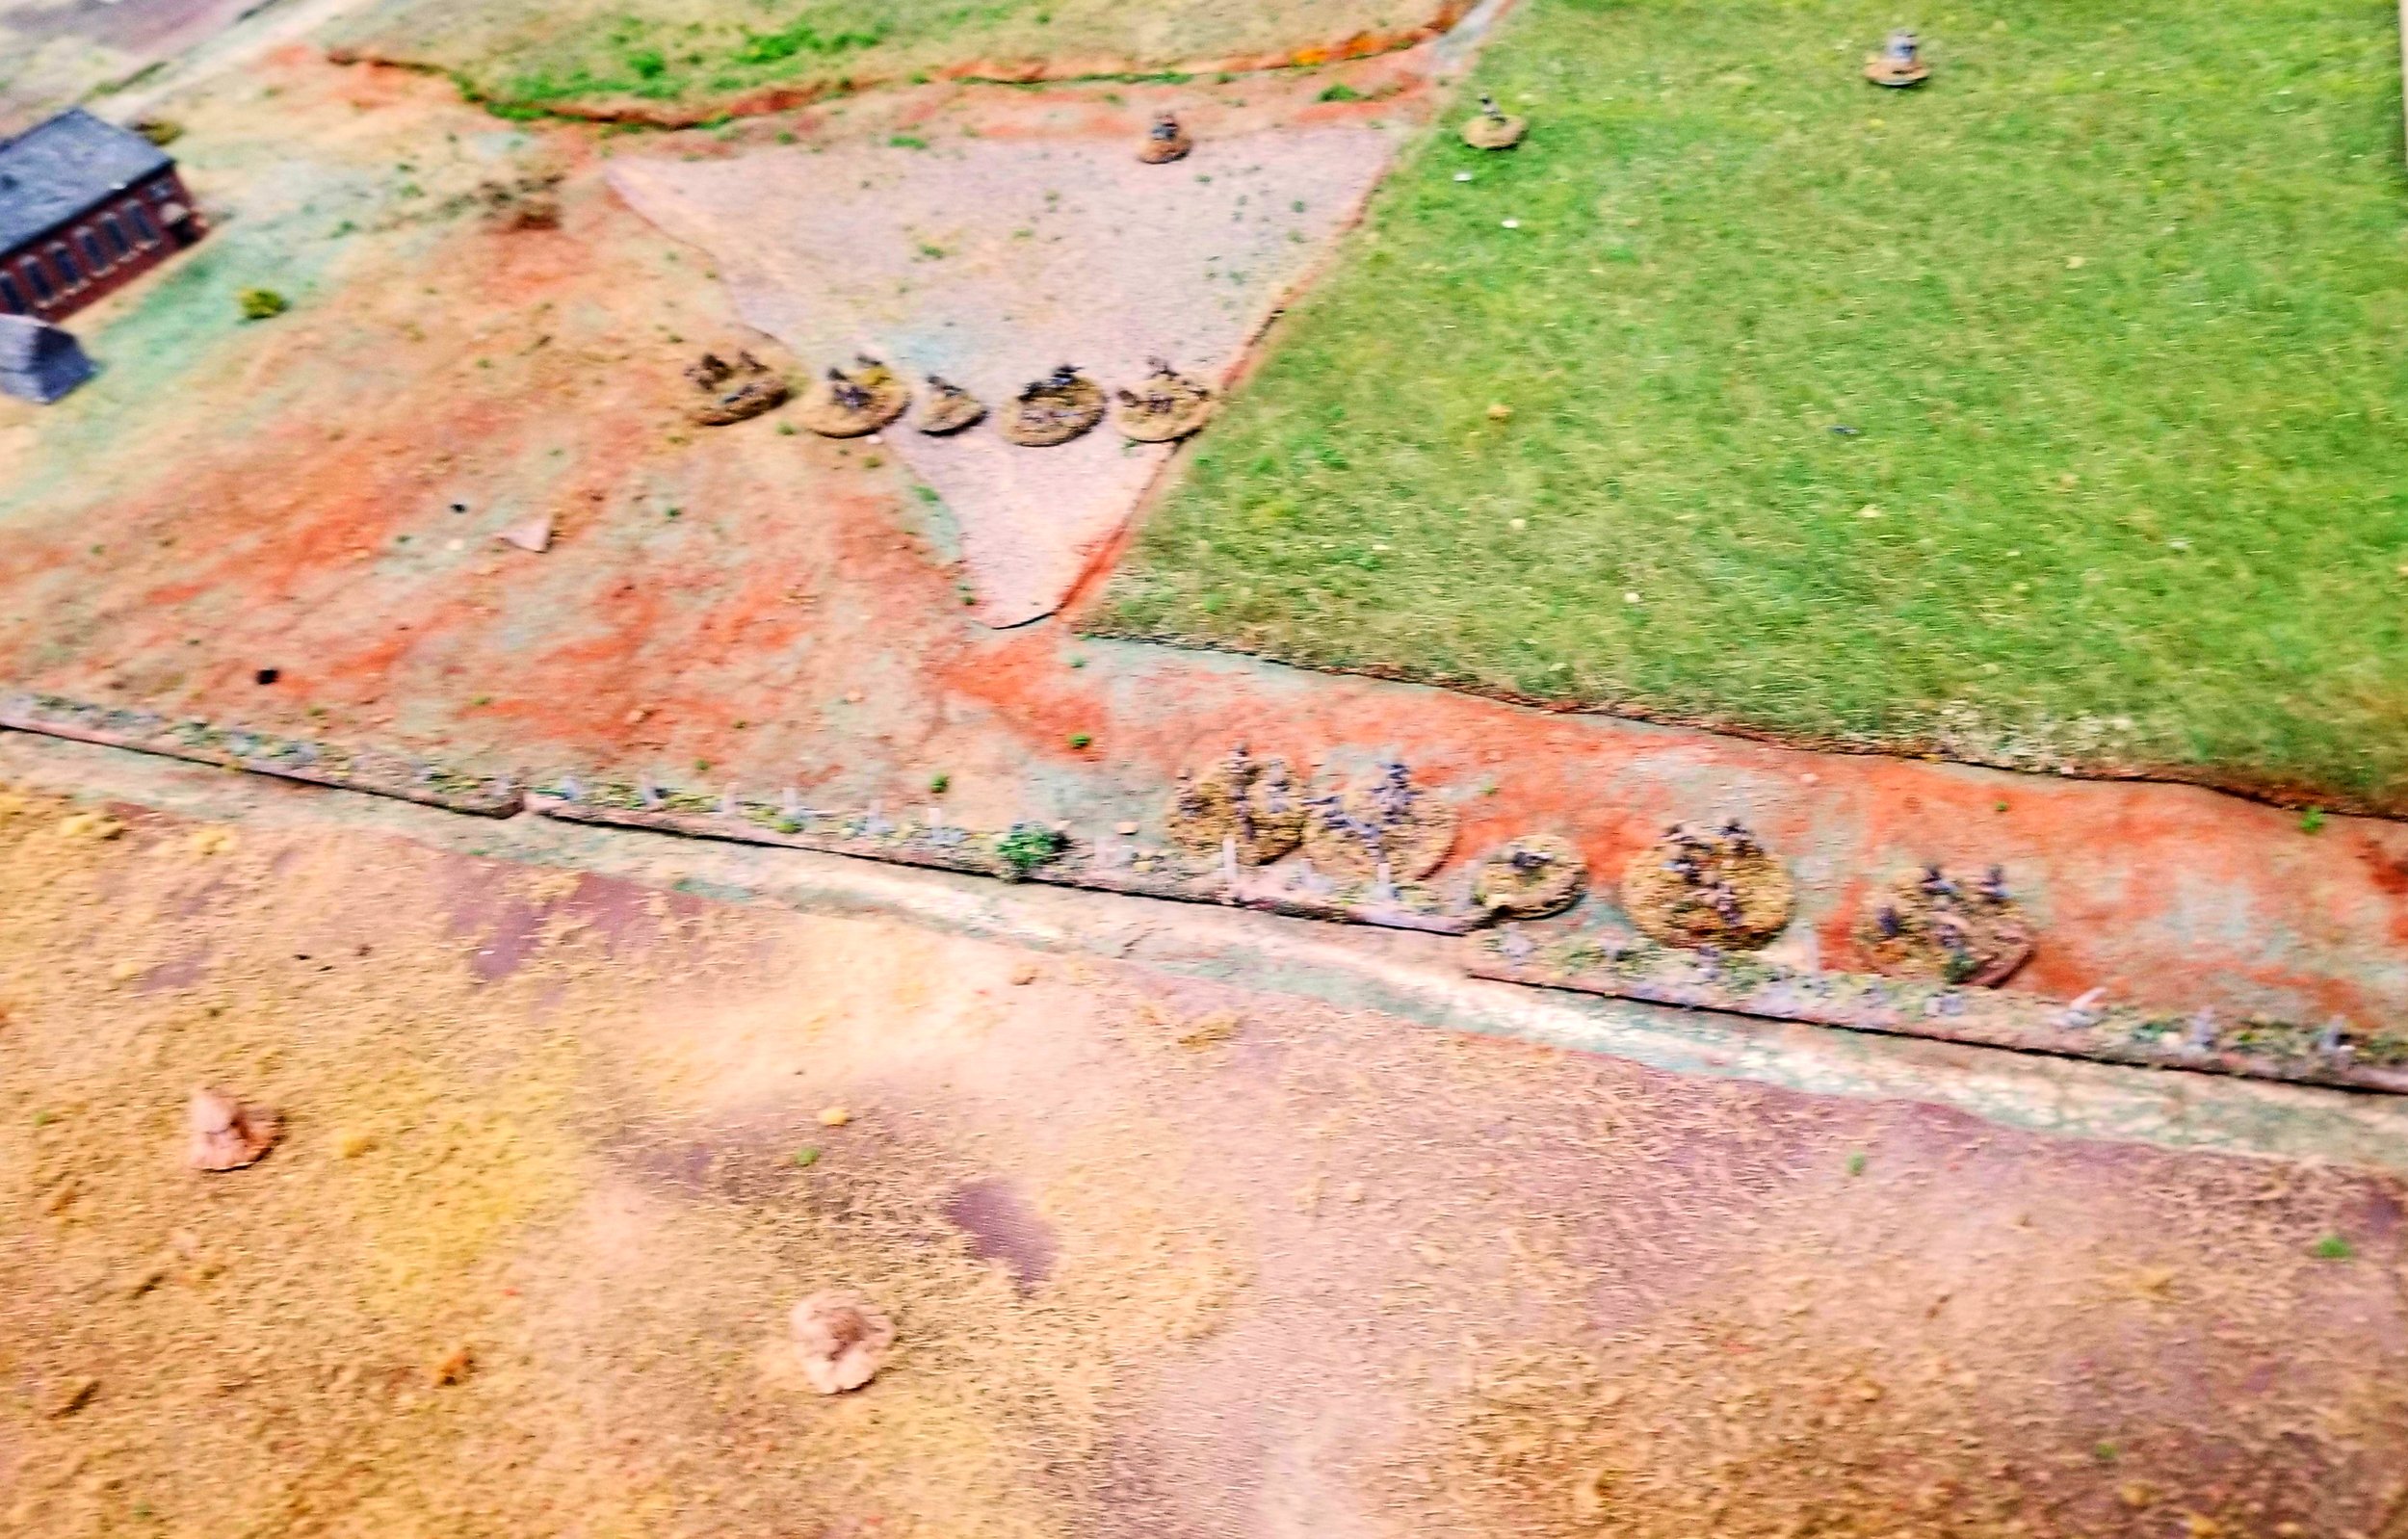
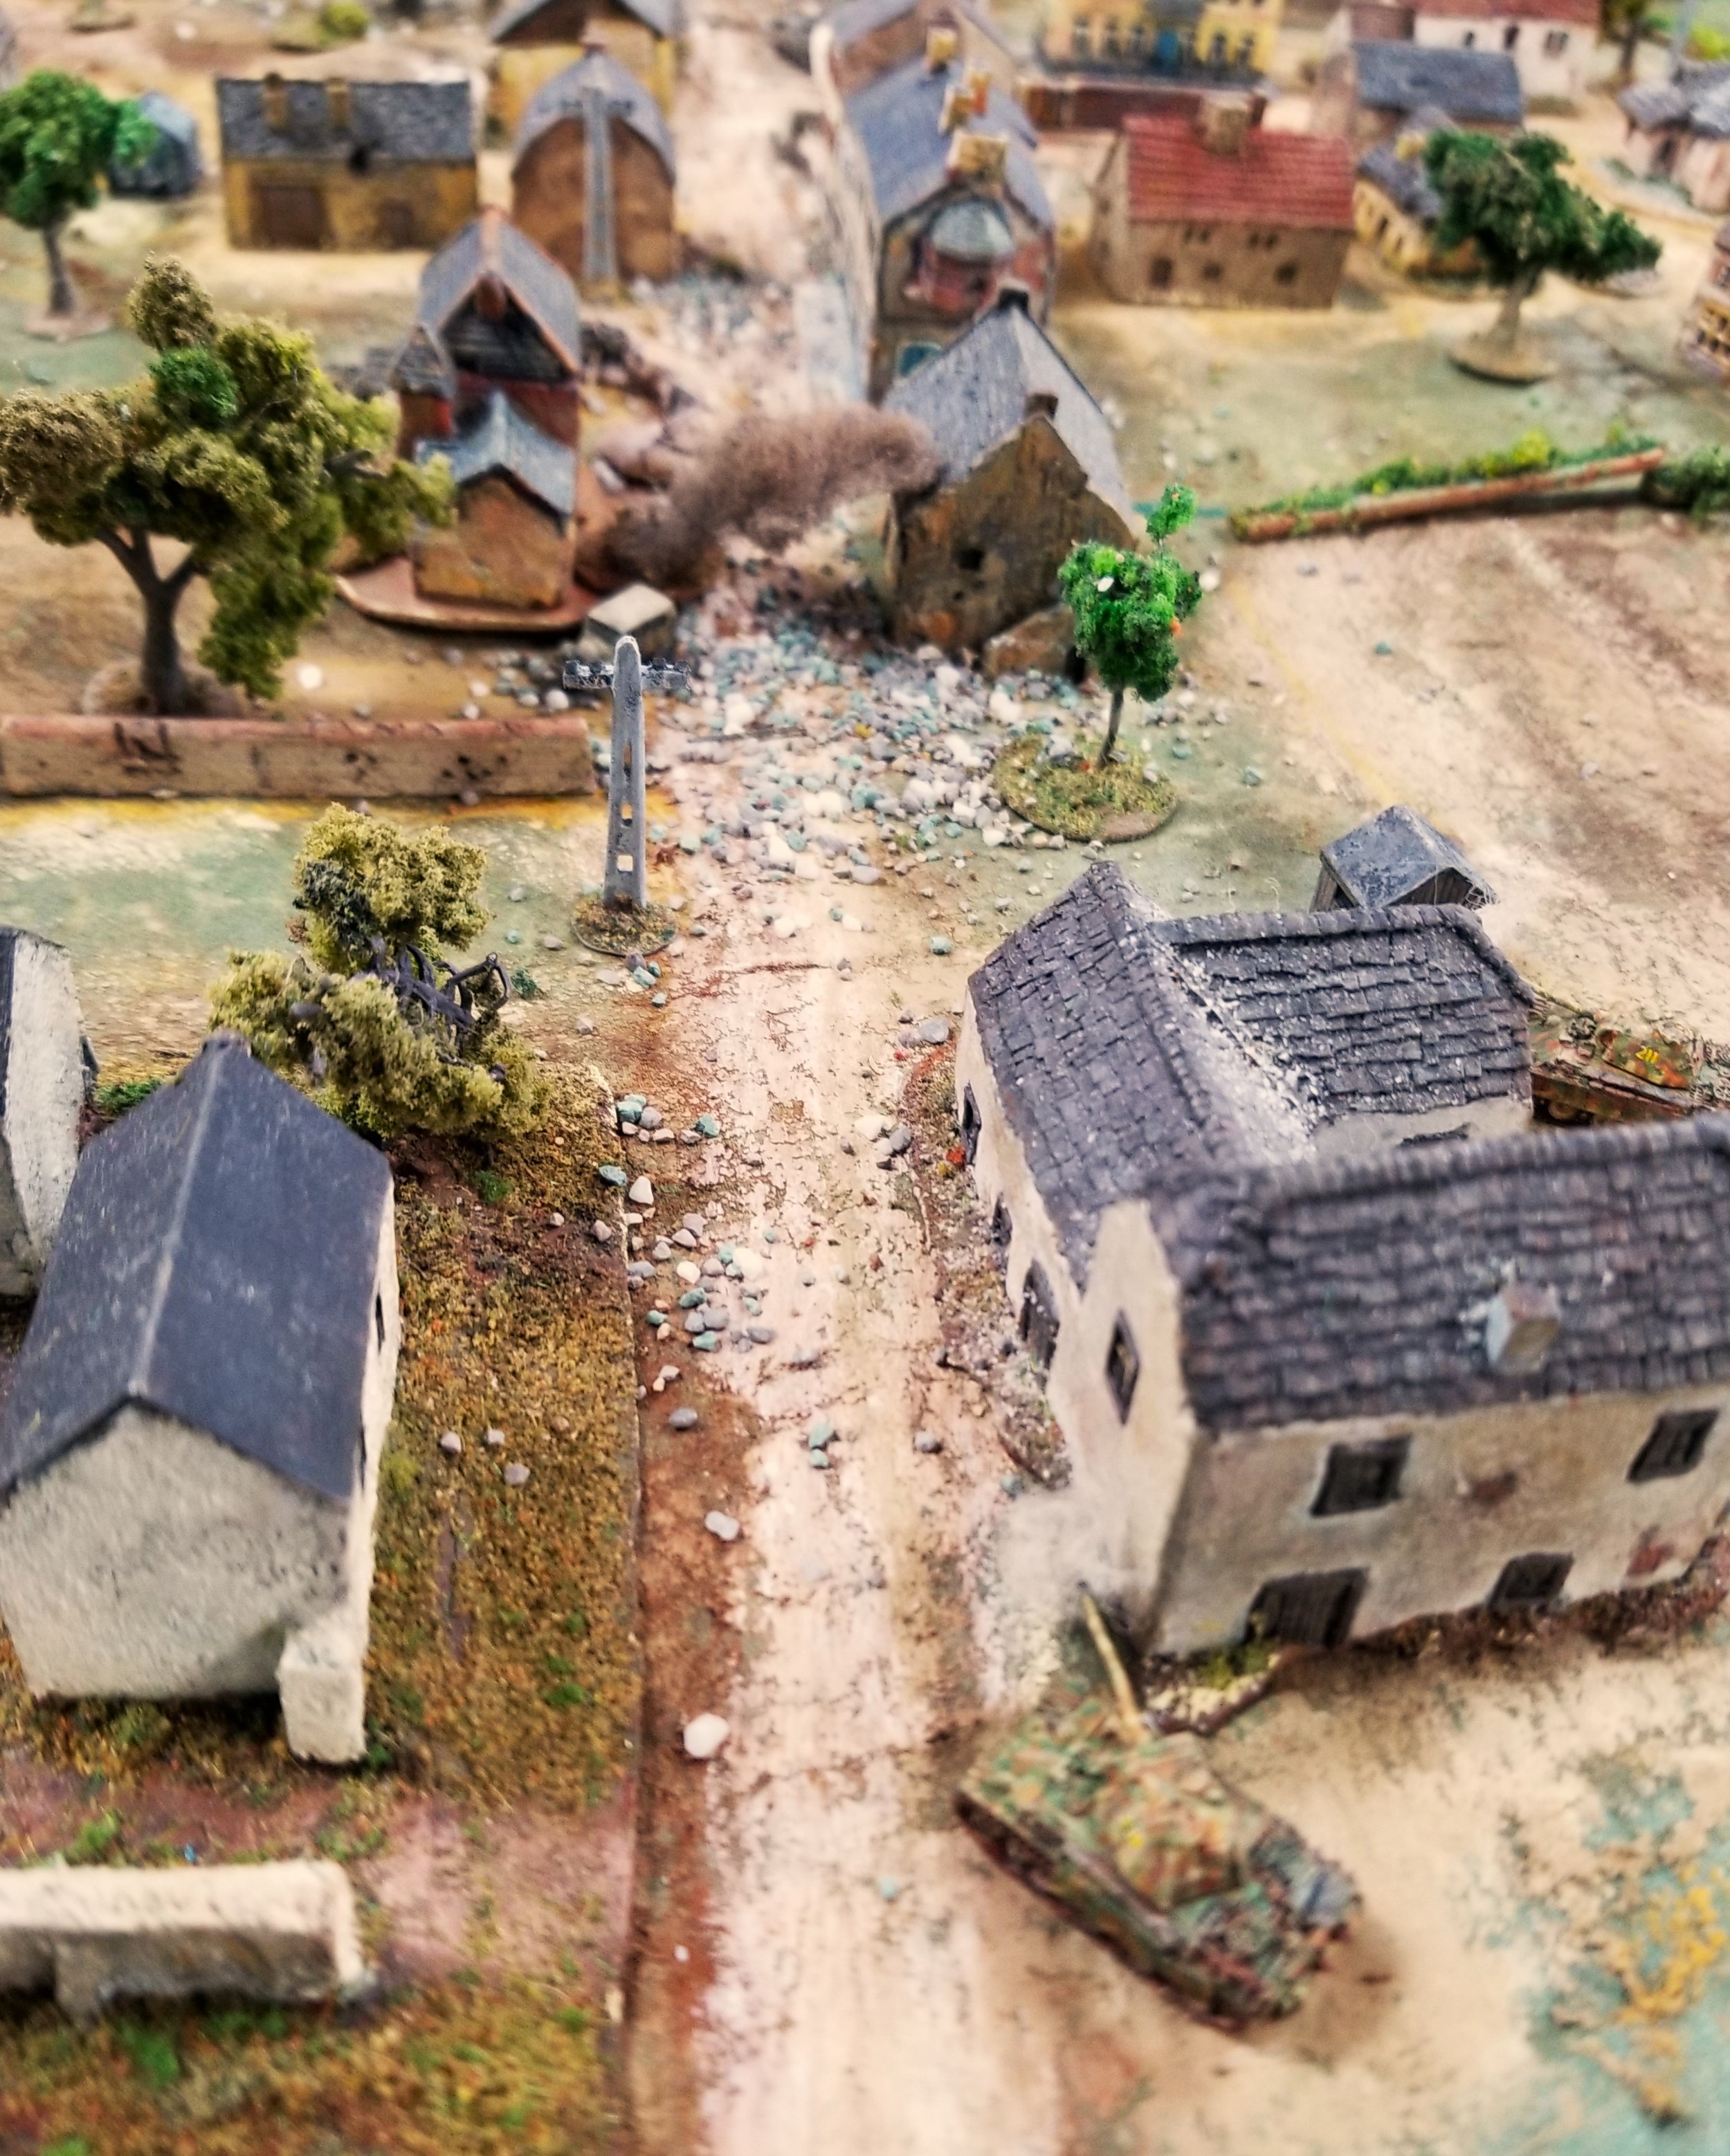
Though randomized by dice, the naval artillery had an uncanny ability to land right on my deployment zone. One of the fresh tanks was temporarily immobilized, while a truckload of fresh infantry was destroyed.

Around this time, we had hit the five hour mark and called the game. The paratroopers, whose actual win condition was to withdraw a number of their troops in good order, had begun to complete their task, with one squad only a couple of inches from the table edge. While my tanks were able to advance about halfway up the board, I wasn't able to flank the paratroopers like I had hoped.

The naval bombardment, while dangerous for both armies, really did a number on both the opening and ending moves of the Italians. In the end, we decided that neither side really won, but neither lost either.

A very enjoyable and closely fought game.

Elroy Davis


Off to Dave’s for a game of I Ain’t Been Shot, Mum versus a couple of novice players, Peter and Si.

It’s May 1940 and I would play the French defending against a strong German advance.

German Brief

The Germans enter ther table from the far end. The french must defend the two bridges.

It’s 14th May 1940 and the German surprise attack has stunned the French and British High Commands. The lead elements have crossed the Meuse and the British have started falling back whilst the French are attempting to regroup for a counterattack. It is vital to use this time to our benefit and every man must push on as fast as possible before the enemy can recover.

You are Major Reinhard Beckenbauer, commanding a battlegroup of 101st Panzer Division. Your mission is to take and hold the bridge ahead of you over the Ardennes canal, which will be vital if our support troops are to follow up the success of the panzerwaffe.

South of you our forces are already over the Meuse near Sedan, and an aenemy counterattack is expected at any time. Naturally Guderian does not intend to stand still and await such an attack but is pushing to expand the bridgehead and keep the French off balance. If you can ensure the Antoing bridge is safe, our forces can cross over it tomorrow and hit any French force threatening Guderian in the flank.

If the French wake up to the danger, you can expect to meet with opposition, but the latest recce photos this morning showed no sign of defence works.

HQ Zug

  • Major Beckenbaum (Big Man IV)

  • Leutnant Weber (Big Man III)

  • 1 x 8-man squad

  • 1 x LMG team

  • 2 x MMG team

  • 1 x FOO

Zug One

  • Hauptman Breitner (Big Man III)

  • 3 x 8-man squad

  • 1 x LMG team

  • 1 x Anti-Tank Rifle team

Zug Two

  • Leutnant Mueller (Big Man III)

  • 2 x 8-man squads

  • 1 x LMG team

  • 1 x Anti-Tank Rifle team

Zug 3

  • delayed arrival due to fuel shortage

Panzer Zug 4

  • Leutnant Mattheas (Biug Man II)

  • 1 x Panzer I

  • 3 x Panzer II

Panzer Zug 5

  • Feldwebel Heldt (Big Man II)

  • 4 x Panzer III

Panzer Zug 6

  • Feldwebel Haller (Big Man II)

  • 3 x Panzer IV

Panzer Zug 7

  • Feldwebel Seeler (Big Man I)

  • 2 x PaK35 Anti-Tank Guns

  • 2 x 75mm Infantry Guns

Off-Table Support

  • Air Support

  • 2 x 81mm Mortar teams

French Briefing

It’s 14th May 1940 and the German surprise attack has stunned the French and British High Commands. The lead elements have crossed the Meuse and the British have started falling back whilst the French are attempting to regroup for a counterattack. It is vital to gain time for this and every river/canal crossing is to be contested to the last man. Ils ne passeront pas!

You are Captaine Didier Deschamps of the 101st Regiment and you are ordered to take and hold the bridge over the Ardennes canal at Antoing, a small village in the middle of nowhere just west of Sedan. A major attack on the enemy is planned for tomorrow just to the south, and it is vital that any attempt by the Boche to ouitflank our force by crossing the canal is defeated.

If you can hold the bridge, the plan is to push a strong force of tanks across the canal and cut off those elements of the Panzer force who have already crossed the Meuse but who are unsupported as yet.

HQ Platoon

  • Capitaine Deschamps (Big Man III)

  • 1 x 10-man squad

  • 1 x 60mm Mortar team

  • 1 x Anti-Tank Rifle team

  • 1 x Radio Car

Platoon One

  • Lieutenant Platini (Big Man II)

  • 3 x 10-man squad

  • 1 x 60mm Mortar team

  • 1 x Anti-Tank Rifle team

Platoon Two

  • delayed arrival due to fuel shortage

Support Platoon

  • Sergeant Zidane (Big Man I)

  • 2 x MMG team

Anti-Tank Platoon

  • Sergeant Grisman (Big Man I)

  • 1 x 25mm Hotchkiss Anti-Tank Gun

Armour One

  • Sergeant Viera (Big Man II)

  • 2 x Hotchkiss H-39

Expected Re-Inforcements

Armour Two

  • Sergeant Petite (Big Man II)

  • 3 x Renault R-35

The Game

My plan as the defending French was simple: move my troops onto the ridge at my end of the table and shoot the Germans as soon as I could. I was likely to be outnumbered, but my potentially strong position should counter that.

Unfortunately, the game began with three rapid appearances of the German Blinds card, meaning that before my troops even arrived, the leading Bosche units were almost on top of me.

This wasn’t necessarily a problem, as I managed to get my troops into position in time, and then spot and open fire on his lead elements, three Panzer IIs and a Panzer I. These proved fairly easy to take out, and I even scored a few hits on his Infantry HQ zug as they bravely advanced across the open ground near the garage. They soon learnt to rush forward and then throw themselves prone rather than the gentle amble forwards that they had started with!

So the first wave of Germans were dealt with but more followed fast: a zug of Panzer IIIs accompanied by infantry. Then disaster struck: German Air Support arrived, with a Stuka dive bombing one of my Hotchkiss tanks, scoring a direct hit to blow the vehicle into its component parts. Good dice had also meant that the German infantry guns not only deployed, but got the range of my defensive ridge almost immediately, putting my infantry under fire. Things were not going well!

Then a bit of a tactical error from the Germans gave me a bit of hope. A zug of three Panzer IVs decloaked and rushed across the railway bridge to the right of my position. A problem, as they were now on my side of the river, but an opportunity as the narrow crossing had forced them to bunch up tightly, and bunch up in view of my anti-tank gun team.

The brave little anti-tank gun team opened fire and slammed a round straight into the middle tank, which promptly exploded! As the other two tanks in the zug were so close, literally bumper to bumper, they suffered a couple of points of Shock each and were therefore half way to being taken out.

This was too good an opportunity to miss, particularly as three derelict tanks would nicely block the exit to the railway bridge and effectively secure my left flank against any further armour coming in (as if there wasn’t enough already!).

I already had an anti-tank rifle team (presumably using weapons previously captured from the Germans) in the woods, who opened fire and hit one of the shocked German tanks in the flanks. A bit of luck with the dice mean, however, that the German tank remained unscathed. Next I charged in a squad of infantry, who swarmed the tanks with grenades. Again the Germans’ luck held and no damage was done. Finally my Heroic Commander card came up, so in went Lieutenant Platini with the regimental tin opened. More lucky dice from the Germans and, again, no damage was done. That was a total of ten penetration dice rolled against side or rear armour and not a single hit!

And that was really it!

The next turn the German tanks’ card came up before my infantry, so the two surviving Panzer IV’s accelerated away from my infantry to comparative safety. More German tanks were coming forward and there was no sign of my reinforcements. My briefing had said that the bridges had to be held to the last man, but realistically it was time to sauve qui peut!

A great game with some spectacular dice rolling from Si, playing the German tankers!

Robert Avery


Another excellent day of IABSM down at B-I-G yesterday, with Dee VonDoom, Steve Blease and Jenny Turner.

Arras, May 1940, the Welsh Guards and French allies, commanded by Dee, attempting to stop the German Blitzkreig. A noble effort which was very costly to the Germans, but where they eventually forced their way through the British lines and into the town.

Phil Turner


Finished packing for Herts of Lard and decided to put up terrain for a game of IABSM. 15mm game set in part of Southern Italy. Tried to create a valley with a typical village that needs capturing. The terrain needs work if it is to match the great games Tim Whitworth puts on. I shall start a list of what I need to take this to the next level.

IABSM kicks off & boy am I rusty with the rules. I will persevere. The Germans on the high ground are finding the Allies easy to spot, as it was in reality. Brits are trying to get smoke going but not going well! Defenders yet to reveal themselves.

Des Darkin


Thanks to Chris Clark and Steve Blease for joining me for two excellent games of IABSM this weekend. Here’s the second game following the Welsh Guards spearheading the breakout from Normandy and coming up against a Wehrmacht Kampfgruppe defending a small village and river crossing. Nearly, but not quite for the Guards!

Phil Turner


Thanks to Chris Clark and Steve Blease for joining me for two excellent games of IABSM this weekend. The first was “taking Germanche“ a scenario from the rulebook, where the South Staffordshire Regt and East Riding Yeomanry forced the SS and their King Tiger out of the village.

Phil Turner


The Germans are currently having their arses handed to them on the outskirts of Caen. The British are moving forward with a combination of fire and manoeuvre and smoke screens. Even the dreaded MG42s have been silenced.

Alex Sotheran


Second ever game of IABSM: solo historical scenario, C company 5th Wiltshires tackle Les Duane's farm in the opening stages of operation Jupiter.

Held by a dug in and fortified company of the 10th SS with Pak 40, and infantry gun support, it was tough nut to crack, with the Brits attempting to make the most of the very effective opening barrage by rushing the farm and first hedge line, forcing the SS out of the main farm building and away from the hedges but having to fall back themselves to regroup.

The small arms firepower of the SS taking a heavy toll on the British infantry as the firefight continued. But the British 3rd platoon flanked the farm on the left and massed firepower forced the defenders back.

The two supporting Churchill tank troops lumbered forward and finished off the last of the defenders in the first hedgerow - after one tank shrugged off 3 hits from a Pak 40!

The firefight went to and fro with the infantry on both sides struggling to retain control of the farm buildings, but the sheer weight of fire of the Churchill's gradually wore down the SS defenders and they were eventually forced to retreat, with 2/3rds losses, but not before a parting mortar barrage on the farm.

Victory for the British but it took longer and was a much bloodier fight than it's historical counterpart.

Matt Clark


Testing out a 1944 Scenario using TFL’s I Ain’t Been Shot Mum rule set.

The Sherwood Rangers Yeomanry in action at Gheel, Belgium in September 1944. This action was a diversion/ precursor attack to Market Garden. Unusually for me, I played the defending Germans comprising a reduced strength company supported by a platoon of Jadgpanthers.

The Rangers squadron was supported by a full strength company of the Durham Light Infantry.

The table size was 8 feet by 6 feet and the figures were 1/72 scale.

Tim Whitworth


Over the Christmas period, I got a chance to play in a Christmas-themed game of I Ain’t Been Shot Mum set in late December 1944. It was a Battle of the Bulge scenario, with me playing a US force defending a major supply dump against an attack from a German armoured column. I could expect some support from nearby Brits, but couldn’t be sure when they would arrive.

View from the German end of the table

The Germans would arrive in two waves: firstly a reconnaissance force, secondly the main body.

The recon force consisted of a couple of half-tracks and an armoured car. One half-track hit the mines that I had laid where the road passed through the wood in the centre of the table, and the other two vehicles were soon disposed of by the two 76mm anti-tank guns that I had positioned dug-in in front of the supply dump and in the woods to the left.

With the recon phase of the game out of the way, it was time to move onto the main event. The German tactics were simple: big cats (three Panthers) up the right hand side of the table to fire hull down from behind the hill; a platoon of tank-hunters (two StuGs and a Marder III) up the middle to fire hull down from behind the hill there; and two platoons of infantry up the left side of the table to close assault the supply dump.

In defence, my tactics were also relatively simple: defend from the rear of the table except for one platoon of Shermans that would lurk behind the hill on my right hand side of the table - the idea being that I would effectively flank any Germans hull-down behind the other two hills whilst blocking anything coming up my right.

And, as you will see from the gallery above, this is exactly what happened.

The German infantry platoon marching unconcernedly towards the hill were raked by machine gun fire from two Sherman 75s, whilst two Sherman 76s knocked out the three tank hunters. The only fly in the ointment was that I just couldn’t kill any of his Panthers. Firstly, they were quite difficult to hit, being hull down, and secondly, when I did hit, their armour was thick enough to bounce my shells. Very frustrating!

My main concern was that the Germans would stop trying to suppress my fire and just launch an all out assault. There were still a couple of German Blinds to be revealed and, until the British arrived, all I now had left were a couple of Hellcat tank-killers, two small platoons of infantry, and seven Shermans. Sounds like a lot, but remember that my tanks/tank-killers were dying from a single hit from a Panther, whereas I had already hit the three Panthers over ten times with absolutely no effect!

With the eventual loss of the anti-tank guns, I was forced to deploy the tank-killers, both of whom soon succumbed to enemy fire. I was now weak on my left, but still the Germans showed no signs of coming forward, and time was ticking on…ticking on so fast, in fact, that it was now almost time to end the game.

Dave, the Umpire, declared that the Brits had now arrived, and a shed-load of British armour deployed just where I needed it, on the left. At the same time, the Germans deployed five Panzer IVs from behind a Blind and finally got moving forward towards the Shermans protecting my right flank.

It was, however, too late by then. The Panthers had a good time shooting holes in the British tanks (the Brits had the same problem I had, especially as their Fireflys were at the back of their column) but my Shermans could take out Panzer IVs, and did so. The clock finally clicked round to game end time (assume either the weather cleared and my jabos could take to the skies or that the Germans ran out of fuel etc) with my US forces still safely ensconced in position around the supply dump.

A great game of IABSM and a victory for my troops. I just wish I’d been able to take out a Panther, but they were all still fully-functional with only their paint scratched at the end of the game!

Robert Avery


The first scenario in the Blenneville or Bust! scenario pack is a clash of reconnaissance forces.

The Americans are trying to scout whether the bridge at the far end of the table (by the chair in the picture below) is strong enough to take the weight of a medium tank. They enter the table on any of the roads at the near end. The Germans are trying to stop them doing so, and start the game under Hidden Blinds anywhere on the table.

The first action took place on the left hand side of the table, where a US reconnaissance column headed up the road as fast as it could. It soon ran into a platoon of German infantry hunkered down behind the bocage near the first field.

The Germans opened fire with a couple of Panzerschrecks, blowing two of the US column’s Staghounds to bits. Without enough infantry to suppress the German platoon, the rest of the American column had no chance of fighting their way through, so they settled down to use their 60mm mortars to keep the Germans occupied and called for help.

Another US column appeared on the other side of the table, but immediately came under fire from a German machine gun and SdKfz 250 half-track hiding in the central farm. The farm was also obviously holding more men, so the US recon platoon scattered off the road onto the hillside, attempting to take cover behind the various copses there. Two 60mm mortar teams were lost to machine gun fire before they could do so.

With both routes onto the table effectively blocked, the Americans called for their reinforcements. First to arrive were a couple of M8 HMCs, who immediately put the enemy troops blocking the left flank under fire, pinning them down even if hardly any casualties were inflicted.

Next up were four M5 Stuart light tanks. These looked really useful, but then I realised that their 37mm pop-guns weren’t going to have much effect against dug-in infantry, and with the emphasis on “light”, it was going to be risky to get close enough to the Germans to winkle them out with machine gun fire. Oh, and those two Panzerschrecks were still in the area and, although currently pinned by mortar fire, would love to take out a Stuart or two!

With the left hand column still pinned by the German platoon in front of them, the tanks busy keeping the enemy in the central farm occupied, it was down to the right hand reconnaissance column, what was left of it, to keep on-mission and heading for the bridge.

This they did, but unfortunately the Germans had more troops with which to stop them: a zug of four SdKfz 231 armoured cars with their 20mm cannon itching to get into action. These moved into a position to block the advance of the Staghounds on the right.

Fortunately their aim was not very good, and although bits were knocked off the closest Staghound, the rest were still available for action and opened fire in return, accompanied by one or two of the Stuarts who were, by now, trying to work their way around the farm albeit hampered by the rough ground in the fields.

All four of the German armoured cars were damaged in some way: with one blown up, one bailed, one with a gun knocked out, and the last with its capacity for movement severely curtailed. This was good news, but unfortunately the Germans then revealed another infantry platoon lurking behind the bocage near the bridge right on the flank of the path that the surviving Staghounds would have to take to get past.

Meanwhile on the left, with the Germans nicely disrupted by the Mortar Carriers, the Americans there laid down smoke and hurtled a Staghound along the road and past the blockage. This was useful, as that Staghound could go hell bent for leather and get to the bridge: provided, of course, that the Germans didn’t have anything else in the way further down the road.

Their efforts, however, proved unnecessary, as hurtling down the road, still under a Blind, came the seven jeeps of the American Intelligence & Reconnaissance platoon attached to 425th Infantry Regiment (“the Coyotes”). Just the sheer number of jeeps arriving proved too many for the Germans to stop, and as the US victory conditions involved only getting one unit onto the bridge (presumably to jump up and down a bit to see how strong it was), the Germans decided that further resistance was pointless and melted away.

The Americans had succeeded in their mission!

Robert Avery


Pictures from a game of IABSM in 6mm based on an unspecified scenario from Chris Stoesen's In the Name of Roma! scenario pack, covering the actions of the Italian 80th Roma Regiment in the Soviet Union between August and December 1941. No captions unfortunately: just the photos.

Mark Luther


You're probably wondering what the all-fired hurry was with those terrain tiles.

Let me explain. No. It's too complicated. Let me sum up...

Today was a club all-day game, and Carl and I thought we'd try and get a good long game of IABSM in, since from experience the rulebook scenarios don't usually fit in an evening. This is partly because we don't play often enough, but also because most of the scenarios are very much two phases of operation, and it's a shame to miss out on this.

We went with scenario two from the rule book - basically the Americans have to capture the road off the southwest corner of the map (past the house on the hill, top centre). The roads, BTW, are the club's Battlefront roads, which I don't like, and will be replacing with someone else's flexible roads.

For me, fighting as the Germans, things started well - Carl's first American blind waltzed down the road, got spotted by the MG42 and Big Man in the house, and got one squad ripped to shreds, and then close-assaulted to heck and back. Needless to say, he was a bit more circumspect with the rest!

After a few runs through the activation deck, I had the river bridge (which with hindsight was a dumb and stupid place to deploy a section), Carl had a platoon in the walled courtyard by the house at the junction and most of the rest of his forces in the woods, and I was trying desperately to find cover along the road back towards the hill.

In short? Not a long term tenable position. With hindsight, I should have deployed at most one platoon and an MG42 where I could give his advance blinds a bloody nose, and set the remained up in and around the hill.

As it was, I wound up hightailing it back to the hill with the surviving forces, which was a trifle hairy. The platoon on the bridge got caught trying to cross the river, and the rest fetched up (under some woefully inaccurate mortar support from the FOO in the big house) in the scrub on the hill.

For a couple of runs through the deck, I got the upper hand - I'd have done better if one of my MG sections wasn't clinging on to life by a thread, but the other did get a blistering enfilade shot or two on one of the American sections, helped by the mortars finally landing a stonk in roughly the right place.

Unfortunately, weight of numbers and firepower told, and the Americans basically blasted away at the remains of the Germans and that was, as they say, all she wrote.

Great game, with an excellent opponent: my thanks to Carl. Hopefully we can get another game in a bit sooner.

Mike Whitacker


Played scenario three 'Action At Galmanche' from IABSM3 today at Stephen's in order to give the rules a try after our positive view of Chain Of Command (COC). Of course different scale with these being based around an infantry company rather than a single platoon as in COC.

We stumbled greatly over the card deck at start being unsure as to which cards are in from beginning. After playing a few turns then restarting, we realised that it's simply the Tea Break Card and two opposing Blinds cards. Once we saw how Blinds interact with the Spotting rules and Tea Break Card it all came clear. We then found the various Movement, Shooting, AFV and Shock rules easy to pick up (as essentially same/similar to COC) and the game fairly cracked along.

The rules have several ambiguous concepts (which the writers sort of expect player to 'common sense' a solution. For example not very clear when/if the Forward Observer card appears in deck or if he has to Deploy from a Blind to take actions. Also whilst it states tanks can fire Smoke the rules do not seem to cover it specifically (only indirect barrage style smoke is outlined) and we remain unsure if a single tank can fire smoke or how large its effect area is ?

Infantry units are fairly brittle as they can take combos of kills and shock often in large amounts. One thing we really liked was the multiple actions units can perform each activation (degrades through casualties and shock) and how they can activate on their own card or relevant Big Man card, this made the single German PAK40 very effective in the game despite facing four Shermans. The 'Ronson' rule make Sherman crews brittle with high chance they will abandon their tank.

As in most WW2 games the attacker has a tough old time against concealed and dug-in troops especially when lacking Artillery support (I got only a preliminary stonk).

On balance I liked the rules in many aspects but would probably plumb for Panzer Grenadier Deluxe or the Battlegroup series as 'go to' sets.

Sergeant Steiner


Dr. The Viking


The second battle from the 41-Drive on Minsk skirmish campaign book. Elements of the 3rd Panzer Division are approaching Kobrin. The Soviet 205th Motorised Division have set up defensive positions to cover the retreat of of their Tank Divisions.

The Soviet troops may start in foxholes or trenches.

They have three platoons of Infantry and a 45mm ATG. The infantry platoons have prepared squads with extra grenades and Molotov cocktails.

The German force objective is to exit two AFVs off the eastern edge. They have a platoon of two PzII tanks, a platoon of two PzIIIs and two platoons of infantry.

All the woods are dense (no vehicle movement) the streams have steep banks and marsh along most of their length, vehicles may only cross at the bridge or the fords.

Although the Russians are dug in and outnumber the German Infantry they are of low quality and lack the leaders to motivate them, (one of the strengths of IABSM is that the rules can model a small highly motivated confident force to combat a larger less motivated force). This won't be an easy task for the Germans however, the close terrain does not suit the German armour. If their infantry do not protect them the Russian infantry will have plenty of opportunities to close assault the German armour.

As the Russians had prepared squads for such an event I added a tank killer card to the deck, which would allow one squad to close assault any German AFV within range.

Other cards in the deck:

  • Russian Big Man 1

  • Commissar

  • Tank Killers

  • Platoons 1 to 3

  • ATG

  • Russian Blinds

  • German Big Man 1 to 4

  • Rapid Deployment

  • Axis Rally

  • German Blinds

  • Platoons 1 & 2

  • Armour 1 & 2


With the main thrust of their attack through the Ardennes scheduled for 15th May, the Germans first launched a diversionary attack into Belgium designed to tie down the French First Army and their British allies.

Clashes began on the morning of 12th May, with the panzers driving a French armoured force back for no losses. The French, along with British reinforcements, consolidated around Hannut.

After the first wave of German attacks on the town, the French, worried about being outflanked, withdrew. The Germans, unaware of the French withdrawal, did indeed try and outflank the town, and ran into the French rearguard (infantry from 11th Dragoon Regiment and Hotchkiss tanks from 2nd Cuirassiers) at Crehen.

The Germans carried out a classic pin and outflank manoeuvre (medium tanks pinning, light tanks outflanking) and the French were forced to retreat. Some Cuirassier tanks were trapped in Crehen and were only able to breakout after a counterattack by the Somua tanks of 2ieme DLM.

This scenario simulates the German assault on Crehen.

The Game

The picture below shows the small town of Crehen. The main German attack will come from the north (where the chair is!) with the outflanking attack coming from the east (down the road disappearing off to the right). The French are under Hidden Blinds anywhere south of the far wall surrounding the church.

The game began with a series of German Blinds pushing onto the table. Spotting from both sides took place.

A French 25mm anti-tank gun took out an advancing Panzer II with a lucky shot, but the French soon found themselves severely under fire. One Hotchkiss H-35 was hit by Panzer IVs despite being hull down behind a wall, and the French infantry discovered just how unpleasant it is to be in a building hit by a continual stream of 2mm autocannon fire!

As the Germans continued their relentless advance, the French really needed to deploy the rest of their defending force, especially the tanks, but the French Blinds card proved stubbornly elusive, so the Germans were able to concentrate their fire and really hammer those French that they could see.

To be fair, the German Blinds card was also failing to make sort of appearance, so at least the French weren’t being overwhelmed, but it was still pretty bloody for them, and the fact that the autocannon fire kept pinning them down meant that they couldn’t even retreat to safety deeper inside the town.

The French infantry on the right of their position had finally had enough and, despite the autocannon fire, headed backwards with loud cries of sauvez qui peut or whatever the correct French is! The Germans began to follow up, one of their infantry platoons taking cover behind the remaining Panzer IIs.

The Germans had also advanced infantry against the lone French anti-tank gun, which was not crewed by only a single poilu, the rest lying dead around the weapon. Things were not going well for les Francais!

Finally, however, the French Blinds card appeared, with the French taking full advantage and deploying everything they had left onto the table. On the right, another Hotchkiss de-cloaked and opened fire on the advancing Panzer IIs. Although it managed to blow the track off one enemy vehicle, it took six shots to do so: not exactly the stunning intervention that the French had hoped for!

The German Blinds card was, however, about to appear, and this gave the Germans the impetus they needed to push forward with their assault.

The last remaining anti-tank gunner was forced to flee his gun and, along with a nearby infantry squad, retreated into the town as German infantry charged out of the small wood in front of their position.

That was on the right. On the left the house sheltering a newly deployed infantry squad suffered a direct hit from a Panzer IV and caught fire, forcing the French to pull back…and there were Germans now in the churchyard as well!

Time for desperate action! Capitaine Croissant rallied his men, and with a loud shout of Vive la France, led them forward against the enemy in the churchyard. It was a glorious charge, and caught the advancing Germans completely by surprise, killing their office and sending the rest tumbling backwards almost as far as the table’s edge.

Unfortunately, the French had paused out in the open to hurl grenades and vile imprecations at the Germans…which left them at the mercy of a platoon of Panzer IIIs that came round the corner. Capitaine Croissant was cut down, and his men soon followed!

By this time, the German flanking force had also appeared, and were heading west at a rapid rate of knots. This was too much for the French, who ordered a general retreat: even their reinforcements (a platoon of Somua S-35 tanks) would still have left them outnumbered over 2:1, and their H-35s were no match for the nippier, well-crewed, well-armed German panzers. Crehen had fallen!

Robert Avery


This was the April 16 attack up Reichstrasse 1 by 74th Guards Rifle Regiment to the slope in front of Seelow. There were a lot of Soviet units involved in the game but were understrength. Each Russian player had a weak company of two 2-section platoons with two MMG teams. There was also a Engineer platoon of two sections and two additional MMGs and a FO for some 82mm mortars. They were promised armor support but that was hung up in traffic and didn't arrive for five turns of the 'Time' card. This was five IS-2s of the 104th Heavy Guards Tank Regiment.

Rob had the left company, William had the Engineers and extra support (and tanks when they appeared). Sebastian had the center company. And Tim had the late arriving third company on the right.

The terrain was flat below the slopes and boggy. Vehicles could only ascend the slope on the road.

The Russians were getting very low on warm bodies at this stage. We decided that they needed another battalion or more artillery to punch through to Seelow.

Casualties for the Russians were:

  • 19 men plus a Pla CO in Rob's right hand company (out of 32)

  • 19 men plus a MG team plus a Pla CO and a Company CO in Sebastian's center company.

  • 15 men and a Pla CO in Tim's left/center company

  • The Engineers lost 9 of 16 men and their CO.

  • Total of 71 Soviets

The grenadiers had heavy losses:

  • the left side platoon wiped out (16 men plus a MMG team and the Platoon CO).

  • The far right unit had 8 men down, and lost their Platoon CO and the Pak crew.

  • The Volkstrumm lost 14 out of 30 in their center unit along with a MMG team and a Platoon CO. The platoon on the left had 11 casualties. The right side platoon was untouched.

  • Total of 36 Germans.

It was a nasty fight.

Mark Luther


A 6mm I Ain't Been Shot, Mum game played at GigaBites Cafe September 2022

This was the second part of the Rots June 11, 44 game.

This was the actual assault into Rots by A and B Troops of the 46 RMC along with 2 and 3 Troops and the HQ tanks of the Fort Garry Horse.

The town was defended by elements of 4 Kompanie, 12 SS PanzerGrenadier Regiment and the grenadiers of 1st Kompanie PanzerGrenadier Regiment 26 of the 12th SS Division.

The attack would come from the NW and west side of the table (the near side) The village of LeHamel and the River Mue are off table to the west also.

Mark Luther