Fun game with son tonight. I’m looking forward to more western desert action.
Ken Snell


Fun game with son tonight. I’m looking forward to more western desert action.
Ken Snell


I set up and played a couple of 'lonely pint' games over weekend for purposes of rule refreshing and plain old fun because (thankfully) this is how I still see myself and wargaming!
One was the IABSM scenario 'Action at Galmanche' from rule book. Only partly through this as lots of rules refreshing (been ages since used IABSM) but lots of action already.
Forgot that Blinds are auto-spotted on a Tea Break Card so was a bit nonchalant with the British deployments and they were all spotted in one go. Still the German Pak40 failed to brew two Shermans (some damage to gun-sights and mobility) and crew has been reduced to a mere two so Actions reduced.
German infantry shooting also sub-par (much less potent than in Chain of Command) although I did miss that Shock is doubled if shooting from Ambush.
British pre-game Stonk did inflict a lot of shock and killed the German Mortar Observer (not sure if any Big Men/Cot CO can call in these now?)
Had also forgotten that there can be a lot of markers required (I had to dig mine out) with Pins, Suppression, Overwatch, Shock and several types of damage for AFVs but this is a nice playable and flavoursome WW2 game (I prefer it to CoC in many aspects)
Sergeant Steiner

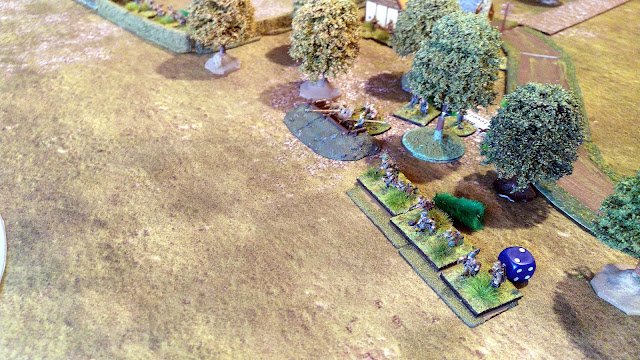
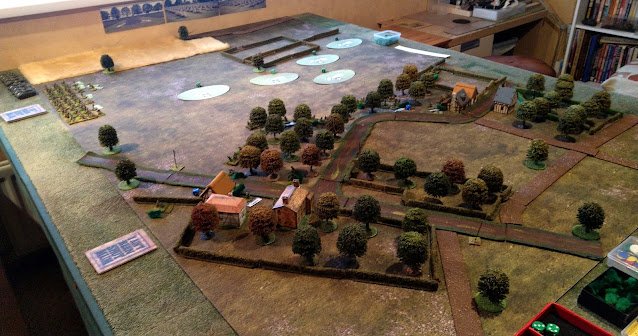

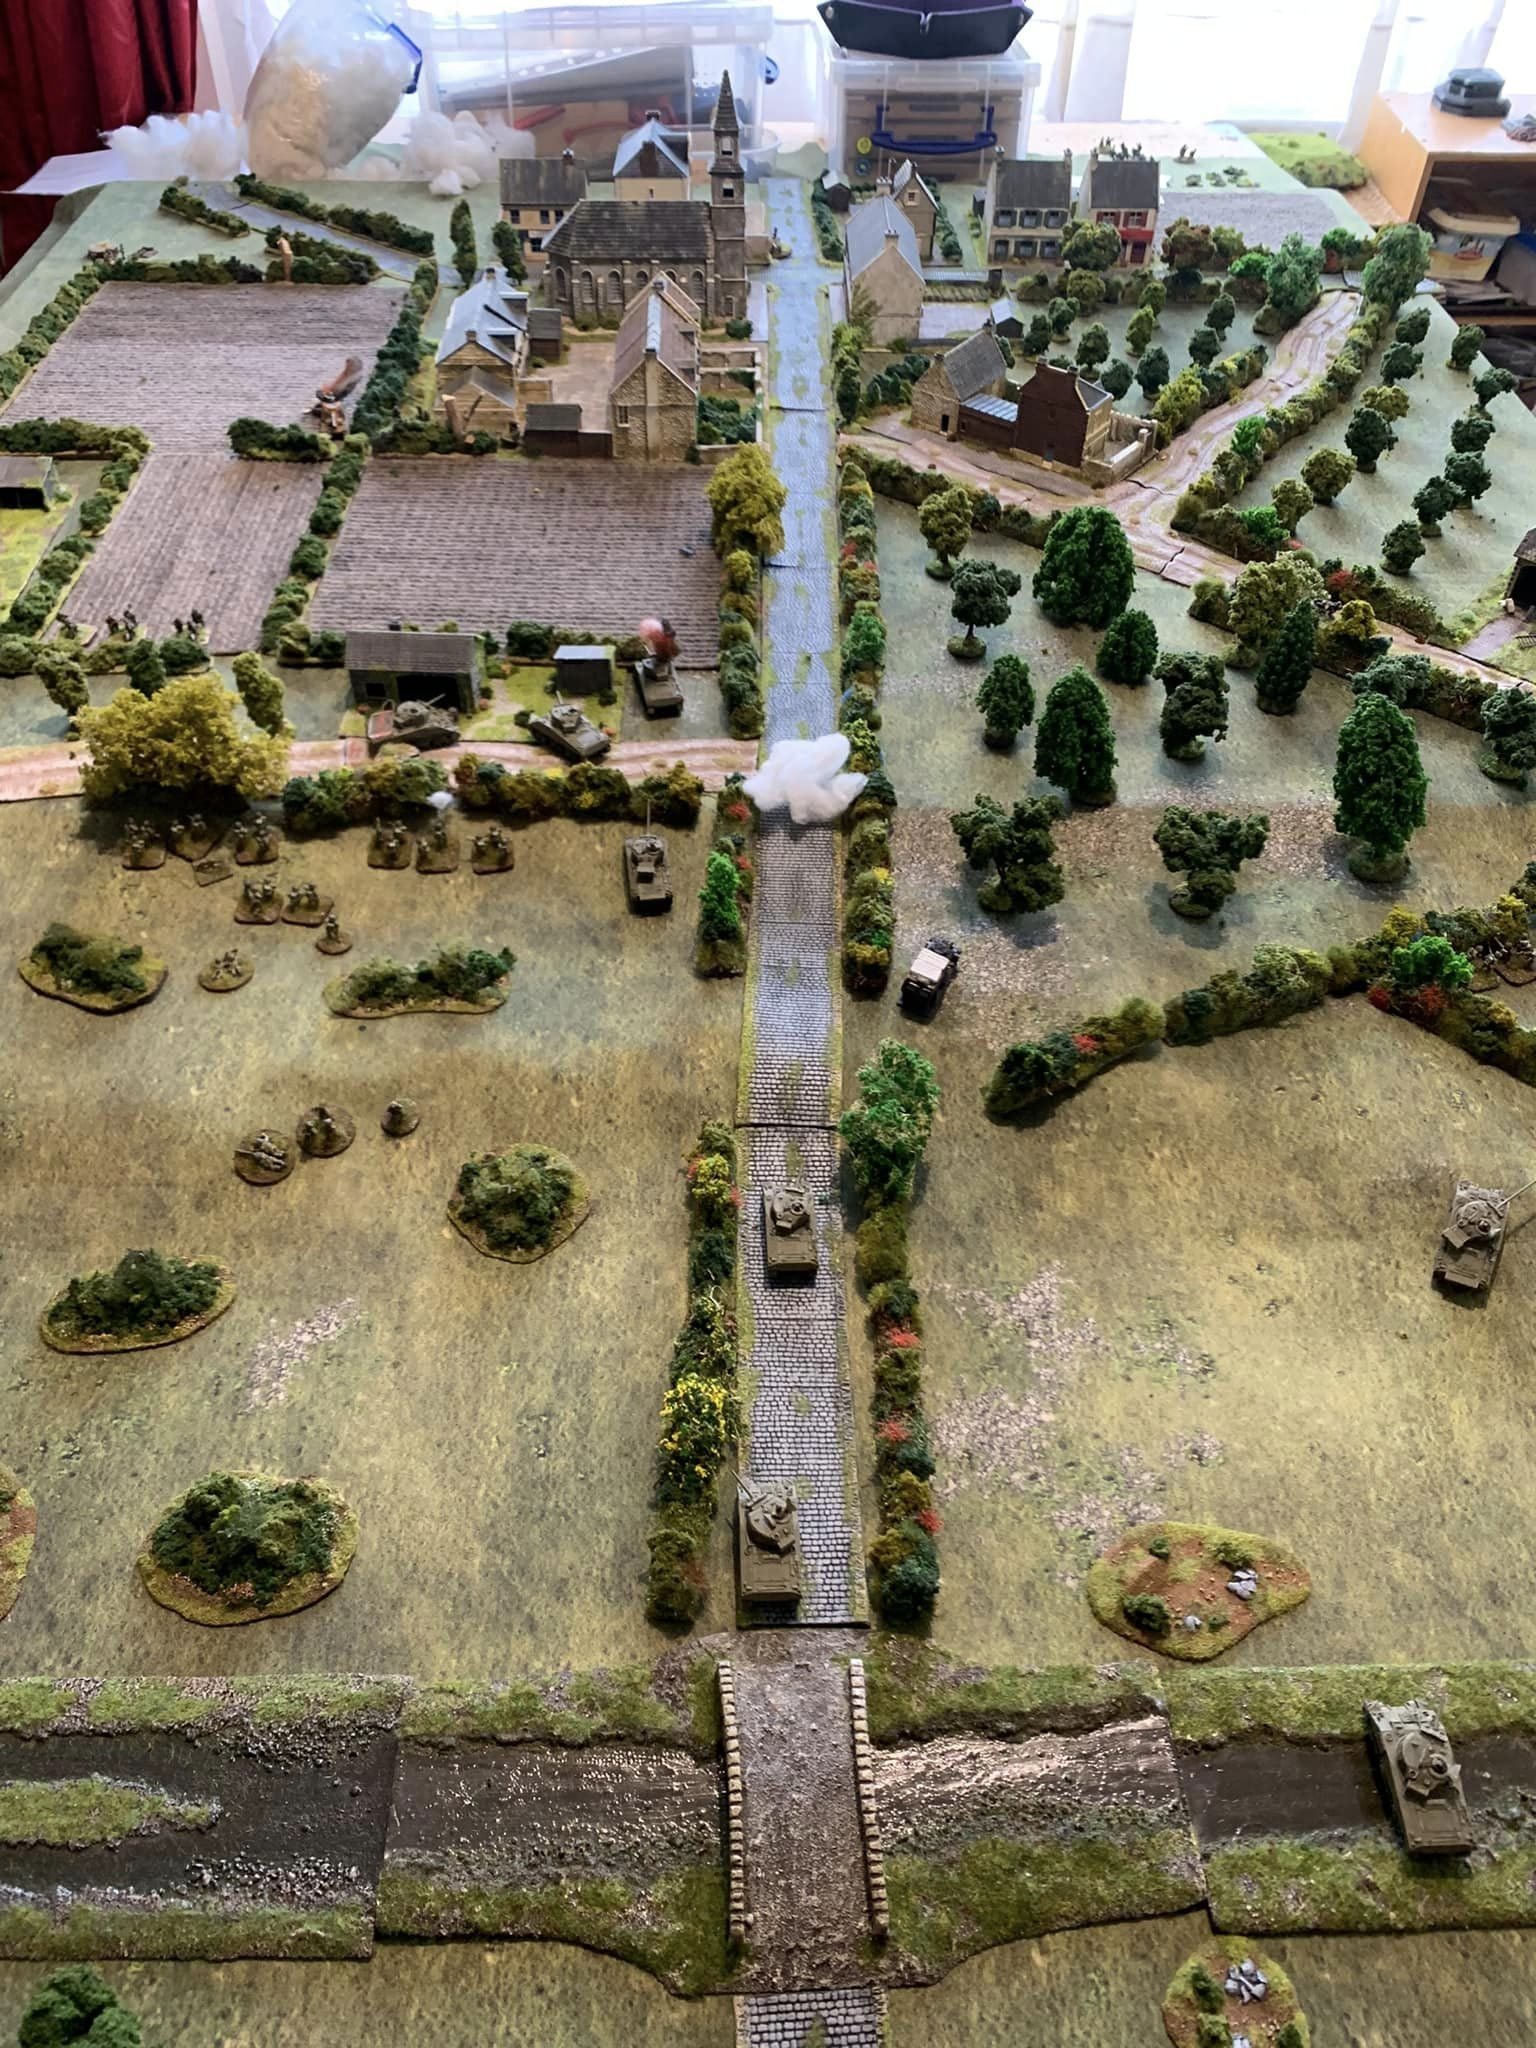
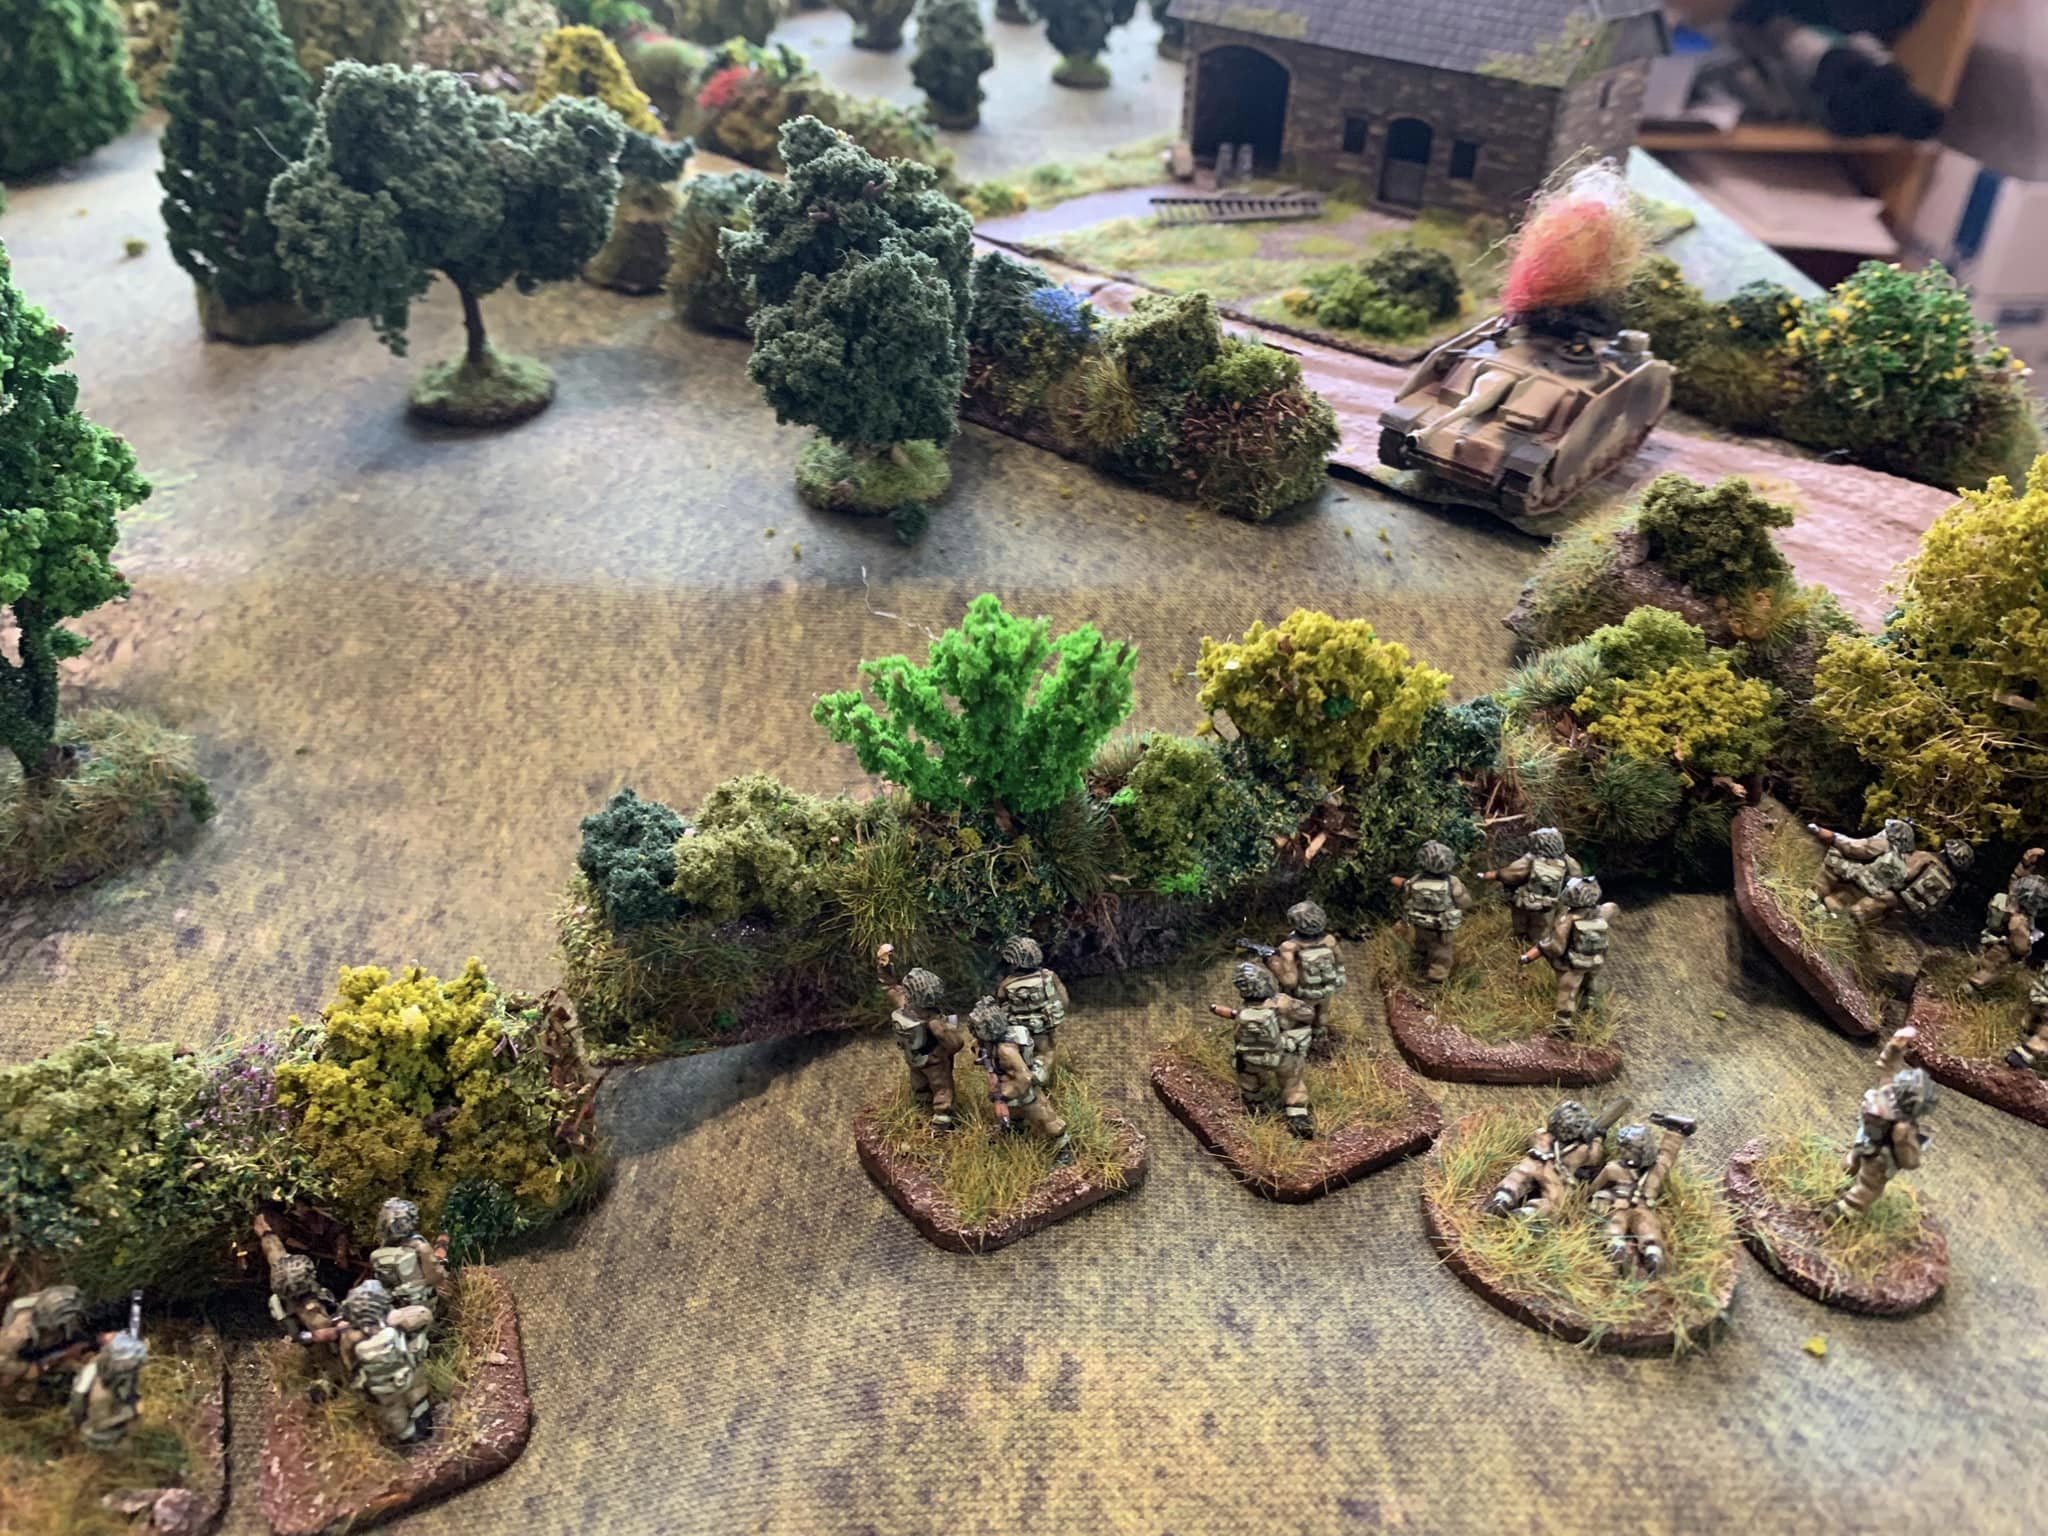
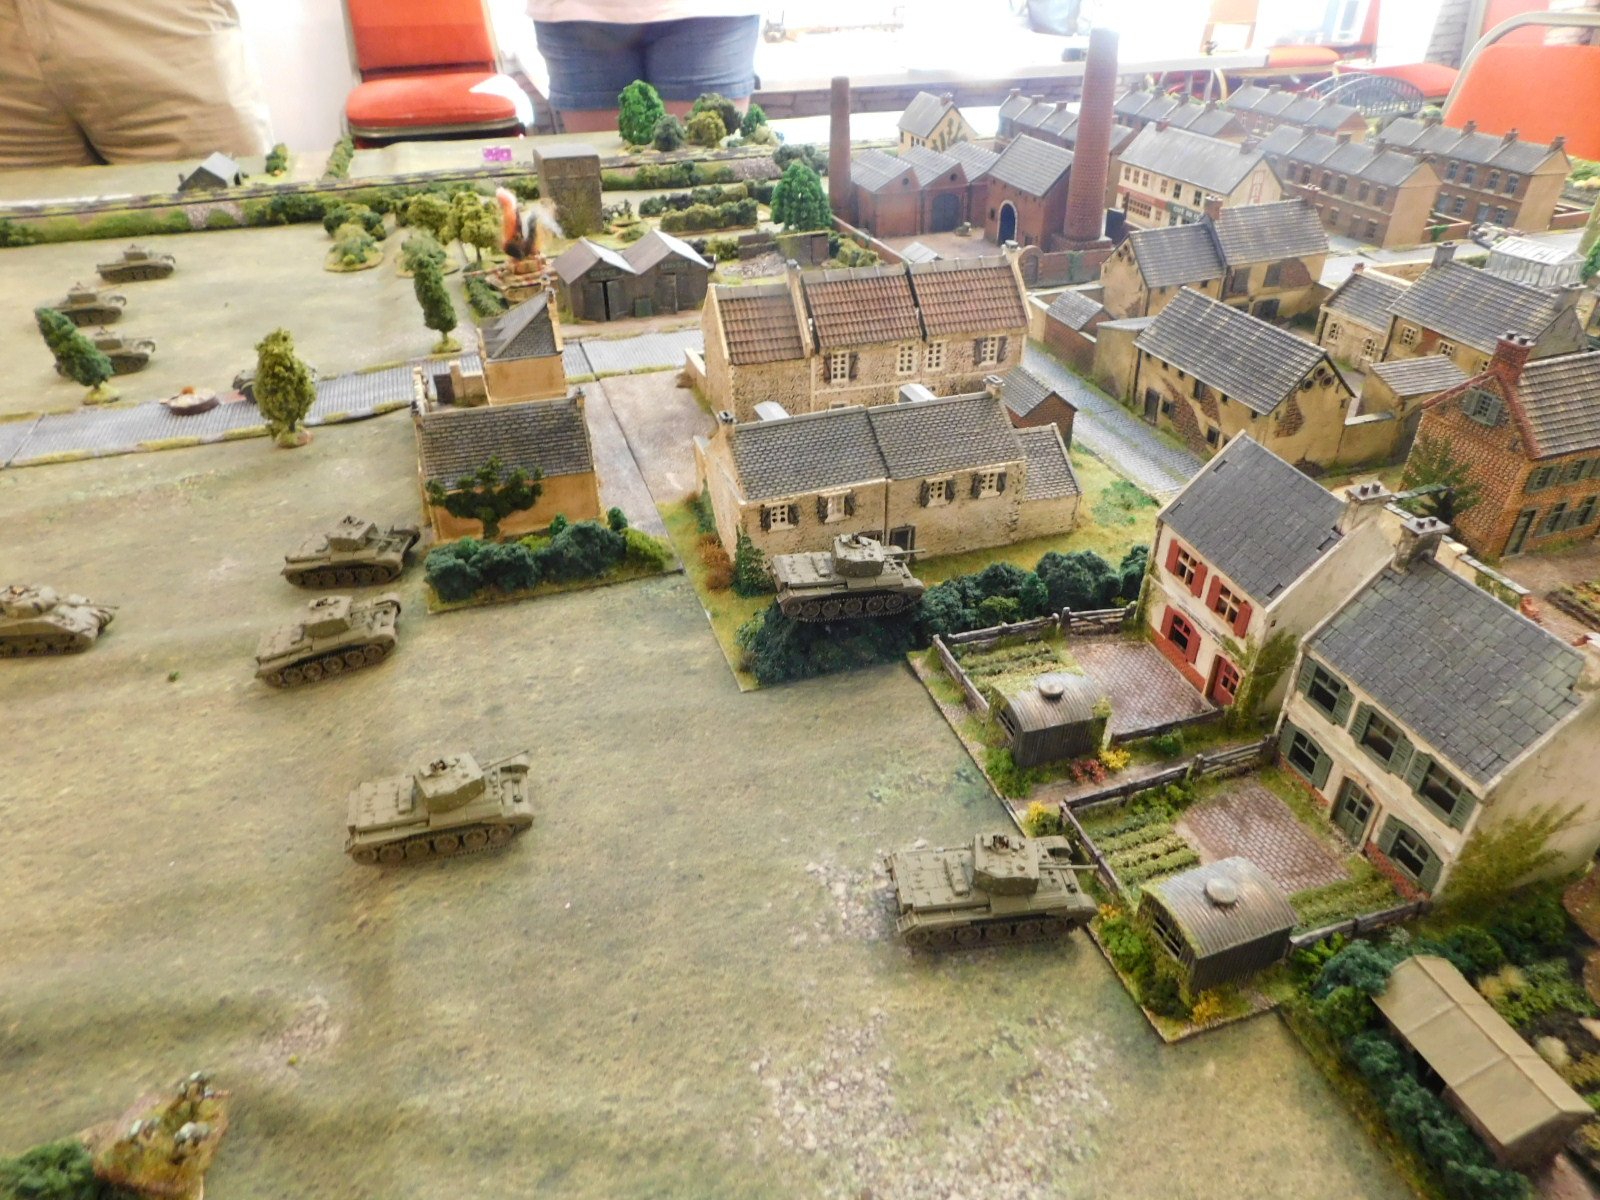
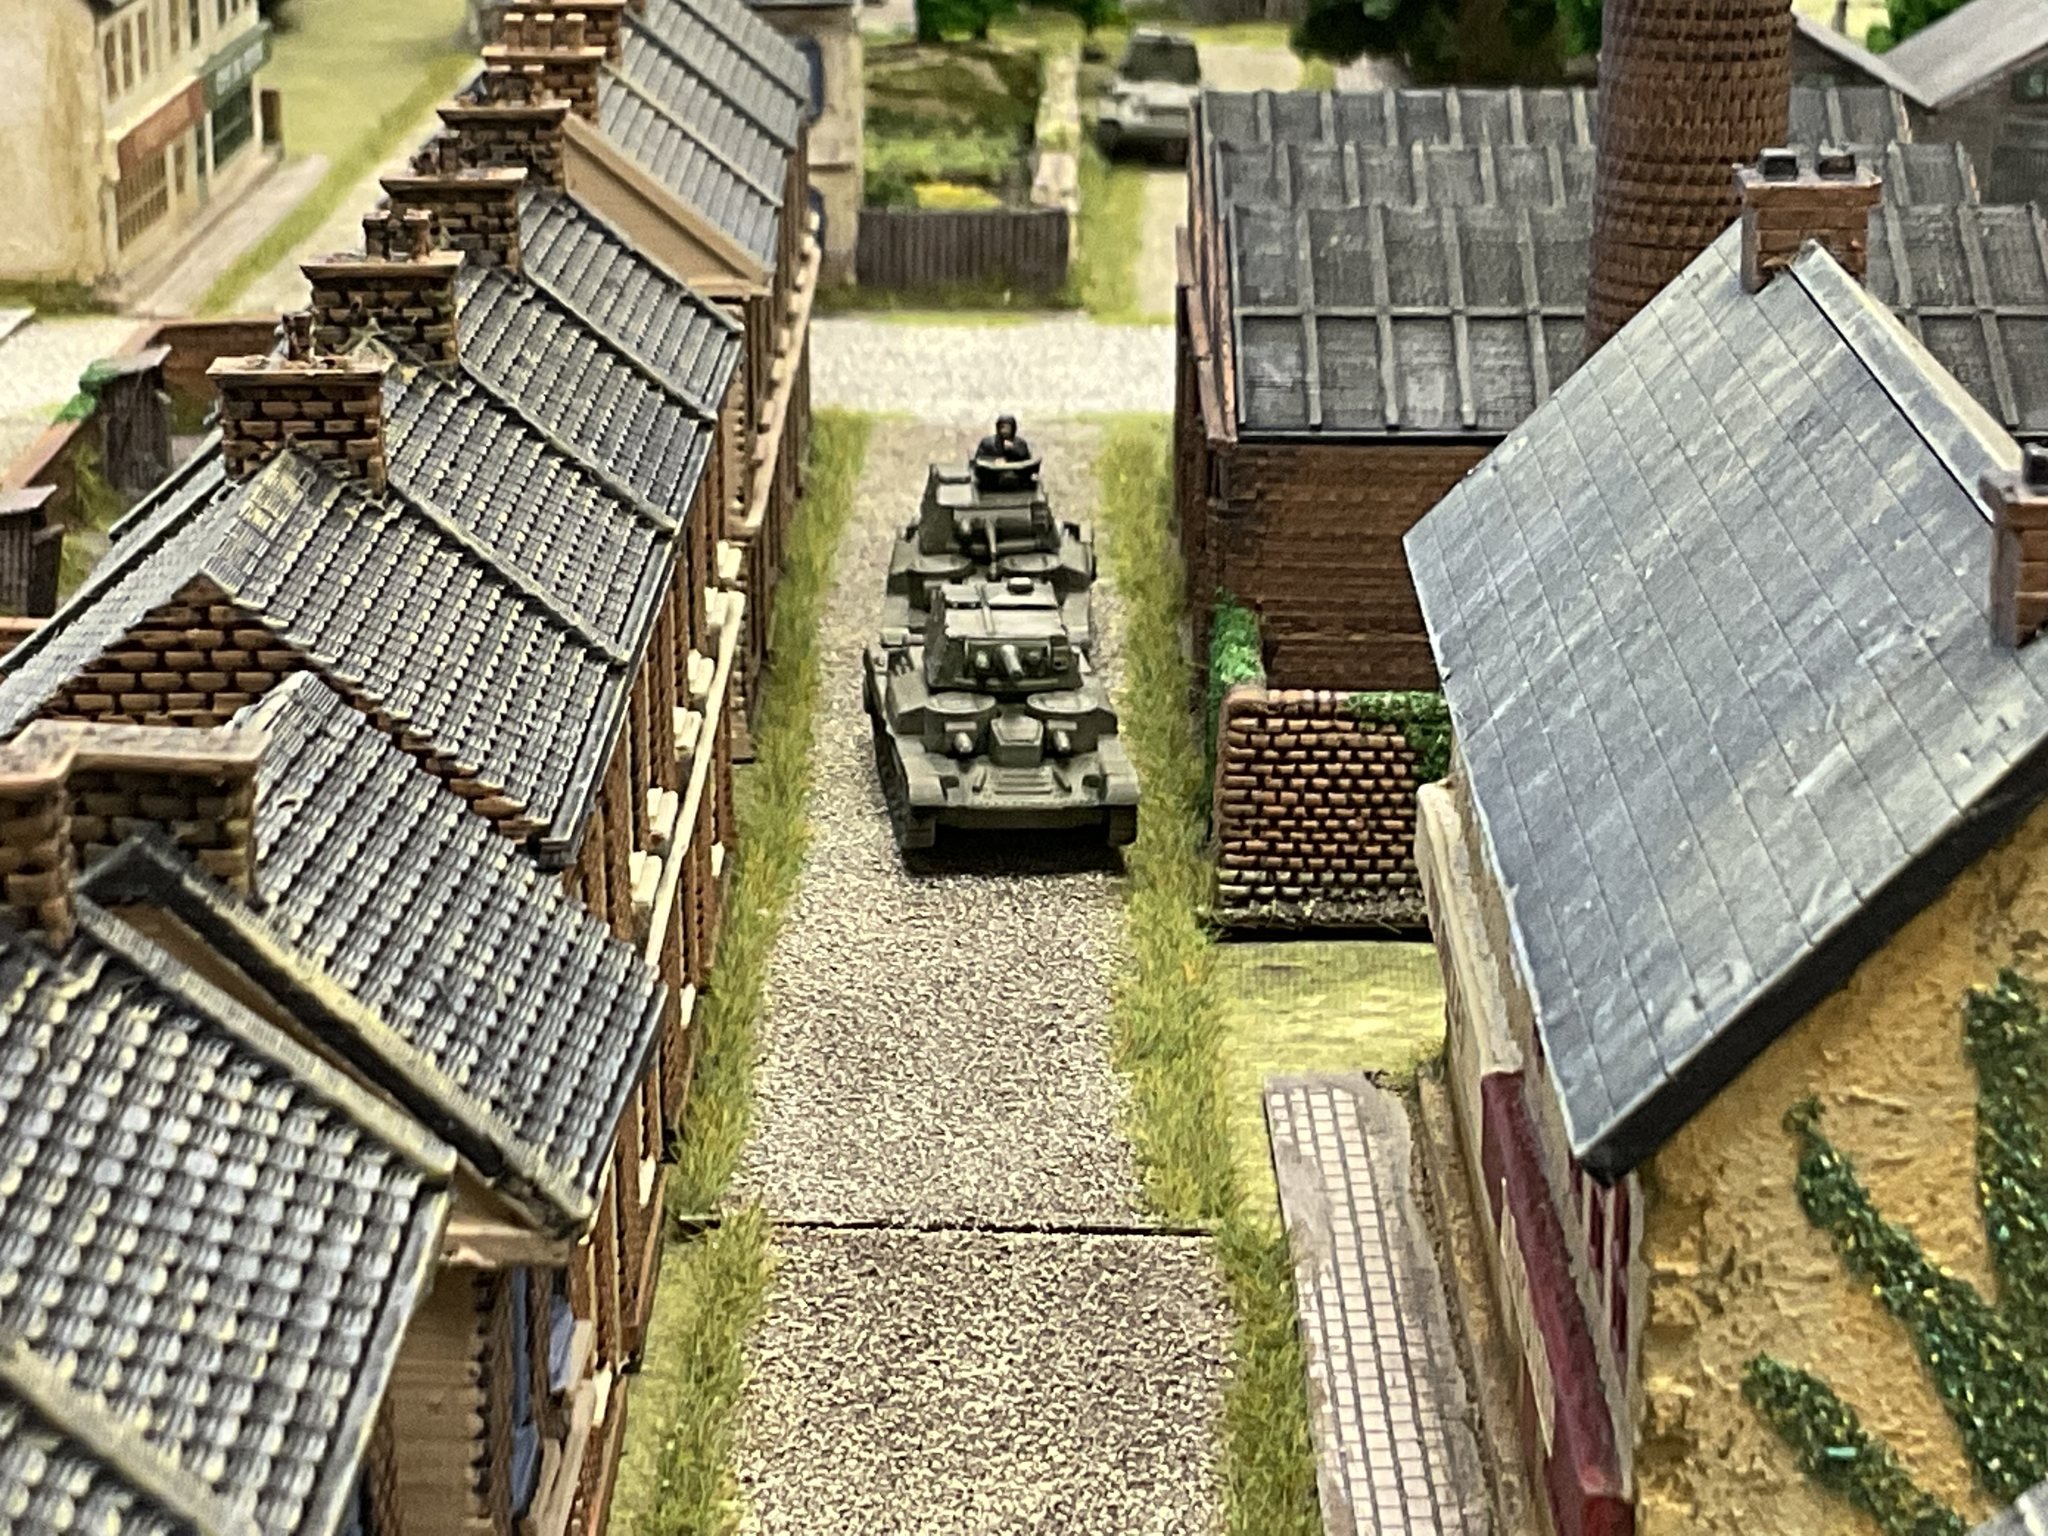
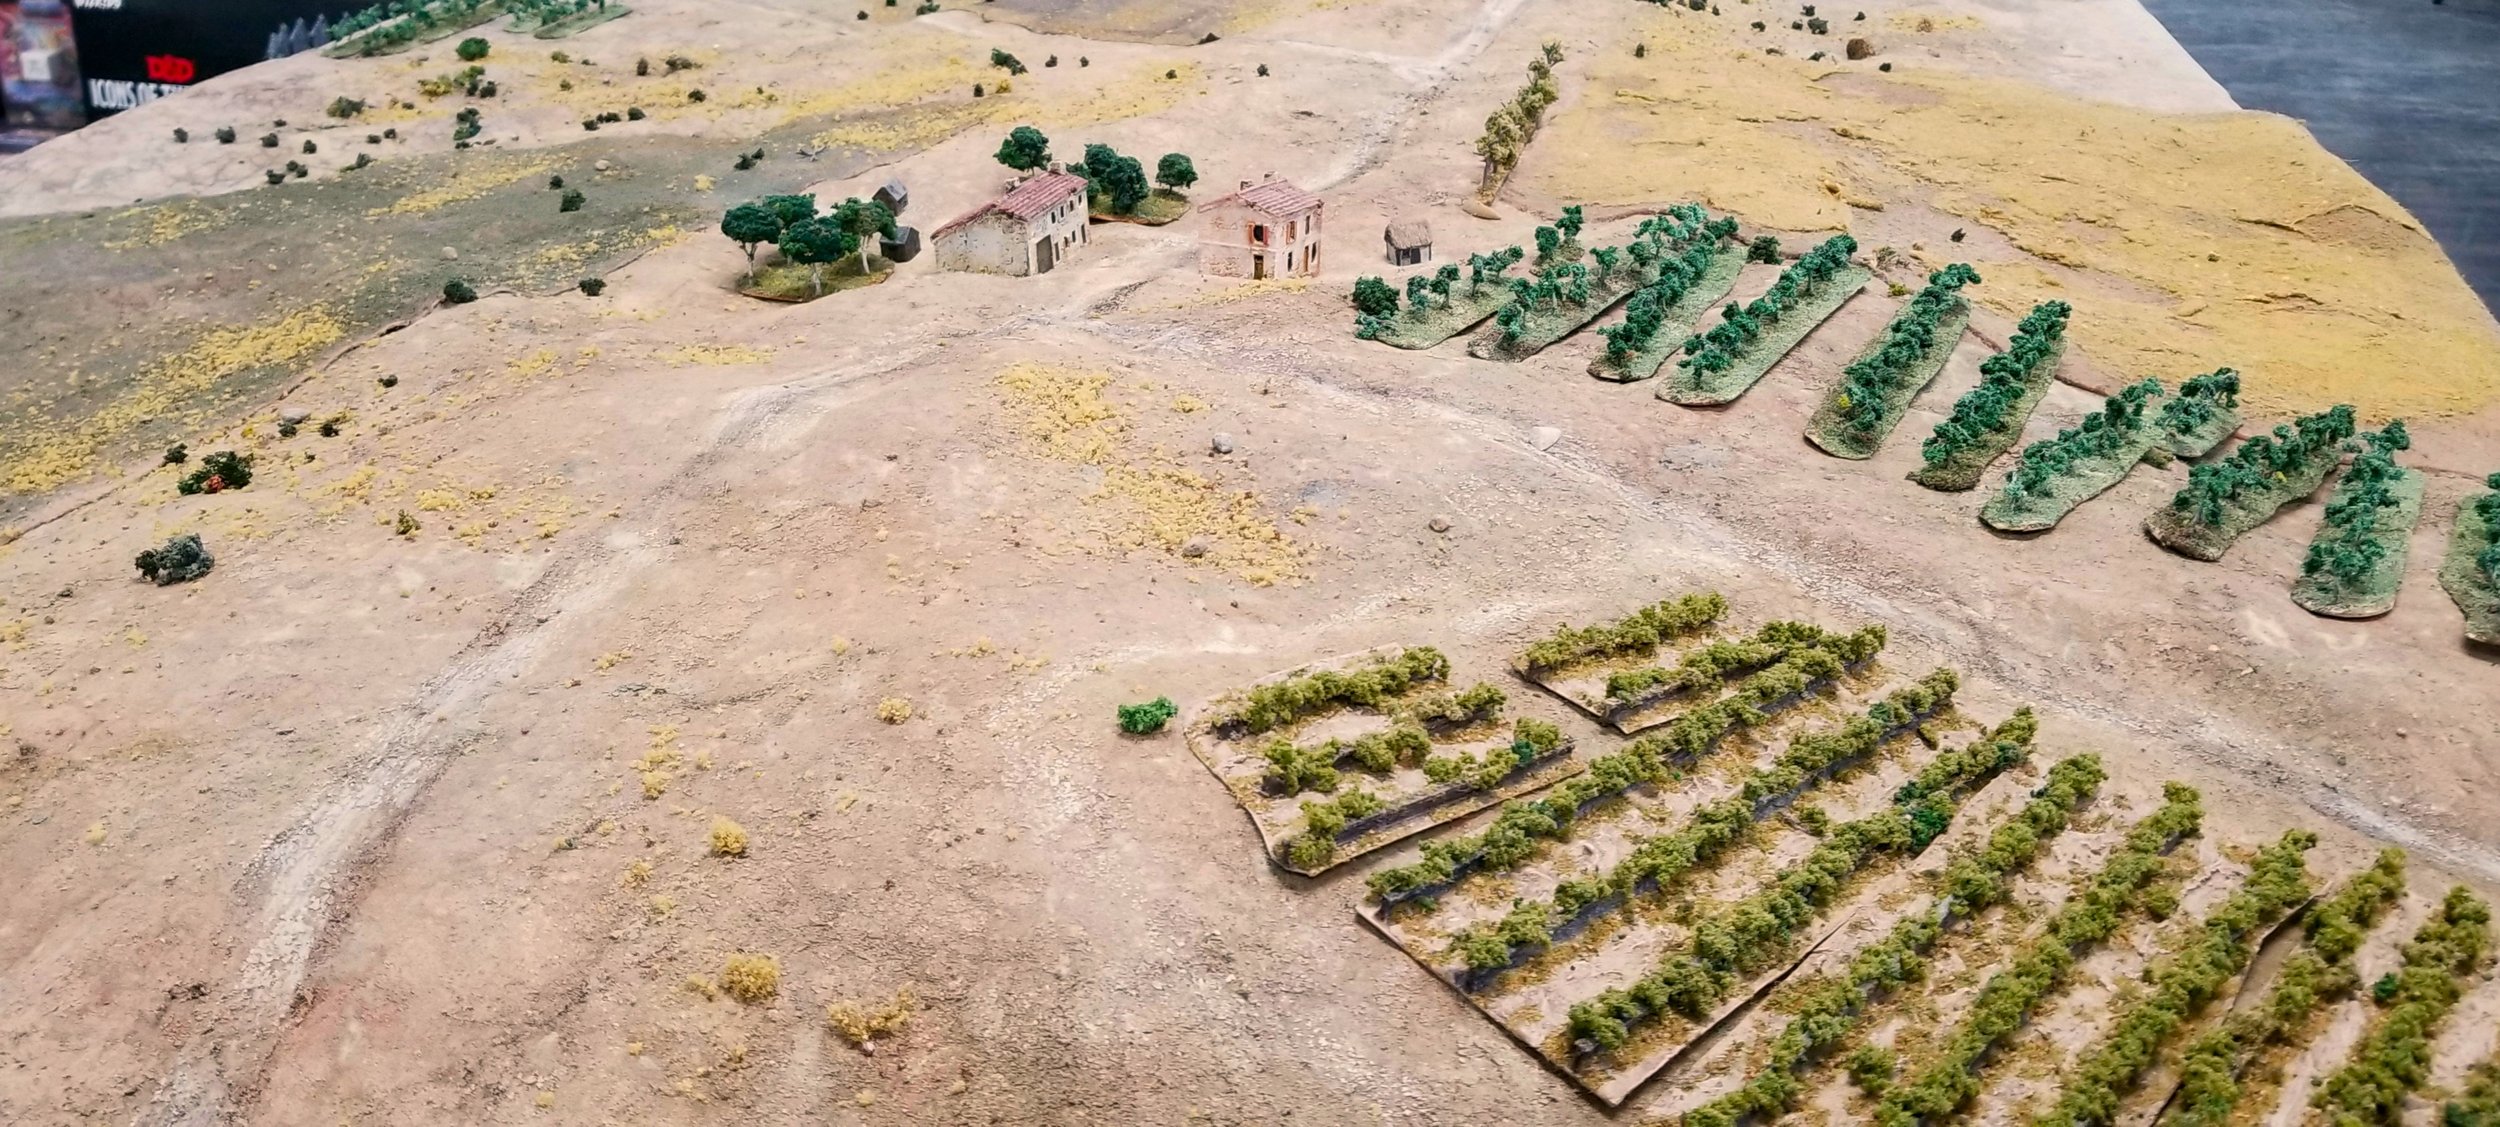
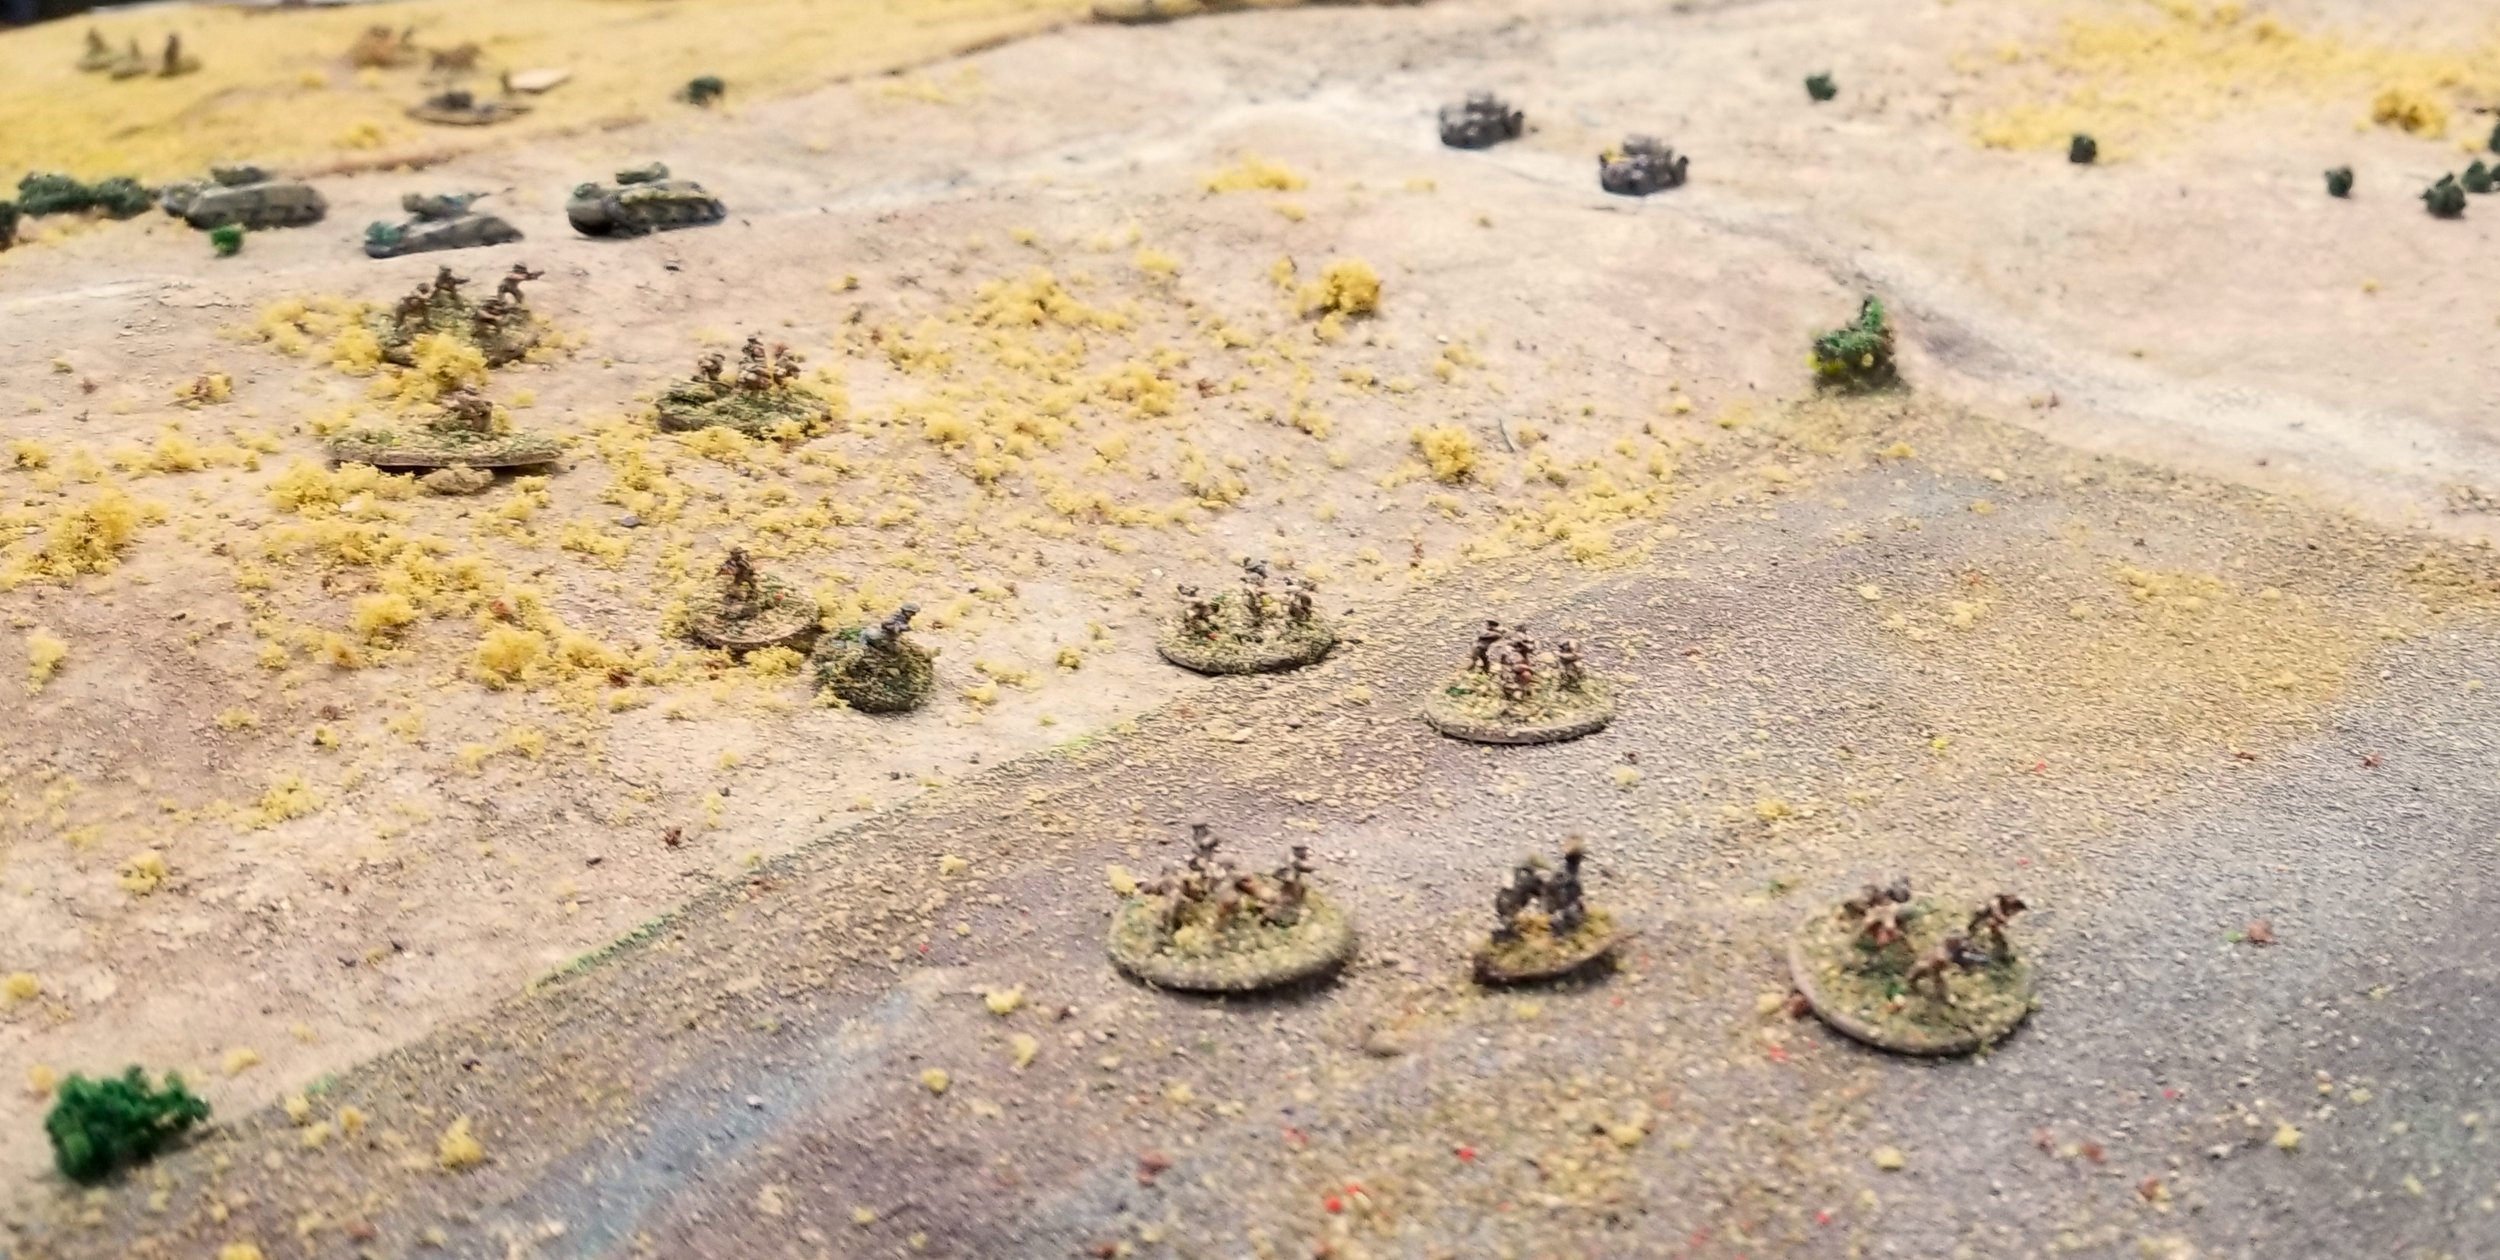
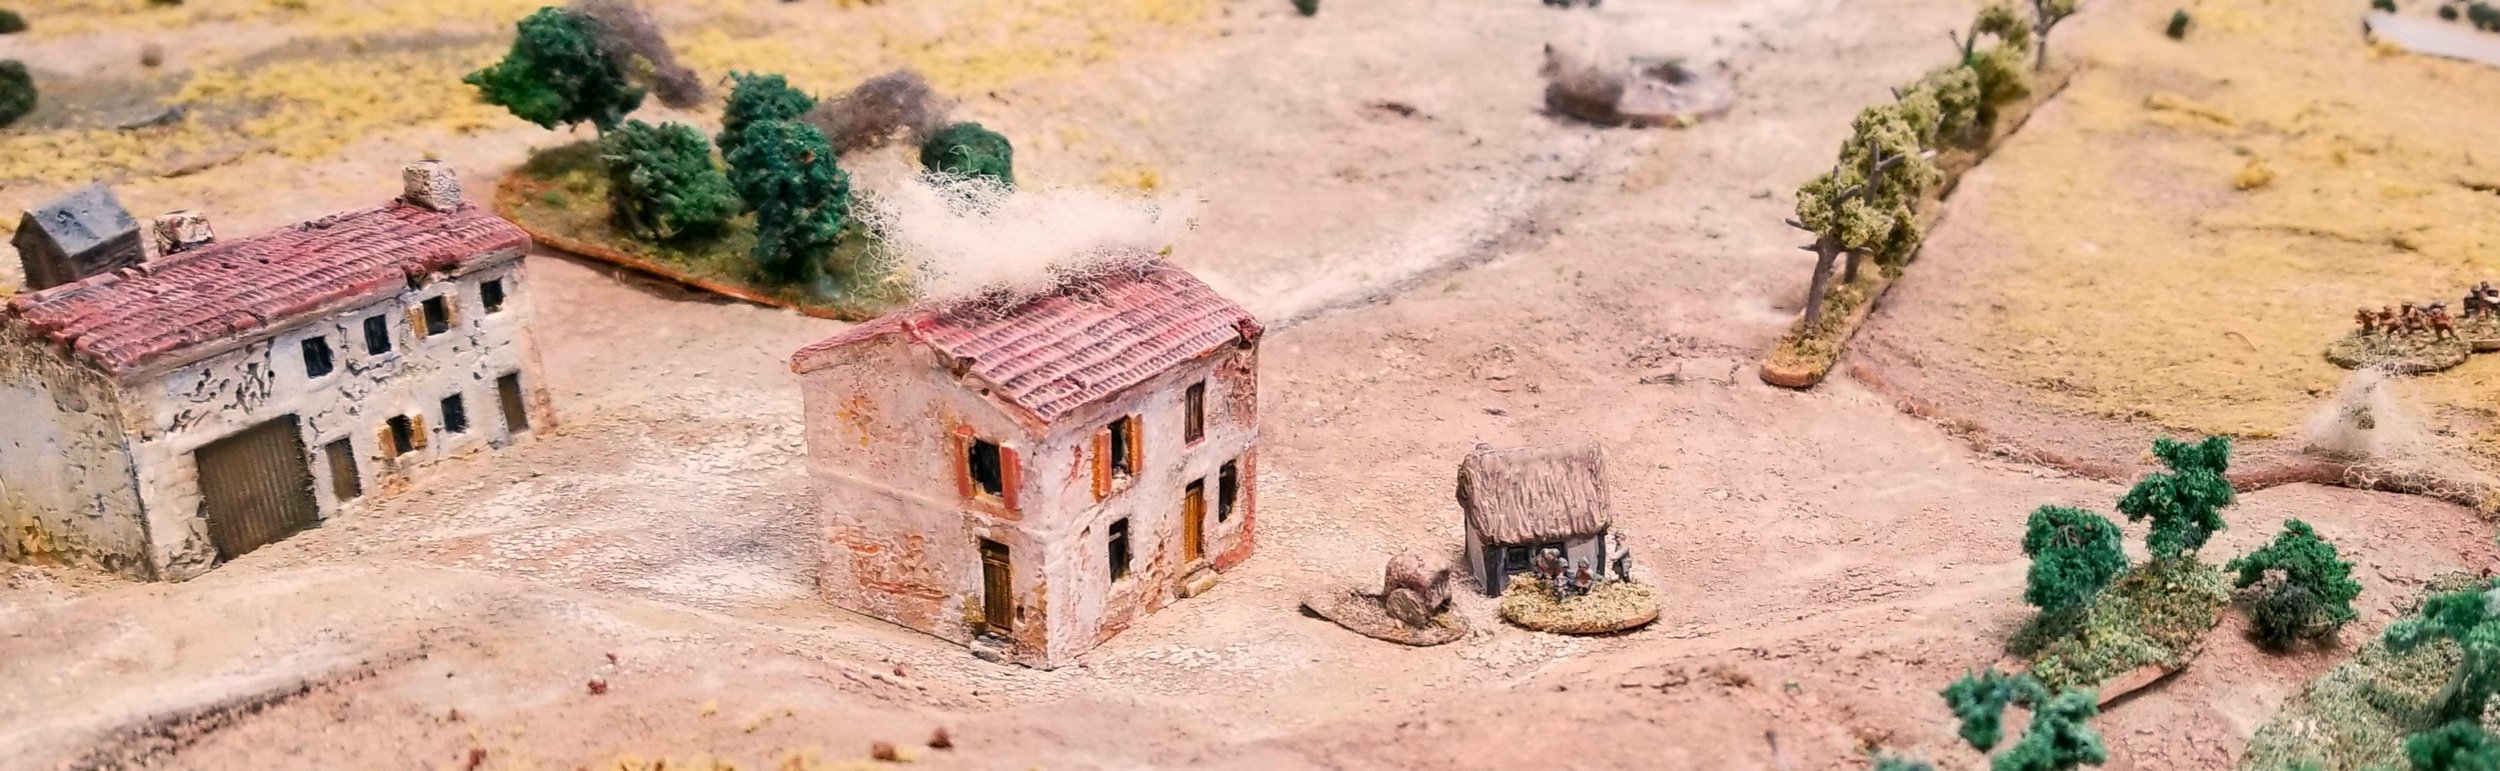
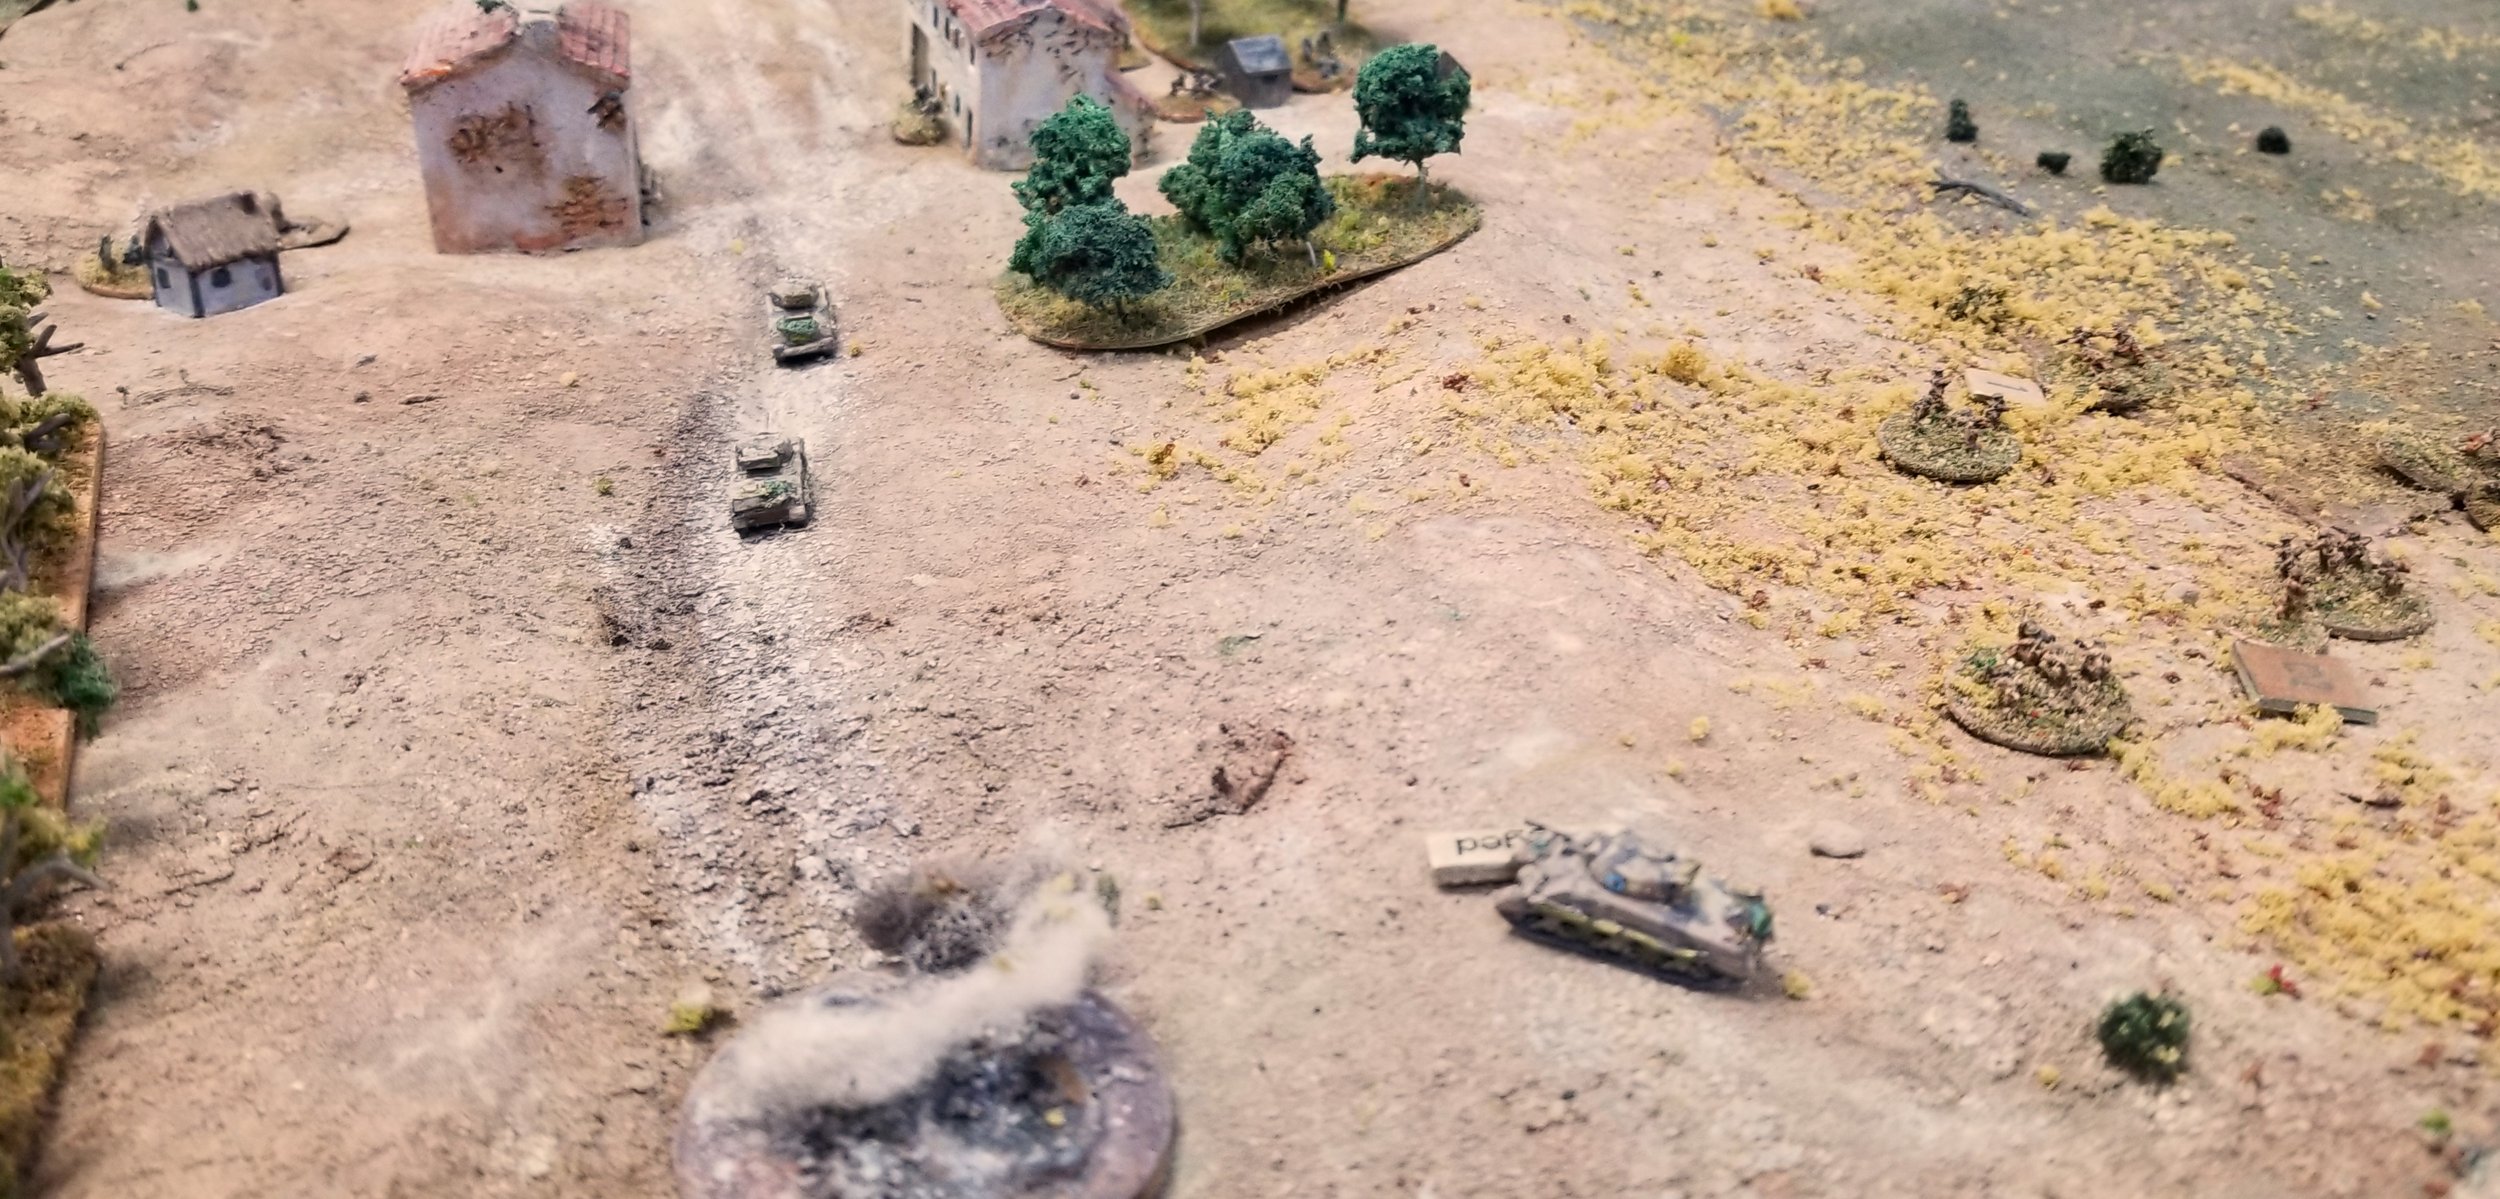
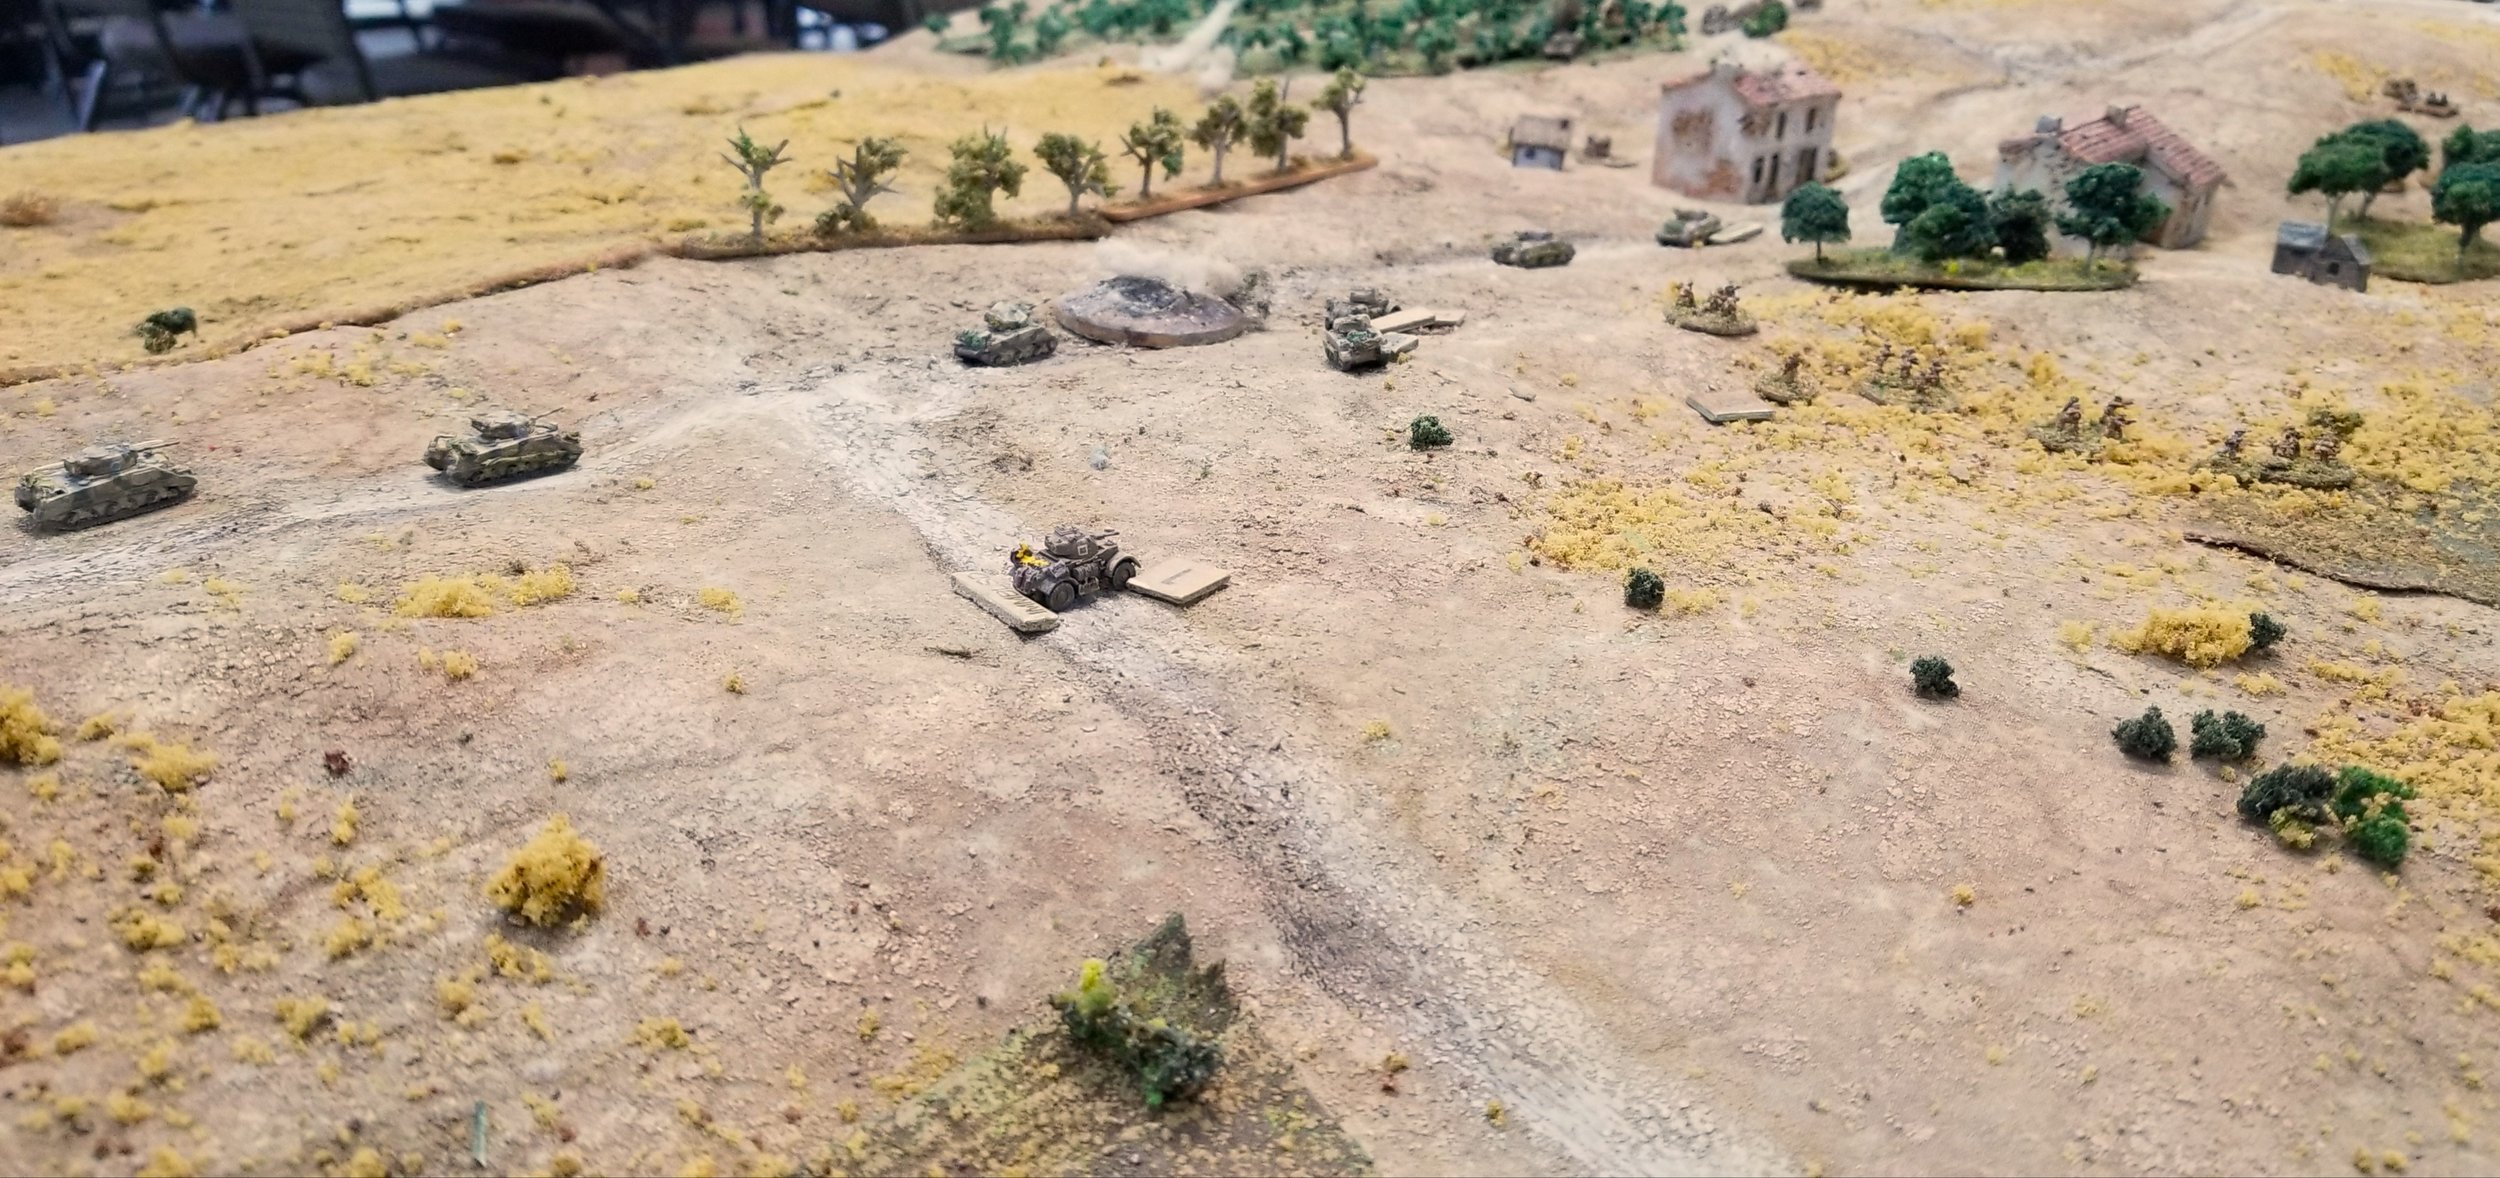
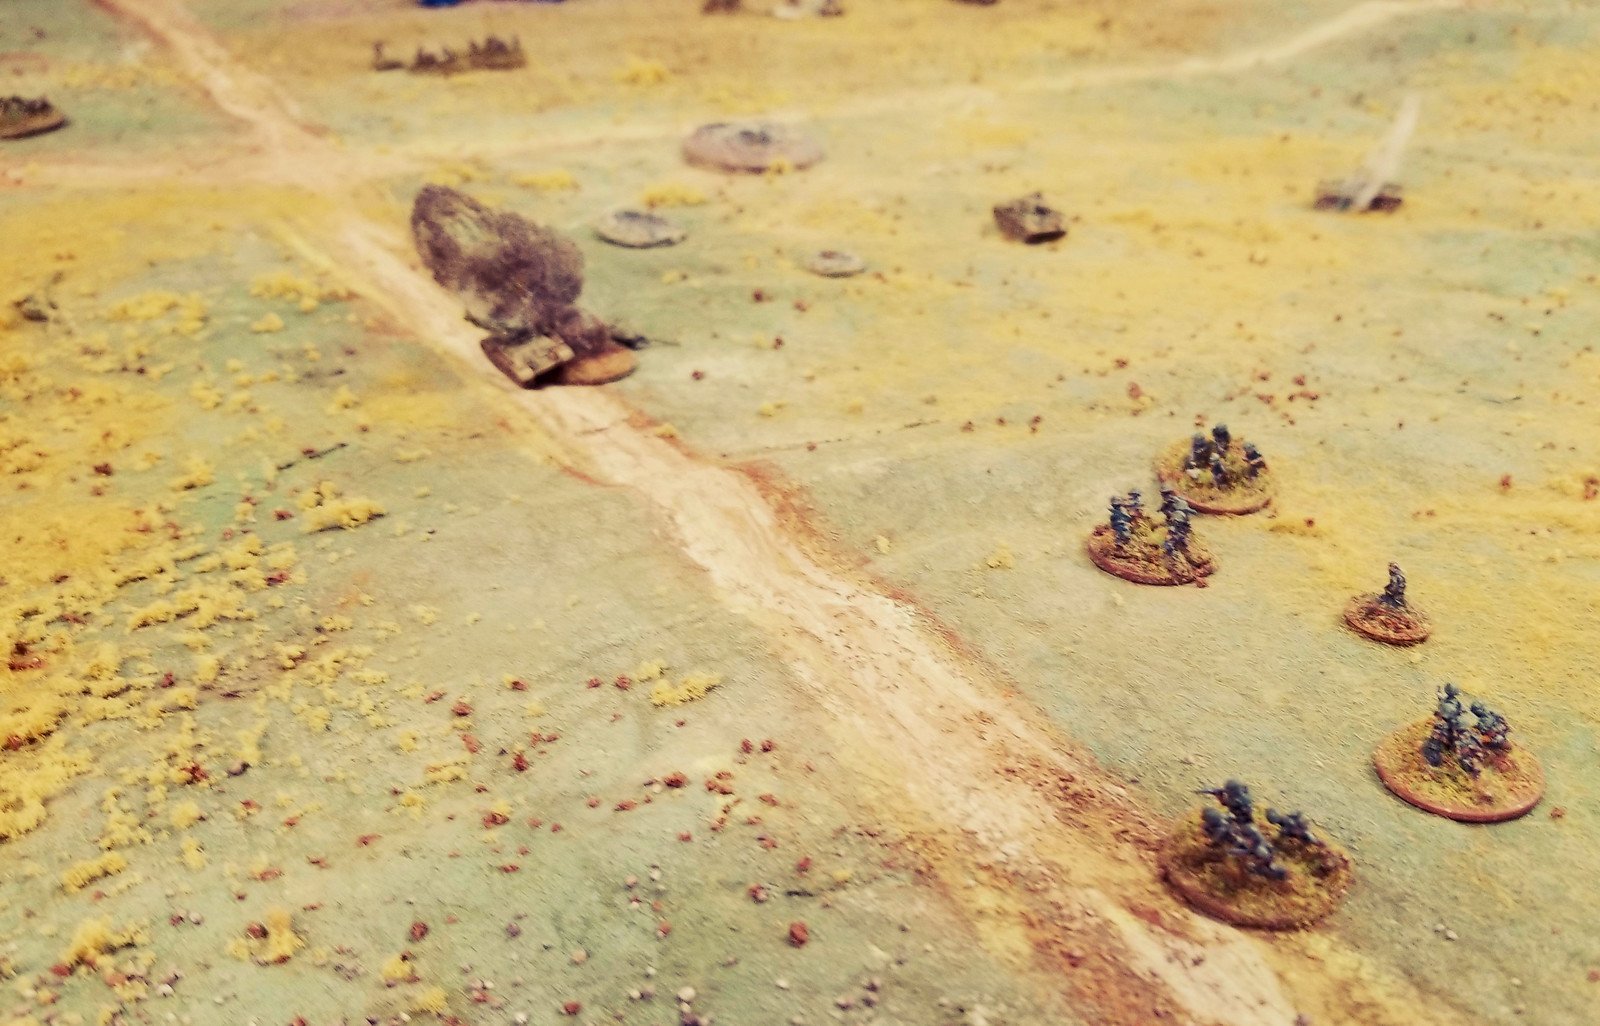
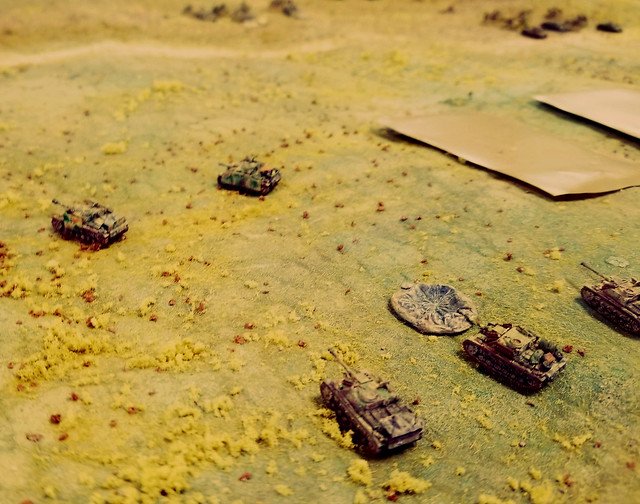
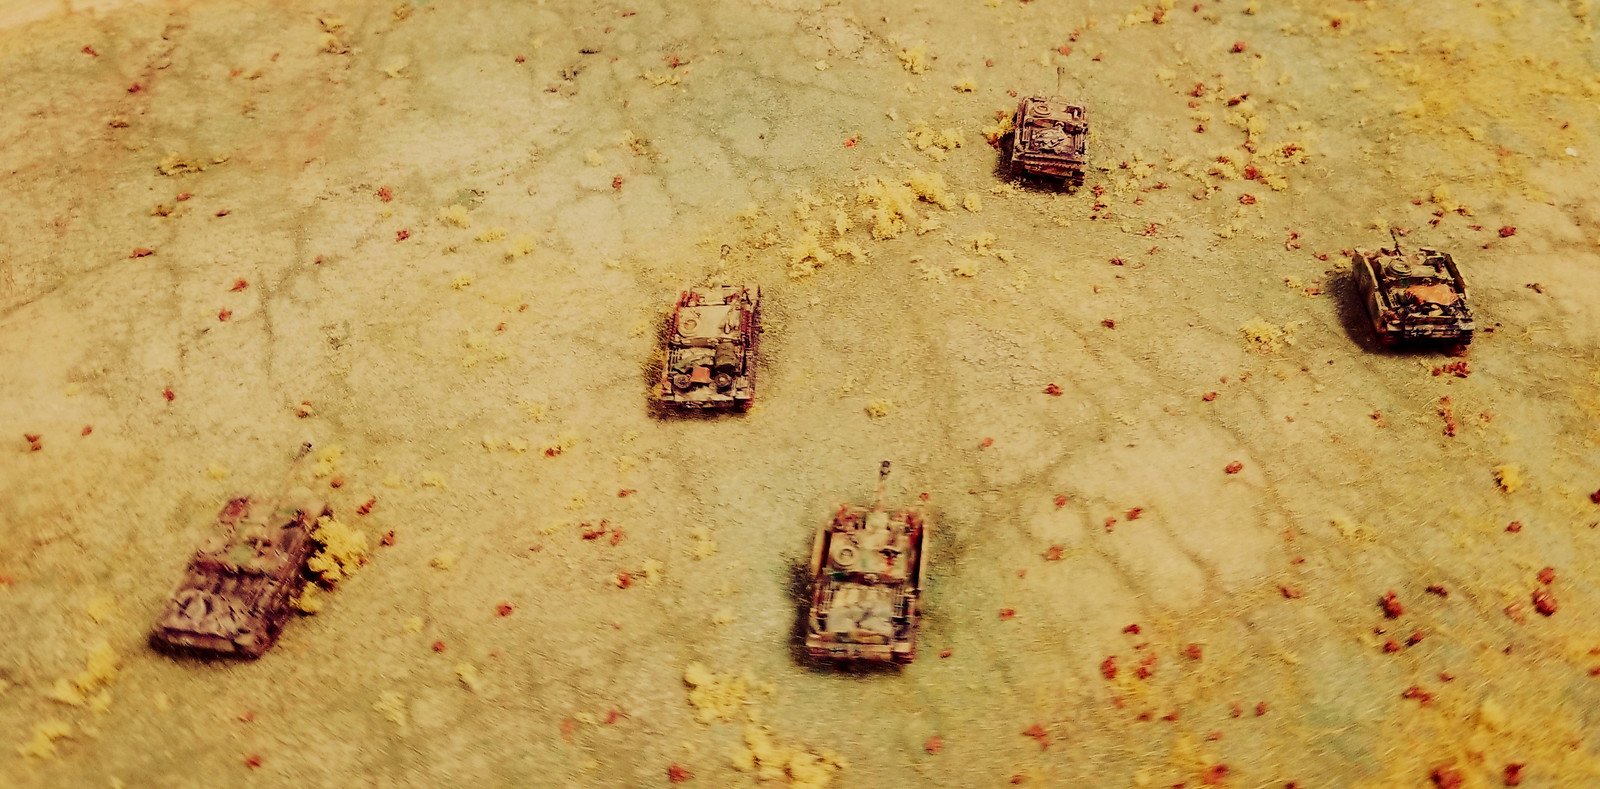
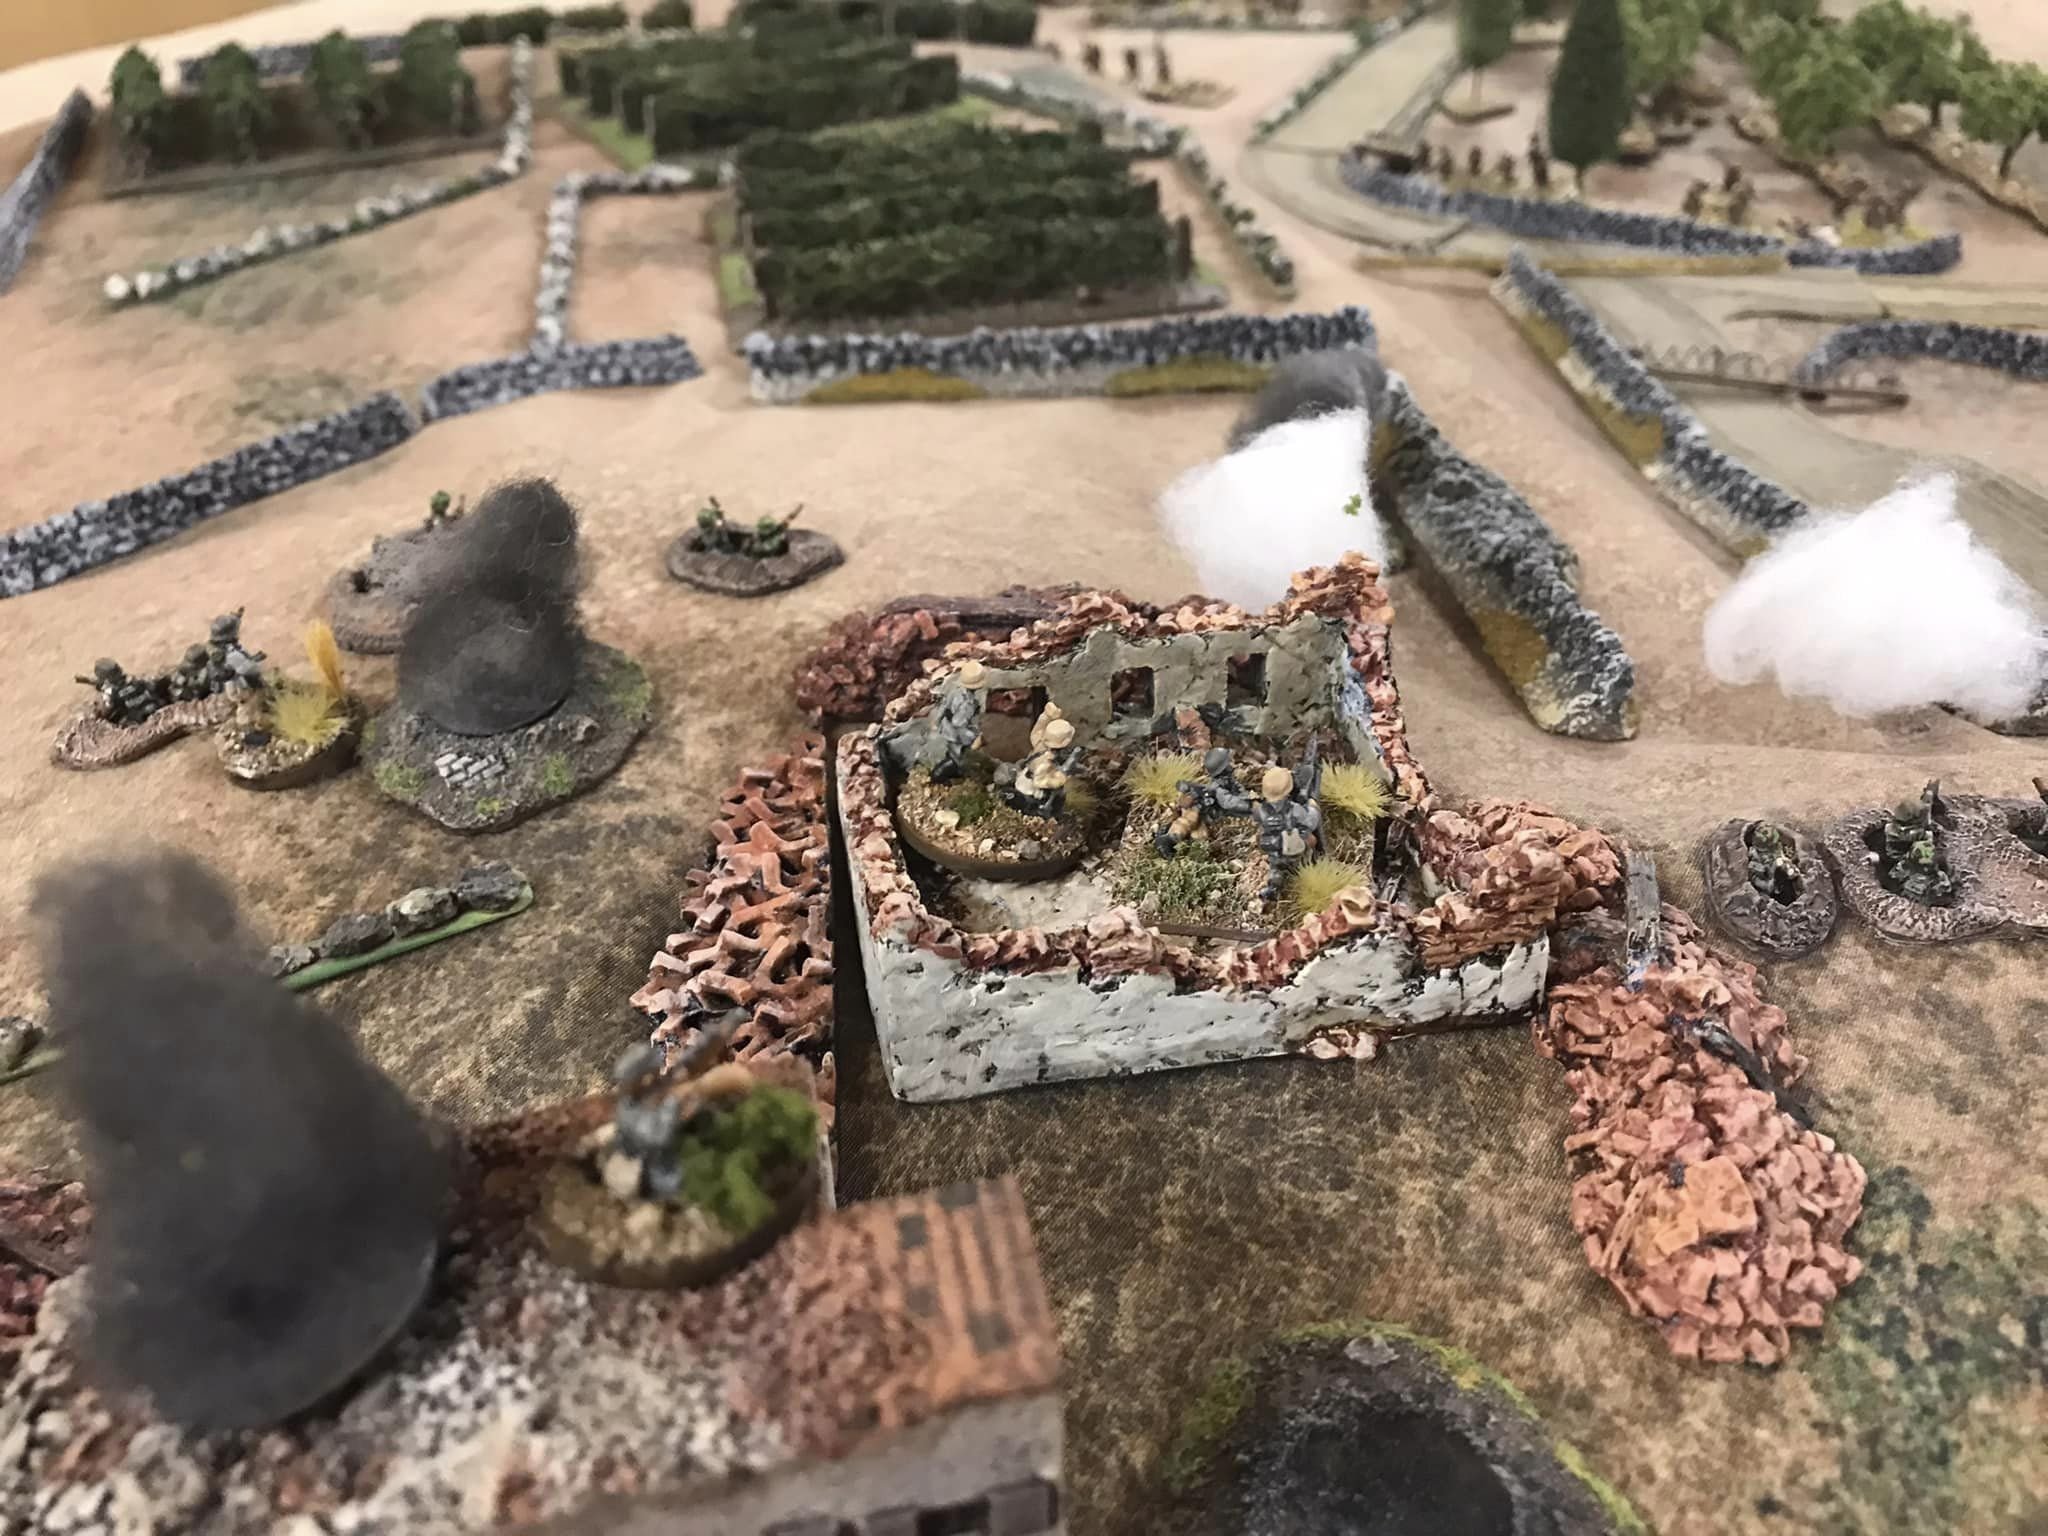
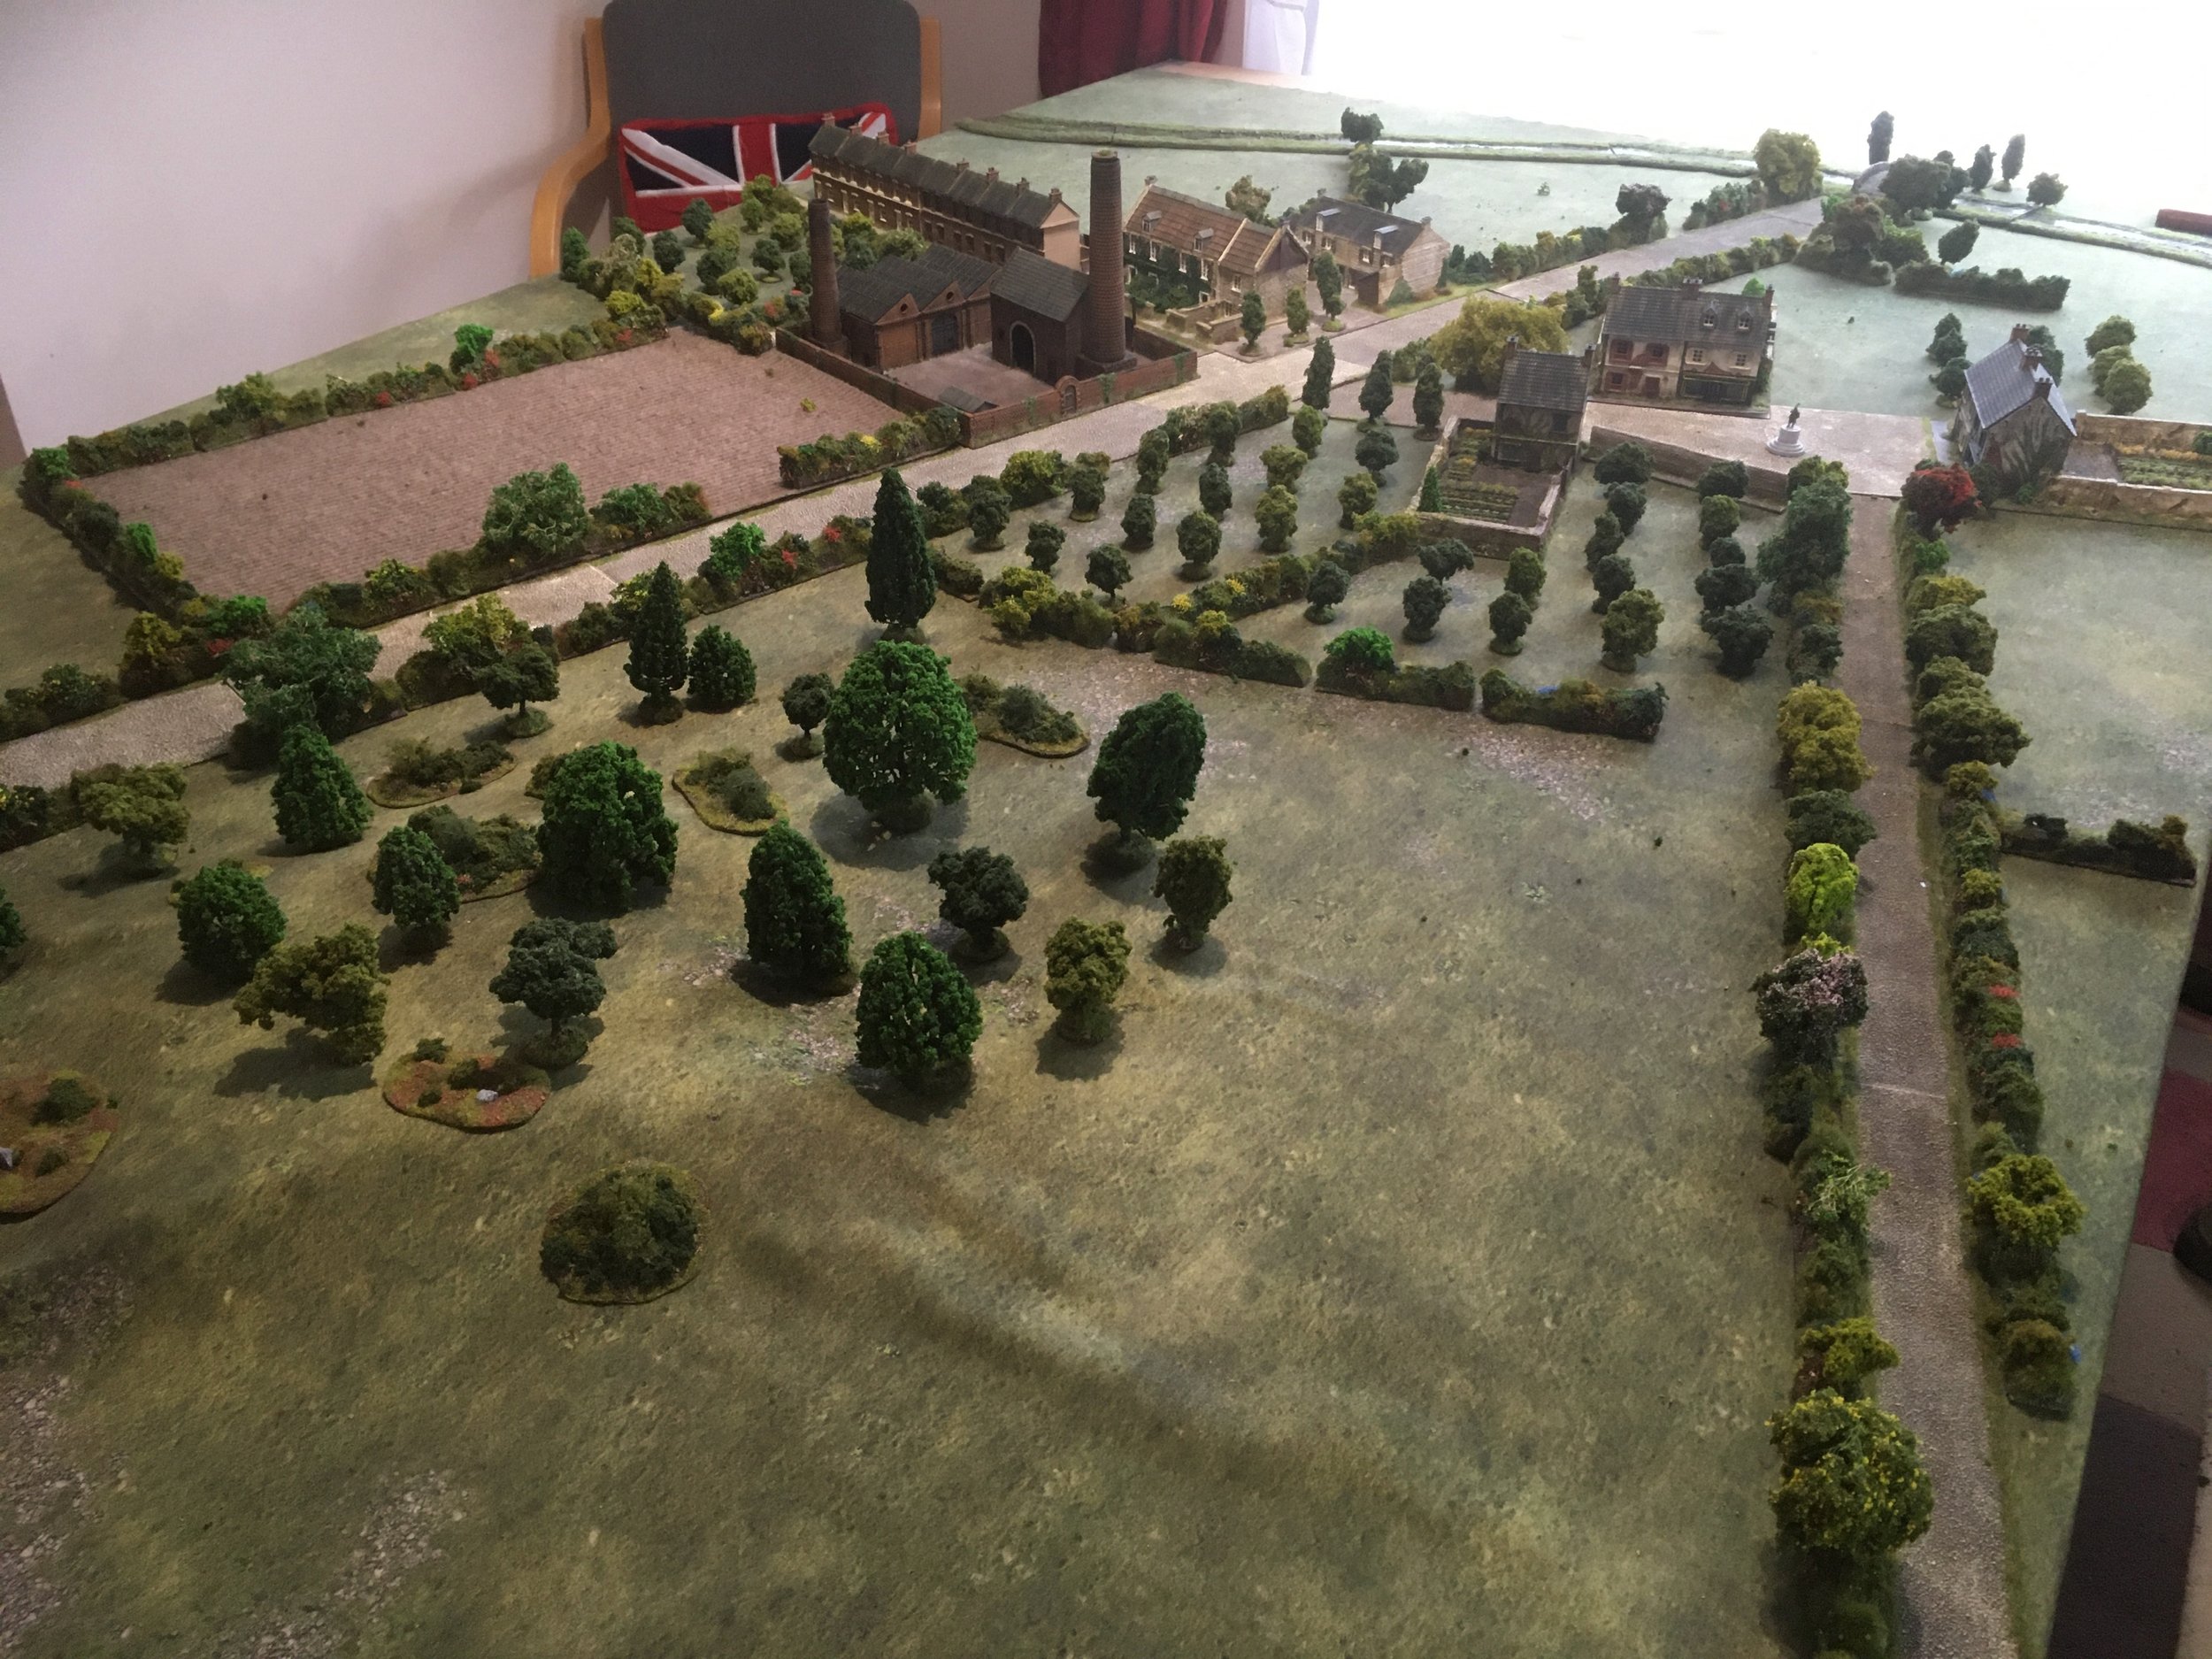
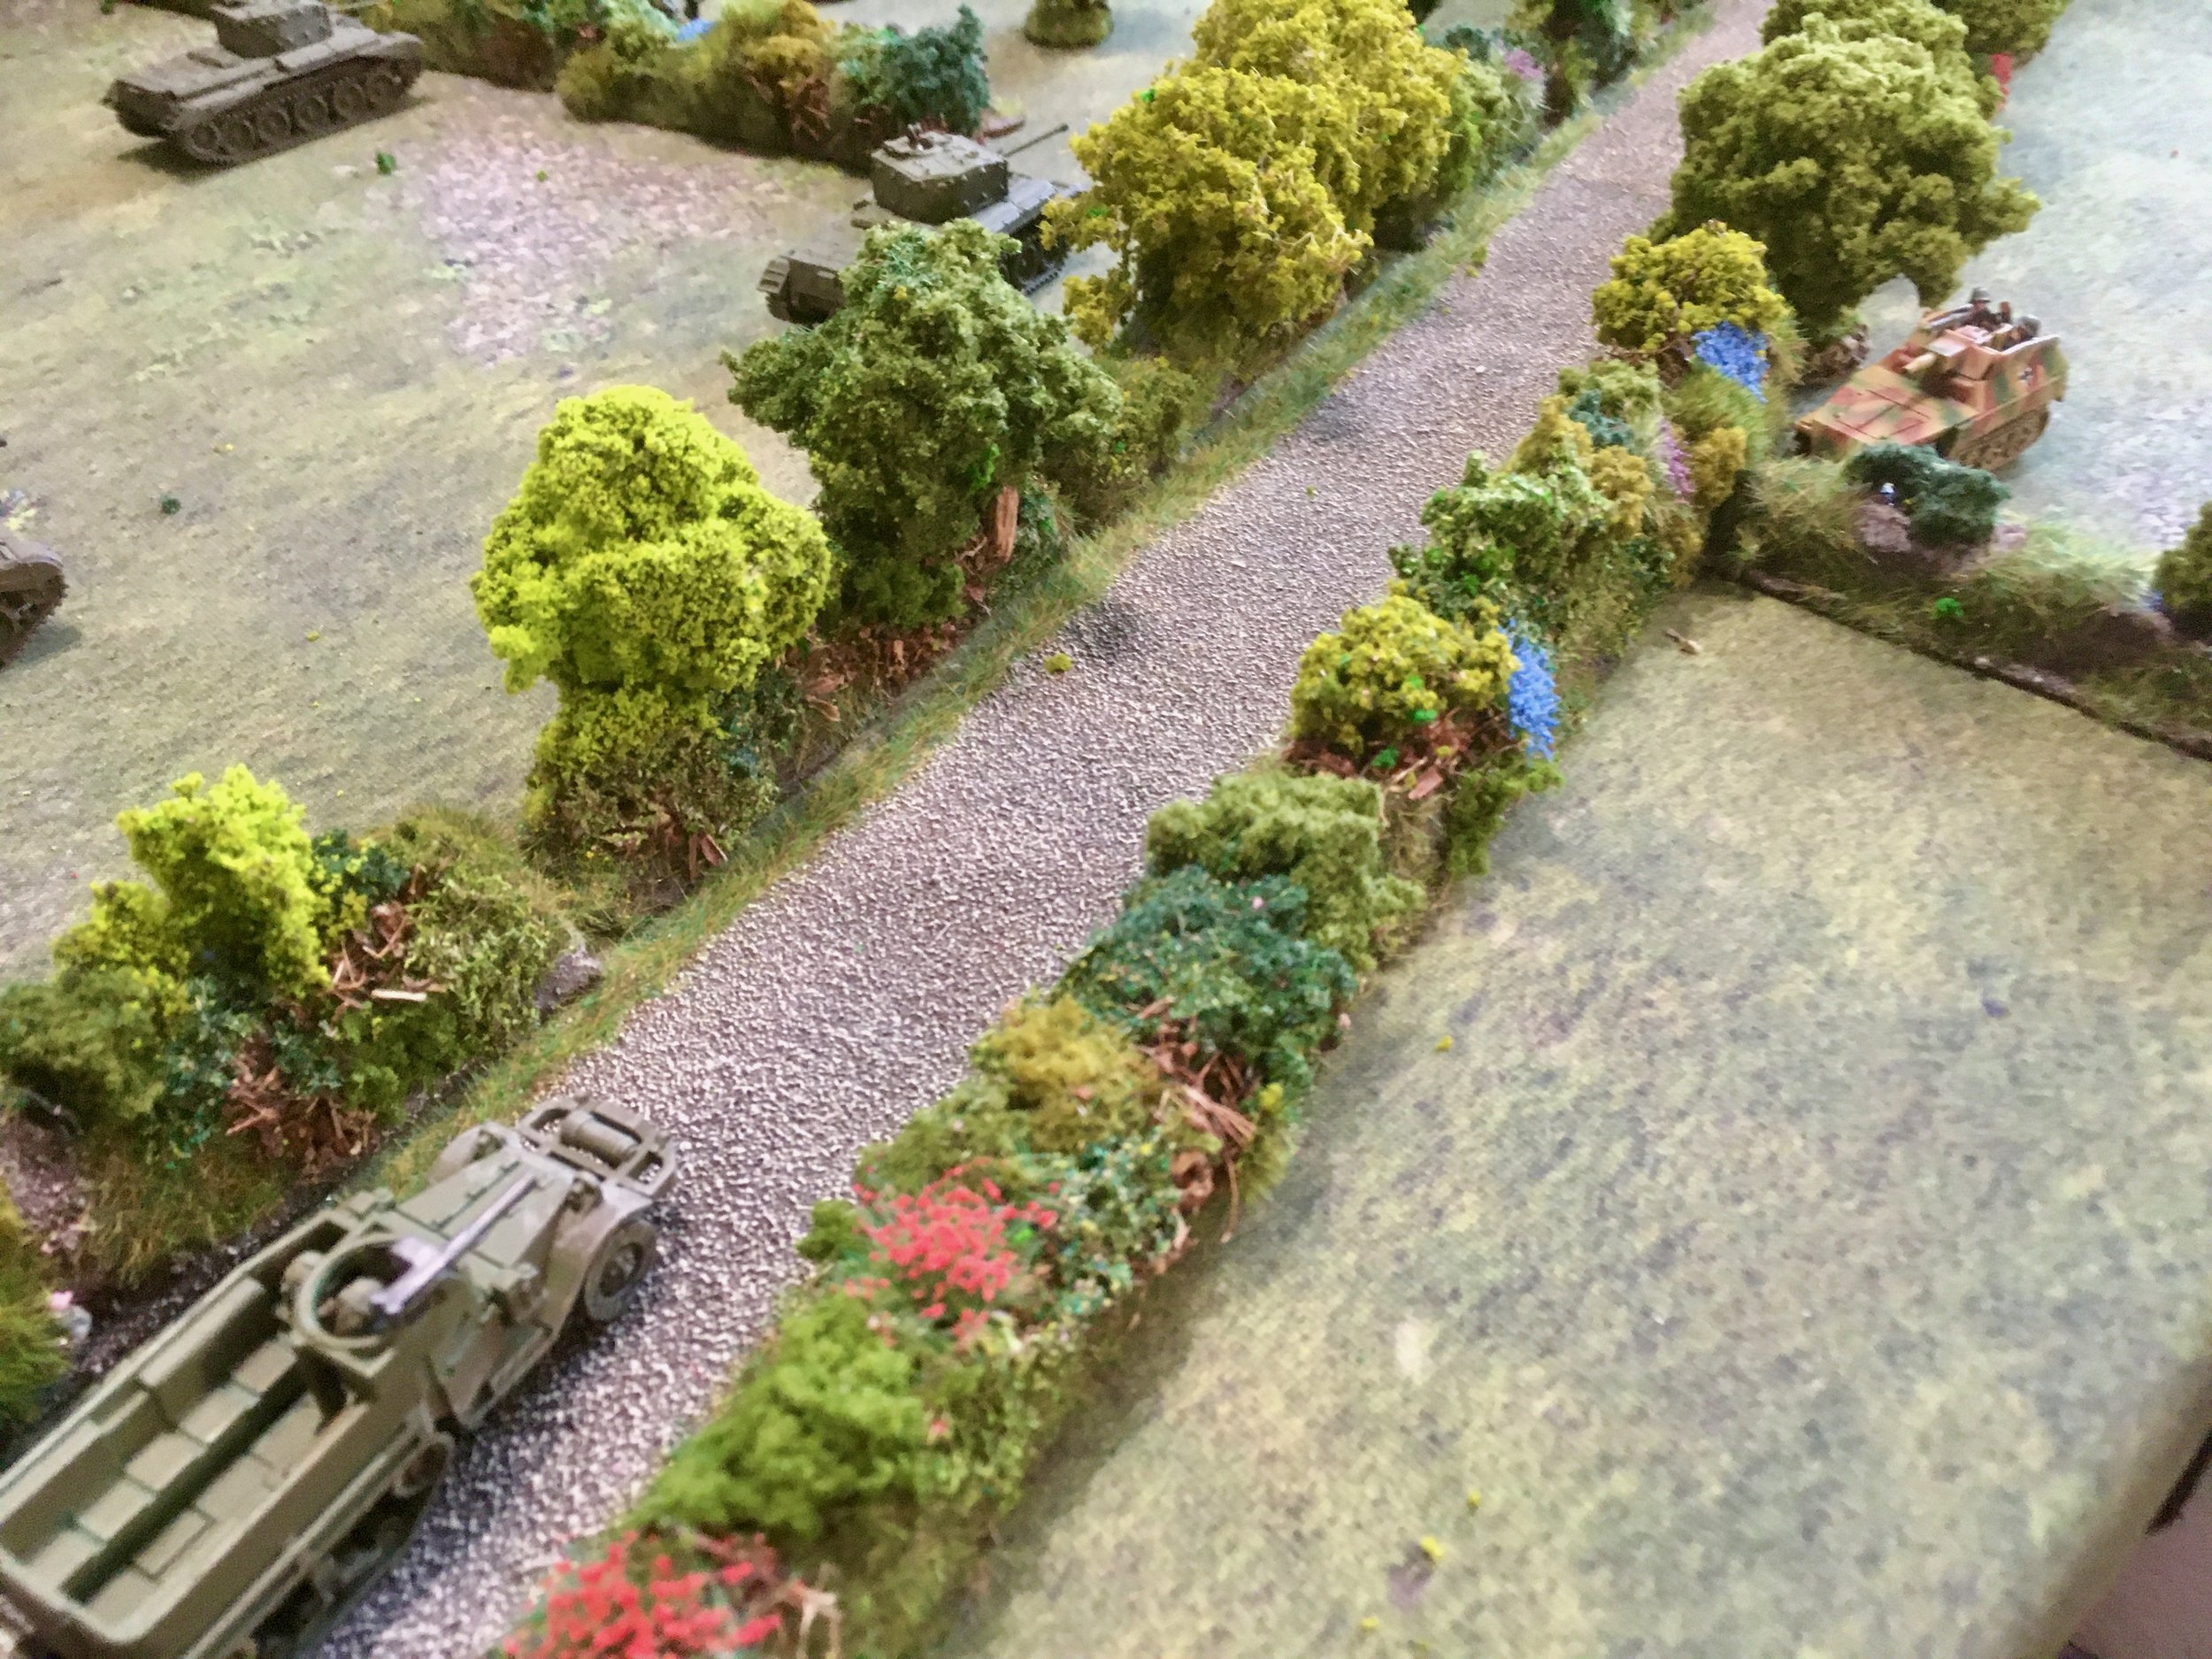
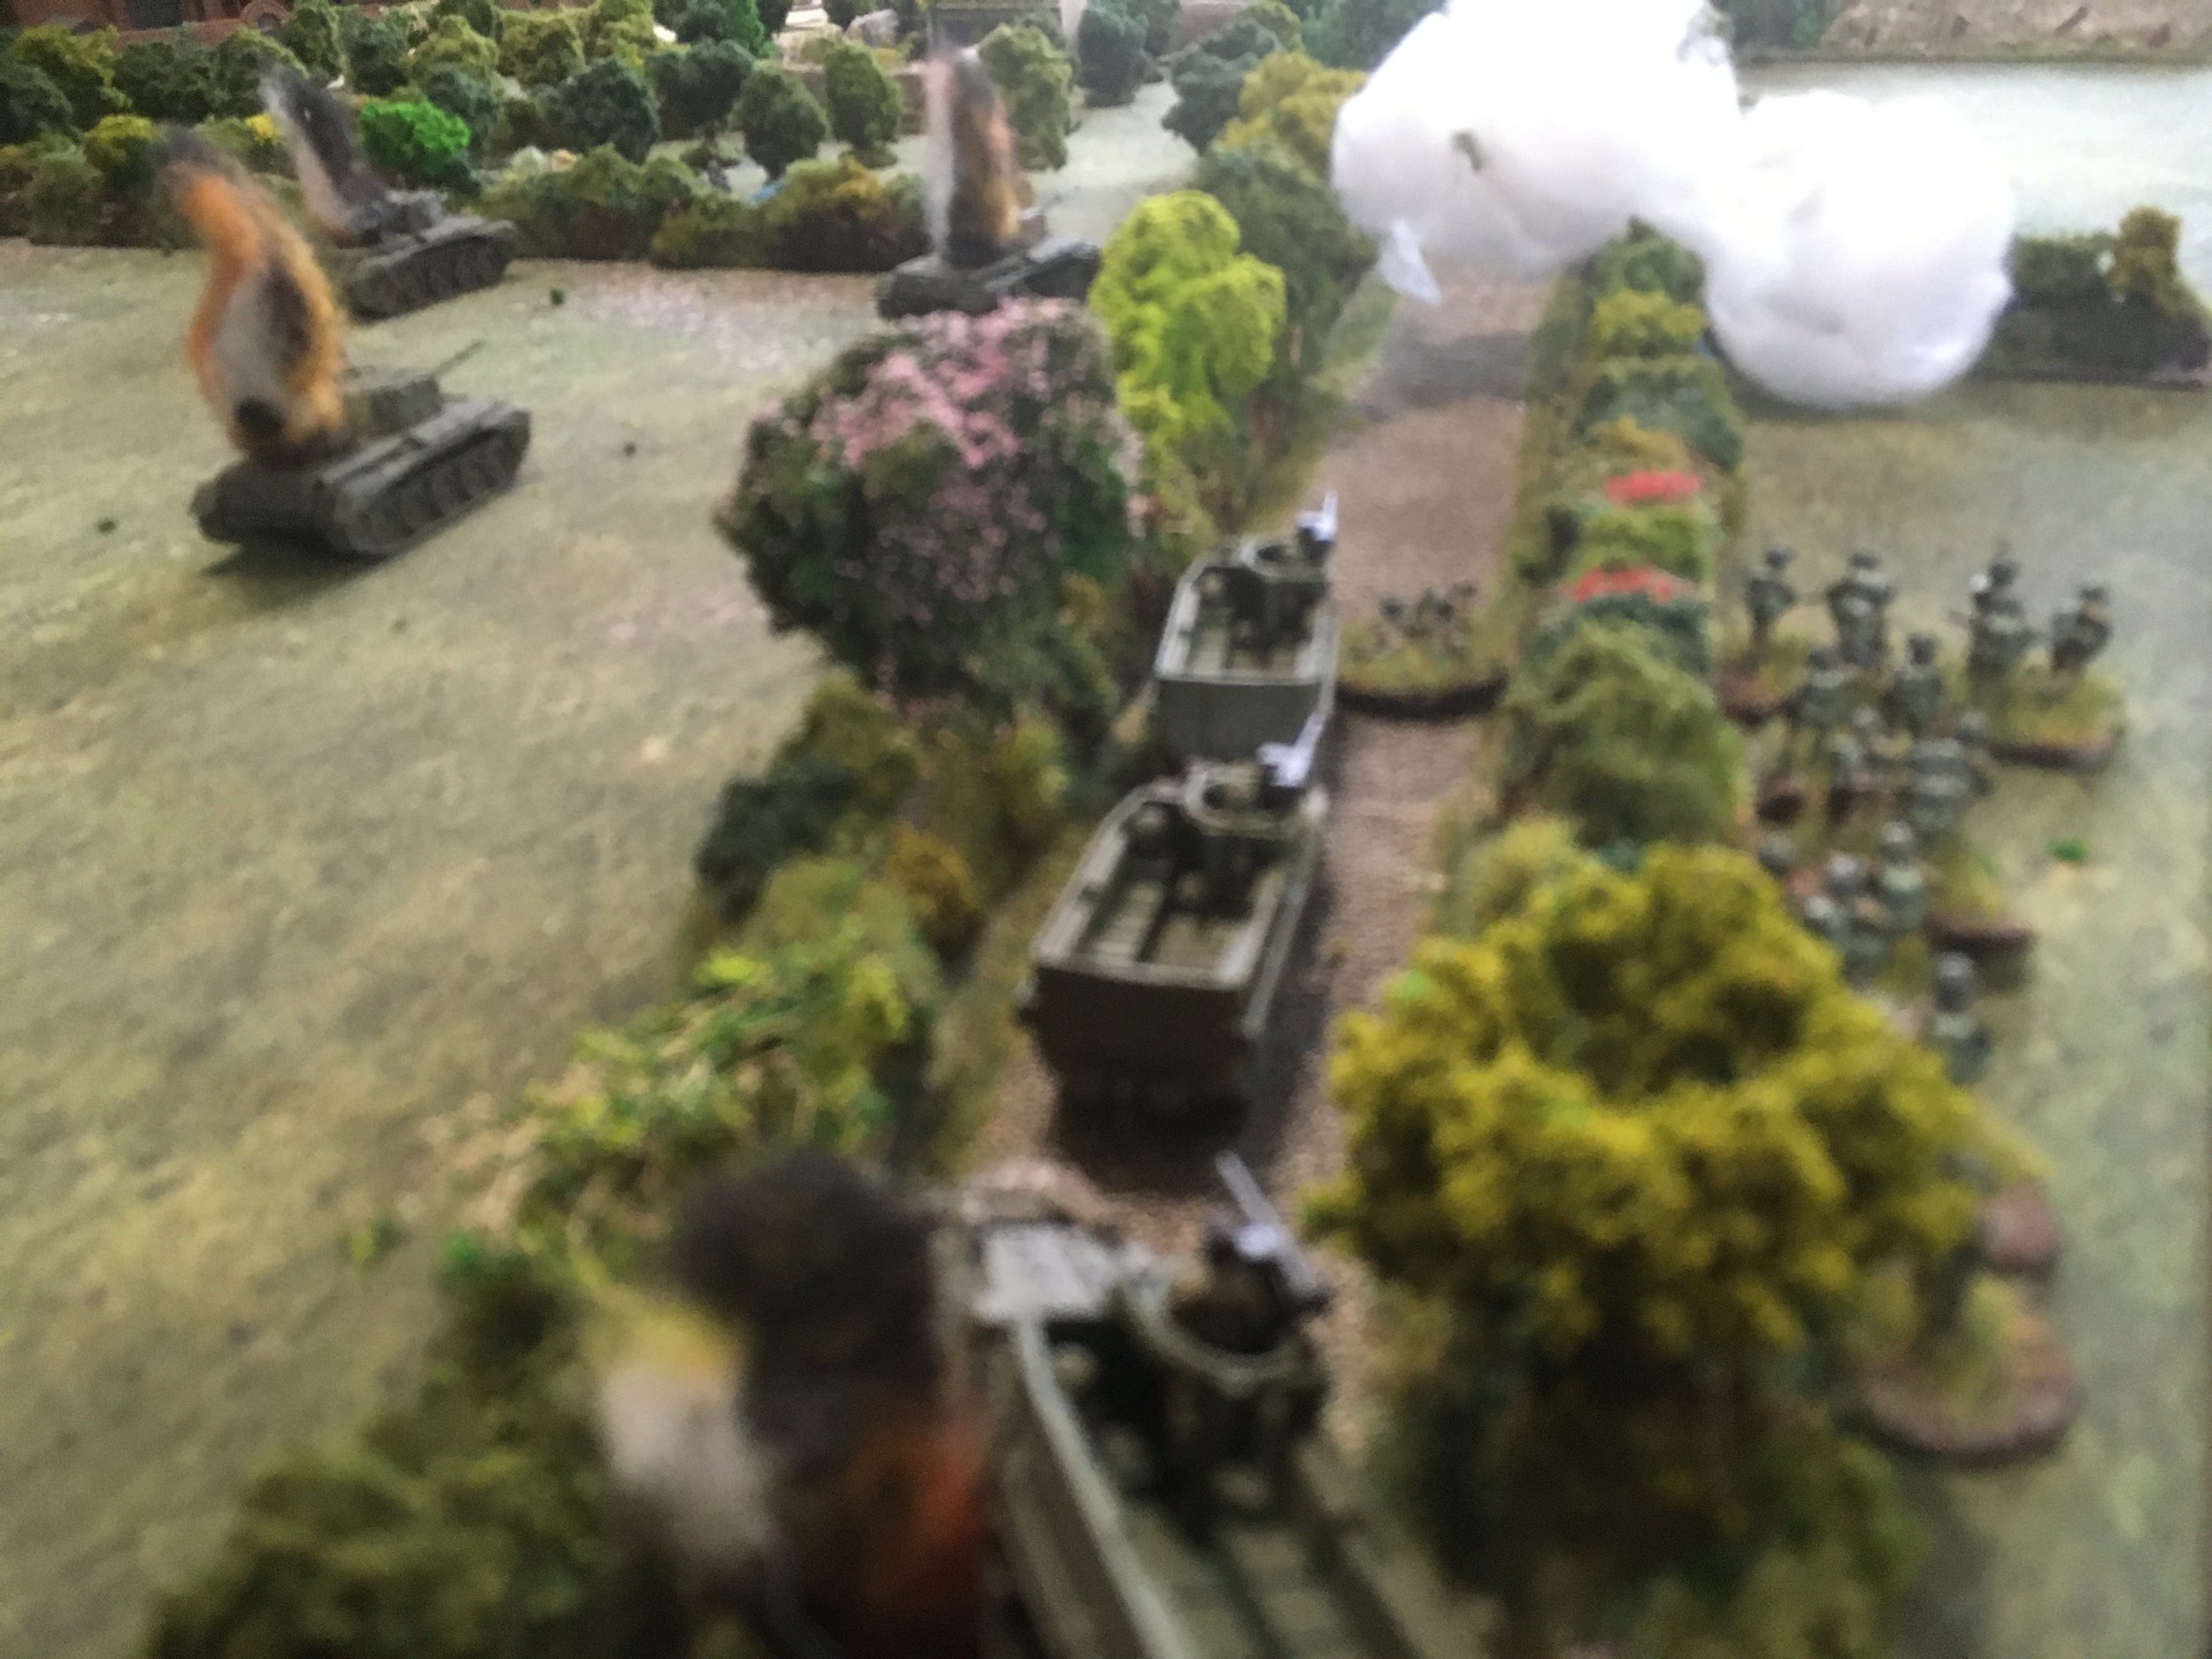
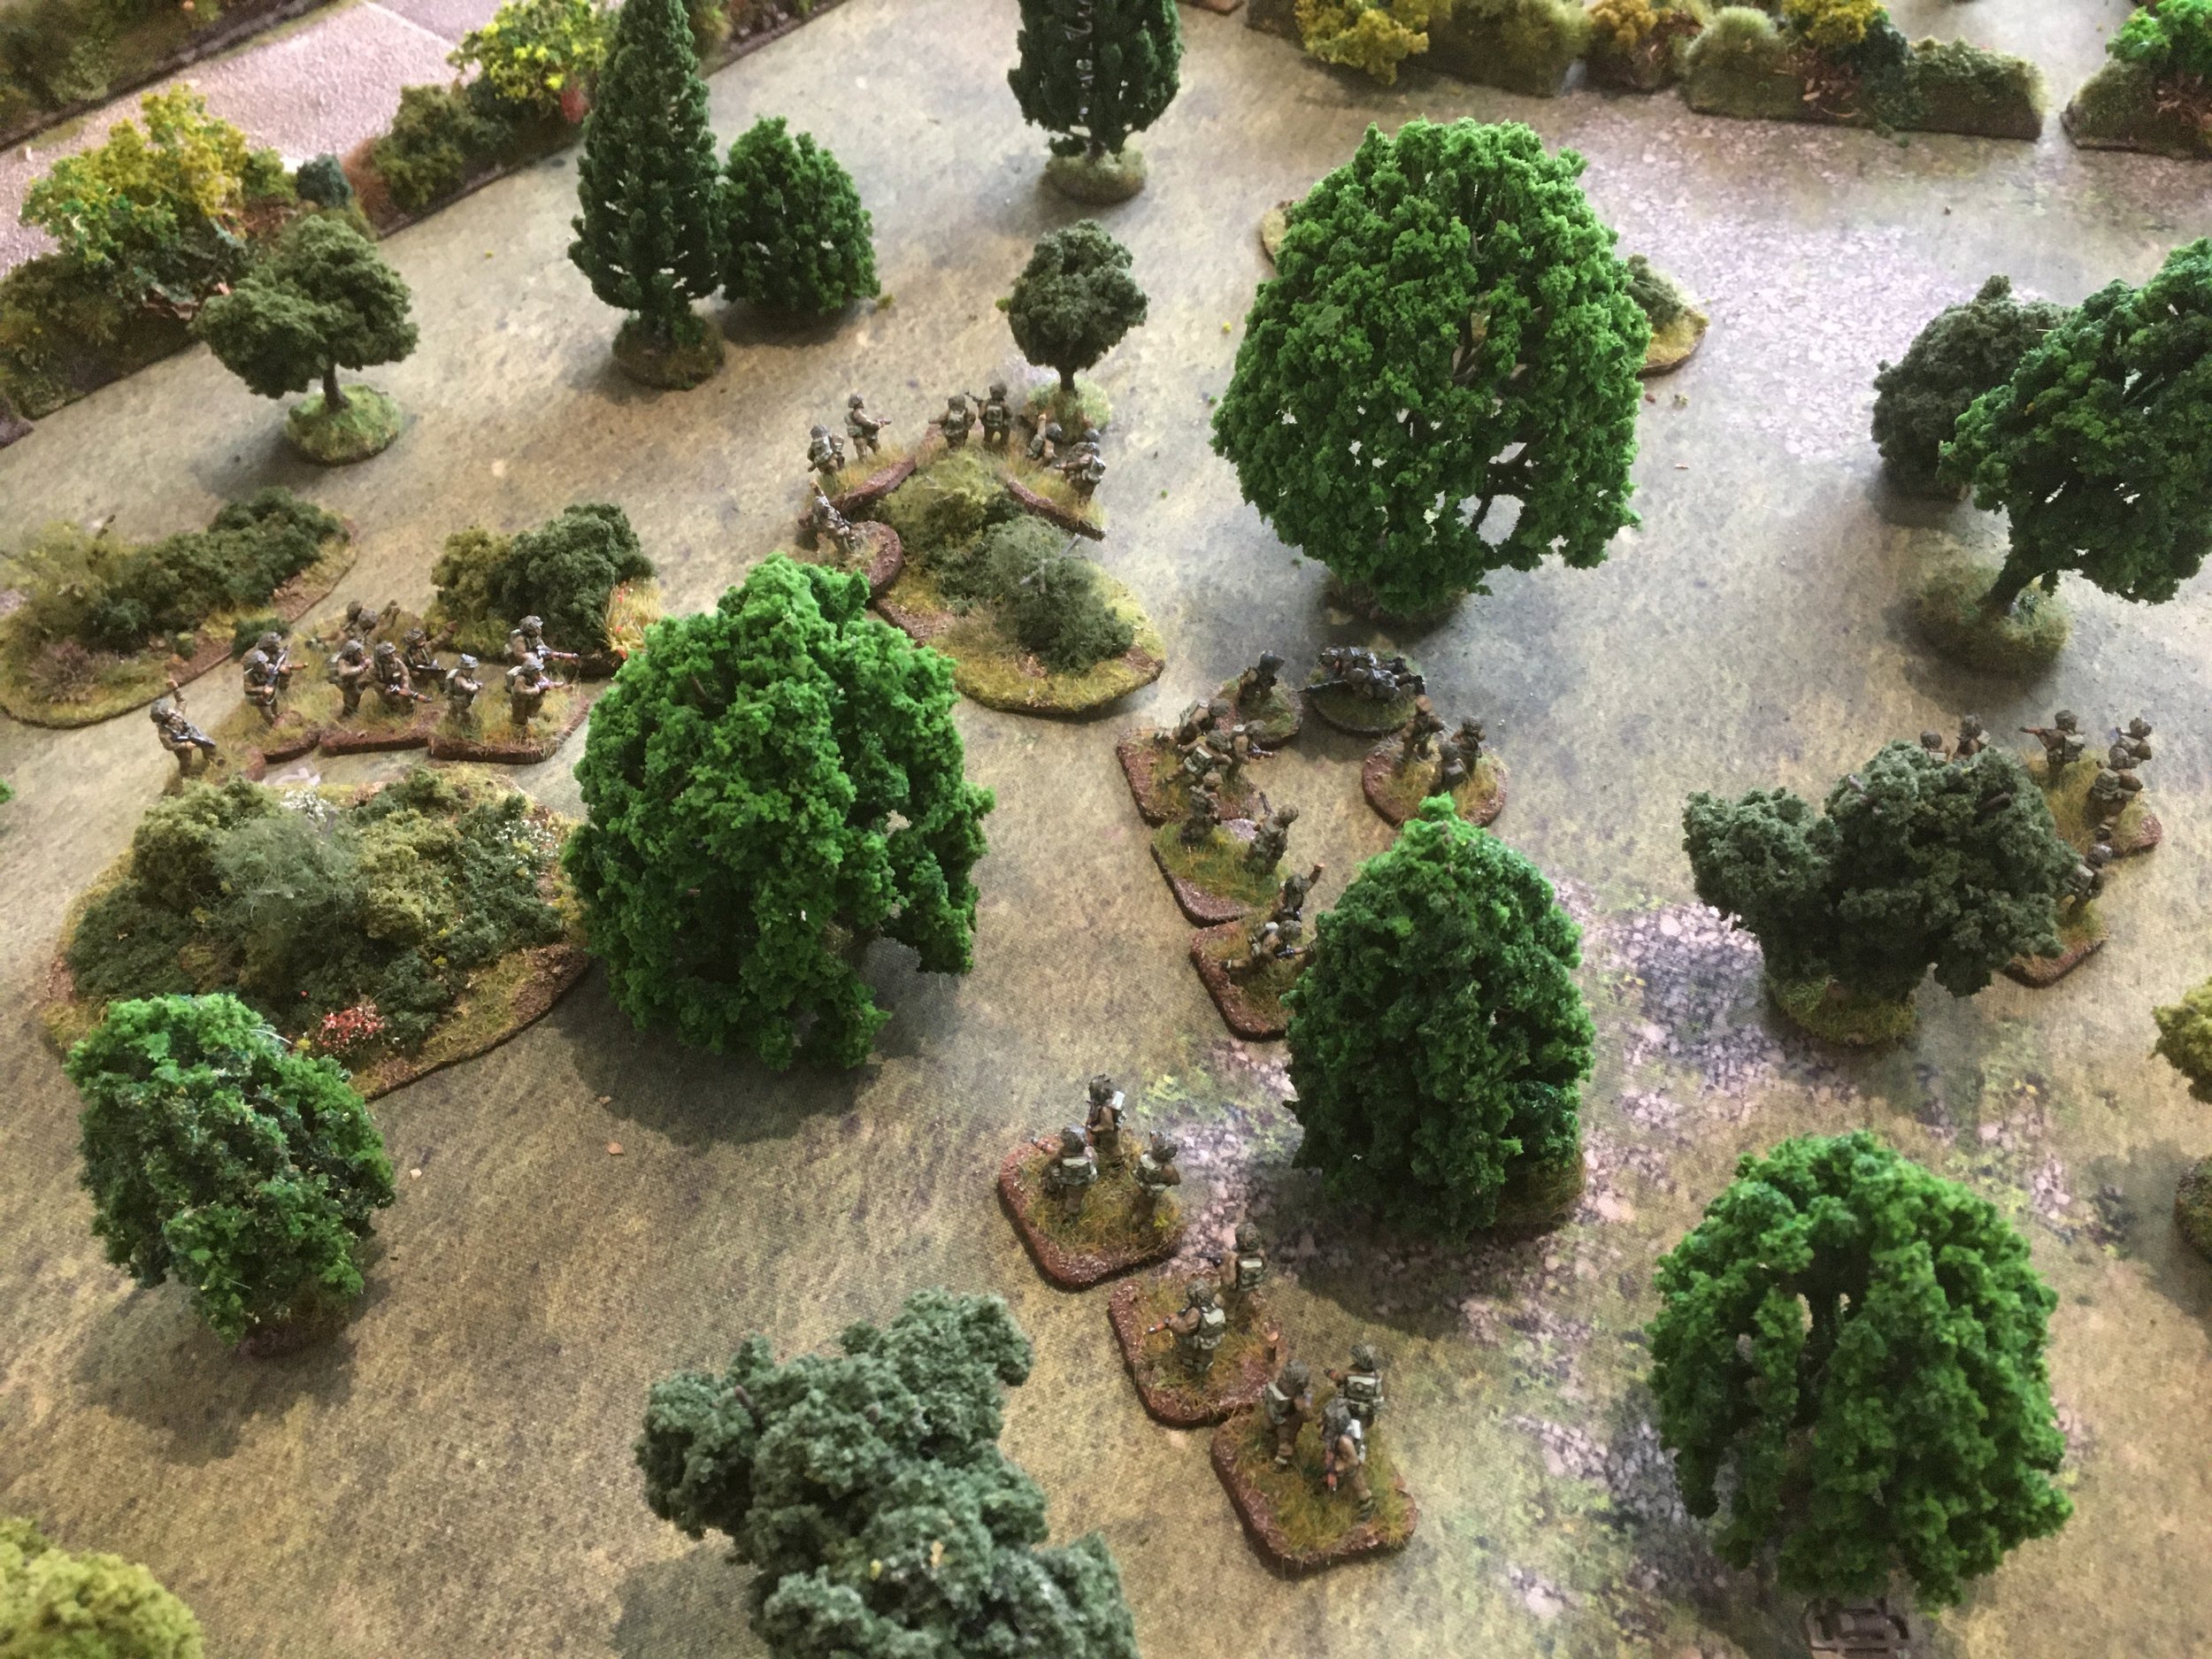
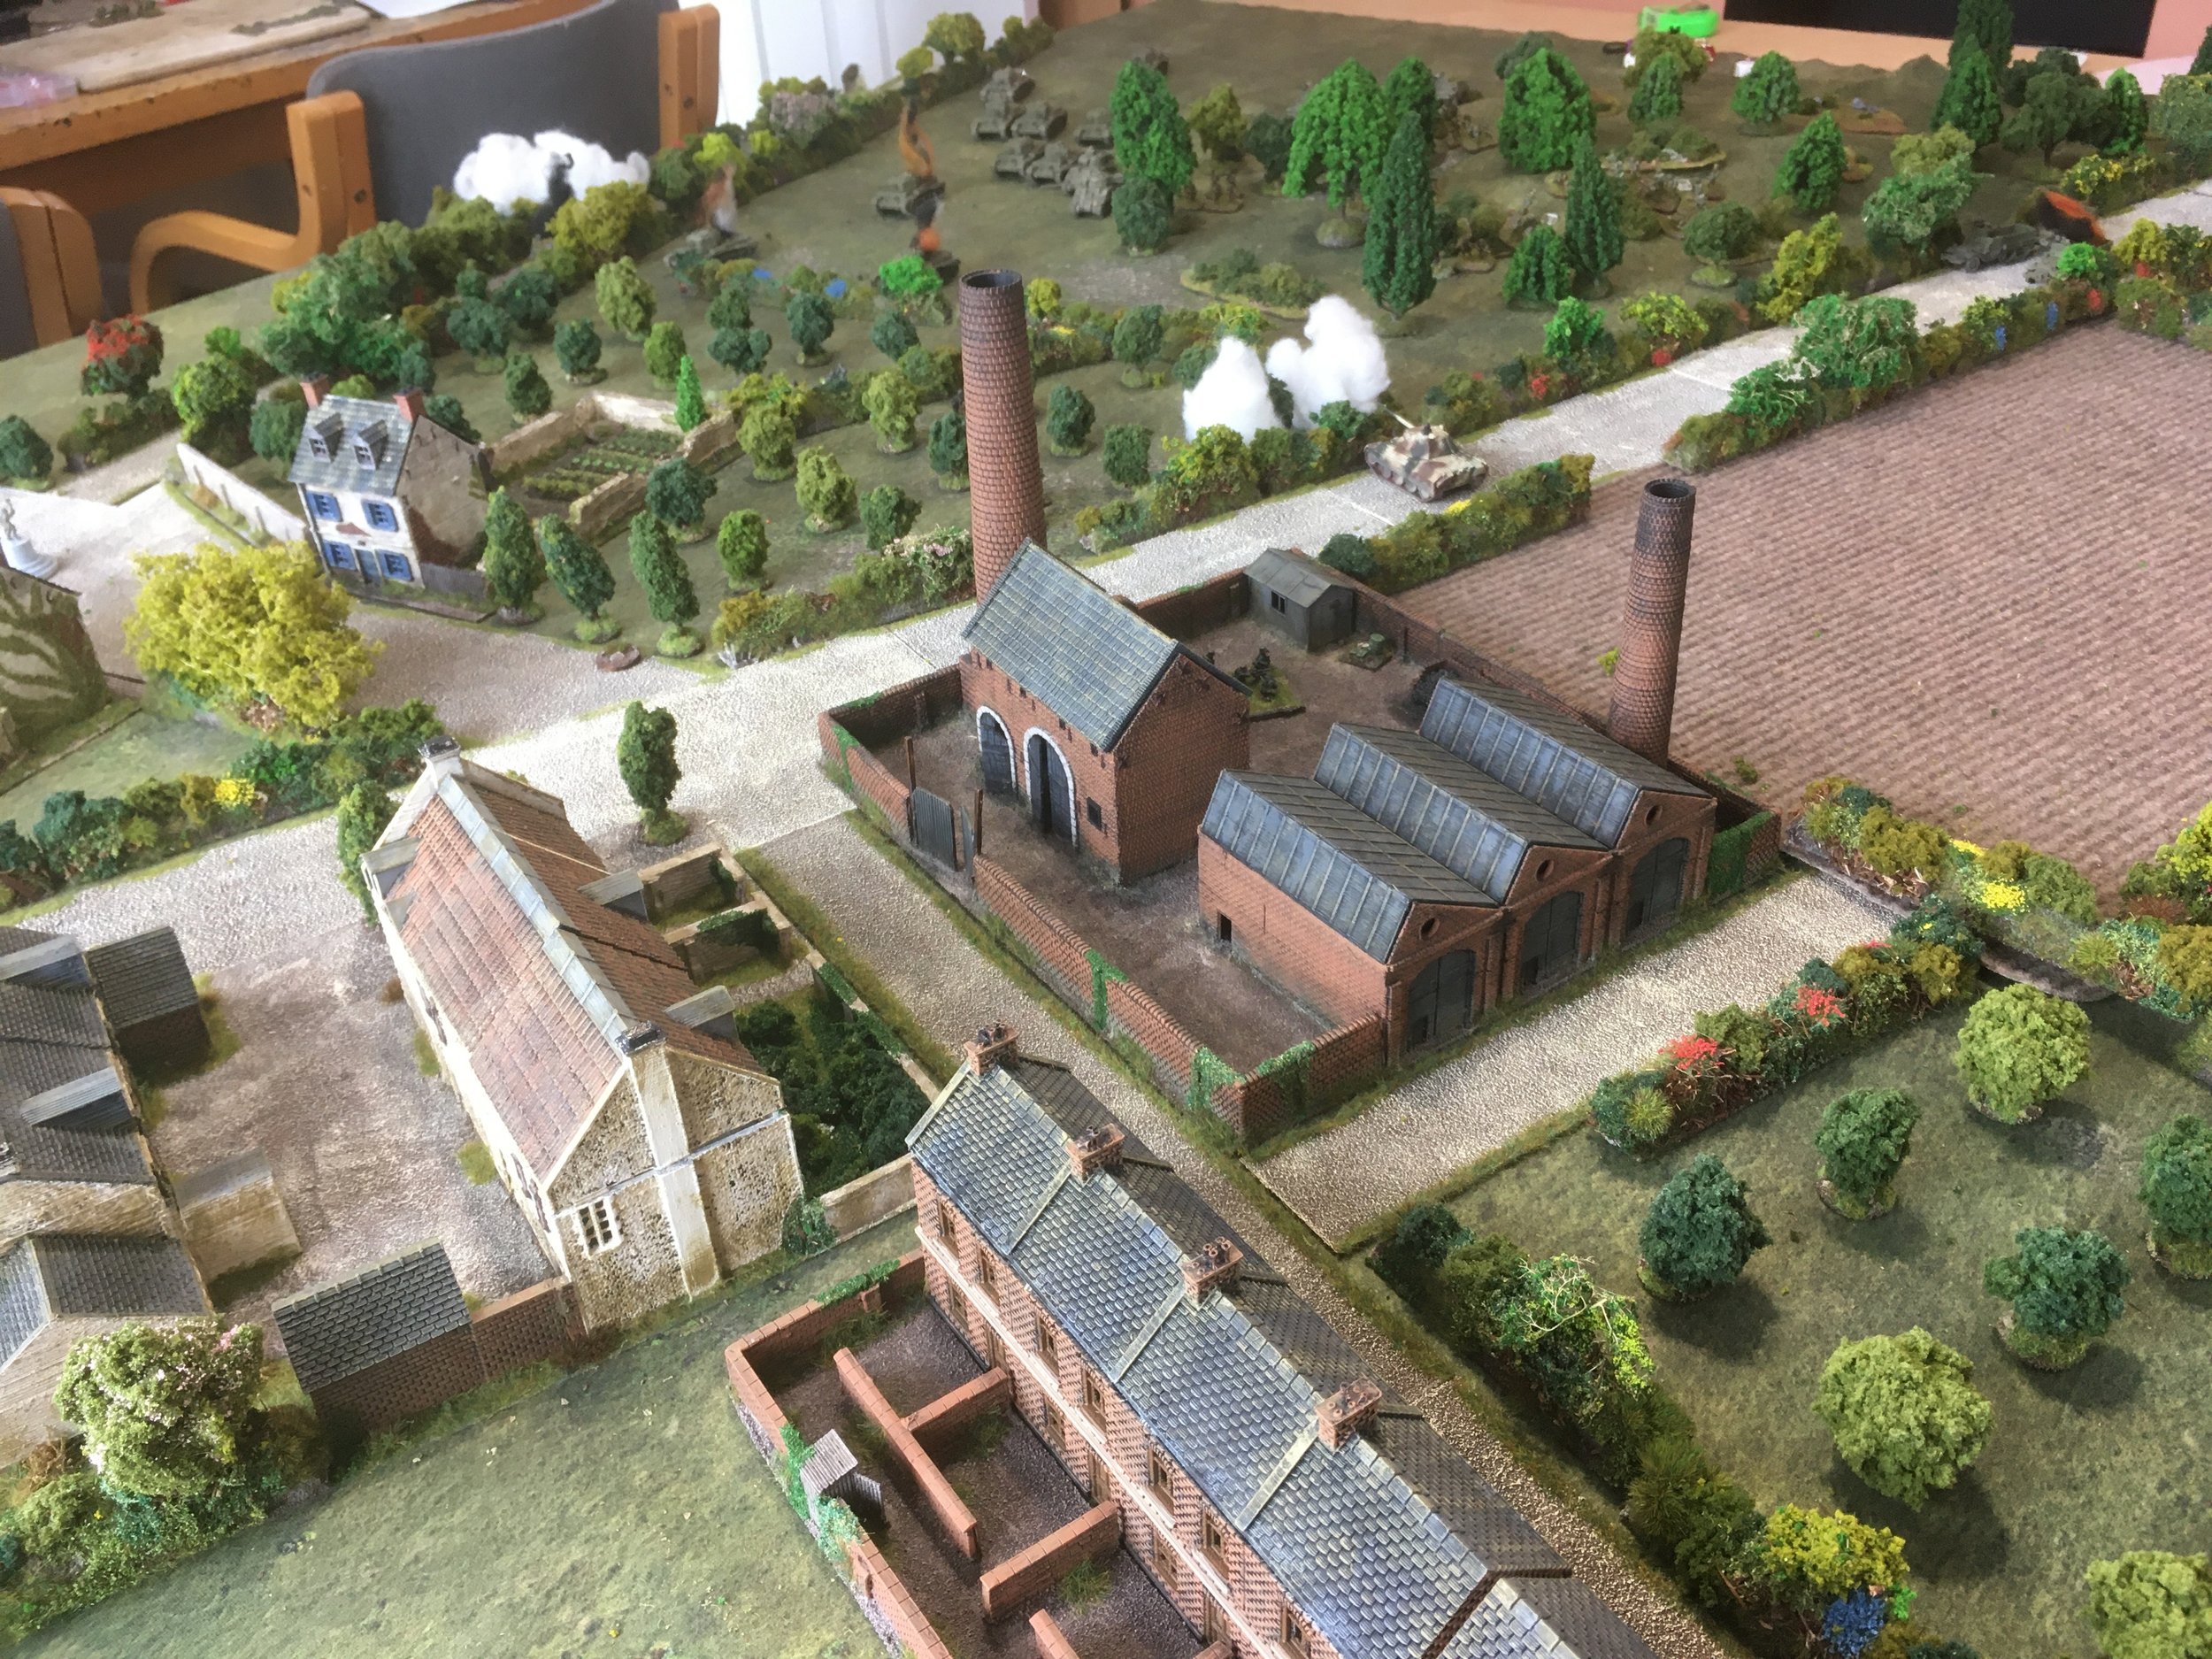
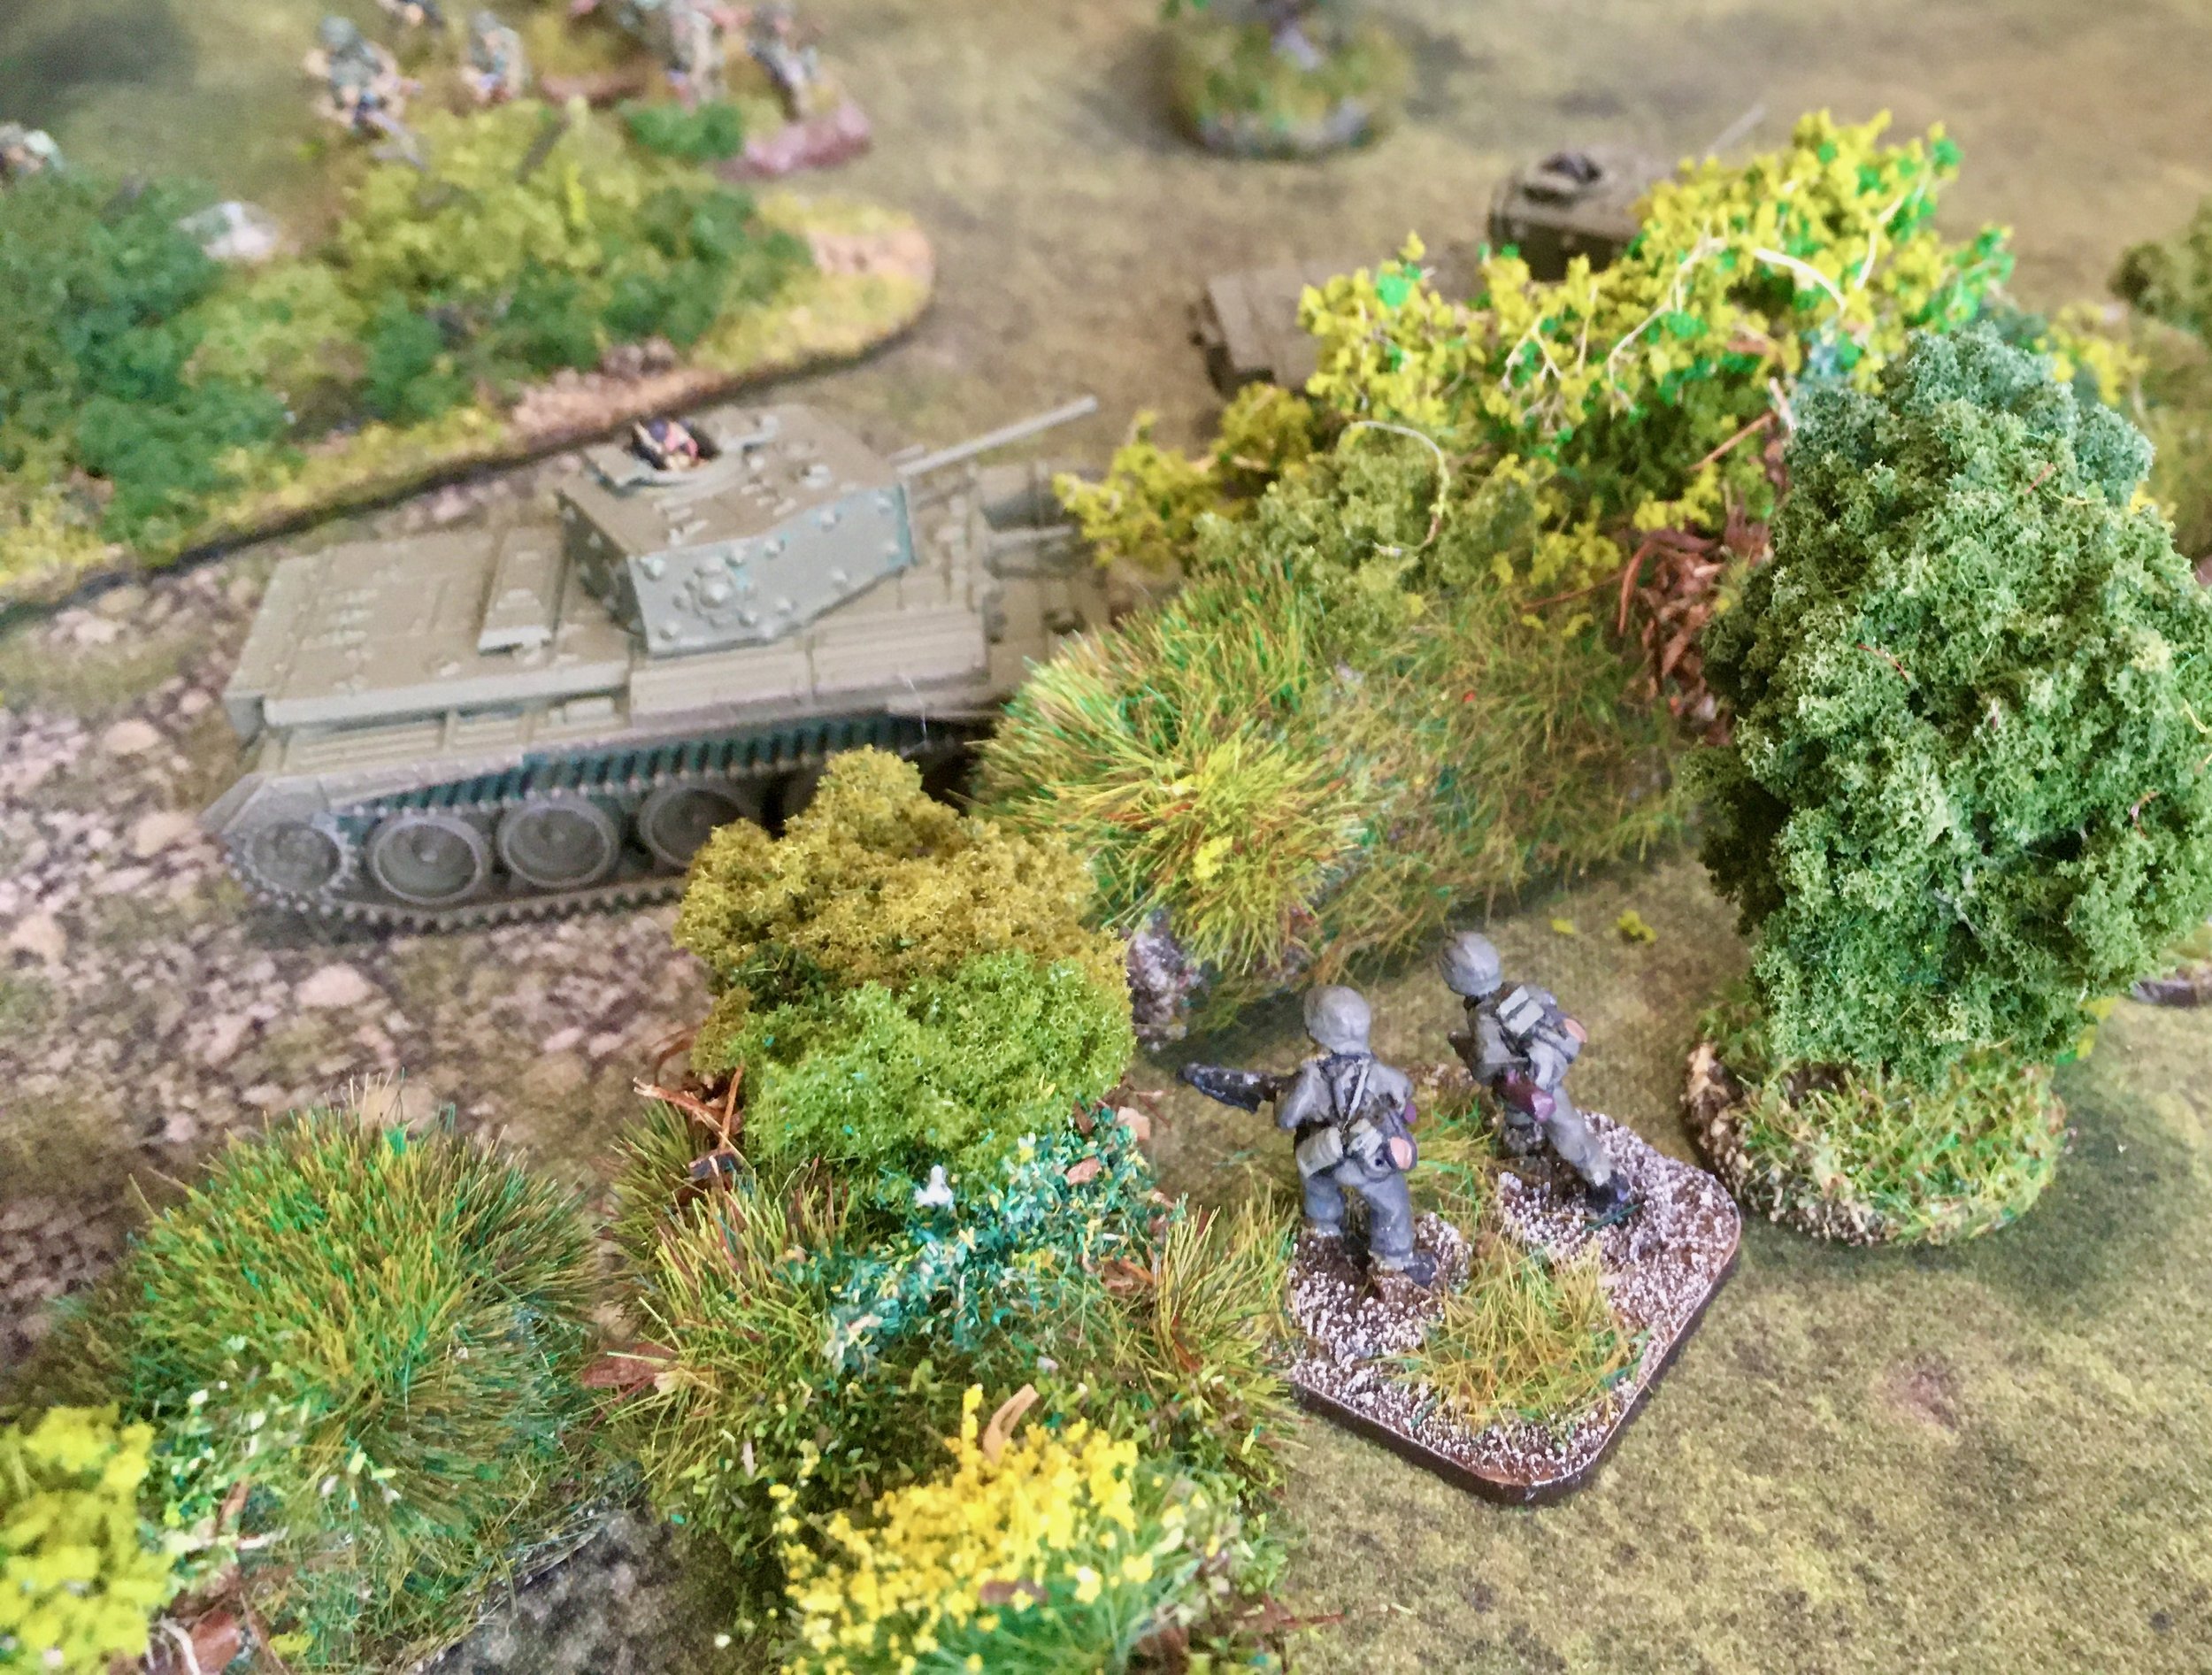
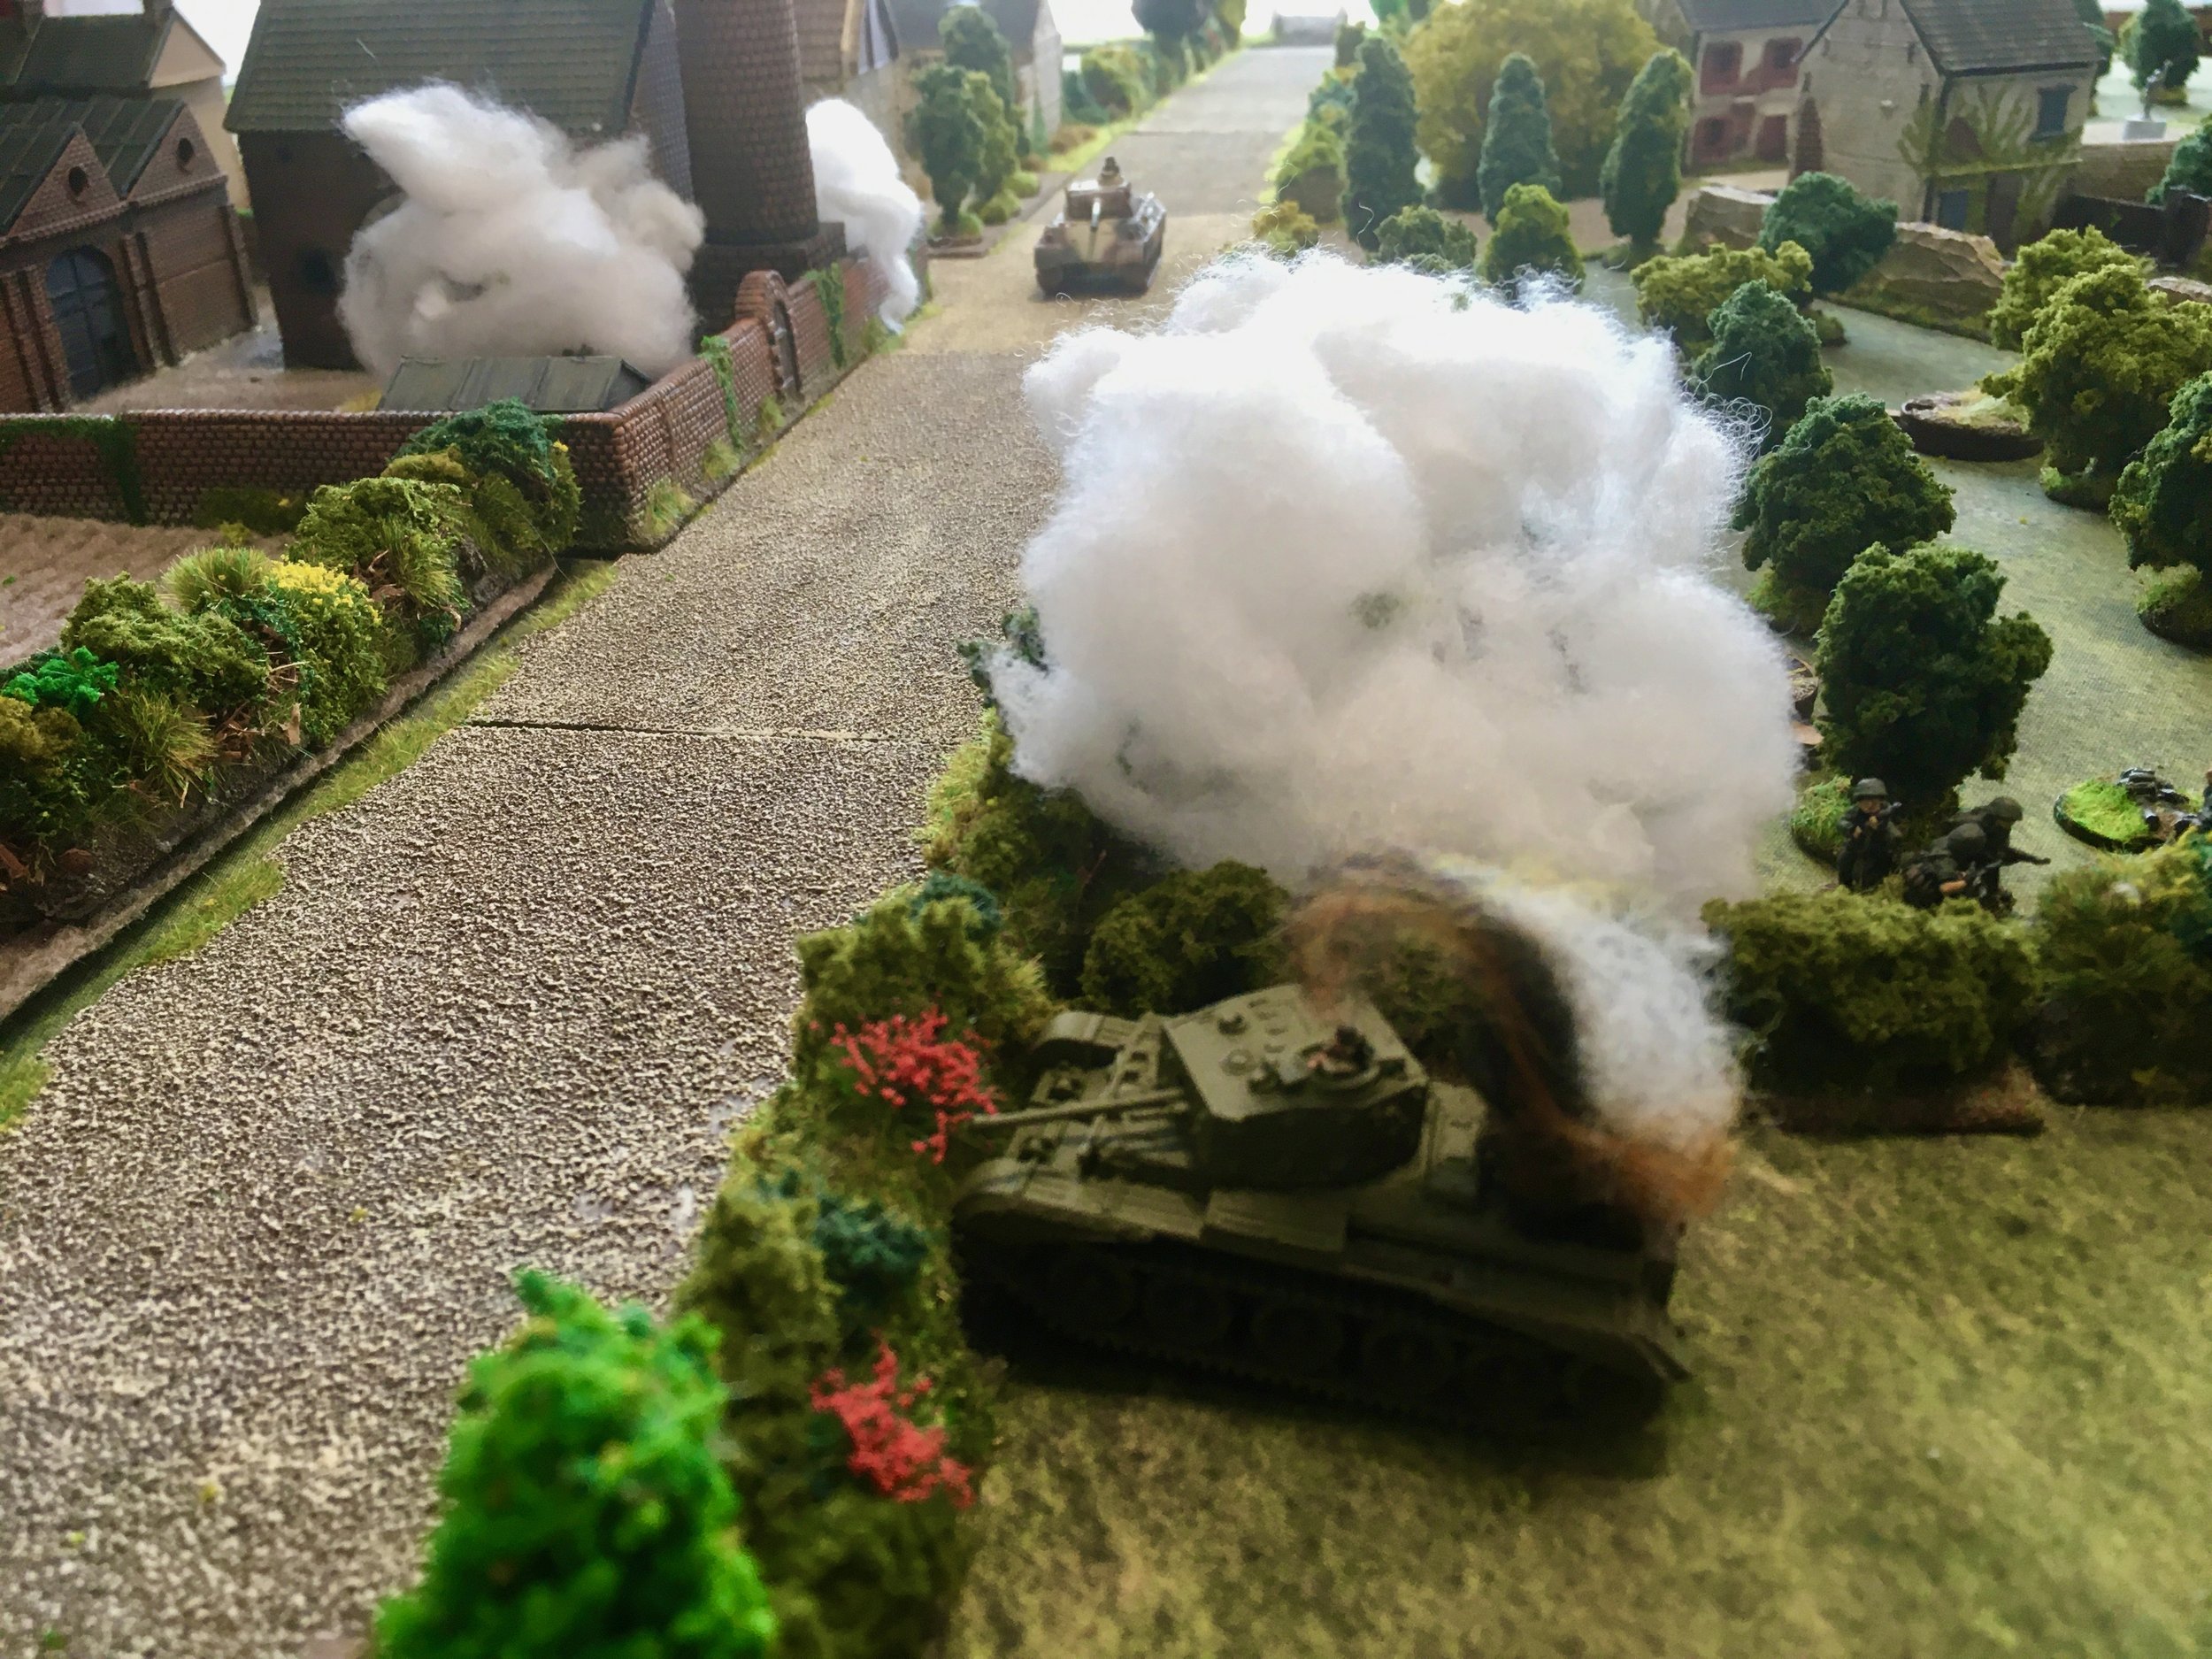
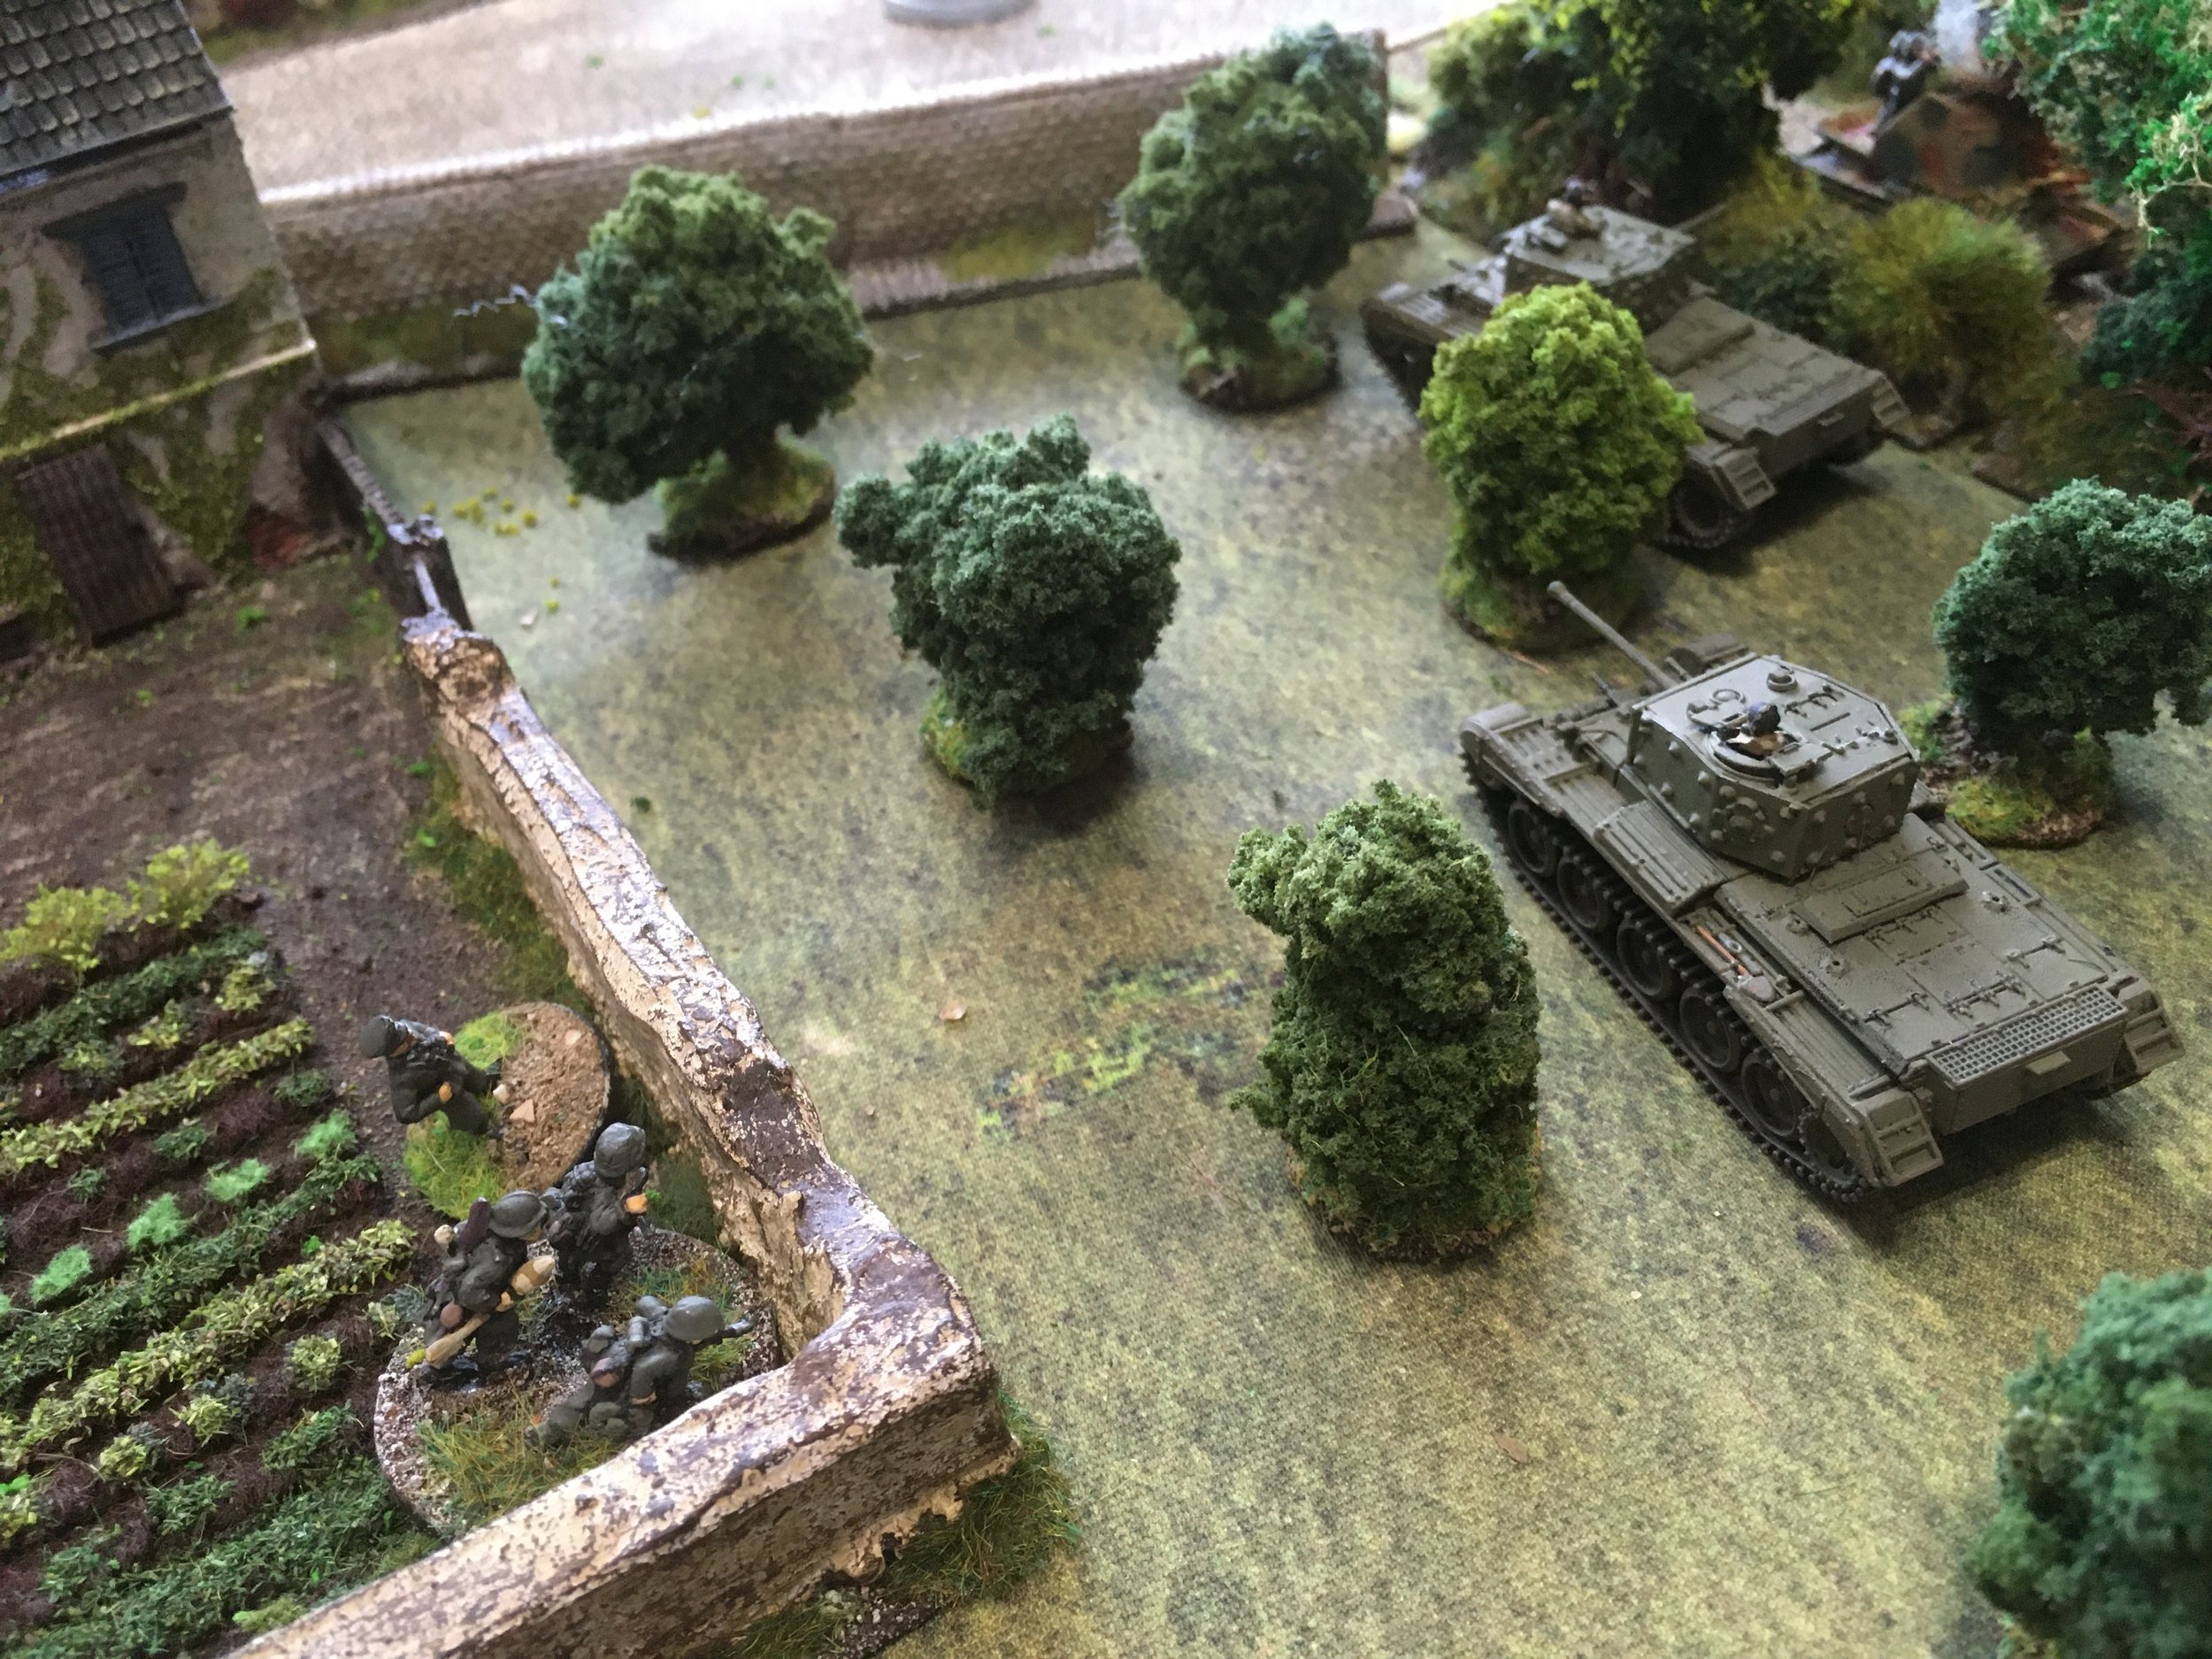
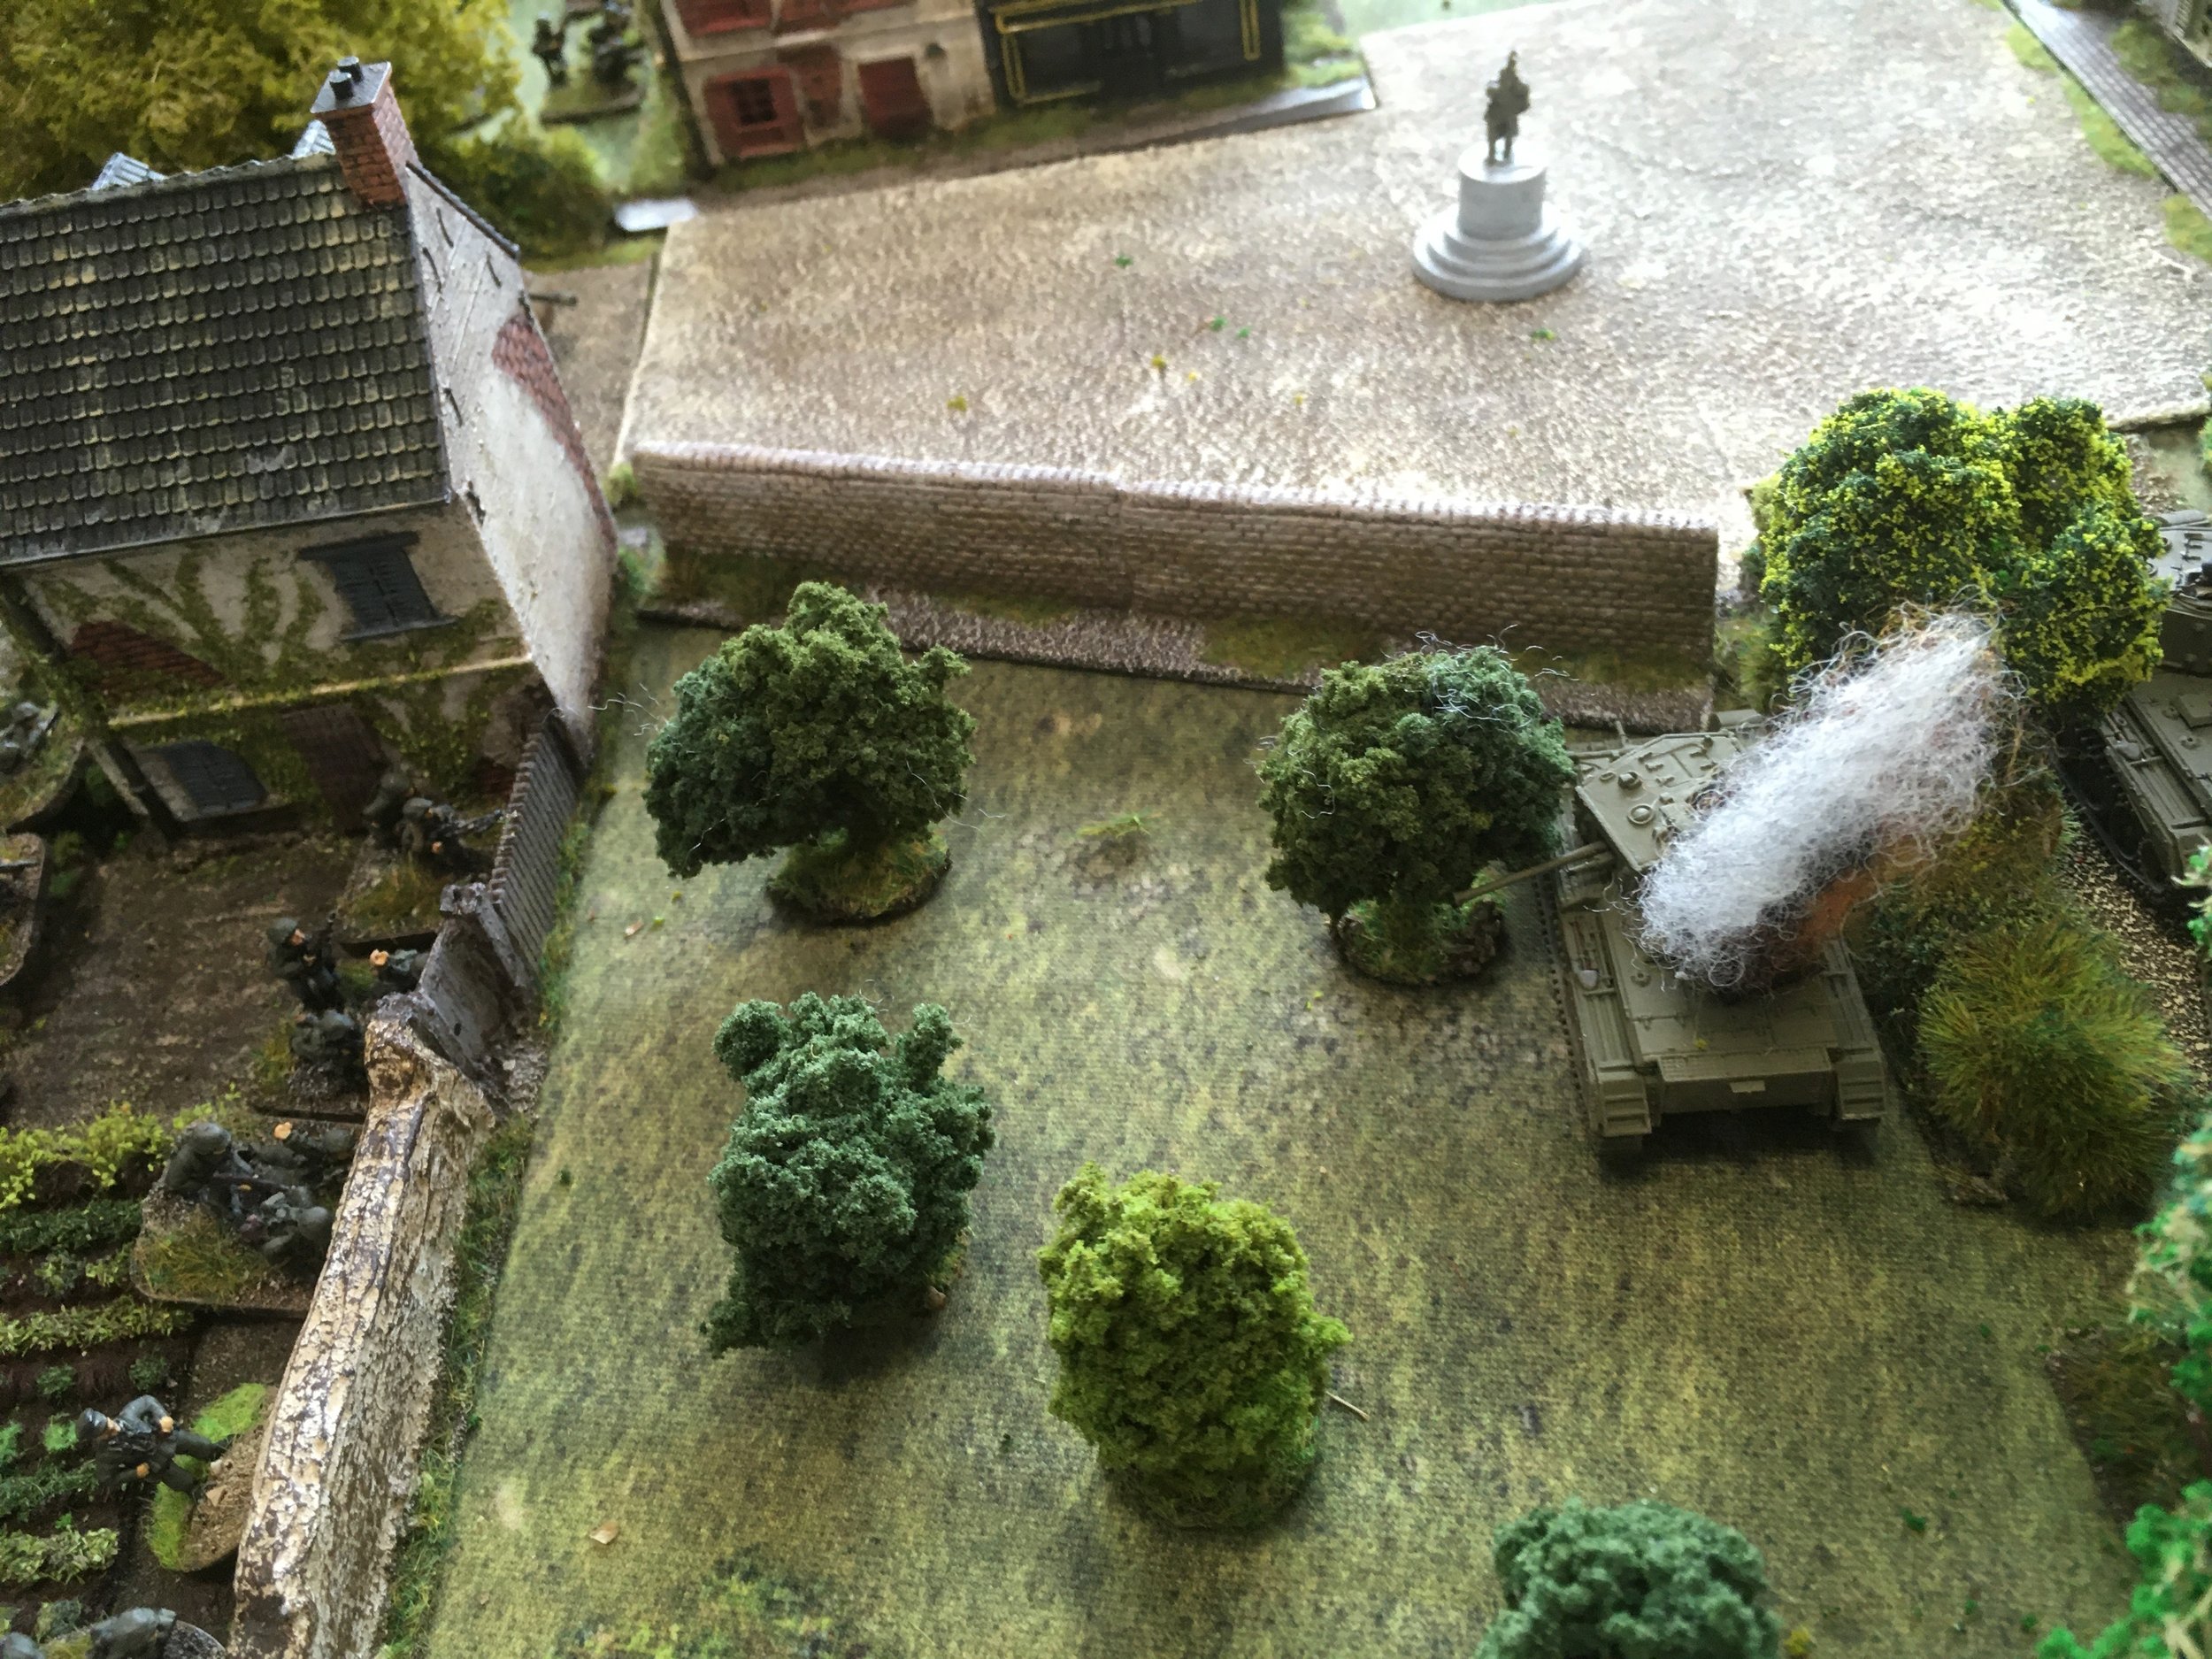
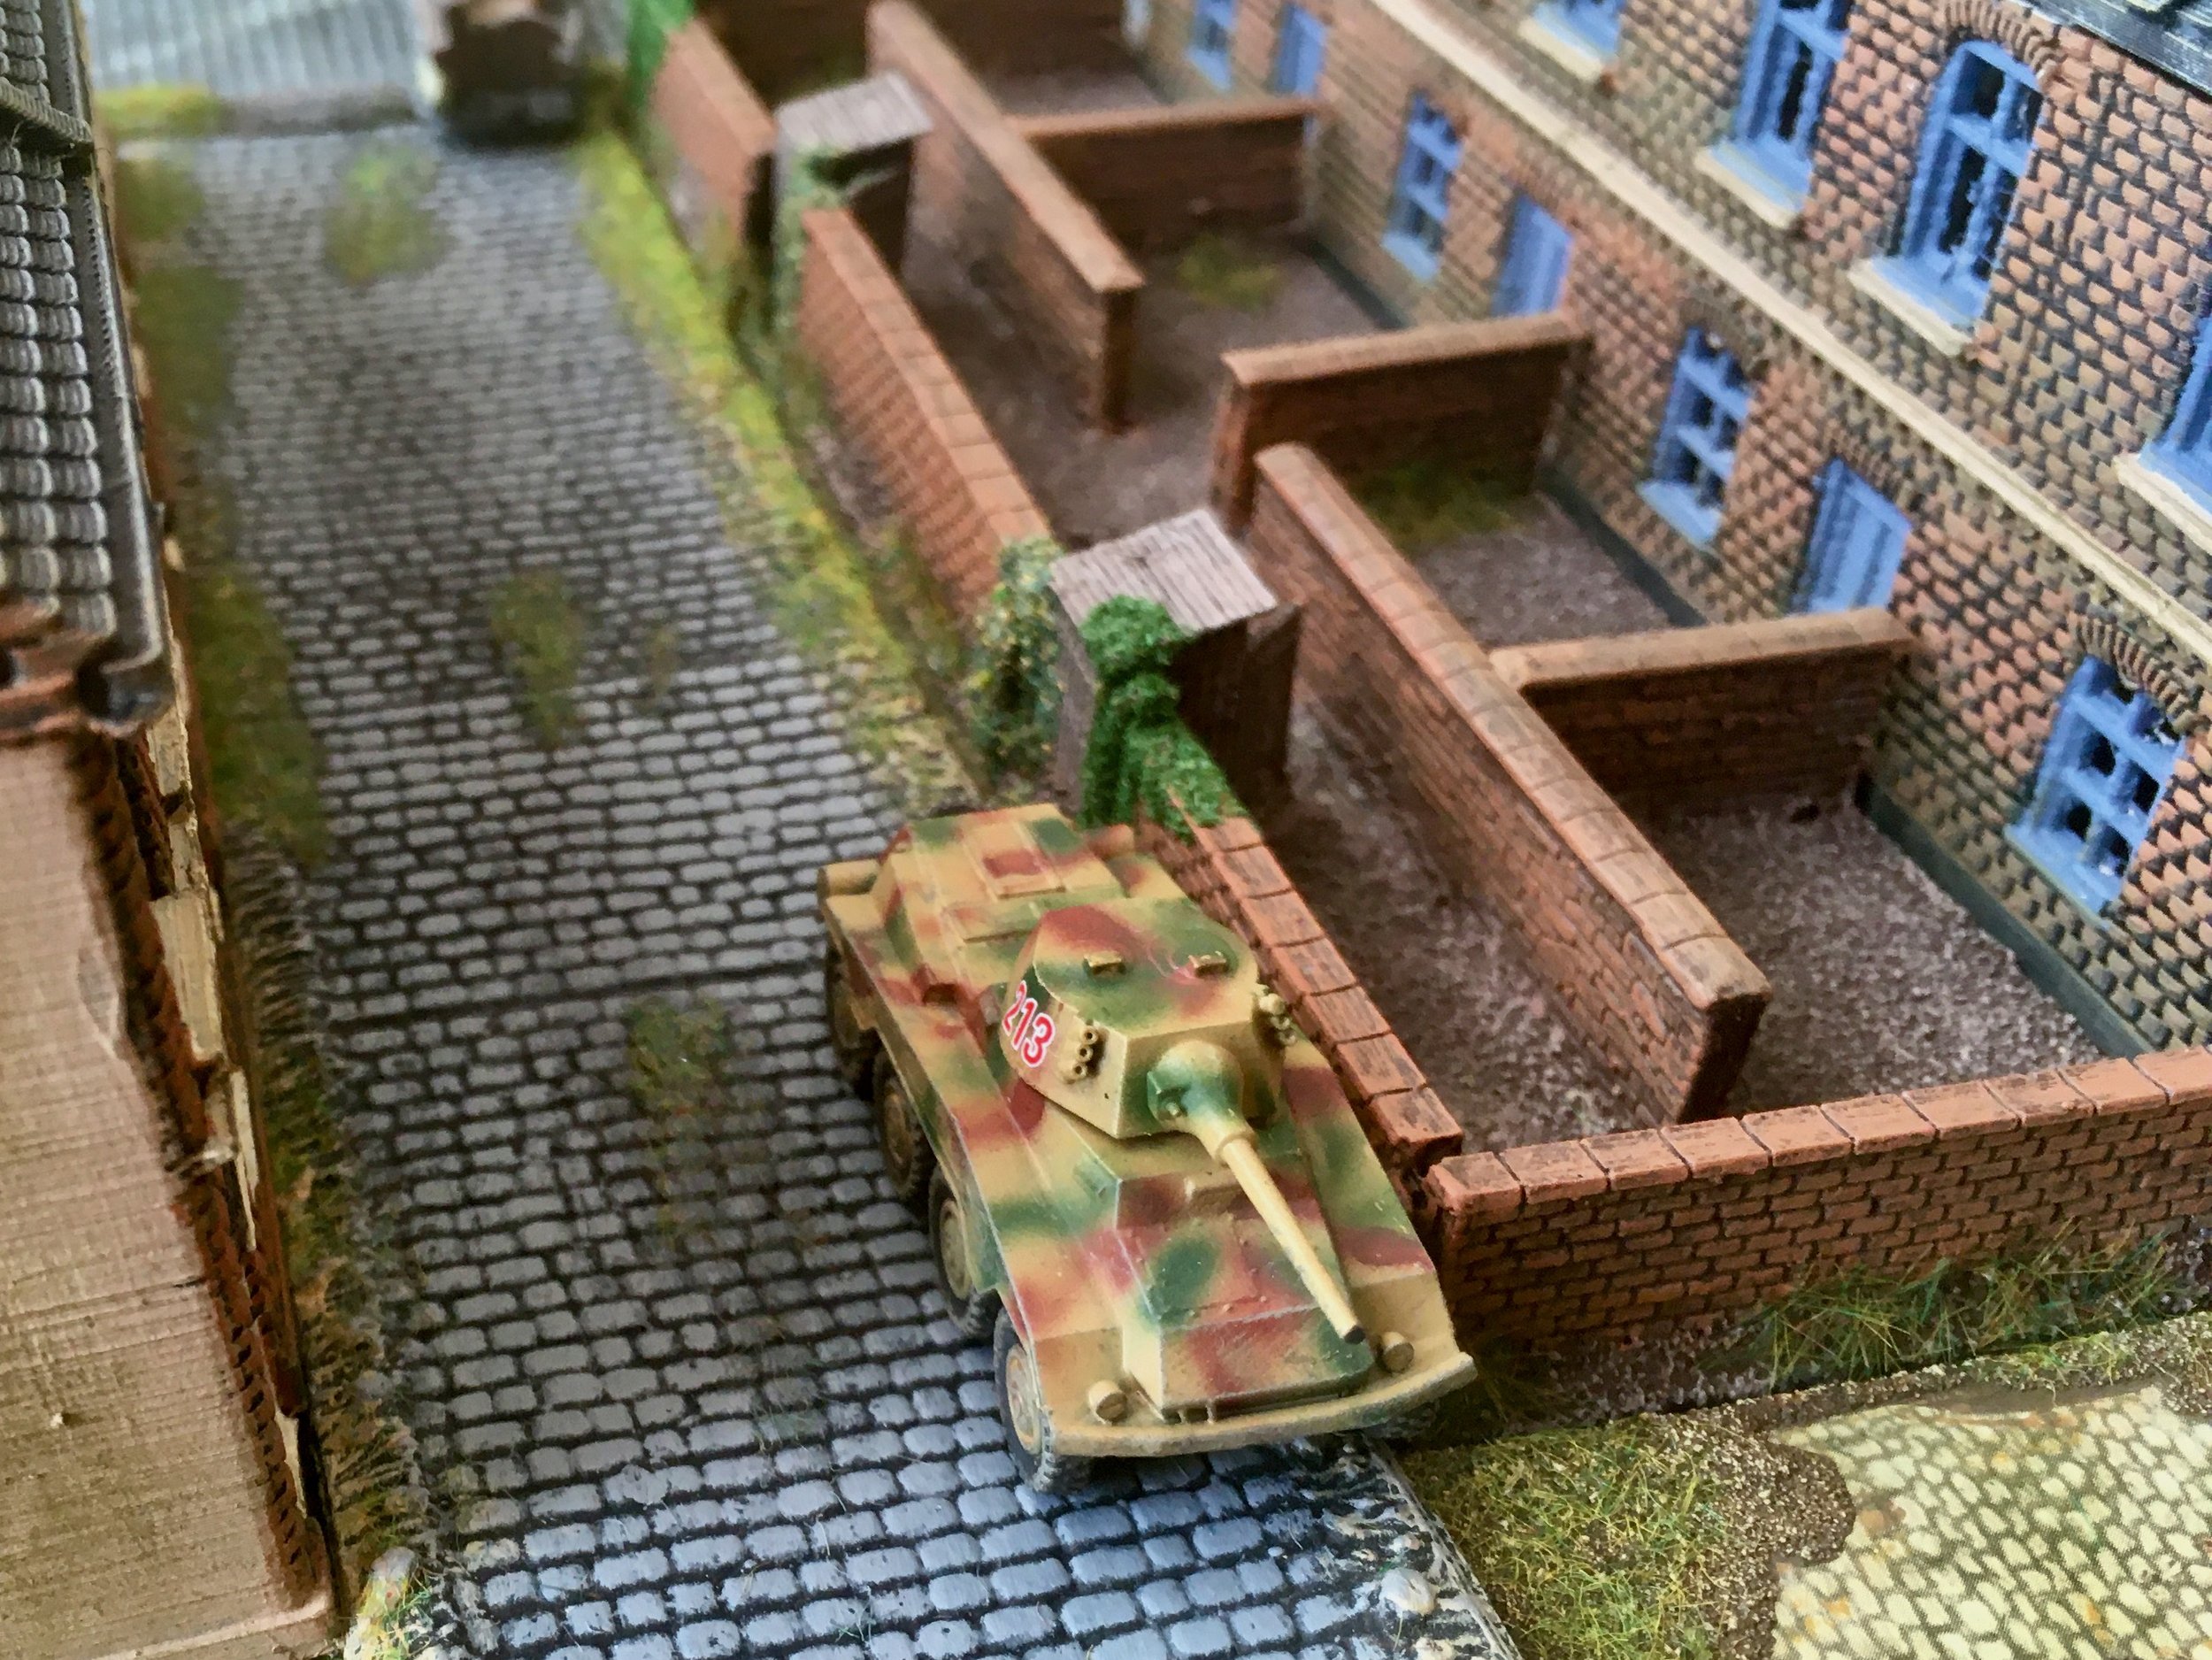
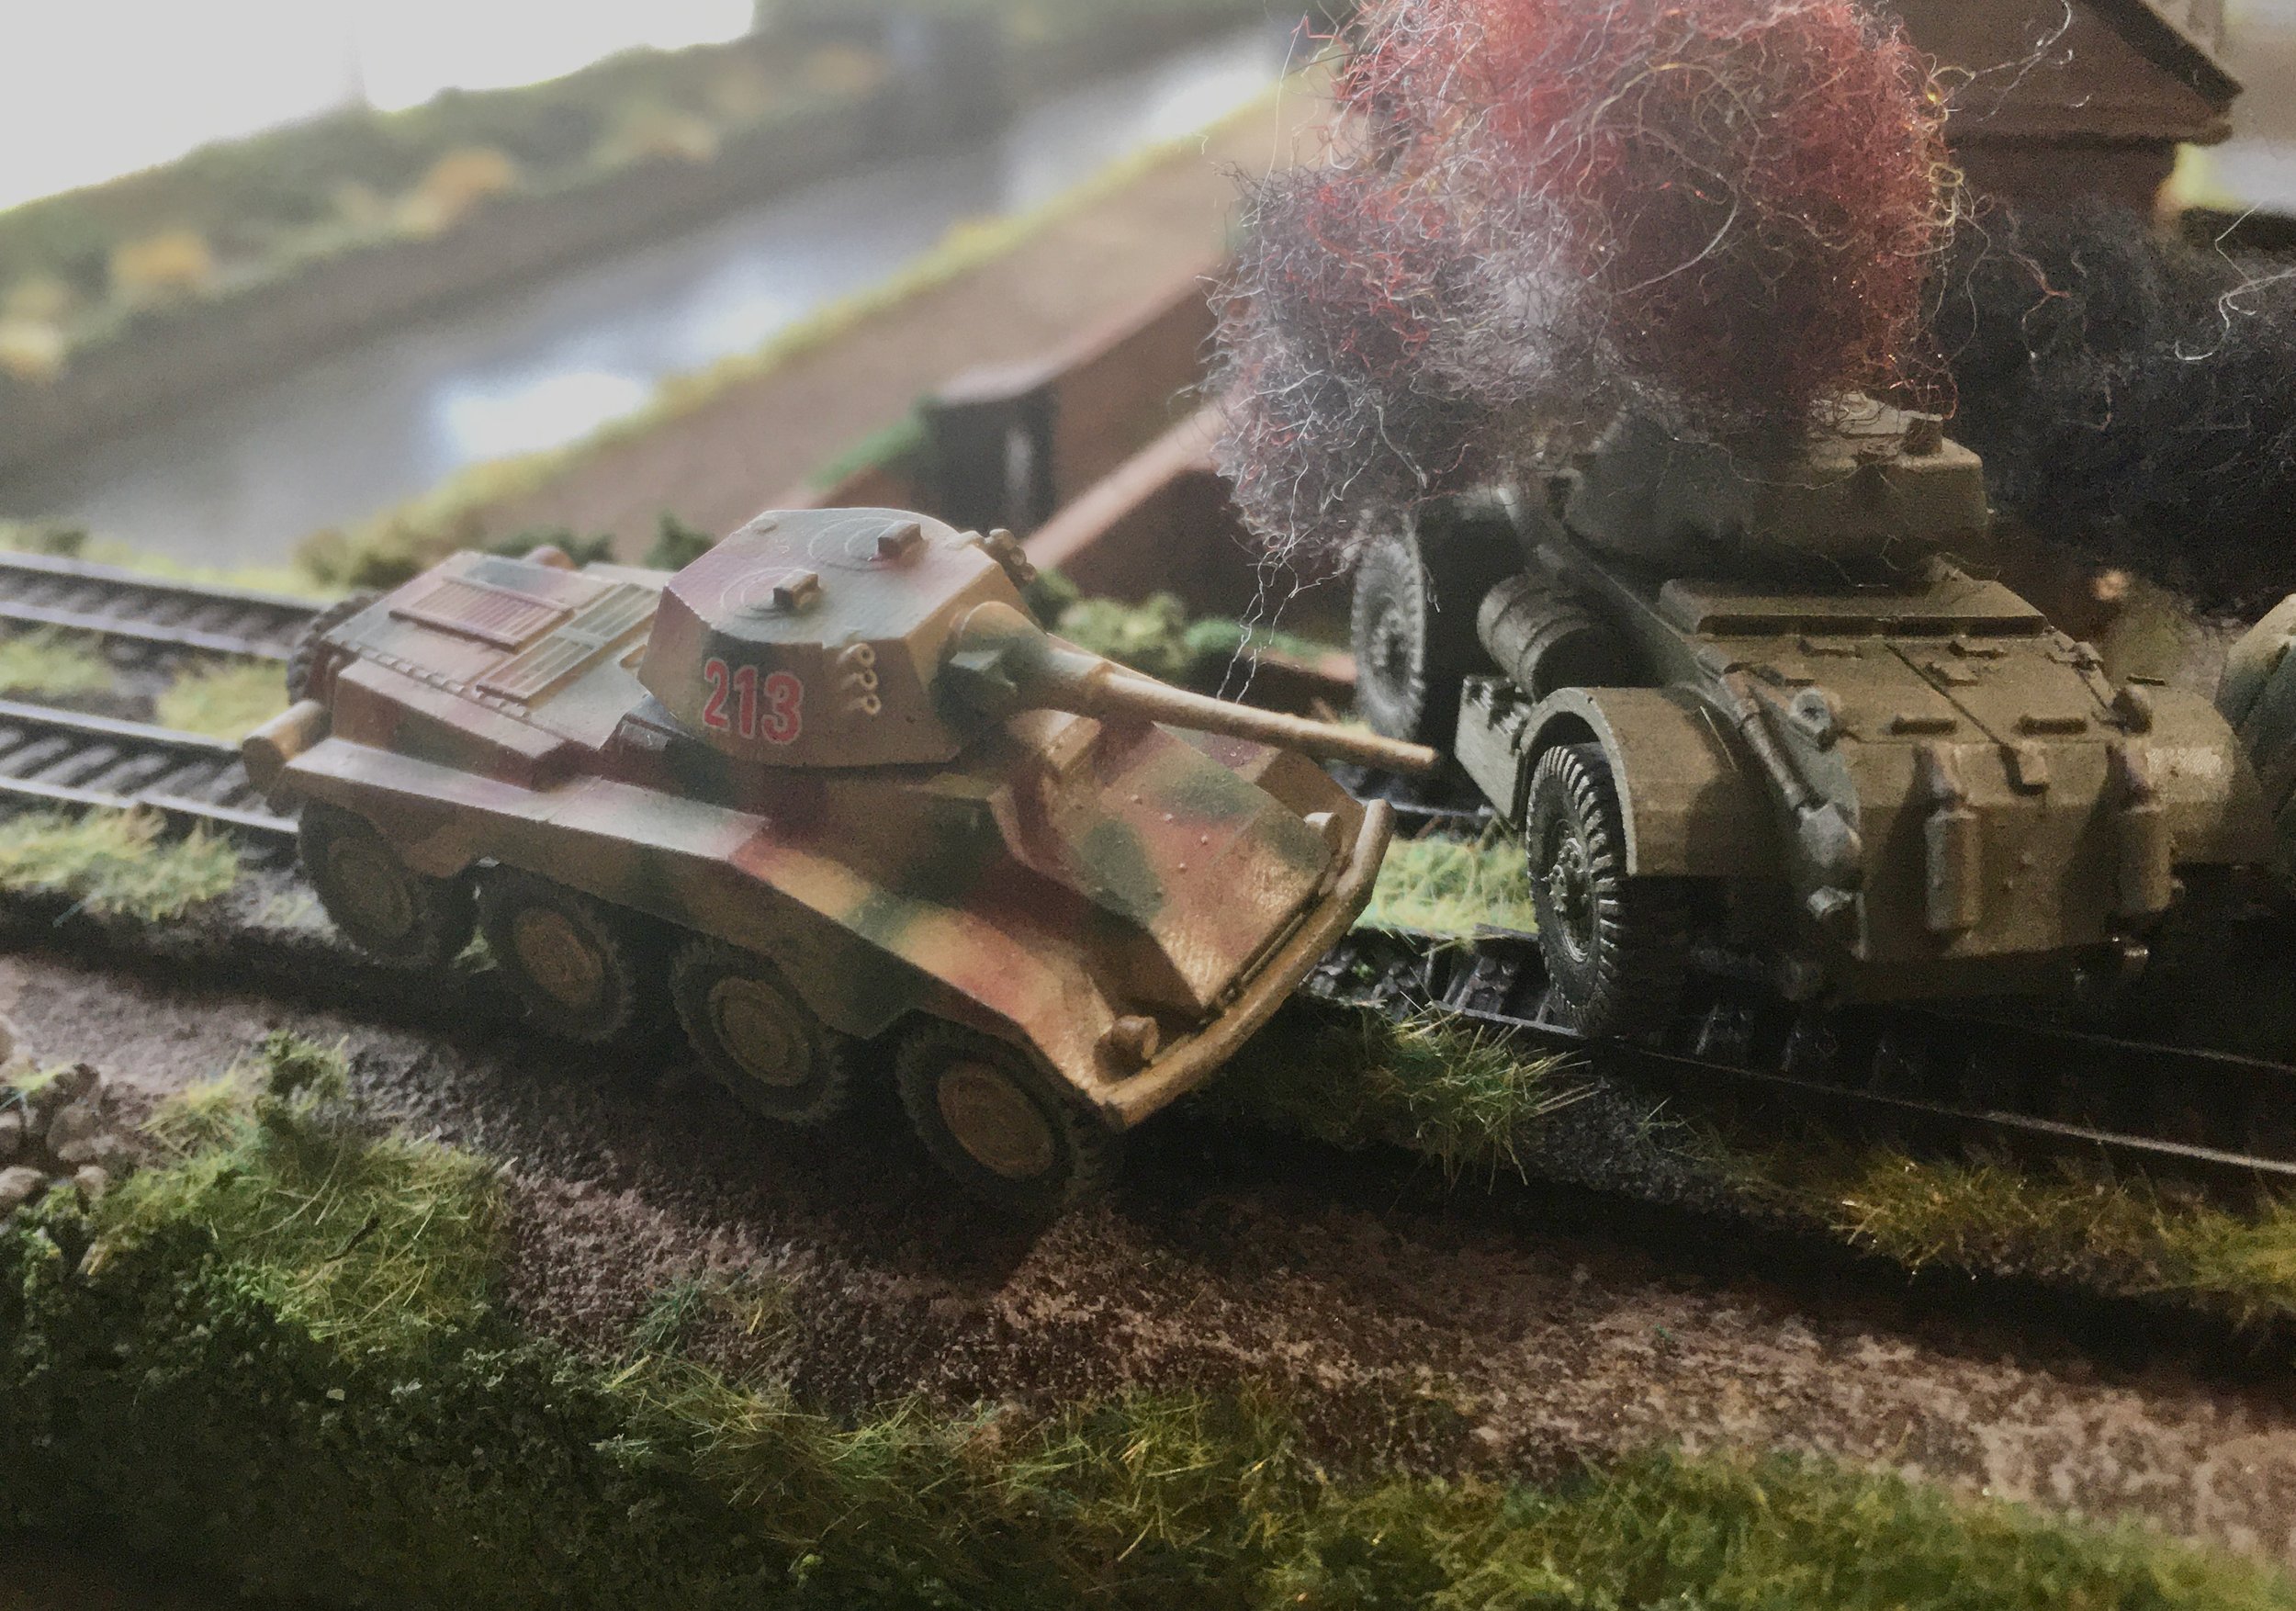
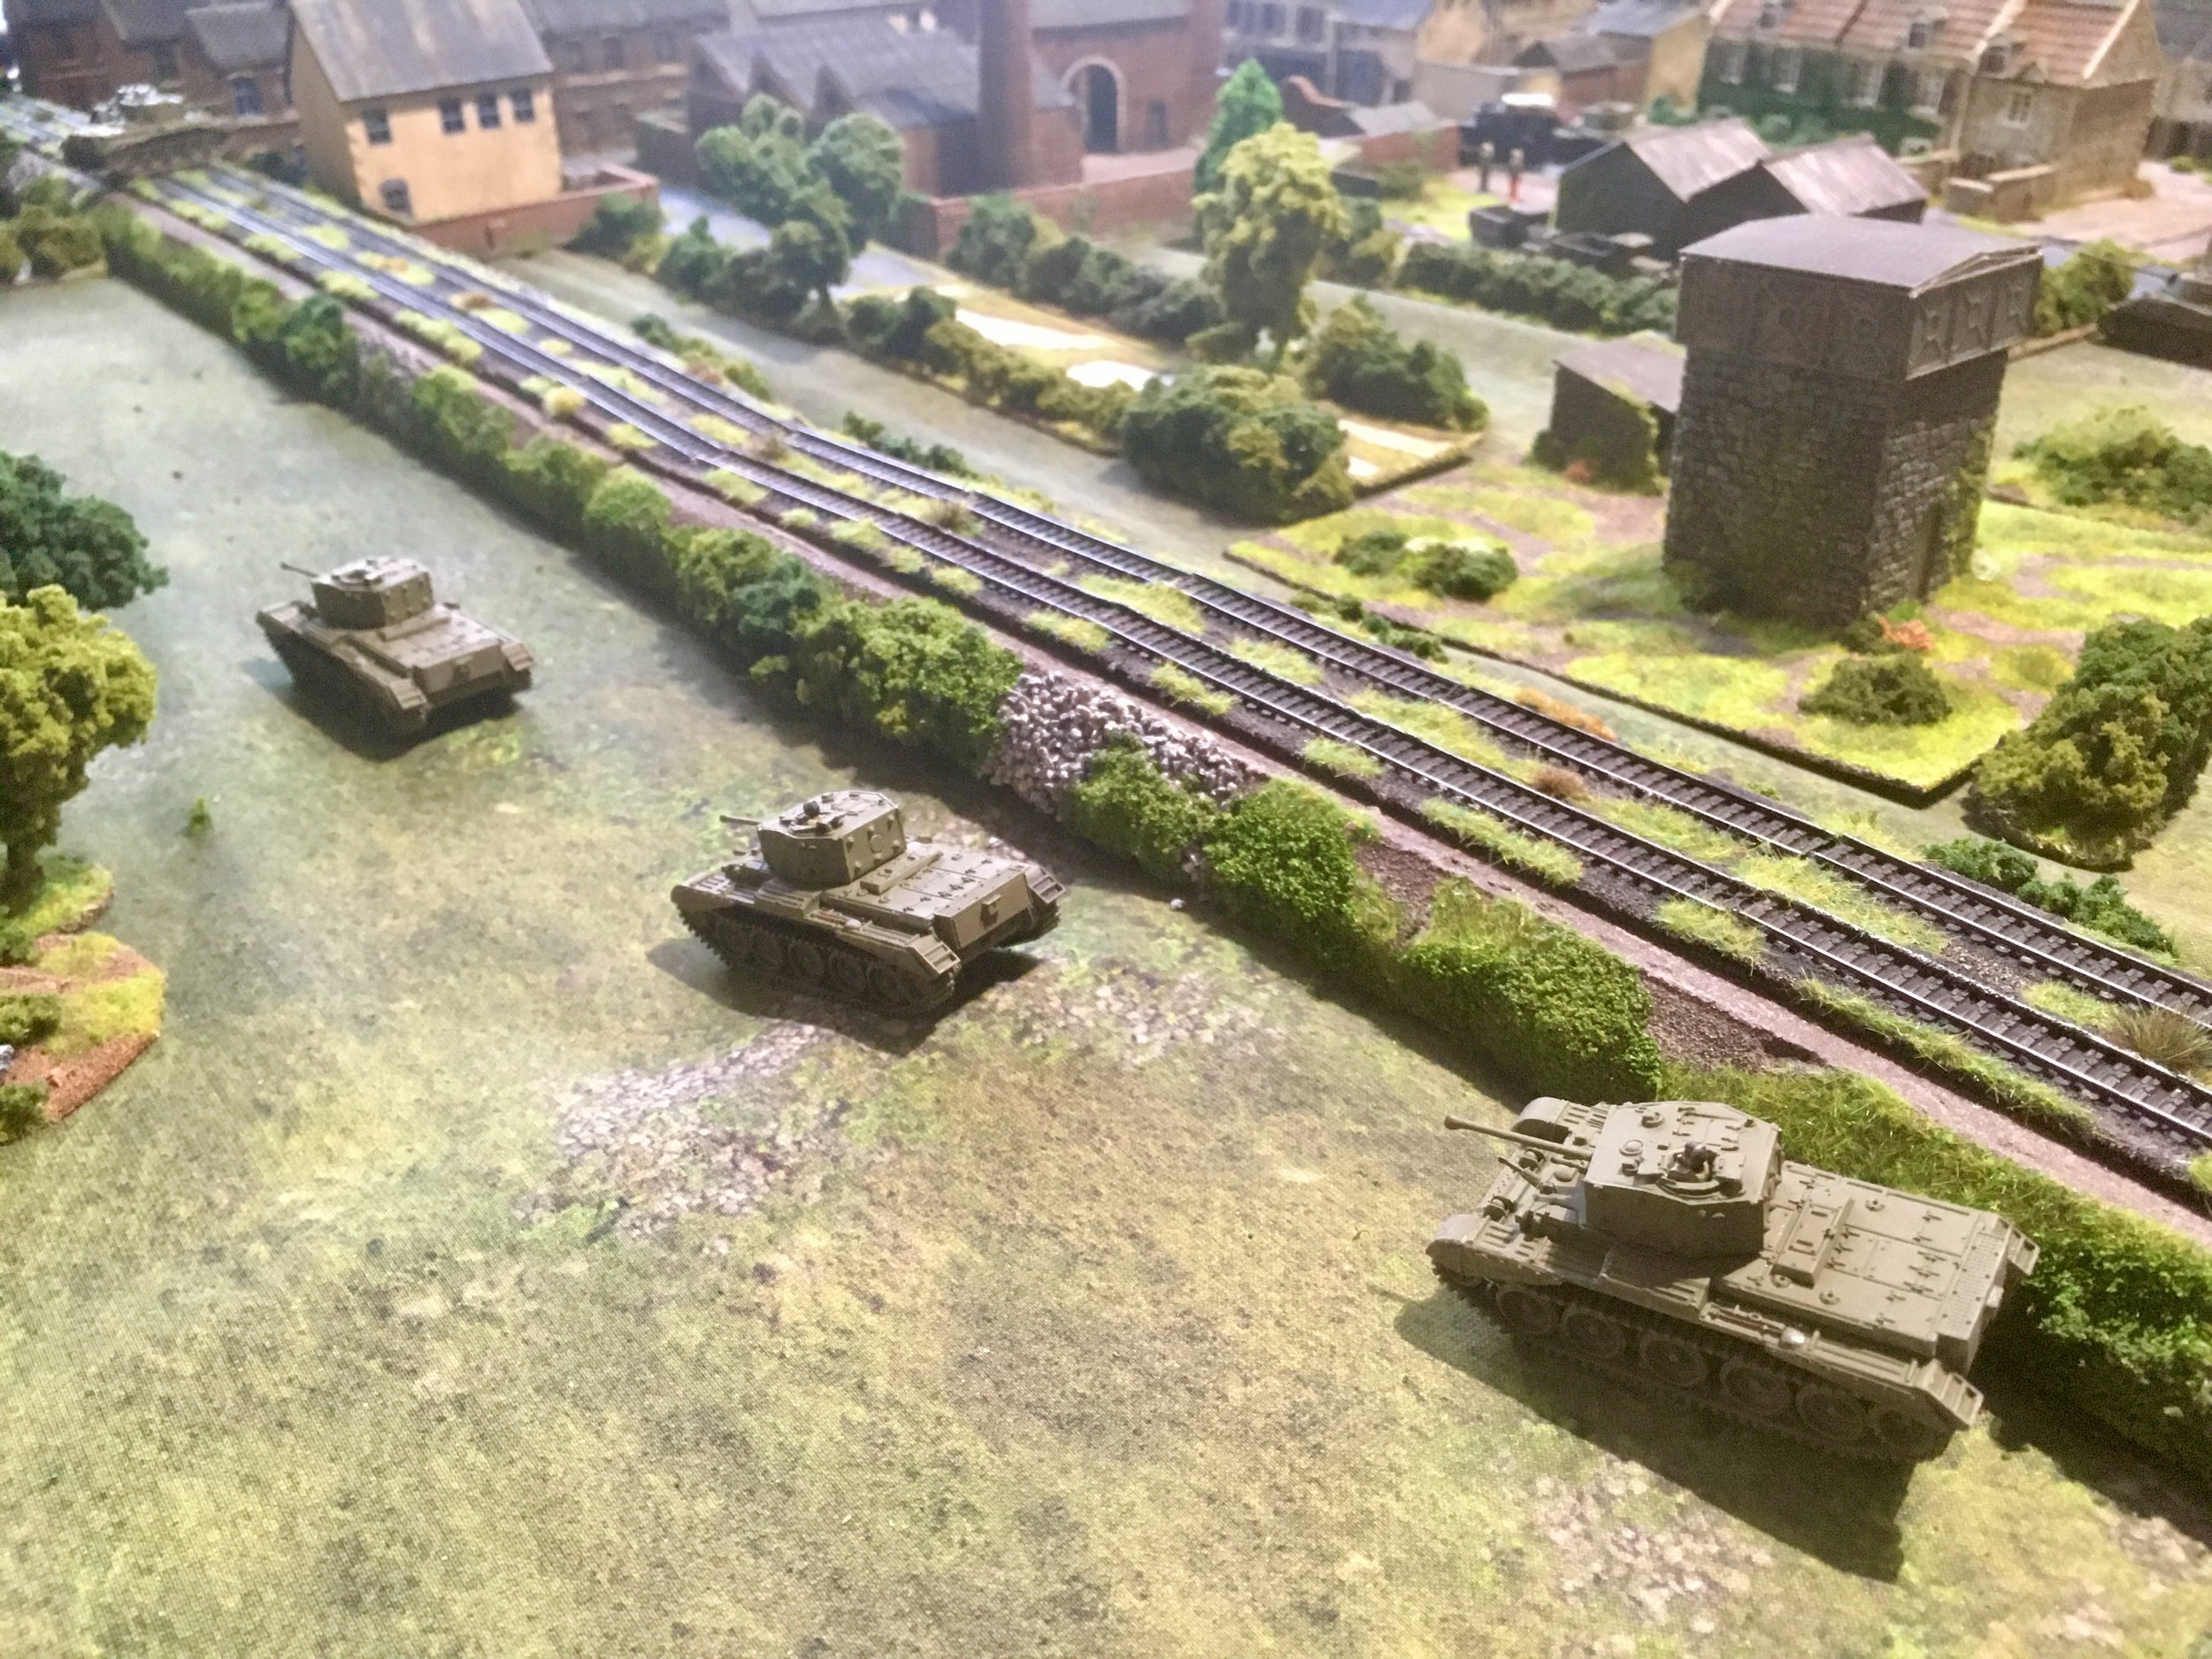
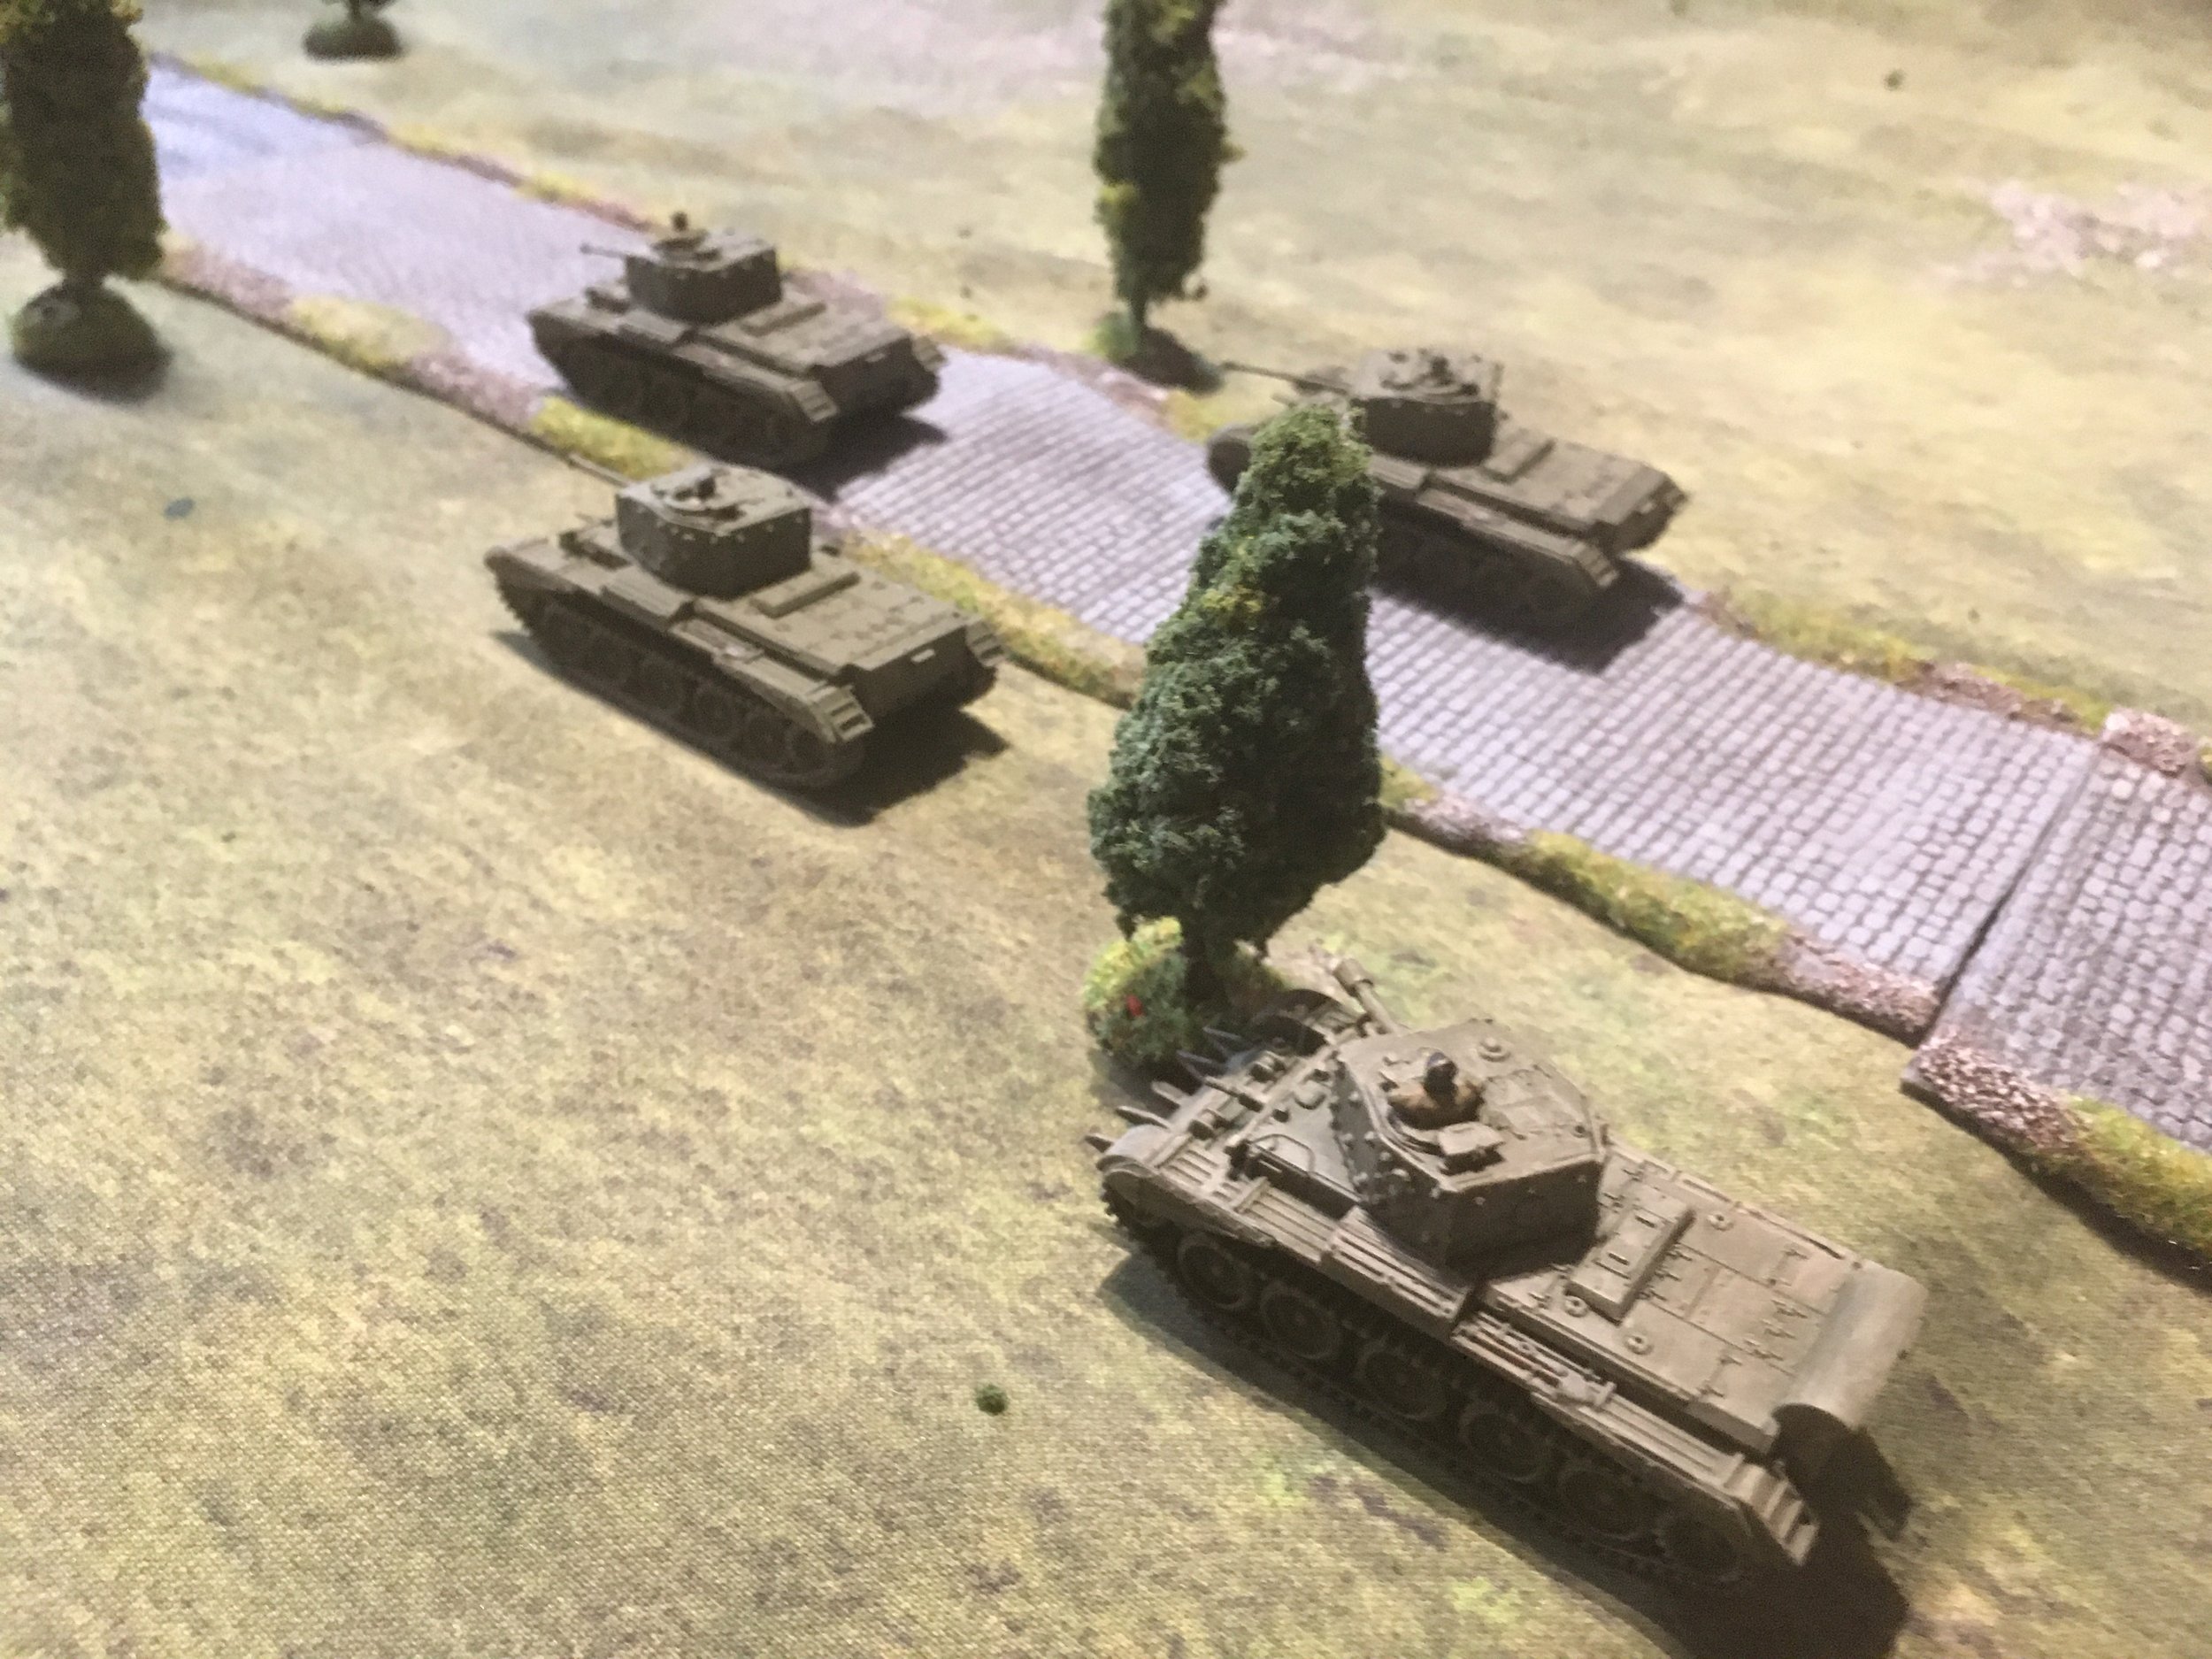
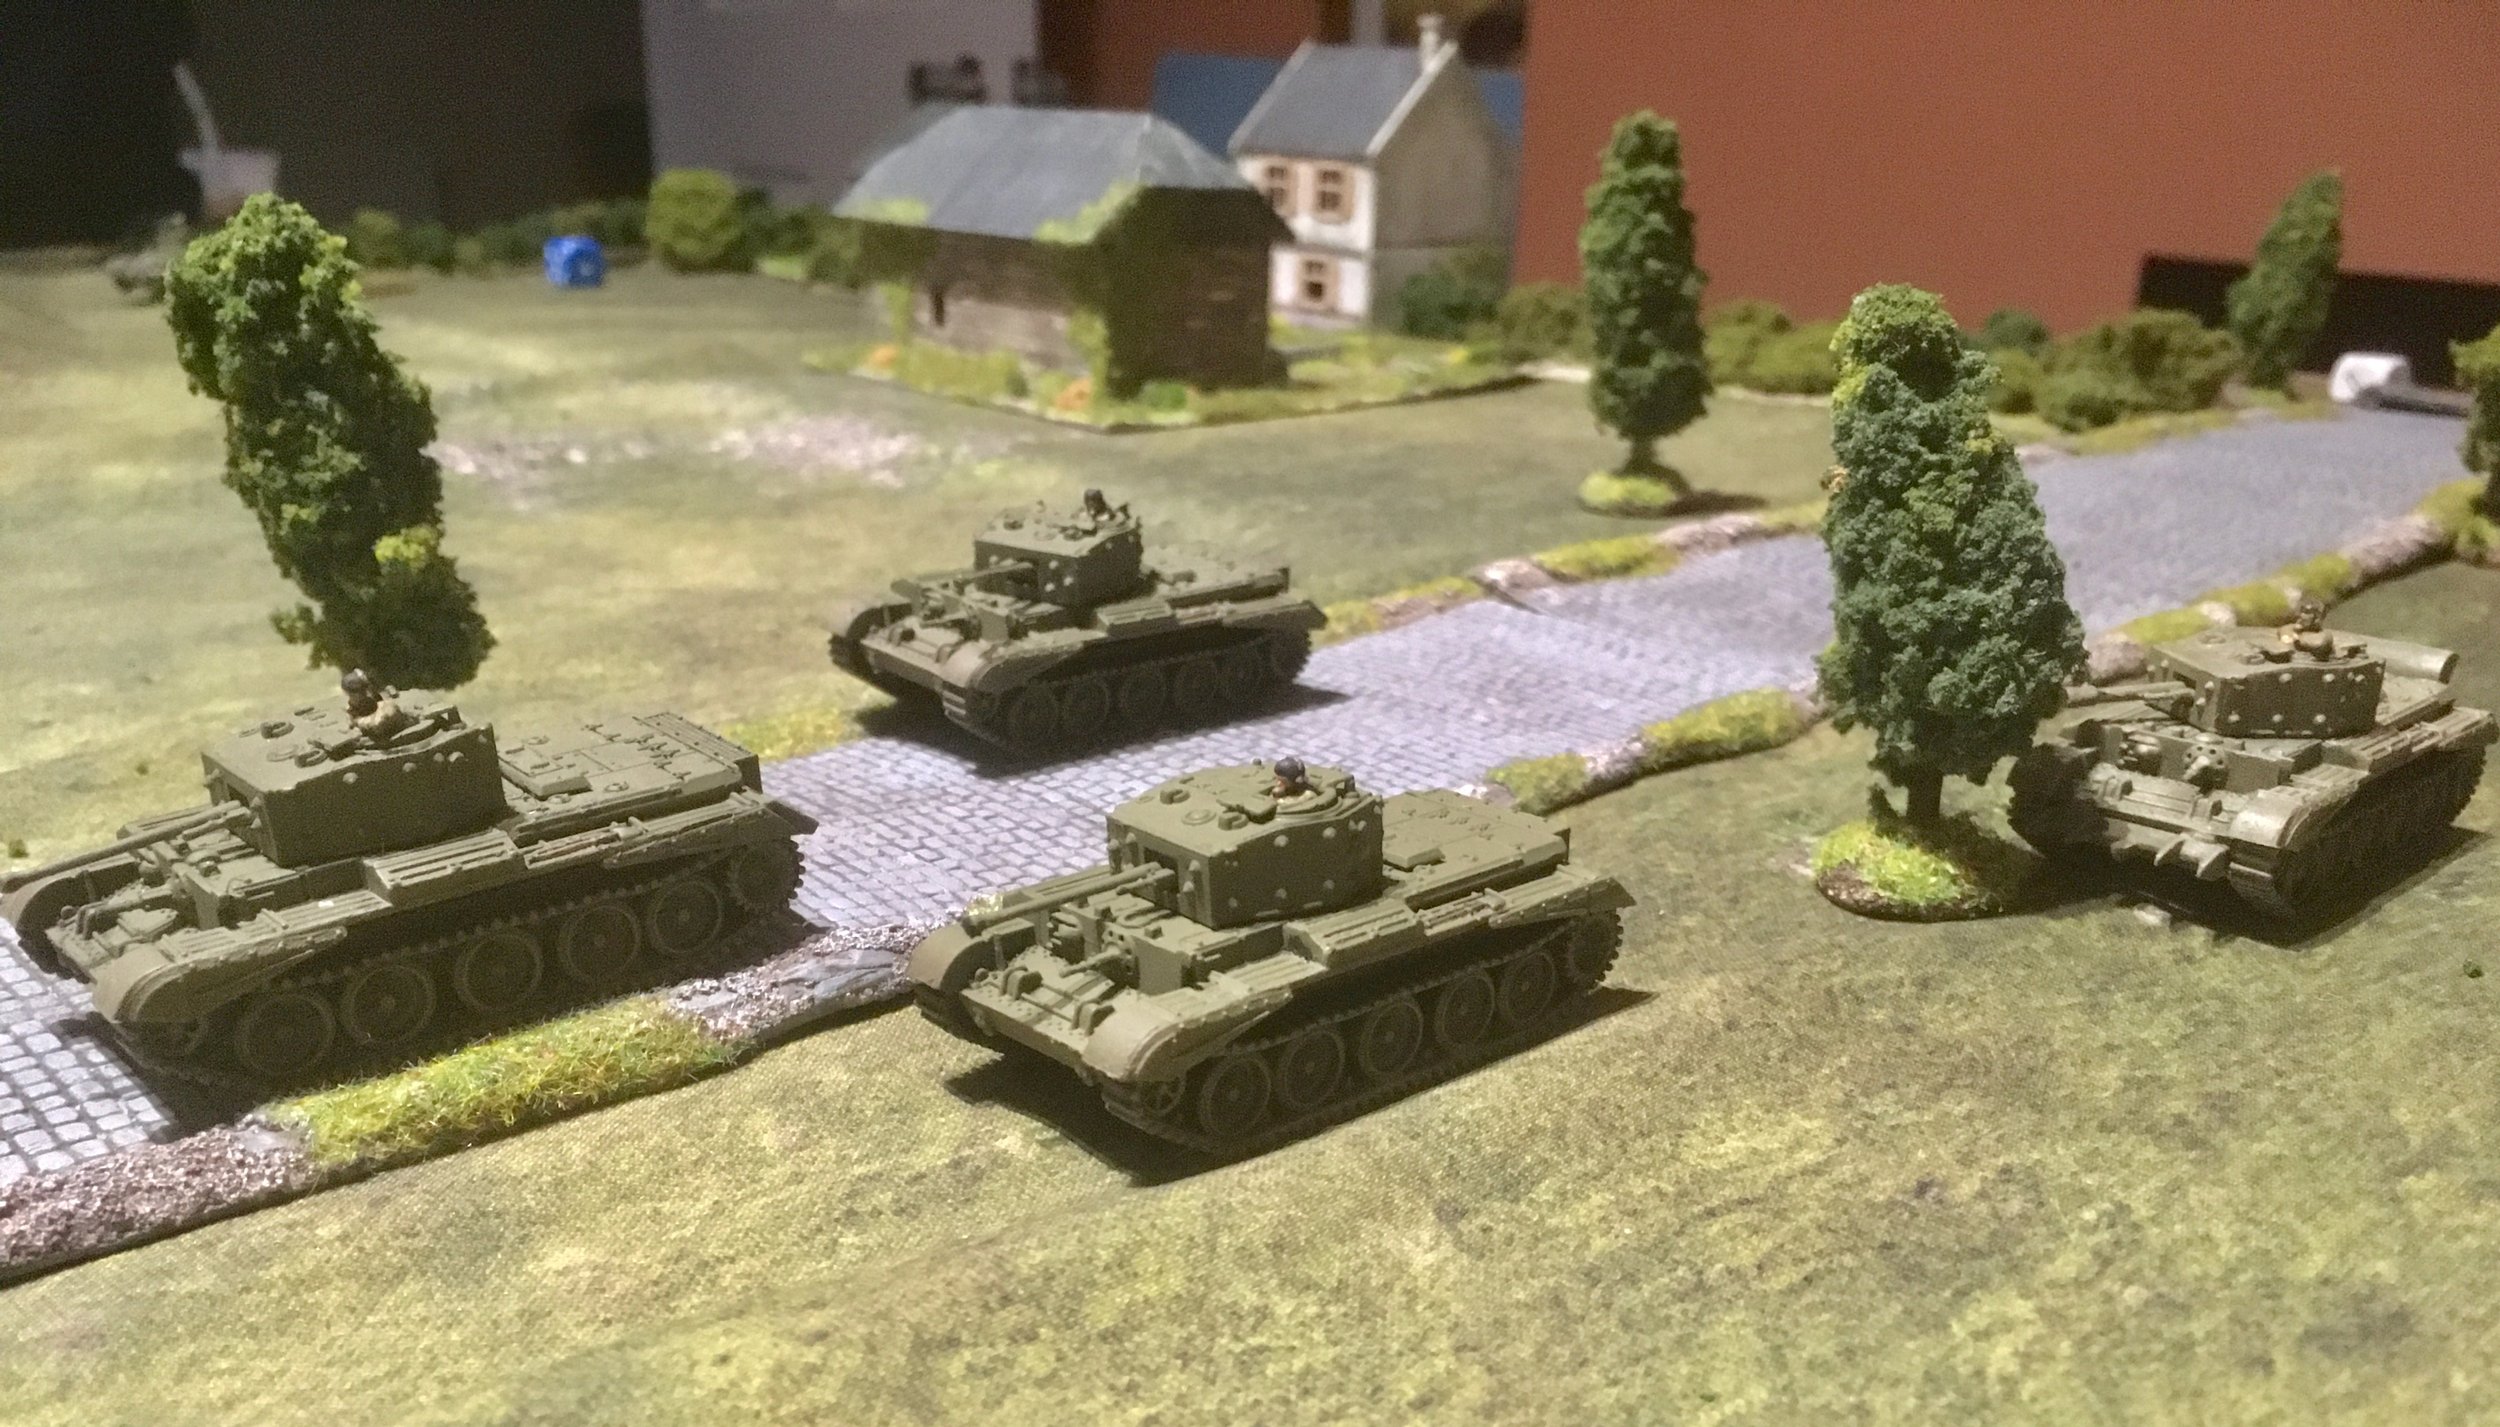
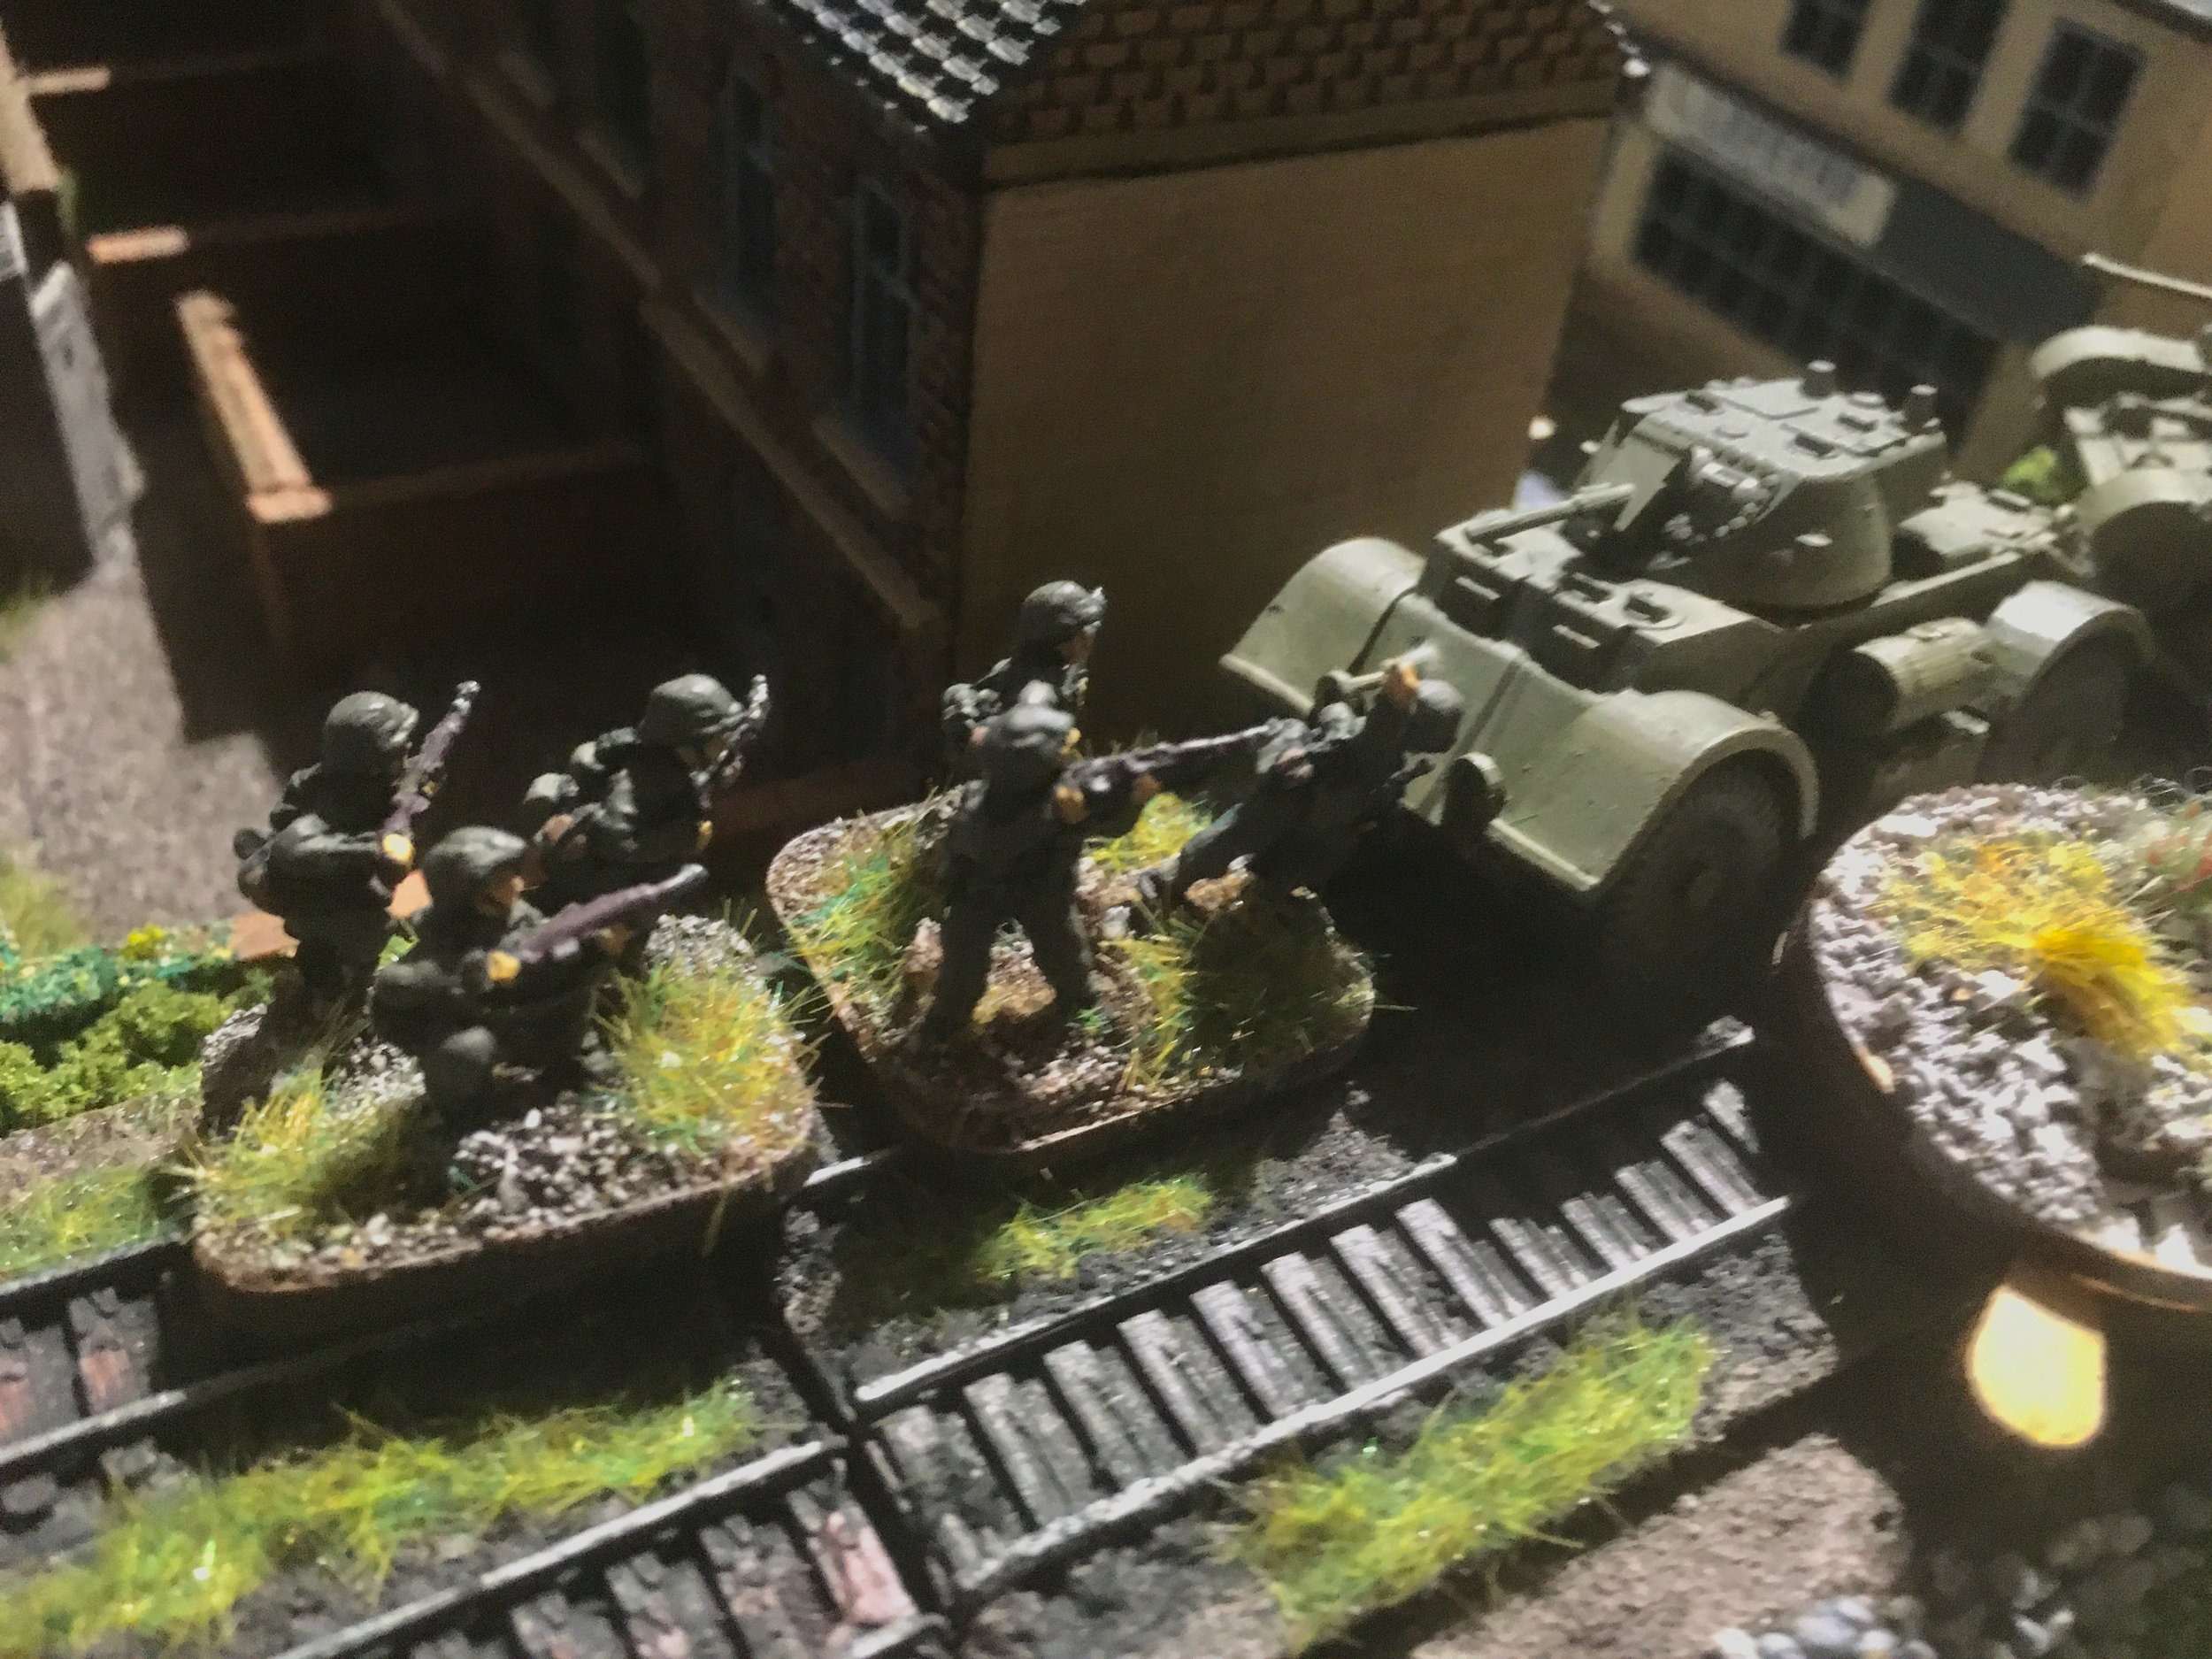
As the 2nd New Zealand Div pushed west towards Orsogna in December 1943, a battlegroup of the 18th Armoured Regiment, 22nd Motorised Battalion and some armored cars of the Divisional Cavalry made a feint along the Melone - Guardigrele road.
The board was mostly open muddy fields dropping off from the twin track. Vehicular off road movement had a good chance of bogging.
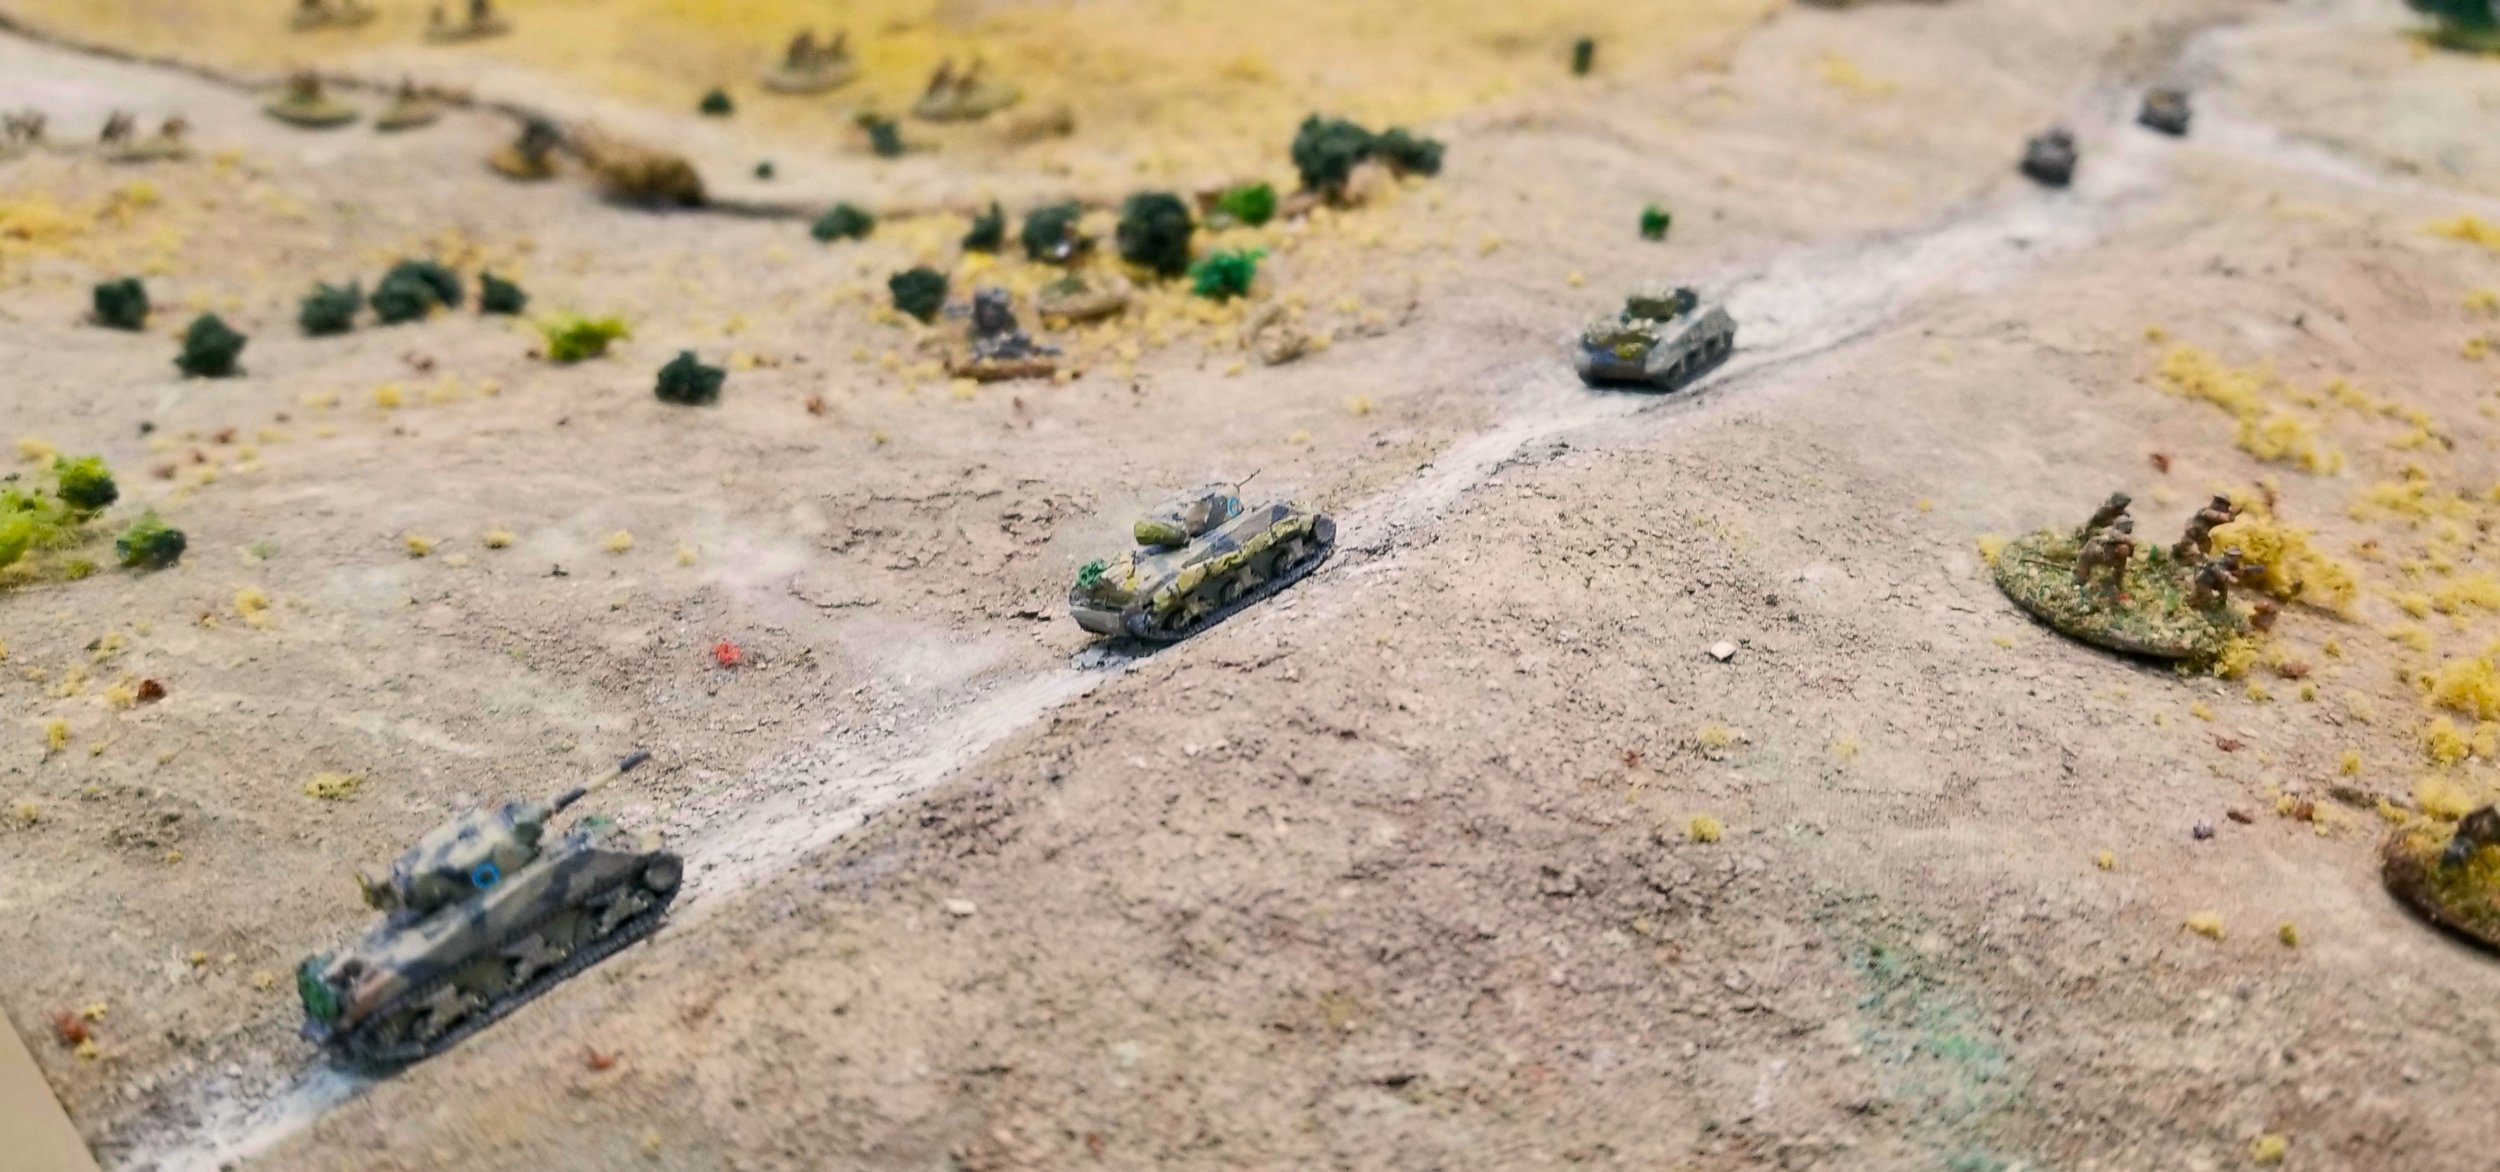
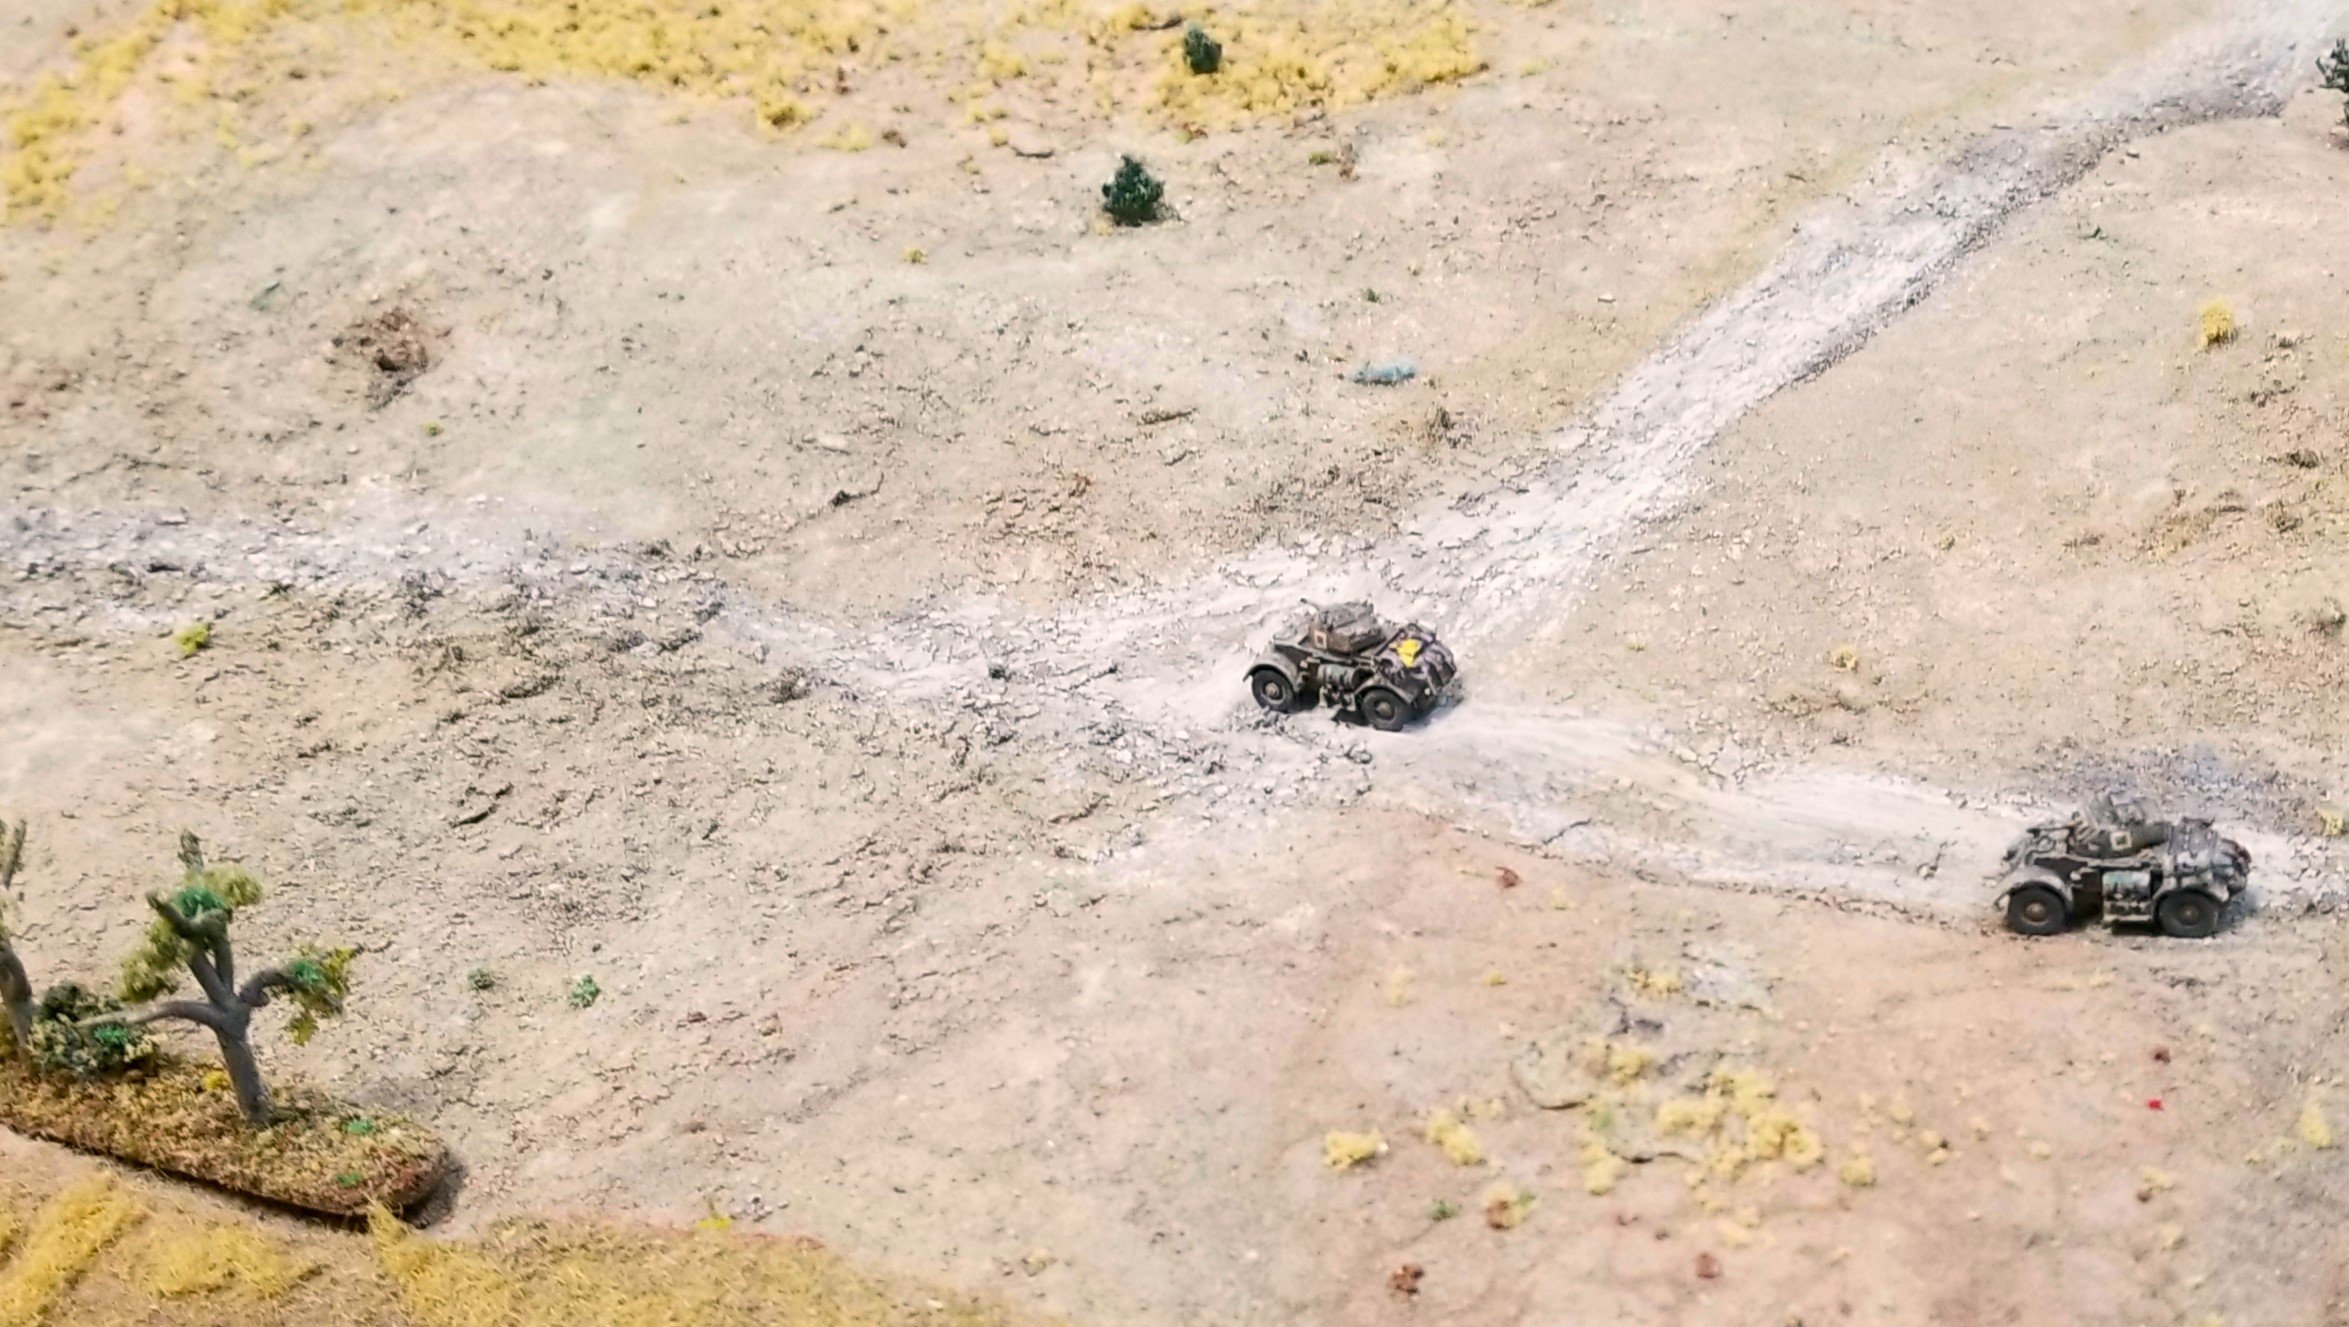
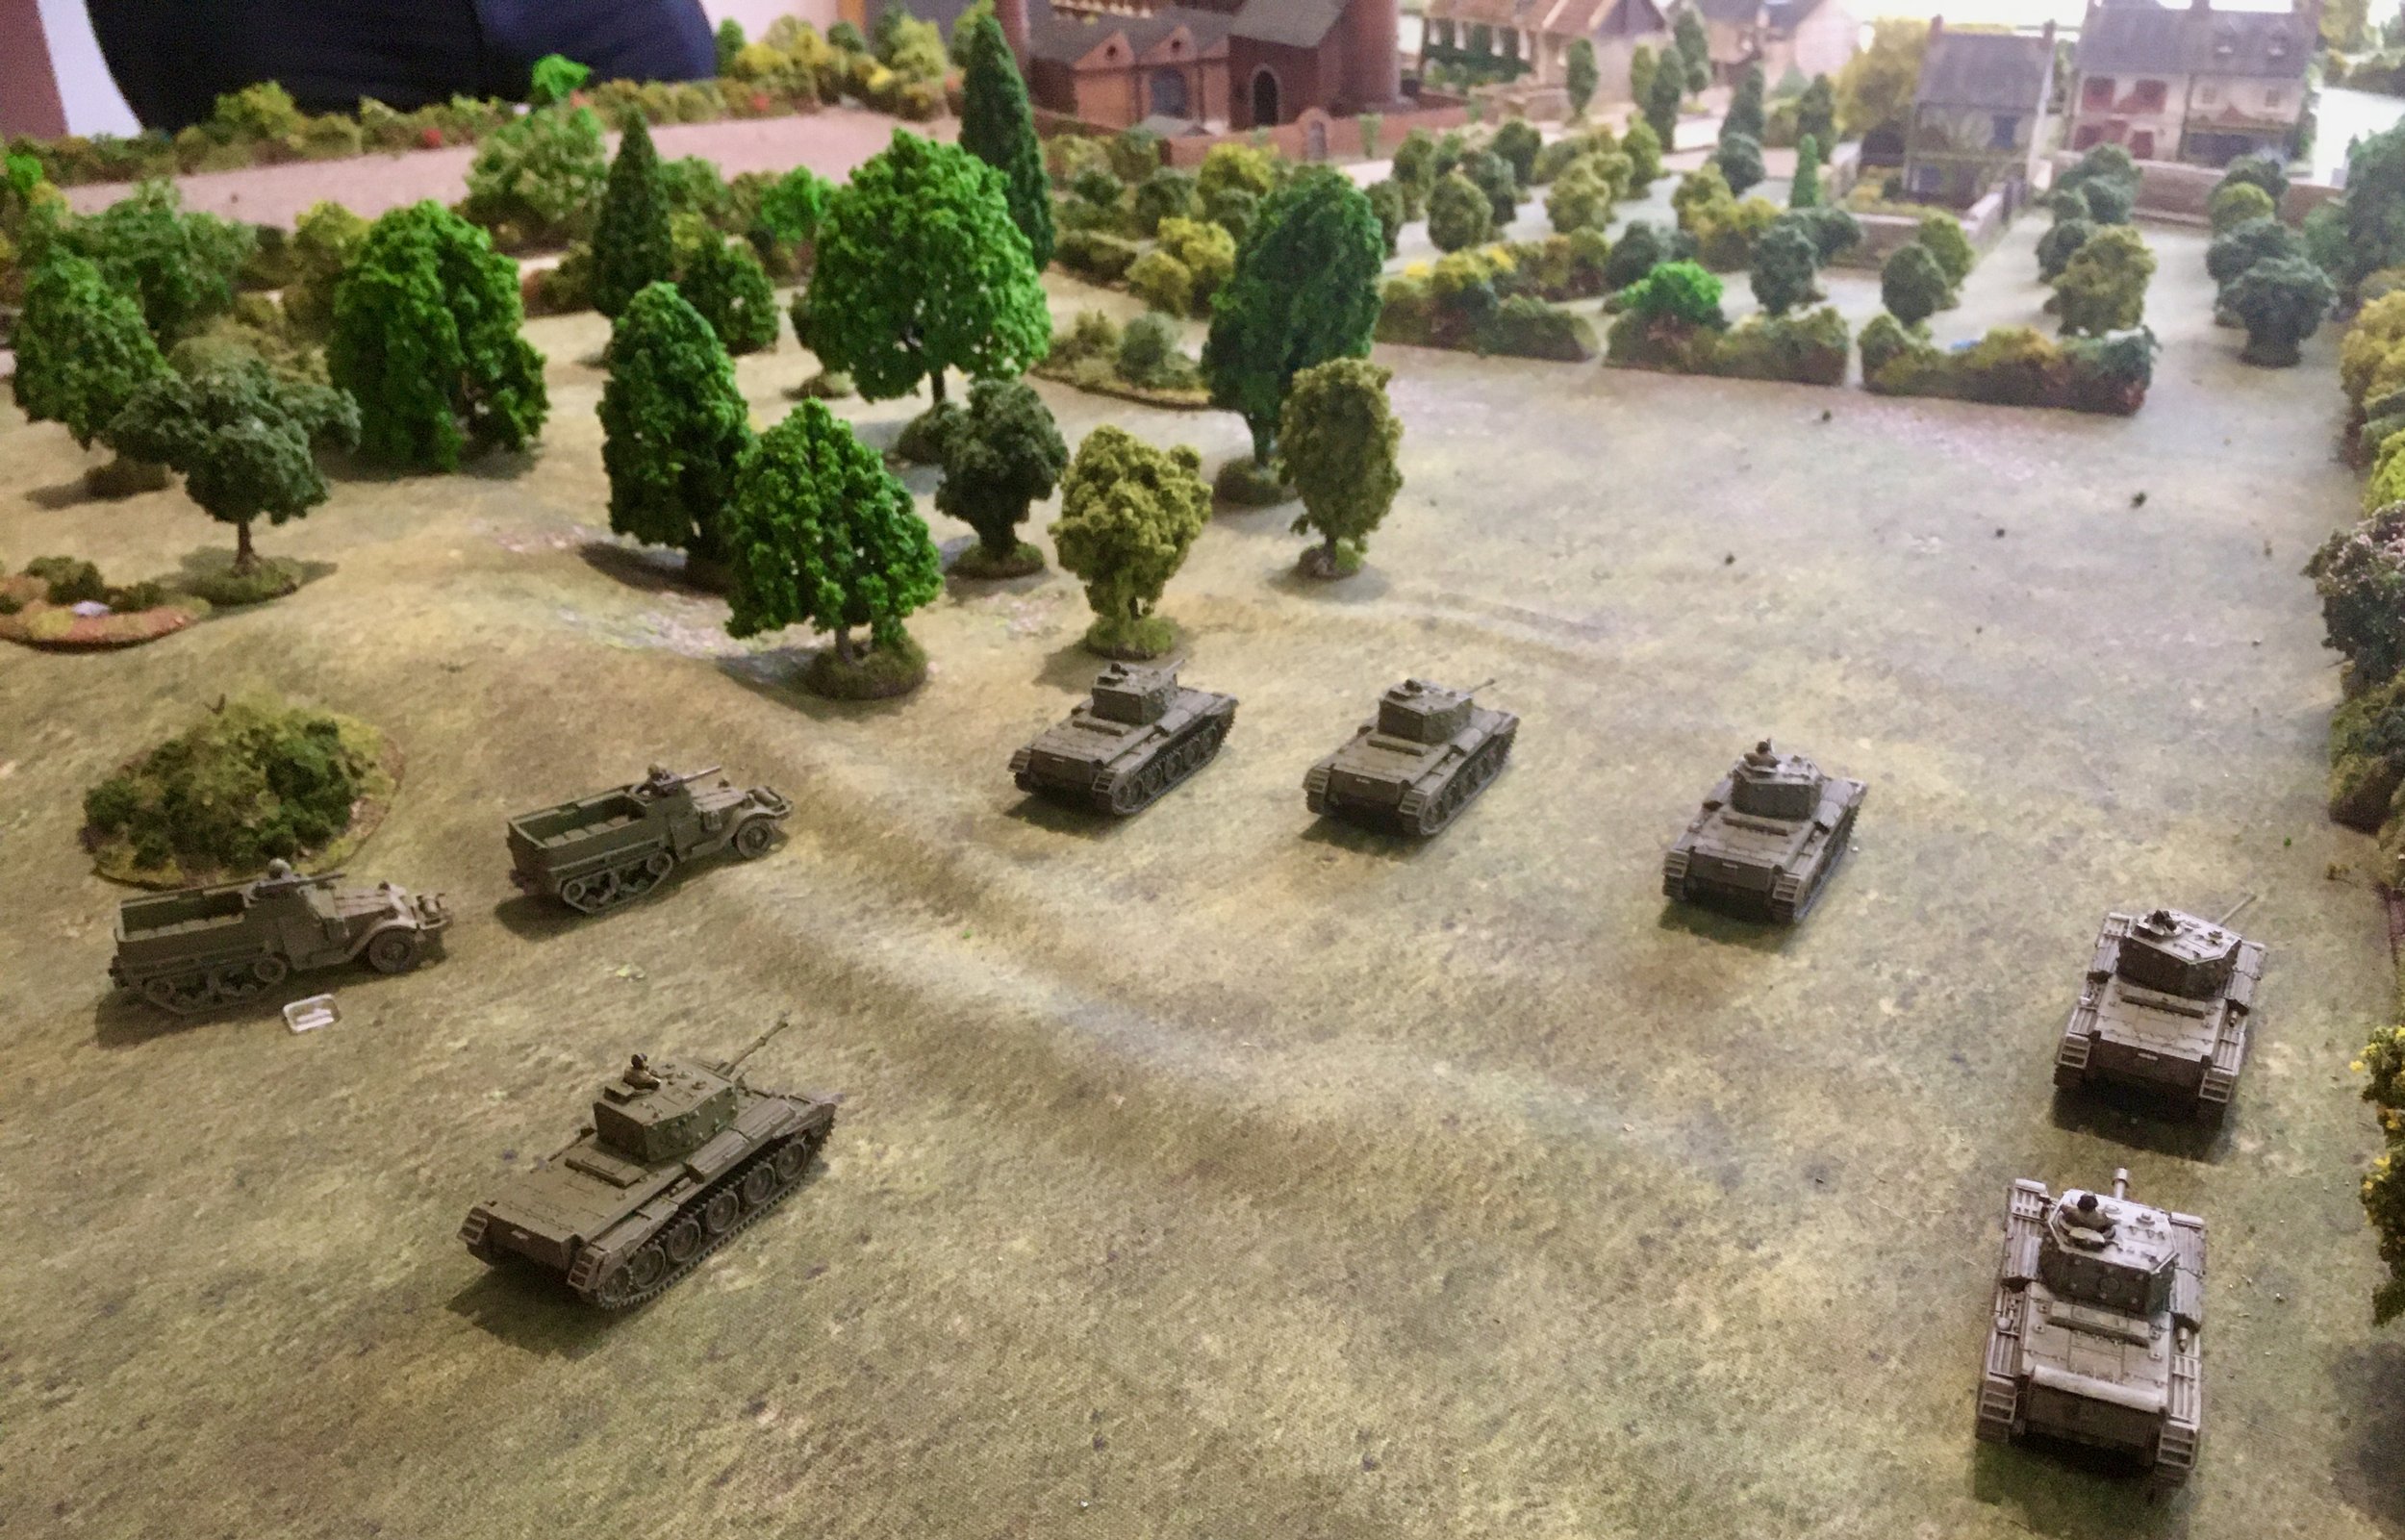
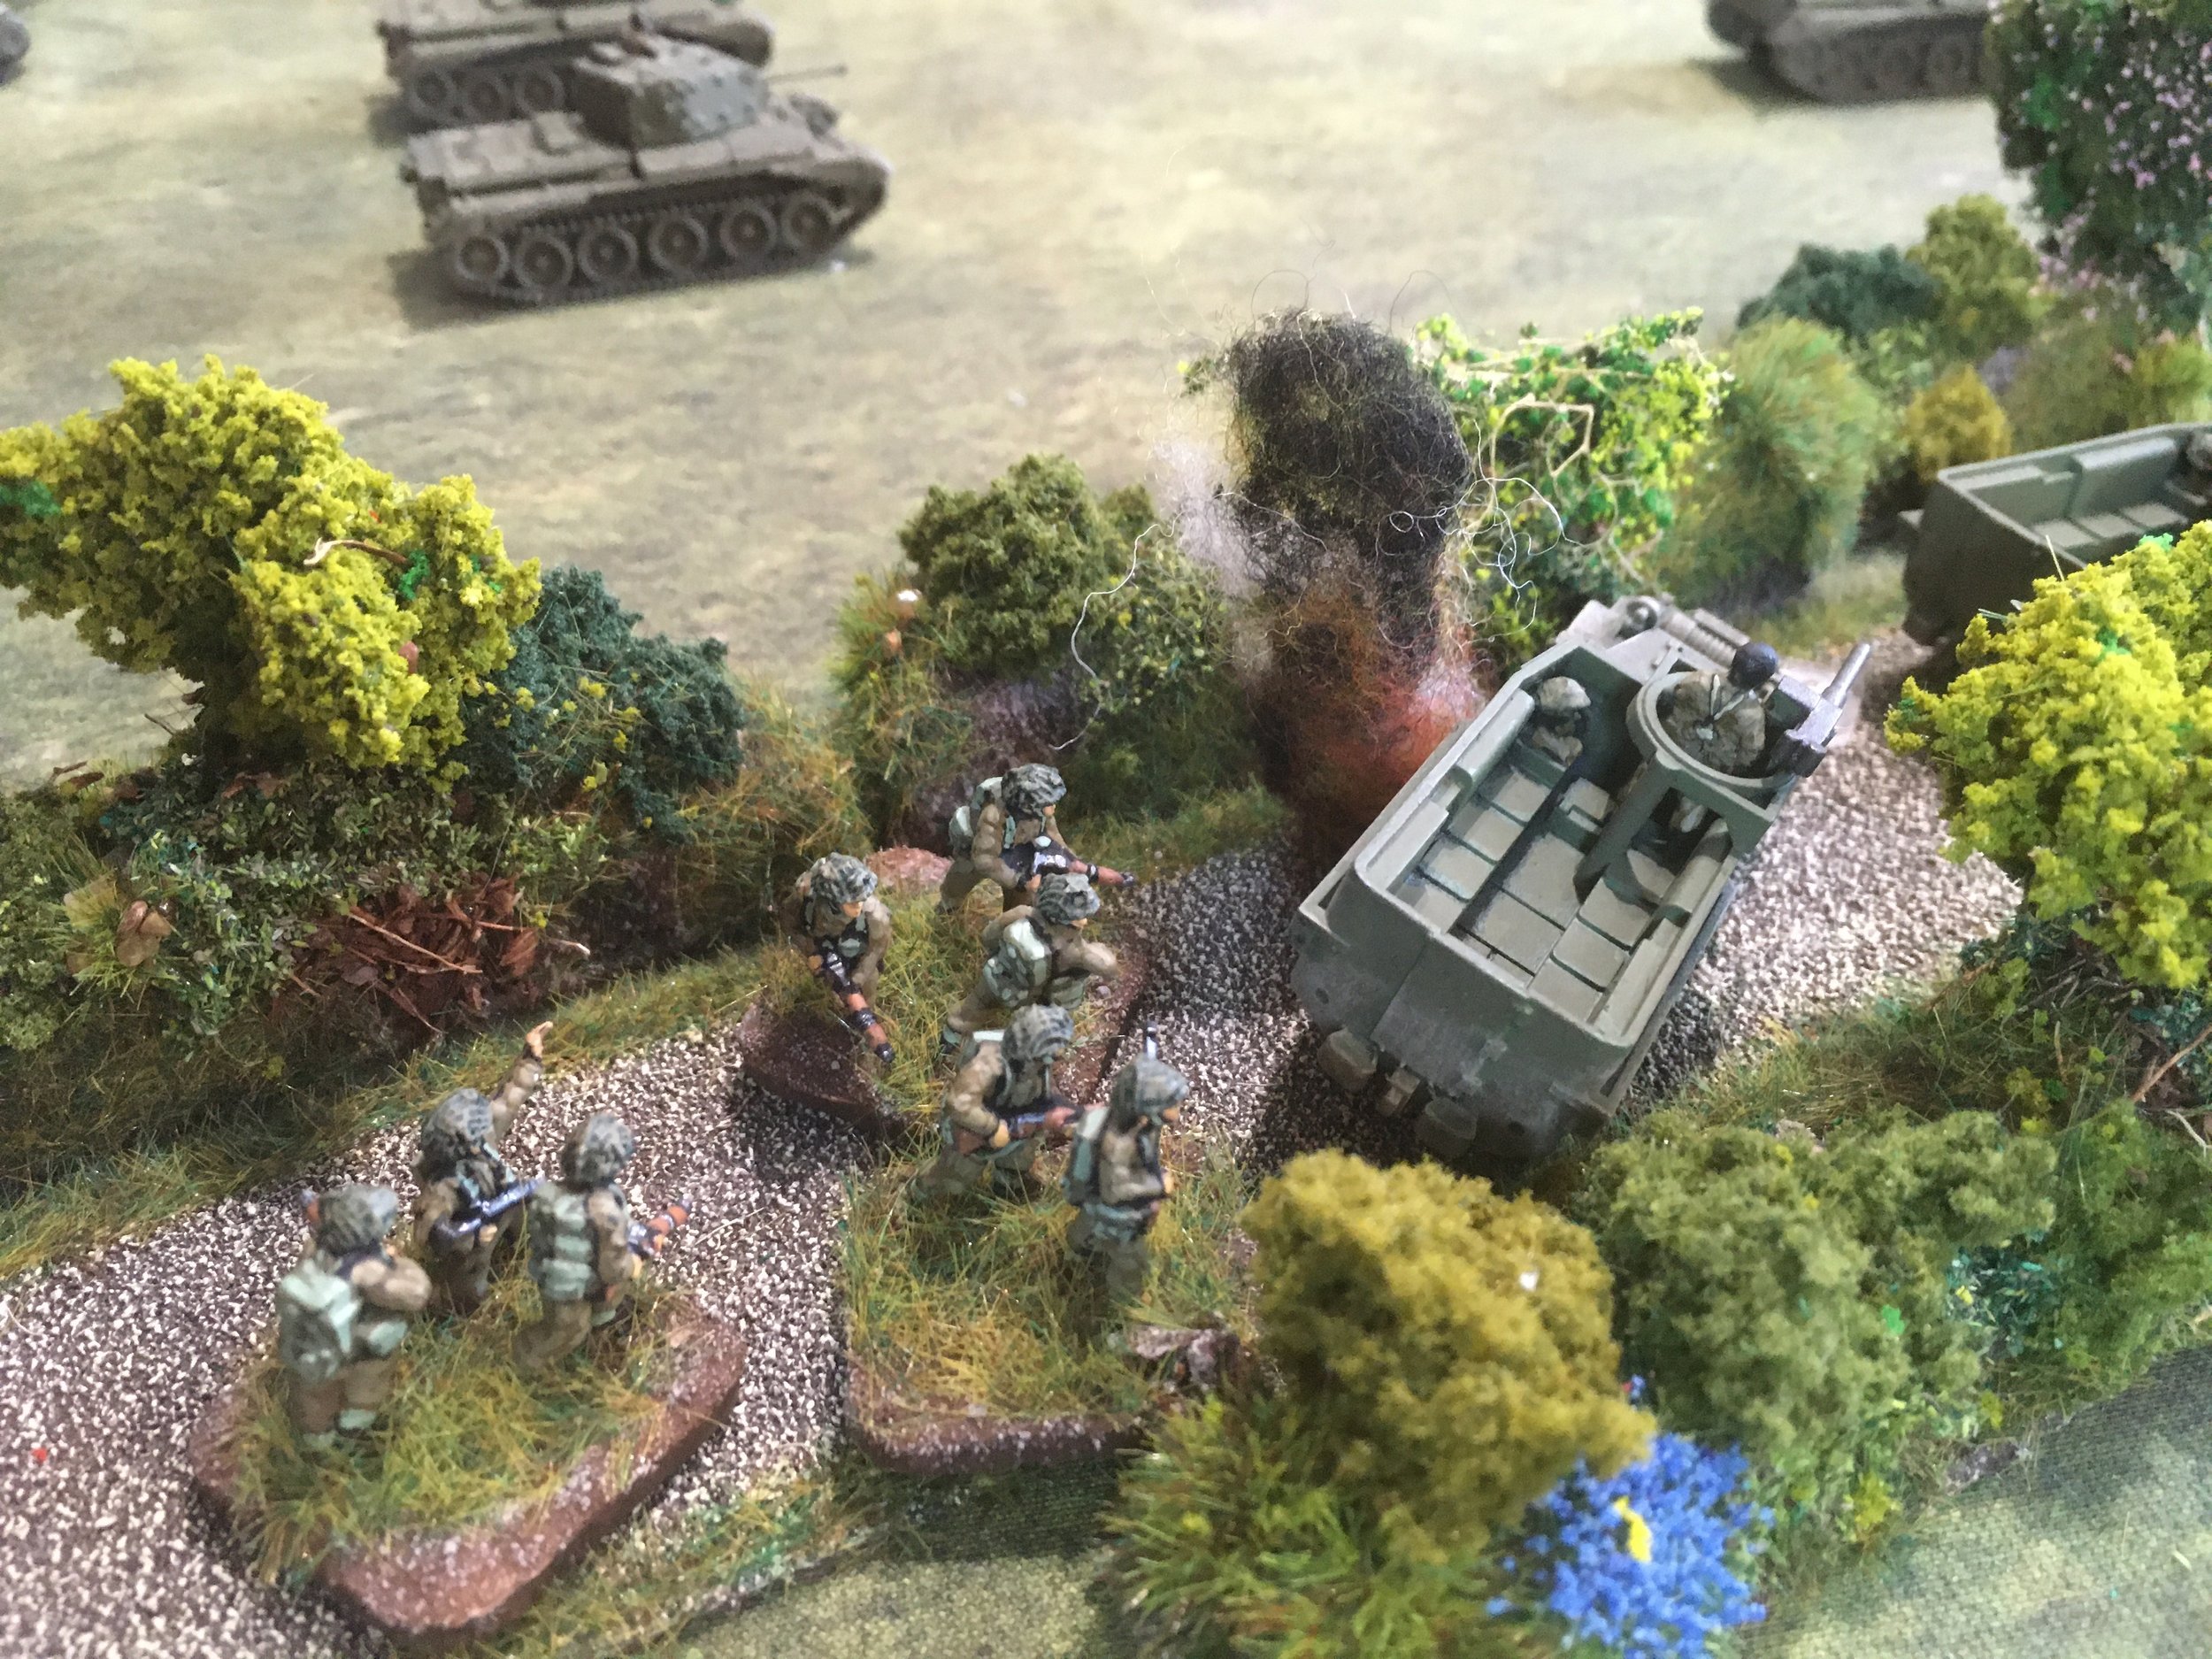
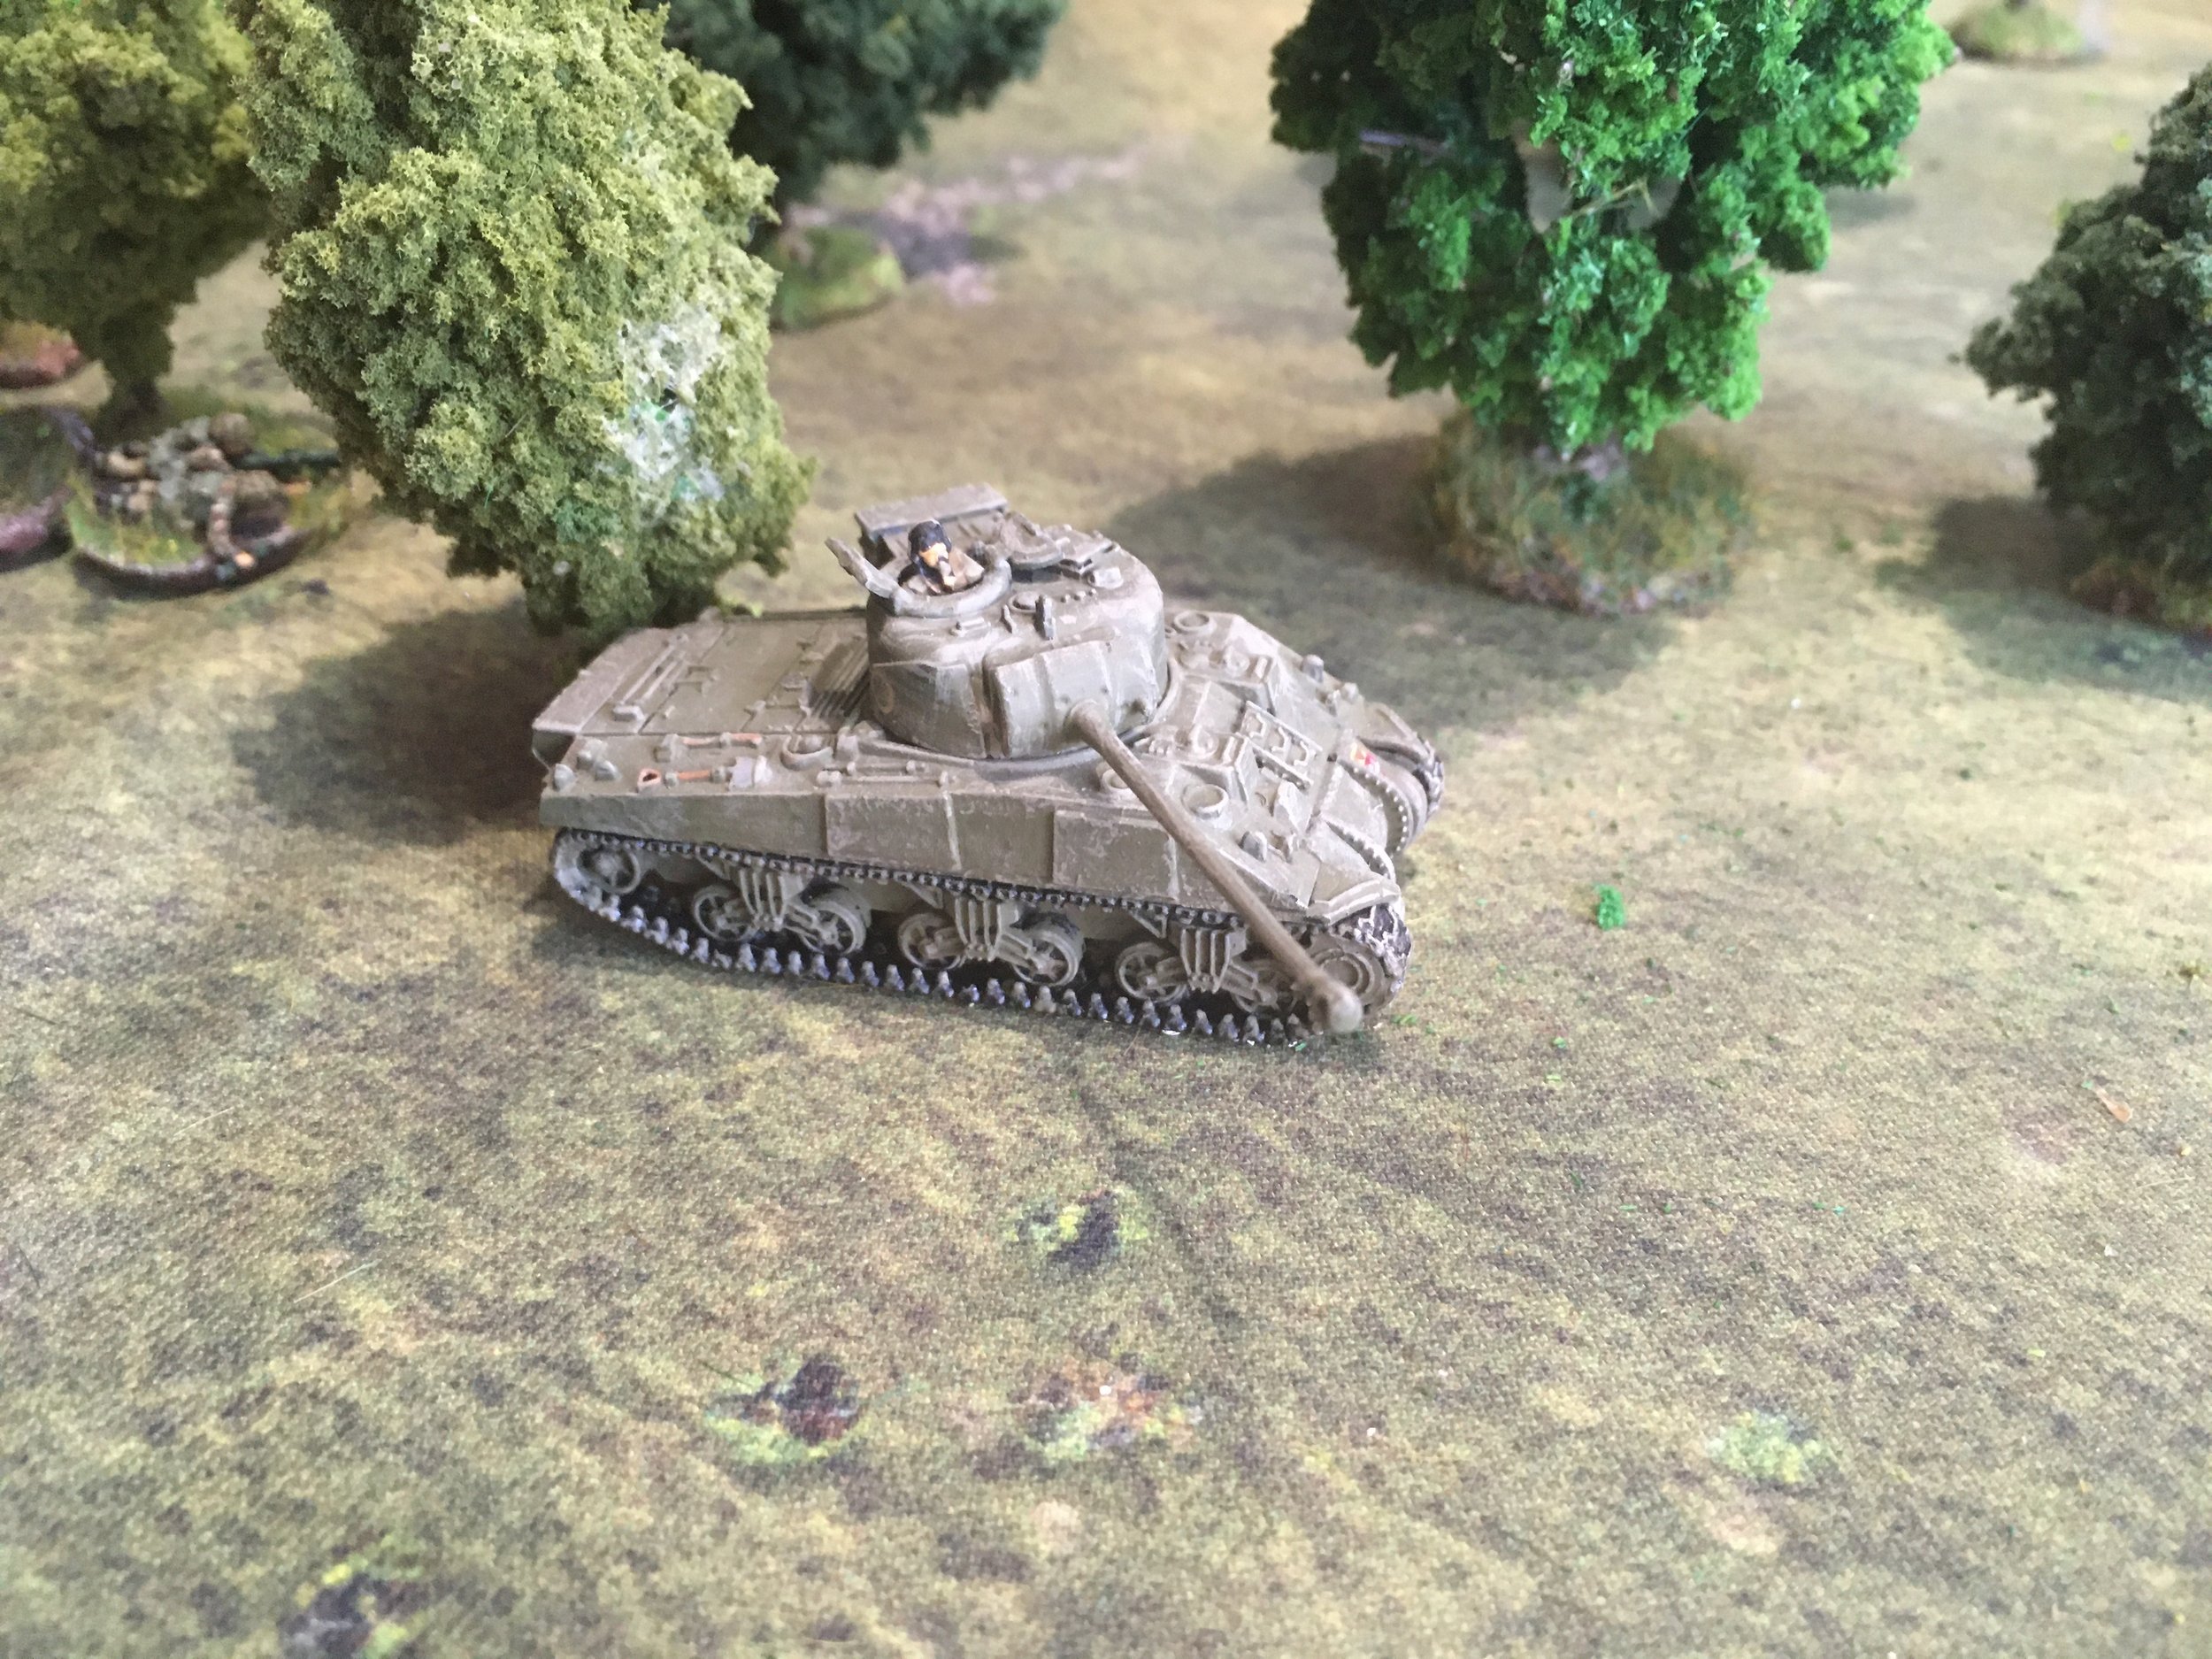
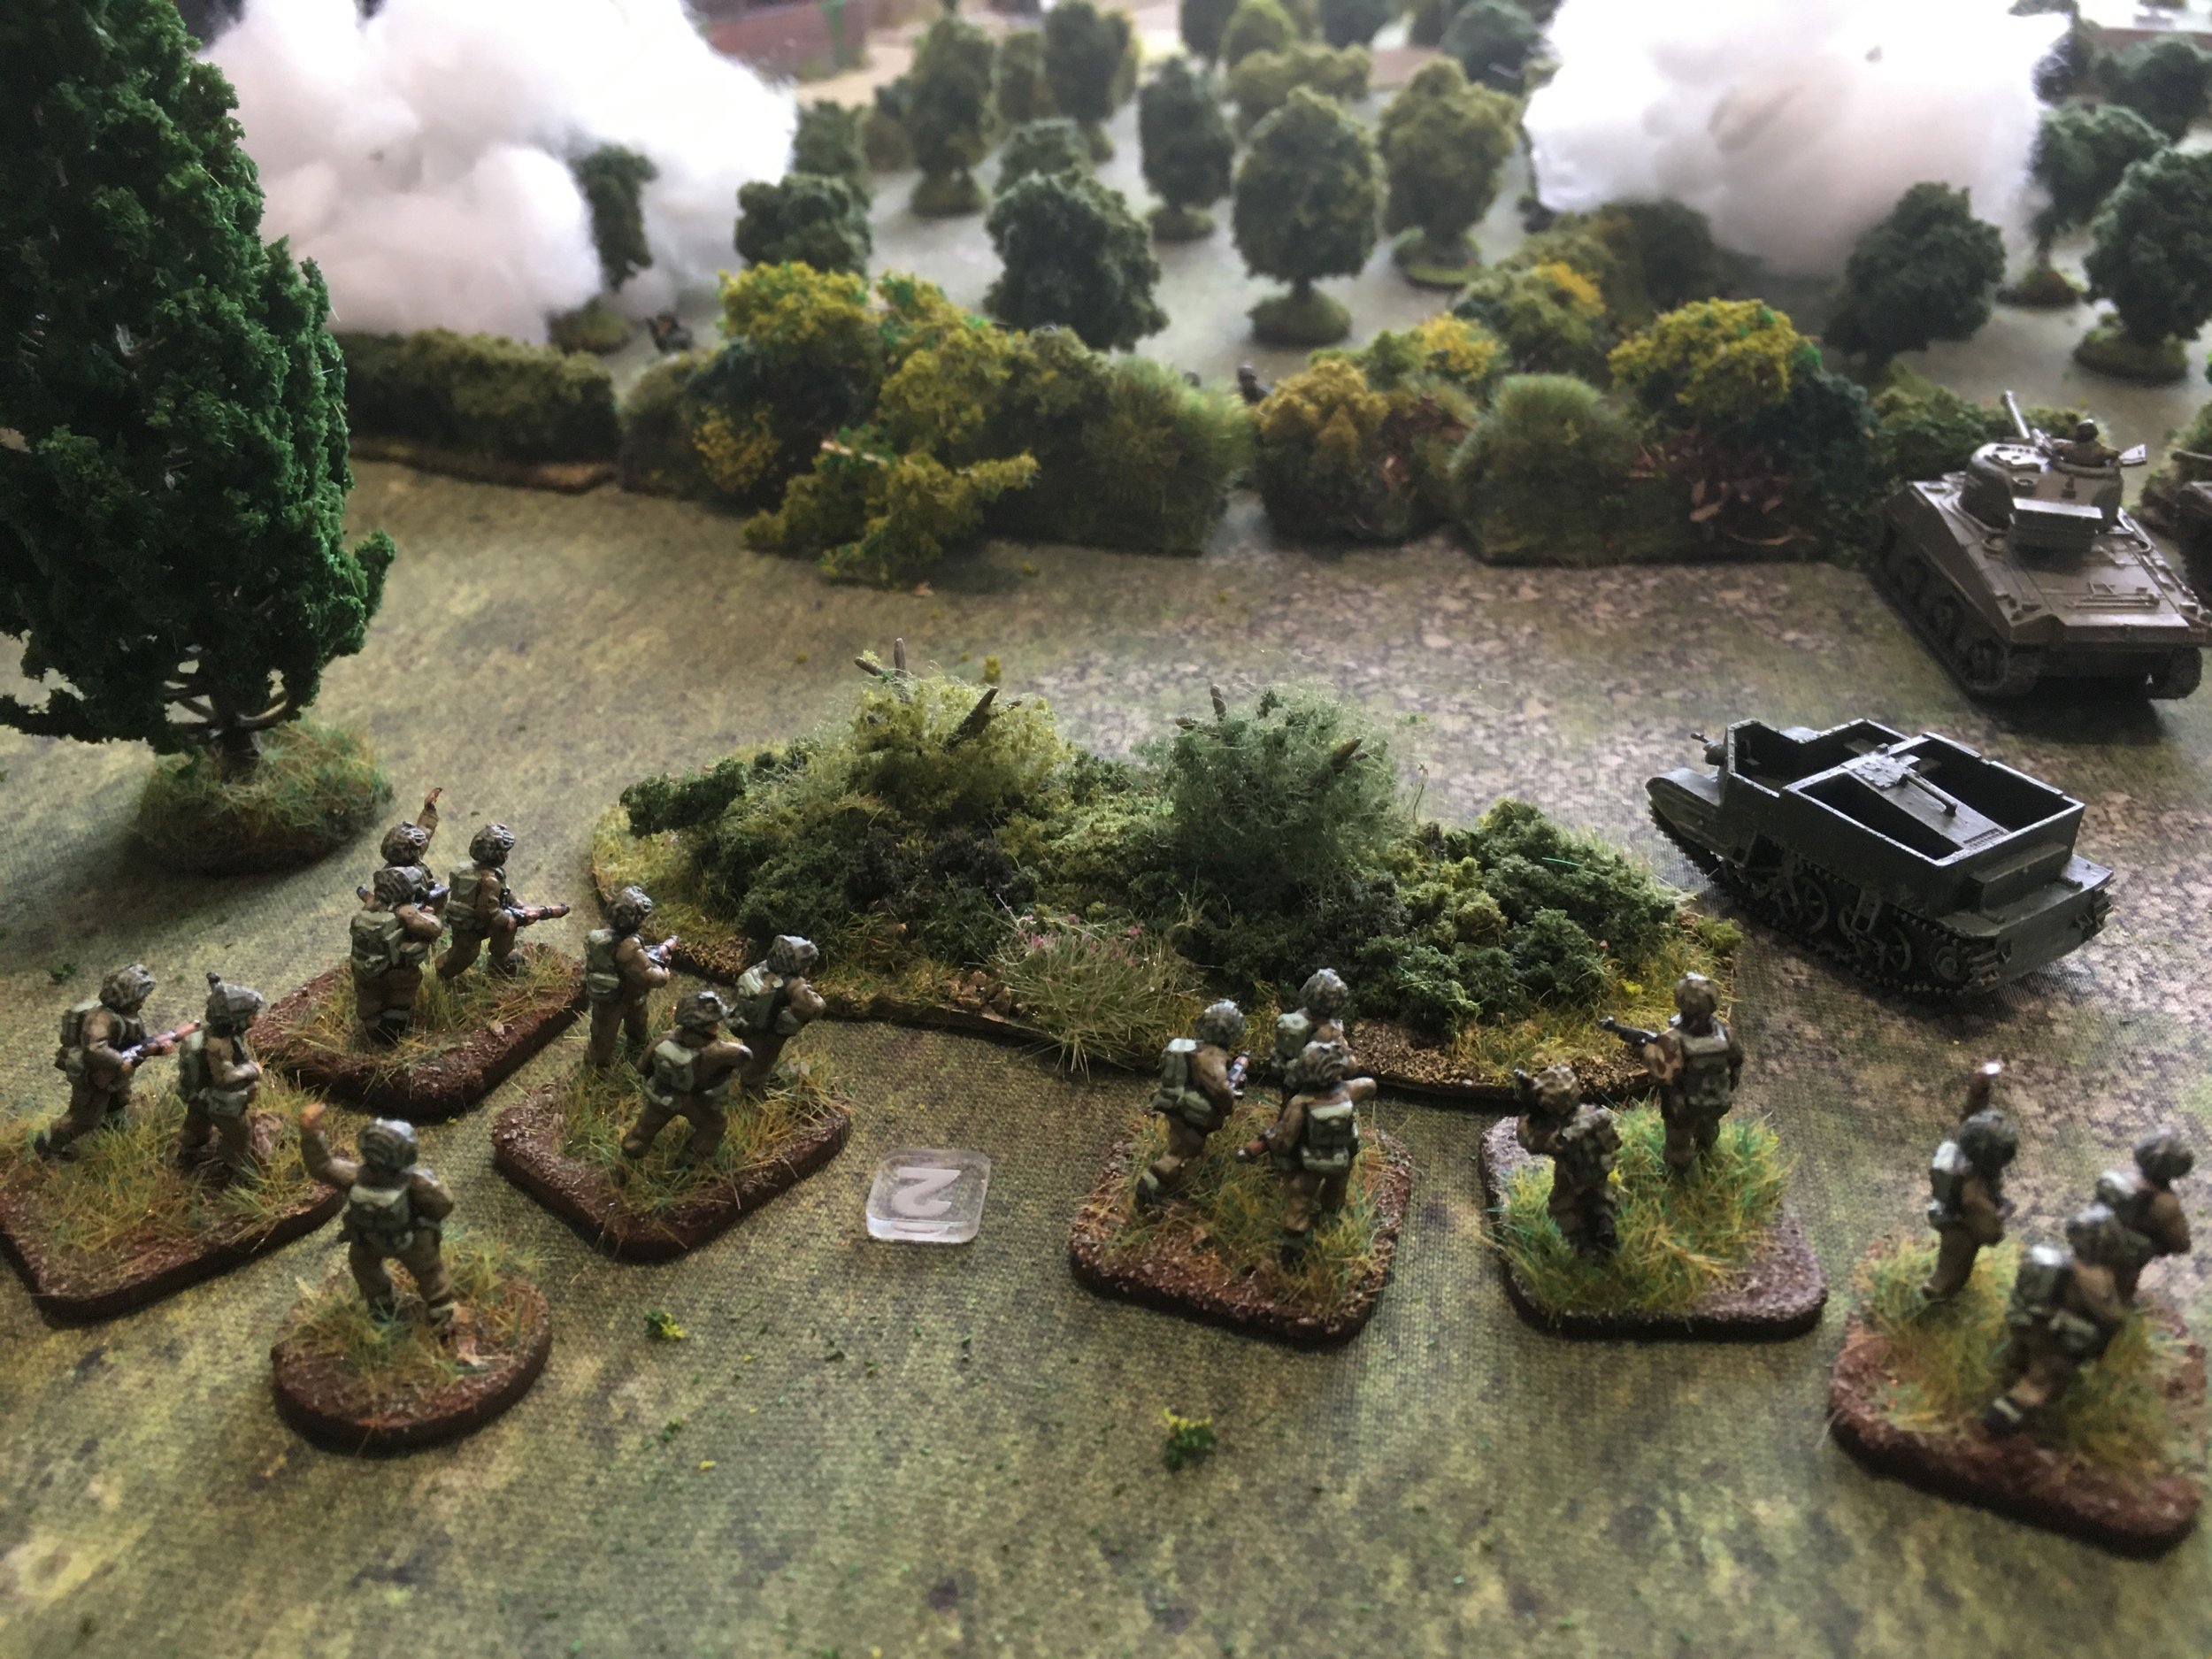
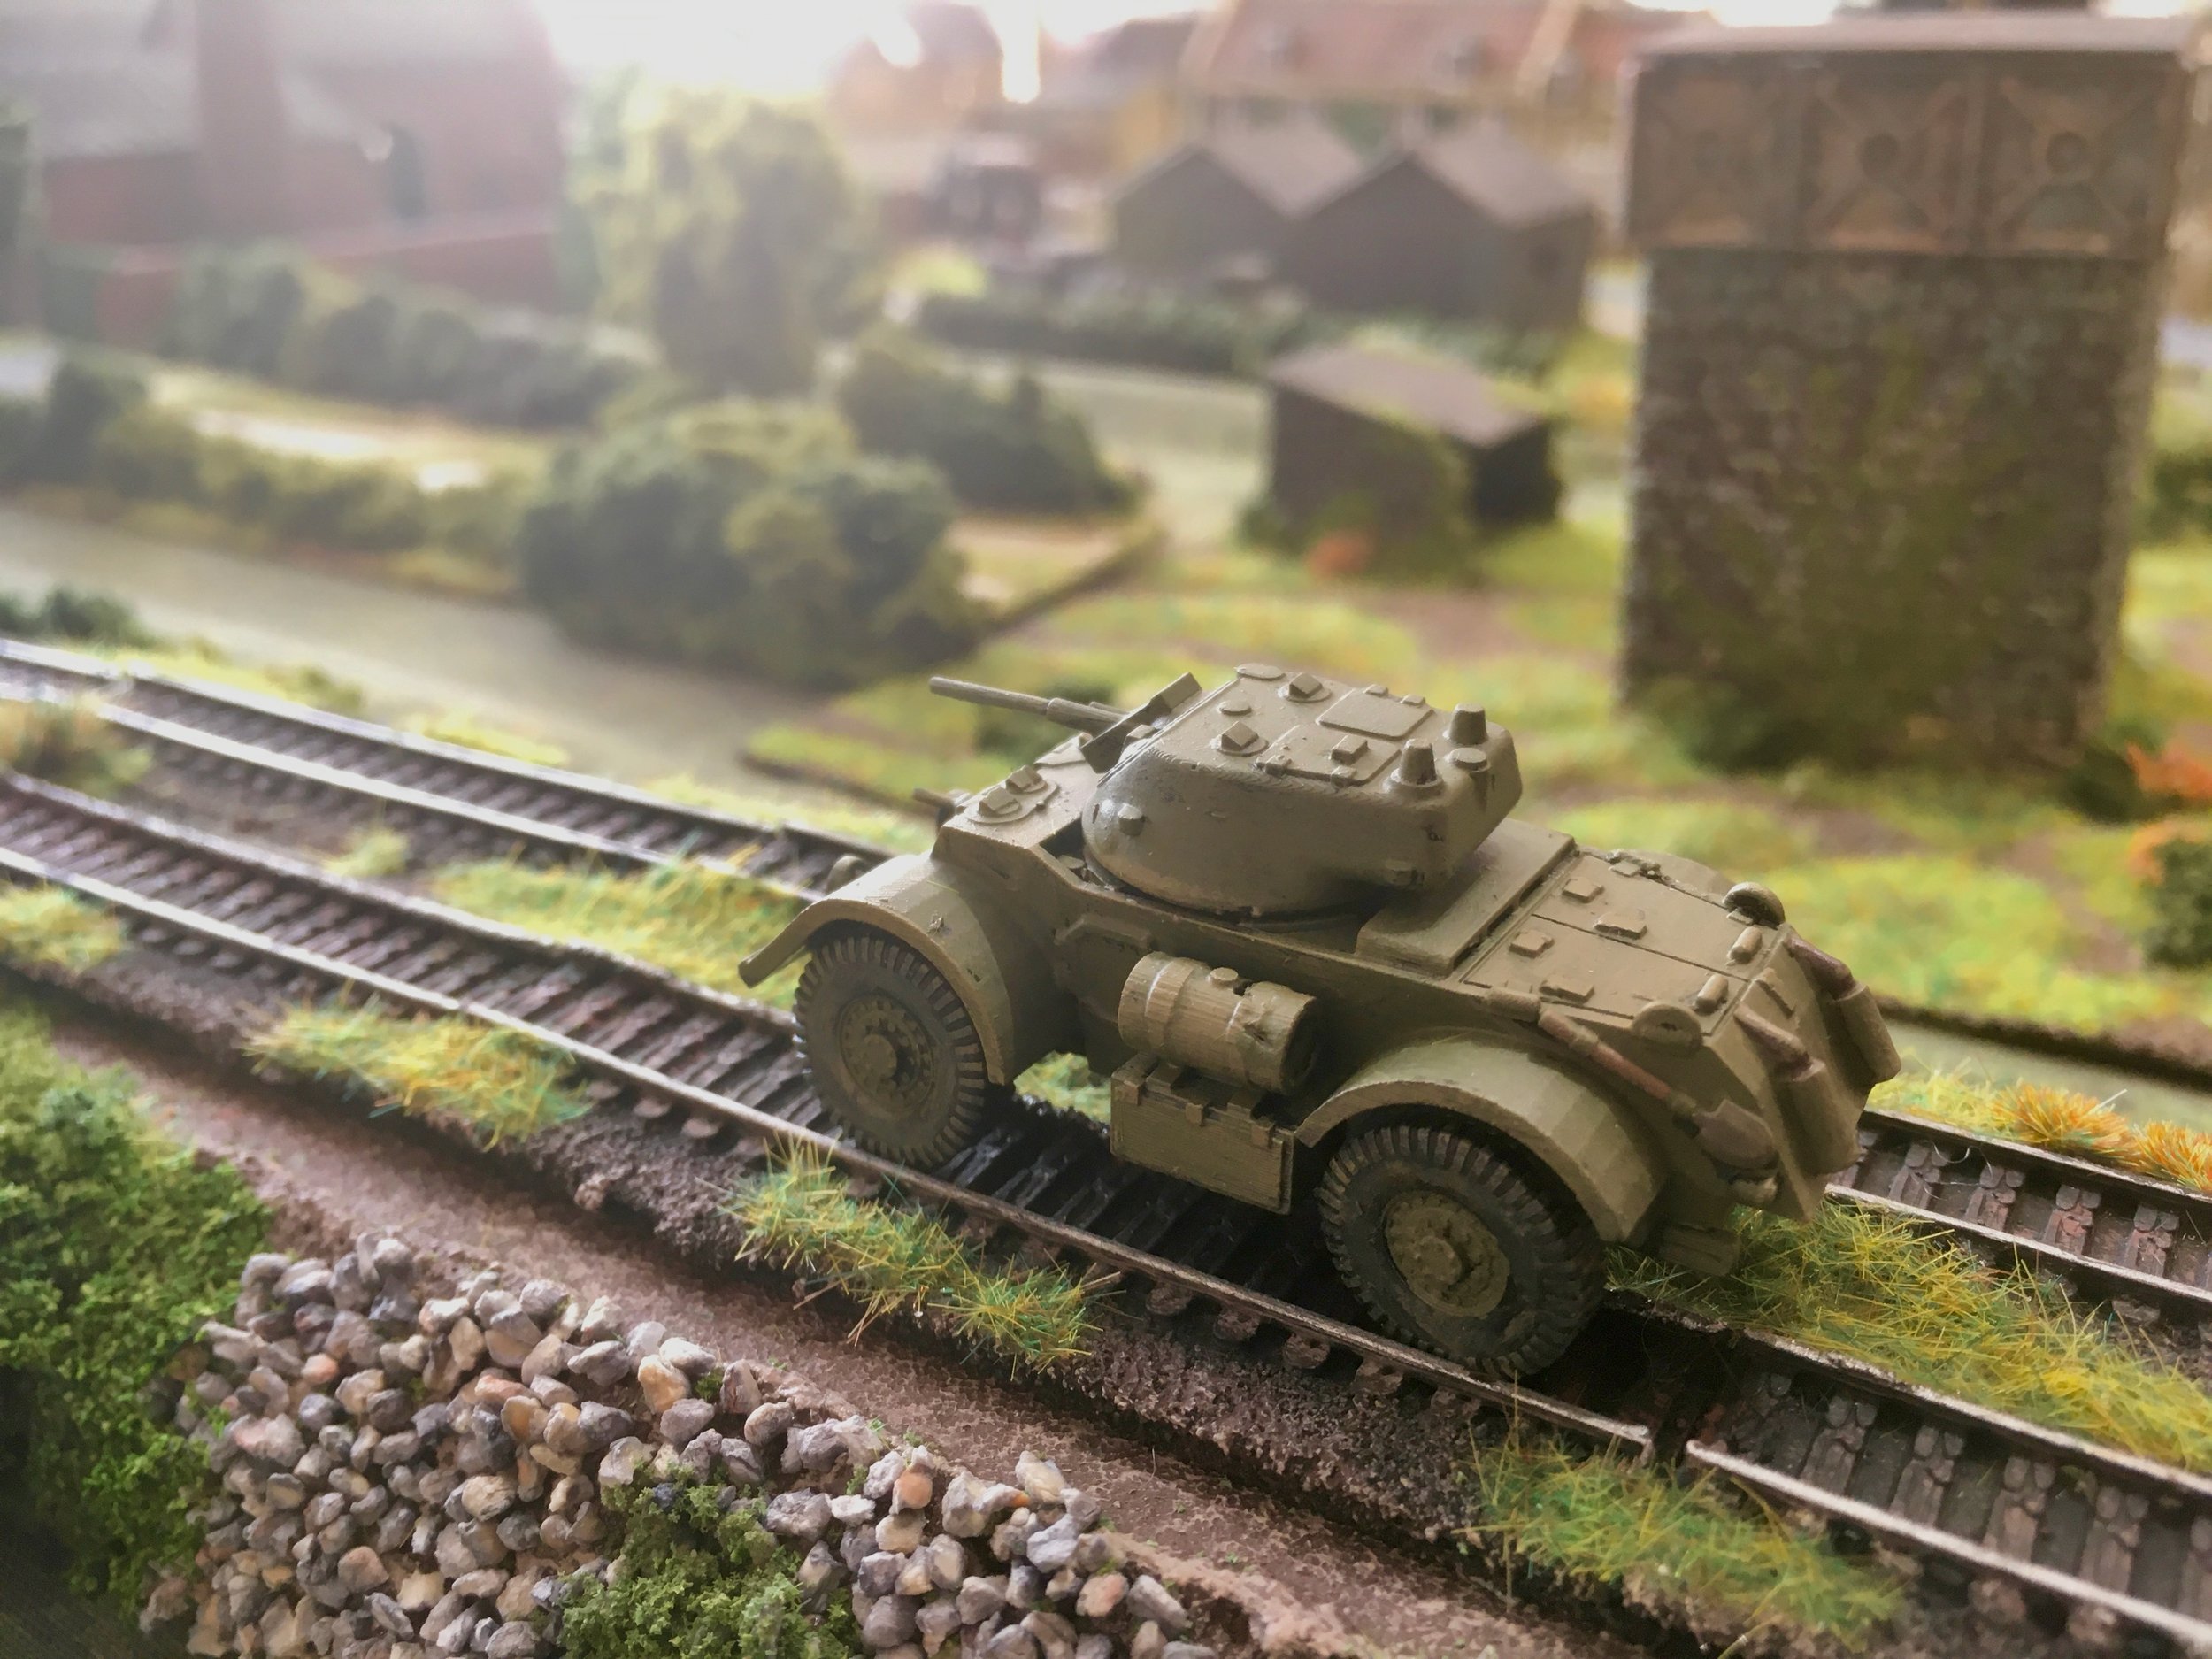
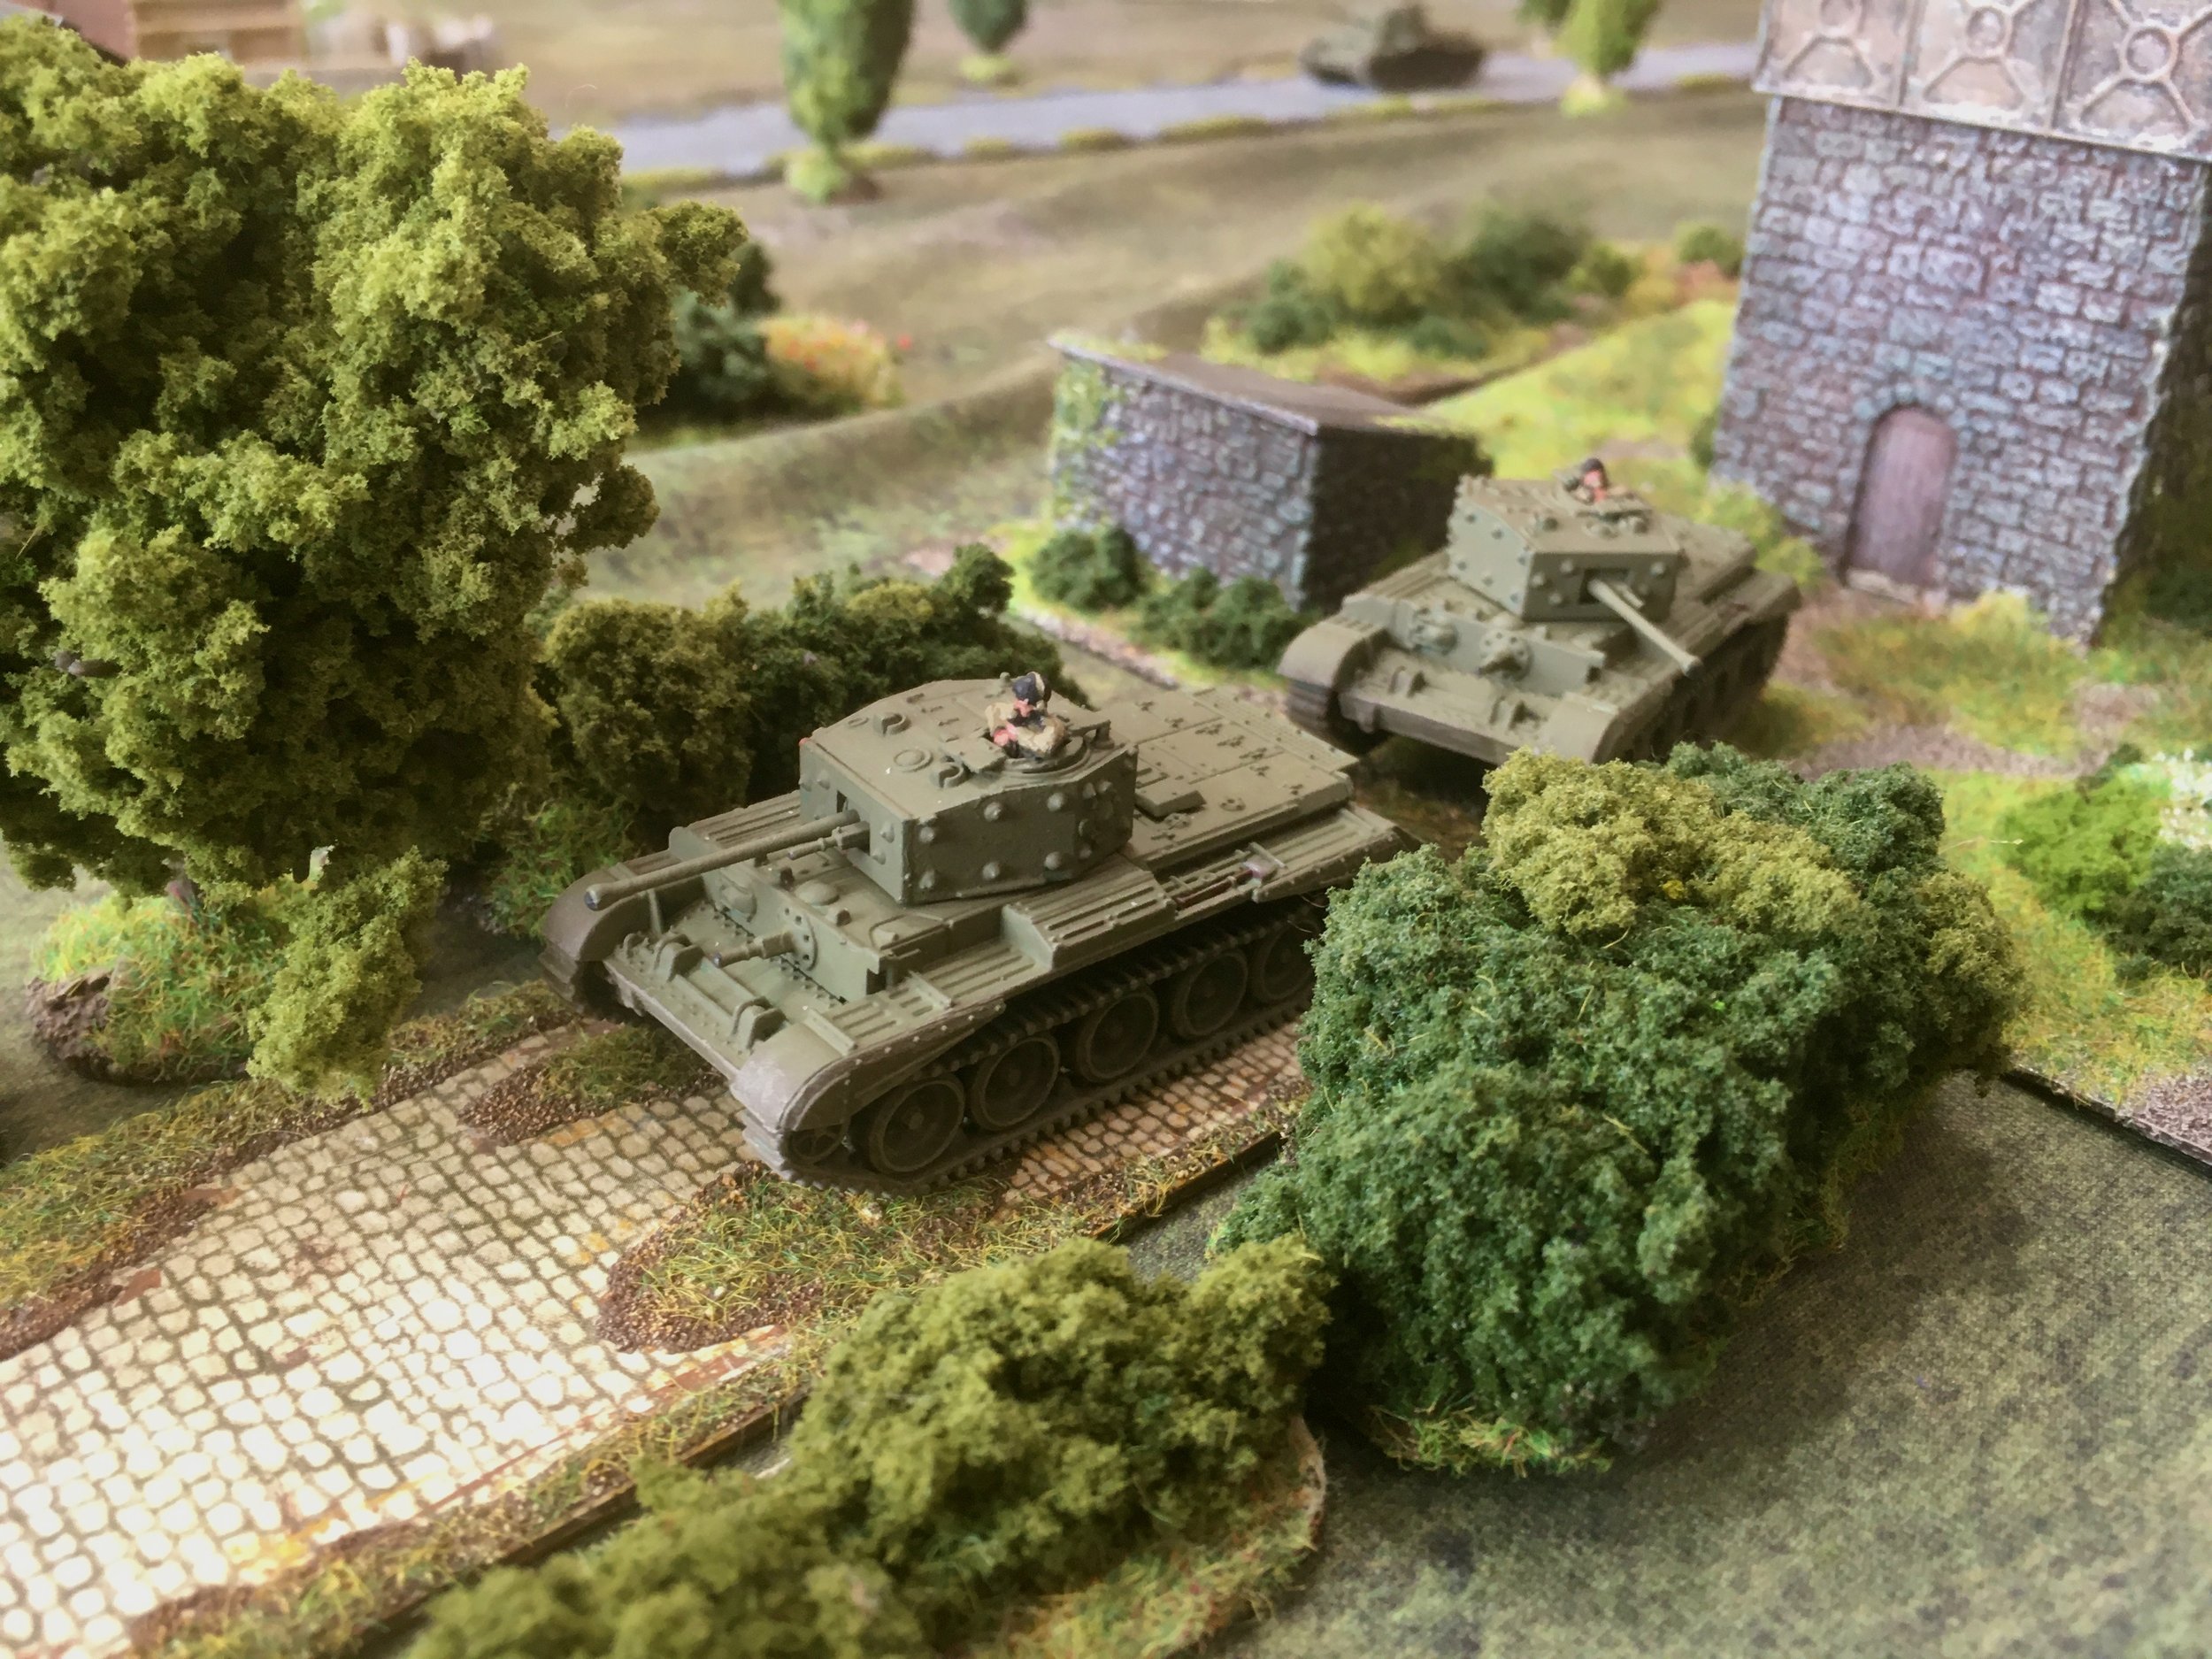
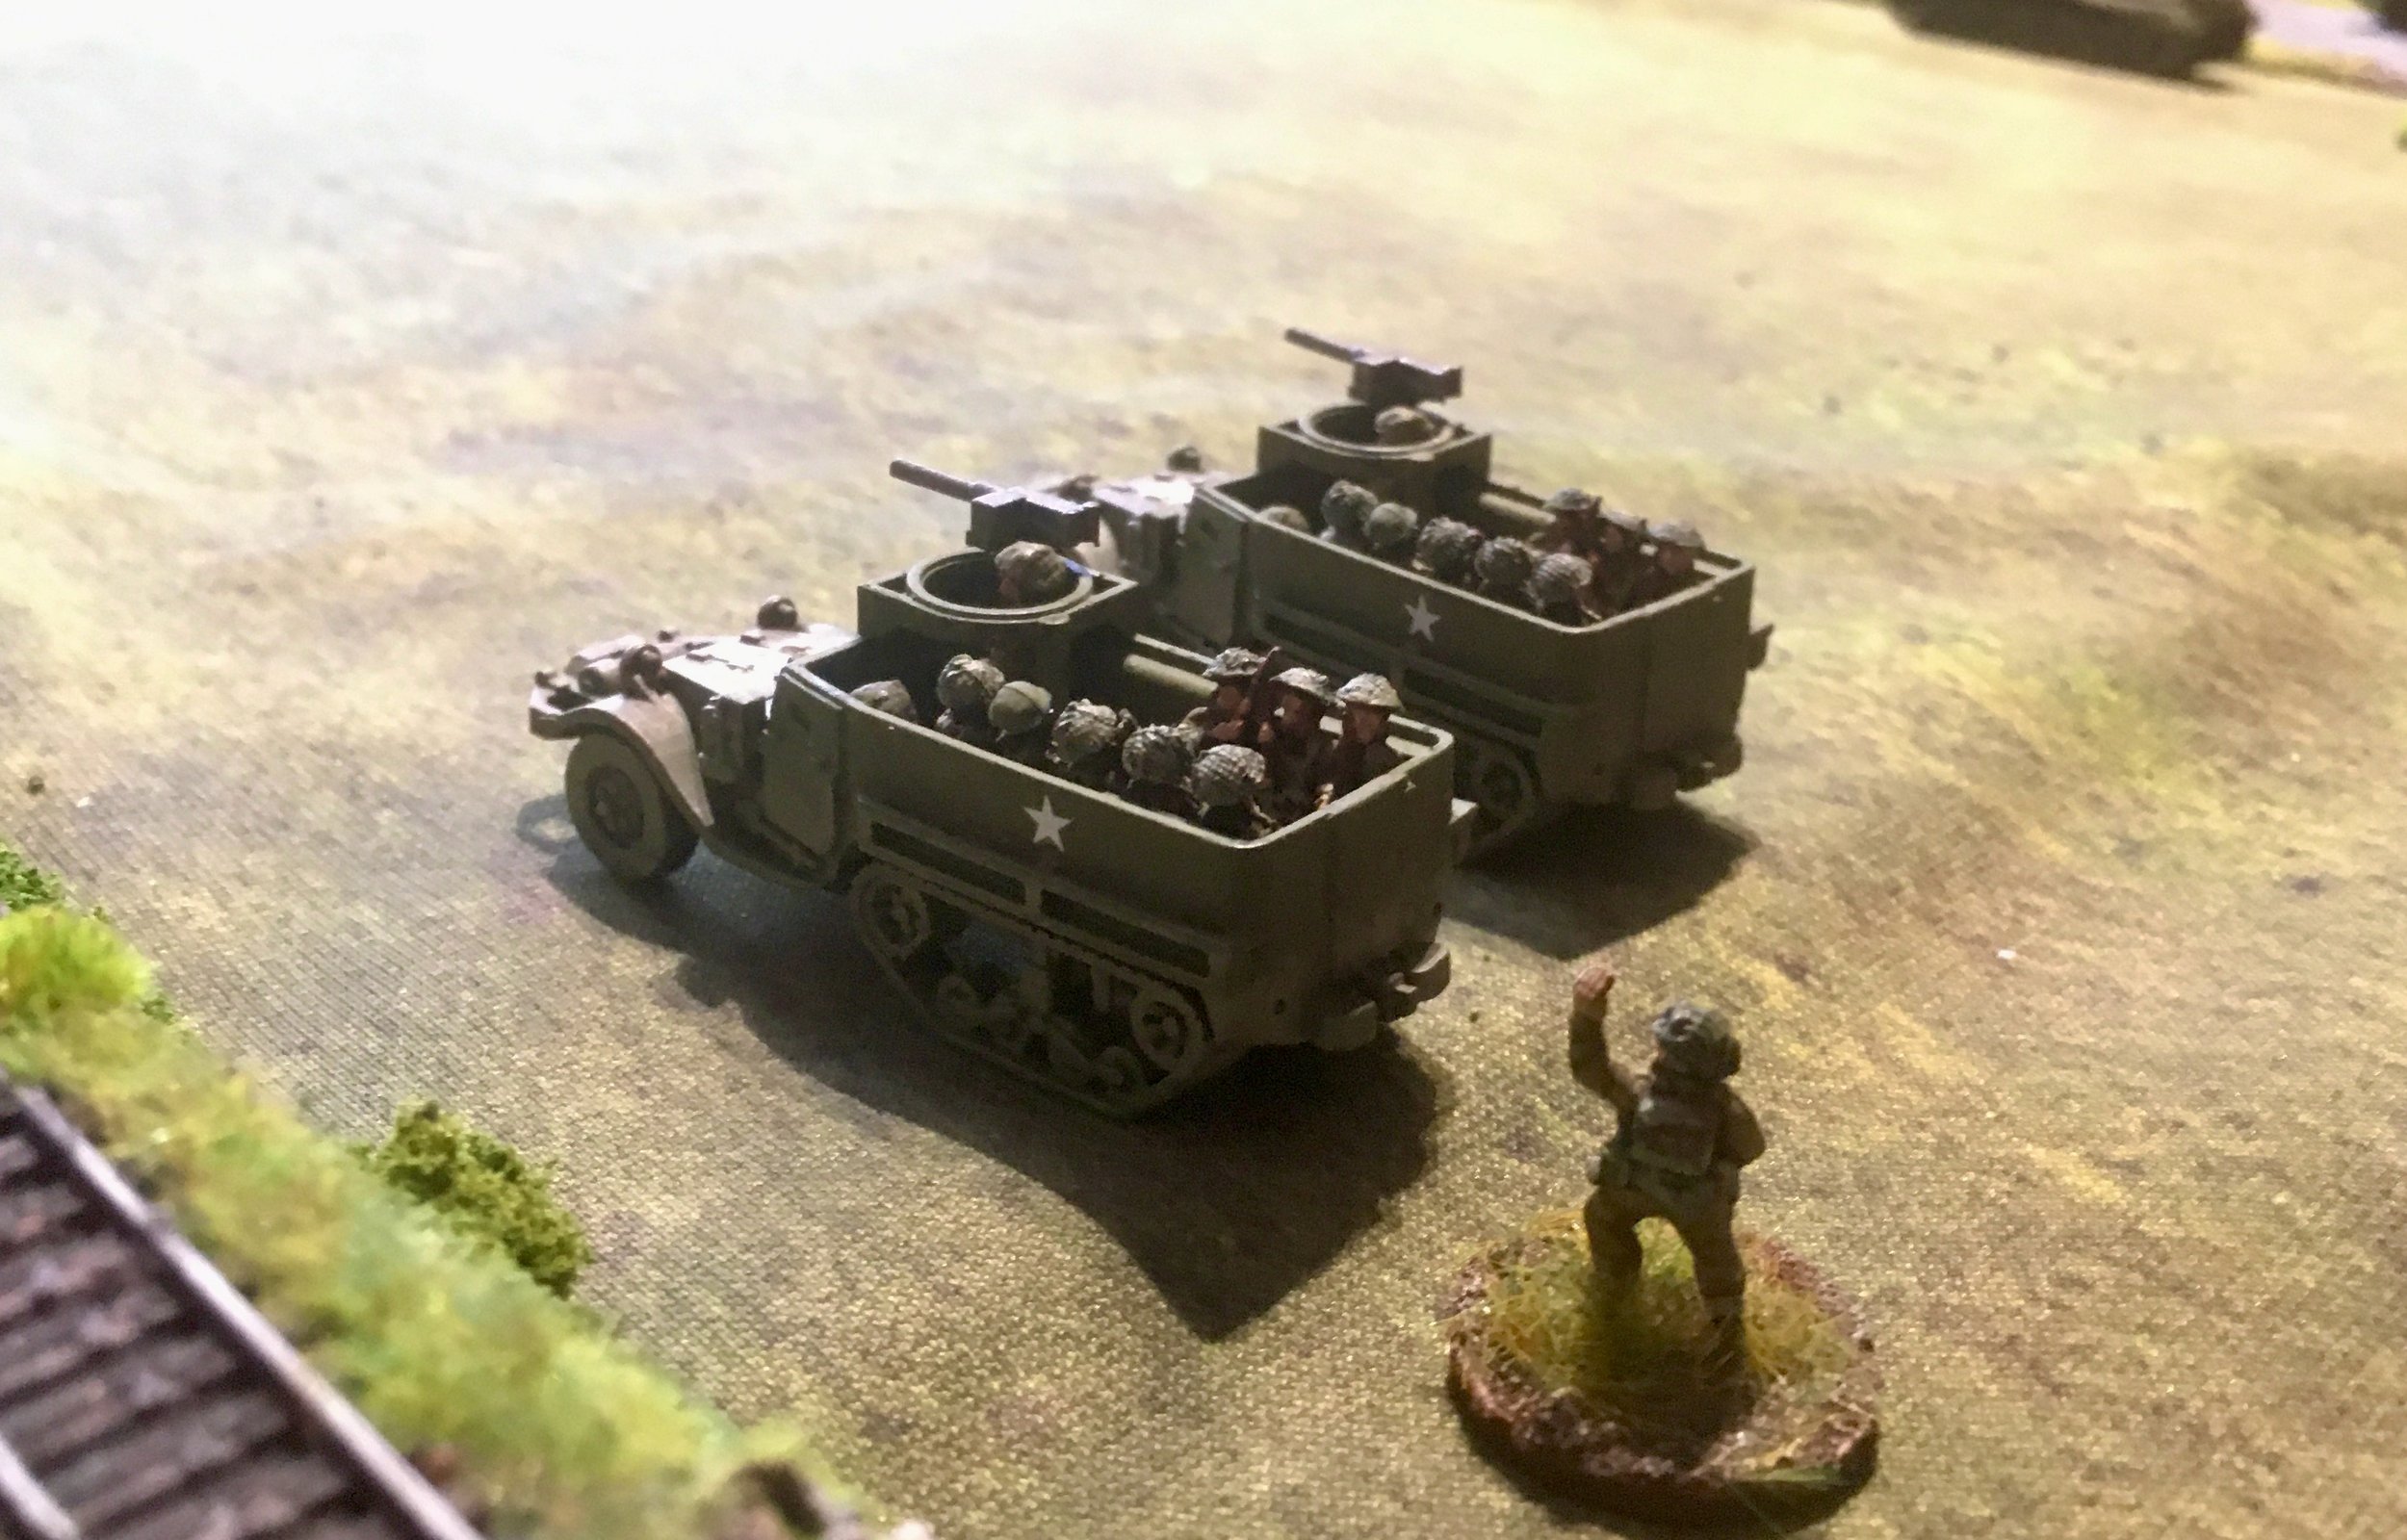
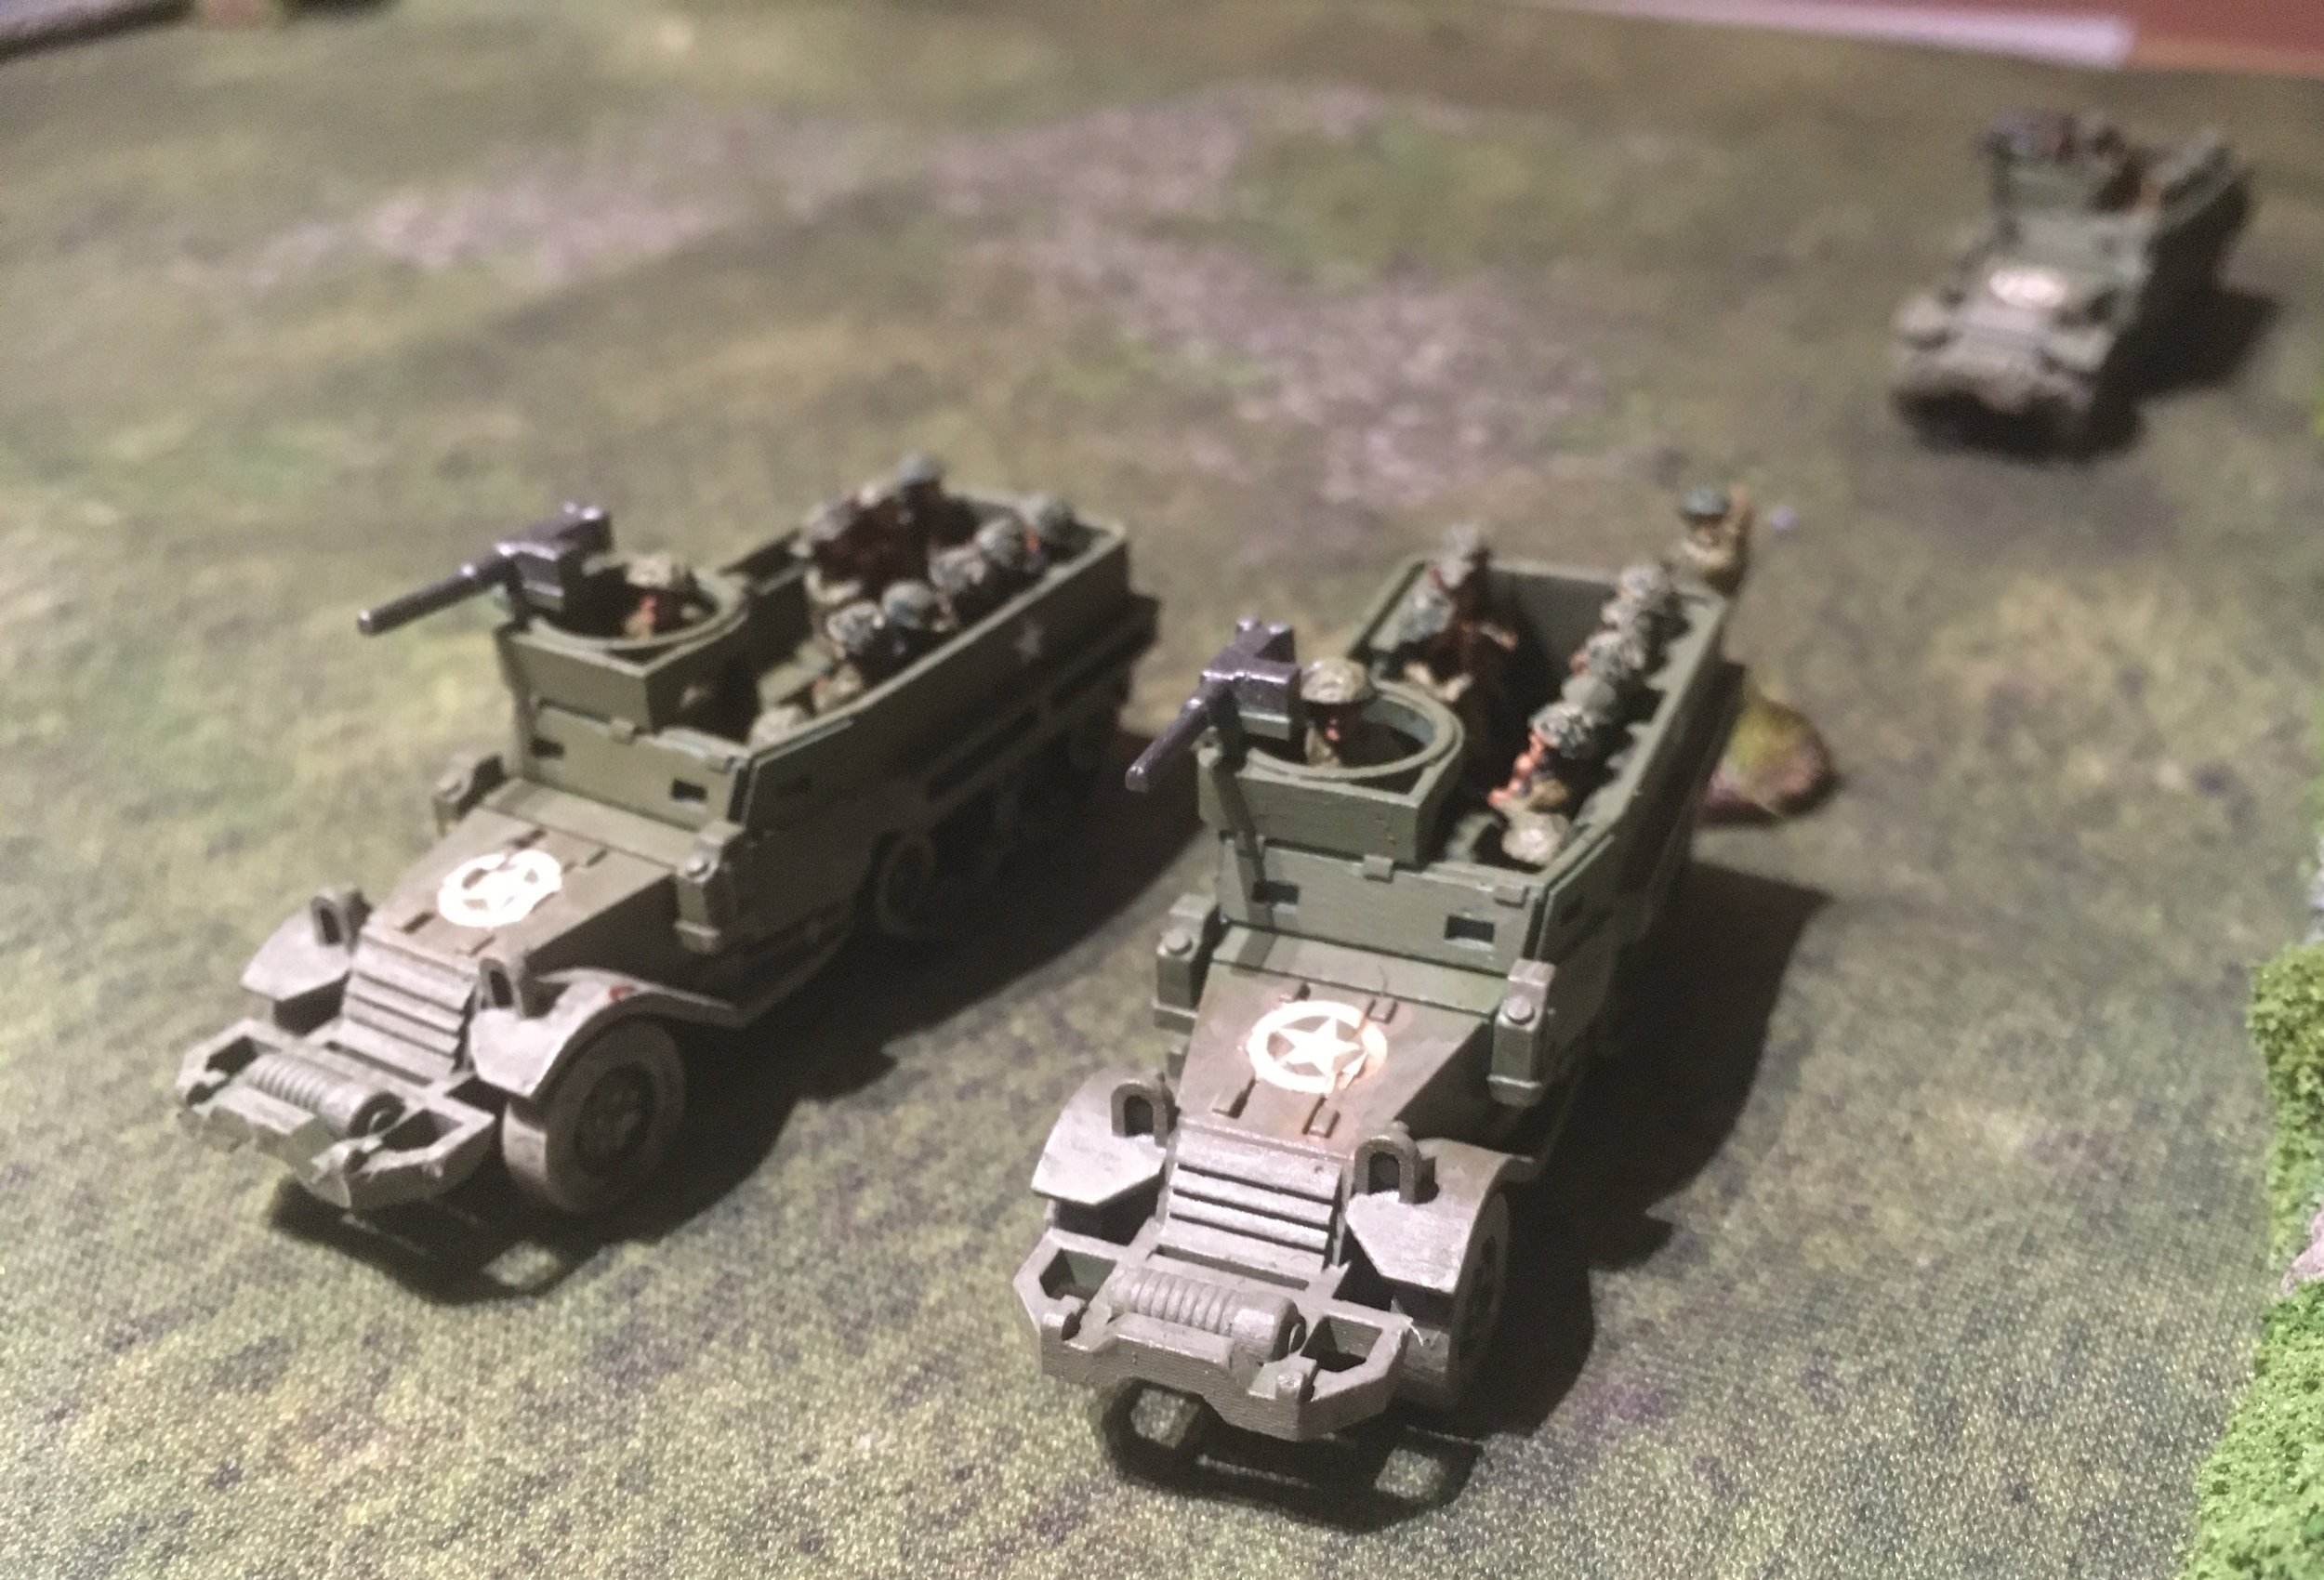
Jon had 2nd Company of Halftrack borne infantry (with 5 Big Men total) from the 22nd NZ Motorised Battalion. Eleven M4 Shermans from B Squadron, 4th NZ Armoured Brigade and two Staghound armored cars.
He came in on the eastern edge of the table centered on the road. The infantry had debused from their M5 halftracks No sense in getting them bogged!

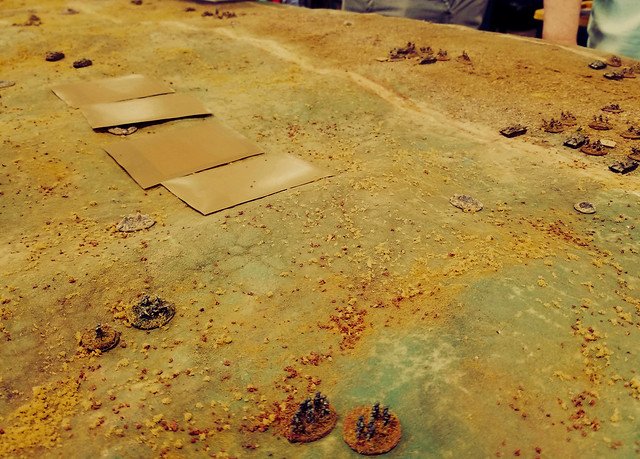
NZ Blinds at the bottom edge. Easily spotted in the open country.
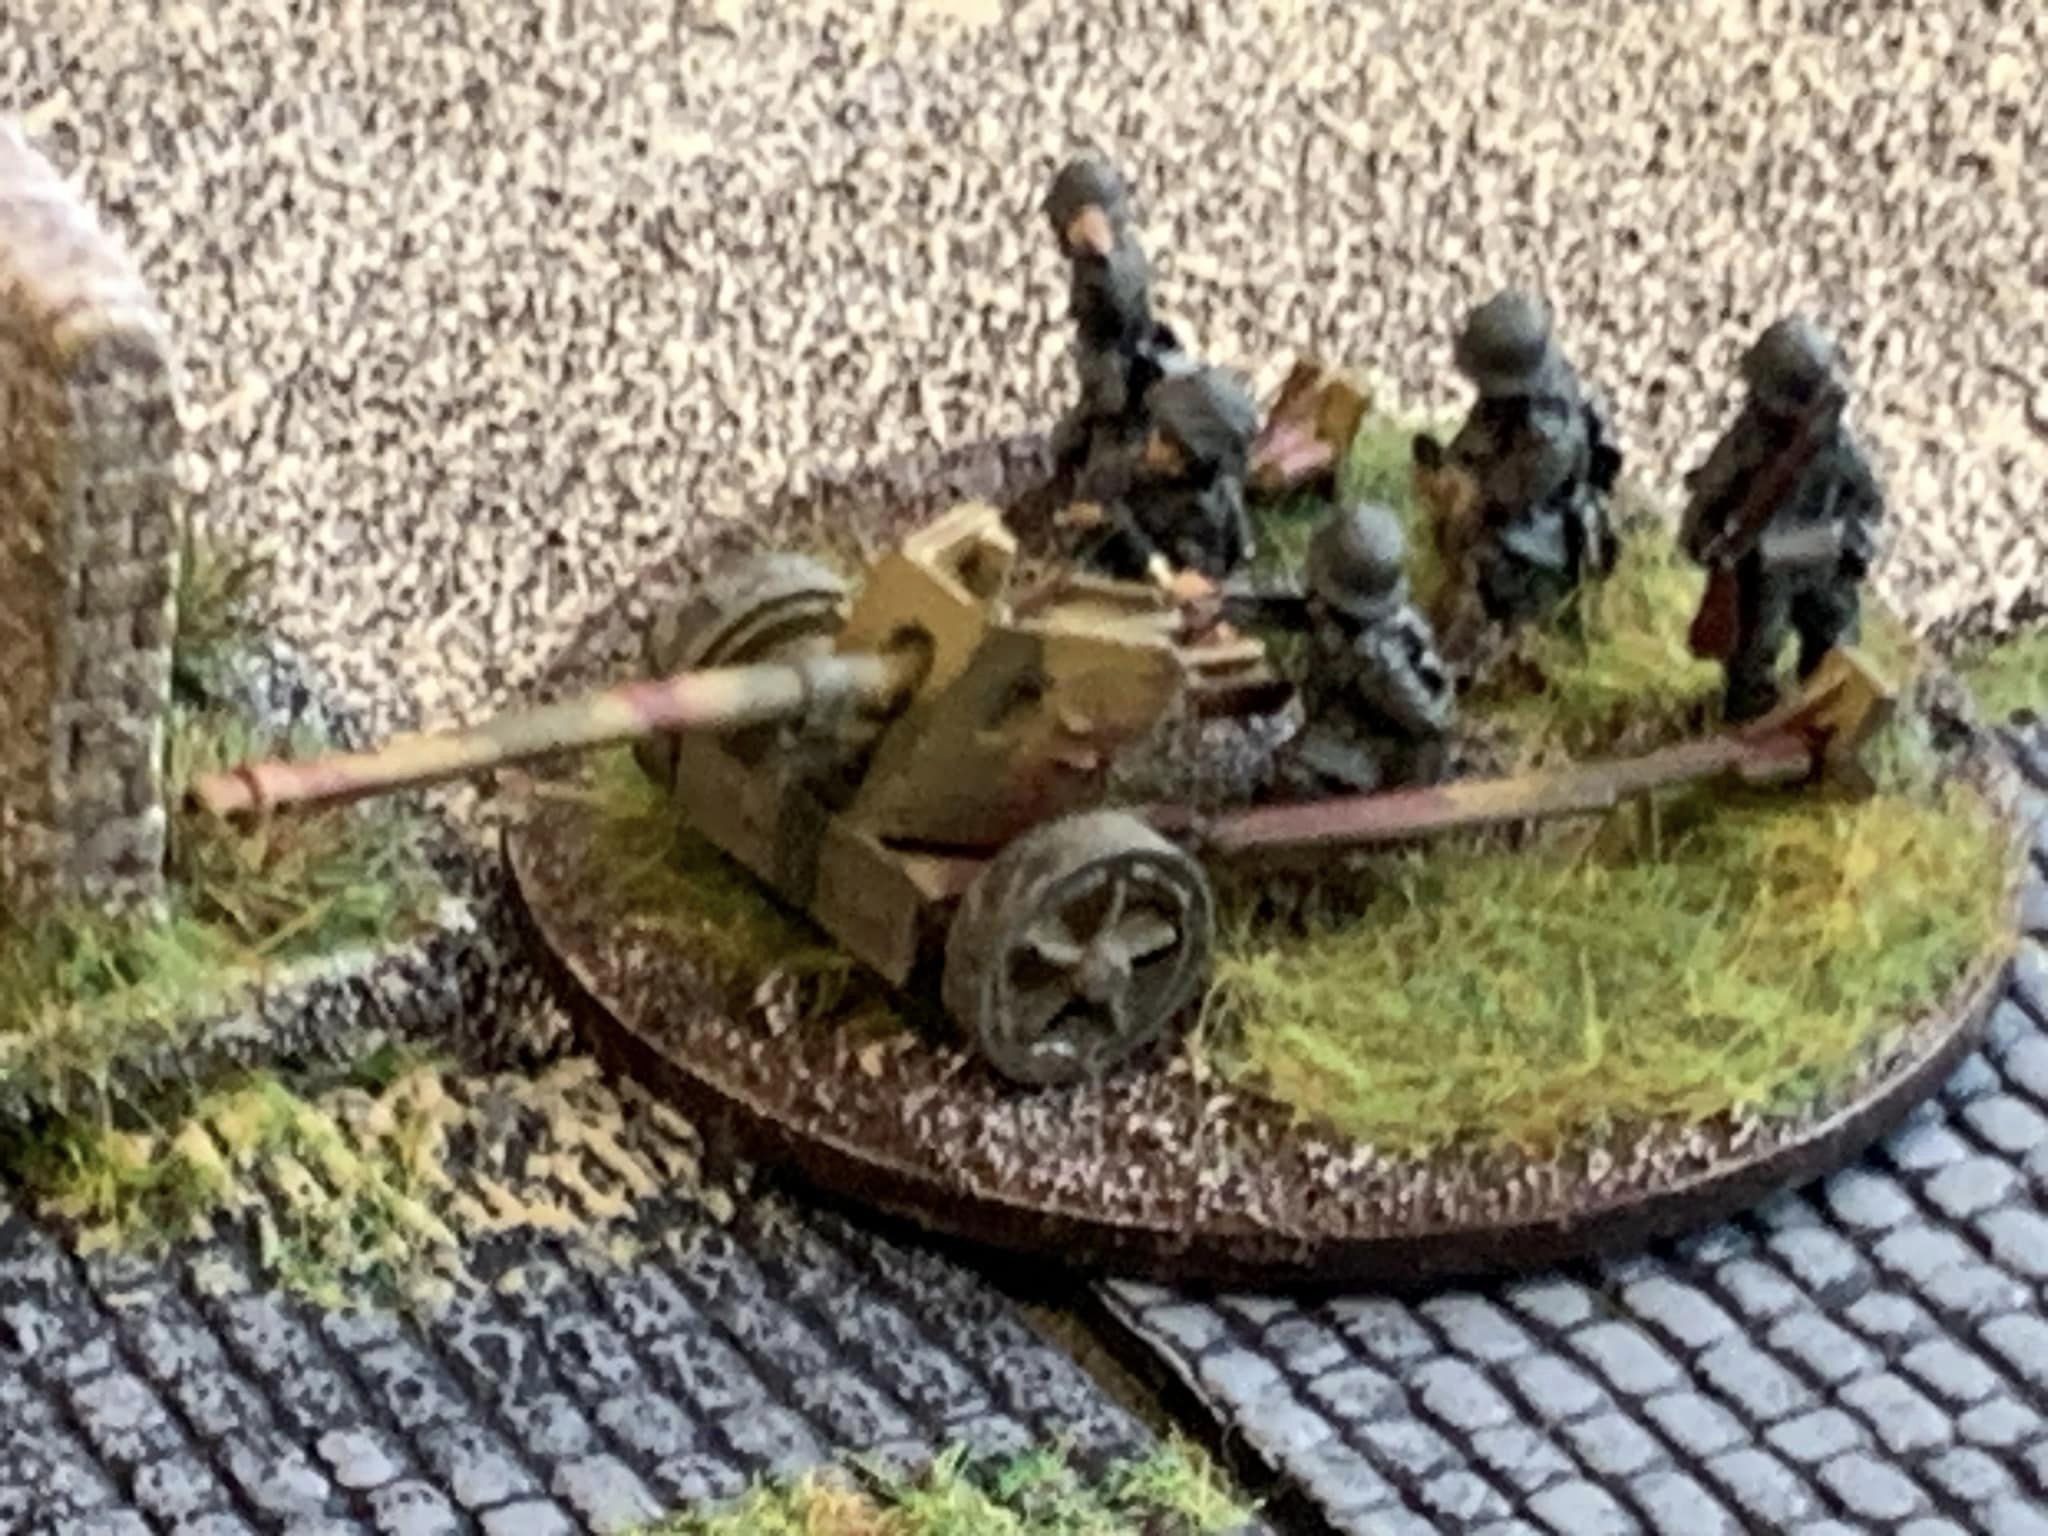
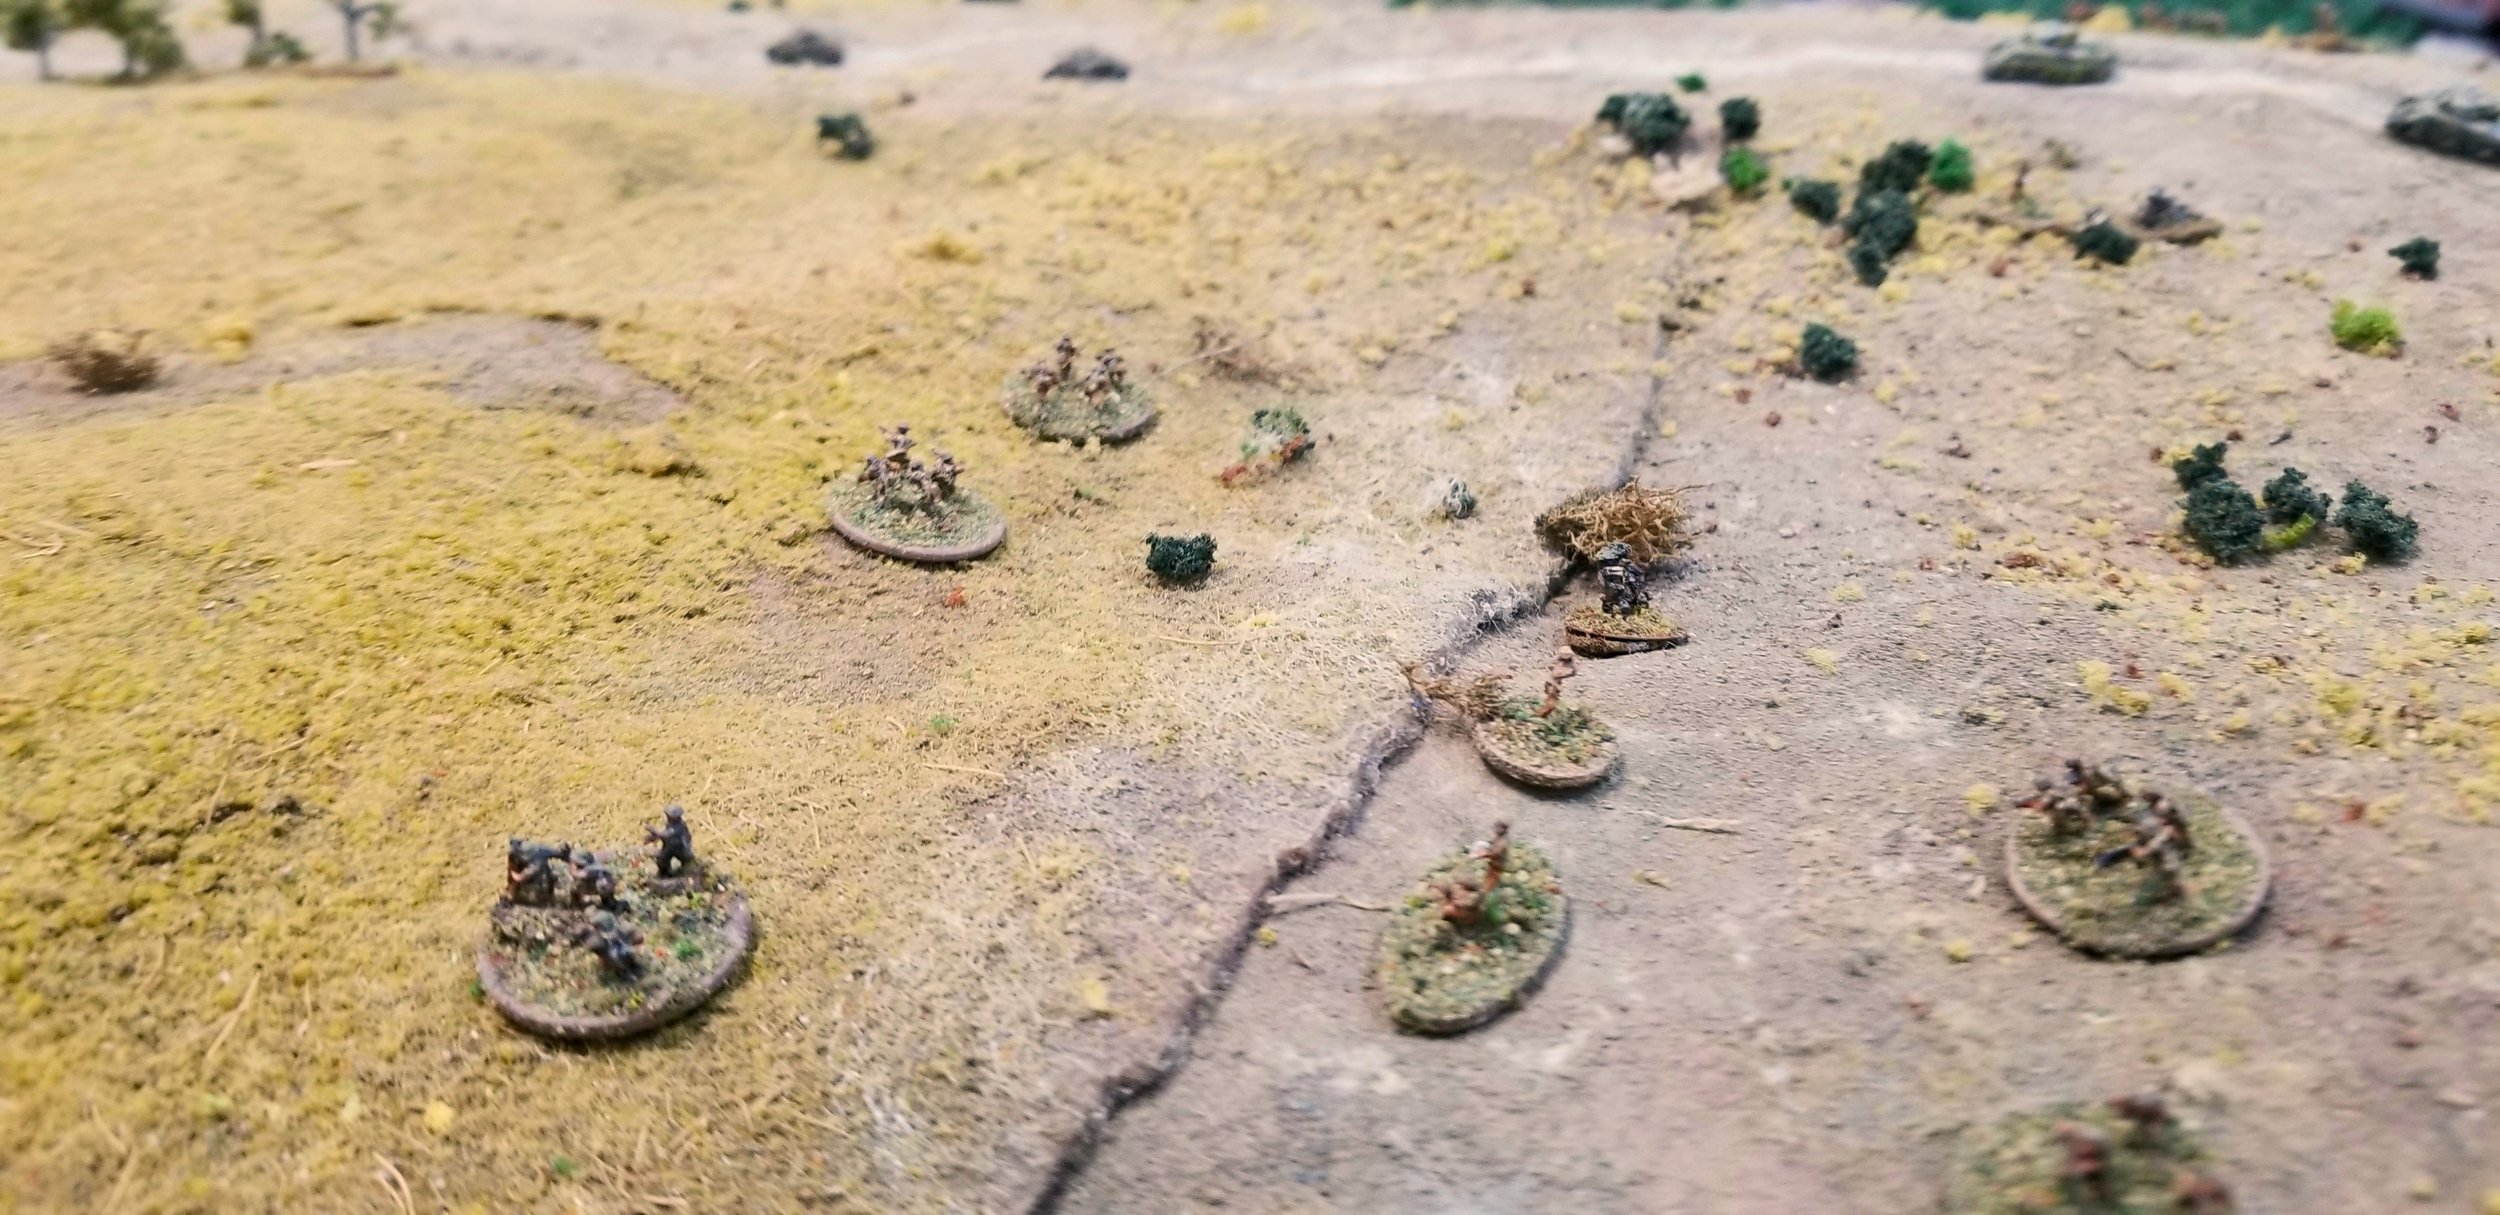
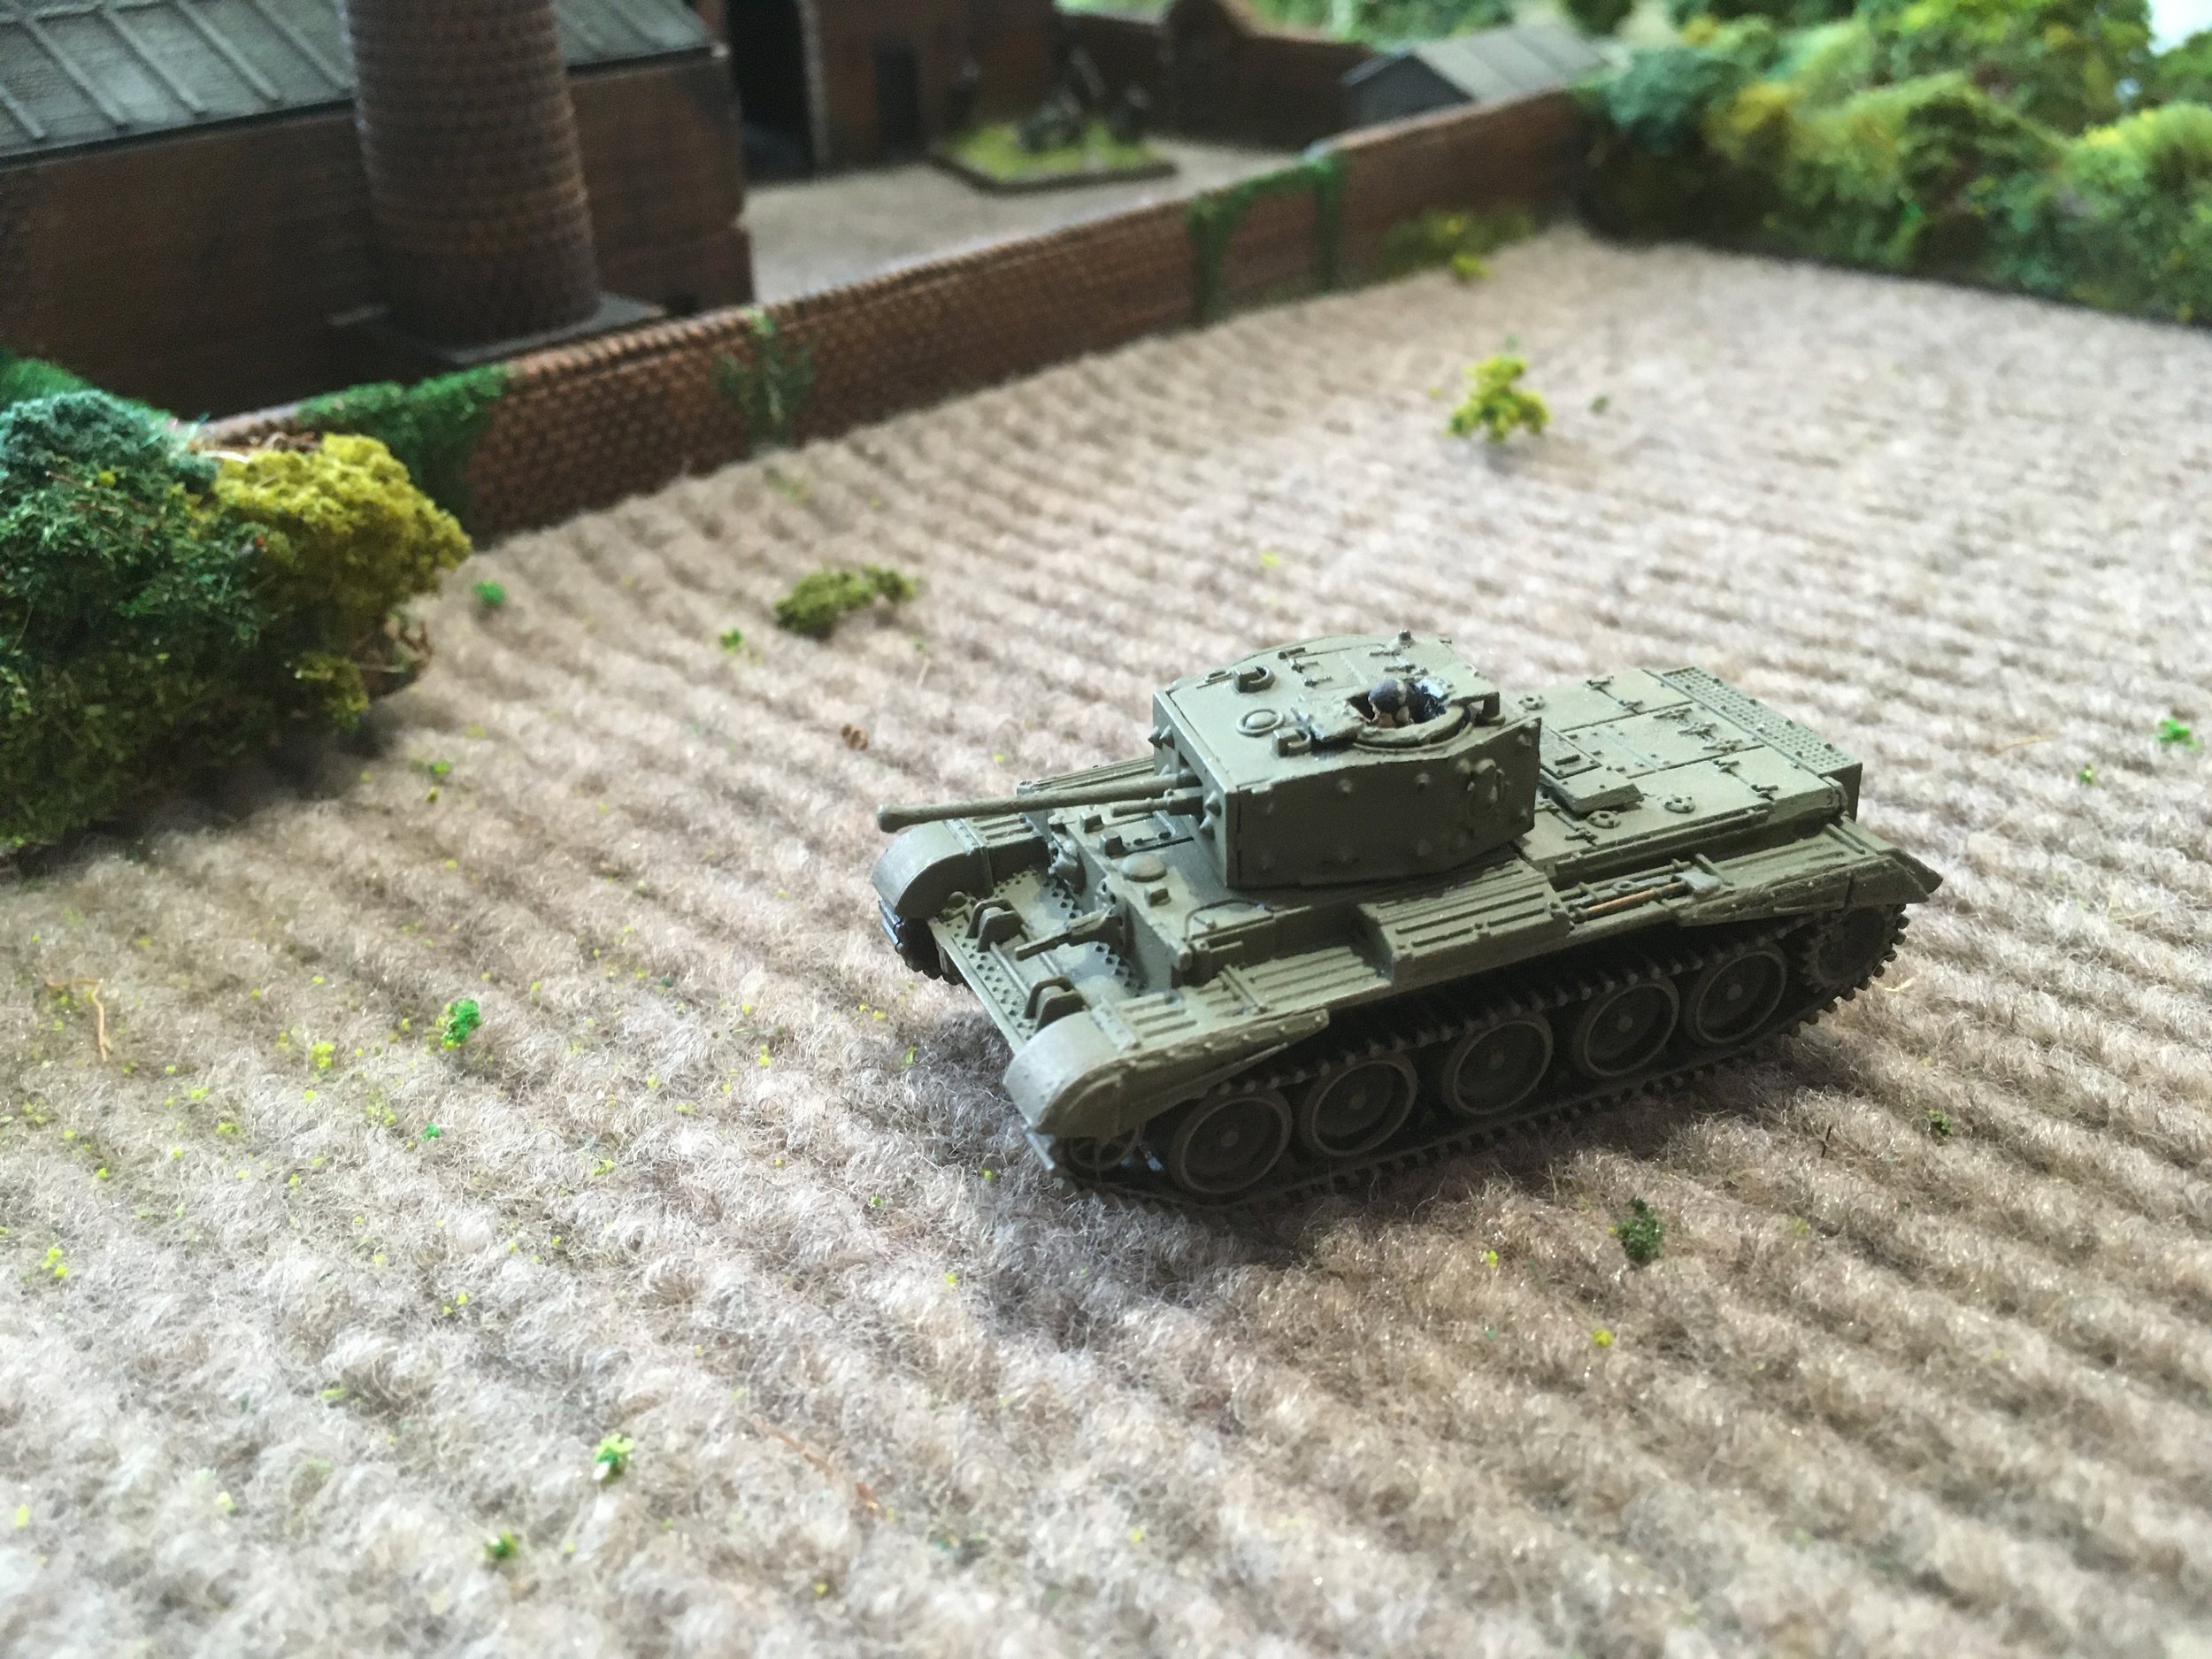
The defenders are really on the backfoot along the front here and hope to consolidate their lines by Orsogna. The best they could do is delay the Kiwis. As such they have a reinforced platoon sized unit of grenadiers (with 3 Big Men and 2 MMGs) from the 1st Battalion, 9th Panzergrenadier Regiment, two Panzer IVGs from the 8th Company, 26th Panzer Regiment. They have a pair of 81mm mortars and 4 tubes of 10.5cm howitzers on call. A demo charge to destroy a chunk of road and enough AT mines for a couple of 6" strips.
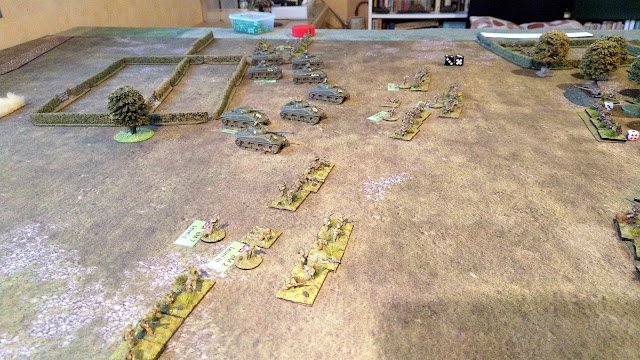
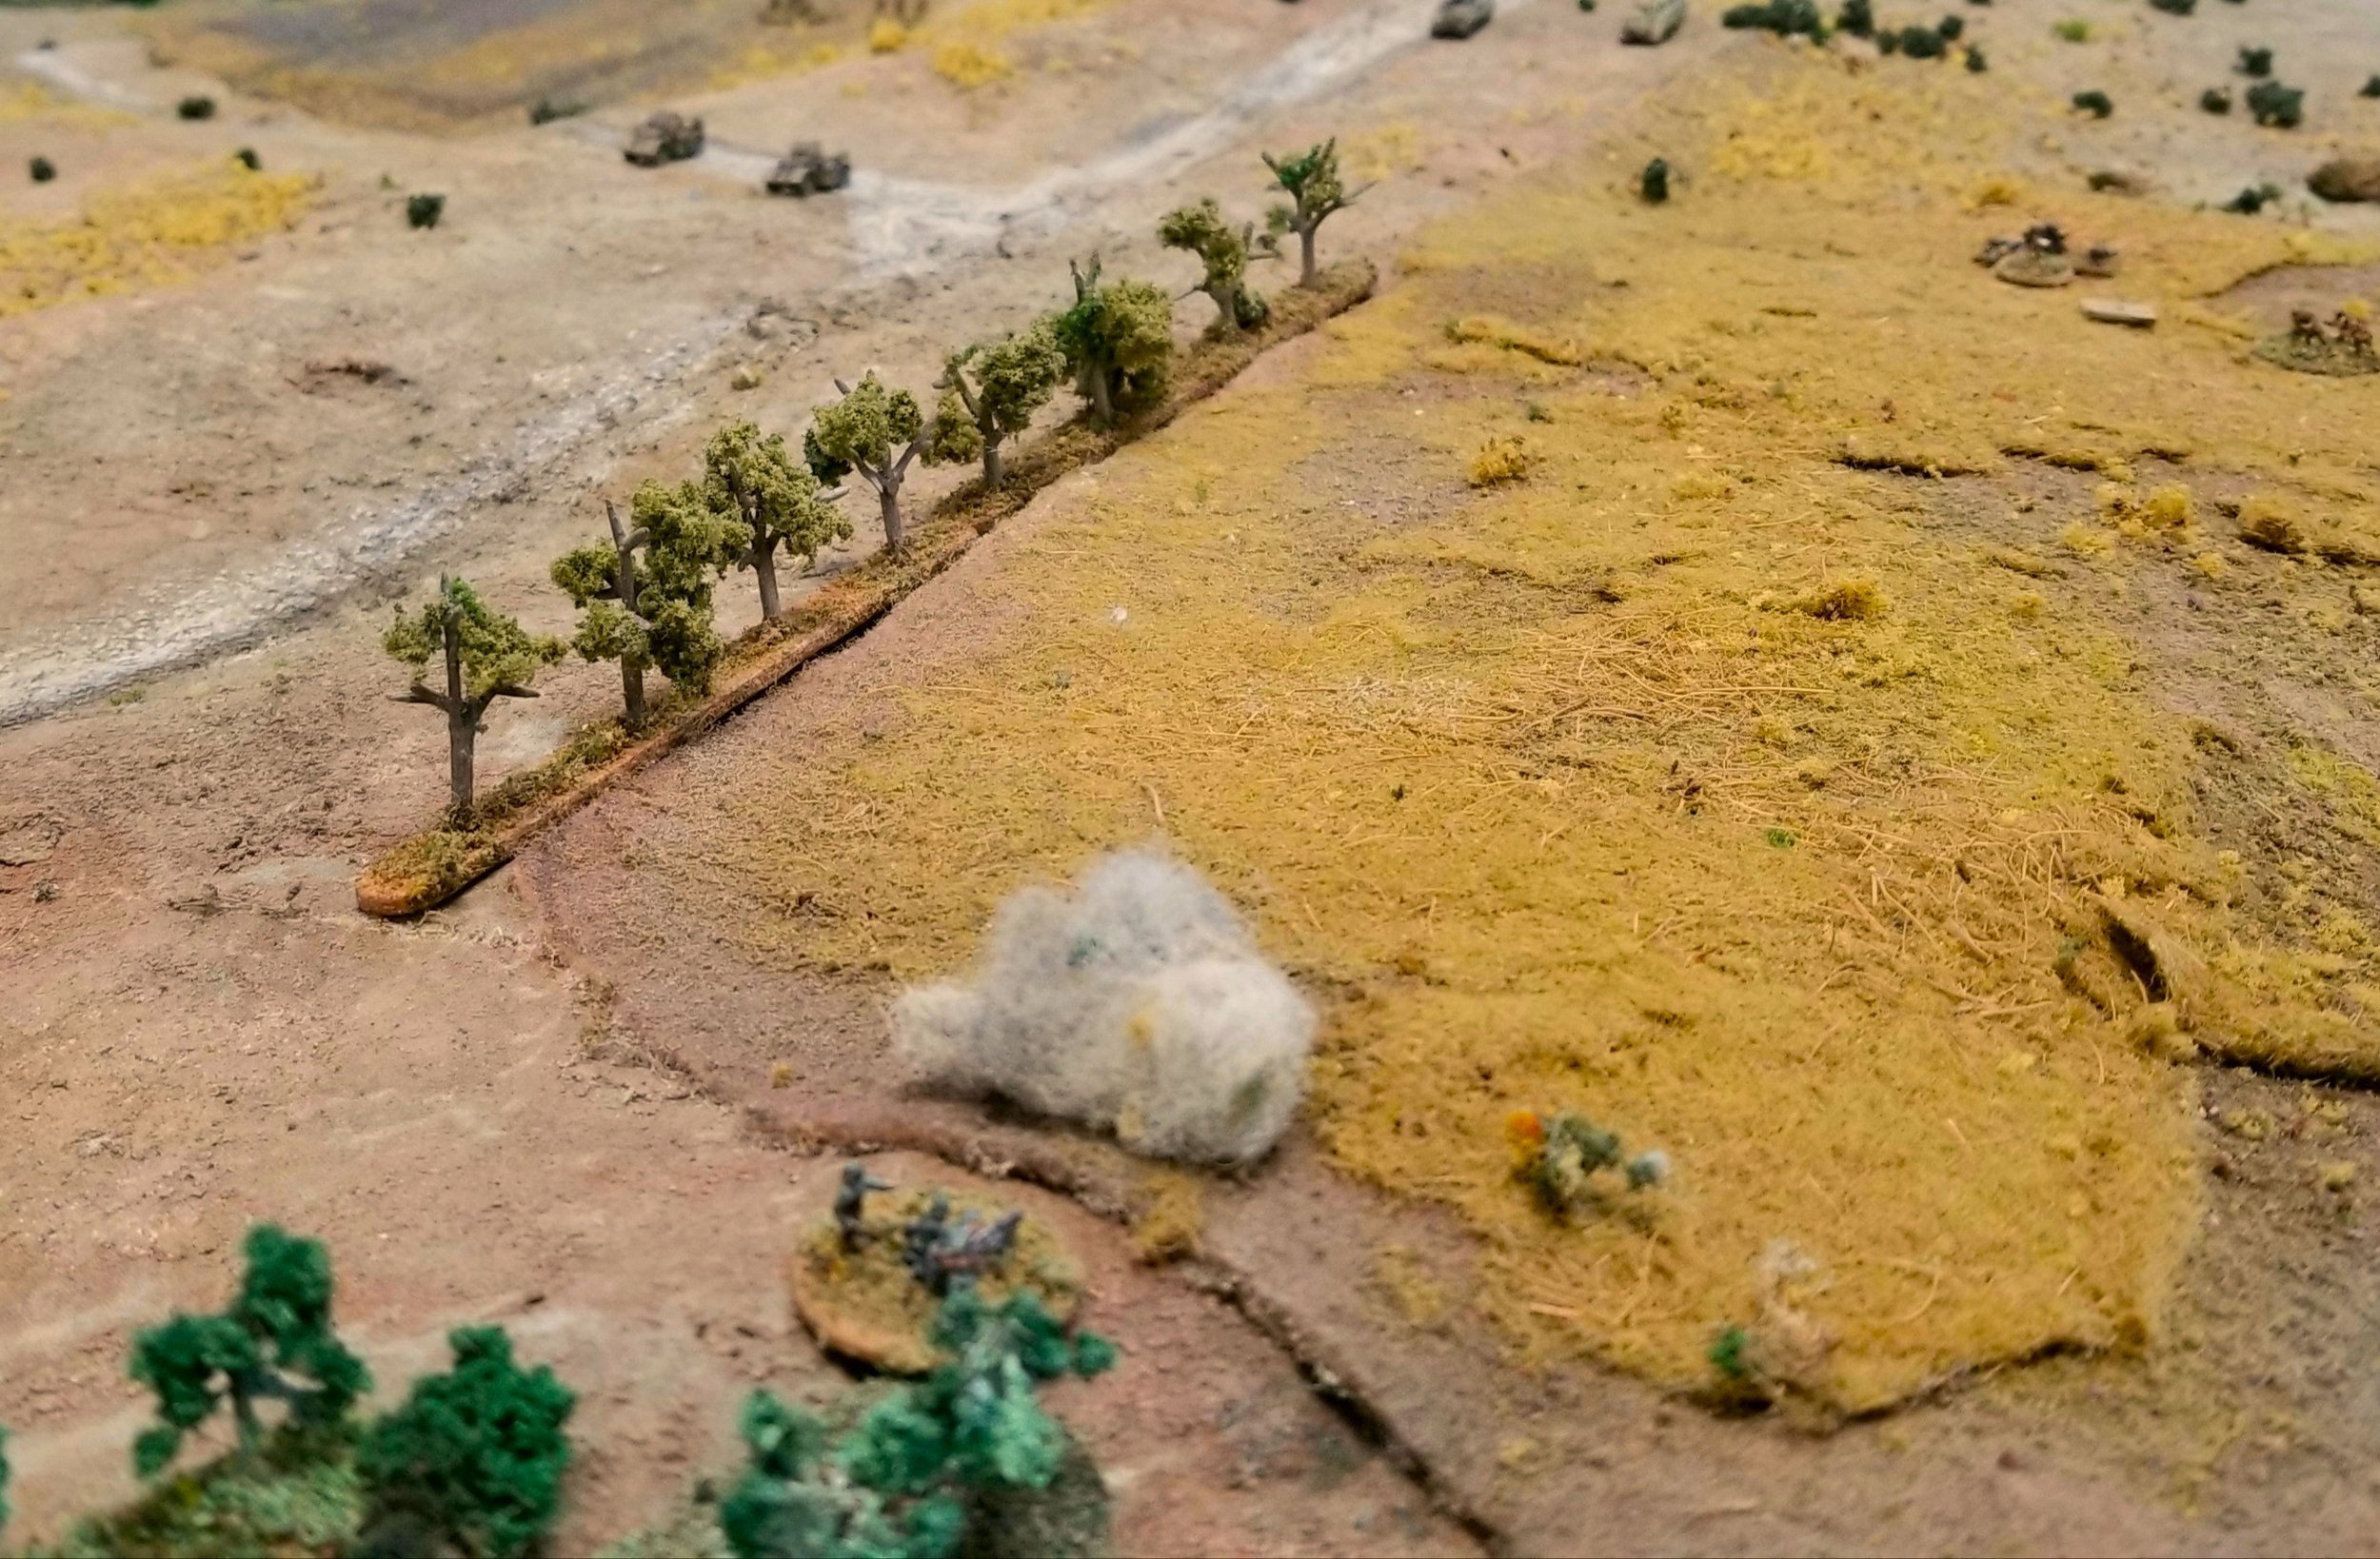
All off road movement was at a -1 pip/dice. The armor moved along the road with the Staghounds in the lead.
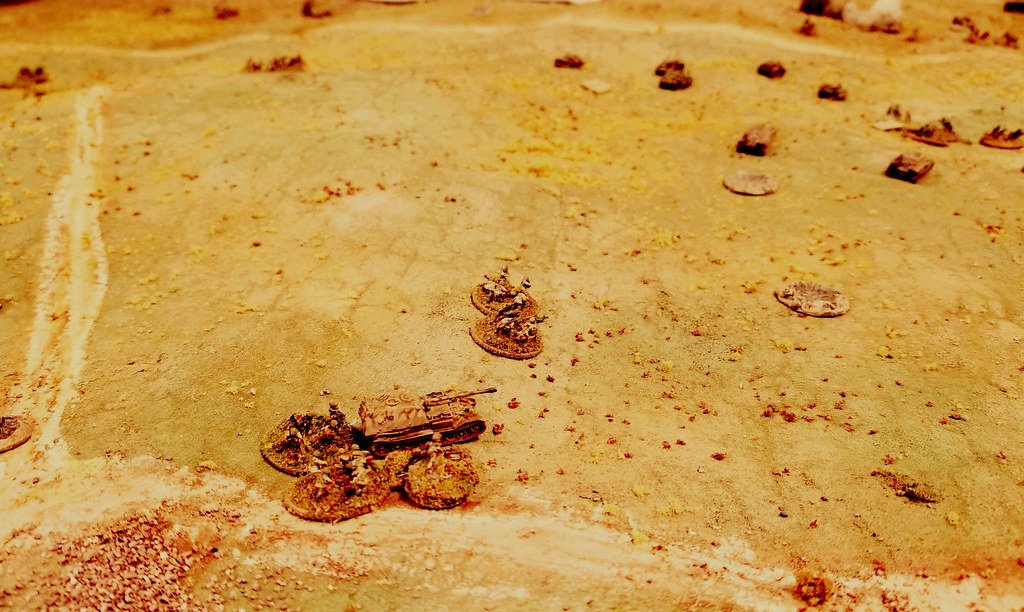
Following the staghounds. The 2nd platoon of infantry was to the right of the main road. The company CO and HQ section is off road to the left.
The right track goes north to Cerhiara off table. Germans are still unspotted at this time.

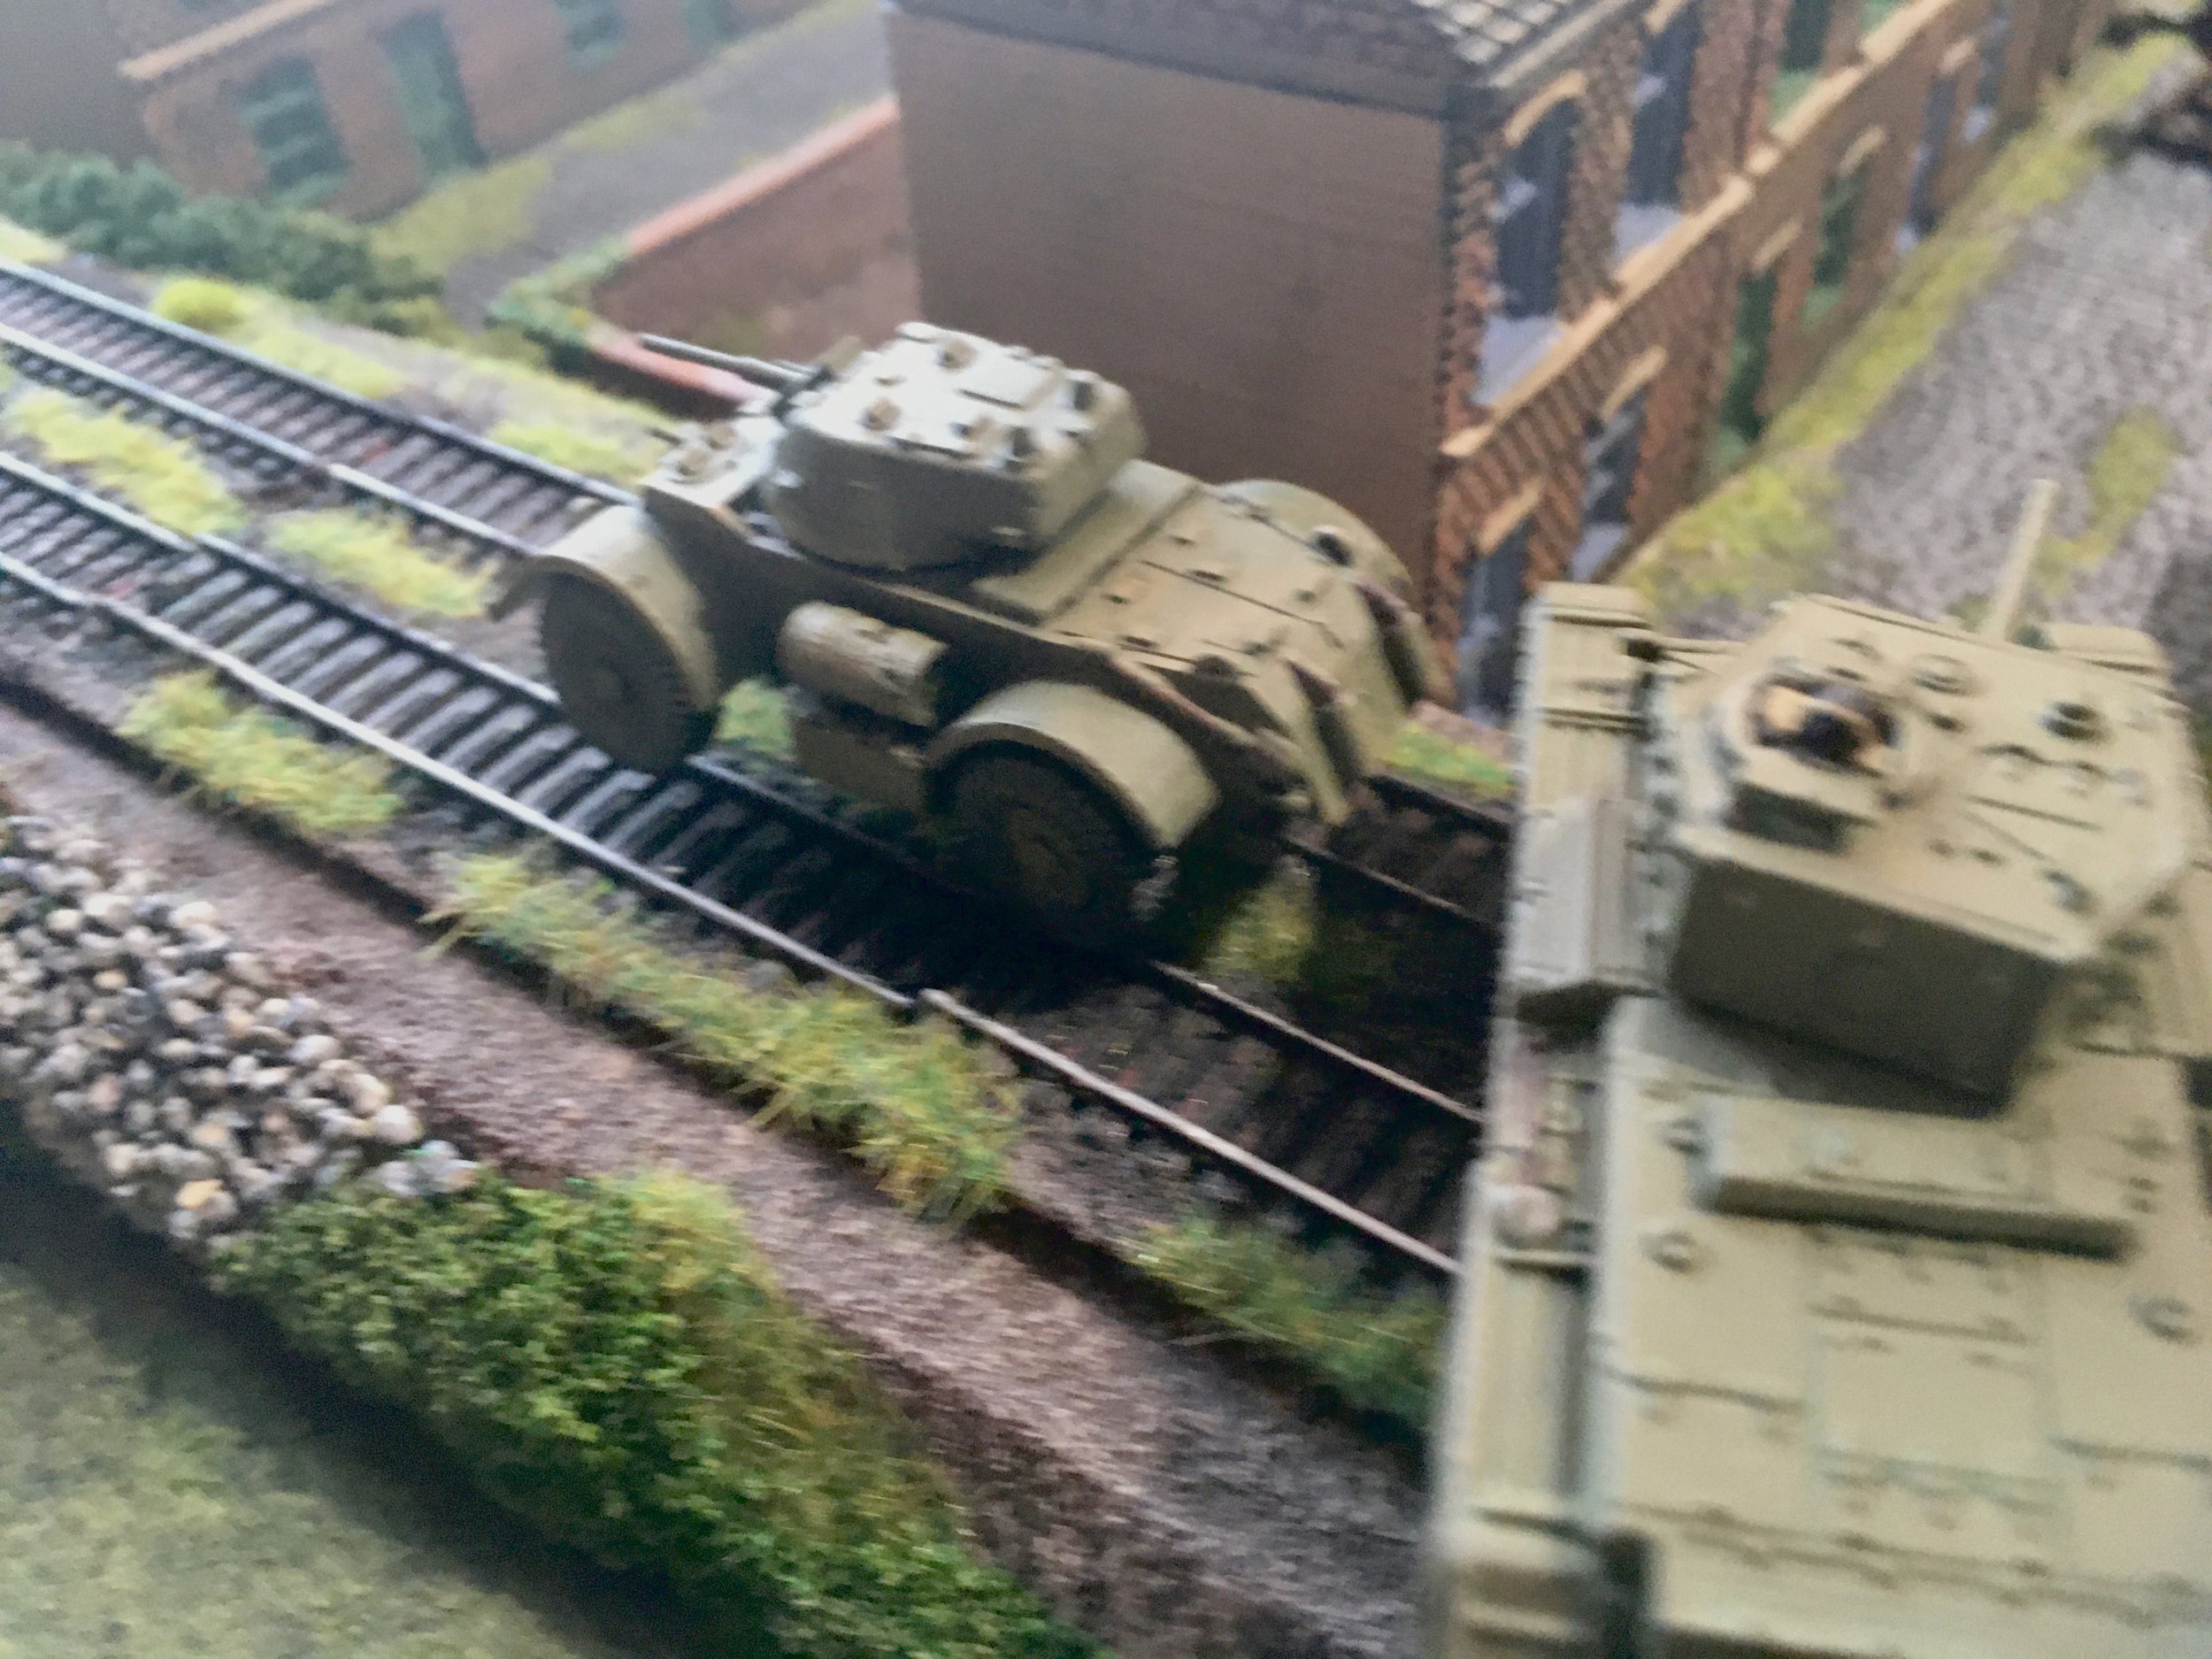
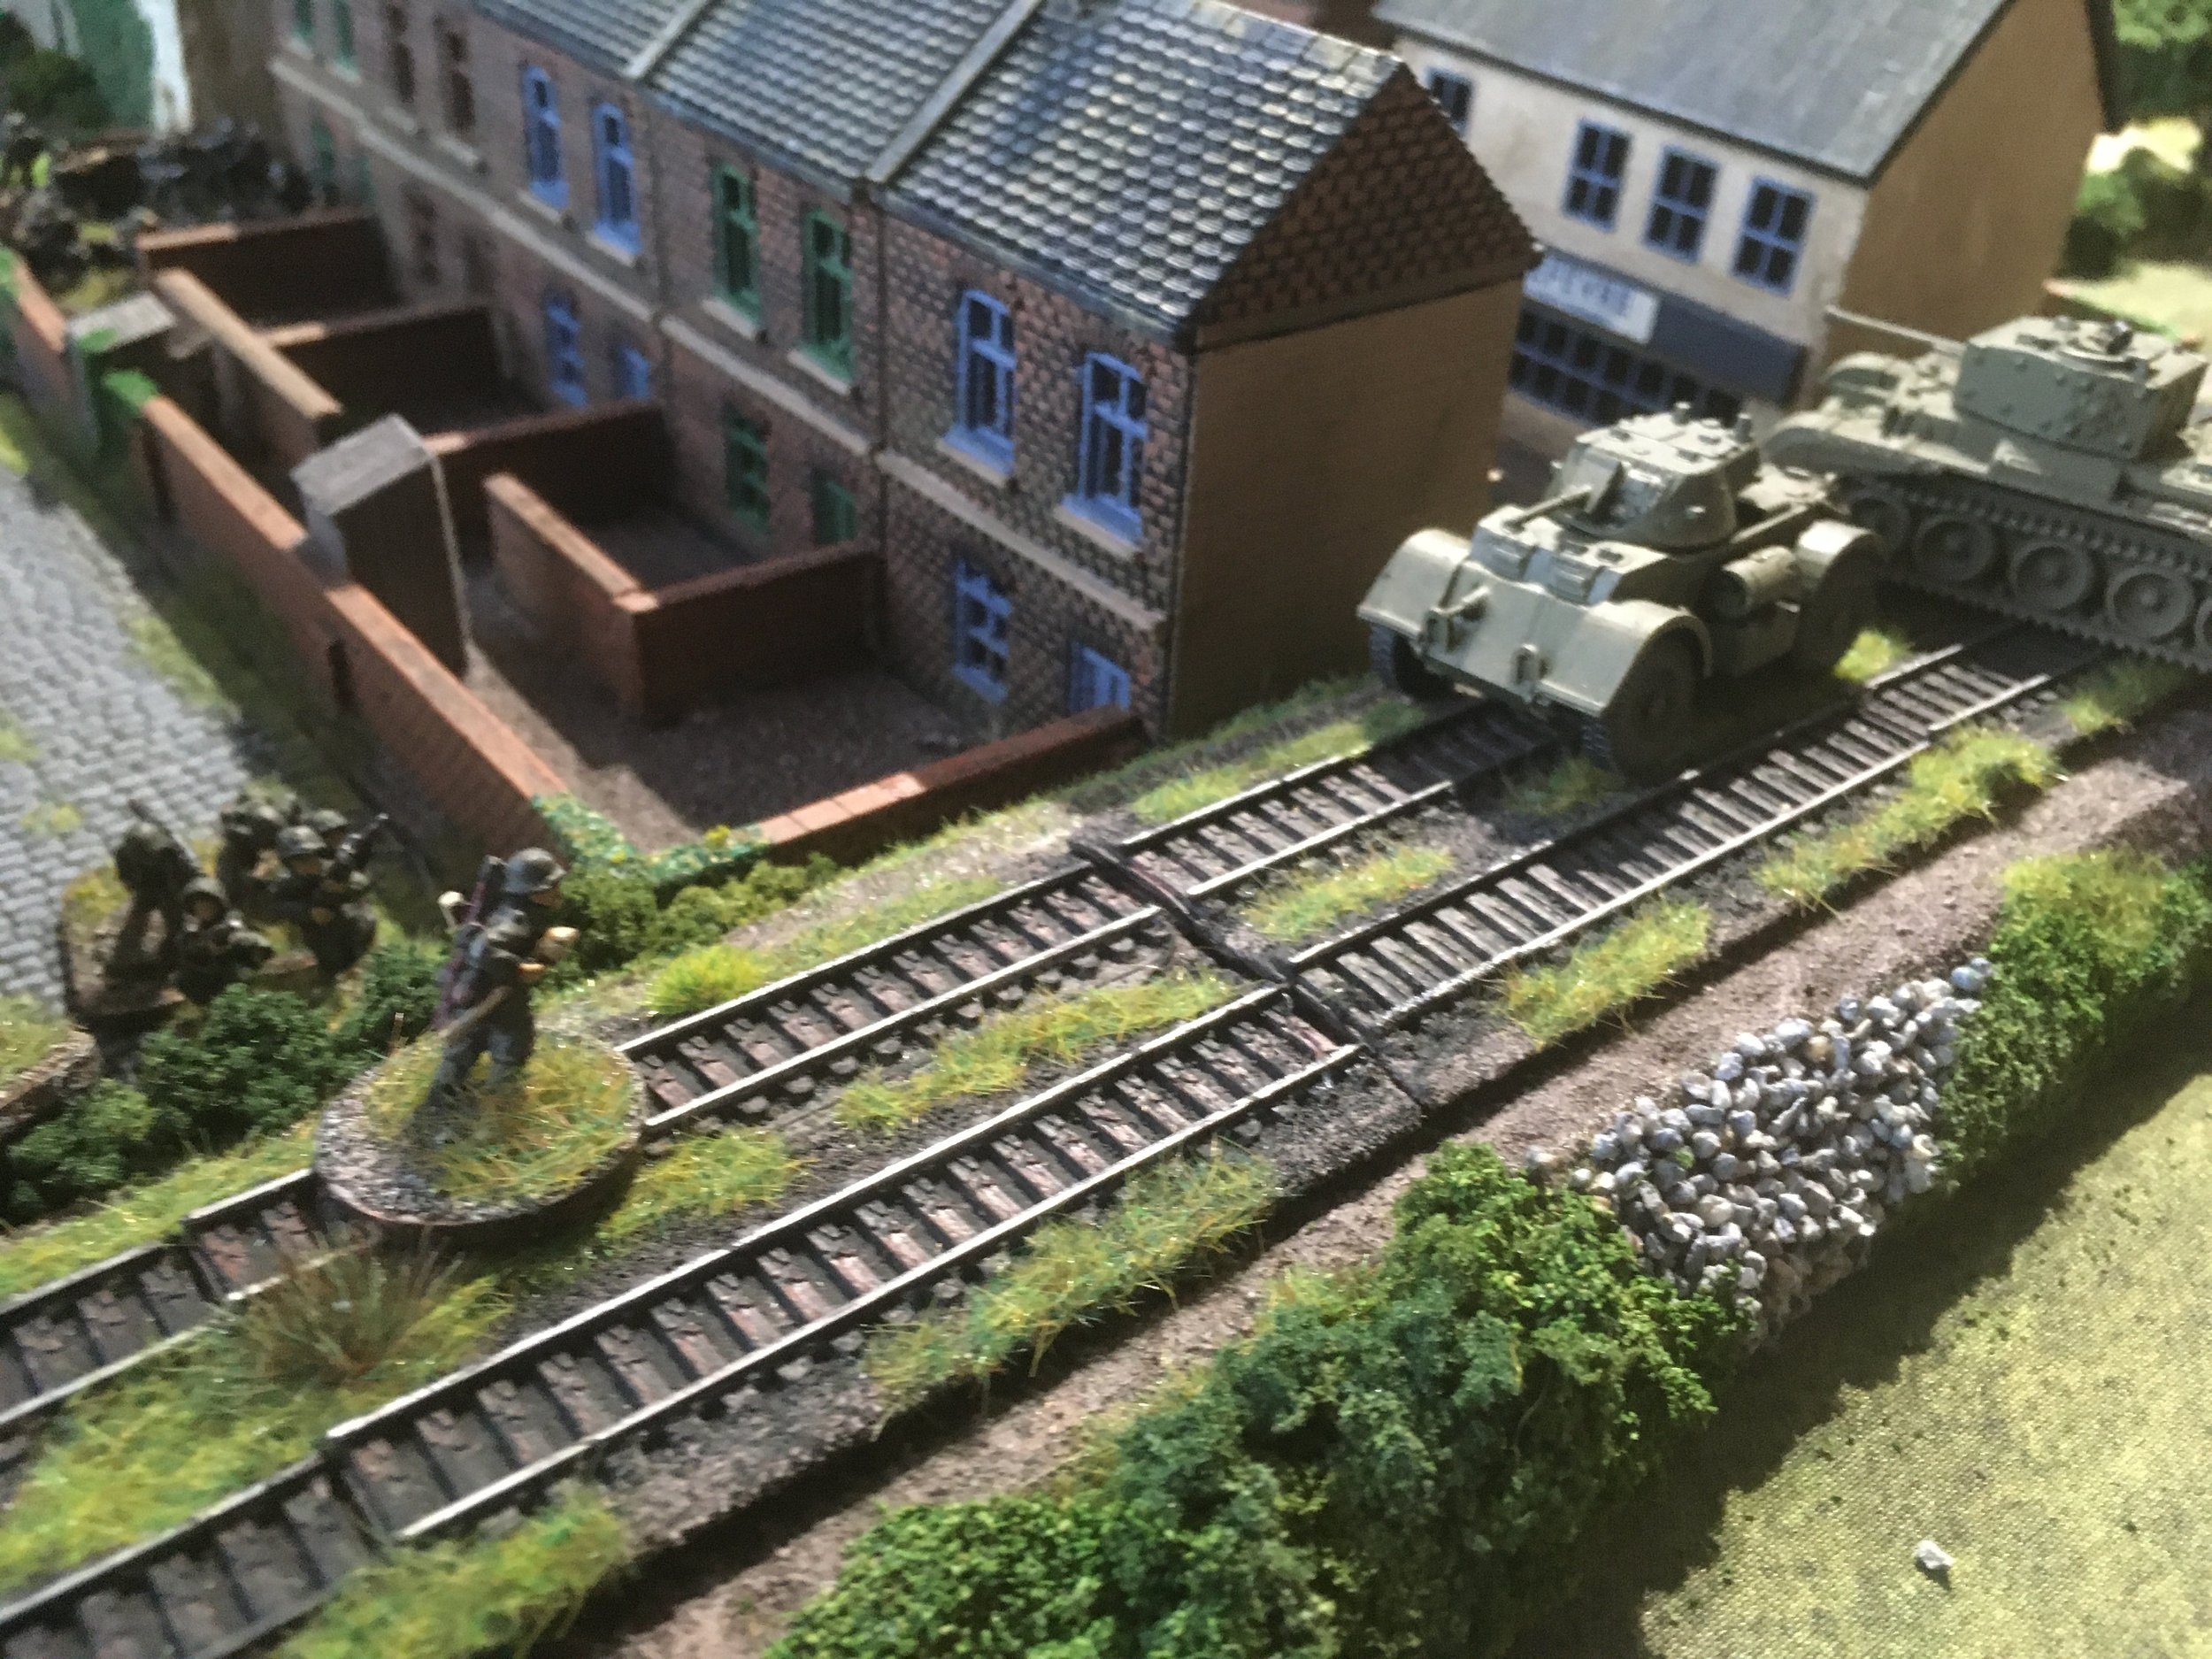
And taking a chance of getting stuck. The Staghounds moved down the track to the north
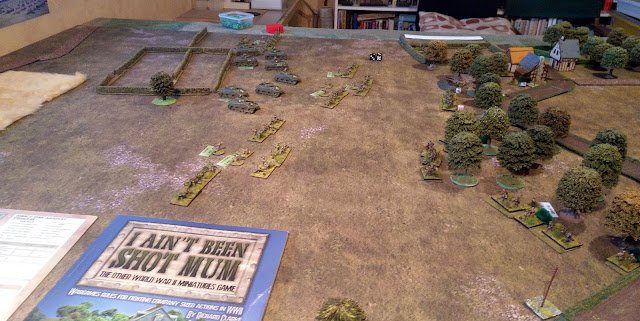
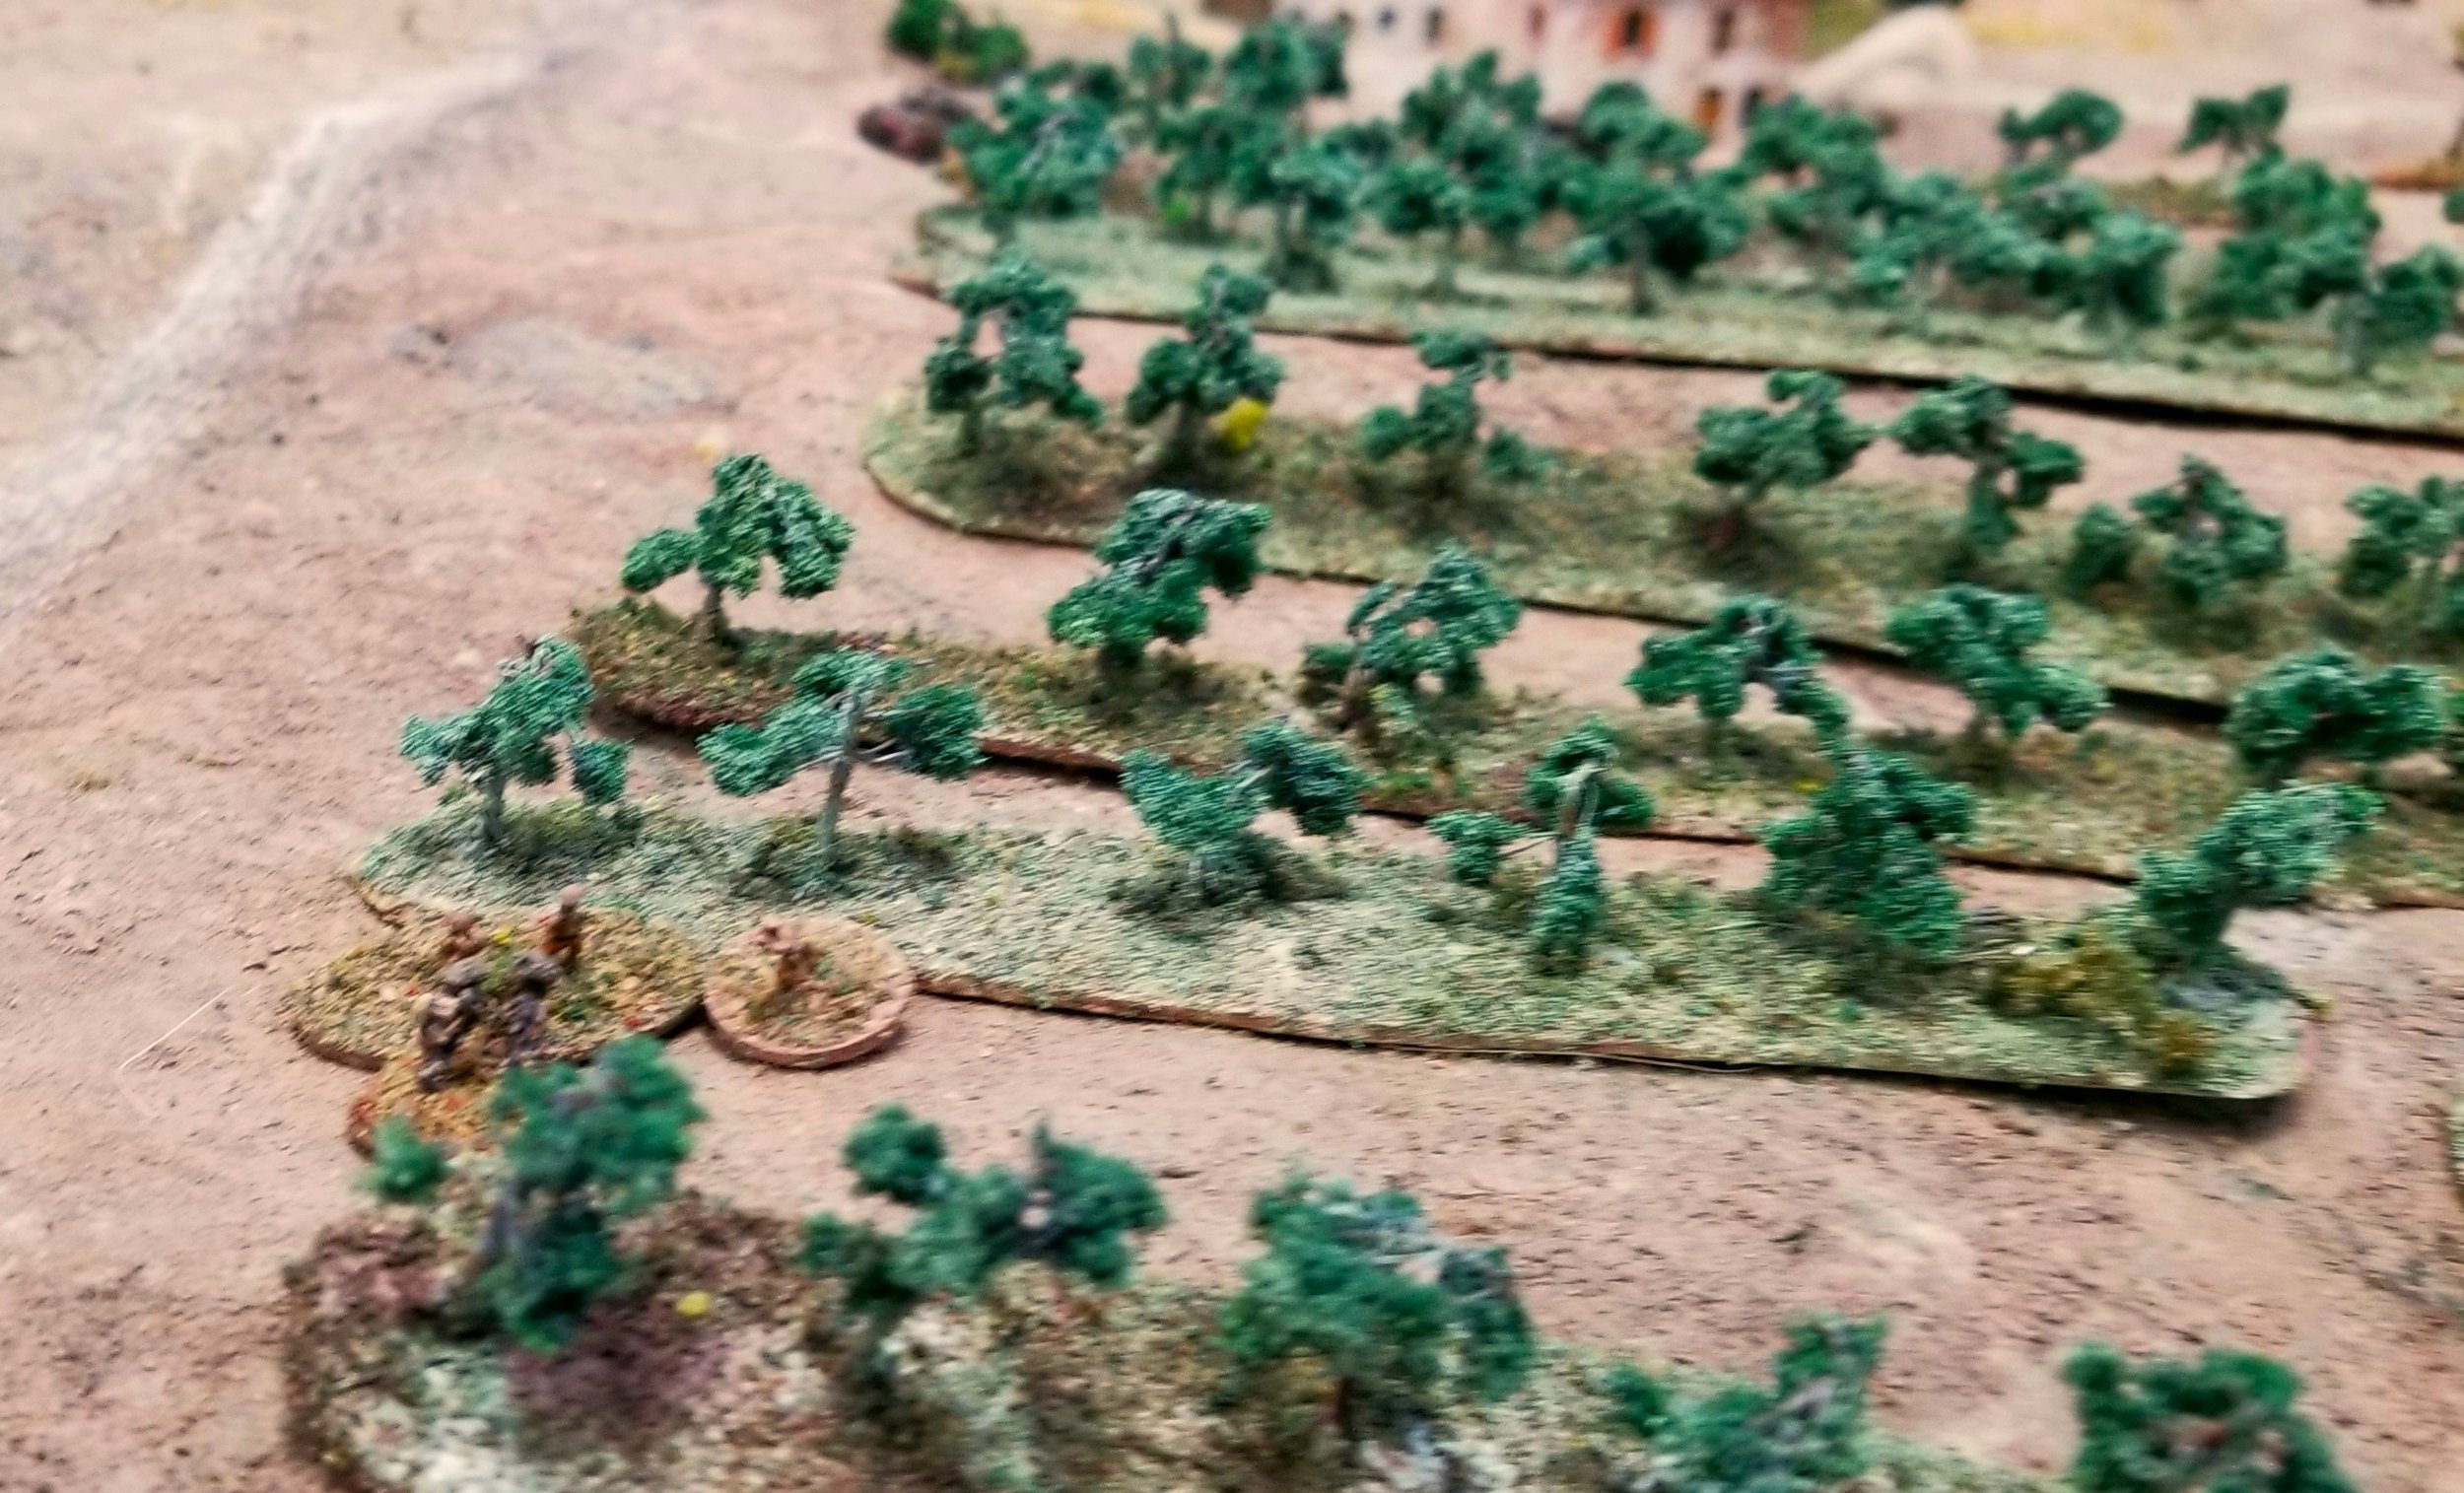
Jon kept his units well spread out. The German artillery was unfortunately unable to connect early on so I waited for the Kiwis to get withing effective range of my MGs and small arms.
First shots did a little damage but the 2" mortar team managed to block most of its view. And the Allies had plenty of guns to return fire.

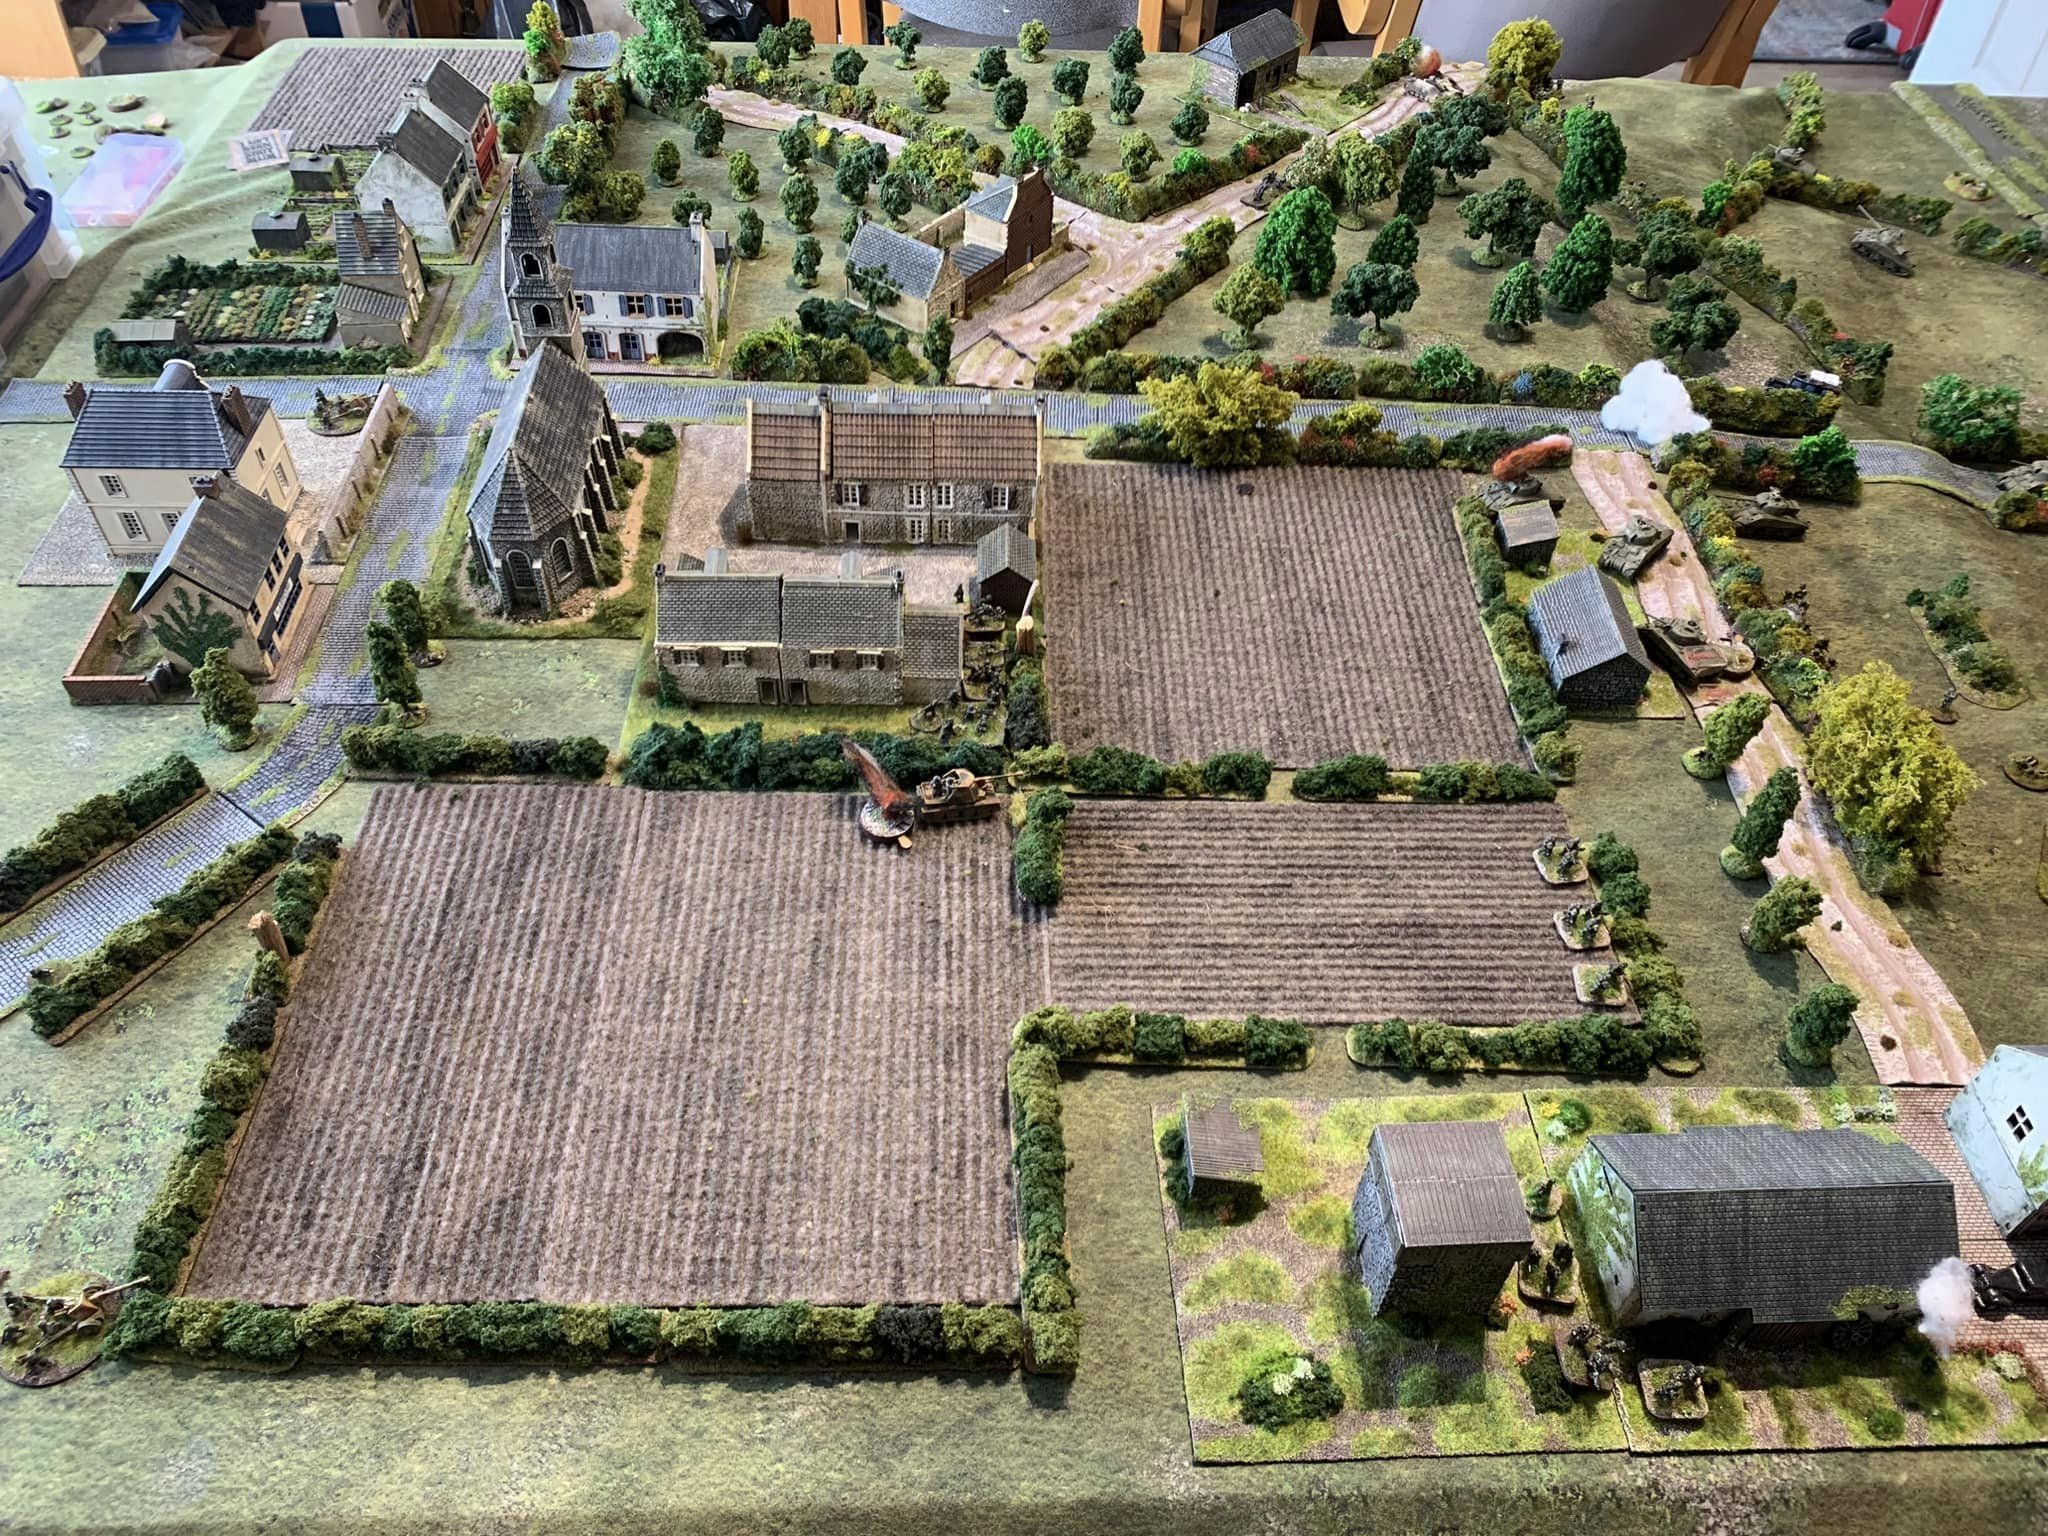
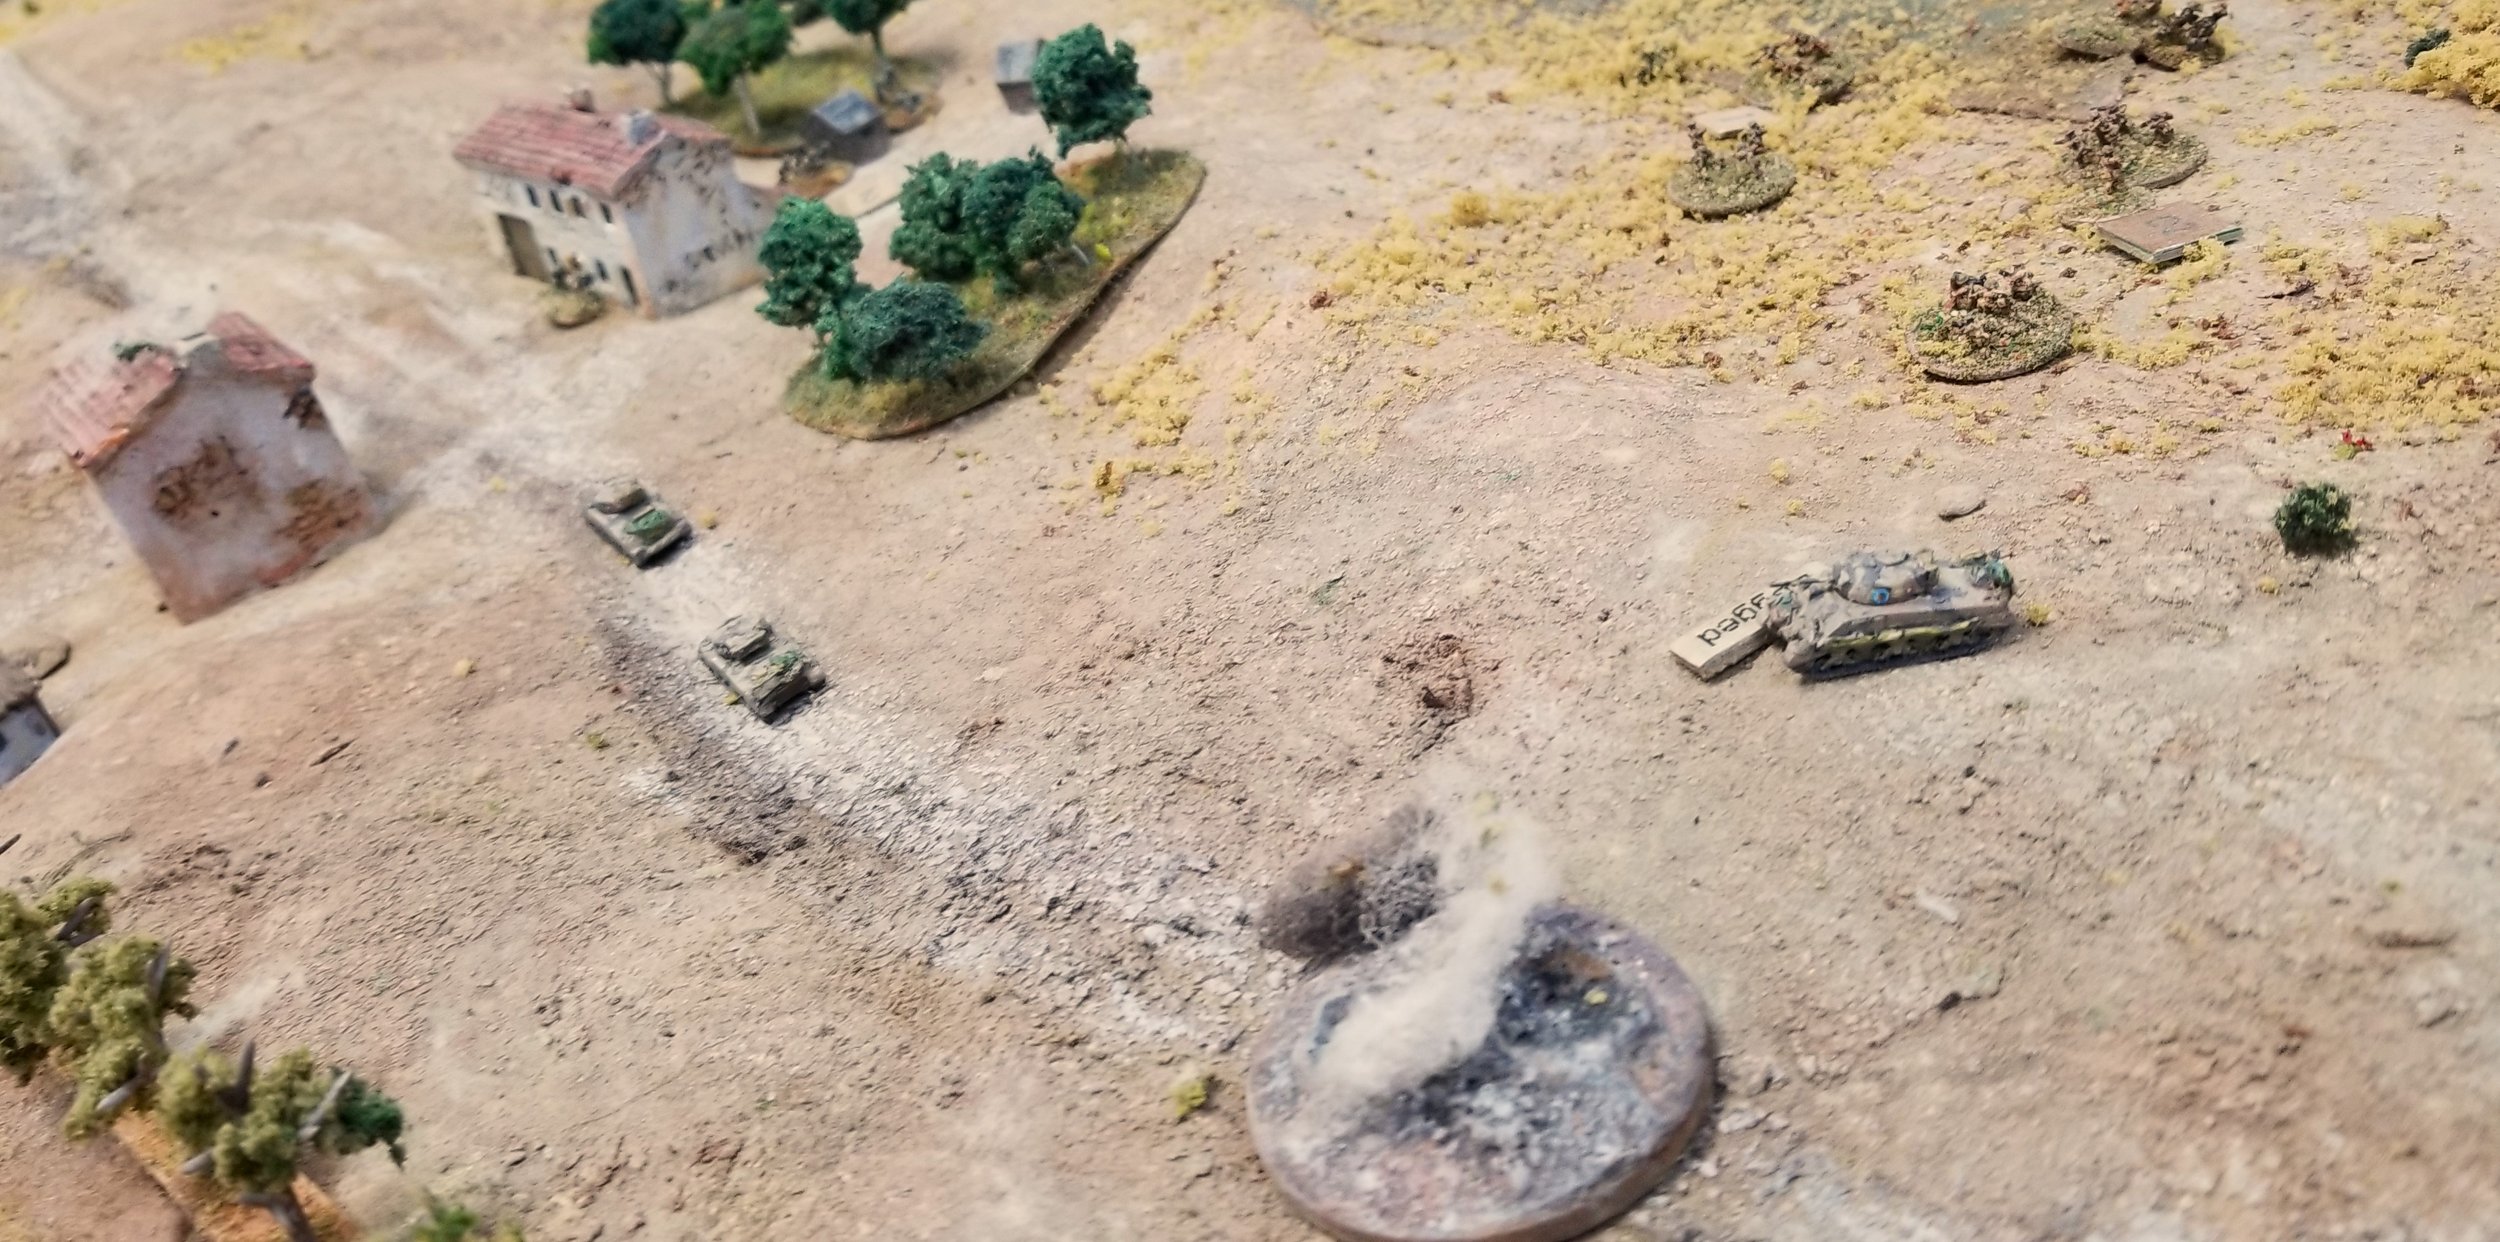
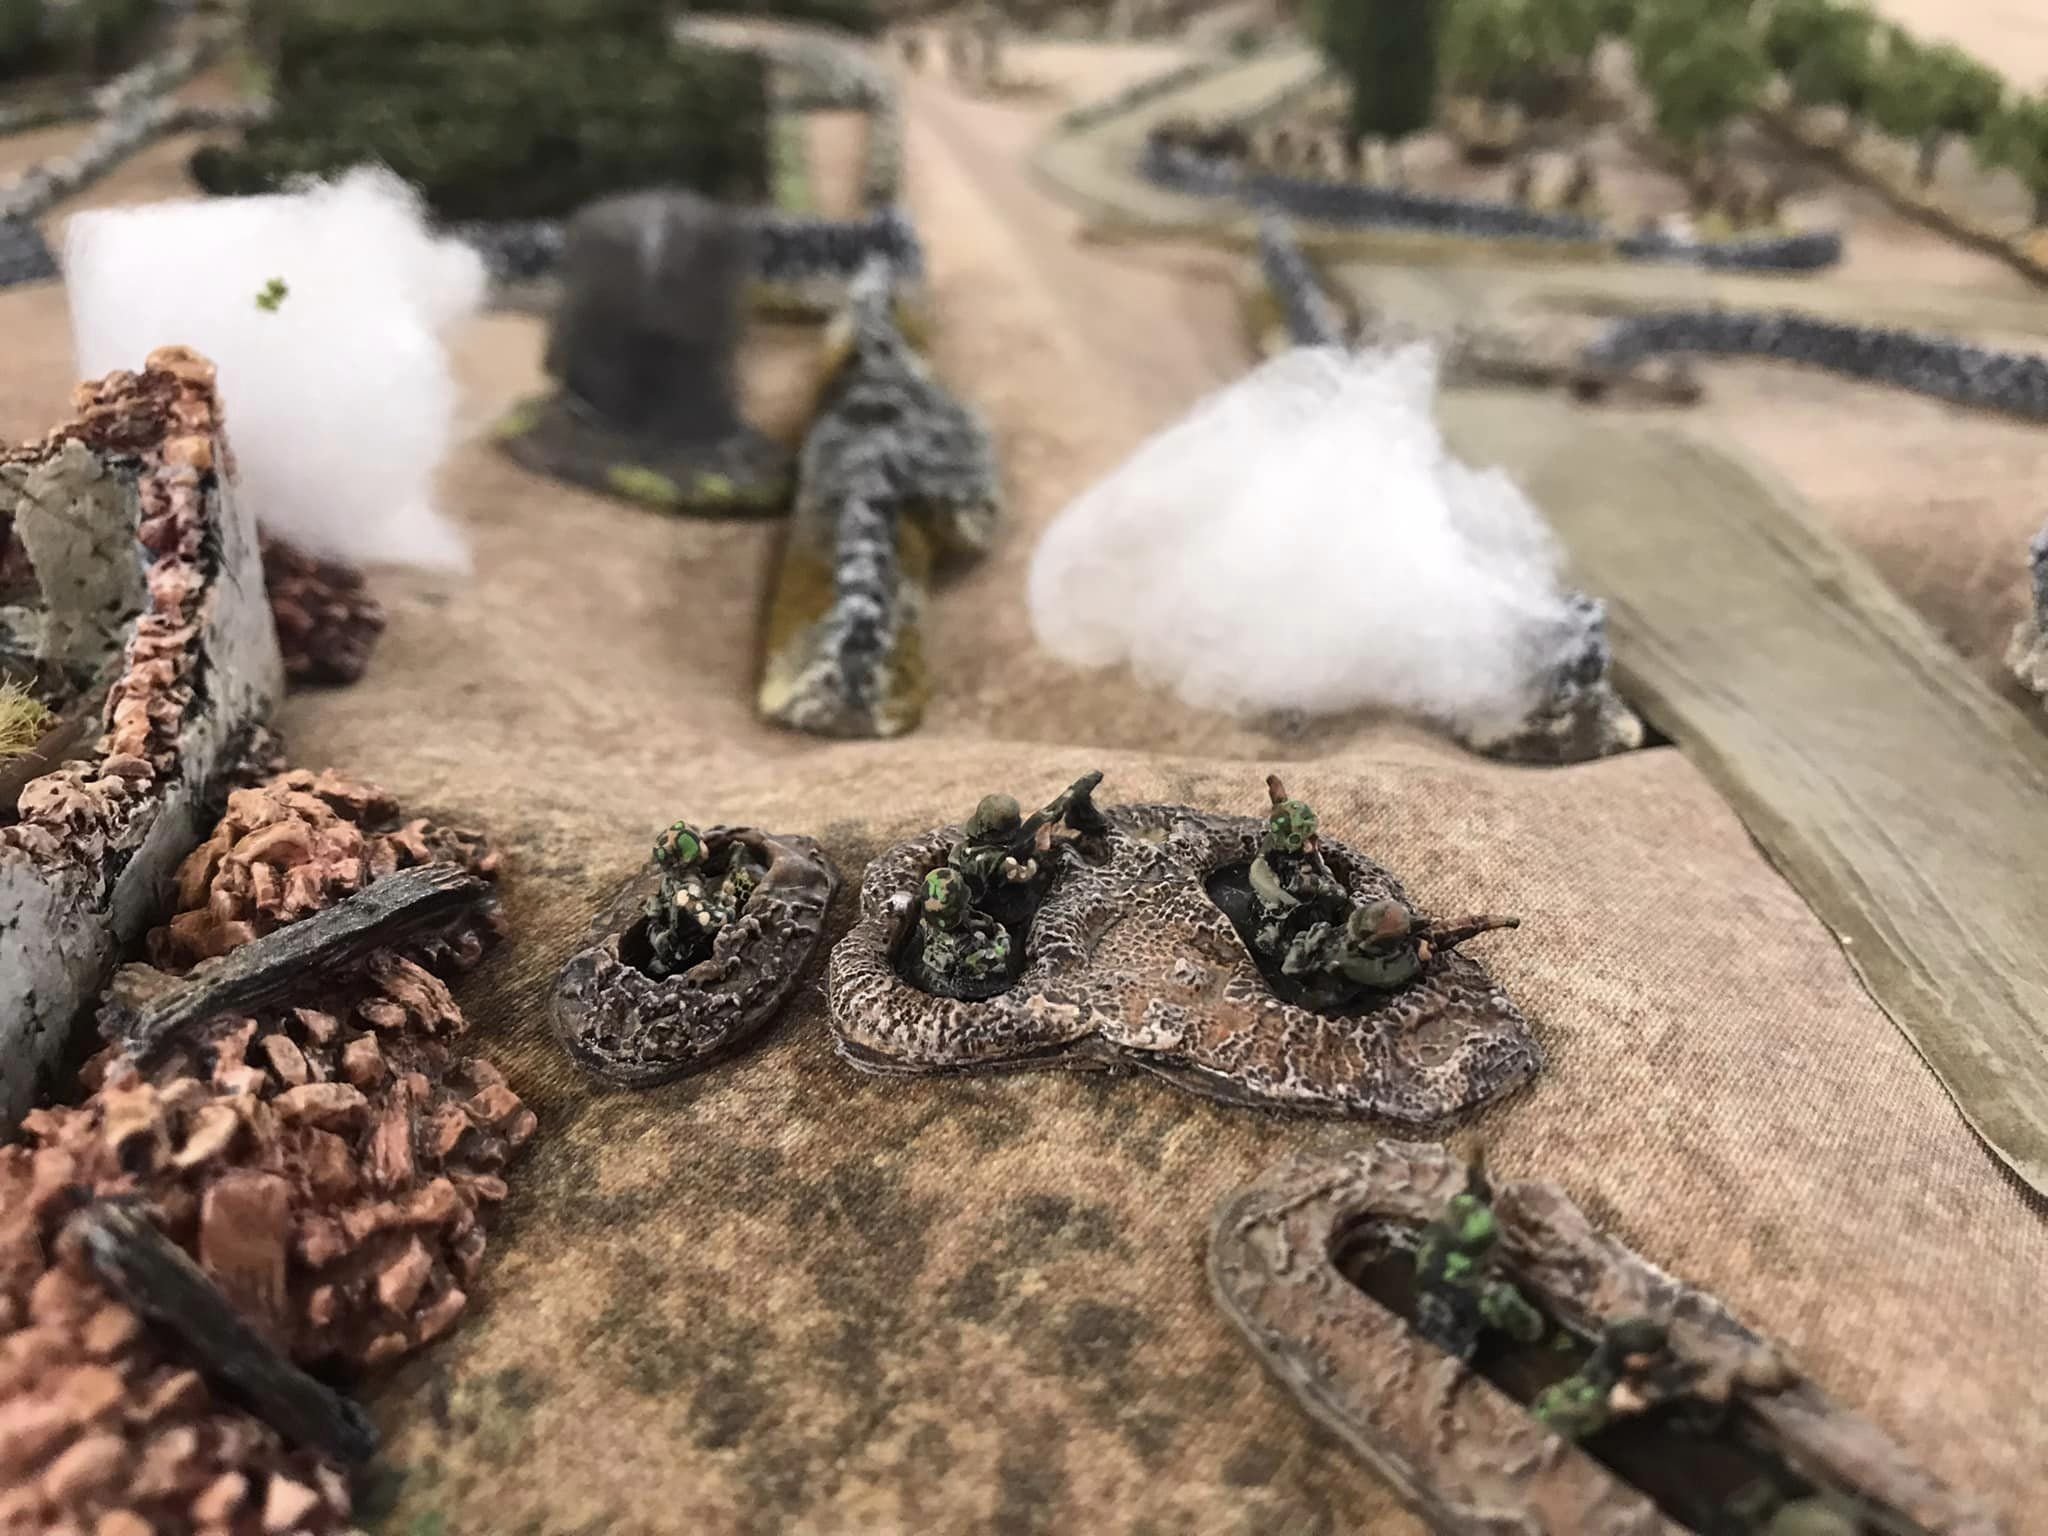
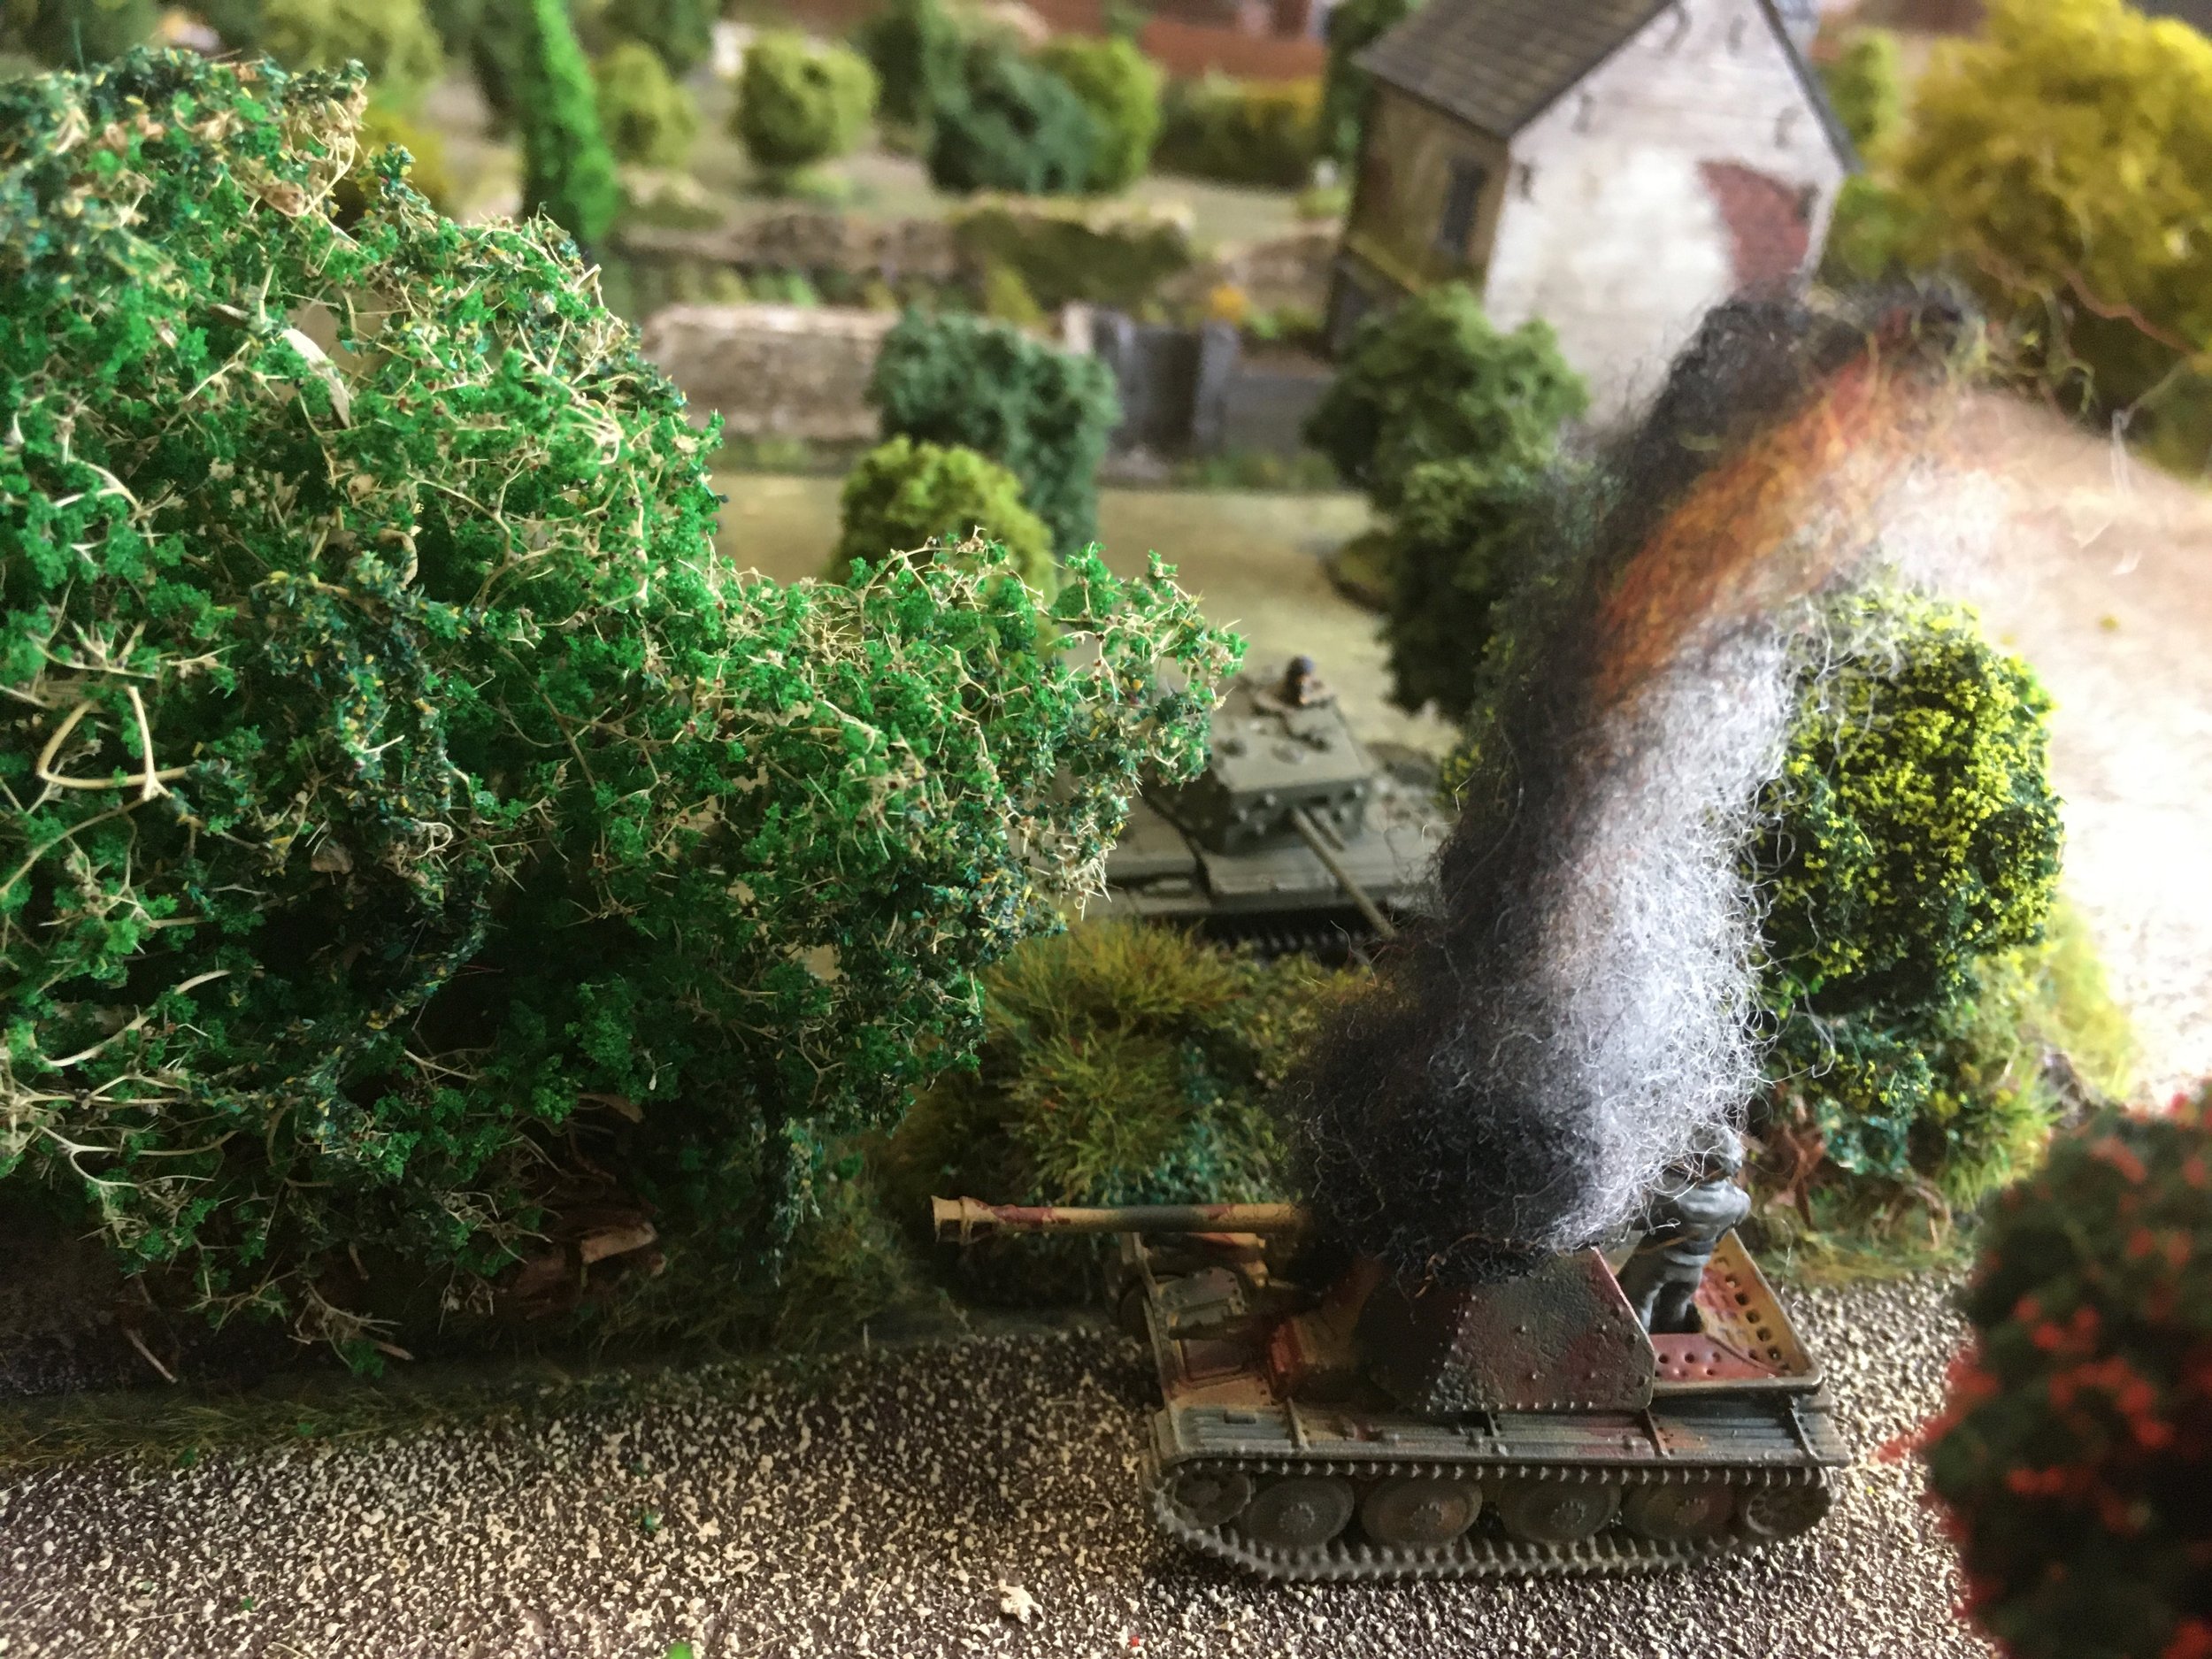
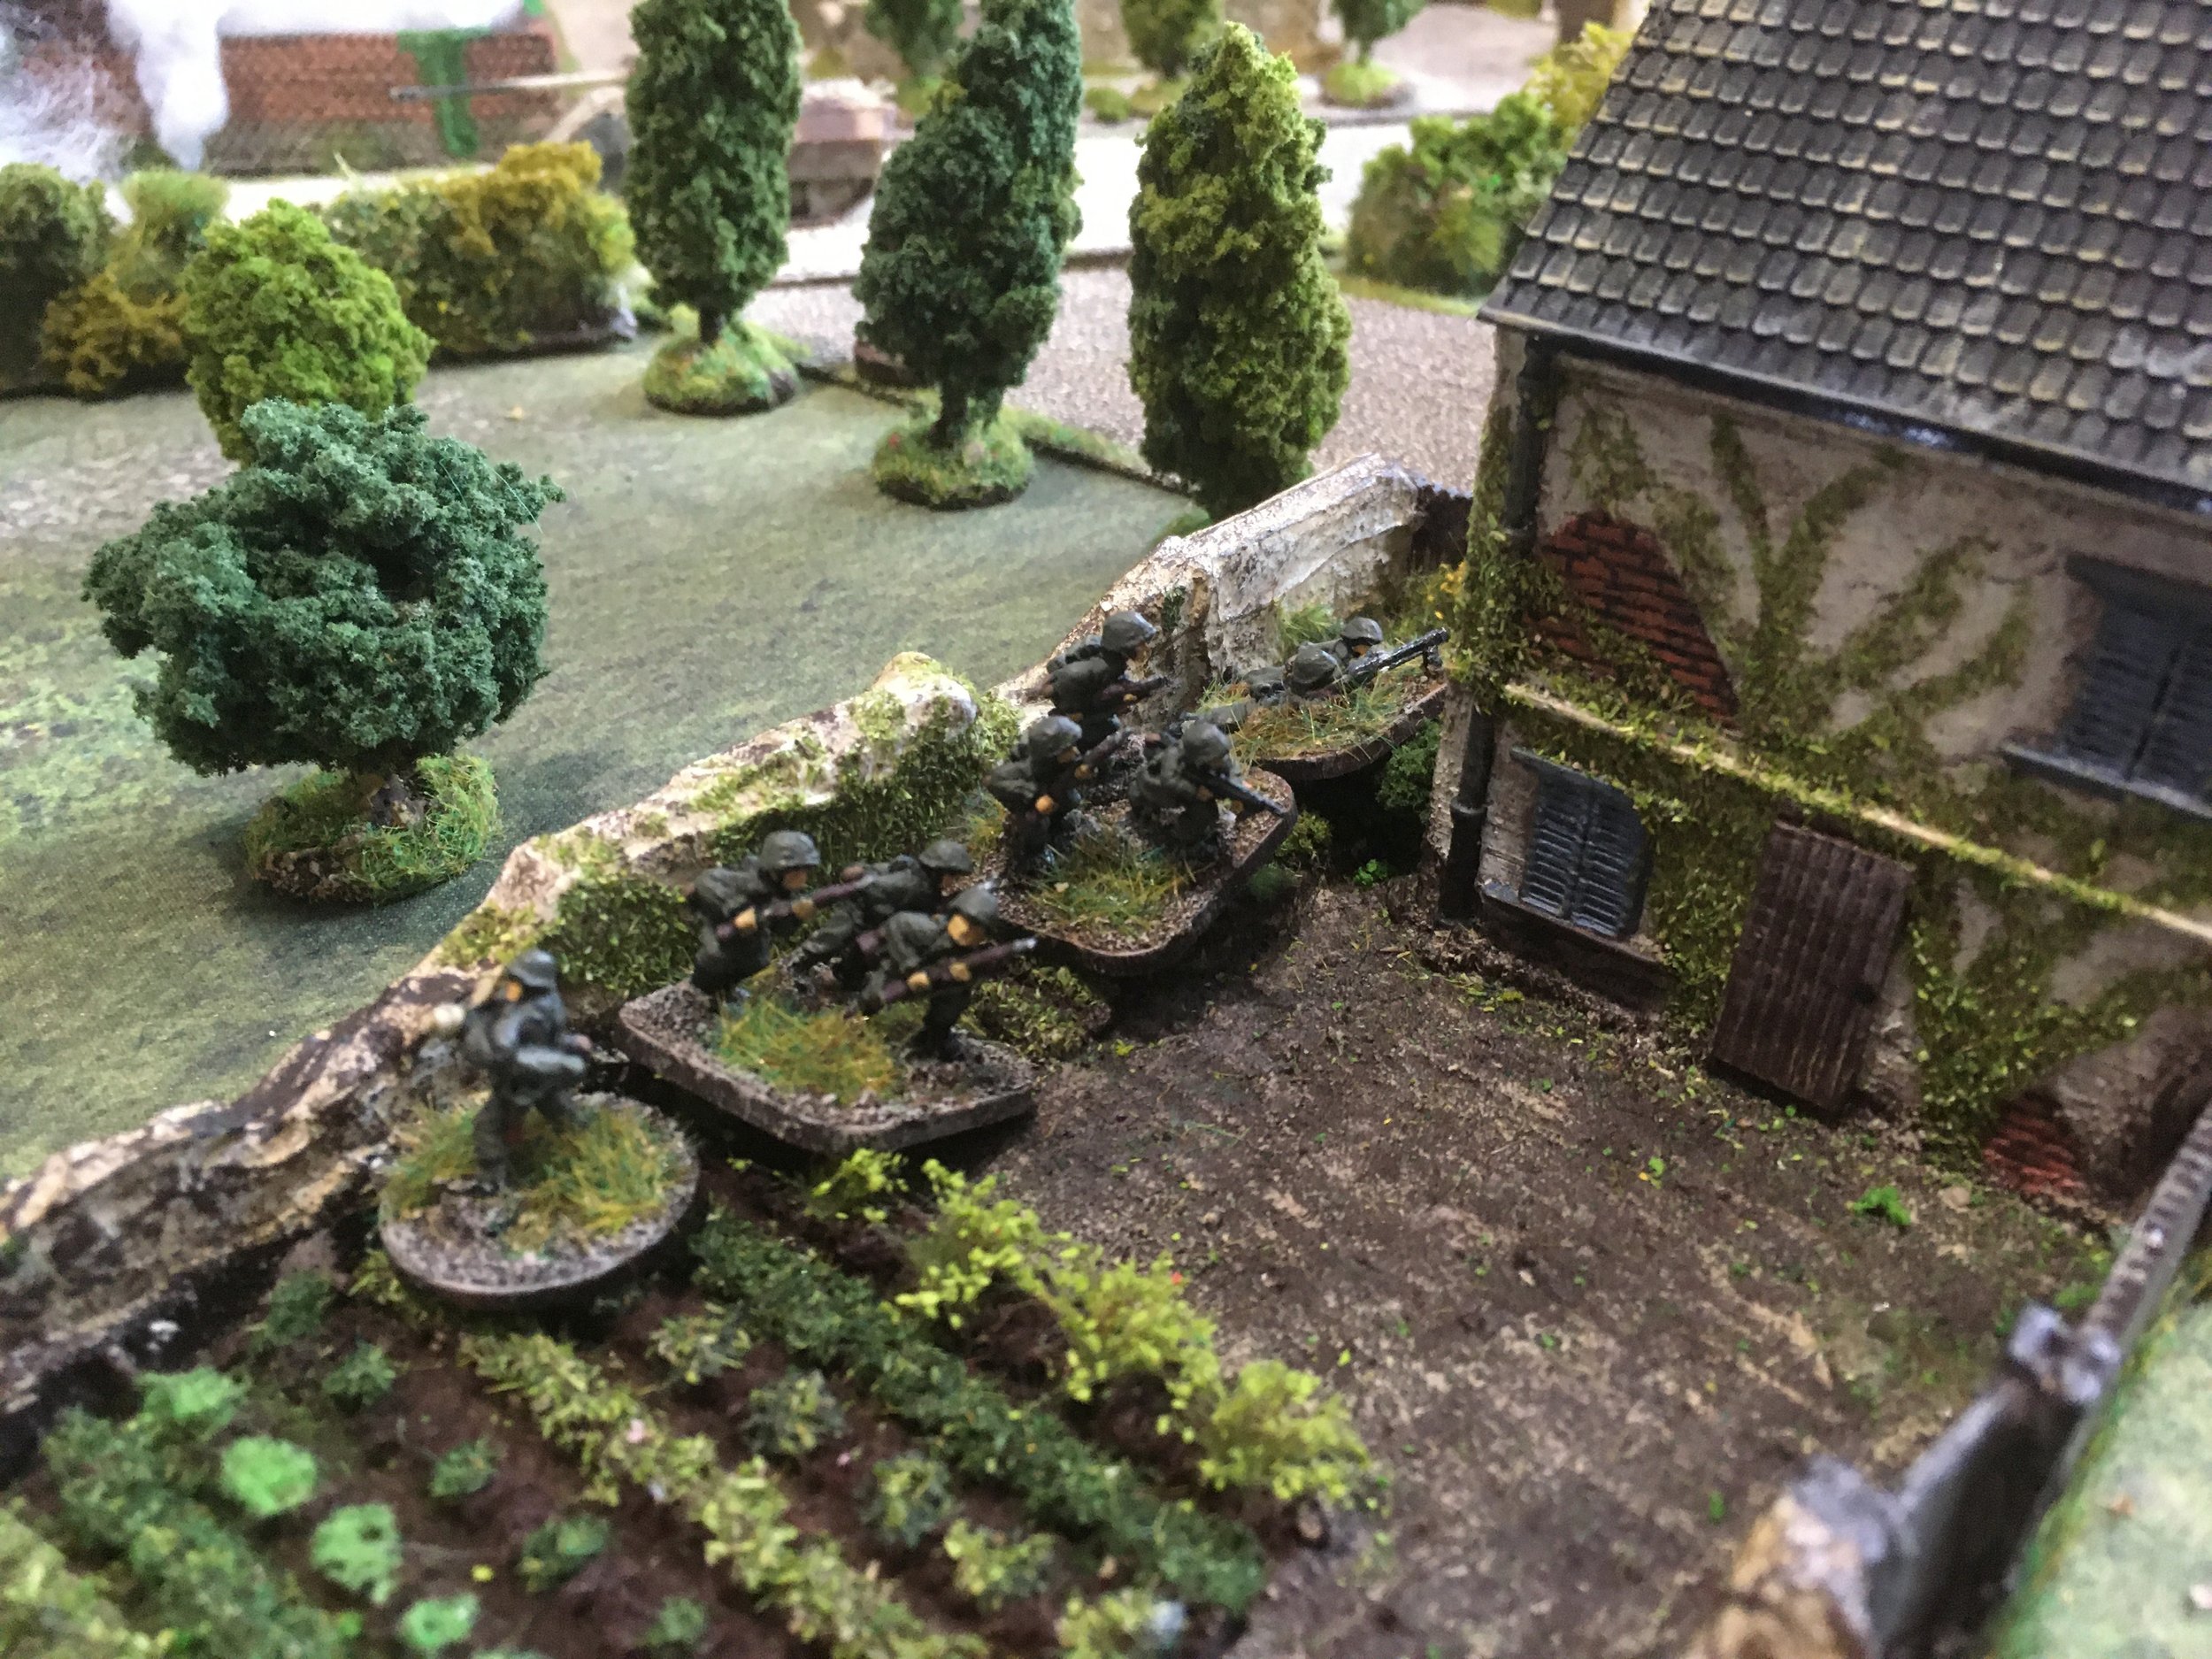
At least the demo charge exploded causing the road to be blocked at that point. My other MMG opened up on the Kiwi 2nd platoon.
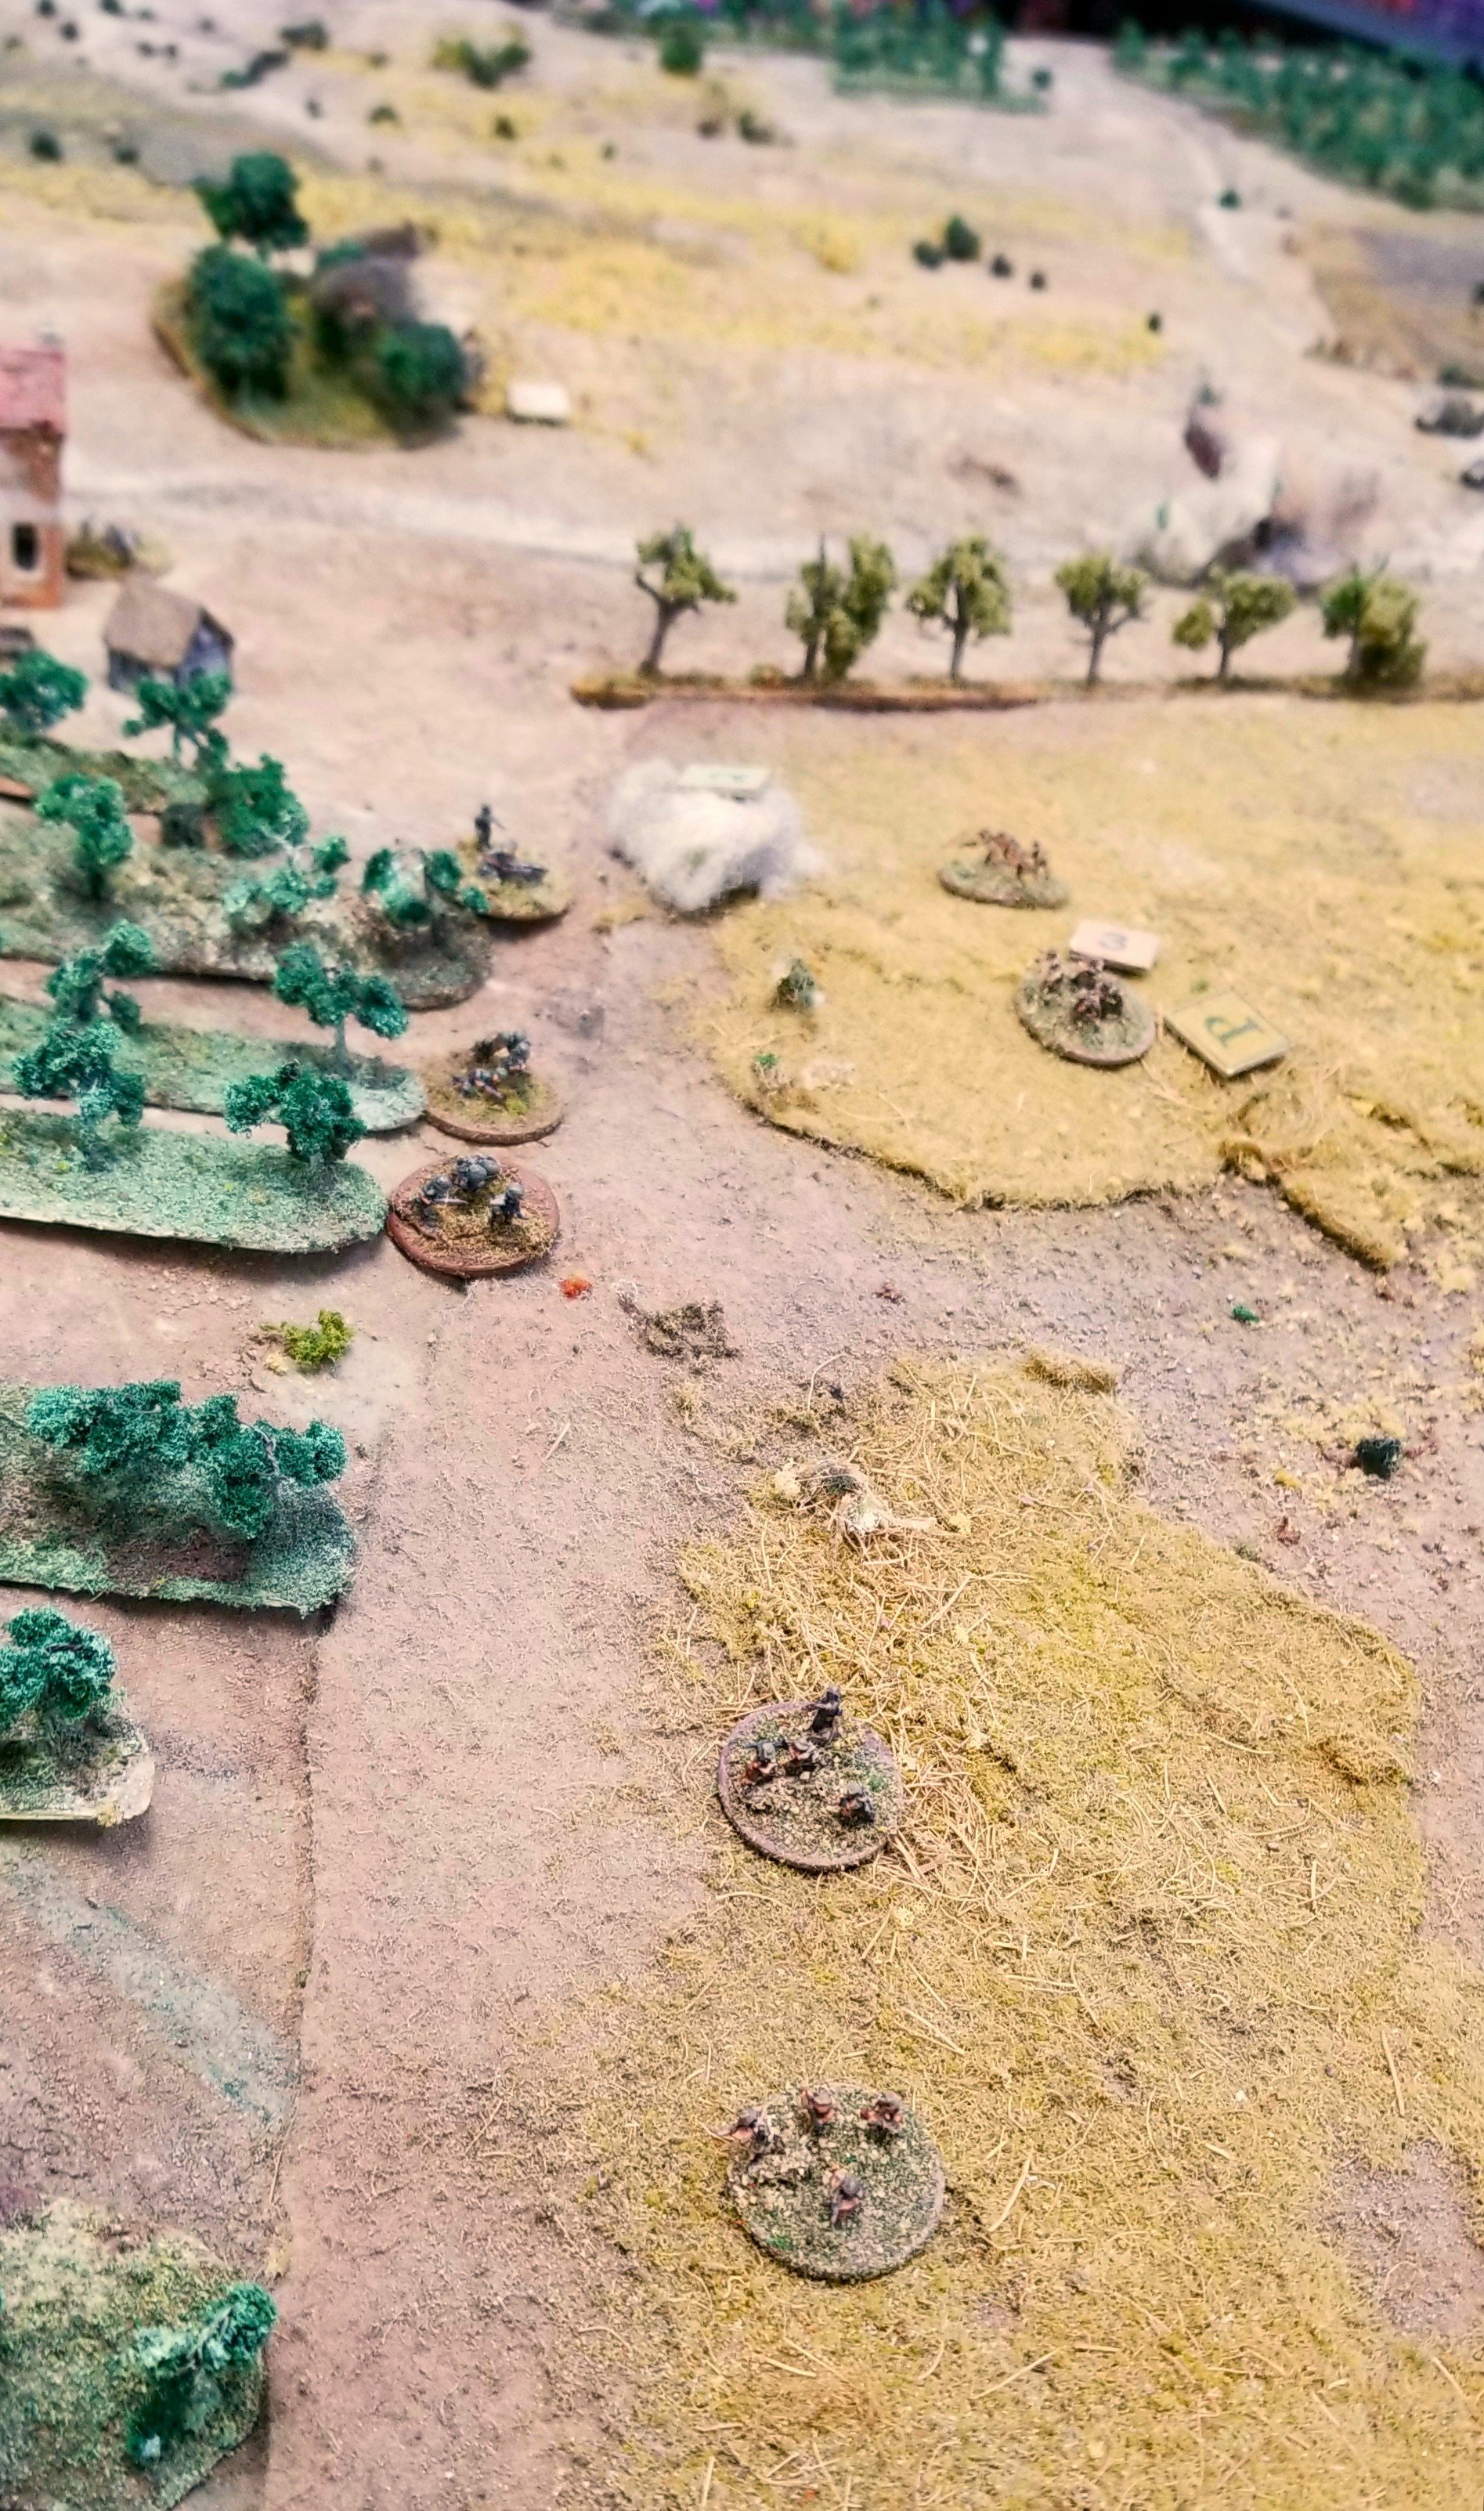
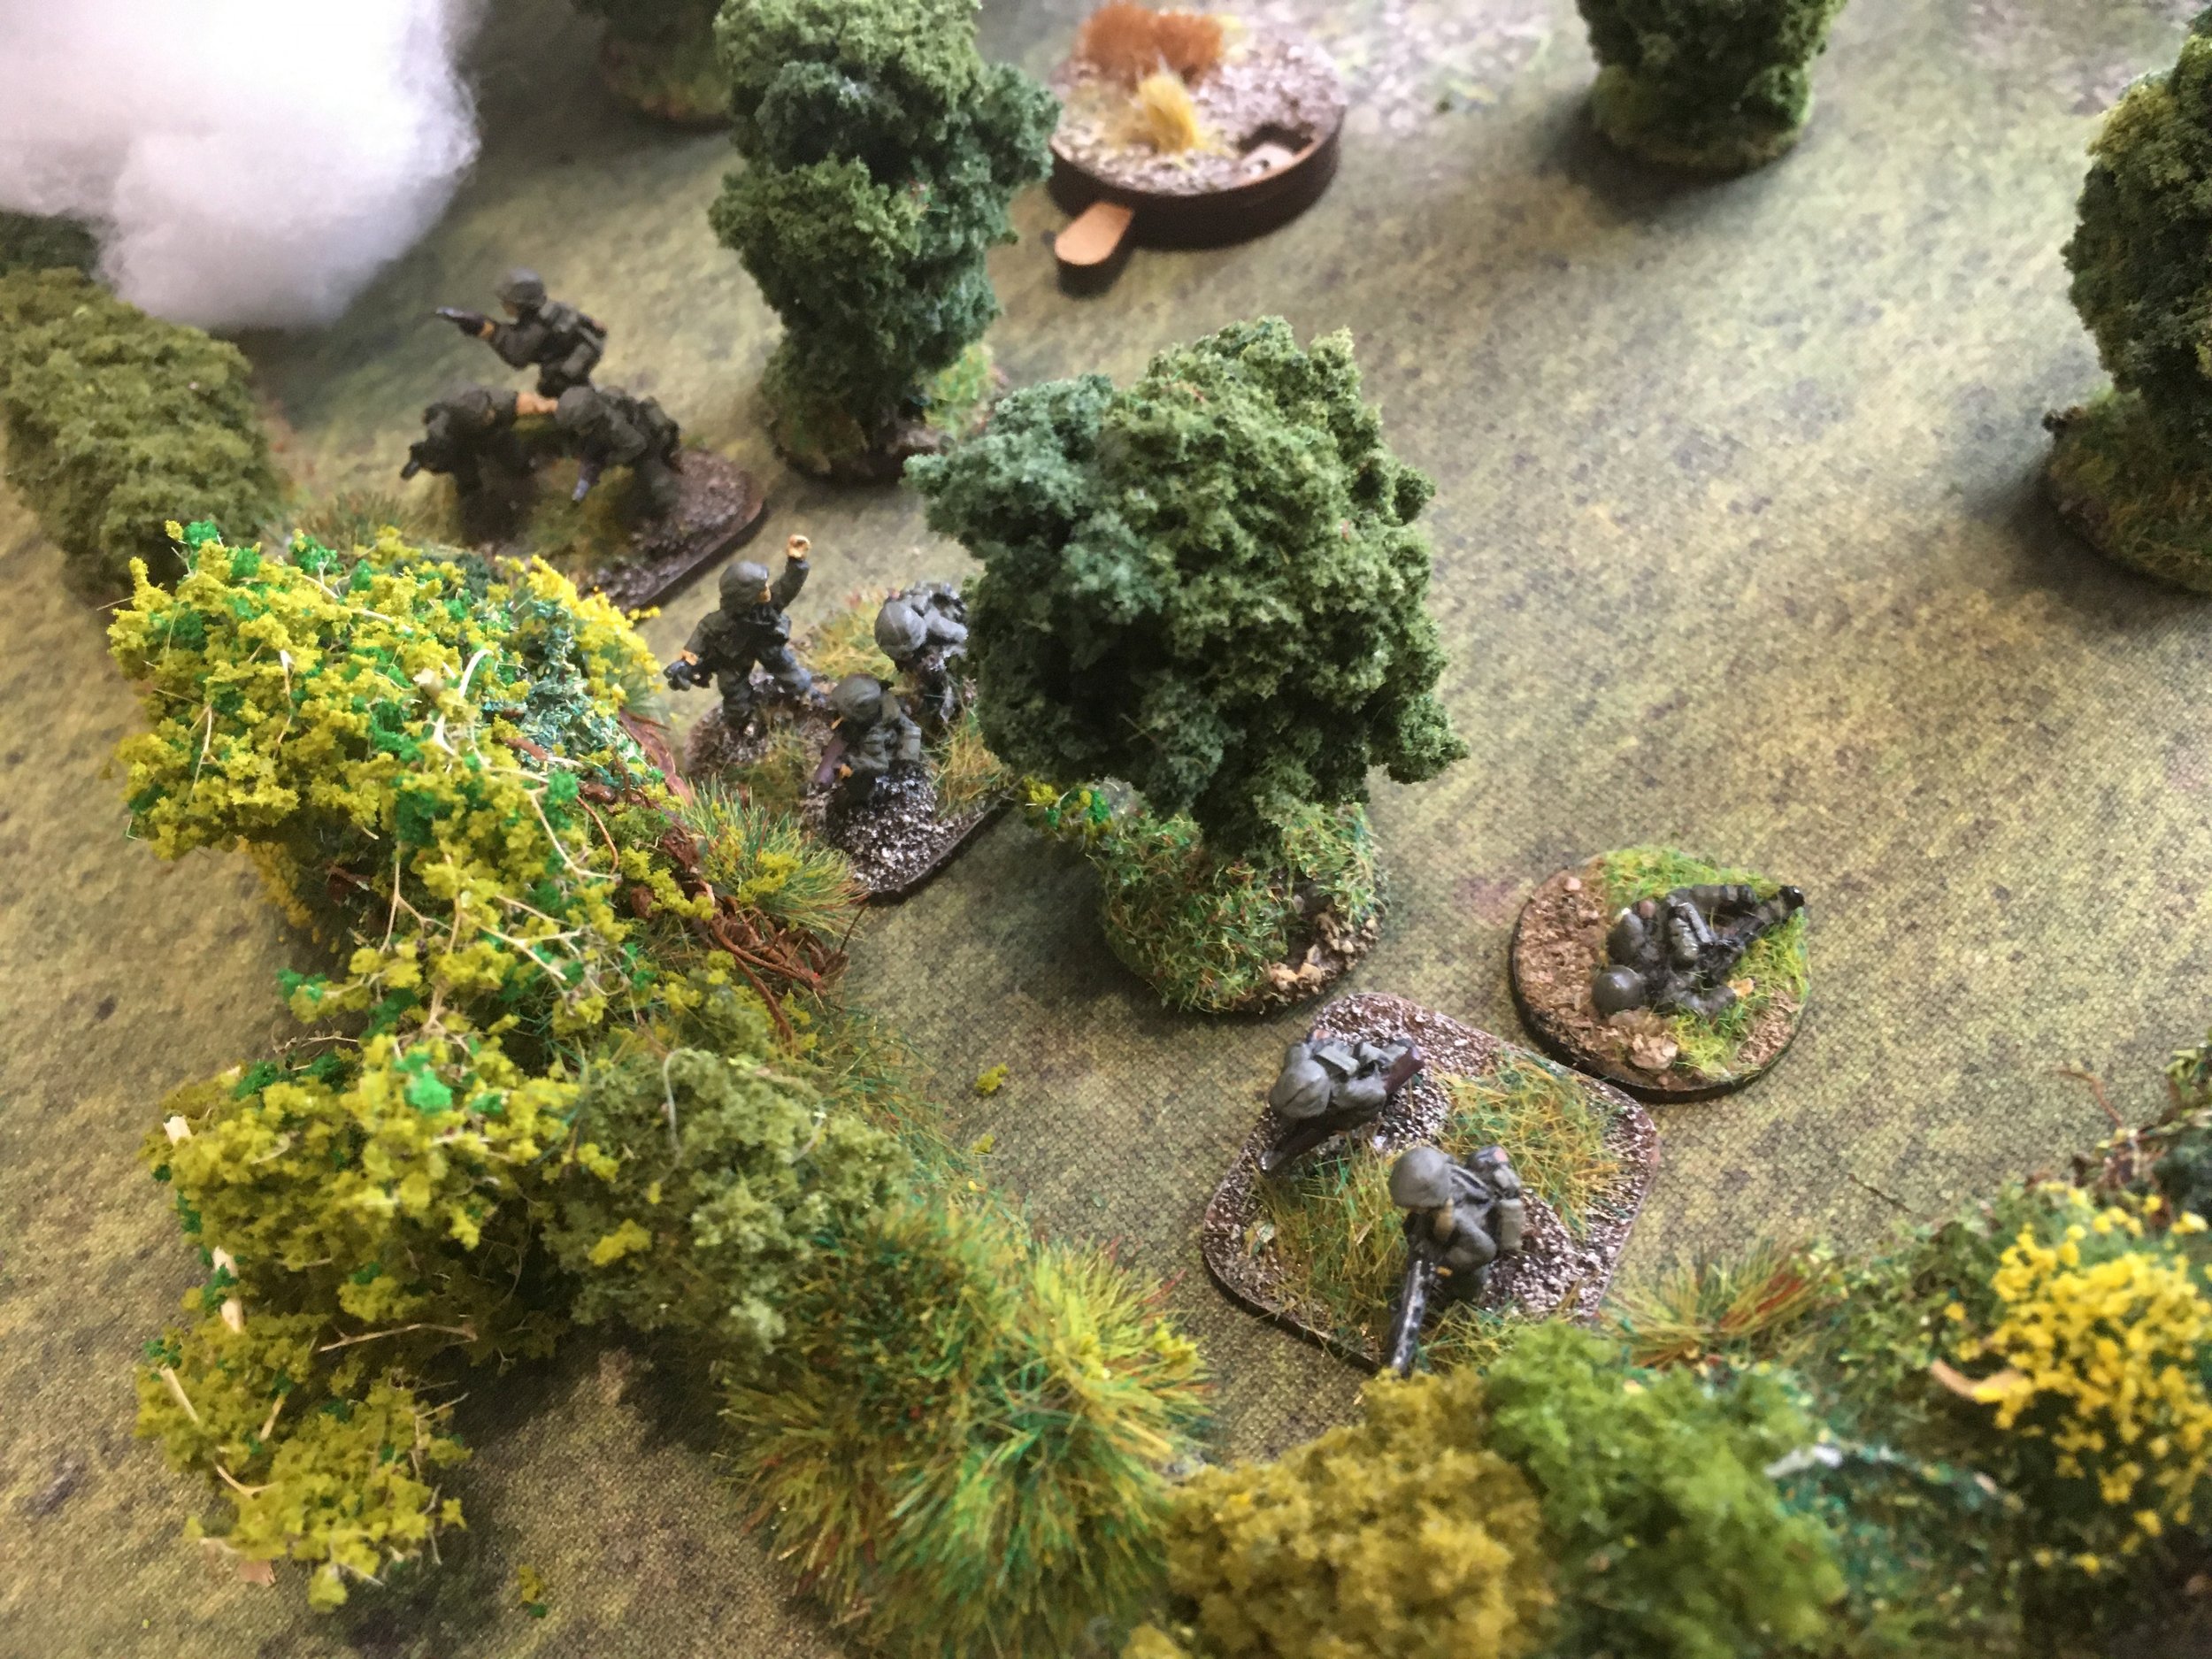
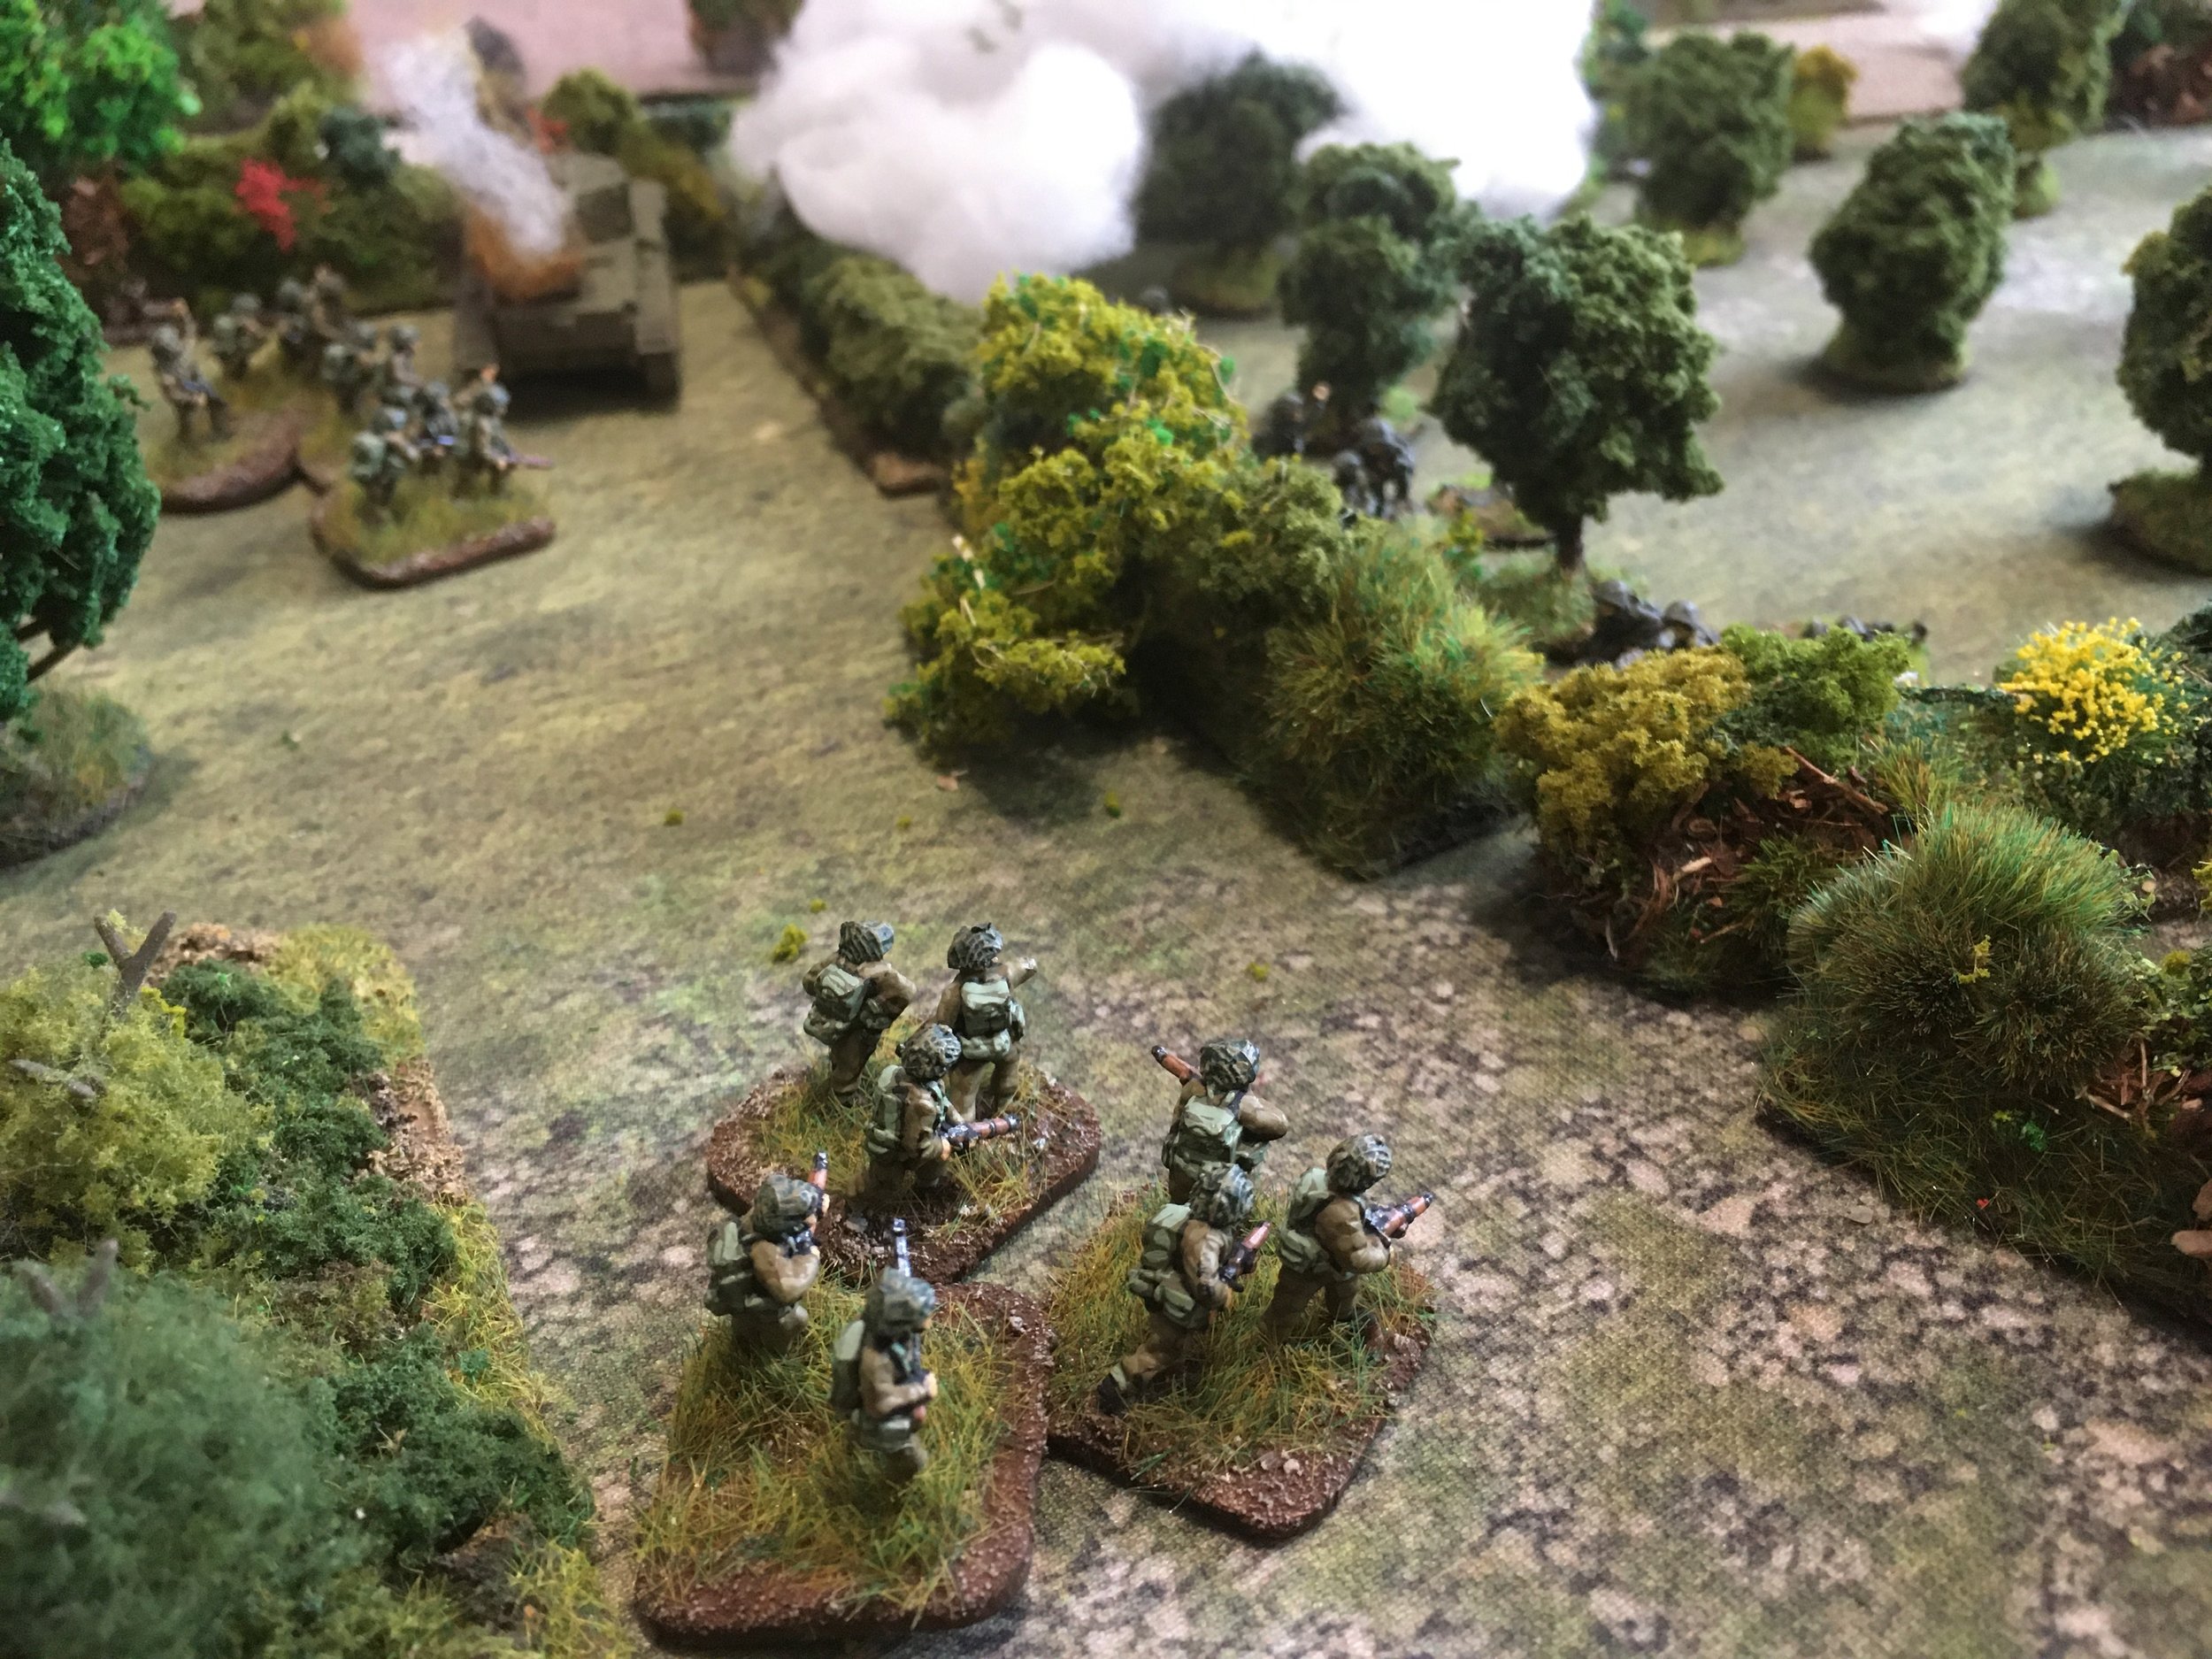
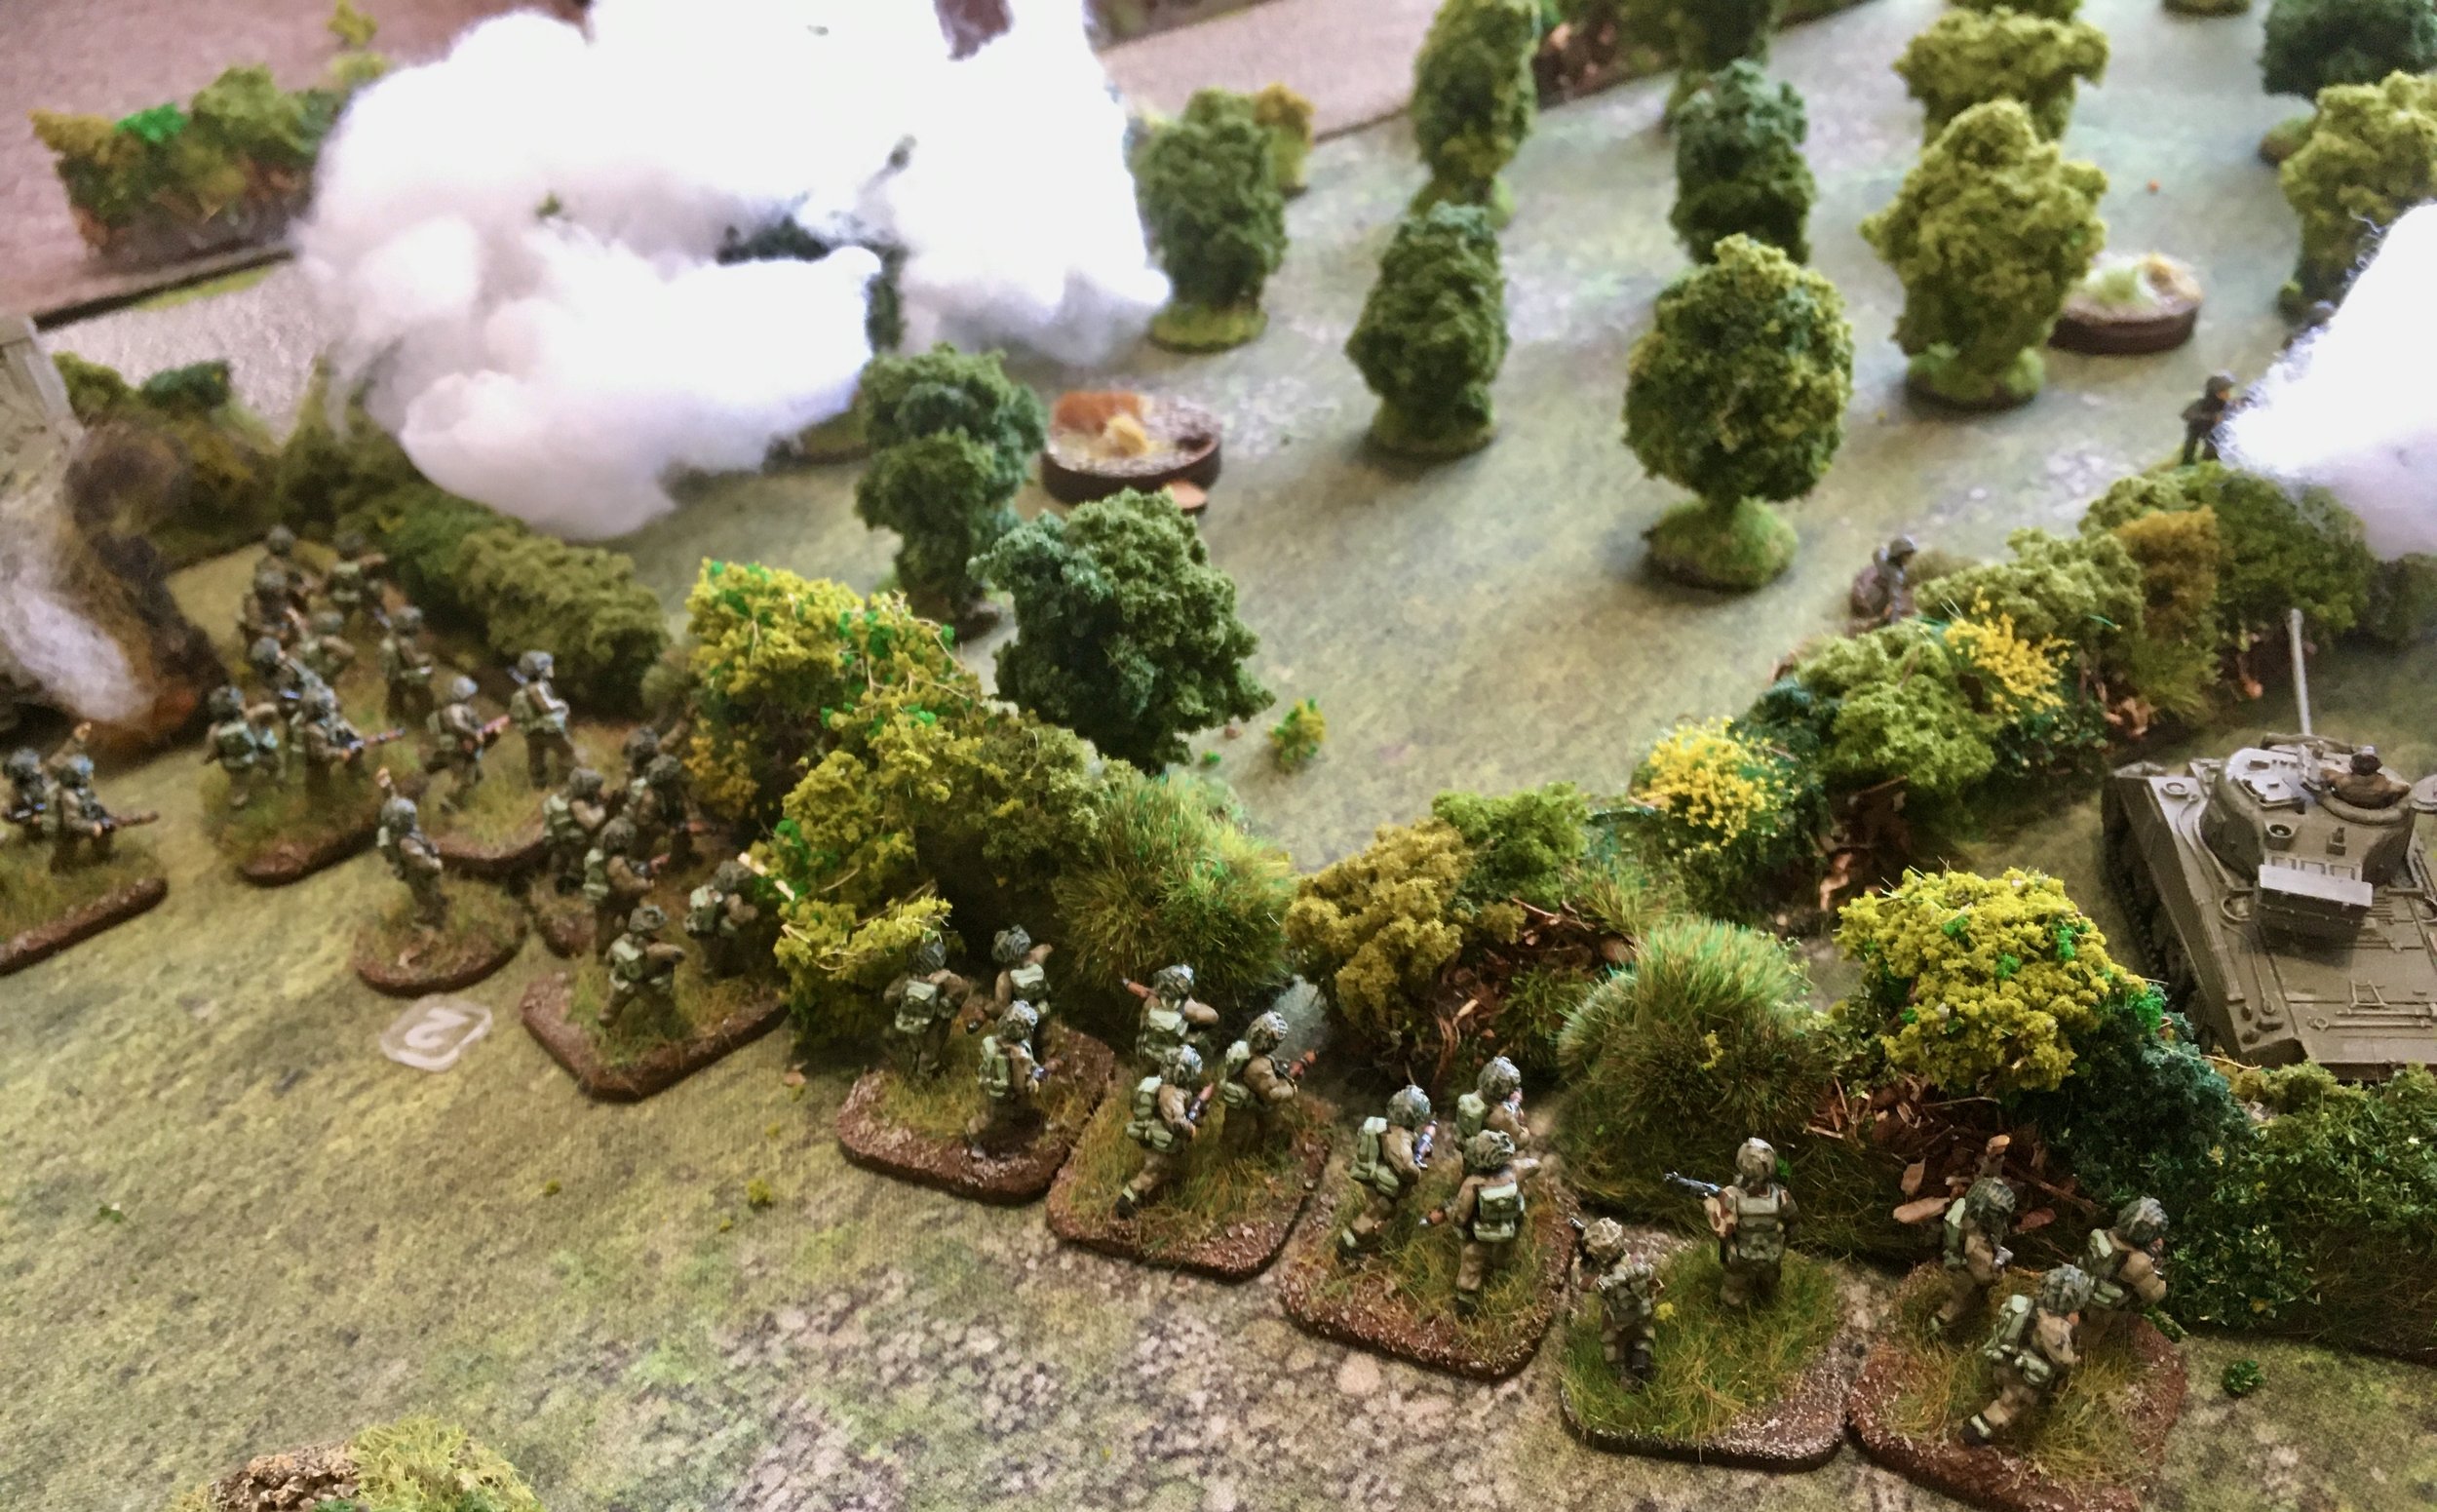
My right flank was about to be flanked The dug in section did put some casualties on the advancing Kiwis as they crossed the muddy field. But Jon swung further left and got around my thin screen.
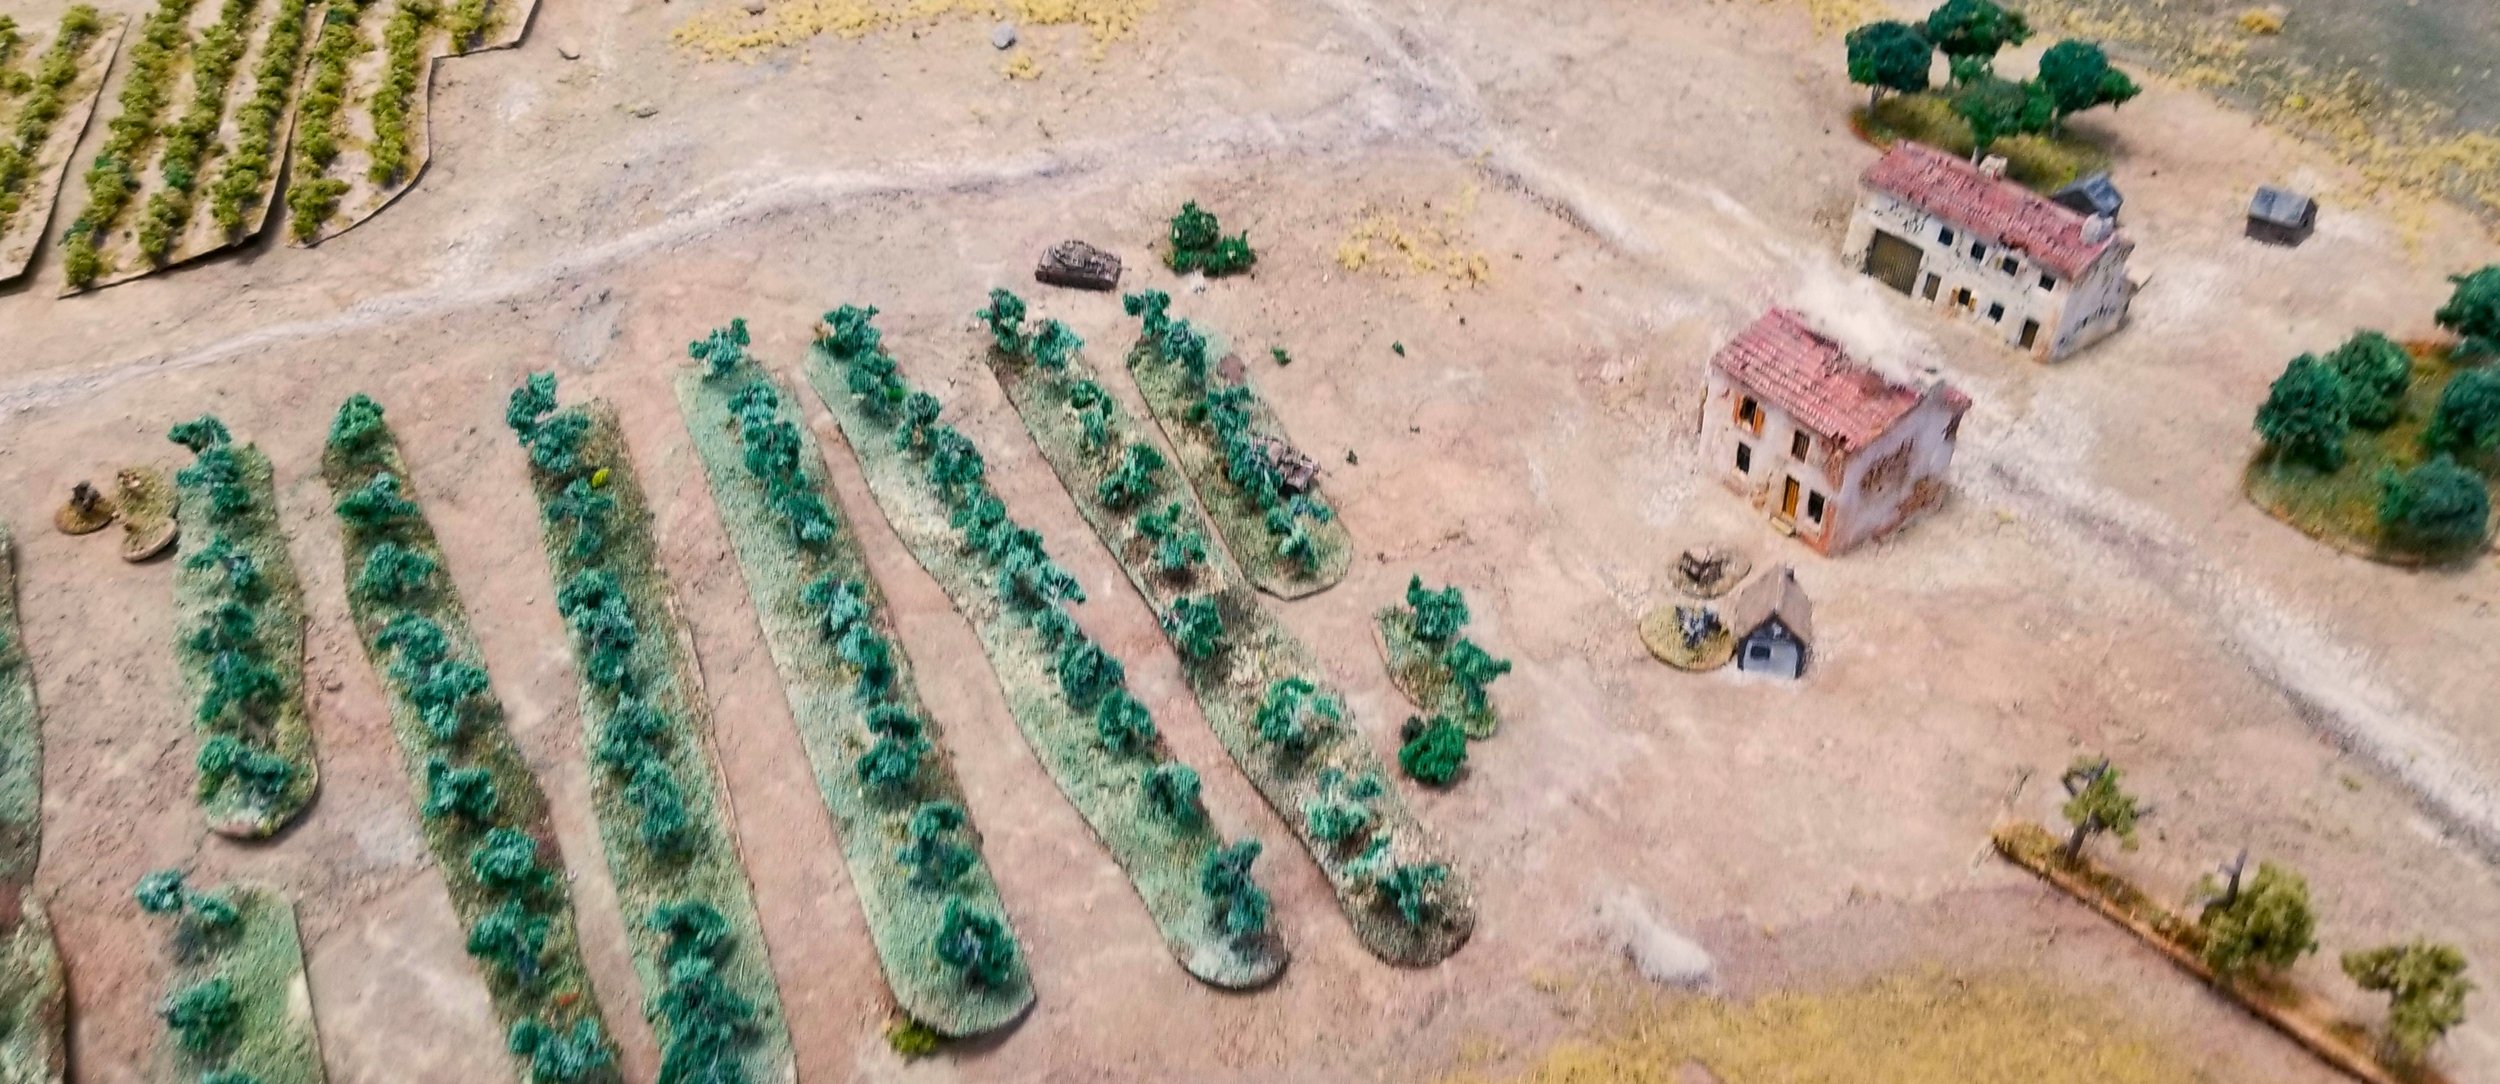
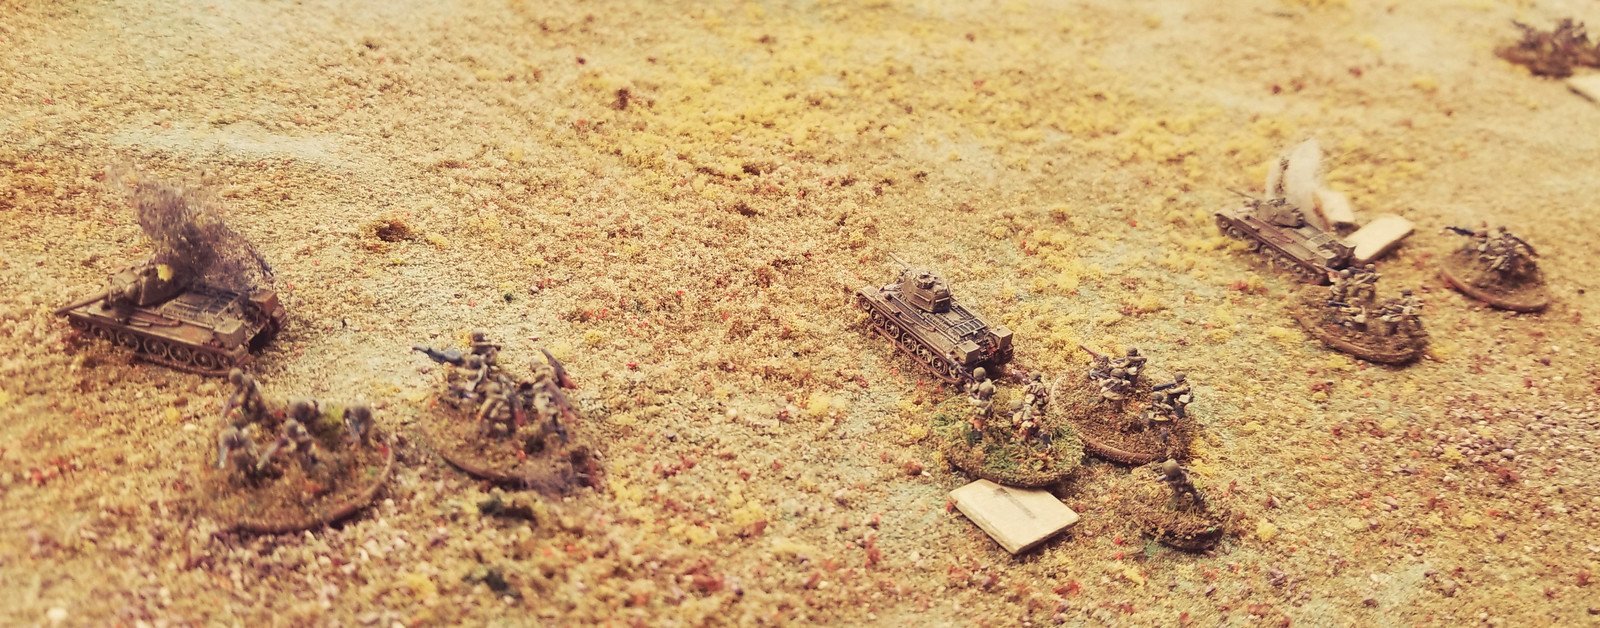
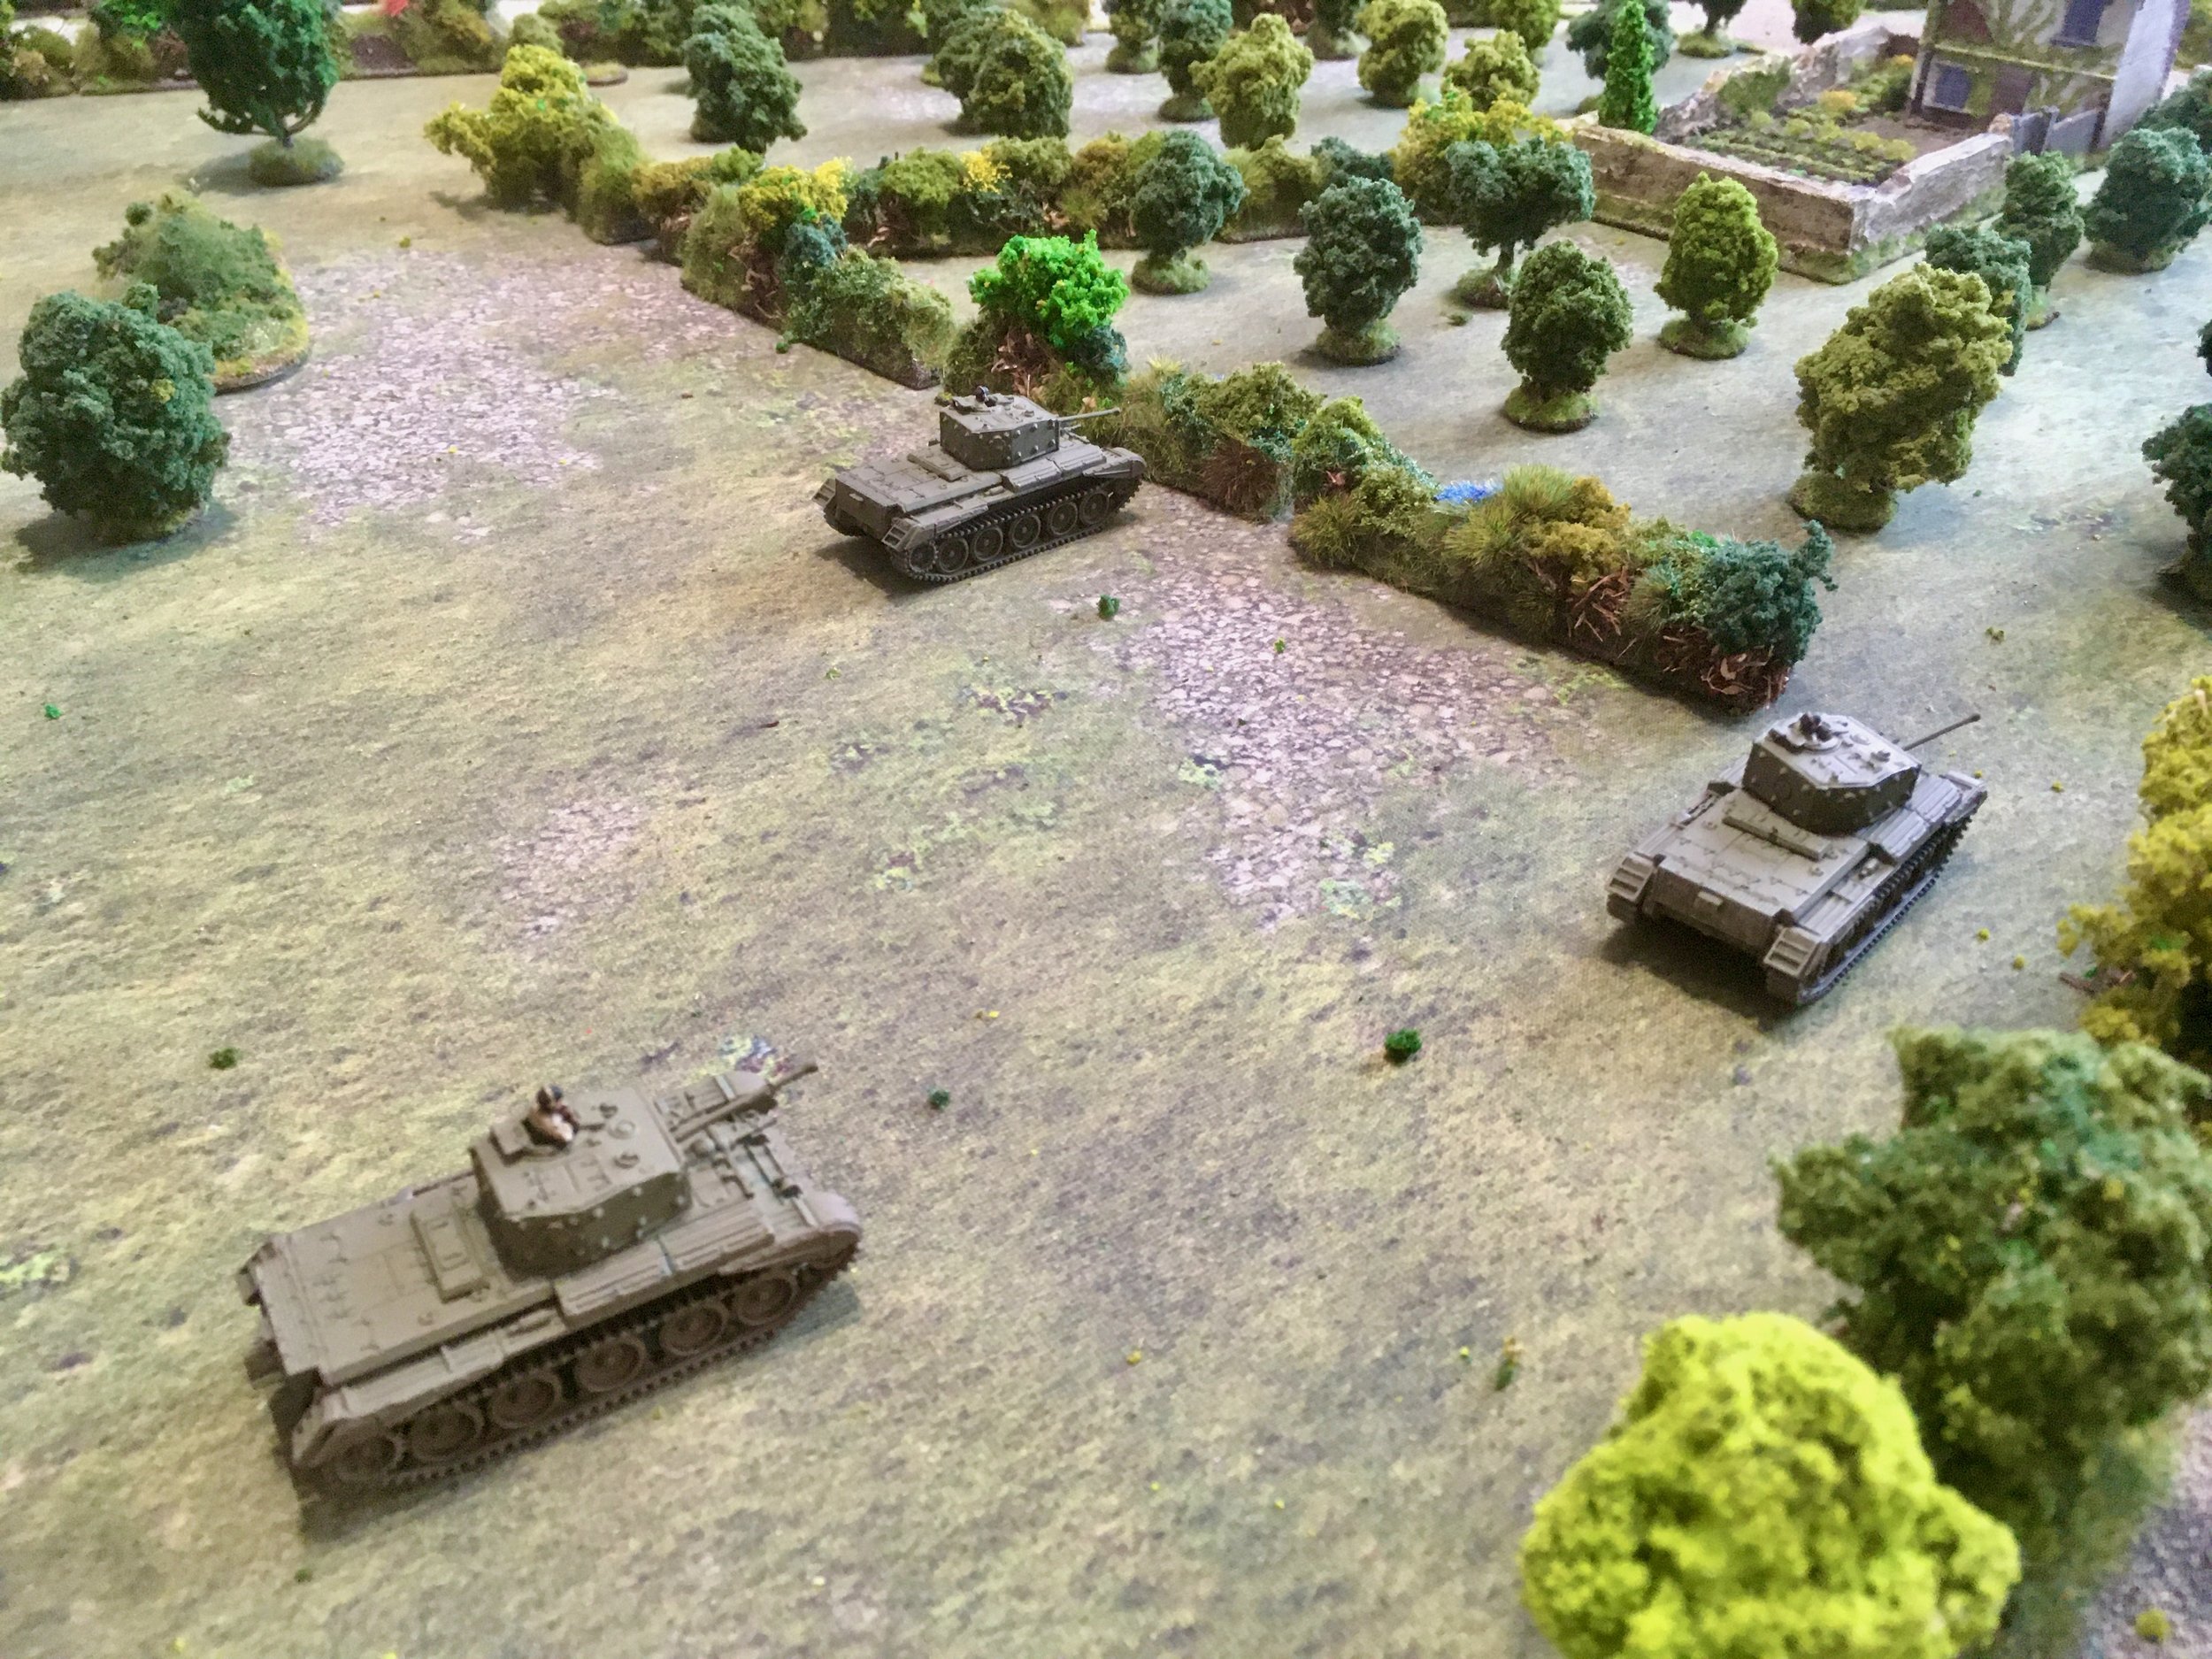
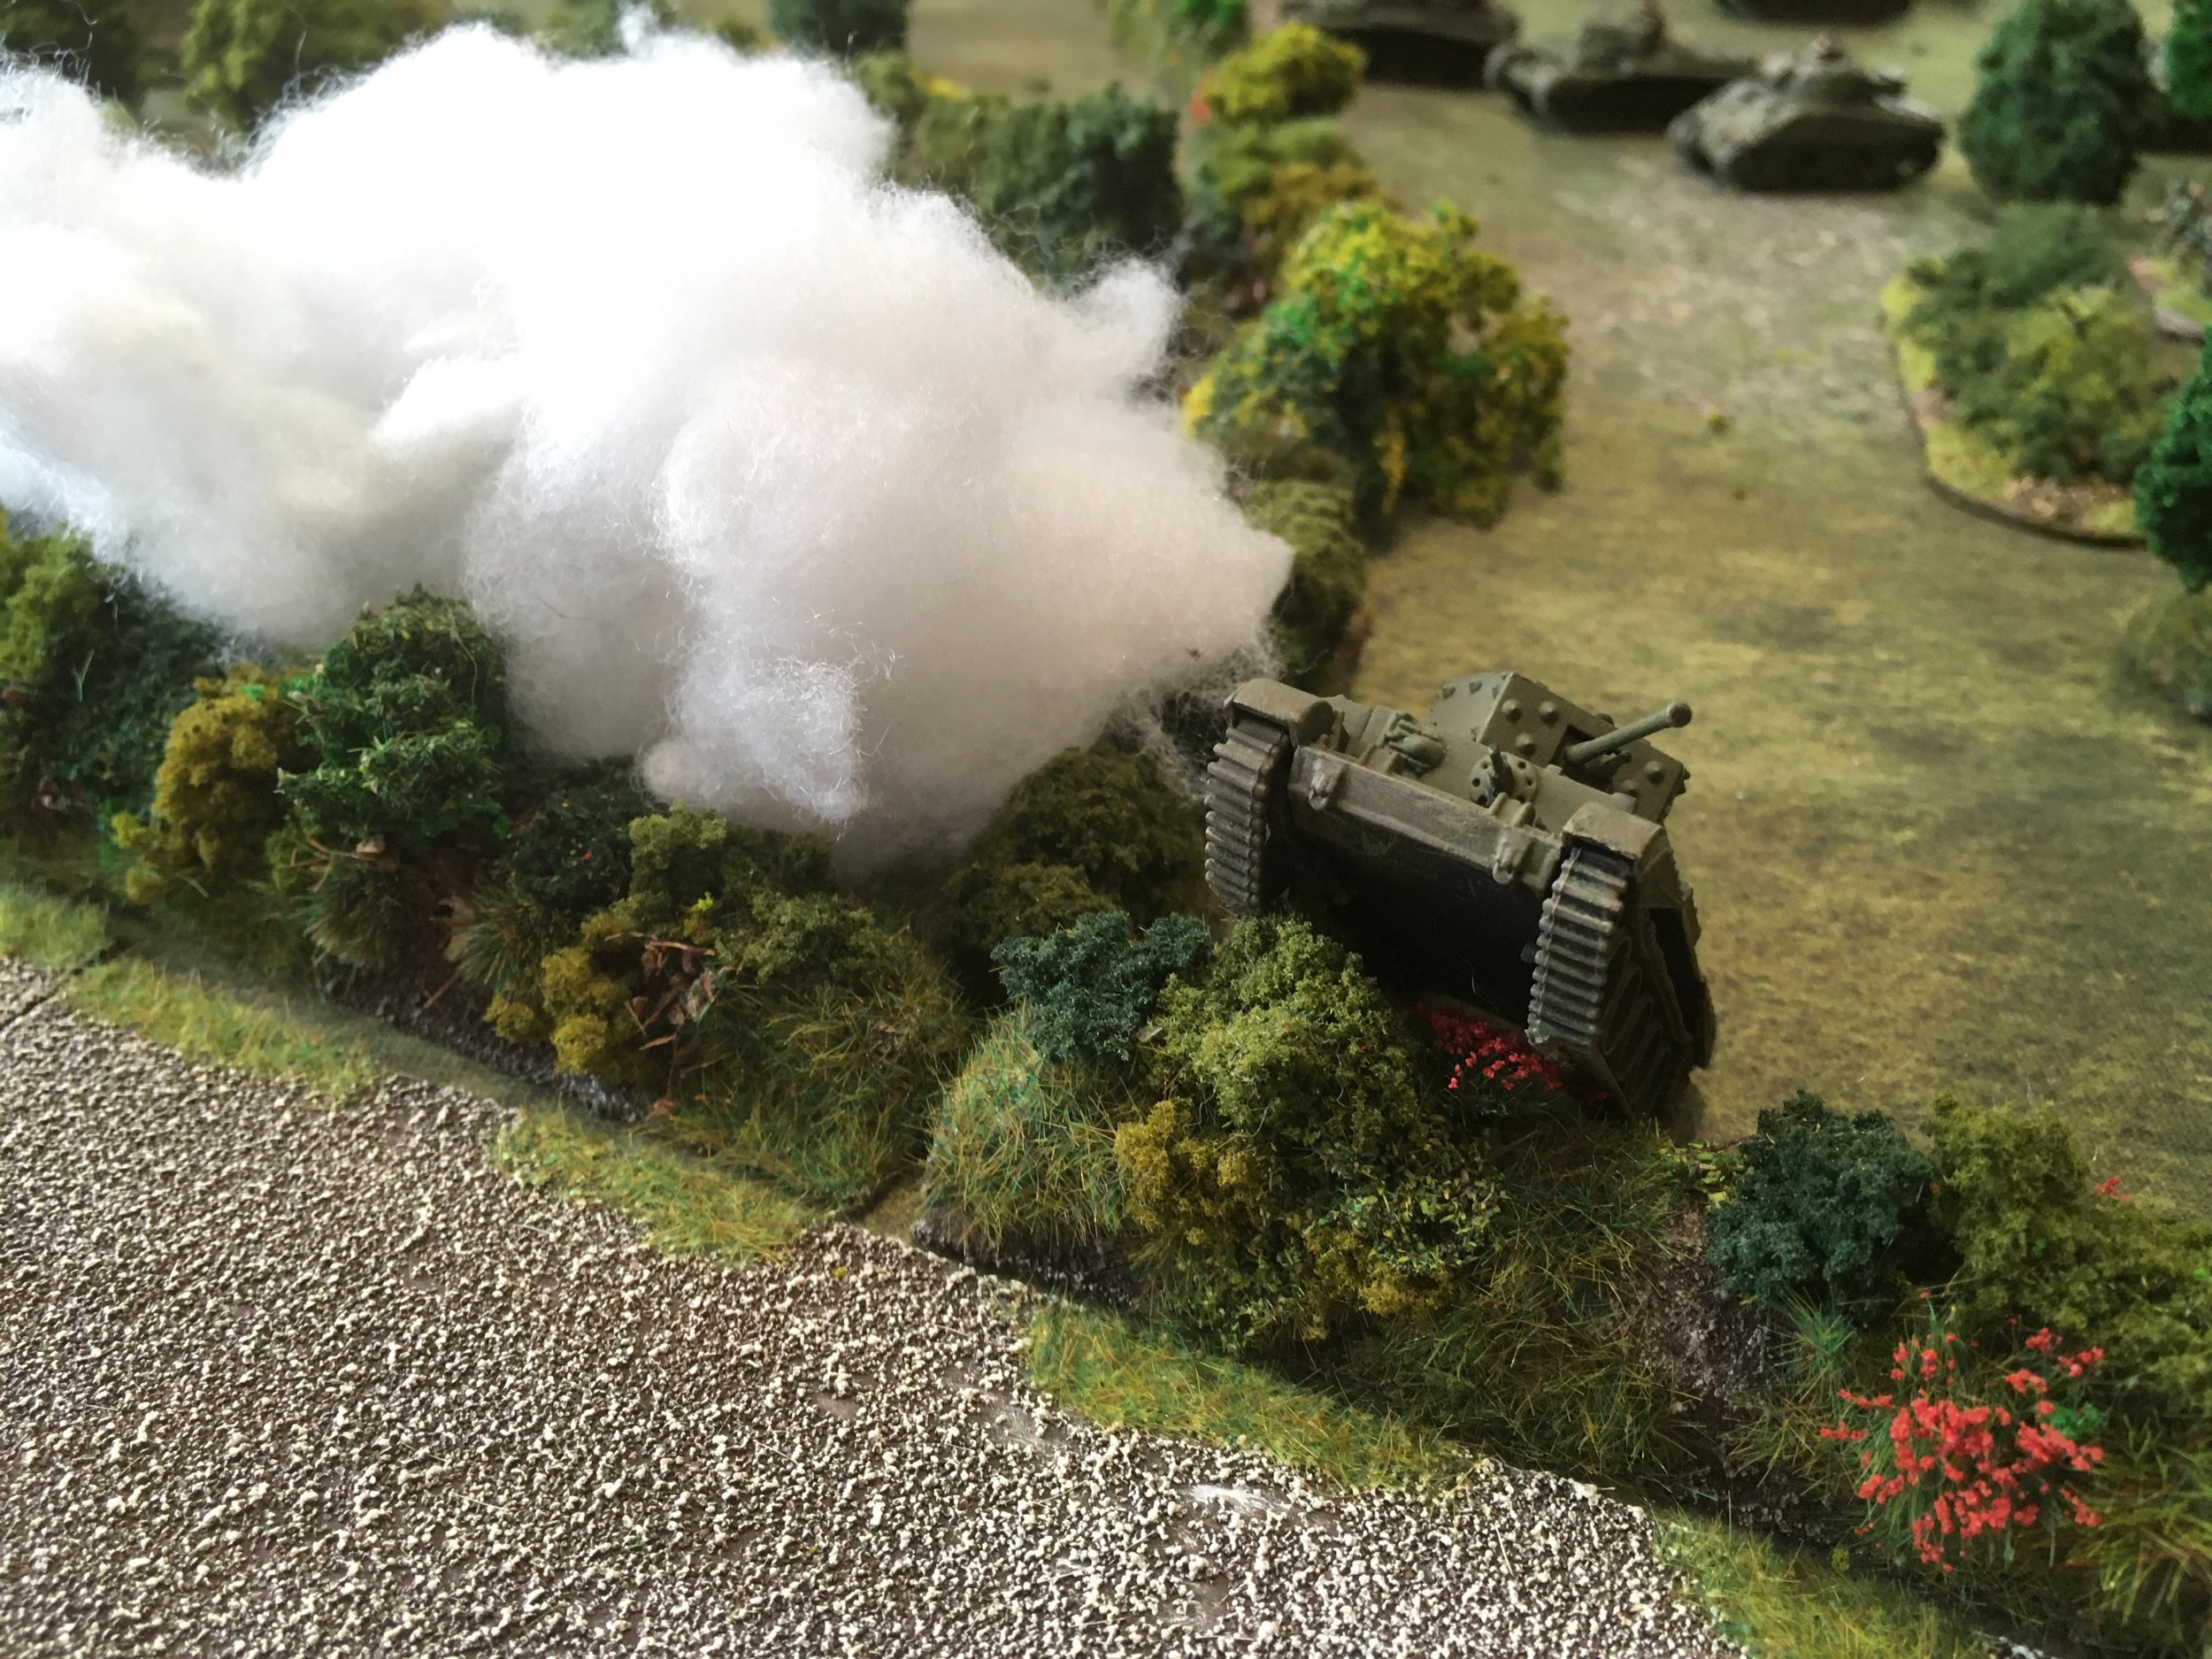
Meanwhile my PzIVs fired from the olive trees in attempt to at least take out the Staghounds but only managed to immobilize one. The M4s put some HE down on the section in the trees north of the road.
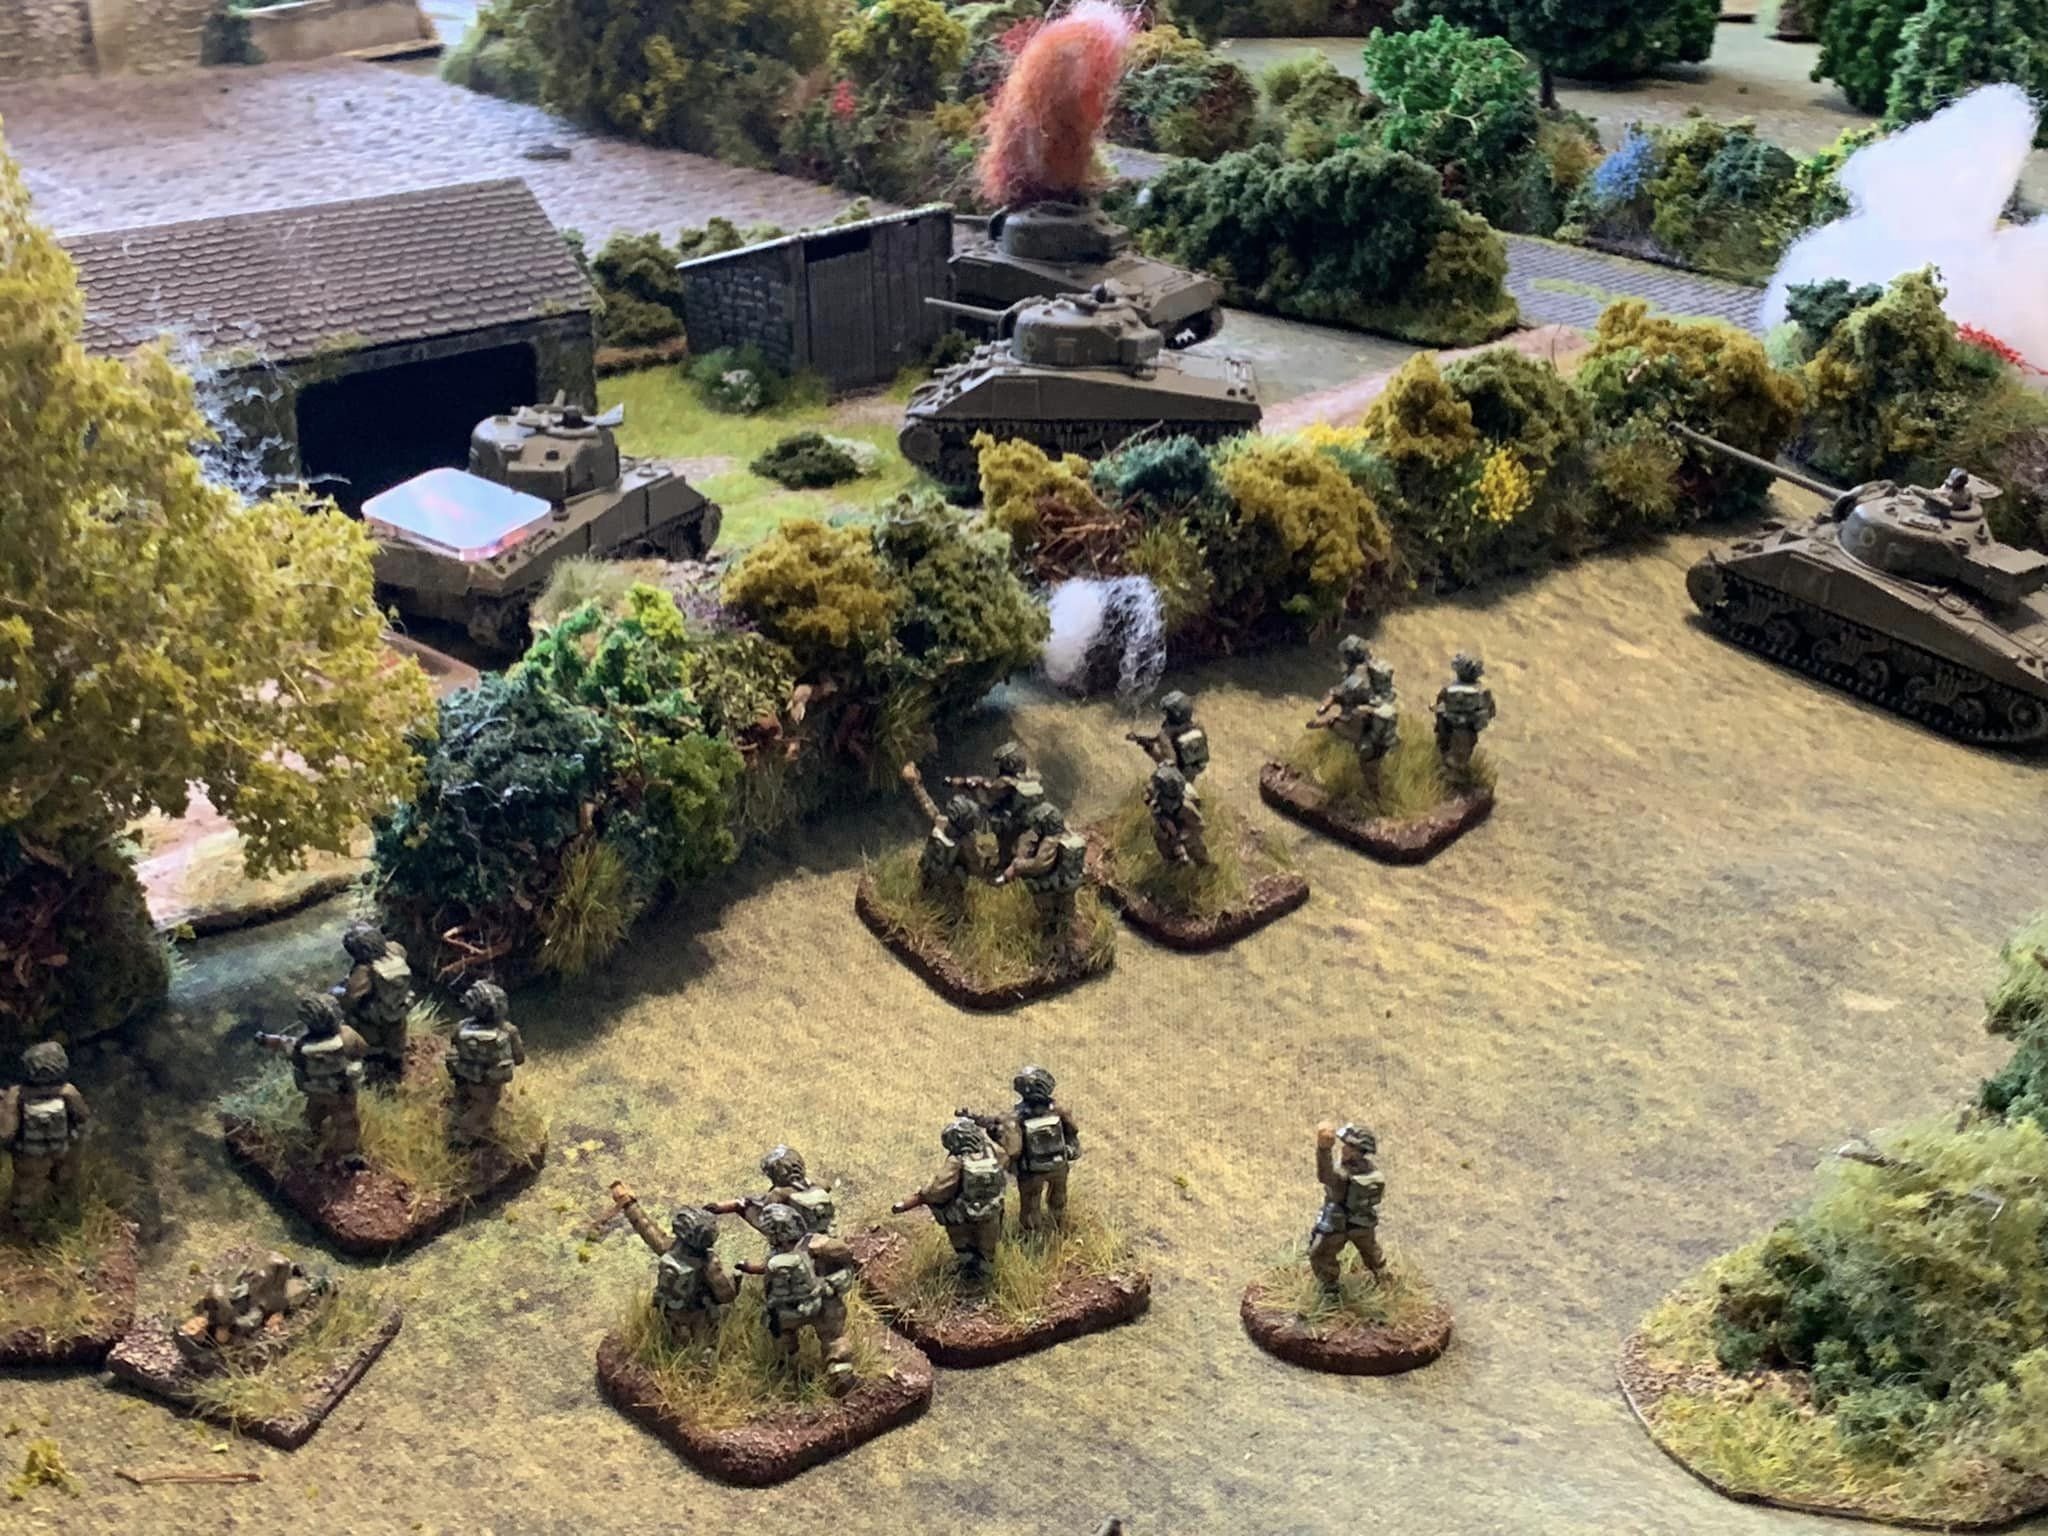
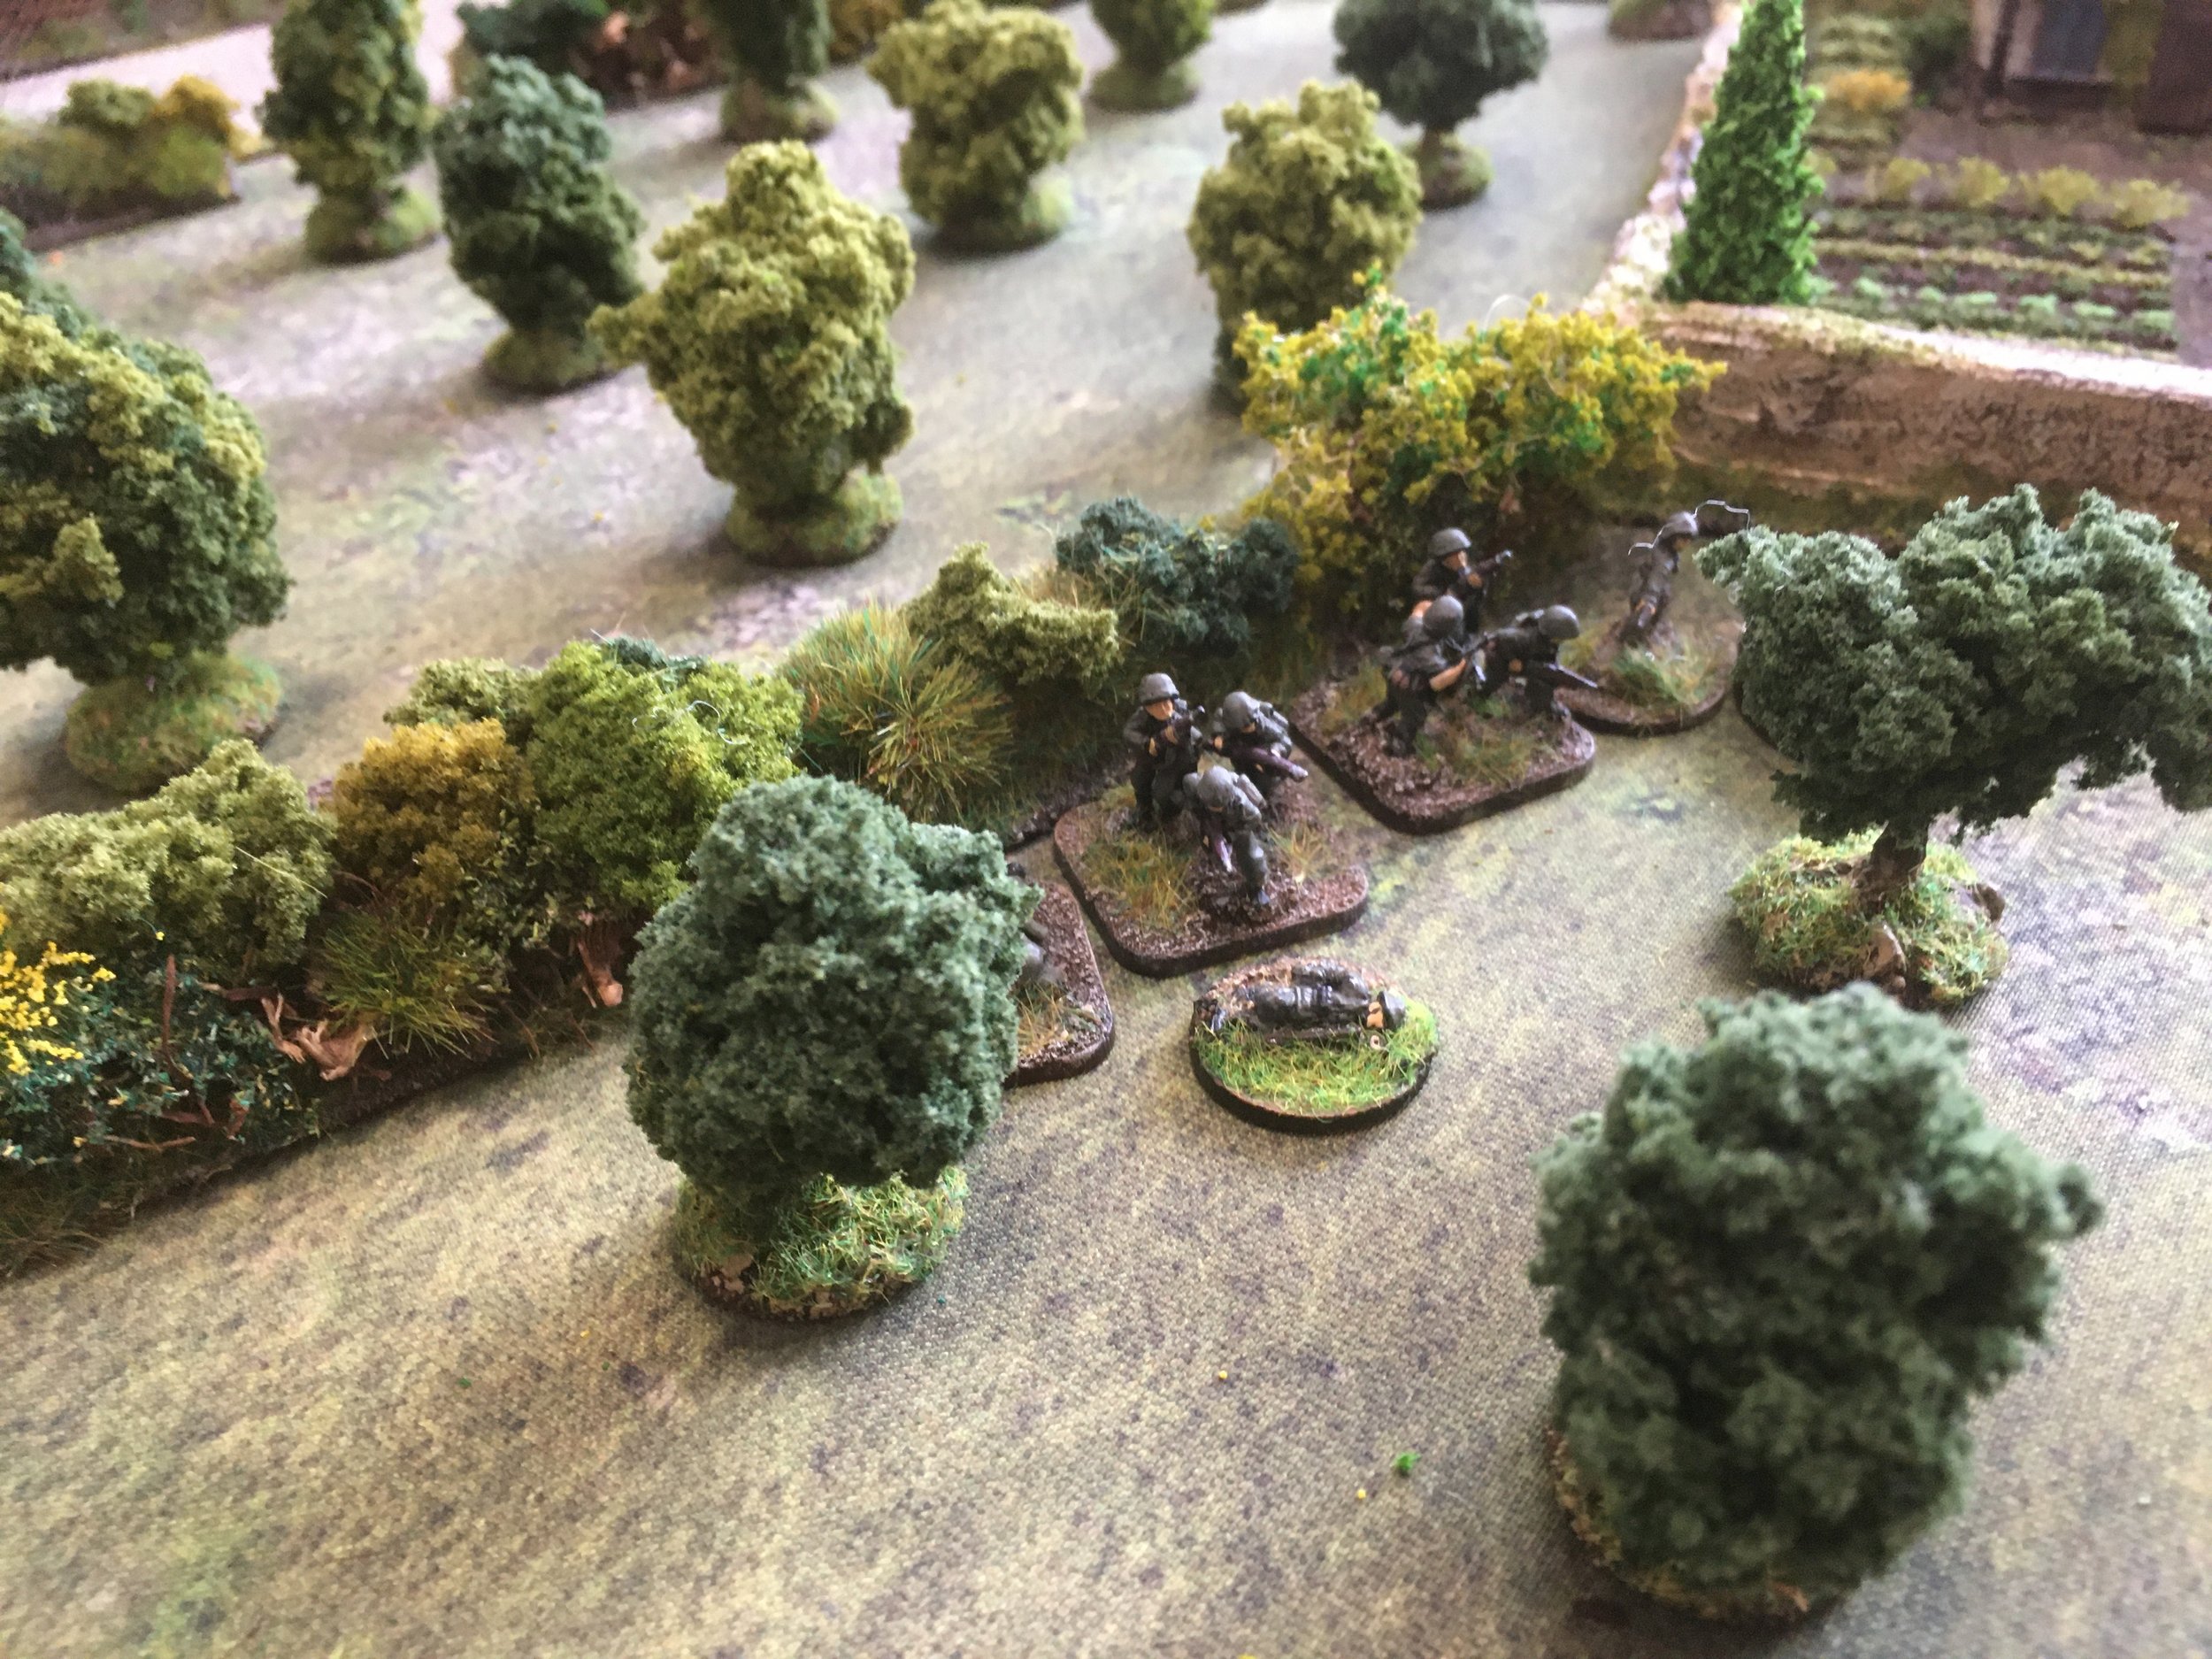
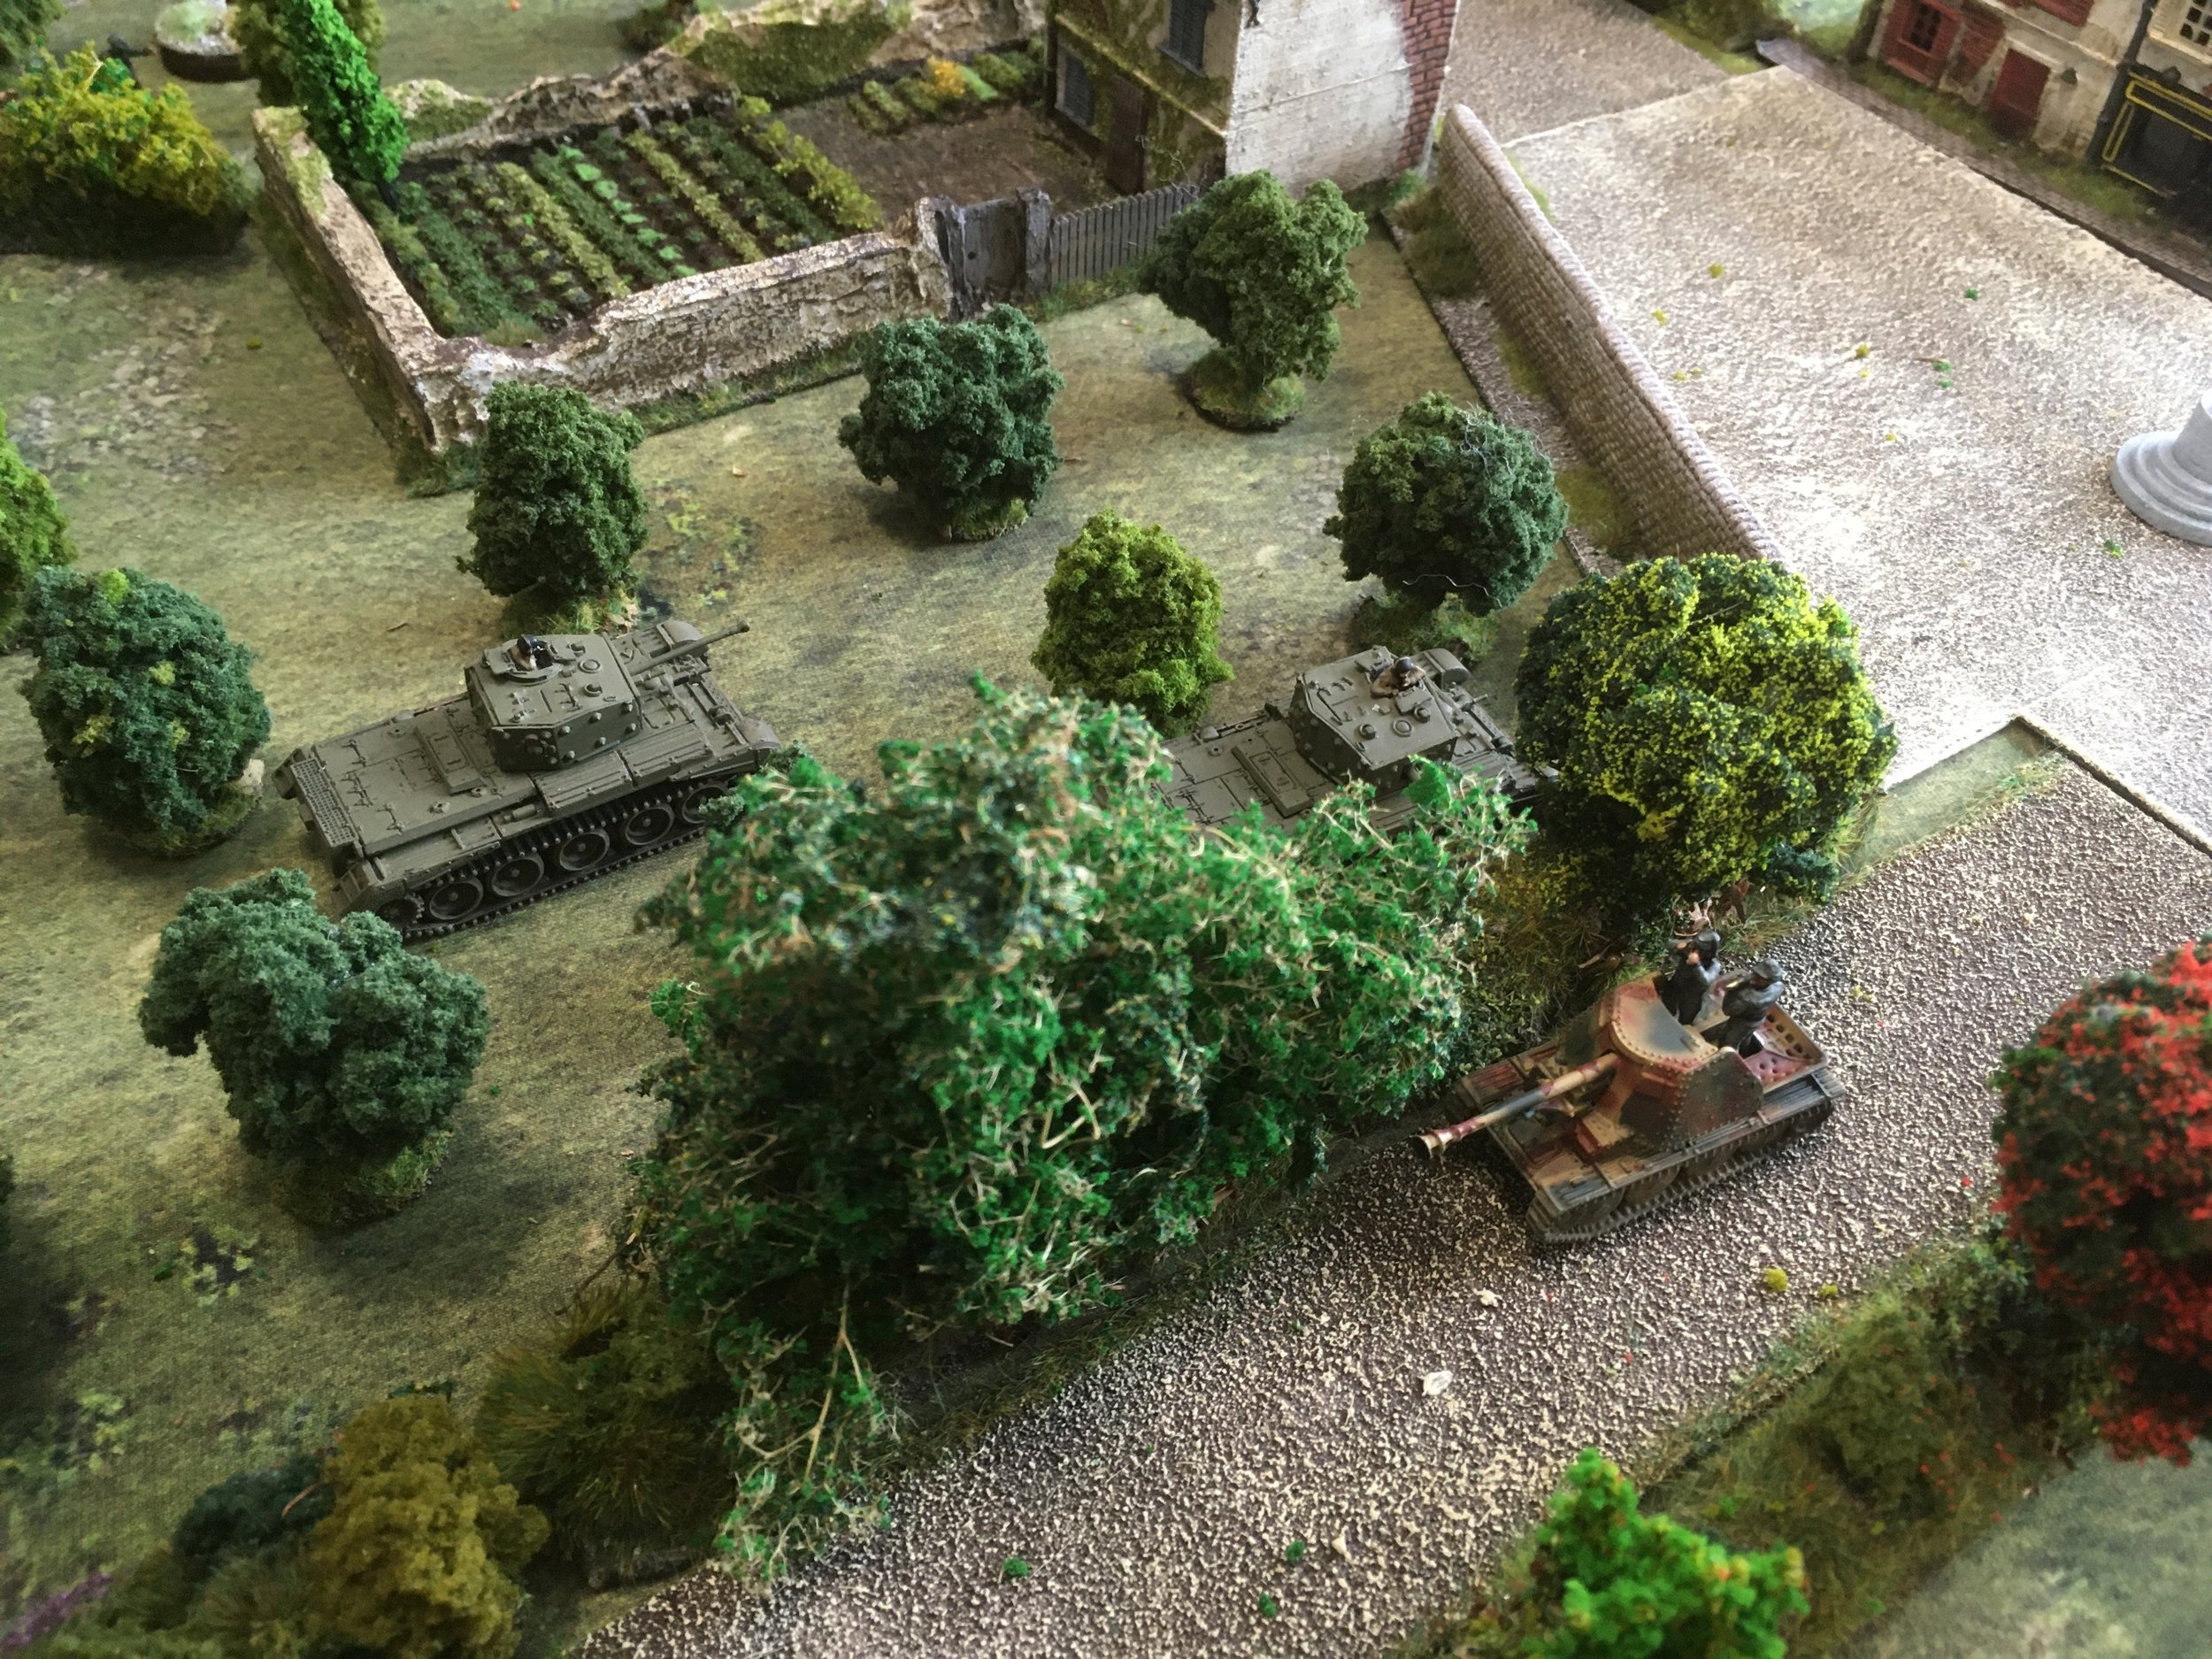
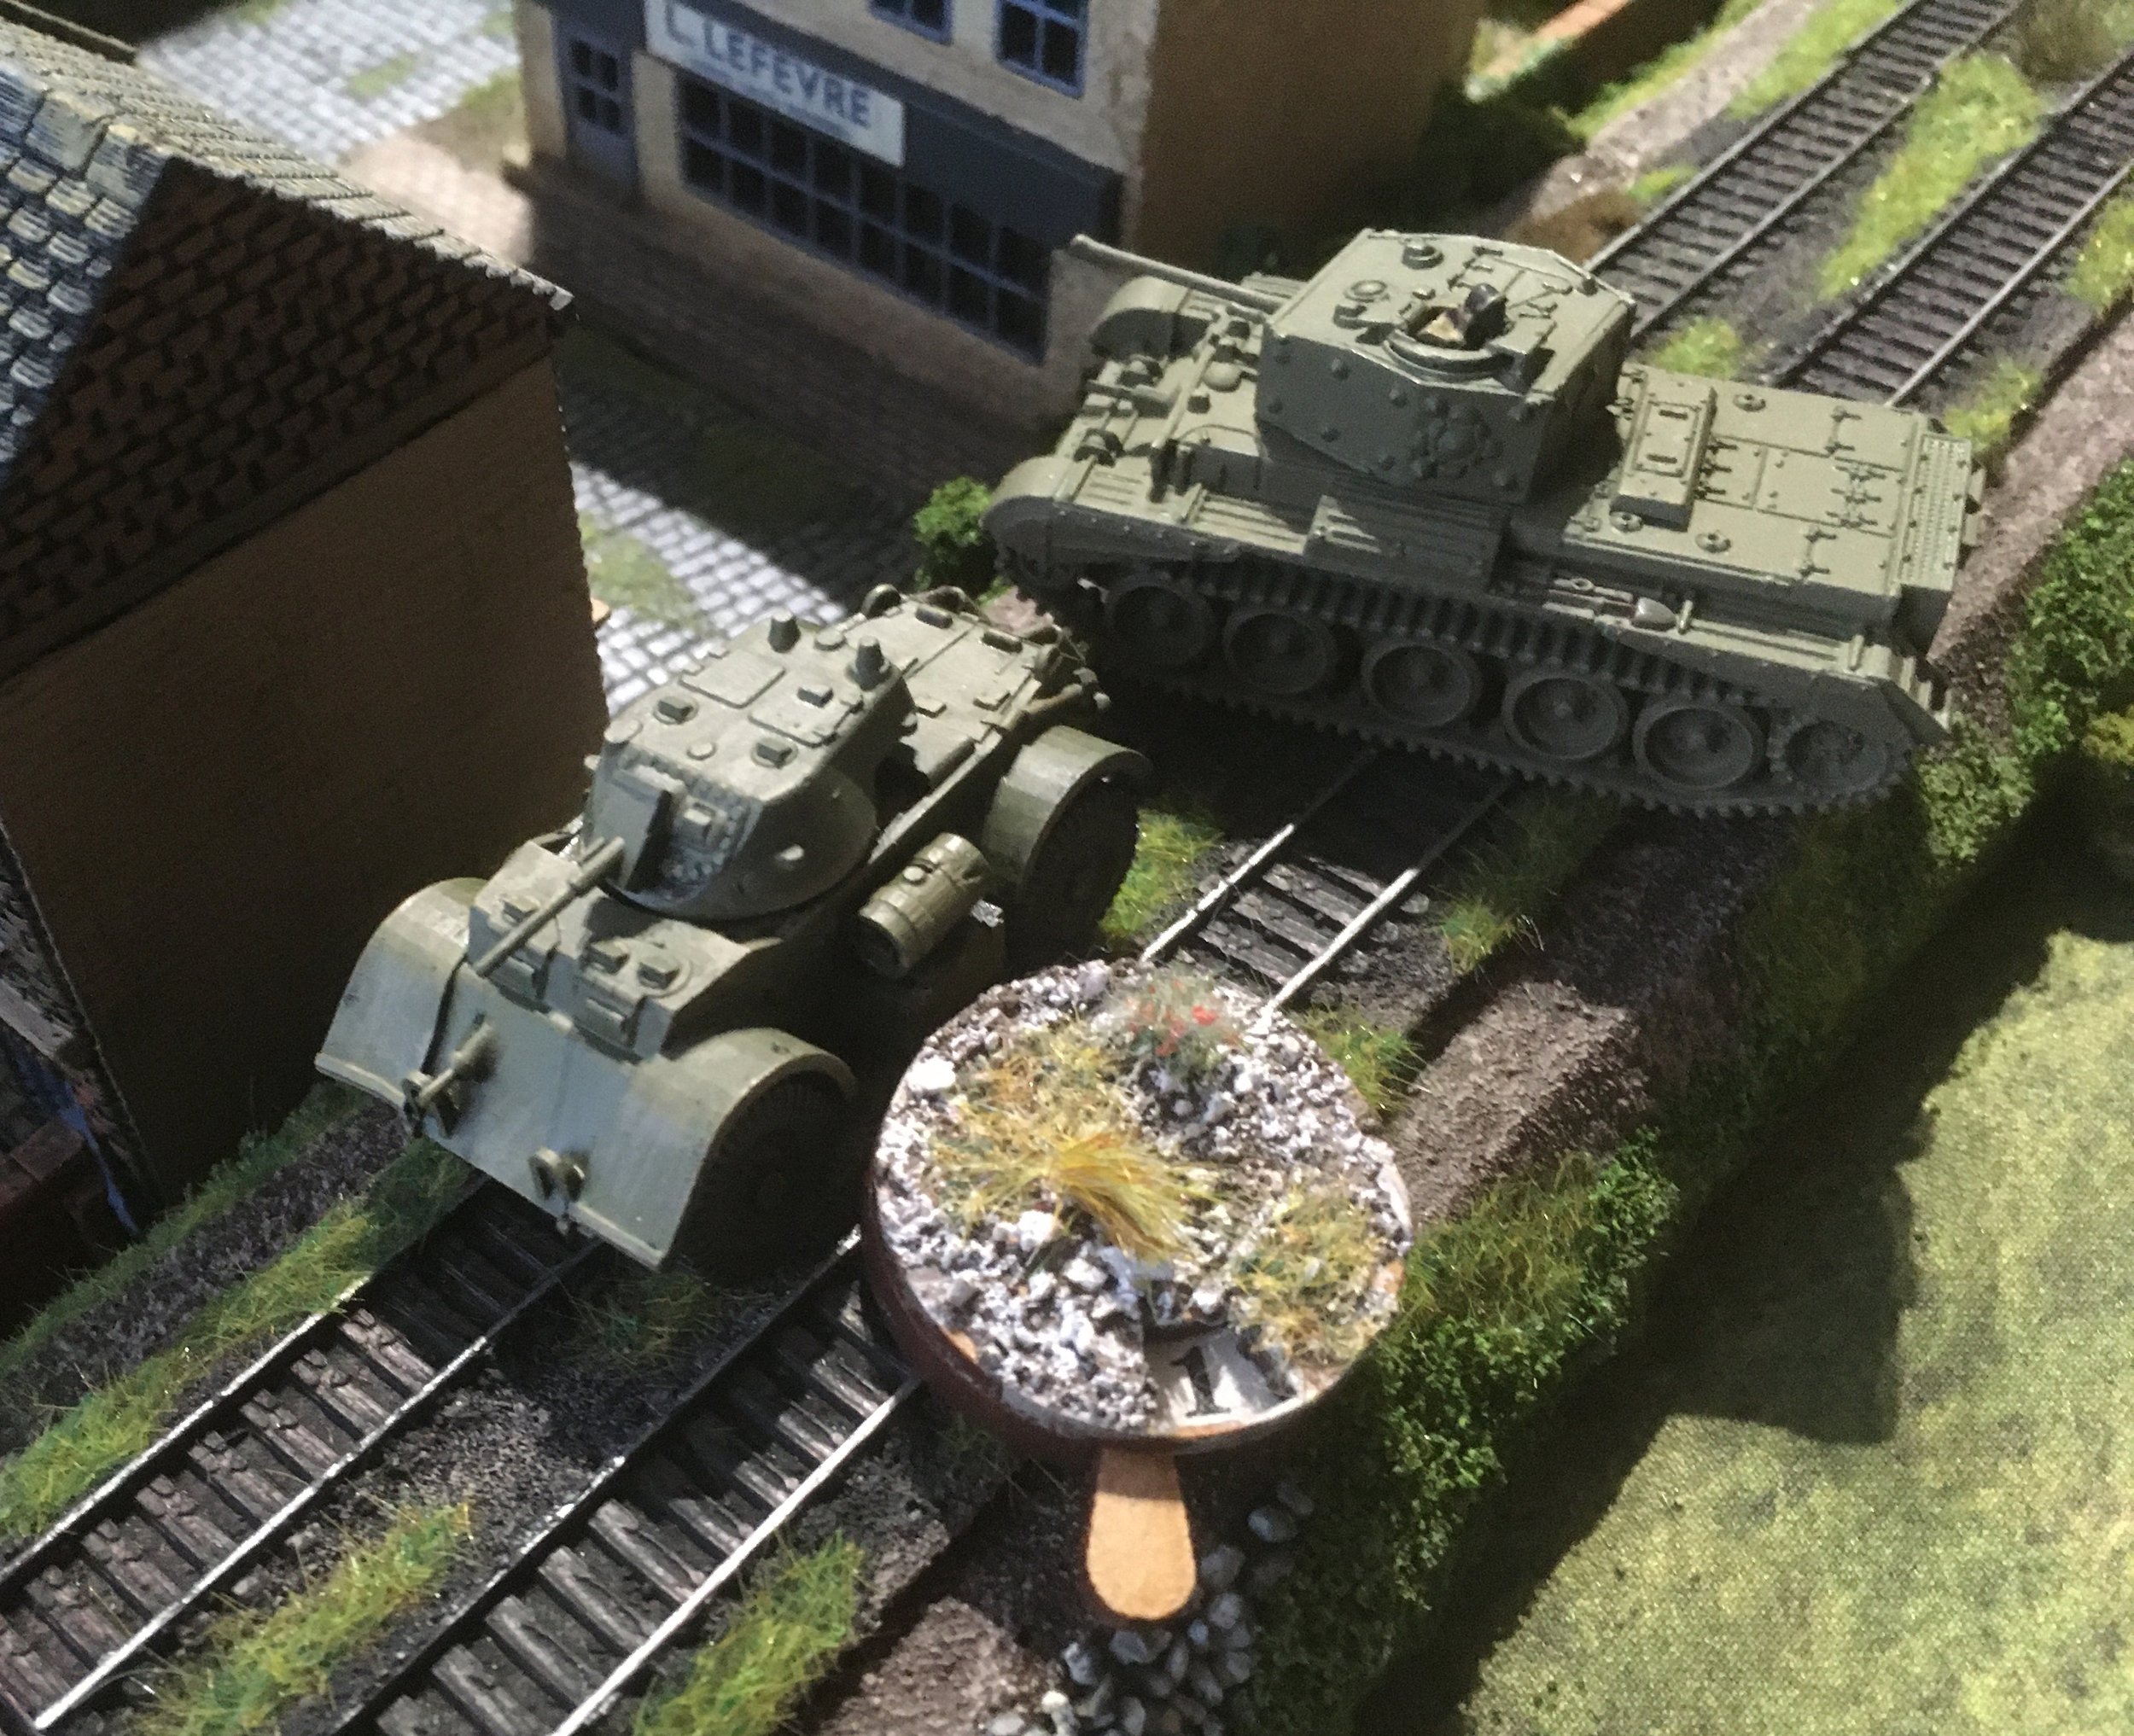
A German MMG team is in the building The other MMG team is blinded by smoke and packing up to pull back to the buildings.

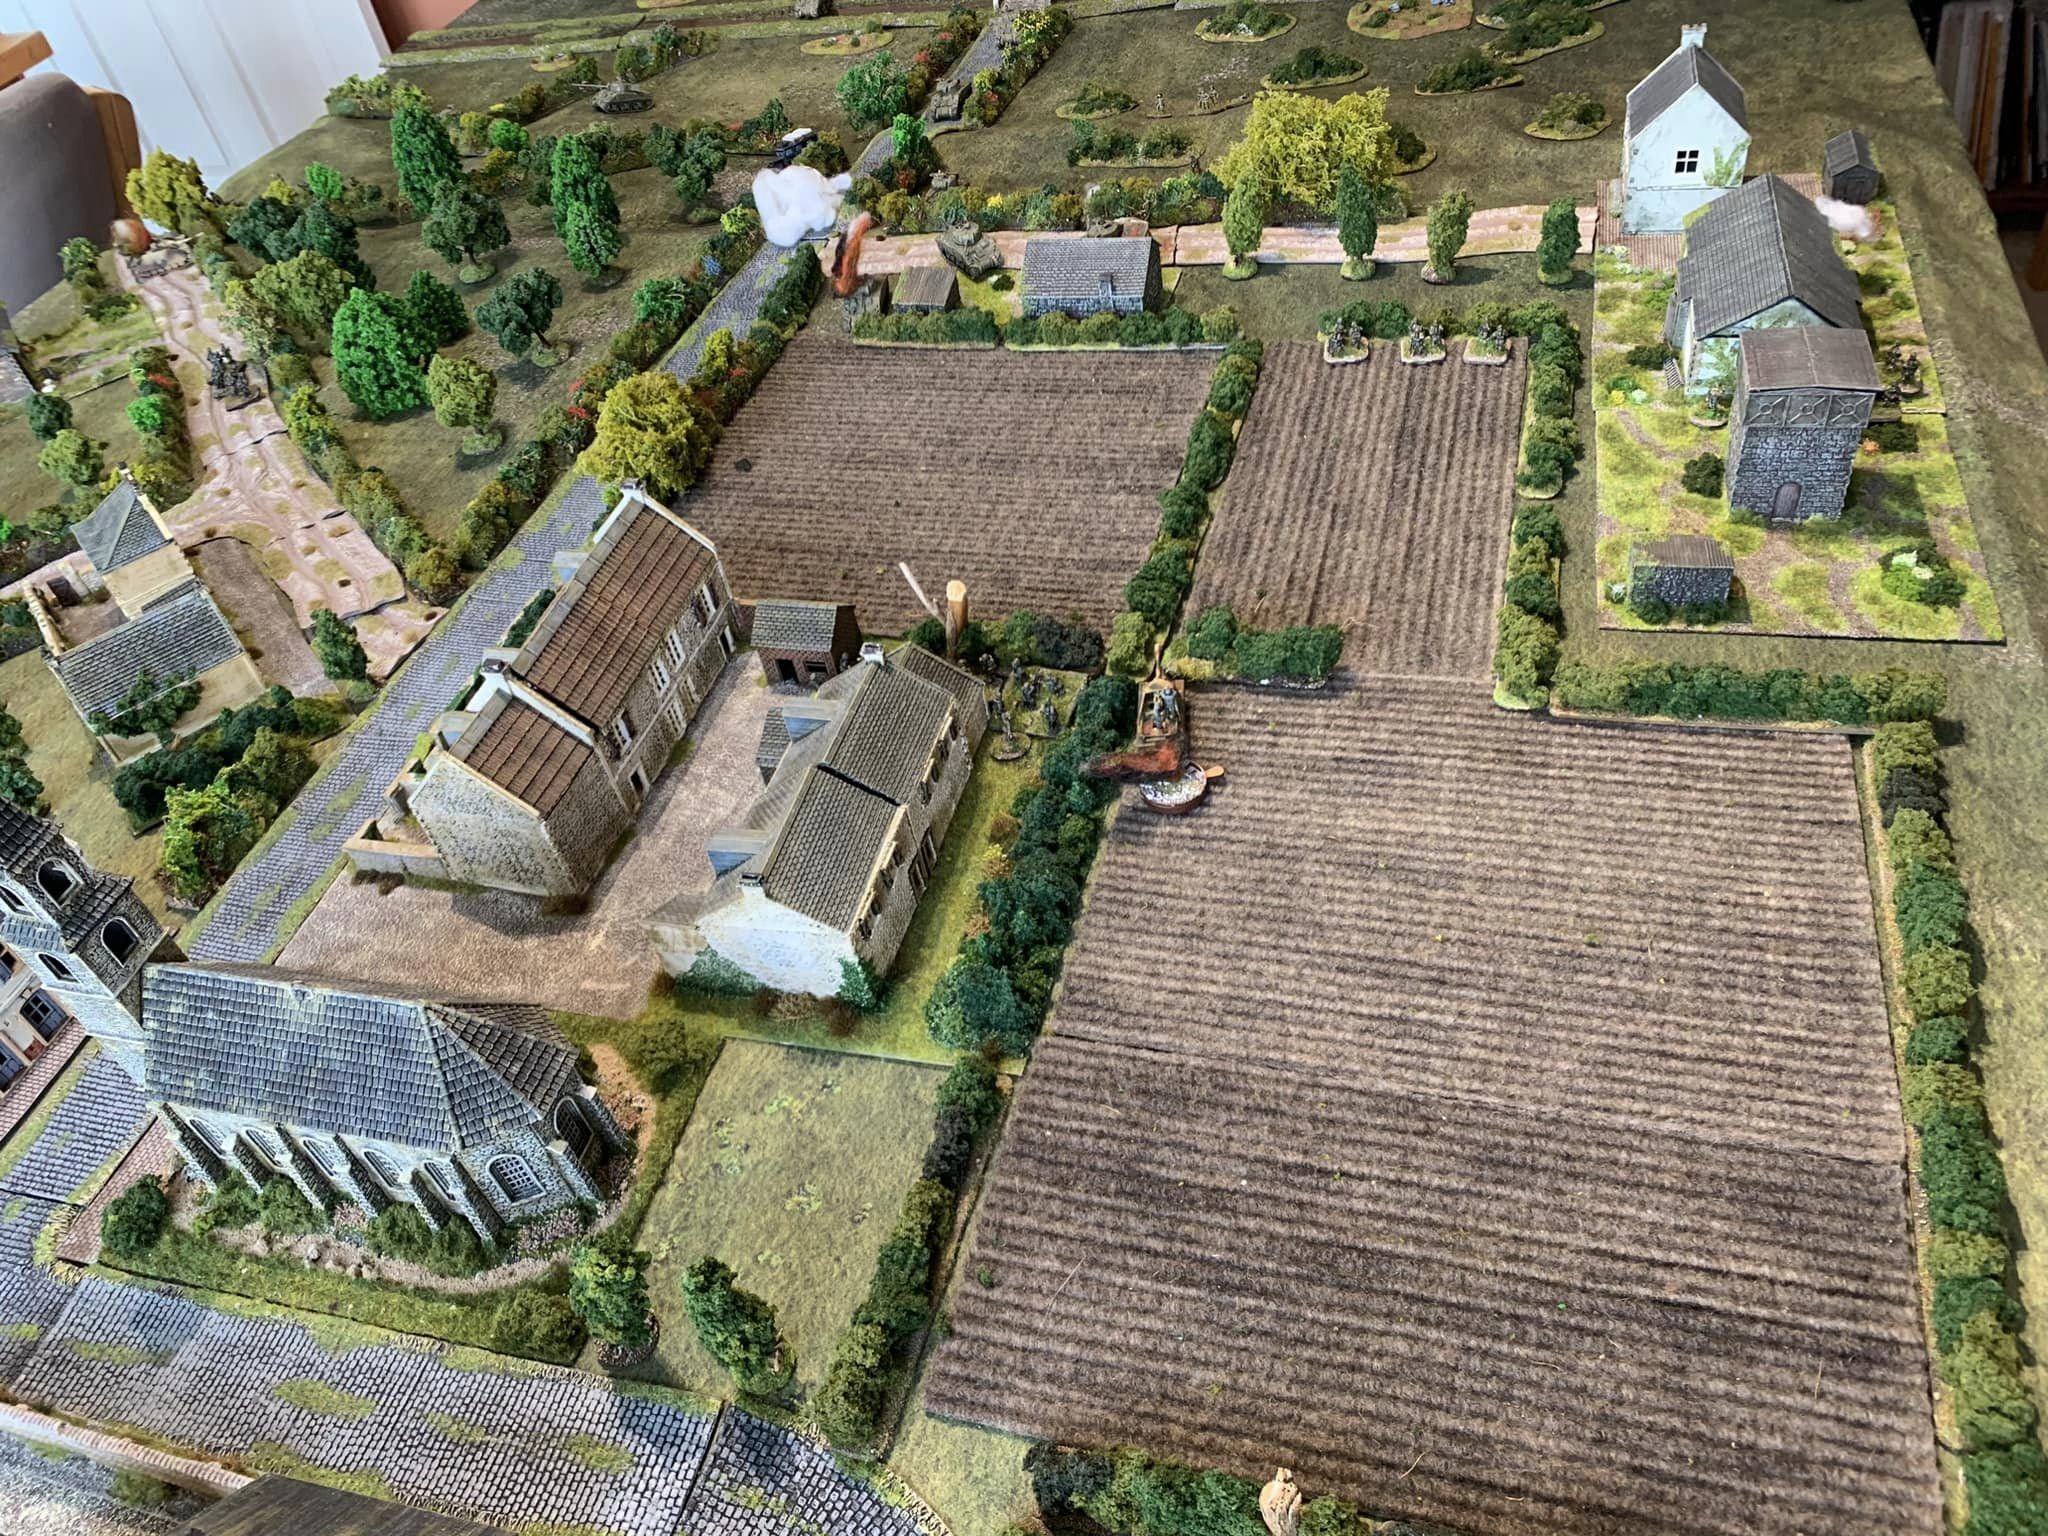
The combined fire from the armored cars and Shermans and infantry drove my left hand section out of the trees.
And the MMG team in the buidling is blinded by smoke now.
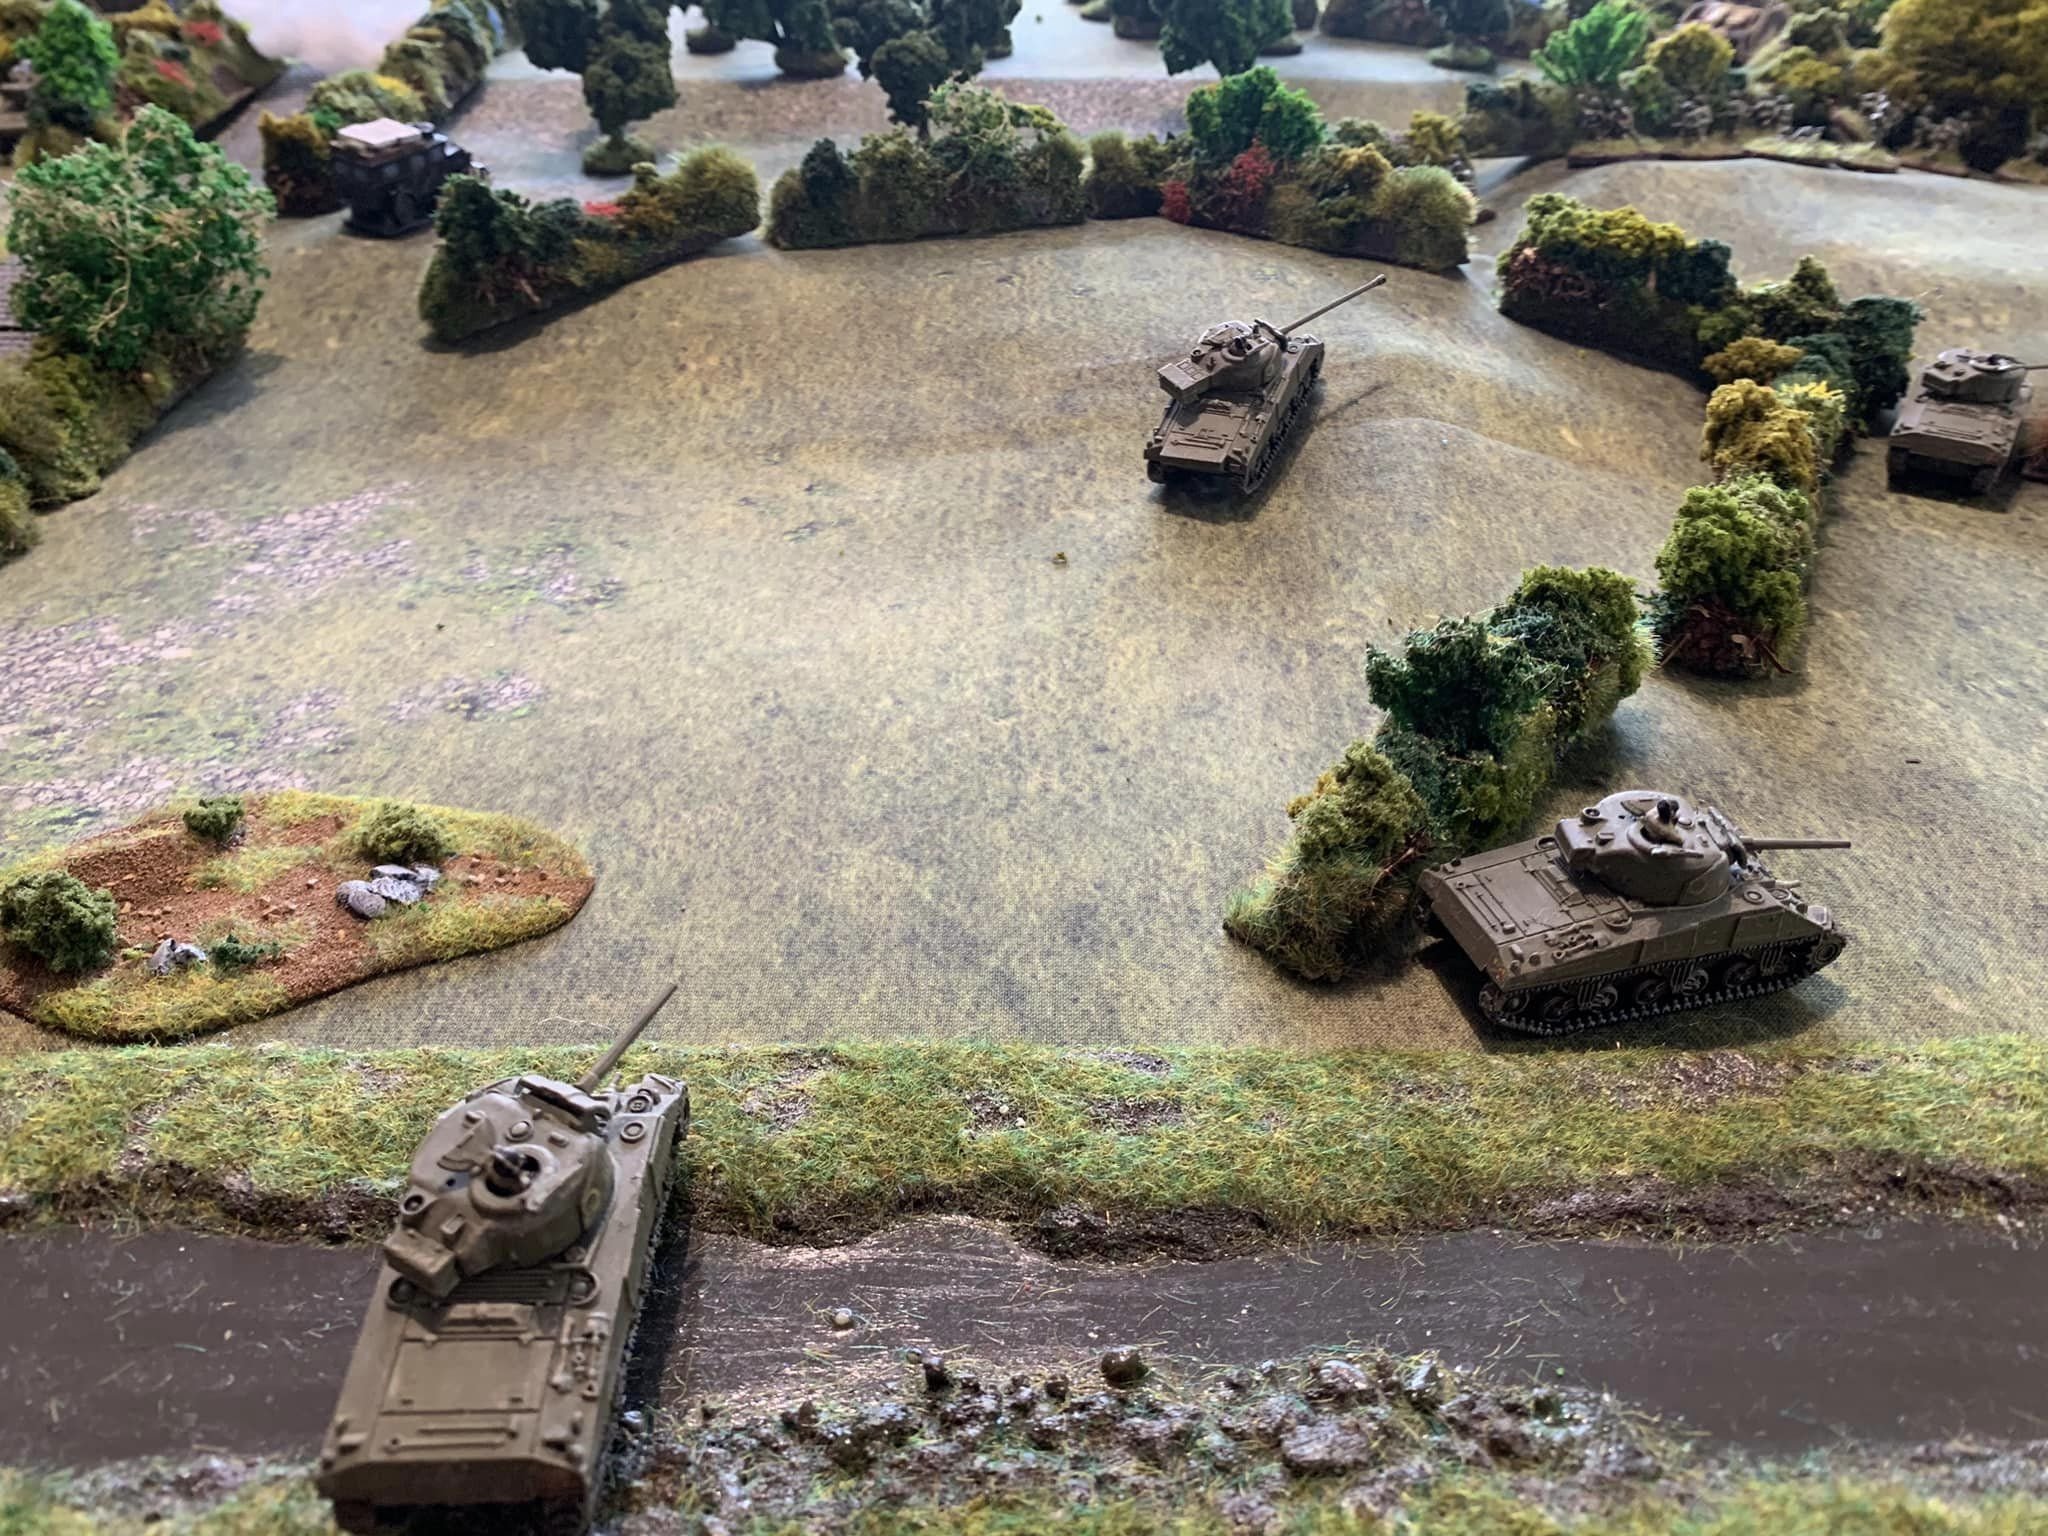
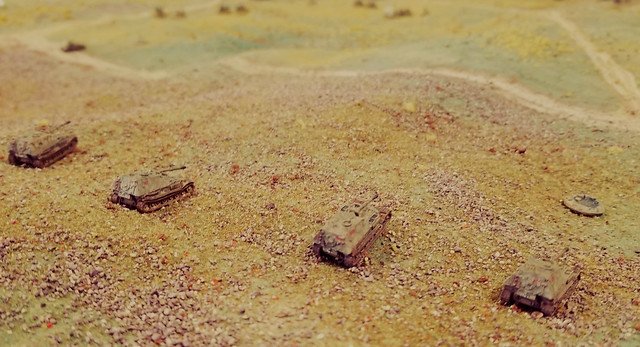
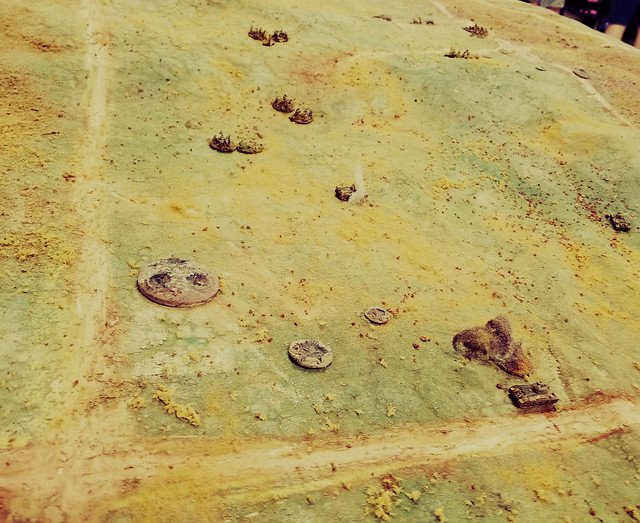
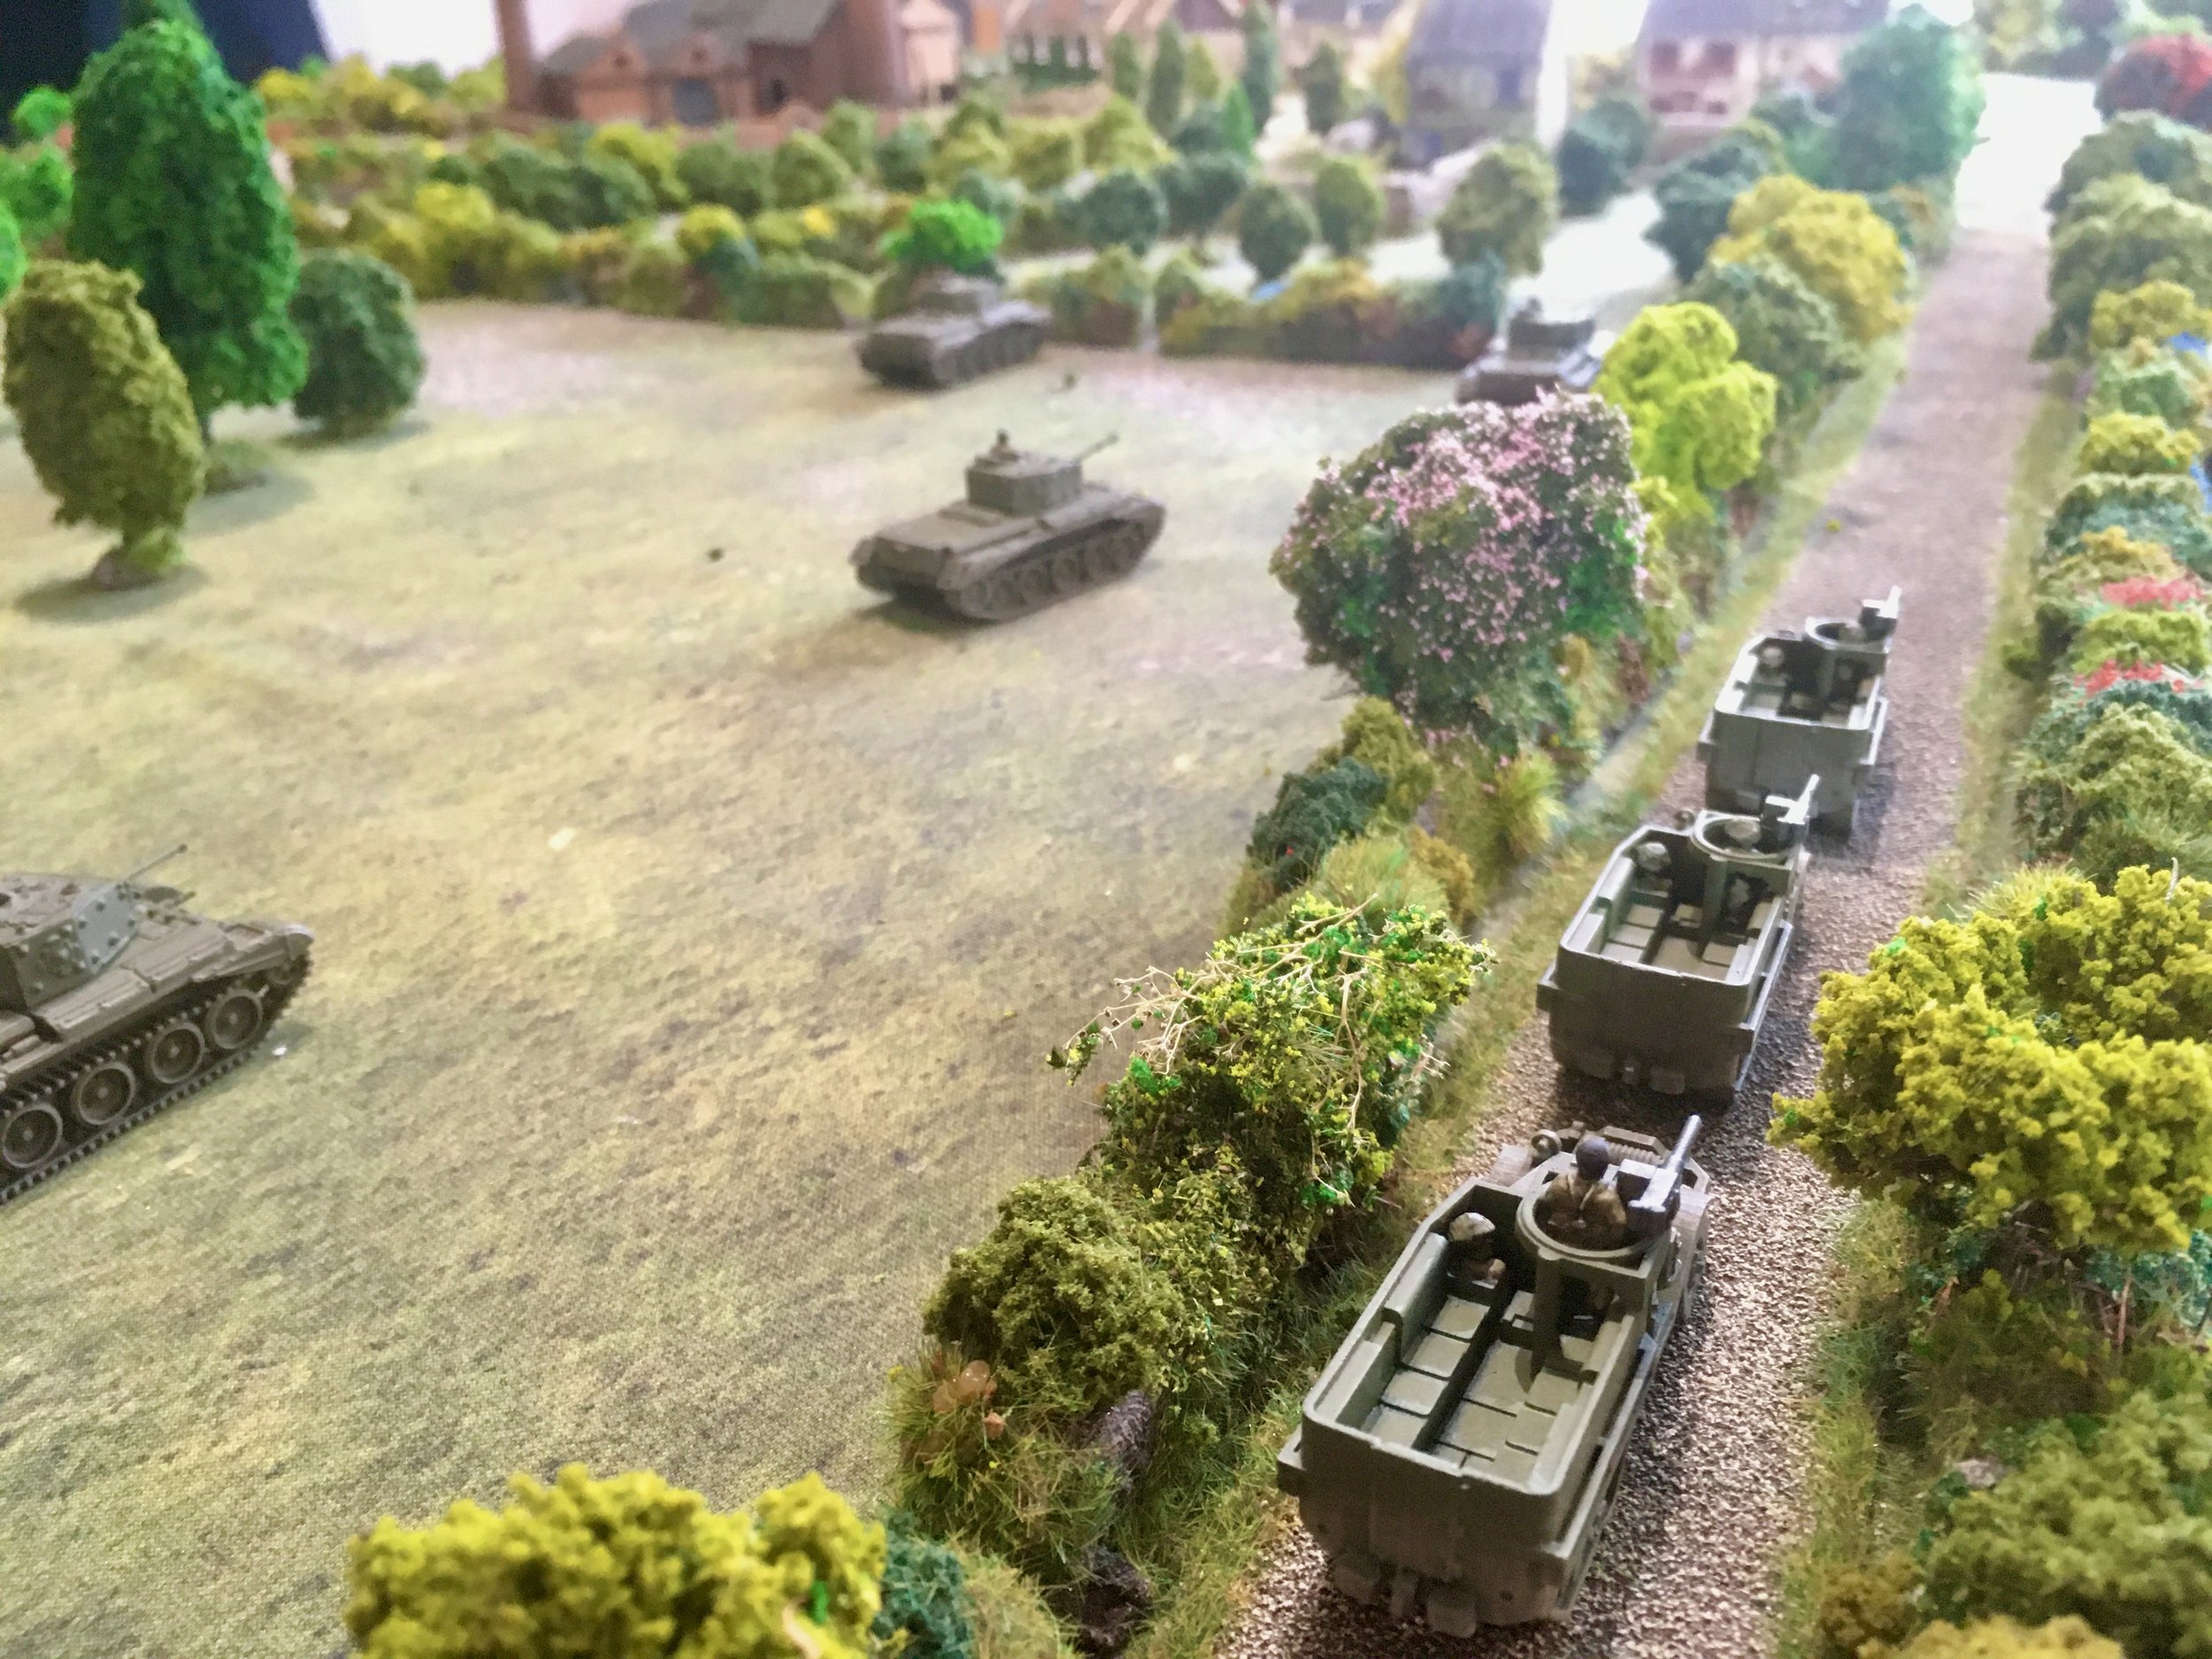
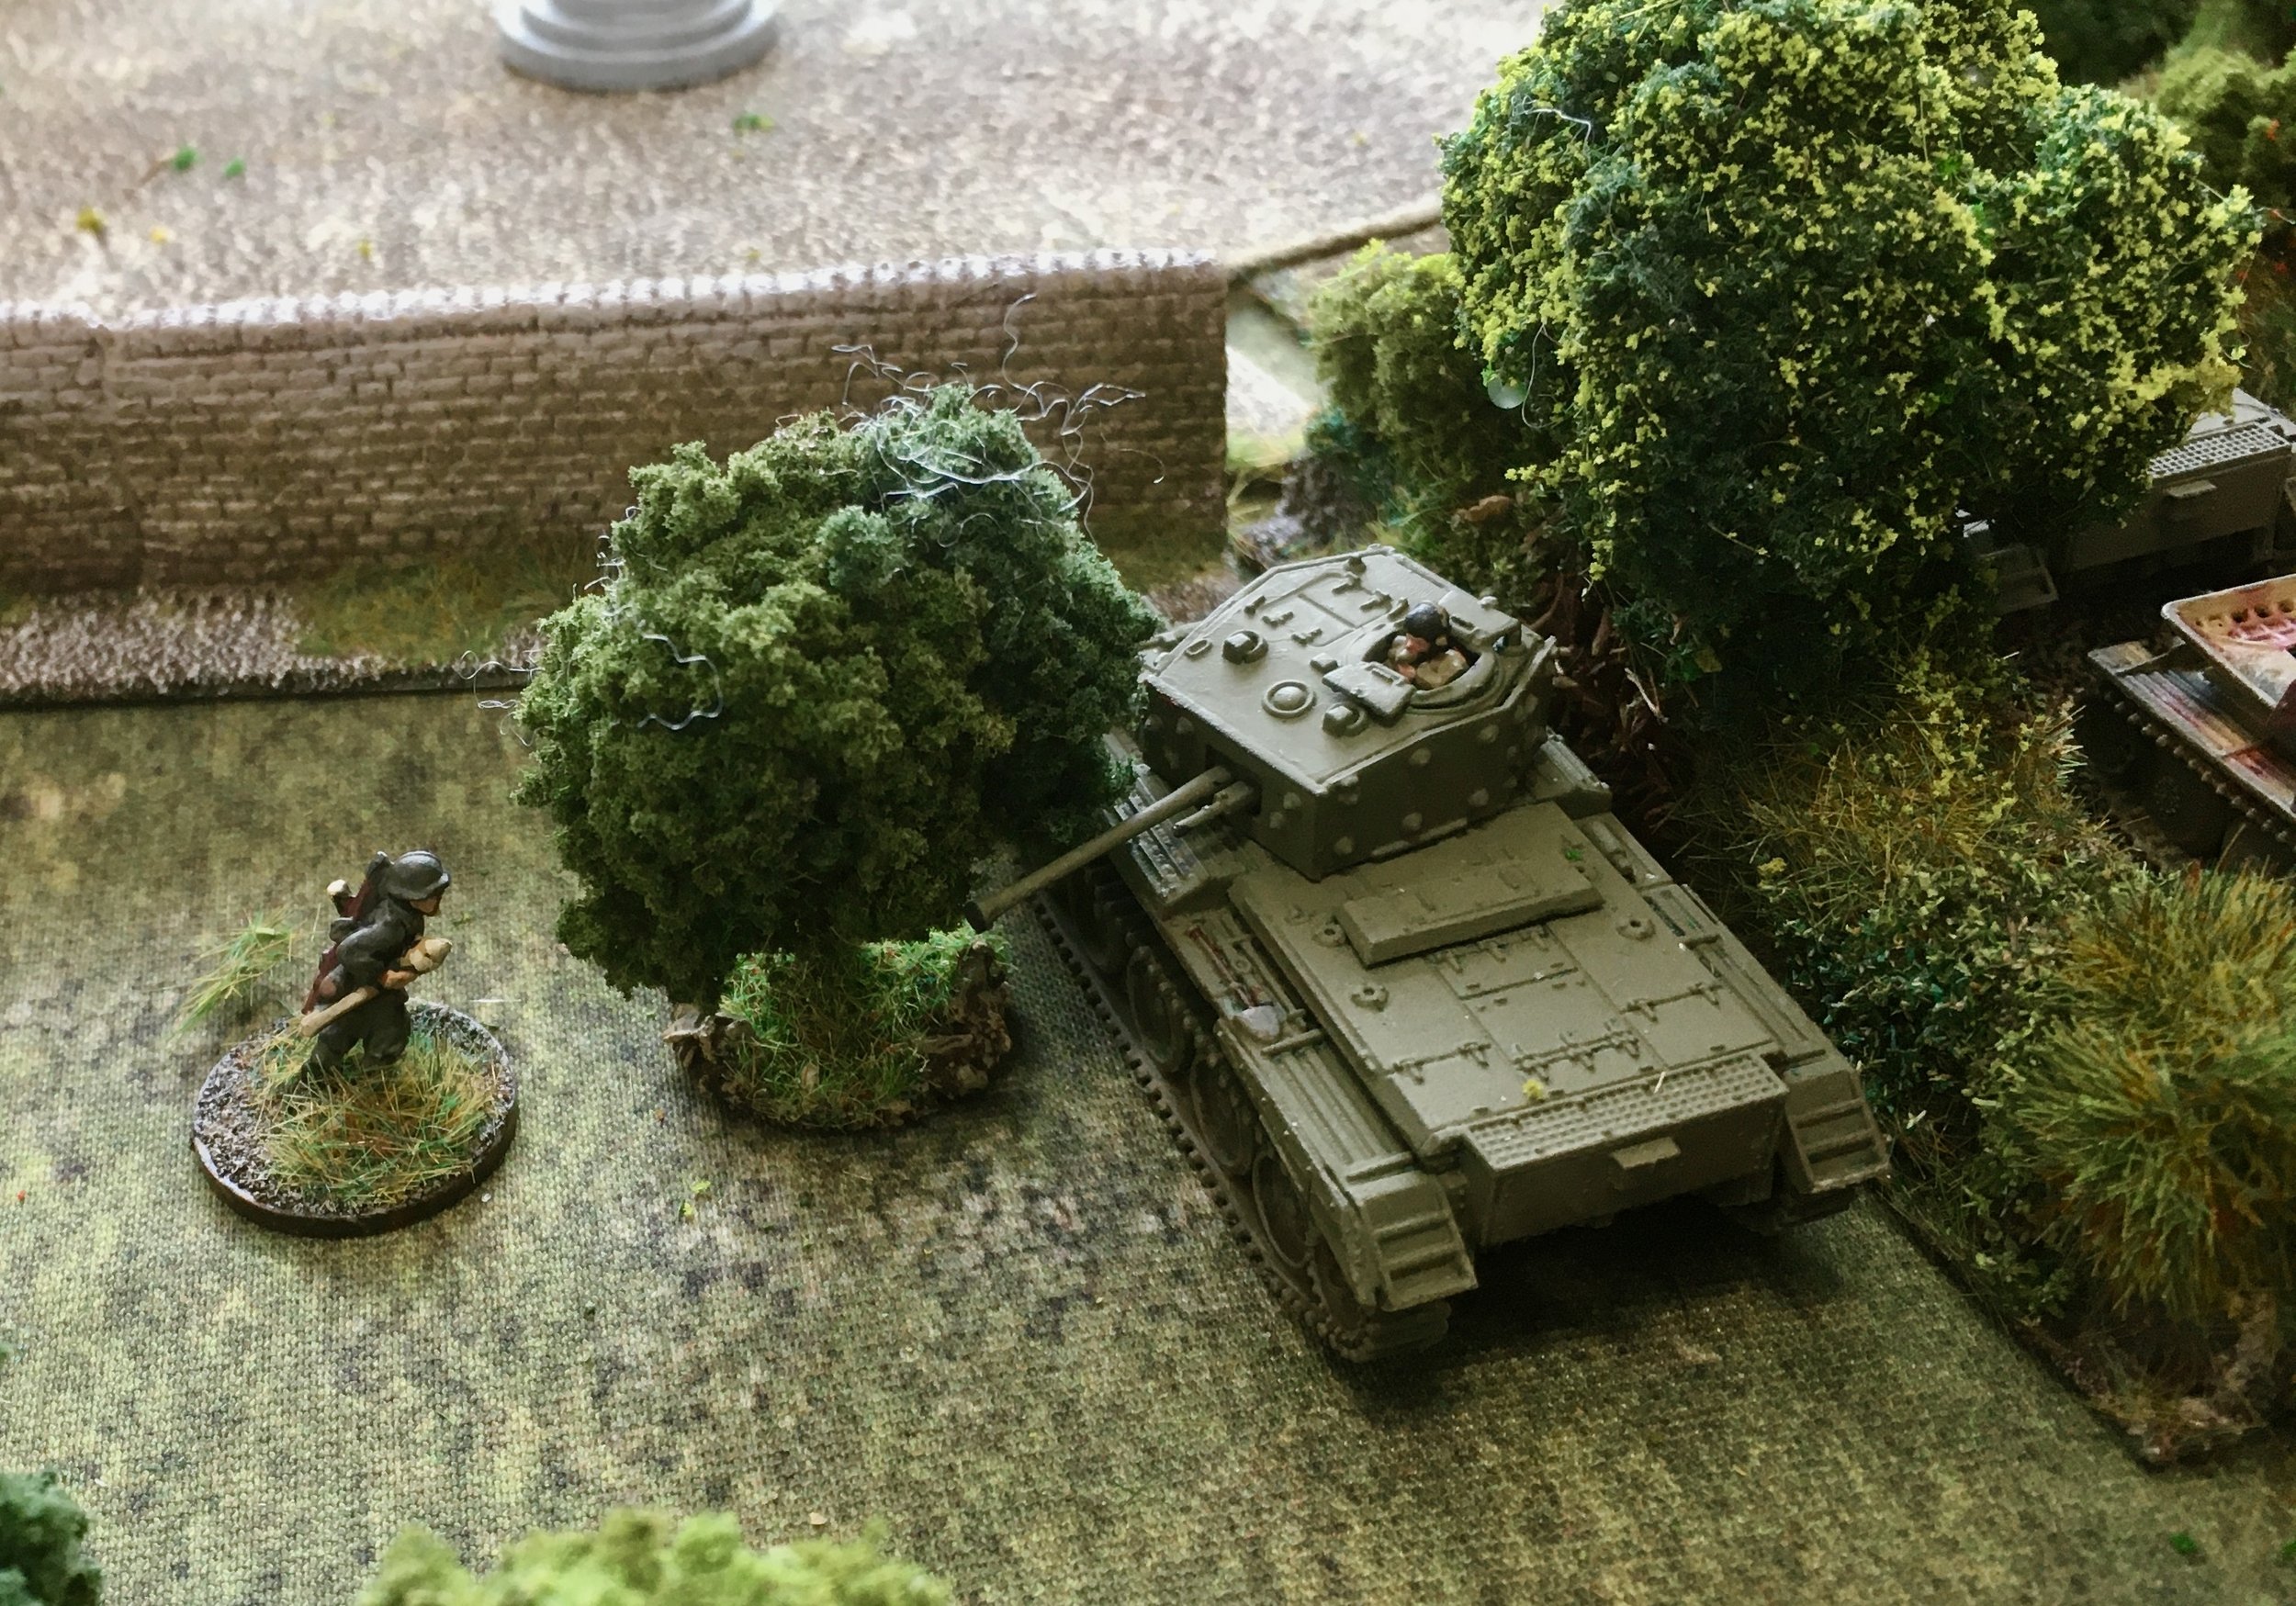
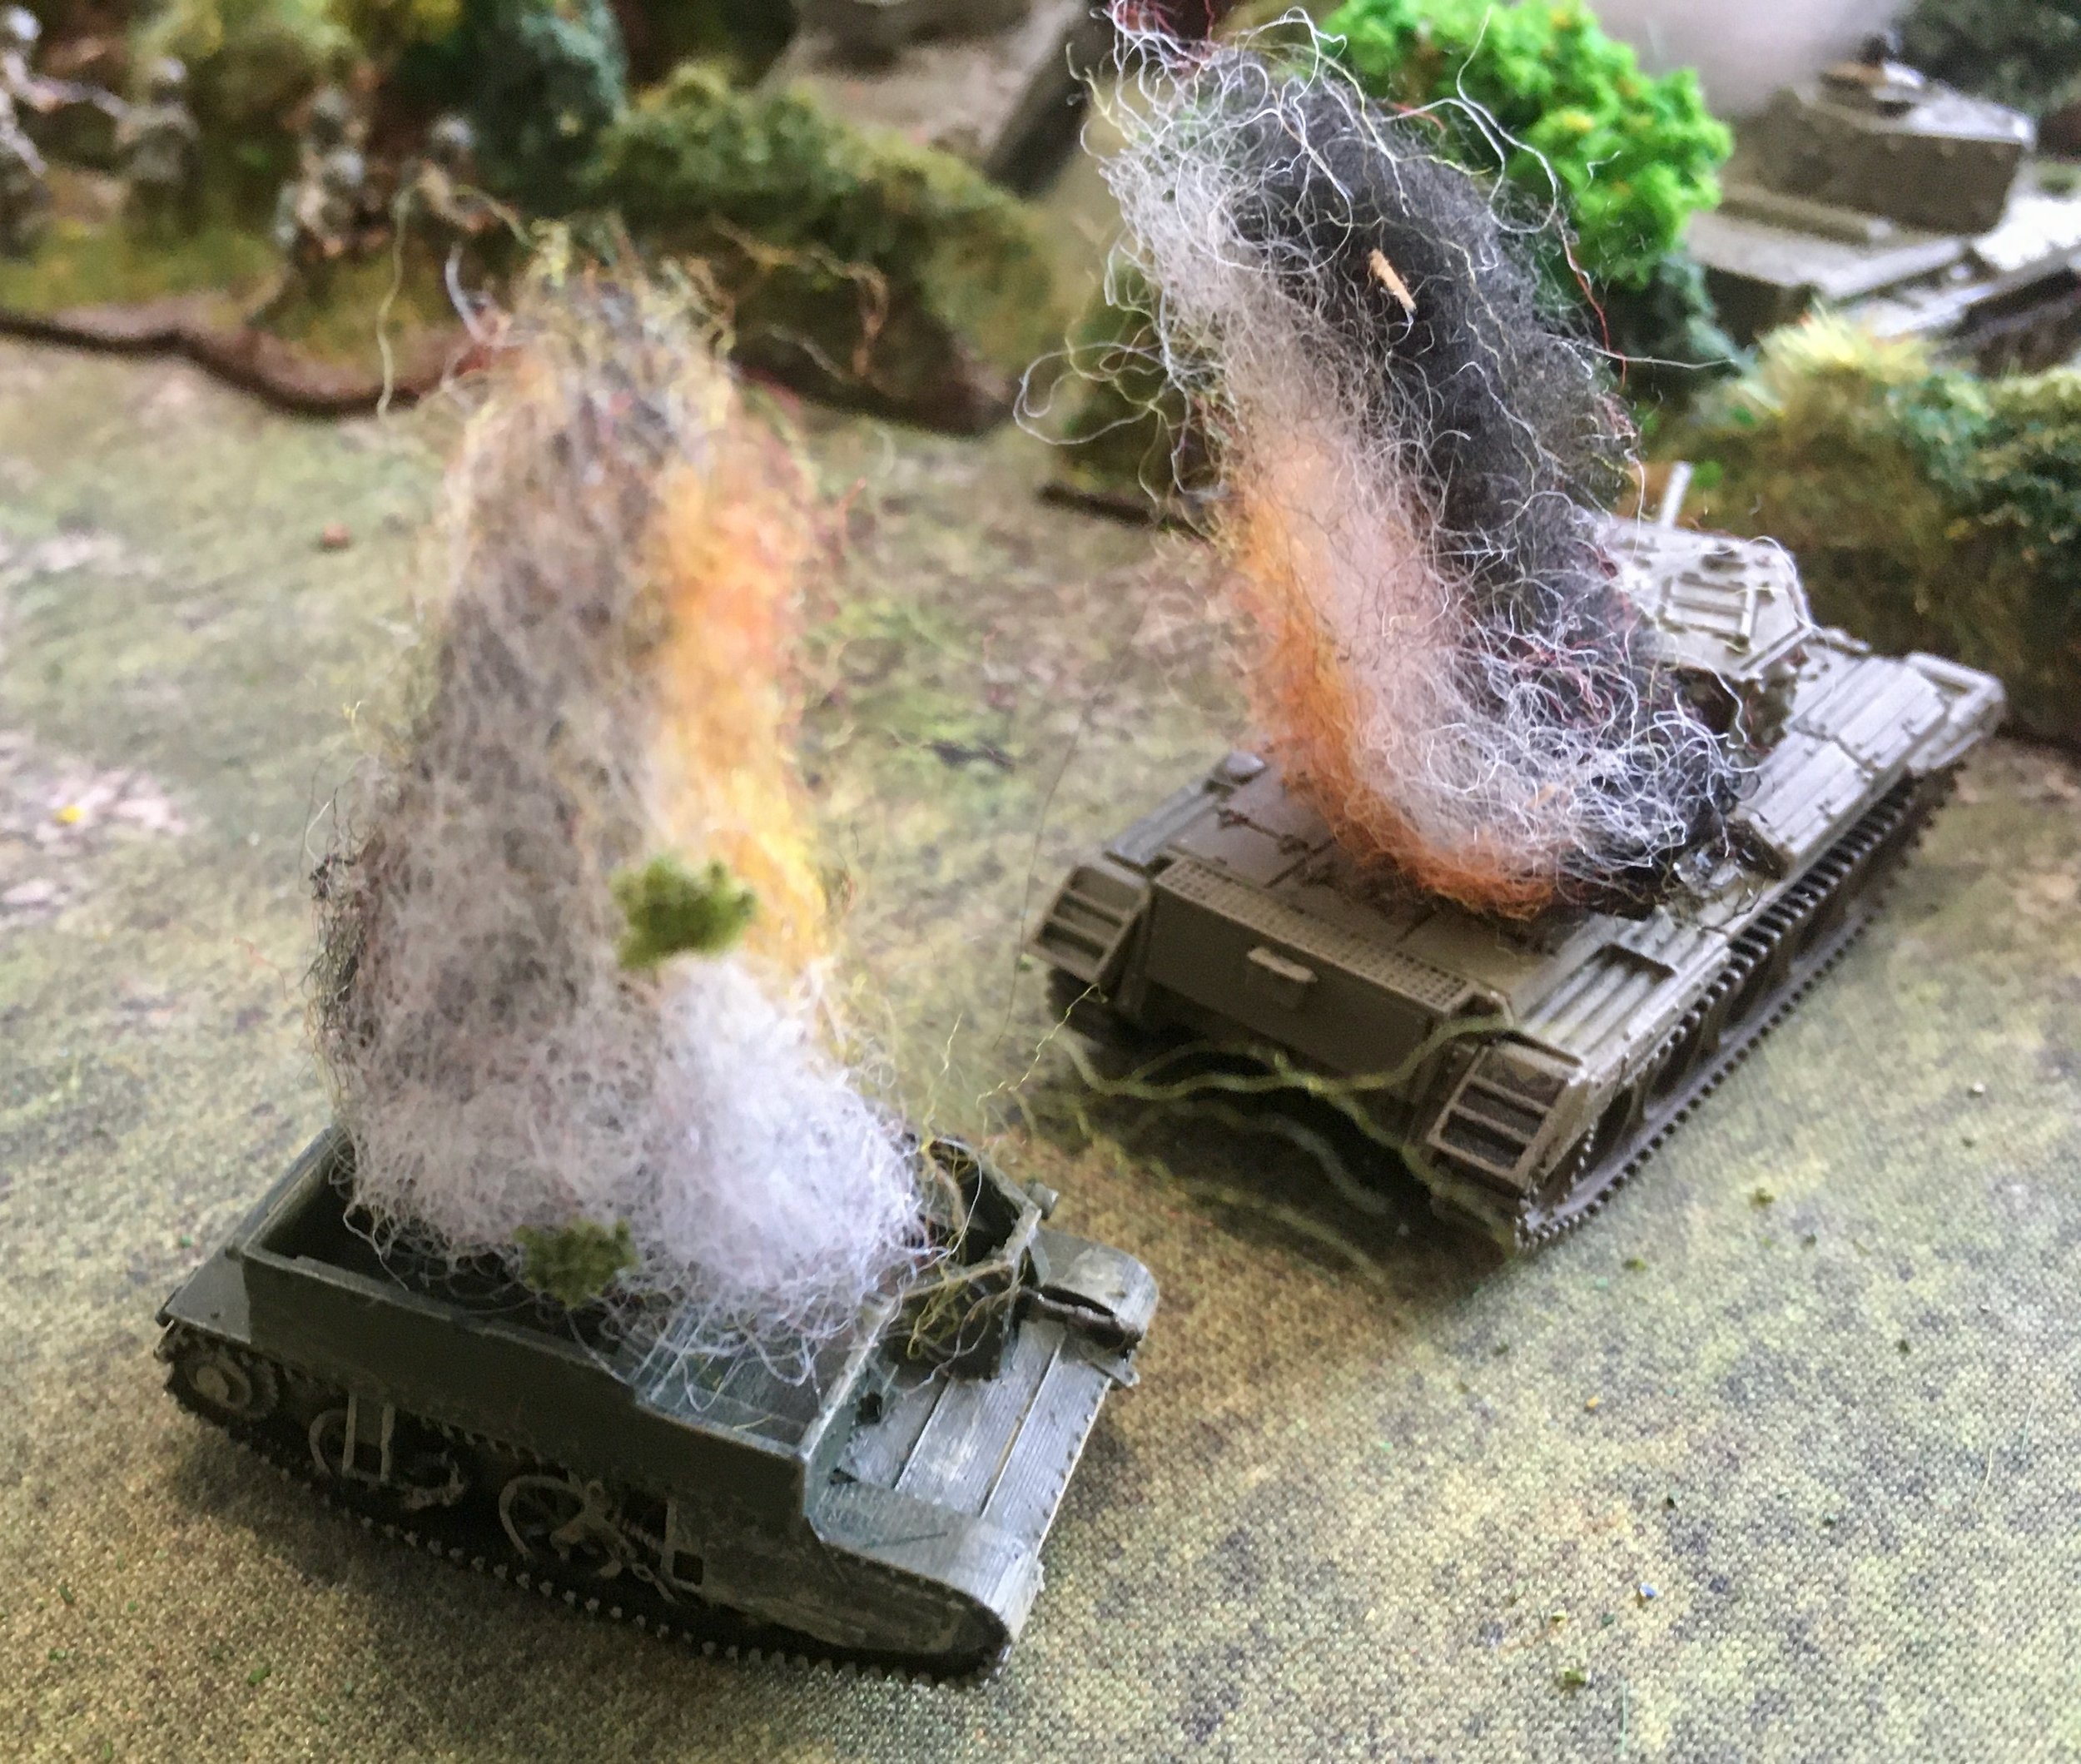
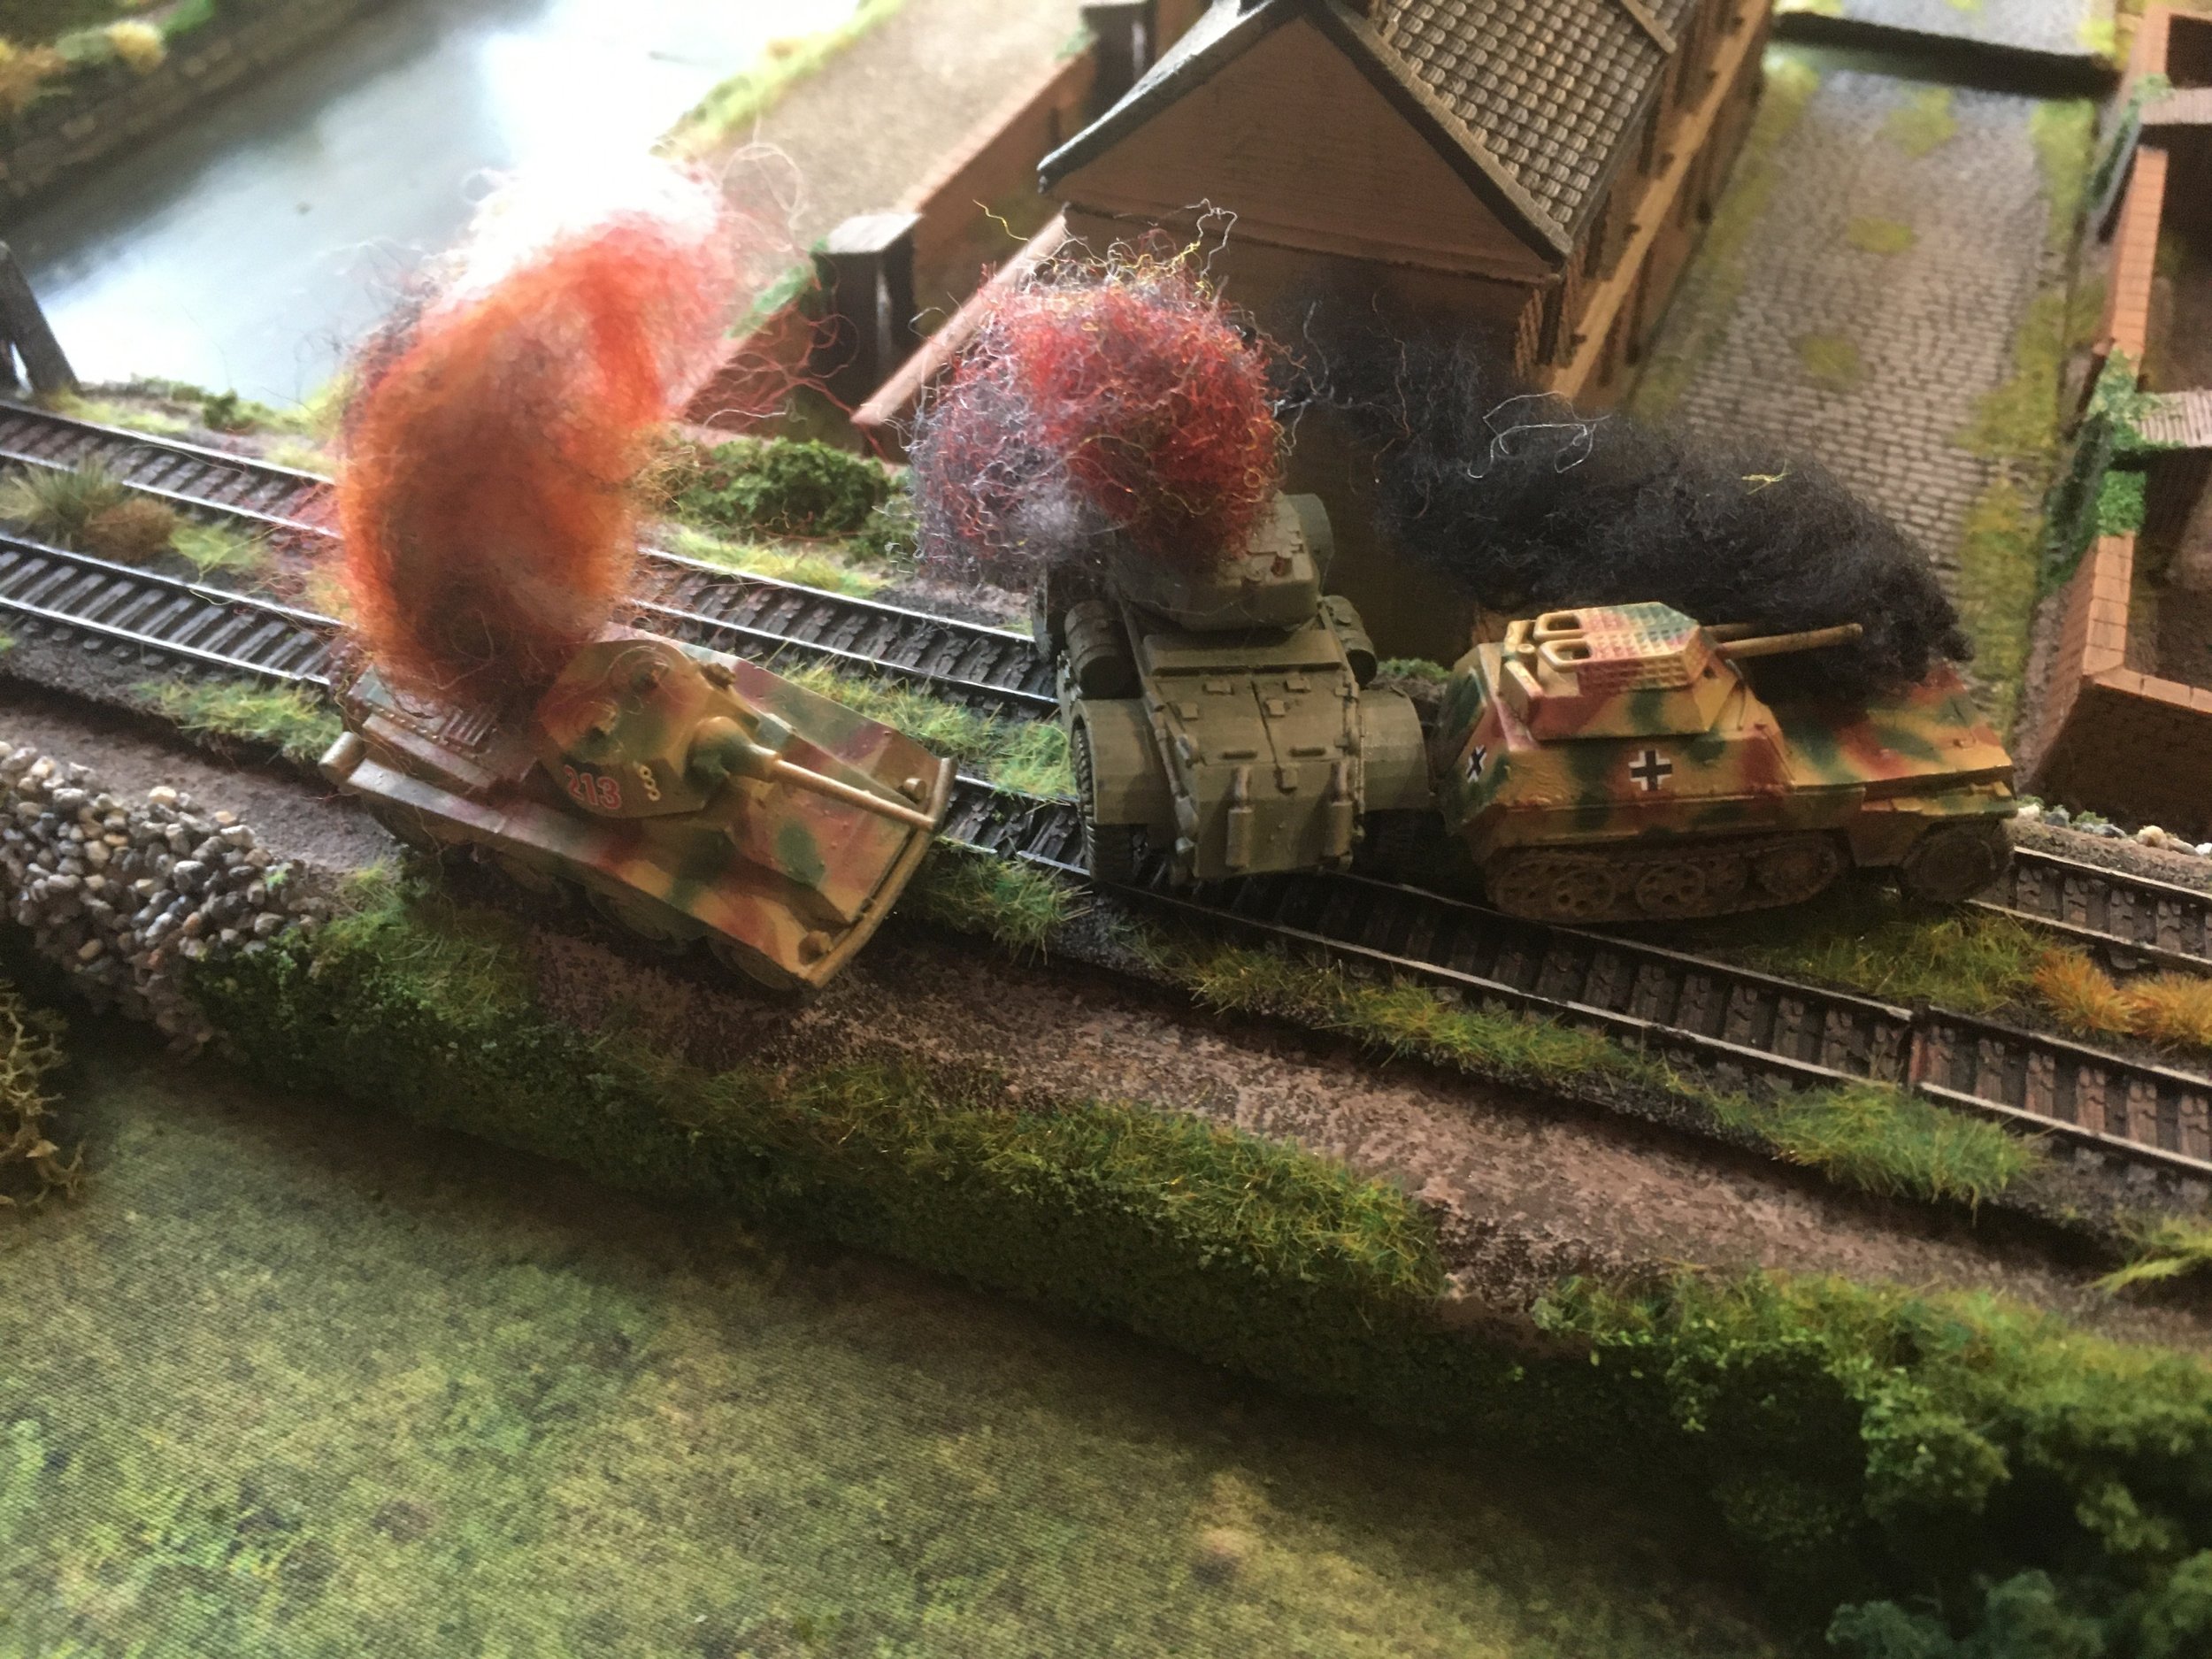
The German right is gone and the PzIVs are having trouble moving-and hitting anything.
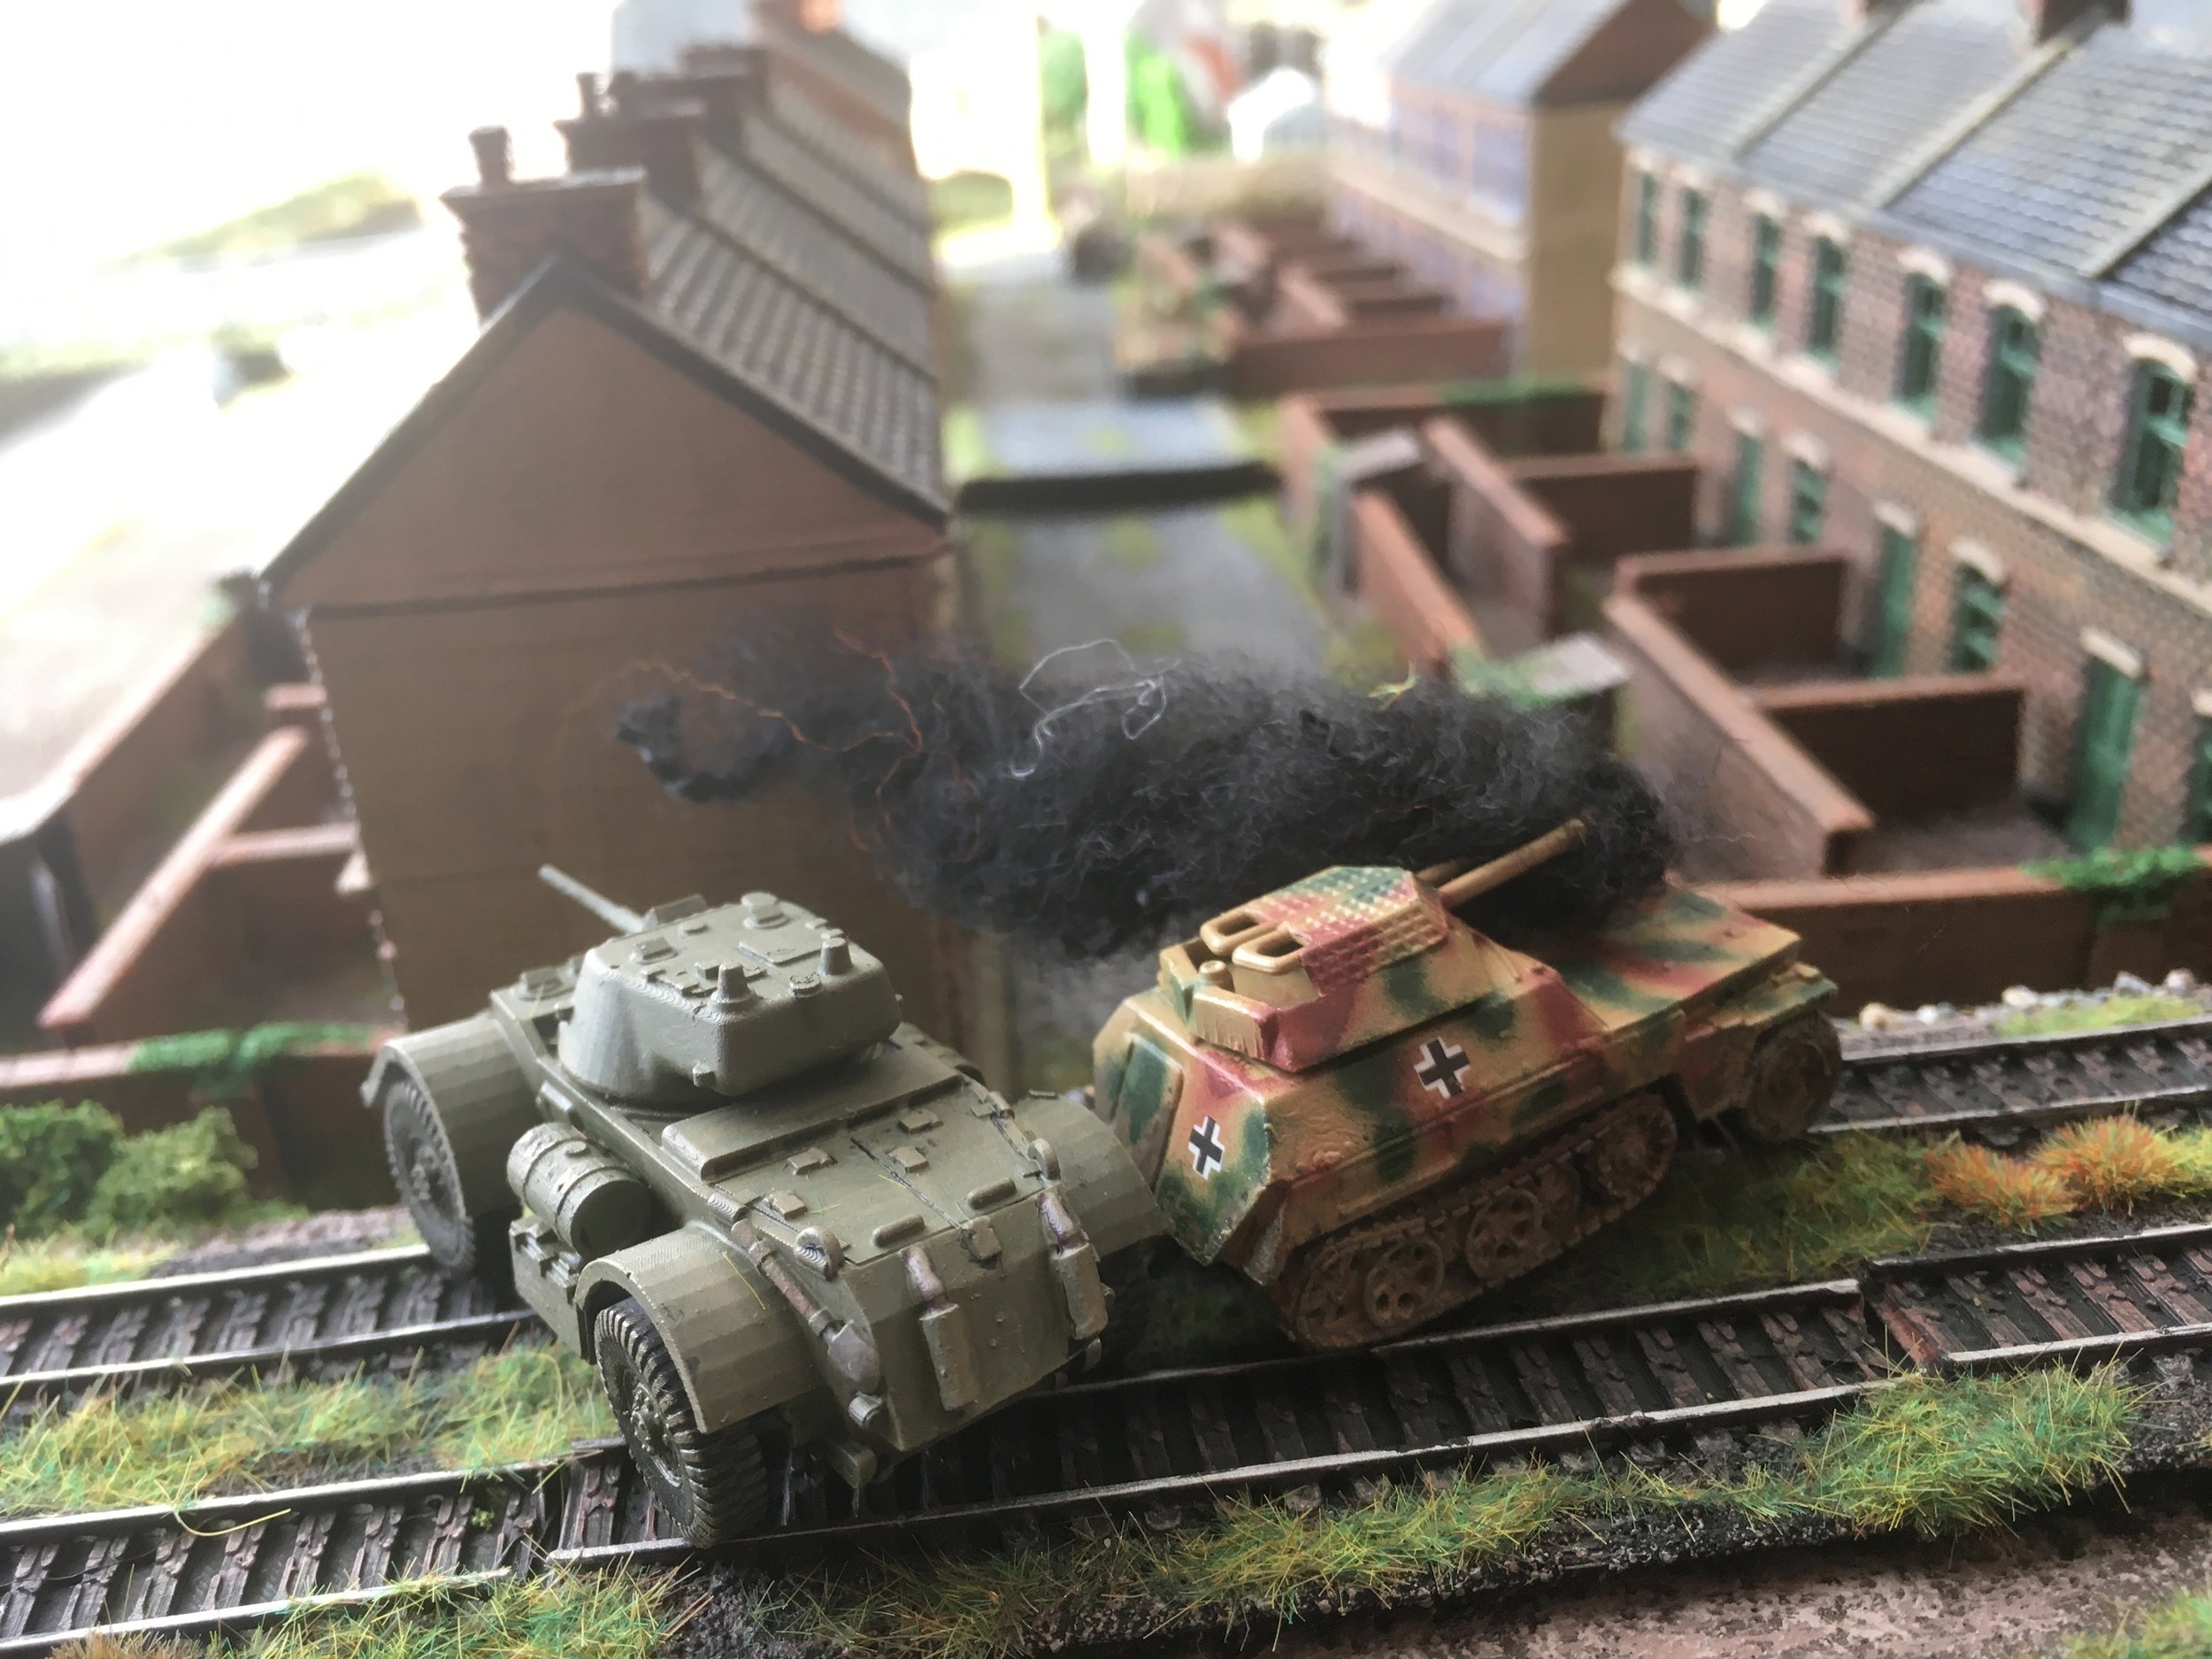
It’s ironic that the Shermans managed to move across the muddy fields much easier than the poor panzers close to firmer ground. The panzers are just visible at the top edge of the olive trees

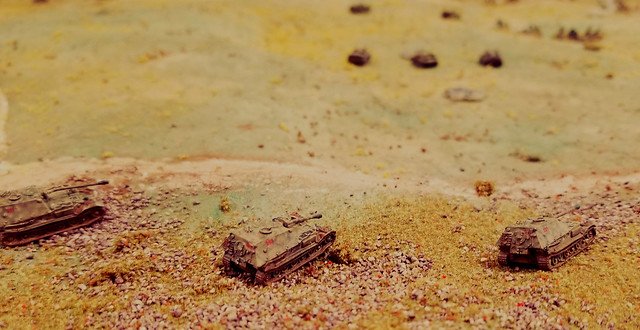
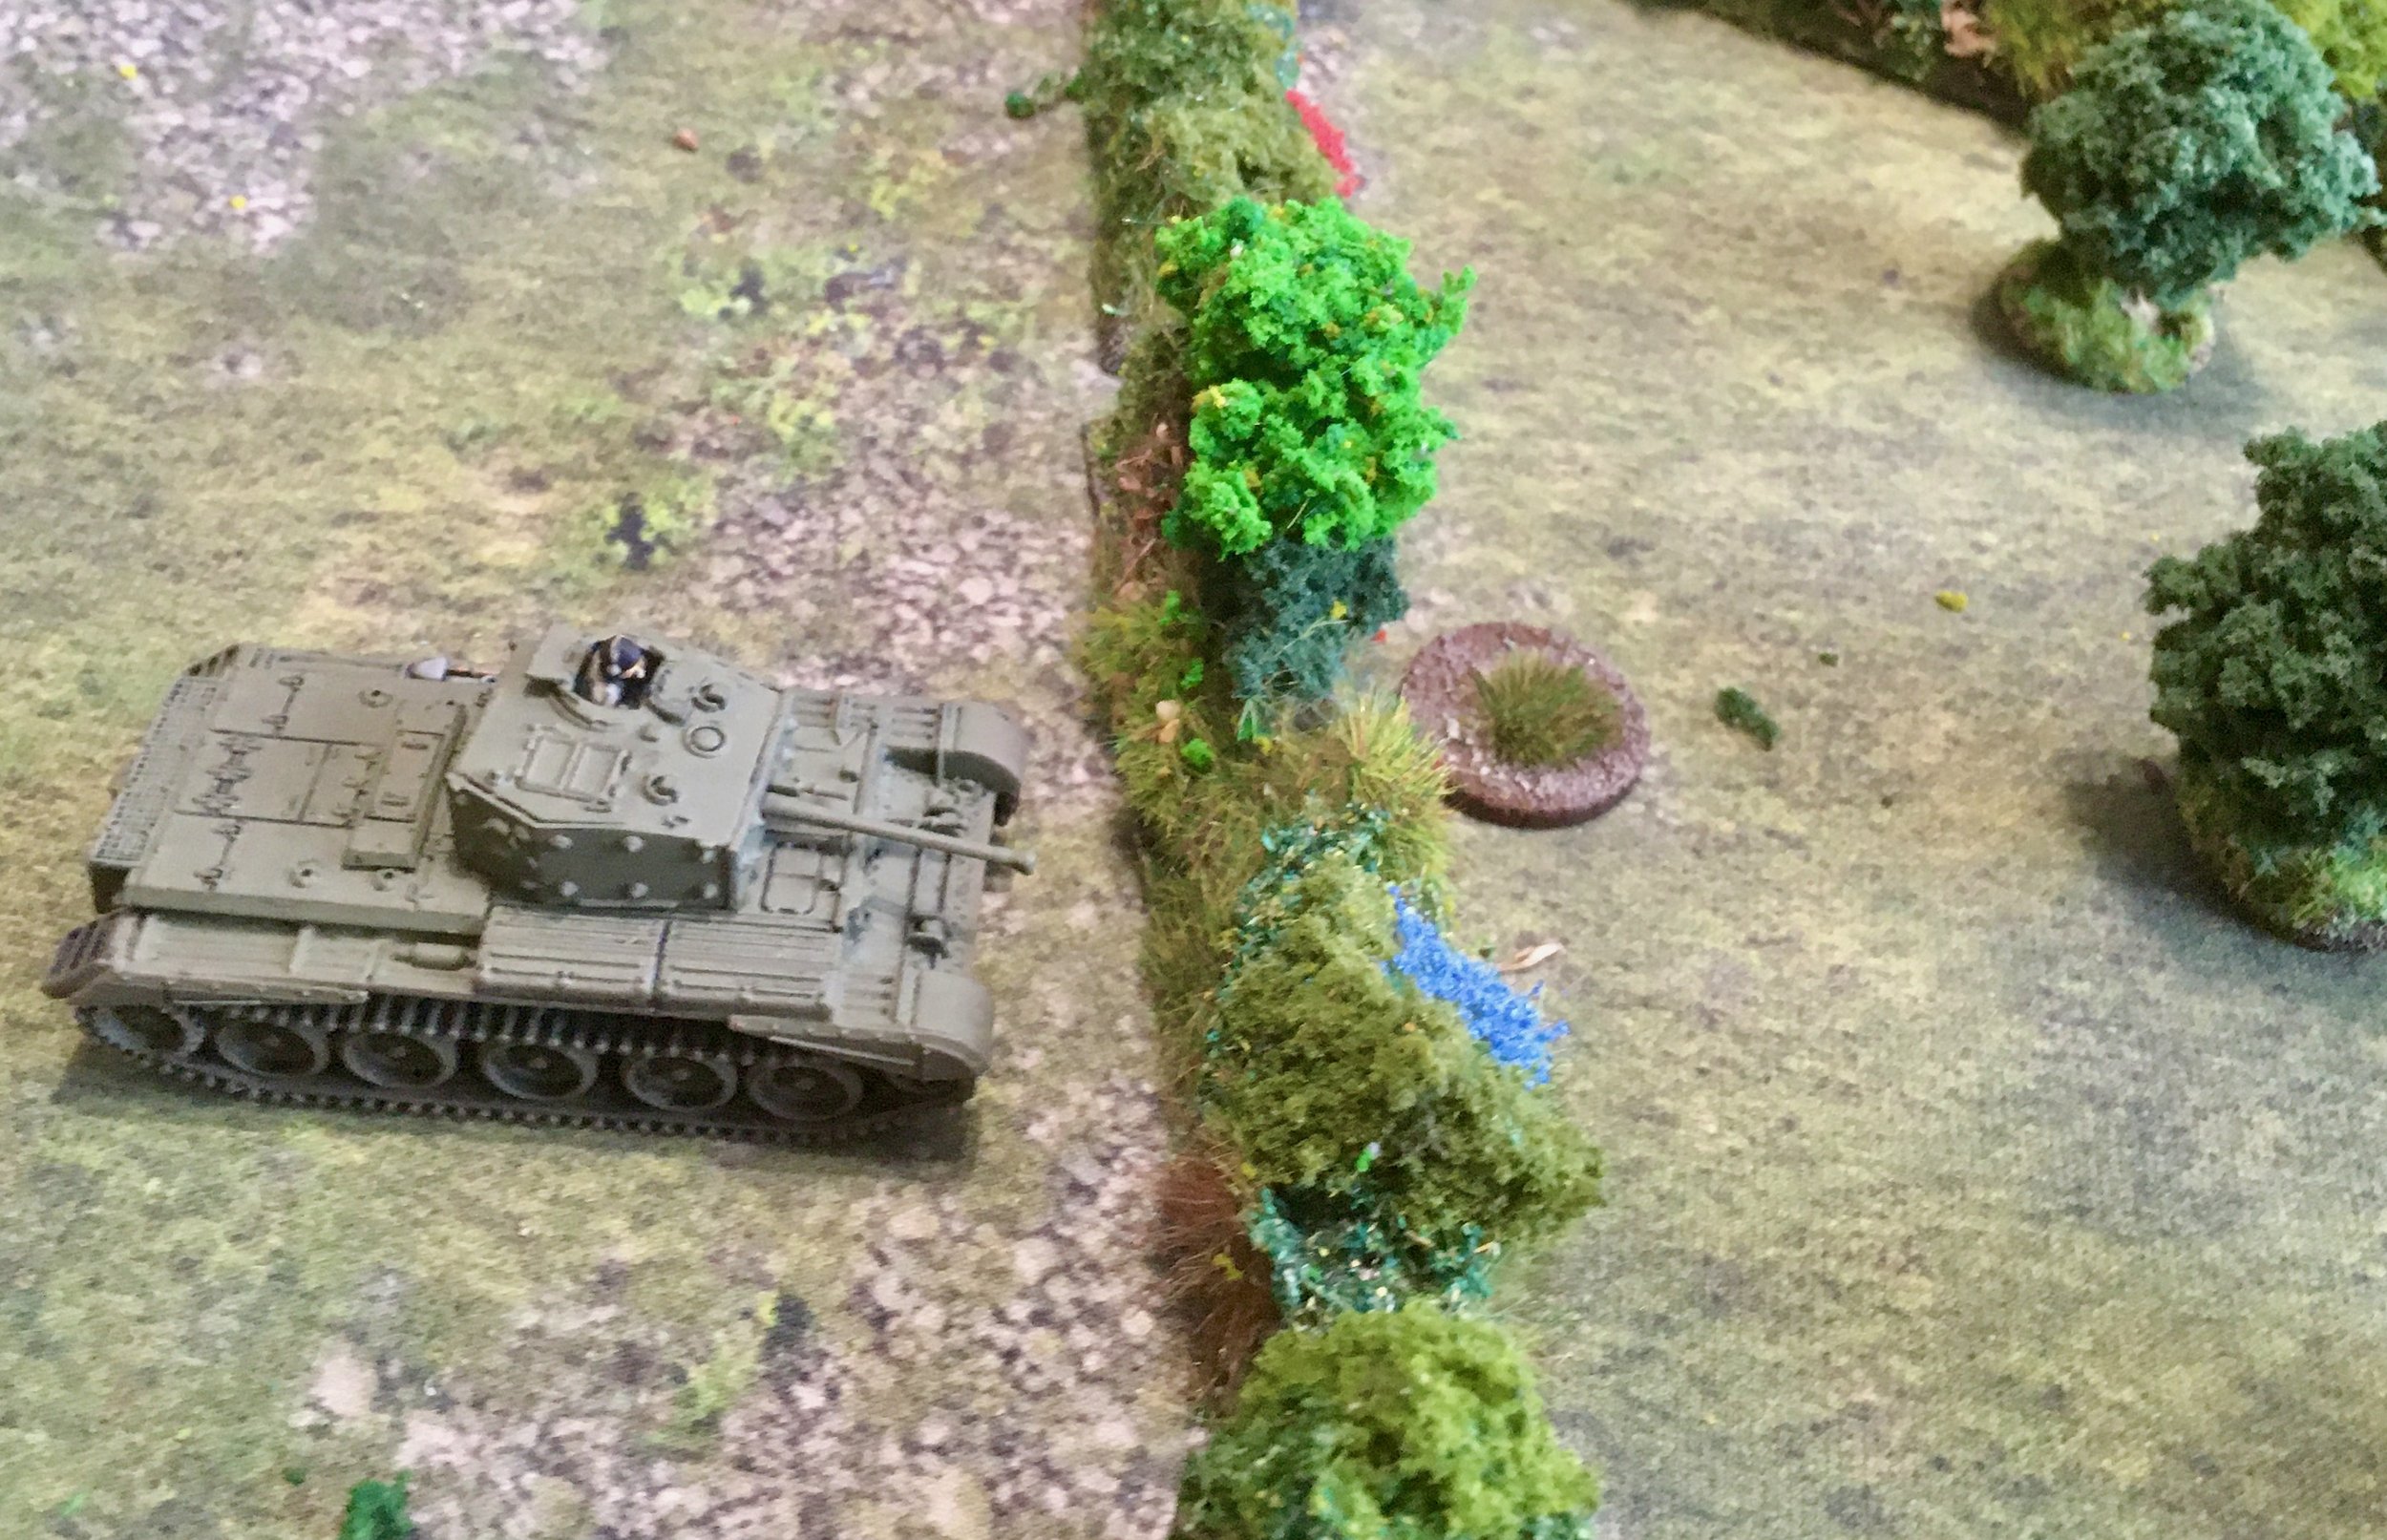
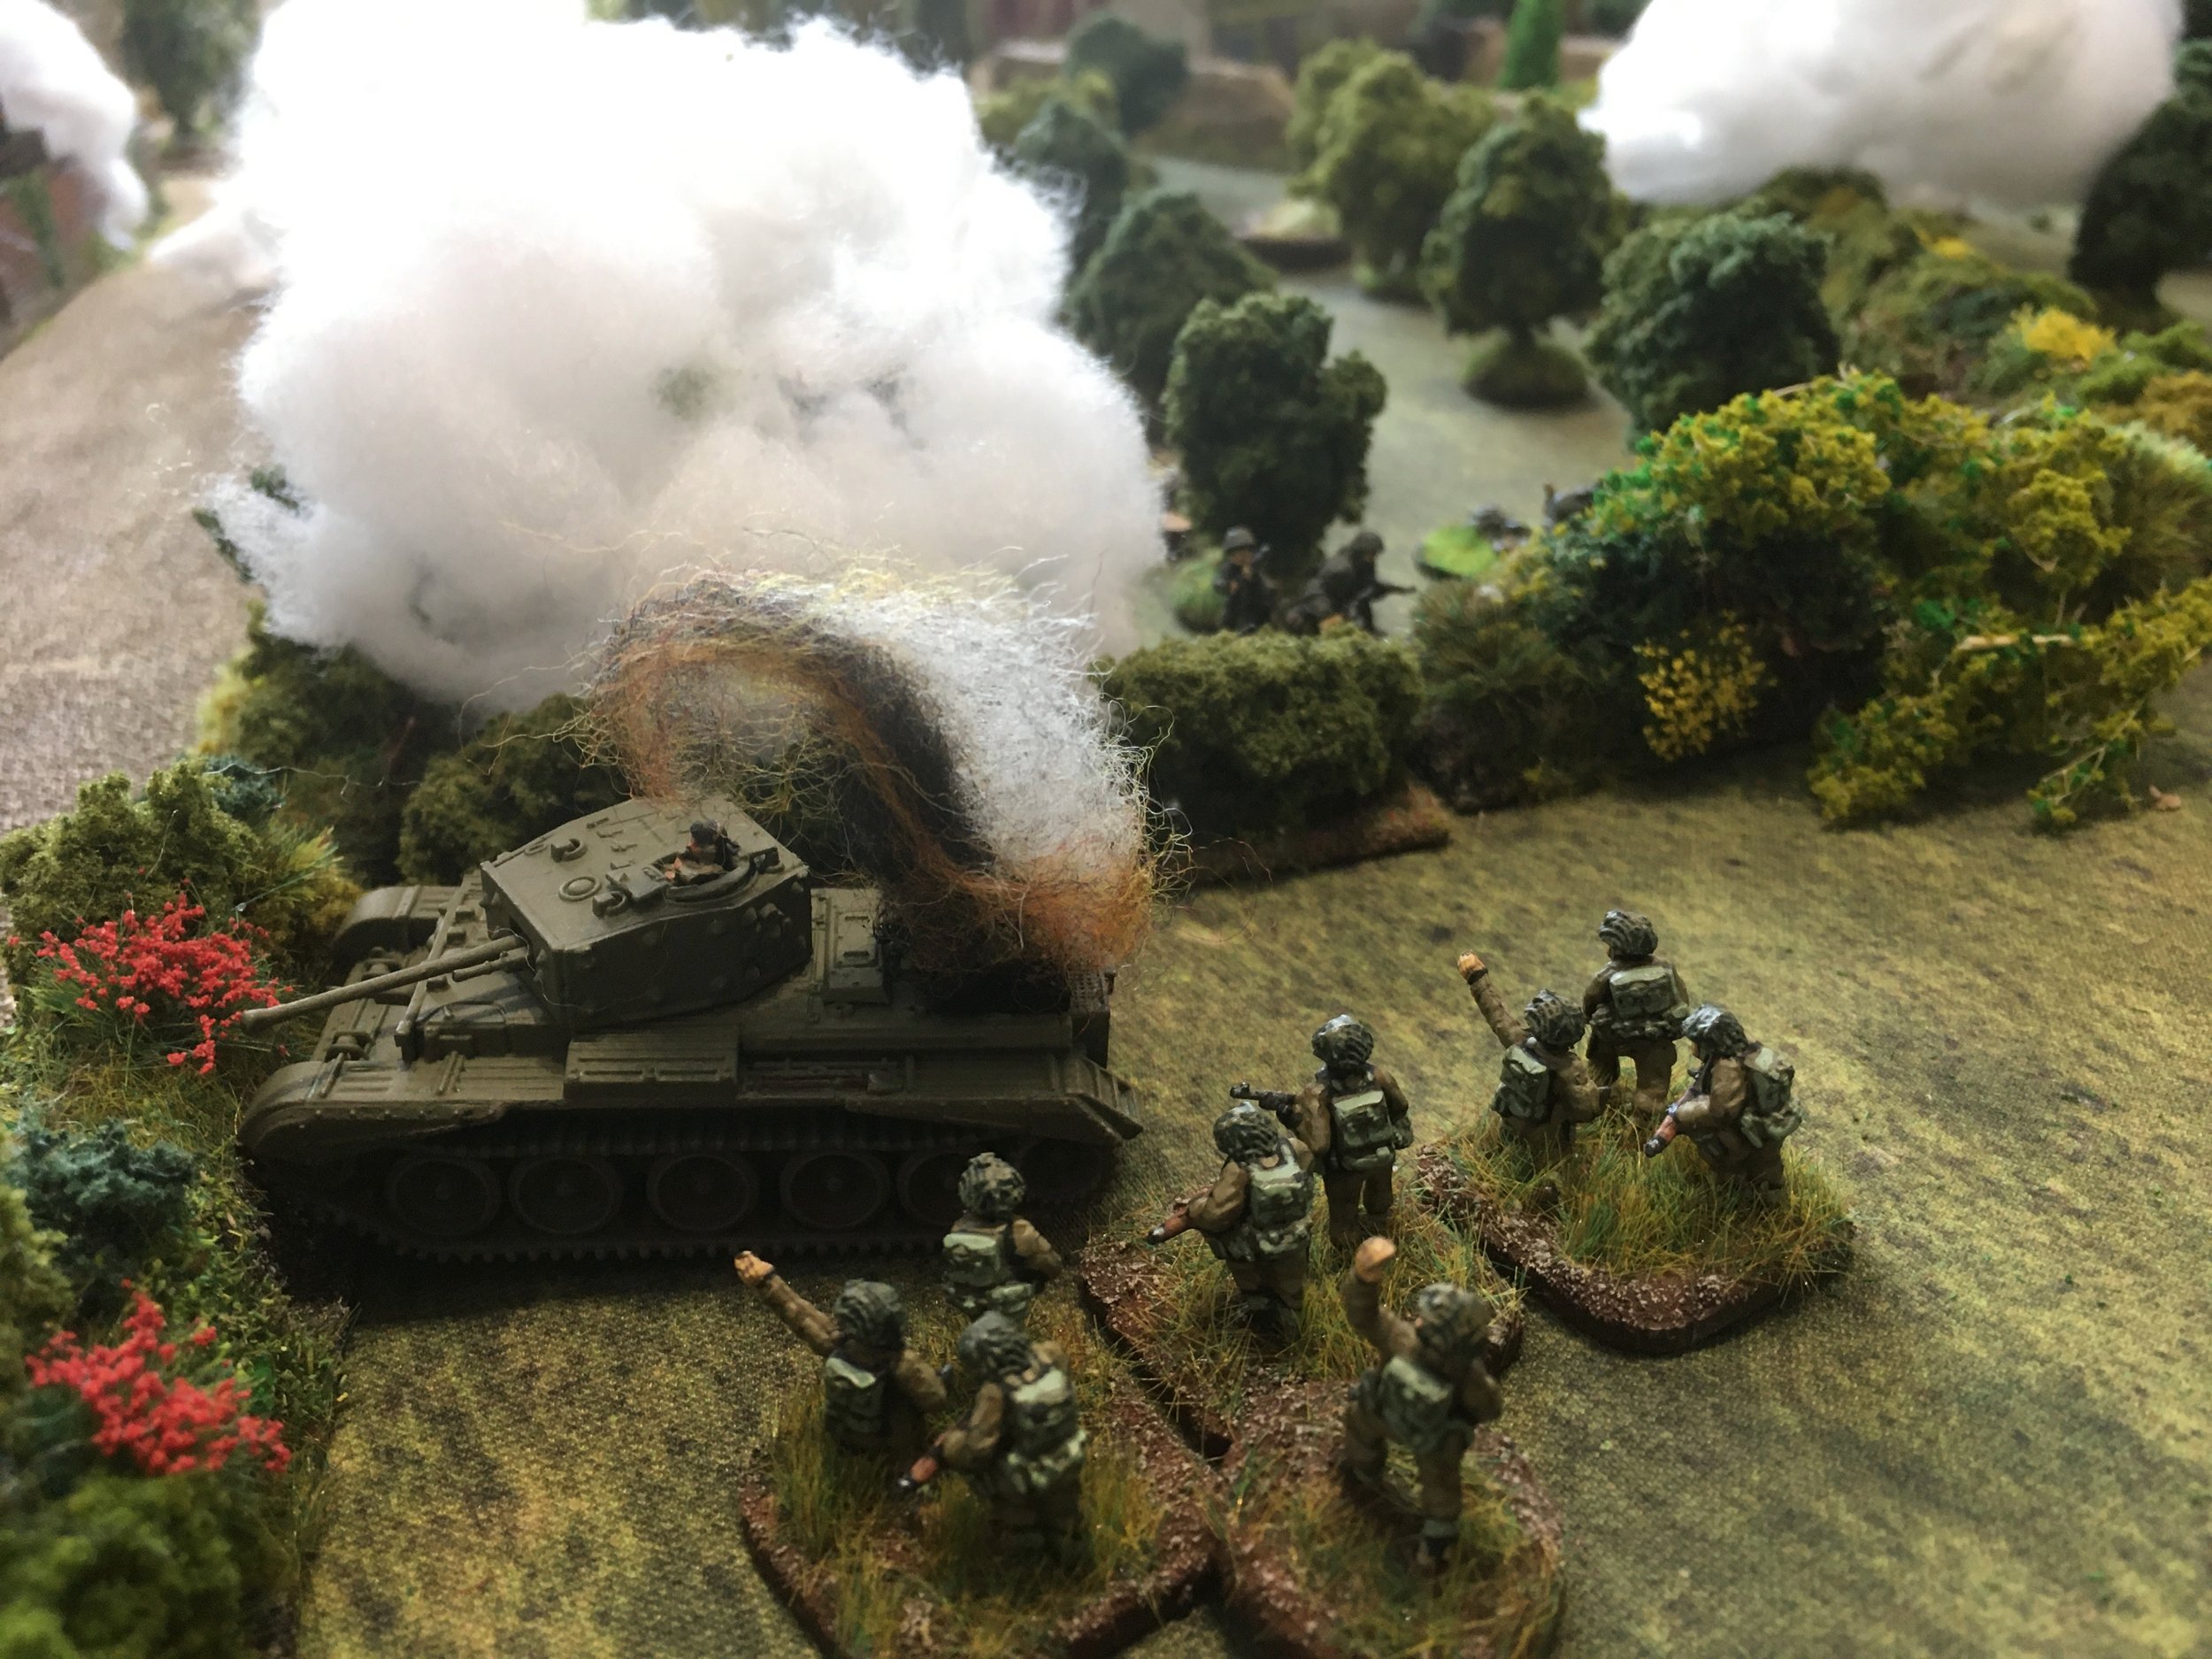
And the PzIVs continue to miss. The M4s did not however and KO'd one panzer.
The troop of M4s were coming at the surviving panzer forcing it to back up. Right towards a PIAT team.
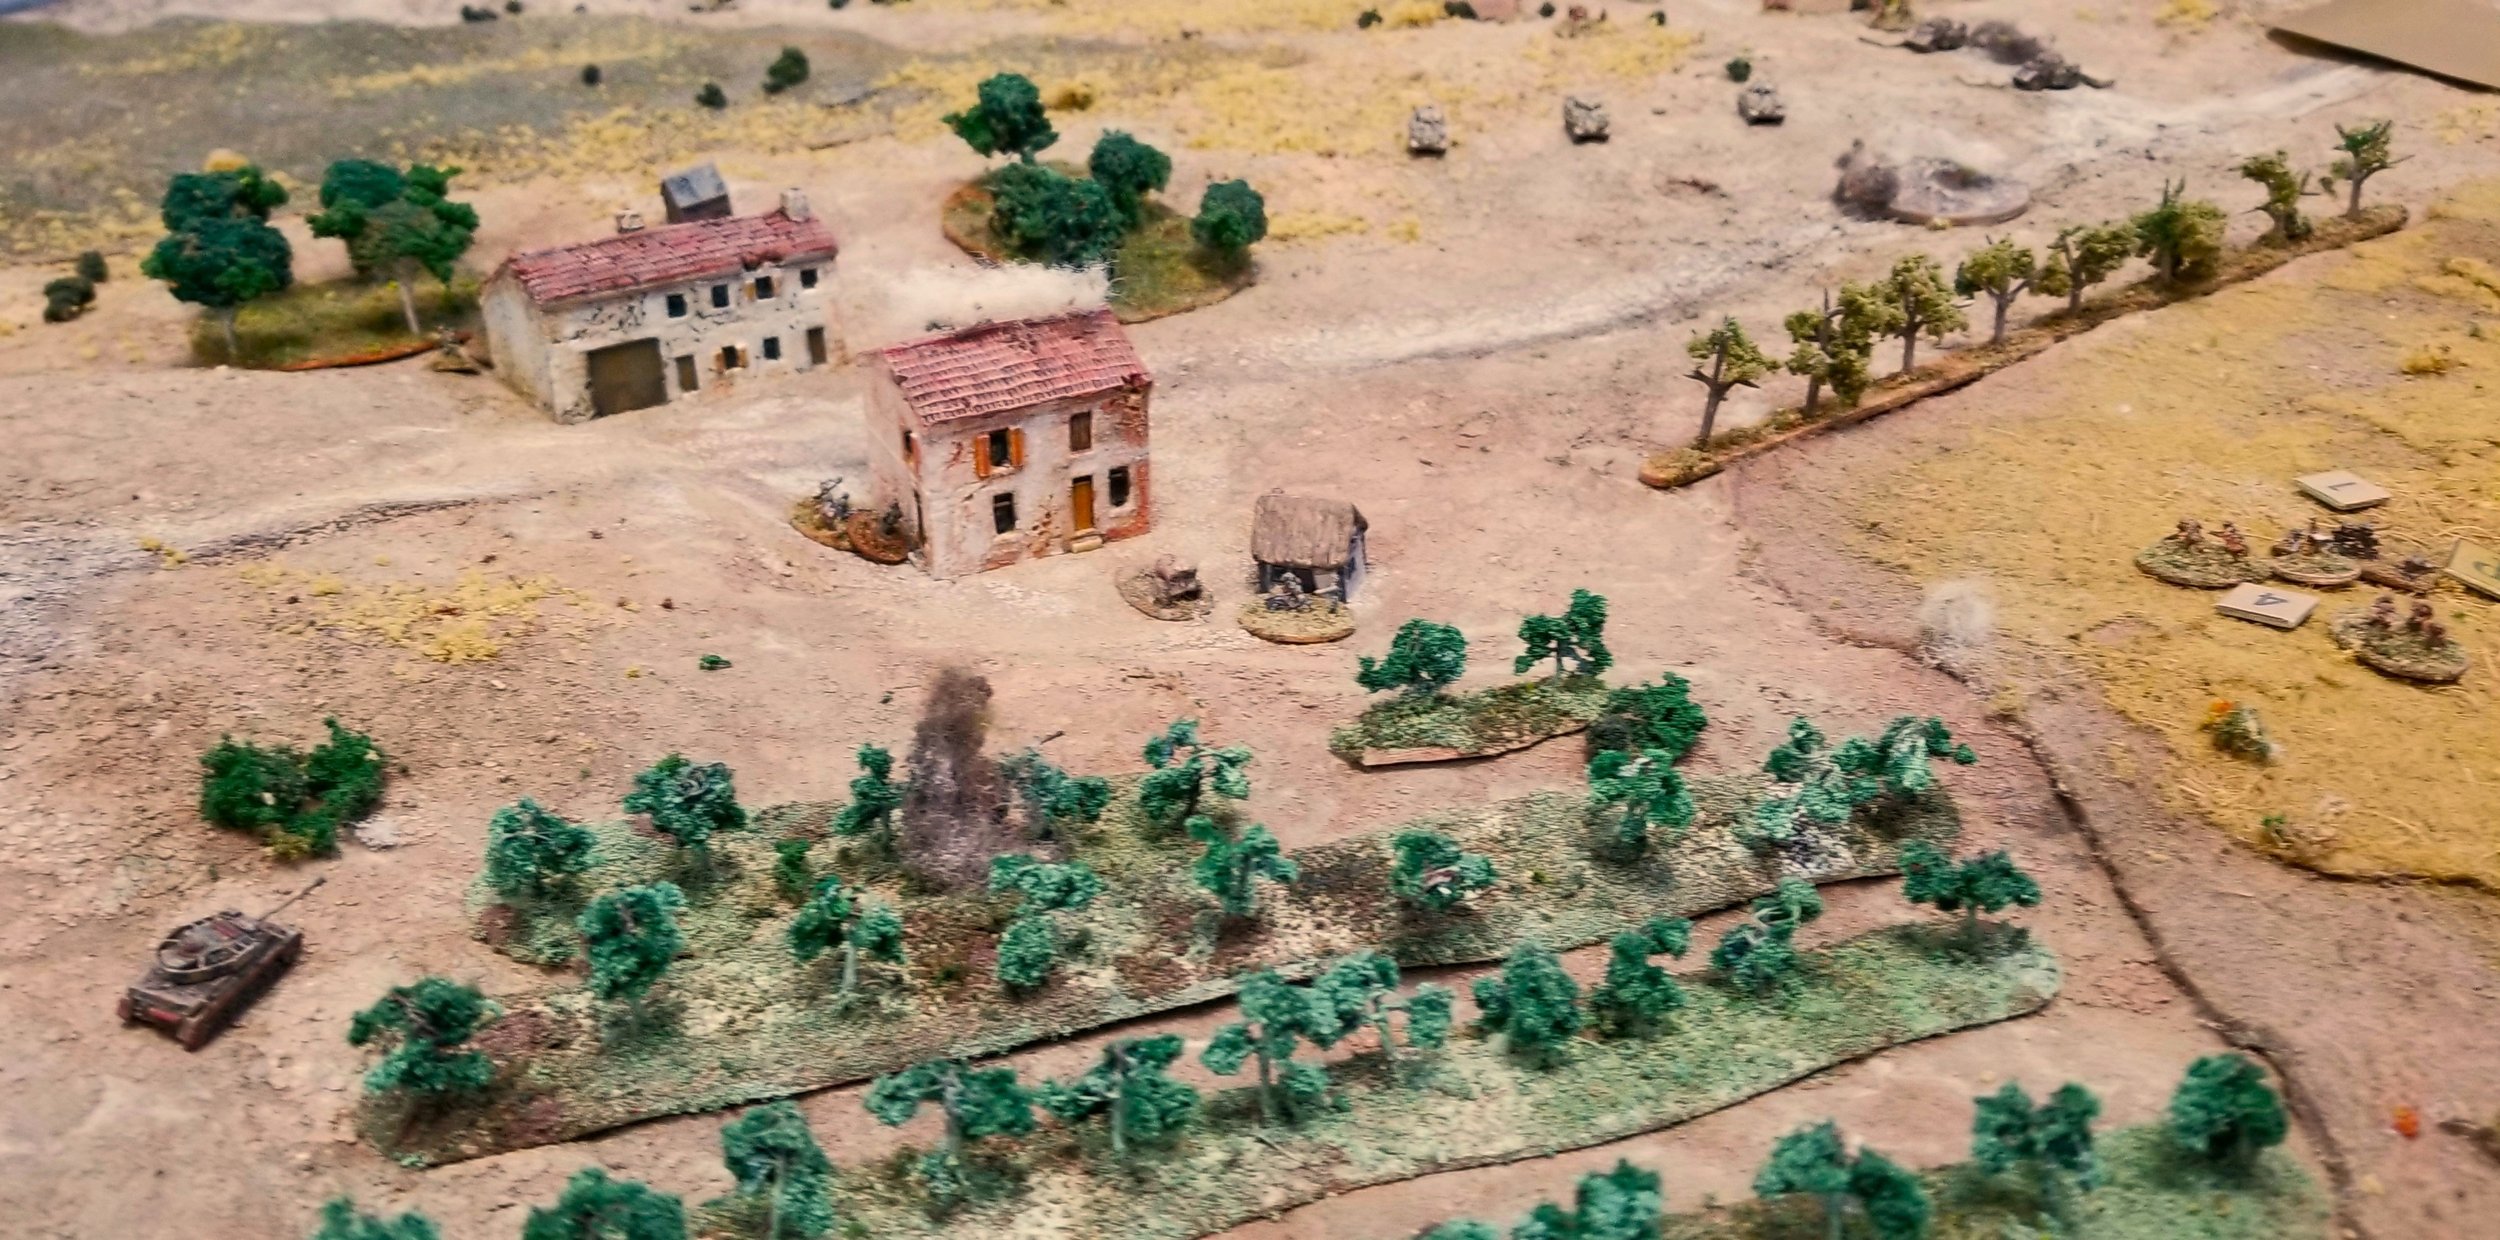
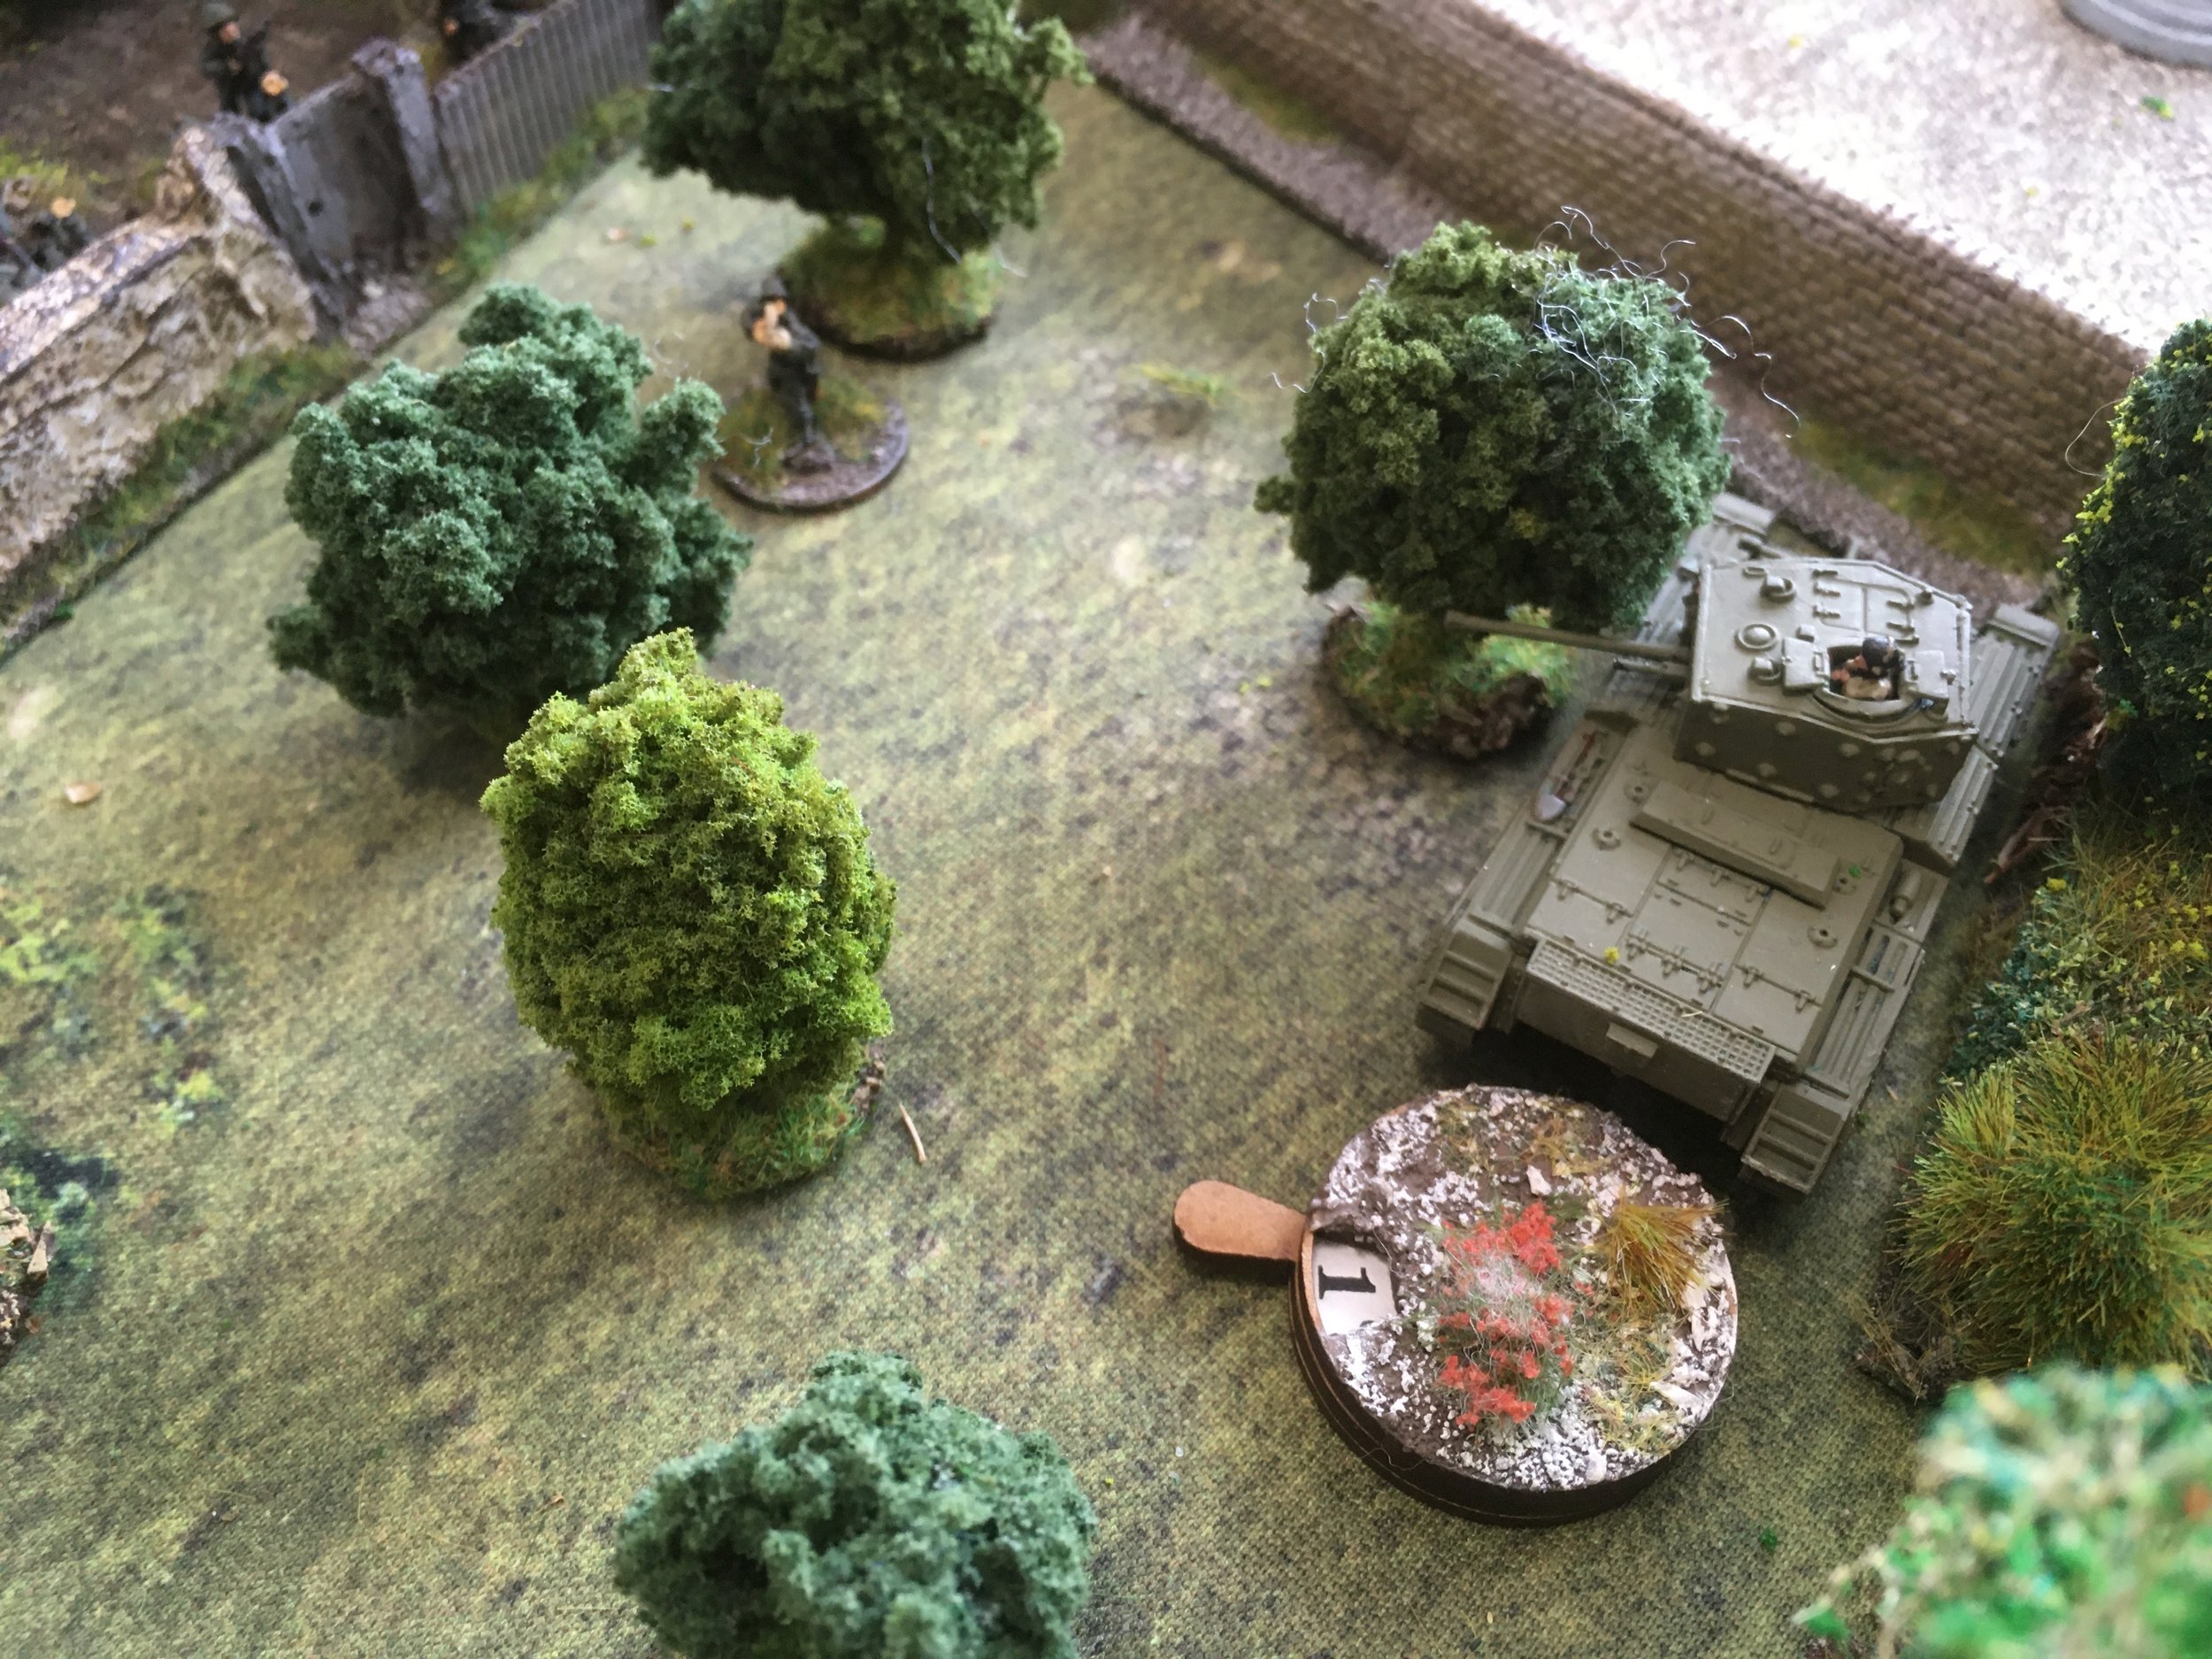
I was really counting on the muddy ground channeling the KIwis into a nice killing zone, but the Shermans scooted around the road block. Meanwhile no sign of German mortars or 105s fire.

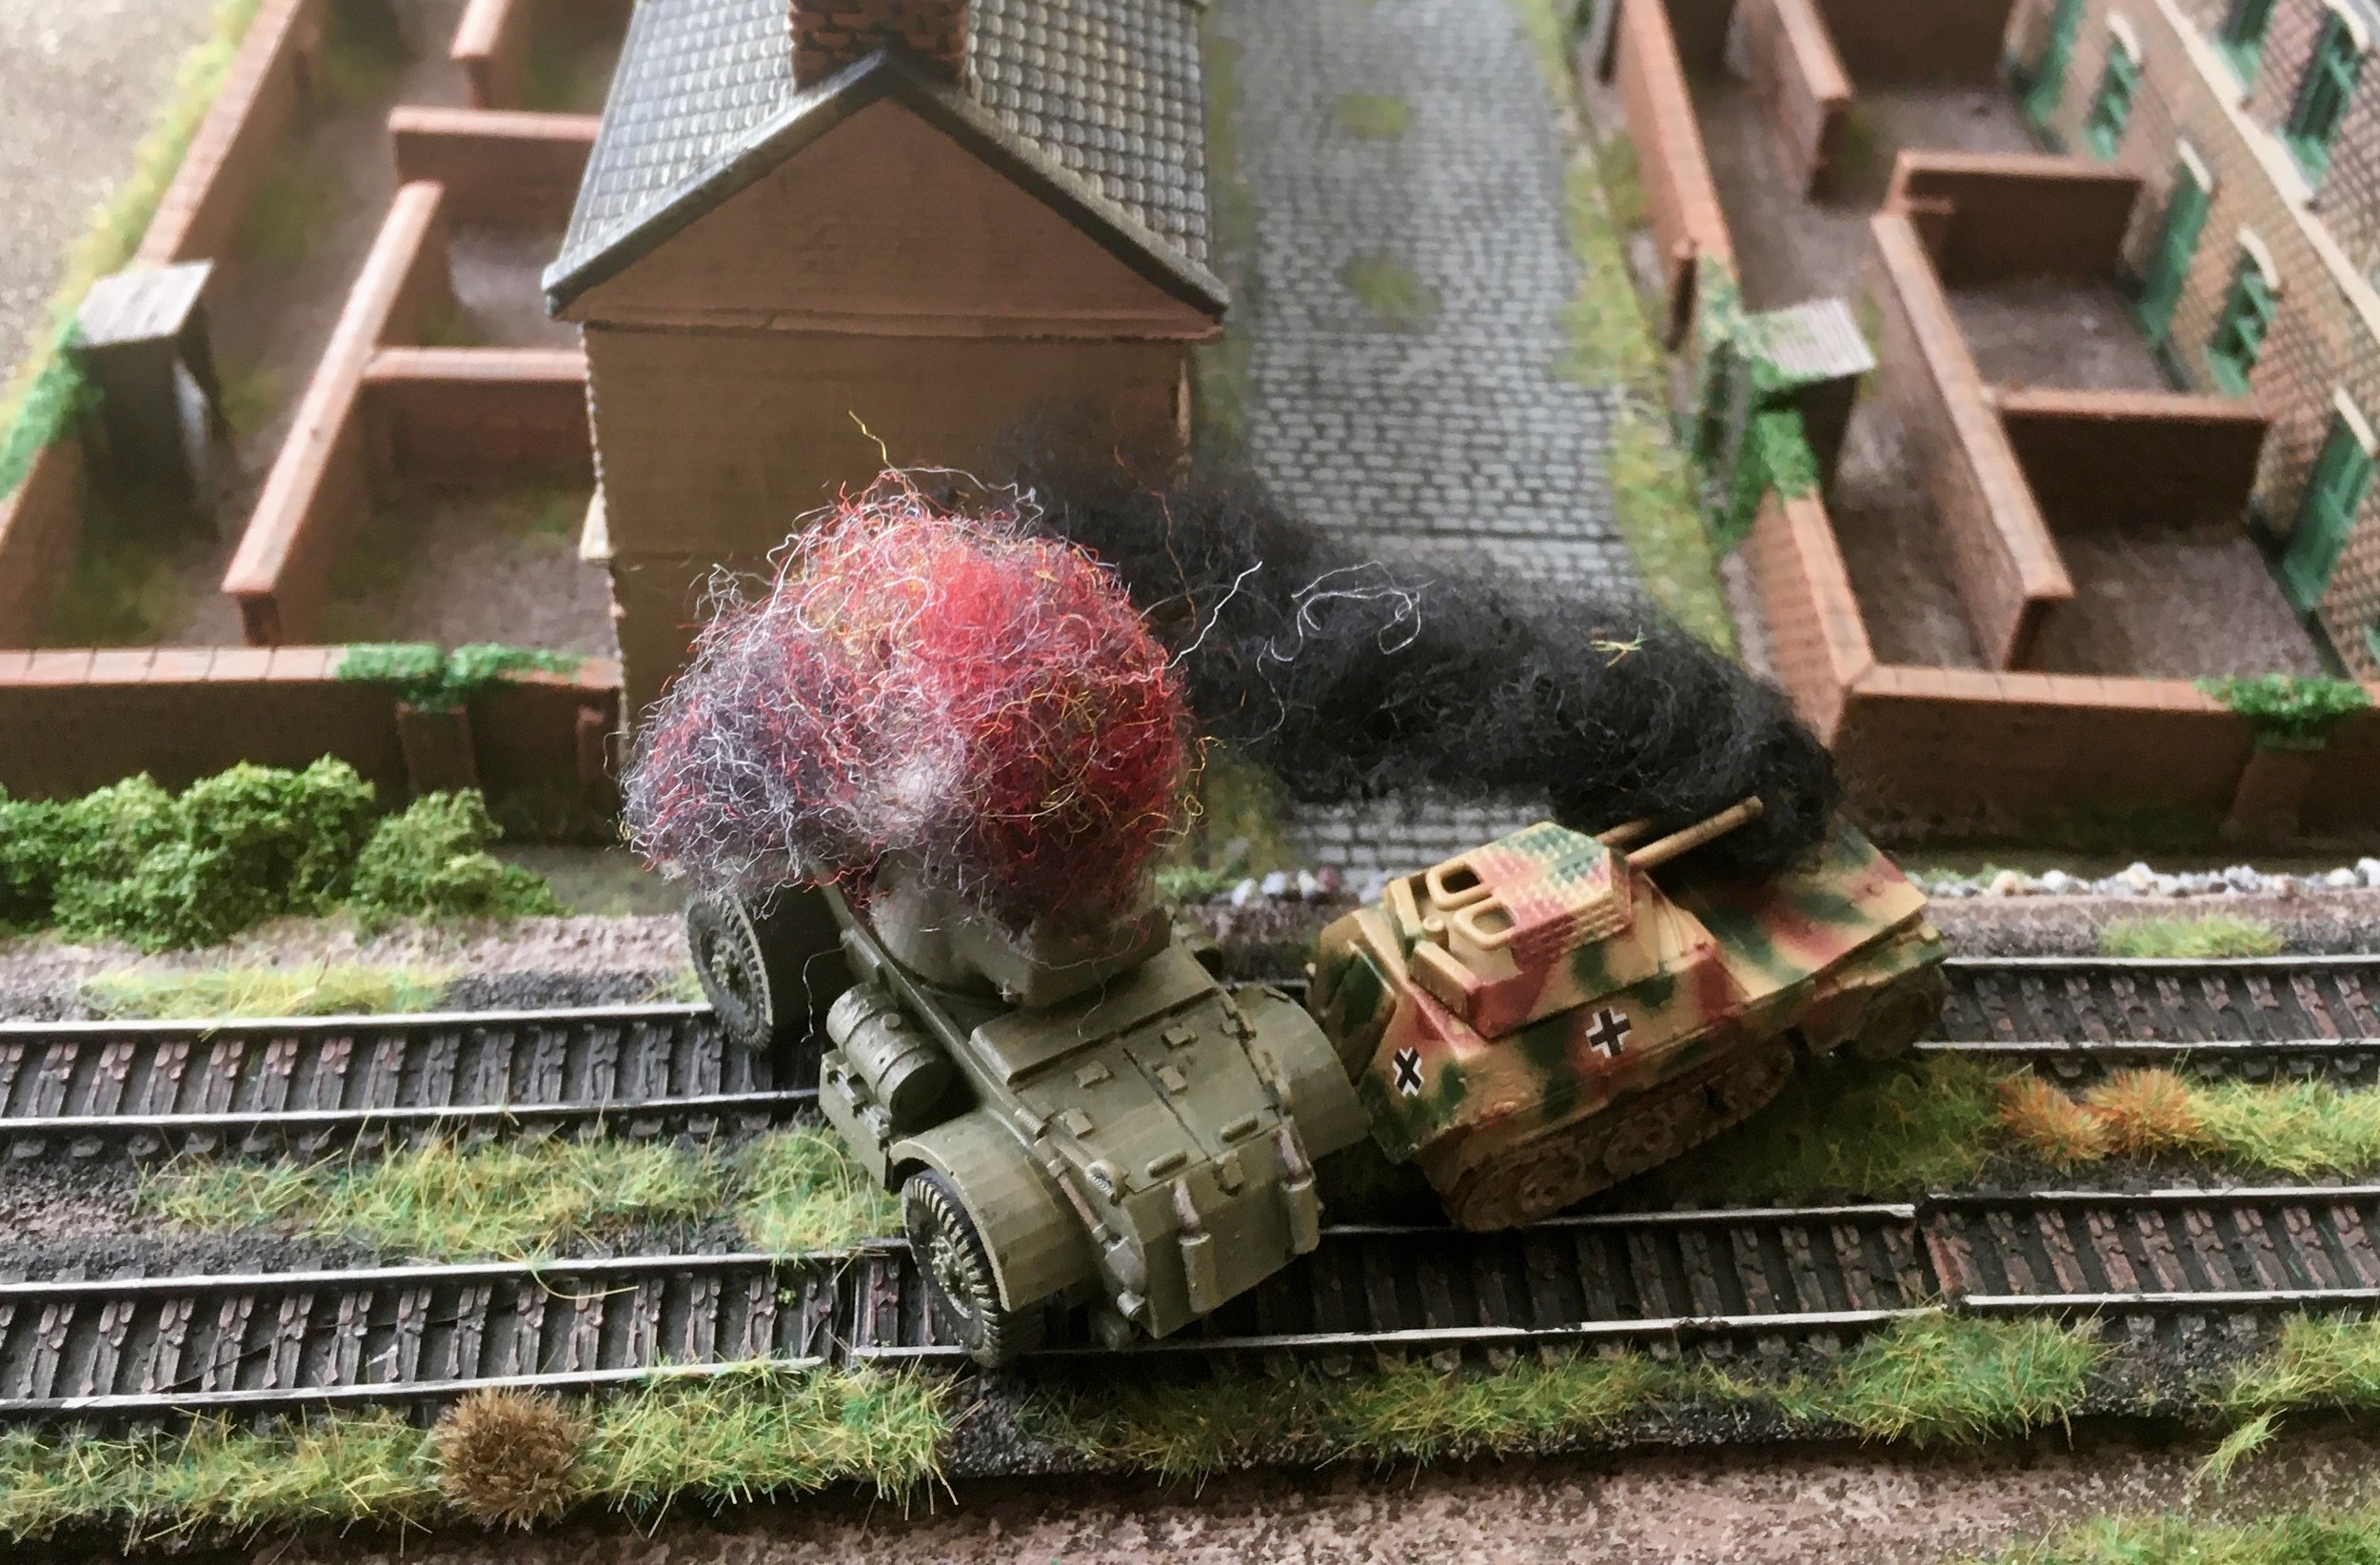
The end of the panzers.

Not to worry. They missed a shot too.
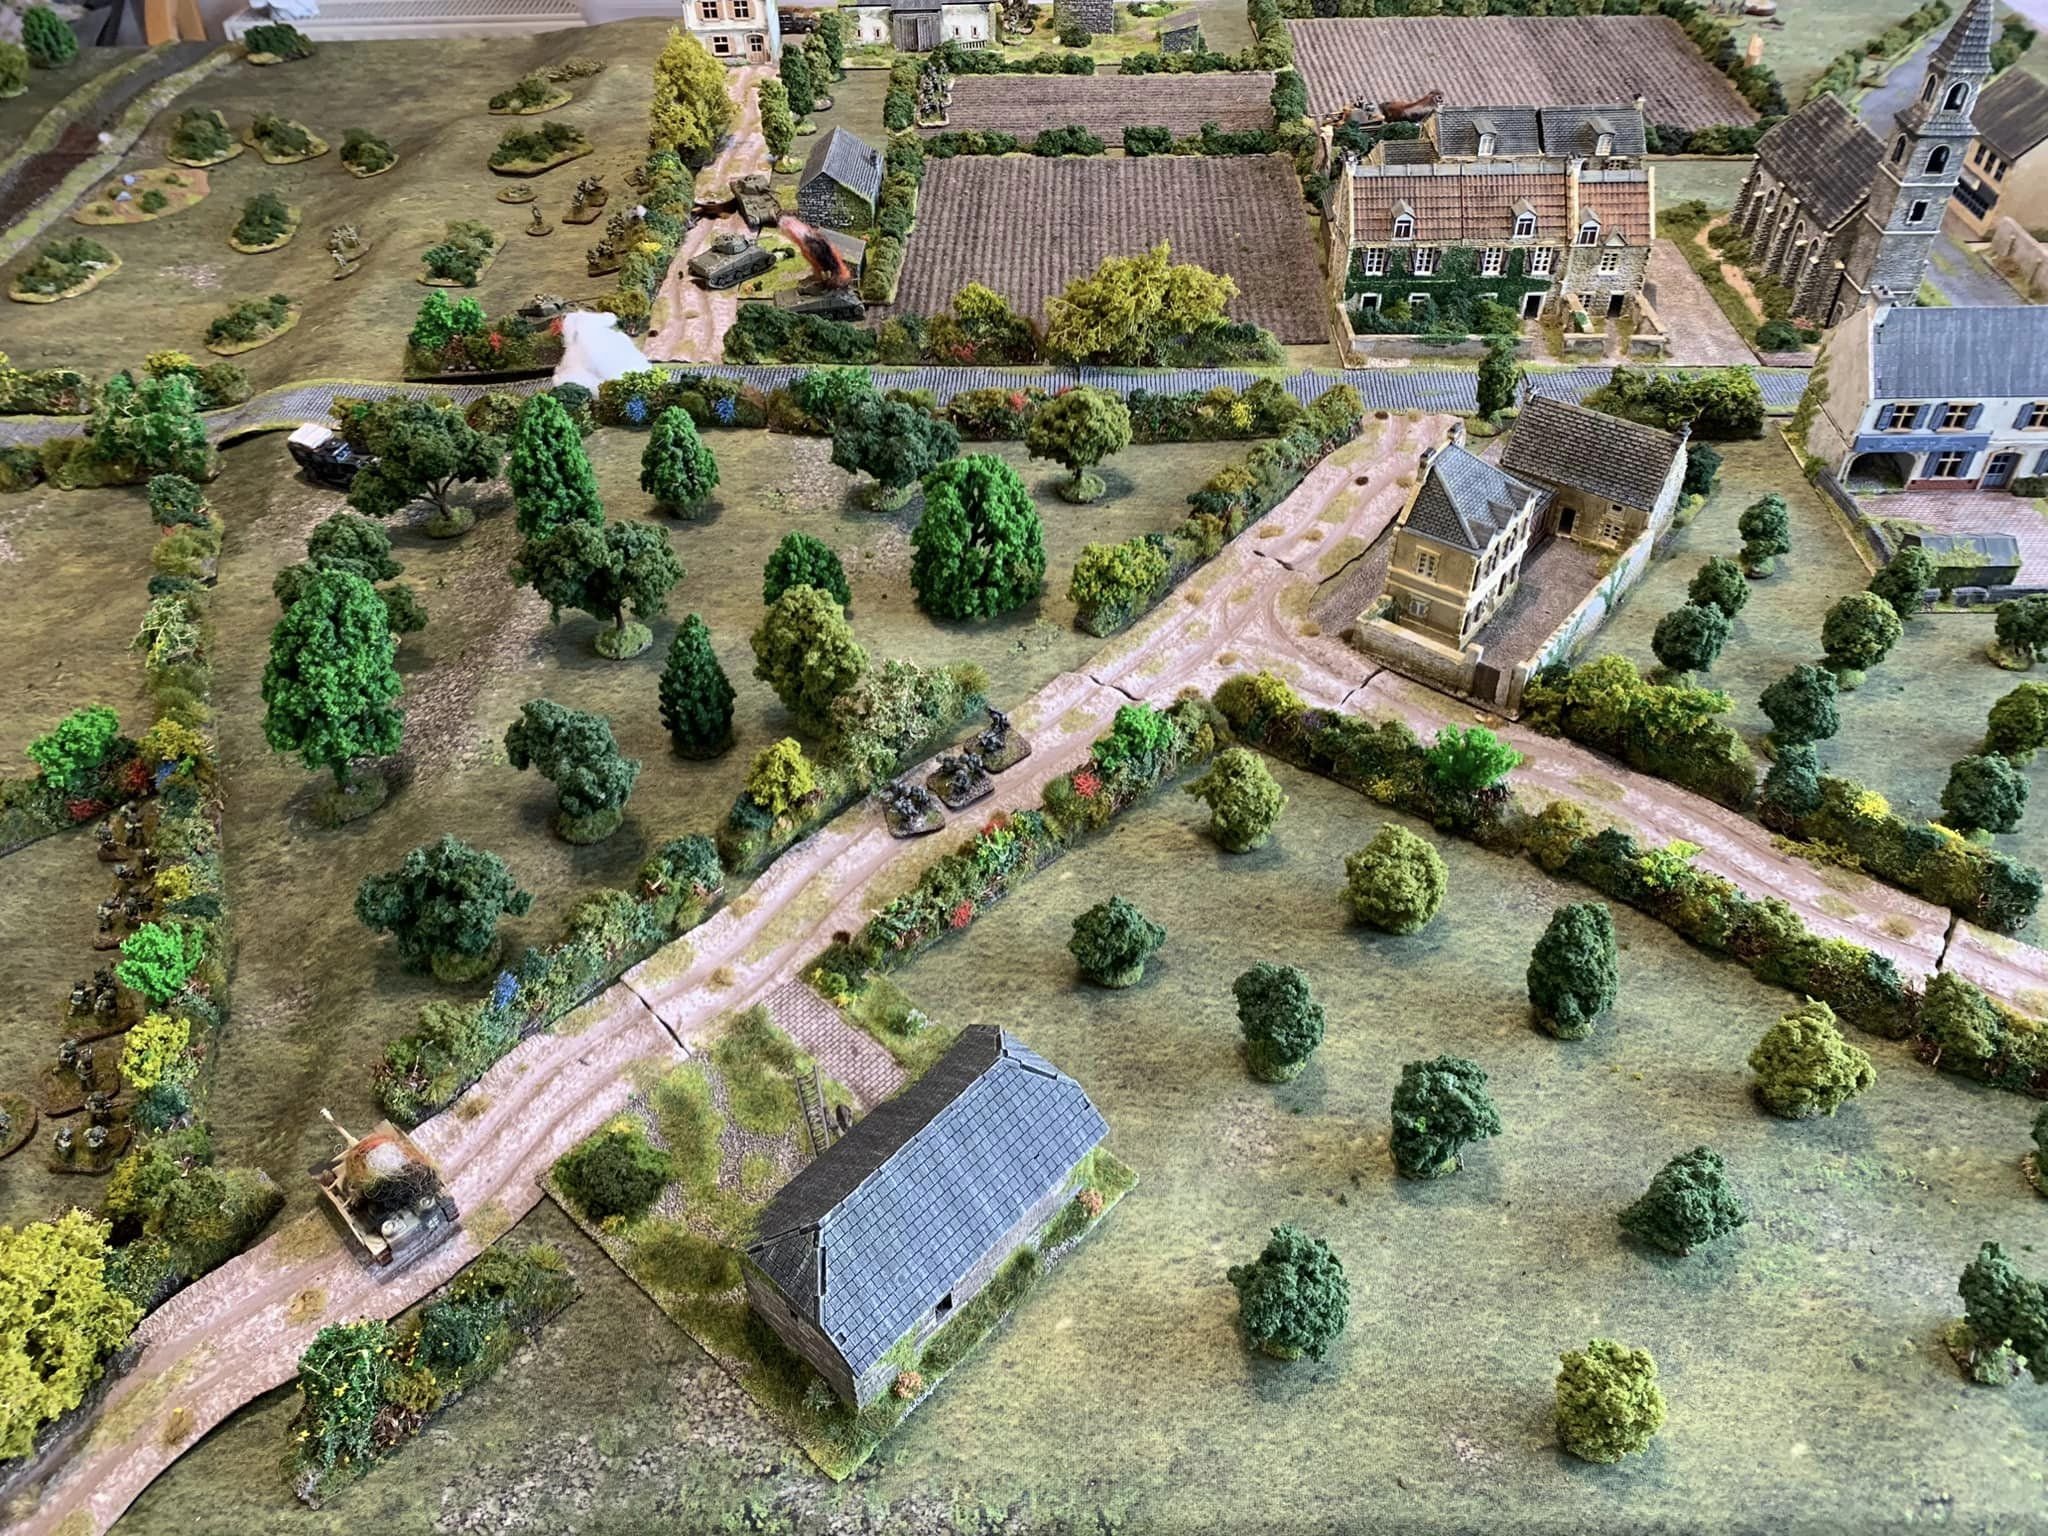
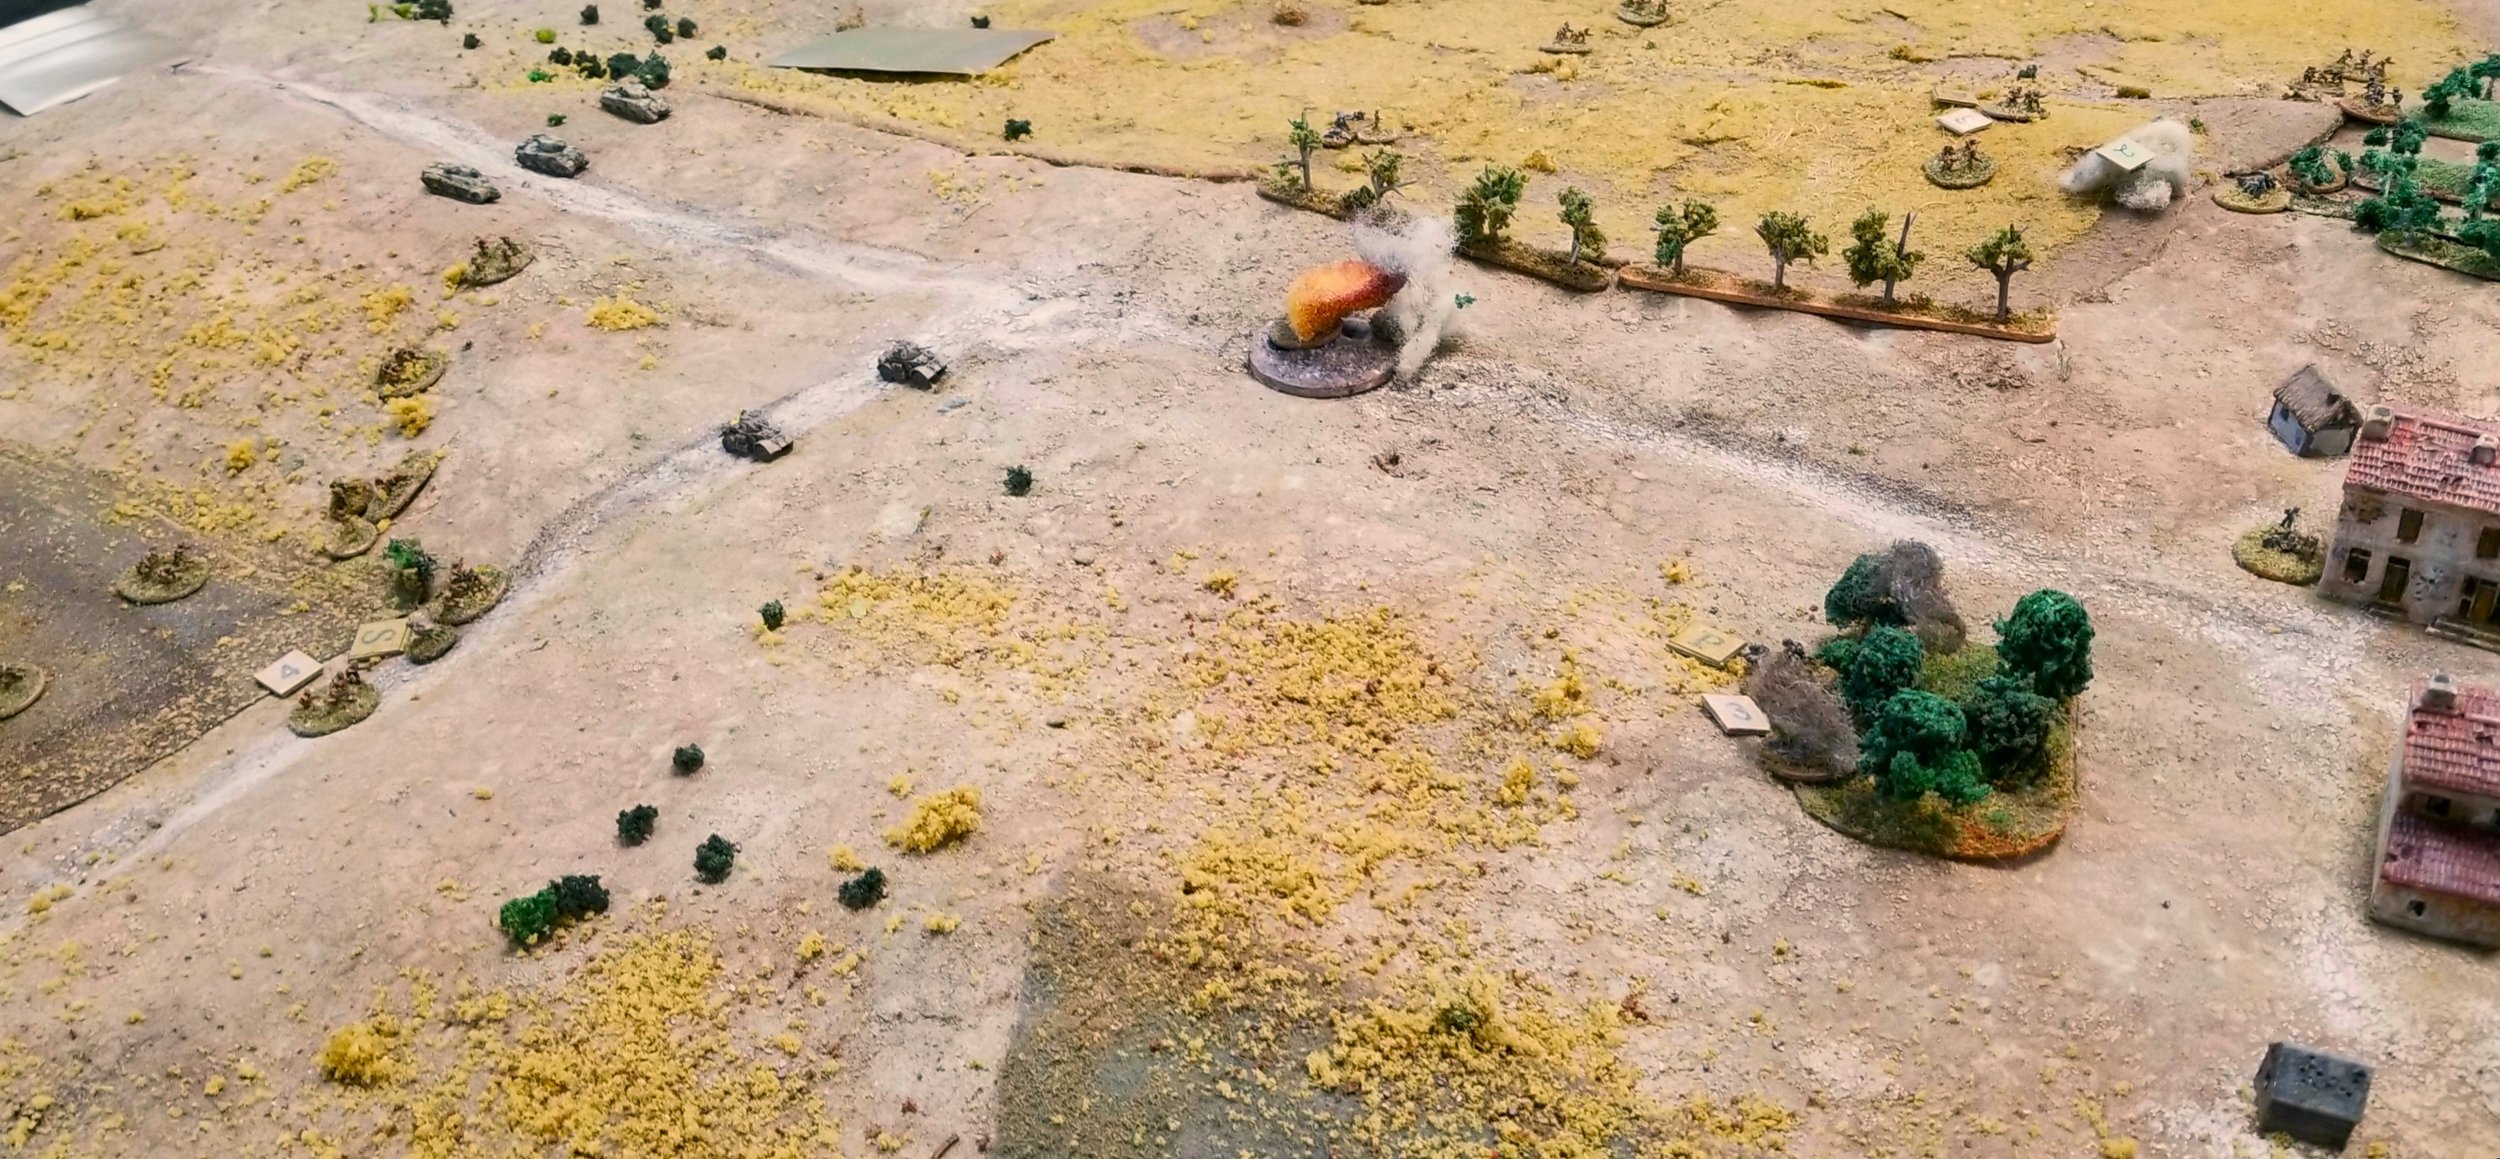
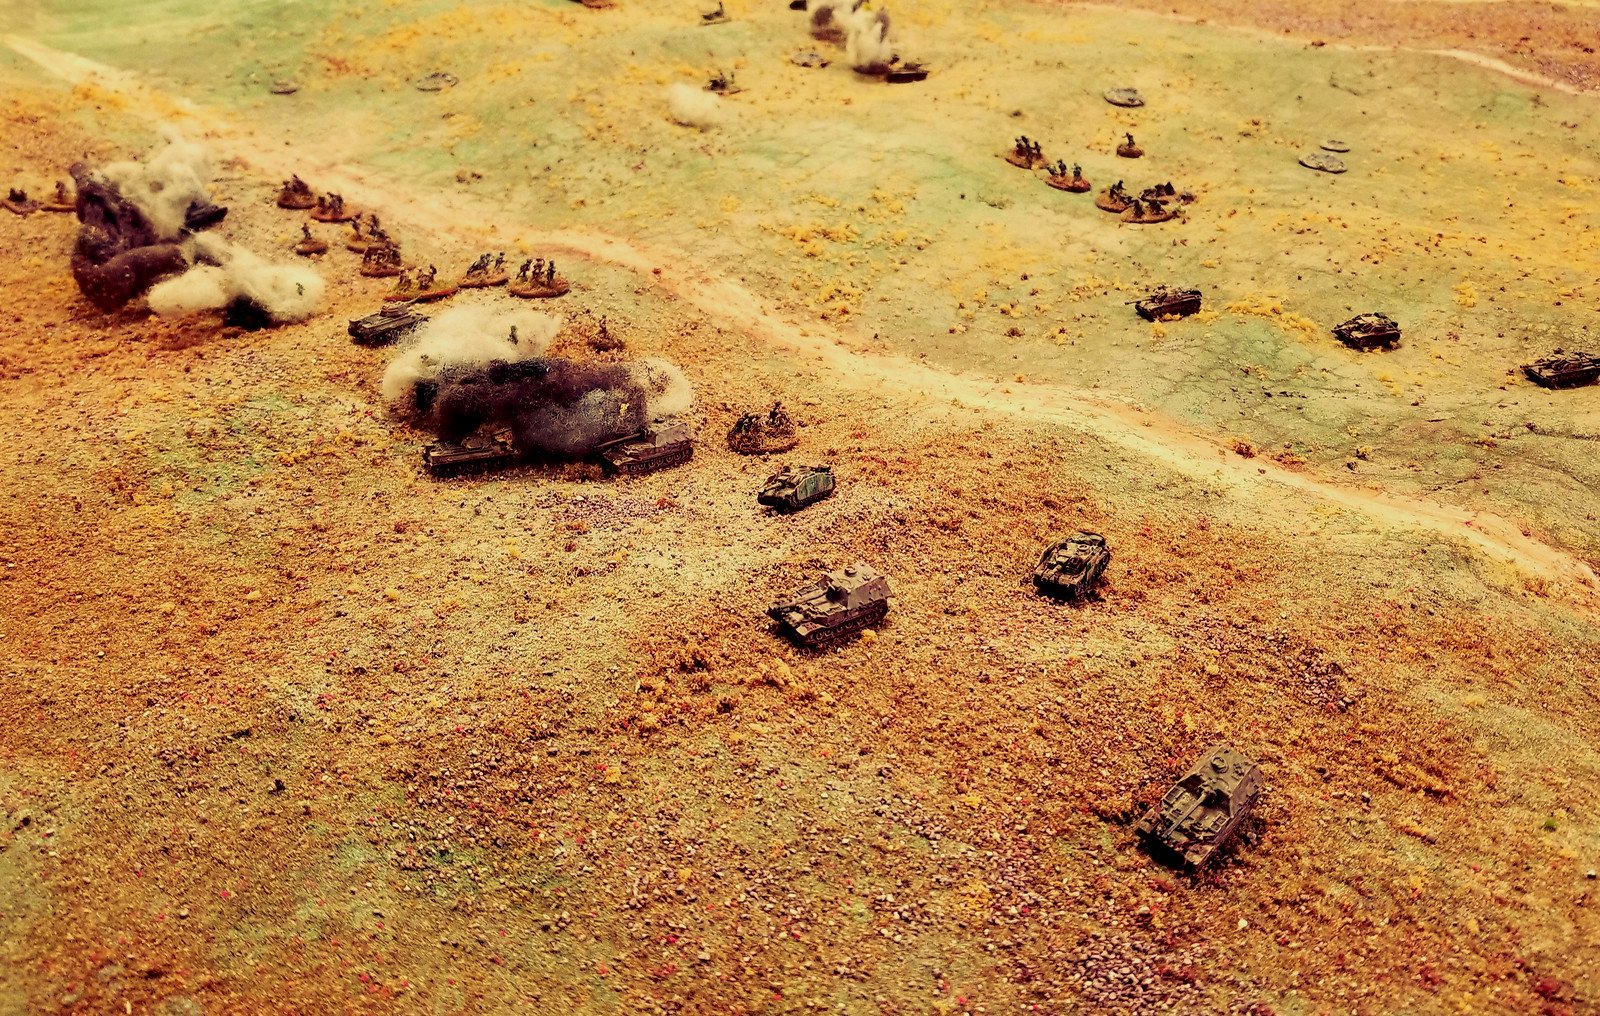
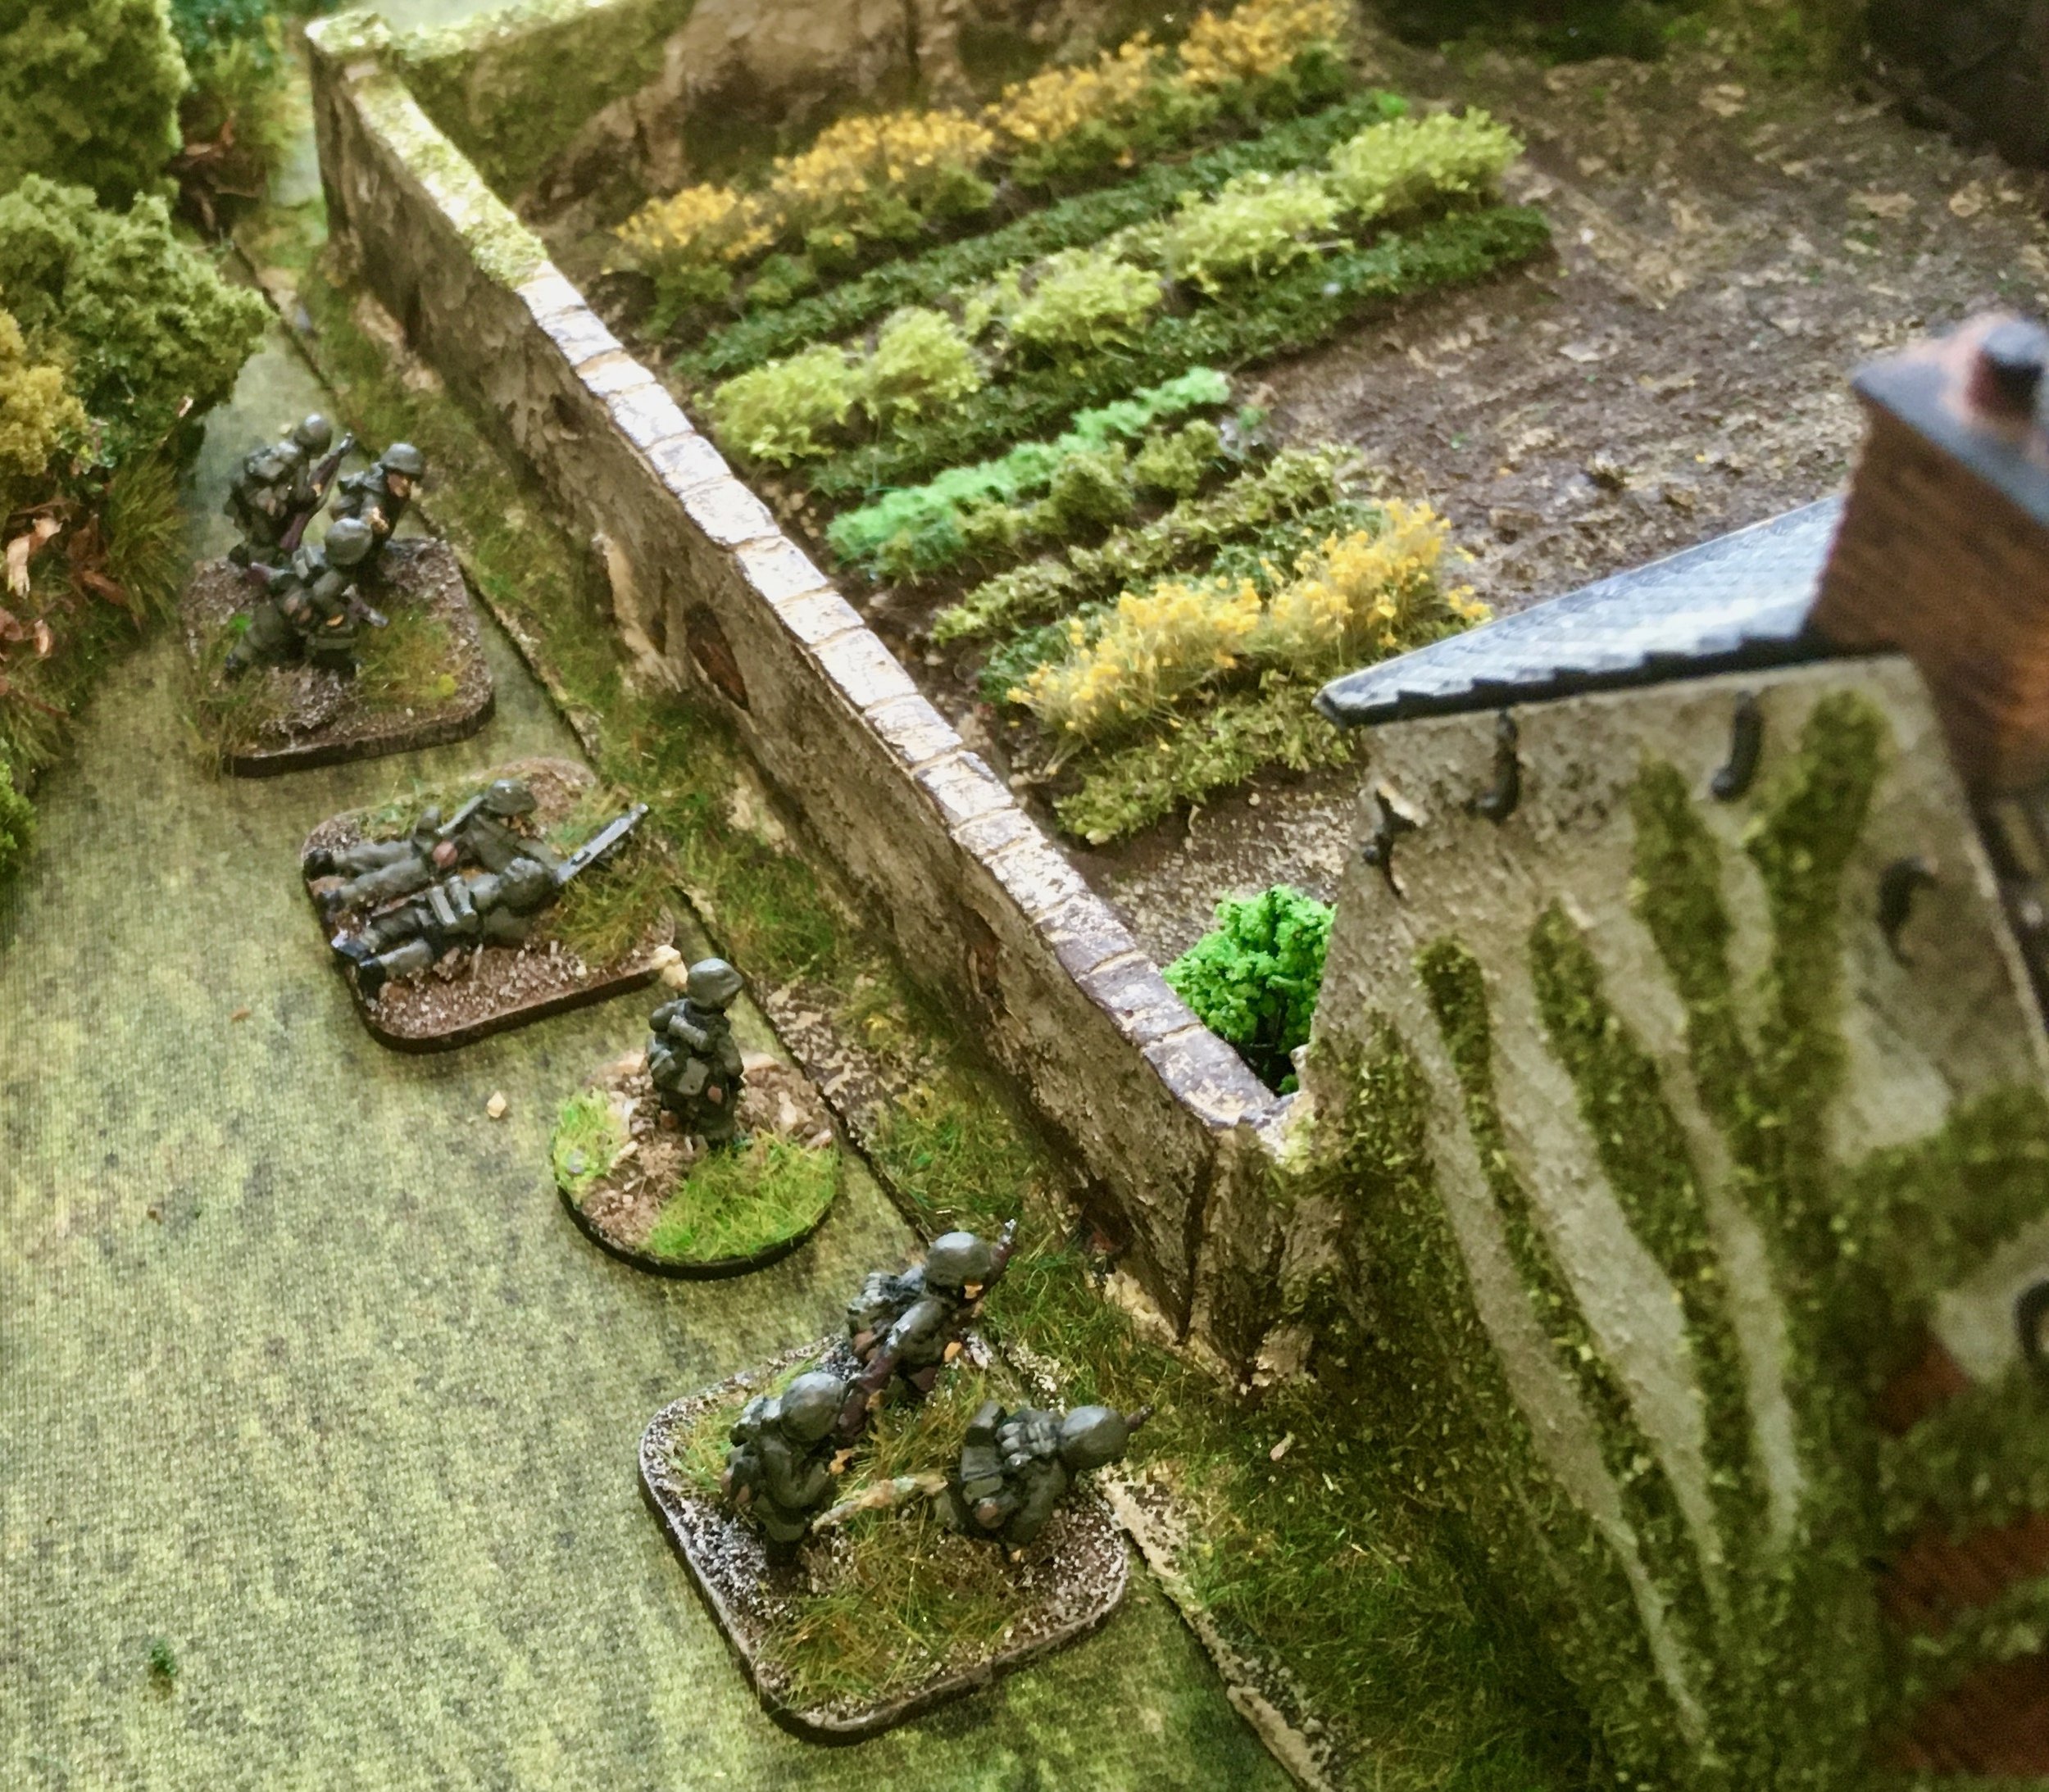
The right hand Kiwi infantry platoon continues to slowly advance Grenadiers consolidating around buildings and trees. Still no German artillery.
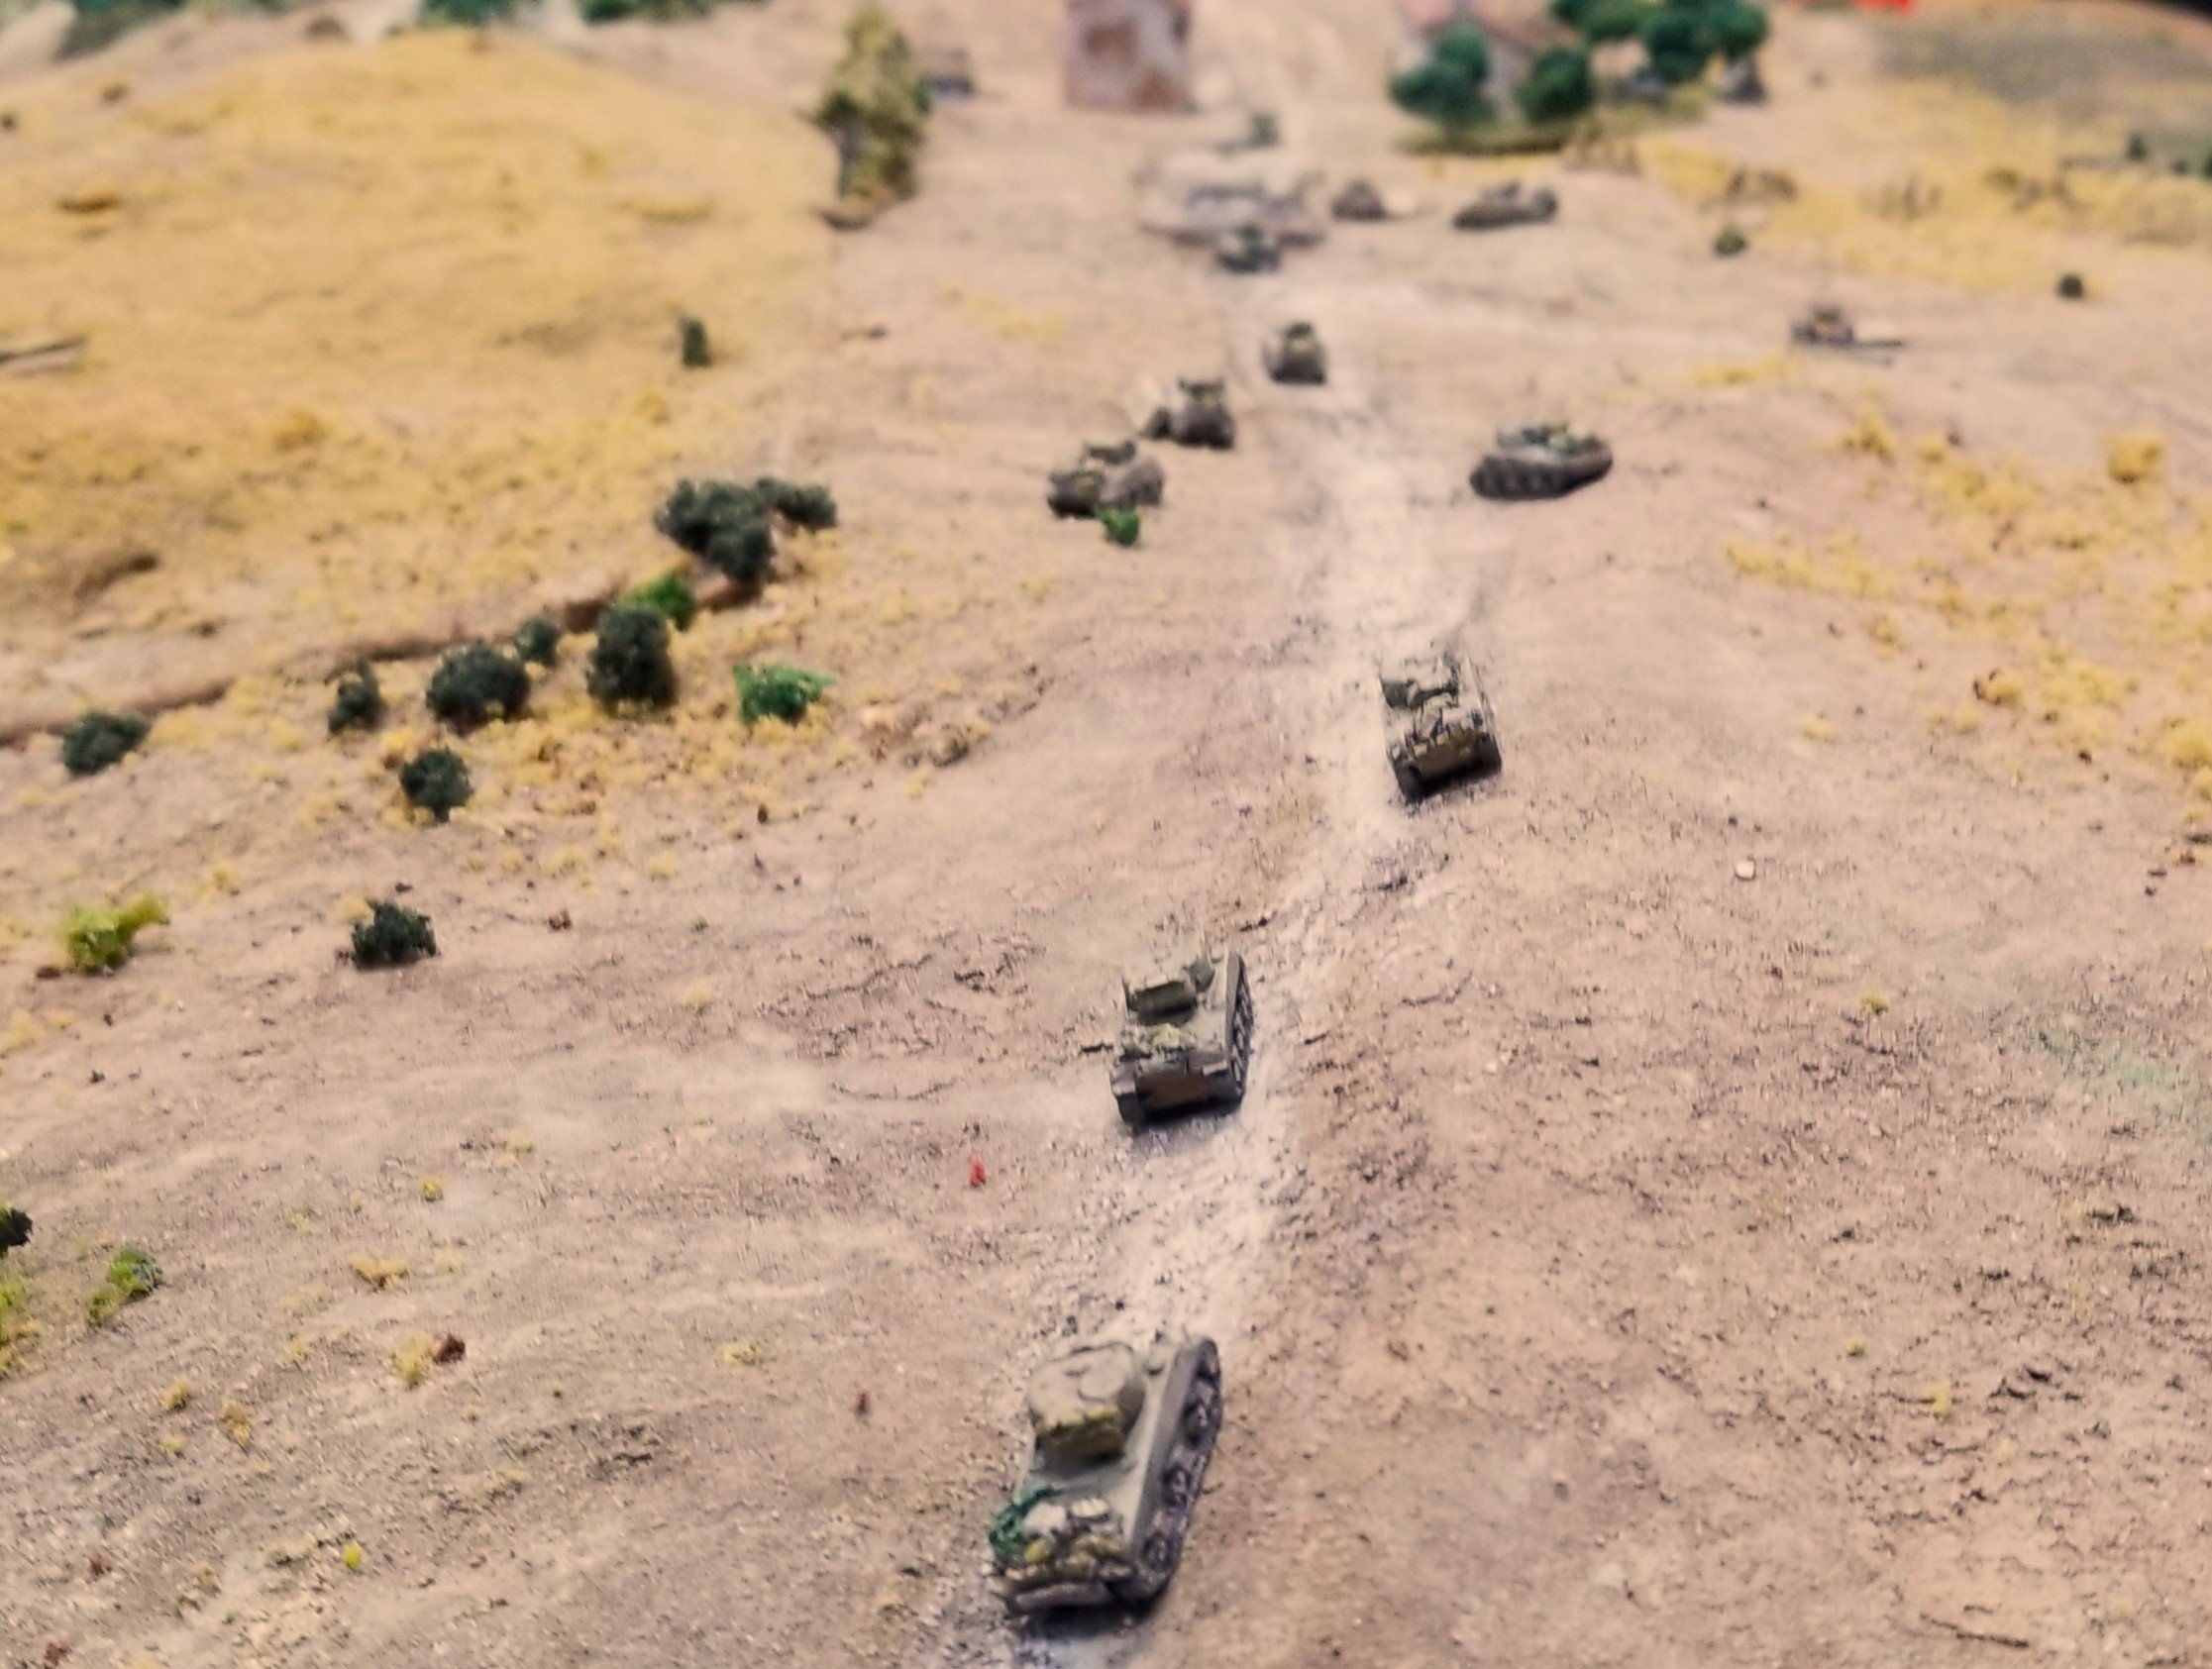
They had 11 total M4s. Jon didn't commit them ‘til they had room to move on using the road.
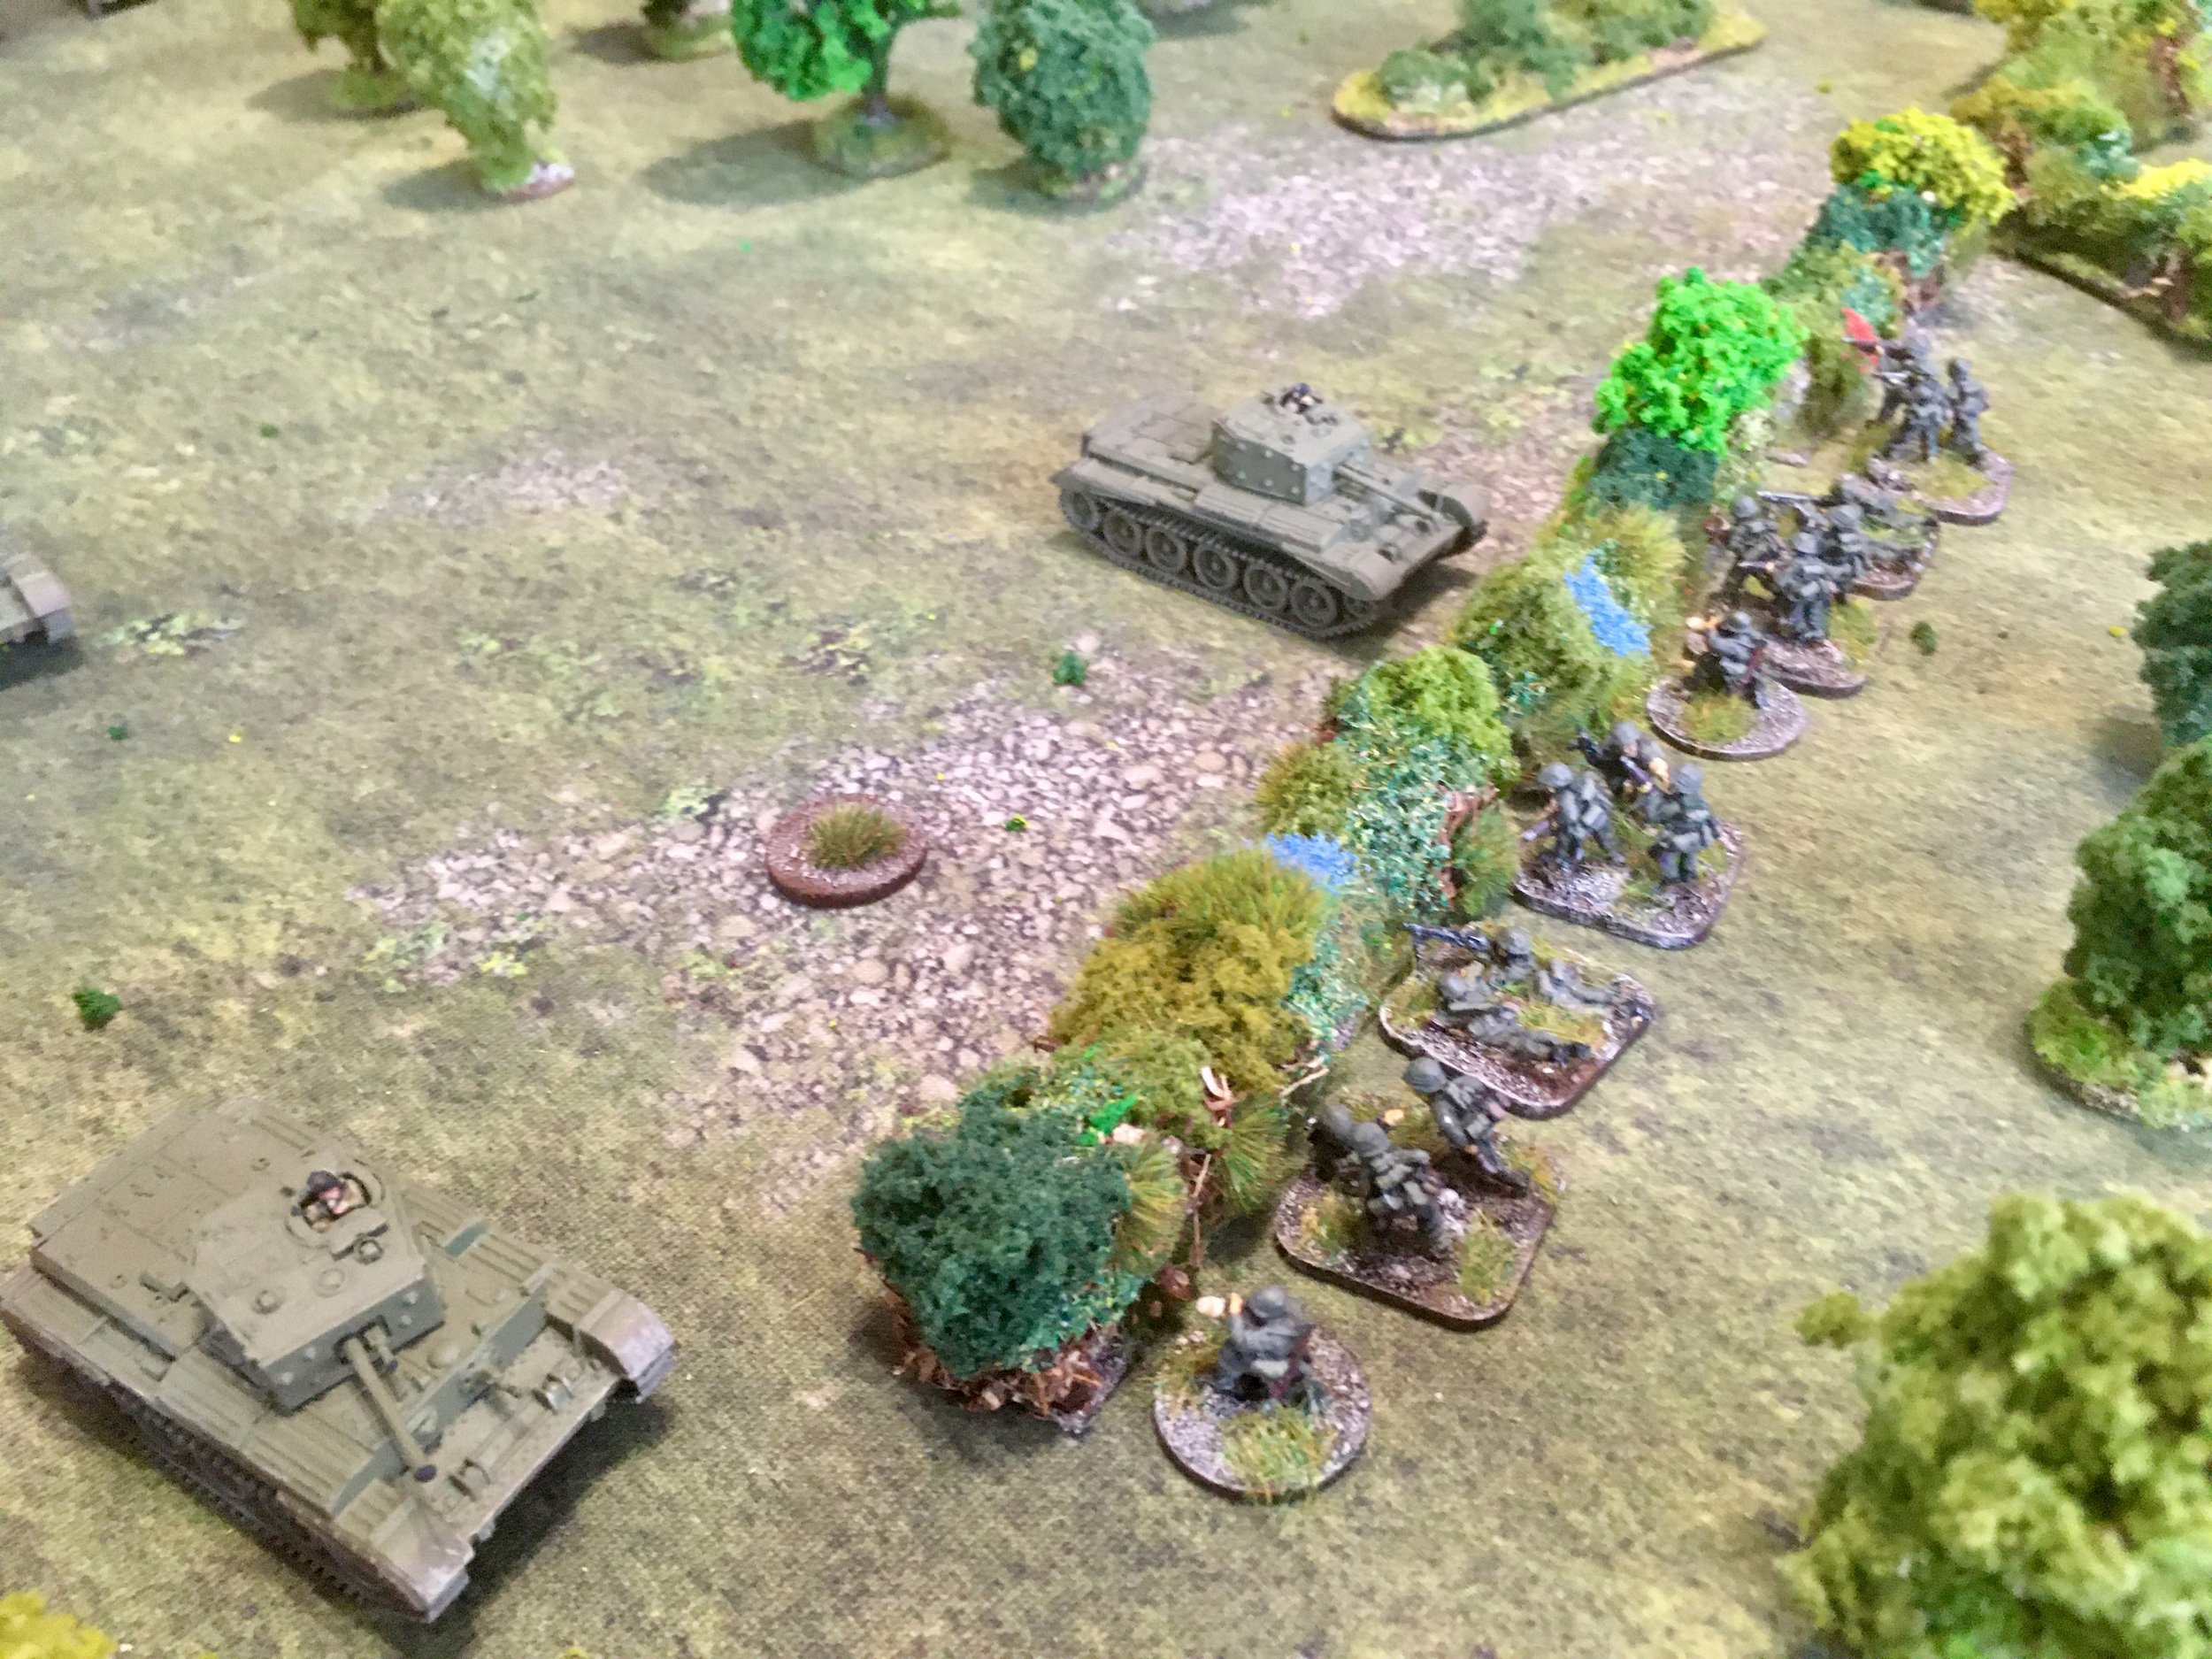
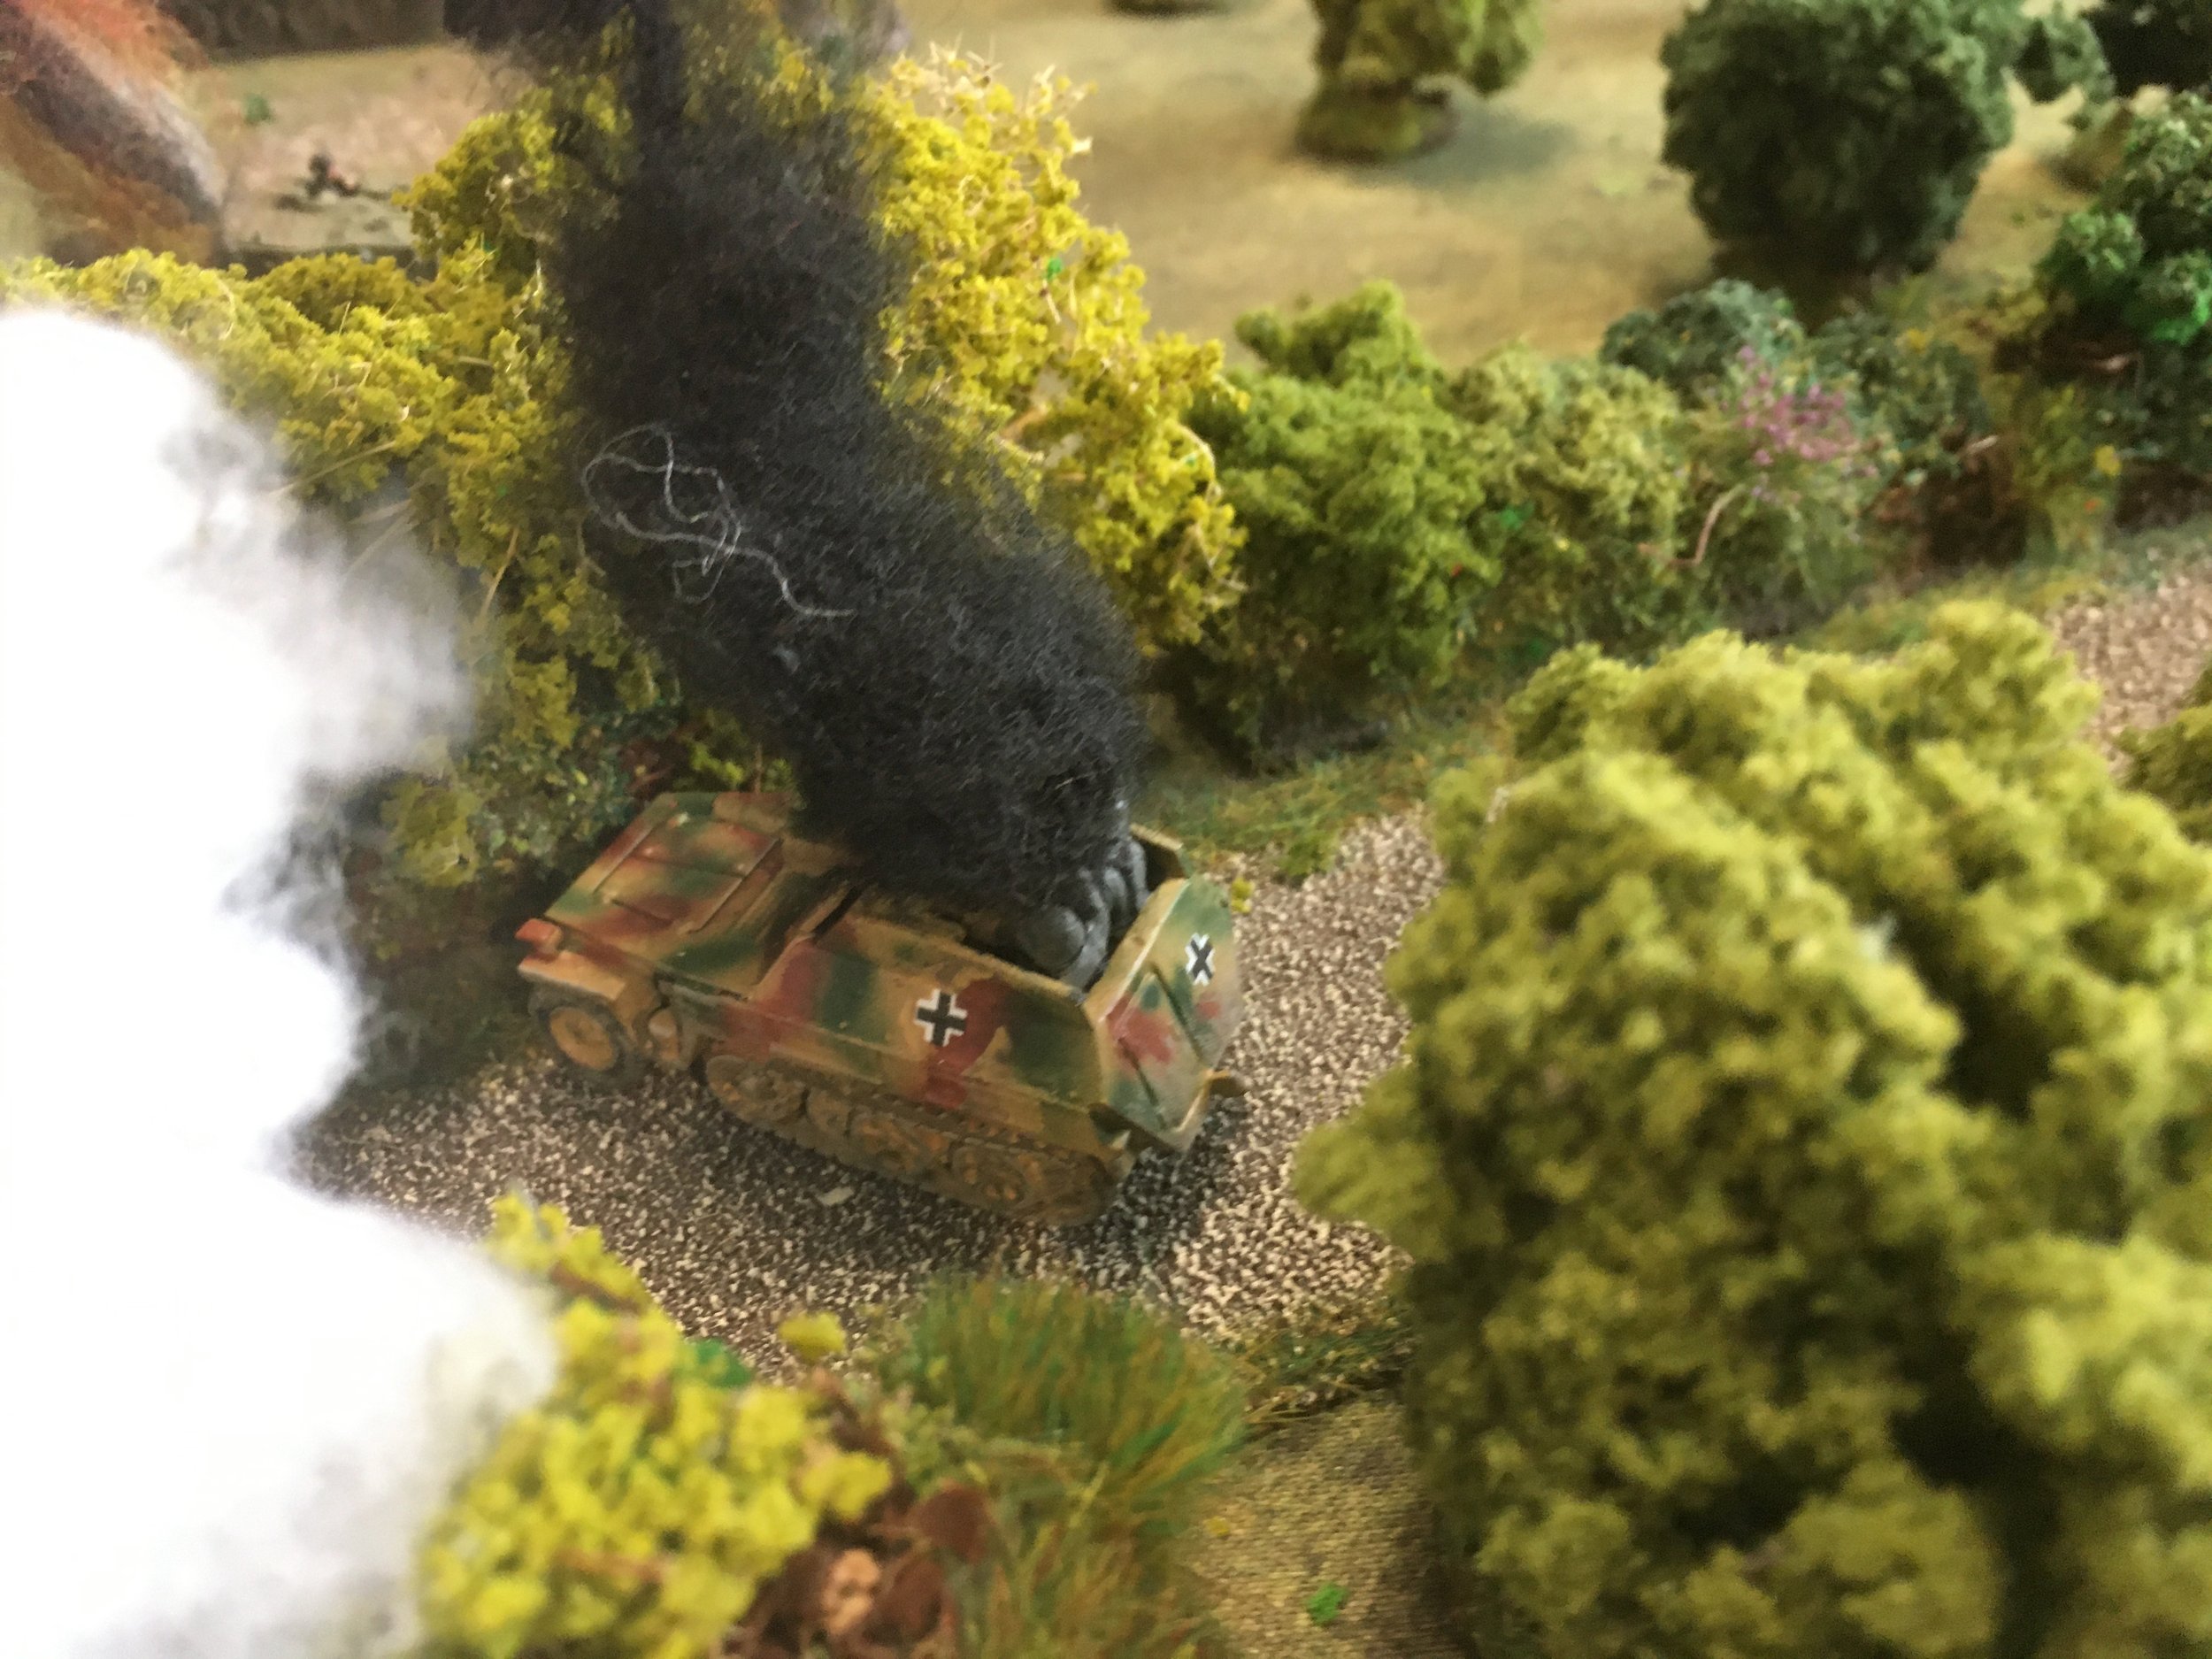
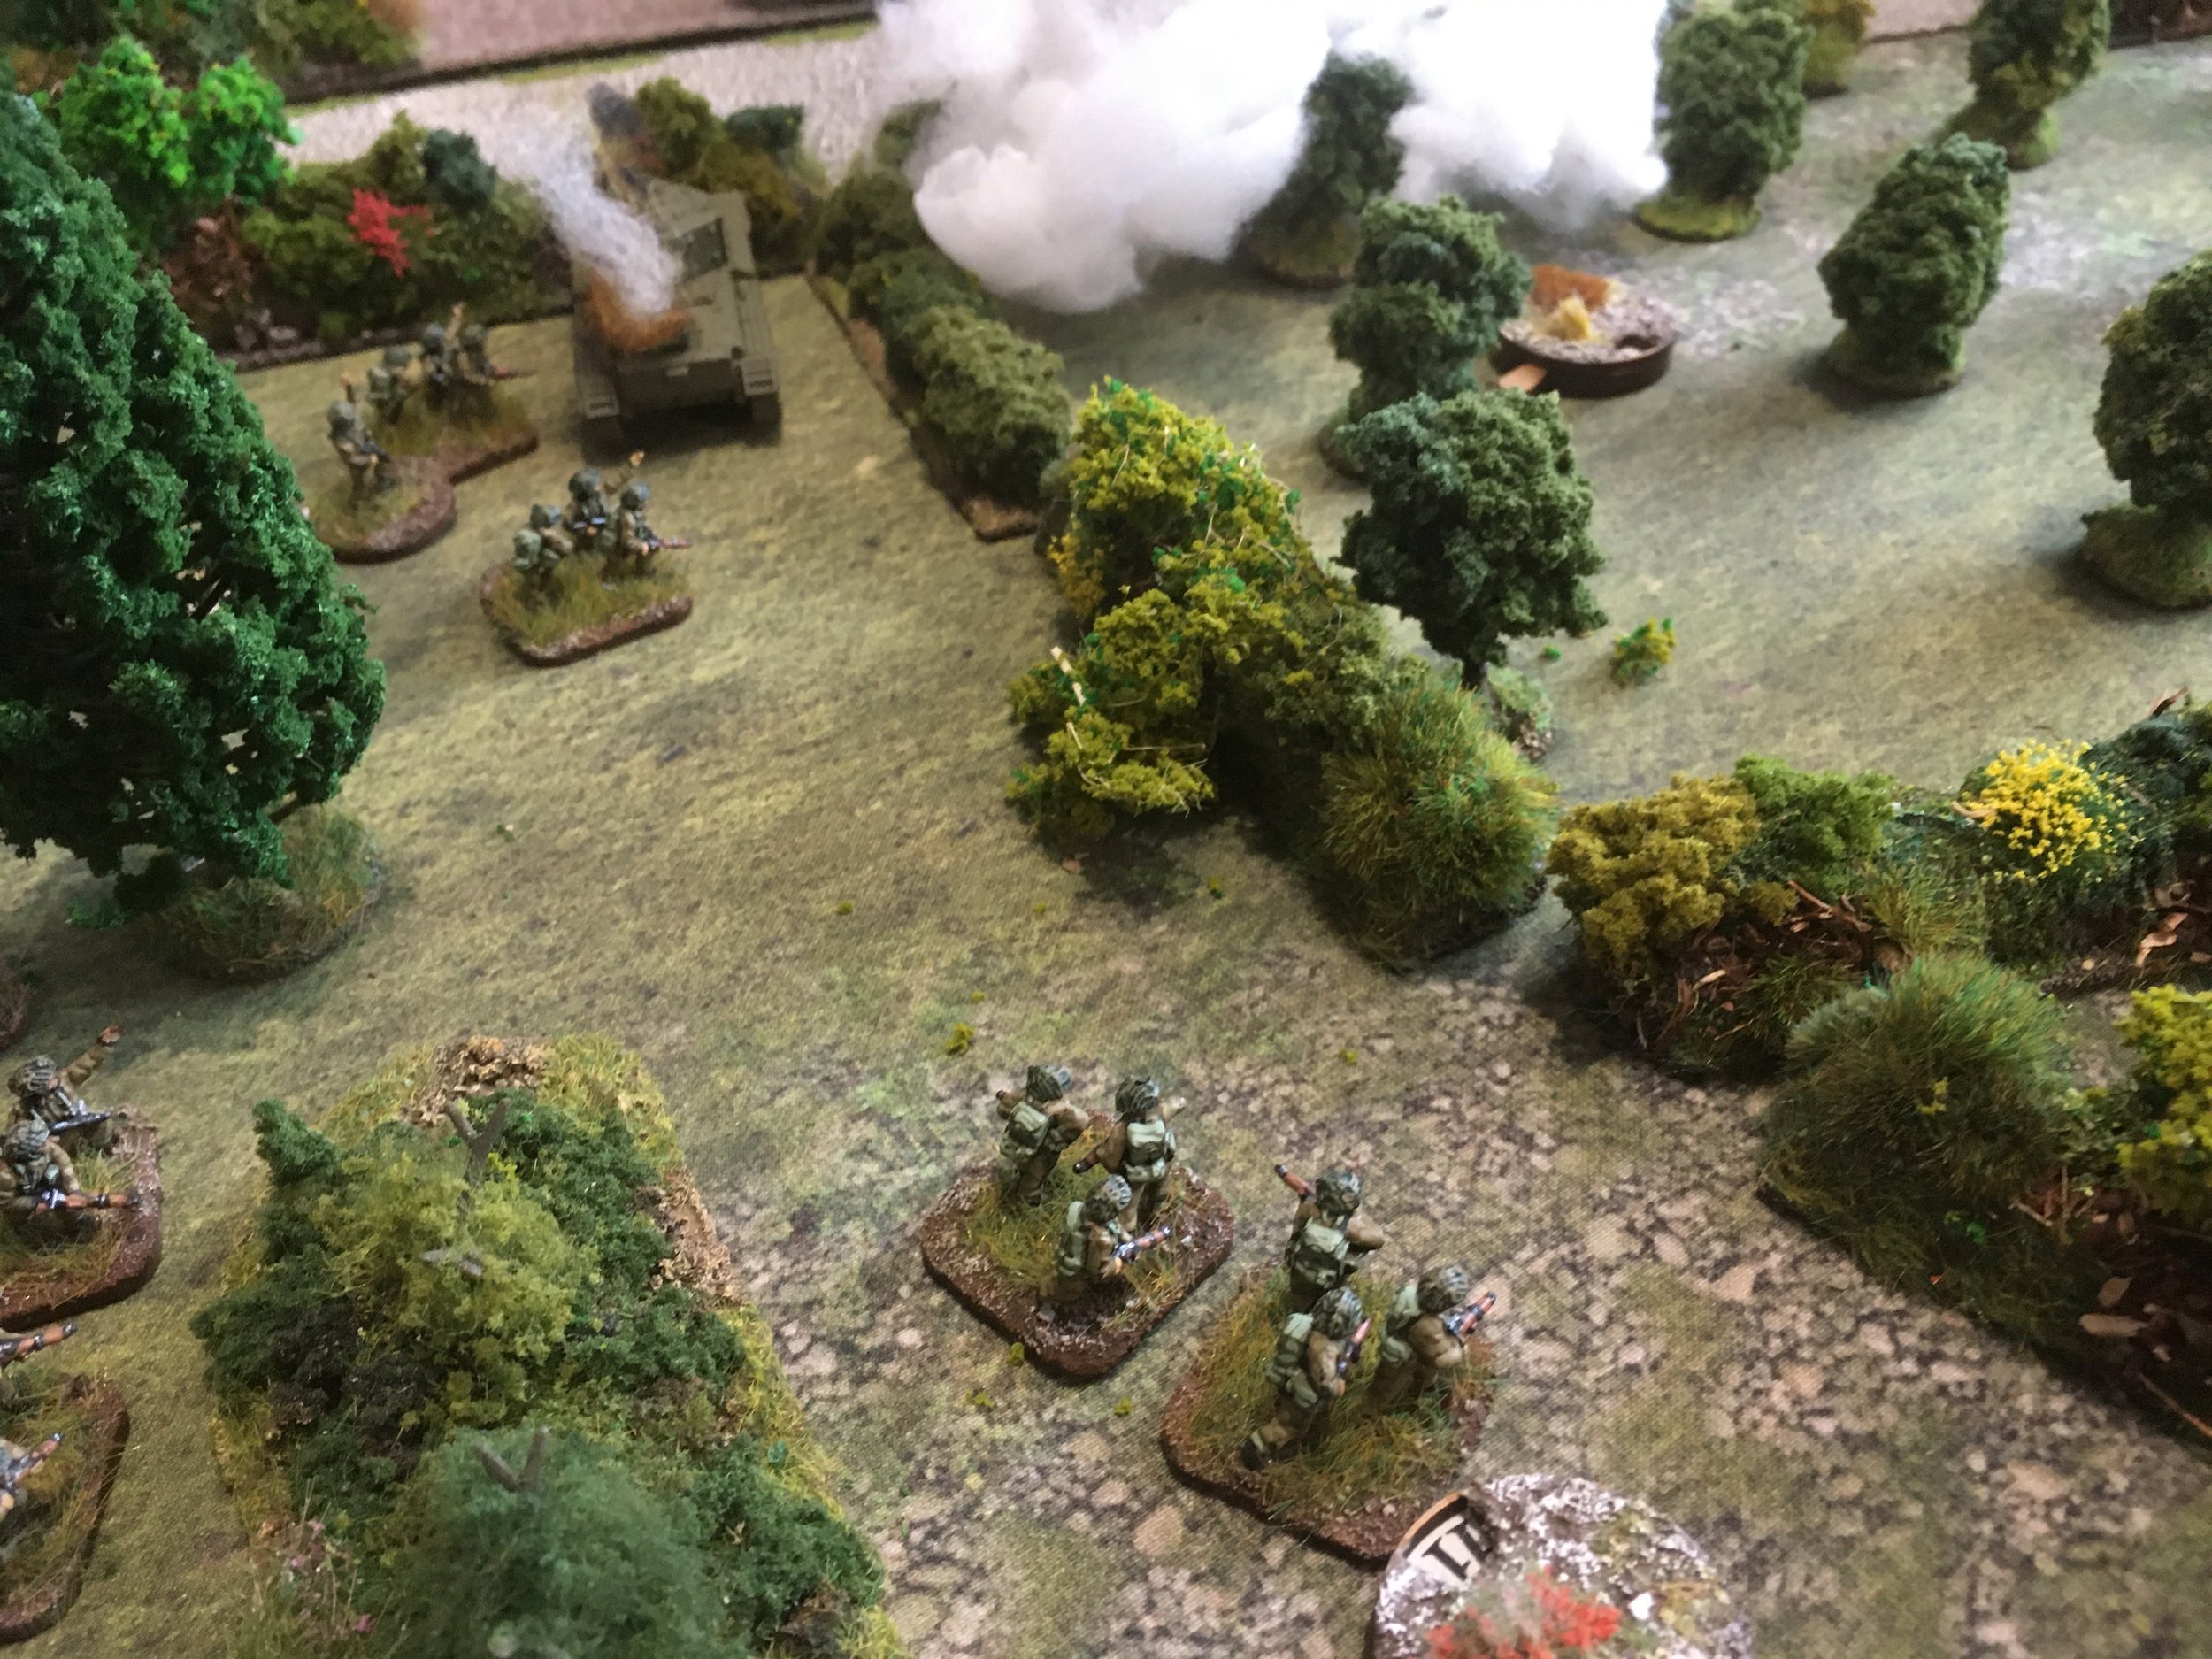
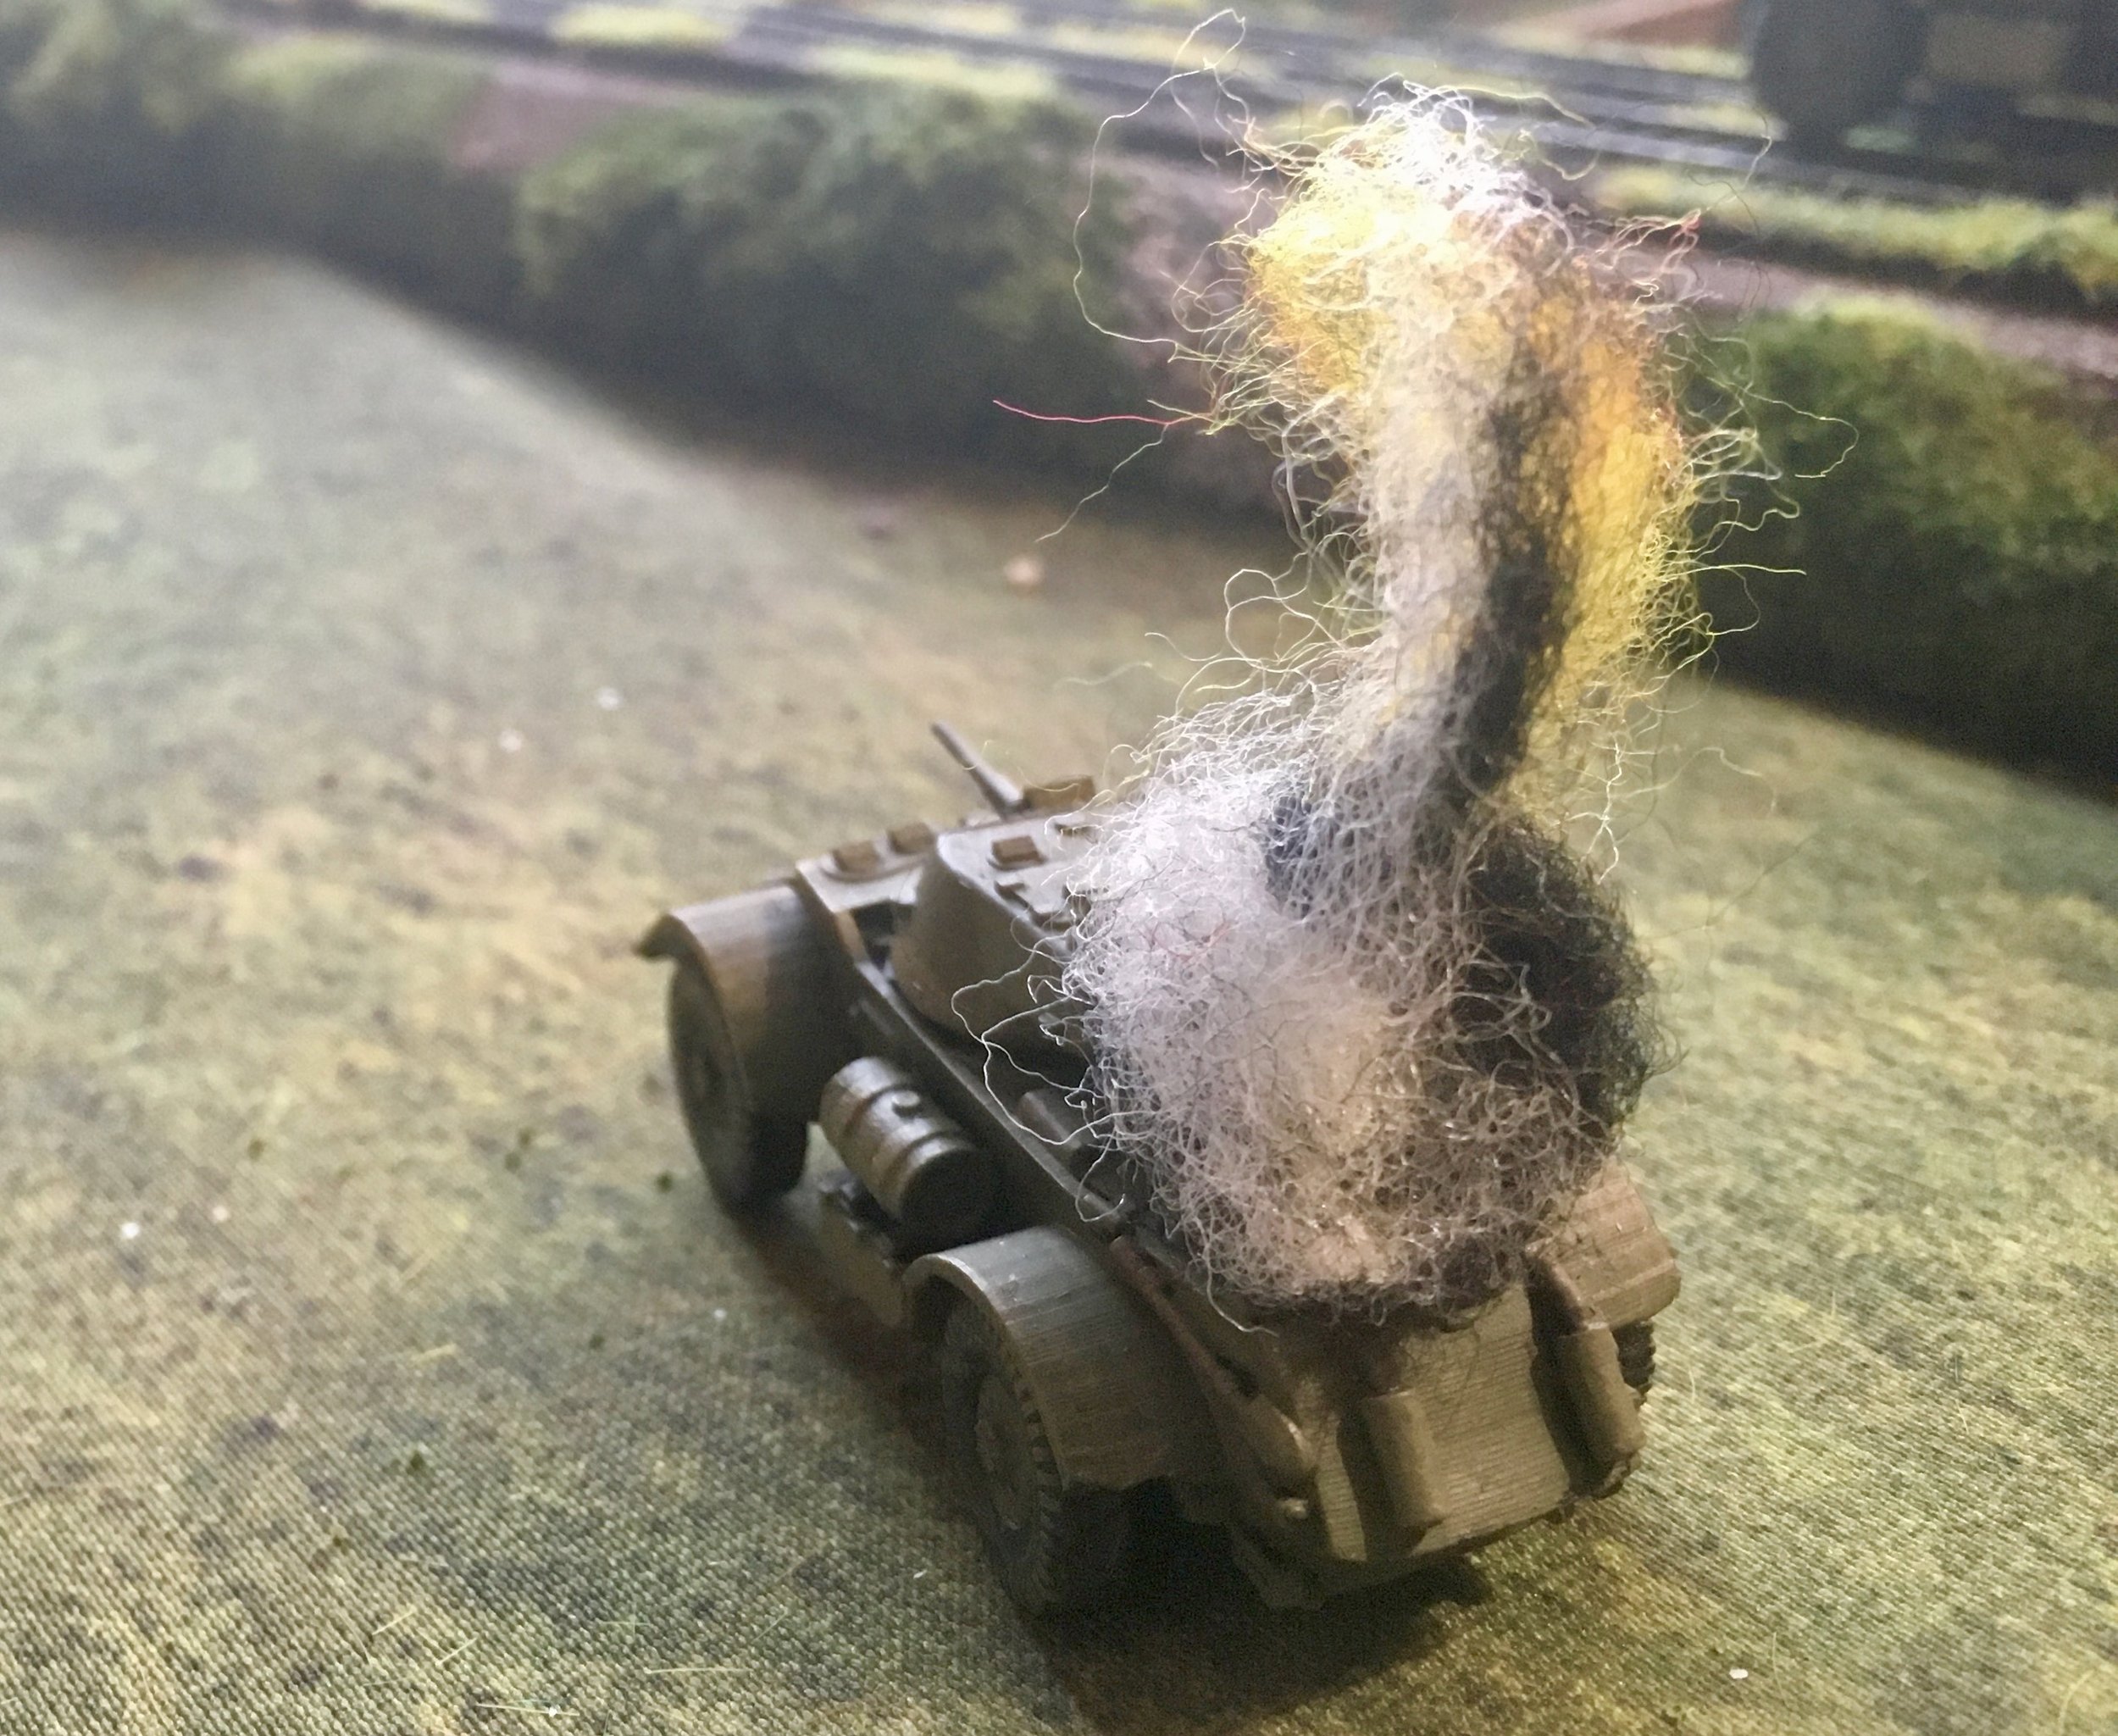
The 'schreck did get a second shot off that damaged the lead Sherman. The still mobile Staghound also got bogged along with a M4 from the HQ troop.
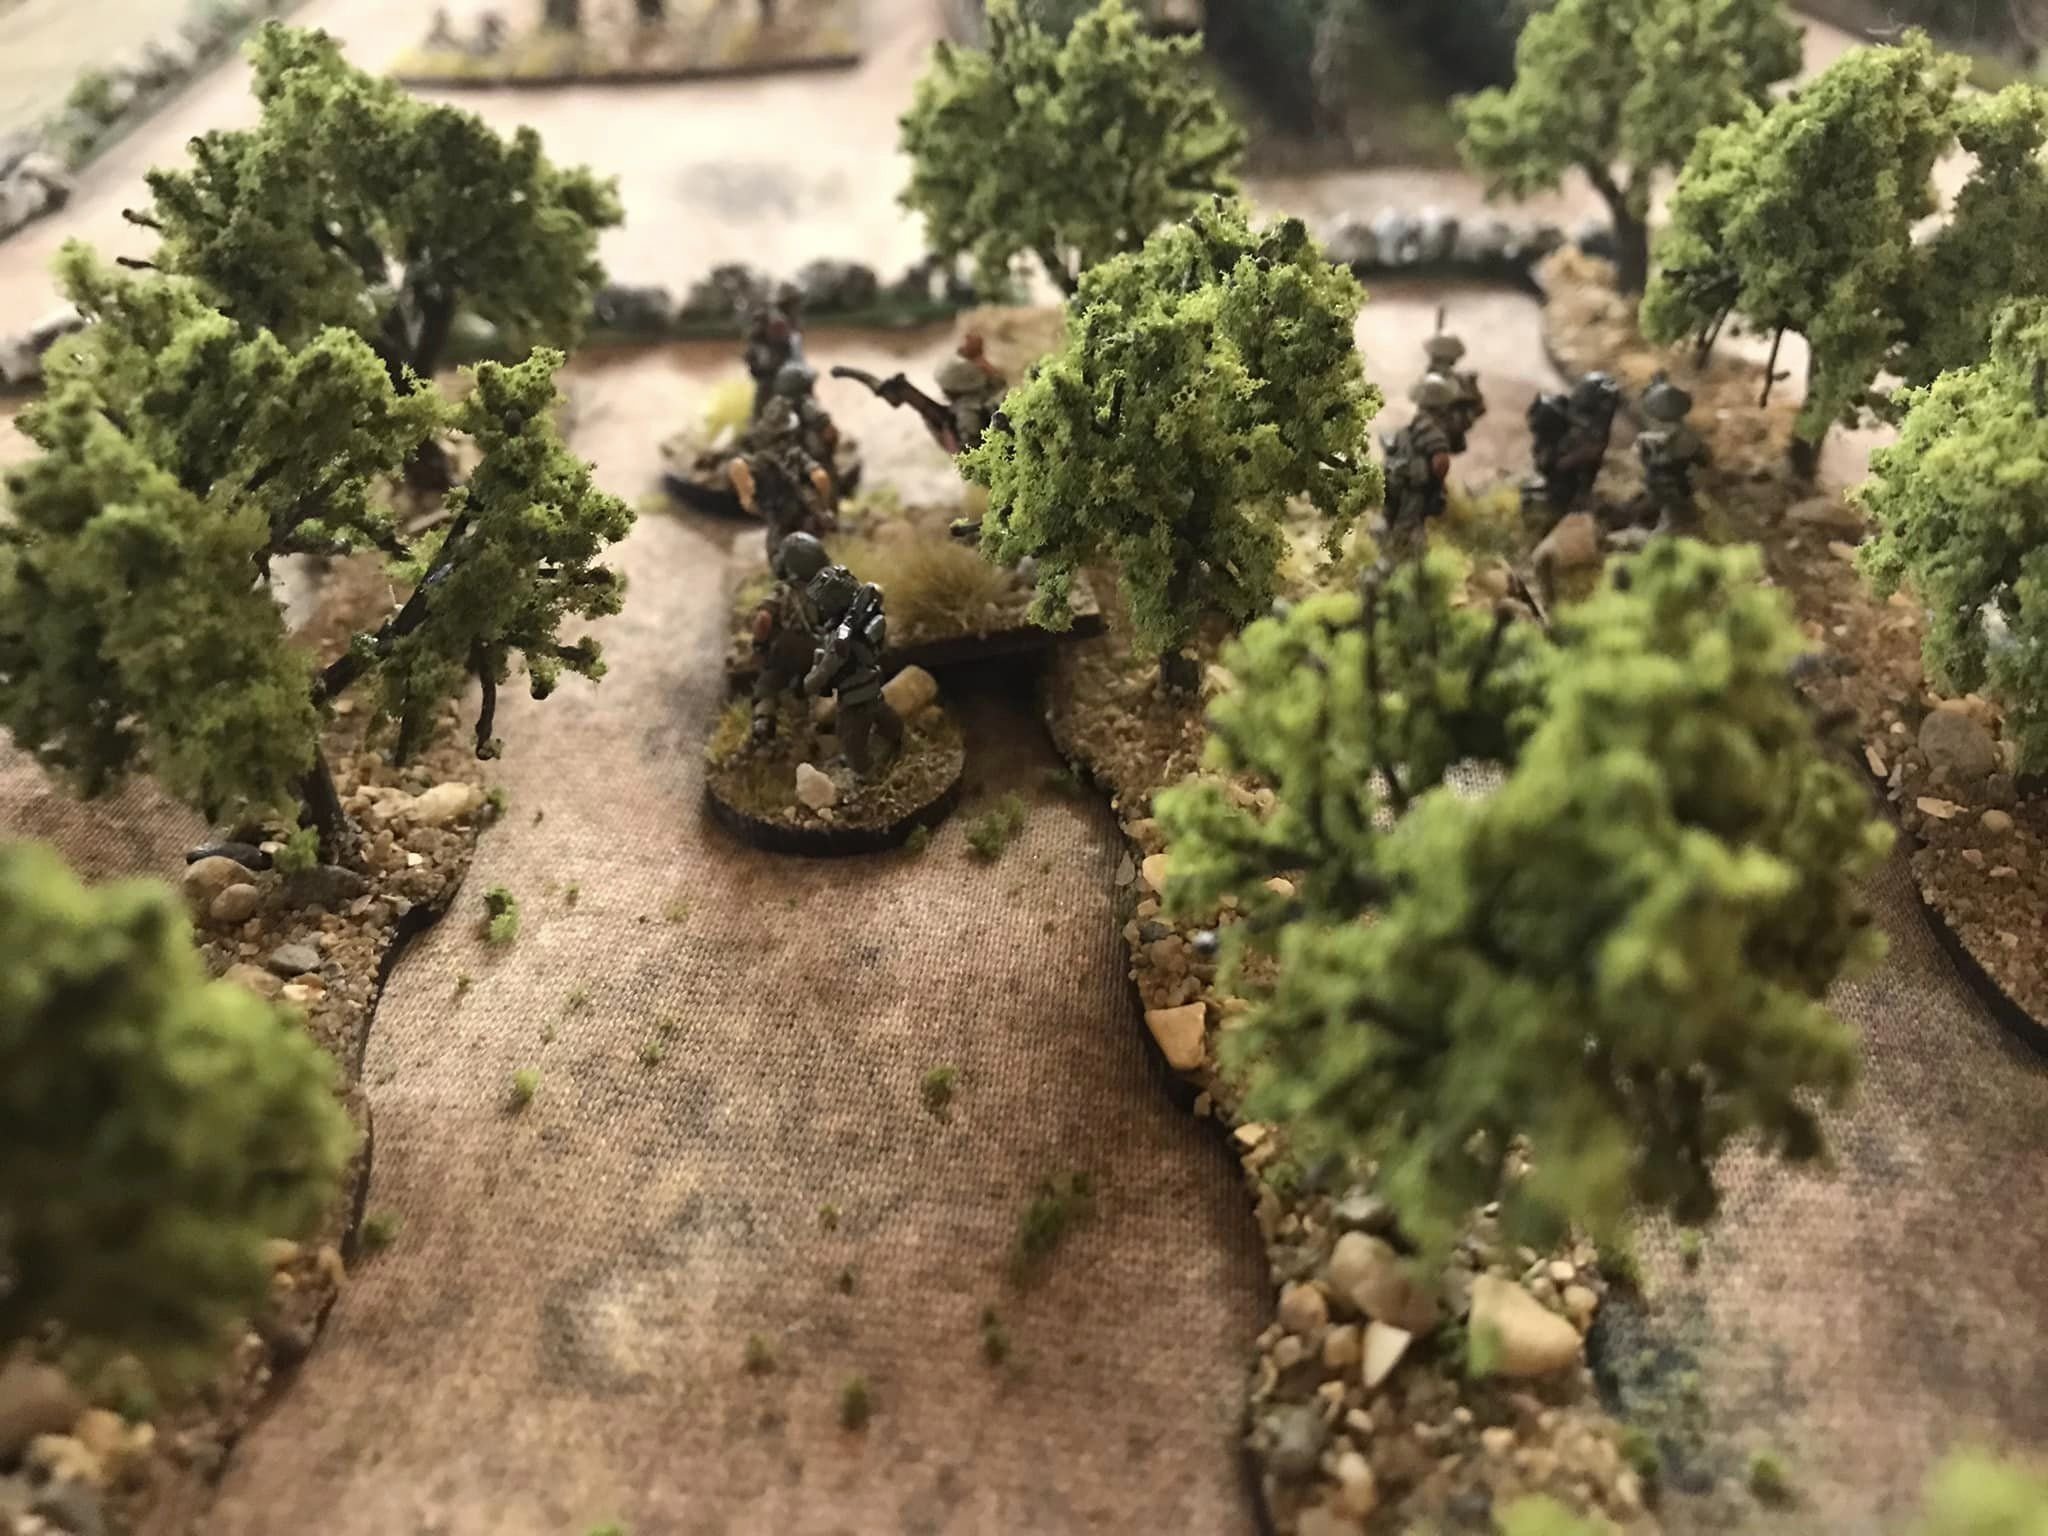
The German FO teams are leading the dash to the rear. All the other grenadiers are also re-locating to the northwest. Some quicker than others.
The Germans didn't have a real chance but certainly could've caused more damage if the artillery had arrived and the PzIVs were more effective.
Overall casualties for the New Zealanders were 22 and the company CO killed. One Staghound immobilized and one bogged. Only one M4 damaged and three were bogged One infantry platoon and one troop were still on Blinds at the end.
The Germans had both PzIVs knocked out and lost 16 men out of 40.
From the official history:
The German engineers had prepared four demolitions along the northern road, but it was not until they were half-way to Melone that the tanks, though under frequent shellfire, were delayed by cratering.
It was by then nightfall, and the Germans who had held the line of the road during the day were falling back. Our own infantry followed hard on the heels of the German rearguards, who stalled off pursuit by a second demolition, by small-arms fire from the cover of village buildings along the way, and by blowing up in the middle of the road a lame tank which had been towed back from the main road junction.
Near the village of Salarola three Germans tarried too long and fell prisoner. One of them, coolly directing the retreat of his rearguard, was the 27-year-old commander of I Battalion 9 Panzer Grenadier Regiment, by reputation ‘the most capable and bravest’ battalion commander of 26 Panzer Division.
Still the men of 2 Motor Company pressed on in the darkness and they were nearing the junction of the two lateral roads when a third demolition was blown in their faces, making a hole about forty feet across. This in turn they skirted, only to find the enemy covering the road from posts sited in the prearranged delaying line before the Melone–Orsogna road. Not until next morning, the 3rd, did the company confirm the enemy's withdrawal from this position – a hurried withdrawal, it appeared, from the amount of abandoned equipment left scattered about.
Mark Luther

A great game with mates on Sunday. Scenario was Canadian VC from the pdf rulebook.
Game #2 and I’m in. We ran out of time but was unlikely the Canadians were going to grab the crossroads. Learnt a lot. Will bring in fire support next game.
Ken Snell

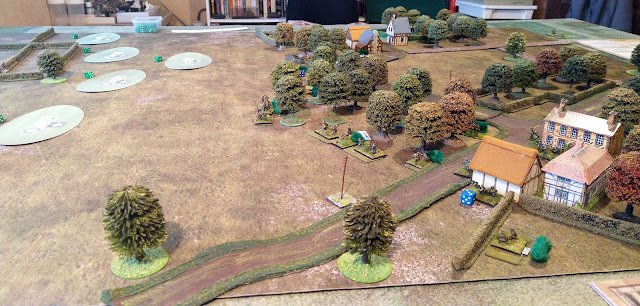
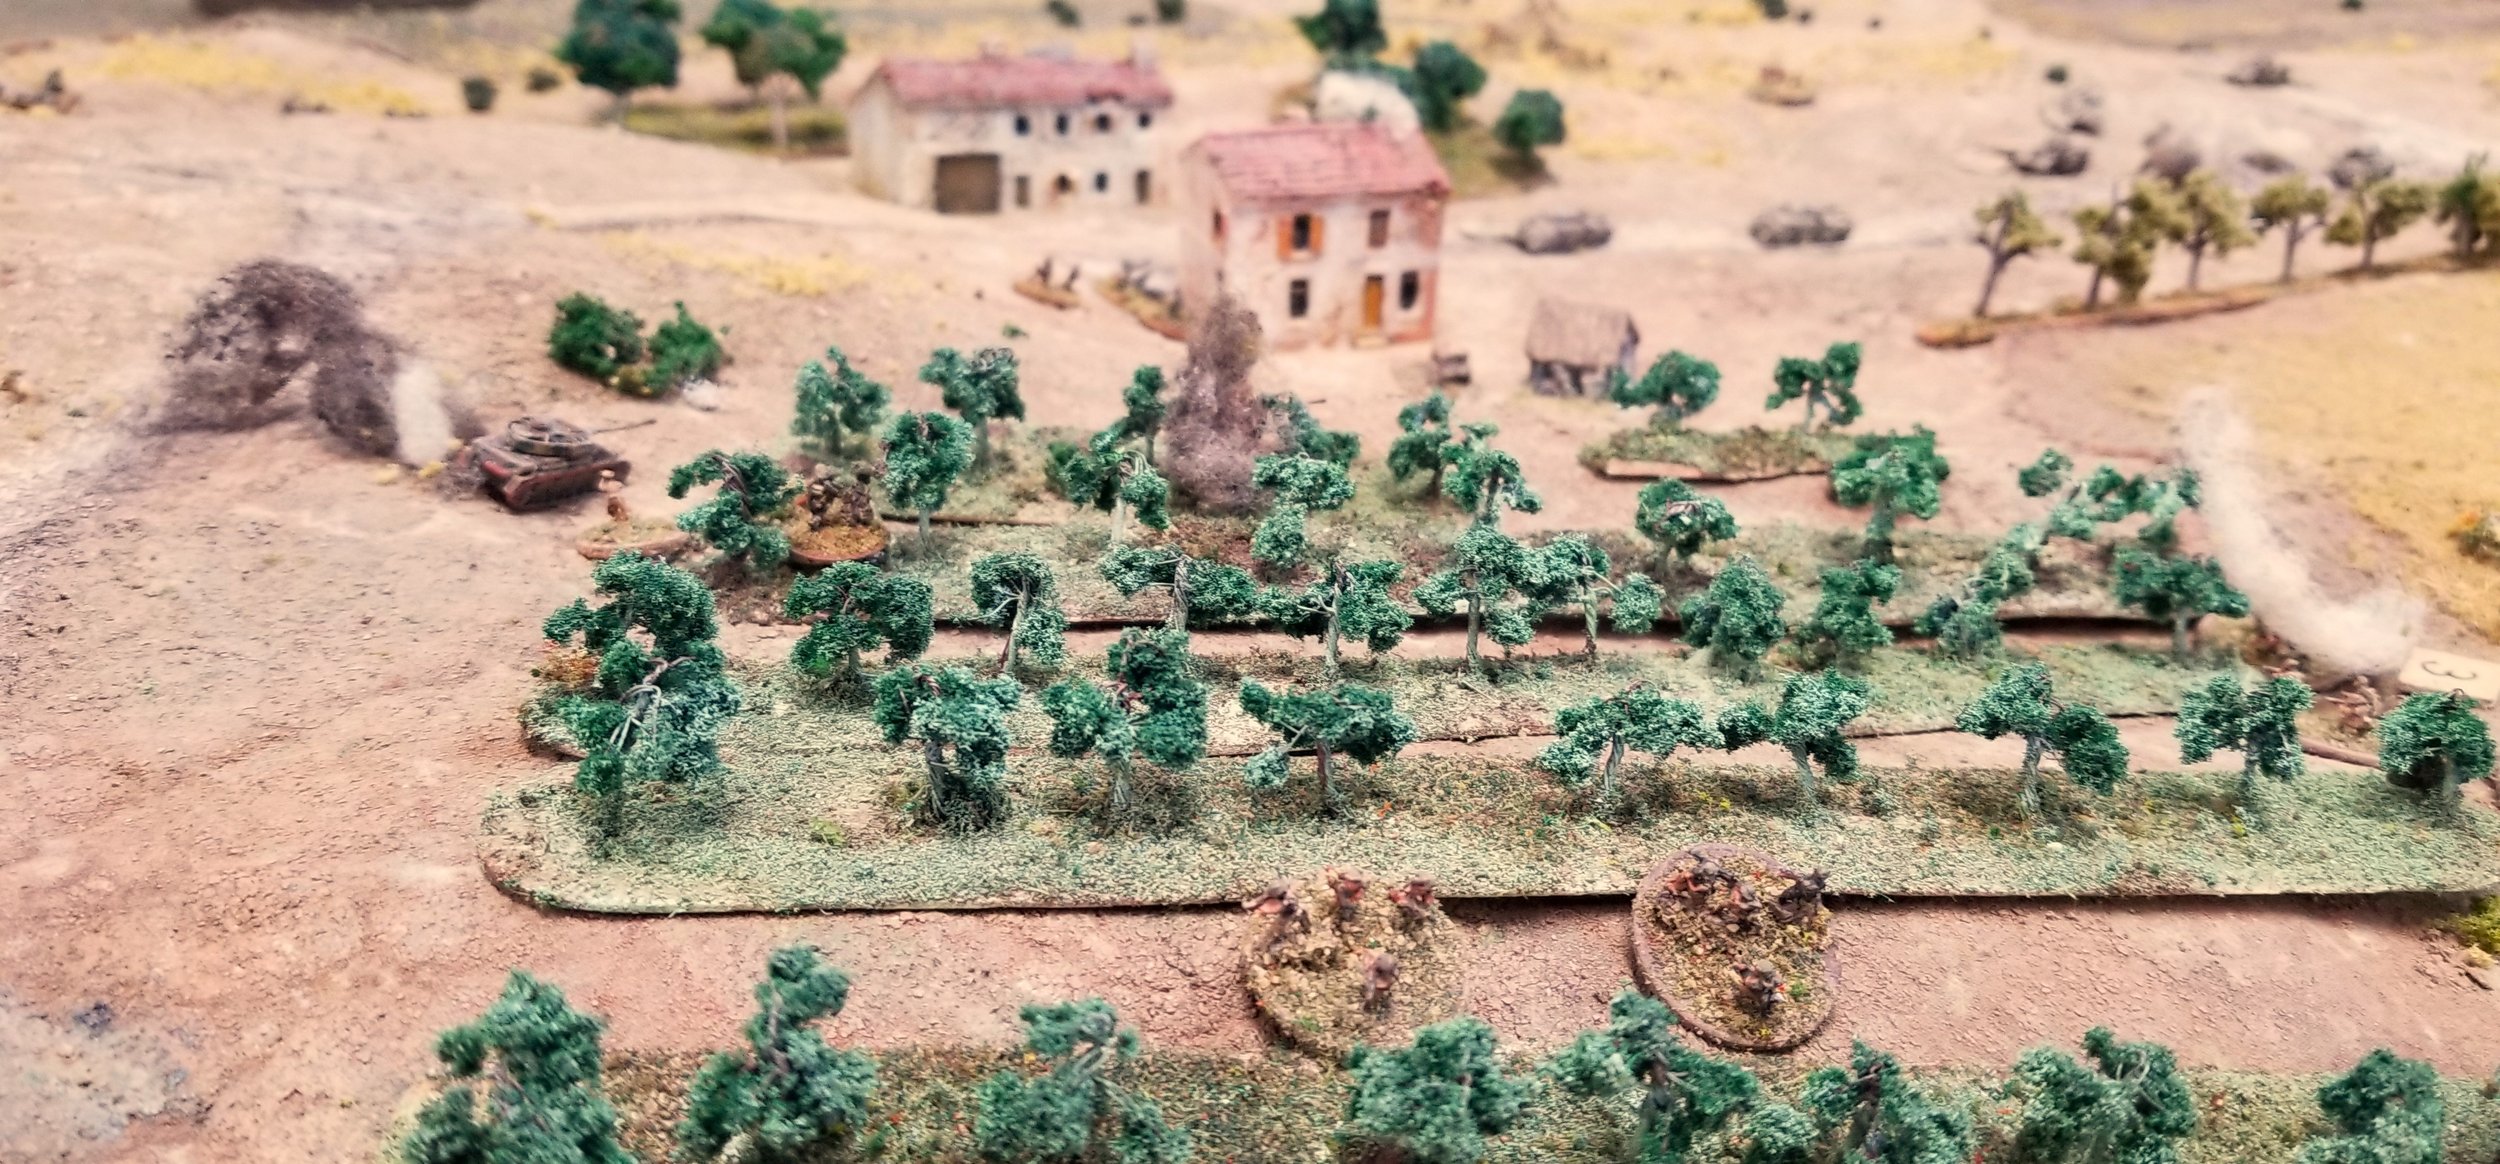
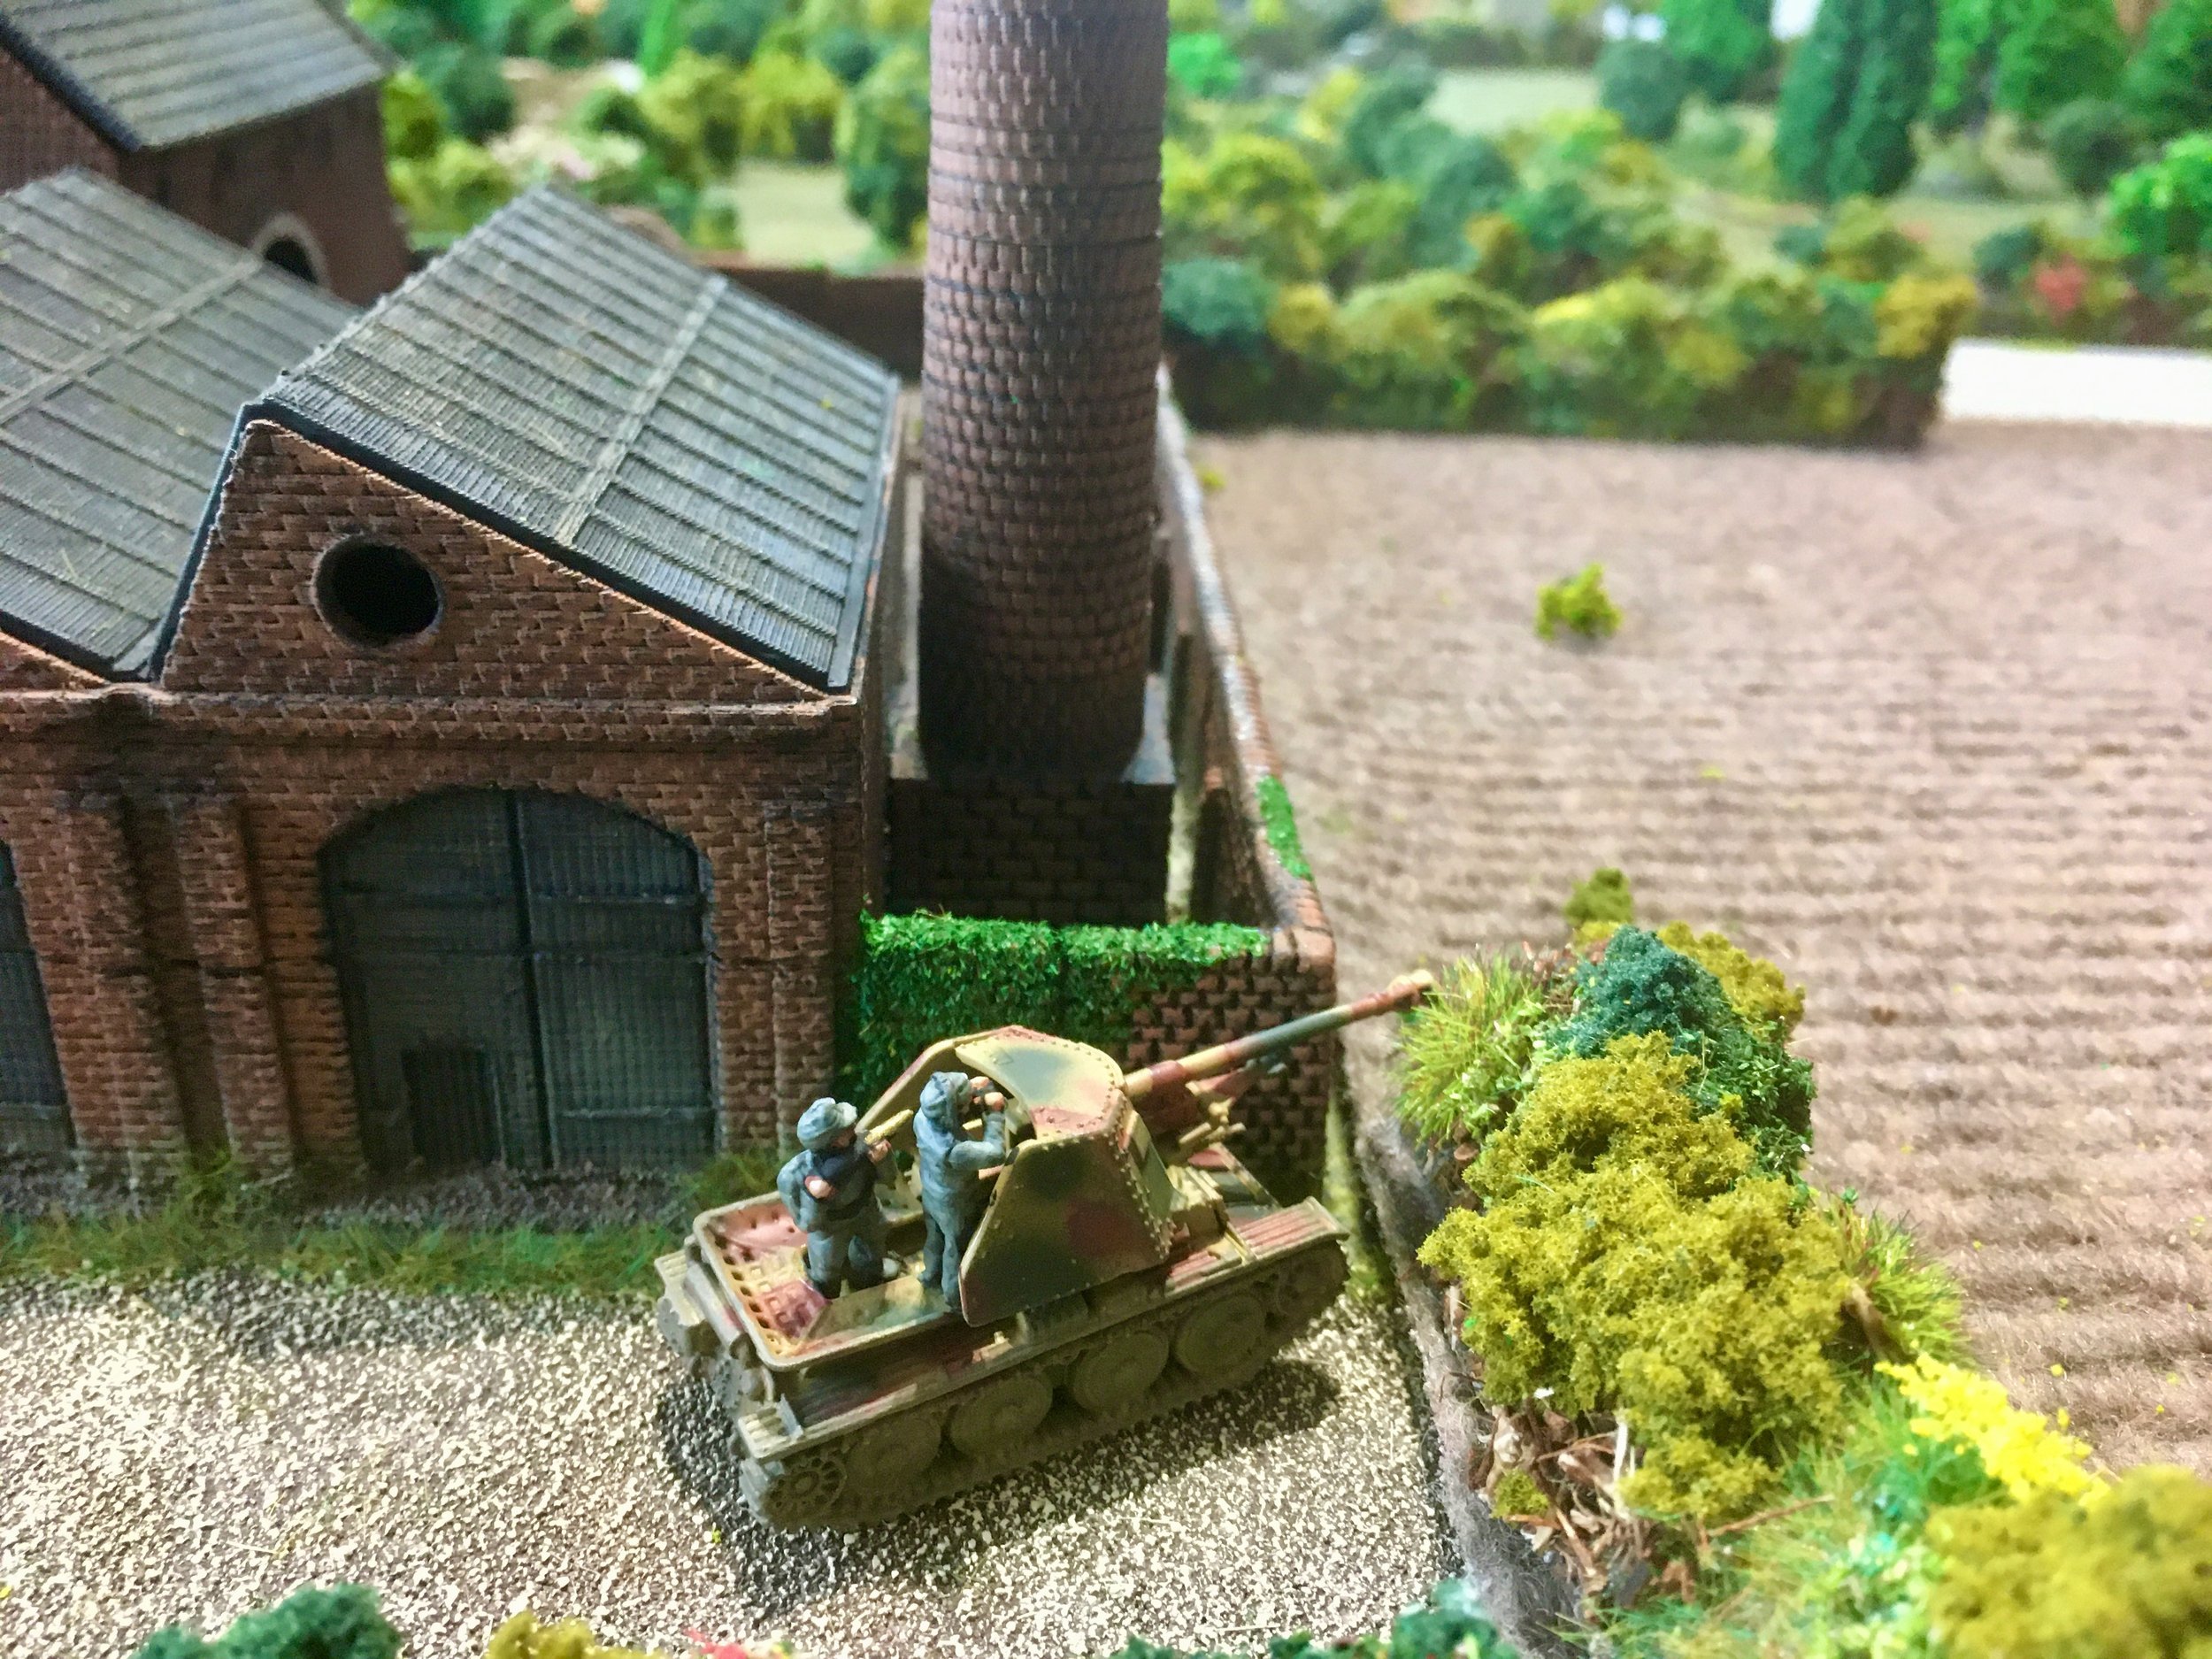
Doing the north shoulder of Kursk always gives me a chance to break out the big guns!
This game takes place a few days into Citadel with the German offensive running into a counterattacking Soviet force in wide open terrain.
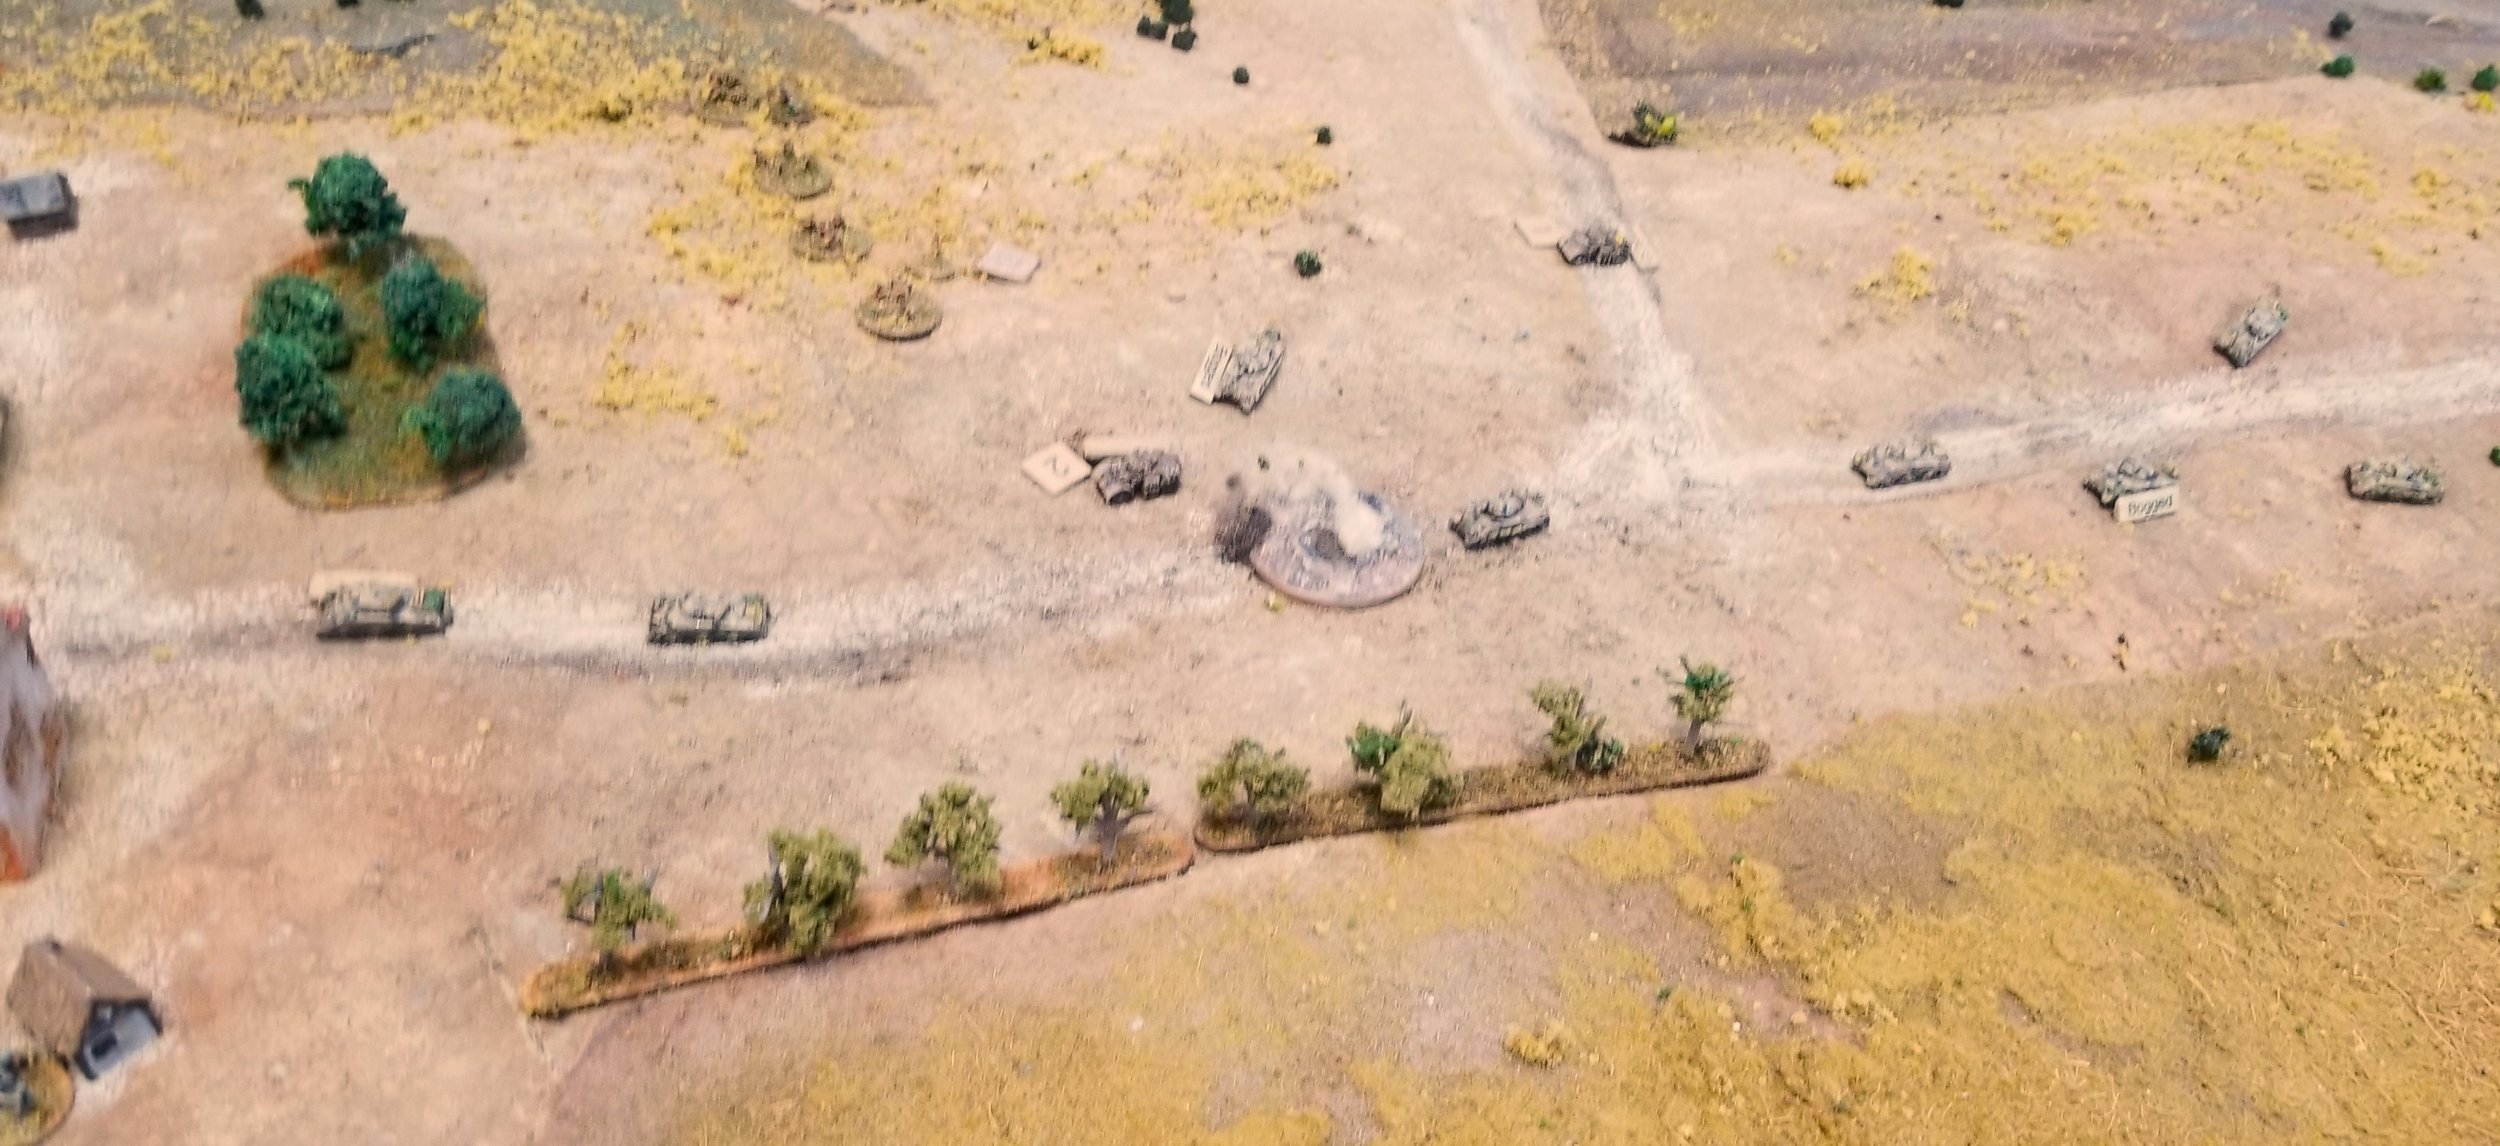
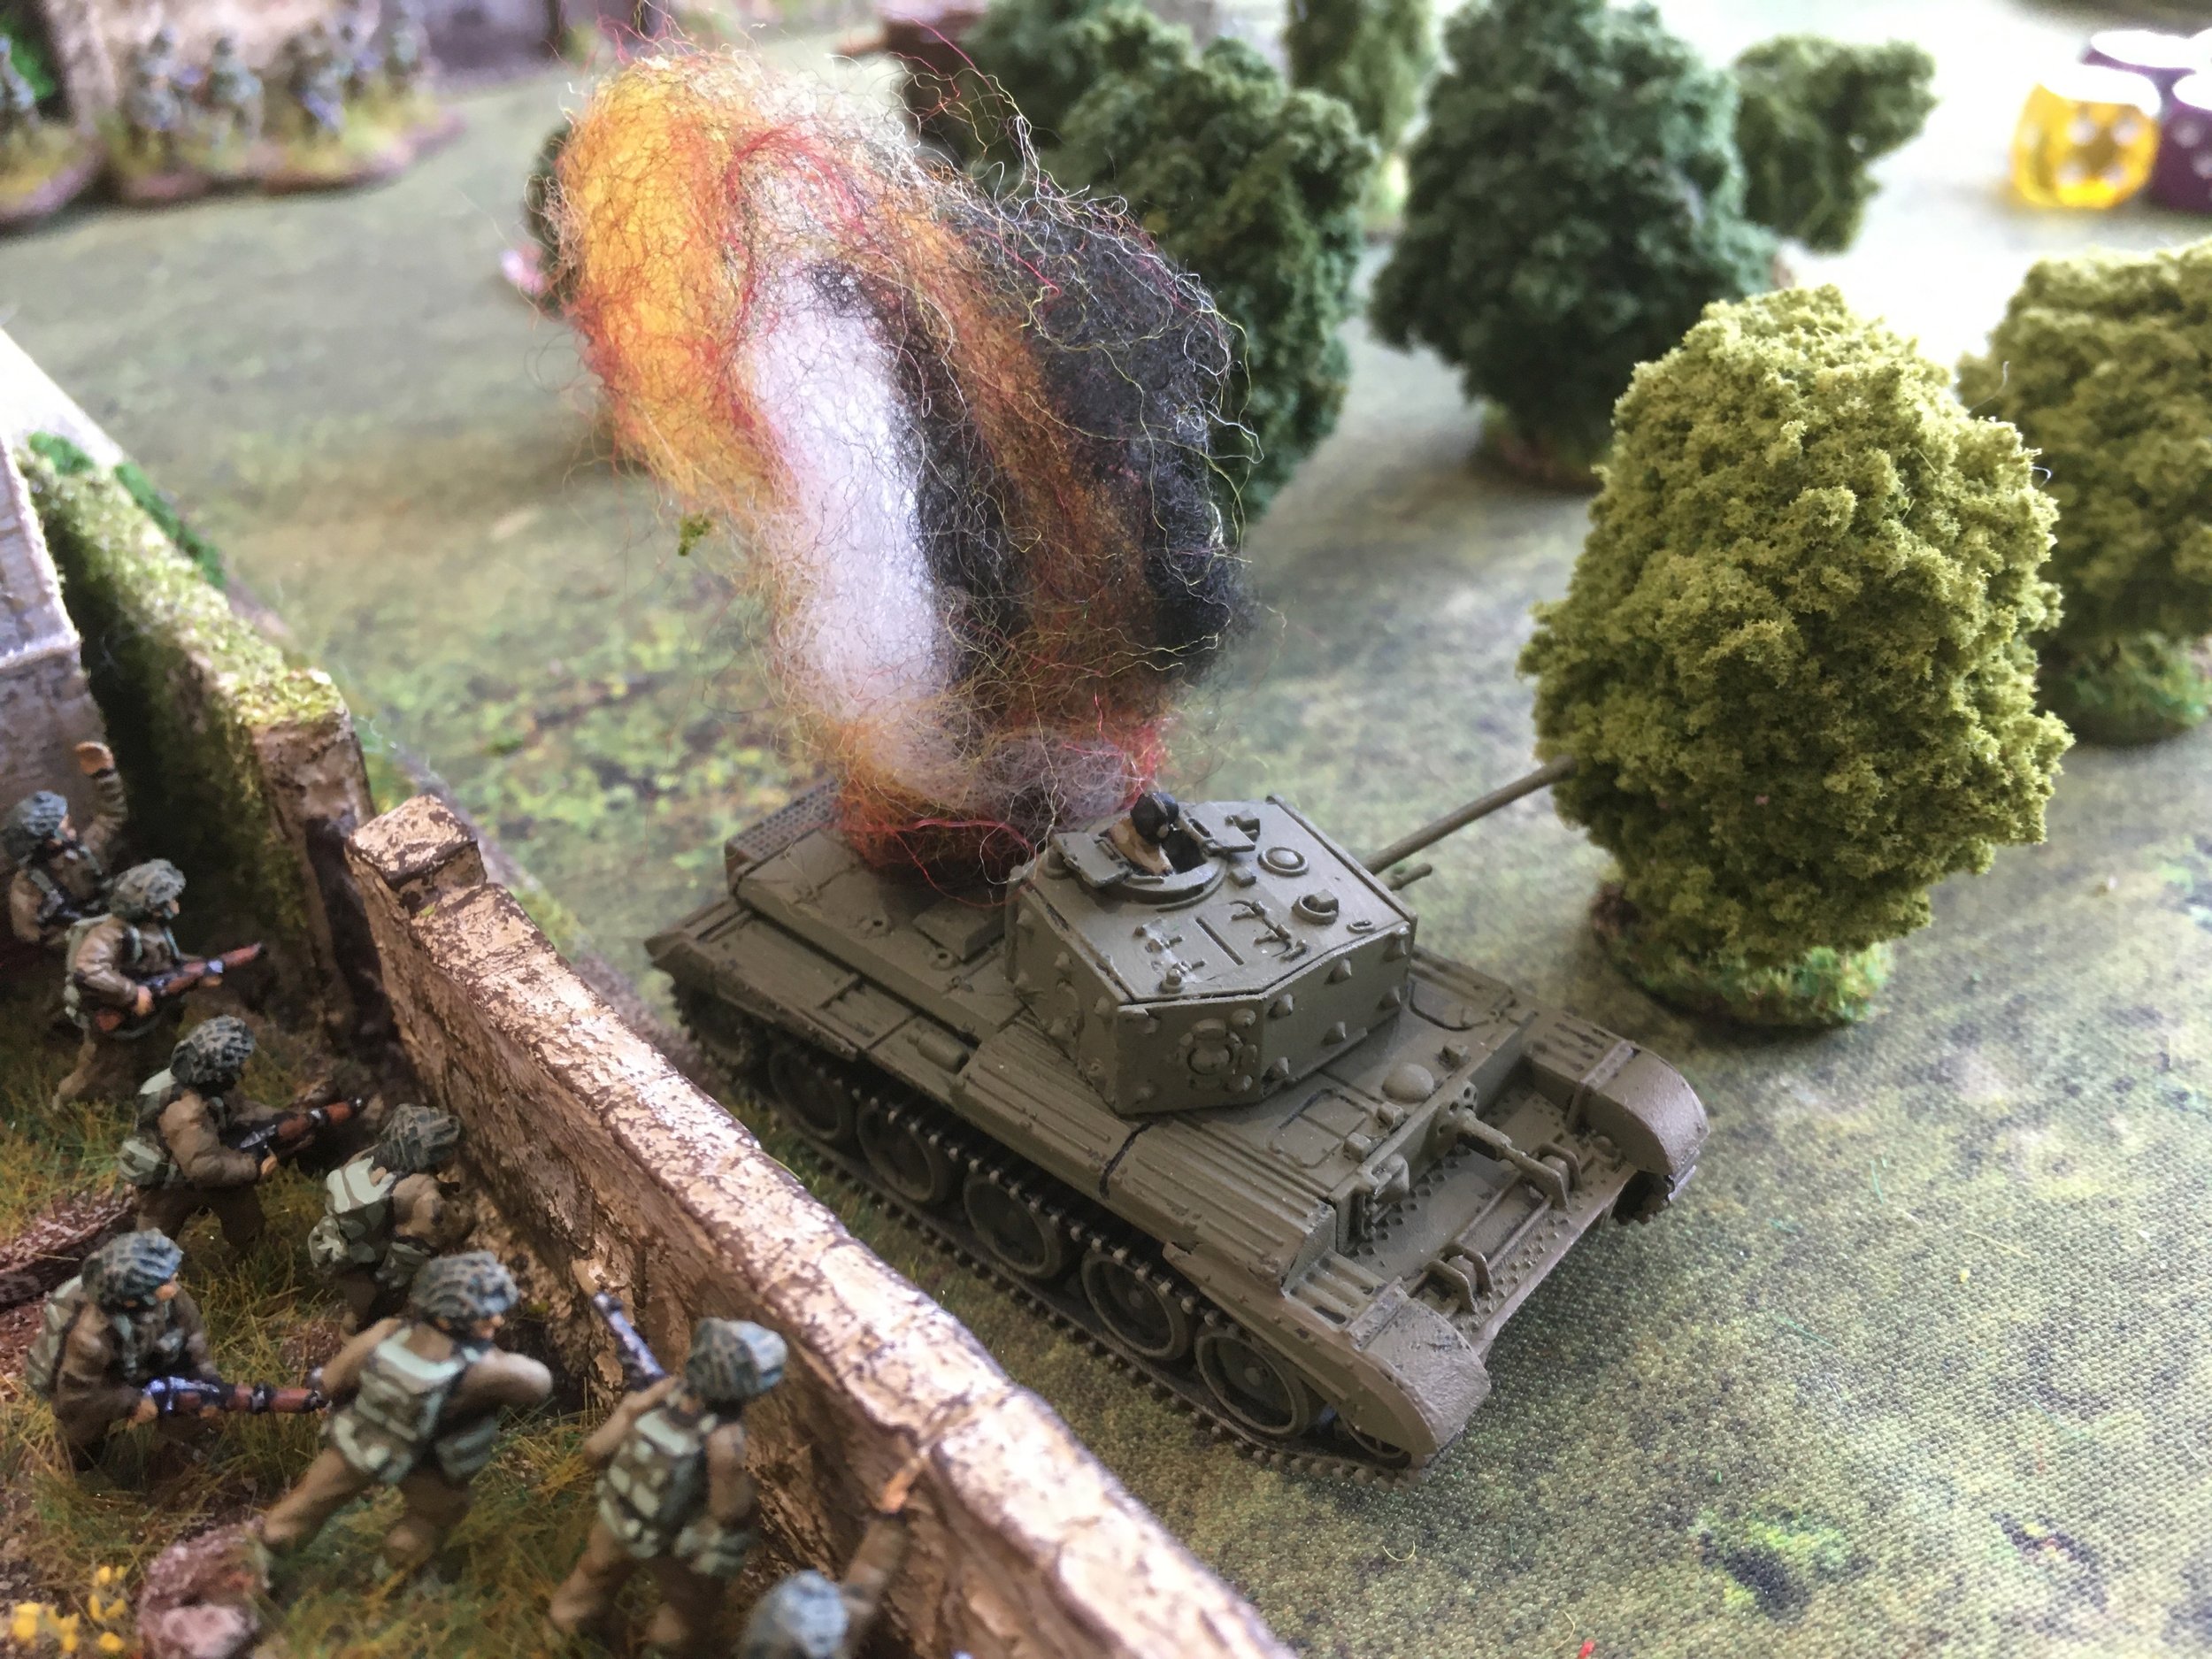
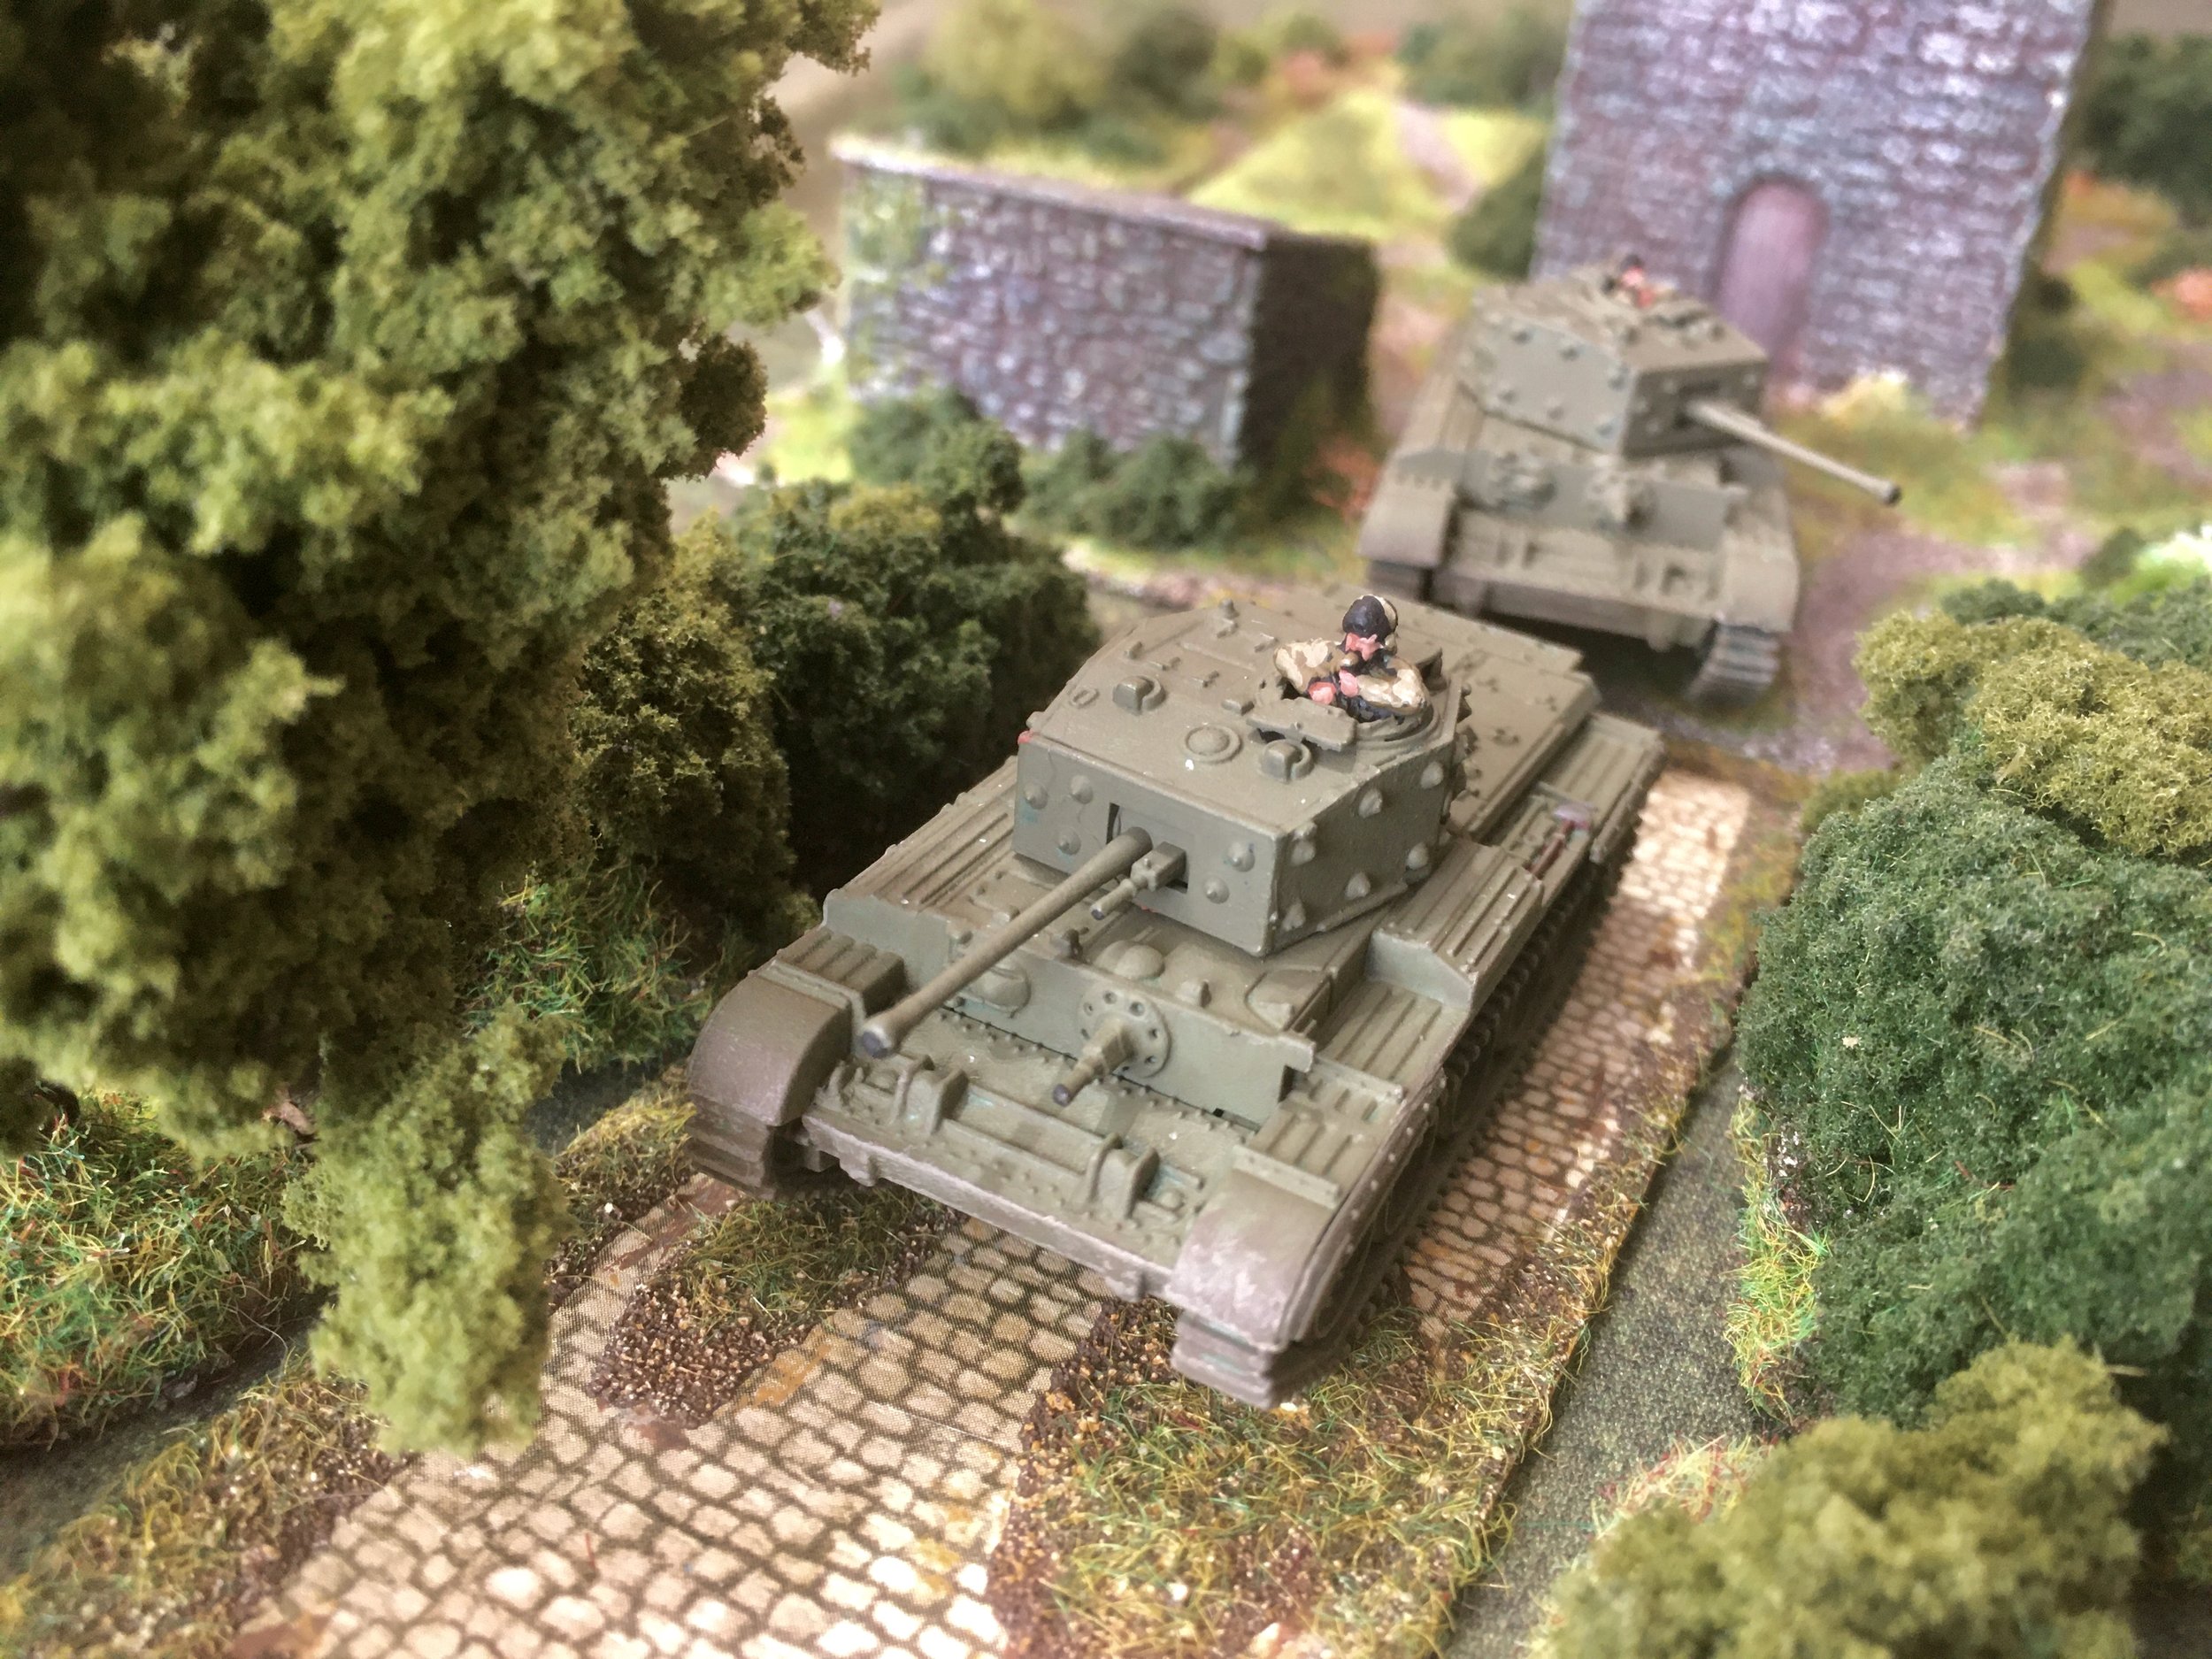
The German players had 4) Ferdinands, 3) StuG IIIs (with 2 Tank Aces), and 2 StuH42s of StuG 244. German infantry consisted of a weakened company of Grd Rgt 507 and a pair of MMGs in support. Their objective was to continue the advance south and get a viable force off the table.
One platoon of grenadiers was to provide flank protection across the plain. This did not work out well. They ran into an attacking group of T34s from 51st Tank Brg and infantry from the 2nd Coy of 1019 Rifle Rgt. The grenadiers missed a stray stonk of arty. Throughout the game random mortar and artillery fire would appear..
We had plenty of units on the table but most were quickly unveiled in the open terrain The ground sloped slightly down from the north.
The Russian forces consisted of 2 companies of T34s (19 tanks total) of the 51st Tank Brigade and 2 companies from the 1019 Rifle Rgt.
The left hand German platoon (which had only 2 sections) was helped by the Ferdinands dispatching a platoon of T34s.
No need to stay on the targeted T34s Most sections hopped off as soon as the German stated shooting.
The long range advantage of the panzers cause the T34s to halt and offload their infantry just a few moves onto the table.
Grenadiers still not identified and under blinds to their right Russian tanks were too busy shooting at the German armor and the infantry were scrambling in the open, so the grenadiers were ignored for awhile.
StuGs and Ferdinand go after the tanks and grenadiers the infantry. A very target rich environment.
Germans were facing 2 to 1 odds and were suppose to maintain the attack Fortunately this part of the battlefield was clear of mines and entrenchments.
Its a wonder they could hit anything with those bent barrels!

The weak left side platoon of grenadiers was chewed up and the Russians were turning around to attack the Ferdinands. Could the big guns out run the Soviet infantry?
One poor assault gun was having trouble moving and it was overrun by Russian infantry. The close assault failed twice and it managed to scuttle away. Meanwhile its mates igmored its calls for assistance and moved south.

Germans push south and the right side group of Russians swing west behind the advancing Germans. More artillery comes in to the west indiscriminately targeting both sides
Still 7 of 10 T34s in that company are out of action.
On to the next objective
The Germans did take a few losses among the grenadiers-who were already at 2/3rds strength. The 3rd platoon on their left was wiped out. No real damage to the assault guns.
The Soviets took in on the nose in the exchange. 15 of 19 T34s were out of action. The infantry company on the right was in okay shape only losing 1/3rd strength. The other company facing the bulk of the grenadiers and StuGs however lost at least half of their men
German victory but the followup units will have to fight their way through Russians occupying the German start line.
Mark Luther


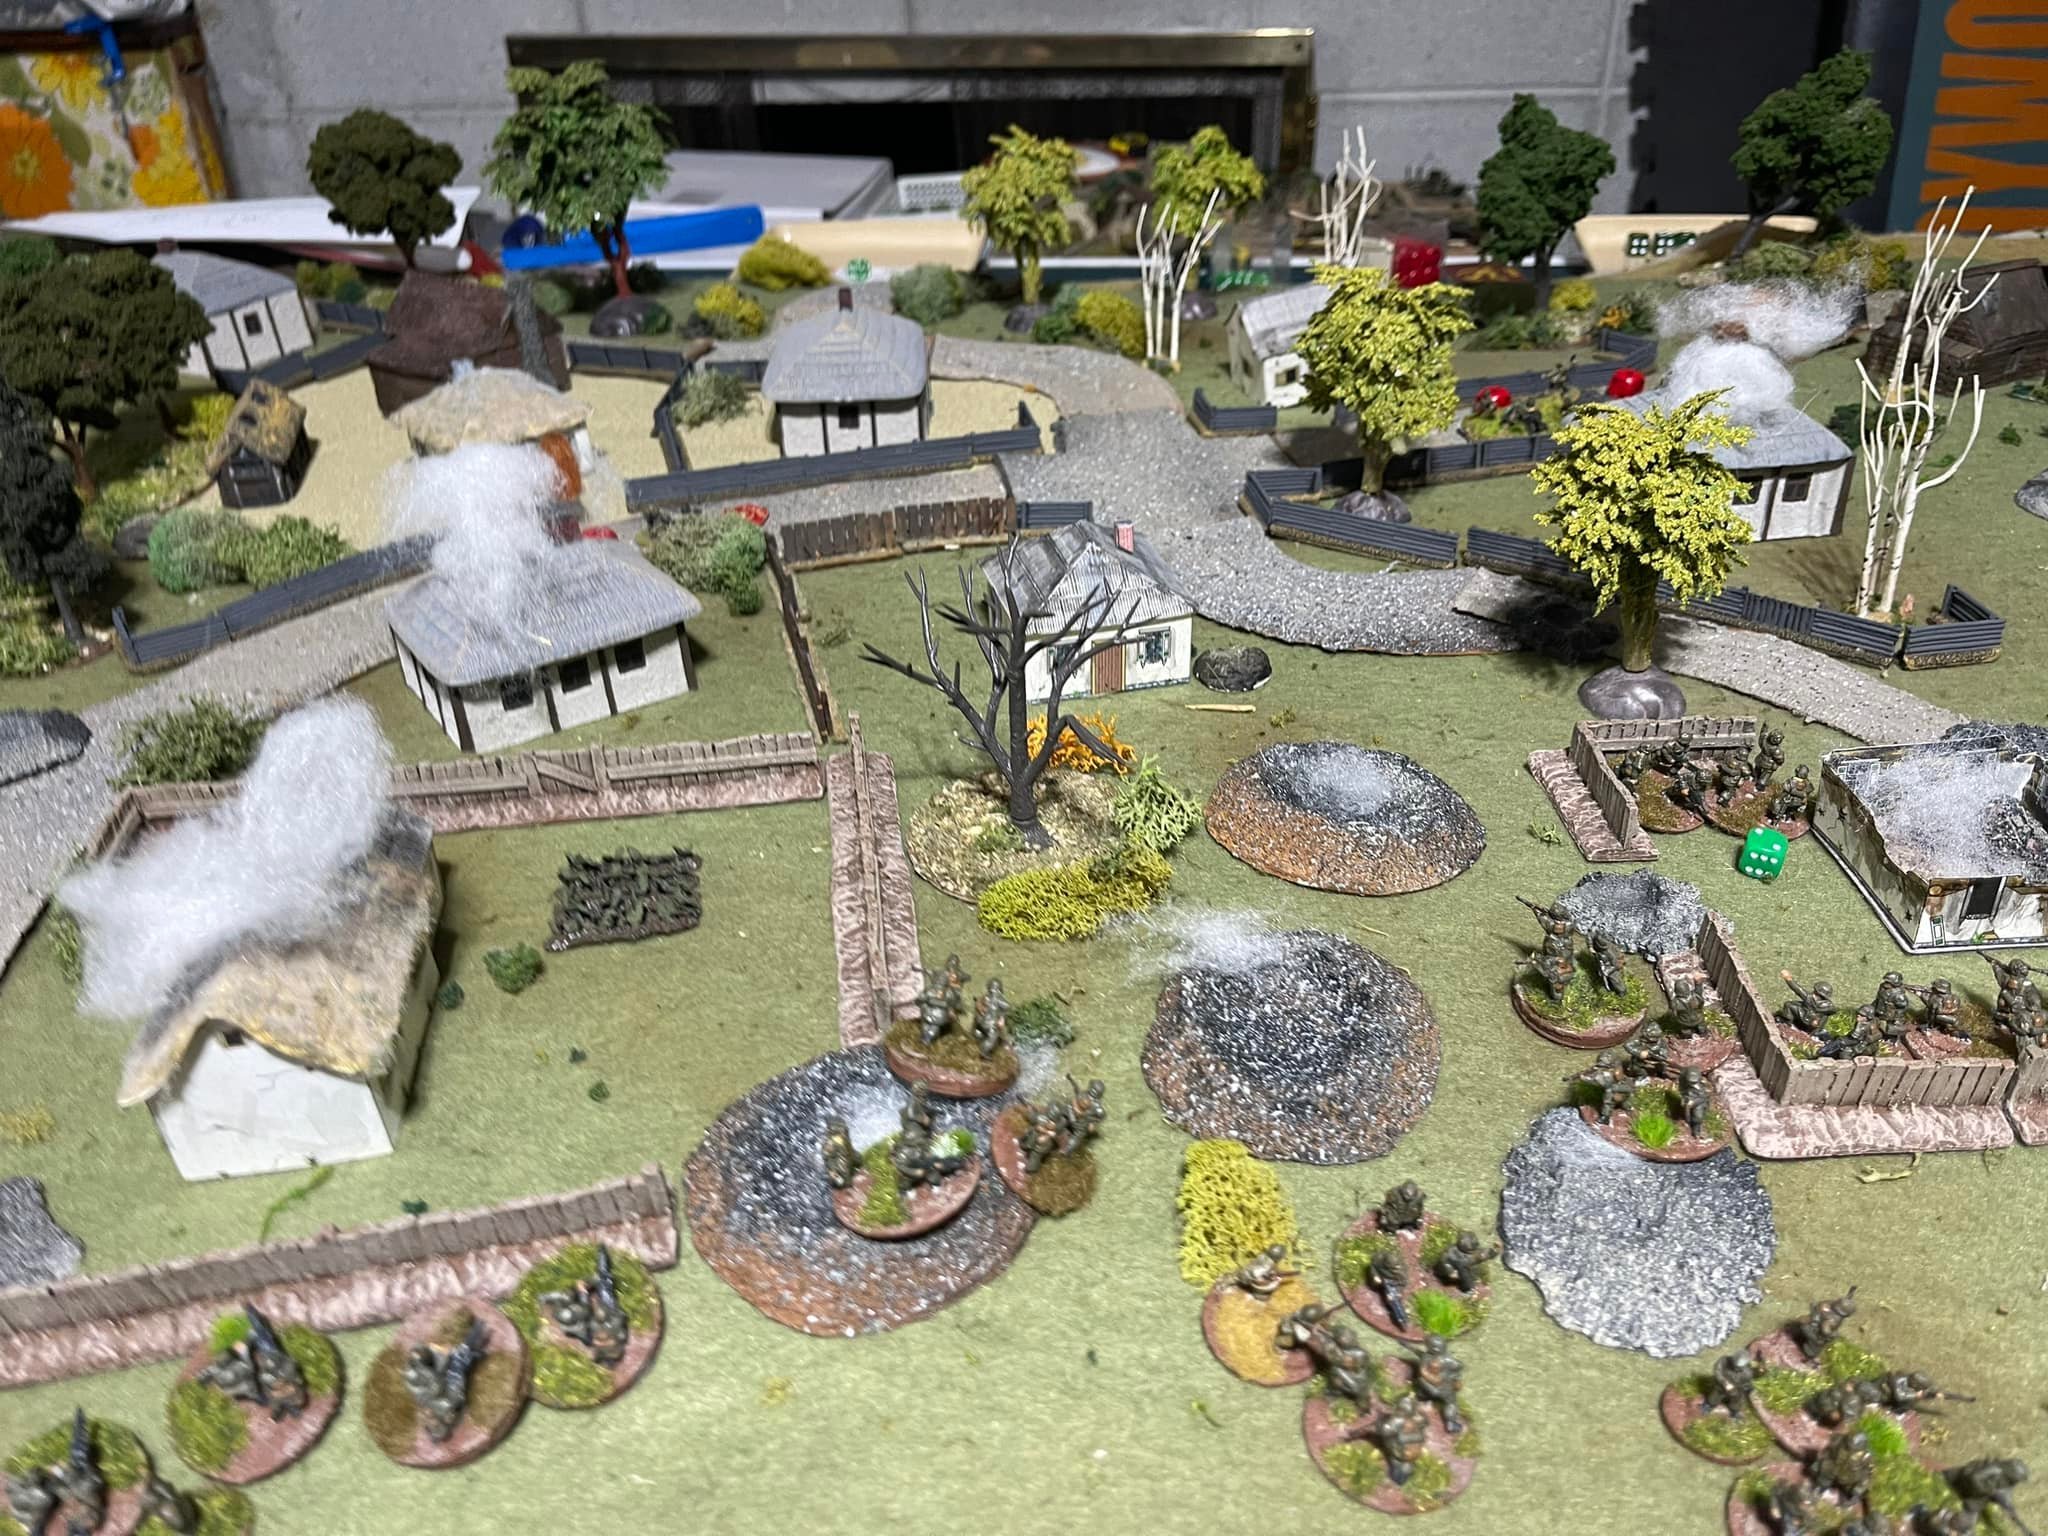
Three weeks past, Reynor Padilla, Bruce Ross and I played *Storming the Citadel* PSC table 5, CoC leveled up to IABSM (just times-ing everything by 3 kinda).
So far Grossdeutschland has swept all games including this one, which was a fall-back for Russians from the lost village of Butovo to the next one up the road, evacuating wounded in trucks and horse carts with the remnants of the original rifle company. 3 PG mounted platoons plus 3 tank platoons went tally-ho on the defenders, leaving a mess of screaming horses and a burning caravan.
The remains hightailed it out to fight another day, but not before calling in two Sturmoviks with bombs and rockets (first time we used air) plus a regimental battery to keep the wolves at bay.
Learnings: choose the slow (for Russians) predictability of arty vs. the 1/3 chance for the plane to circle back for another run if your precious activations (if using CoC dice like we are).
Also, giving all the PG platoons their Hanomags with MGs, too, is firepower overkill…so we’re still working on game balance (only 1 PG platoon should be mounted) as we prepare the last village battle of this bend in the Kursk narrative here.
Will Depusoy

Mid-game of Board 4 “Storming the Citadel” PSC adapted for IABSM. In this game, 67th Guards for the Soviets are hiding in the village of Butovo and Grossdeutschland has to ferret them out before cutting the Kursk salient.
The game looked great, with Panzer IV HE setting straw roofs afire, and poor shots all-around due to the multiple linear obstructions.
Three Kats duel with a pair of Zis-2’s for the highway, whilst the six remaining Russian squads in this campaign stretch get whittled down by dismounted Panzergrenadiers with an extra fire dice.
Will Dupusoy

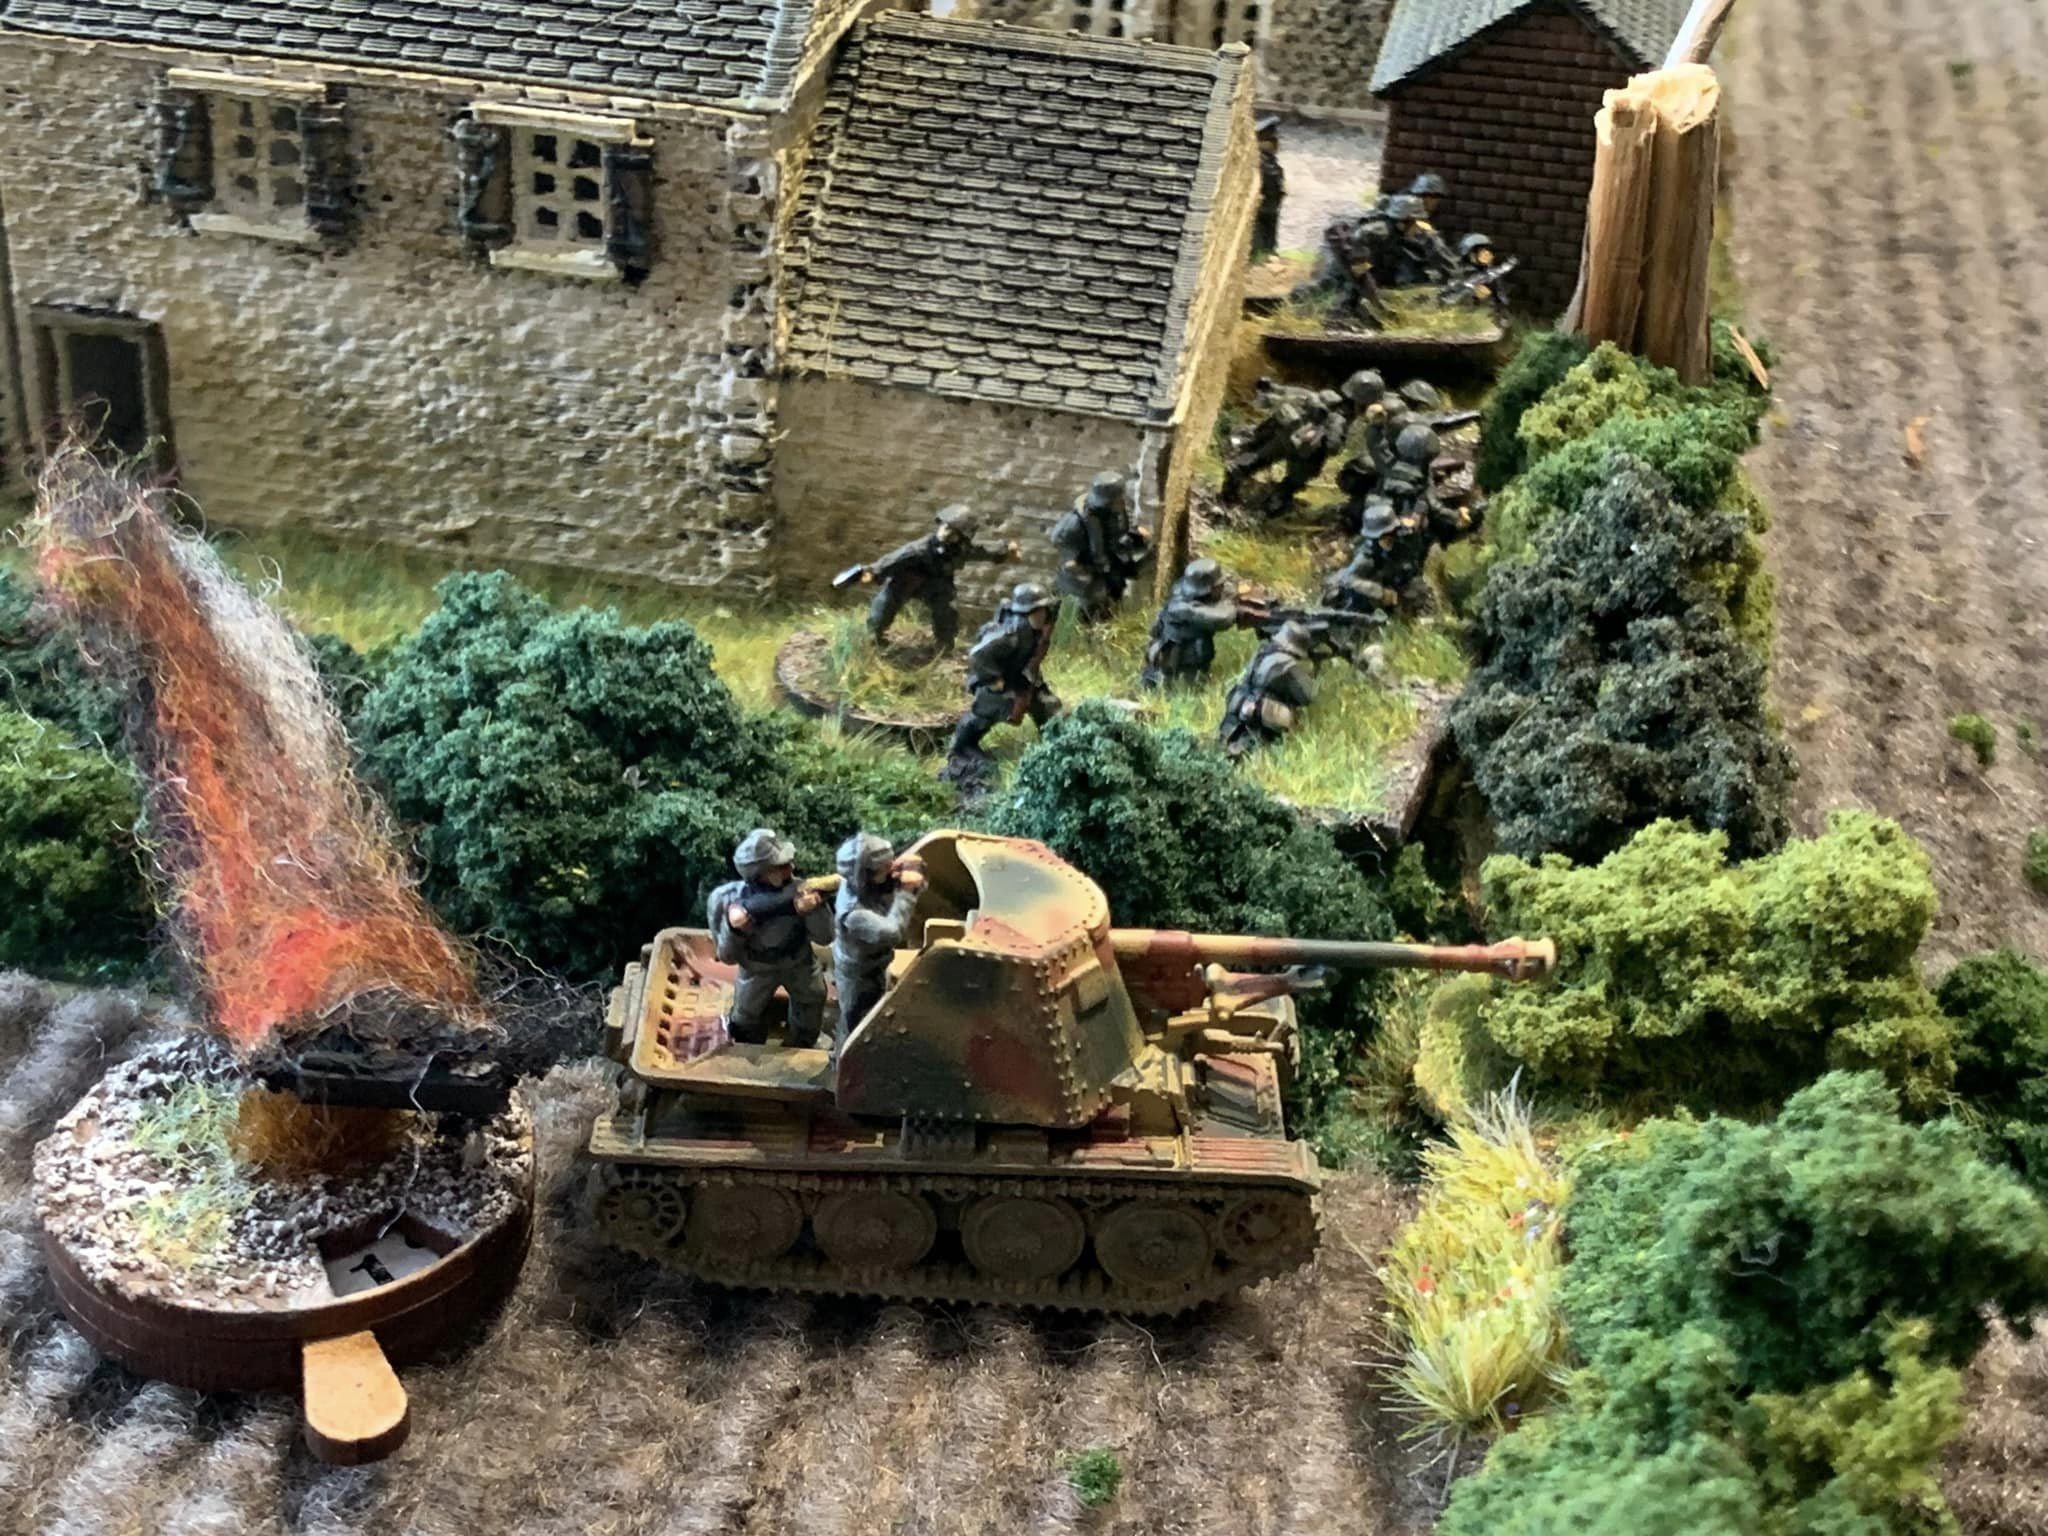
South of Cherbourg, 1944, the Germans put in a valiant defence against the advancing Americans. Despite giving them an extremely bloody nose, they are eventually forced back through weight of numbers. A great game of IABSM.
Alex Sotheran


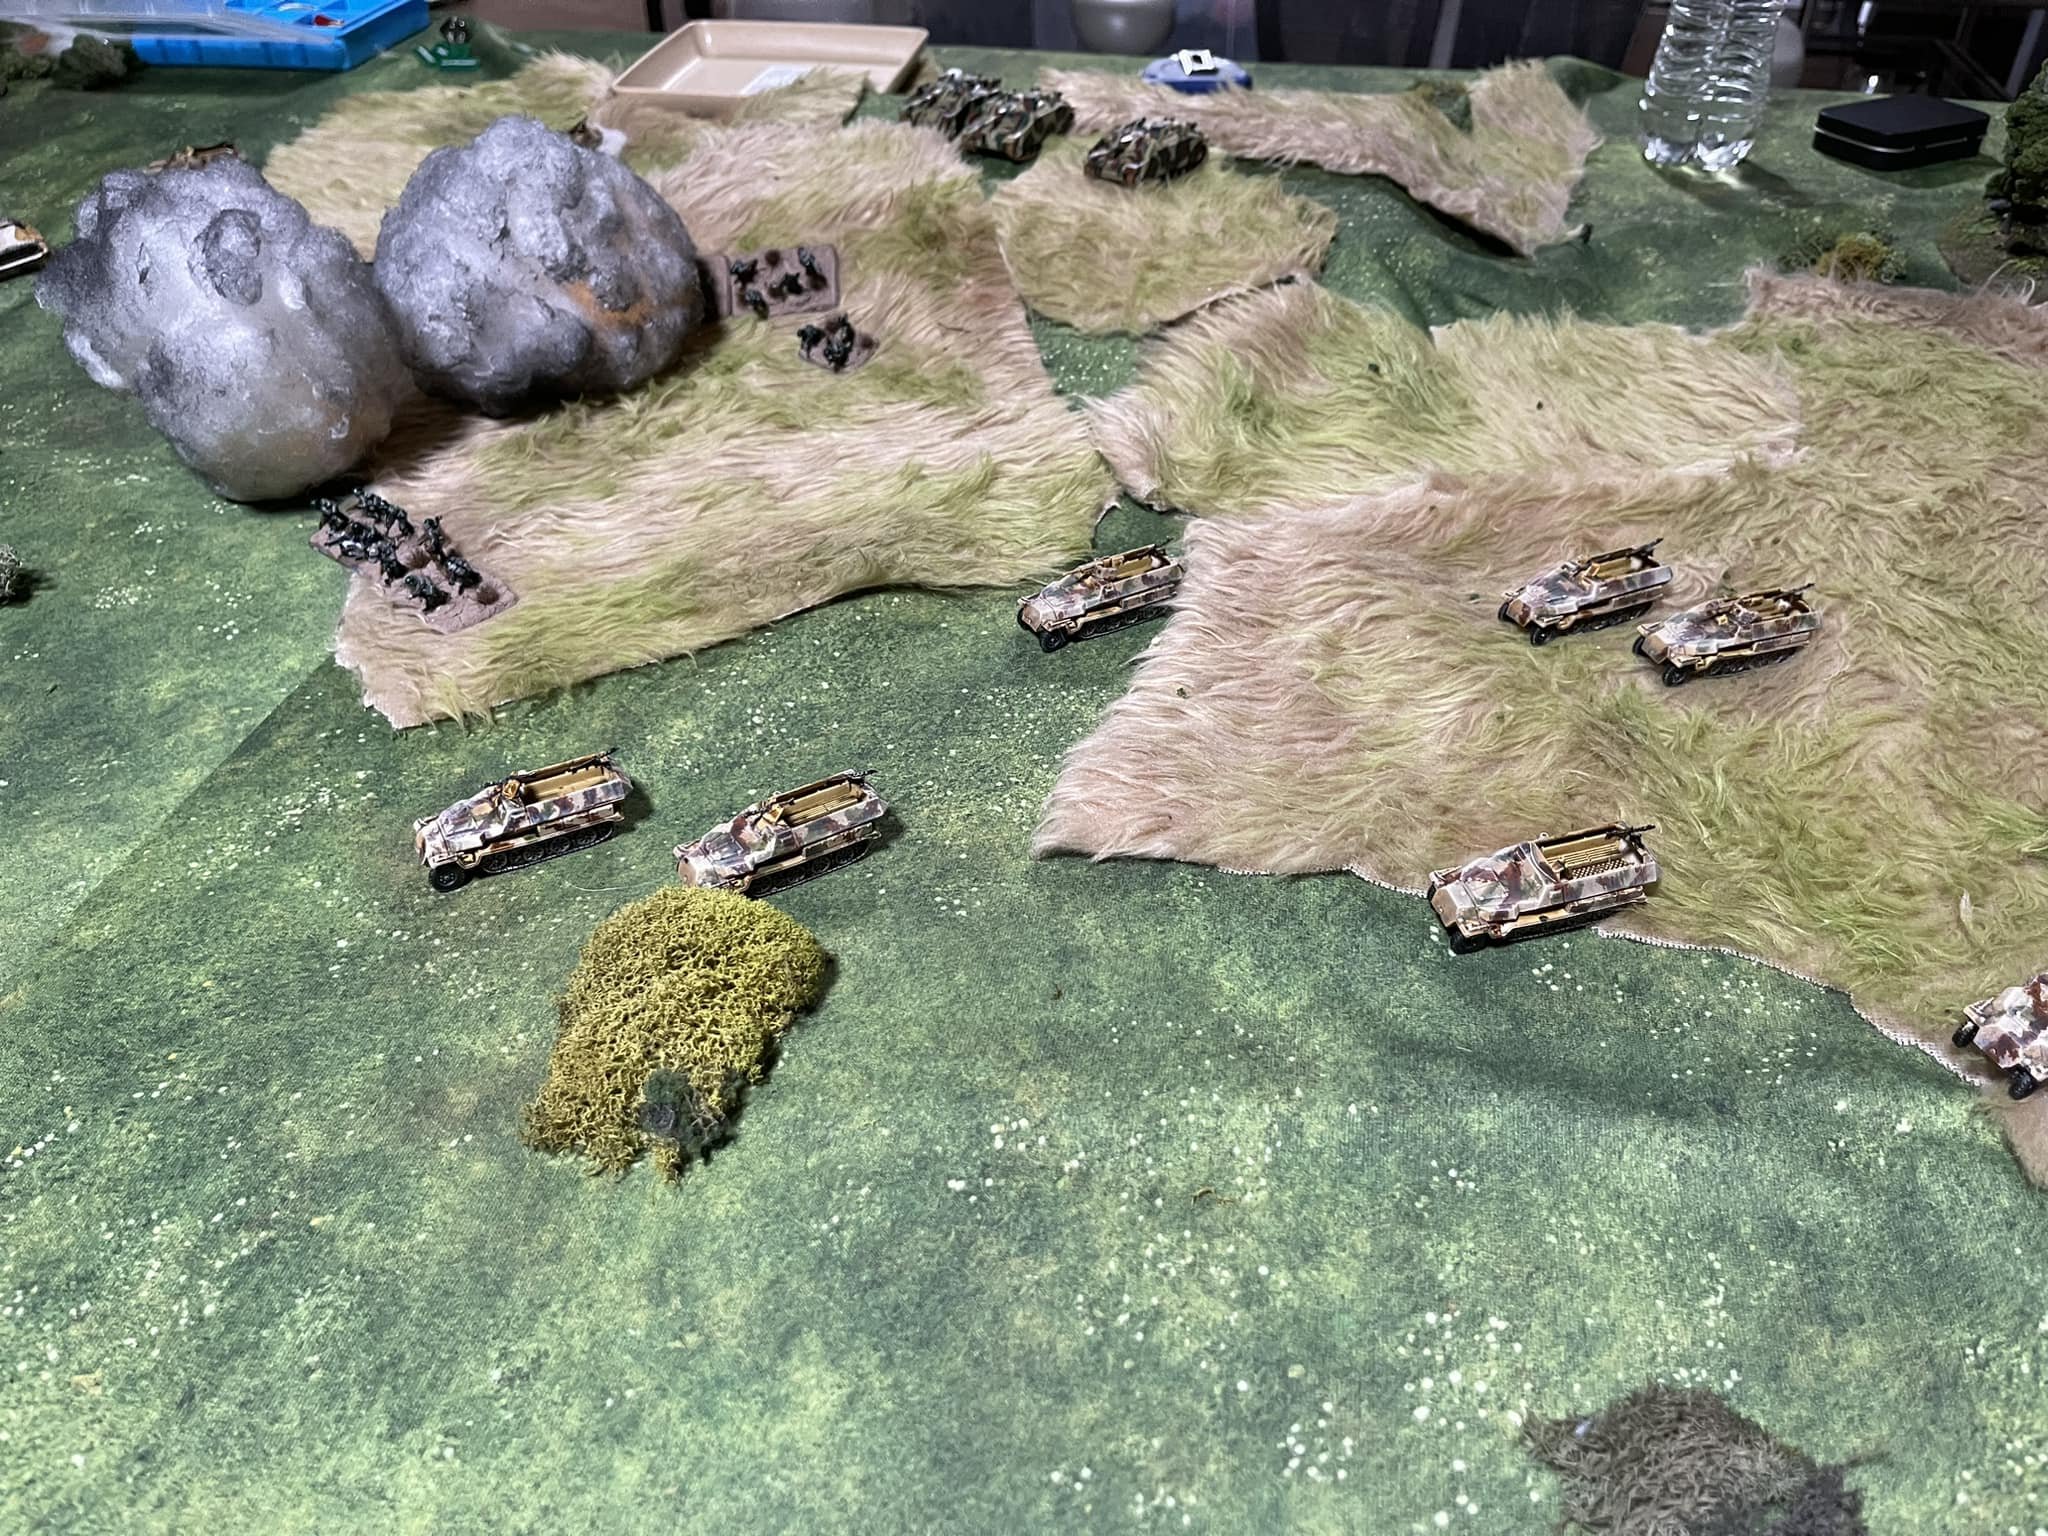
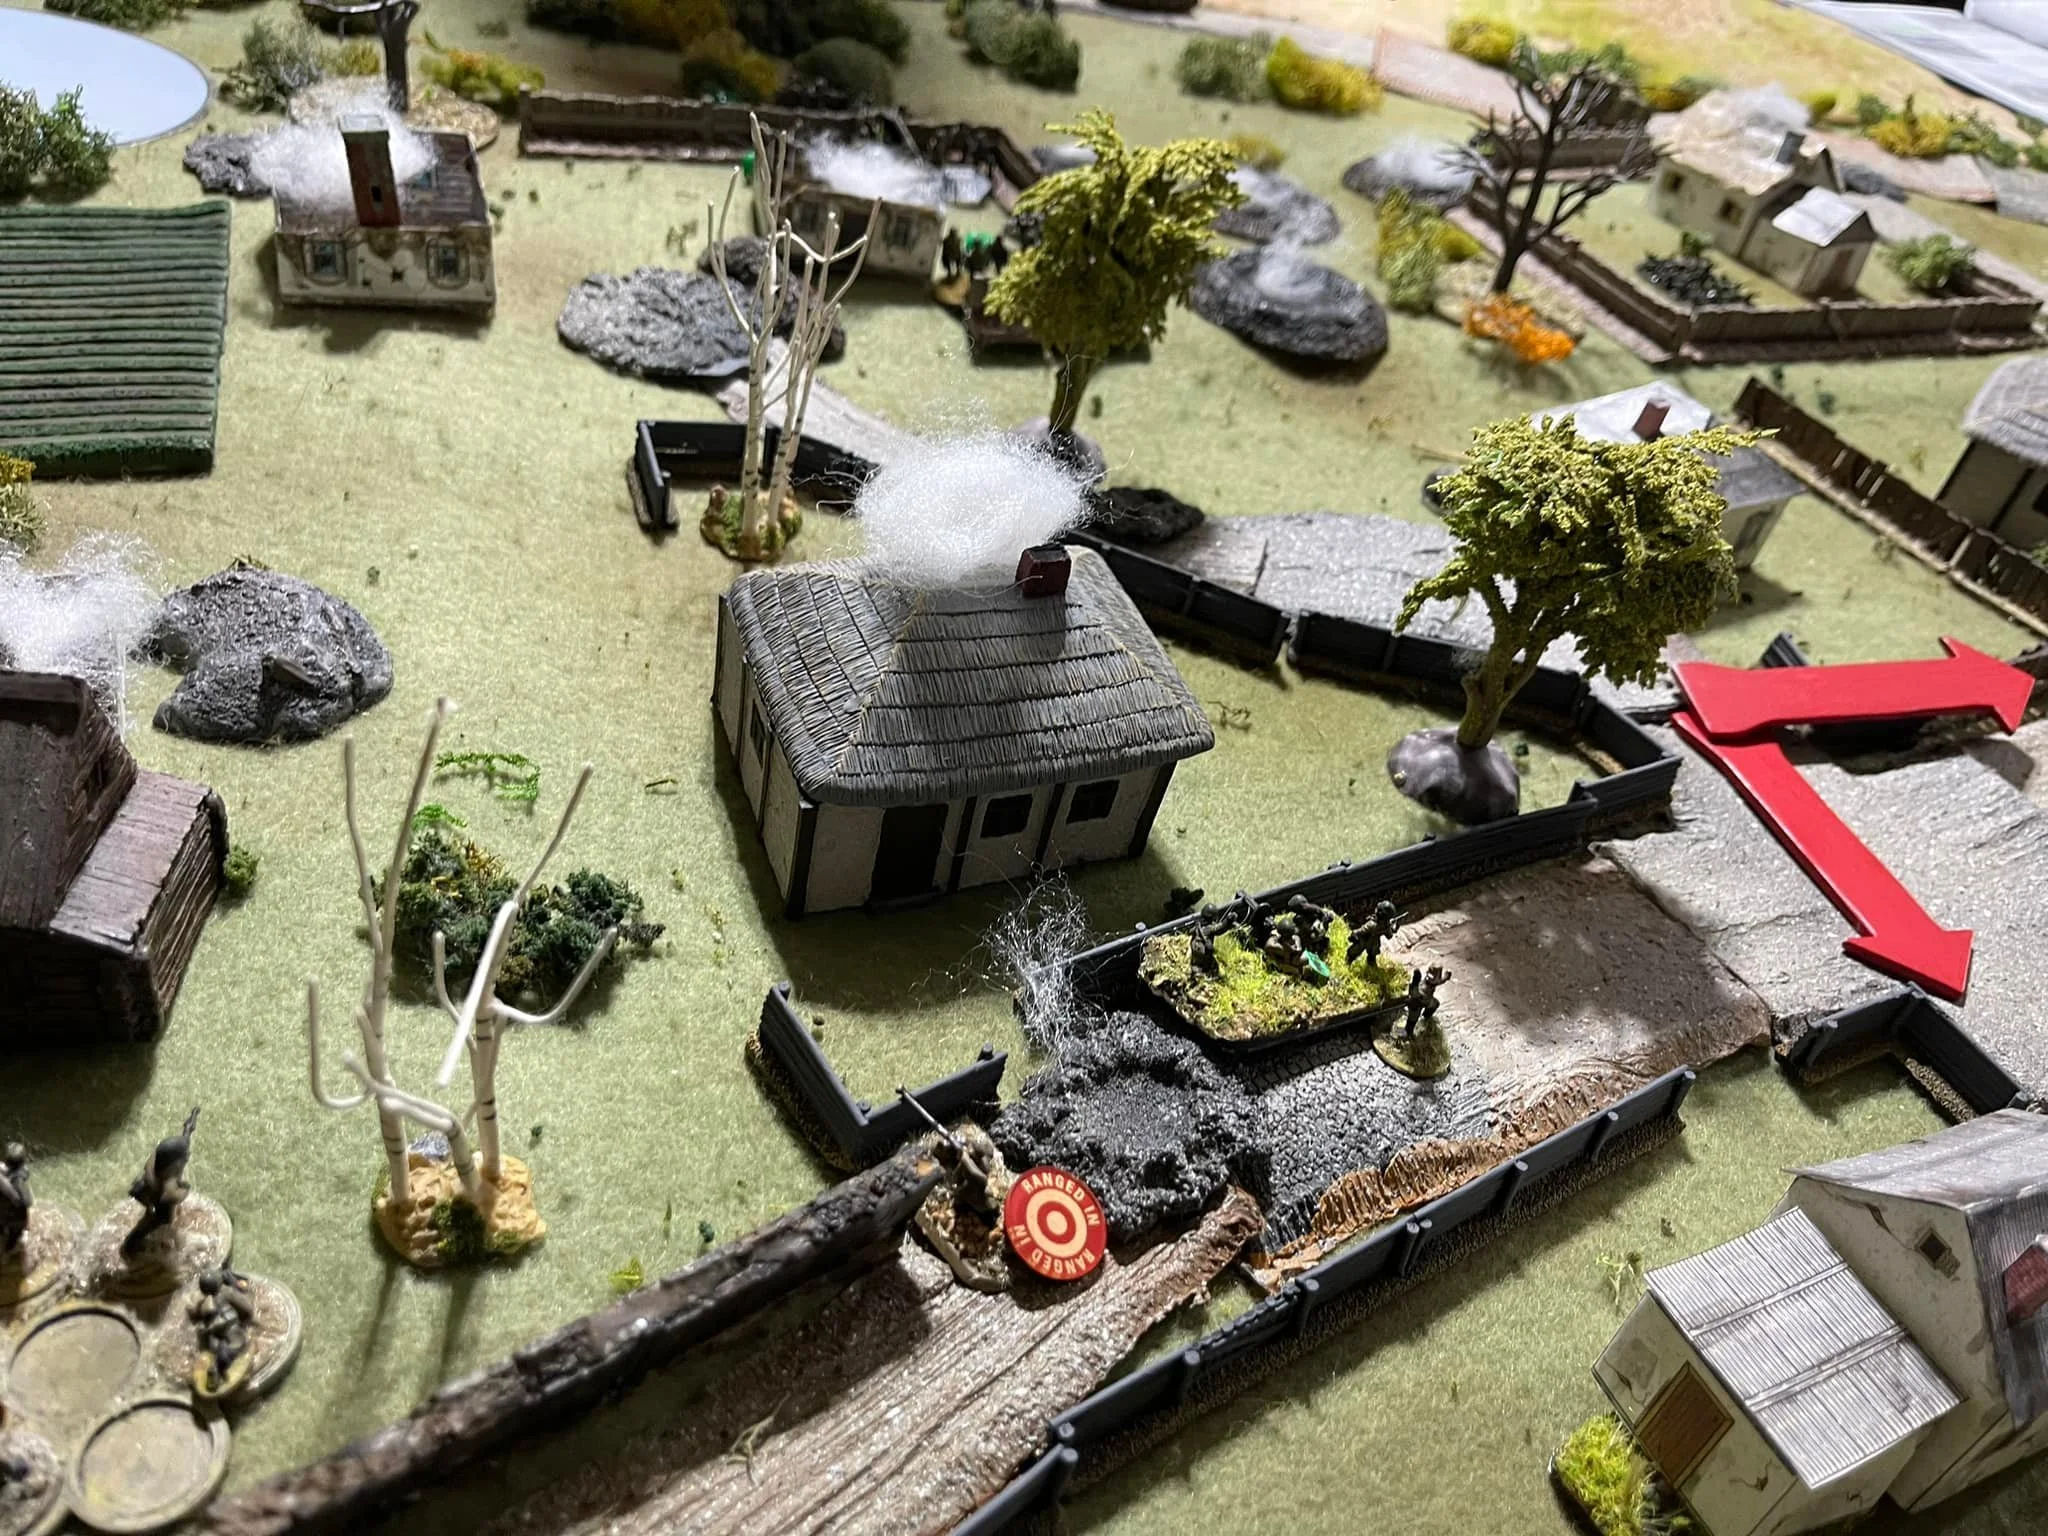
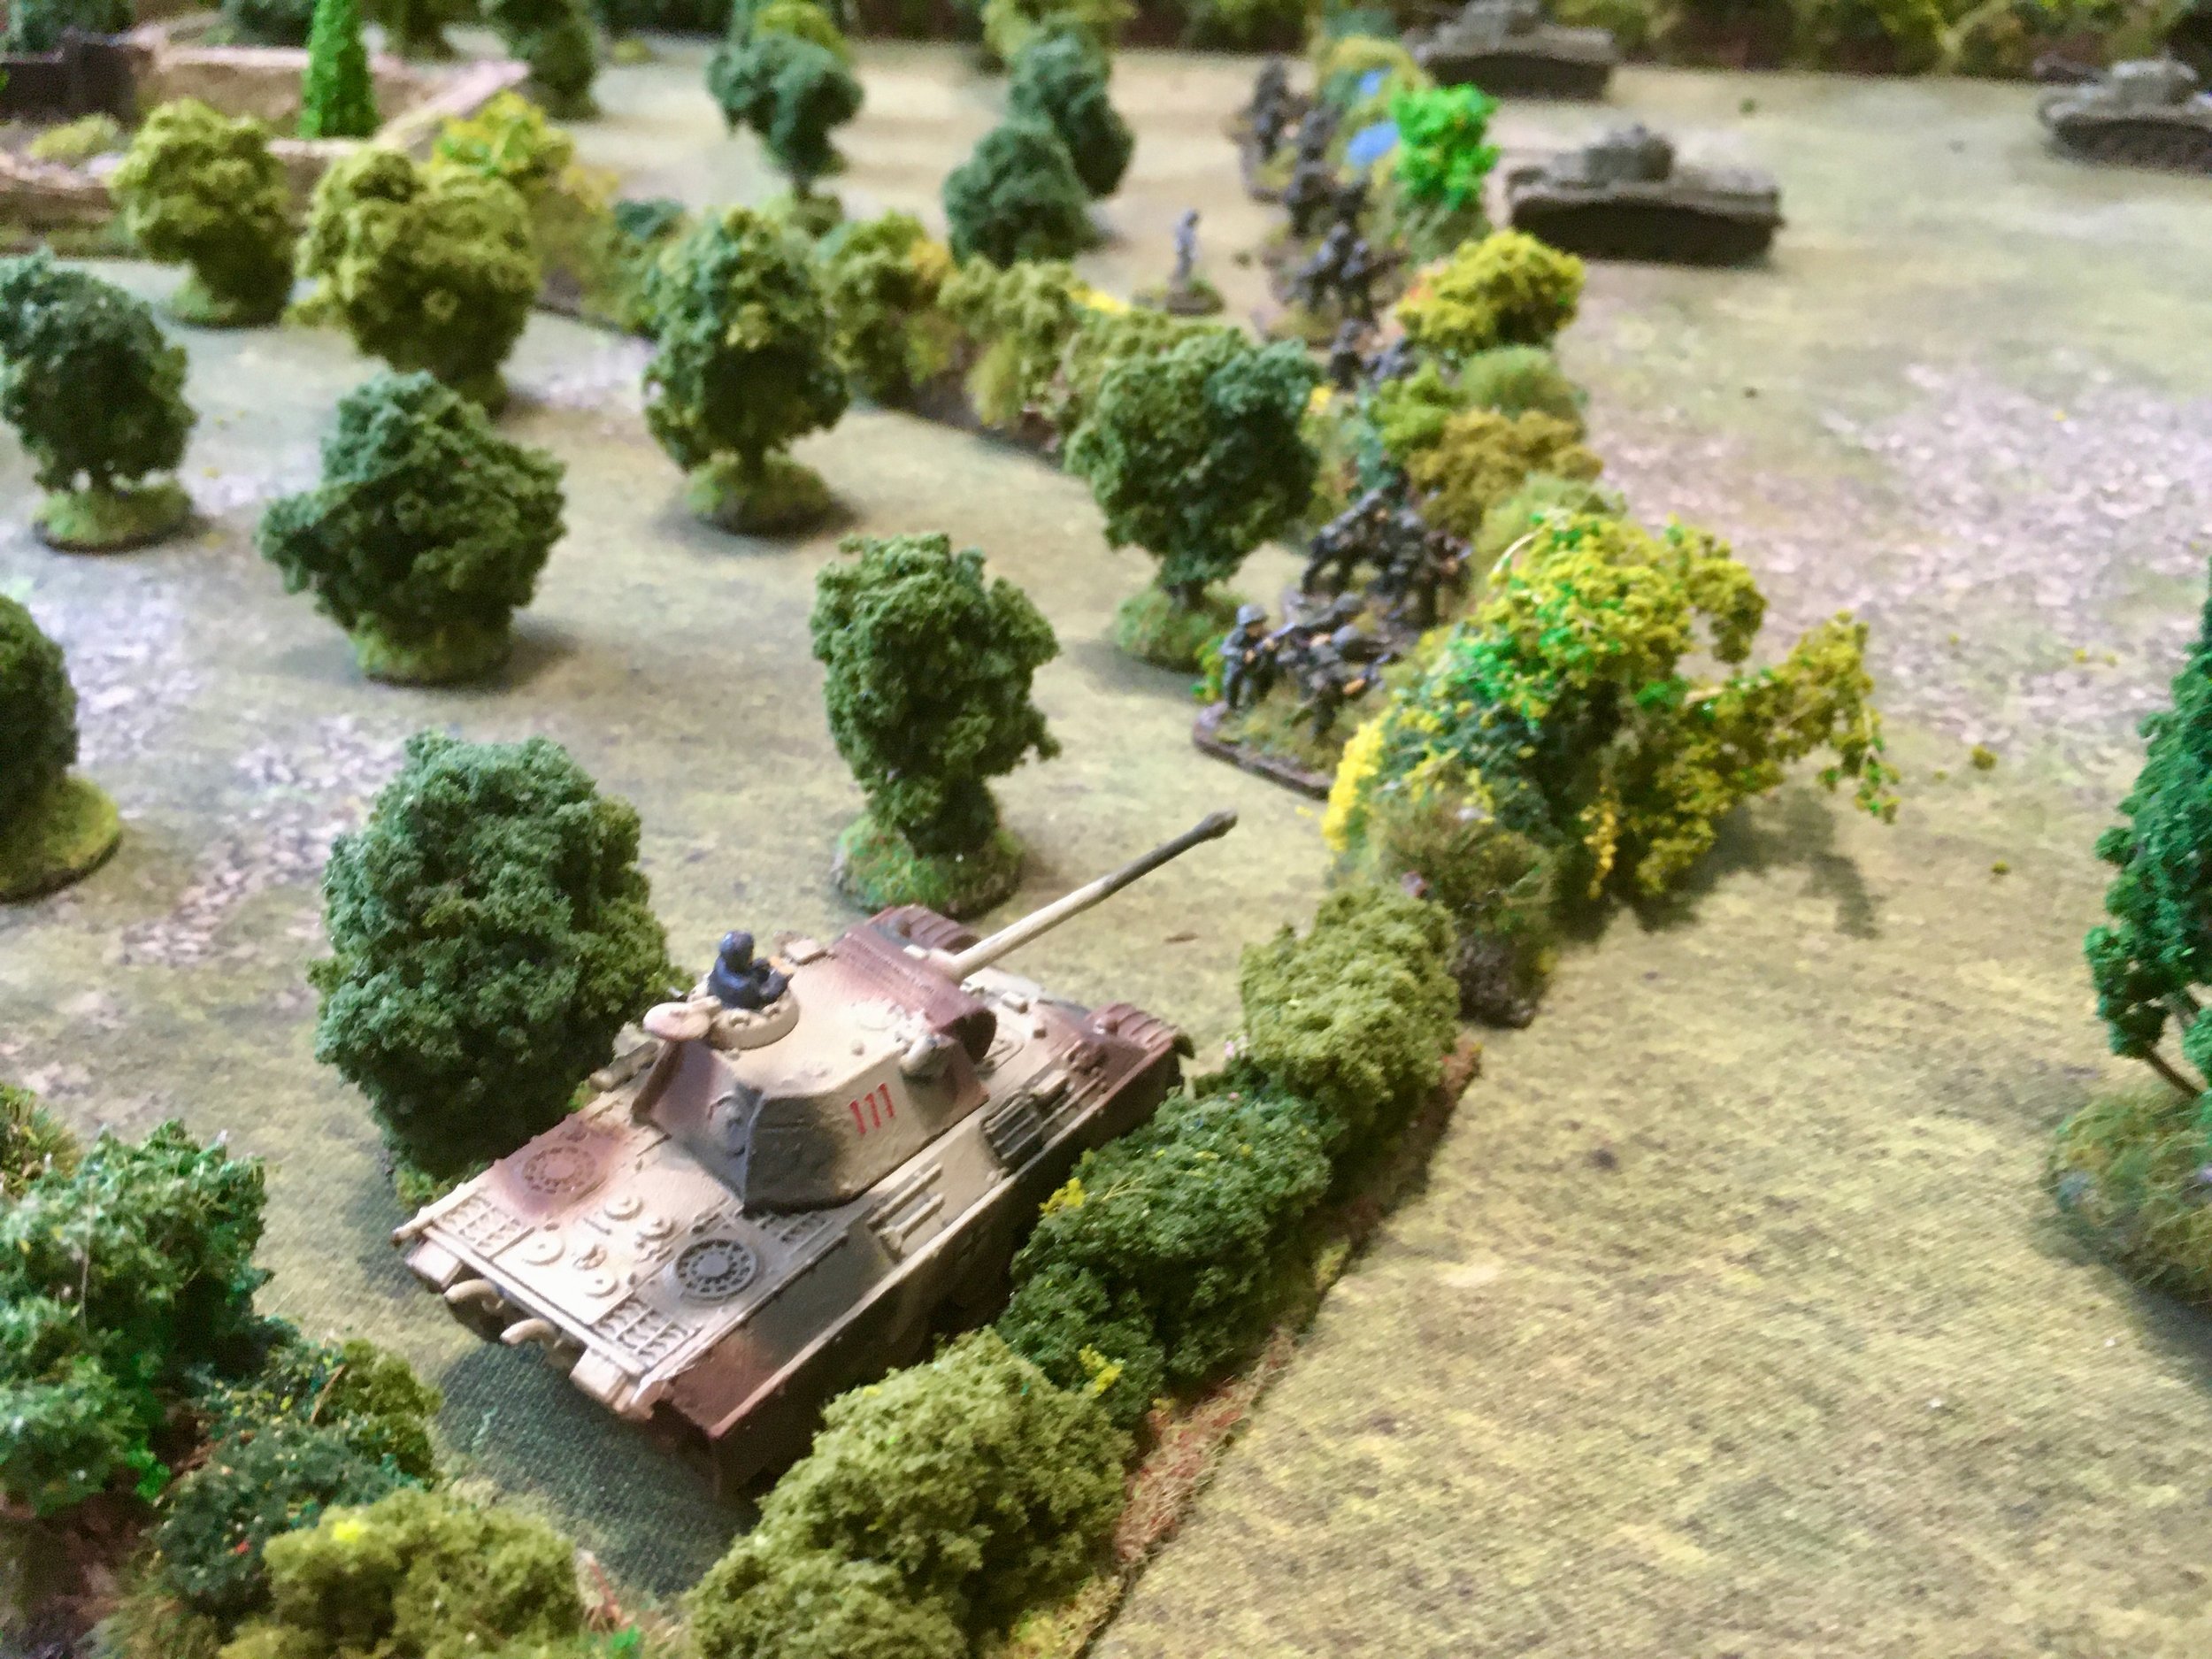
We are continuing our CoC-activation Kursk campaign south of Seattle (parallel to Big PSC “Storming the Citadel” played two weeks ago with the GD division) this time with Das Reich jumping off their panzerkiel past the village of Berezov into the first defensive belt, also on July 5th.
George Kettler played 155th Guards Rifles with a supporting pakfront (5+5 dice) and Reynor Padilla played both mixed platoons of Panzer IIIs and IVs and two Panzer VI “Tigers” plus armored Panzer Grenadier (PG) company. An anti-tank trench was in the middle with a minefield covering its end, Soviets deploying on the high terrain past the village.
Stuff got spotted quickly as Blinds closed, and Reynor was supposed to get four platoons off the Soviet edge with at least 50% left. Kicked off with two entrenched Zis-2s making quick work of the Panzer III platoon in the tall grass. Both players were discovering the lethality of bunching sections in the 9”-18” “Good Shot”-band, with the PGs with their Hanomag MGs getting the better on the rifle platoons exposed on the skyline with no cover. The smaller AT guns did not catch one sneaky Blind that made it all the way into the end zone full of Panzer IVs.

Then the Blind with the two Tigers revealed, with one running for the line while the other engaged the AT Guns, the other two PG platoons disembarking behind them. After four hours, we called a minor Soviet victory with three possible platoons breaching the band after losing four Panzer IIIs. We’re still fumbling with the rules, activation and getting used to the firepower vs. range chart. Thanks, Raynor and George for getting this campaign string off the ground, and please chime in!
Will Depusoy

We’ve been converting Kursk “Storming the Citadel” PSC to IABSM, but using CoC activation and buying support “platoons” instead of single models.
Three games in and Grossdeutschland got the left op without firing a shot in first; got mangled in a second play of trying to kill the op (this time on the right side of Butovo, with different players); then managed to clear four out of eight minefields on board, tw0 with some good rolls at the right time before Force Morale dipped below four (two German companies with lotsa pioneers versus one Soviet.).
Thanks Jess, George Kettler, Raynor PadillaBruce Rosse Ross for kicking off this hiatus from 28mm Stalingrad!
We are still getting used to the game, but like that it has all the friction, crunch and option tricks from CoC, but plays bigger and recycles old Battlefront minis. Thinking about using BG Kursk’s campaign as a parallel storyline to GD’s progress towards Prokhorovka.
Will Depusoy

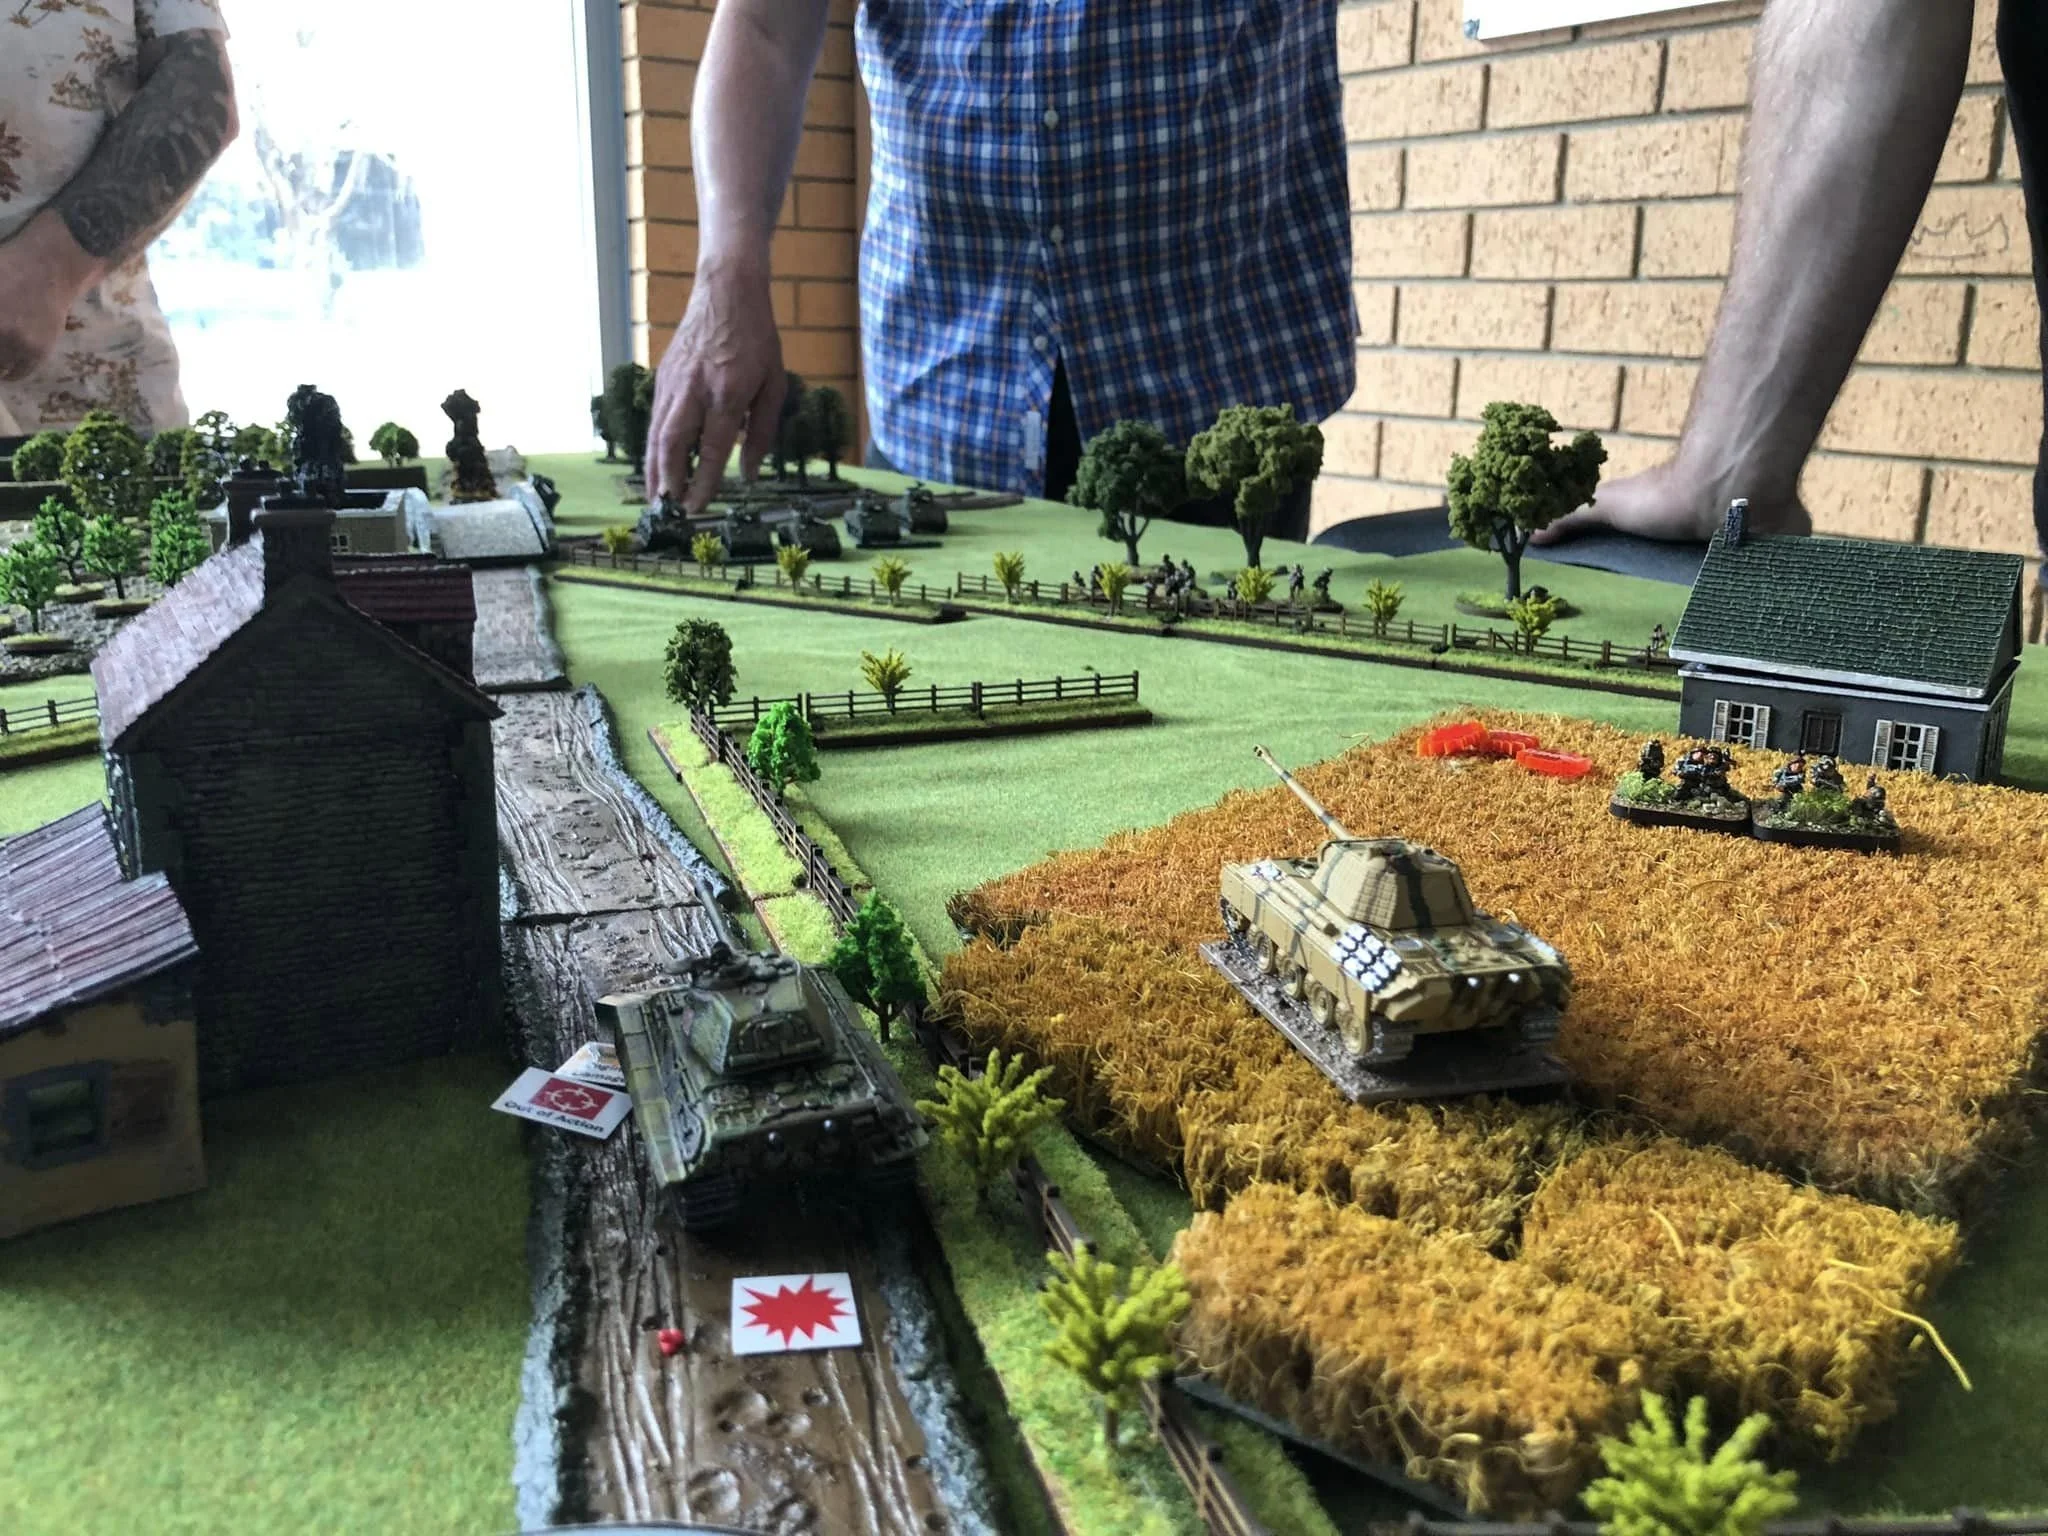
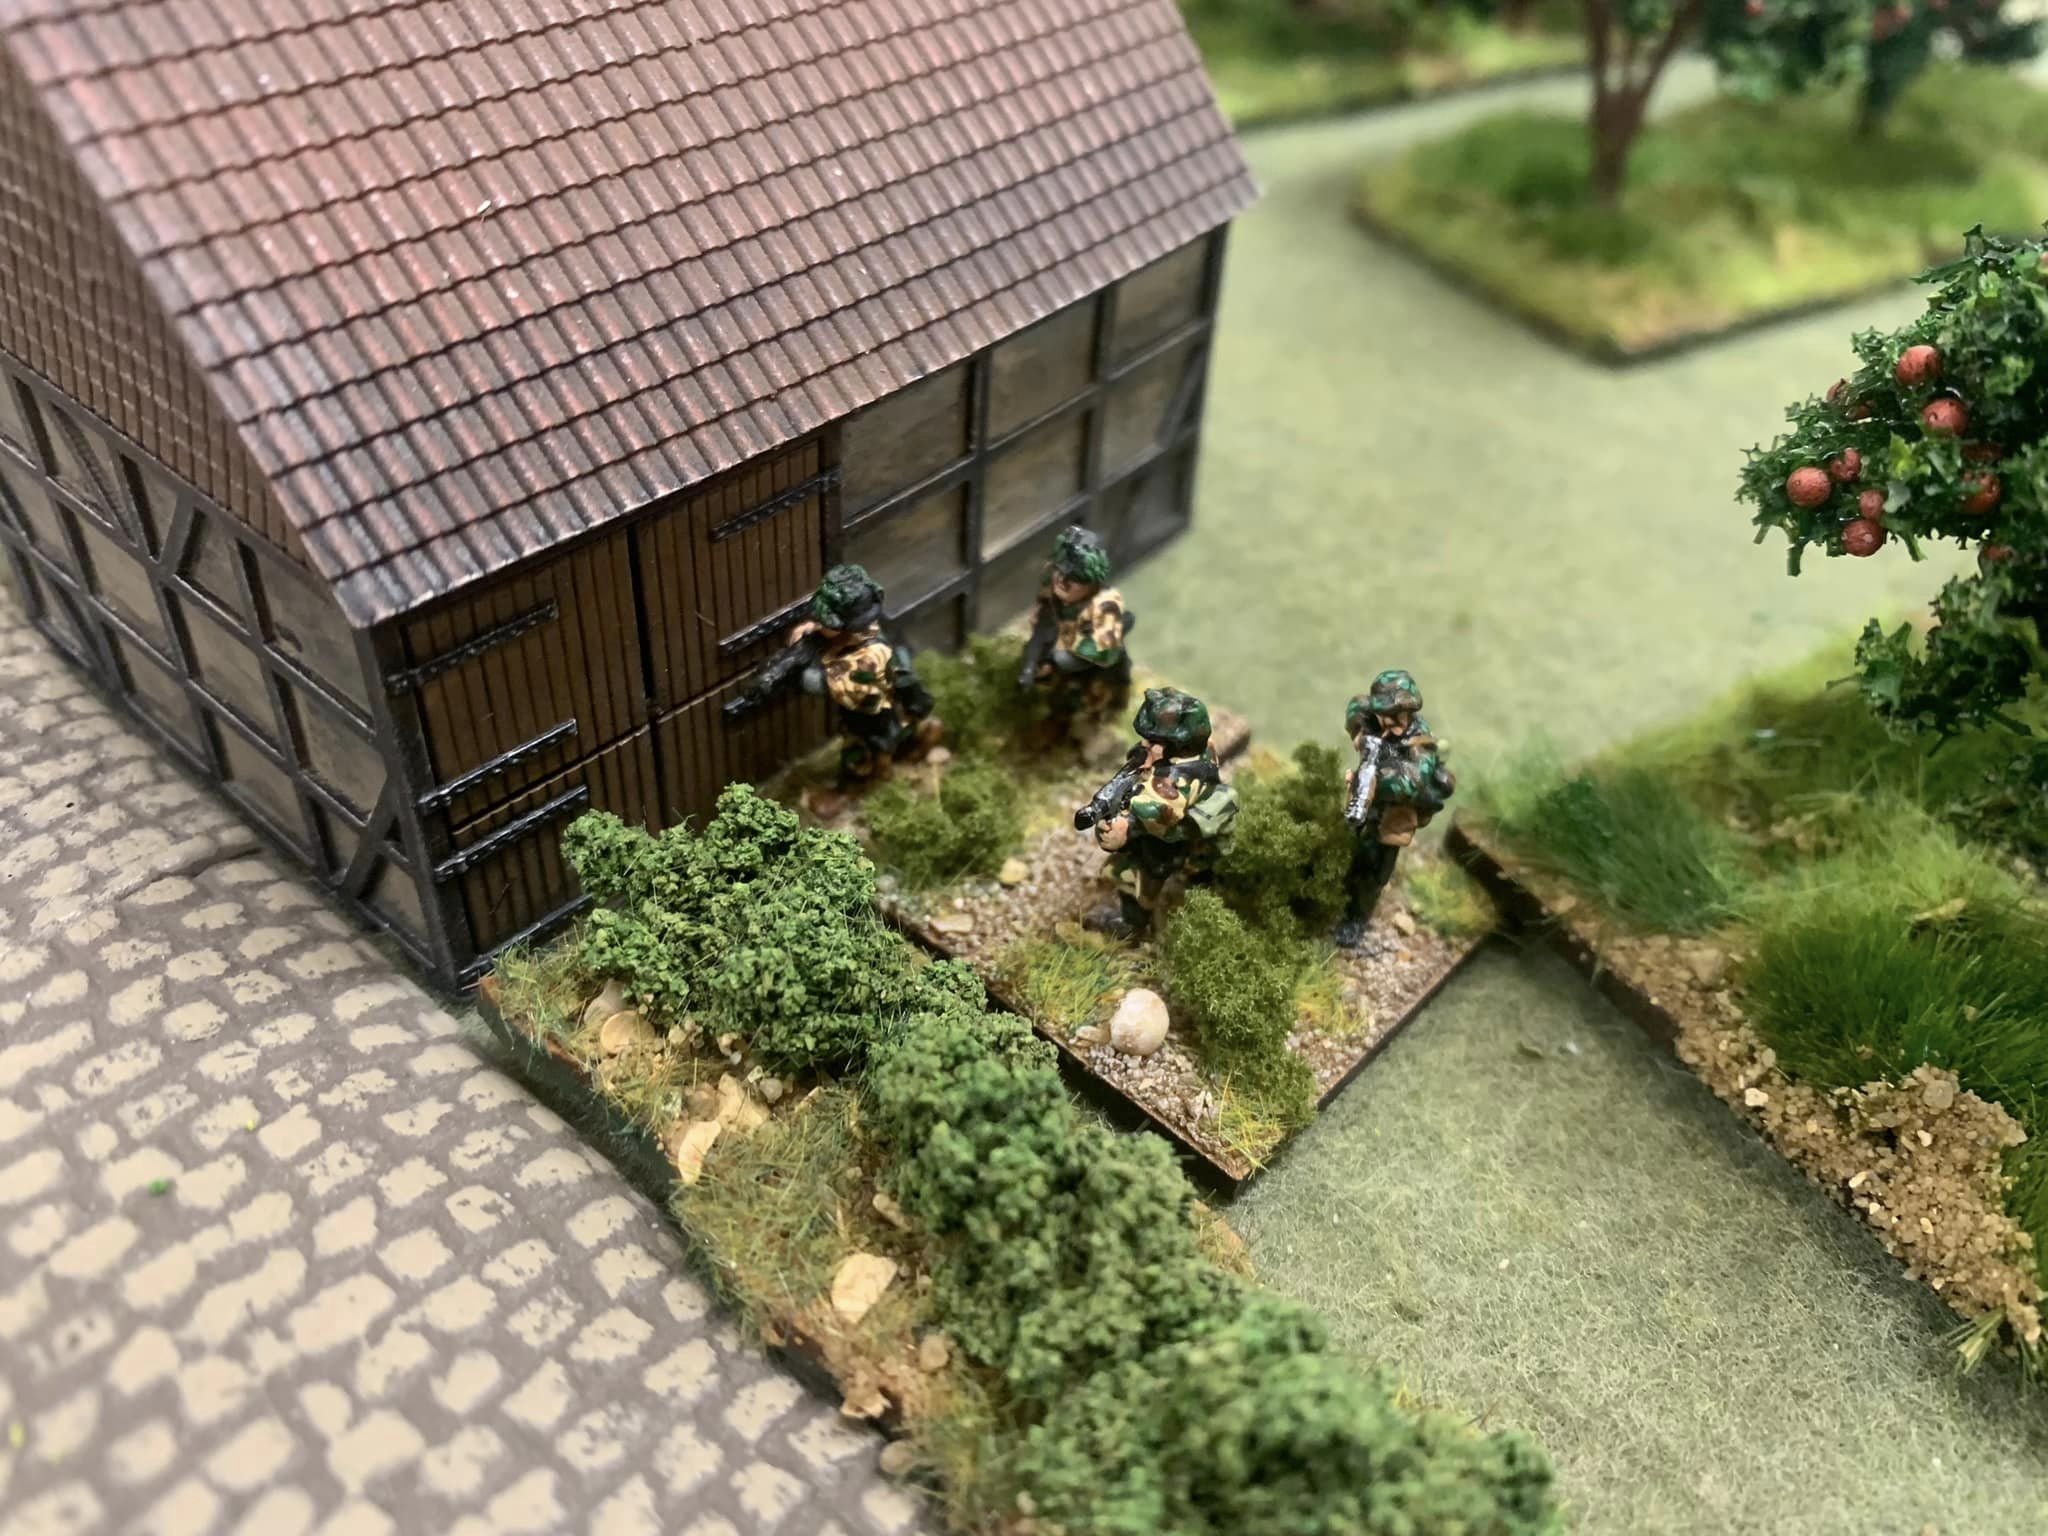
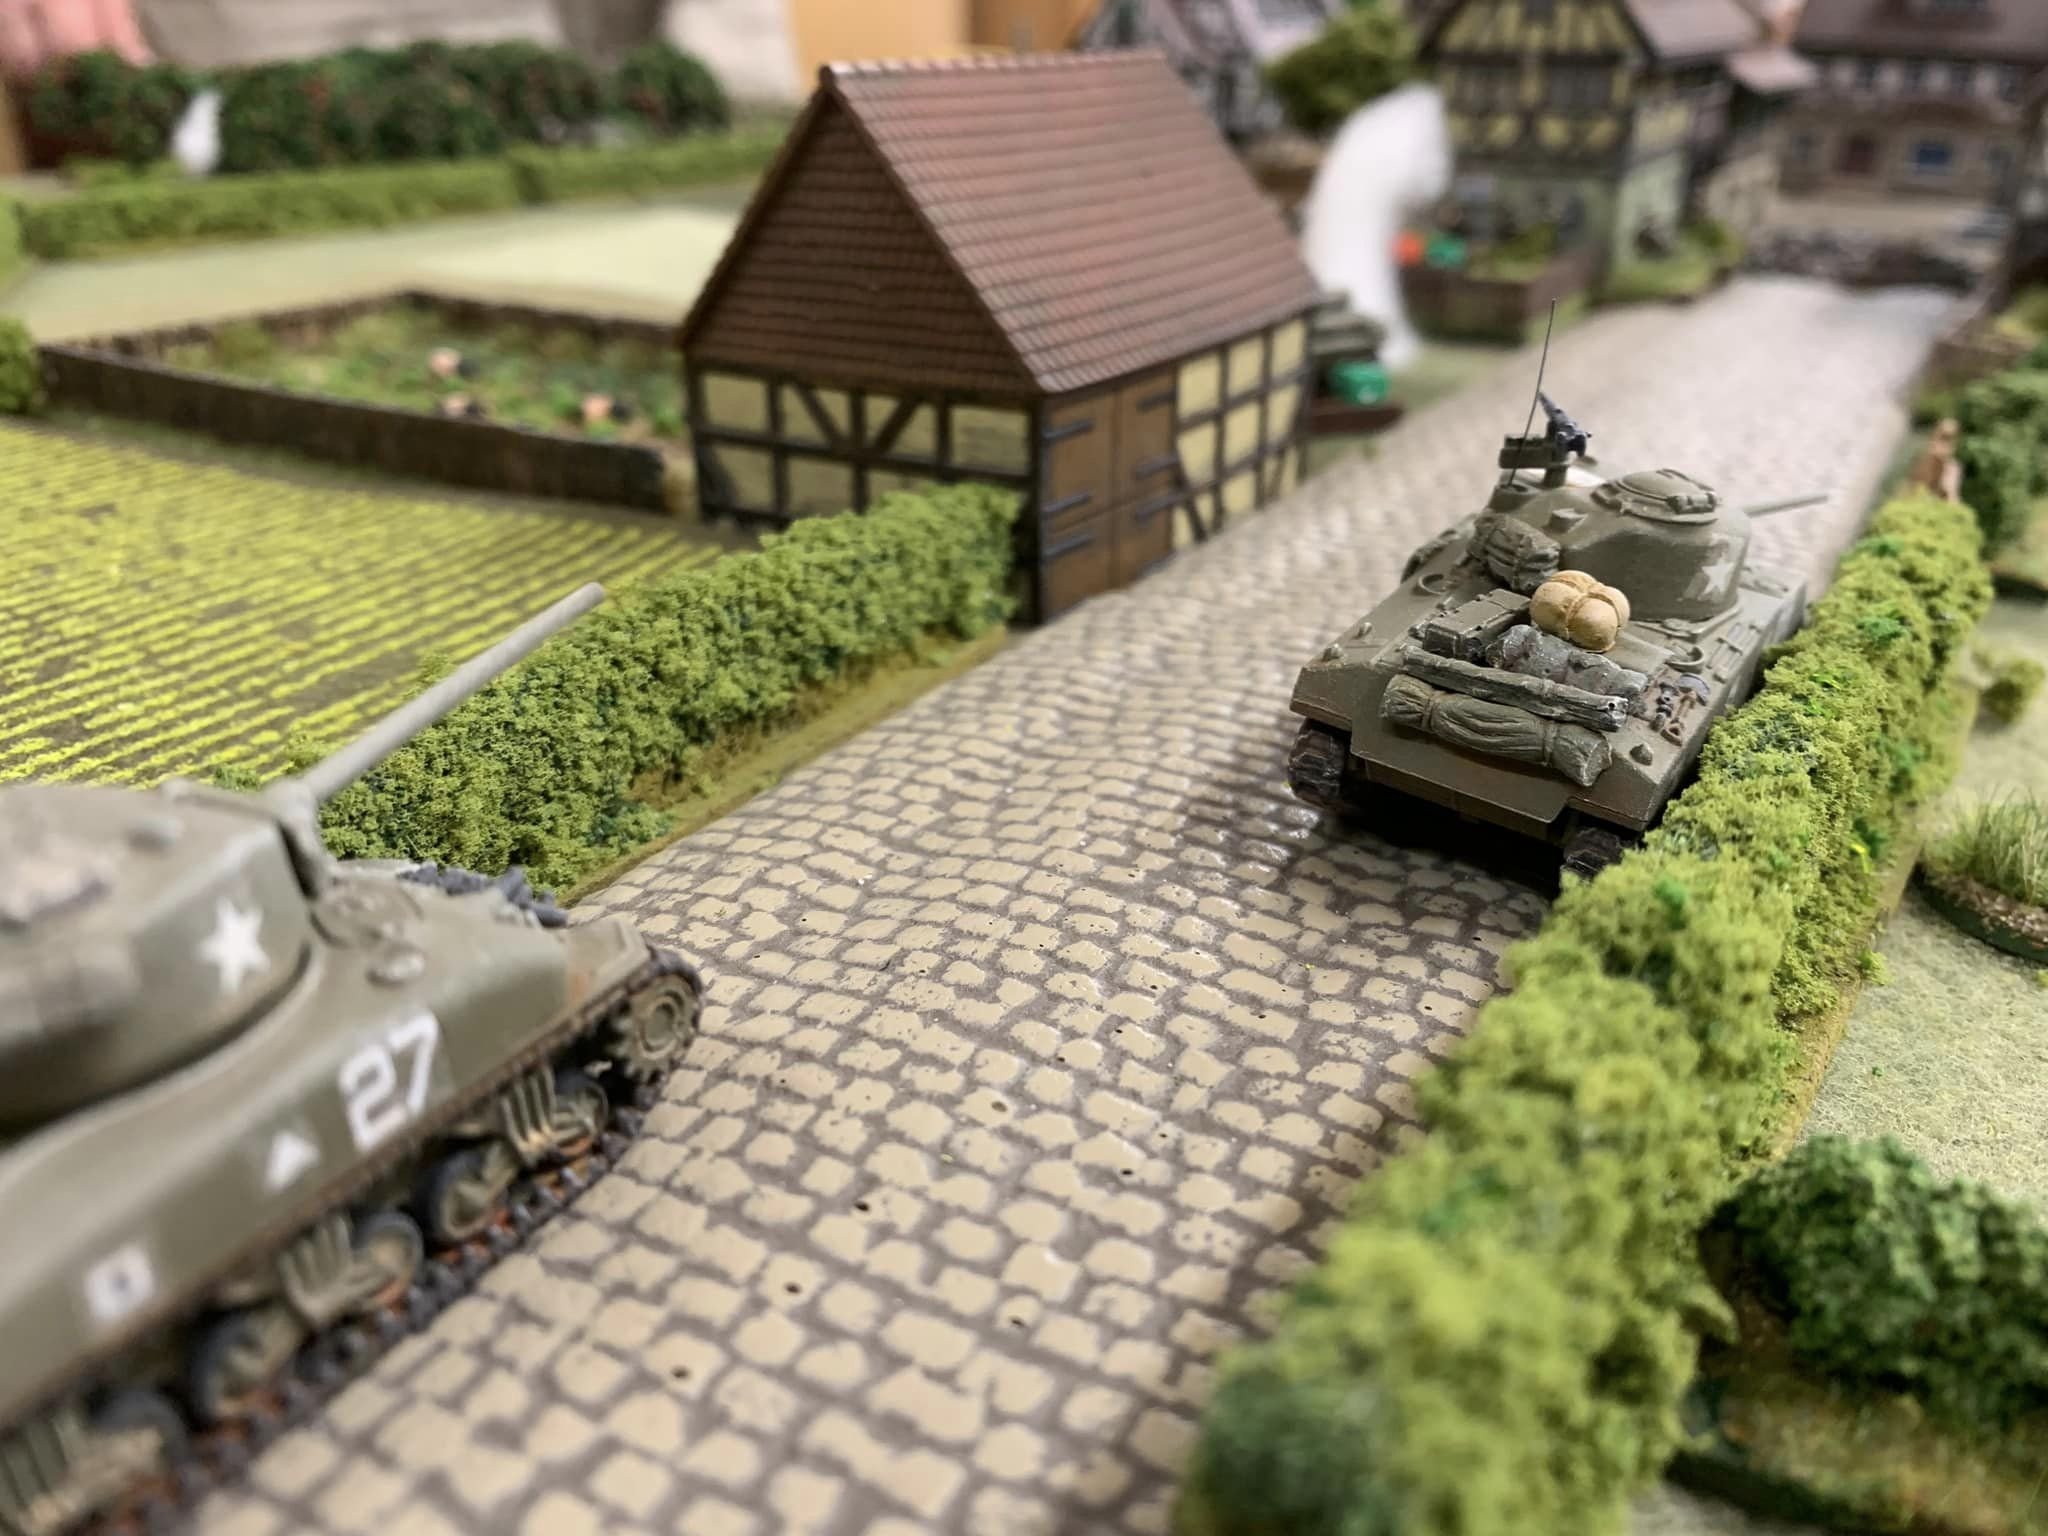
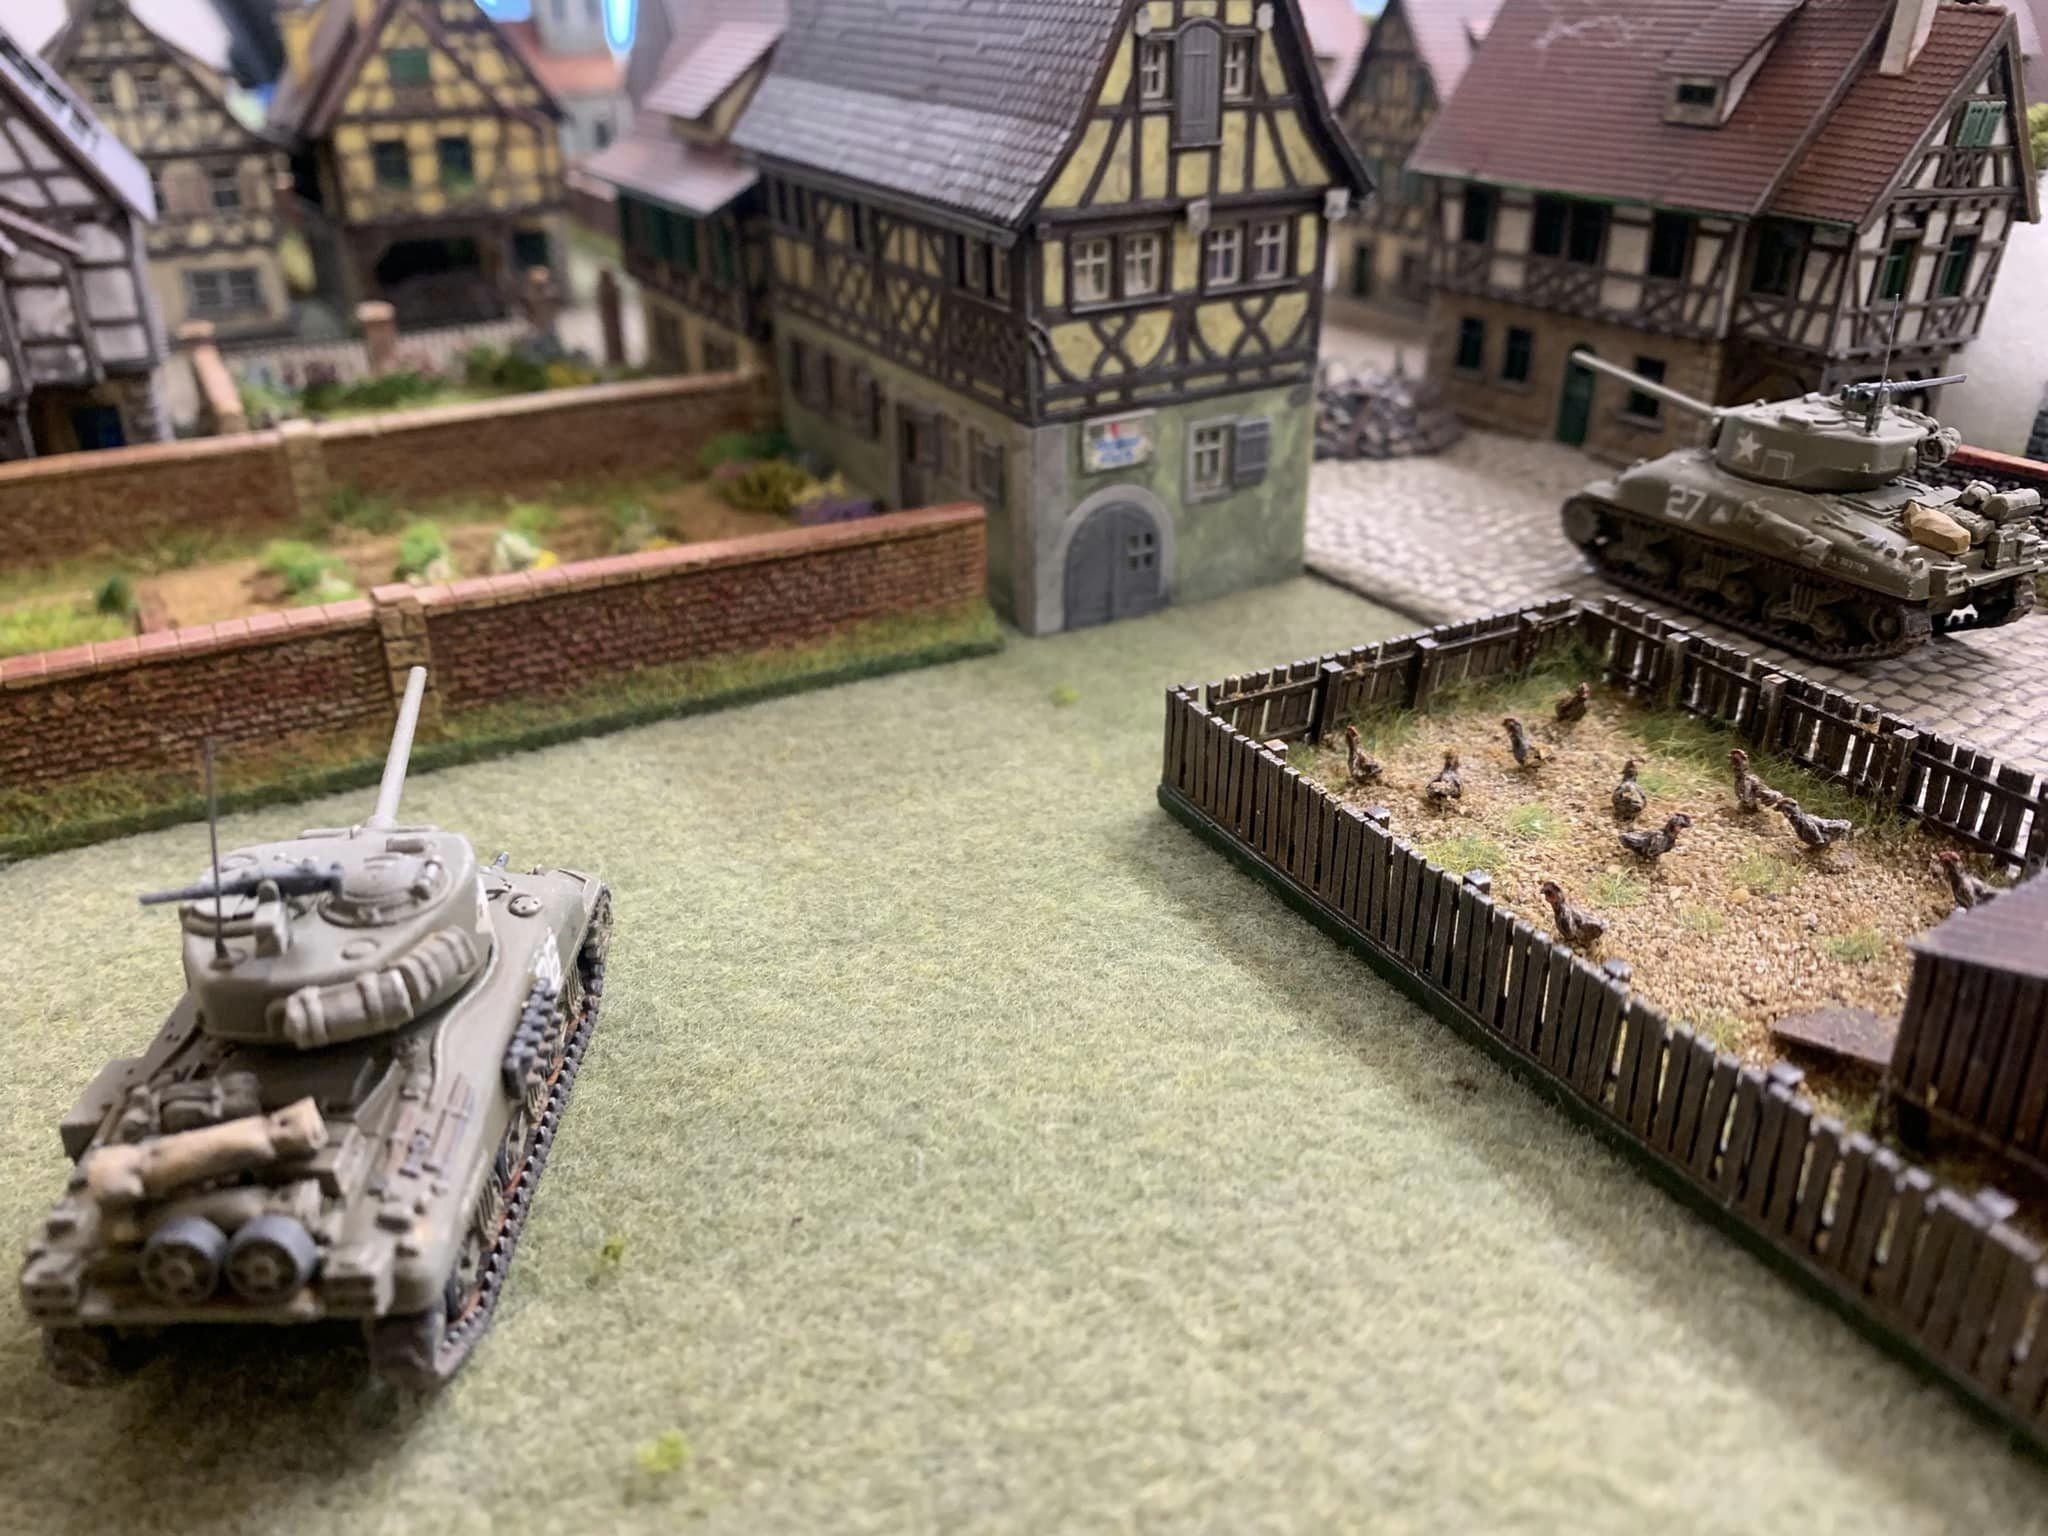
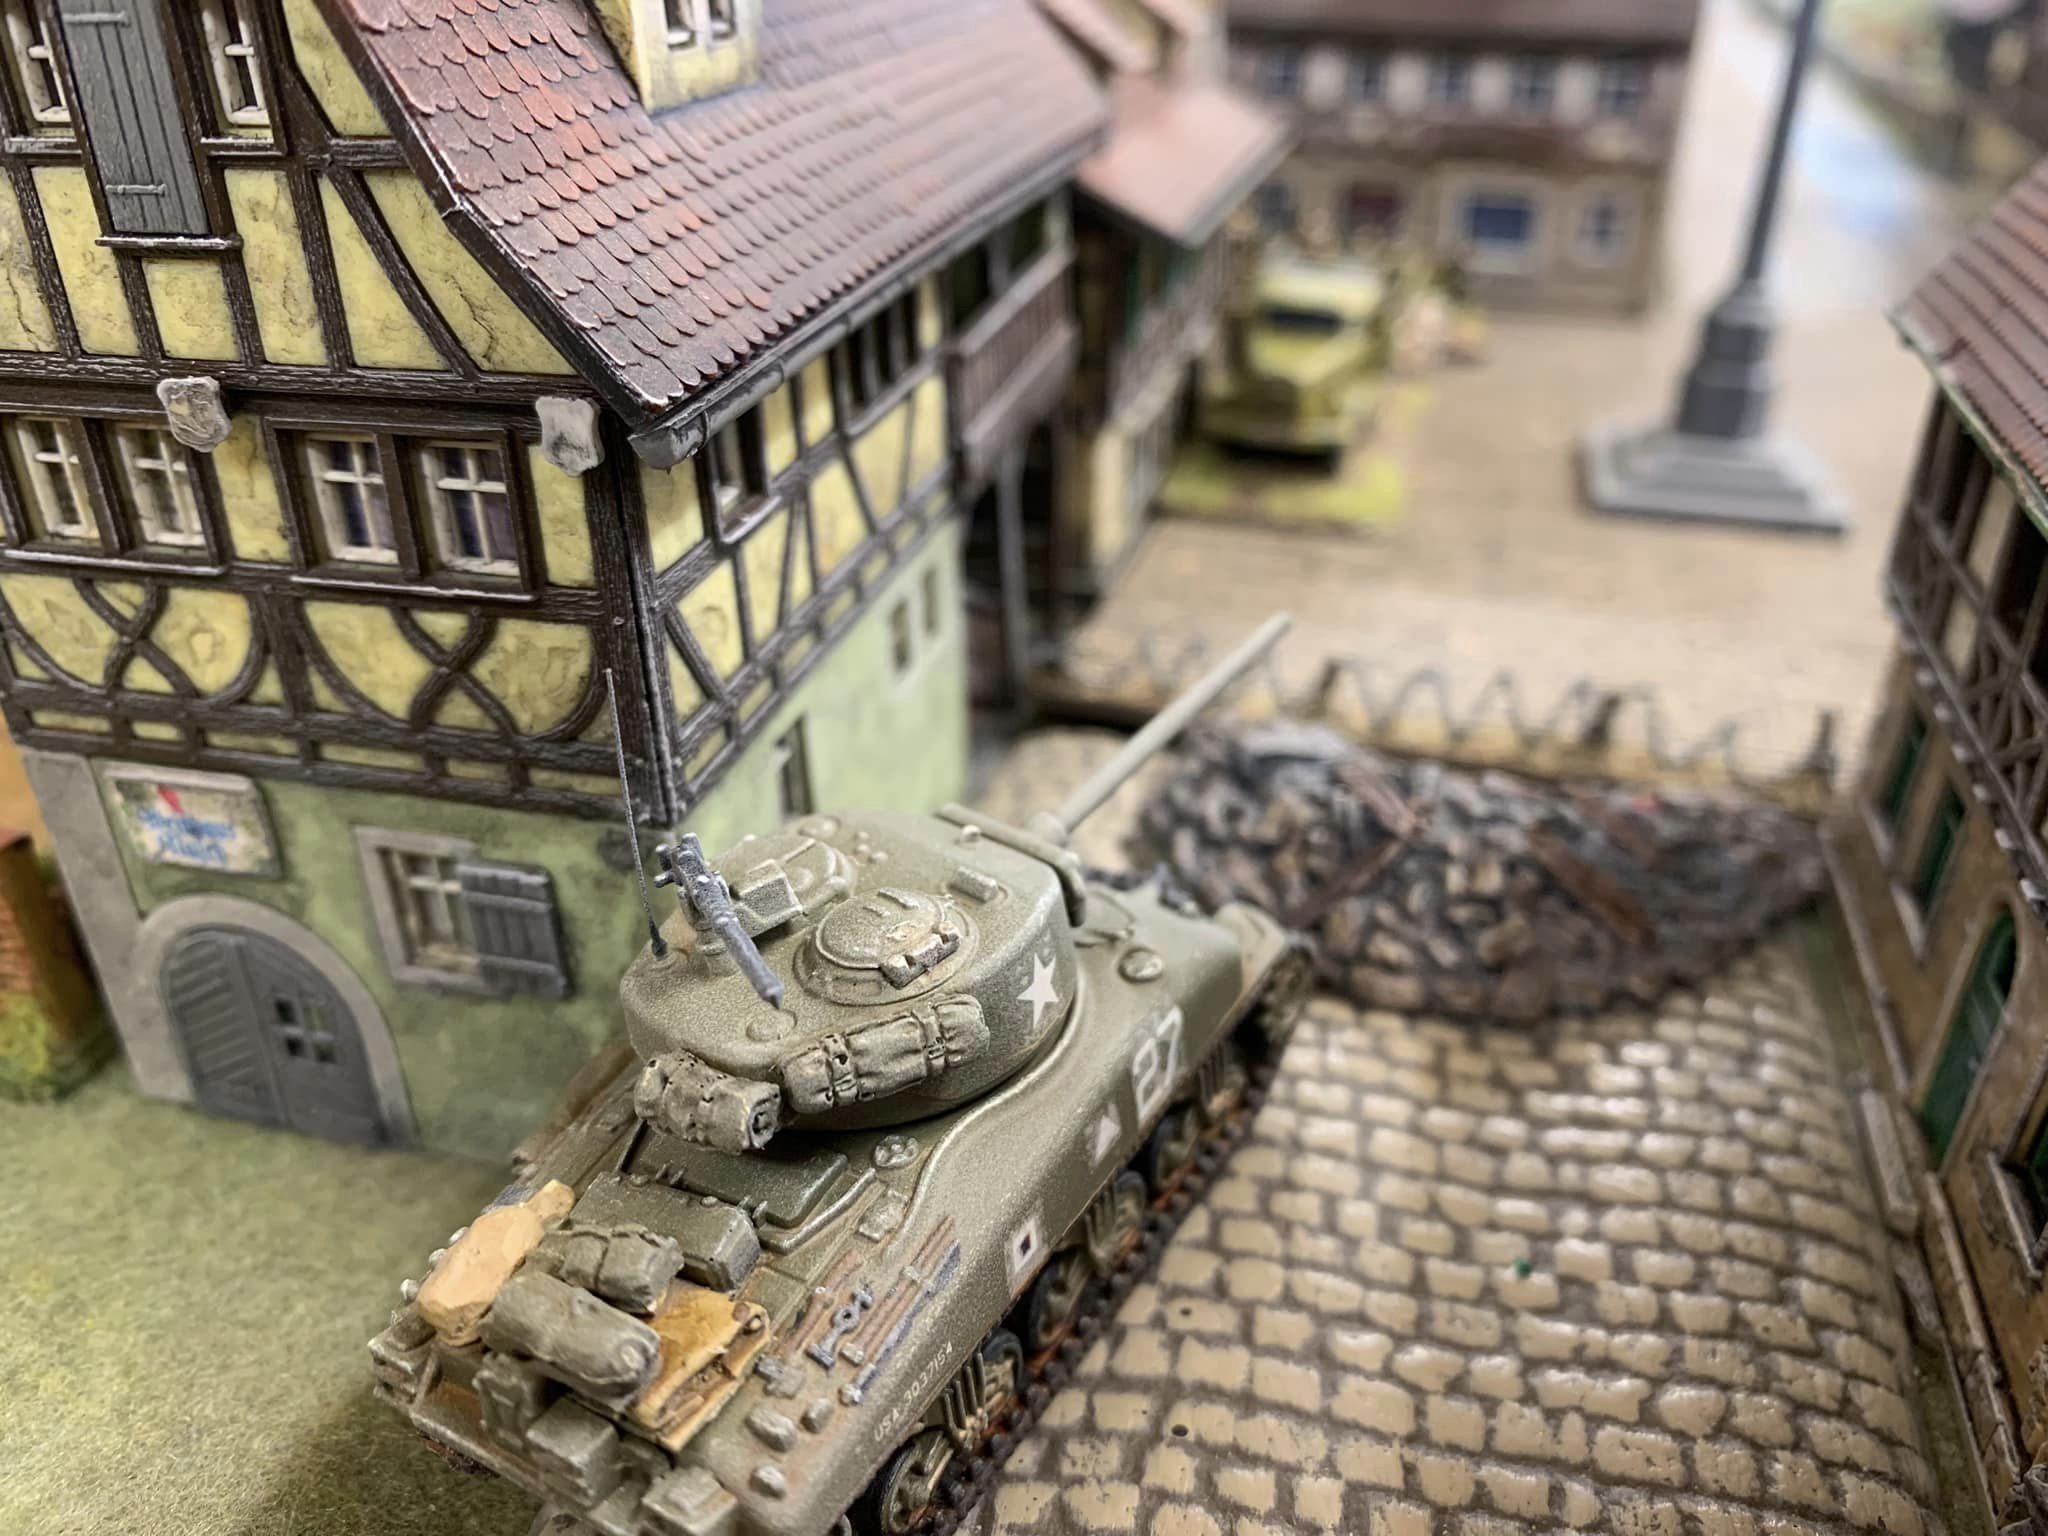
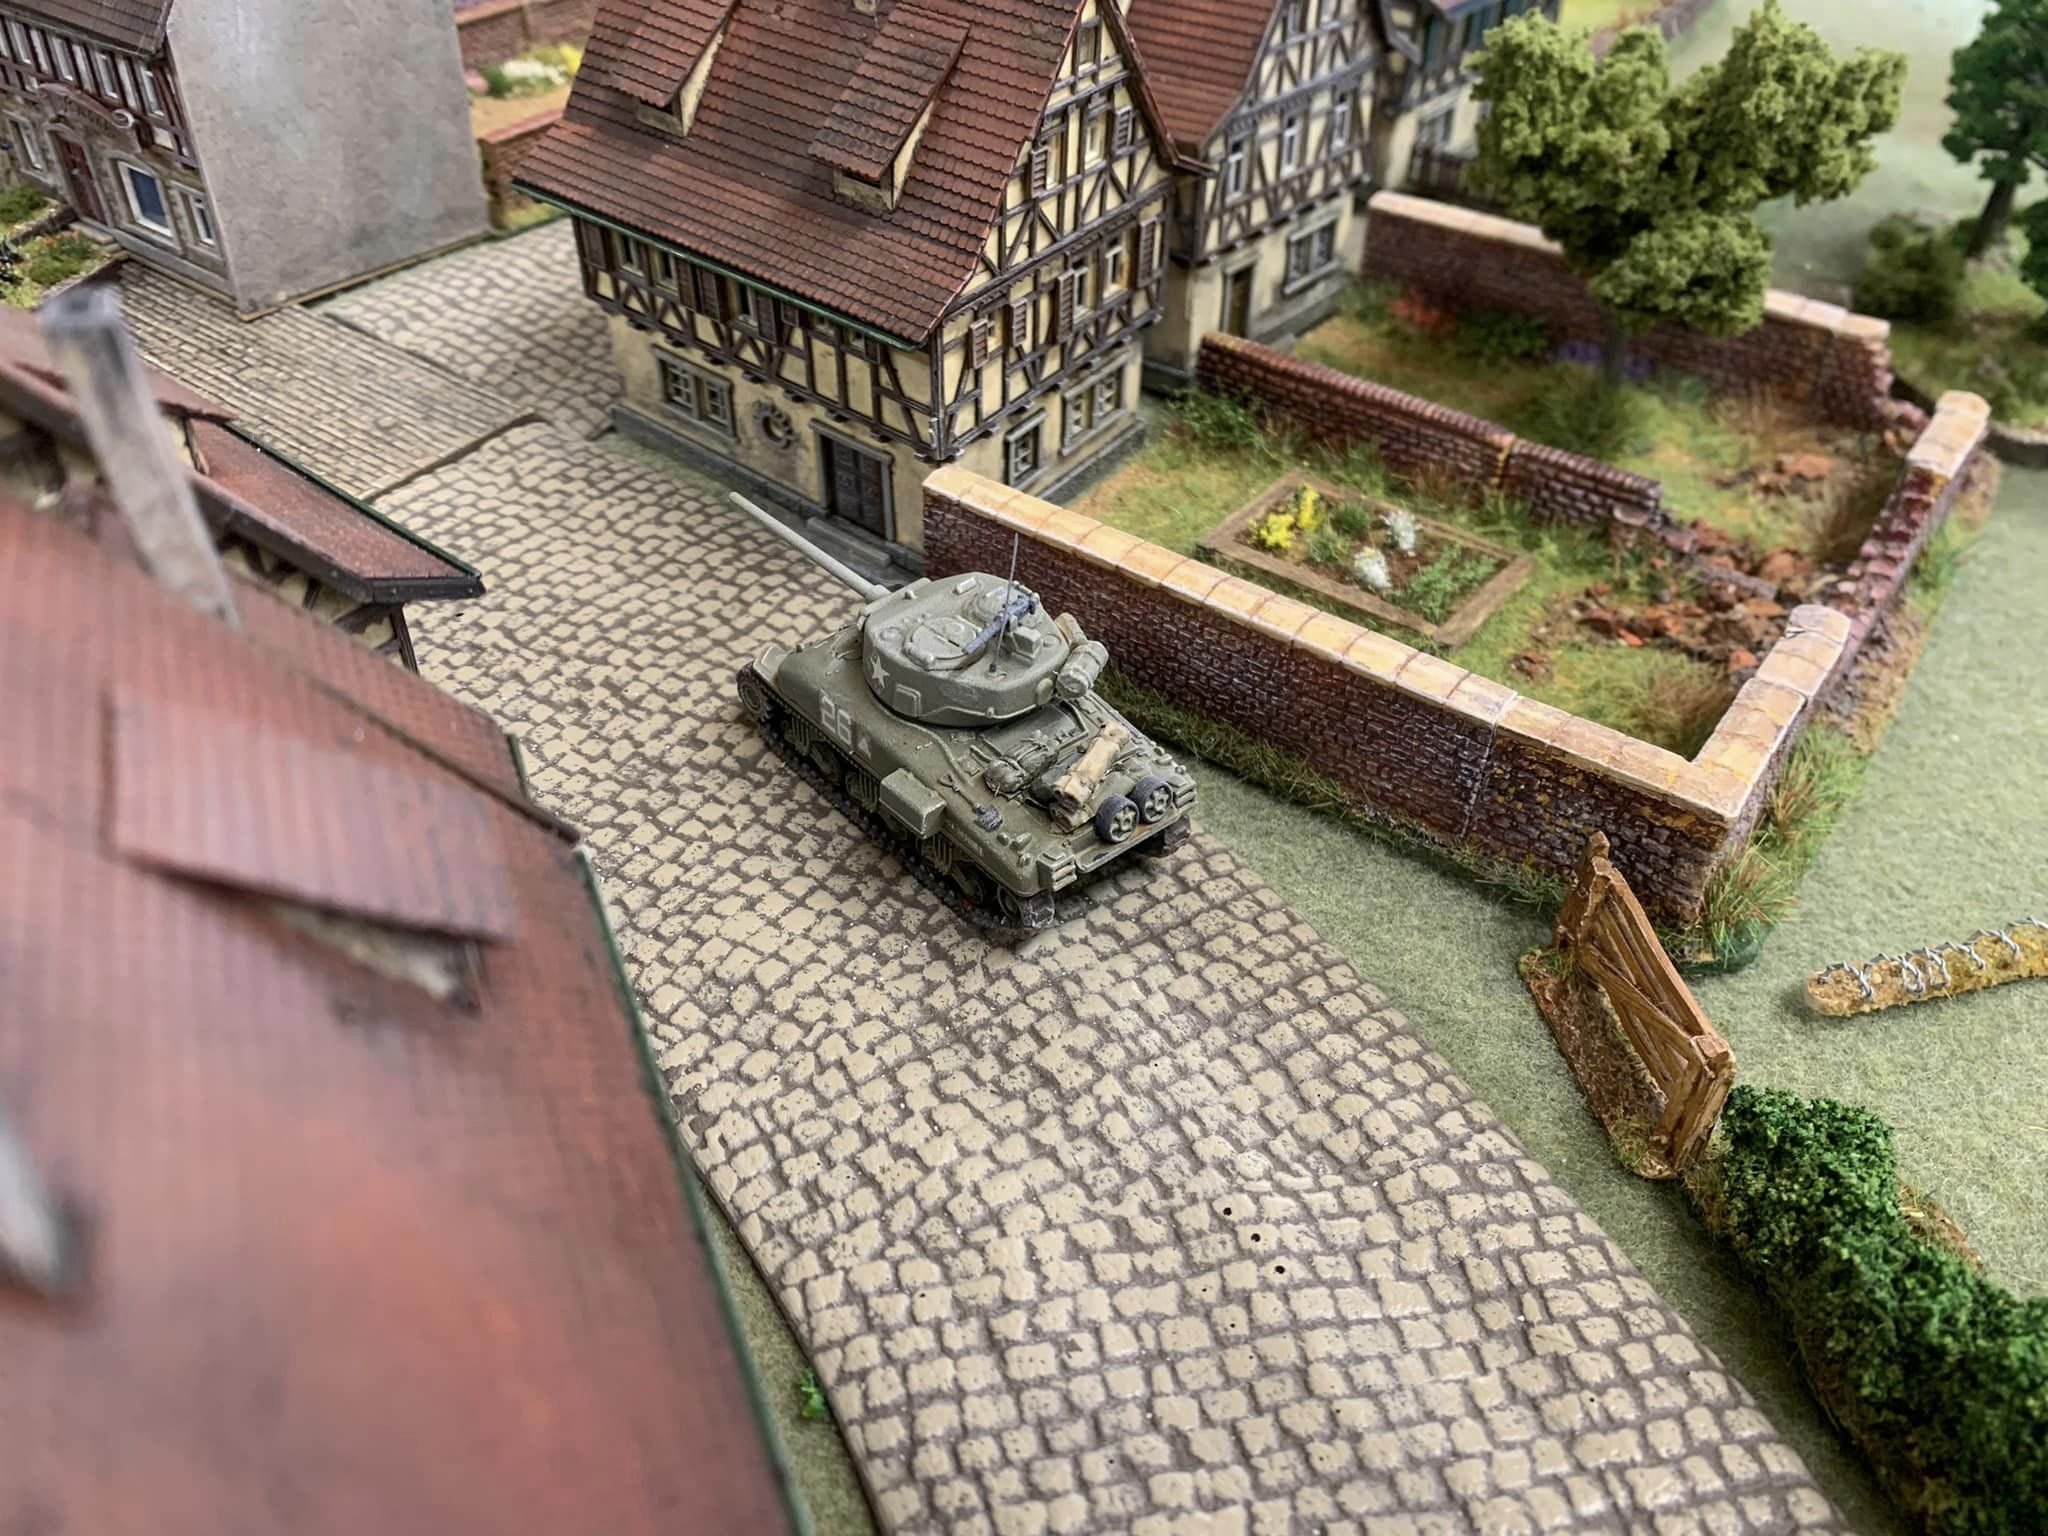
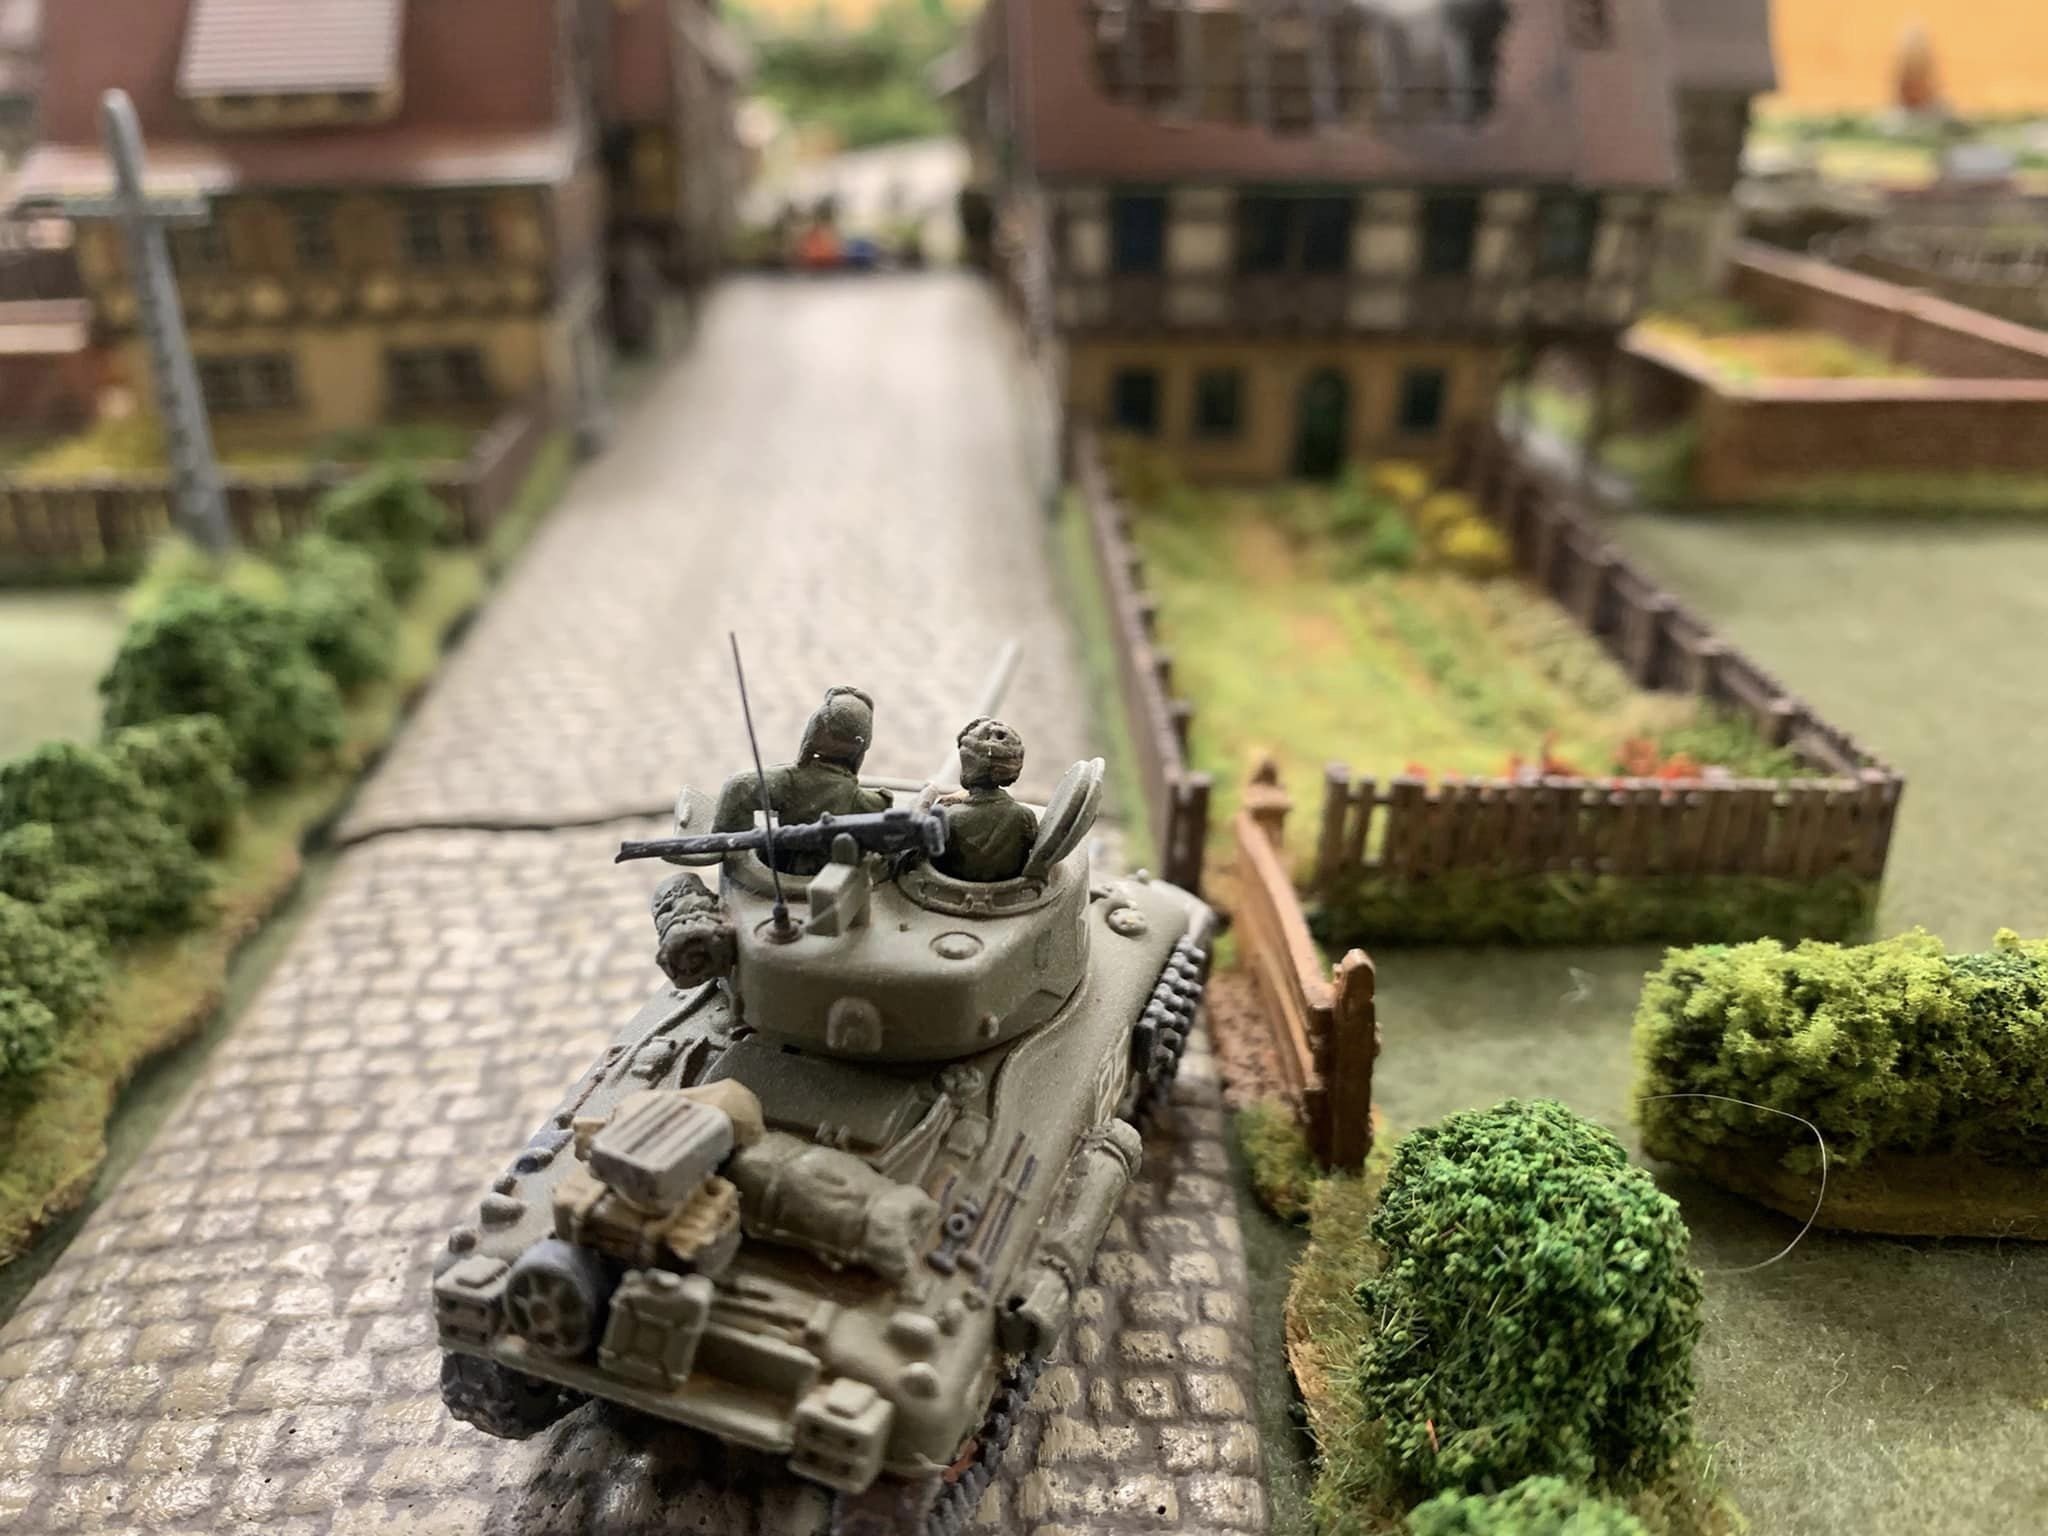
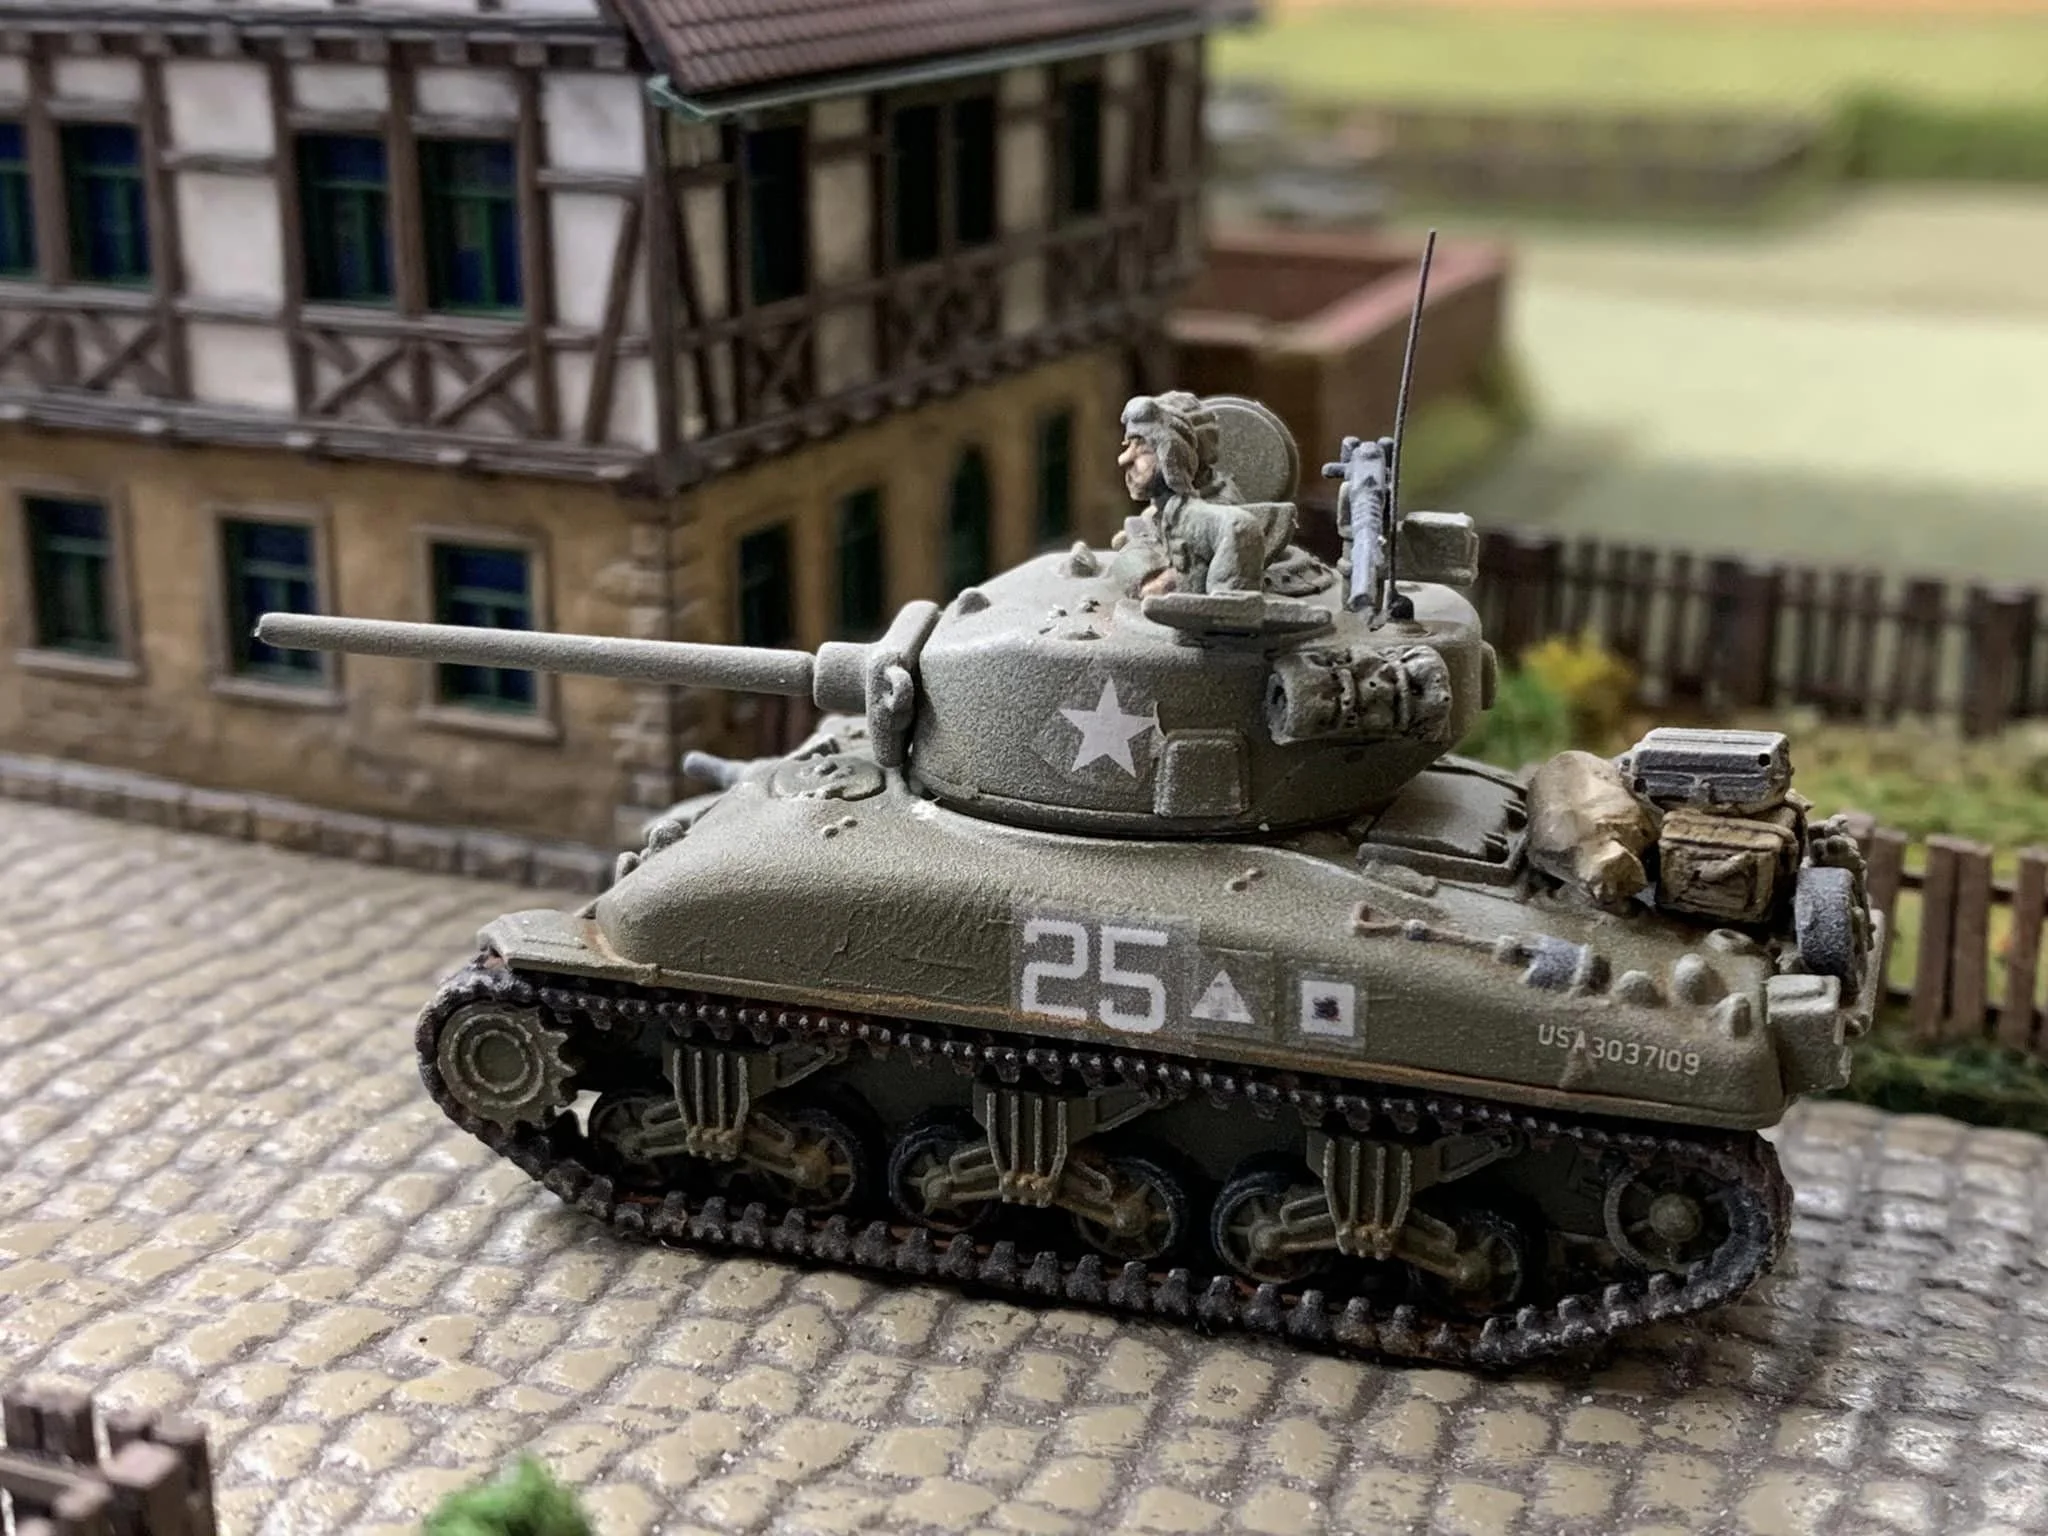
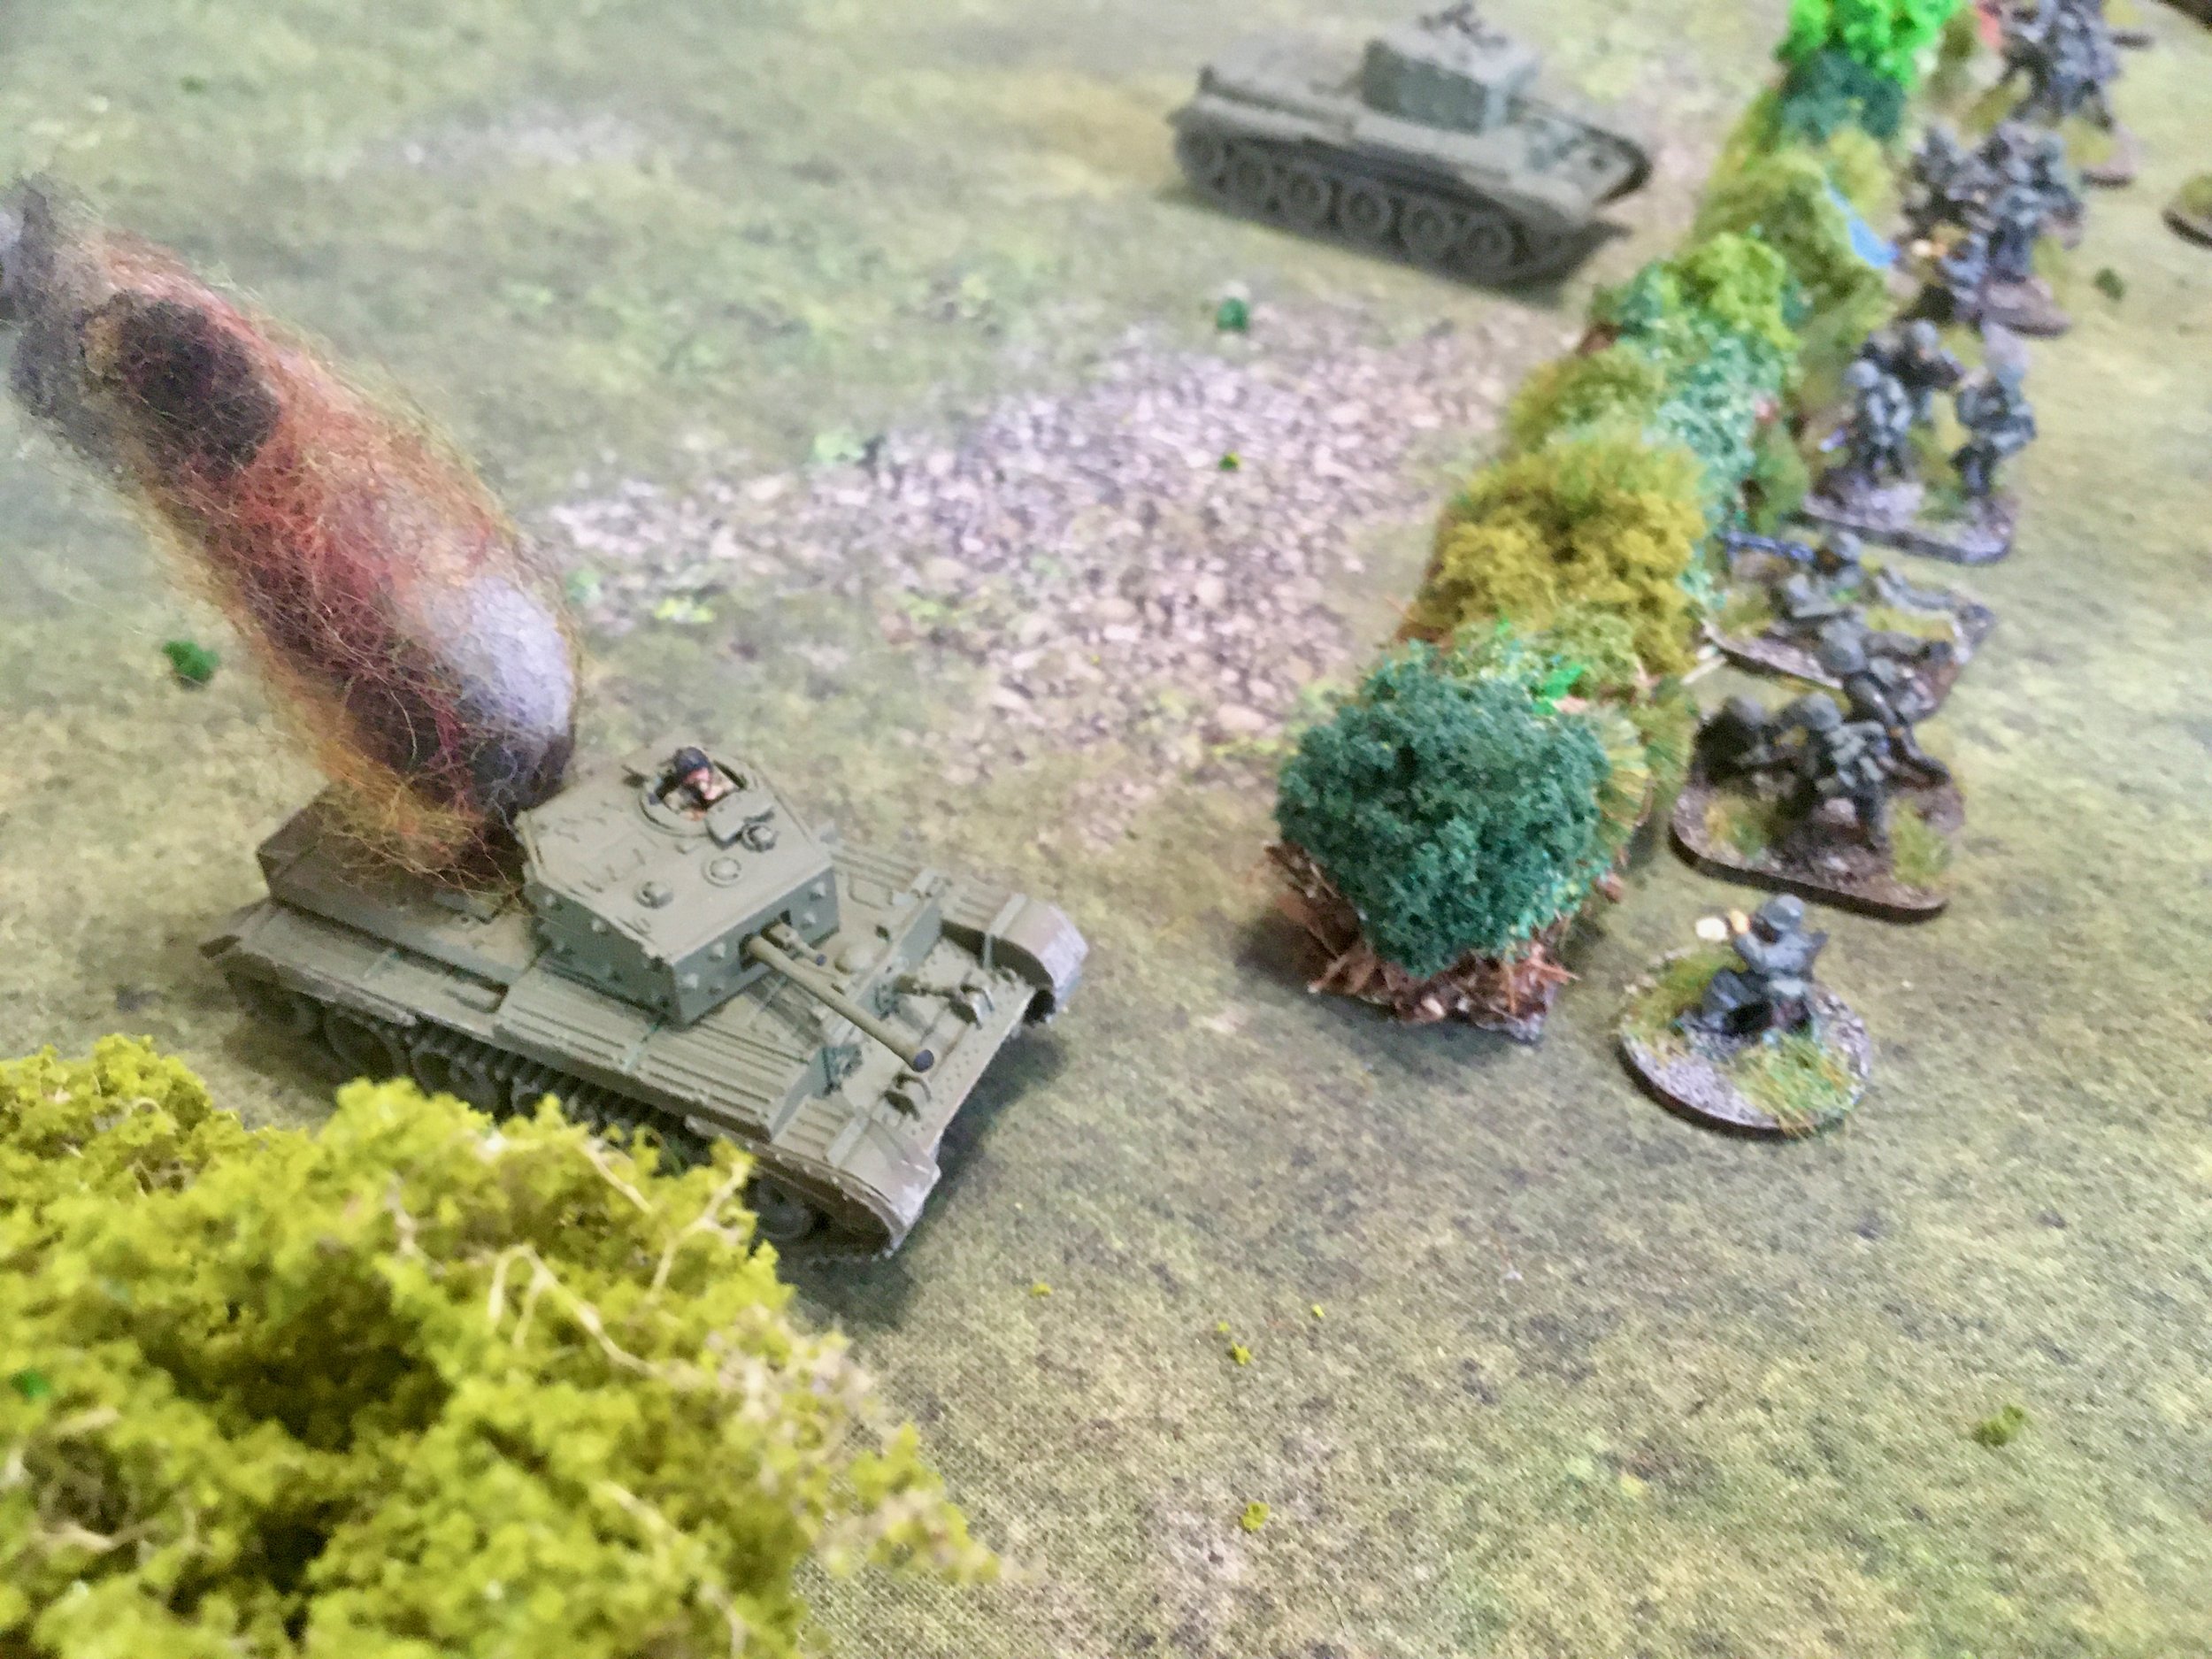
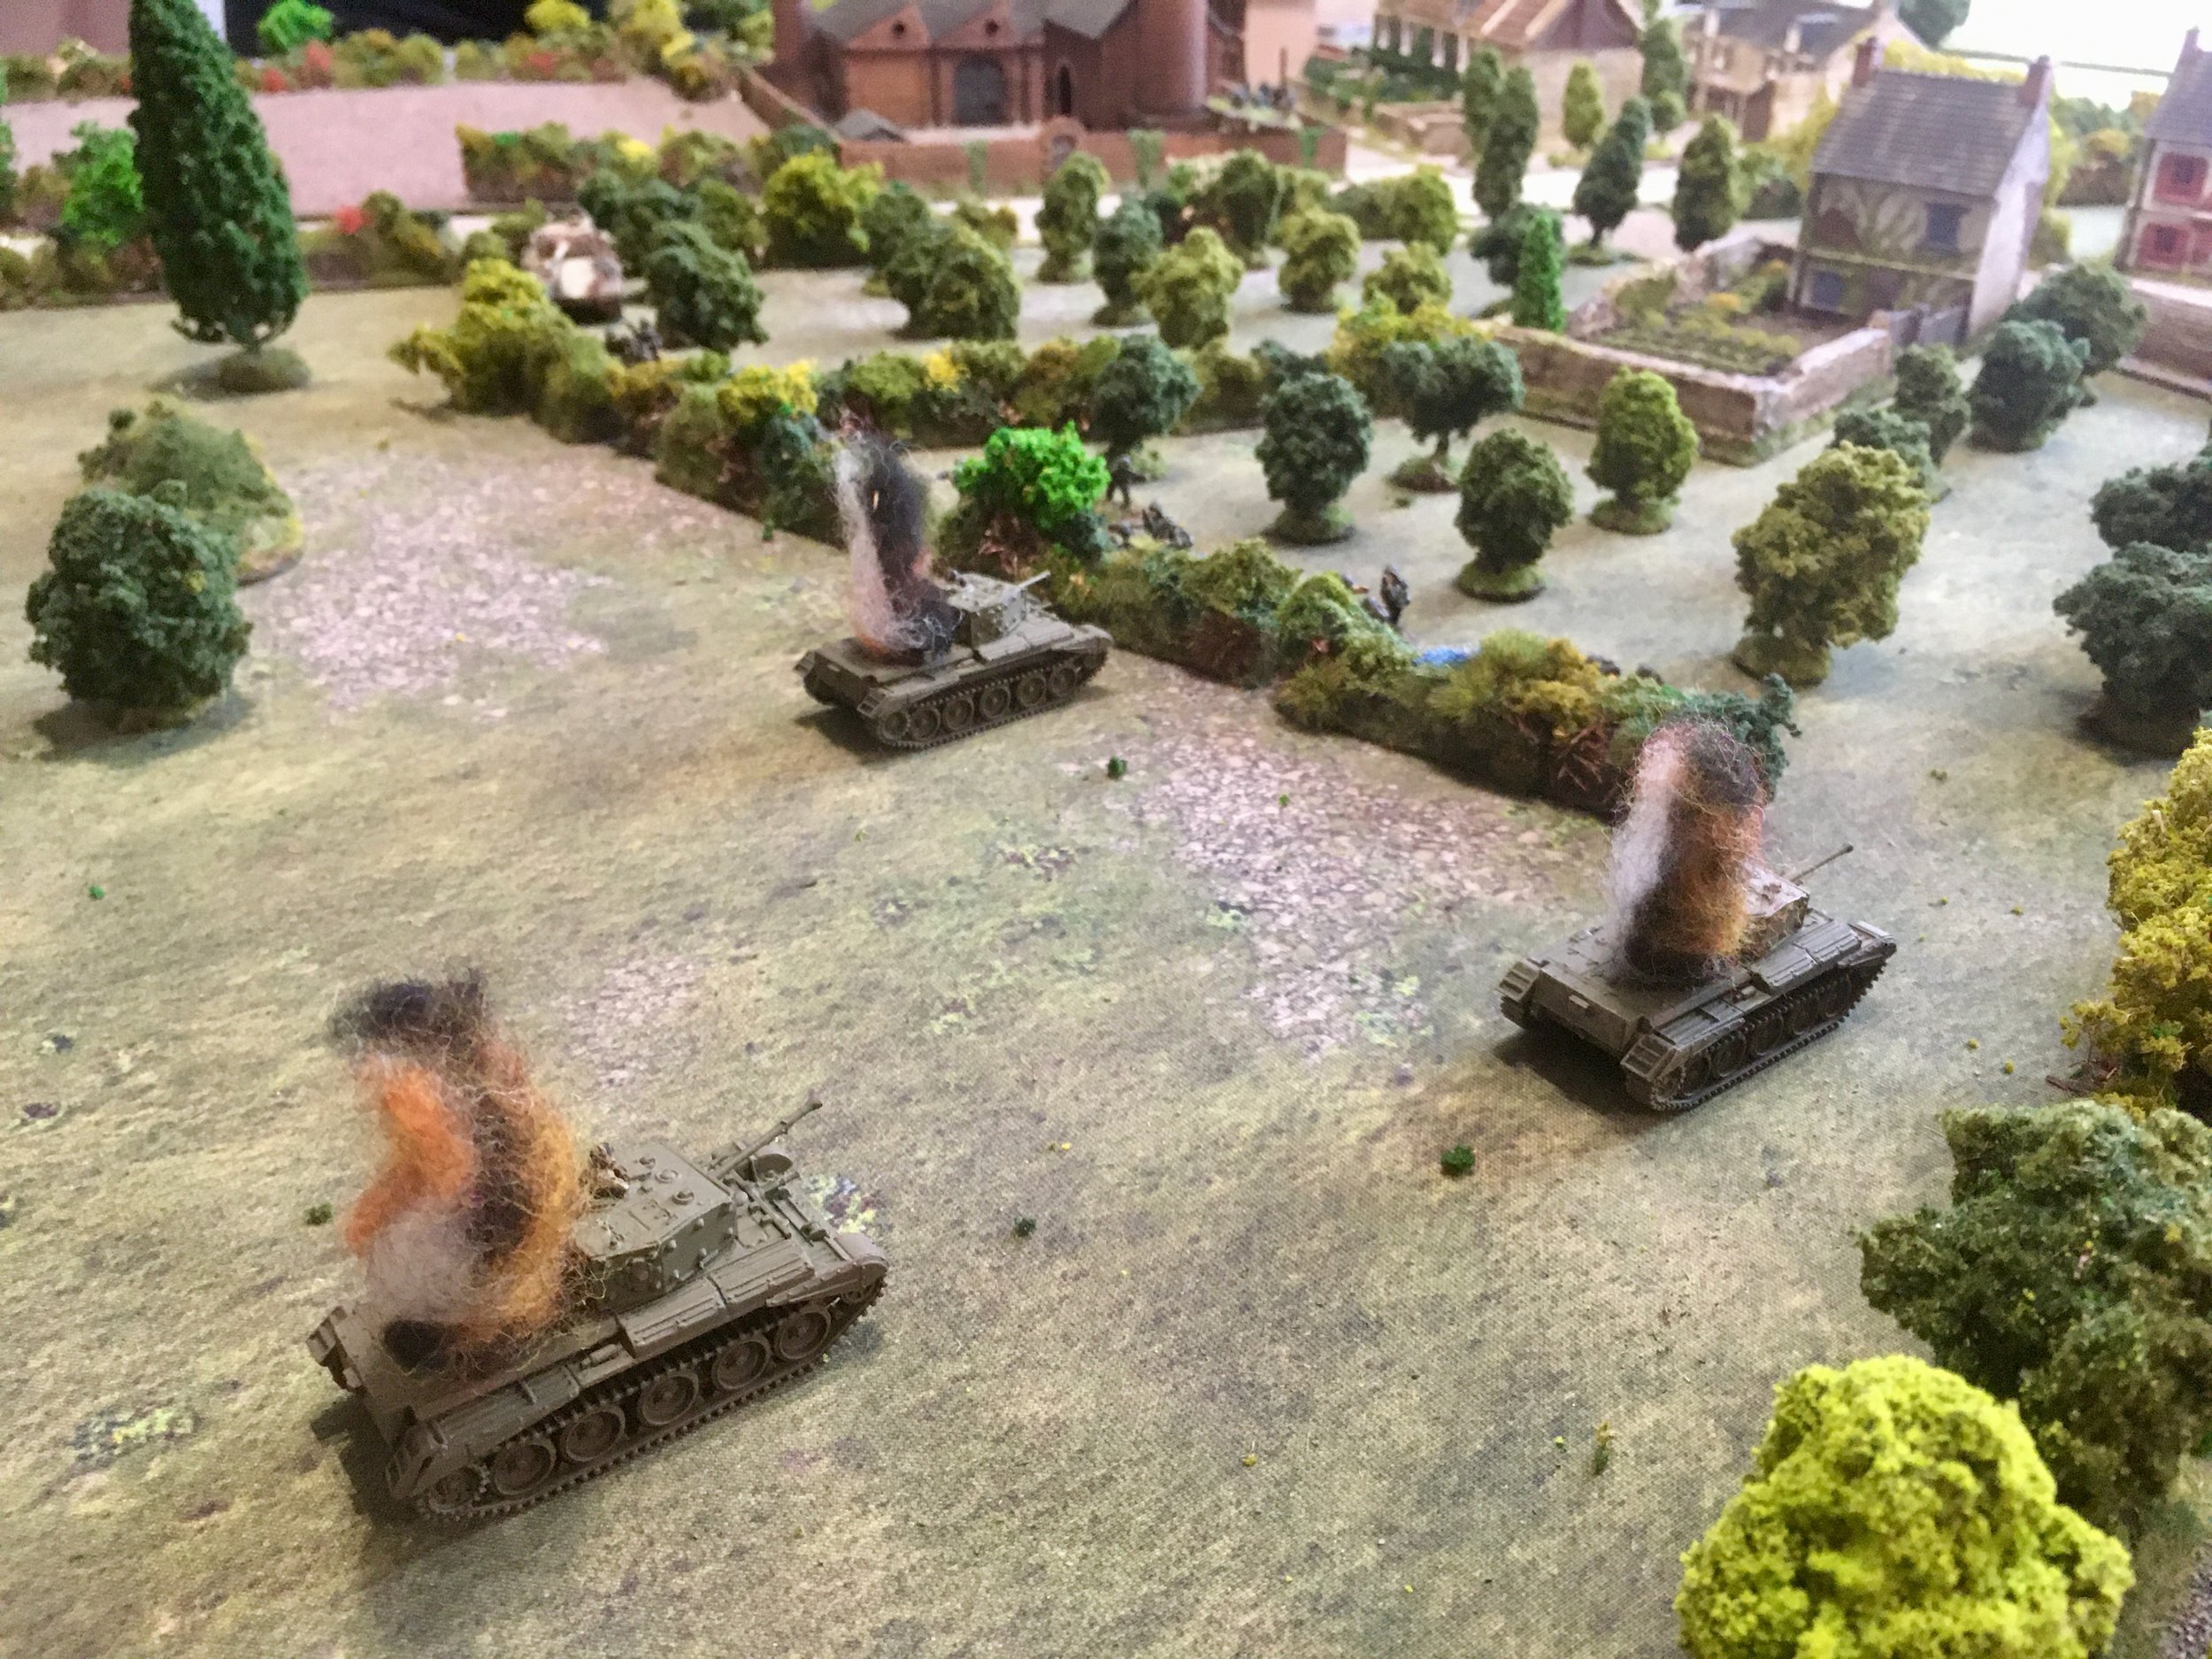
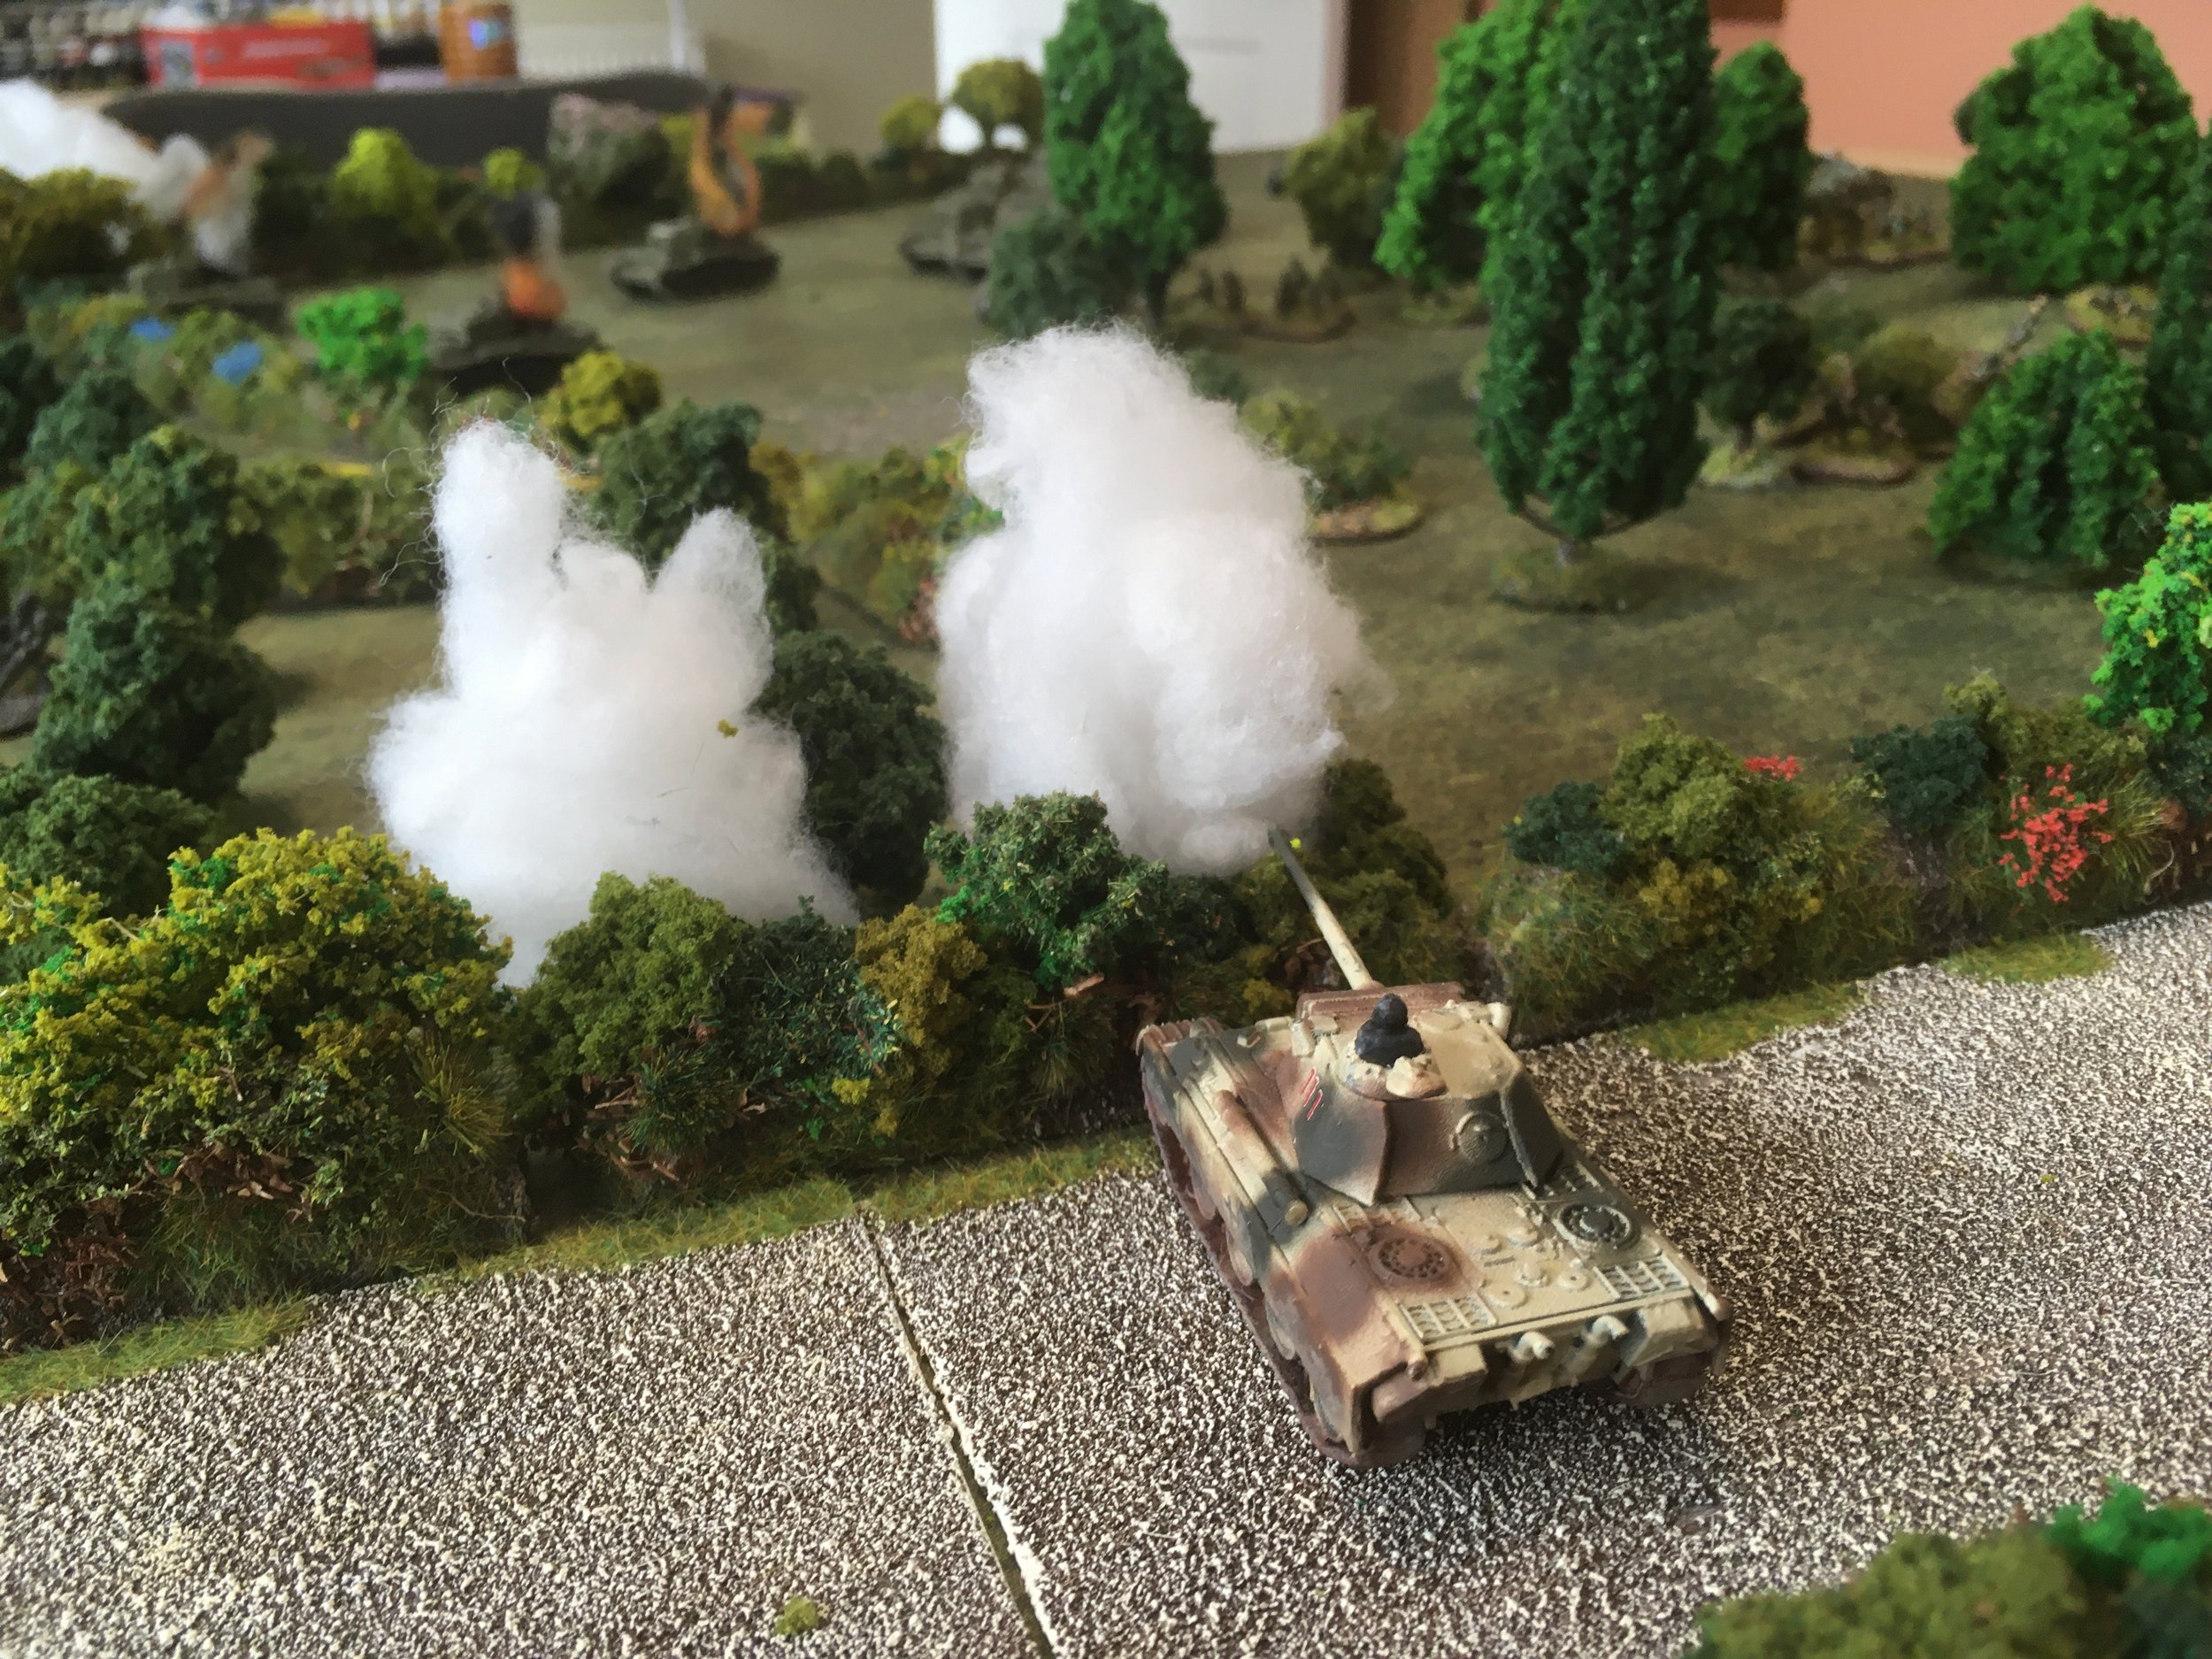
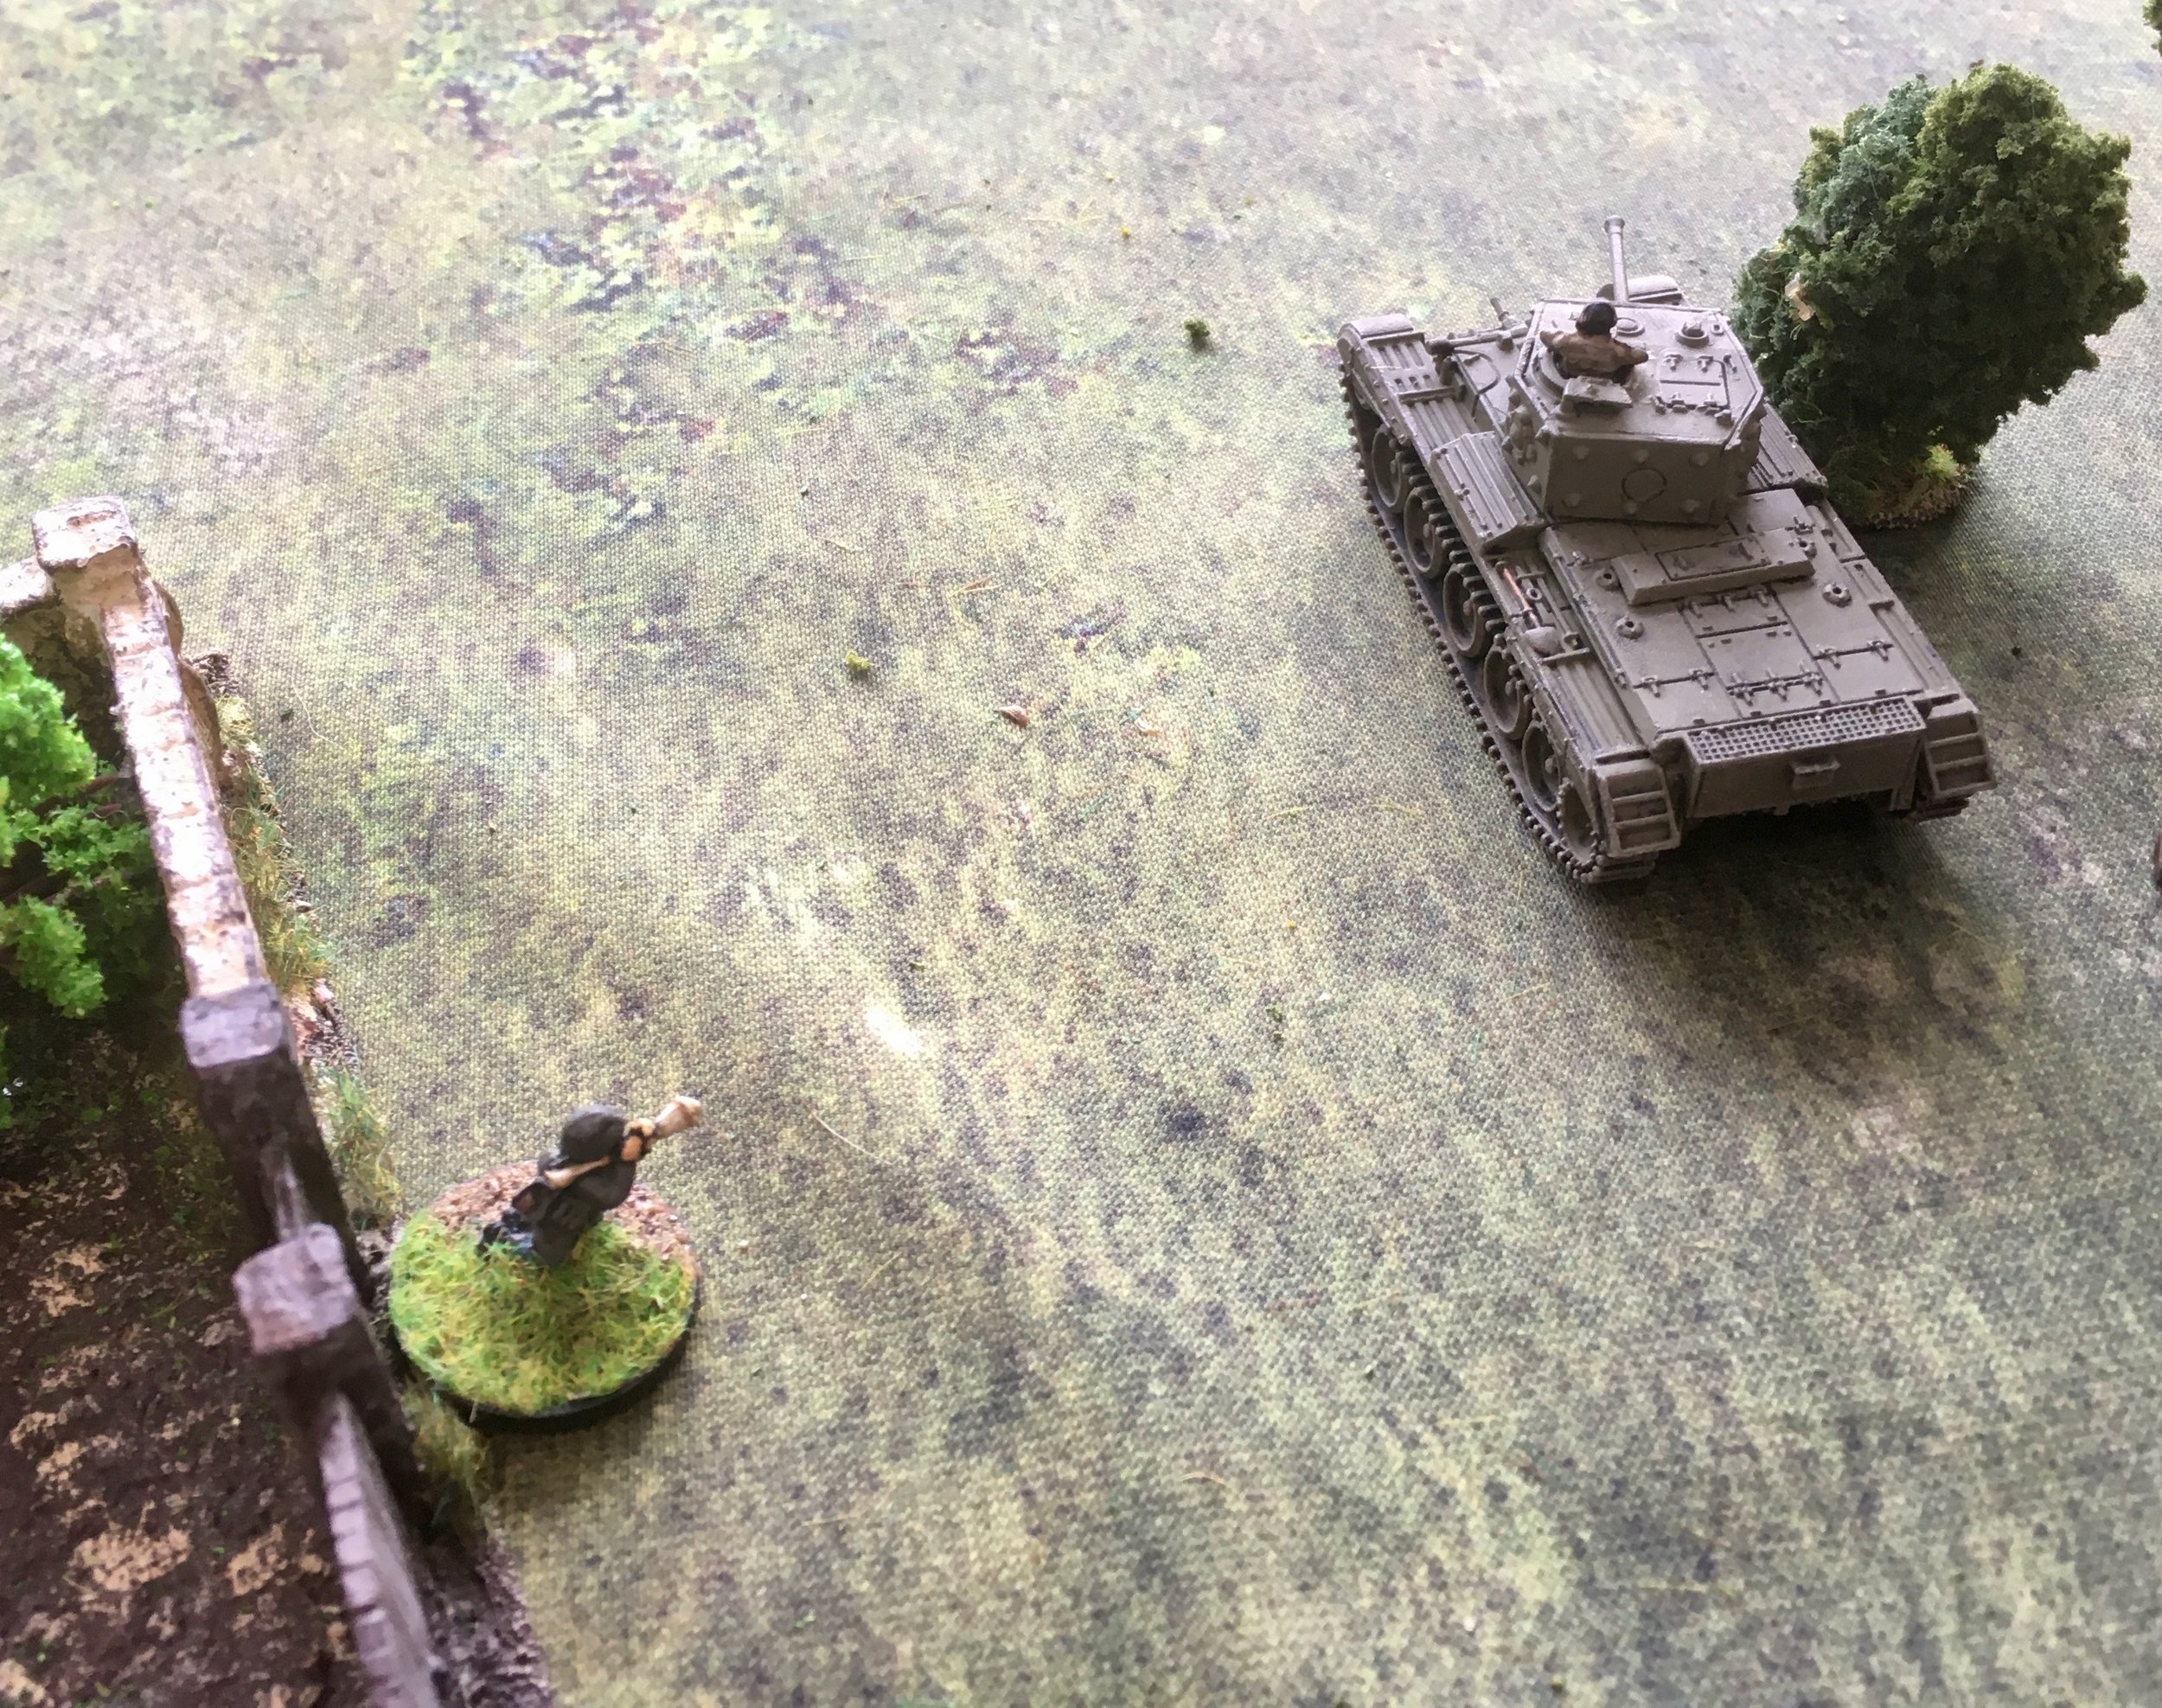
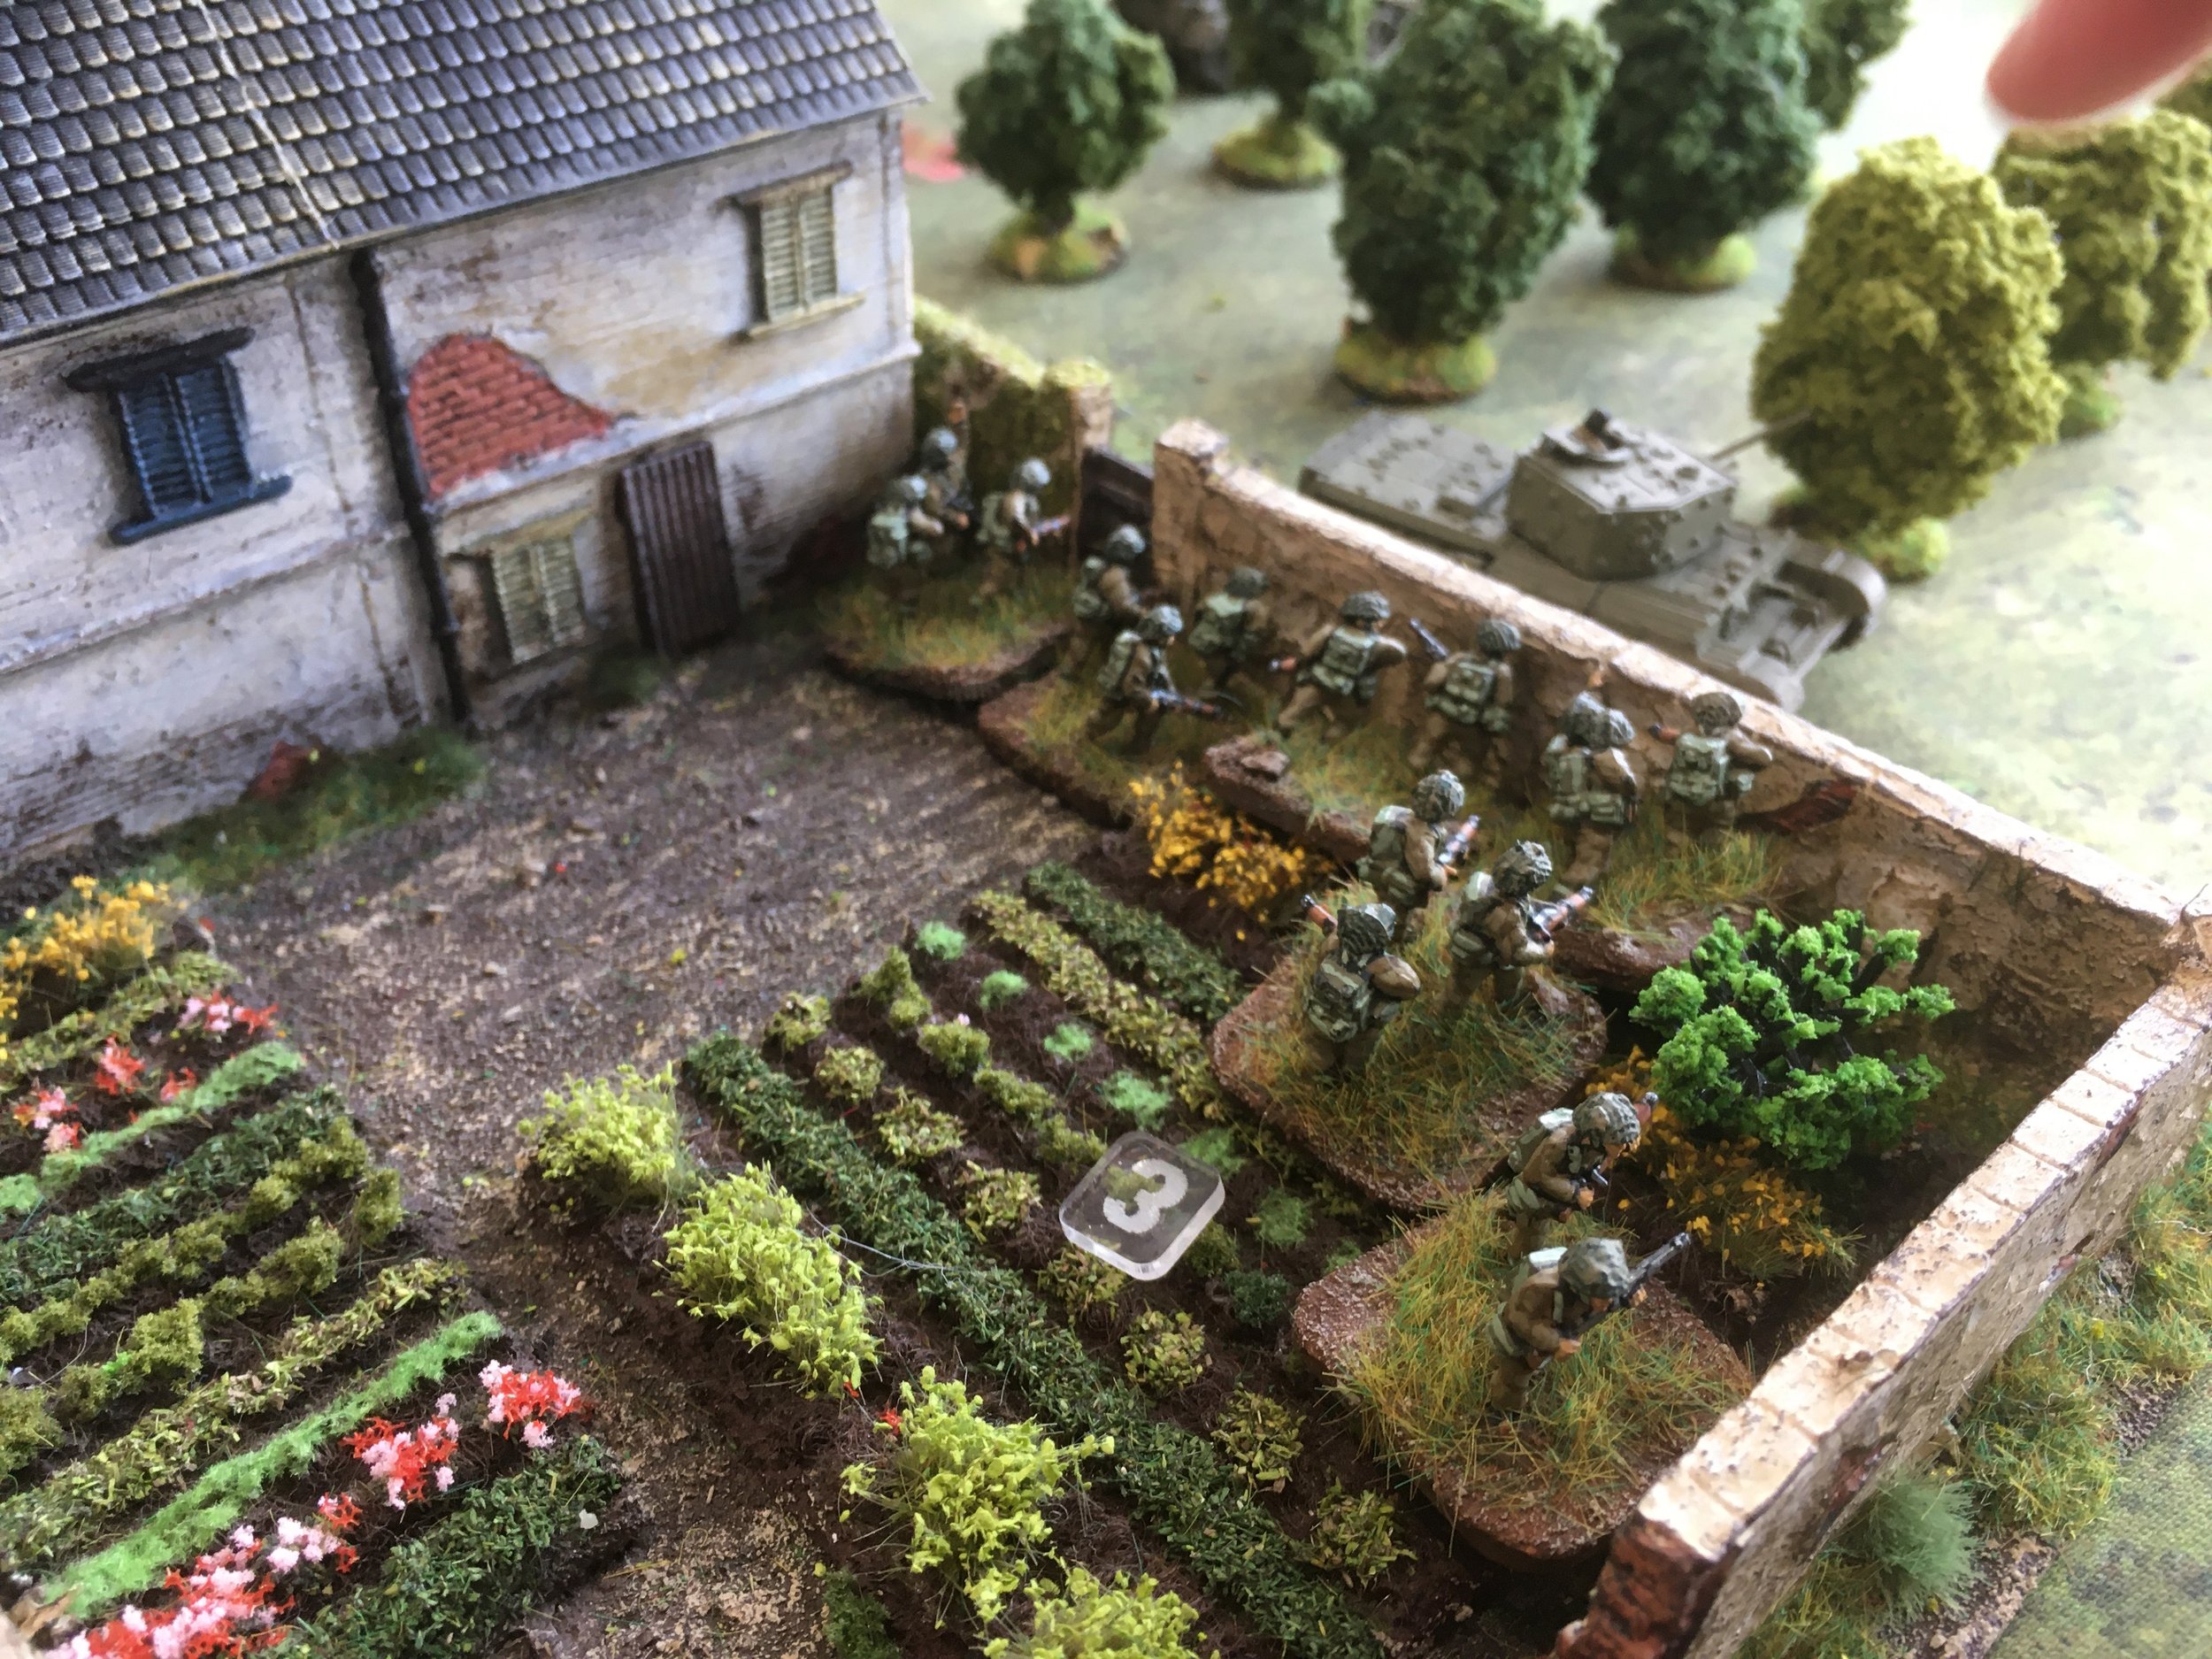
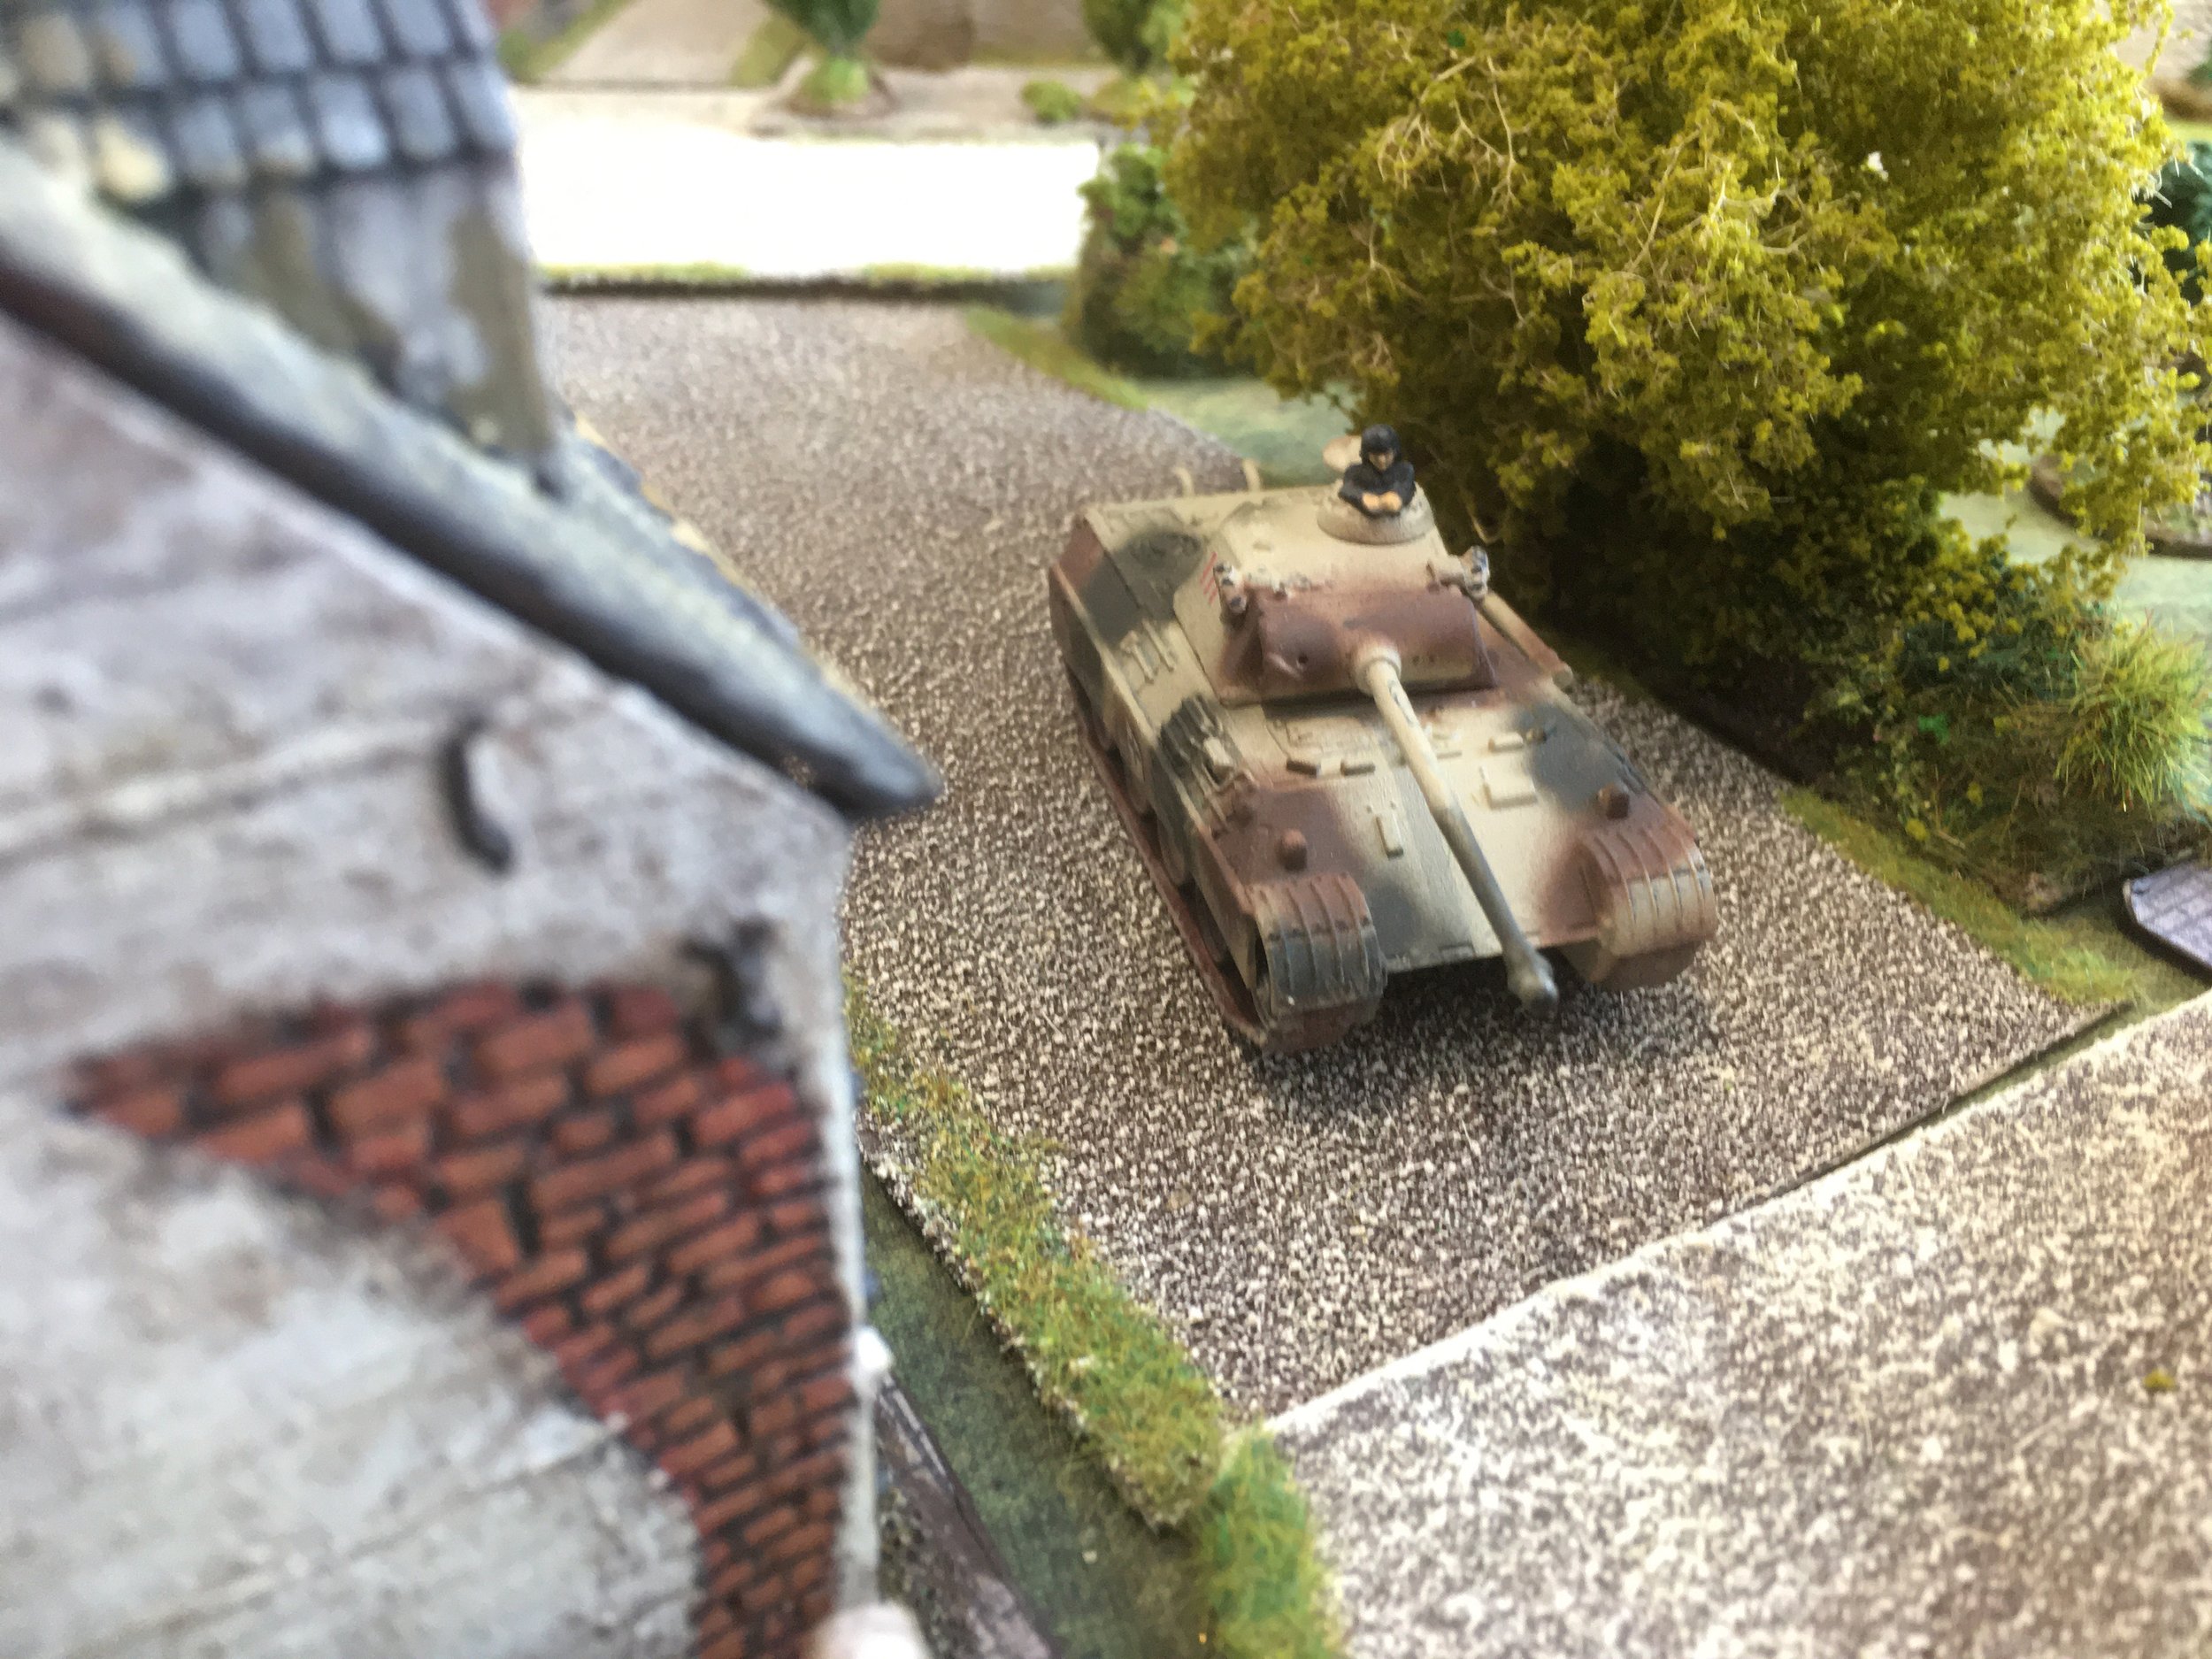
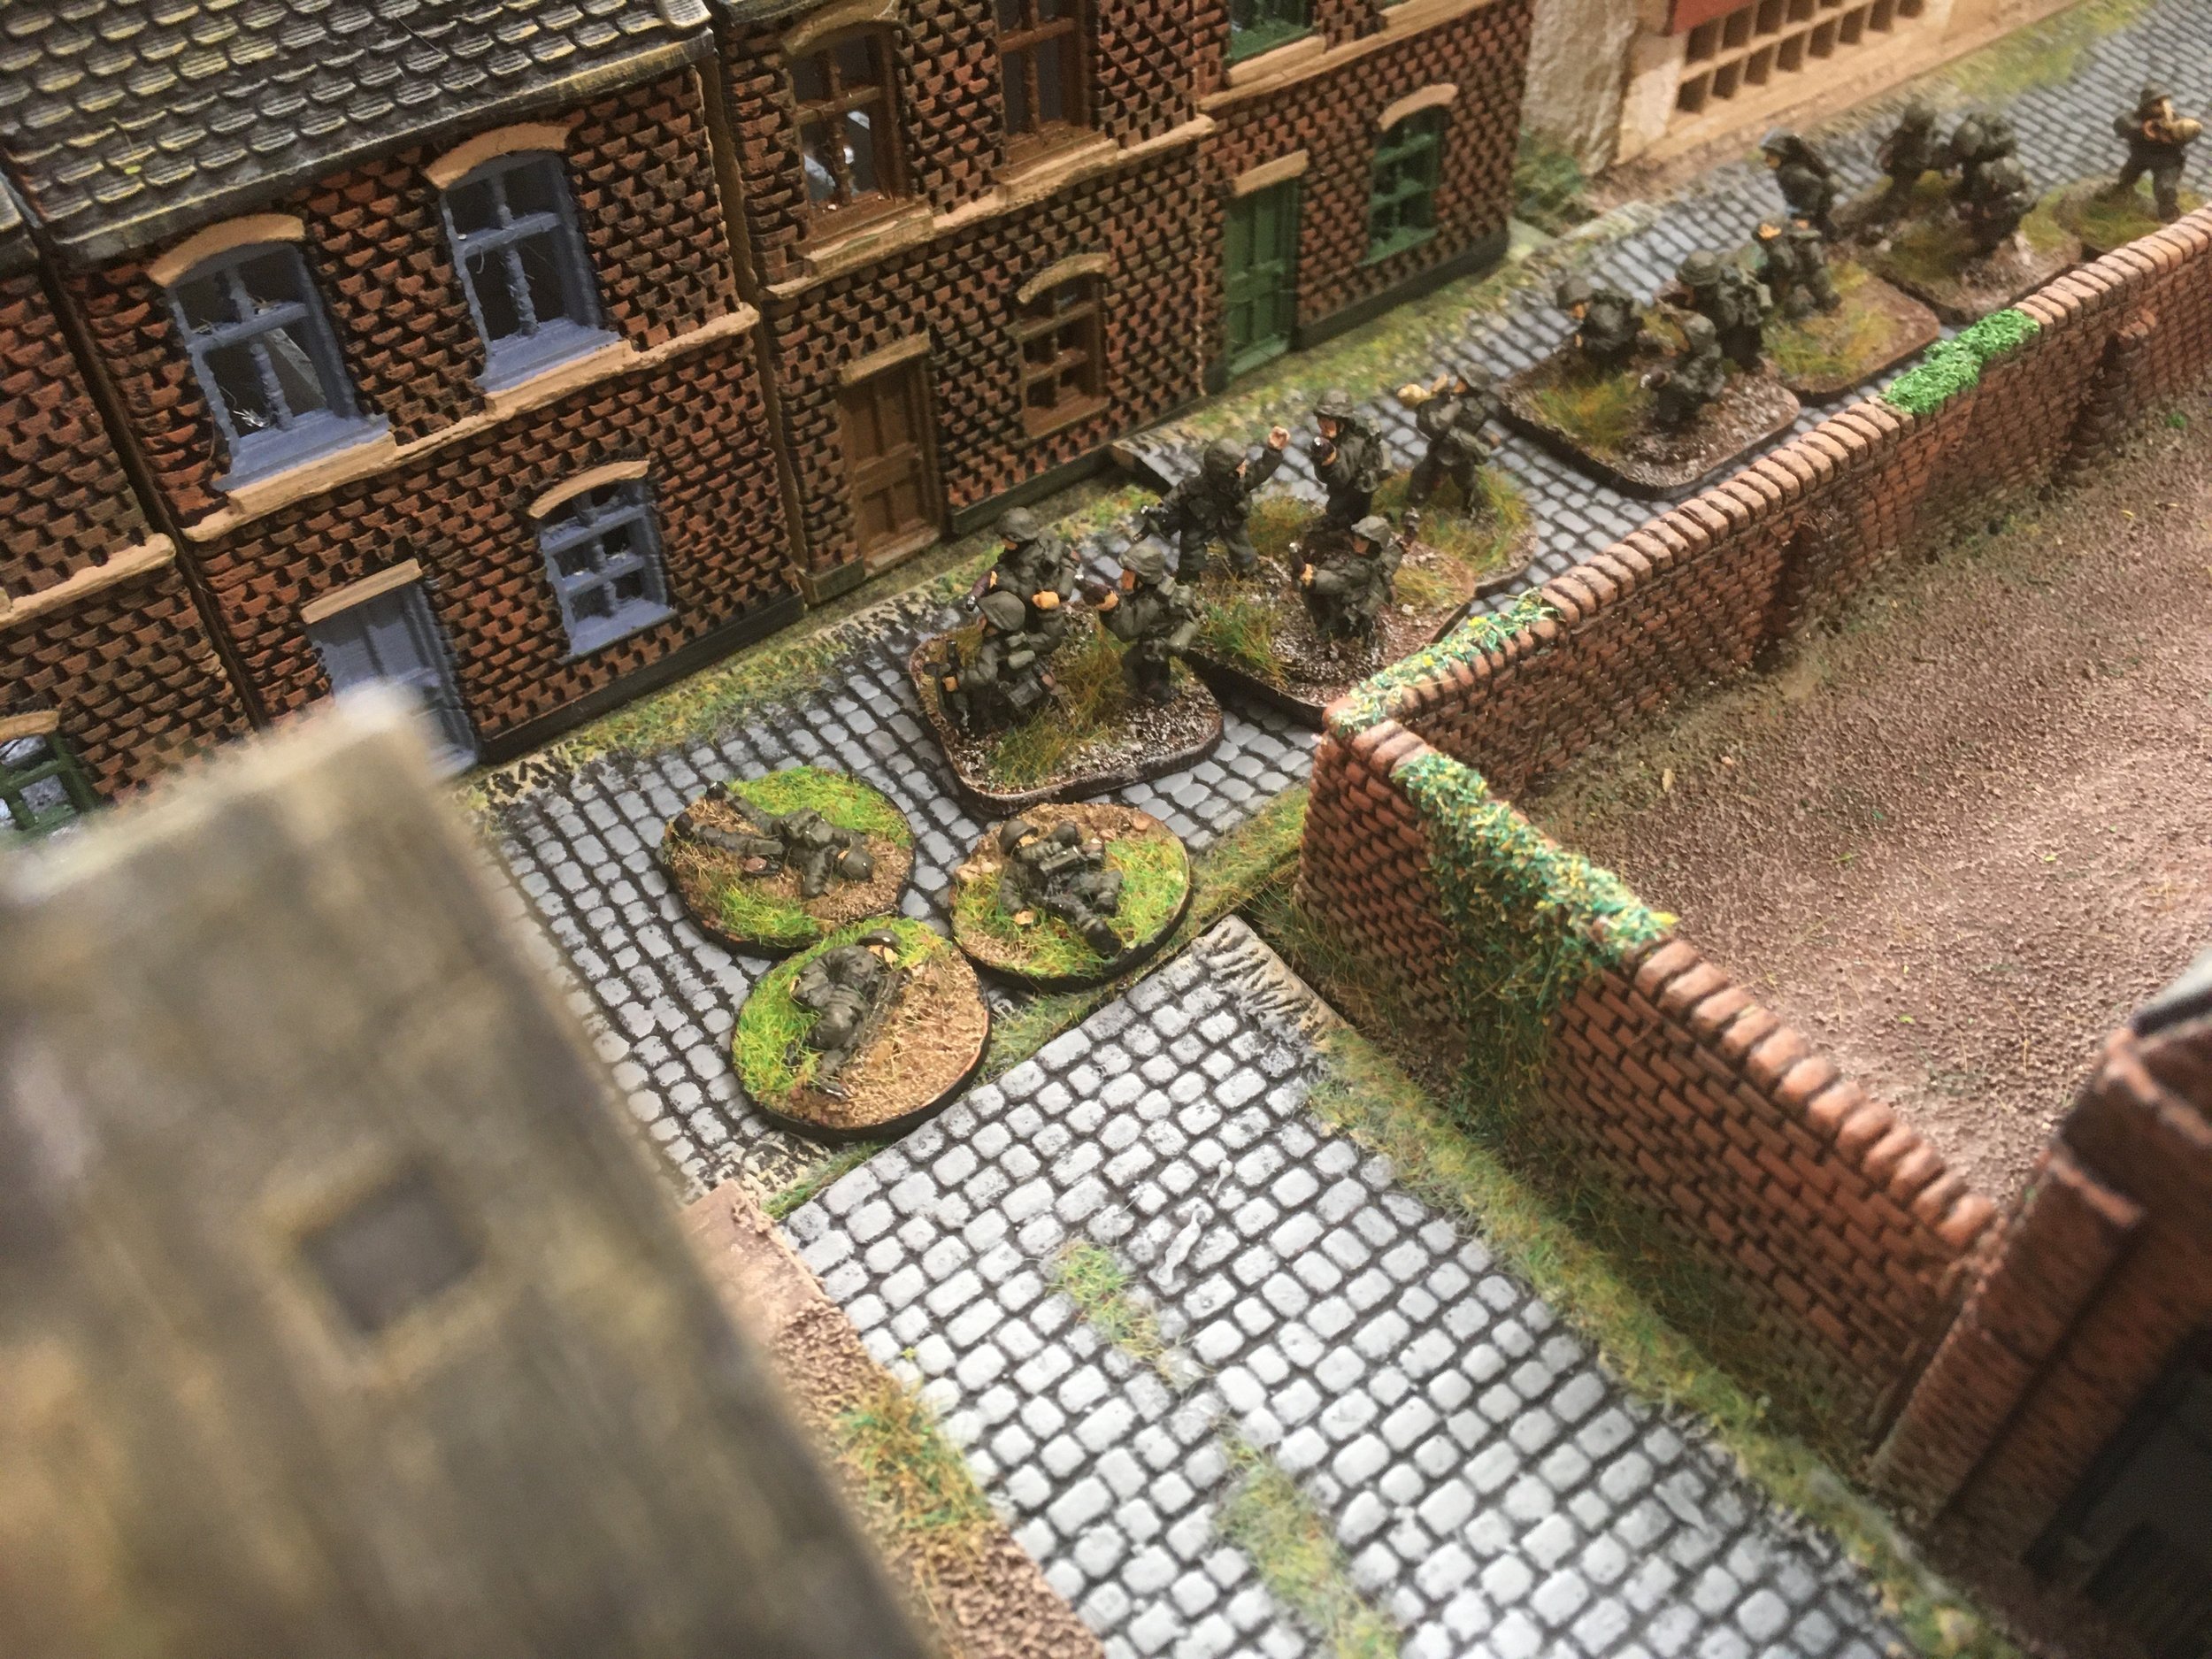
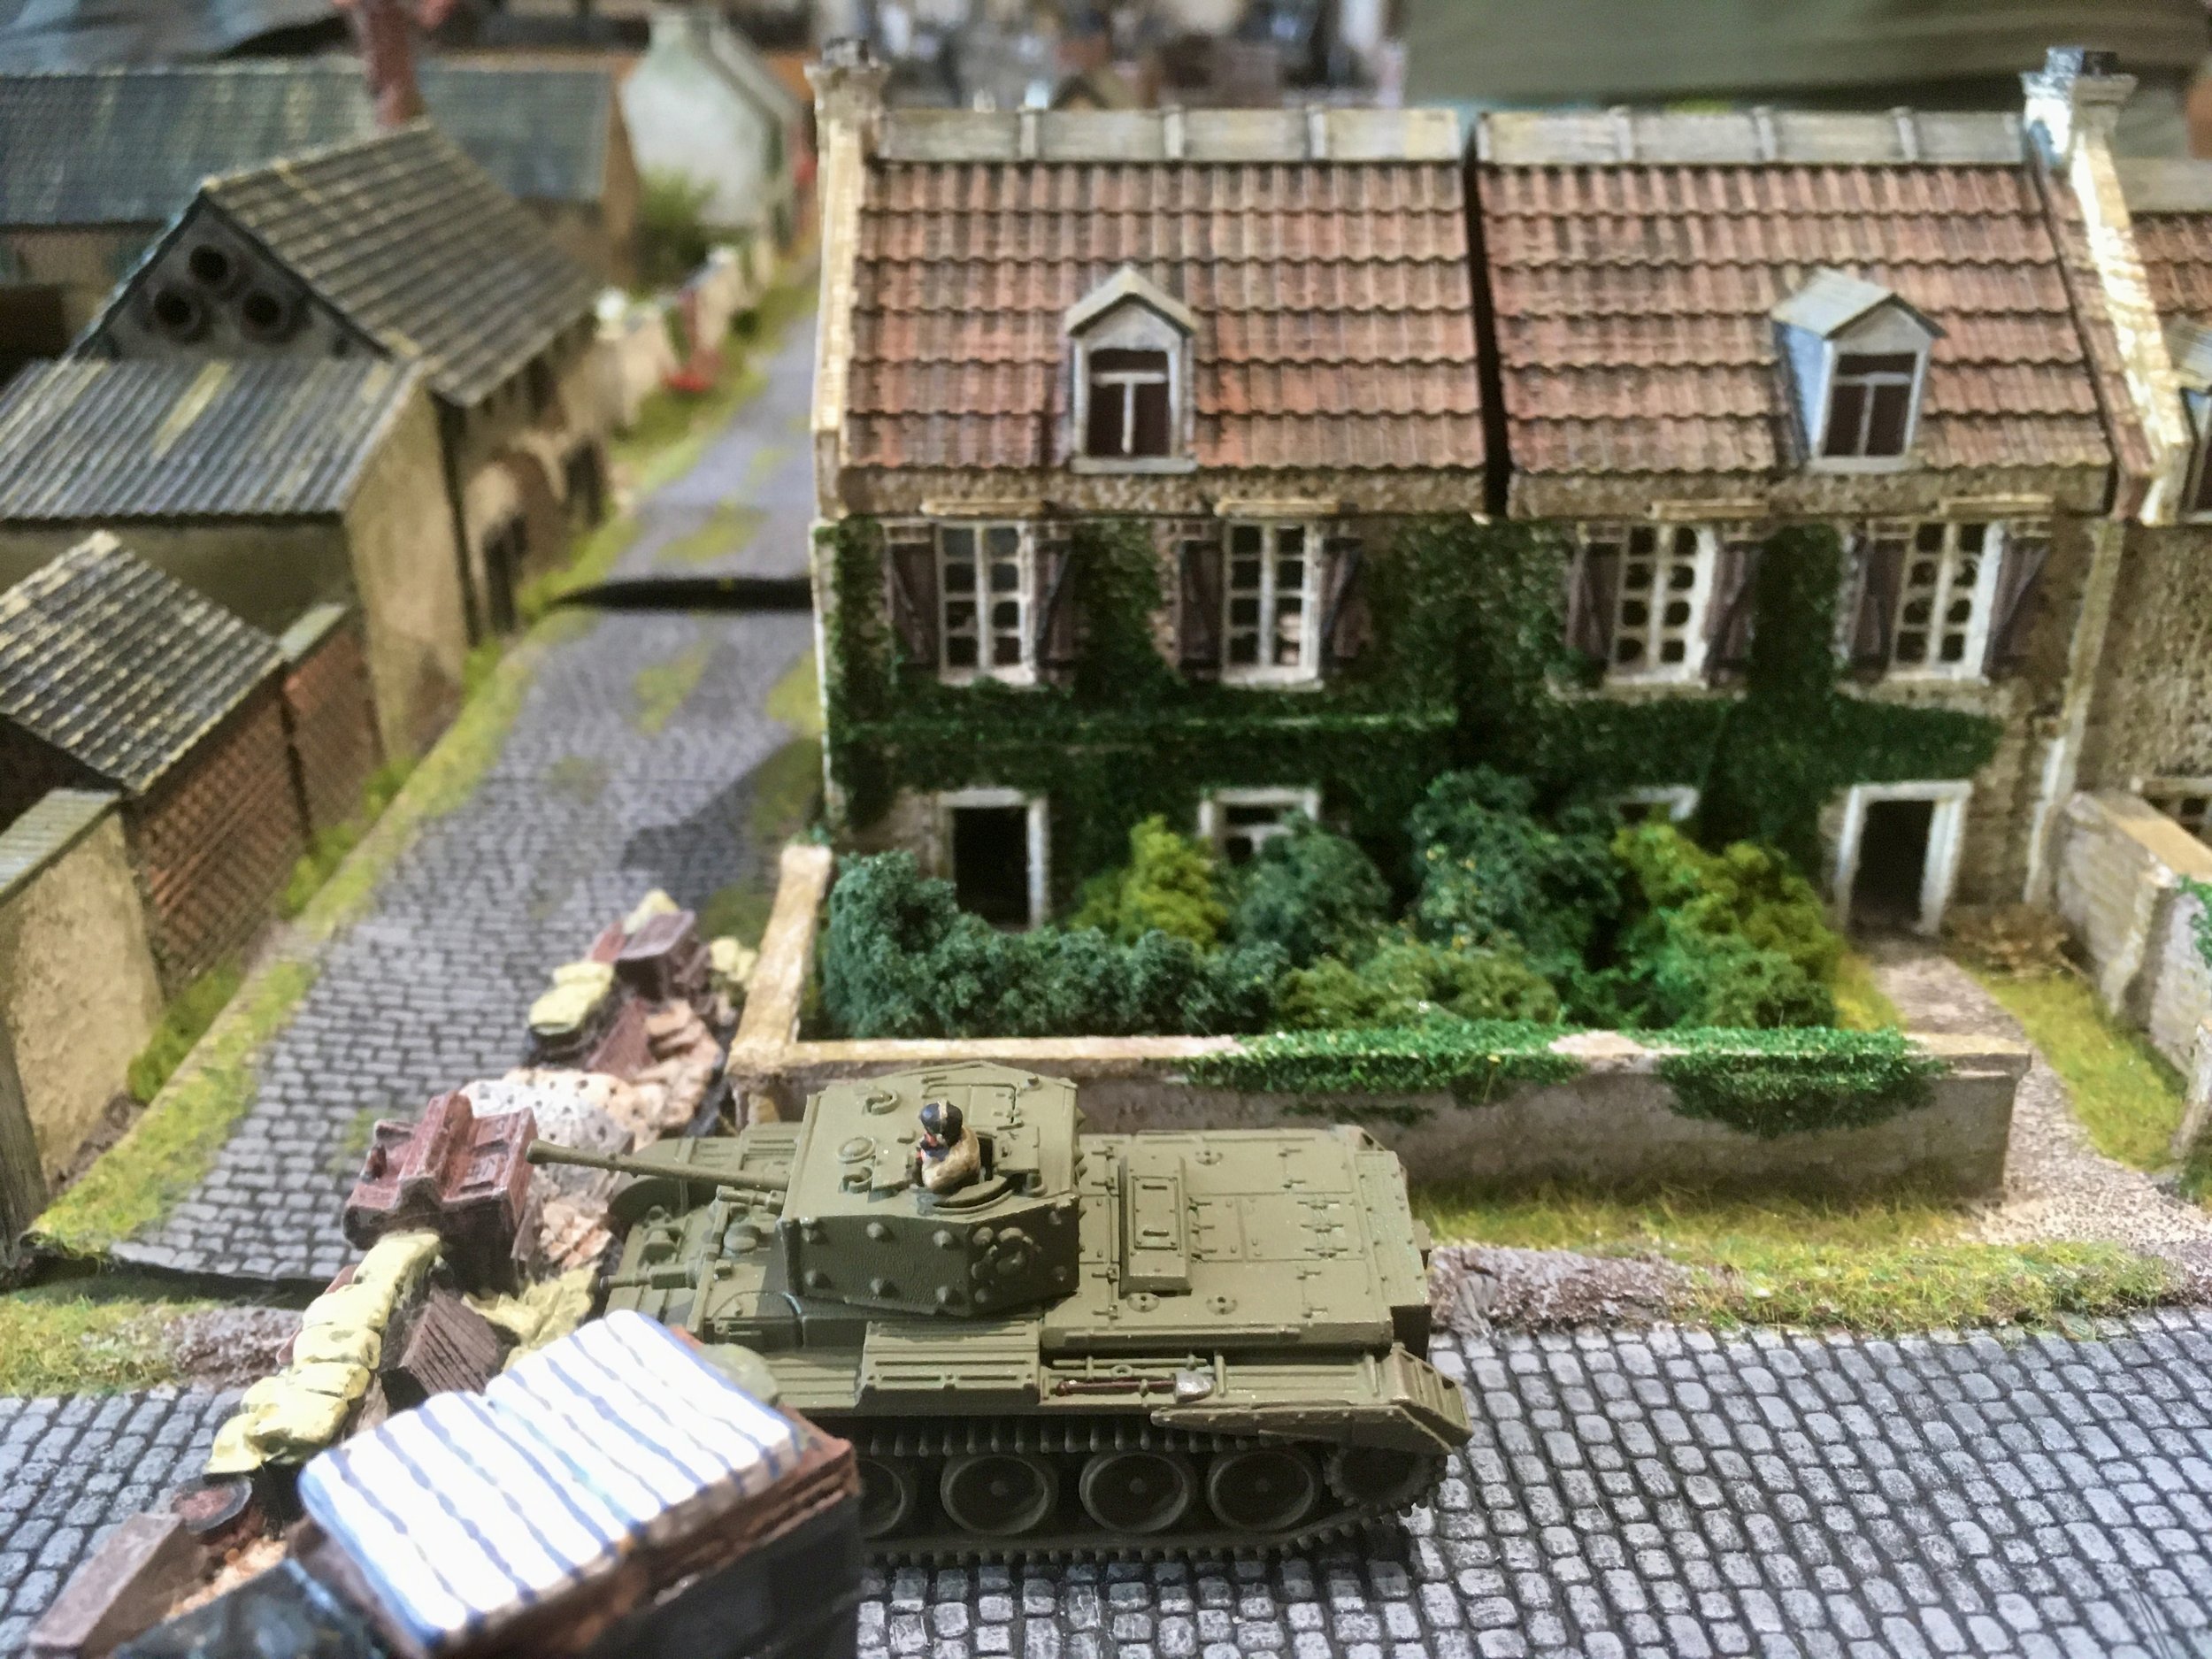
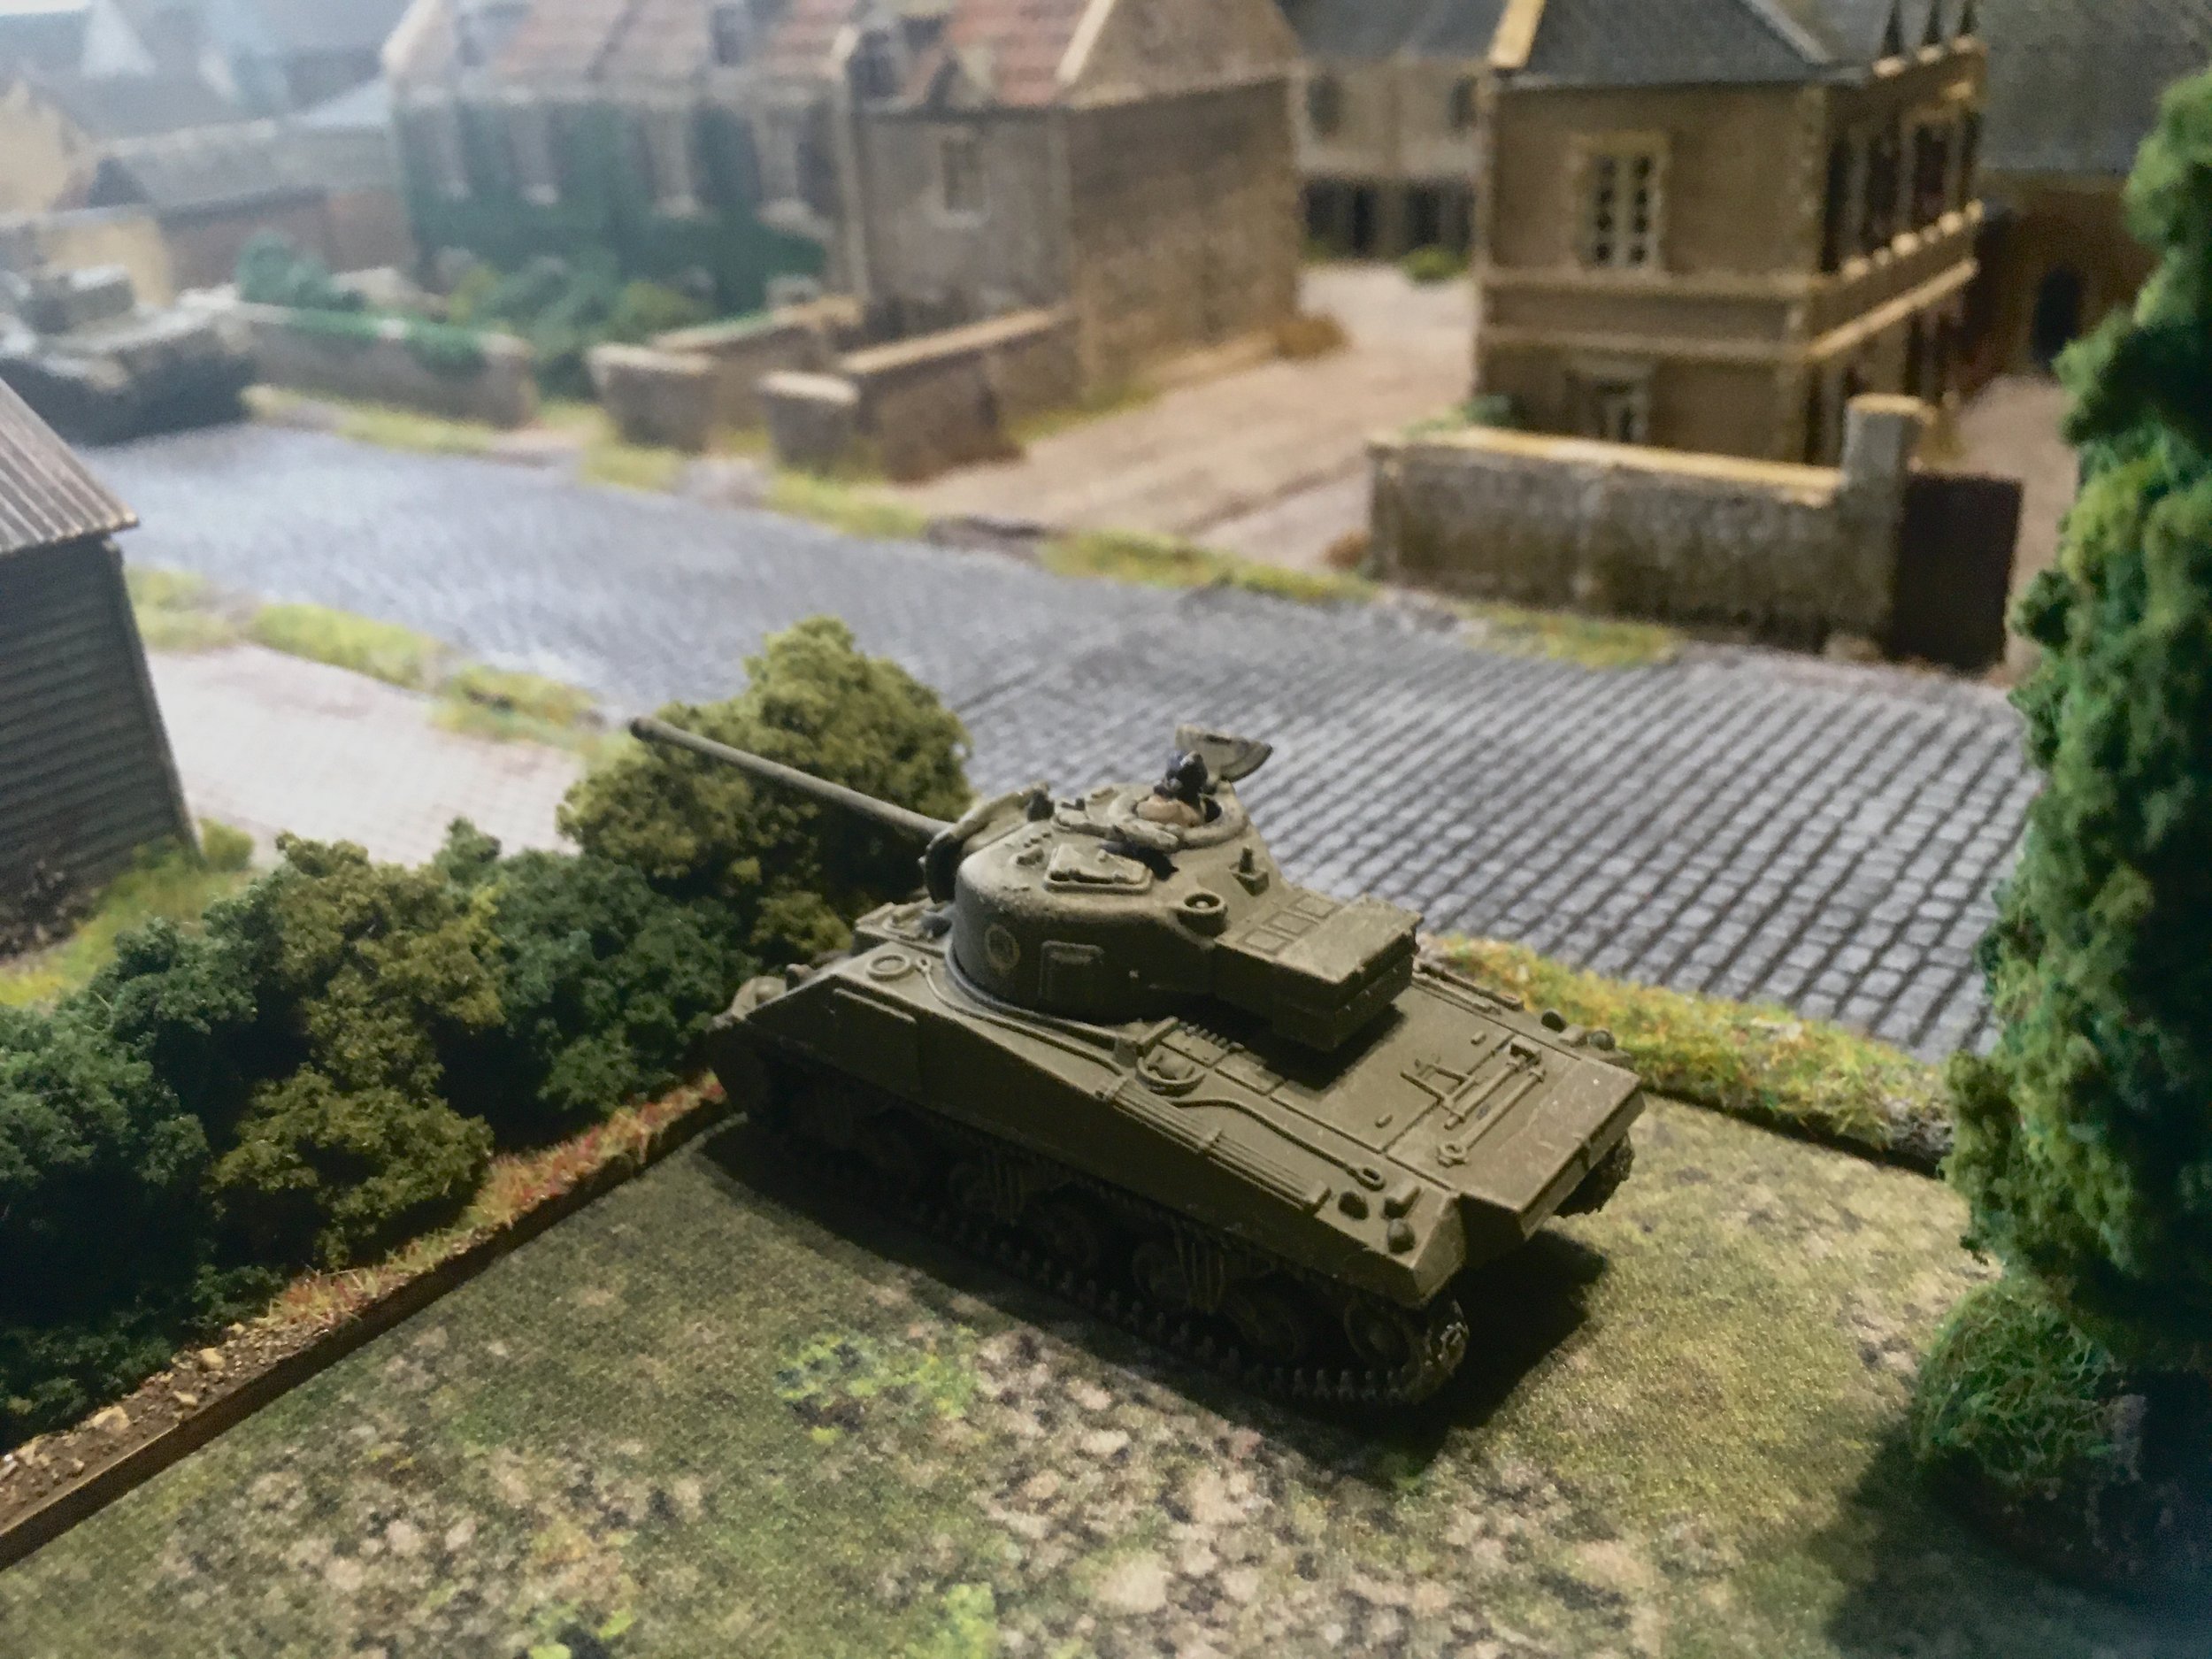
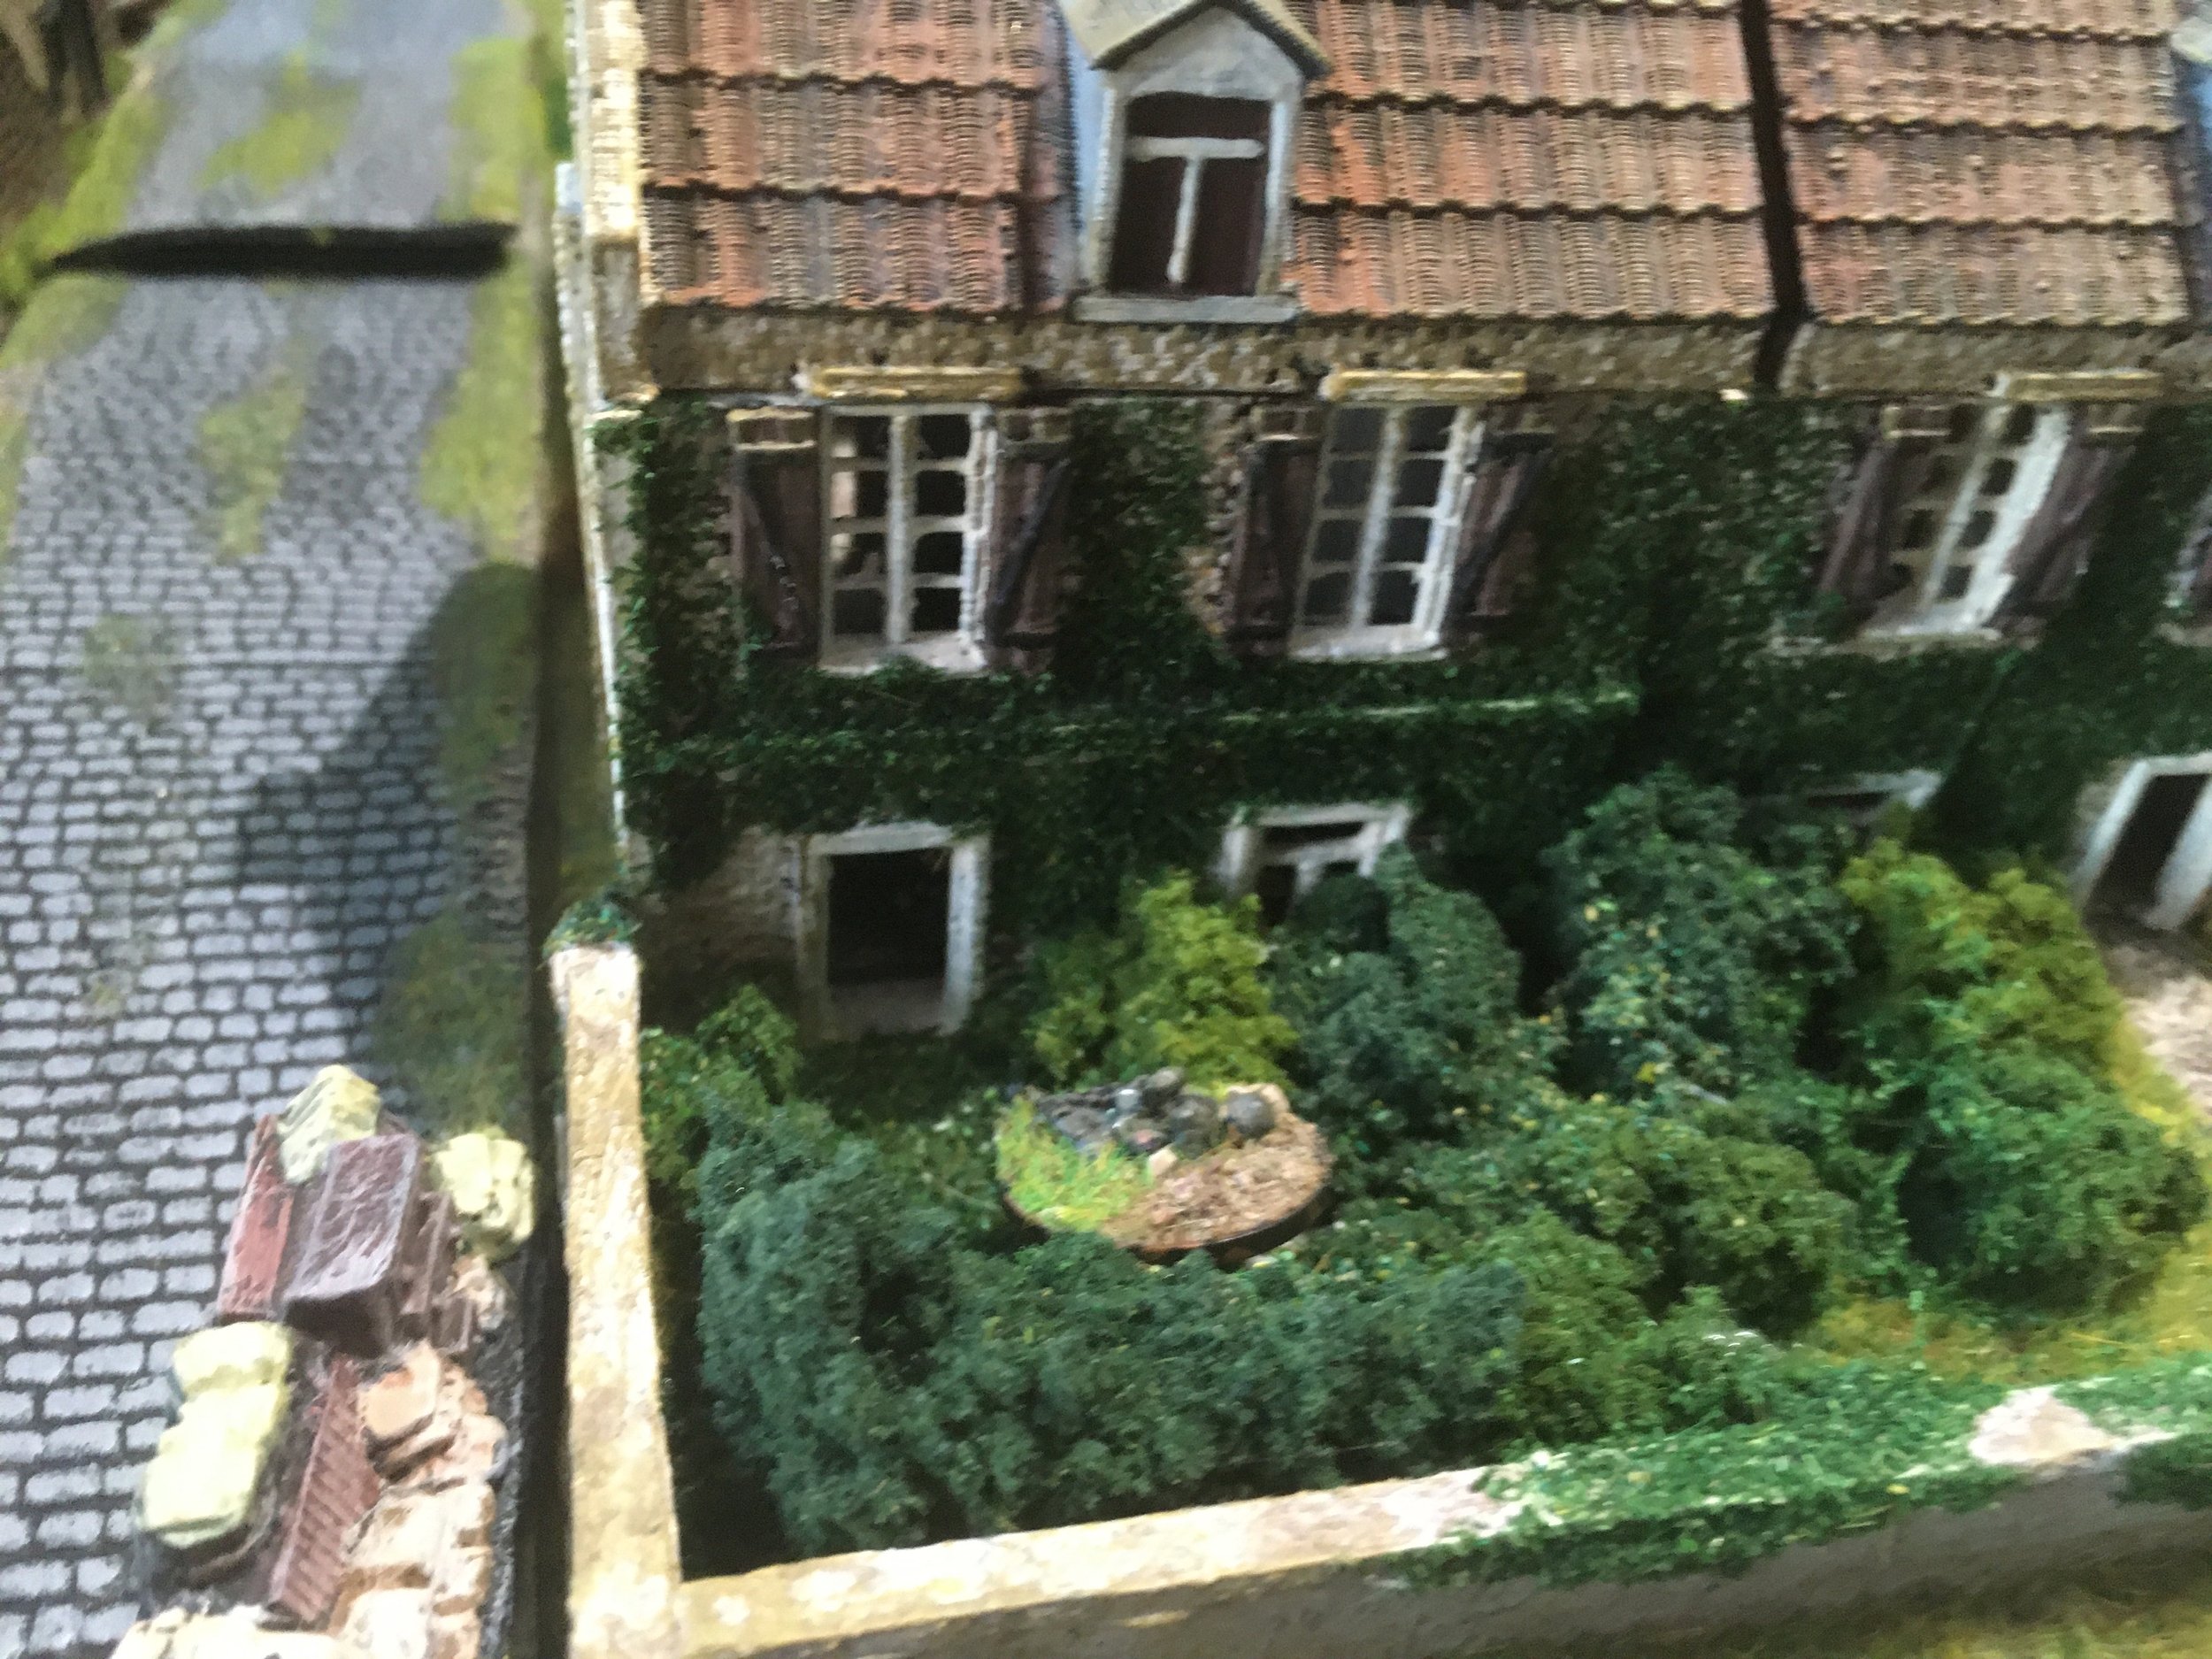
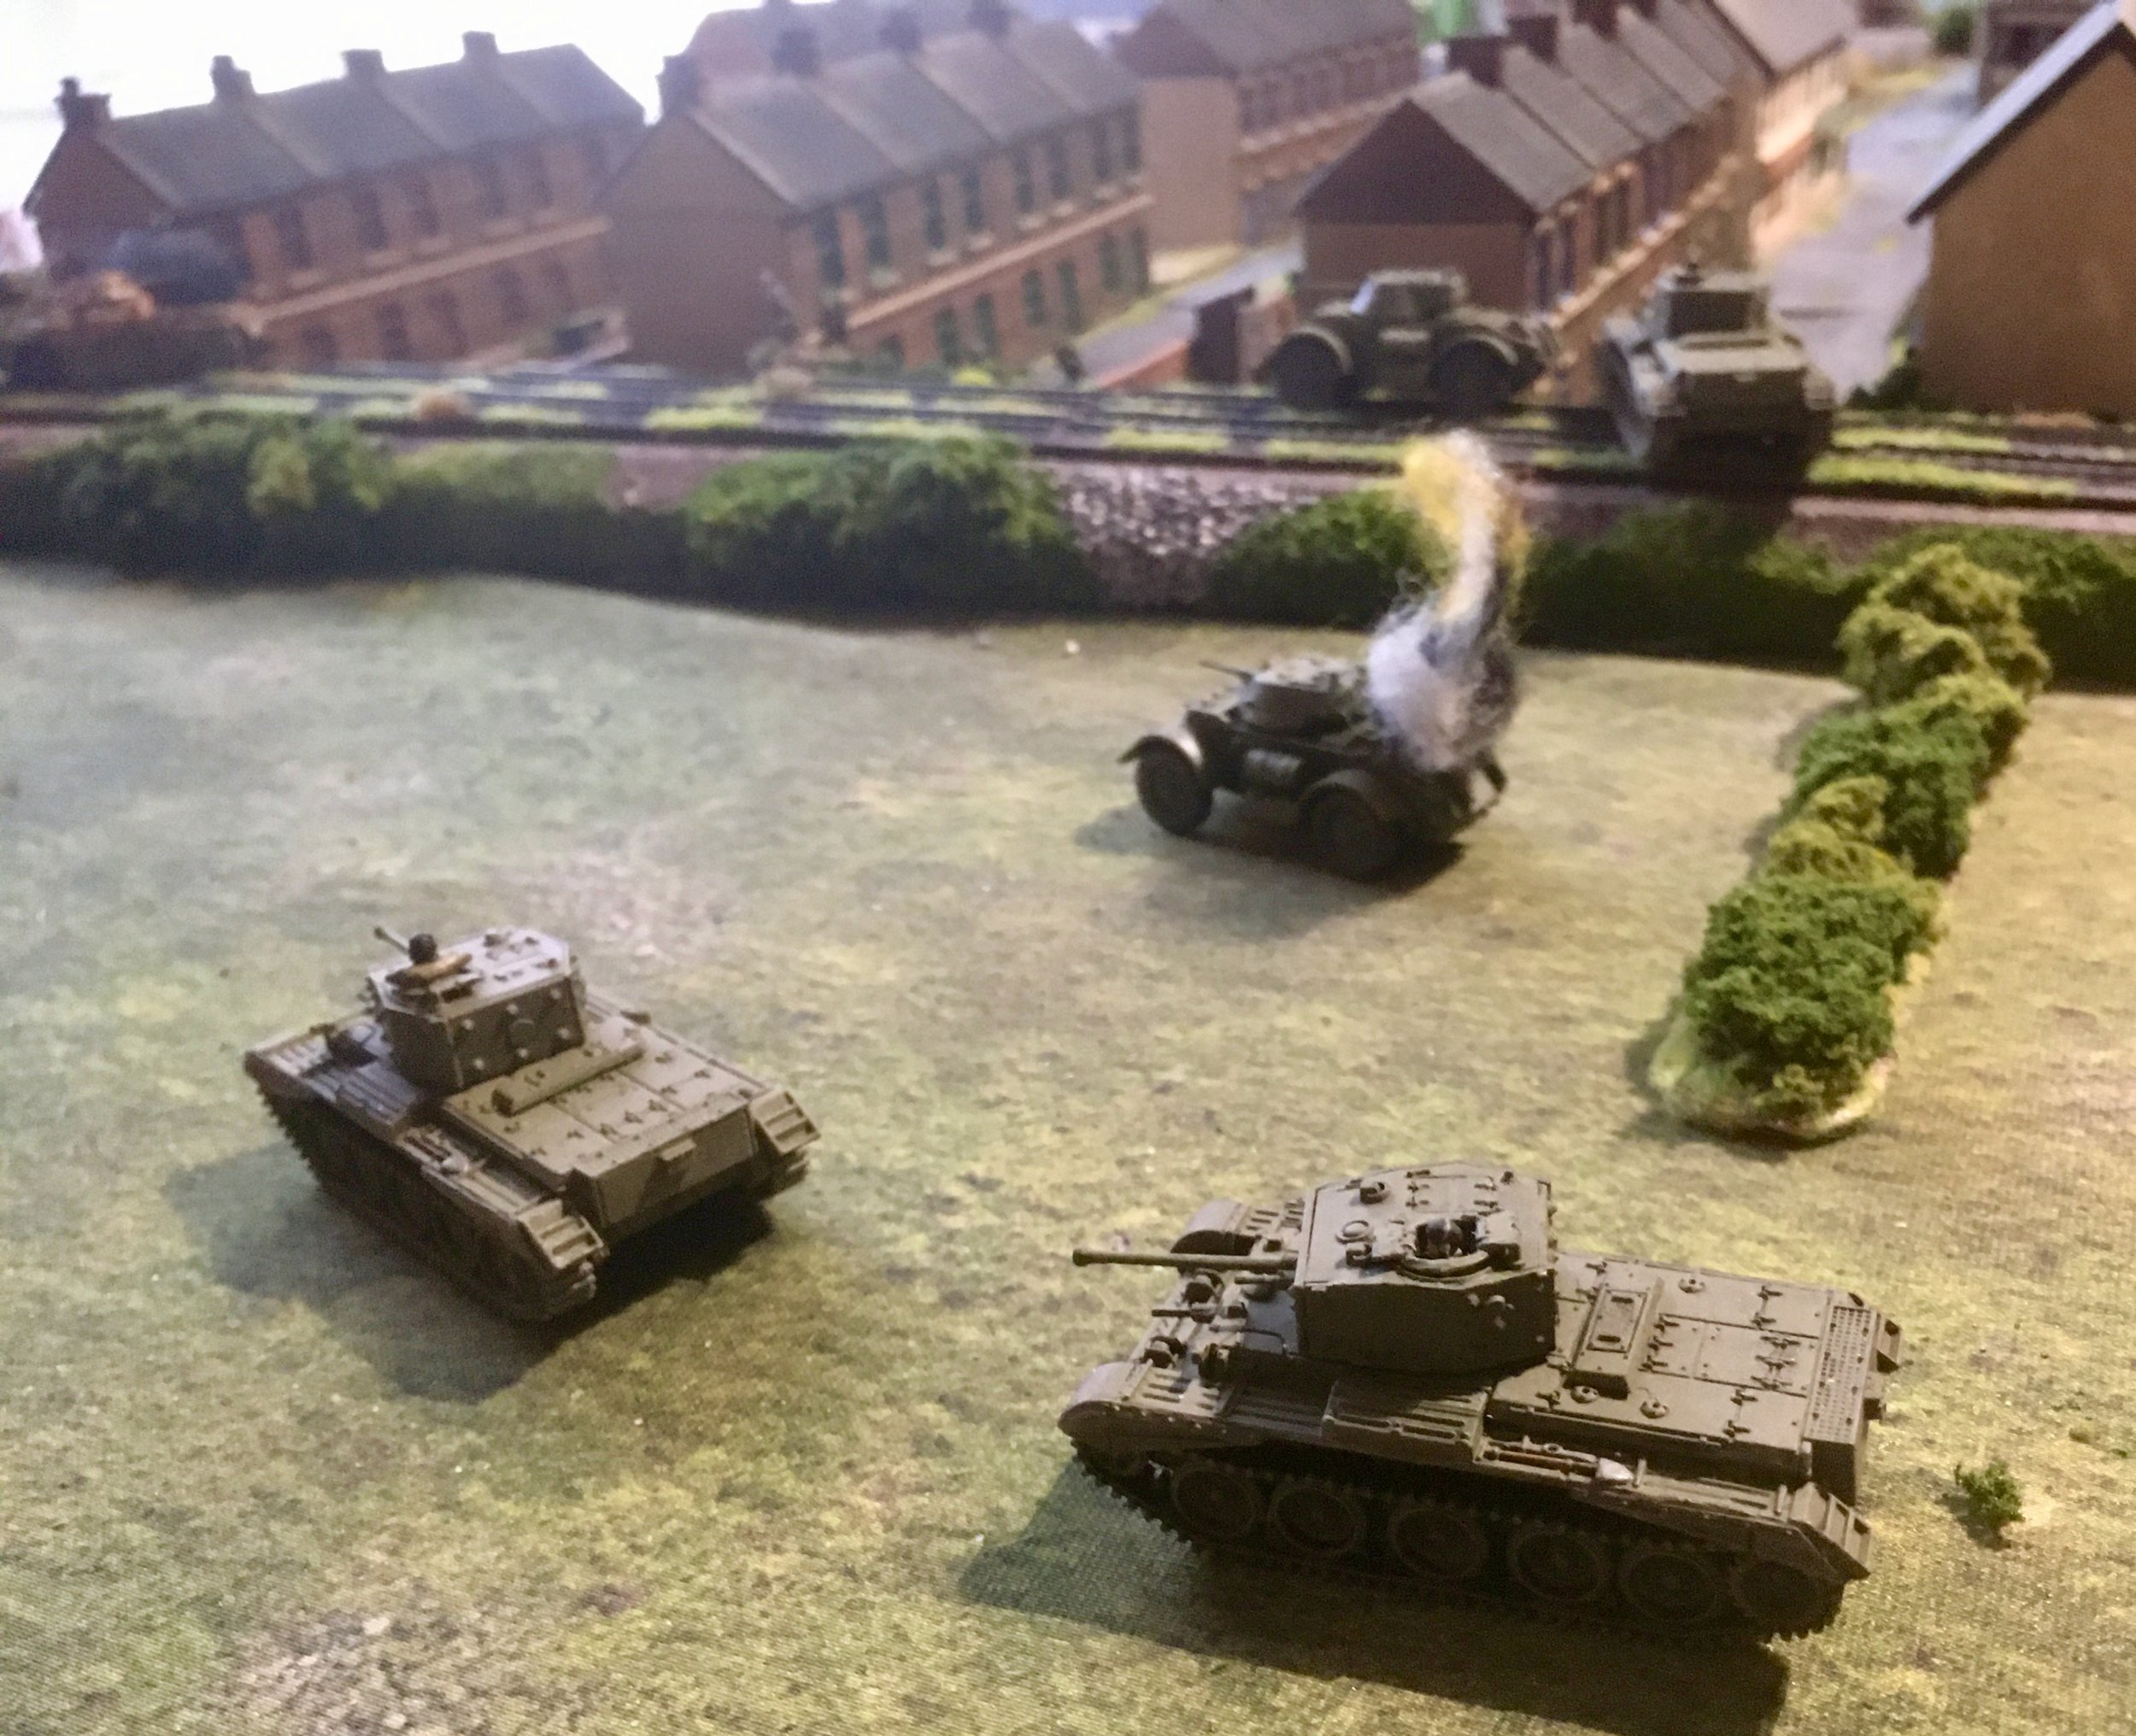
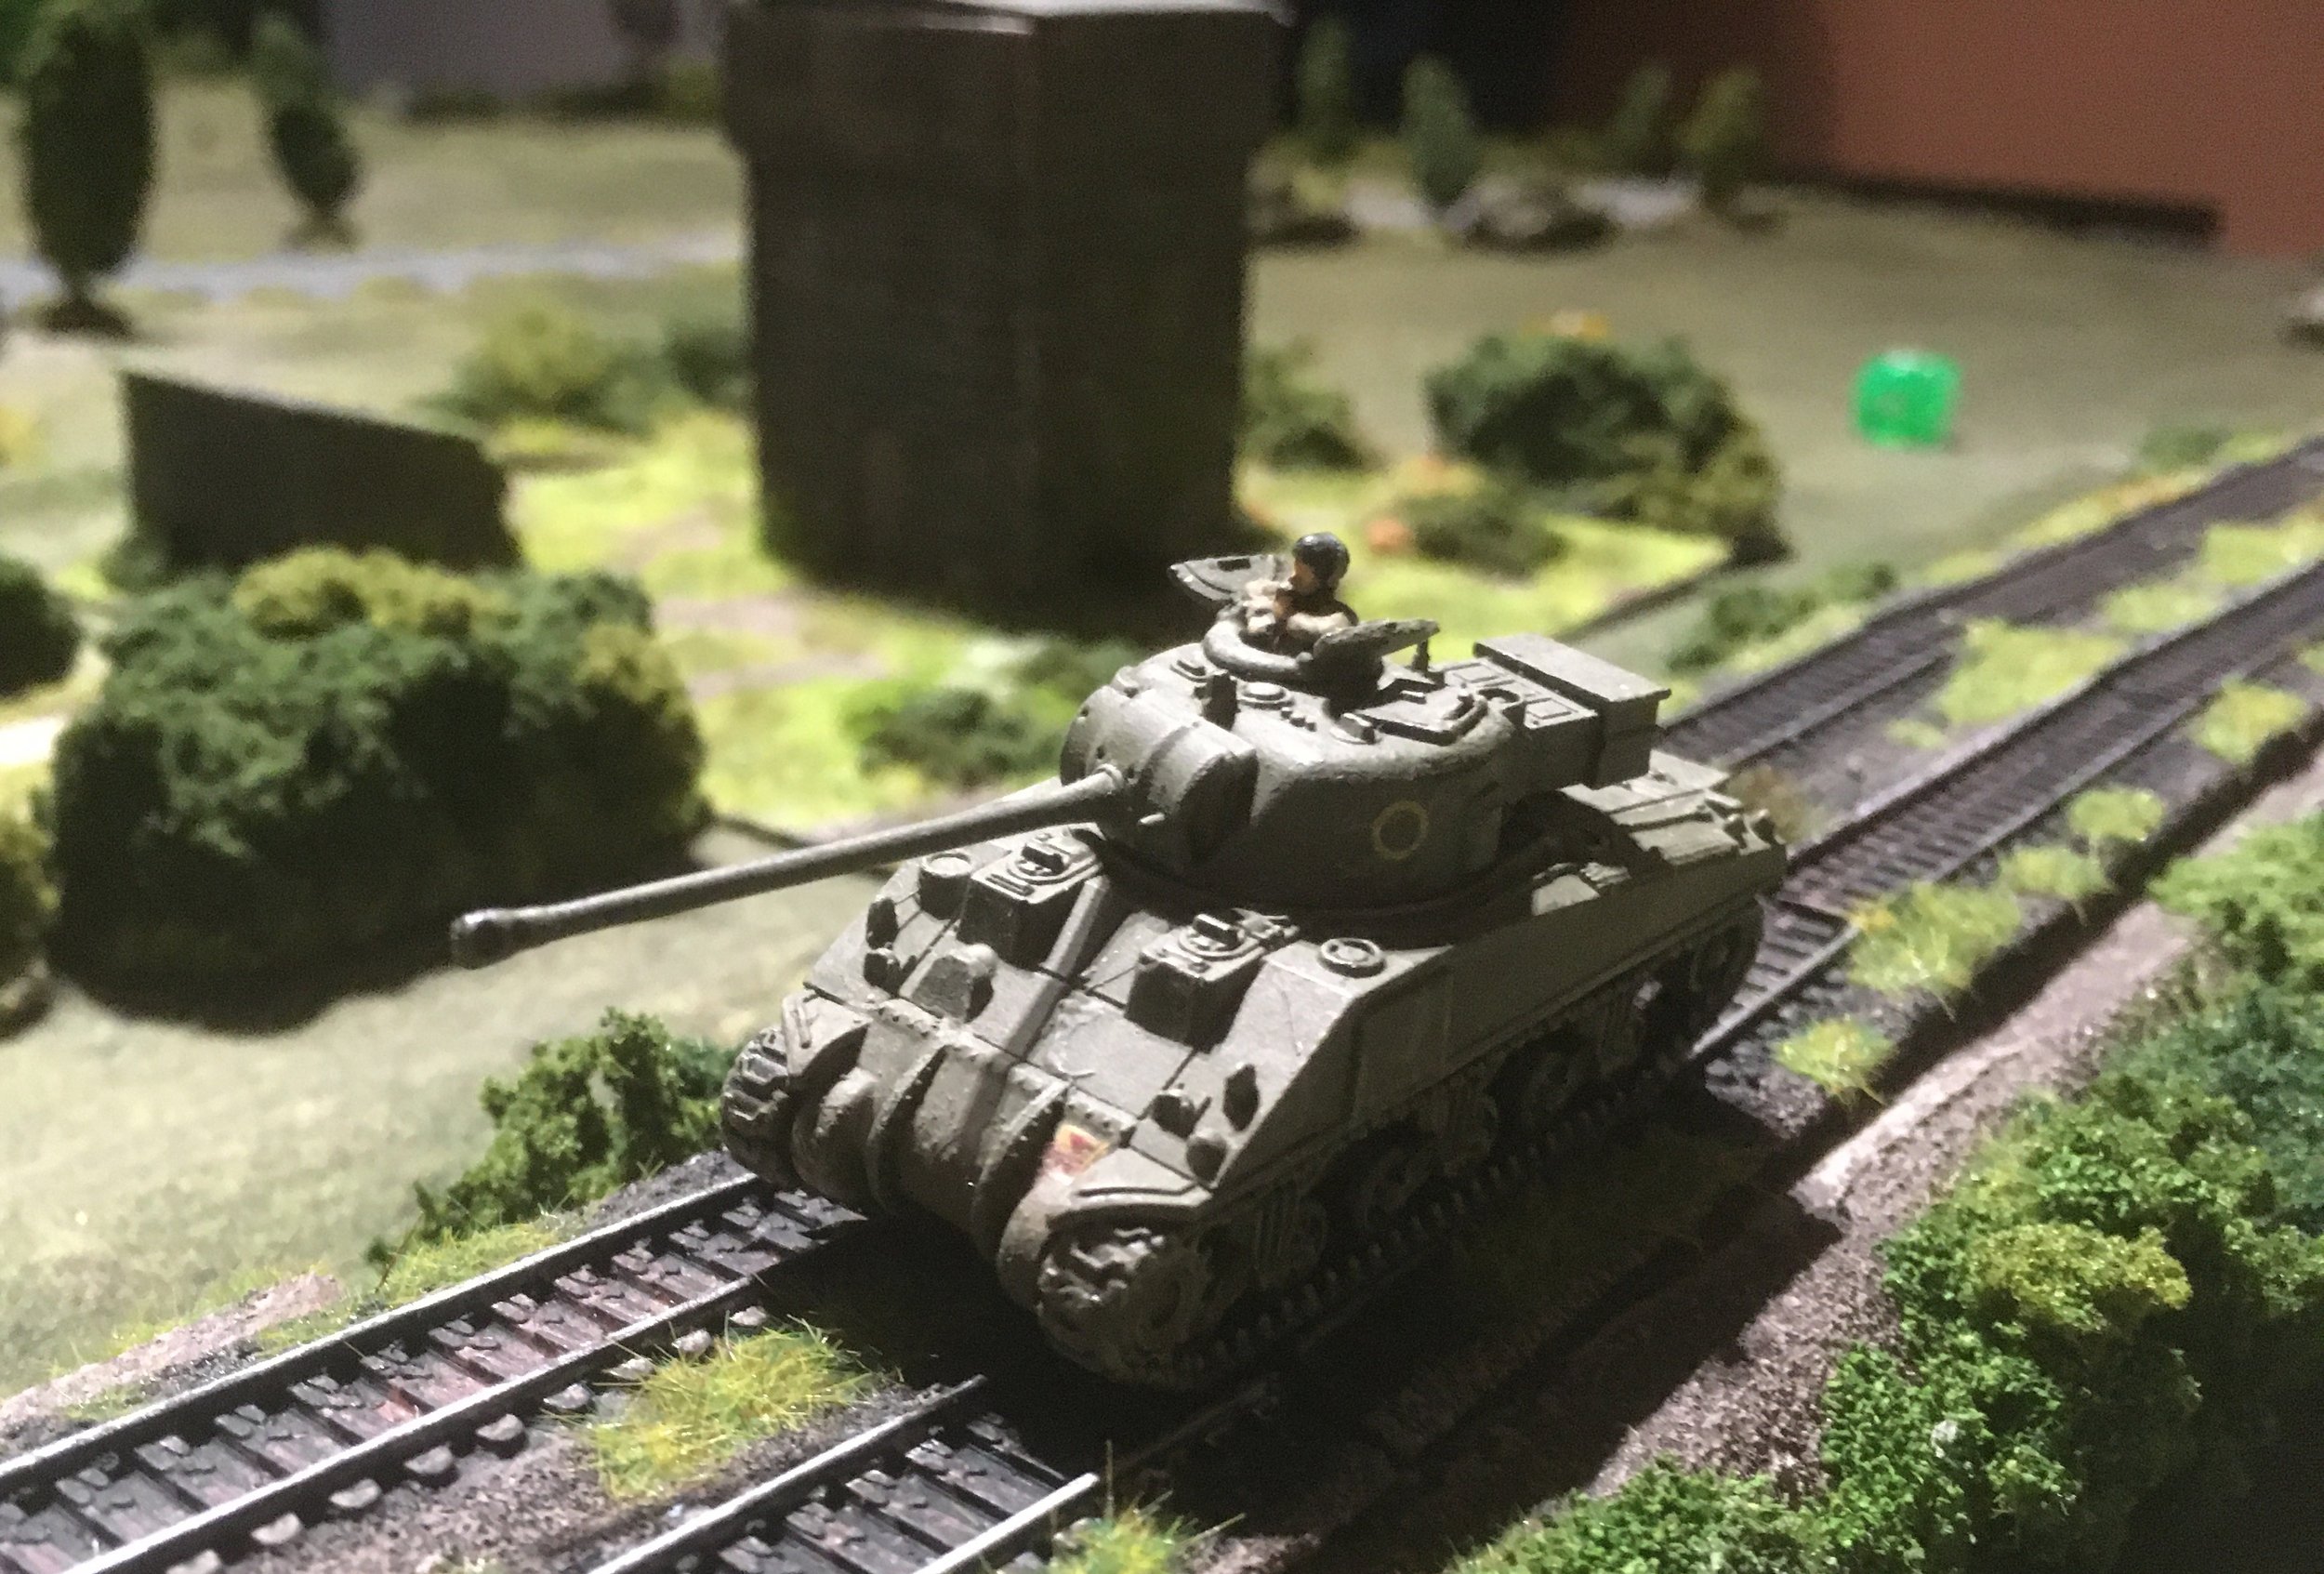
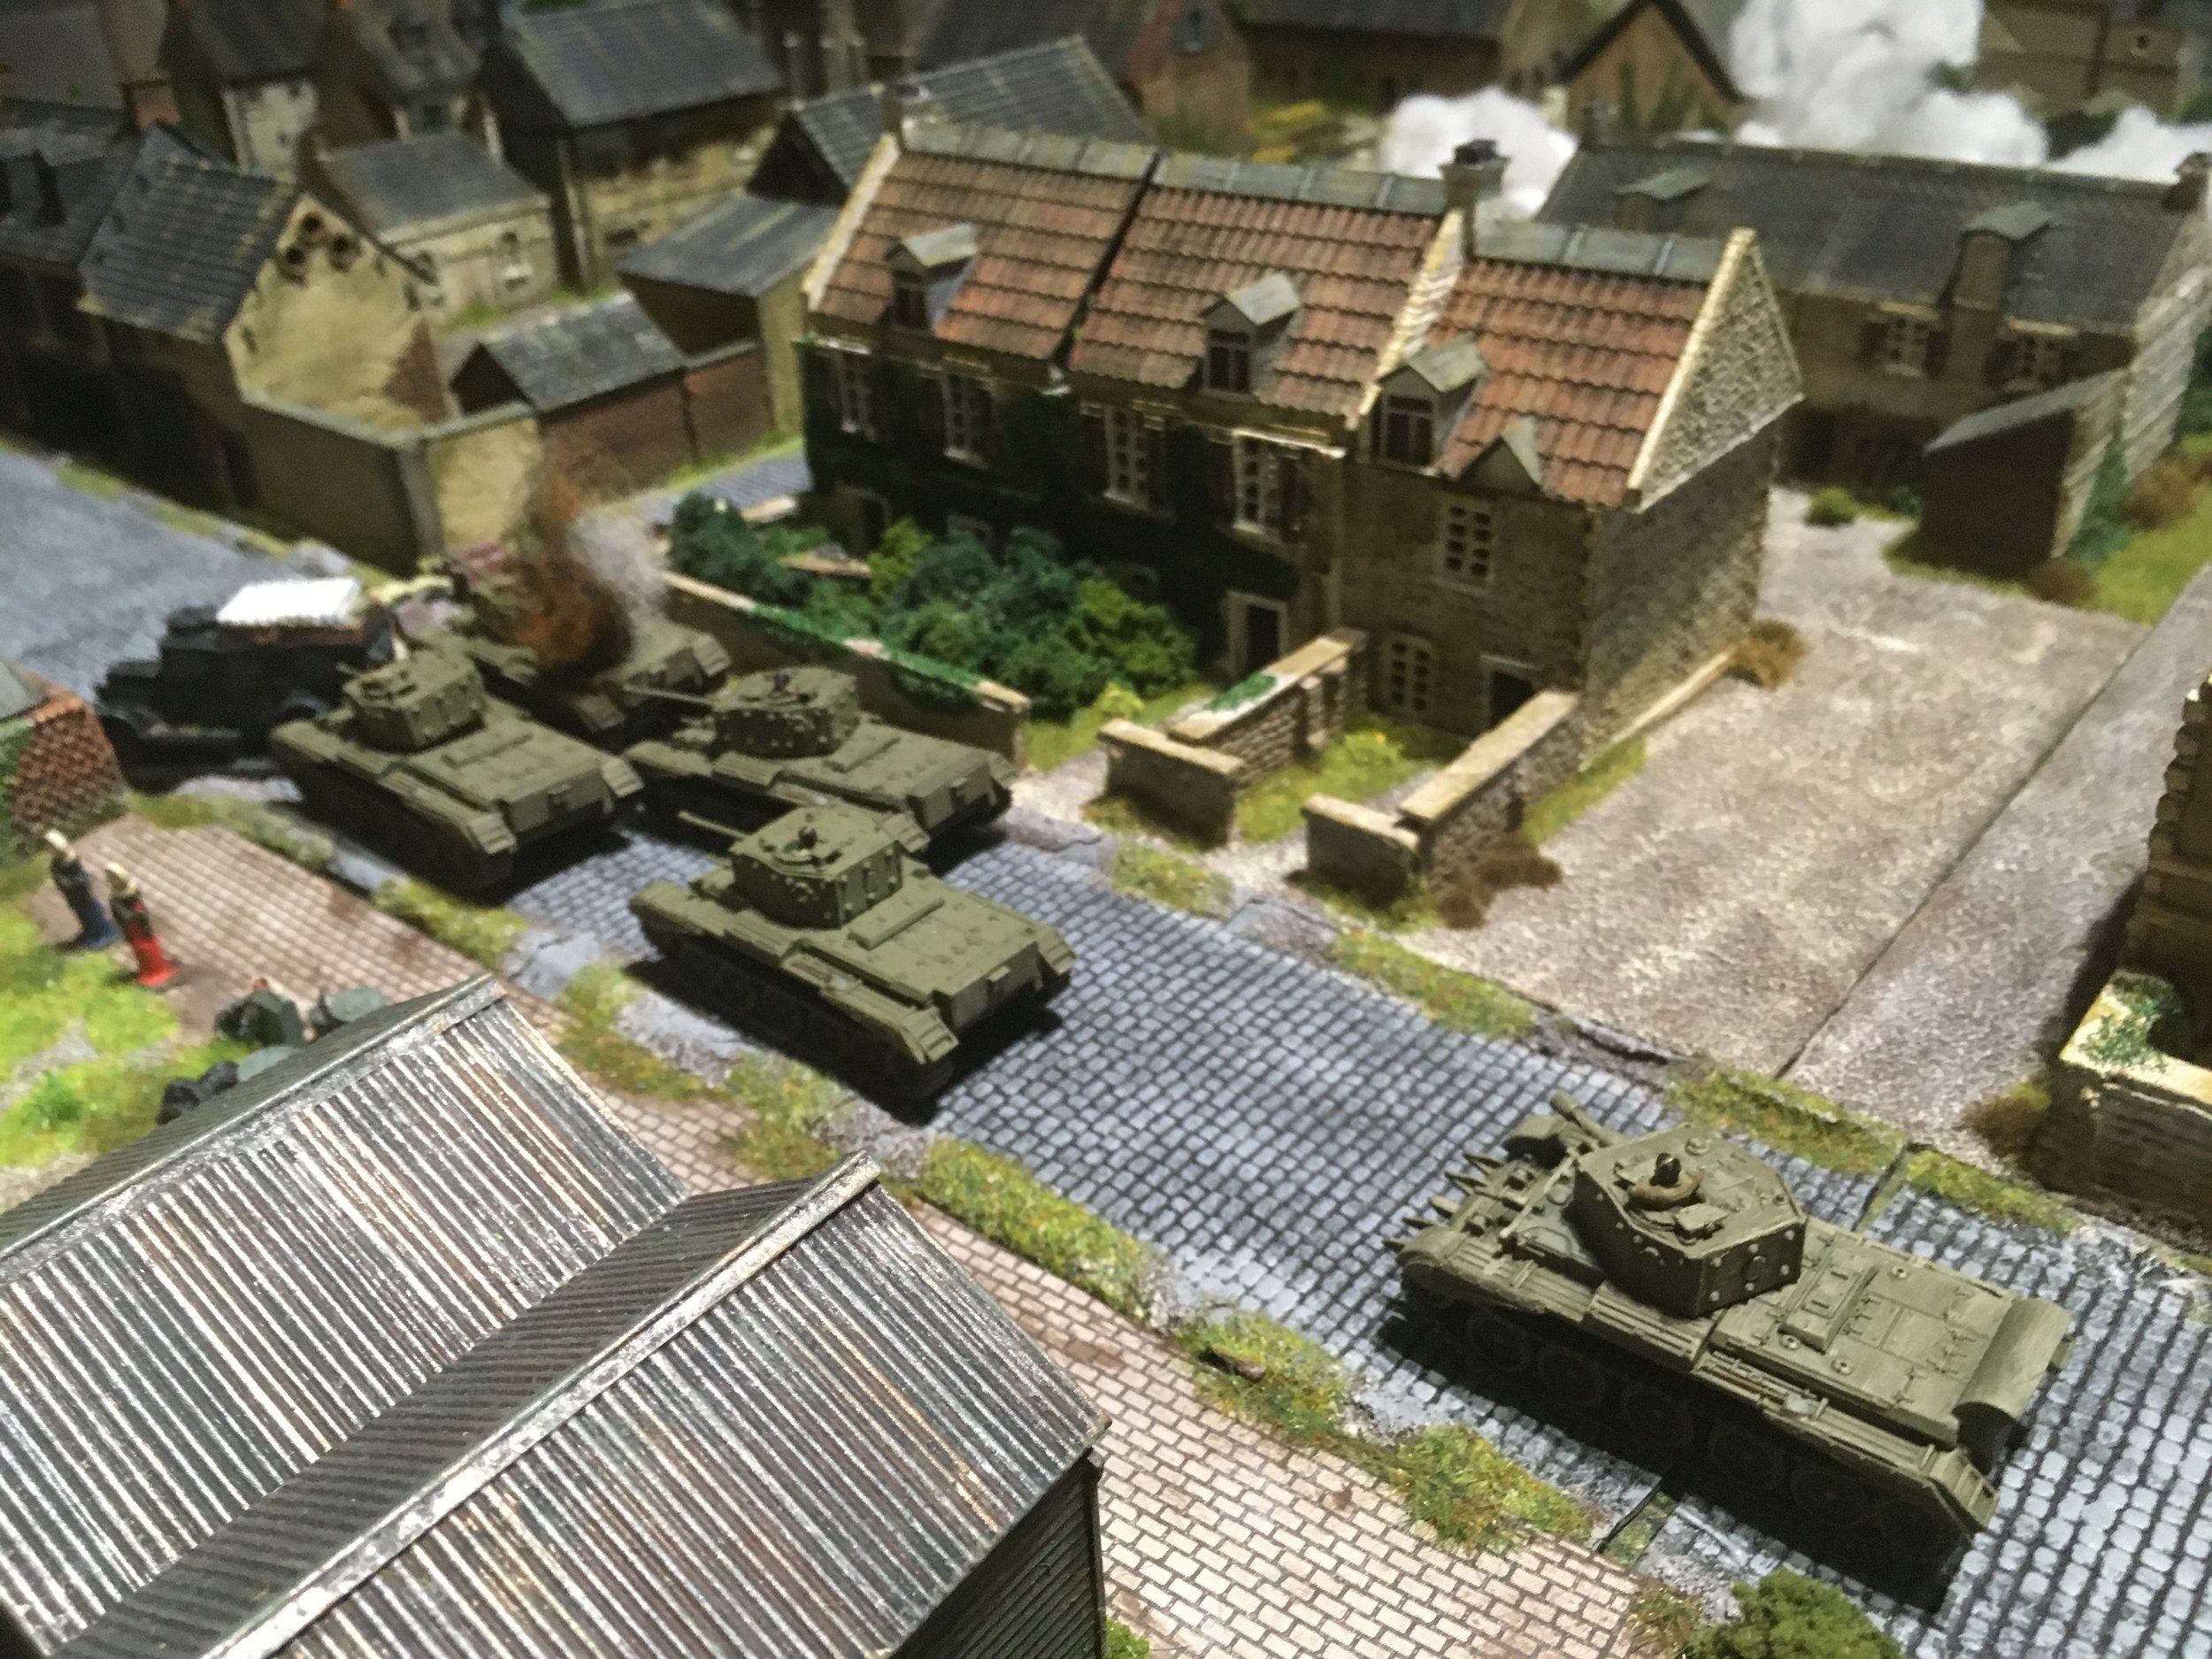
An excellent game last weekend of IABSM here in South Burlington, Vermont on my patio.
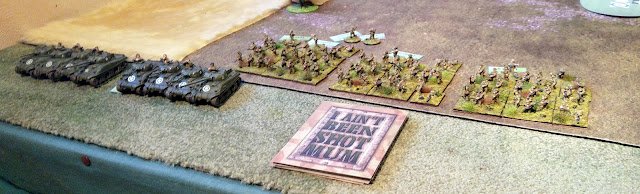
The battle recreated an engagement between 12th SS Panzer Division vs. British 11th Armoured Division on June 27th near Caen. Order of Battle is from the excellent book Monty's Epsom by Skirmish Campaigns.
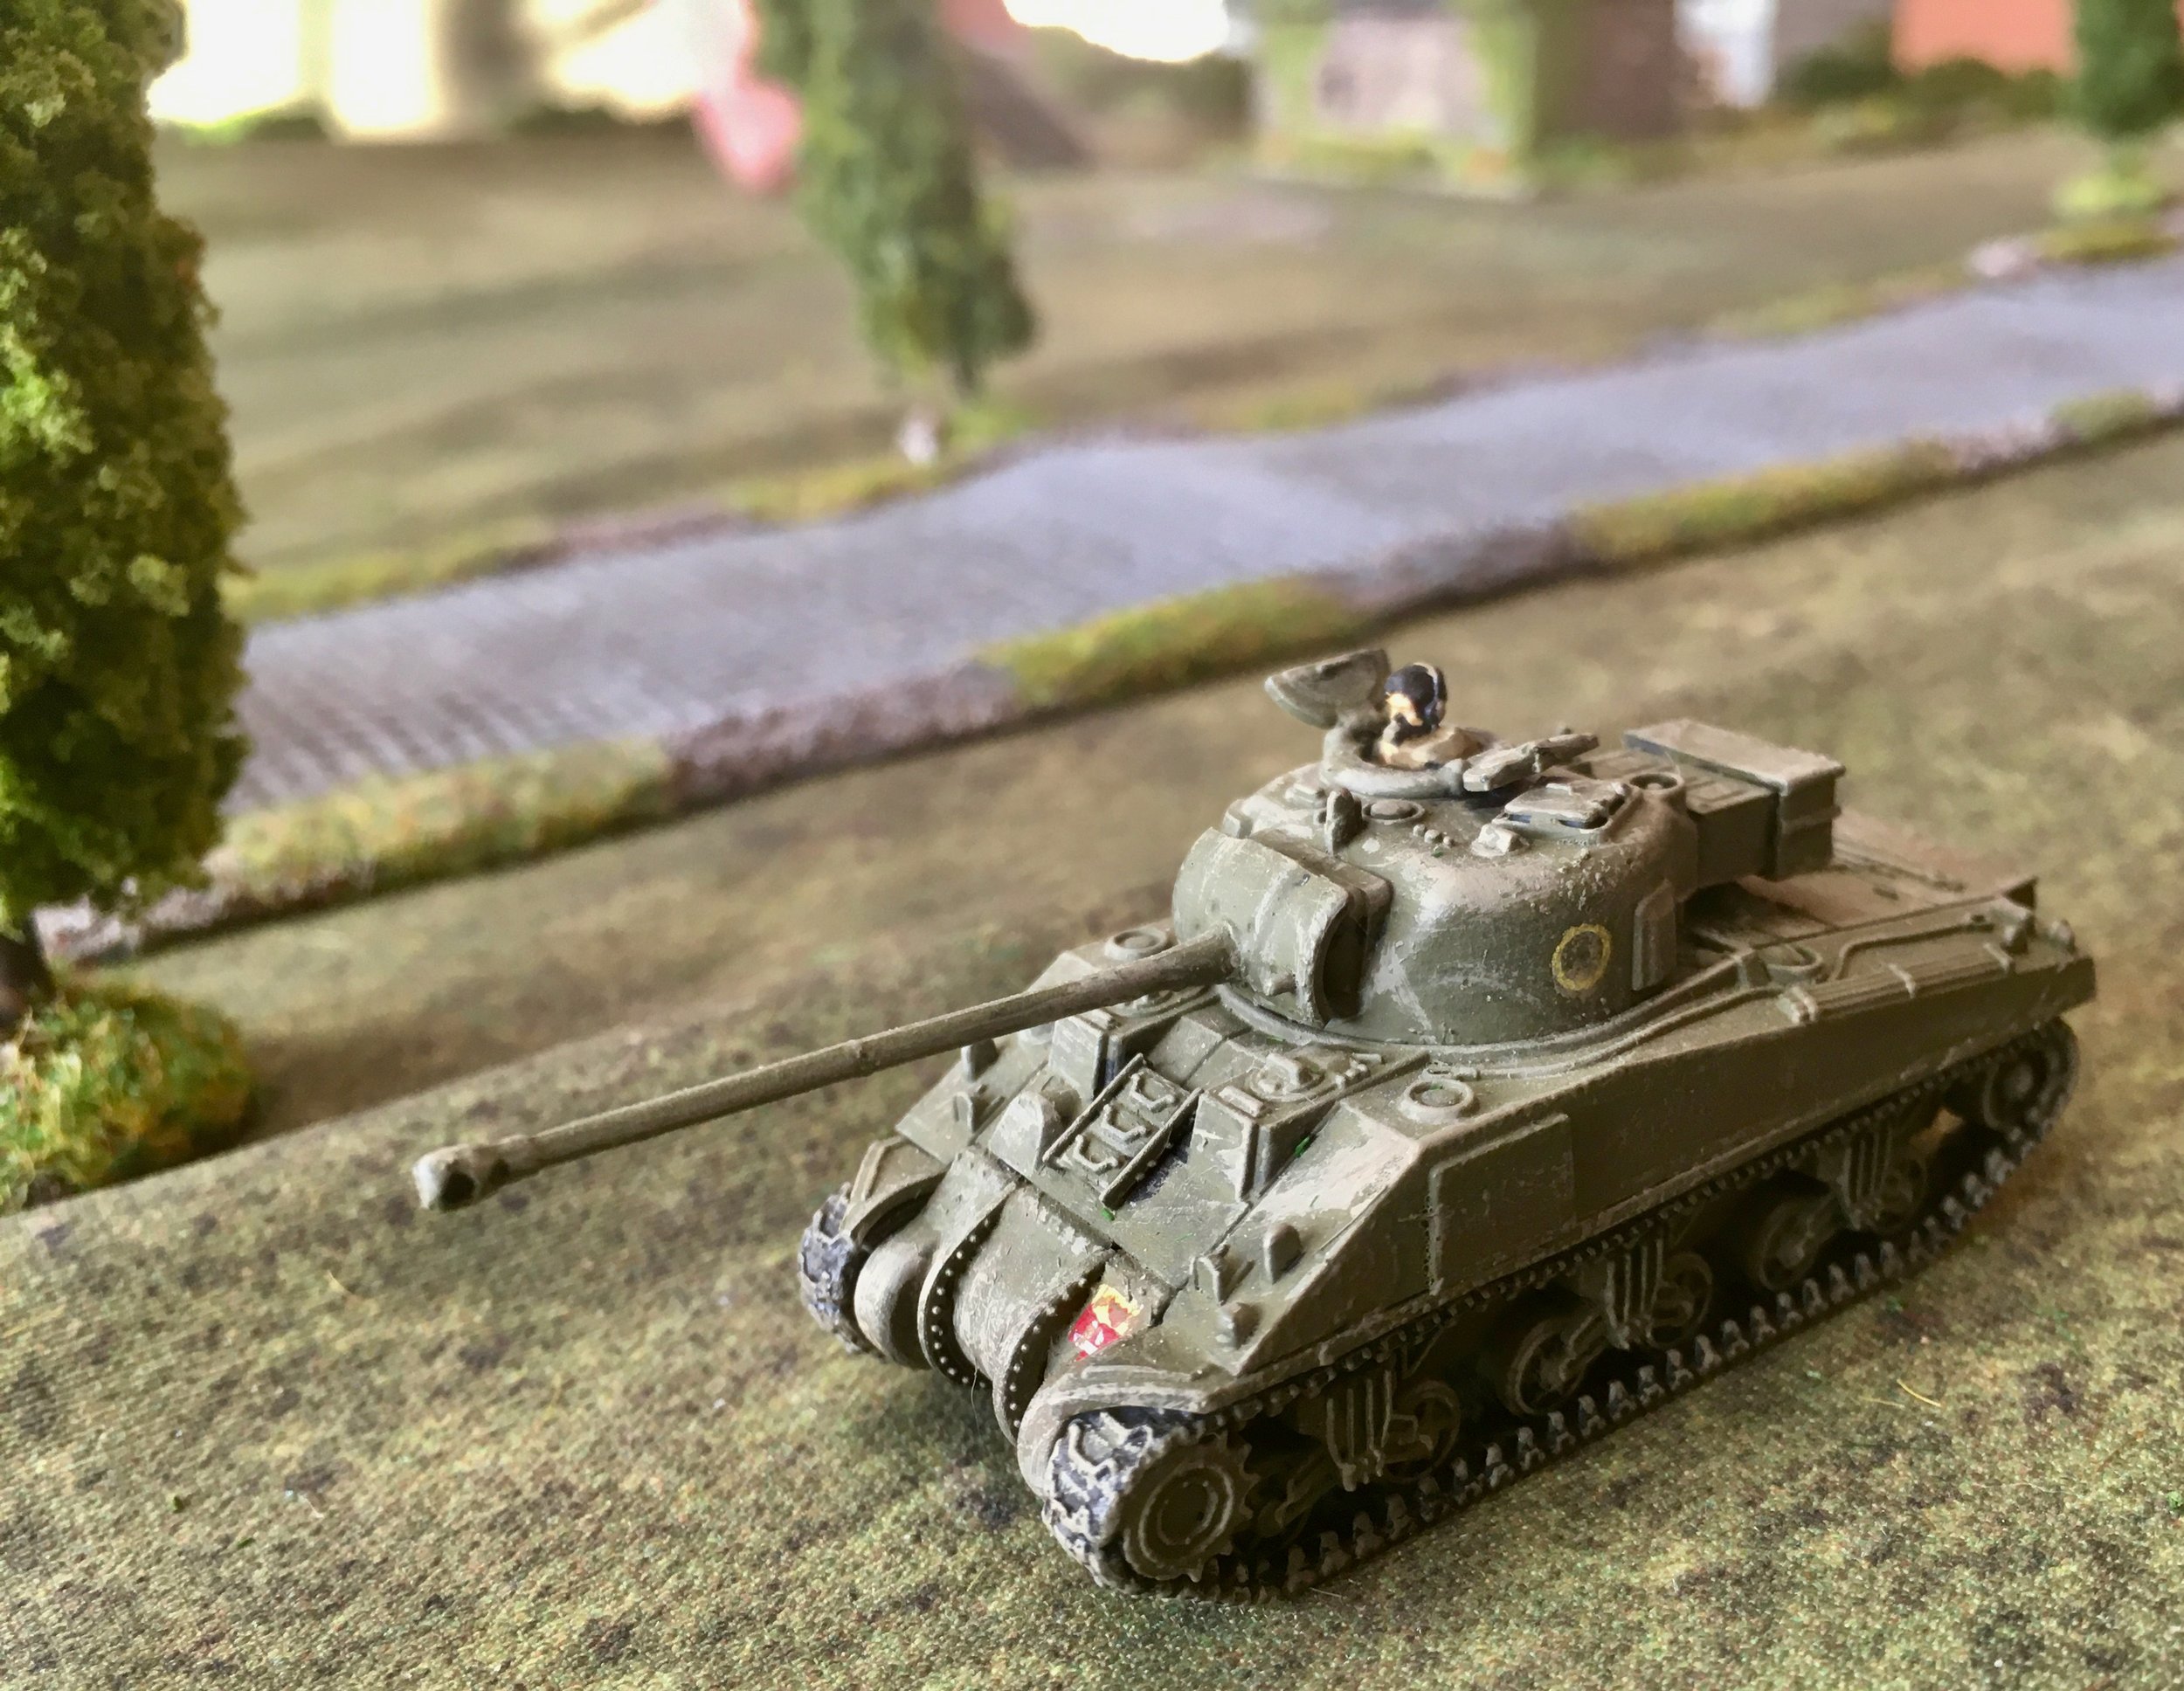
The Germans had four Panzer IVs, two 81mm mortars, one platoon of infantry, a sniper and tank killer team. The Brits had 2 Fireflies and 6 Shermans and two platoons of infantry. Steve Emerson and Barnaby Ore played as the Germans while Dave Goodwin and Steve Smith played as the Brits with yours truly as the umpire. Figures are Airfix, the Panzers and Shermans are Roco 1/87 while the Fireflies and Bren Carriers are resin cast by Heiser 1/87.
A big shout out to Barnaby Ore who came all the way down from Canada in his quest for some good Lard action!!!
The battle progressed slowly at first with Germans spotting the Brits as they moved from right left but holding fire. On the British left flank one platoon of tanks and one of infantry made good progress and put good shots into the buildings to set them on fire. However the panzers revealed themselves from the treeline and quickly brewed up 2 Shermans before the Firefly could return fire.


On the British right the infantry charged a squad of Germans but were thrown back with losses. Eventually however the Shermans closed the distance and were able to penetrate into the village without getting shot at by the Panzers. The German tank killers took multiple shots at the tanks as they rounded the buildings but were only able to inflict a few points of shock but no kill.
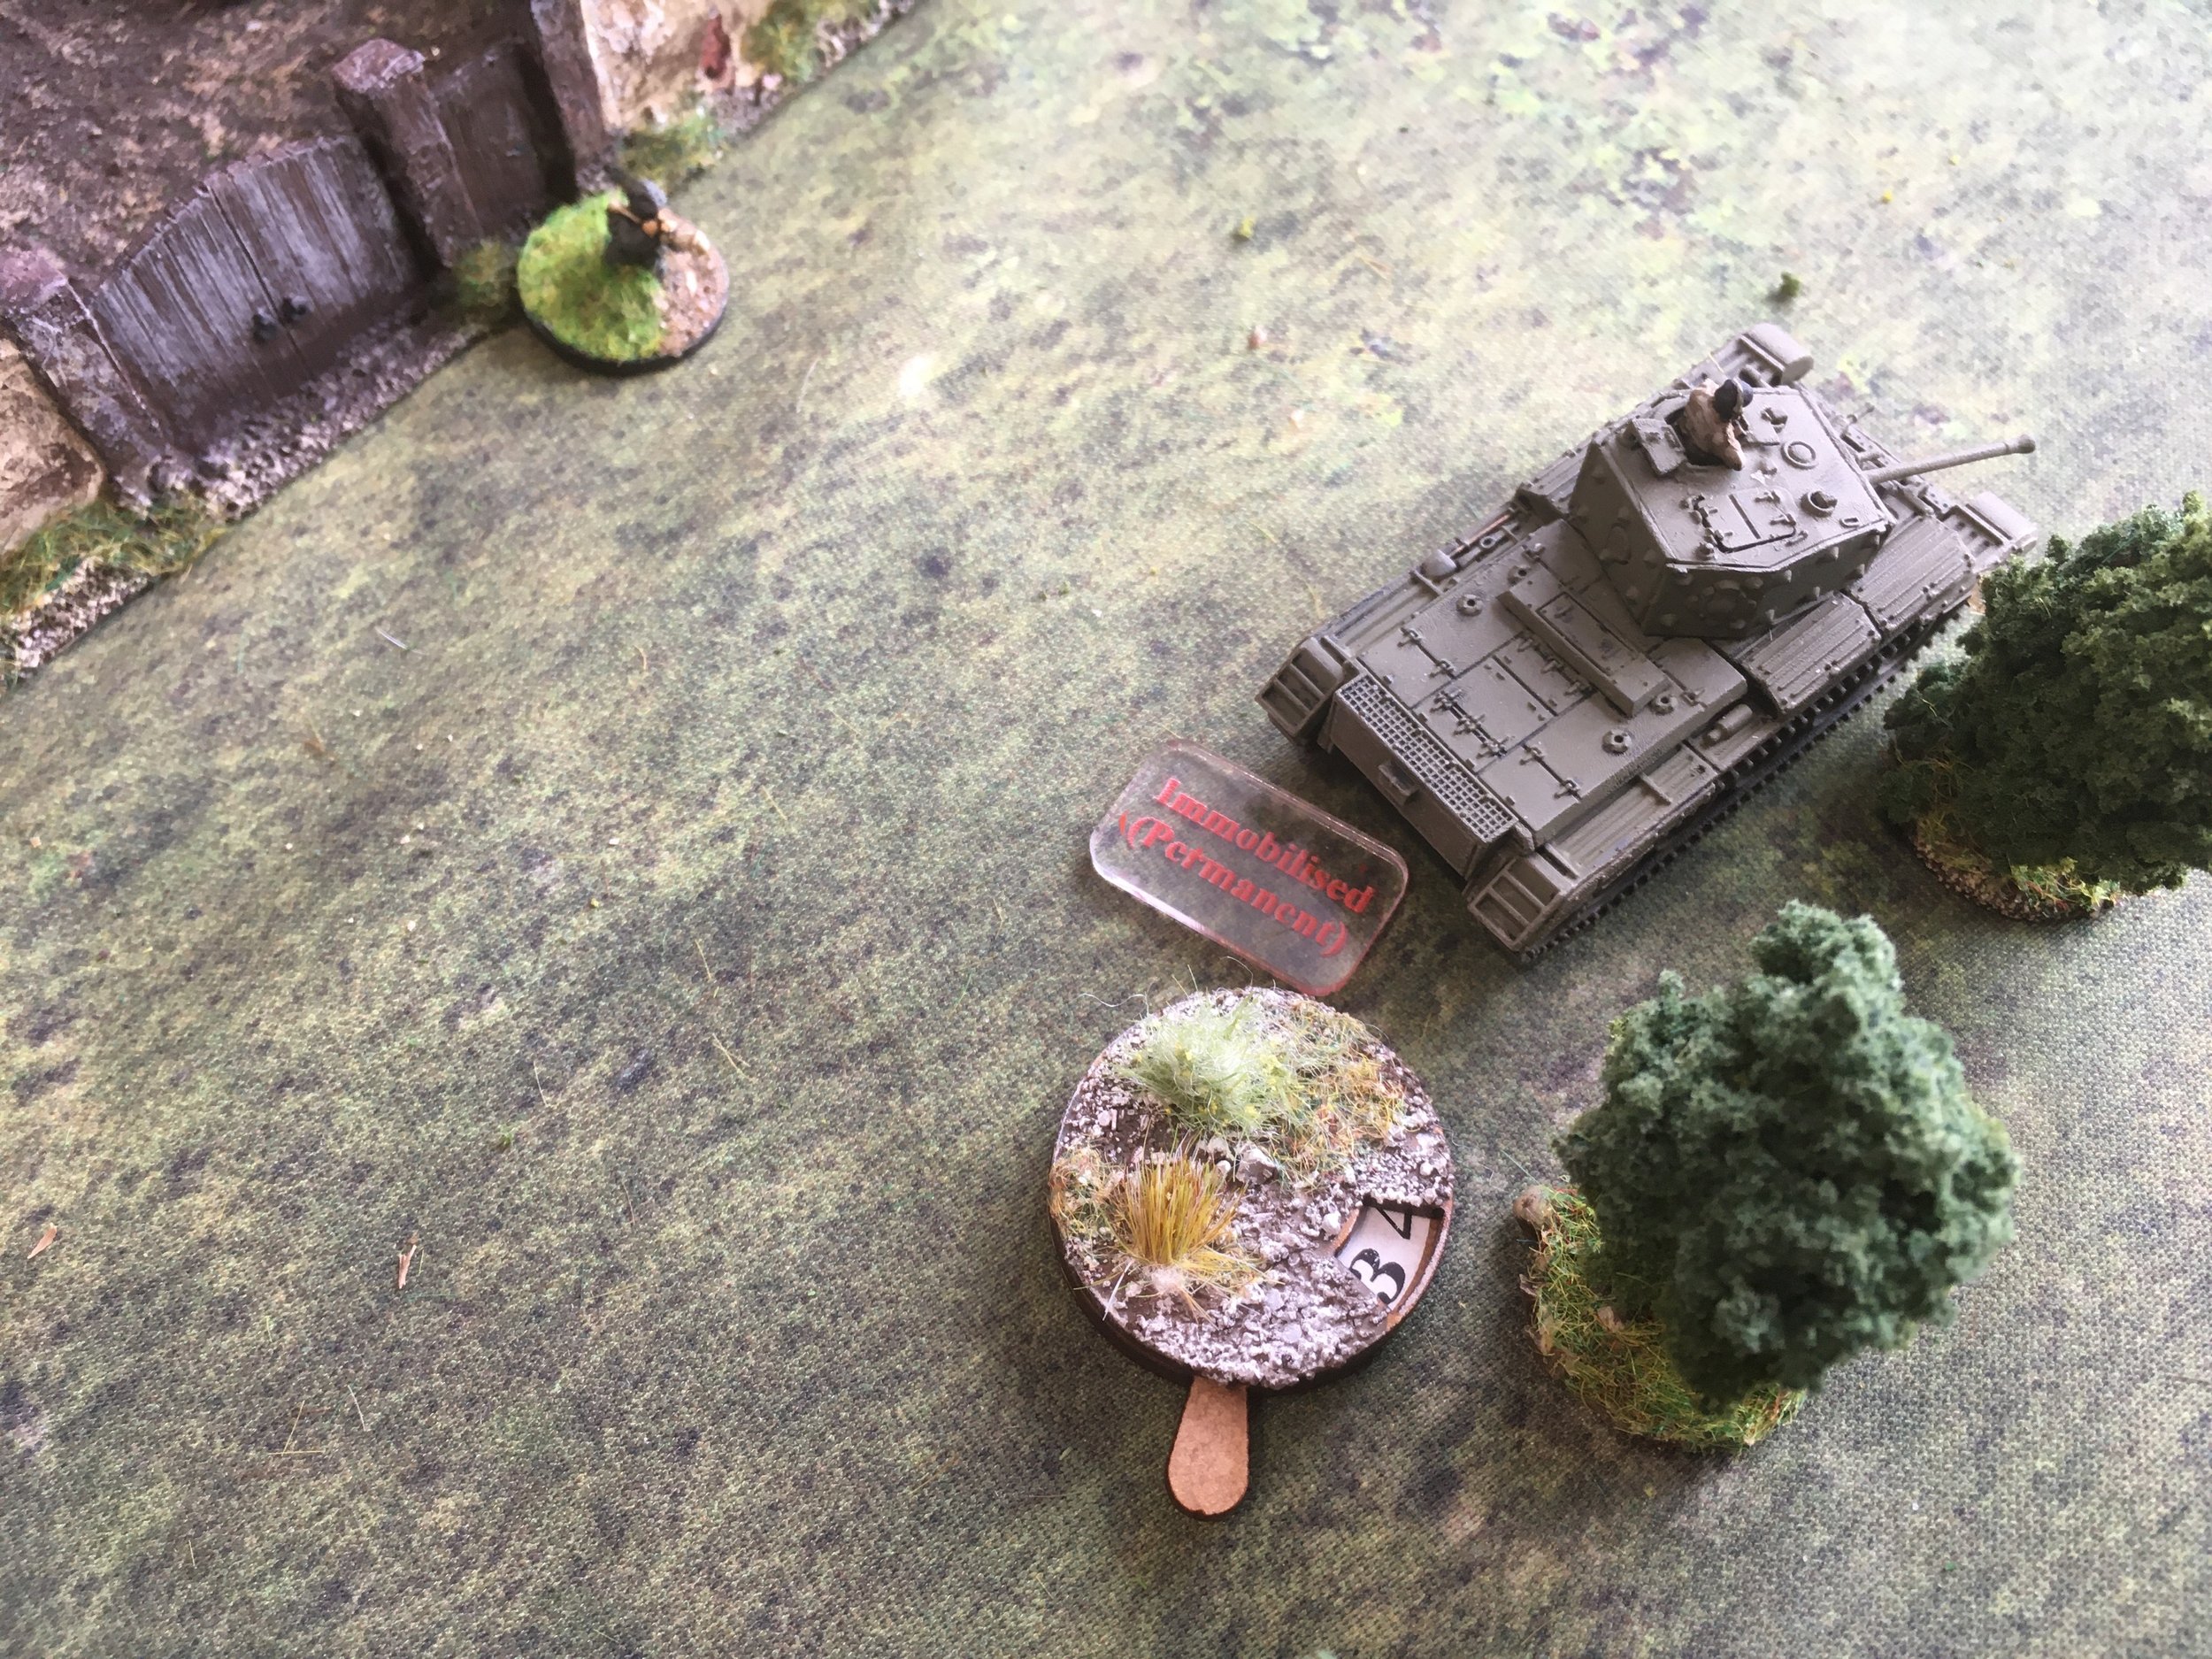
Pressed by the Shermans coming at them from both sides, the Panzers retreated to the tall grass. A Firefly coming up the British left flank brewed up one of the Panzers while a Sherman that pushed past the buildings was able to brew up another one with a flank shot.


On the British left one Sherman and one Firefly closed the distance however their accompanying infantry in the wheat field got bogged down by mortar fire coming from behind the railroad embankment.
In the last few turns, the numbers of Shermans began to overwhelm the Germans. The last panzer's shots bounced off a Sherman by the house but then he was brewed up by a different Sherman. On the British left one Sherman got a bit too close to the trees and a panzerfaust fired by the last squad brewed it up but then the squad was forced to retreat. The German commander in his Kubelwagen along with the shattered remnants of the platoon retreated through the tall grass.


Overall a definite British victory but one that could have become a stalemate had a few more Panzerfaust shots landed.
Dan Albrecht

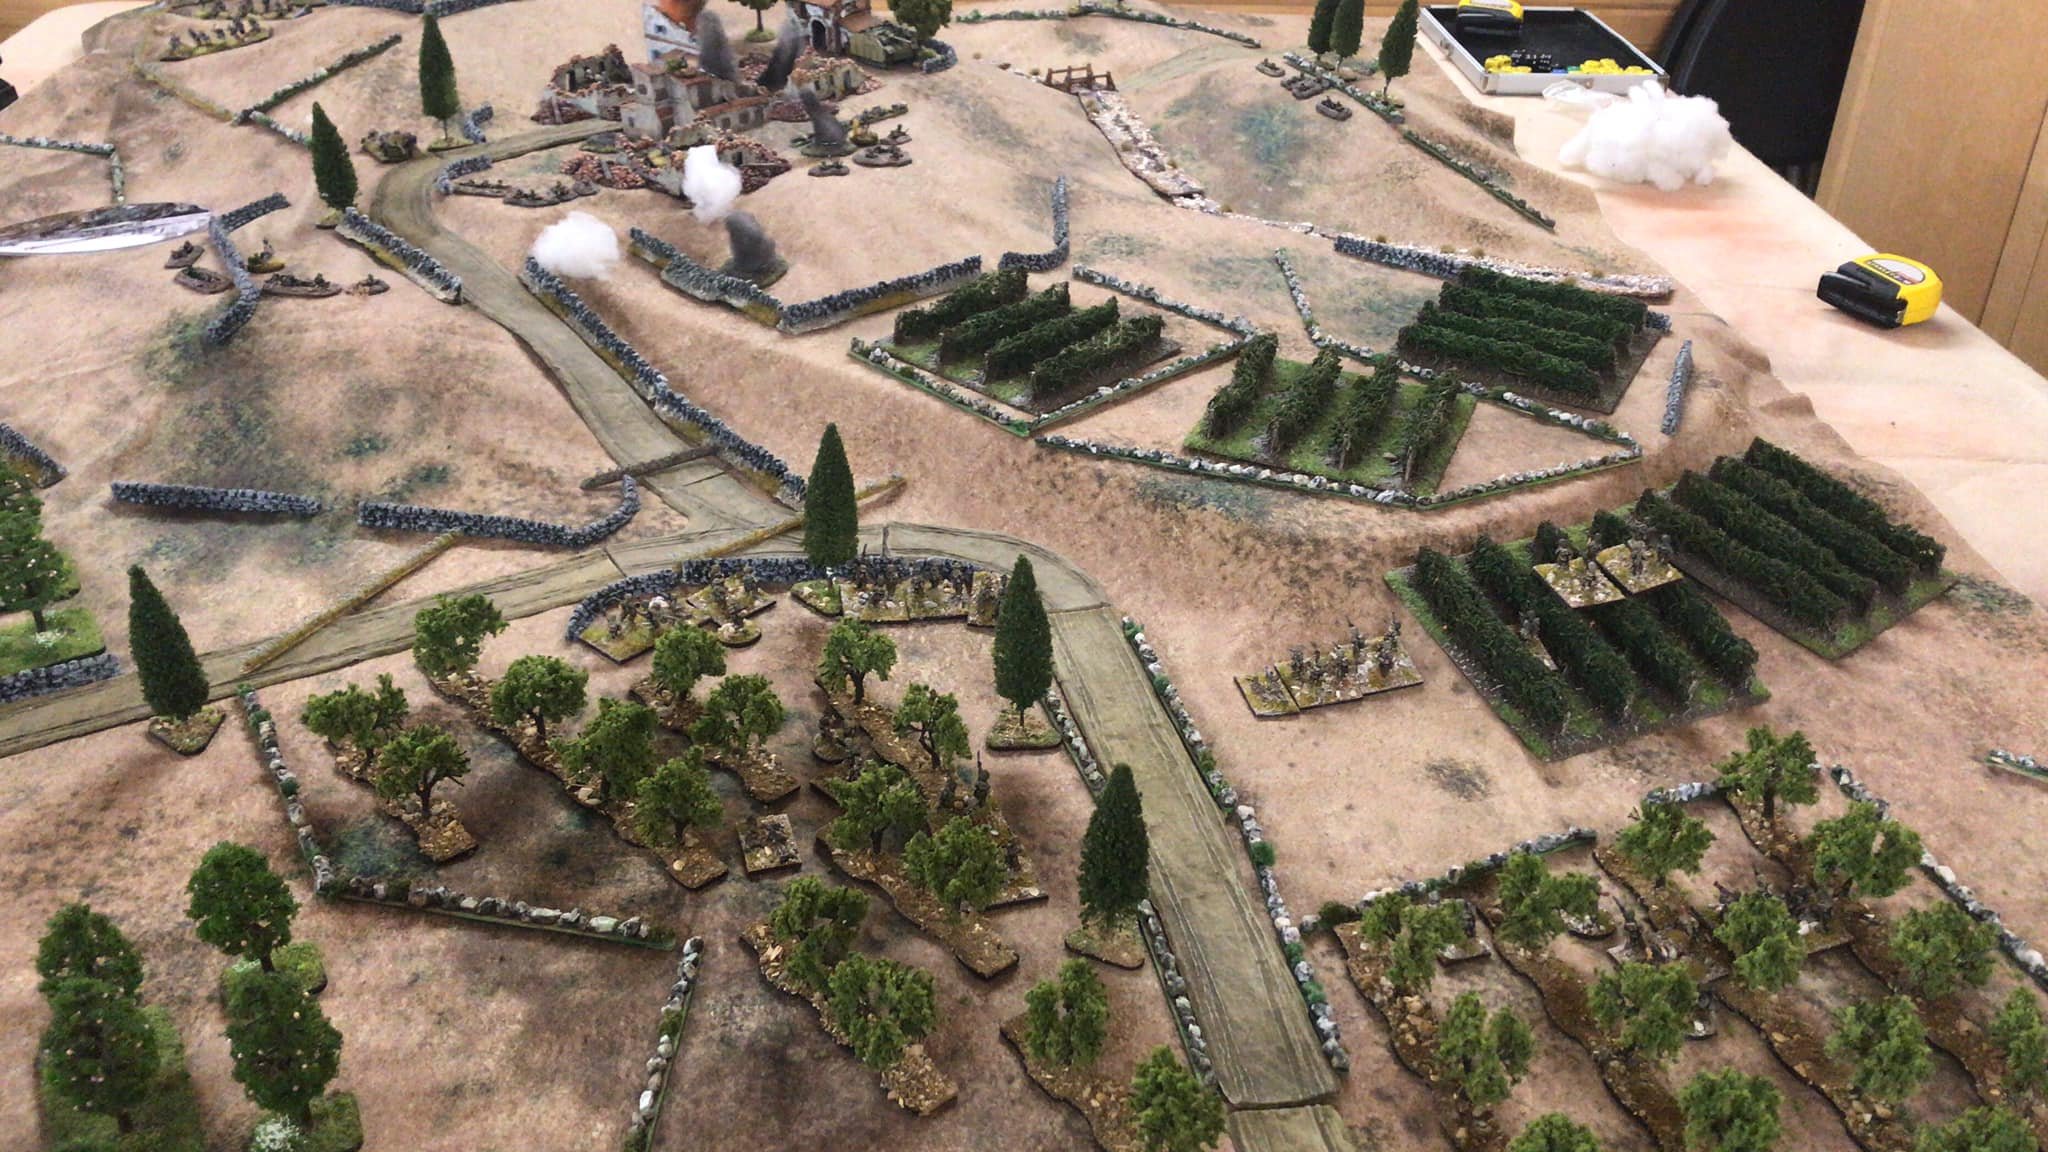
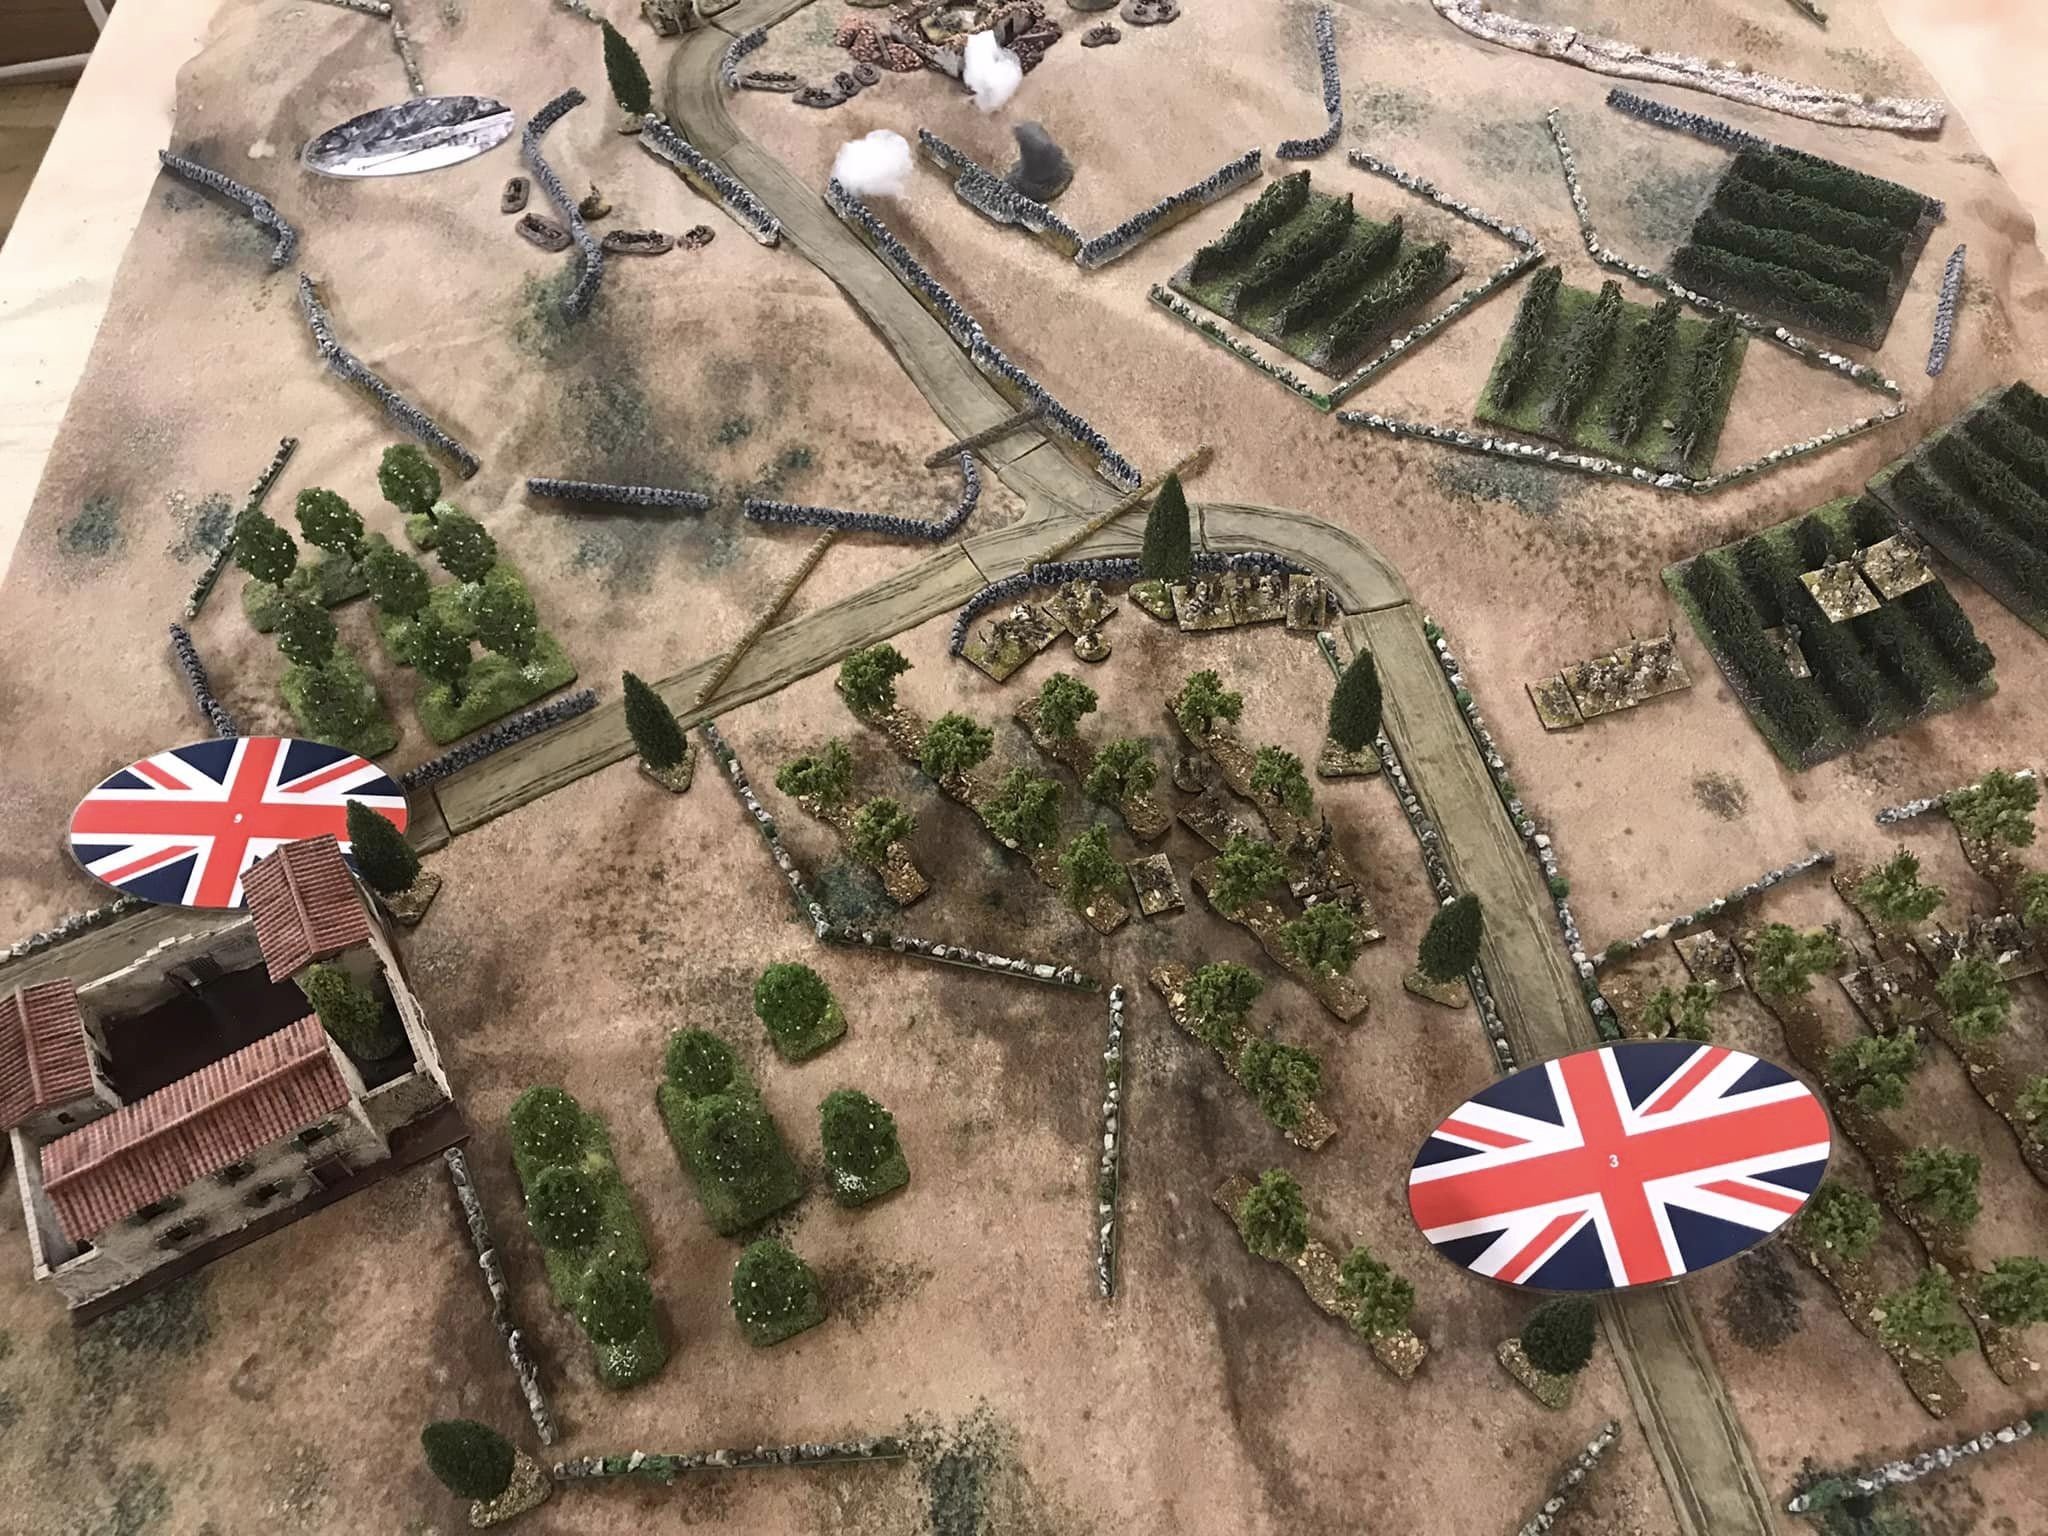
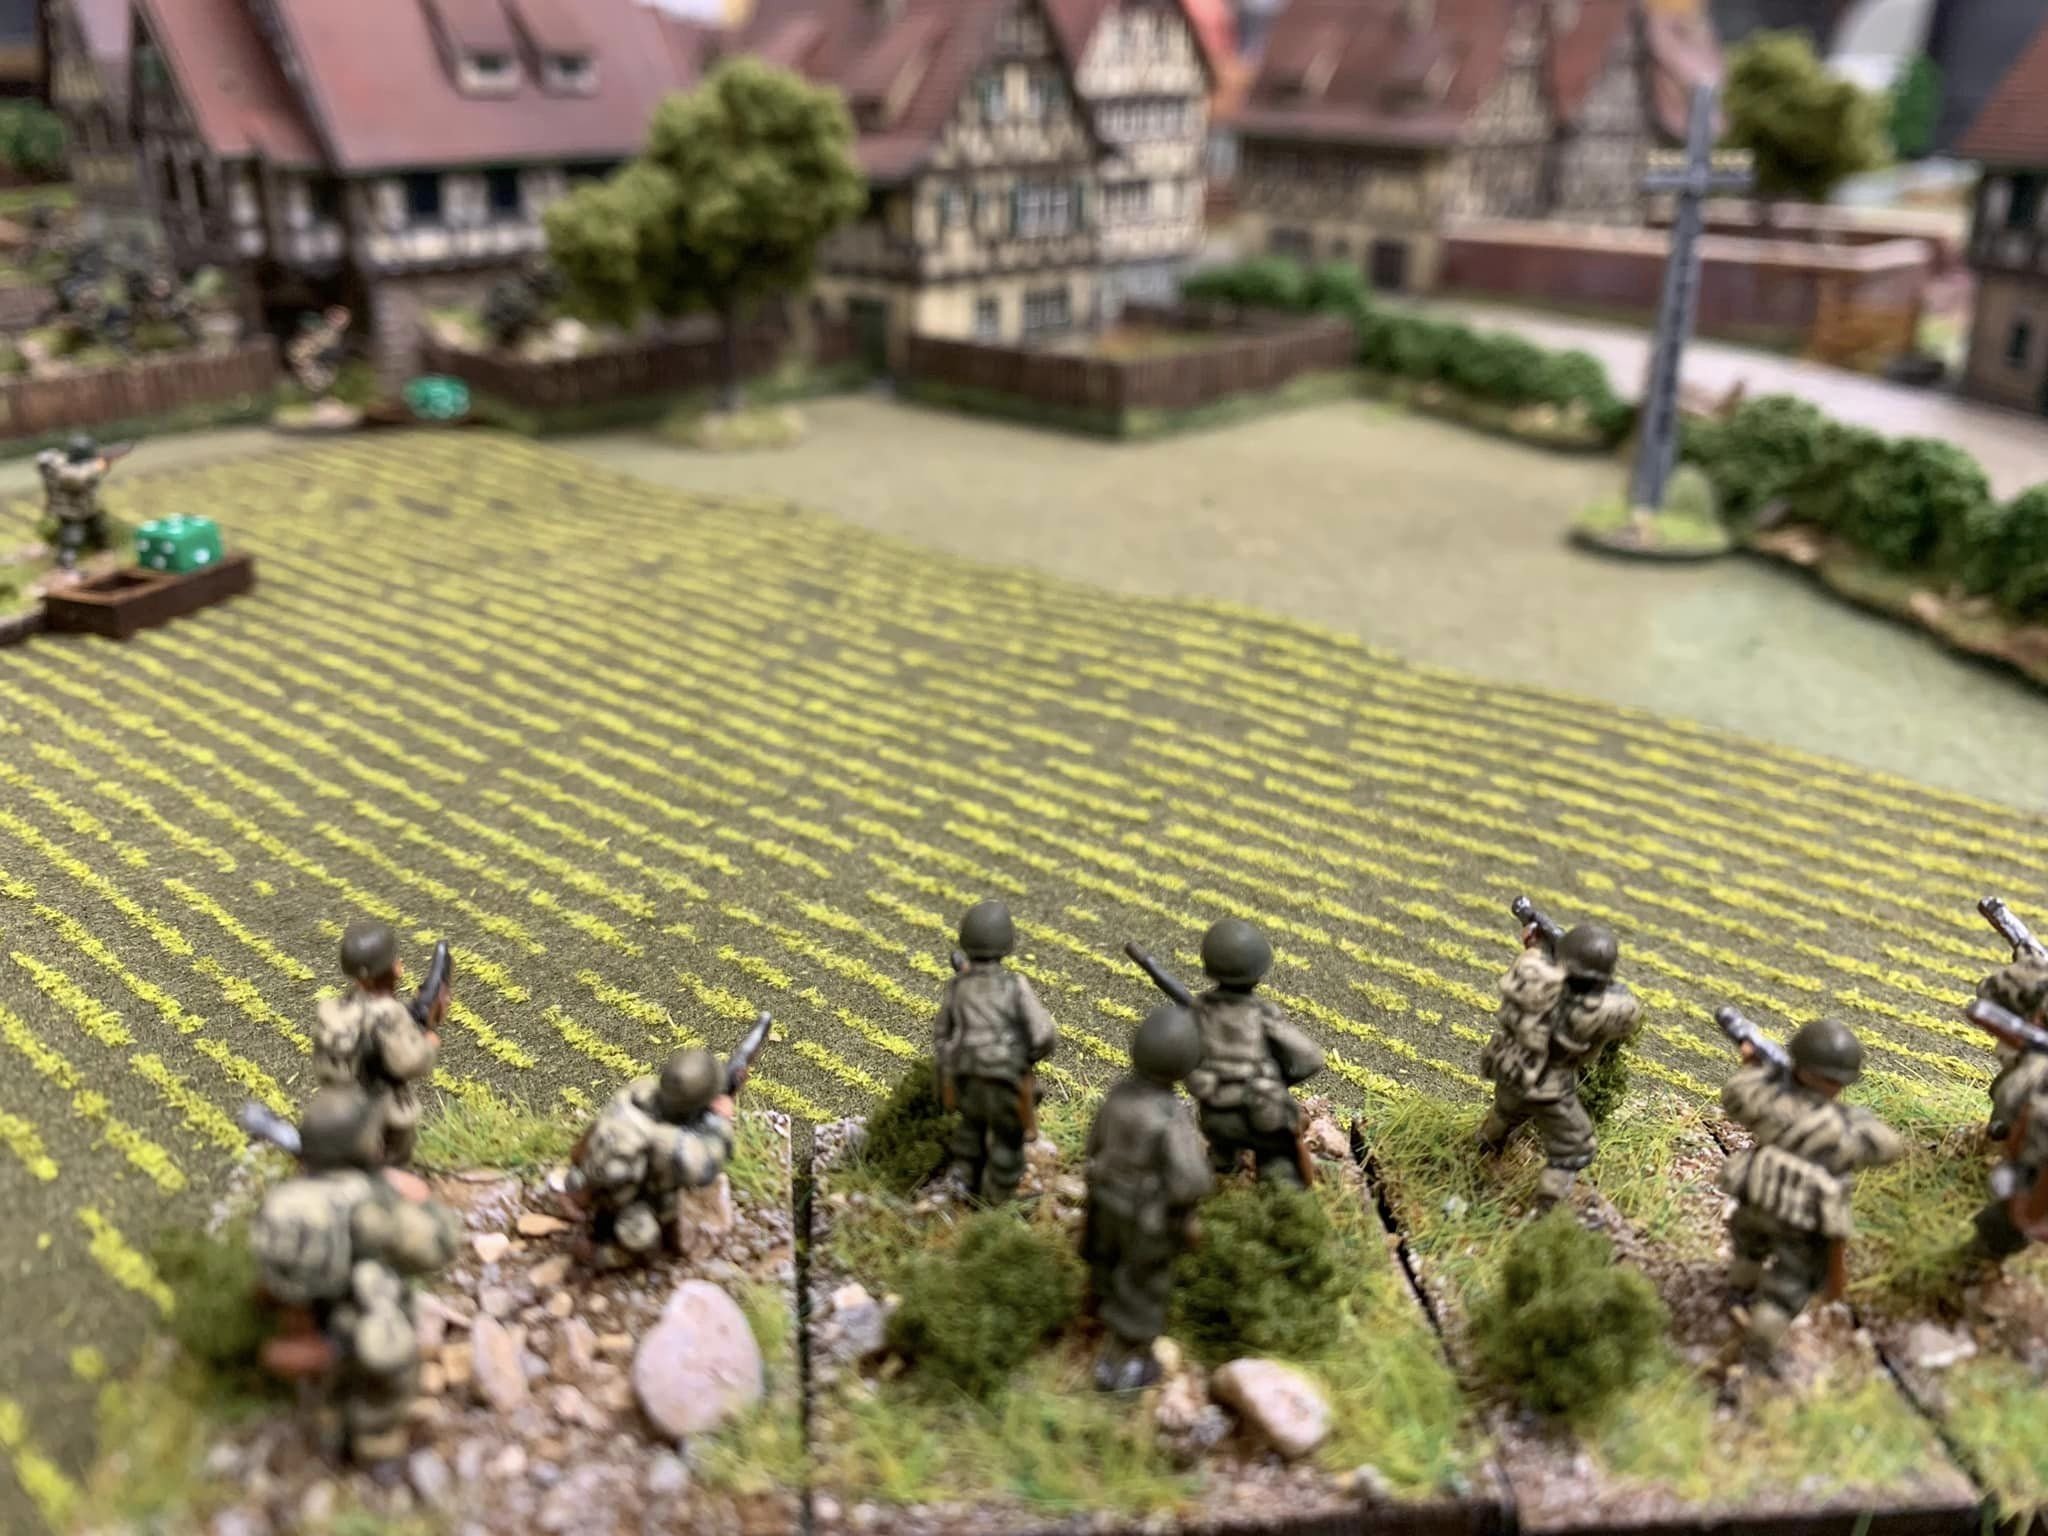
15mm game set in part of Southern Italy. Tried to create a valley with a typical village that needs capturing.

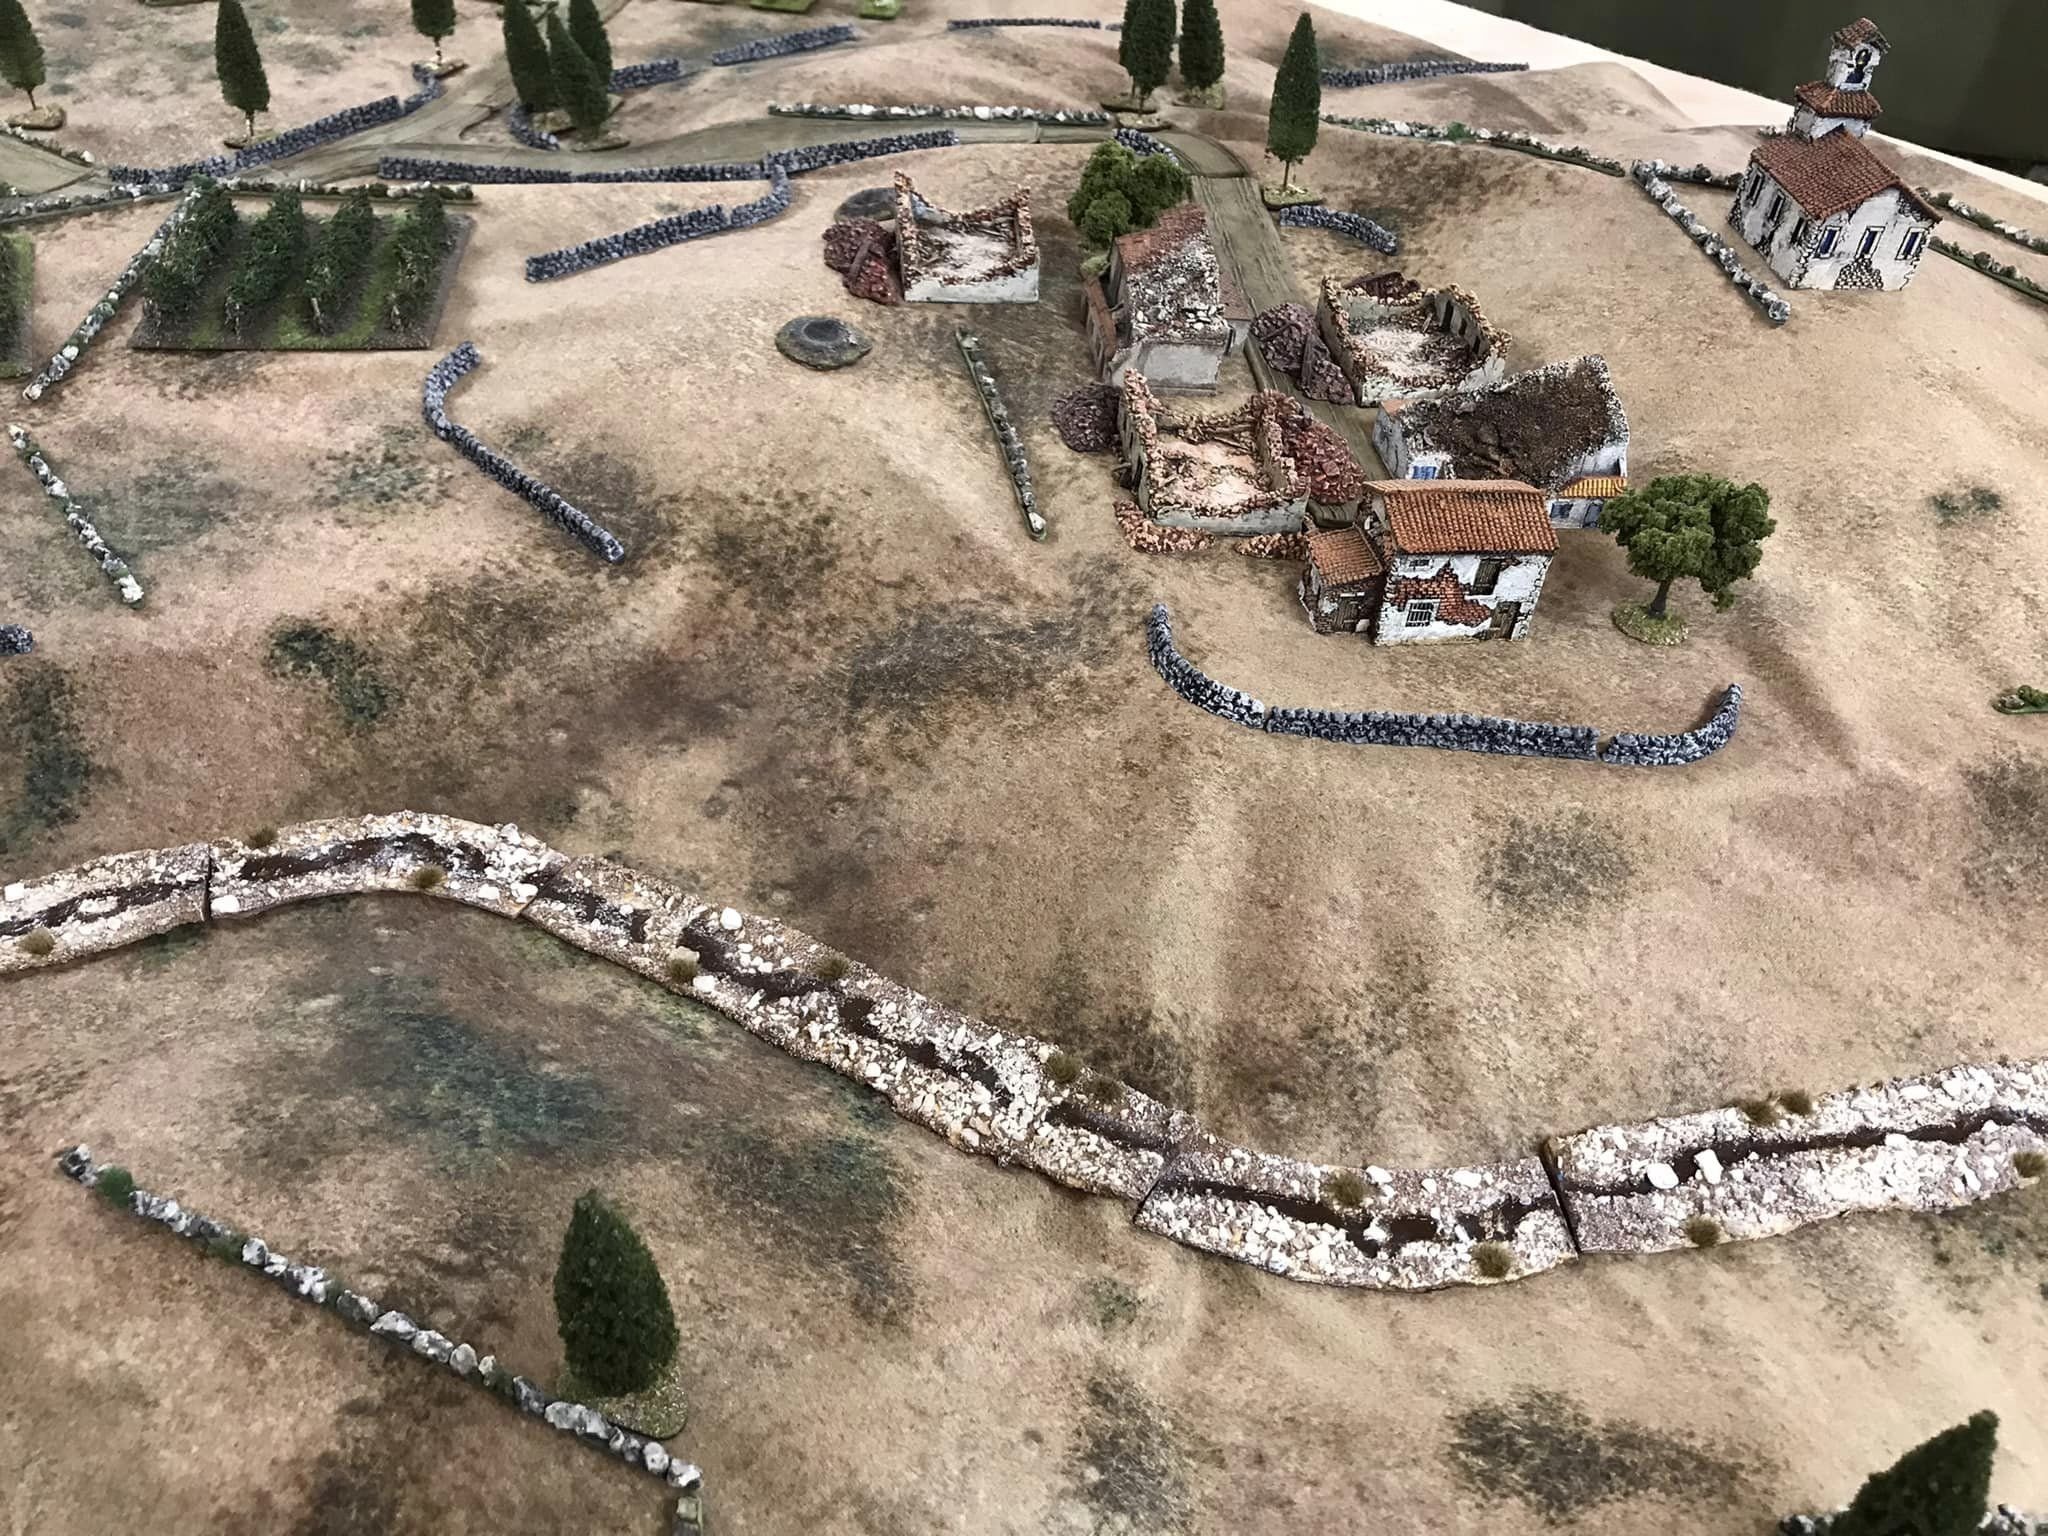
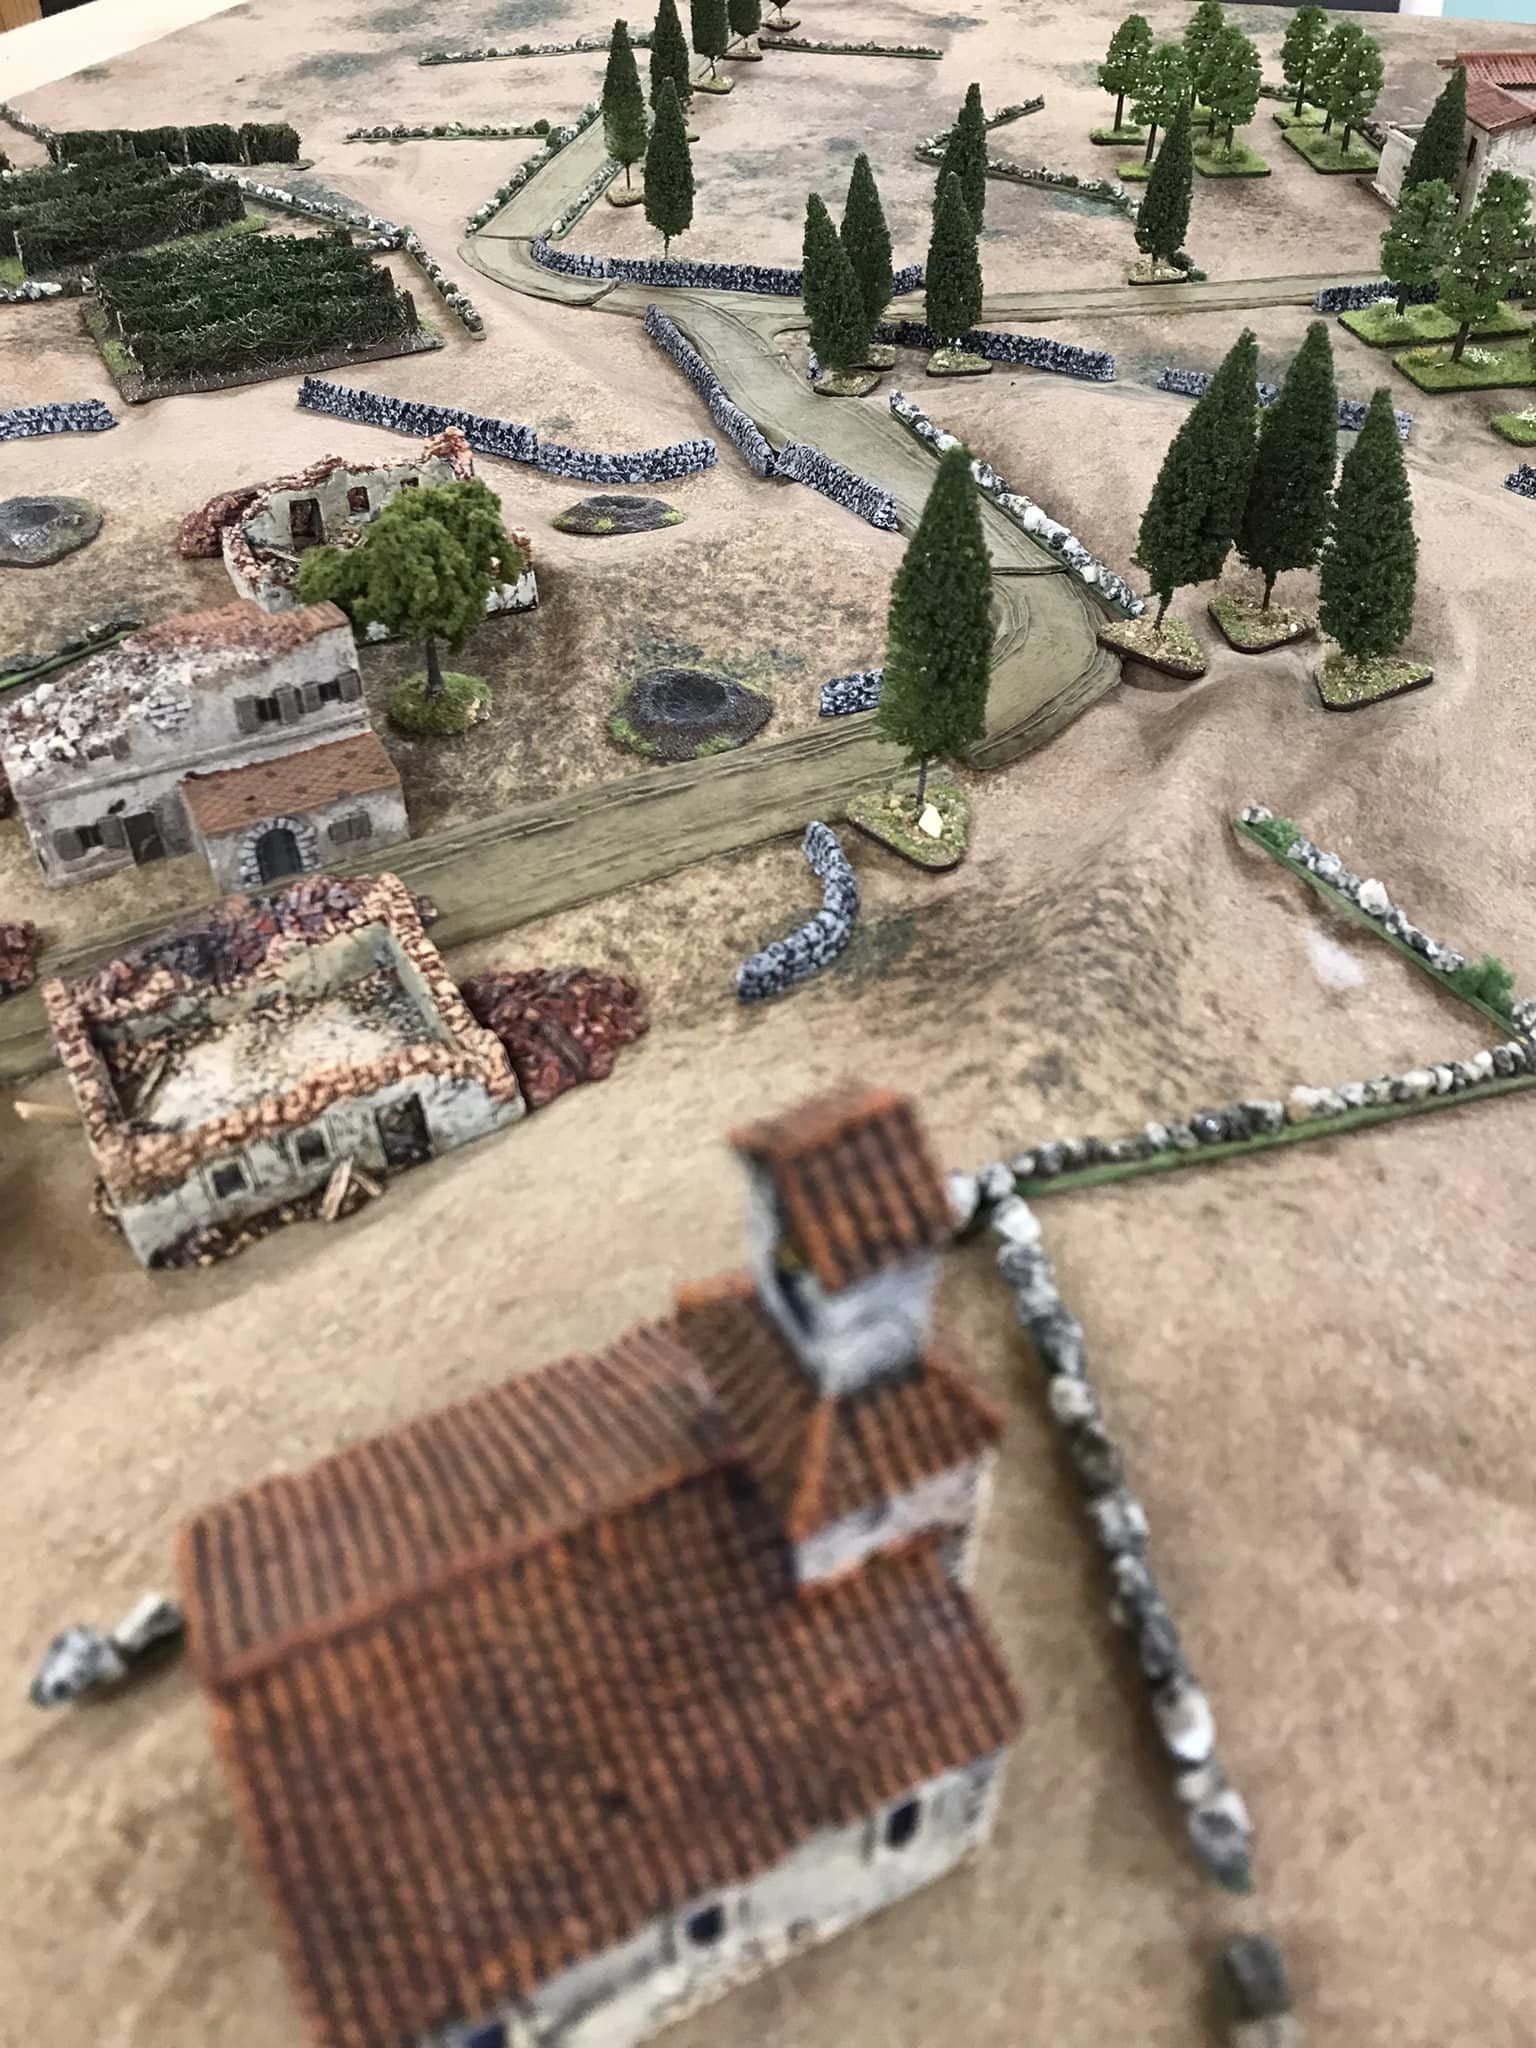
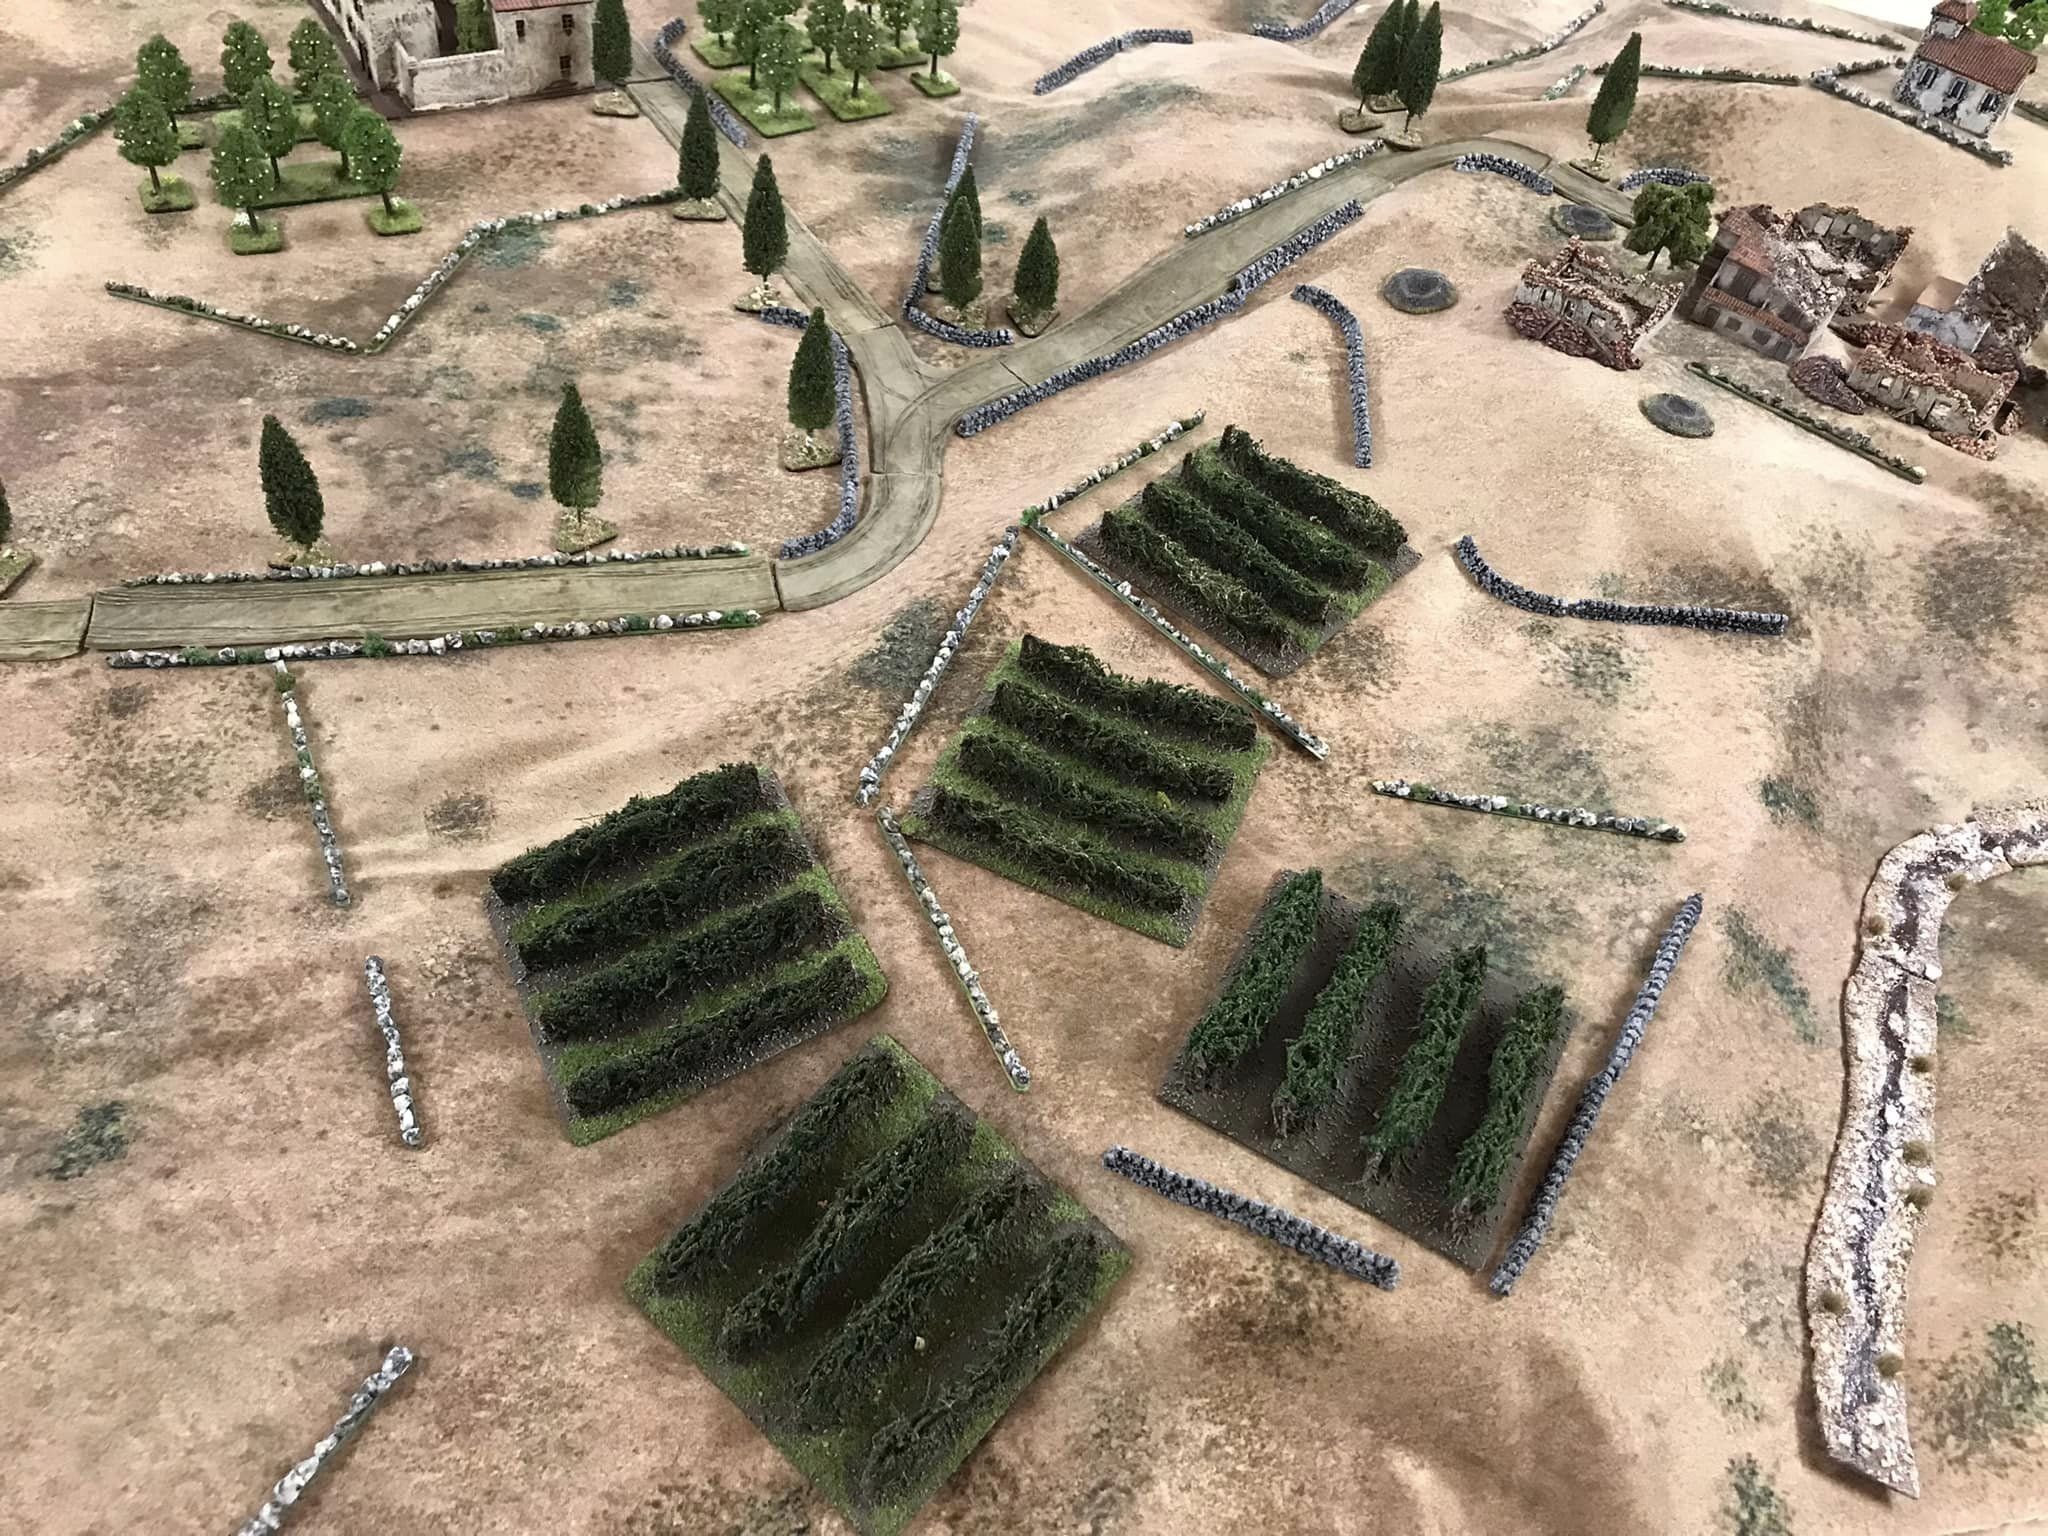
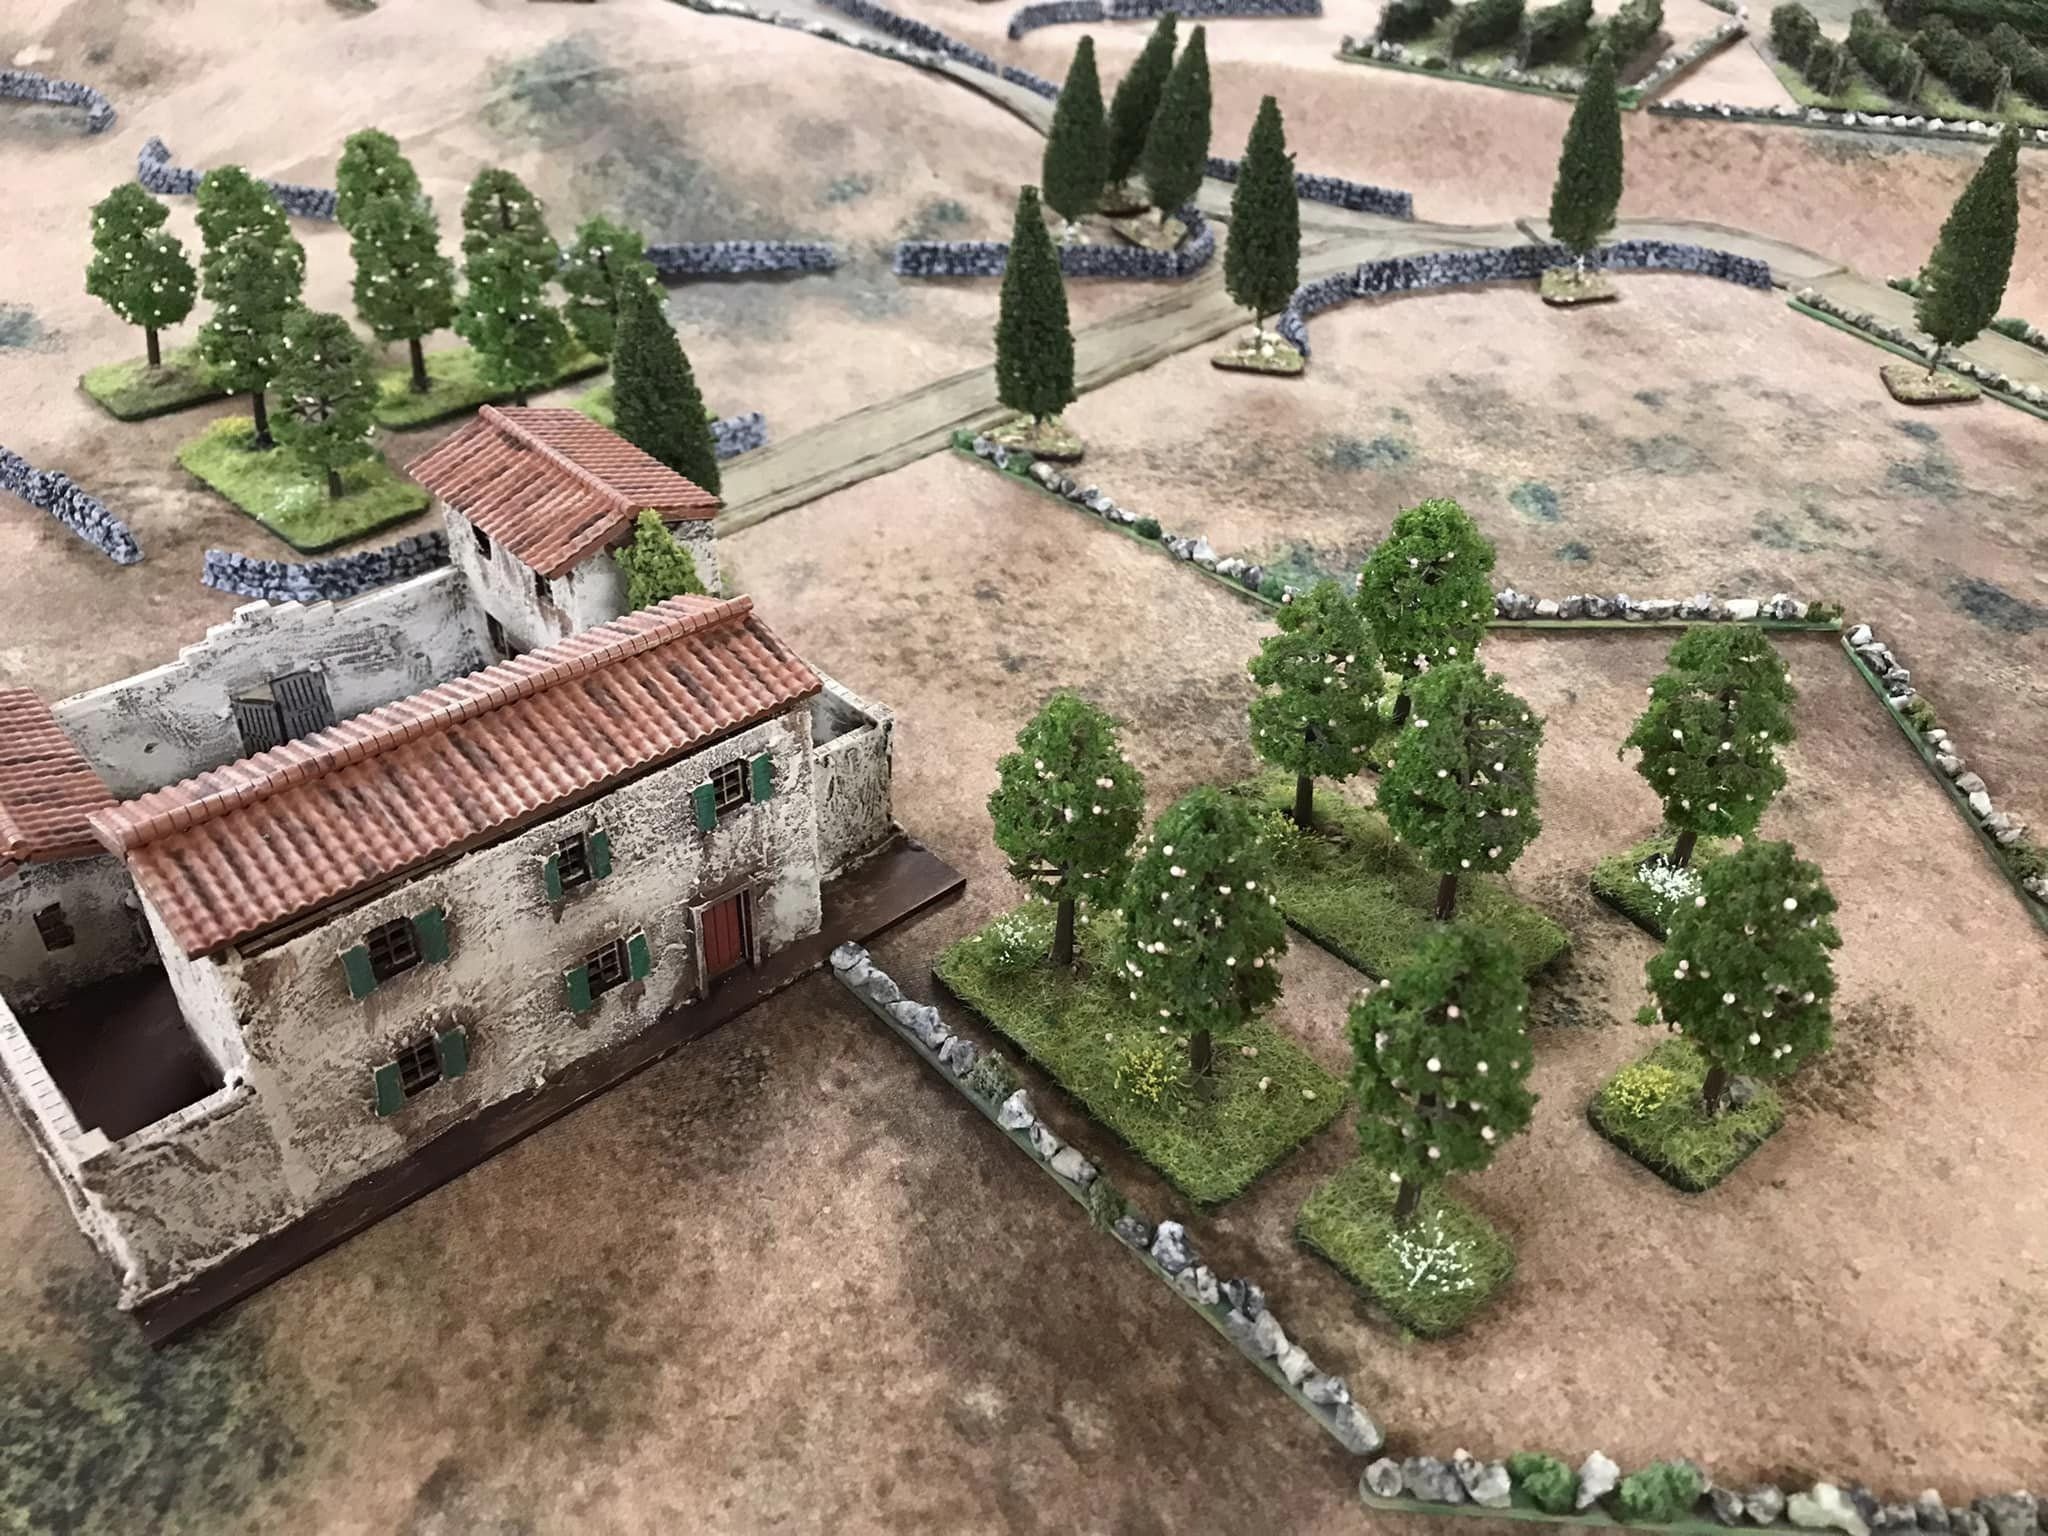

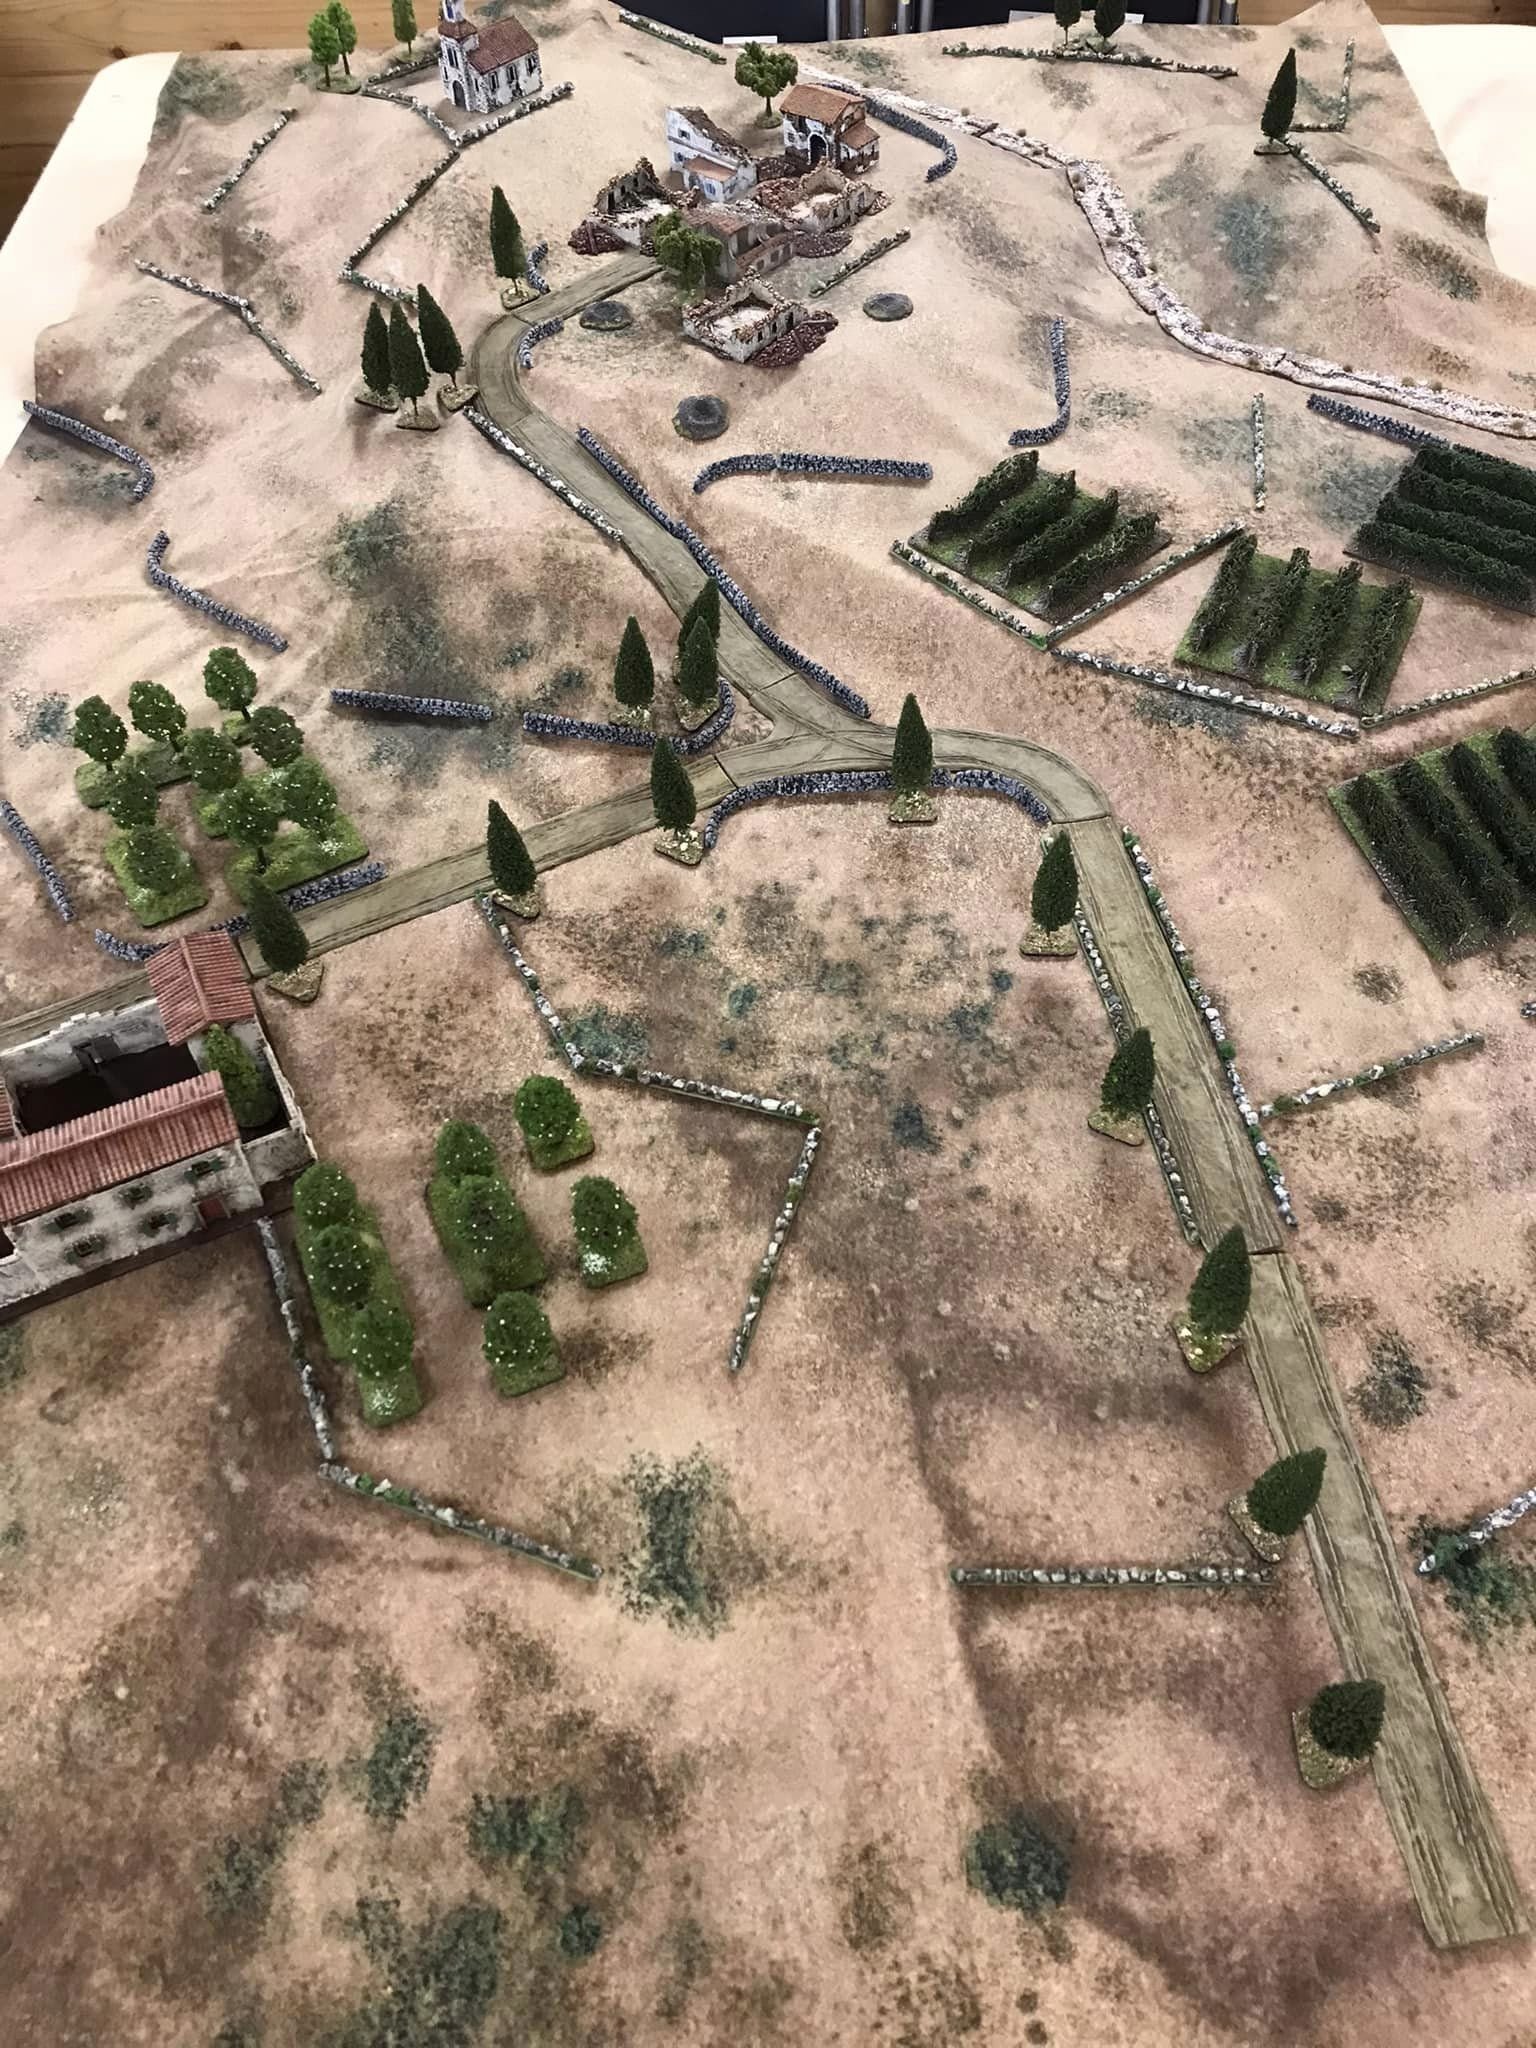
IABSM kicks off & boy am I rusty with the rules. I will persevere. The Germans on the high ground are finding the Allies easy to spot, as it was in reality. Brits are trying to get smoke going but not going well! Defenders yet to reveal themselves.

Des Darkin

IABSM (dice activation version) tonight in the Shed O’War with Iain Fuller and Per Broden
Re run of my April 1945 scenario with US forces advancing towards Leipzig and running into more than expected outside the village of Gross Glechin. A Flak position turns its fire onto the Yanks in a desperate attempt to delay the occupation of the city.
The Germans were a mix of veterans and green troops. Supports were weak, and not many of them. The Flak guns only had limited AP ammunition. The US had a full infantry company, tank and reece support, but no artillery and a Regimental commander who wanted to be at the Elbe before “Those damn Commies”. Time was the US players enemy.
Really enjoyed umpiring the guys and good to get a lot of WW2 kit on the table. A US victory but it was not a cake walk and many guys who should of made it home Stateside did not.


The game continued with US forces gradually eliminating German defensive points in the village.
Des Darkin

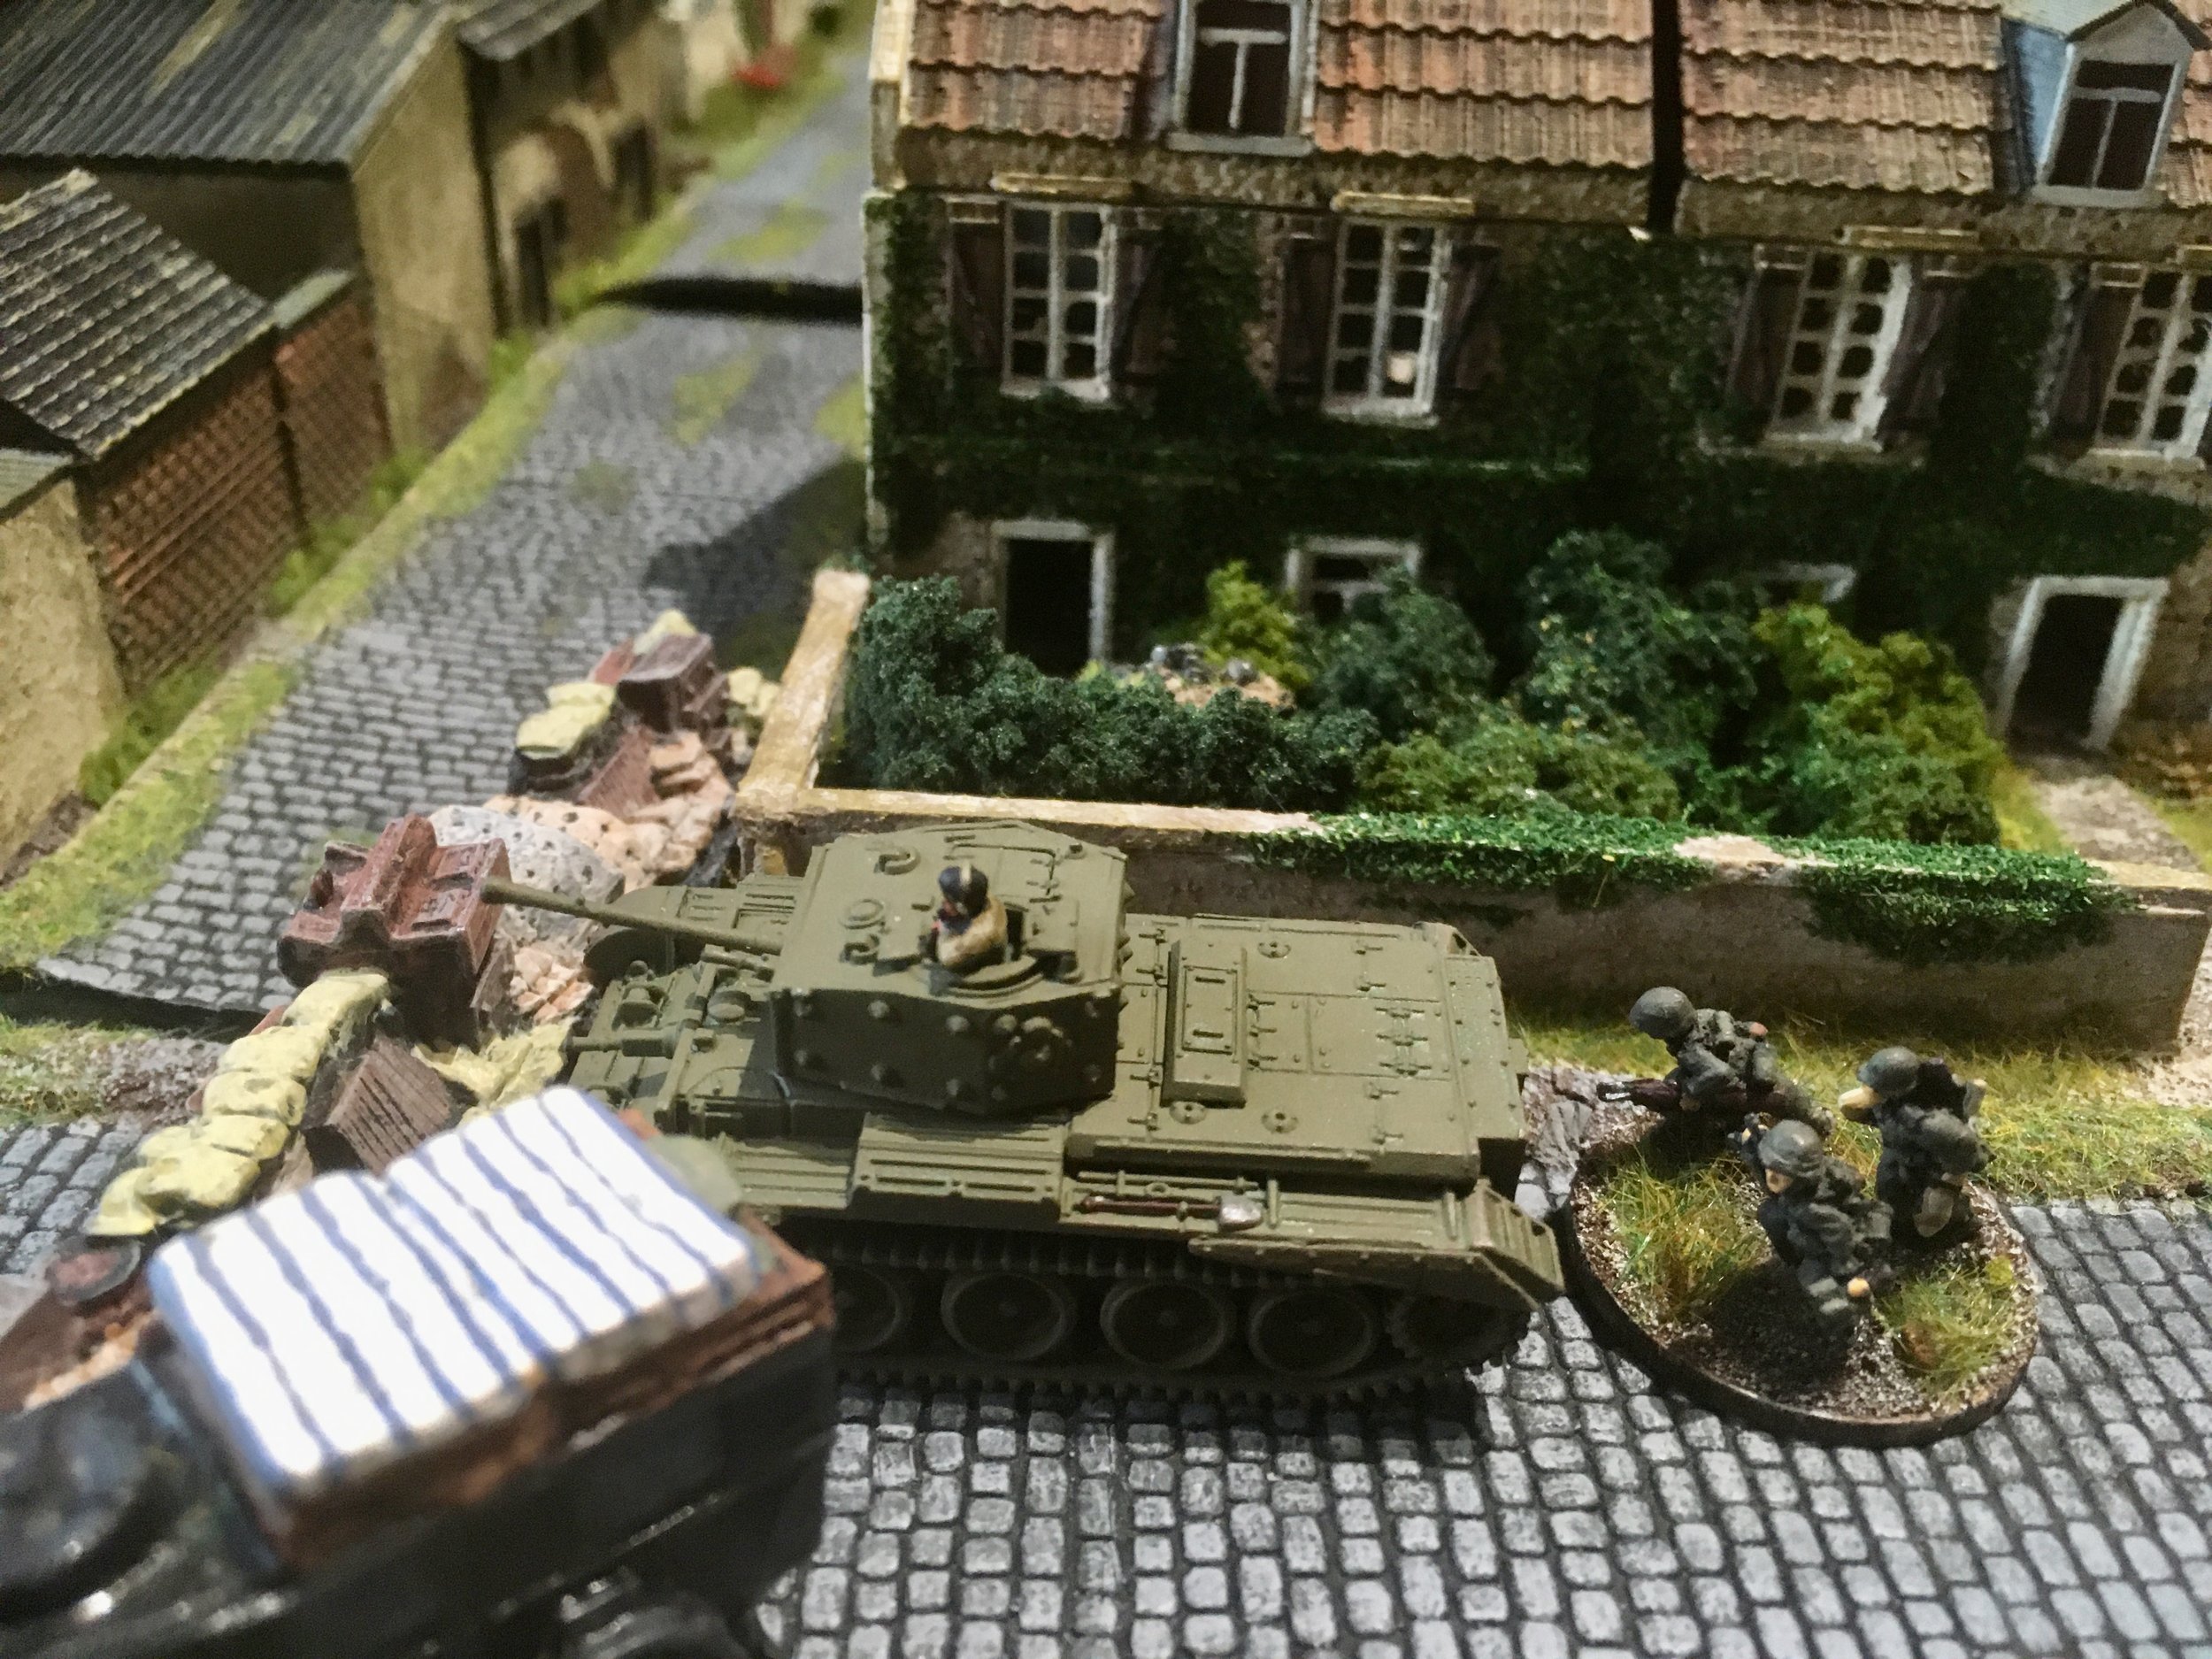
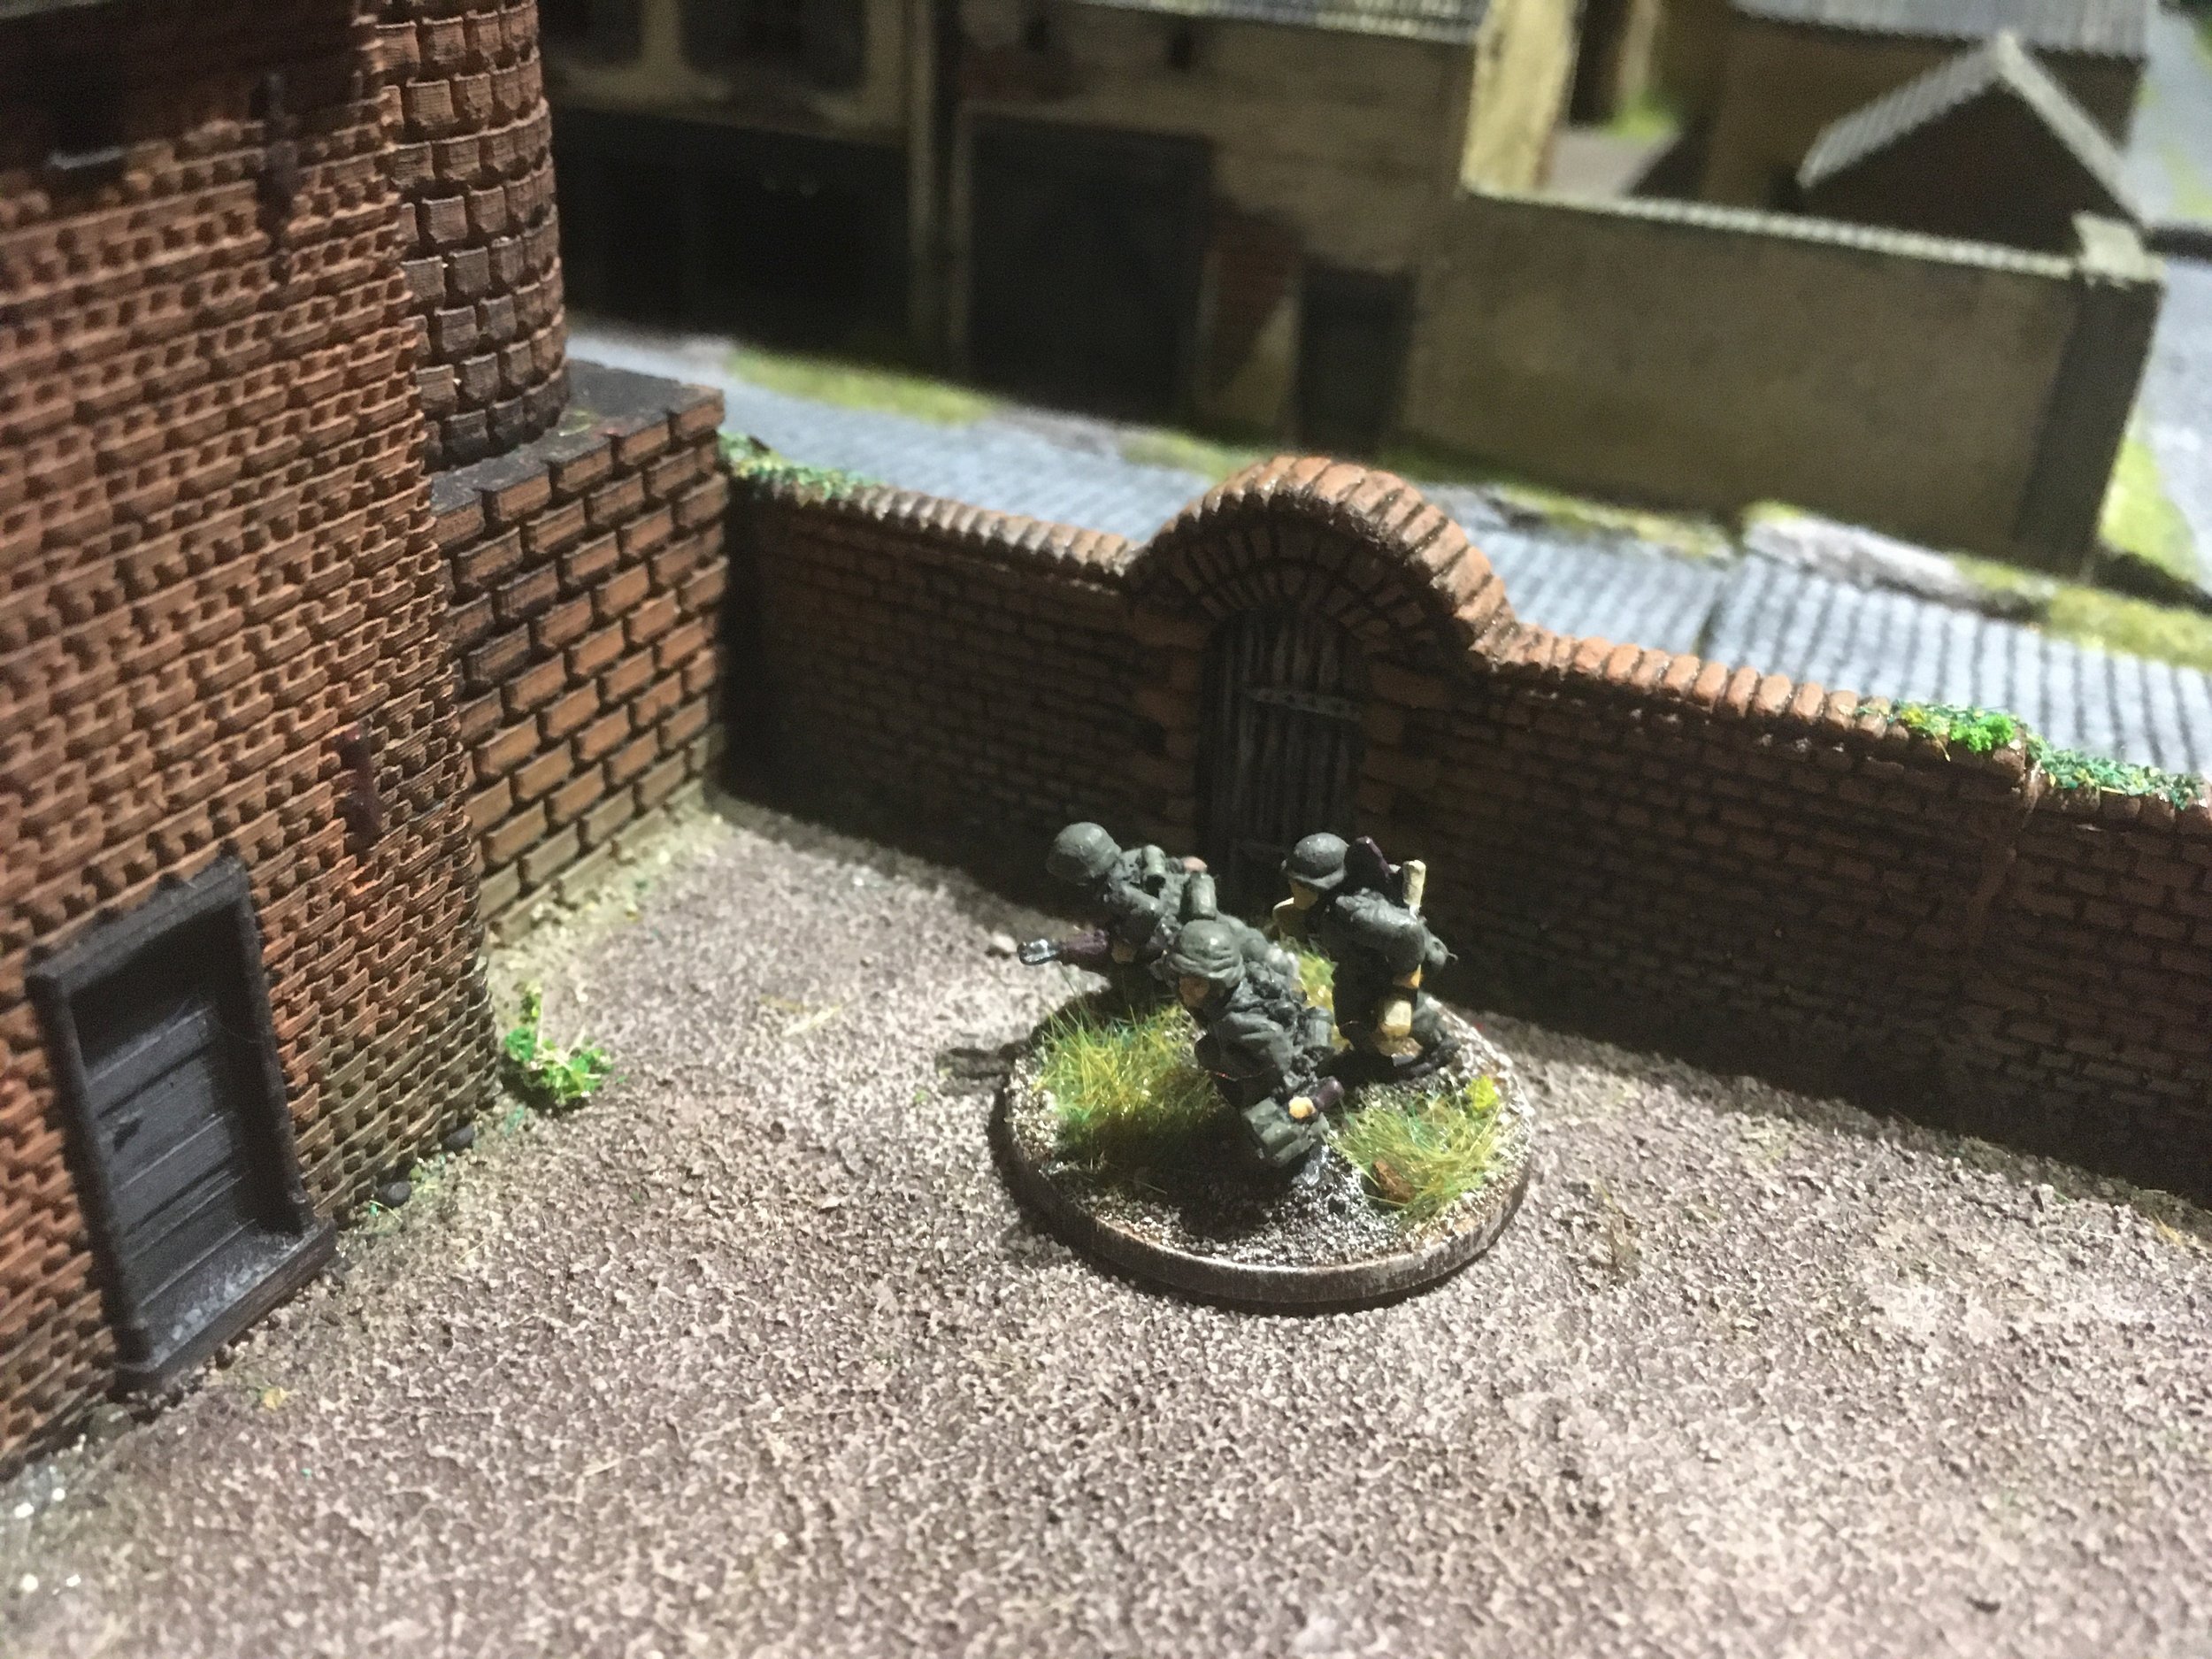
My battle report catching up is going to be somewhat random, this one being another I Ain't Been Shot Mum WW2 action set in 1944, again with the Welsh Guards (IIRC) in the breakout from Normandy. Phil umpired and hosted the game with Chris (who was visiting Turner Towers) taking command of an ad hoc German force and me yelling out "Pobol y Cwm" a lot as I led the Welsh to death or glory (a lot of death, as you will see...)


…the infantry were more pragmatic and stoic, with 1st and 2nd Platoons adopting fire and move tactics...
At this point we had to call it a day as I had roadie duties to perform back in Bristol for son and heir.
Chris was very magnanimous and said he thought it was a British victory. It was true that the Welsh infantry had largely invested the town but six Cromwells lay burning on the battlefield, as well as one being immobilised and whilst they Guards still had two Cromwells and two Fireflys left to deal with the Panther, any claim of victory would definitely be pyrrhic. A draw was probably a fair result.
Another good game of I Ain't Been Shot Mum against a gracious opponent with a genial umpire (even if he thinks Panther tanks were fitted with x-ray equipment that can see through smoke in 1944!), I am starting to appreciate the rules a lot more (and might even remember to use tactics from the start) - who knows I might have to raise a small 15mm force of my own...
Steve Blease

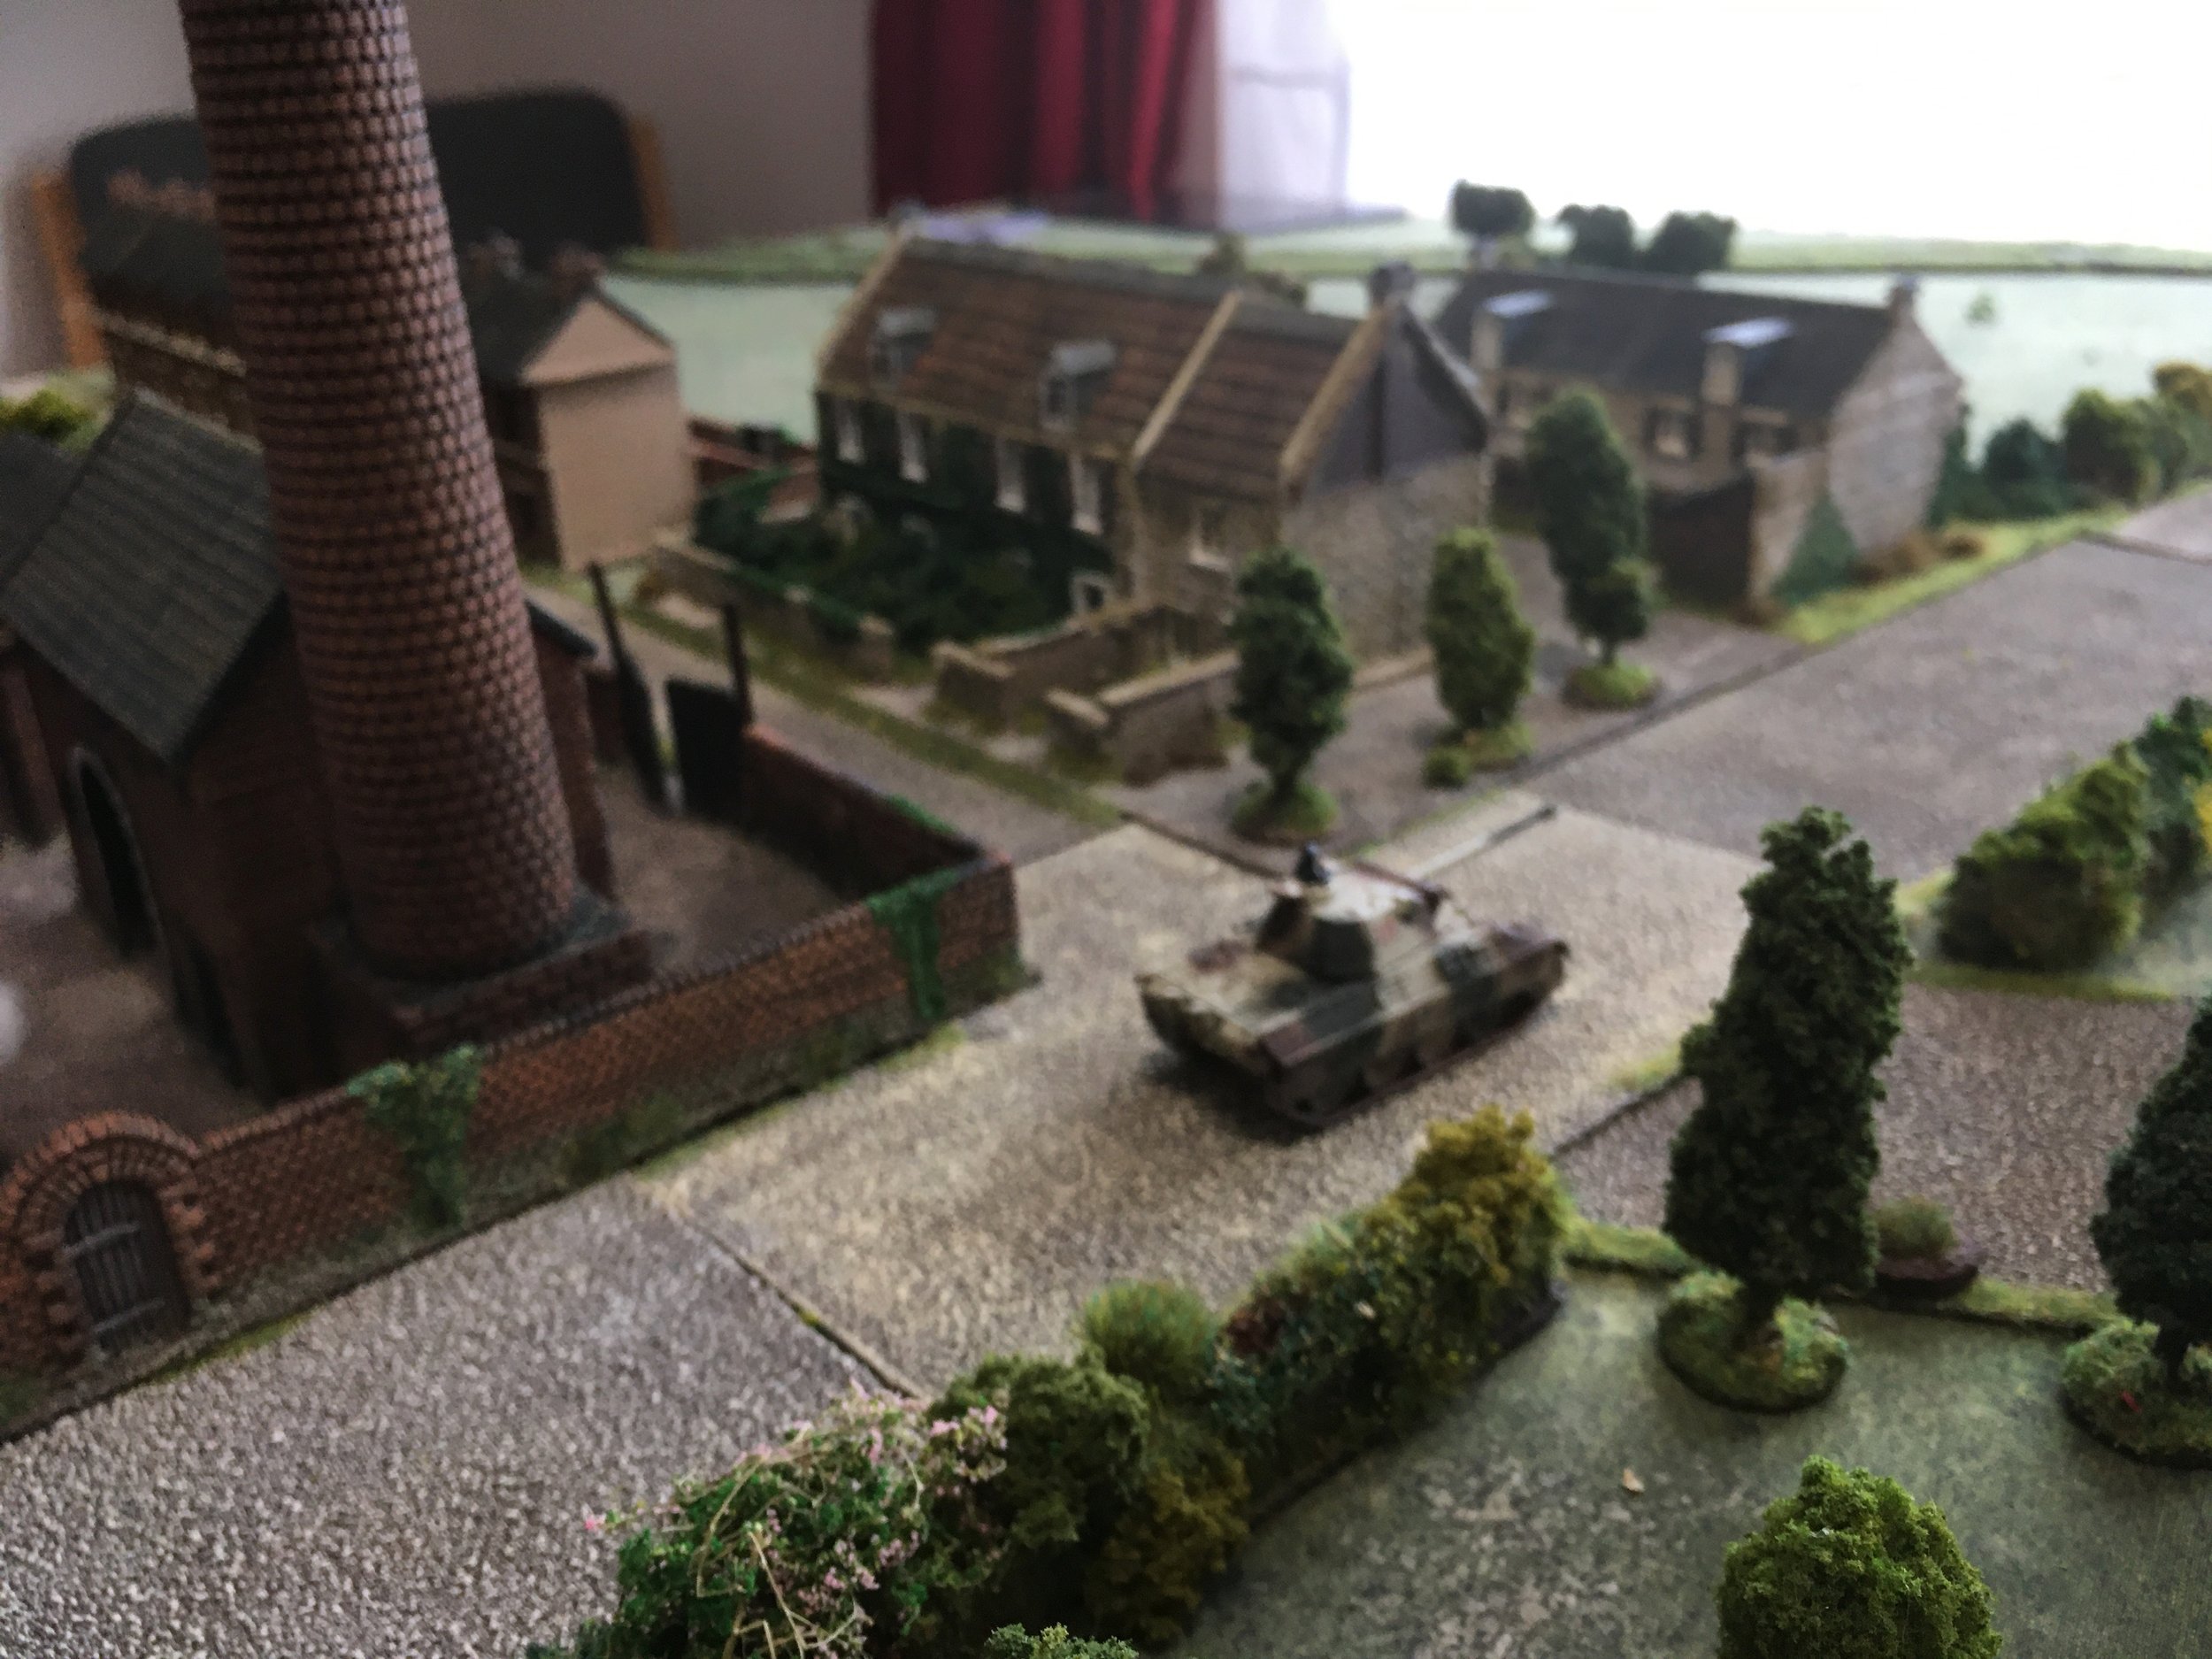
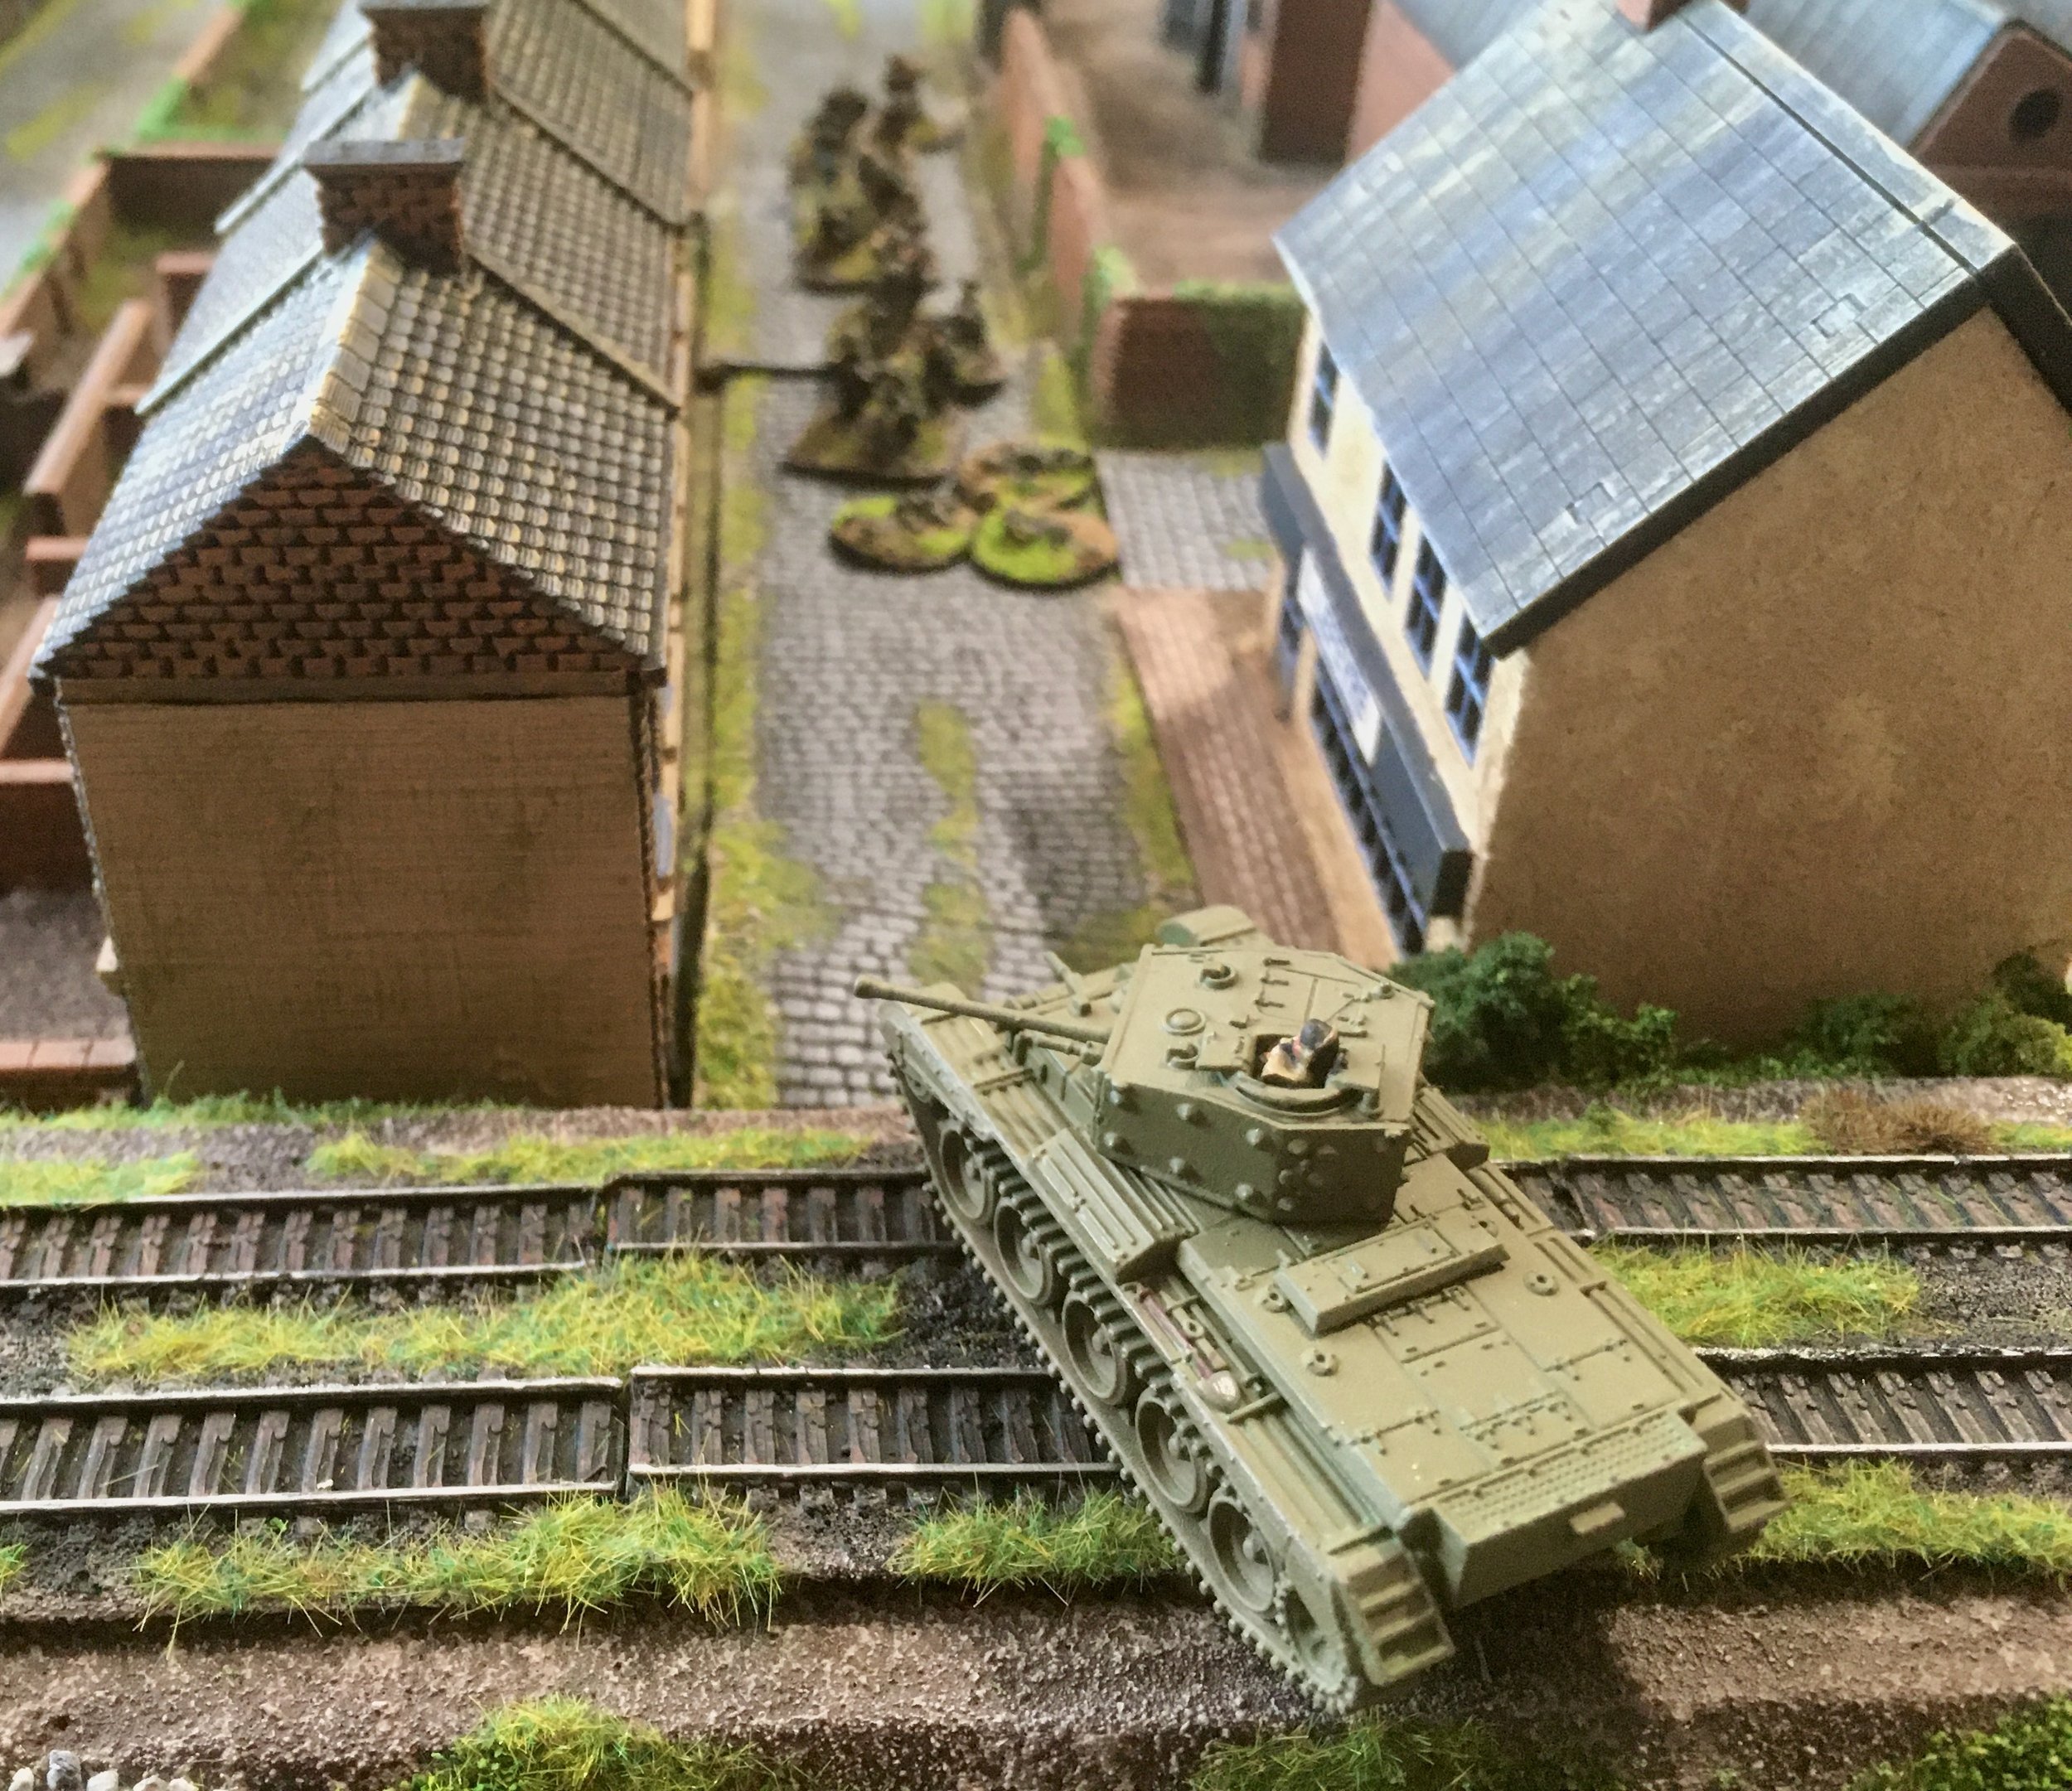
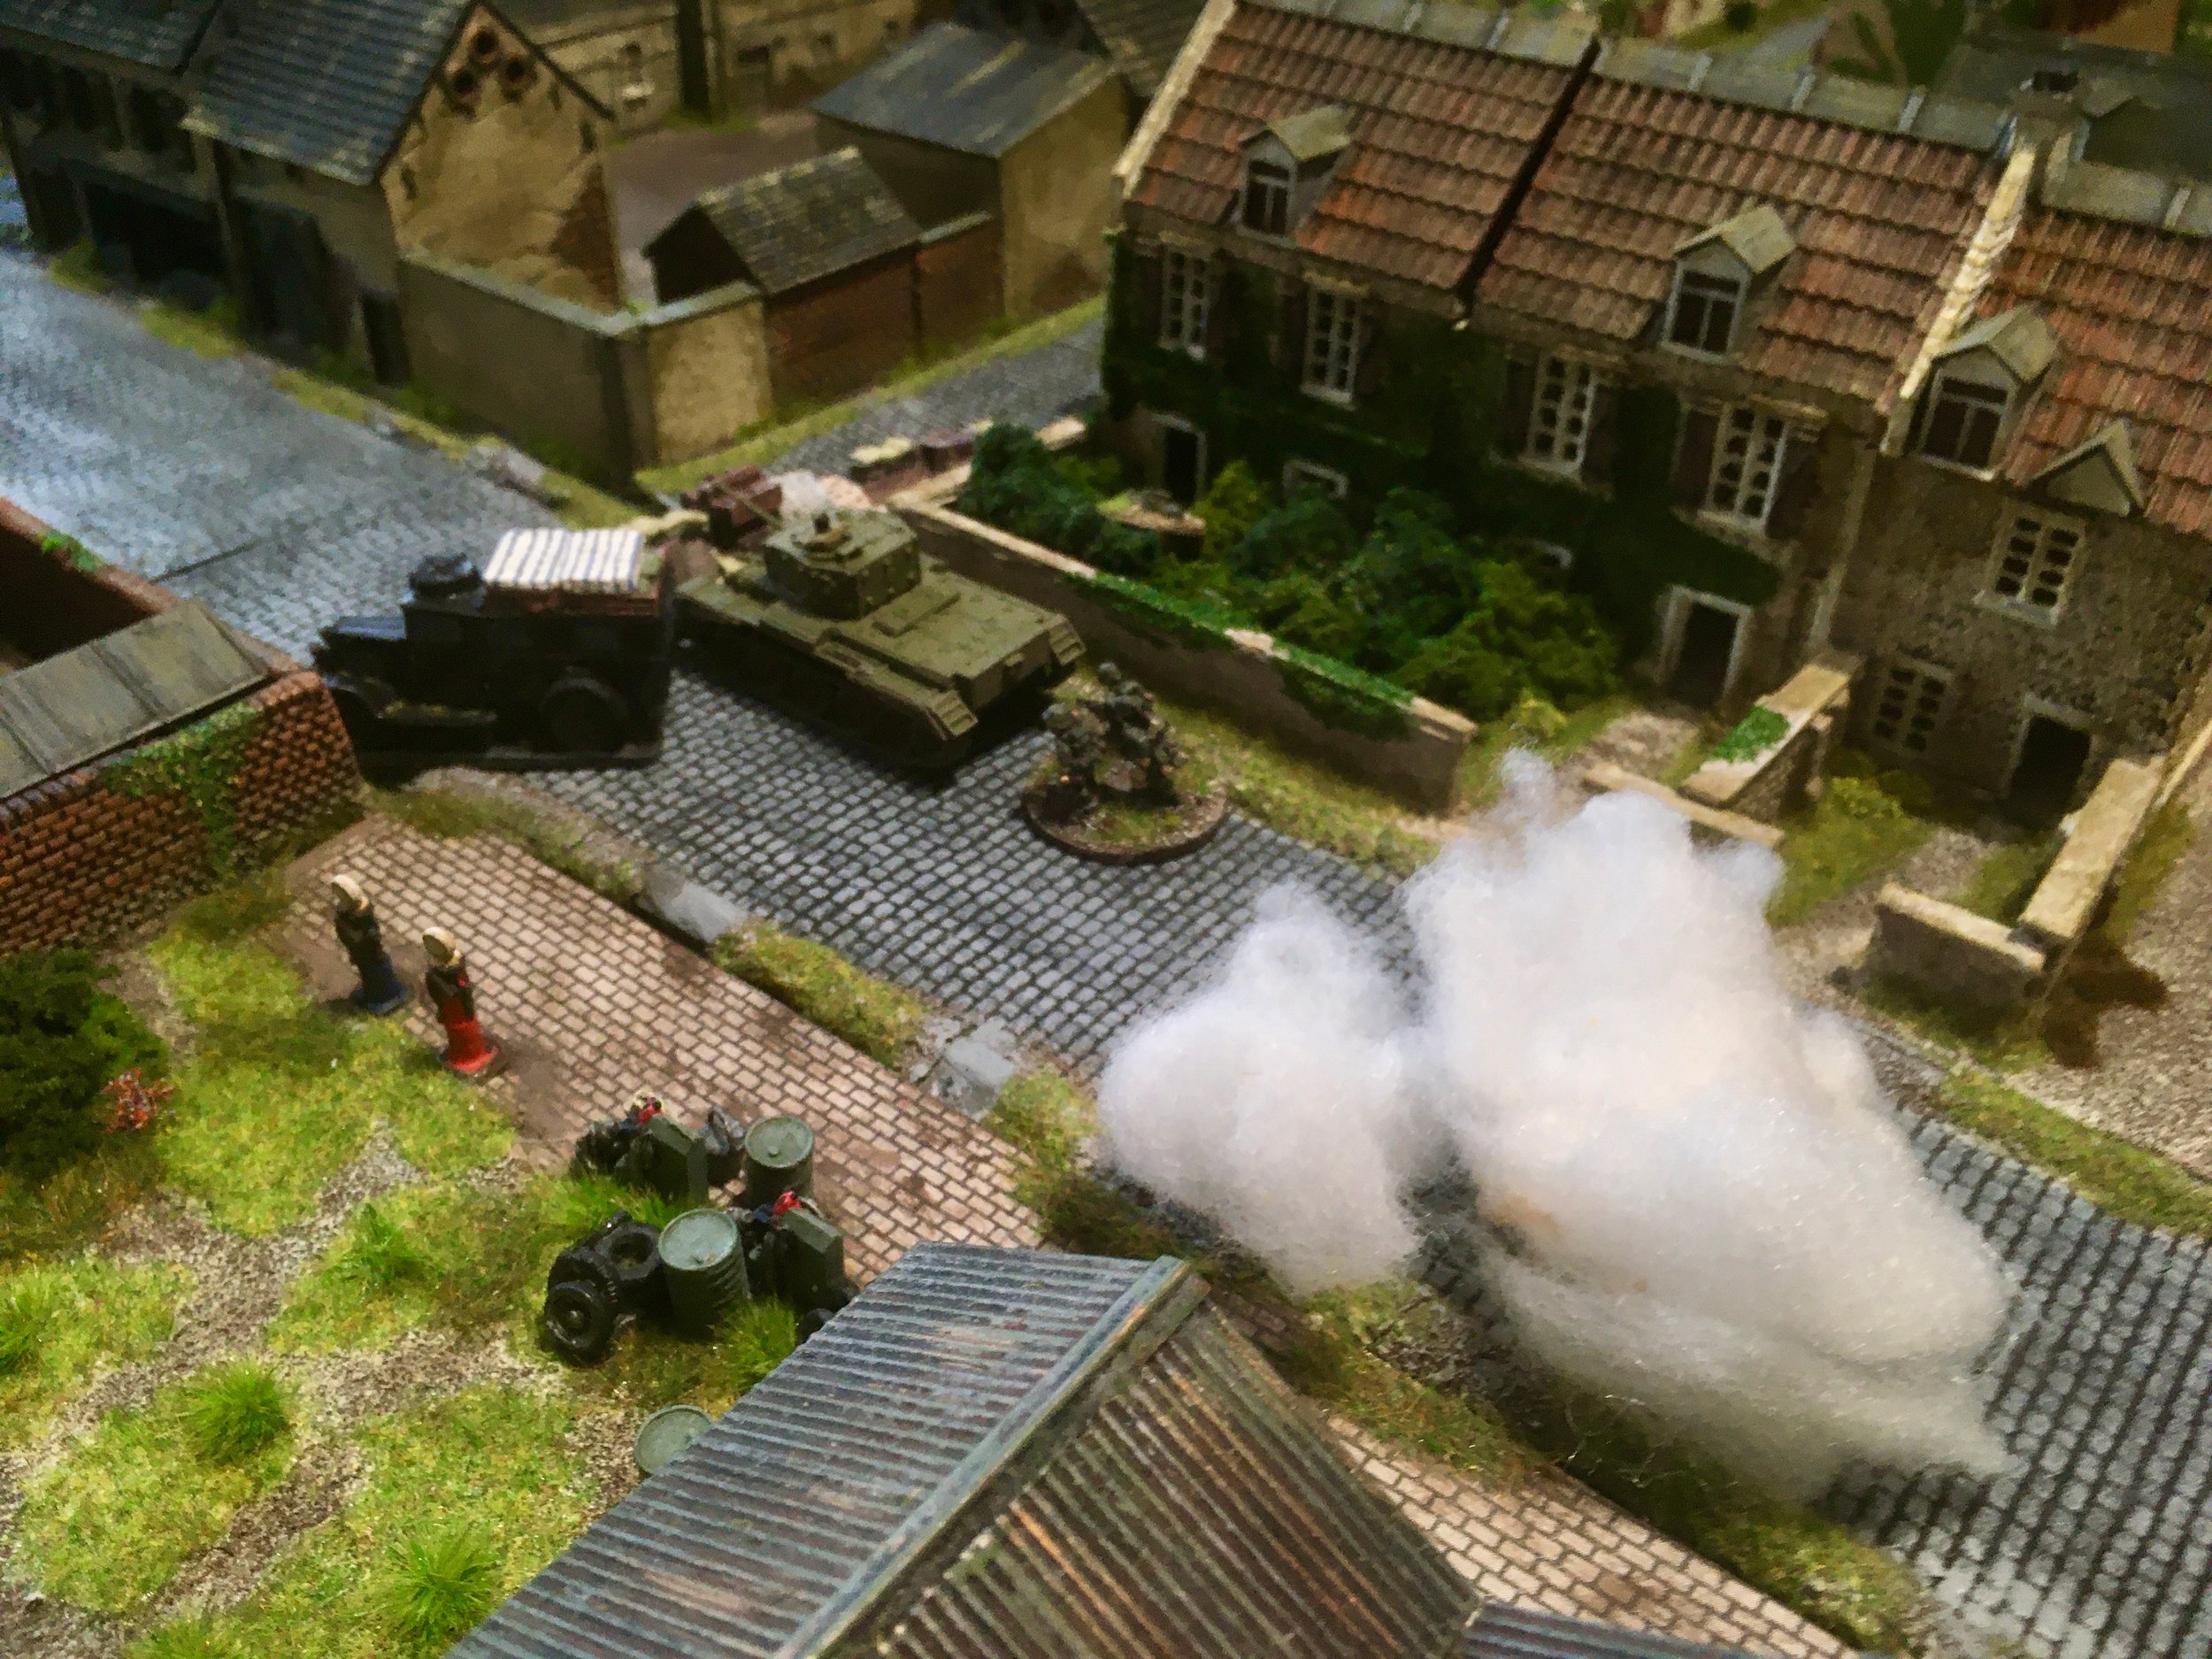
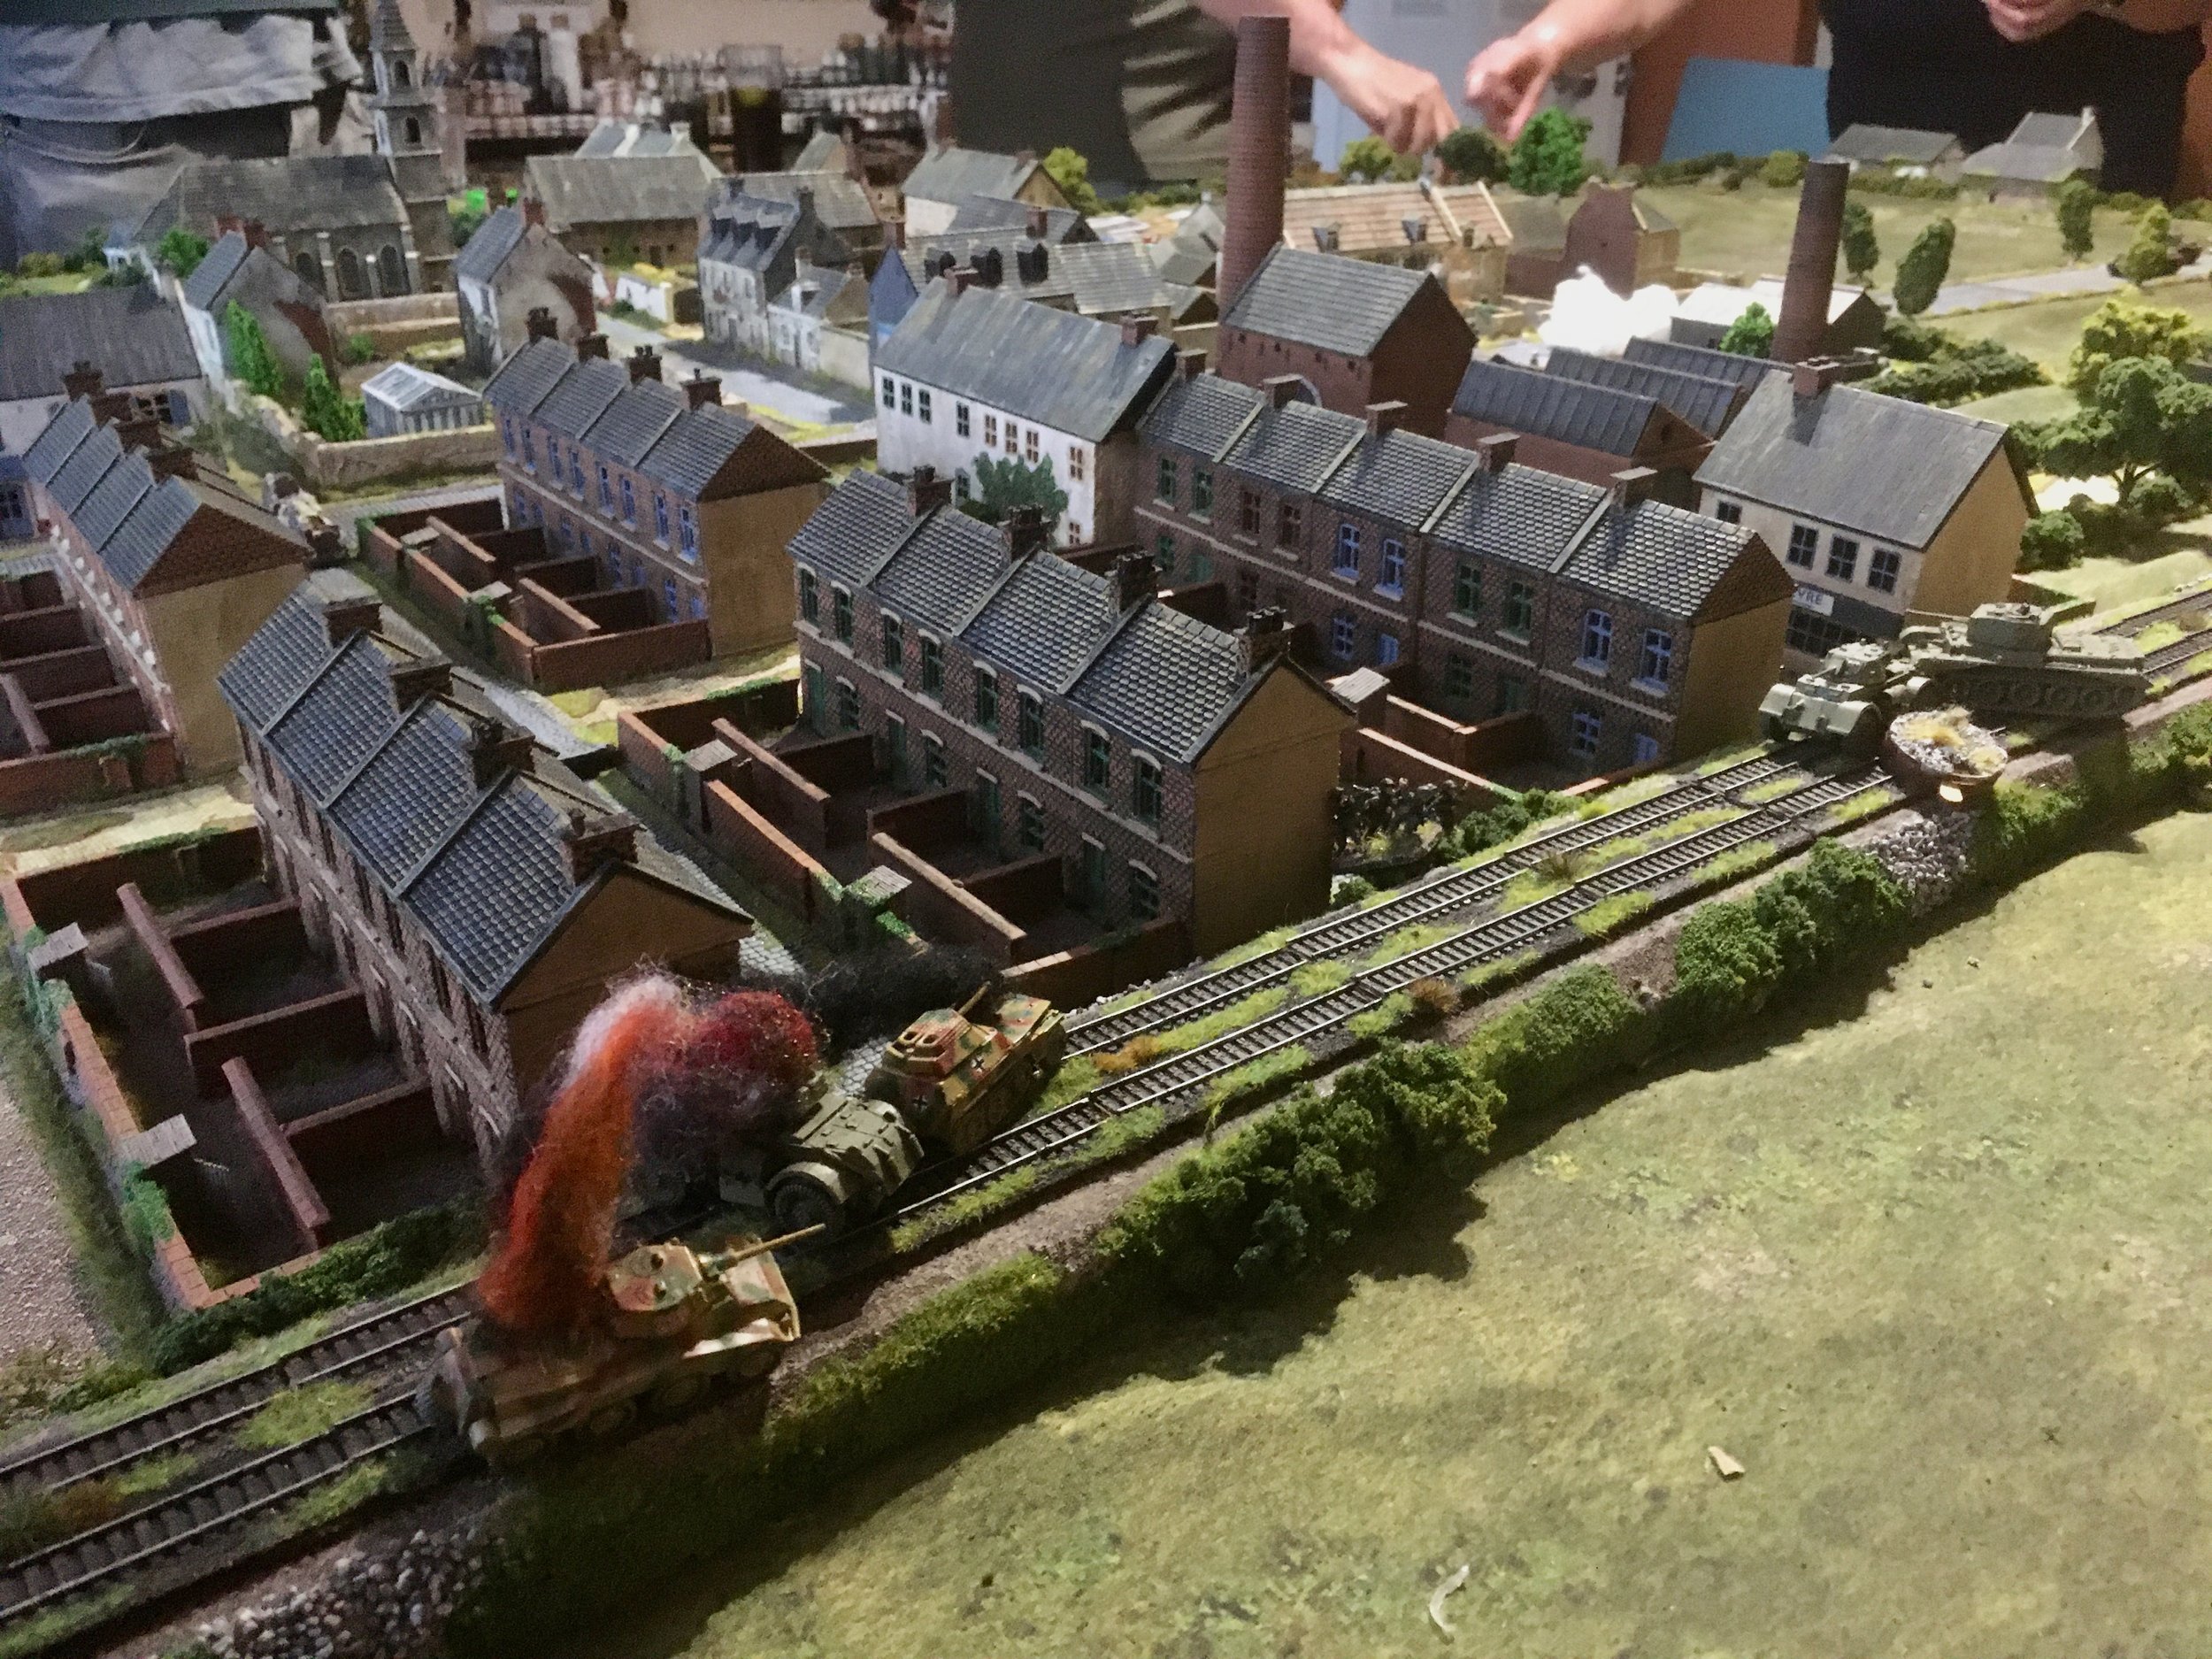
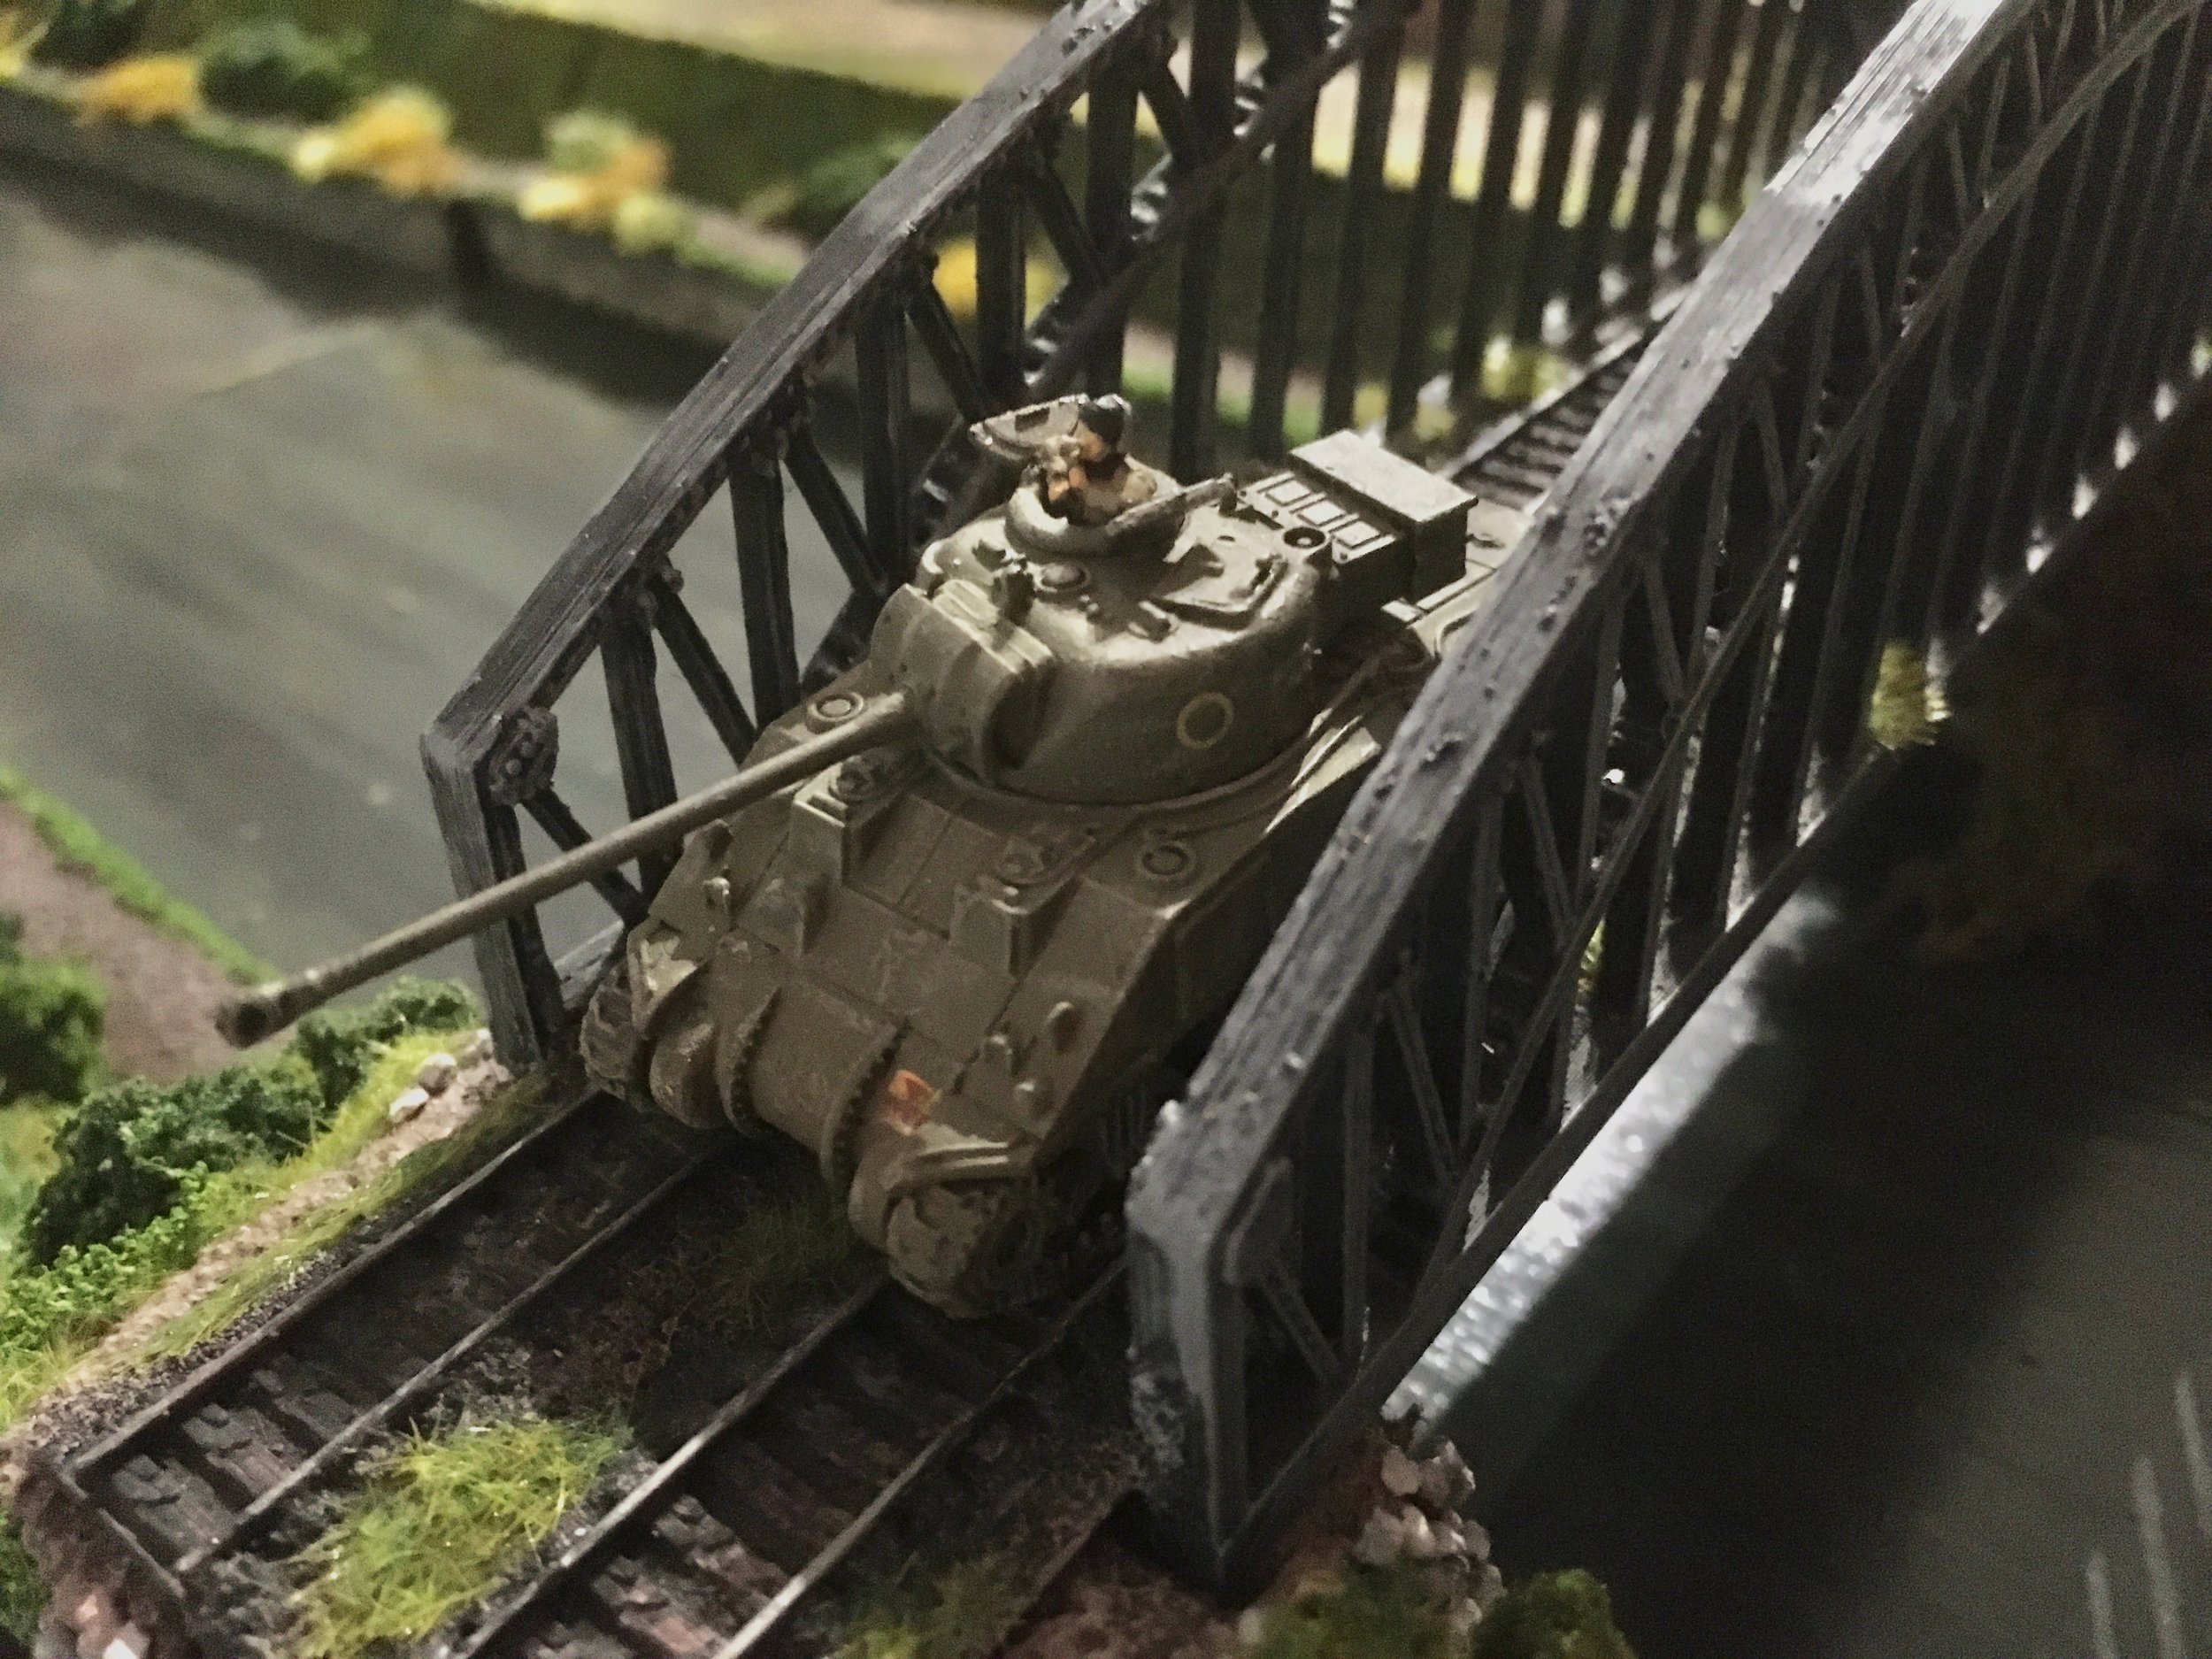
One of the games I played in at this year’s Operation Market Larden was a superbly presented I Ain’t Been Shot Mum scenario put on by Phil and Jenny.

Iaon and I would lead tanks from the Welsh Guards supported by motorised infantry from the Grenadier Guards in a race across Belgium to be the first units into Brussels. Historically, the only opposition encountered was in the town of Halle, and that’s what the day’s affairs would recreate. Our mission was to get a “significant force” off either of the bridges at the other end of the table.
To open proceedings, we sent our Household Cavalry armoured cars forward along the road into Halle with orders to spot the opposition, following up with two squadrons of tanks supported by the Company HQ. The infantry were lagging behind a bit but, at the time, this didn’t look to be too much of a problem.
Our reconnaissance in strength worked perfectly. One of the Cavalry armoured cars spotted an enemy Tiger tank and every single tank we had on the table opened fire at it!
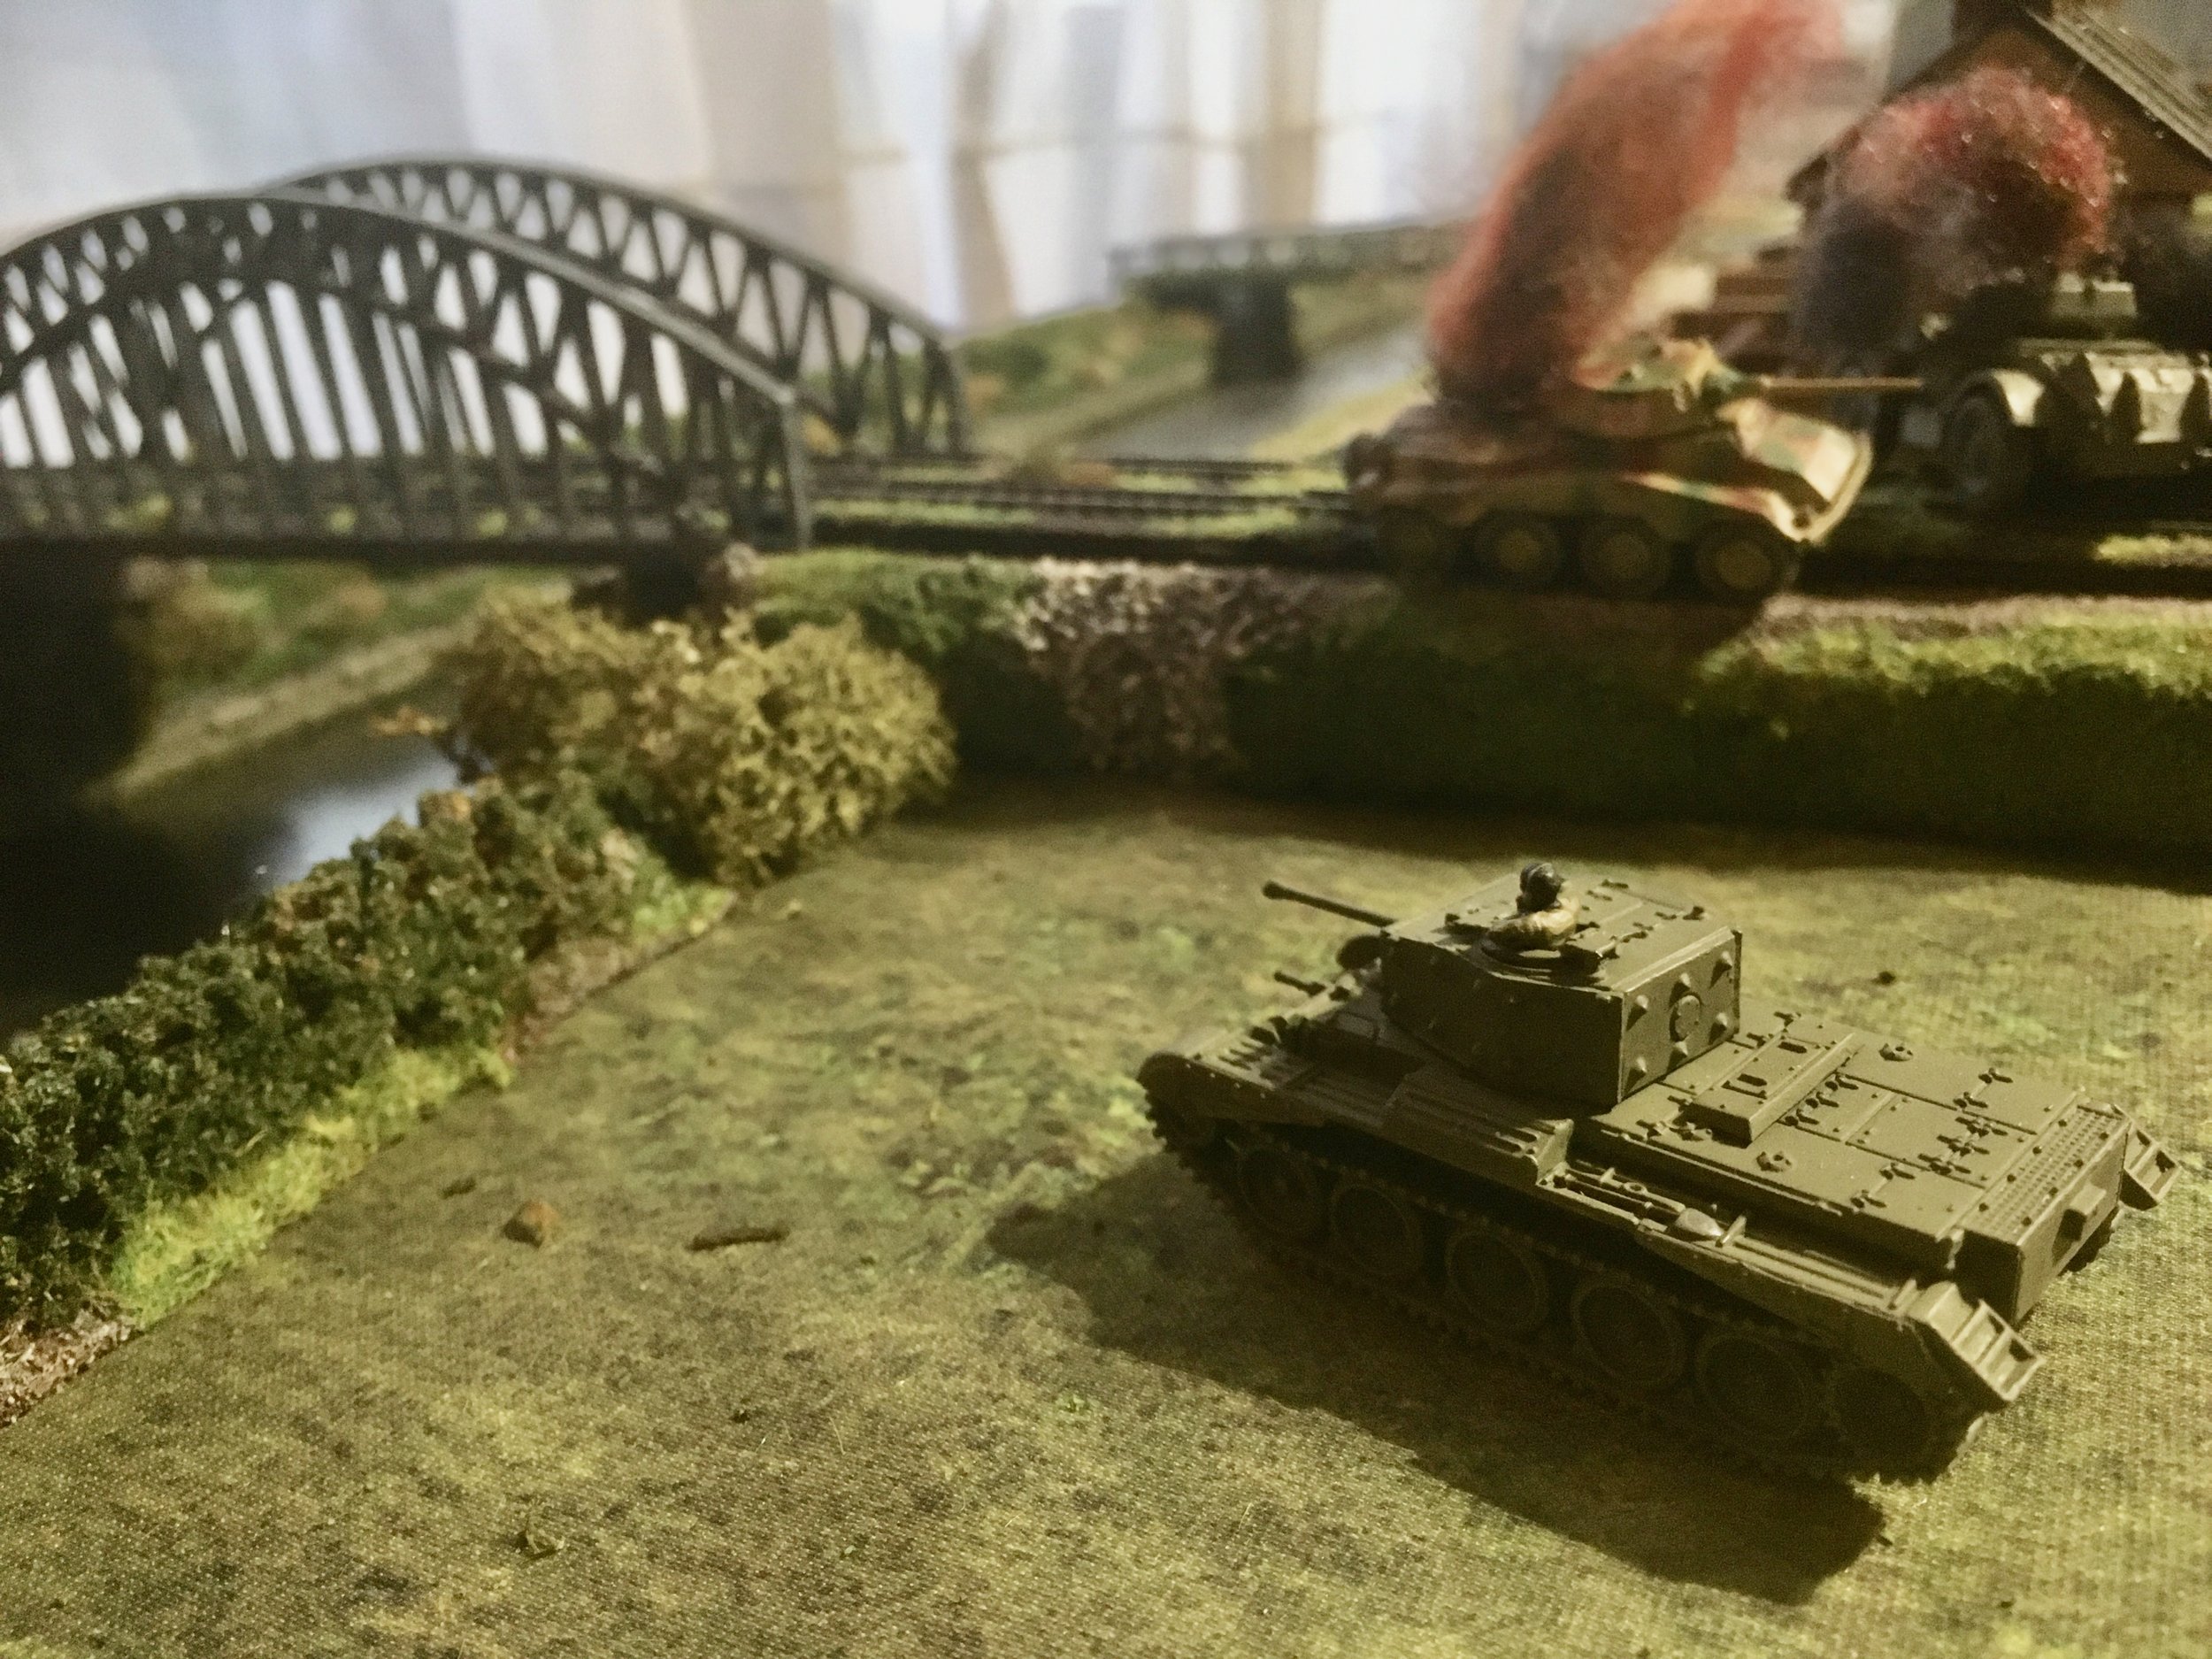
Despite it’s in-cover position, we hit the thing eleven times, but the shells from our Cromwells just bounced off its armour. Fortunately, we had a couple of Sherman Firefly tanks as well, and the very last tank to open fire, with its very last round, rolled a double six for extra penetrations. Even that didn’t brew the beast up, but its crew were forced to bail out, ears bleeding!

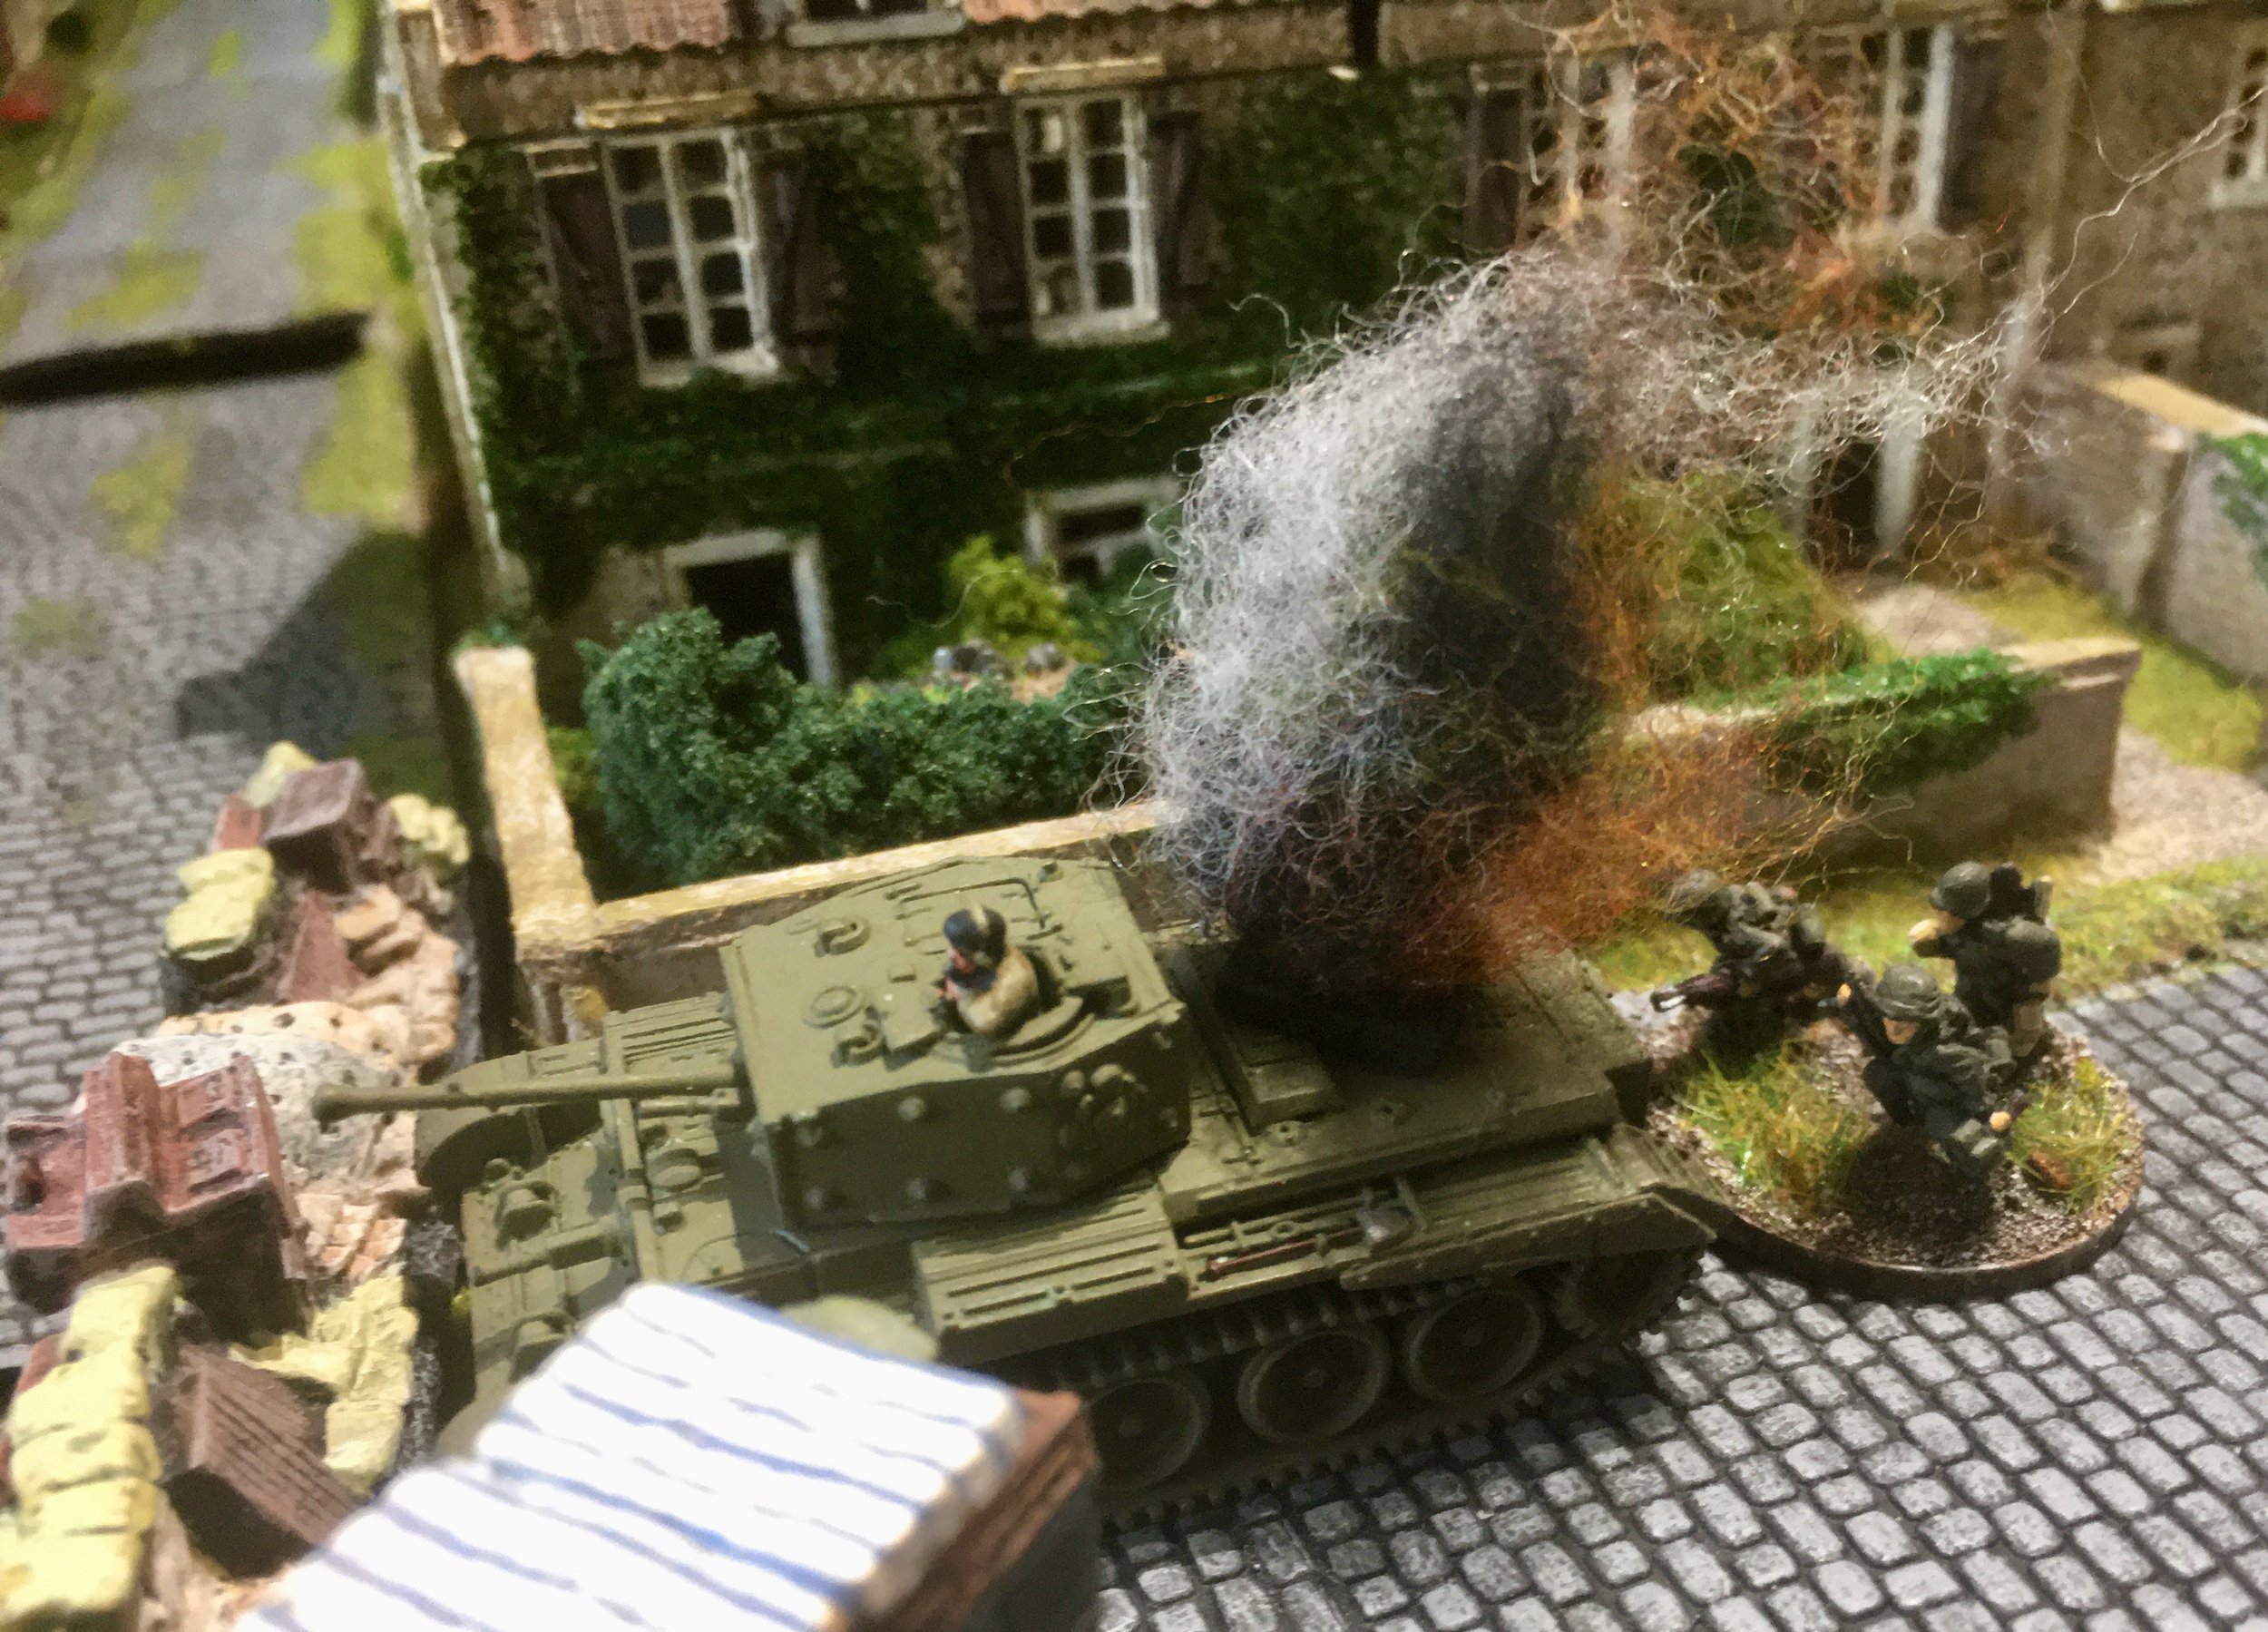
That was, however, the very last thing that went right for us that day and, worse, I have to confess that what happened next was all my fault!
With the Tiger out of the way, we decided to push forward. I lost an armoured car to an enemy half-track with anti-tank gun, but at least I now had infantry in in the outskirts of the town.
At this point, however, I just lost my concentration or something. Who knows: maybe I was tired from a week’s work (it was my first five day week back in London for some time) and had got up early to make the two hour trip to Evesham but that’s no excuse: I probably wasn’t as tired as the Guardsmen I was representing had been!
Whatever, what I should have done is used the infantry to move through the town looking to clear a path for the tanks to get through. Or, even better, sent the tanks, again supported by infantry, up onto the railway embankment, now that the Tiger protecting it was gone, with effectively a clear path through to the railway bridge.
But I didn’t.
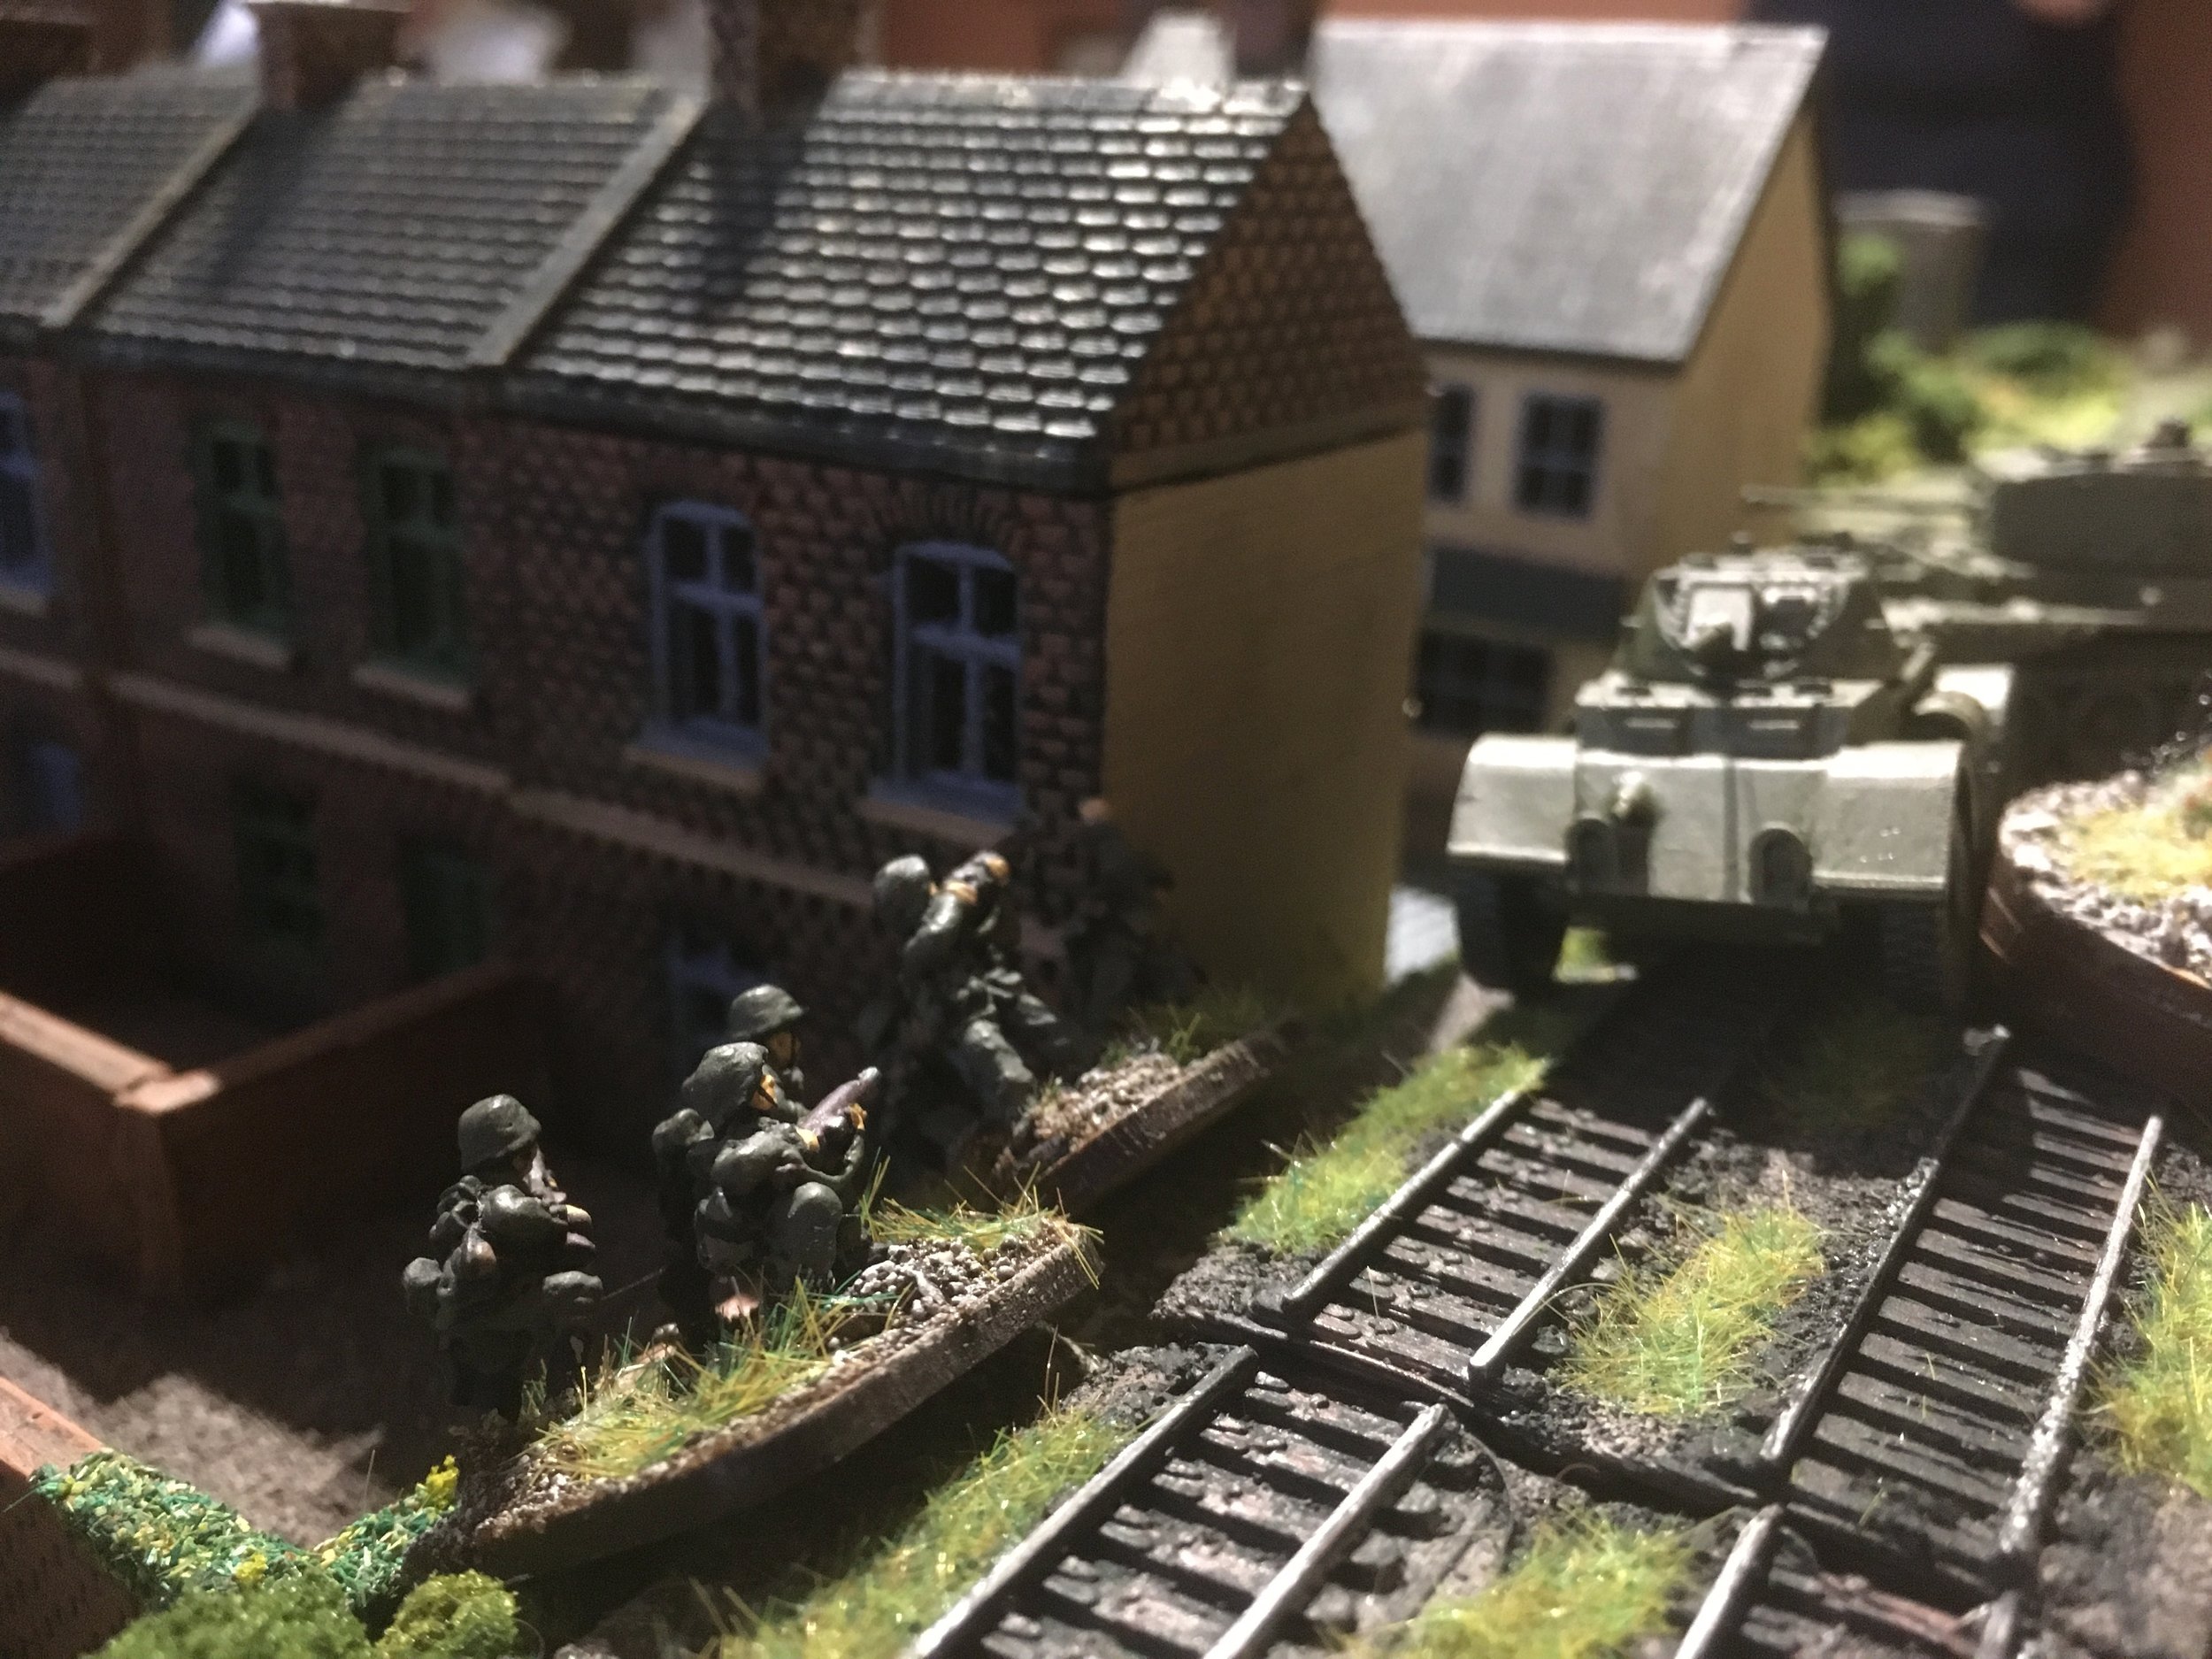
In a moment of madness I sent the tanks into the town to fight their way through!
It was an unmitigated disaster. There were two German infantry platoons in the town, both carrying a Panzerfaust in each squad, and I ran smack bang into both of them. They don’t tell you to never take unsupported armour into a built up area for nothing, you know!
Mike, a long-time friend and opponent, couldn’t believe his eyes, and gleefully took full advantage of the situation. I lost six tanks in the first round of the German ambush, and two more almost immediately after that!
The writing was on the wall from that point forwards and, as the clock ticked towards the lunchtime bell, I was left to merely salvage what I could from the debacle I had caused!
So an utter defeat for the Guards, and a very uncomfortable “interview without coffee” waiting for me back at HQ!
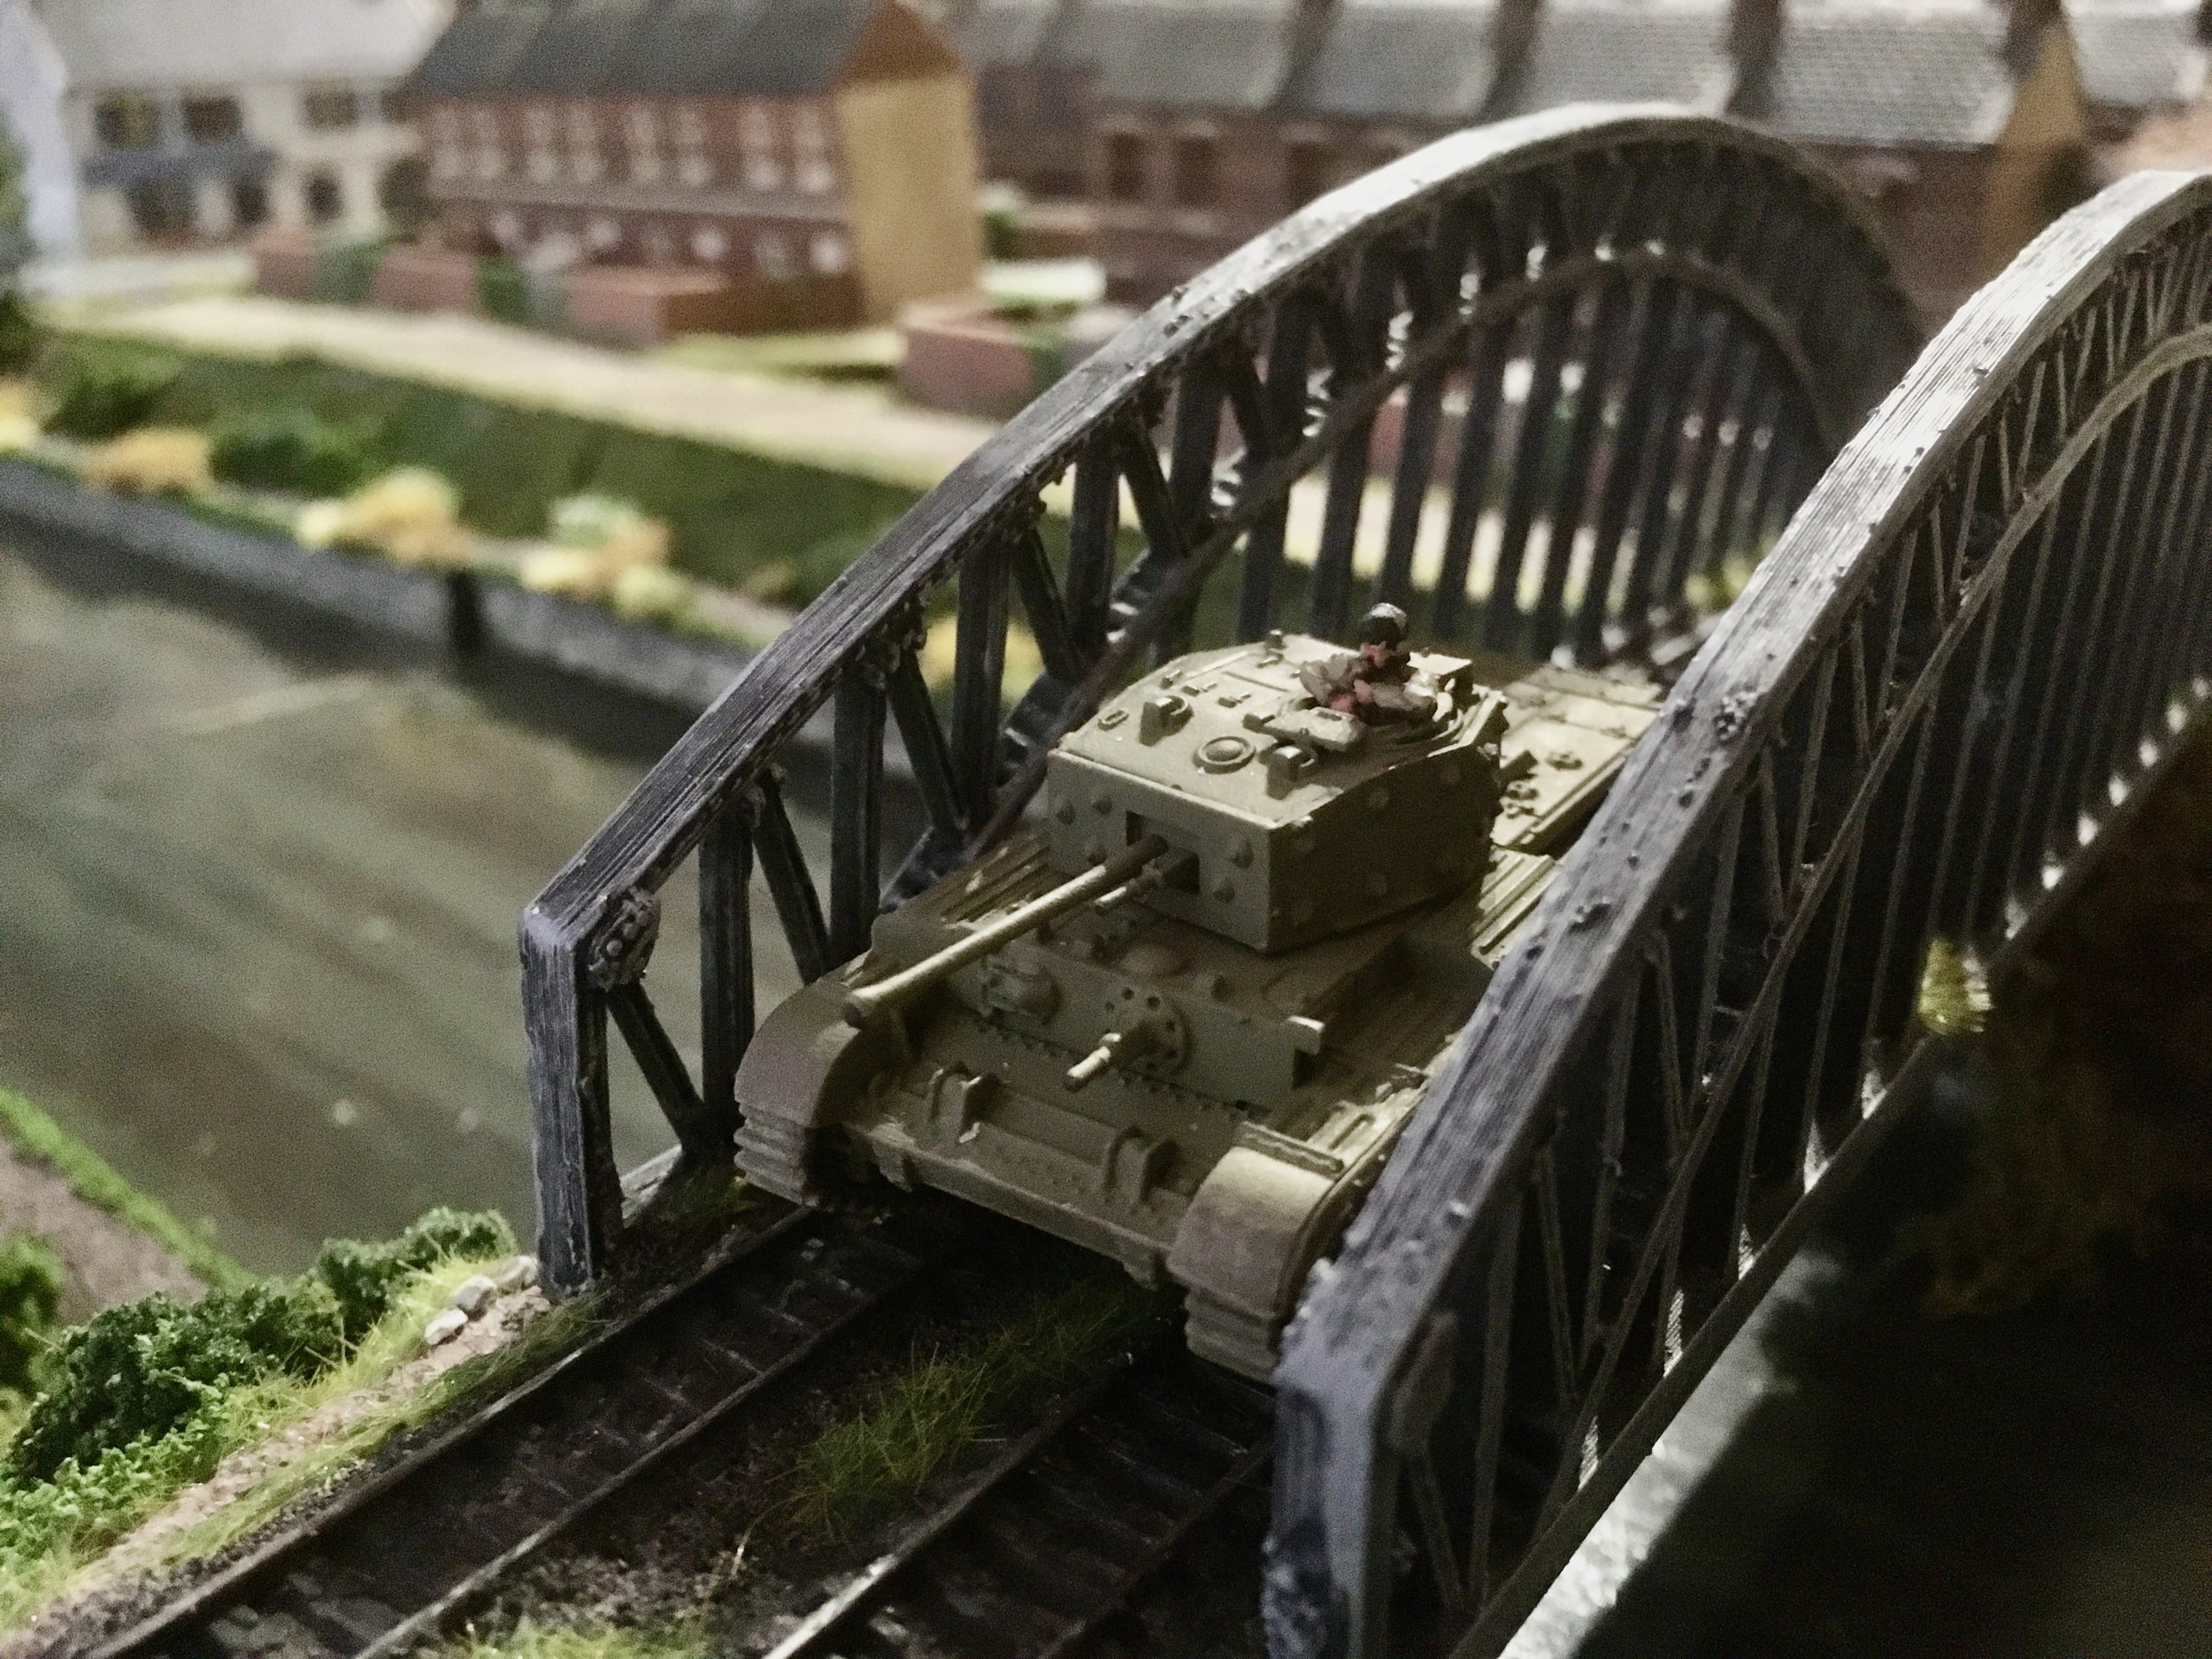
Incidentally, the only tank to get over the bridge was the Squadron commander’s vehicle, although we did have another section that showed how easy it should have been!
My thanks to Phil and Jenny for putting on a great-looking game, and to my fellow players. I am, of course, now itching to play the scenario again so this time I can get it right!
Robert Avery

At yesterday's (Saturday 3rd June 2023) Operation Market Larden Lardy Day, several lucky gamers had a chance to play Phil and Jenny's Race to Brussels 15mm I Ain't Been Shot Mum game. Two days prior Andy and myself had been kindly invited down to Phil and Jenny's to give the scenario a final run through before its public airing in Evesham.
As always the table was an absolute delight to behold.
The scenario is based on the race to liberate Brussels and set on September 2nd as the Guards Division attempts to seize the crossings over the Brussels-Charleroi Canal at Halle, south of the Belgium capital. Their orders were to not get embroiled in fighting in the town but push on rapidly capturing the bridges and get across the canal.
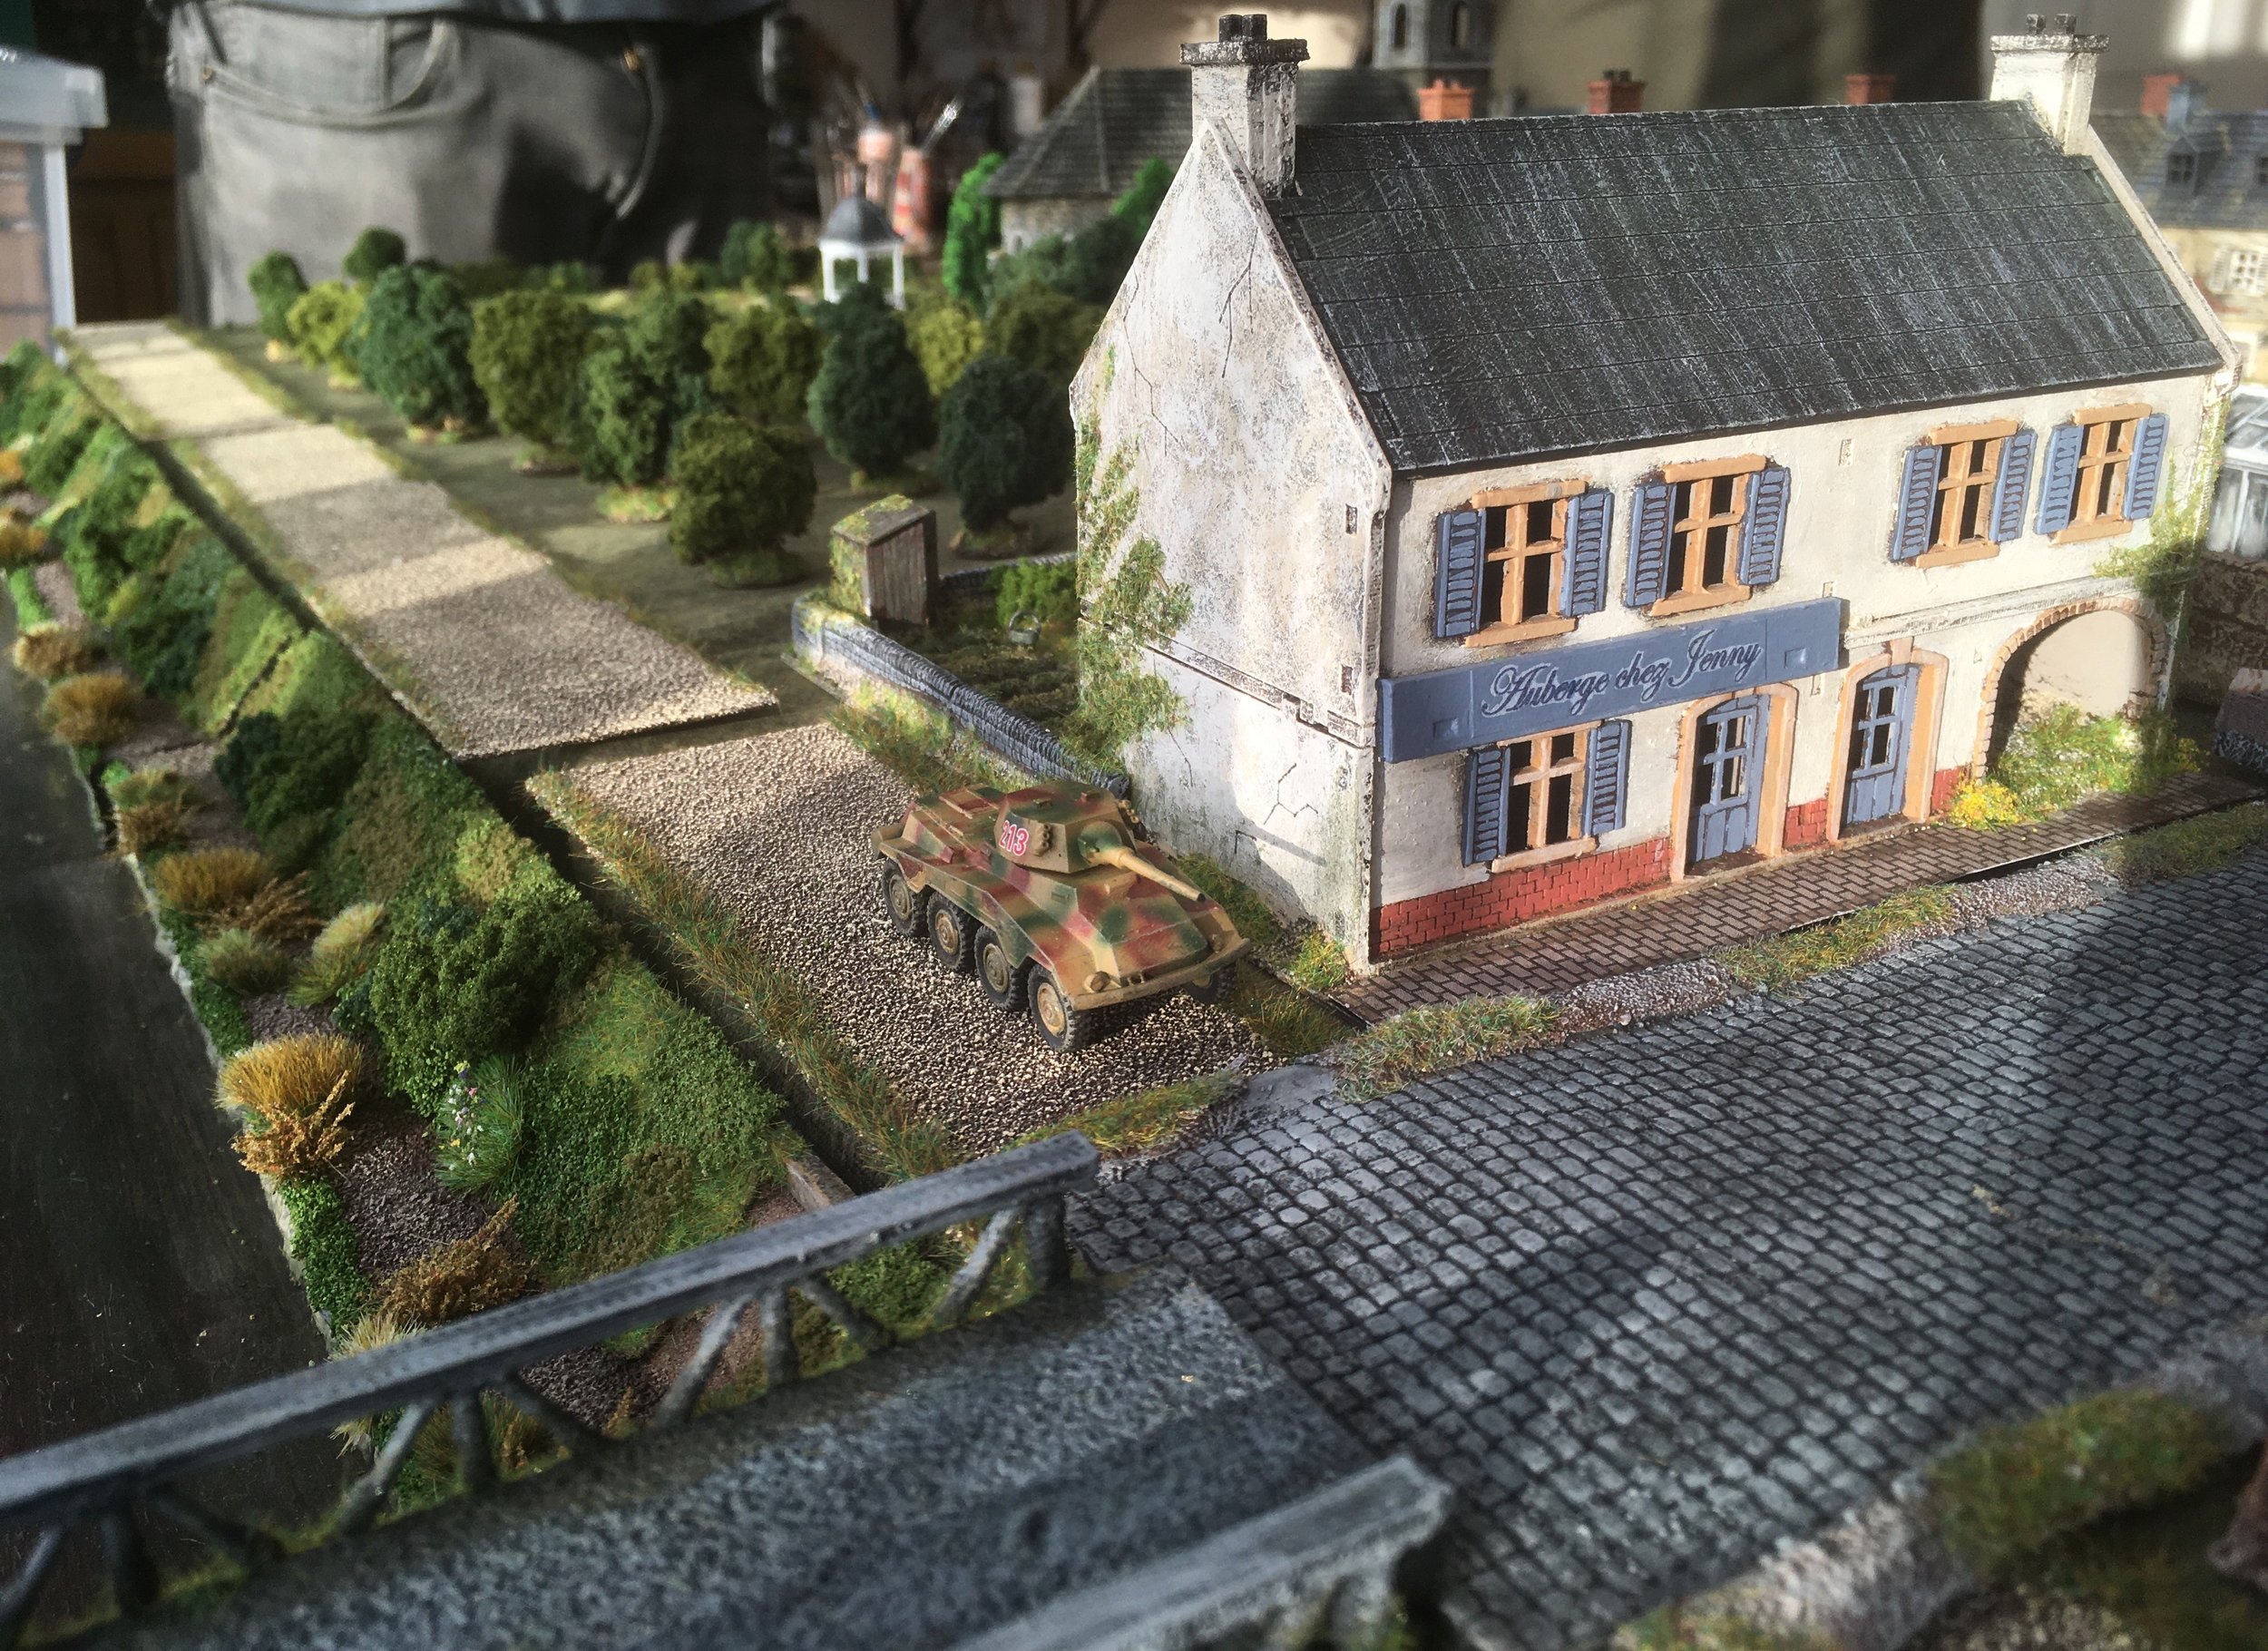
Out of the dormer window of the adjacent house a Panzerfaust was fired, but missed the stationary Cromwell!


A resounding British (Welsh) victory for Jenny and myself. Andy had been very unlucky in his support option draws (he could have had a King Tiger or a Jadgpanther!) though we made sure we did not get our armour stuck trying to push through the town - as it appeared some players did at Operation Market Larden yesterday... :-)
Steve Blease

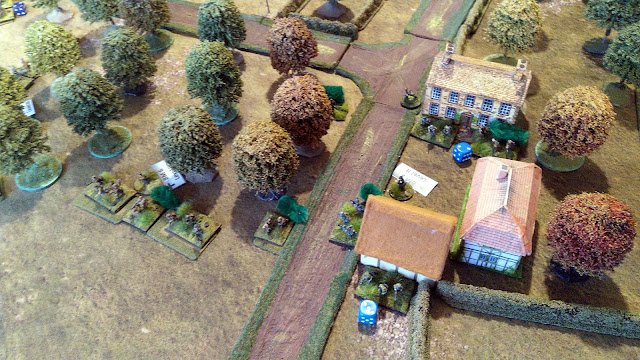
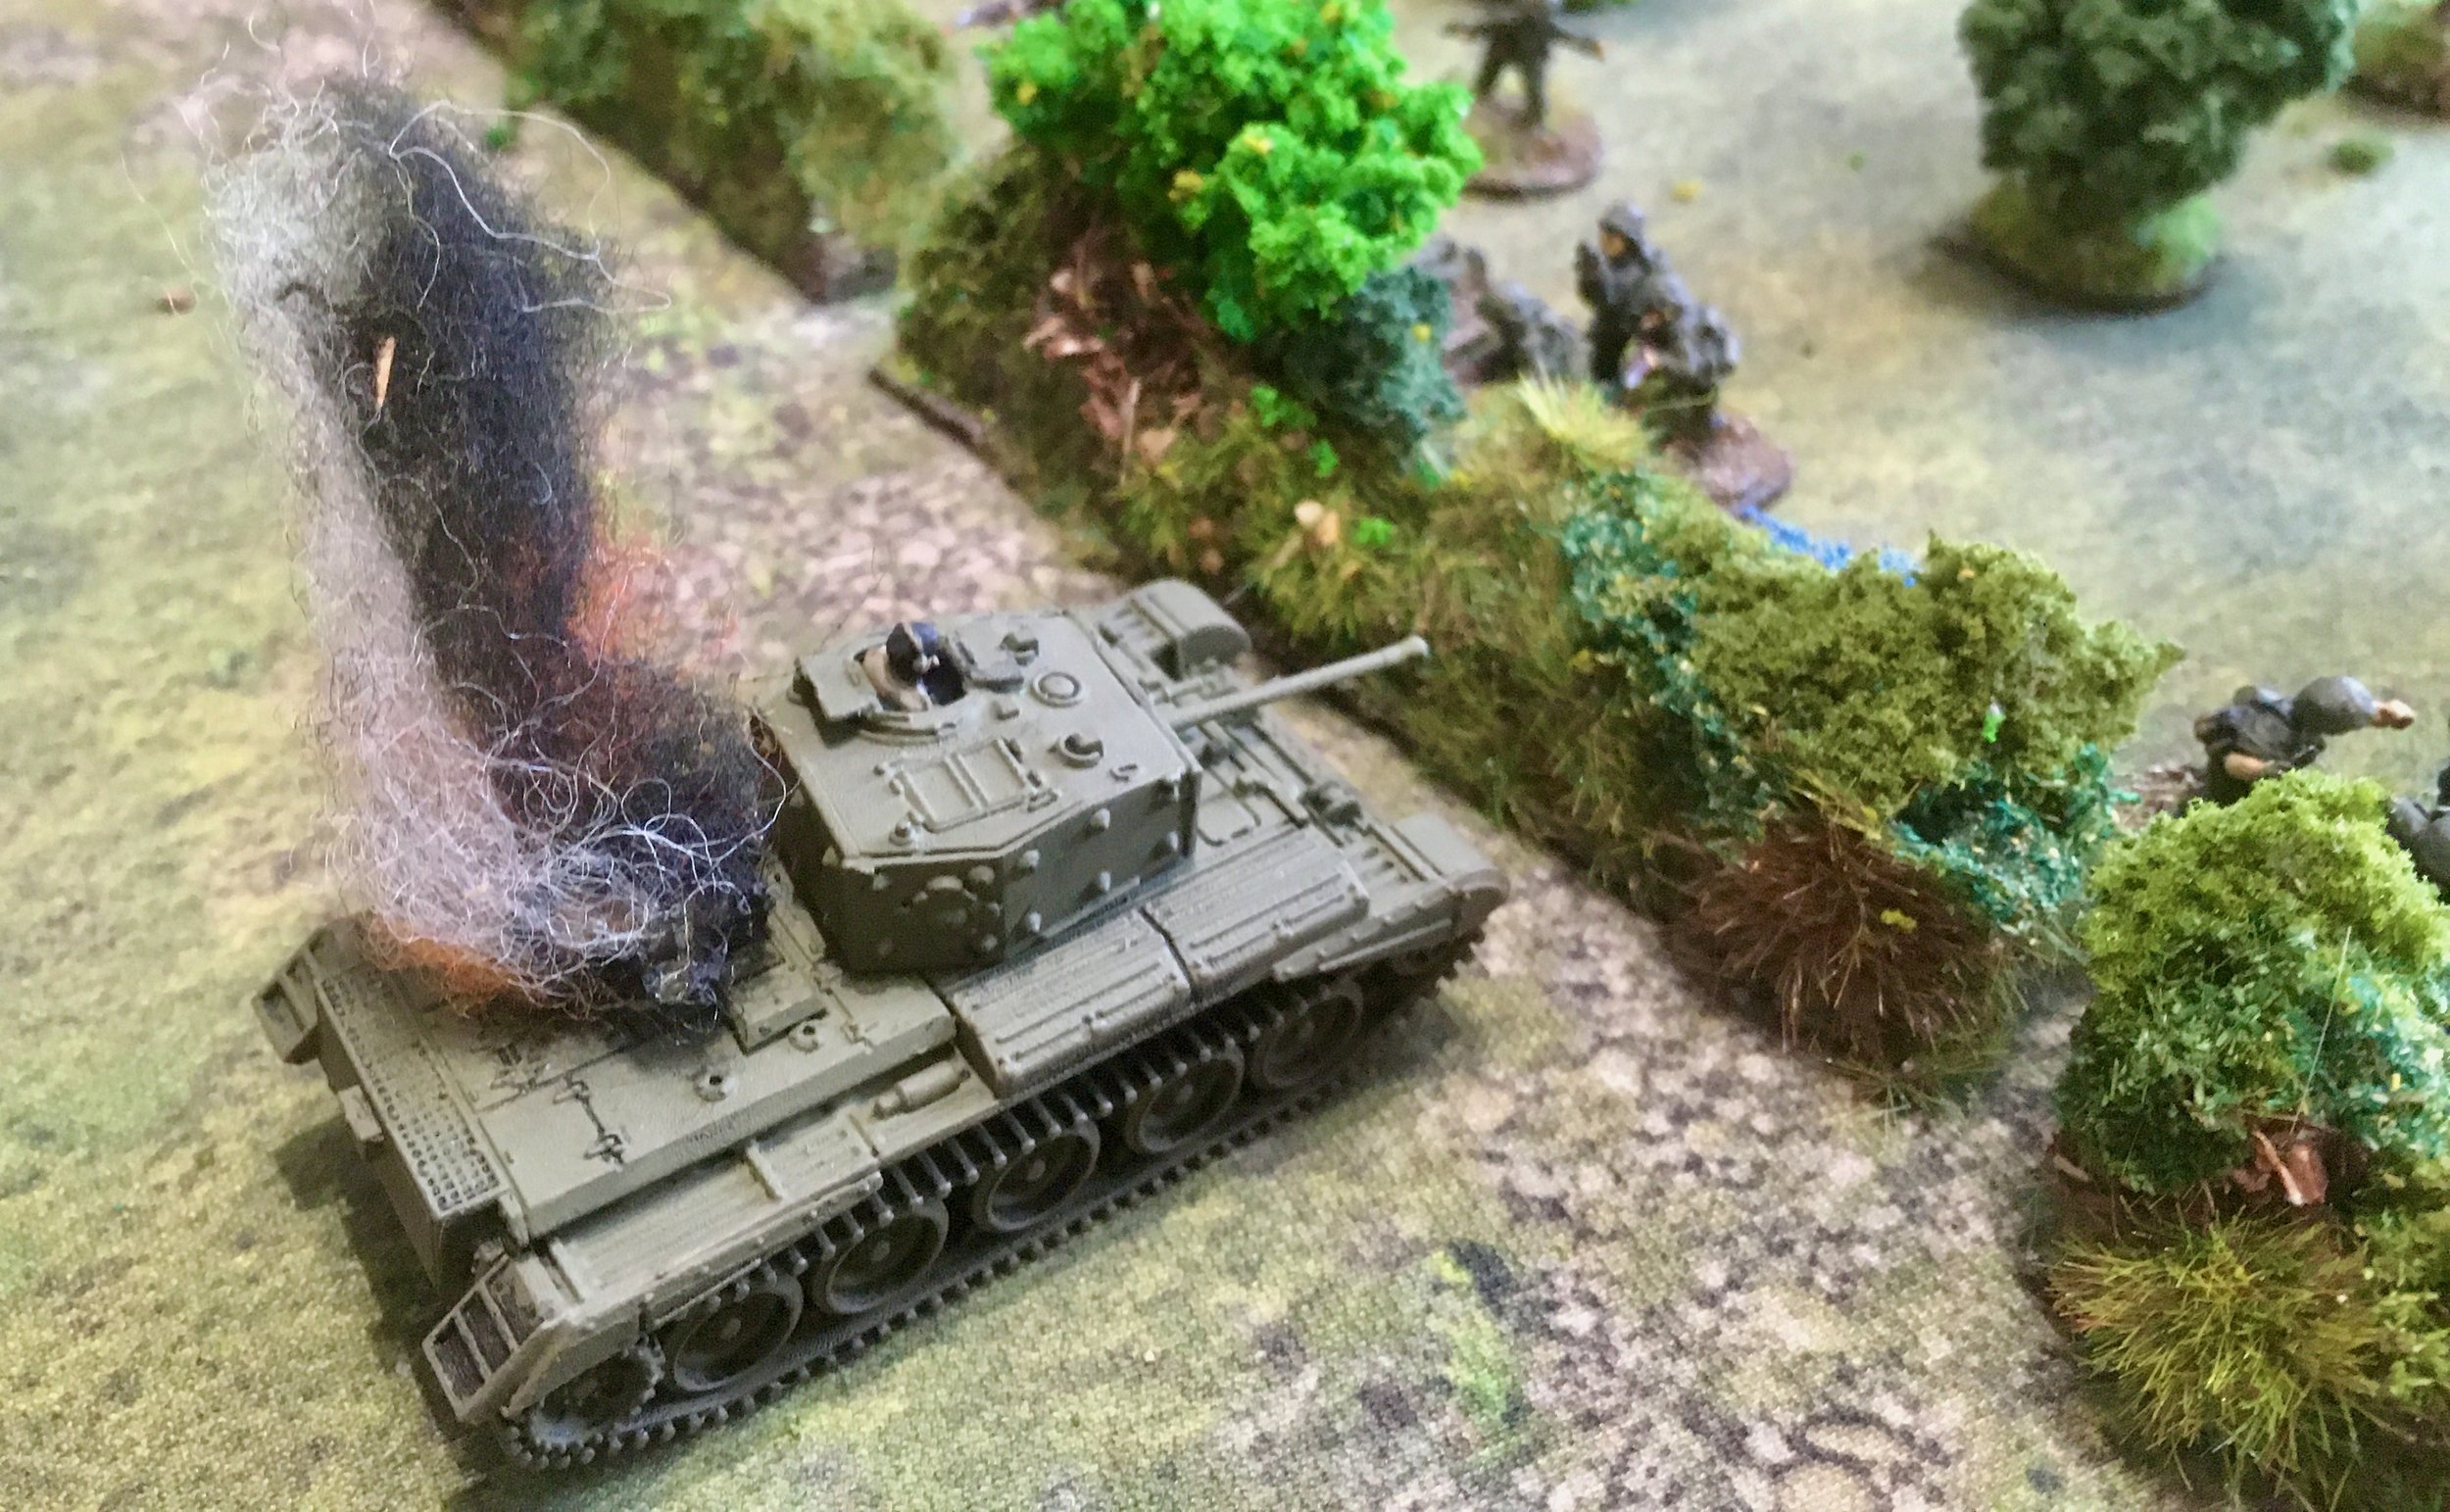
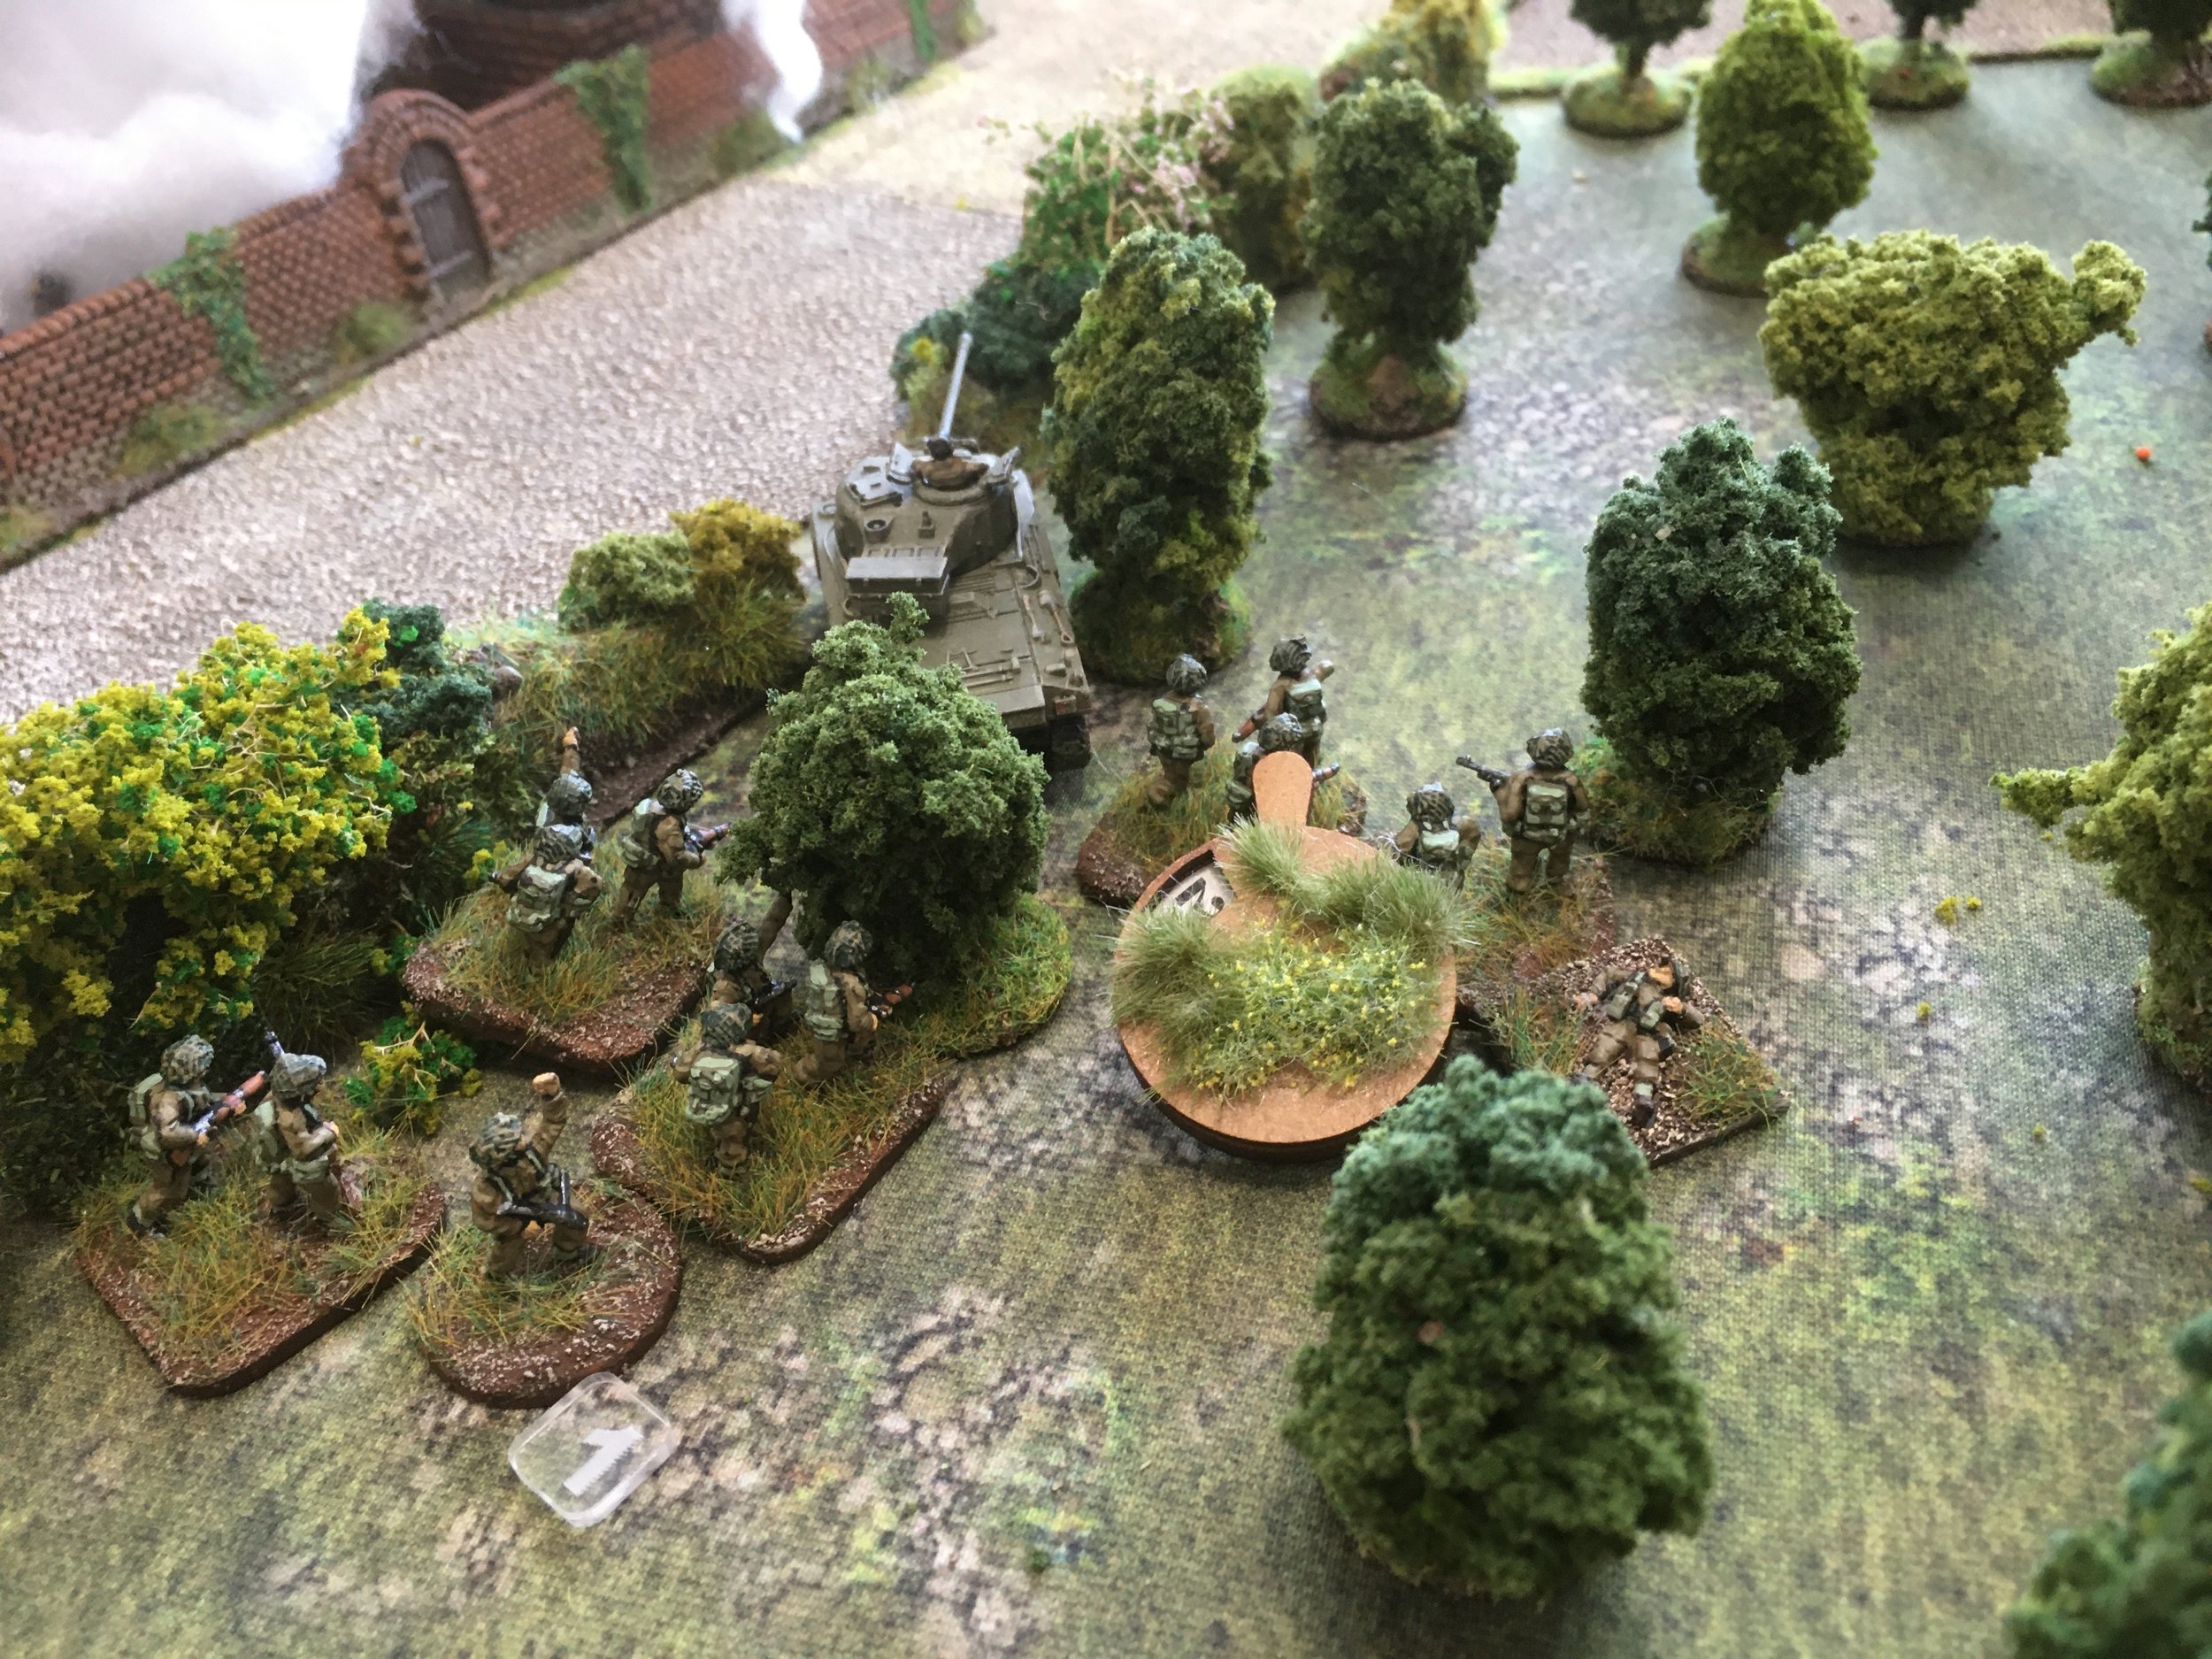
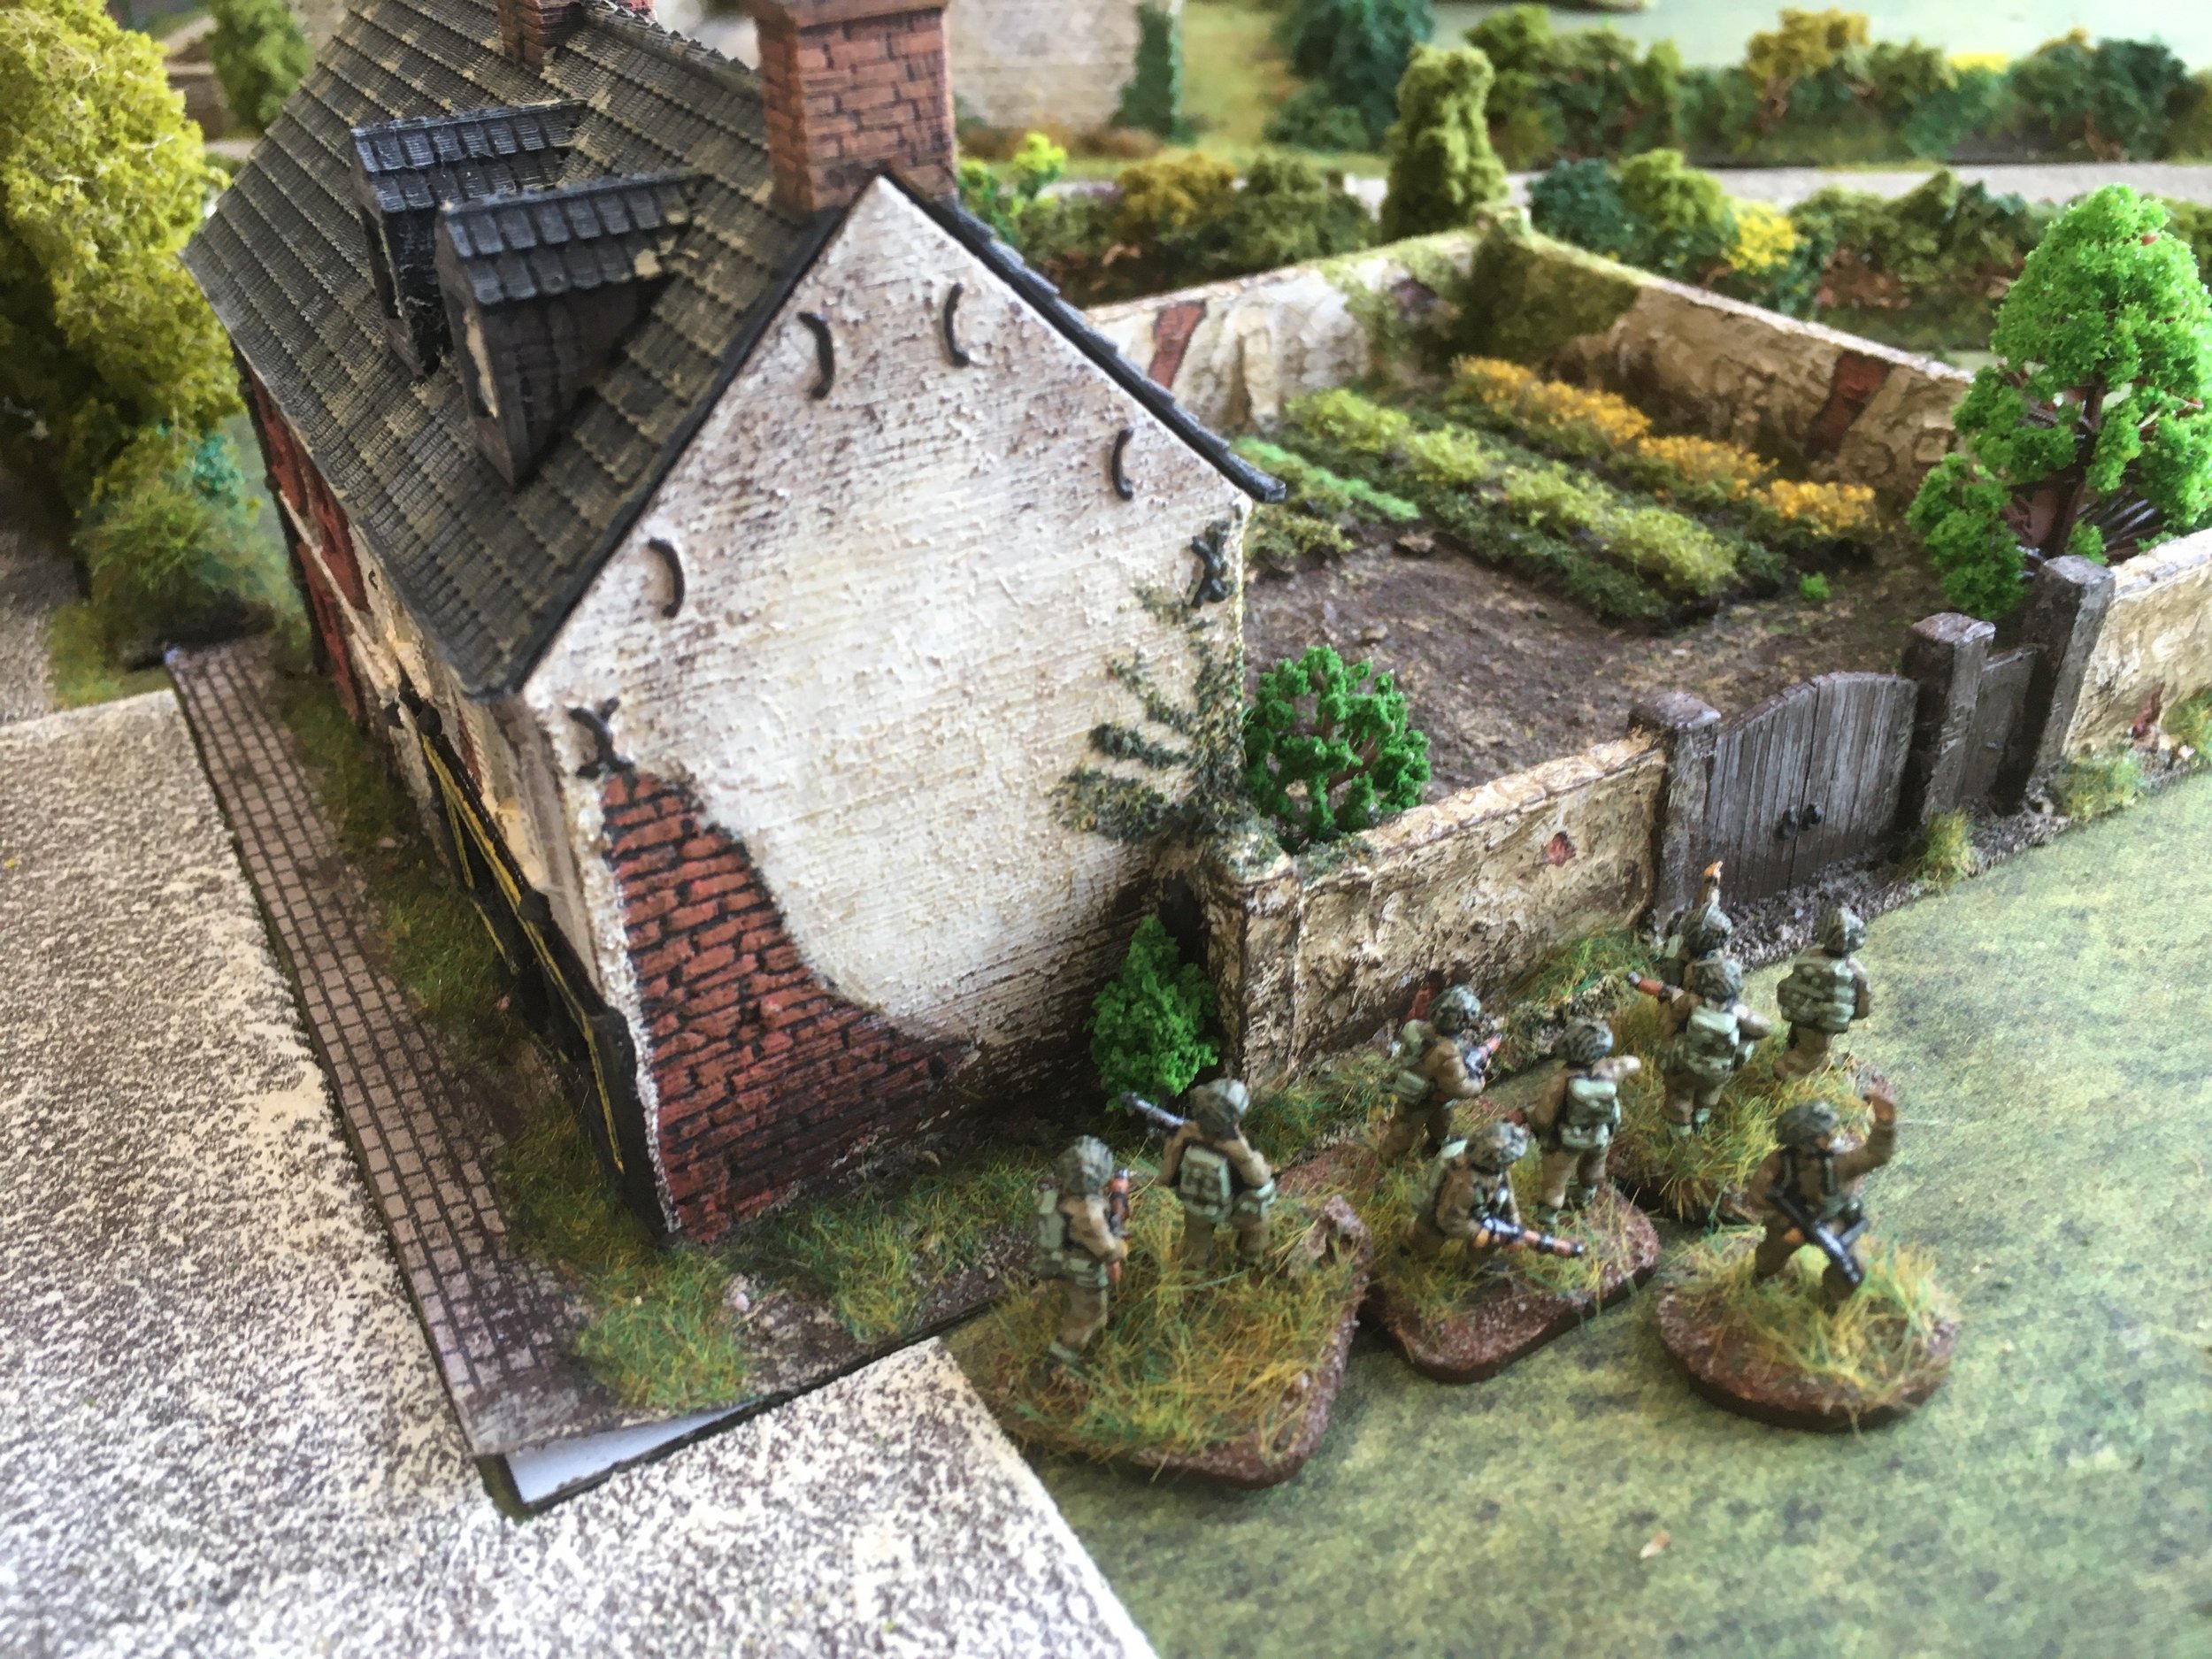
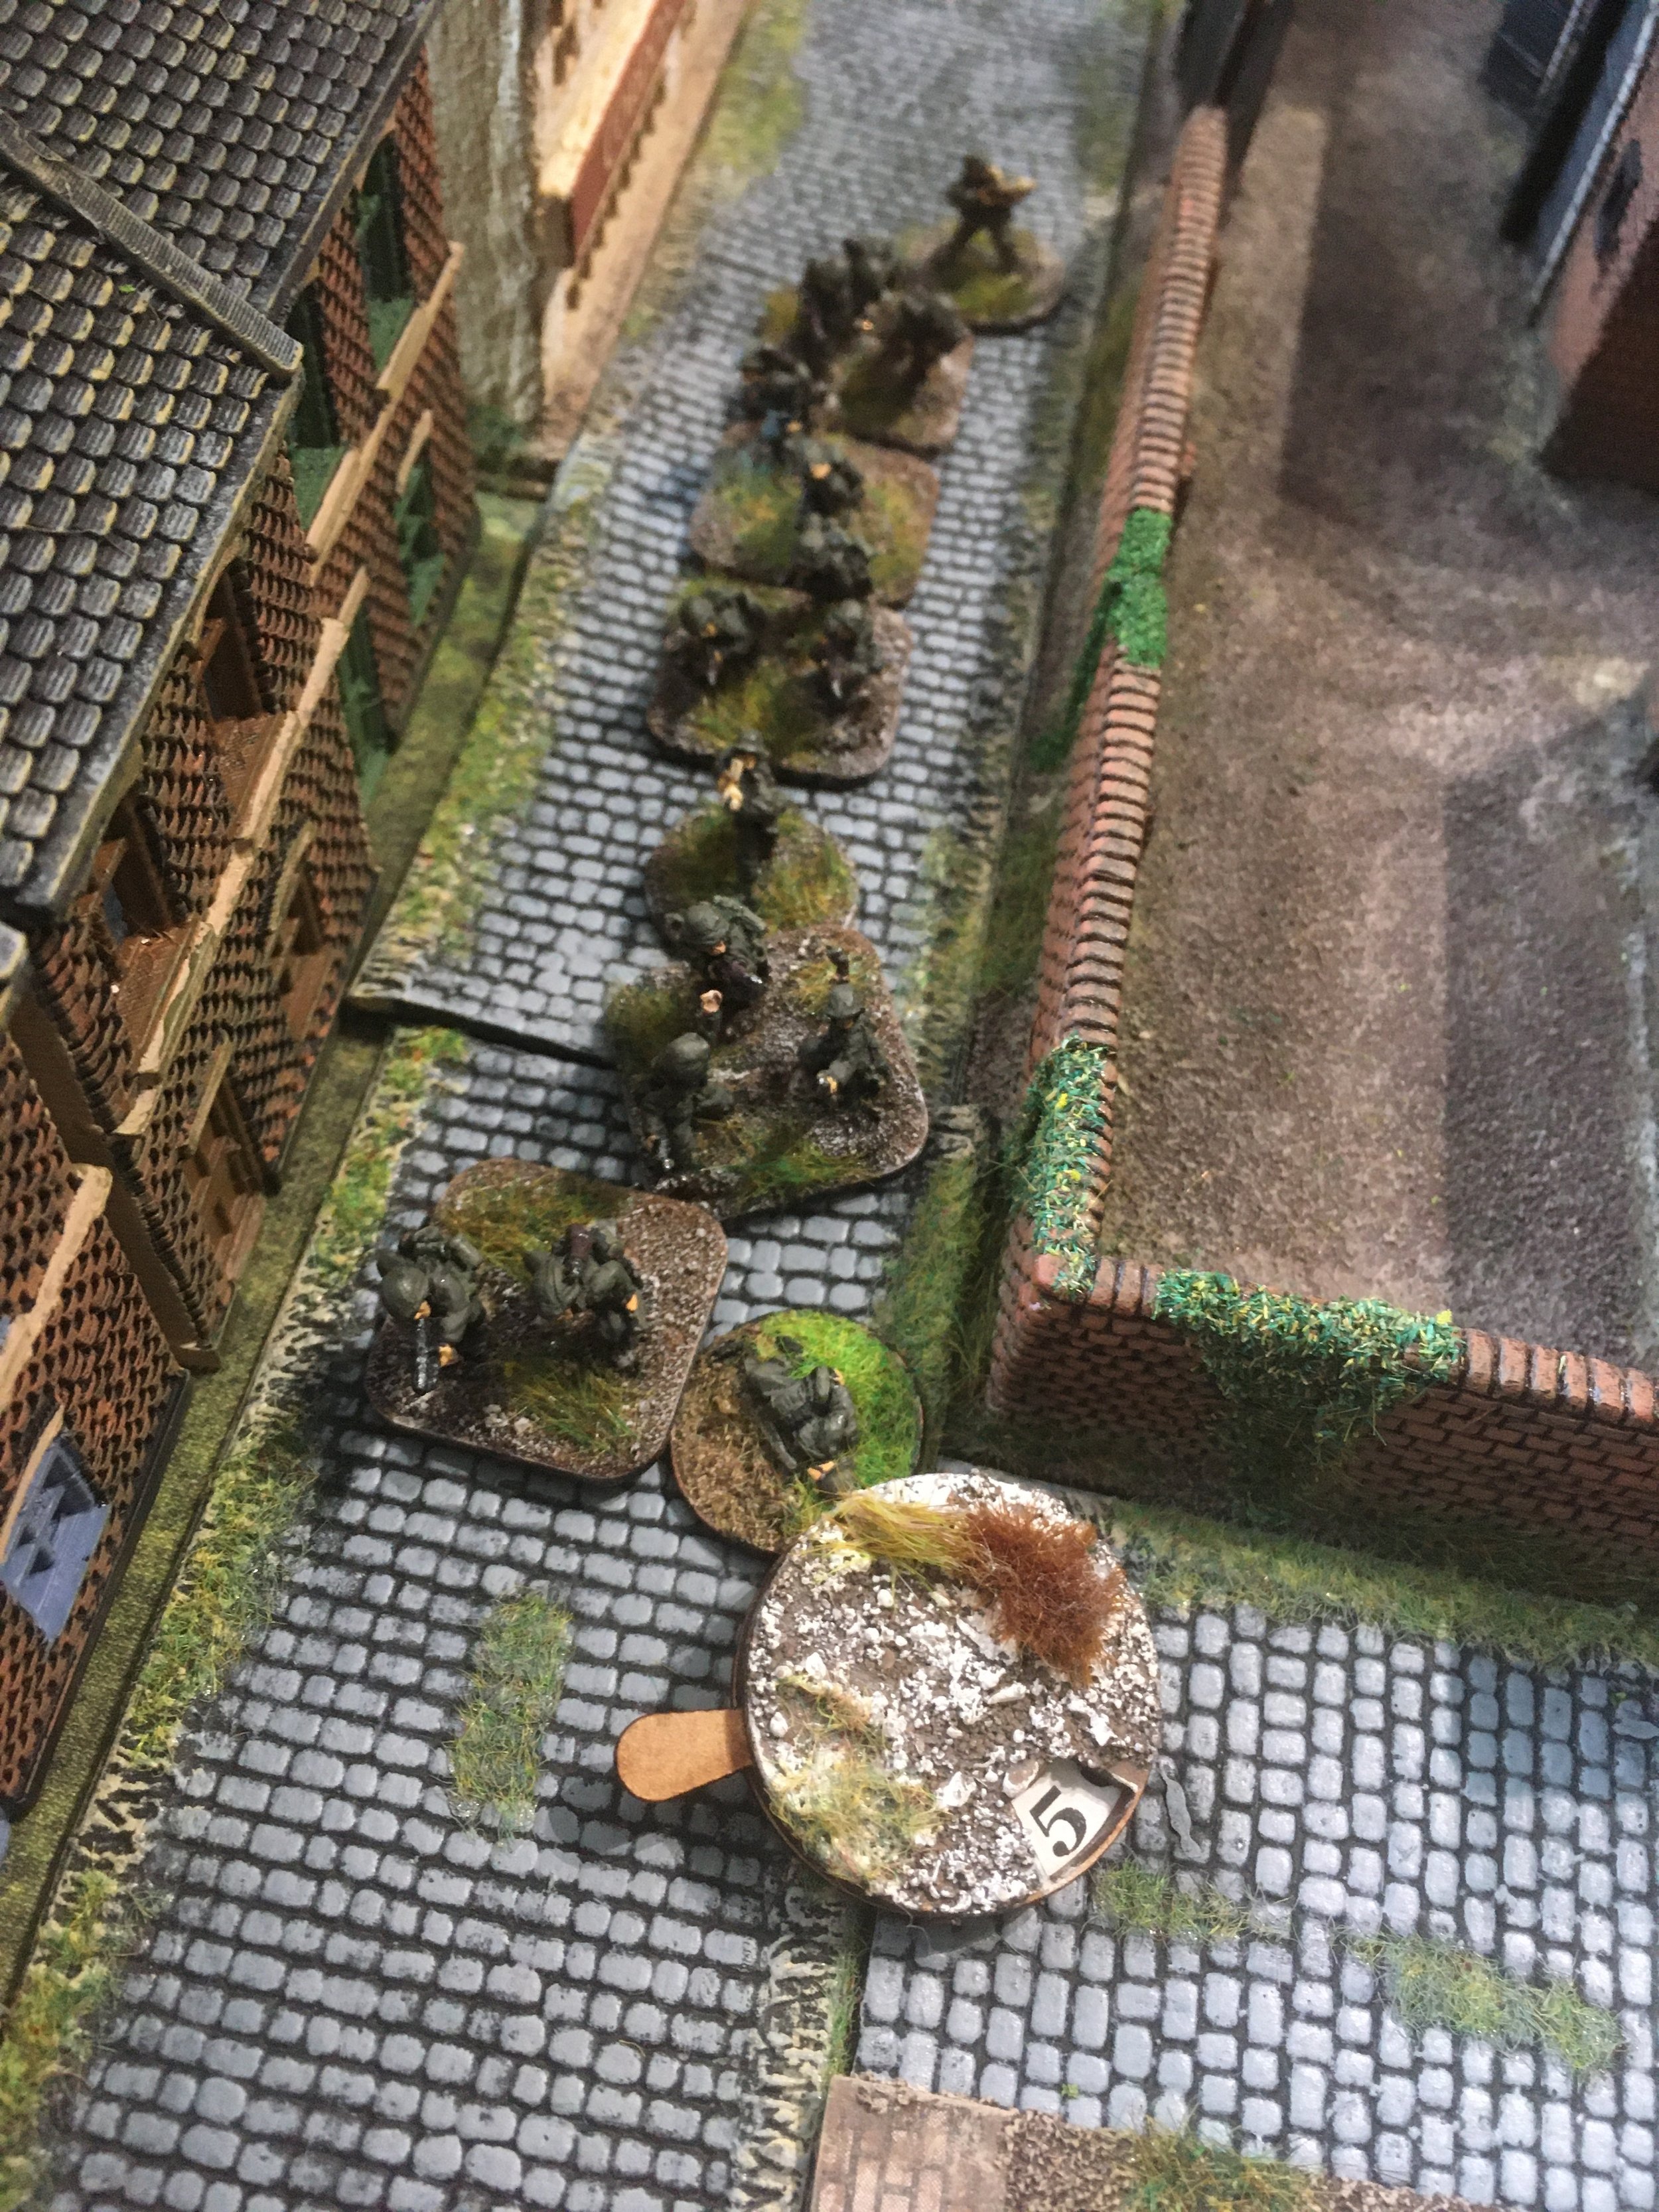
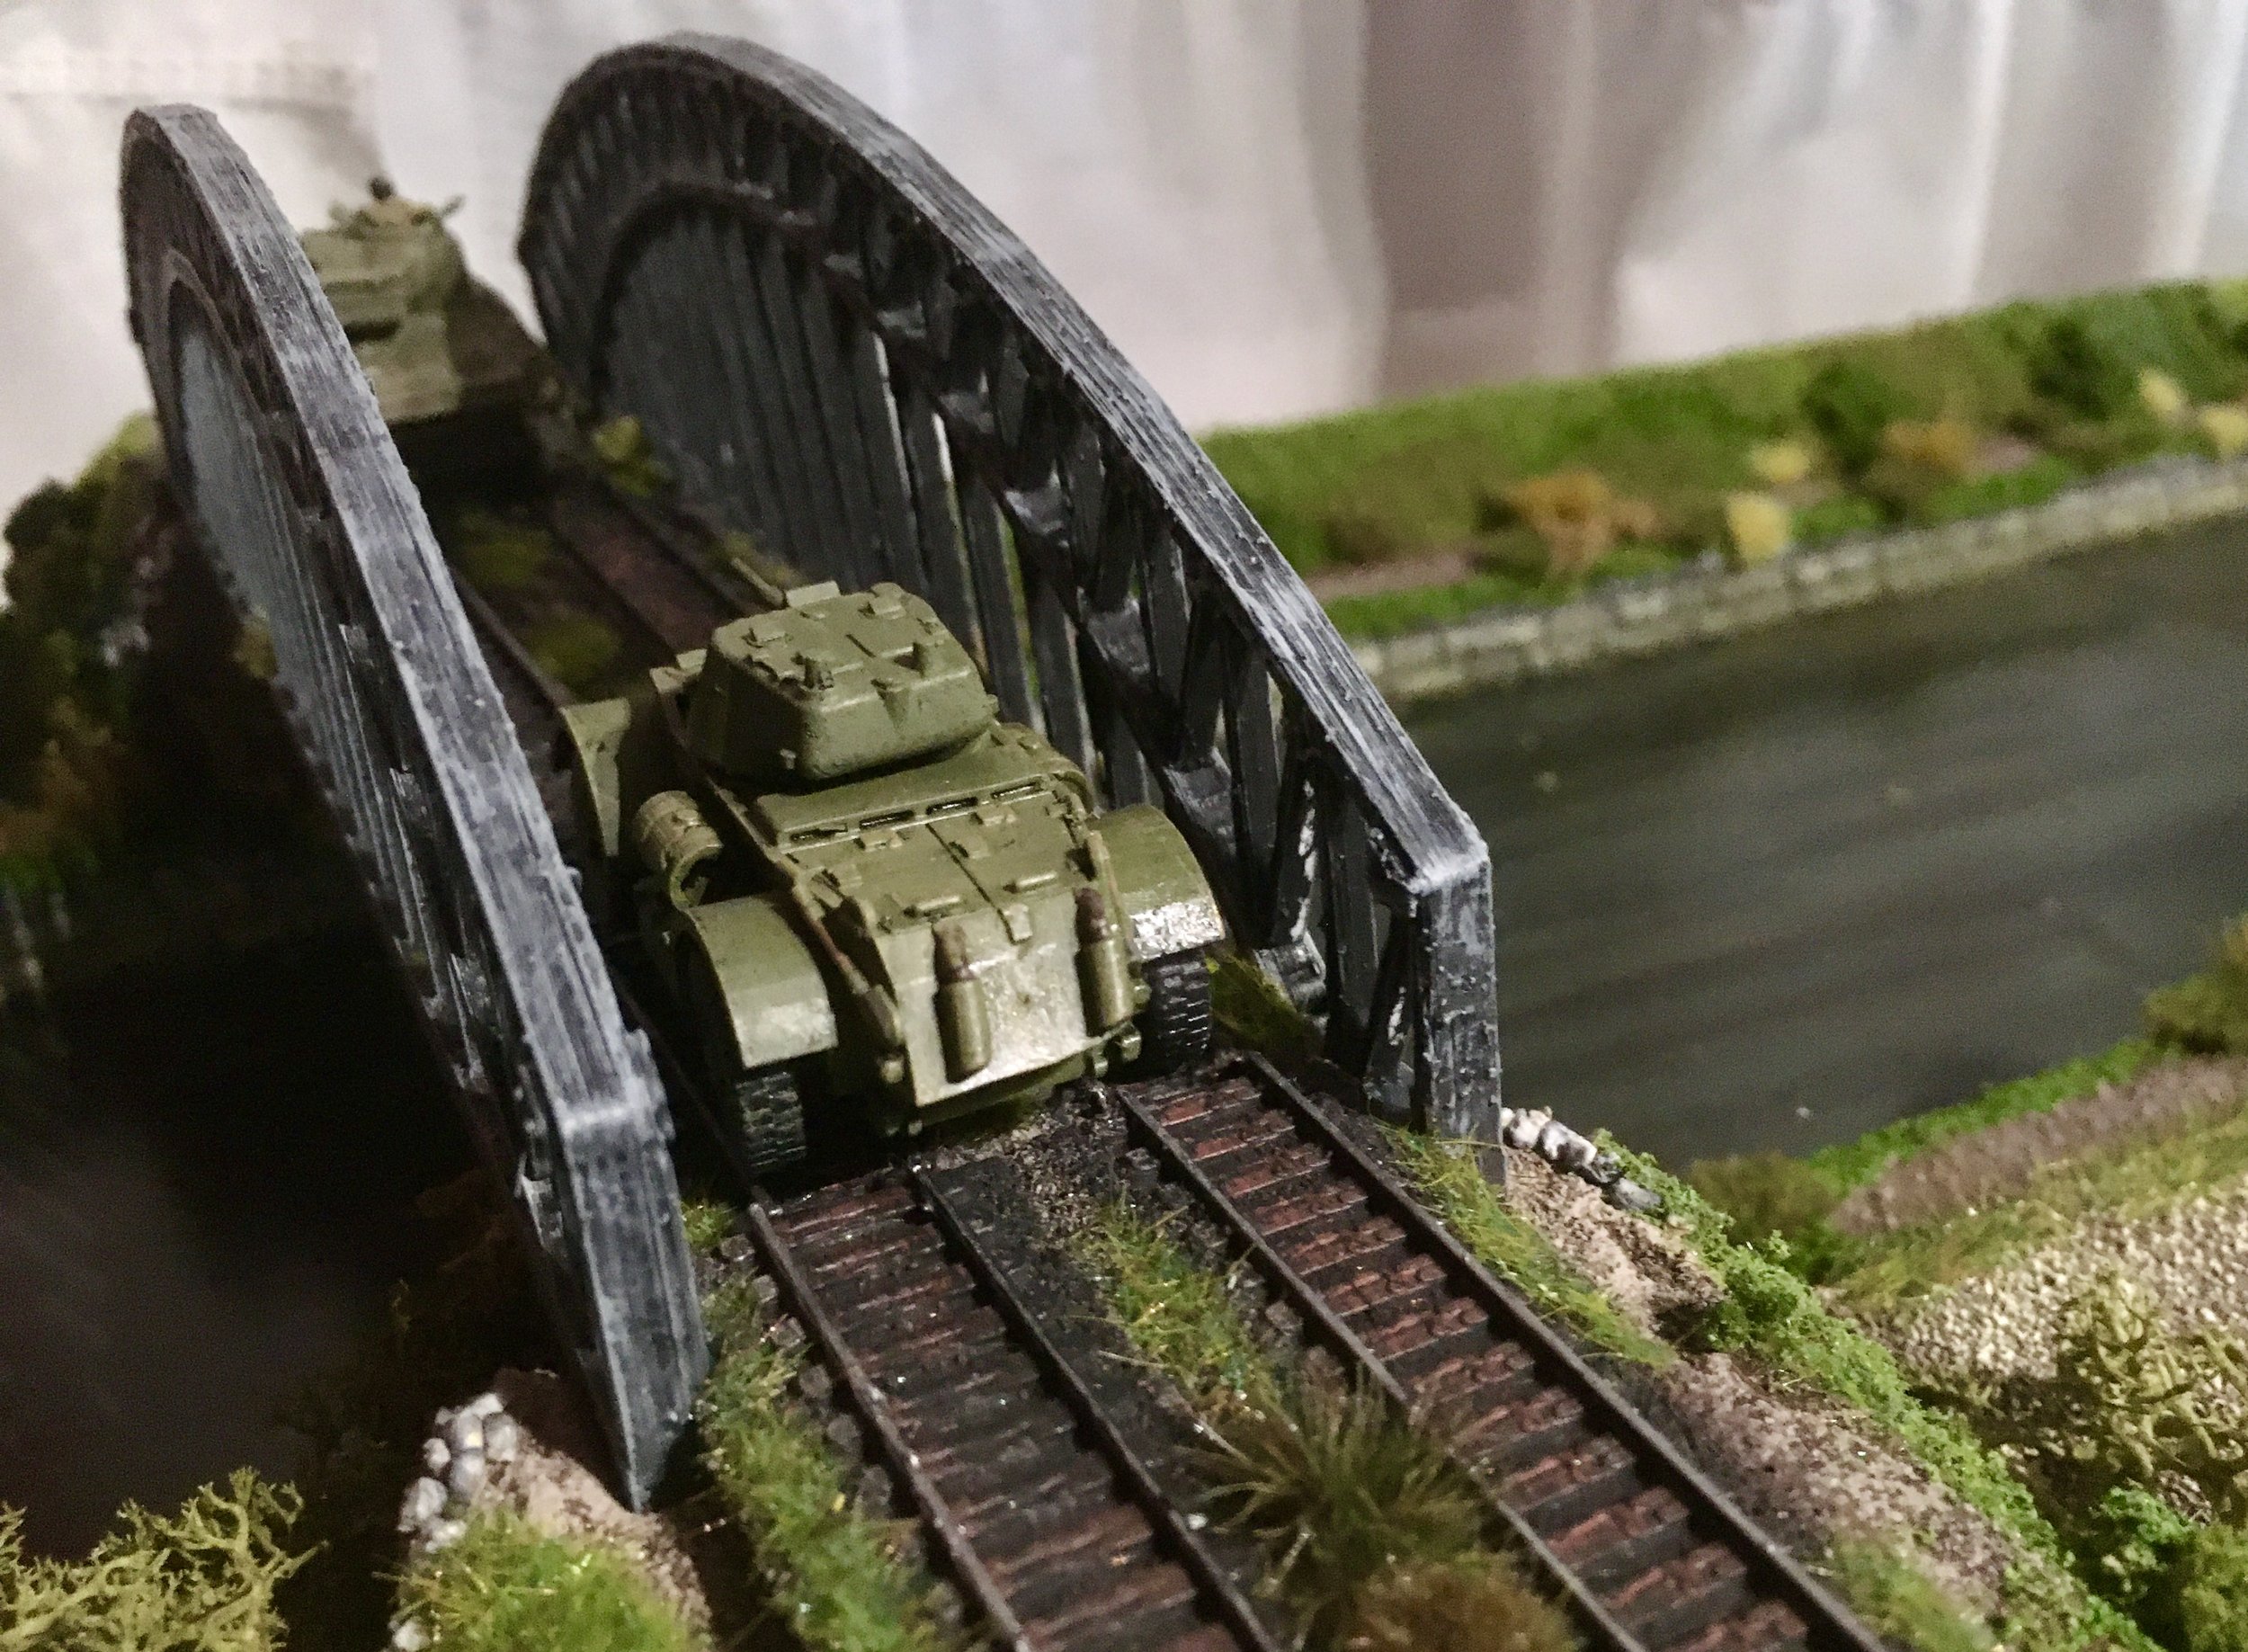
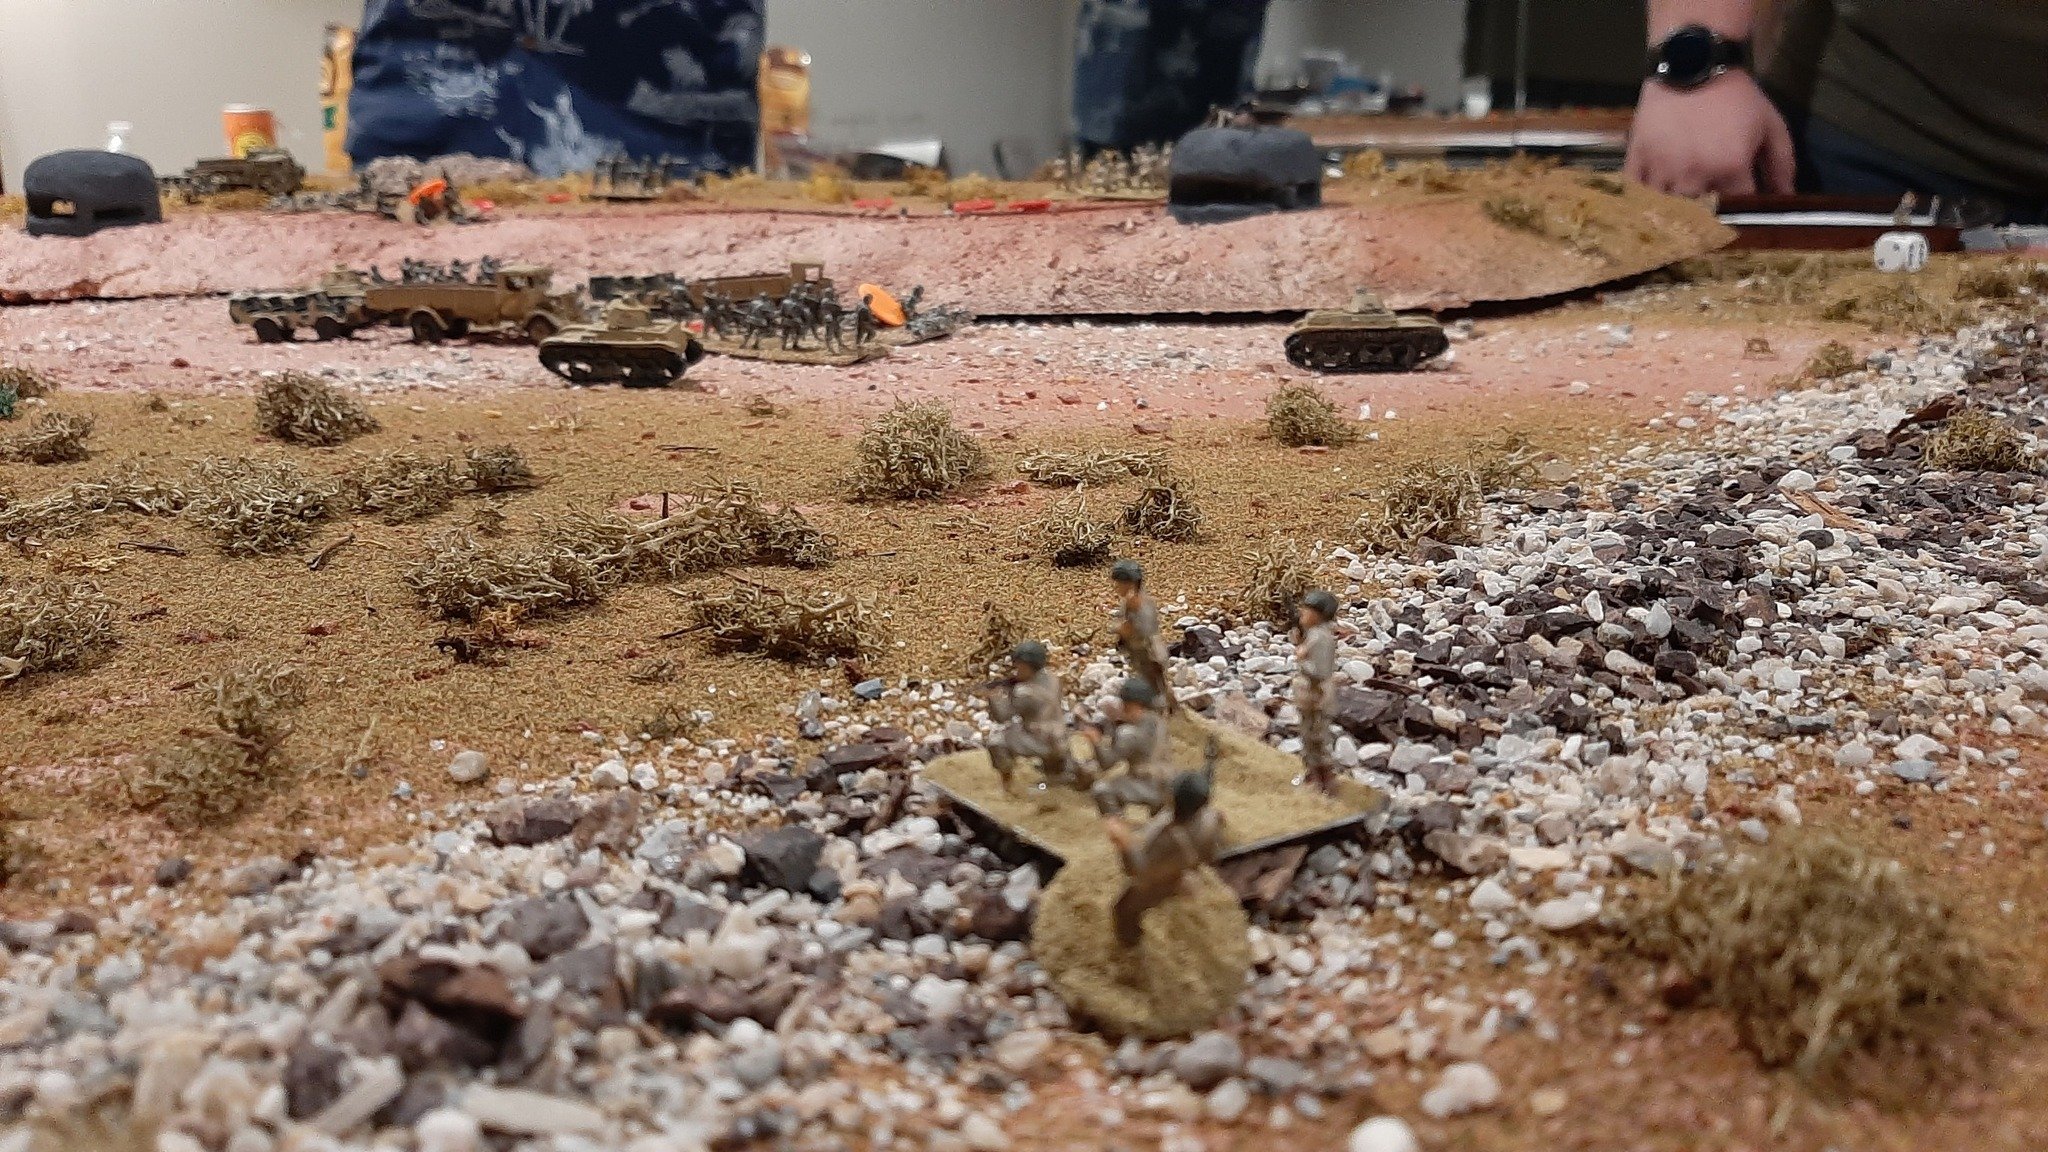
Had the privilege today of playing a game of "I Ain't Been Shot Mum" on this beautiful table by Dan Albrecht. The scenario was Casa del Priolo, Sicily, 10 July, 1943. My partner Shane and I took on the role of the Italians, while Hunter Myers and his partner Jon played American paratroopers.

Sicily, 1943
The Italians began the game in column along a road. The paratroopers began in hidden positions, though we highly suspected they'd be manning the pillbox and trenches on our left. Our mission: Move our tanks off the opposite end of the board.
The first turn opened with our lead scouts, mounted on motorbikes, getting hammered by off-board artillery. Apparently the Navy had zeroed in on the road ahead of time.
To make matters worse, we stepped right into an ambush, with paratroopers firing from behind stone walls lining the road. One motorcycle squad made it through, one was destroyed outright, and the others were forced to dismount in order to return fire.
To our left, we brought on our first tanks, which we advanced along the base of the hill. The Americans on that side stayed hidden.
A short firefight ensued on the road while artillery exploded around both sides. The paratroopers, having dealt out some death, moved back to a gulley, giving them cover, and a route to the center of the board.


We kept advancing our tanks, keeping an eye on the top of the hill. Our infantry, to their left, arrived by truck atop the hill. Dismounting, they attacked the end of the trench line. Upon entering the trench, they were immediately hit by the buzz saw of a hidden machine gun nest, quickly halting that advance.
The paratroop commanders strategizing
On our right, the head of the column along the road collapsed, but we kept advancing. In the center, more truck mounted infantry arrived to support our tanks.
At about this point, my partner had to leave, so I was left to my own devices.
Thankfully, the artillery cleared a bit, or hit far enough away for a round or two to not cause issues for either side. I continued advancing the tanks and infantry below the hill, while the infantry along the ridge engaged the enemy. Some time around this point, a machine gun opened up from within the far pillbox, and paratroopers within the trench revealed themselves by opening up.
Responding to the new threat, the lead Italian tank engaged the pillbox, scoring hits with its machine gun. In a wonderfully cinematic moment, the infantry supporting the tanks leapt from their trucks, swarmed up the hill rifles blazing, and stormed the trenches, destroying a large number of the defenders and driving the rest away.
Here, the paratroopers began to pull back, moving toward or into the gulley on both sides. On the right, my motorcycle squad had dismounted and set up a machine gun, covering the end of the gulley. My infantry on that side moved forward, following their opponents into the small ravine.
As we cleared the top of the hill and the rest of the fortifications, the tanks came to a halt. In the center a bazooka team had revealed itself, bouncing a shot off the lead machine's armor. We swung our turret to engage.
More paratroopers began to reveal themselves, having been hunkered down in foxholes or taking cover in the gulley. Along the road, my second set of tanks arrived. Just in time for the artillery to open up again. The bazooka fired again, scoring a direct hit, but, miraculously, I rolled a save of four 6s, saving the tank.


Though randomized by dice, the naval artillery had an uncanny ability to land right on my deployment zone. One of the fresh tanks was temporarily immobilized, while a truckload of fresh infantry was destroyed.
Around this time, we had hit the five hour mark and called the game. The paratroopers, whose actual win condition was to withdraw a number of their troops in good order, had begun to complete their task, with one squad only a couple of inches from the table edge. While my tanks were able to advance about halfway up the board, I wasn't able to flank the paratroopers like I had hoped.


The naval bombardment, while dangerous for both armies, really did a number on both the opening and ending moves of the Italians. In the end, we decided that neither side really won, but neither lost either.
A very enjoyable and closely fought game.
Elroy Davis

Off to Dave’s for a game of I Ain’t Been Shot, Mum versus a couple of novice players, Peter and Si.
It’s May 1940 and I would play the French defending against a strong German advance.
The Germans enter ther table from the far end. The french must defend the two bridges.
It’s 14th May 1940 and the German surprise attack has stunned the French and British High Commands. The lead elements have crossed the Meuse and the British have started falling back whilst the French are attempting to regroup for a counterattack. It is vital to use this time to our benefit and every man must push on as fast as possible before the enemy can recover.
You are Major Reinhard Beckenbauer, commanding a battlegroup of 101st Panzer Division. Your mission is to take and hold the bridge ahead of you over the Ardennes canal, which will be vital if our support troops are to follow up the success of the panzerwaffe.
South of you our forces are already over the Meuse near Sedan, and an aenemy counterattack is expected at any time. Naturally Guderian does not intend to stand still and await such an attack but is pushing to expand the bridgehead and keep the French off balance. If you can ensure the Antoing bridge is safe, our forces can cross over it tomorrow and hit any French force threatening Guderian in the flank.
If the French wake up to the danger, you can expect to meet with opposition, but the latest recce photos this morning showed no sign of defence works.
HQ Zug
Major Beckenbaum (Big Man IV)
Leutnant Weber (Big Man III)
1 x 8-man squad
1 x LMG team
2 x MMG team
1 x FOO
Zug One
Hauptman Breitner (Big Man III)
3 x 8-man squad
1 x LMG team
1 x Anti-Tank Rifle team
Zug Two
Leutnant Mueller (Big Man III)
2 x 8-man squads
1 x LMG team
1 x Anti-Tank Rifle team
Zug 3
delayed arrival due to fuel shortage
Panzer Zug 4
Leutnant Mattheas (Biug Man II)
1 x Panzer I
3 x Panzer II
Panzer Zug 5
Feldwebel Heldt (Big Man II)
4 x Panzer III
Panzer Zug 6
Feldwebel Haller (Big Man II)
3 x Panzer IV
Panzer Zug 7
Feldwebel Seeler (Big Man I)
2 x PaK35 Anti-Tank Guns
2 x 75mm Infantry Guns
Off-Table Support
Air Support
2 x 81mm Mortar teams
It’s 14th May 1940 and the German surprise attack has stunned the French and British High Commands. The lead elements have crossed the Meuse and the British have started falling back whilst the French are attempting to regroup for a counterattack. It is vital to gain time for this and every river/canal crossing is to be contested to the last man. Ils ne passeront pas!
You are Captaine Didier Deschamps of the 101st Regiment and you are ordered to take and hold the bridge over the Ardennes canal at Antoing, a small village in the middle of nowhere just west of Sedan. A major attack on the enemy is planned for tomorrow just to the south, and it is vital that any attempt by the Boche to ouitflank our force by crossing the canal is defeated.
If you can hold the bridge, the plan is to push a strong force of tanks across the canal and cut off those elements of the Panzer force who have already crossed the Meuse but who are unsupported as yet.
HQ Platoon
Capitaine Deschamps (Big Man III)
1 x 10-man squad
1 x 60mm Mortar team
1 x Anti-Tank Rifle team
1 x Radio Car
Platoon One
Lieutenant Platini (Big Man II)
3 x 10-man squad
1 x 60mm Mortar team
1 x Anti-Tank Rifle team
Platoon Two
delayed arrival due to fuel shortage
Support Platoon
Sergeant Zidane (Big Man I)
2 x MMG team
Anti-Tank Platoon
Sergeant Grisman (Big Man I)
1 x 25mm Hotchkiss Anti-Tank Gun
Armour One
Sergeant Viera (Big Man II)
2 x Hotchkiss H-39
Expected Re-Inforcements
Armour Two
Sergeant Petite (Big Man II)
3 x Renault R-35
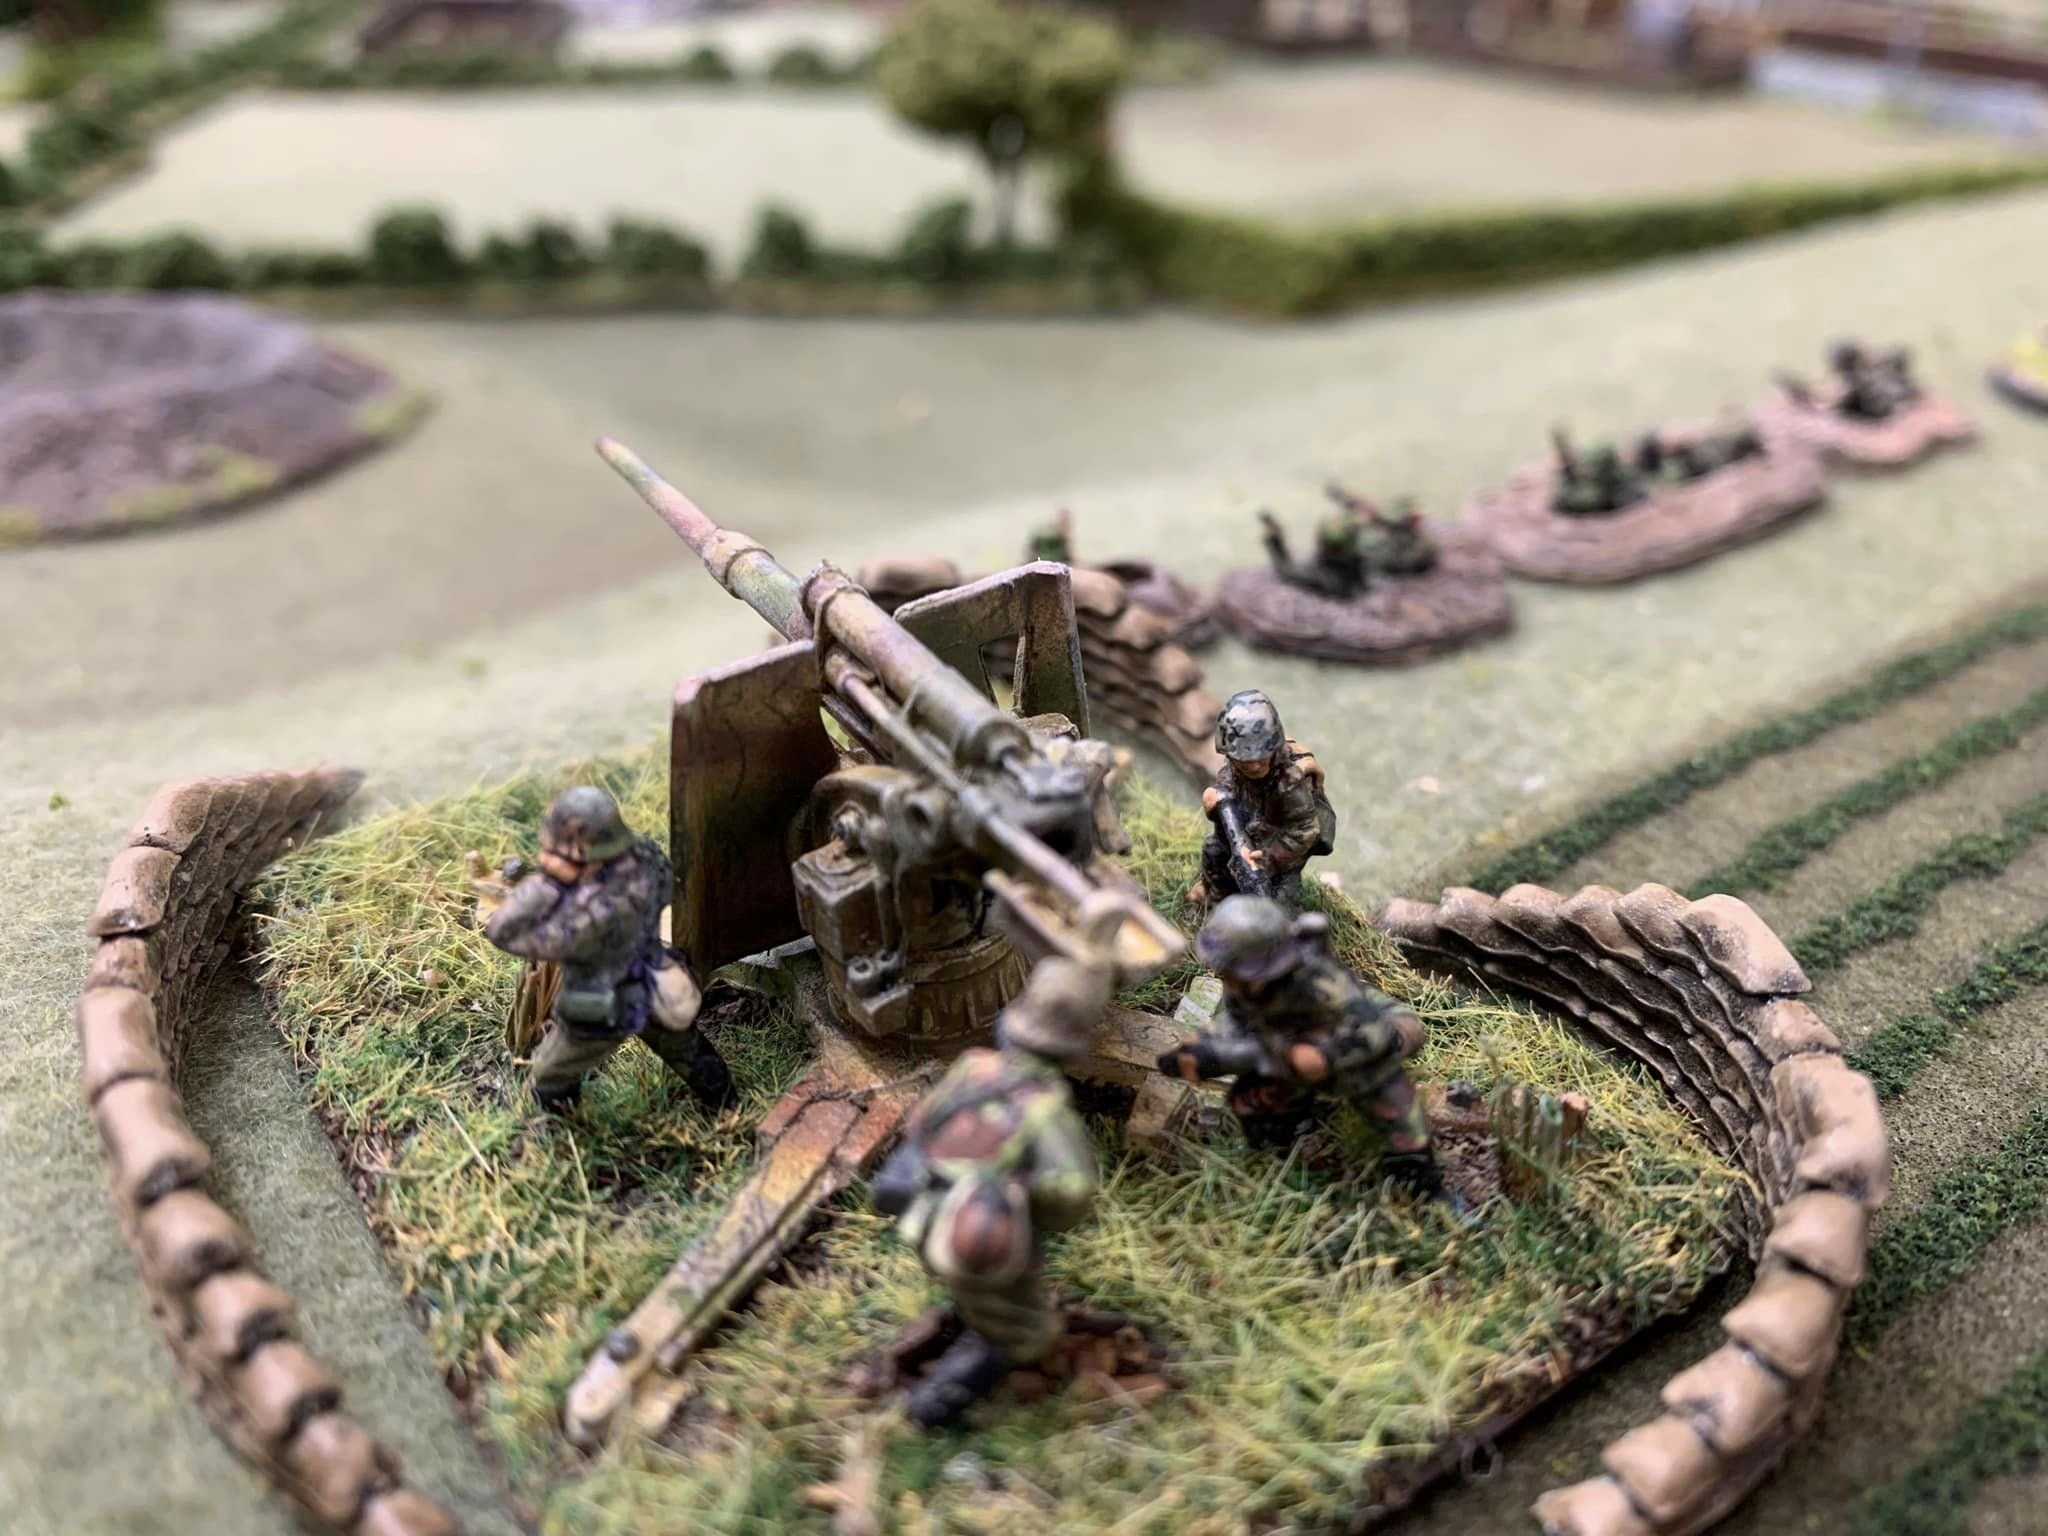
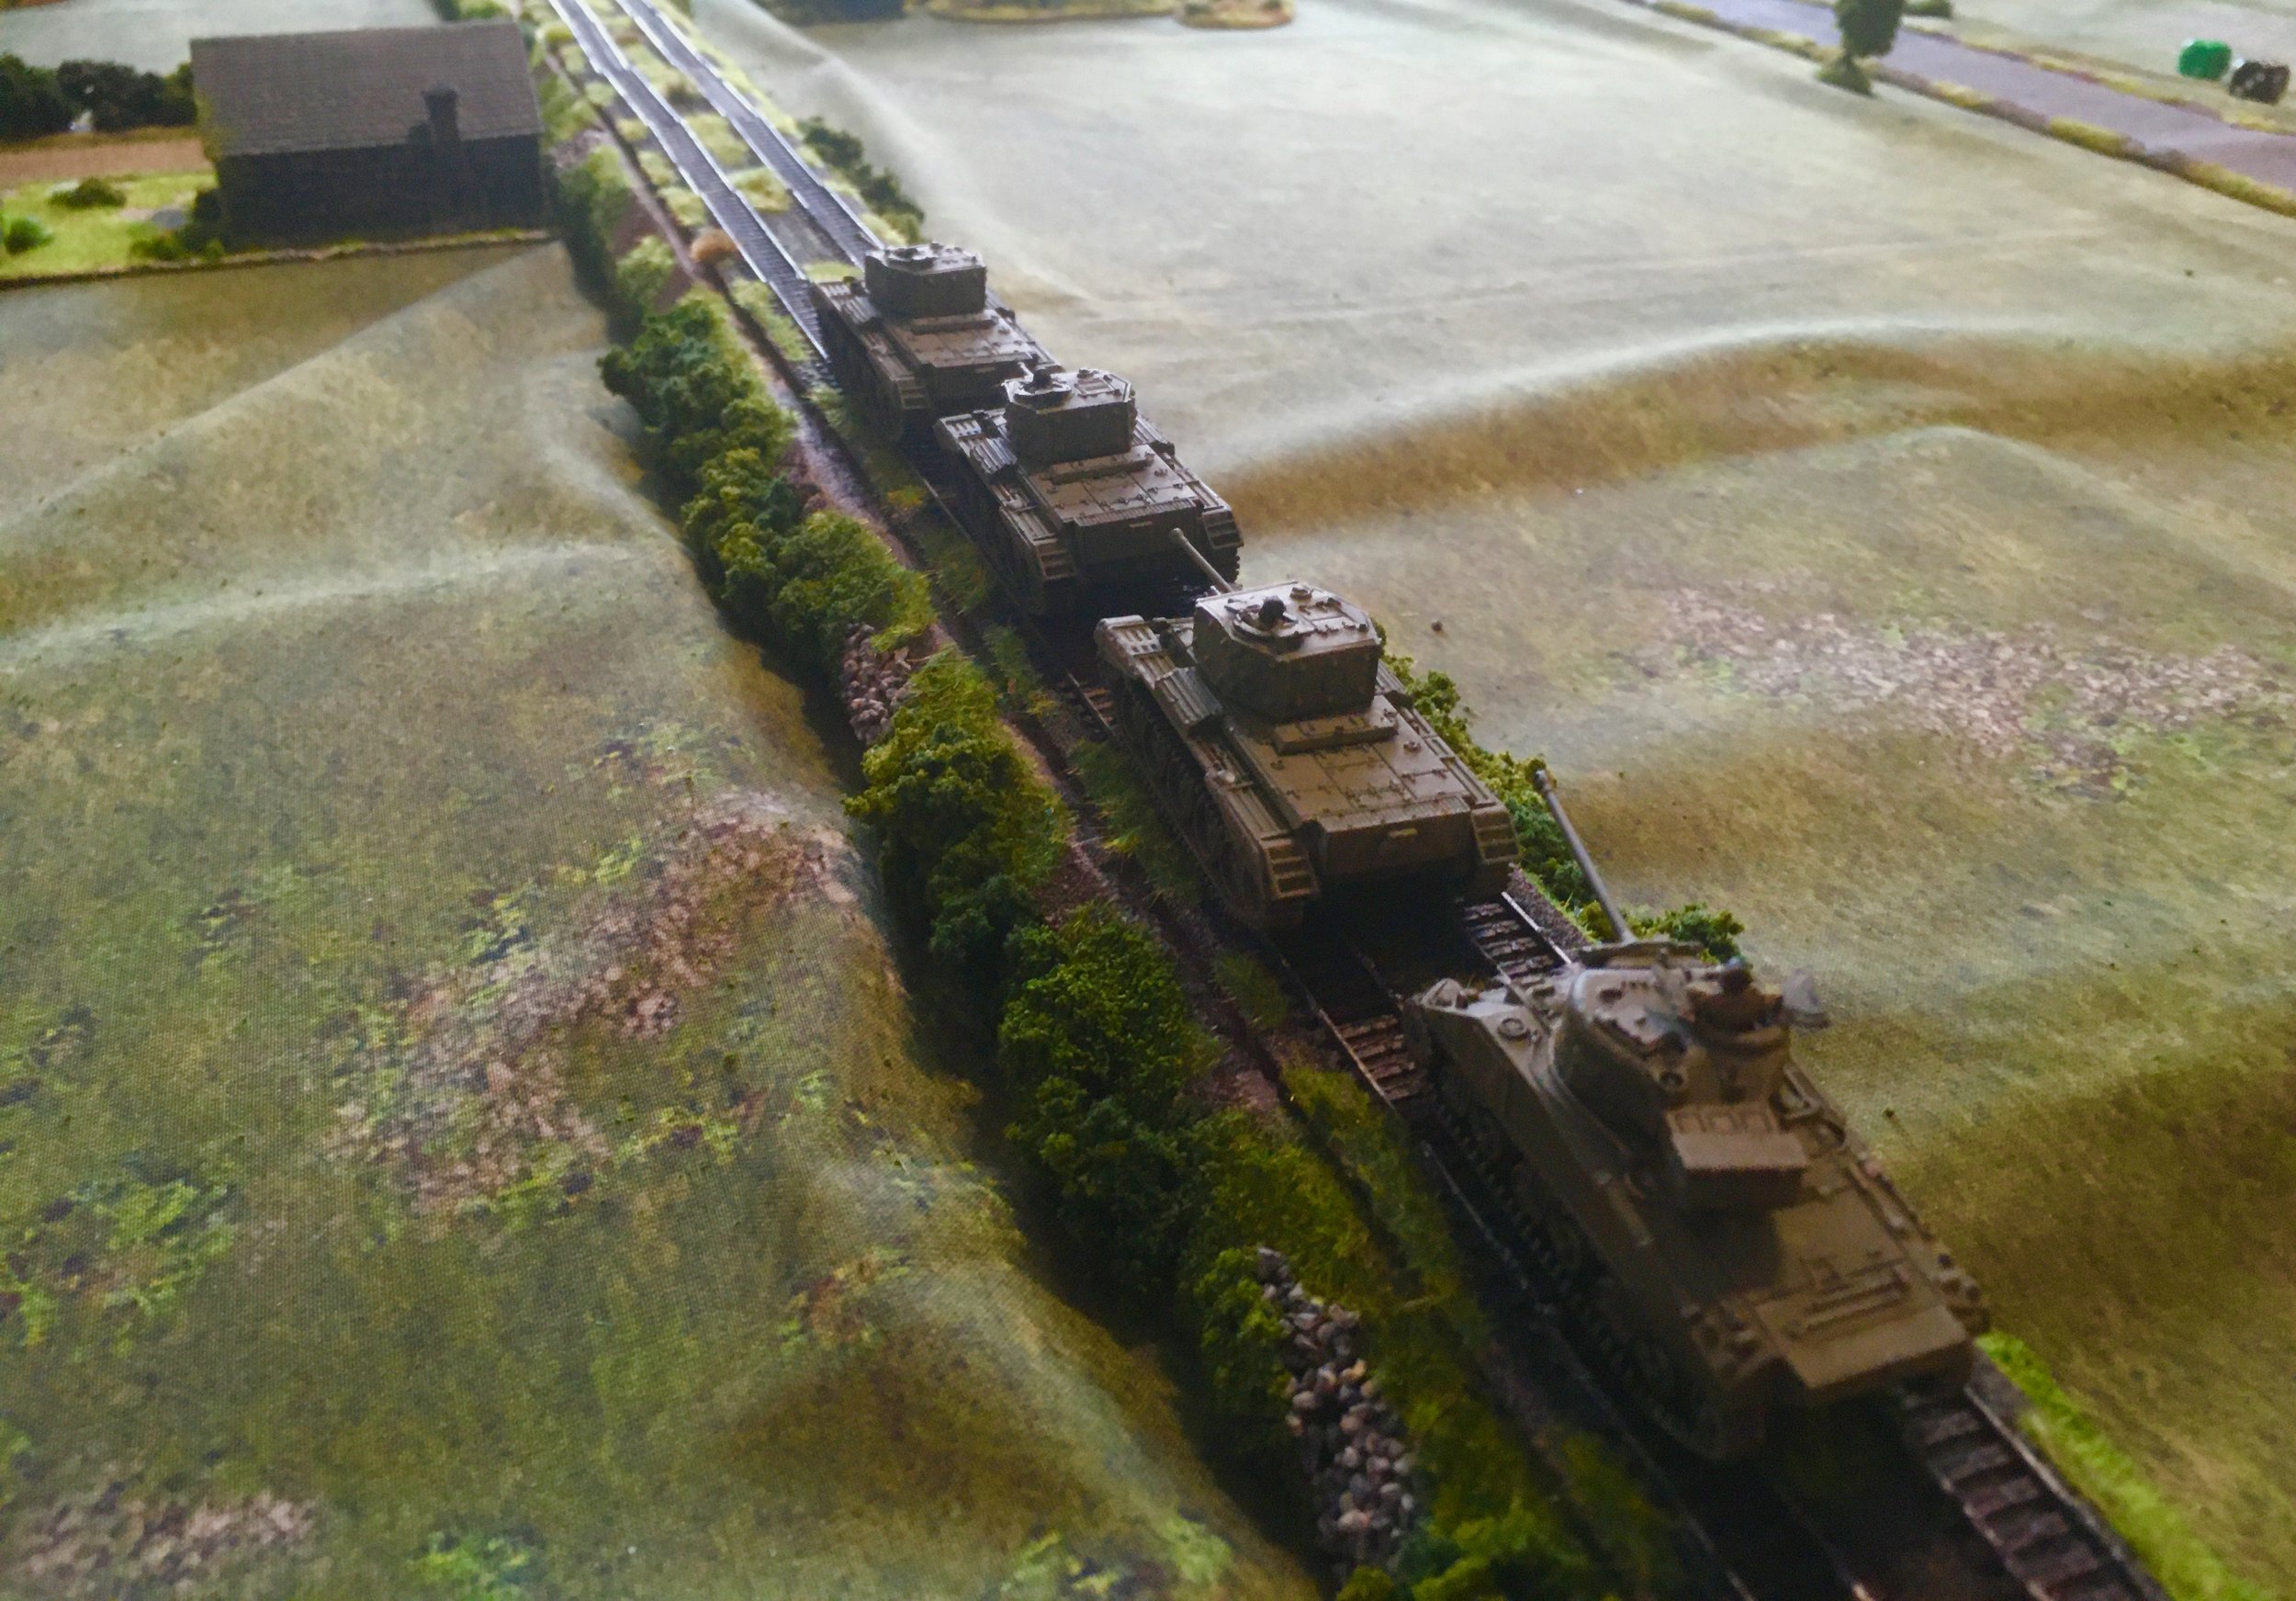
My plan as the defending French was simple: move my troops onto the ridge at my end of the table and shoot the Germans as soon as I could. I was likely to be outnumbered, but my potentially strong position should counter that.
Unfortunately, the game began with three rapid appearances of the German Blinds card, meaning that before my troops even arrived, the leading Bosche units were almost on top of me.
This wasn’t necessarily a problem, as I managed to get my troops into position in time, and then spot and open fire on his lead elements, three Panzer IIs and a Panzer I. These proved fairly easy to take out, and I even scored a few hits on his Infantry HQ zug as they bravely advanced across the open ground near the garage. They soon learnt to rush forward and then throw themselves prone rather than the gentle amble forwards that they had started with!
So the first wave of Germans were dealt with but more followed fast: a zug of Panzer IIIs accompanied by infantry. Then disaster struck: German Air Support arrived, with a Stuka dive bombing one of my Hotchkiss tanks, scoring a direct hit to blow the vehicle into its component parts. Good dice had also meant that the German infantry guns not only deployed, but got the range of my defensive ridge almost immediately, putting my infantry under fire. Things were not going well!
Then a bit of a tactical error from the Germans gave me a bit of hope. A zug of three Panzer IVs decloaked and rushed across the railway bridge to the right of my position. A problem, as they were now on my side of the river, but an opportunity as the narrow crossing had forced them to bunch up tightly, and bunch up in view of my anti-tank gun team.
The brave little anti-tank gun team opened fire and slammed a round straight into the middle tank, which promptly exploded! As the other two tanks in the zug were so close, literally bumper to bumper, they suffered a couple of points of Shock each and were therefore half way to being taken out.
This was too good an opportunity to miss, particularly as three derelict tanks would nicely block the exit to the railway bridge and effectively secure my left flank against any further armour coming in (as if there wasn’t enough already!).
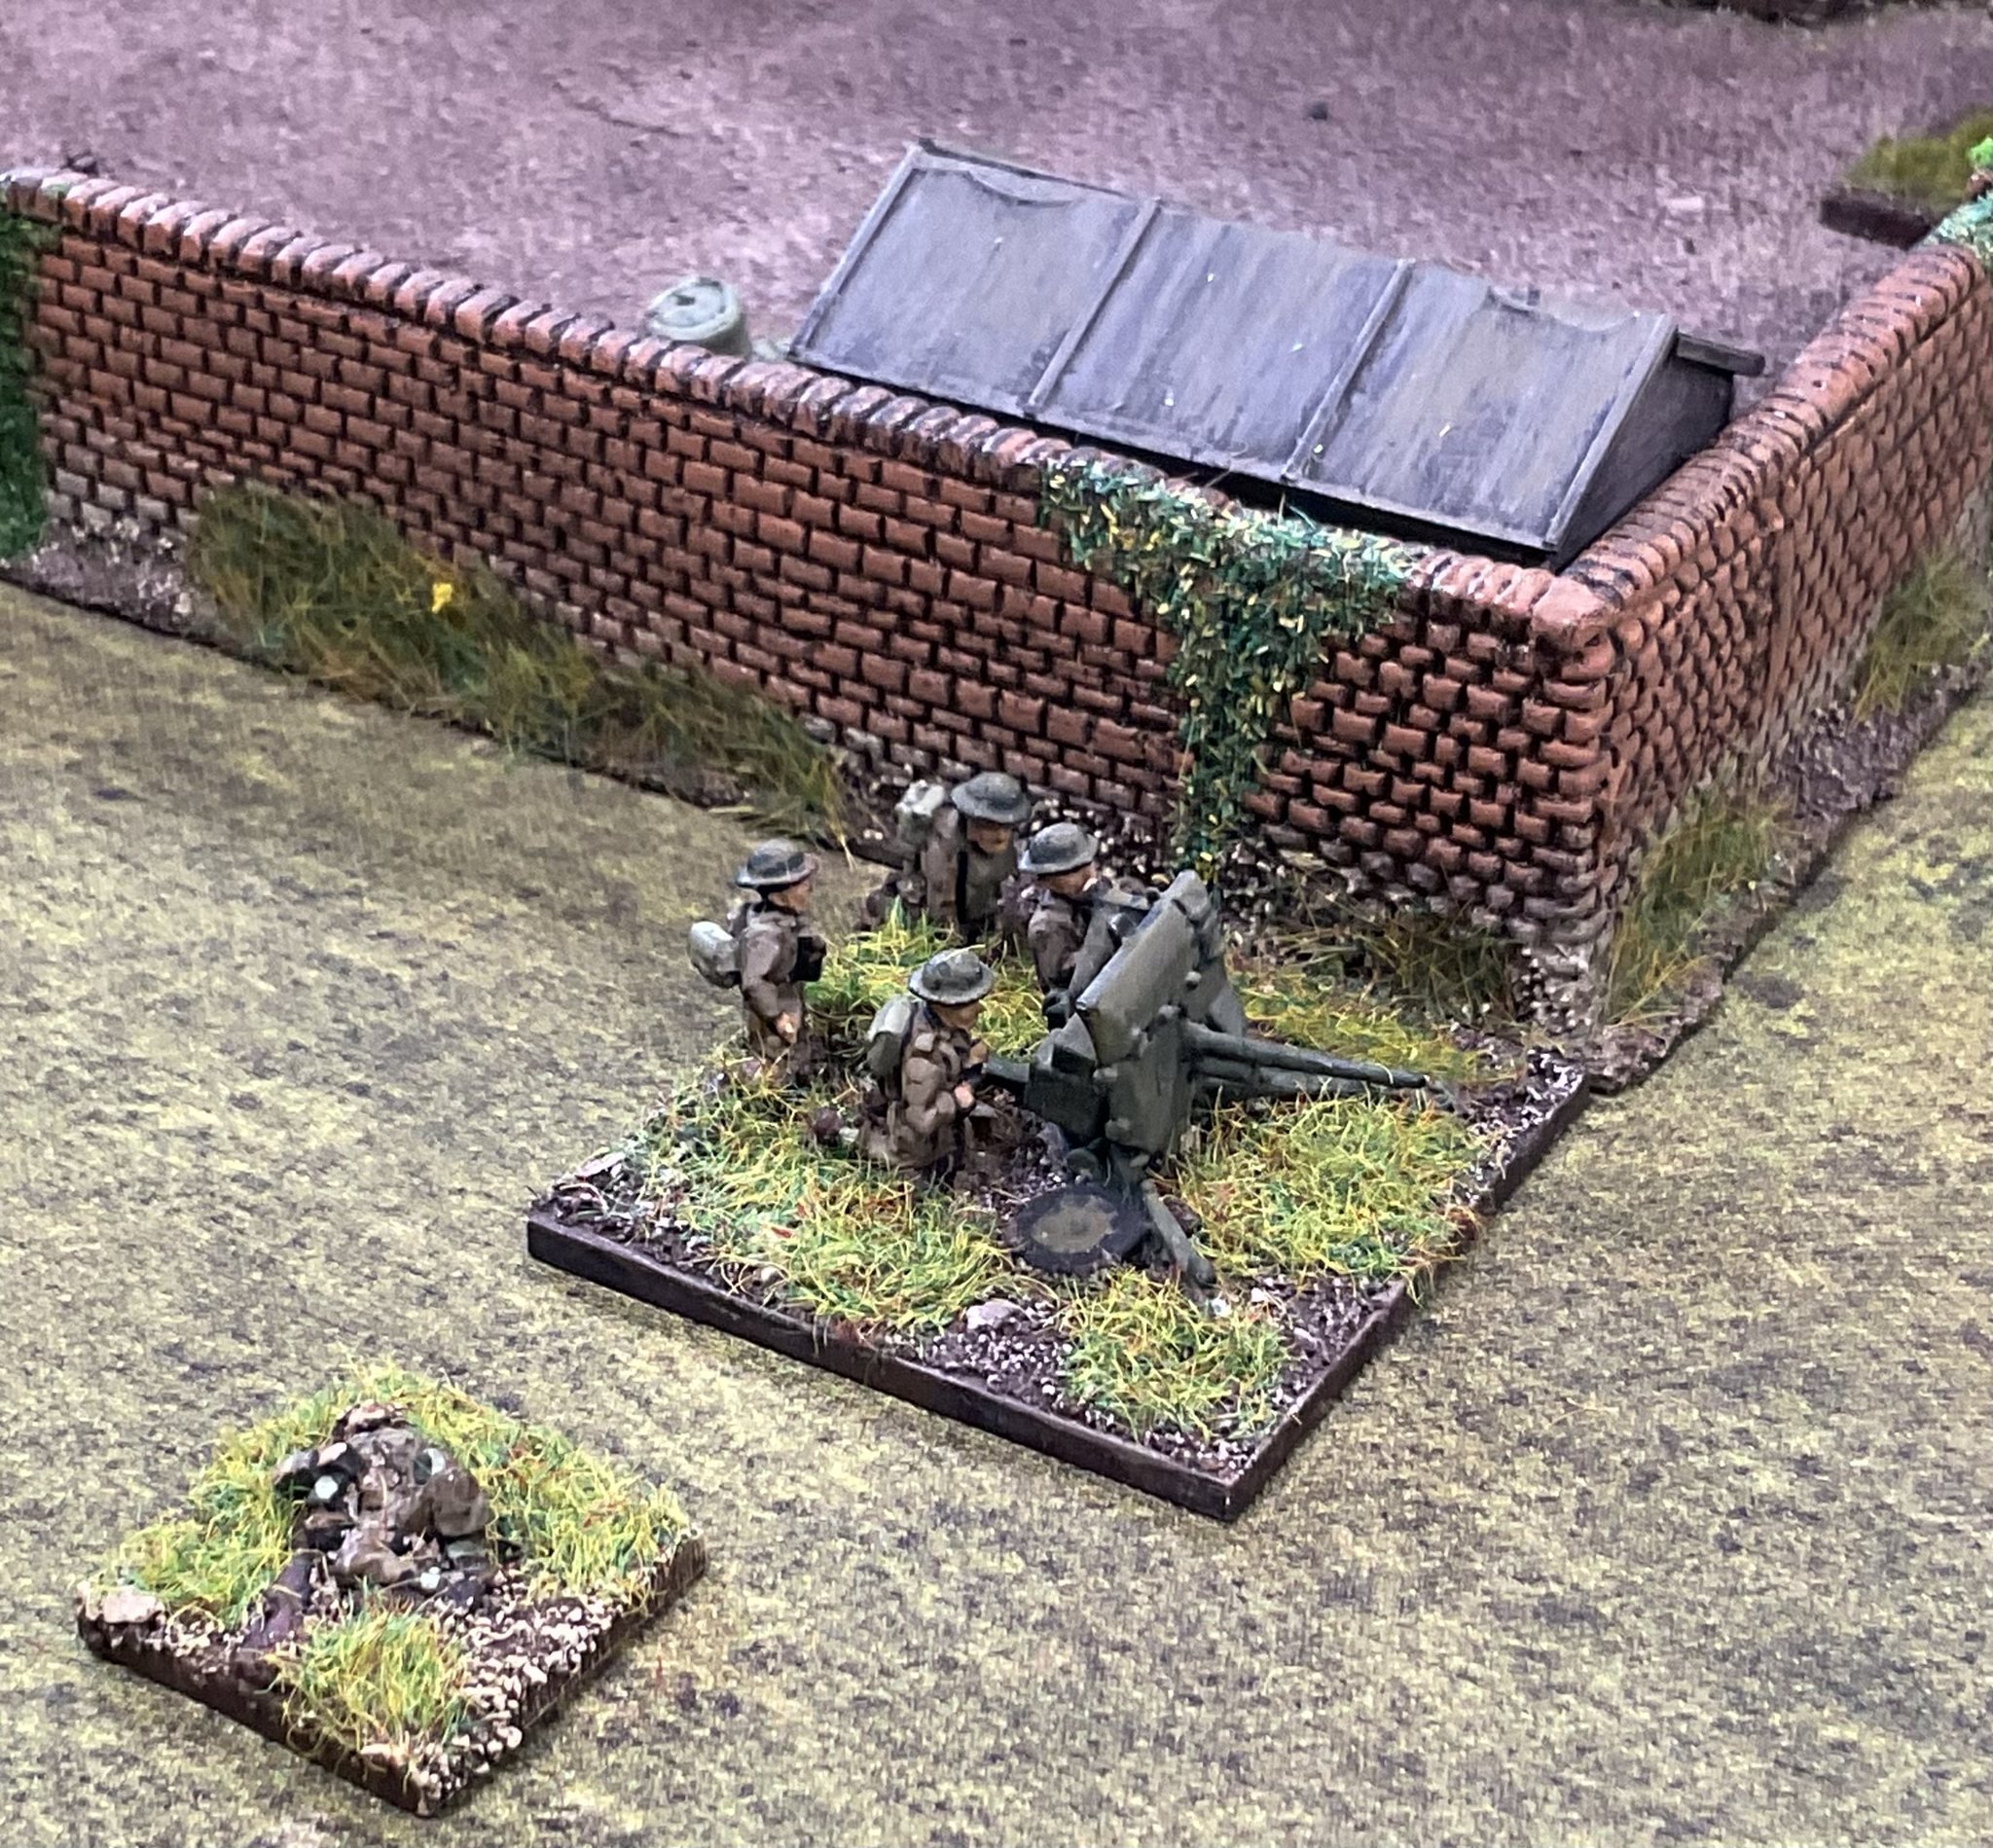
I already had an anti-tank rifle team (presumably using weapons previously captured from the Germans) in the woods, who opened fire and hit one of the shocked German tanks in the flanks. A bit of luck with the dice mean, however, that the German tank remained unscathed. Next I charged in a squad of infantry, who swarmed the tanks with grenades. Again the Germans’ luck held and no damage was done. Finally my Heroic Commander card came up, so in went Lieutenant Platini with the regimental tin opened. More lucky dice from the Germans and, again, no damage was done. That was a total of ten penetration dice rolled against side or rear armour and not a single hit!
And that was really it!
The next turn the German tanks’ card came up before my infantry, so the two surviving Panzer IV’s accelerated away from my infantry to comparative safety. More German tanks were coming forward and there was no sign of my reinforcements. My briefing had said that the bridges had to be held to the last man, but realistically it was time to sauve qui peut!
A great game with some spectacular dice rolling from Si, playing the German tankers!
Robert Avery

Another excellent day of IABSM down at B-I-G yesterday, with Dee VonDoom, Steve Blease and Jenny Turner.
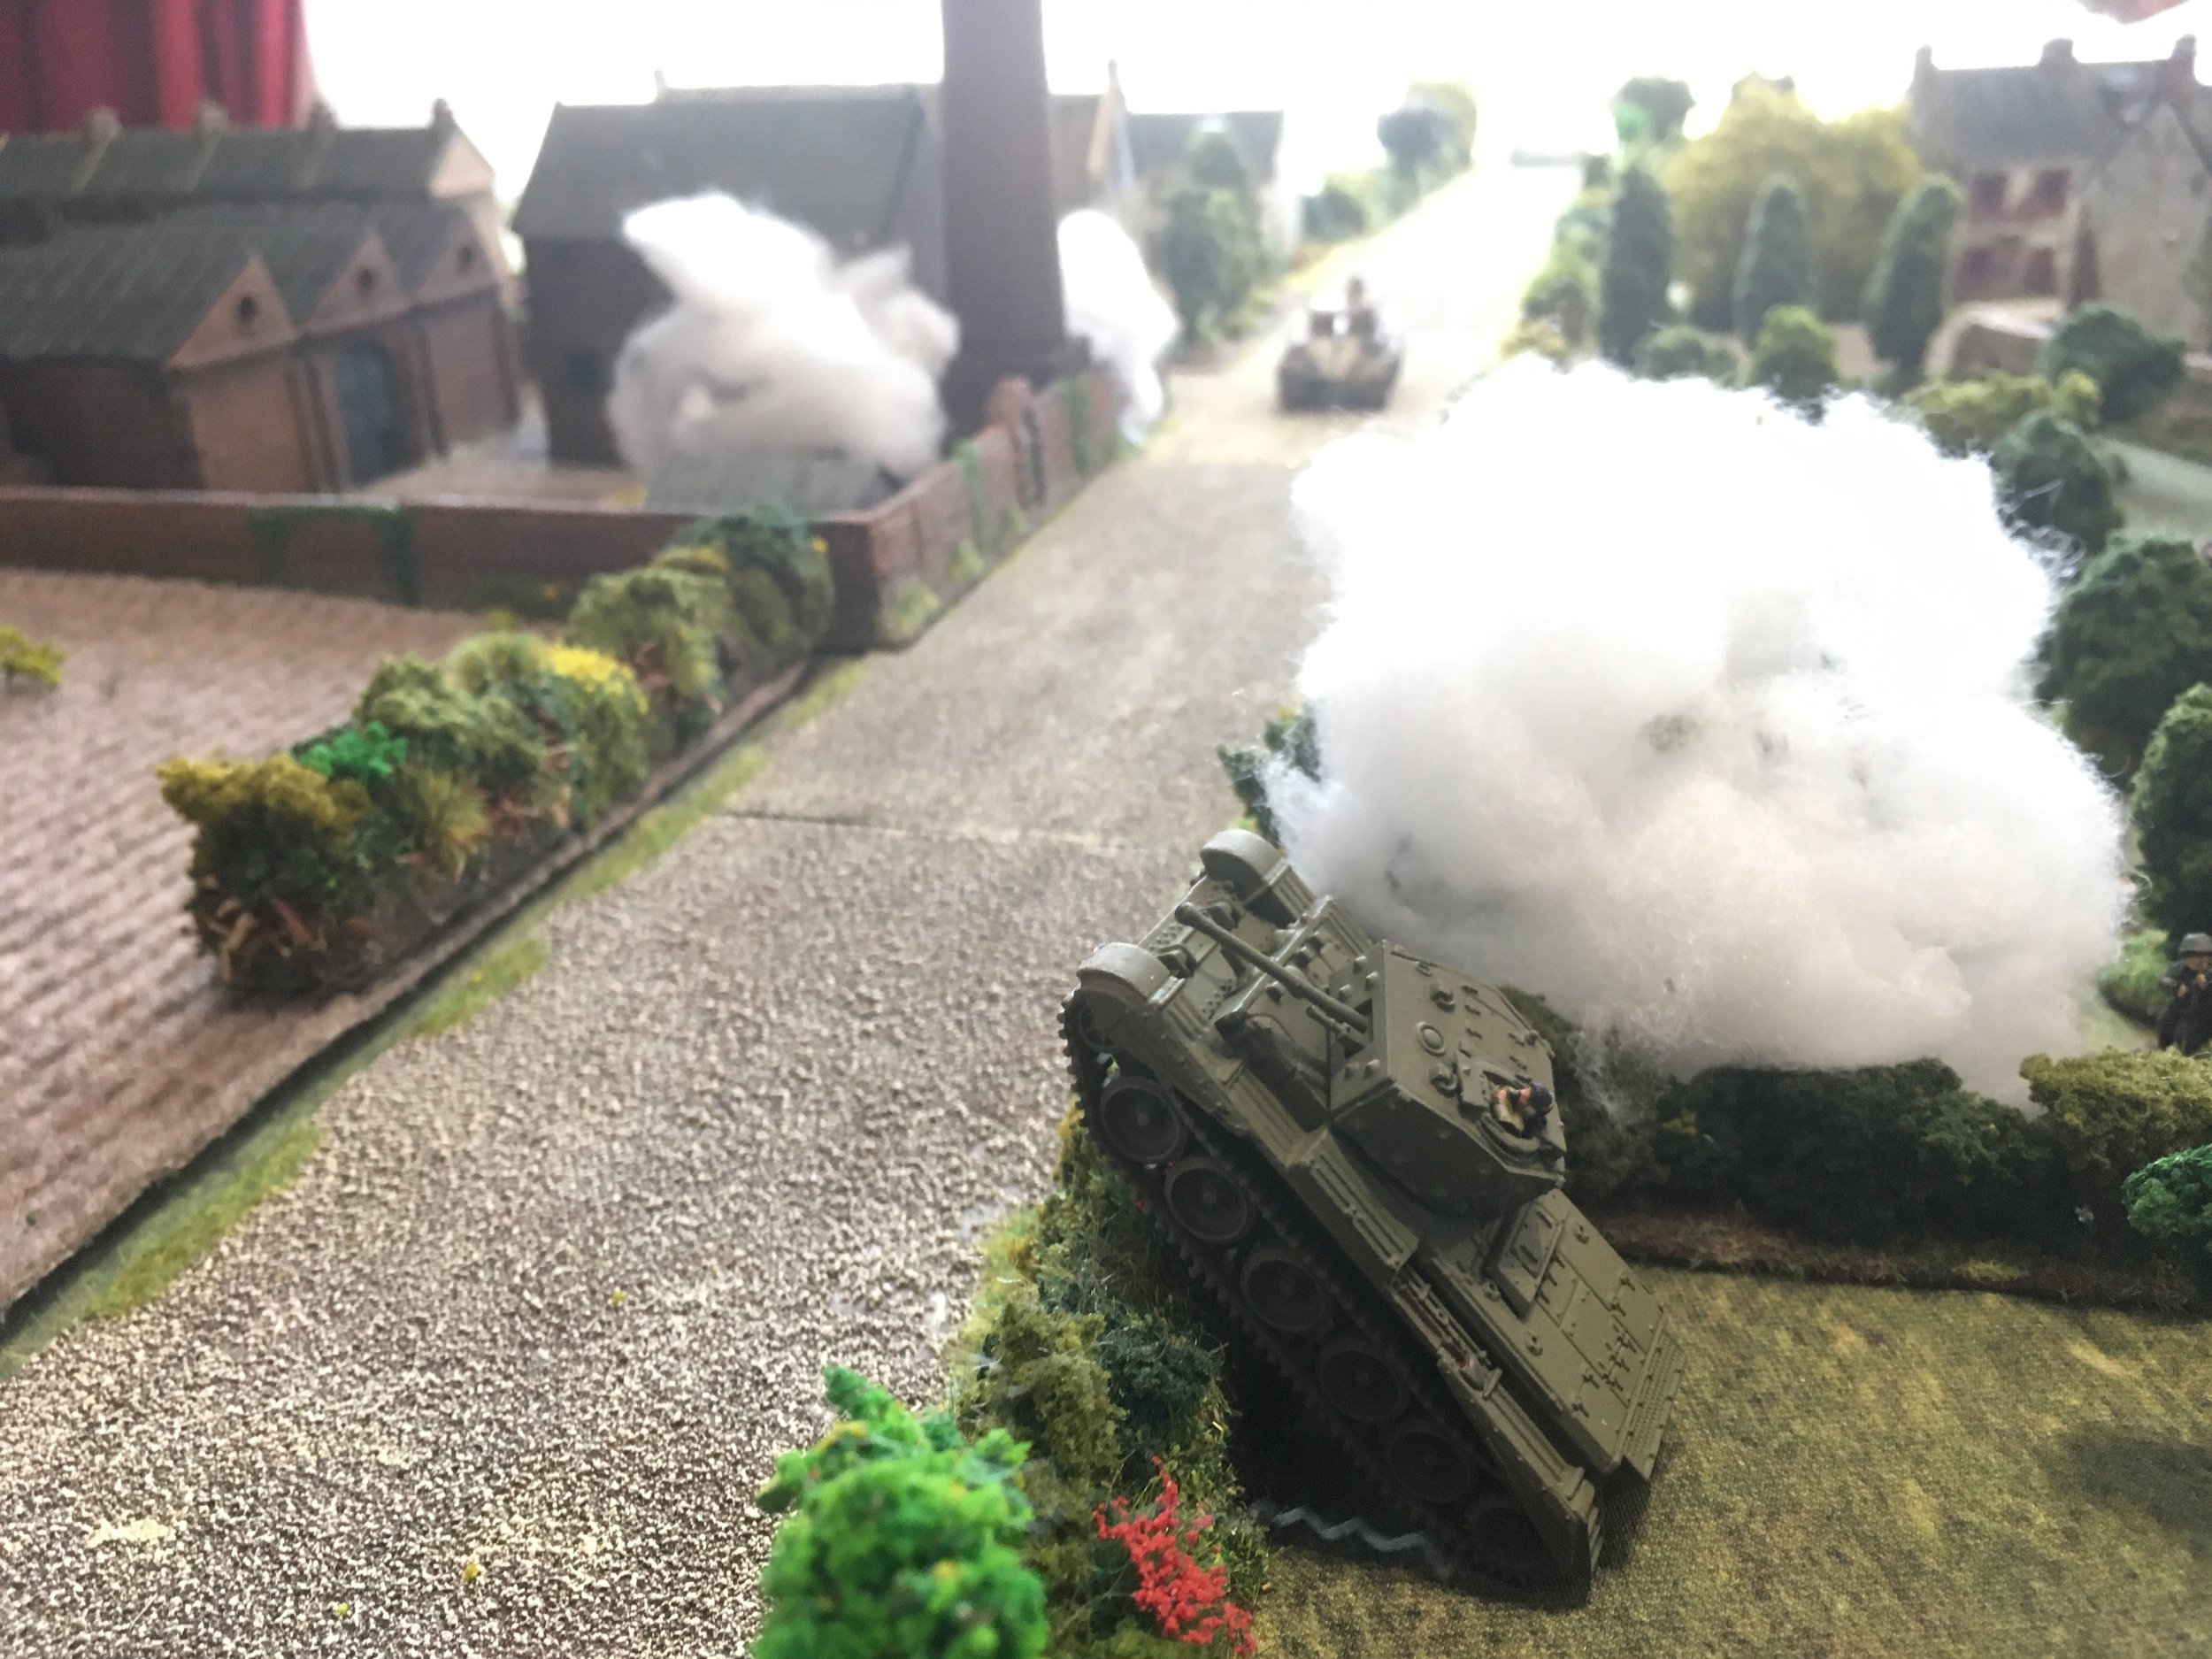
Arras, May 1940, the Welsh Guards and French allies, commanded by Dee, attempting to stop the German Blitzkreig. A noble effort which was very costly to the Germans, but where they eventually forced their way through the British lines and into the town.
Phil Turner