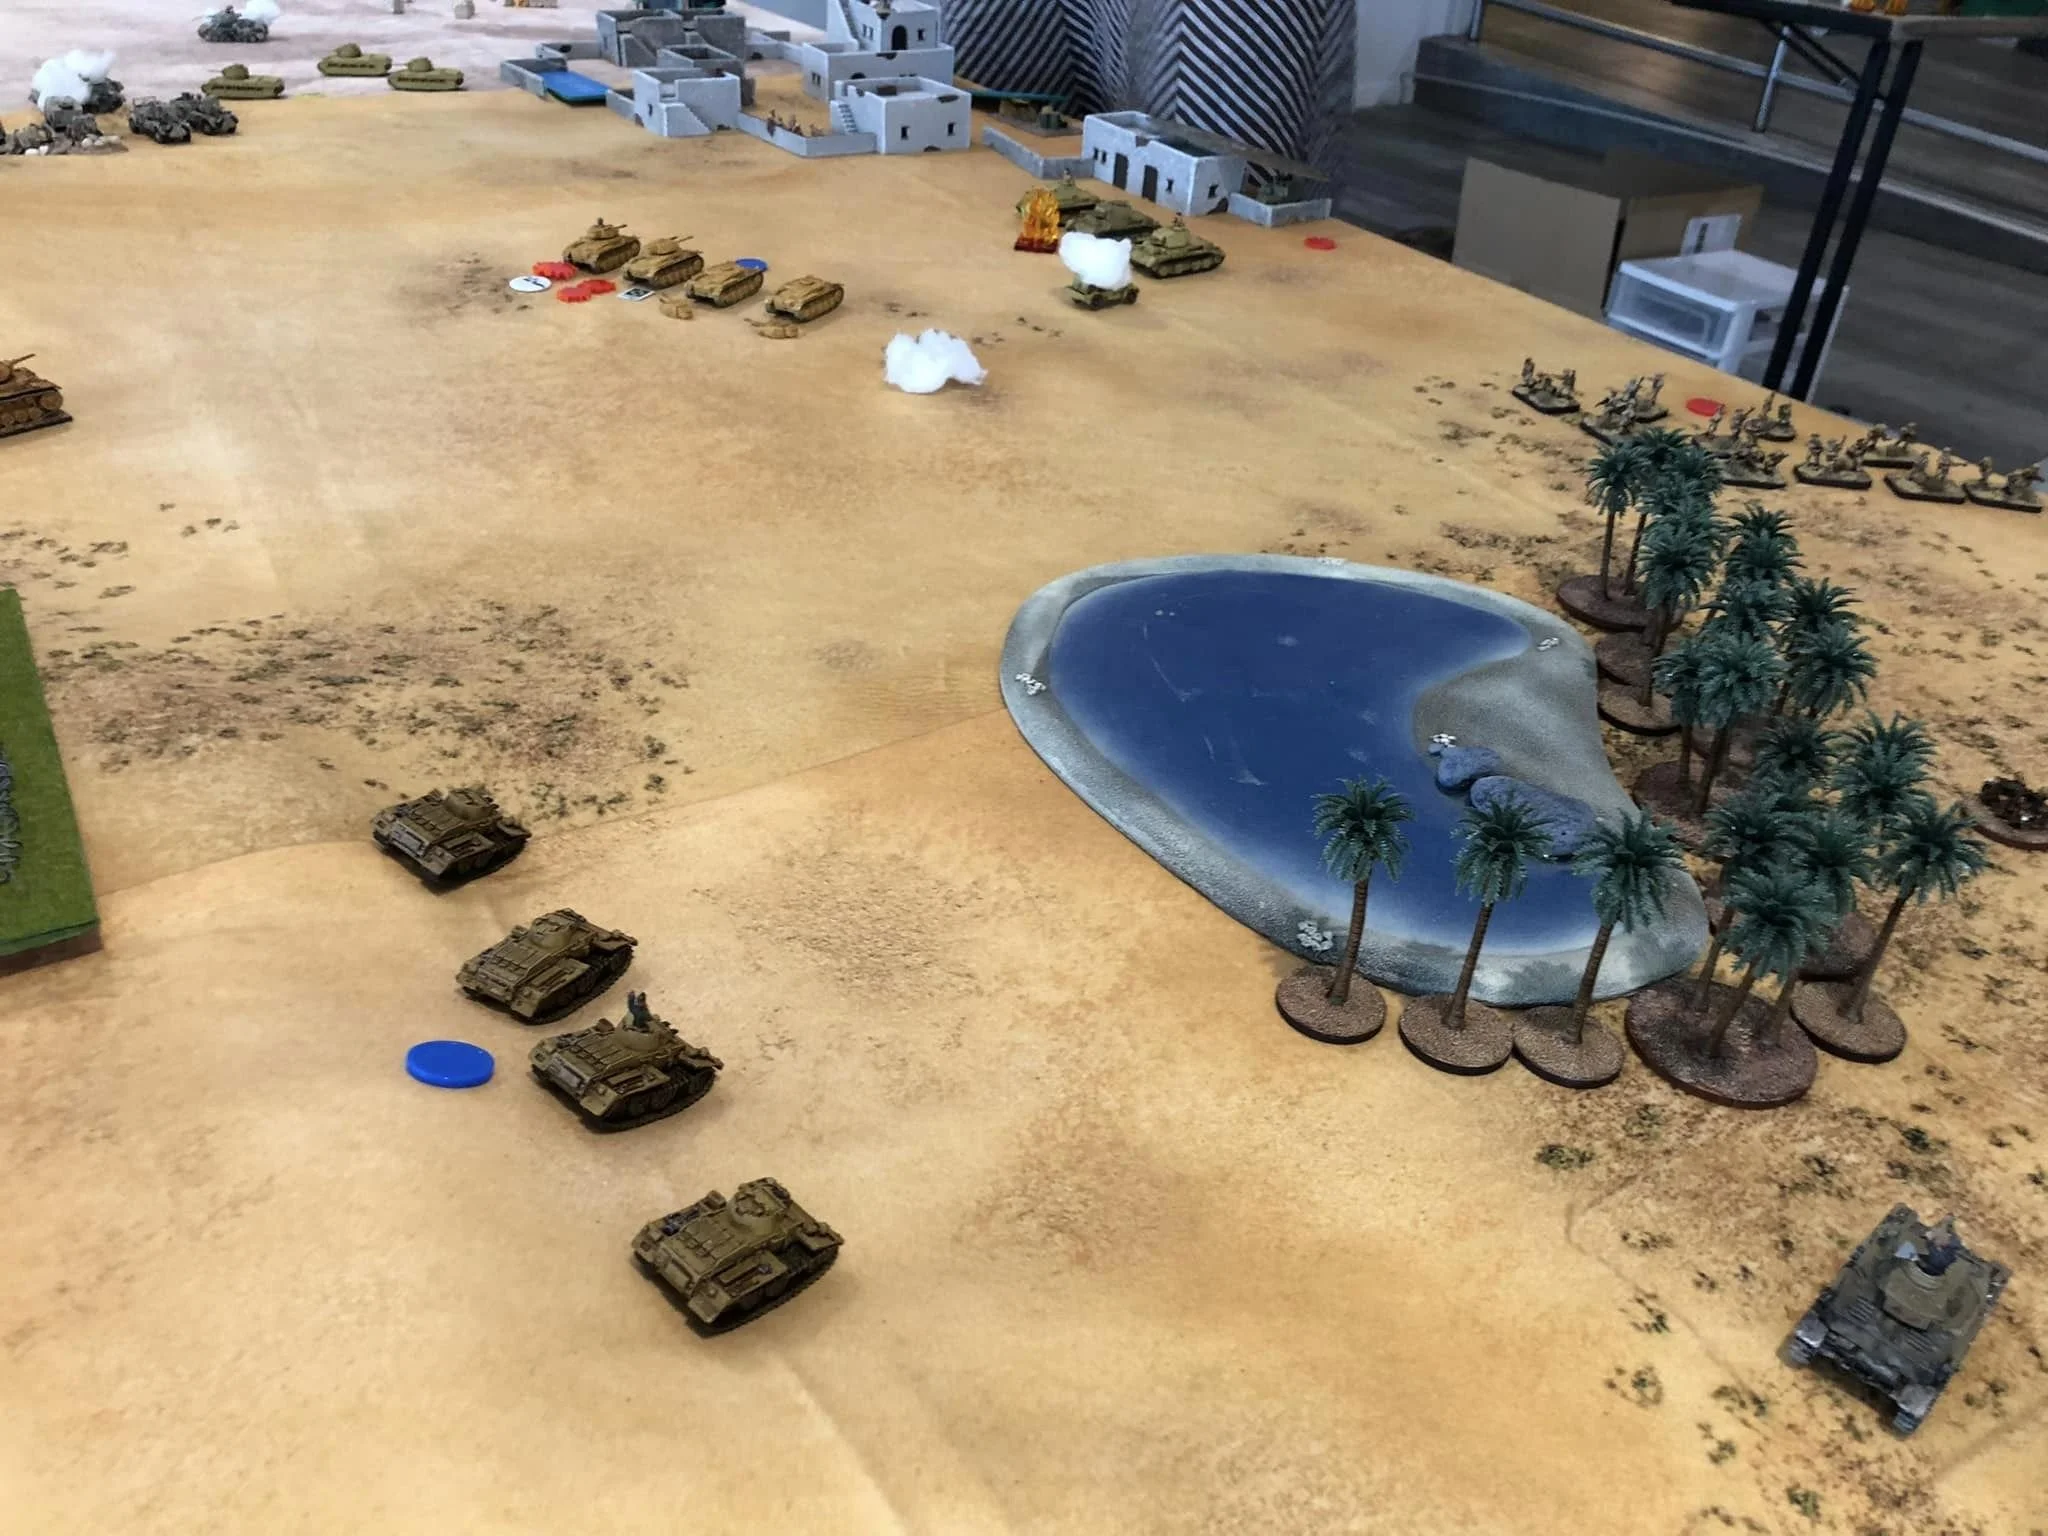
Hong Kong, Christmas 1941, the 2nd company of the HKVDC hold the road to Stanley Village against the 3rd company, 229th IJA Infantry Regiment, supported by Tankettes.
Alex Sotheran


Hong Kong, Christmas 1941, the 2nd company of the HKVDC hold the road to Stanley Village against the 3rd company, 229th IJA Infantry Regiment, supported by Tankettes.
Alex Sotheran

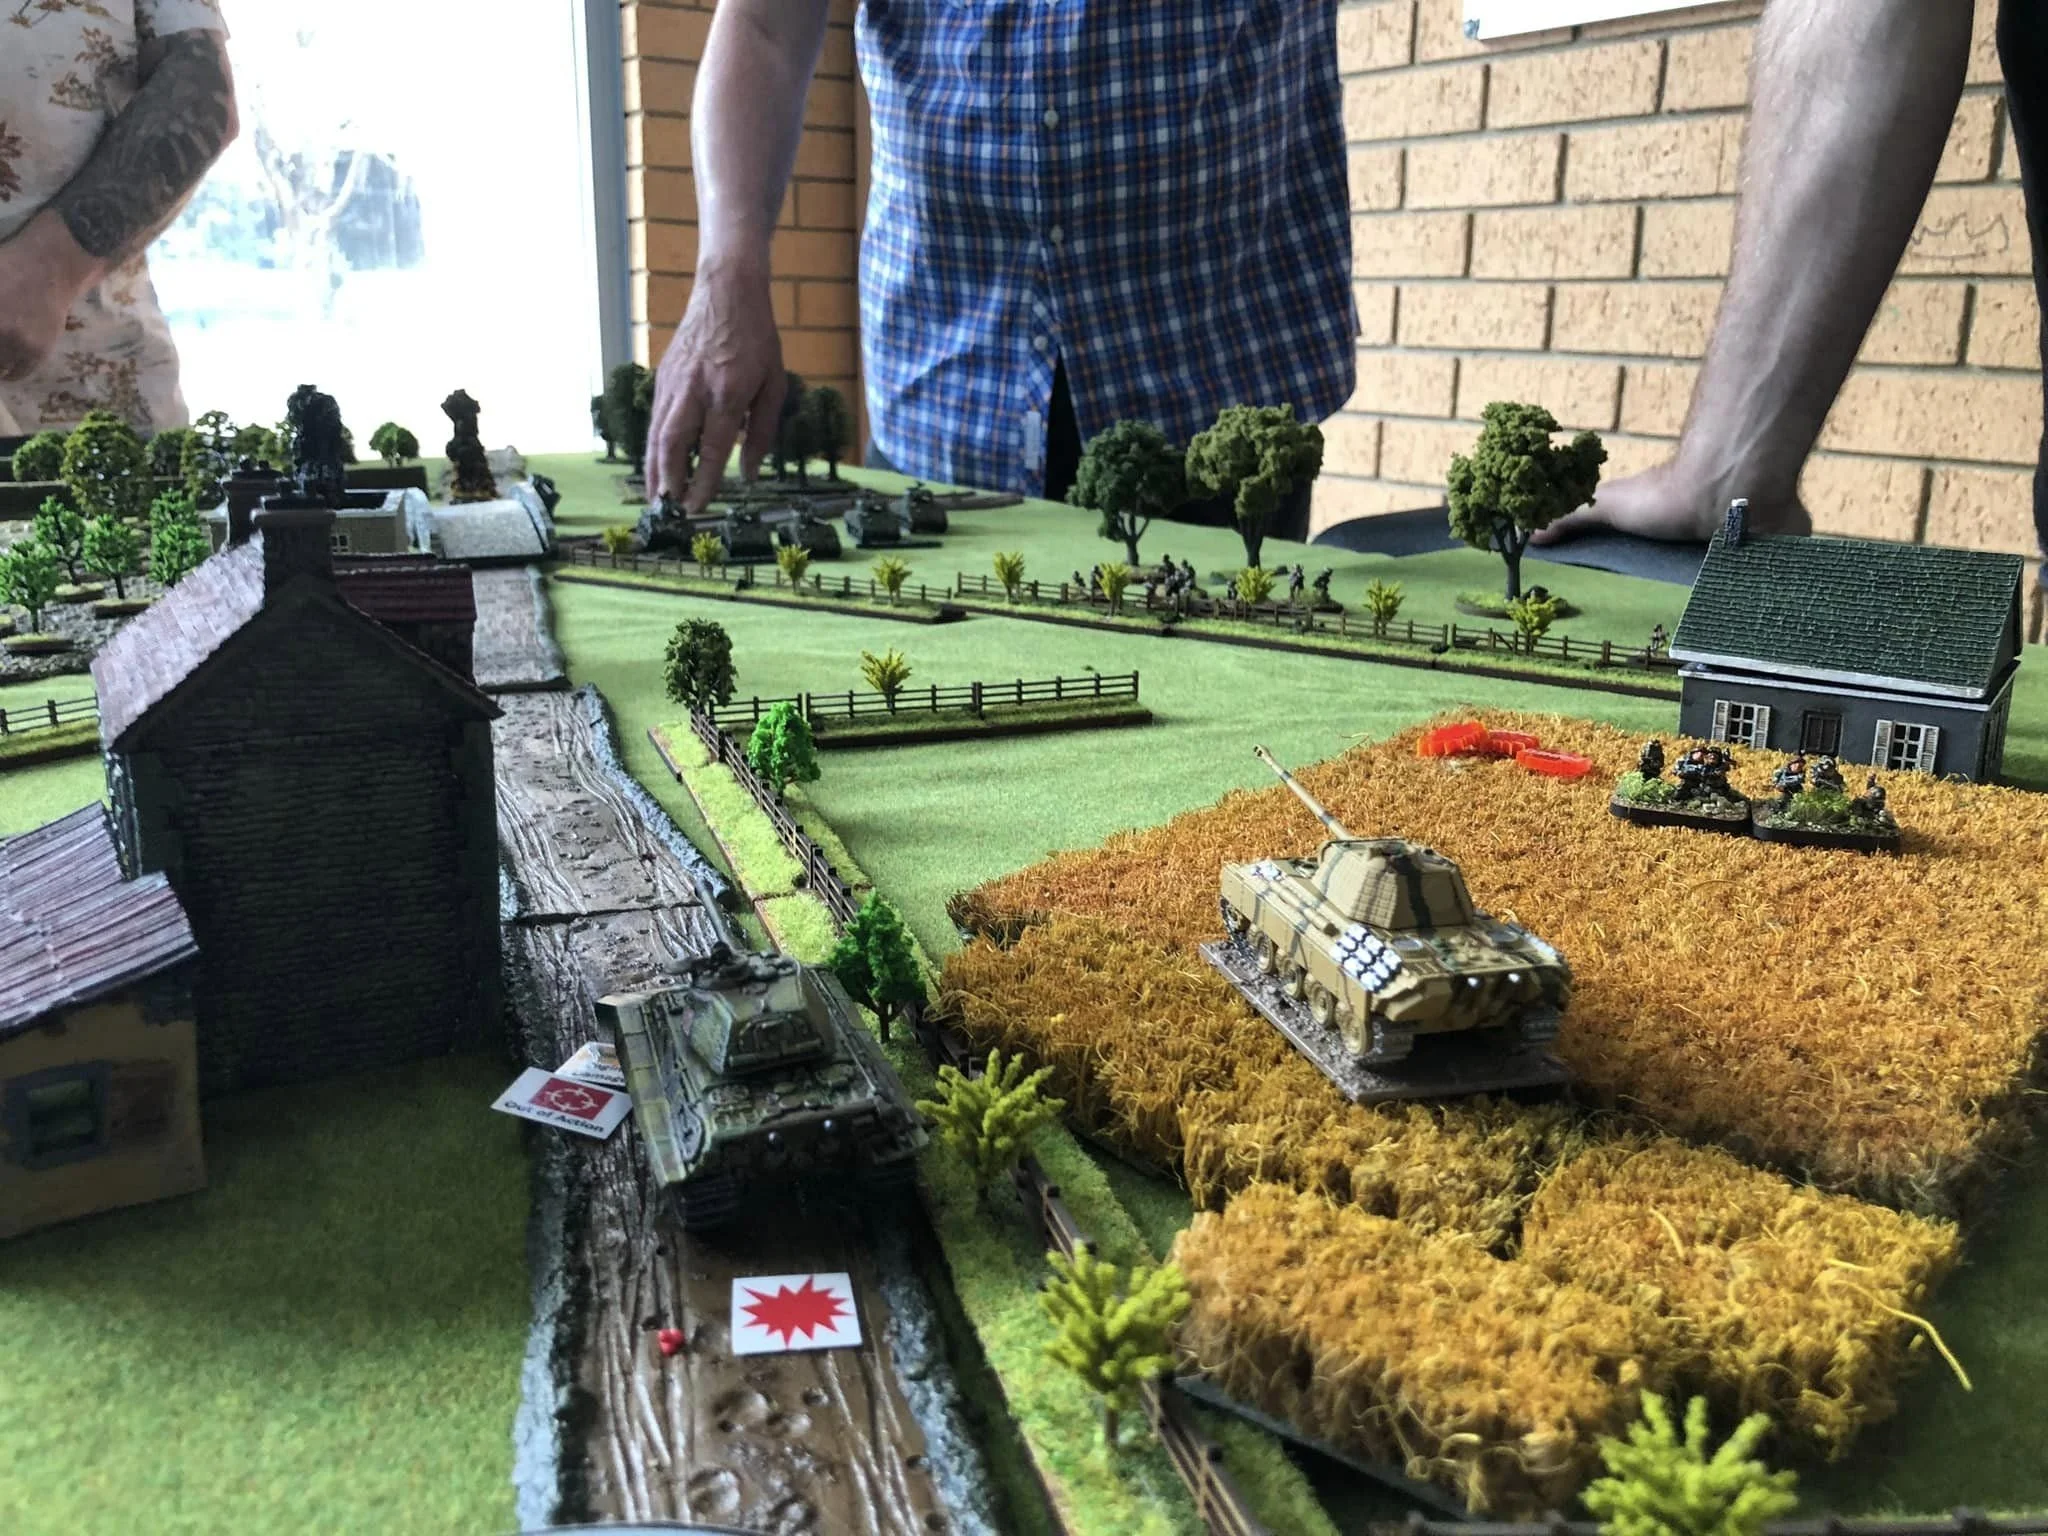
Great game today - Paras in the Woods with paras trying to clear the way to Arnhem.
Great progress by Alan and Nigel Chapman initially made using small unit tactics lead by effective use of the Platoon leaders but significant NCO (and CO!) casualties eventually stalled the attack in the face of stiff and entrenched opposition.
Great game and lots of fun!
Nick Bellamy

Hong Kong, Christmas 1941, the 2nd company of the HKVDC hold the road to Stanley Village against the 3rd company, 229th IJA Infantry Regiment, supported by Tankettes.
Alex Sotheran
#stormofsteelwargaming

Mercian Miniatures writes:
Cracking game of Defence Of Calais with the boys from 1st Corps .
Played over two days with some interesting twists on previous encounters .
A British victory , in terms of blunting the tip of the German thrust and certainly bought more time for the defenders.
Superb kit on lovely terrain all from the collection of Michael and Simon. The AFV’s etc in 1/48 are just beautiful!
And here’s the same game from the camera of Michael Curtis:

After about 11 months, finally organized another IABSM game with my buddies from Vermont Historical Gamers Group: scenario i from Skirmish Elite book series, Falaise Firestorm. St Eugenie, Normandy, August 1944.
Dave Goodwin and Elroy Davis commanded one platoon of Germans along with two Panzer IVs plus two halftracks, one with short 75mm gun and one with long 75mm gun. Brent Coulthard commanded the Americans, with three M-4s, one M-8 armored car, two towed 3-inch AT guns and two platoons of infantry.
The US had to try and get at least three armored vehicles or AT guns off the board edge with large orchard.
IABSM rules used, supplemented by use of TFL's Command Cards plus my tweak of adding two extra Big Men joker cards to increase likelihood of Big Man activation.


Dan Albrecht

A 6mm I Ain't Been Shot Mum game based on the Counterattck by Hungarian assault gun batteries and grenadiers of Feldherrnhalle against Soviet 4th Guards Mechanised Brigade. Played at GigaBites Cafe in August 2024.

The idea for this scenario came from the massive Armoured Warfare in the Battle for Budapest by Norbert Szamveber The pattern in this campaign seems to be a Soviet attack takes a position The Axis counterattack and retake the position. Then the Axis must usually retreat to keep their flanks secure or a lack of reserves prevents them from holding the ground.
This was based on one of these situations that occurred on November 4, 1944 to the east of Pest in the village of Felsohalom. In this case the Soviet 4th Guards Mech Brig had taken the high ground and was holding it with 4 76mm ATGs, an infantry company (7 sections), 2 Maxim MMGs, and a pair of ATRs. They were not dug in but were able to use terrain to conceal themselves. Reinforcements consisting of a T34/85 plat and a pla of SMG armed tank riders were expected. The Russians could be deployed up to the edge of the village and down to the RR track. The village and center of the table is higher than the ground to the left. William was in command of the Soviets.

The Hungarian/German units had a several options to enter.
They could come in from the left side (west), the bottom edge up to 18" and the top edge up to 2 feet. Past is off to the left.
There were 2 Axis players. 1 German and 1 Hungarian Rob had the larger Hungarian force consisting of a company of 3 3-section platoons and 2 lt mortars. The Hungarian armor was 5 Zrinyis from the 3rd btty of 1st Assualt Artillery Bttl, a Turan II and a Nimrod AA vehicle.
Jess took the grenadiers from Grd Div Feldherrnhalle-3 sections and 2 MMG teams. He also took a pair of the Zrinyi and the Turan II to support his units.

The north edge had a RR along most of it. The ground slopes up towards the village. Some of the tree lines were sparse and others overgrown.
The Axis plan was for the bulk of the Hungarians to come in south of the main road and the Germans along the treeline slanting in from the NW. Jess' attached Hungarian armour came in parallel to the RR from the NW.
The Axis also had a pregame stonk which did put a bit of shock on the Russians.

It didn't take long for the lead assault gun to be taken out by a 76 firing at its flank from the hedge north and parallel to the village.

The 76mm were positioned at right angles 1 along this hedge and 2 in the tree line to the right. There was 1 more guarding the left at the edge of the villge and the main road They were able to look down on the possible Axis entry areas. William didn't know that they could come in further along the north and south table edges though.

William had an MMG in the house on the south side of the road and an ATR further out on the left flank A 76 ATG was hidden behind the fence to the left of this house. An infantry pla was on the other side of the road and a sniper was able to cover this flank also.
The Hungarians came in on blinds (with 2 dummy blinds) But they were easily spotted in the open area south of the main tree lined road. For some reason Rob led with his company HQ which was quickly pinned. He was fortunate to not lose the CO!

Rob made good time coming in on the southern side and almost reached the edge of the village untouched. The Zrinyis on this flank were in the rear of the foot sloggers.

The Russians have a mmg in the house, a 76mm in the corner along the fence and an ATR out on the left along the hedge. The infantry platoon on the other side of the road could also add its fire to the defense.
The Hungarian HQ section and the lt mortars wisely moved back to let the other infantry lead the attack More infantry is under the blinds at the left side of the pic. The Zrinyis are further to the right rear. and unable to do much to assist. Not the best attack formation.

Robs' troops still advancing but taking casualties. They are also reducing the Soviet MMG and ATG crews. The ATR team has already run to the rear.

And the Turan is hiding behind its knocked out comrade. And no doubt wondering what happened to the grenadiers that were suppose to be supporting them.

Their 2nd pla ldr is lost in this attack but they do drive off the 76mm crew and the MMG. (The attack is so exuberant that the fences are overturned)

Jess was unable to activate his men except for the Hungarian armor for the first few turns.

Long range skirmishing on this flank. This gives a good view of the lay of the land with the Soviets up on the hill.

All the Hungarian armor had only 2 action points so were easily taken out through shock, The Hungarian infantry was also not as good as the grenadiers and lacked panzerfausts..

They lost a close combat along with their pla ldr and had to retreat back to the center of the hill.

William moved his reserve platoon behind the first building along a small rise. The Russians did have a couple of Pzfst 30s but missed. The poor sods here came under a lot of fire from the Hungarian infantry who were firing from the 2nd floor of the captured farm house and the assault guns.

There were 2 76mm ATGs and a 2 section platoon and a ATR along this treeline. They were ineffectively exchanging fire across the table with Jess' grenadiers and MMG team.
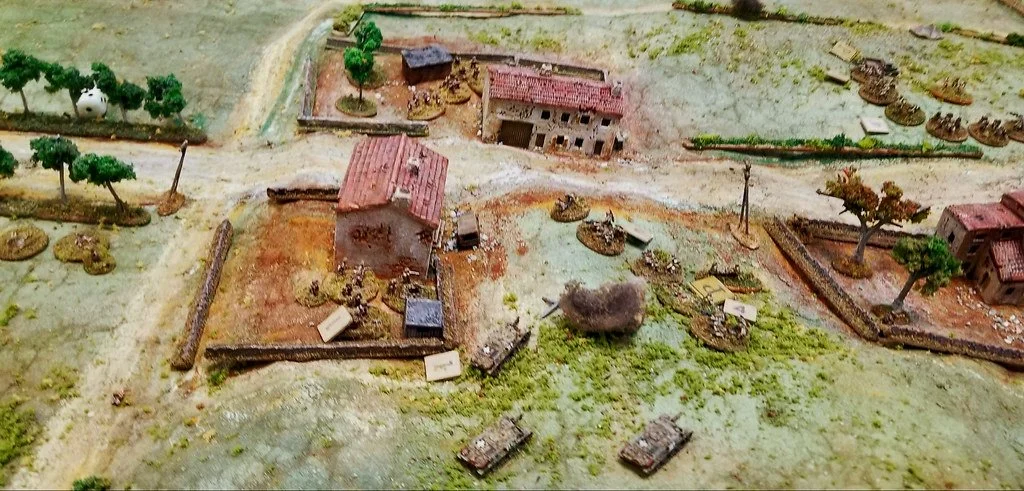
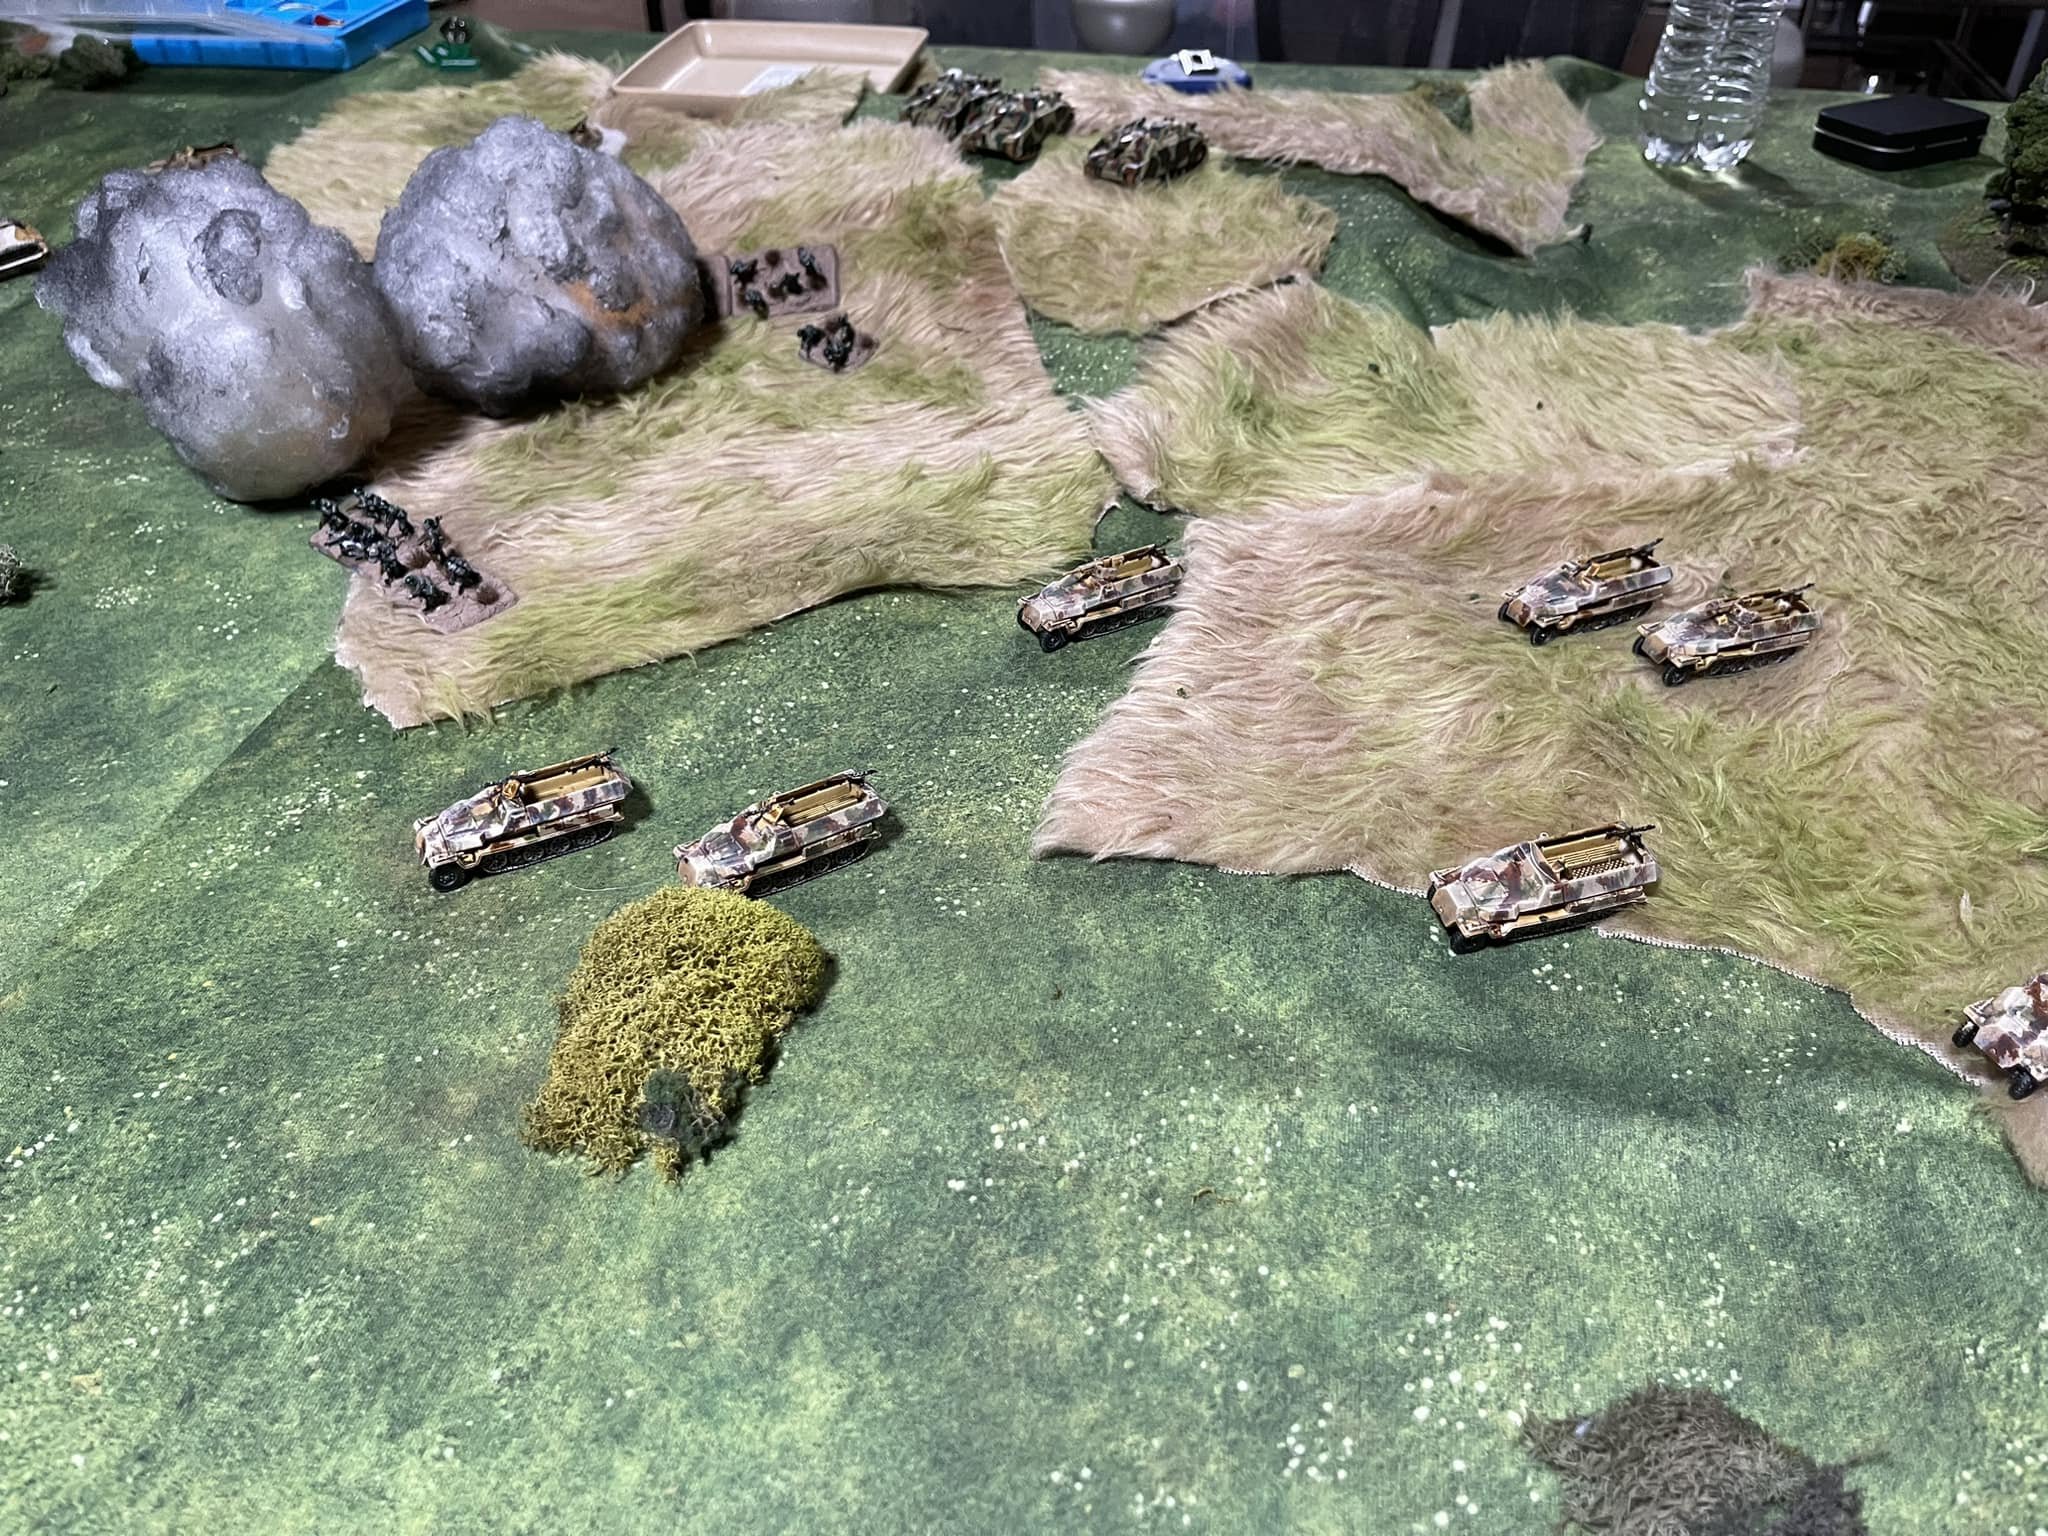
Lack of personal AT weapons really sucks. But help is on the way as the reinforcements are coming on table.

German MMGs take out one of the 76mm guns as the grenadiers start to cross the fields.

The Turan on this flank stays hidden hoping that the guns pull back.
The Russian T34/85s and their tank riders enter the table at this time but alas we need to pick up as the shop has to close.
Total casualties for the Soviets are 19 riflemen, 2 ATR teams, 1 MMG team, 2 ATG crews and 2 platoon leaders.
Hungarians lost 23 infantry-with 1 platoon being almost untouched and 1 out of action. 1 platoon leader was down. 2 Zrinyi were destroyed.
Jess' grenadiers were also untouched.
I tried something new -mainly to use my Soviet 2d6wargaming medical minis. William had 2 medic teams that could attach to a unit to remove shock which he did successfully twice..
I wished we had a bit more time to get the reinfocrements engaged.

Mark Luther

Cracking game tonight : set near Winsen Aller in Germany in 1945.
Having destroyed the nearby bridge the Germans settle into defensive positions throughout the night.
By first light two Bailey bridges are across the Aller and the Germans stand to!
A very close game with one bridge put under shell fire but the other bridge deployed wider , enabling an easy run in to the German right flank.
Went down to the wire ! A narrow British victory .
Mercian Miniatures

IABSM in 20mm. Somewhere in Normandy:
Mercian Miniatures

The boy and I had a bit of refresh game tonight. As much as the club is enjoyable, it can be quite noisy and you can often be bothered by others which makes learning the rules hard.
Anyhow, tonight it was Barbarossa. The Germans consisted of 3 panzer grenadiers platoons, a pair of 75mm infanttry guns and 4 panzer IIIs H.
The Russians had two platoons, two 45mm ATG and 4 T26s. The Russian tanks could only show up when our event card was drawn 3 times.
Both sides had access to medium mortars but these played to part in the game.
The Germans advance boldly and their reconnaissance team quickly revealed one of the Russians platoons on their left flank whilst their right flank advanced cautiously through a field.
The boy deployed his Infantry guns and started pounded the revealed platoon but some return fire kept them quiet, at least for a term.
Meanwhile the German right flank was spotted by the Russian HQ teams whoes HMGs opened up, causing a great deal of shock little casualties. This was the sum of the right flank for most the game.
On the left flank, then Germans kept surprising the Russian platoon by the woods which allowed a well timed assault from their 2nd platoon, which was successful.
The Russian atgs had appeared and tried lobbing shells at the Inf Guns to very little effect.
At this point the T26s rumbled on very little. The both panzers IIIs pounced, setting one T26 ablaze whilst kicking the others about.
The Germans had control of the board and the Russians decided to bug out; their commissar was dead so there little the political party could do.

Chris Lane

My afternoon game at Operation Market Larden X was Phil & Jenny’s excellent Throw Them Back scenario for I Ain’t Been Shot Mum.
This involved a German counterattack on one of the Normandy beaches just after D-Day, with my instructions being, as one of the German players, to get a significant force “onto the sand”.
View from the inland “German” end of the table
The forces involved
Knowing that the Allies had access to reinforcements coming off the beach, there was no time for shilly-shallying around, so my co-commander and I sent our troops up the table as fast as we could.
We knew we’d run into prepared defences, but felt that this sort of “reconnaissance by panzer” was still the best strategy to adopt.
Reconnaissance by panzer
The first obstacle we encountered was a dug-in 6lb anti-tank gun blocking off the left side of the table. It opened fire from its concealed position and battered one of our Panzer IVs as it struggled to get through a particularly thick hedge.
Another IV was on the road just to the right, so I picked up the dice and announced that the tank would swing round and come at tbe AT gun from the rear. An enormous dice roll later, and it ended up just short of actually crunching the gun under it’s tracks.
It was now just a question of who got the drop on whom, and unfortunately and despite cutting down half the gun’s crews with the co-ax, the Panzer IV took a couple of 6lb rounds point blank and promptly brewed up. Other tanks got their revenge however: HE and machine gun fire rapidly removing the gun and its accompanying infantry as a threat.
Meanwhile, on the other flank, a column of tanks supported by infantry was making its way along the track towards the beach. Another AT gun, again supported by infantry, opened fire, and the Germans soon lost two of their Panzer IIIs.
Back to the left and centre, and the Germans were getting their advance going, although another Panzer IV was lost to an AT gun lurking at the beach end of the central road.
But the Allies were also on the move, with tanks starting to pour off the beaches and advance towards the action.
Up in front, the Allied commanders were obviously nervous about their right flank, particularly as we now had a platoon of infantry supported by a couple of aged Somuas advancing forward.
They moved two platoons of infantry up as a blocking force but, in the heat of battle, forgot that we had more infantry avdancing up the central road.
With a quick trot across the asphalt, the German infantry set themselves up behind the hedge bordering the road and prepared to open fire.
Most wargames give a bonus for fire on the flank, but IABSM doesn’t. It does, however, give a bonus for shooting at multiple targets…such as six squads of infantry plus support weapons all crowded together in a neat line behind a hedge at close range.
The dice were rolled, and we had generated thirty casualties on the unfortunate Tommies! Thirty!
The saving rolls were not good, and half the Allied firing line disappeared, the rest suffering from more shock than an electric eel wearing a copper jacket!
Unfortunately at this point time beat us and although there was a bit more jockeying for position, nothing more of any great significance occured.
Phil carefully weighed up the situation (ignoring both sides’ loudly exhorted claims of victory) and declared a the game to be a draw.
Which was actually a fair result I think.
Although we had advanced just over half way down the table and cleared the Allied forward defences, we had lost two thirds of our tanks…and although we had caused two of the three Allied platoons horrendous casualties, the end game would realistically been our infantry (admittedly armed with plenty of ‘fausts) verses the Allied tanks from the beachhead.
All in all a brilliant game of IABSM played across what can only be described as a fantically created tabletop. Well done to all concerned and particularly to Phil and Jenny for putting on such a great display.

The scene is set for hard fighting tomorrow as Nigel Chapman and Alan try to clear the village of St Lambert-sur-Dive of the tenacious German rearguard (me).
Will Major Currie win his bravery award again as we play through “A Canadian VC”. “Does that sound like a Tiger engine starting to you, Sir?…..”
After a great days gaming St Lambert-Sur-Dive was liberated by the Canadians. Great use of tactical bounds by Nigel Chapman.
The Germans were initially successful in holding up the British infantry who were very cautious the “empty battlefield. The German armour then put in an appearance to try for some early damage to the 1st Sherman troop but to no avail. Some crack shooting from the Canadian Sherman’s saw the Germans Tiger lose its main gun to the first hit and the Panther lose its main gun and become permanently immobilised in the first two shots at it!
With German reinforcements slow to arrive they were then on the back foot. The British then steadily cleared the village through good use of their veteran infantry and when one of the Panzer IVs fell to a side shot causing 5 net hits, it was all over for the depleted defenders!
Great fun had by all.
Nick Bellamy

Great weekend of gaming. Two games on Saturday and one team game Sunday.
Ken Snell

Fun game today with the Advance Guard of 5.Leichte-Division.
Those RRACs aren’t to be underestimated!
Ken Snell

Some France 1940 action last night. A British relief column trued to break through a German held village...all did not go according to plan!
First run out with the IABSM rules in ages but great fun was had by all.
Bryn Rea

Fun game with son tonight. I’m looking forward to more western desert action.
Ken Snell


I set up and played a couple of 'lonely pint' games over weekend for purposes of rule refreshing and plain old fun because (thankfully) this is how I still see myself and wargaming!
One was the IABSM scenario 'Action at Galmanche' from rule book. Only partly through this as lots of rules refreshing (been ages since used IABSM) but lots of action already.
Forgot that Blinds are auto-spotted on a Tea Break Card so was a bit nonchalant with the British deployments and they were all spotted in one go. Still the German Pak40 failed to brew two Shermans (some damage to gun-sights and mobility) and crew has been reduced to a mere two so Actions reduced.
German infantry shooting also sub-par (much less potent than in Chain of Command) although I did miss that Shock is doubled if shooting from Ambush.
British pre-game Stonk did inflict a lot of shock and killed the German Mortar Observer (not sure if any Big Men/Cot CO can call in these now?)
Had also forgotten that there can be a lot of markers required (I had to dig mine out) with Pins, Suppression, Overwatch, Shock and several types of damage for AFVs but this is a nice playable and flavoursome WW2 game (I prefer it to CoC in many aspects)
Sergeant Steiner
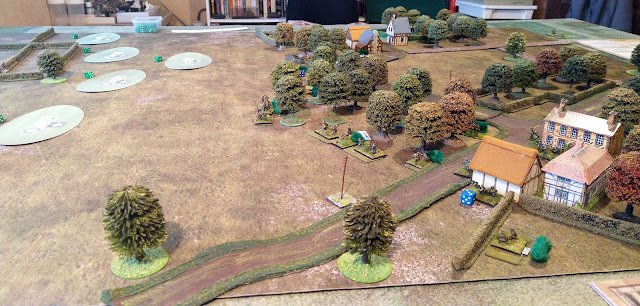
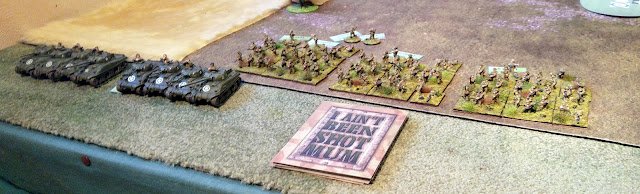
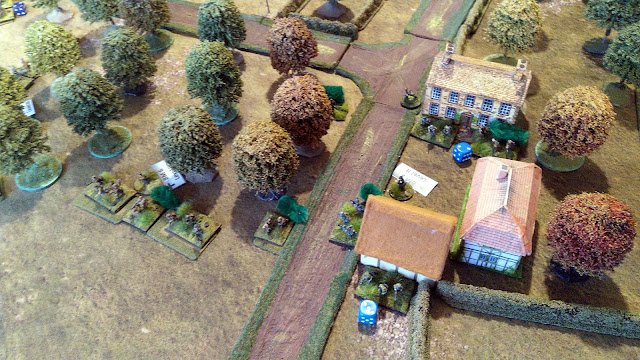

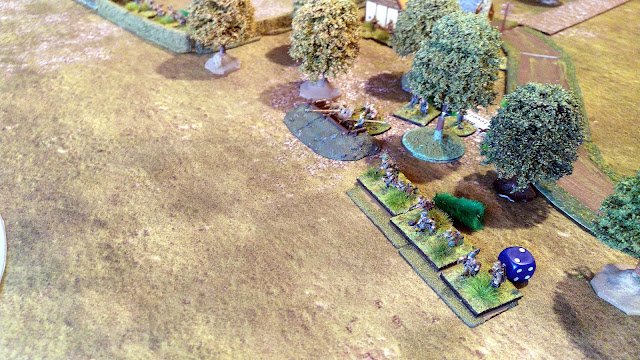
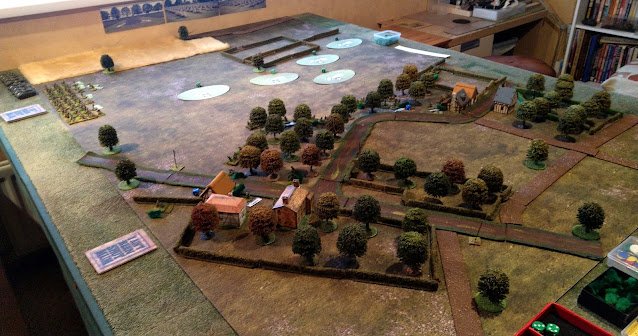
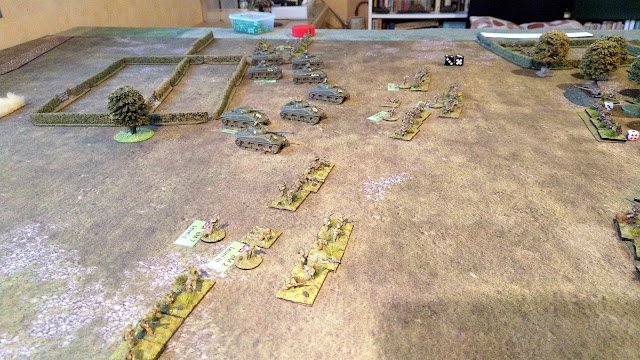
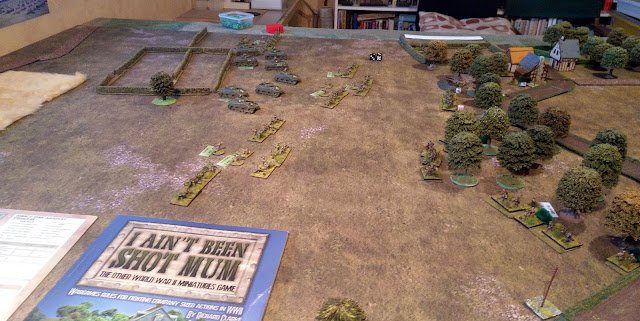

As the 2nd New Zealand Div pushed west towards Orsogna in December 1943, a battlegroup of the 18th Armoured Regiment, 22nd Motorised Battalion and some armored cars of the Divisional Cavalry made a feint along the Melone - Guardigrele road.
The board was mostly open muddy fields dropping off from the twin track. Vehicular off road movement had a good chance of bogging.
Jon had 2nd Company of Halftrack borne infantry (with 5 Big Men total) from the 22nd NZ Motorised Battalion. Eleven M4 Shermans from B Squadron, 4th NZ Armoured Brigade and two Staghound armored cars.
He came in on the eastern edge of the table centered on the road. The infantry had debused from their M5 halftracks No sense in getting them bogged!

NZ Blinds at the bottom edge. Easily spotted in the open country.
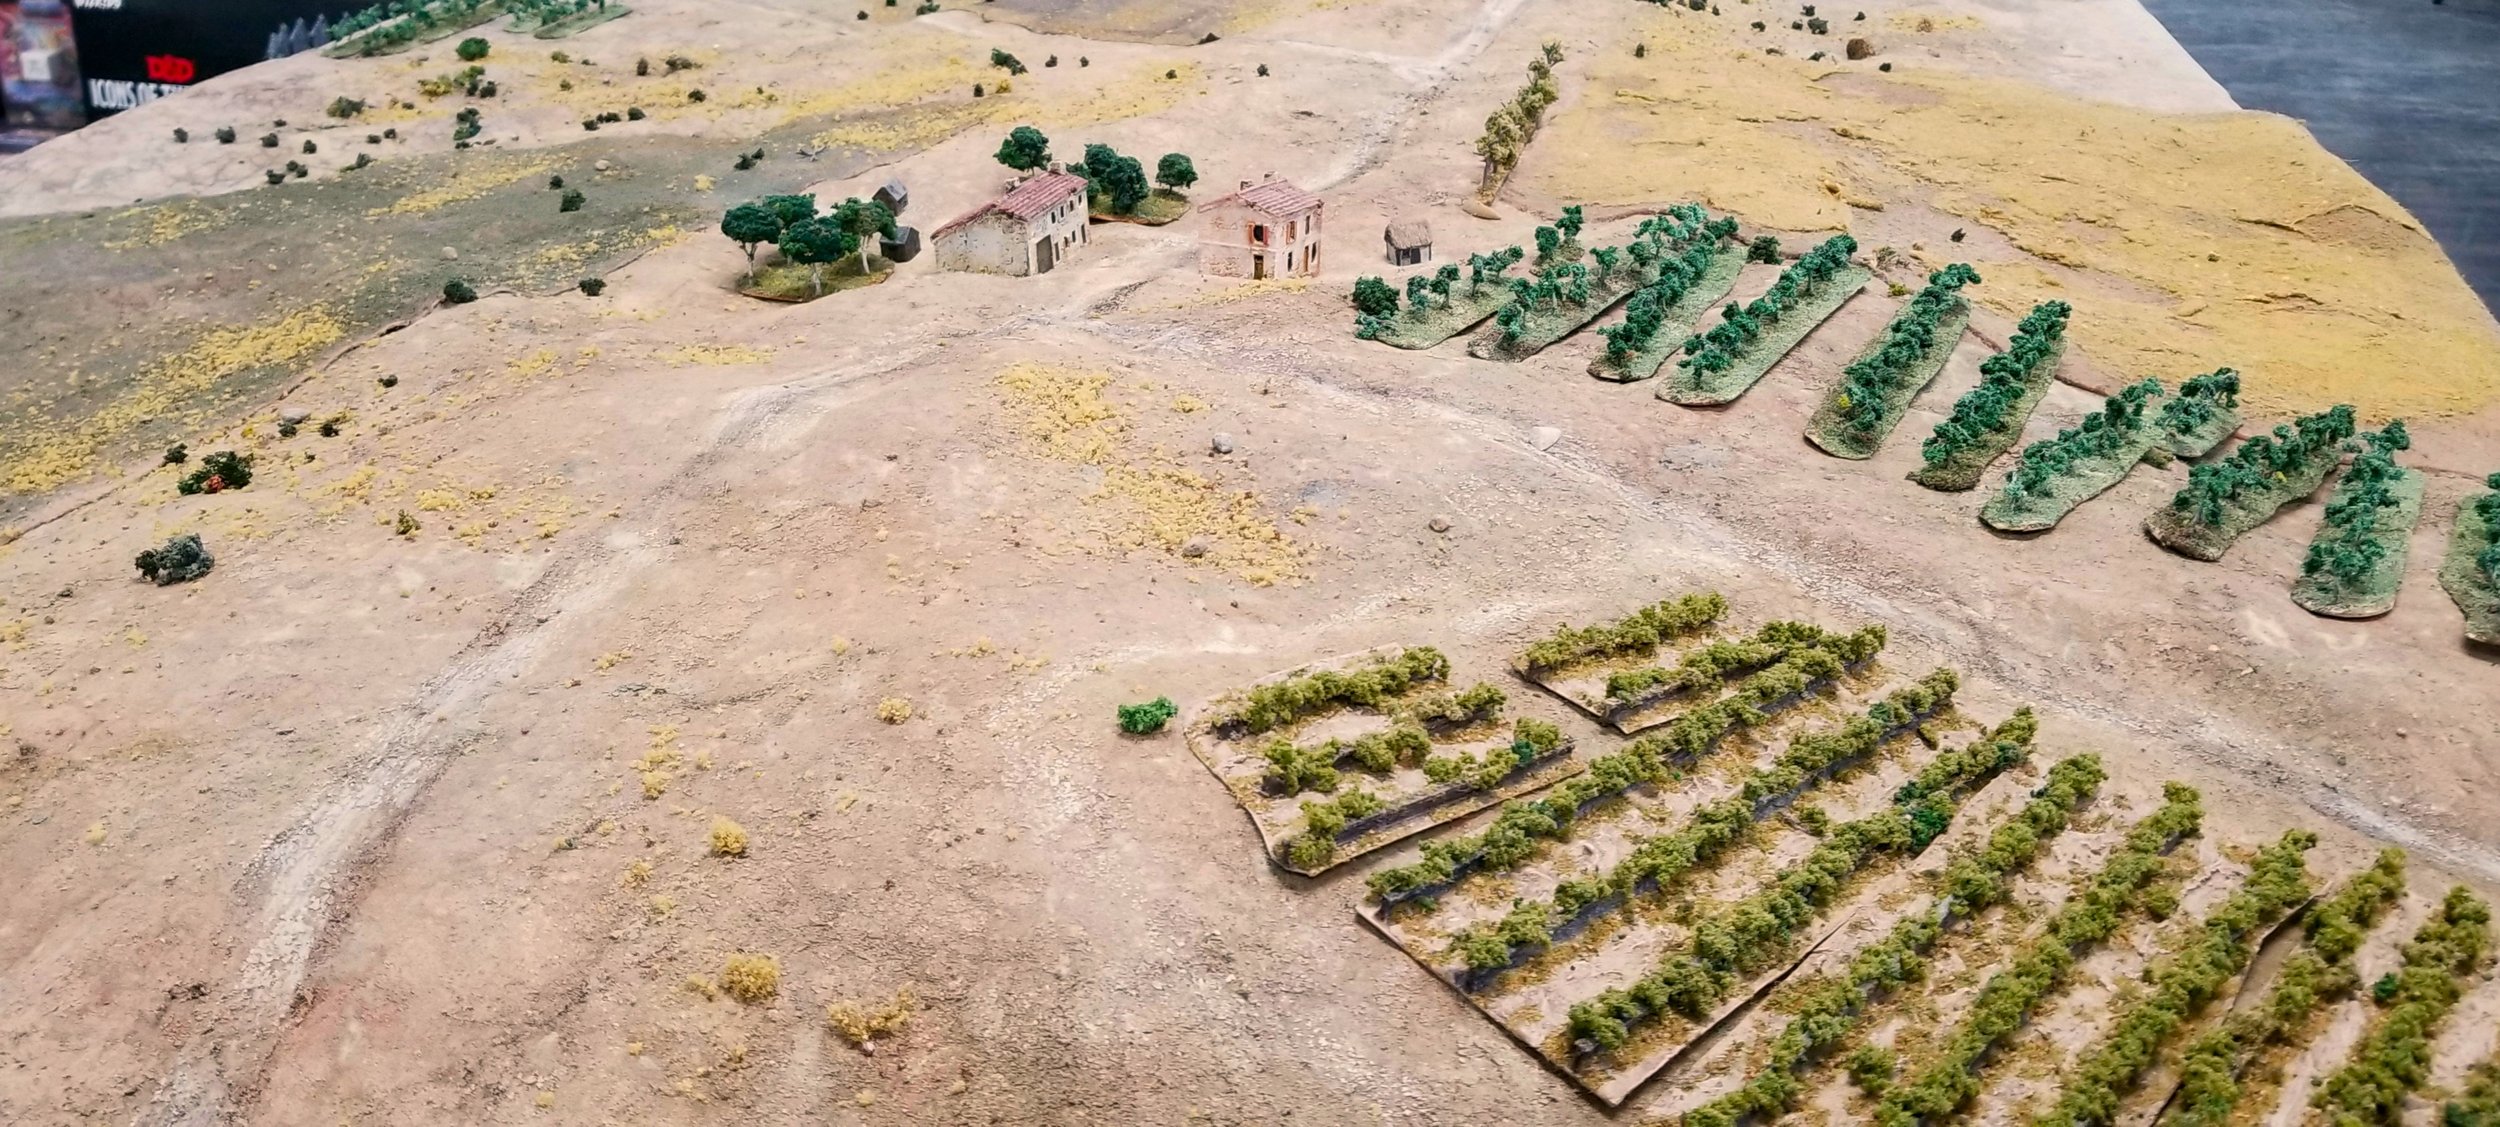
The defenders are really on the backfoot along the front here and hope to consolidate their lines by Orsogna. The best they could do is delay the Kiwis. As such they have a reinforced platoon sized unit of grenadiers (with 3 Big Men and 2 MMGs) from the 1st Battalion, 9th Panzergrenadier Regiment, two Panzer IVGs from the 8th Company, 26th Panzer Regiment. They have a pair of 81mm mortars and 4 tubes of 10.5cm howitzers on call. A demo charge to destroy a chunk of road and enough AT mines for a couple of 6" strips.
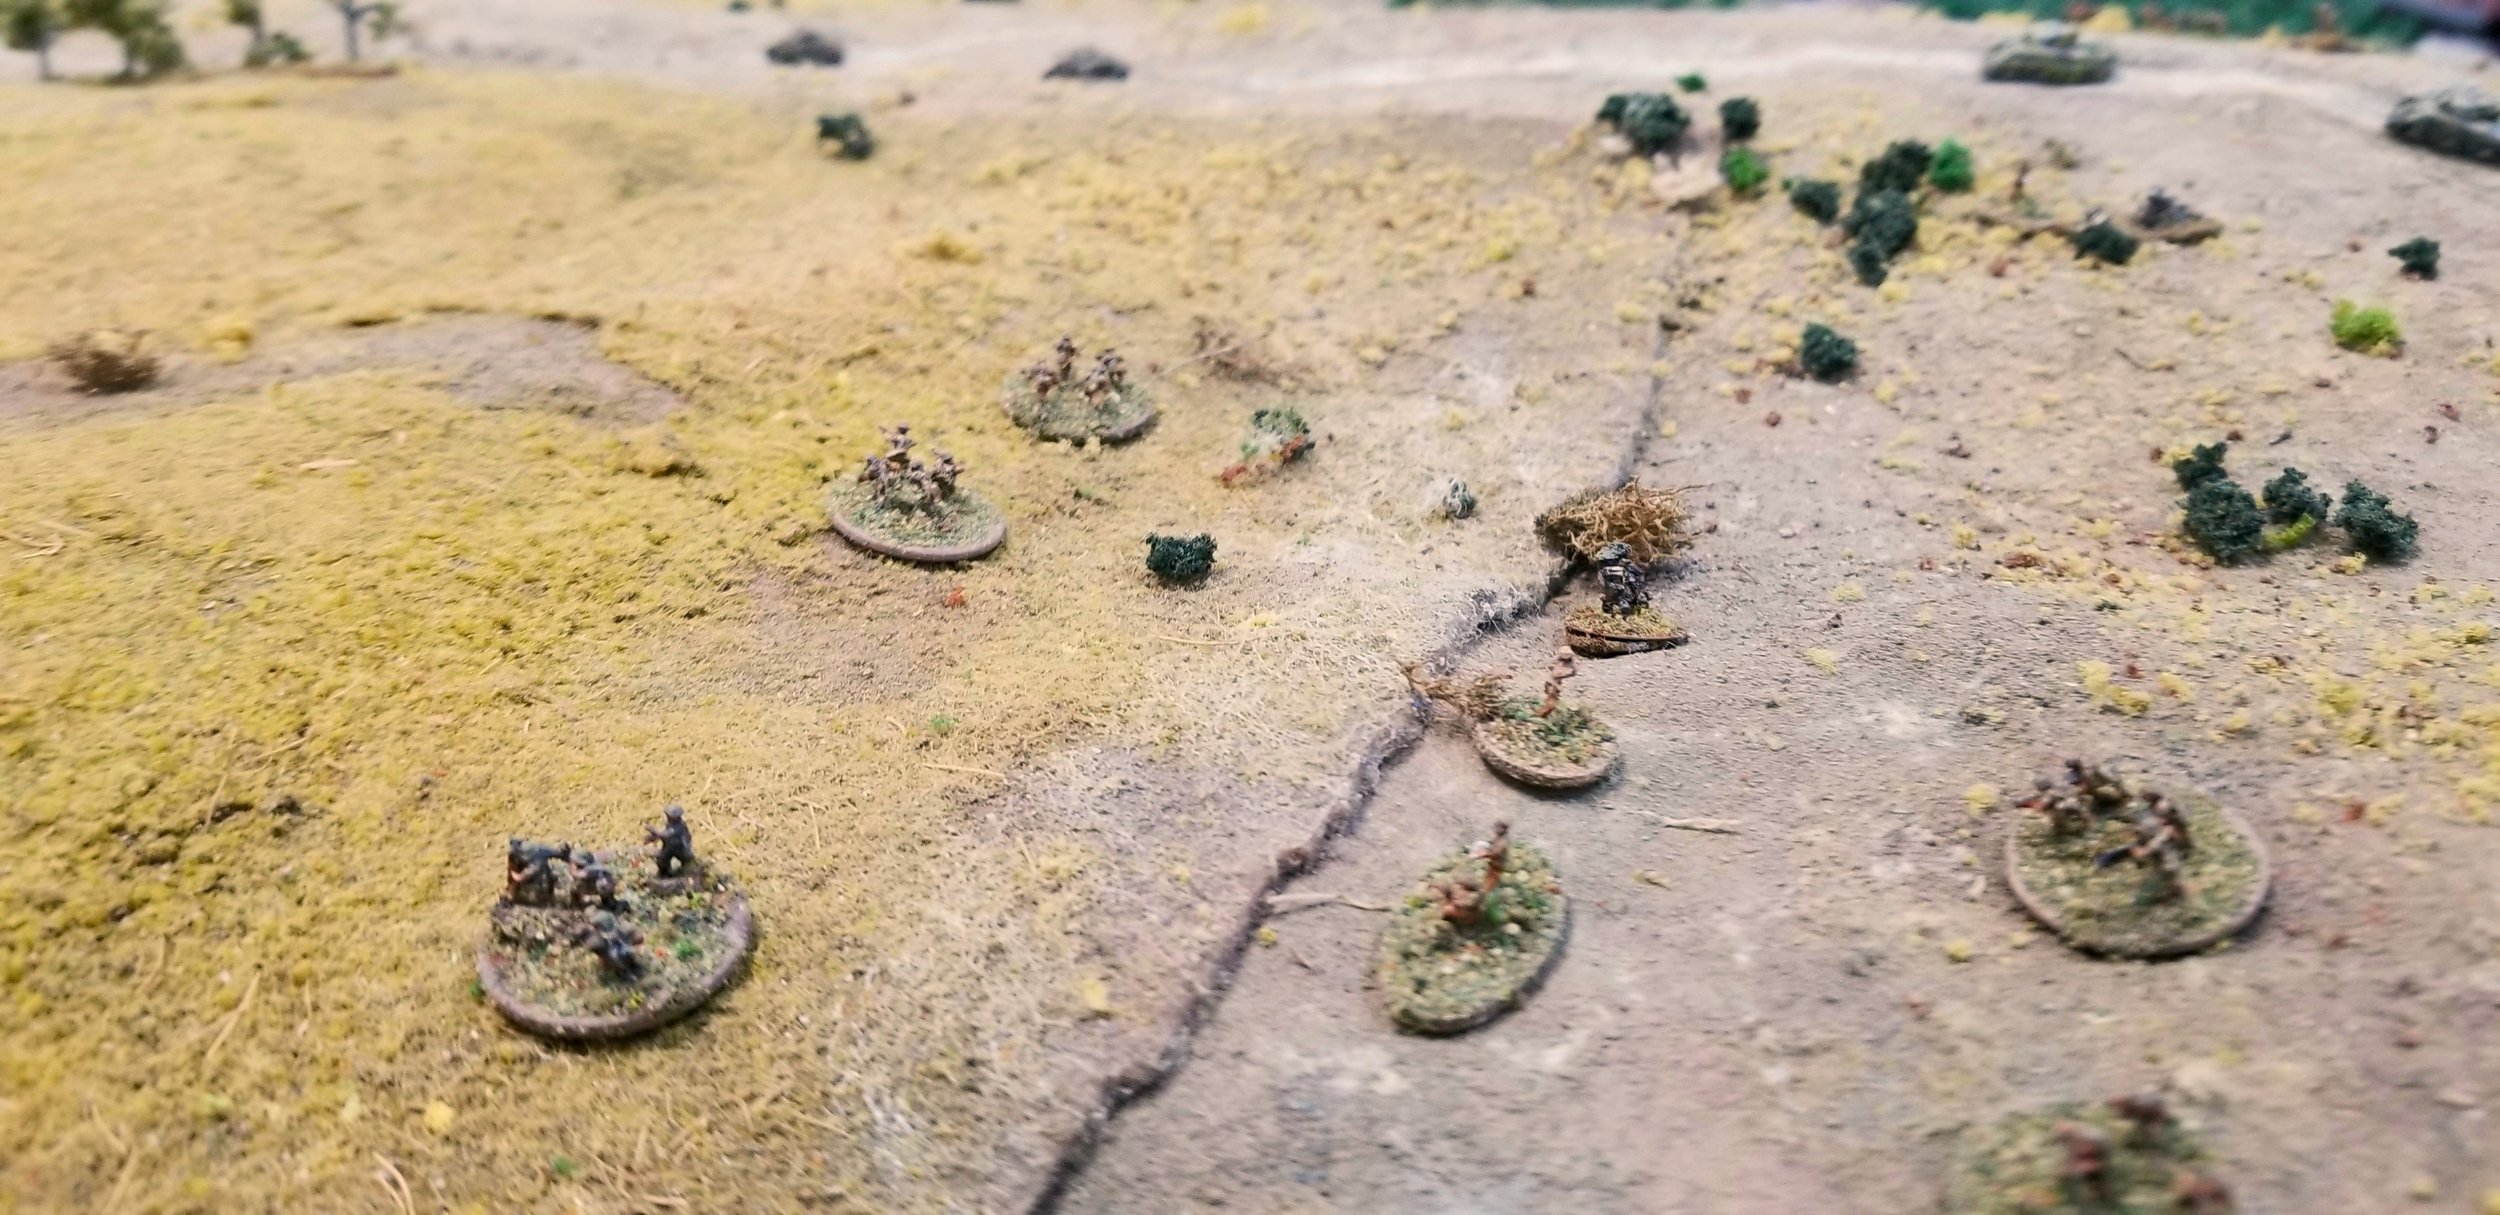
All off road movement was at a -1 pip/dice. The armor moved along the road with the Staghounds in the lead.
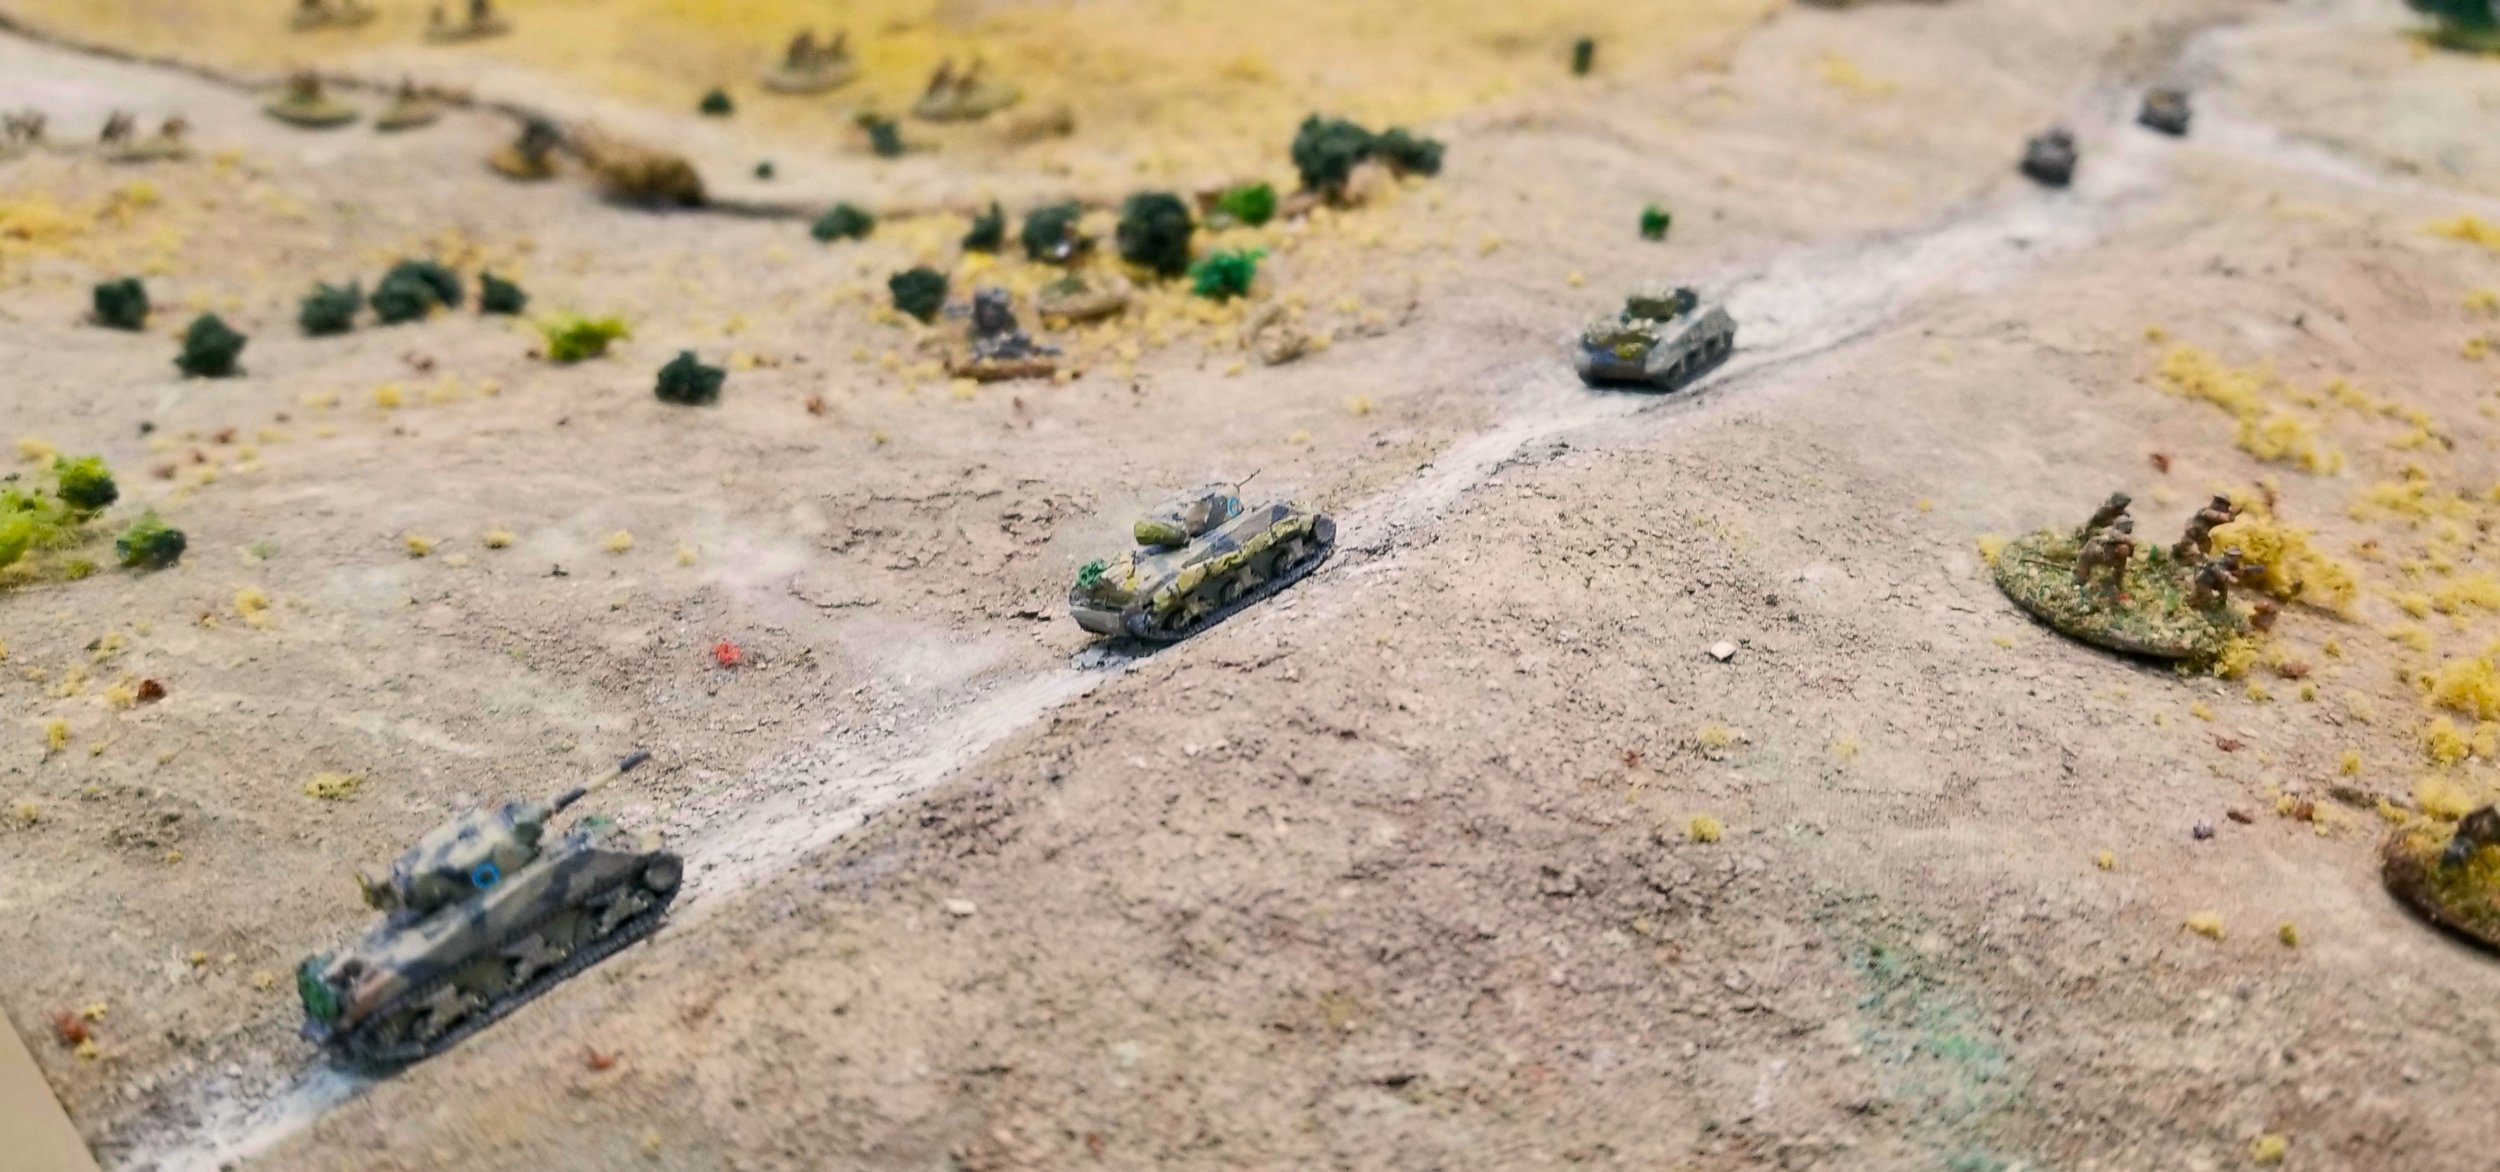
Following the staghounds. The 2nd platoon of infantry was to the right of the main road. The company CO and HQ section is off road to the left.
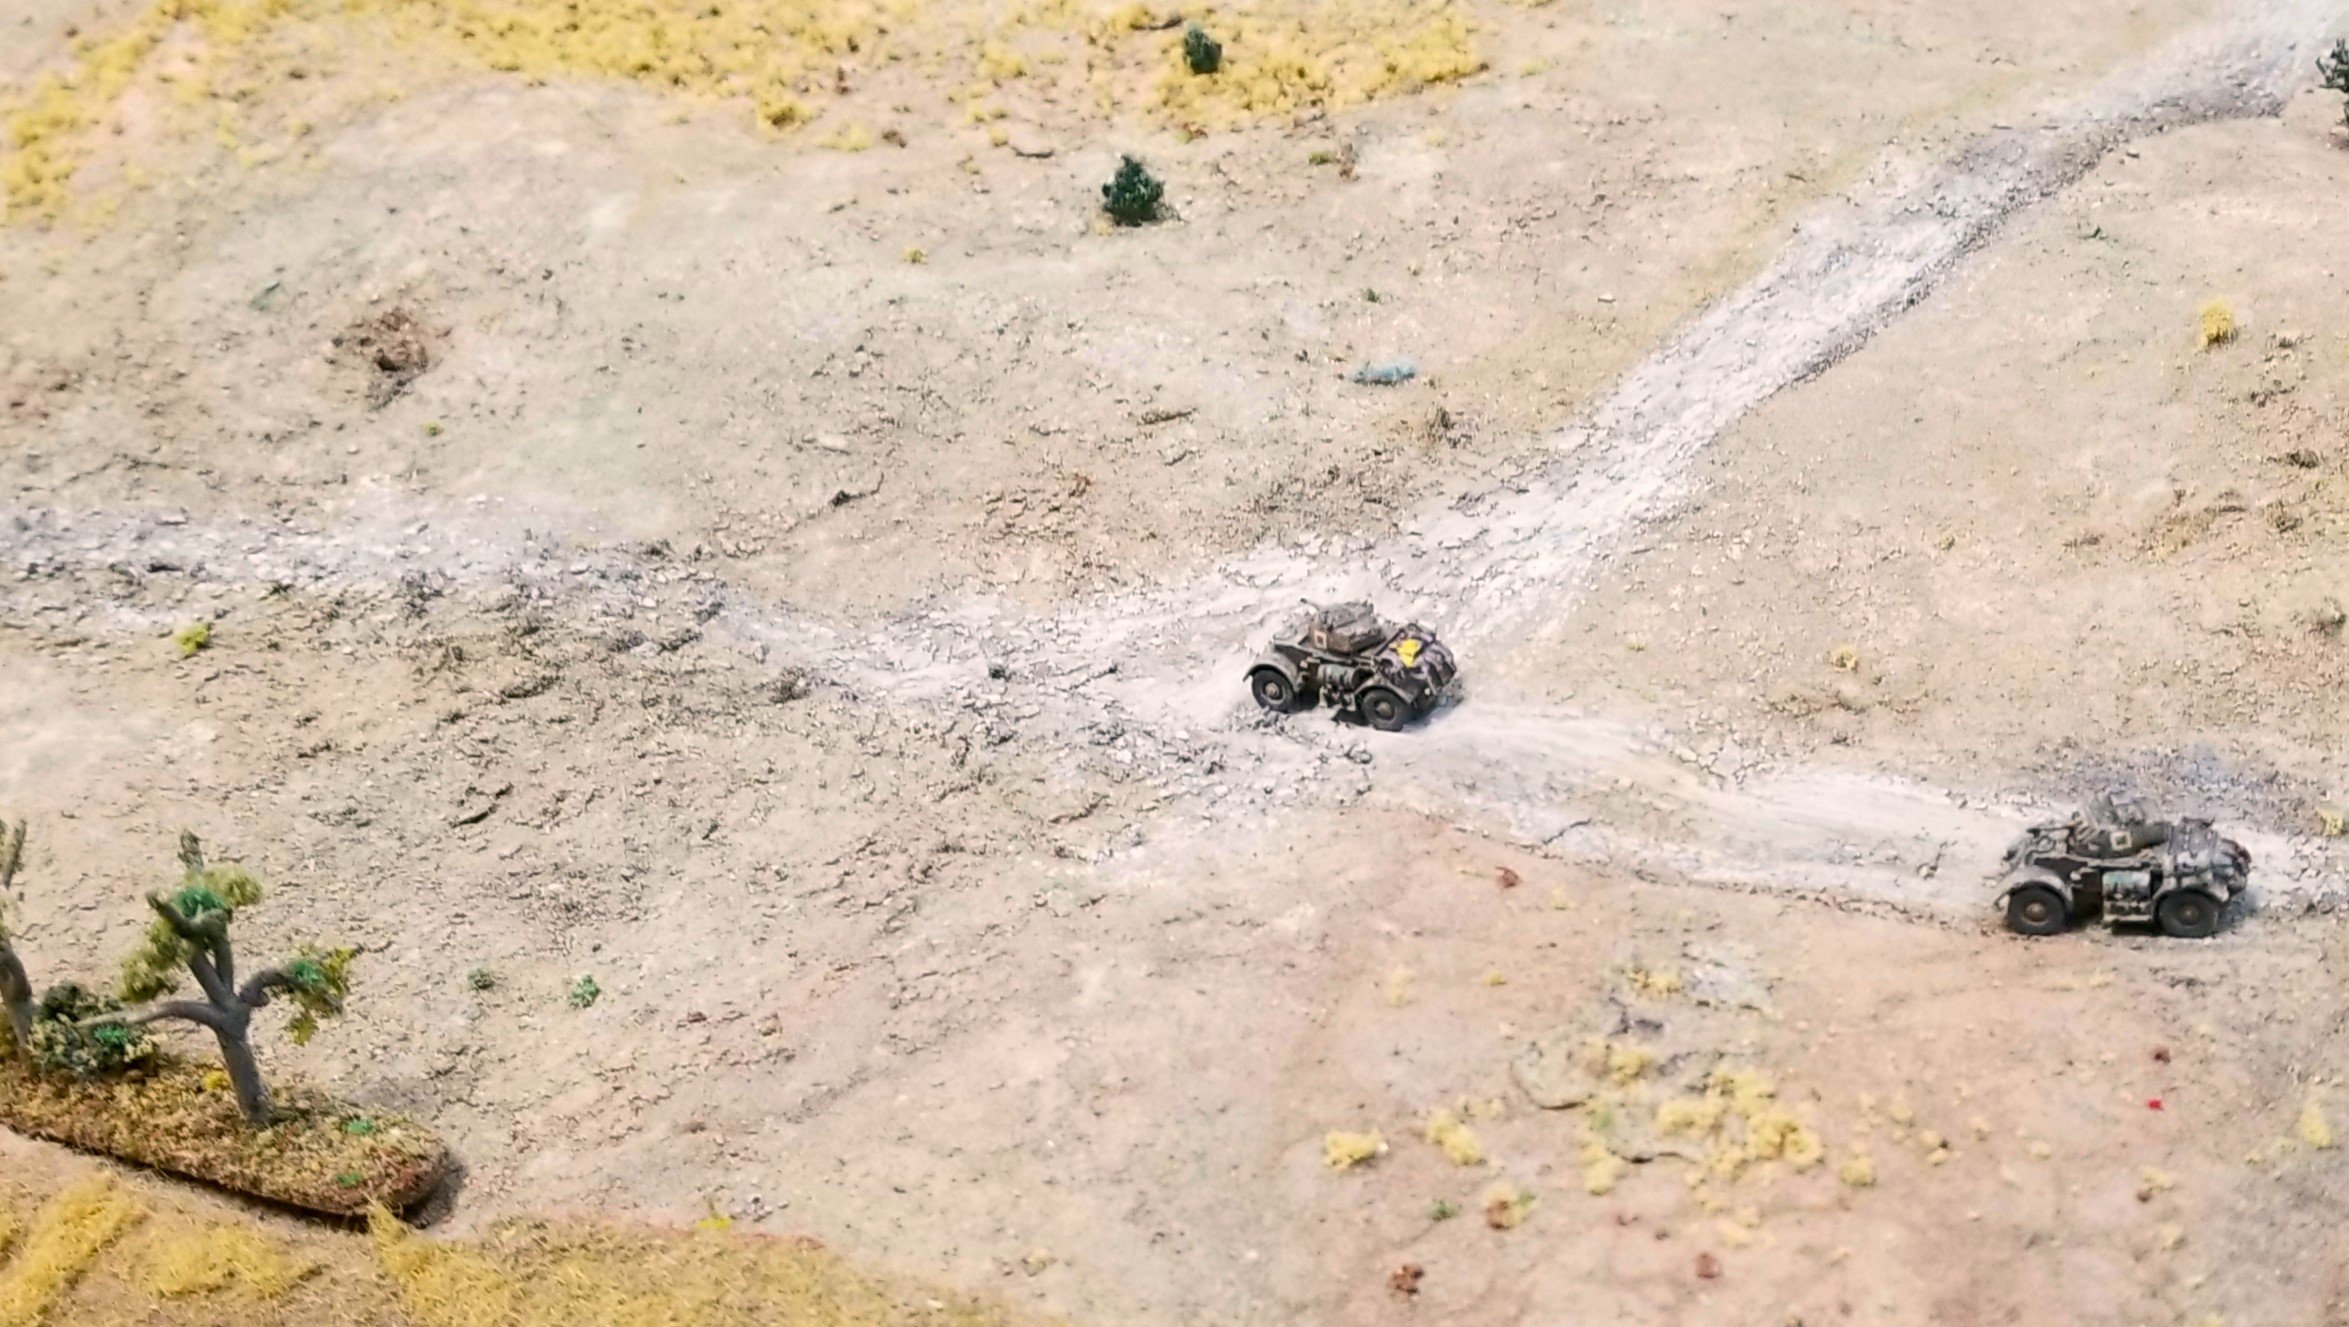
The right track goes north to Cerhiara off table. Germans are still unspotted at this time.

And taking a chance of getting stuck. The Staghounds moved down the track to the north
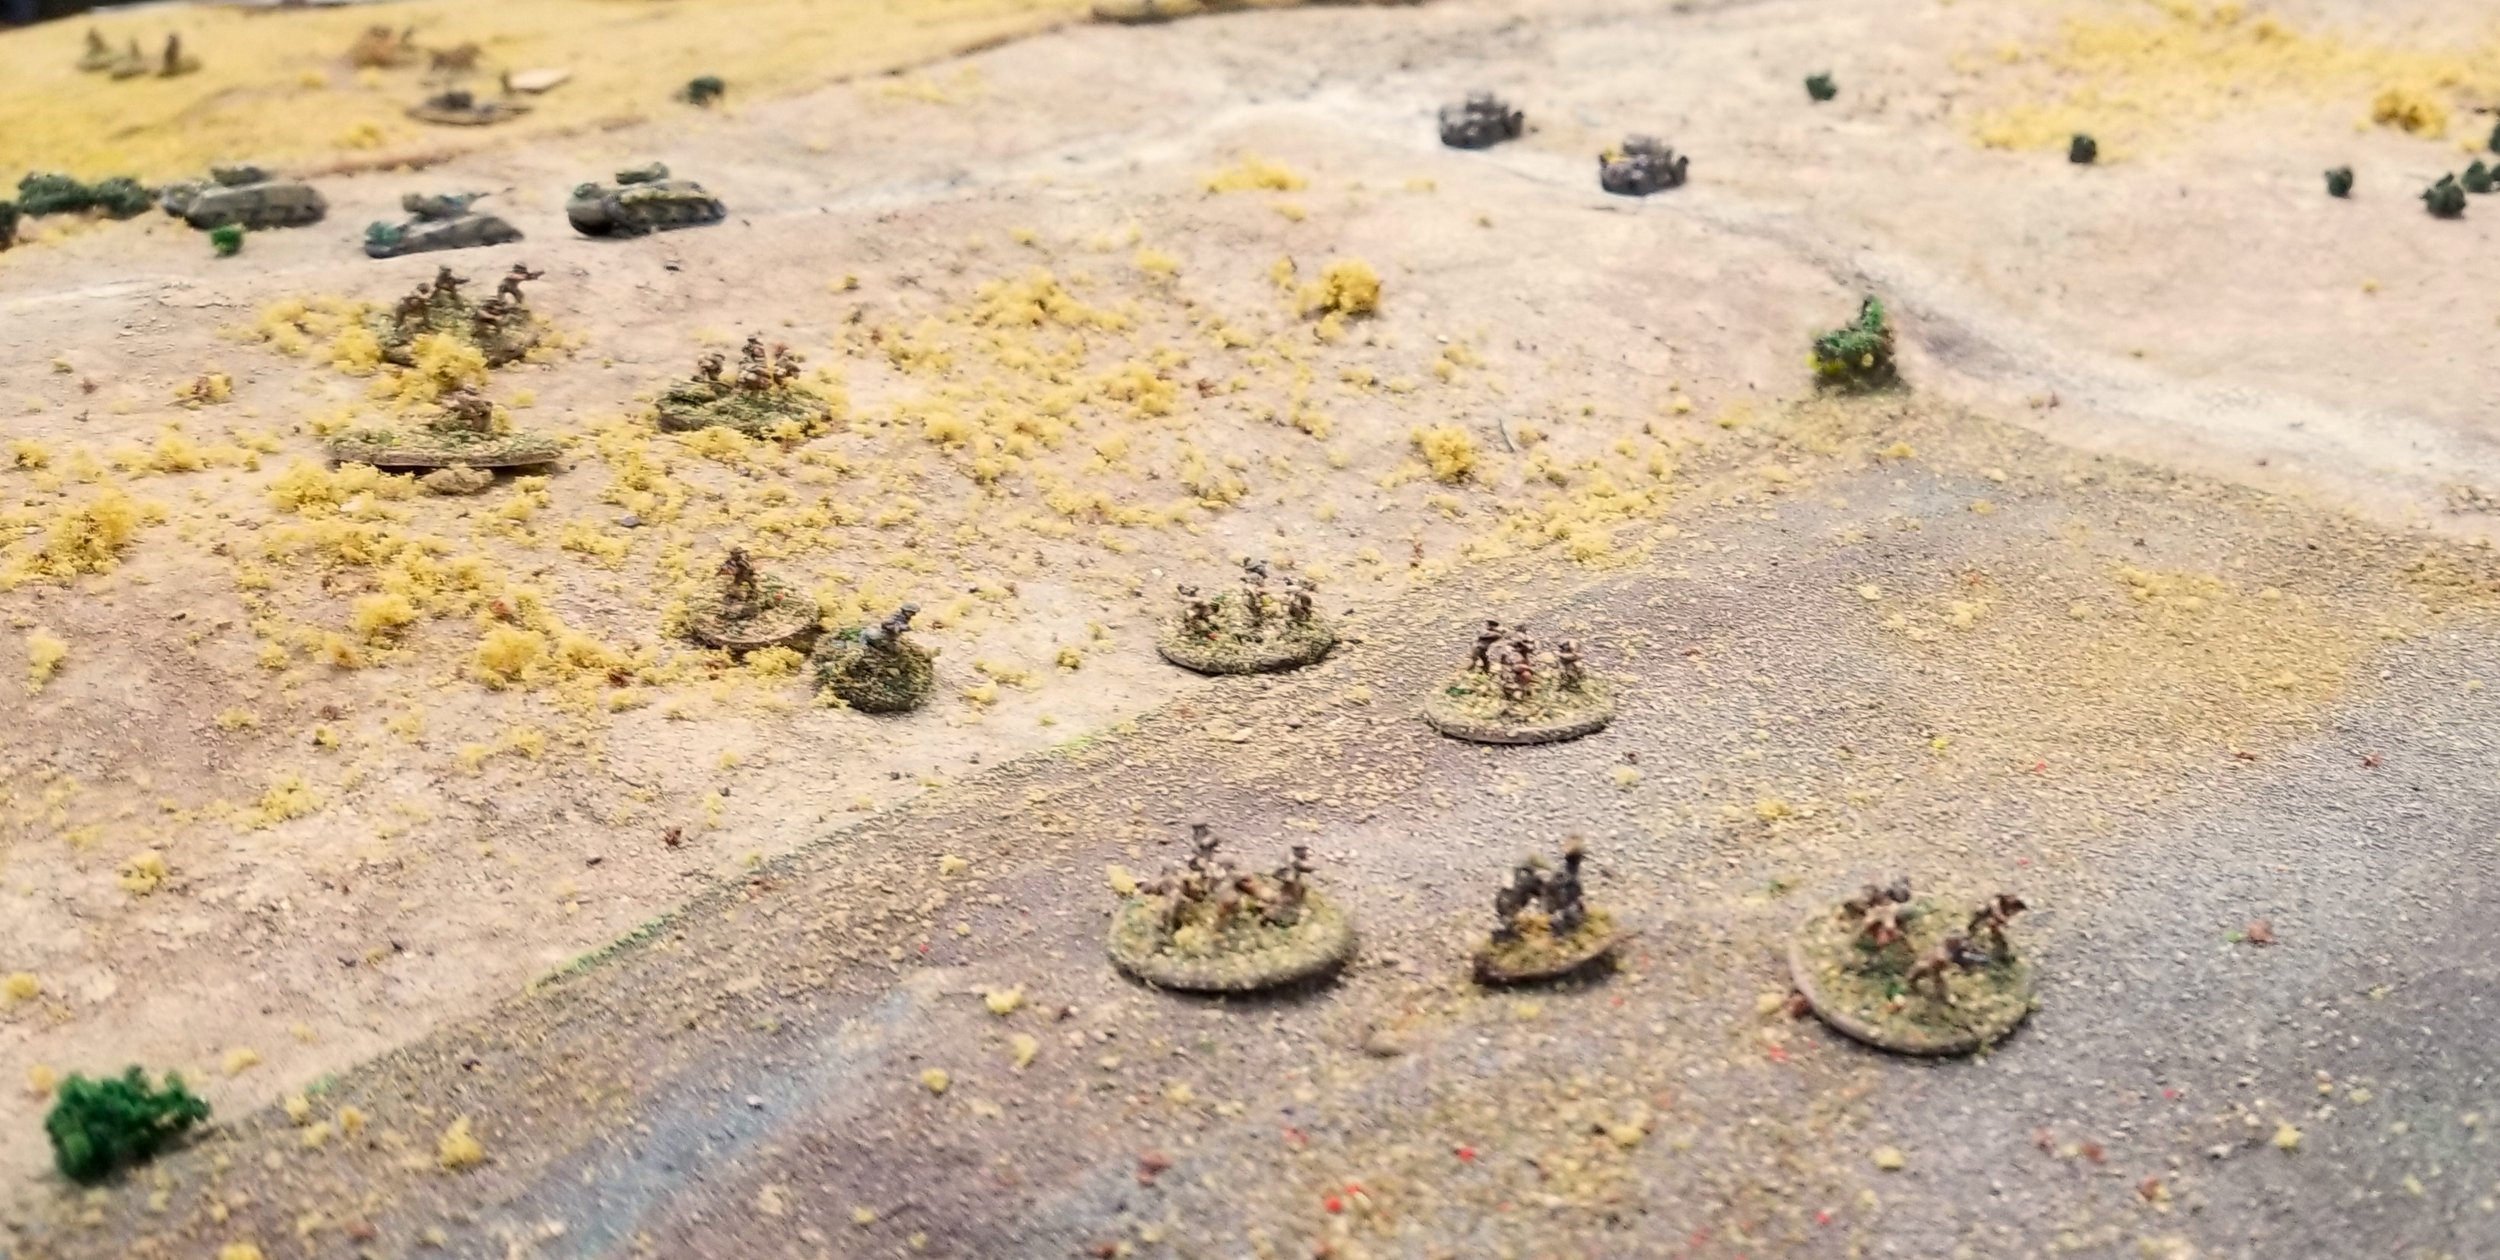
Jon kept his units well spread out. The German artillery was unfortunately unable to connect early on so I waited for the Kiwis to get withing effective range of my MGs and small arms.
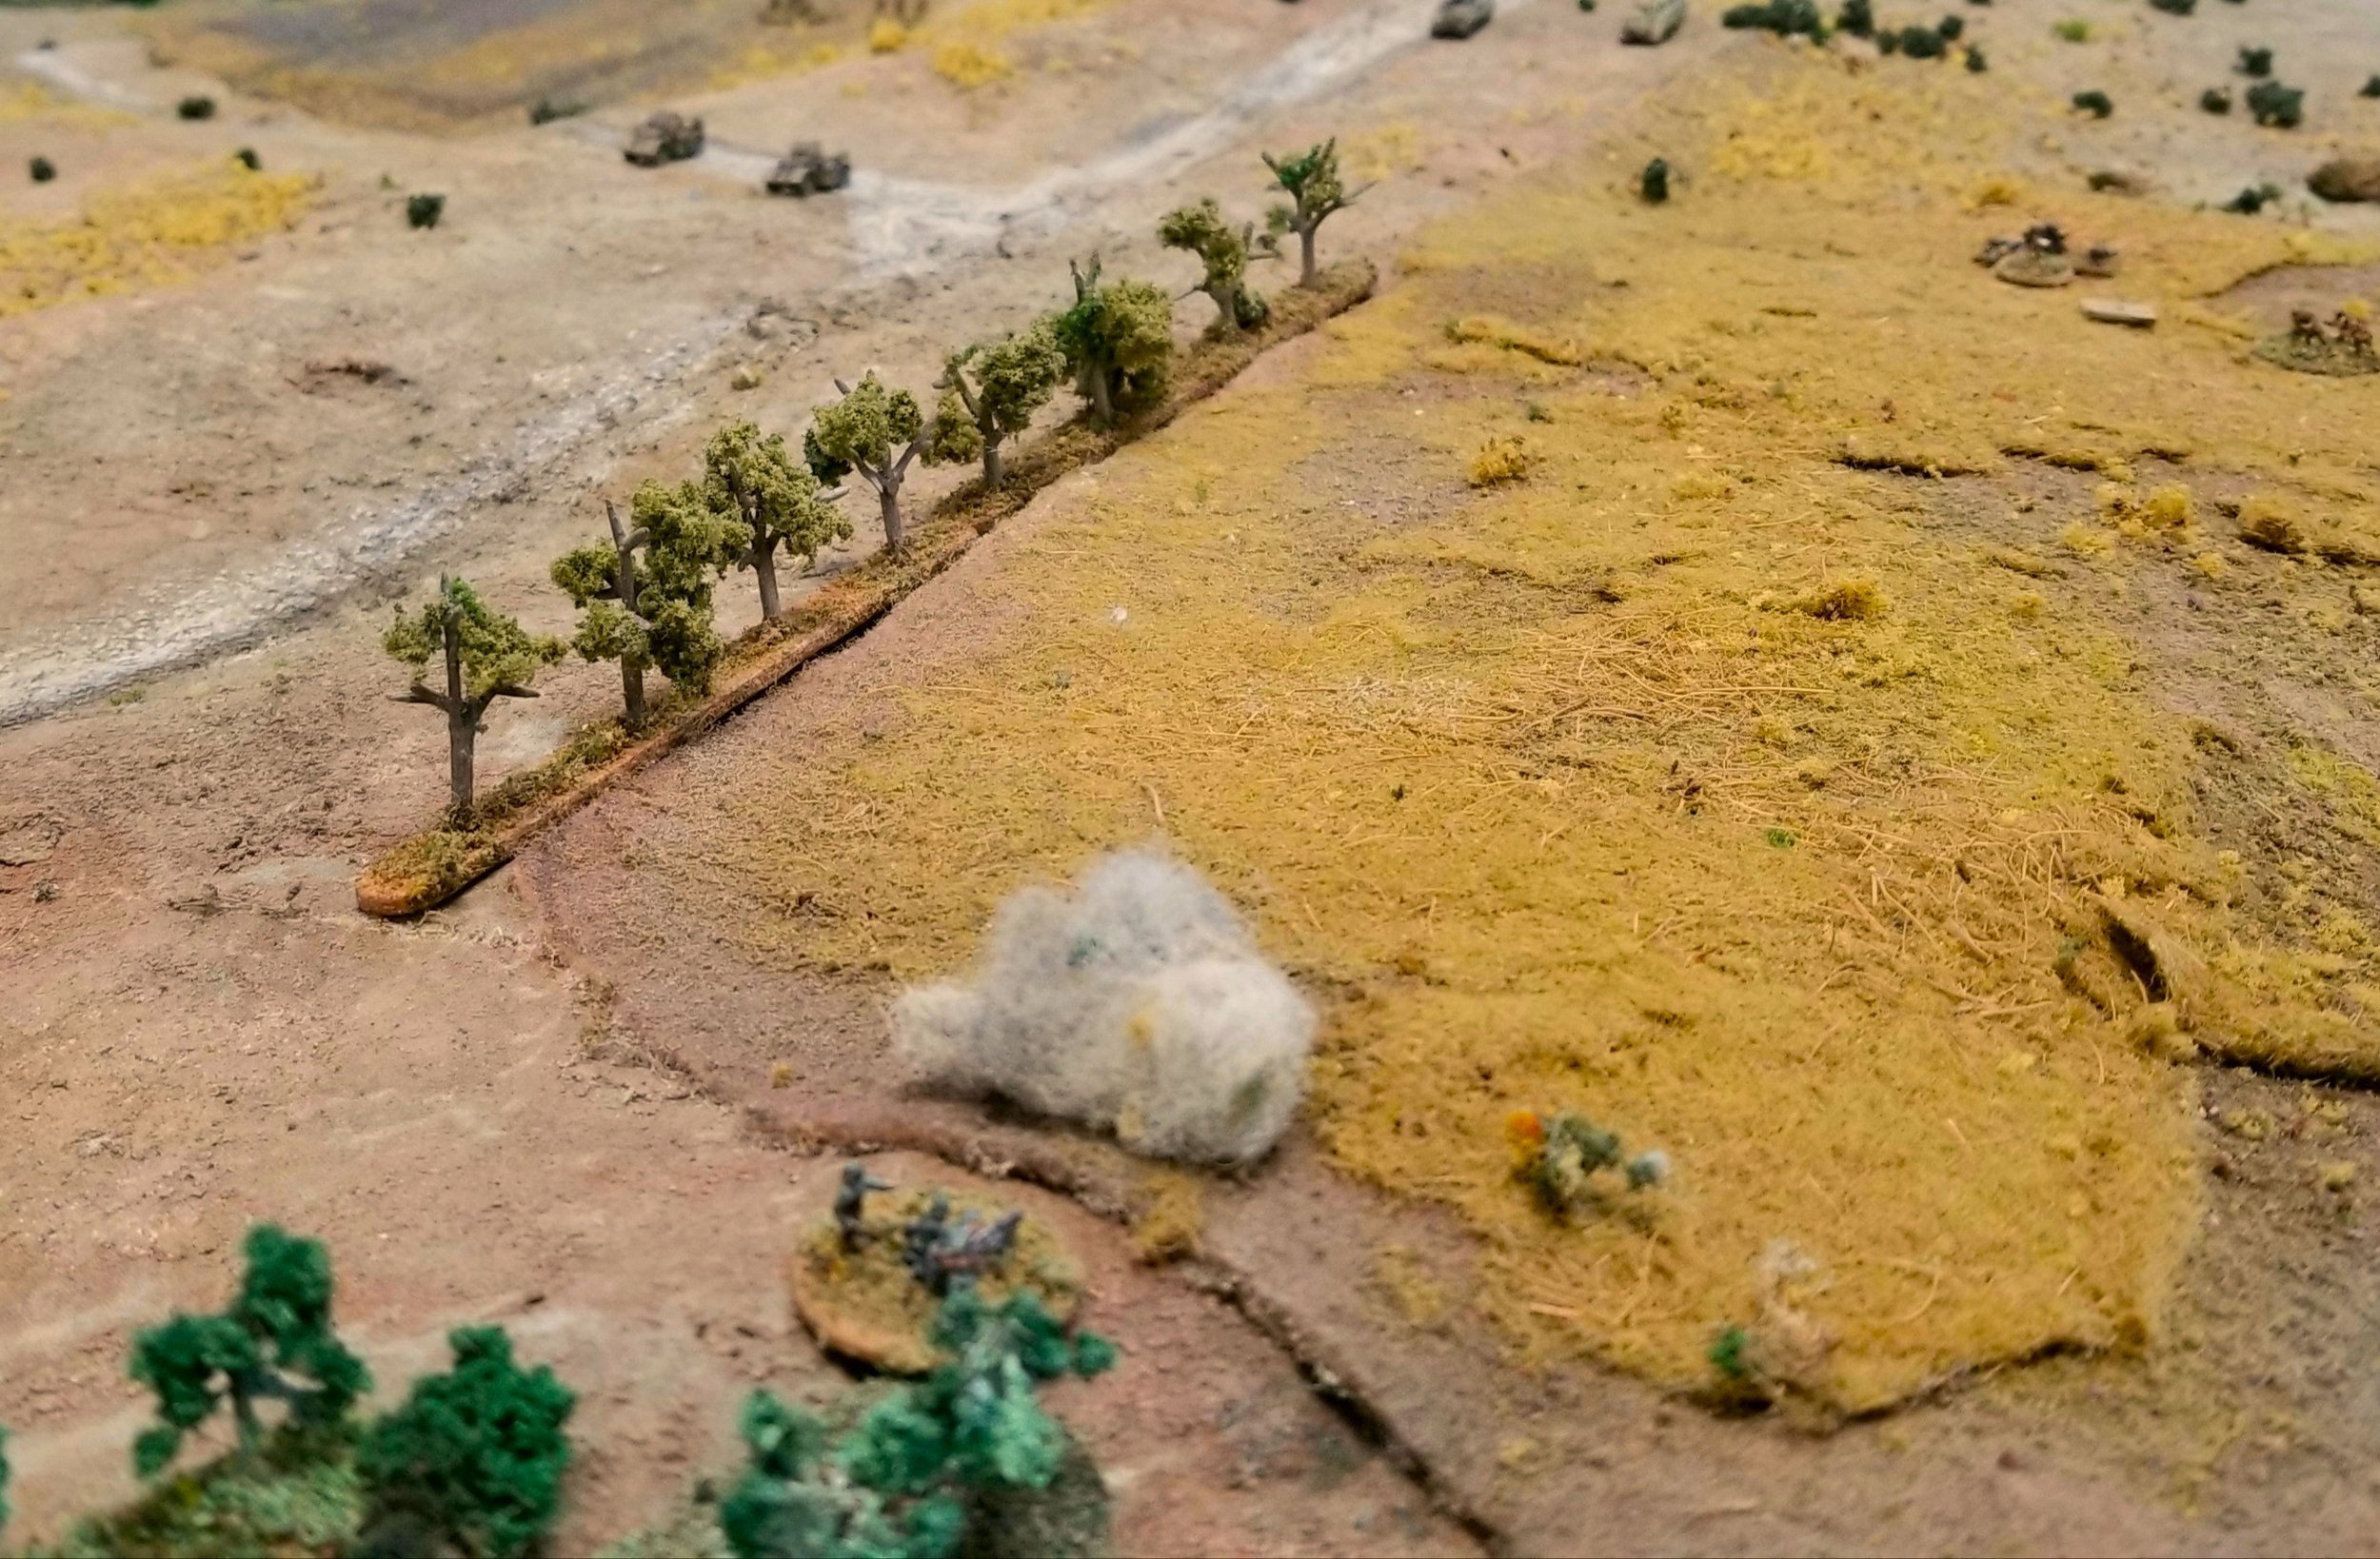
First shots did a little damage but the 2" mortar team managed to block most of its view. And the Allies had plenty of guns to return fire.

At least the demo charge exploded causing the road to be blocked at that point. My other MMG opened up on the Kiwi 2nd platoon.
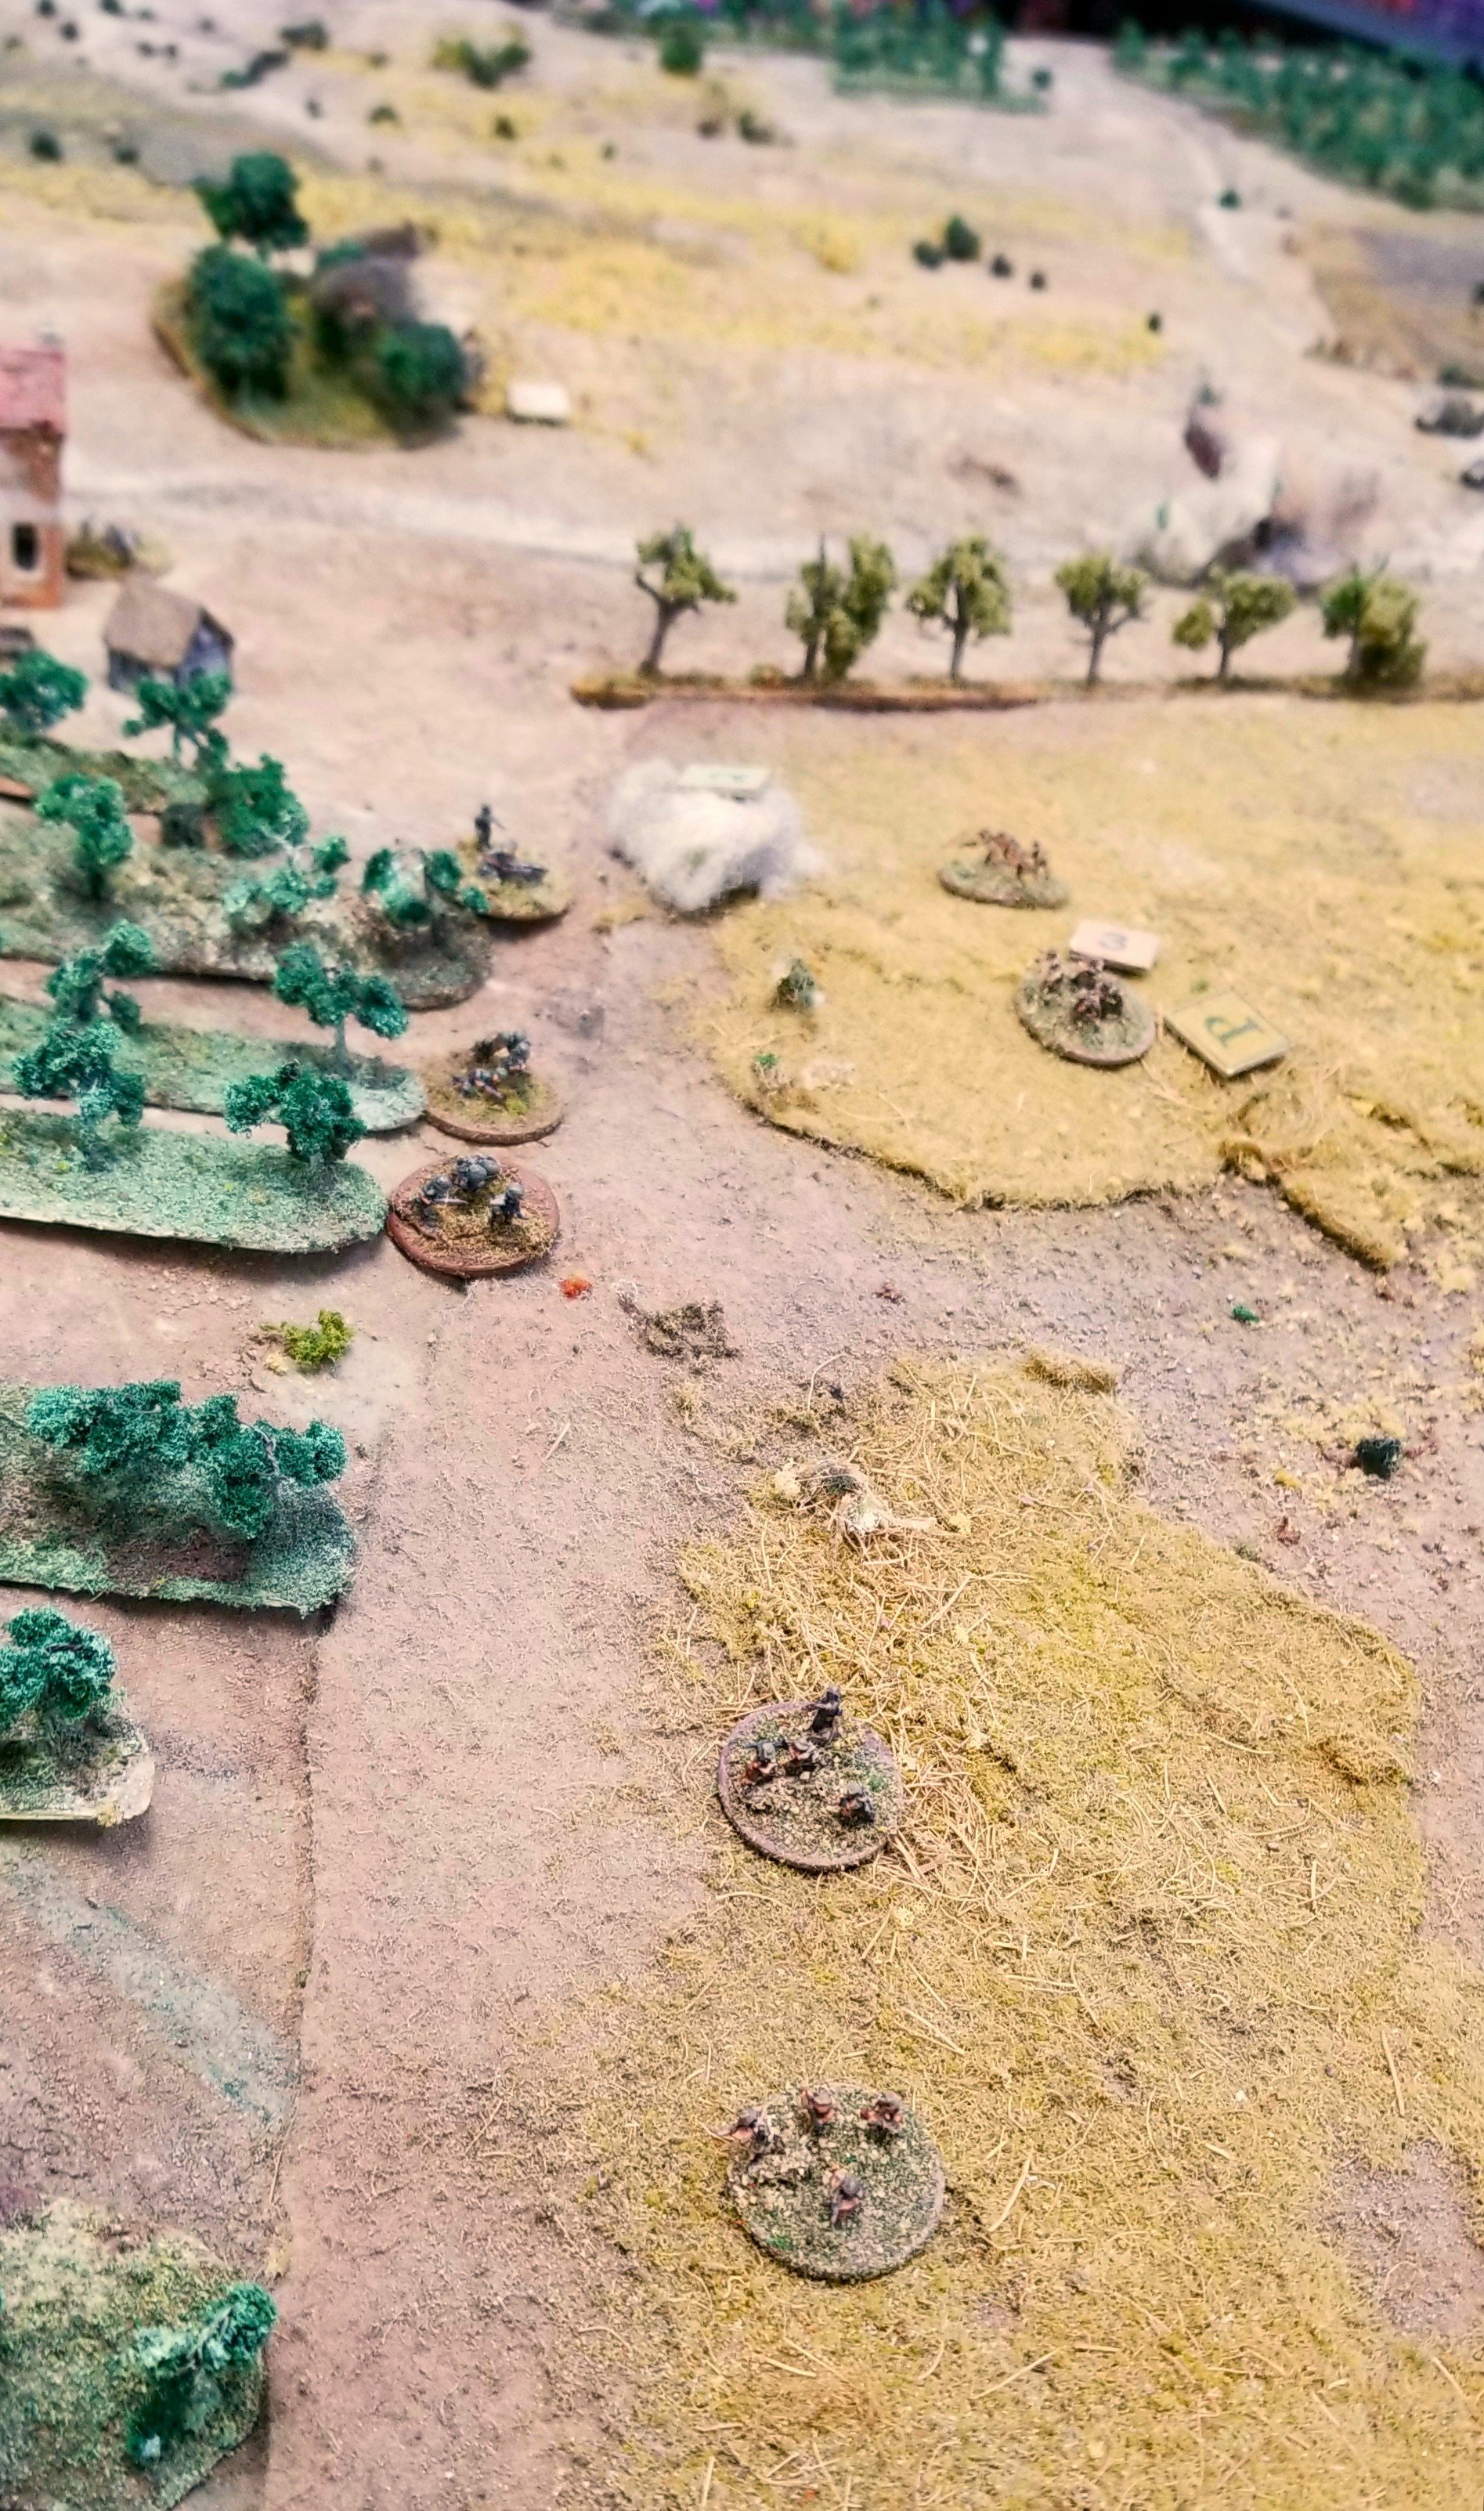
My right flank was about to be flanked The dug in section did put some casualties on the advancing Kiwis as they crossed the muddy field. But Jon swung further left and got around my thin screen.
Meanwhile my PzIVs fired from the olive trees in attempt to at least take out the Staghounds but only managed to immobilize one. The M4s put some HE down on the section in the trees north of the road.
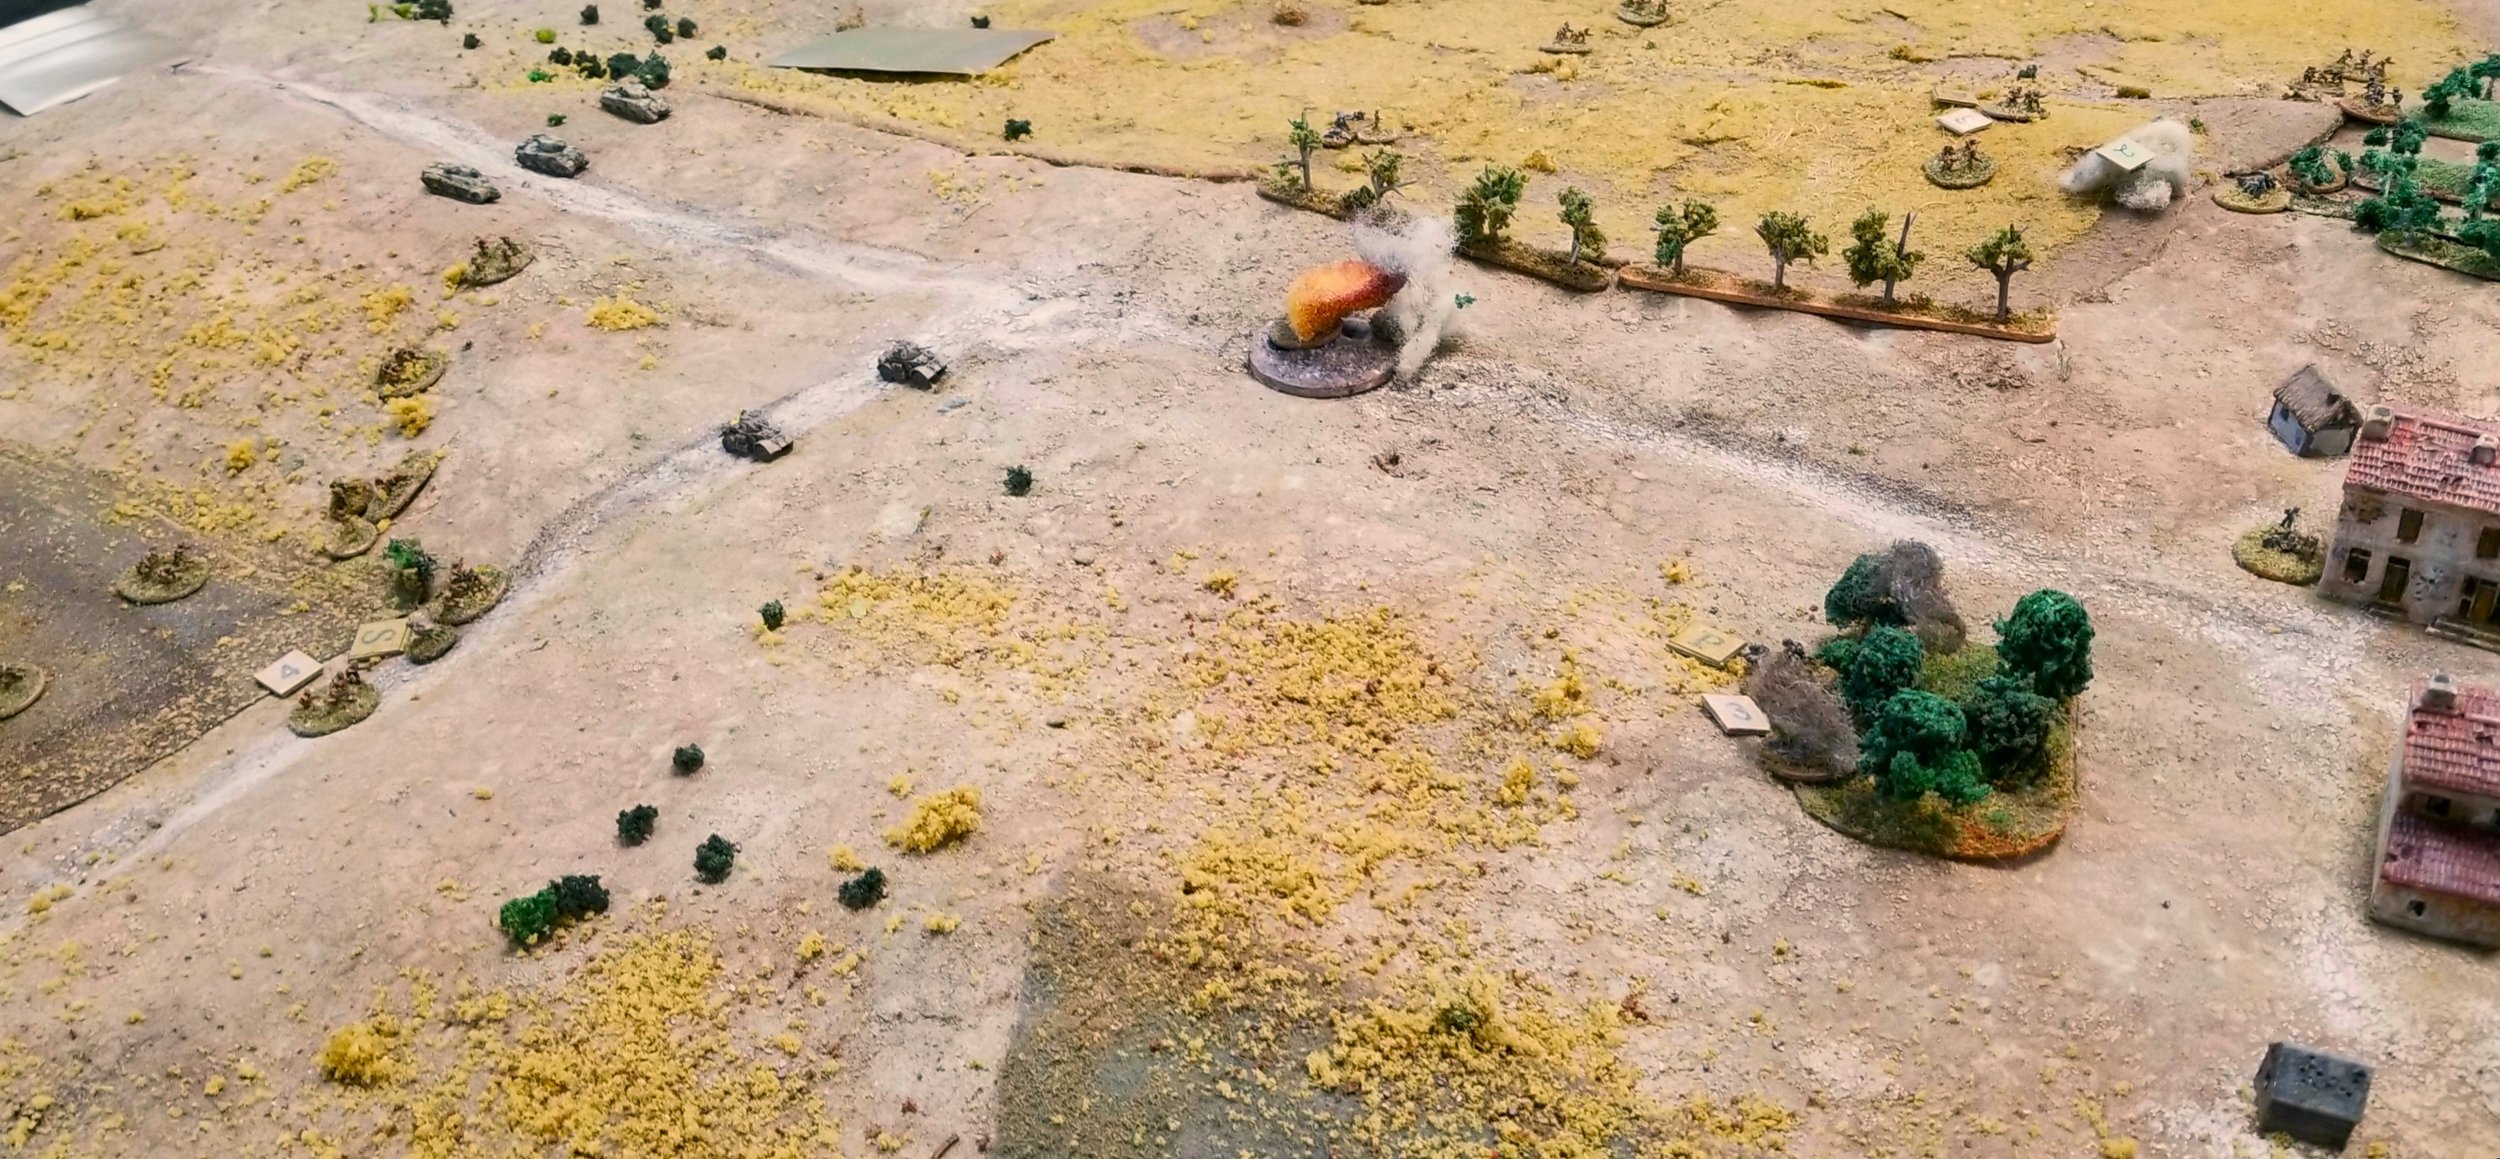
A German MMG team is in the building The other MMG team is blinded by smoke and packing up to pull back to the buildings.
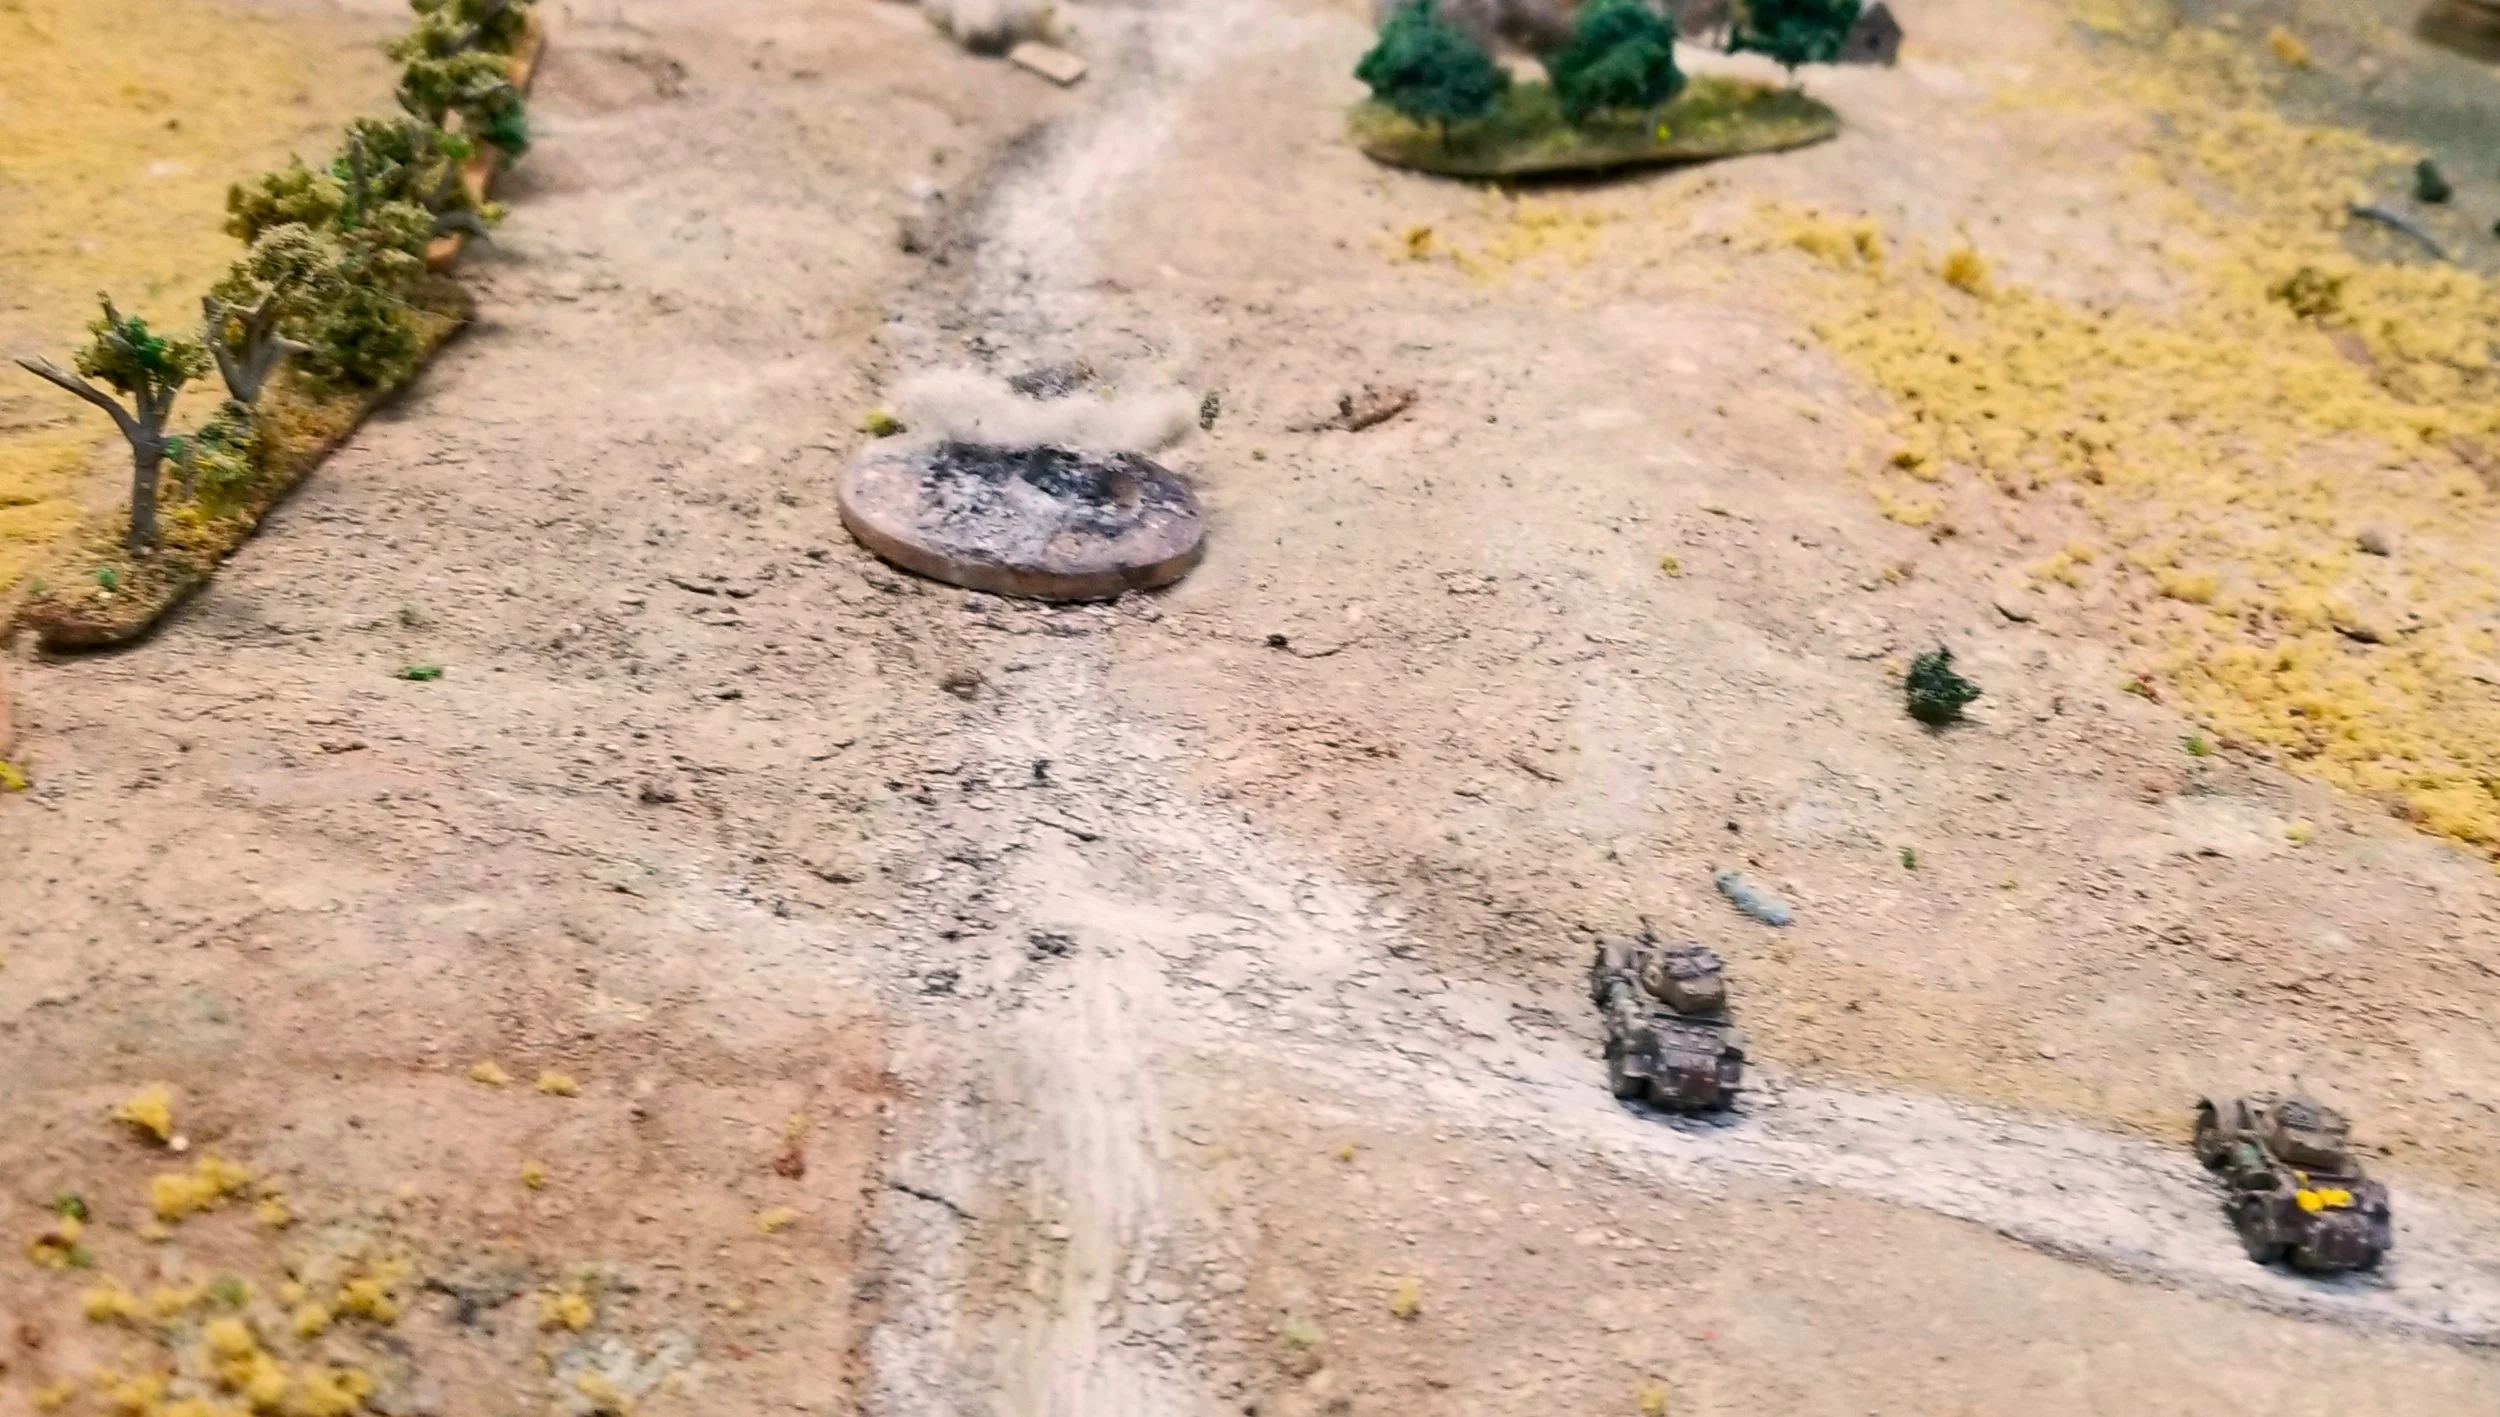
The combined fire from the armored cars and Shermans and infantry drove my left hand section out of the trees.
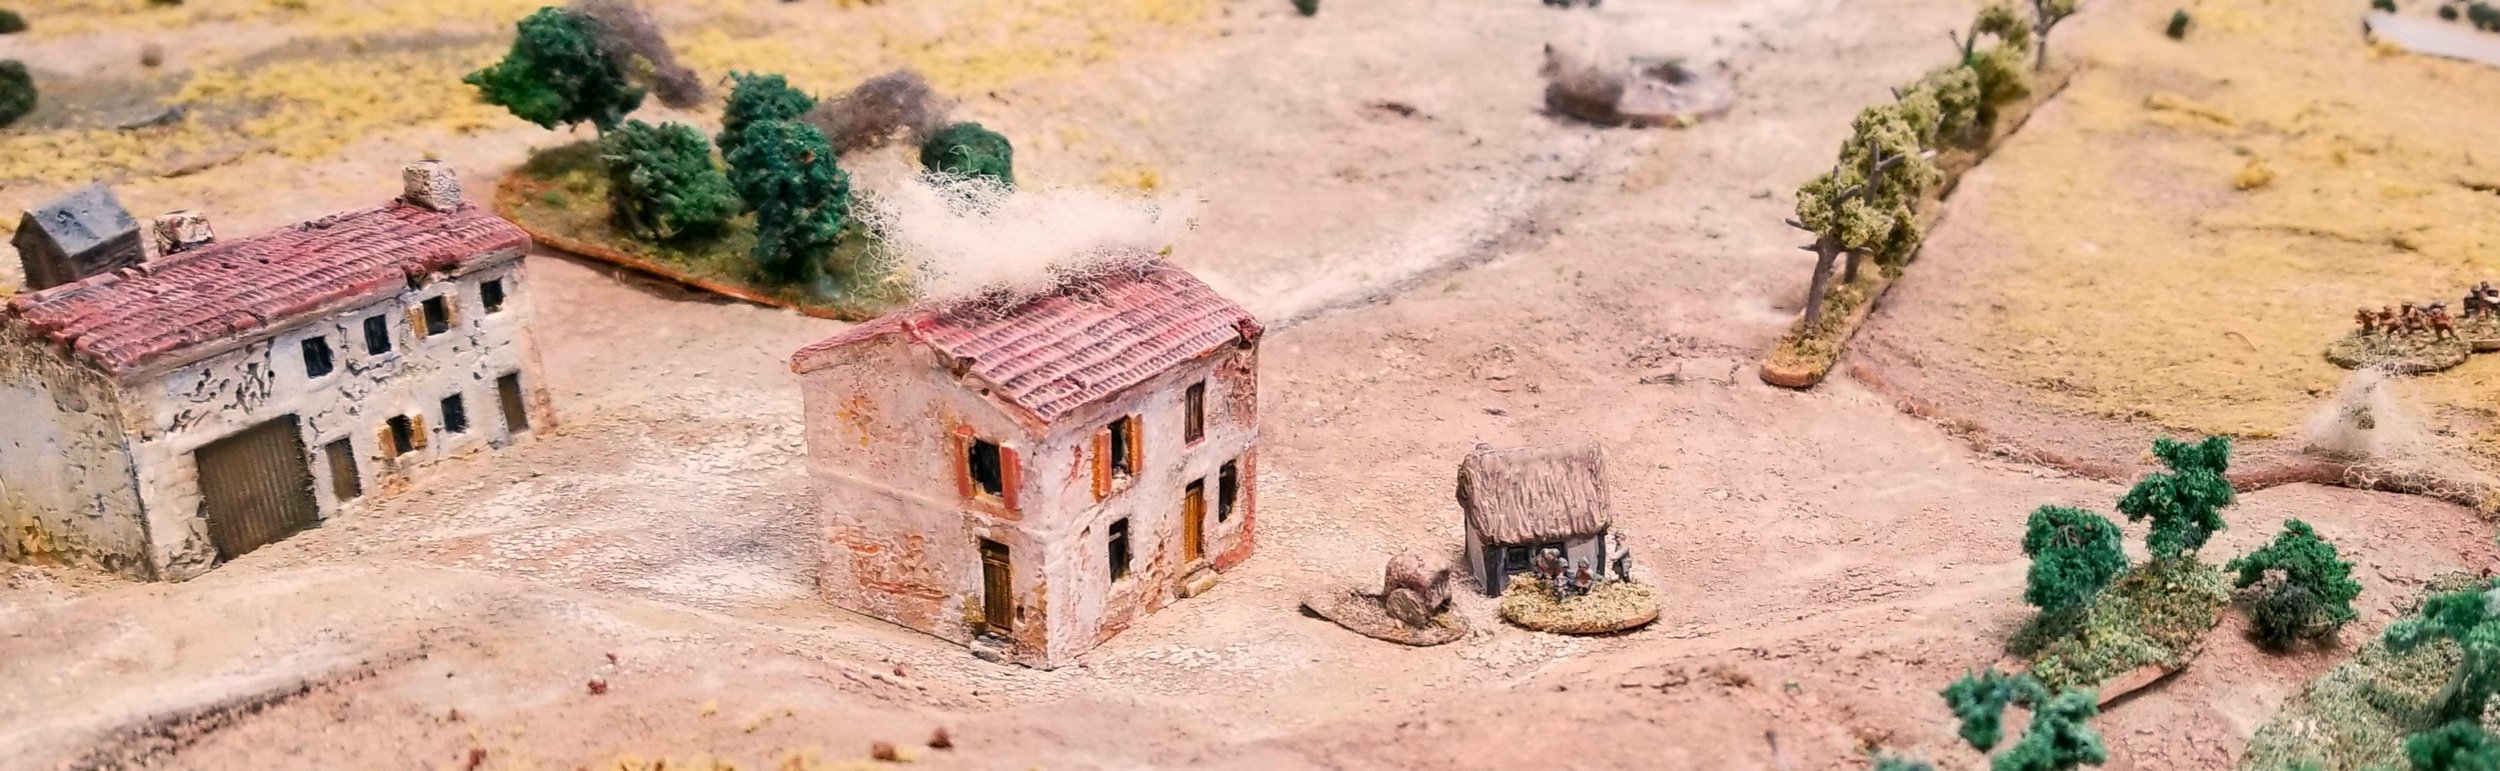
And the MMG team in the buidling is blinded by smoke now.
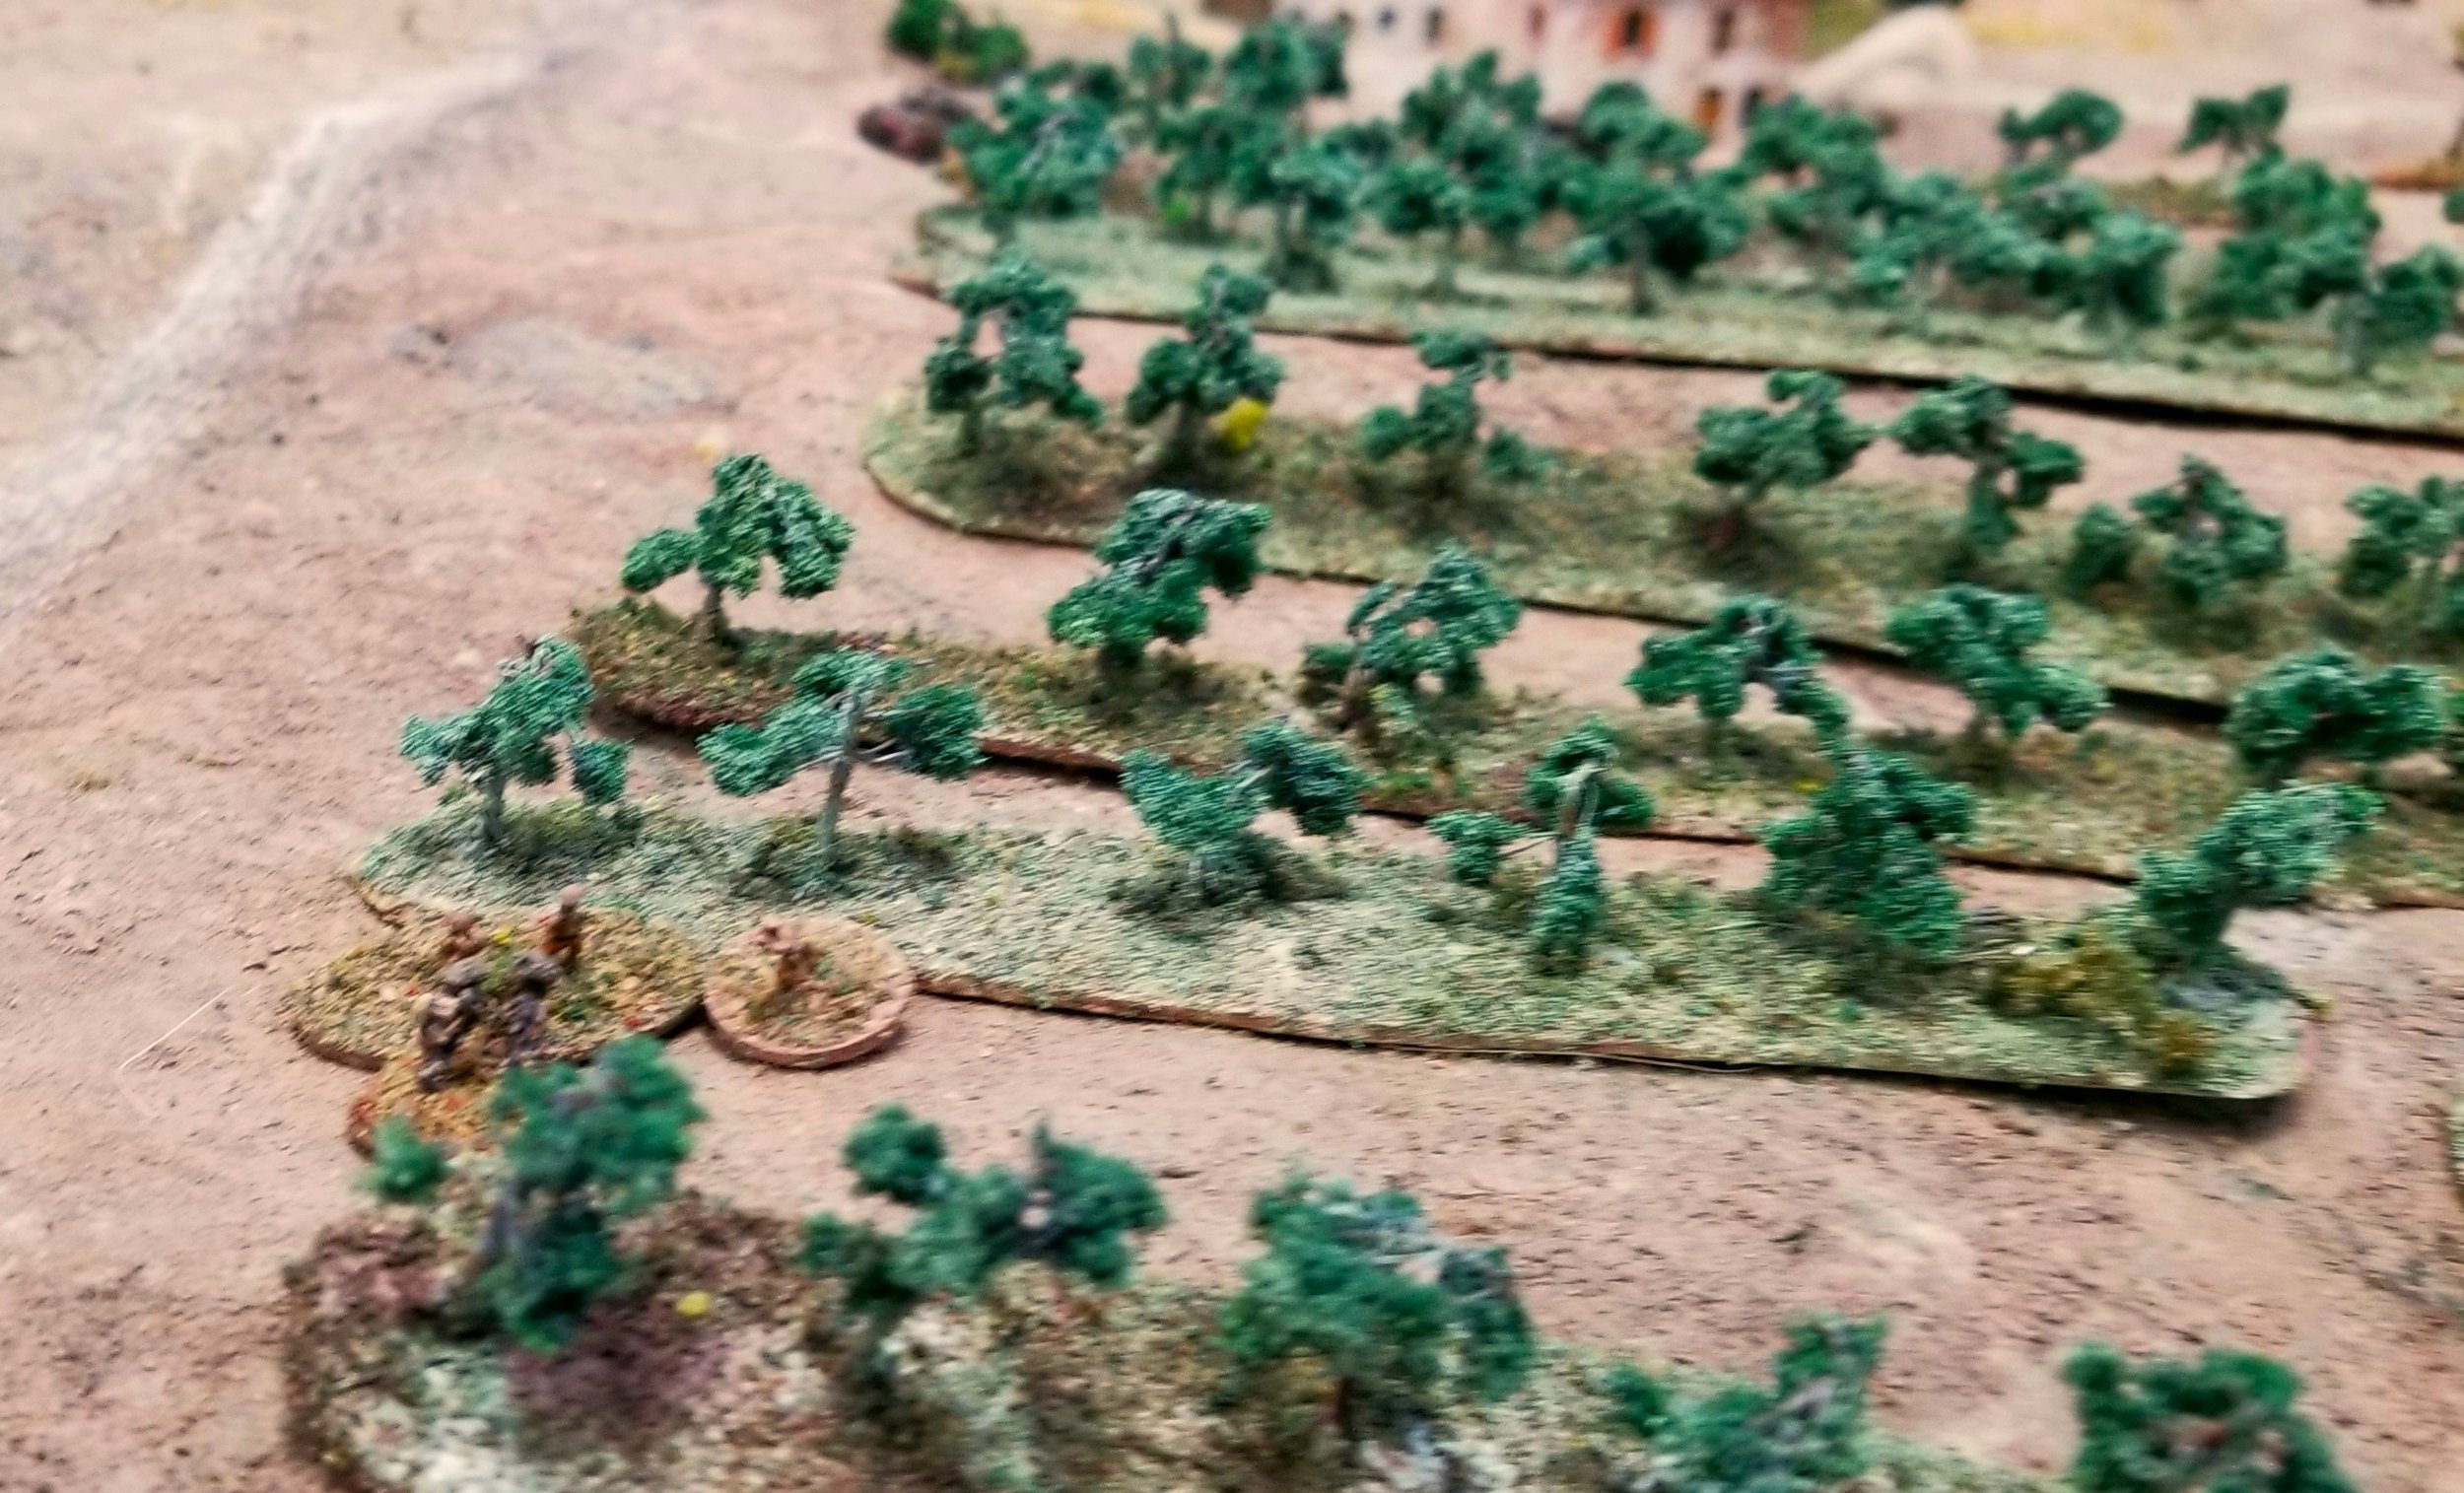
The German right is gone and the PzIVs are having trouble moving-and hitting anything.
It’s ironic that the Shermans managed to move across the muddy fields much easier than the poor panzers close to firmer ground. The panzers are just visible at the top edge of the olive trees

And the PzIVs continue to miss. The M4s did not however and KO'd one panzer.
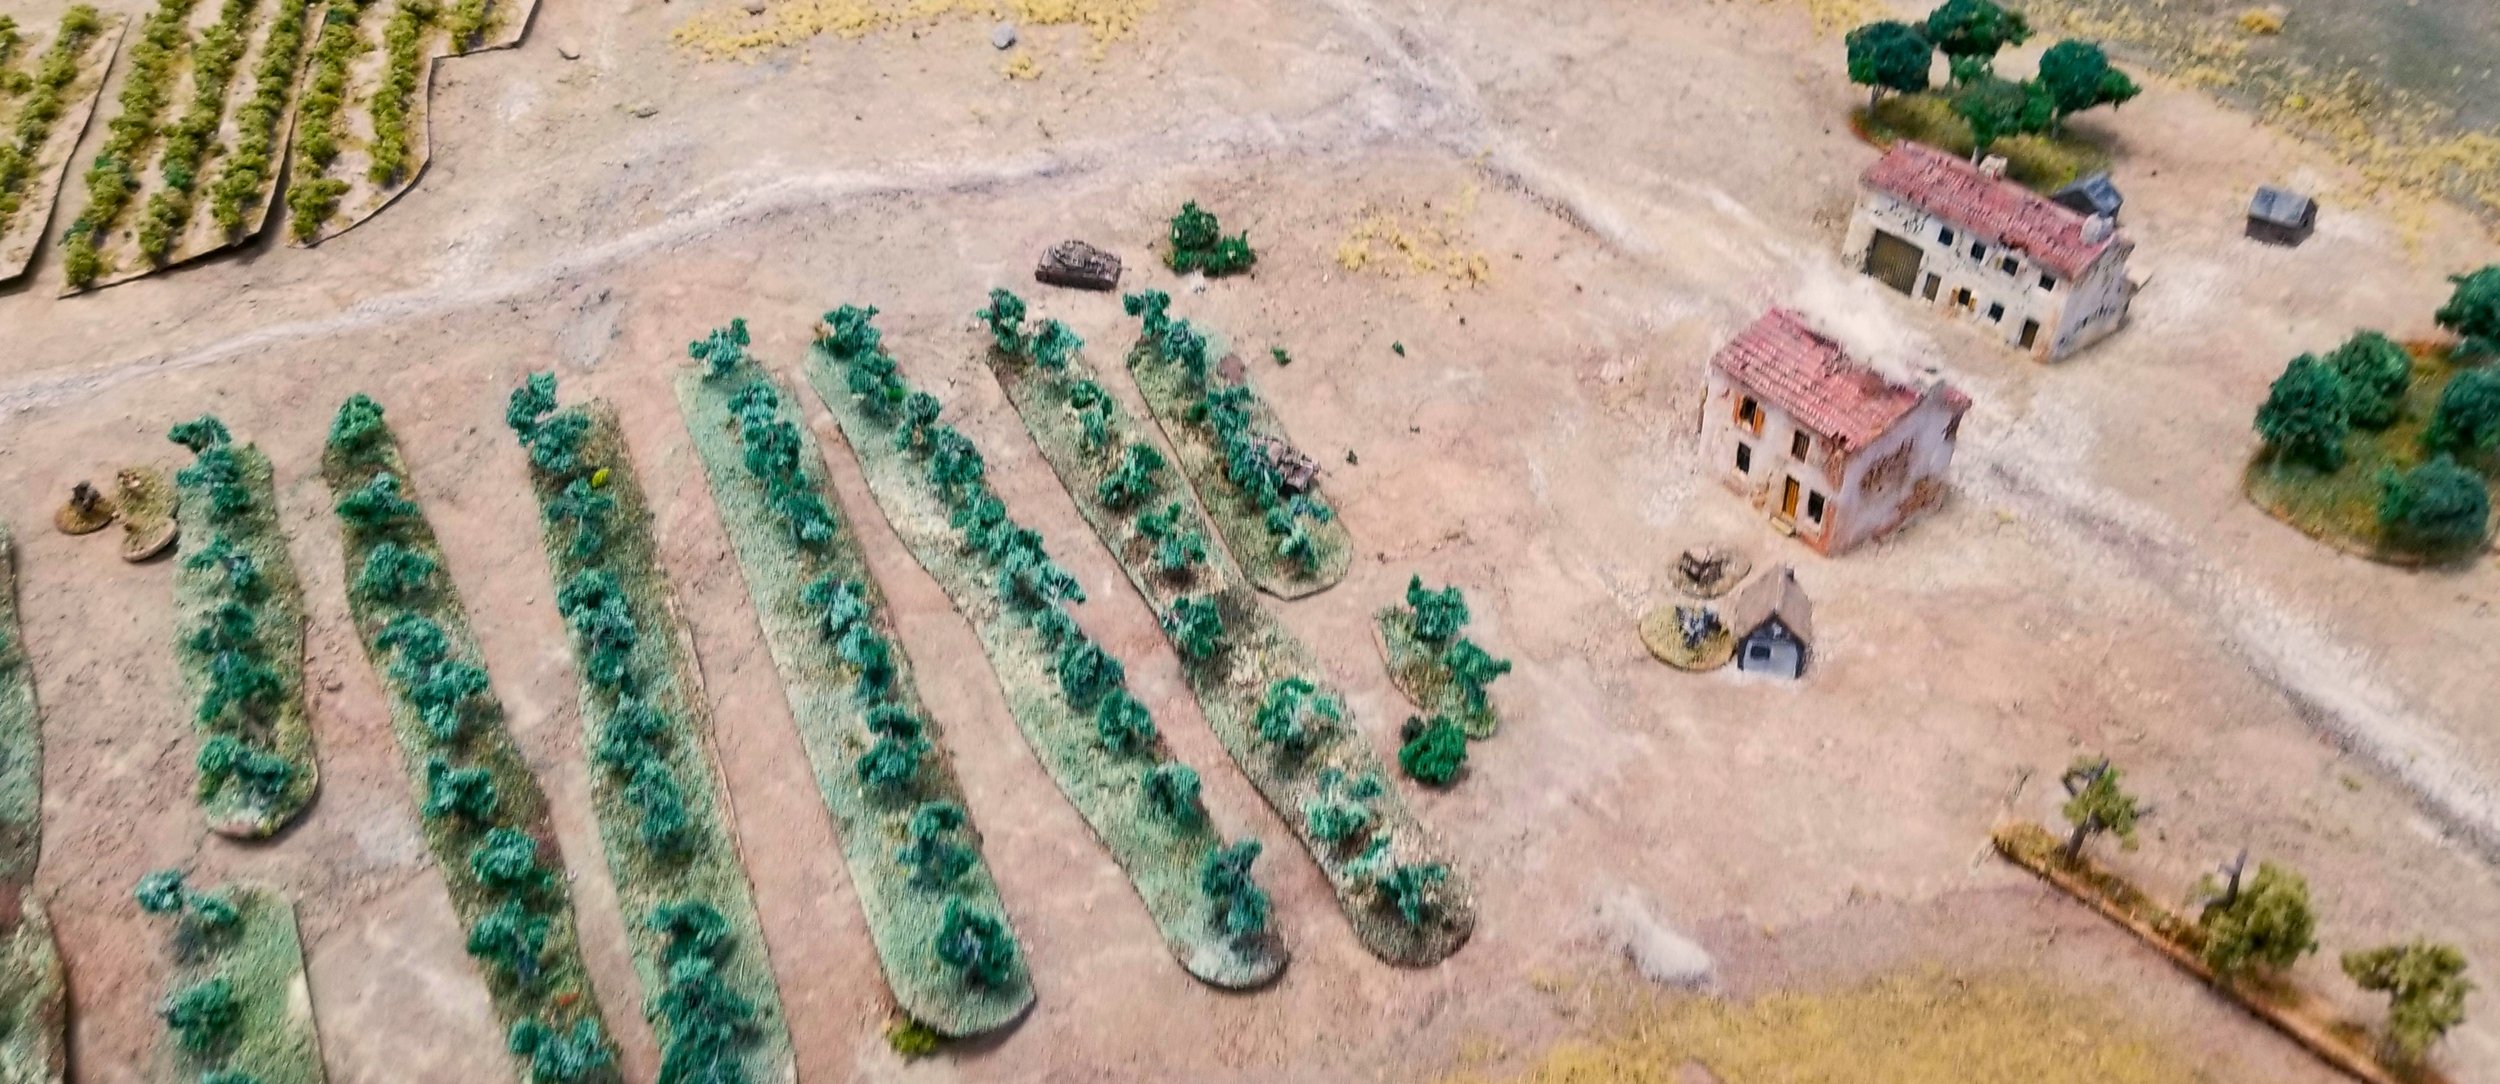
The troop of M4s were coming at the surviving panzer forcing it to back up. Right towards a PIAT team.
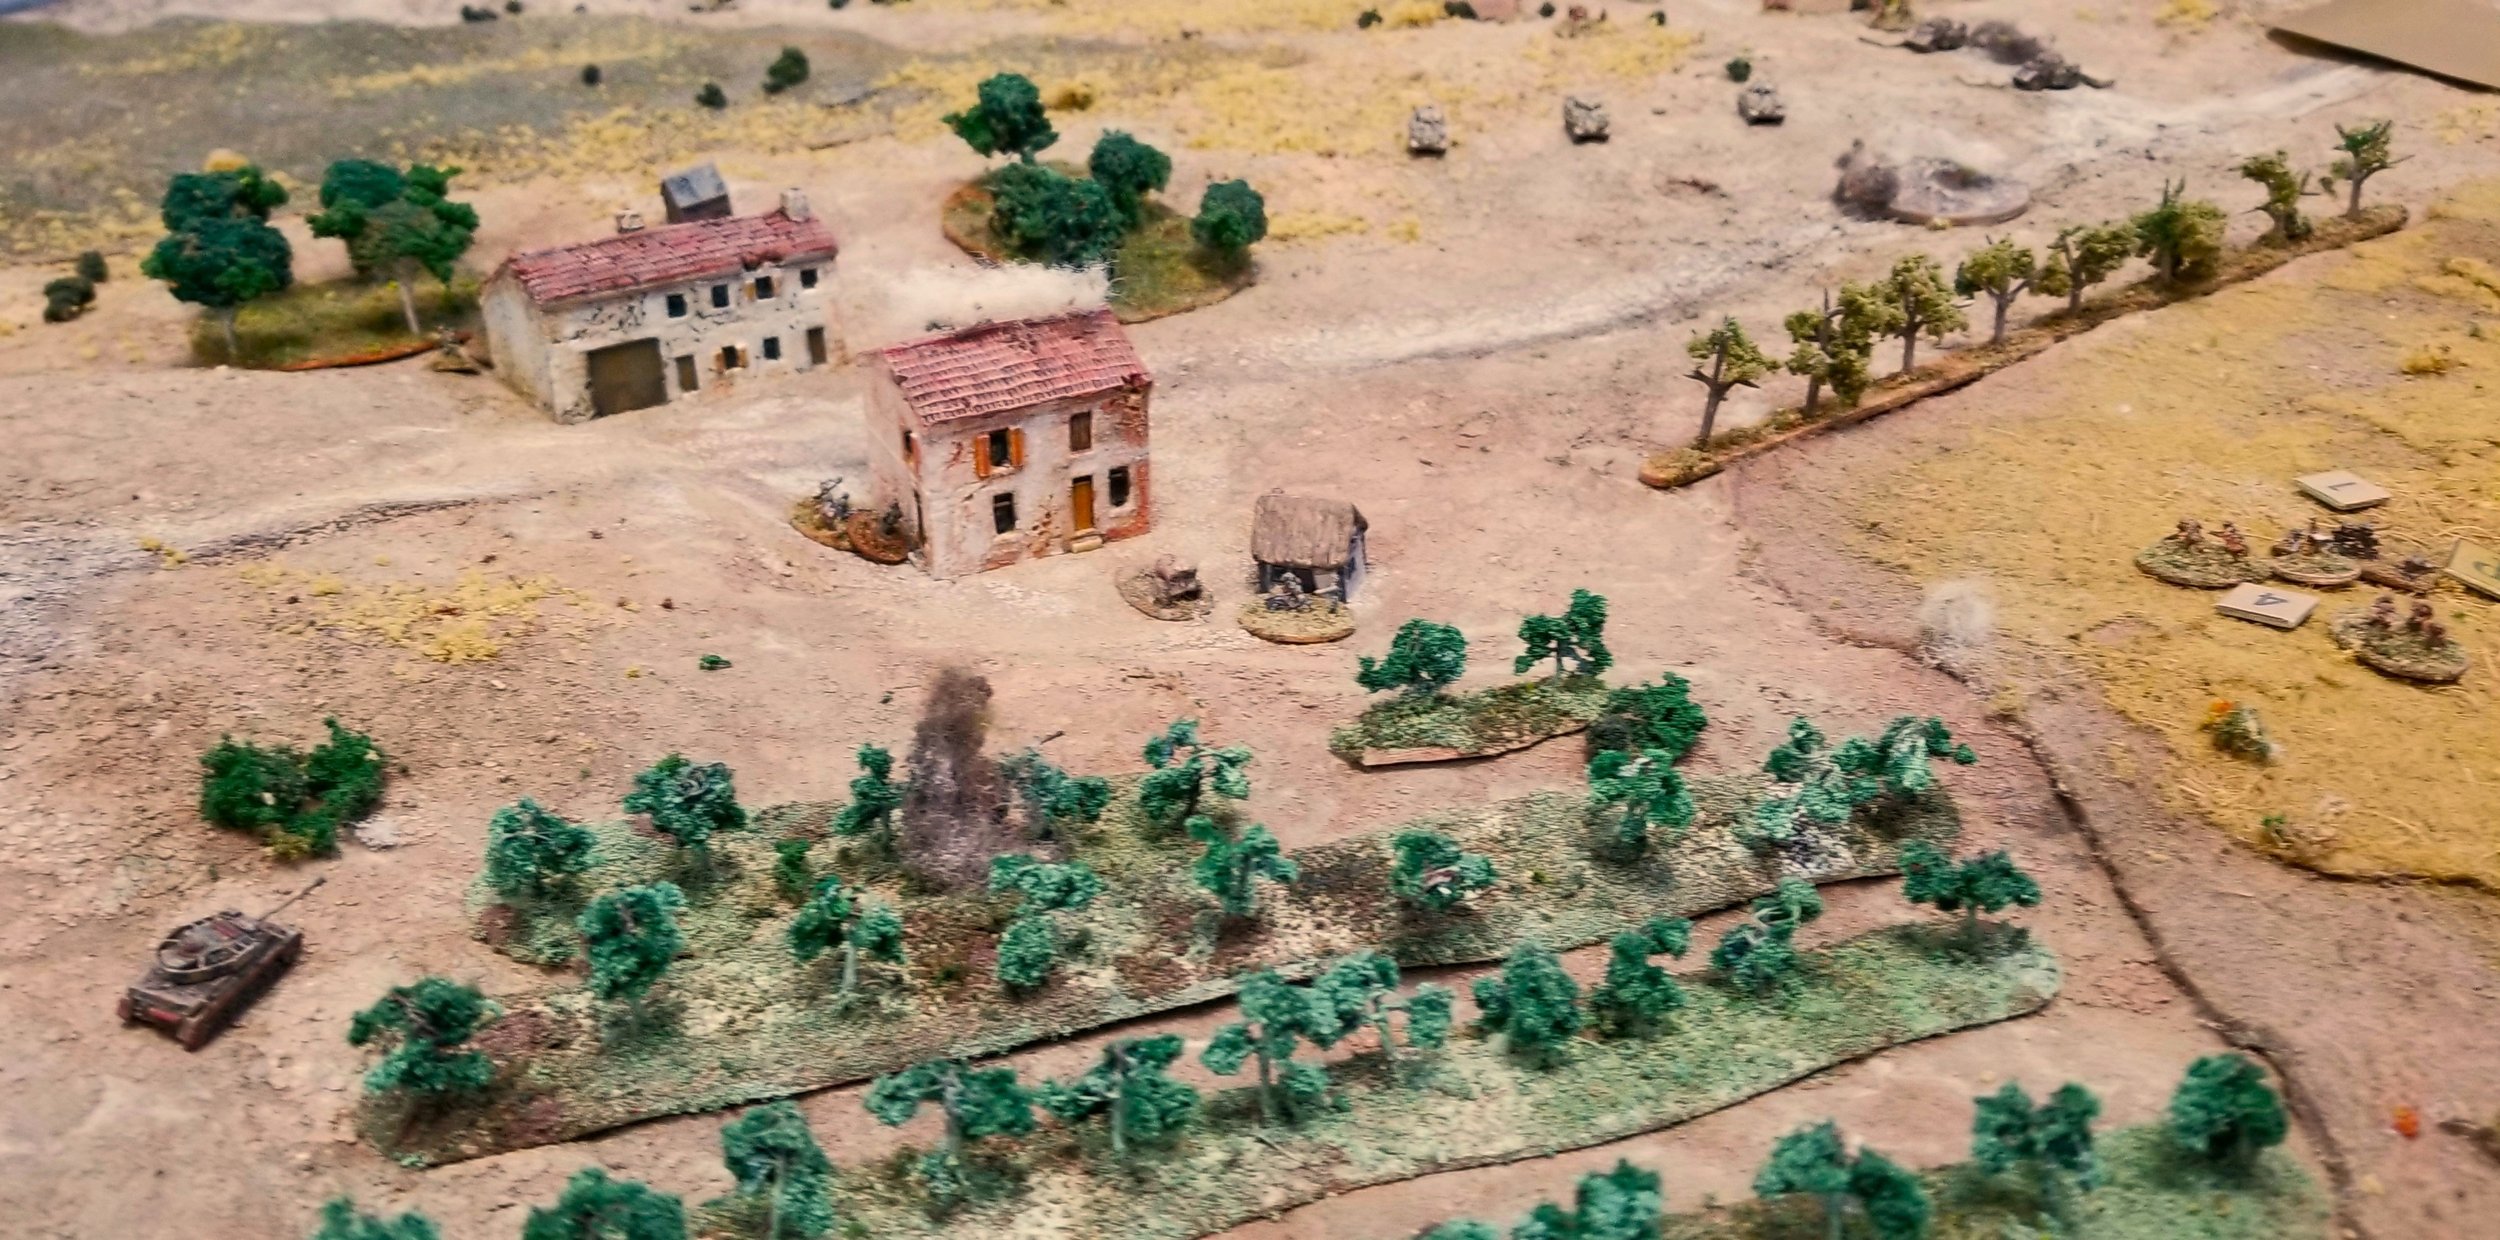
I was really counting on the muddy ground channeling the KIwis into a nice killing zone, but the Shermans scooted around the road block. Meanwhile no sign of German mortars or 105s fire.

The end of the panzers.
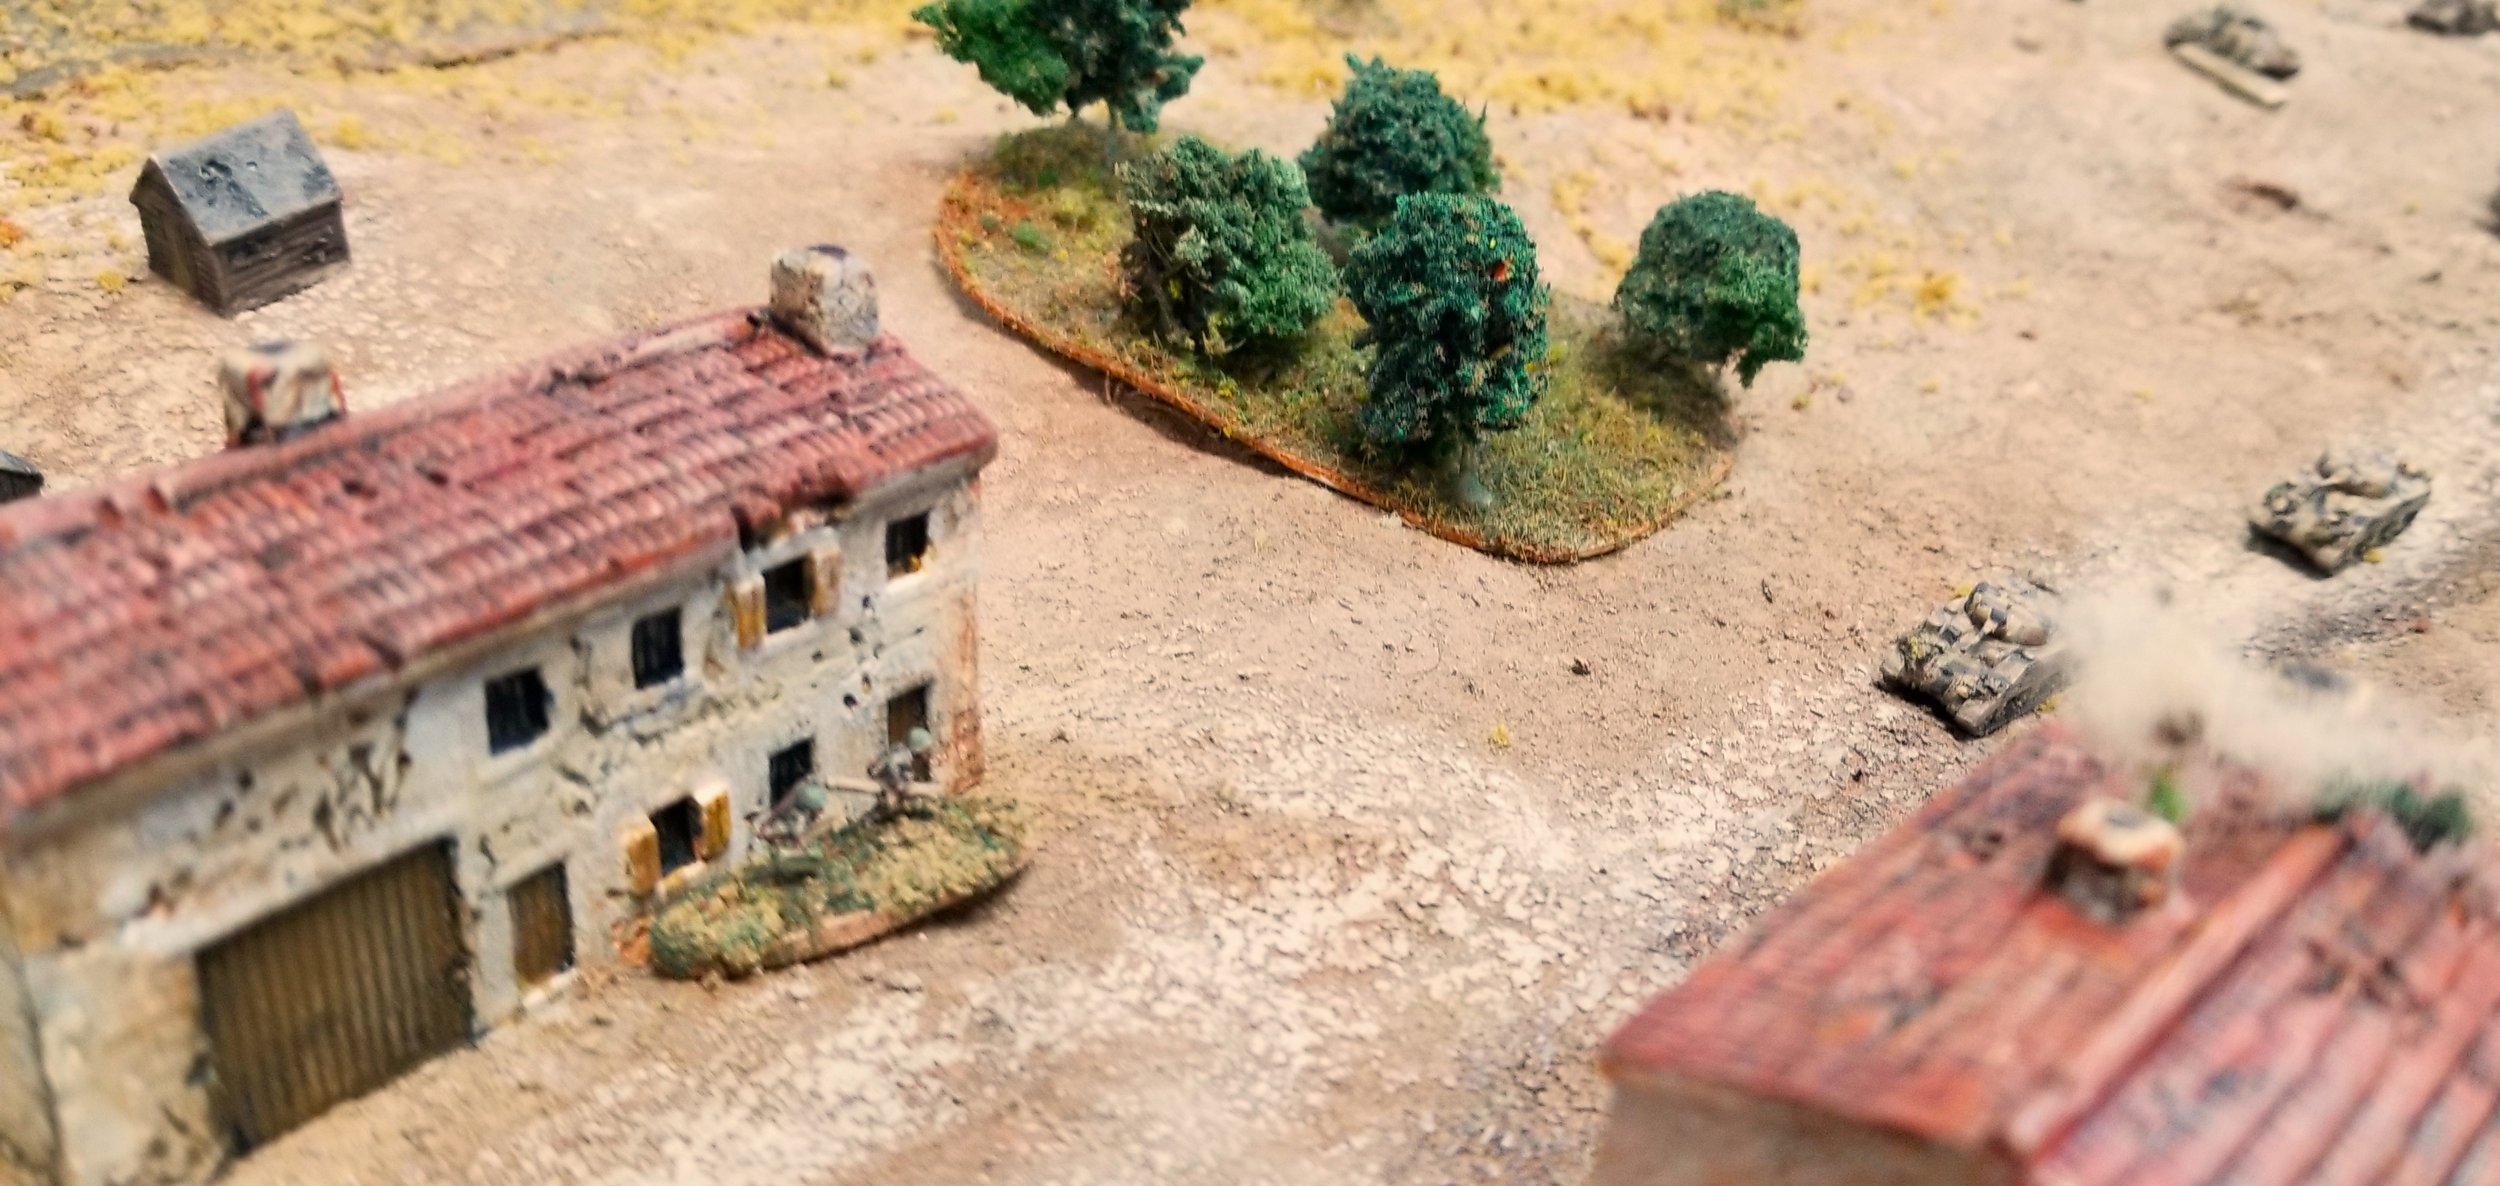
Not to worry. They missed a shot too.
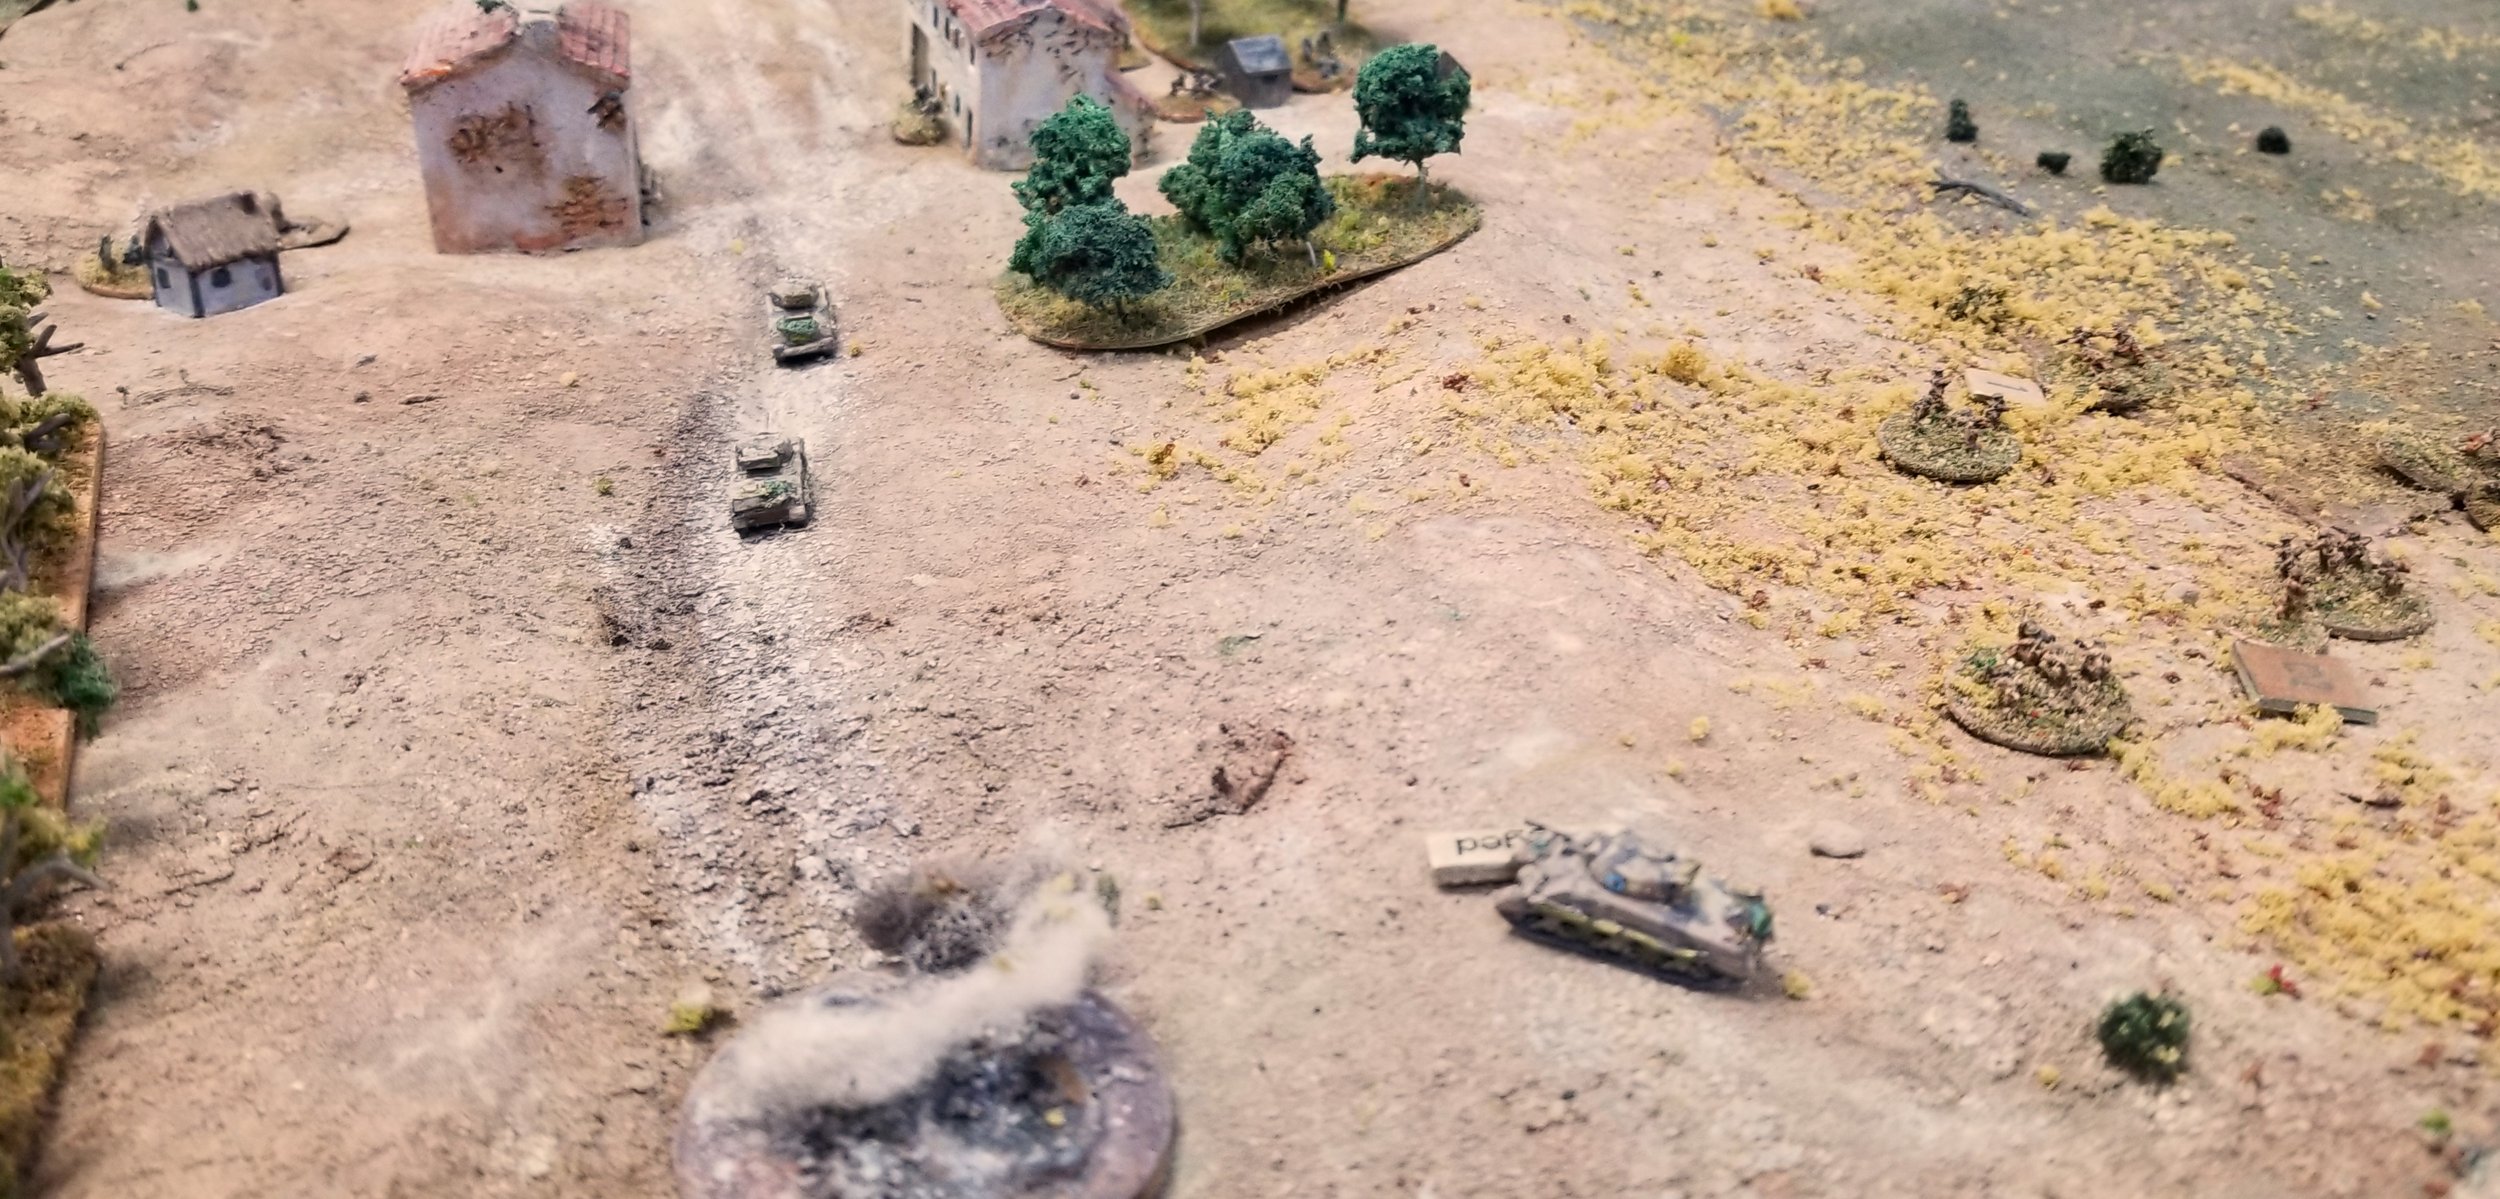
The right hand Kiwi infantry platoon continues to slowly advance Grenadiers consolidating around buildings and trees. Still no German artillery.
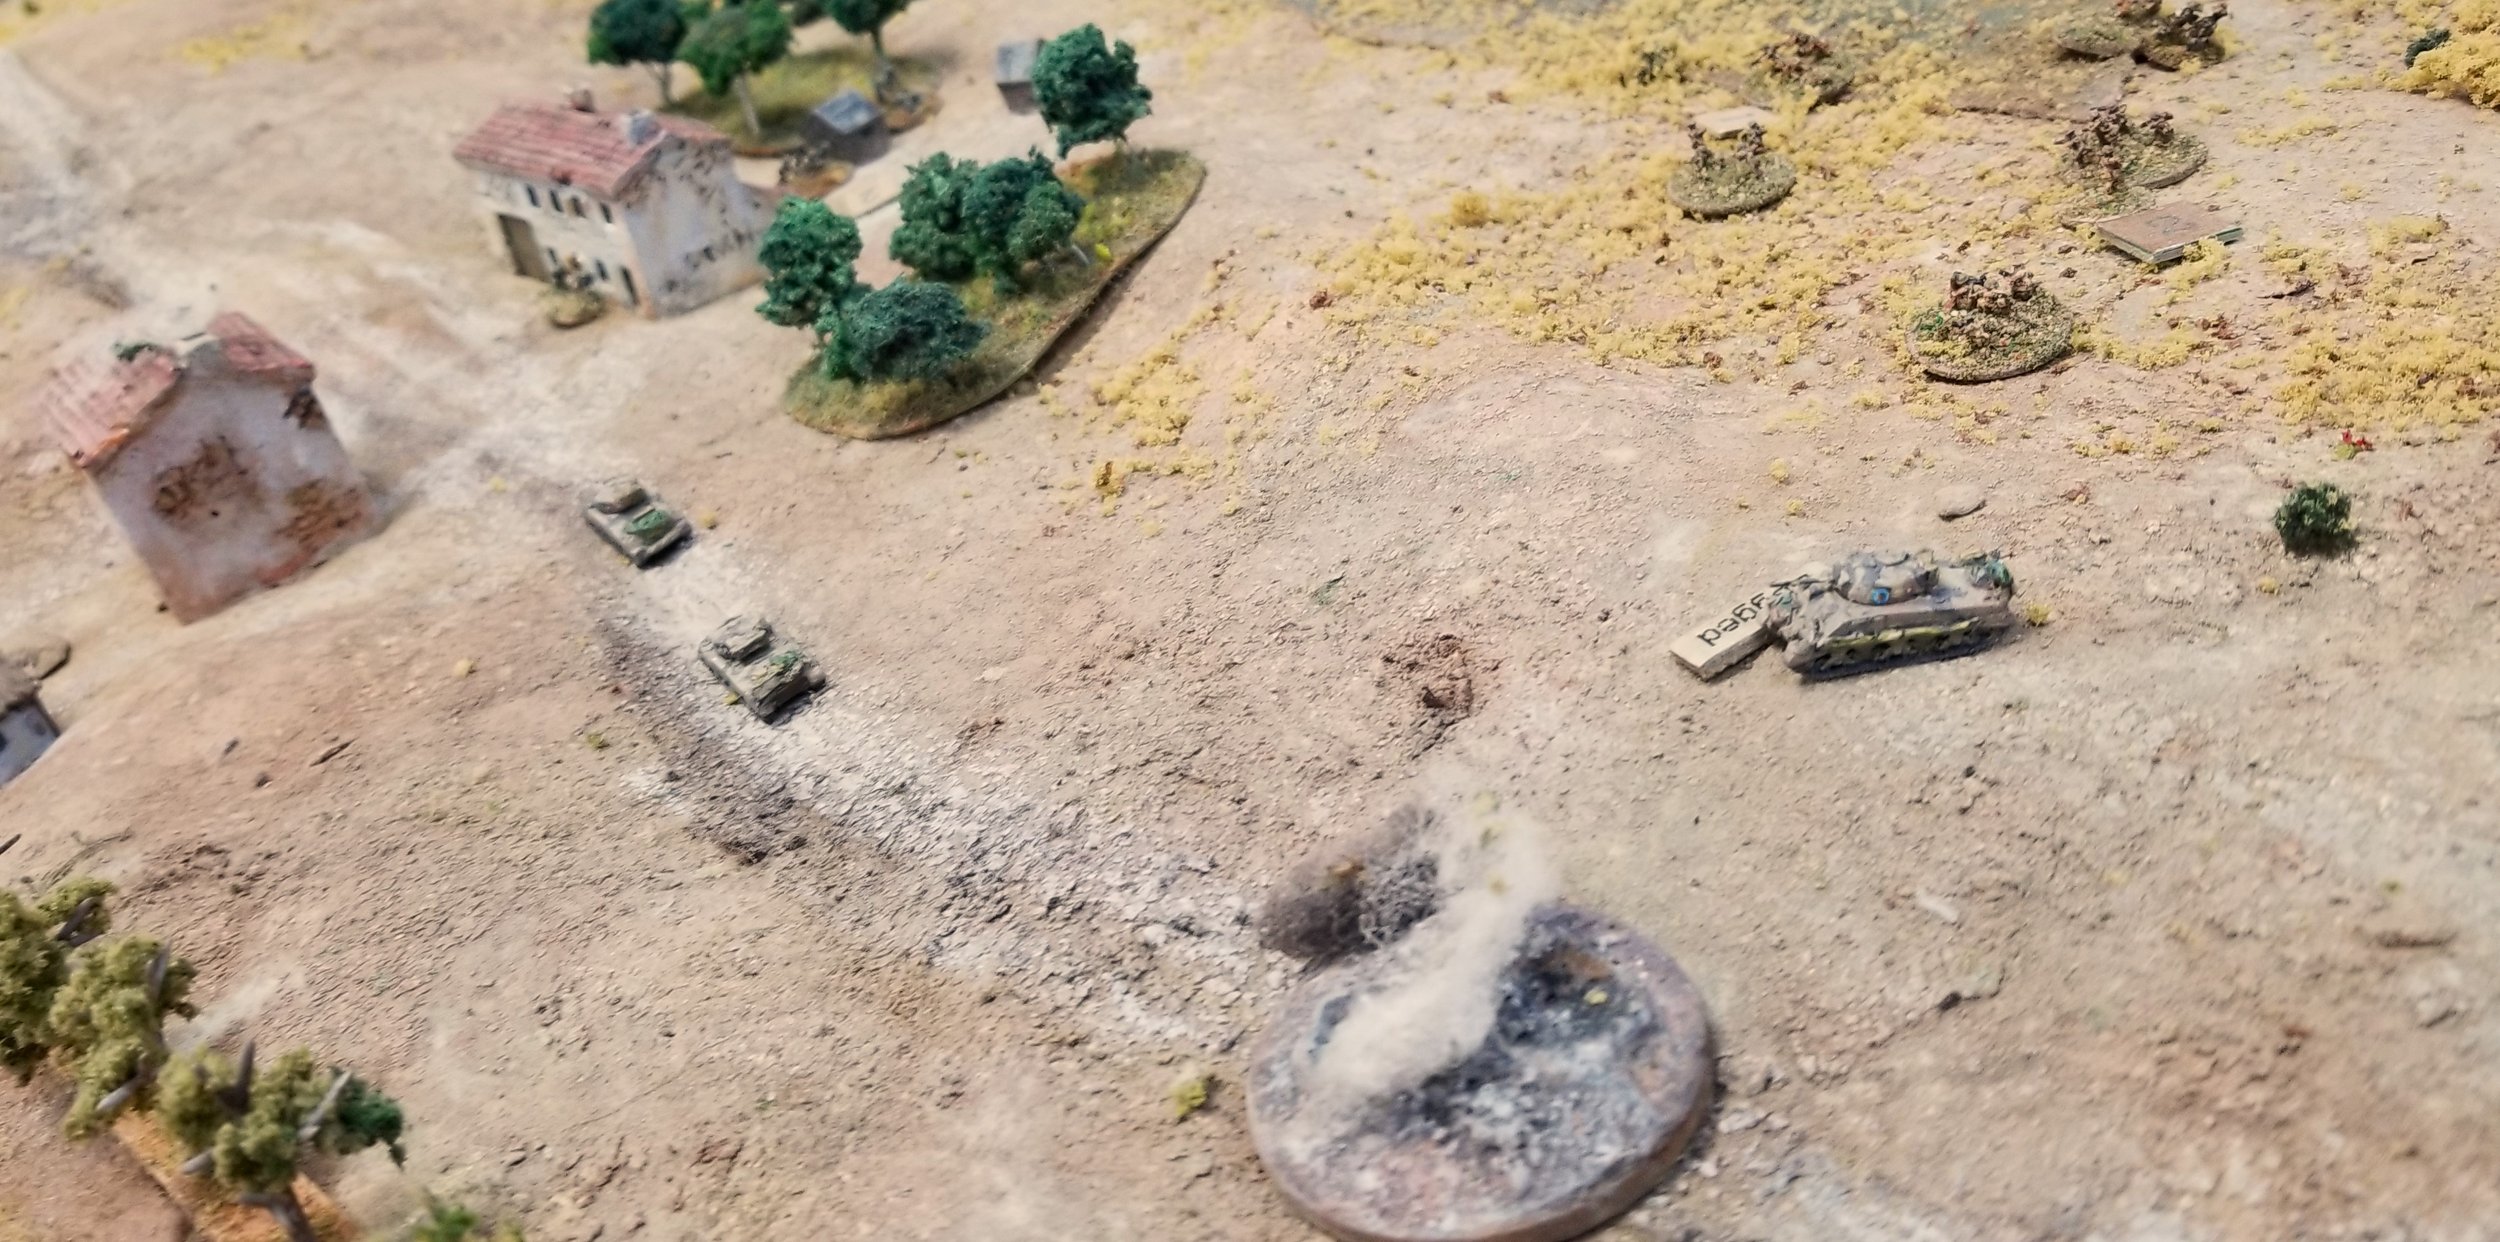
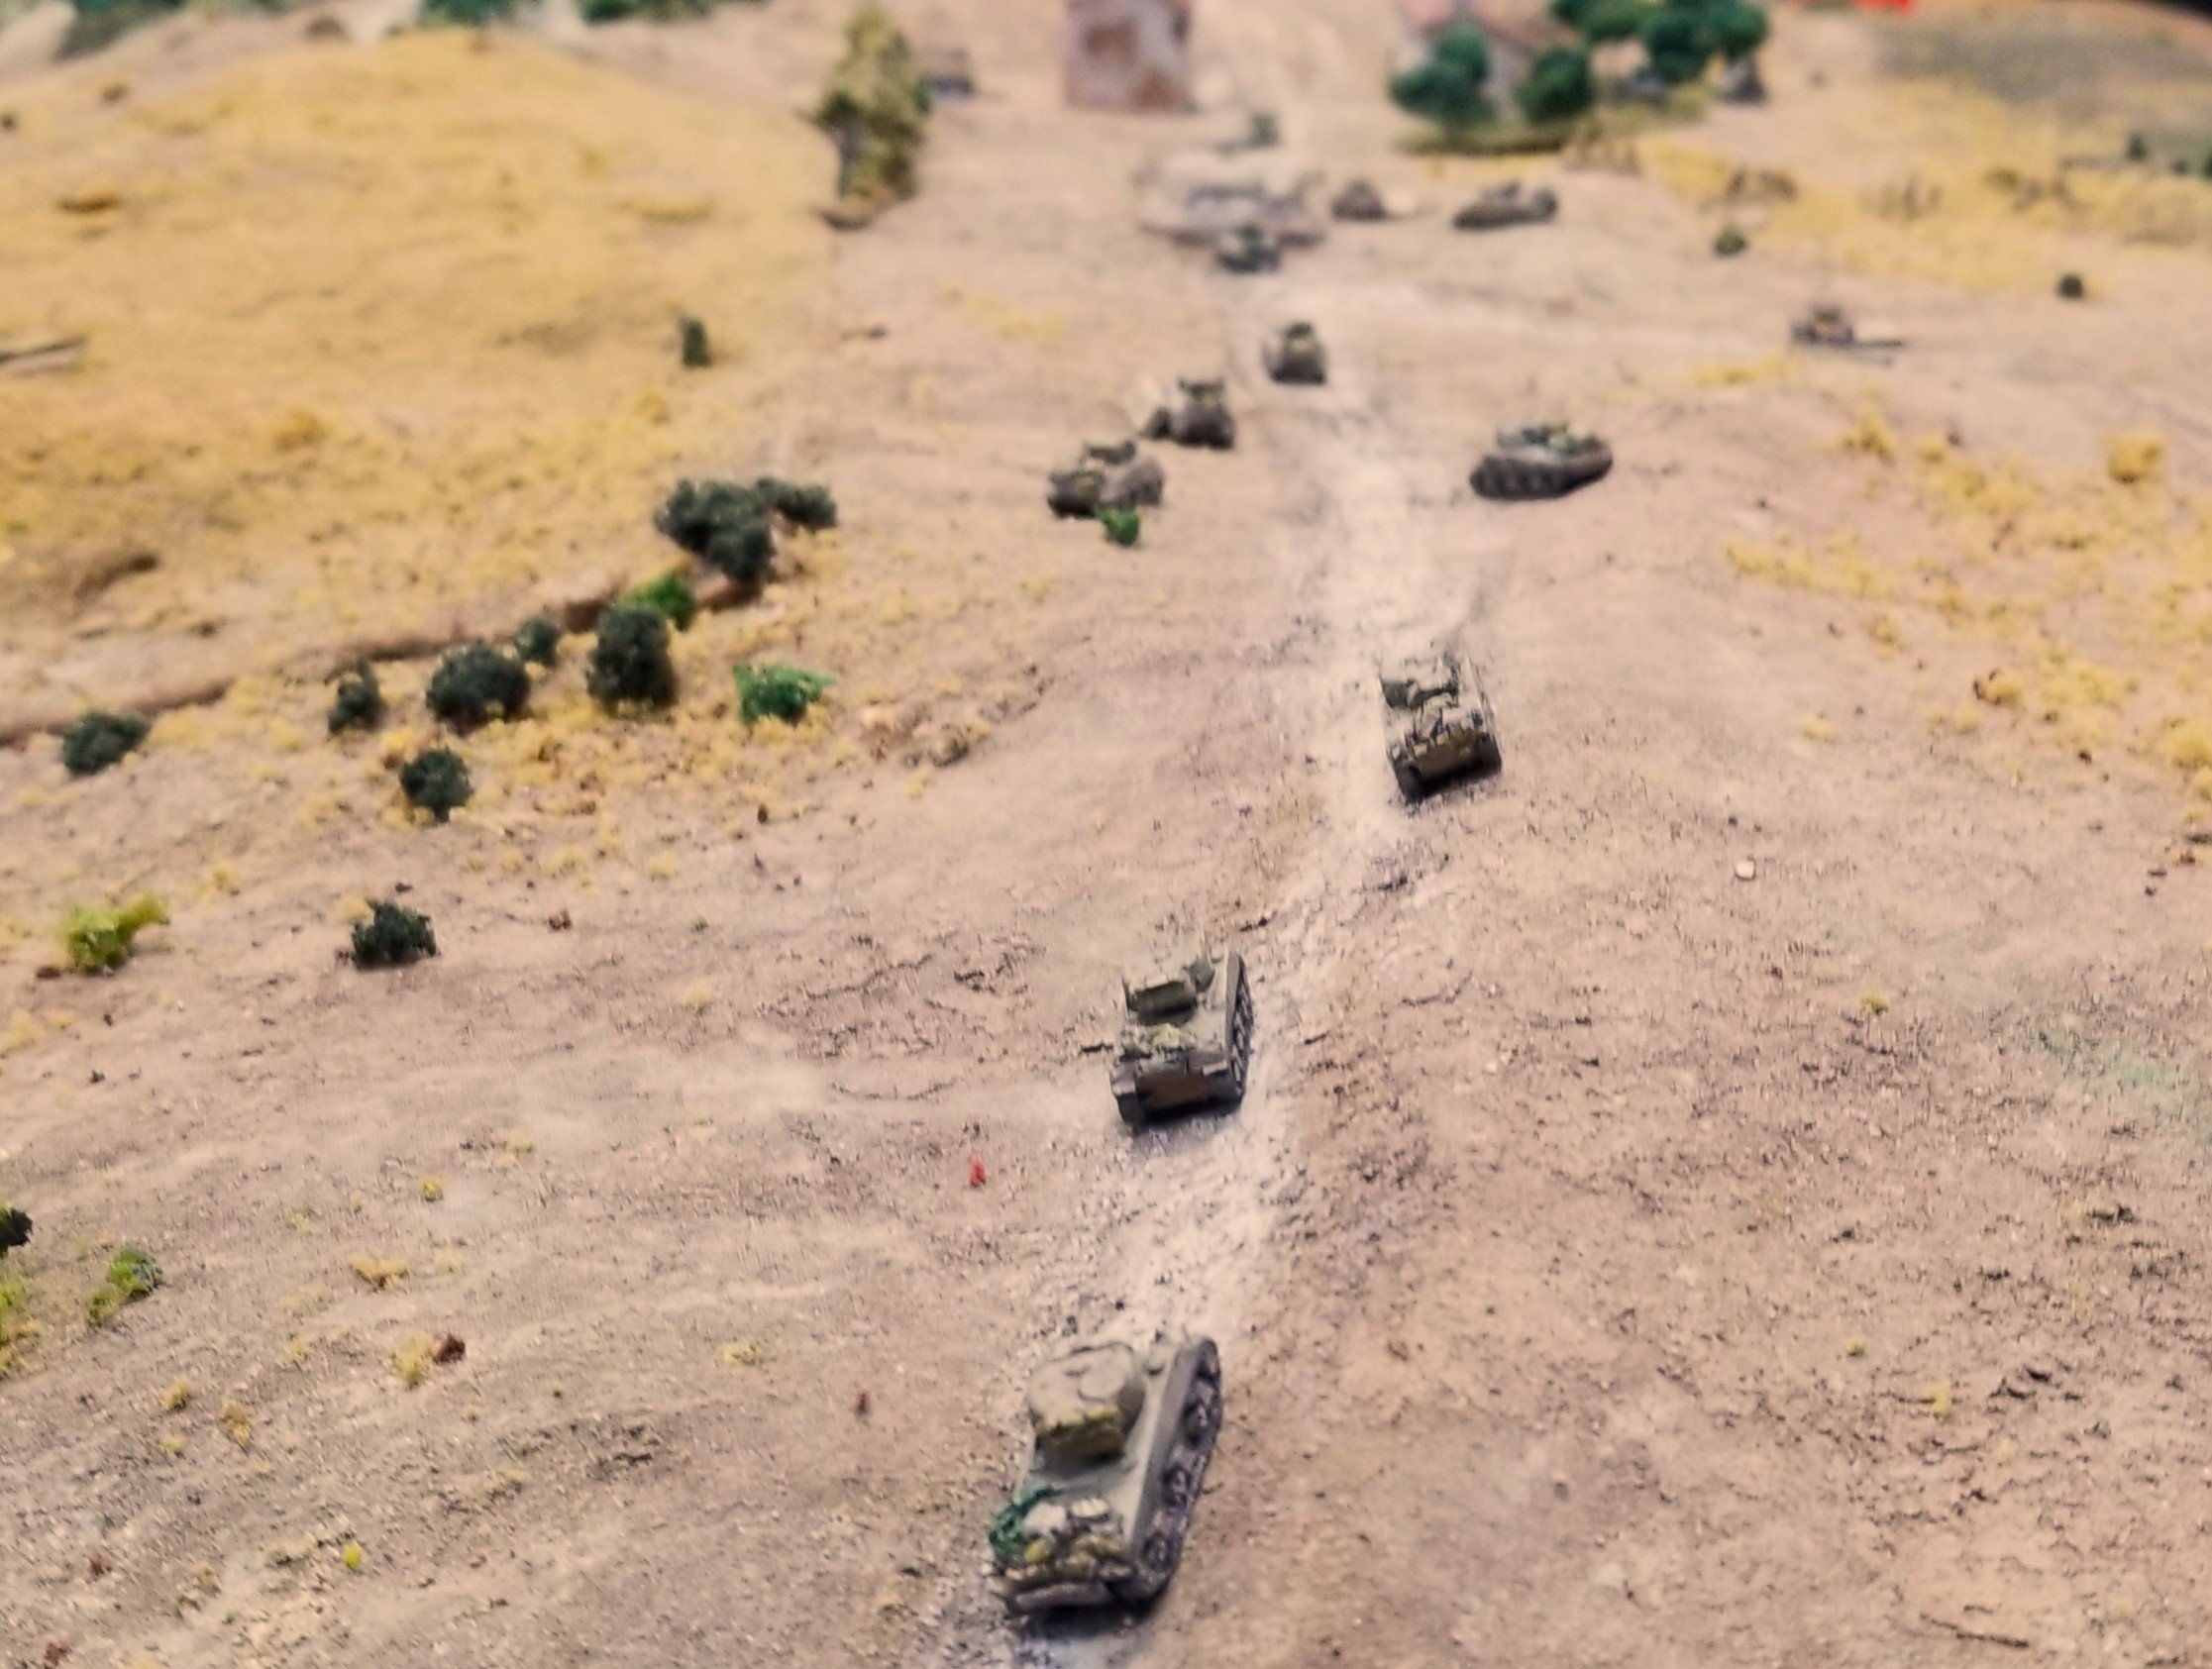
They had 11 total M4s. Jon didn't commit them ‘til they had room to move on using the road.
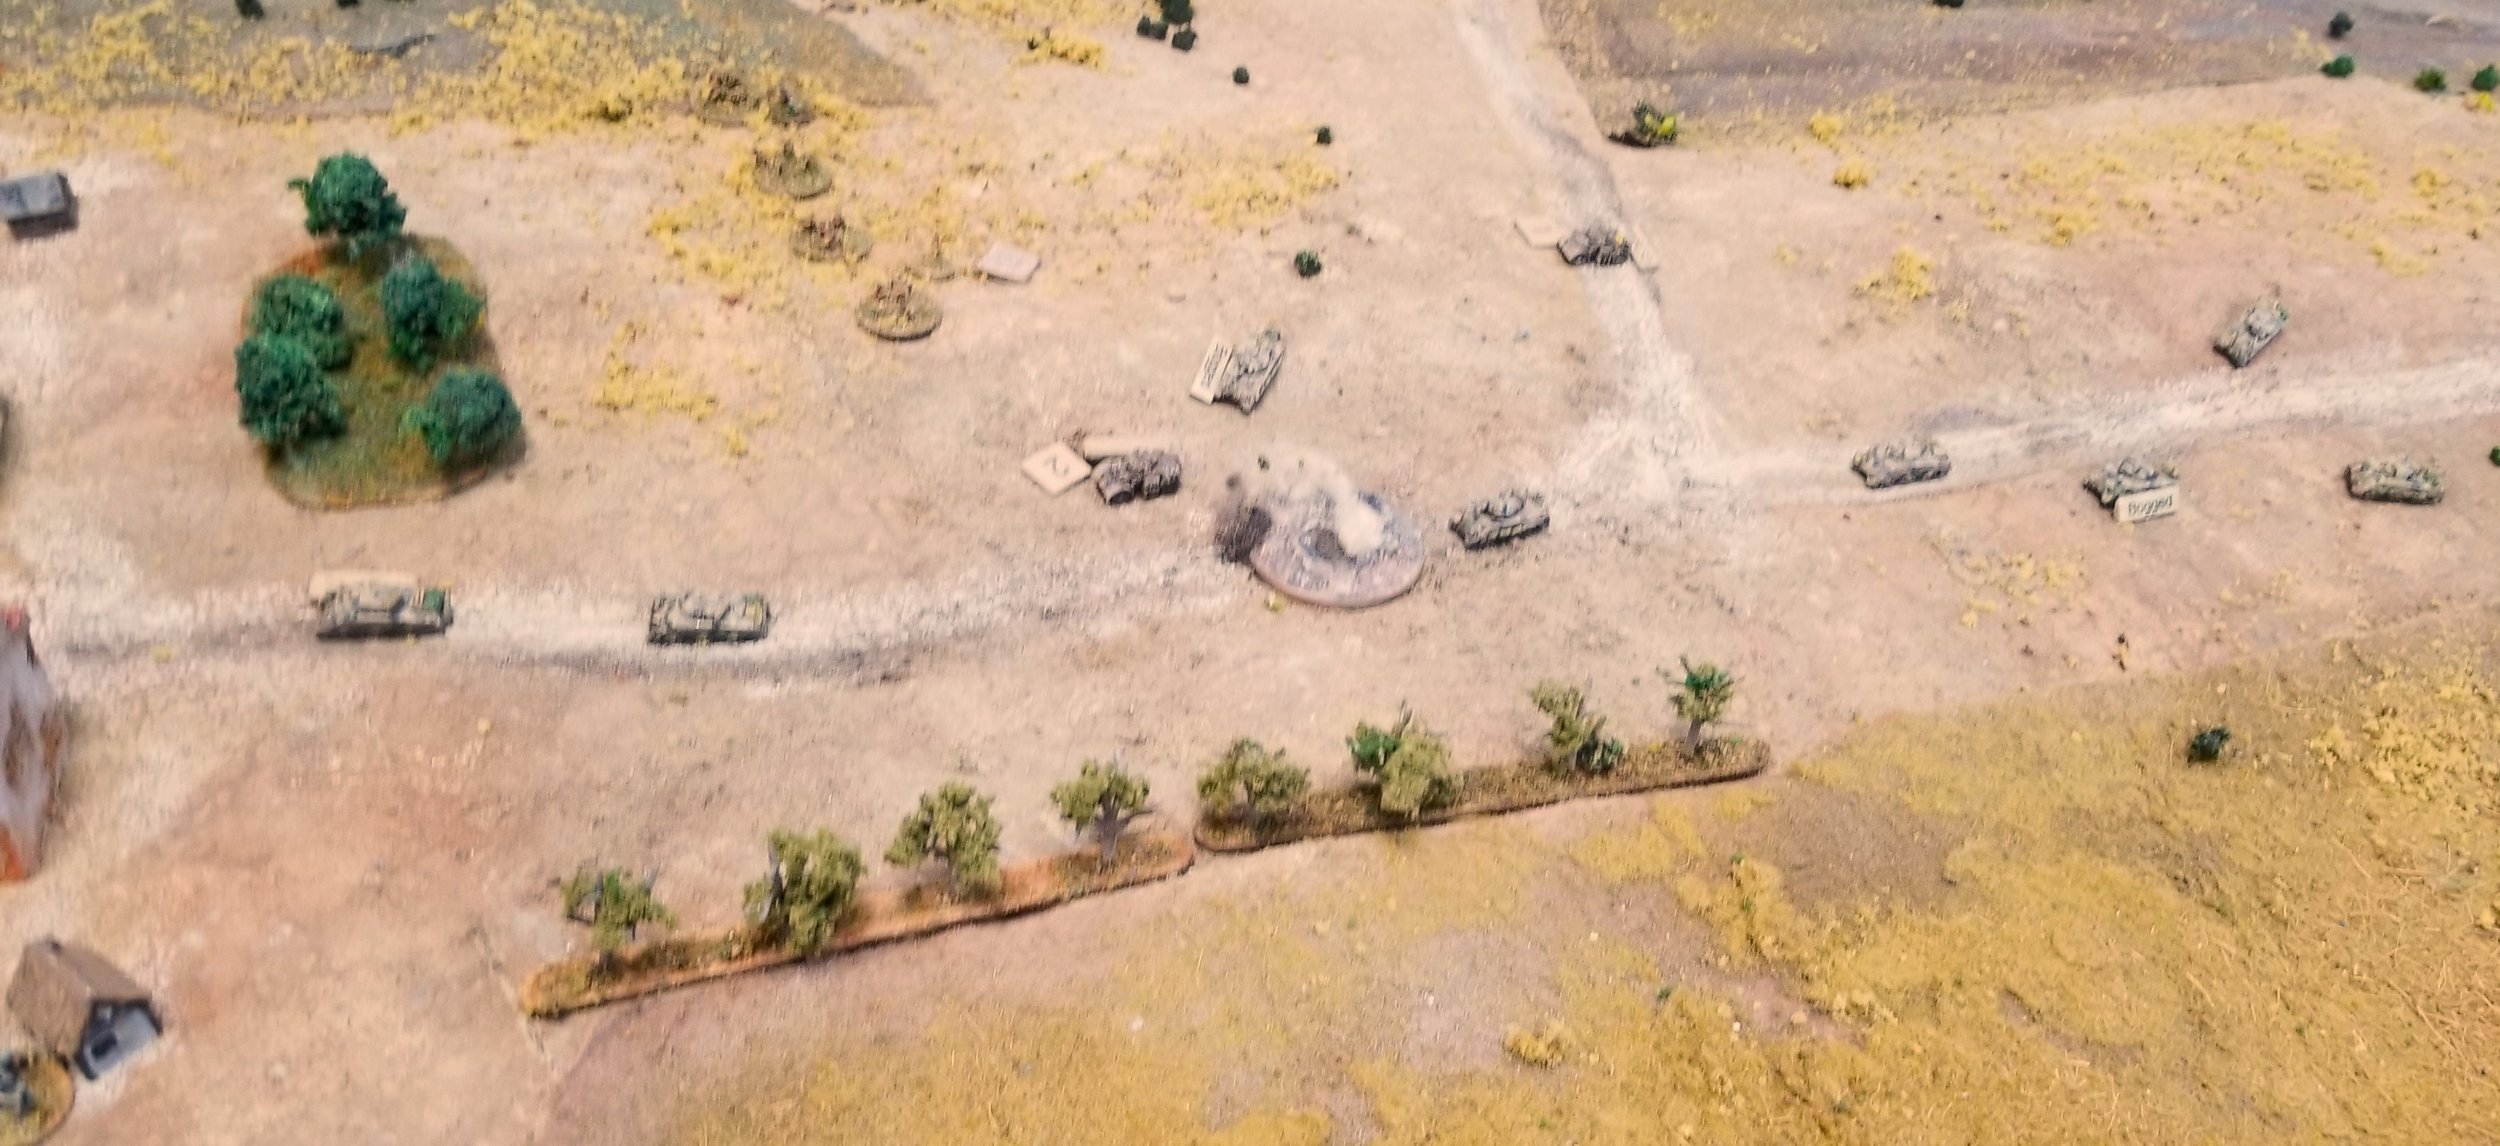
The 'schreck did get a second shot off that damaged the lead Sherman. The still mobile Staghound also got bogged along with a M4 from the HQ troop.
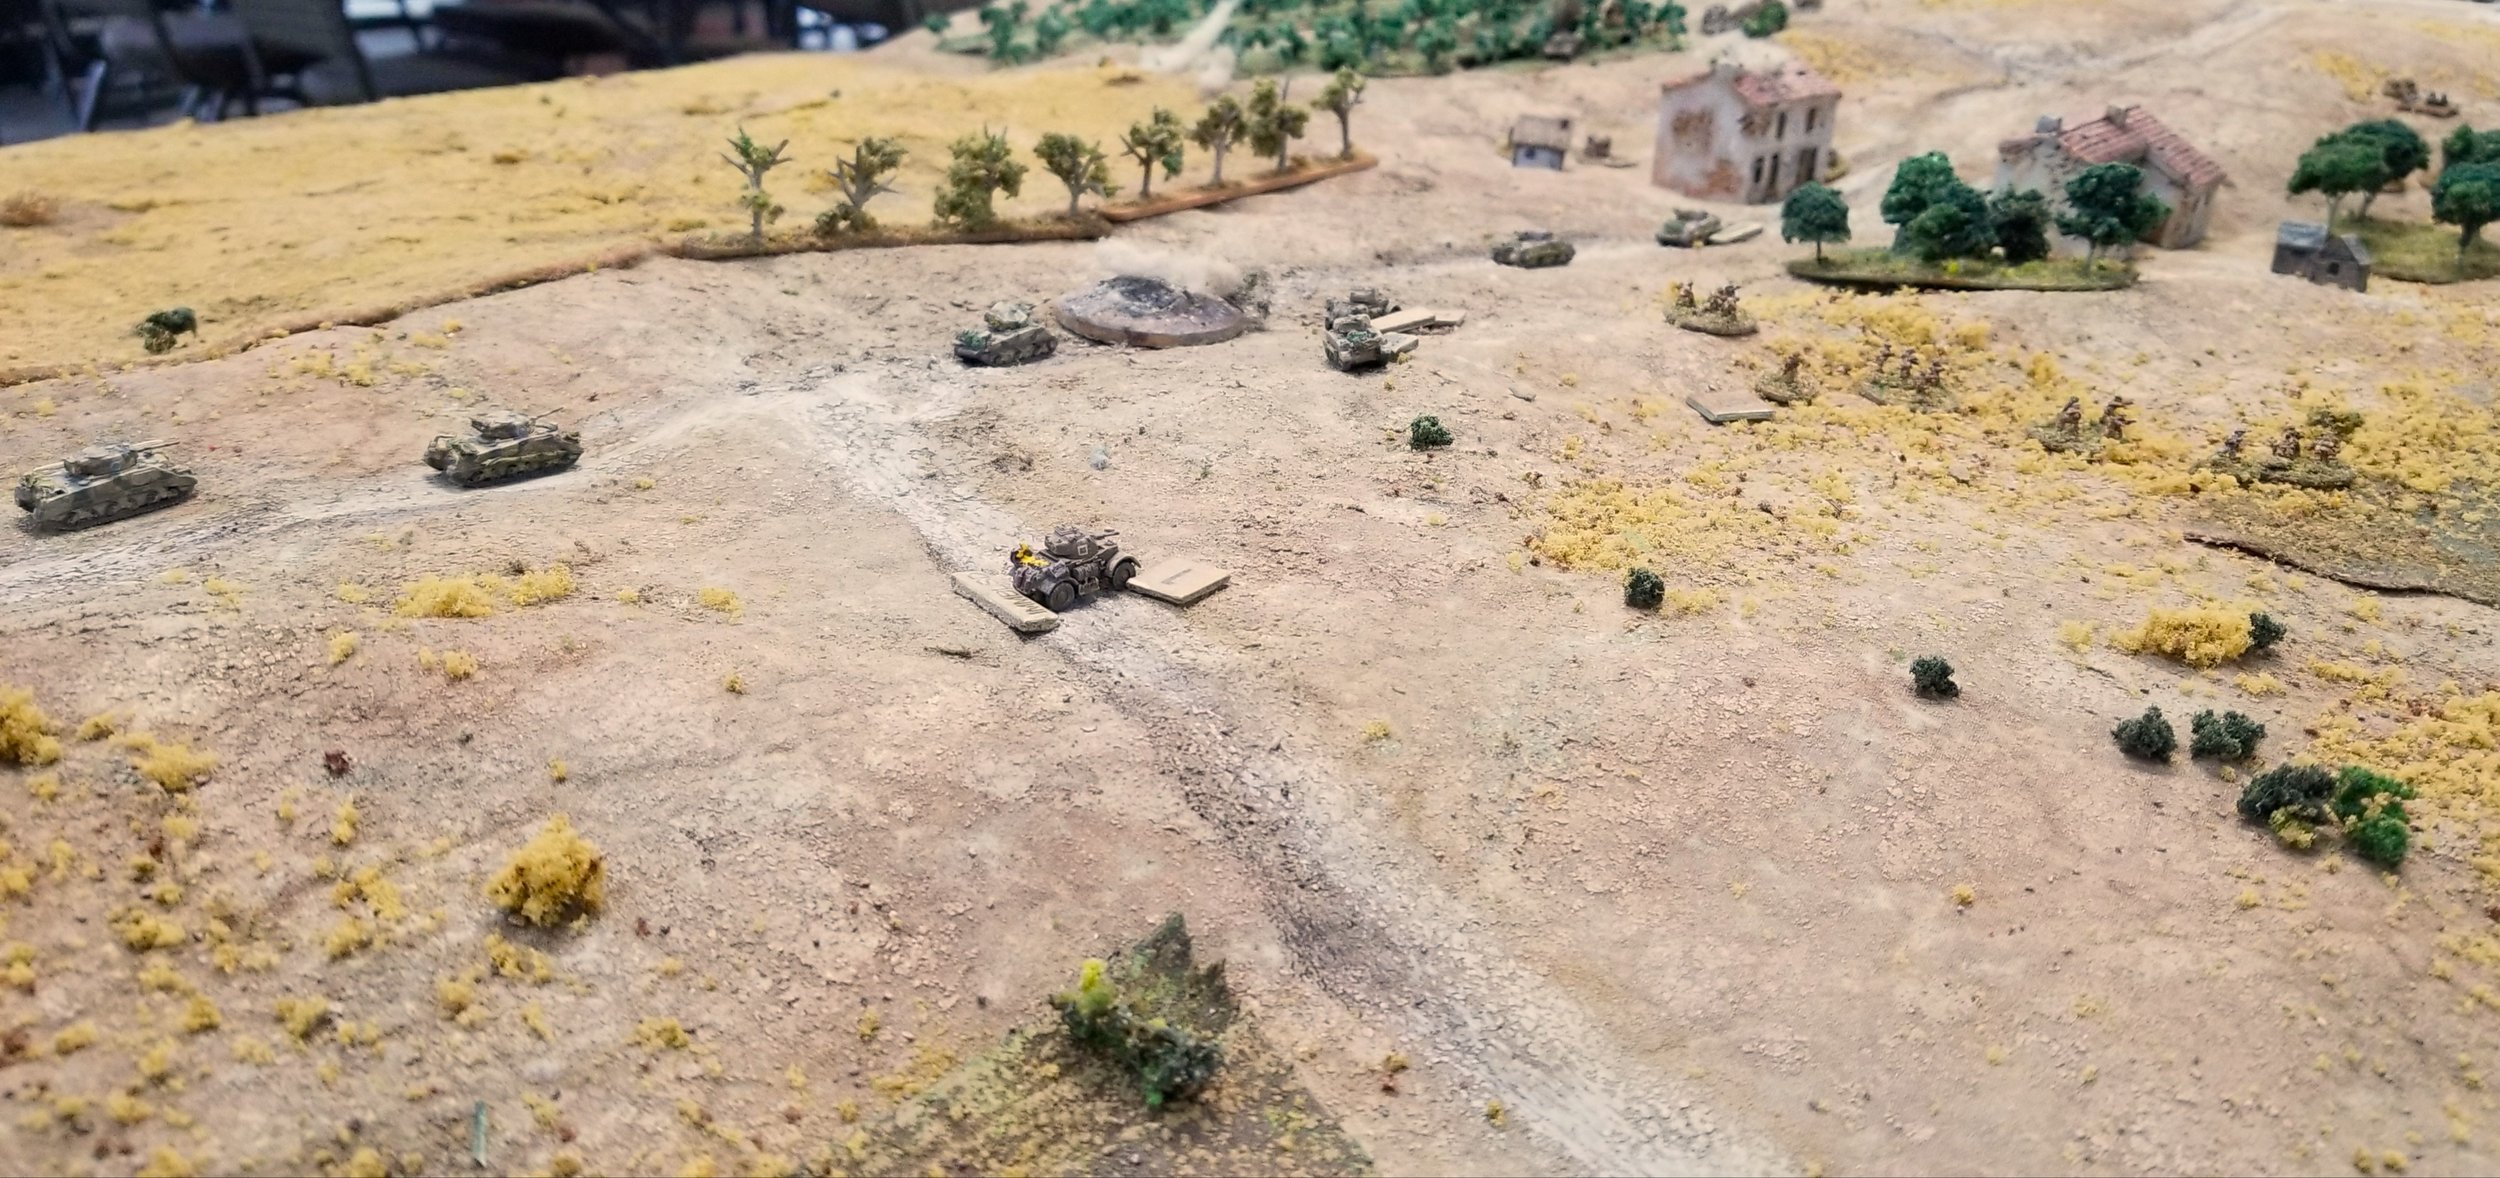
The German FO teams are leading the dash to the rear. All the other grenadiers are also re-locating to the northwest. Some quicker than others.
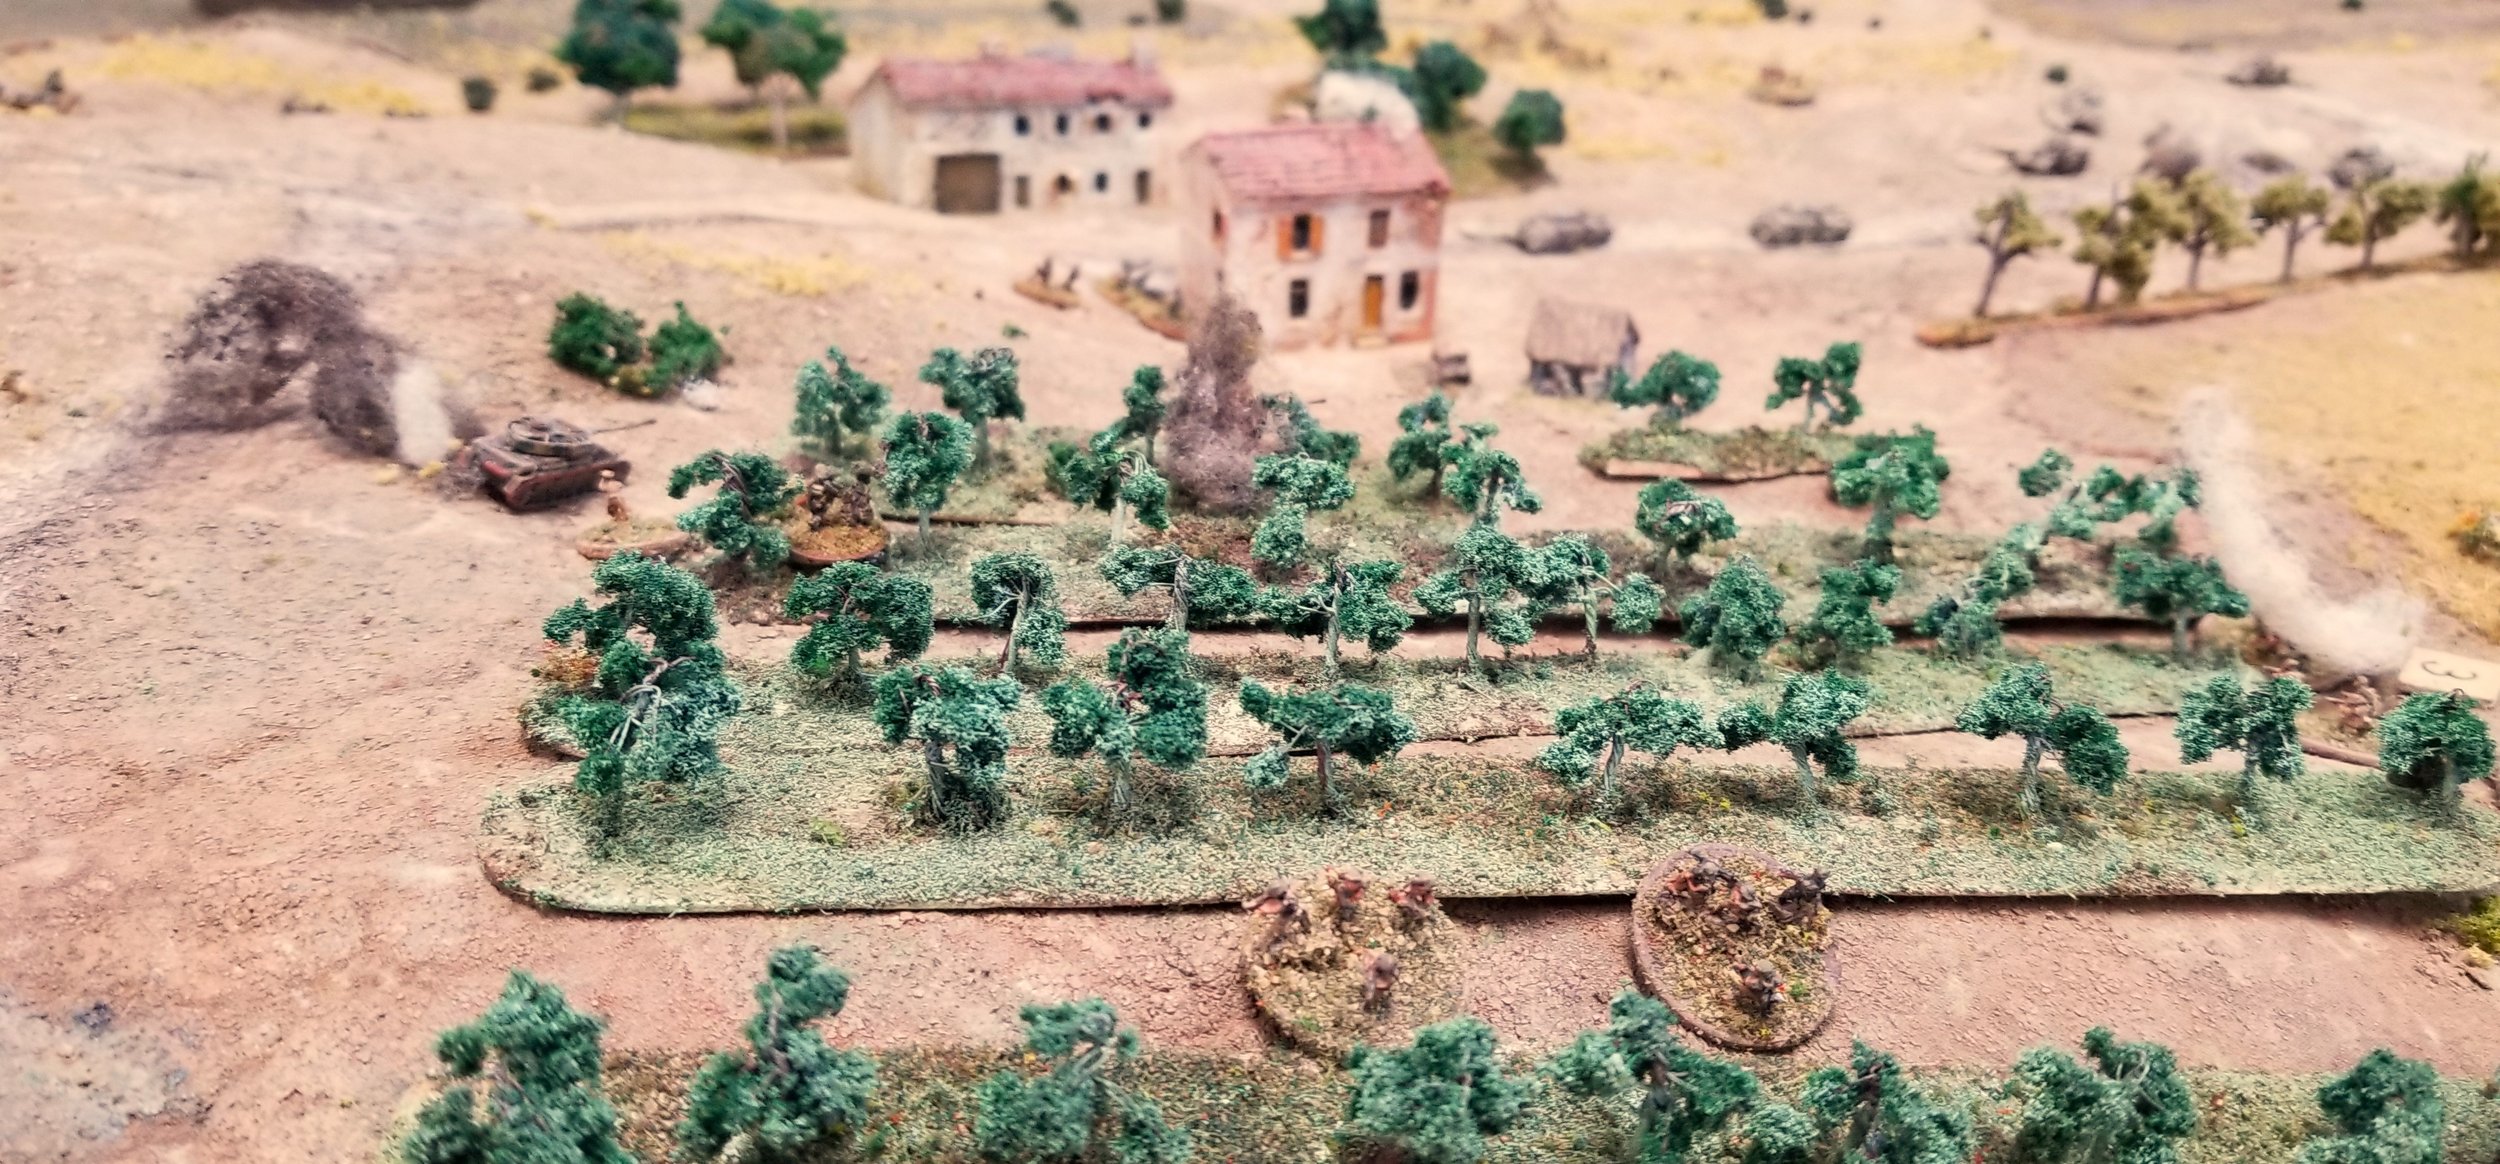
The Germans didn't have a real chance but certainly could've caused more damage if the artillery had arrived and the PzIVs were more effective.
Overall casualties for the New Zealanders were 22 and the company CO killed. One Staghound immobilized and one bogged. Only one M4 damaged and three were bogged One infantry platoon and one troop were still on Blinds at the end.
The Germans had both PzIVs knocked out and lost 16 men out of 40.
From the official history:
The German engineers had prepared four demolitions along the northern road, but it was not until they were half-way to Melone that the tanks, though under frequent shellfire, were delayed by cratering.
It was by then nightfall, and the Germans who had held the line of the road during the day were falling back. Our own infantry followed hard on the heels of the German rearguards, who stalled off pursuit by a second demolition, by small-arms fire from the cover of village buildings along the way, and by blowing up in the middle of the road a lame tank which had been towed back from the main road junction.
Near the village of Salarola three Germans tarried too long and fell prisoner. One of them, coolly directing the retreat of his rearguard, was the 27-year-old commander of I Battalion 9 Panzer Grenadier Regiment, by reputation ‘the most capable and bravest’ battalion commander of 26 Panzer Division.
Still the men of 2 Motor Company pressed on in the darkness and they were nearing the junction of the two lateral roads when a third demolition was blown in their faces, making a hole about forty feet across. This in turn they skirted, only to find the enemy covering the road from posts sited in the prearranged delaying line before the Melone–Orsogna road. Not until next morning, the 3rd, did the company confirm the enemy's withdrawal from this position – a hurried withdrawal, it appeared, from the amount of abandoned equipment left scattered about.
Mark Luther

A great game with mates on Sunday. Scenario was Canadian VC from the pdf rulebook.
Game #2 and I’m in. We ran out of time but was unlikely the Canadians were going to grab the crossroads. Learnt a lot. Will bring in fire support next game.
Ken Snell

Doing the north shoulder of Kursk always gives me a chance to break out the big guns!
This game takes place a few days into Citadel with the German offensive running into a counterattacking Soviet force in wide open terrain.
The German players had 4) Ferdinands, 3) StuG IIIs (with 2 Tank Aces), and 2 StuH42s of StuG 244. German infantry consisted of a weakened company of Grd Rgt 507 and a pair of MMGs in support. Their objective was to continue the advance south and get a viable force off the table.
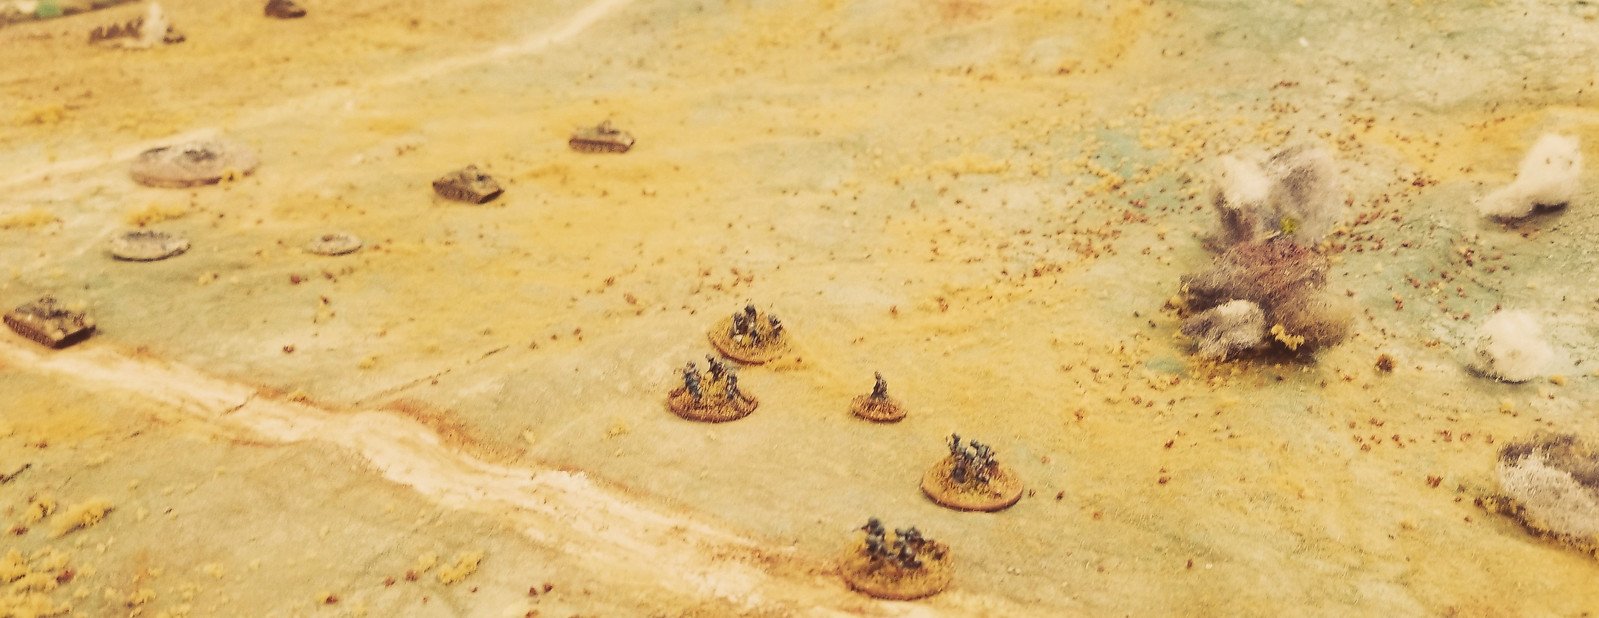
One platoon of grenadiers was to provide flank protection across the plain. This did not work out well. They ran into an attacking group of T34s from 51st Tank Brg and infantry from the 2nd Coy of 1019 Rifle Rgt. The grenadiers missed a stray stonk of arty. Throughout the game random mortar and artillery fire would appear..
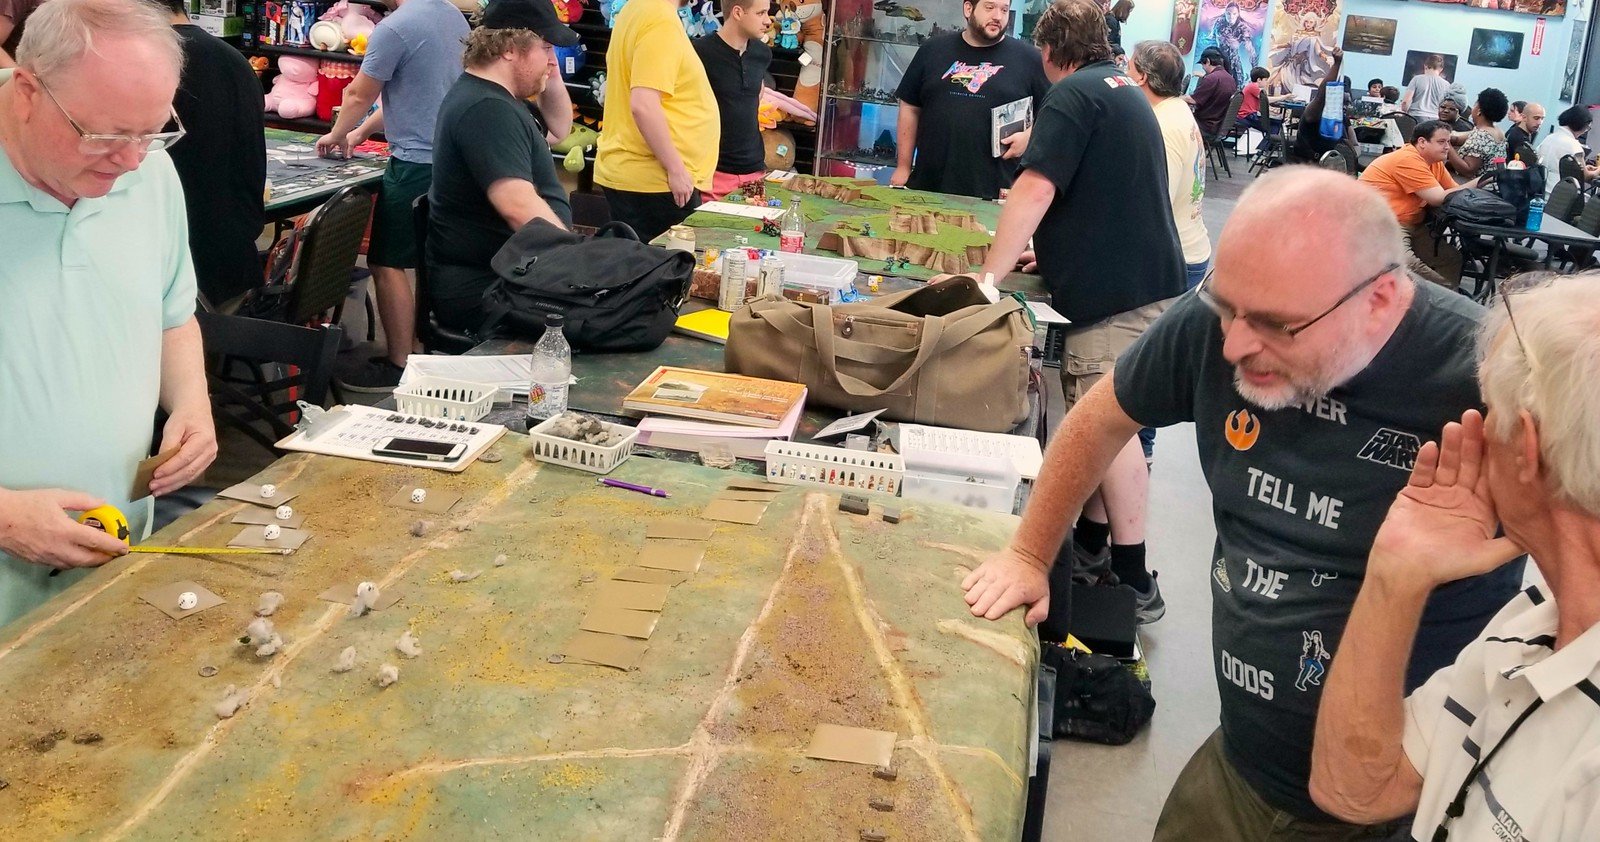
We had plenty of units on the table but most were quickly unveiled in the open terrain The ground sloped slightly down from the north.
The Russian forces consisted of 2 companies of T34s (19 tanks total) of the 51st Tank Brigade and 2 companies from the 1019 Rifle Rgt.
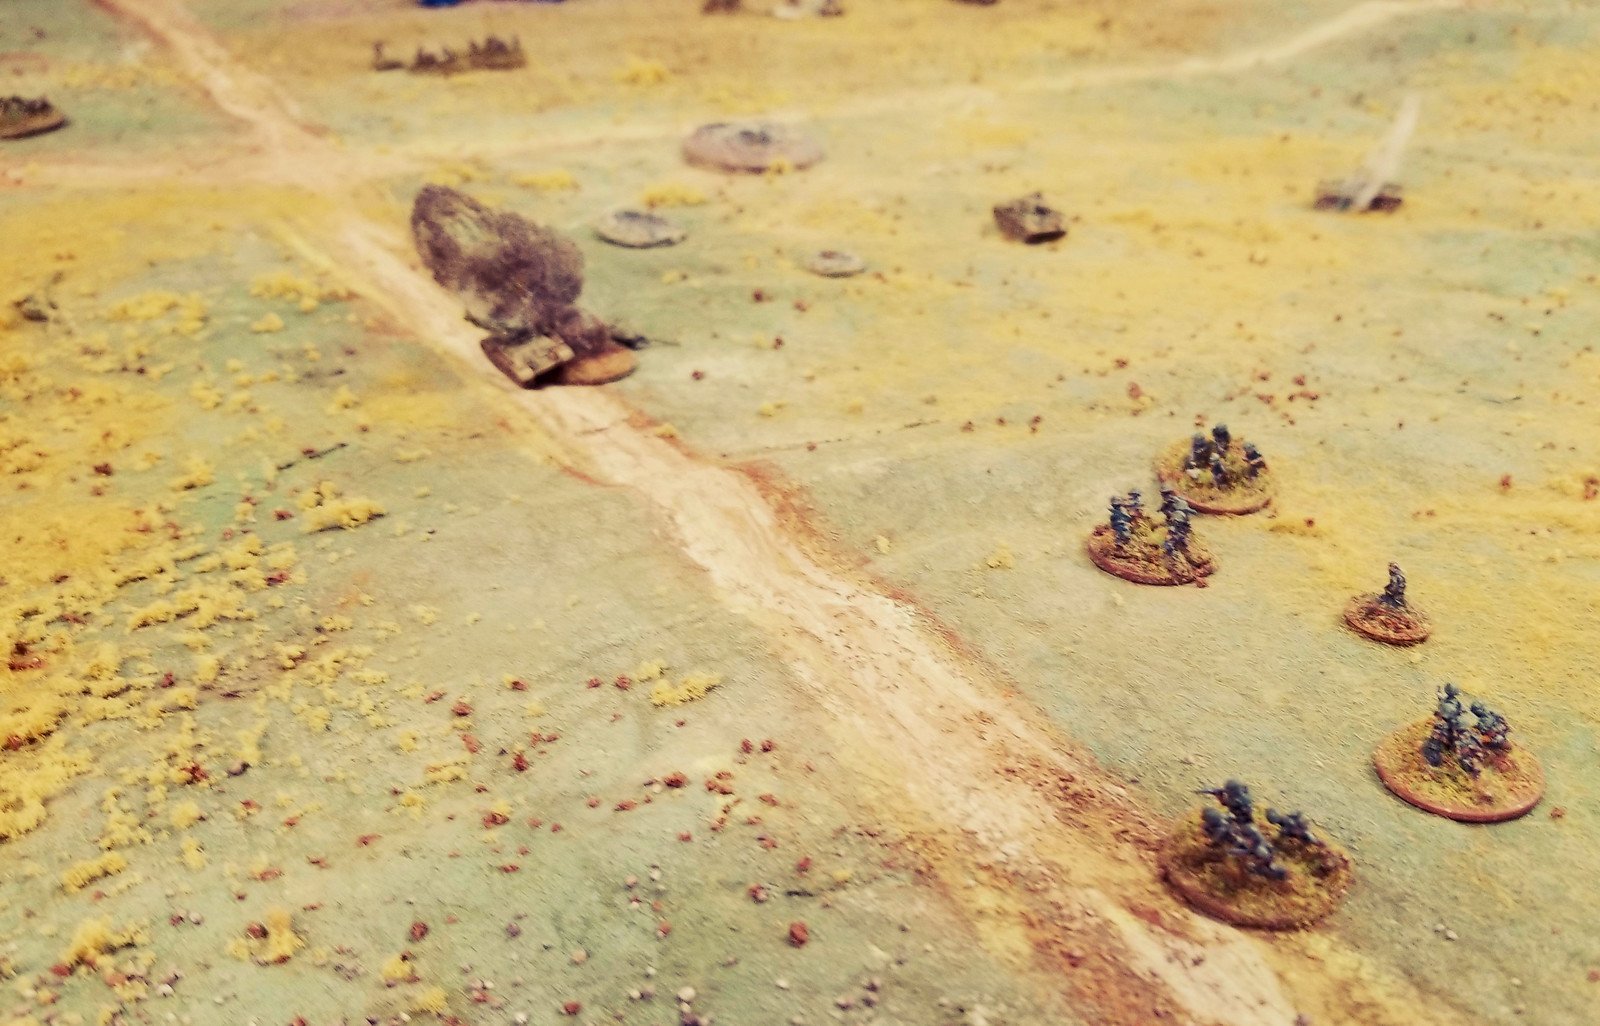
The left hand German platoon (which had only 2 sections) was helped by the Ferdinands dispatching a platoon of T34s.
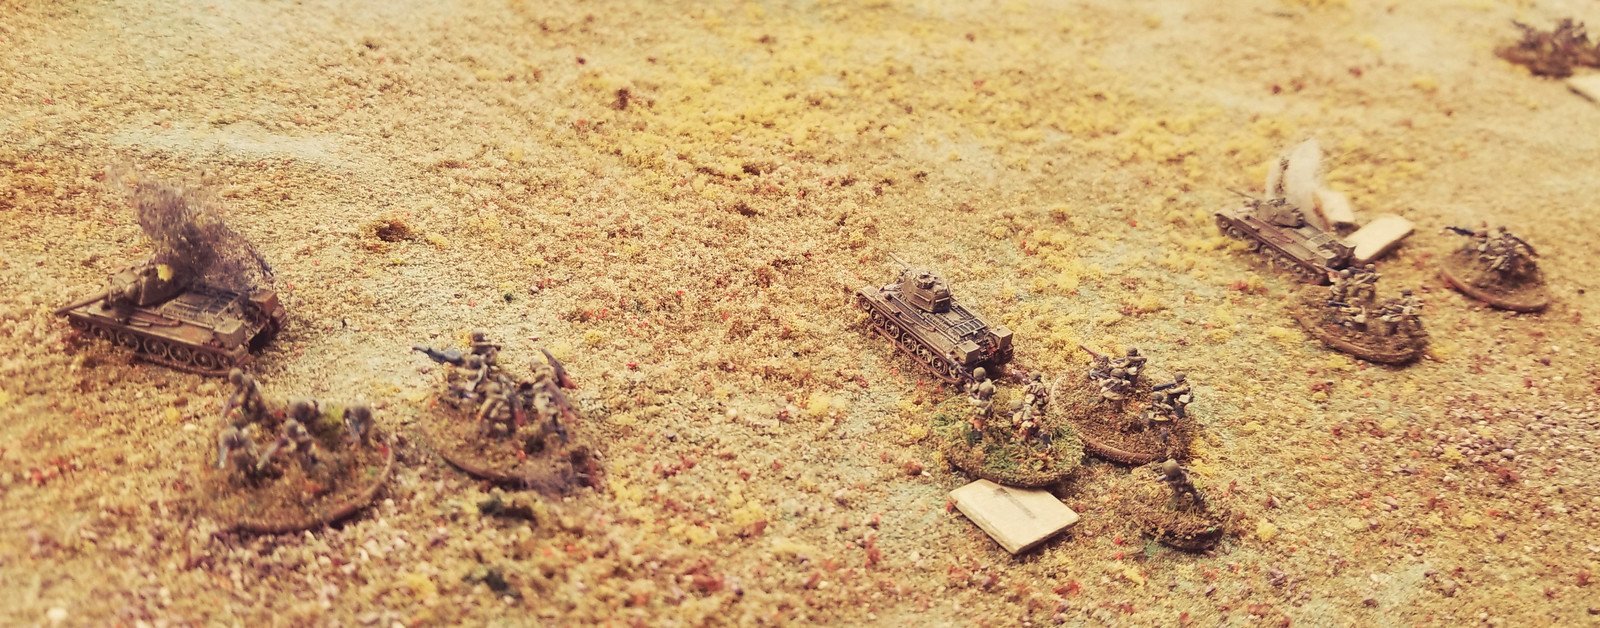
No need to stay on the targeted T34s Most sections hopped off as soon as the German stated shooting.
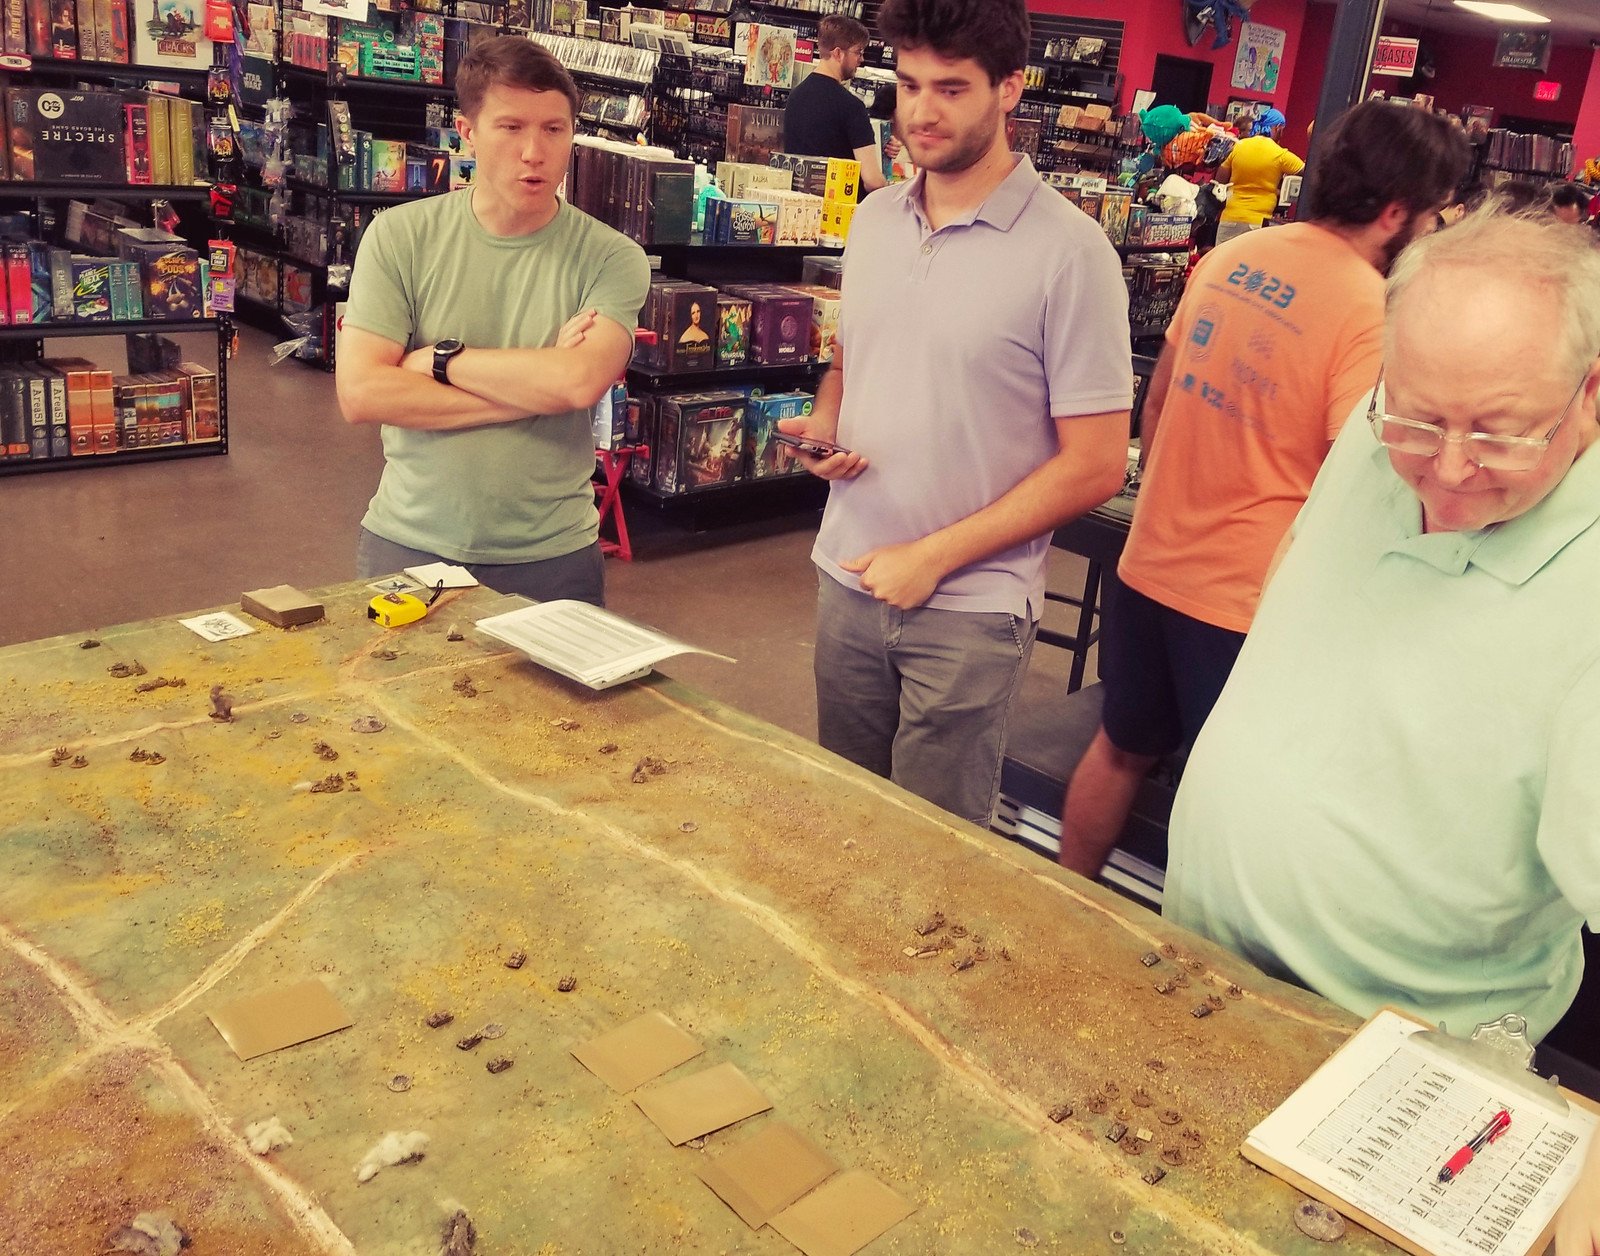
The long range advantage of the panzers cause the T34s to halt and offload their infantry just a few moves onto the table.
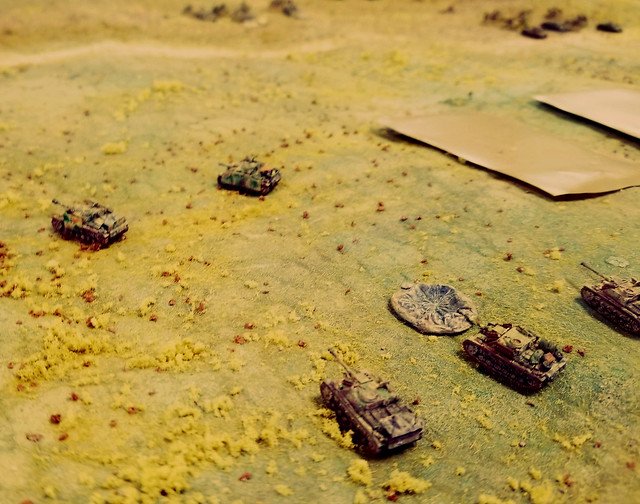
Grenadiers still not identified and under blinds to their right Russian tanks were too busy shooting at the German armor and the infantry were scrambling in the open, so the grenadiers were ignored for awhile.
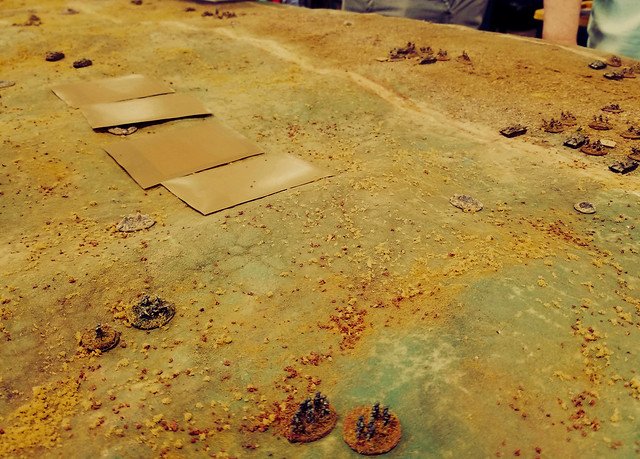
StuGs and Ferdinand go after the tanks and grenadiers the infantry. A very target rich environment.
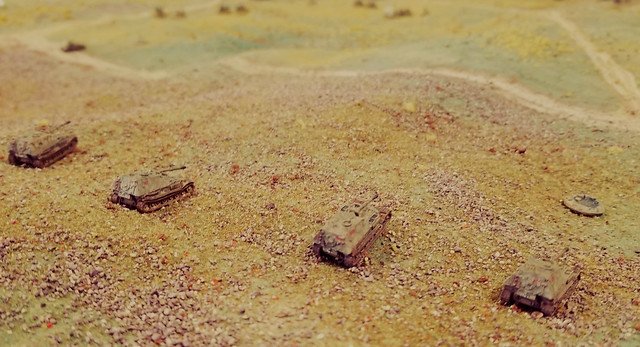
Germans were facing 2 to 1 odds and were suppose to maintain the attack Fortunately this part of the battlefield was clear of mines and entrenchments.
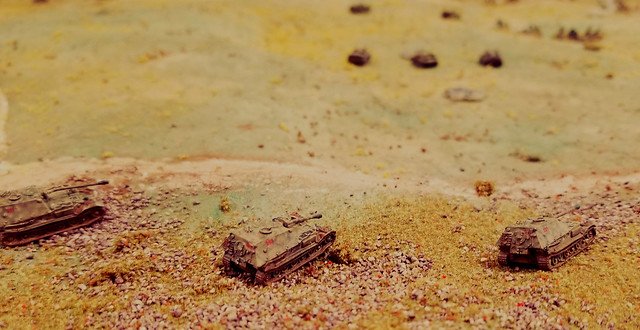
Its a wonder they could hit anything with those bent barrels!
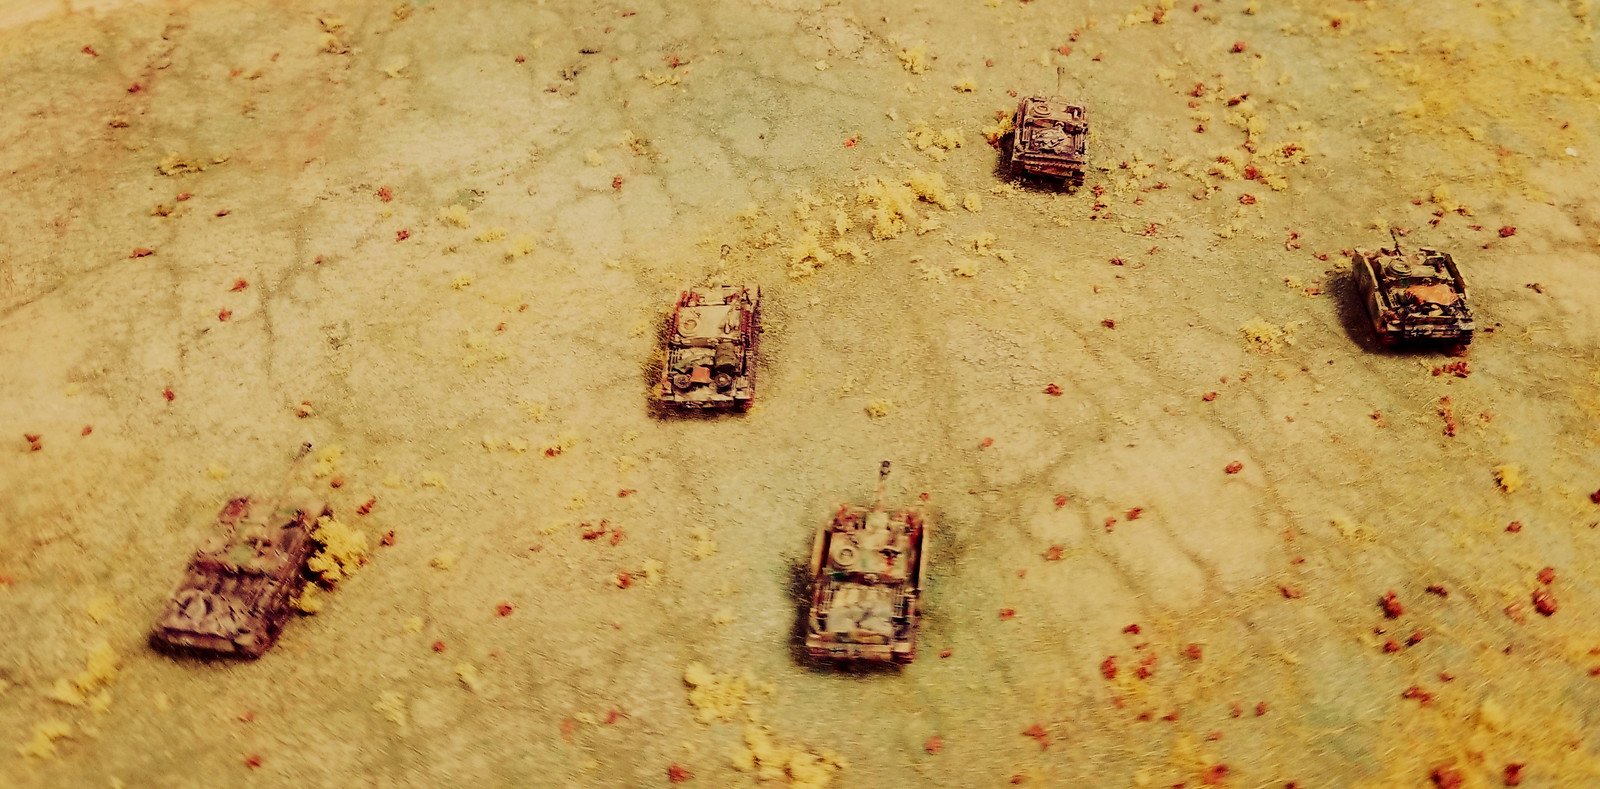
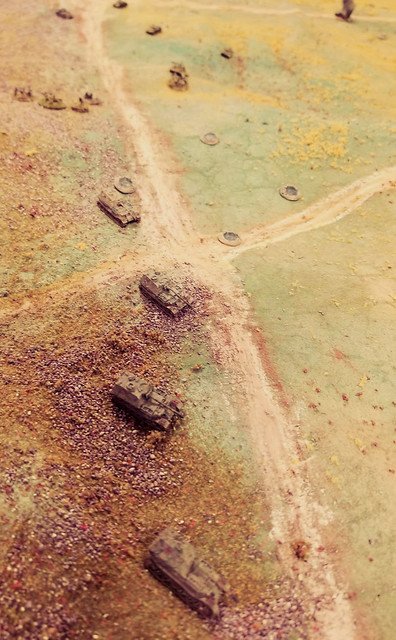
The weak left side platoon of grenadiers was chewed up and the Russians were turning around to attack the Ferdinands. Could the big guns out run the Soviet infantry?
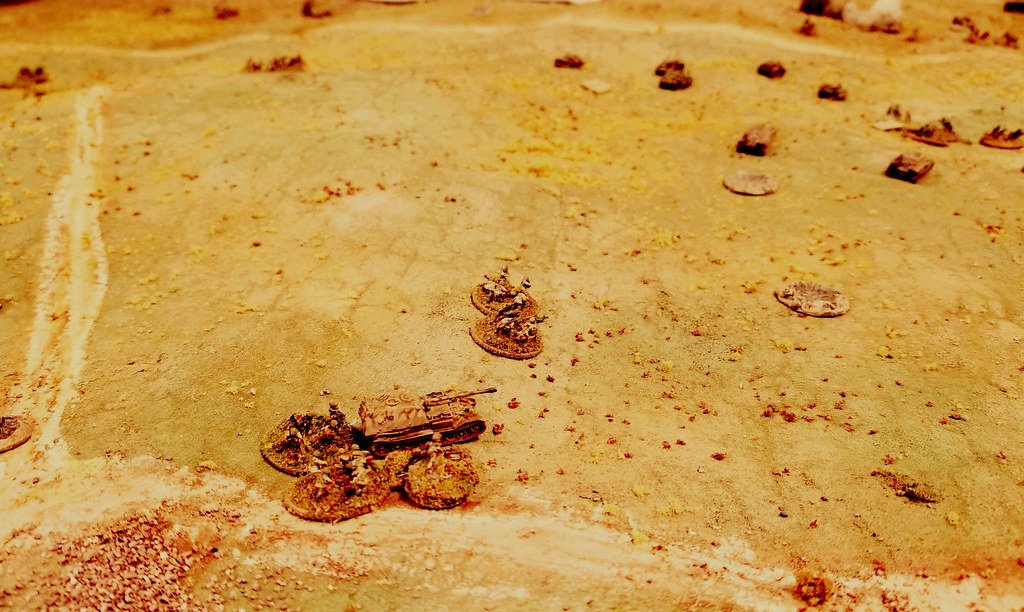
One poor assault gun was having trouble moving and it was overrun by Russian infantry. The close assault failed twice and it managed to scuttle away. Meanwhile its mates igmored its calls for assistance and moved south.

Germans push south and the right side group of Russians swing west behind the advancing Germans. More artillery comes in to the west indiscriminately targeting both sides
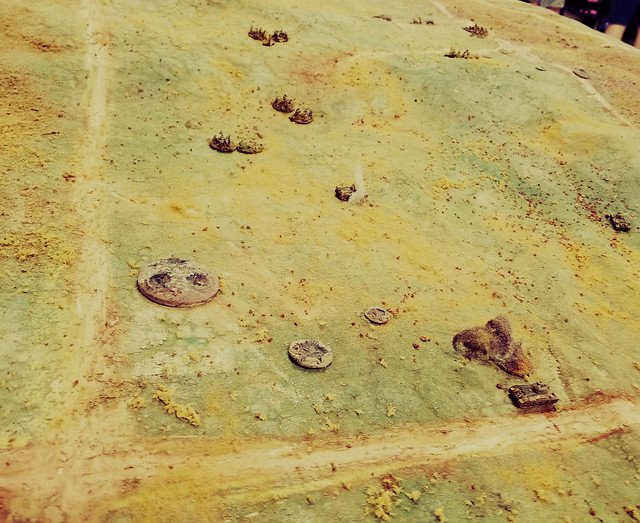
Still 7 of 10 T34s in that company are out of action.
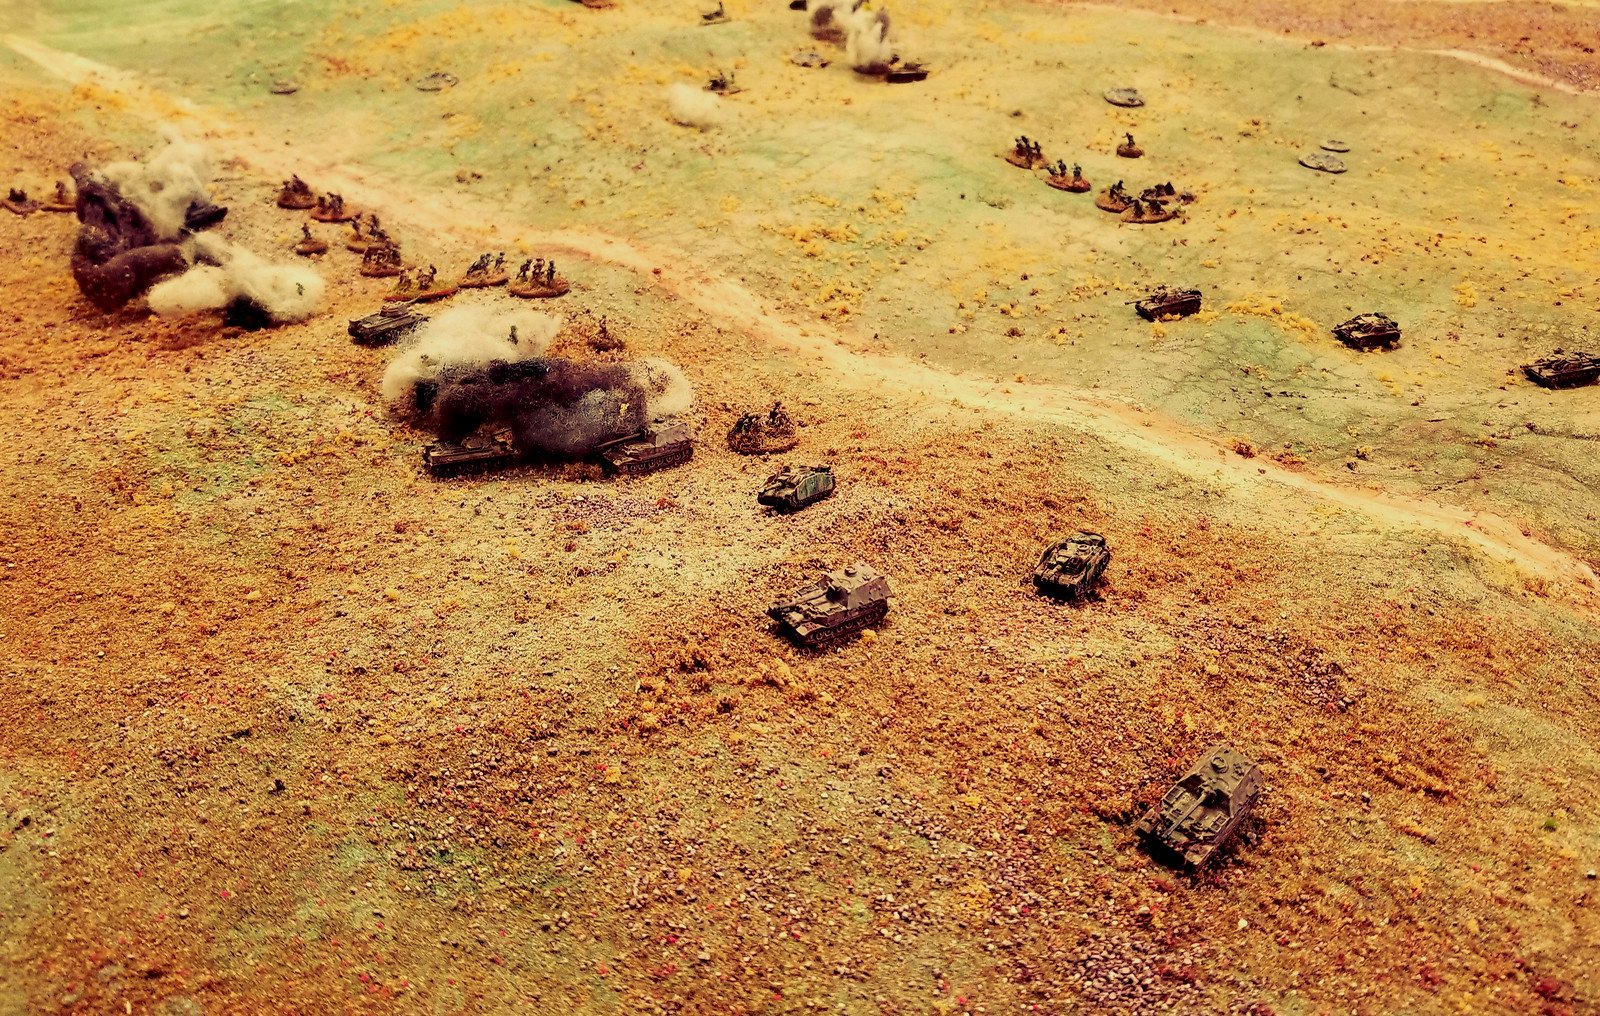
On to the next objective
The Germans did take a few losses among the grenadiers-who were already at 2/3rds strength. The 3rd platoon on their left was wiped out. No real damage to the assault guns.
The Soviets took in on the nose in the exchange. 15 of 19 T34s were out of action. The infantry company on the right was in okay shape only losing 1/3rd strength. The other company facing the bulk of the grenadiers and StuGs however lost at least half of their men
German victory but the followup units will have to fight their way through Russians occupying the German start line.
Mark Luther


Three weeks past, Reynor Padilla, Bruce Ross and I played *Storming the Citadel* PSC table 5, CoC leveled up to IABSM (just times-ing everything by 3 kinda).
So far Grossdeutschland has swept all games including this one, which was a fall-back for Russians from the lost village of Butovo to the next one up the road, evacuating wounded in trucks and horse carts with the remnants of the original rifle company. 3 PG mounted platoons plus 3 tank platoons went tally-ho on the defenders, leaving a mess of screaming horses and a burning caravan.
The remains hightailed it out to fight another day, but not before calling in two Sturmoviks with bombs and rockets (first time we used air) plus a regimental battery to keep the wolves at bay.
Learnings: choose the slow (for Russians) predictability of arty vs. the 1/3 chance for the plane to circle back for another run if your precious activations (if using CoC dice like we are).
Also, giving all the PG platoons their Hanomags with MGs, too, is firepower overkill…so we’re still working on game balance (only 1 PG platoon should be mounted) as we prepare the last village battle of this bend in the Kursk narrative here.
Will Depusoy