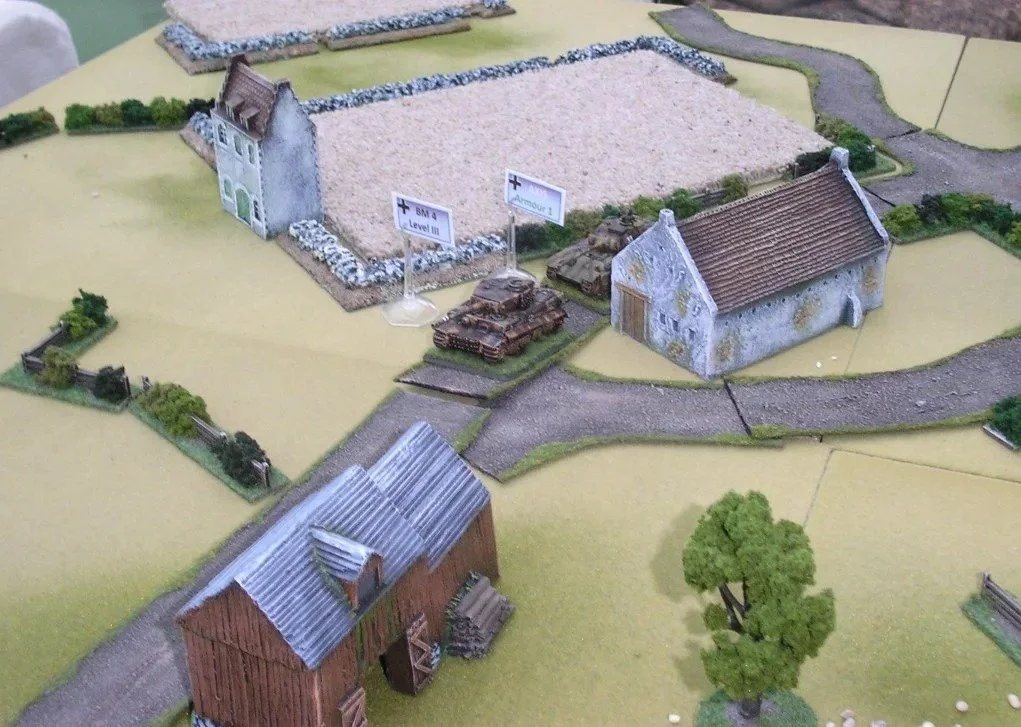
Wenn bei IABSM eine panzerbrechende Waffe auf ein gepanzertes Ziel schießen möchte, wird zuerst ein Trefferwurf mit 2W6 und danach ein Schadenswurf durchgeführt.
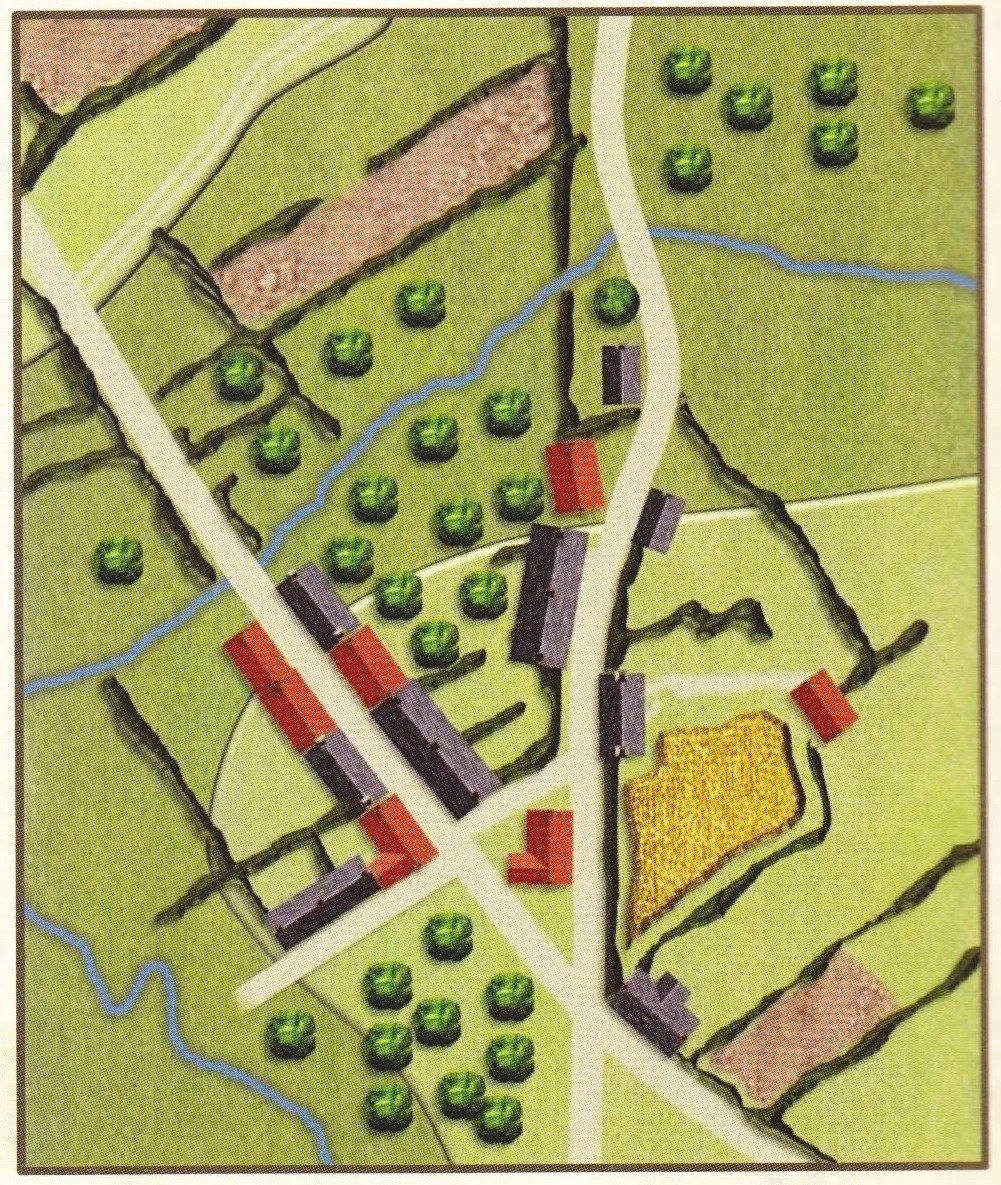
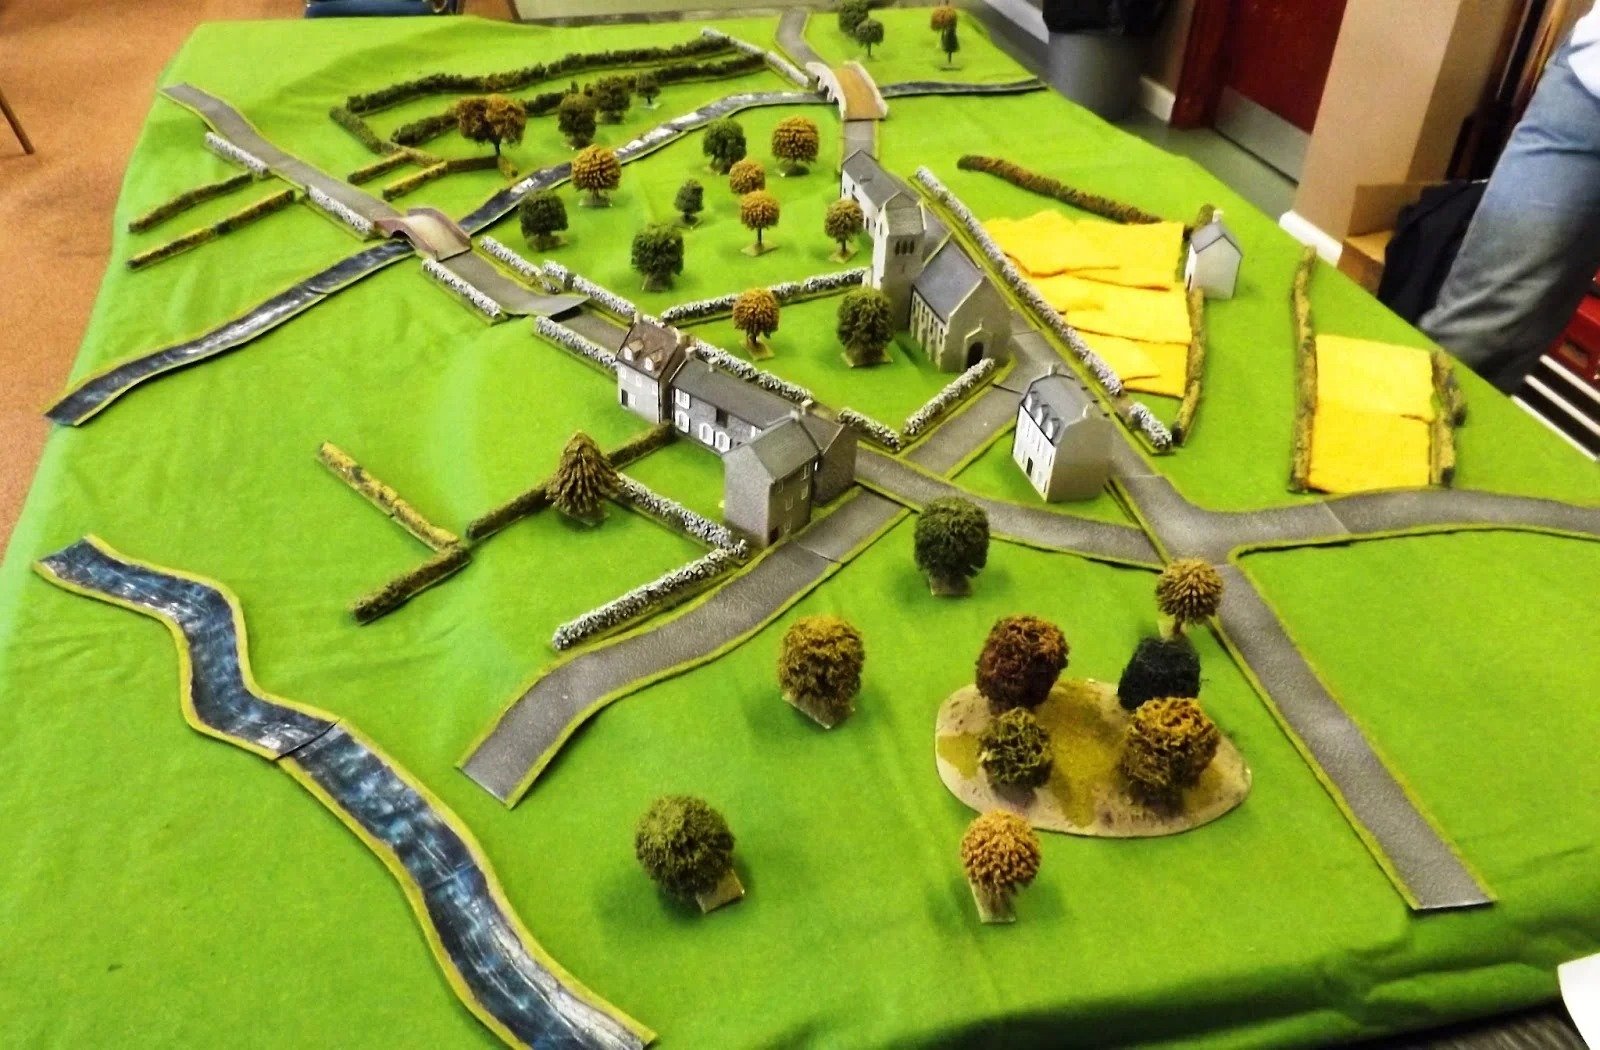
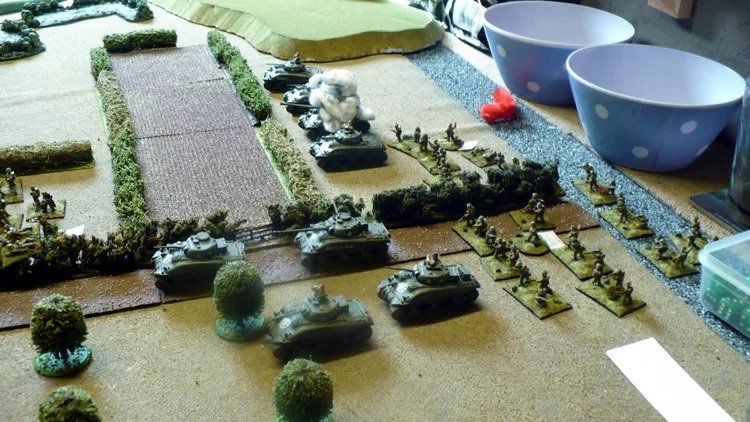
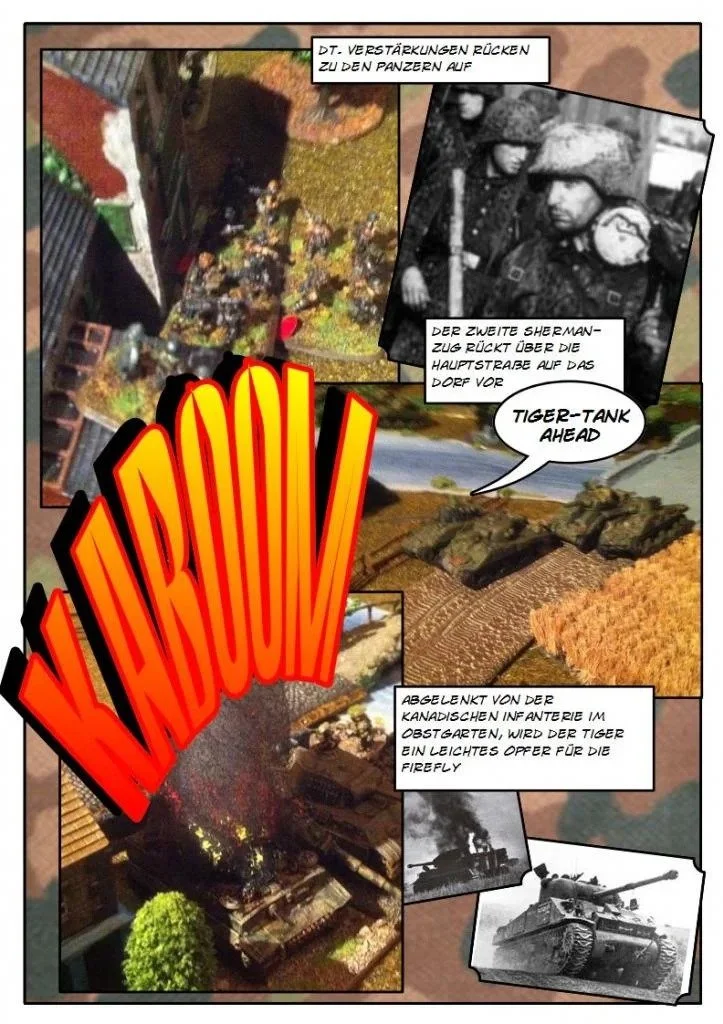
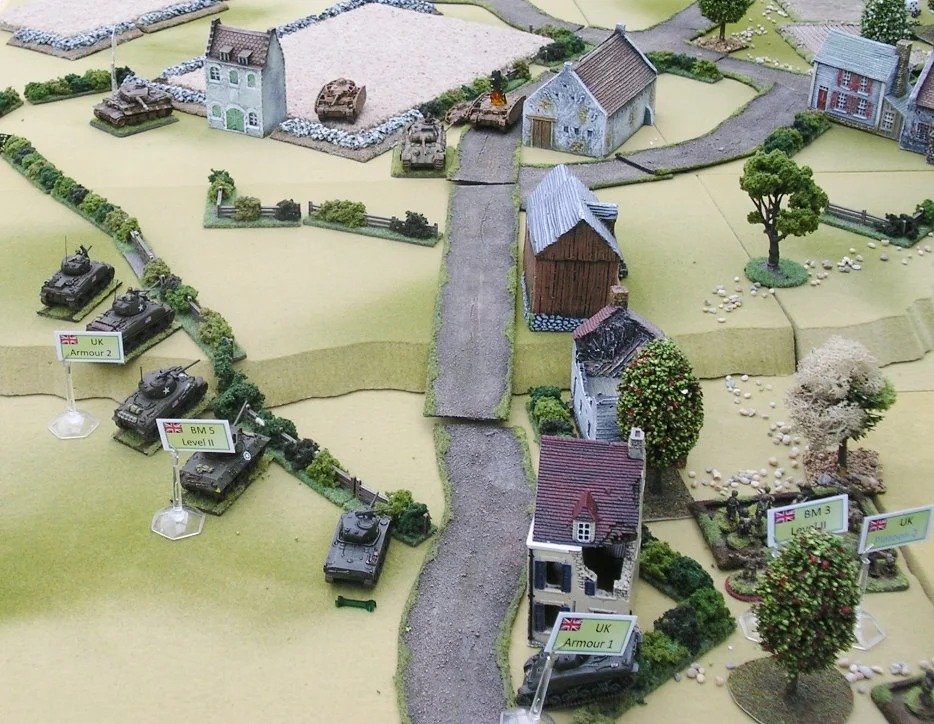
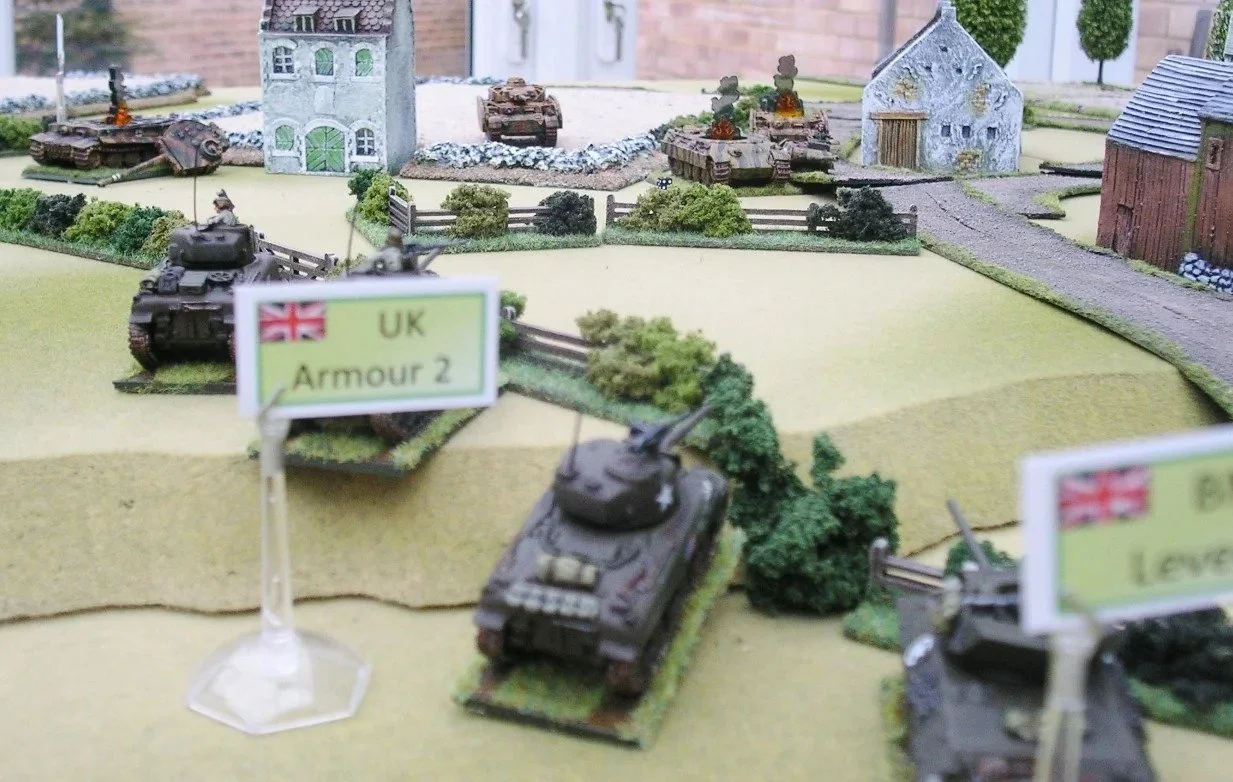
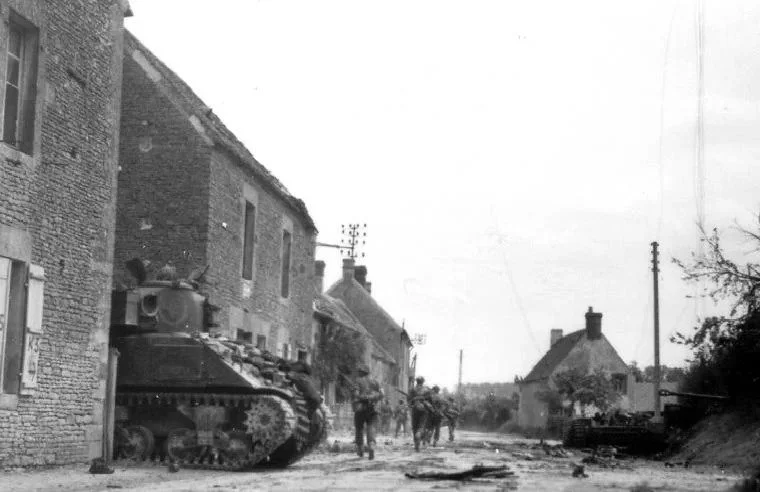
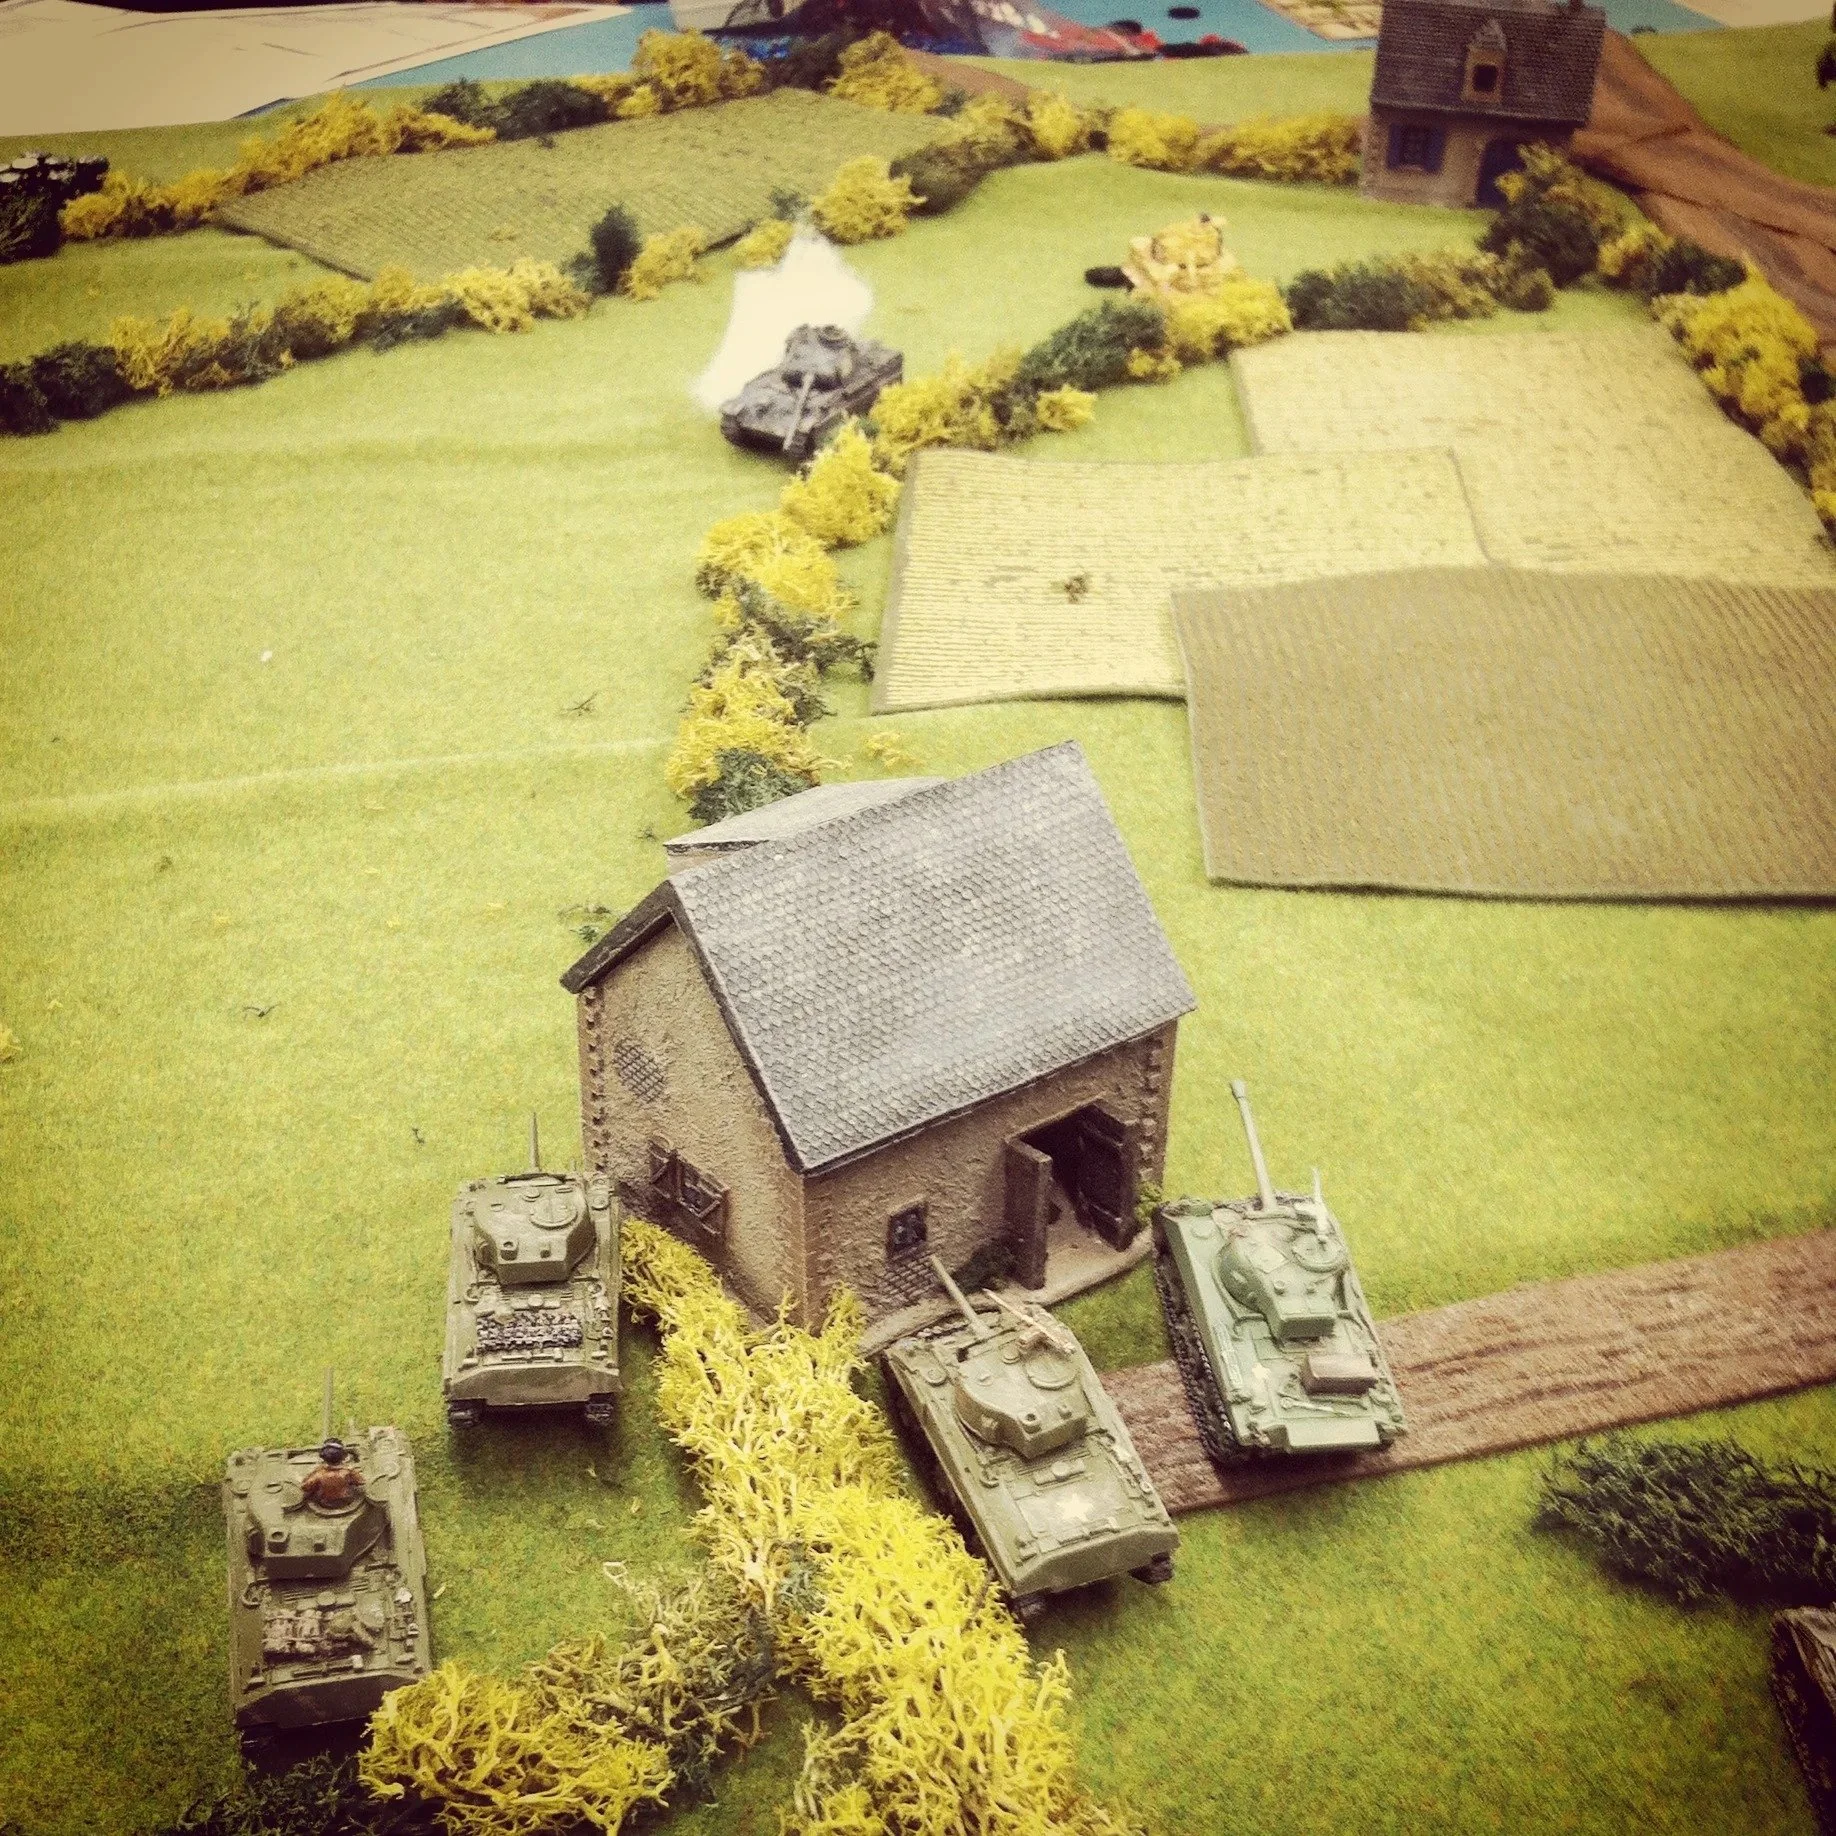
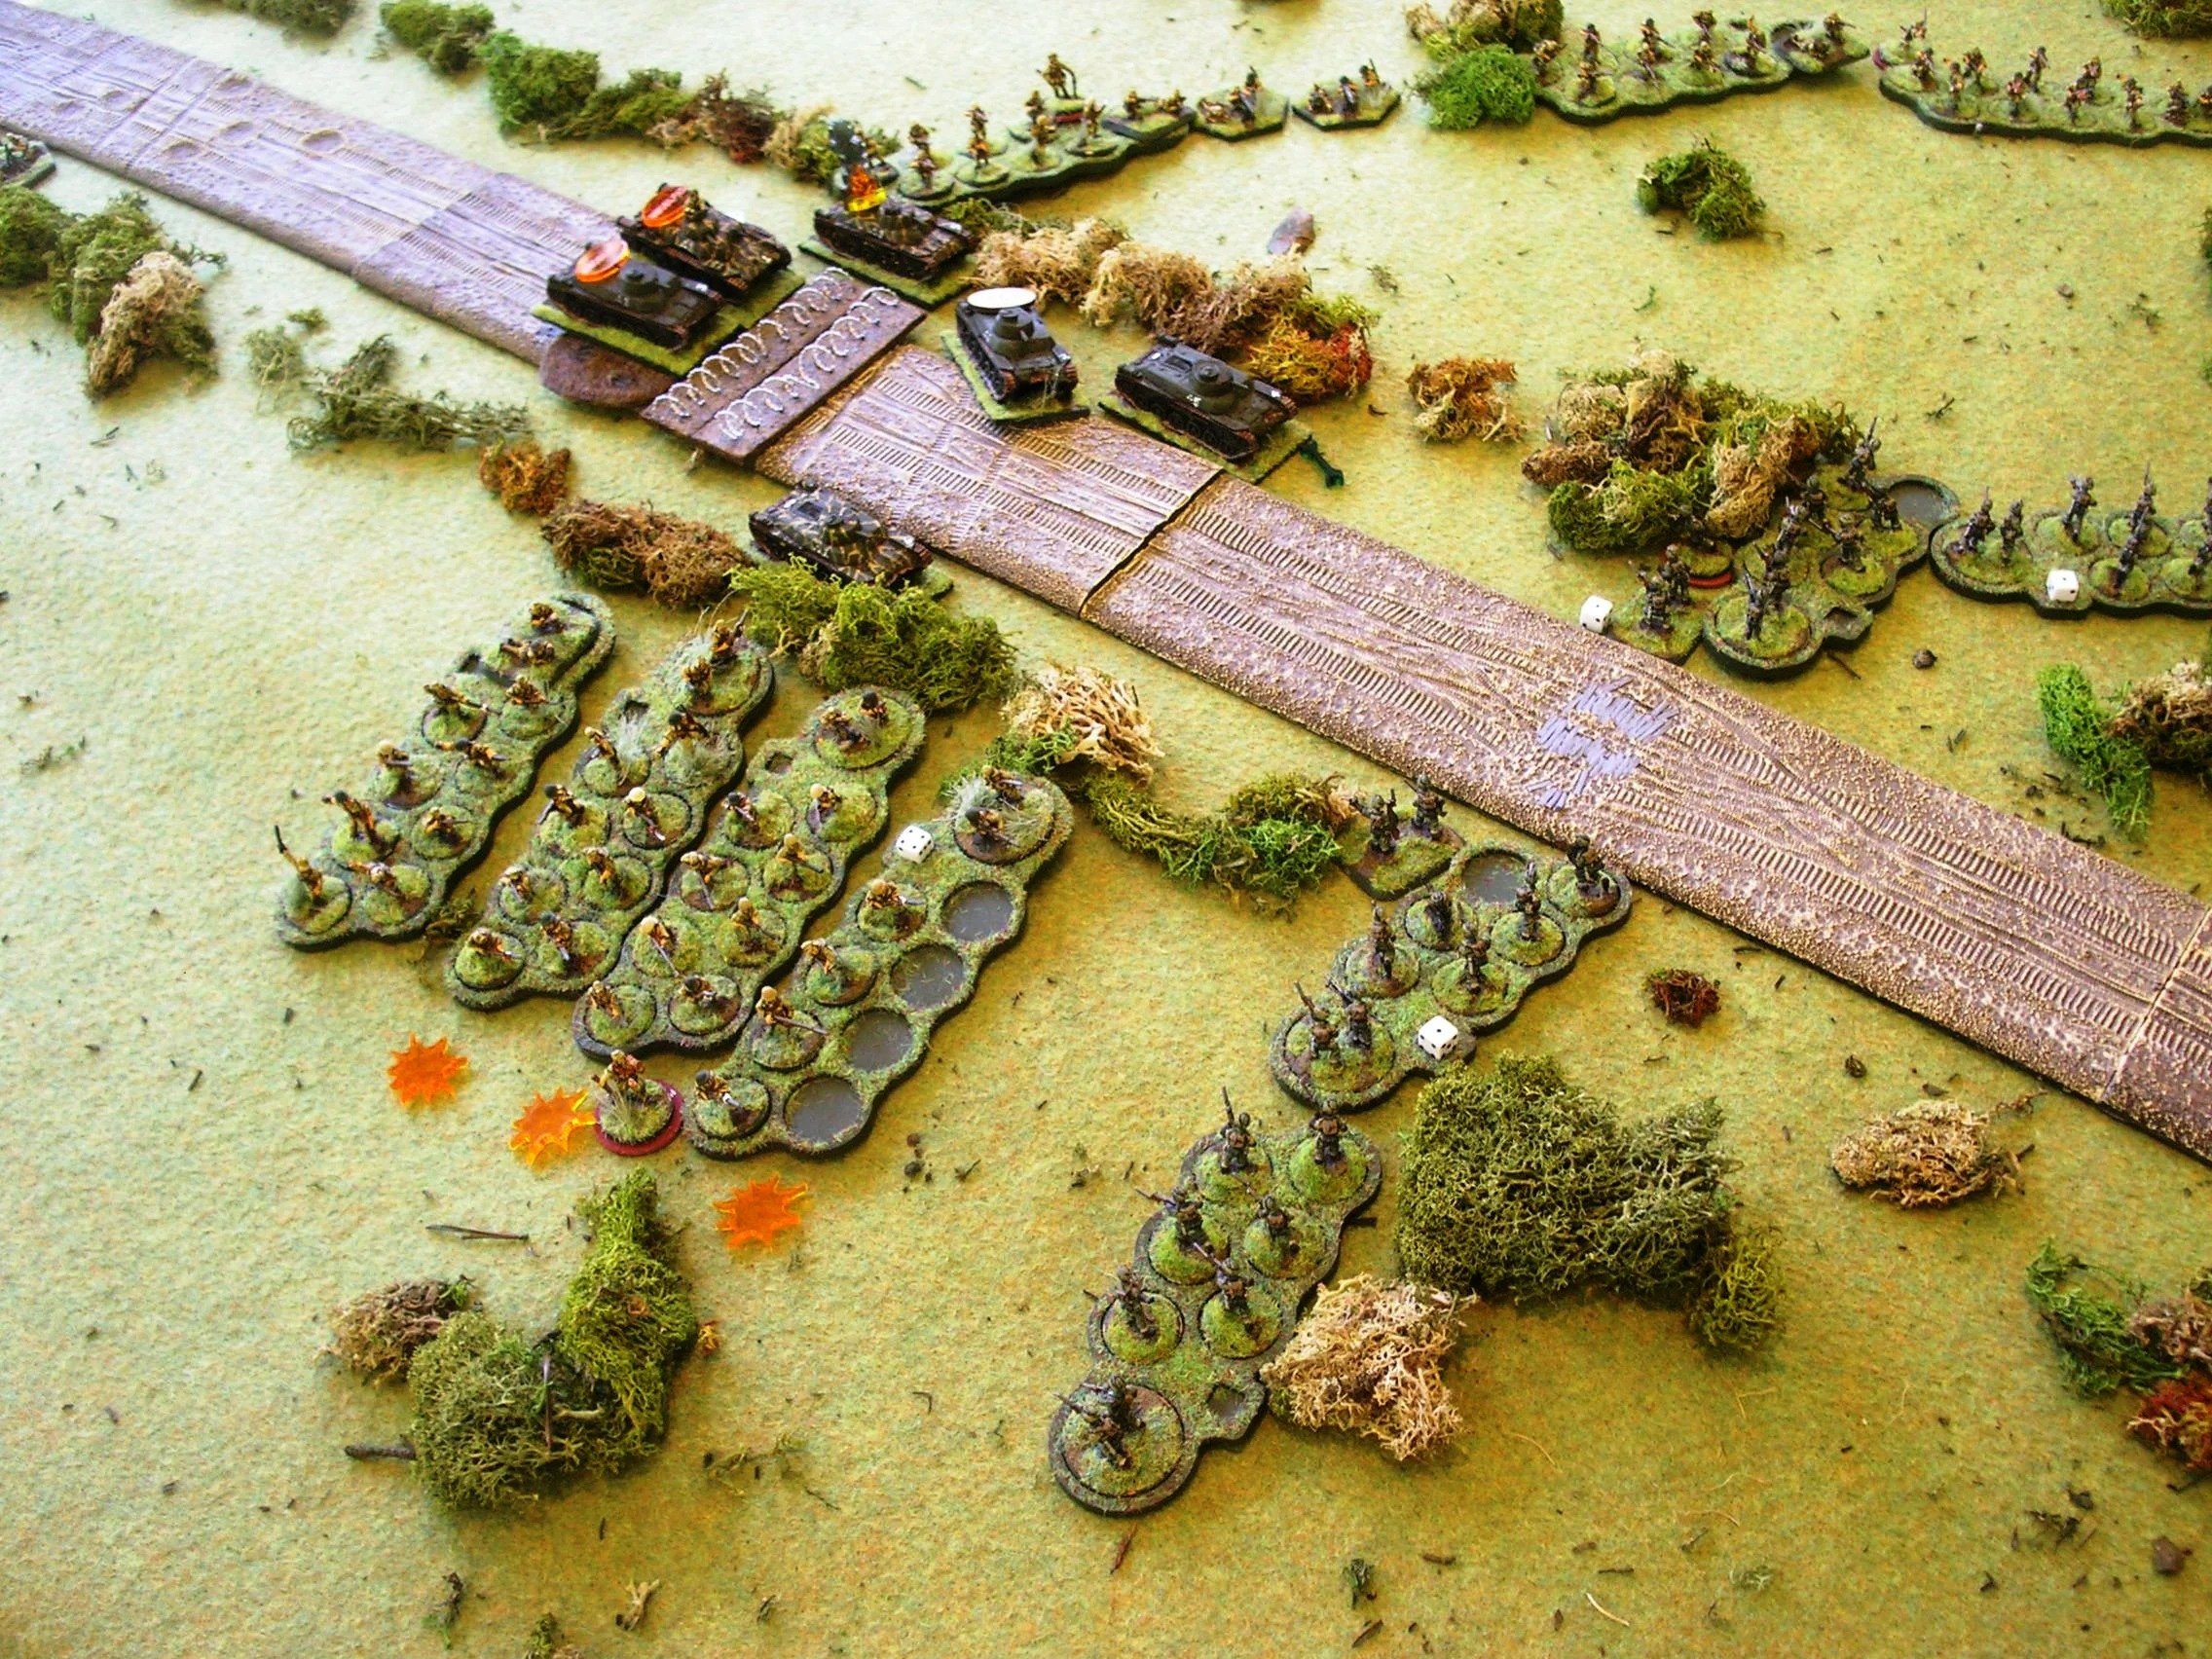
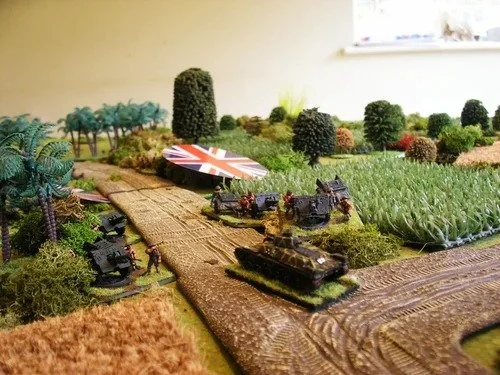
Vom Firefly auf der Straße aus war der Tiger durch den Obstgarten leicht verdeckt (- 1), allerdings bewegten sich die Shermans unter einer "Hunt Order" (langsamer bewegen, dafür besser schießen), was eine +2 Erleichterung ergab. Bei der Entfernung lag der Mindestwurf bei 7, durch die Modifikatoren auf das Würfelergebnis musste allerdings nur eine 6 gewürfelt werden.
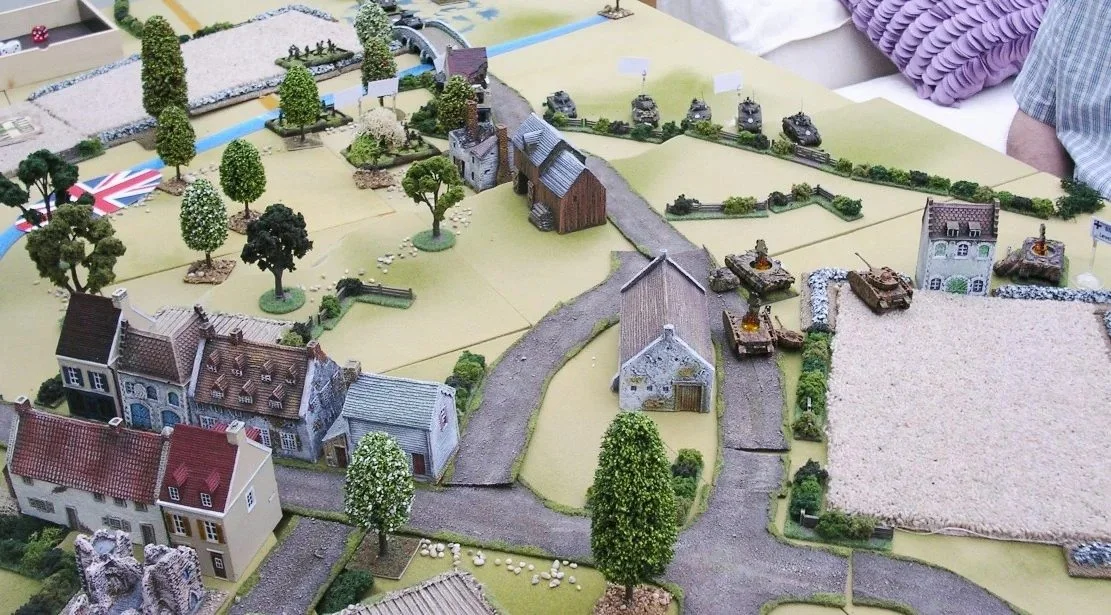
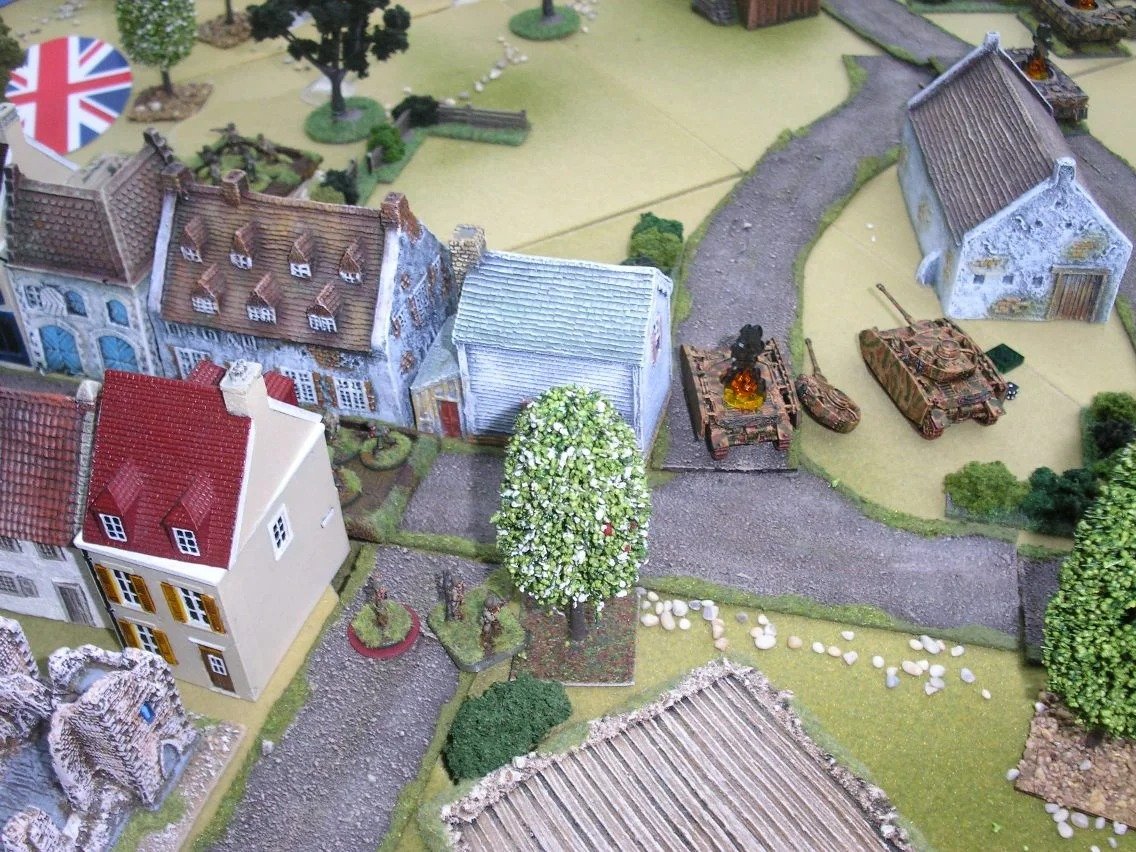
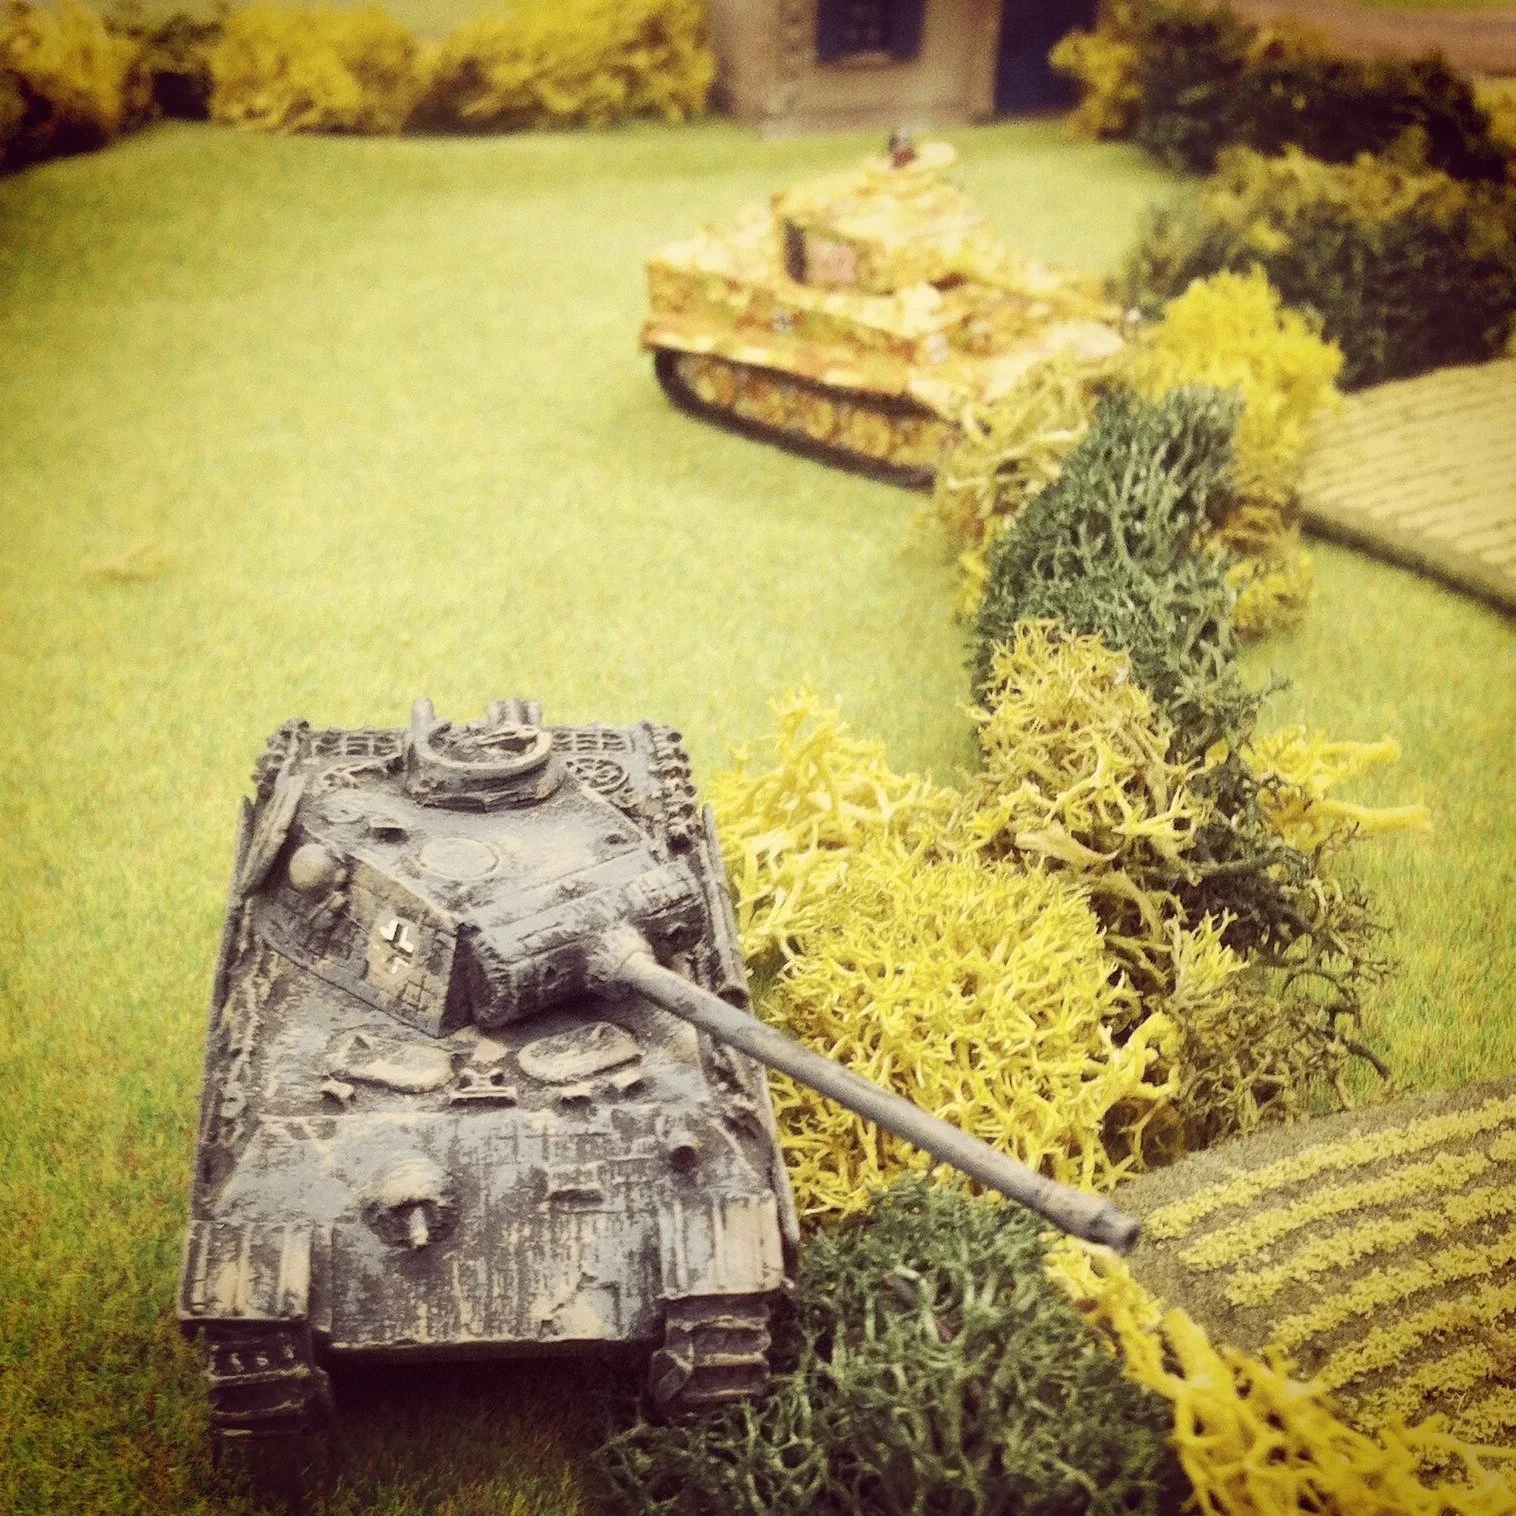
Nach dem Treffer wurden eine Anzahl W6 entsprechend der Werte für "Weapon Strike" des Firefly (12) und dem "Armour Value" des Tigers (11) geworfen. Bei einem Treffer von vorne zählt jede 5 oder 6 als Treffer, von der Seite bereits eine 4+ und von hinten sogar eine 3+. Beim Wurf des "Armour Values" zählt immer nur eine 5 oder 6 als Erfolg, die "Heavy Armour" des Tigers hätte allerdings bei einem Treffer von der Seite oder von Hinten die Anzahl der Verteidigungswürfel um 2 erhöht. Die Erfolge des Widerstandswurfes wurden danach von denen des Schadenswurfes abgezogen.
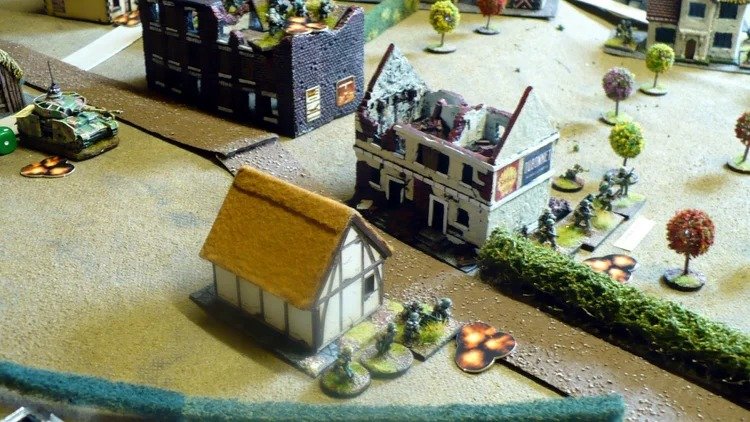
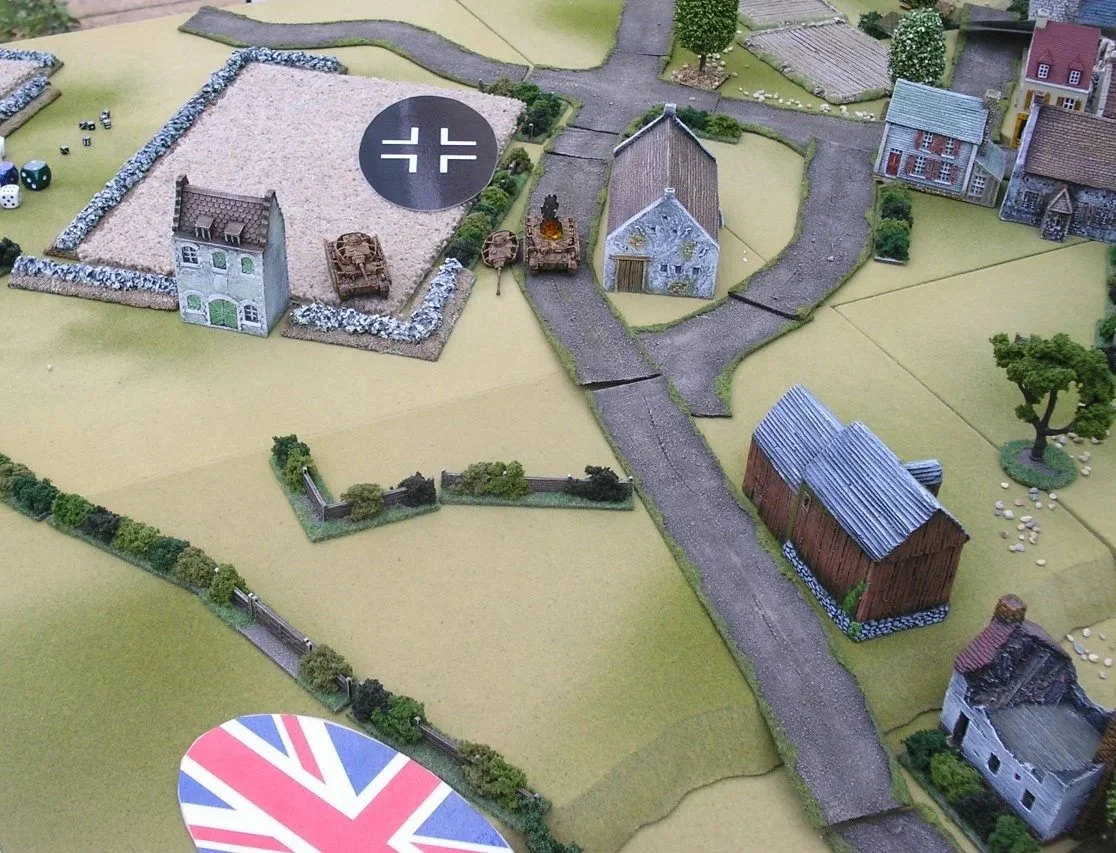
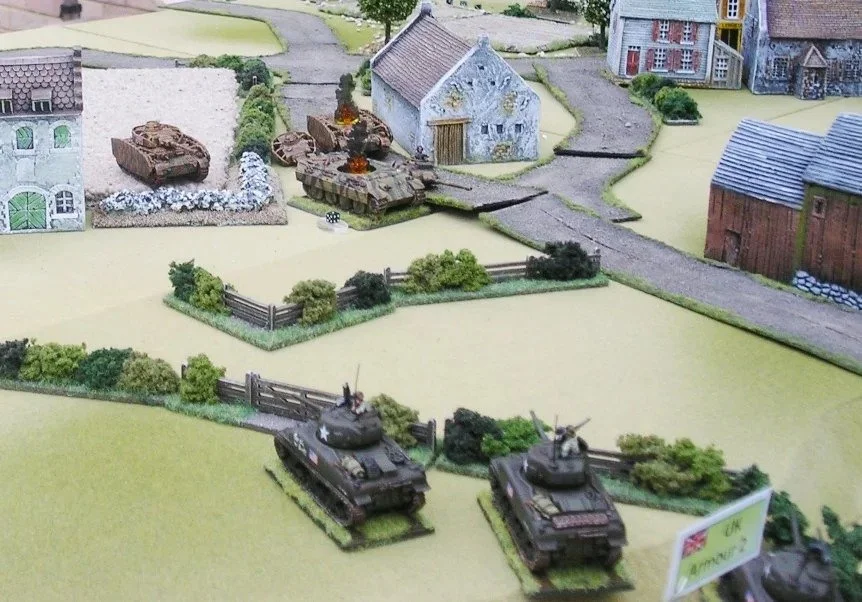
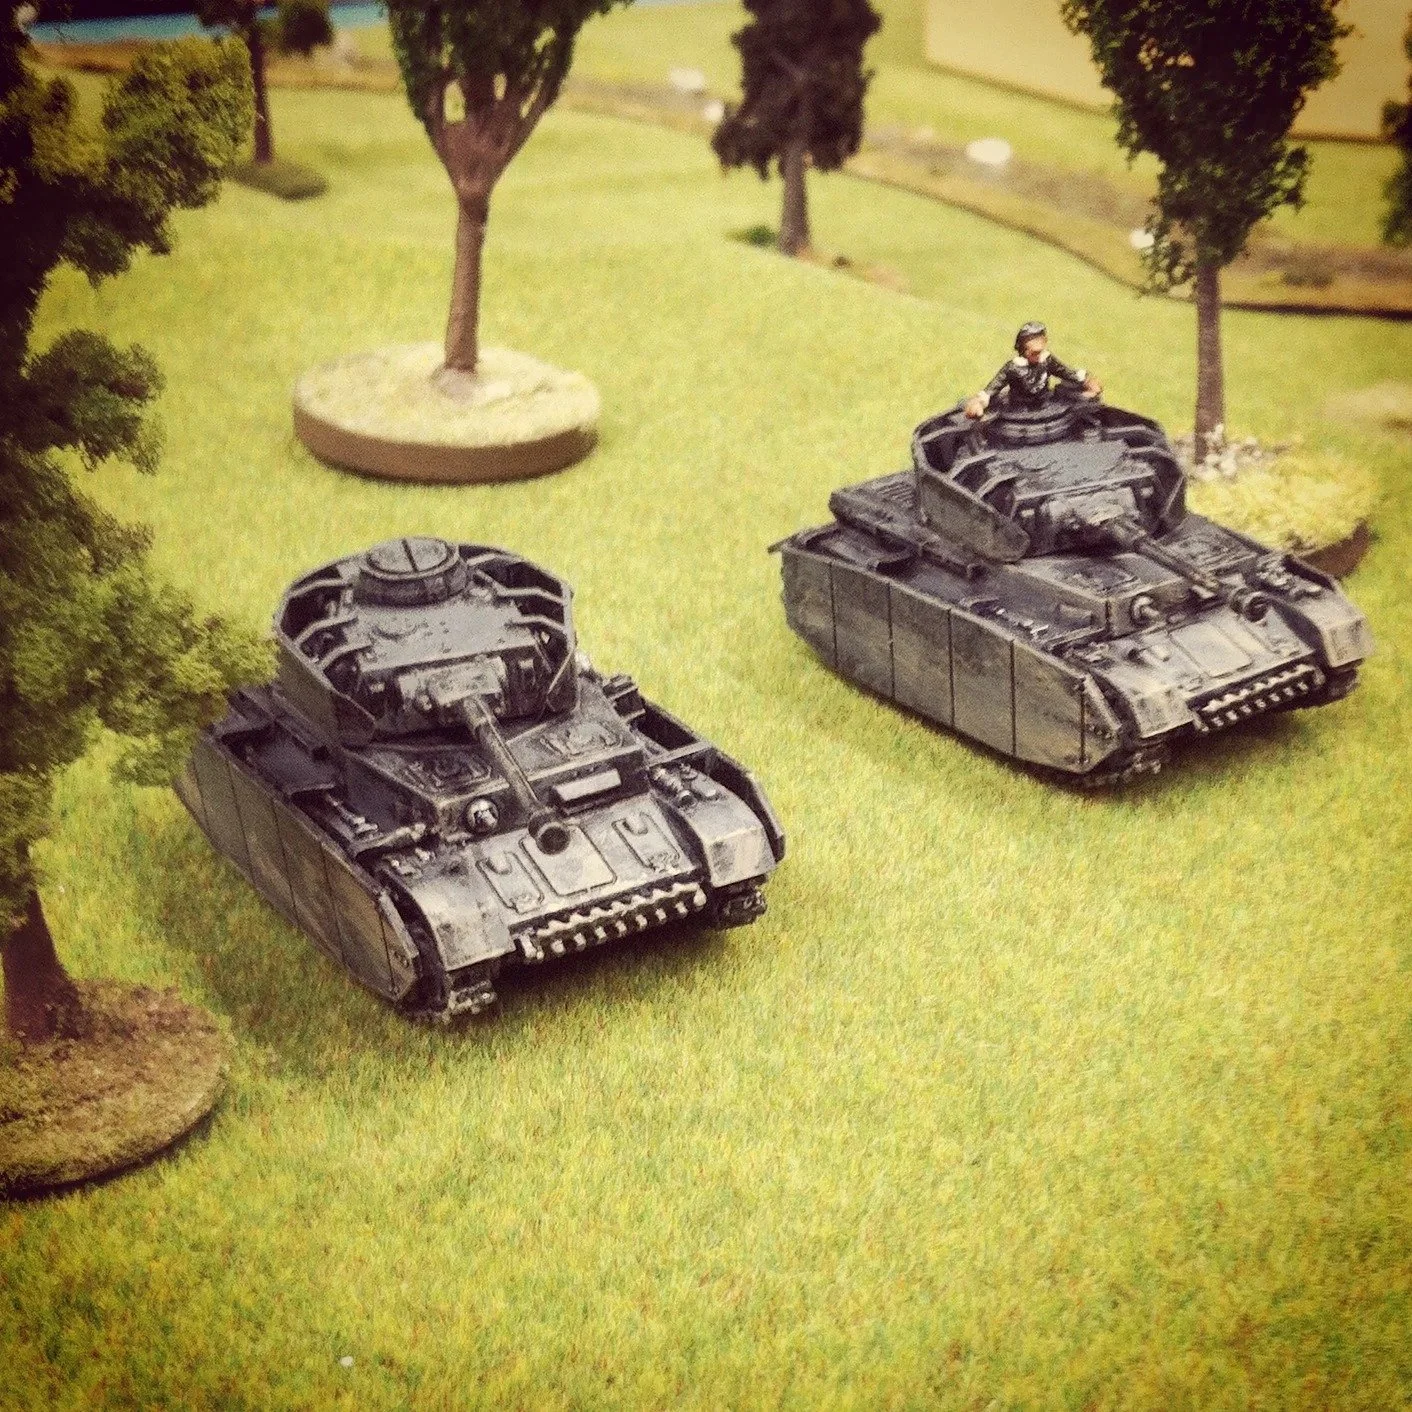
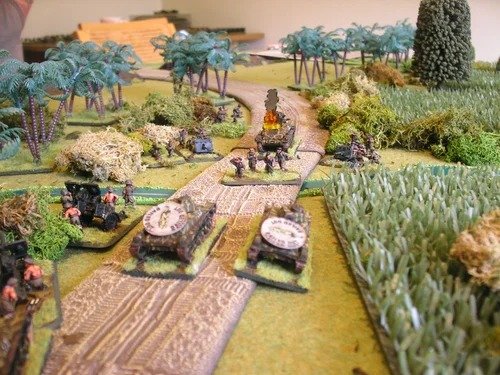
Ich schaffte mit meiner Firefly unverschämte 7 Nettoerfolge! Dies führte nicht nur zur Zerstörung des Tigers, sondern zu seiner sofortigen Explosion. Sehr unangenehm für meine in der Nähe befindliche Infanterie, da bei einem explodierenden Panzer eine Menge Kleinkram durch die Gegend fliegt. Ich hatte allerdings Glück, meine Jungs hatten nur einen Moralverlust, allerdings keine Toten zu beklagen.
If you want to shoot at a tank in IABSM, you first roll to hit on 2d6 and then roll for damage.
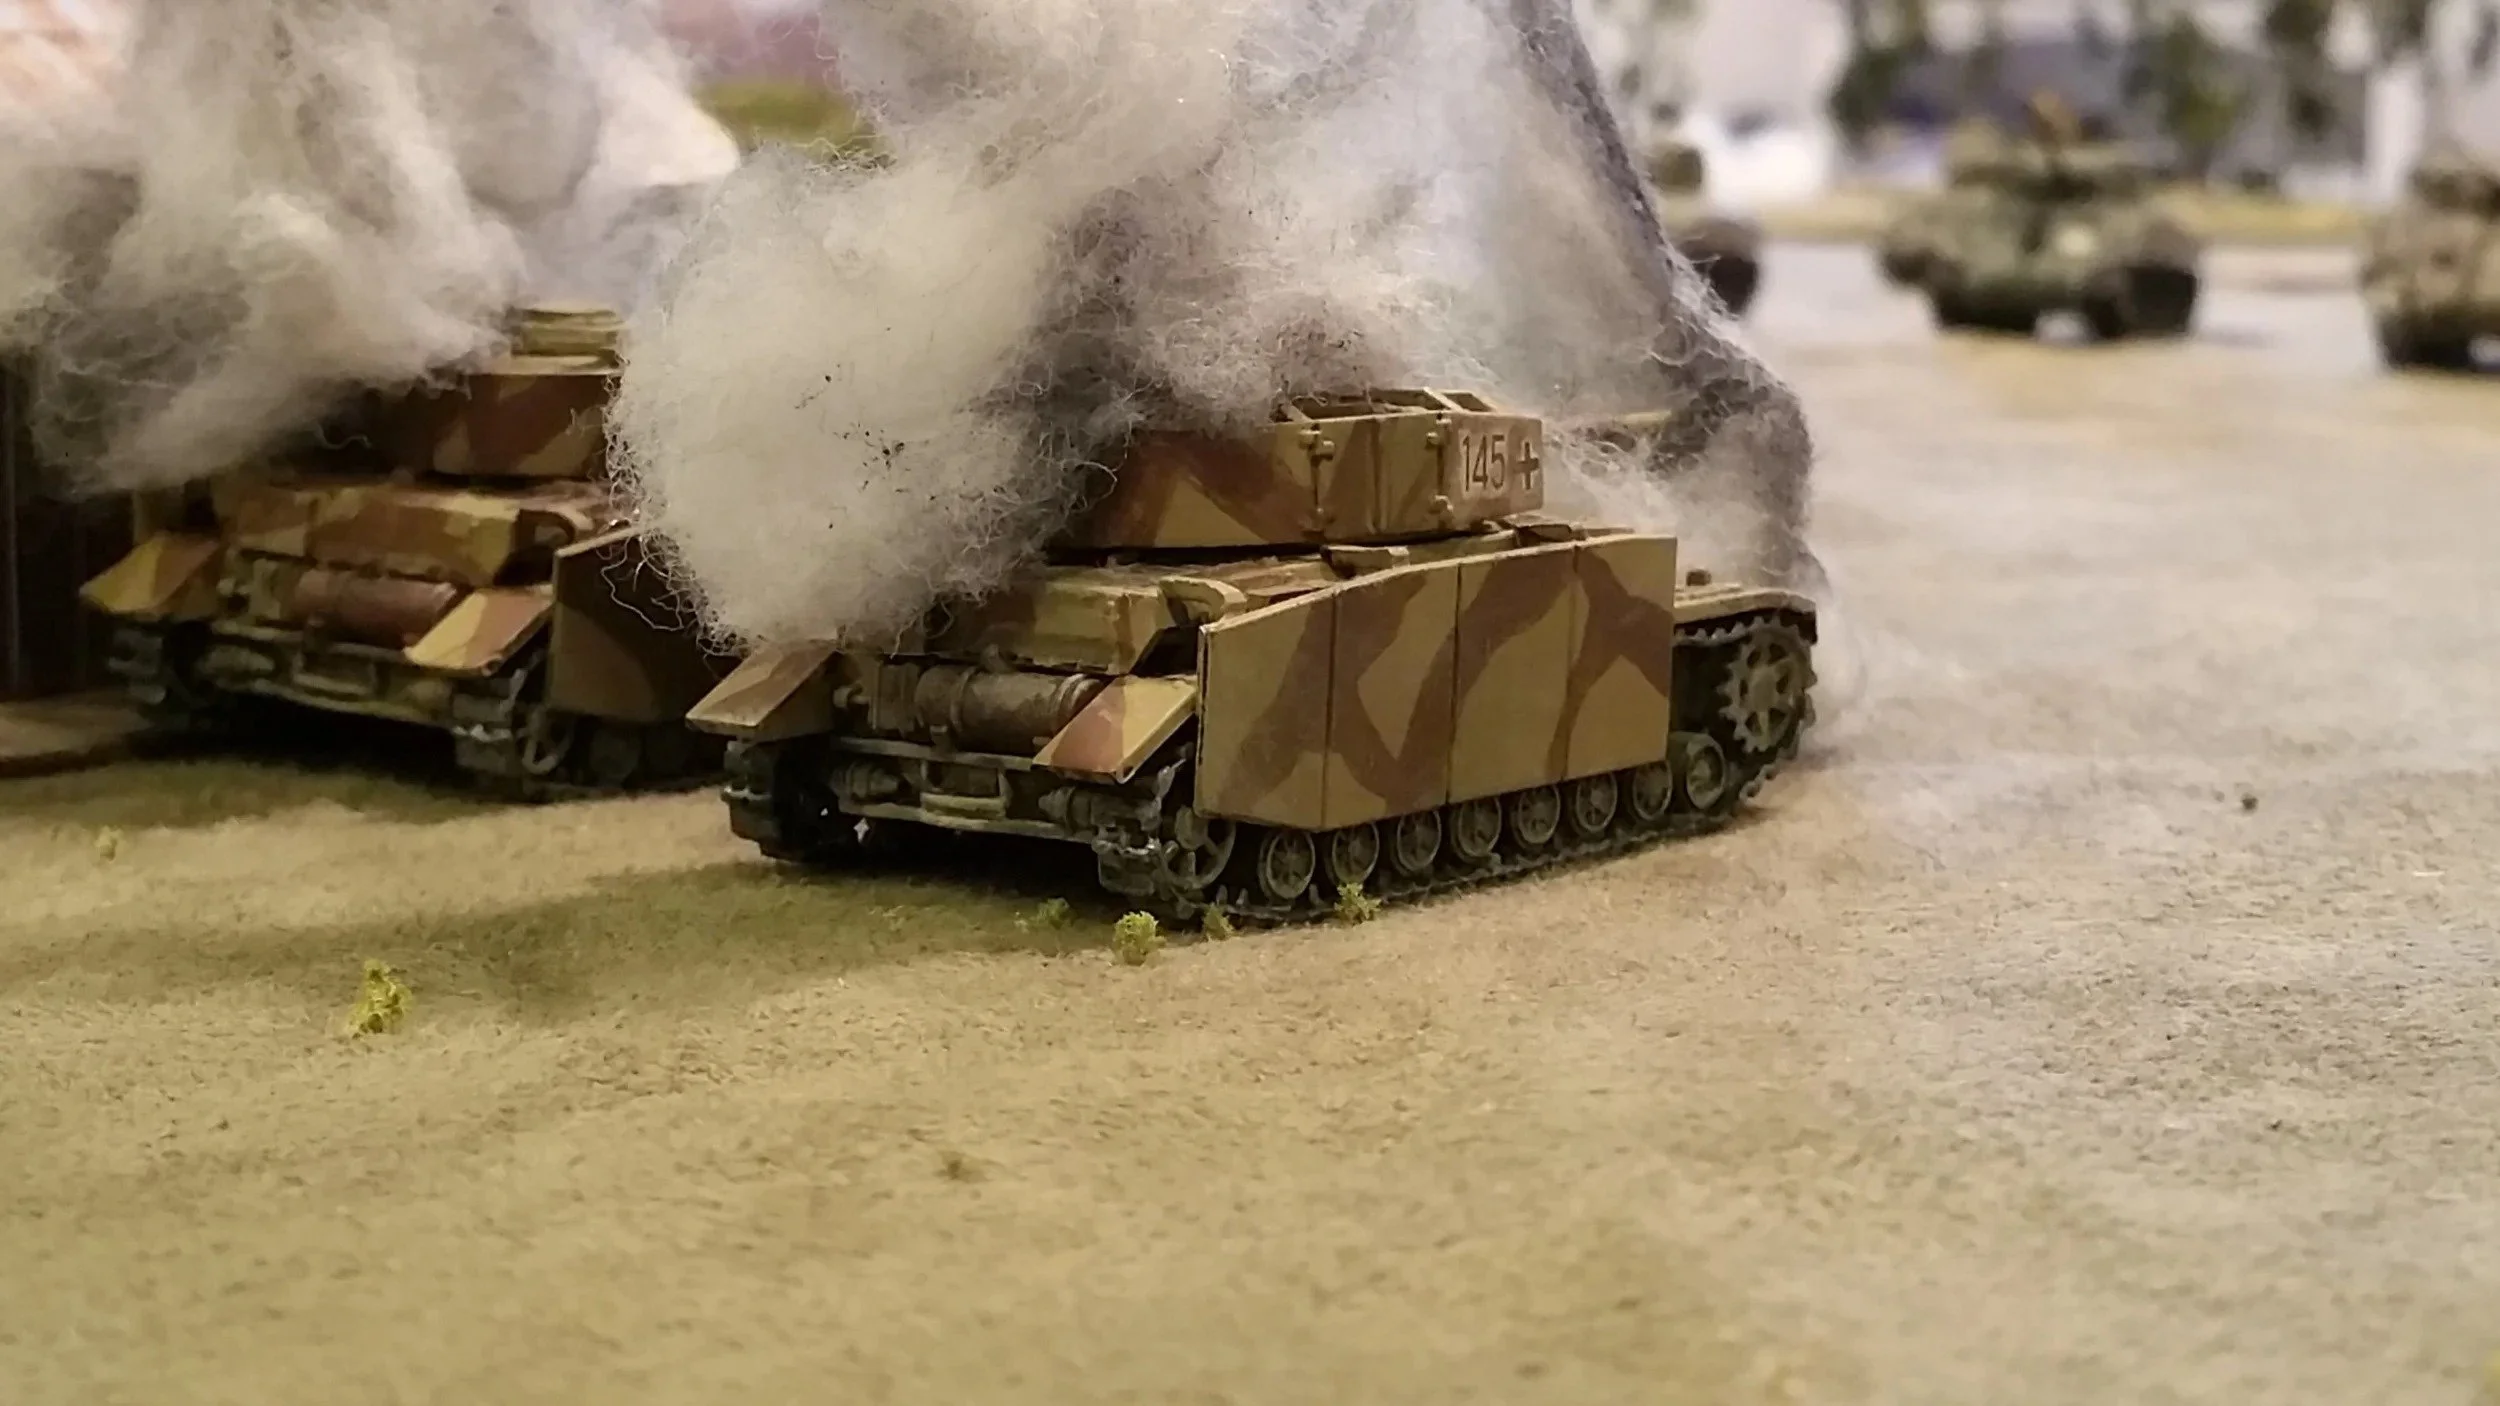
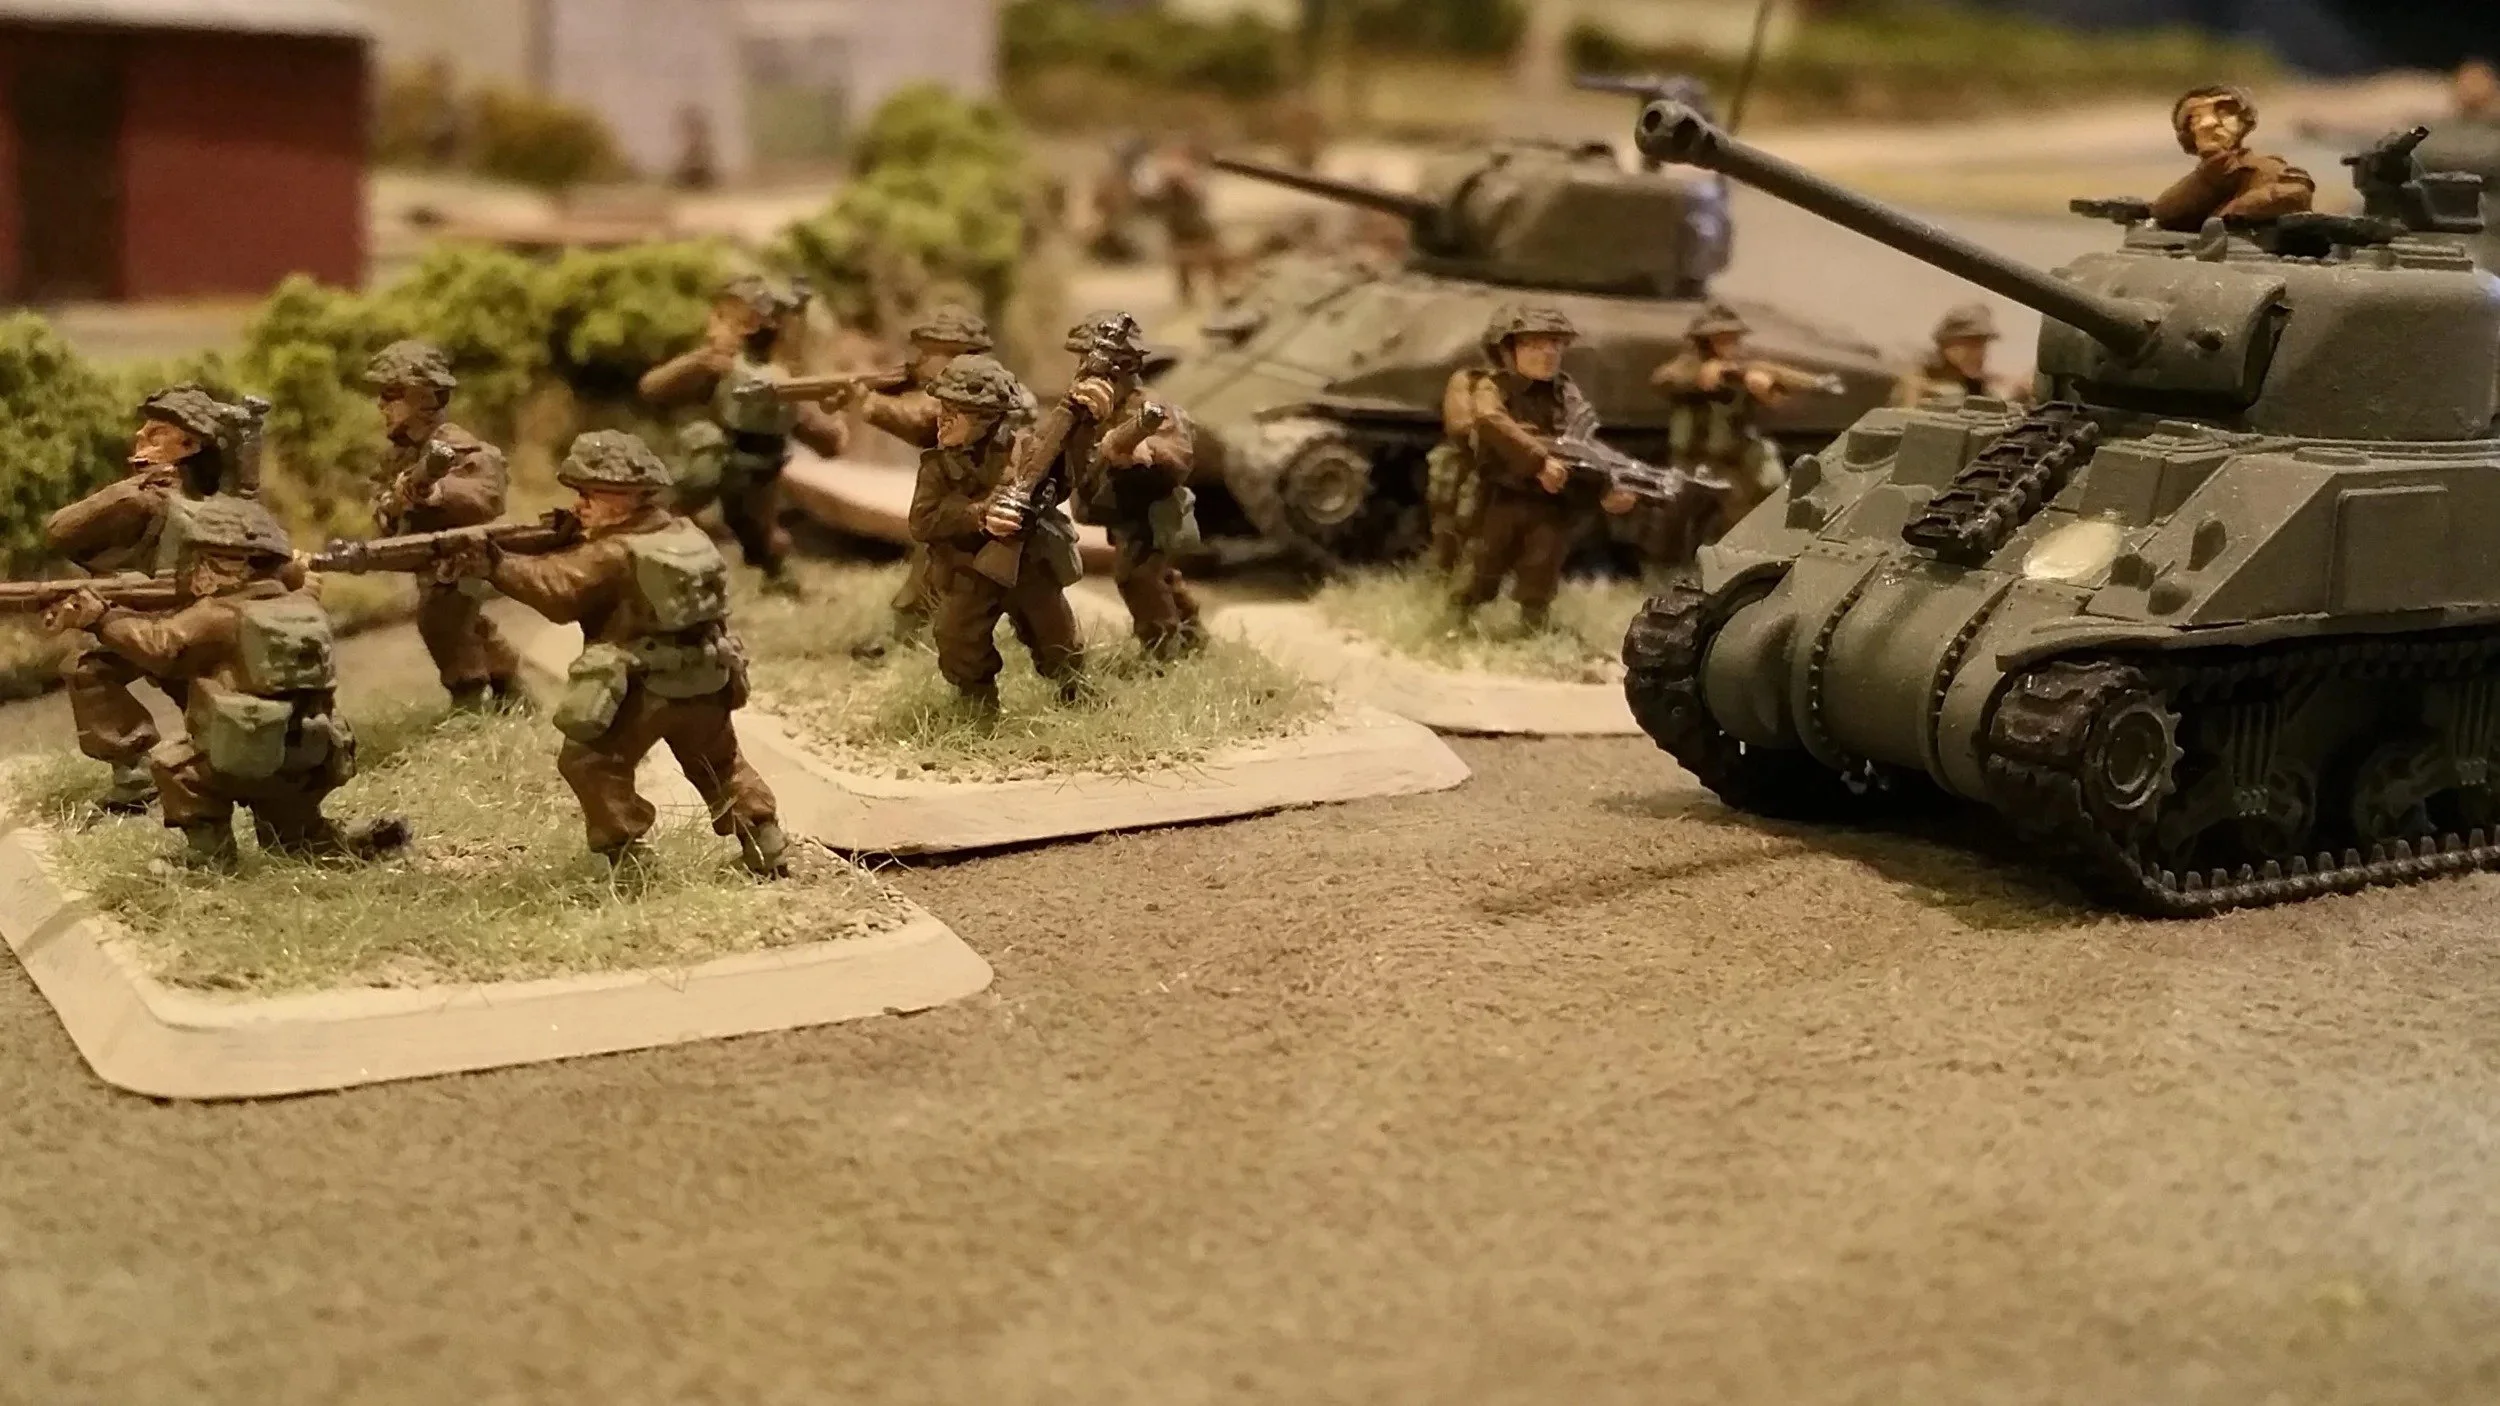
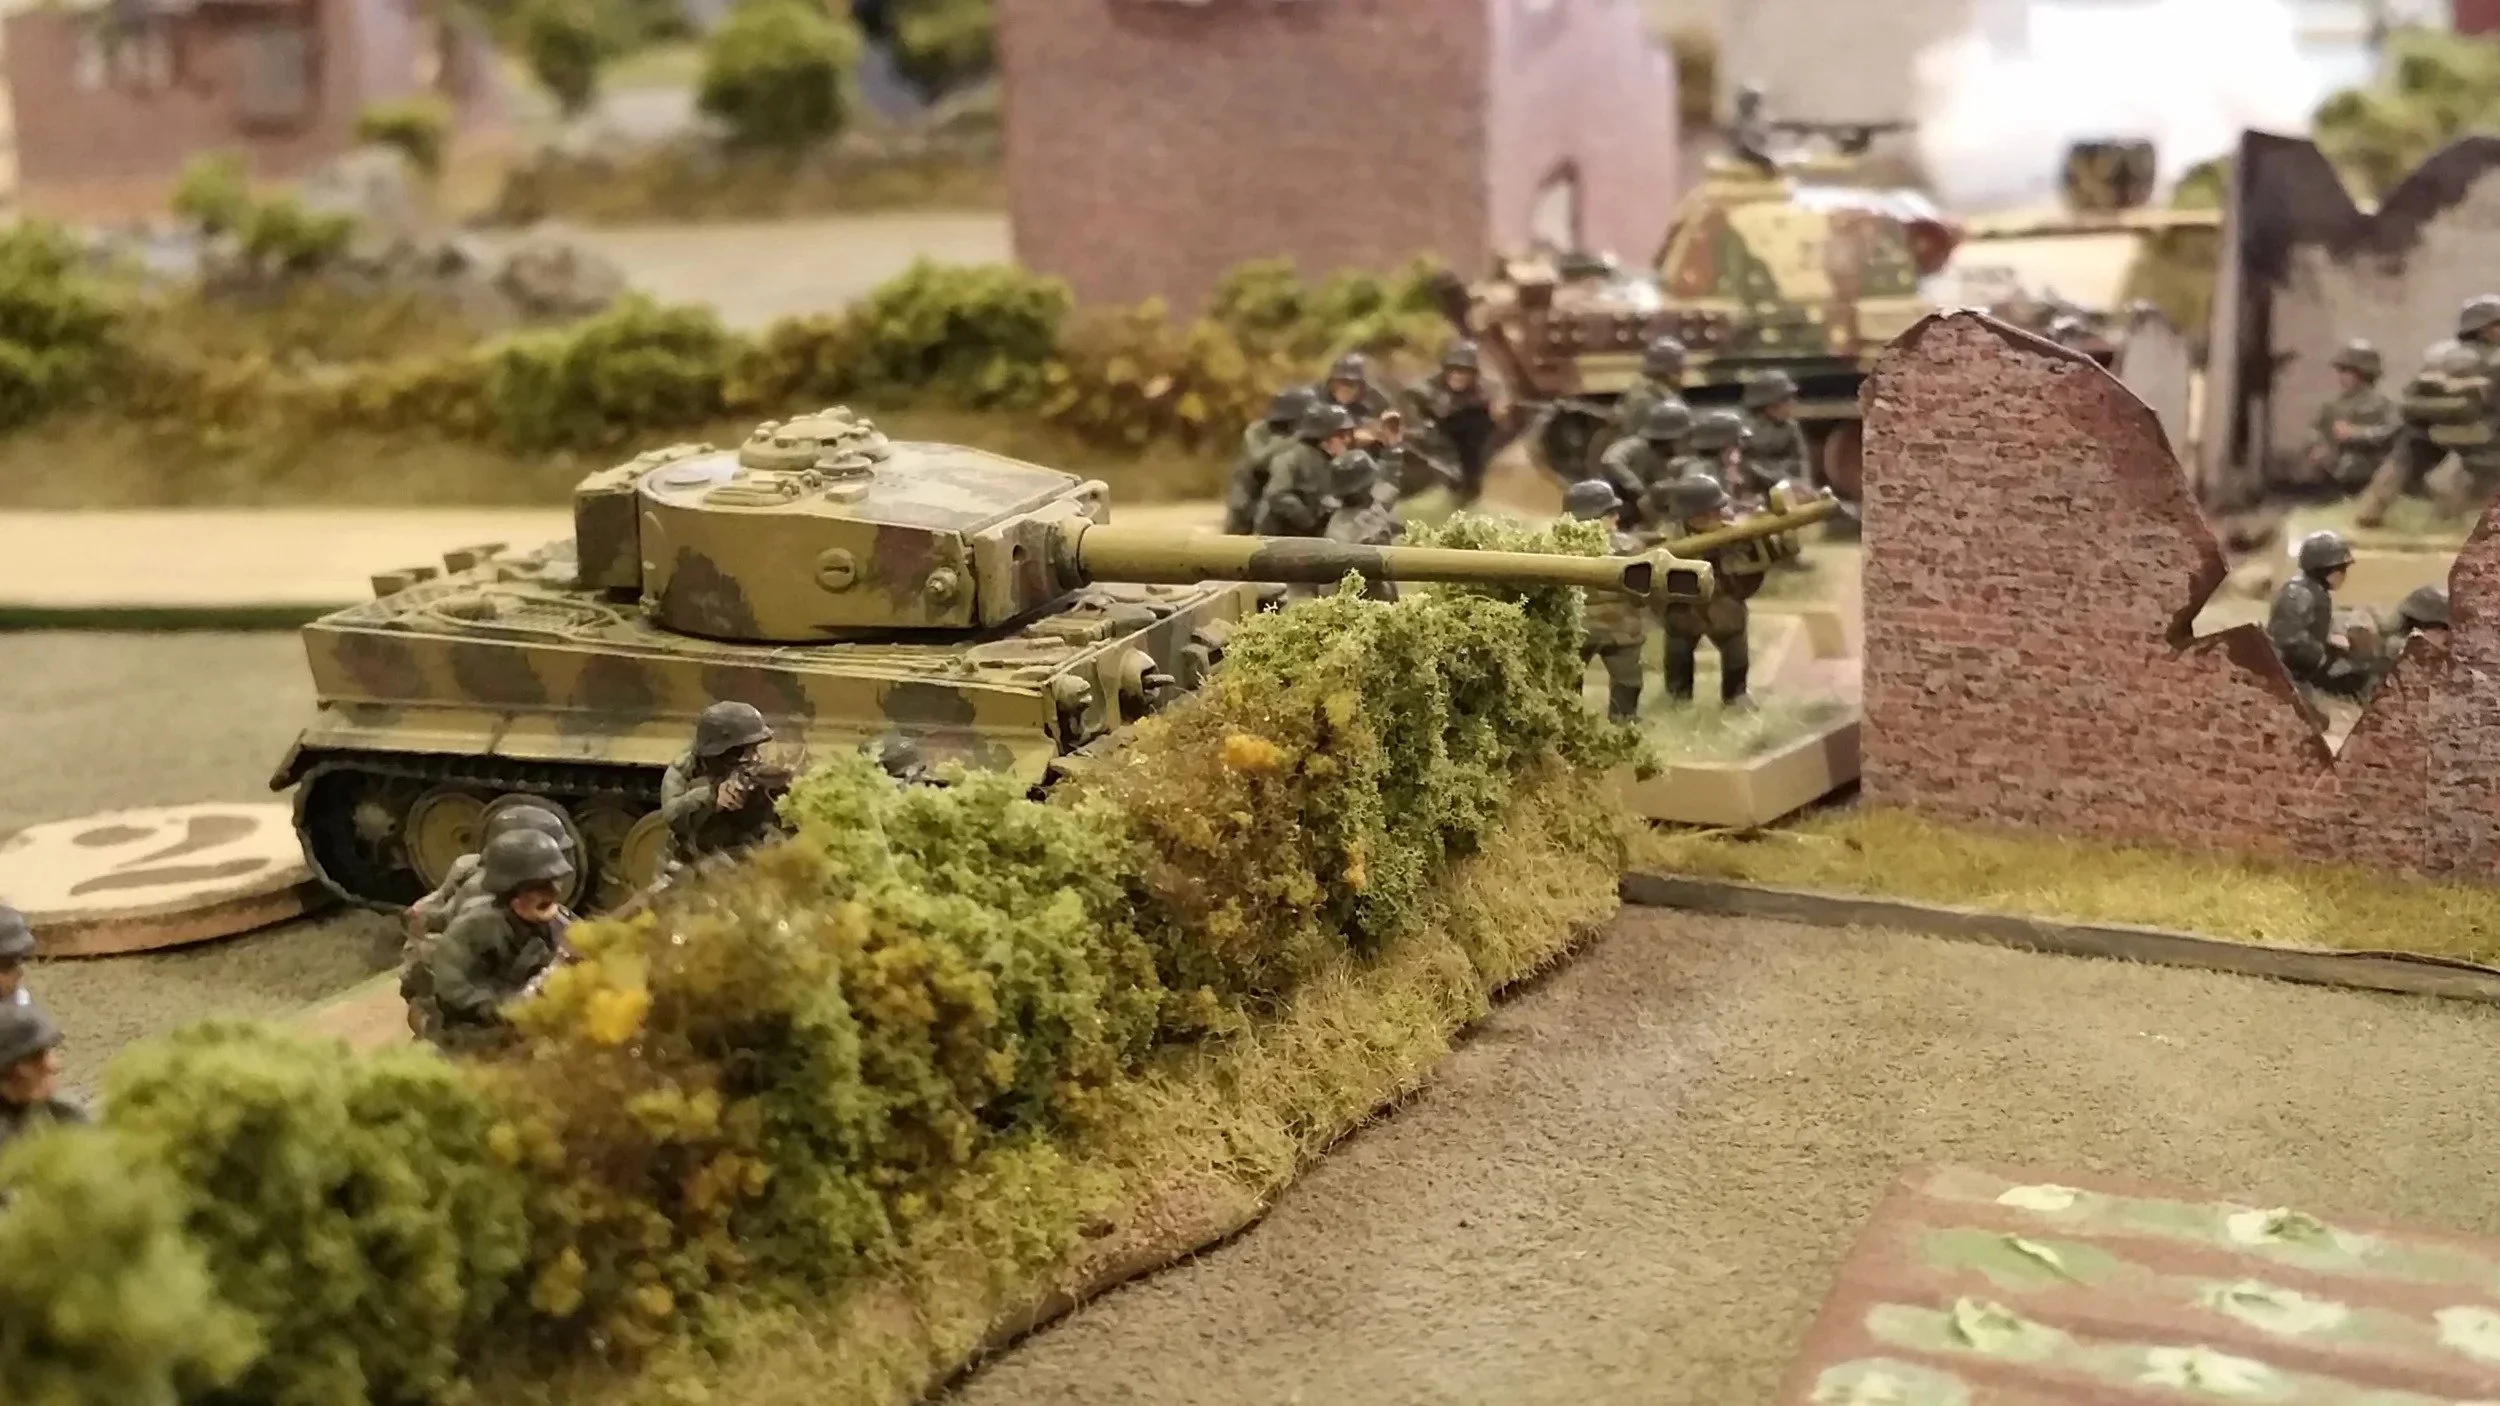
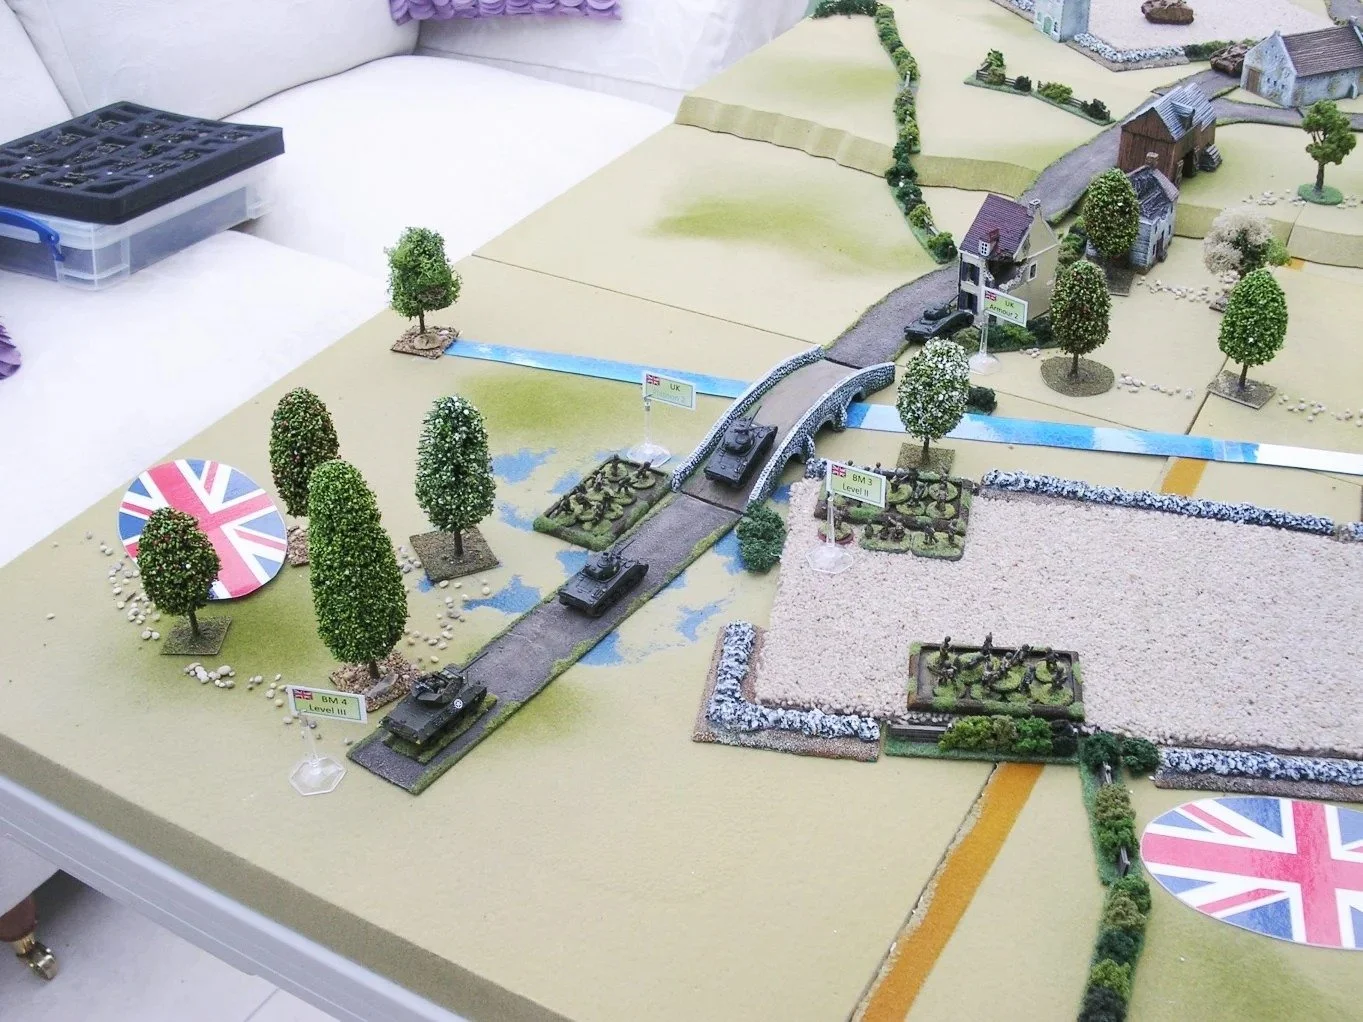
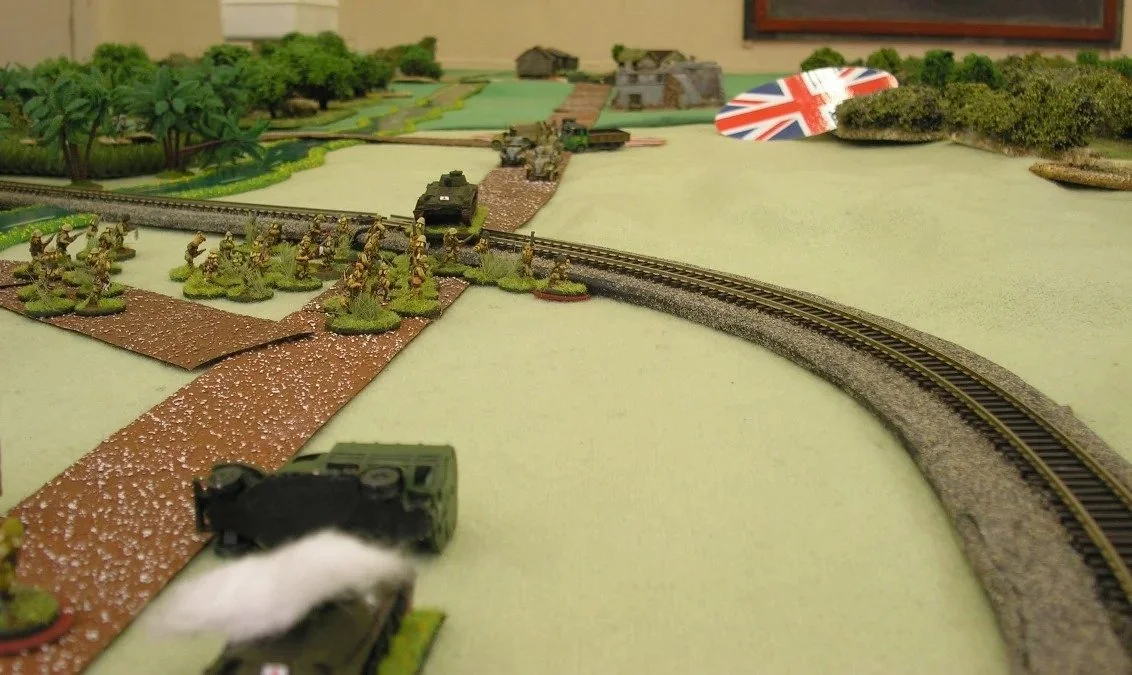
The Tiger in the orchard was slightly obscurred to the Firefly on the street (- 1), but the Shermans were operating under "Hunt" orders (slow moving, but shoot better), which luckily gave them a (+2). After modifiers, the Shermans would need a 6+ to hit on 2D6.
Once the target is hit, then the weapon strike value of the shooter (12 for the Firefly) and armour value for the target (11 for the Tiger) are compared. Both attacker and defender roll 1D6 for each point, with the attacker counting 5s and 6s if from the front; 4s, 5s, and 6s if from the side; and 3s, 4s, 5s and 6s if from the rear. The defender only counts 5s and 6s, although the "heavy armour' of the Tiger would give the defender an extra two dice to roll in this case. Once the dice are rolled, see if there are any net penetrations i.e. if the attacker has achieved more hits than the defender has bounced.
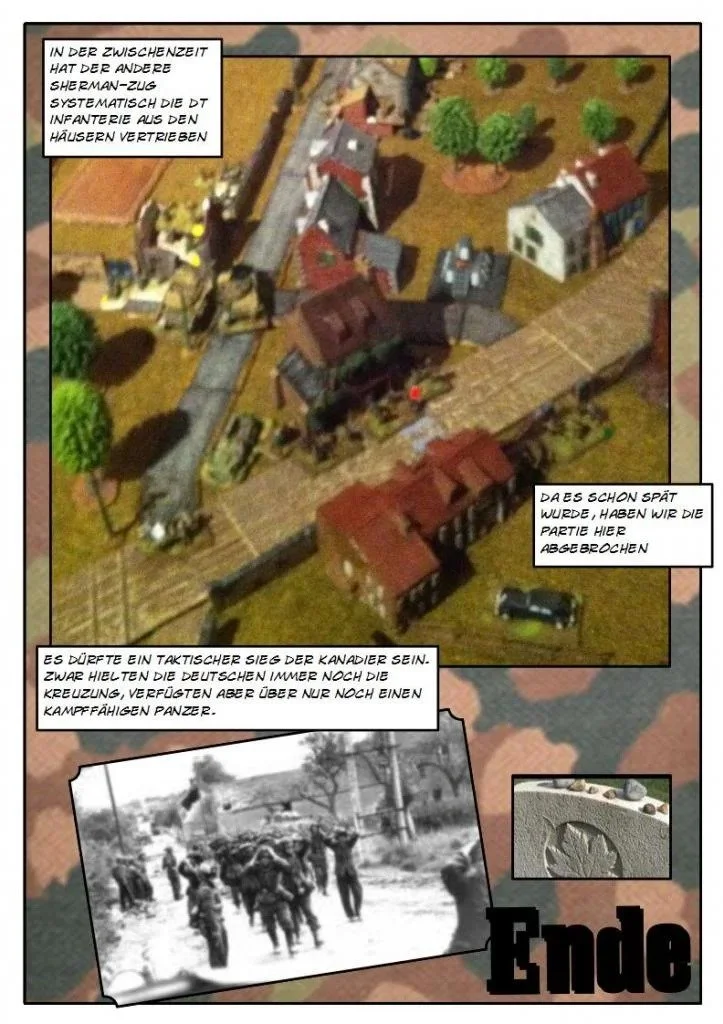
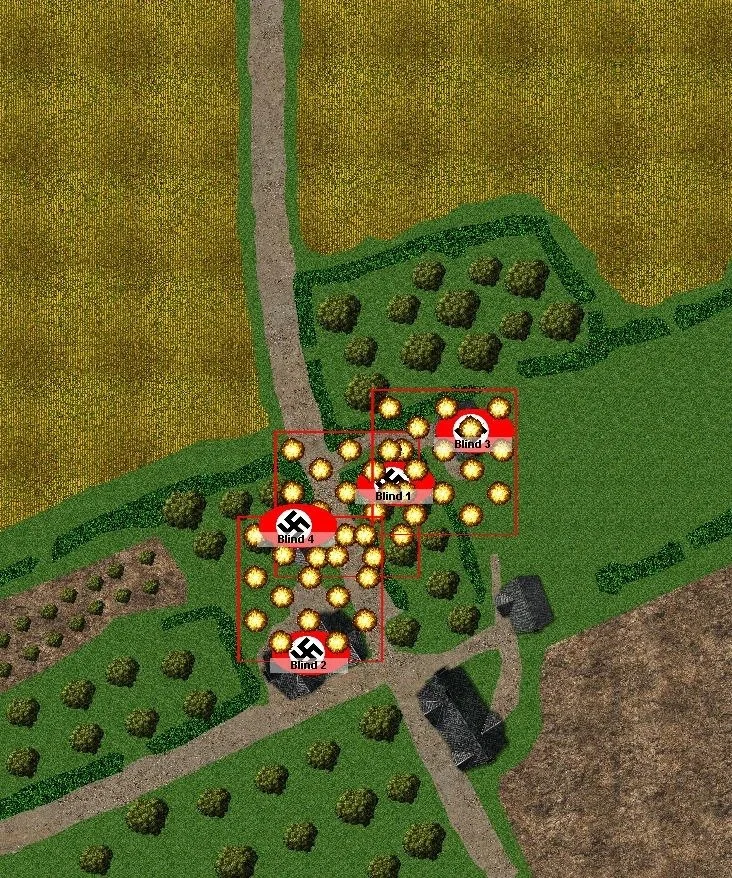
I managed with my Firefly an outrageous seven penetrations! This led not only to the destruction of the Tiger, but also to its immediate explosion. Very uncomfortable for all my nearby infantry, since an exploding tank leads to a lot of small, sharp stuff flying through its immediate area! However, I was lucky: my boys suffered only a loss of morale, but no deaths.