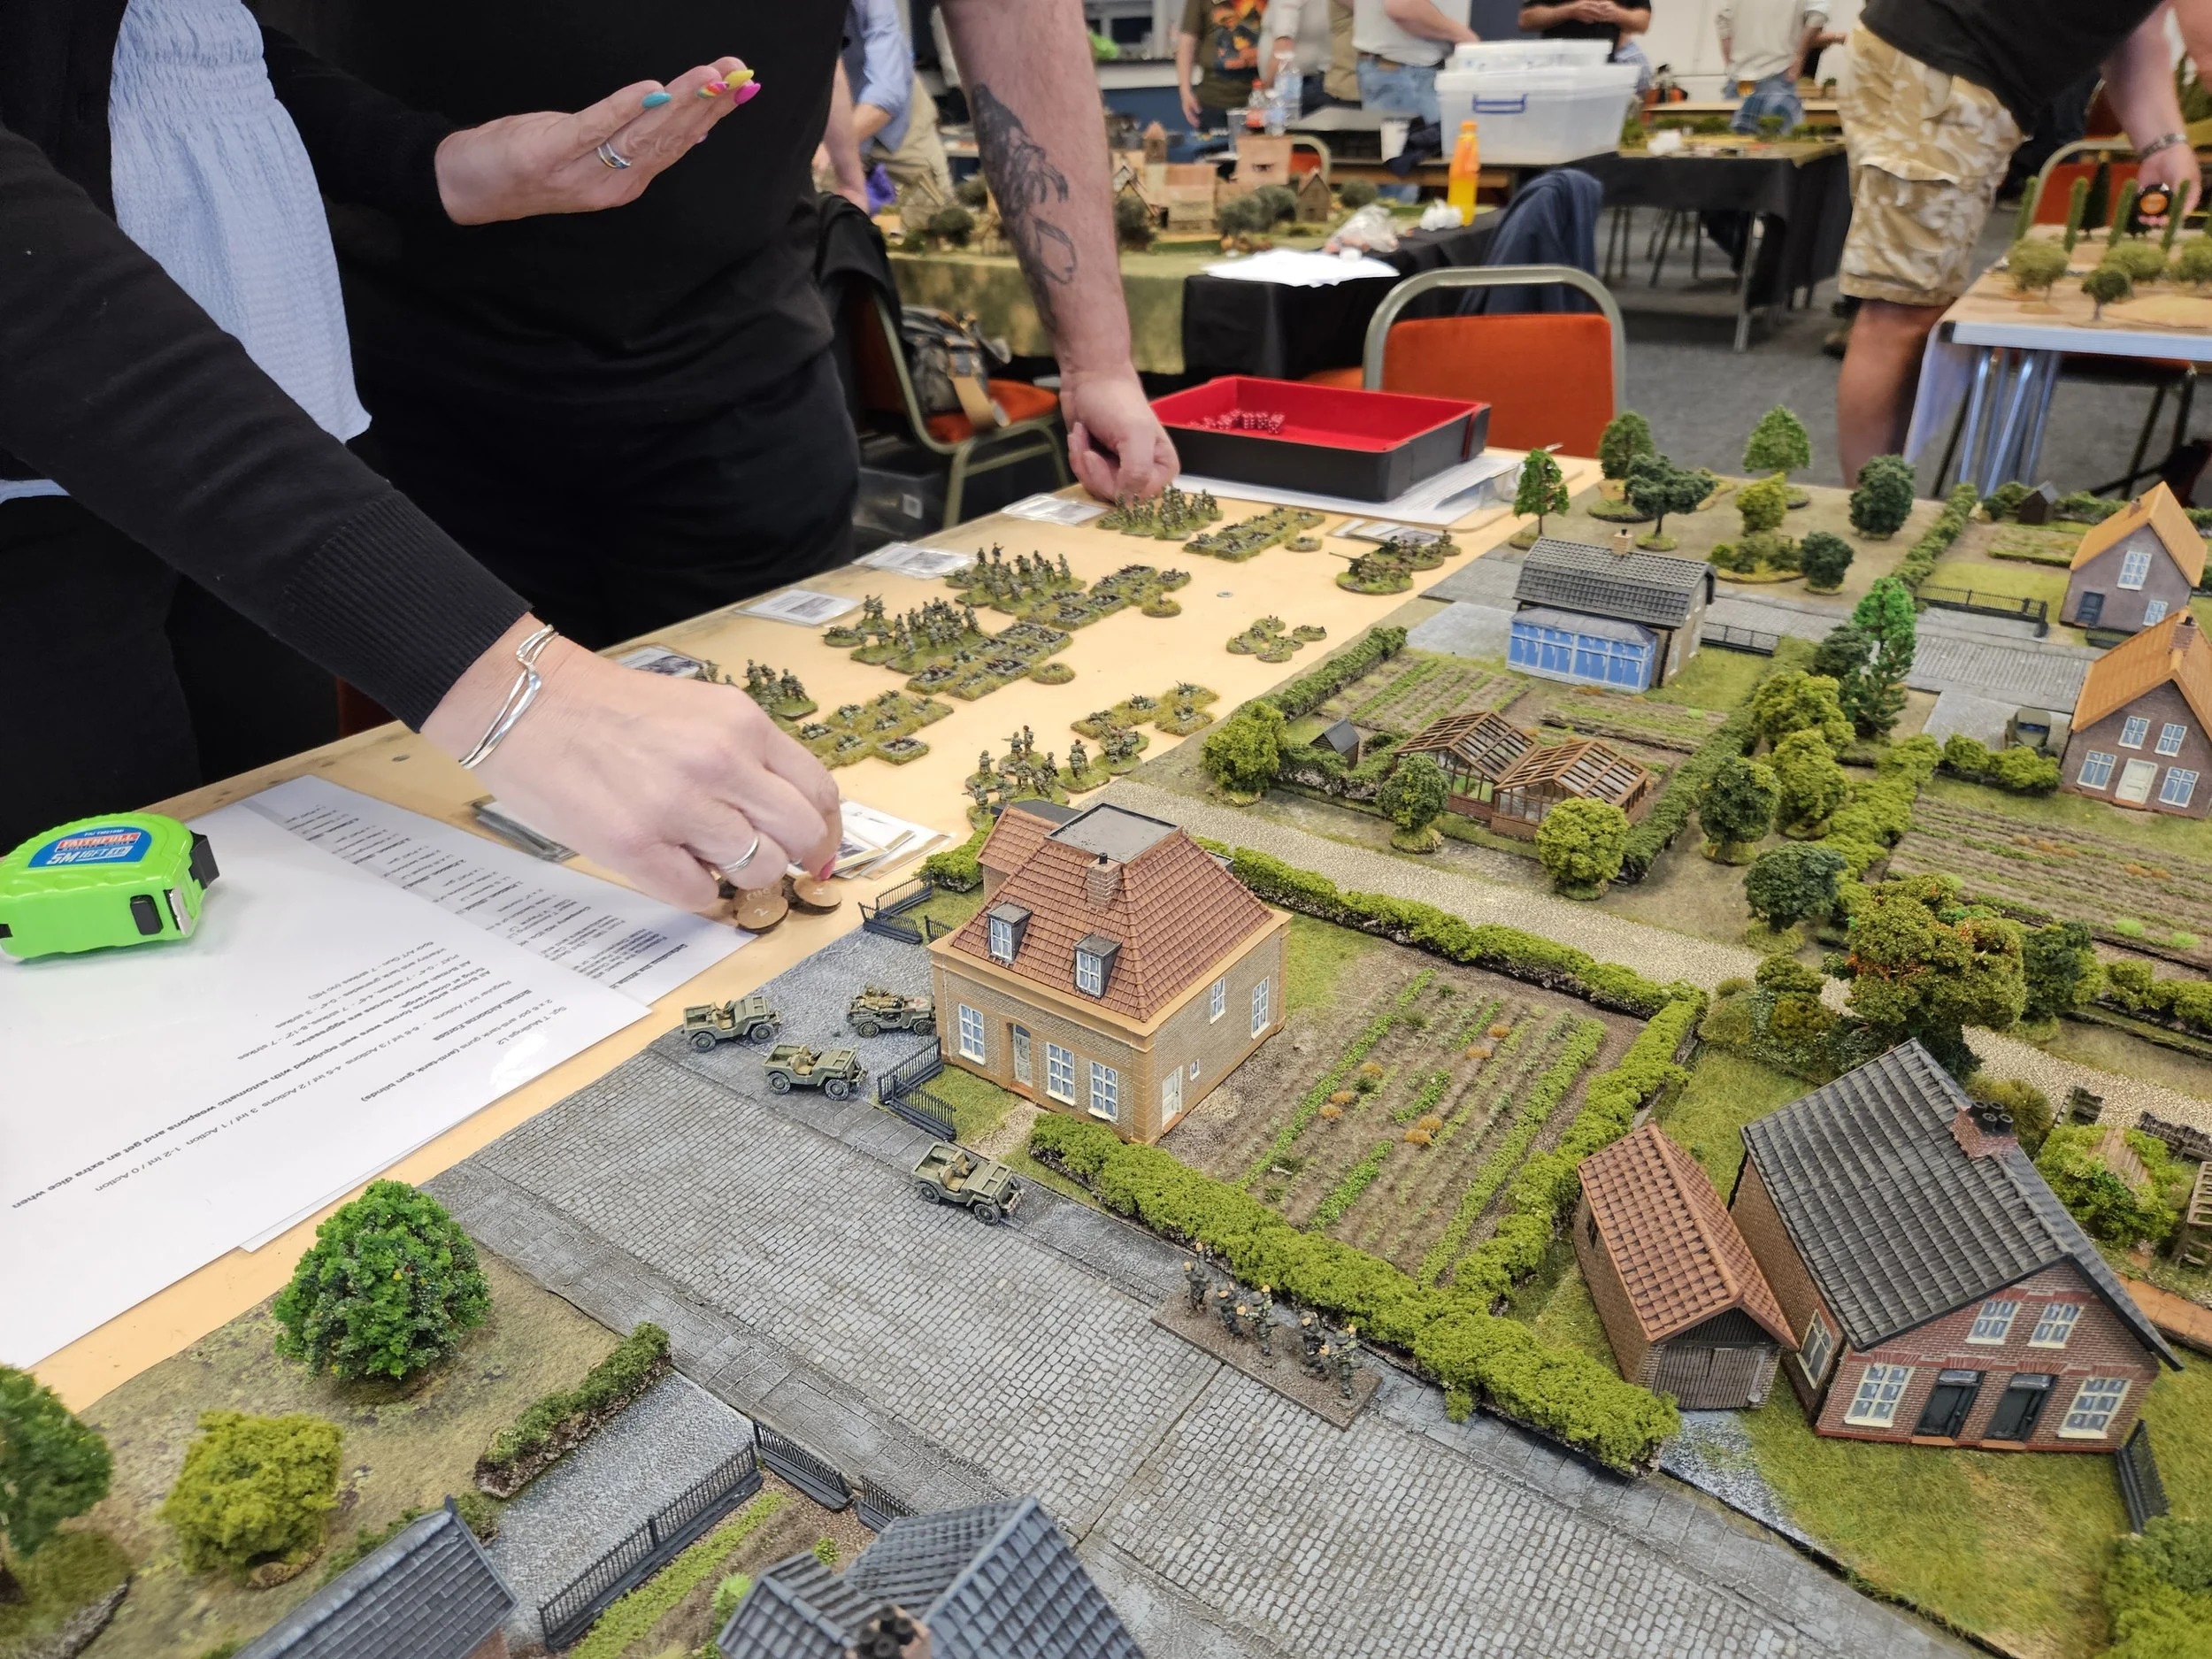
TTS AAR: Fanatical Berbers versus Early Feudal Spanish
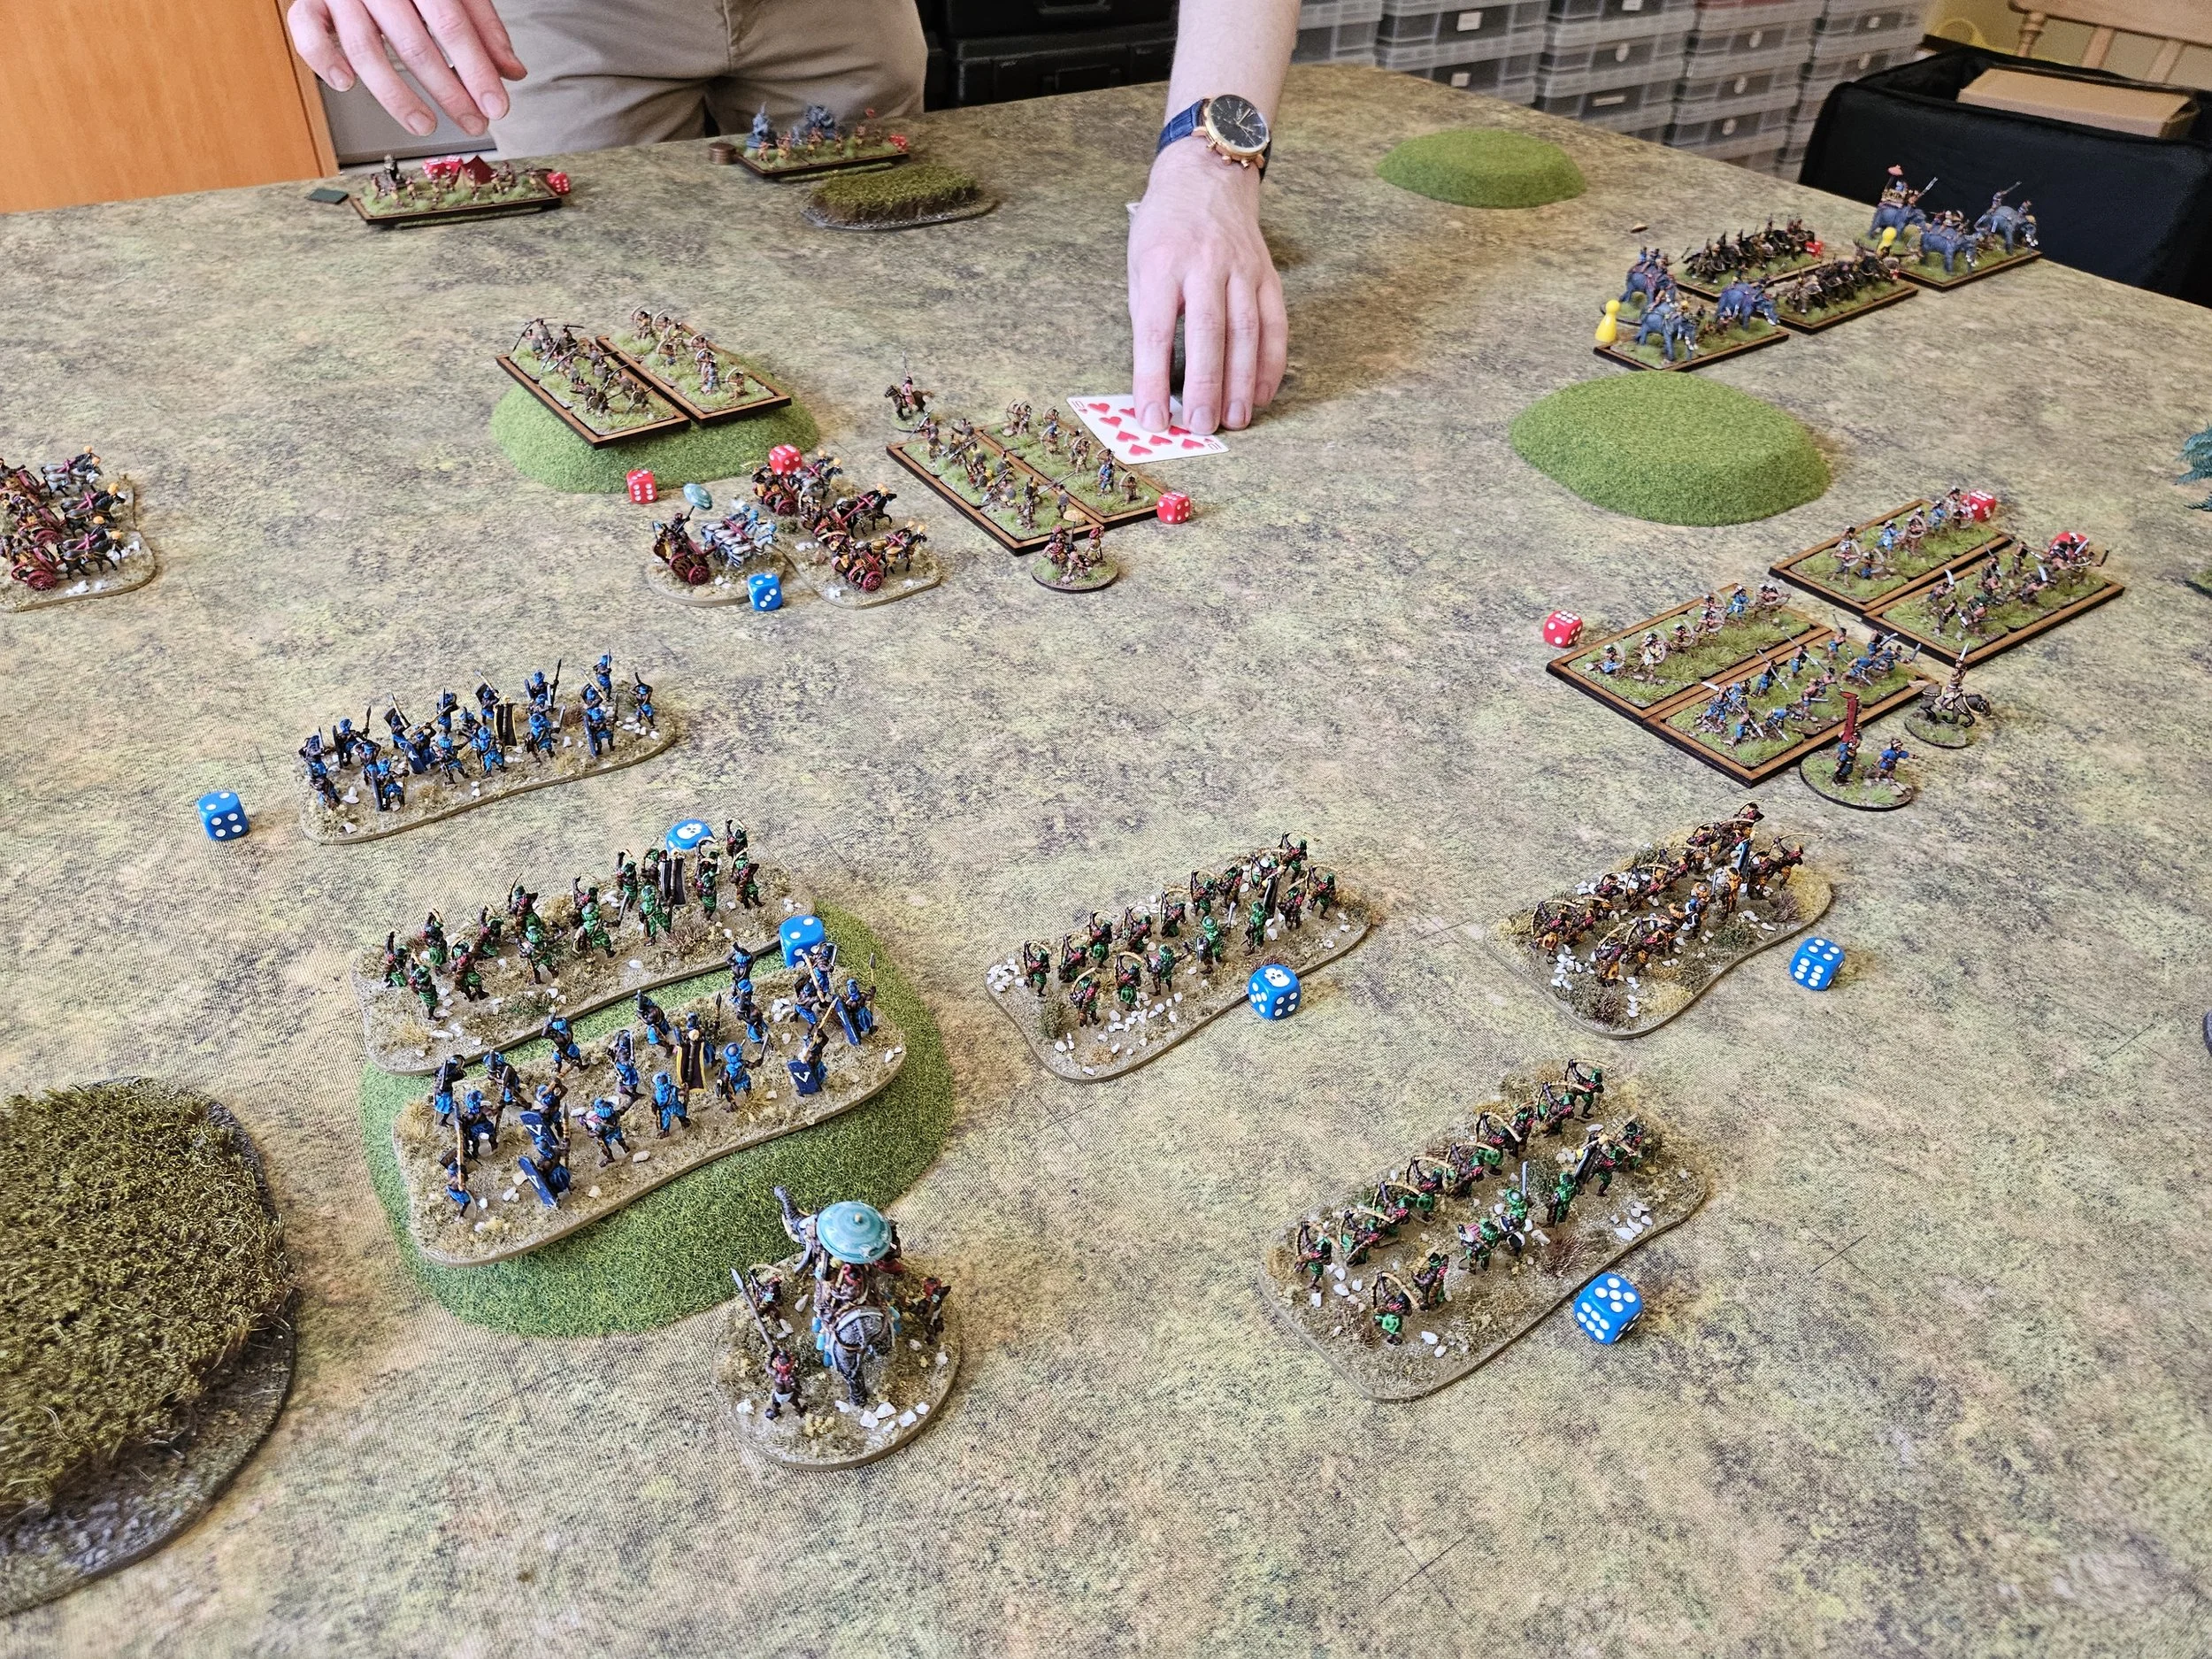
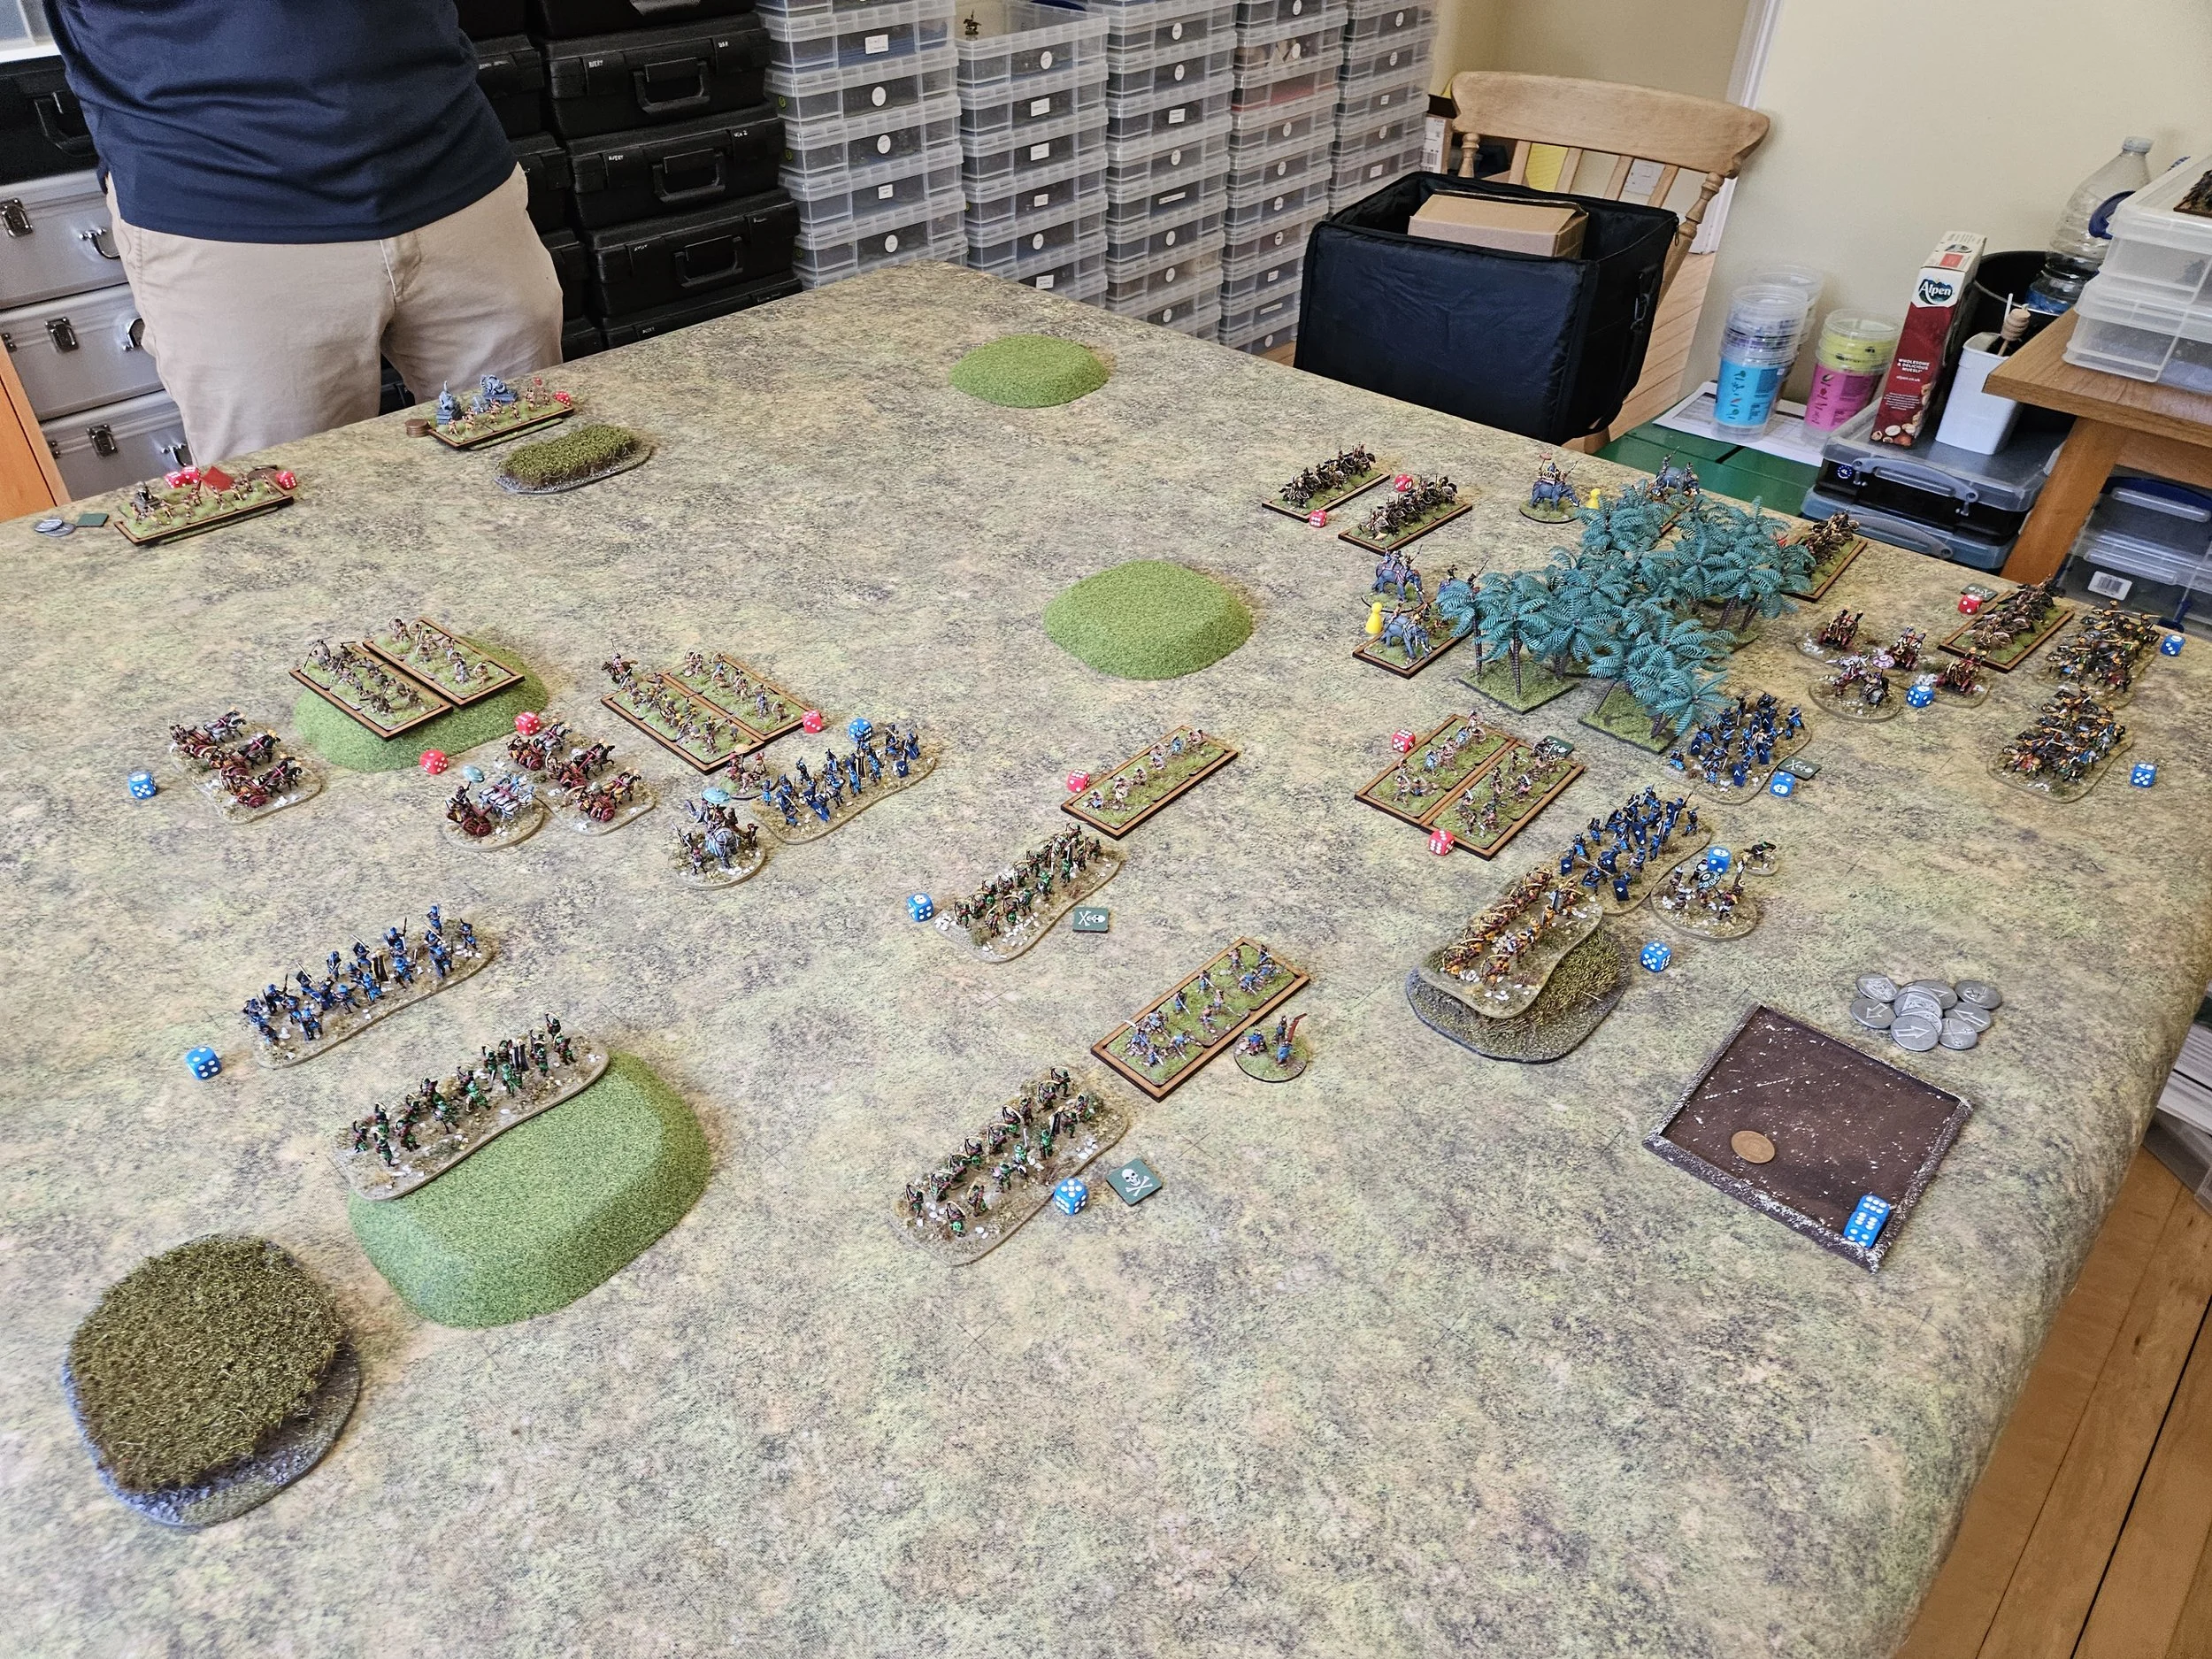
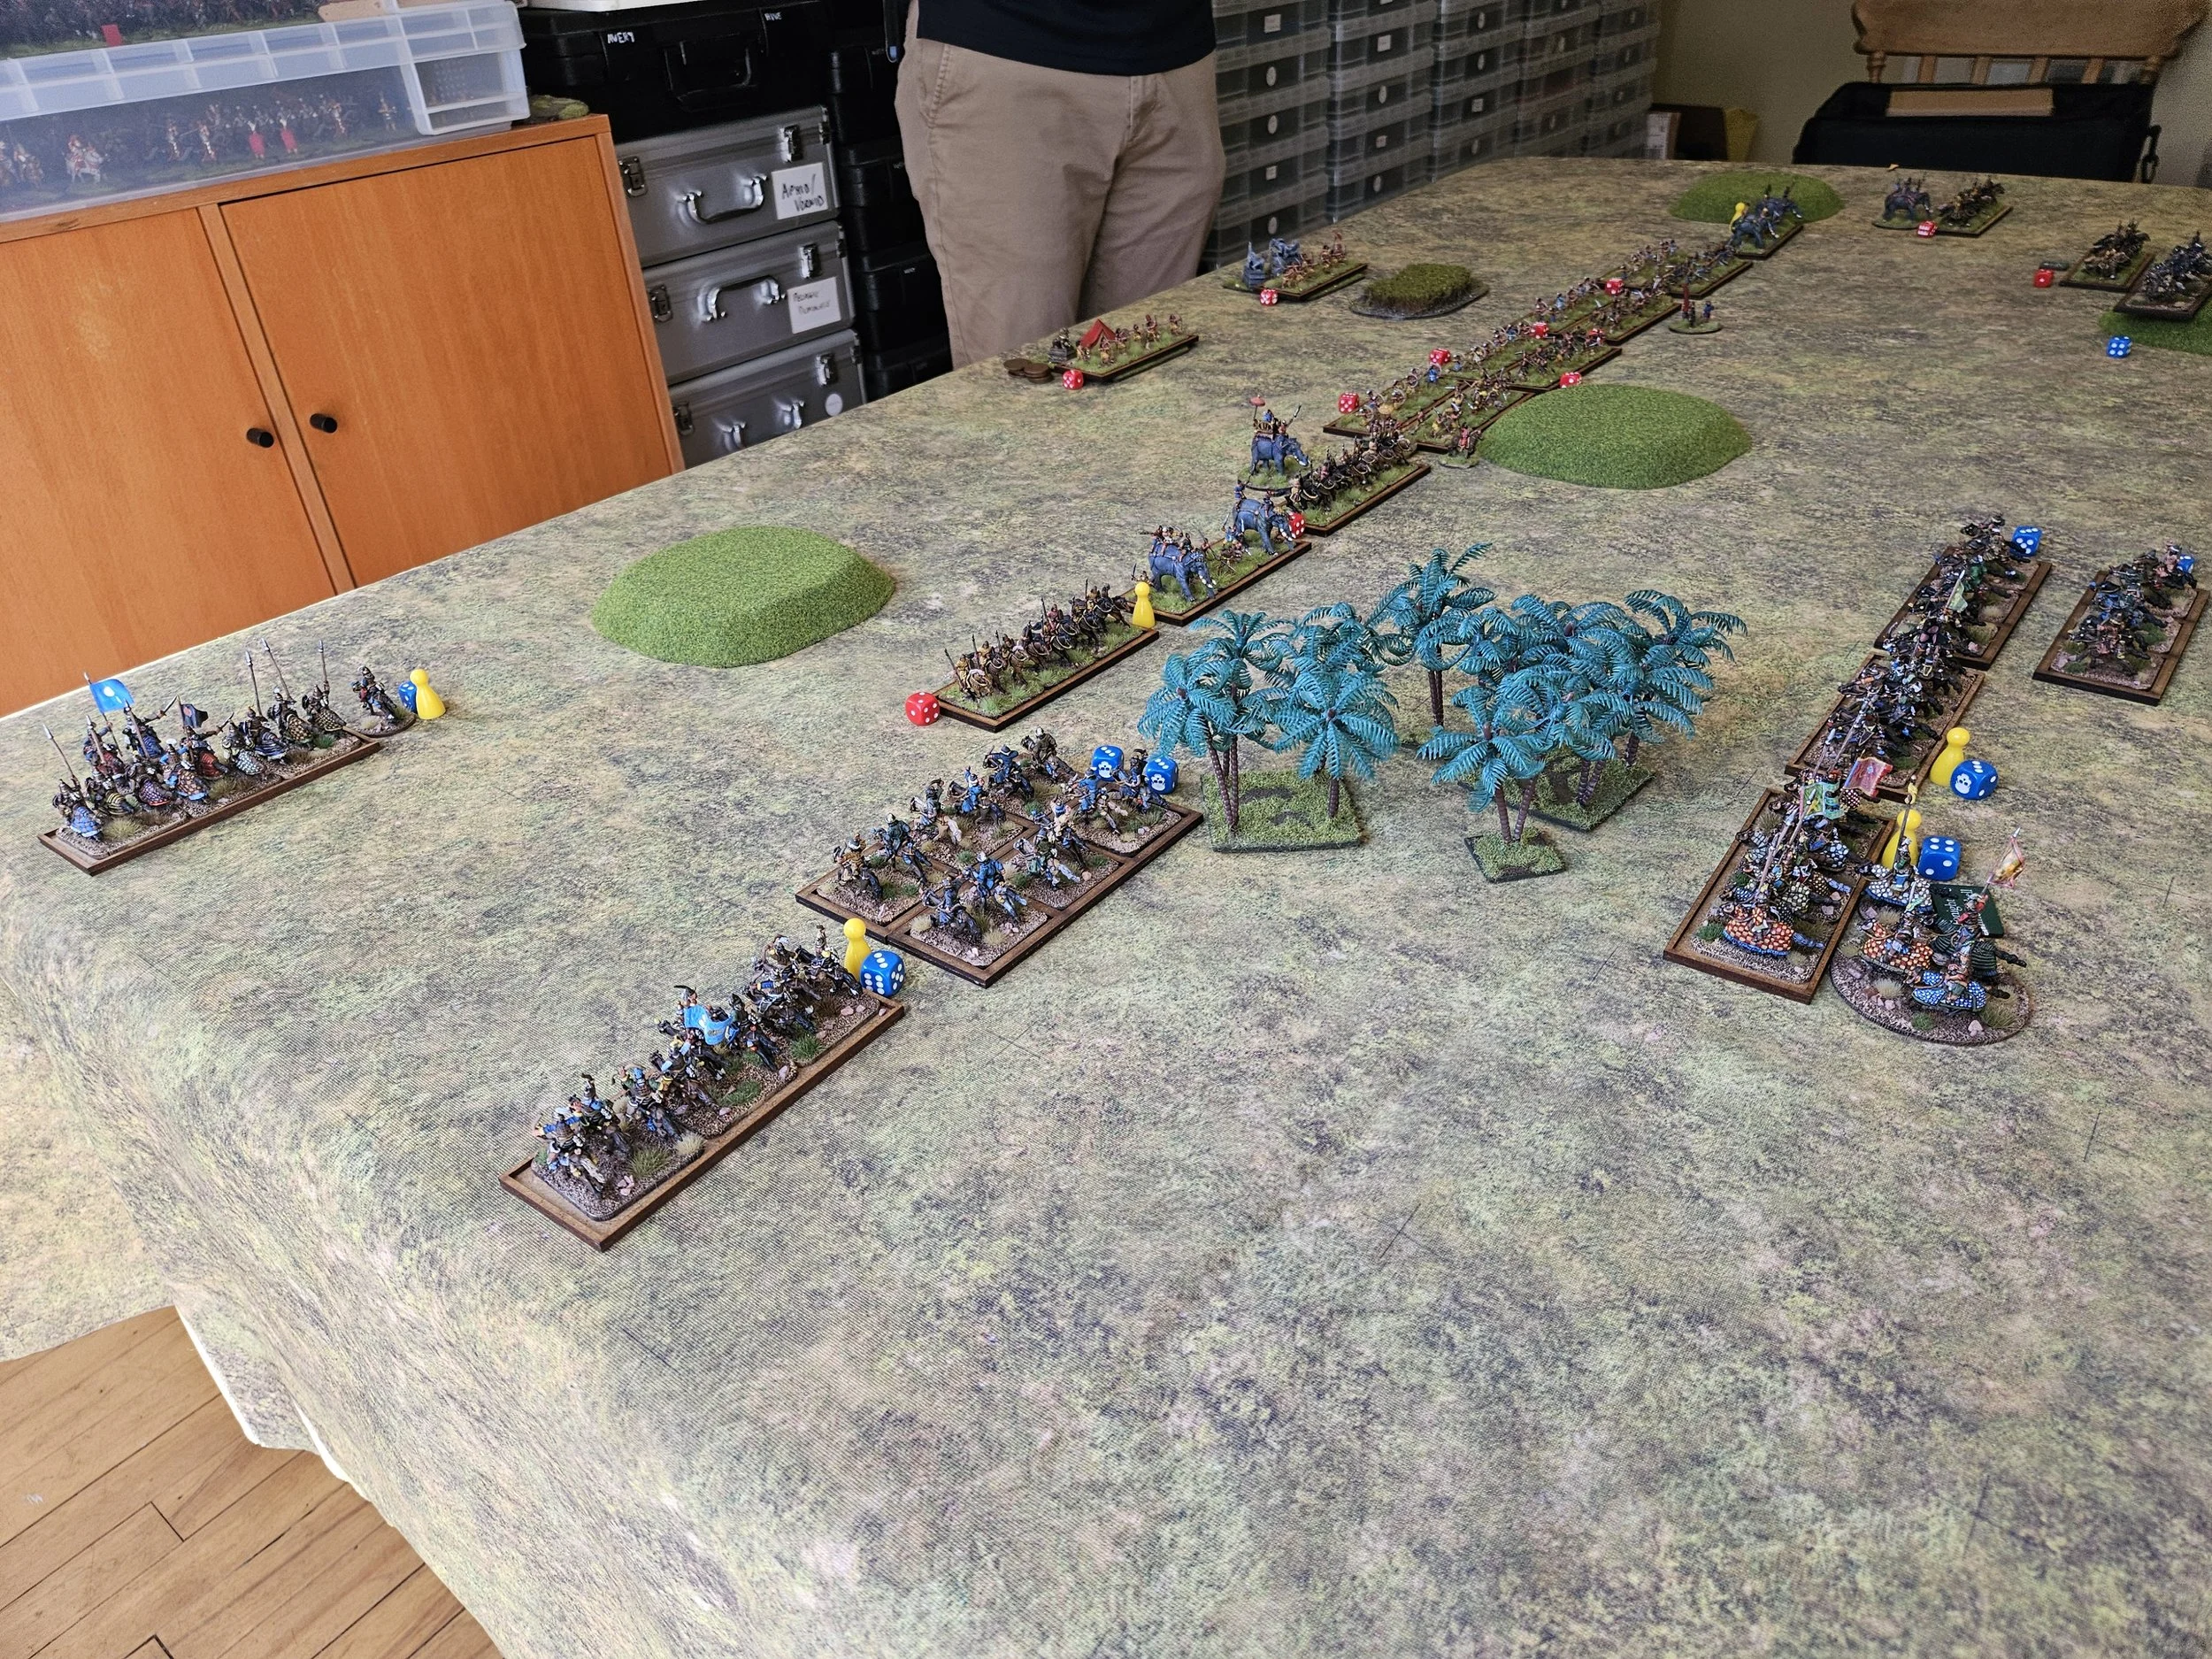
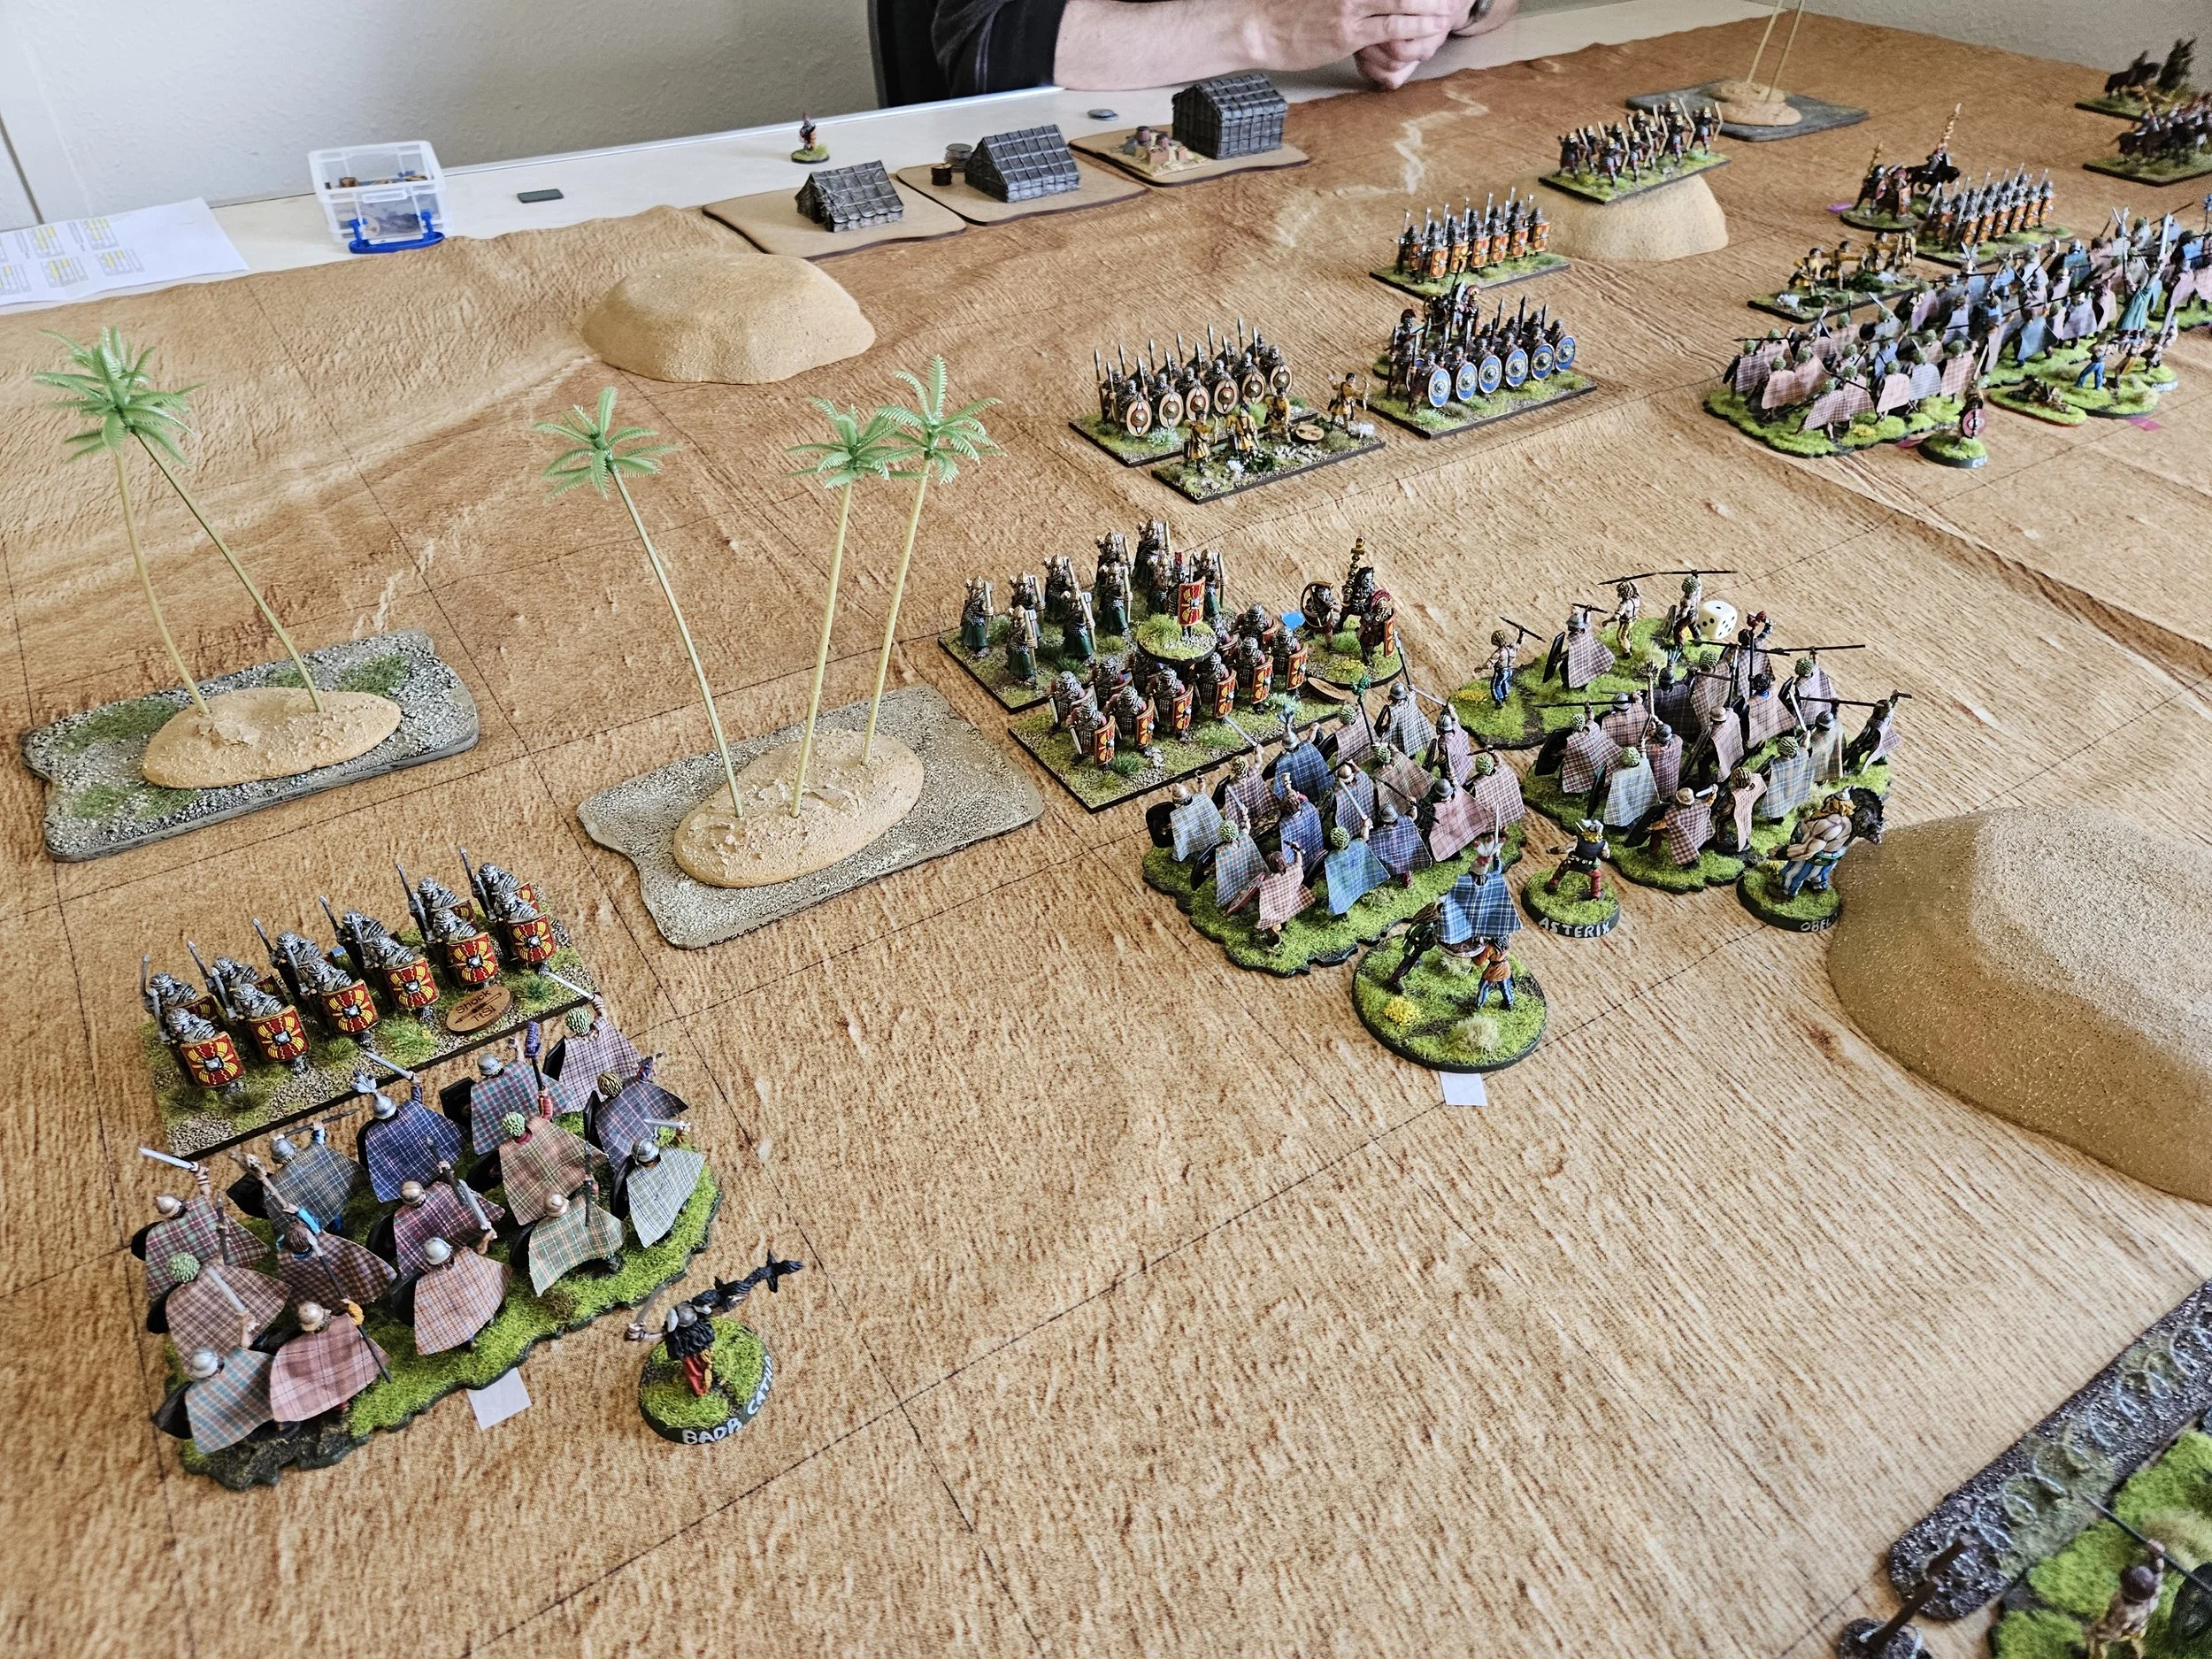
/Time for another game of To The Strongest in 2mm: I would play the Fanatical Berbers against Neil’s Early Feudal Spanish.
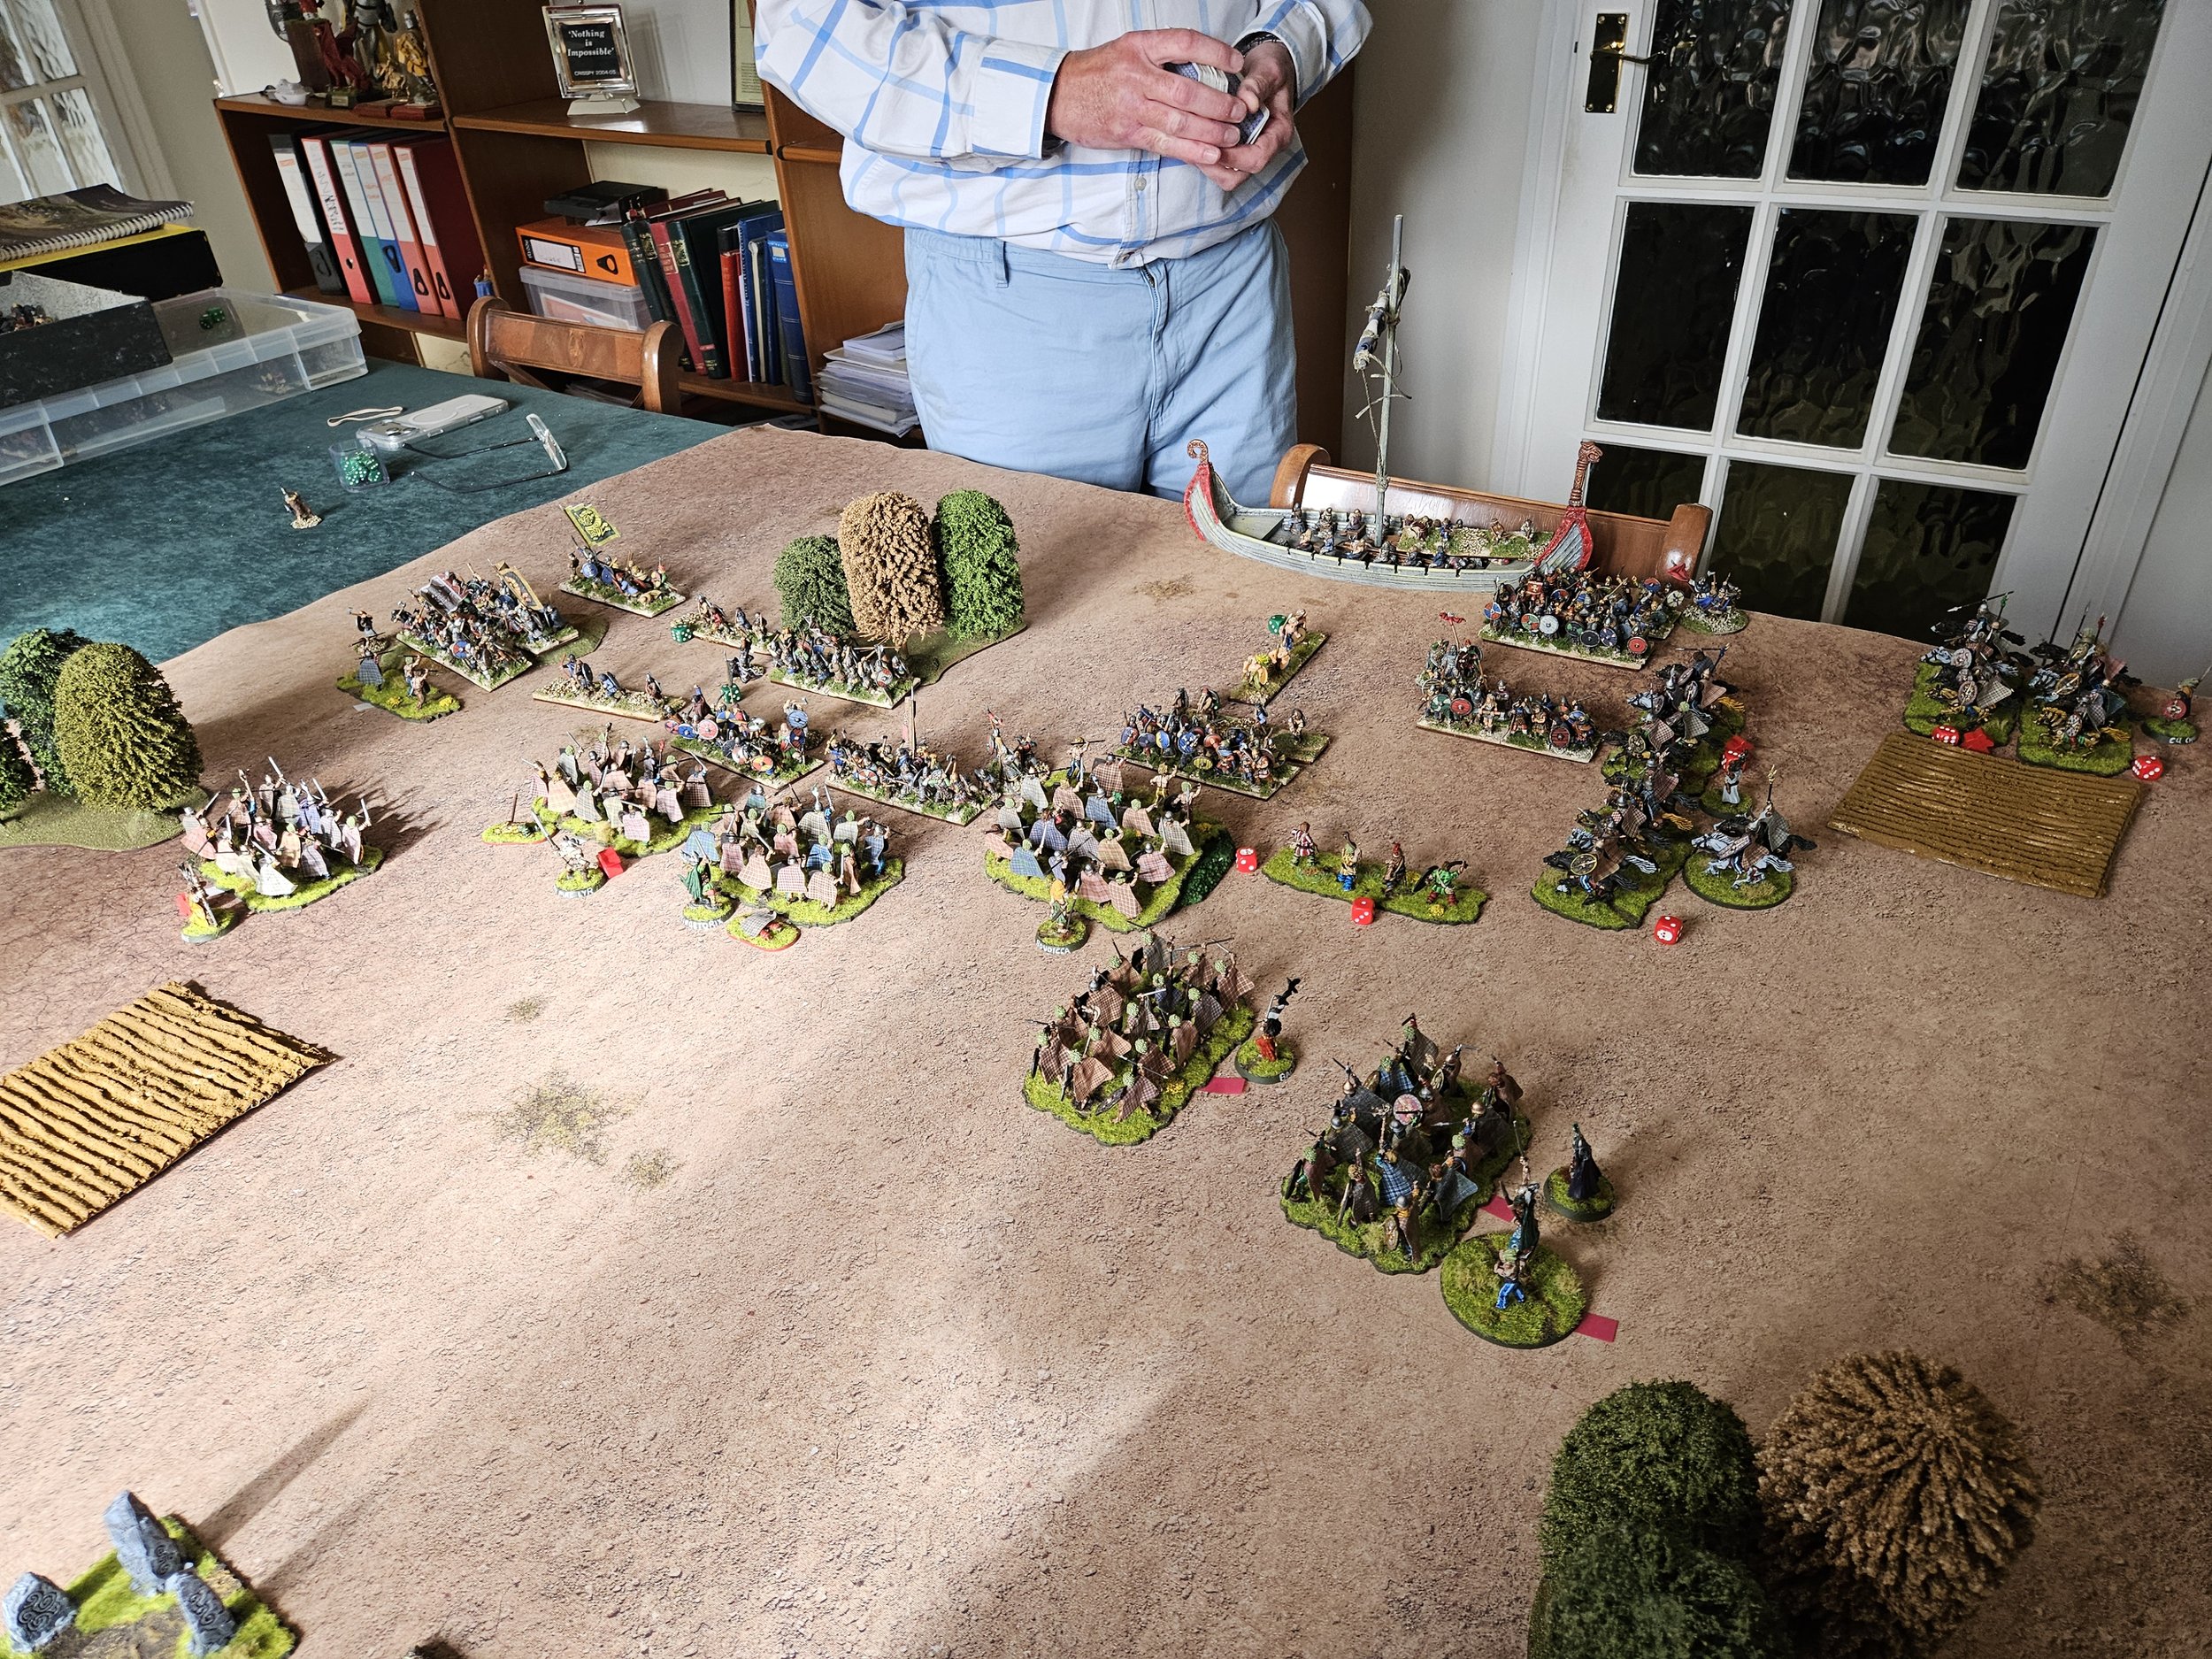
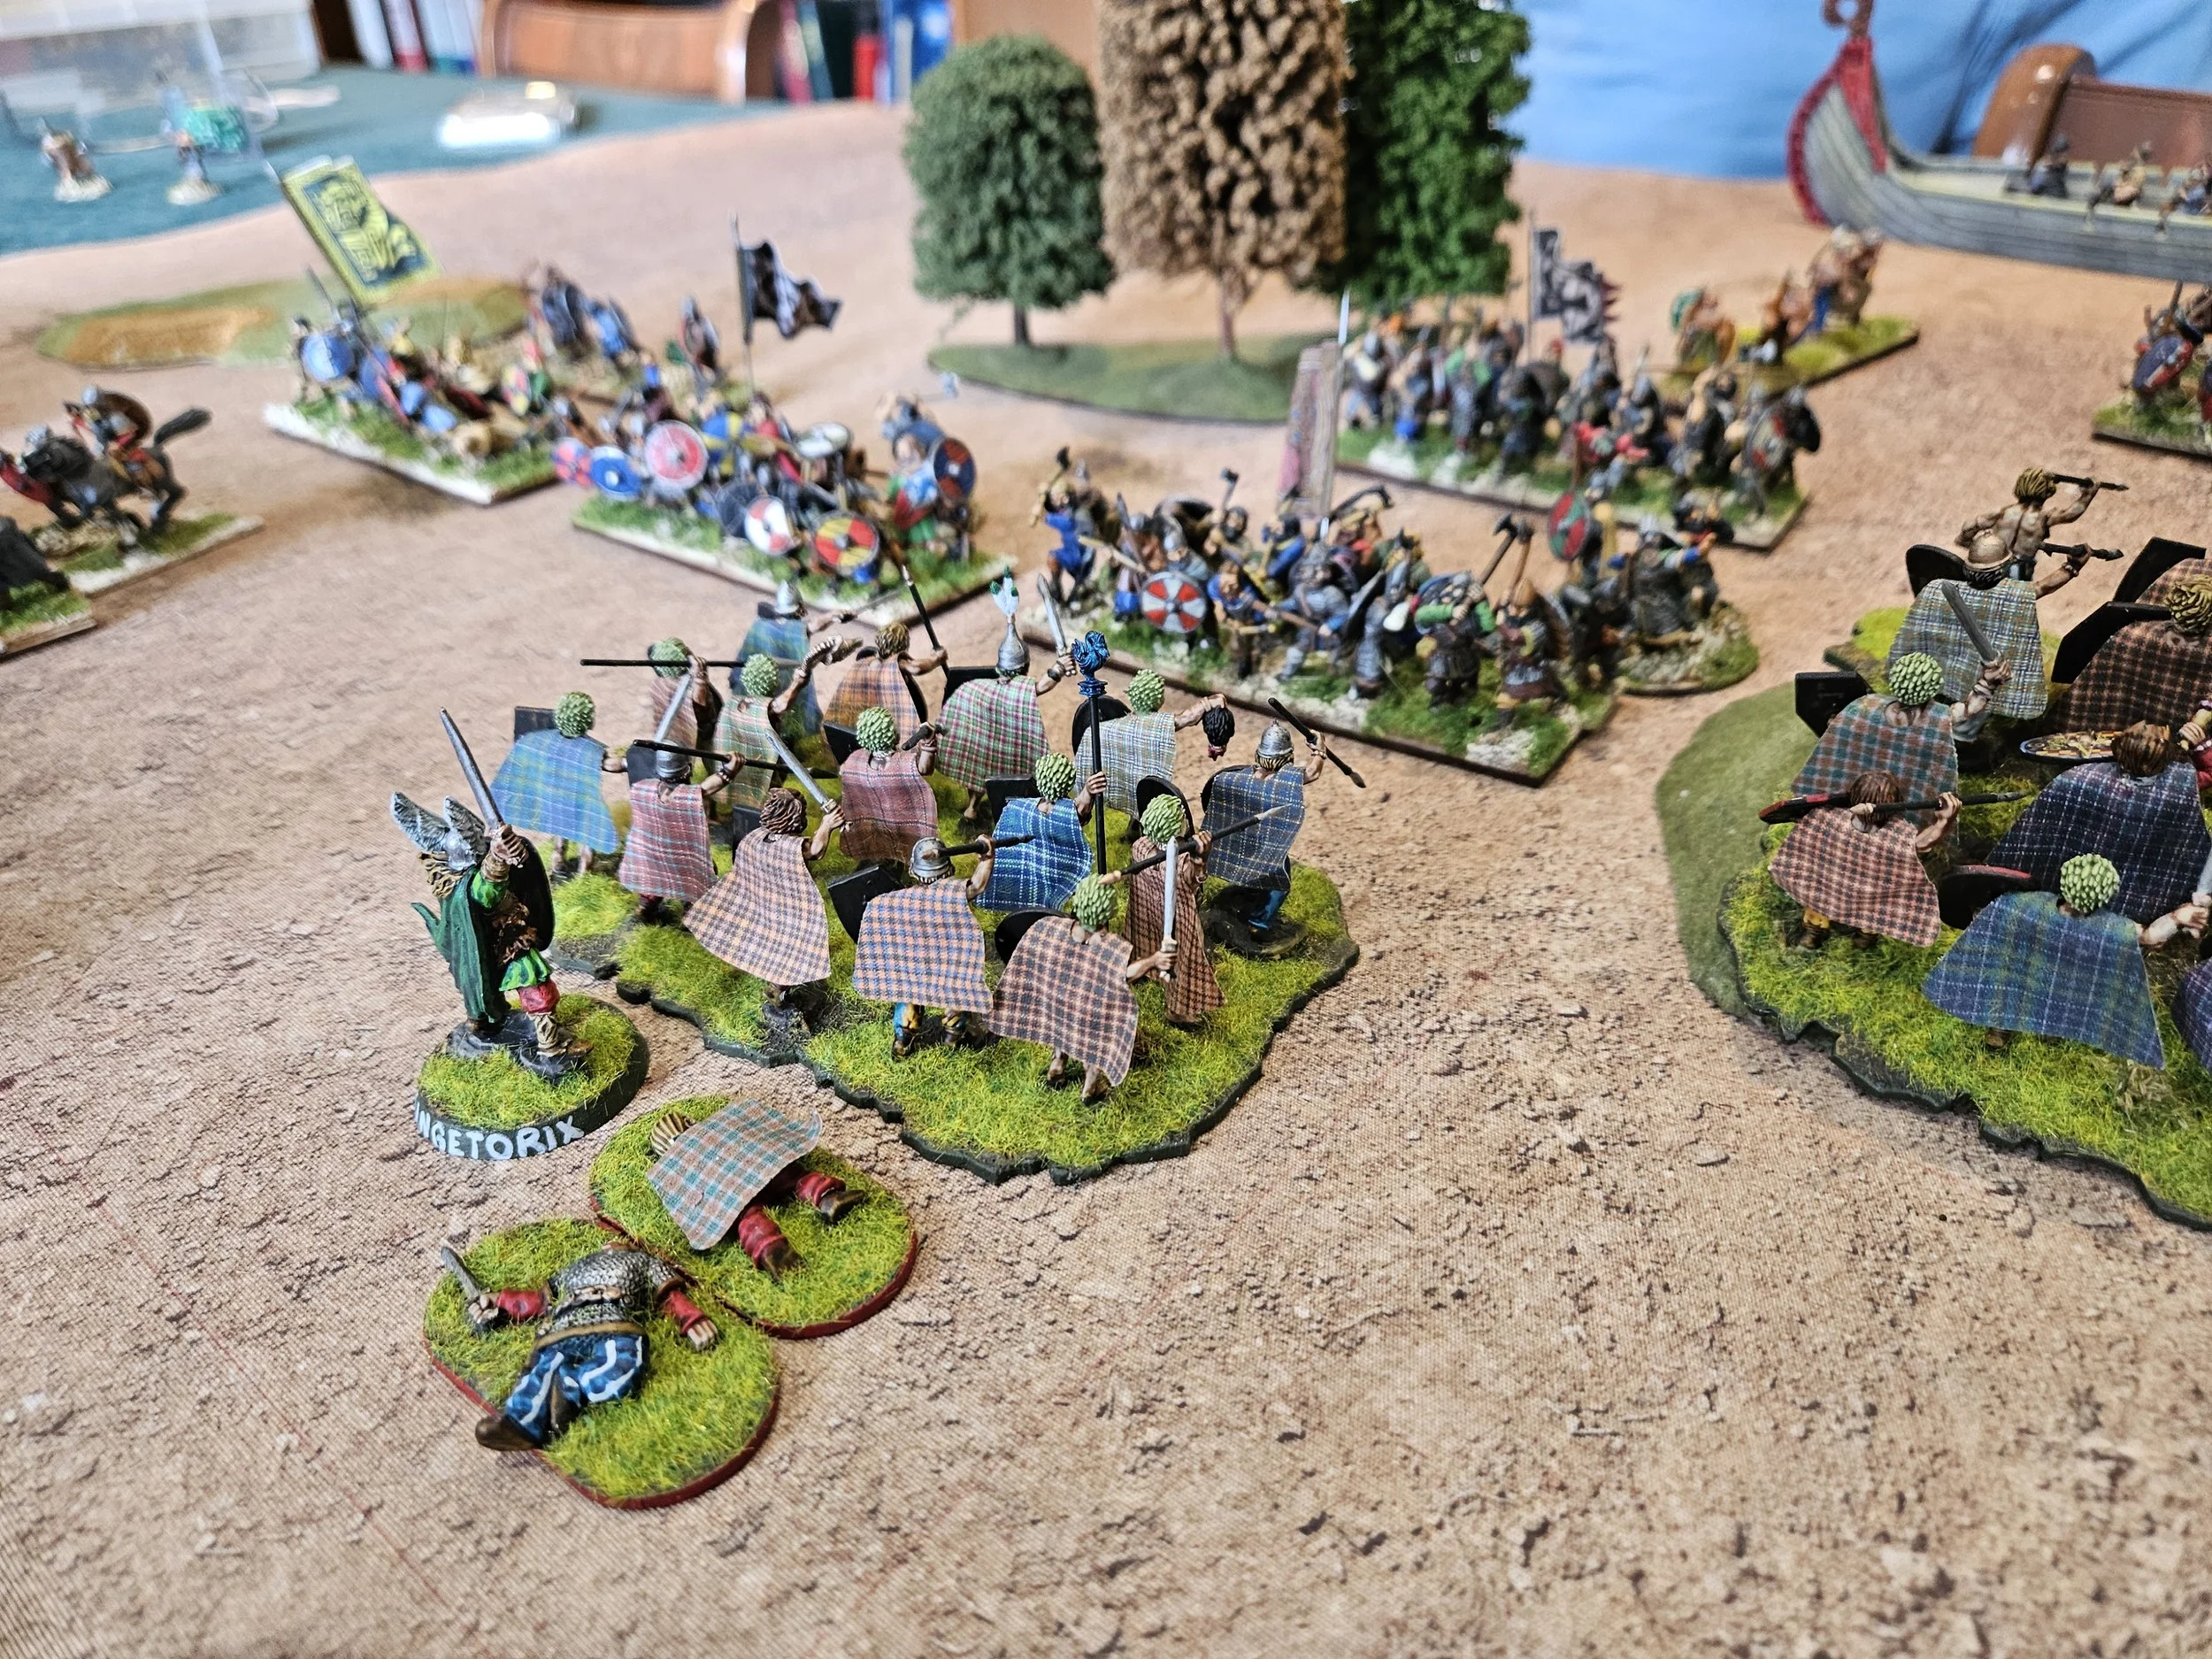
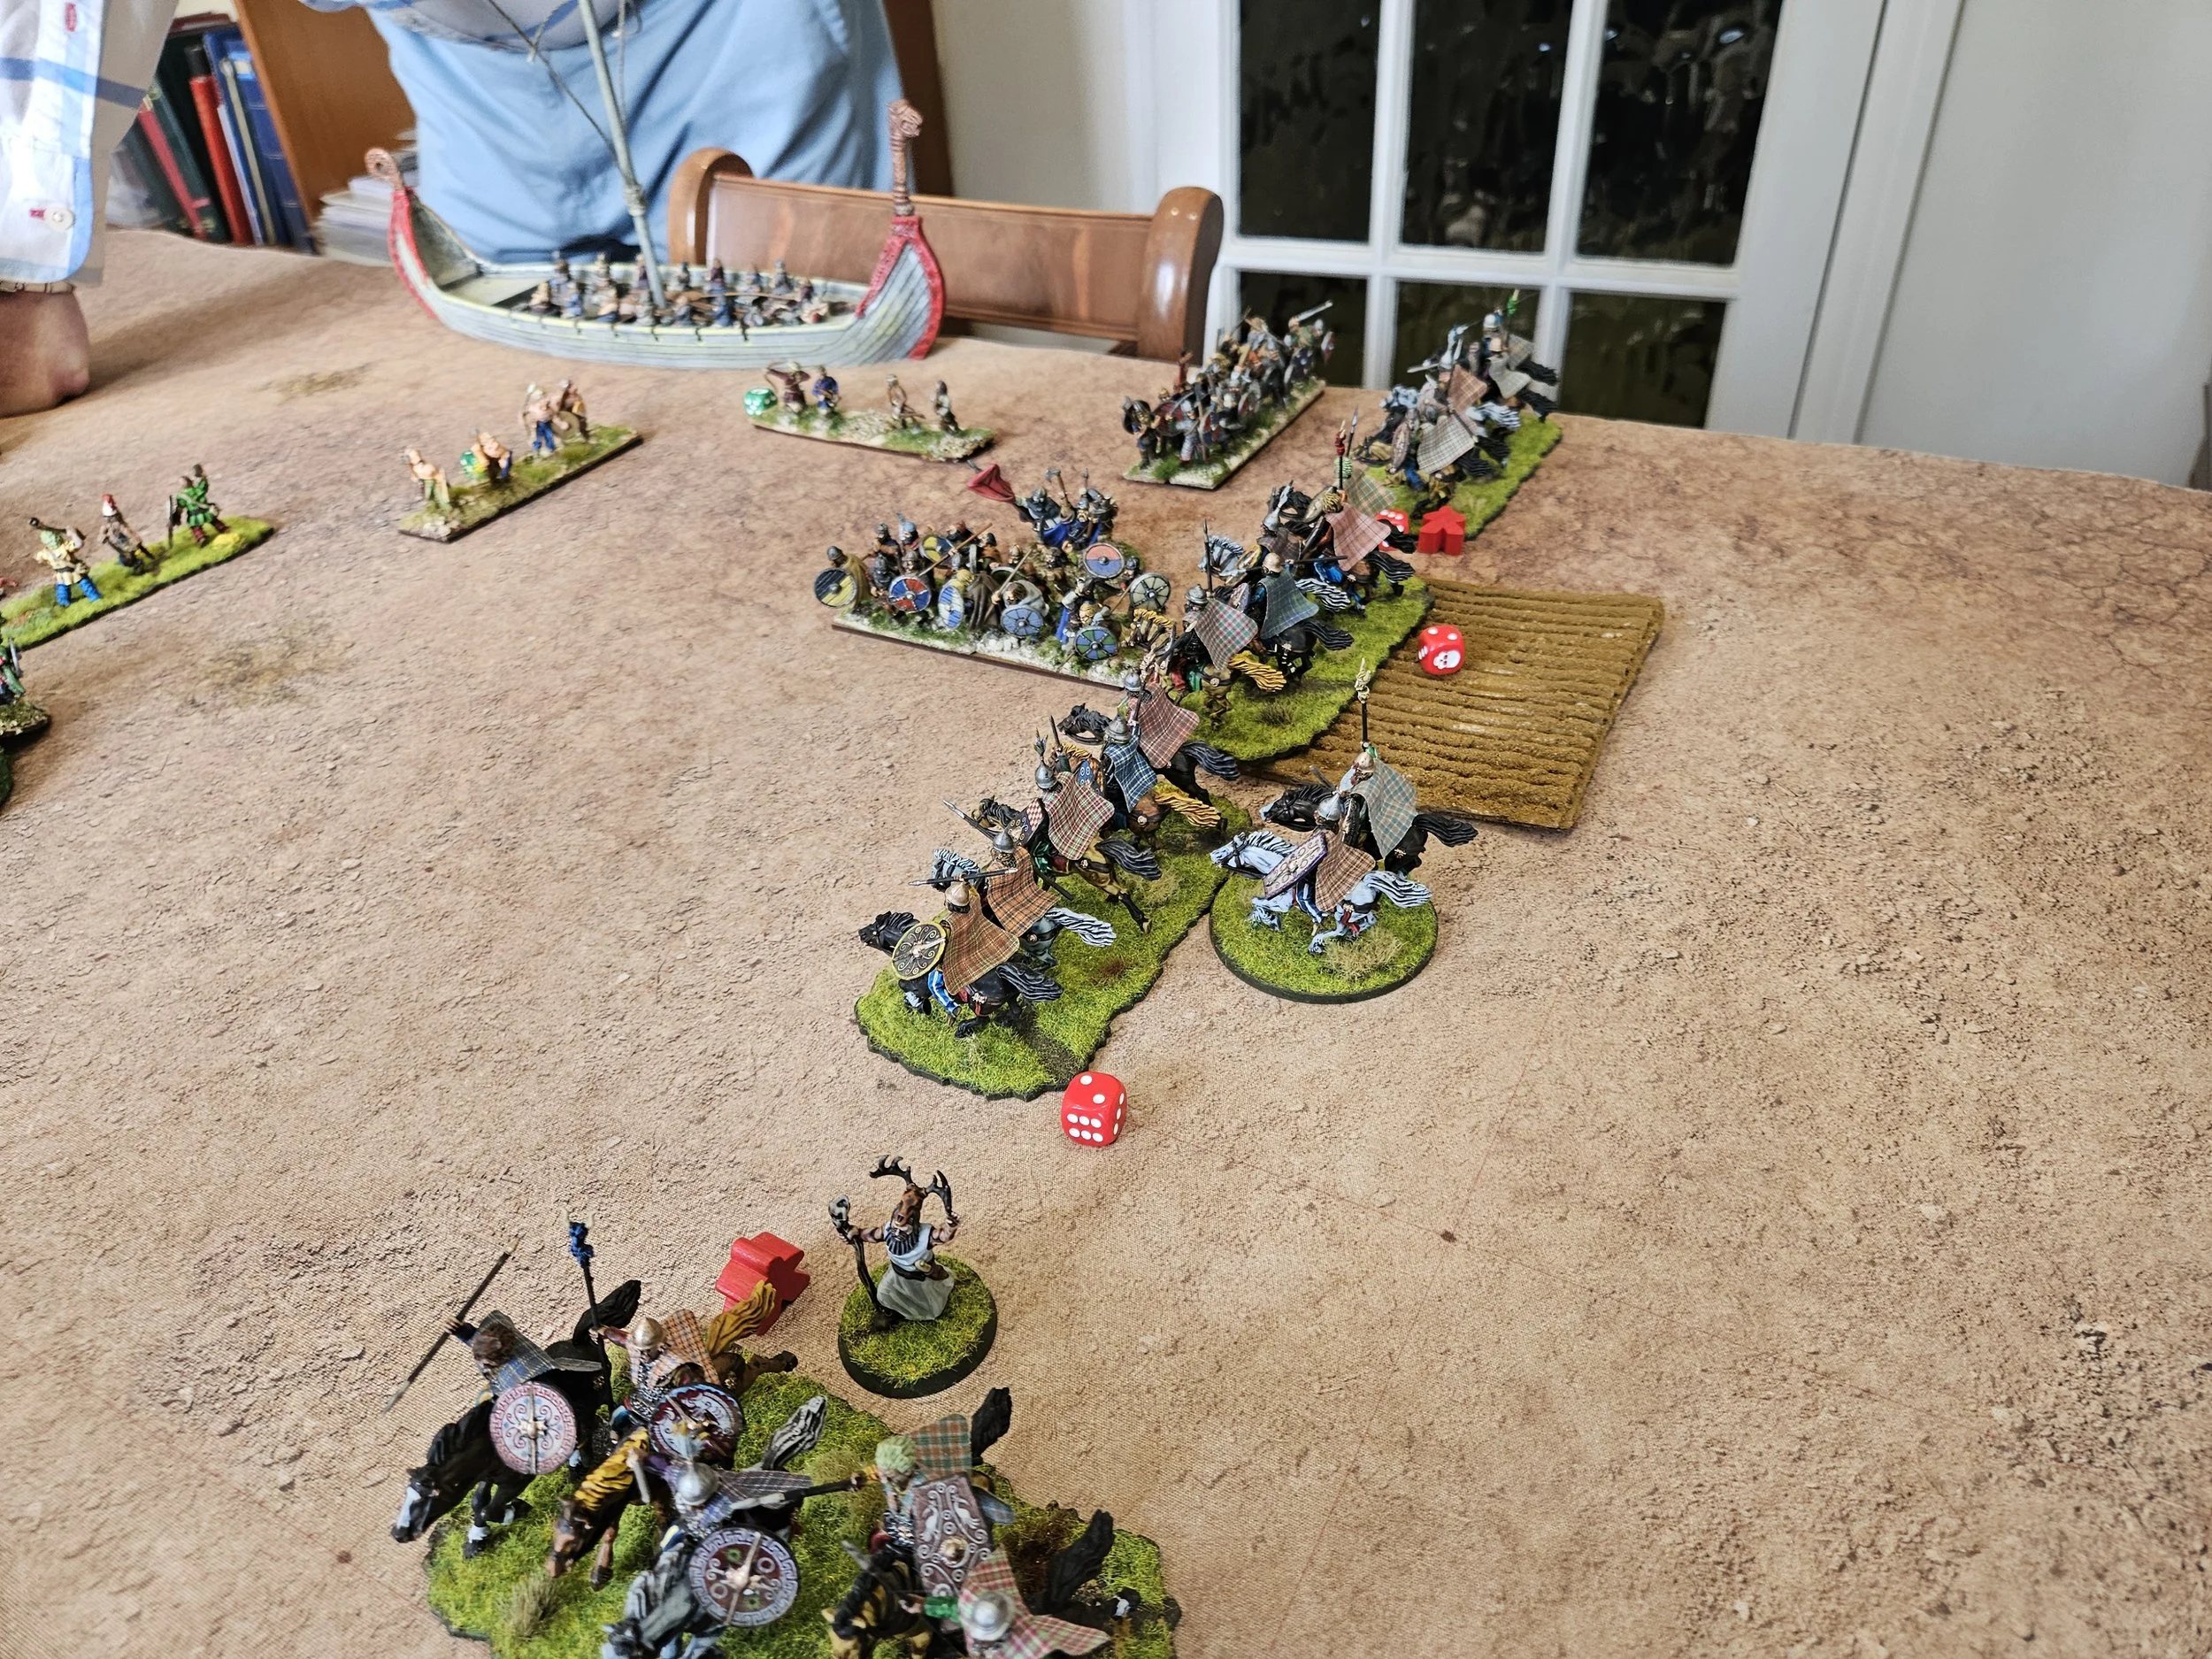
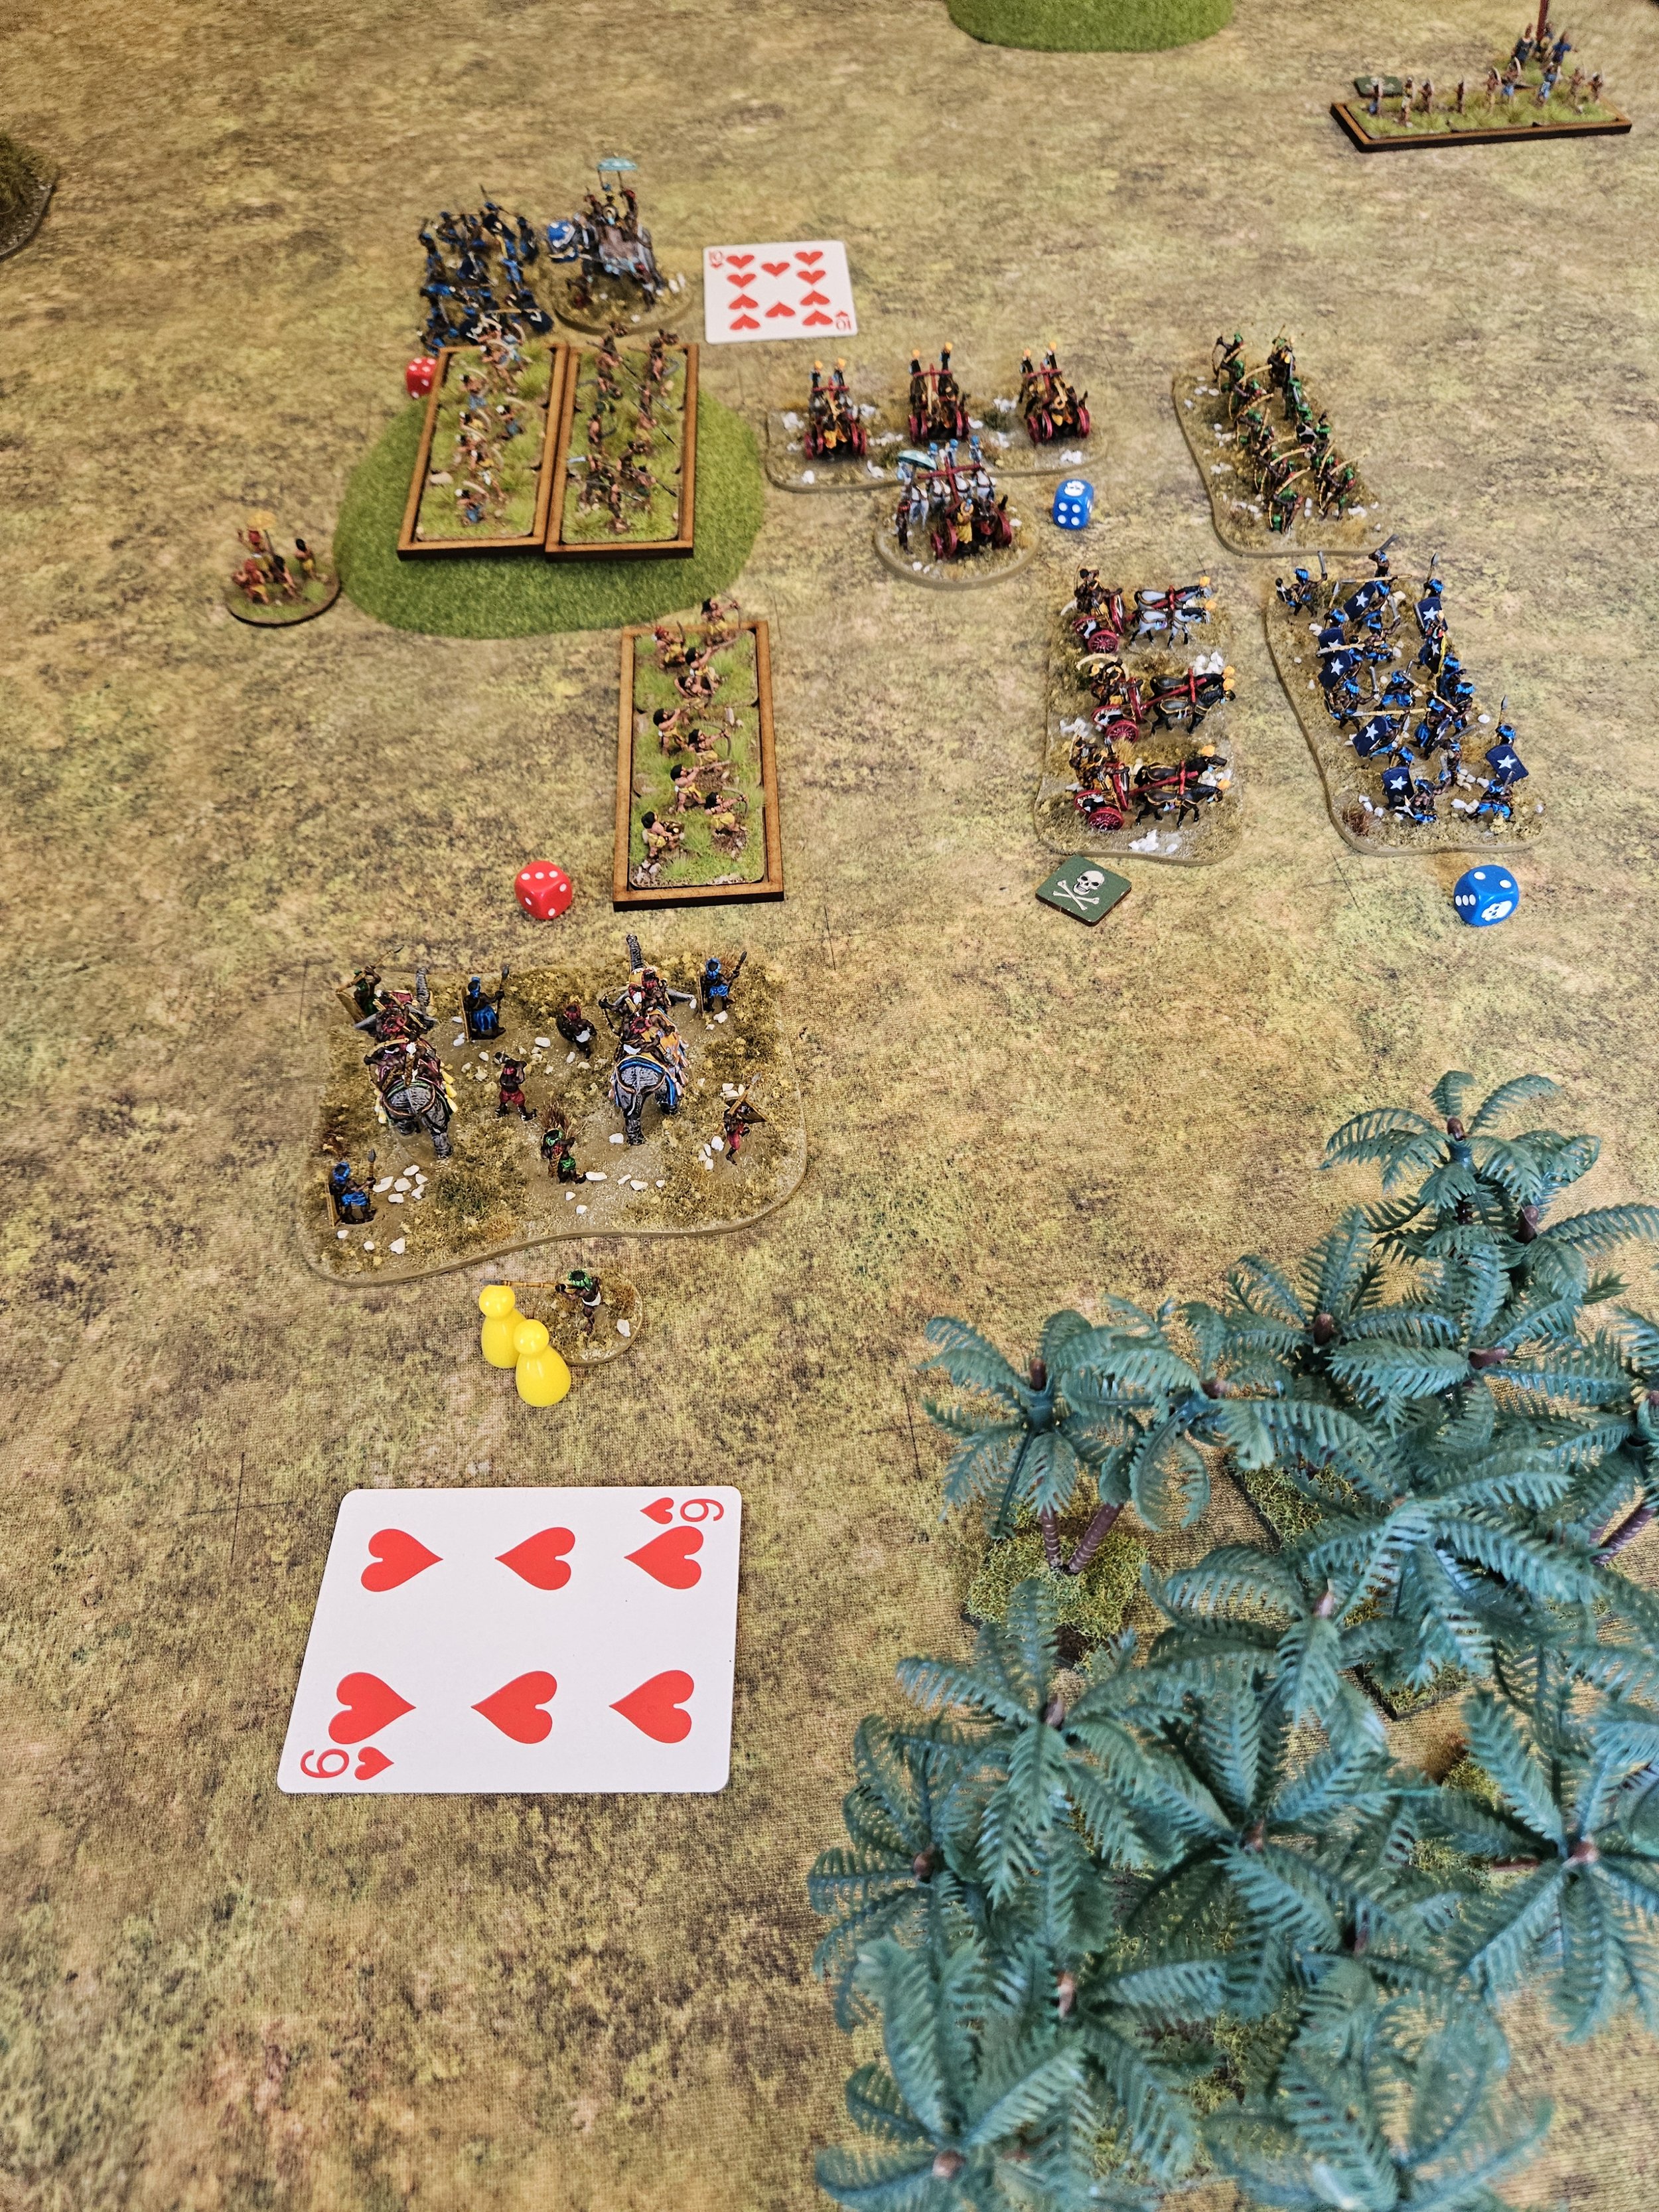
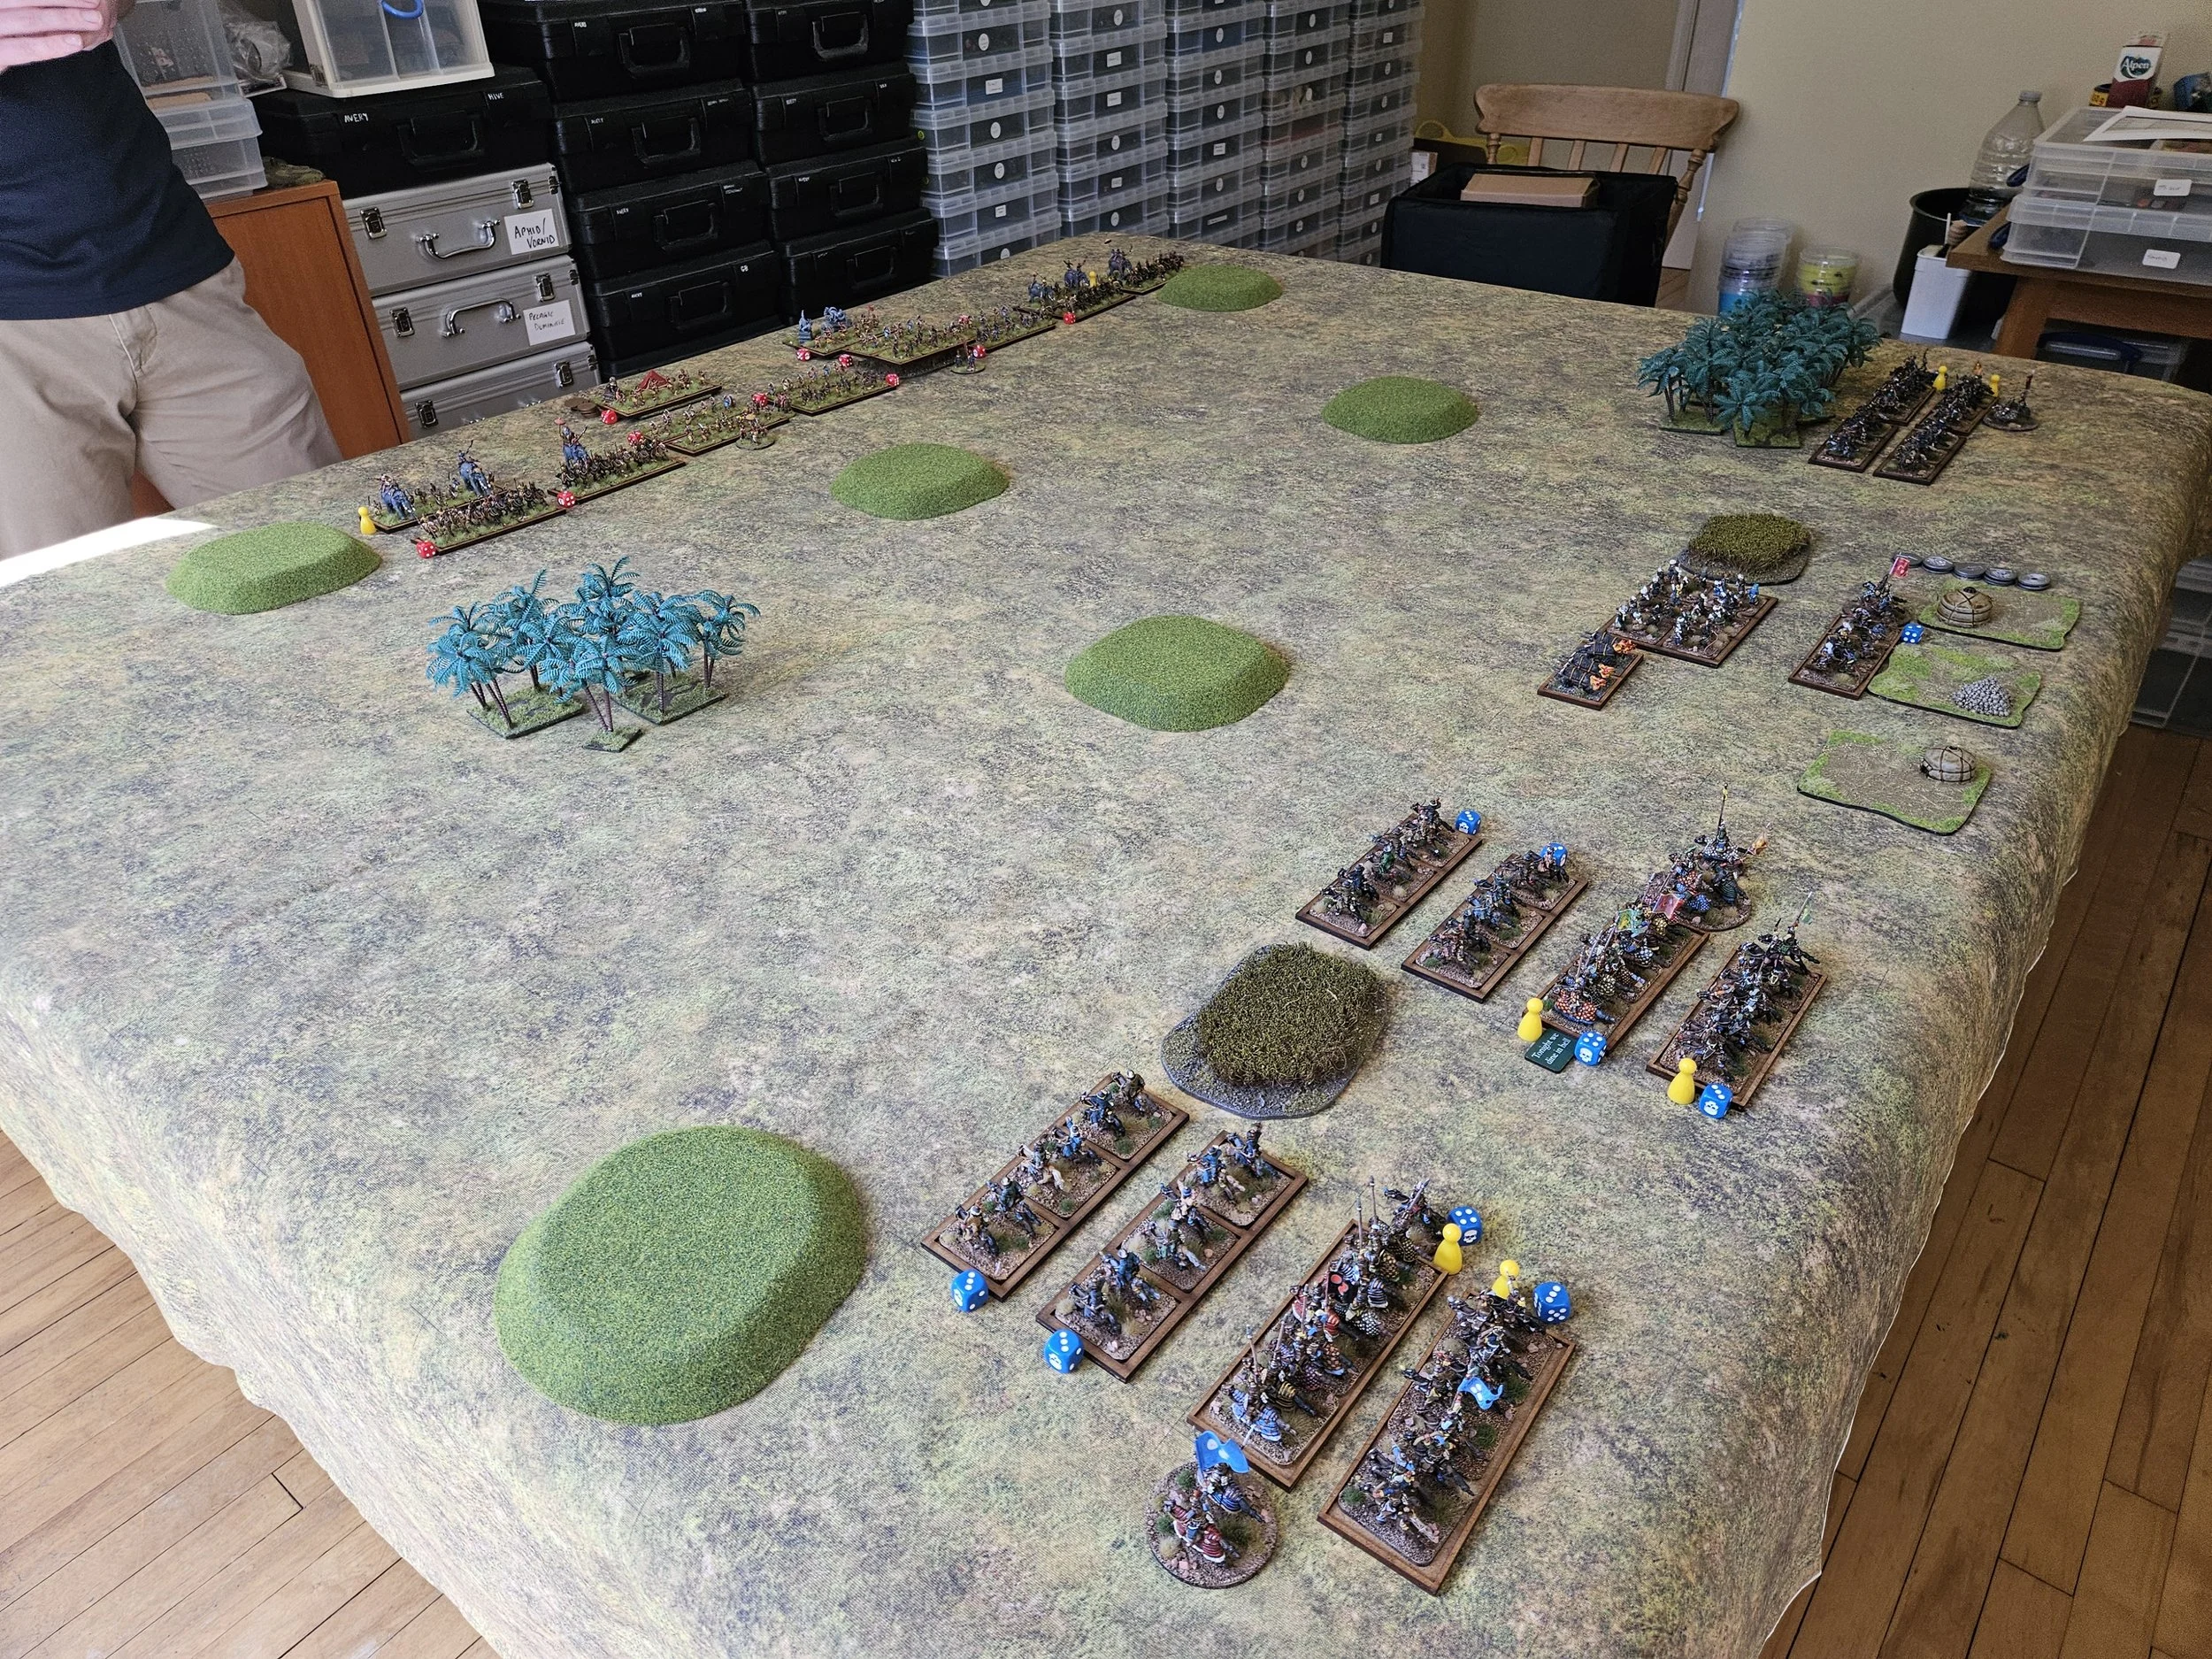
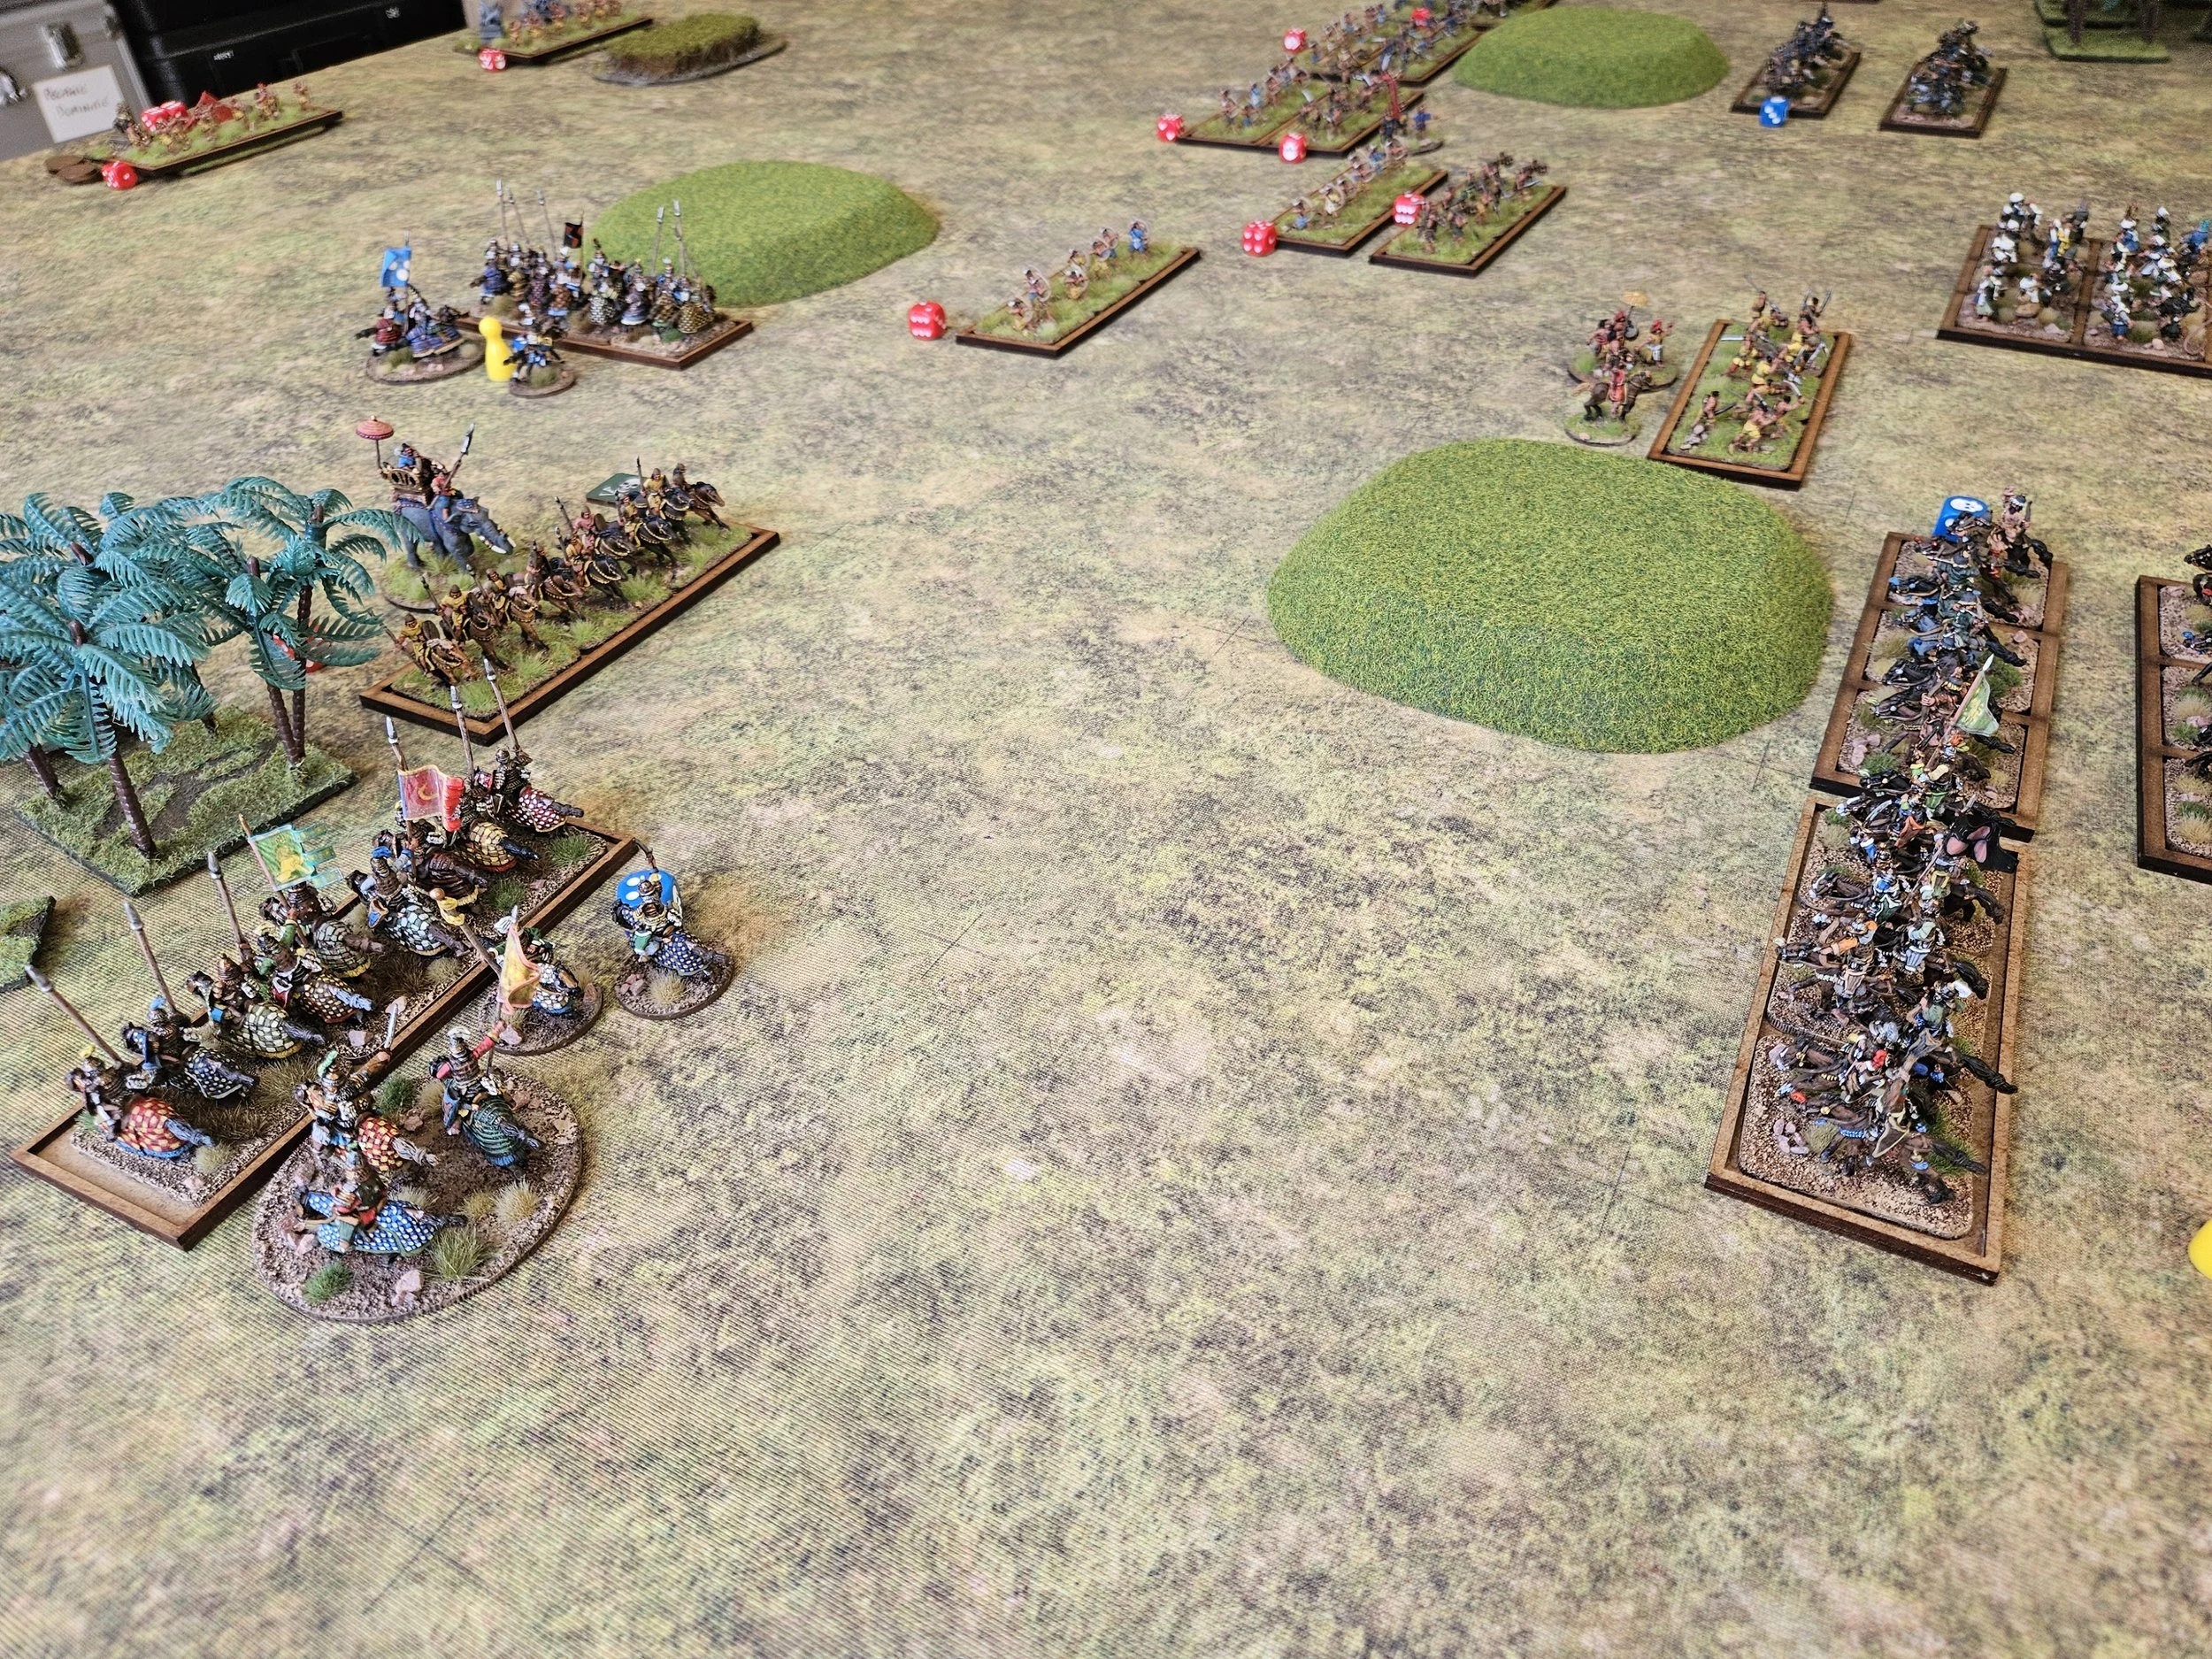
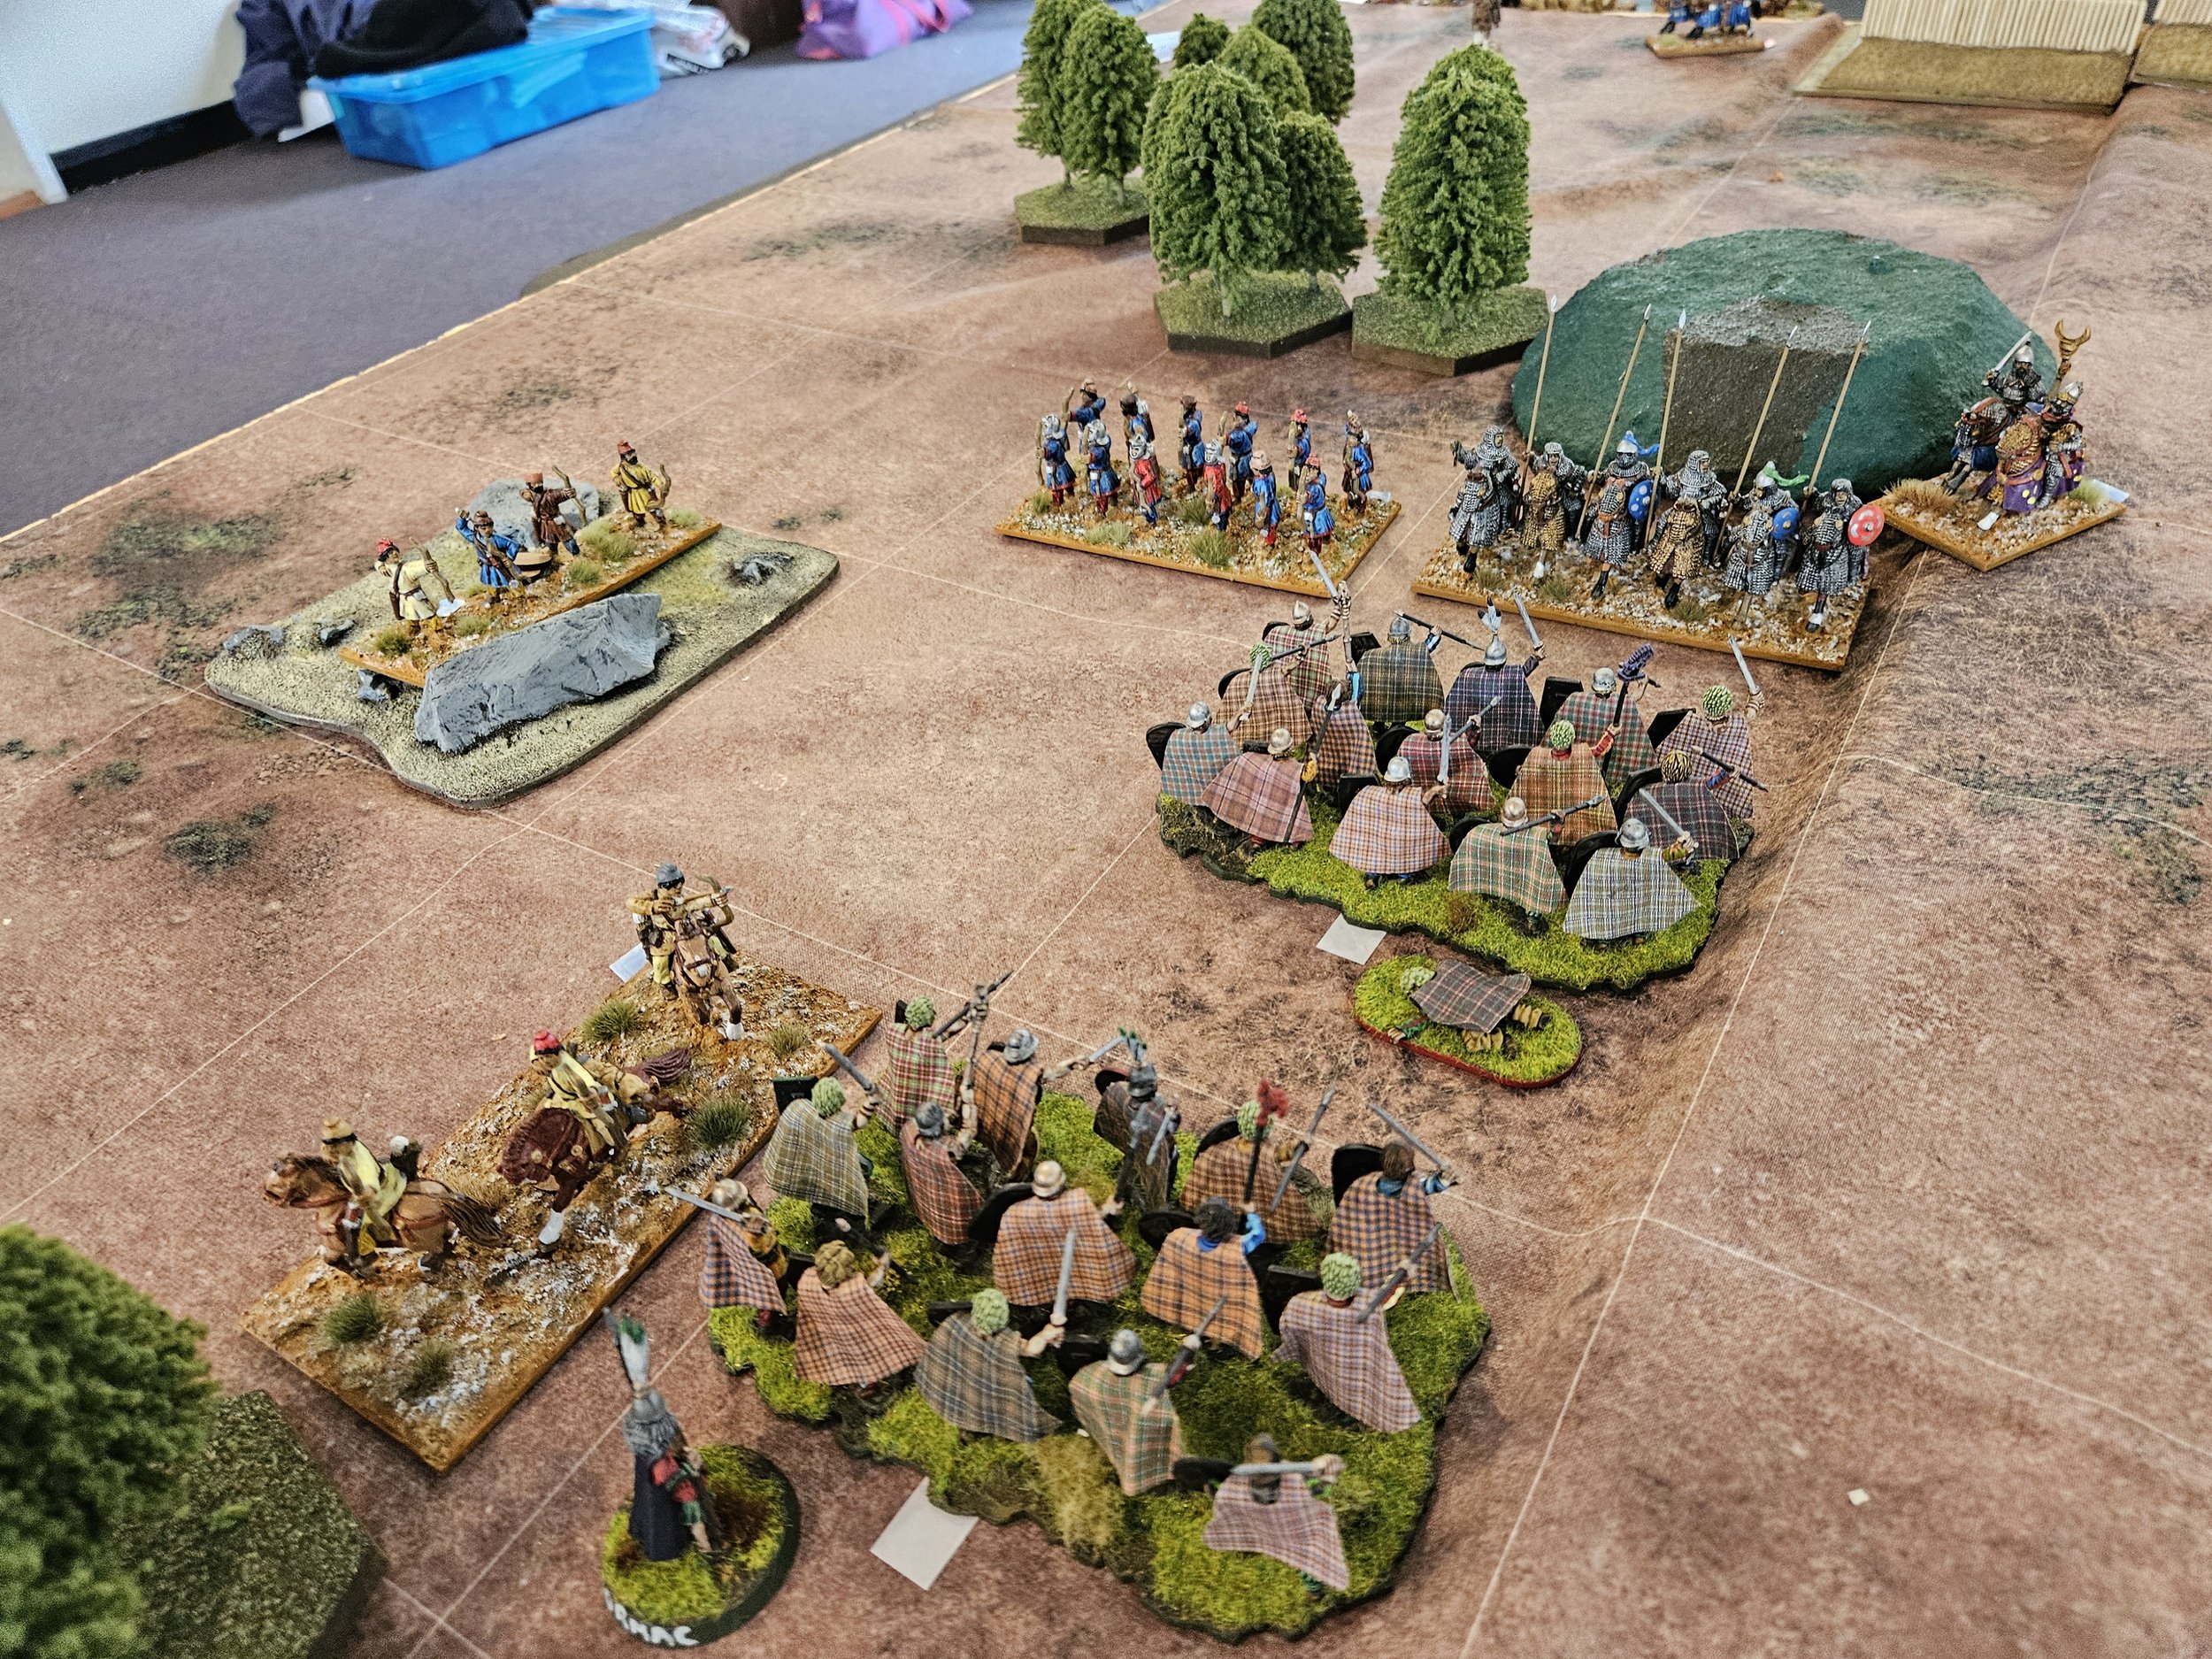
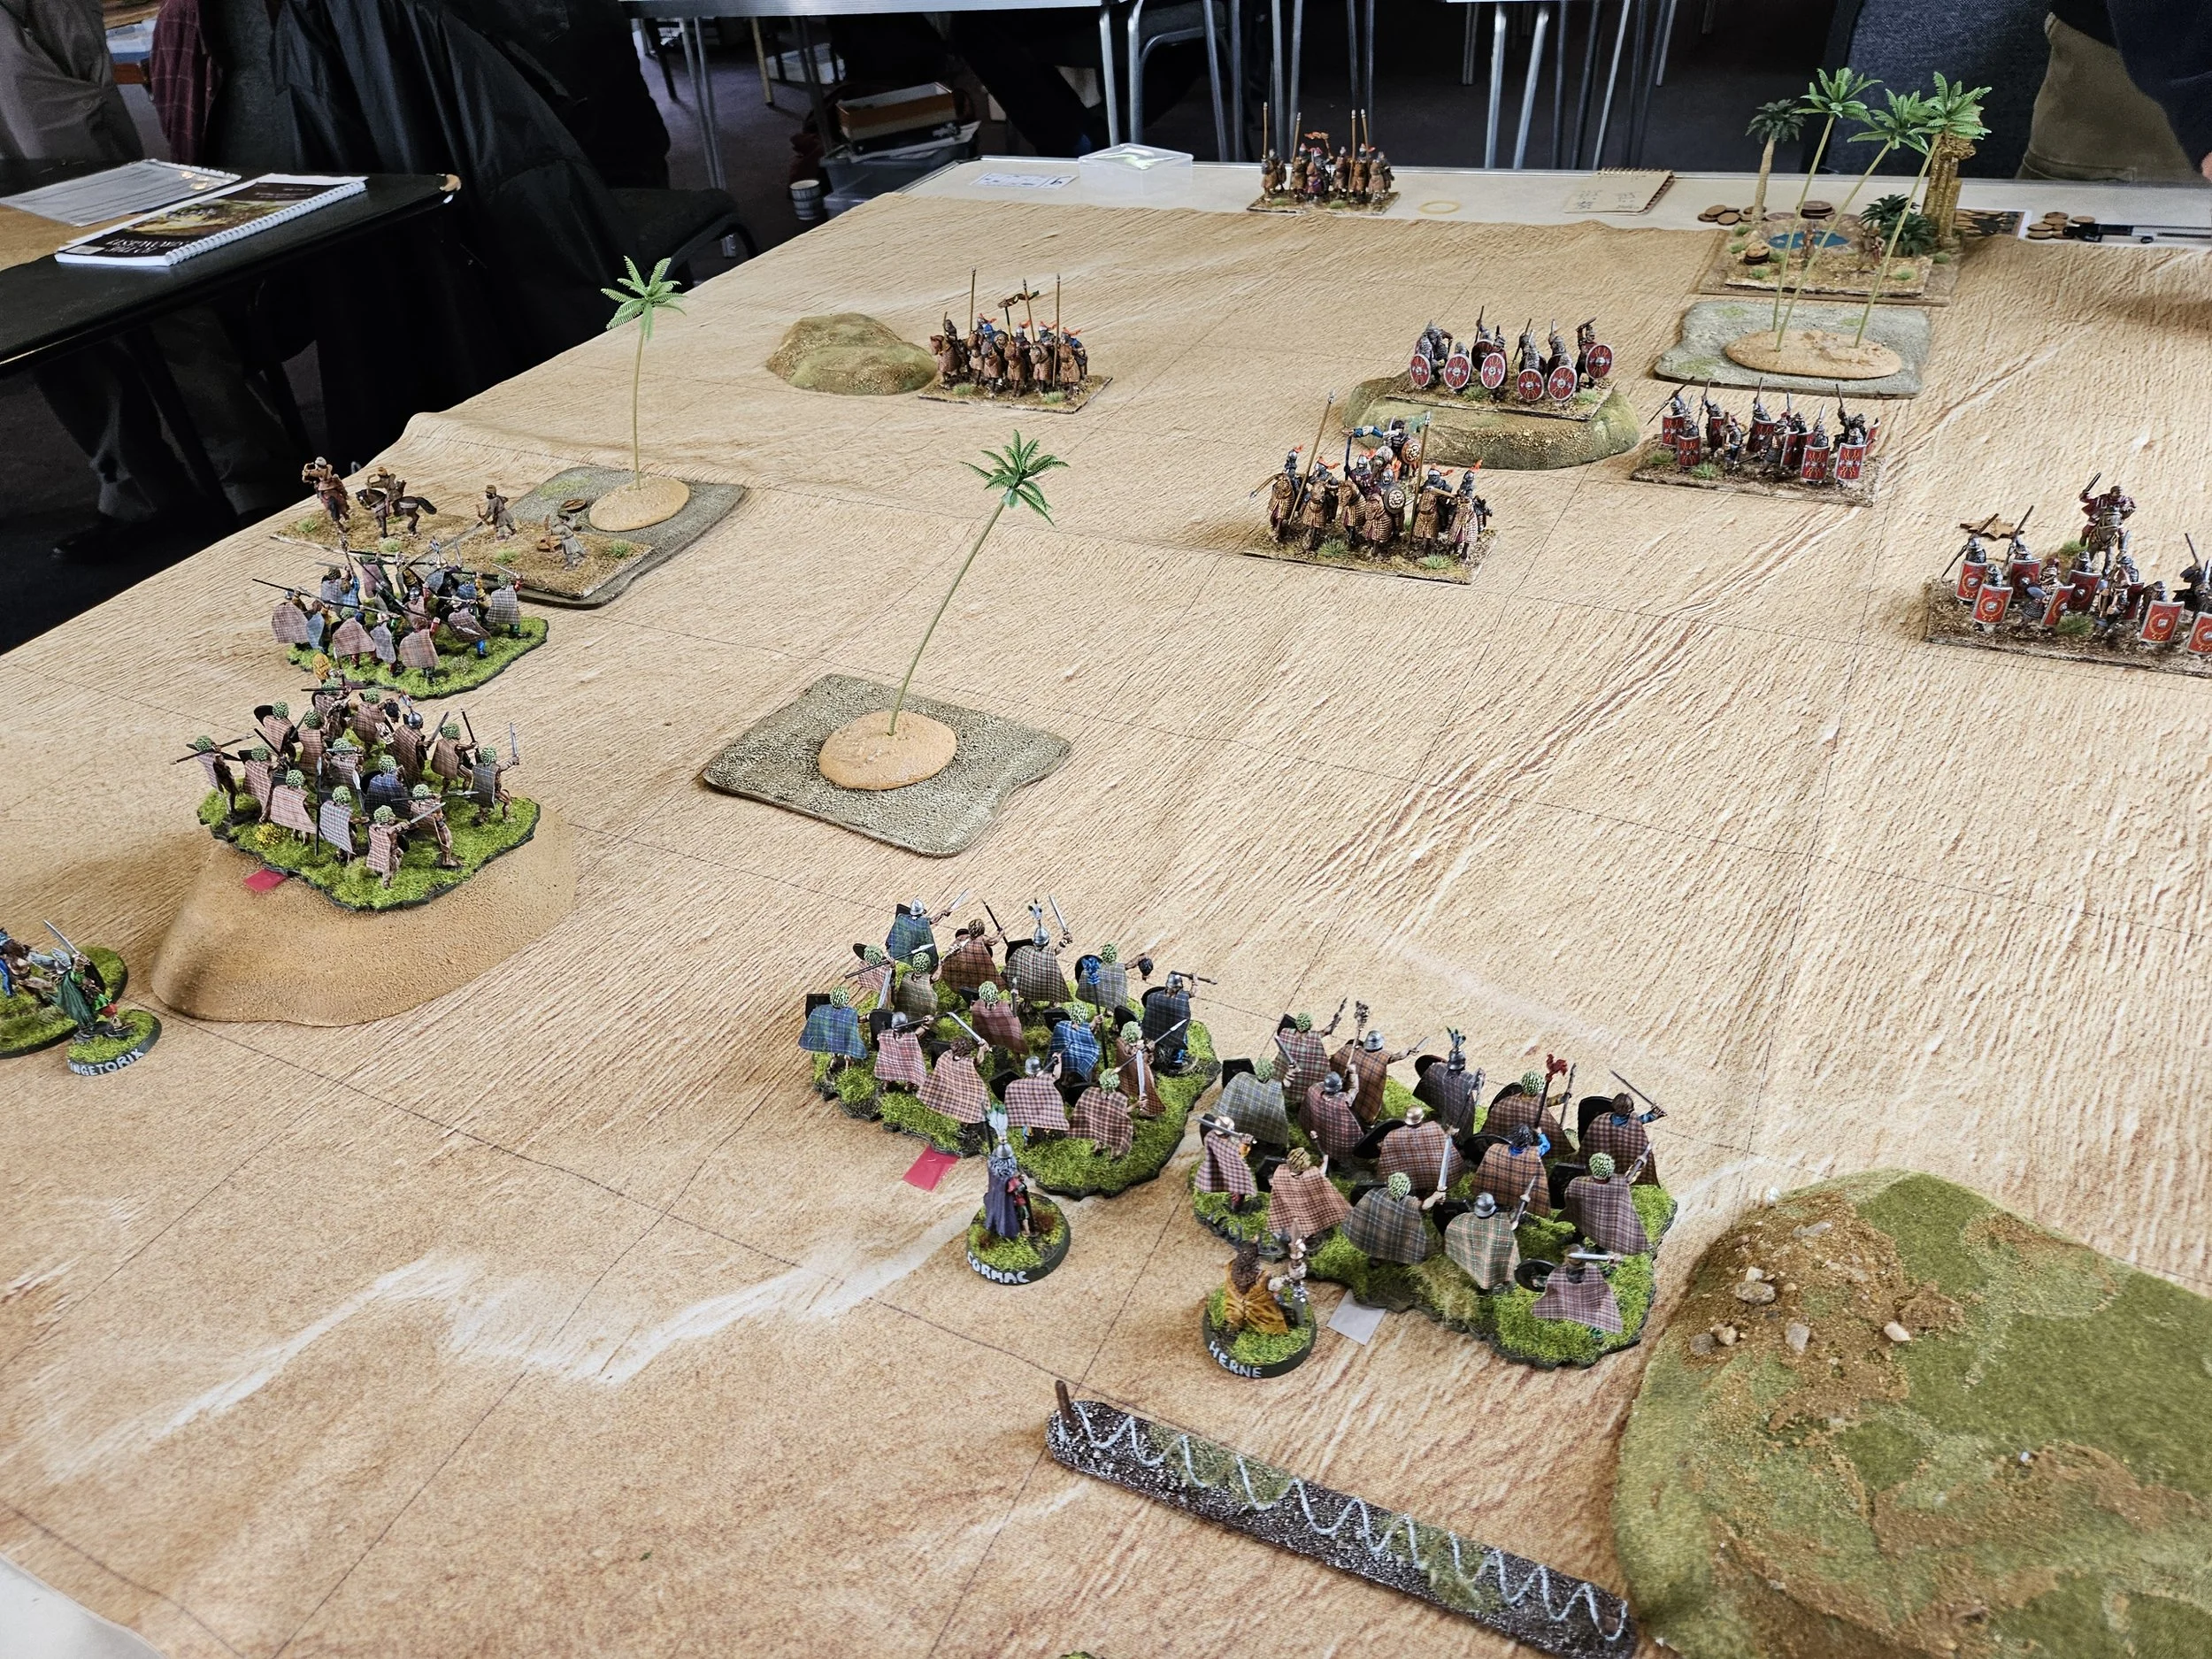
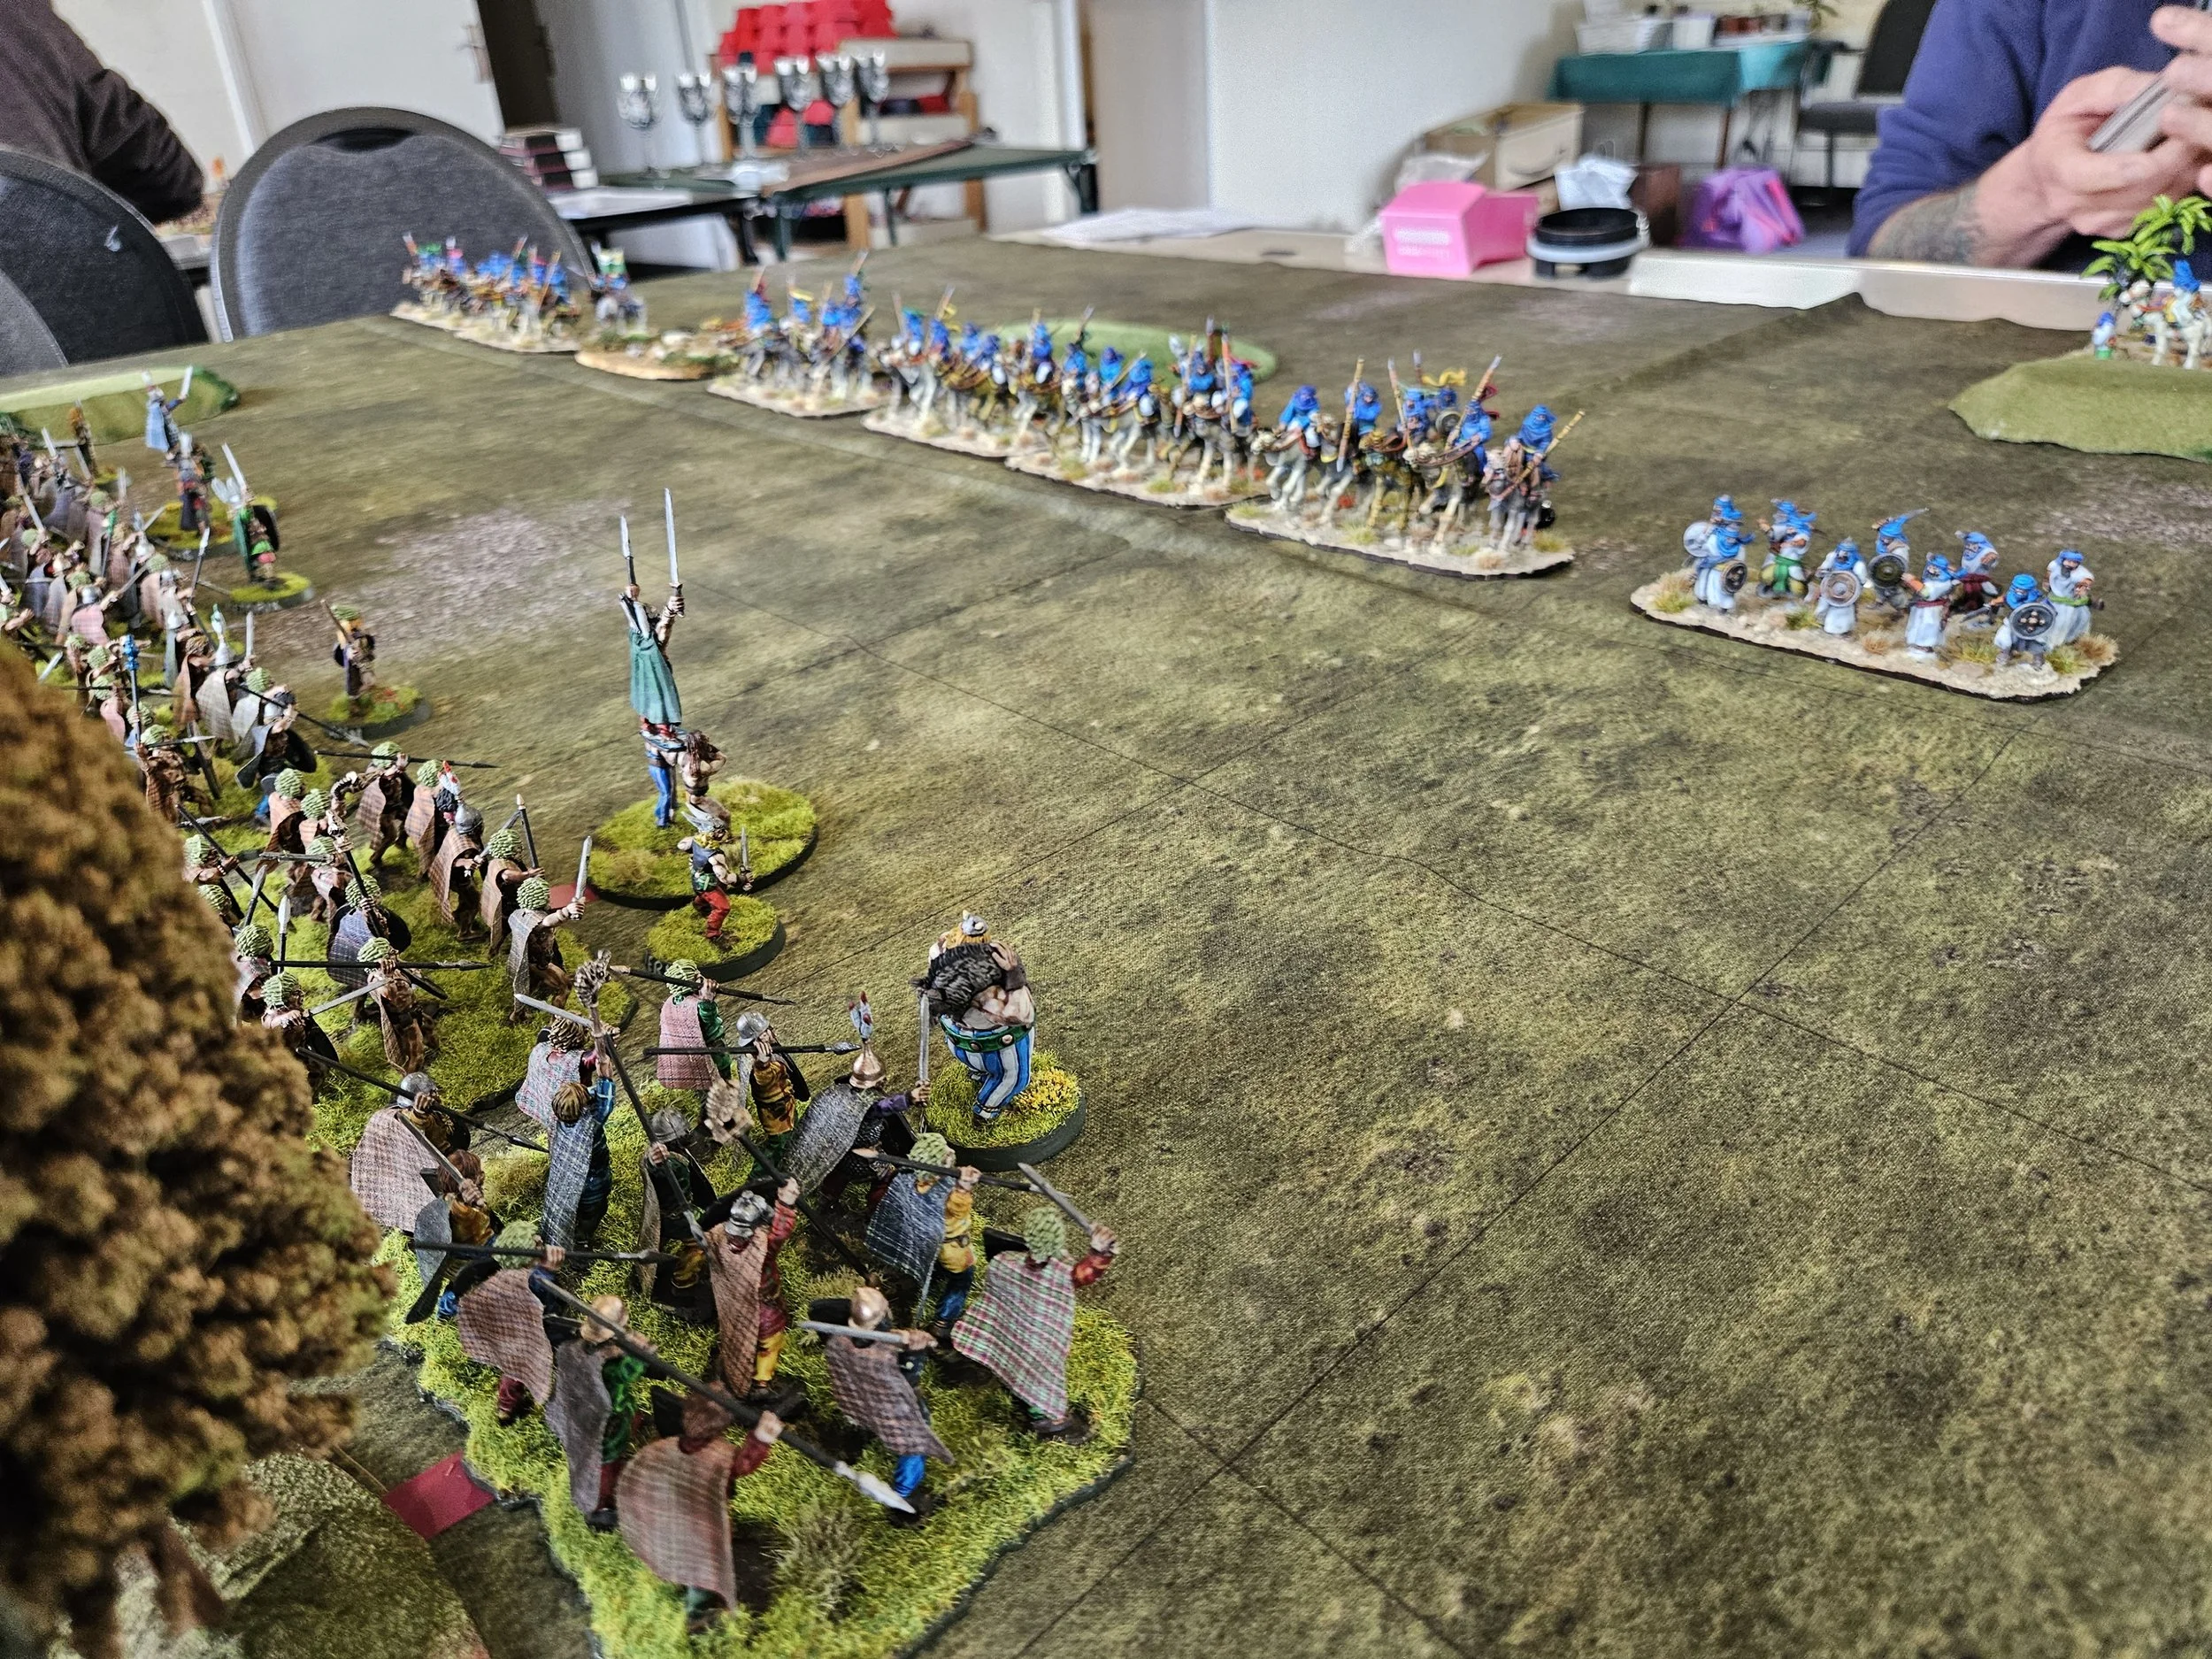
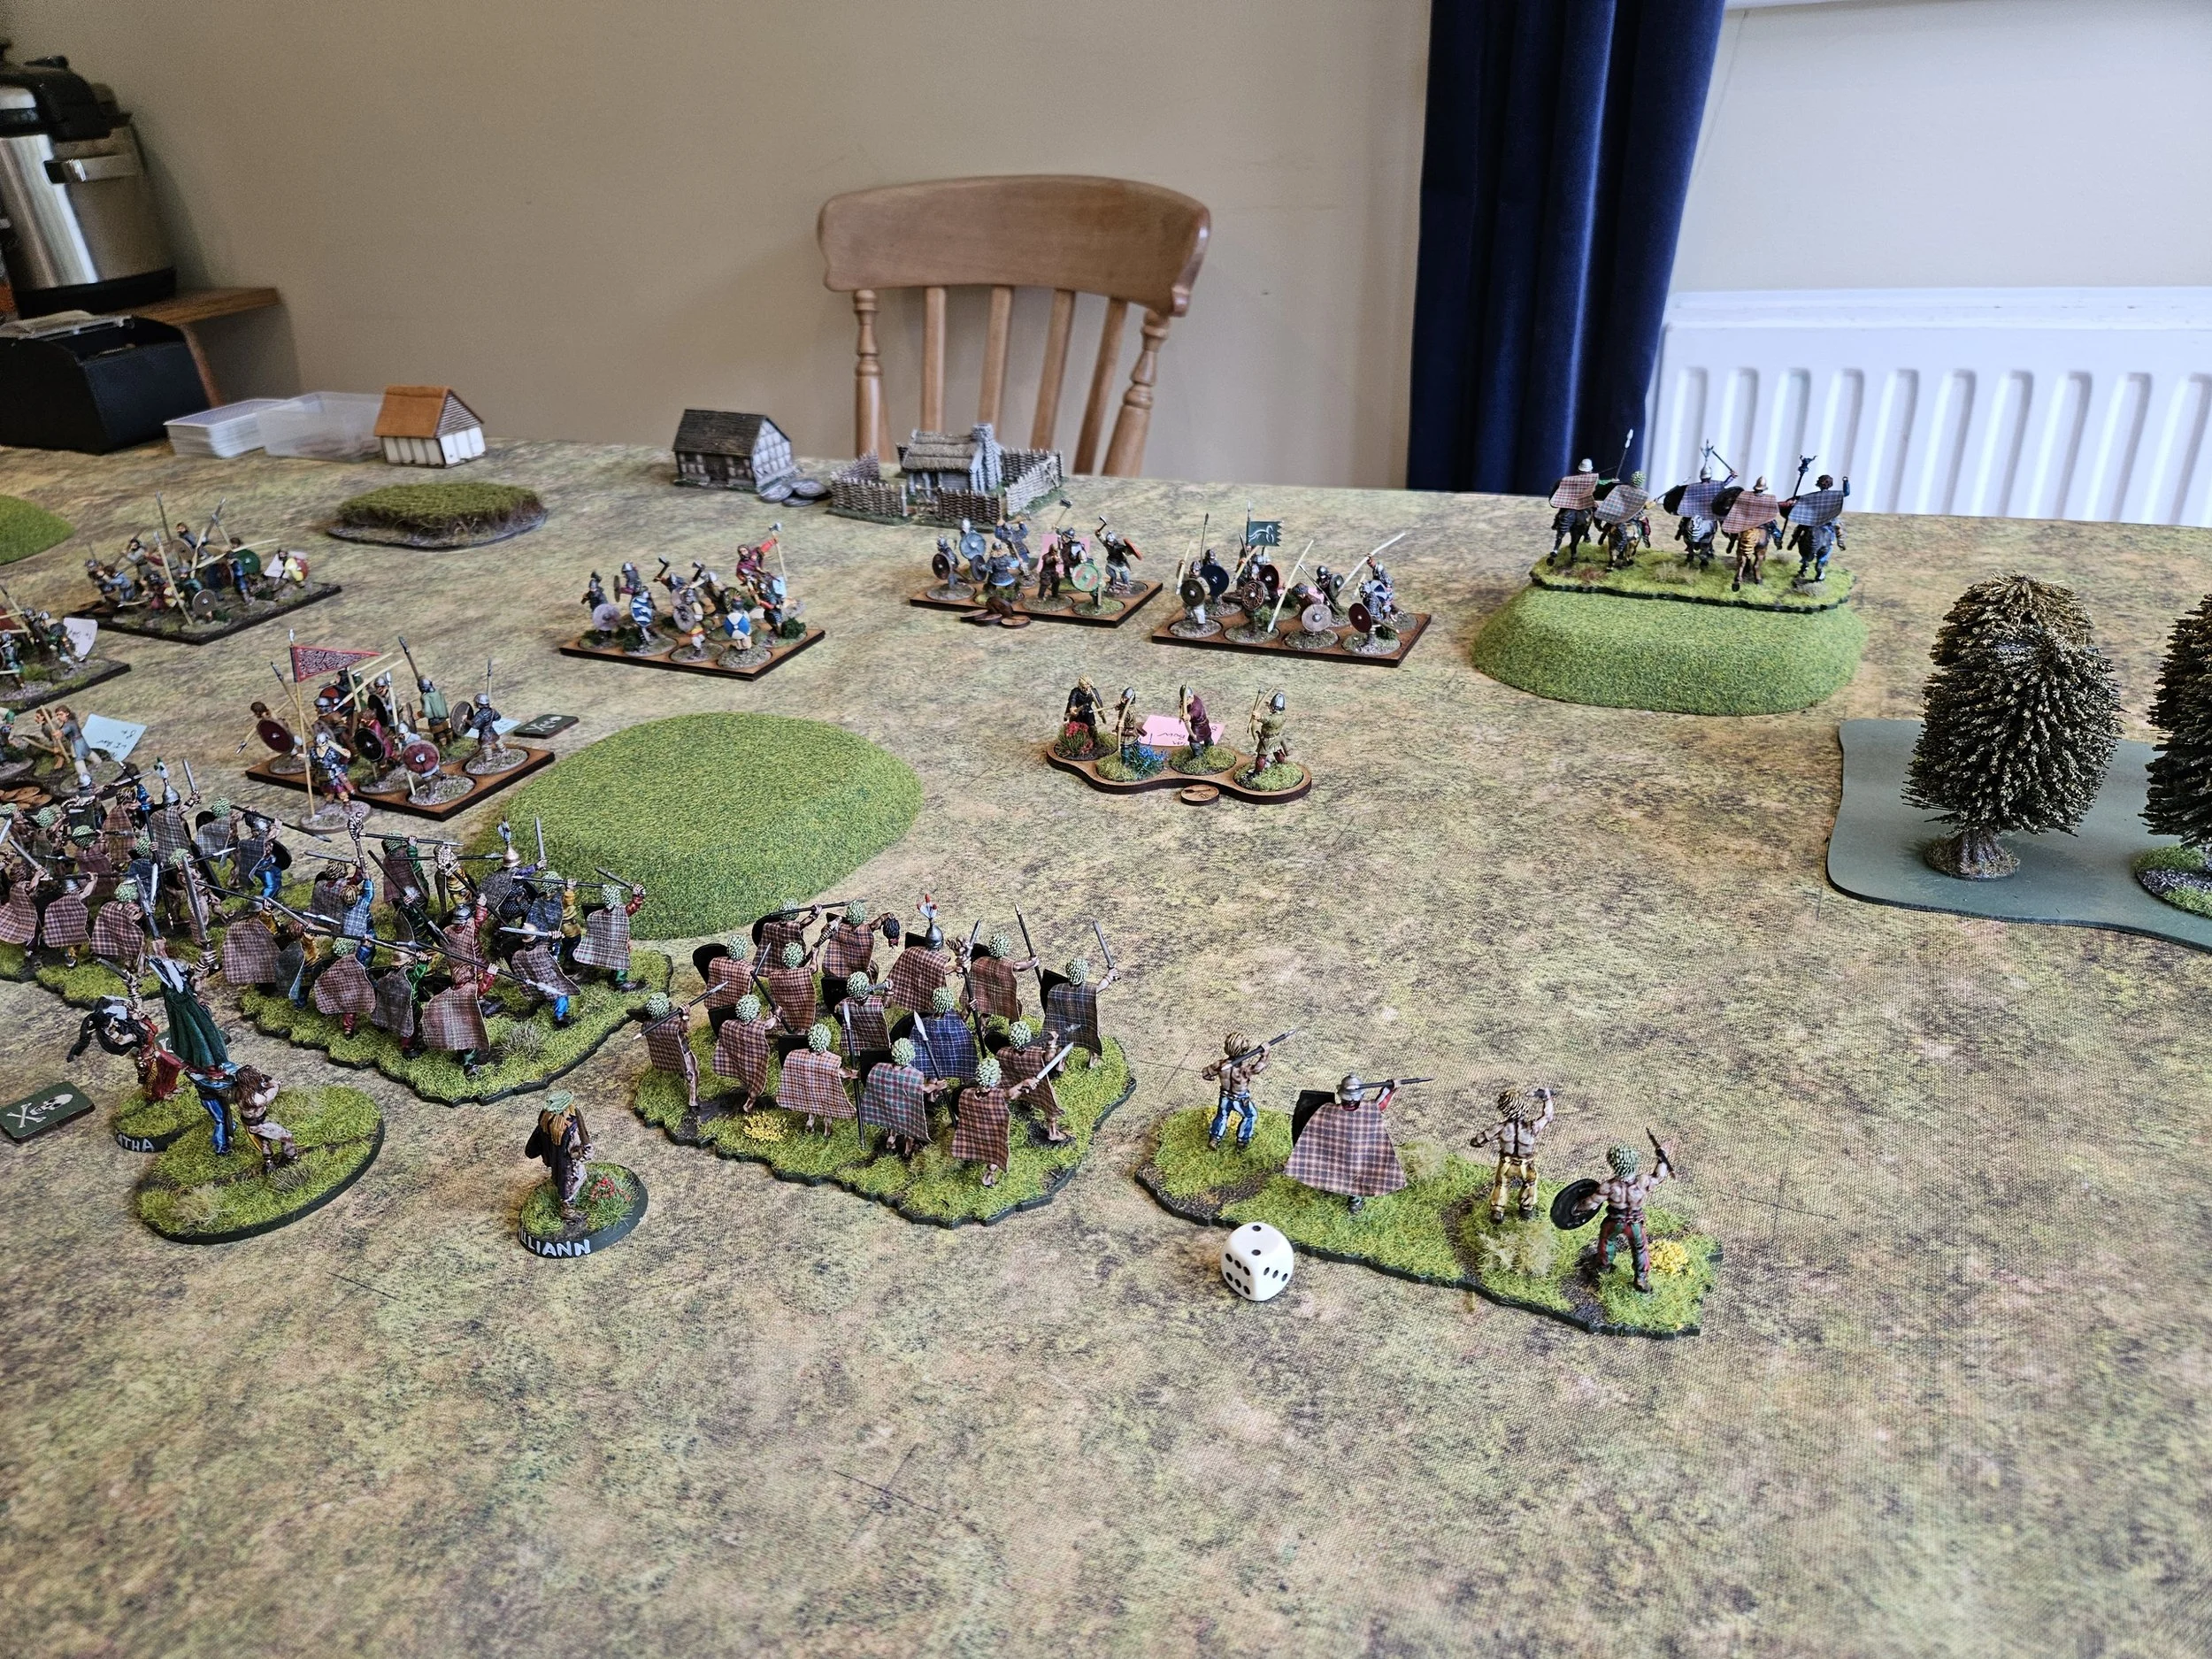
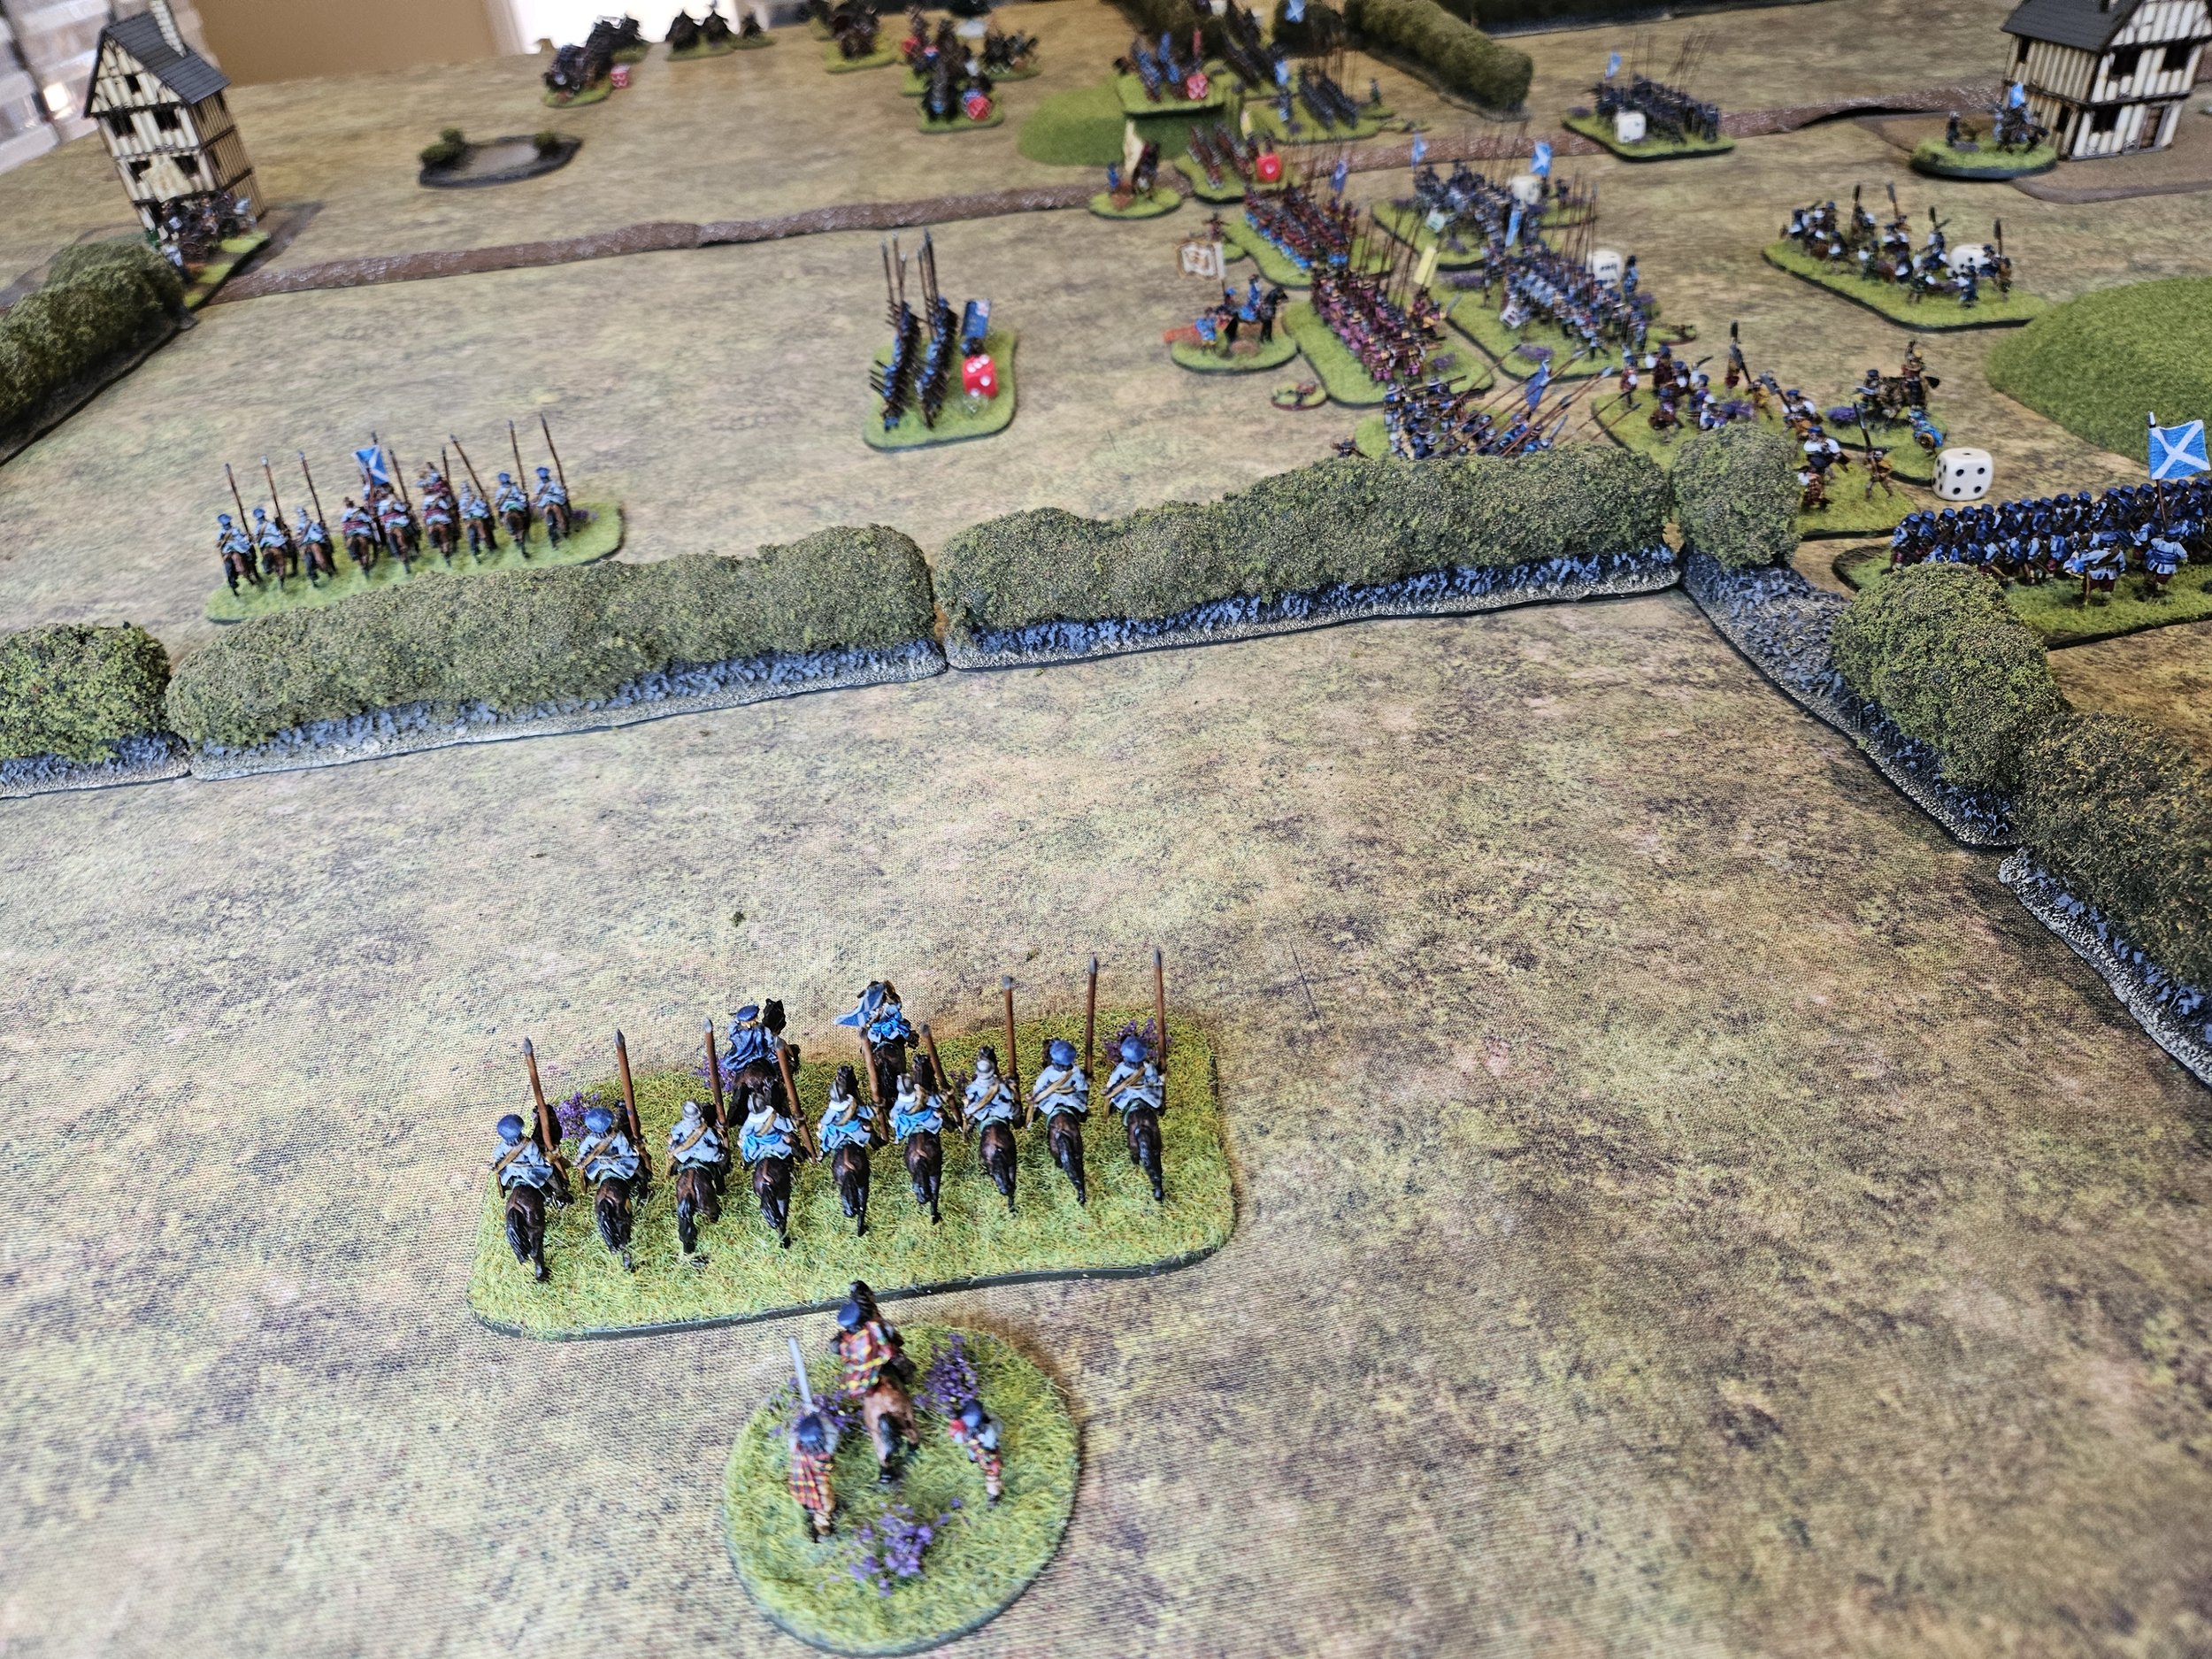
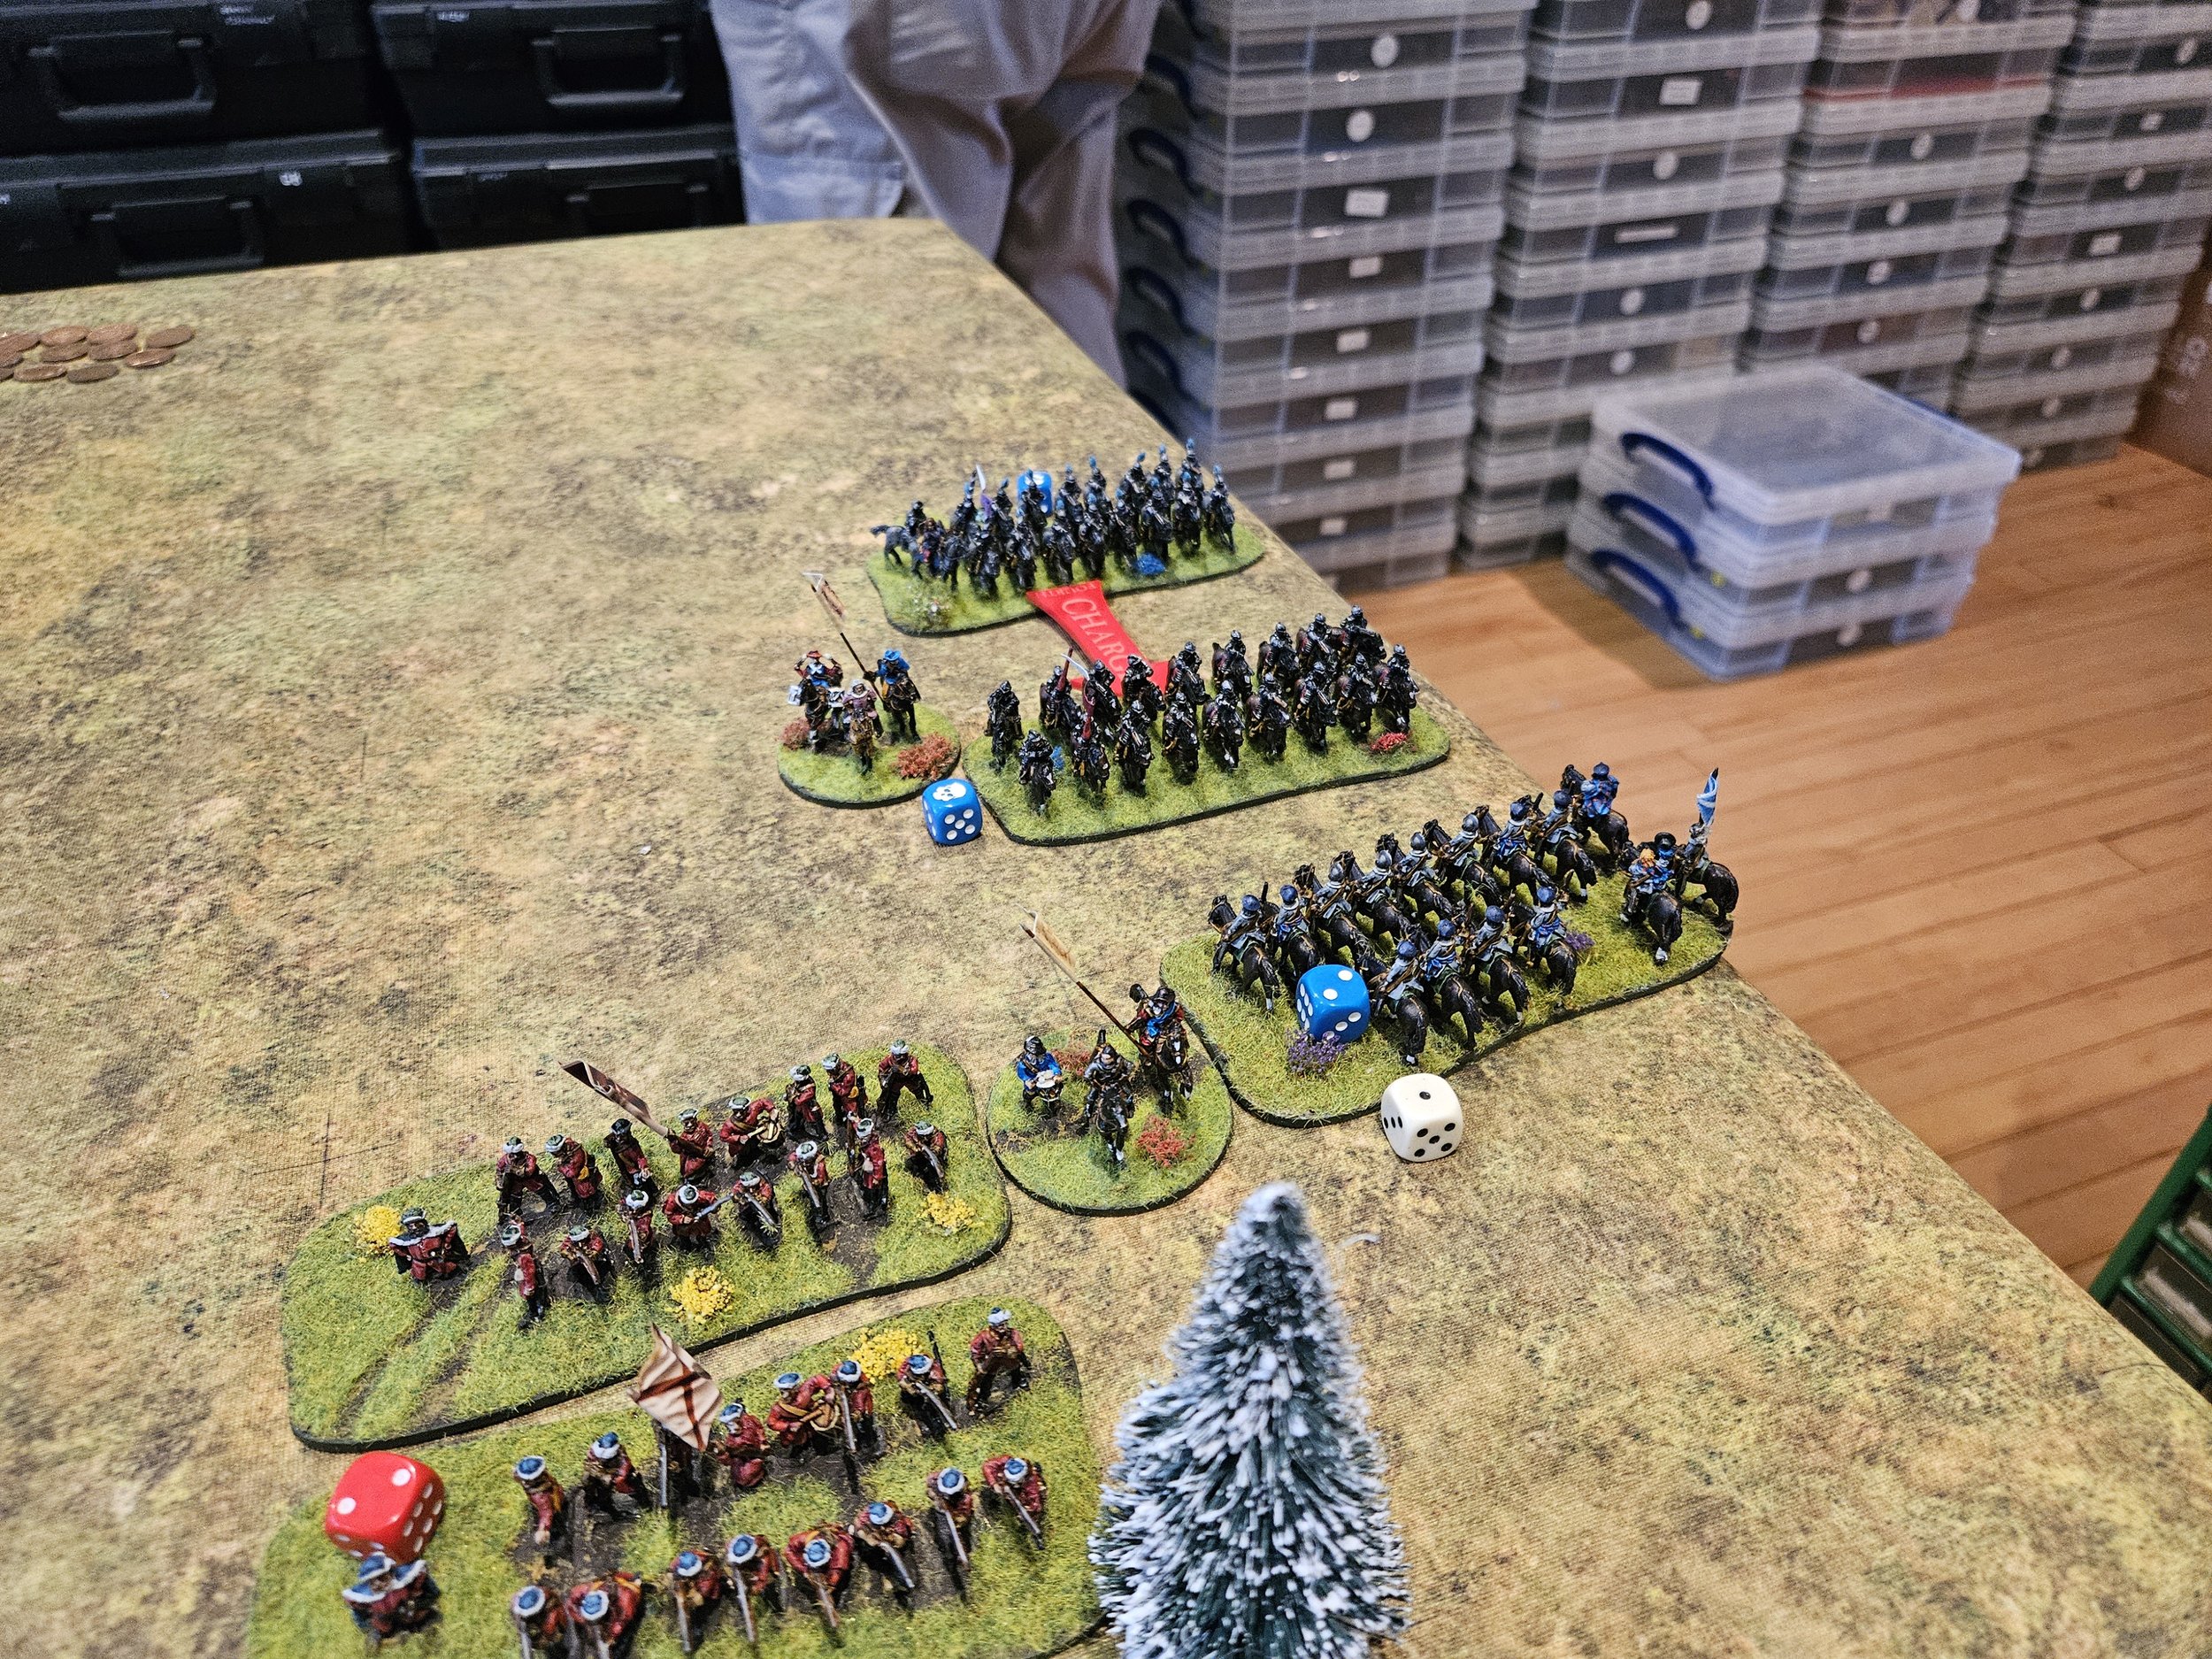
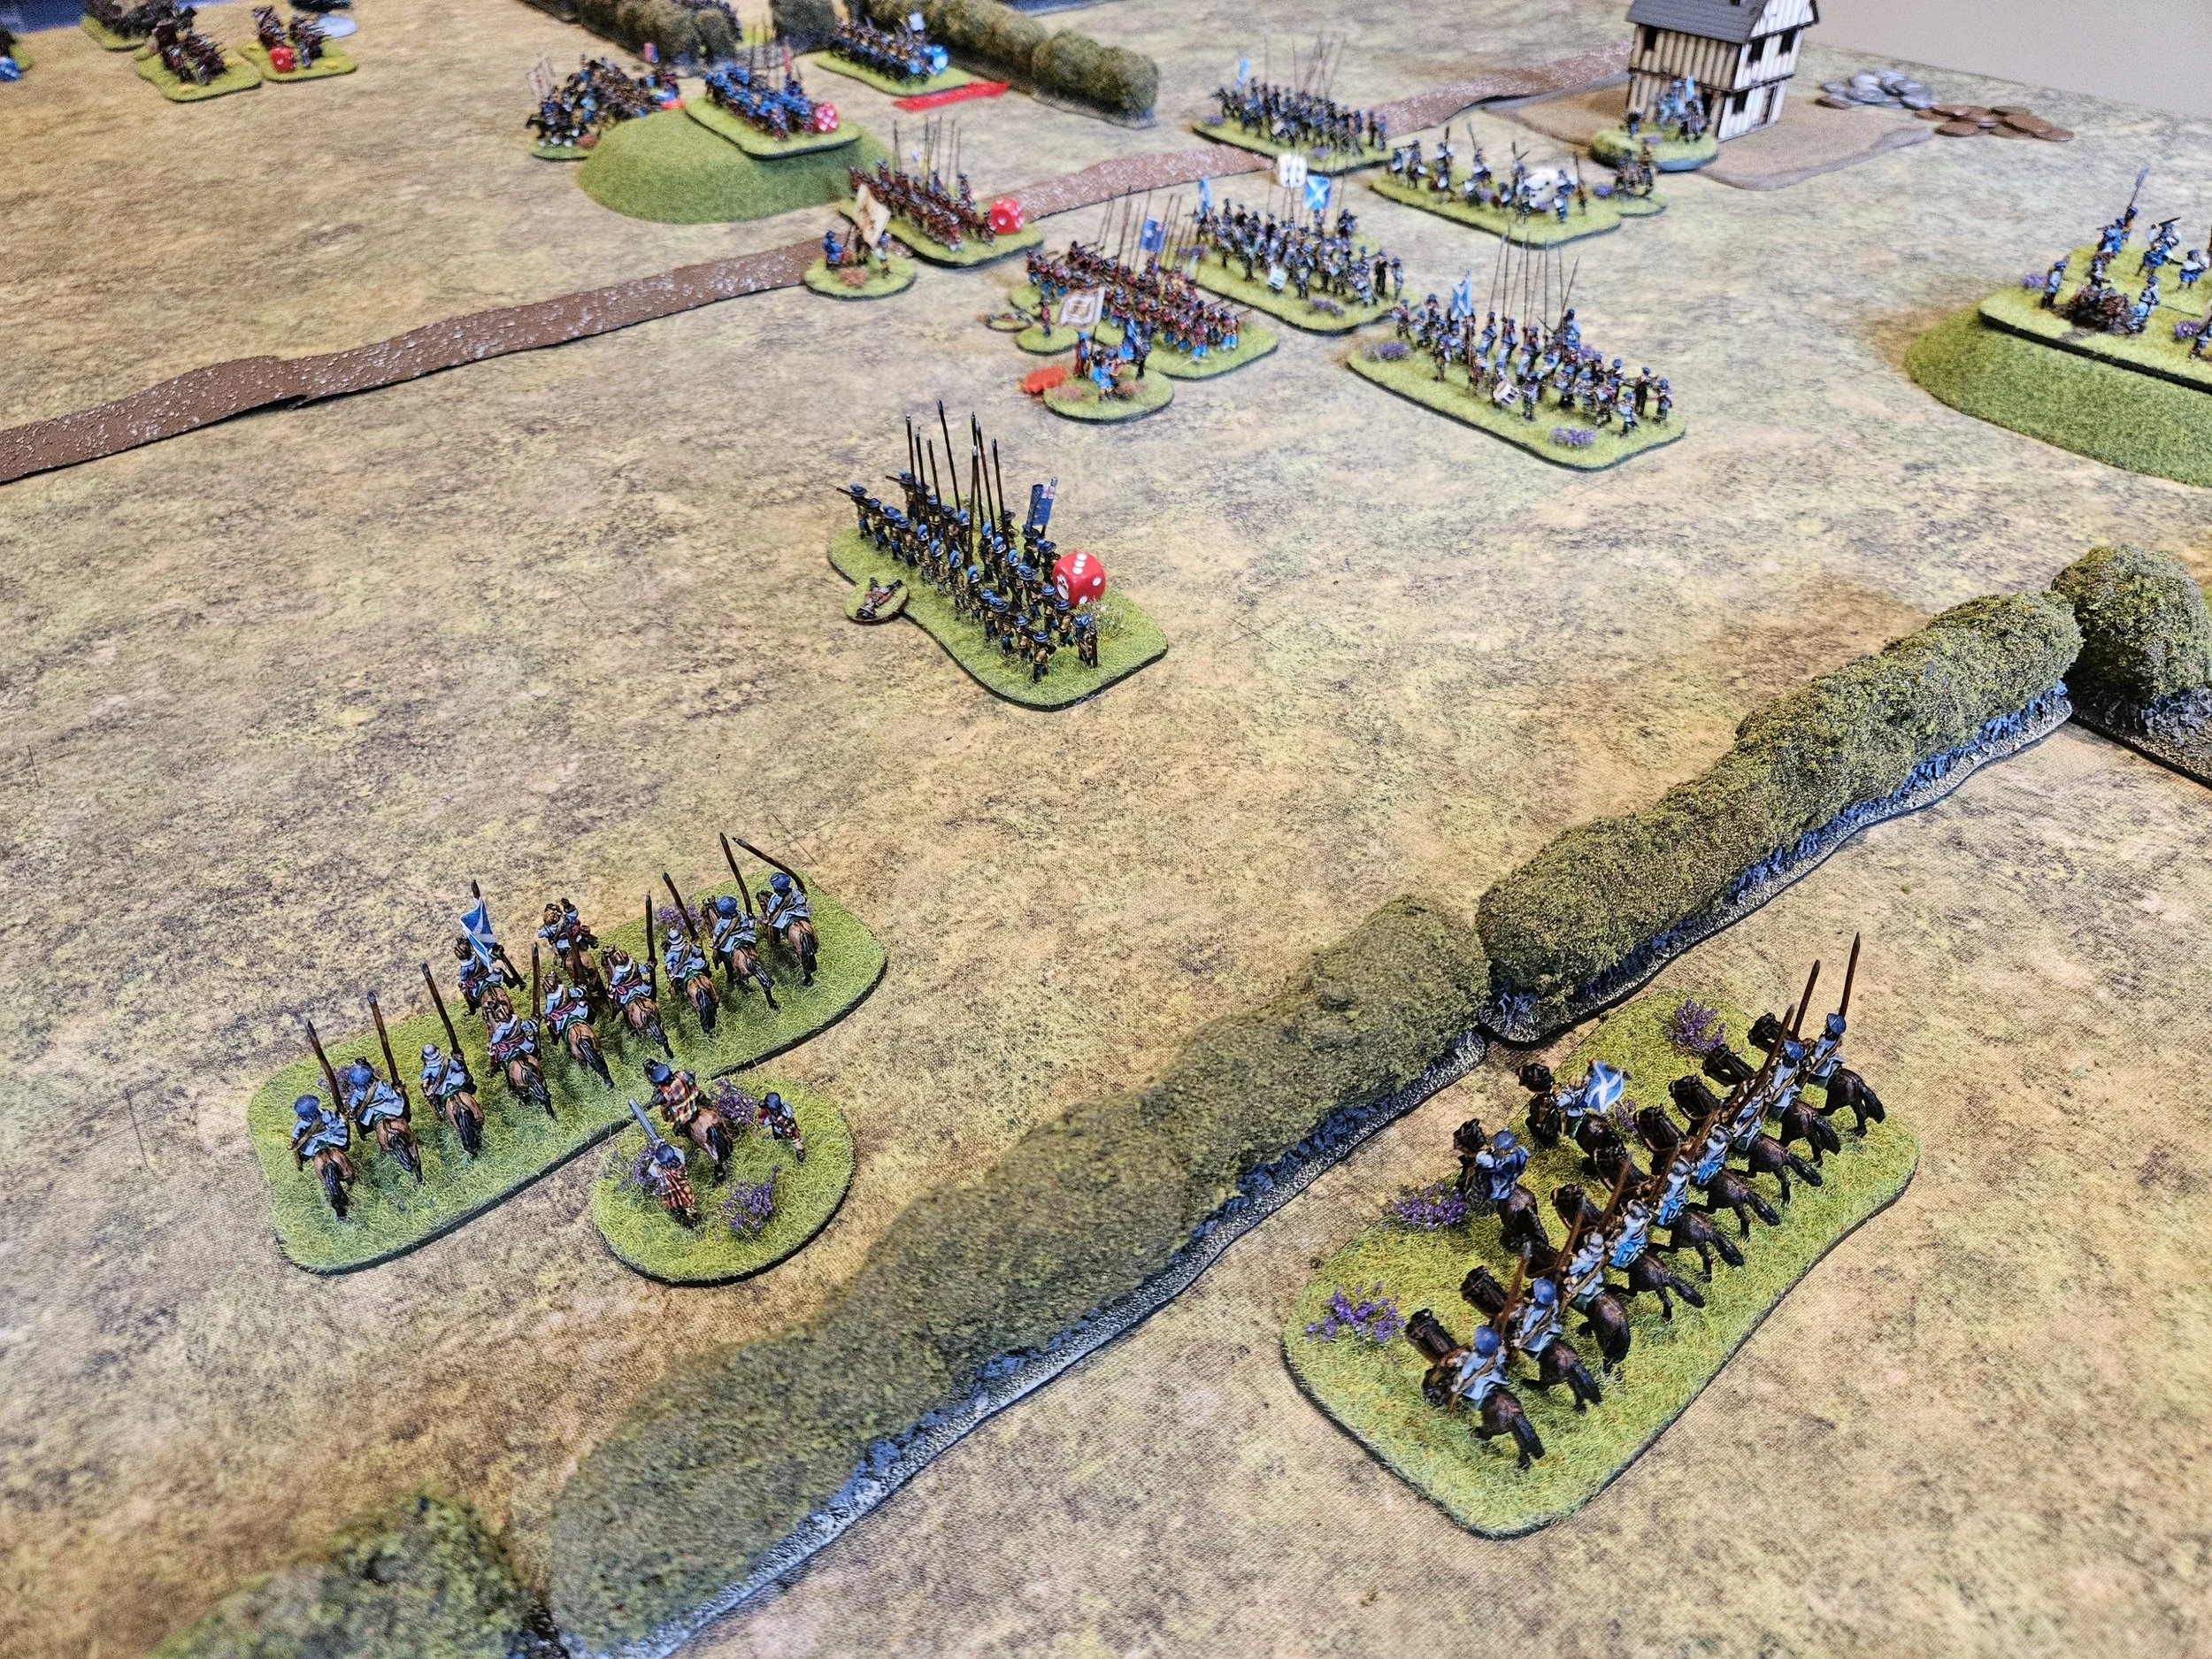
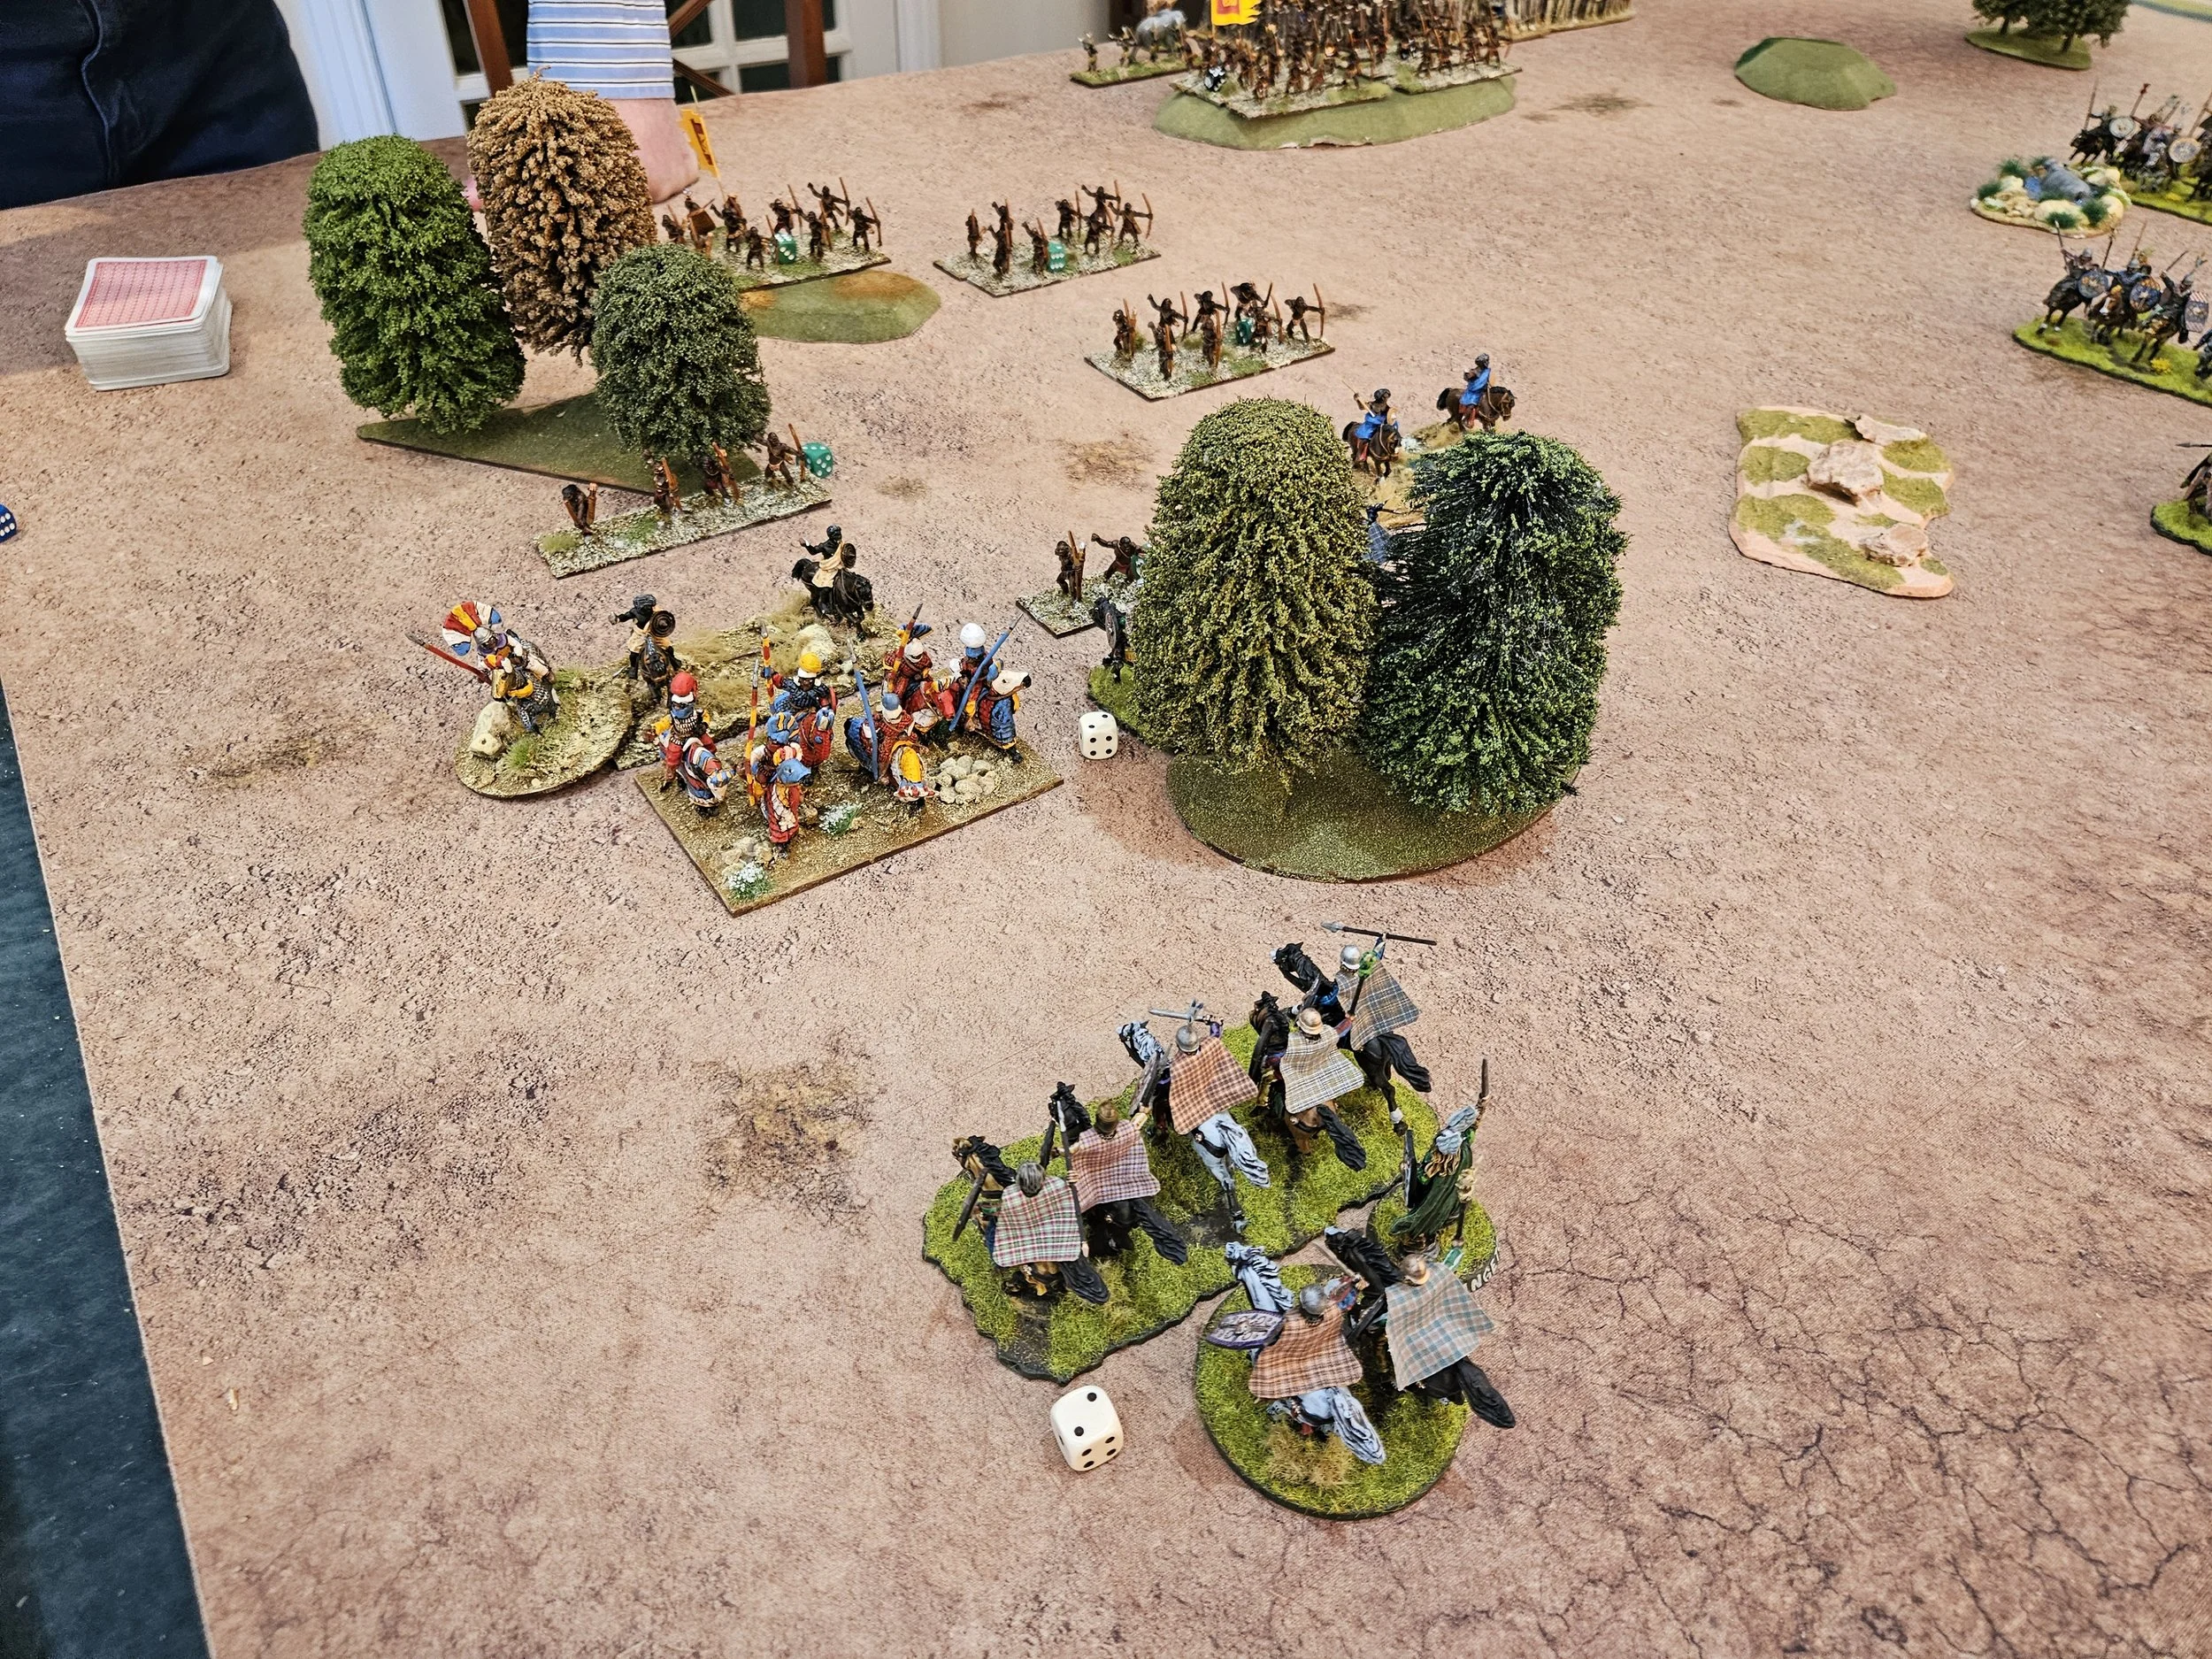
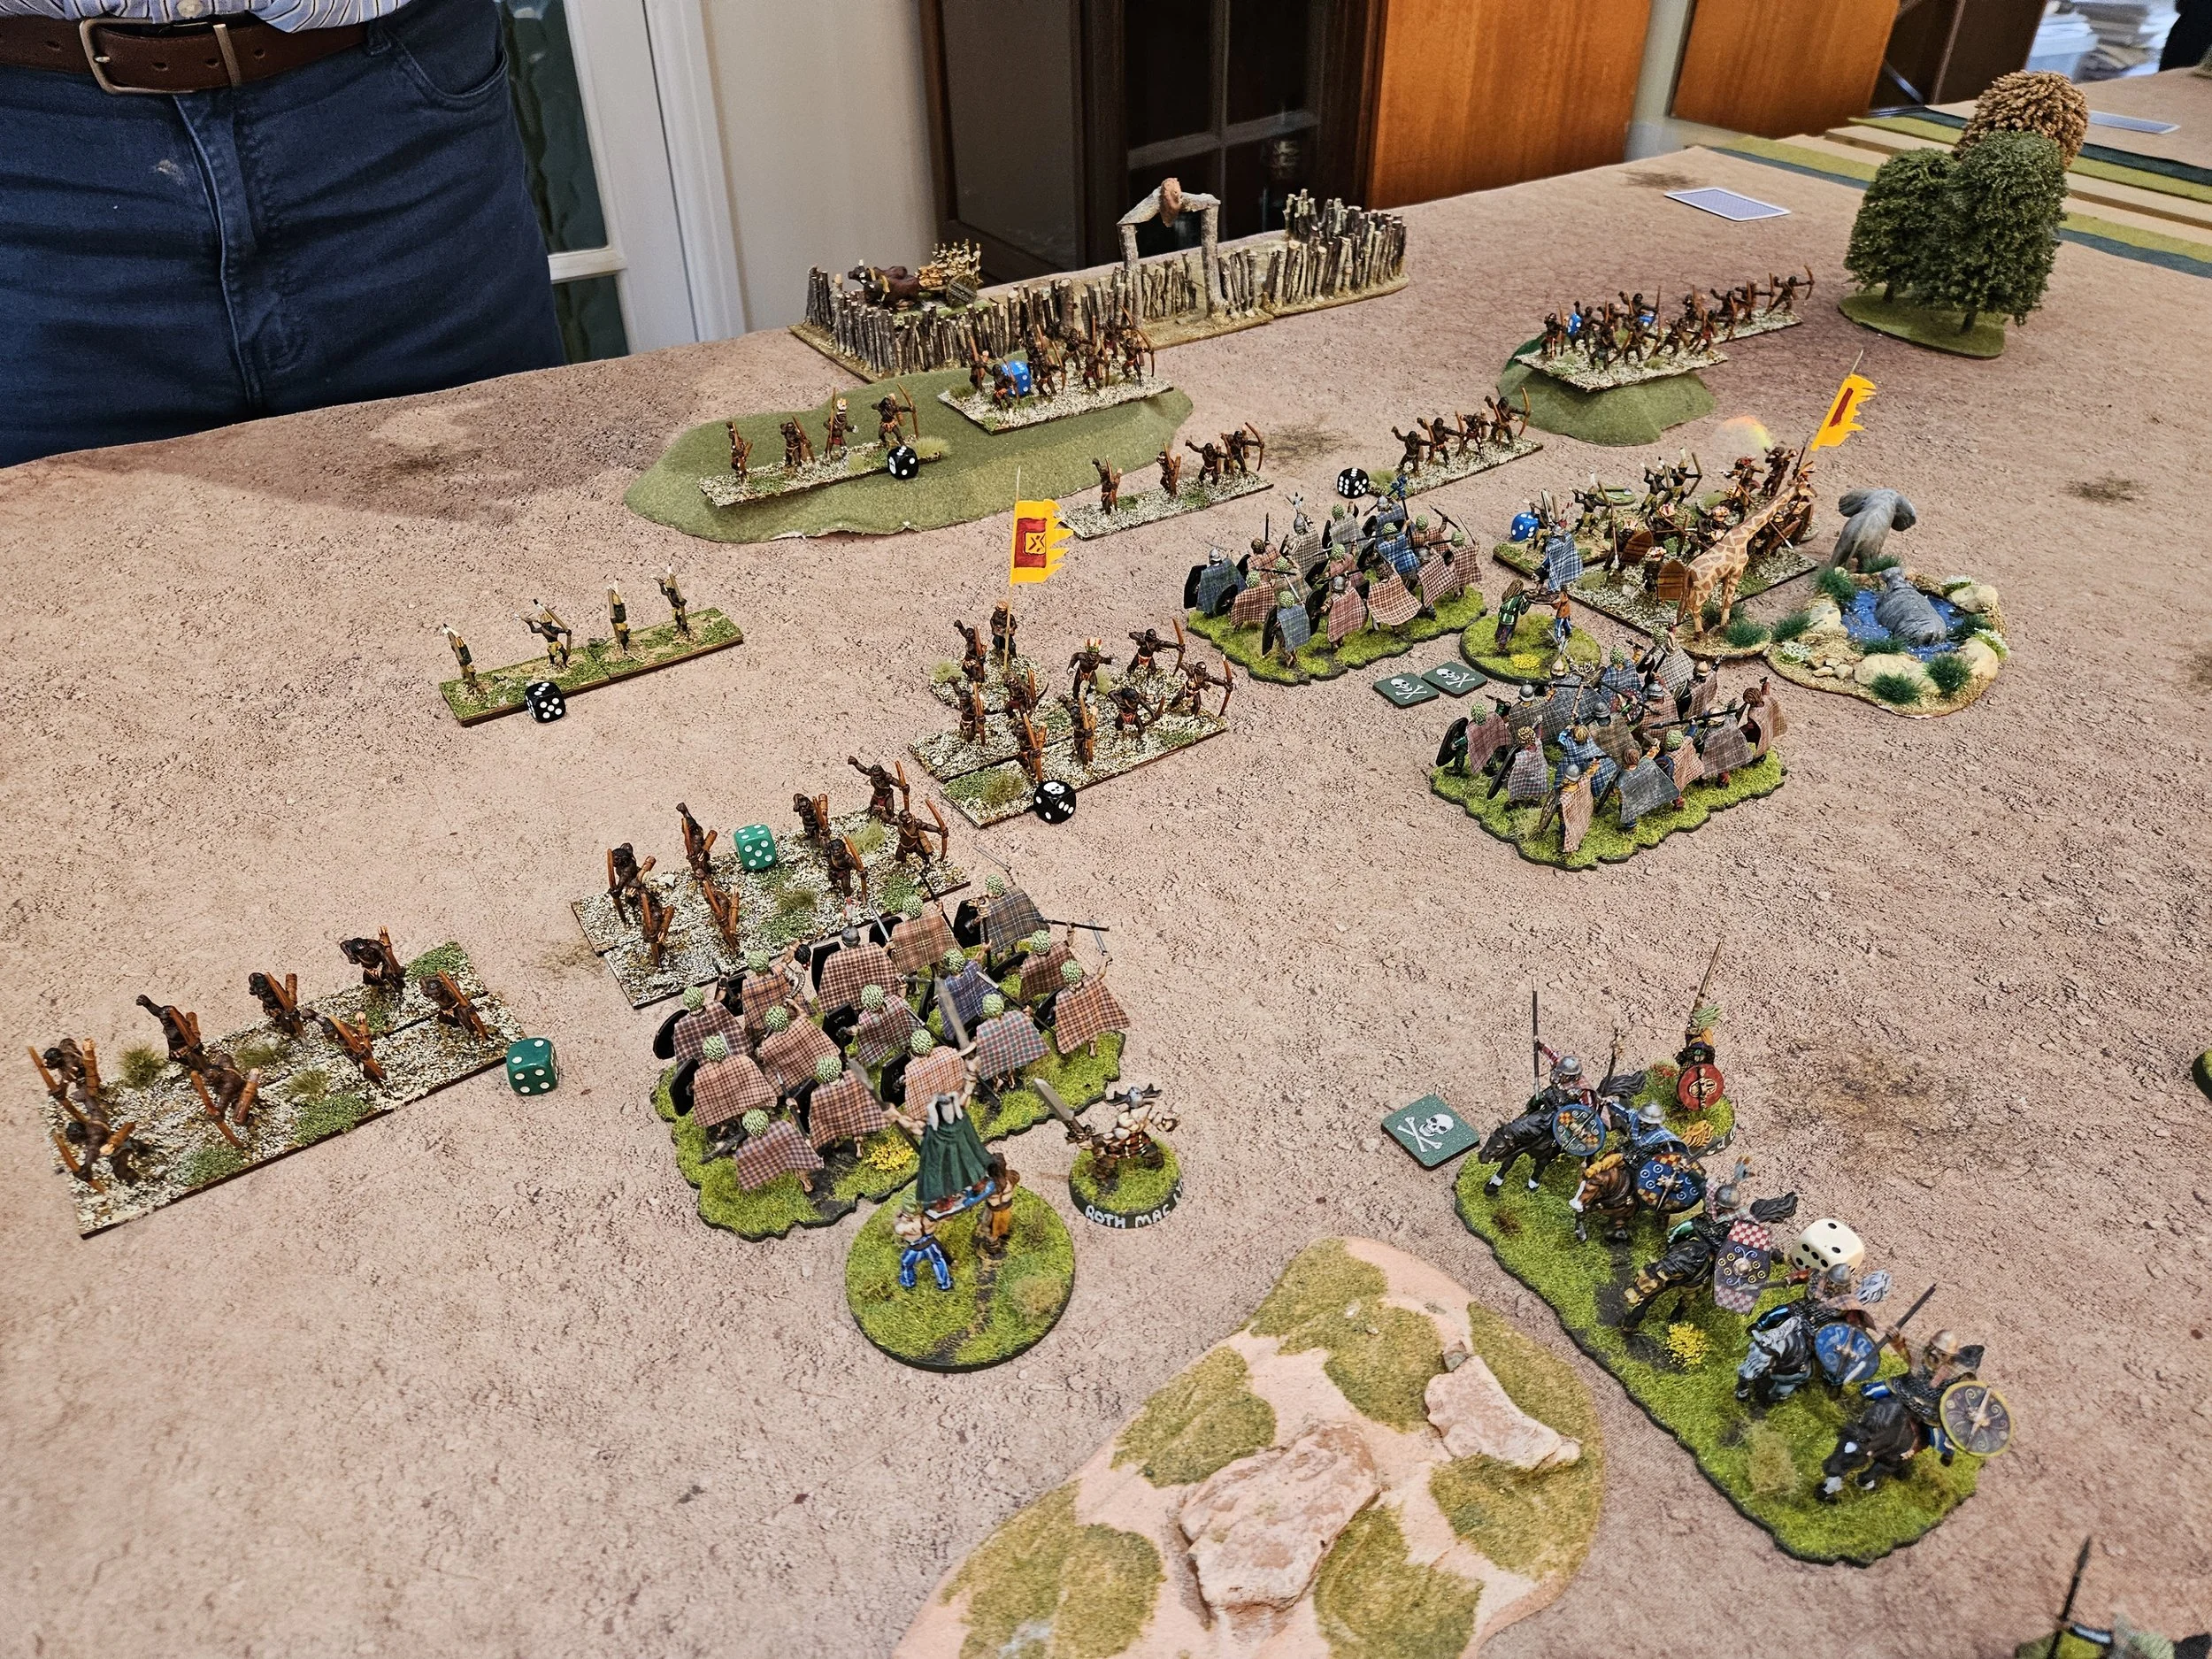
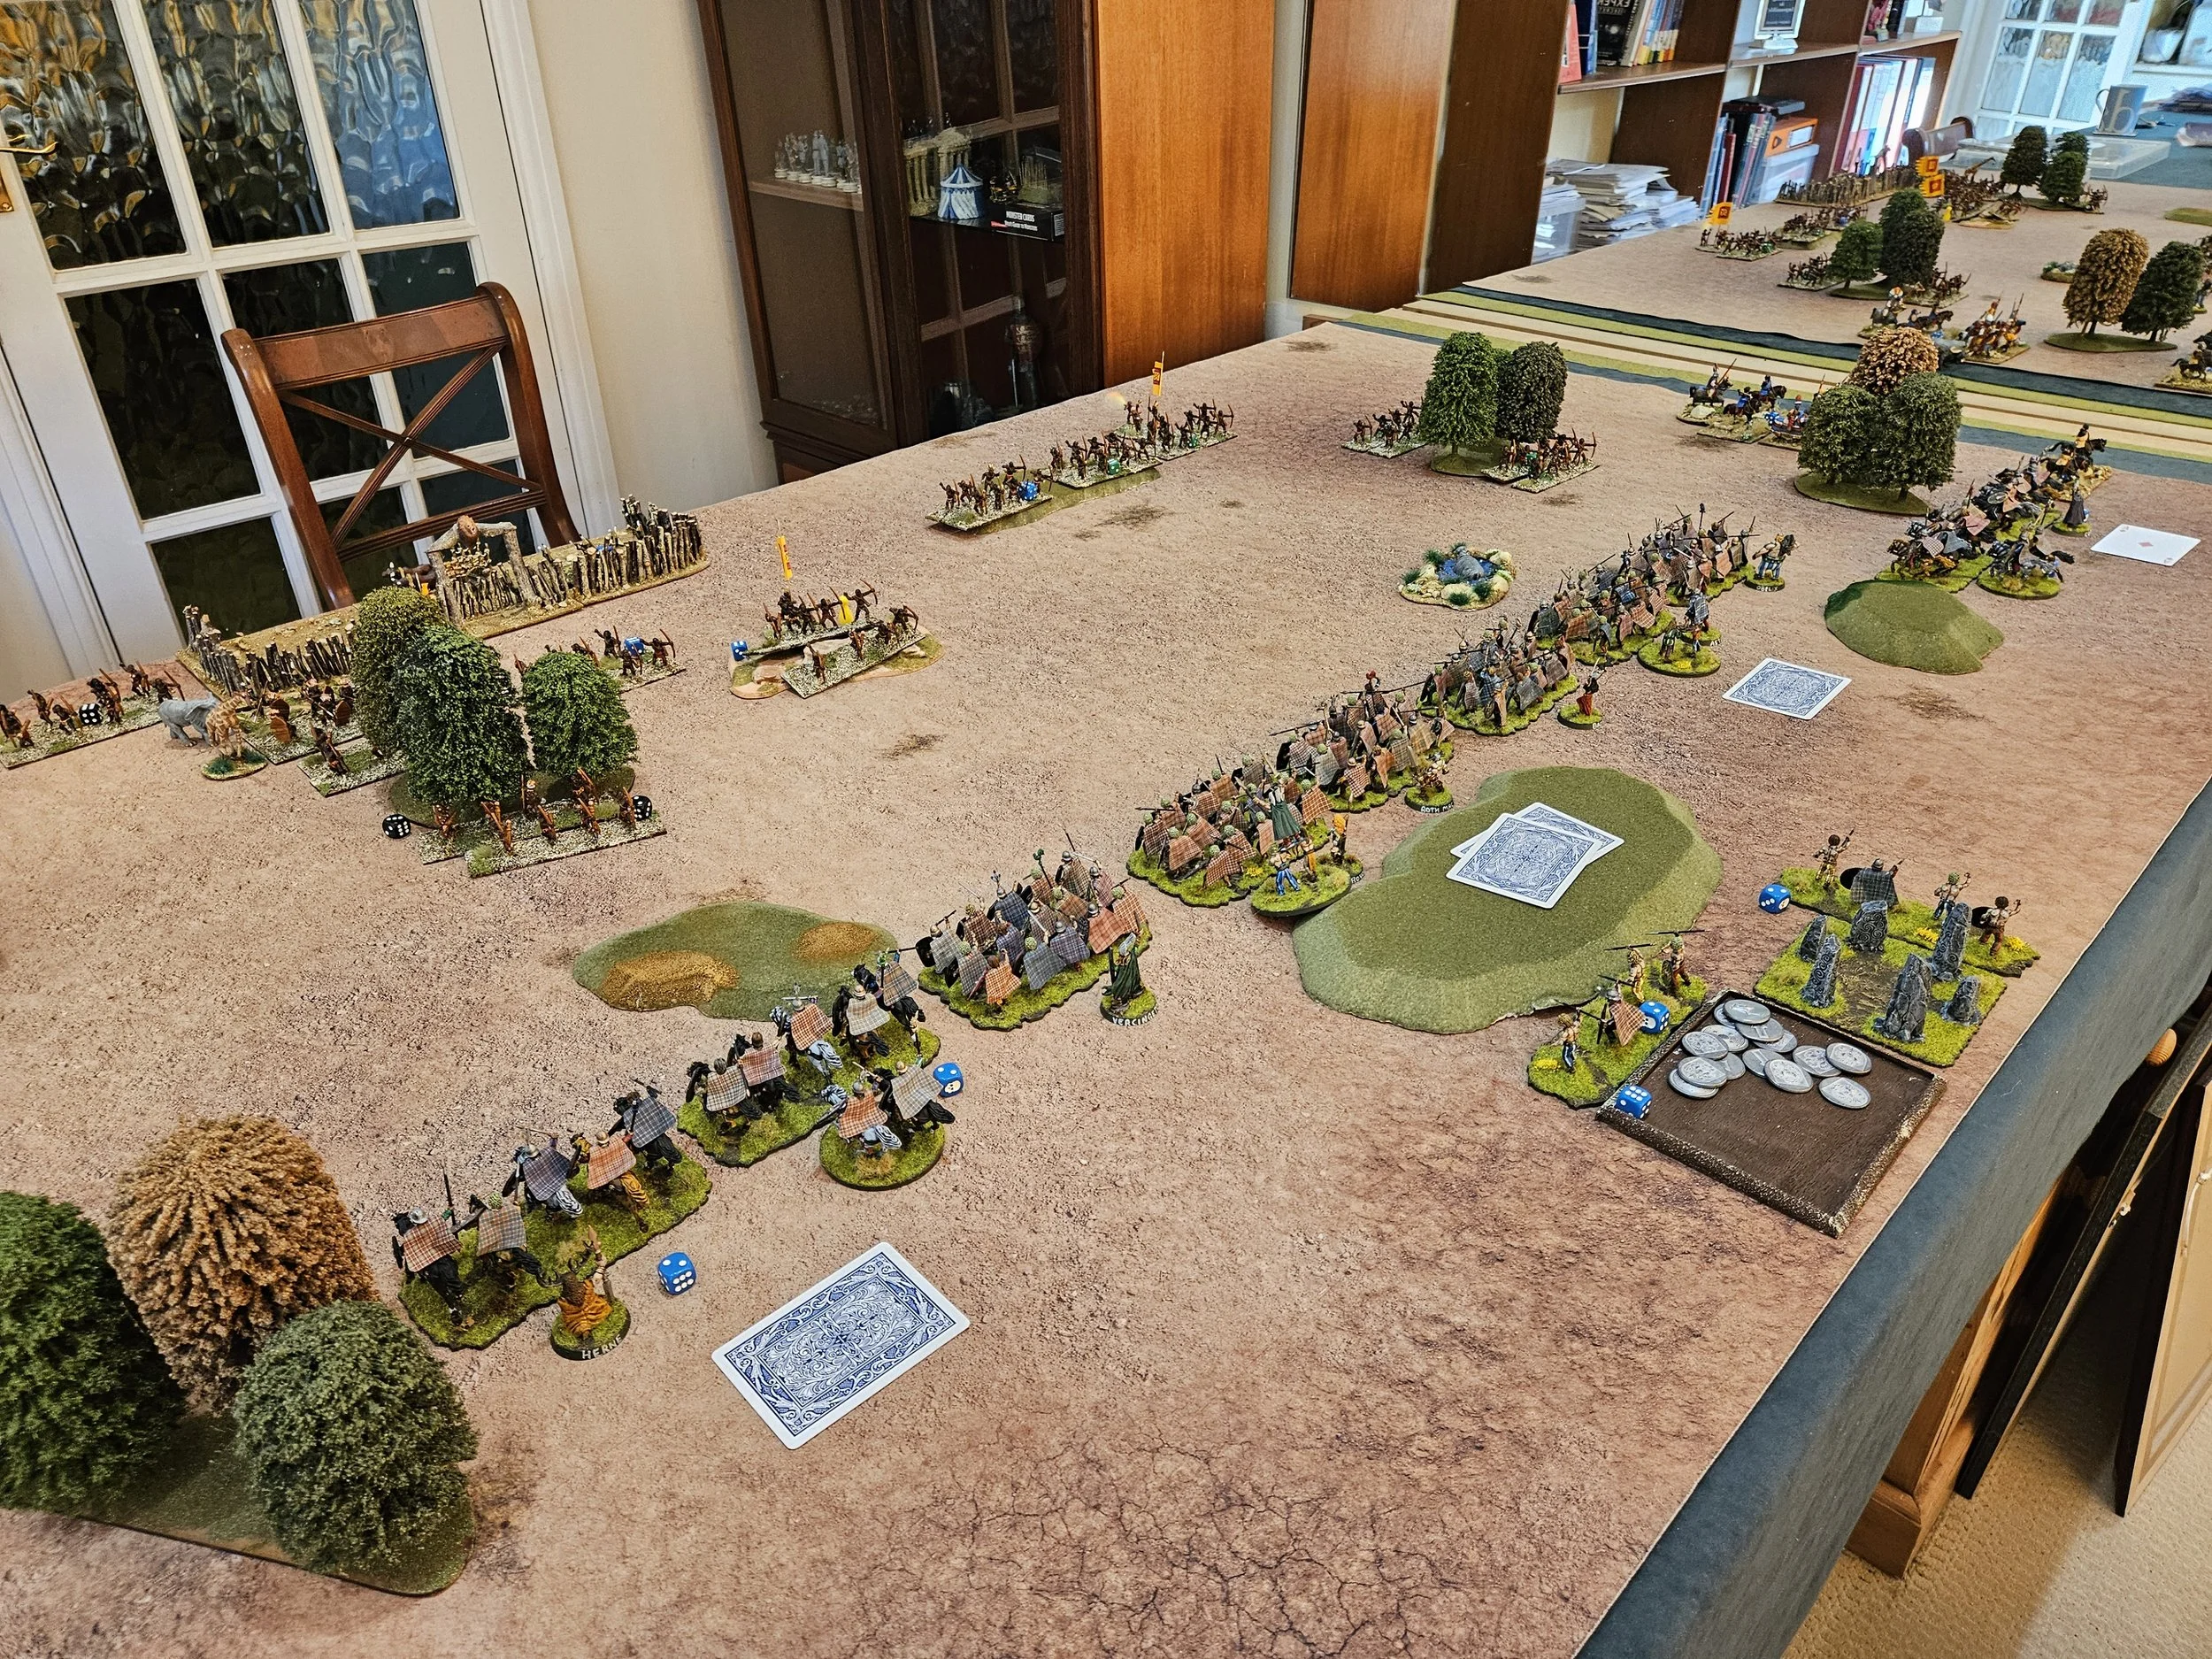
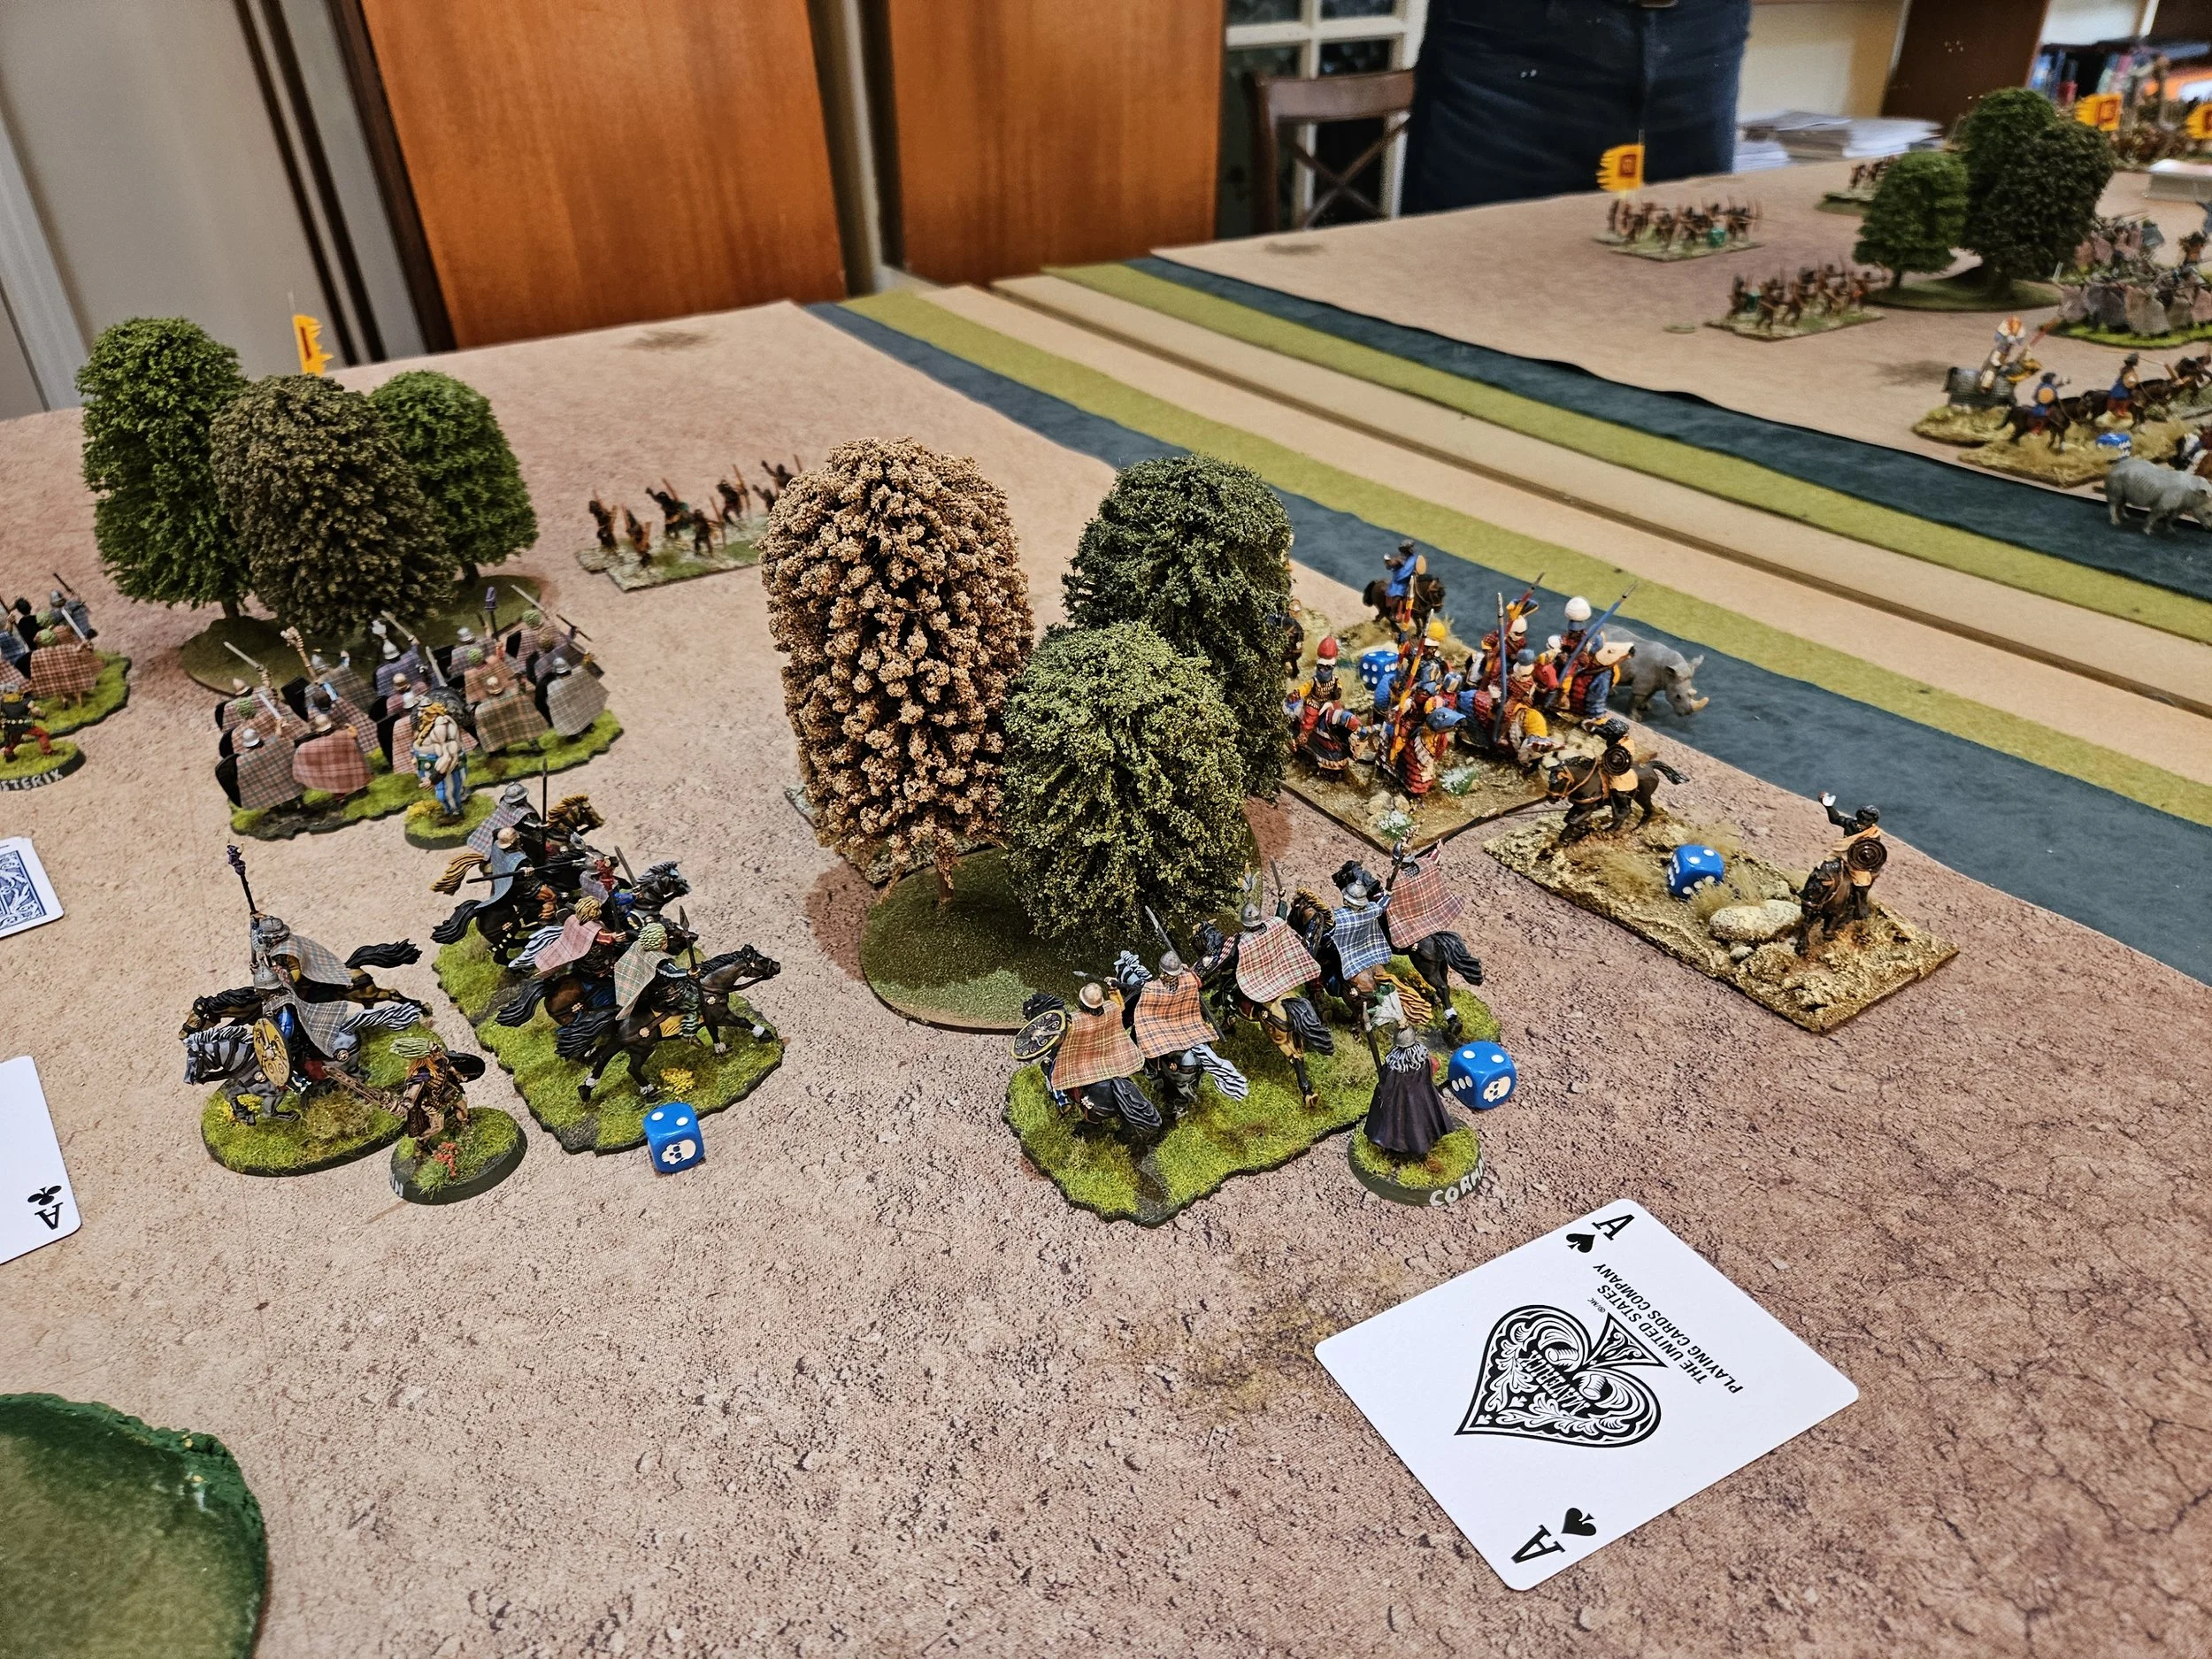
I lost the scouting and could only watch in horror as Neil deployed the vast majority of his army in a schwerepunkt against my right flank.
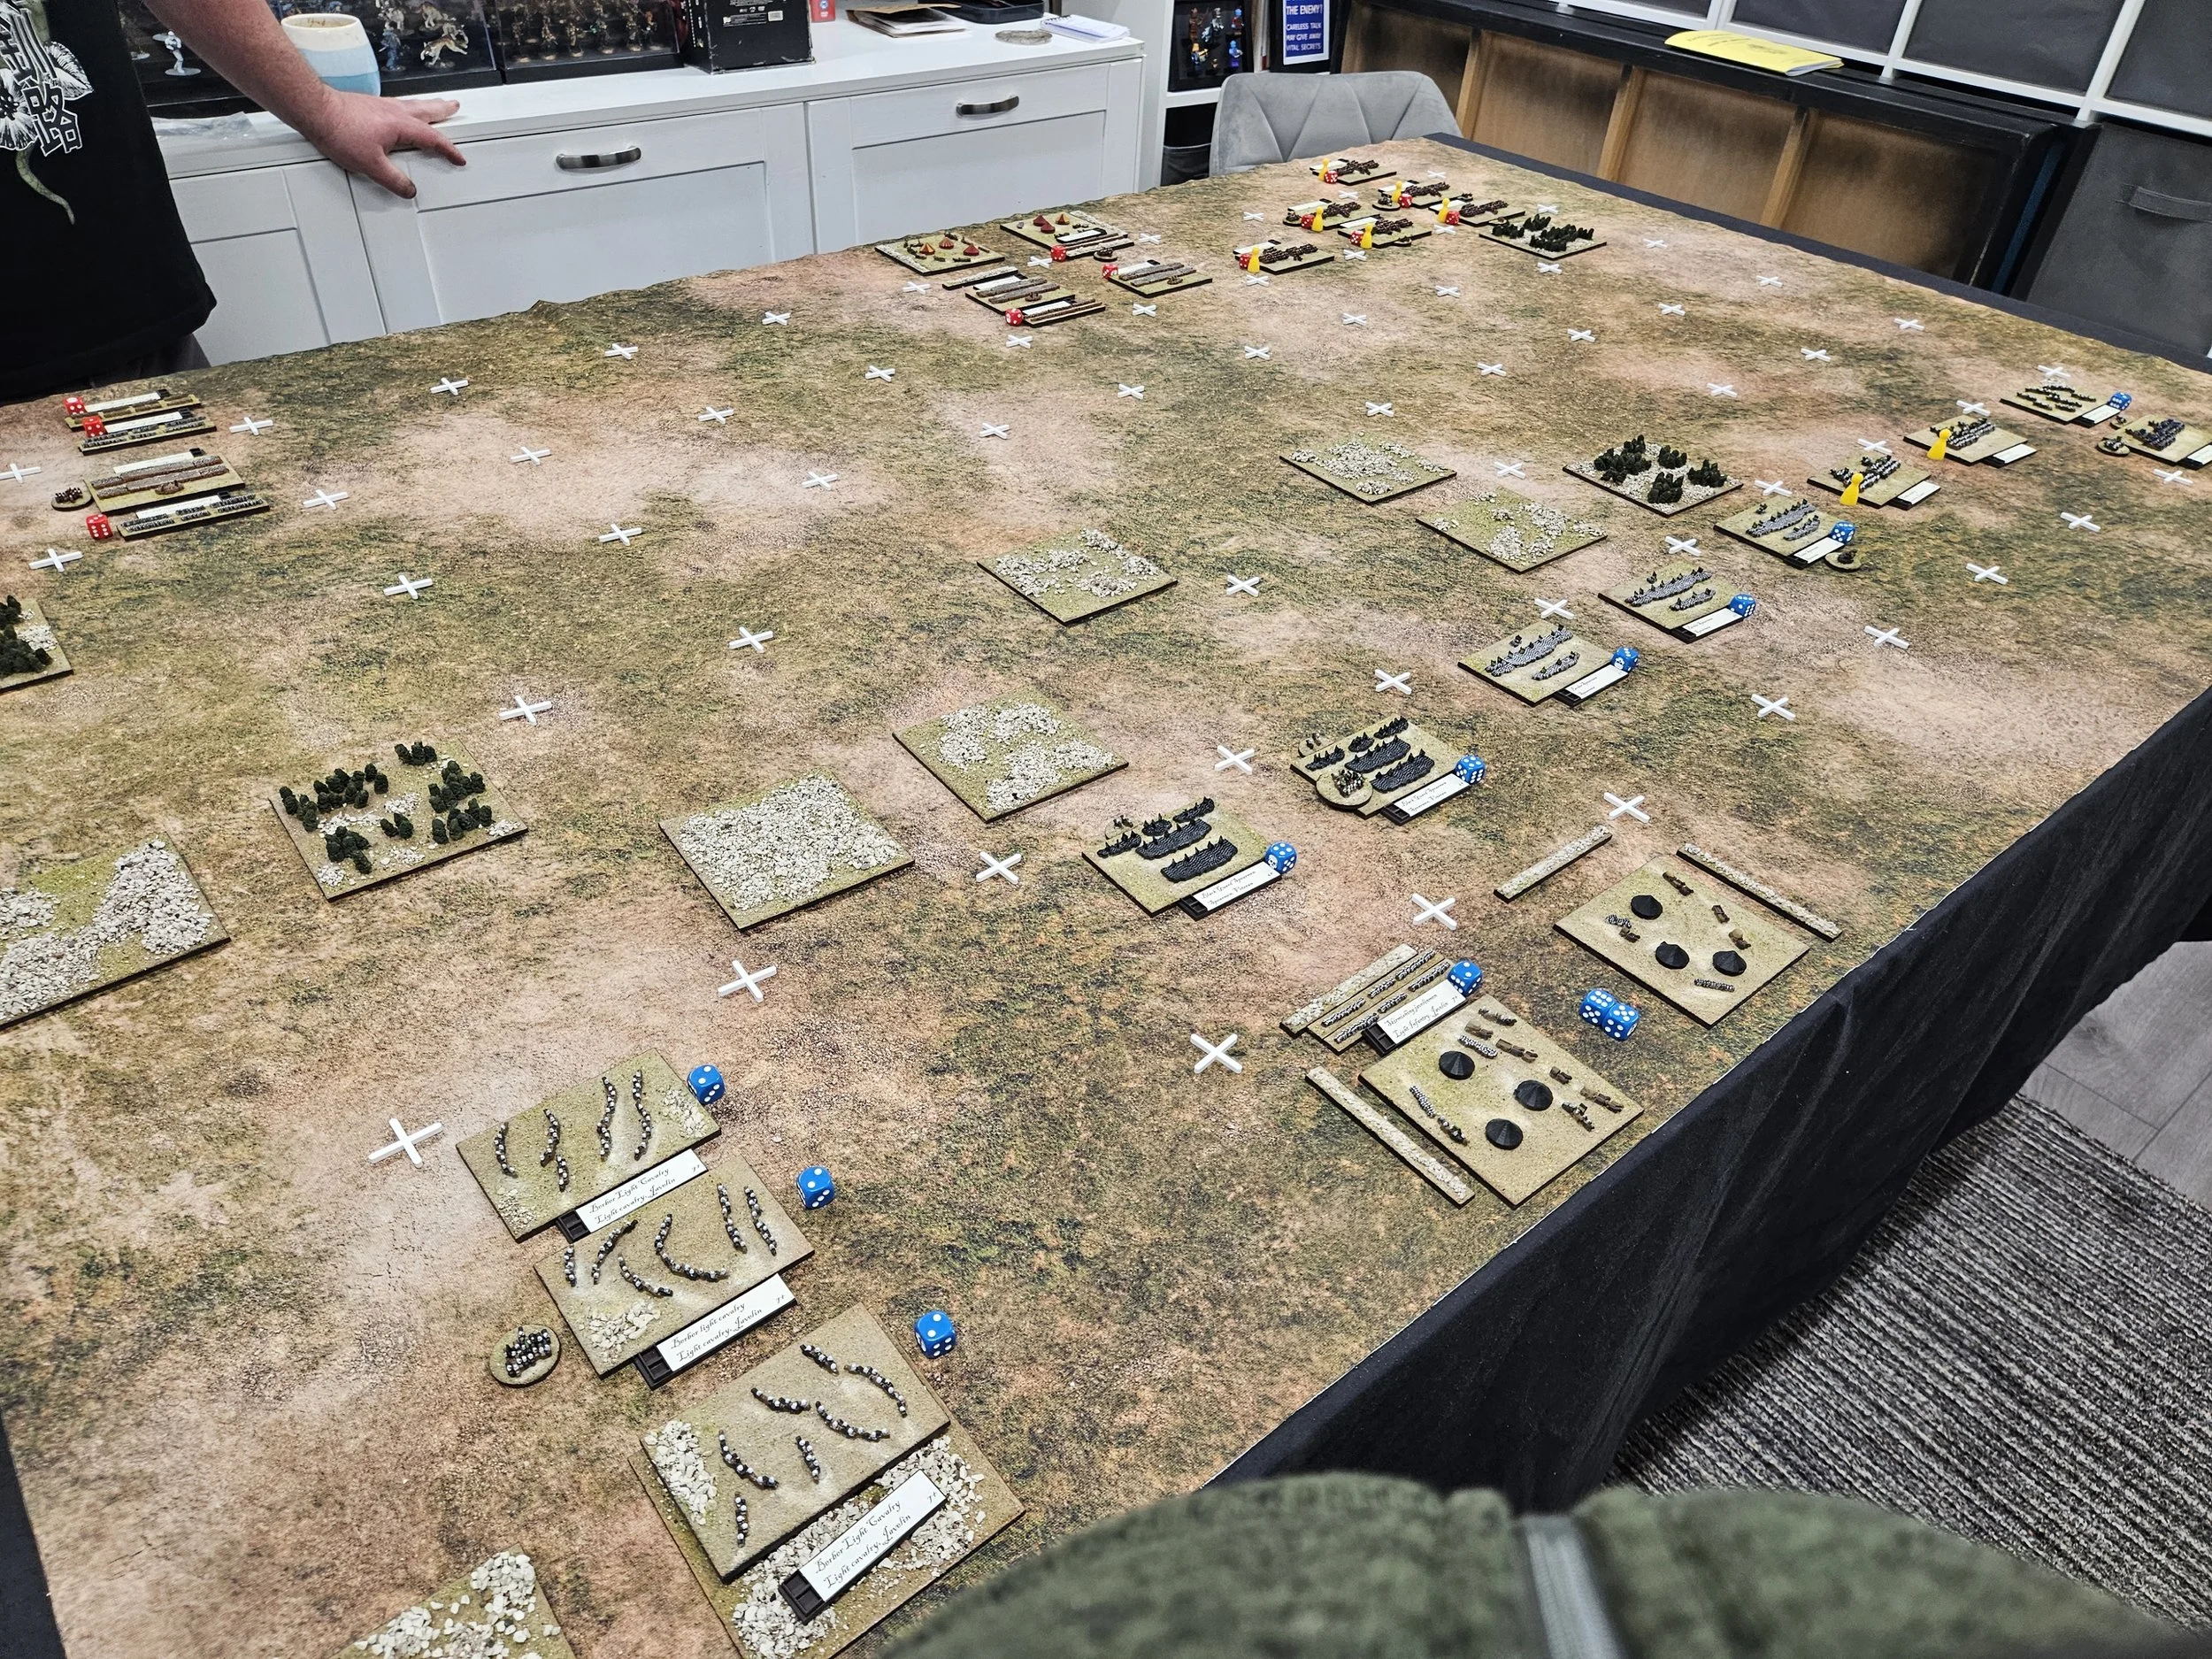

Not only that but, as the action began, the command he had left behind on my left turned and headed right to join their comrades…who were advancing rapidly towards me as fast as their horses could carry them.
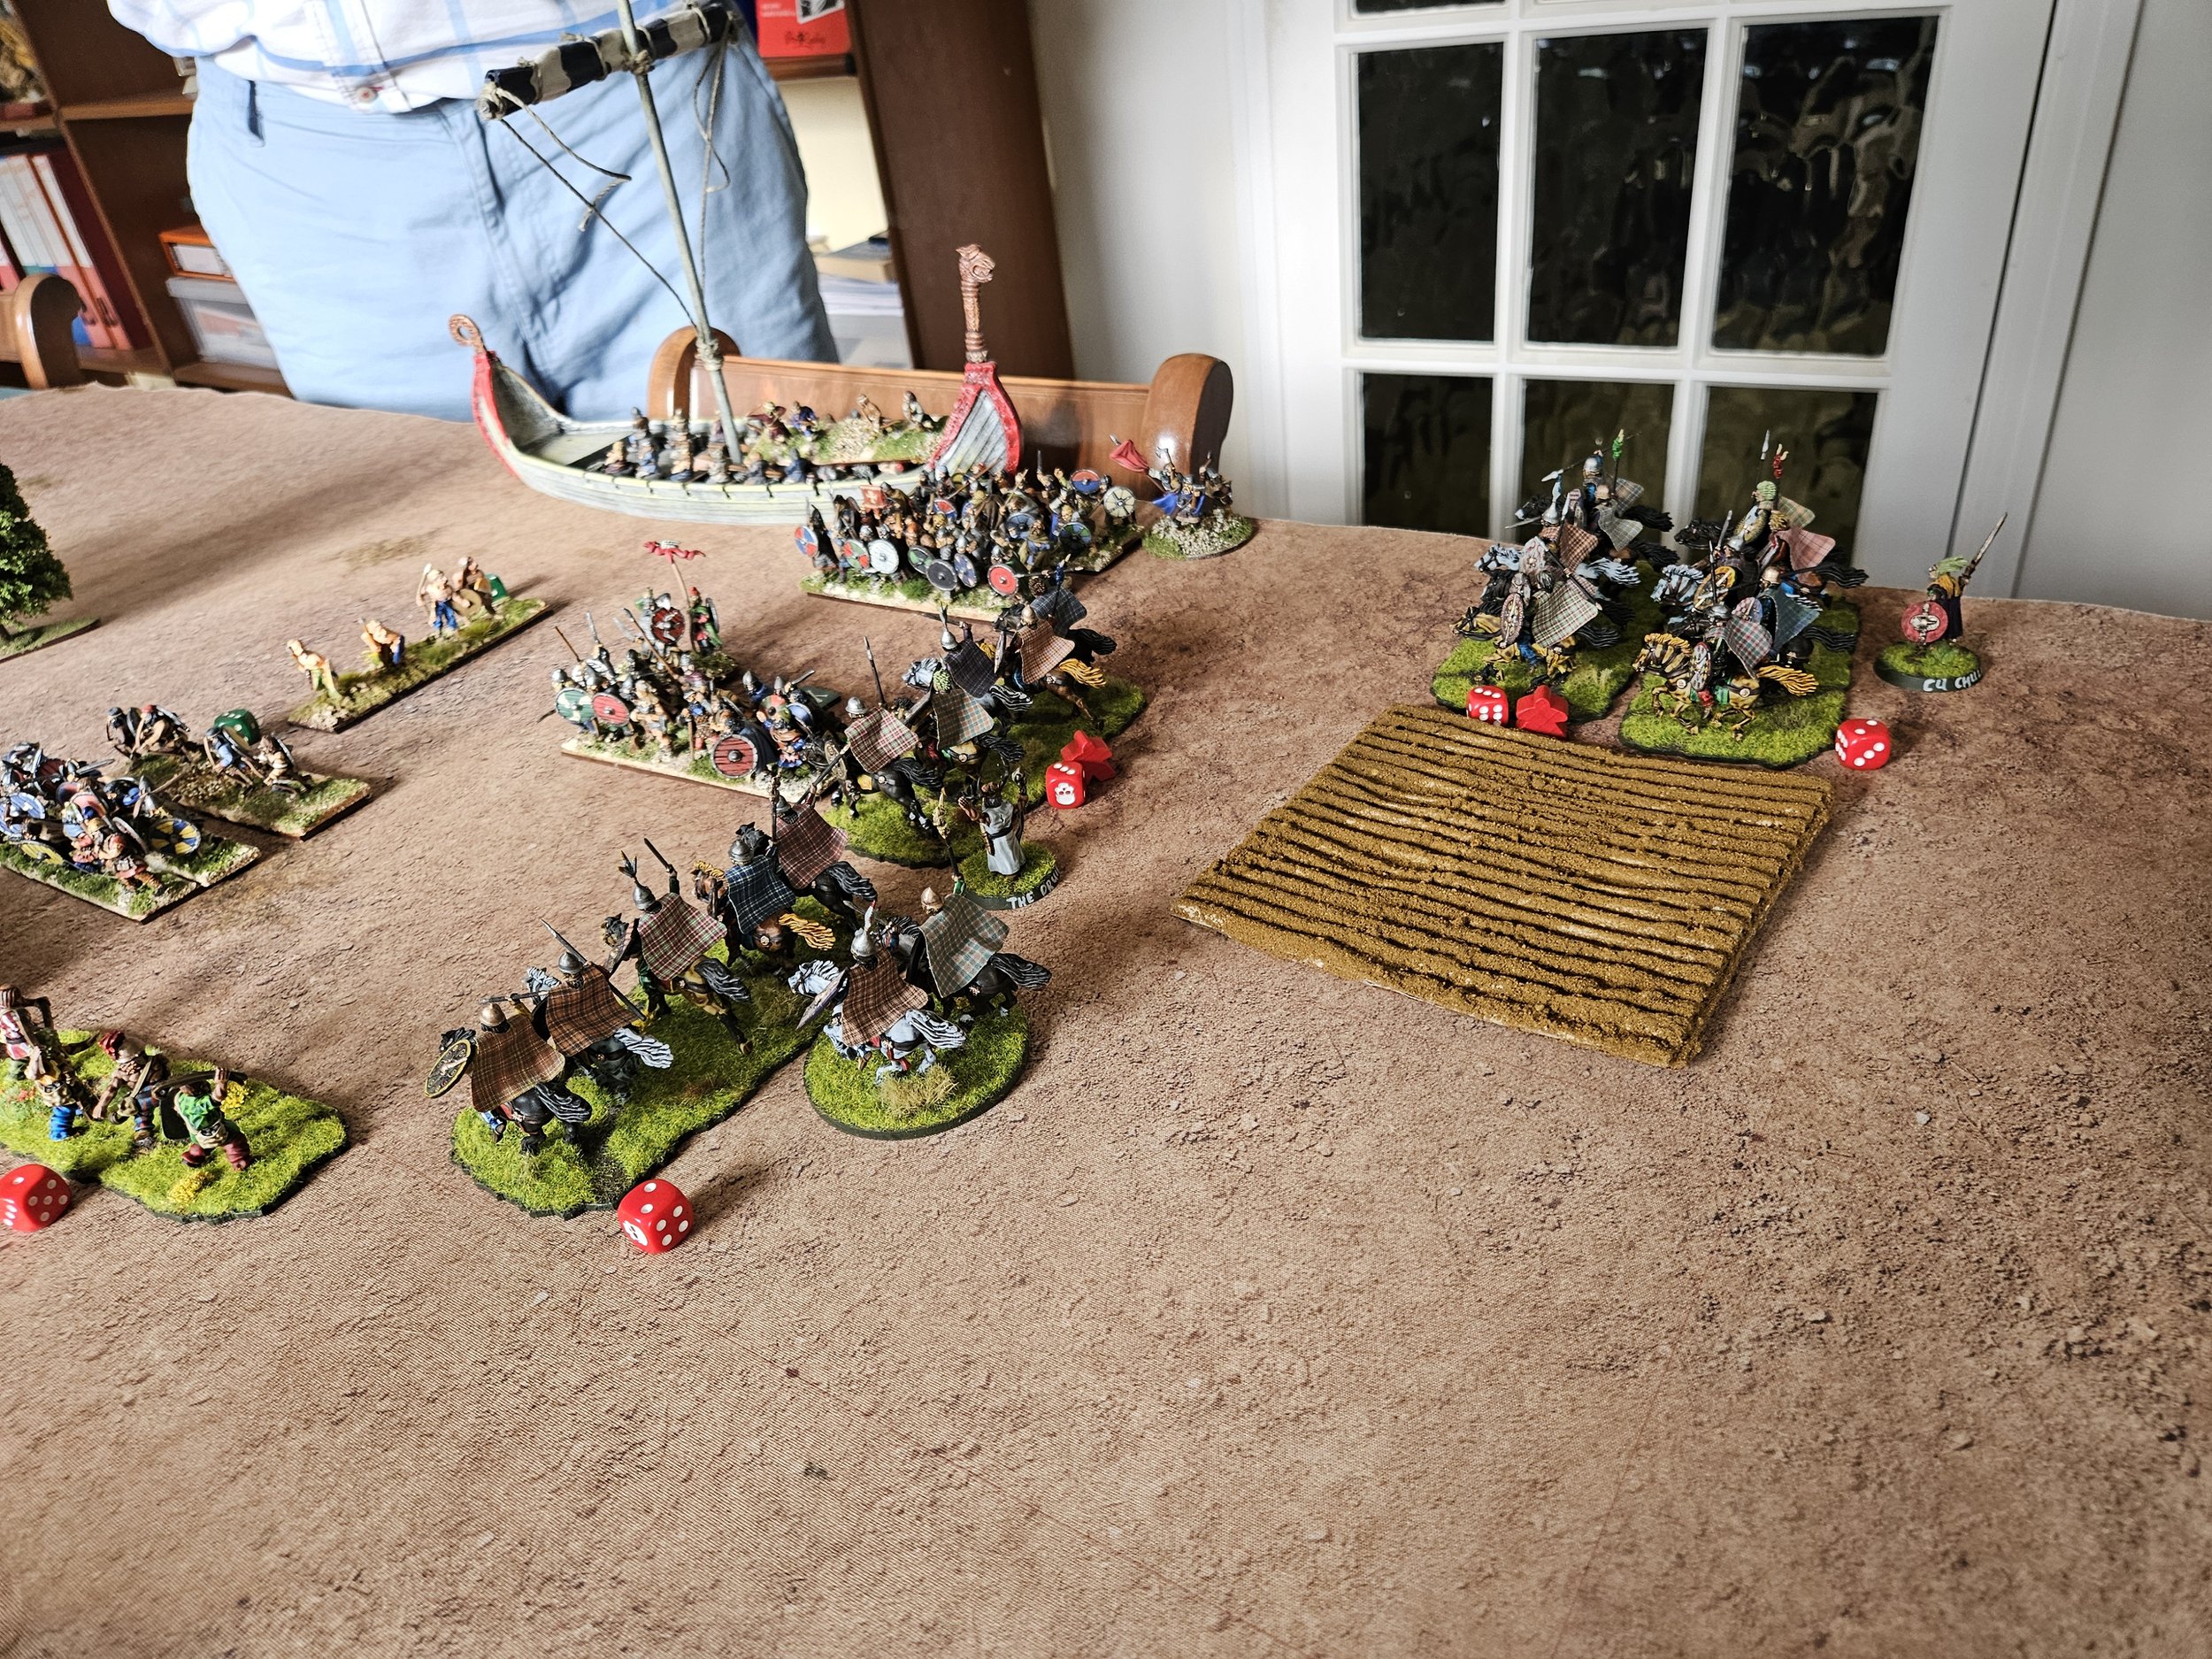
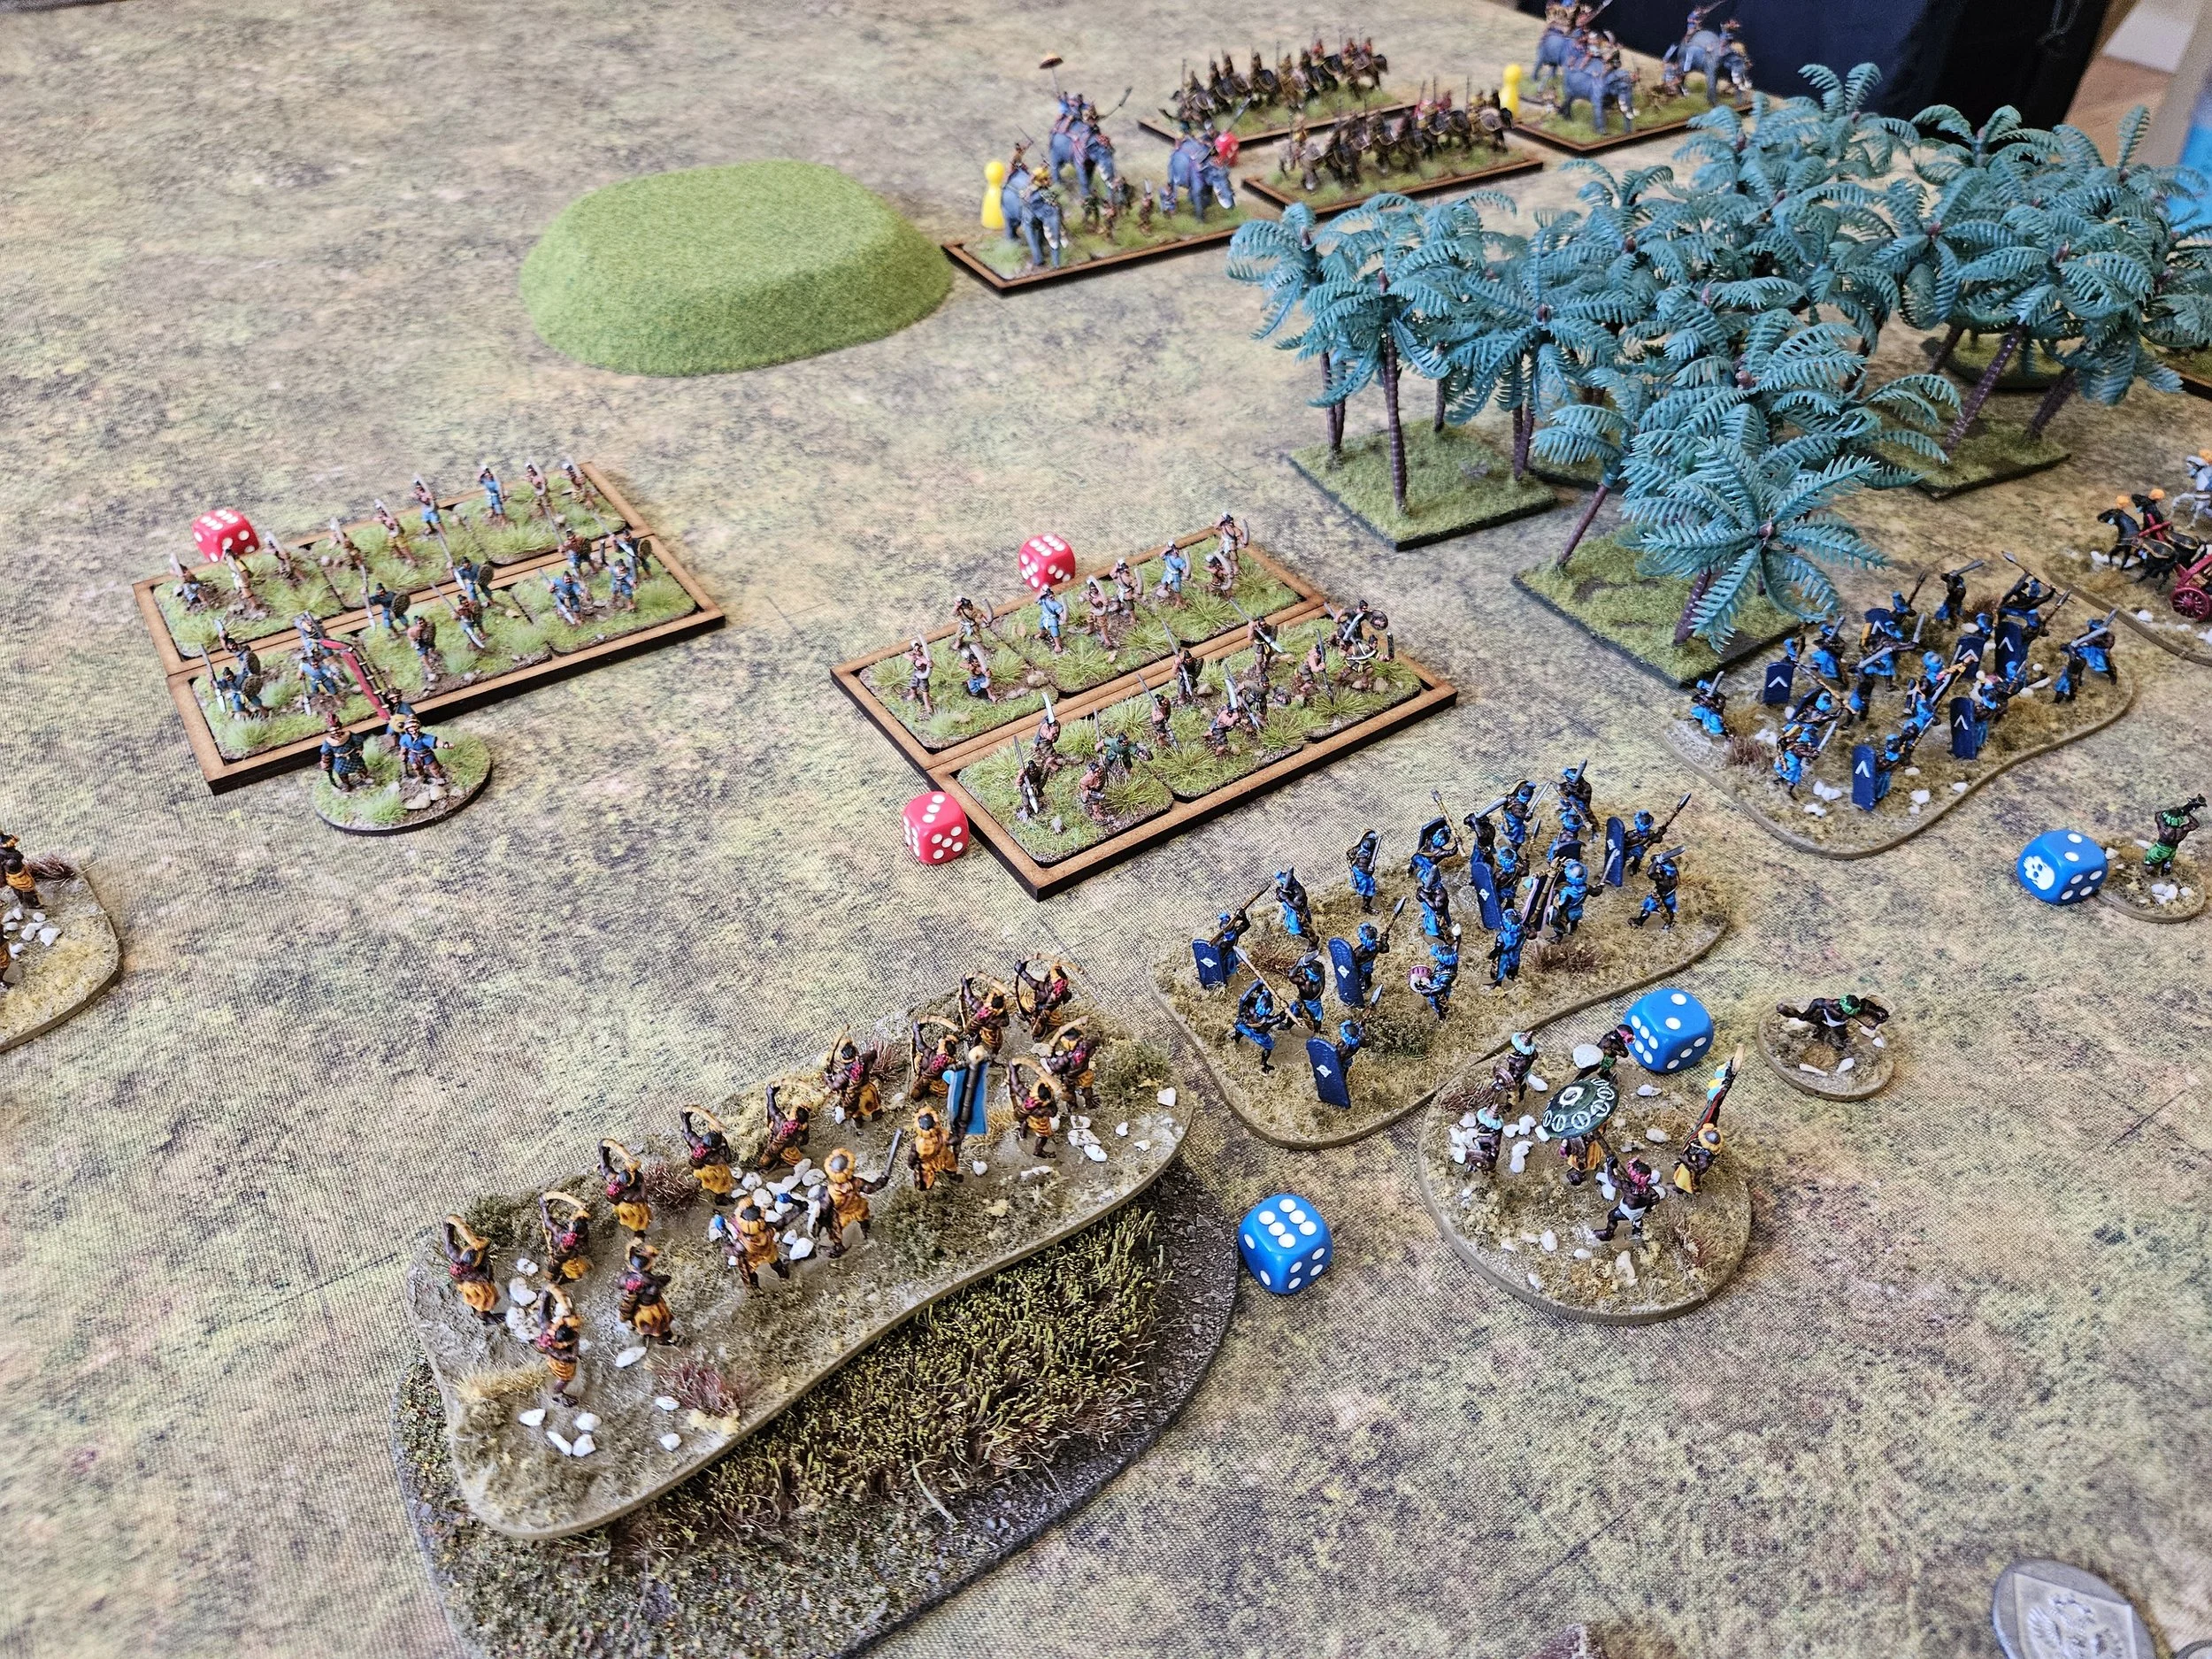
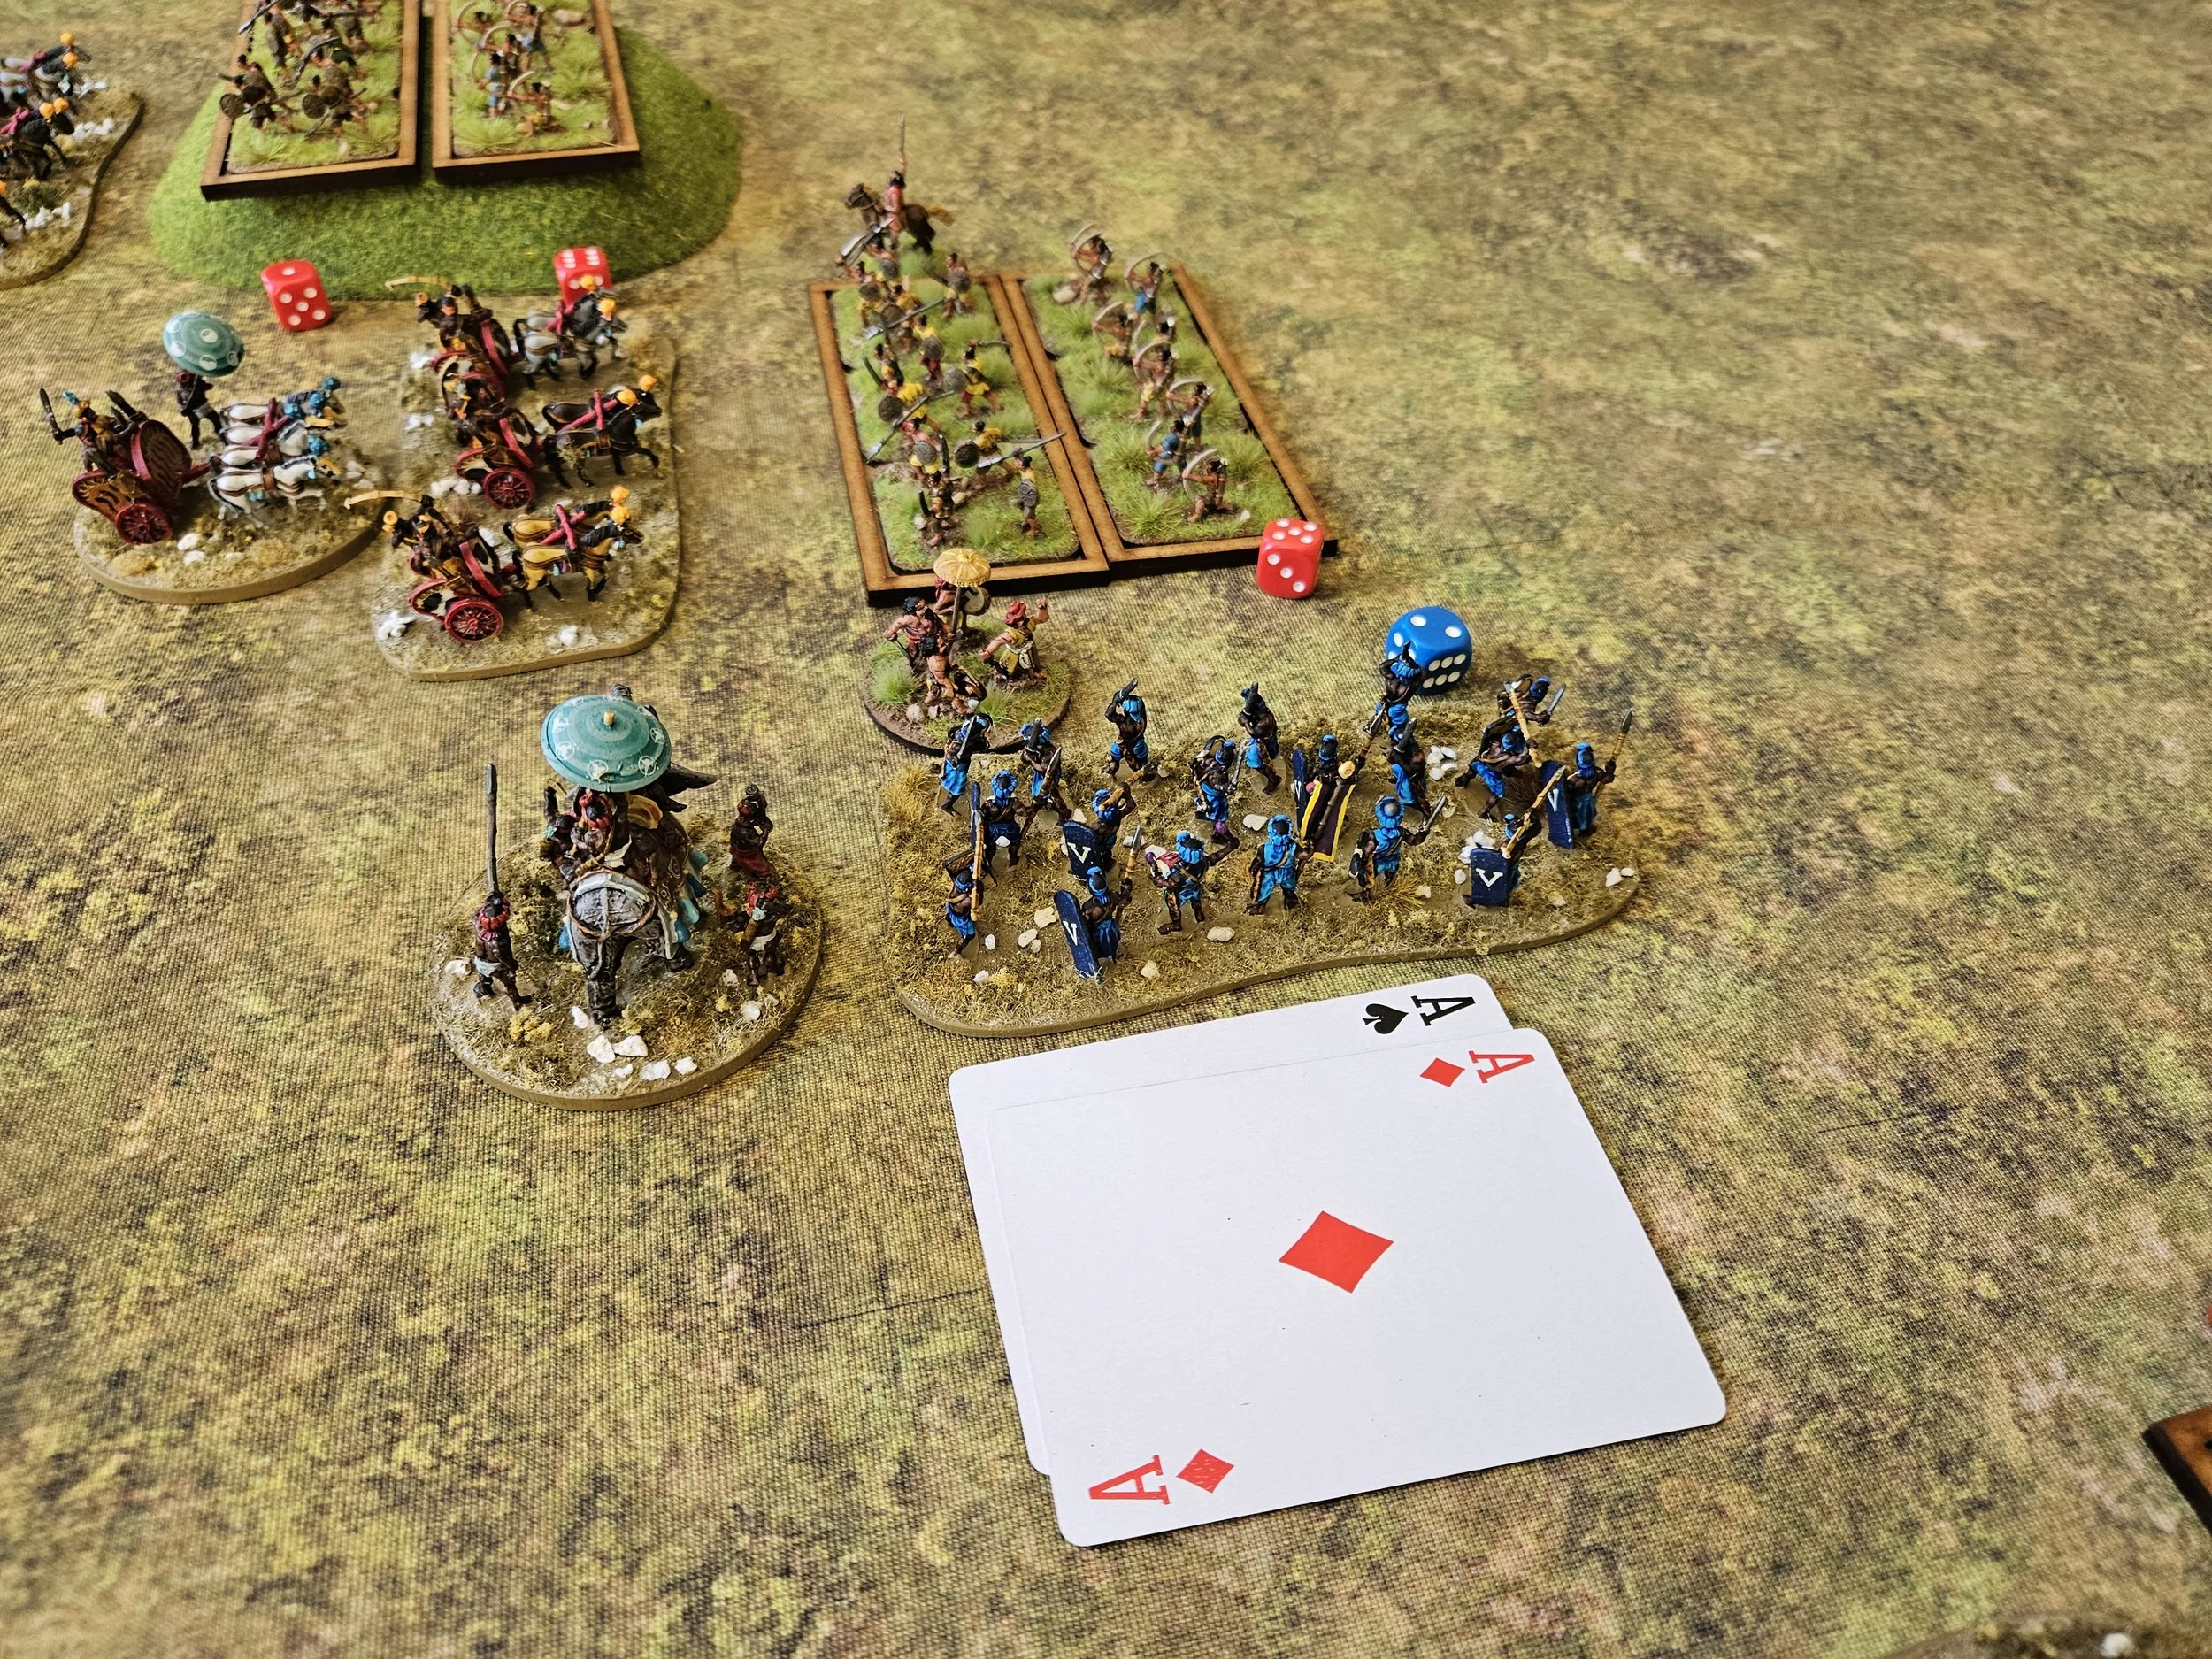
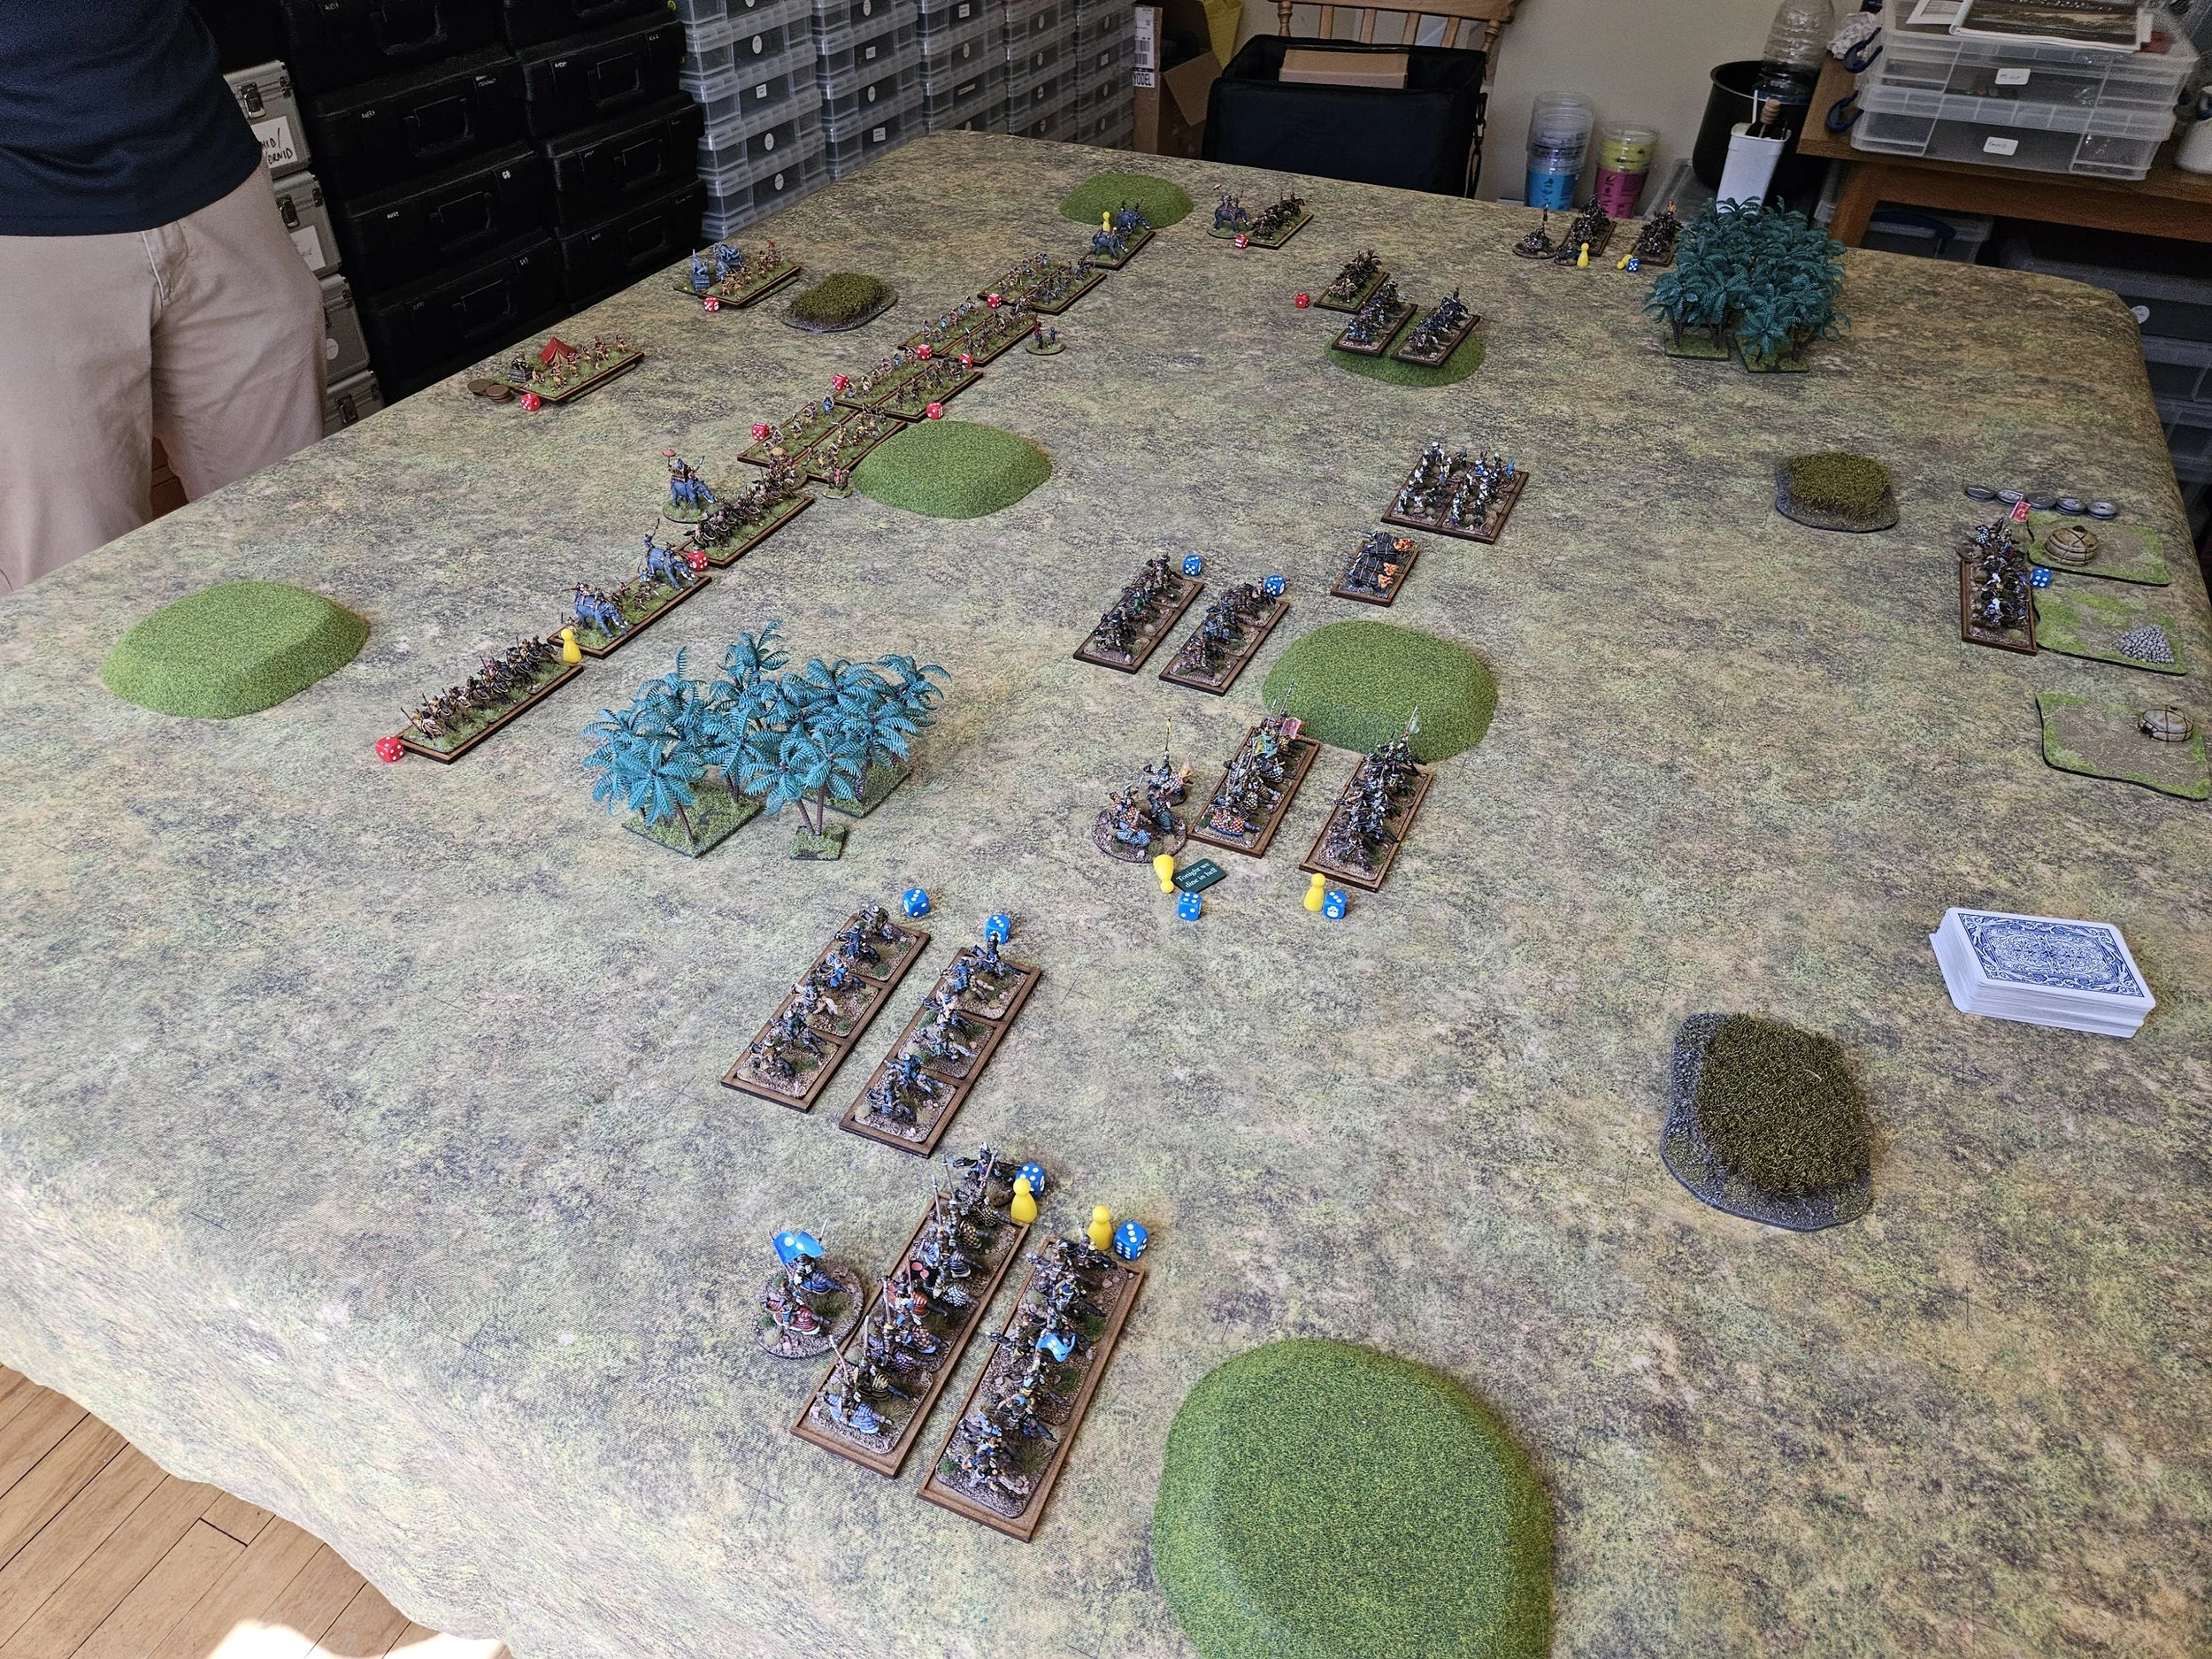
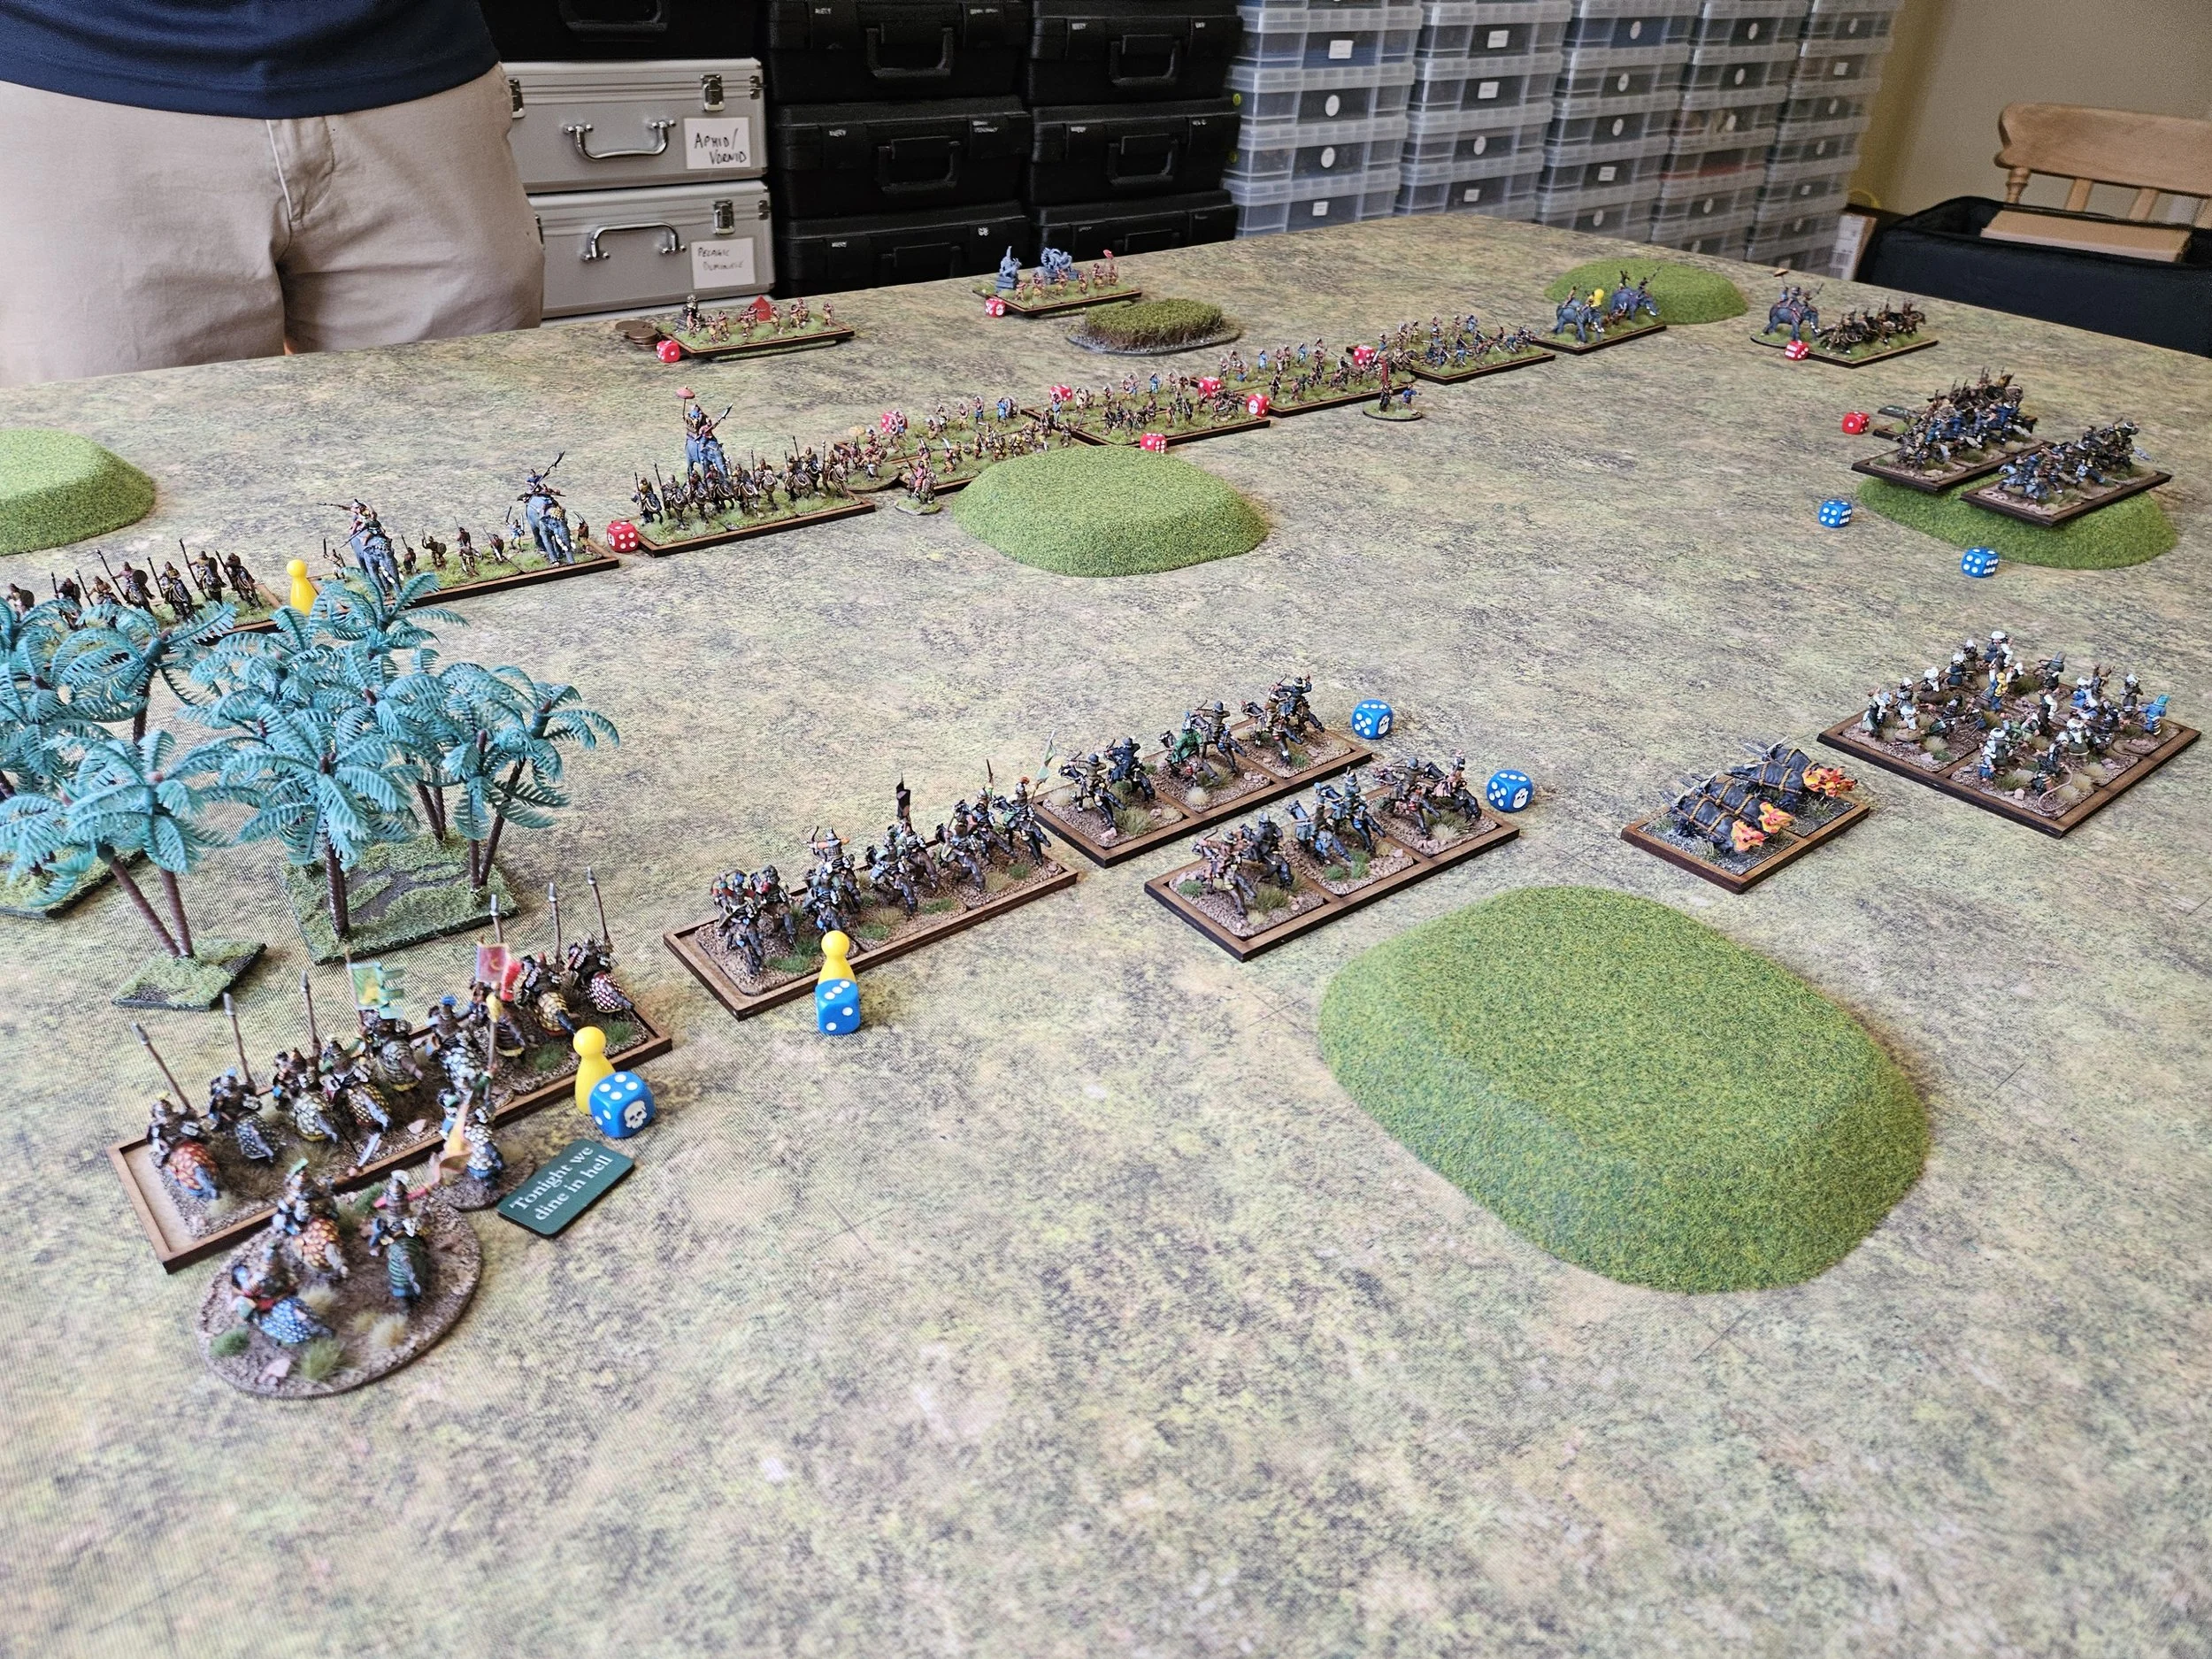
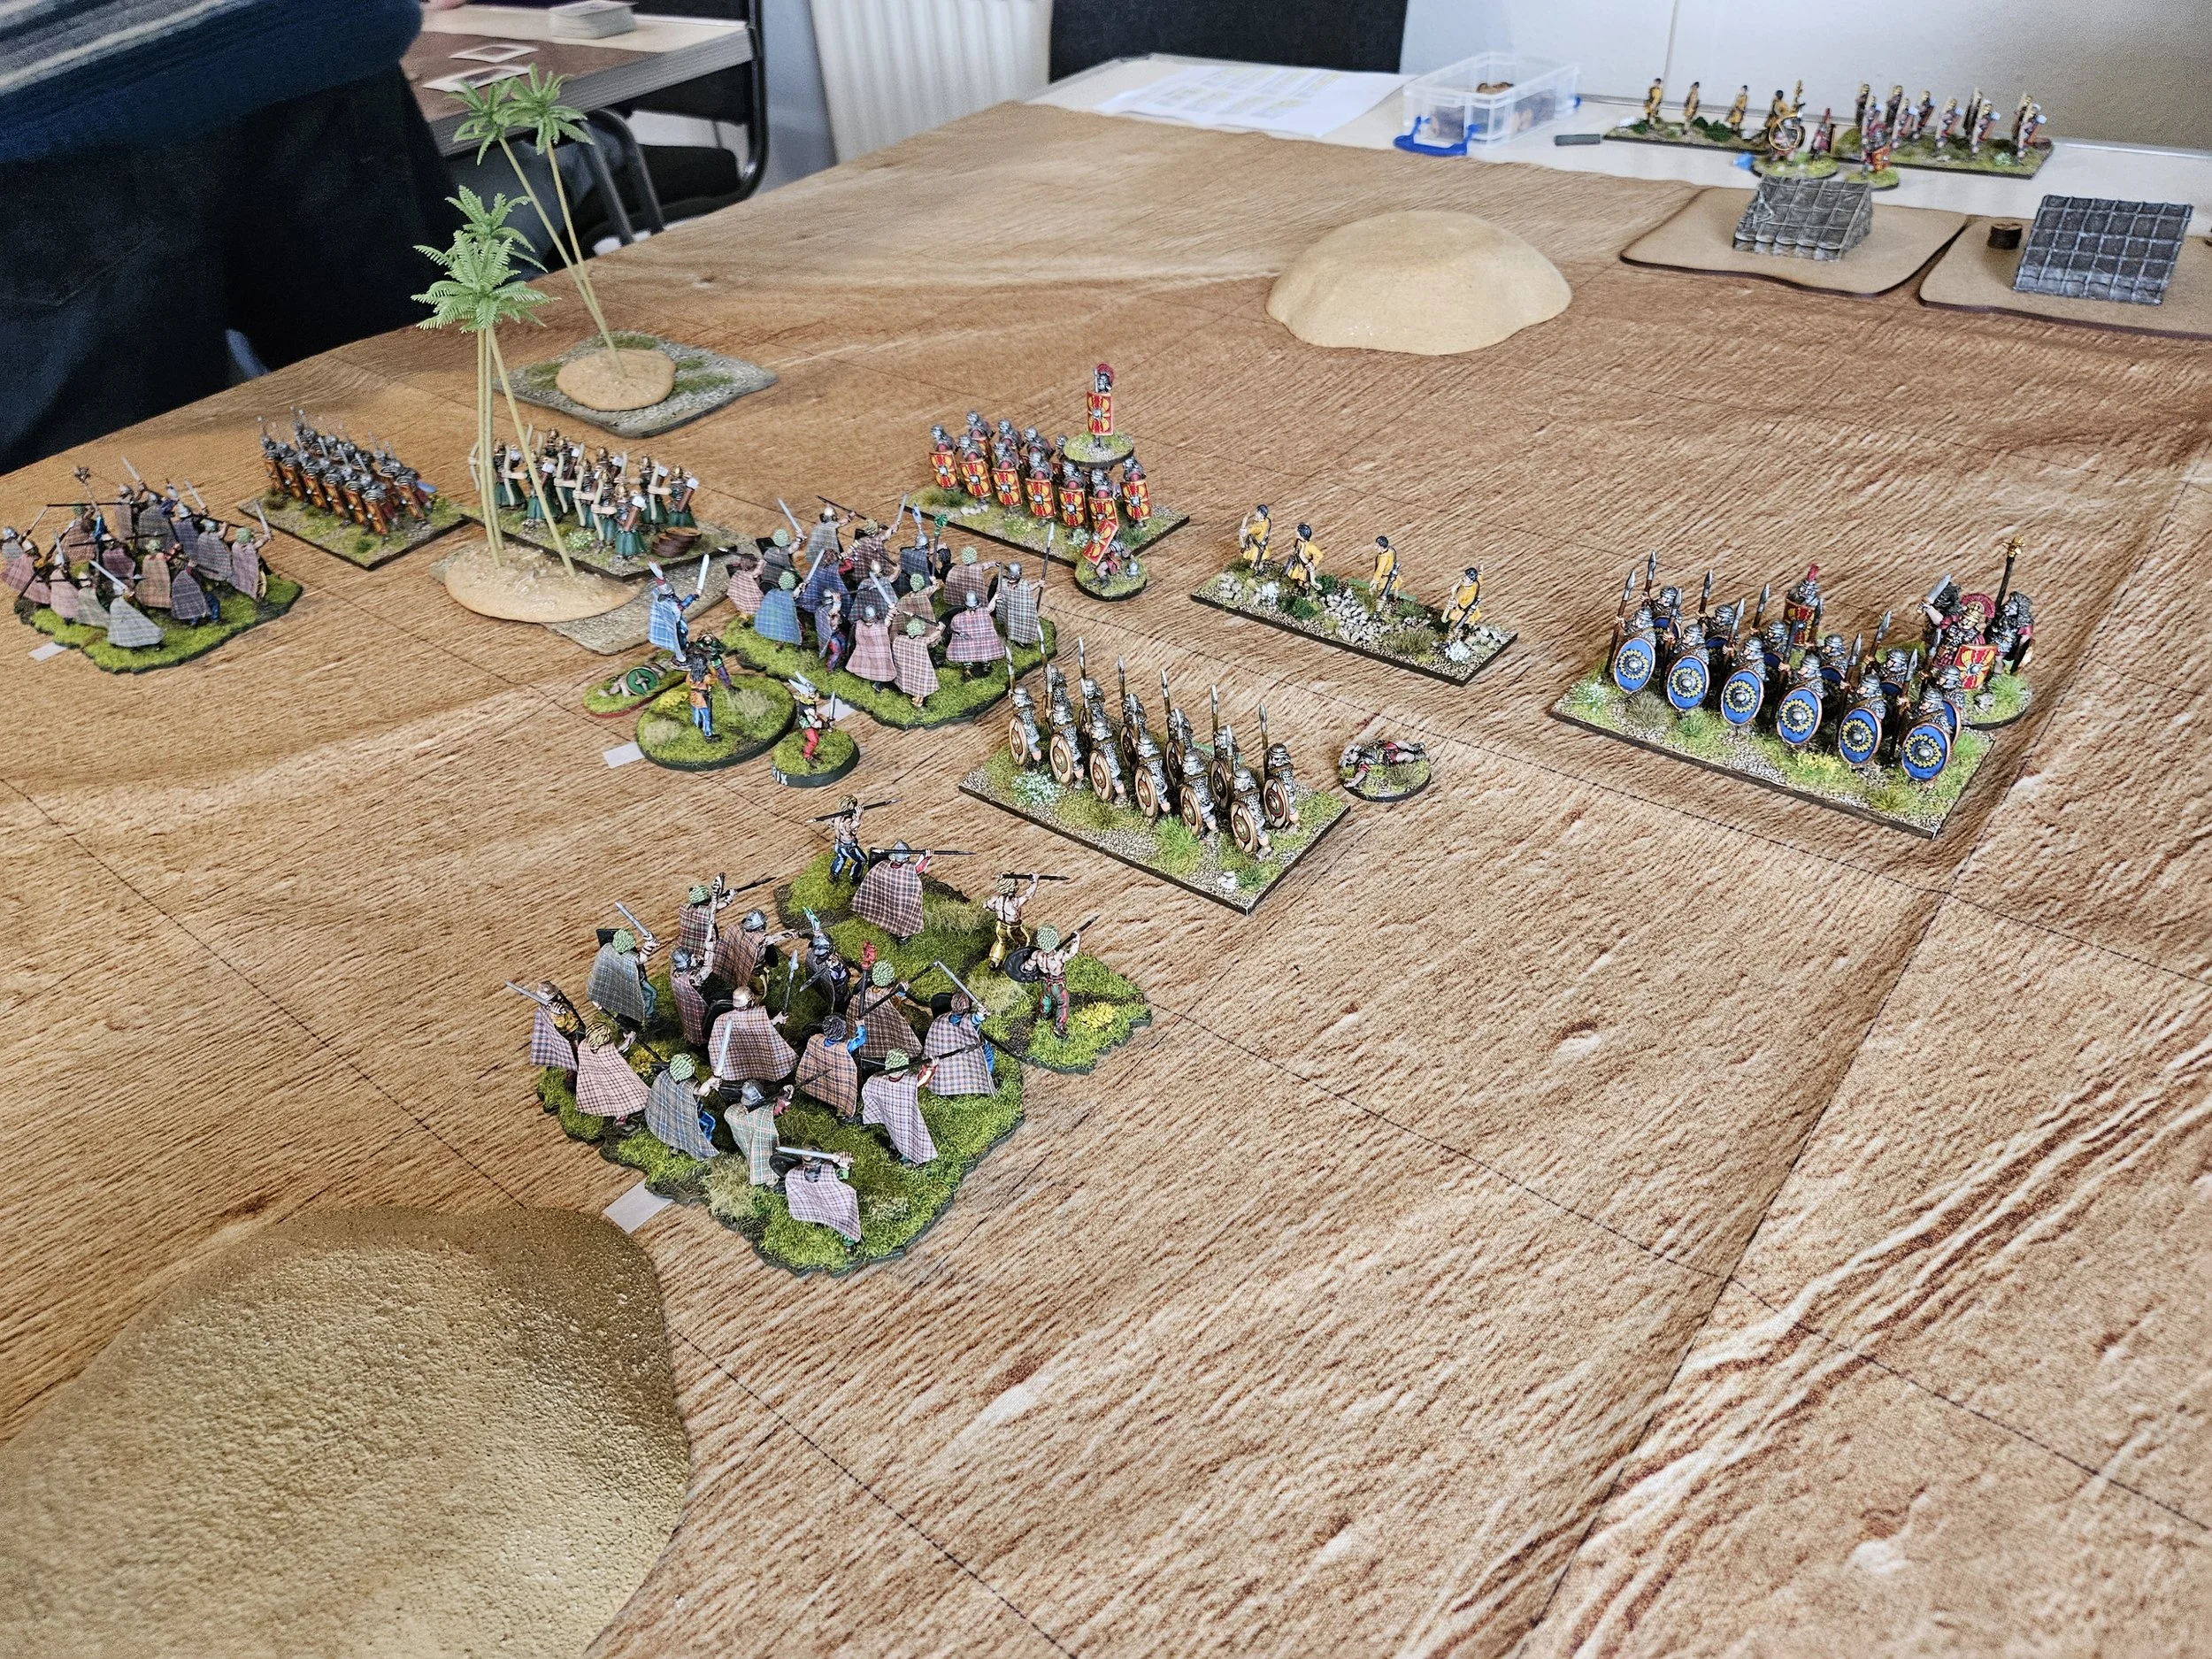
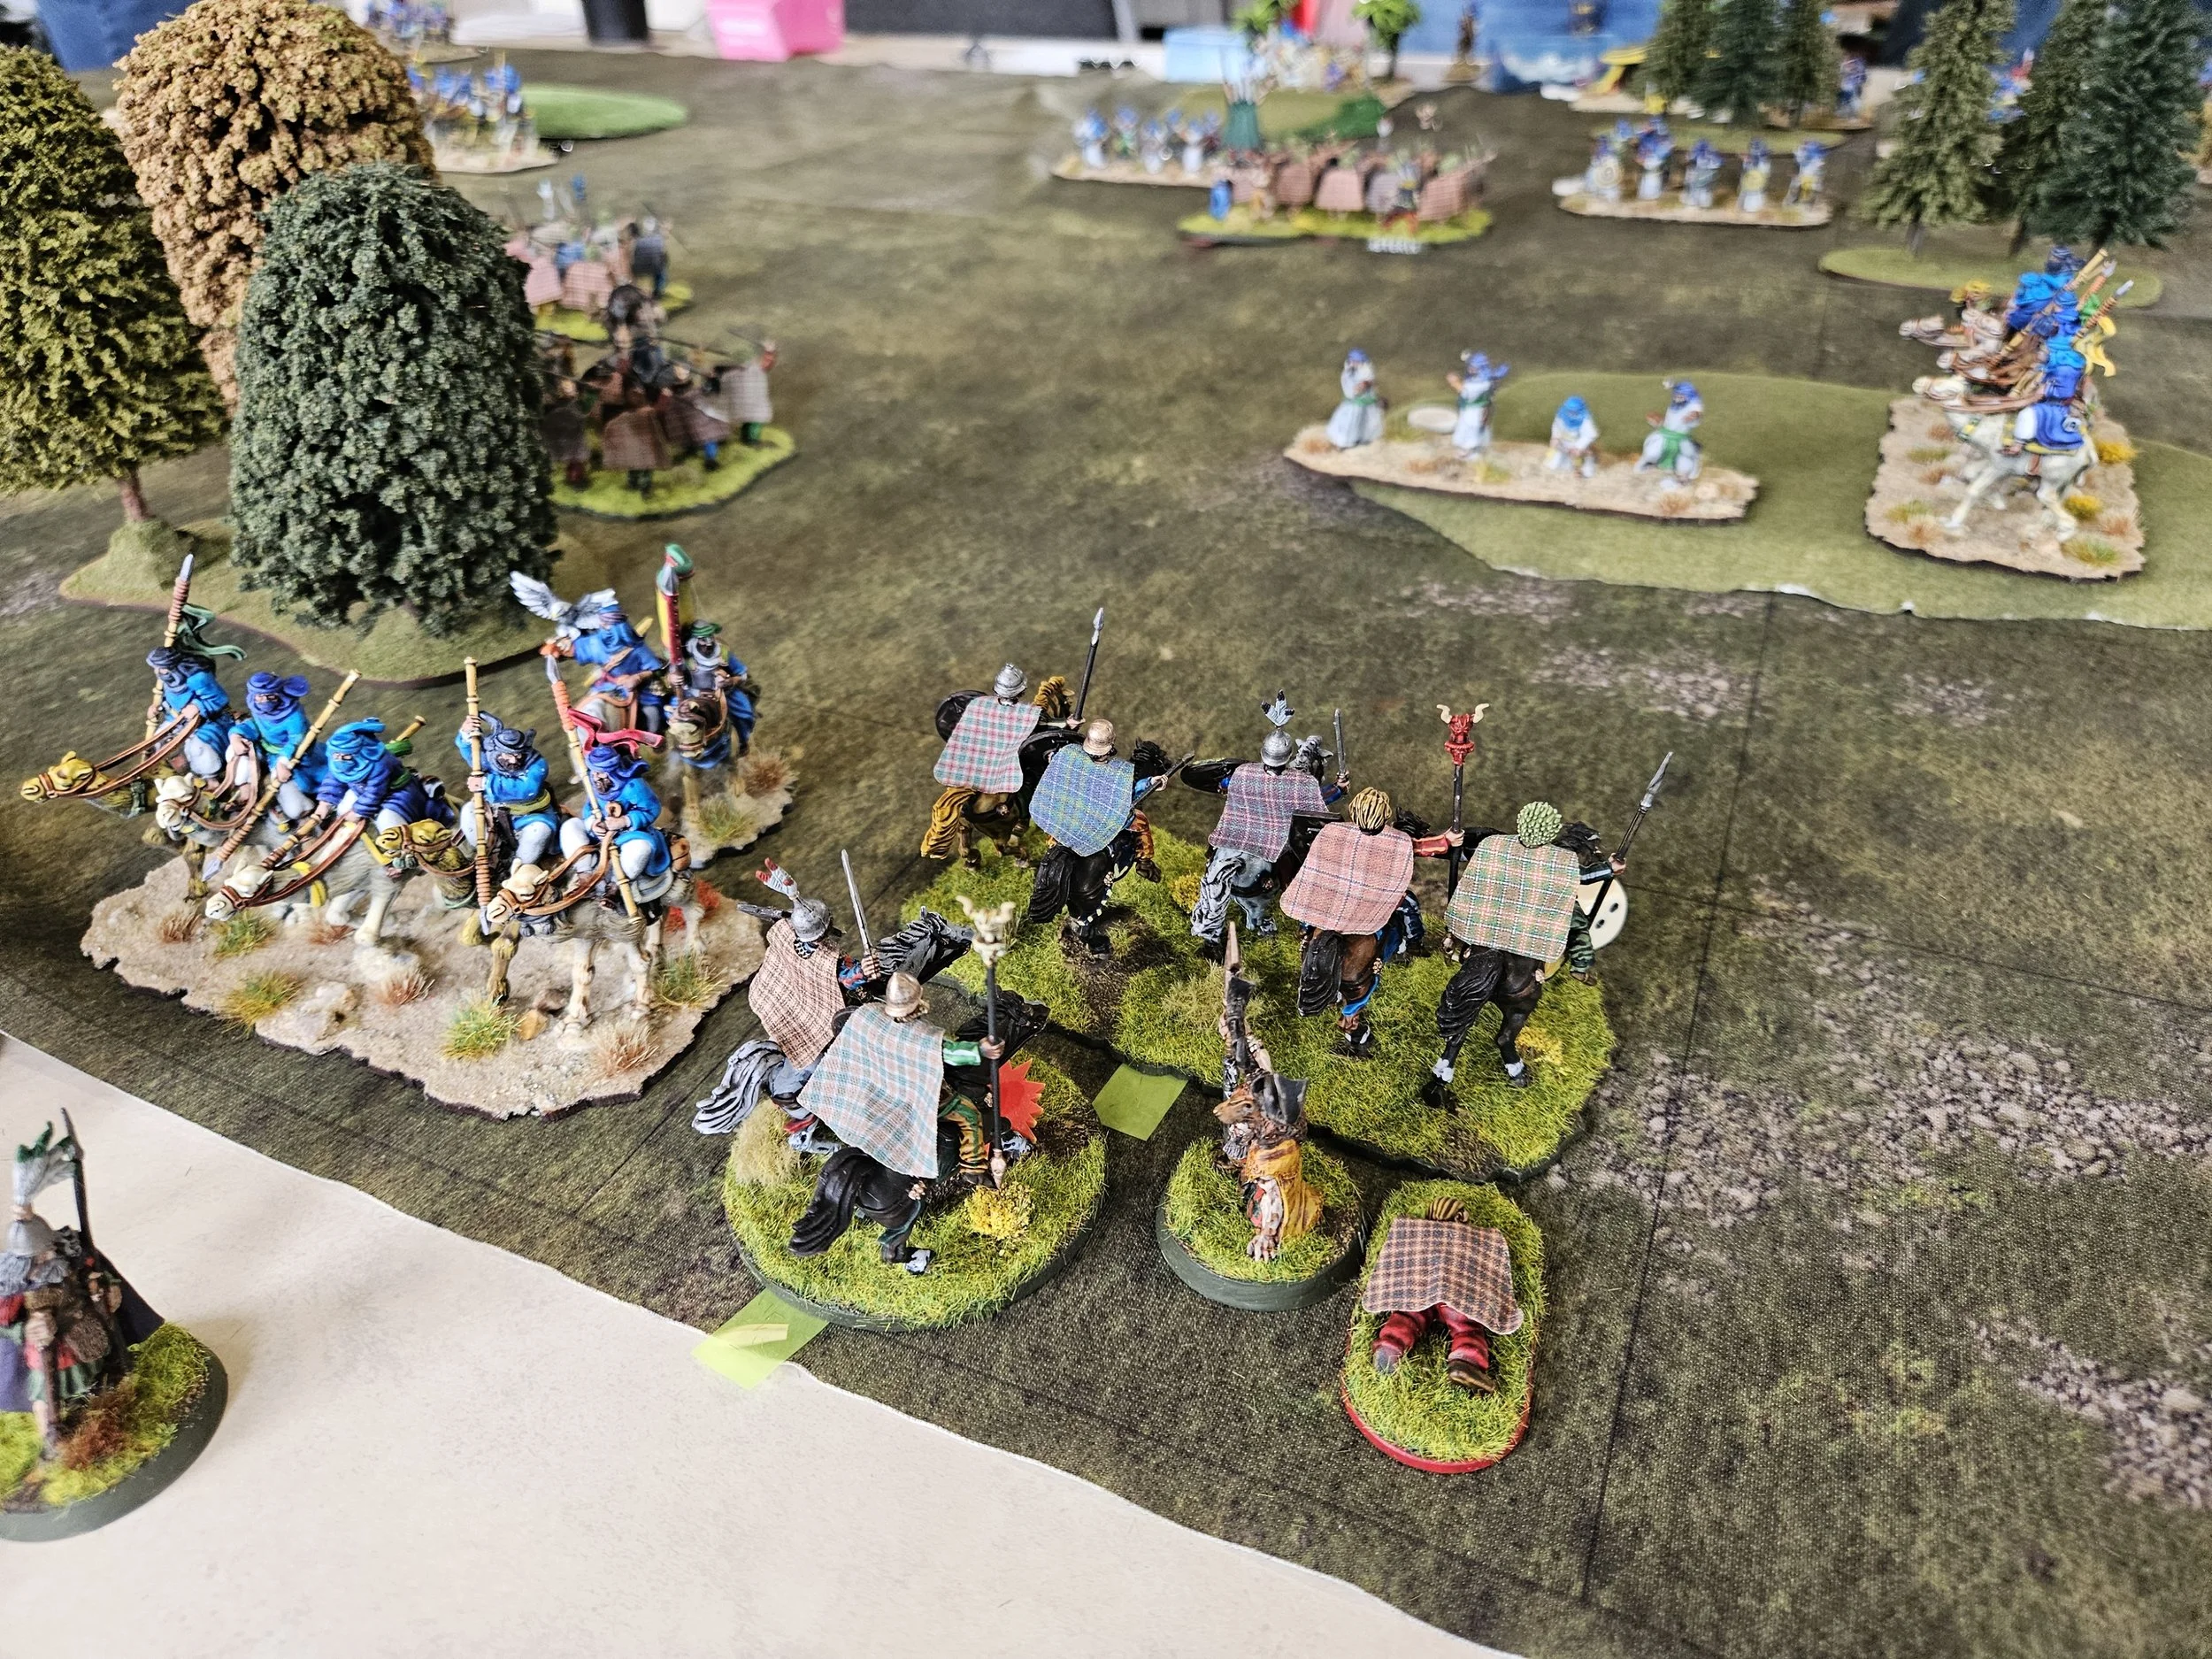
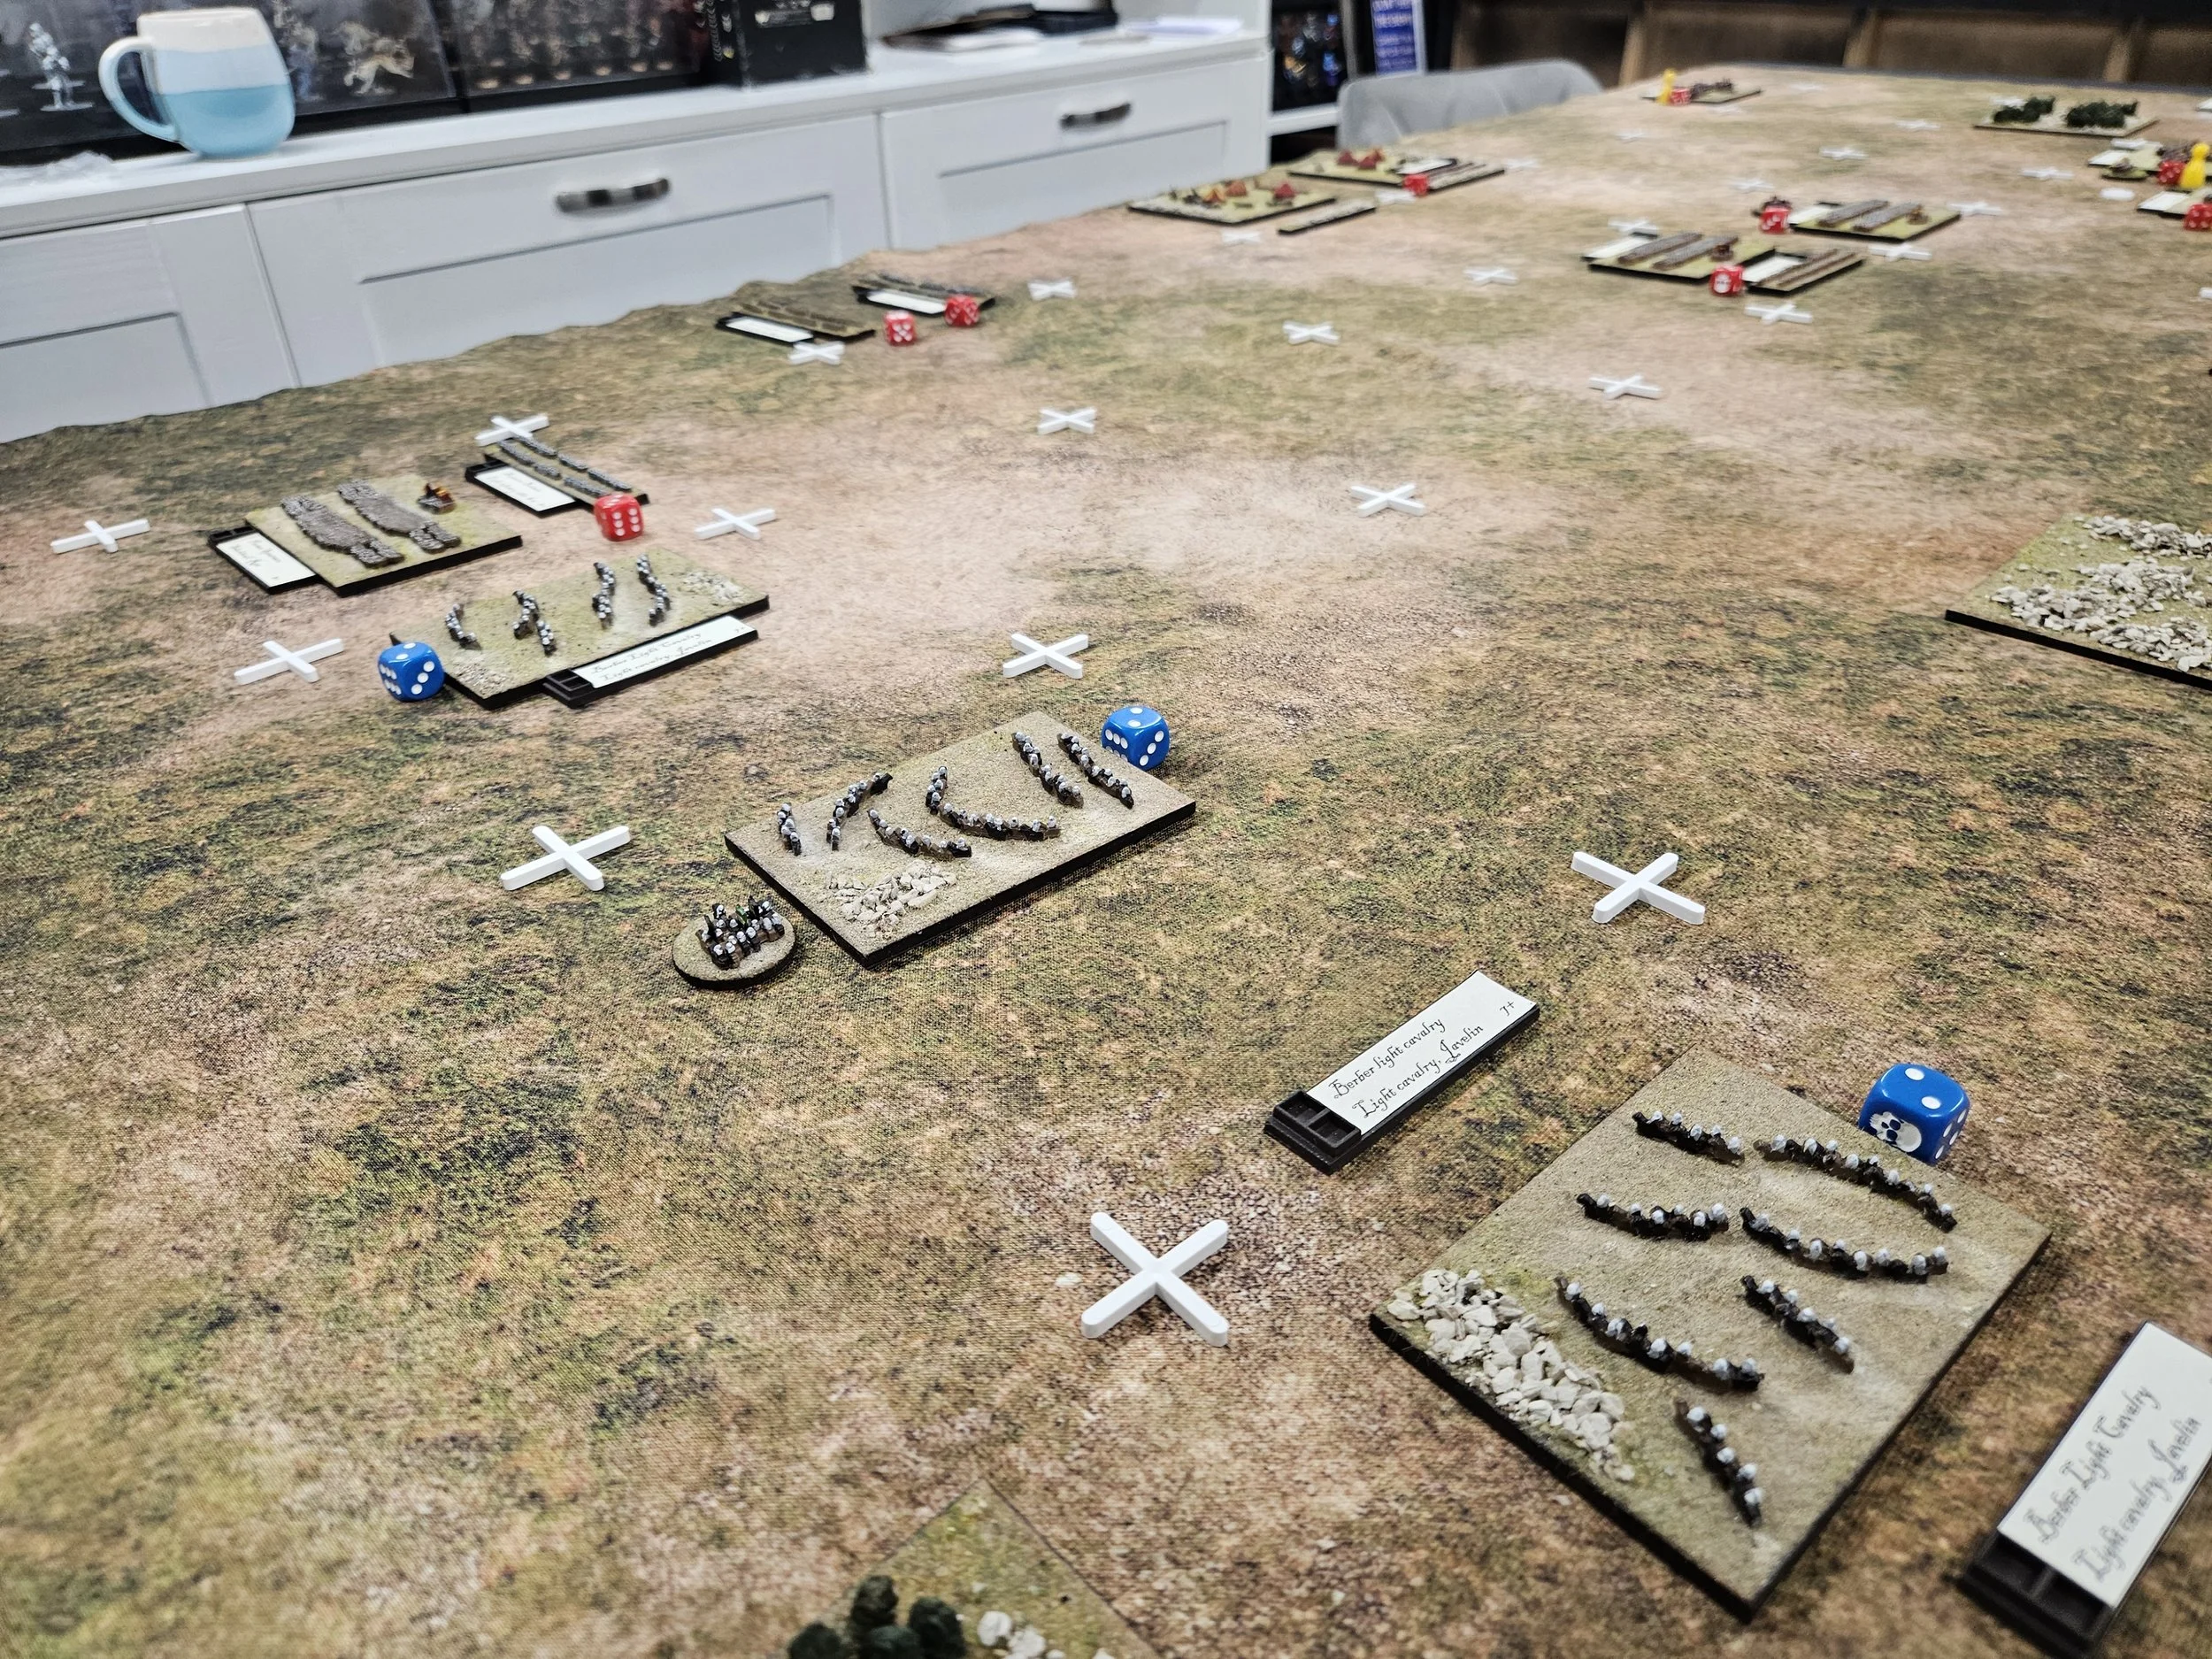
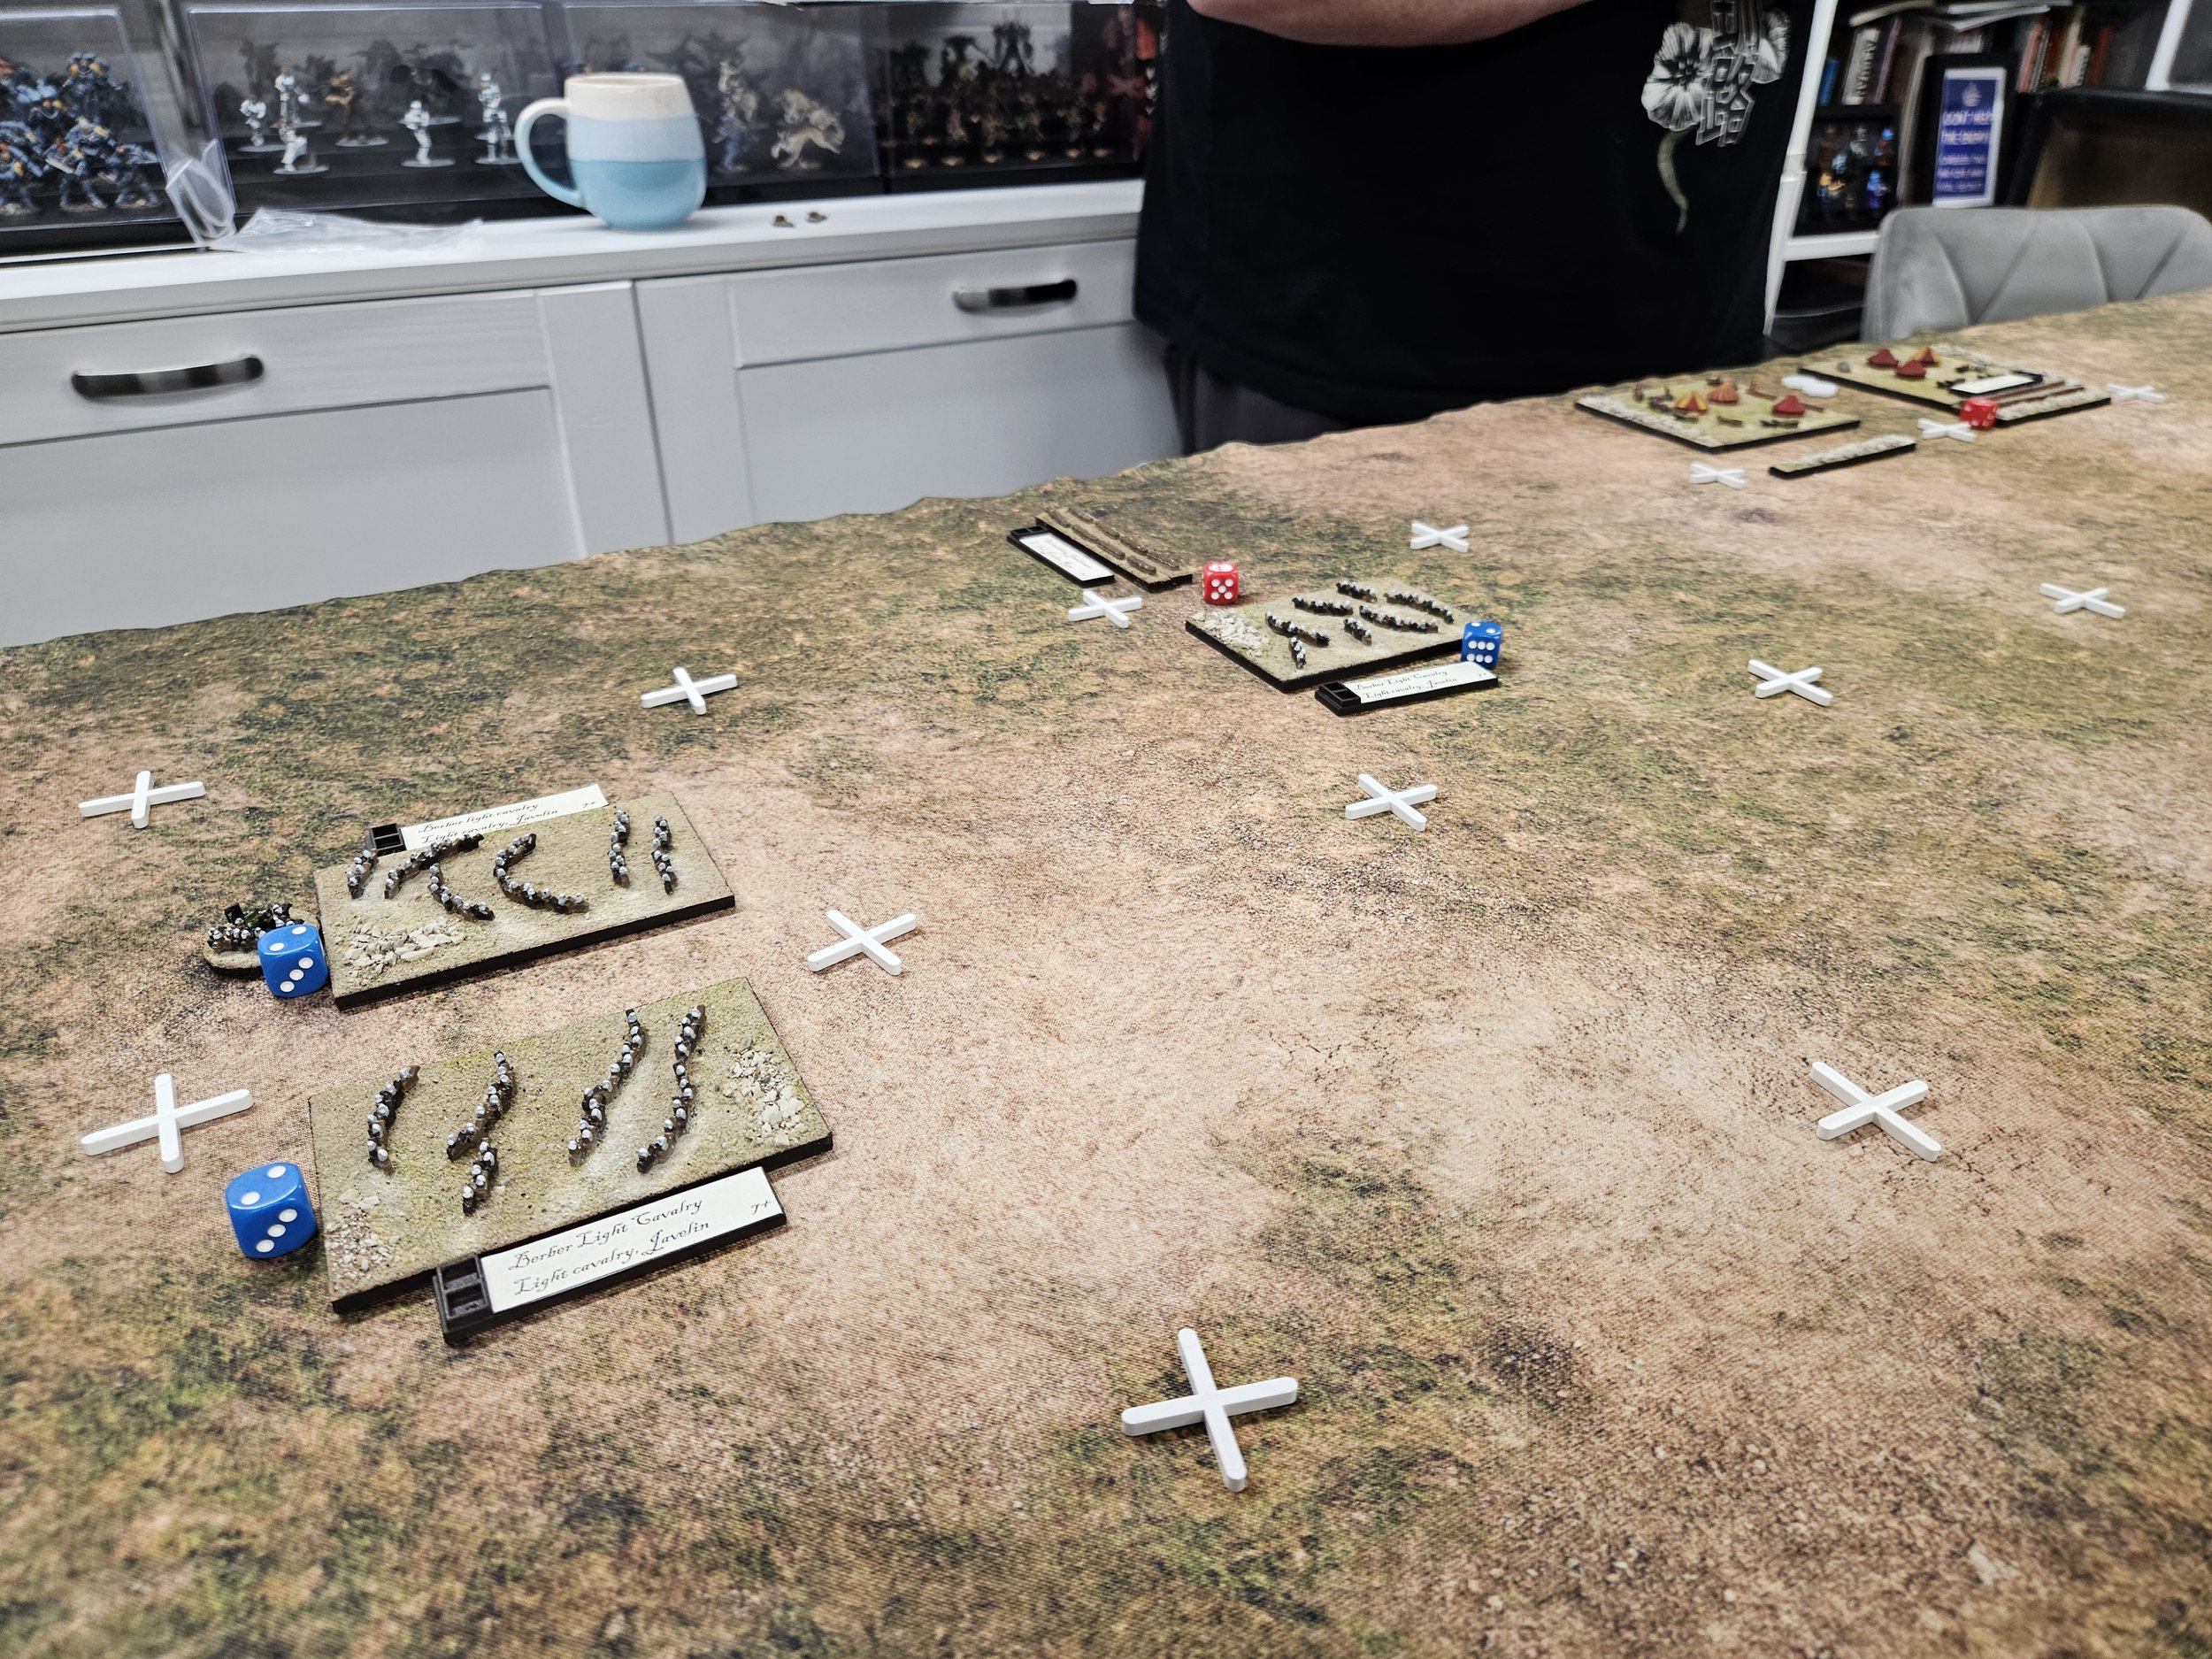
Fortunately for me, Neil’s attempt to consolidate his commands on my right meant that the light cavalry I had deployed on my left could sweep forward and flank charge the Spanish troops moving sideways.
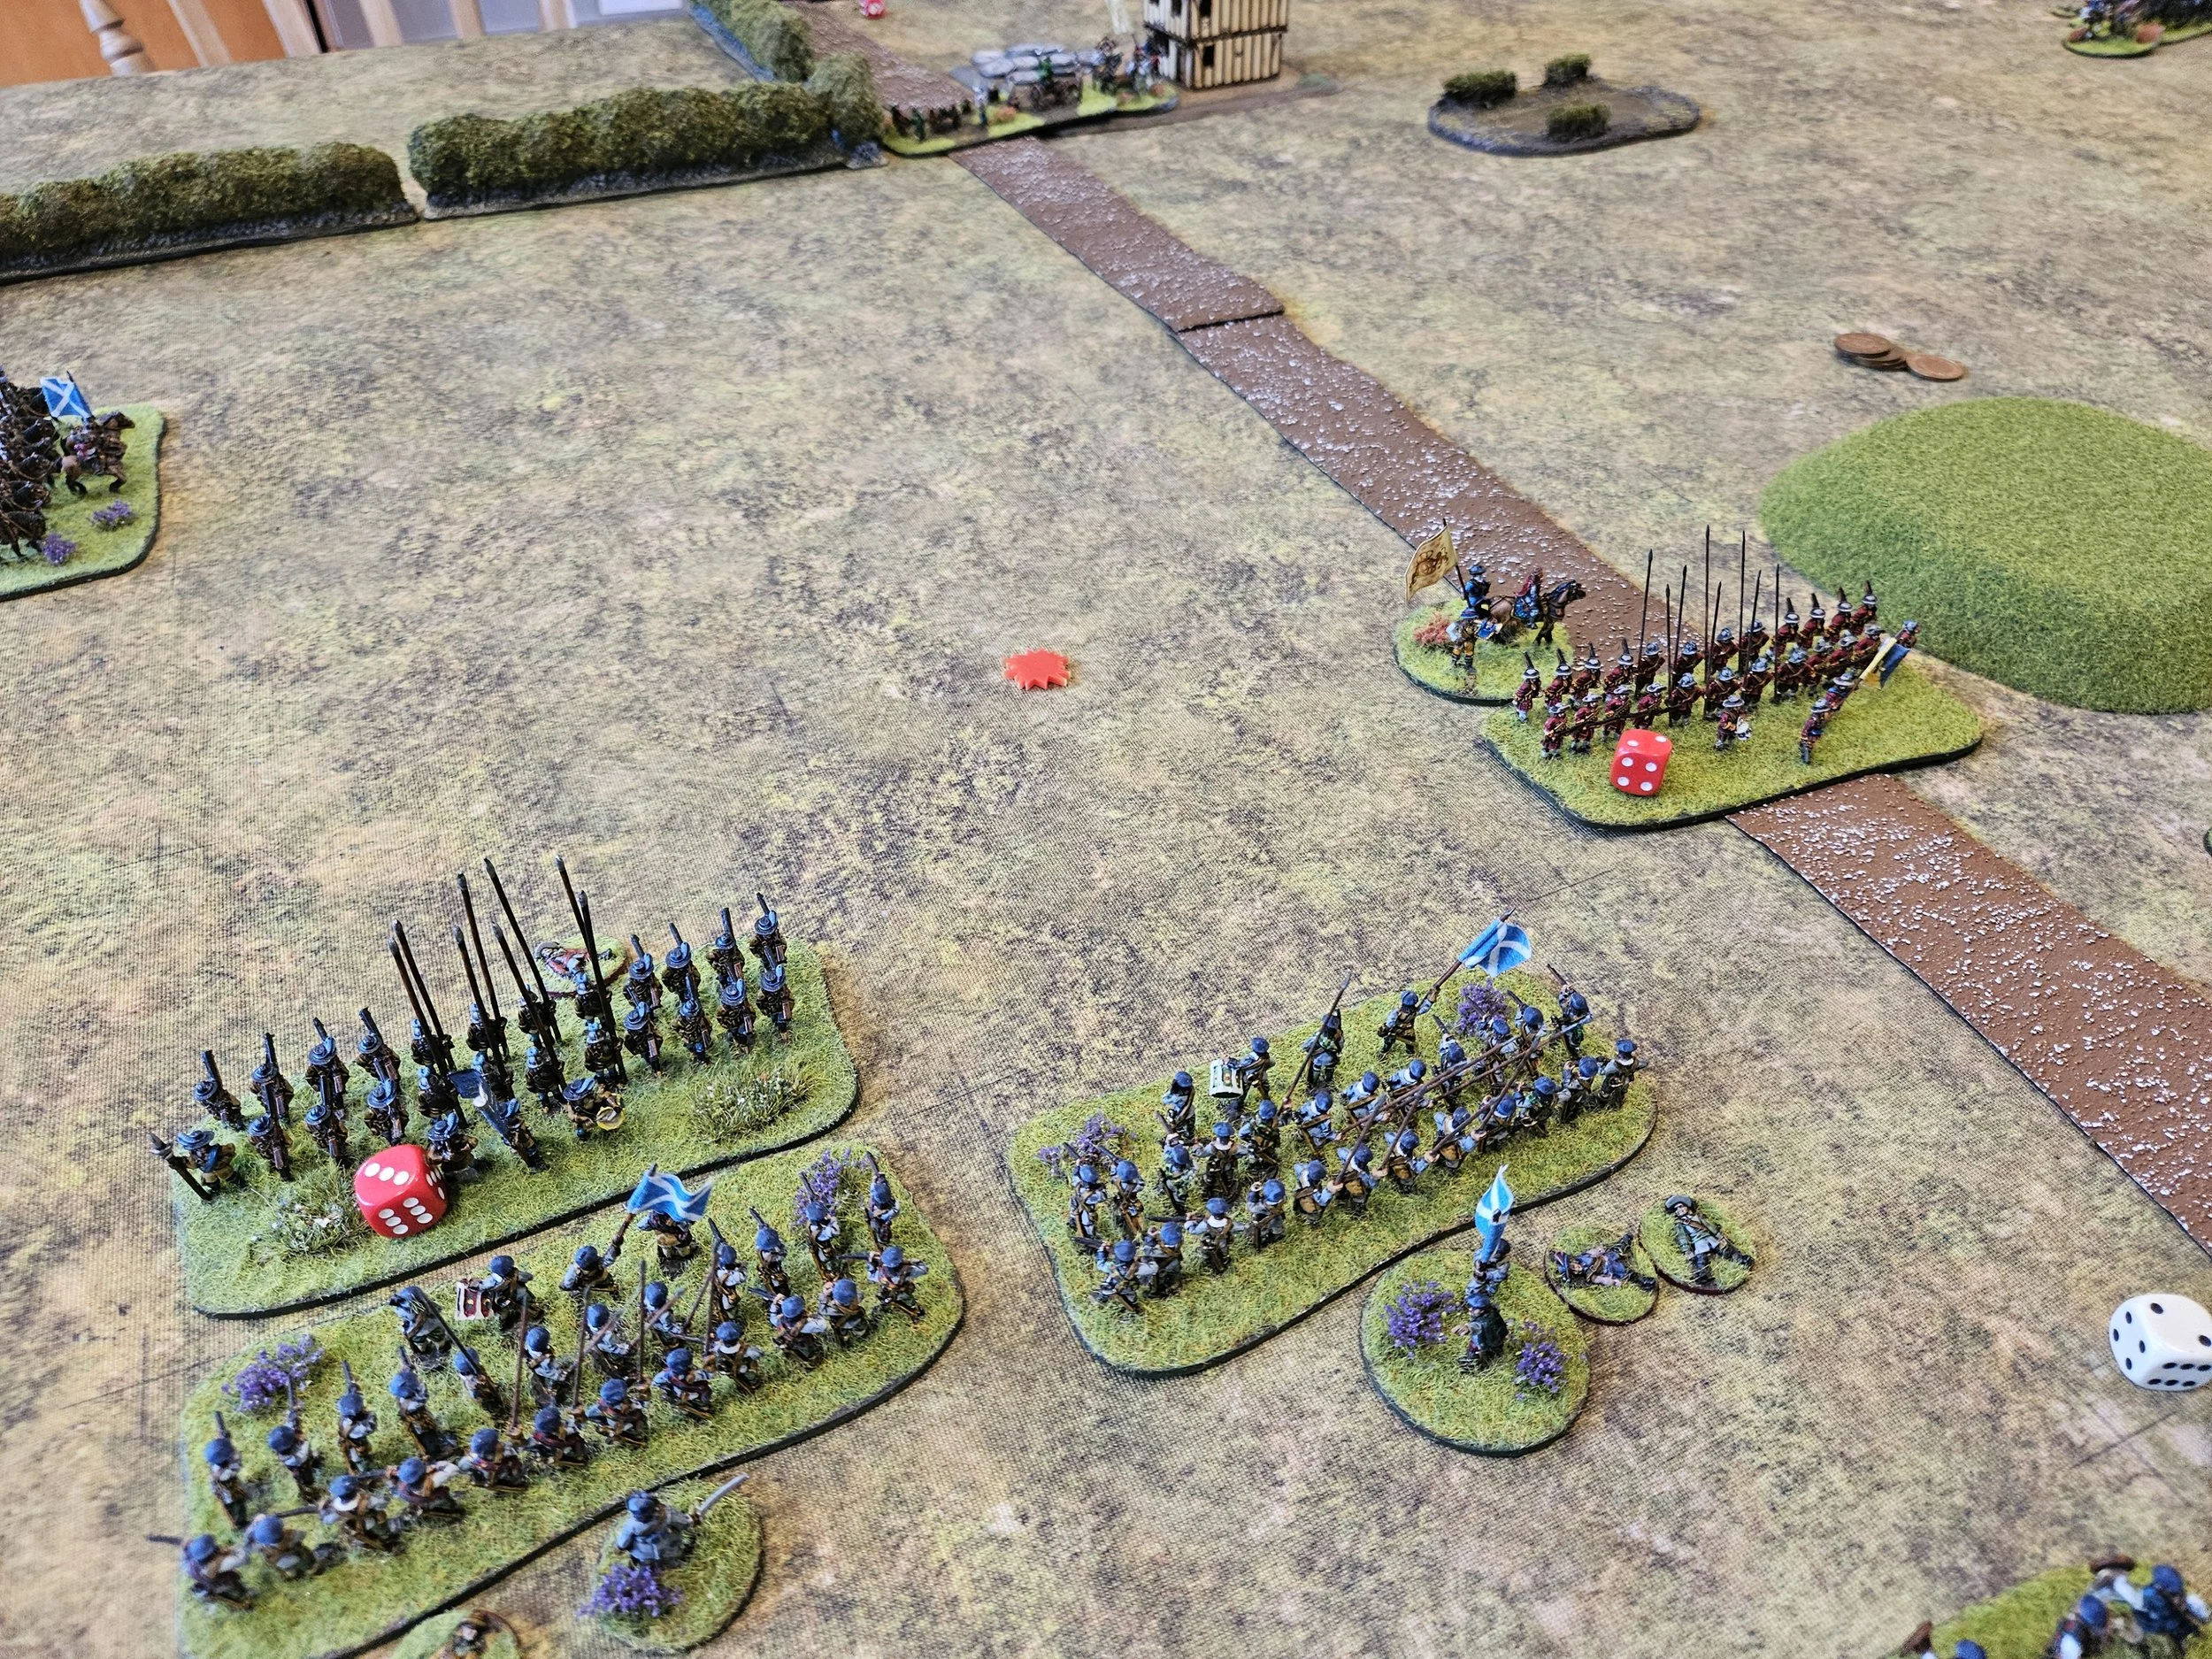
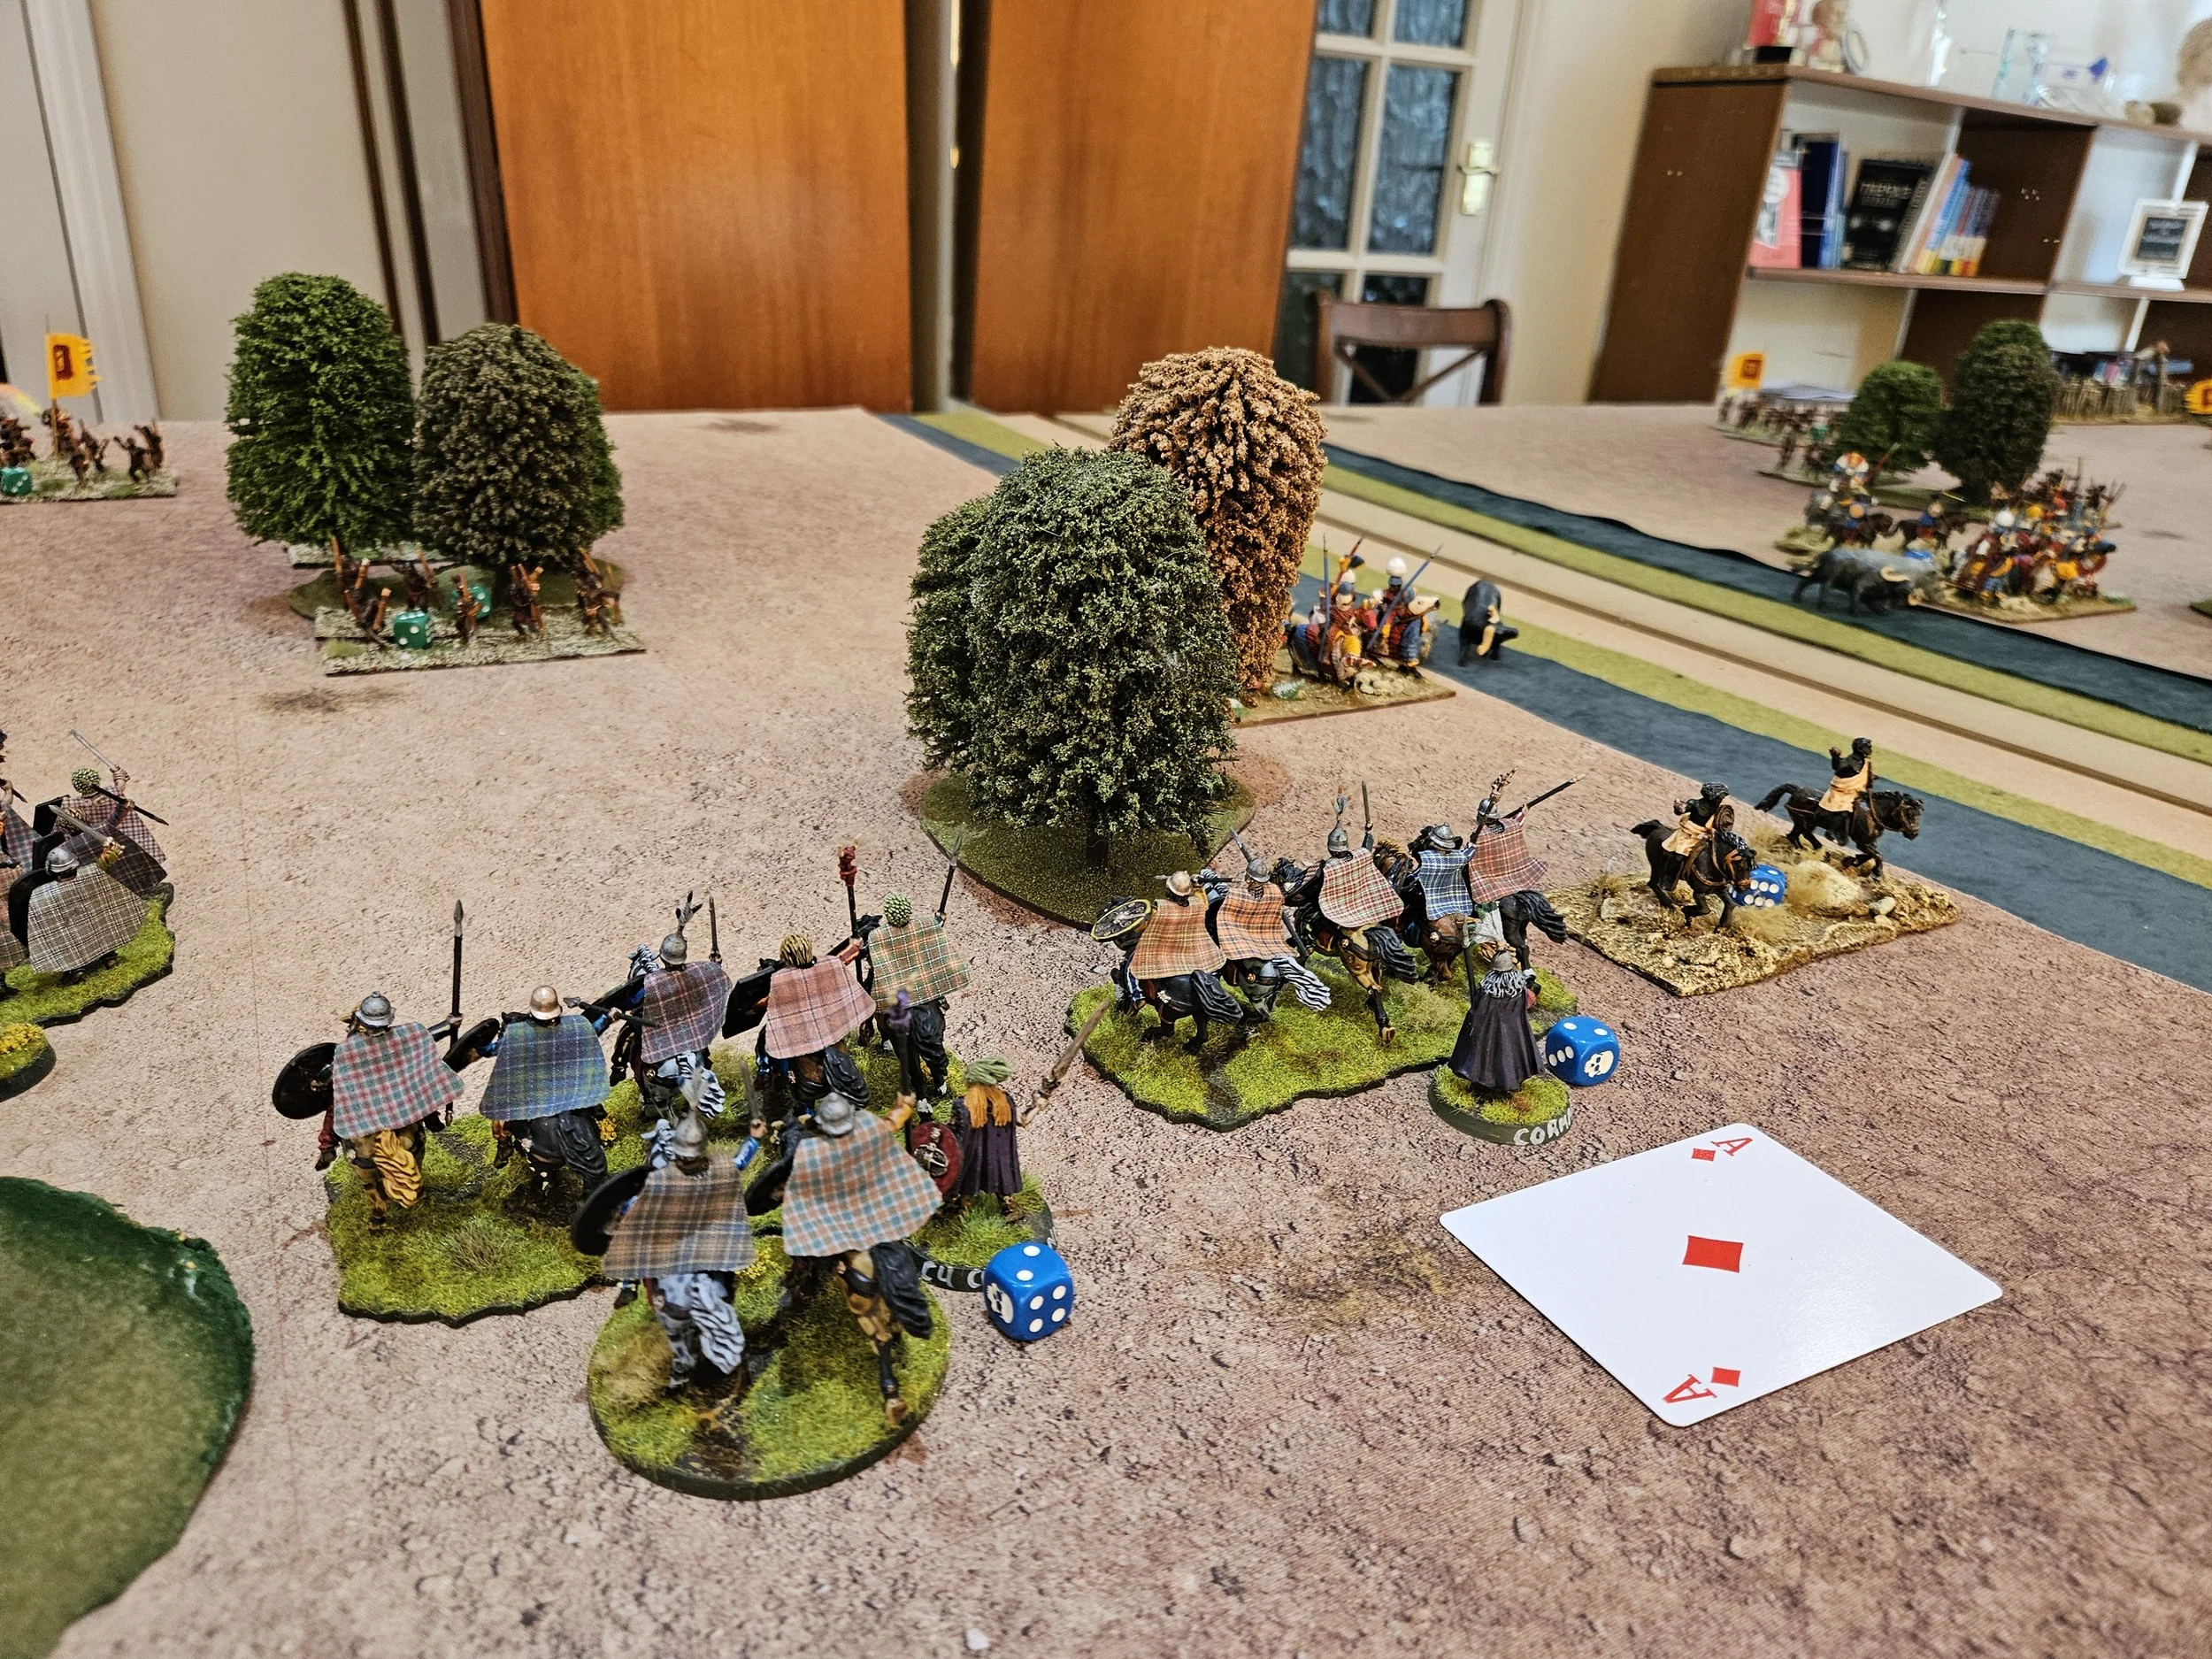
Although the latest Even Stronger now prevents light cavalry charging through other light cavalry, I was fortunate enough to have the time and space to hit the unfortunate sideways-movers from flank and rear, rapidly wiping out one formed unit, one light unit and a general for an immediate five coin advantage, and even threaten the final unit of lights as well.
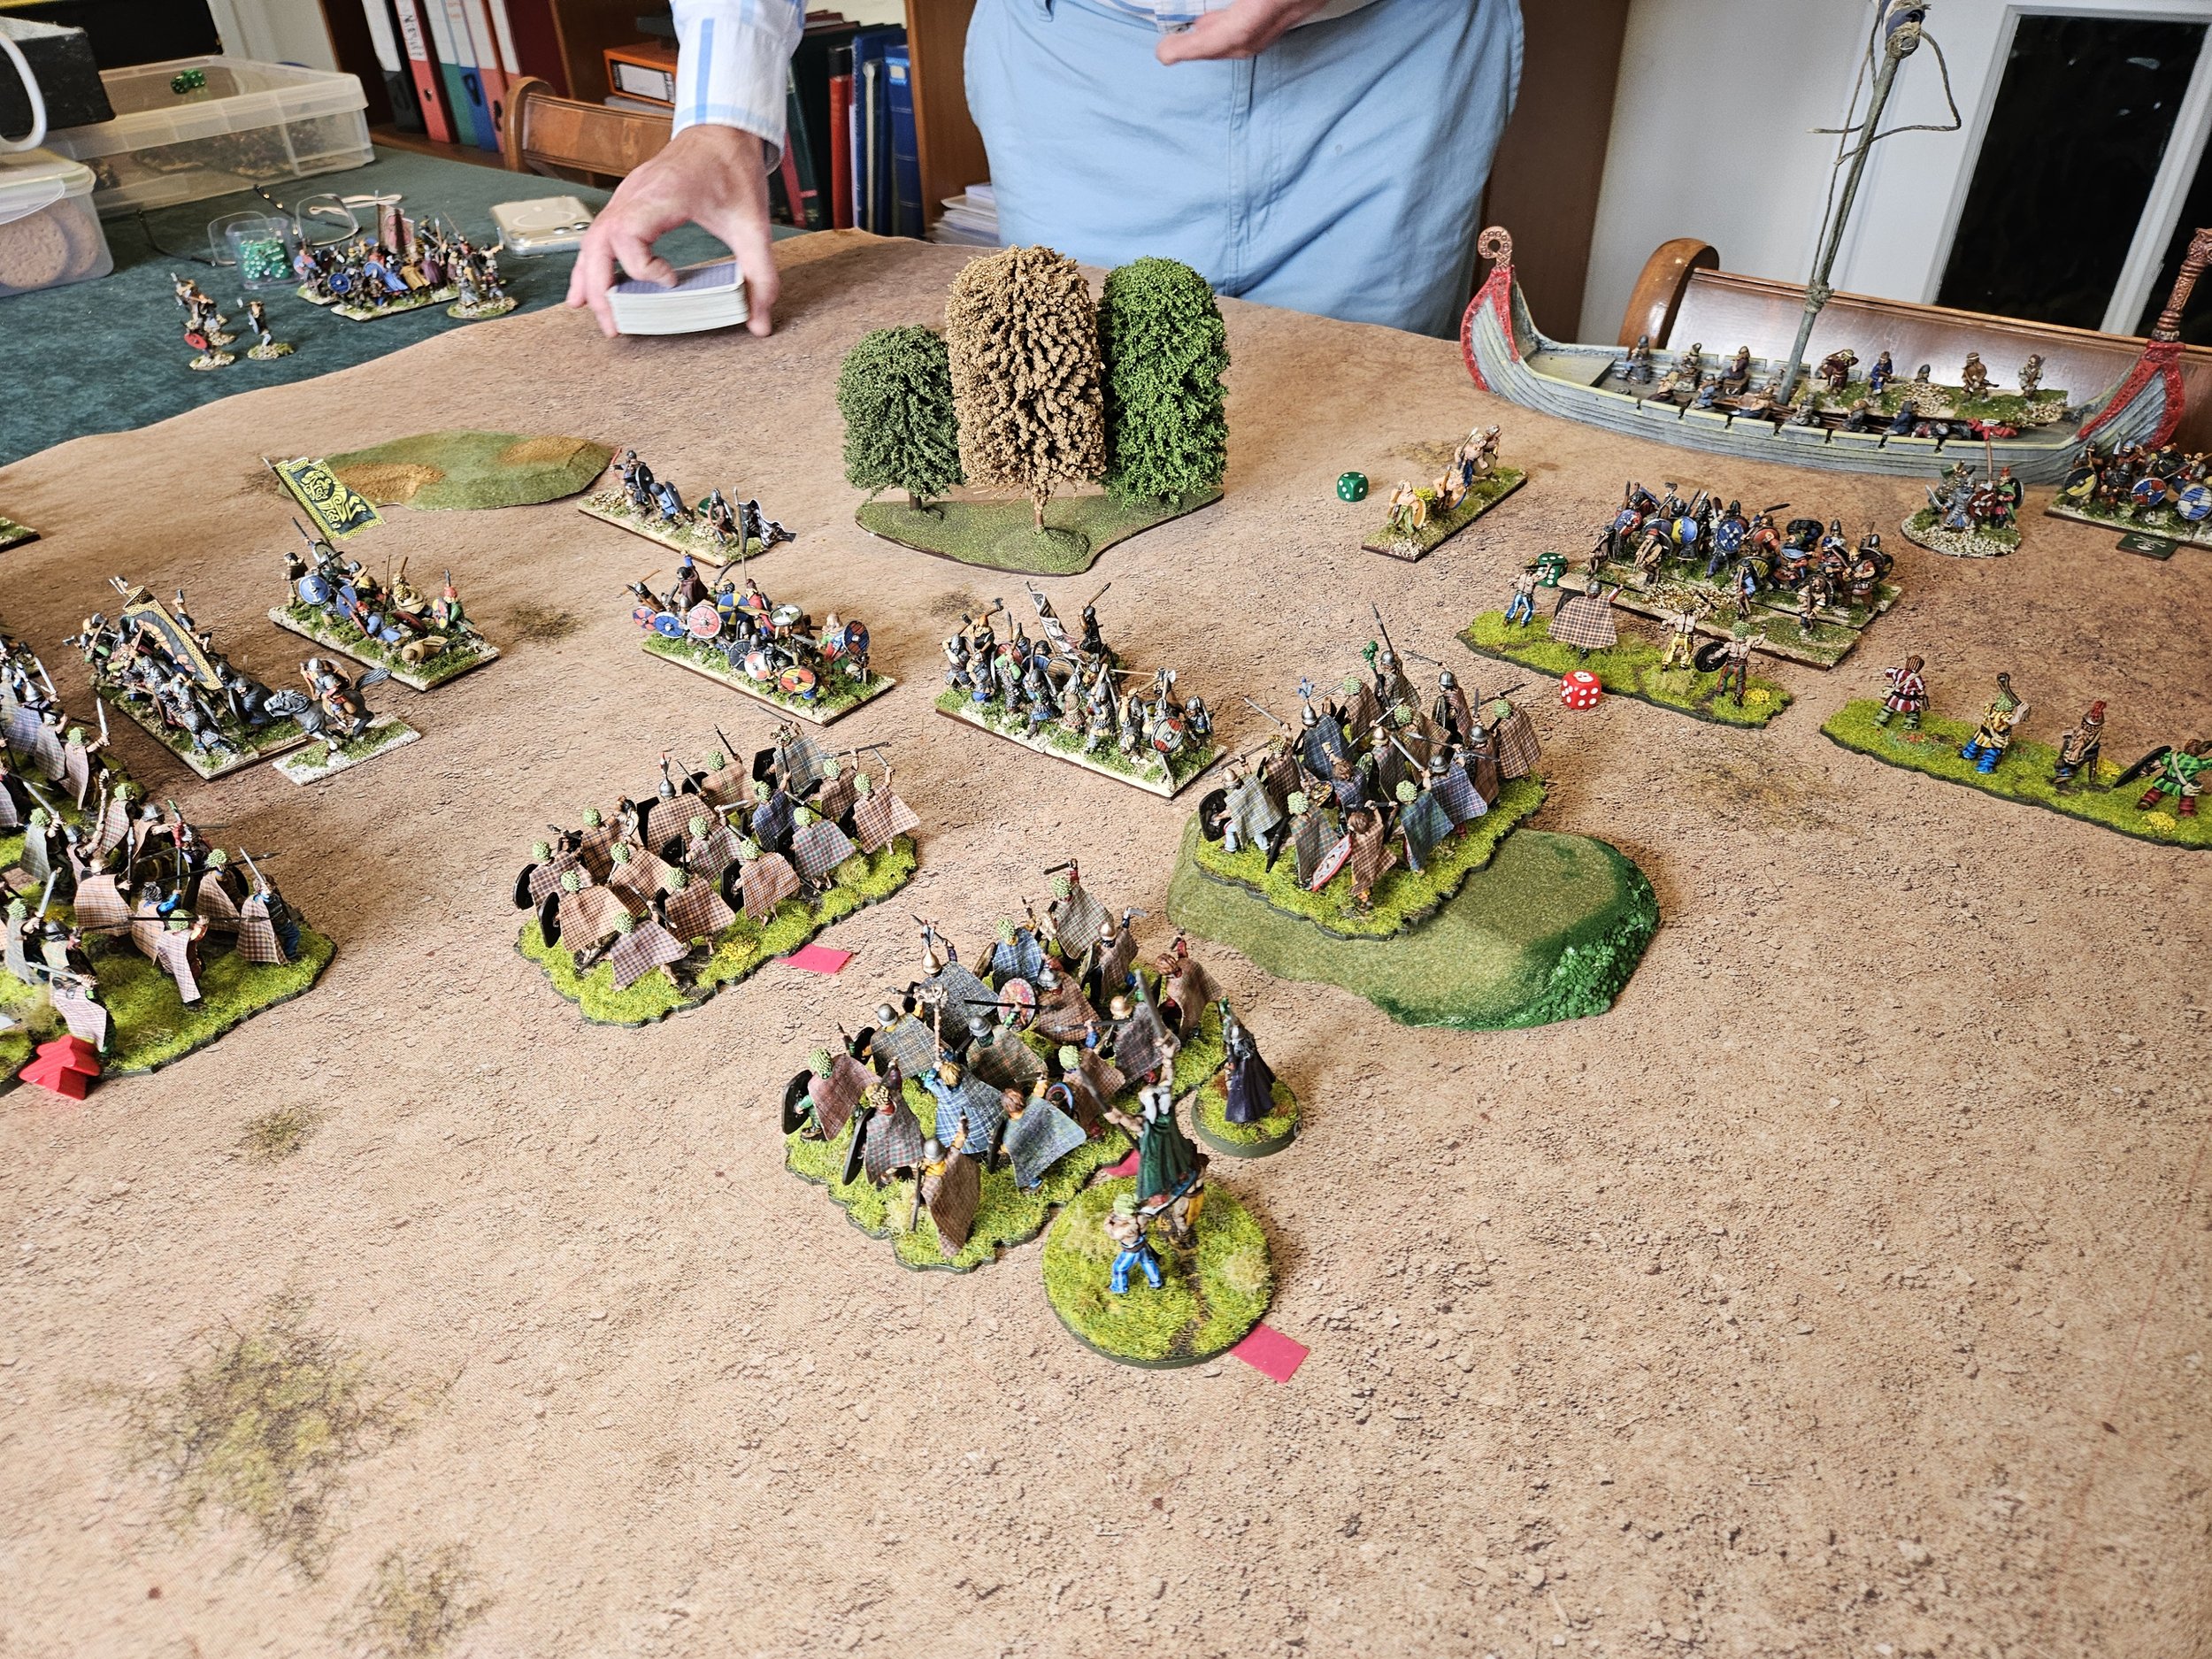
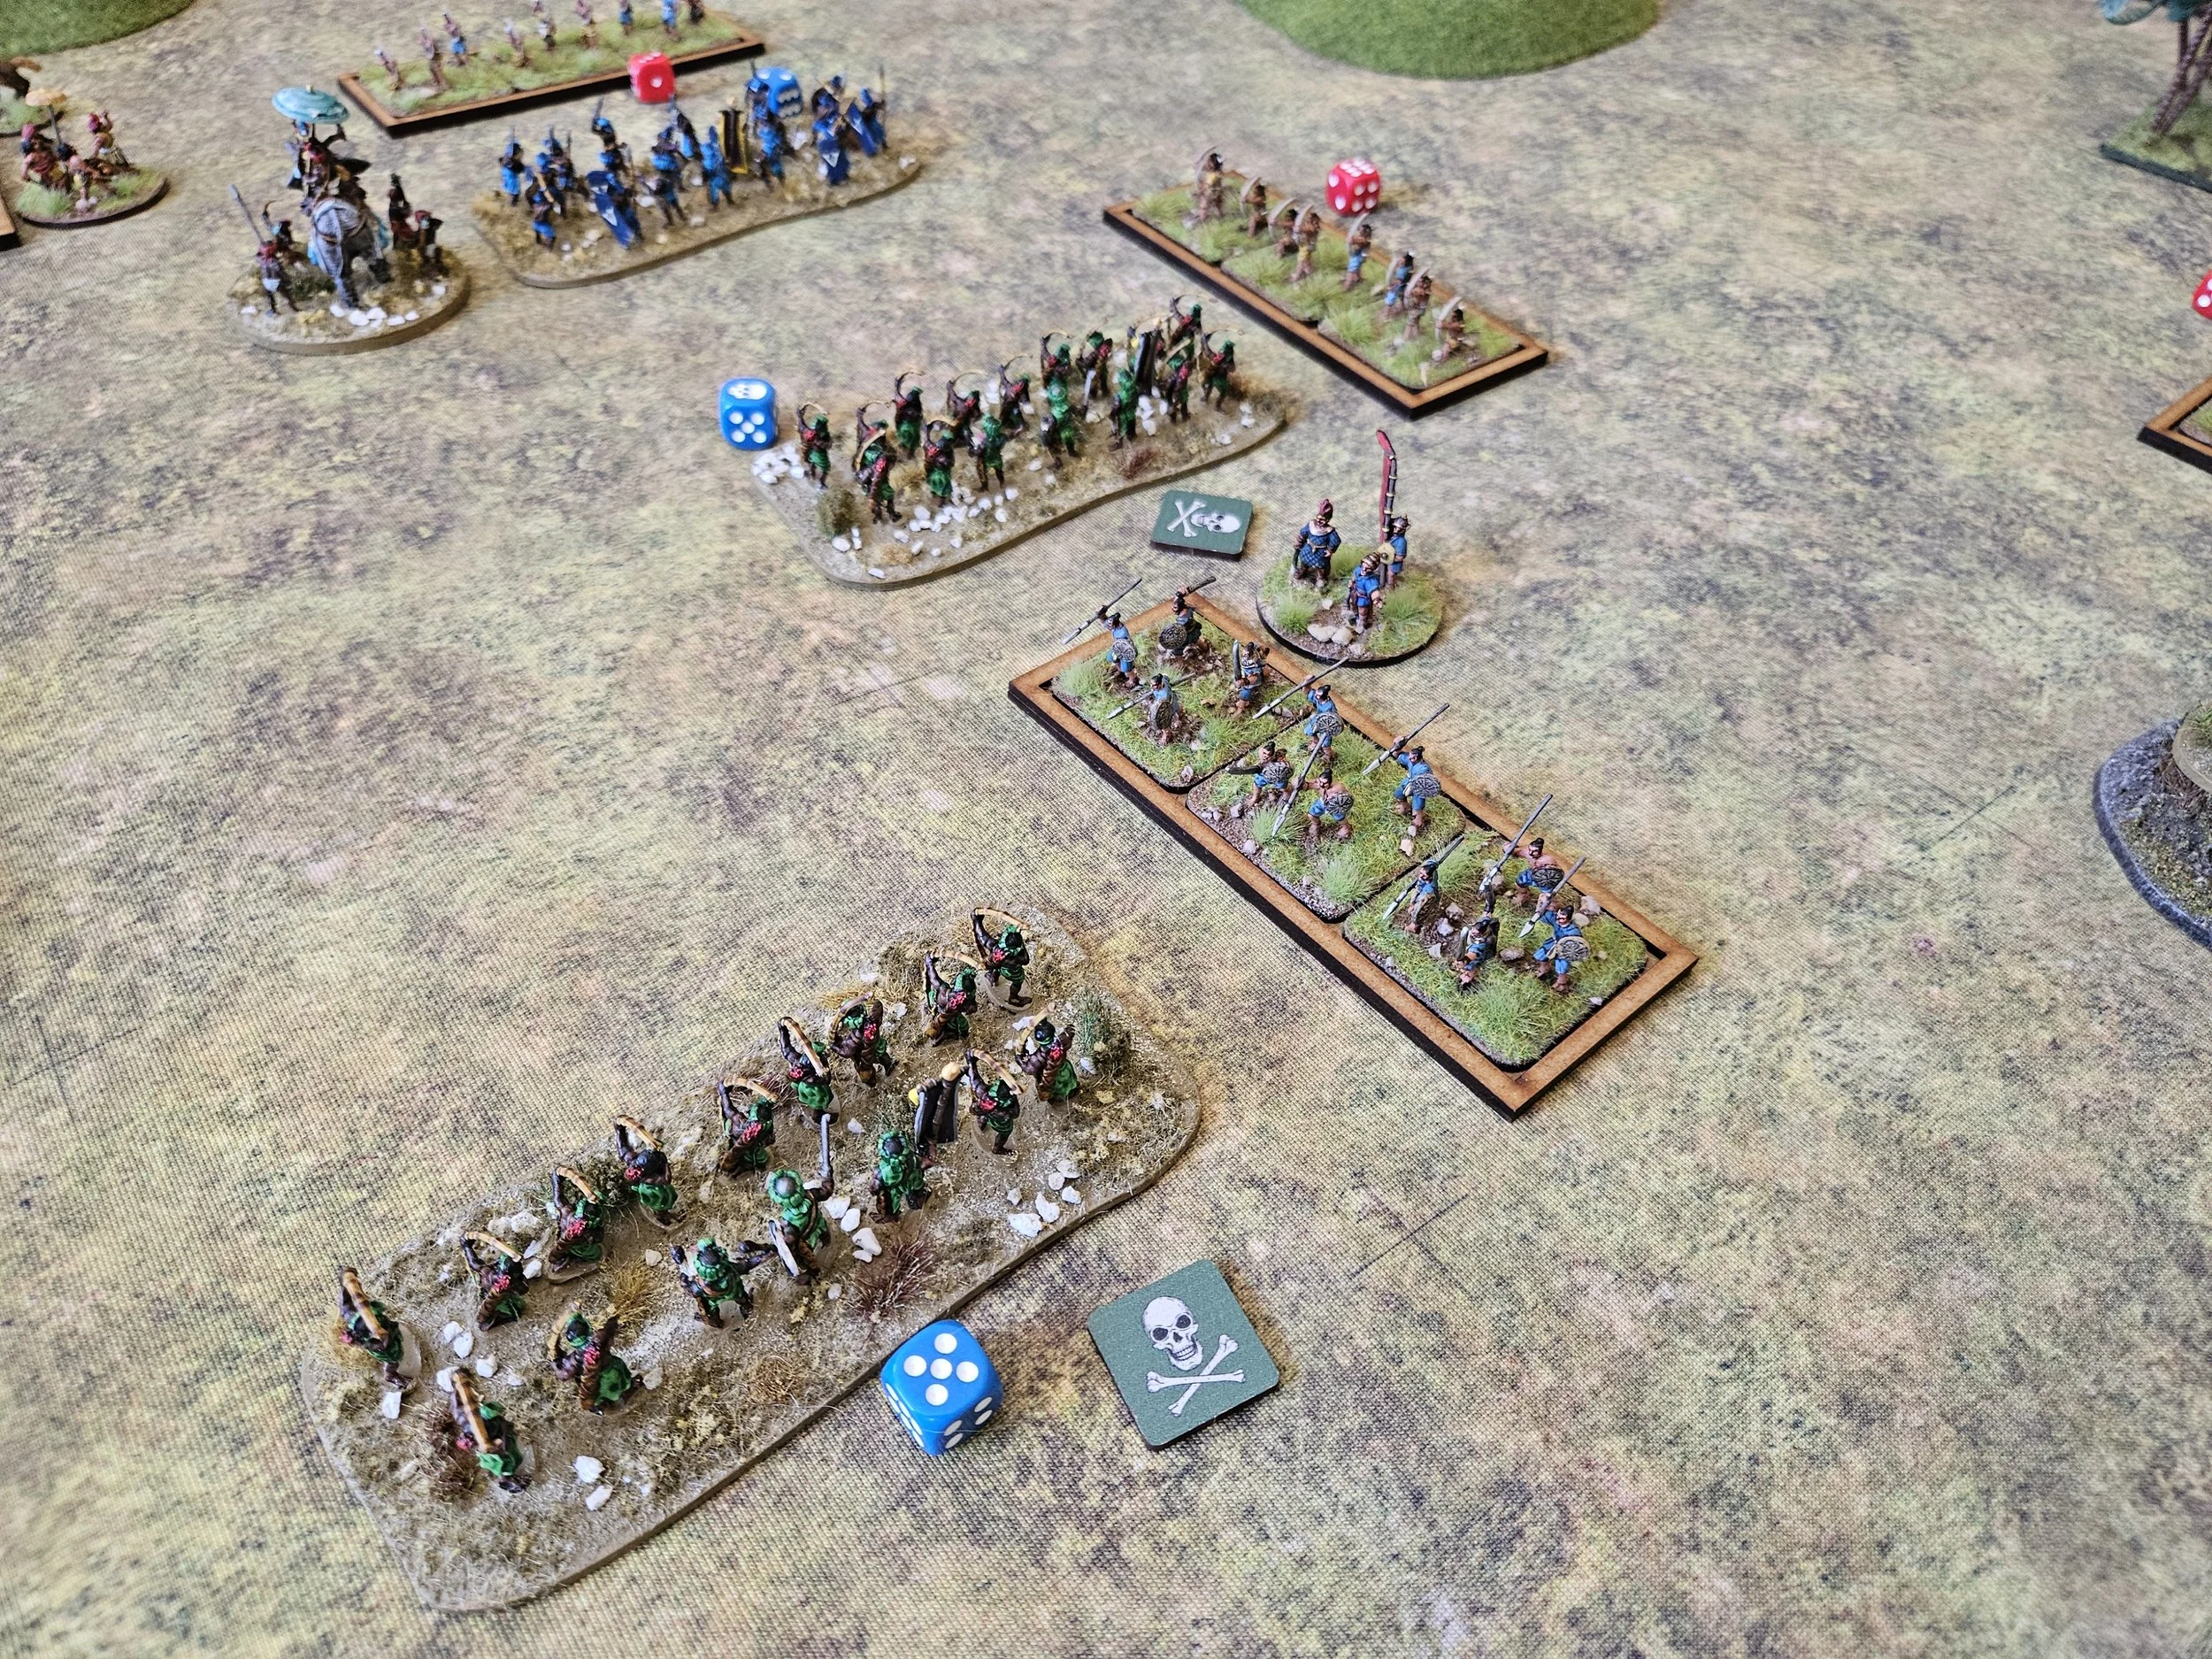
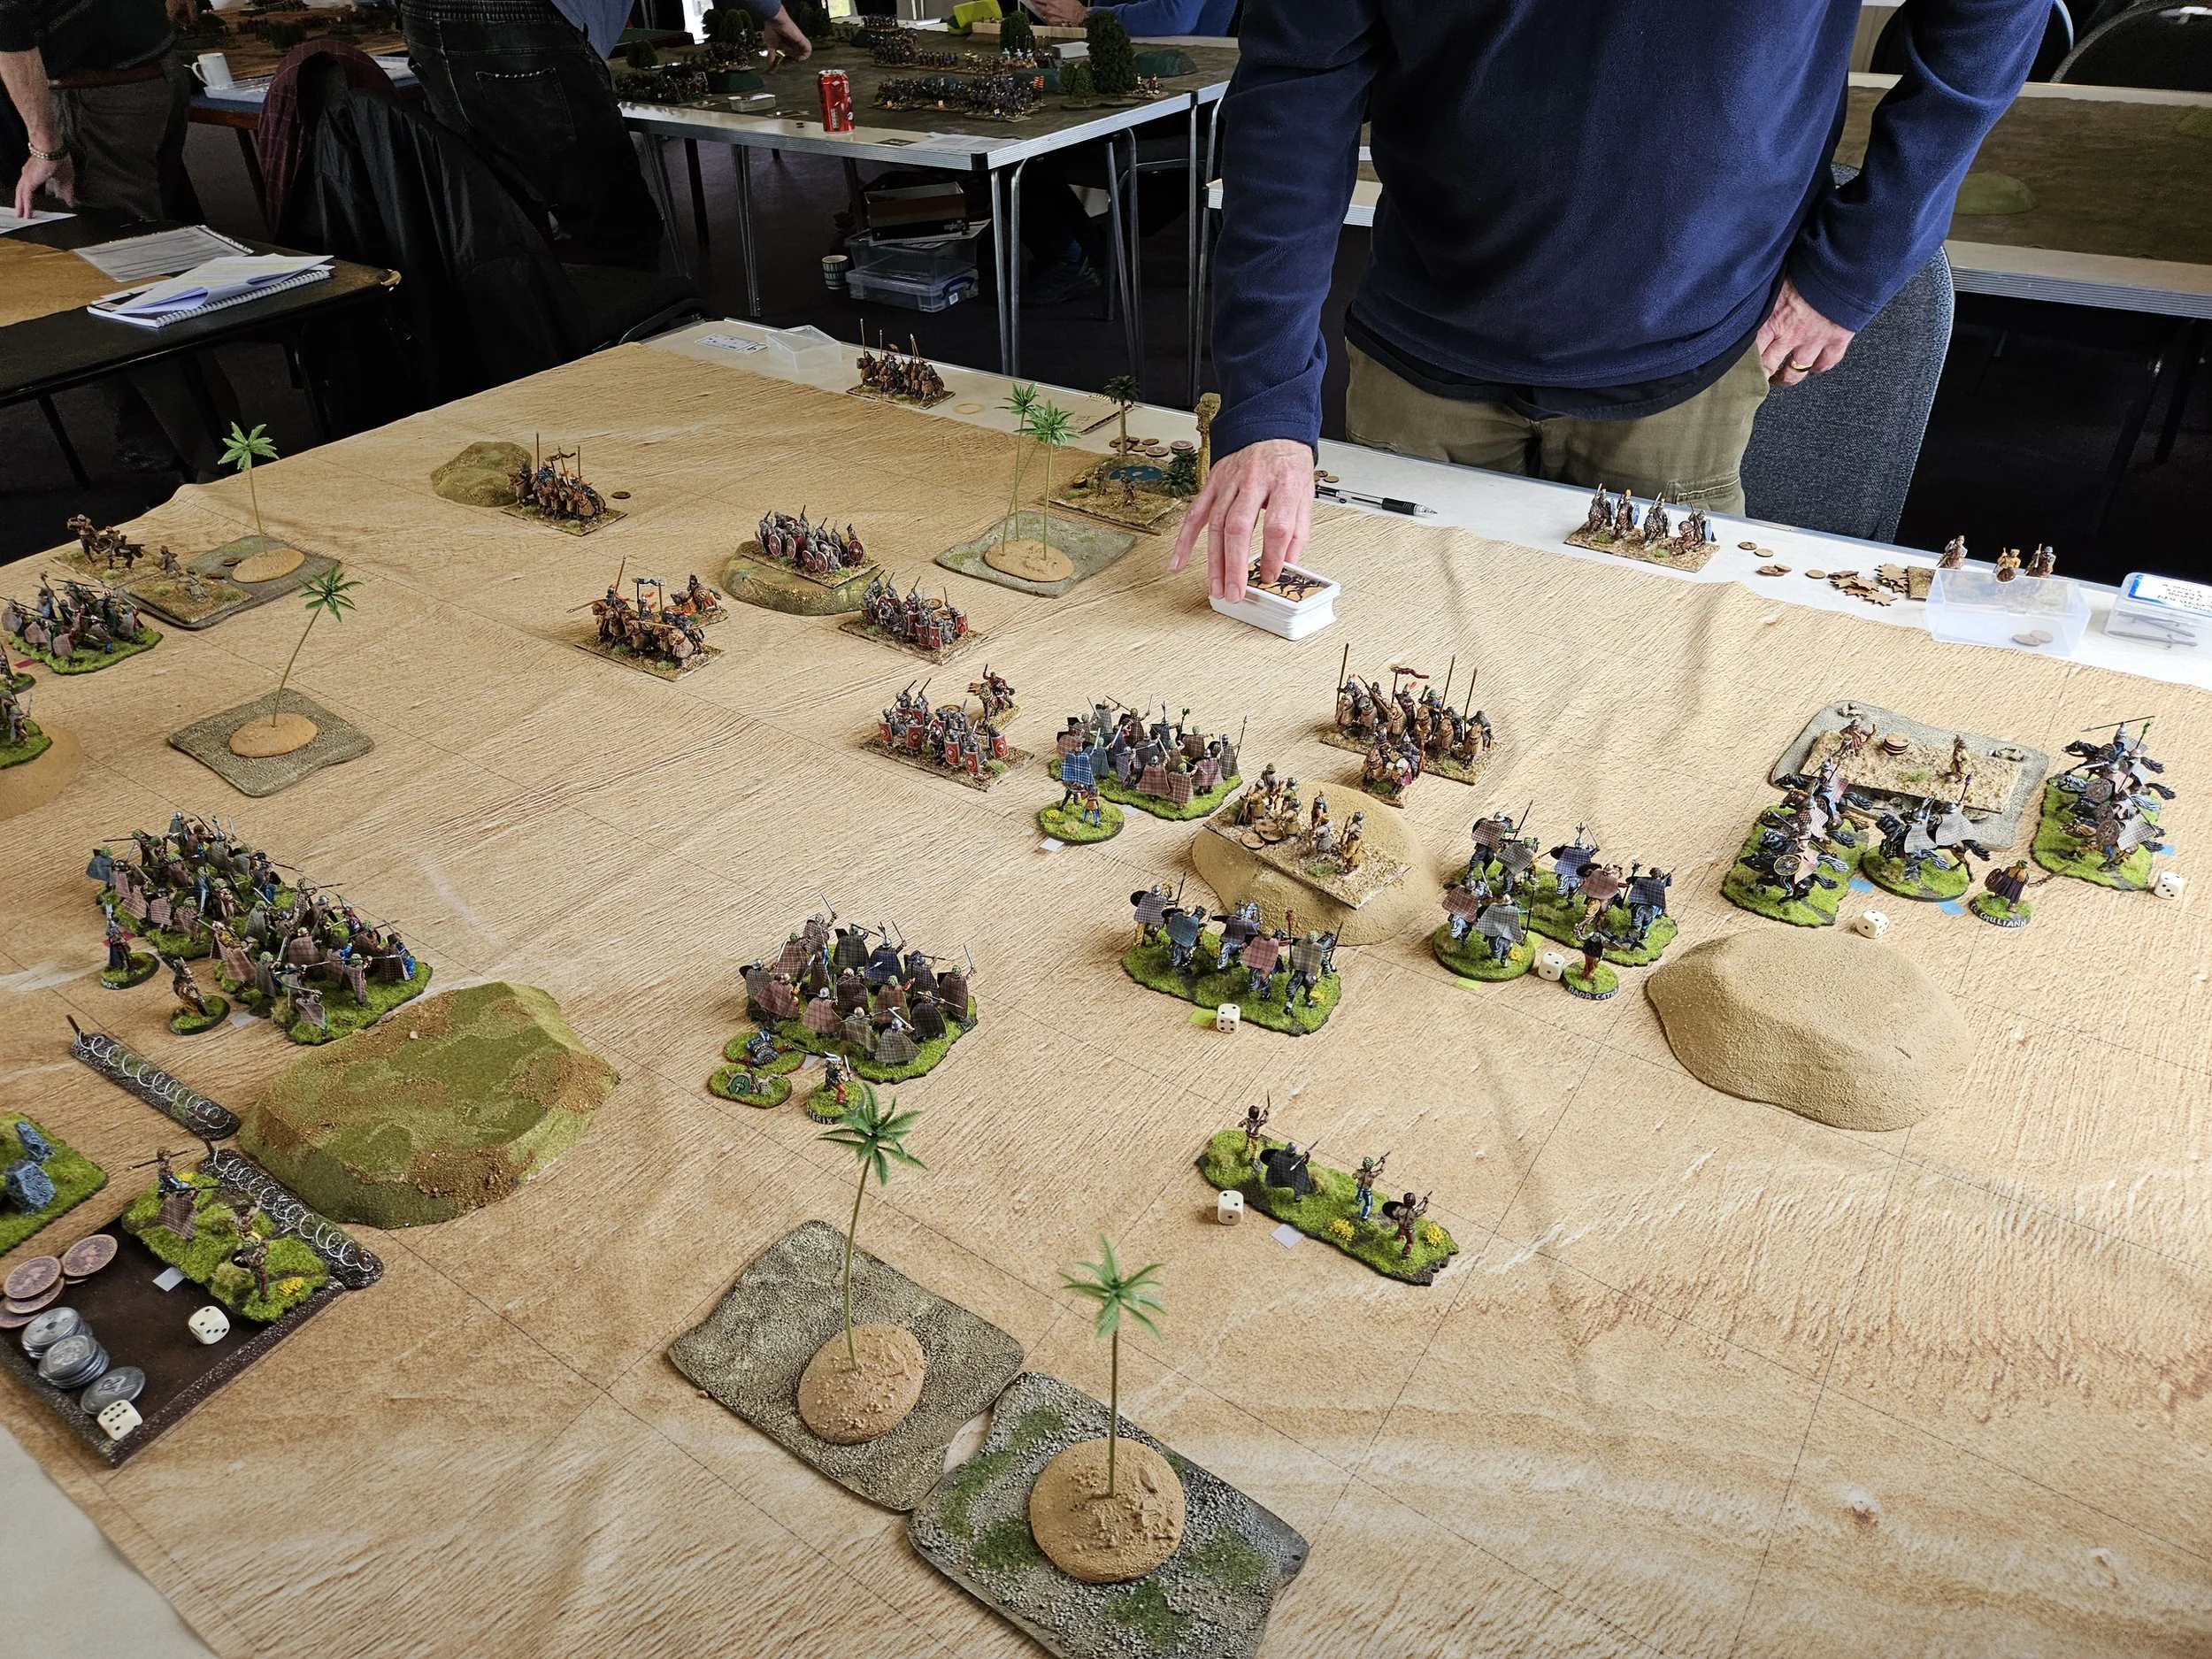
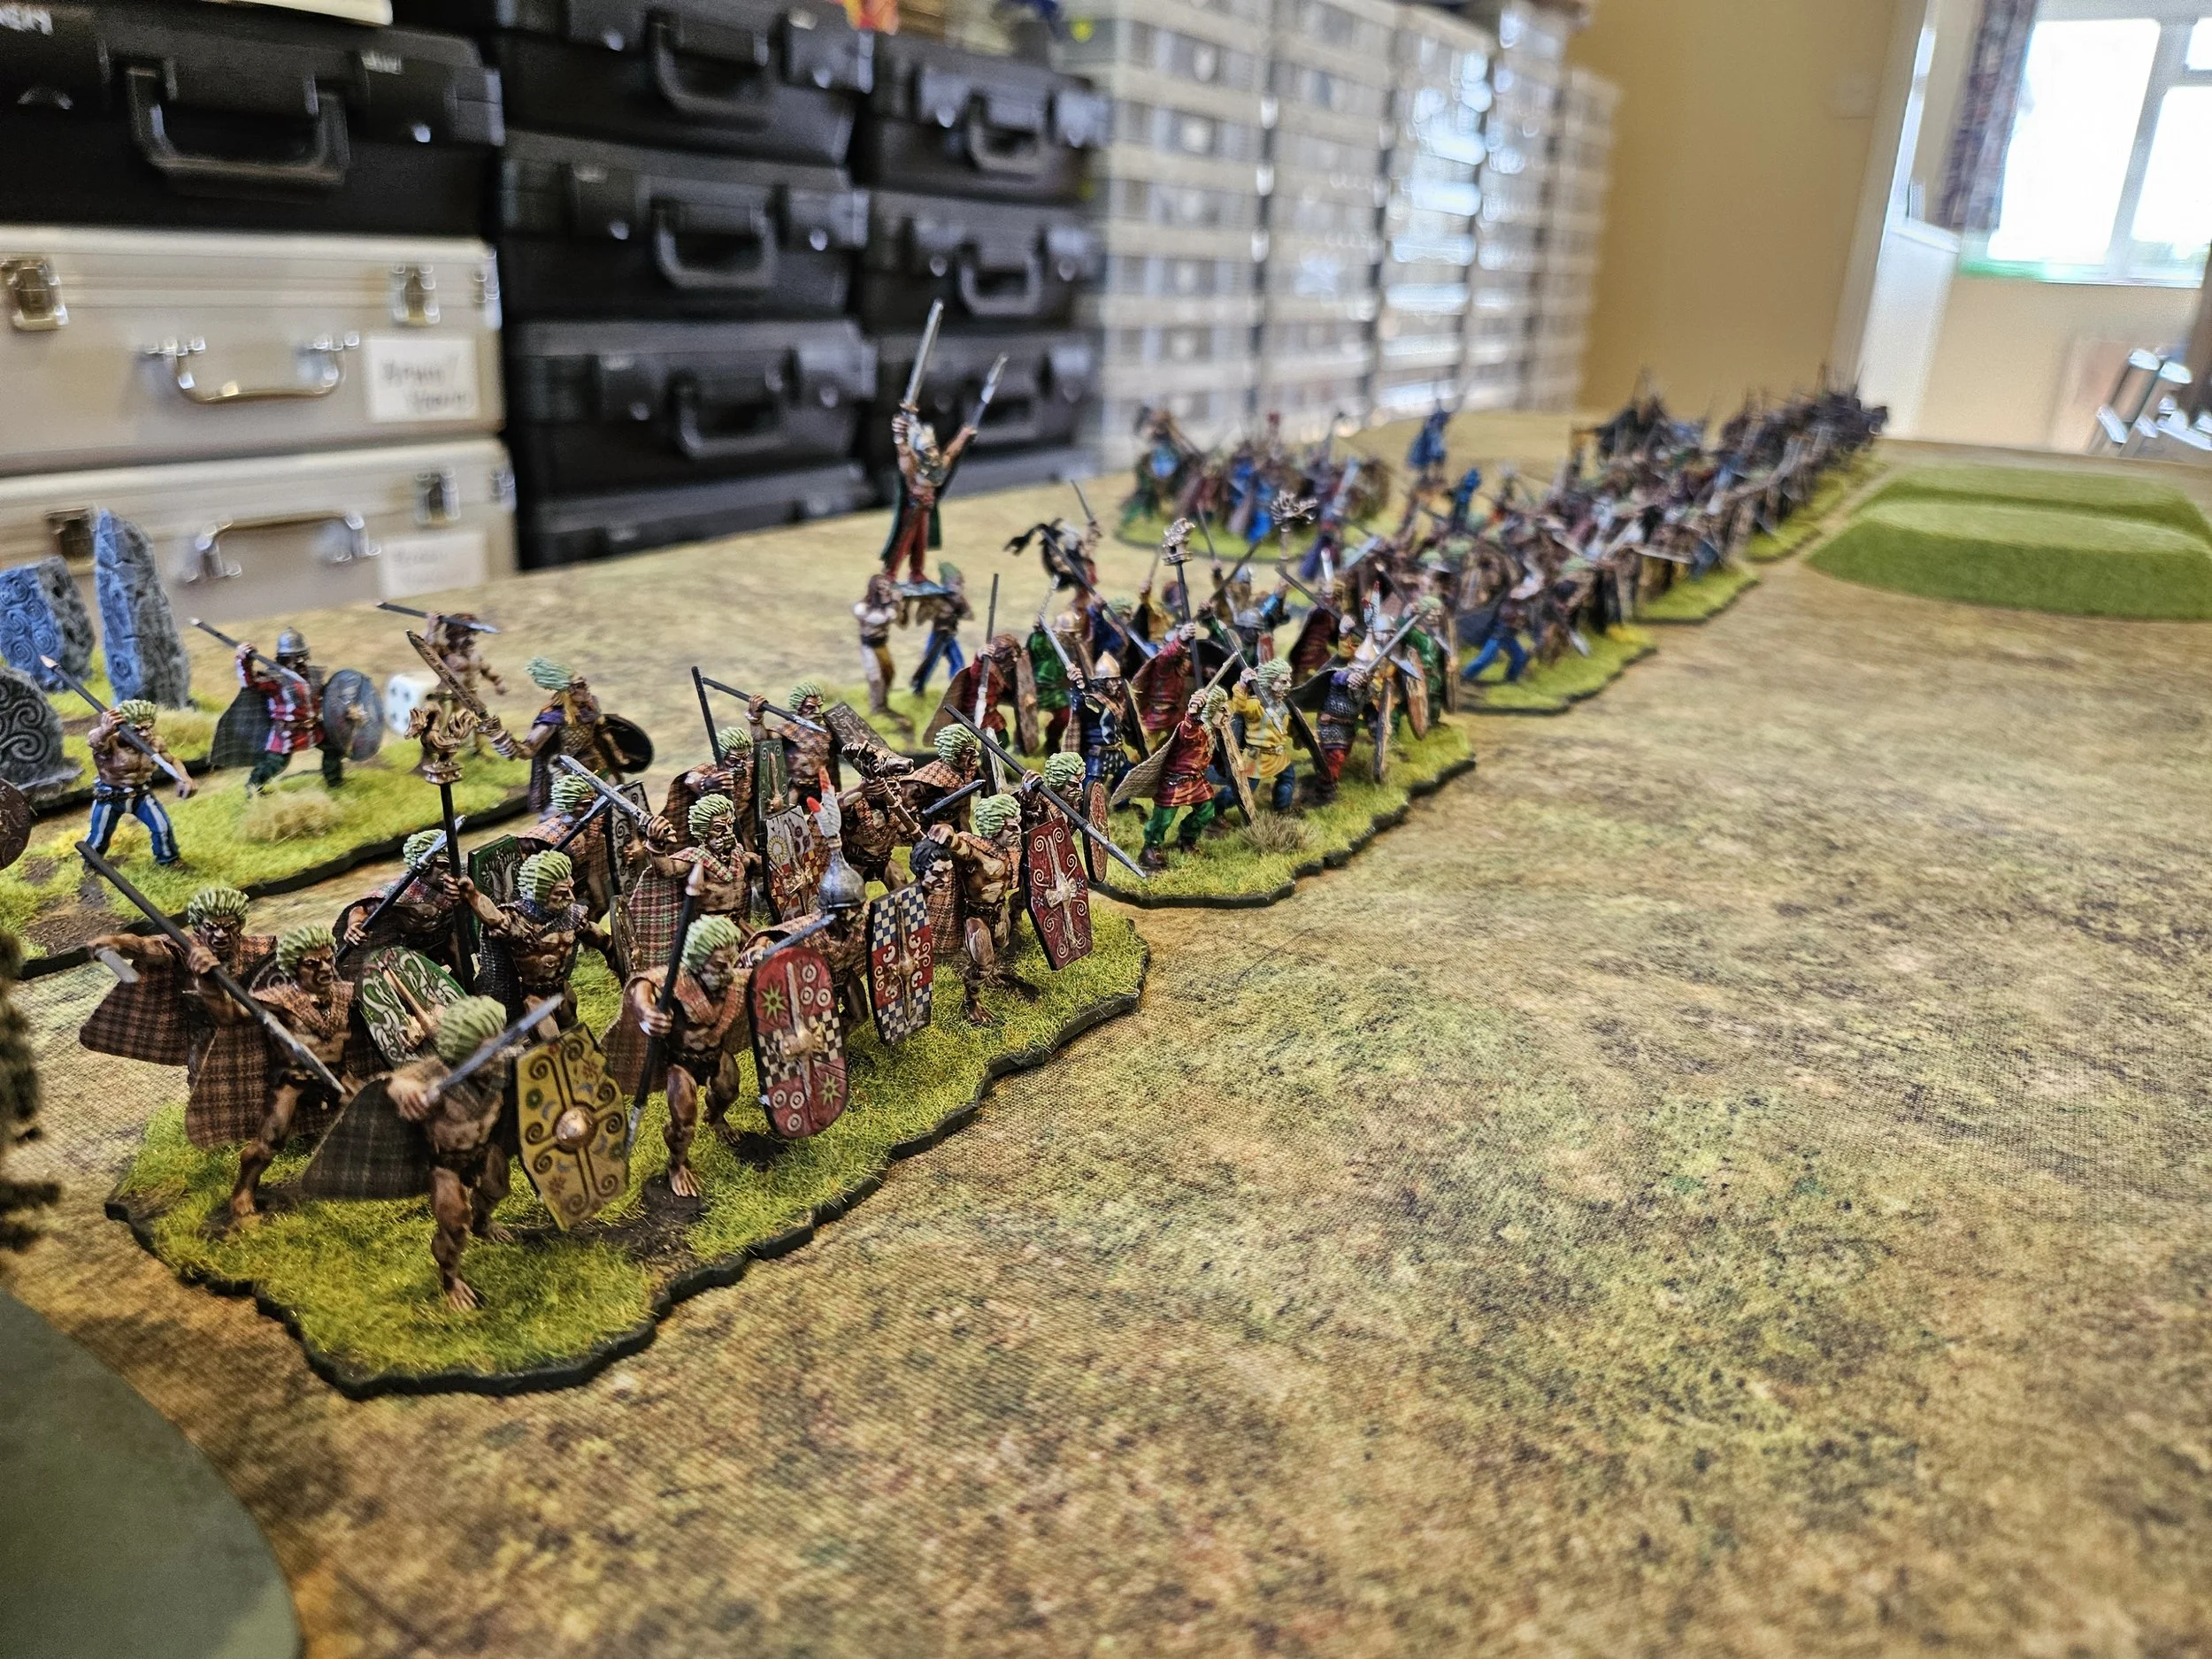
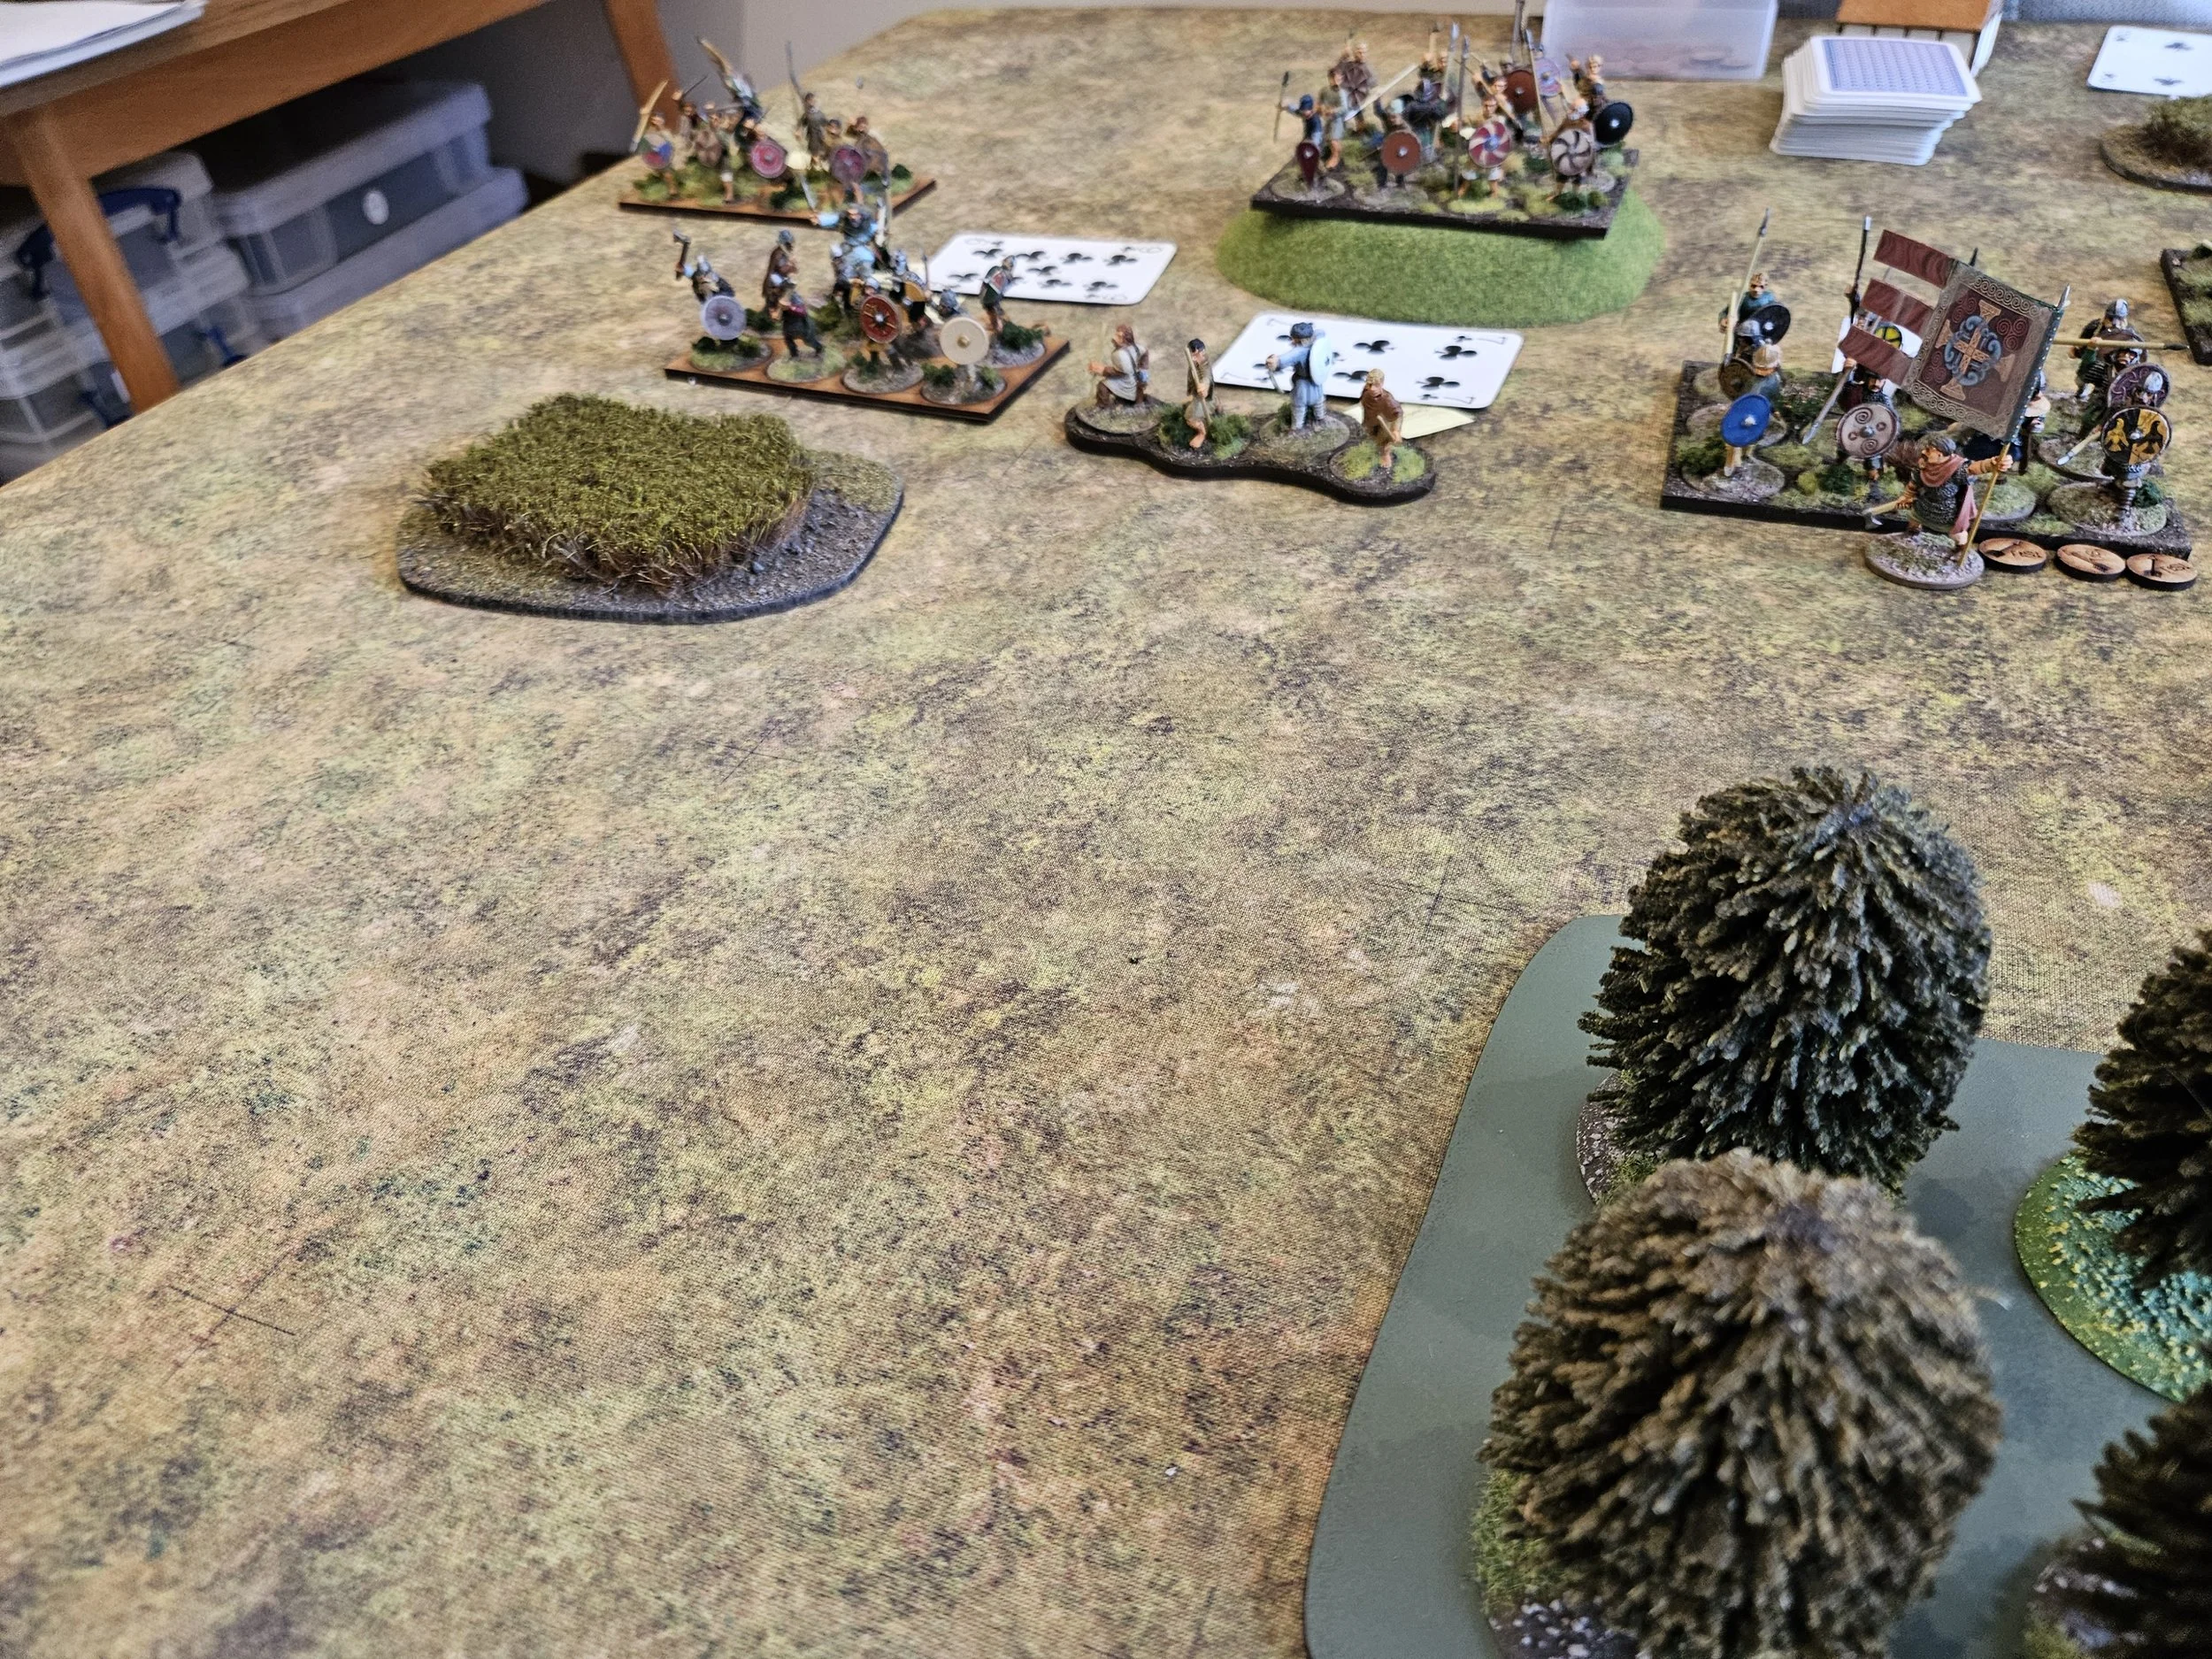
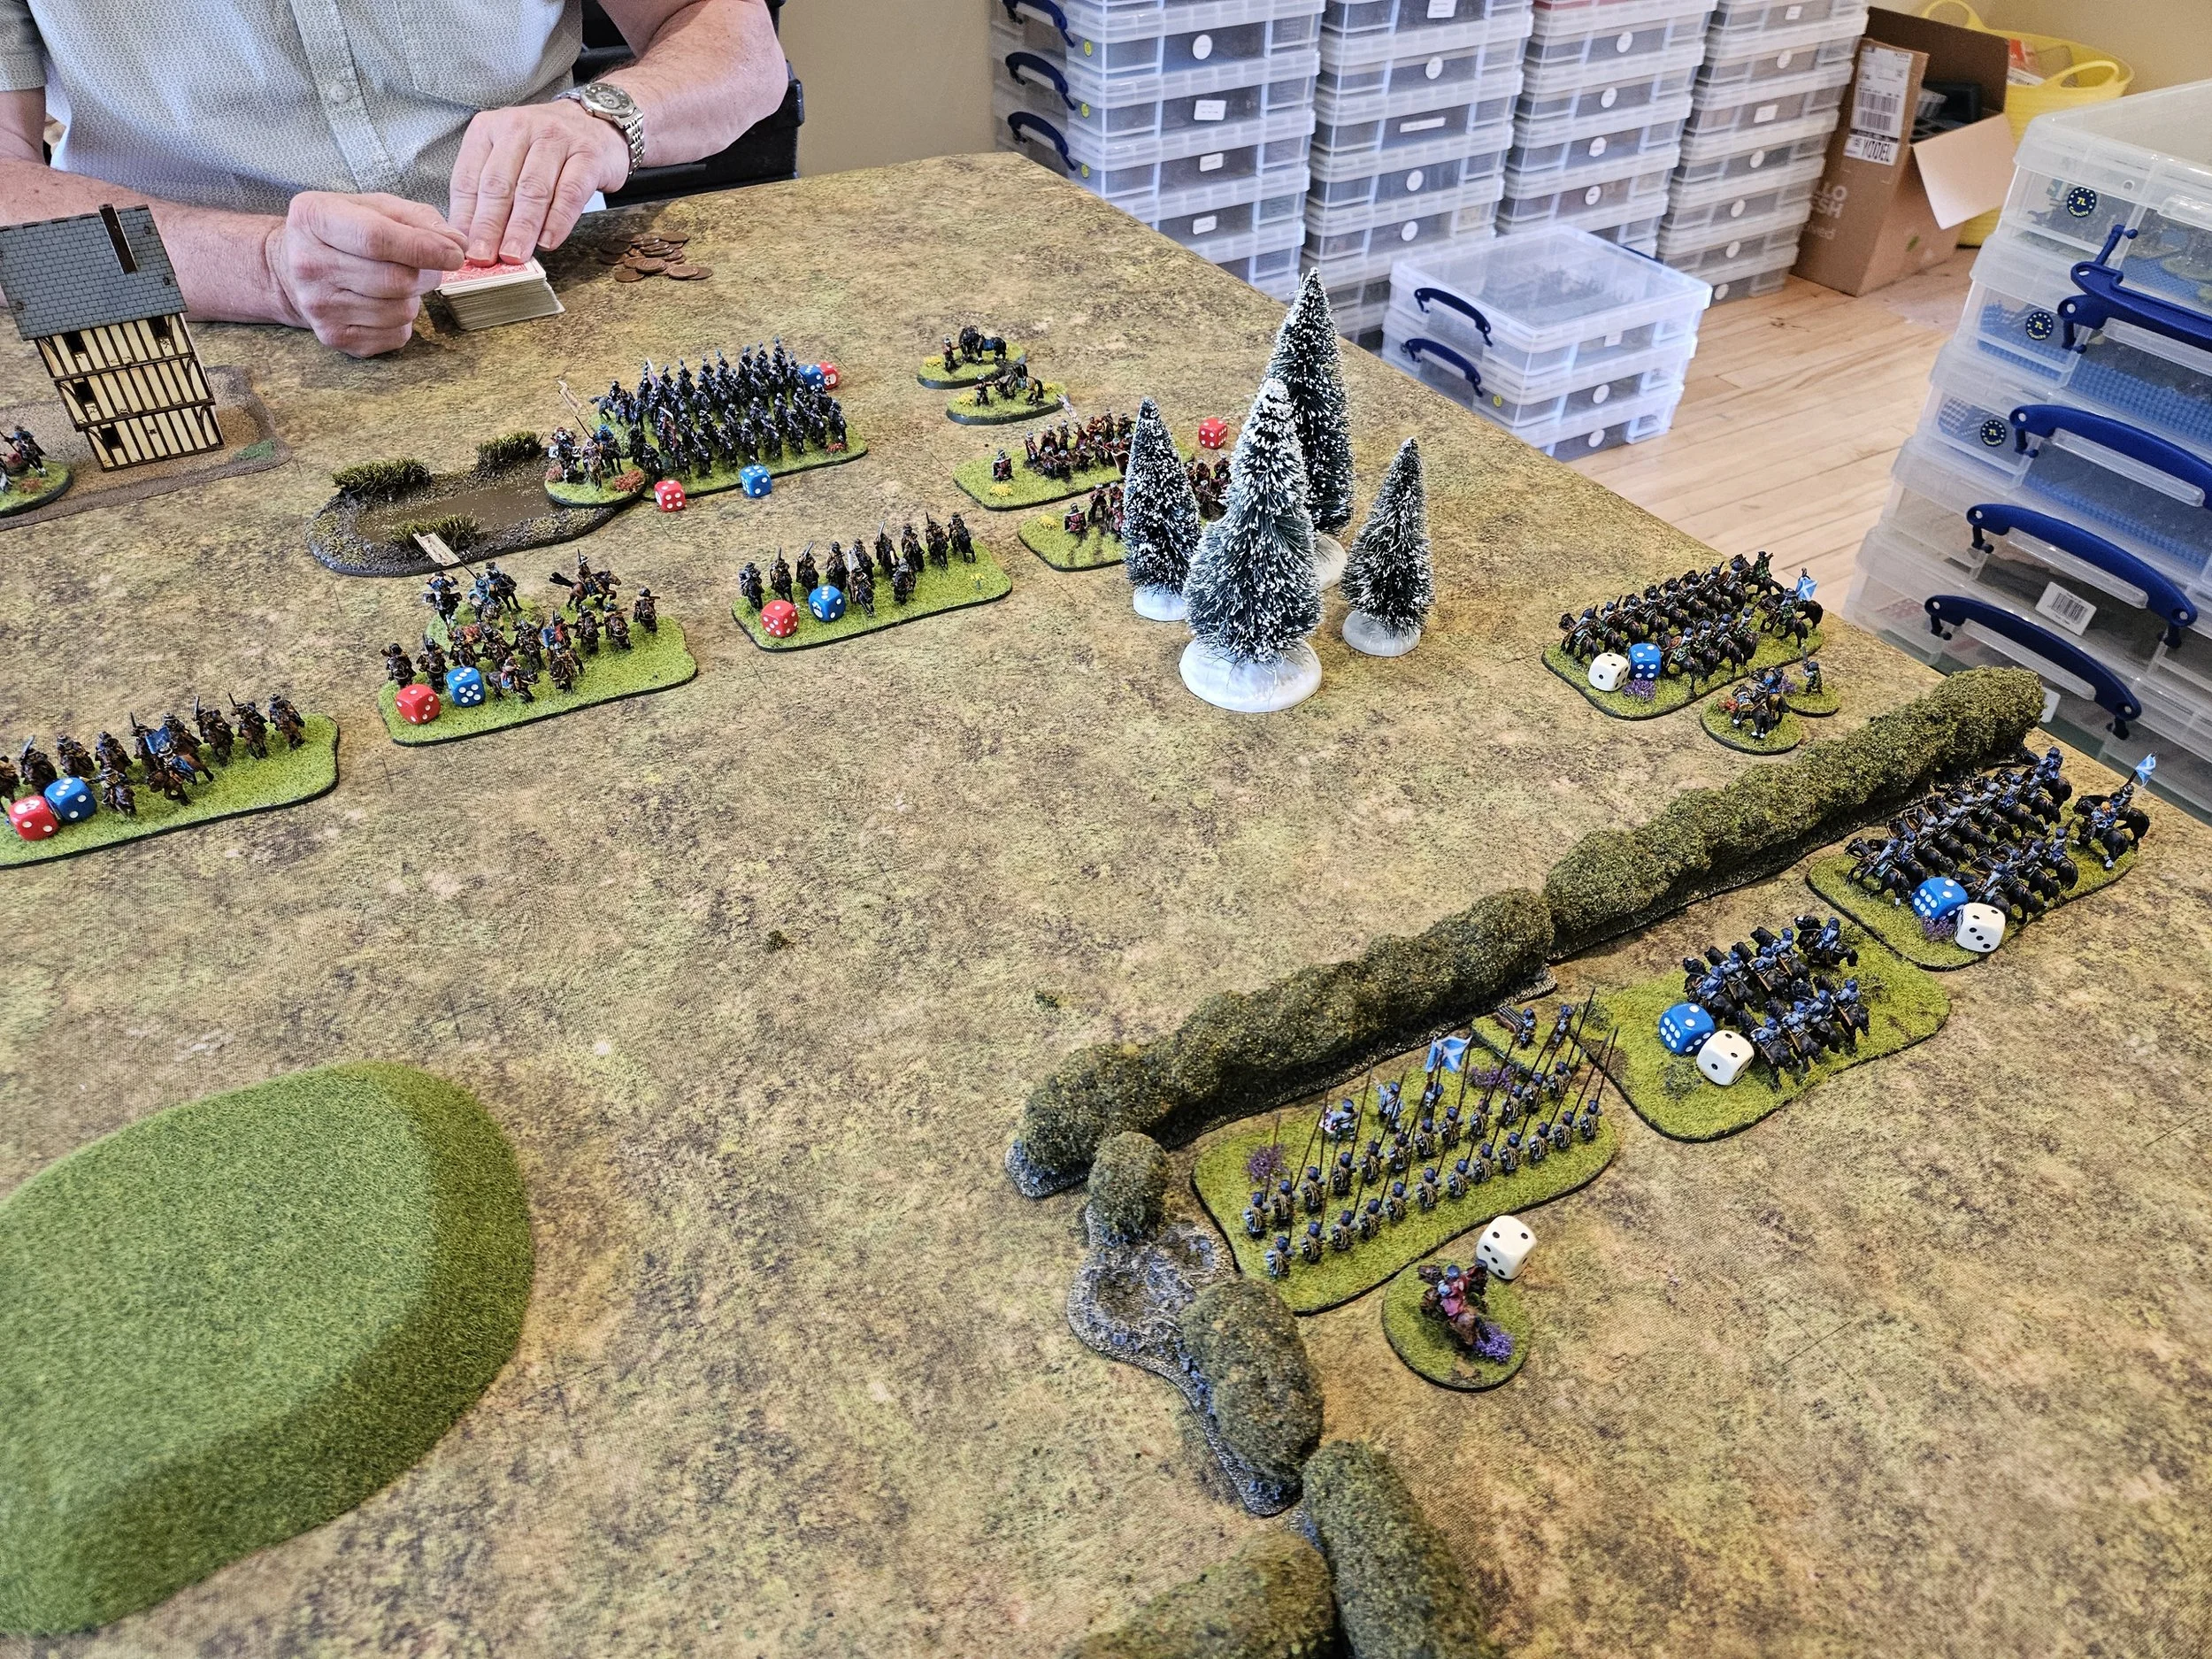
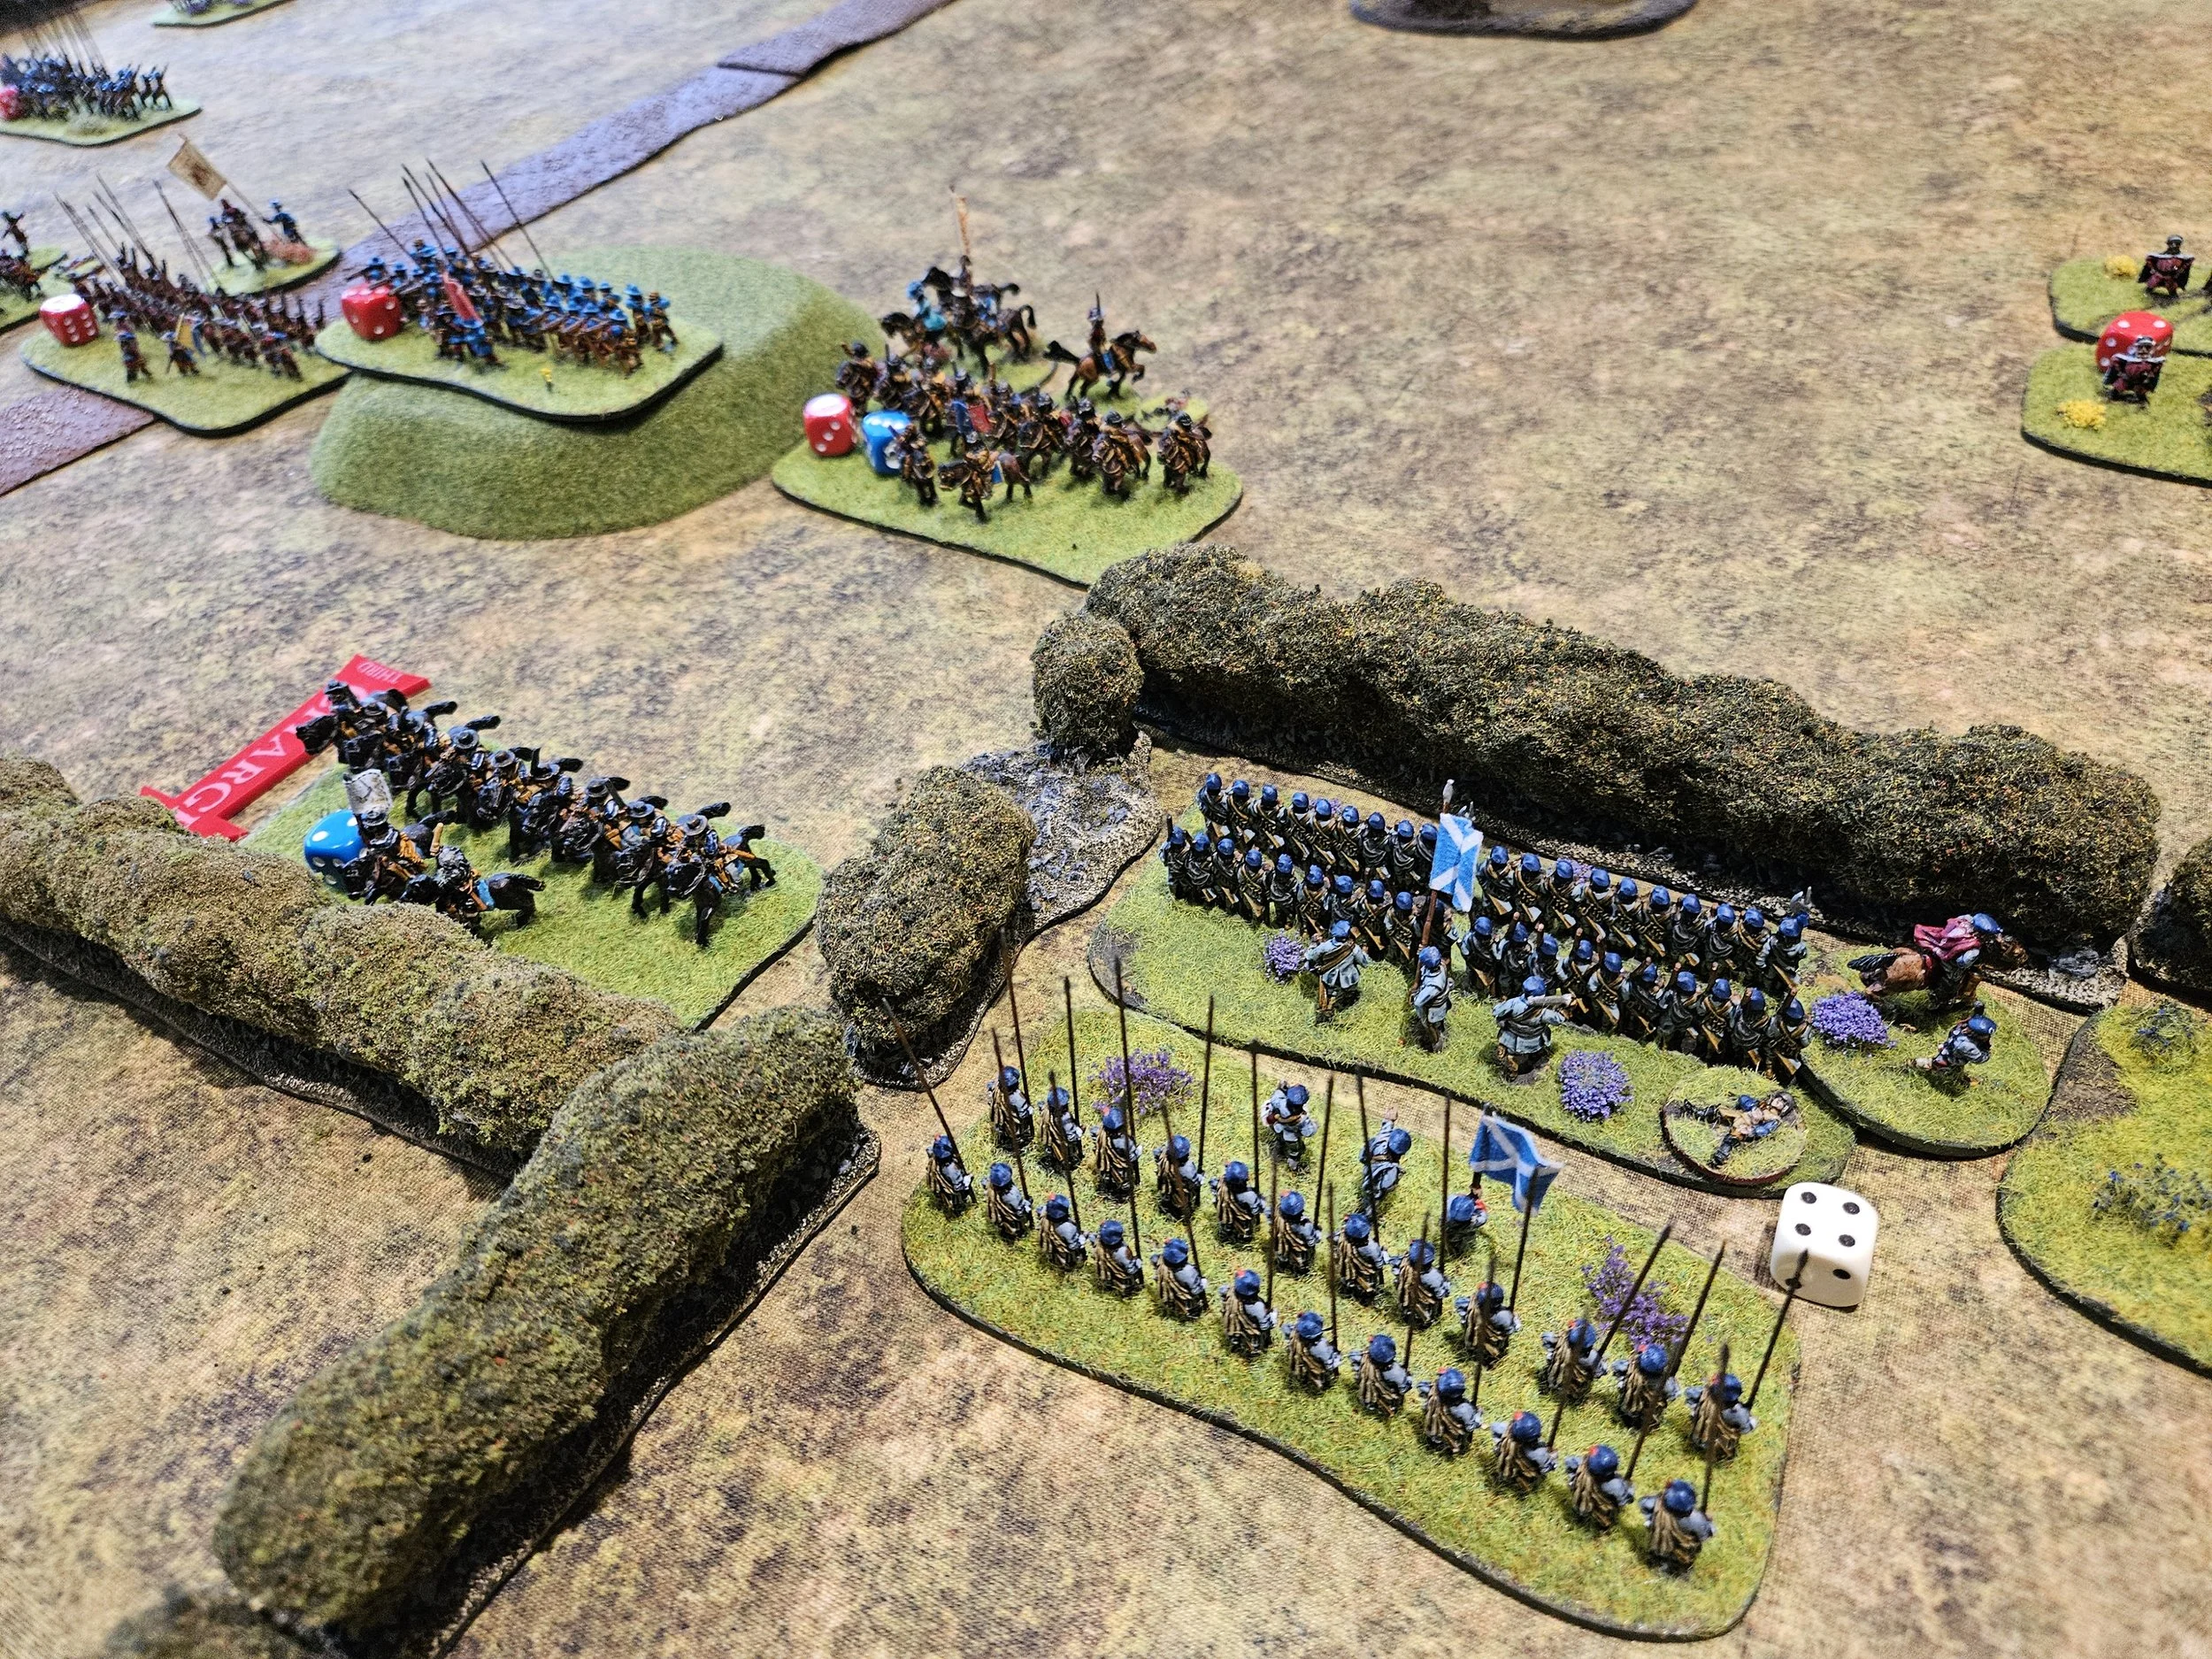
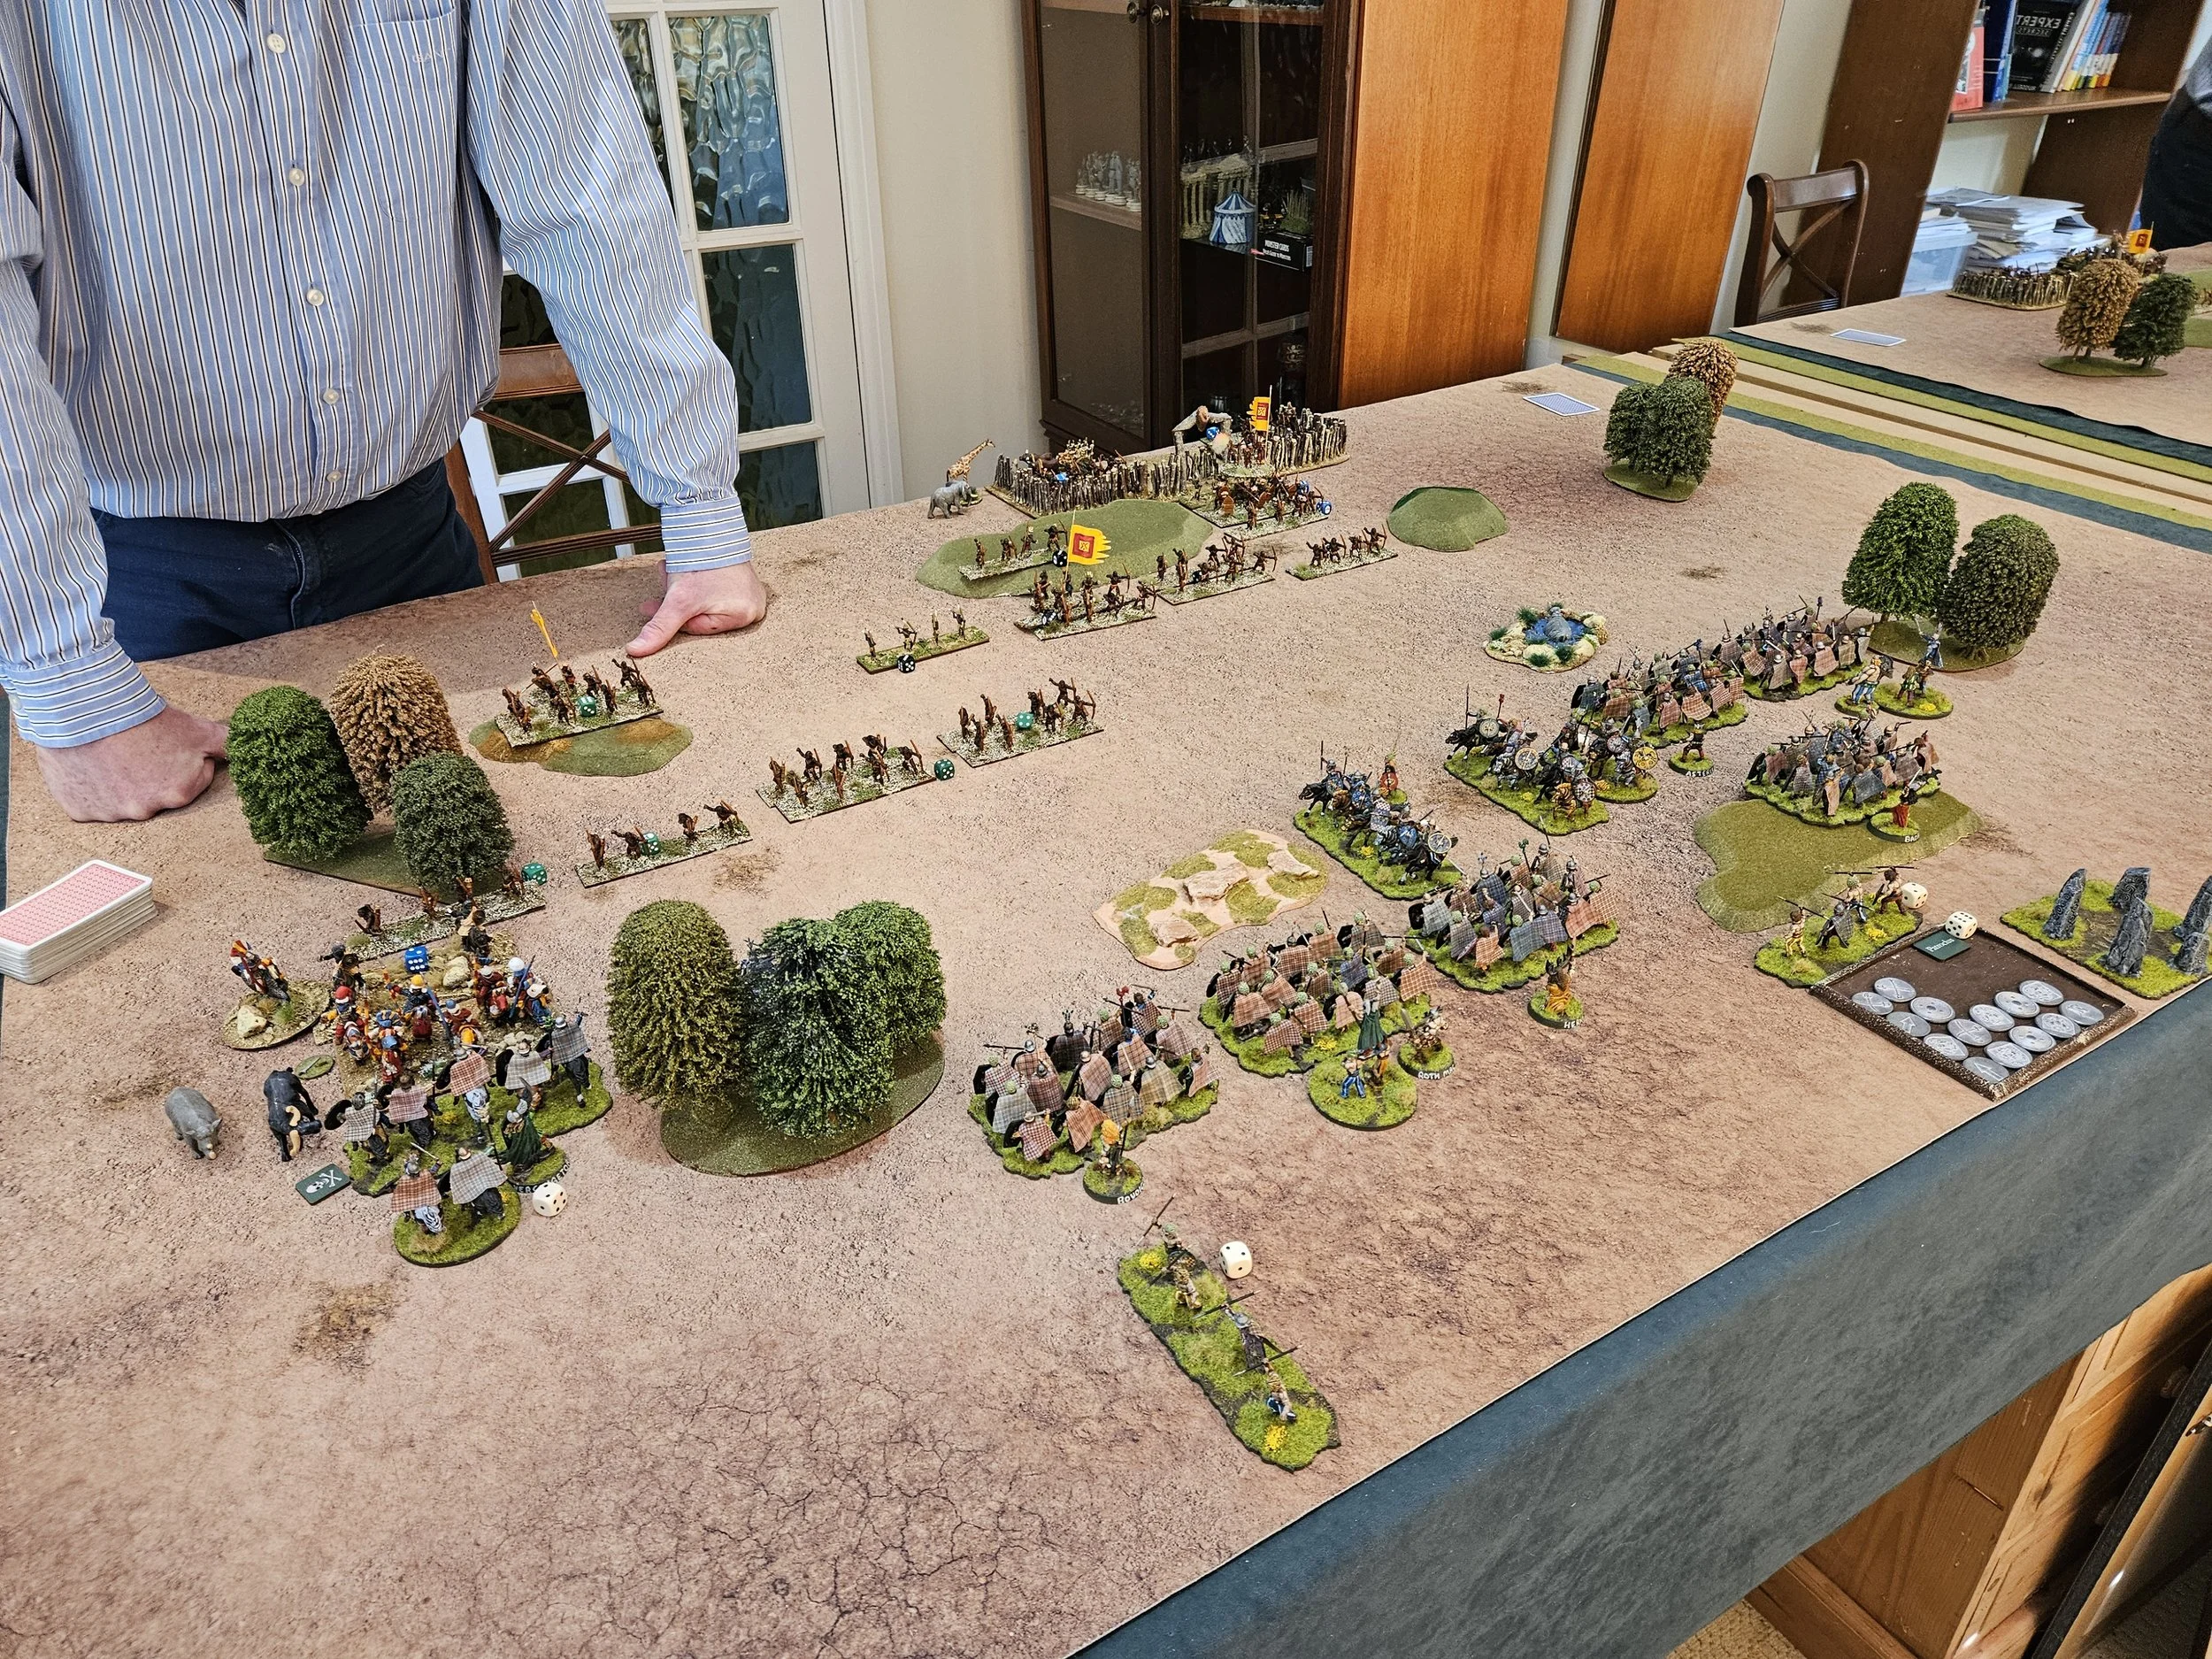
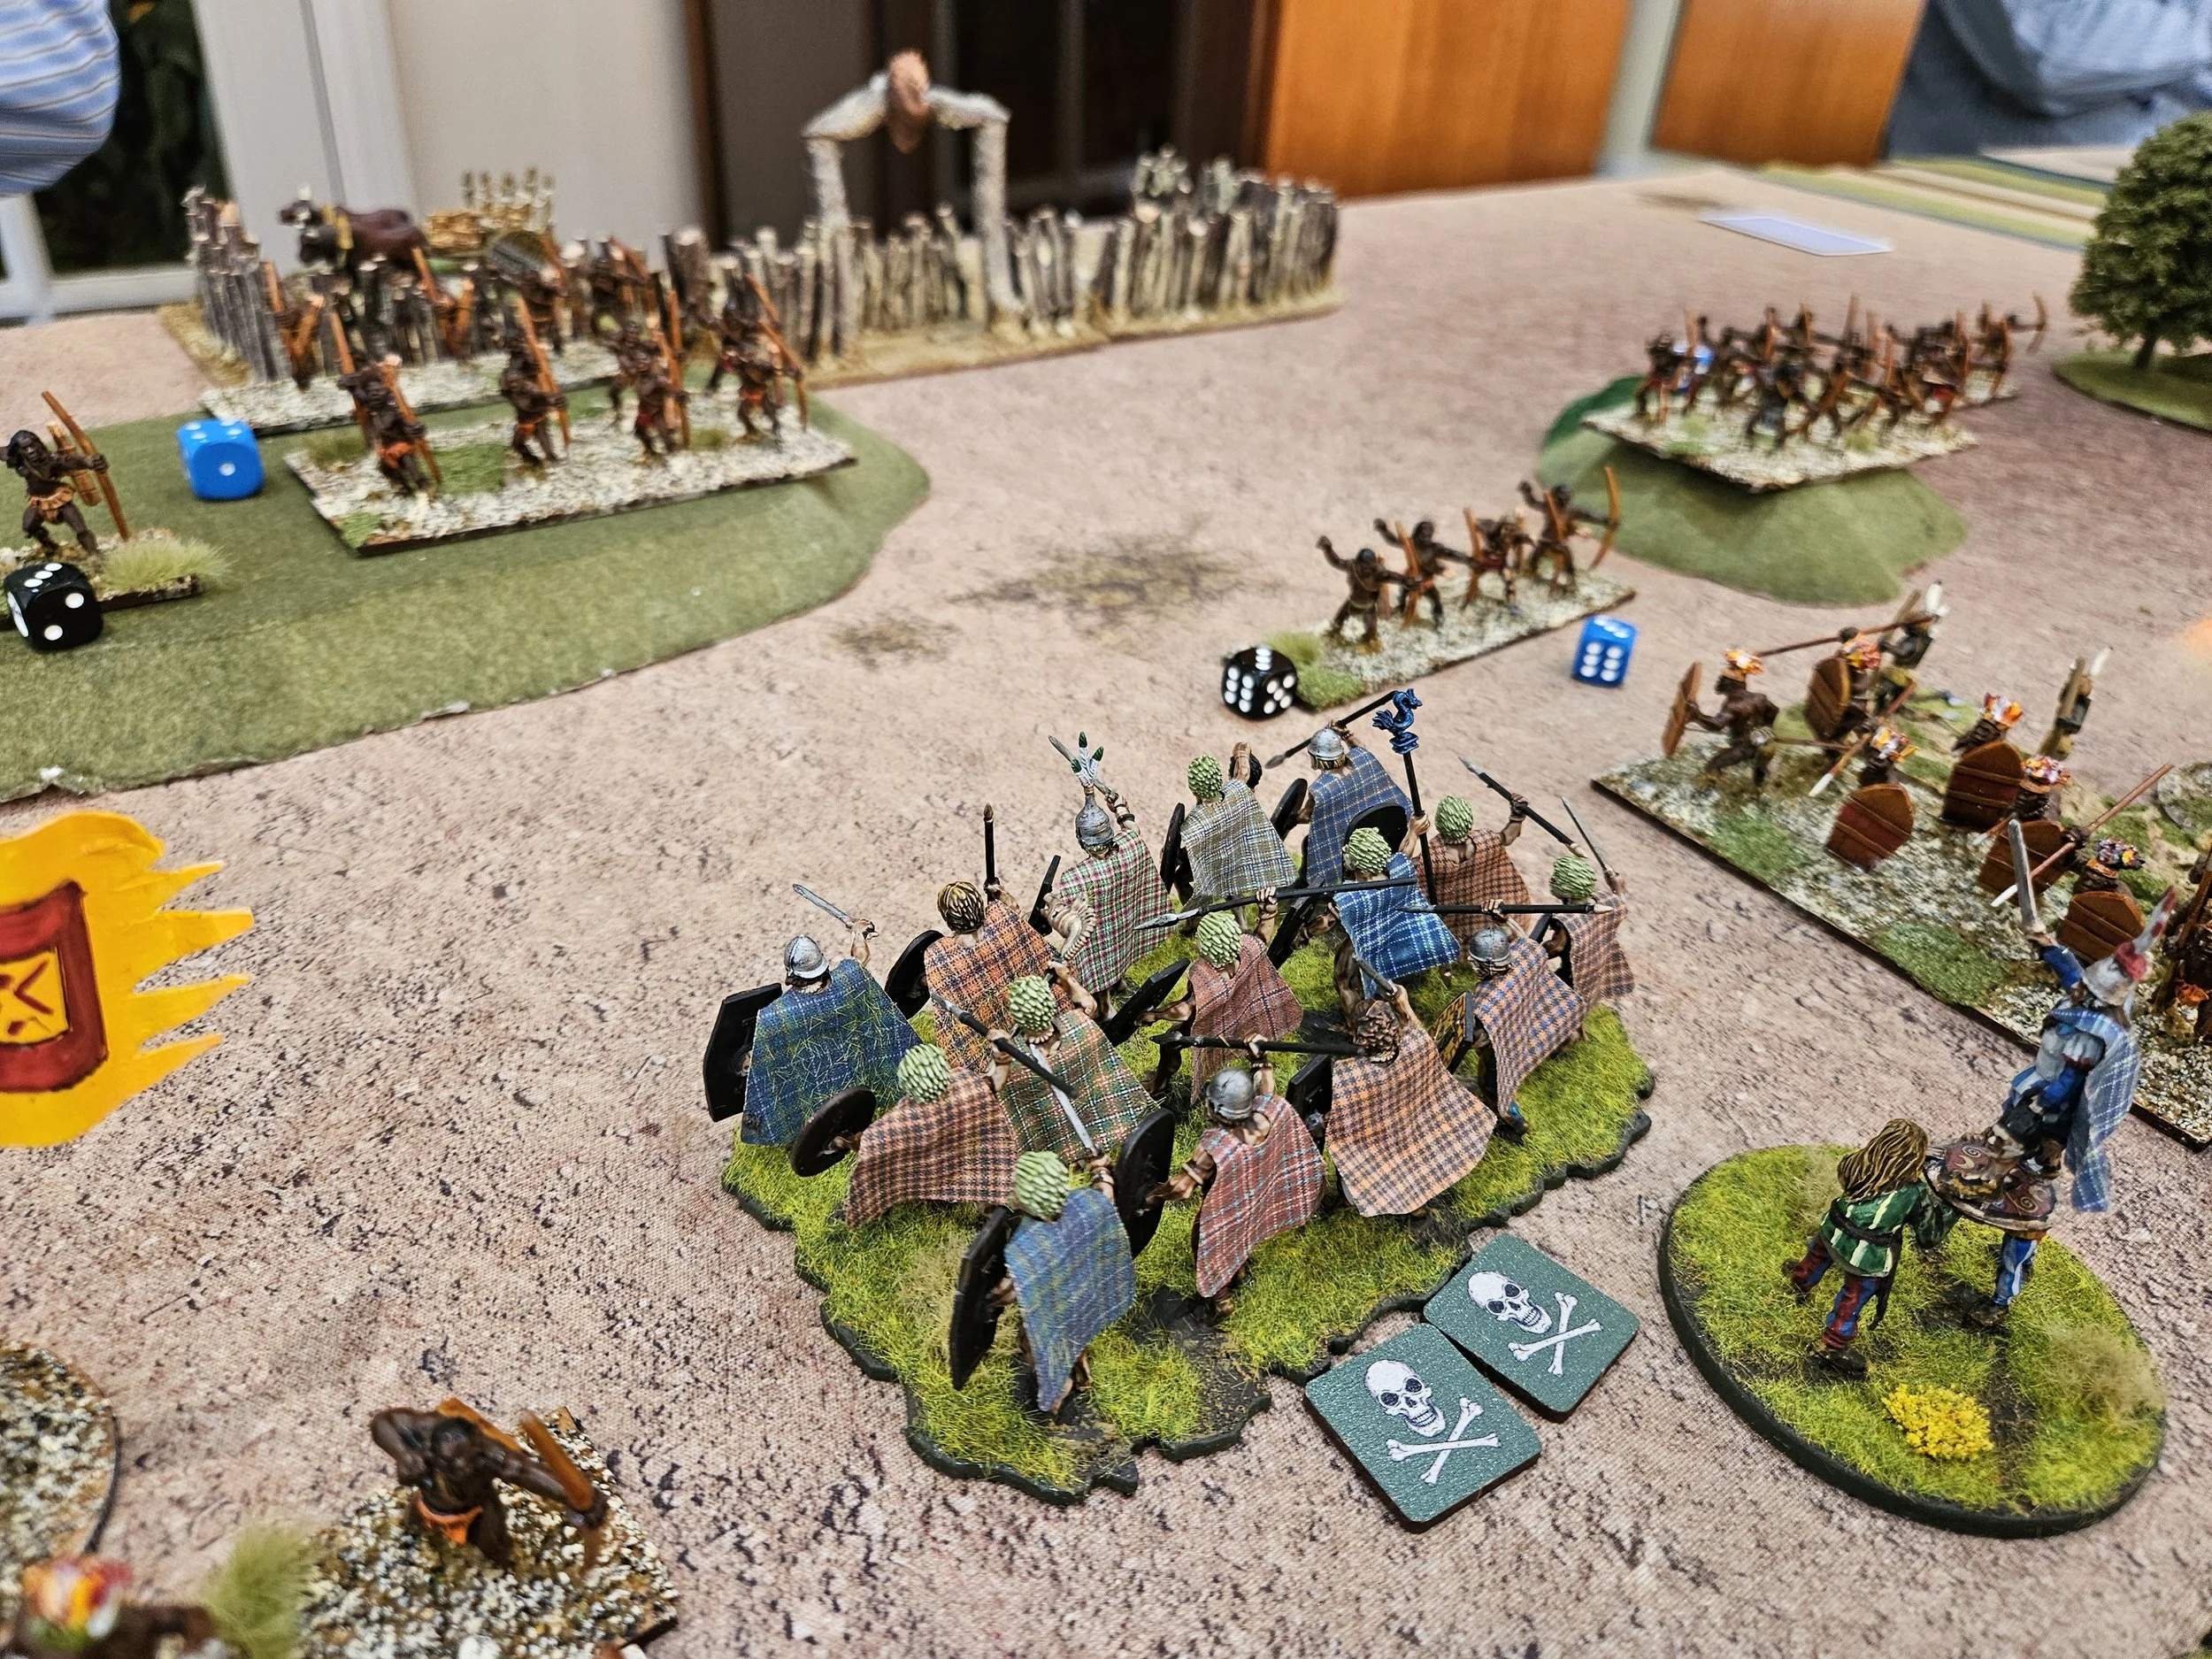
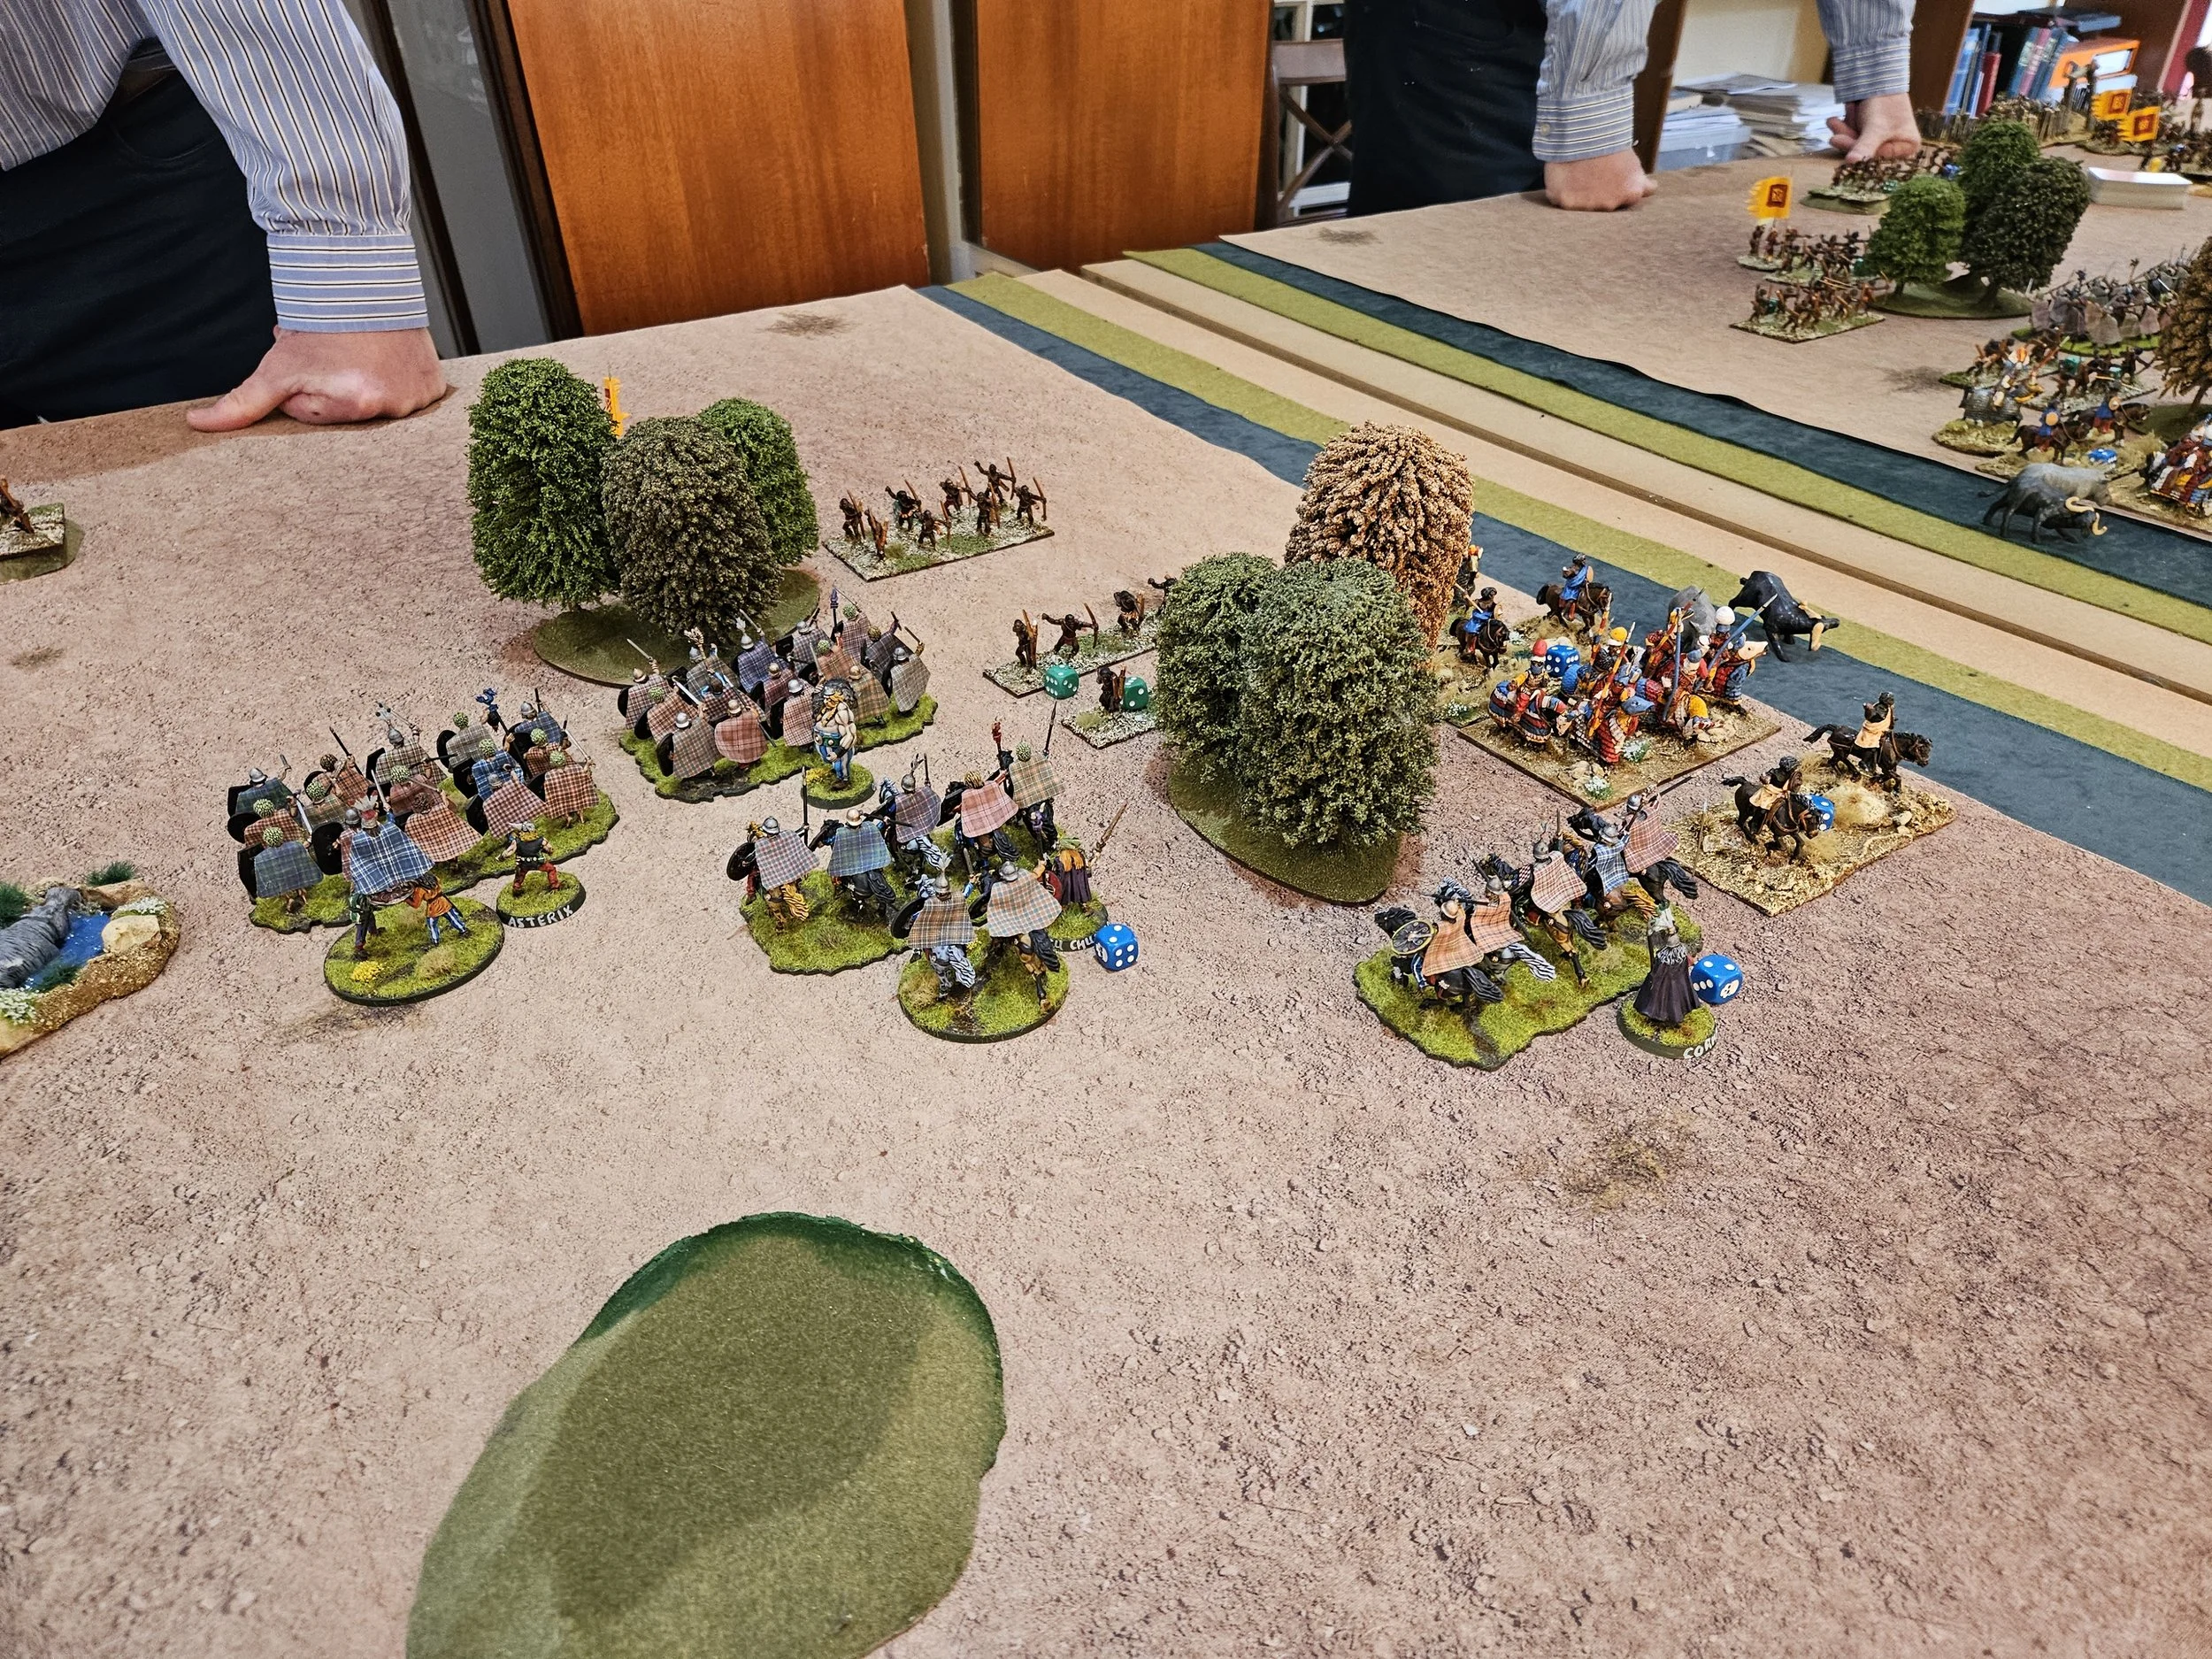
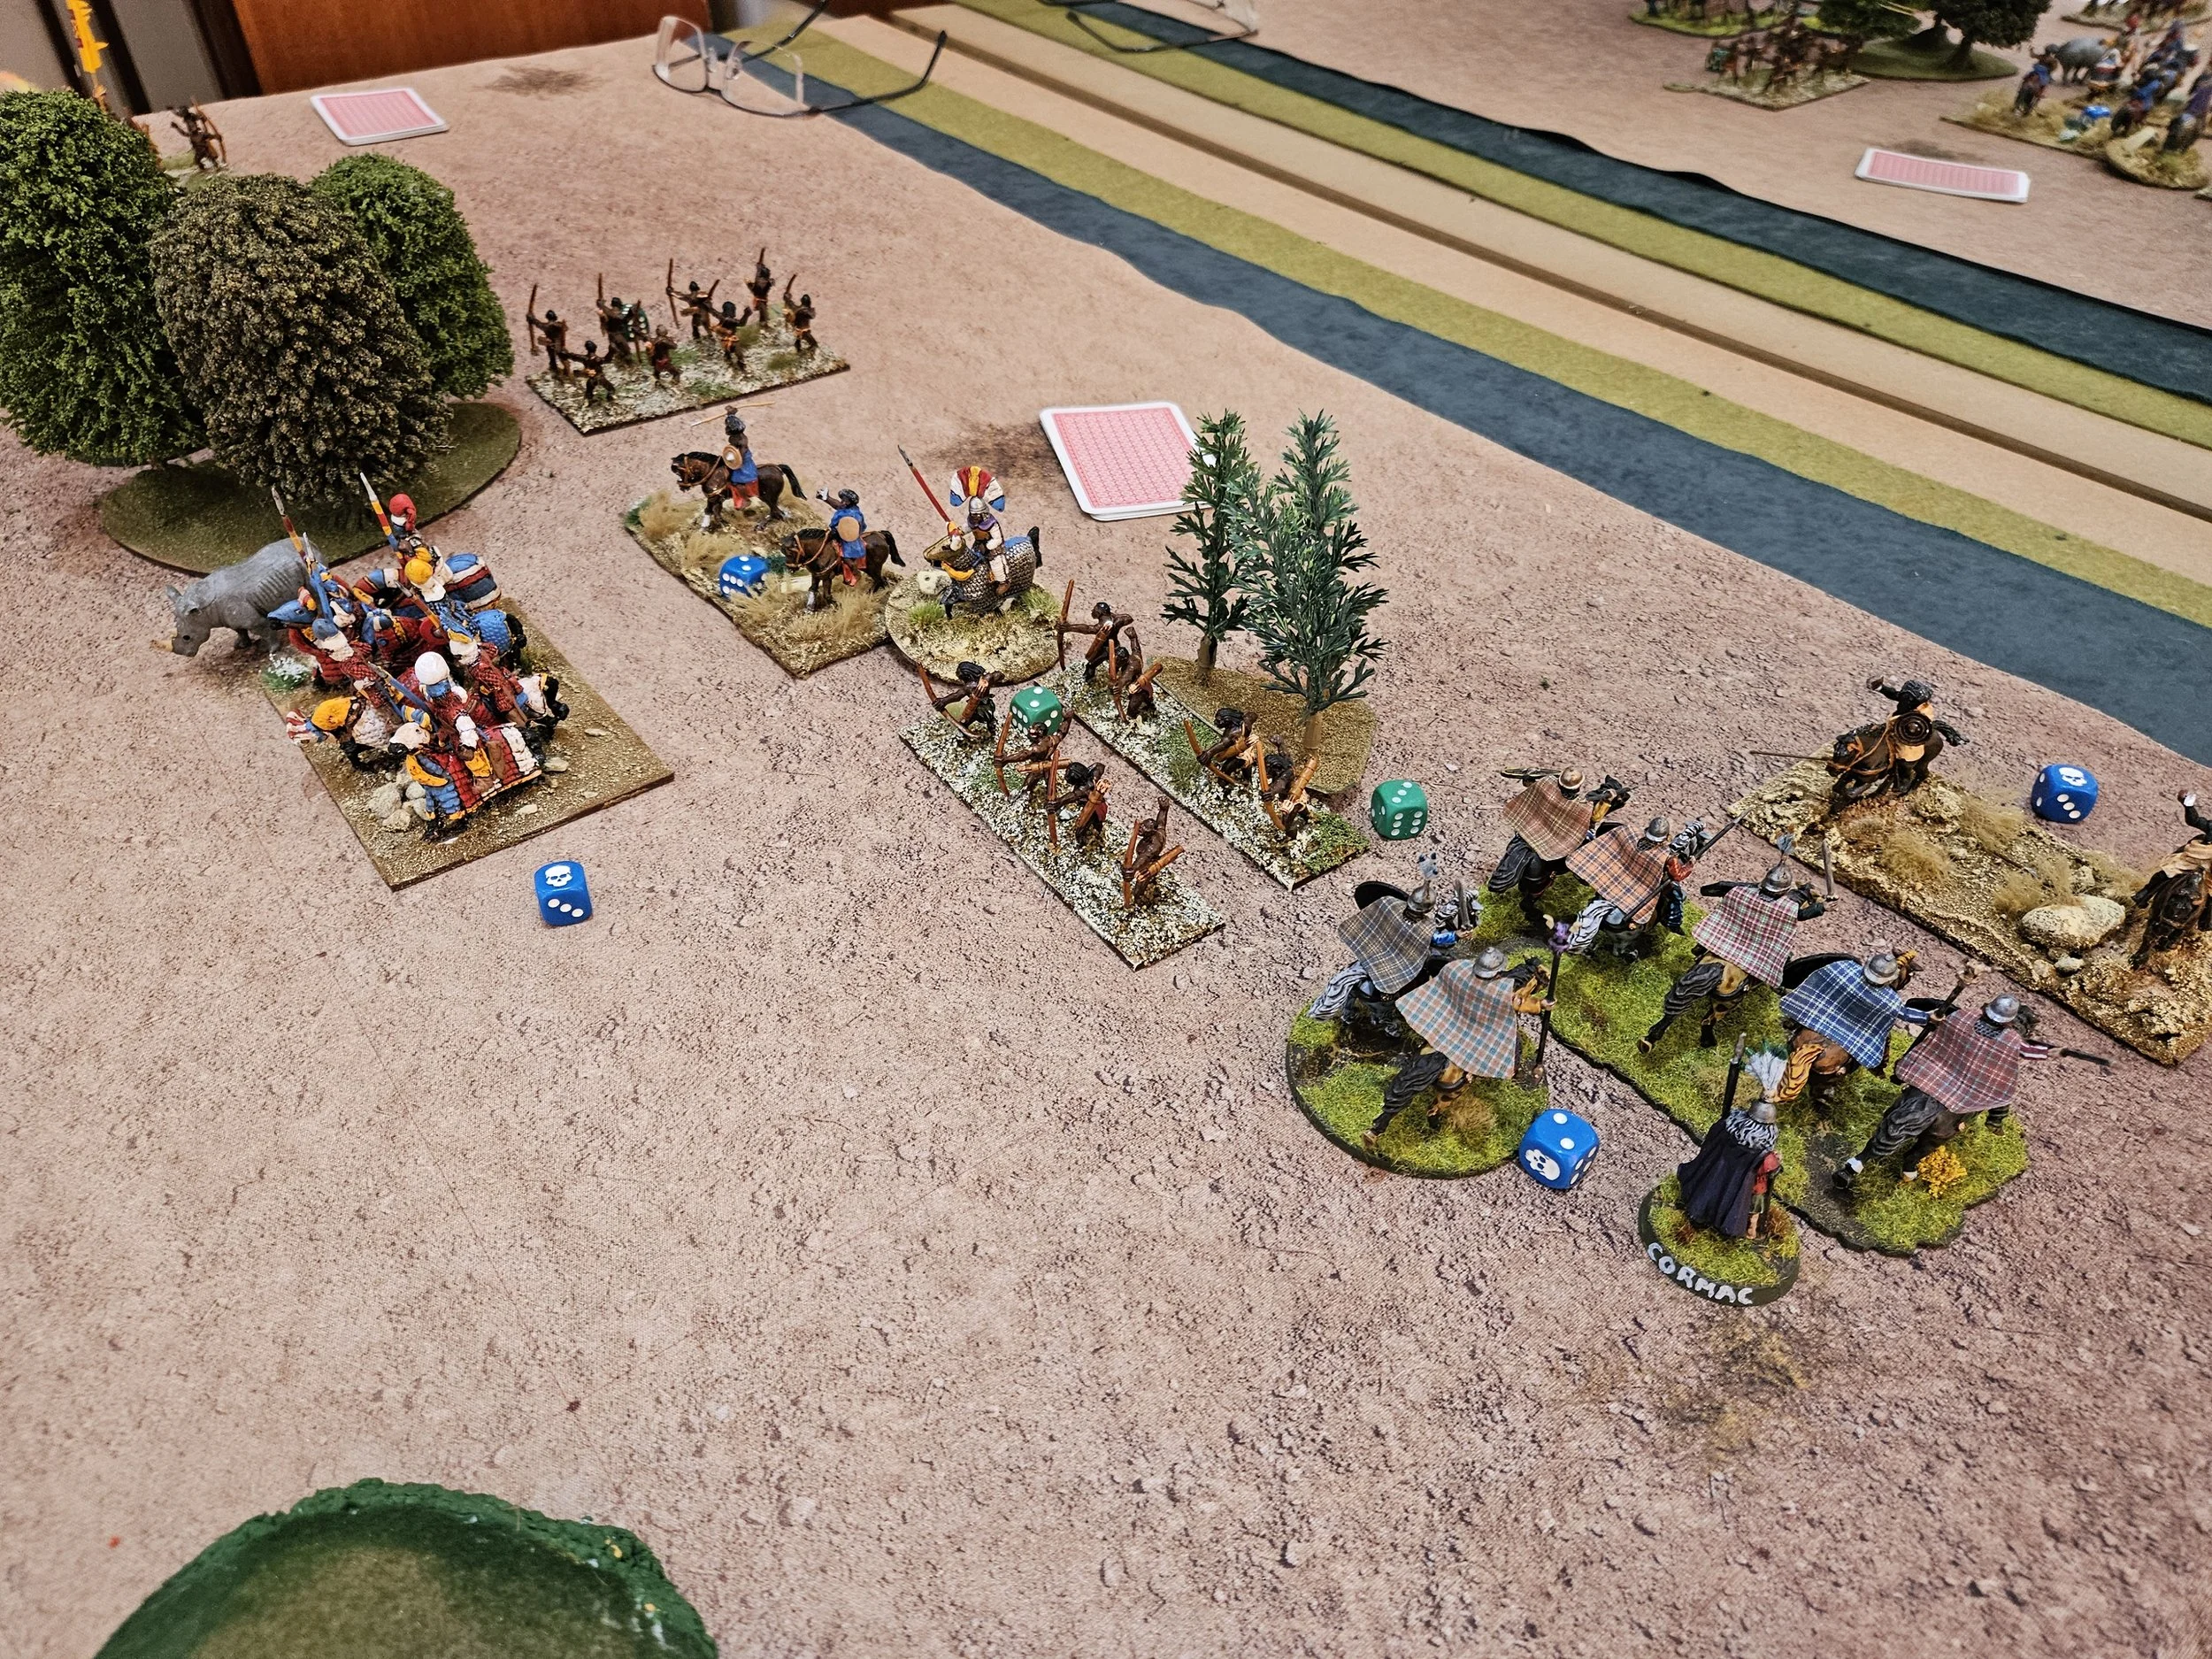
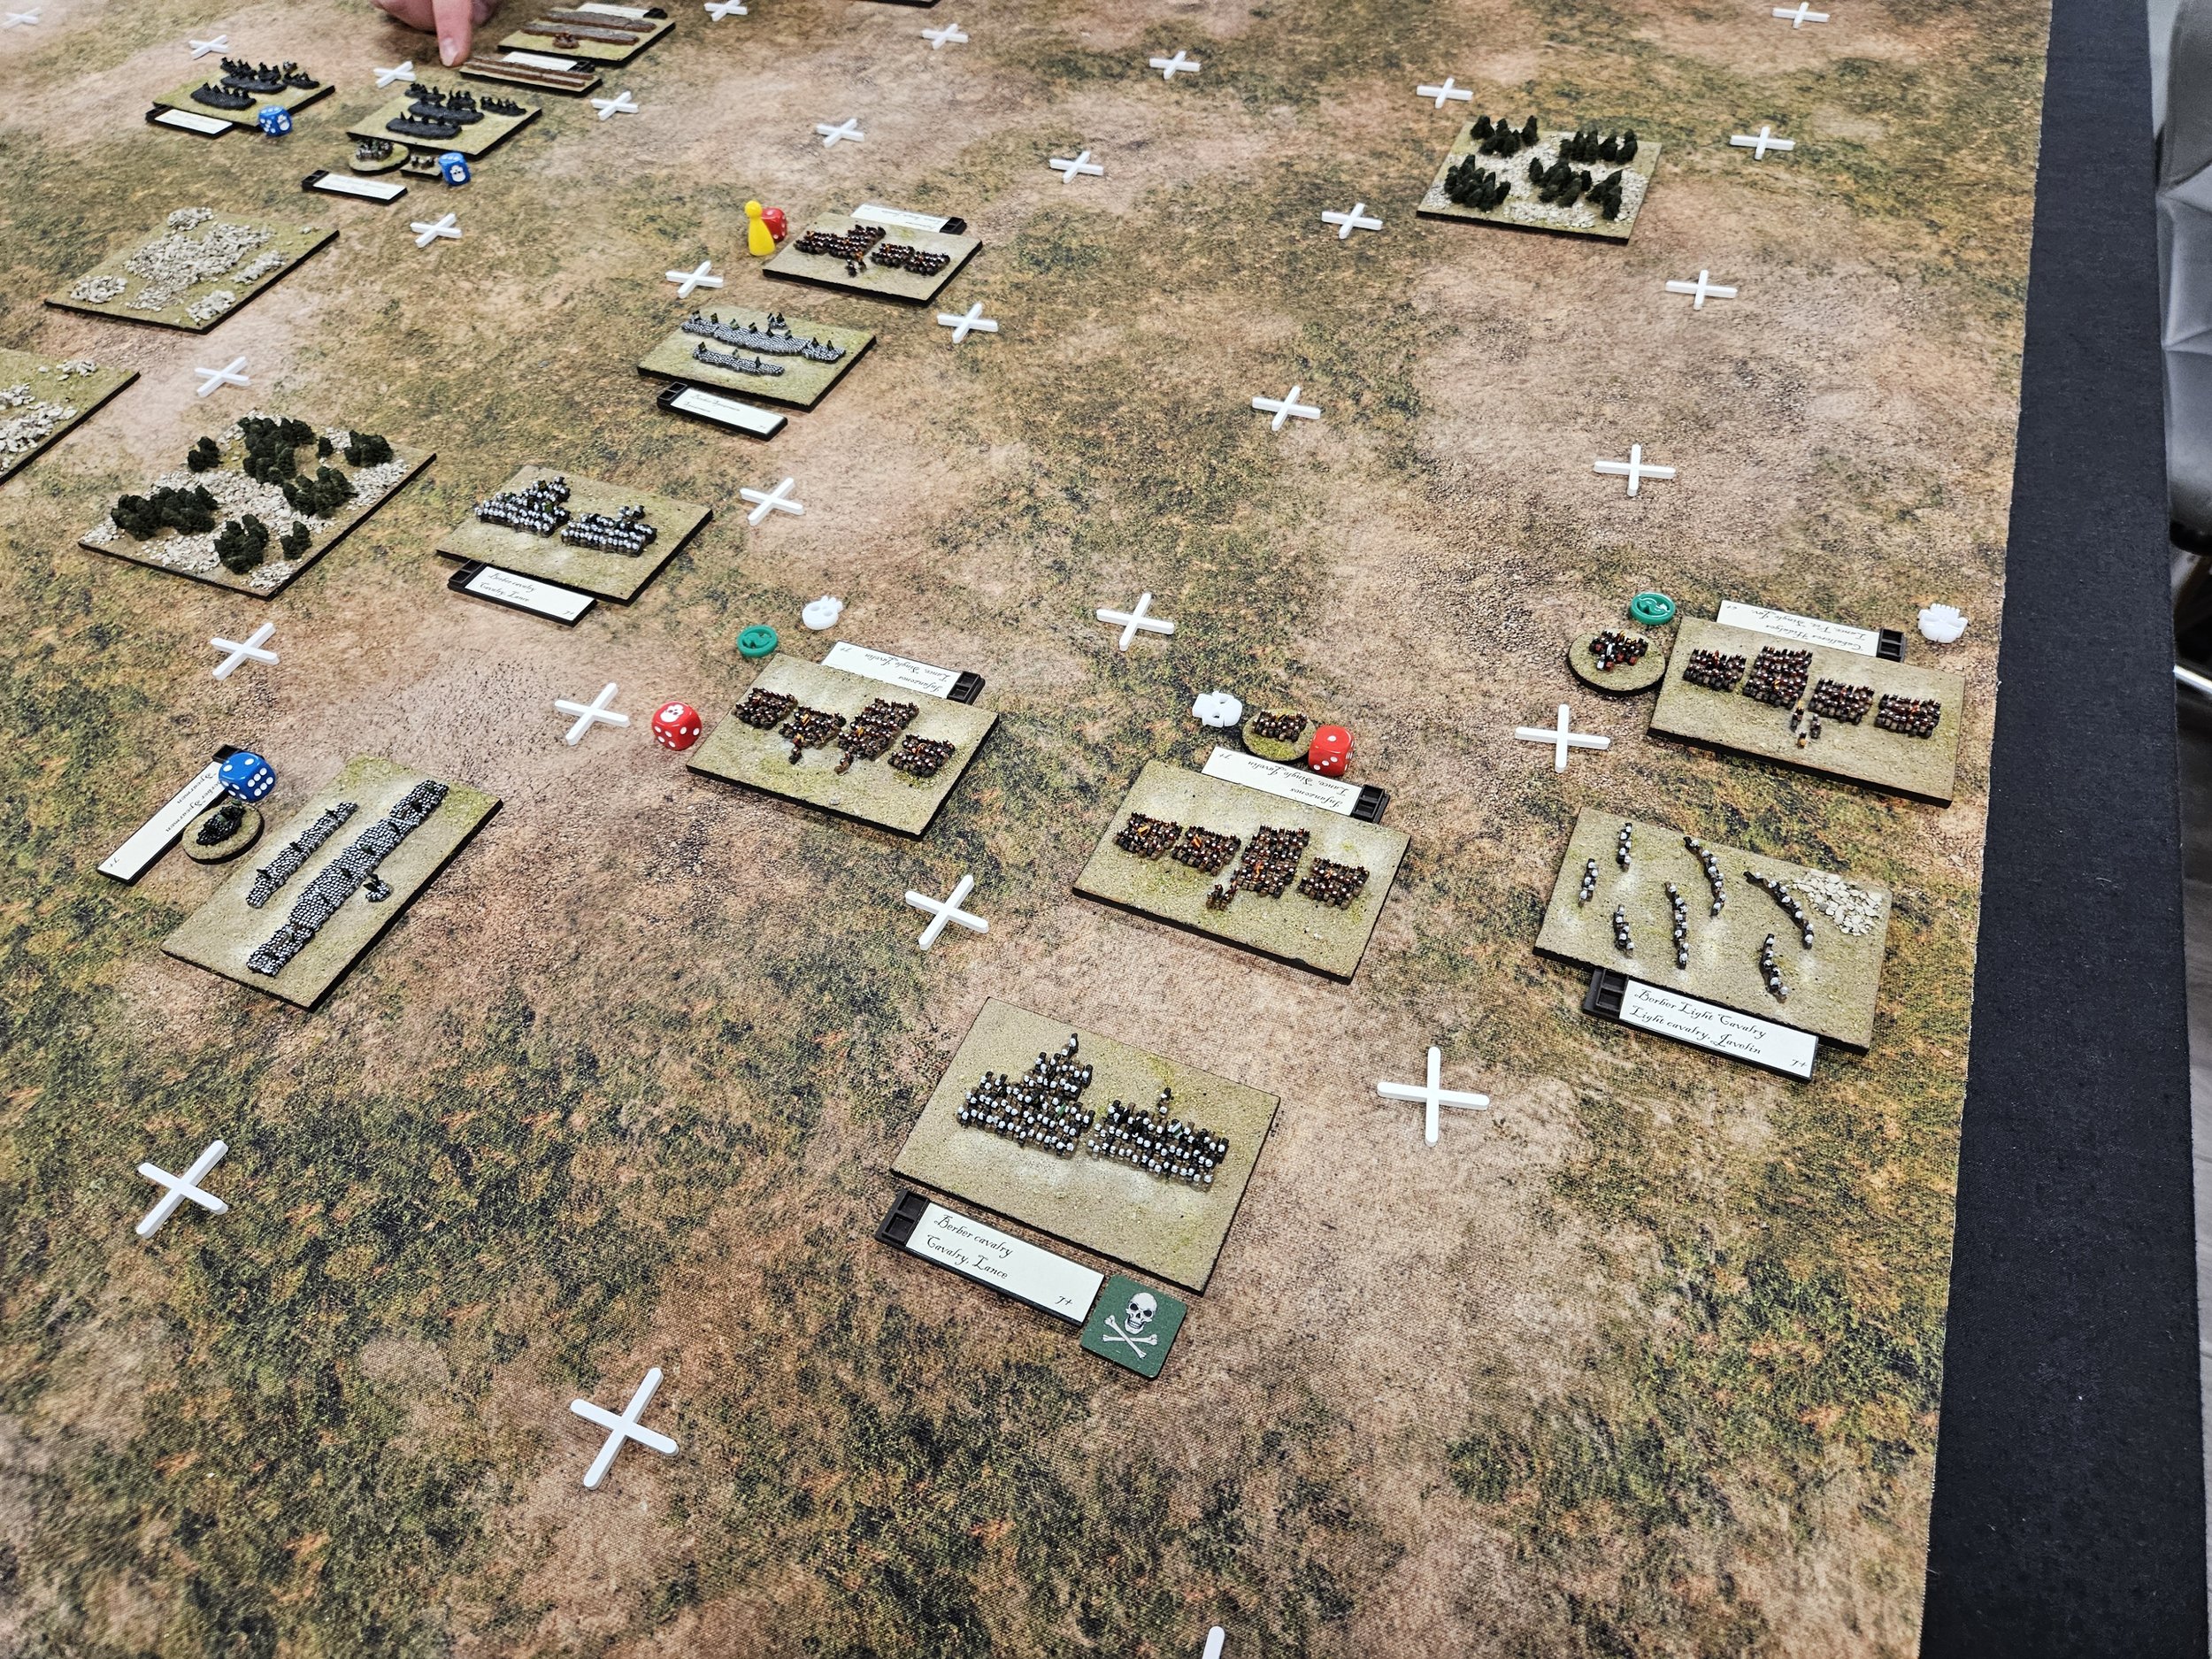
Meanwhile, on the right, my counter-advance had brought the two sides within easy charge distance and a messy and extremely savage series of melees broke out with neither side particularly gaining the advantage.
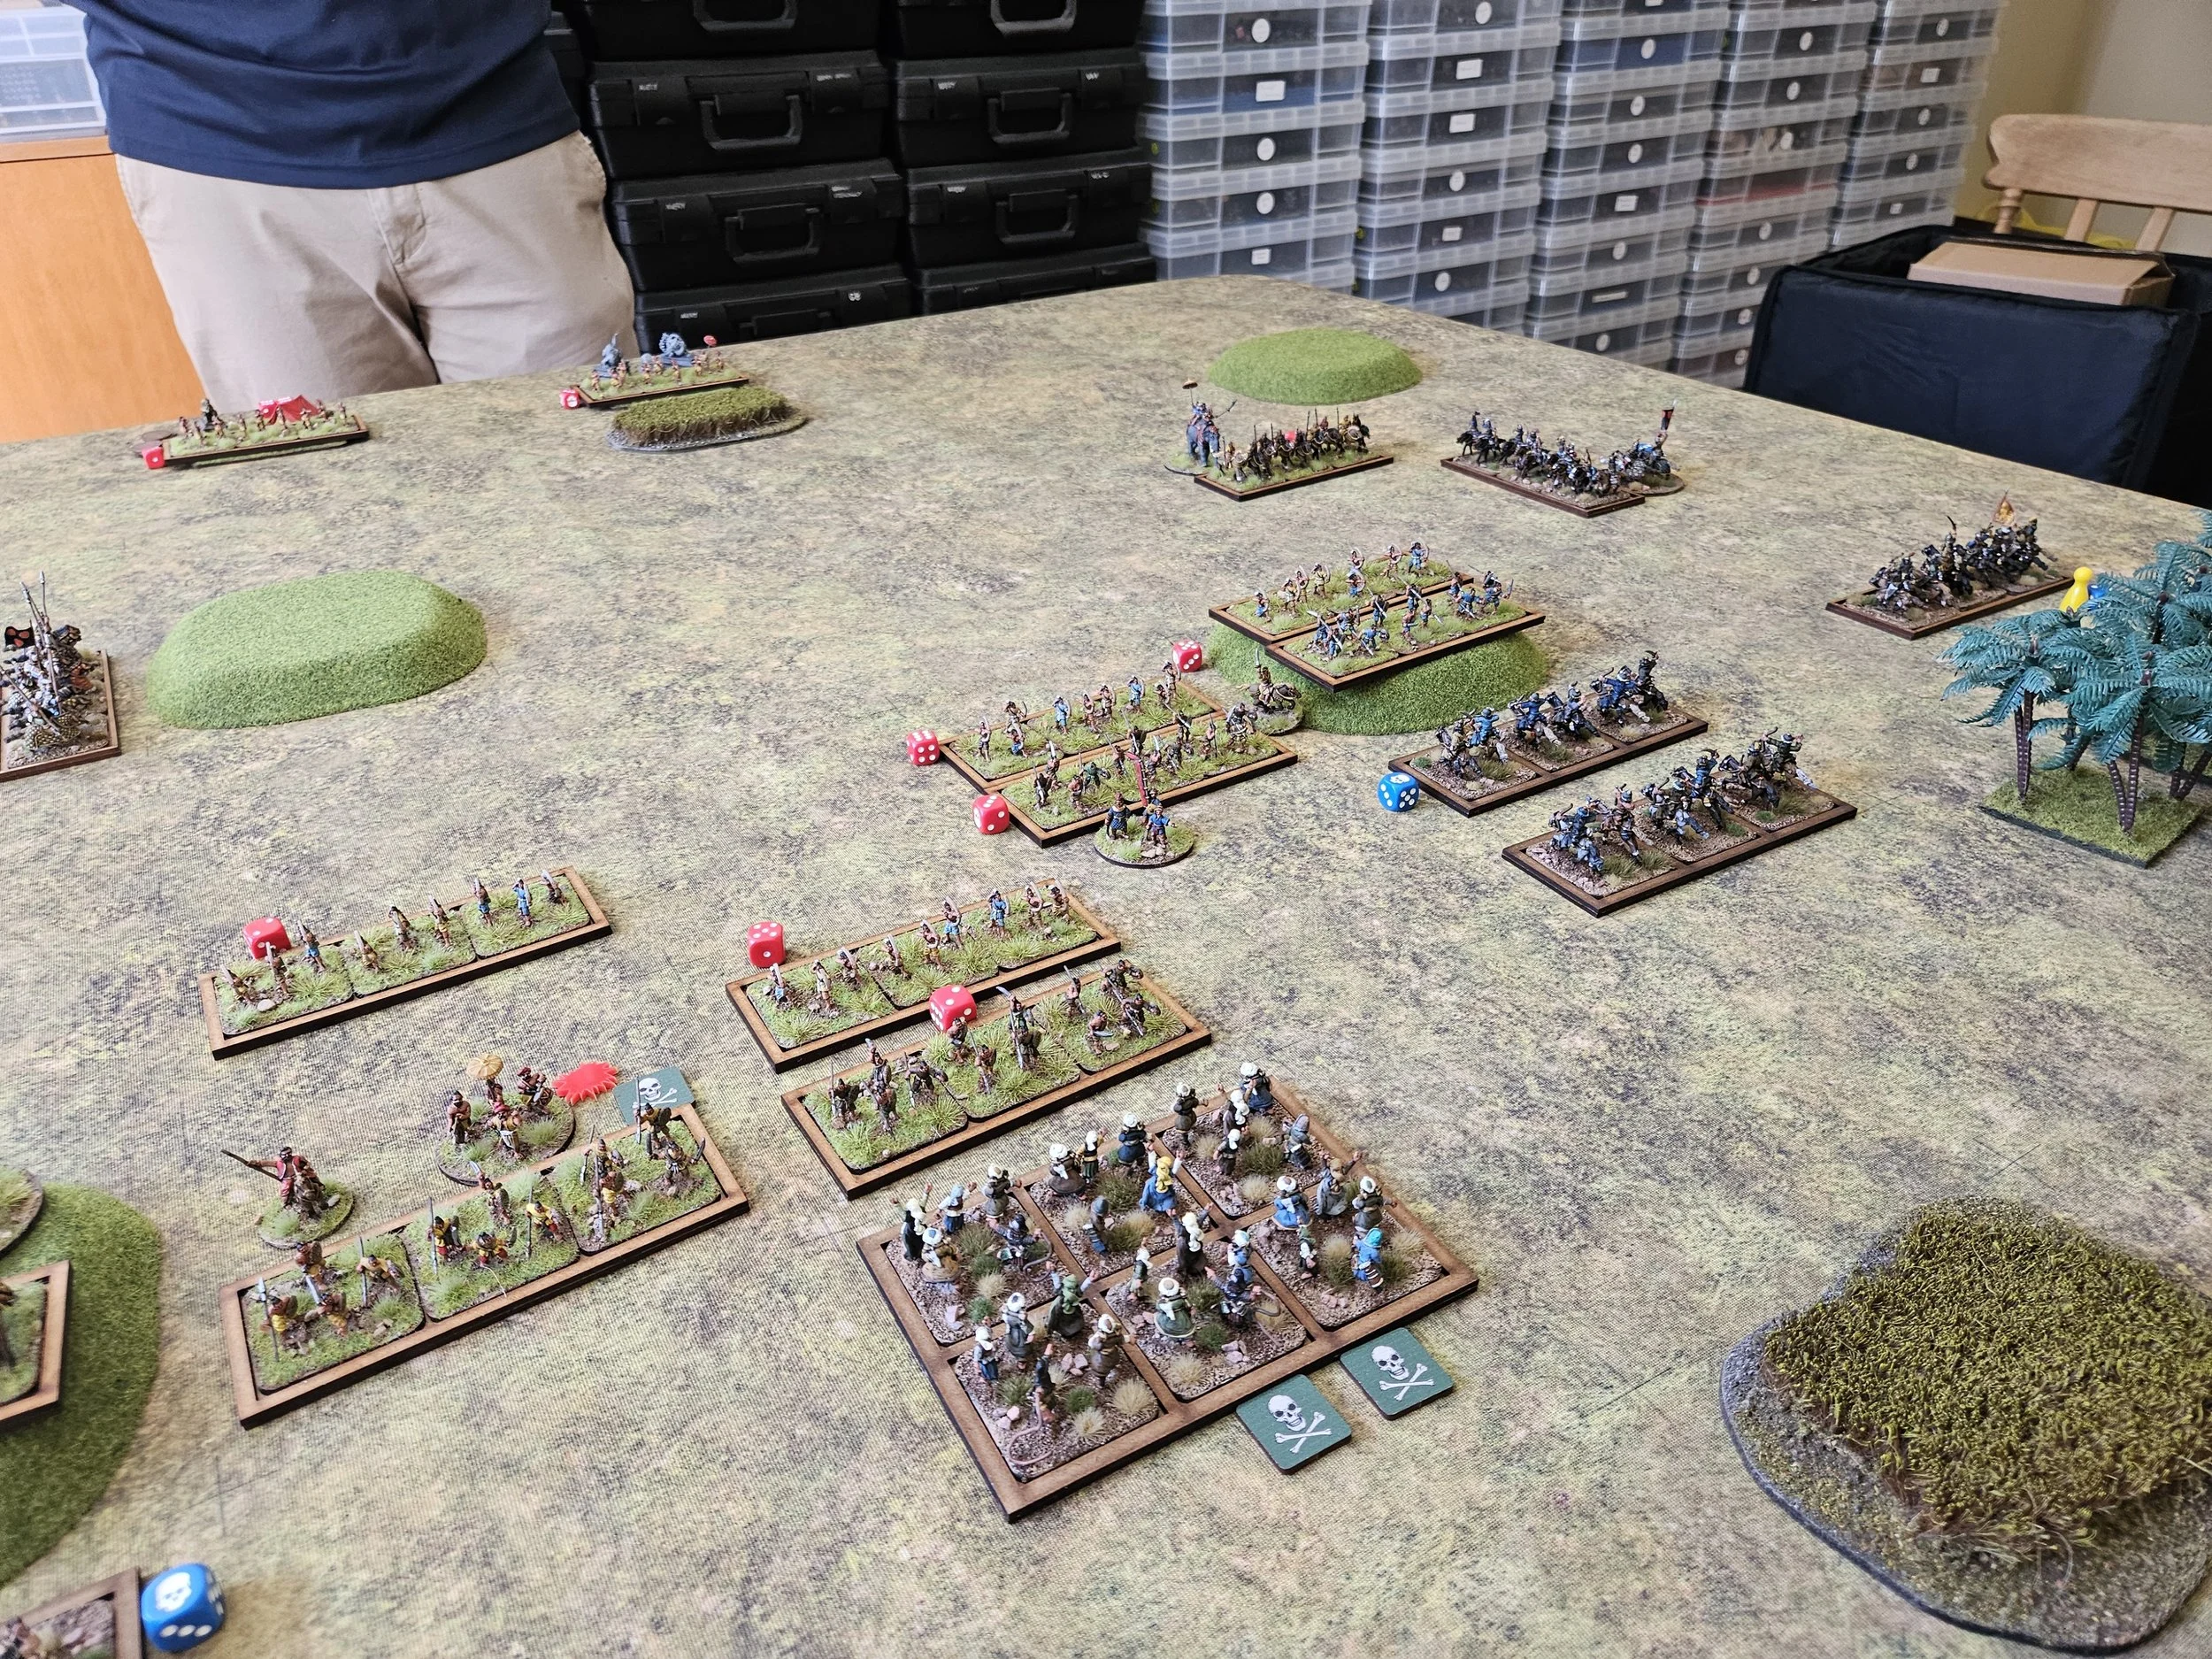
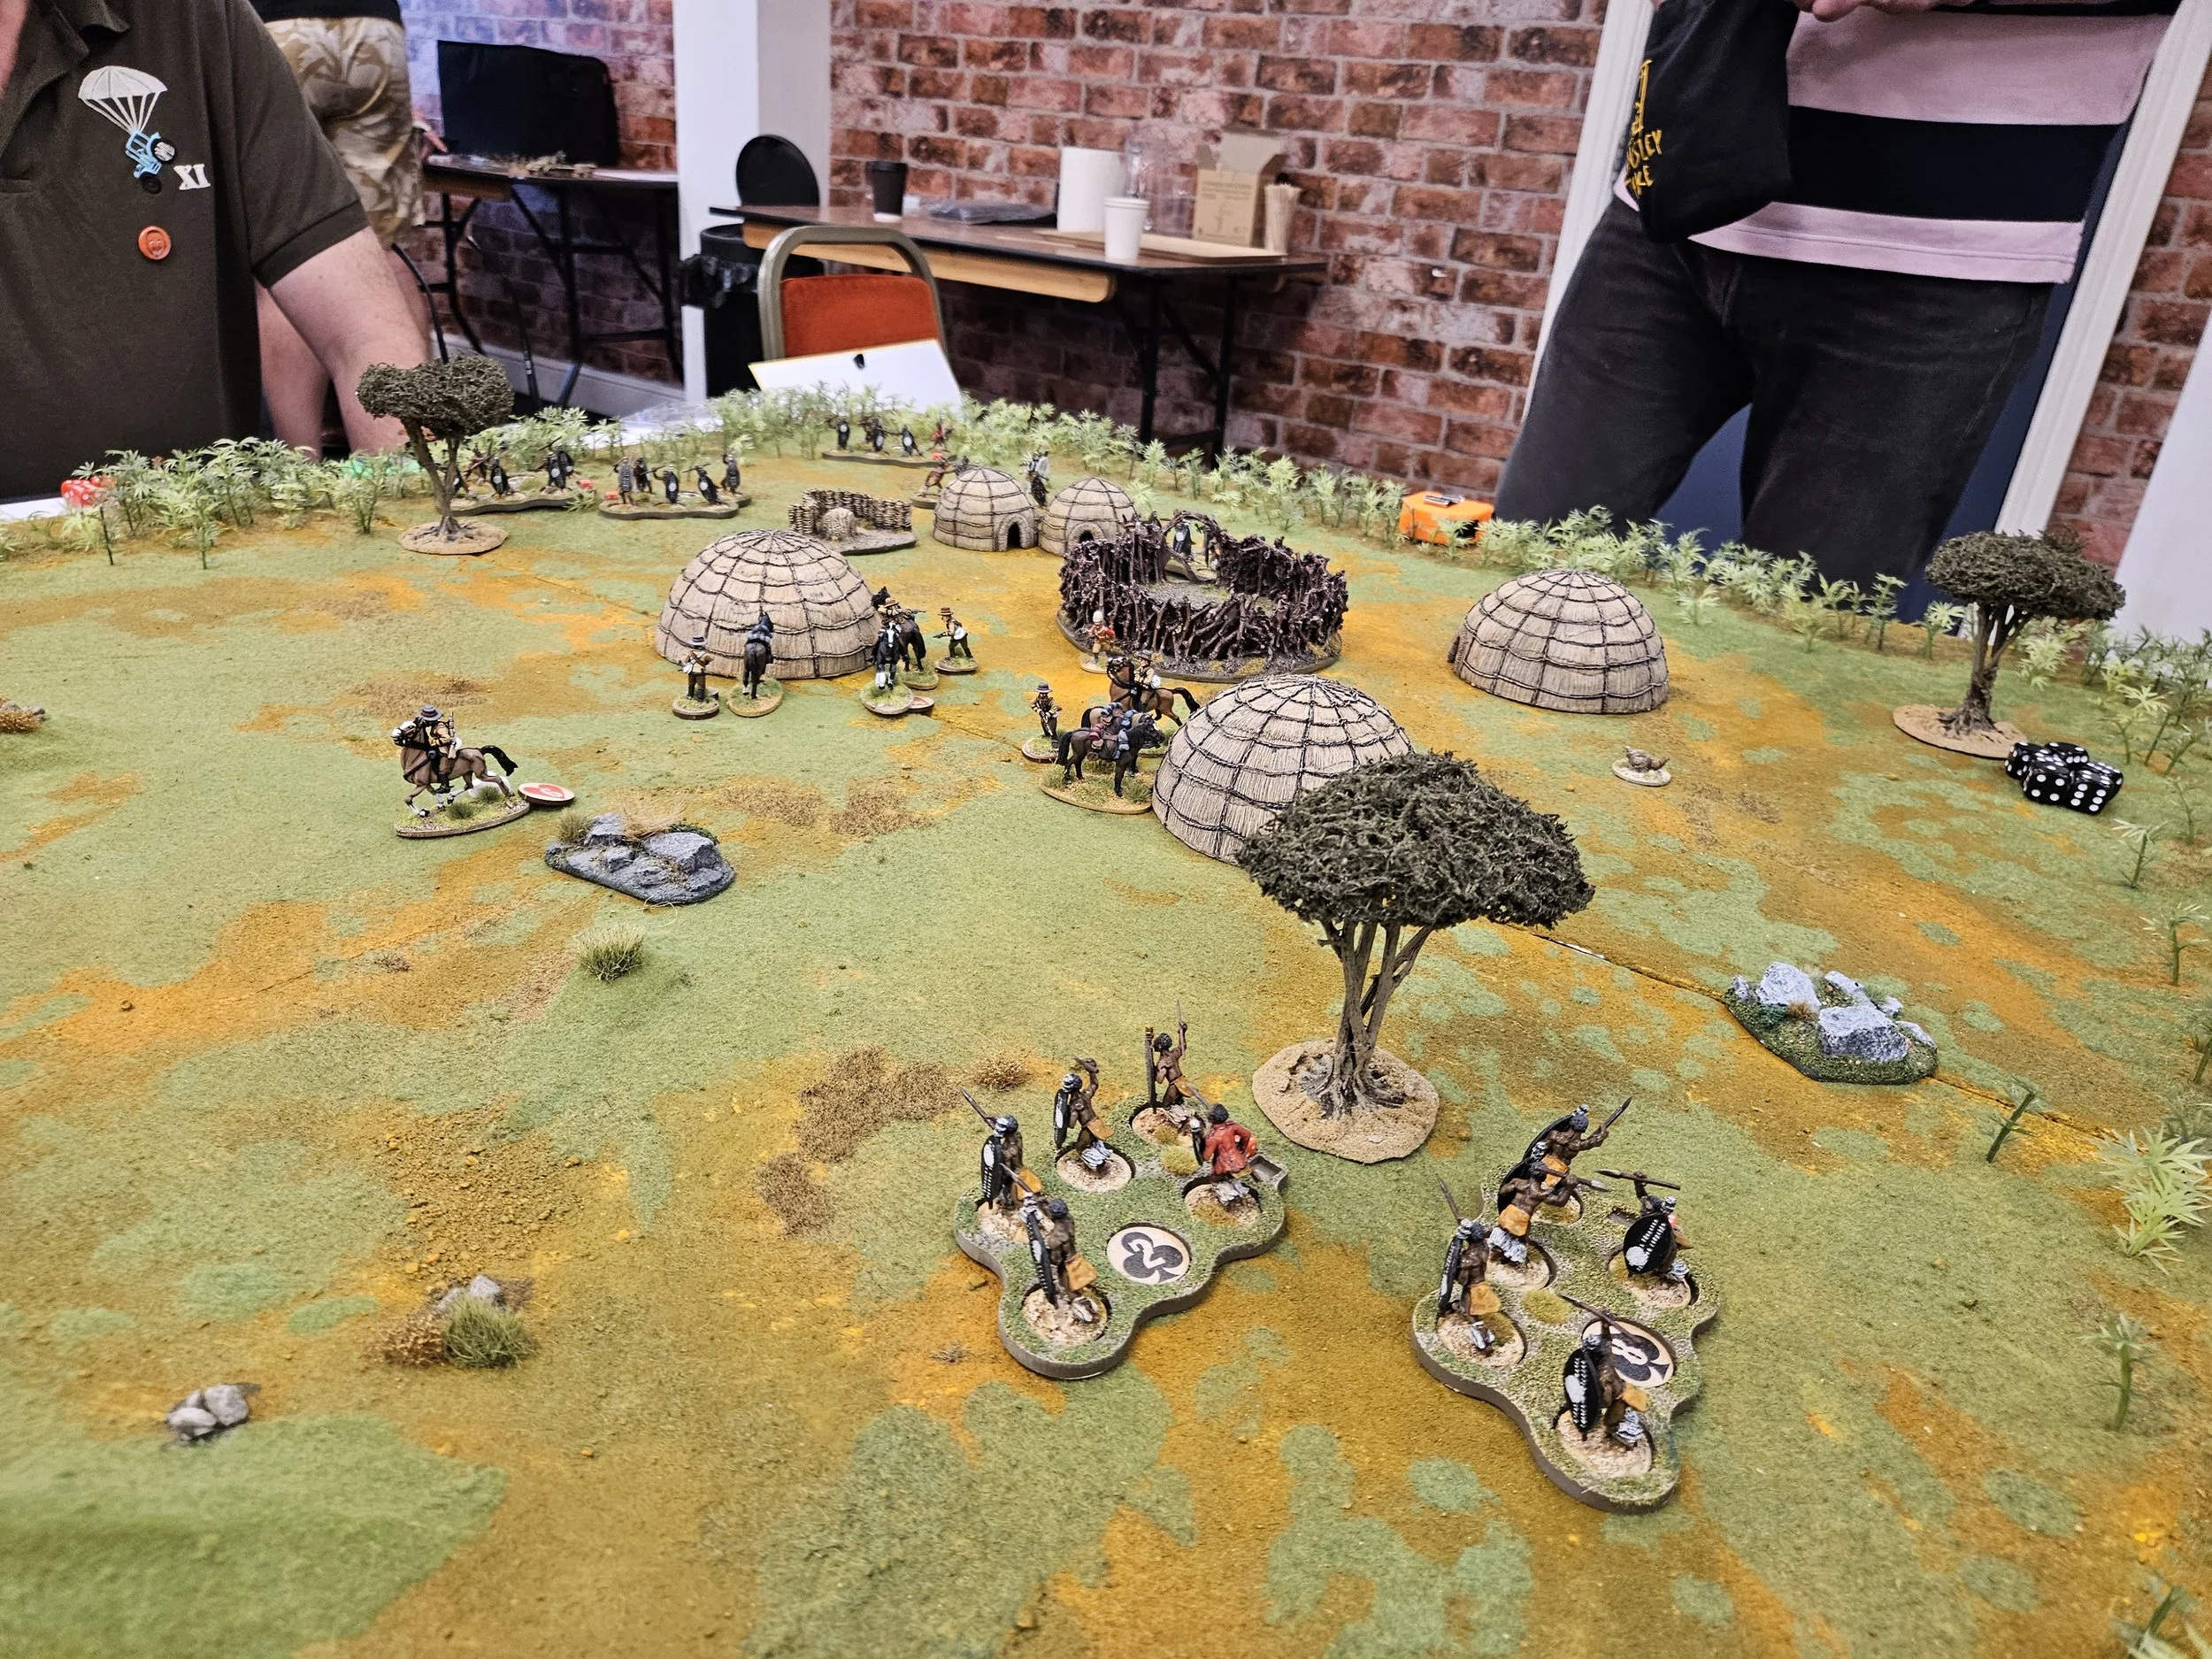
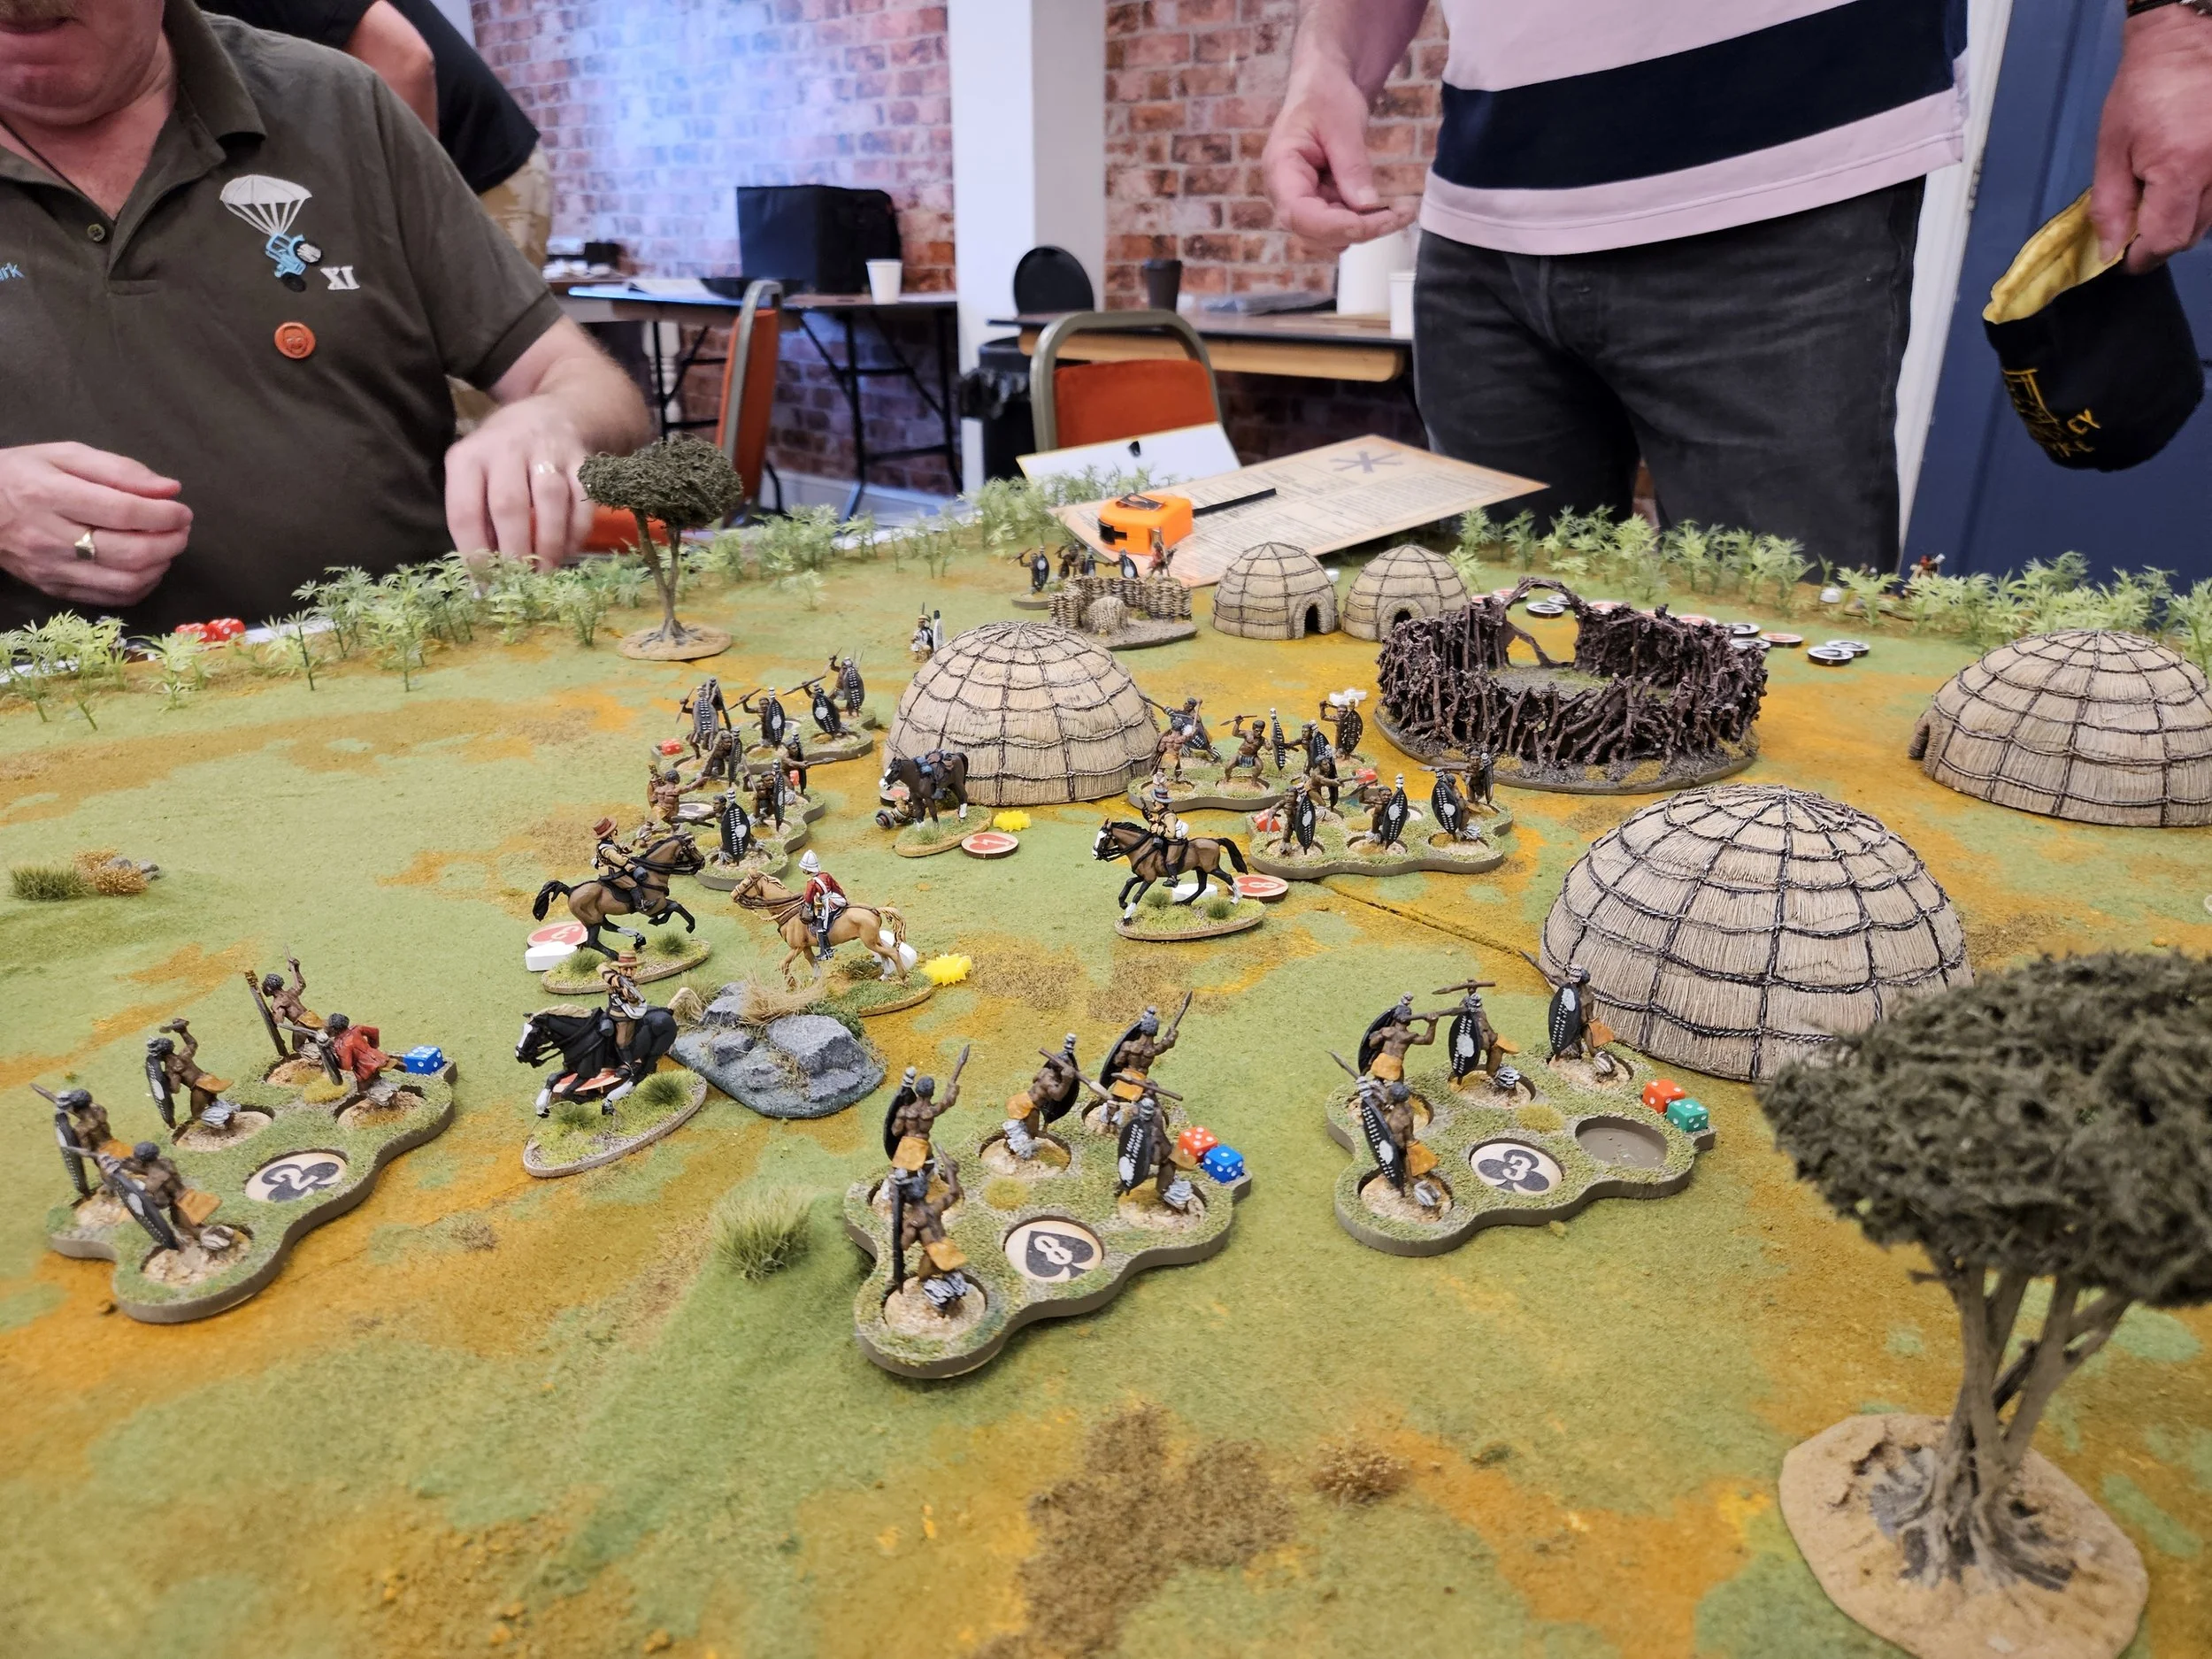
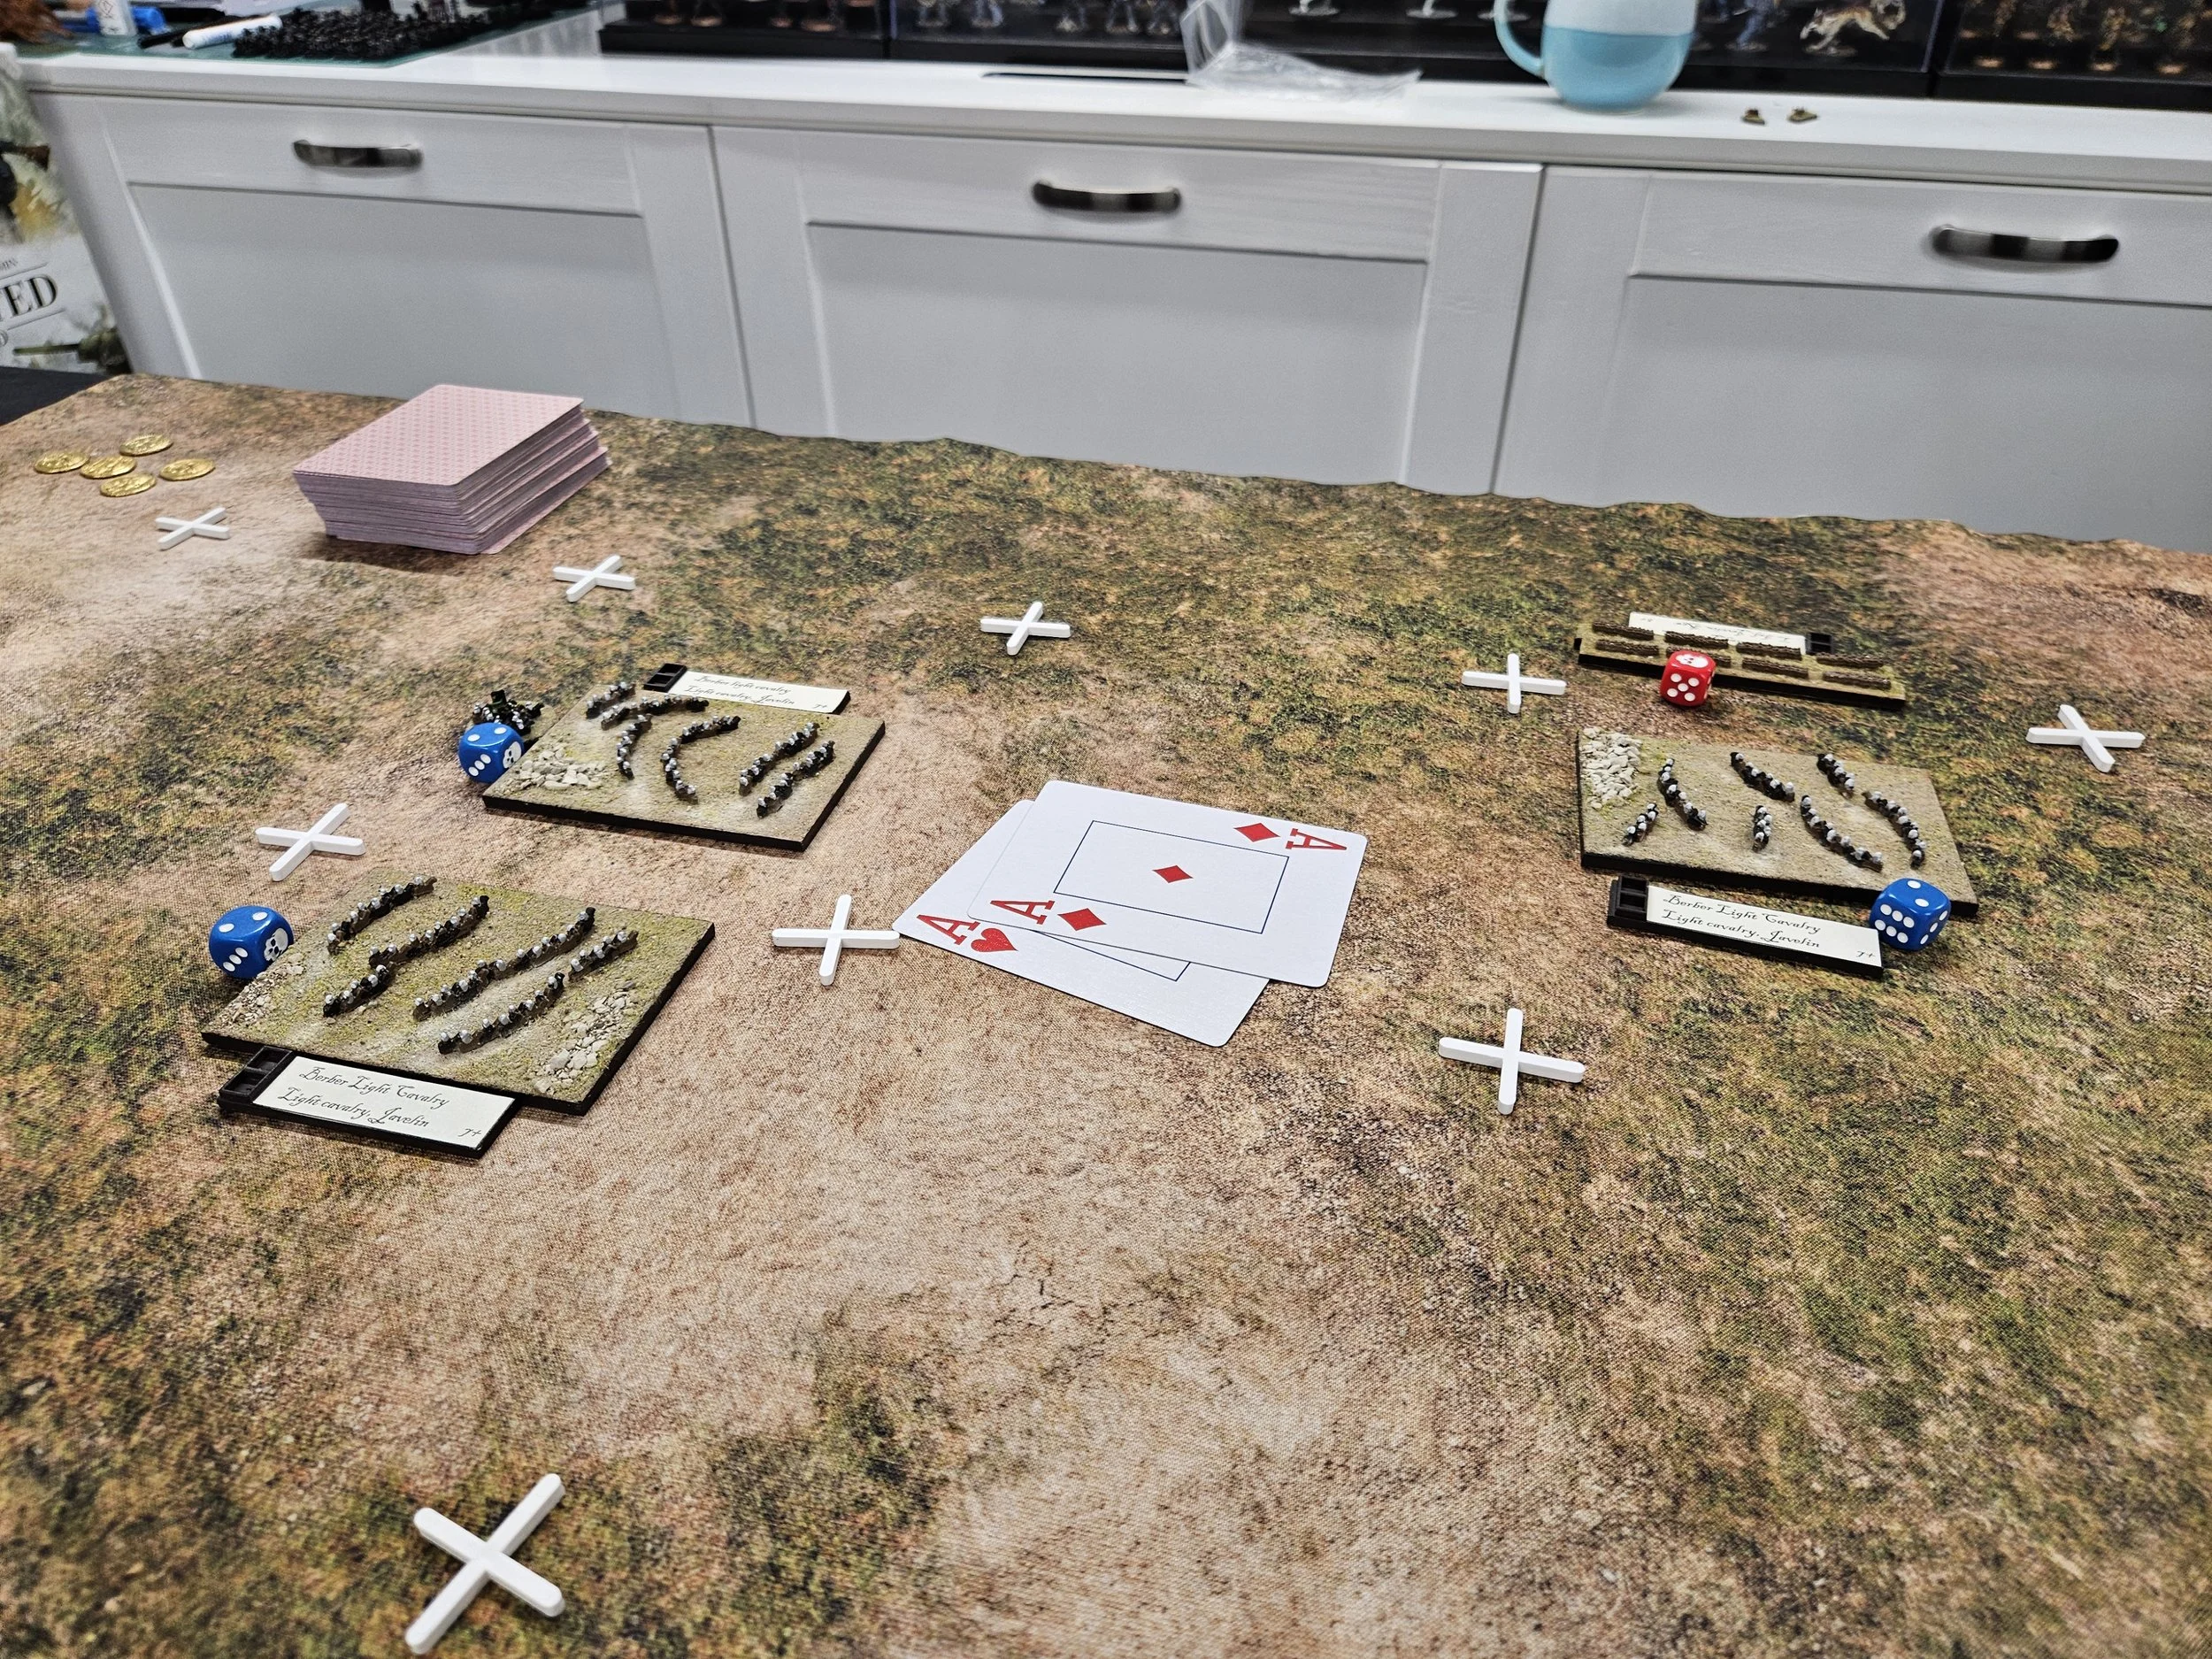
If it helps when looking at the photos below, I’m using green disordered markers and Neil is using white skulls. It’s also worth noting that all the luck in the cards seemed to be with me: I was saving hits like there was no tomorrow and Neil, er, wasn’t!


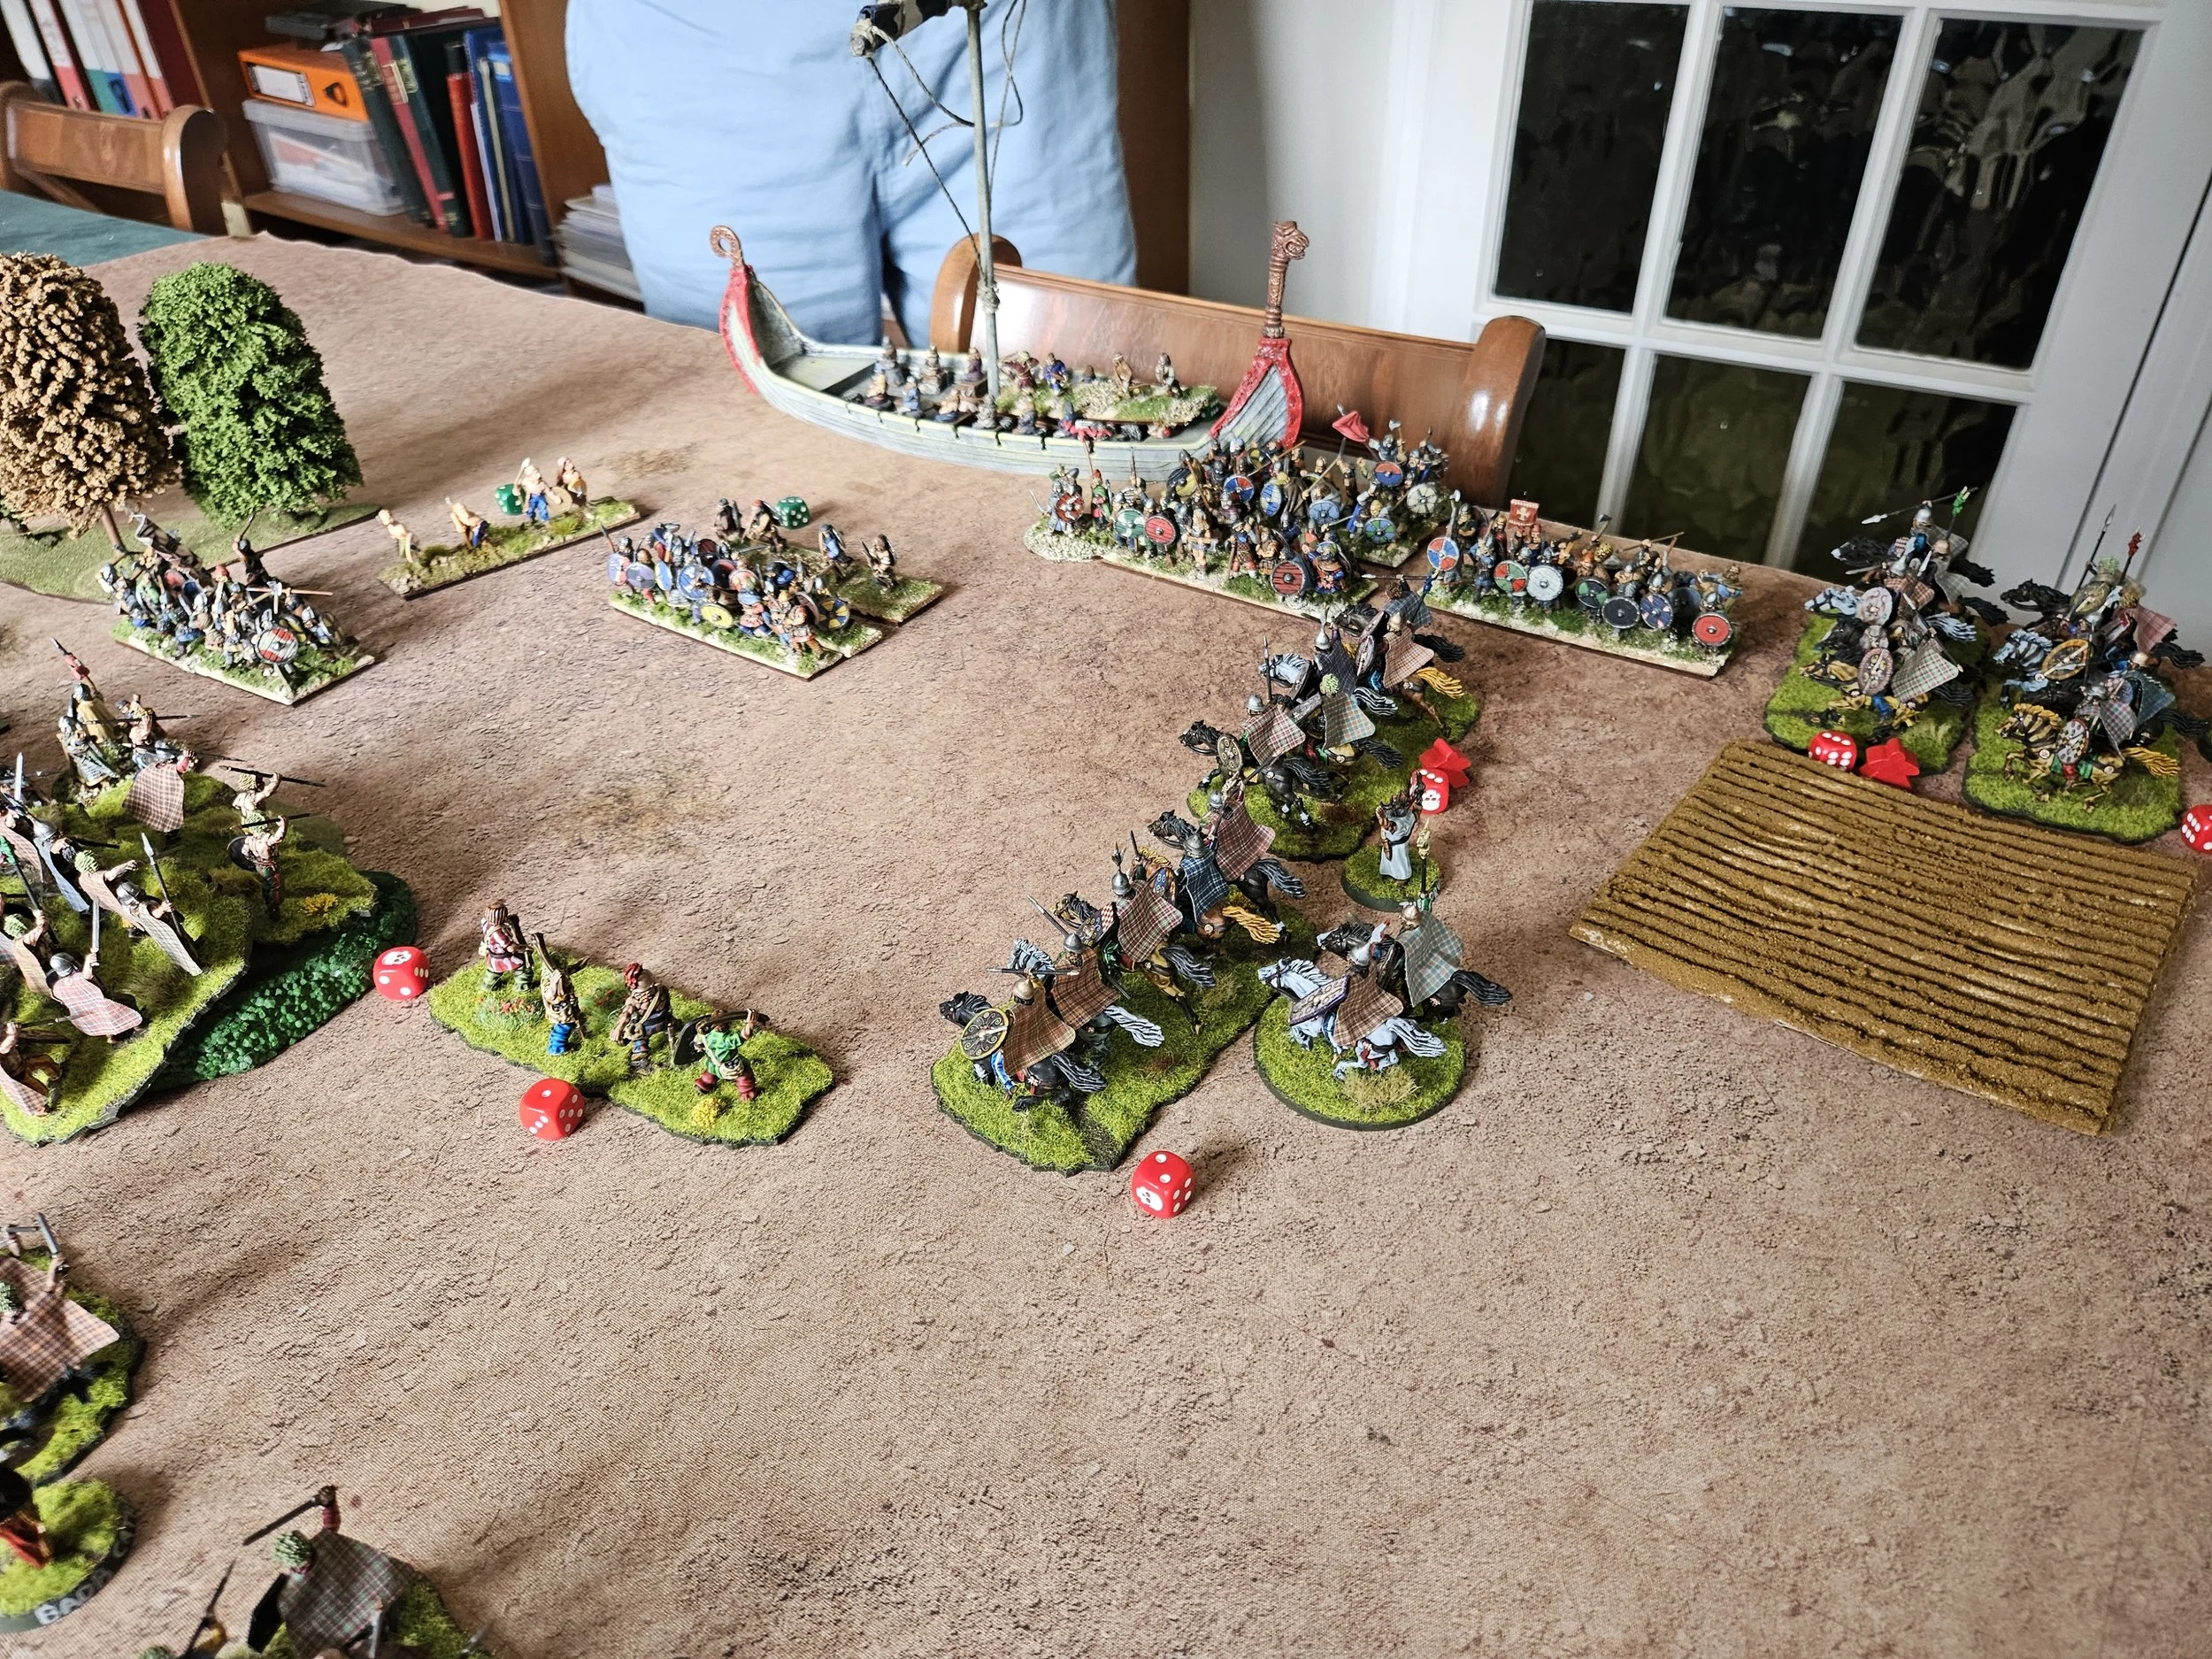
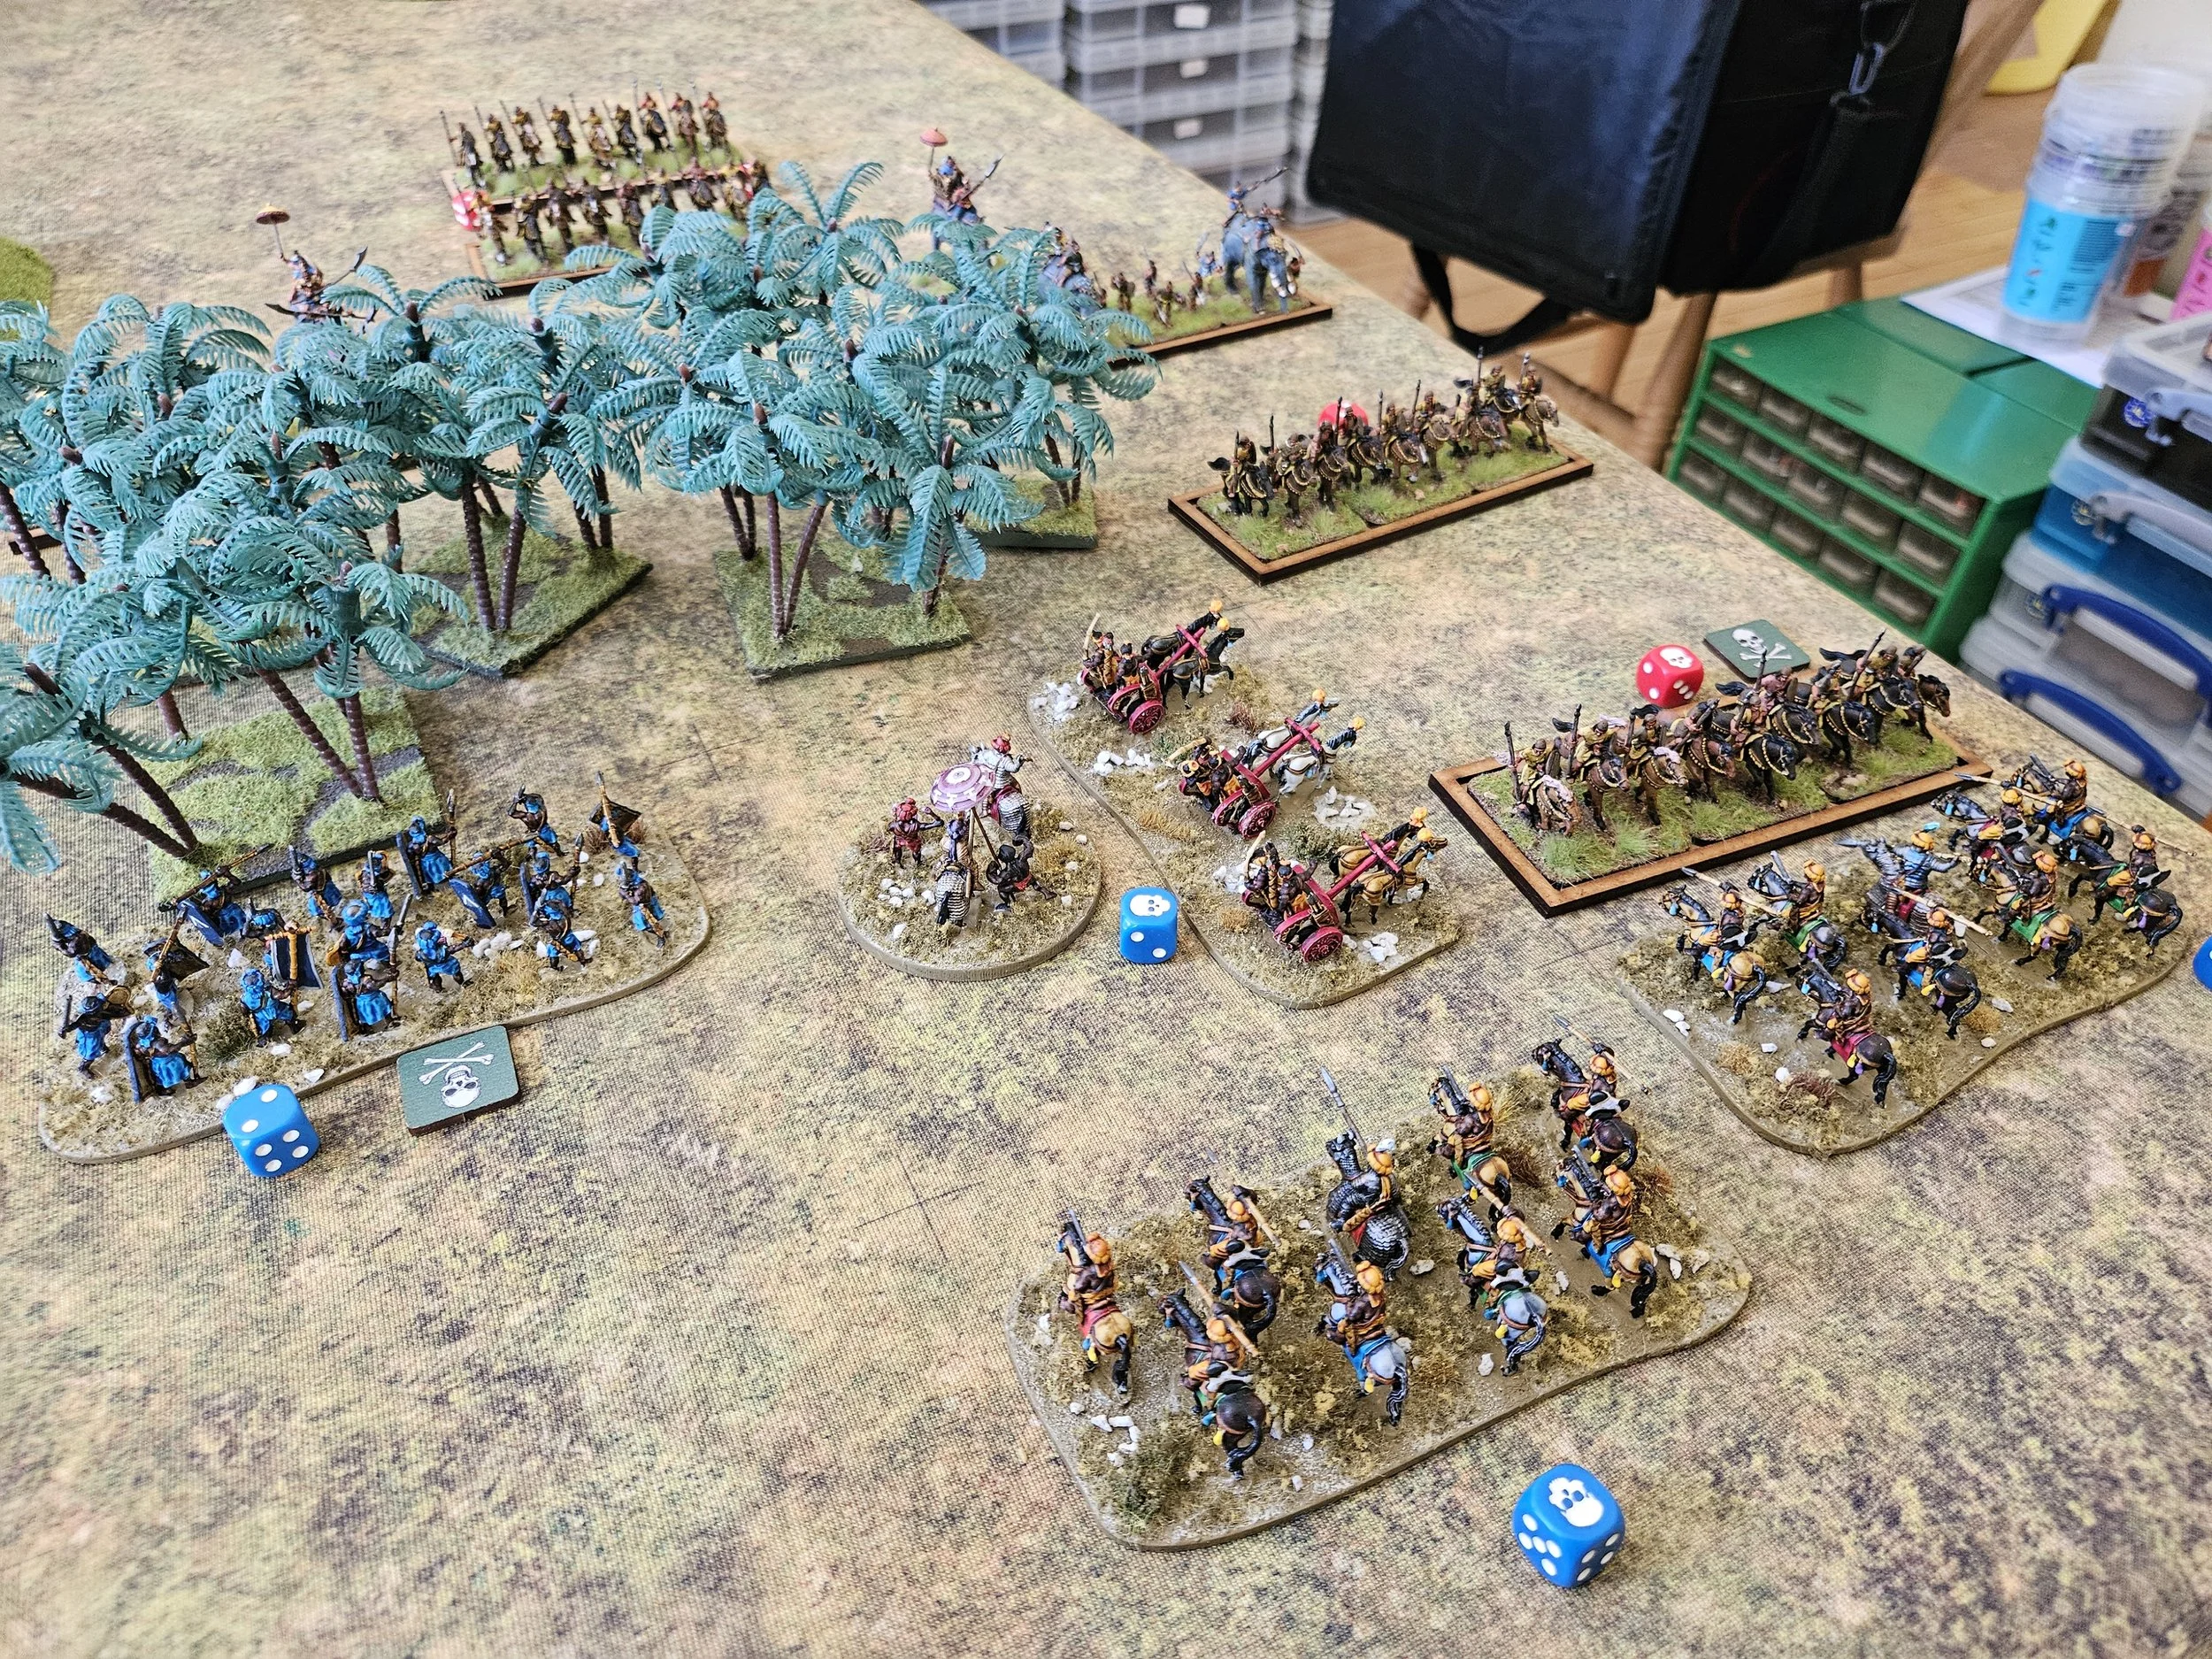
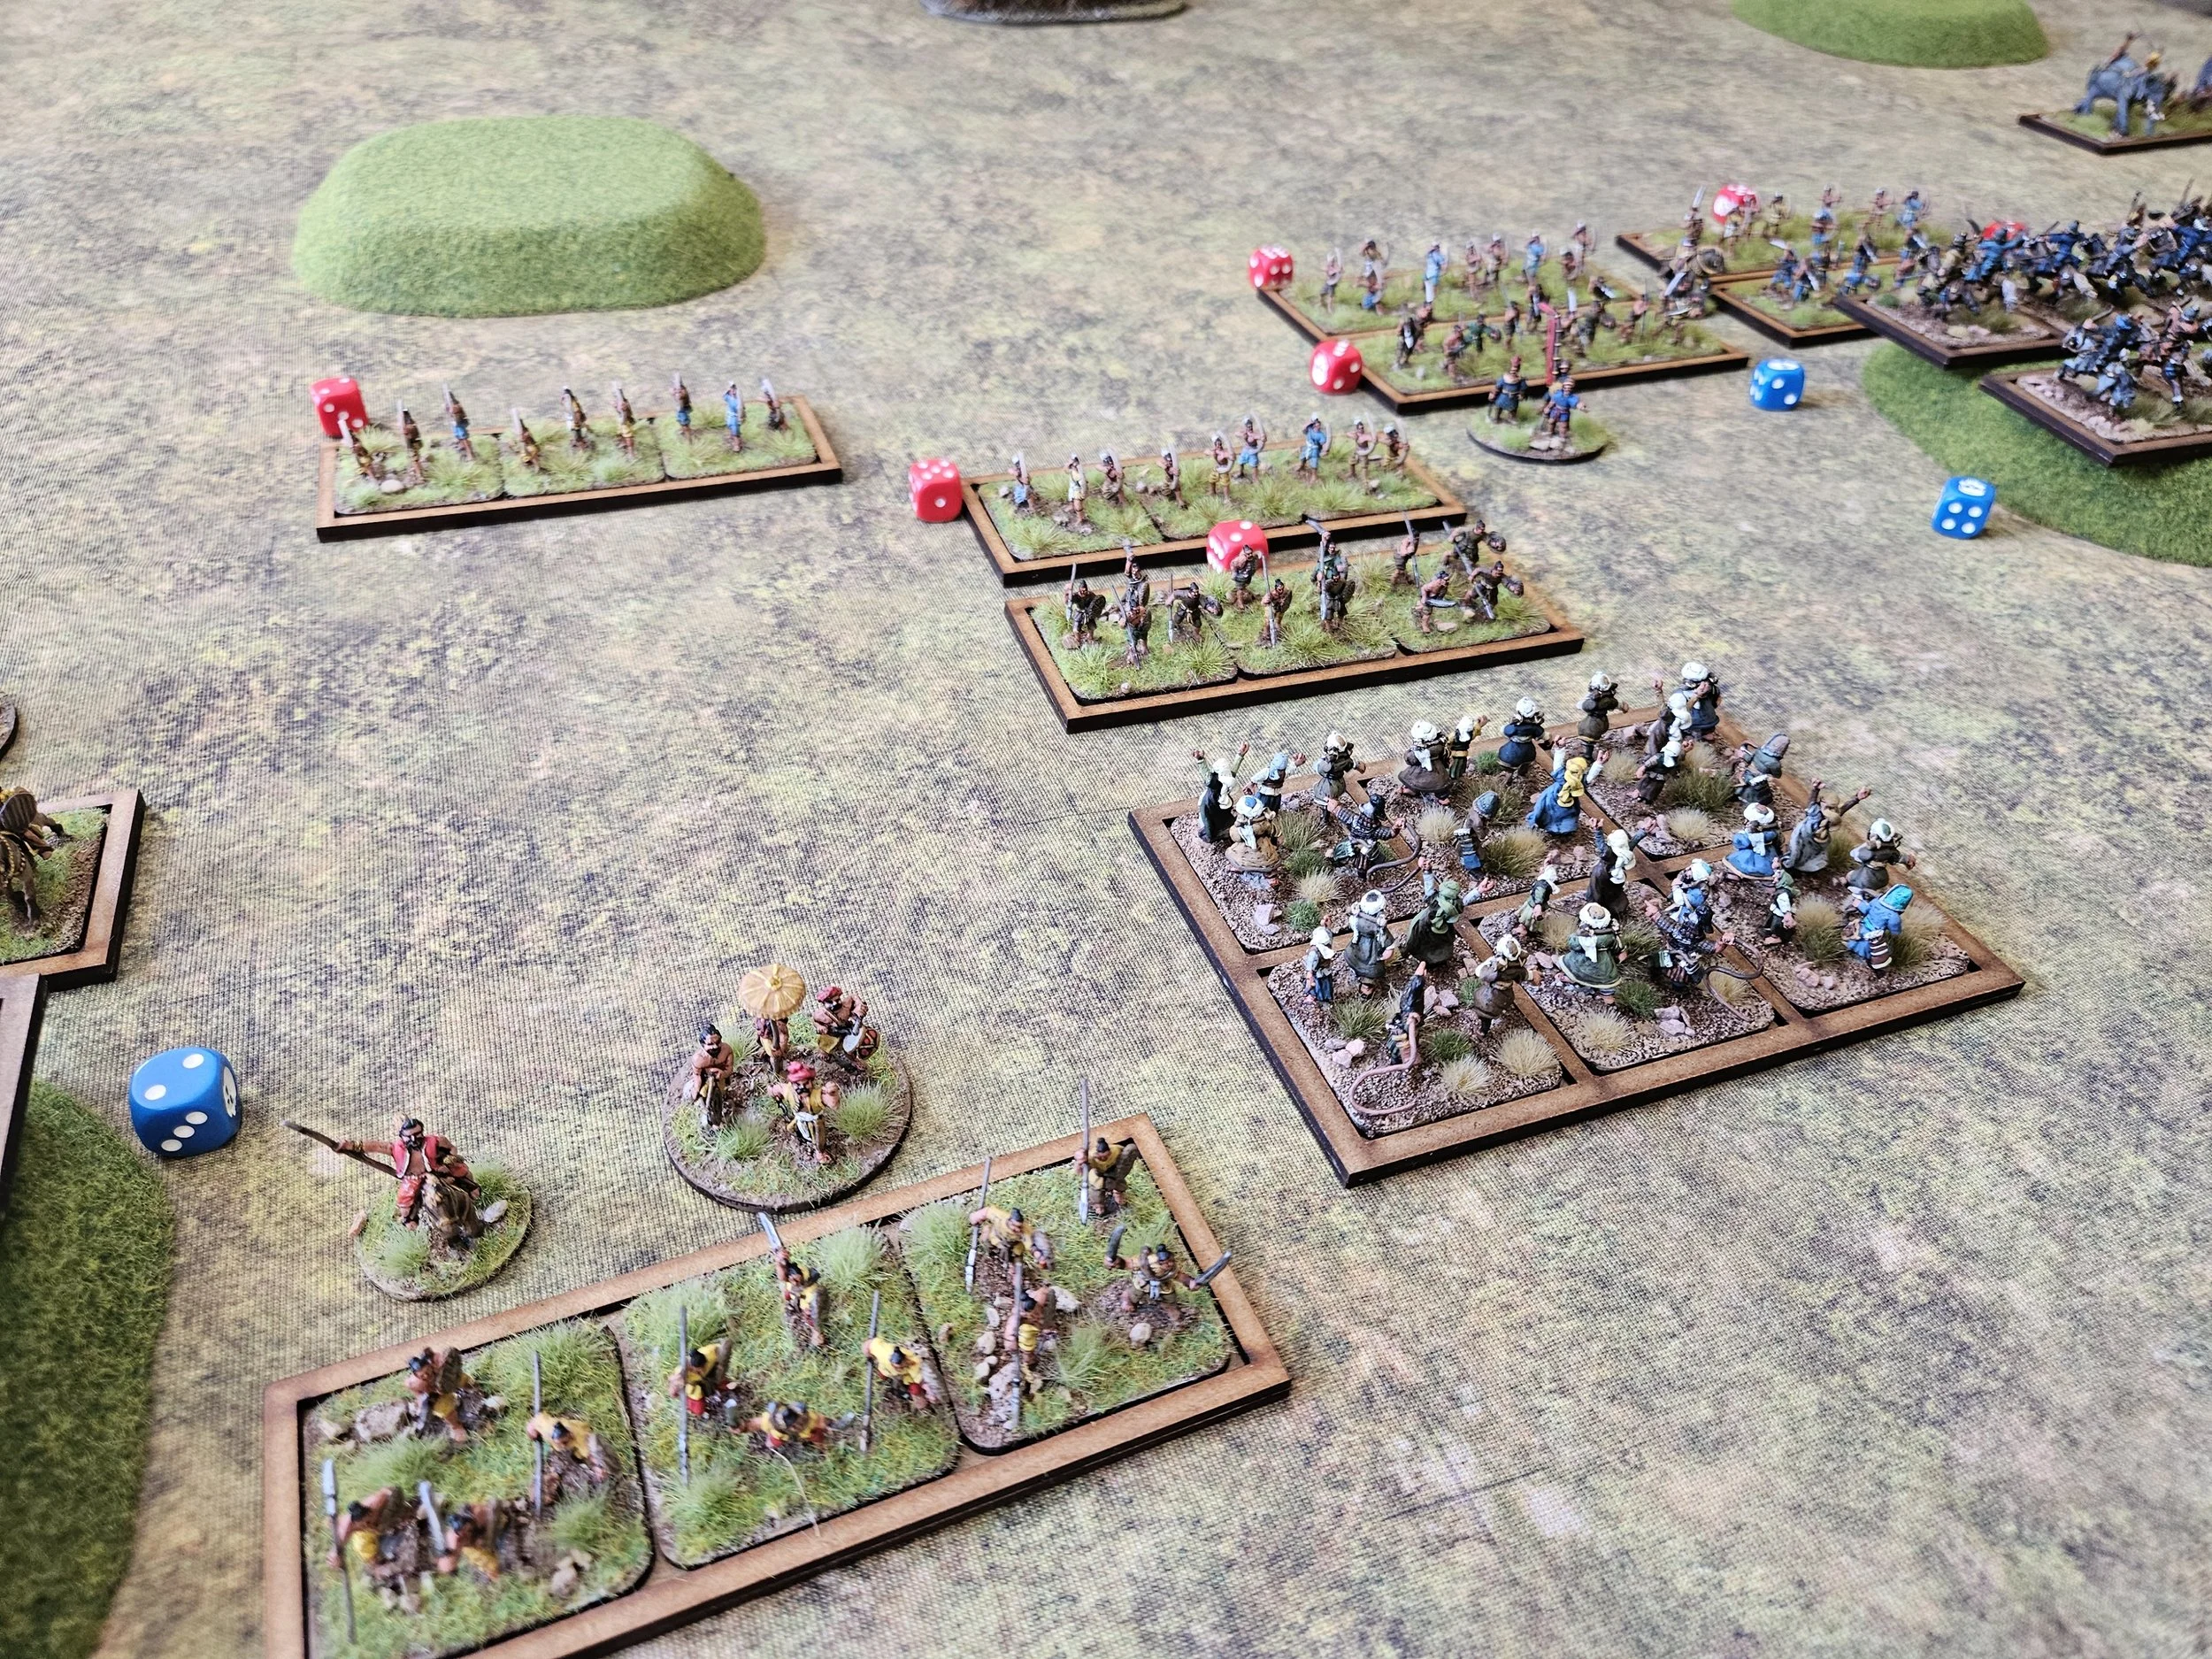
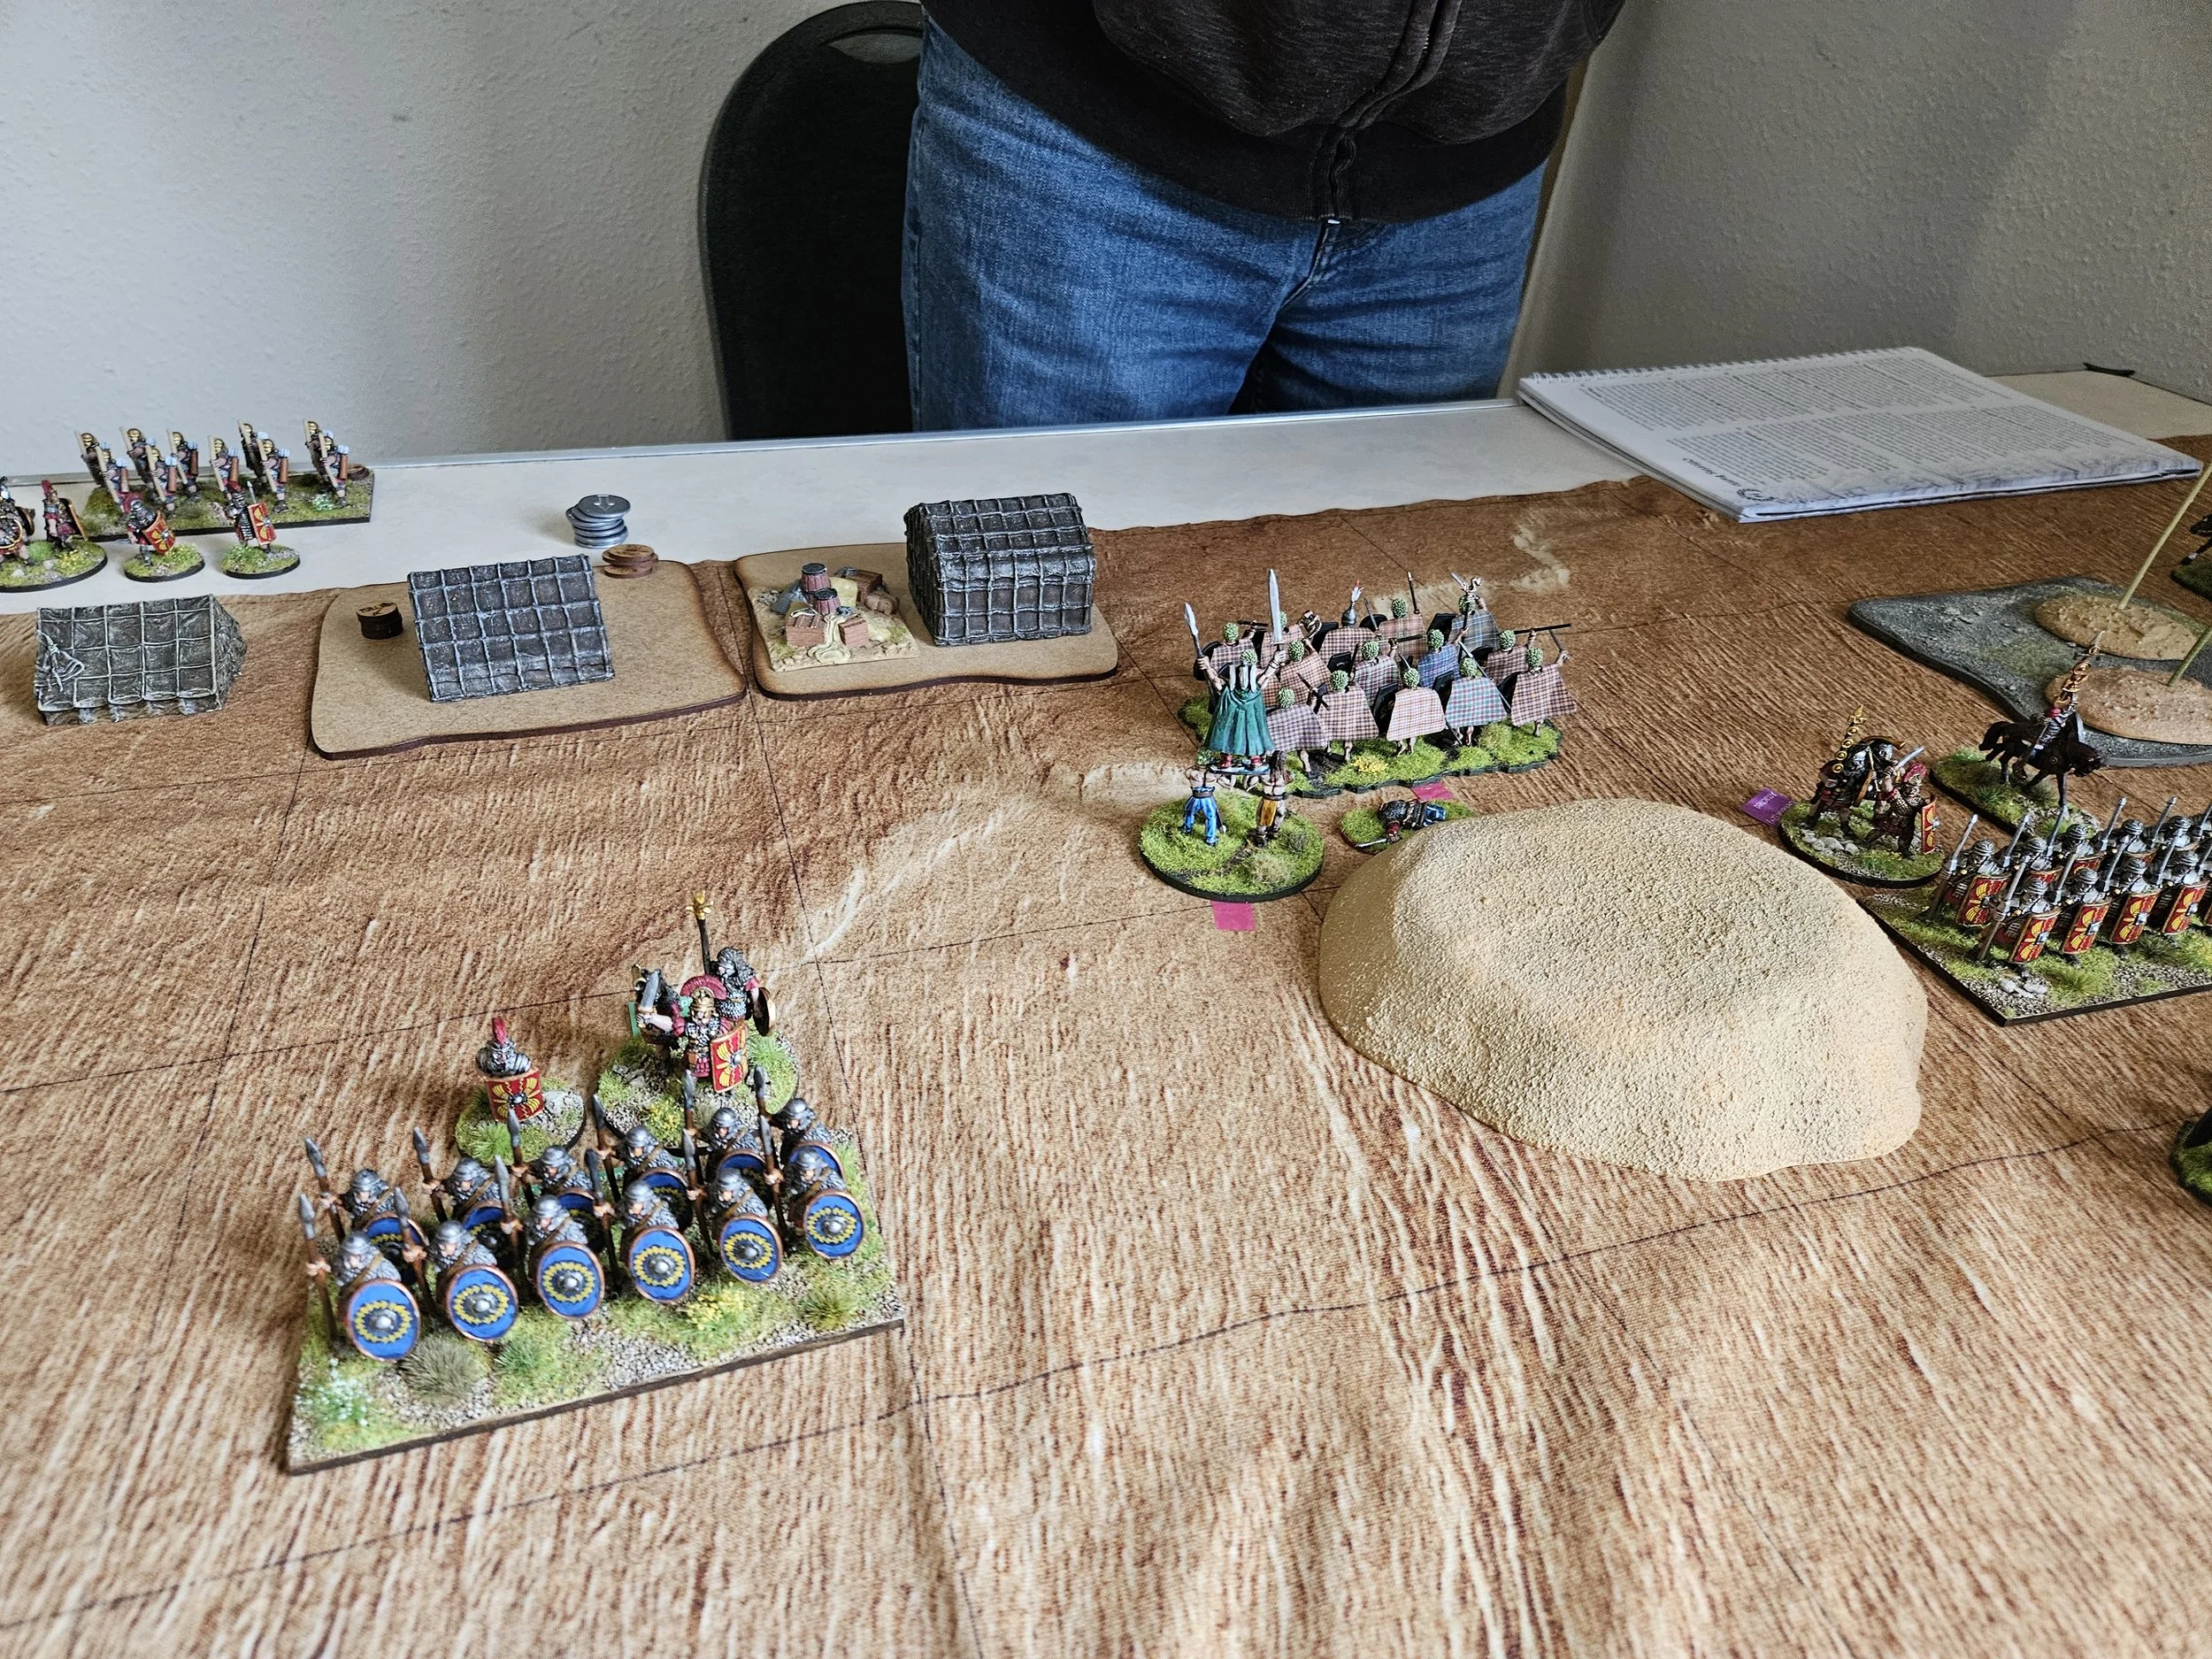
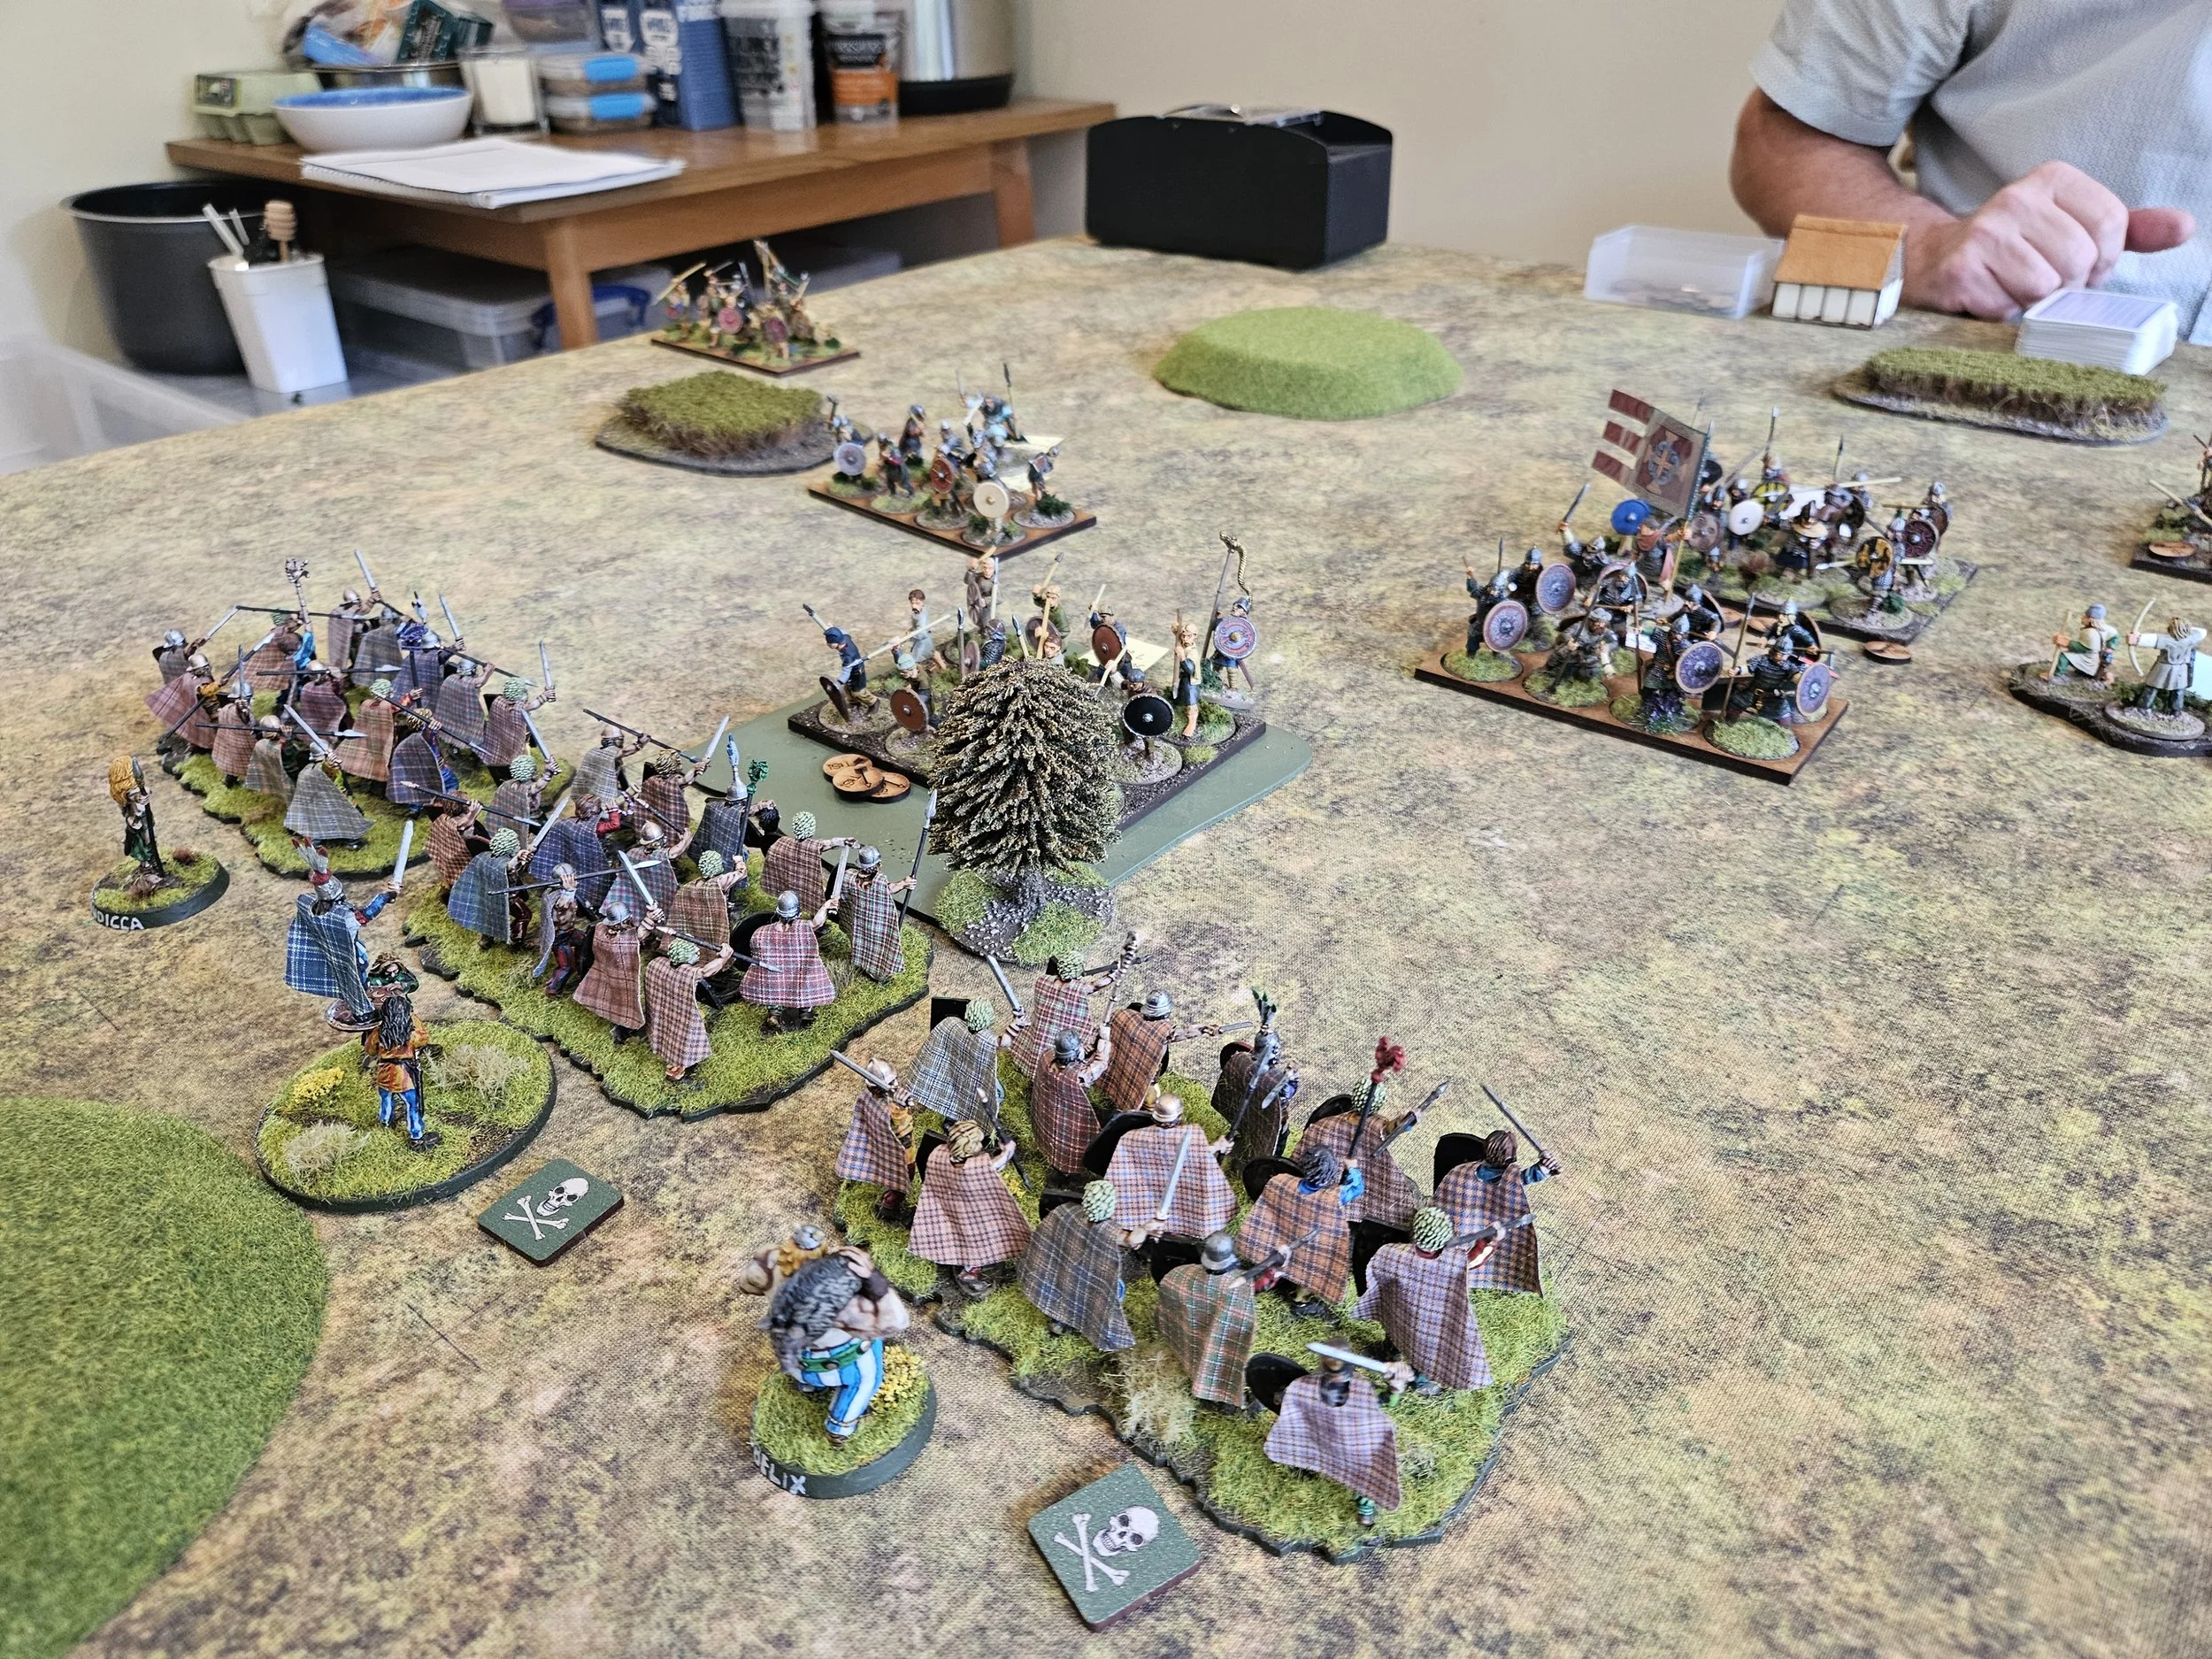
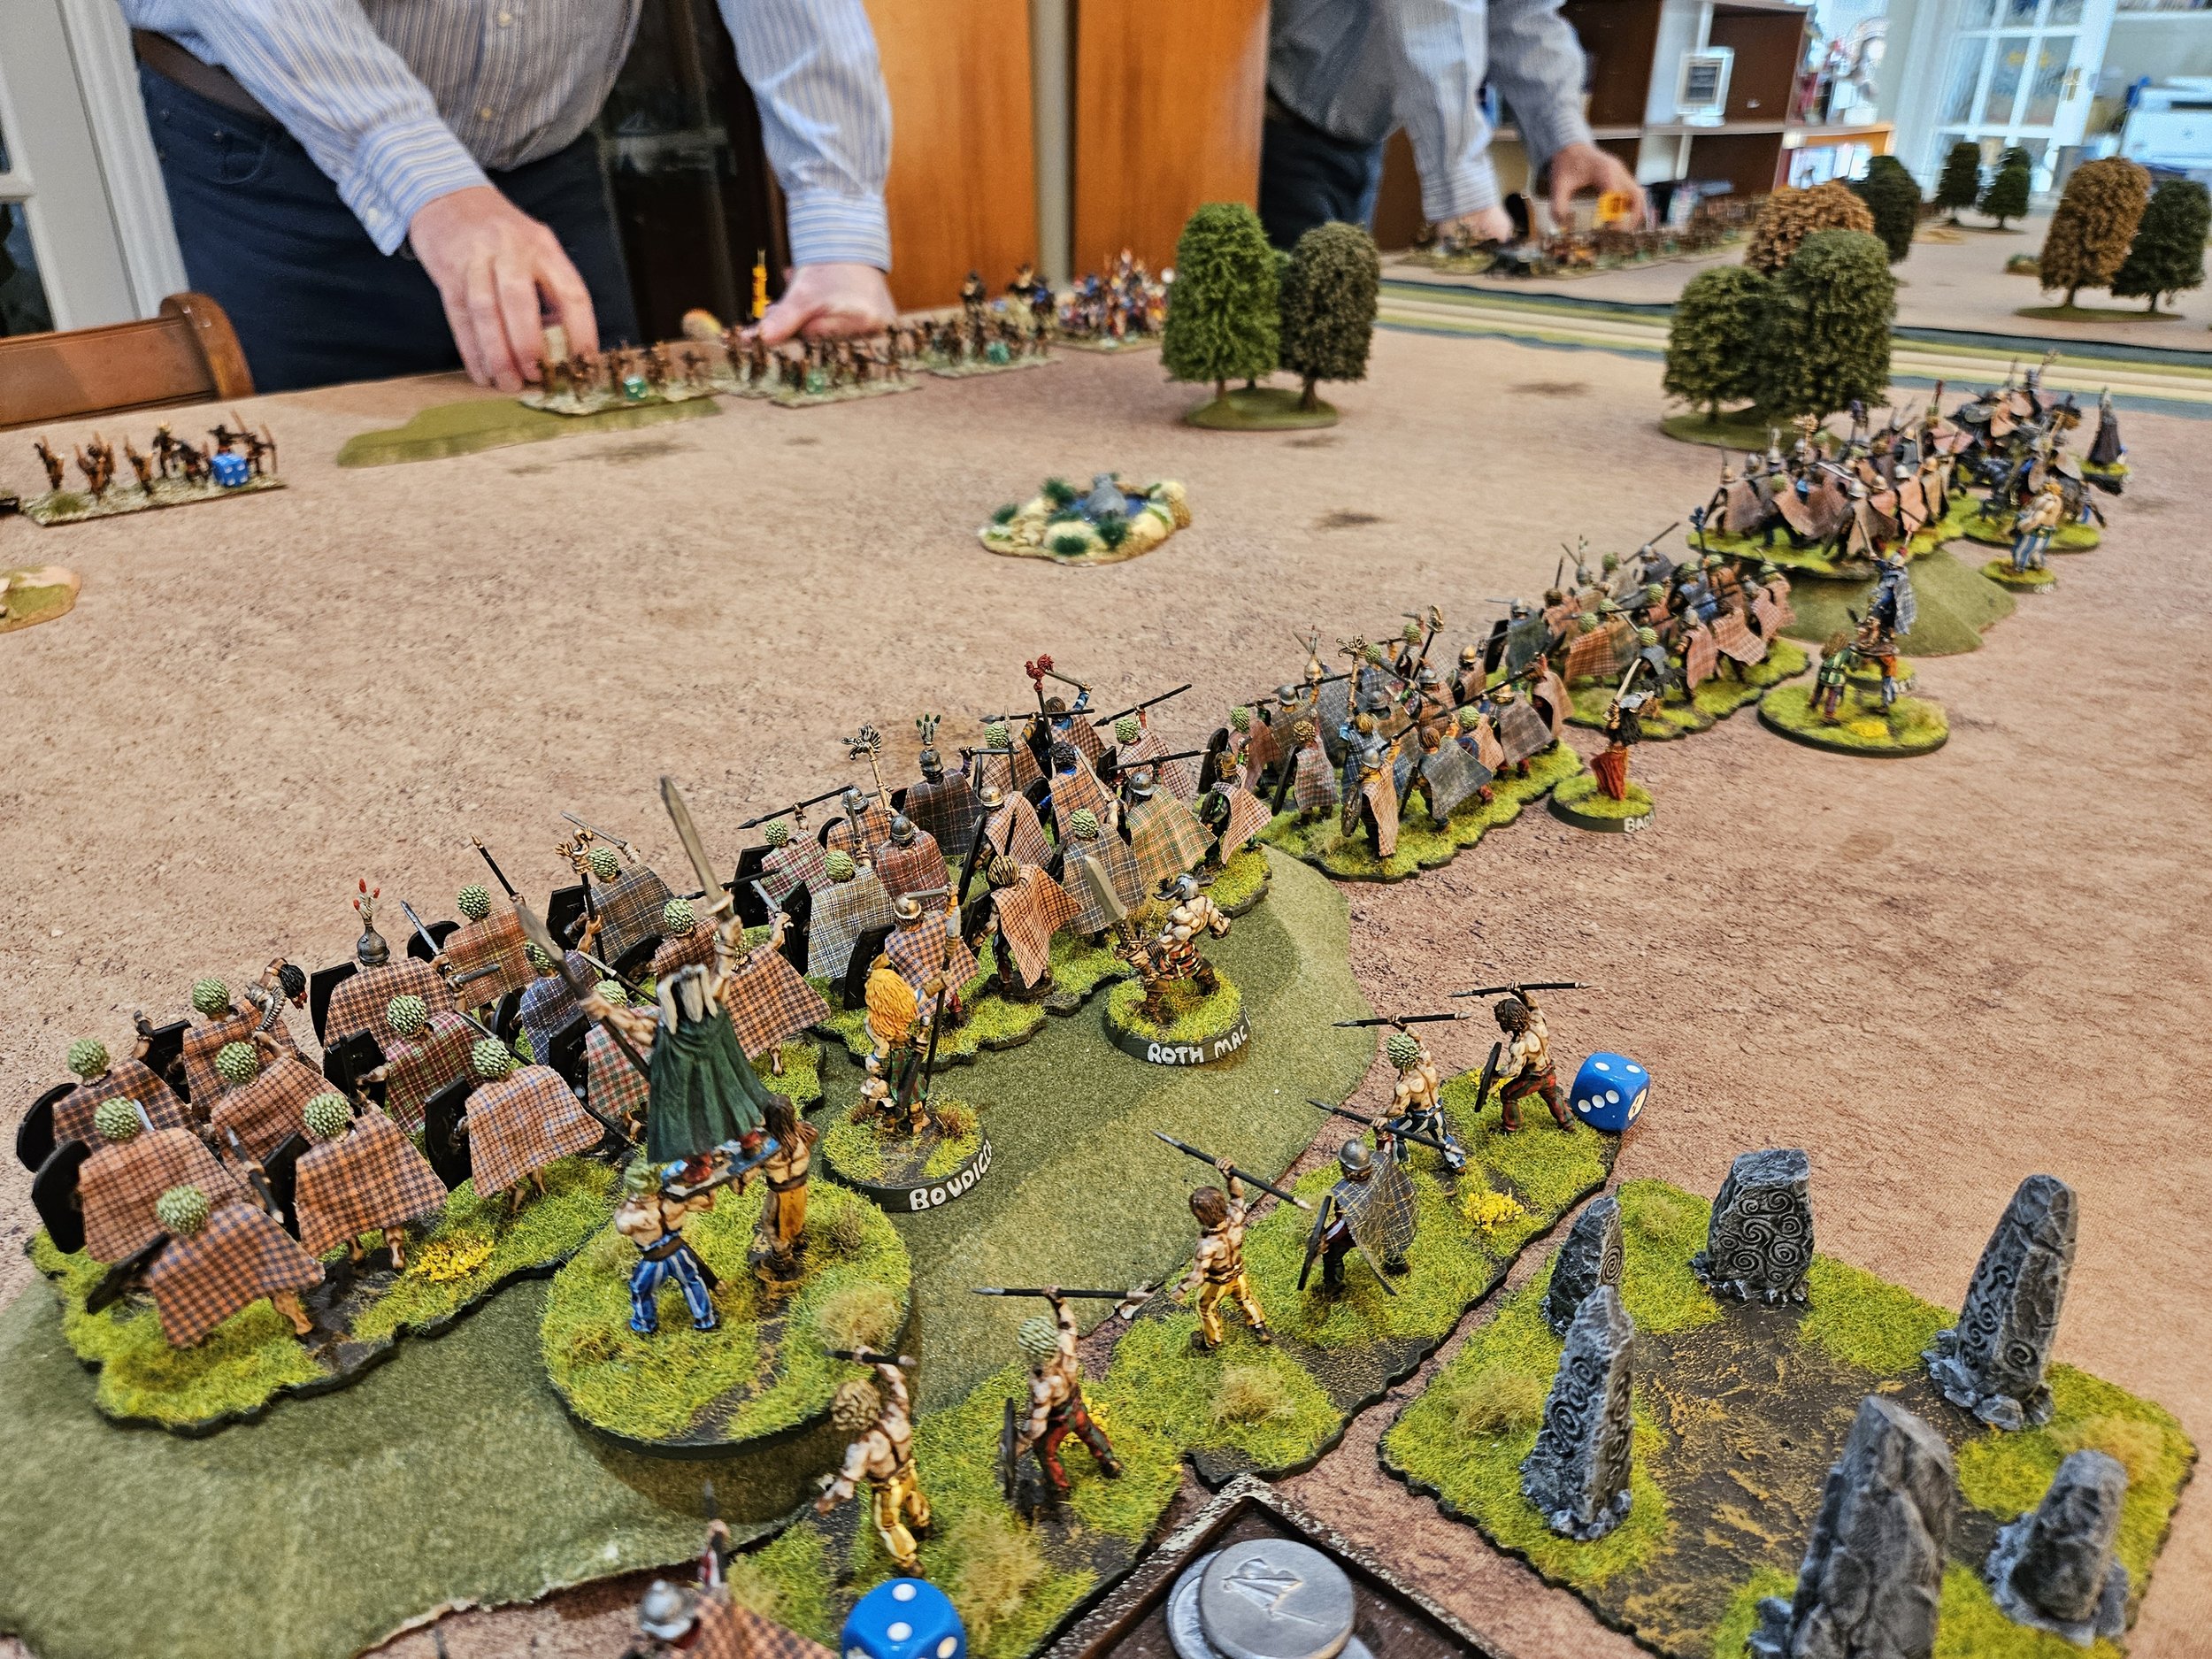
Given that we each lost at least one unit in the kesselschlacht shown above, I was now feeling fairly confident of victory. I mean I was something like seven or eight coins to three ahead with thirteen getting the win, and my lights on the left were in a perfect position to sweep down onto the largely undefended Spanish camps.
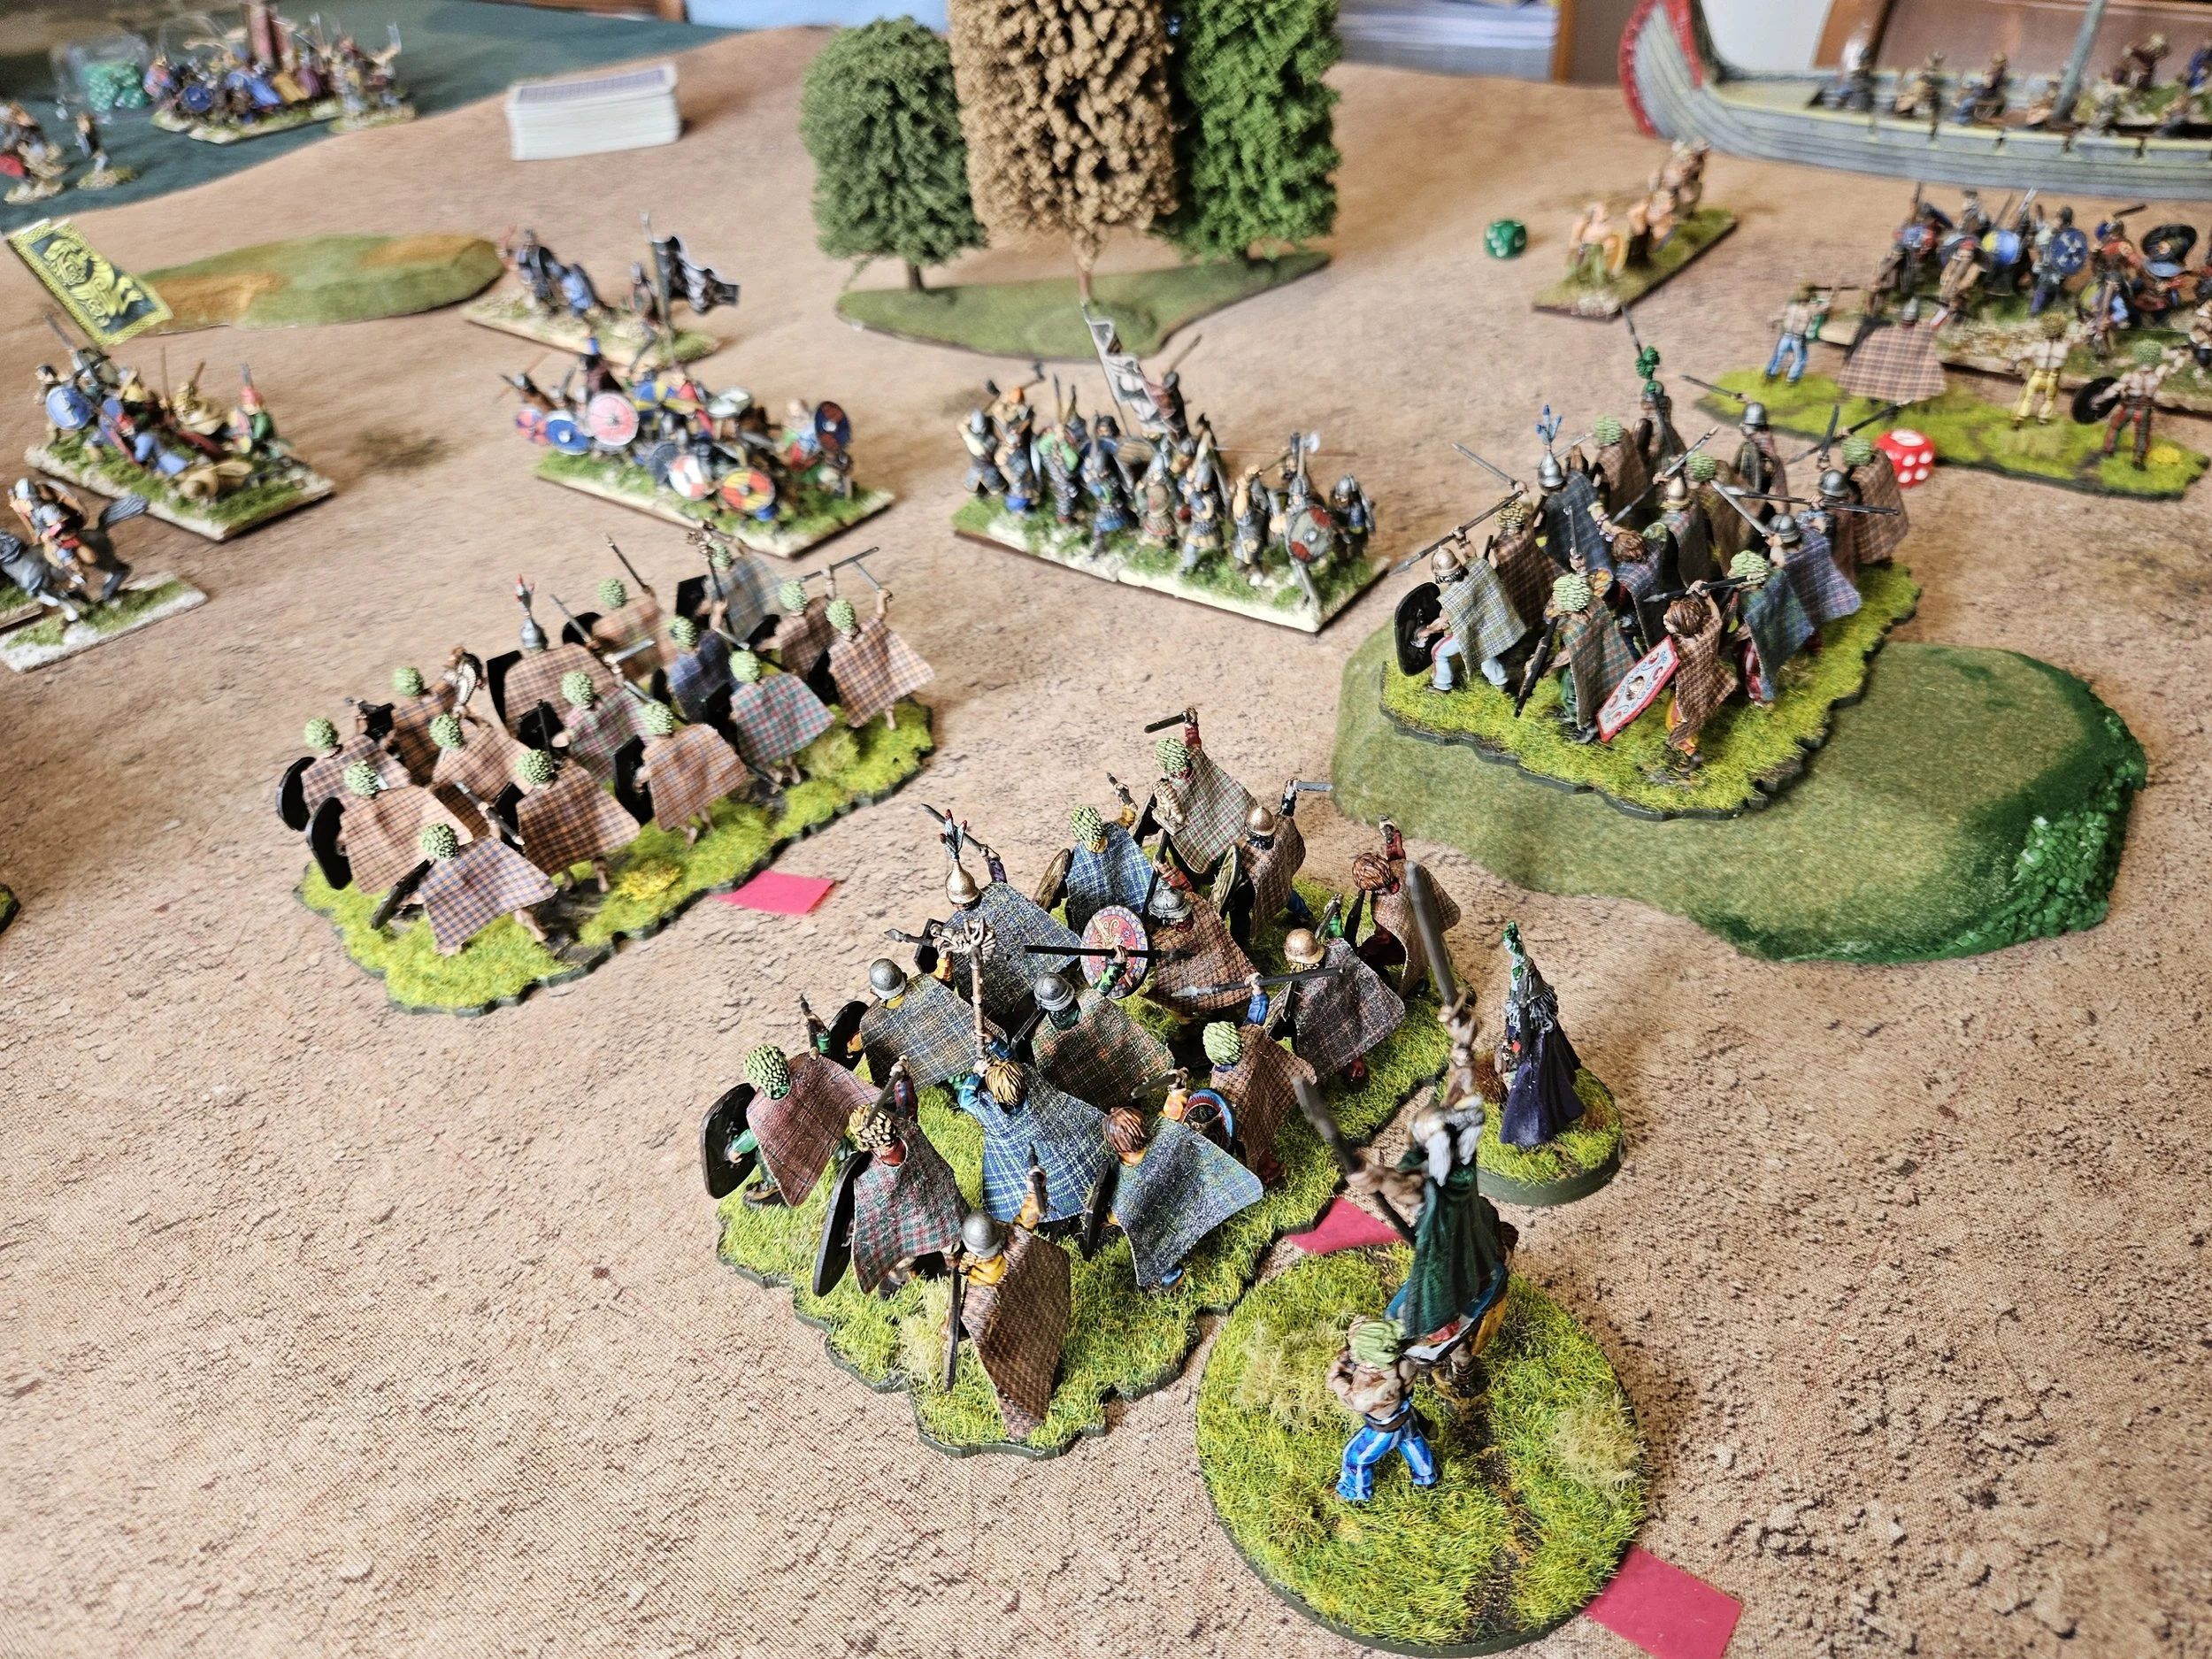
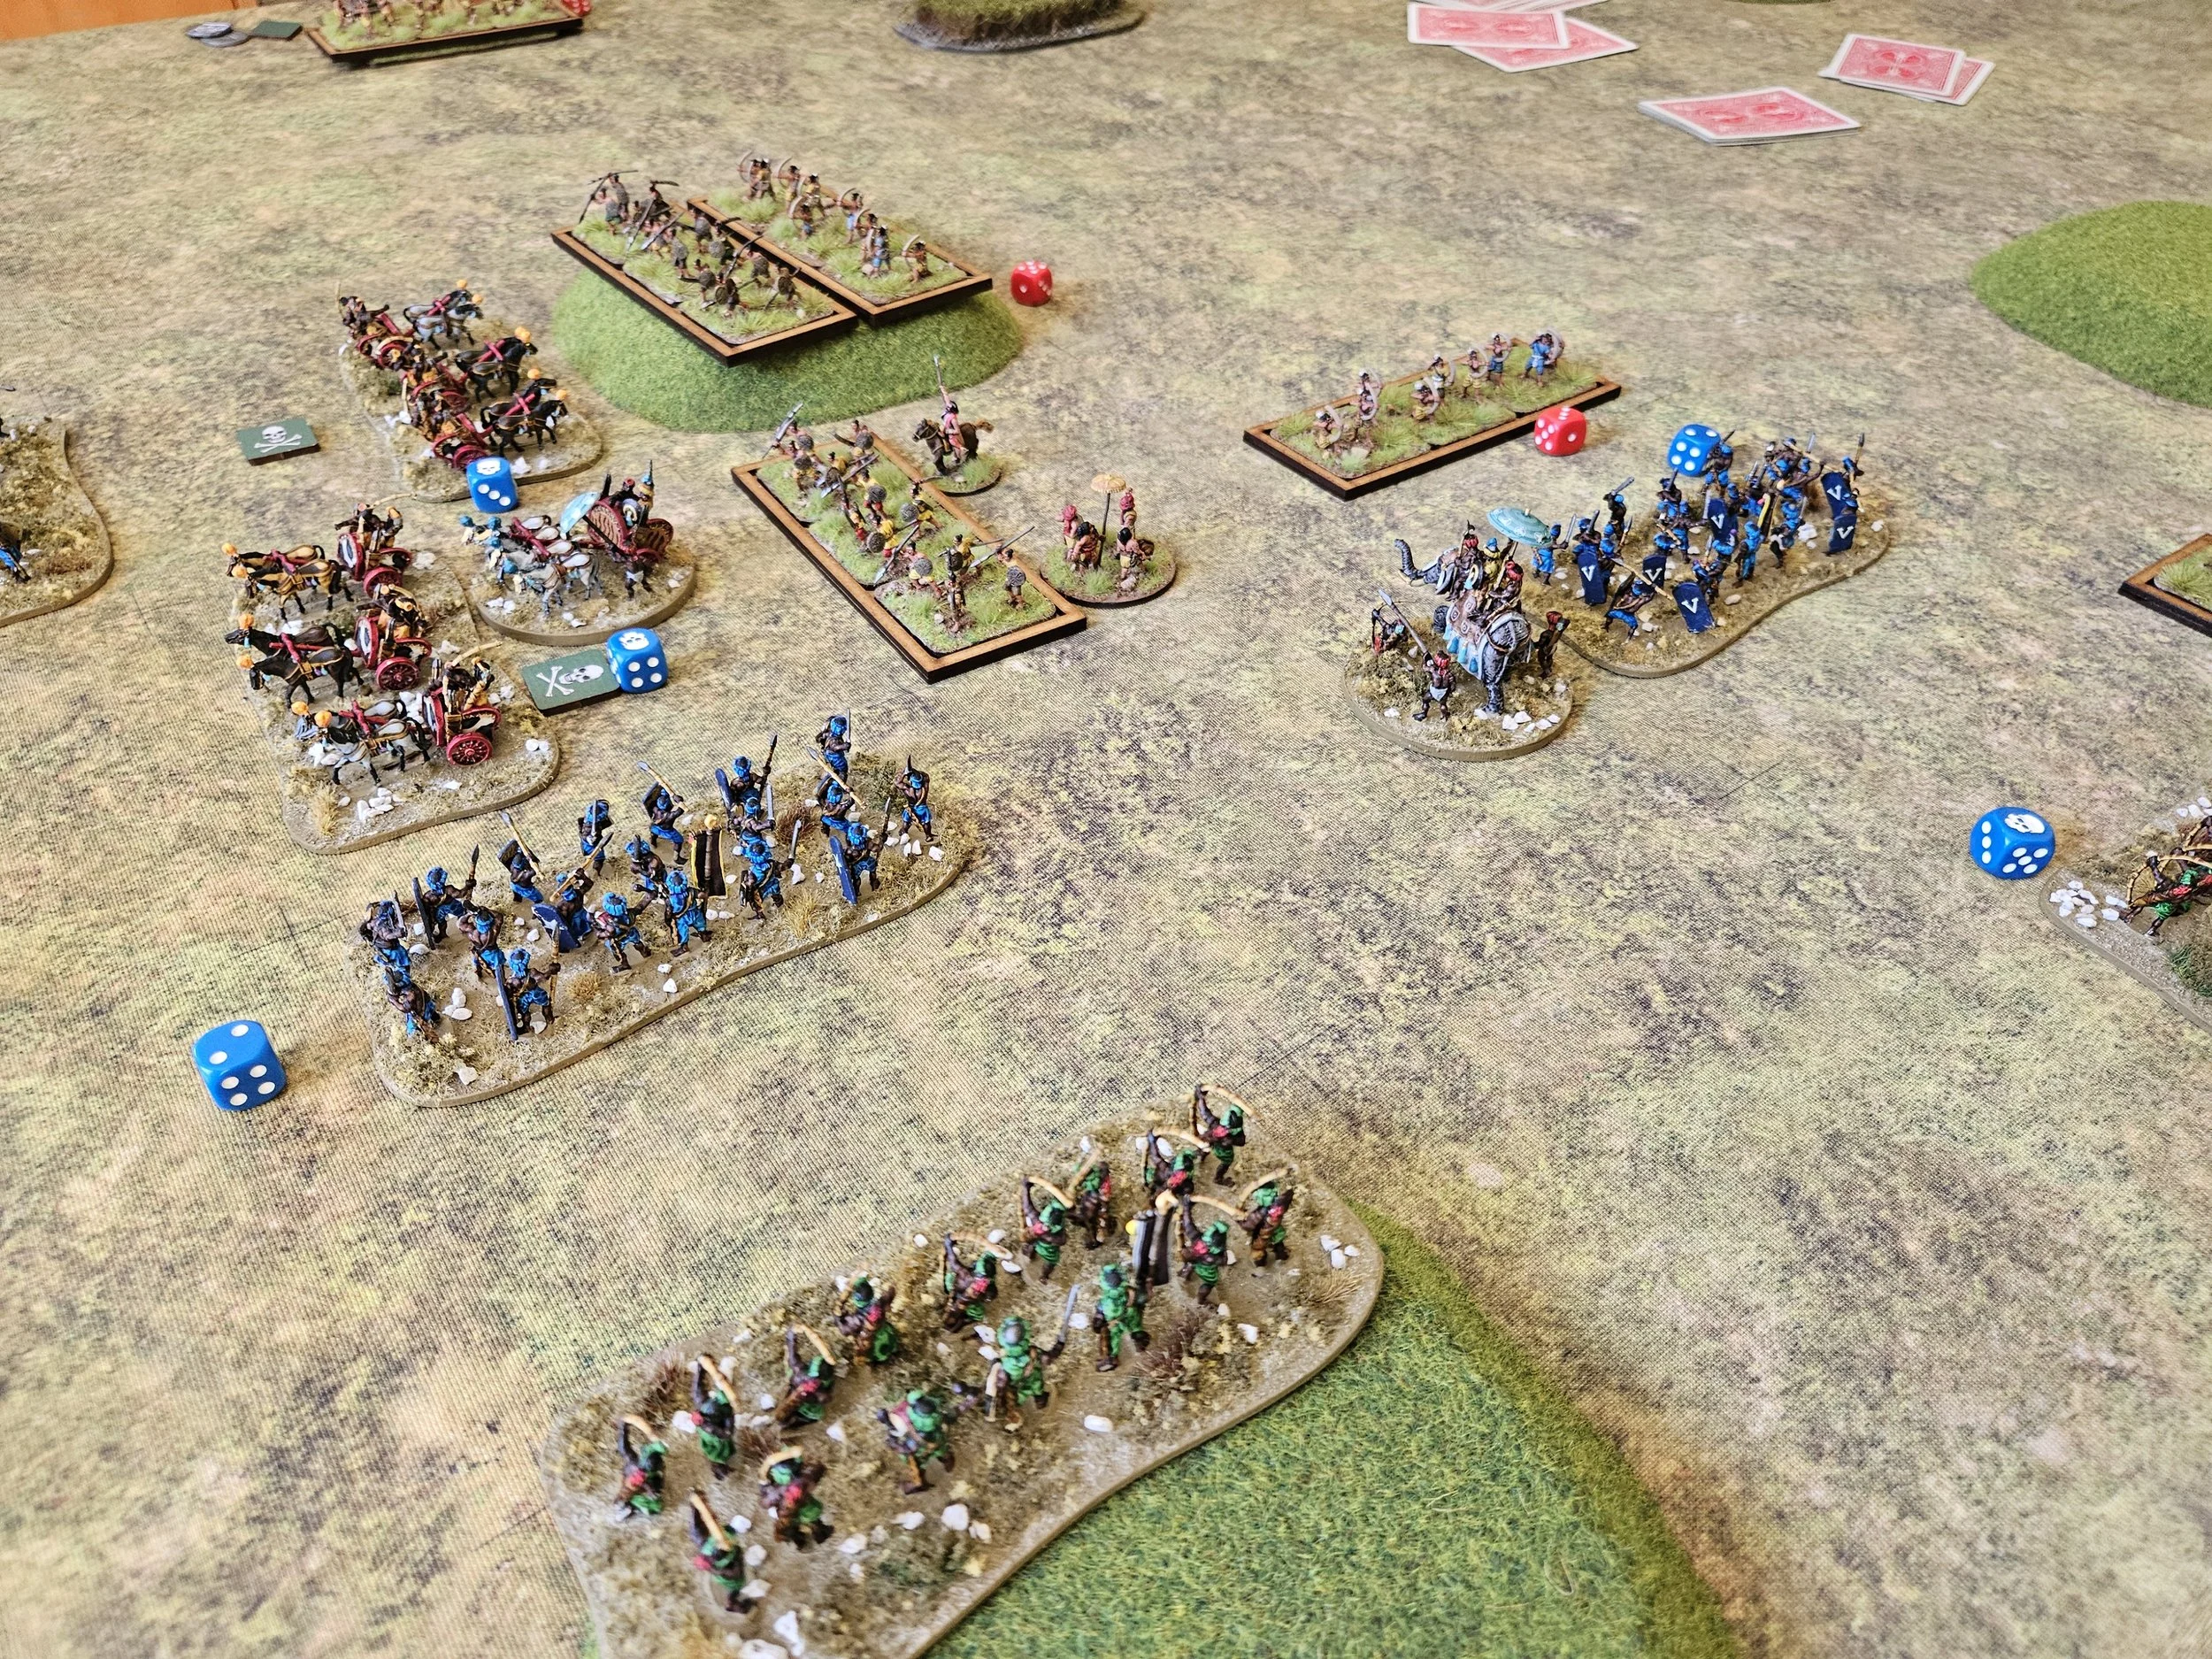
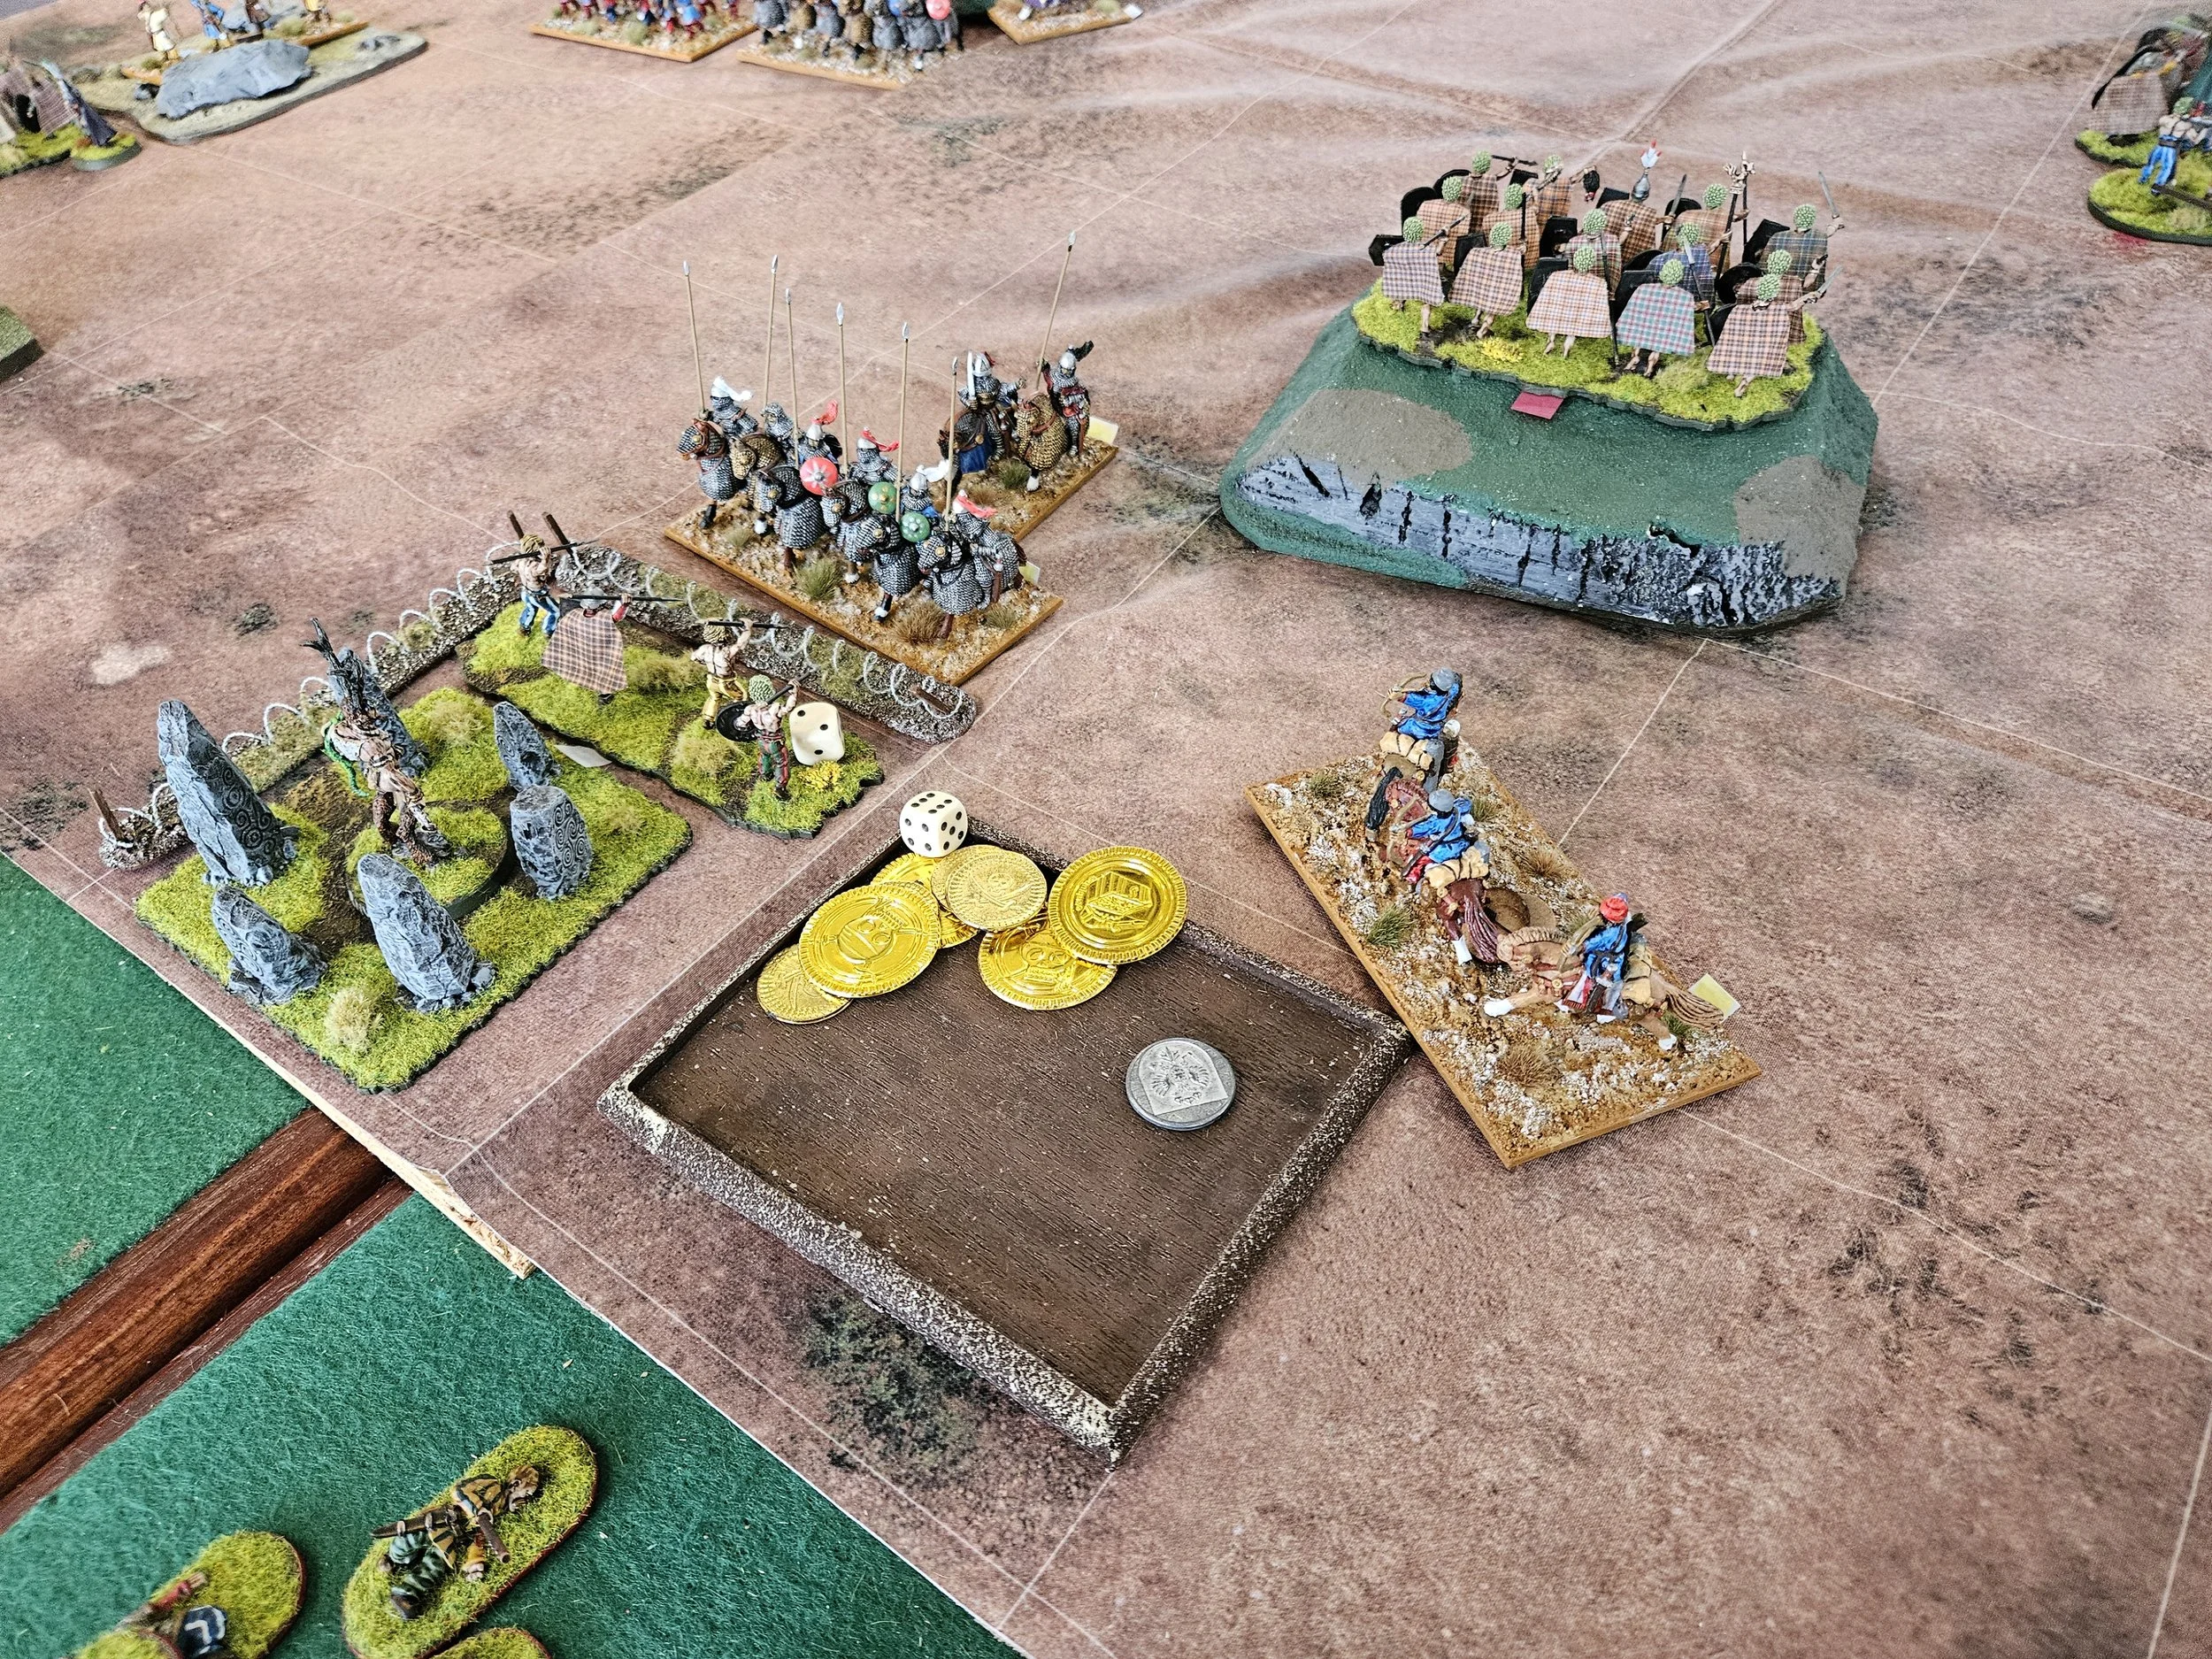
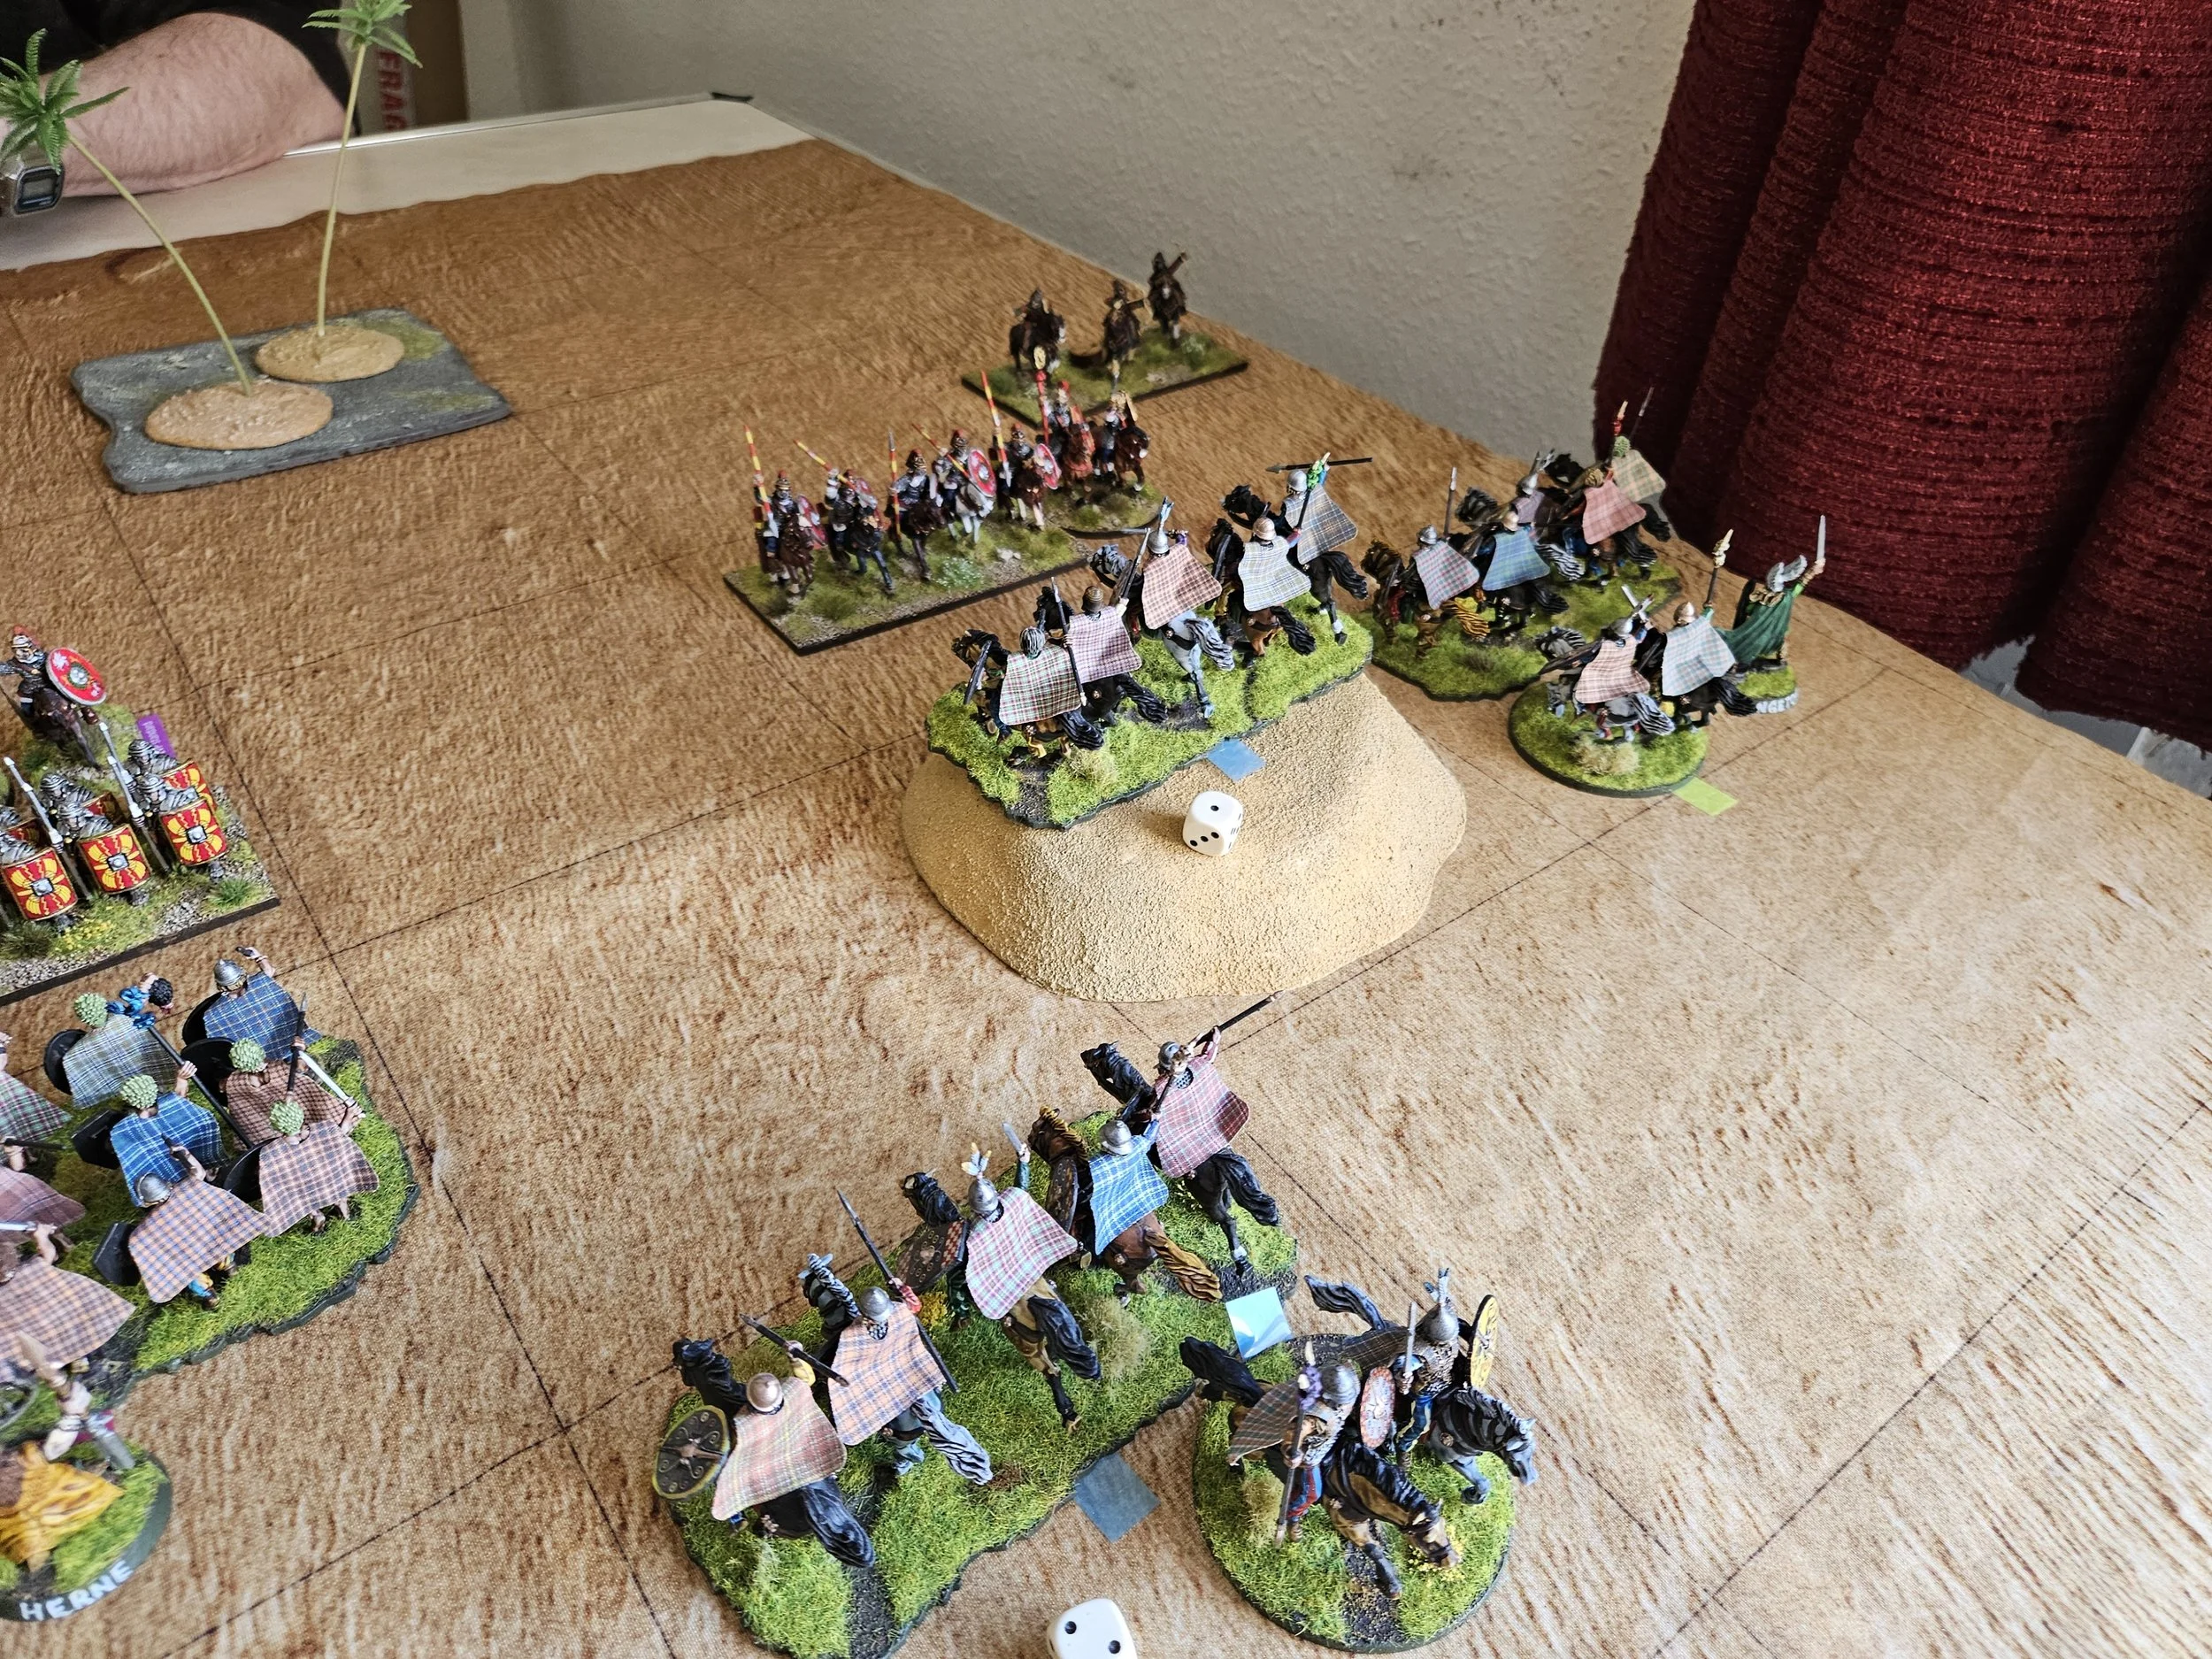
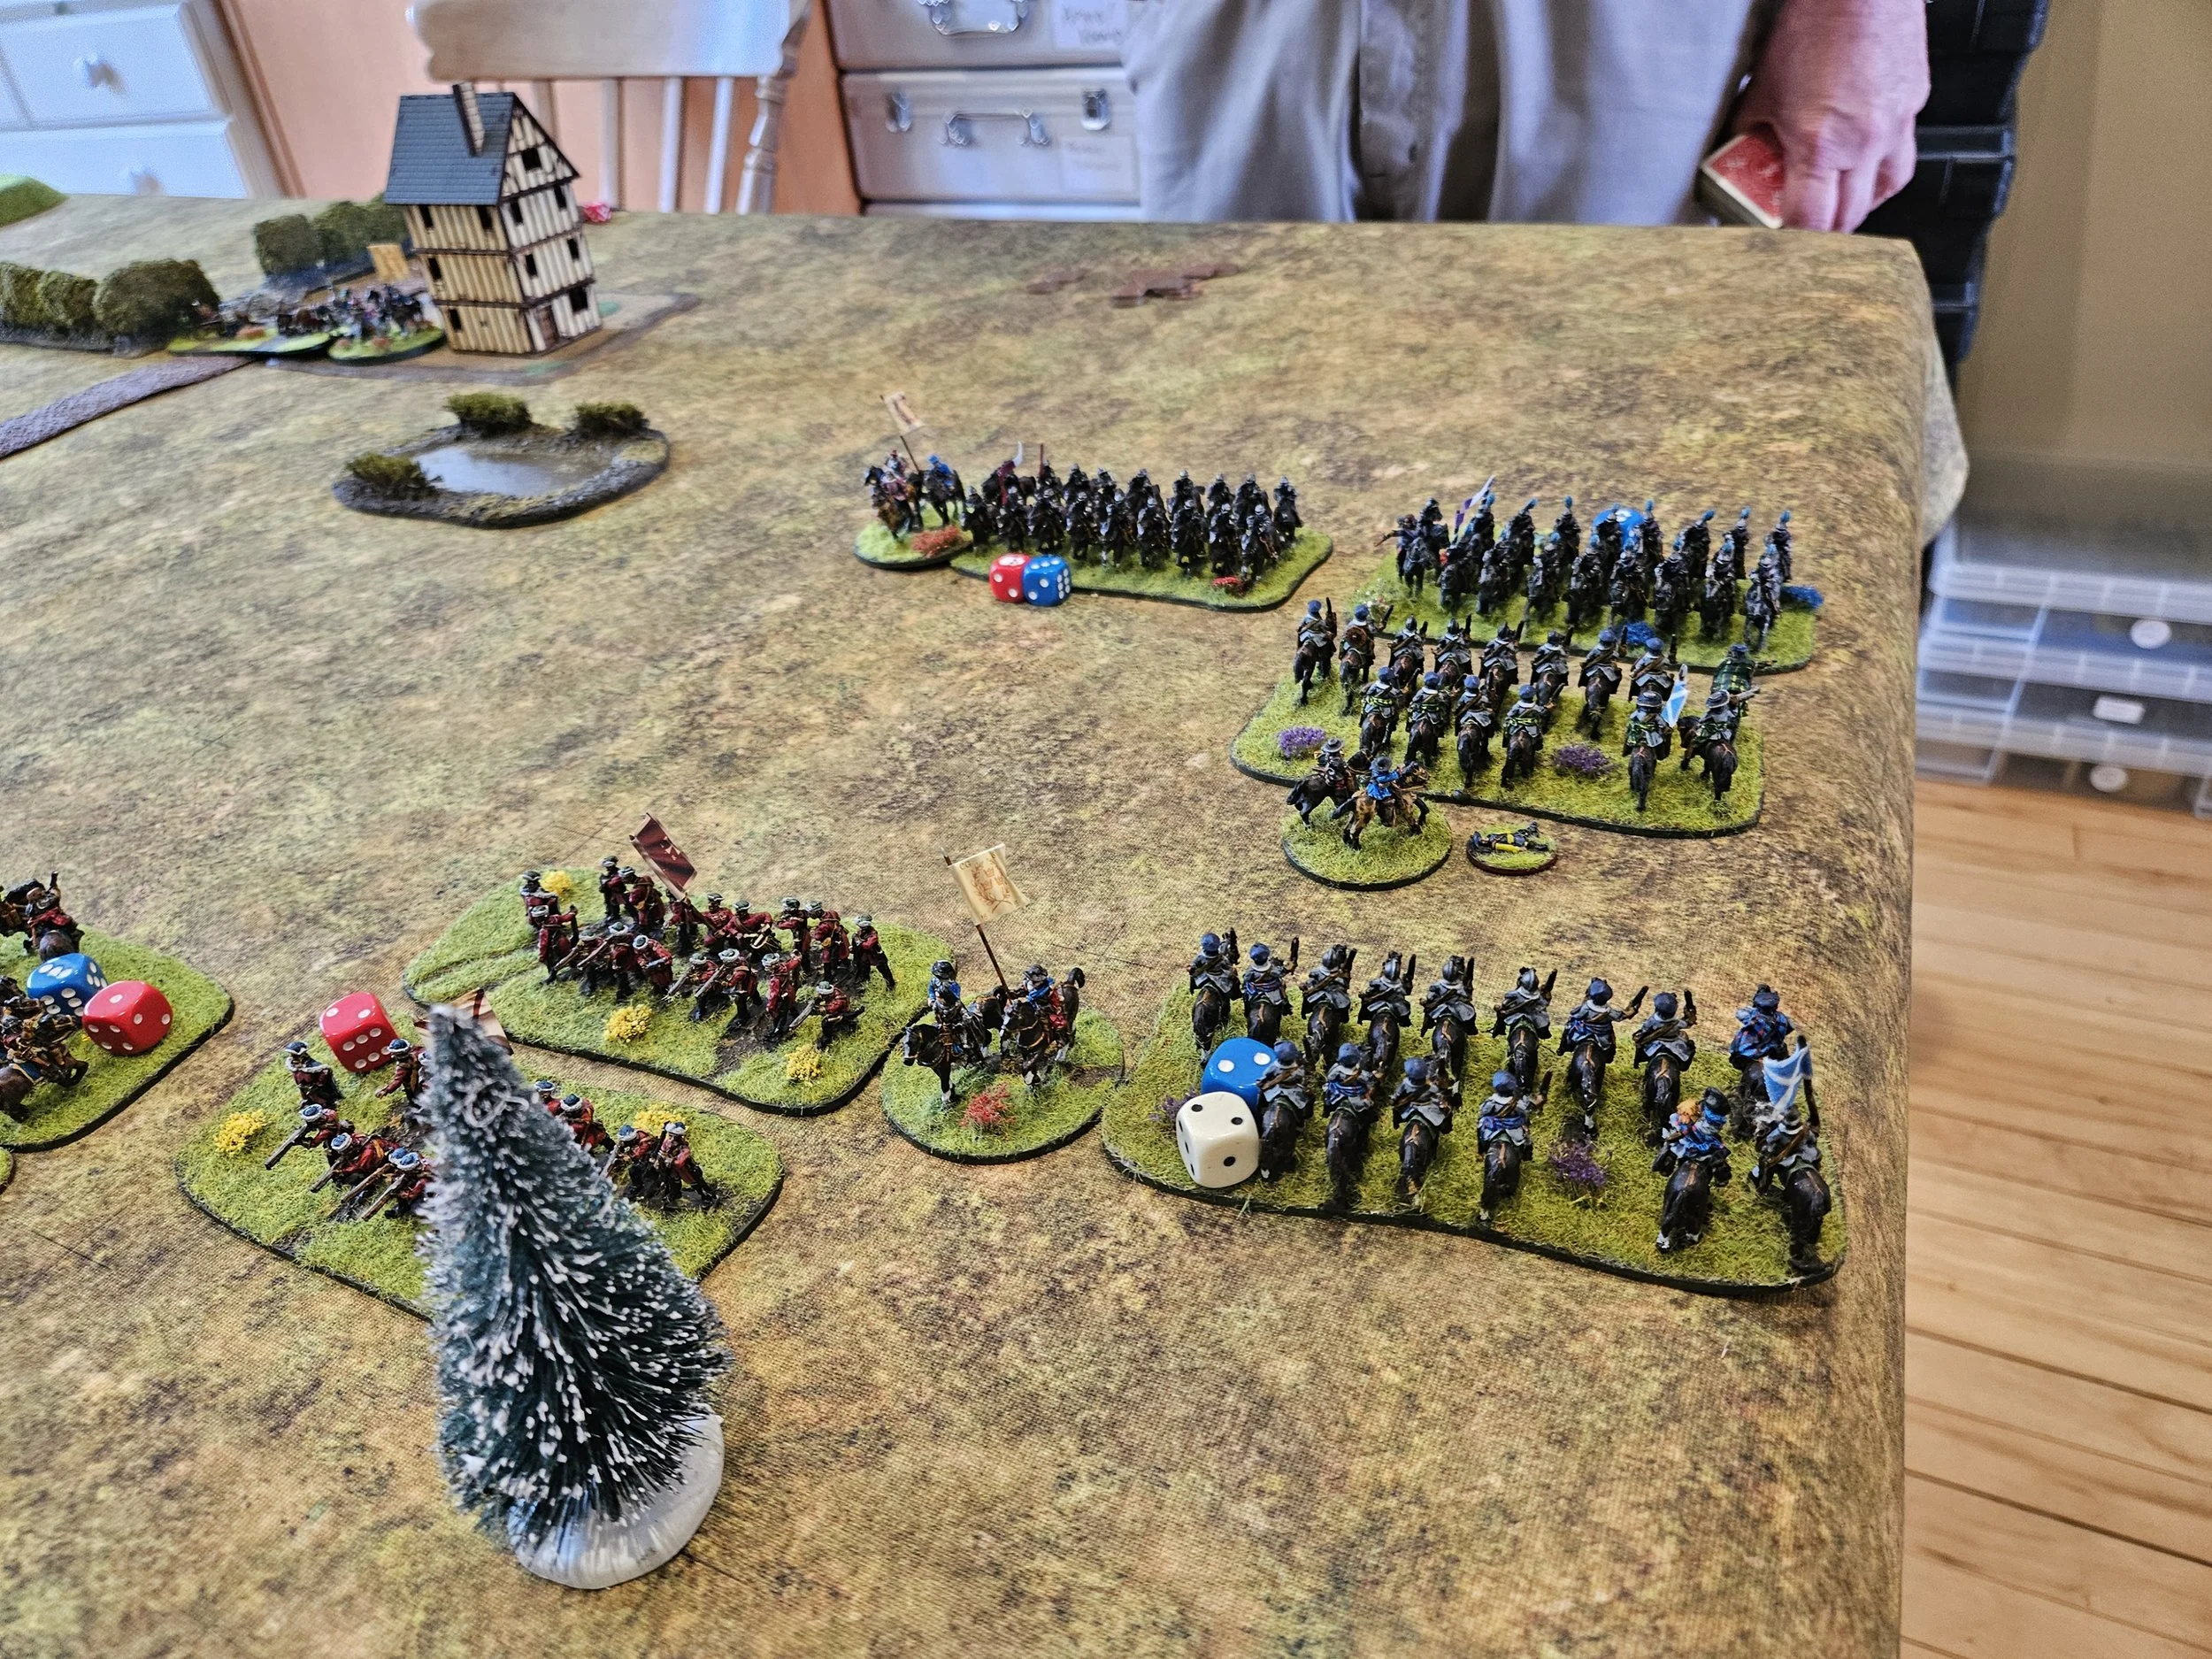
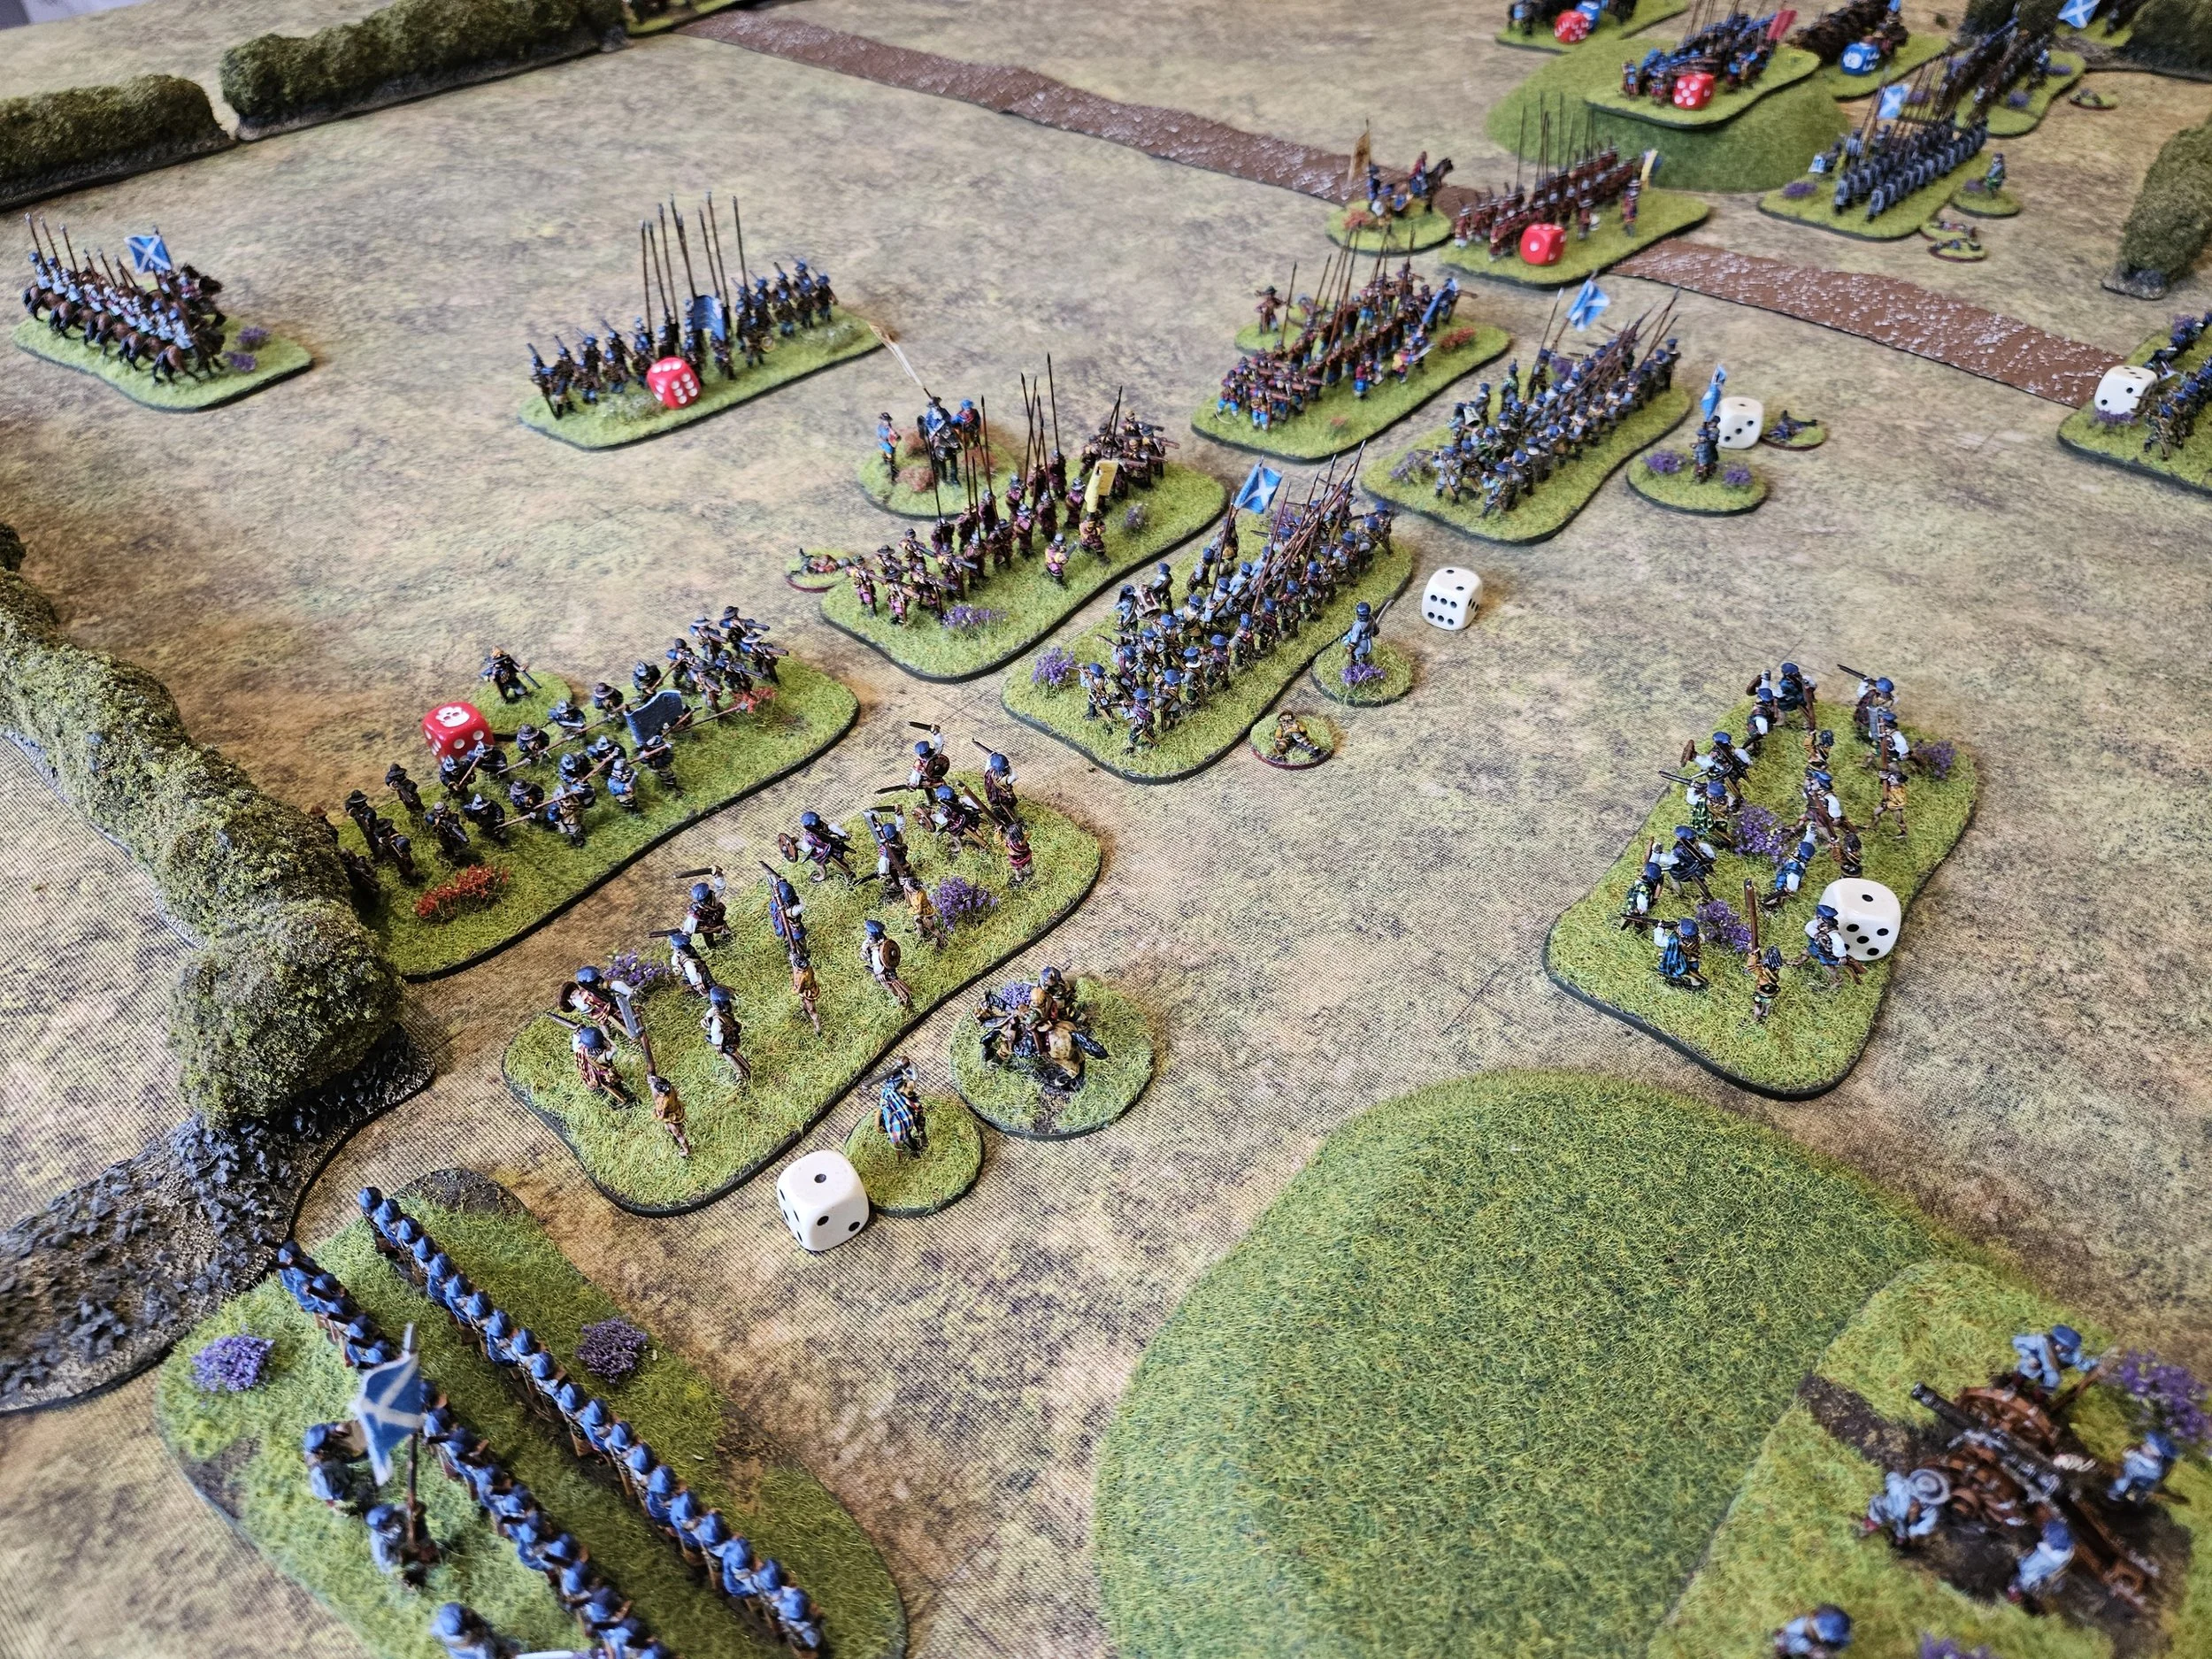
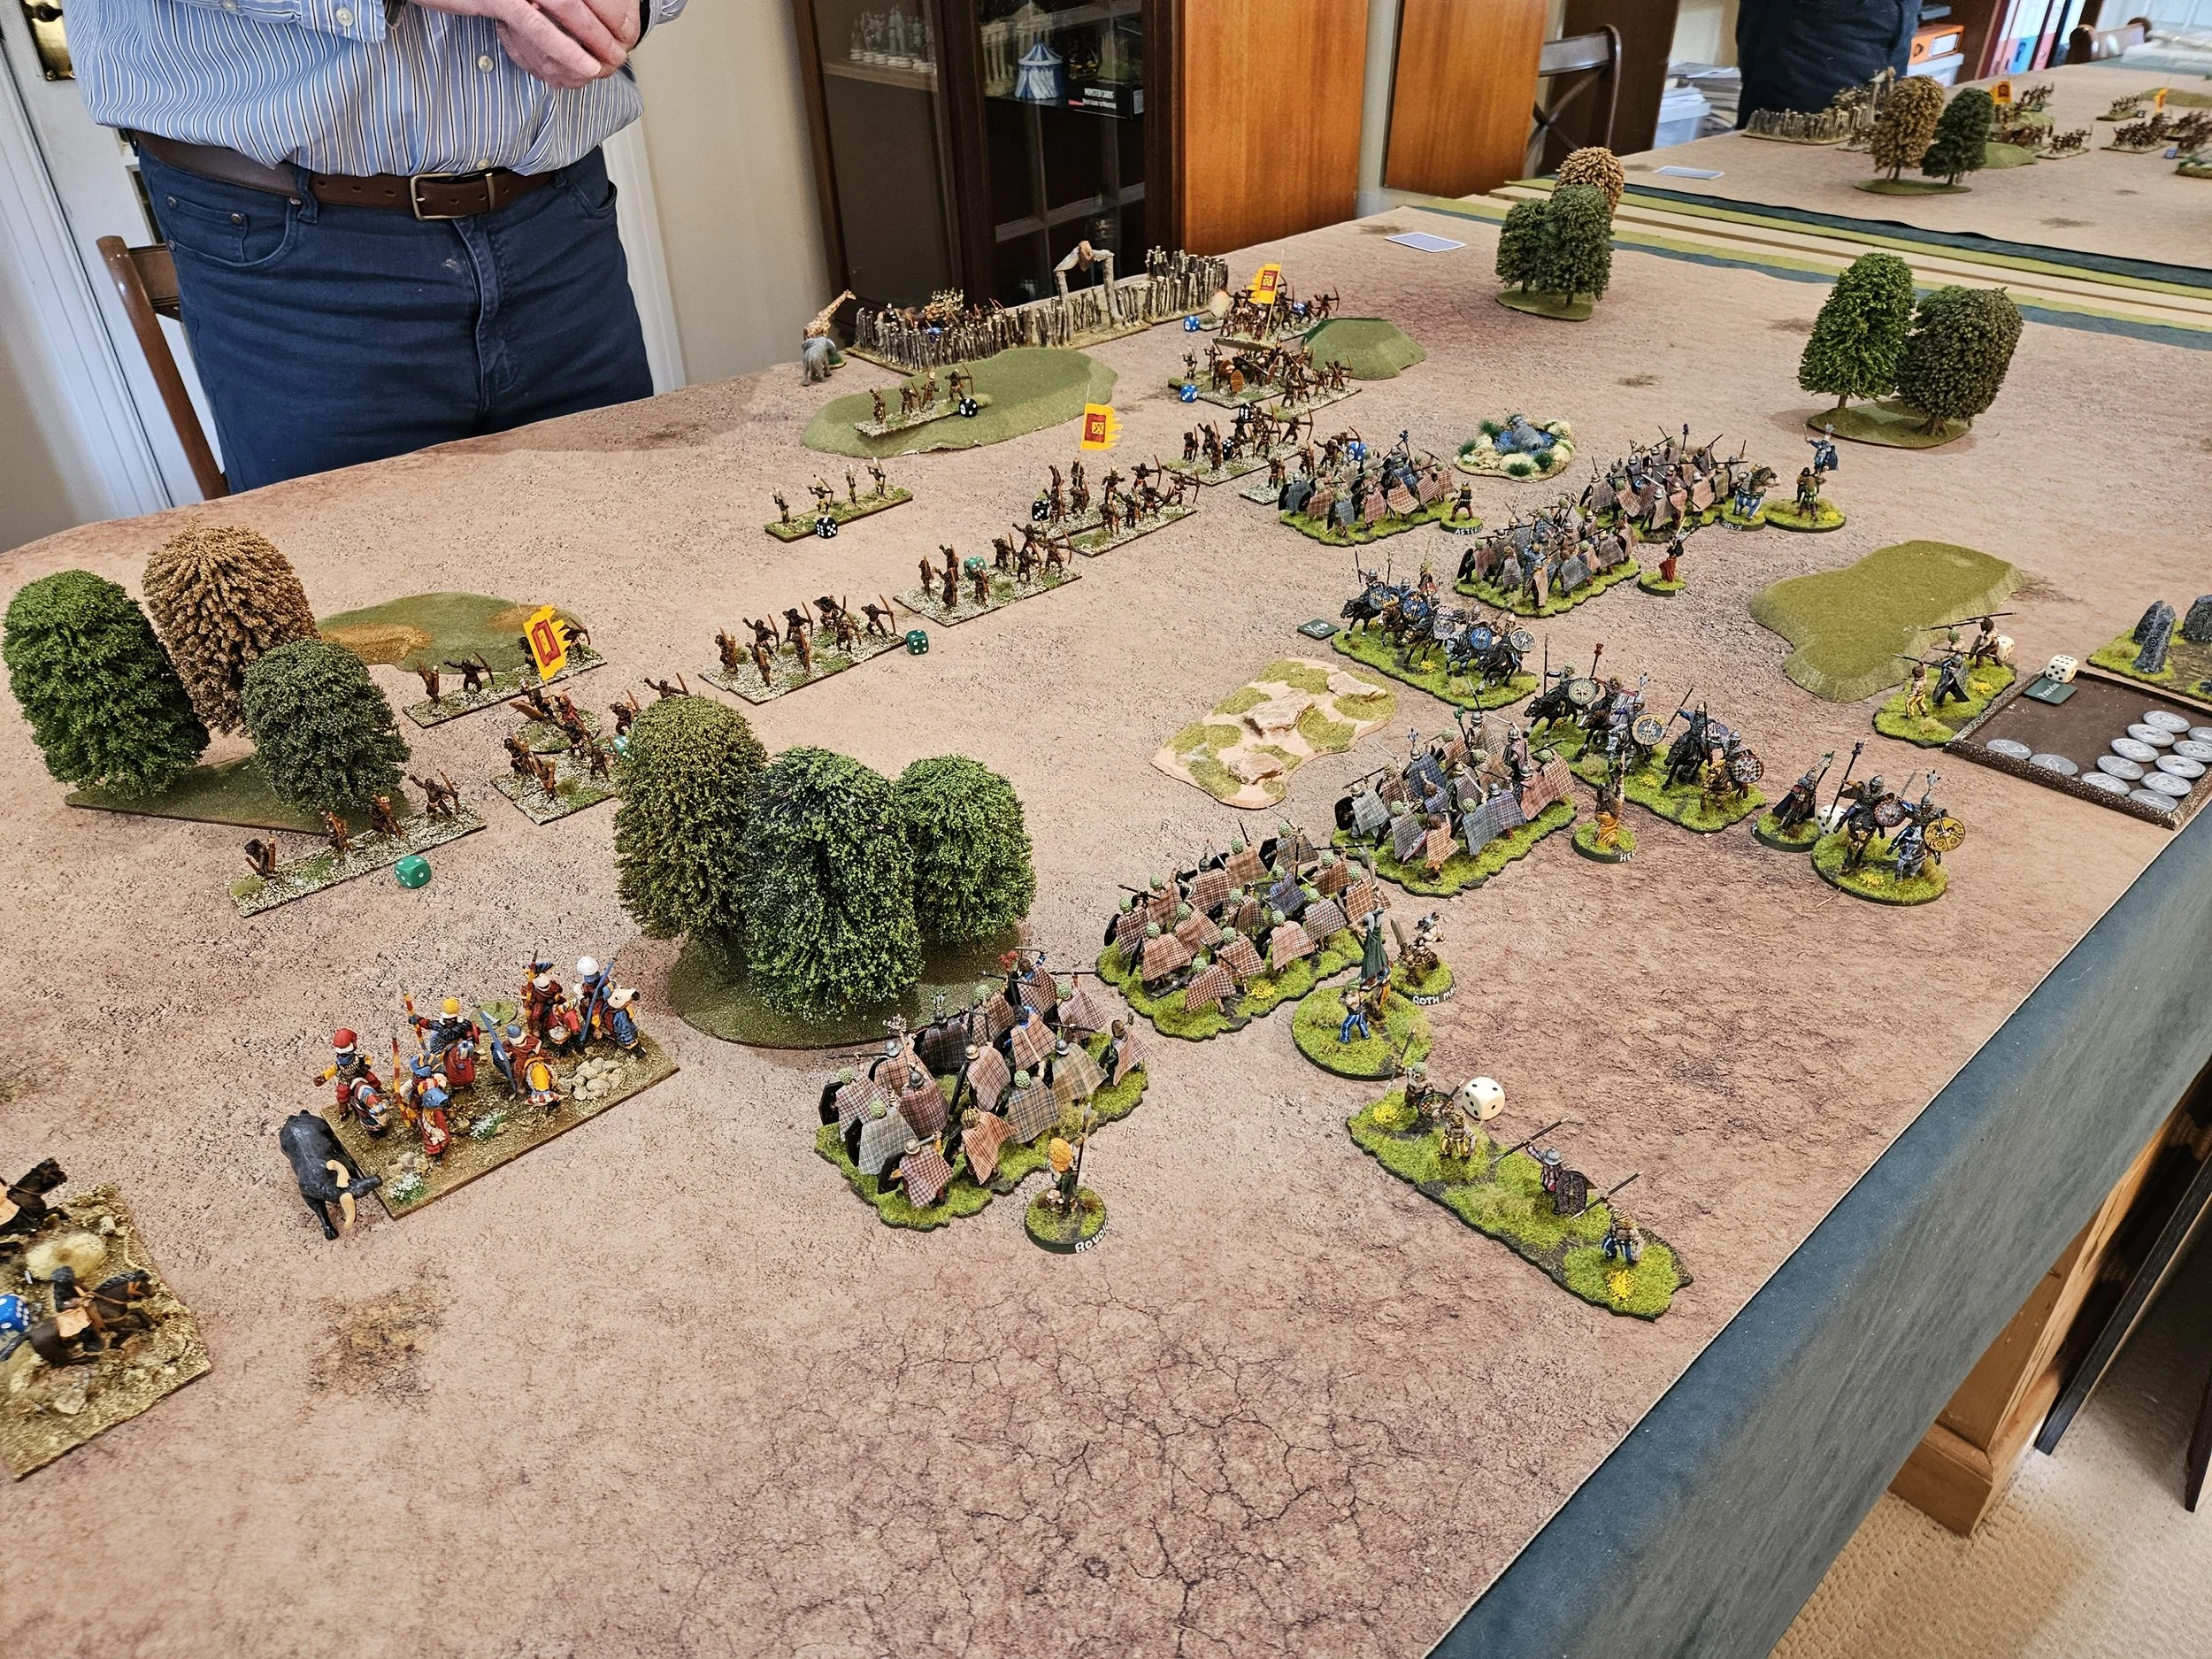
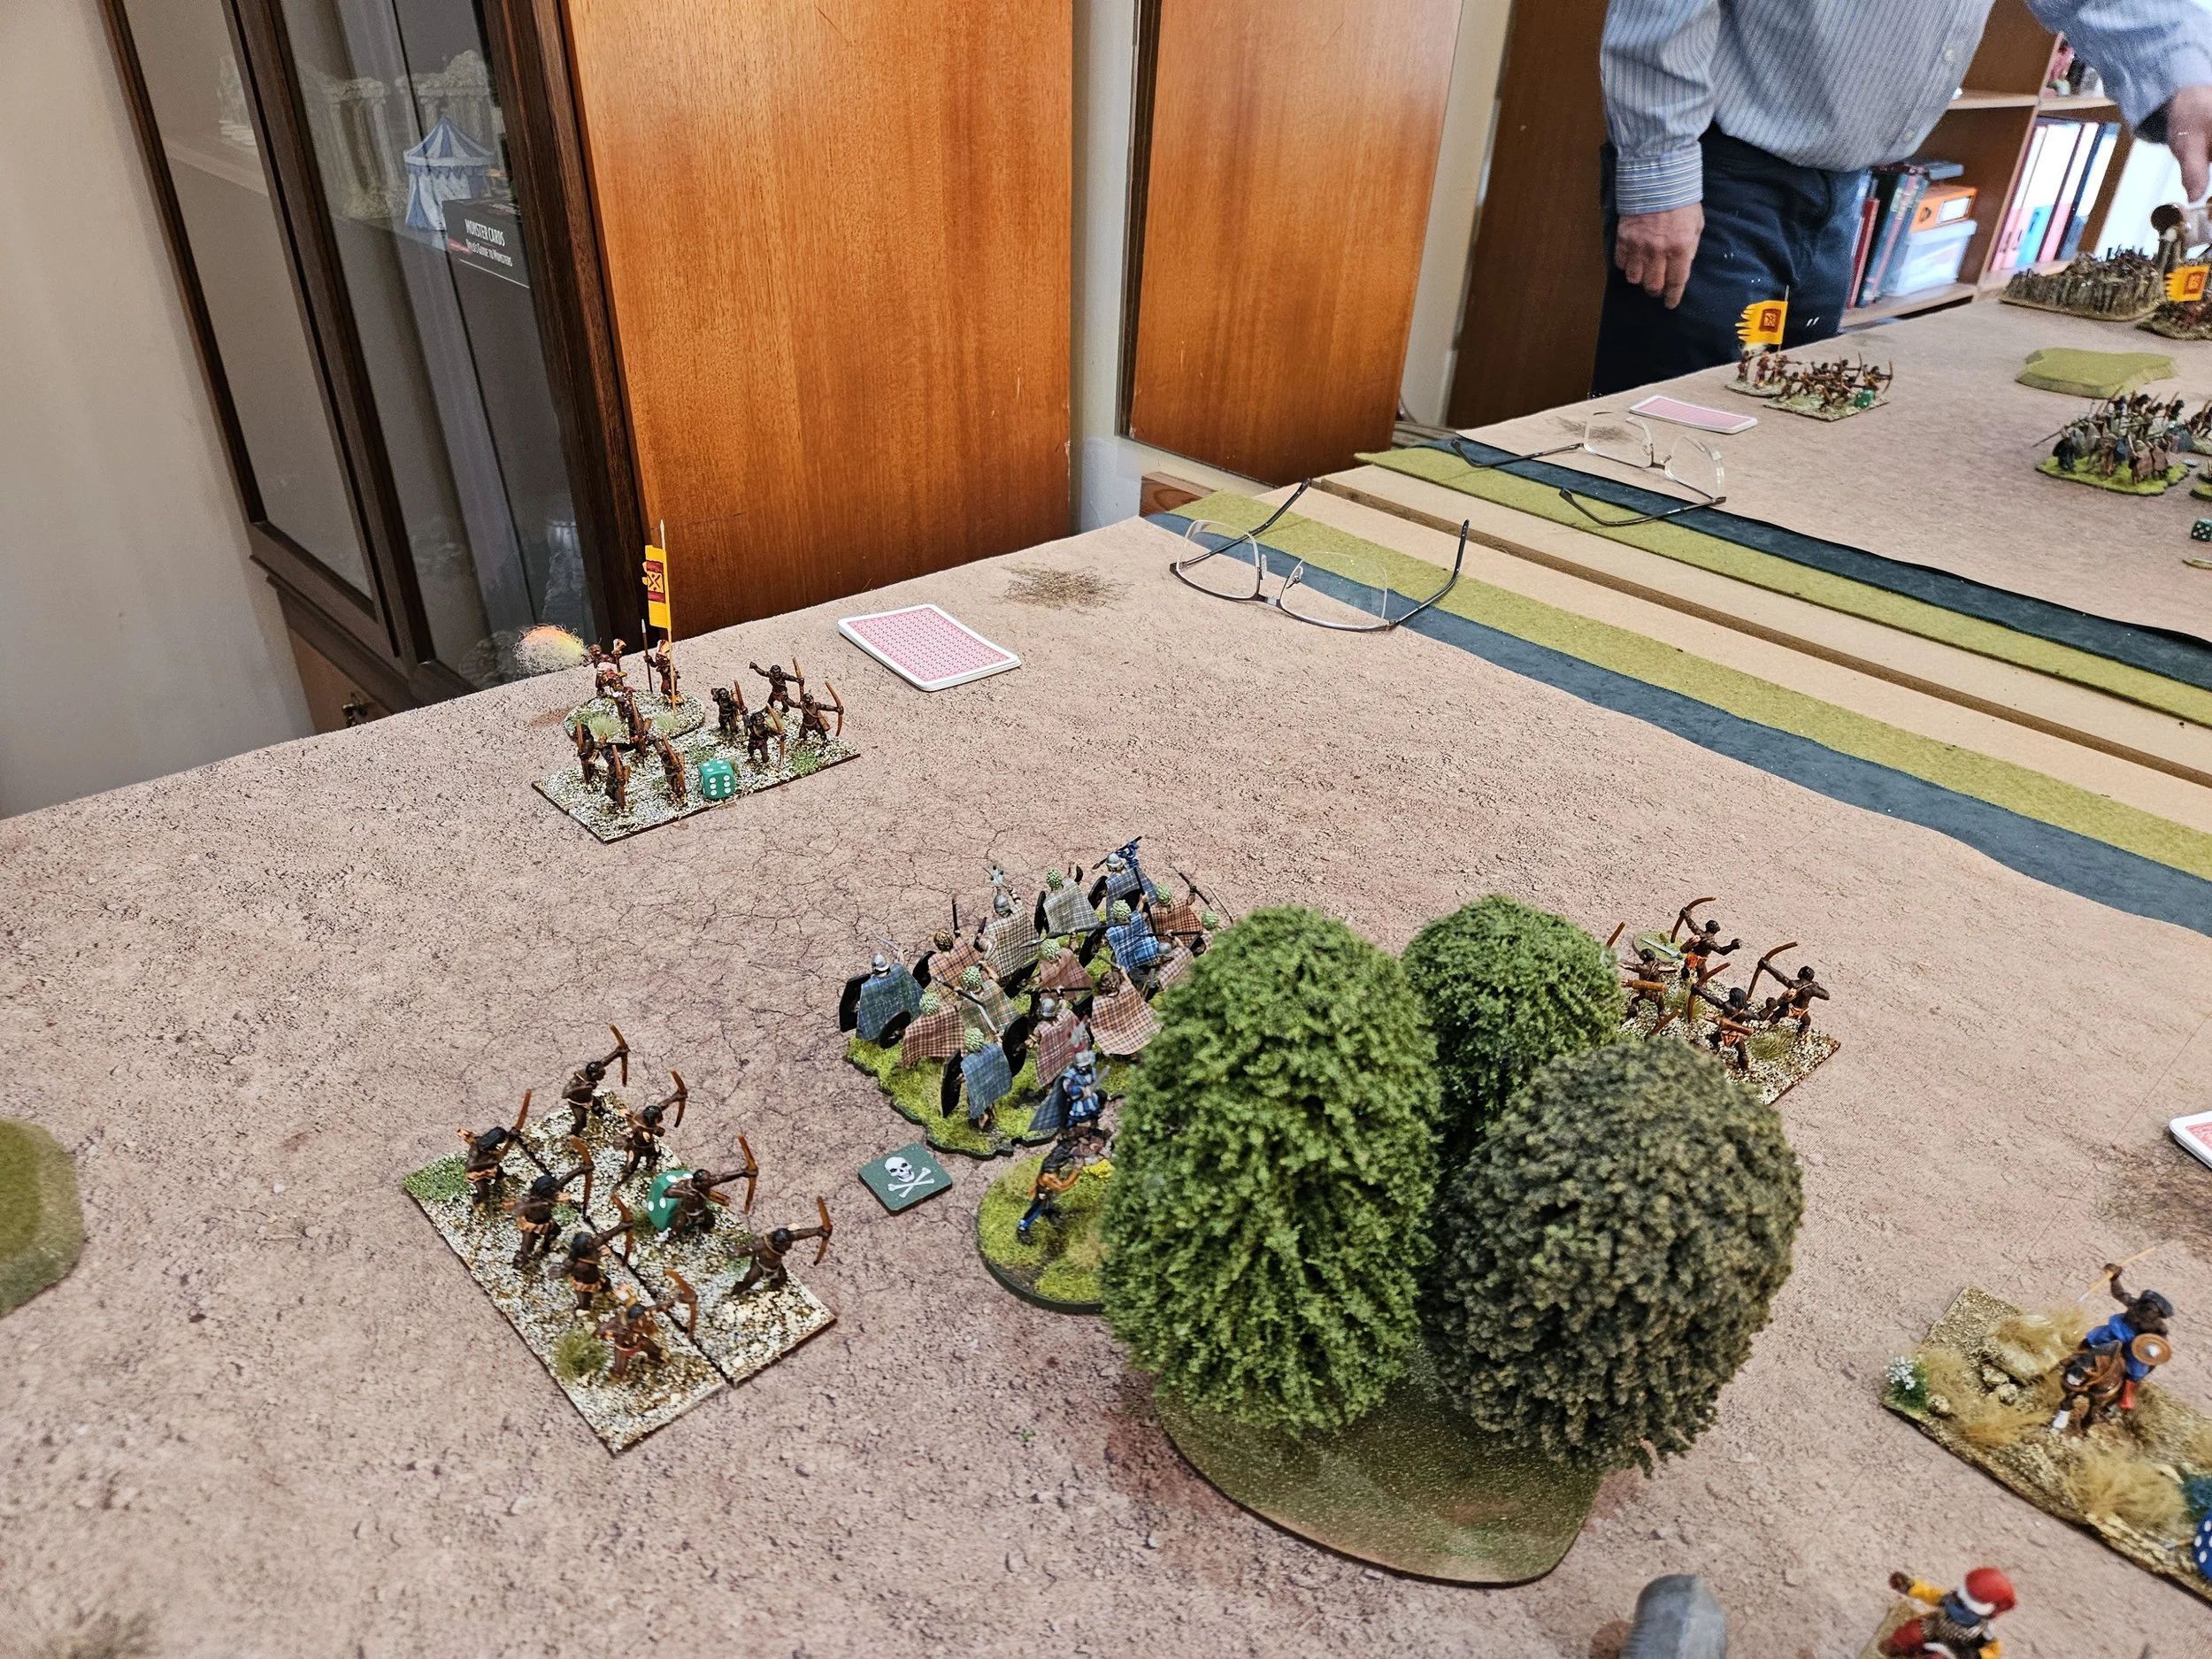
My hubris was, of course, immediately punished by Lady Luck: my next two turns neatly preventing my lights from doing anything remotely ressembling sweeping, and the tide turning against me on the right, with even the elite Black Guard suffering the effects of my current run of misfortune.


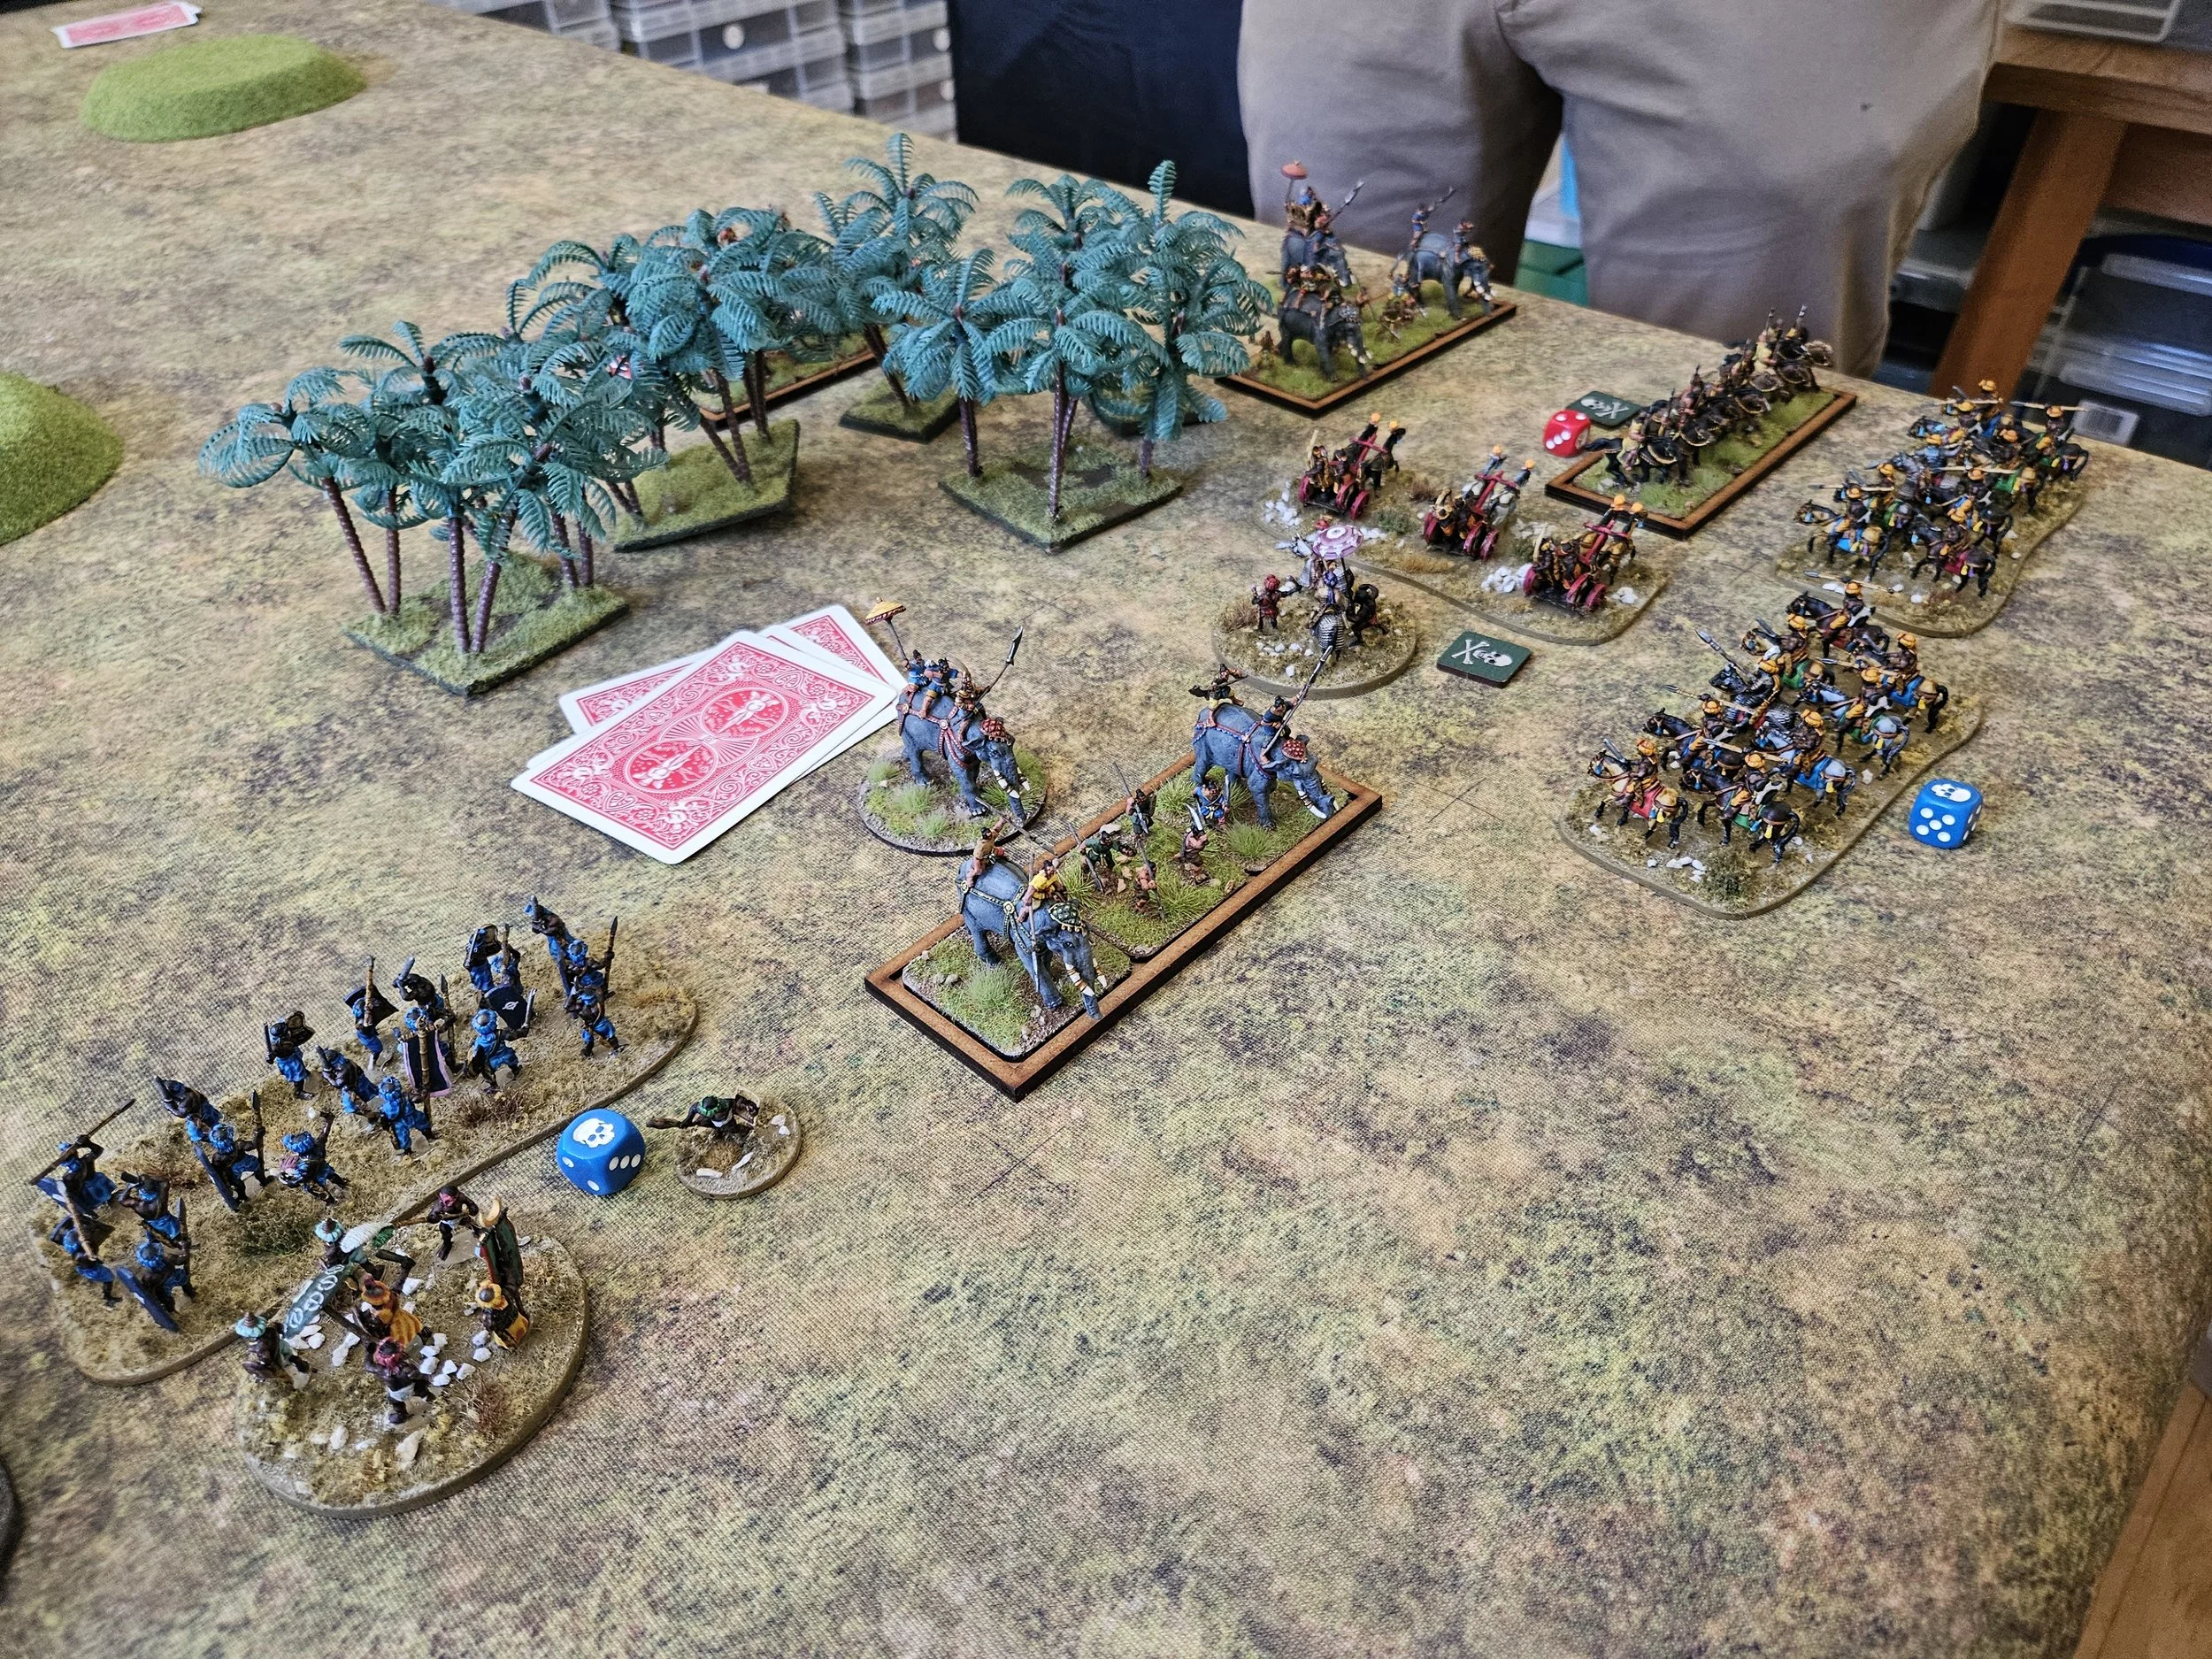
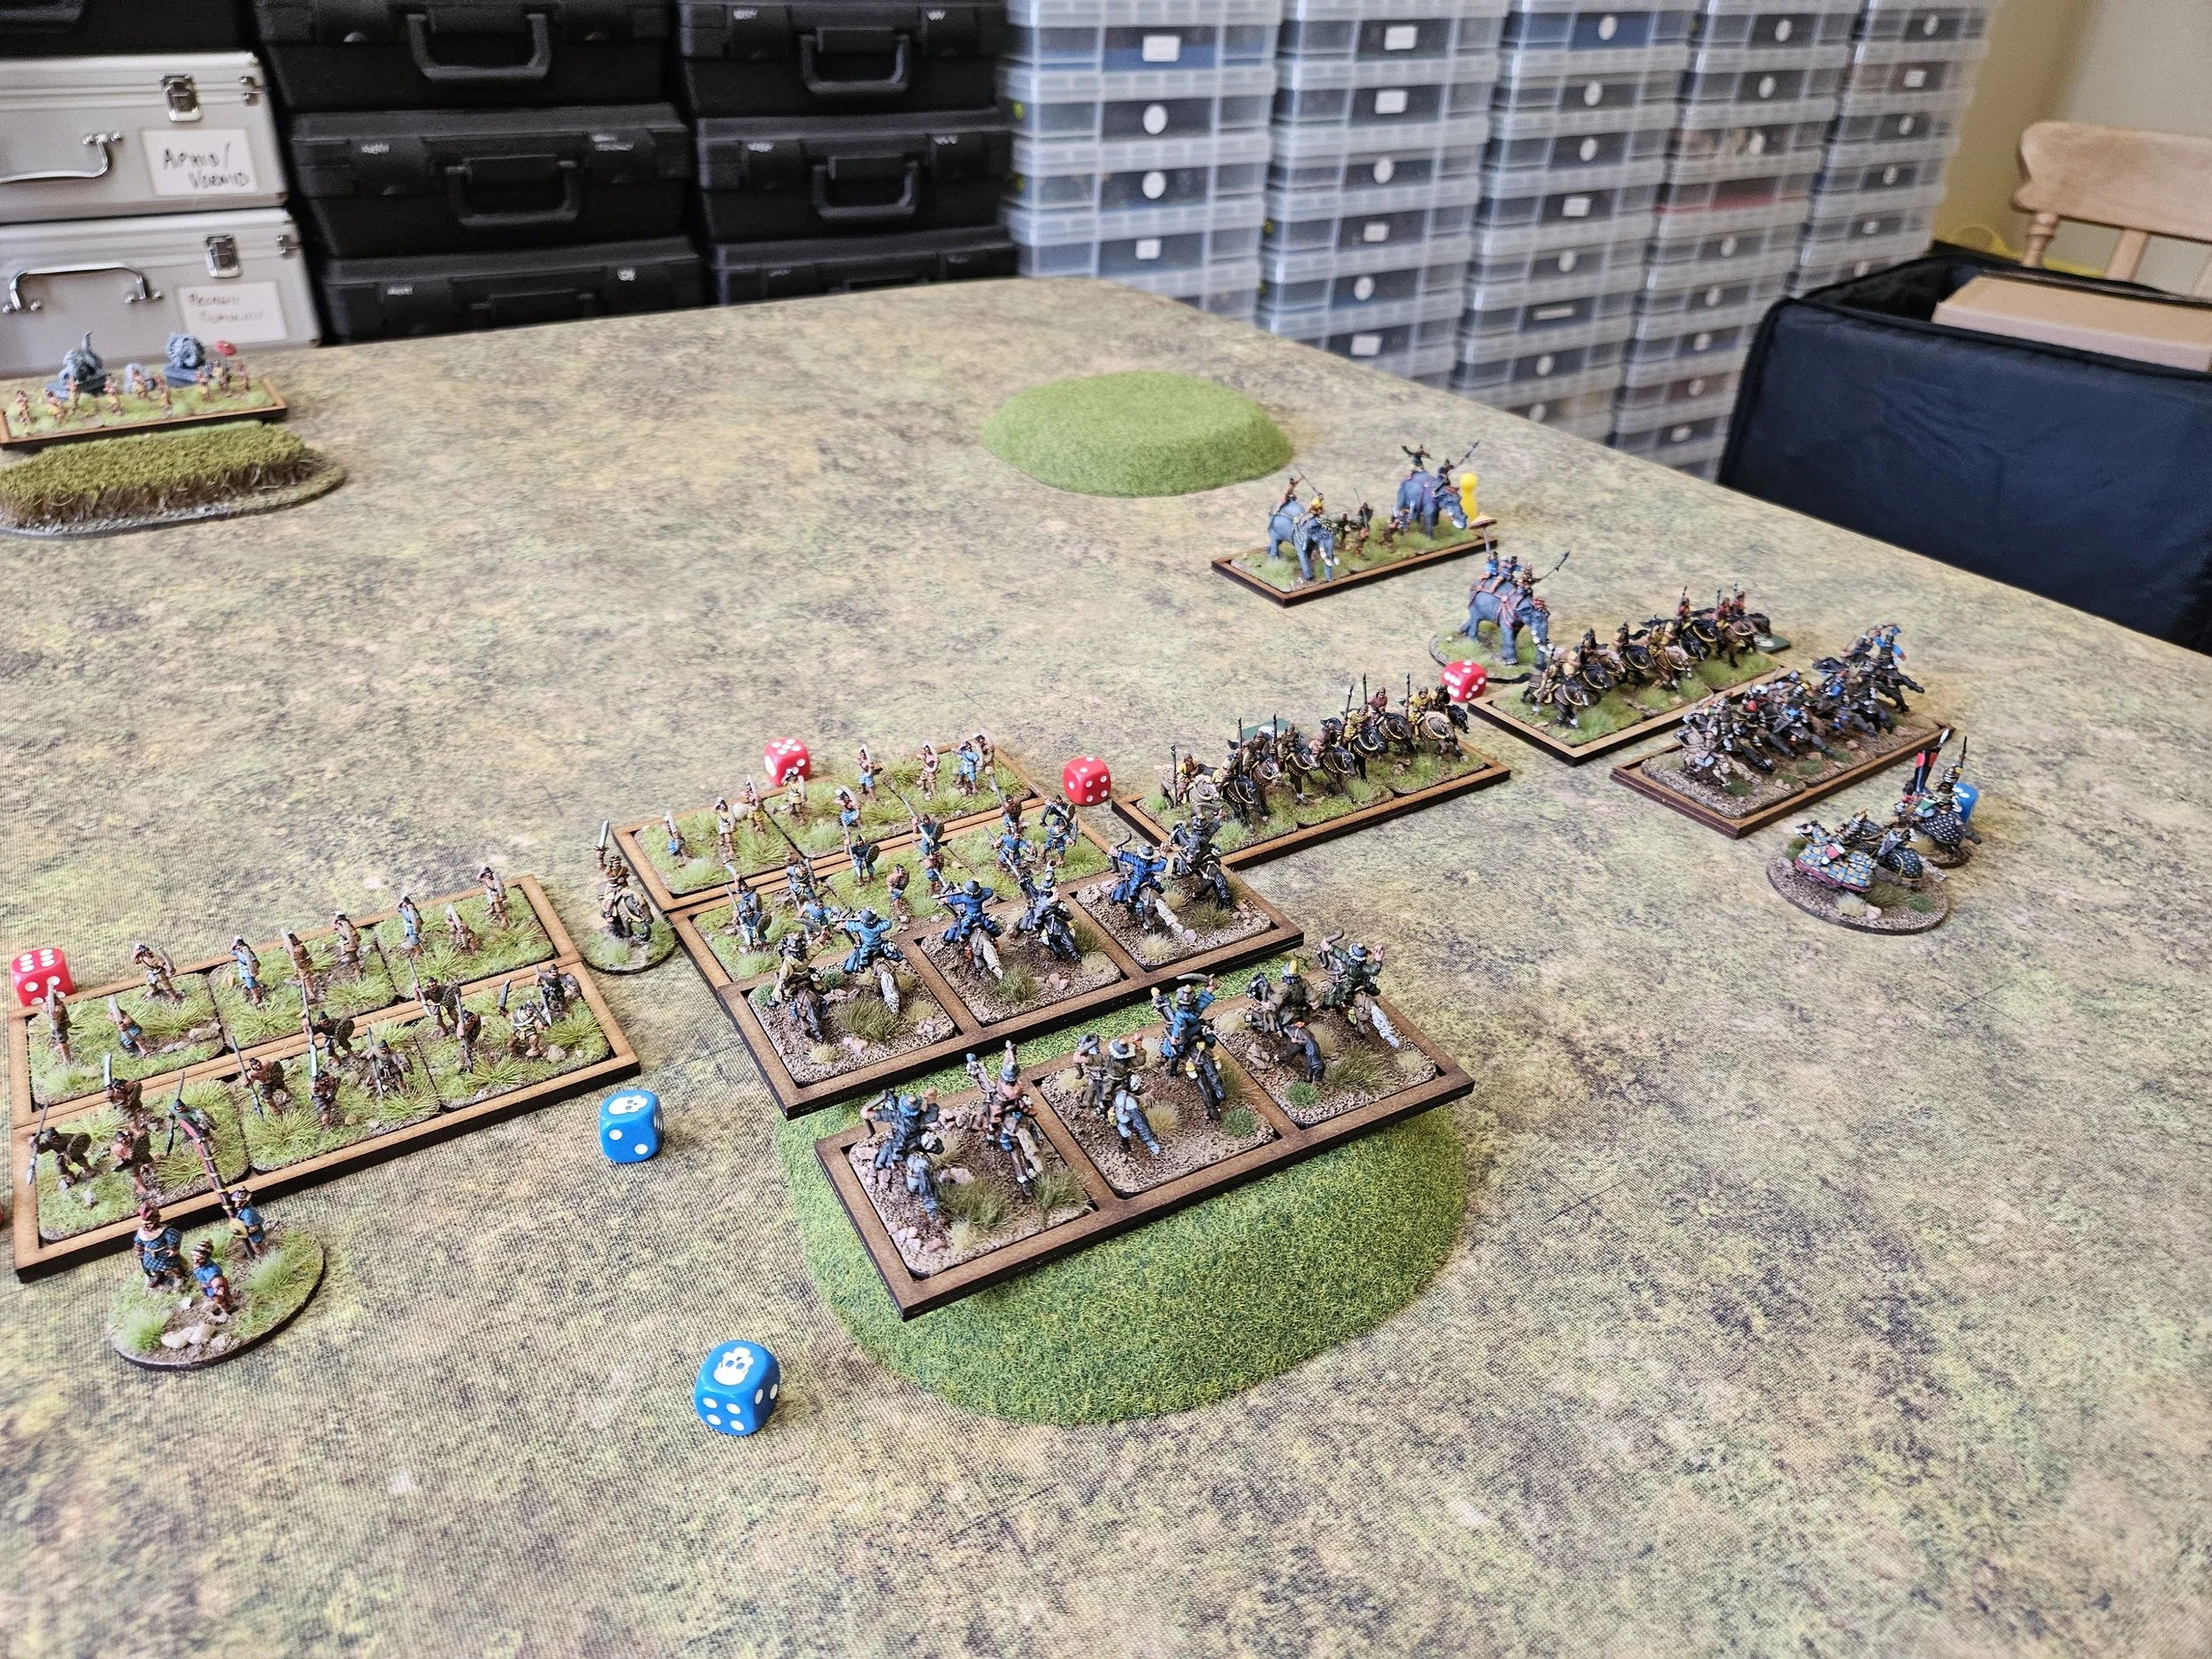
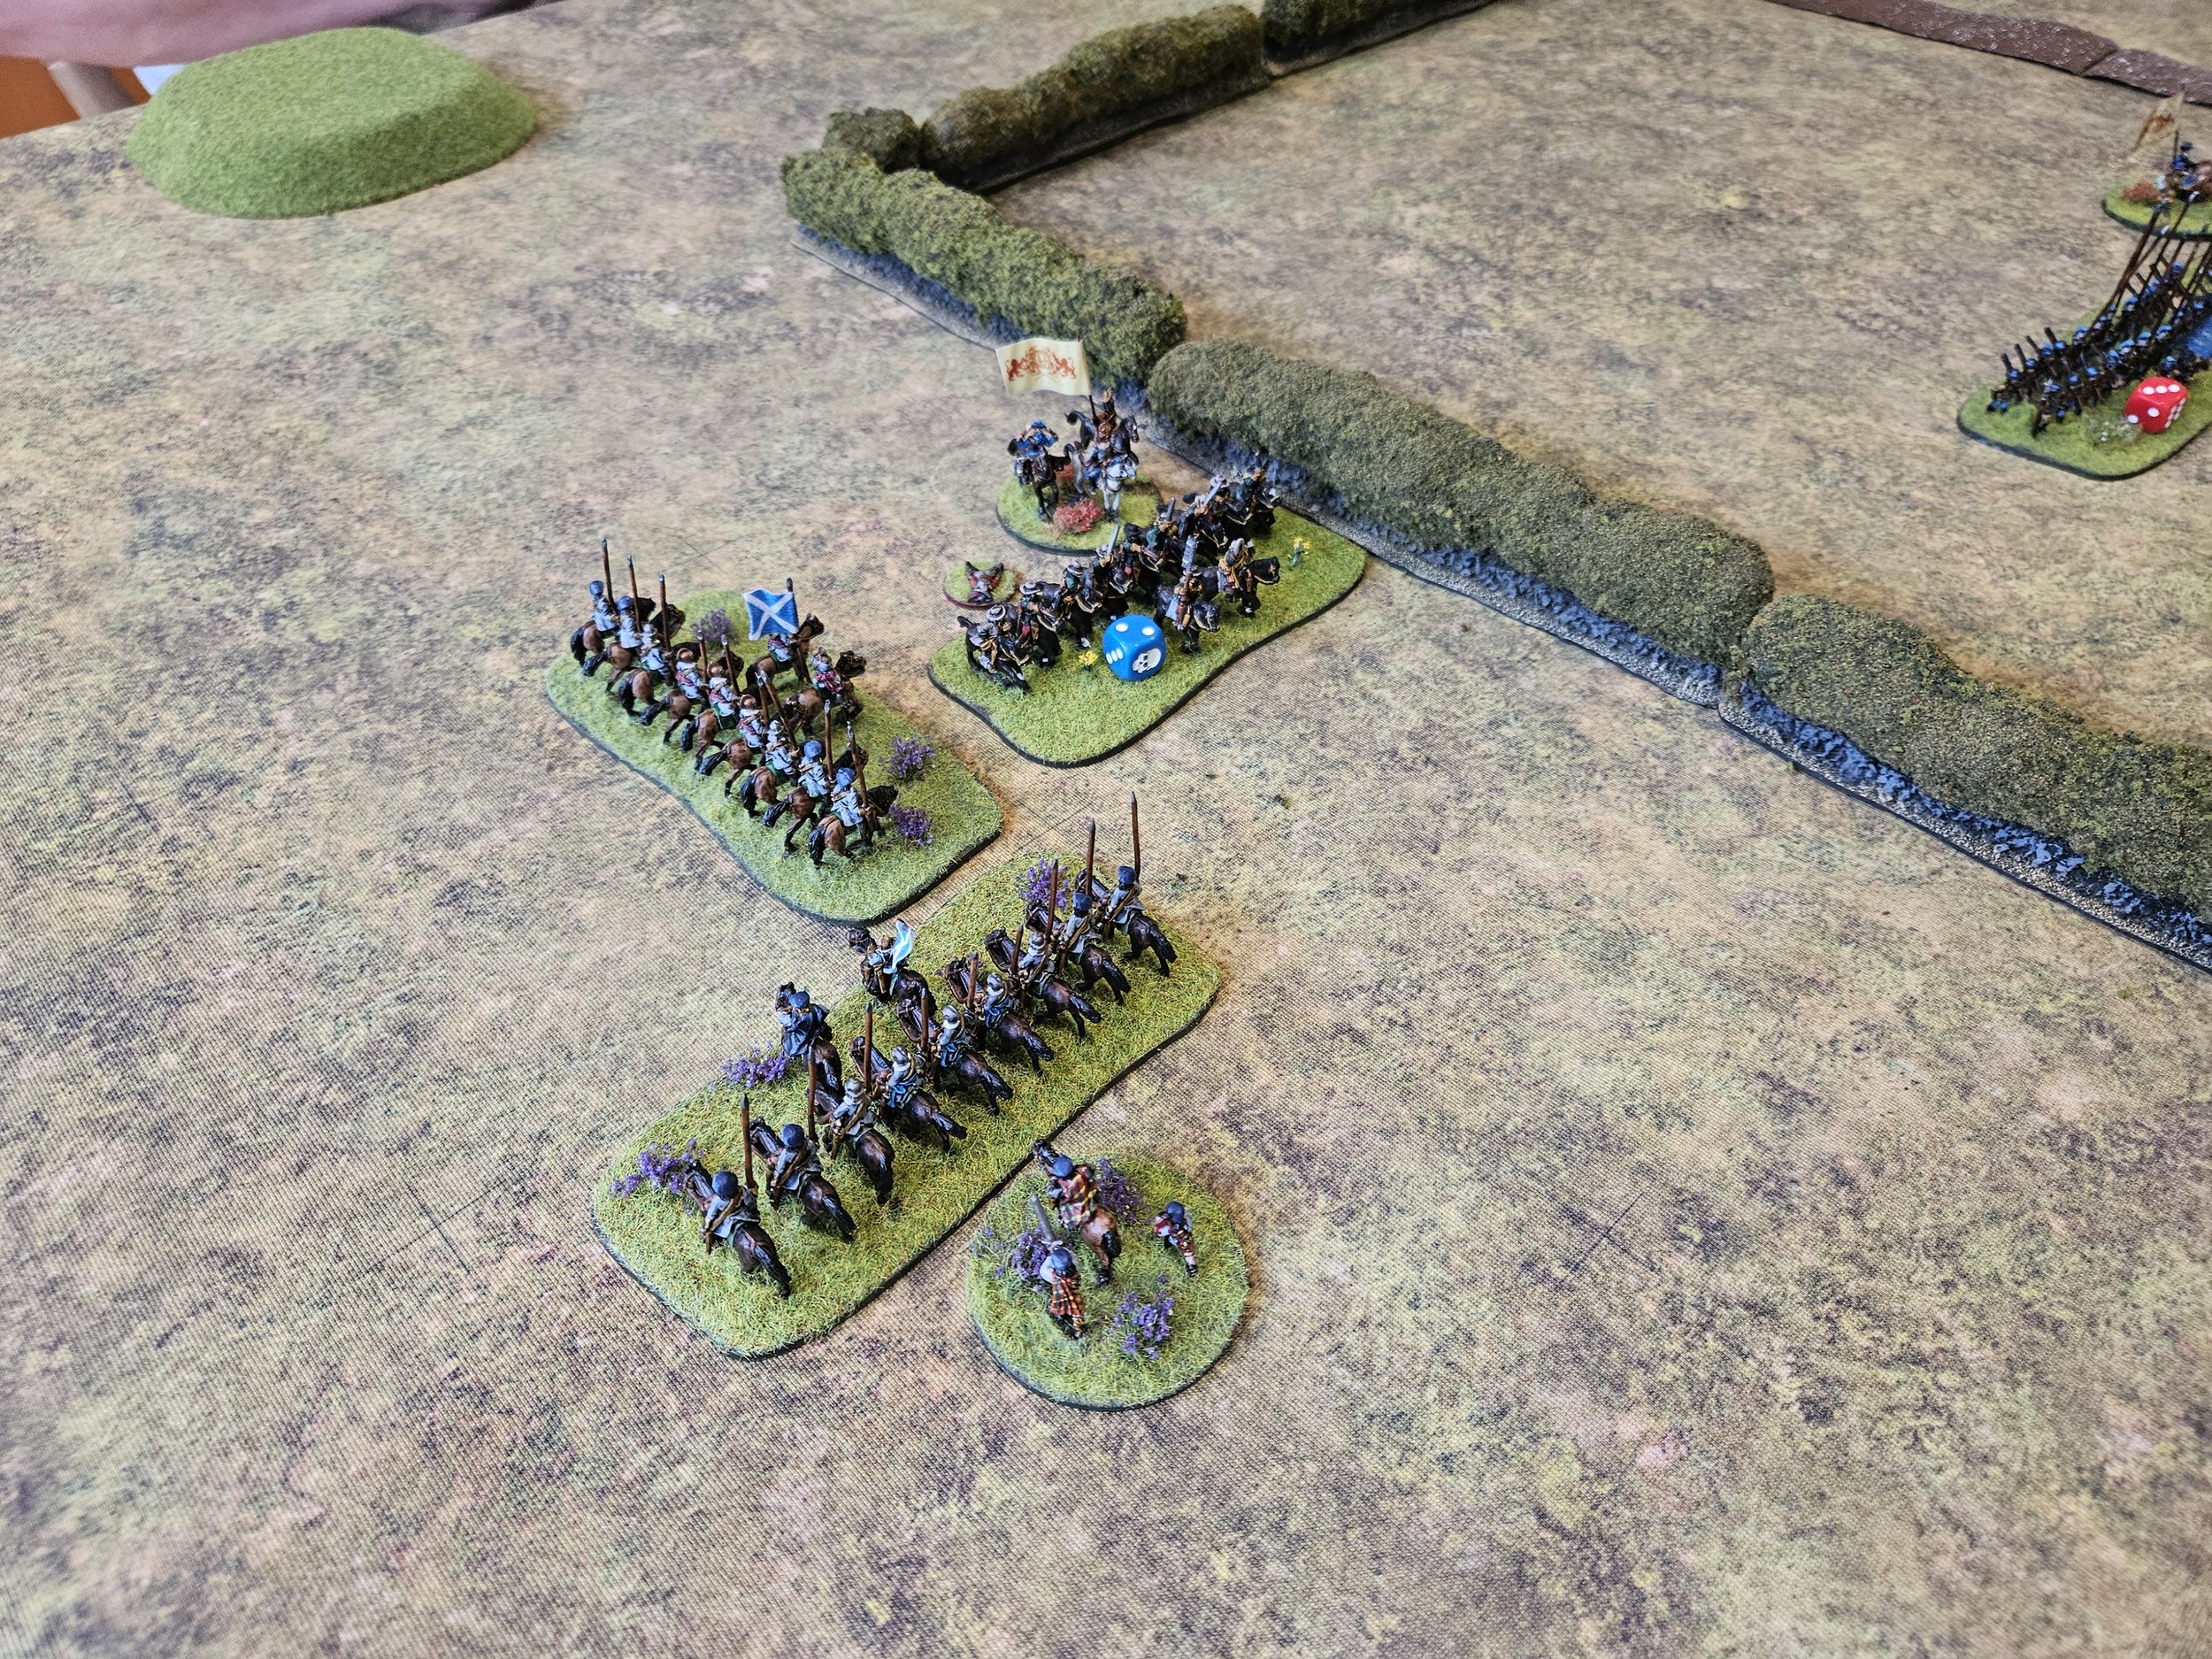
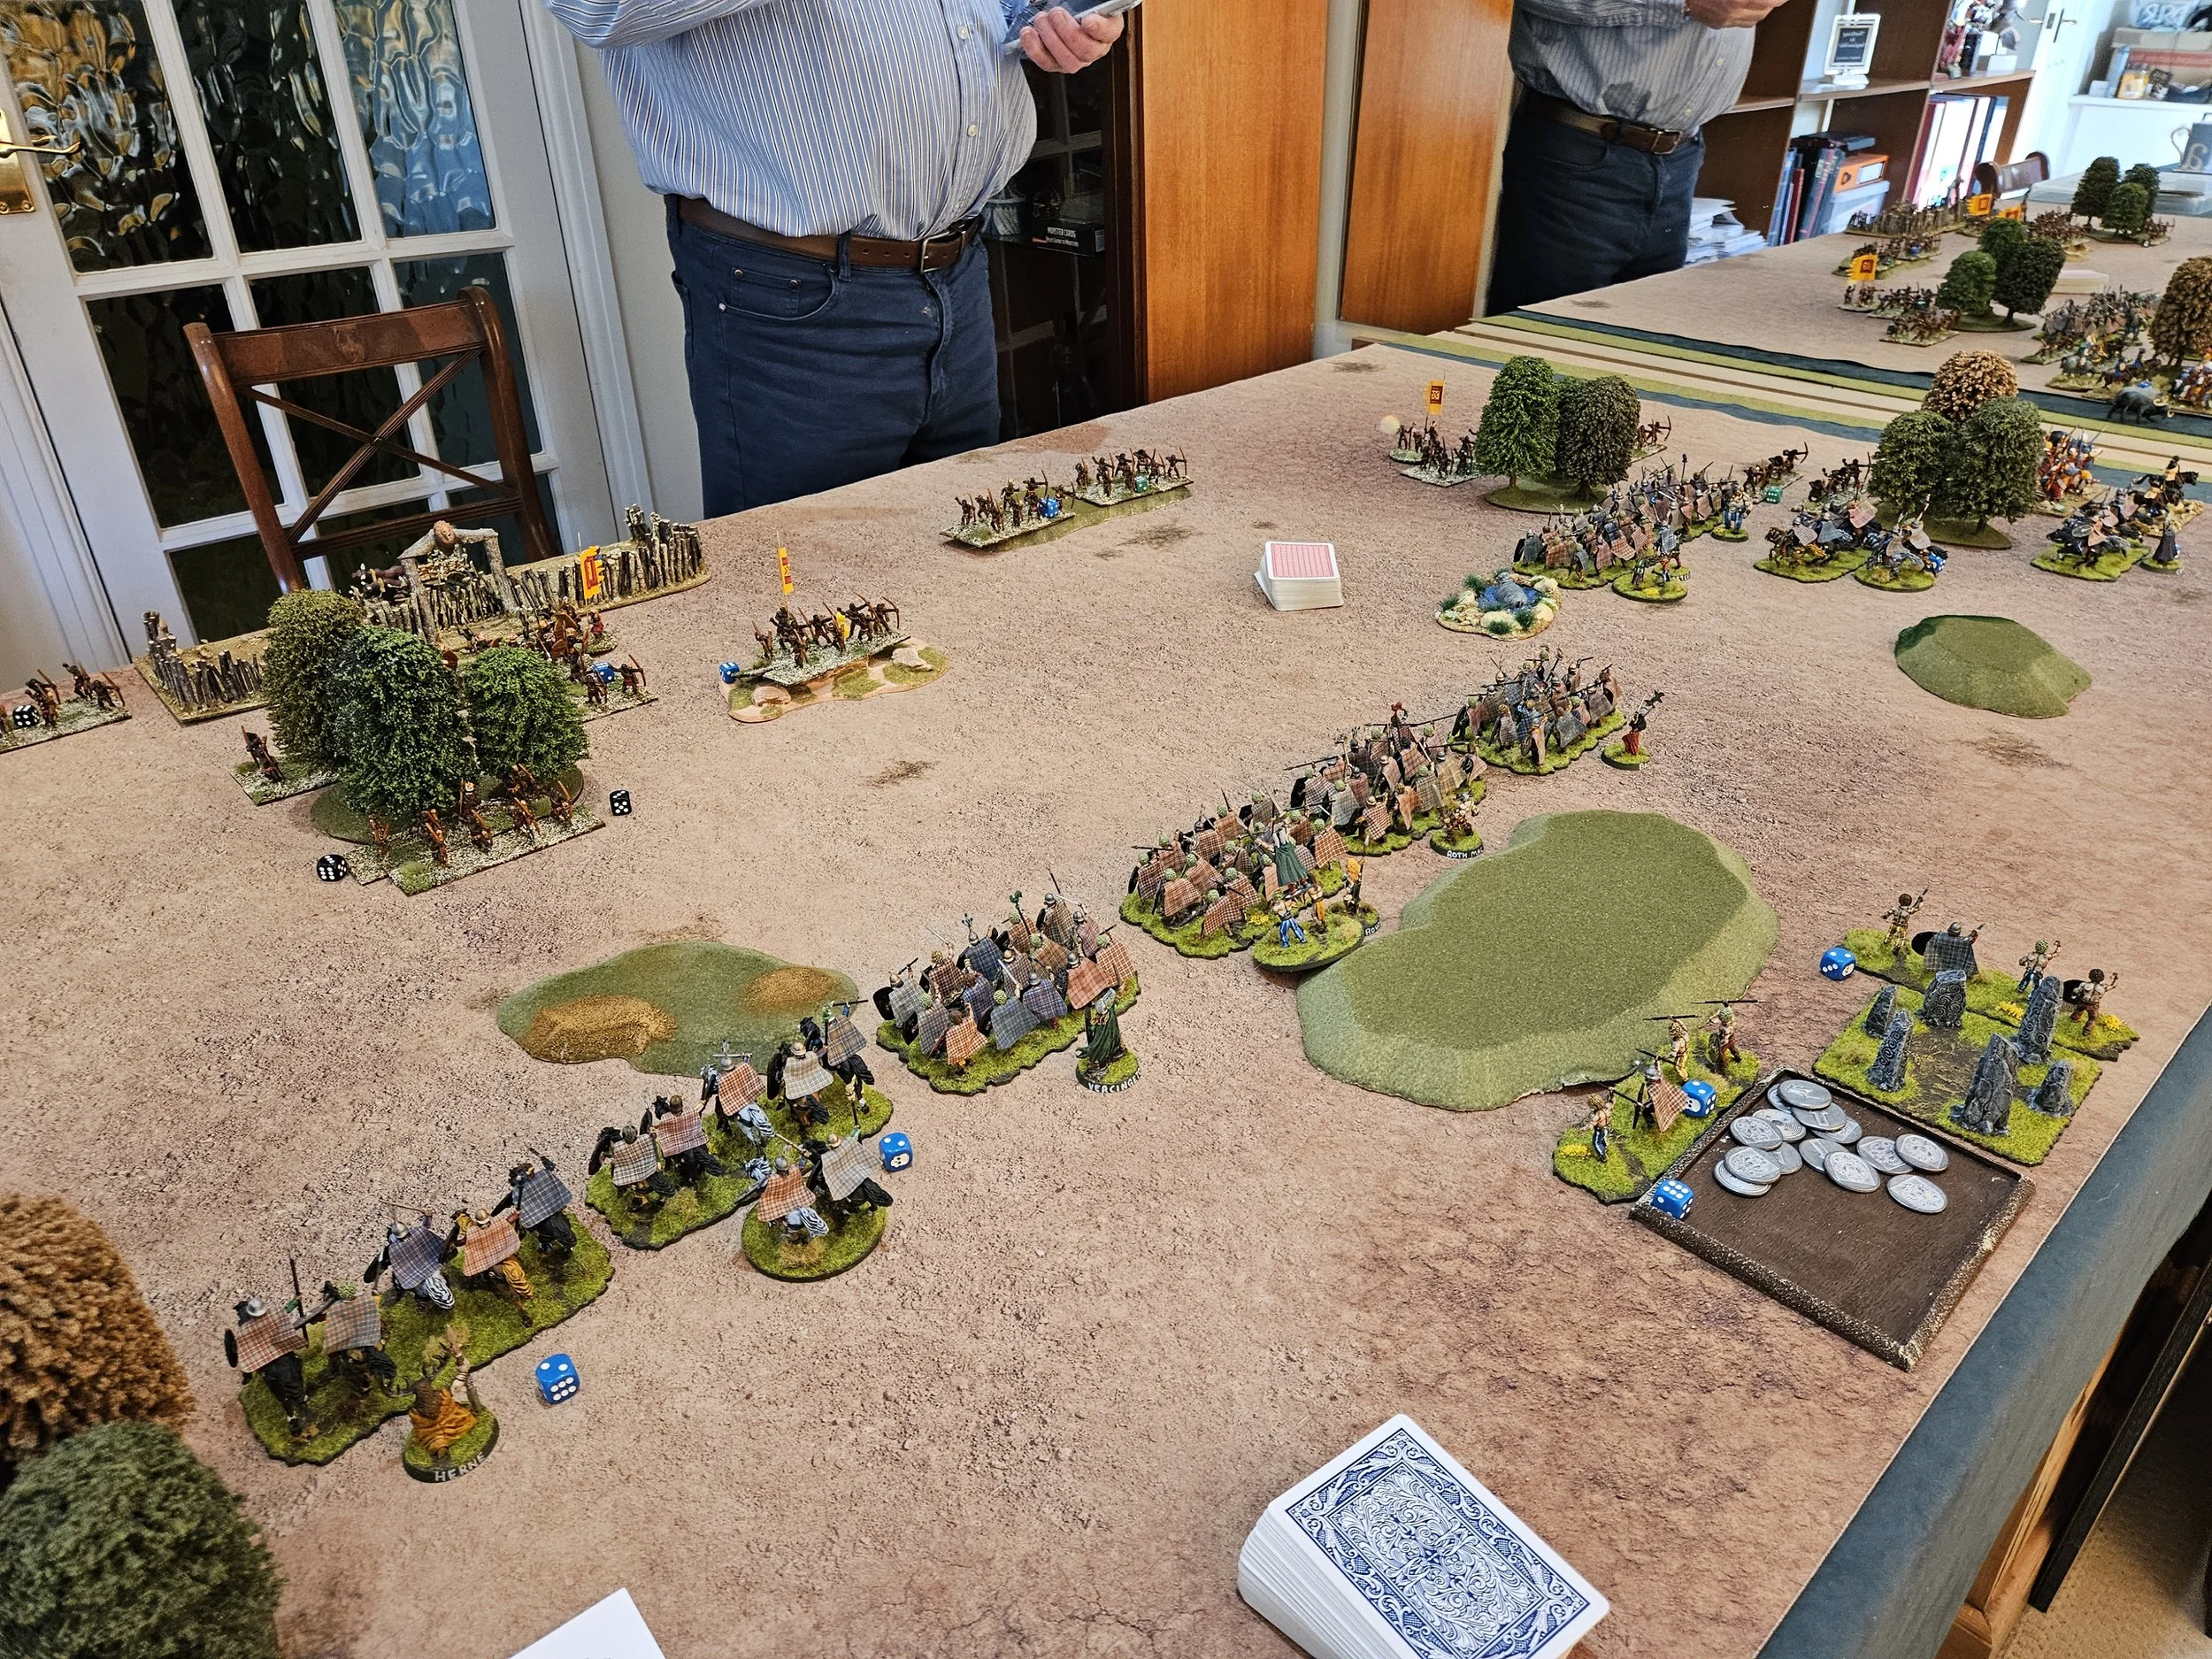
Neil, meanwhile, had been battling away, refusing to give up. His cavalry on the right had taken full advantage of my troops’ card-enforced pause in doing anything and had effectively won the fight there, and the ‘scores on the doors’ were now showing that the coin count was just about even.
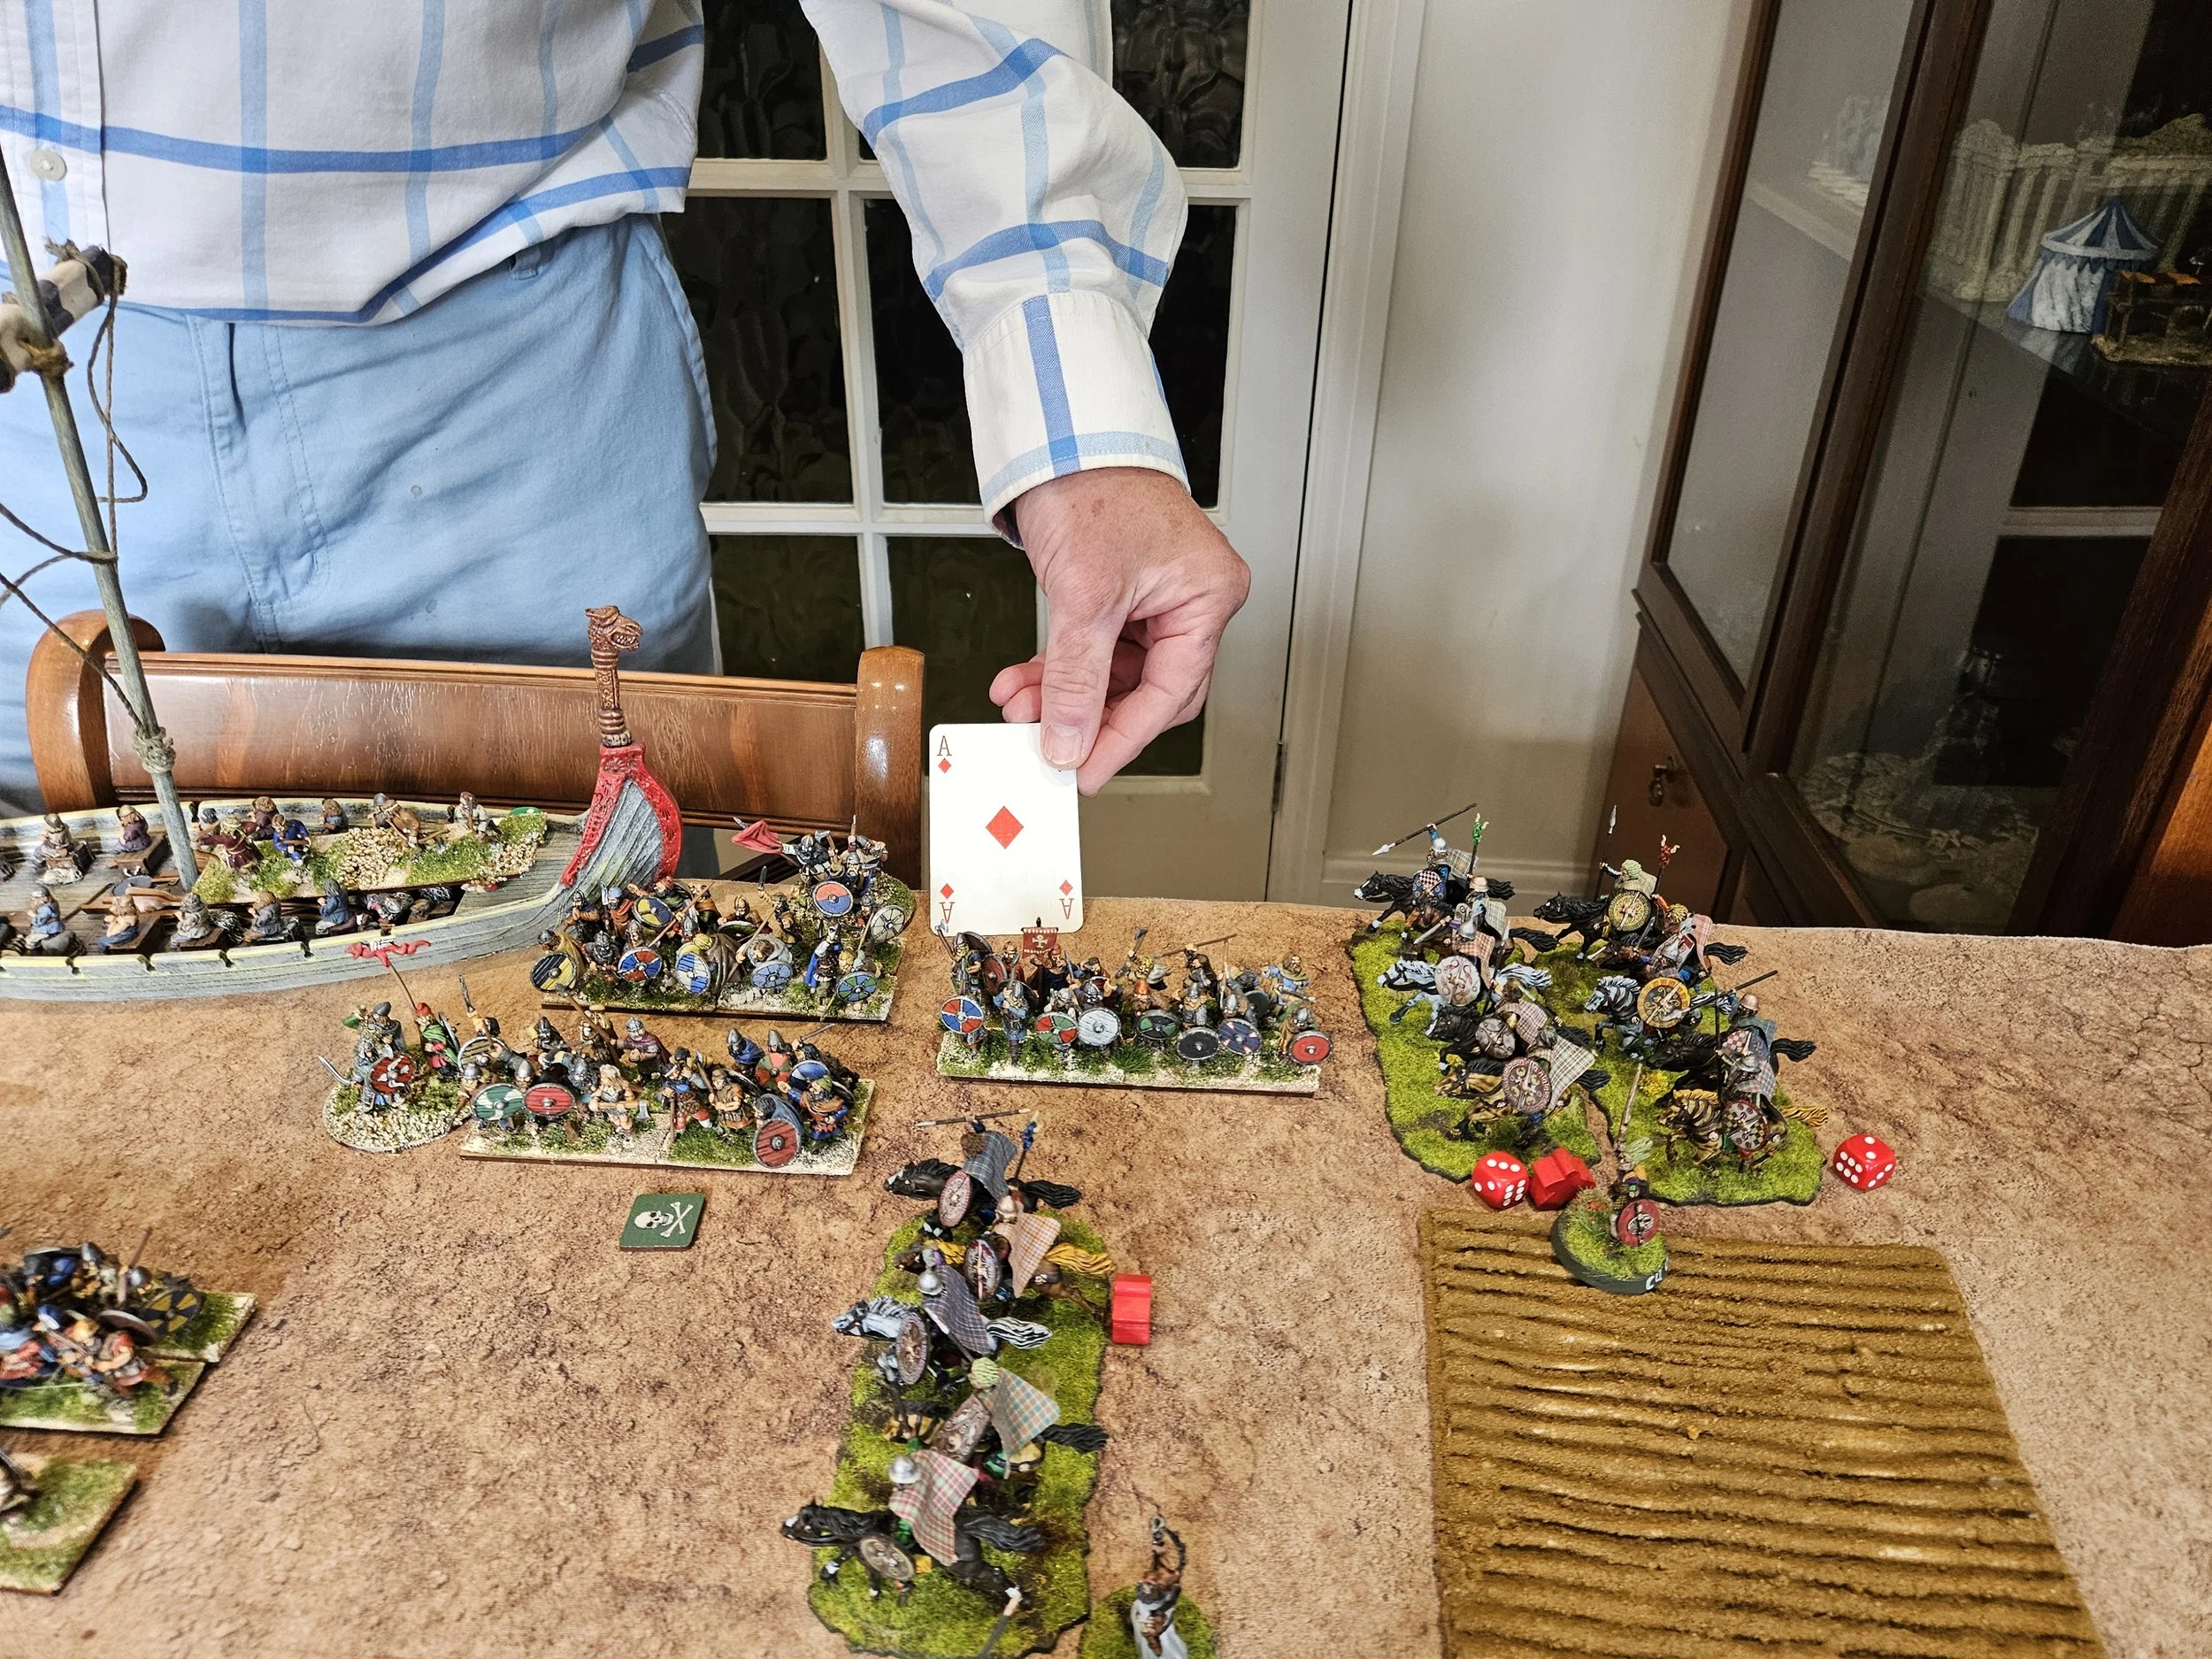
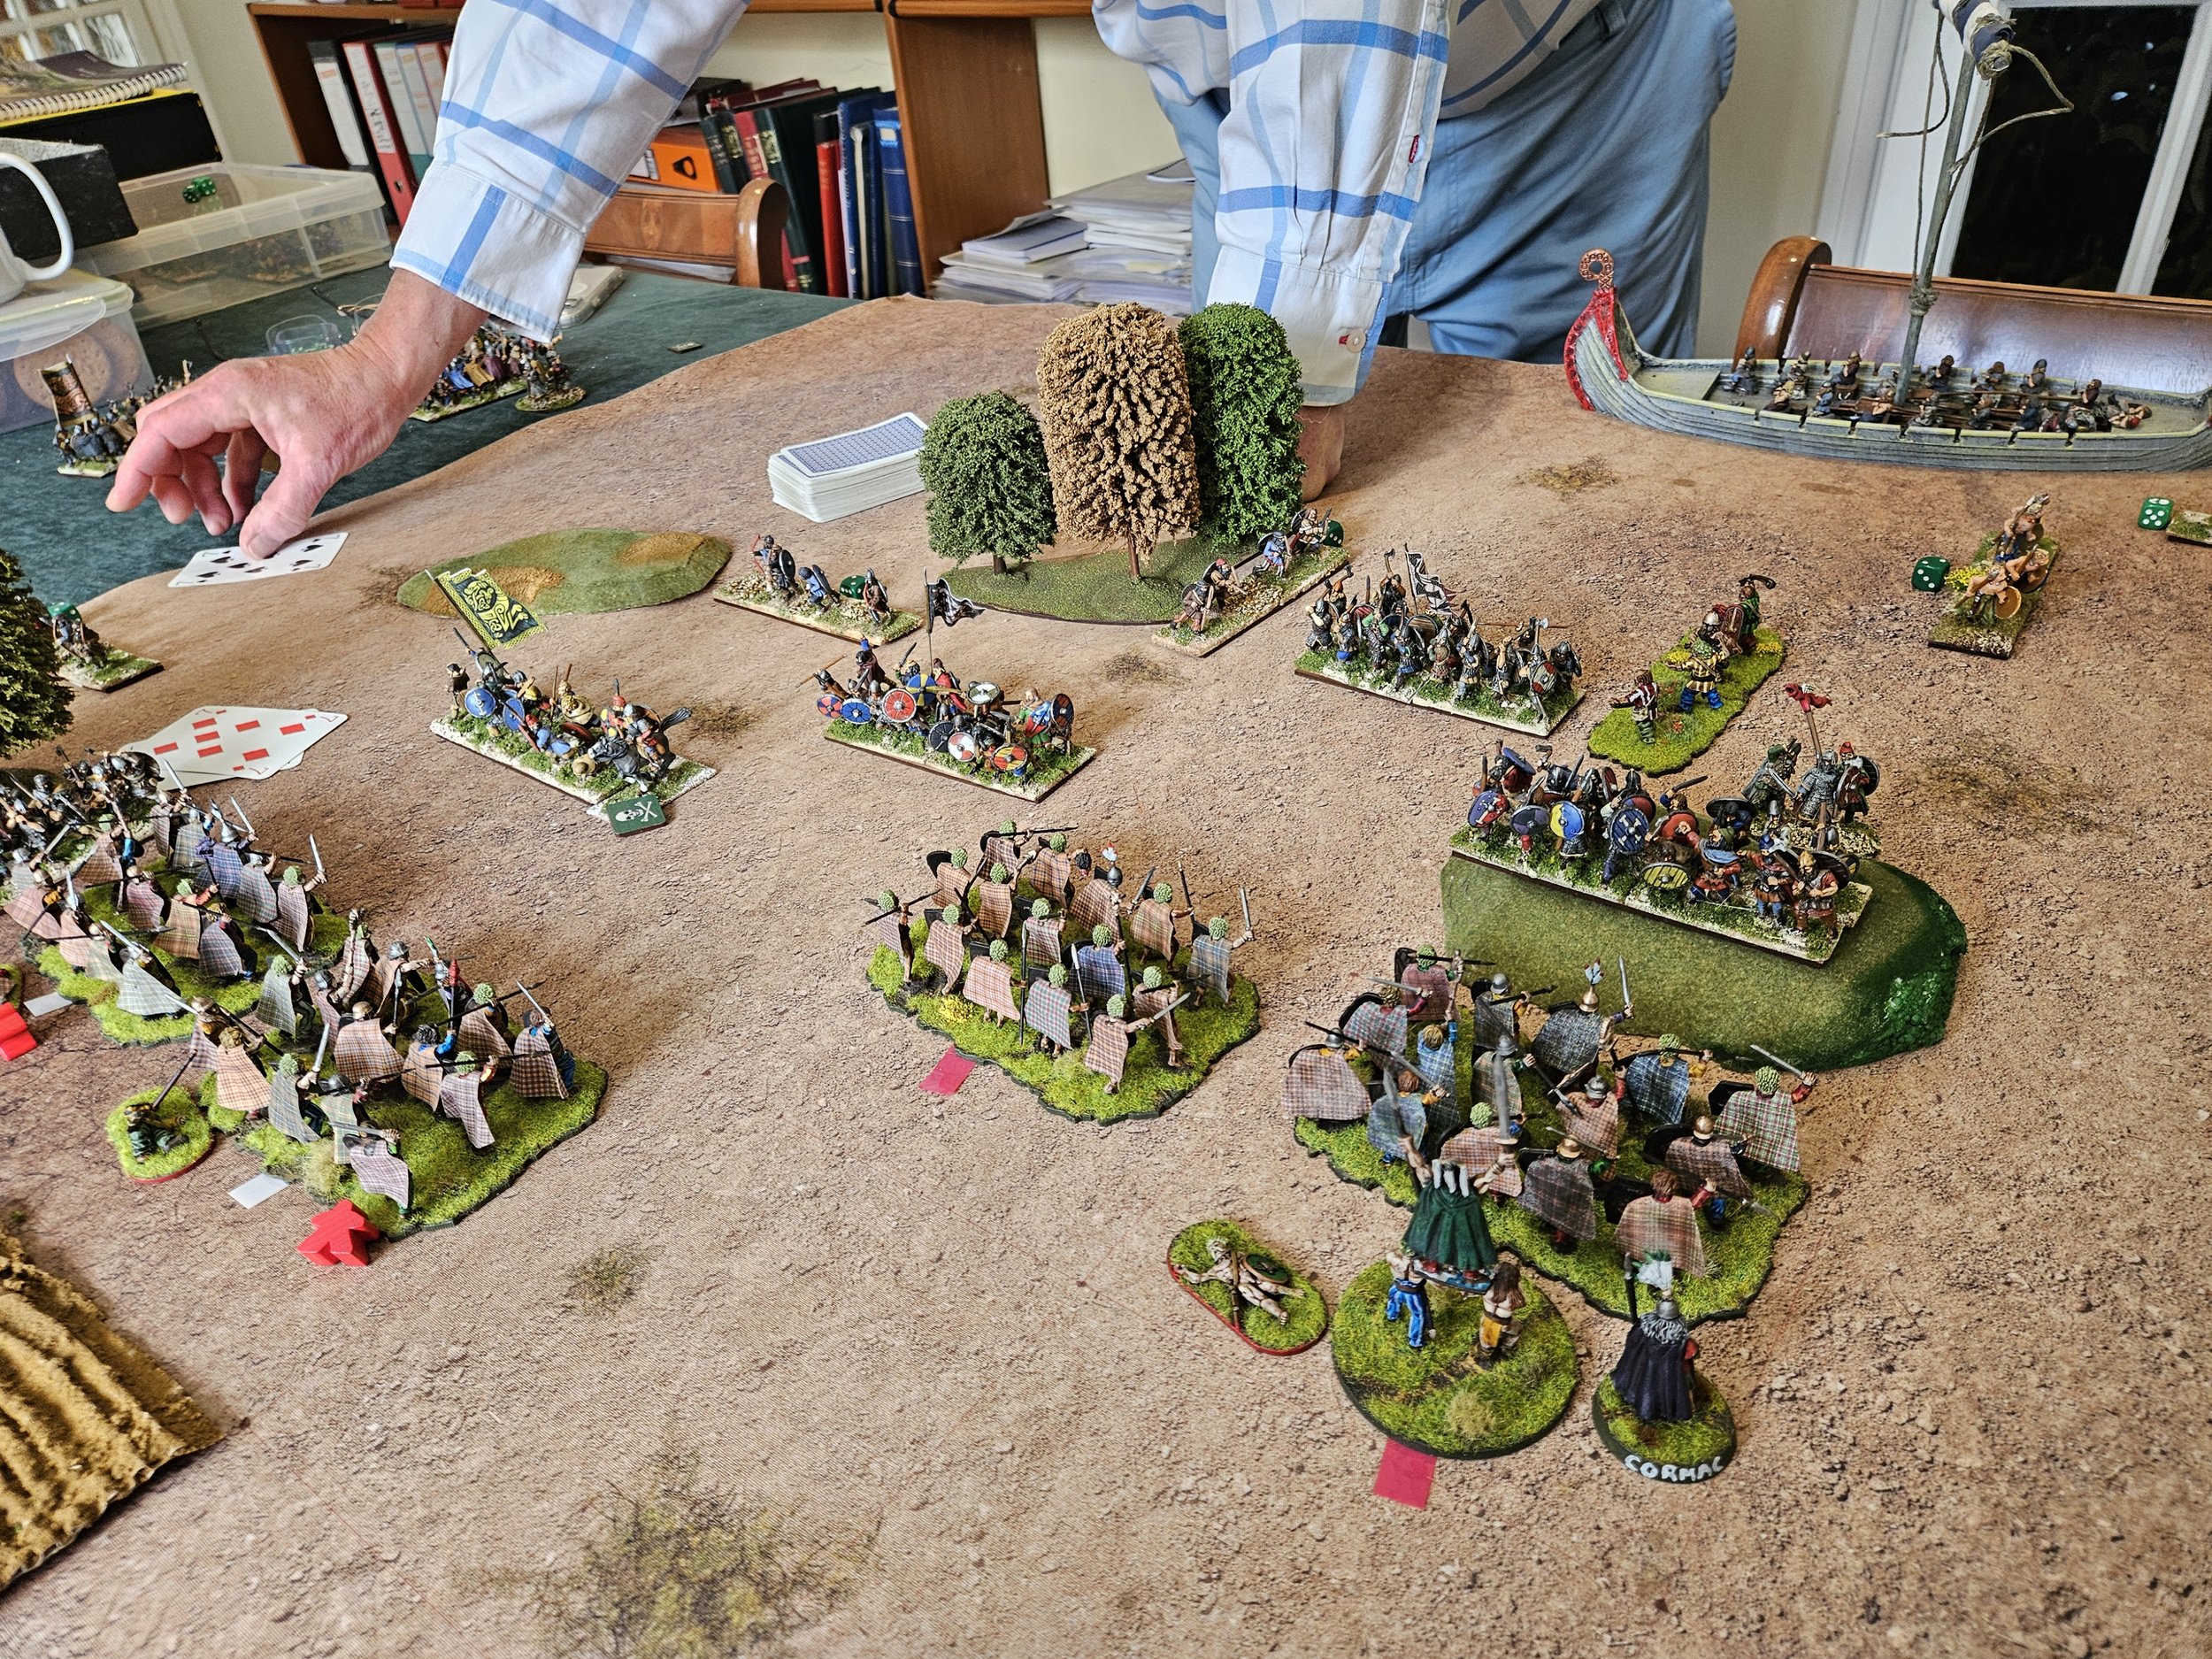
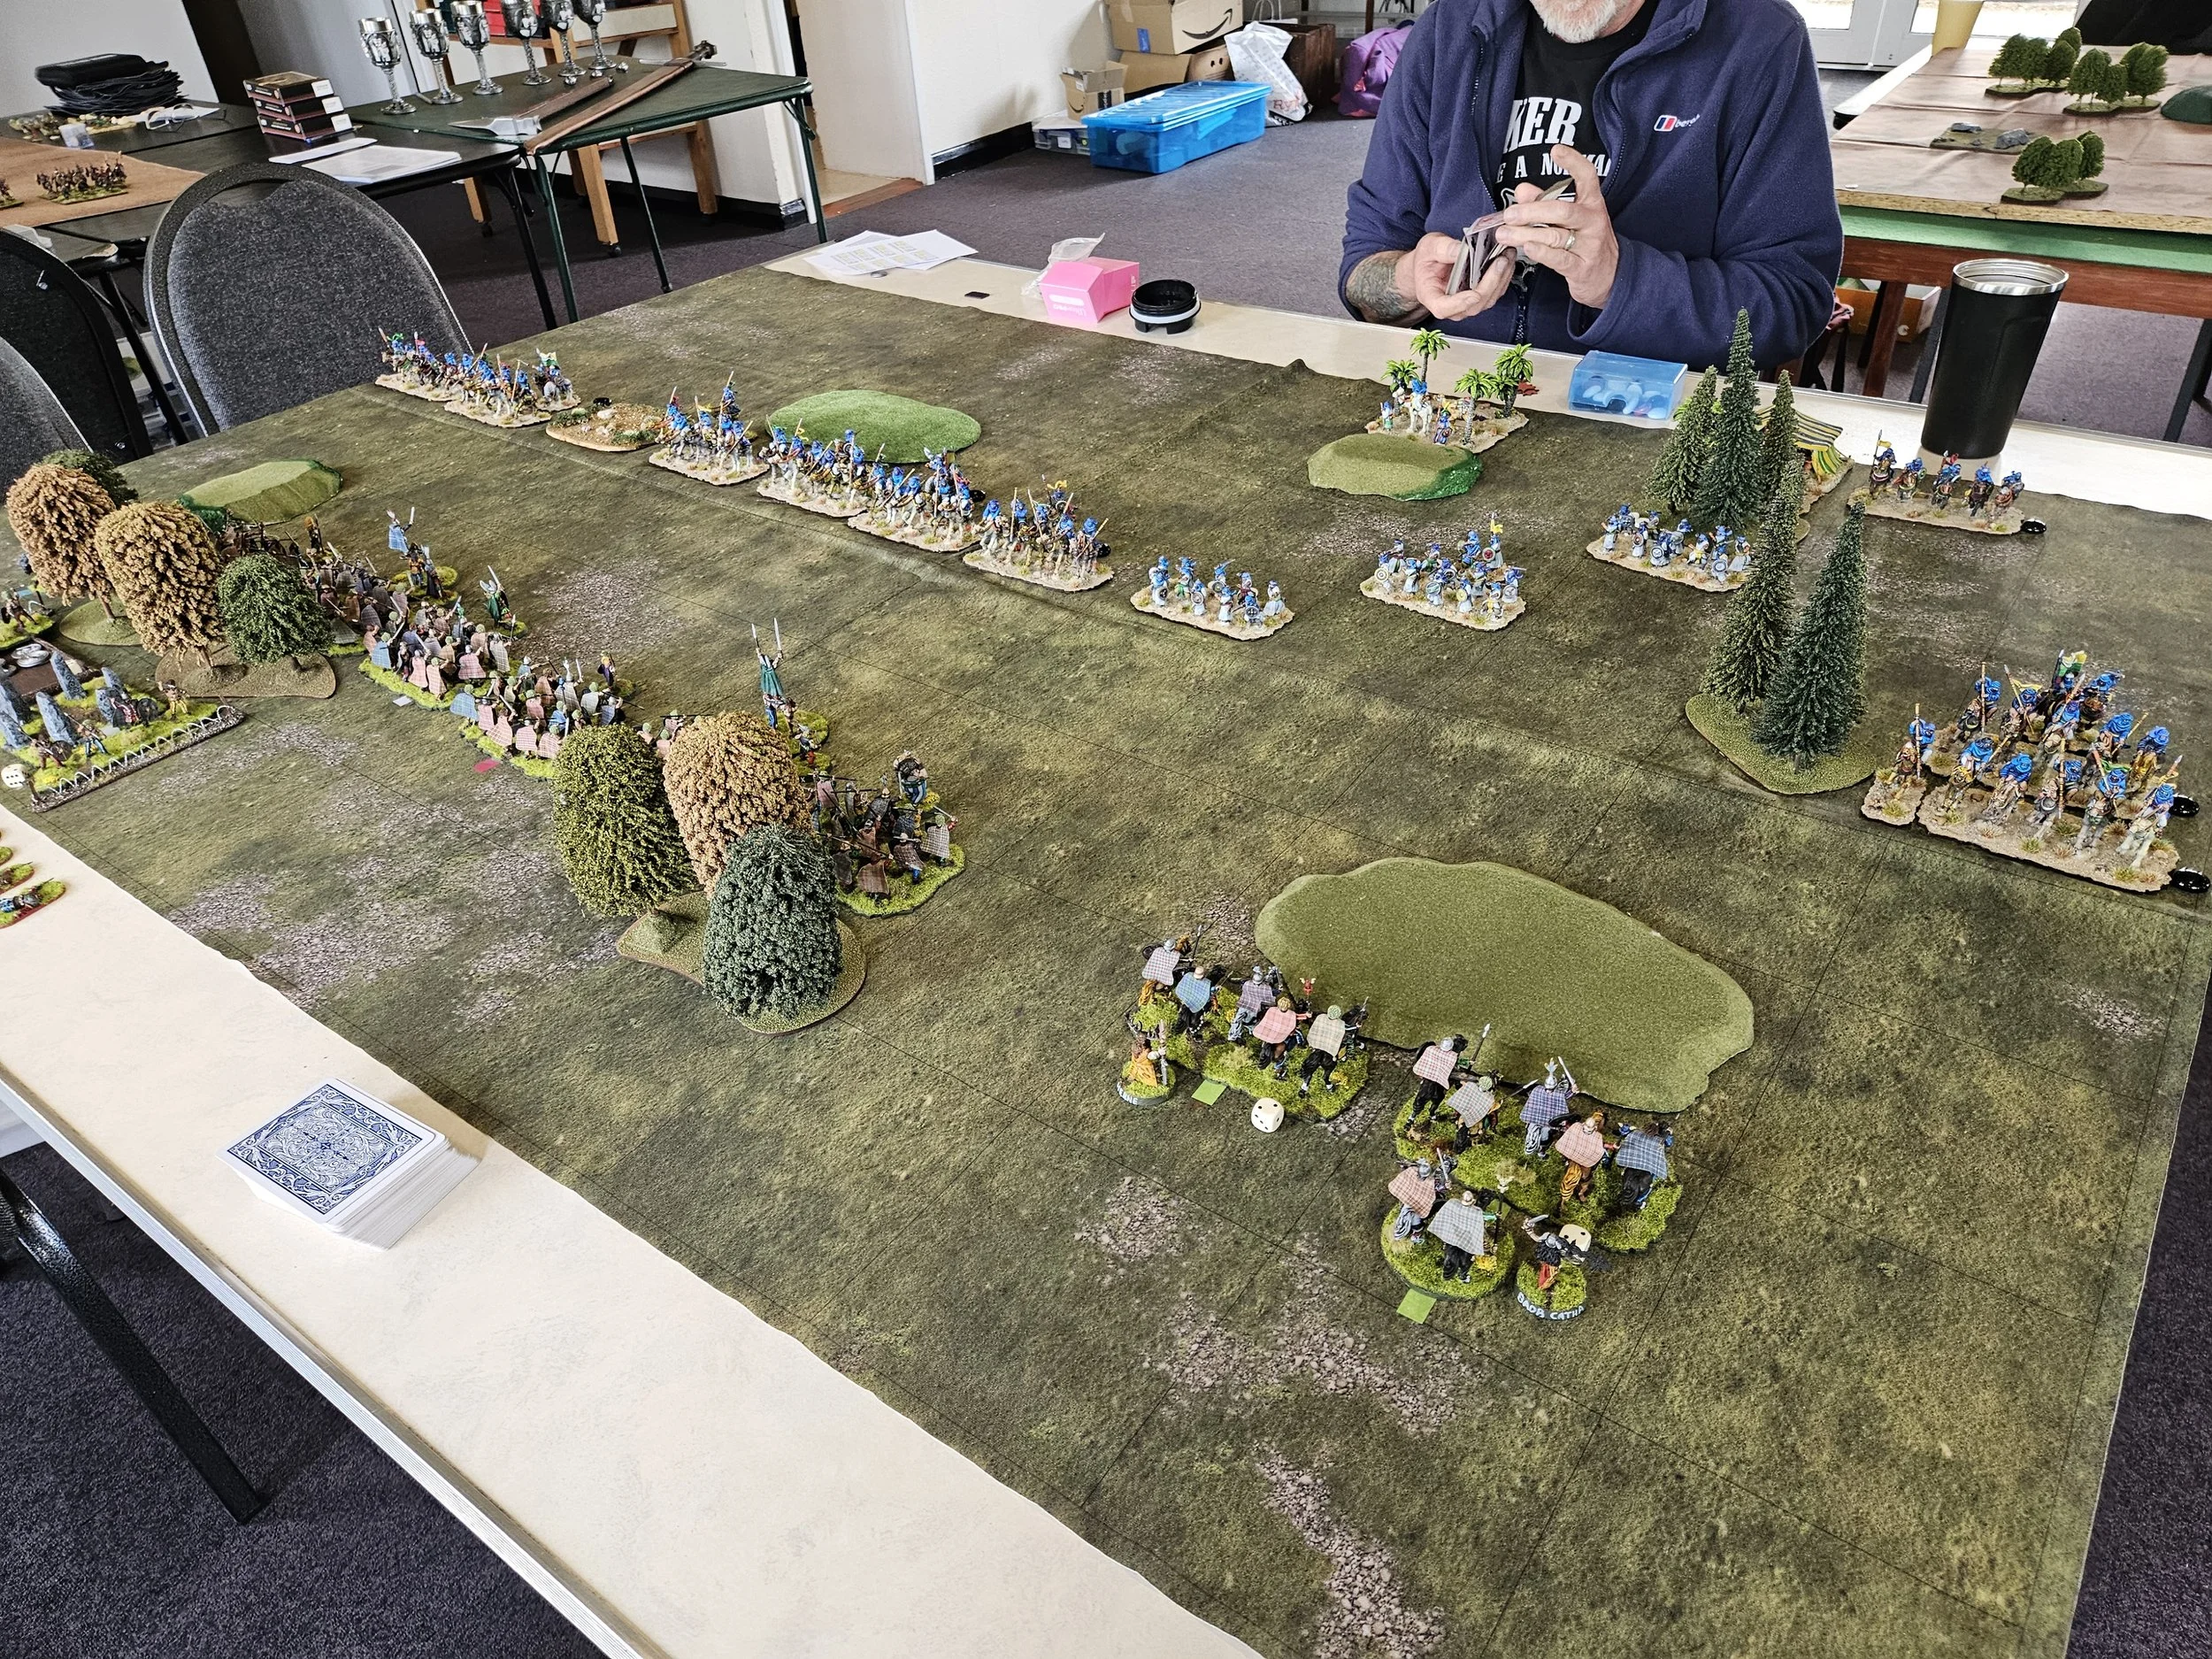
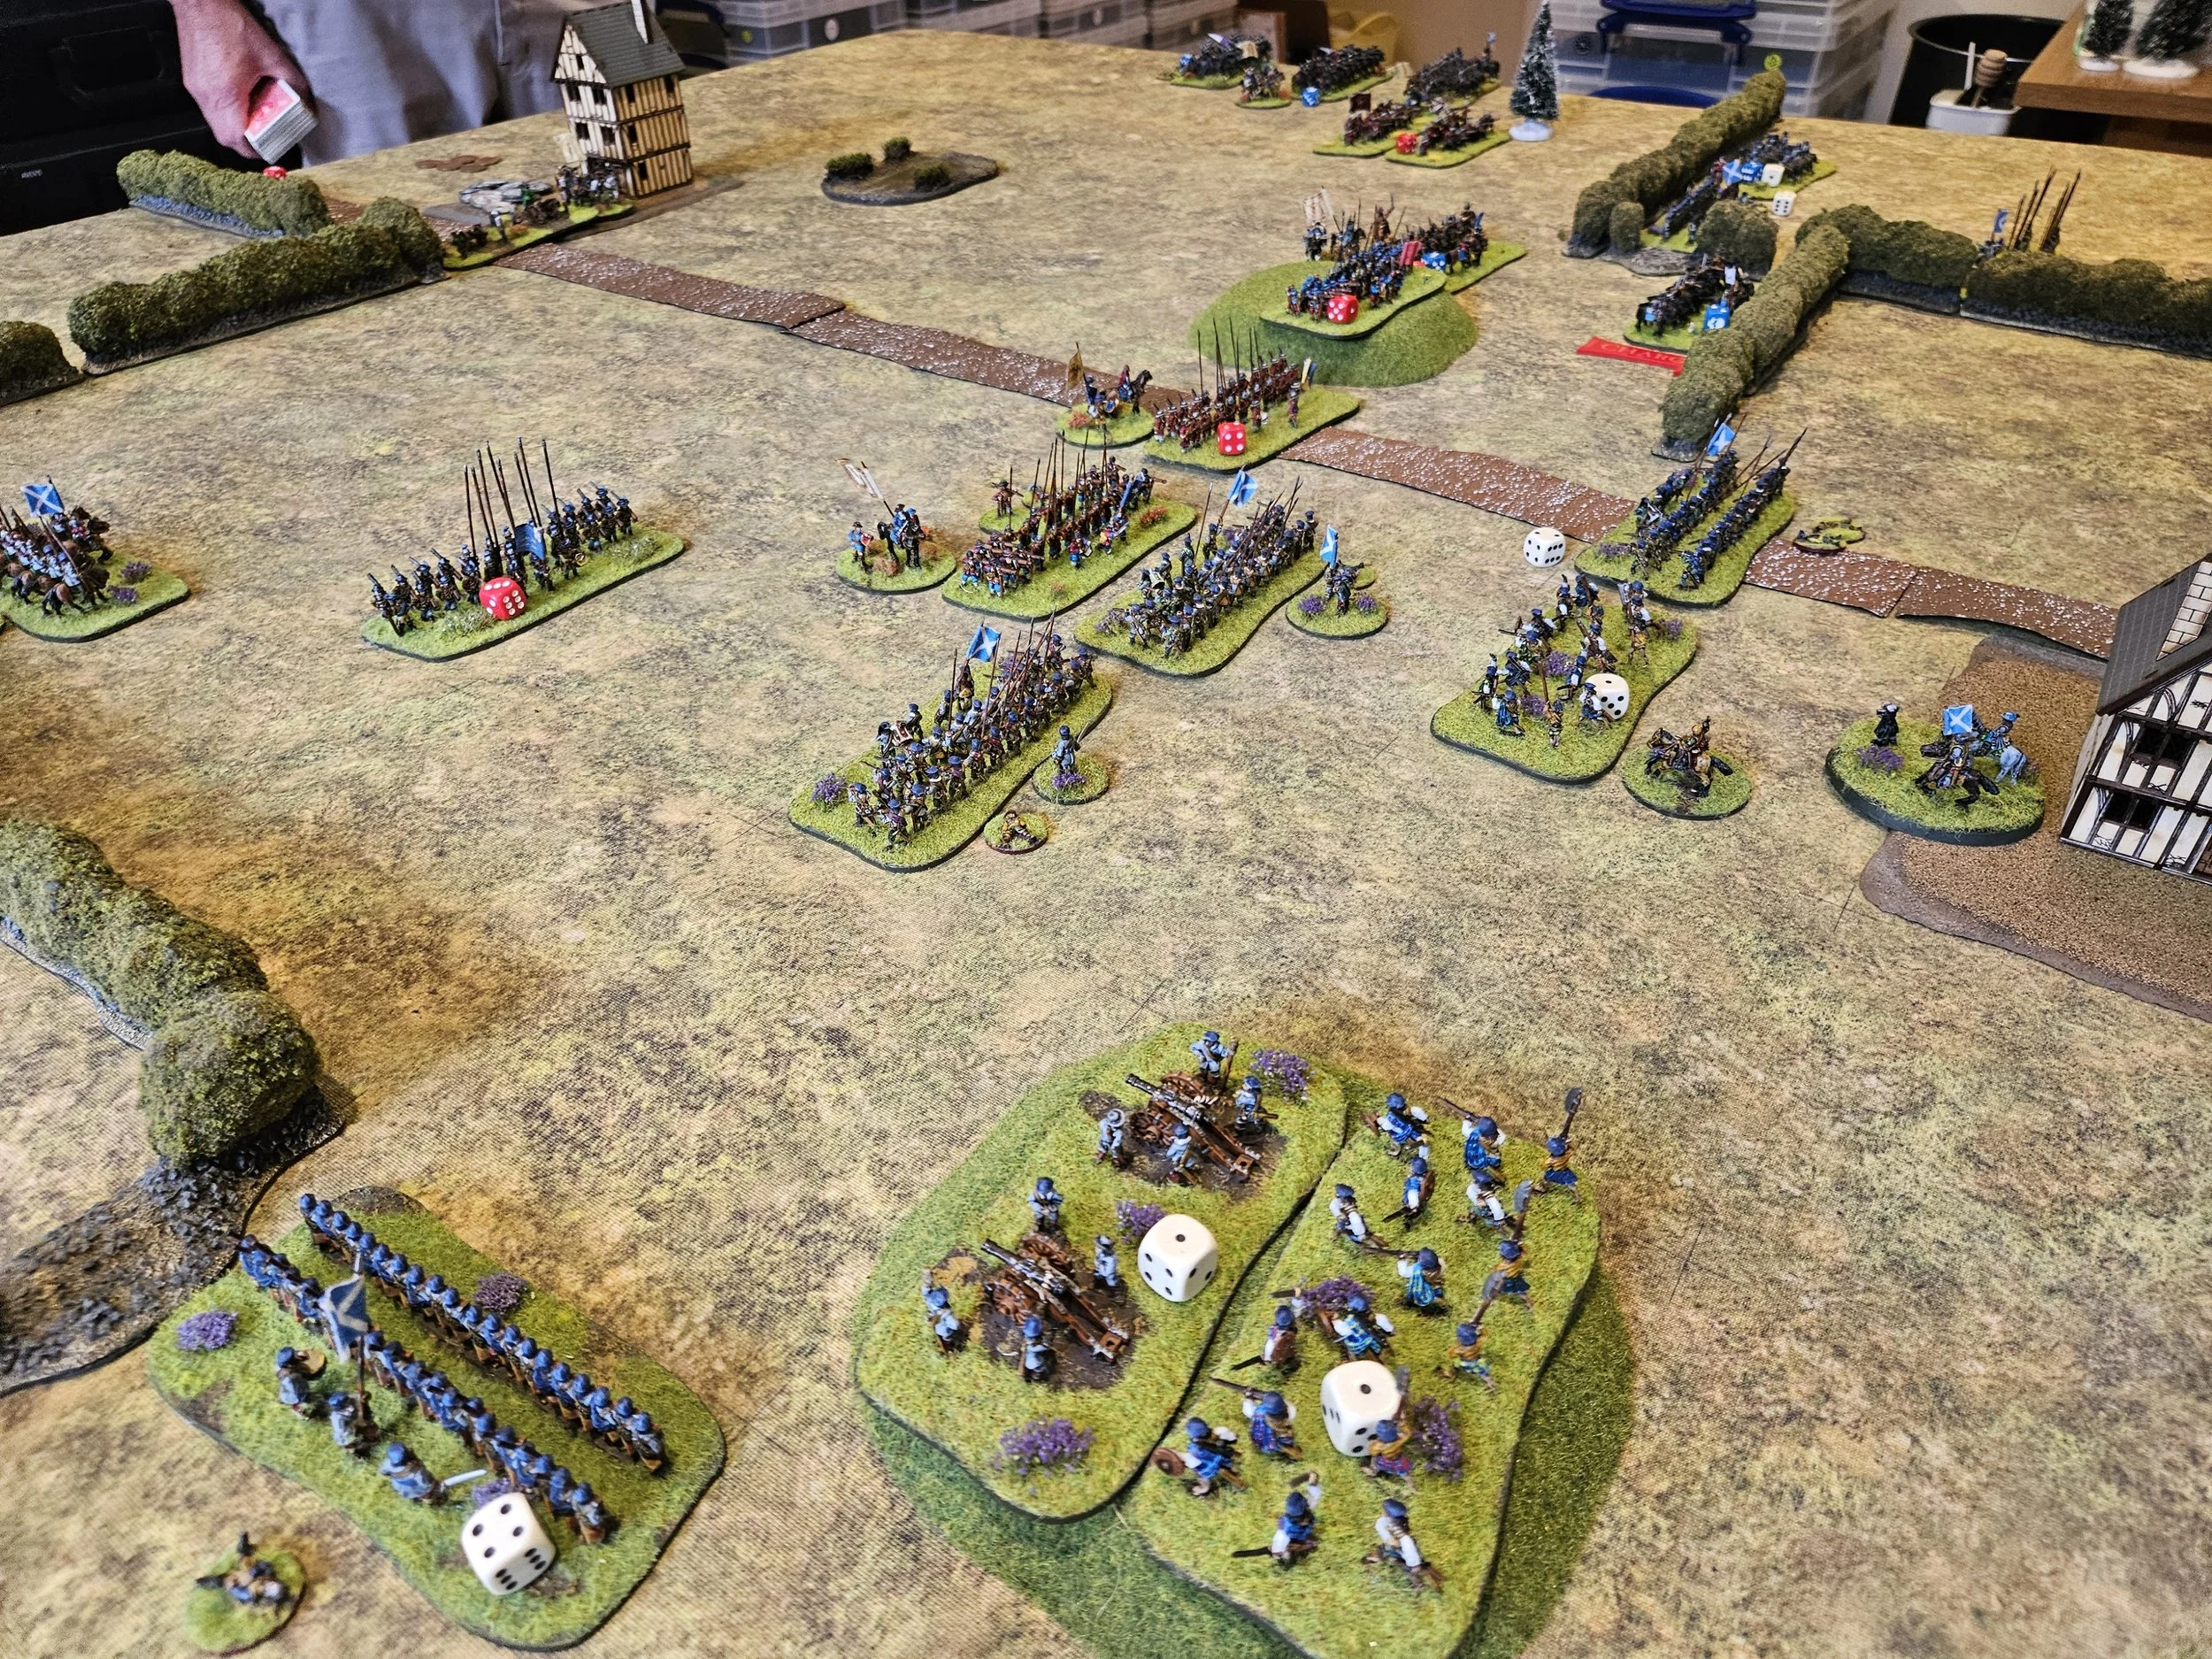
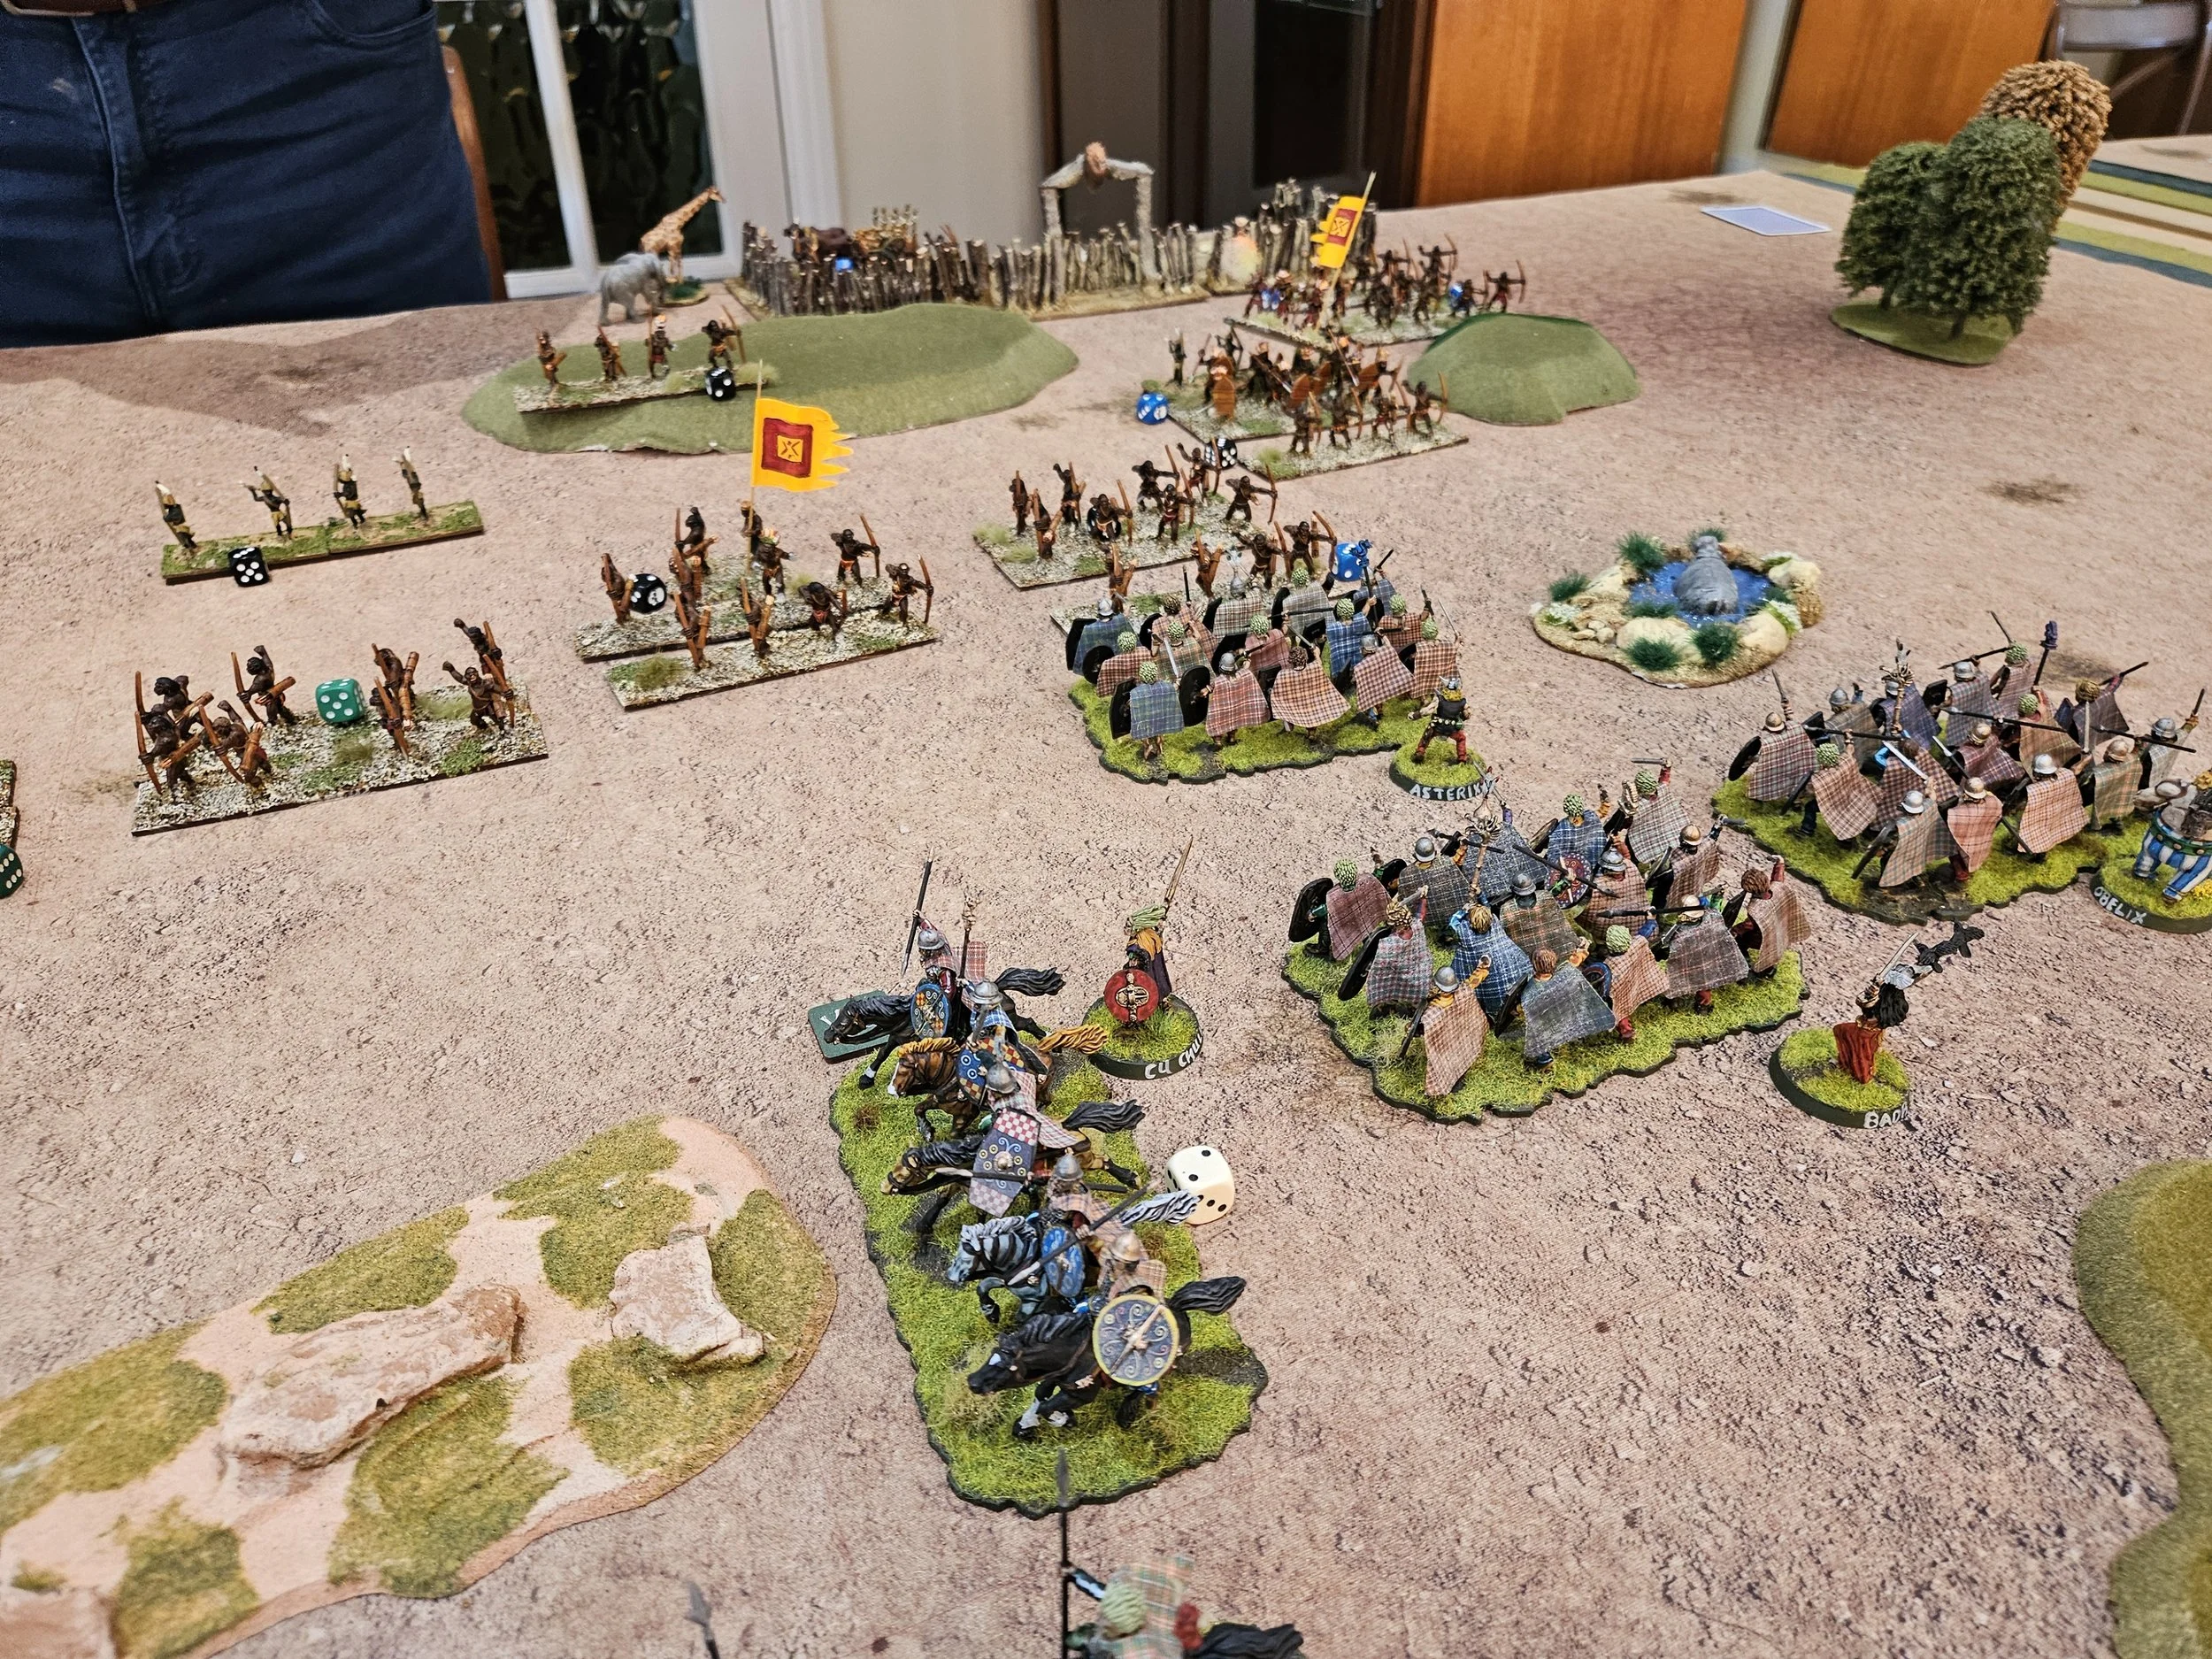
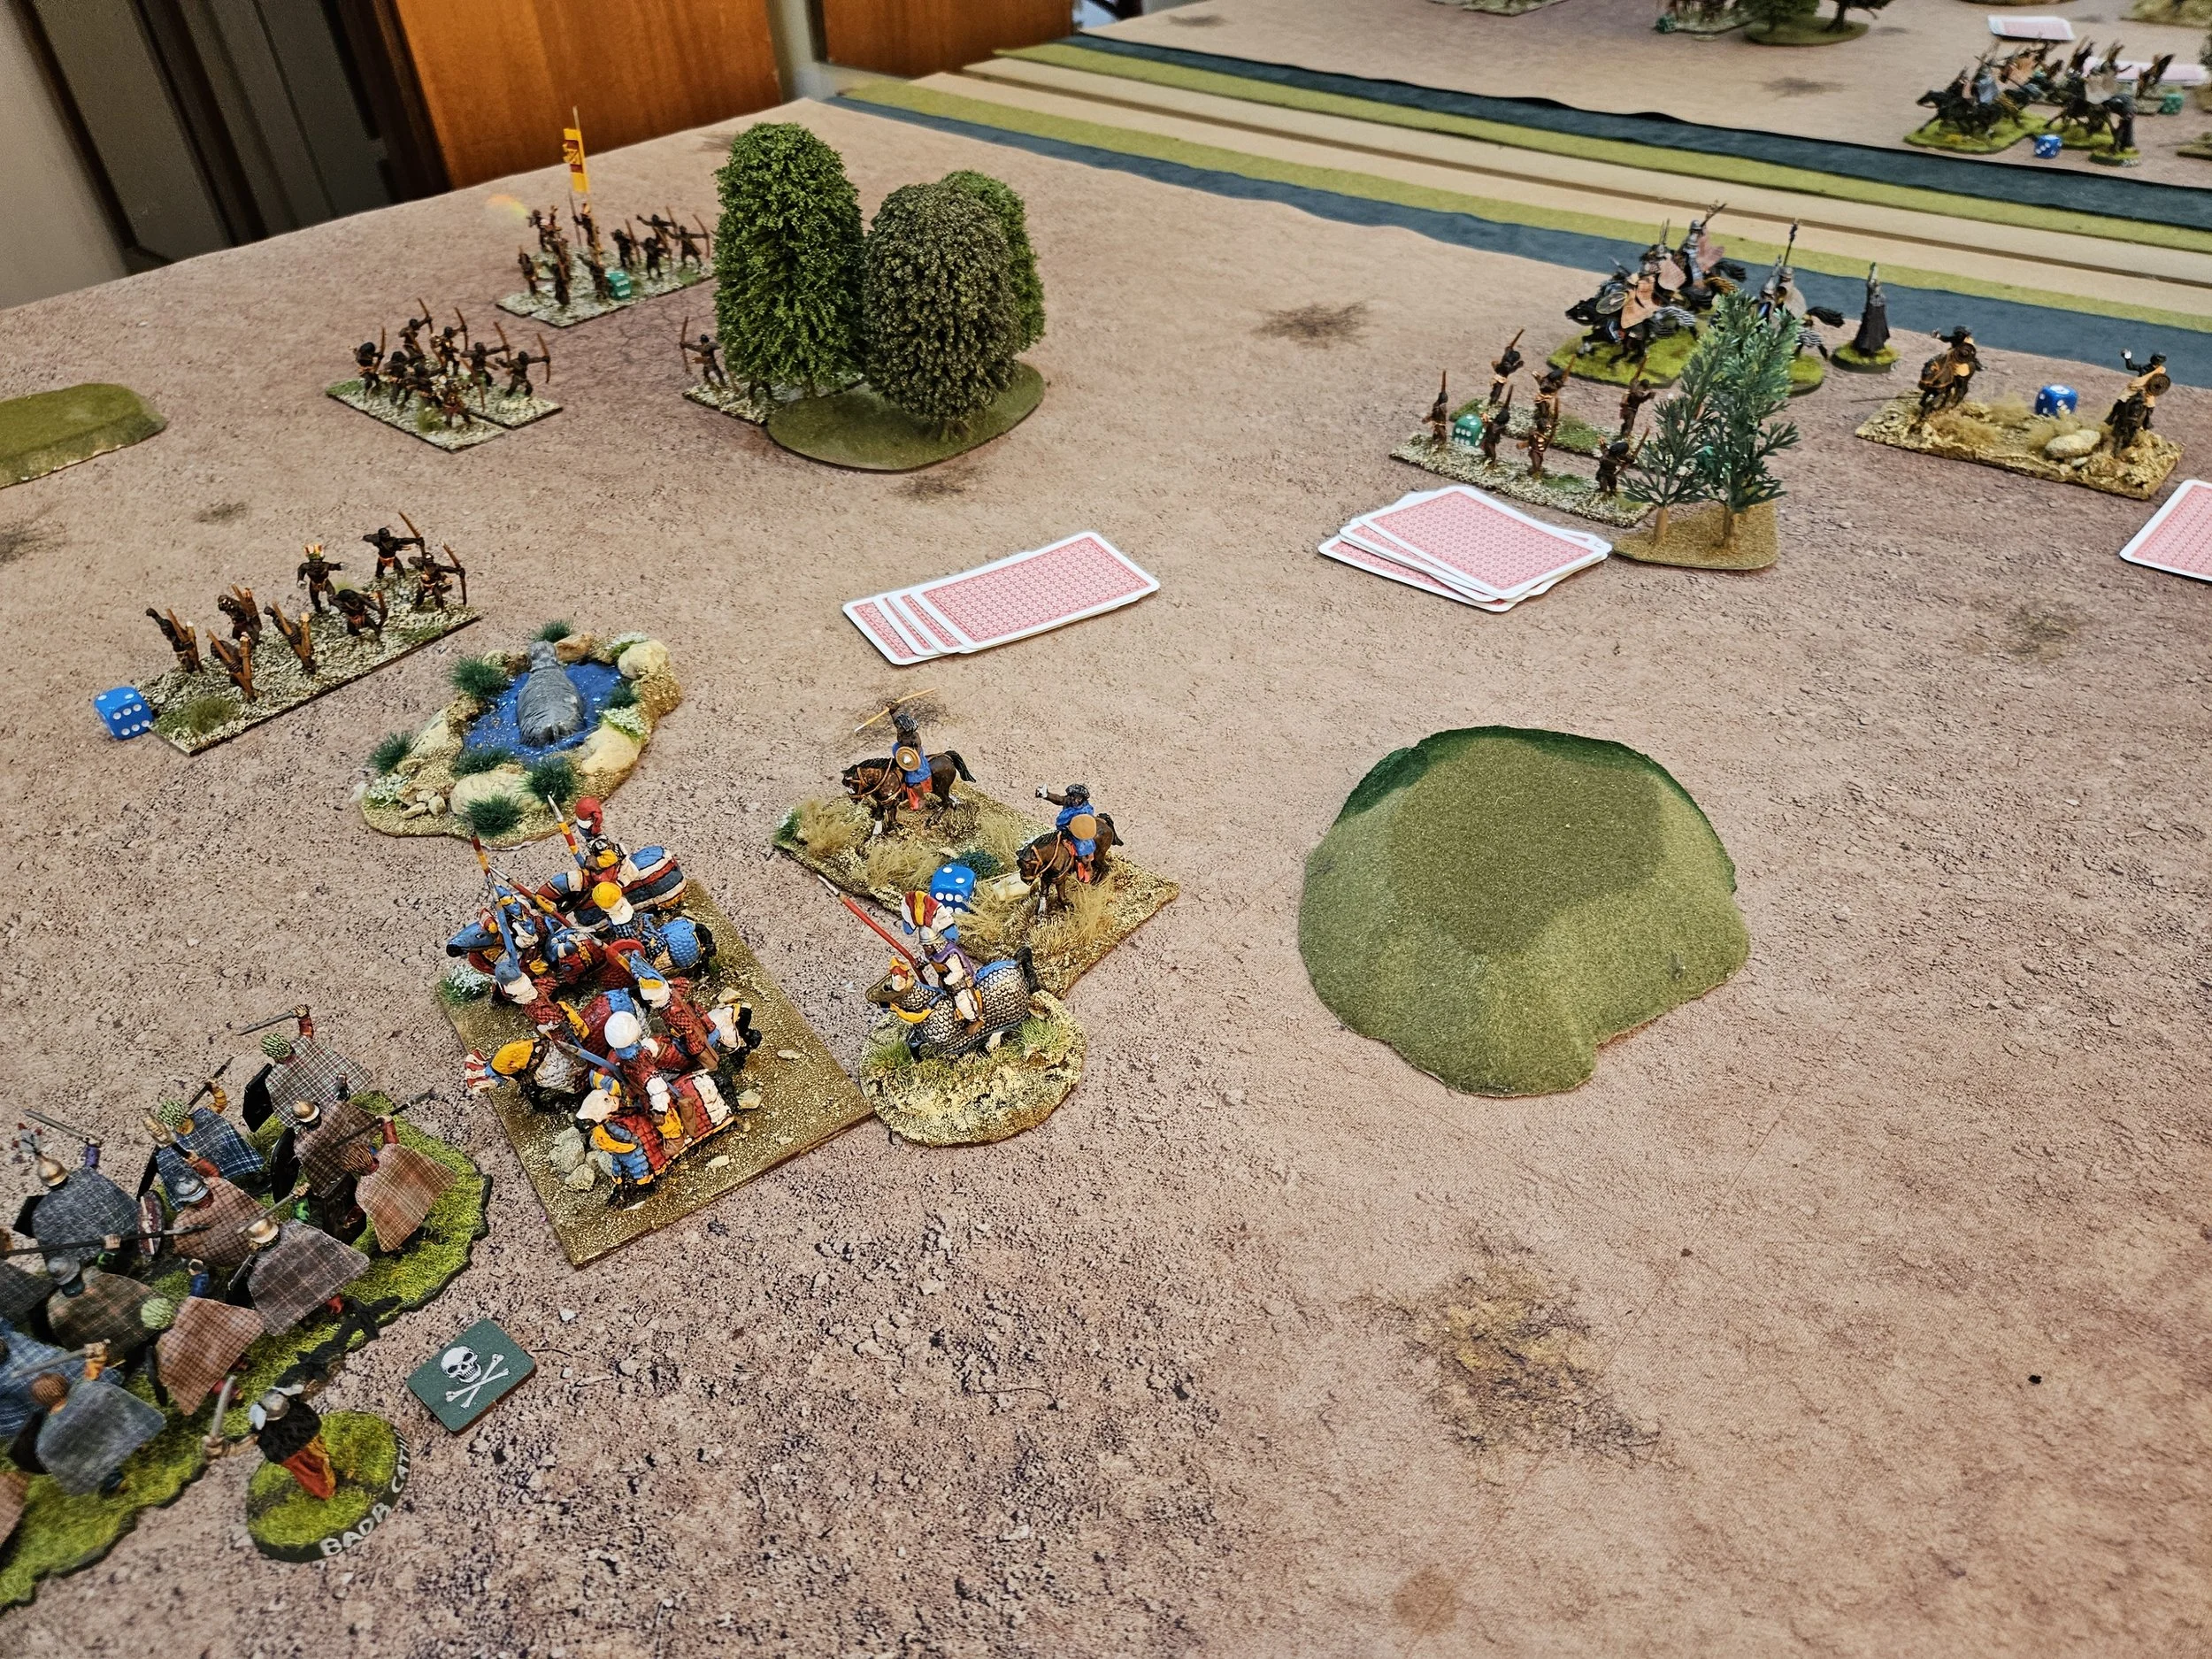
I now had two coins left, Neil had one, so whoever broke the next unit would win the game, and it looked as if I was about to snatch defeat from the jaws of victory!

The rest of that turn was very frustrating: all my possibilties being nerfed by the cards again.
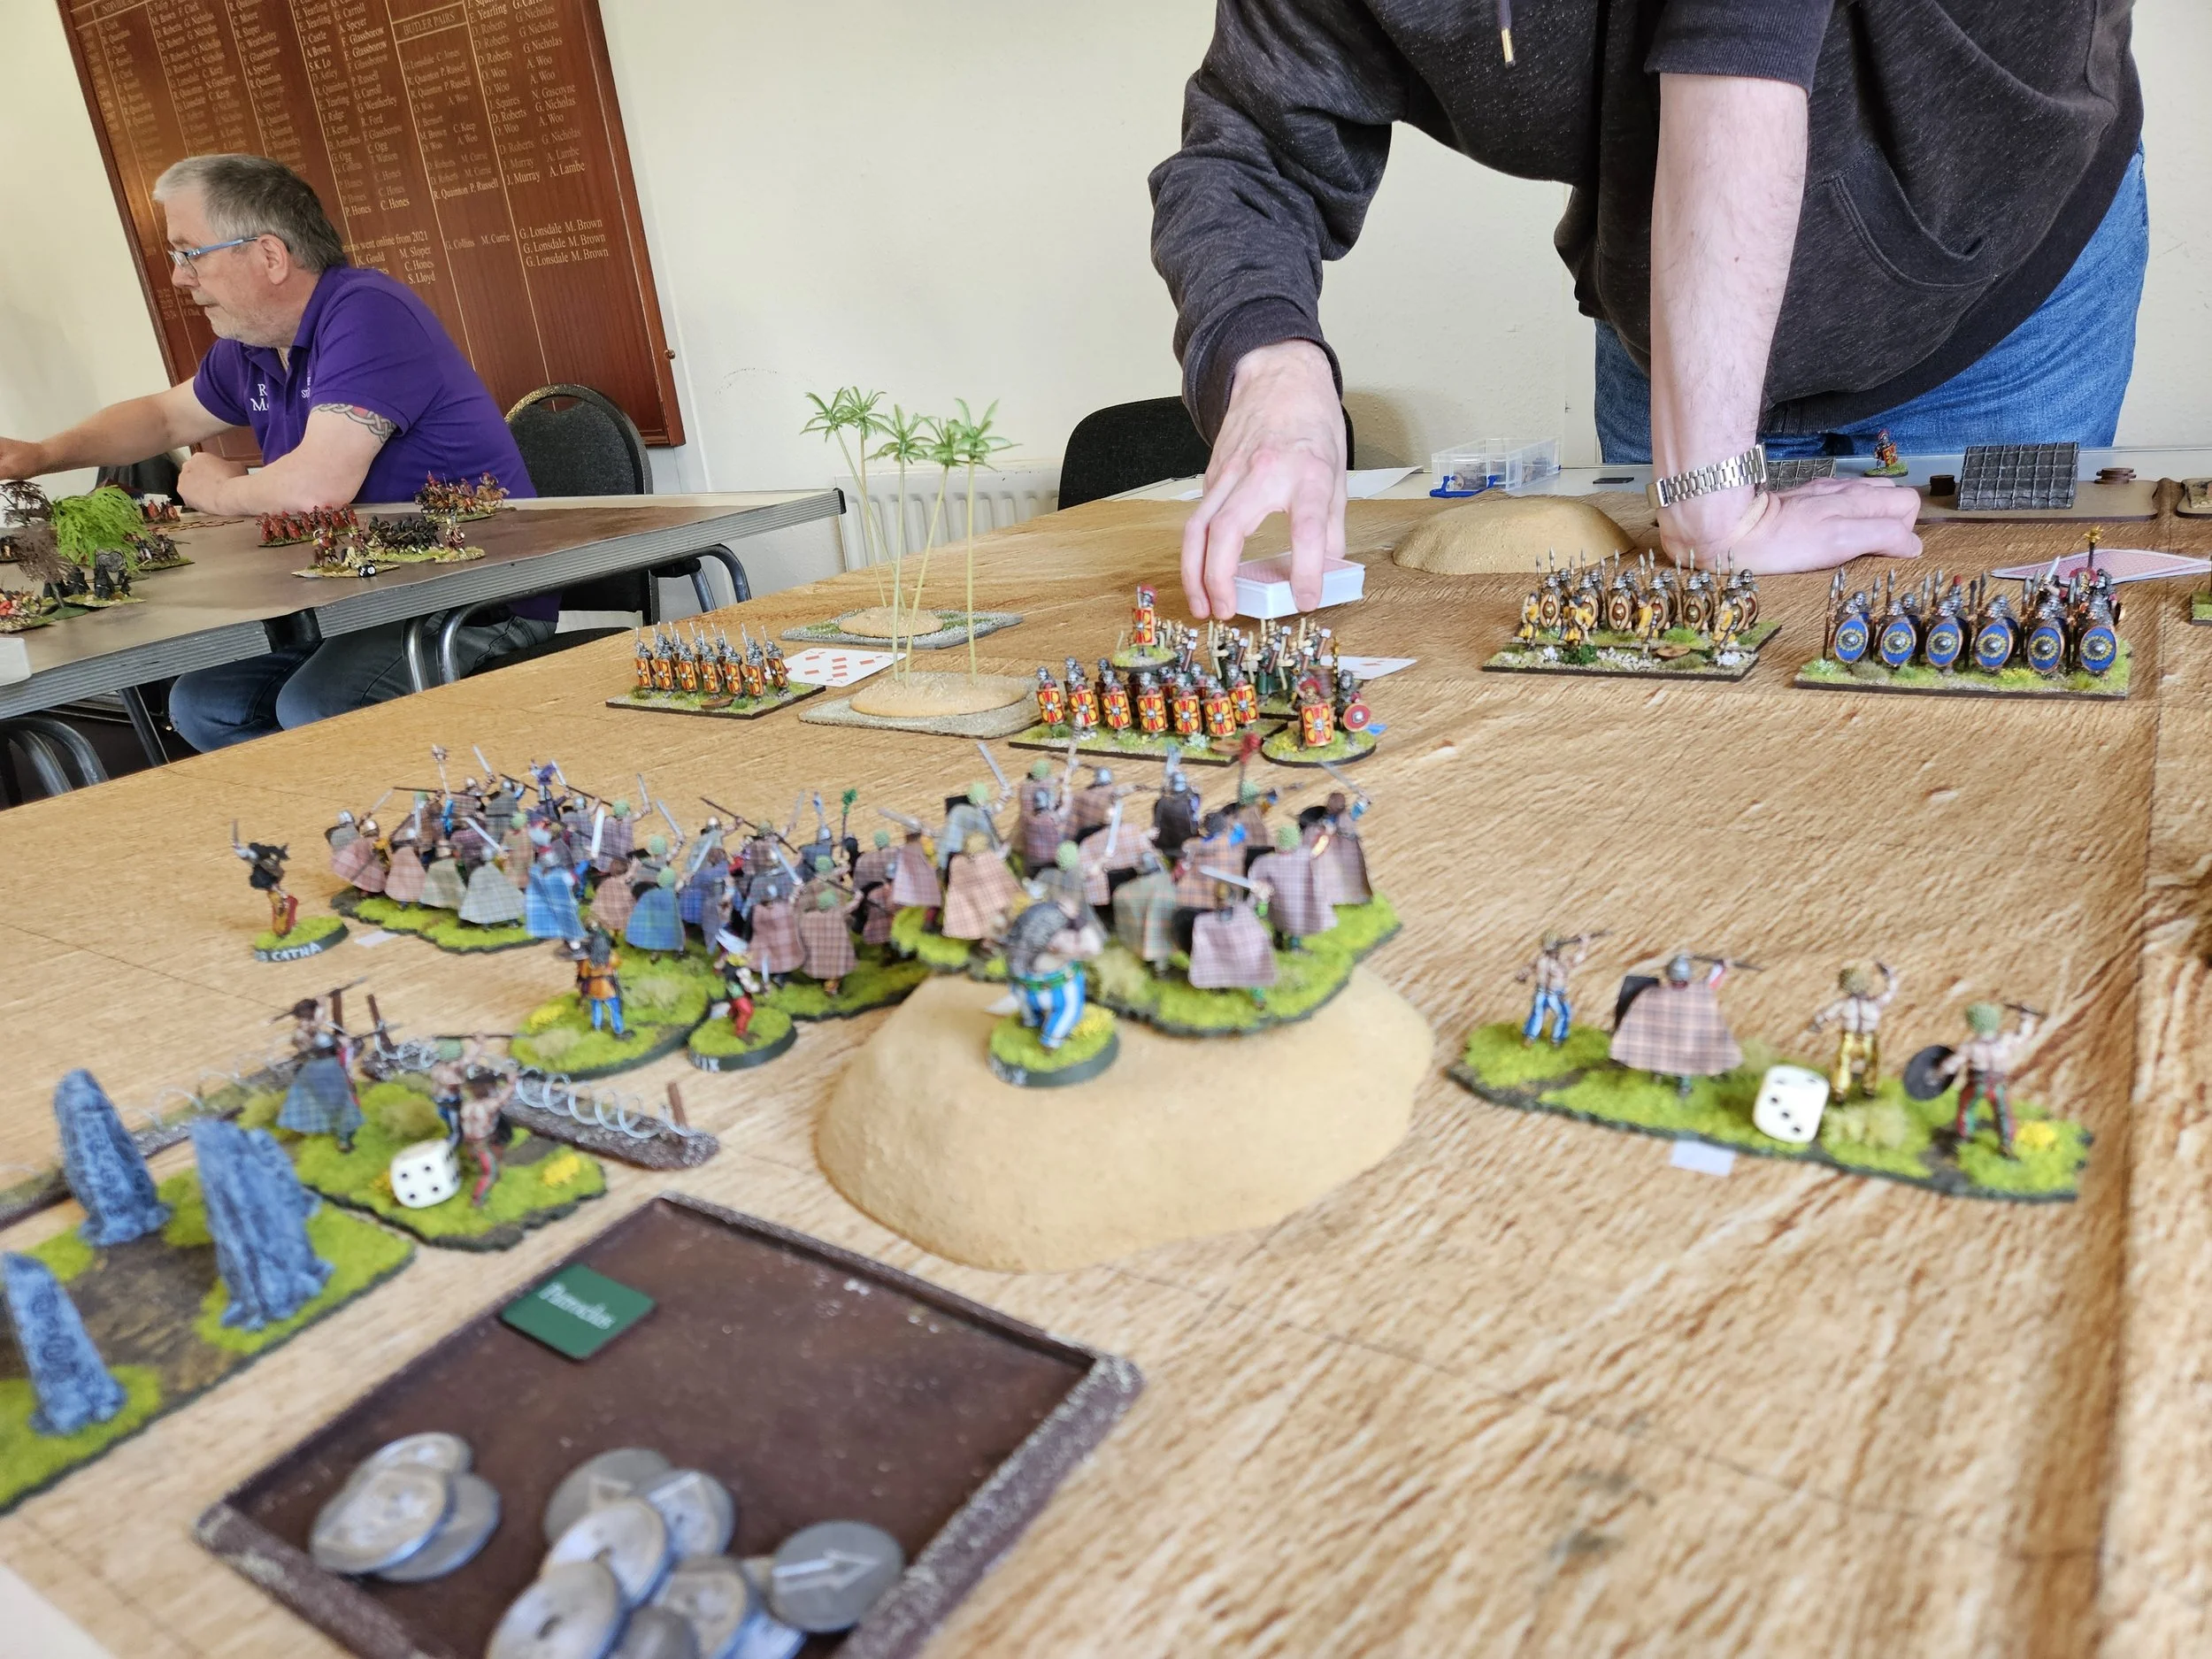
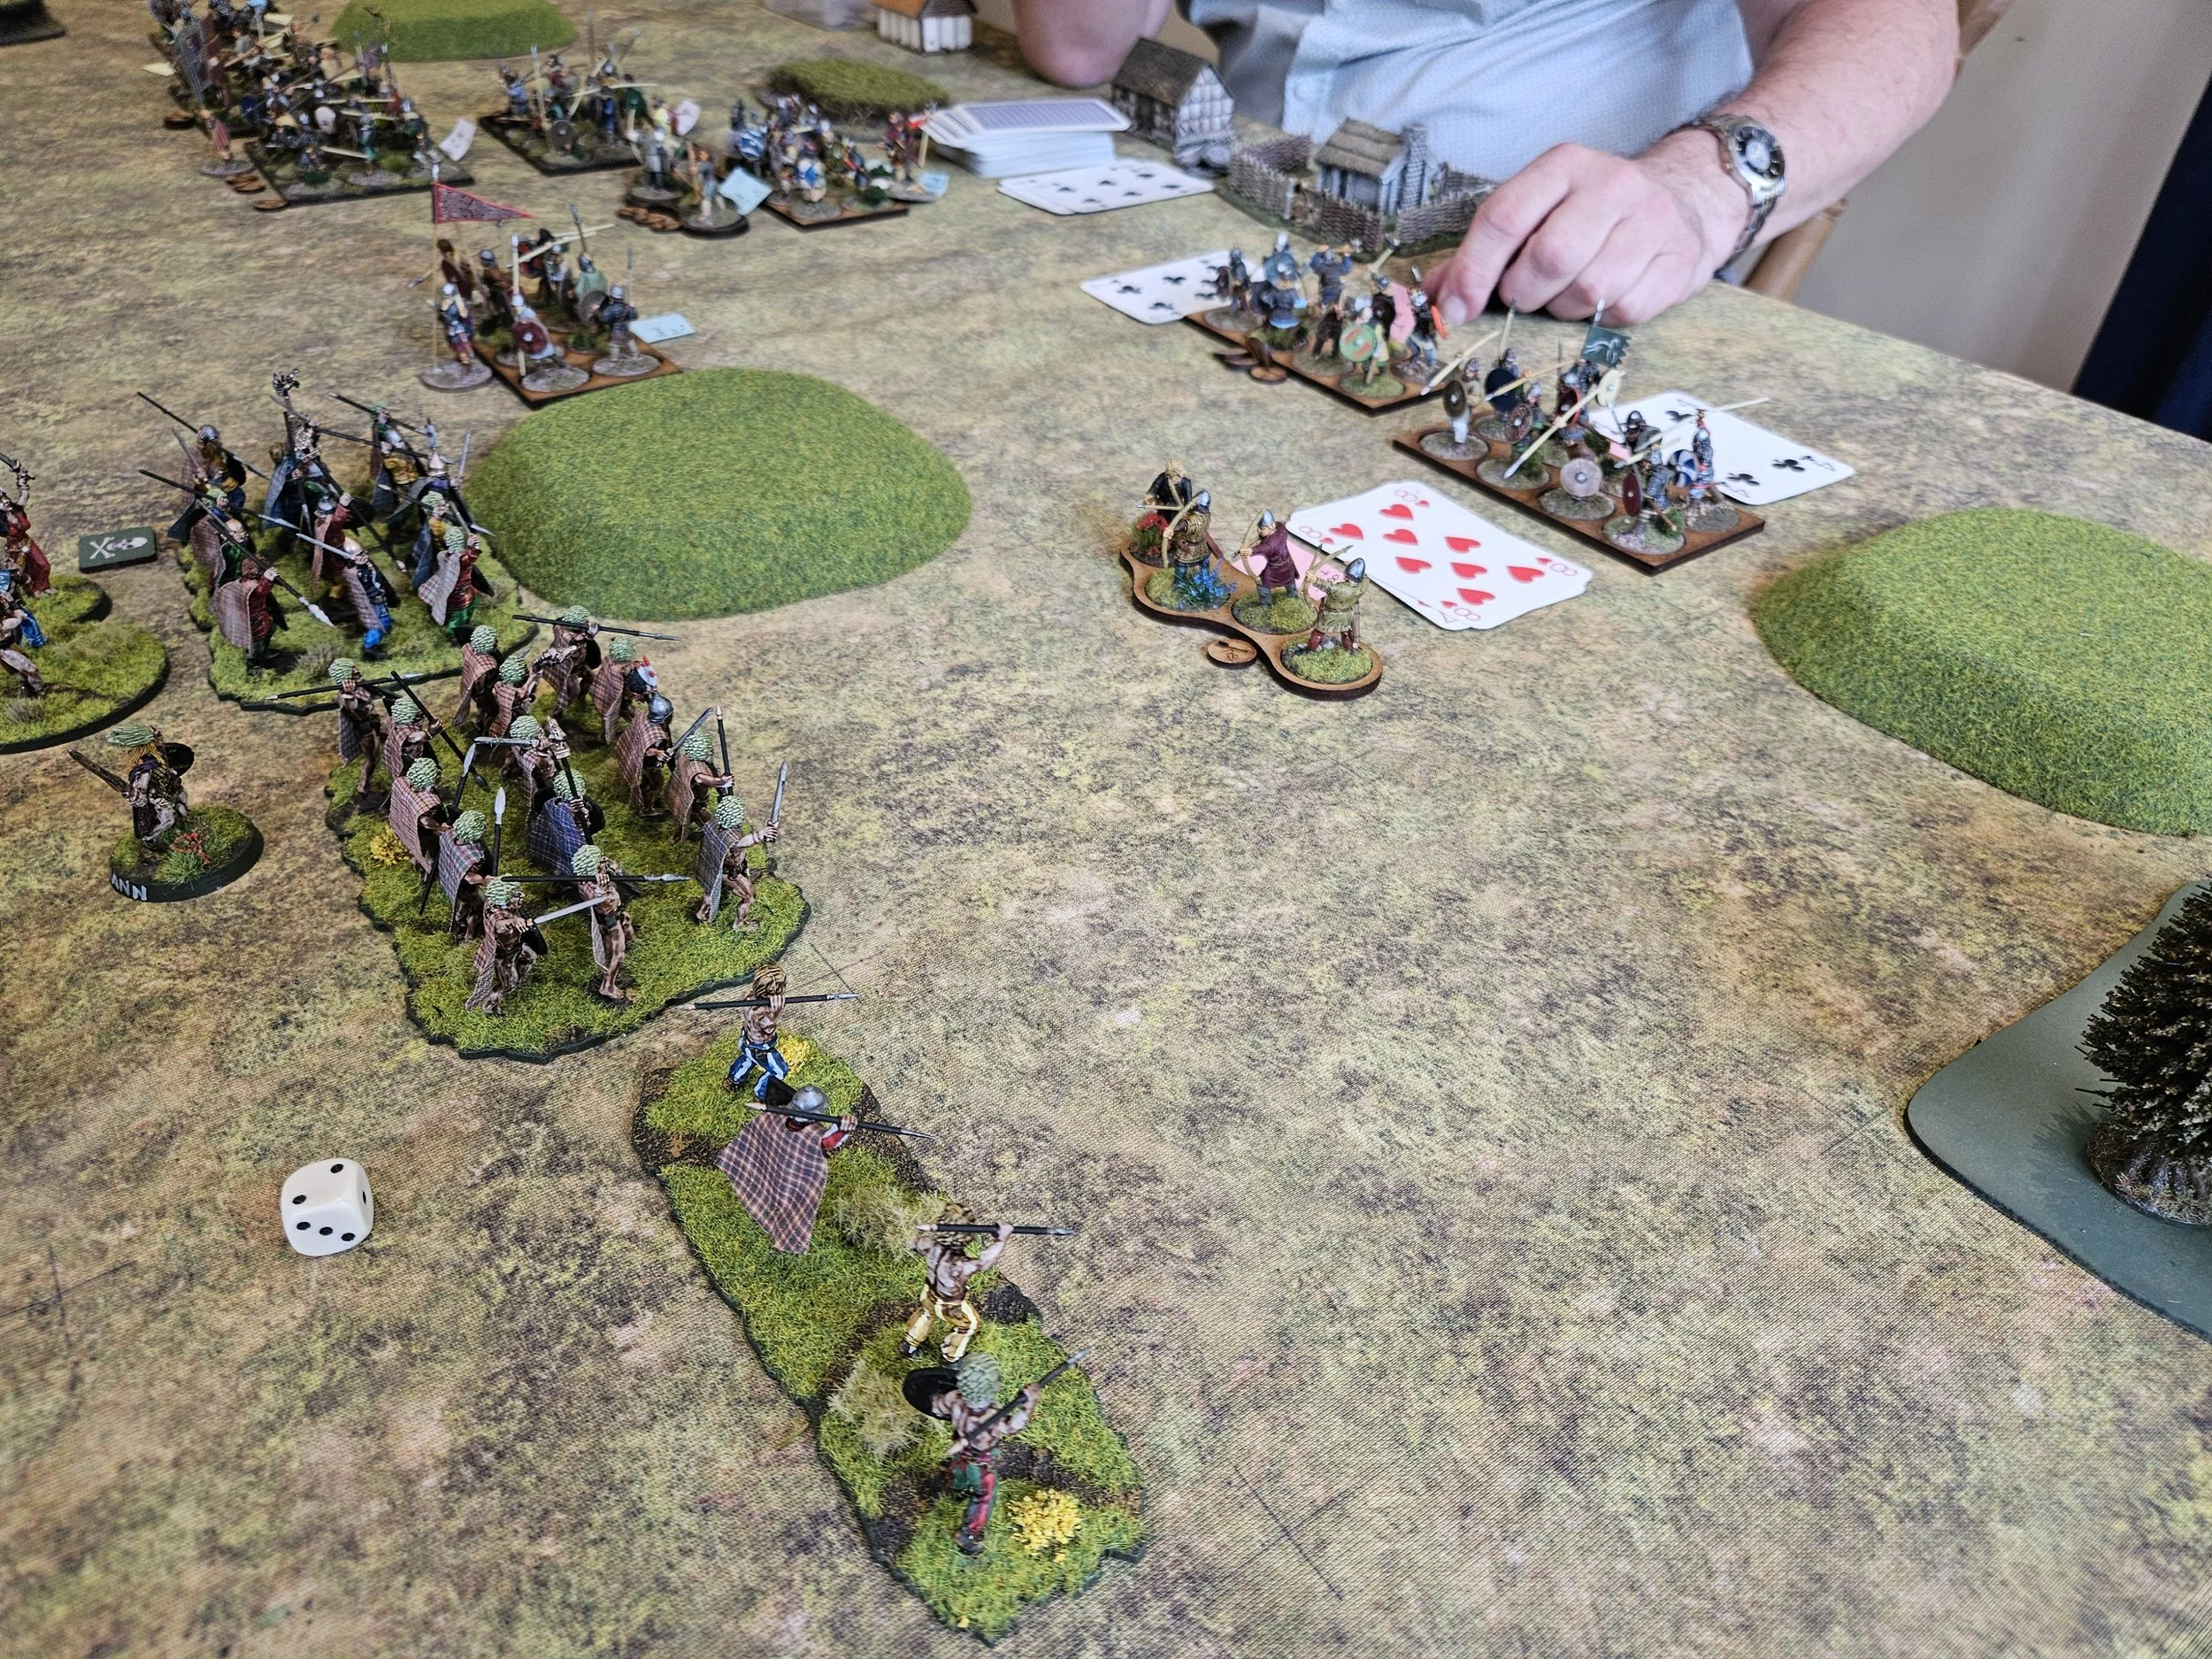
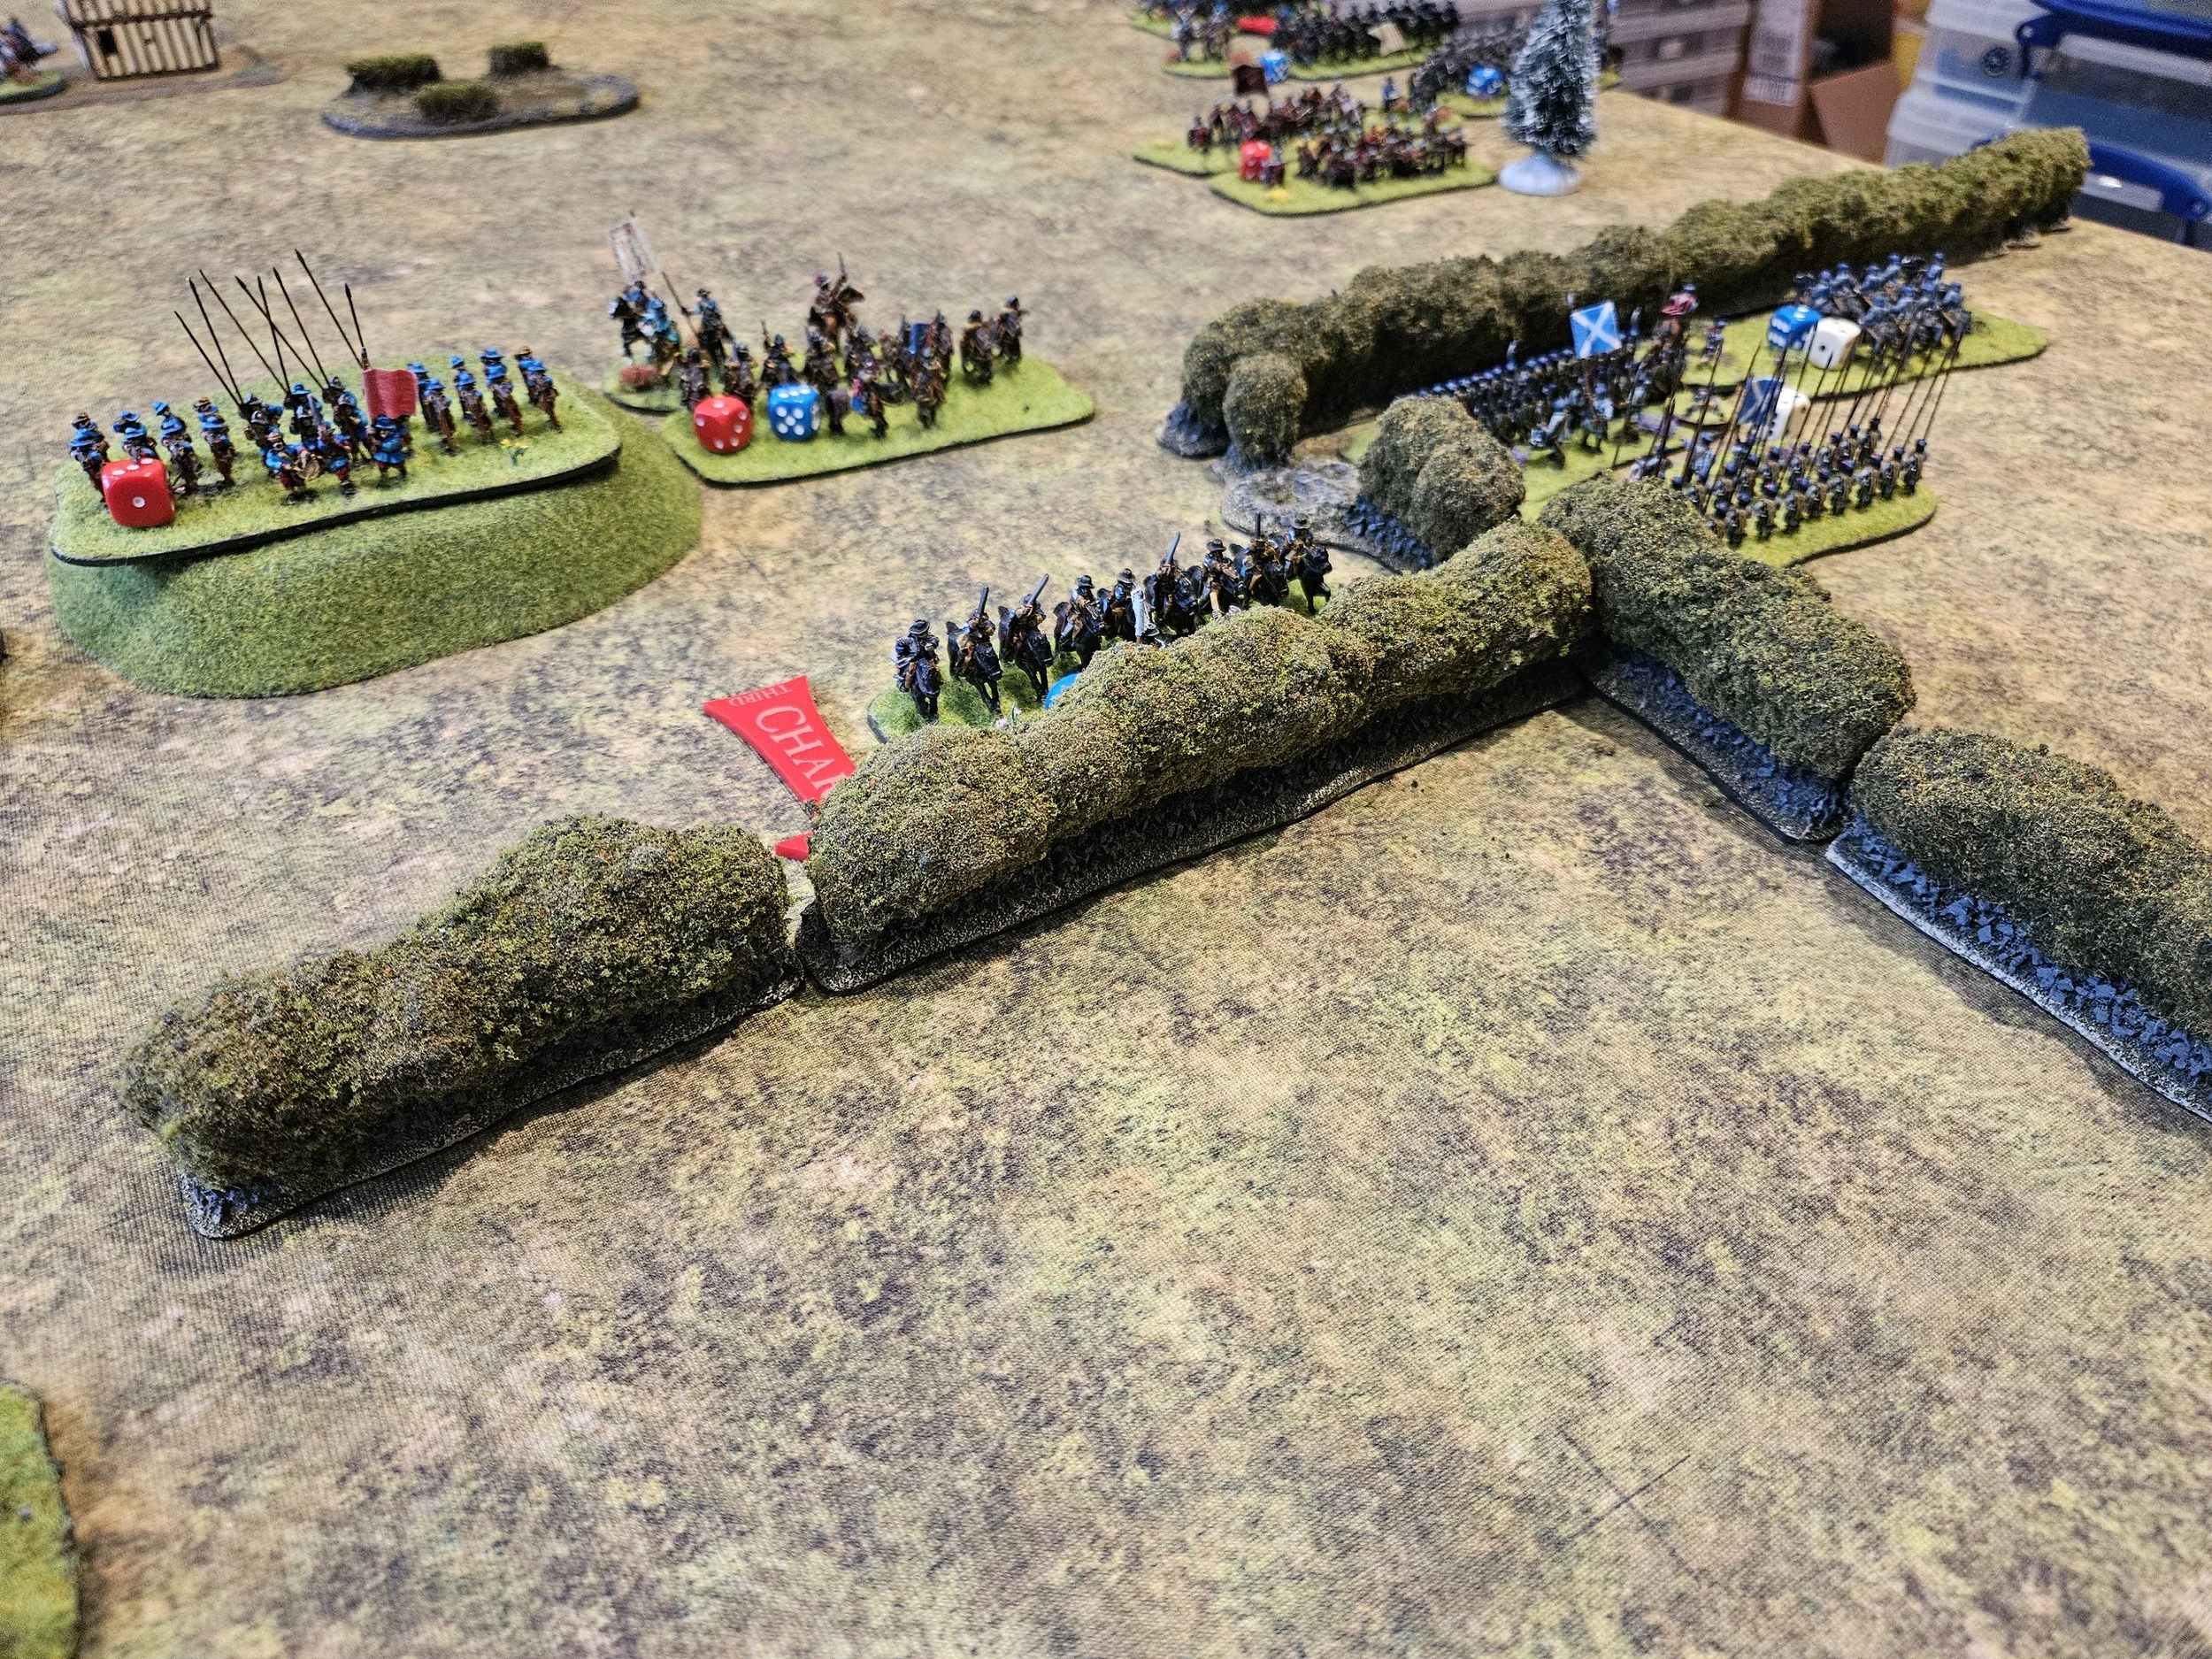
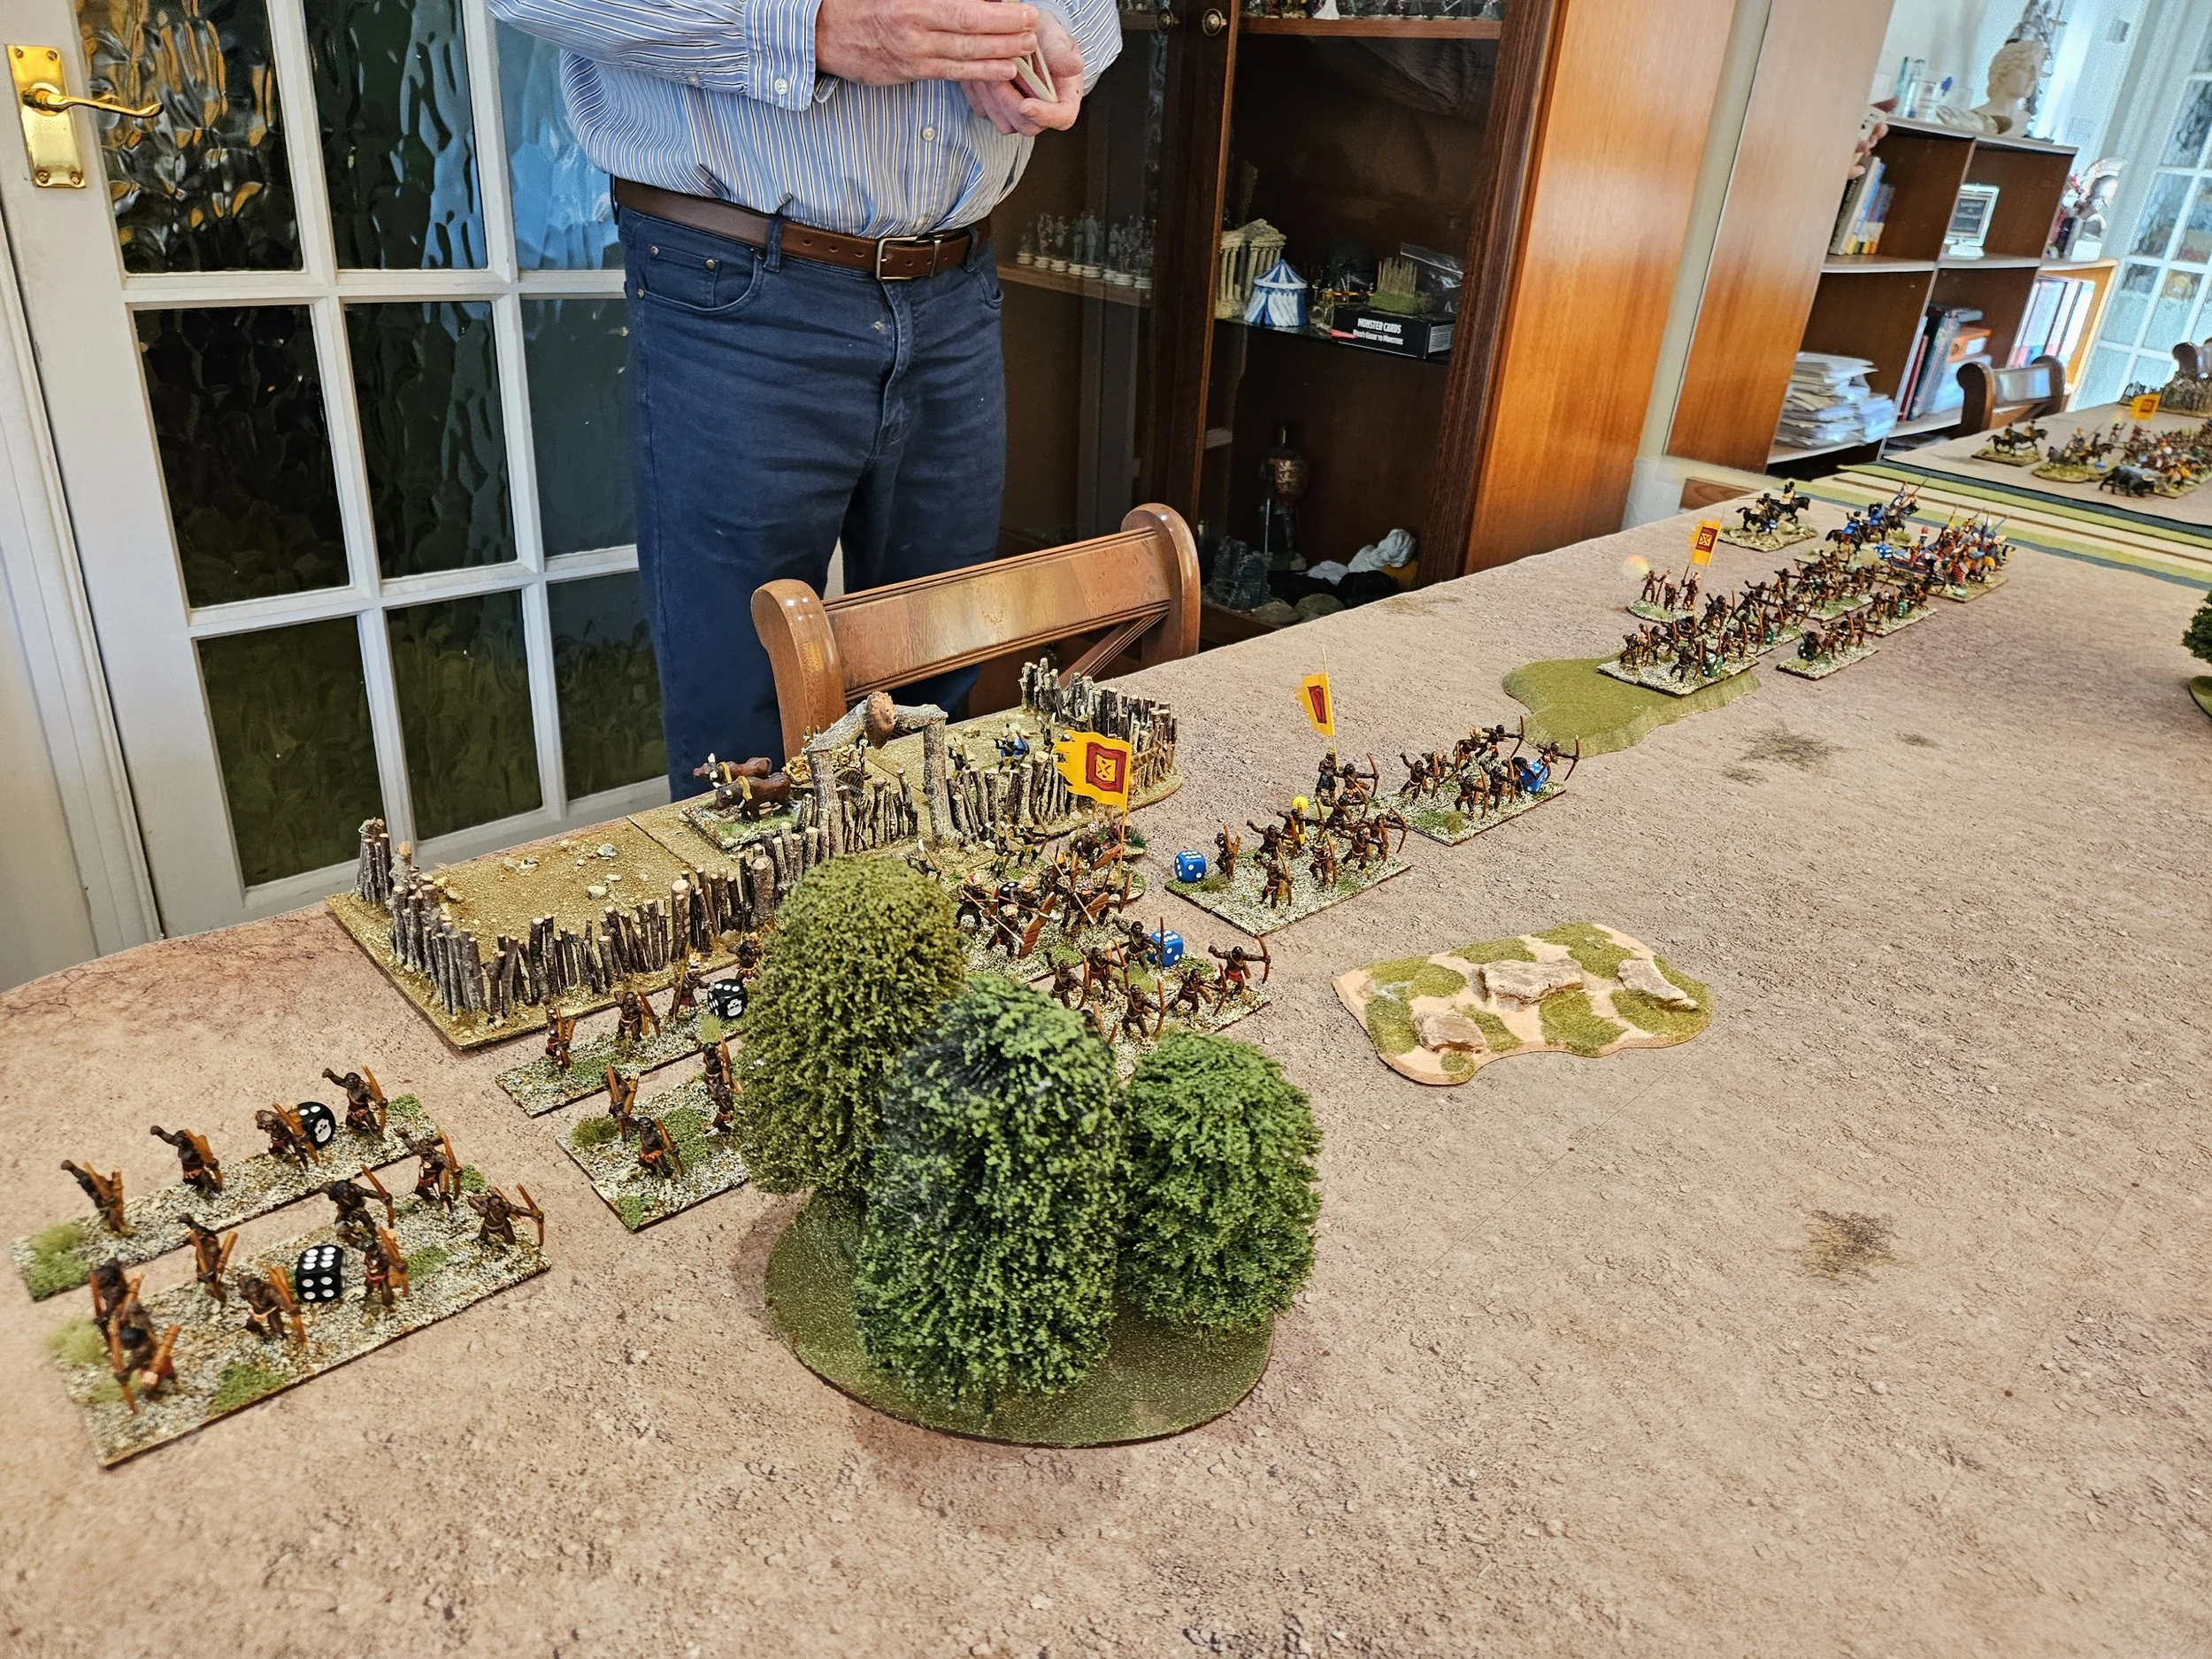
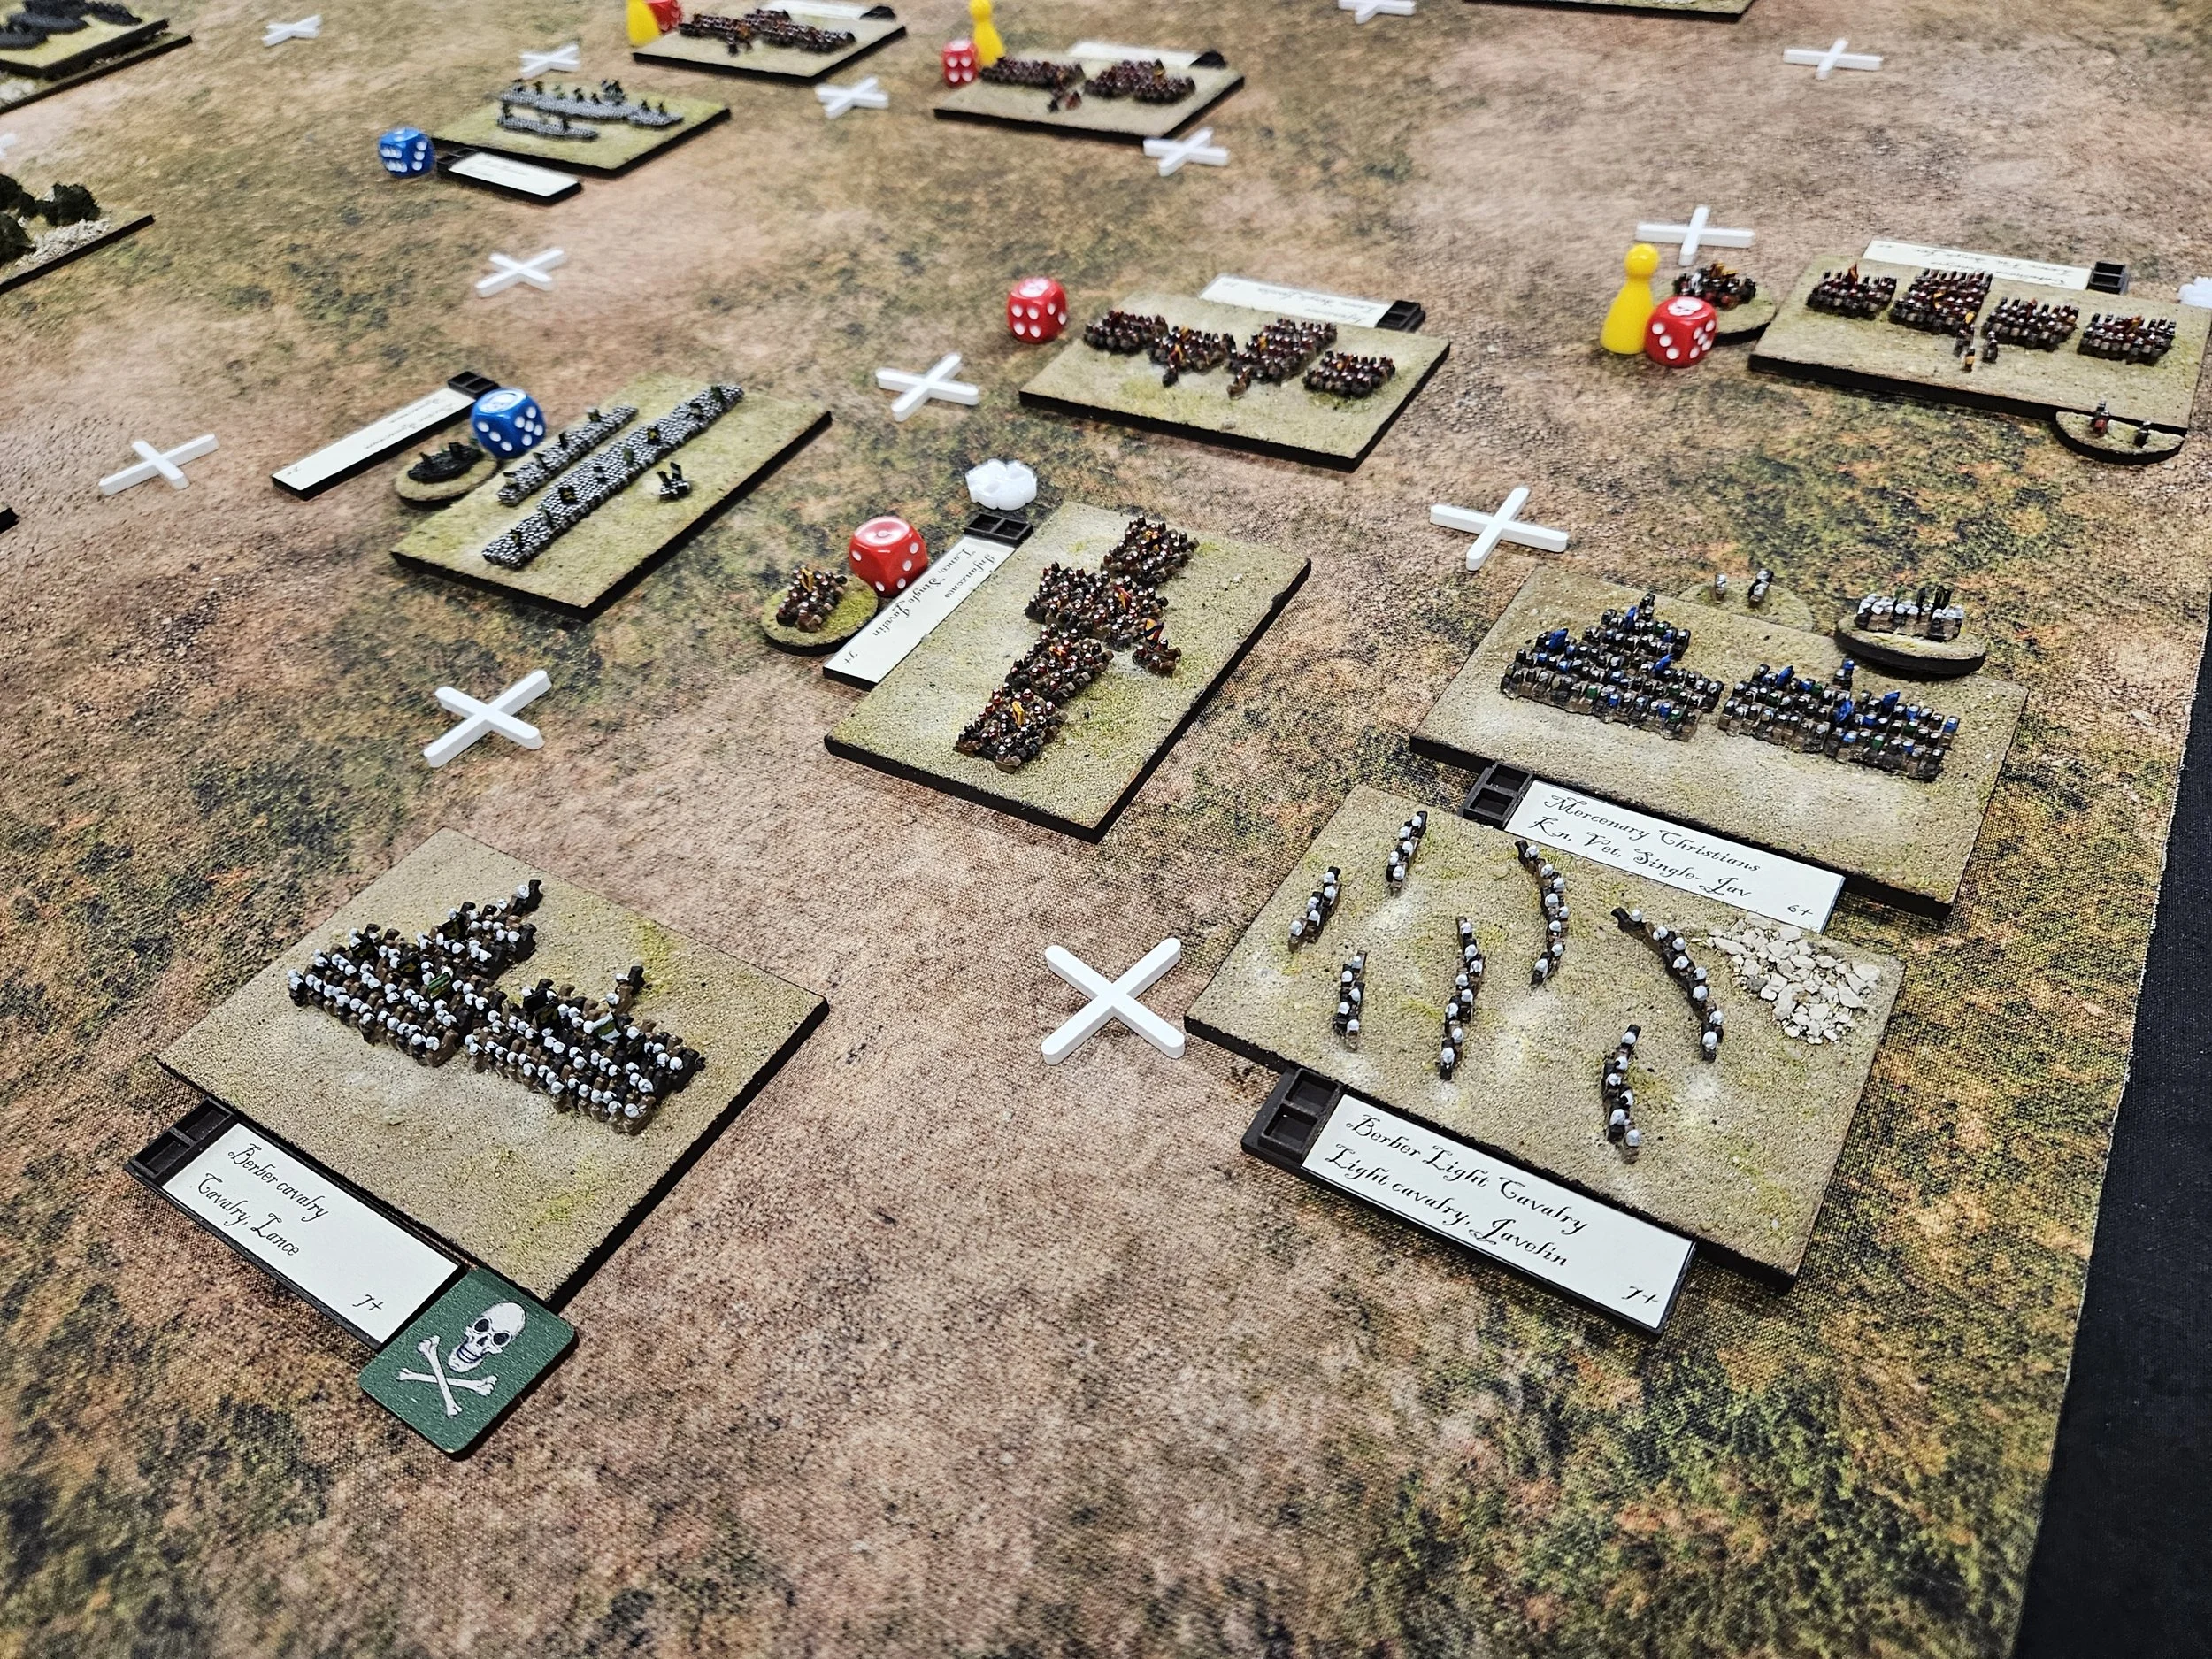
In Neil’s next turn, he managed to drive my light cavalry (bottom-right in the picture, above) off the table, meaning that we were now even on coins and into what was effectively a sudden death match!
Fortunately, lights from the left came to my rescue: their general ordering them to throw their javelins at the enemy lights in the nearest camp. I scored a hit, and Neil (despite the advantages of being in a fortified camp) pulled just one pip lower than he needed: the lights were routed and I had won the game - just!
An absolutely cracking game of TTS that played out in only just over 90 minutes. It was the sit-down I needed afterwards that took the time!