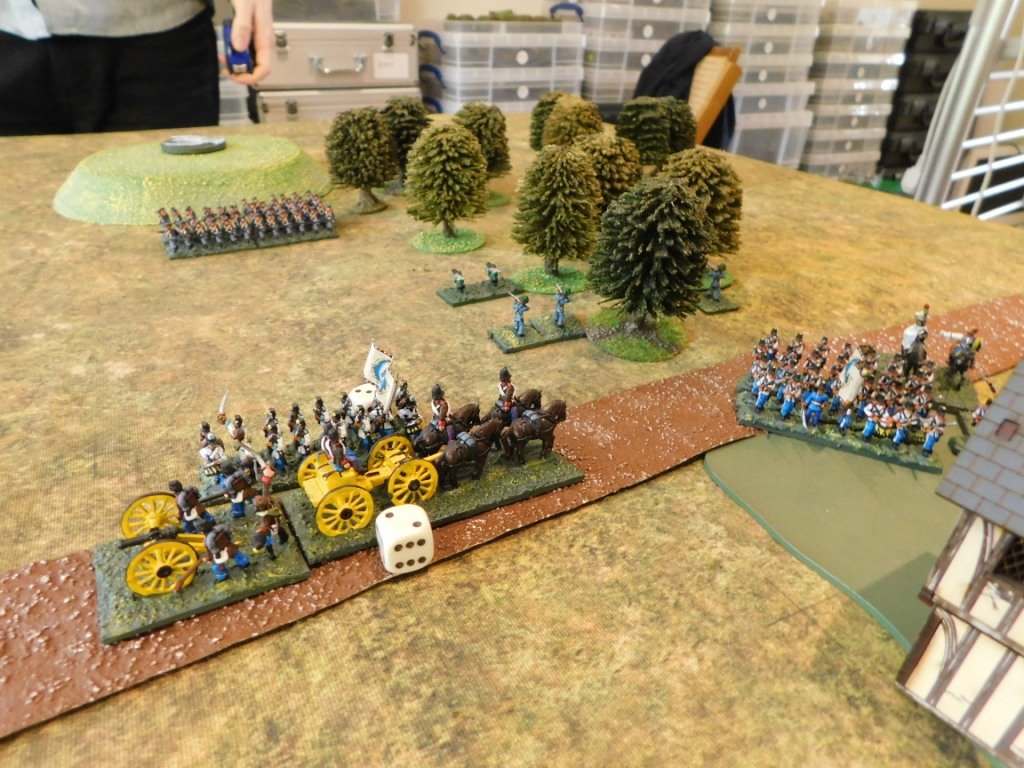
19thC AAR: The Battle of Nachod

Bevan and I played another game using Neil Thomas’ 19th Century rules, this time using one of the scenarios included in the book: the battle of Nachod from the Autro-Prussian war of 1866.

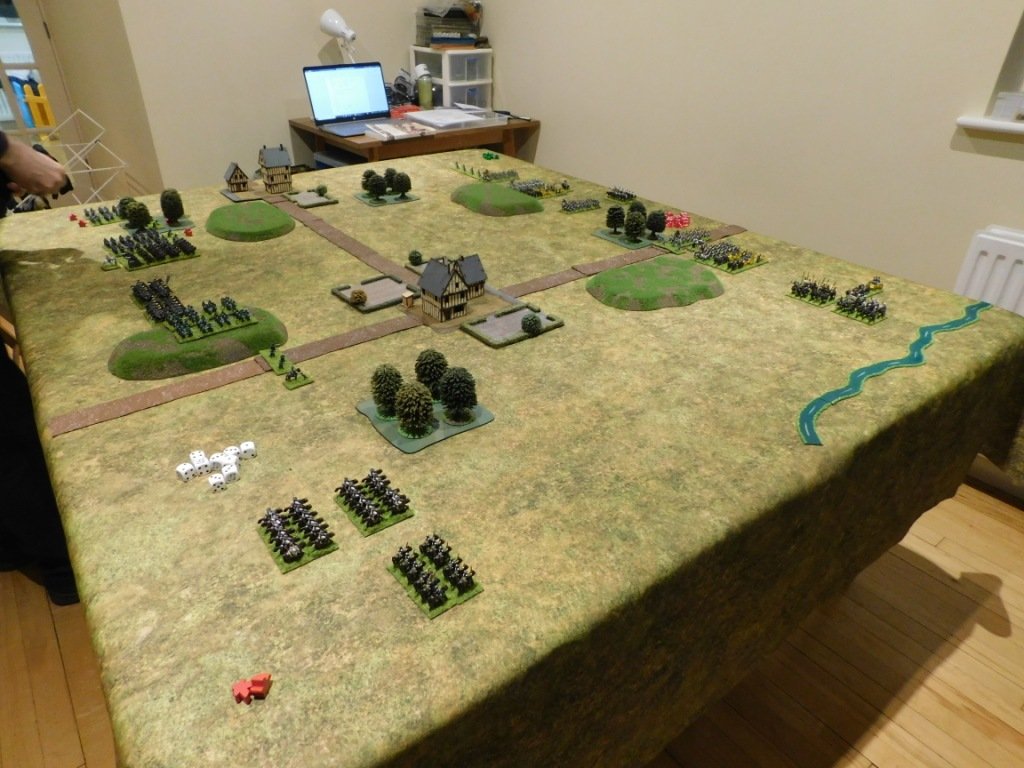
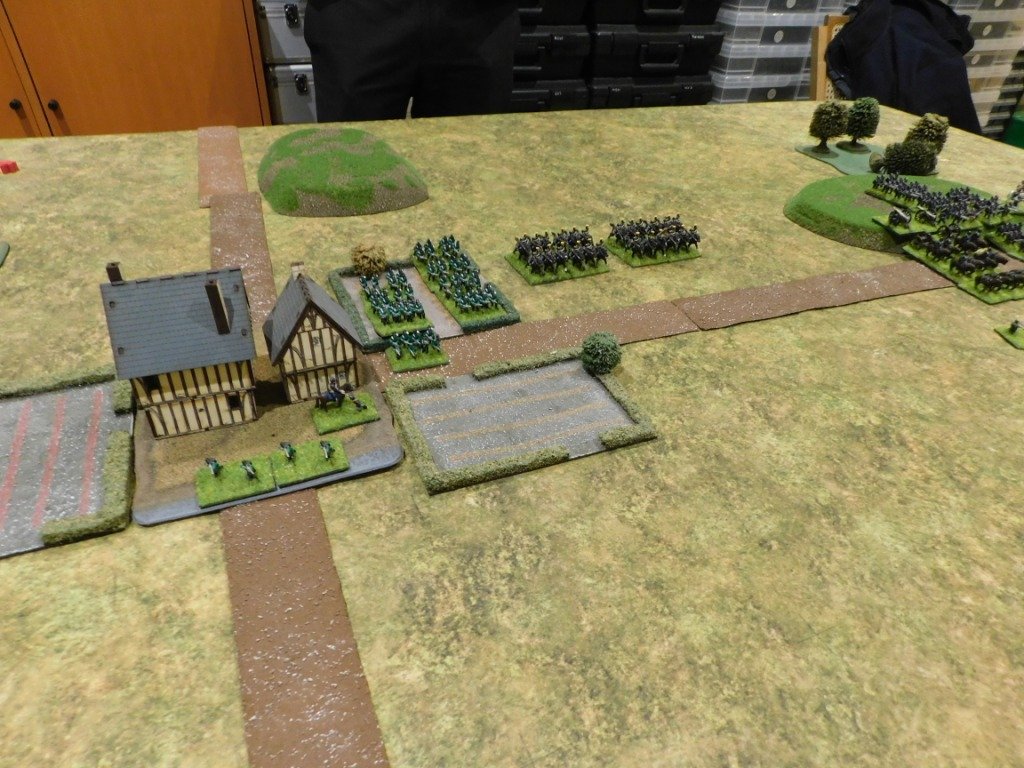
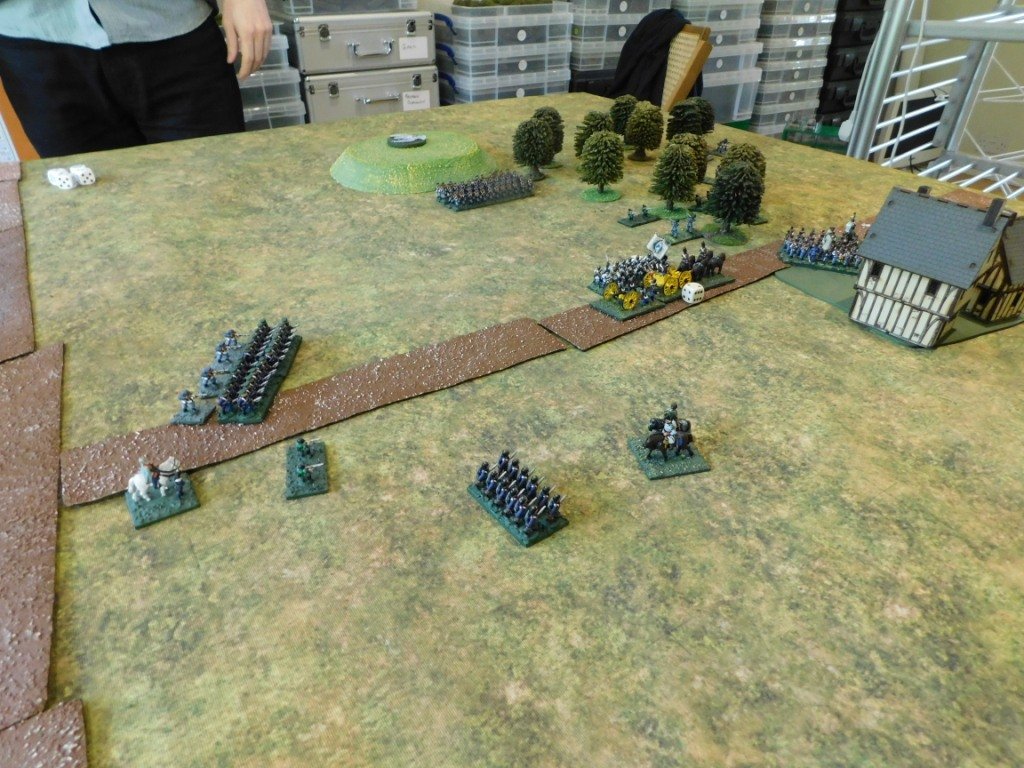
There are three small towns above Nachod (which is the one with the pond): Wenzelberg, Wysokow and Aldstadt. The Prussians occupy two of them, Wenzelberg and Wysokow, with cavalry on the hill above and reinforcements on the way. The Austrians are just arriving near Wenzelberg. Victory goes to whoever occupies all three of Wenzelberg, Wysokow and Aldstadt at the end of turn 15, with any other result being a draw.

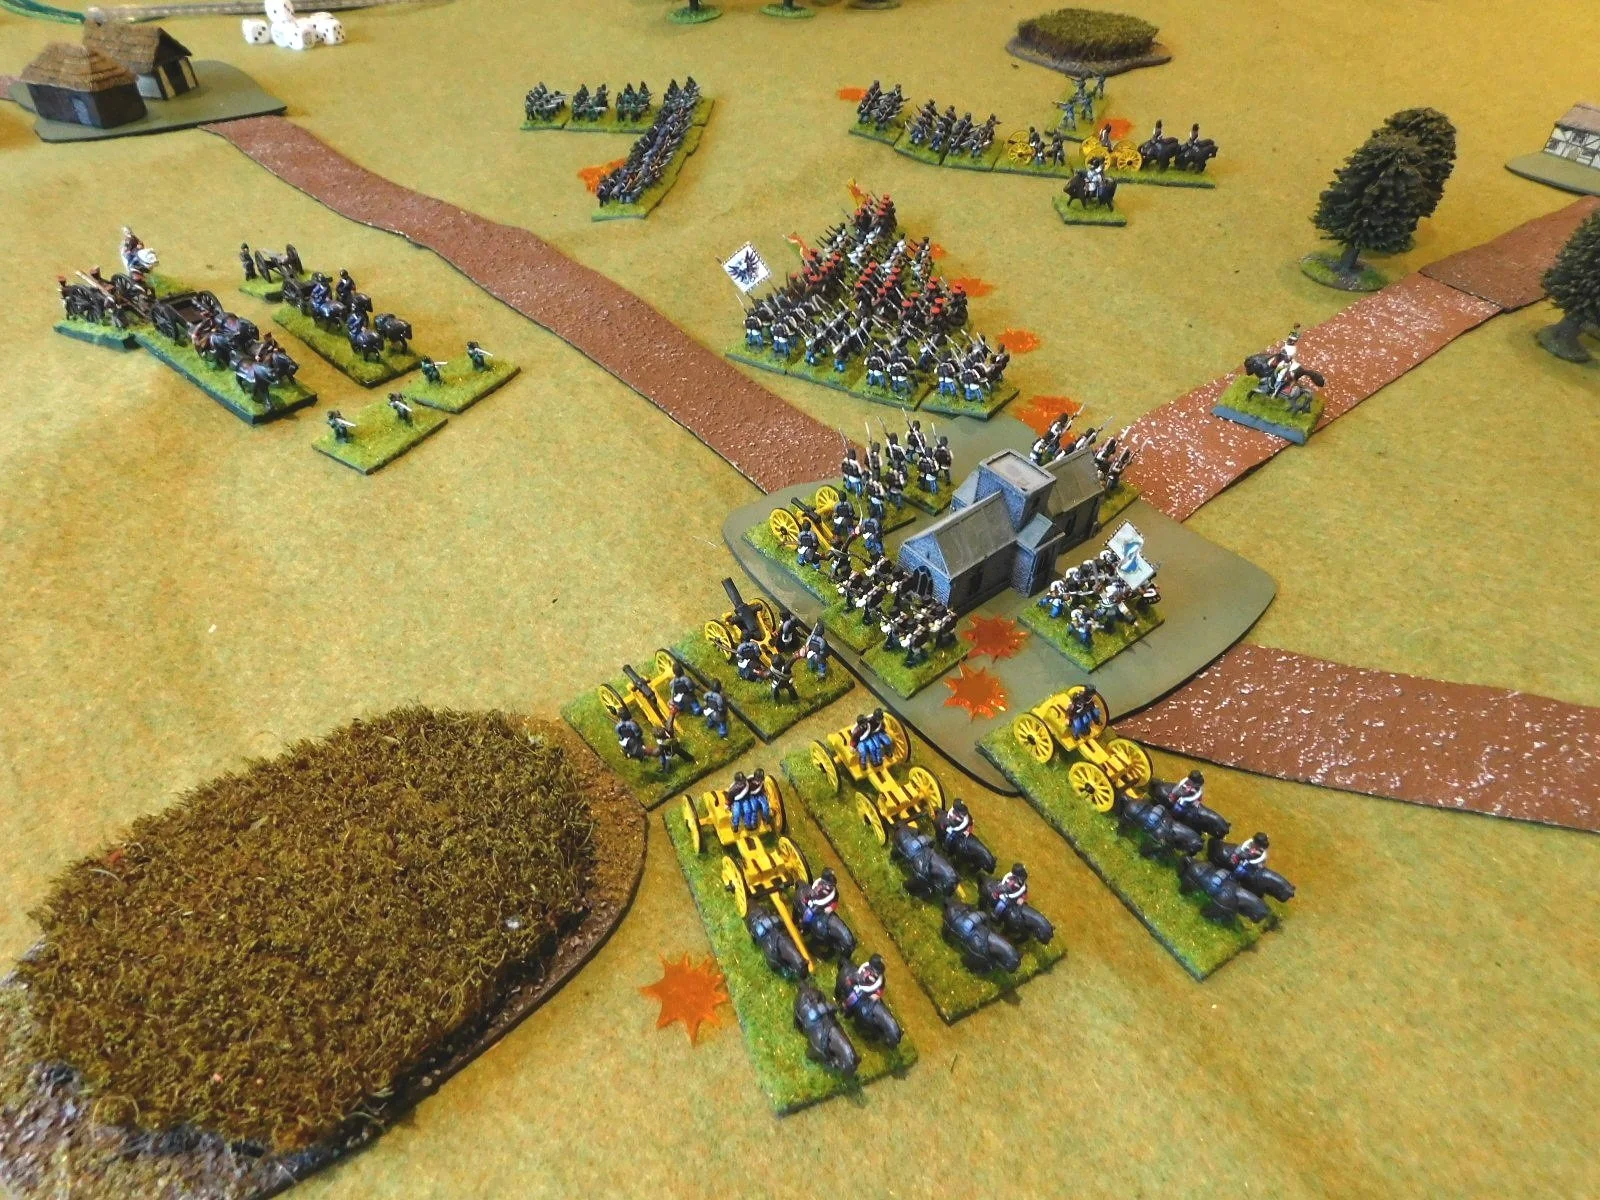
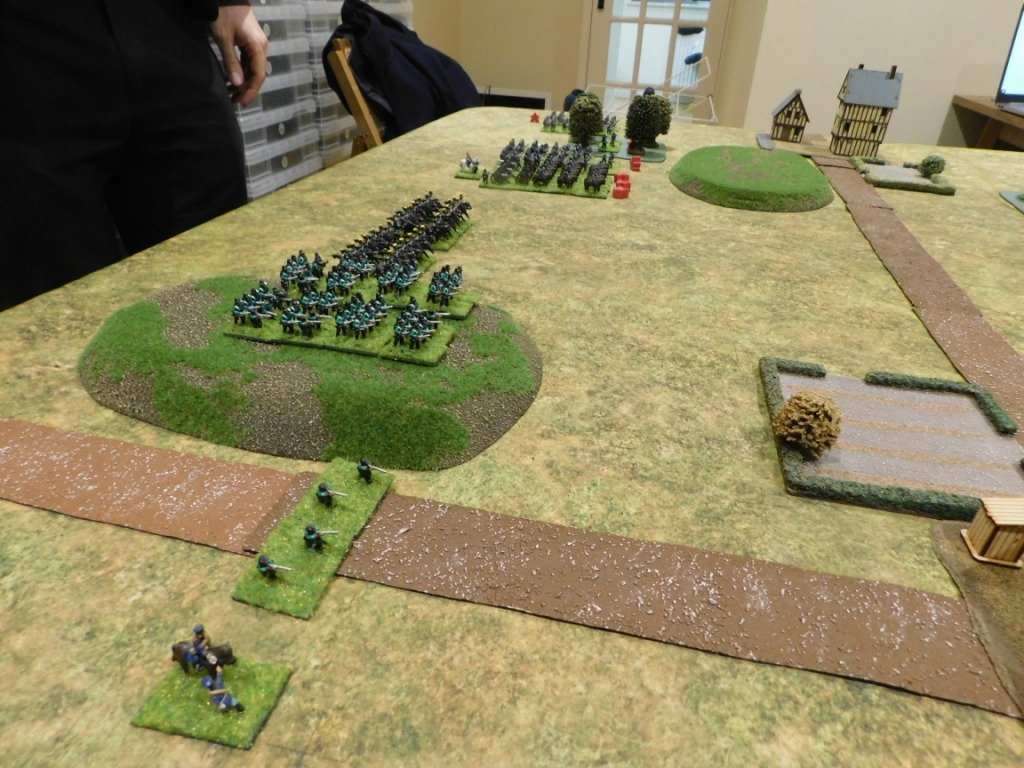
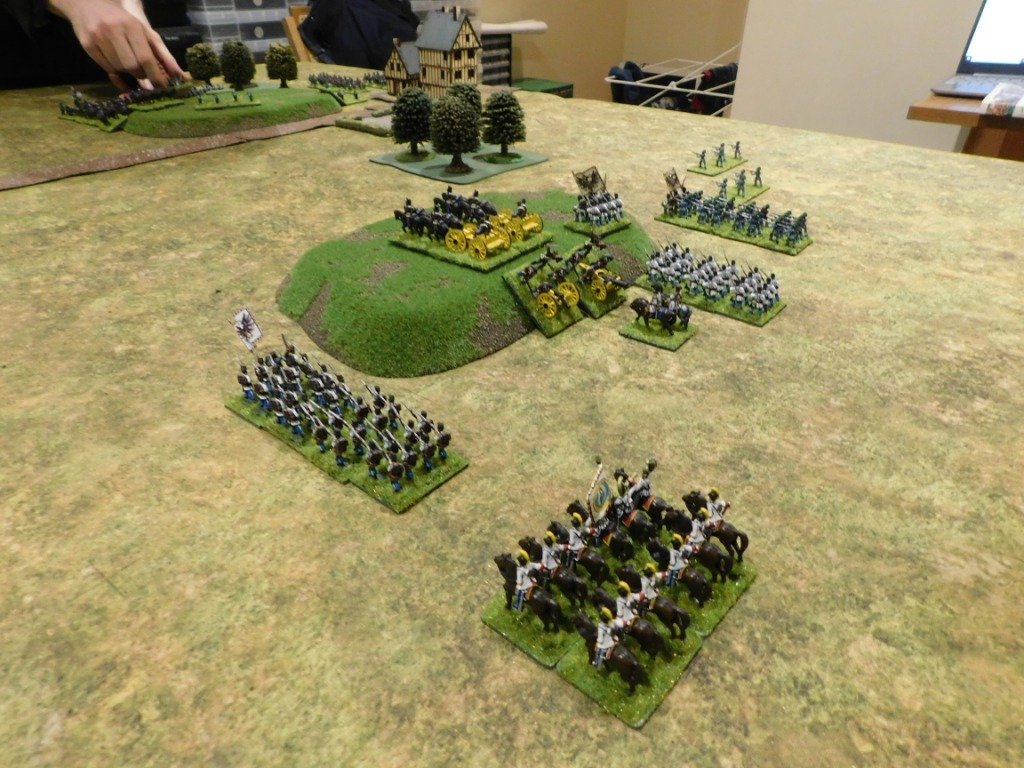
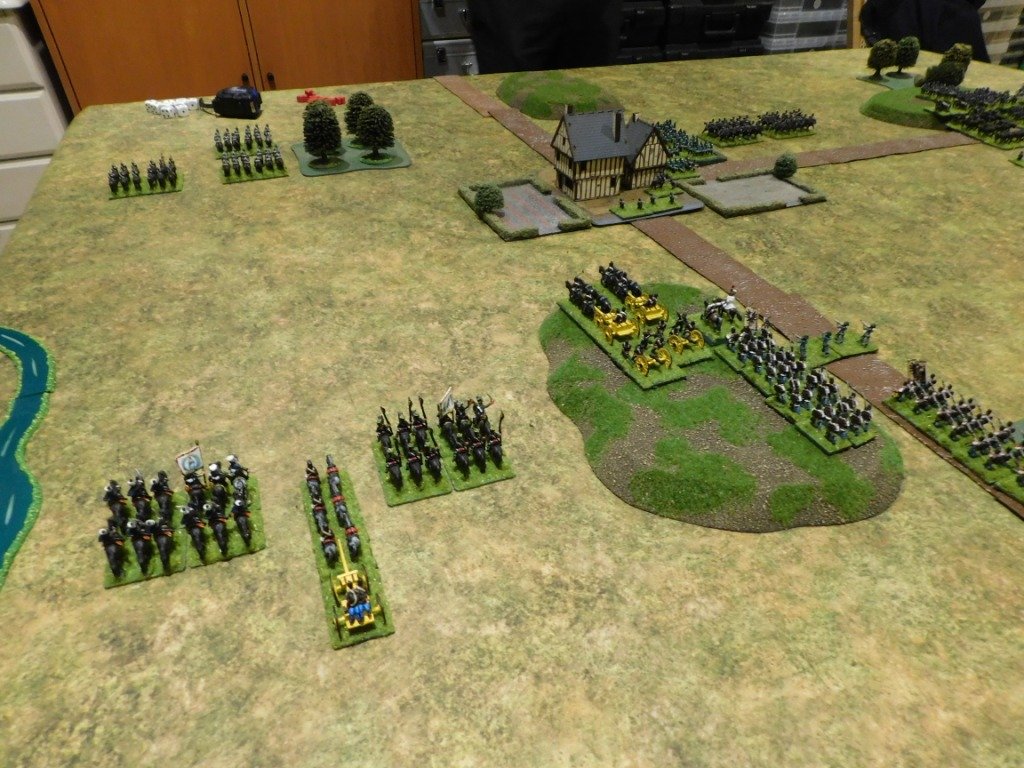
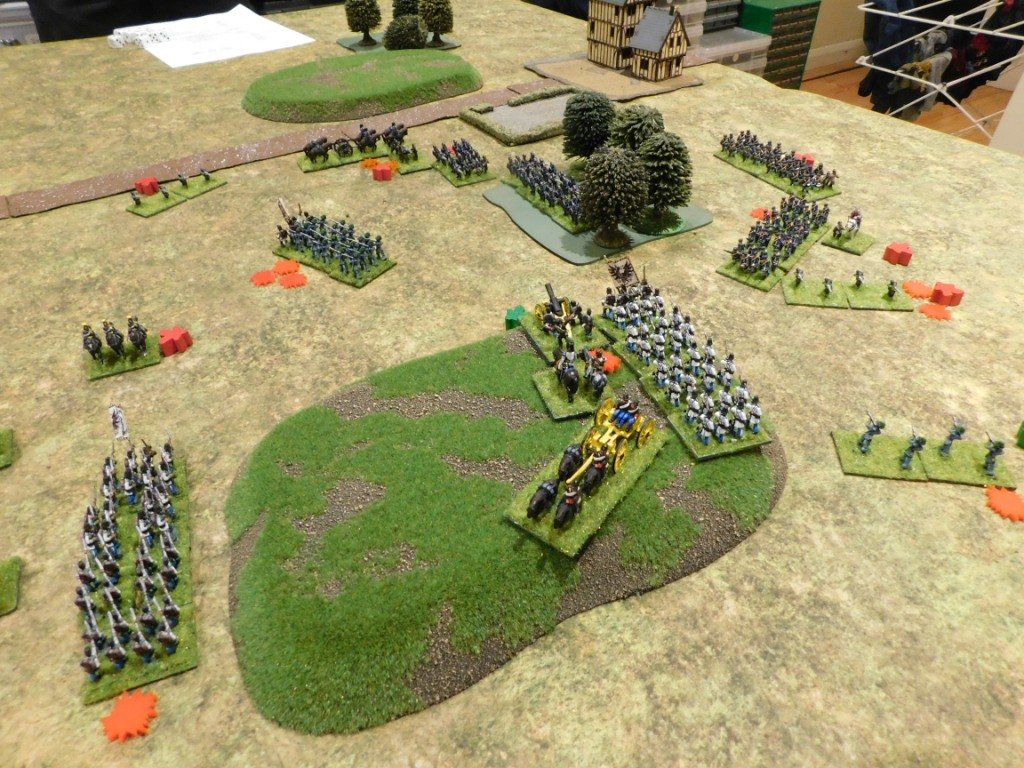
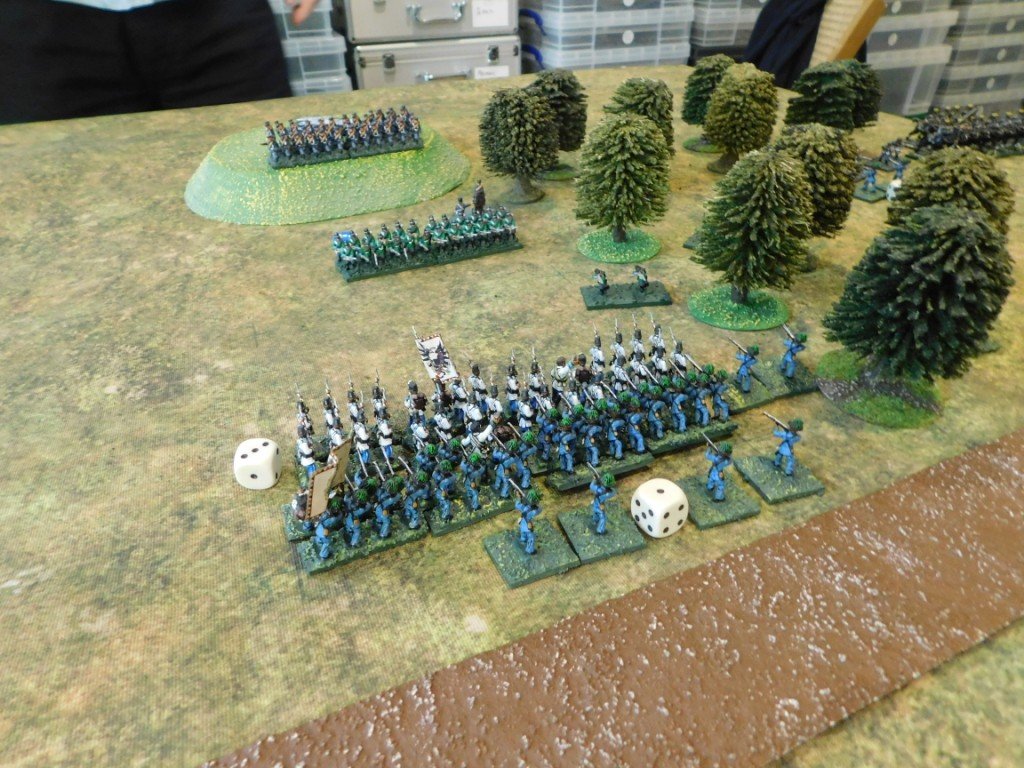
The Austrian infantry pushed the Prussians out of Wenzelberg fairly easily (historically they were cut to pieces by defensive fire) but rather than retreating the Prussian previous owners hung around and, together with the Prussian Uhlans and Jaegers, caused huge delays in the Austrian advance towards Wysokow.

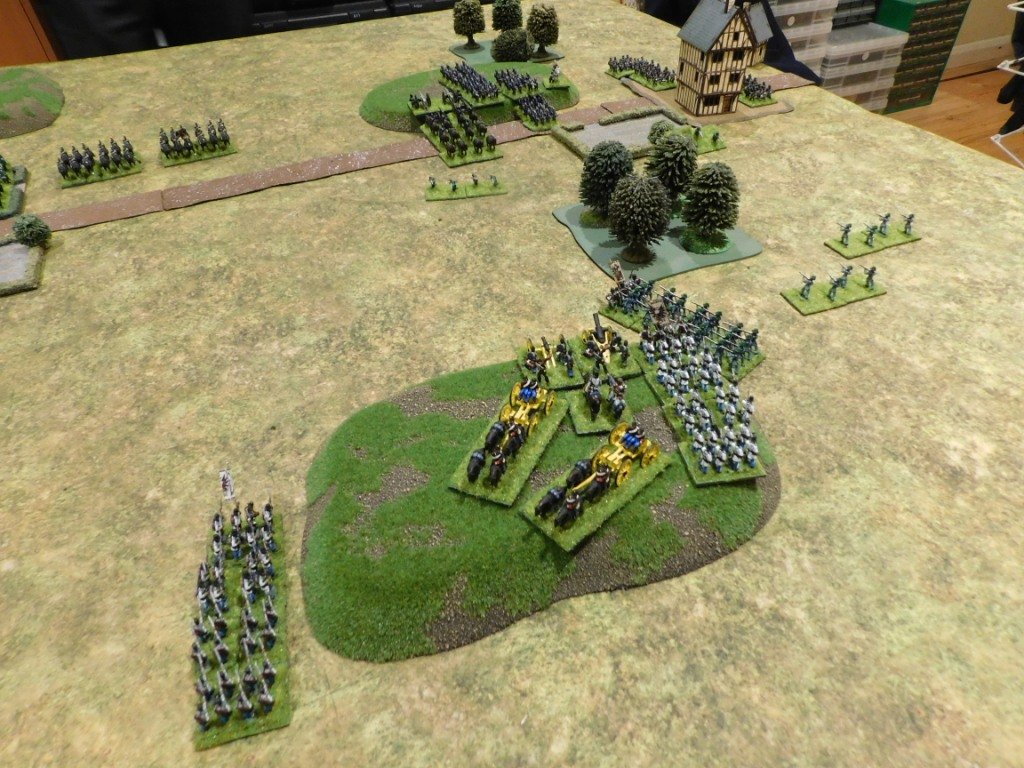
Meanwhile, the Prussian reinforcements had also started to arrive.

The Austrian were pouring troops onto the battlefield, and lined up ready to begin their assault on Wysokov. Behind them, the Prussian Guards from Wenzelberg were still causing problems, and it took another two Austrian units to finally get rid of them.

This was all taking up too much time: the Prussian column was getting closer!

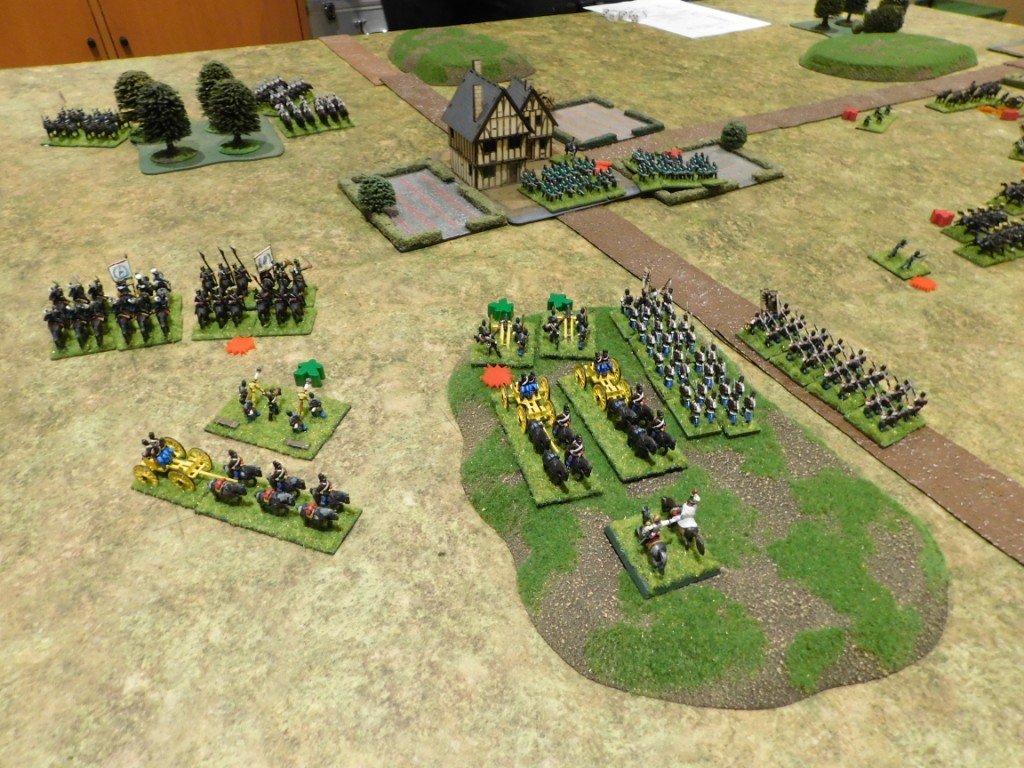
The Prussians in Wenzelberg weren’t waiting for the Austrian hammer blow to fall: taking advantage of a pause in the Austrian advance (the Austrians were “exhausted” for three turns i.e, couldn’t charge, and moved and fired at half effect) they advanced out of the town, formed line, and began blasting the advancing Austrian columns with fire from their breechloaders.

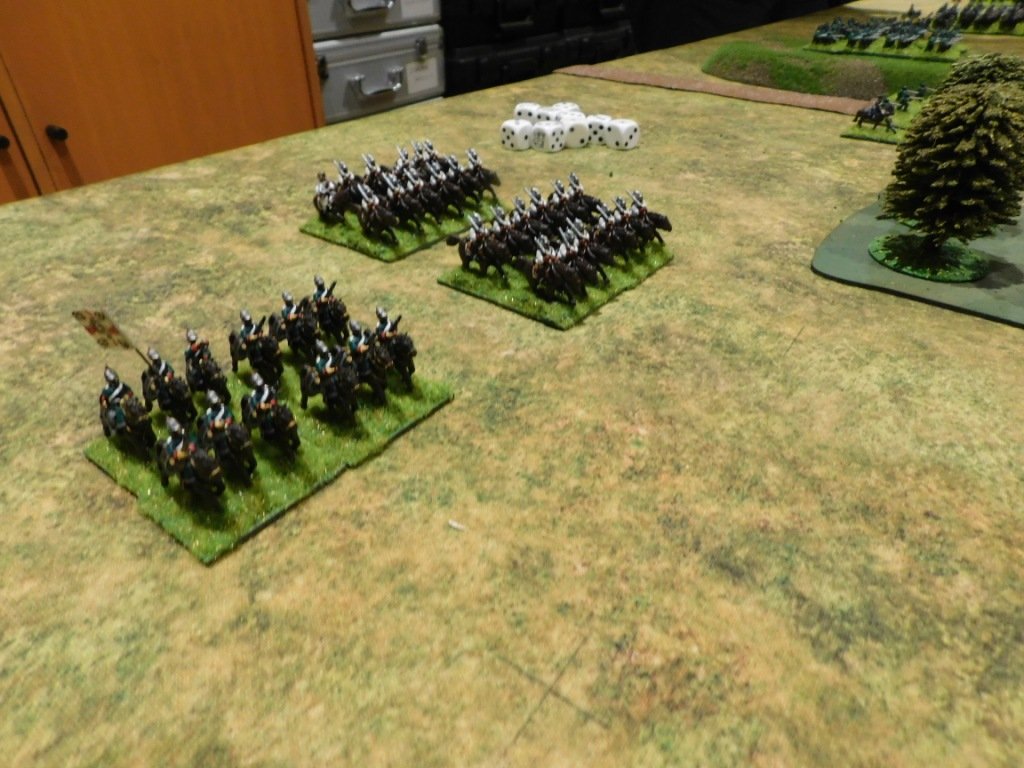
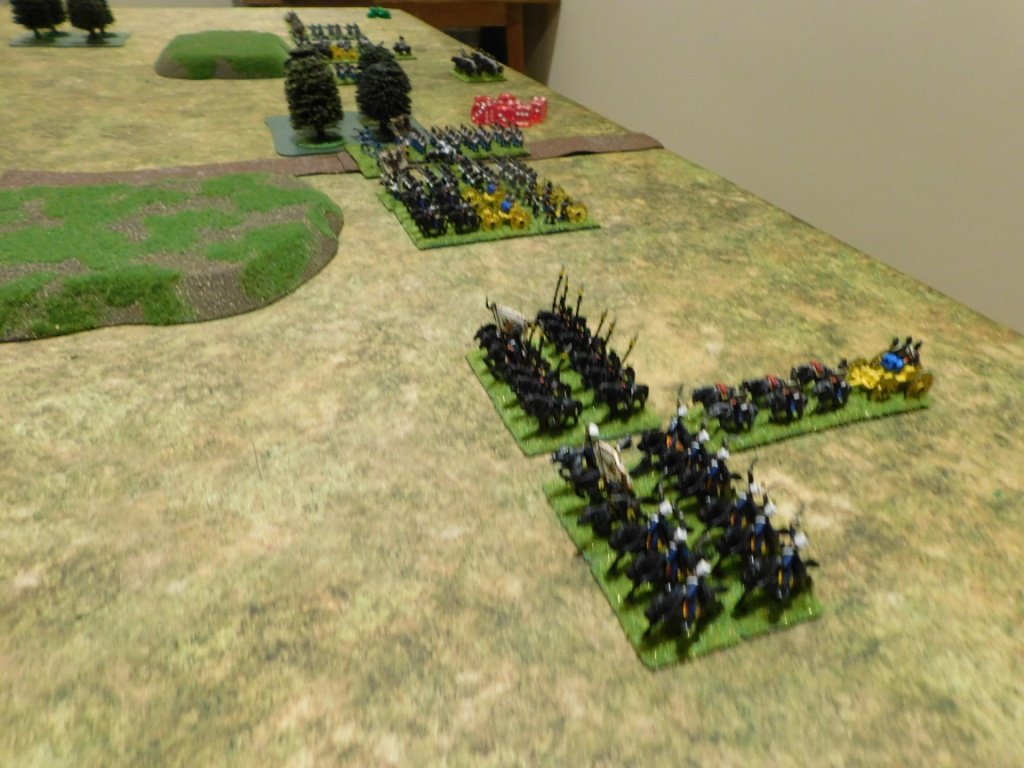
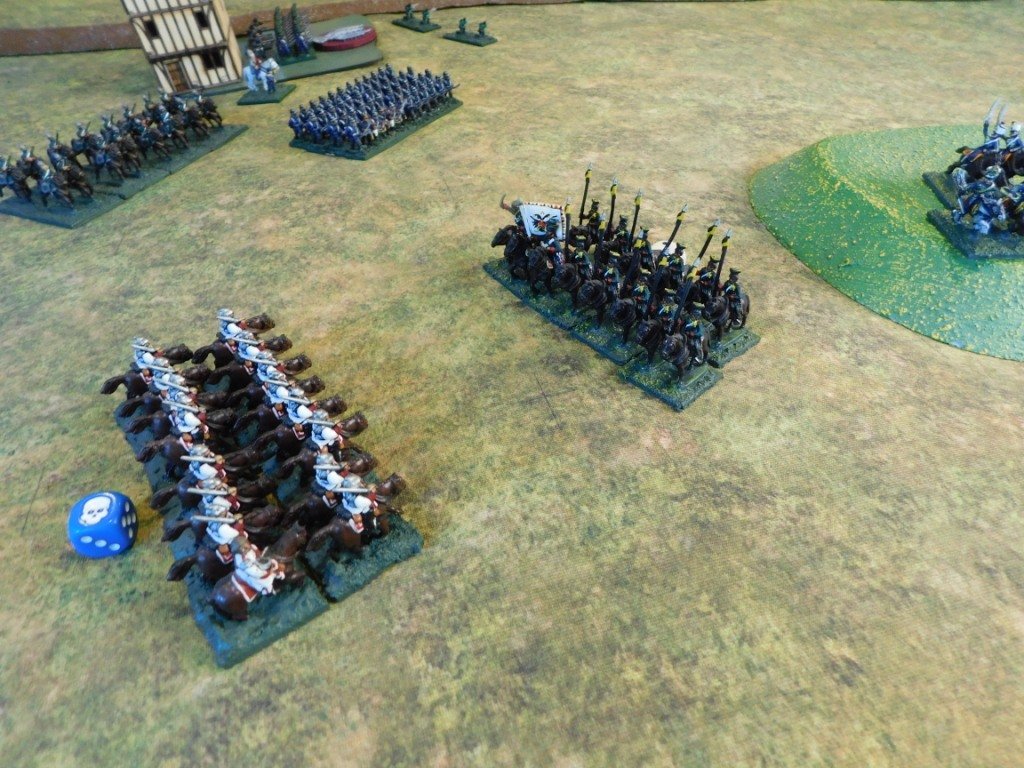
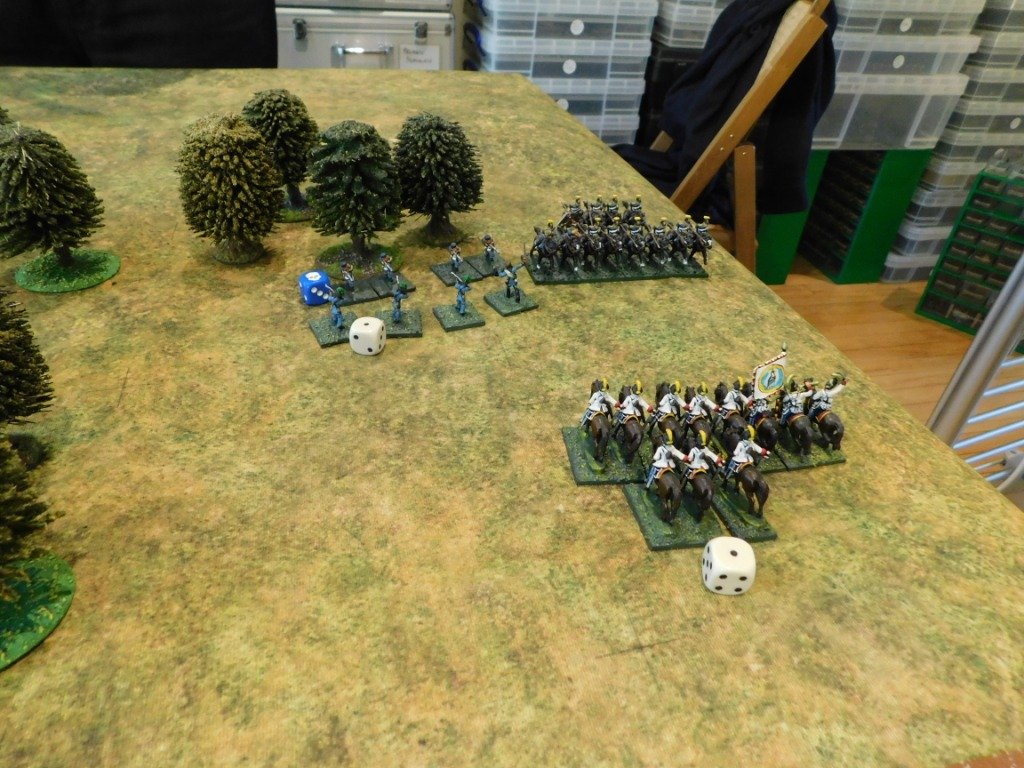
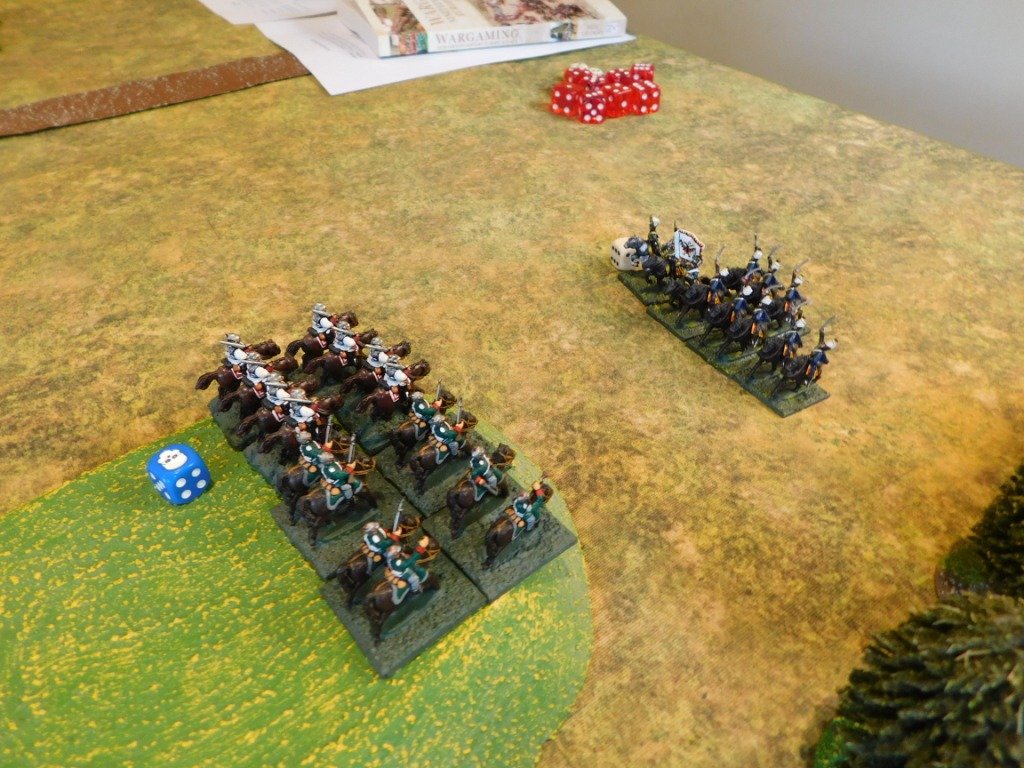
Meanwhile, a terrific cavalry battle developed between two Prussian and three Austrian regiments. The Prussian Uhlans were, however, on fire, as they were historically, and although the various cavalry melees would continue until the end of the game, the Prussian Uhlans would effectively fight the superior number of Austrian cavalry to a standstill.

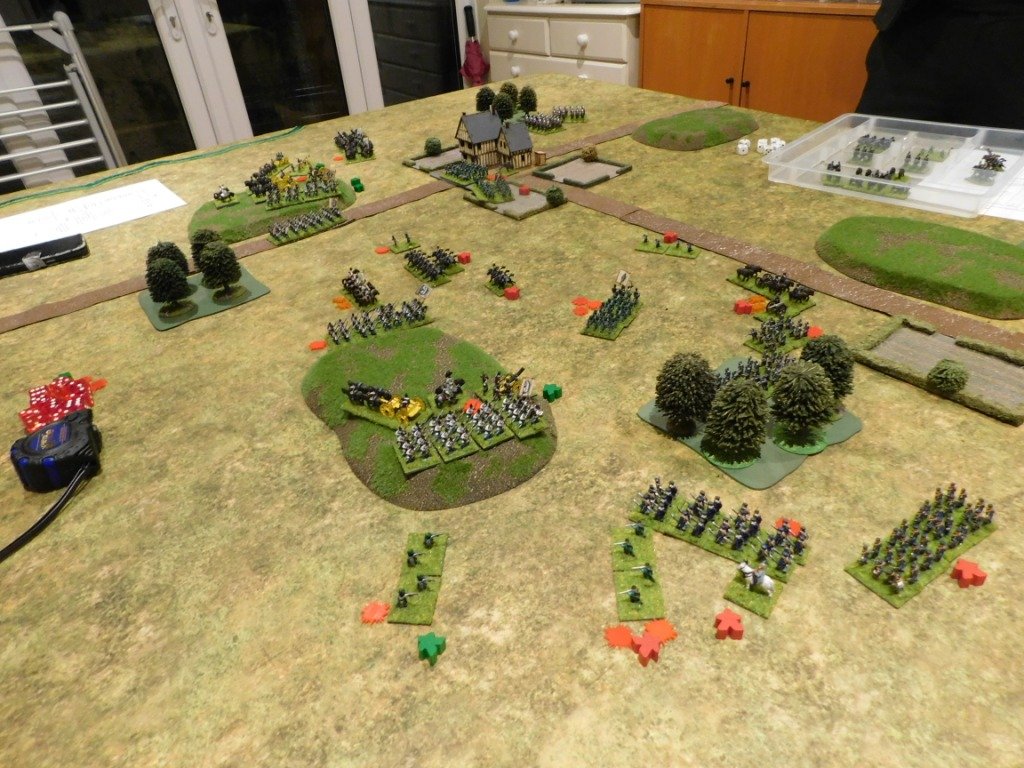
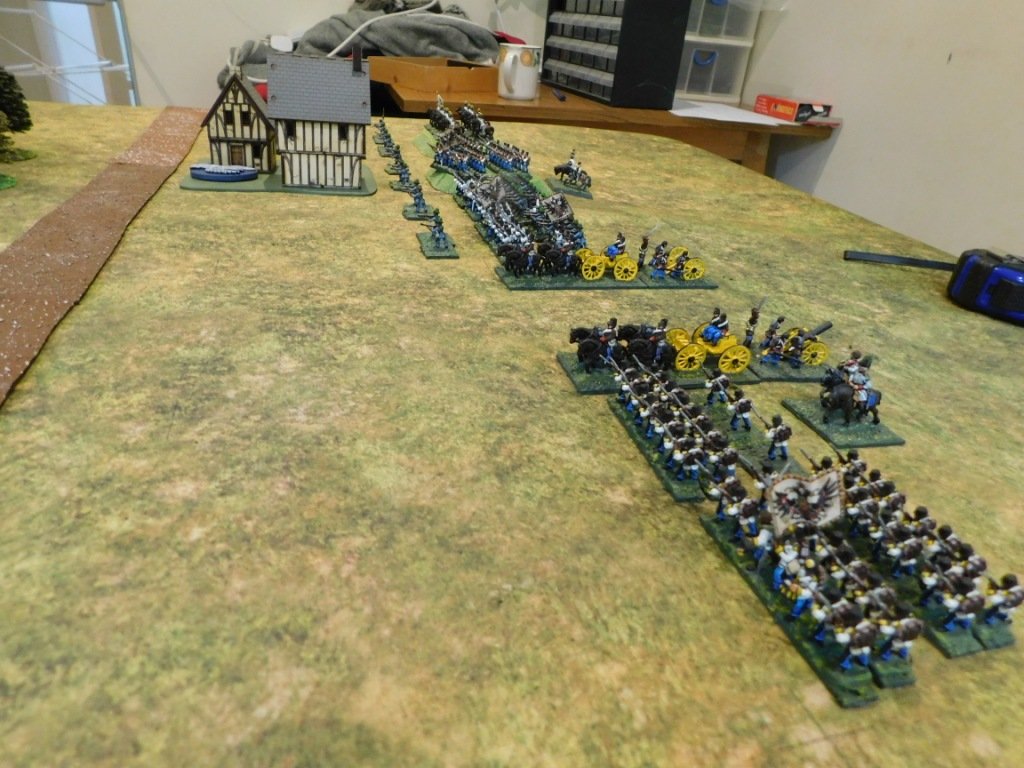
The Austrian infantry were, however, doing better than their donkey-walloper comrades and, ably supported by artillery, were able to defeat the other regiment of Prussian Guards and occupy Wysokov. They then prepared to face the onslaught of the arriving Prussian reinforcements.

Keen not to allow the Prussians any time to deploy effectively, the Austrian columns marched straight out of Wysokov and straight at the enemy.

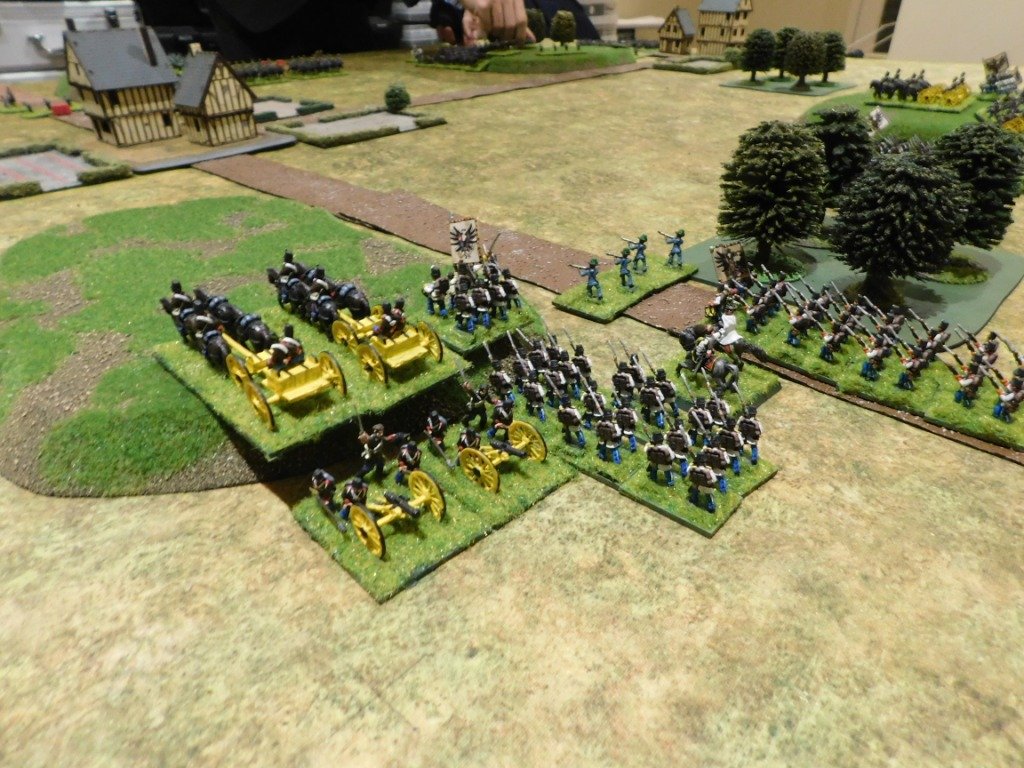
The Prussians had managed to deploy some of their regiments into line, but their guns were still on the road behind them, and although those that had deployed opened up a withering fire on the Austrians, there just weren’t enough of them ready to fight.

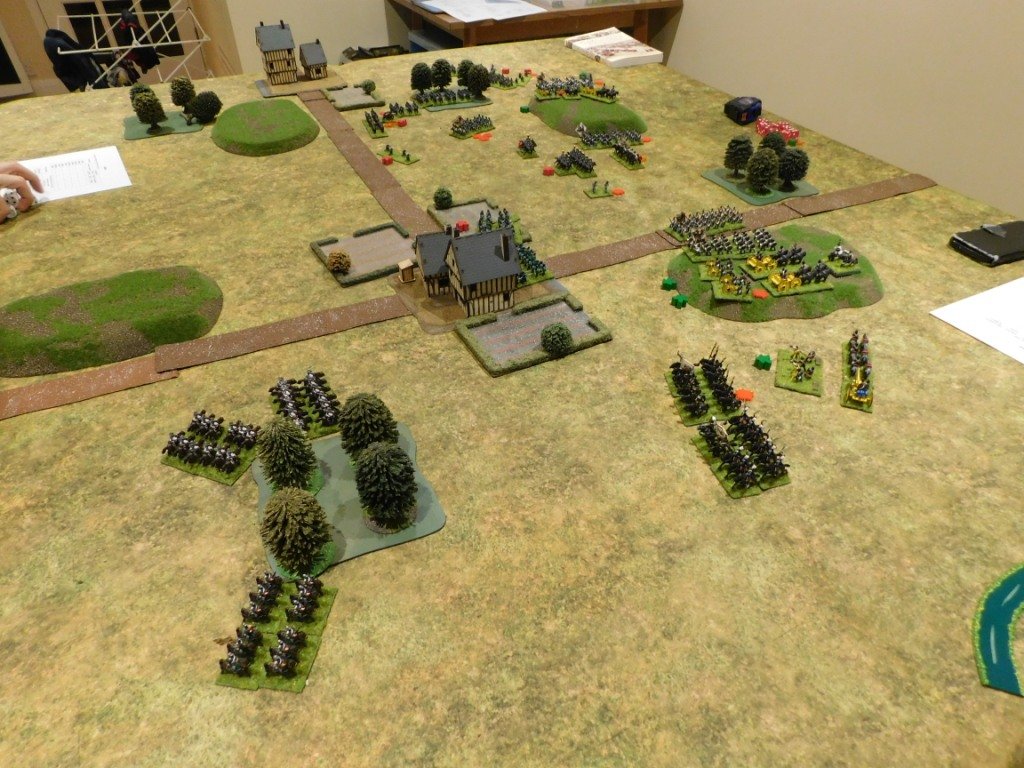
As the game drew to a close, the two sides were locked into a firefight that was slightly going the Austrians way: if only because their guns were deployed and firing whereas those of the Prussians were still limbered.

With two of the three objectives in Austrian hands, and with a superior tactical position, the game was declared a winning draw for the Austrians.

Aftermath

This was a tight-fought game with the Prussian Guards fighting for every yard: at one stage, two units of Prussian guard were fighting six units of Austrians and holding their own! It was only when the Austrian guns came up that the situation turned against them.

In the end, Austrian aggression won the day for them, although we probably had the width of the table too wide by 30cms or about two turns of road movement. A right-sized table would have let the massive Prussian column of reinforcements close with the Austrians earlier than actually happened, something that could well have turned the game in their favour.

So a draw was the right result: as the person playing the Austrians, I was not looking forward to facing the Prussian breechloaders should they have had the time to properly deploy!

19C AAR: The Battle of Lederhosen

With both the Austrians and the Prussians now rebased (see previous posts) it was time to get the armies back onto the tabletop. This would be their second outing after over twenty years in storage!

The Austrians

  • 1st Division

    • 1st Line Battalion

    • 2nd Line Battalion

    • One Jaeger Company

    • Two artillery batteries

  • 2nd Division

    • 1st Jaeger Battalion

    • 3rd Line Battalion

    • Two Jaeger Companies

    • Two artillery batteries

  • Cavalry Division

    • 1st Uhlan Regiment

    • 1st Hussar Regiment

  • Army Reserve

    • 1st Dragoon Regiment

The Prussians

  • 1st (Jaeger) Division

    • 1st Jaeger Battalion

    • 2nd Jaeger Battalion

    • One Jaeger Company

  • 1st (Line ) Division

    • 1st Guards Battalion

    • 2nd Guards Battalion

    • 1st Landwehr Battalion

    • 2nd Landwehr Battalion

    • One Jaeger Company

    • Three artillery batteries

  • Heavy Cavalry Division

    • 1st Cuirassier Regiment

    • 2nd Cuirassier Regiment

    • 1st Dragoon Regiment

  • Light Cavalry Division

    • 1st Uhlan Regiment

    • 2nd Uhlan Regiment

And that was where we had to end the game unfortunately.

I was certainly in a very good position on my left, honours were even in the centre, but I was definitely losing the right,. So we called it a draw, with a slight strategic advantage to the Prussians balanced by the extra casualties they had taken.

A great game, and I’m now rebasing the French so that they can join in the fun!

19th Century Prussians Re-Based

Having re-based the Austrians, and liking the results, it was time to have a go at the Prussians.

I had forgotten how brittle the old Freikorps 15 figures are, so I’m afraid we had a few casualties along the way. I lost a handful of infantry and, for some reason, the Lancers just kept snapping off their bases. The infantry I could spare (loads of singly-based skirmishers to plug the gaps!) but it took me quite a bit of effort to re-build the lost Lancers, and even then I’ve made sure the broken figures are the middle of three.

As per yesterday’s post, these figures haven’t seen the light of day for over twenty years, so it’s really nice to see them schroffed up and ready for action again.

That’s 204 foot, 62 mounted and seven guns/limbers/teams done…and a right pain it is too!

19thC AAR: Austrians vs Prussians

As we’d been playing For King and Parliament almost exclusively for the past few months, my regular wargaming opponent and I fancied a change. He’d spotted my fairly extensive collection of 19th Century figures, so suggested we dust them off and have a game.

Good idea, says I, so the next question became a discussion about what rules to use. I wanted something simple, with no need for protractors and laser pointers and the like, so we thought we’d give Neil Thomas’ Wargaming 19th Century Europe 1815-1878 a try.

This compact little booklet contains a wealth of information. There’s a large background section followed by six pages of rules and then large numbers of army lists, battle scenarios and historical information.

Six pages of rules sounded good to me, especially as I knew that I would need to re-base my collection to play any commercially available rules, so would only need to expend a little brain power to work out how to use my existing figures and play-test the system before making any sort of re-basing decision.

We set up a quick encounter game using as many of my Austrian and Prussian figures as possible, and set to…

The Battle

As I said, above, we used my existing figures based as is, and made loads of mistakes with the rules - despite their simplicity!
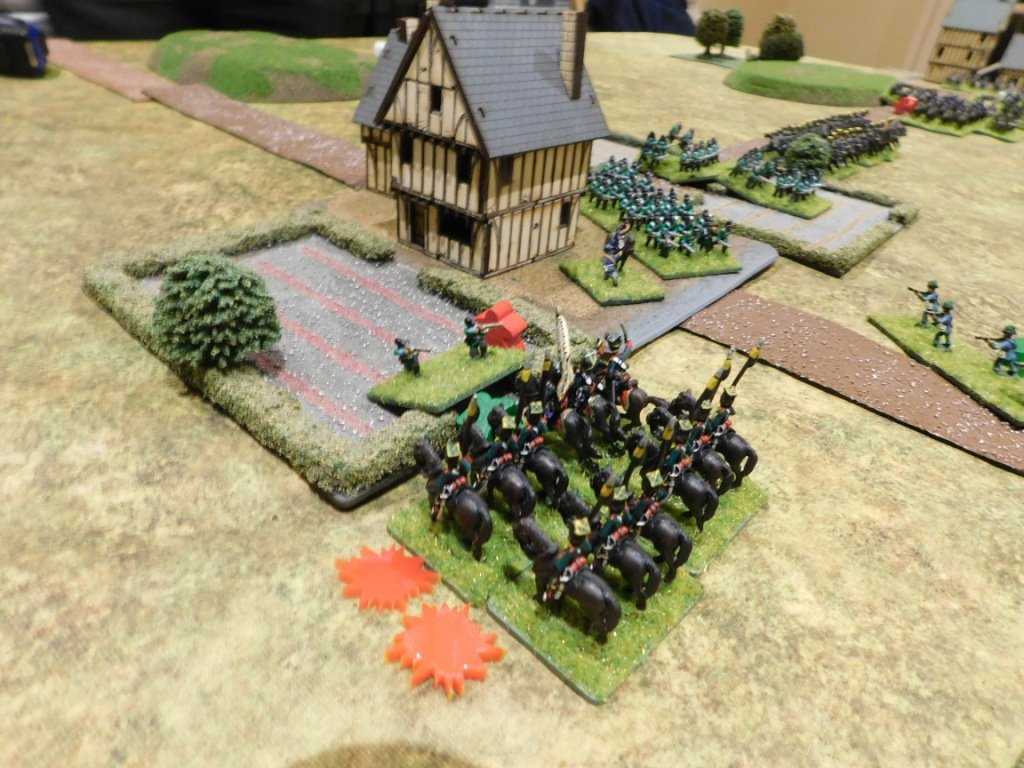
I won’t therefore do a full AAR, just a gallery of the action. Suffice to say that my brave but outnumbered Austrians were soundly beaten: the breachloaders used by the dastardly Prussians proving highly superior to my Lorenz rifles!
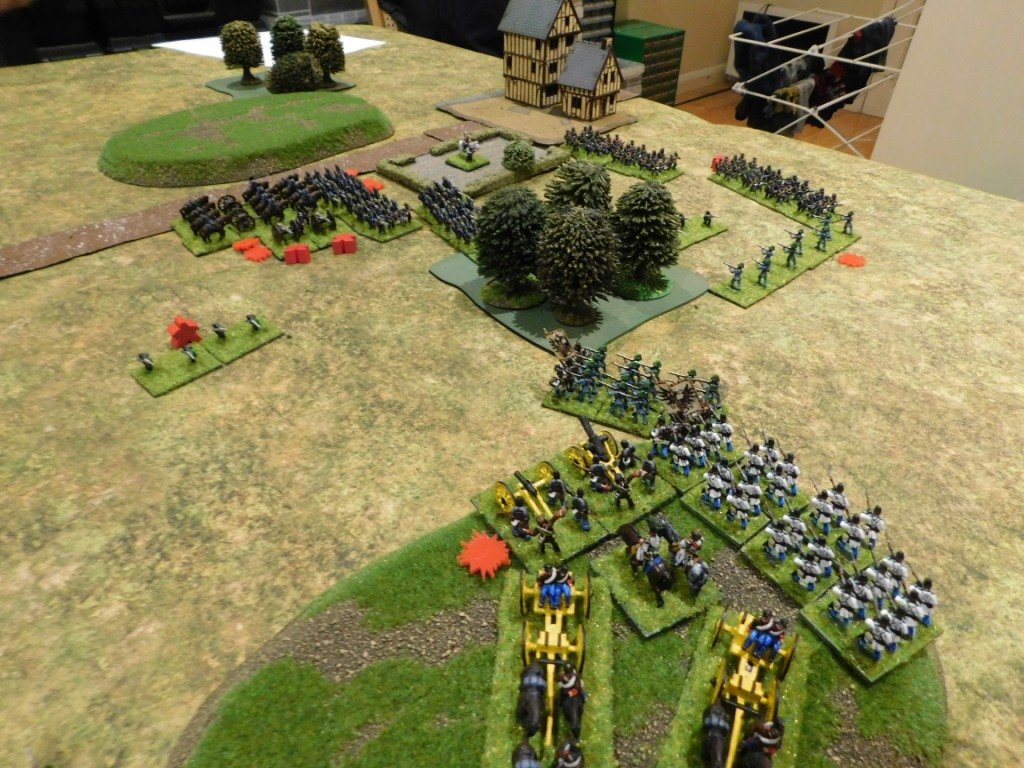
It was a most enjoyable game, however, with the rules proving simple yet infinitely subtle. It certainly had the feel of a 19th Century battle: very pleasing as many rulesets for the period, in my experience, are a Napoleonic battle with a bit of advanced weaponry tacked on!

I’ve now started re-basing my troops to suit the system (and many other sets as there’s nothing too outre about what’s needed) and we’ll have more of a proper game next time.

Oh, and it’s worth mentioning that none of the figures featured had been on the tabletop for over 20 years!

Vis Imperica: Prussian Gallery Added

As the title suggests, I've had a chance to photograph the Prussians in my 19th Century figure collection and add them to the Vis Imperica army galleries.

Ah...the Prussians. Amazing troops in the system we used: big units, good weapons, excellent artillery, good troops:  very hard to beat. So hard to beat, in fact, that beating them often became the be all and end all of any game that they featured in. They were the favoured army of one particular player, who was always keen to extol their virtues, so the rest of us were always equally determined to thrash the pants off them, and would do anything we could to do so.

Click on the picture below to see the whole gallery of much-maligned figures who probably had no idea why everyone was always out to get them!

More Franco-Prussian War Action

Keen to get his revenge for my win last time, Neil suggested a re-match, but with him playing the Prussians this time.

The situation was fairly similar: von Neil's troops holding a ridge that ran down the centre of the table, with my French aiming to knock them of it. I outnumbered him about 2:1, but Prussian reinforcements were expected, and would arrive at a time determined by a roll of the dice.

The Prussian Line

Looking at the Prussian line, I noticed that all their artillery was in the centre, and that the Prussian right wing was hanging. His left was hanging a little, being sort of anchored on a farmhouse, but it was his right that looked vulnerable.

I therefore set up in a long line parallel to the ridge, but with a column of four battalions of zouaves (nasty, fighting, little buggers) supported by a mitrailleuse and a battalion of chasseur sharpshooters as an attack column on my left flank. My aim was to advance forward, give the Prussian line an unanswerable volley due to the superior range of my Chassepots, and then slam in my attack column. Once I had a foothold on the ridge, the attack column would roll him up as my line kept hammering in the fire. Tres simple but hopefully tres effective!

My commanders were obviously having a good day, as on the first turn my entire army moved forward into rifle range. I took some artillery fire from the Prussian centre battery, but because of its positioning, my densely-packed attack column remained untouched.

On my next turn (the Prussians remaining stationary and relying on their guns) I let loose a volley with the entire line that proved satisfyingly effective, with many Prussian units taking significant casualties. More importantly, the Prussian right flank brigade was disordered, mainly due to some brilliant shooting by the Chasseurs. The mitrailleuse jammed, of course!

Note also that the Prussian left flank brigade was also disordered, leading me to think that there might be something I could do here as well...but more on that later.

the french centre and left (about-to-be-victorious zouaves in the background)

My four-battalion column of zouaves charged up the hill and hit the end of the Prussian line. The lead battalion had been disordered by the fire coming at them as they charged in, so failed to simply smash the Prussians from the ridge, and fierce hand-to-hand combat broke out. Weight of numbers quickly began to tell, however, and the first brigade of Prussian infantry evaporated.

Over to Neil and his next turn: the next brigade of Prussians along attempted to punish the zouaves with fire from their Dreyse needle guns, but someone had obviously blunted their needles as they had no effect at all, not a single casualty being caused.

This was obviously quite worrying for the Prussians, as they retreated both the brigade that formed the right of their line and their guns off the ridge and down into the valley below. The left of my line quickly consolidated their gains: that end of the ridge was in my hands!

Meanwhile, at the other end of the line, I had decided that the opportunity of a disordered Prussian brigade was too much to resist, and had thrown two brigades of infantry up the hill in an attempt to dislodge them as well. Proving that the 2:1 odds were right for scenario (my zouaves had been 4:1 and supported by chasseurs), les gens brave found it hard going, and a hard-slog pushing match developed.

Hitting the prussian left (note the cavalry in the background)

Weight of numbers, however, meant that my men gradually pushed the Prussians back but, just at the moment that his line began to break, Neil sent his regiment of divisional light cavalry into the flank of my assaulting units.

Very messy, and even sending in another battalion of infantry to hit the cavalry in its flank in turn didn't really help matters.

Numbers, however, still told in the end, and although I effectively lost a brigade of infantry doing it, the right hand side of the ridge was now also in my hands so, with the enemy centre retreating, I had achieved my aim.

At that point, however, the Prussian reinforcements began to arrive. Unfortunately, the clock wasn't just ticking for the French, it was ticking for Neil too, so we had to call the game before he could get his extra troops into action.

Saved by the bell, the French were victorious!

losers!

AAR: Franco-Prussian War

It's been a long time since I've played any 19th Century (i.e. Waterloo to Mons) wargames, so it was most pleasing when Neil, my regular opponent, offered to bring round his new 6mm Franco-Prussian War collection and run a game using a modified version of the Black Powder rules.

He duly arrived, laden with not many boxes (6mm, you see!) and set up what looked like a huge game on my 5ft by 6ft gaming table.

I would play the Prussians, versus the French, obviously, with the aim of smashing a French rearguard from their positions atop a ridge at the other end of the table from my start point. All directions are given from the point of view of the army being described.

prussians!

At my disposal, I had a Corps of Prussians consisting of:

  • Corps Commander
    • Corps Artillery (4 batteries)
    • Corps Cavalry (2 regiments Cuirassiers, 2 regiments Dragoons)
  • Left Flank Division
    • Divisional Commander
    • Divisional Light Cavalry (1 regiment)
    • Divisional Artillery (4 batteries)
    • 1st Brigade
      • Brigade Commander
      • Brigade Infantry (6 battalions)
    • 2nd Brigade
      • Brigade Commander
      • Brigade Infantry (6 battalions)
  • Right Flank Division
    • Divisional Commander
    • Divisional Light Cavalry (1 regiment)
    • Divisional Artillery (4 batteries)
    • 1st Brigade
      • Brigade Commander
      • Brigade Infantry (6 battalions)
    • 2nd Brigade
      • Brigade Commander
      • Brigade Infantry (6 battalions)

I could also expect reinforcements at some stage.

Against me, lined up on the ridge line in front of me was a single division of French facing my left flank division. 

I decided that I would strongly probe the French right flank and see what happened, so I set up my left hand division on the left and the right hand division in the centre, with the Corps cavalry protecting my right flank.

The left hand division began the game by advancing strongly, halting inside my artillery's range, but outside Chassepot range. The artillery opened fire with a round of counter-battery fire that had no effect.

Meanwhile, my right hand division and corps artillery (also deployed in the centre) had not moved: its orders having been mislaid or delayed or some such.

we are ready down to our last gaiter buttons!

The French, for their part, now revealed another division set up in line on the left hand side of the ridge. They therefore effectively had an unbroken line of infantry across the entire table's edge.

The artillery of the left hand division now switched targets to the enemy infantry on the ridge, and immediately forced one battalion to retreat in disorder. Excellent!

This left not only a hole in the French line, but led to the more central of two brigades facing my left retreating back behind the ridge in the face of the advance of the corps artillery in the centre.

This obviously left the other brigade isolated, so my left hand division moved forward and prepared to assault. A round of fire peppered my line, but I still had plenty of troops for the attack.

Unfortunately, the corps artillery were then told to move immediately to the right (a "blunder"), meaning that the French brigade that had moved back could now move forward again. In tactical terms, my left hand division could now punch up the hill and destroy one French brigade, but would then be destroyed in turn by the other.

This was not something I was prepared to accept, so my infantry fired one round with their Needle Guns, and then retreated back out of Chassepot range.

This doesn't seem in keeping with my orders, but the good news was that I had received reinforcements in the shape of another division of infantry behind my right flank.

This division kept in column and punched up the right hand side of the battlefield, aiming to hit the left hand brigade of French infantry. Behind my reinforcements were the four regiments of Corps cavalry, Cuirrassiers to the front. 

the prussians in position for their assault, about to receive fire from the french line

What had been the right hand division was now in the centre. One brigade of this division headed left and, together with the left hand division, kept the French on the left hand side of the battlefield from helping stop my right-hand assault. The other brigade headed straight up the hill in line and began a firefight with the right hand end of the French line on the left: I took casualties, but this meant that they couldn't intervene either.

keeping the centre of the french line occupied (note the corps cavalry charging in on the right)

My full divisional column smashed up the hill against a single French brigade that had already been softened up by artillery. At the same time, my Corps cavalry came out from behind the infantry and charged the centre of the French left-hand line, which had become disordered as a result of the fire of the right hand brigade of what was now the centre division.

prussians assault the ridge

misere de misere!

It was carnage!

Although the French Chasseur battalion in the house protecting the left hand end of their line resisted all attempts to dislodge them, the left hand brigade lost three battalions and its artillery were over run...and that was before the cavalry hit.

The Cuirassiers (big men on big horses!) were disordered by the fire from the two French battalions in front of them, but kept going nevertheless. They slammed into the equally disordered French infantry that, effectively, ceased to exist!

At this point we called time and declared a Prussian victory. The right hand side of the ridge was in my hands, and it would not take much for me to wheel left and start to roll up the rest of his line in conjunction with a general advance from my left hand and now-centre divisions. The French retreated: battered!

the french right

keeping the french right occupied

It had been a great game: and a game that looked really good as well. There's something very satisfying about huge numbers of 6mm infantry or cavalry blocks manoeuvring around the tabletop.

Not that I'm going to switch to 6mm, I hasten to add...but I'll certainly have a some more games like this!

My thanks to Neil for putting on a great game.