TTS AAR: Timurids versus Normans

Here’s an After Action Report left over from last year: a game against an old friend of mine, Nog, that I hadn’t seen for ages. He’s only an occasionaly wargamer, and hadn’t played To The Strongest before, so this would be a teaching/learning game rather than all out battle.

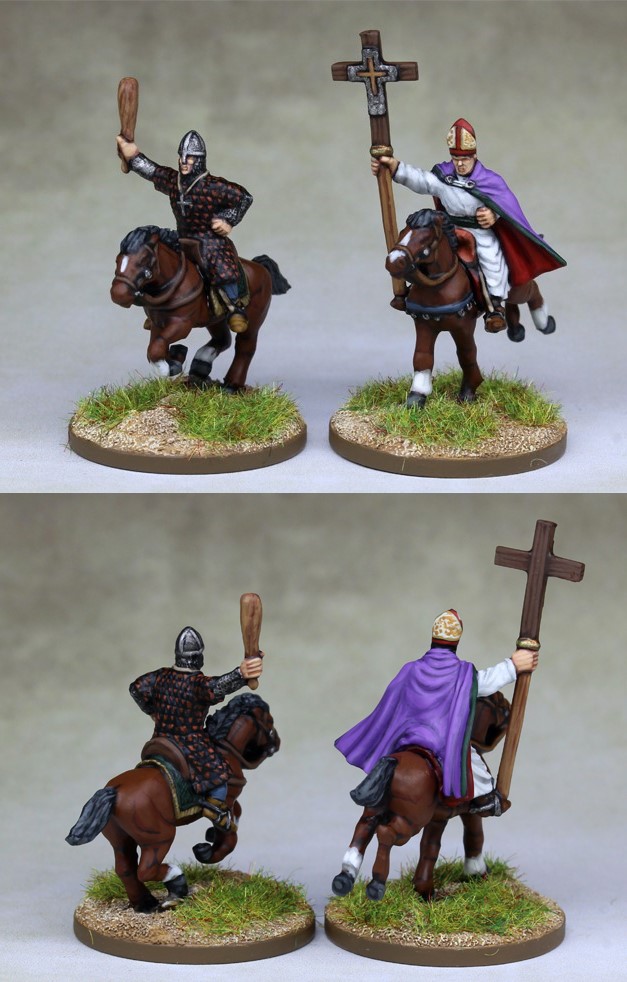
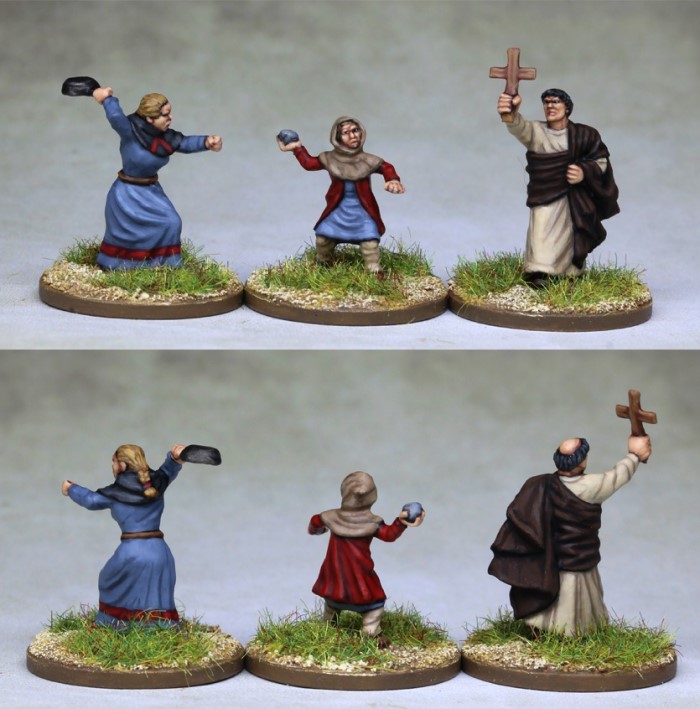
I was keen to get my two newest armies onto the table, so Nog would play the Normans and I would play the Timurids. Not historically accurate, maybe, but somewhat mimincing a Crusdaer-rtyle clash!

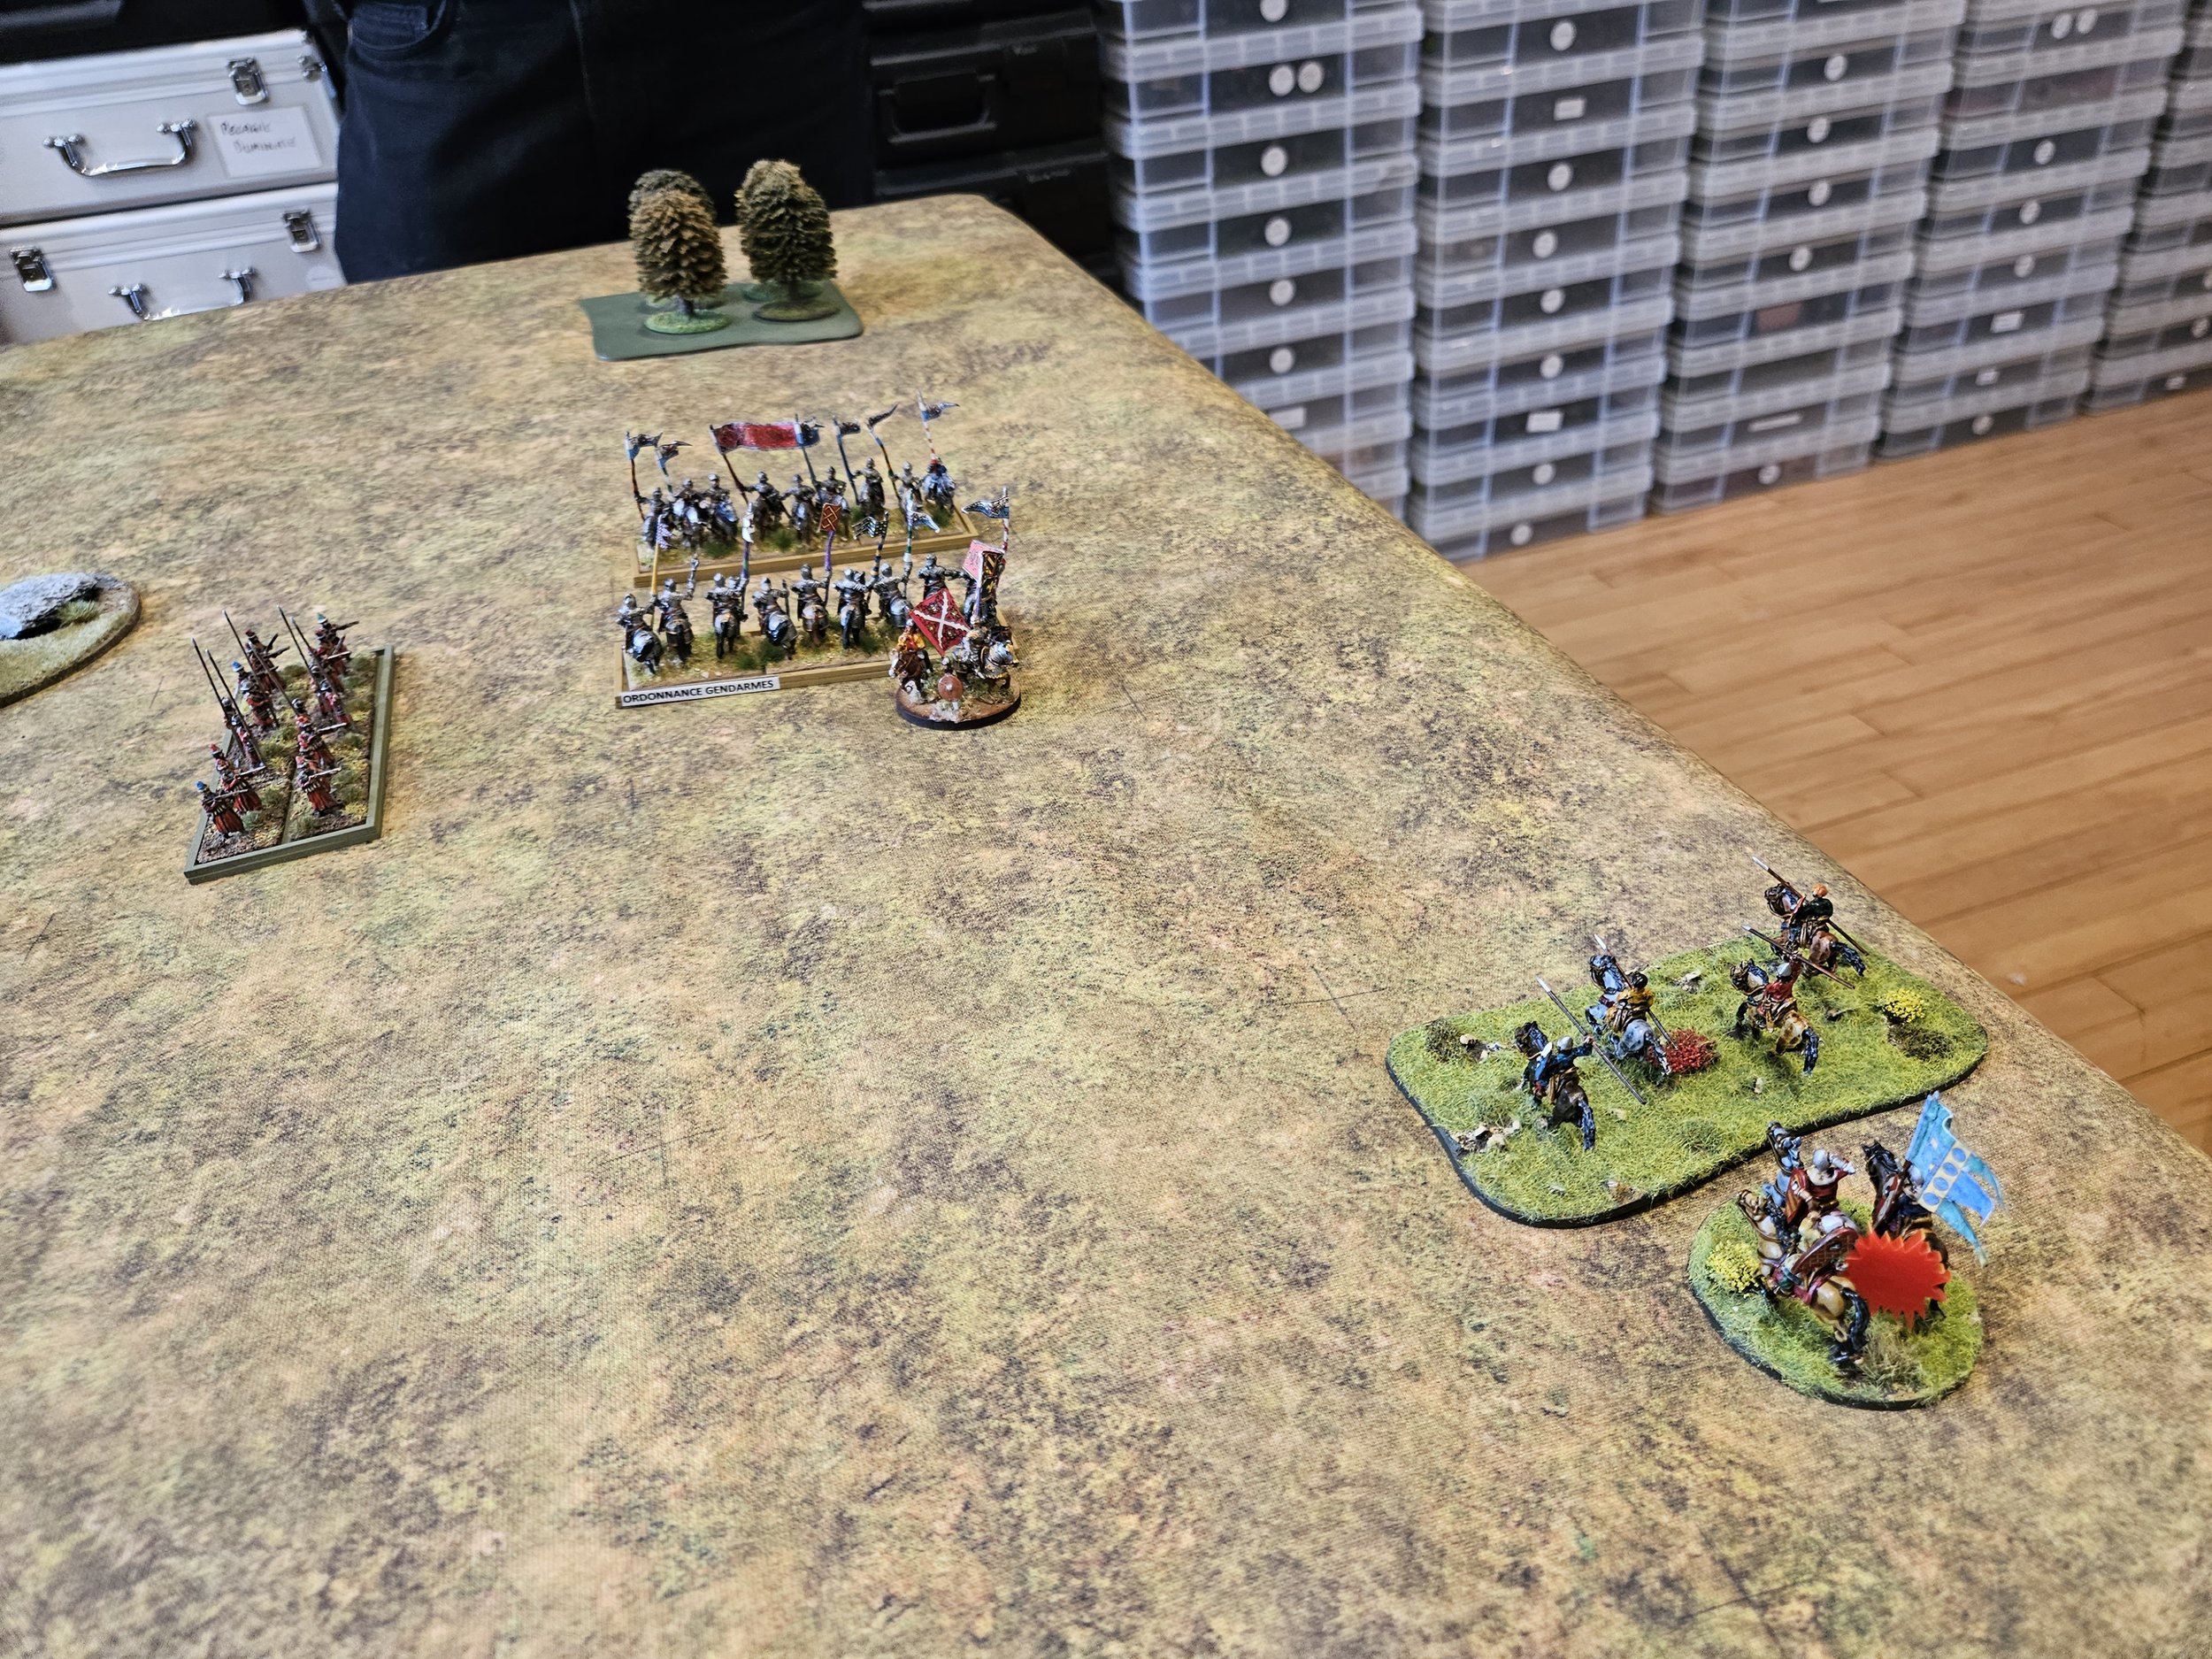
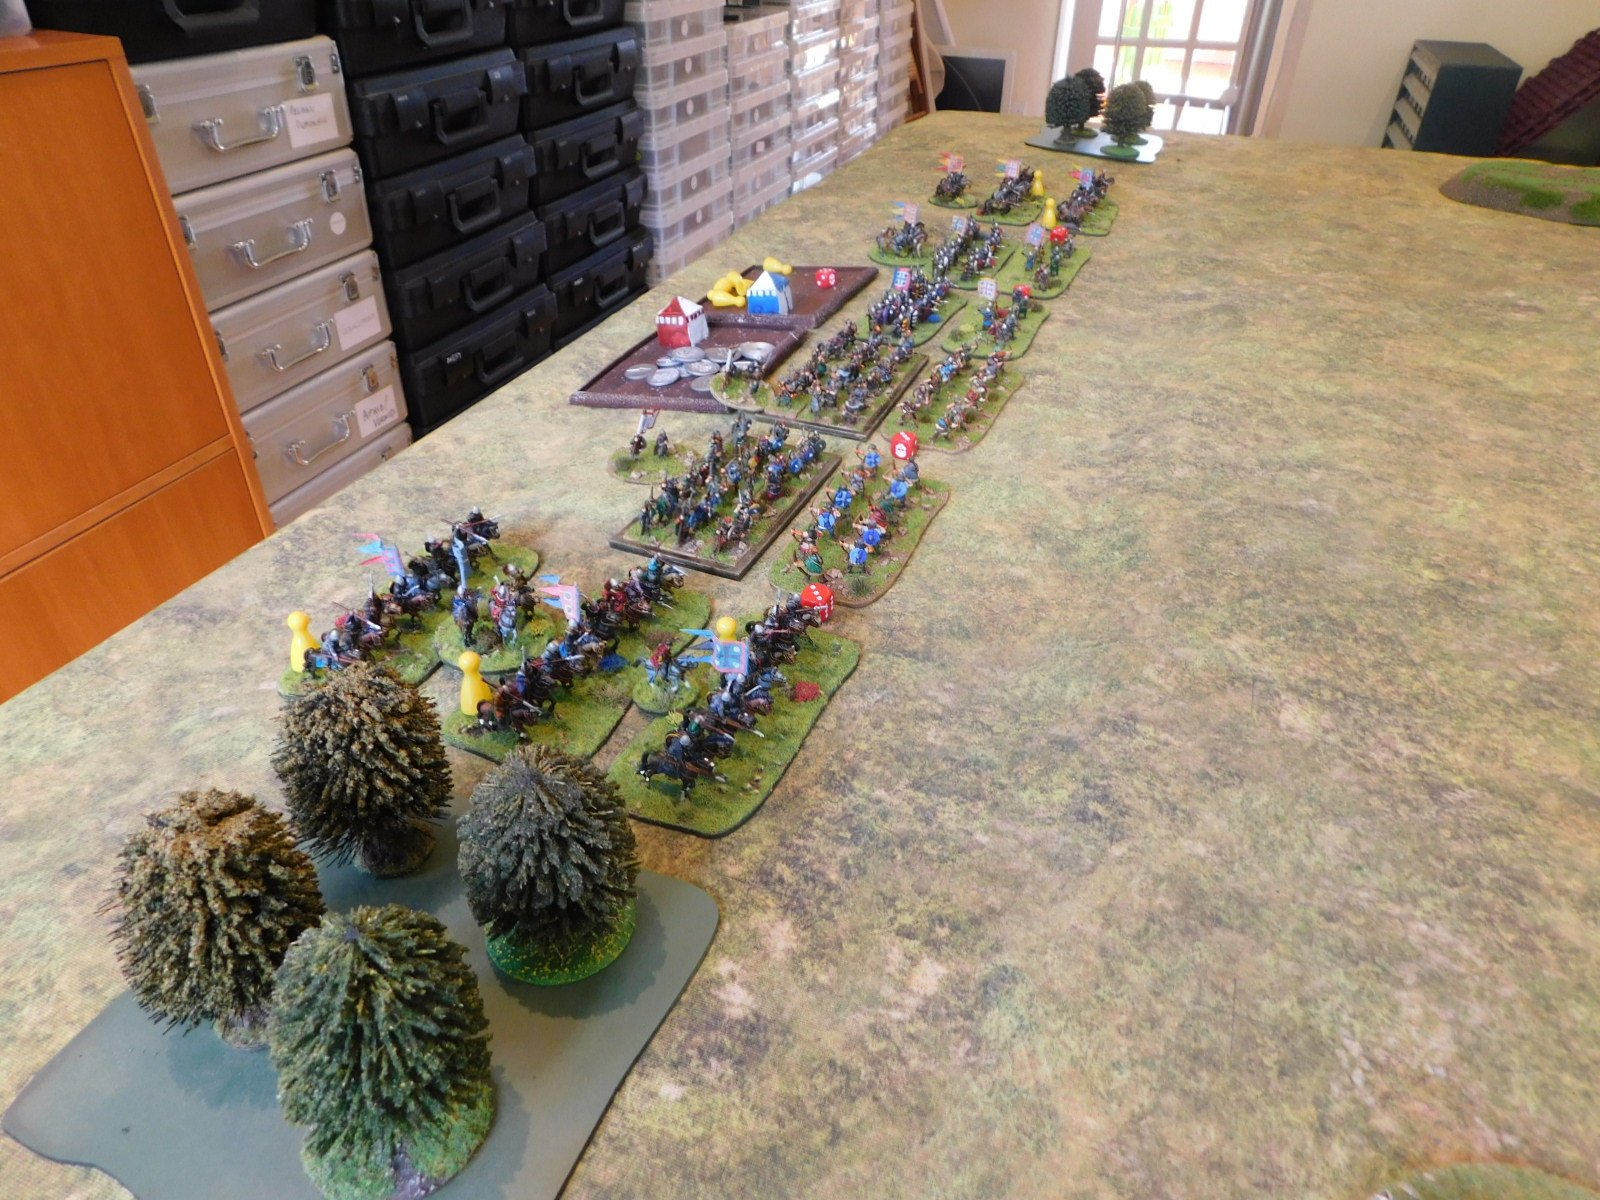
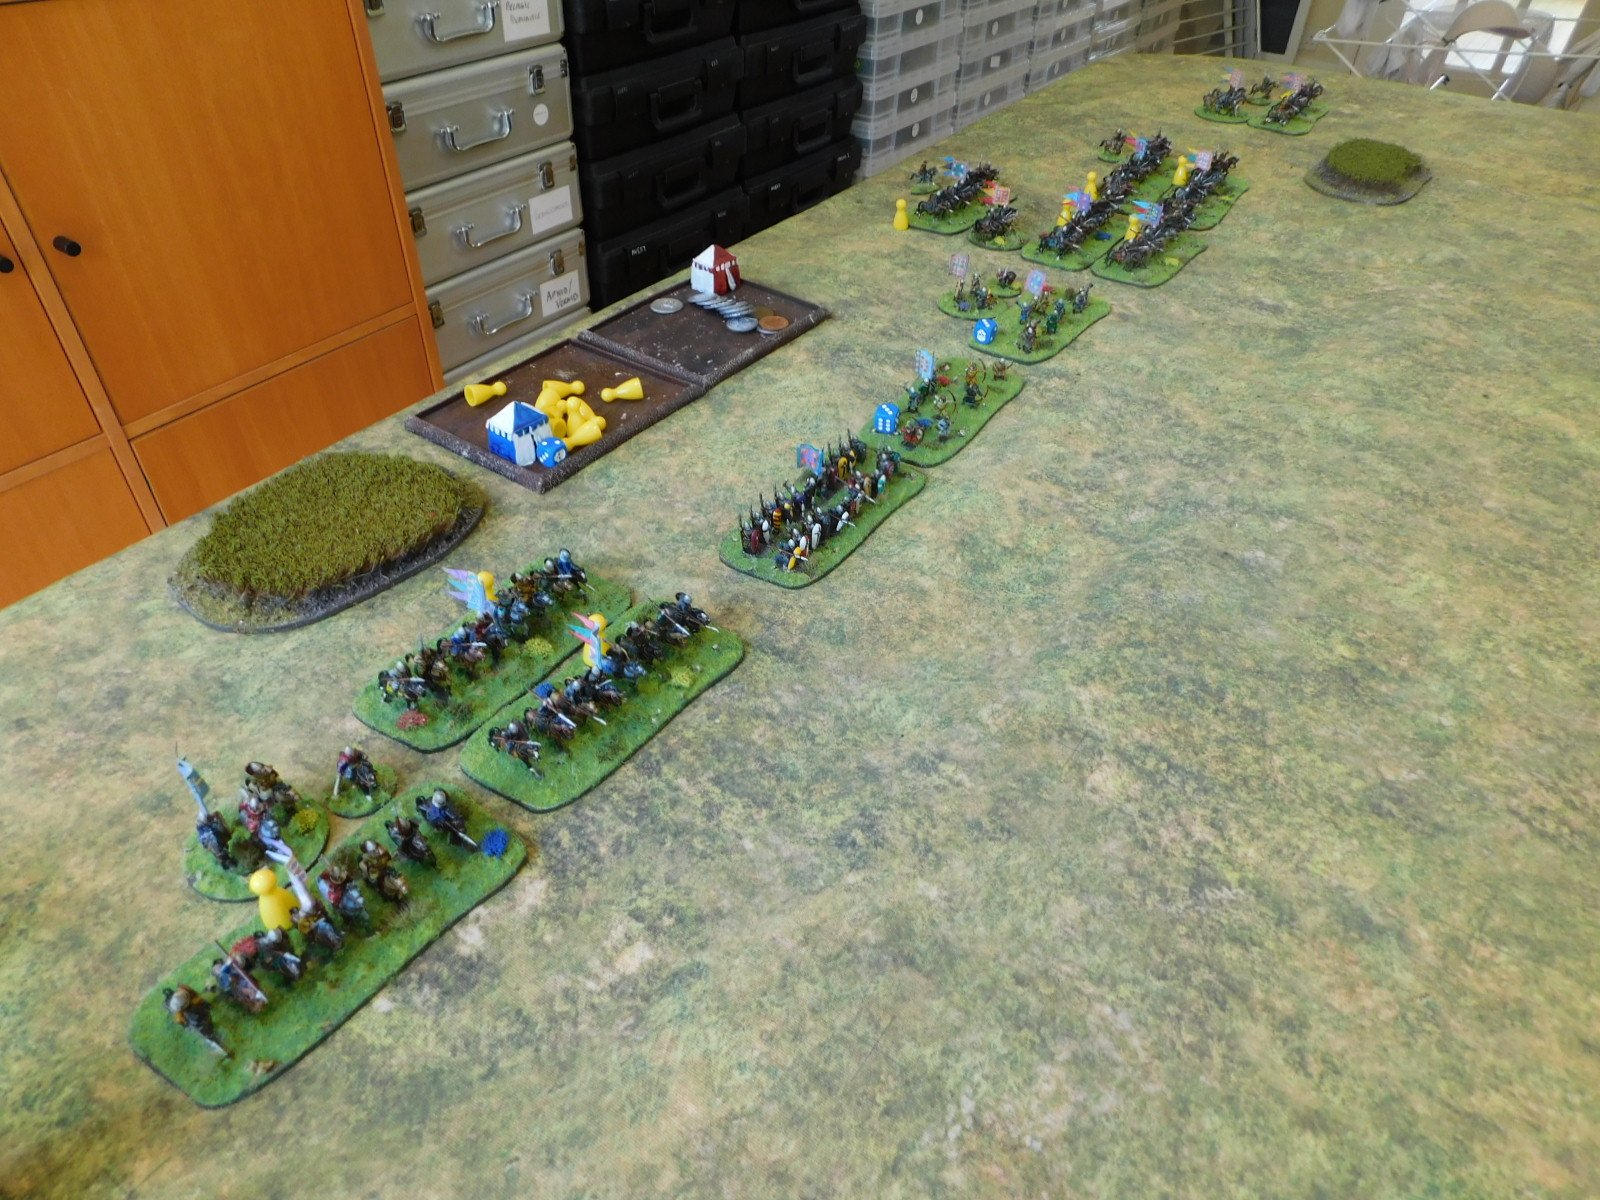
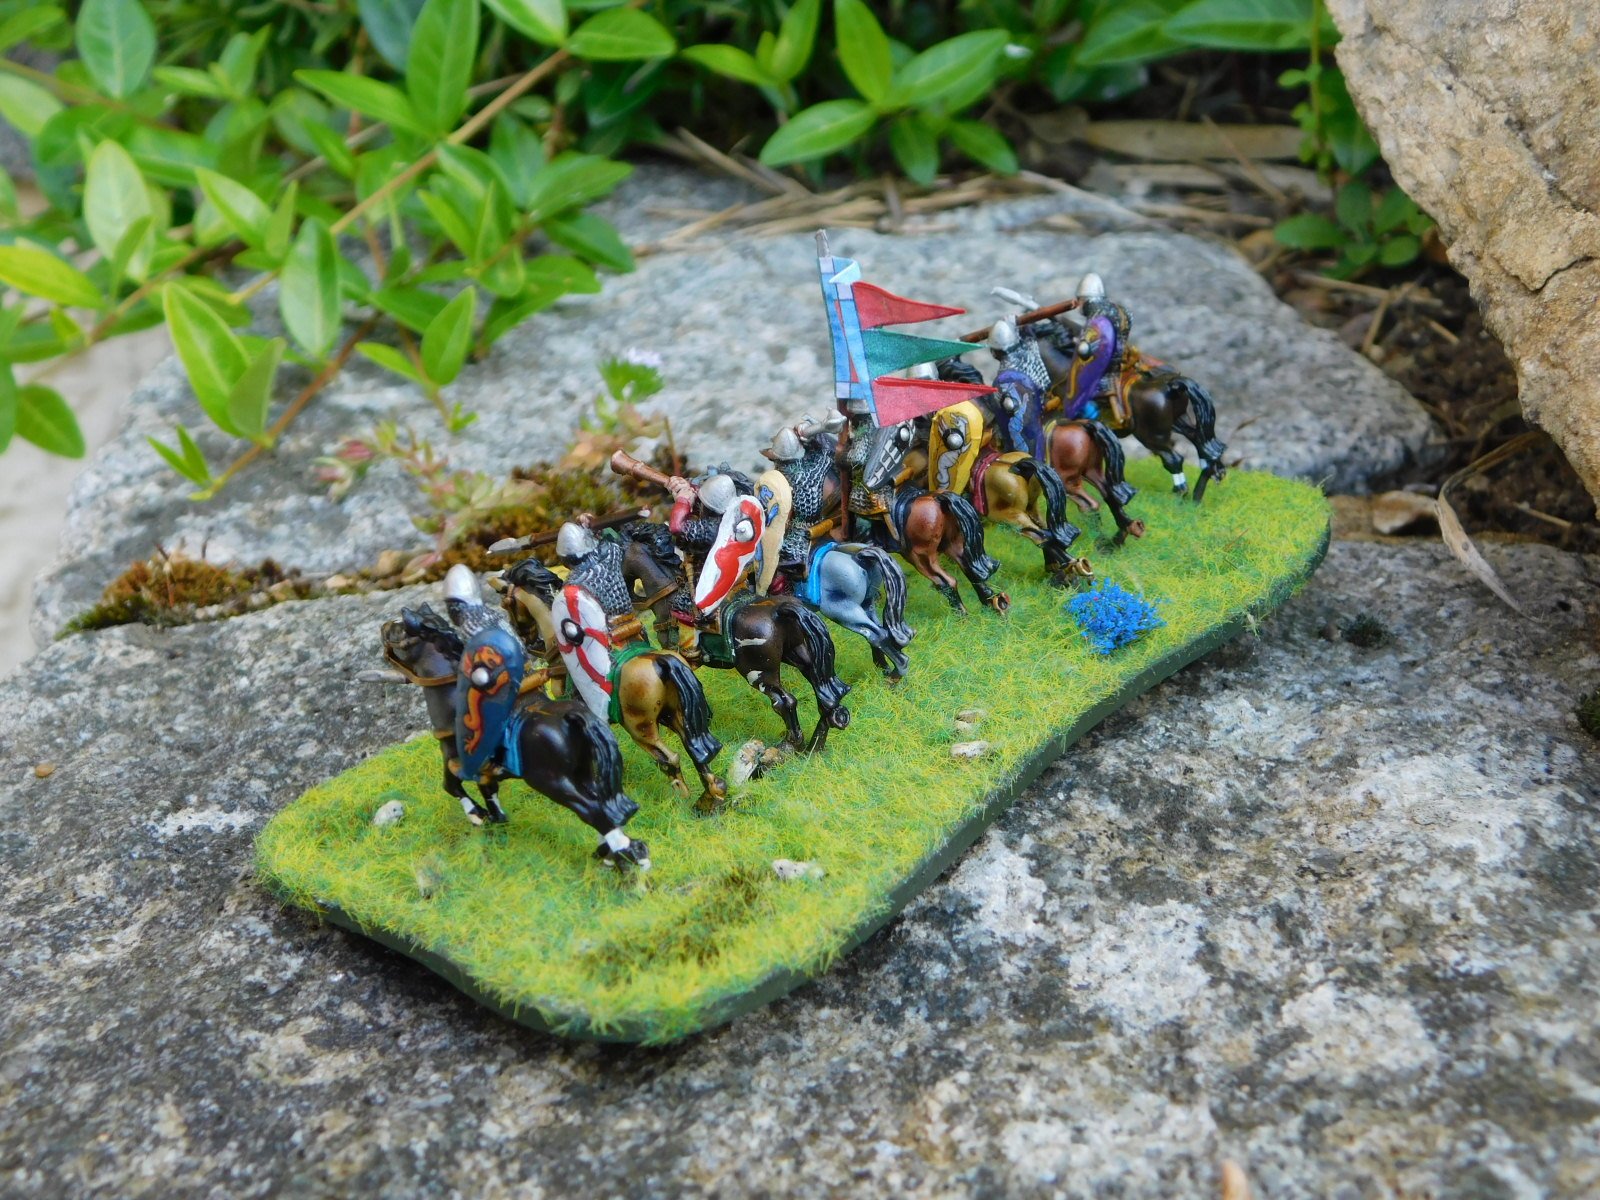
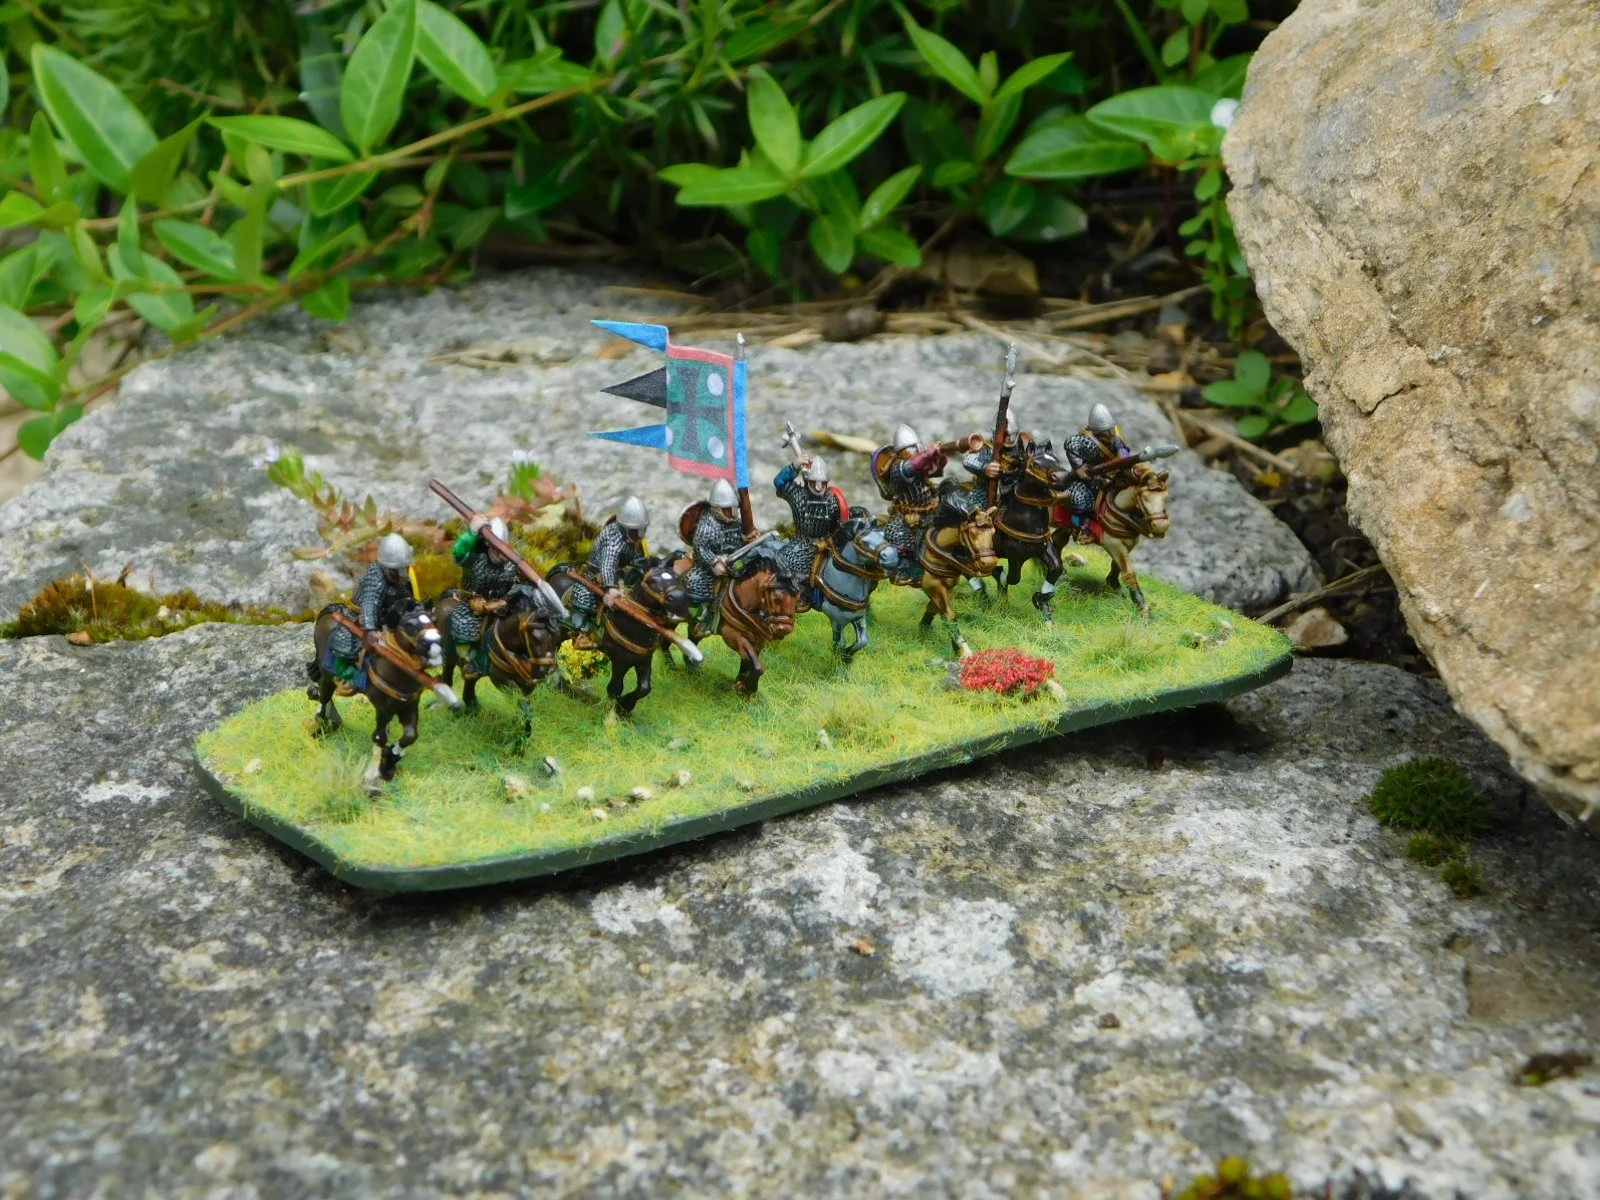
The Timurids ready for action
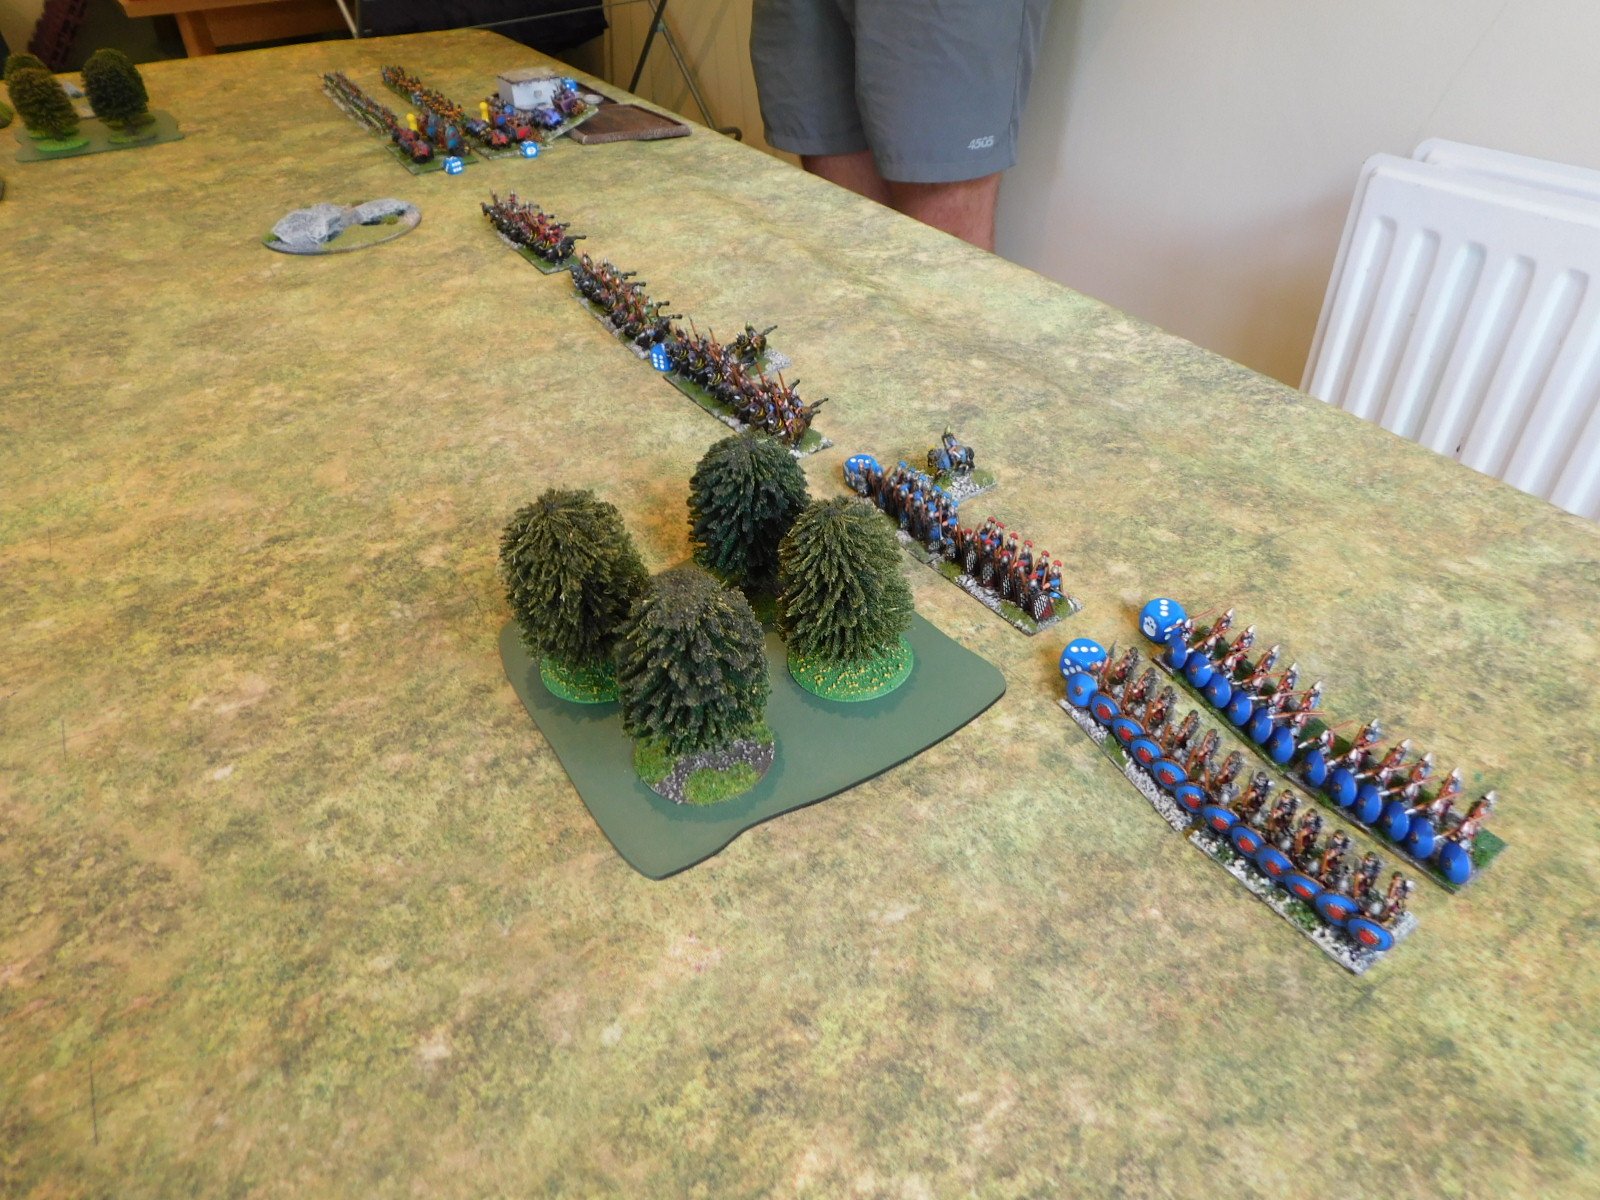
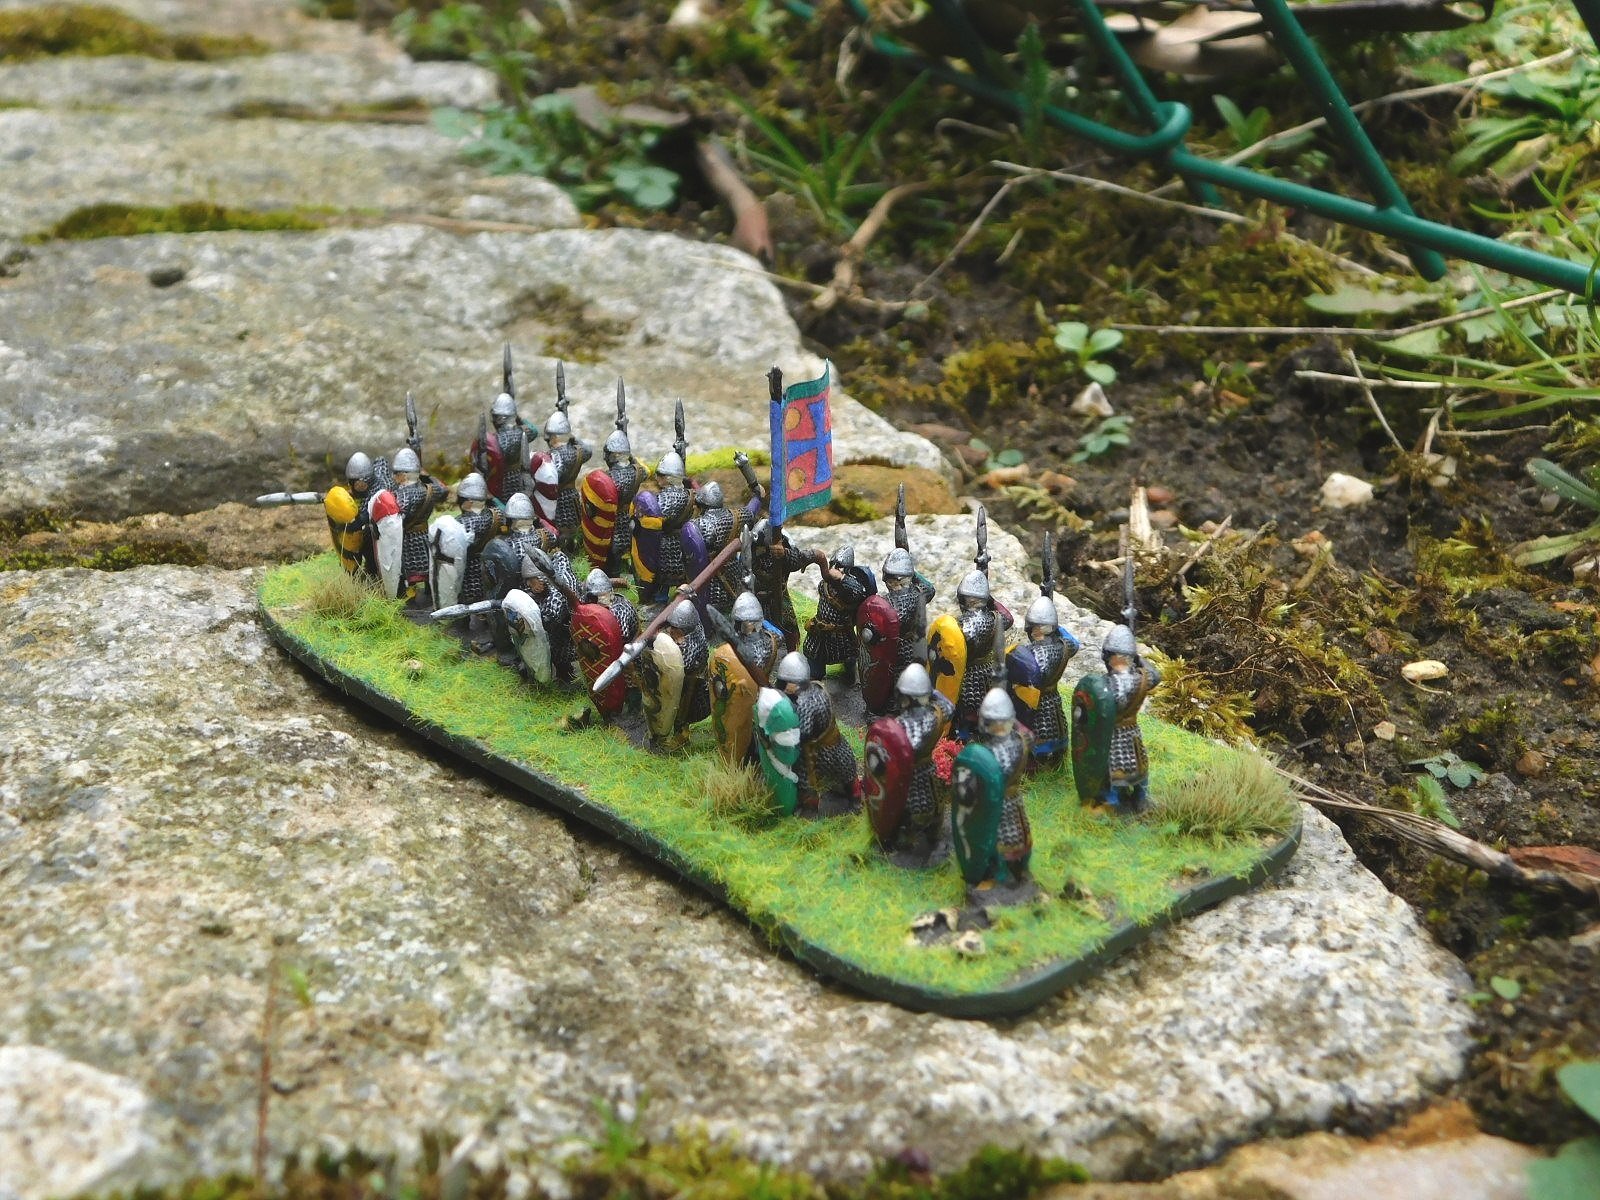
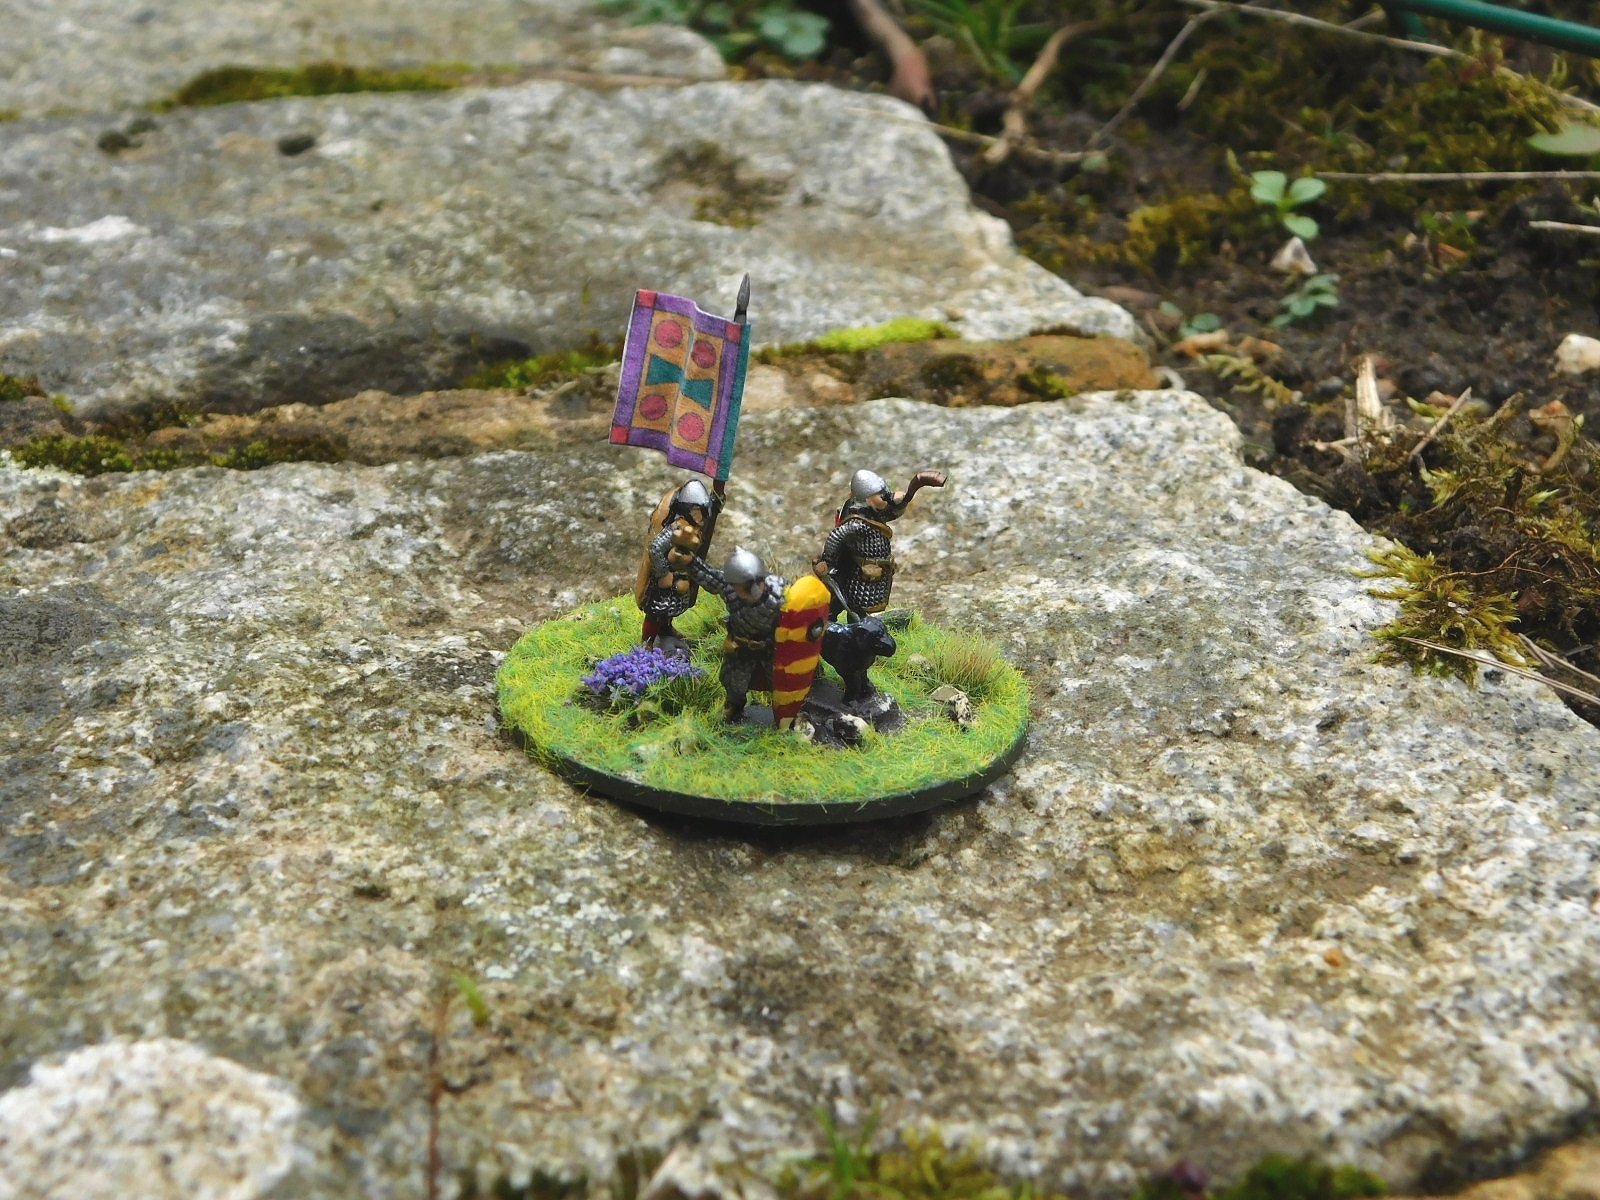
Nog’s normans

I had ther initiative, so decided to advnace forward rapidly in order to engage the enemy with bowfire before closing to polish off any left standing.

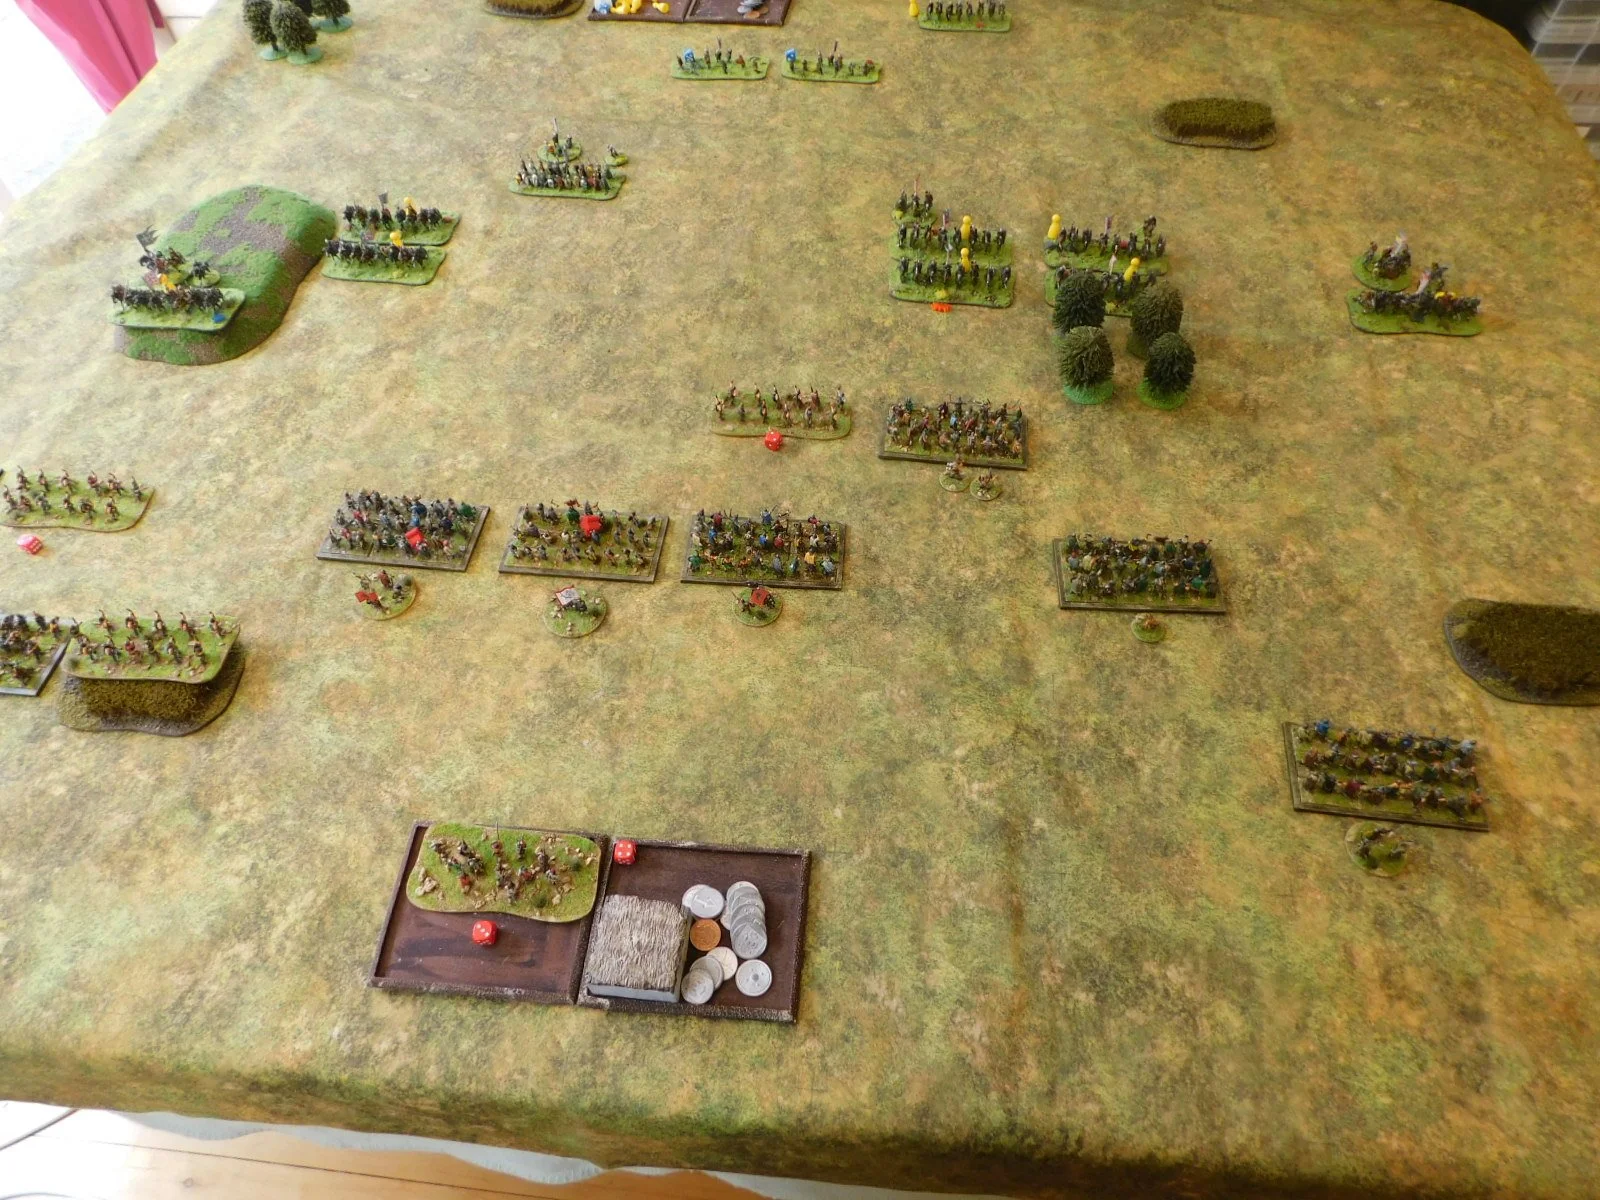
Unfortunately, my mass advance faltered with my very first card, leaving my troops awkwardly split: some forward, some not.

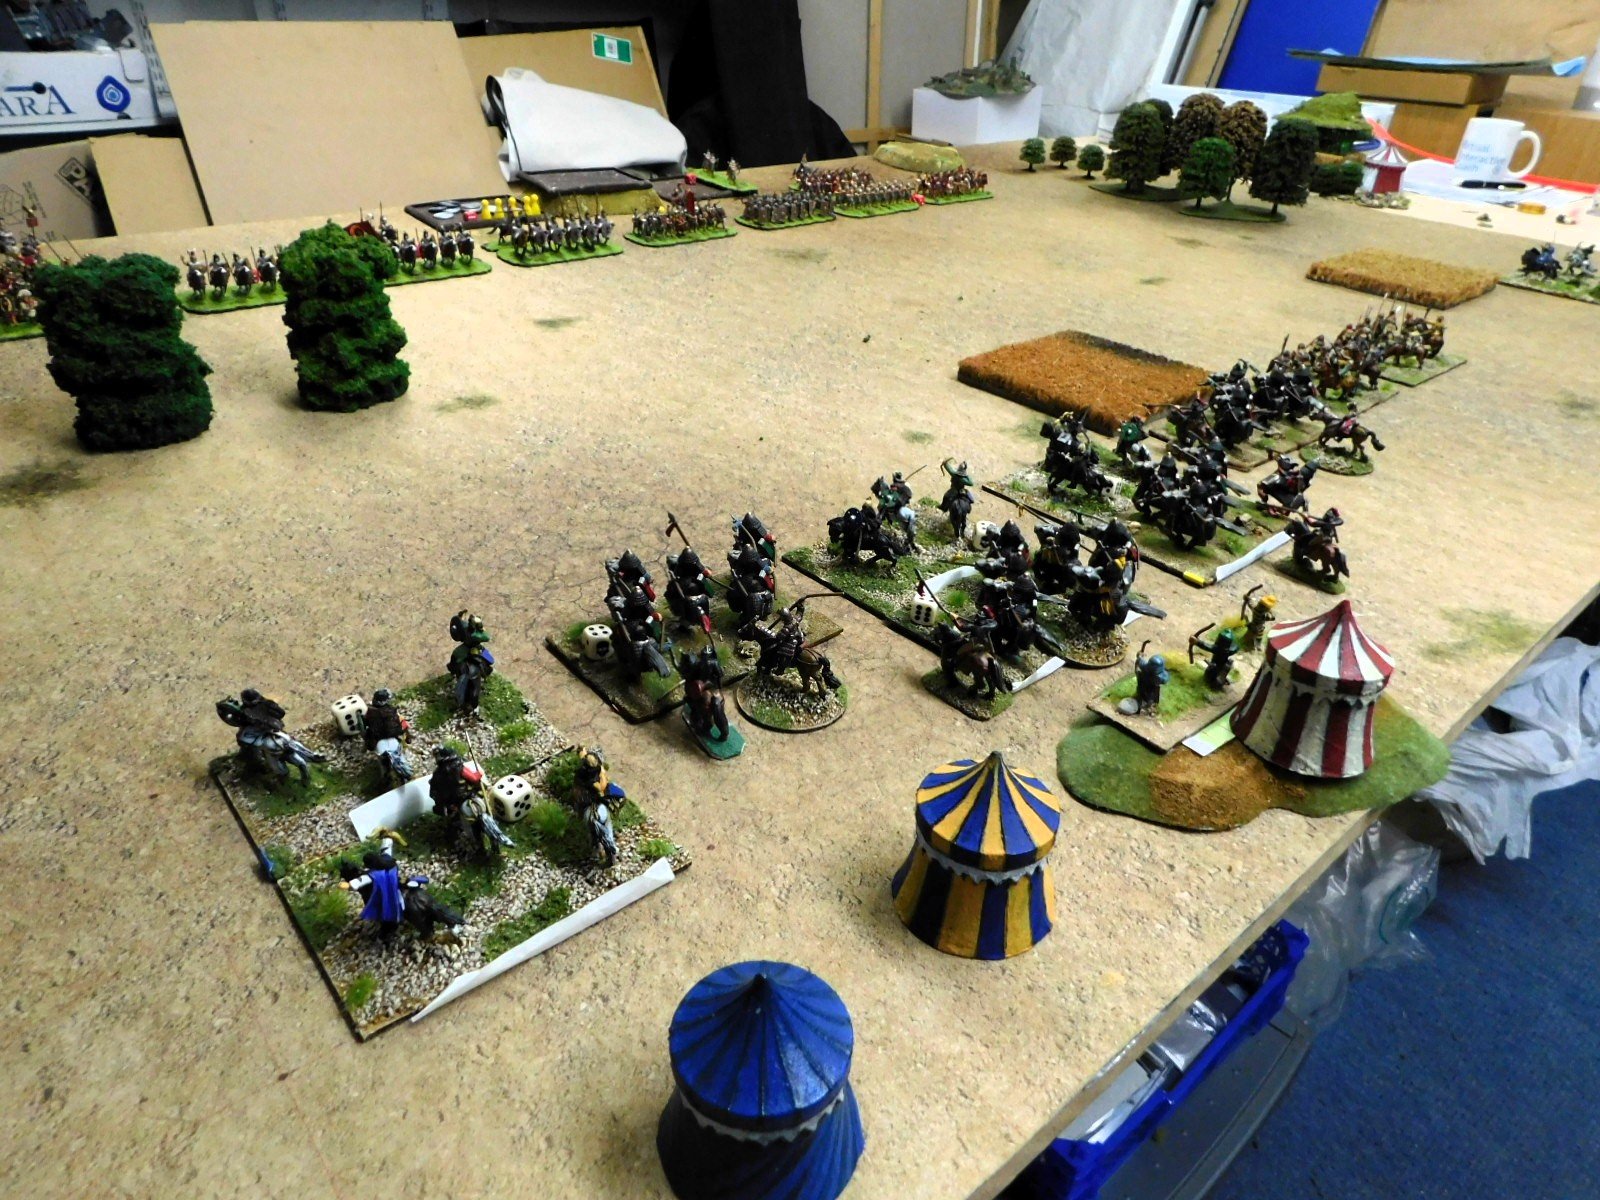
Amusingly, Nog then proceeded to draw an Ace for his first card, but this time for the foot command in the centre, leaving his horsemen charging forward with the infantry left behind, and a very attractive (to me, anyway) hole in the middle of his line.

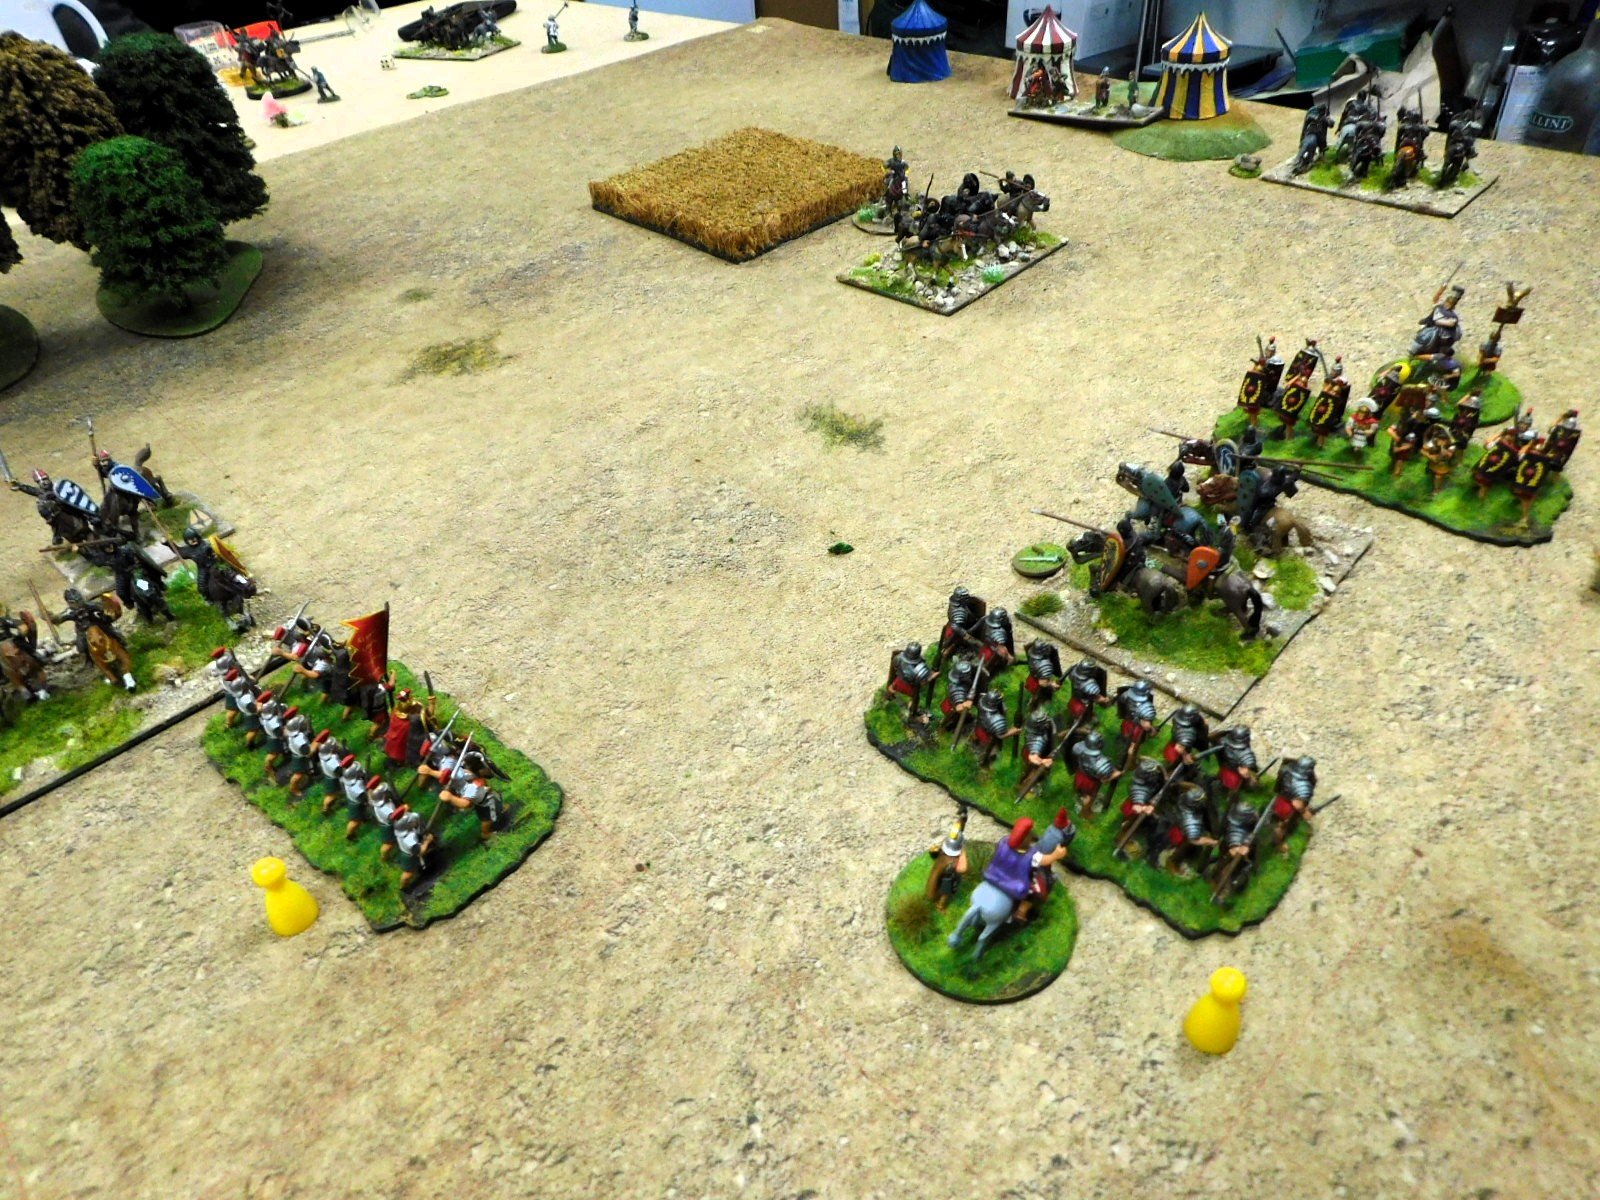
In my eagerness to get into bow range I had forgotten that there’s nothing a Norman likes more than charging home, so all those points spent on missile weapons for my Timurids were somewhat wasted as suddenly I had heavy horse all over me!

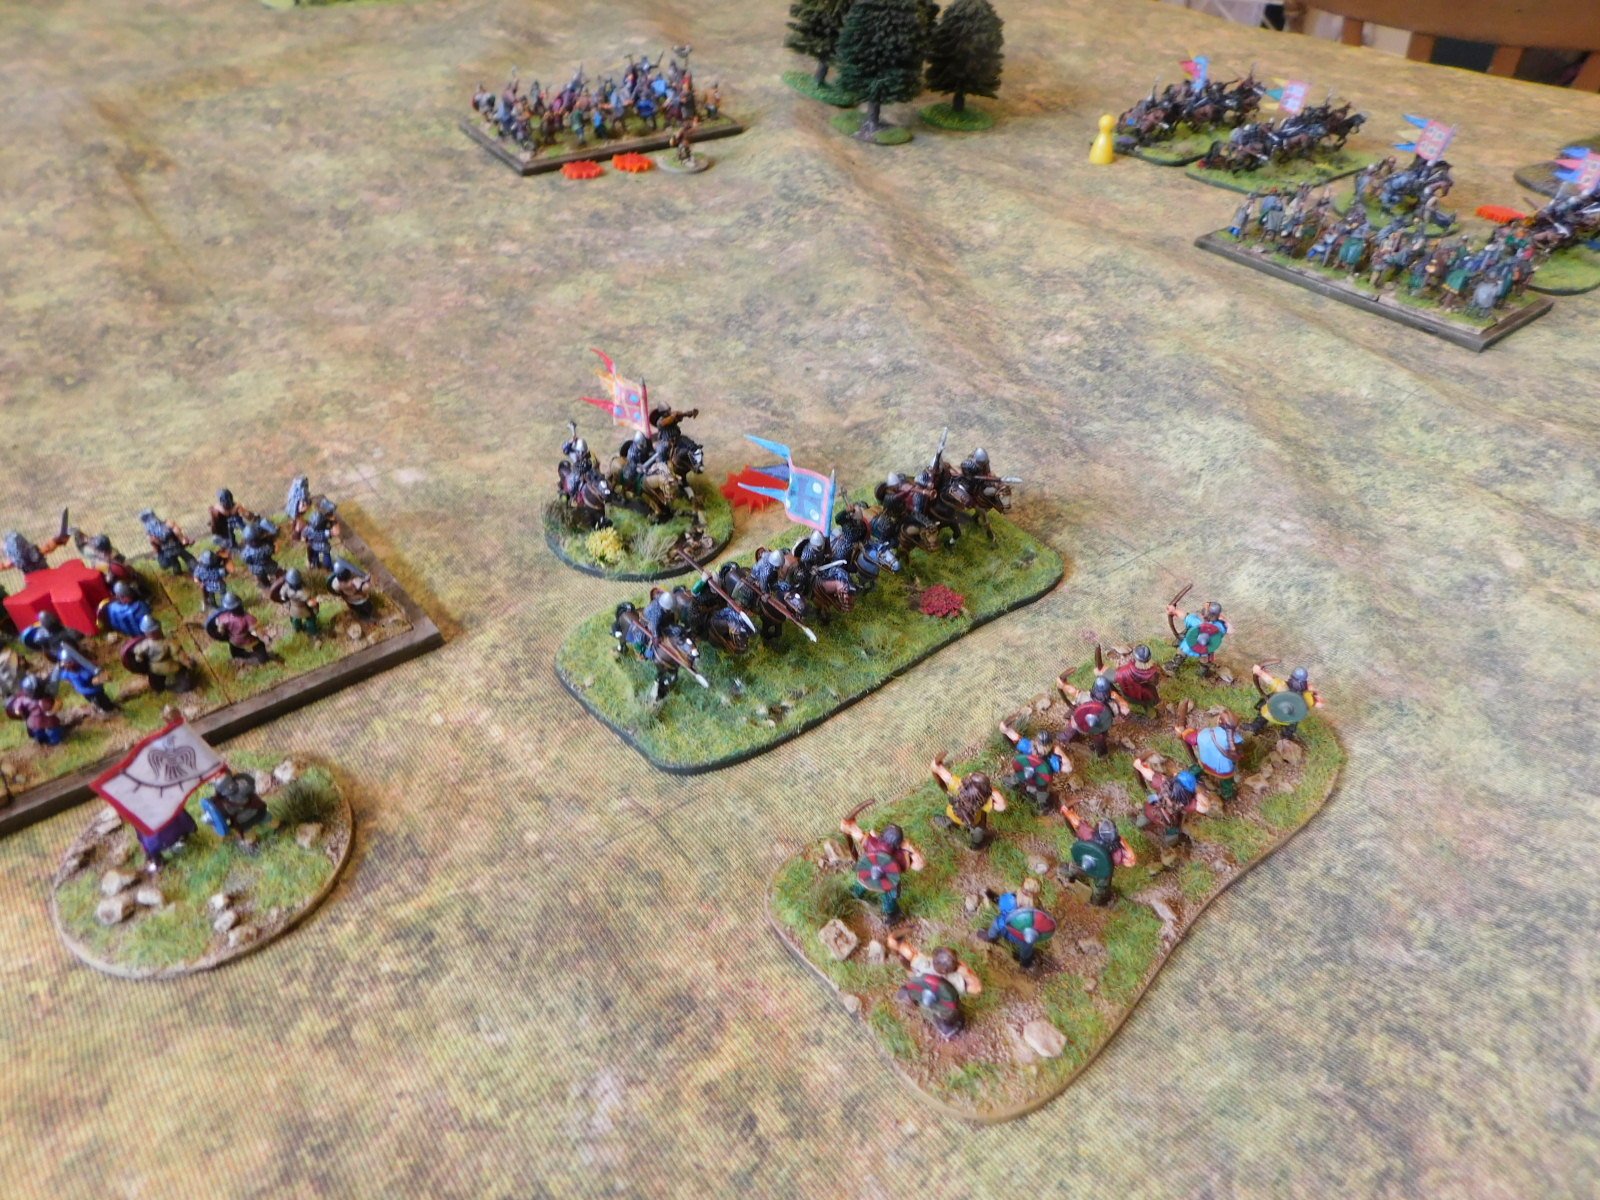
Both sides rapidly began losing units in the melee that followed. Although my lighter bowmen were outclassed and had to evade backwards, I had enough heavy cavalry of my own to hold the centre, although I did have to deploy the kharash (driven slaves) to bolsetr my line.

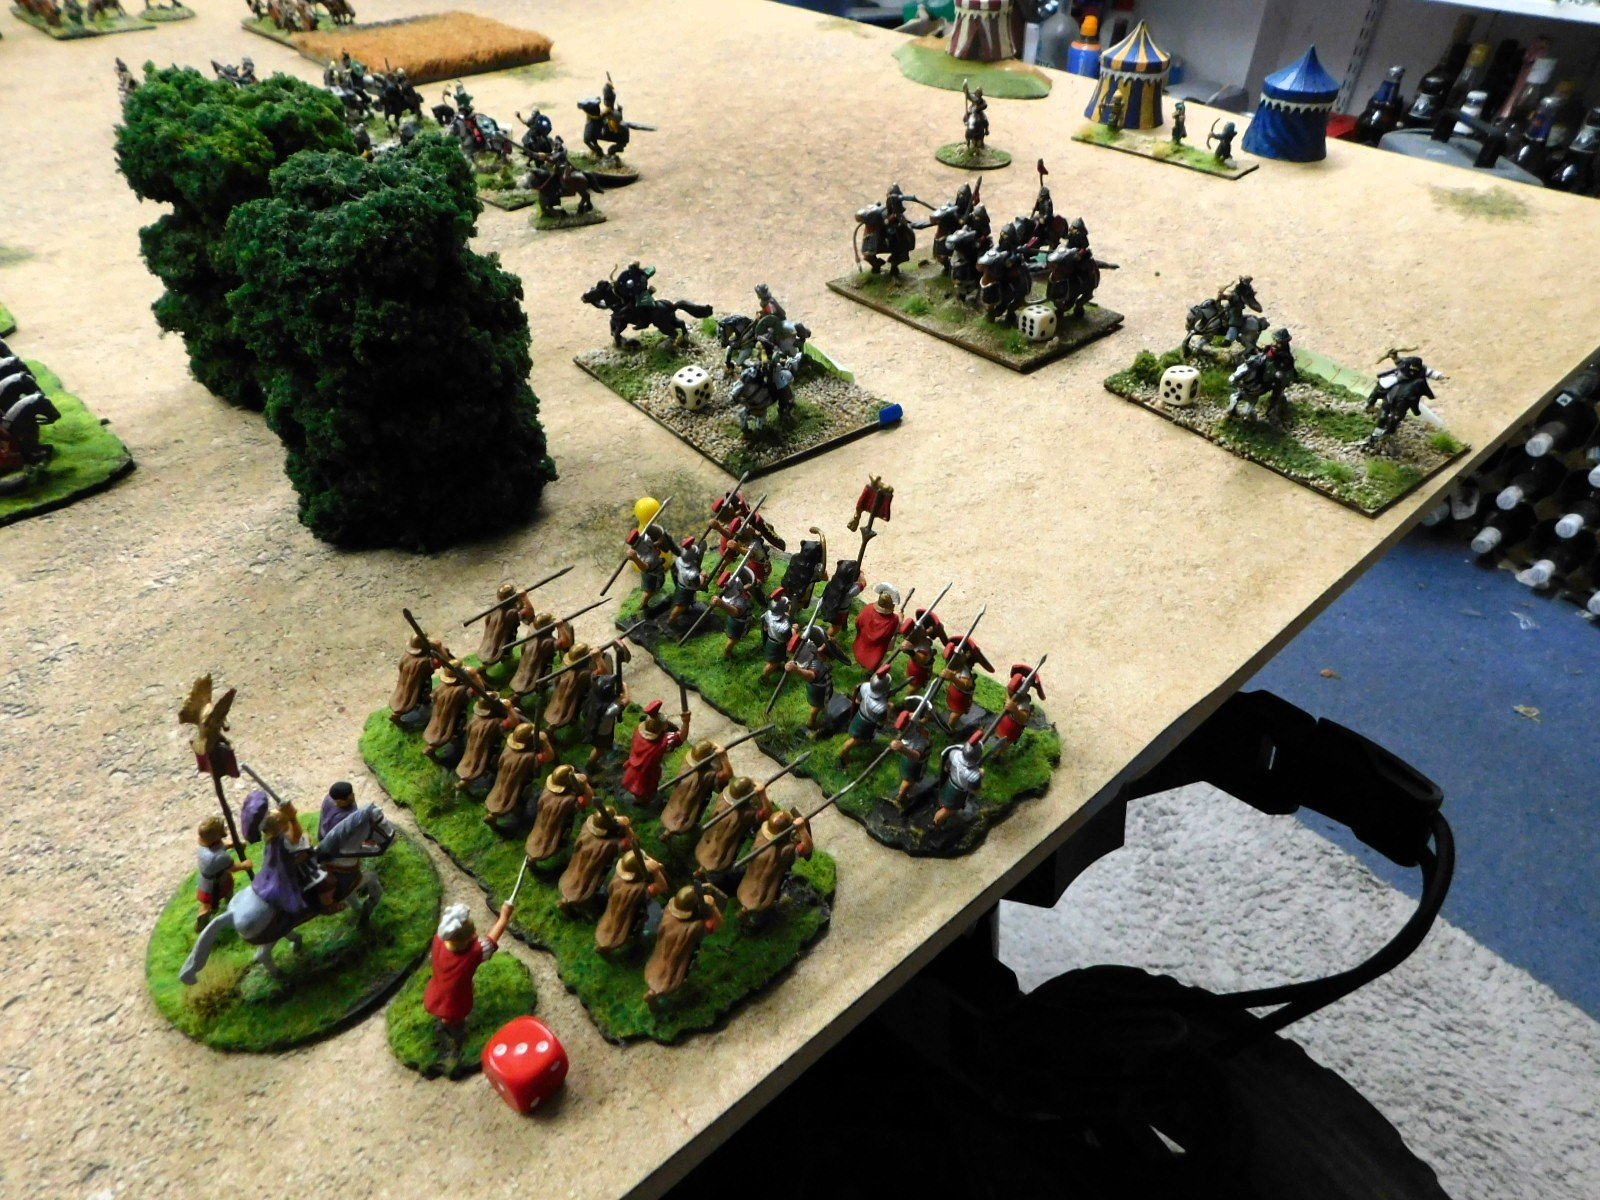
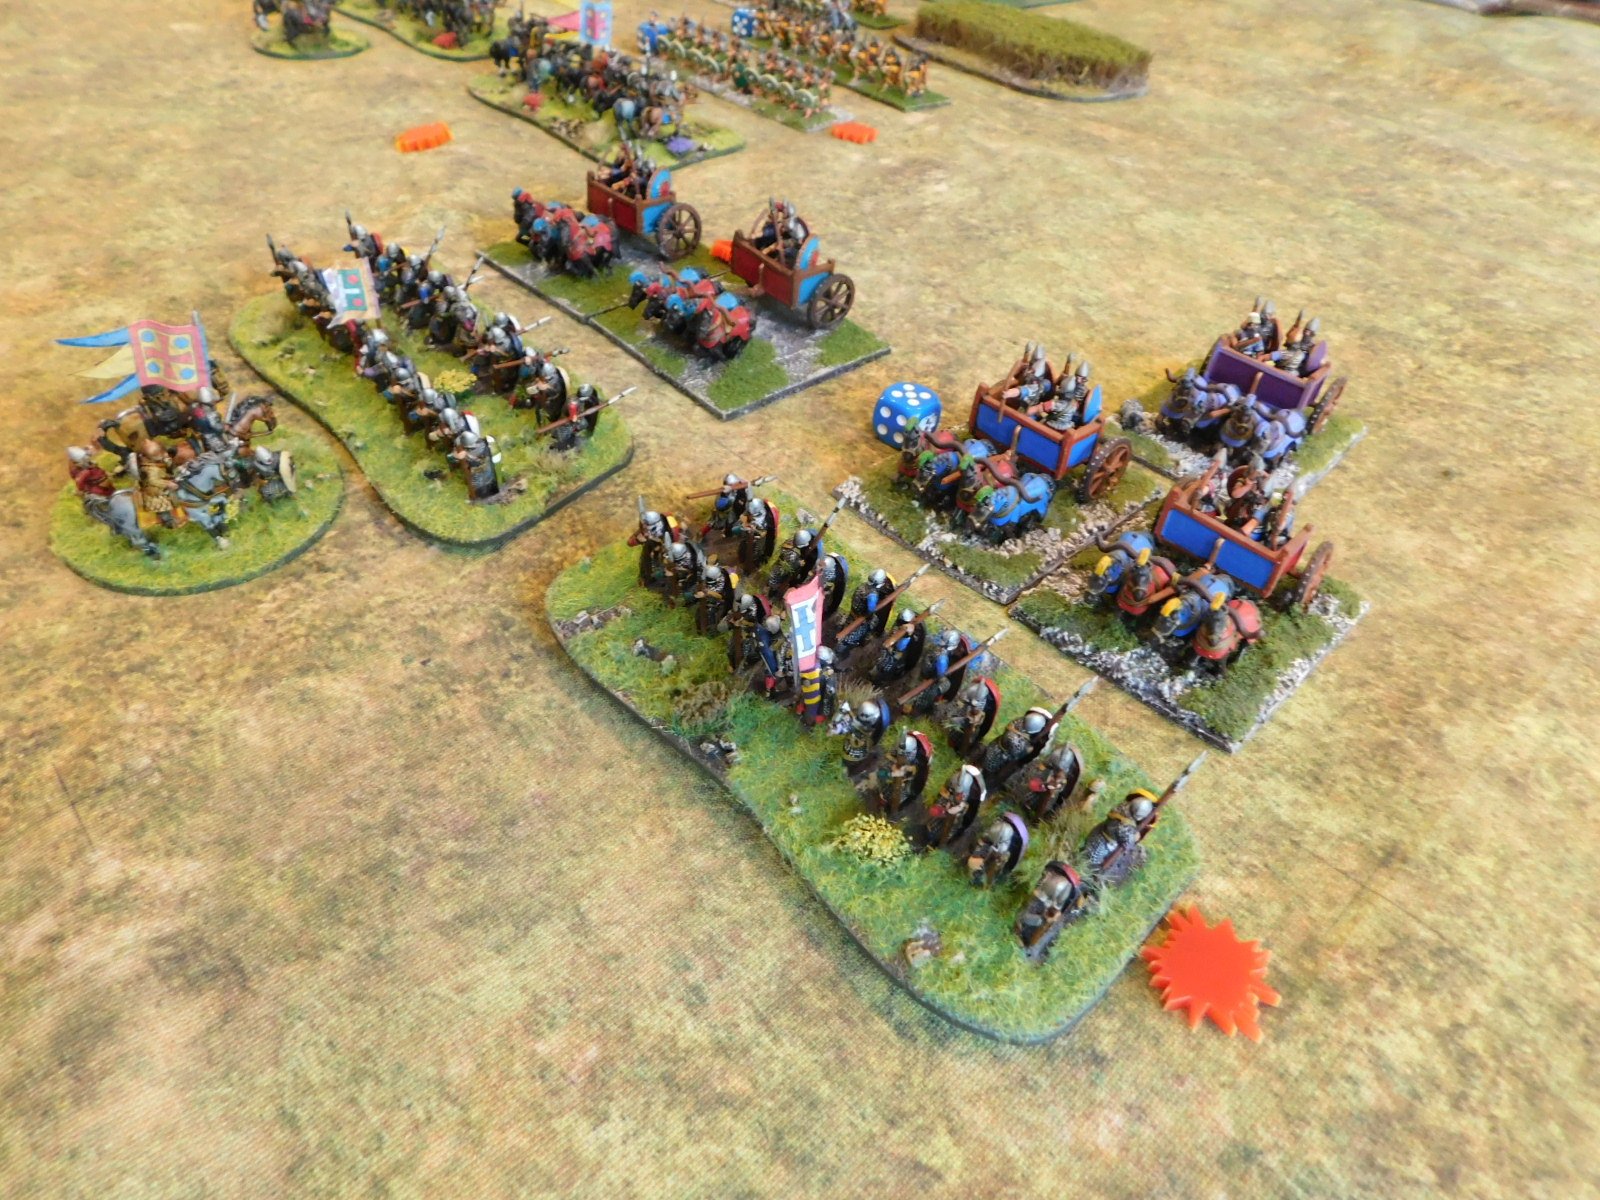
As the Normans pushed forward, I did manage to get some of my troops around his left flank and prepared to start rolling the Frenchmen up.

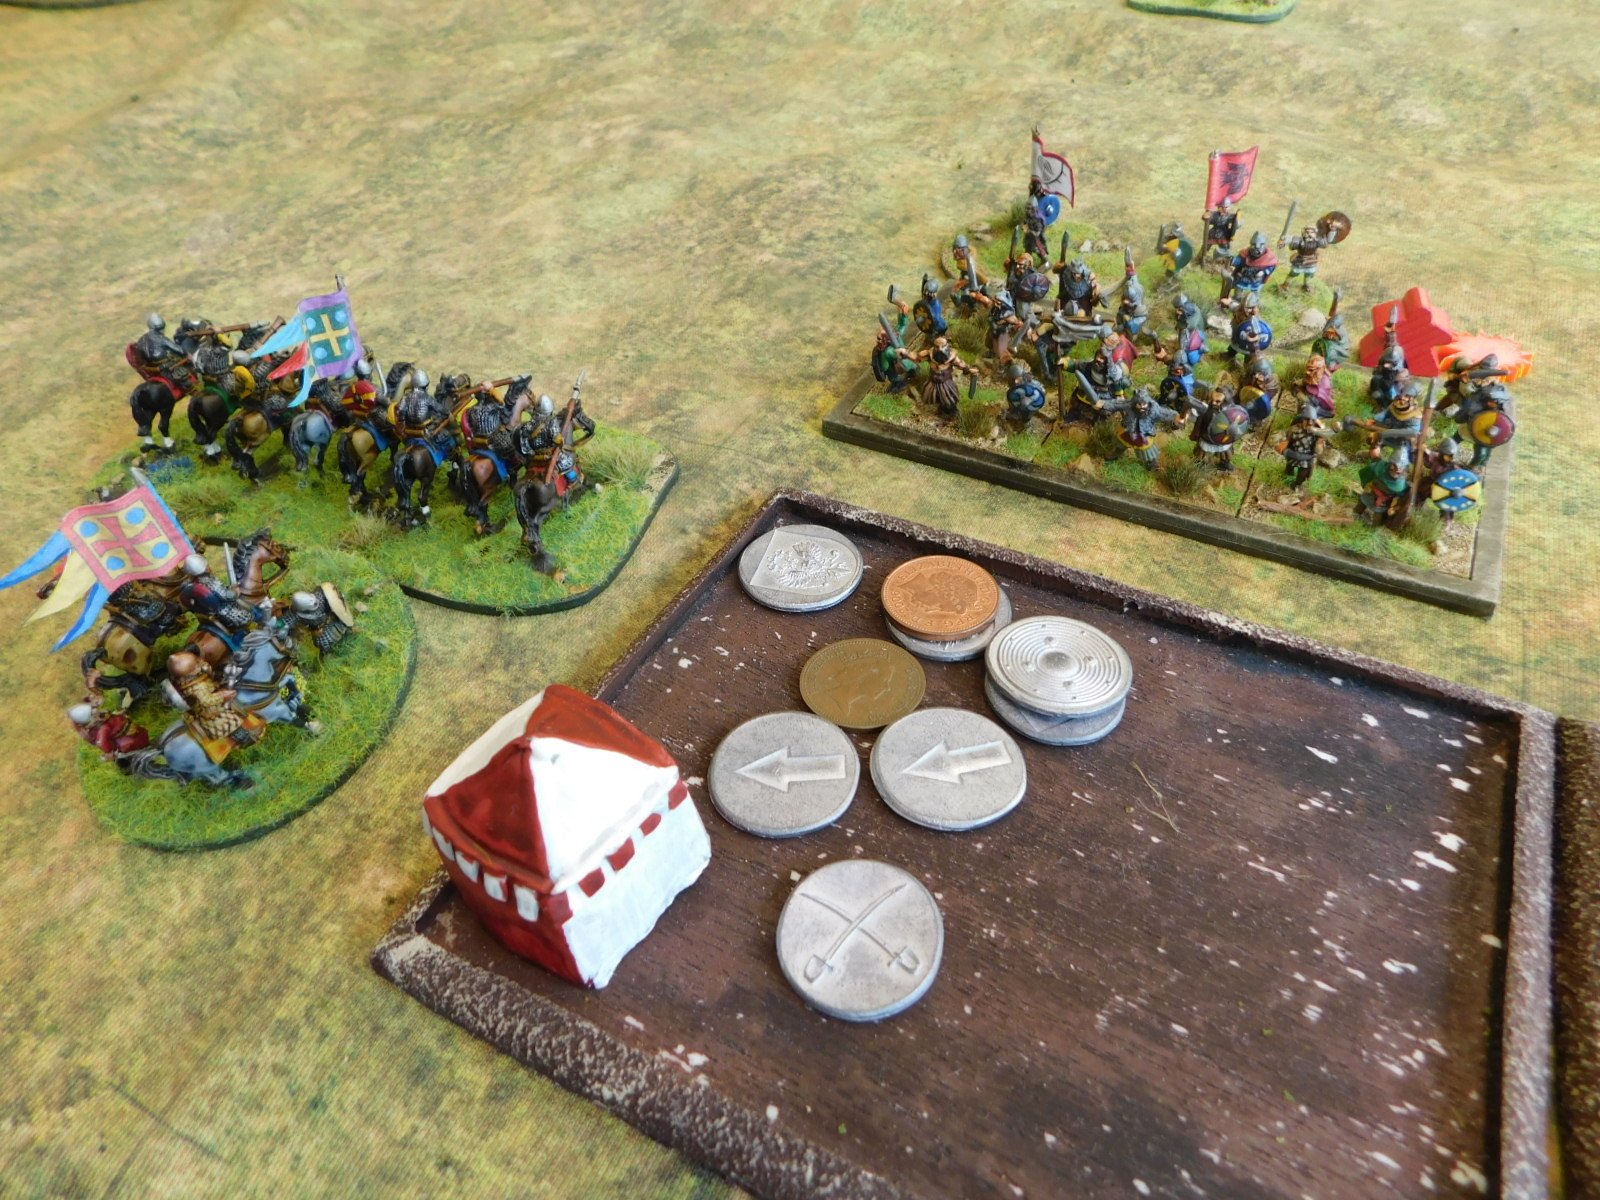
This led to an extraordinary run of cards, as shown in the photo below:

For the unitiated:

  • Draw a 6 to move into a position to charge the enemy flank

  • Try to charge, but draw a 2

  • Use the General to re-draw, pull a 9 and in they go…but combat cards are A and 2 meanign two misses

  • Need to draw a natural 10 to go in again: 10 drawn, but 2 and 5 for combat mean two more misses

  • Need to draw another natural 10 to go in a third time: 10 drawn (!) and two 8’s mean two hits and the enemy flee the field

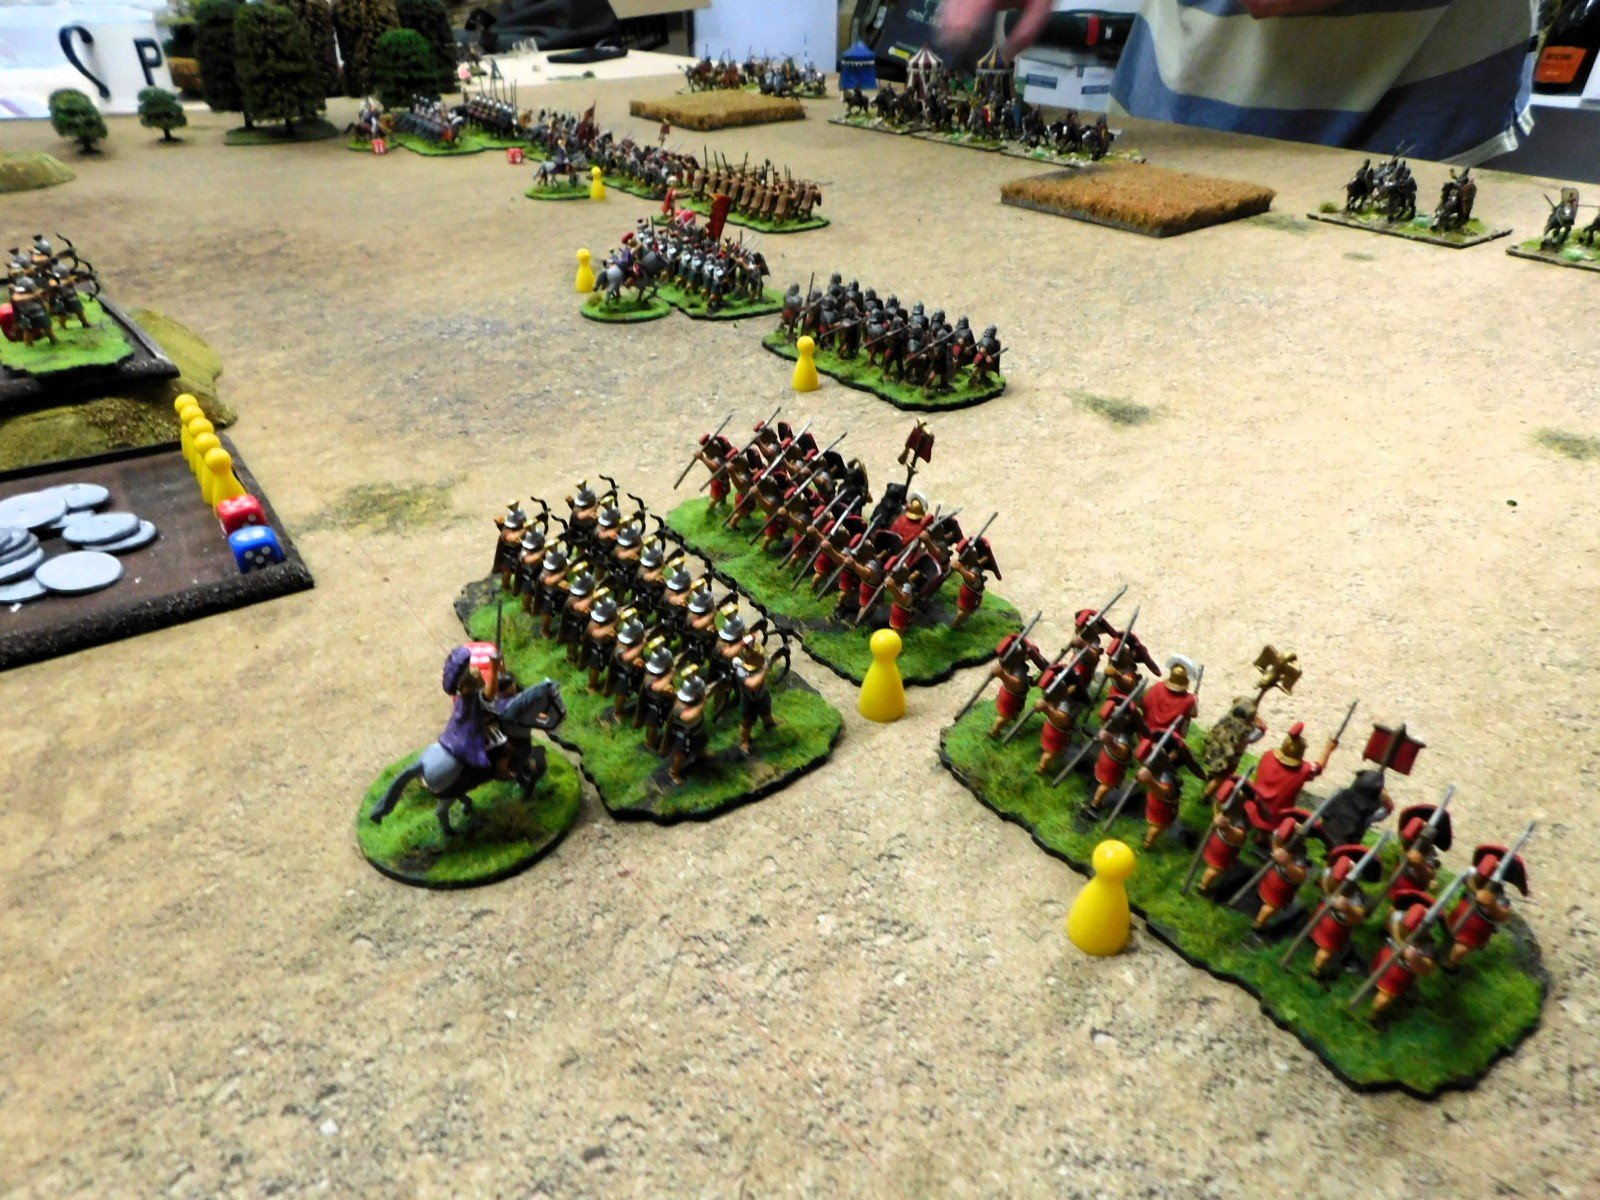
By this time neither of us had many men left at all, and most of mine were on the point of fleeing:

We were, in fact, both down to our last coin, so it was a case of sudden death: whoever loses the next unit loses the game and, as mentioned above, my troops were in a lot worse state than his.

Fortunately, however, the luck remained with me, and a charge with some light troops returning from having evaded, hit the back of some of his, and just managed to dash them from the field. The last coin and the victory were mine!

It had been a great game, full of incident an excitement. We both agreed that I had been foolish to allow the Normans to close with my troops so early on in the game, and that Nog had managed to snatch defeat from the jaws of victory, helped by a final surge of luck on my part at the end of the encounter.

Cracking stuff, and we’re both eagerly awaiting our next battle.

Two the Strongest Tournament: Game Three

I’m still working my way through a backlog of battle reports that seems to have built up over the last couple of months.

Today features the third and final game at the Two the Strongest doubles tournament organised by the London Wargaming Guild back in November. My partner, Peter, and I had won our first two games and woulkd now face Tim and Matt playing Normans and 100YW French respectively.

The game would be fought across quite an unusual set-up representing a famous battle from history. Apologies, but I can’t remeber which one…but there were a lot of hills on the flanks!

The Romans

The French

For this battle, Peter and I reversed our roles: I would go forward against the Normans whilst Peter hung back against the 100YW French.

My cavalry (Equites Alares and Equites Contarium) duly swung out to the right and advanced forward at speed. They soon met the enemy coming the other way and, much to my delight, almost immediately knocked one Norman unit off the table and sent another to the retreat.

My Roman cavalry have tken some stick this year for their performance on the tabletop, but I must confess that they didn’t put a foot (hoof?) wrong this game: a fitting redemption in the last tournament game of the season.

Meanwhile, my legionaries had also advanced towards the enemy line and pinned them in place as planned. I needed to get a move on, however, as I could see that Peter’s troops were under some pressure from a horde of Late Knights!

My troops began to wheel to their left, ready to roll up the enemy line but, before they could do any significant damage, my cavalry inflicted another loss on the Normans, including killing their commander in chief. This was too much for these early Frenchies to take, and they fled the field, leaving their later compatriots to fight on alone.

The game was a bit of a foregone conclusion from then on, as Peter’s troops were still resisting, leading to an eventual 15-6 victory for the Romans.

Points were totted up and it turned out the Peter and I had actually won the day!

A very good way to end the season, with my first tournament win, and huge thanks to all the Guilders for organising an excellent competition that I shall certainly enter again next year.

If you look at the picture to the right, you will see I am clutching a box of Perry Plastics as a prize (along with the rather marvellous “playing card” trophy). This box turned out to be the naissance of my new 28mm army for 2024, although which later medieval army I will actually paint up is still in doubt at time of writing, along with whether I can actually get it finished in time for the Welsh Open at the end of January!

15mm "Heroic Scale" Pilgrims from Khurasan

As I’d also like to be able to field my Normans as Early Crusaders, I decided to add a couple of units of pilgrims to the mix.

The best I could see on offer were those from Khurasan. They do a pack of ten ‘standard’ pilgrims along with another pack of three unique extras: a monk with crucifix held high, a woman brandishing a frying pan, and an urchin throwing a rock.

I needed sixteen figures for each “mobs” base, so a pack of each plus half a pack of unarmoured Norman infantry nicely fitted the bill.

Plus points first: great figures with loads of character that paint up easily.

The only negative is that they are heroic scale i.e. a little larger than even a large 15mm figure.

So how noticeable is the difference?

Well, it’s a little noticeable: in that if you are looking for it, it’s obviously there, but under game conditions I don’t think it will be noticeable at all. Here’s a couple of comparison phots with some Museum Miniatures’ Norman foot infantry from their CAD-designed Z range of Normans:

You’ll have to make your own minds up, but I’m not sure the difference is significant enough to matter.

It would matter less, of course, if your whole Norman army was taken from Khuarsan’s Heroic 15mm MILLENNIUM -- 1000AD to 1150AD range…something I might have done if I hadn’t already got Museum’s Normans: they are both lovely ranges of figures.

TTS AAR: Sicilio- Normans: The Return Match

With plenty of time remaining and the table and figures all set up, Bevan and I decided to swap sides and play again: I would take the Papal Italians (proxied by a Burgundian Ordnance army) and Bevan would play the Sicilio-Normans.

Now if I thought my luck was bad in the last game, in this game it really fell off a cliff!

On the right flank I lost a unit of Knights to some scummy Sicilian light cavalry, leaving a huge hole in my line that enemy Knights immediately exploited. I did manage to get a breakthrough of my own going, but it took longer than it should and the battle ended elsewhere before I could take full advantage.

On the left, I got into the perfect position to do some damage, but the cards weren’t with me, and my glorious flank charges fizzled out unsuccessful!

Meanwhile, the Sicilio-Norman infantry ground forward in the centre and, with what I had lost already and the fall of my camp to the enemy Knights that had broken through, I was soon out of victory medals.

A frustrating game: as Bevan said afterwards, I didn’t do anything tactically wrong…it’s just the cards didn’t fall my way. To misquote the great Les Dawson: I had all the cards I needed, just in the wrong order!

No matter, these things happen. At least I could get my revenge in quickly, as we were due a couple of games of For King & Parliament, Eastern Front Variant in 24 hours time, with my Transylvanians facing the Muscovites. But more on that later…

TTS AAR: Sicilio-Normans take to the field

Now that I had painted up the Italo-Norman militia, it was time to get them into action. I wanted them to face a contemporaneous army, so friend Bevan would field my Burgundian Ordnance collection masquerading as Papal Italians!

Okay, so things weren’t entirely apt, as I was actually fielding Sicilio-Normans instead of pure Italo-Normans, but as the country of Italy wasn’t actually formed until 1870, I decided that stretching things slightly too far south wouldn’t matter too much.

As you can sort of see in the picture, above, both sides had concentrated their cavalry on one flank (my right, Bevan’s left) so the stage was set for a fairly mighty clash early on in the game…and that’s exactly what happened.

Meanwhile, the each side’s infantry contingent slogged forward towards the enemy, with an unusual run of cards meaning that my troops advanced forward in echelon.

Unfortunately for me, the Pope had obviously secured some divine intervention to support his forces, as my unusual run of cards continued with me drawing appalling cards for the cavalry combat, with what should have been a fight in my favour (four heavy units vs three heavy units, two light units vs one light unit) ending up with my cavalry just about wiped out (one light unit remaining) whilst leaving two of his heavy cavalry units still very much in action.

Meanwhile, the infantry lines had, in a ragged way, closed and gone to melee. Things looked a bit better for me here, and I had started to get back into the game a bit.

Even better, going completely against convention, my newly-painted unit of Italo-Norman militia had burst through the enemy line and had got to within striking distance of the enemy camp…and as Bevan only had four Victory Medals left at this stage, if I could just hold on for another turn, there was a fair chance I could nab the camp, pick up another Medal from somewhere else on the field, and win the game.

Unfortunately, the consequences of losing the cavalry battle on my right wing then came back to haunt me with a vengeance, as the two enemy units of Knights arrived back into the action: flank charging some poor Sicilio-Norman spearmen with devastating effect.

Already Disordered, the Sicilians crumbled and fled, and the game was Bevan’s!

A cracking encounter that, despite my earlier bad luck, got down to the wire, with both sides being in a position where the next casualty would have lost them the game. Sportingly, Bevan did agree that I had had universally bad luck throughout the game, but you have to play the cards you’re dealt so no complaints!

More Italo-Norman Spearmen

Here’s the second batch of Italo-Norman Spearmen for my Sicilio-Normans.

These are mostly Baueda 15mm, with a smattering of Museum Miniatures and, I think, Khurasan as well.

The trick of using different shades of blue on the tunics to represent a militia unit (uniformed but not uniform!) has worked very well here. I actually think that they look better from the back rather than the front!

Militiae Spearmen for the Italo-Normans

One of the last things I needed for my Italo-Normans was at least one unit of Militiae: militia spearmen that would need to be distinct from the Sicilian Spearmen and Mercenary Spearmen I already have.

I used mostly Baueda figures for these: they are simpler to paint than the excellent Museum Miniatures Z range that forms the greater part of my Norman collection…something important when you have to paint 54 of them!

I used the Museum command figures and, as Magister Militum hadn’t managed to get me all the Baueda models I needed, leavened the mass with a couple of spare Museum Normans: you can see them in the centre of the front rank, and the crossbowman far left.

Unlike the Sicilians and other Norman Spearmen, I wanted these chaps to look like a militia which, to me, means some kind of uniform. At the same time, I didn’t want them exactly uniform either: these are militia not the guards!

My solution was to paint the mass of the spear in three different shades of one colour: in this case, green. Now they look like they all come from the same unit, but that different tunics have been ordered and issued at different times. I have another unit to paint: they will be various shades of blue.

I’m happy with these chaps: now to paint the blue ones!

Army Standard for the Normans

Regular visitors will know that one of this year’s projects has been a 15mm Norman army using the excellent Museum Miniatures CAD designed Z range of figures.

The Normans, under the To The Strongest rules that I use have access to a Papal banner: the banner awarded to William the Conqueror (or First or Bastard, dependent on which camp you’re in) which looked a little like the image to the right.

I’m going to source one of those but, meanwhile, I also want to use the Normans as Early Crusaders, so needed a standard for them too. The choices, according to the lists are the Holy Lance of Antioch and The True Cross, so when Khurasan released the pack, below, I was straight onto the ‘net to order:

MILLENNIUM 15mm European mounted bishops (Odo of Bayeux, Adhémar of Monteil or other fighting bishop, and bishop bearing the True Cross or similar relic) (x2)

I’m not quite as good at painting as Khurasan’s house painter, but here’s my attempt:

I’ll leave aside the question of historical accuracy, but these are really nice figures that paint up very easily indeed. As they are part of Khurasan’s “heroic” range of Millennium figures (first millennium, that is) they are quite chunky and size very well with Museum’s Normans. Highly recommended.

Next up has got to be the Pilgrims set and, even better, the pack below:

MILLENNIUM 15mm Crusader "noncombatants" -- monk with crucifix, "washerwoman" with frying pan, and child with rock (x3), meant as mix-ins for Crusader foot, especially Pilgrims

Romans Take To The Field (x3)

I needed to get some practice in for the To The Strongest tournament I’ve entered at Britcon this year, so friend Peter kindly invited me round for a gaming session where I would fight the Romans against whatever he fancied playing.

Given that my Early Imperial Romans are mostly infantry, it was no surprise to see a huge mass of cavalry waiting for me on the other side of Peter’s table. The first two games we played would be Mongols versus Romans, the last would be Normans versus Romans.

Game One: Mongols versus Early Imperial Romans

Being a mostly infantry army, I was comprehensively outscouted and ended up with my troops exactly where I didn’t want them. At least a fifth of my army was out-of-play until they moved in from the flank, and what cavalry I did have were faced by enough swarms of light horse archers to also keep them occupied for the whole game.

Outflanked on my left, my left flank collapsed, and I spent the entire game reacting to the threat from that side. The upshot was a massive 13-0 defeat for the Romans (including the death of the CinC) that boded ill for the rest of the day!

Game Two: Mongols versus Early Imperial Romans

Much to all’s amazement: I won the scouting and, as a result, began the game in a much better position than last time.

Despite this, my left flank collapsed again and I soon found myself 0-4 down in terms of medals. This time, however my better deployment meant that I could recover from this set-back, and in one glorious charge, a unit Roman Equites Alares dashed six victory coins of Mongols from the table, tearing a great big hole in the enemy centre.

Although I was by now running out of victory medals, knocking out another unit of Mongol Lancers and taking the enemy camp finished the job, although I did lose my CinC and part of my camp again. An 11-11 scoreline, but victory for the Romans.

Game Three: Normans versus Early Imperial Romans

Amazingly, I won the scouting again and, if I say so myself, deployed perfectly against the Norman threat.

I advanced forward confidently, only to have my cavalry charge forward with an advantage and get comprehensively stuffed. The worst that should have happened was an even-stevens tussle, but my horsemen just evaporated!

I might have been able to hold on and counter-ruck against an infantry army, but against a mobile mounted army I stood no chance. The rest of my Romans put up a brave fight, so it was no whitewash, but in the end a 6-13 defeat.

Conclusions

So what did I learn? Well, I shall be changing my list slightly just to give me a bit more flexibility, but the main lesson learnt was “don’t fight cavalry armies” which is not very helpful at all!

Siculo-Normans

Or troops from the Norman Kingdom of Sicily.

As the look and fighting style of the Siculo-Normans was heavily influenced by nearby Arabic territories, I wanted to used different manufacturers to the rest of my Normans (all from Museum Miniatures’ excellent CAD-designed range). Looking around the Internet, Khurasan and Baueda (available in the UK via Magister Militum) seemed the best best, so off my orders went.

First up, some of the Khurasan figures and, of them, first finished were the light cavalry.

I must confess that I am not quite sure what to say about these. I generally love Khurasan’s figures, and must have well over a thousand of them from various ranges. These come from their Norman range and whilst they look great, with very animate and all-action sculpts, the actual execution of the figures was less than what I expected.

The horses are beautifully animated, but arrived all crushed down on their bases. Straightening them took an age, and they are very fragile as well. I came very close to snapping them right off the base several times.

Same with the Siculo-Norman infantry. Every spear was not just bent but positively twisted, taking a lot of time to sort. Worse, the bases had either been sculpted badly or been carelessly clipped from the sprue: one corner was turned up slightly and thus every figure (all thirty!) needed the bases flattened and filed much more than I’ve ever encountered previously before they would stand up. A right pain!

So good and bad things to say. It won’t stop me buying Khurasan’s stuff in the future, but I will be cautious about this range.

TTS AAR: Anglo-Normans Hammered!

With Viking and Norman armies now complete, I thought I’d have a look at what else this meant I could field. The most obvious mash-up was an Anglo-Norman army i.e. an English army from after William the B’s victory at Hastings.

This seemed to me to be quite a good combination: you have the the mobile power of Norman knights, the endurance and ferocity of the Viking foot (well, Anglo-Saxons…but the fyrd is a fyrd as they say!), and some lights in support.

With that decided, it was time to pick an opponent. Looking at the list of units that have been painted but haven’t been on the tabletop yet, it was obvious that the Assyrians were up. Not an historical match up by any stretch of the imagination (well, perhaps a pre-emptive strike on what would be the site of the British museum?) but this is Ancients so we won’t worry about that too much! I would play the Anglo-Normans, Kavan would play the Assyrians.

I deployed in a conventional manner - infantry in the middle, cavalry on the wings, lights with missile weapons in front - but Kavan made the unusual choice to put all his heavy infantry on his left wing, with the heavy cavalry and heavier chariots in the centre and his lighter infantry on the left. He then proceeded to march his heavy infantry forward at a rapid pace, hanging back most of his other troops.

I must confess that this completely banjaxed me, and I spent the next phase of the battle trying to re-arrange my troops to match. Talk about surrendering the initiative to your enemy!

Kavan’s troops, of course, were not waiting for me to sort myself out: they were up and at me, taking full advantage of the confusion to sneak a unit of cavalry through the middle as I tried to face the twin threats approaching my flanks.

And this was just the start!

With cavalry now driving through the middle of my line, I couldn’t advance the infantry I’d moved to the right flank to counter his infantry, meaning that I tried to stop them with my knights. Kavan had anticipated this, however, and had hung a unit back to protect his flanks. So this effectively stalemated that side of the field, taking my best troops out of the battle.

Things were going no better on my left and in the centre, with Kavan cross-ruffing his heavy chariots between the two to both prevent me getting any sort of advantage on either and then, with a superb run of cards, even managing to rear charge a unit of heavy Norman spear that I was pulling back to try and defend my camps!

Even if my heavies did survive that initial impact, I was definitely now on the back foot, and it wasn’t long before they did give way, leaving the way clear for the Assyrian chariots to break through and finish the capture of my camps that the cavalry had begun.

That took care of the last of my victory medals, meaning that the Assyrians had won a glorious victory over my utterly-defeated Anglo-Normans.

A great game of To The Strongest, fought superbly by Kavan, who knocked me off balance with his initial deployment and never let me recover. A master class!

TTS AAR: The One With The Mid-Game Earthquake!

As our first Normans versus Vikings game hadn’t taken that long, Kavan and I decided to swap sides and play again. This was to be a very exciting game, but for all the wrong reasons!

Deployment was pretty quick. Having seen how the Normans were able to harry the somewhat dispersed Vikings in the last game, I was determined to keep my troops together to protect the flanks of each unit whilst giving maximum opportunities for mutual support. I put the huscarls, my best troops, in the centre hoping to punch through to his camps…and made sure I left my light javelinmen to protect my camps: no repeat of the last game here!

The Normans advanced towards me really quickly so, not wanting to have no room for tactical retreats and the like, I pushed forward as well. I also moved my light archers to the front determined to use every advantage I had despite the fact that missile fire had had almost no effect in the last game.

The initial clashes produced mixed results, and it looked as if we were in for a grinding clash determined not by subtle tactics but by blunt force!

Then disaster struck!

I have used the same fold-up tables for many years, and have never had a problem with them. This time, however, I must have neglected to lock the legs on one table properly, and as Kavan leant forward to position one of his units for the attack, the table underneath him collapsed!

Fortunately the rapid advance of the Normans means that almost all the figures were on my side of the battlefield i.e. on the other table, and it was only one set of legs that collapsed not both, so only a few units were affected and even those mostly by jostling rather than a long drop to the floor!

We were therefore able to put the battlefield back together fairly easily, and re-order all the jostled units with no damage done. Phew!

At this point in the game, the Normans were doing pretty well: pushing the Viking units back with a series of hard charges from their lance-armed heavy cavalry.

Now, however, the tide turned: the “earthquake” had obviously been the Allfather, or perhaps the Odinson, intervening!

My men rallied, and began knocking Norman units off the table one by one. Even my lights contributed: with an initial clash between the big boys often resulting in one disorder a side even a single, successful hit from Viking light archers meant an enemy unit cleared from the table (my “deep” units could take two disorders before breaking, the Normans only one).

My idea about mutual support proved useful, as several times warbands that had already dealt with the enemy horse in front of them were able to turn and intervene in another clash, as below:

Here, the intervening Vikings smashed the enemy they flank charged from the table, giving the unit under pressure time to rally off a disorder. Yes, they were then in a terrible position being flank charged in turn, but the Vikings are tough and can usually take one flank charge without breaking.

Fittingly, it was a light archer unit that polished off the last of the Norman victory medals:

A great game with a very narrow escape. I will make jolly sure the table legs are locked next time!

TTS AAR: Normans Take The Field!

As mentioned in my last post, with the last of the Milites finished it was time for the Normans to finally take the field with a game of To The Strongest versus Kavan playing the Vikings.

This would be quite an interesting battle as the Normans were mostly heavy cavalry and the Vikings were all infantry. My plan was to take advantage of my extra mobility and get around his flanks, as charging formed infantry with cavalry is rarely a good idea!

As the game began, both sides advanced forward strongly, with the battle rapidly dividing into three sectors: the left, the centre and the right.

In the centre, Viking huscarls (the units with the red Meeple) had sped forward and hit a line of Norman cavalry in the Norman half of the table. With three Norman units in play against just one Viking, I was fairly confident that I could win the first clash, but I had underestimated just how ‘hard’ the huscarls were: being a deep, veteran, shieldwall unit with extra two handed cutting weapons!

My first Norman cavalry unit just evaporated and, worse, the follow up huscarls, led by their overall commander and waving their ‘land-waster’ standard, hit my own overall commander’s unit and forced him to make the decision to run away as fast as possible! Oh, the shame!

A quick overview pic, with the Viking huscarls bursting through my centre!

Meanwhile, on the left flank, my plan had actually worked out rather well.

Three units of milites had faced up to a couple of the lesser-quality Viking bondi units supported by some lights, and used their superior mobility to get around the hairy infantry and into the Viking camp. Six glorious victory medals headed my way as my horsemen remembered their heritage and sacked and plundered the enemy camp for all its worth!

My Viking Longships haven’t arrived yet, so the Viking camp has a weird looking hut in it…and lots of Norman cavalry!

In the centre, however, the Vikings were about to do to me what I had done to them, with their commander’s huscarl unit crashing after my fleeing horse and then into the Norman camp and refusing to be shifted even by William himself!

Fortunately only one half of my camp was taken, but that still meant three victory coins to Kavan!

Casualties were now mounting on both sides, so it was obvious that the battle would be decided on the right where, up to now both sides had cautiously crept towards each other.

Somehow I had managed to get into a decent tactical position where I could get two of my cavalry units onto one of the bondi units but, as I have said before, these deep units are tough and the bondi survived long enough to pull back and get some support.

Not even the toughest Viking, however, can keep taking charges from the front and flank, and so it was here as well. The bondi unit broke and with that Kavan’s final victory medals were spent and the Vikings decided to retreat.

A great game and a very narrow victory for the Normans as I only had five coins left myself.

It was an interesting battle and one where I learnt that Norman cavalry definitely do not want to take on Viking huscarls or bondi units head on, even with lances: the only way is to get around their flanks or hit them two-on-one.

Last of the Norman Milites

Here are the last of the Norman Milites figures: 15mm miniatures from Museum Miniatures’ CAD designed Z Range.

That’s eleven units of Norman cavalry (88 figures) I’ve painted since the first ones rolled off the production line in February, all of which were painted in ‘eights’ so with each horse and rider painted in a unique colour scheme.

These are lovely figures. I read a review somewhere else on the ‘net criticising them for not having enough depth of detail to take Contrast paints well, but that hasn’t been my experience. I highly recommend the Museum Z Range and now have Sumerians, Classical Indians, some Greeks, and now the Normans.

Must be time to get them onto the tabletop…

Siculo Norman Cavalry

As previously mentioned, I’m building my 15mm Norman army out to include Anglo-Normans and Italo-Normans.

One key difference between Norman-Normans and Italo-Normans is the influence that the existing mix of Greeks, Arabs and Lombards had, and I wanted to reflect that in the different troop types/figures that I would field.

The To The Strongest list allows for up to four bases of Norman knights, two bases of Mercenary Knights and two bases of Communal Knights. I could field the Norman knights via my Norman-Norman milites, so just needed a couple of bases of different-looking figures for either the Mercs or the Communal types.

Step forward Baueda (available in the UK via Magister Militum) who actually do figures specifically for the Siculo-Normans…so here they are:

Nice looking figures, although they are distinctly smaller than the Museum Miniatures Z range that I am using for the Norman-Normans. They also all have upright lances in soft metal which, to my mind, just means lots of bent spears that continually need to be straightened.

I decided to hand paint the shields myself rather than use a decal as a base. Not a process I enjoyed, but I did get better at it as I went on. I should really have added Baueda Norman command figures as well, but I wasn’t thinking when I ordered the figures so have no command types and have had to hang the banners on standard lances rather than the extended version that banner-carriers have.

So that you have a direct comparison, here’s another base of standard Norman-Norman milites that I have finished. Only two more of them to do now!

Even More Normans!

Not much gaming going on at the moment, so I had a chance to finish off some more Normans.

Off the painting table today are two units of light archers, the heroes, and the senior command stand consisting of William the B himself plus Bishop Odo (who you can’t see as he’s behind the flag).

These are more of the 15mm Museum Miniatures CAD designed Z Range, except for five of the Heroes who are from the Splintered Light Norman specials pack. I particularly like the chap at the back charging forward whilst swinging his sword.

I’ve also now ordered a ton of Sicilian and Italian style Norman spearmen from Baueda (via Magister Militum) and Khurasan, plus a few extra cavalry types to represent light cavalry and Sicilian style milites. Looks like I’m going to be painting Normans for some time!

Norman Archers

Had a real push on finishing the Normans last weekend:

There are two units of Archers and two units of Light Crossbowmen. These are 15mm figures from Museum Miniatures lovely “Z” range of CAD designed minis. Highly recommended for anyone looking for Normans in that scale.

With these figures finished, I can now field Anglo-Normans if I add my Vikings to the roster as quasi-Anglo-Saxon types. I could also field a Norman-Norman army, but it would be a very infantry-heavy one: I’m going to need to paint up some more milites before I can field mostly-mounted Normans.

Romans and Normans

Here’s a couple of bits of painting I’ve managed to complete.

First up, a unit of unarmoured milites for the Normans. Very much a question of one down and two to go on these: I’m writing this post instead of working on the next unit!

These are more from the Museum Miniatures CAD designed 15mm ‘Z’ Range, and very nice they are too. I went for the bright colours because these are wealthy individuals looking to look their best on the battlefield.

Next up was unit of Roman legionary engineers, which I will use as the Camp Servants that appear in the Marian Roman army list for To The Strongest that I work from.

These are 15mm Baueda figures ordered from Magister Militum. What I particularly like is that no two figures in a pack of eight are the same: that’s a decent variety for such a niche sculpt. I think I could have done a better job on the faces, though, and, for some reason, the Army Painter matt varnish has come up a bit glossy…but that will fade with time.

Right, better get back to those Normans…

More Norman Milites

The Normans are coming along nicely now: the last two bases of Milites rolled off the production line this weekend, along with the brigade leader, Bishop Odo in on-foot pose.

Again, the shields were the real pain to do, but do look good at tabletop distance.

That’s about half the Normans done now: just a brigade of knights not in chainmail, the archers and the lights.

Norman Crossbowmen

I needed a rest from doing kite shields, so decided to paint up some crossbowmen bases. These would have started to appear from about 1000CE onwards.

Again, these are very nice figures from Museum Miniatures. I have painted them up as relatively ‘official’ units, all wearing padded armour a bit like a fabric version of a hauberk.

I like the poses on these figures, particularly the ones I have used at the back who are using the stirrup to pull the string back.

I’m also going to do a couple of bases of light crossbowmen, but these two bases are the backbone of the missile defence of the army.

As you can doubtless see, I had problems with the shields of the command group, so I wasn’t completely free of the shield-curse yet!