SP AAR: OML9: Xhosa Raid!

My second game at Operation Market Larden 9 was a game of Sharp Practice set in South Africa in 1846.

To quote the briefing, “Xhosa raiding parties have brough terror to European settlers along the border with Cape Colony, destroying farmsteads, murdering their inhabitants and driving off livestock. The Governor has ordered both Regular and locally-raised auxiliary units up into the Waterkloof mountains to escort the civilians back to safety”.

I would play the commander of the auxiliary units tasked with rescuing the civilians.

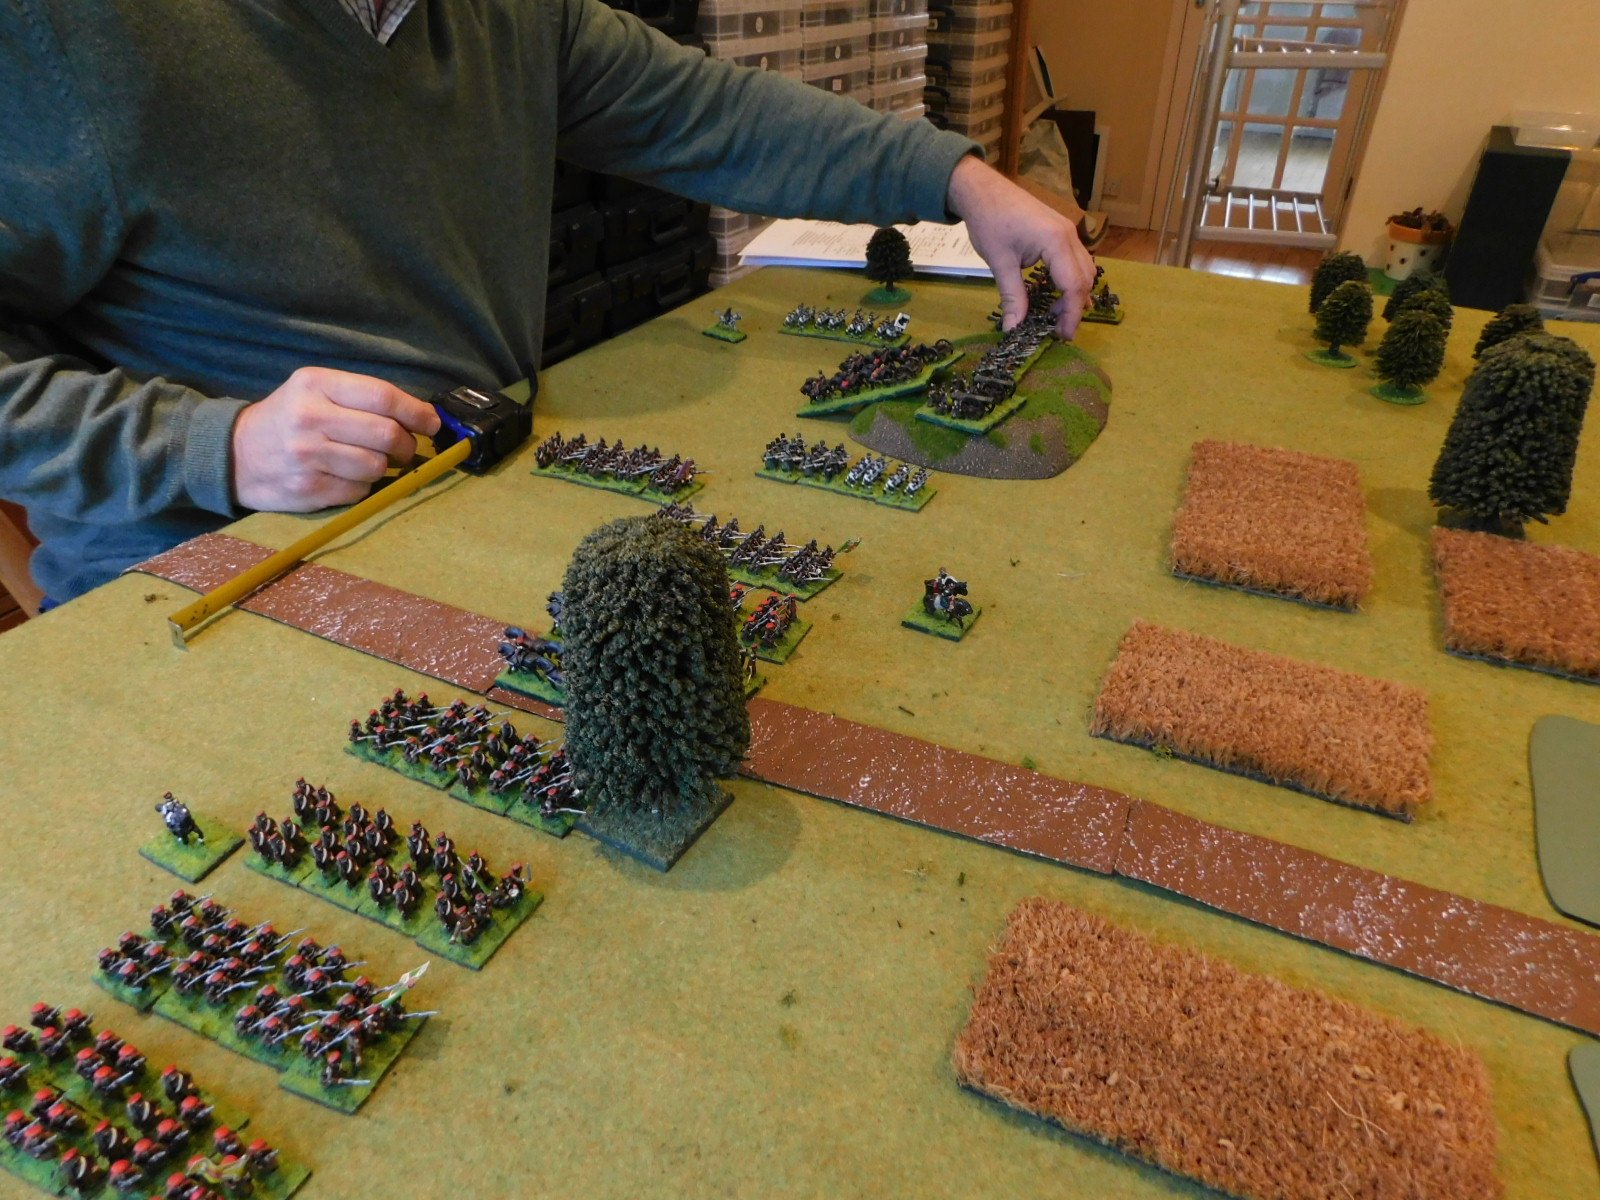
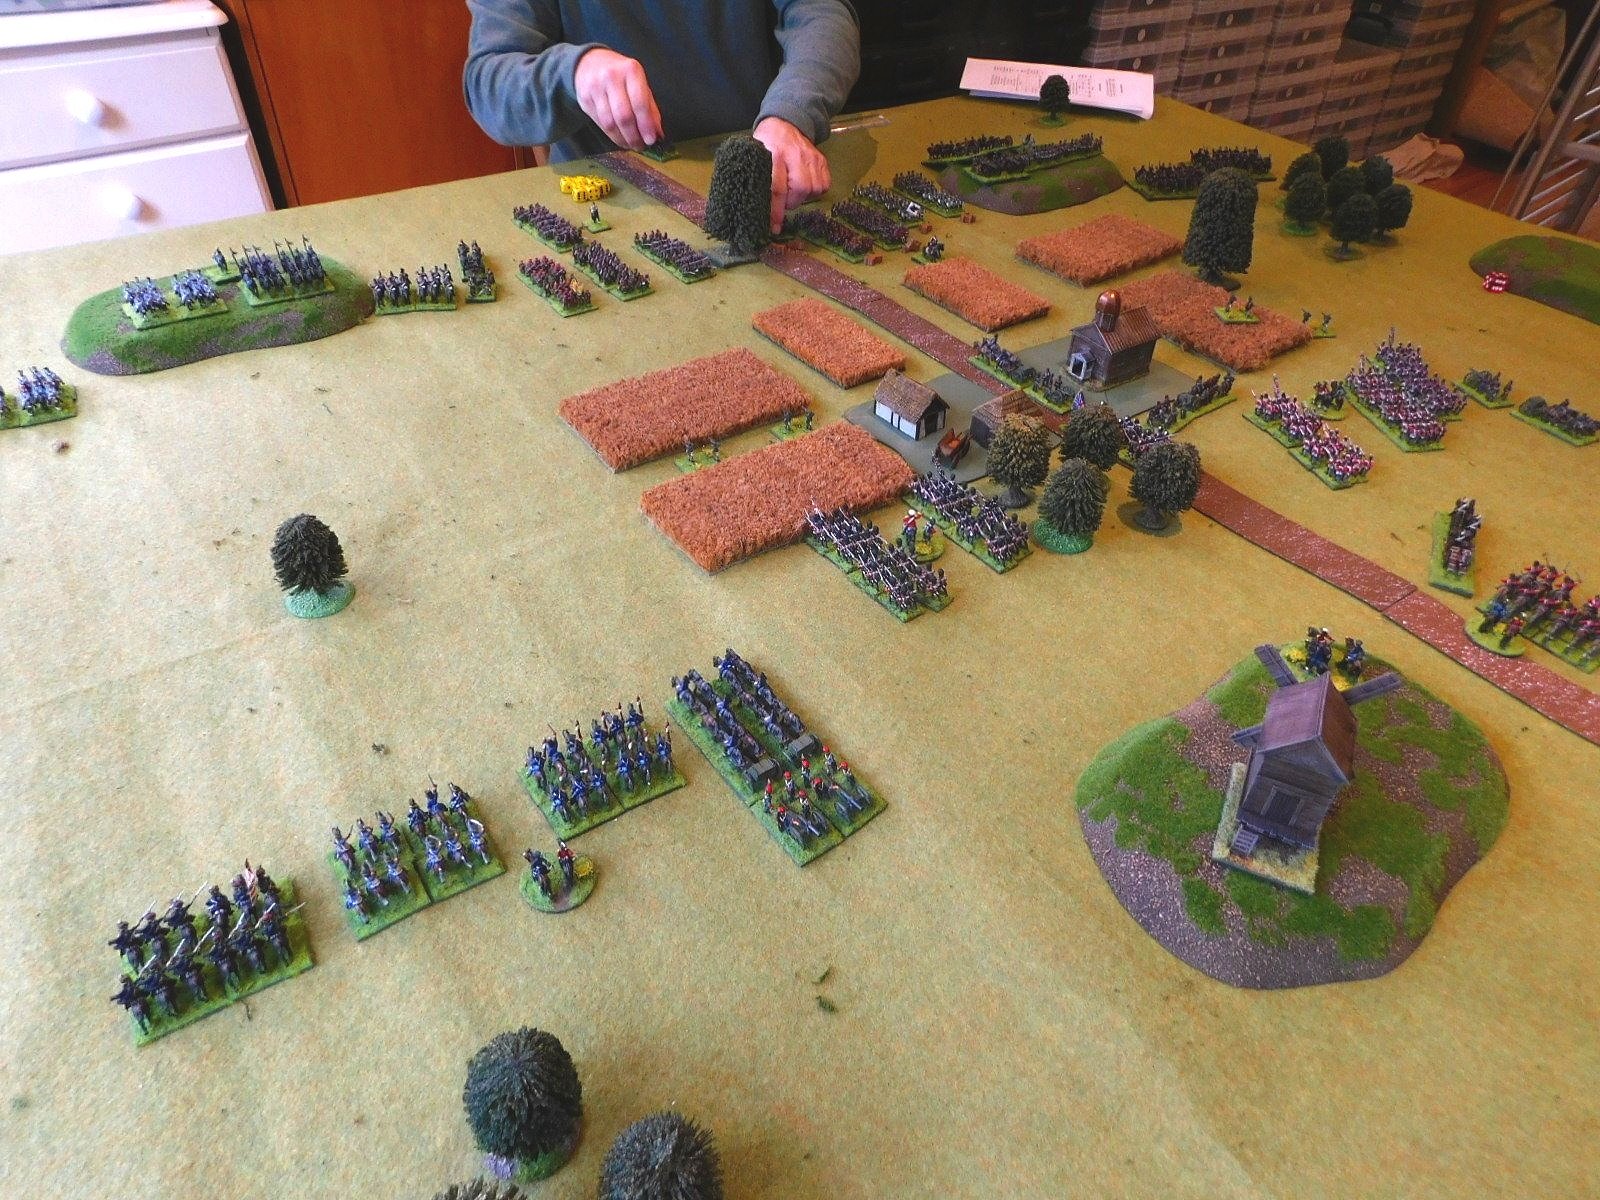
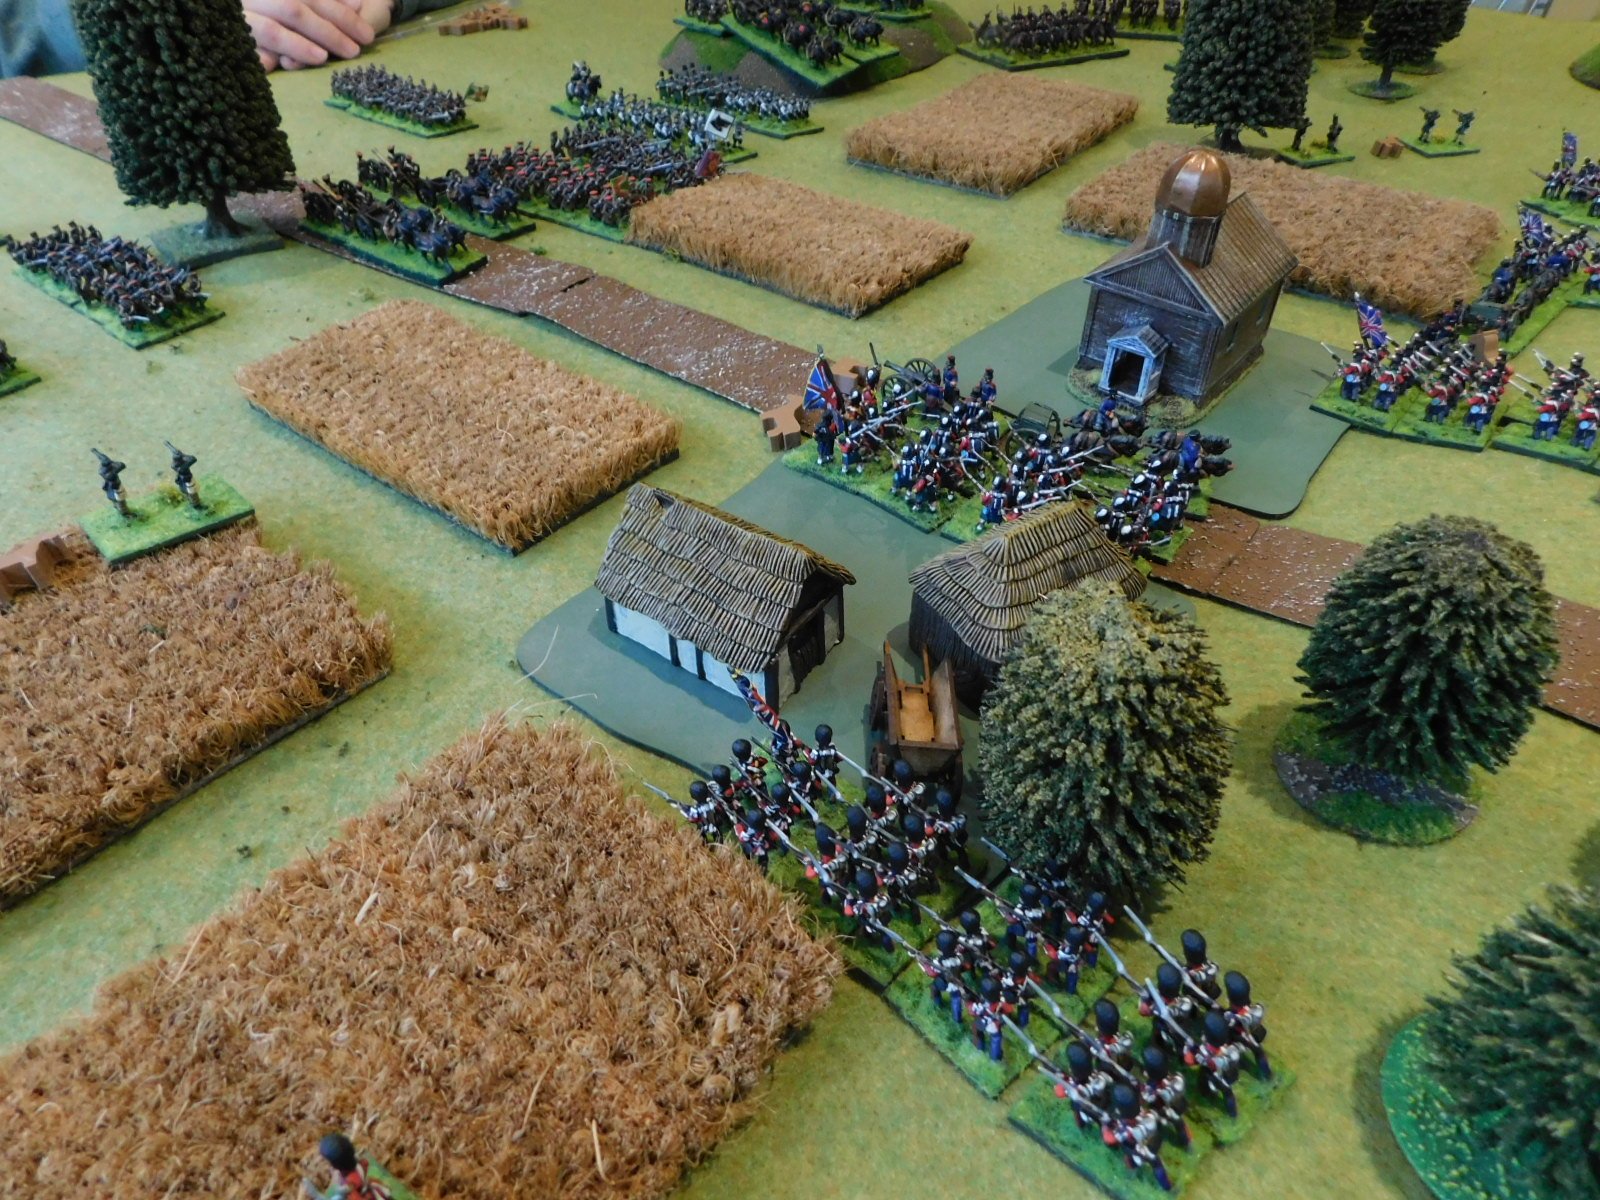
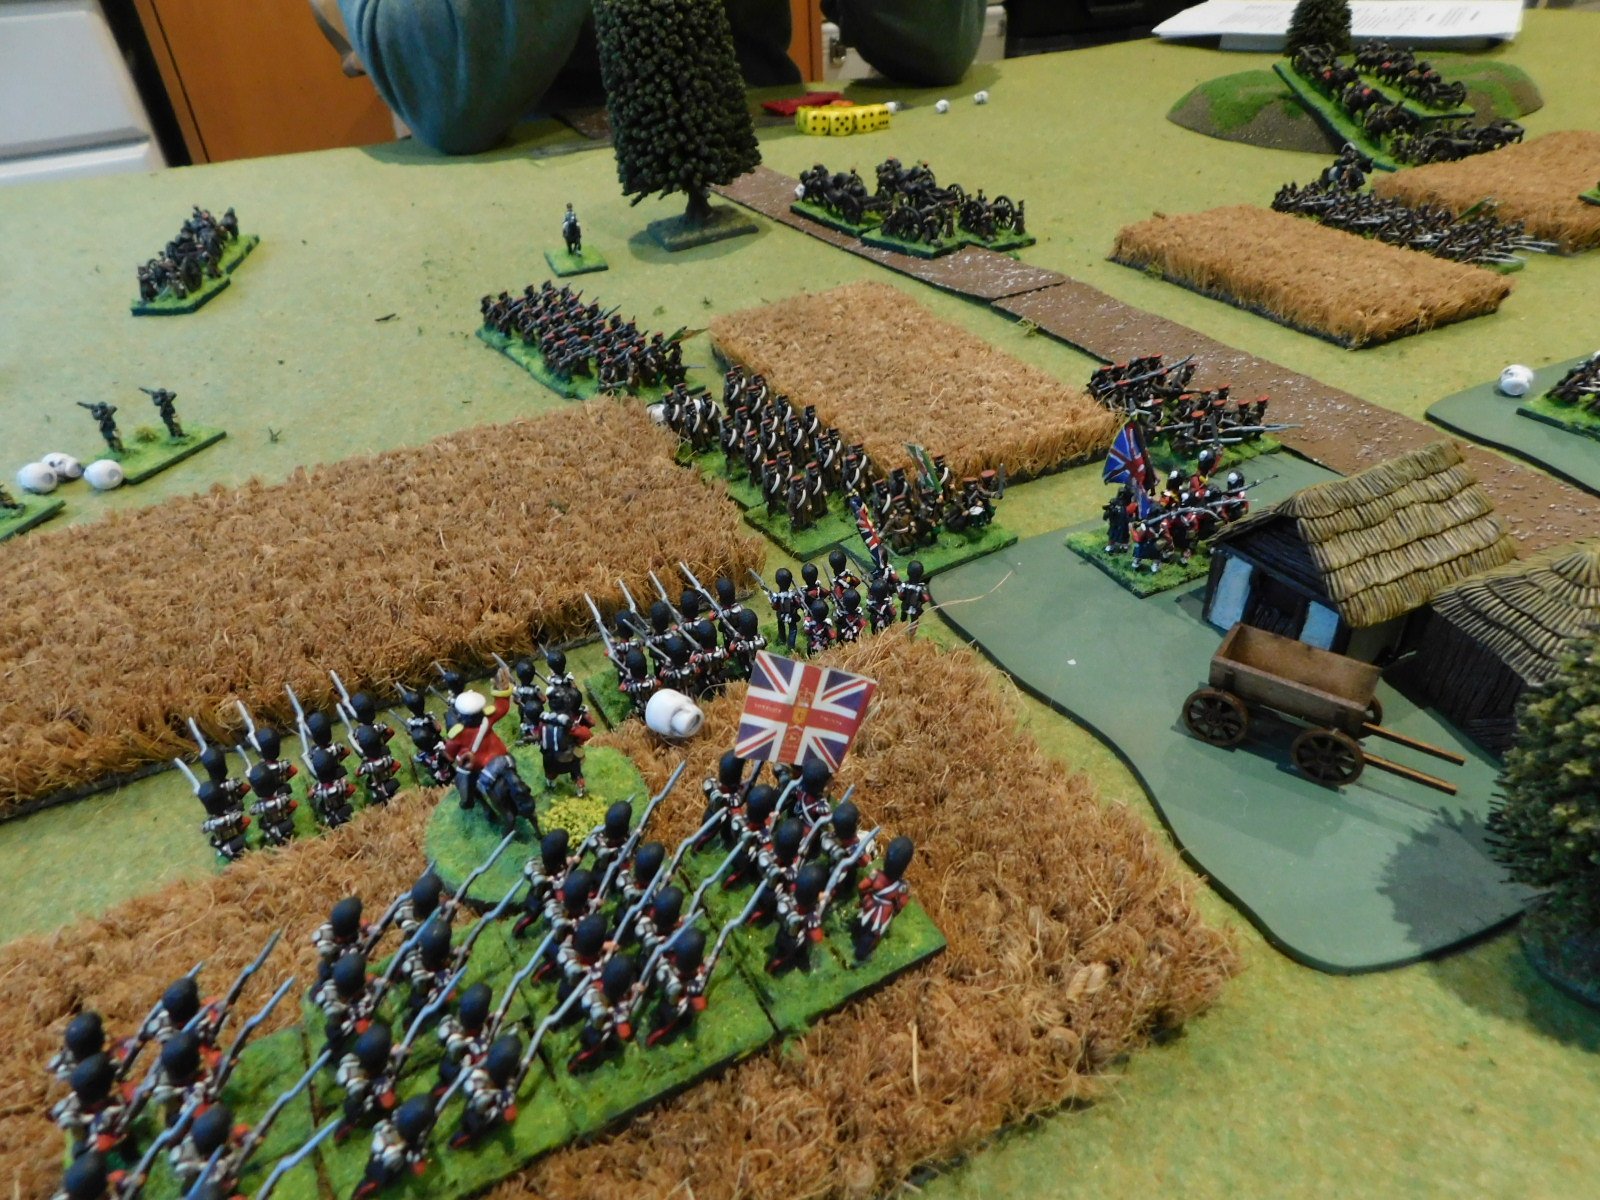
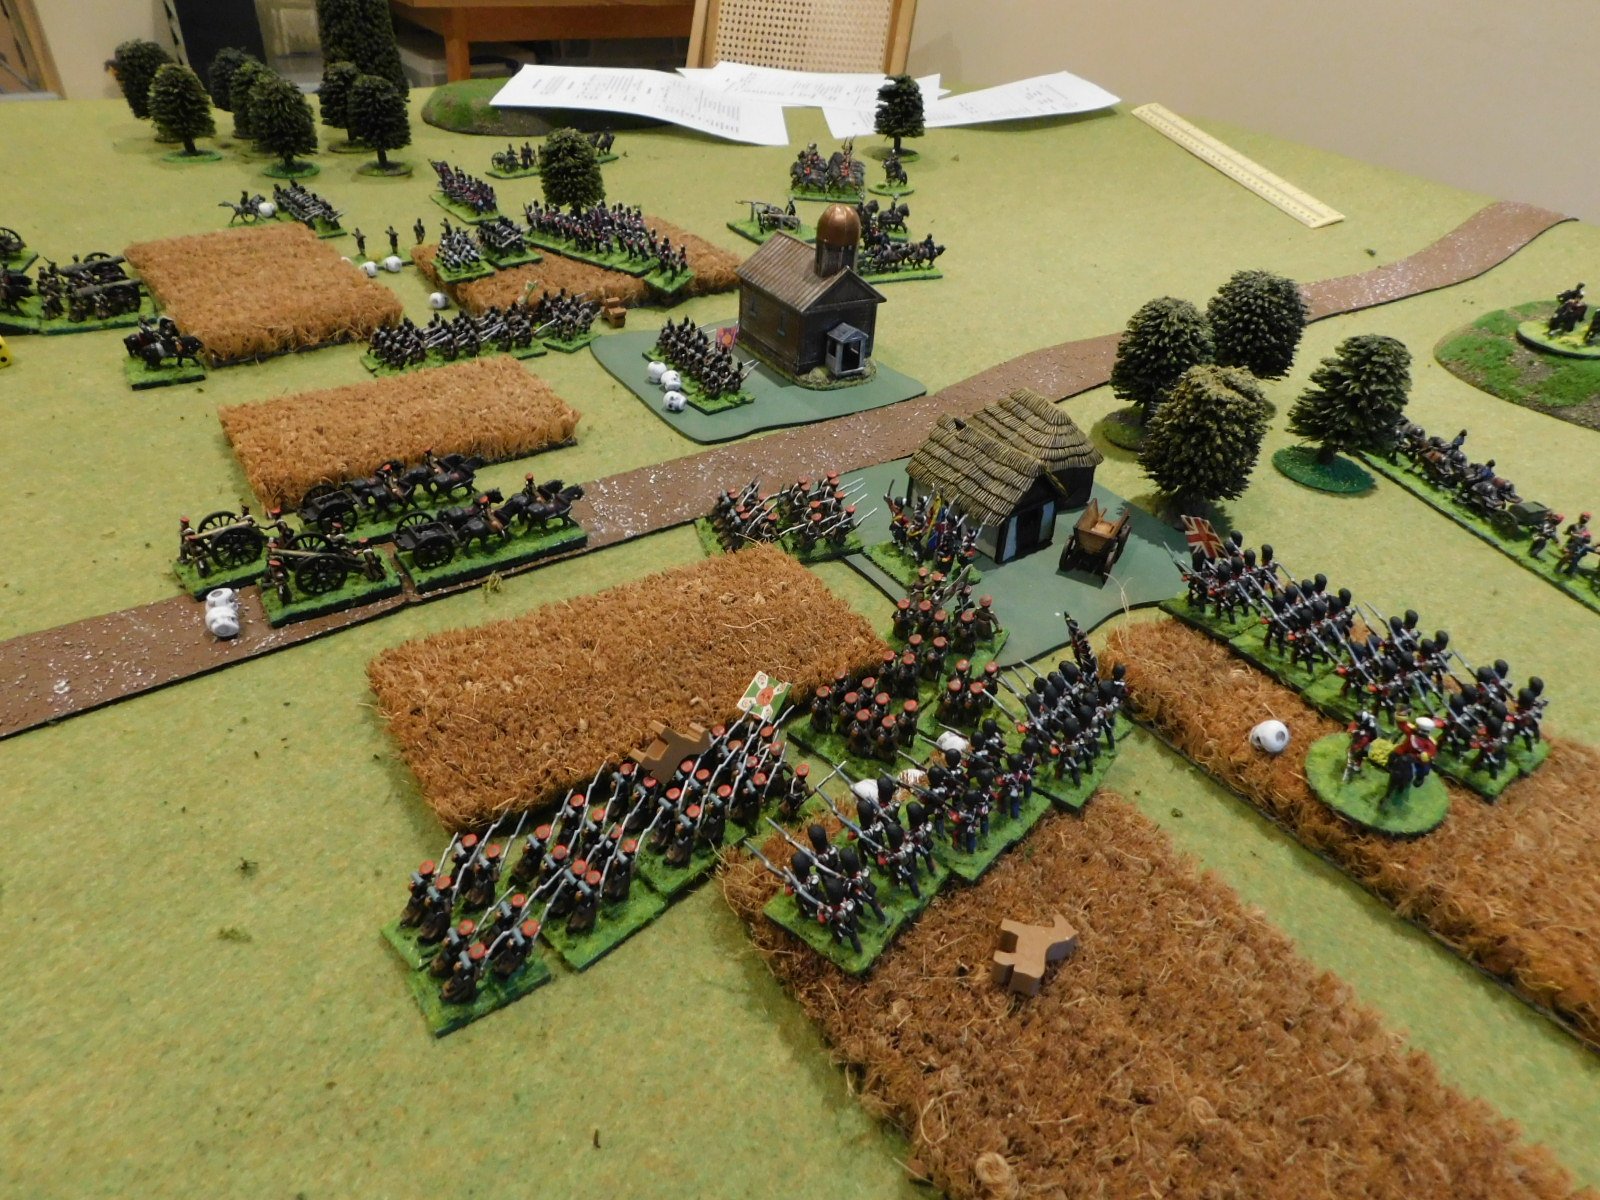
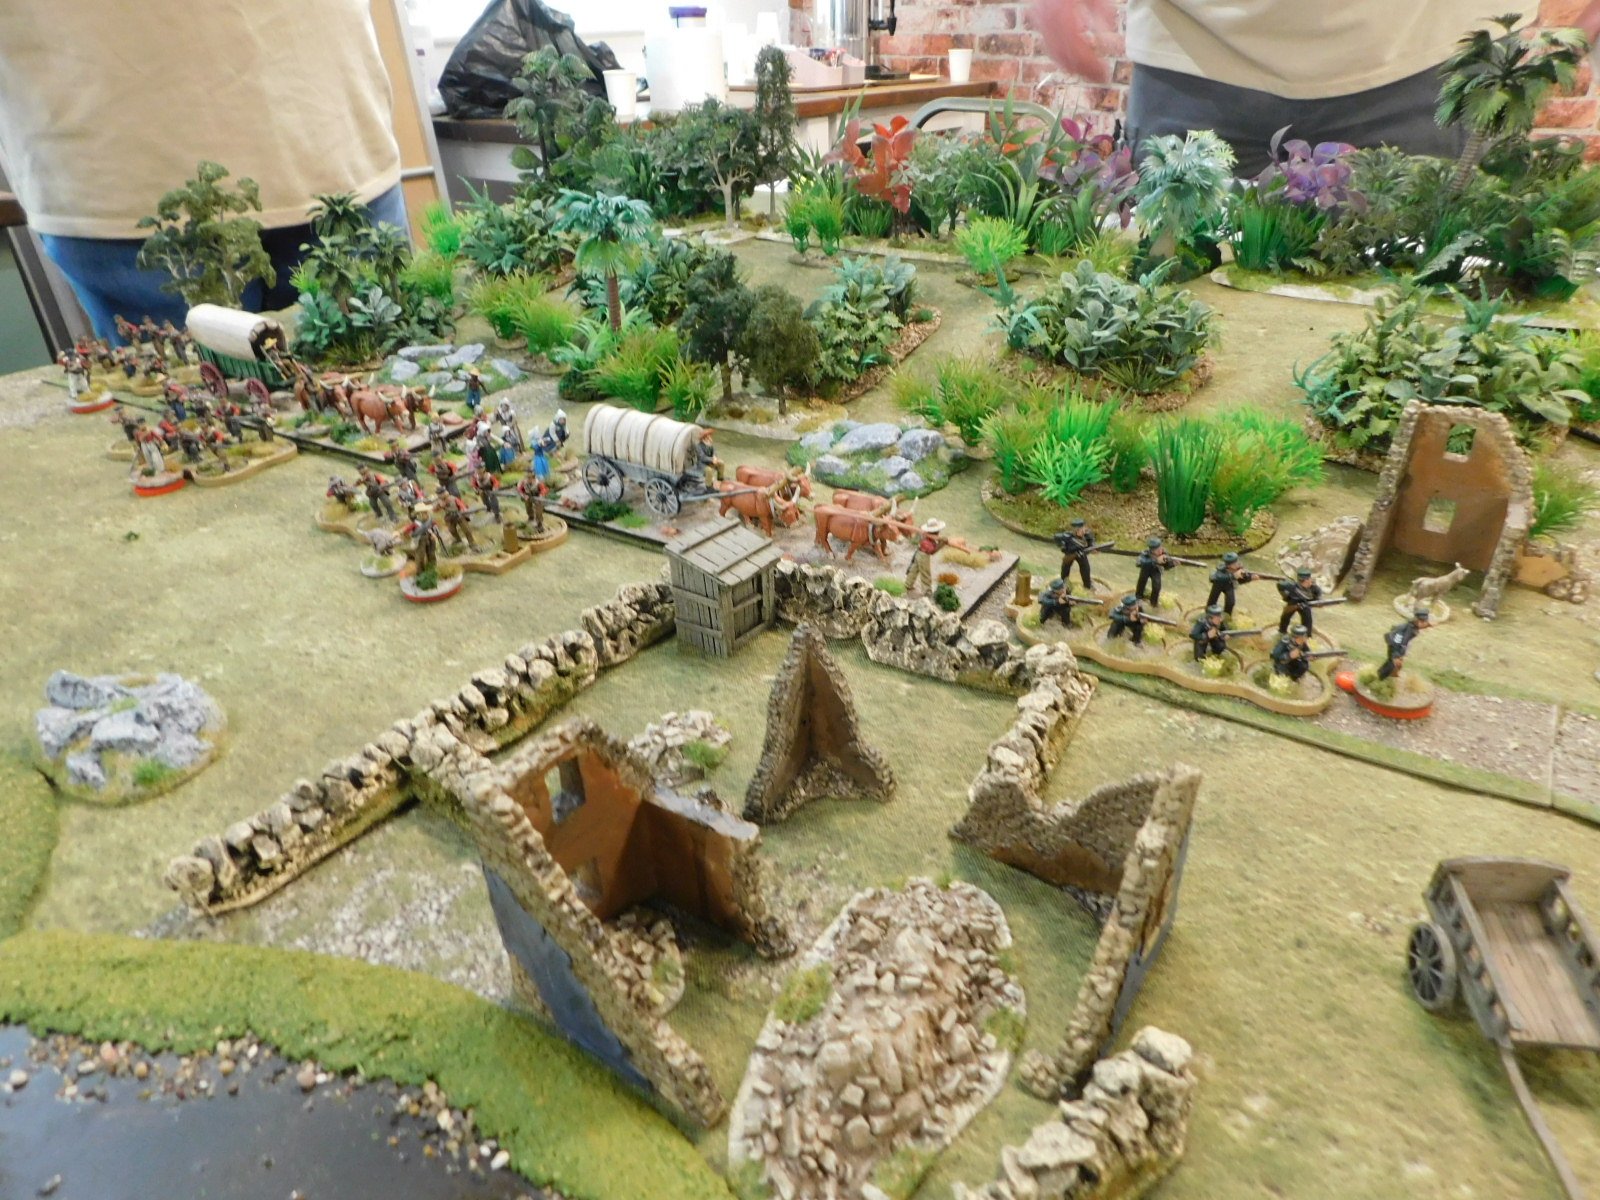
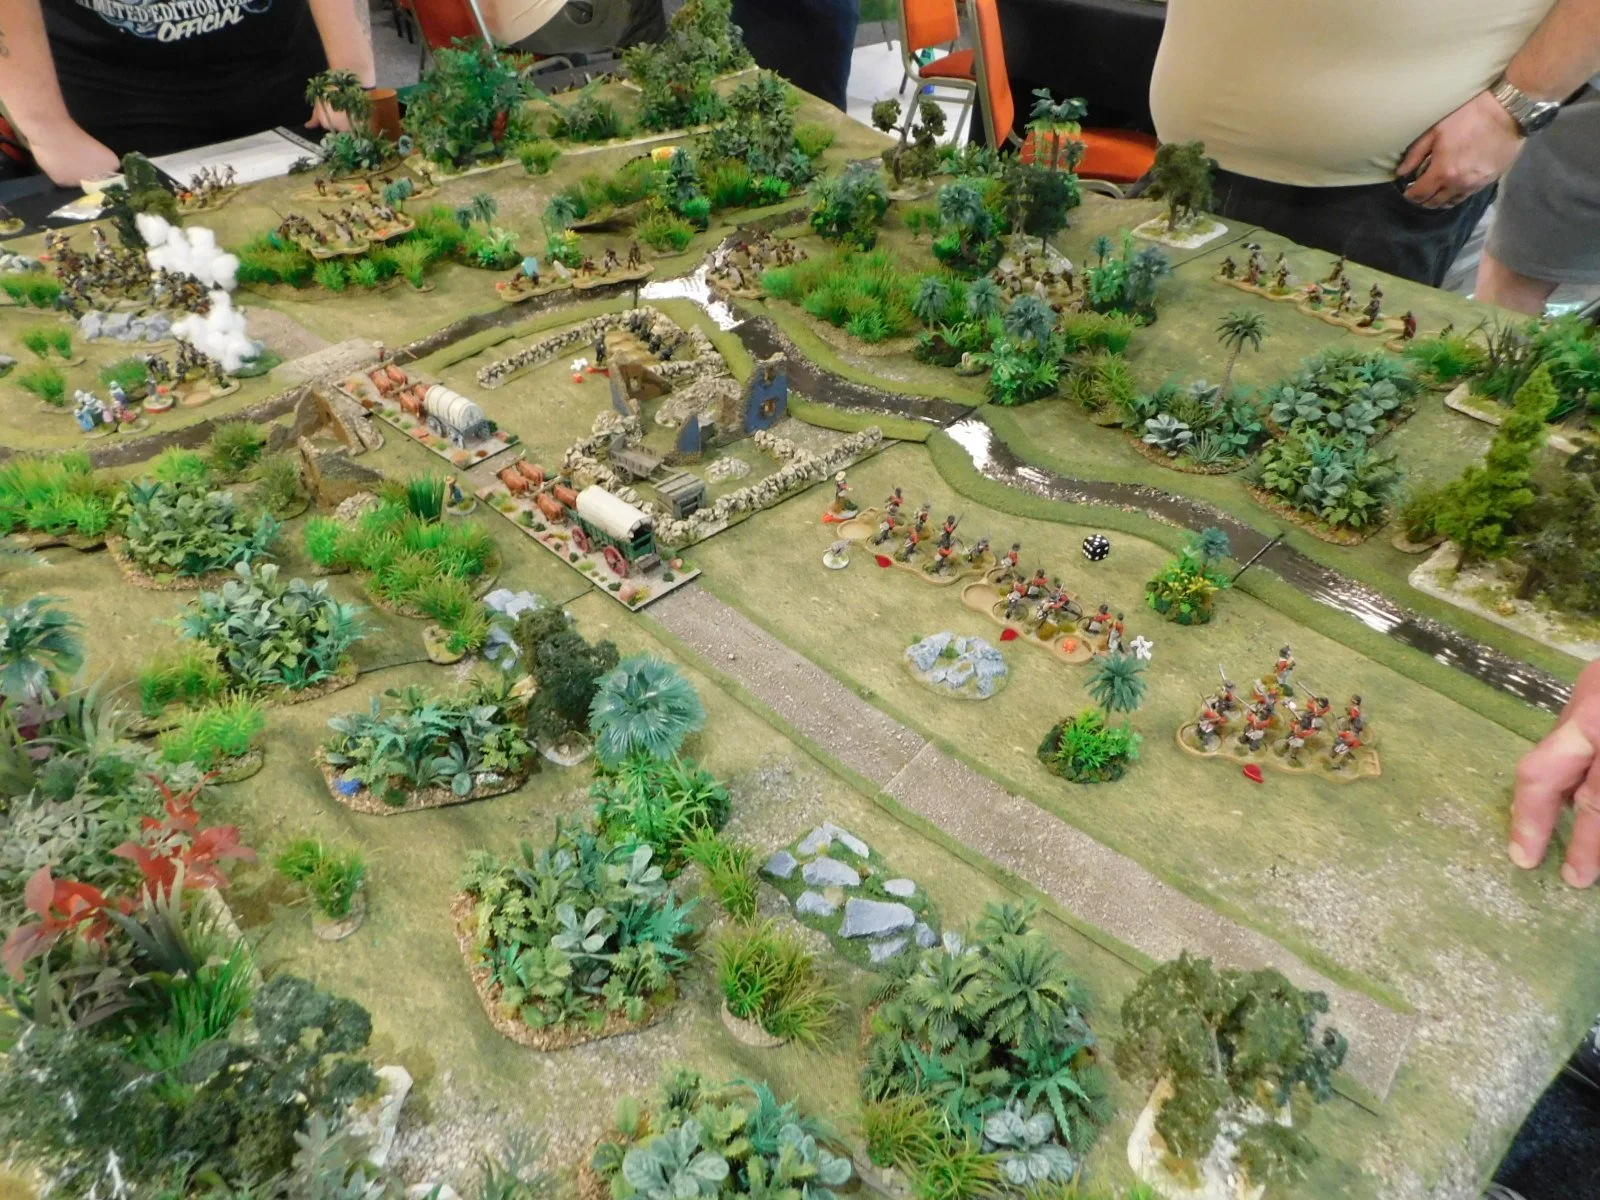
The column I was helping to protect. My auxiliaries will enter the table from far to the right of what you can see here. The xhosa will come from where the camera is and off to the right as well.

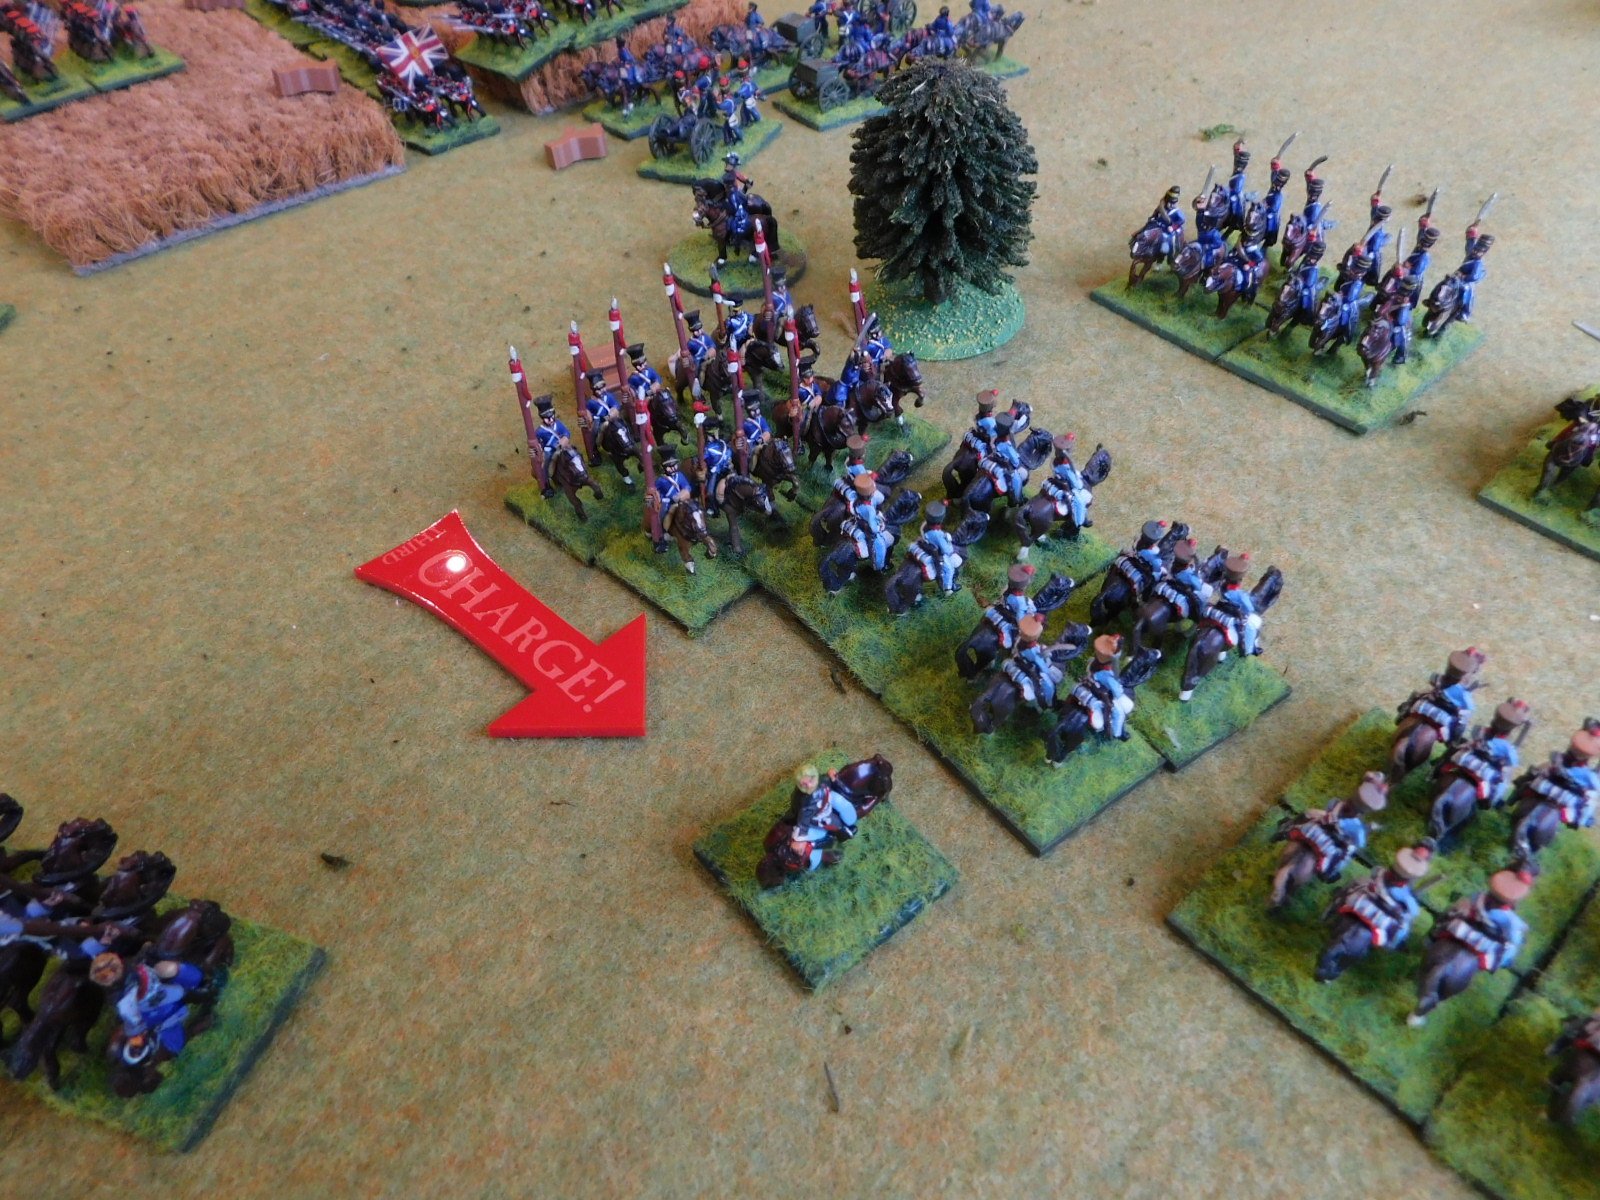
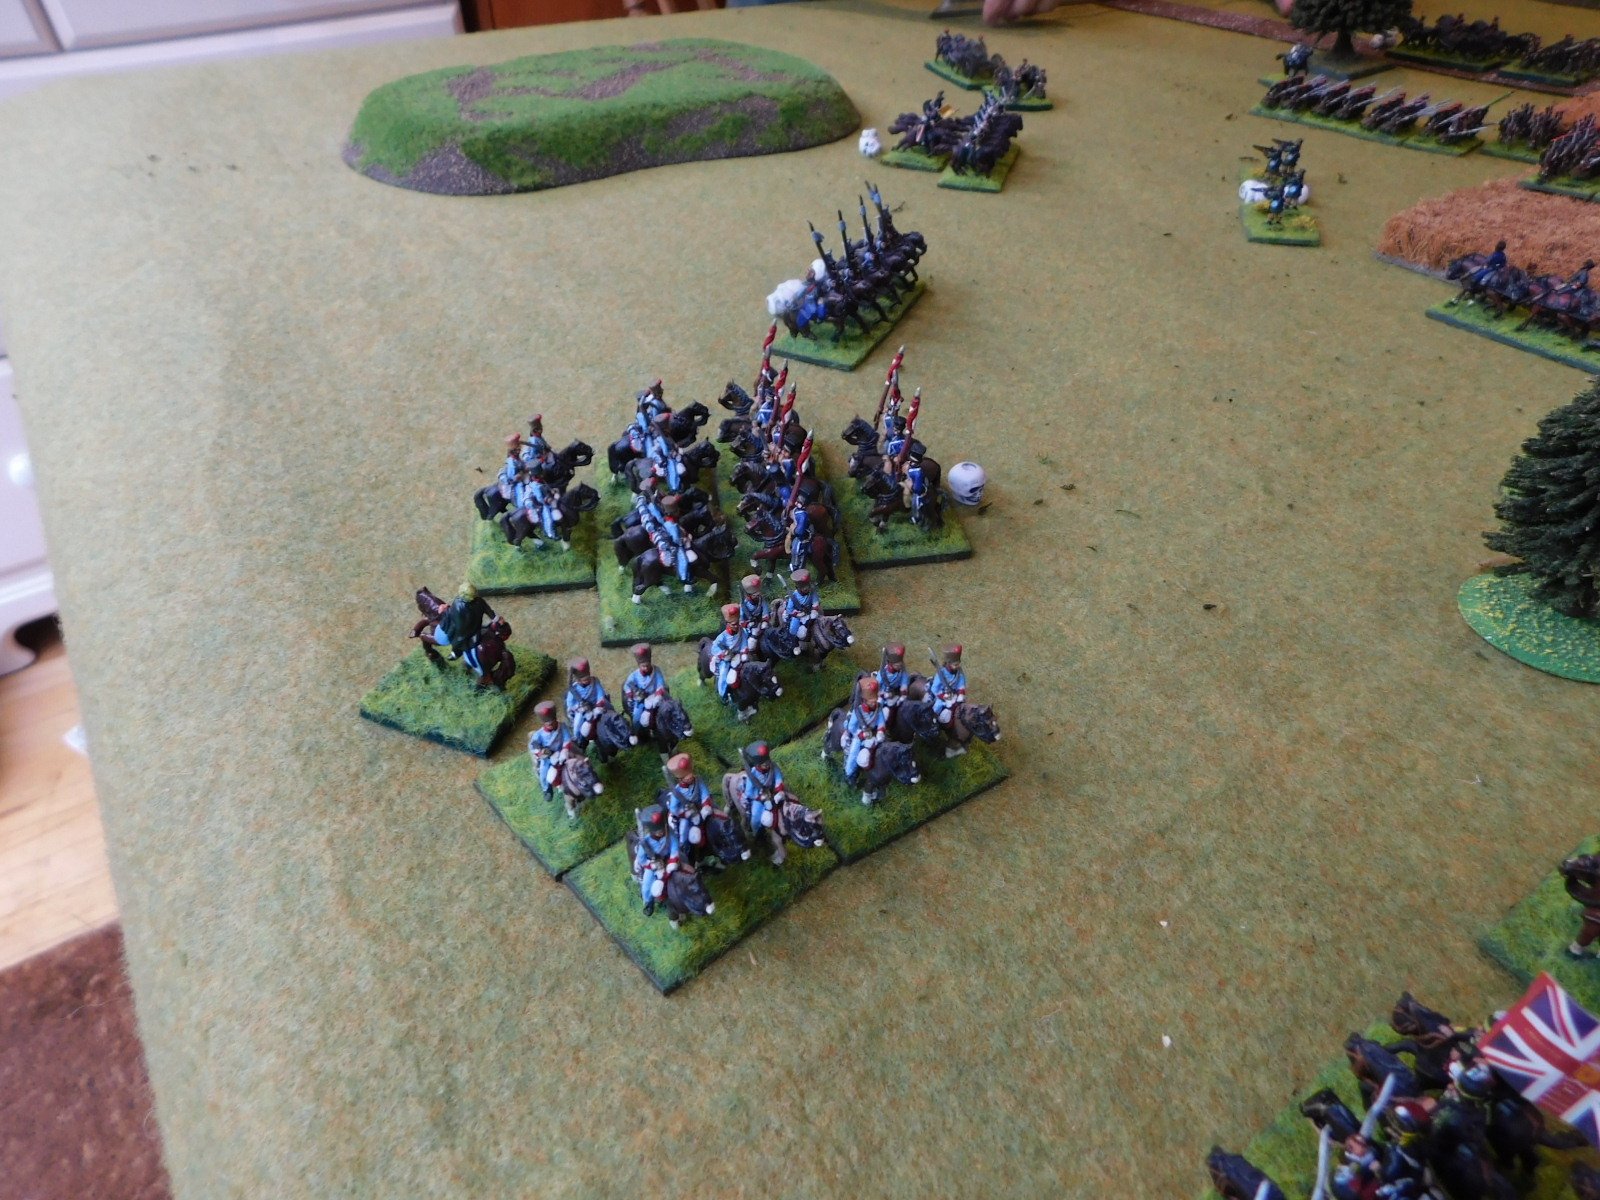
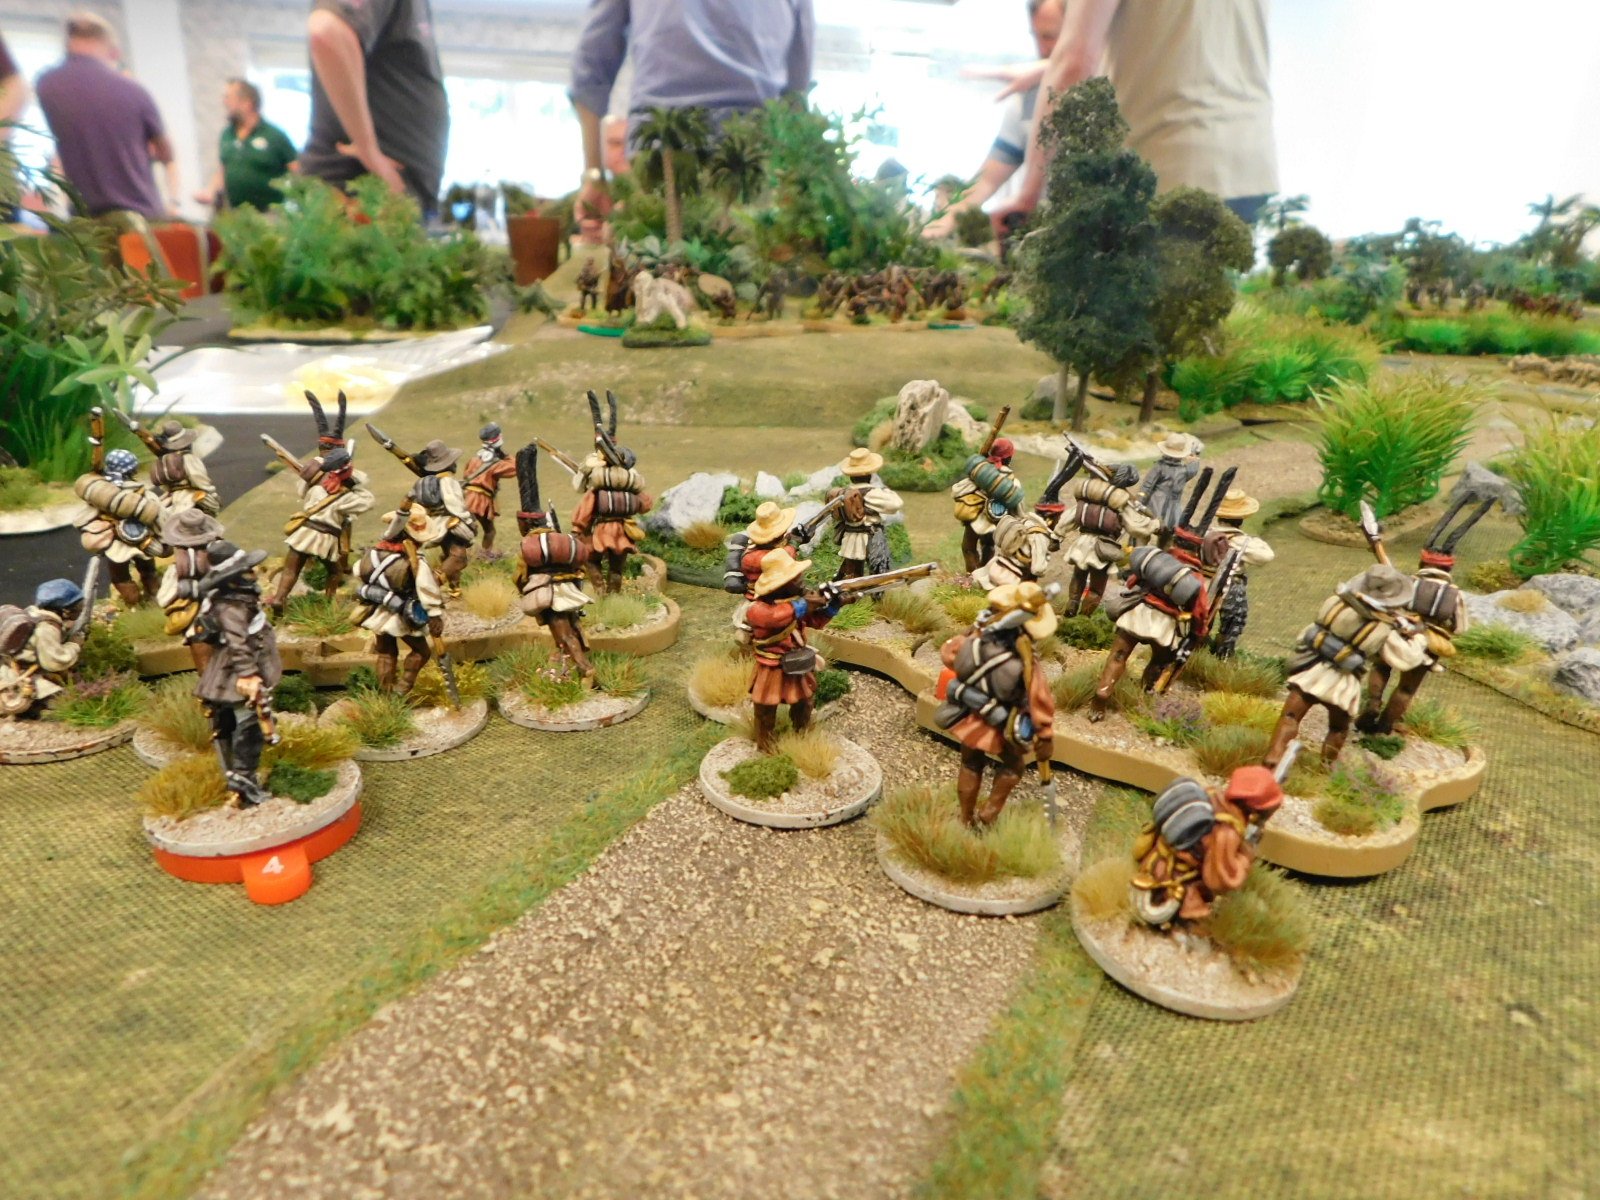
This turned out to be a Ripping Yarn of a game, with waves of Xhosa initially trying to overwhelm the column and my troops with fire then, realising that we were winning the firefight, attempting to charge in and fight us at close quarters.

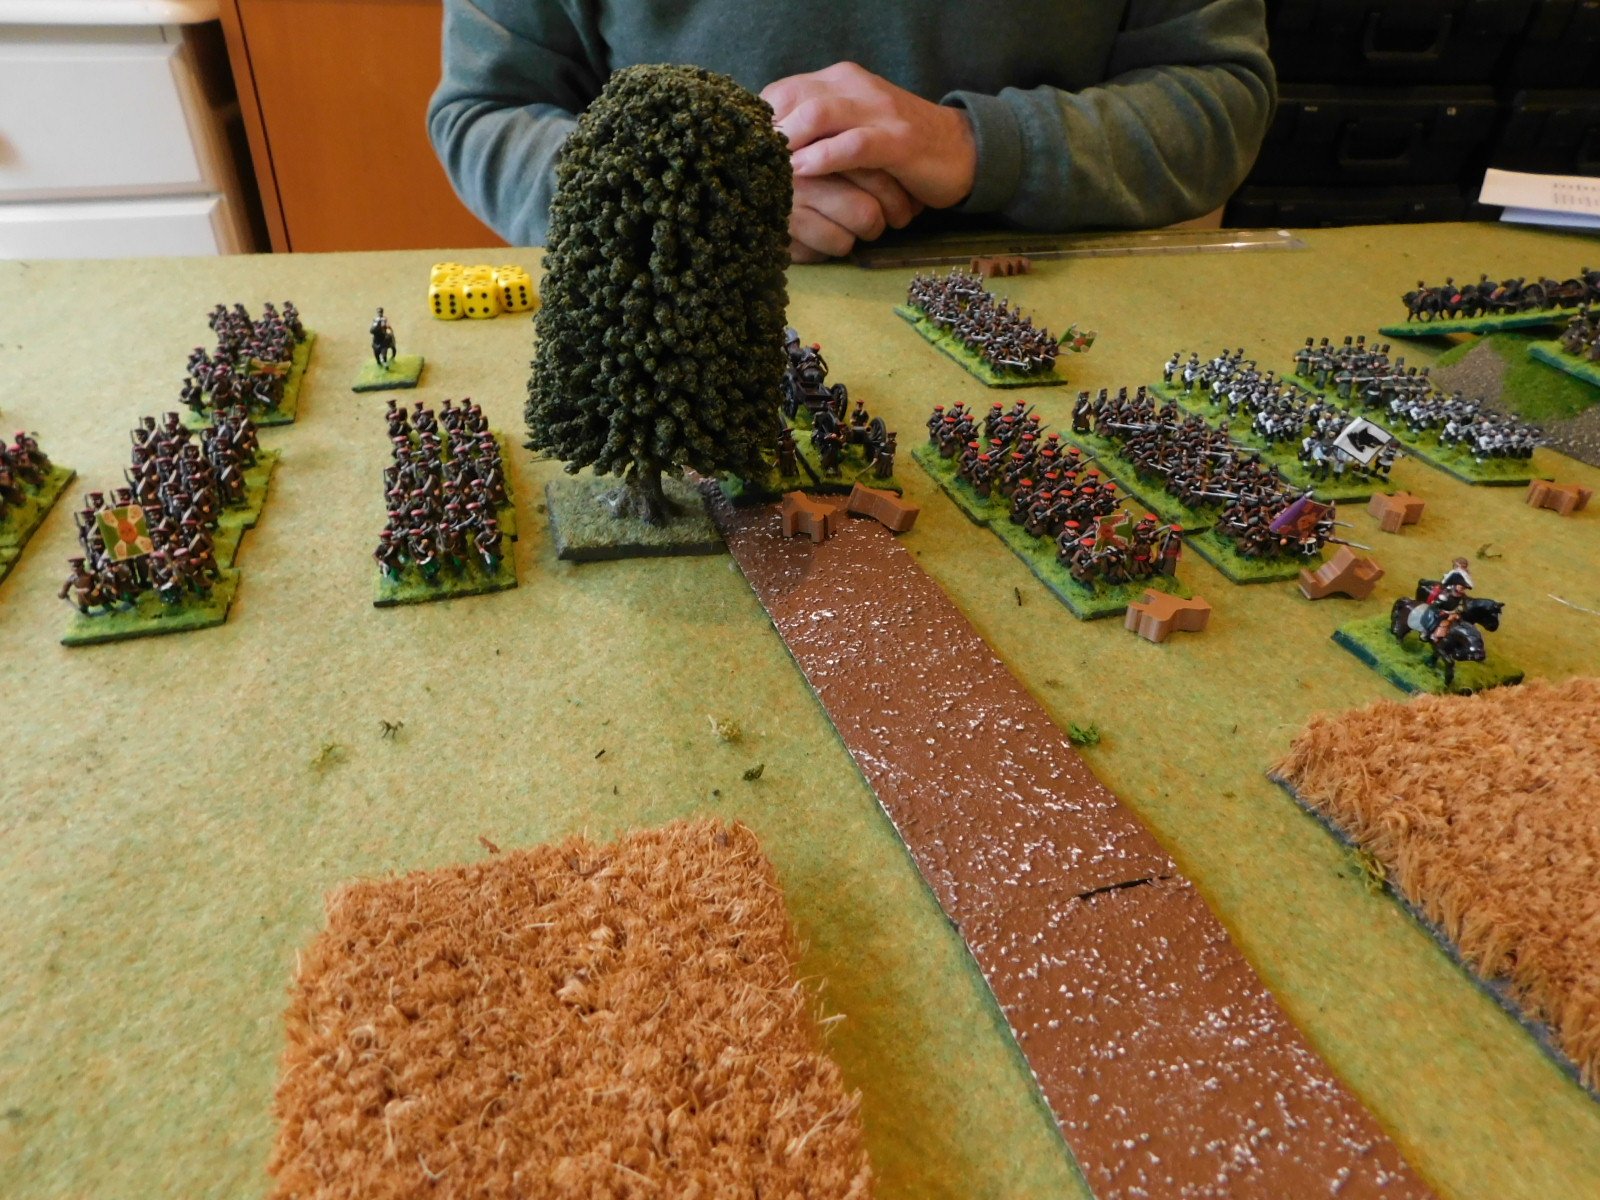
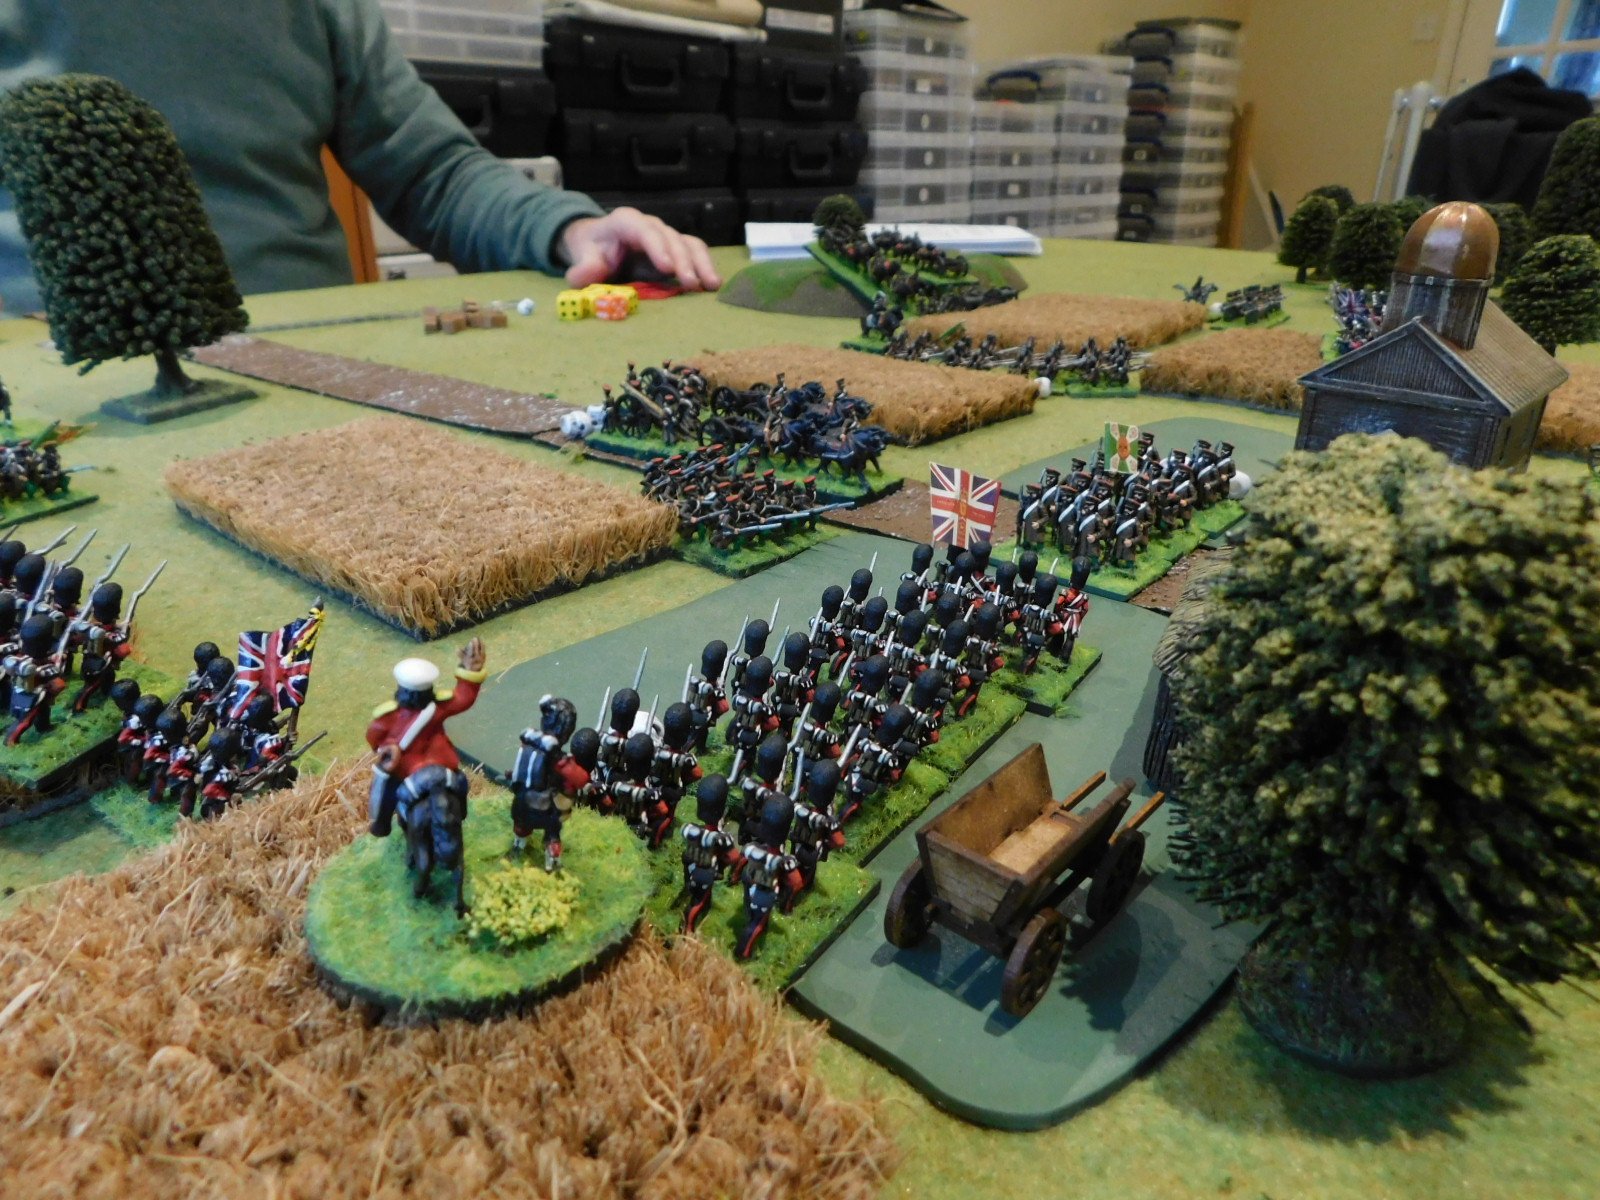
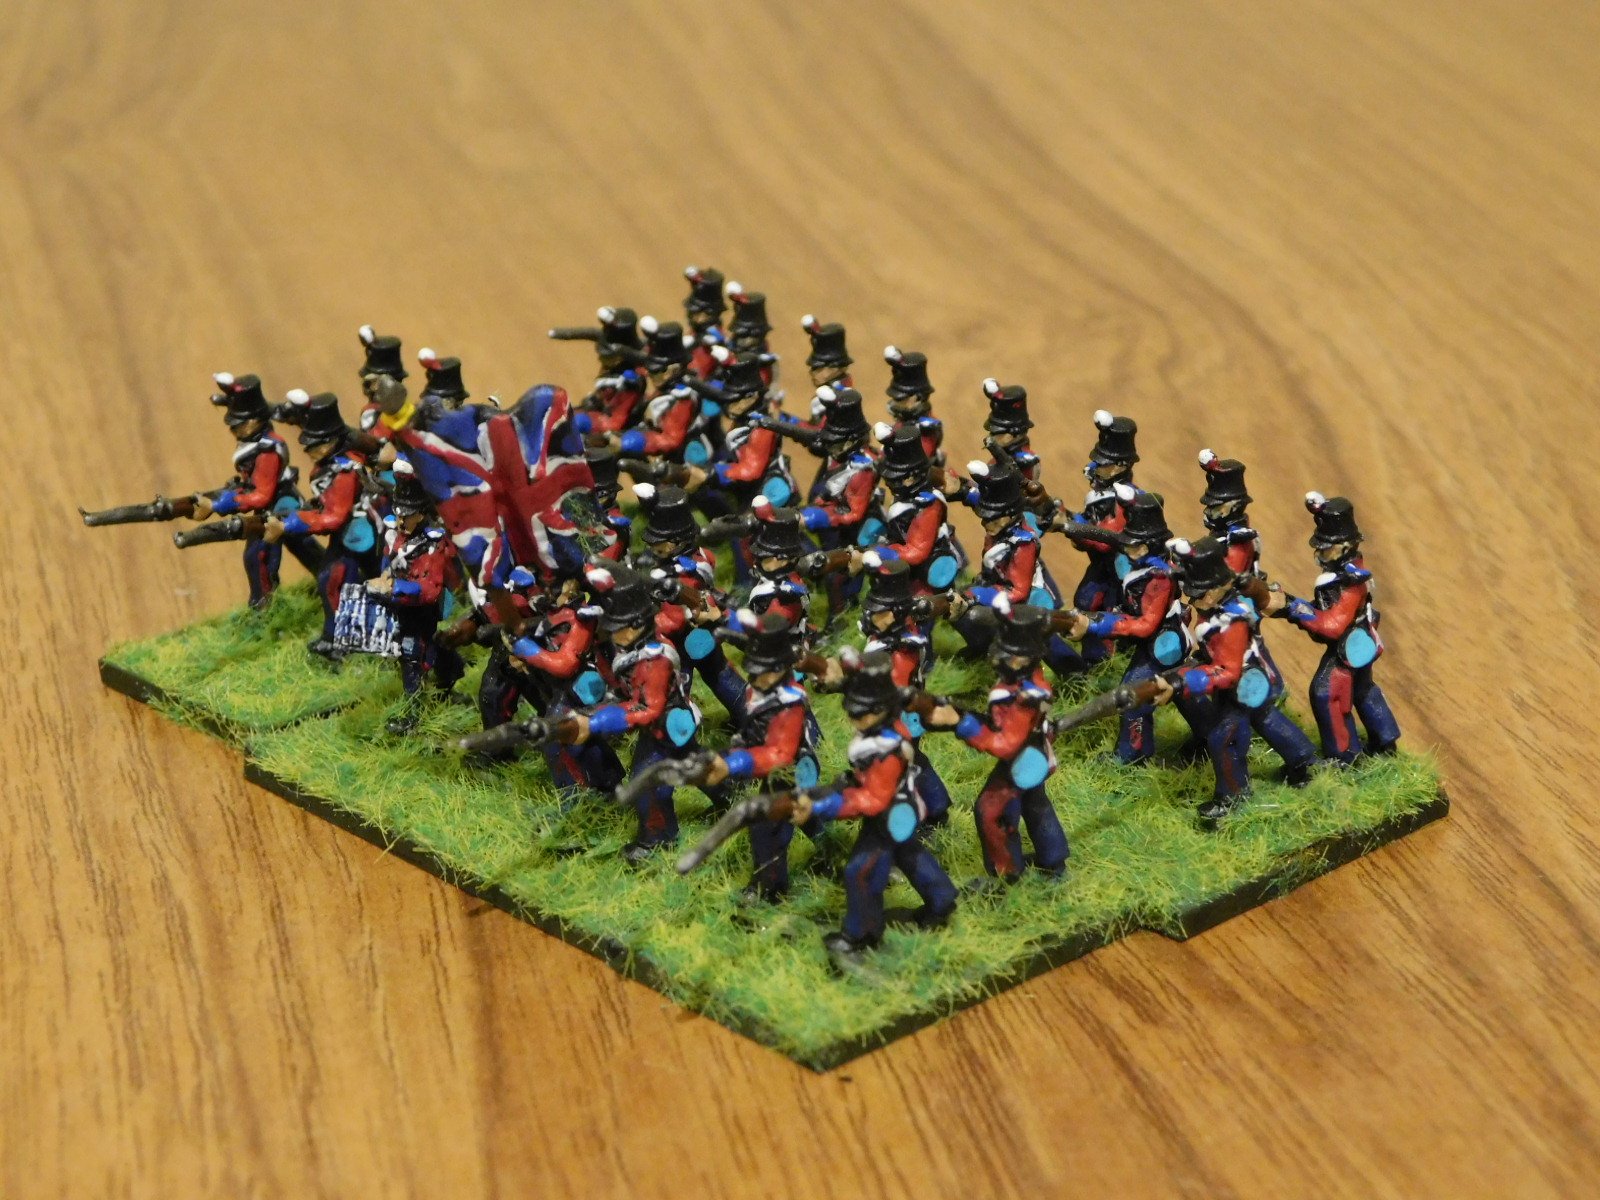
Most of the work, I admit, was done by my colleague controlling the Regulars, who established a firing line towards the rear of the column and a group of Riflemen in a ruined farmhouse and, quite frankly, shot the Xhosa to death.

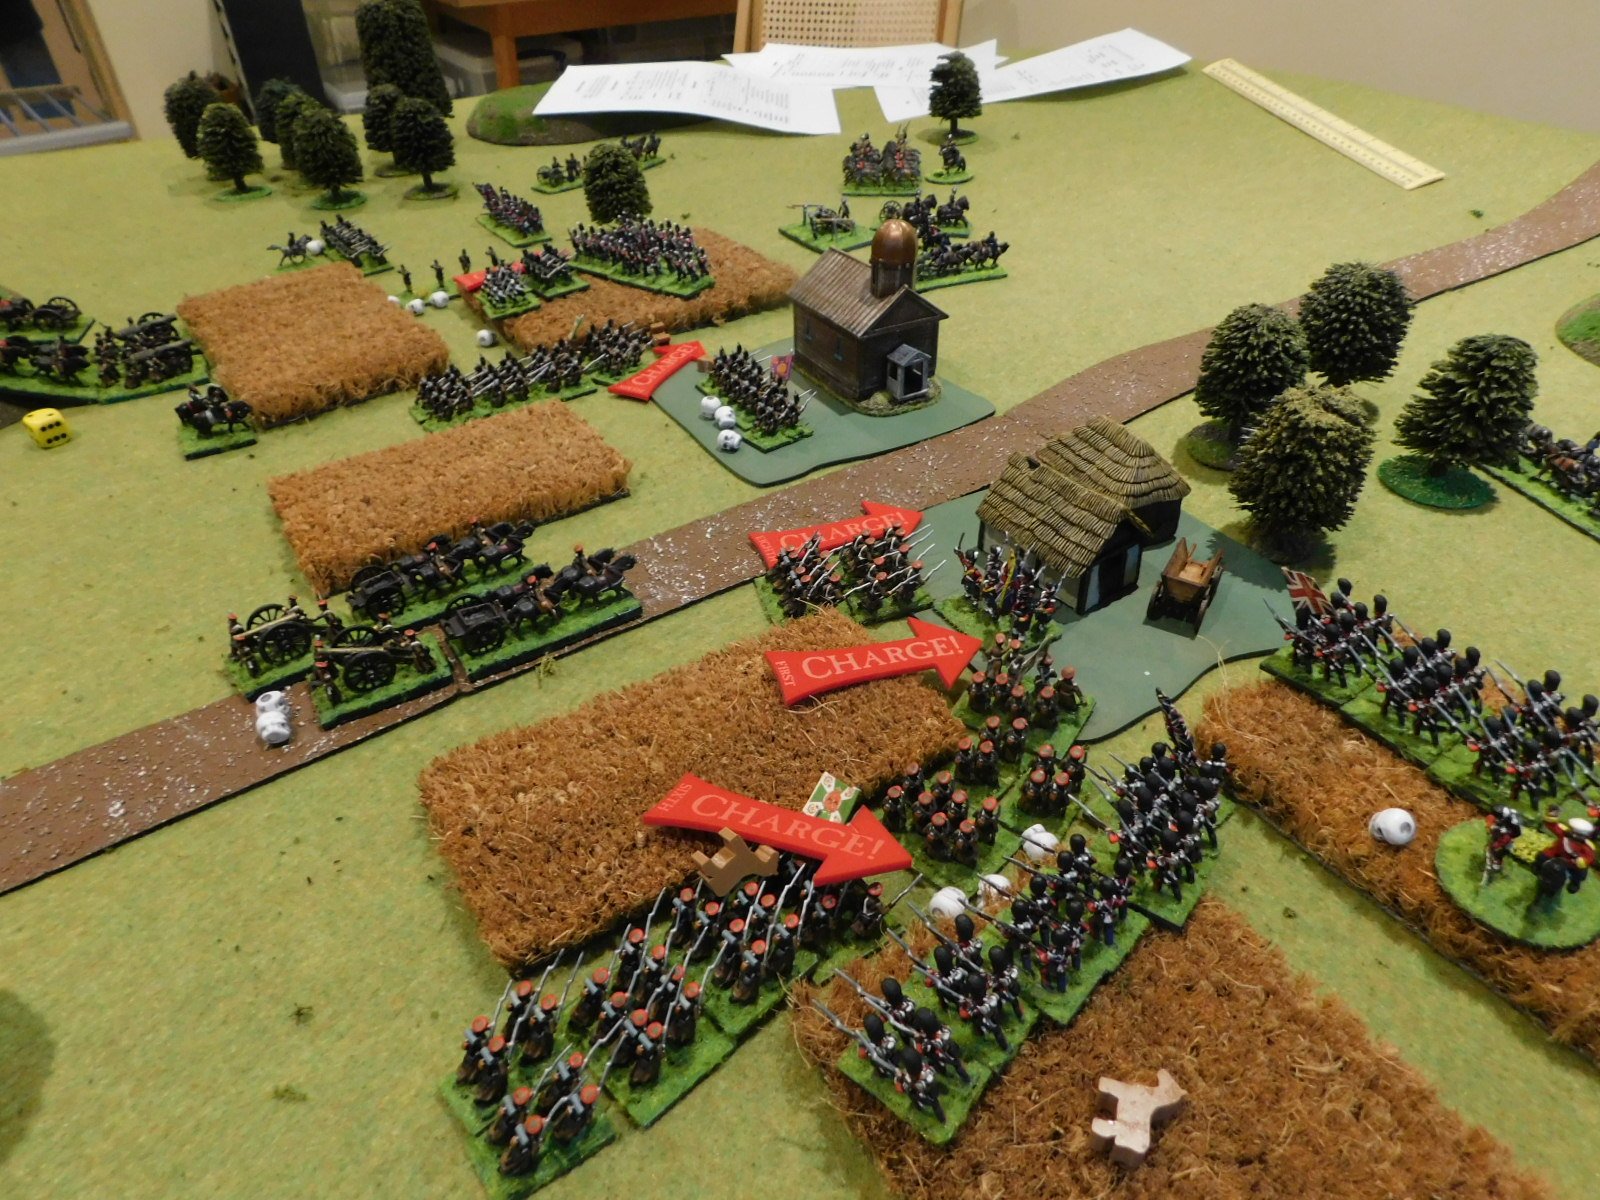
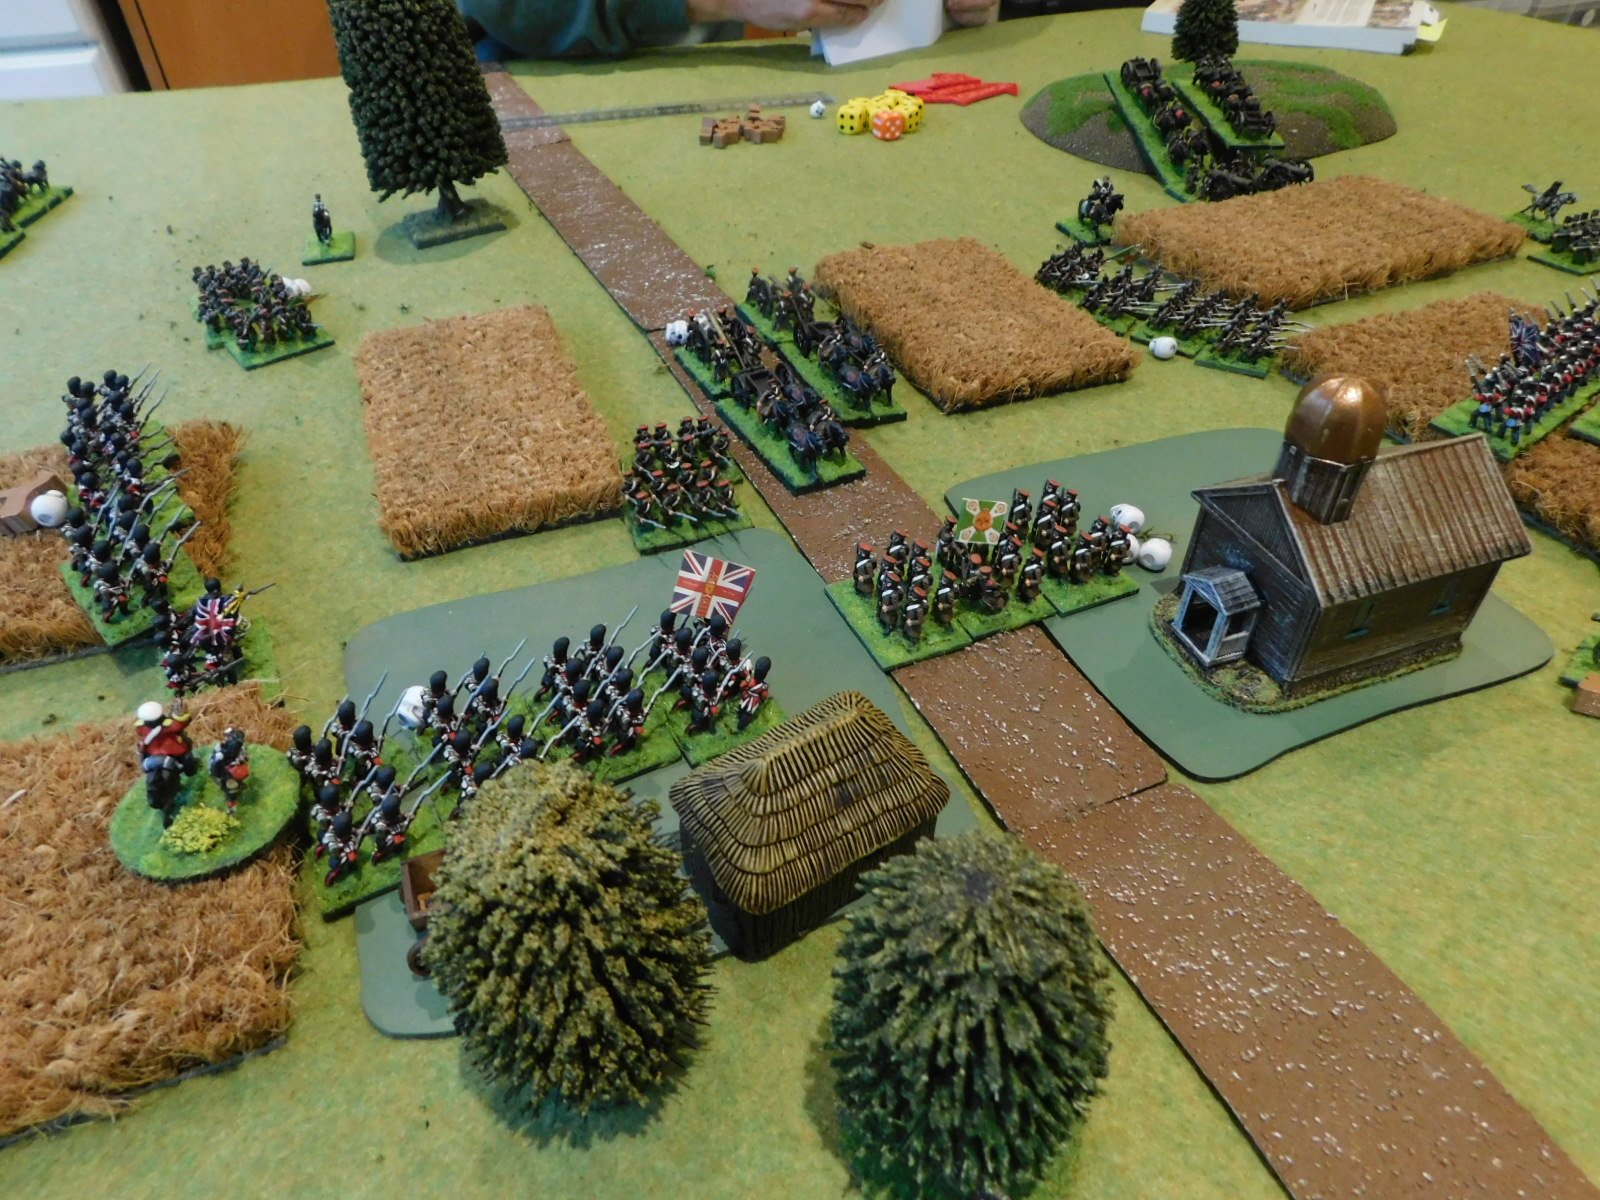
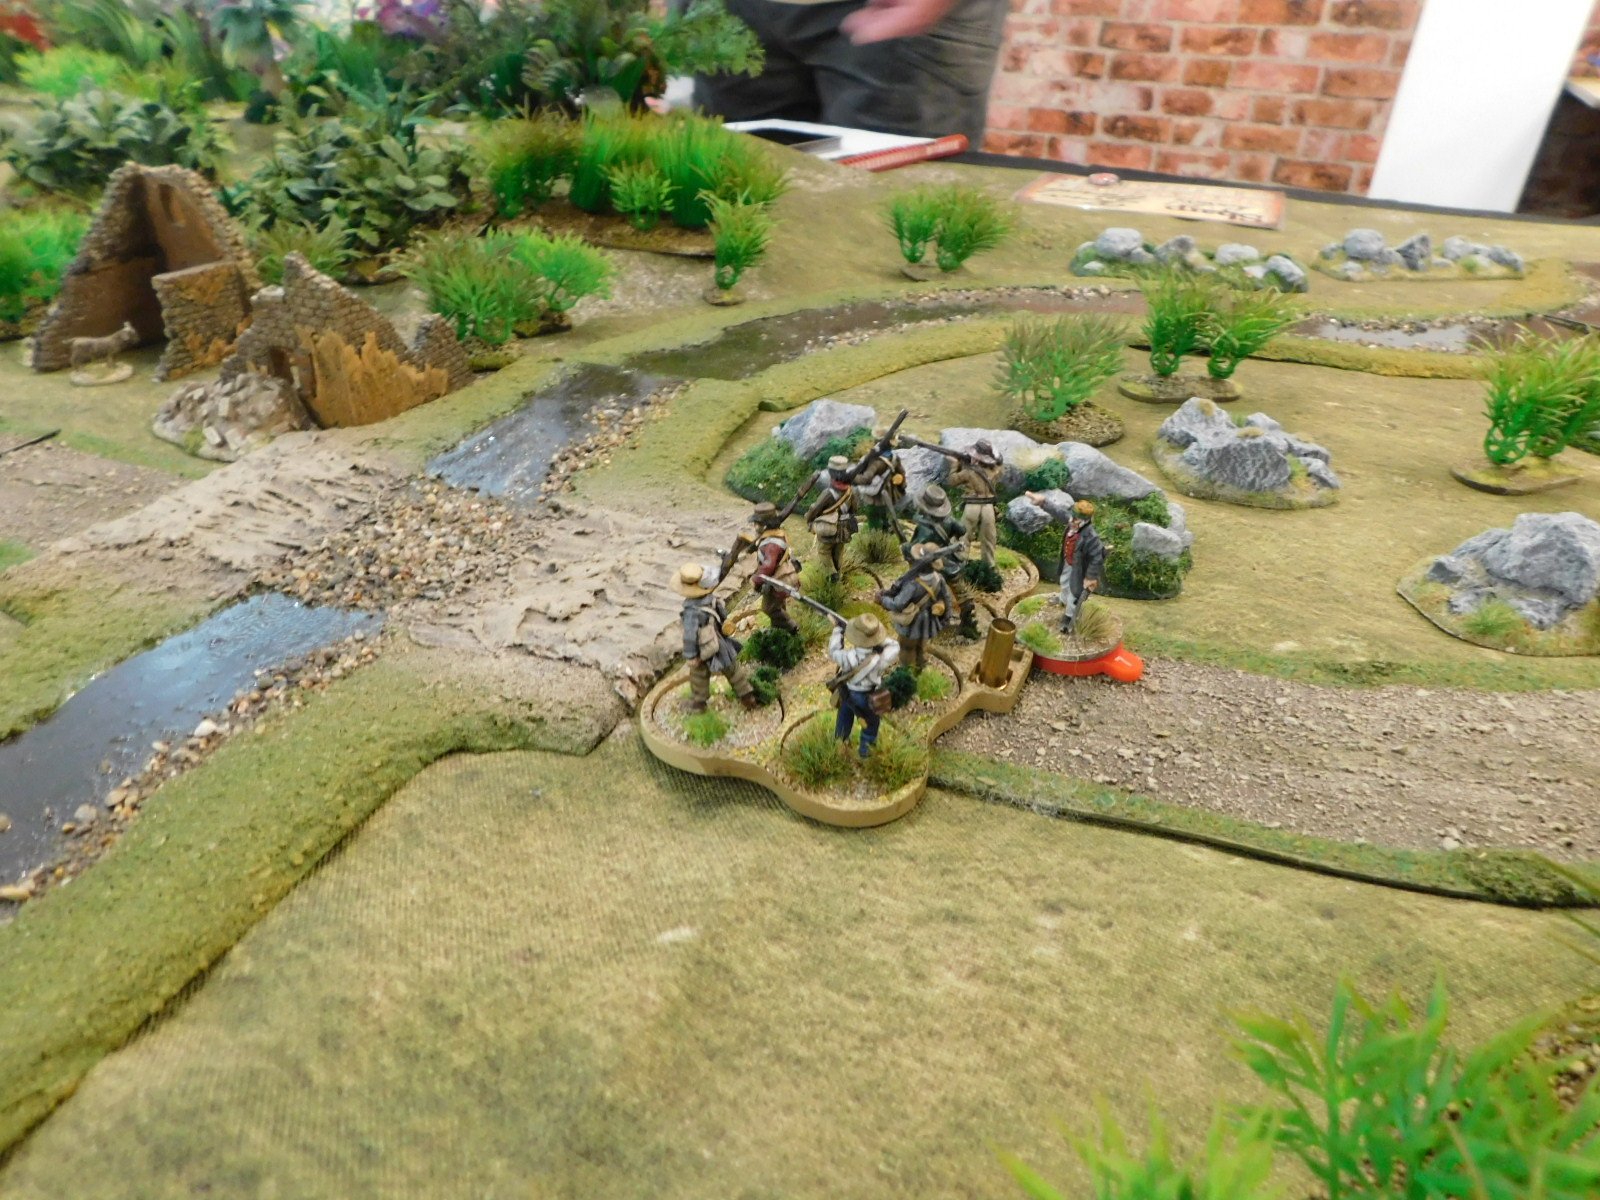
For my part, apart from an initial hiccup with Corporal Nutter’s section of militia, who used my first move to retreat behind cover and then did not activate for the whole of the rest of the game, I managed to get some very useful Frontier Light Horse types into a position where they were protecting the road and could use their double-barrelled carbines to good effect, and then started rolling up the Xhosa’s left flank with the rest of my troops.

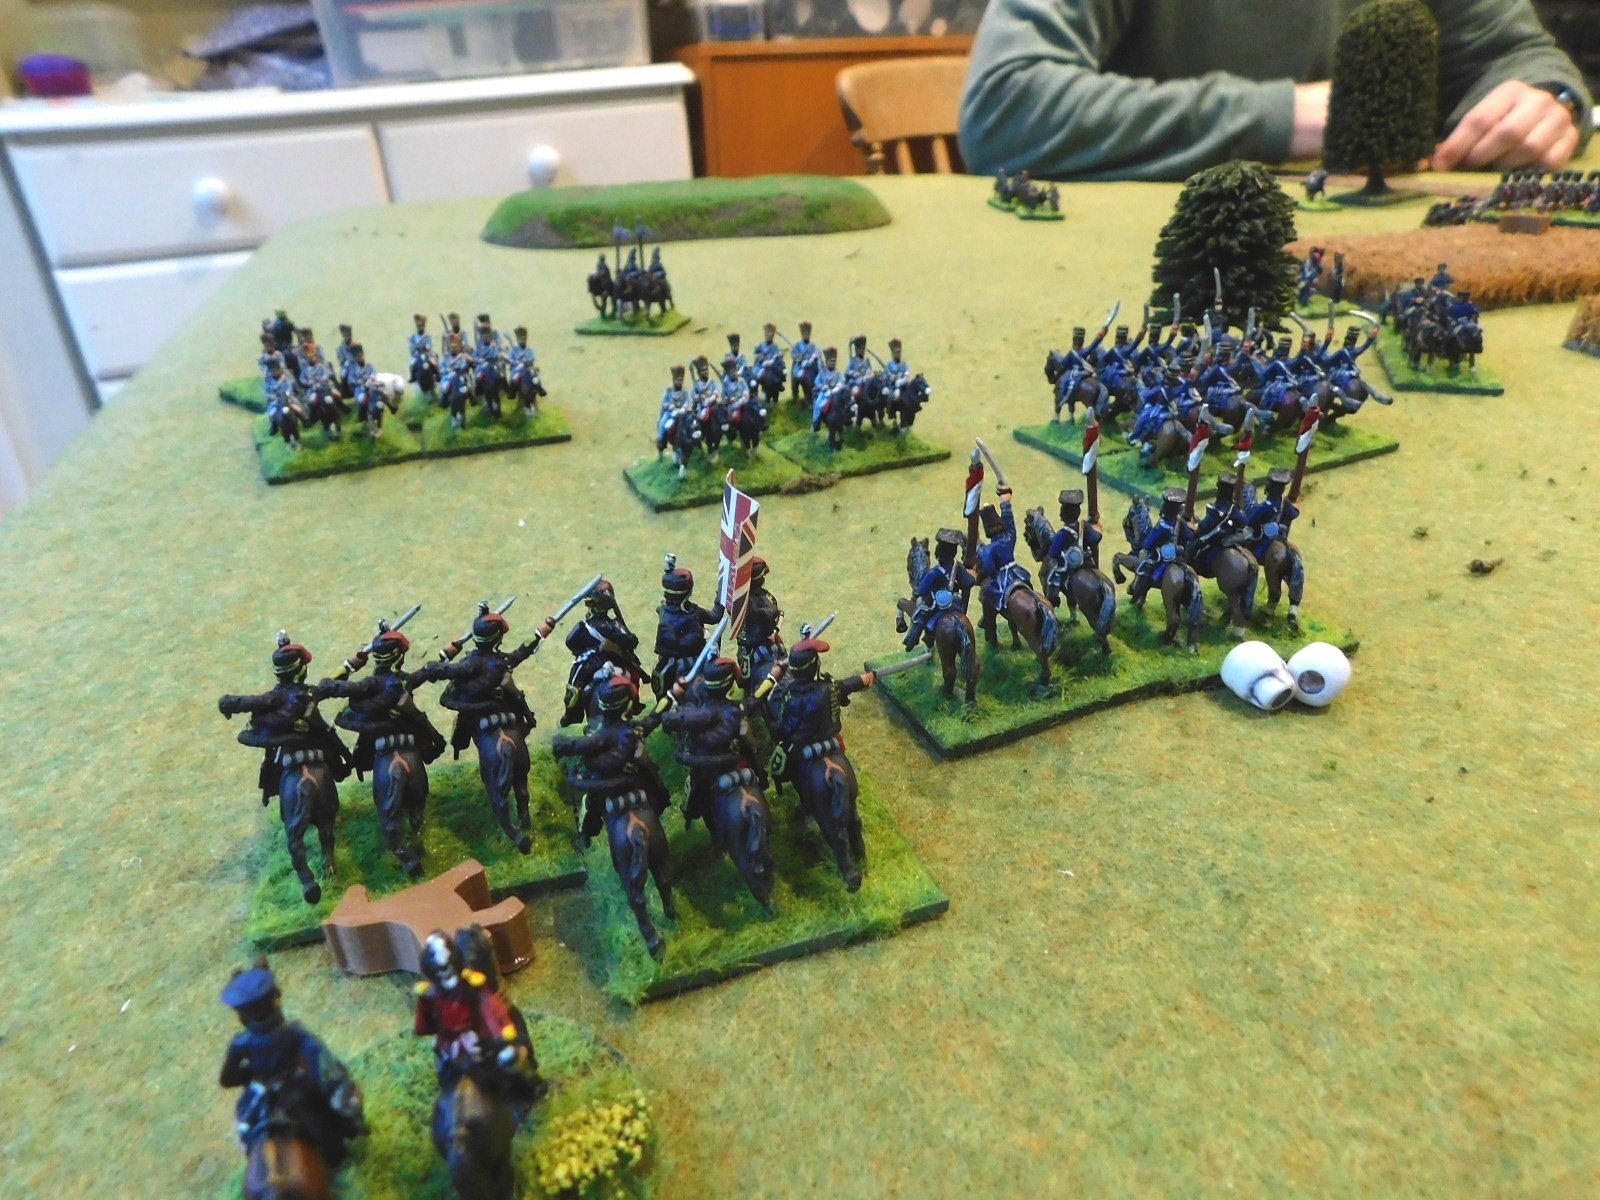
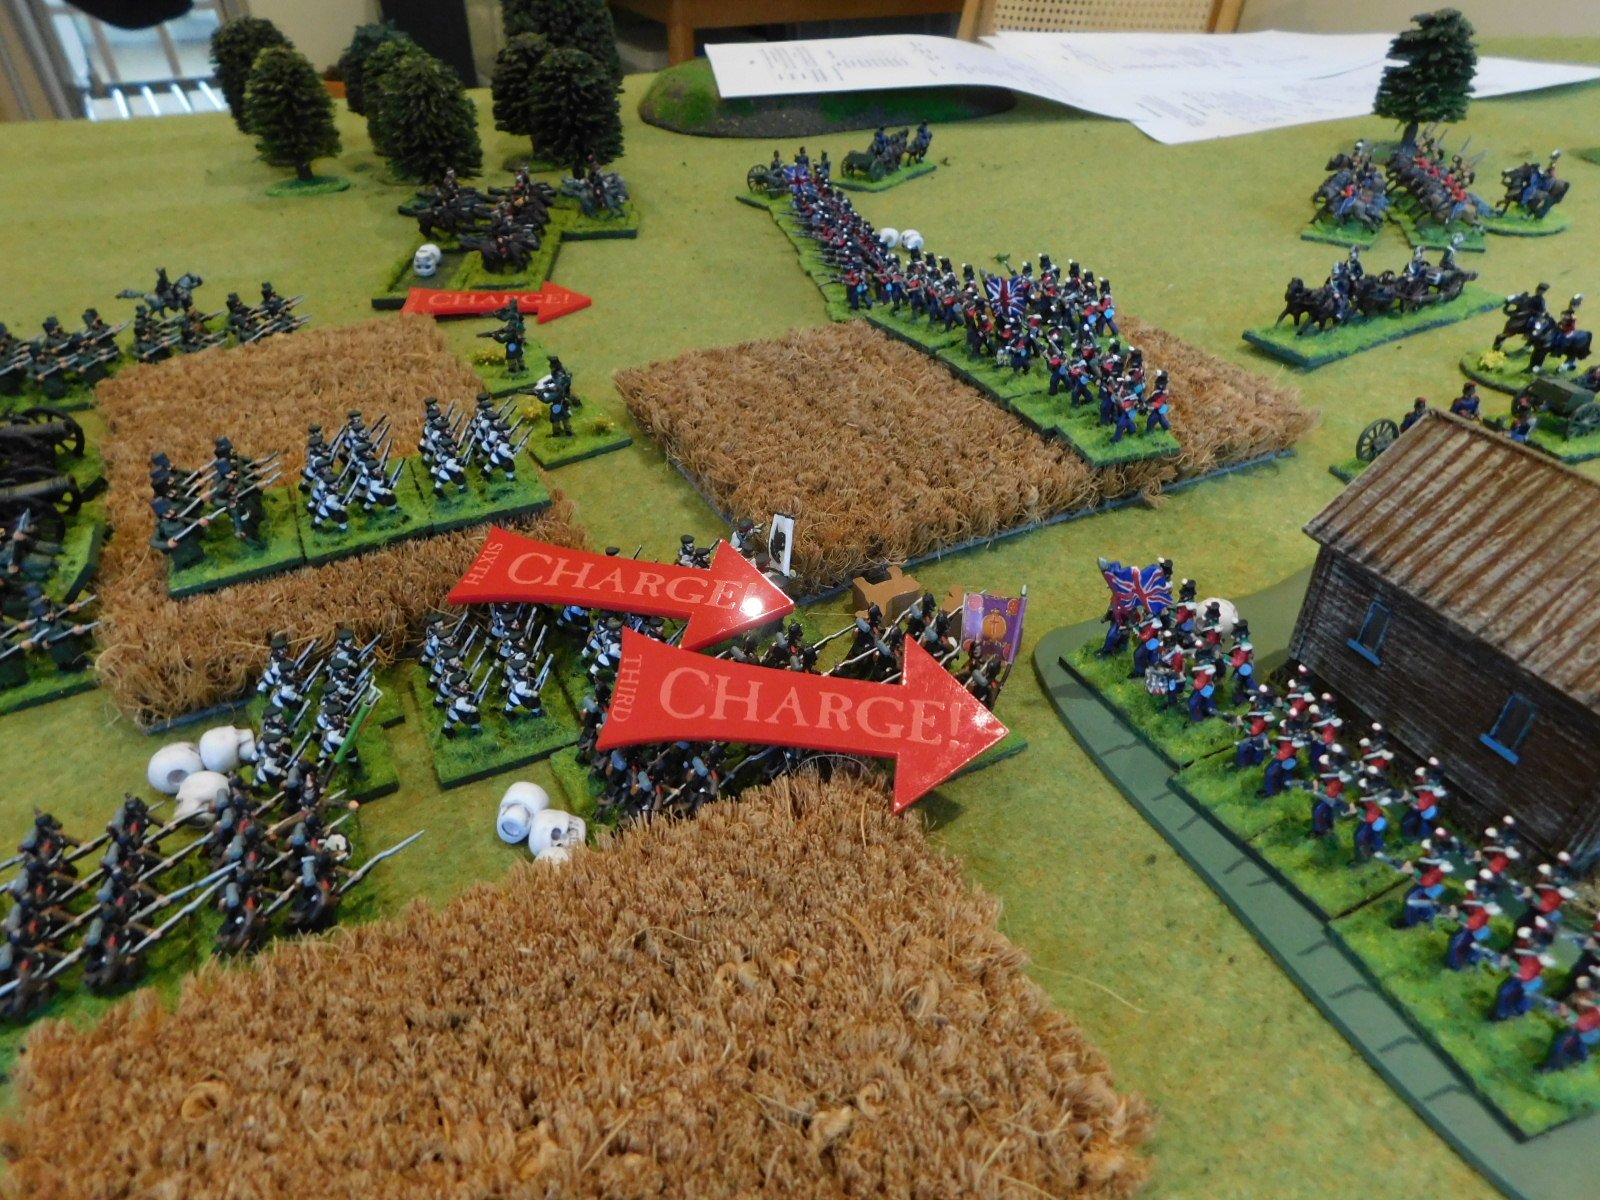
A charge from the Xhosa just about wiped out another of my units (horsemen who were, at that point, fighting dismounted) but that left the charging Xhosa vulnerable to a couple of volleys and a counter-charge that sent them scurrying from the table.

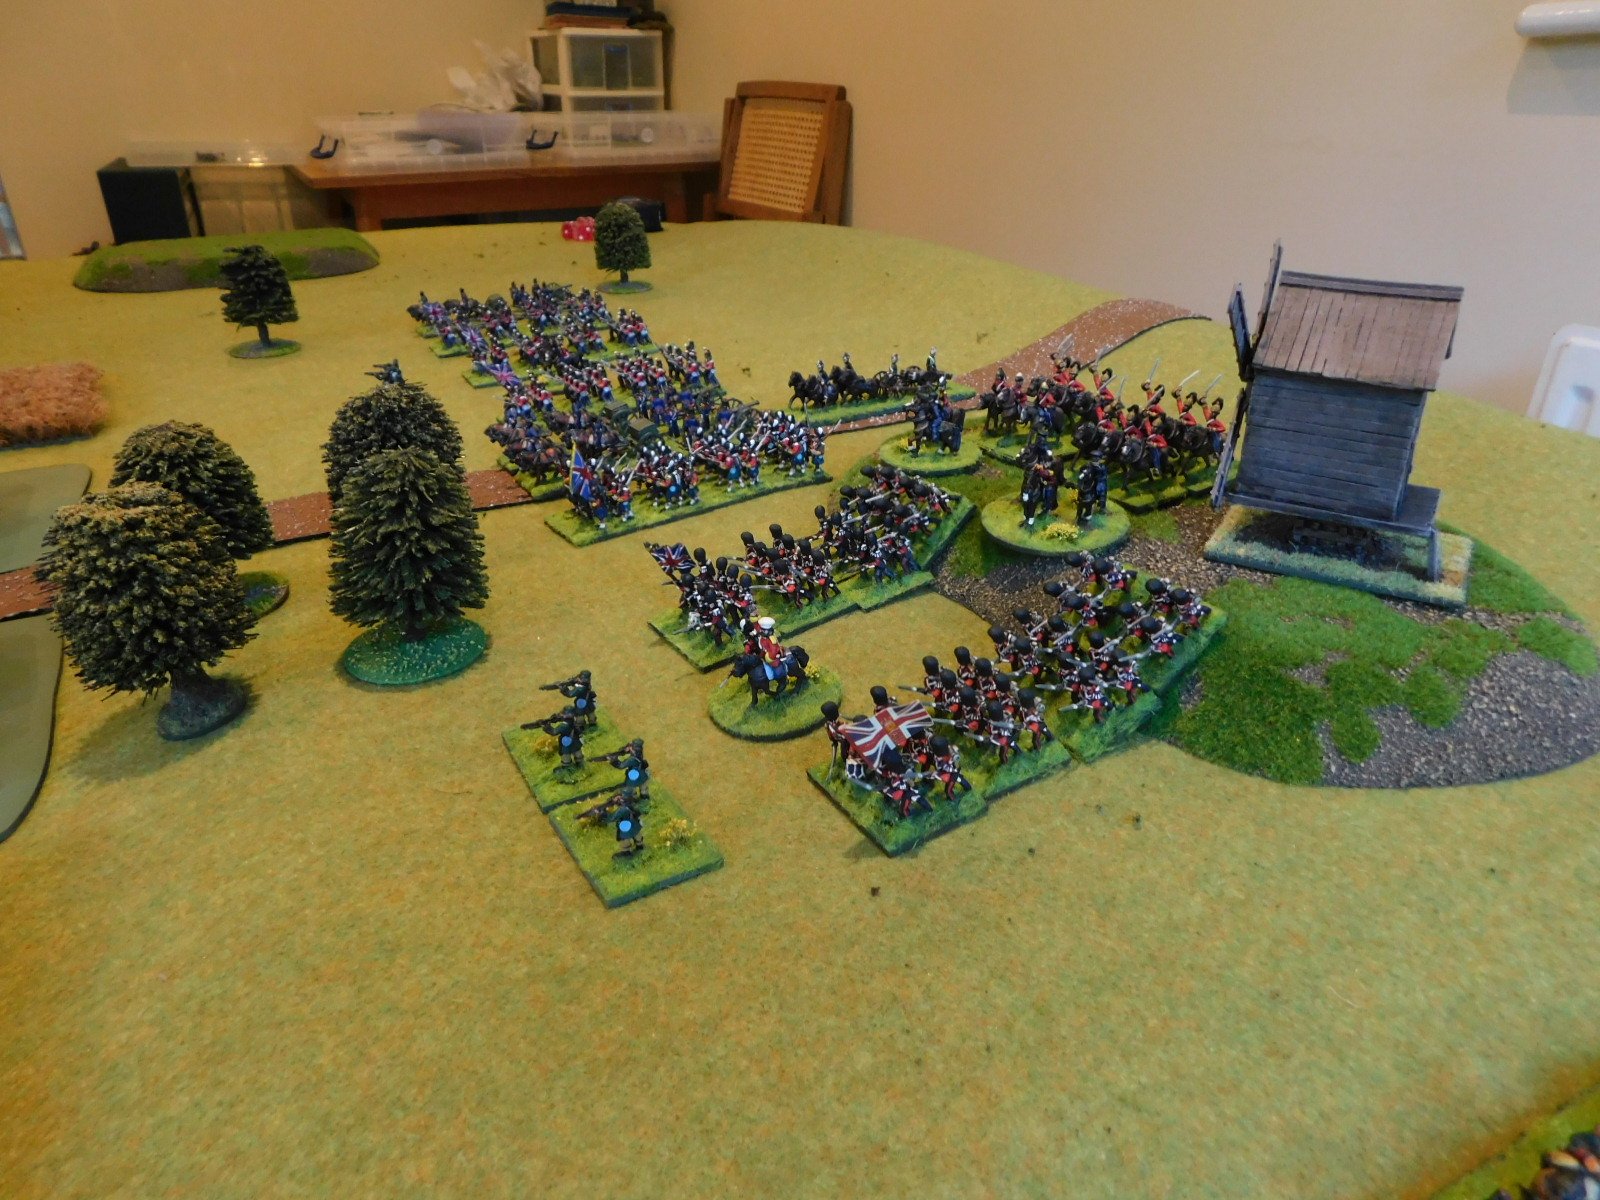
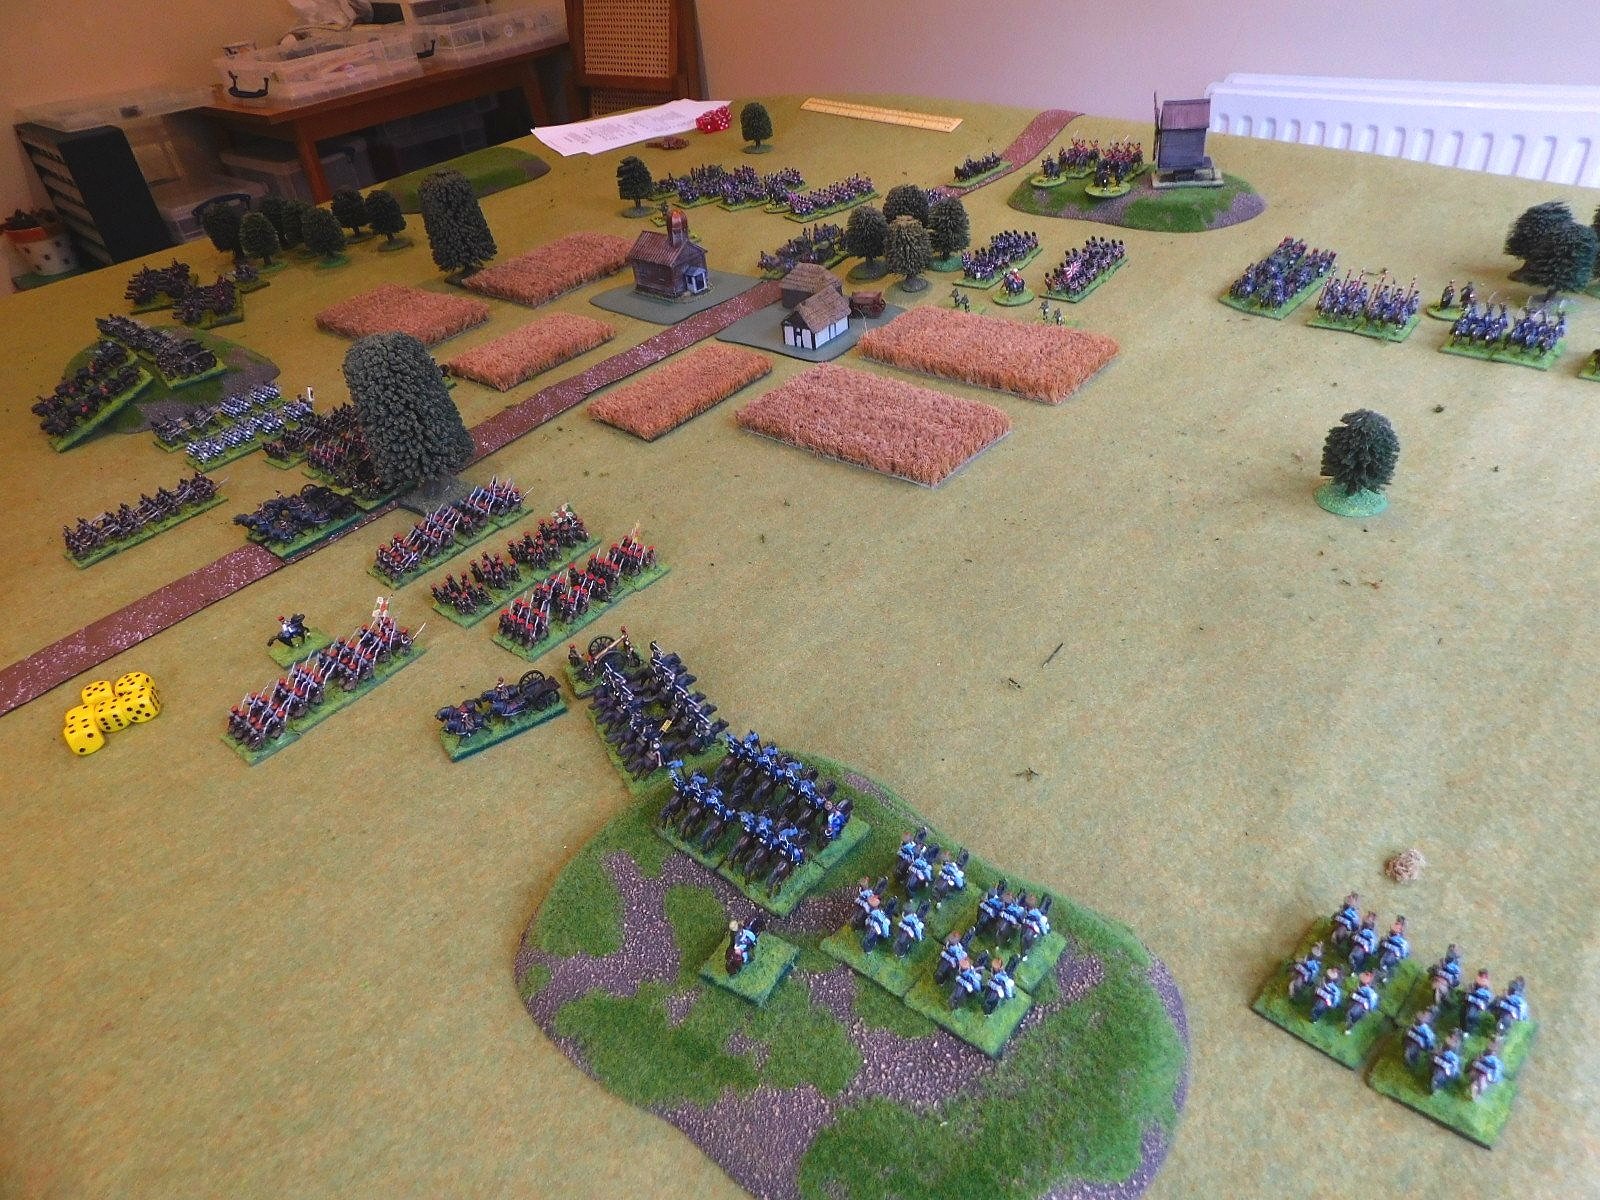
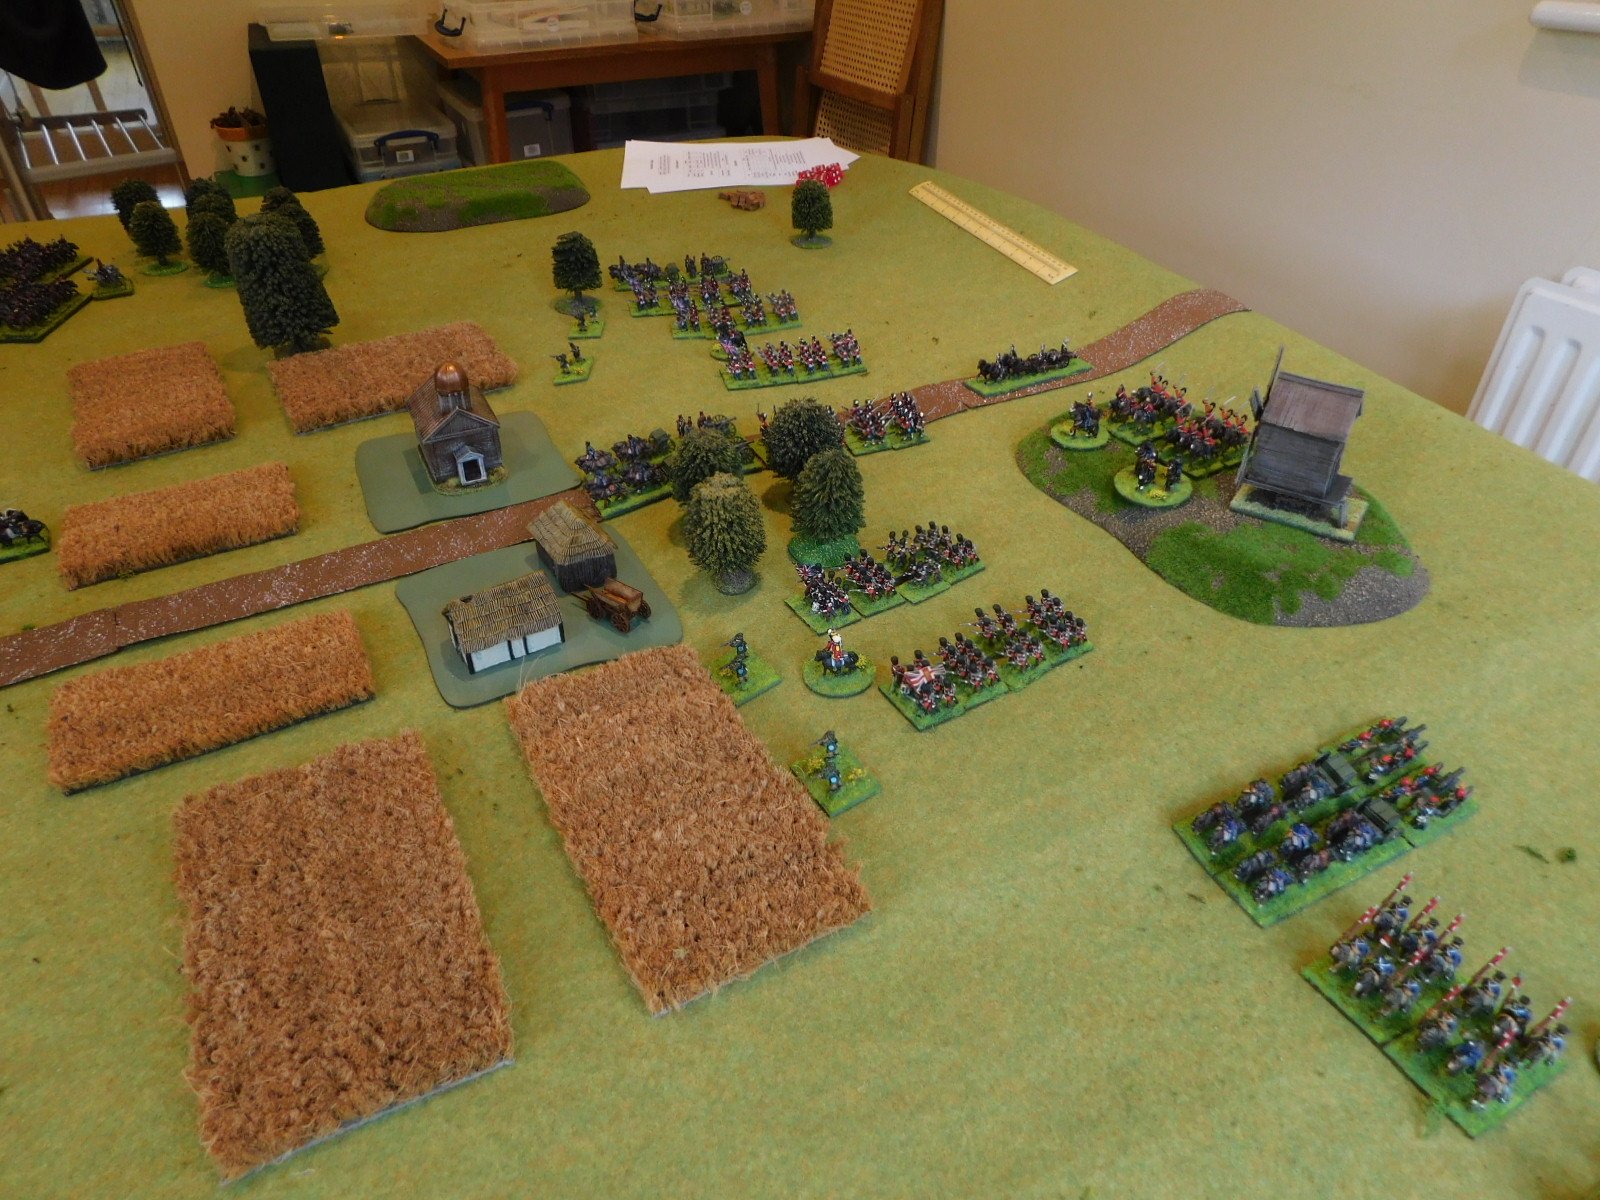
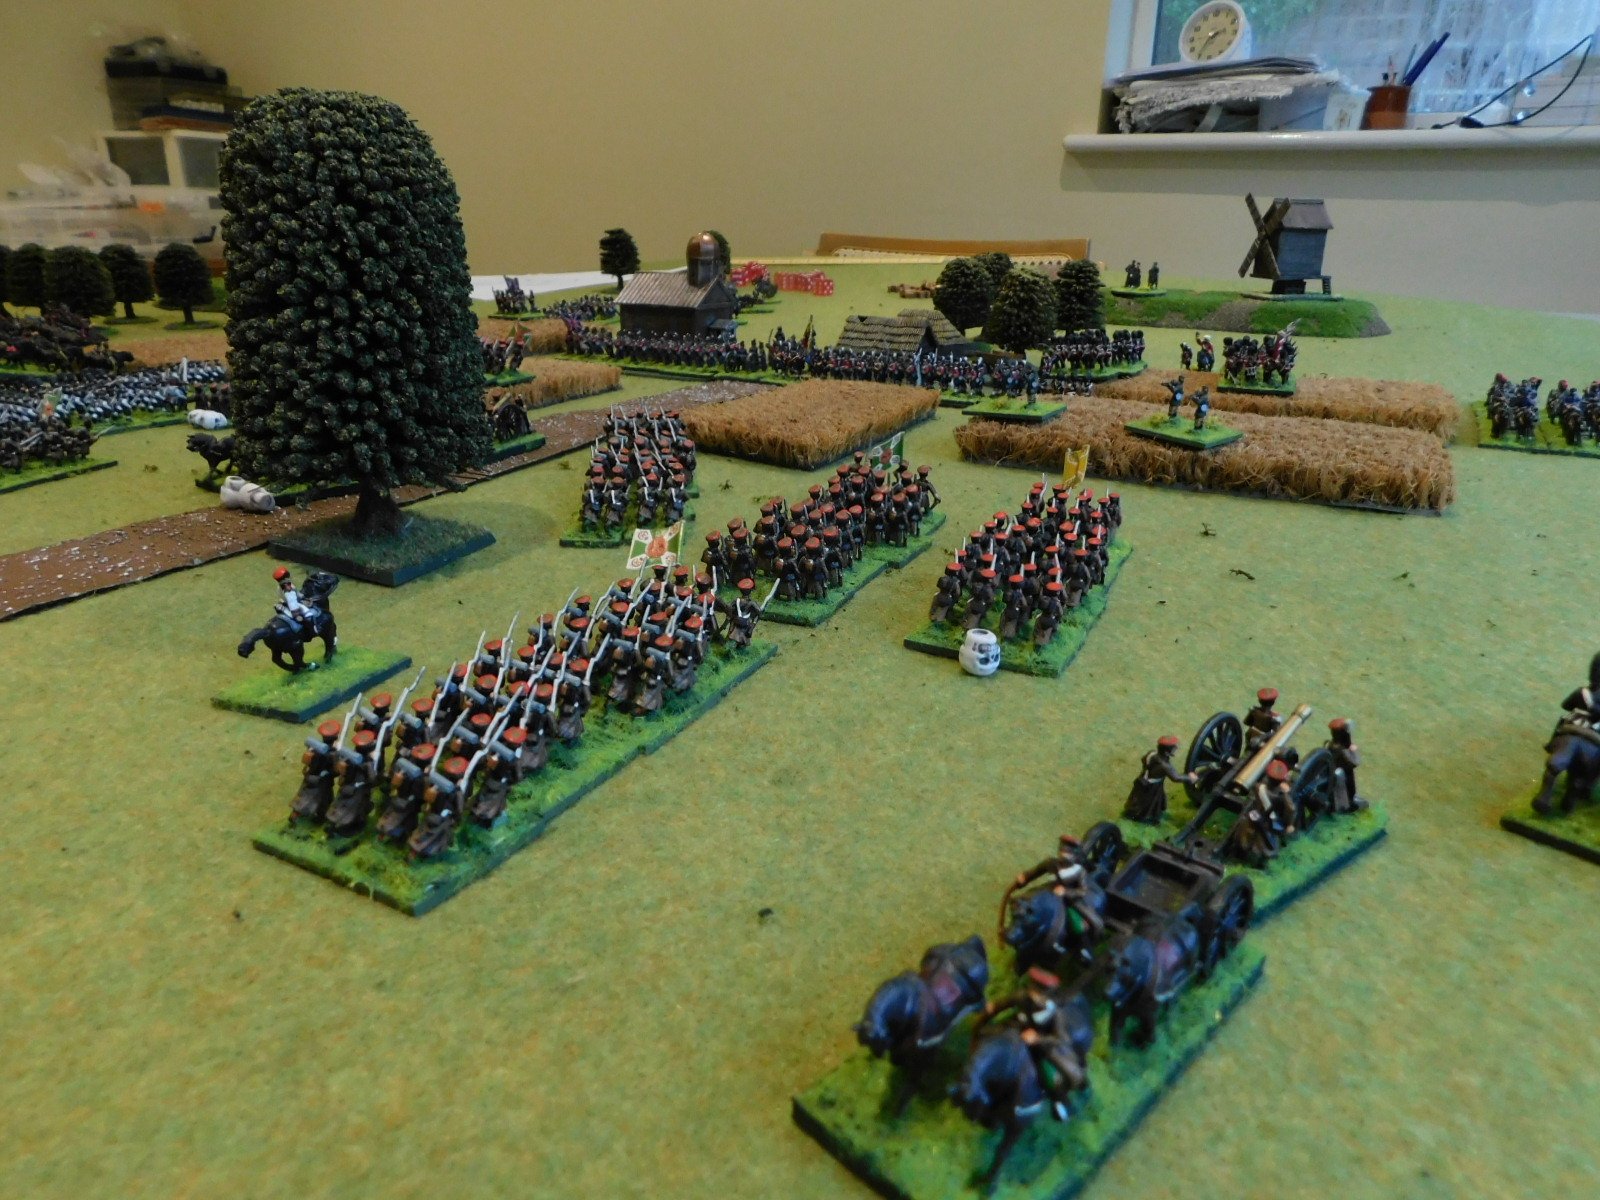
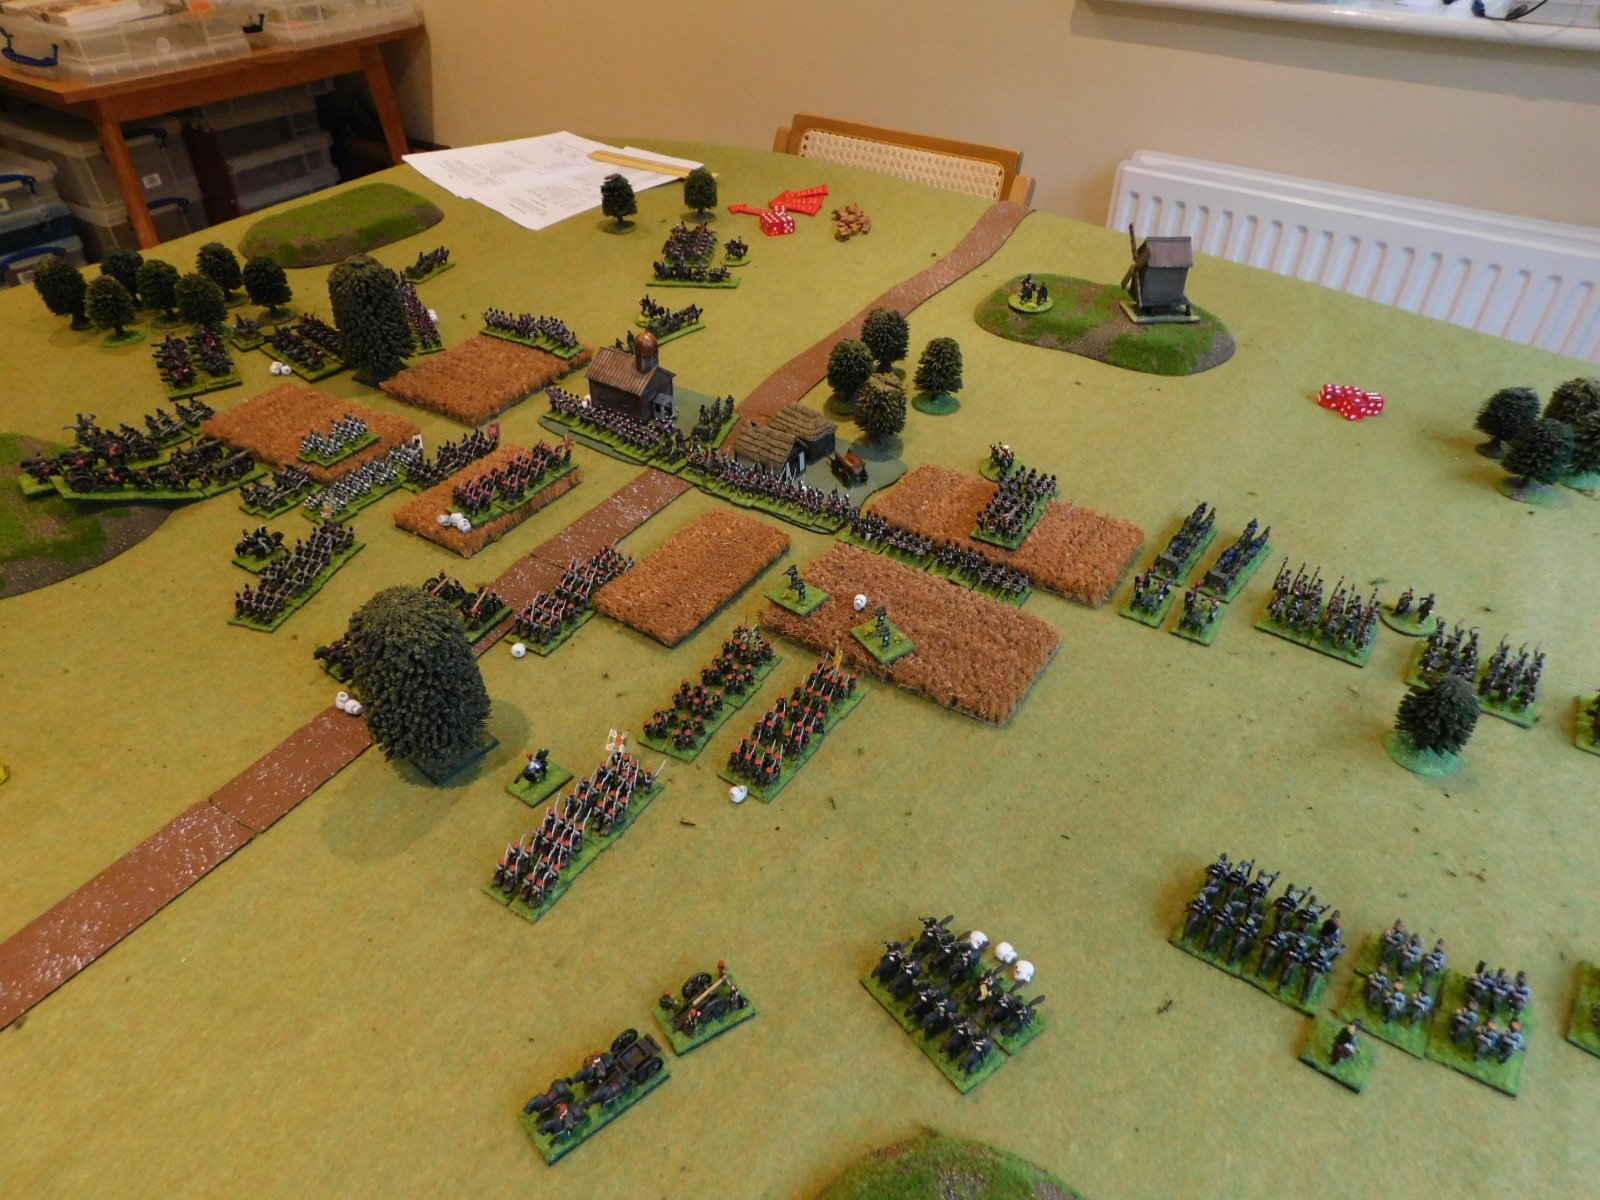
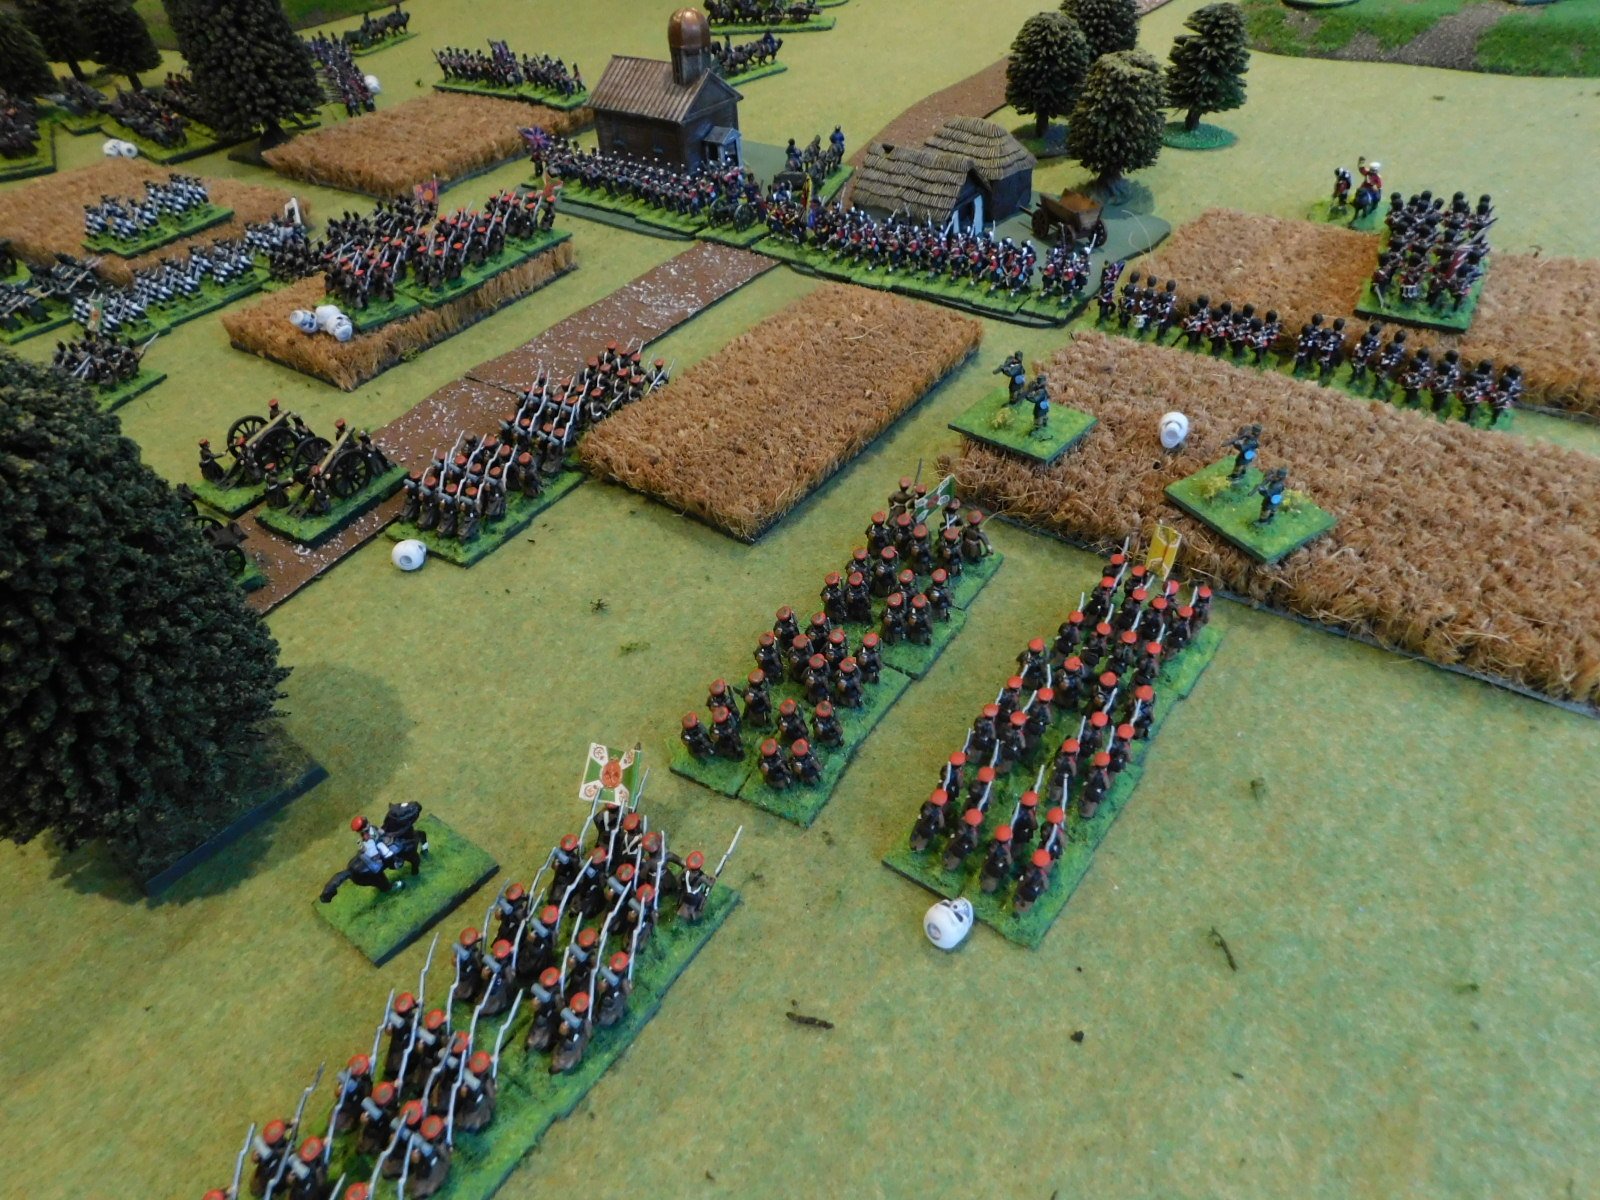
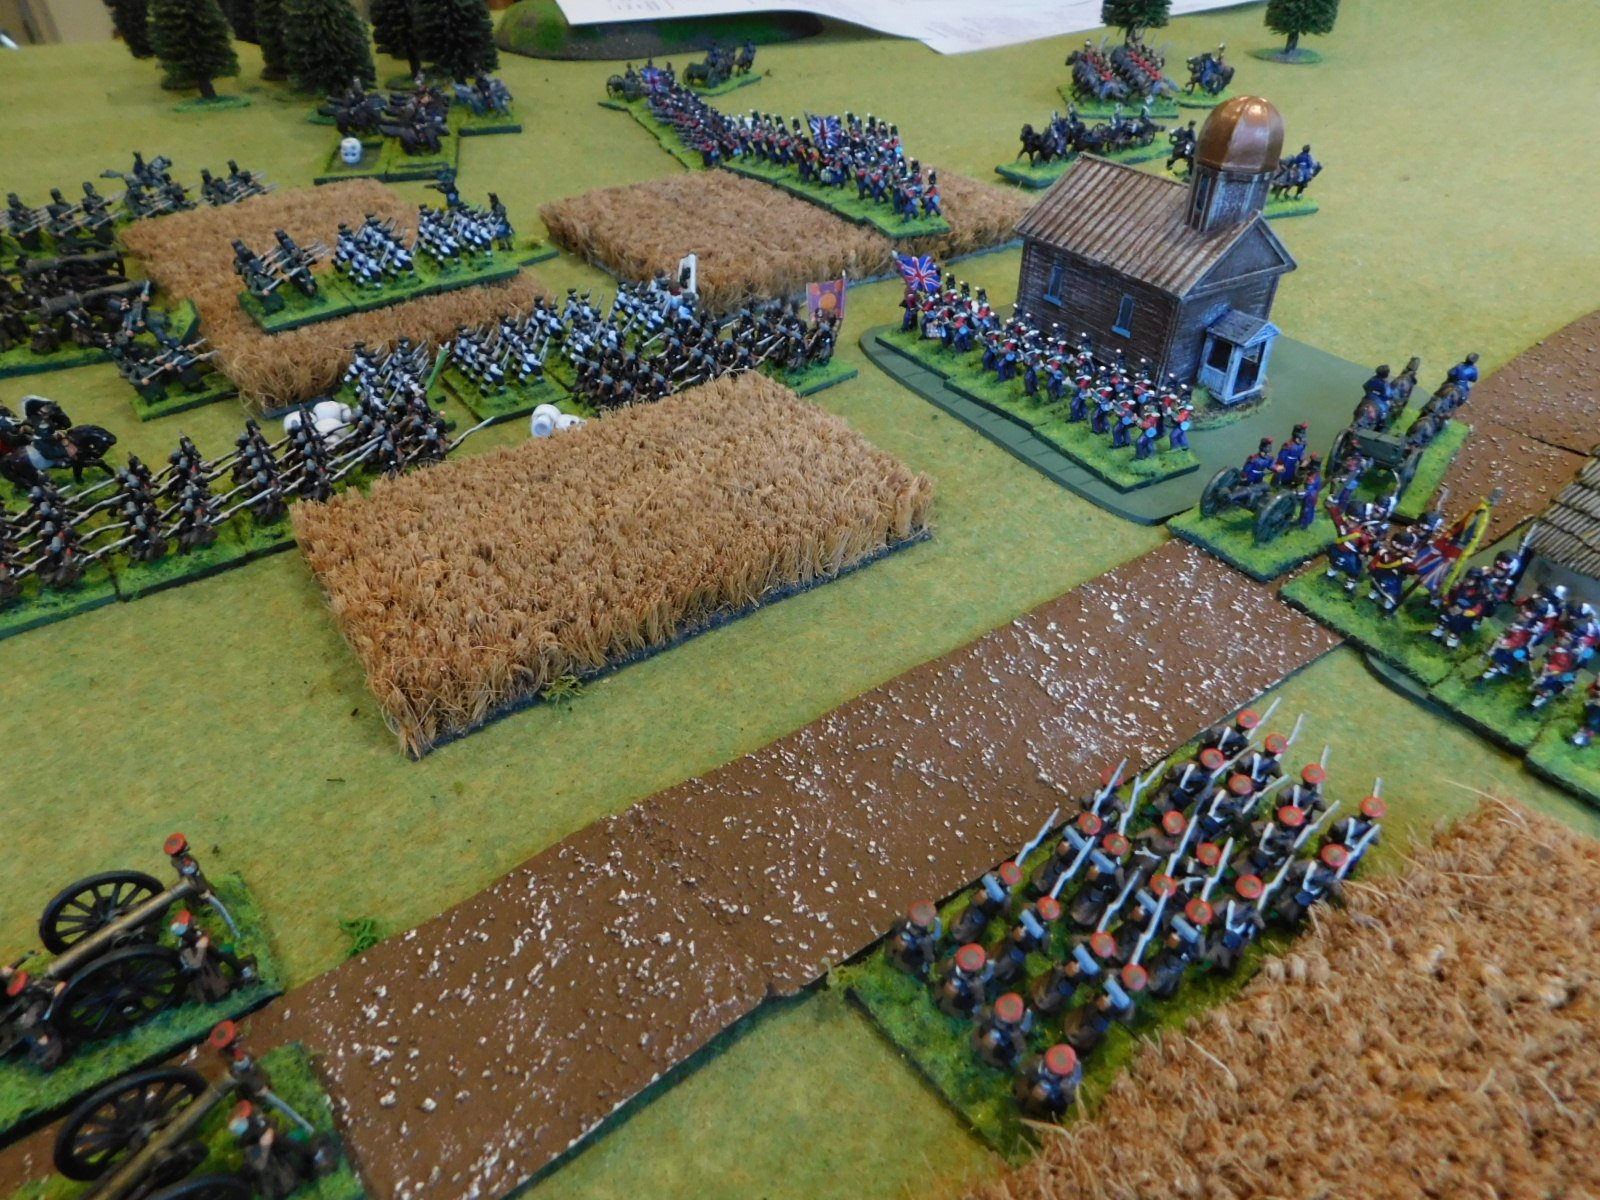
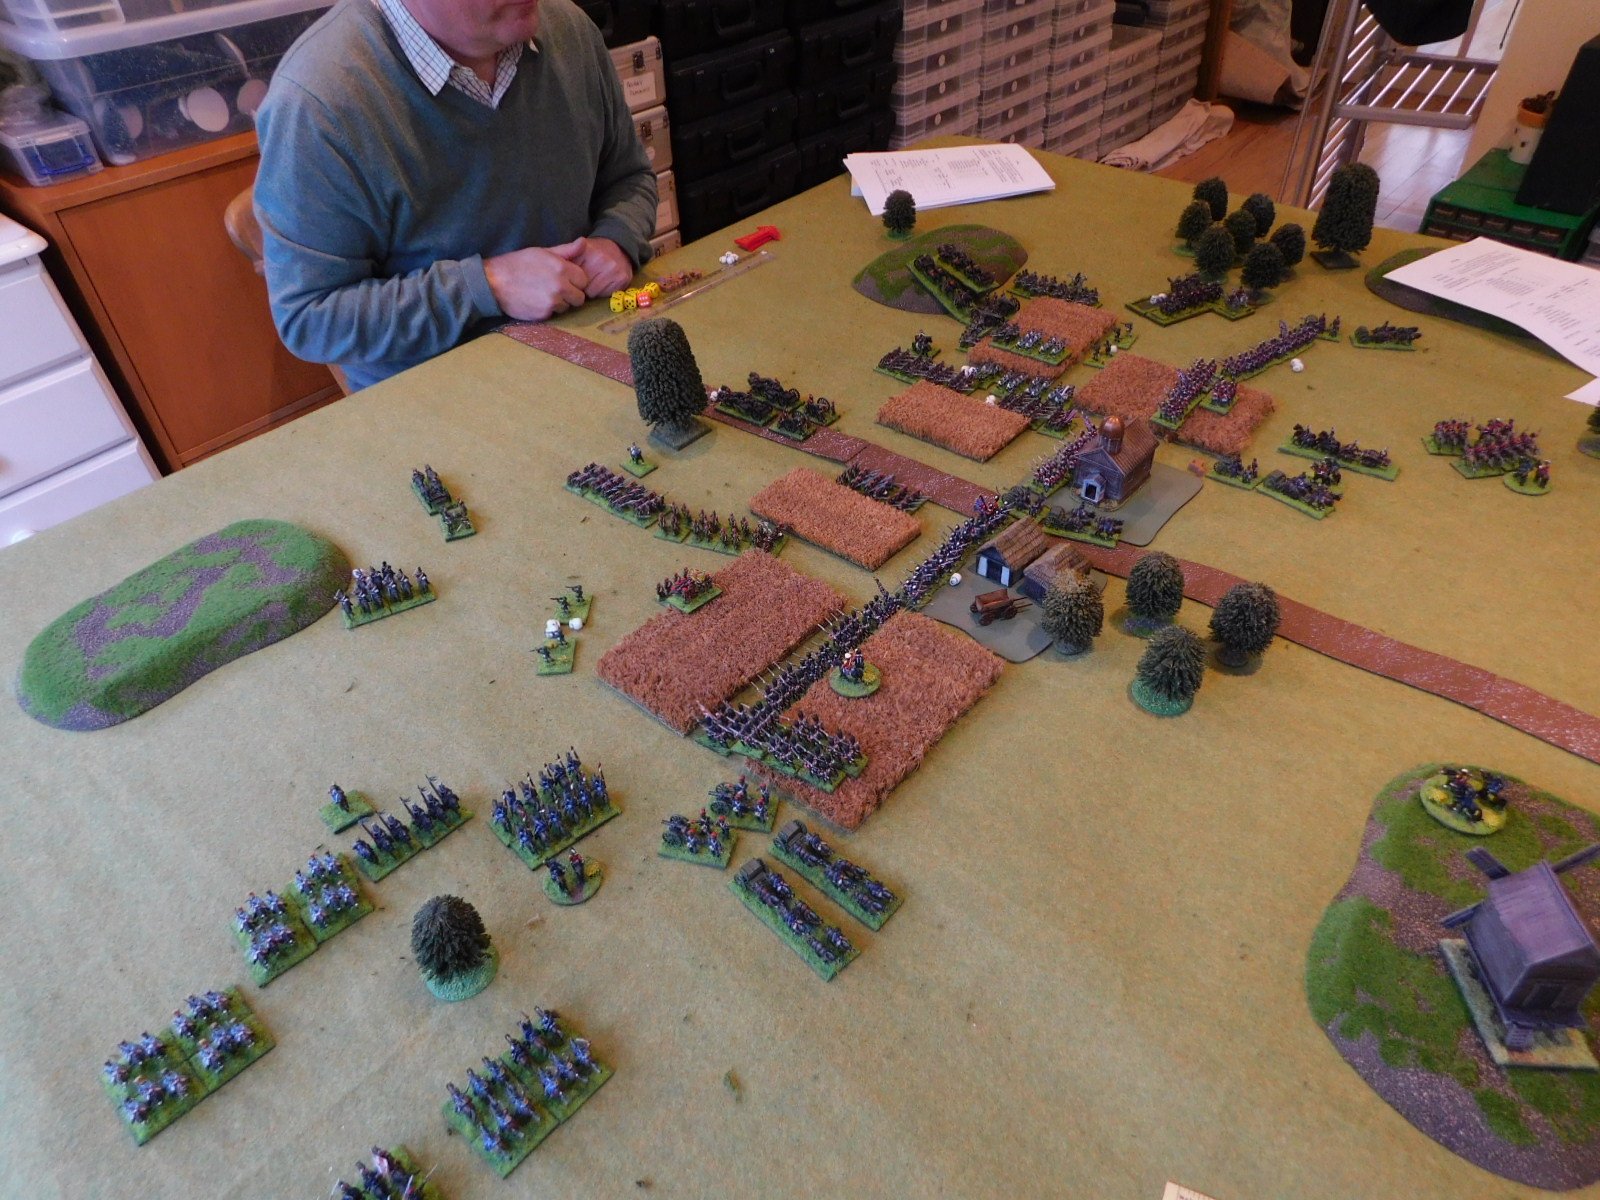
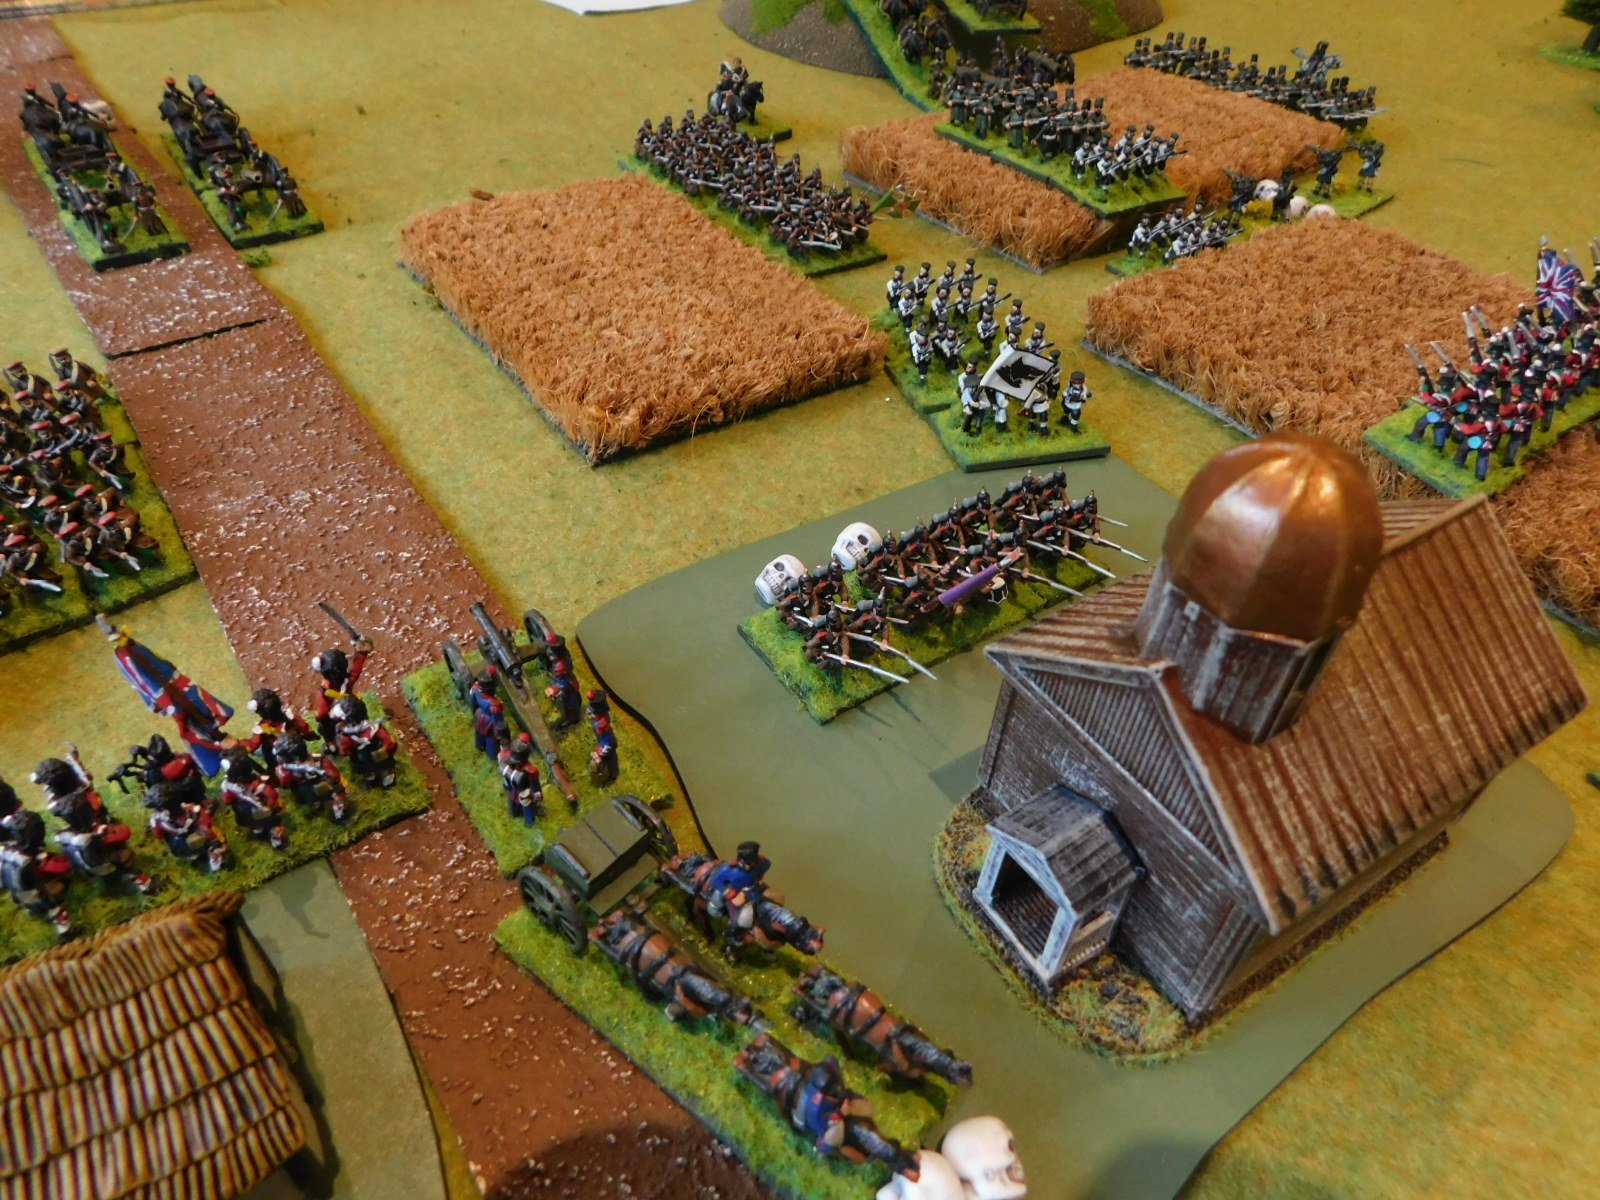
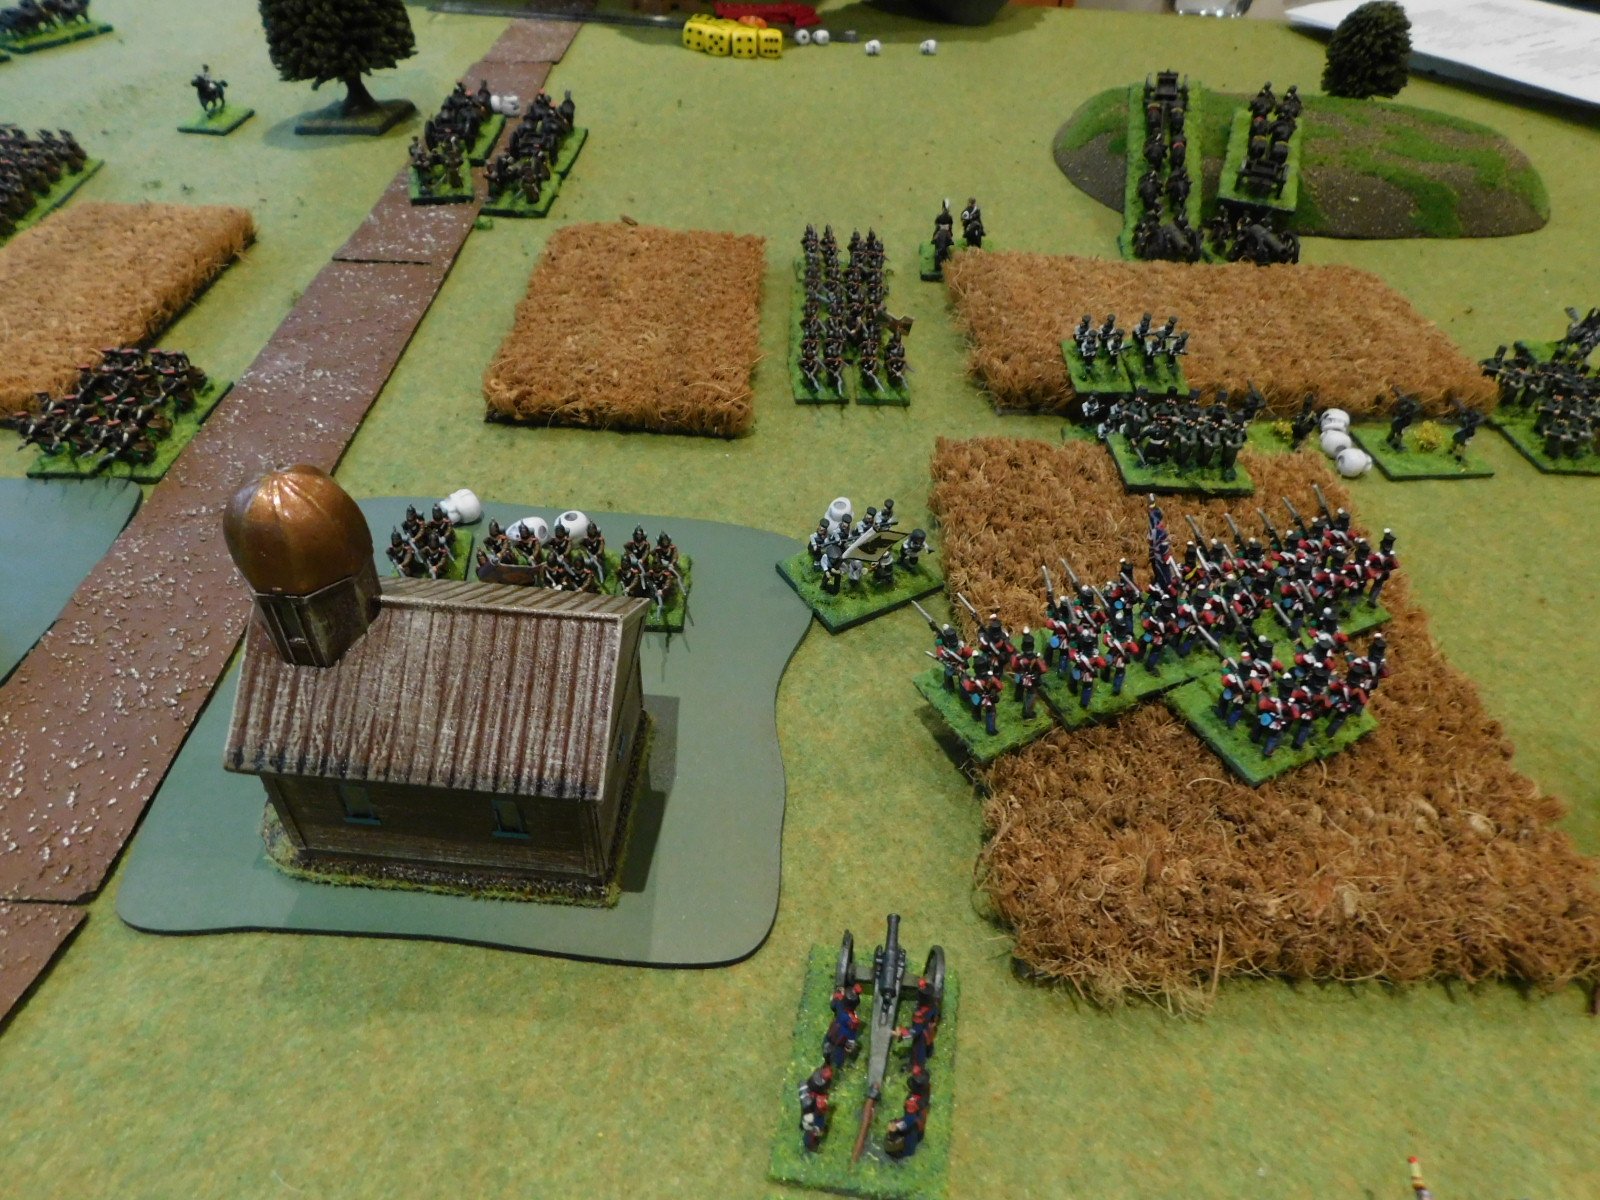
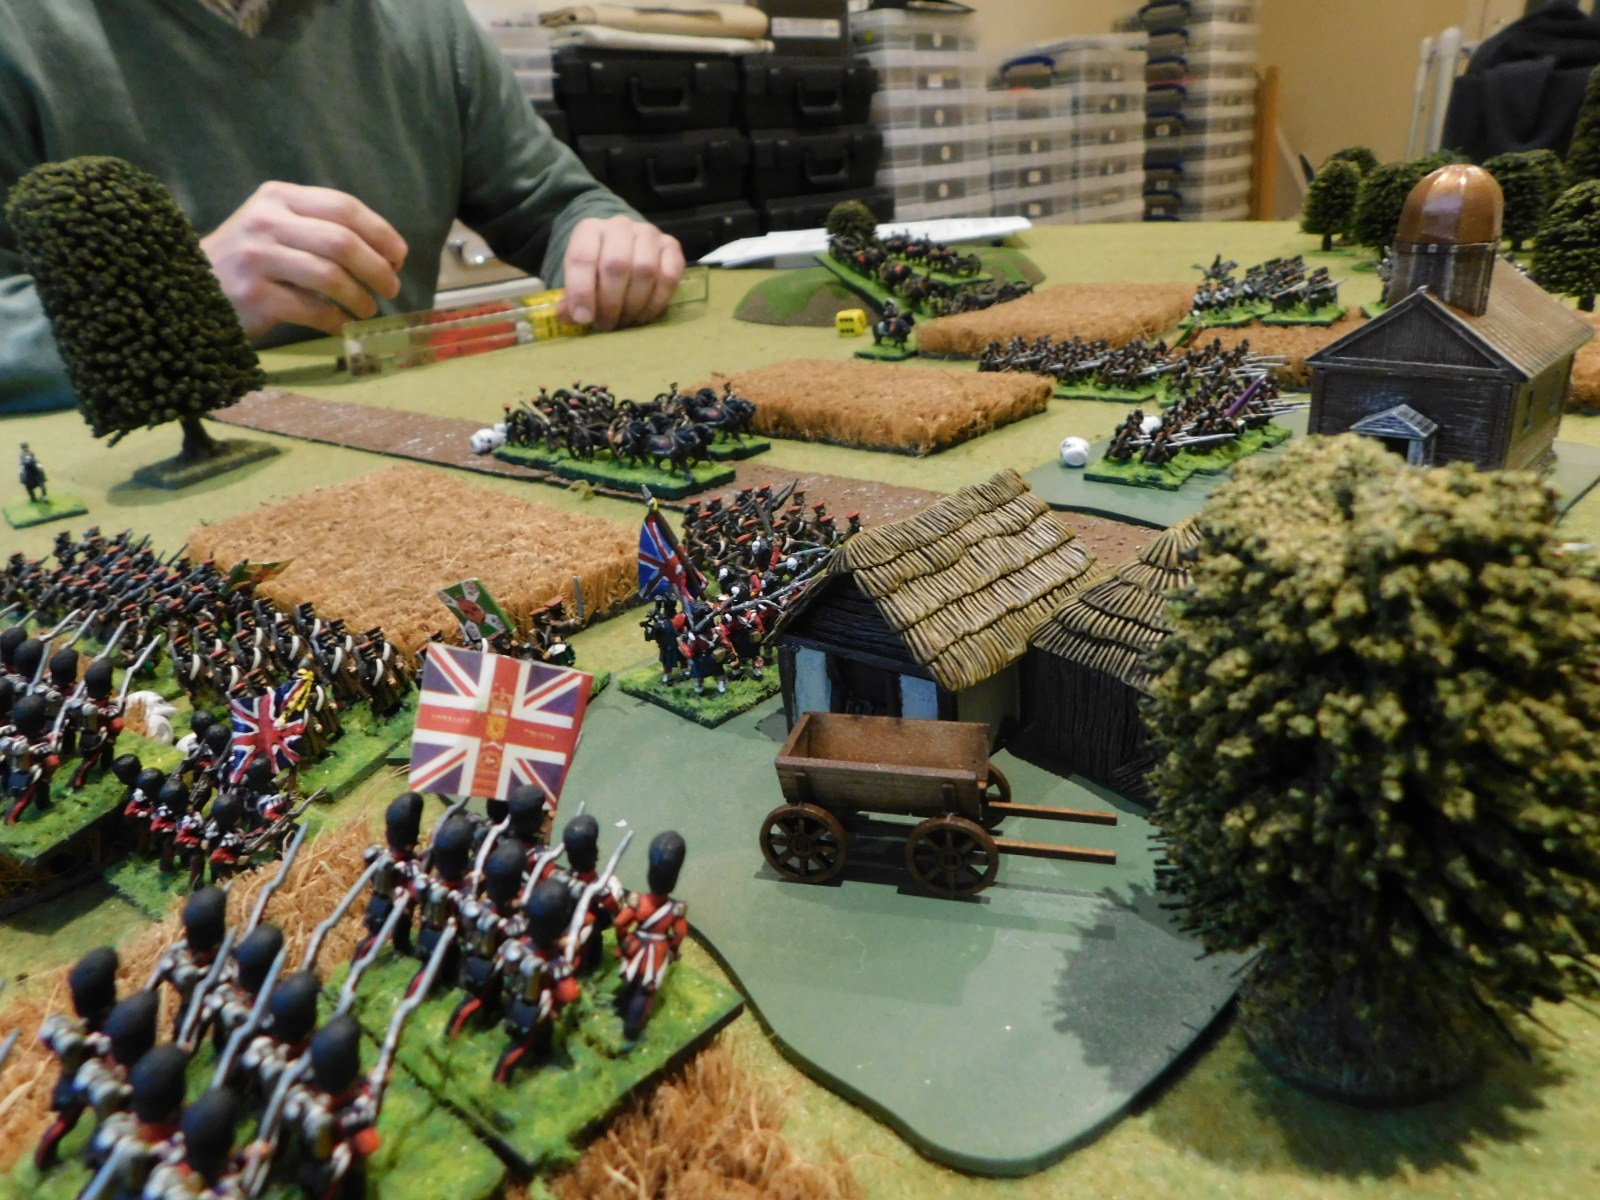
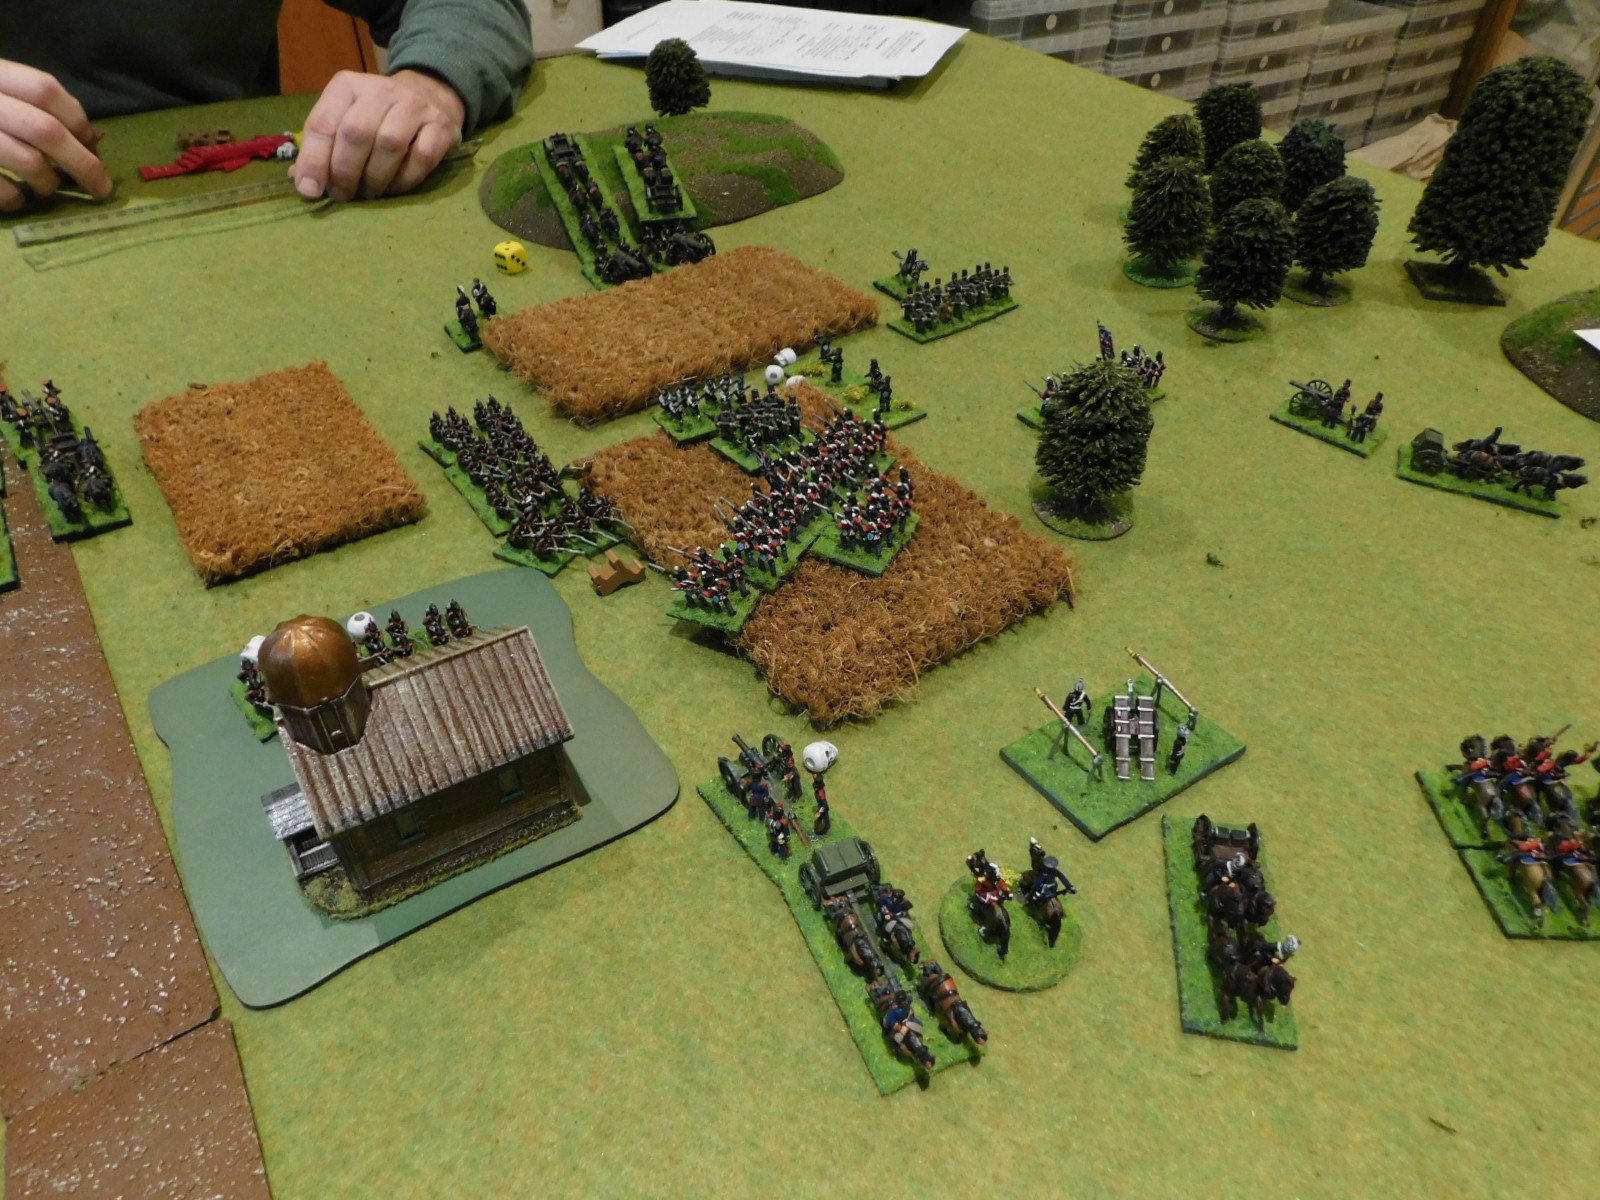
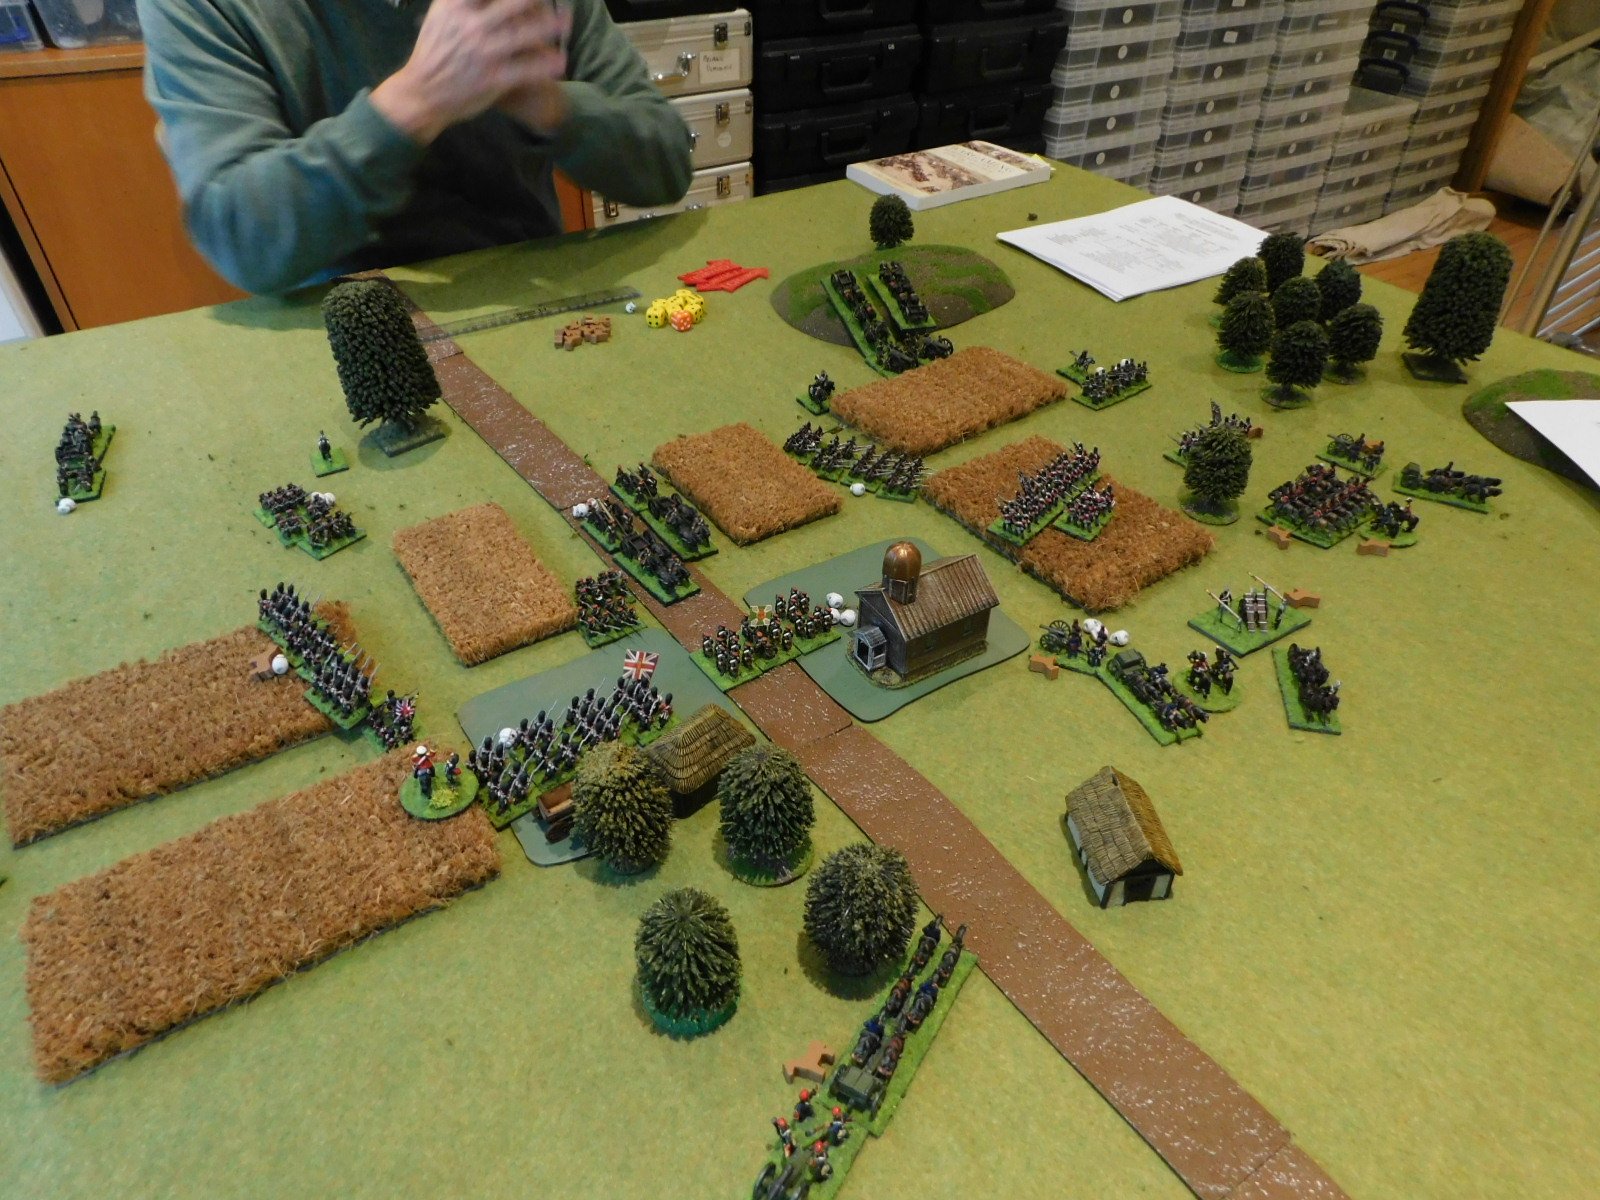
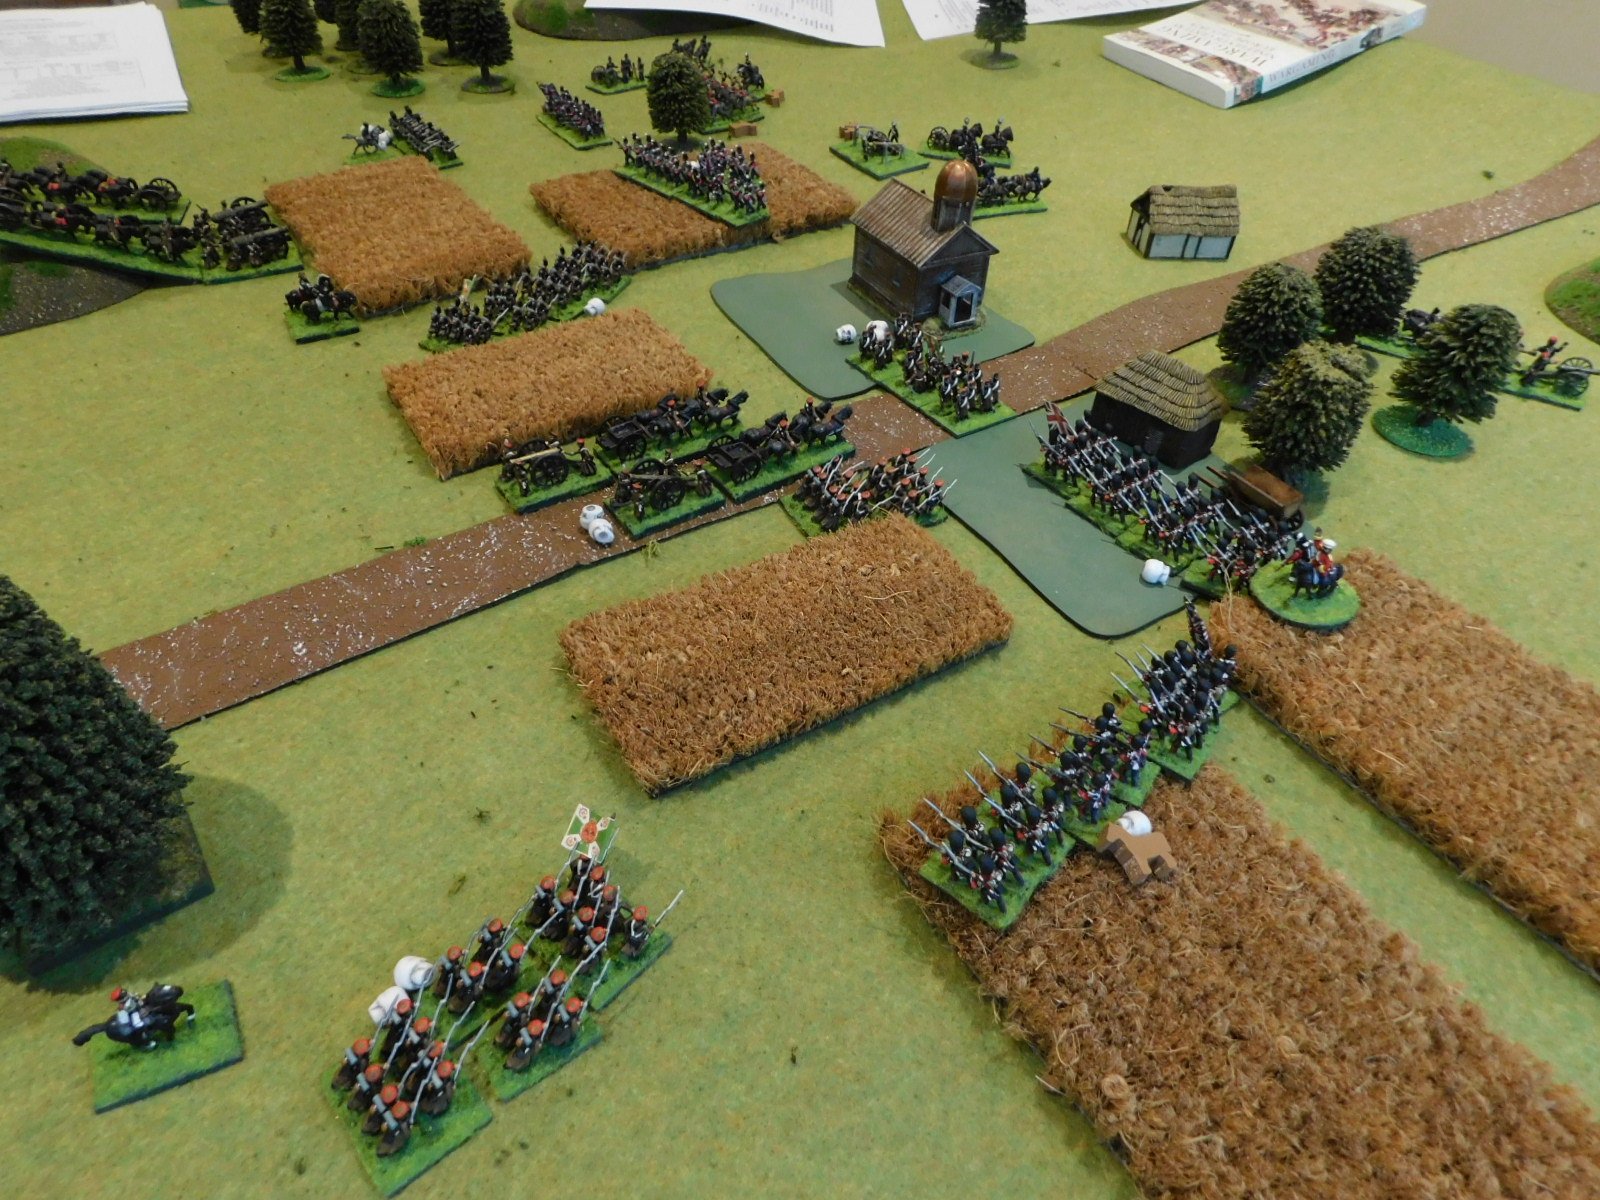
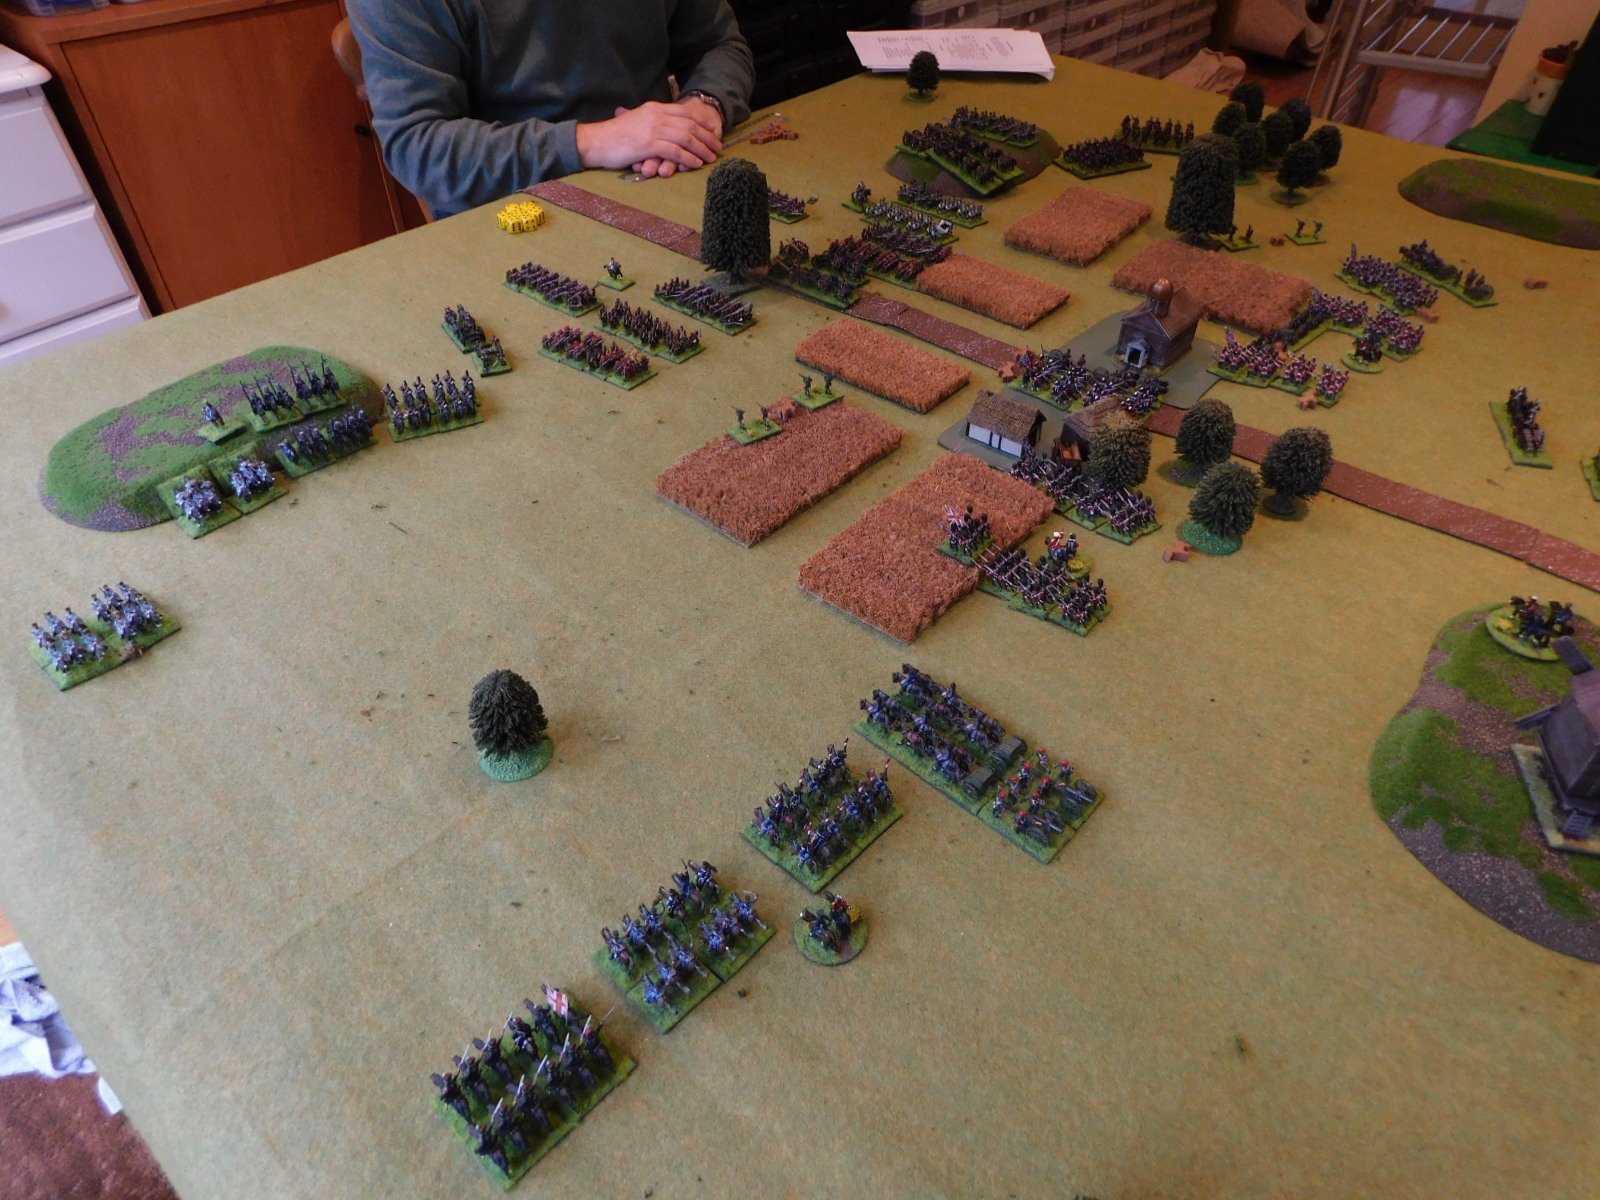
In the end, we defeated the Xhosa without taking too many casualties ourselves. Here’s a gallery of the action:

My thanks to everyone who was running/playing the game (it was great to use such beautifully painted figures on a cracking layout) and, of course, to Ade Deacon for organising the event as a whole. Can’t wait for OML10!

19thC AAR: Battle in the Crimea

Having recently re-based all my British Crimean figures, it was time to get them onto the tabletop. Like some of my other 19thC figures, these troops hadn’t seen the light of day for almost twenty years: a testament to my inability to sell or give away any of my collection!

As I had done all the work, I would take the British, with friend John taking the Russians. Set up was a simple one: both sides were after possession of a strategically important village in about the centre of the table. We would use the Neil Thomas Rules for Wargaming the 19th Century.

As the game begun, both sides hotfooted it towards the village.

As you can see, the Brits were a bit faster (and maybe closer, but we rolled for sides!) so managed to get into the village before the Russians. Also note the opposing sides’ cavalry moving towards each other slowly on the near flank.

Before we move on with the narrative, here’s a great shot of the British during their approach:

The Fight for the Village

The British reached the village first and barely had time to form line before the Russian columns started to charge home.

On The Right

On the right hand side of the field, a British battalion supported by skirmishers faced off against two large masses of Cossack horse supported by heavy artillery and a battalion of Cossack foot.

Throughout the rest of the game, this battalion would hold this flank, sending the three Cossack units flying back to their steppes. The price was high: only half the British infantry were still on their feet at the end of the battle.

On The Left

On the left hand side of the field, the British cavalry slowly advanced towards their opponents: the plan was to protect the left flank then, once the Russian infantry were fully committed to the village, to smash the enemy horse from the field before looping around the Russian rear.

Unfortunately, although the flank was indeed protected throughout the game, when the British cavalry did eventually commit to combat, the result were…mixed! There was certainly no rapid smashing from the field going on and the situation developed into a grinding melee that lasted until the end of the battle.

The British eventually probably had the best of the encounter, but their cavalry had done all they were going to do for the day: no looping around the rear was going to occur.

This was very disappointing, as I was expecting the cavalry to quickly carve through their opponents and then go on to wreak havoc in the Russian rear.

With the two flanks fought to a standstill, resolution was going to occur in the centre.

Extreme Action In The Centre

As previously mentioned, the Russian columns charged into the village, focussing their efforts on the lone battalion of Highland infantry occupying the buildings on the left hand side of the road.

Time and time again, fresh columns of brown clad infantry advanced into the fight until the area was strewn with their corpses, but sheer volume of numbers was beginning to tell and soon there were only a handful of brave Scots left. These resisted for another turn or two, then were finally sent flying, leaving the left hand side of the village in Russian hands,

At the same time as the above, more Russian columns attacked the British battalion holding the right hand side of the village. These crumbled somewhat faster than the Scots, and soon the entire village was in Russian hands! Things looked a bit grim for the Brits!

This was, however, only a temporary setback. The two battalions of Guardsmen on the left of the British line had repelled the Russians in front of them and now took the offensive. One formed columns and moved towards the left hand side of the village whilst the other pivoted around its right hand man to flank more Russian columns as they advanced forward.

This proved too much for the Russians, and soon the left hand side of the village was back in British hands, with no more Russian reinforcements on the way.

Meanwhile, on the right of the central British line, a battalion of line infantry had been holding its position in the centre of a cornfield, repelling any Russian columns who came towards them. Fortunately for the Brits, the terrain meant that the Russian attacks had come in piecemeal as opposed to a co-ordinated push.

Although honours were now technically even, with each side holding one half of the village, the Russians were down to only three effective infantry units (from eleven!) whereas the British had only lost two of their six infantry battalions. With the wings stalemated, the Russian commander declined to waste his troops on further assaults, or even to try and hold the gains that they had made, and ordered a general retreat.

Aftermath

Another great game and one that was actually very close indeed.

When the Russian columns pushed two British battalions out of the village, I was seriously concerned that I wasn’t going to get back into them, especially as my “elite” cavalry were busy getting nowhere.

To finish, here are a couple of shots not included above of the battle in progress:

First Painting of the Year

Not the start of a new project (they are still in their box!) but a few bits and pieces for existing armies.

First up we have some organ guns for my Burgundian Ordnance army. I had some rockets already, but organ guns are more correct and having the actual models will hopefully remind me that there are special rules that apply to this type of artillery in To The Strongest. I’ve also painted up a couple of pavilions to add a bit of flavour to the Burgundians’ camp bases.

These are from Alternative Armies: very nice sculpts and they arrived very quickly as well.

Next up are a few command figures for my British army for the Crimean War (1854-6). I don’t actually need command figures for the rules I’m playing at the moment (Neil Thomas’ Rules for 19th Century Wargaming) but I find the army looks a bit odd without them. It also helps remind me of which units are in which division.

These are Rank & File figures from Timecast: very nice figures that my somewhat messy painting doesn’t really do justice to.

My next painting will be the start of the first big project for 2023: a 15mm Norman army using the excellent Museum Miniatures CAD range. Can’t wait to get started on them!

Last Painting of 2022

Too late to start a new project, so a couple of bits and pieces rescued from the slopes of the lead mountain.

First up are some more Brute. These are technically 15mm sci-fi figures from Nuclear Shrimp. I say “technically” as they are post-apocalyptic wasteland mutants…so the figures are far more like 25mm than 15mm.

These are a couple of field guns carried on the backs of gorusk beasts of burden. You can see from their eyes and teeth that the poor gorusks are vegetarian herd animals pressed into service by the Brute!

The gorusk were painted with GW Contrast Paints, with the platform and gun painted a base black then dry-brushed in steel and then either a bronze/gold colour (the platform) or a metallic blue (the gun). I then did the chains forming the harness in a bright steel colour to make them really stand out. Fun figures, although I’ve no idea when I’m actually going to use them.

The second bit of painting was a couple of command stands for the Crimean British. You don’t actually need command figures under the Neil Thomas rules that I am using, but I always think it’s nice to have them on the table top, and we will probably come up with a house rule to make them significant. Perhaps having a unit to which a command stand attached always activating at full effect, and having an officer attached to a command stand vulnerable to enemy action in some way. Something simple like that.

So that’s it for painting in 2022. I’ve exceeded my previous record in the Painting Challenge, so I’m happy about that…except, of course, that I now have to do even better next year!

I’ll post the last Painting Challenge update for 2022 on New Year’s Day (I have a handful of entries already in, so don’t hold back submitting your last efforts) and then it’s on to 2023!

Last of the Crimean British

I needed one more infantry unit to finish off my Crimean Brits and, to give me two symmetrical brigades, it needed to be a unit of Guards. Scots Guards to be exact.

I fancied a change from the Rank & File figures that I had been using, so went with the Eureka 18mm range. These would be a little taller than the rest of the army but, hey, I wanted a battalion of imposing Scotsmen so that would do the trick nicely.

The Eureka figures are exquisite: my crude painting certainly does not do them justice. My only complaint would be that the bayonets are extremely thin and I’m quite worried that they will break easily…not that any broke off in the painting process, but then the figures haven’t been handled on the wargames table yet.

The tartan effect on the kilts was achieved by painting the kilt blue then painting a green cross-hatching on it. Again, somewhat crude, but all you need for the three foot rule.

I could have painted these better, but they match the style of the rest of the army. I would also have like to homogenise the poses a bit more, but the Eureka UK distributor was a bit low on stock and I wanted to get these done before the end of the year.

These figures actually now take me to a new personal best score on the TFL Painting Challenge: 2,035 points as opposed to my previous 2,004 points achieved in 2019. I would like to get up to 2,050 before the end of this year’s challenge, but with only eight days to go, some of which are Christmas, it might be a bit tricky!

More Crimean War Brits, and some Scots

As this year’s Painting Challenge draws to a close, I find myself very close to achieving a new high score. Before the below are added, I was on 1,967 points versus my previous record of 2,004 points set in 2019: a mere 37 points apart.

First up today is a another battalion of Crimean War British Line Infantry.

These are Rank & File figures from Timecast: very nice figures that my somewhat messy painting doesn’t really do justice to.

These chaps had quite an adventure. Firstly I varnished them before noticing that the Union flag was missing the red diagonals. Secondly, I had these drying in the garage and managed to acrobatically drop the tray holding them in a spectacular fashion whilst wrestling with the garage door. More speed less haste, as they say! Some time was needed to re-glue half the figures back on the bases and touch up the impact points with fresh paints. Annoying!

Second up is another command stand for my Covenantor Scots:

I’m showing you the back view so that you can see all the lovely tartan! Figures are from Peter Pig.

So that lot give me 36 points in total, meaning I am now only a couple of points under achieving a new record with over three weeks of December still to go…

More Crimean British

The last of the re-basing…

my name is cardigan, what is what, what is wHat!

These represent the 11th Hussars of Balaclava fame, or rather infamy. I had eleven of these already painted, so had to find one more to colour match and paint up.

I painted these myself some twenty years ago and was very proud of them at the time.

Here are all the skirmishing units I will need: naturally composed of Riflemen. These I bought painted

Finally, here’s another battalion of Guards. This is a half-n-half unit: the rear two ranks are composed of Minifigs Guards that I painted some twenty years ago; the front two ranks are newly bought Timecast figures painted up to match. There’s a small difference in size and pose between the two, but nothing that will be noticeable on the tabletop.

Just another unit of standard foot, a Scots battalion, and the commanders to go now: but they will all have to be bought and painted from scratch,

Crimean British Re-Basing Begins

Those who follow this blog will know that I have relatively recently re-based my 19th Century Austrians, Prussians, Russians and French in order to use Neil Thomas’ rules for the period.

The last of my Crimean armies to re-base was therefore the British…but this one would be slightly more complicated than the others.

The last set of rules that I used had the British as so elite that you didn’t really need many of them, so I only had a few infantry units, and cavalry units that were smaller than those of other nations. That meant that although I could easily re-base one unit of line infantry and one unit of Guards, I was a bit stuffed after that!

I had three units of cavalry that were ten figurers strong and I need them all to be twelve figures strong. Worse, I hadn’t actually painted these myself, so would have to match someone else’s painting style.

This was doubly interesting as I would also need to revert to my old style of painting as well: single colours over a black undercoat rather than the Contrast Paints system I use now. In fact, this was two steps back, as immediately before Contrast Paints I was using a base colour, wash plus shading over an undercoat!

As you’ll see from the following two units, the tactic I decided to adopt was to add two figures to the command stand. Here are the light and heavy dragoons. Can you tell which are the two extras?

Okay, so they are a little bit obvious in “catalogue” style pics like the above, but on the tabletop they just look like an exaggerated command stand, so I’m happy.

I also had to re-base the lancers in the same way, but these actually worked out better than the above, as I was able to use figures that almost exactly mimicked the ones I had. This time I really am asking if you can spot the two newbies!

Well perhaps still fairly obvious but, again, doesn’t show up at tabletop distances.

That left me needing to paint up half an infantry unit to match the half that I already had painted. By this time I’d also taken the trouble to work out that I had used Rank & File Miniatures (available through Timecast) and that it was worth buying a whole packet of infantry as the substitution would only leave me eight spare - it had seemed a bit much to buy three packets of cavalry to use just six figures!

The figures arrived very speedily, so kudos to Timecast for that, and I set about painting them. I think I’m a bit out of practice with this style of painting, as my finished versions didn’t look as good as the ones I already had. See what you think:

I suppose they are not too bad and, at wargames distance, they don’t appear that mixed: they just look like a slightly scruffy unit of line infantry…hardly surprising considering the conditions in the Crimea.

So that’s about half the army done now. One more cavalry unit to go (the 11th Hussars), the artillery, and I’ve bought a couple of extra infantry units so that I end up with six in all. Looks like I’m going to get a bit more practice at the obsolete style of painting after all!

Crimean War British Gallery

Inspired by having to convert all my other 19th Century galleries from web-pages to blog-posts (see my post Page Limit Panic below), I have finally got around to posting up the gallery of my 15mm Crimean War Brits.

This army is a mix of units that I had professionally painted, and some of the best 'block painting' jobs that I managed myself e.g. Lord Cardigan ("what is what, what is what") and the 11th Hussars.

Click on the picture below to see the whole gallery:

Vis Imperica Galleries: The Later British

I've had a chance to add another gallery to the Vis Imperica, 19th Century section of the site: my Later British collection.

These were the first 15mm figures that I ever painted...and it shows! They are simple block paint jobs, no shading, no washing...and those eyes!

I look at these now and almost cringe...but then I remember that no-one starts out a genius painter: it's something that has to be learnt, like any other skill. I might be able to paint a lot better nowadays (as I said, to the point where these make me cringe) but everyone has to start somewhere. These serve as a good reminder of that. And, anyway, a quick wash and then a couple of highlights, and these would fit right in with my later efforts.

The army is split into two parts: those in mainly red jackets and based on 'grass' for southern Africa; and those mainly in khaki and based on 'sand' for the Sudan and North-West Frontier. Almost all the figures are from Essex Miniatures.

Click here or on the picture below to see the full gallery.