FK&P AAR: Muscovites vs Ottomans
/One of the great things about the To The Strongest system is that you can fight a decent sized battle in a couple of hours and still get a definitive result.
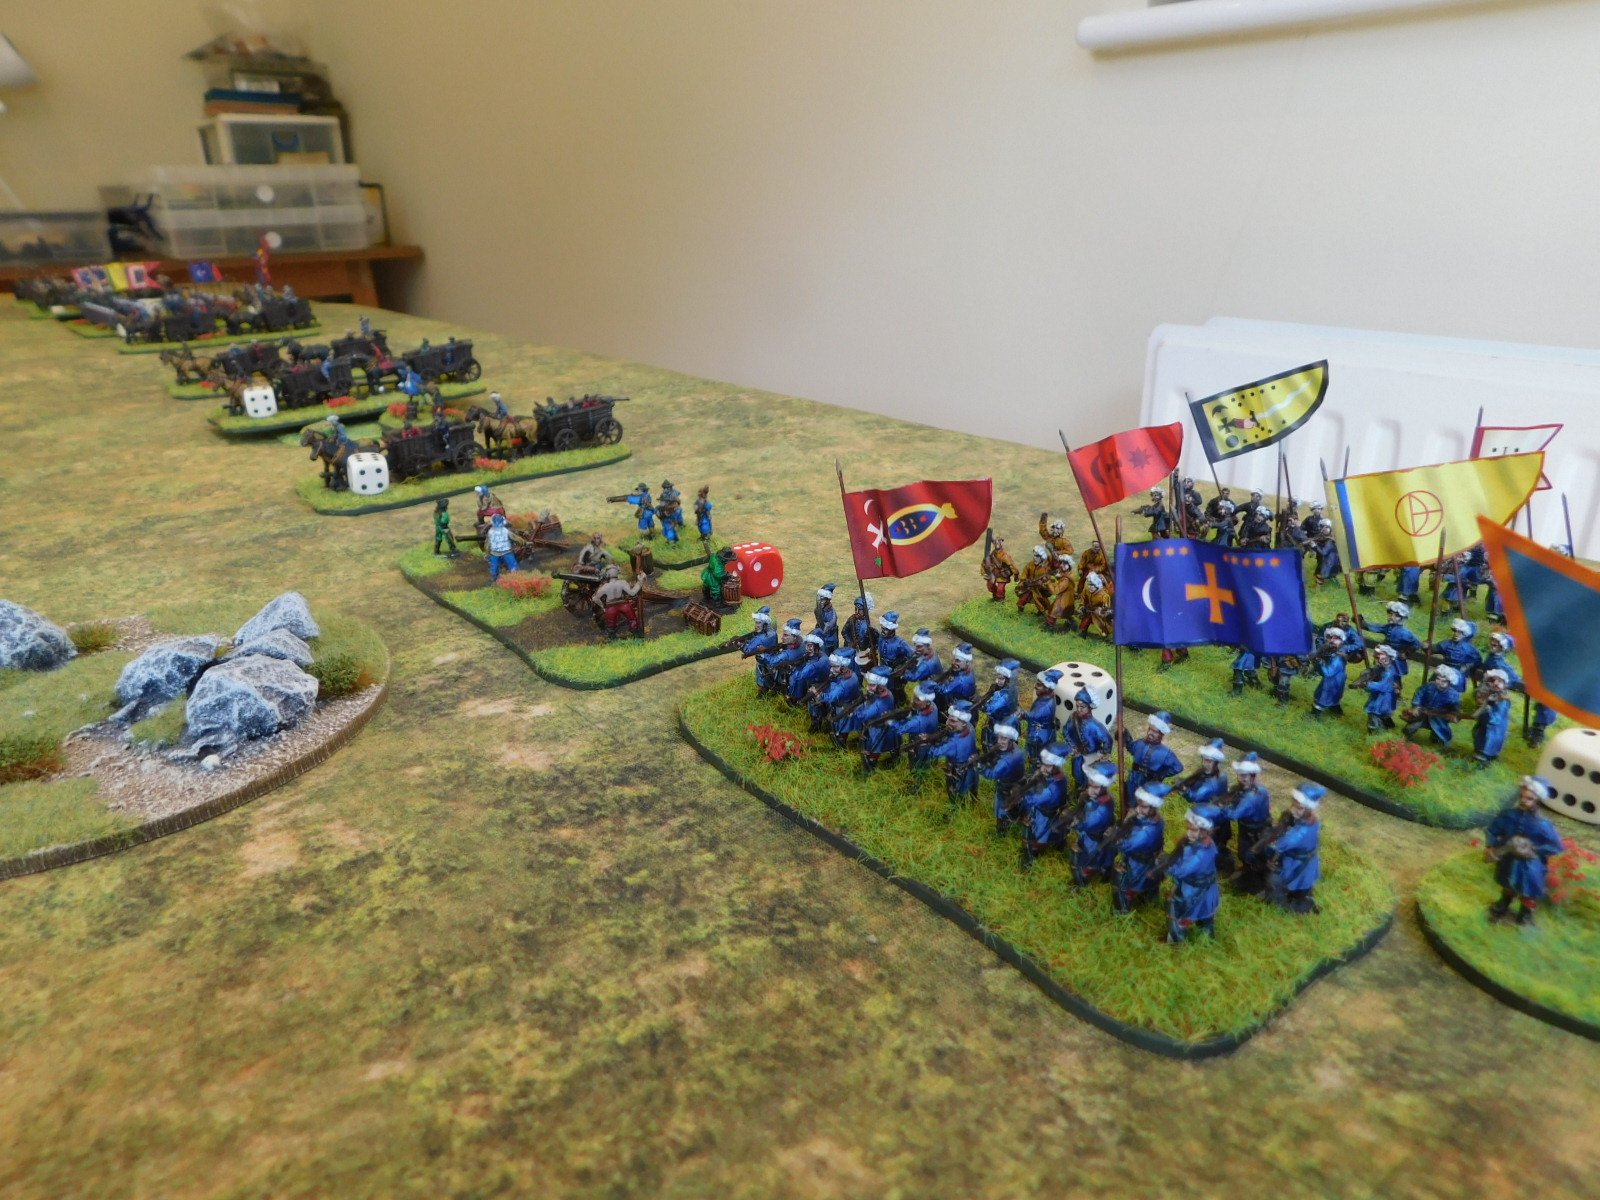
Thus it was that after our game featuring Ayyubids and Crusaders, Rob and I still had time for a game of For King & Parliament/Eastern Front variation. Rob would take the Ottomans, I would play the Muscovite.
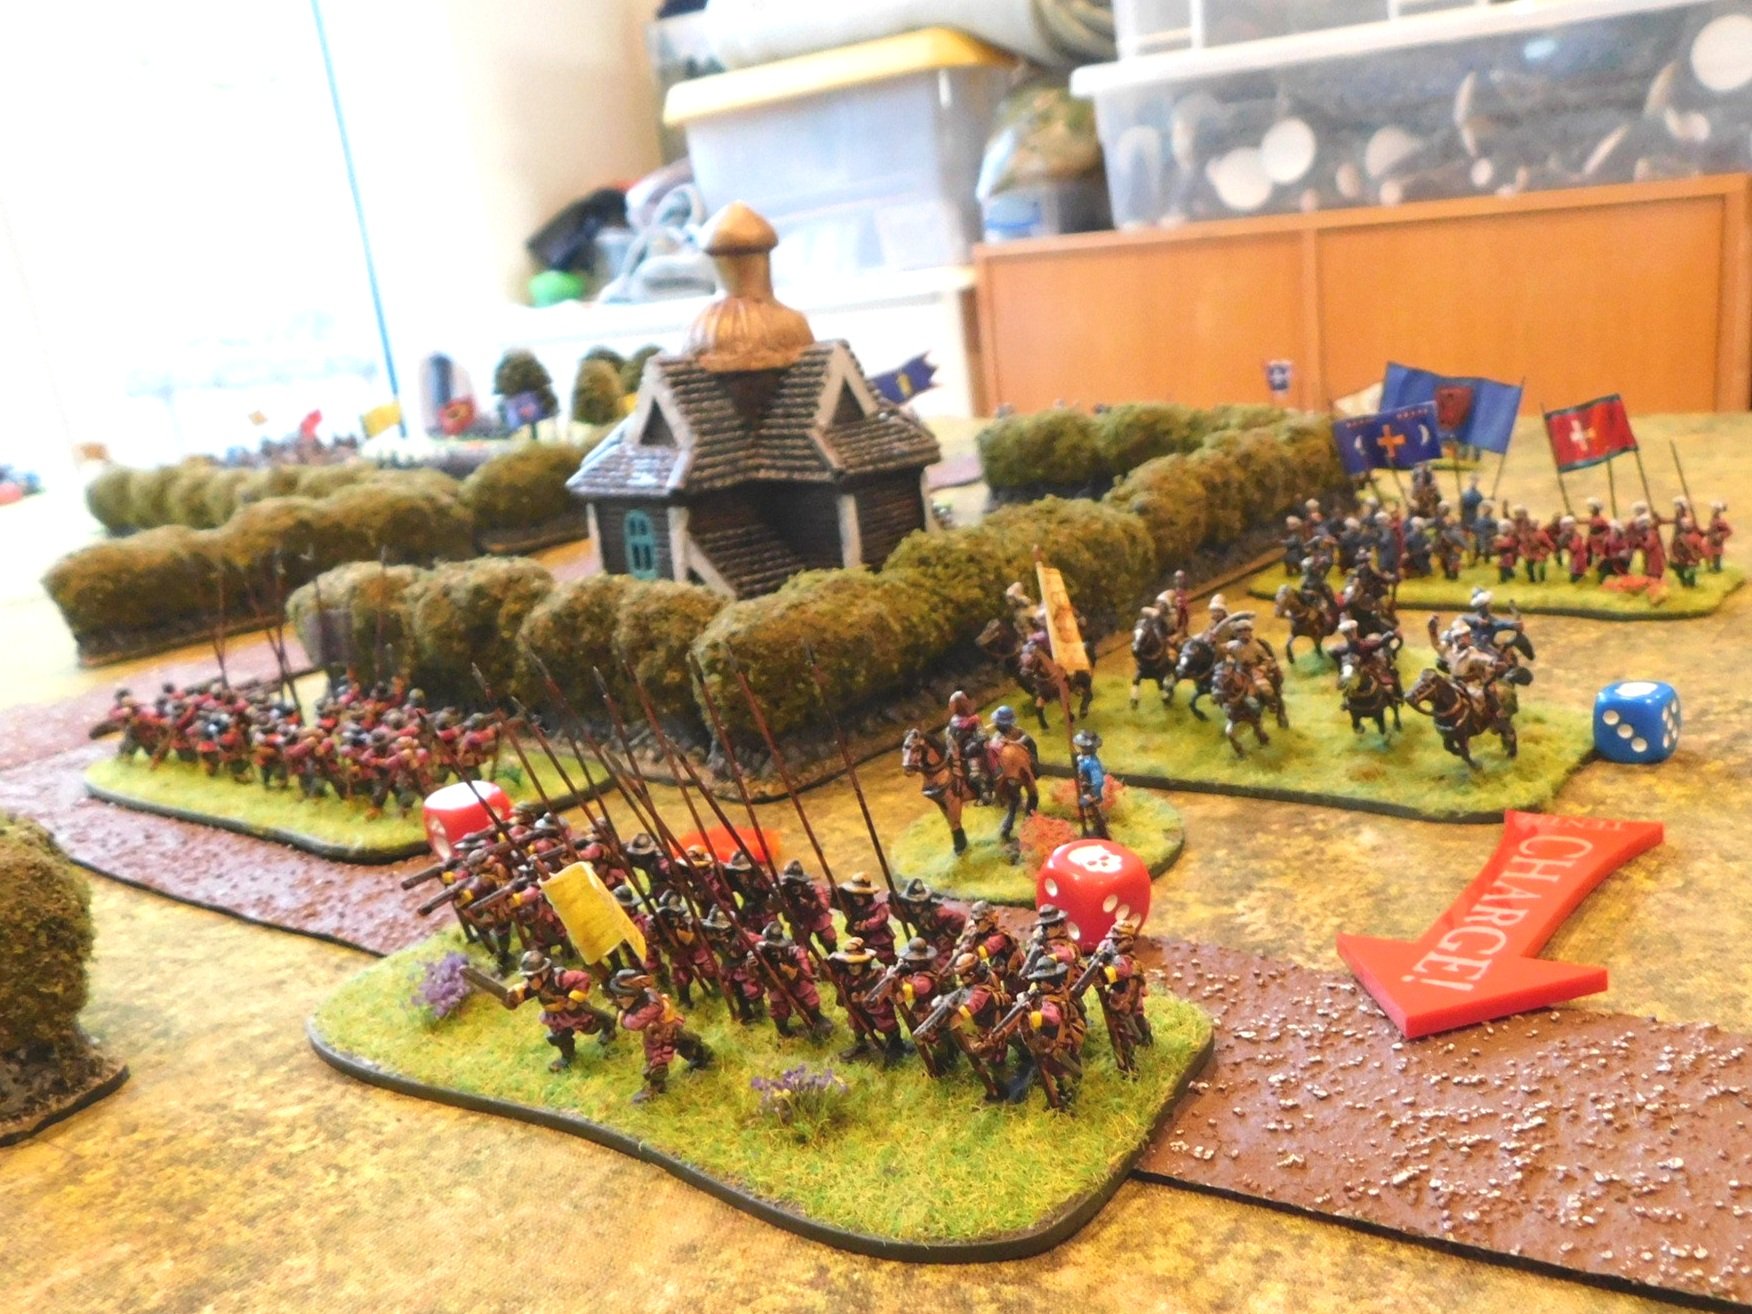
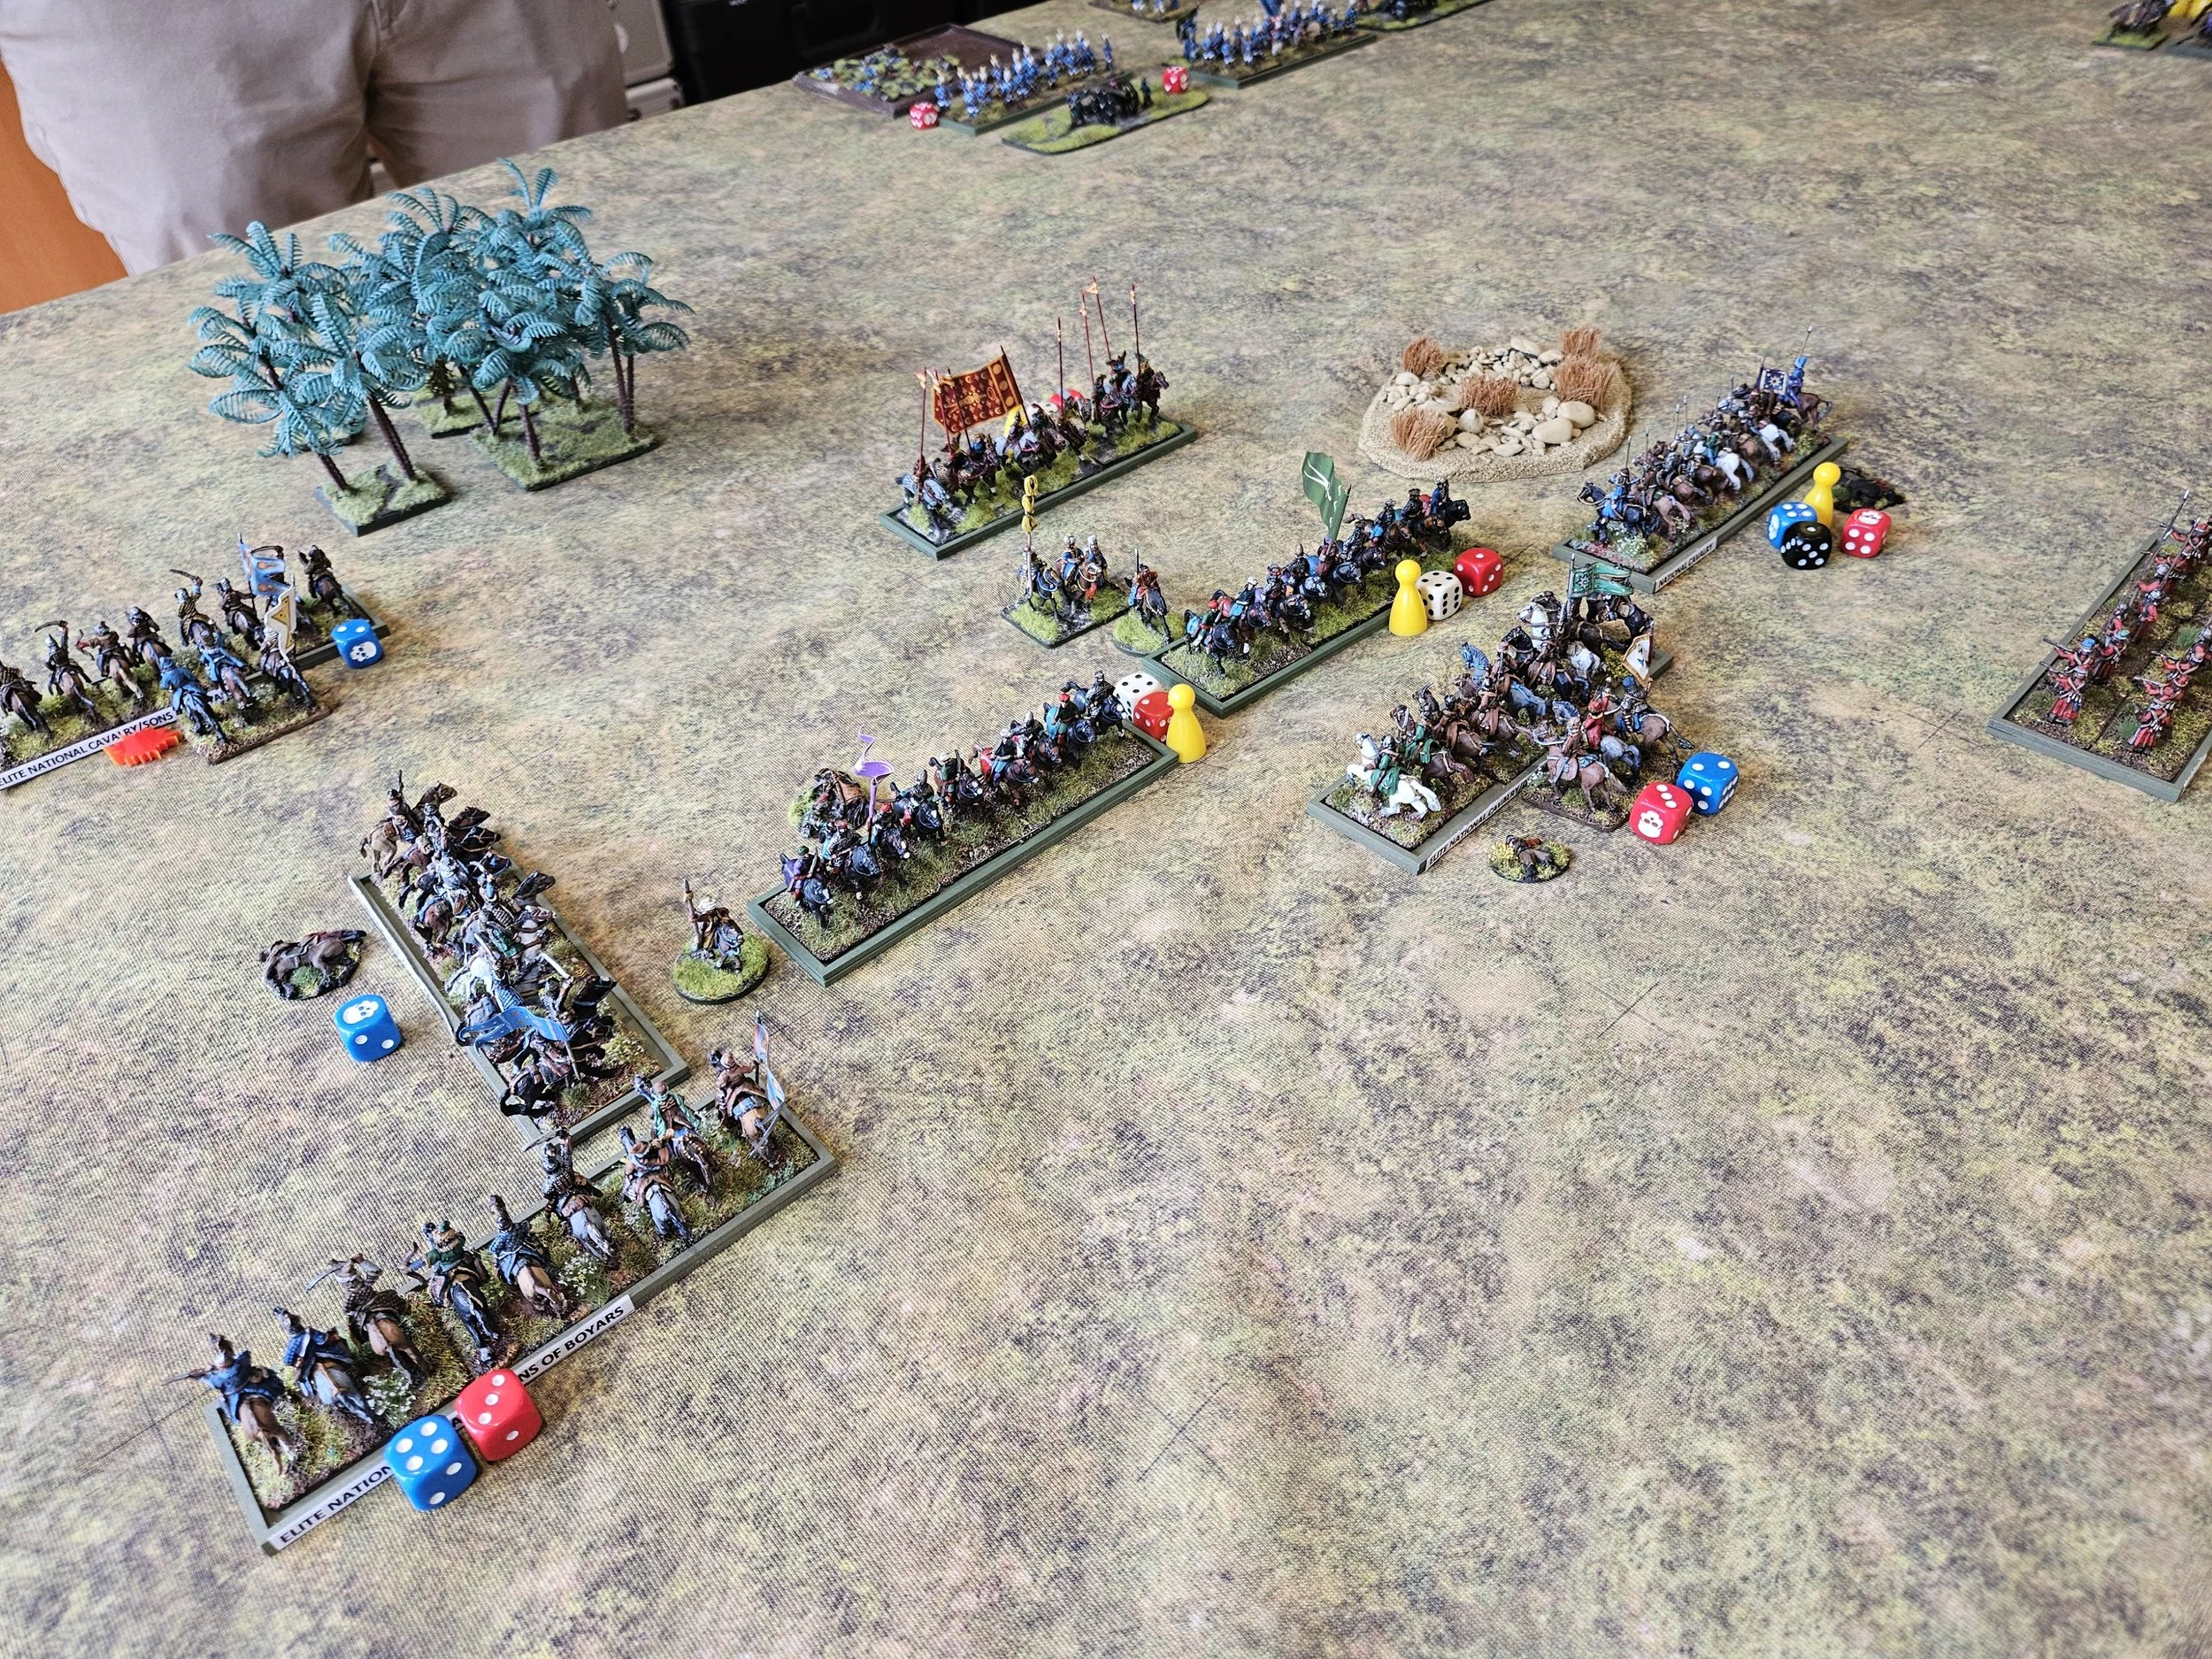
The game began with strong advances on both sides, in particular with the Turkish horse seeking to break through on the Muscovite right flank.


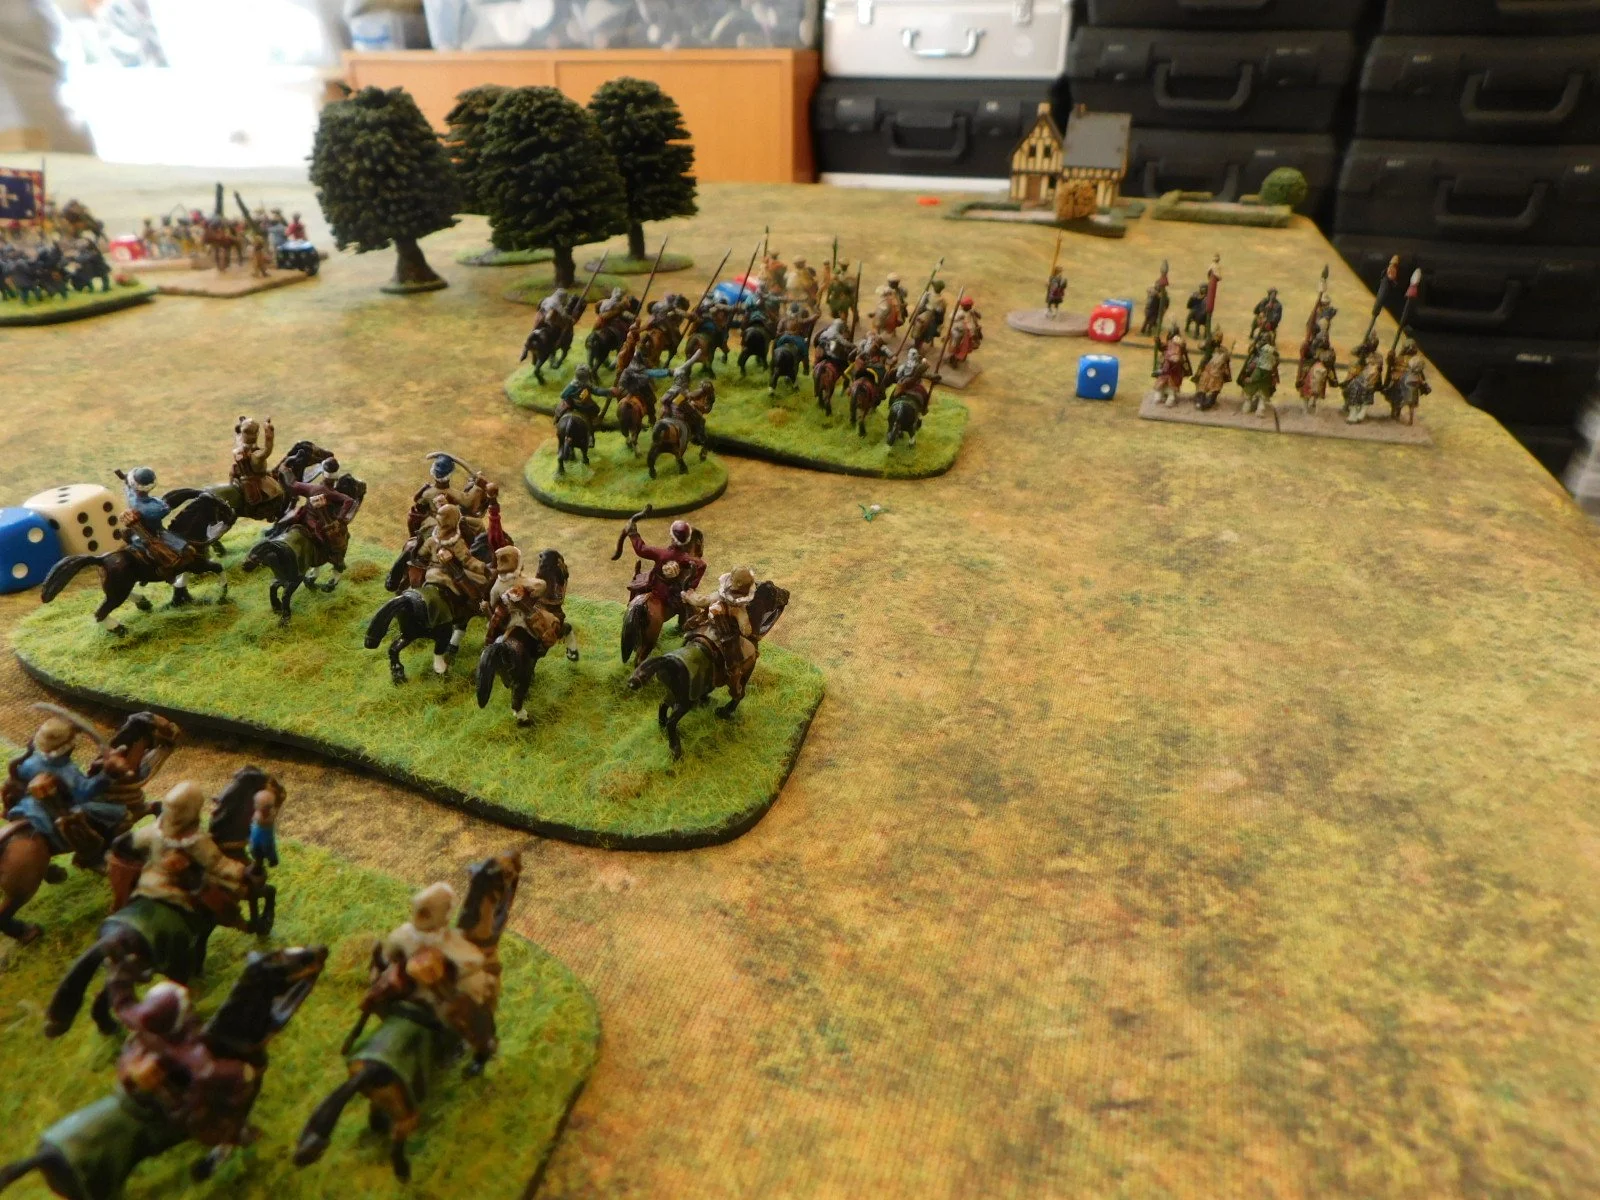
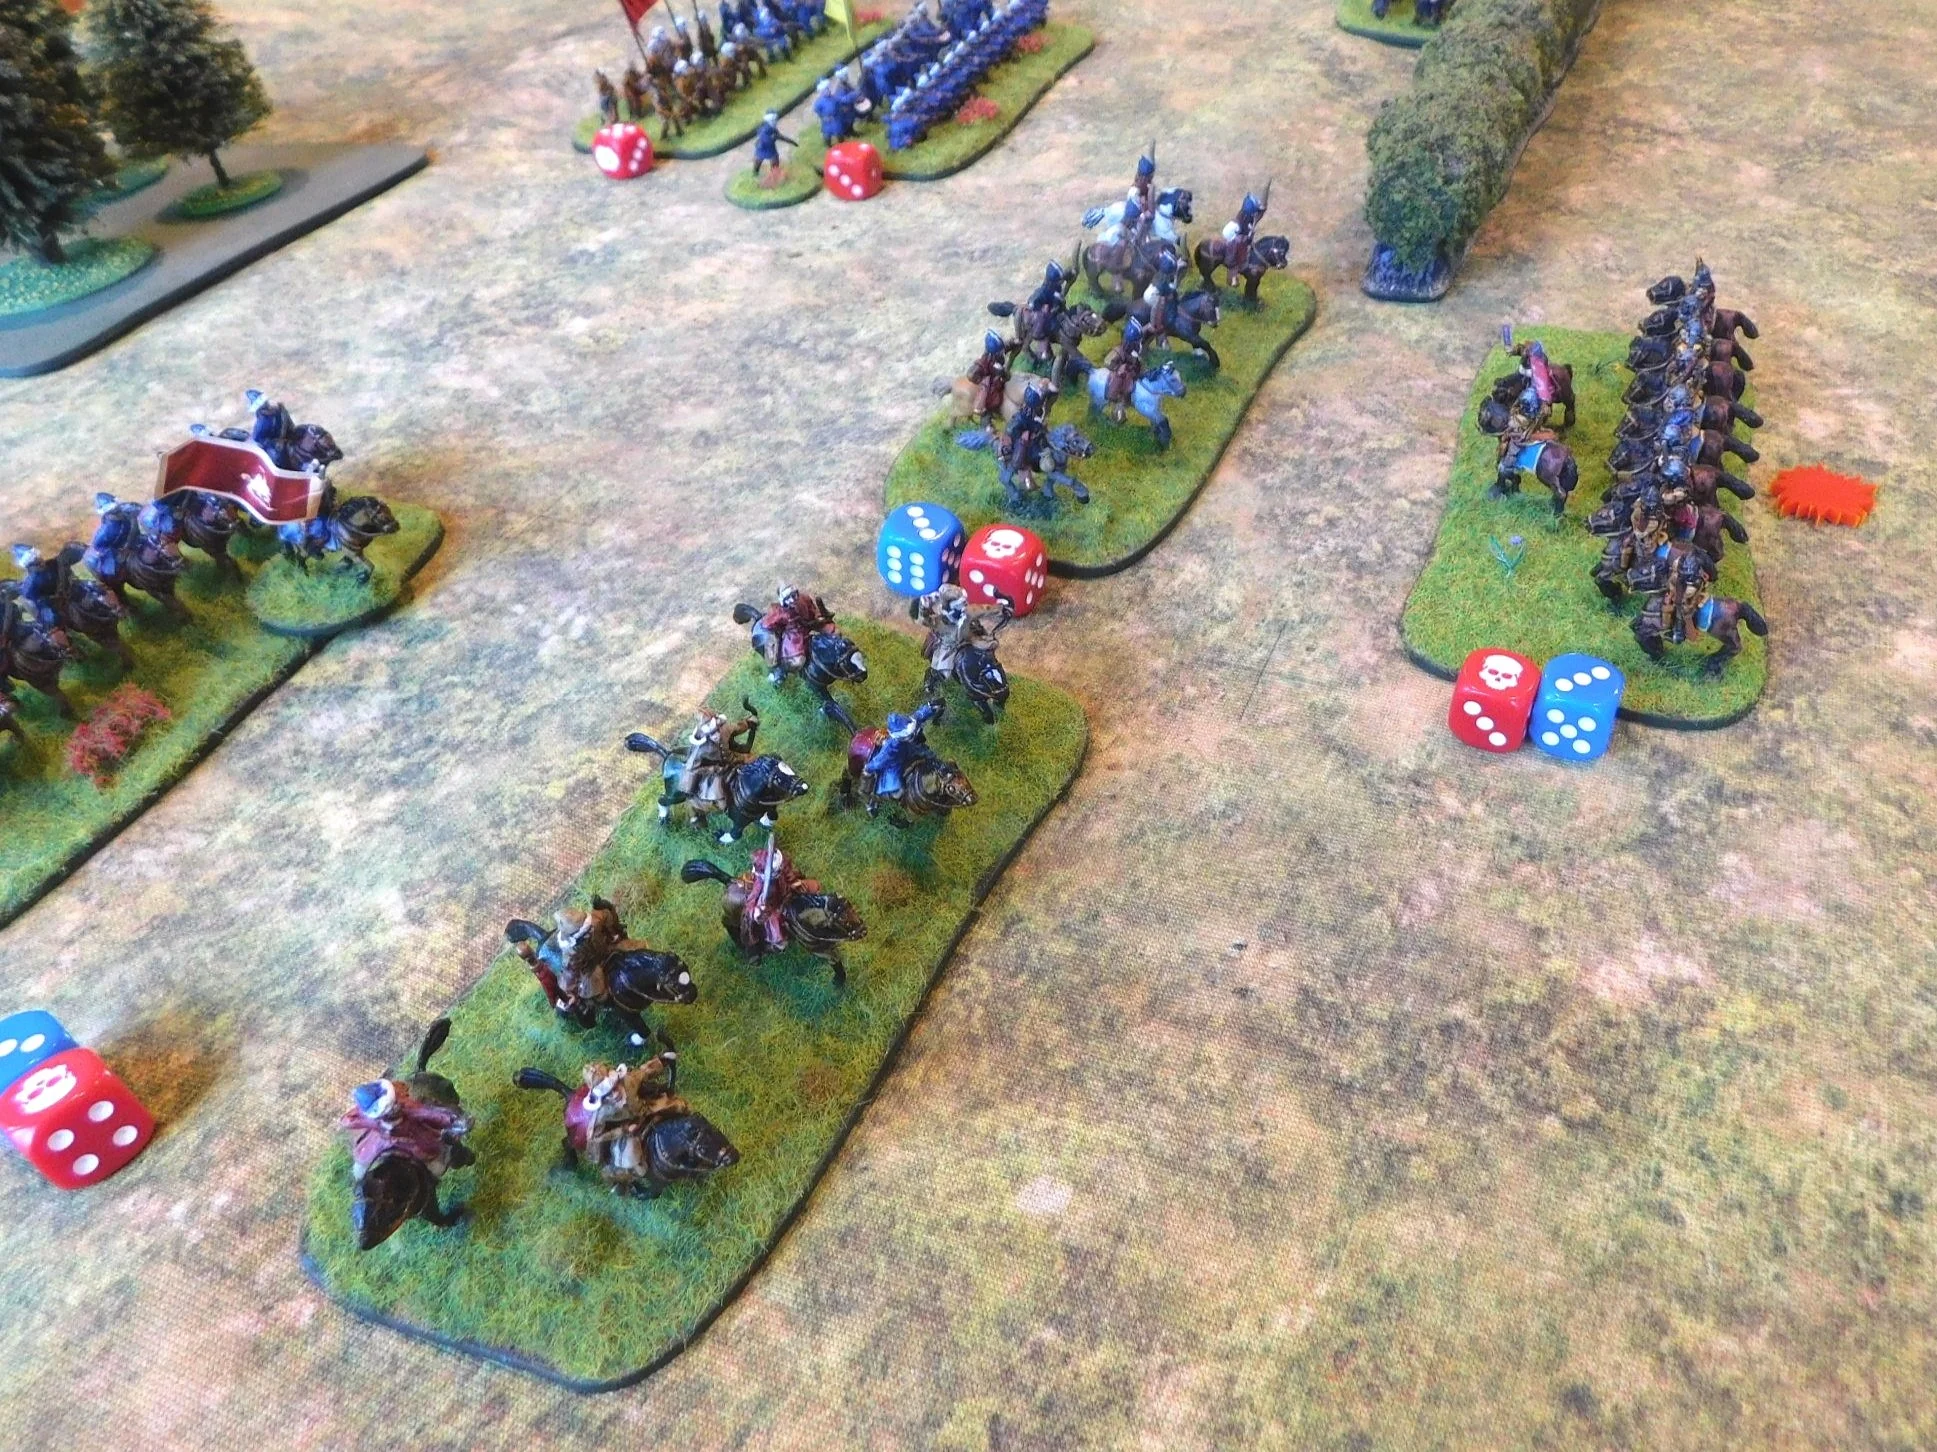
The fighting opened on the left flank, with a massive cavalry clash between ten units of cavalry: five Turkish, five Russian.
The Muscovites had managed to get a tactical advantage: getting into position to be able to charge into the flank of the Ottoman line. Unfortunately, the Turkish horse proved extraordinarily resilient, failing to take any damage even when attacked from front and flank!
Not a bad set of saves!
Despite this resilience, the initial clash went to the Muscovites, who now still had five units of cavalry versus the three remaining to the Turks.
This advantage was, however, an illusion: the Muscovite horse had been badly disordered in the initial clash and, as the two lines closed again, it was the Ottomans who burst through the Russian line, evening up the scores to three remaining cavalry units each.
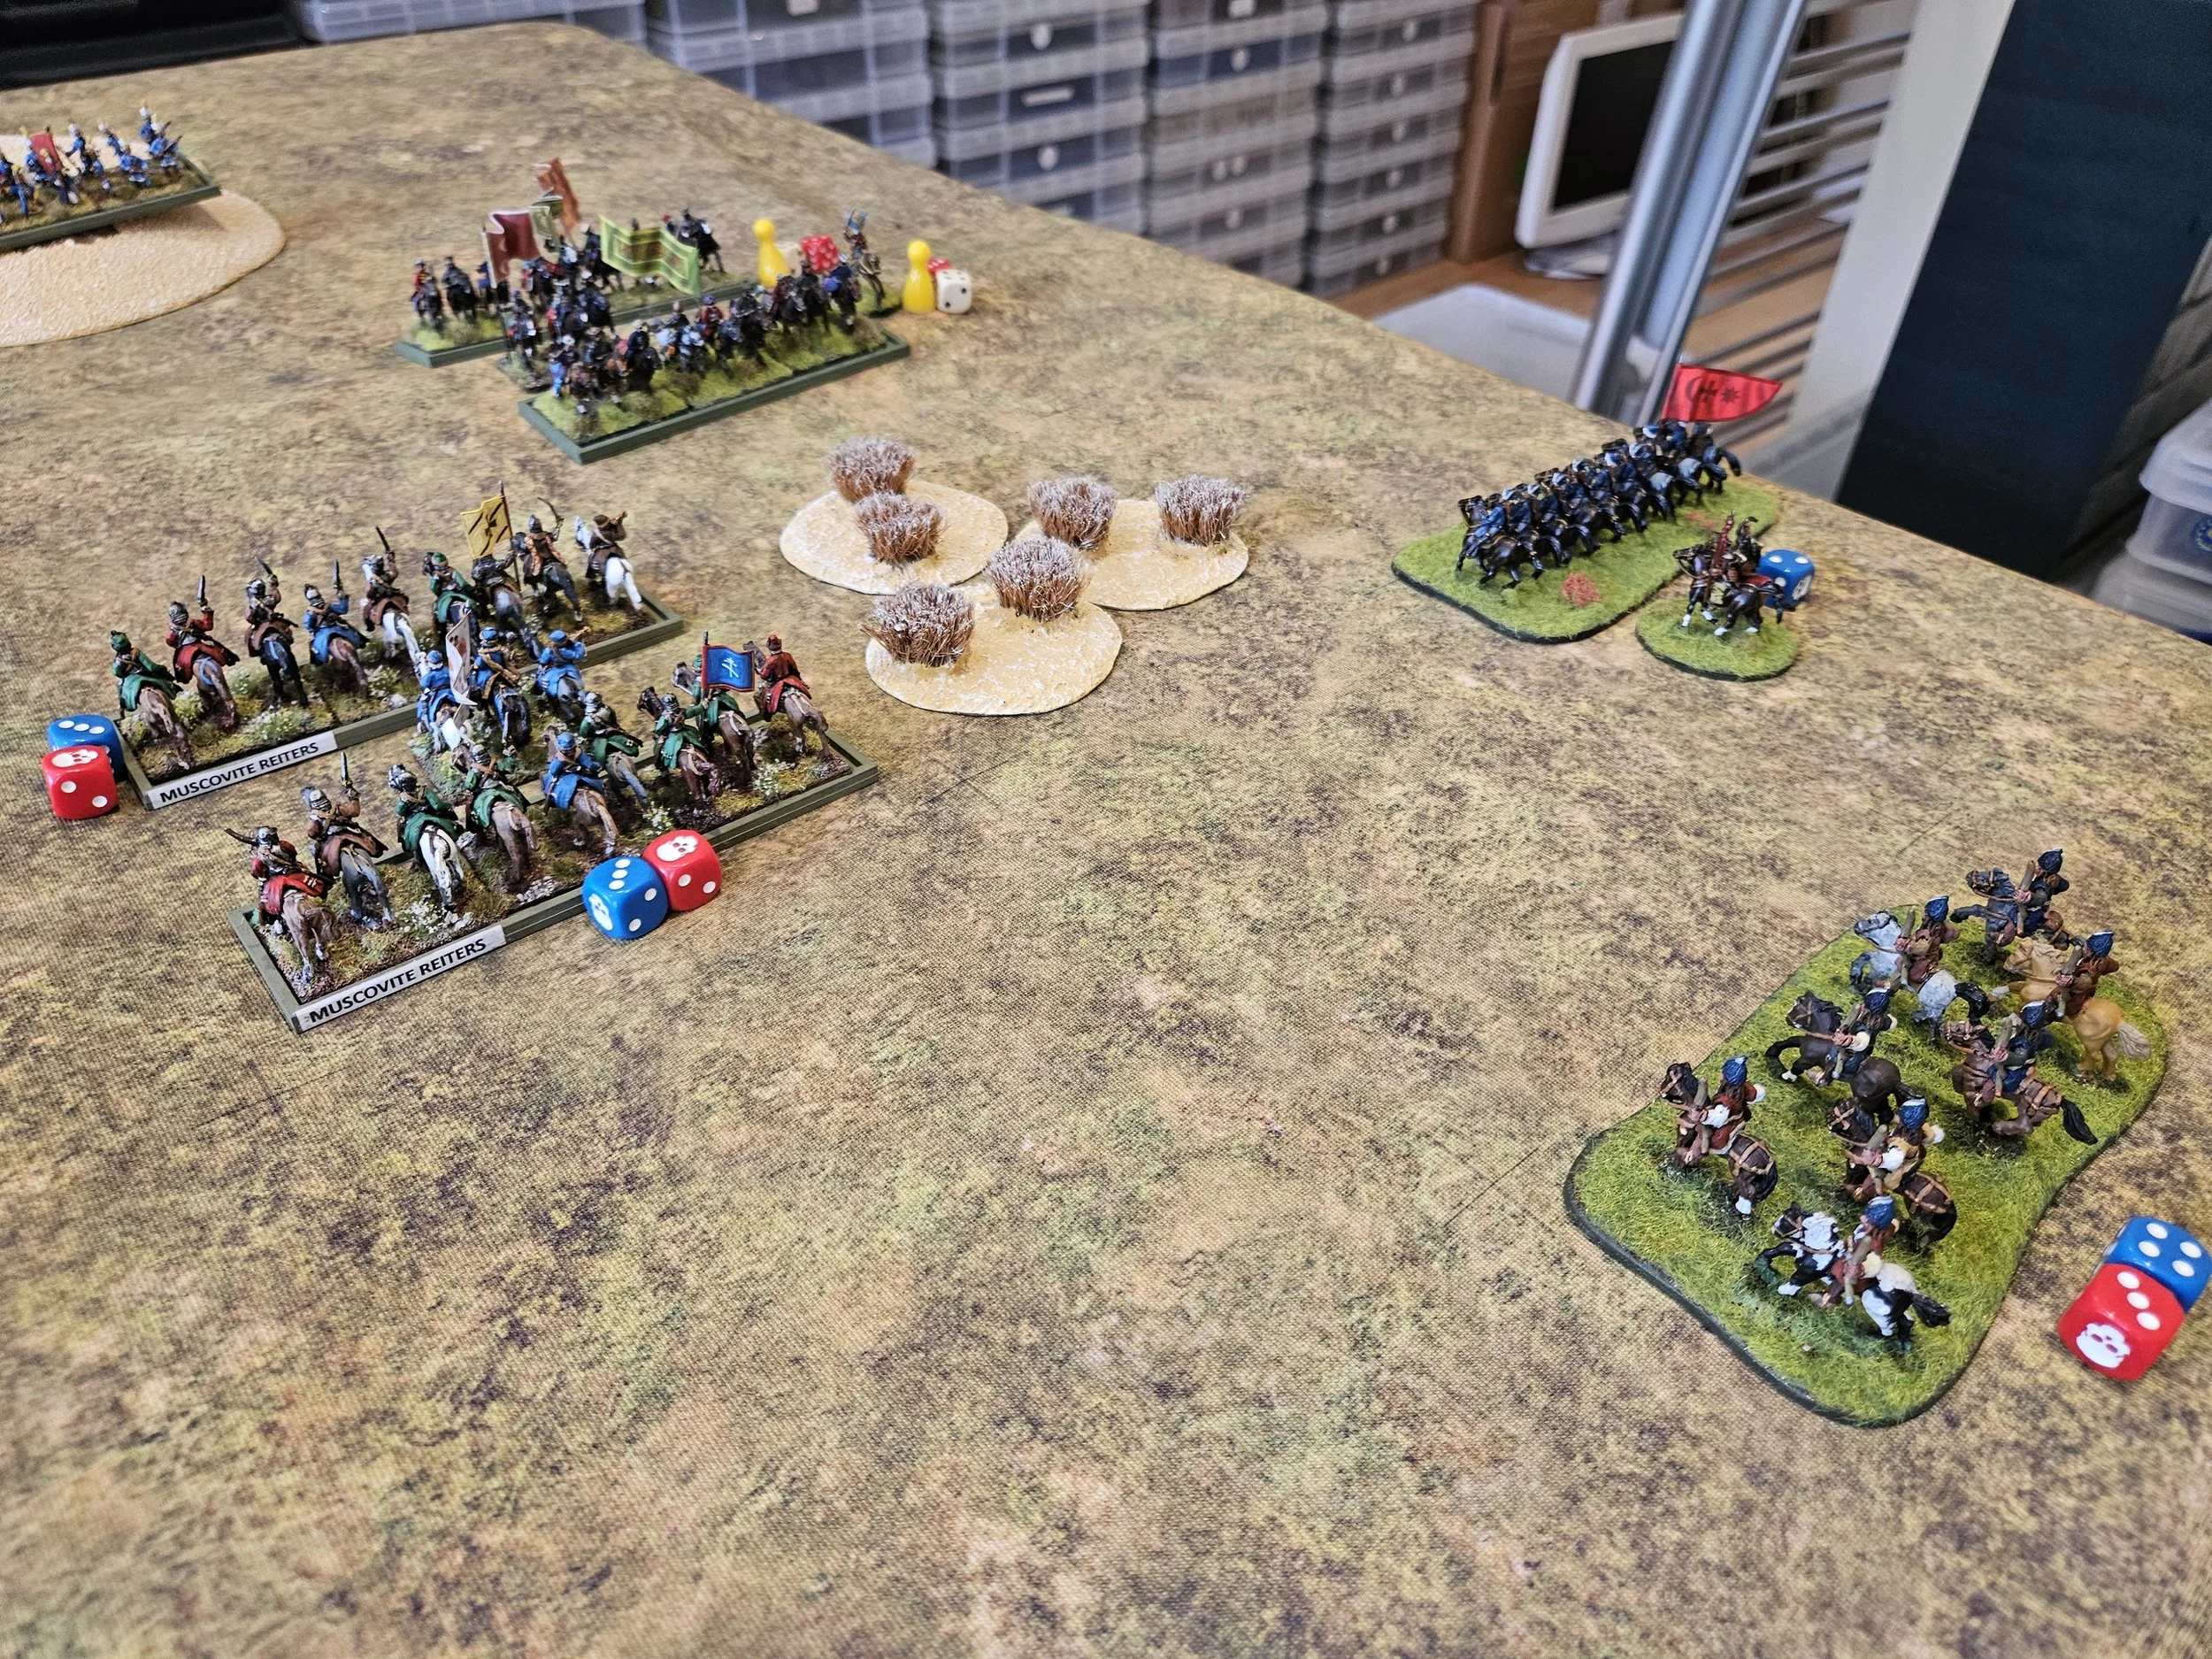
Meanwhile, on the right flank, the Ottomans were definitely dominating the situation after the Muscovite Cossack and Tatar allies had suffered a ‘mare on first contact, leaving the Turks utterly dominant in that sector of the battlefield.


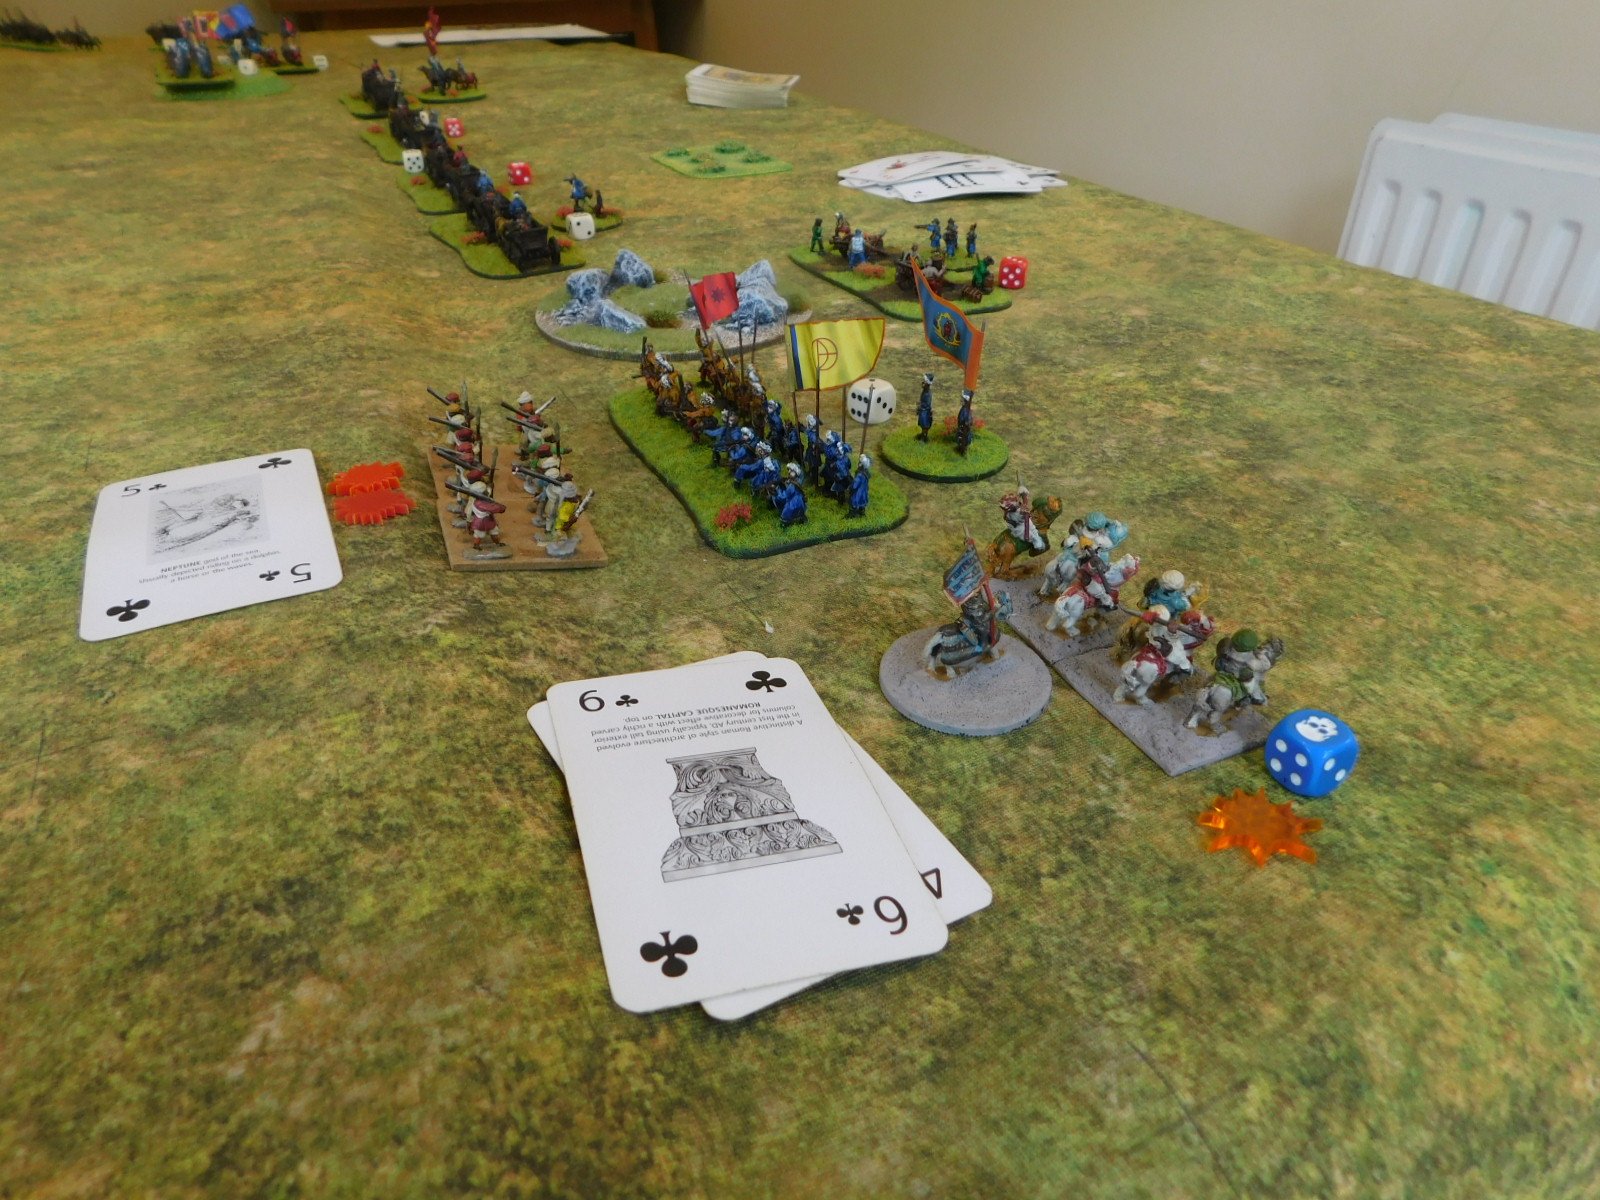
Meanwhile, in the centre, the Ottoman Janisseries watched the action, unmoved…
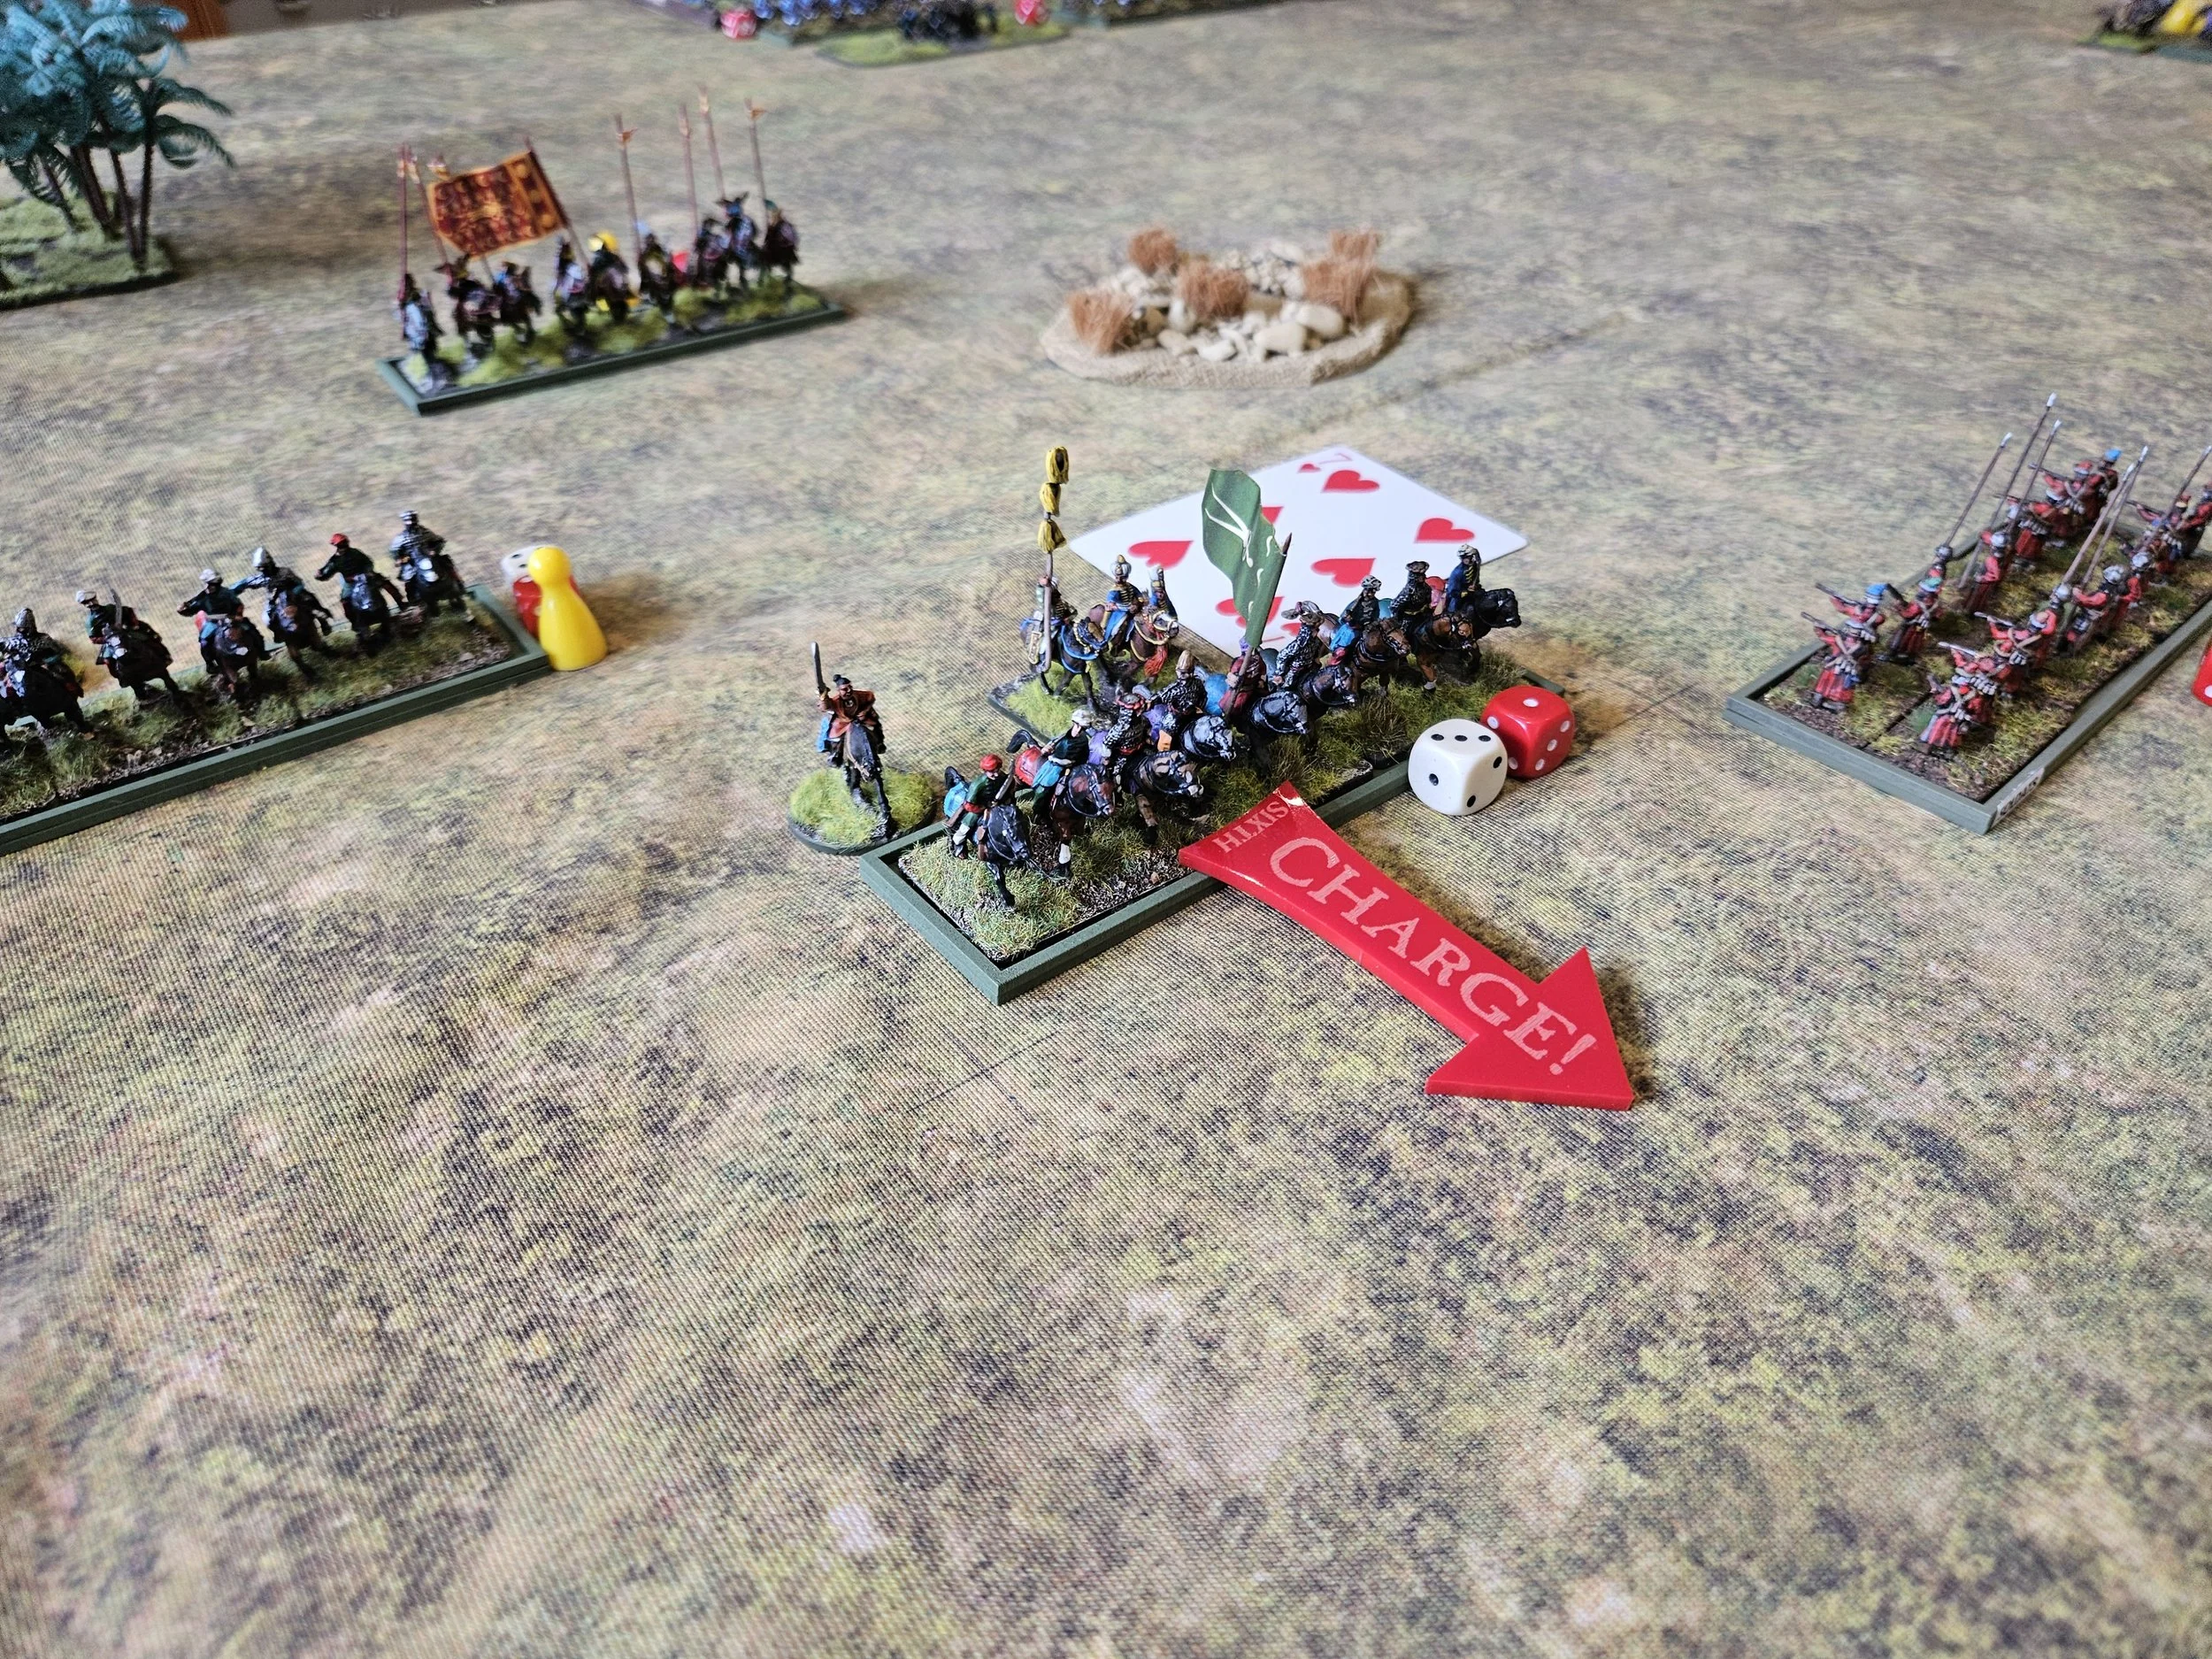
Back to the left flank, and the Turks saw an opportunity to wipe another Muscovite cavalry unit off the field with a flank charge stymied by the cards.
This gave me the opportunity to move their targets to safety, but in one of those quirks of fate that makes FK&P so exciting, the Sons of Boyars decided that they would rather be flank-charged after all!

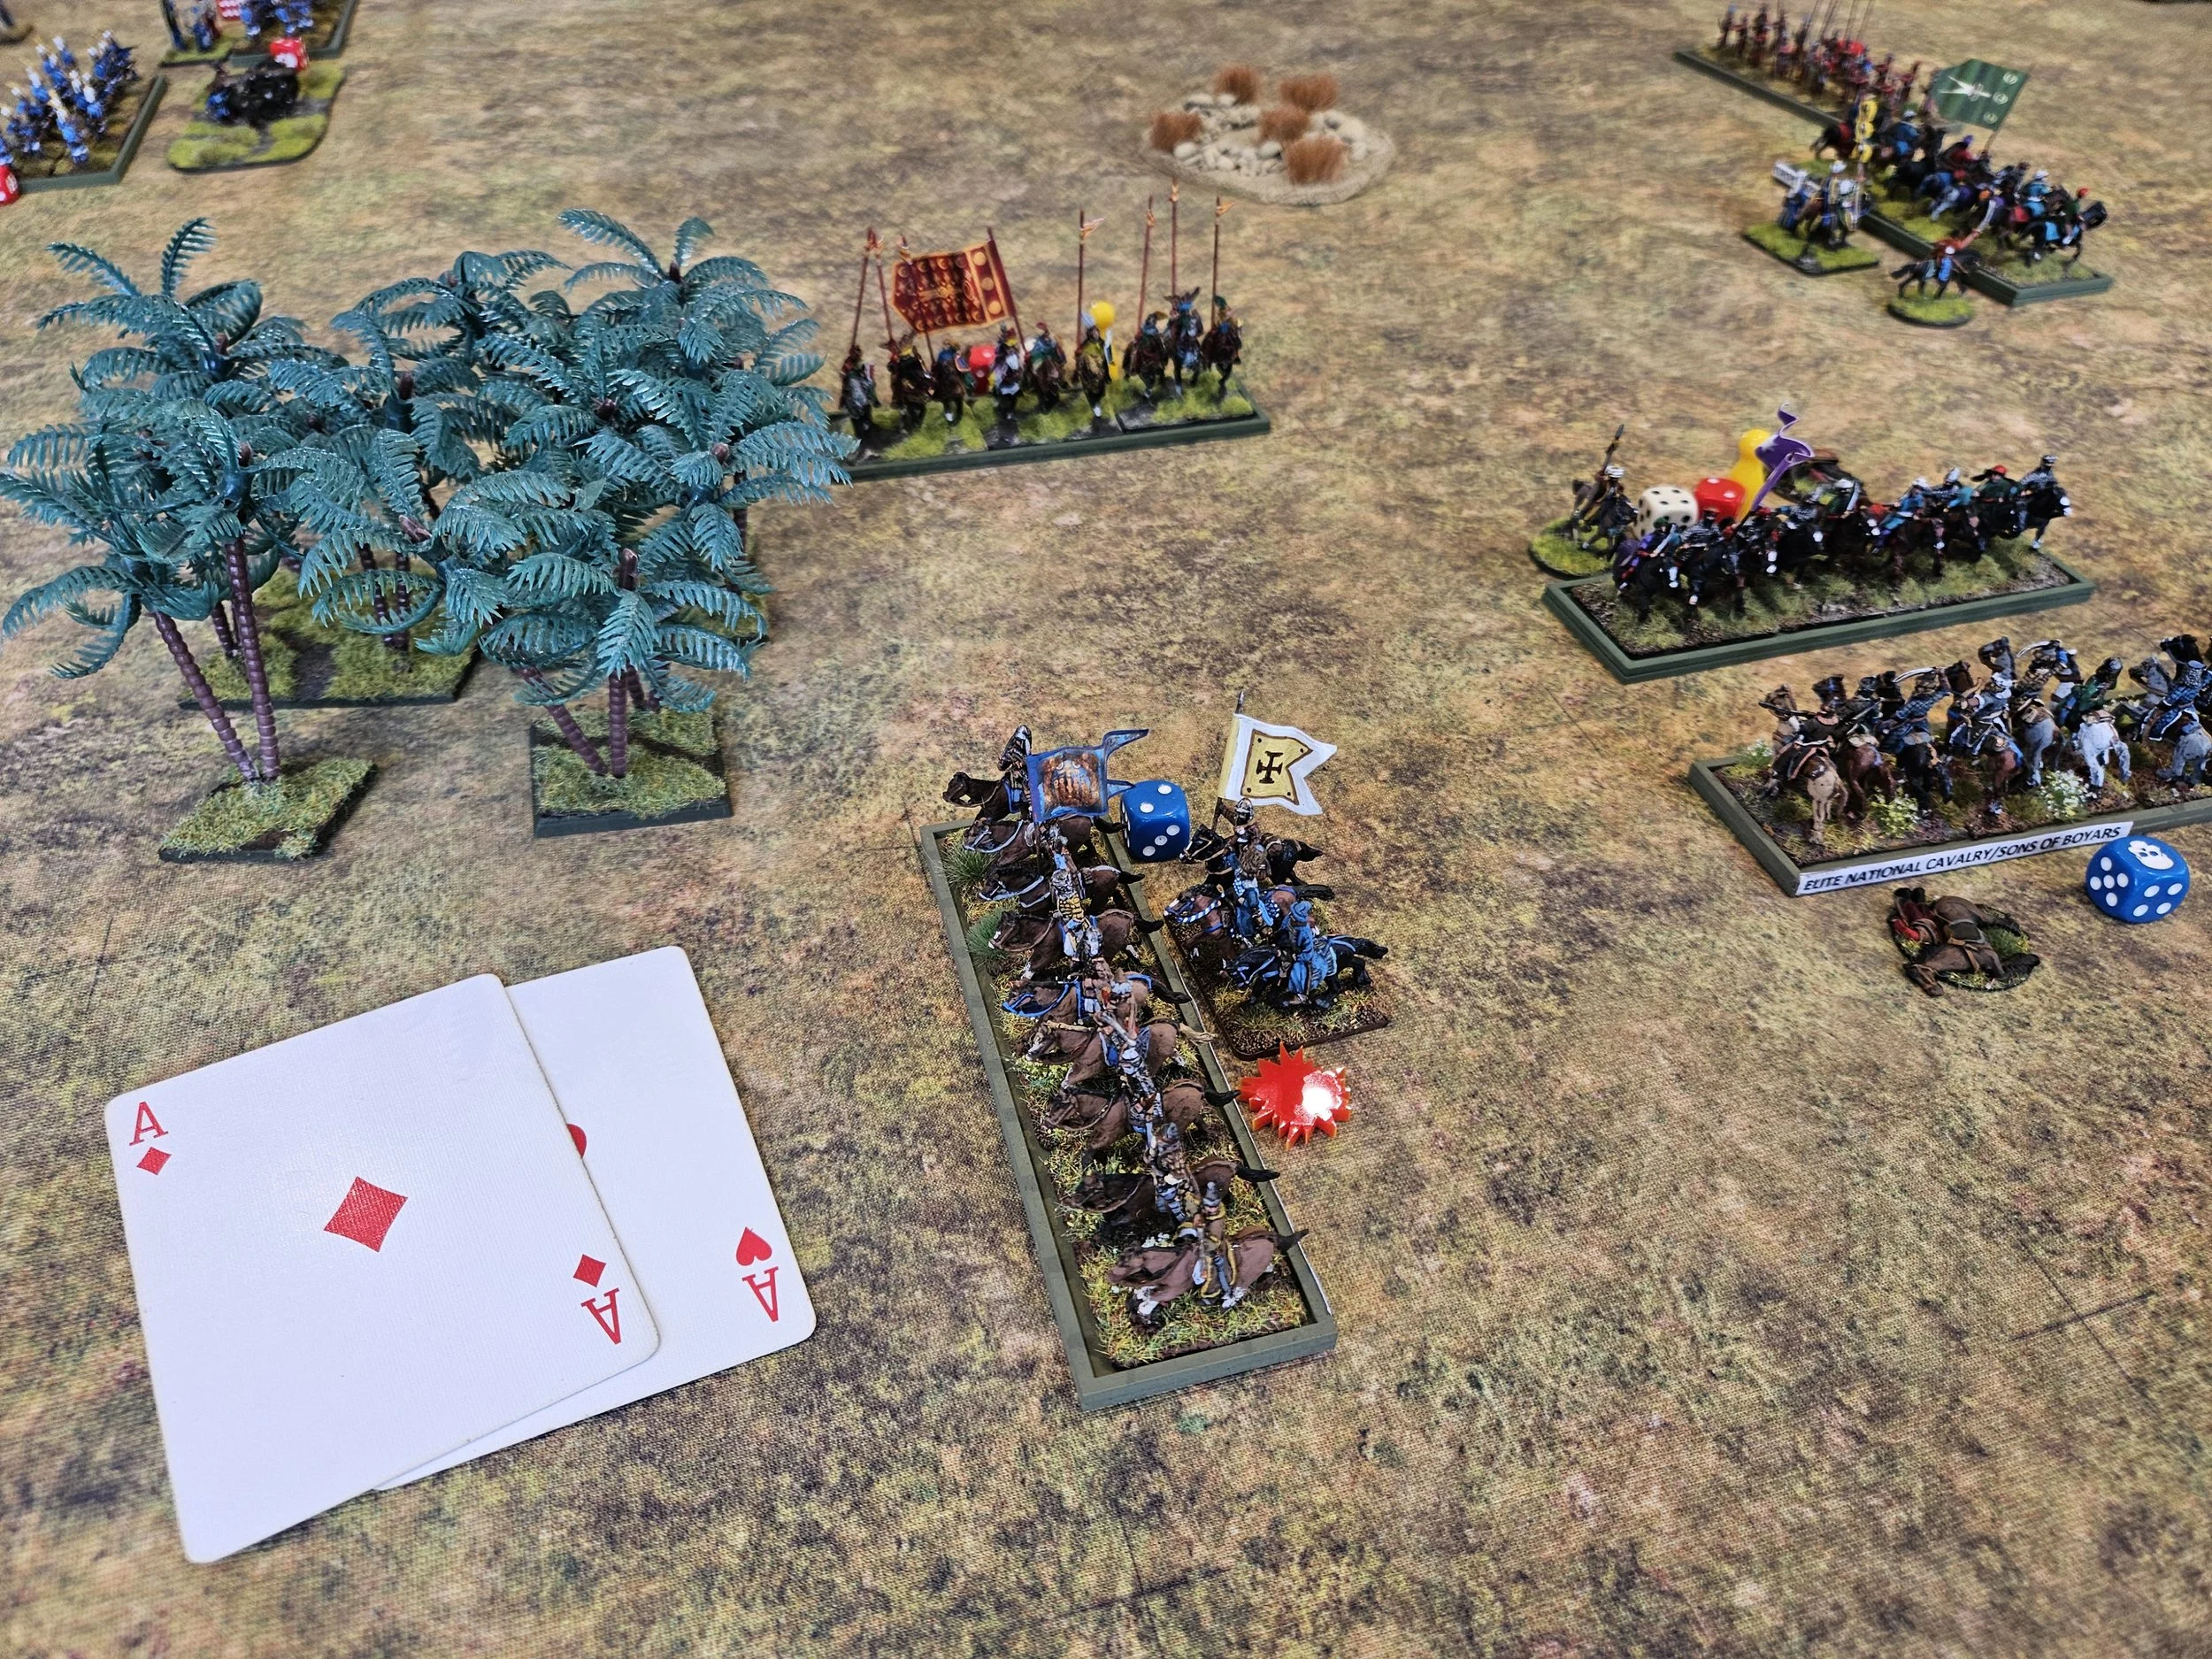
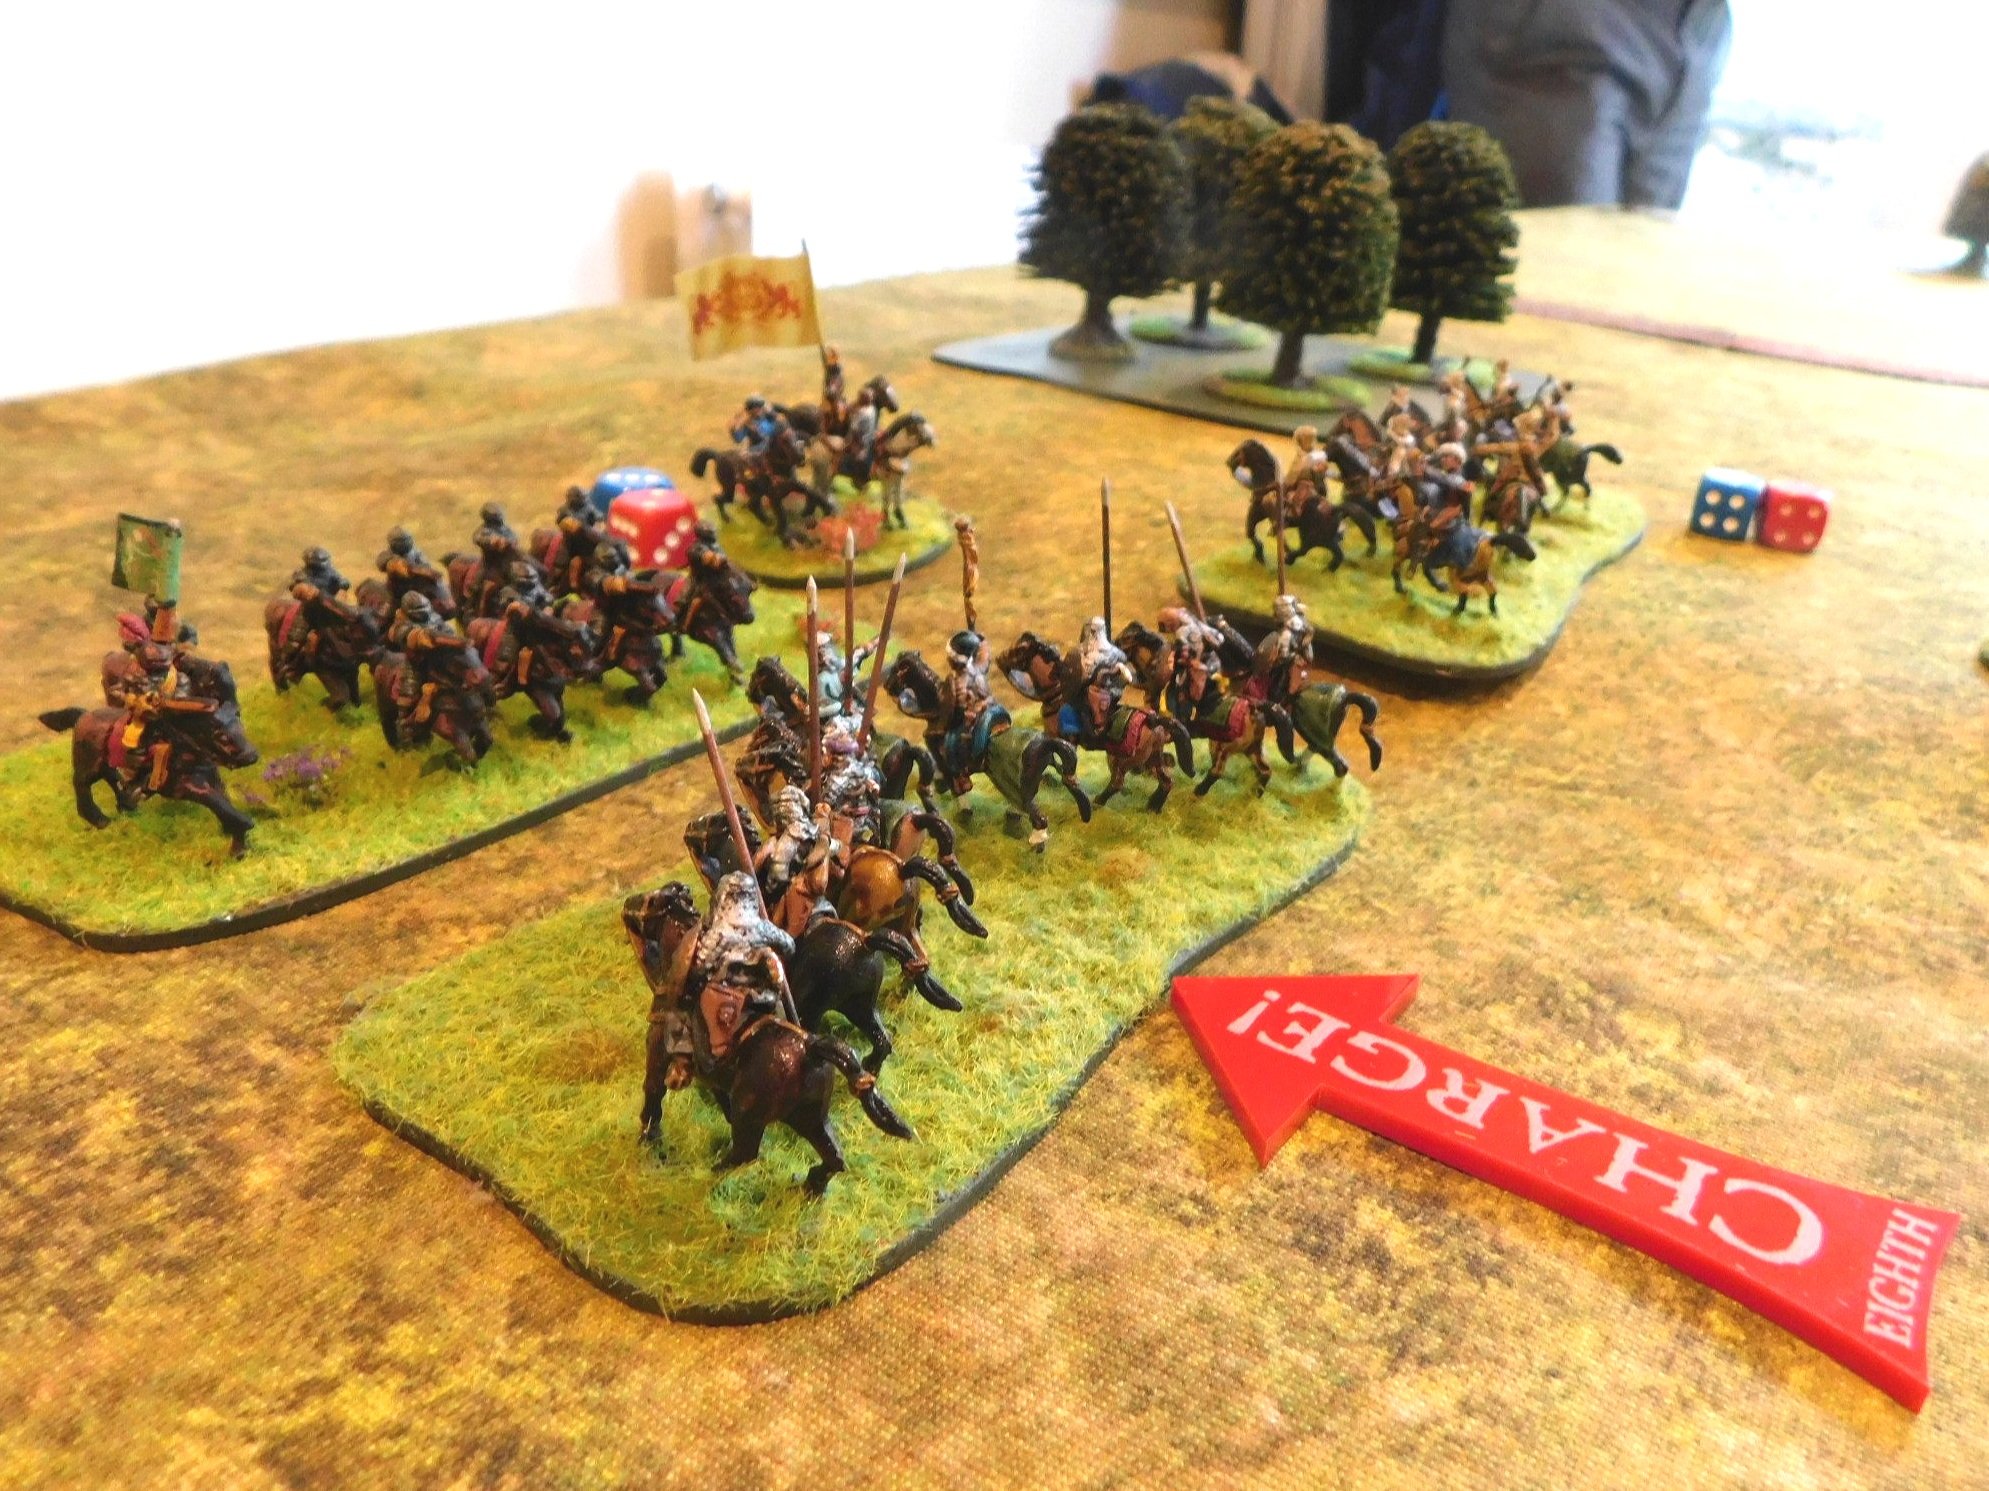
The Turks were keen to oblige, de-Boyarising the table with ease. At the same time, the rest of the Ottoman cavalry on that flank charged forwards and that, combined with the losses on the right flank, was enough to send the remainder of the Russian army fleeing back towards Moscow!


Well that had been an epic game, well won by the Ottomans: their cavalry had proved unstoppable even by the usually super tough Muscovites!
Another great game!