Winged Hussars!

With real life being so busy at the moment, I have started augmenting my own painting by buying already-painted miniatures, either second-hand or painted to order.

One of the stands, therefore, that I always try to visit at wargames shows is that of Instant Armies & Veteran Miniatures. They stock literally thousands of second-hand figures across a wide range of periods. They don’t usually have a sign or branding, but they are the chaps who have the 28mm figures on display on top of the wooden draws containing the 15mm figures.

I restrict myself to buying figures at least as good as what I can paint myself, and the good thing about IAAVM is that a lot of their offering, unlike many second-hand figures platforms, is of a very good quality indeed, and at prices that won’t necessarily break the bank.

They were at Warfare on Sunday, allowing me to pick up a very nice unit of 15mm winged hussars for my nascent 17th Century Polish/Lithuanian army. A night in a tray with just the bases under water and they were all ready for re-basing.

Cost-wise, they worked out at around £2.50 a figure, which is a great price considering that the base lead would cost you about £1.40 a figure with a £3-£4 painting cost on top of that.

So thnak you to IAAVM: my Polish/Lithuanians are now one unit closer to completion!

Some Painting, Some Re-Basing

Almost unbelievably, I recently actually managed to find time to do some painting!

What with real life being very busy and all the actual gaming I’ve been doing, the painting side of things had slipped, but I had a spare hour or two and thought that I really should get something done…so I did.

These are the Laminids: more 15mm sci-fi from Khurasan. I’m going to add them to the Pelagic Dominate force that I already have: they will fit right in with the other “sea creatures” that that range features.

These are very simply painted with GW Contrast paints: just one coat per colour, so only four paint pots opened. They were, in fact, so easy to paint that next time I order from Khurasan, I shall add another two squads to make a platoon and ask Jon if he can add a command figure to the range.

Sassanids

I’ve also finally got around to re-basing the Sassanid infantry to go with the recent re-basing of the cataphracts, clibanarii, horse archers and elephants.

I almost didn’t bother: I mean, who fields Sassanid infantry anyway? But the figures were there, and would have prayed on my slightly OCD mind as “incomplete”, so re-base them I did.

The latest To The Strongest lists give them as either standard or deep javelinmen, so I split the figures into two units of each:

I was a bit nervous how the deep bases would turn out - I’ve only ever used the double-sized bases to deep elephants before - but, actually, these look just as good…and I had a bolt-shooter set that I could add to one as dressing as well, so all good.

Polish Lithuanians

Finally in this burst of figure production, the painter I use to augment my own efforts sent through the first of the Polish Lithuanians: a unit of Petyhorsy armoured cavalry.

Nice figures and beautifully painted.

One thing, though. By Fire & Sword, the manufacturer, use plastic horses with metal riders. Now I’ve no objection to plastics and have loads, but they seem to be using the soft rather than the hard plastic, which can sometimes lead to the horses, particularly with ‘heavy metal’ riders, not standing up straight.

So bad was this on one of the mounts in the unit above that, despite its proximity to its neighbour, the horse leant to one side to the extent that its rider’s lance was tangled with that of his comrade next door…and nothing I did would make it otherwise. Worse, it made the whole unit look weird.

The solution: a bit of stiff wire (actually the bit cut off a lance to make a spear) as a brace between the two steeds:

The close up makes it look very noticeable in the photo, above, but it isn’t on the tabletop. Job done!

FK&P AAR: Cossacks March Out Again

Time for the Zaphorogian Cossacks to ride out again, this time with an away fixture at friend Bevan’s house.

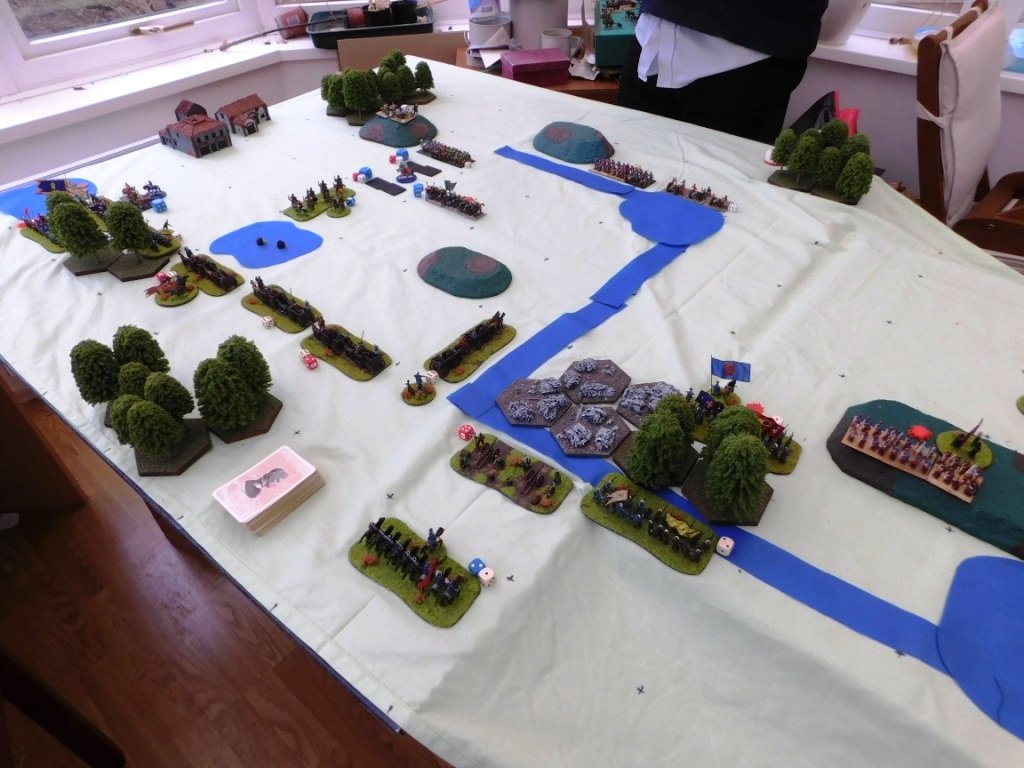
It was an unusually shaped battlefield, and one criss-crossed by small streams and (impassable) lakes. There was also a chunk taken out of one corner, meaning any units deployed there ran the very real risk of falling off the end of the world!

After their first encounter ended in ignominious defeat, the Cossacks had re-organised their army: equipping their tabor wagons with light artillery and dropping the brigade of raw Cossack horse.

On this battlefield, therefore, I placed my up-armed tabor in the centre, infantry to the left and right of them, and a brigade of Tatars on the far right just in front of the edge of the world. That left me a brigade of horse in reserve just behind my tabor’s right flank.

As before, our opponents were the Lithuanian Polish, hereafter known as the Poles or the Polish. They had their infantry and artillery in the centre, with loads of really quite good horse on either wing.

The battle opened with the Poles advancing rapidly on either wing, and the game split into two halves.

On my right flank, my Tatars (one unit of veteran nobles and two units of light bowmen) took on four units of decent Polish cavalry. My lights were quickly sent fleeing from the field, but their veteran comrades managed to destroy two of the Polish horse units despite, at one stage, being hit in the flank.

Half the Poles who had been chasing my lights from the field then returned and, eventually routed my tired nobles, but I’d still effectively won that flank, certainly in terms of victory medals lost.

Meanwhile, on the other flank, waves of Polish horse, most of it rather decent, some of it the dread Winged Hussars, came forward and crashed onto the three Cossack foot units right at the end of my line.

[The Winged Hussars were being represented by only their bases as painting their leopard skins had caused a delay in production. This was quite unnerving…as the temptation was to visually dismiss the units that were actually the most deadly on the table!]

Time and time again the Polish cavalry crashed into one unit of Cossack Moloitsy militia: a unit that just refused to break. Two light units and two medium units of Polish cavalry were sent packing before, finally, the Moloitsy gave way, leading to a general crumbling of that flank.

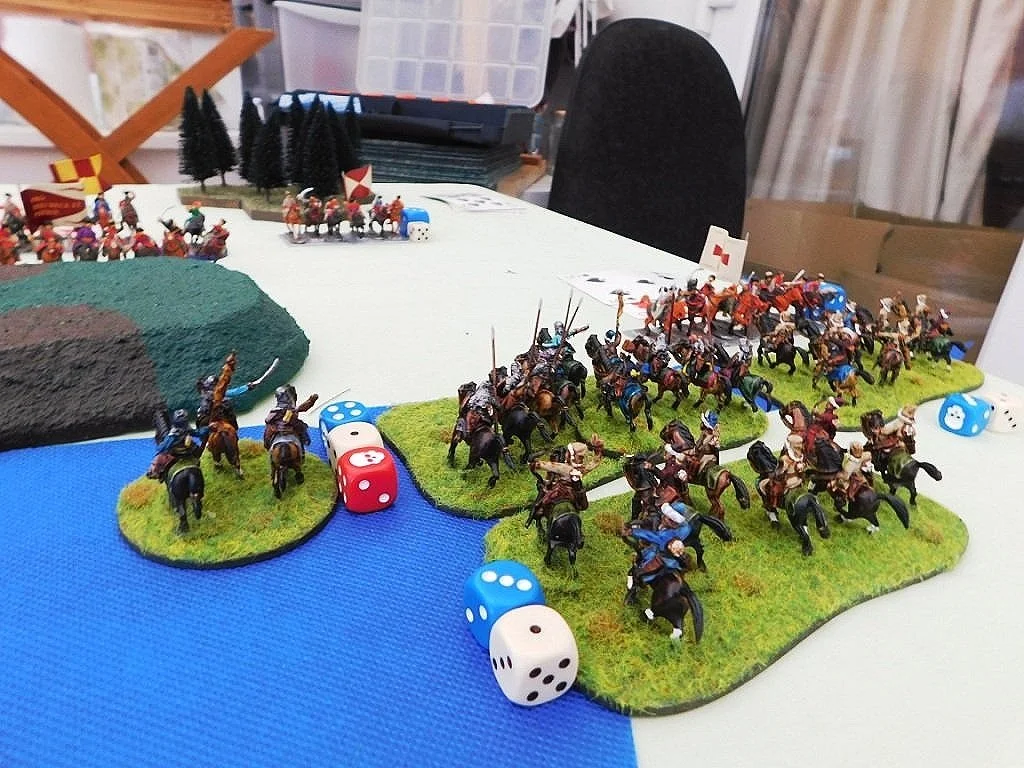
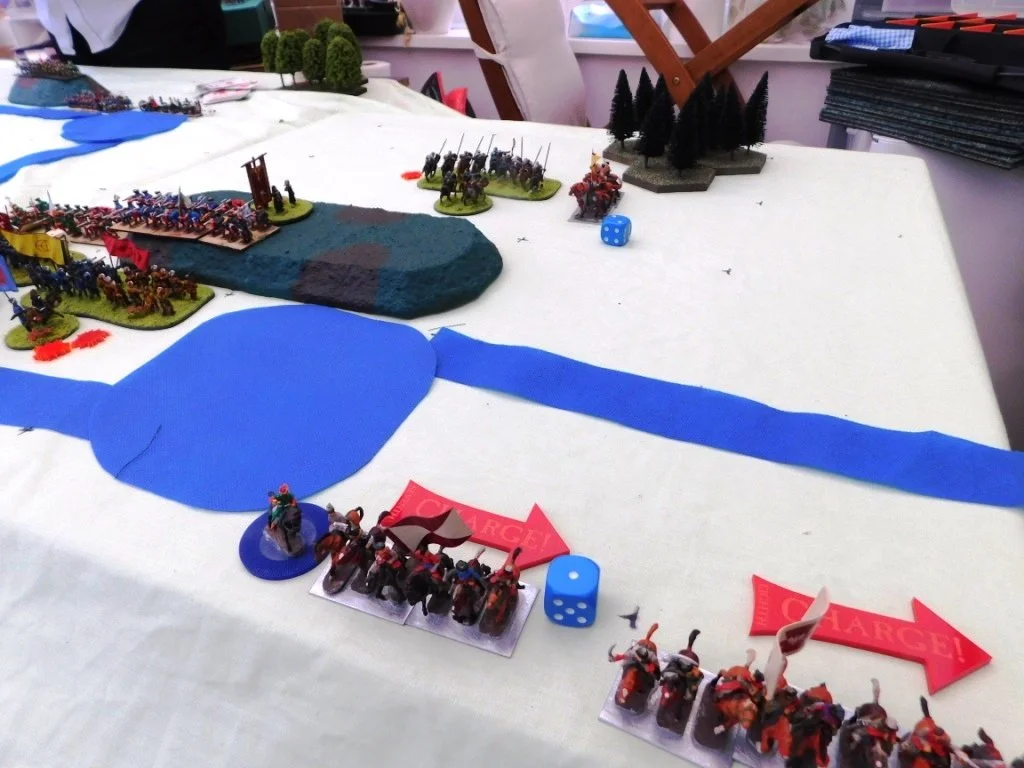
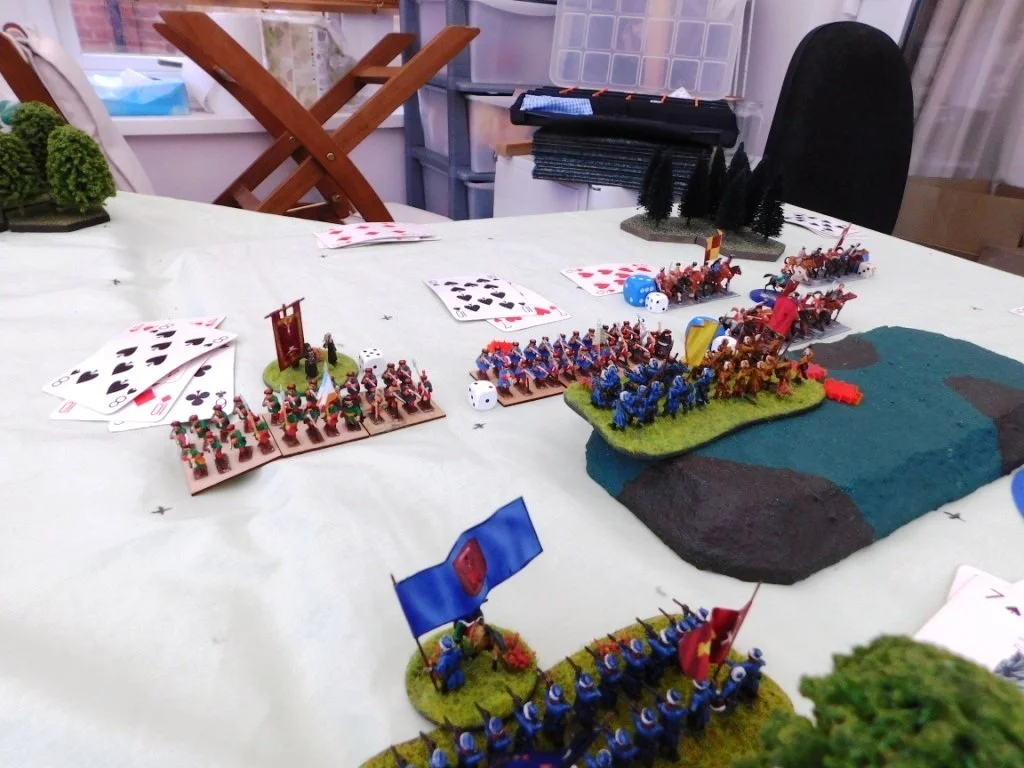
So exciting was this passage of play that I don’t actually have many photos of it. Below, left is the first wave of Polish cavalry moving forward. Below, centre is the situation after the first wave of Polish cavalry has been repelled, with the black-base-Hussars moving forward in the background. Below, right is after the Hussars have finally shattered the Moloitsy infantry.

Meanwhile, the Polish infantry had also split into two halves. On my right centre, they advanced towards the Cossack foot brigade amongst the trees and rough ground in the bend of the river. A firefight broke out between the two infantry forces, with each of us eventually losing a unit.

On my left centre, after hanging back for some time, the other Polish infantry brigade came forward. They advanced towards the left hand tabor unit but so keen was Bevan to get them into action at the same time as his Hussars were wiping out my Moloitsy that he left their flank exposed.

No sooner seen then acted upon: one of my reserve cavalry units, Tatar lights, smashed into their flank and smashed them from the field. The Tatars went on to knock off a unit of enemy Tatar light horse (Taras Bulba anyone?) before retreating back to safety.

The climax of the battle was now upon us. Before my Cossack Moloitsy on the left broke and ran I had been comfortably ahead: nine victory medals verses the three that Bevan had left. Once my left flank had broken, I was down to three victory medals. Could Bevan now snatch victory from the jaws of defeat?

As his troops massed for further charges into my left flank, the battle was actually decided back on the right centre, where Bevan’s remaining infantry unit had retreated back from its firefight with some of my Registered Cossacks in order to re-group.

I followed up, also deploying my final reserve: a unit of poor quality mounted Cossacks. These managed to pin the retreating Polish Haiduks in place, giving my Registered Cossacks time to follow up and hit them in the flank. They crumbled, their victory coins were lost, and the battle was mine!

The gallery below shows the initial clash between infantry lines on the right center. The position after this initial clash, and then the climactic moment mounted and Registered Cossacks dashed the enemy Haiduks from the field:

So a first victory for my Cossacks, but a very hard fought contest won only by the narrowest of margins.

Again the Poles avoided frontally assaulting my tabor wagons, concentrating on trying to win the battle by killing all my other troops. In this game that actually worked in my favour a bit: my tabor were free to deploy their new light guns with significant effect and the terrain was such that my infantry could hold on for long enough before fleeing the field.

For me, I tried to avoid throwing my cavalry away. Admittedly the veteran Tatar noblemen played a blinder and did much better than they should have, but keeping the other cavalry brigade in reserve worked really well: I would only have lost them to the mass of enemy cavalry as it advanced forward, and this way I was able to shore up my line and then exploit the retreat of the enemy infantry when the time was right. For my next outing, I think I’ll add a unit of artillery to the roster, sacrificing some infantry Gallant Gentlemen to do so. After all, I can only use them if I’m attacking, and my infantry won’t charge enemy horse!

Here’s a pic of the table at the end of the game.

Cossacks Take To The Field (Briefly!)

My first game of the year, so it was only right that the Cossacks finally take to the field with their opponents, the Polish/Lithuanians (hereafter known as the Poles/the Polish), provided by friend Bevan. So new to the table were both armies that the Poles hadn’t even been properly based yet.

The table was set up quite differently to our usual ECW terrain: no hedges and loads of irritating patches of rough or impassable ground.

We used the excellent eastern front modifications to For King & Parliament available on the Tales From A Wargames Shed blog.

View from the Polish side

The Poles arrived with a fearsome army: two units of Winged Hussars; four units of Pancerni horse; three units of Petyhorsy horse; three units of Tatar mounted bowmen; and four infantry Haiduk units.

Not properly based! Are the shades of the wargaming room to be thus polluted?

To oppose them, my brave Zaporogian Cossacks fielded four tabor war wagons; two brigades each of one unit of Registered Cossacks and two units of Moloitsy; and two Tatar warbands, one of two units of mounted bowmen, the other the same but with a unit of Tatar noble lancers as well.

Tabor in the centre, then the infantry, then the cavalry on the wings.

Here’s how the game went:

In summary, the Poles sent their cavalry forward on each wing. This proved too strong for my horse, who were mostly Tatar bowmen and reluctant Cossacks, leaving the end of my infantry/tabor line exposed.

My musket fire proved ineffective (I think it must have been raining) and although they did cause the Poles some damage, the Moloitsy infantry then began to crumble.

As the battle ended, the Poles were about to fall upon the Registered Cossacks whilst my tabor still sat in the centre watching what was going on!

Aftermath

An excellent game (despite the result!) and it was good to get back to gaming and give my latest army a baptism (of fire!).