IABSM AAR: Operation Compass #13: Bardia III

Here’s another I Ain’t Been Shot Mum battle report from the A Wargamer in Cyprus blog. It’s another adaptation of one of the scenarios from the Operation Compass scenario pack: a third scenario from the Australian assault on the Italian fortress of Bardia.

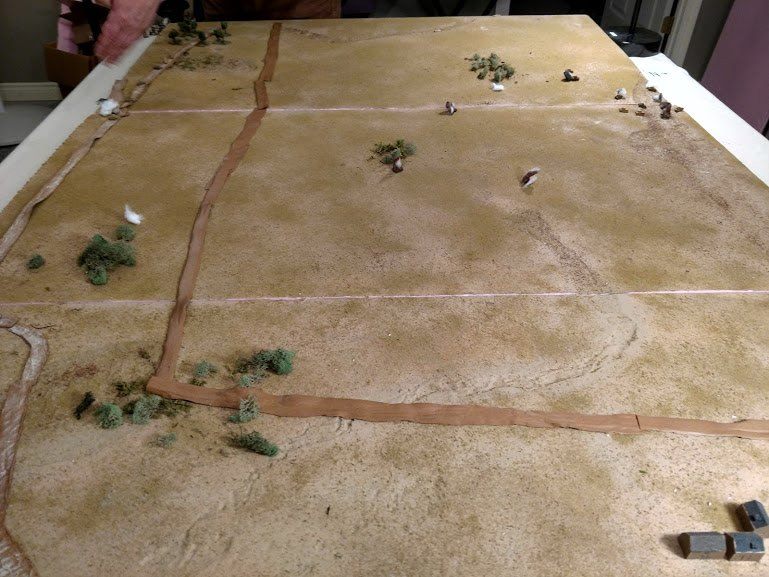
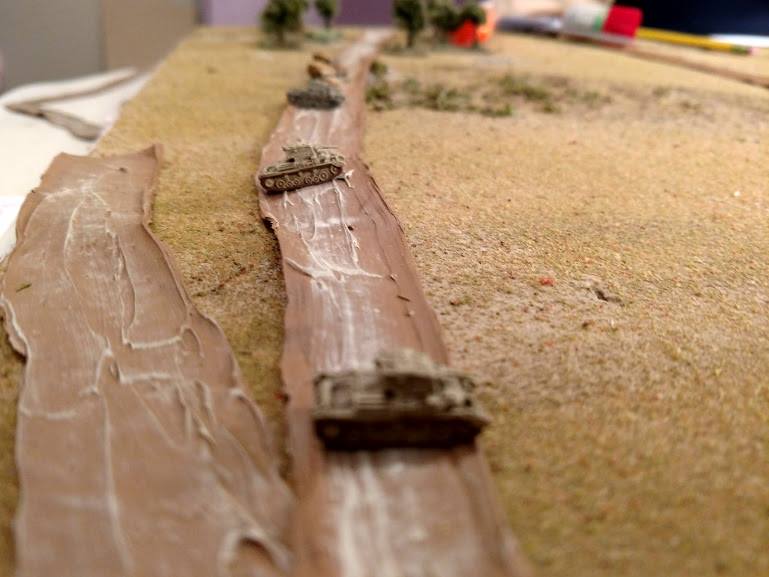
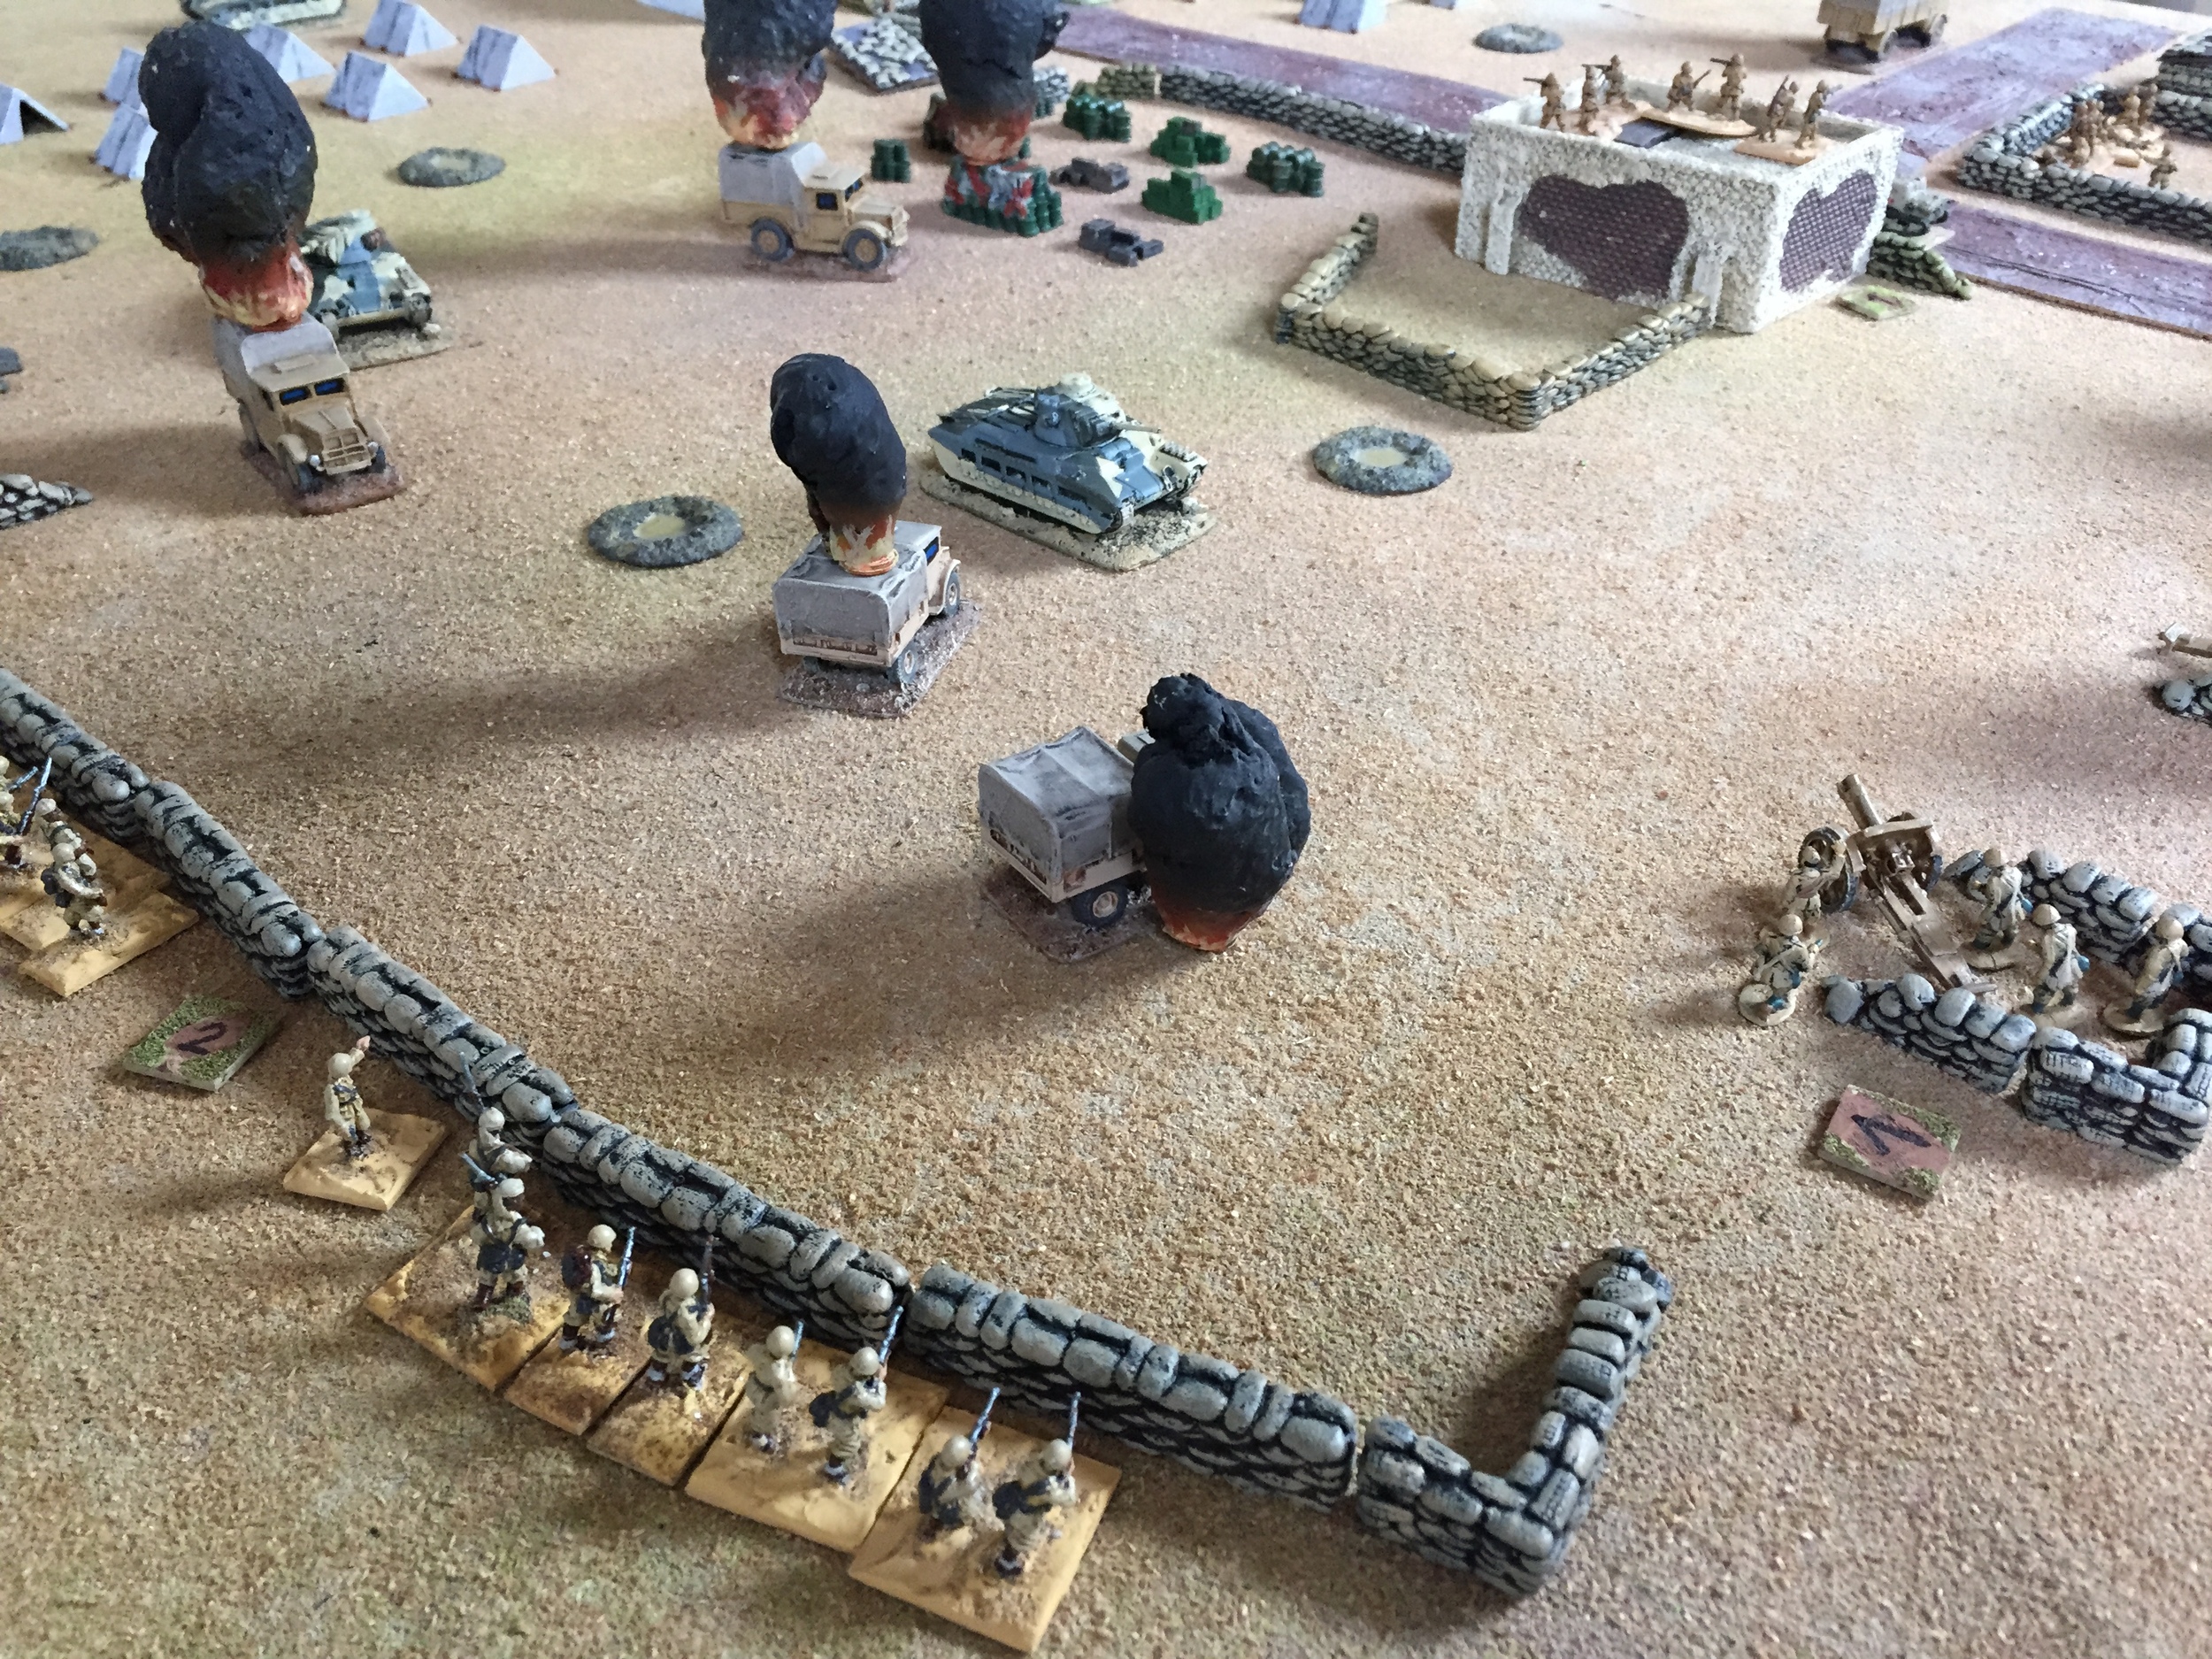
16th Australian Infantry Brigade are within the Italian perimeter and have made some progress against a fairly irresolute defence.  The Aussies have followed a wadi and discovered a second line of Italian defences ready for them.  Click on the picture below to see what happens next:

IABSM AAR: Operation Compass: The Invasion of Egypt

Here’s another great battle report from the A Wargamer in Cyprus website featuring a game of I Ain’t Been Shot, Mum taken from the Operation Compass scenario pack.

It’s 14th September 1940, and the Italians have finally begun their invasion of Egypt. A huge column of Italians - motorcyclists in front, followed by infantry in trucks, followed by tanks - has streamed across the border in almost a parade ground formation. Five divisions-worth heading into Egypt.

In front of them is a mixed force of British troops - infantry, artillery and tanks - with orders to slow them down. Click on the picture below to see what happened:

IABSM AAR: Operation Compass: Fort Capuzzo

Blogger “A Wargamer in Cyprus” has been playing through the Operation Compass scenario pack. I haven’t been able to get hold of him to ask permission, so I hope he doesn’t mind, but here’s a quick report of his game using a slightly amended version of Scenario #01: The Road to Fort Capuzzo.

Hostilities have just been declared, and the 11th Hussars are on the rampage. Click on the picture below to see all:

IABSM AAR: Operation Compass #11: Bardia 1

Another great battle report resurrected from the archives of the A Wargamer in Cyprus blog.

This time, the scenario is #11 from the Operation Compass scenario pack: the first of the three games focusing on the Australian attack on the Italian-held fortress of Bardia.

Click on the picture below to see all:

IABSM AAR: Benghazi Handicap #01

I do so like it when I stumble across a source of material for I Ain’t Been Shot, Mum or one of the other Lardy company-sized games: it does take the pressure off a little…as anyone who runs a blog knows, keeping it fresh and updated is a serious, long-term commitment!

Anyhow, latest discovery is the excellent A Wargamer in Cyprus blog, which contains a plethora of quality wargaming material. I haven’t been able to get hold of the blog’s owner to ask permission (I’m no Tango!), so I hope he doesn’t mind me reproducing some of its content here as part of efforts to support TFL and IABSM etc.

Here’s an AAR taken from the site featuring the German attack at Agheila that formed the first proper German vs Commonwealth encounter in the Western Desert. Just as an aside, I actually have a half-written scenario pack for Sonnenblaum which features this action…and am now feeling all inspired to dig it out and finish it.

Click on the pic below to see all:

IABSM AAR: The Pimple

Here’s a few pictures from a recent game of I Ain’t Been Shot, Mum played by Dan Albrecht and his chums at the Vermont Gamers Group.

The scenario was #21: The Pimple from the Operation Compass scenario book (written by Yours Truly). Dan says:

“True to form the Italians took it on the chin. With Brits in hull-down position and Italians with only two Actions, no Big Men to remove Shock, after 10 turns most all M13/40s were knocked out or their main gun was damaged or immobilized. Still, good way to learn the rules, practice shifting artillery fire with FOs and besides…no American football on the TV this past Sunday!”

IABSM AAR: Operation Compass #11: Bardia/One

Some great desert action from Tony Cane, as he and friends play the eleventh scenario from the Operation Compass scenario pack: Bardia/One.

The scenario covers one of the Australian assaults on the Italian-held town of Bardia as Compass turns from raid to army-beating campaign.

Click on the picture below to see what happens when you underestimate the opposition...

IABSM AAR: Operation Compass #18: Siret el Chrieba

Tony Cane has been working his way through the Operation Compass scenario pack for I Ain't Been Shot, Mum. His last post featured the tank battle at Mechili, this one covers the Australian attack on the Italian aerodrome at Siret el Chrieba.

Here, the Australians are faced by a huge expanse of open ground (“flat as a table and devoid of cover” as the official history puts it) dotted with the occasional hanger or building. Their target is to take the hangar and buildings on the other side of the open ground.

Click on the picture below to see how they do...

Loving the aircraft hanger and the dust-covered Blinds!

IABSM AAR: Operation Compass #03: The Invasion of Egypt

Although just being published now, this AAR covers my last game of 2017.

It's the Libyan/Egyptian border in September 1940, and the Italians have finally got their act together and invaded. A huge column snakes its way down the desert strip towards Egypt. In their way are the Coldstream Guards and their supports.

Find out how the Italians did by clicking on the picture, below.

Nice Plug for Compass

Here's a link to a nice post about the Operation Compass scenario pack.

Yarkshire Gamer has been using the pack as the basis for his new campaign. Okay, so he's not using IABSM, but it just goes to confirm that the games in the TFL scenario packs are easily adaptable for other rule sets.

Click here to visit the Yarkshire Gamer blog. 

And completely co-incidentally, I played a Compass scenario myself last week: report will be published here tomorrow morning...


IABSM AAR: Operation Compass #05: Tummar West

Another quick battle report from our friends at the Stipsicz Hussars.

They are currently playing through the Operation Compass scenario pack, and have hit scenario #05: Tummar West.

The "three day raid" is now fully underway. Next on the British list is the Italian camp at Tummar West. Click on the pic below to see how they do.

IABSM AAR: Operation Compass #04: Nibeiwa

A quick battle report from the Stipsicz Hussars, whose excellent blog can be reached by clicking here.

The Hussars return to the sands of the Western Desert to play out the fourth scenario of the Operation Compass scenario pack: the British/Indian attack on the camp of Nibeiwa.

Click on the picture below to see all:

Those of you who read the report will note that the Hussars comment that all the scenarios in the Compass pack so far seem very biased towards the British.

Well, that's because they are designed that way for two reasons: firstly, they are historically accurate; and secondly, the idea is to give the British players the sense of superiority (and the Italian players the sense of inferiority) that were such characteristics of the campaign as a whole. It gets more difficult for the British as the pack goes on!

IABSM AAR: The Road to Fort Capuzzo

The Stipsicz Hussars play another of the scenarios from the Operation Compass scenaripo pack for I Ain't Been Shot, Mum!

This time they play the first scenario in the pack: the Road to Fort Capuzzo, featuring a British attack on a position manned by Italian/Libyan colonial troops. Click on the pic to see all:

Battlefront's Desert Fort

Those of you who read my post about Battlefront's Dust Cloud terrain markers will know that I have had some stuff on backorder from them for some time. One of the other things that was on backorder was their Desert Fort and expansion pack.

Now I can't remember exactly how this worked, but I think that they said they would only produce another batch of these if enough people agreed to buy them: a bit like a mini-kickstarter. Well I agreed to do so, and then promptly forgot all about it until the e-mails saying they were on the way started to arrive in my inbox, followed shortly afterwards by two quite big boxes.

Here's the fort itself:

It's a lovely piece of battlefield terrain. The walls and turrets are really chunky...and I've just realised I've set it up in the picture above with all but one of the walls the wrong way round...but you can see from the left hand wall what it should look like! Plenty of room for figures on those parapets, and for at least light guns on the tower-tops.

Here are a couple of views with a figure in them for comparison:

fort02.jpg

The expansion pack contains two ruined walls and two mid-wall towers that would allow you to double the length of two of the wall sides, provided you were happy to have the ruined walls included to make up two of the sides. Or you could just have the ruined walls as part of the original square fort.

Here's a pic of the fort set up as a square with on side bashed in:

In all, this is a lovely set of kit, ideal for portraying the desert forts of the western desert in the early 1940's. It would also do, of course, for sci-fi wargaming, and for Beau Geste-style games as well. Recommended.

PS  Sorry about the pictures: I seem to have got most of the walls round the wrong way. That's what comes of drinking a bottle of wine whilst gaming, and then deciding to do a bit of photography afterwards!

IABSM AAR: The Road From Fort Capuzzo

As those who follow this blog will know, I have recently painted a squadron of plastic British A13 cruiser tanks from Zvezda in desert colours. I was naturally keen to get them onto the tabletop, so invited my regular opponent, Neil, round for a battle.

I'd determined to use one of the two 'all tank' scenarios from the Operation Compass scenario pack (written by me and available to purchase from all good retailers: well, here and the TFL main site!) so carefully printed off the pages we'd need for Scenario 10: The Road From Fort Capuzzo.

It wasn't until I'd laid out the terrain and turned to getting the figures out that I realised that Scenario 10 doesn't feature any A13s: just A9s and A10s!

No bother: the newly painted tanks will have to wait their turn as my BEF tanks demonstrate what they can do re-tasked to the desert.

So click here or on the picture below to see what happens when Rae Leakey and his tank squadron drive towards the road from Fort Capuzzo in December 1940: an interesting game that takes place up in the blue in the dead of the night...

Rae Leaky up in the blue in the dead of the night

Rae Leaky up in the blue in the dead of the night