A request for a France 1940 game (Dunkirk Movie just came out) and a desire to get some French tanks out on the table made me look for a quick and easy scenario. So I stole the Jandrain game from Rob Avery's Vis Lardica site.

The game focuses on the French counterattack by SOMUA S-35s of the 3rd Light Mechanized Division against the panzers of the 3rd Panzer Division on the morning of May 13, 1940. The Panzers had pushed the French Dragoons out of Orp in the morning and were reported to be moving to Jandrain when the French launched the attack by the 1st Cuirassiers.

Mark Luther


Operation Martlet game #2 from TFL's Chain of Command pint-sized campaign book converted to IABSM. A British infantry company with tank support against a couple of platoons of 12 SS Panzer supported by a lone Tiger (historically should probably have been a Panther, but hey). Again on my 2' x 3' board using the excellent H&R 1/300 models and Leven buildings.

Setting up the Game

Here is the campaign plan. This game is on map 2, the small village of Fontenay-le-Pesnel. Historically the grenadiers of the thinly stretched 12SS Panzer were attempting to hold the British 49th Infantry Division with Shermans in support.

An expanded version of the map in blurry detail

 Google street view shot showing the terrain from the junction of the main road and the track near the British entry points. Note small hedges (soft cover) and generally flat terrain.

The Game

LESSONS LEARNED

  • Yes, Churchills are tough
  • Even Tigers get unlucky
  • Close range infantry fire is deadly, even when you're in cover.
  • Rules get forgotten ... thats the fog of war ;)

CUSTOM RULES

  • MGs can fire through smoke, but at heavily reduced rate (-3DR)
  • Infantry fire from the side/rear is more effective
  • Range effects AT accuracy and penetration. AFVs have front/side/rear armour values.

James Tree


I recently came across the excellent CoC Operation Martlet campaign write up on http://tinyhordes.com/tag/martlet-campaign/, so decided to try the first game using IABSM on my mini-board (2’ x 2’) in 1/300 H&R.

After a little research (Google Streetview) and buying a 1/25,000 WW2 map of the area suggested in TFL ‘At the Sharp End’, I decided to go with slightly different terrain setup from that in the scenario, based on this overly magnified section of map:

The thick black line bottom centre to top right is the main road and has a few farm buildings and a church, so to convert that to a wargame layout I've added the high stone walls favoured in Normandy around the farm and a low wall around the church. There is an orchard on the right. ‘A’ marks the British entry point along a narrow track towards a large building on the main road. A church with a spire is at the German end. 

Additional/Changed Rules

  • Scale changed to 20cm = 100m (1/500)
  • Infantry fire from side or rear is more effective
  • I used the morale system from Summer/Winter specials – Germans dropped a couple of points, but didn’t really kick in.
  • Tactical movement - I can't remember if thats in IABSM as I've been a lot of CoC Batreps
  • Made easier spotting – although, nobody in cover got spotted before they opened fire
  • AT fire has modifiers for range and penetration and vehicles have discrete front/side/rear values – not sure if this really adds anything, the original rules being a very simple/elegant solution.

Lessons Learned

Churchills armour is too tough for Pz IVs … but their gun is dire! 3 Churchills v 1 Pz IV and eventually they batter it into submission.
• Even an SS PzGren squad with 2 LMGs can be over-powered by 3 or 4 British squads at close range. Maybe I reduced the German force a little too severely and should have stuck with 3 squads each.

James Tree


For this game we went back to using the IABSM rules from the TooFatLardies: a set of rules that come with with army lists for all the participants in World War 2.

As always, we played on a randomly generated table: which each player putting down whatever scenery he happens to have available.

The game's objectives: the Germans must break through the Soviet frontline and get as many units off the table to the Russian rear; the Soviets must prevent the Germans from escaping.

The photo below shows how the table ended up looking.

Each army deployed the same number of units. All the German units deployed either on table or under Blinds, the Soviets had a combination of Blinds and hidden Blinds.

The German Deployment

Soviets under hidden Blinds

Well, most of them!

The Game

Not much happened on the first turn, except that the Germans probed forward cautiously, but from the second turn onwards, Soviet artillery began to make its presence felt...even if some German units were missed by "millimetres".

Both sides then clashed on the Soviet right, where they had placed barbed wire, and fierce fighting broke out:

Whilst on the other flank, the Germans arrived at the wire undetected.

Although the Soviets desperately defended their right flank, eventually they were overwhelmed by an avalanche of German troops:

Although once through the wire, the Germans begin to have a hard time moving forward.

And a good Soviet smoke screen allows them to reform their troops without the Germans knowing what they are doing.

A Soviet Maxim soon appear on the left flank, slowing the advance of the Germans.

 Despite this, the Germans are starting to get their troops off the battlefield. Starting with the lightest and fastest.

The rest of their units, however, were engaged in fights that had them bogged down around the trenches.

At the end of the game, once the agreed number of turns were over, a quick count up revealed that the result was technically a draw, as the Germans managed to get only a couple of light units off the board and the Soviets hadn't suffered too many casualties as they slowed down the final advance of the Bosche, who were losing more and more troops.

A great game that both sides enjoyed.

Burt Minorrot

PS: Don't tell the Germans, but they would have won if they'd just got one more unit off the board!


After reading TFL's excellent CoC 'Talking Tactics' posts on their blog (I just love the level of research and thought that's gone into these rules) I thought I'd try putting theory into practice in IABSM with a small game involving a US Infantry company versus a heavily-reduced German Grenadier company, both sides with plenty of leaders.


The Defenders: My reduced German company. Two weak platoons and an MMG, plus a level II and III Big Man and Company HQ

The Attackers: A full strength US Infantry company with an MMG, bazooka and plenty of level II (1 figure) and III (2 figures) leaders plus a Company Commander (level III)


After probing forward with Blinds (not really got the hang of these yet), my US #1 platoon is advancing up the bocage hedge in the middle of the table. The German 2/2 squad behind the bocage hedge bottom left has just opened fire and caused some casualties.

In addition, the German MMG and Company HQ, top right, has opened fire on the squad as it crosses the field behind the house causing a few more dead.

The US #2 platoon has moved up behind the bocage bottom-right, and is ready to open fire on the German 2/2 squad in the orchard.

The #1 and #2 US platoons over-power the German 2/2 squad in the orchard, which retires (well, the one remaining man). Their leader, runs off to try and find another squad to command.

The US #1 platoon moves up to their position.

The US #3 platoon deploys around the house and bocage hedge to the left, but starts taking casualties from the MMG on the hill (top left) and the squads across the lane.

The US #1 platoon moves into the orchard and starts to out flank the German position. The #2 platoon moves up through the centre into the small orchard.
The #3 platoon in the centre is still getting hammered by deadly fire from the MMG on the hill (just inside close range for the MMG).

There is a US MMG in the upper story of the house attempting to provide support, but it is just outside close range and the bocage is providing just too much cover for the German MMG and Company HQ.


The Americans have managed to get some kills/Shock on the MMG, but are now trading close range fire with the German 1/2 and 1/1 squads across the track going North: both behind bocage hedges.

The German 2/1 squad has moved from the hill to try and shore up the right flank, but makes a deadly error...

US #1 platoon has moved through the orchard and takes position along the bocage hedge and blasts the German 1/2 squad...unfortunately taking position behind an ordinary hedge ('okay shot' cover) rather than a bocage hedge ('poor shot' cover). This softer cover means it starts taking casualties from the US platoon lined up along the bocage in an unequal fire-fight at close range.

I decide to add a mortar strike for the US to get things moving. It lands spot on target and wipes out the MMG! If it was the Brits, I'd try some 2" smoke!

The US #1 platoon fires again and almost wipes out the German 2/1 squad in the hedge!

The yellow dot on the house is supposed to remind me that I have a unit (the US MMG) inside - not sure if that works yet. Still not sure how to represent units inside buildings. I did think about having building templates off the board to place them on...or just play with everything damaged until I can find/make some where the roofs come off!

The remaining close range firepower of the nearly bigger and more resilient US platoons (still have three Actions after two dead) is too much for the battered German squads and they start to take lots of Shock and with few leaders they can't remove it. Their few remaining troops start to break and run.
 

Lessons Learnt

Close range fire is really deadly even across bocage hedges from units firing with 3/4 actions!

MMGs are lethal at close range (although I did beef the German MMG up a little) with good leaders.

To suppress a well placed MMG you need artillery or tanks or just try and go around it.

Without lots of leaders, squads just can't recover Shock and are ground down.

I still struggle with the use of Blinds: early days

Rule Variations

A few rule variations that I'm trying:

Fire from higher elevation gets an additional dice (so the MMG got 5D6 plus +3 for the Company Commander). Even versus a target in bocage or a stone building, it's deadly. Not sure if its OTT? How much cover would a bocage hedge give to an MMG fired from a hill at 150m? Especially if it has the company command over-seeing firing? Thoughts?

Also artillery gets a one column shift if it lands behind a linear obstacle, like a hedge or bocage.

I have played with the ranges, so using 1/500 (20mm = 10m) (my table is only 2' x 3') and will try 1/400 (I think 1" = 10m) next time which works. I find the IABSM default 12" = 80yds very odd. My quick ref sheet has everything in meters. Movement is still 1 pip per cm. Cross a bocage hedge is -3D6.

Also, I might add some markers to the table to assist understanding in batreps...or do too many markers 'spoil' the report? I know Mark Luther's masterpieces use toned down markers.

No close assaults ... firepower did all the damage. I'm still not sure how to sequence them, given that jumping out from behind a bocage hedge, crossing a road and over another hedge puts you at a massive disadvantage in CC.

Didn't think about it, but does IABSM have smoke grenades? Might have helped.

James Tree


Off to Edinburgh for a week to visit daughter #1 at university, and to play a game of I Ain't Been Shot, Mum! with Mr Hodge down at the South East Scotland Wargames Club. The scenario chosen was  Derek's adaptation of a scenario that I wrote for the Xmas 2005 TwoFatLardies Christmas Special: Moiste Cabbage and a Quick Cognac.

The scenario is set in France in May 1940 amongst the cabbage patches that border the Moiste river. A German probe has discovered a previously unknown ford across the river is unguarded, and has dug-in to protect the crossing whilst reinforcements are summoned. The French have spotted what is going on, and dispatch Captain Cognac and his men to re-capture the ford as soon as possible.

The picture belows show the battlefield. The Germans, led by Derek and a fellow club member, would begin the game dug-in around the ford by the woods on the left. They consisted of a platoon of infantry support by a squad of engineers with a flamethrower; two anti-tank guns; and a single medium machine gun. They could also expect two lots of reinforcements to arrive at some point in the game: the first, a zug of two Panzer IV tanks; the second, another platoon of infantry, this time in half-tracks, supported by a couple of medium mortars.

I was playing the French, who would start the game around the farm to the right hand side of the picture, and had at their disposal two large platoons of infantry, each of three squads, and three Somua tanks. They could also expect two lots of reinforcements: the first, a single Char B-1 bis tank; the second, another platoon of infantry.

Those of you used to reading my battle reports might notice that the scale of things in the pictures above looks a bit different from usual. That's because the game used Derek's 10mm figures rather than my normal 15mm models. Nothing wrong with that, I hasten to add, as the ground scale of IABSM is much closer to 10mm than 15mm, but it all looked very small to me. In fact, my entire force fitted easily on the top of a chair:

Luckily I'm short- rather than long-sighted!

As a final note, Derek was using the command card modification to the basic IABSM rules that were the subject of his article in the 2017 Summer Special. This meant that both sides could draw chits that allowed units or Big Men to be activated out of the normal run of cards drawn i.e. if two French command cards appeared before the Tea Break, then I could immediately use them to activate a unit that had not yet had its card drawn. Interesting...

The Battle

Knowing Derek to be a wily player who would be seeking to delay my advance hedgerow by hedgerow, I decided to place my entire infantry force on the left hand side of the table, with the tanks in support on the road.

The idea was that half the infantry would pin half the German force (as the Bosche had to defend their entire front) whilst the rest of les gens braves charged forward to hook around the left flank of the German line. Meanwhile, the tanks would advance slowly: waiting until the infantry had spotted any anti-tank guns before deciding the best way forward.

The French 1st Platoon duly advanced forward quickly, and occupied the hedgerow overlooking the road (see picture, above). It soon became apparent that the Germans were lining the hedgerow on the other side of the road, as a hail of fire came my way. The two German squads were ten-strong good troops, each with an extra squad support weapon, and were therefore firing with five dice!

This was very bad, and despite worming their way into whatever cover was available, 1st Platoon began taking heavy casualties, not helped by a run of German cards and command chits. 

As one French squad disintegrated, something needed to be done, especially as the German line was still too strong to hit with my left hook of the other French platoon and Company HQ squad. Luckily my Somuas were ready, willing and able to intervene, so No.2 Tank moved up to the corner of the road and began pumping HE shells into the German line.

The Germans did have an anti-tank rifle, but I wasn't too bothered: Somuas have good armour, and anti-tank rifles are fairly poop. This turned out to be a bad mistake, as the second shot from the damned thing must have found a weak spot in No.2 tank's armour, got inside, and taken out the entire crew!

This was getting to be just too much, but fortunately the tank had had time to Pin enough Germans for my surviving riflemen to weaken the enemy enough for my hook to go in: so the French 2nd Platoon, still under a Blind, hopped the hedge in front of them and charged forward into close combat with the battered German squad in front of them.

The Germans broke backwards, with their other squad retreating backwards from their hedgerow as well rather than staying to face two platoons of Frenchies on their own.

I couldn't let the Germans regain their balance, so French 2nd Platoon lined the hedgerow they had just attacked and poured fire at the German line as the Company HQ squad, led by Captain Cognac himself, sprinted down the side of the battlefield towards the last hedgerow by the river, where more German infantry had appeared.

Almost without stopping, Cognac led his men around the corner of the hedge and assaulted the flank of the nearest German squad. Although Cognac's squad lost three men, almost a third of its strength, the German squad broke and ran for the ford, quickly followed by the other squad, who fell back onto the other side of the river in a more orderly fashion. Bravo to Captain Cognac!

Cognac's HQ Squad drive back the right hand German squad

Meanwhile, the other two Somuas had spotted that the small house by the ford contained a German machine gun. This they pounded remorselessly until a combination of casualties and accumulated Shock forced the MMG team to retreat. 

In reply, the Germans had revealed an anti-tank gun, which began shooting at the Somuas, but this was quickly masked by their own infantry as they fled back across the ford.

At this point, some German reinforcements turned up: two Panzer IVs. Fortunately, these were the early war models with a not-bad gun, but appalling armour: one was quickly taken out by the combined fire of the Somuas who, in exchange, only received a couple of points of Shock.

Retreating German troops mask their own anti-tank gun. The men closest, with all the Shock markers, are about to do the same for their tanks.

Things were definitely going my way now: I had largely driven the Germans back across the ford and taken out half their armour. When another round of fire from the Somuas took out the main gun on the surviving German tank, Derek declared that the Bosche had had enough and would retreat from the field. Victory was mine!

Commentary

A great game that was played in good spirits, with both sides taking their reverses on the chin! I was pleased that my plan had worked, despite the hard going early on, but recognised that I got lucky in the endgame when the dice certainly seemed to turn in my favour.

It was very interesting to play the game in 10mm rather than 15mm. The first thing that strikes one is the emptiness of the battlefield: using the larger figures sometimes means one feels a bit resentful that what look like dense targets don't seem to take much damage ever. Using the smaller figures, you can understand why.

Using figures that match the ground scale also means that all the distances in the game feel, well, righter somehow. It's not something I can put my finger on, but the game definitely felt better in 10mm.

On the other hand, and the reason why I'm not going to convert from my 15's, the 10mm figures are very small. I just didn't like them as much and had real difficulty quickly seeing such things as which tank was which, how many figures remaining in a squad etc. Derek's toys are lovely, but I prefer the extra characterisation and detail of 15mm figures. I guess I just prefer the aesthetics of a 15mm game. It was the same with the Franco-Prussian 6mm games I played last year: lovely, but just too small.

What I certainly won't do, however, is ever turn my nose up at a 10mm game of IABSM, and might even have a think about whether I have room to play 15mm games using a 15mm groundscale. The mathematicians amongst you will be able to help me out here, but I'm assuming that that means multiplying every measurement in the rules by 1.5. Not a total pain, but probably enough of an annoyance to put me off actually doing so!

So, in conclusion, 10mm figures felt very right...but I prefer my 15's!

Whichever, many thanks to Mr Hodge and friend for a great game and their hospitality. I might even have to visit my daughter more often: that will please her!

Robert Avery


A 6mm IABSM game played at Giga-bites Café Spring, 2017, this scenario is the action that took place on the outskirts of Kolonie on the Belgium-Dutch border on the morning of September 14, 1944. The Allied bridgehead was held by the 5th Coldstream Guards (11 Armoured Division) with C Squadron of the 15/19 Hussars just down the road.

The German units coming down the road straight for the canal consisted of 6 Luftwaffe BewahrungsBatalillon zur besondere Verwendung (a Luftwaffe penal unit) and Sturmgeschutze from 2/559 schwere Heeres Panzerjager Abteilung.

At the end, the mediocre Luftwaffe troops and the StuGs pull back. The Germans lost four full sections and several others: a total of 46 men and a StuG.

The Brits had much fewer infantry casualties:  11 men and one Platoon Leader, a PIAT team, and two Cromwells.

Historically, the German attack also petered out. Sergeant Hollis received a Military Medal, and Roderick the Military Cross. The appearance of the Hussars was the turning point in the game and in actuality.

Mark Luther


As I said in an earlier post, I’ve started to get into modeling mainly as a spinoff of my miniatures wargaming habit. Well, that habit continues, and every now and again I have an opportunity to play a wargame or two – thanks to a very patient wife (wargaming opponents have been hard to come by here in Khabarovsk). We recently tested out a new set of rules, called “I Ain’t Been Shot, Mum!” Lots of fun. Here’s the after-action report.

For the test scenario, we ran a simple hypothetical meeting engagement with two platoons of German Infantry with light mortar support against two platoons of Soviet Infantry with HMG support. The overarching objective for both sides was control of the bridges in the town.

IABSM uses some interesting mechanisms, which add to the unpredictability of the game, and I think add to the interest as well. Firstly, it uses a system of blind movement, whereby units are represented by “blinds,” until those units are spotted or open fire. A blind may be an actual unit (platoon, in this case), or it may be a small recon squad of a few men (basically a “dummy” blind – no combat potential, but able to spot and move). This means you don’t really know what you’re facing, sometimes until you’re right on top of a unit (like in real warfare). In this photo, the Russians advance on the town, using the cover of the buildings and forest to advance practically unnoticed. The dice are used for movement, firing, and spotting, and as your unit loses men, it loses dice, thus reducing it’s effectiveness.

Here, a German platoon with light artillery support is revealed early on, as they advance in the open. Each squad can then move on it’s own, but usually with reduced effectiveness. Blinds receive four initiative dice, but each regular Wermacht squad receives only three. Nte that the squads are represented by four figures for ease of play, and due to the lack of figures in sufficient numbers, especially on the Soviet side. Need to do some more painting!

The Germans advance on the town. The dice next to the unit are it’s reserved dice, which can be used for firing or spotting at any point in the turn.

Here a Soviet platoon takes cover in a ruined building. Note the Maxim HMG in support. The AT rifles are actually substituting for light MGs – again, need to do some more painting – I only had enough LMGs for one platoon! Another interesting feature of IABSM is the use of a card-based initiative system. Cards representing every unit (as well as some special characteristic cards) are placed in a deck and shuffled. Then they are turned over one at a time, to indicate when those units are activated. There is also a “Tea Break” card, which indicates the end of a turn, when all unit cards are reshuffled. What this means is that unit order is not fixed, and it is possible (even likely) that not every unit will activate every turn! In fact, this HMG unit, after taking up it’s position in the building, never once activated the entire game! Obviously new recruits lacking appropriate supervision.

Here we see the deleterious effects of combat. This German platoon has made it to the bridge – but it was unfortunately as far as they ever got. They tried to advance in the open and received withering fire from the Soviets behind hard cover in the buildings of the town. The white counters represent “wounds,” which reduce the squads’ effectiveness. The black counters represent actual casualties. One more casualty on this squad on the foreground, and they will be down to one figure, or zero initiative dice (I used the number of figures to represent how many dice the squad had +1, since even if a squad has no dice, it still has the potential of action, albeit this action more often than not would be to seek out cover – which the two squads with attached platoon leader in the background have already done).

RUMBLE! Close assault usually proves devastating and decisive, and this was no exception. The assault ended with the two squads of Germans in full retreat. This left the Germans with a squad with Platoon commander in the church, and the second platoon taking cover by the bridge on their left flank. However, they had by this point sustained too many casualties to offer effective resistance, and left the field of battle, regrouping for a counterattack on another day.

Overall, the game was really fun, and while it was unpredictable, this added to the “feel” of the game. The ranges in this game seem rather “short,” meaning lots of ineffective fire until you really get close. Artillery was a mixed bag. In this game, there was no forward observer, but IABSM allows for “blind firing” of light and medium on-table artillery. What happened was the German mortars ended up sitting way back on the table without line of sight to anything, and just fired off of map coordinates. Usually, the fire scattered, but occasionally it was dead on, and there didn’t seem to be any difference in accuracy if the mortar unit could see the impact point or not – perhaps I’m reading the rules wrong, and if so, feel free to correct me. This was a bit of a sticking point for me, but all in all, the mortars did not have an overwhelming effect on the game. Overall, the rules are worth a look-see. Check them out at www.toofatlardies.co.uk.

Randy Stoda


The setting is spring of 1940. A small town in Belgium, where a railroad, a highway and a canal all meet. The Third Reich wants this important road network. The Belgians and the British are desperate to hold it from the German blitzkrieg, but are woefully undermanned and virtually without effective anti-tank weapons. Thankfully, the British have managed to send a company of Scots and a few tanks (Matilda Is and Mk VIs).

Belgian Marines hold the Town

The photos are from a game of "I Ain't Been Shot, Mum!" played on April 17th 2010. We played at UH-Clear Lake, our usual third Saturday of the month.

I wish I had taken photos of the Stugs shelling the buildings of the town and driving the Belgians out by collapsing the stone houses on top of them. I think if the German player had continued to do that, shelling the village, he could have turned that entire flank. As it was, he split the Stugs off to deal with some British infantry.

The German player had some astonishing luck with his divebomber. Three times he hit right on target. Blew the heart out of an entire platoon of Scots, and slowed the only real anti-tank weapon (a 25-pdr) to a crawl.

A Stuka divebomber prepares to strike British infantry

This flank is now safe from the Stuka, with all those Bren guns pointing skywards. But the damage was done. The platoon pounded by the Stuka was half dead, and all discouraged. Other than the Boys AT Rifle team (which banged away gamely at the Stugs), the platoon was done for the day.

British Motorized Platoon pulls up to defend the Canal

Miraculously, at the end of the alloted game time, the German player had not reached the village. I think this was more due to a few tactical mistakes on his part than any particular genius on the defenders' parts. You do not want to leave your infantry out in the open in front of a weapons platoon's worth of medium machine guns! Very bloody.

Also, the card driven system, with random turn ends did not help. Finally, I got a bit of luck with my aircover as well, with the Rare As Fairies showing up twice to strafe the German ATG crews. I have experienced a great deal of frustration while trying to get an attack under way using this system myself, so I can empathize with the German commander.

IABSM! is not my favorite set of rules, though it is pretty simple once you get used to it. My biggest gripe is that random turn end (the Tea Break card). You have to be super careful to get that deck of cards well shuffled so that the Tea Break doesn't happen too early in the turn every time. It is incredibly frustrating when you move the same unit over and over and the rest of your troops are glued in place.

The Scattergun Gamer


A small game set on the Eastern Front:  Soviets versus Germans.

Hardly had the game begun when both sides advanced rapidly forward in to firing range and began to take casualties.

The Germans, more motorised than their opponents, are able to act more strategically: taking advantage of the hills and forests, and using their armour to cover the advance of their infantry.

The German tanks opened fire on the Soviet armour without stopping to think about it.

But the Russians, not being in the business of pulling back (it is what the commissars to the rear are for), advance using their KO'd armor as cover.

The Soviets go through the woods.

The artillery deployed strategically.

On this occasion, the Germans are a little less aggressive:  all their troops take cover.

With their forward observers in the best position possible.

Soon the tables are turned, and it's the German armour that are taking hits.

Although they want to conserve their troops, they are here to fight and win the battle...which is why, in the end, the Germans decide to advance.

Which is what the Soviets have been doing since the battle began. 

So the gap between the two front lines is shrinking.

And in the end, close combat becomes inevitable.

Because of their excessive caution, the Germans are in a worse position than the Soviets, and are soon getting the worst of it.

In the end, as always happens to us, the game ends in a draw as time has beaten us, and we have to clear things away.

A great afternoon among friends with lots of laughs and fun.

Burt Minorrot.


Played scenario 10 from the All American 82nd Airborne scenario pack tonight at the SLW club. My Germans took on Ian’s farm boys and tried a double envelopment. Ian was a clever so and so, allowing me to observe certain areas then, once I thought them clear, move up to them. I walked into these and many a tear was wept back in Dusseldorf after the casualty list came in.

My armour could not hit a barn door (rolled a '1' on almost every HE round I fired). The FOO did a great job calling in support, but the Tea Break card kept turning up before any of my support cards! I did have some luck with the second flank attack and actually reached the village, only for a platoon of reinforcements to arrive!

A very good game and will try it again in two weeks, but I will umpire this time.

Here are some photos.

Desmondo Darkin


I played a game of IABSM at the club yesterday against a potential new member, Steve who contacted me via the IABSM Facebook group. I created a scenario based upon Scenario Generator No. 5"Breakthrough" in the IABSM rulebook.

Background & Set Up

The British need to advance along the only road towards the village of Ste Madeleine-sur-Fleuve. To do this, the main force has sent a relatively strong mobile scouting group down the road to probe the German defences and hopefully force a breakthrough. This forces consists of two troops of tanks (each with 3 x Cromwells and 1 x Sherman Vc and L2 BM), one section of carriers equipped with Vickers MMGs (L3 BM) and two rifle platoons (one in four half-tracks and one carried as tank riders, L2 BM). The HQ (L3 BM, L2 BM) for this force has an attached platoon of 4 x 3” mortars carried in 4 Loyd carriers and is carried in a half-track. Each rifle platoon has one member designated as a sniper.

Chips

  • British Armour 1 
  • British Armour 2
  • British Platoon 1
  • British Platoon 2
  • British Support 1 (MG carriers)
  • British Support 2 (mortars)
  • British Sniper
  • British Big Men 1-7
  • Armoured Bonus

There is a German defence screen ahead of the village which has been ordered to stop the British advance, to allow time for the Germans to complete their withdrawal towards to major town of Falaise to the south.

The German force consists of two Zugs of Panzergrenadiers (each with L2 BM), supported by two SdKfz 251 Stummel half-tracks with short 75mm howitzers (L2 BM) and two Marder III Ausf. M with 75mm Pak 40 a/t guns (L2BM) and a Zug of three Panther tanks (L2 BM). The HQ(L3 BM) for this force has a section of three Panzerschrecks and two MG42 teams. The Germans are dug-in behind some hastily-built field defences.

Chips

  • German Armour 1
  • German Platoon 1
  • German Platoon 2
  • German Anti-tank 1 (Marder IIIs)
  • German Support 1 (short 75mm halftracks)
  • German Support 2 (Panzerschrecks)
  • German Support 3 (separate MG42s)
  • German Big Men 1-6

Note that neither side has a chip for the HQ. This is because any HQ-attached elements have their own chips. In addition to the Tea Break chip, the bag contains two blank chips which act as a countdown. Once the blank has been drawn 12 times, the game ends.

We rolled a D6 to see who would be the British and who would be the Germans. I rolled higher and chose to play as the German commander.

The terrain is relatively flat with some hedges breaking up the ground, a couple of lines of bocage (marking the German deployment area) and a small wooded area from which the British troops will emerge. There is a small reservoir by the road and a walled potager at the German end of the table. The ploughed fields on the side of the road are designated as soft going (-1" on each movement dice). The temporary German field defences can be seen to the left of the reservoir and the right of the road.

The Game

The British advanced under blinds but two units were soon spotted by the defenders. These were one of the tank troops and the carriers armed with Vickers MMGs. These could fire on the move.

Most of the German defenders were hidden in the deployment area but there were a few units under blinds. One was spotted by the carriers and was exposed as a pair of Marders.

The British tanks opened fire, and one Marder was immediately knocked out by the troop Sherman Vc with the 17-pdr gun. 

The second Marder would soon follow, leaving the road almost open for the British to drive hell-for-leather towards Ste Madeleine-sur-Fleuve.

The Germans began to emerge from under their blinds, with the main threat being the weakened Zug of three Panthers. 

The Panthers were soon in action and two Cromwells were hit, causing them to brew up. One was the tank with the troop commander.

One Panther was knocked out by the Sherman Vc in the tank troop as the 2" mortar with the platoon which had been riding on the tanks laying down smoke to obscure the British advance.

Realising the the British intended to use speed to get past the German defences, which had been across the table in the bocage, the first Panzergrenadier Zug began to advance across the open ground, secure in the knowledge that the British infantry in the ploughed field were pinned by 75mm howitzer fire from the Stummels. Elsewhere, the Panzerschrecks had destroyed two of the carriers, and damaged a third as the British continued their thrust along the road. There were two British units still under blinds. The Armour Bonus chip was helping the British move quickly.

The rear tank troop engaged with the Panthers at short range, but without any luck. The Germans were more accurate and the remaining two British tanks were soon taken out by the long 75mm guns on the Panthers.

The Panzergrenadiers advanced on the British platoon pinned in the field and wiped them out. A Panzerfaust managed to damage one of the Cromwells in the other troop but couldn't prevent the Rifle platoon in the half-tracks (under a blind), the remaining two carriers and the tank troop from getting off the table, with the Panzerfaust and MG42 teams being wiped out by Vickers fire. However, the victory conditions were that four units with at least 50% of their original strength remaining should exit the table and this was no longer possible, so this game ended up as a victory for the German defenders.

Aftermath

This was an interesting game, not least because I had expected the British to advance on a wide front and deployed my two infantry Zugs in a line across the table. Steve, however had other ideas and went for a mad dash along the road. The only unit held back was the mortar platoon, who stayed unused under a blind at the back of the table. Steve was never able to use the firepower of the 3" mortars to suppress the German defence. 

What really mattered here was whose firepower was best and it turned out that the three Panthers were more than a match for the British tanks, excepting the destructive power of the 17-pdrs on the Shermans.

A couple of notes about the way I planned the scenario. 

First, I rolled a dice to see who would be attacking and who would defend. 1,2 or 3 was a German defence and 4,5 or 6 was a British defence. I rolled a 2, so the Germans were the defenders.

Then, I used a dice to select which tanks would be available for the Germans.

  • 1-3 Panzer IV
  • 4-5 Panther
  • 6 Tiger I

Then I rolled again to see how strong the Zug would be. A full-strength Zug is five vehicles. The roll would be as follows;

  • 1 or 2 - full strength
  • 3 or 4 - one vehicle under strength
  • 5 or 6 - two vehicles under strength

I then rolled a D6 to see if the anti-tank unit would be Stug IIIs, Marders or Pak 40-equipped SdKfz 251 half-tracks. I'd already decided that only two would be available. Clearly, Stugs would be the best choice here, but it wasn't to be.

Carole Flint


 Our scenario  takes place in May of 1943 during what was known by the Yugoslavs as The Fifth Enemy Offensive, also known as the Battle of the Sutjeska or Fall Schwartz (Case Black). By this point, things in Yugoslavia had shown as horrific an aspect as is possible in war. In the words of a British liaison officer who served with the Partisans:


It was the nature of partisan resistance that operations against it must either eliminate it altogether or leave it potentially stronger than before. This had been shown by the sequel to each of the previous five offensives from which, one after another, the partisan brigades and divisions had emerged stronger in experience and armament than they had been before, with the backing of a population which had come to see no alternative to resistance but death, imprisonment, or starvation. There could be no half-measures; the Germans left nothing behind them but a trail of ruin. What in other circumstances might possibly have remained the purely ideological war that reactionaries abroad said it was (and German propaganda did their utmost to support them) became a war for national preservation. So clear was this that no room was left for provincialism; Serbs and Croats and Slovenes, Macedonians, Bosnians, Christian and Moslem, Orthodox and Catholic, sank their differences in the sheer desperation of striving to remain alive. 

Basil Davidson


From 15 May – 15 June, the 7th SS, Prince Eugen Mountain division (said to have “developed a distinctive reputation for cruelty”) took  part in Case Black aiming to pin Tito's main force of about 20,000 Partisans against the Zelengora mountain, in southeastern Bosnia. The 7th SS was raised from the so-called volksdeutsche volunteers of the region, and augmented by Balkan draftees of only partial German background.

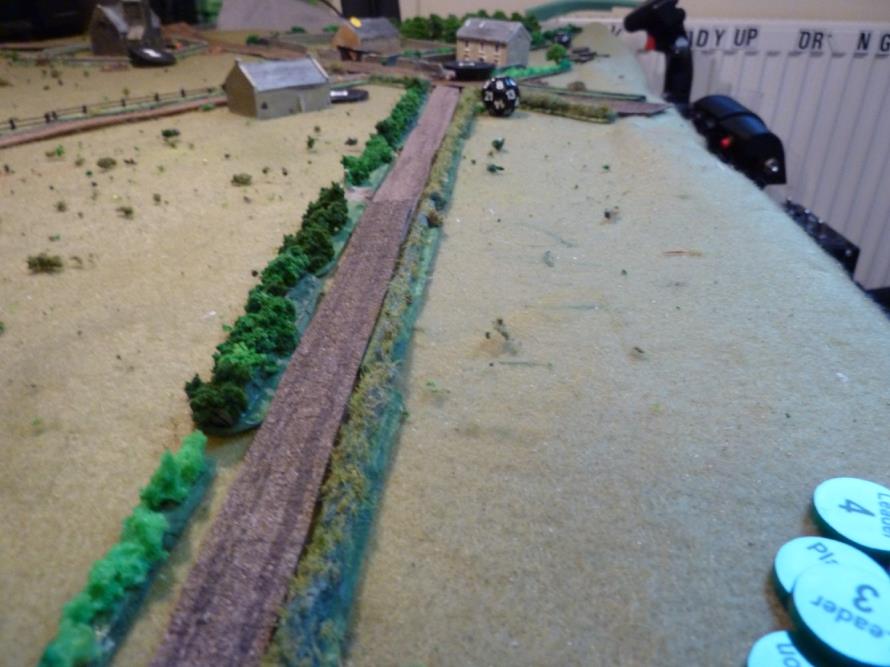
During the battle, the division was ordered to move through the Italian zone and block the possible advance of Partisans towards the Adriatic sea and Albania, and close the south-east part of the encirclement and then advance north over mountainous terrain to crush the Partisan forces.

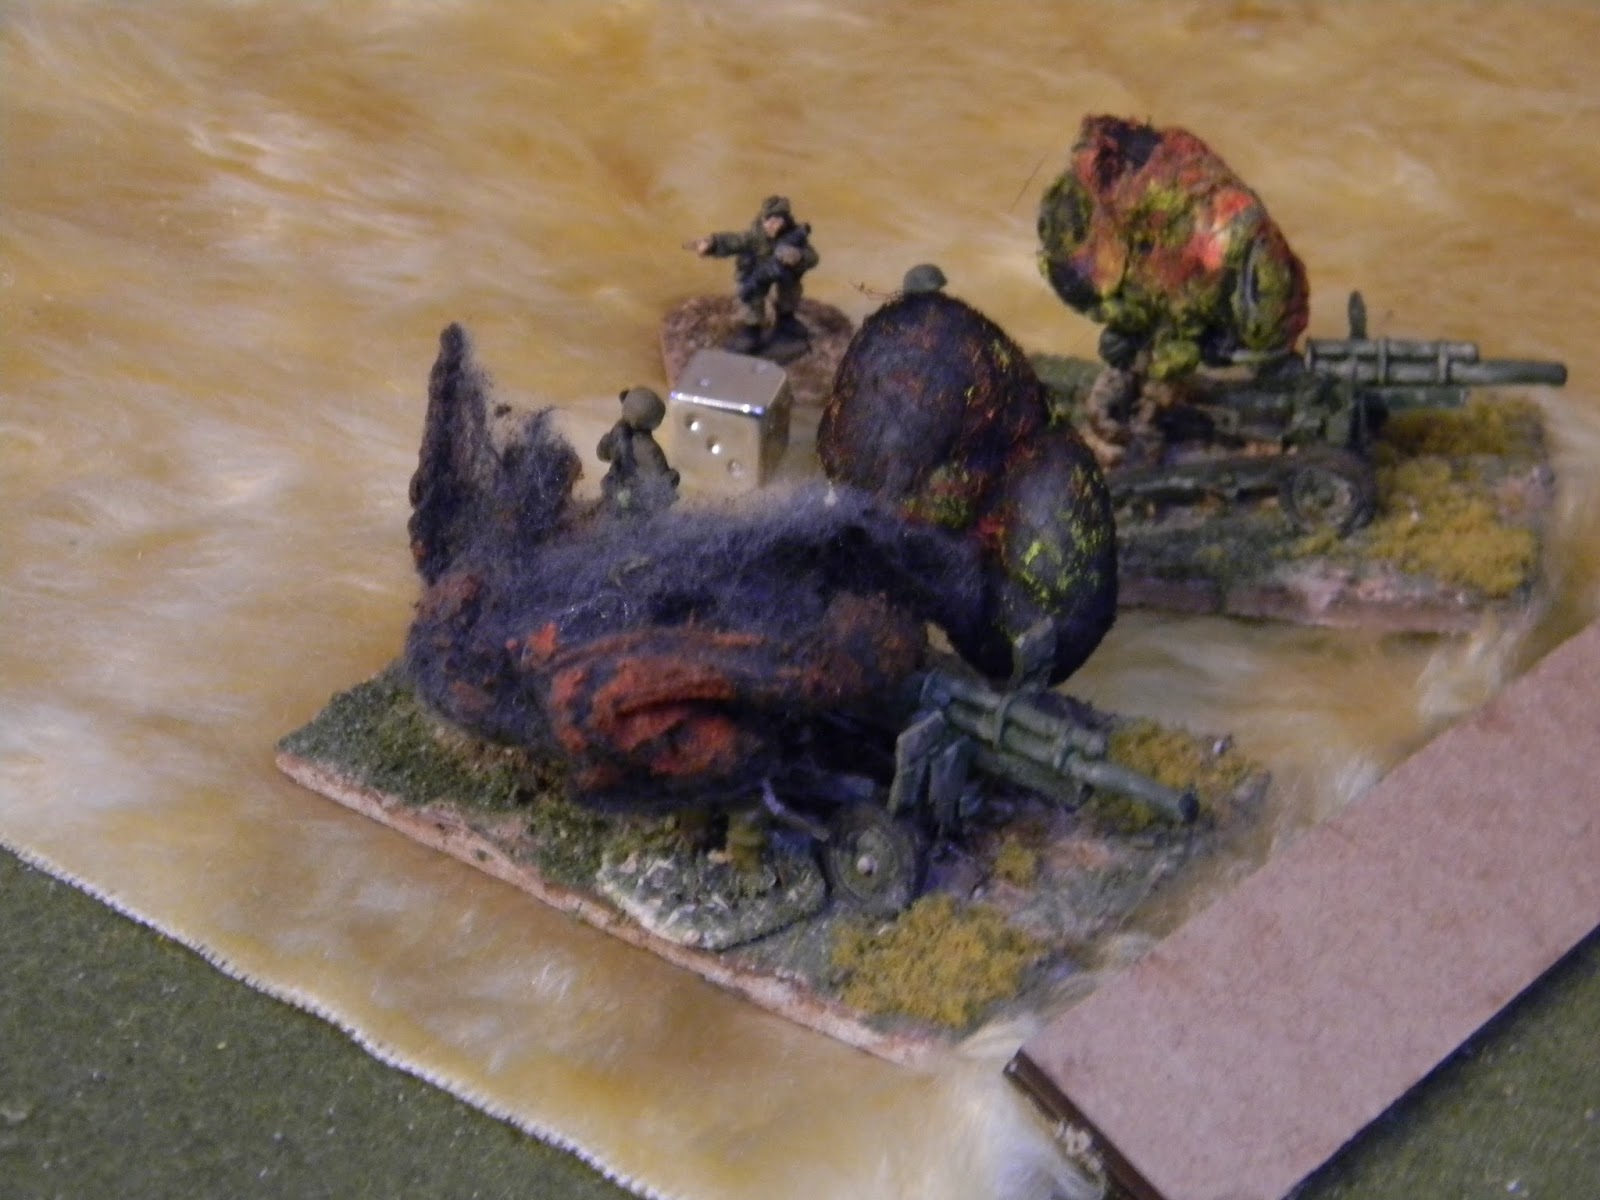
On May 20 the division captured Šavnik. The Partisans headed by the 1st Proletarian Division broke out of the encirclement, and two battalions of the 7th SS  were moved to cover the left bank of the Sutjeska river and block the Partisan's escape route. In Case Black, the division suffered total losses of 613 men. The German claims for Partisan casualties are hard to translate into pure battle casualties, since they often counted the innocent civilians they slaughtered as “Partisans”.

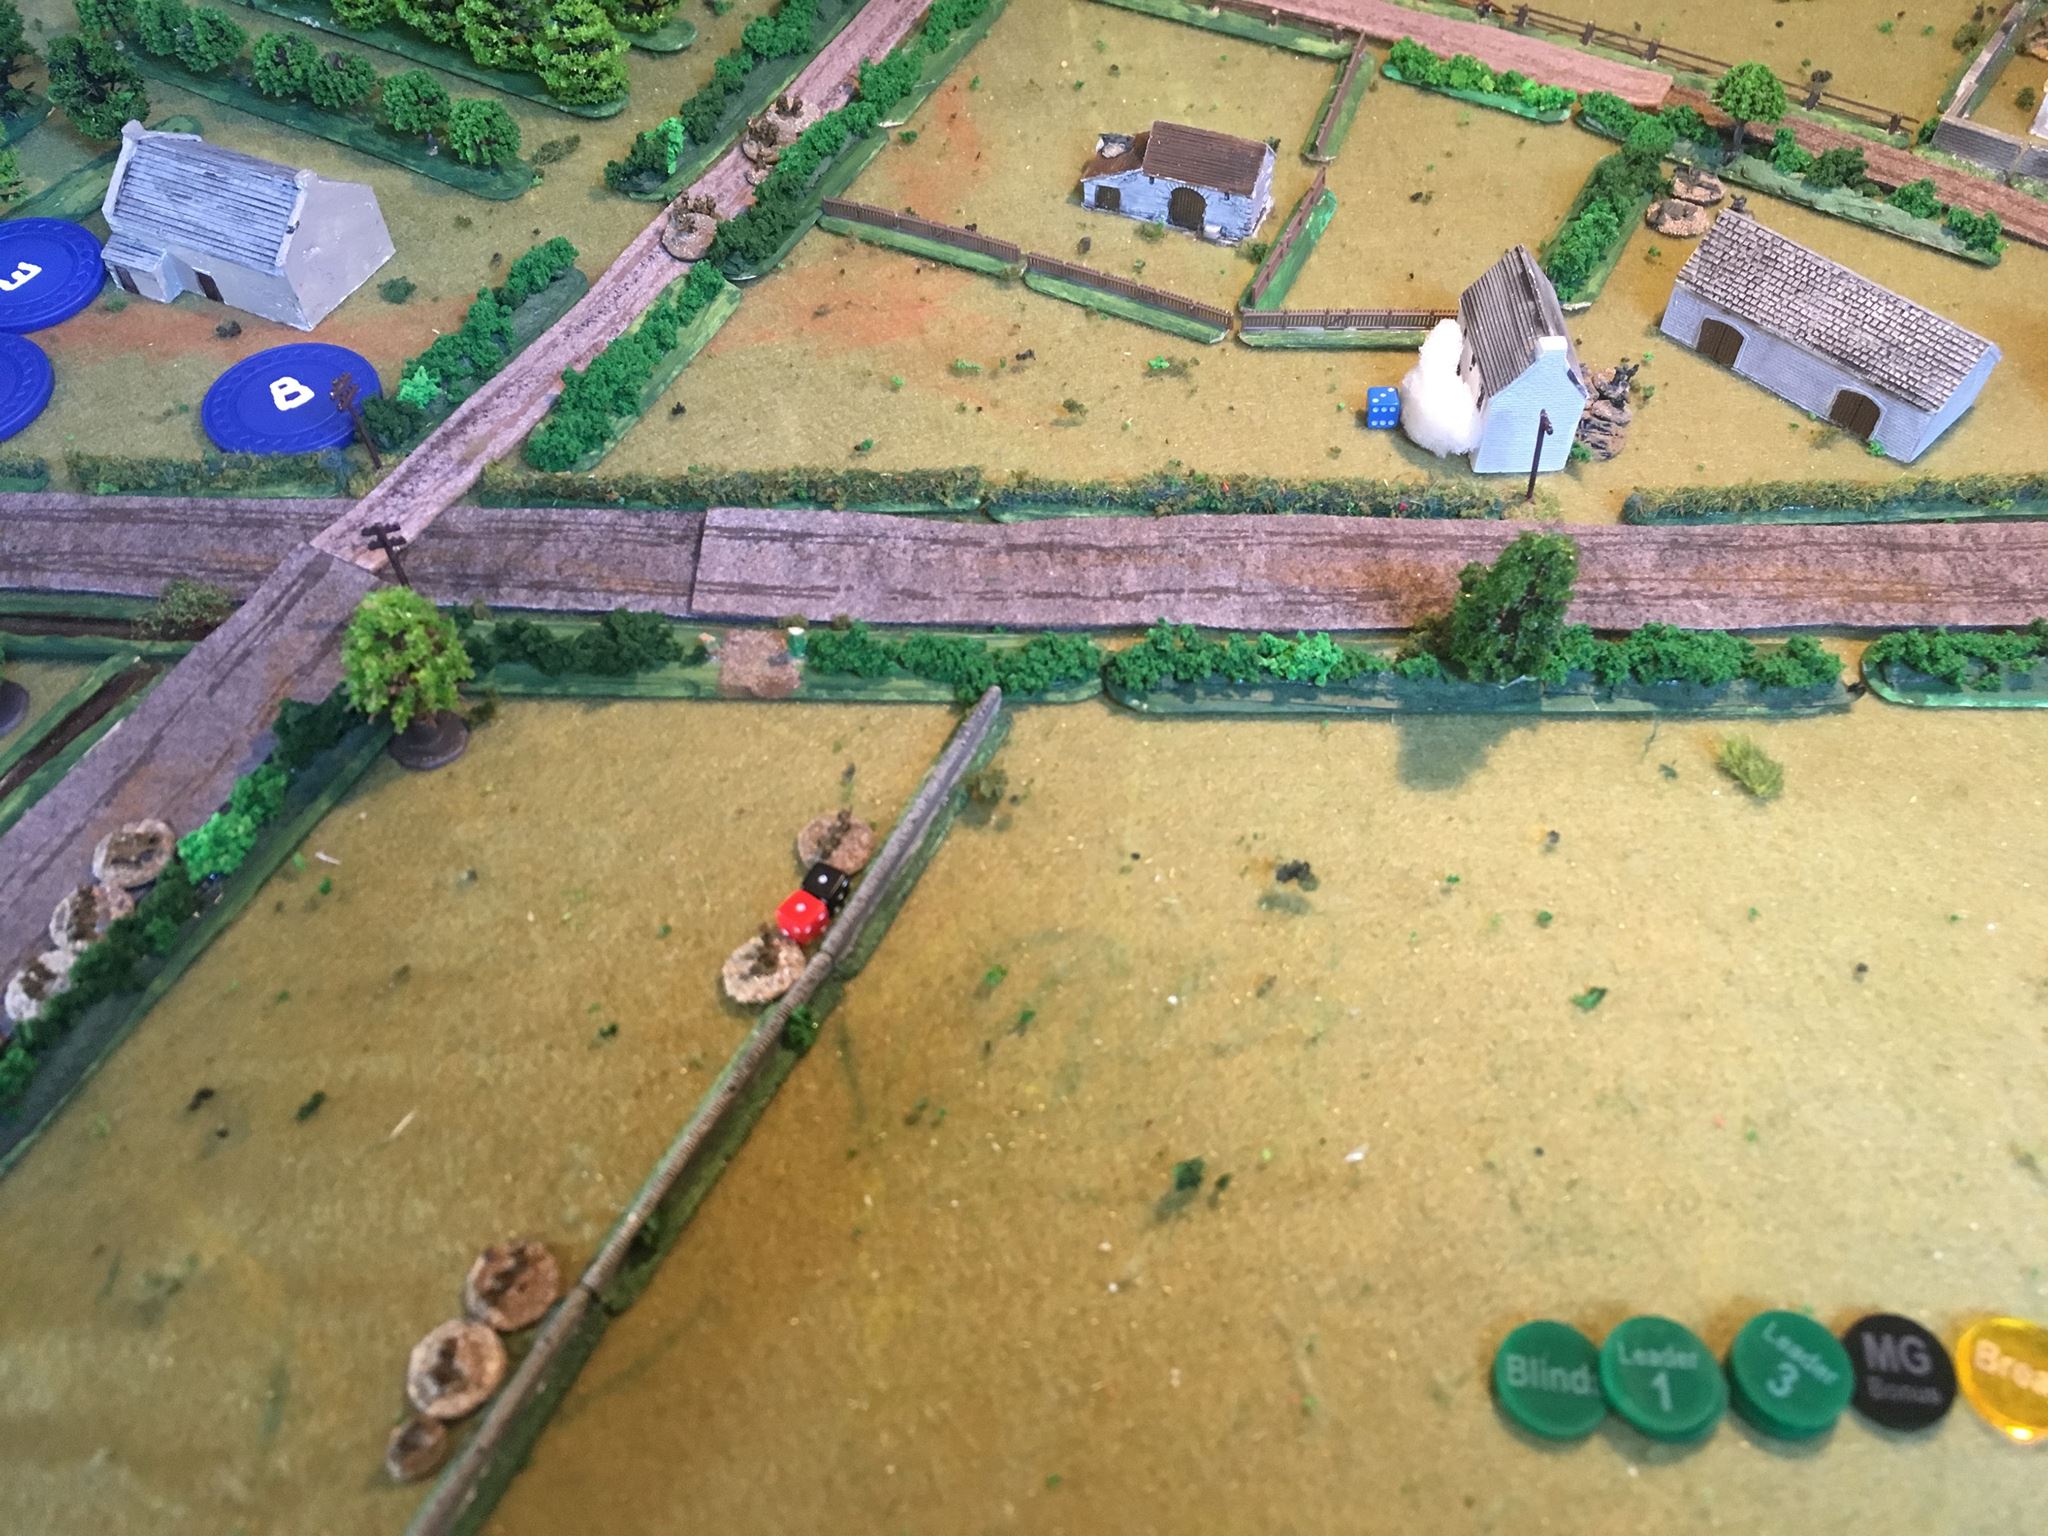
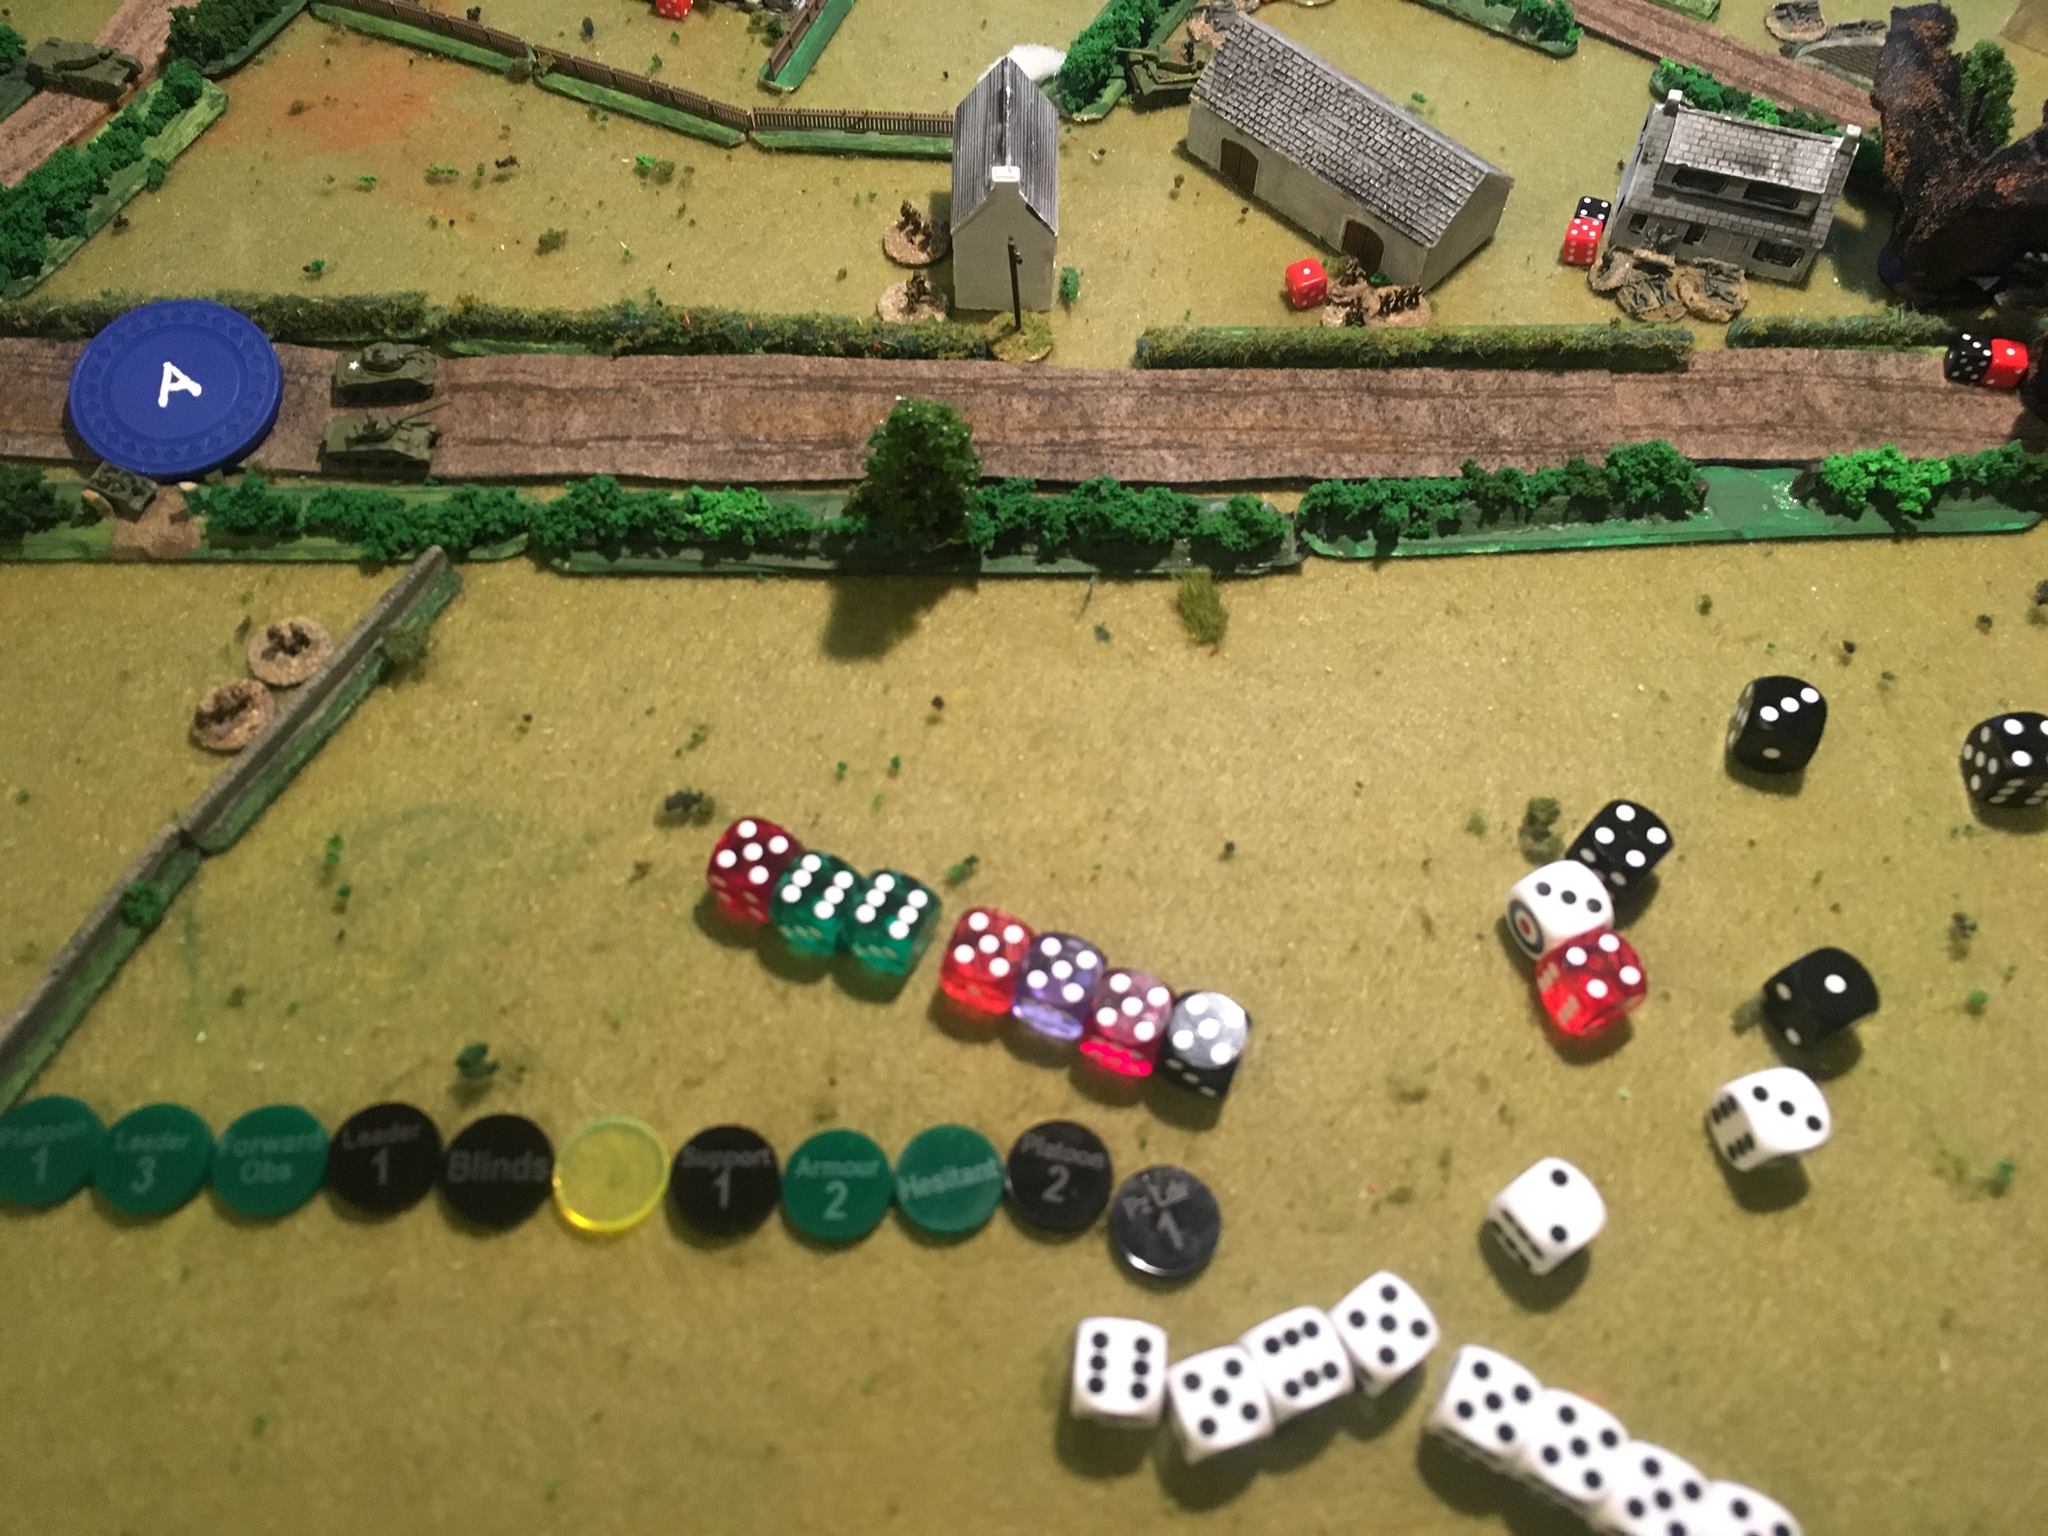
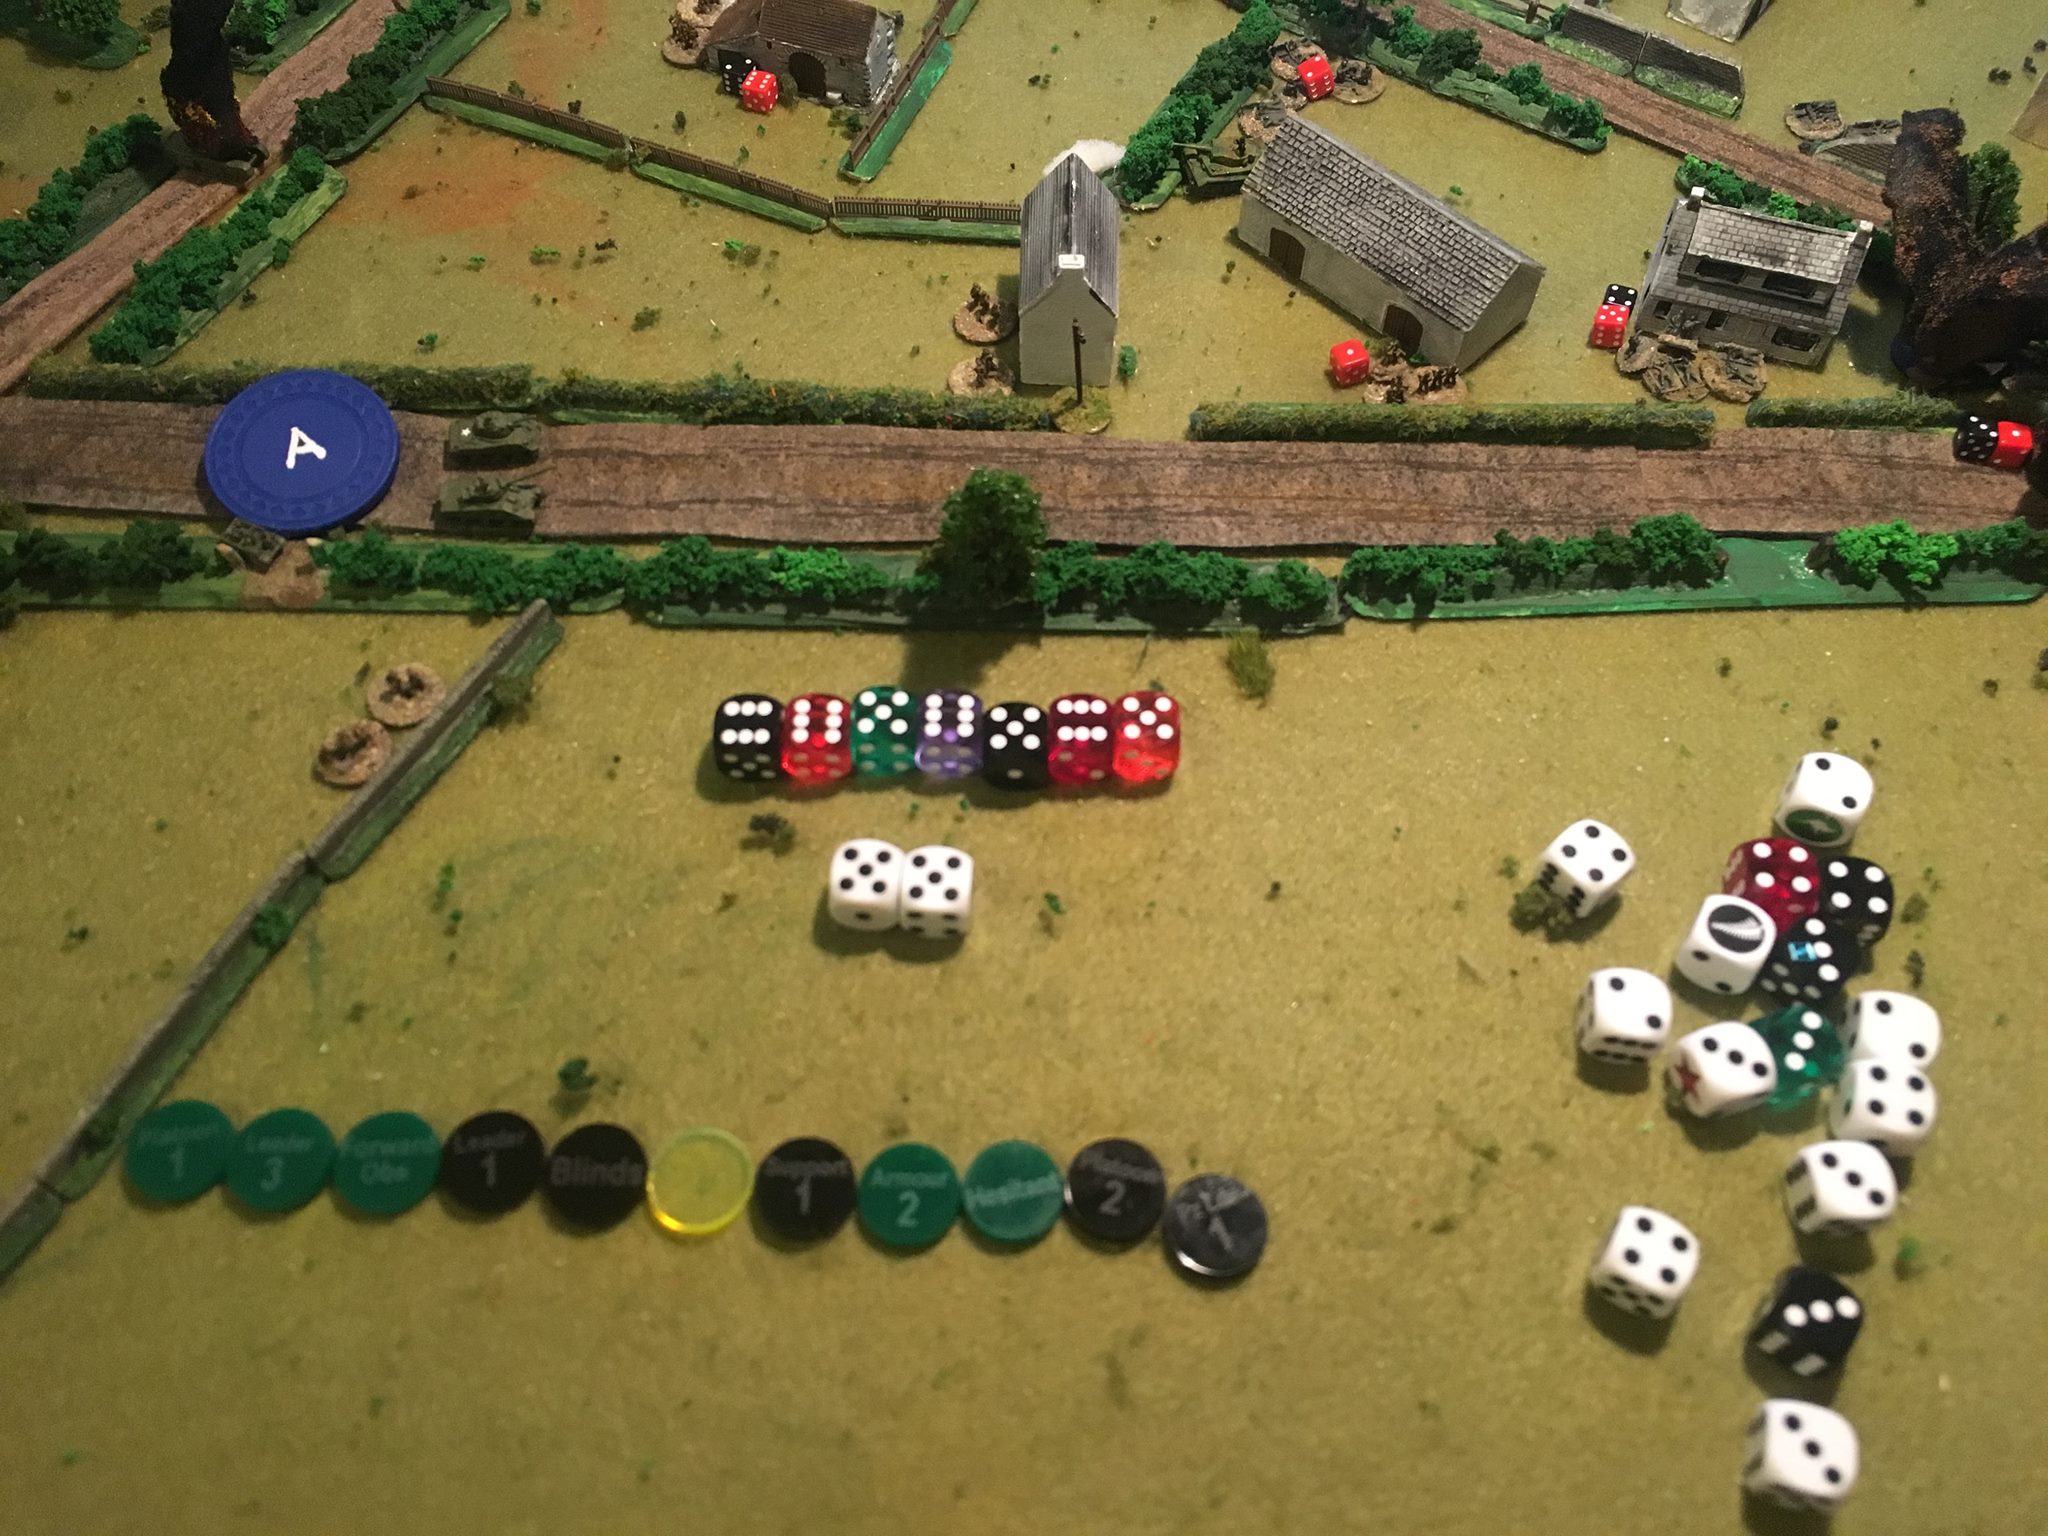
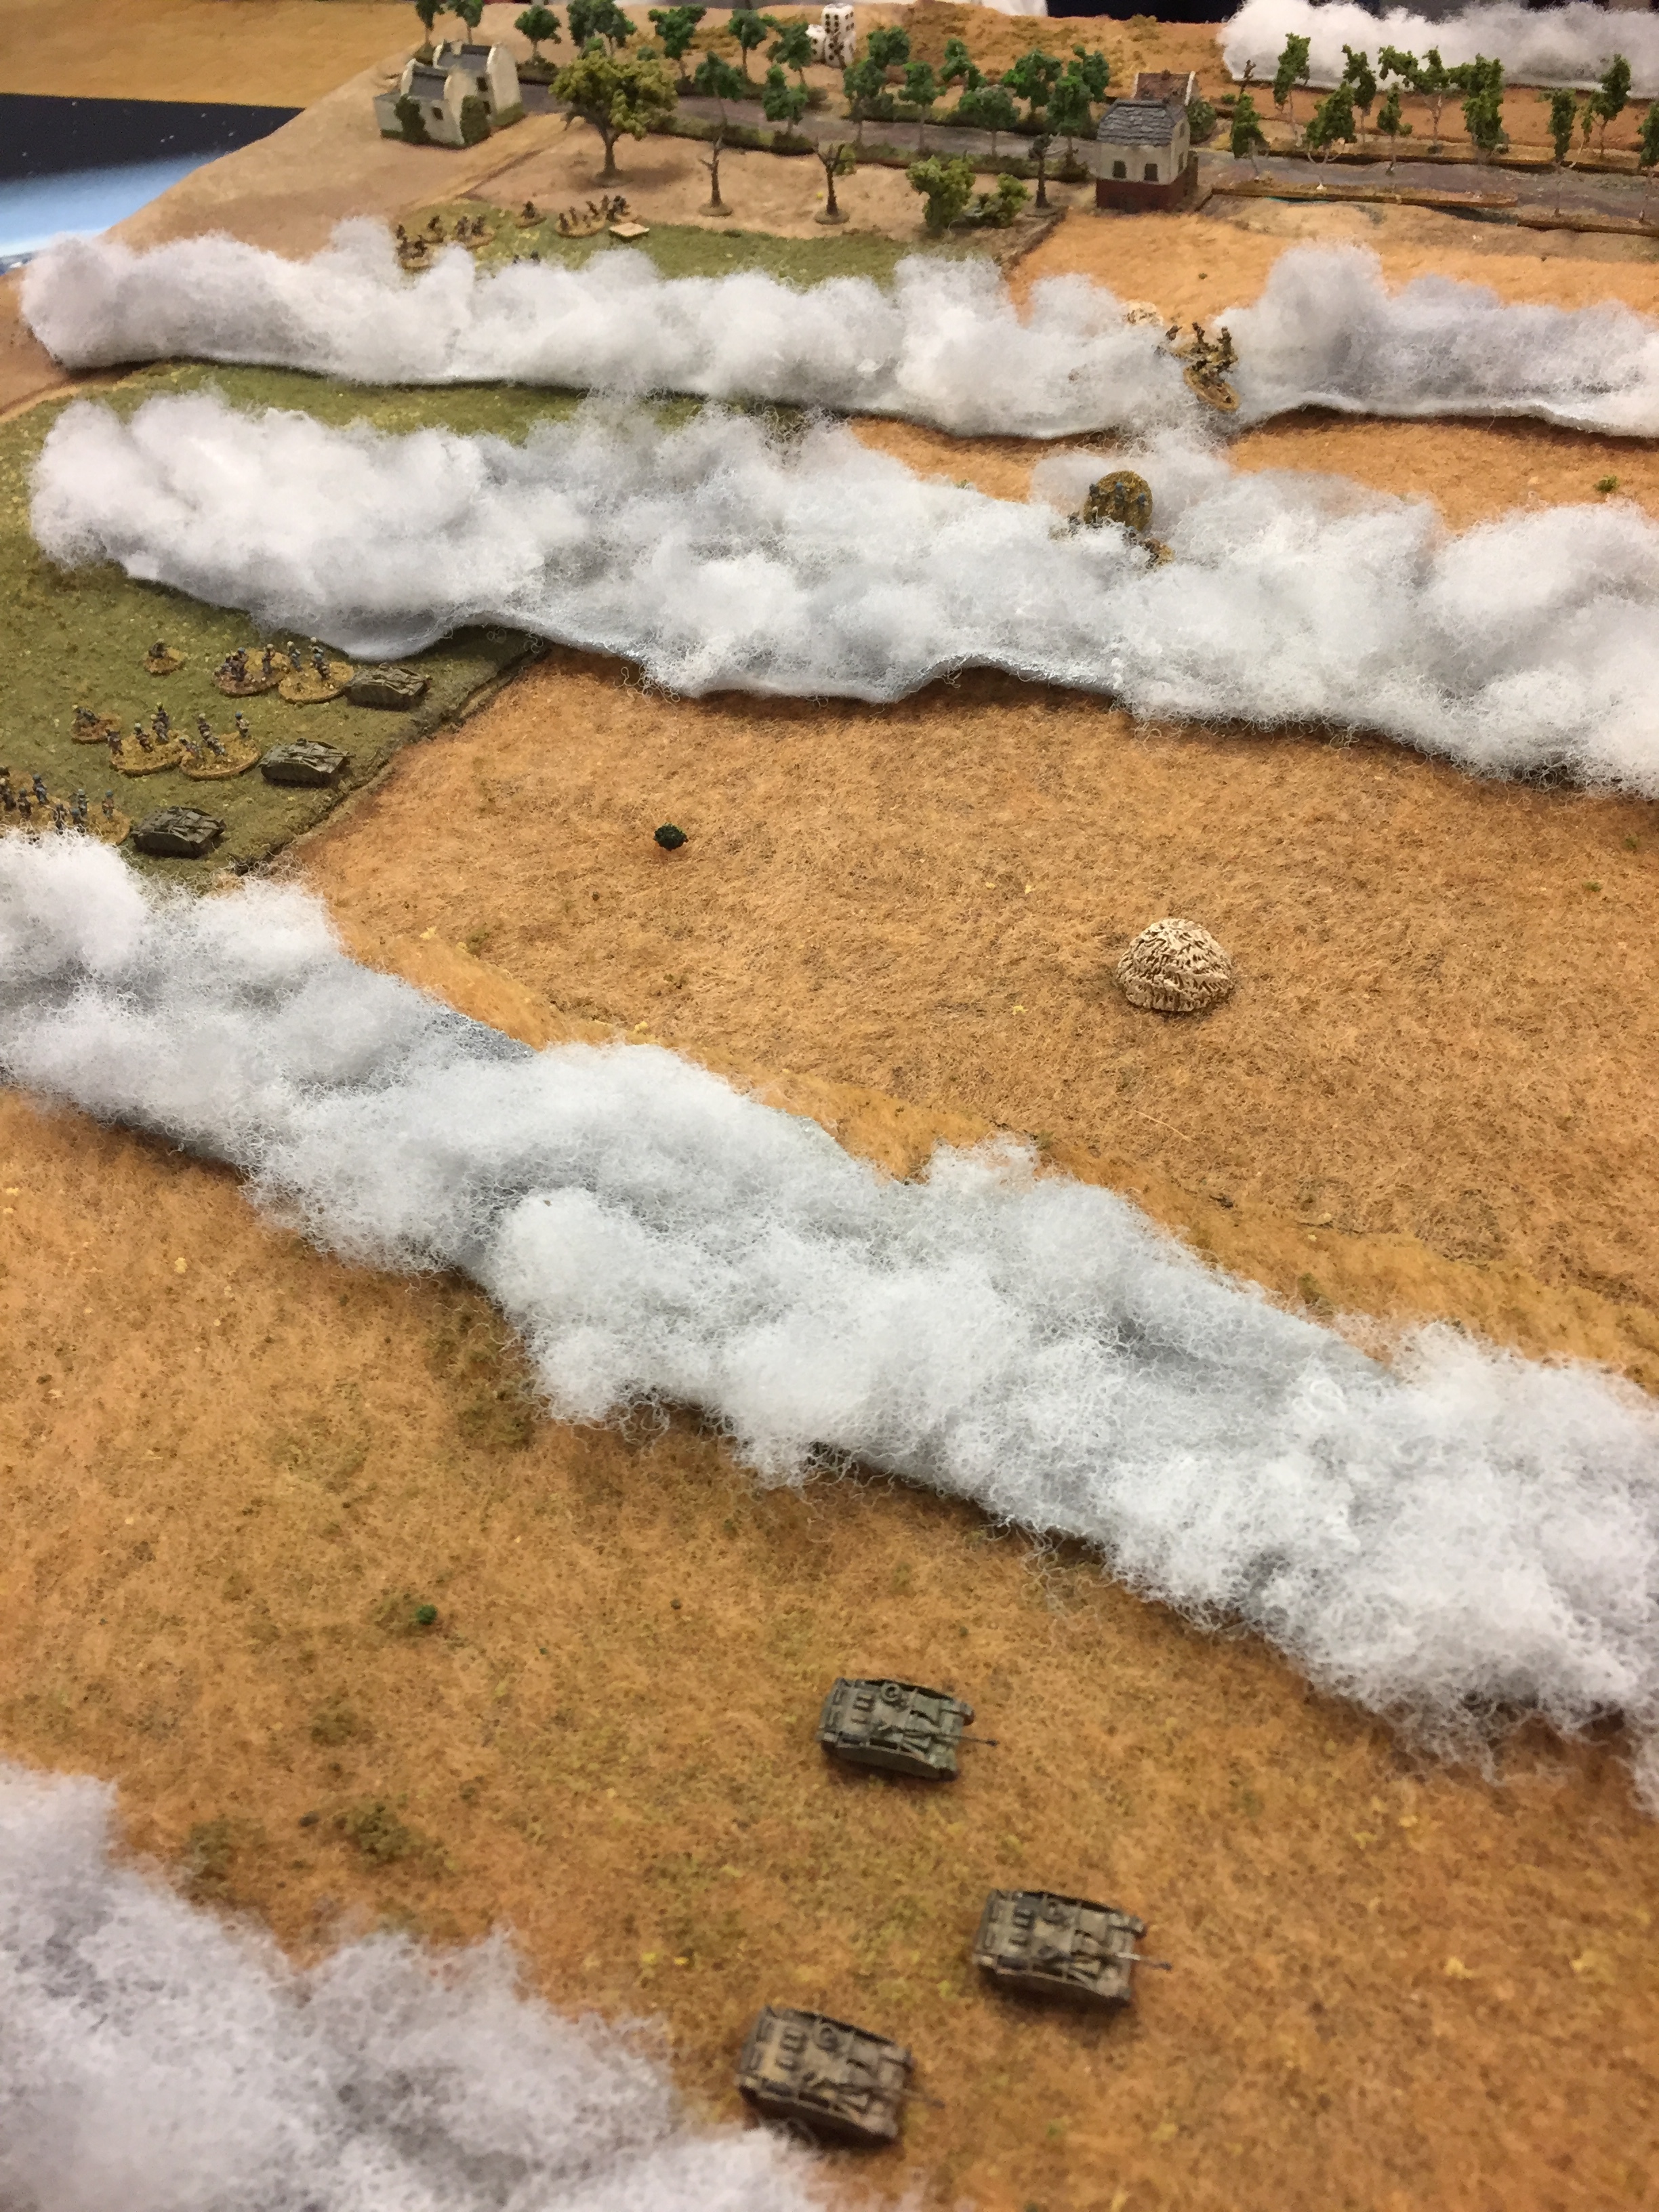
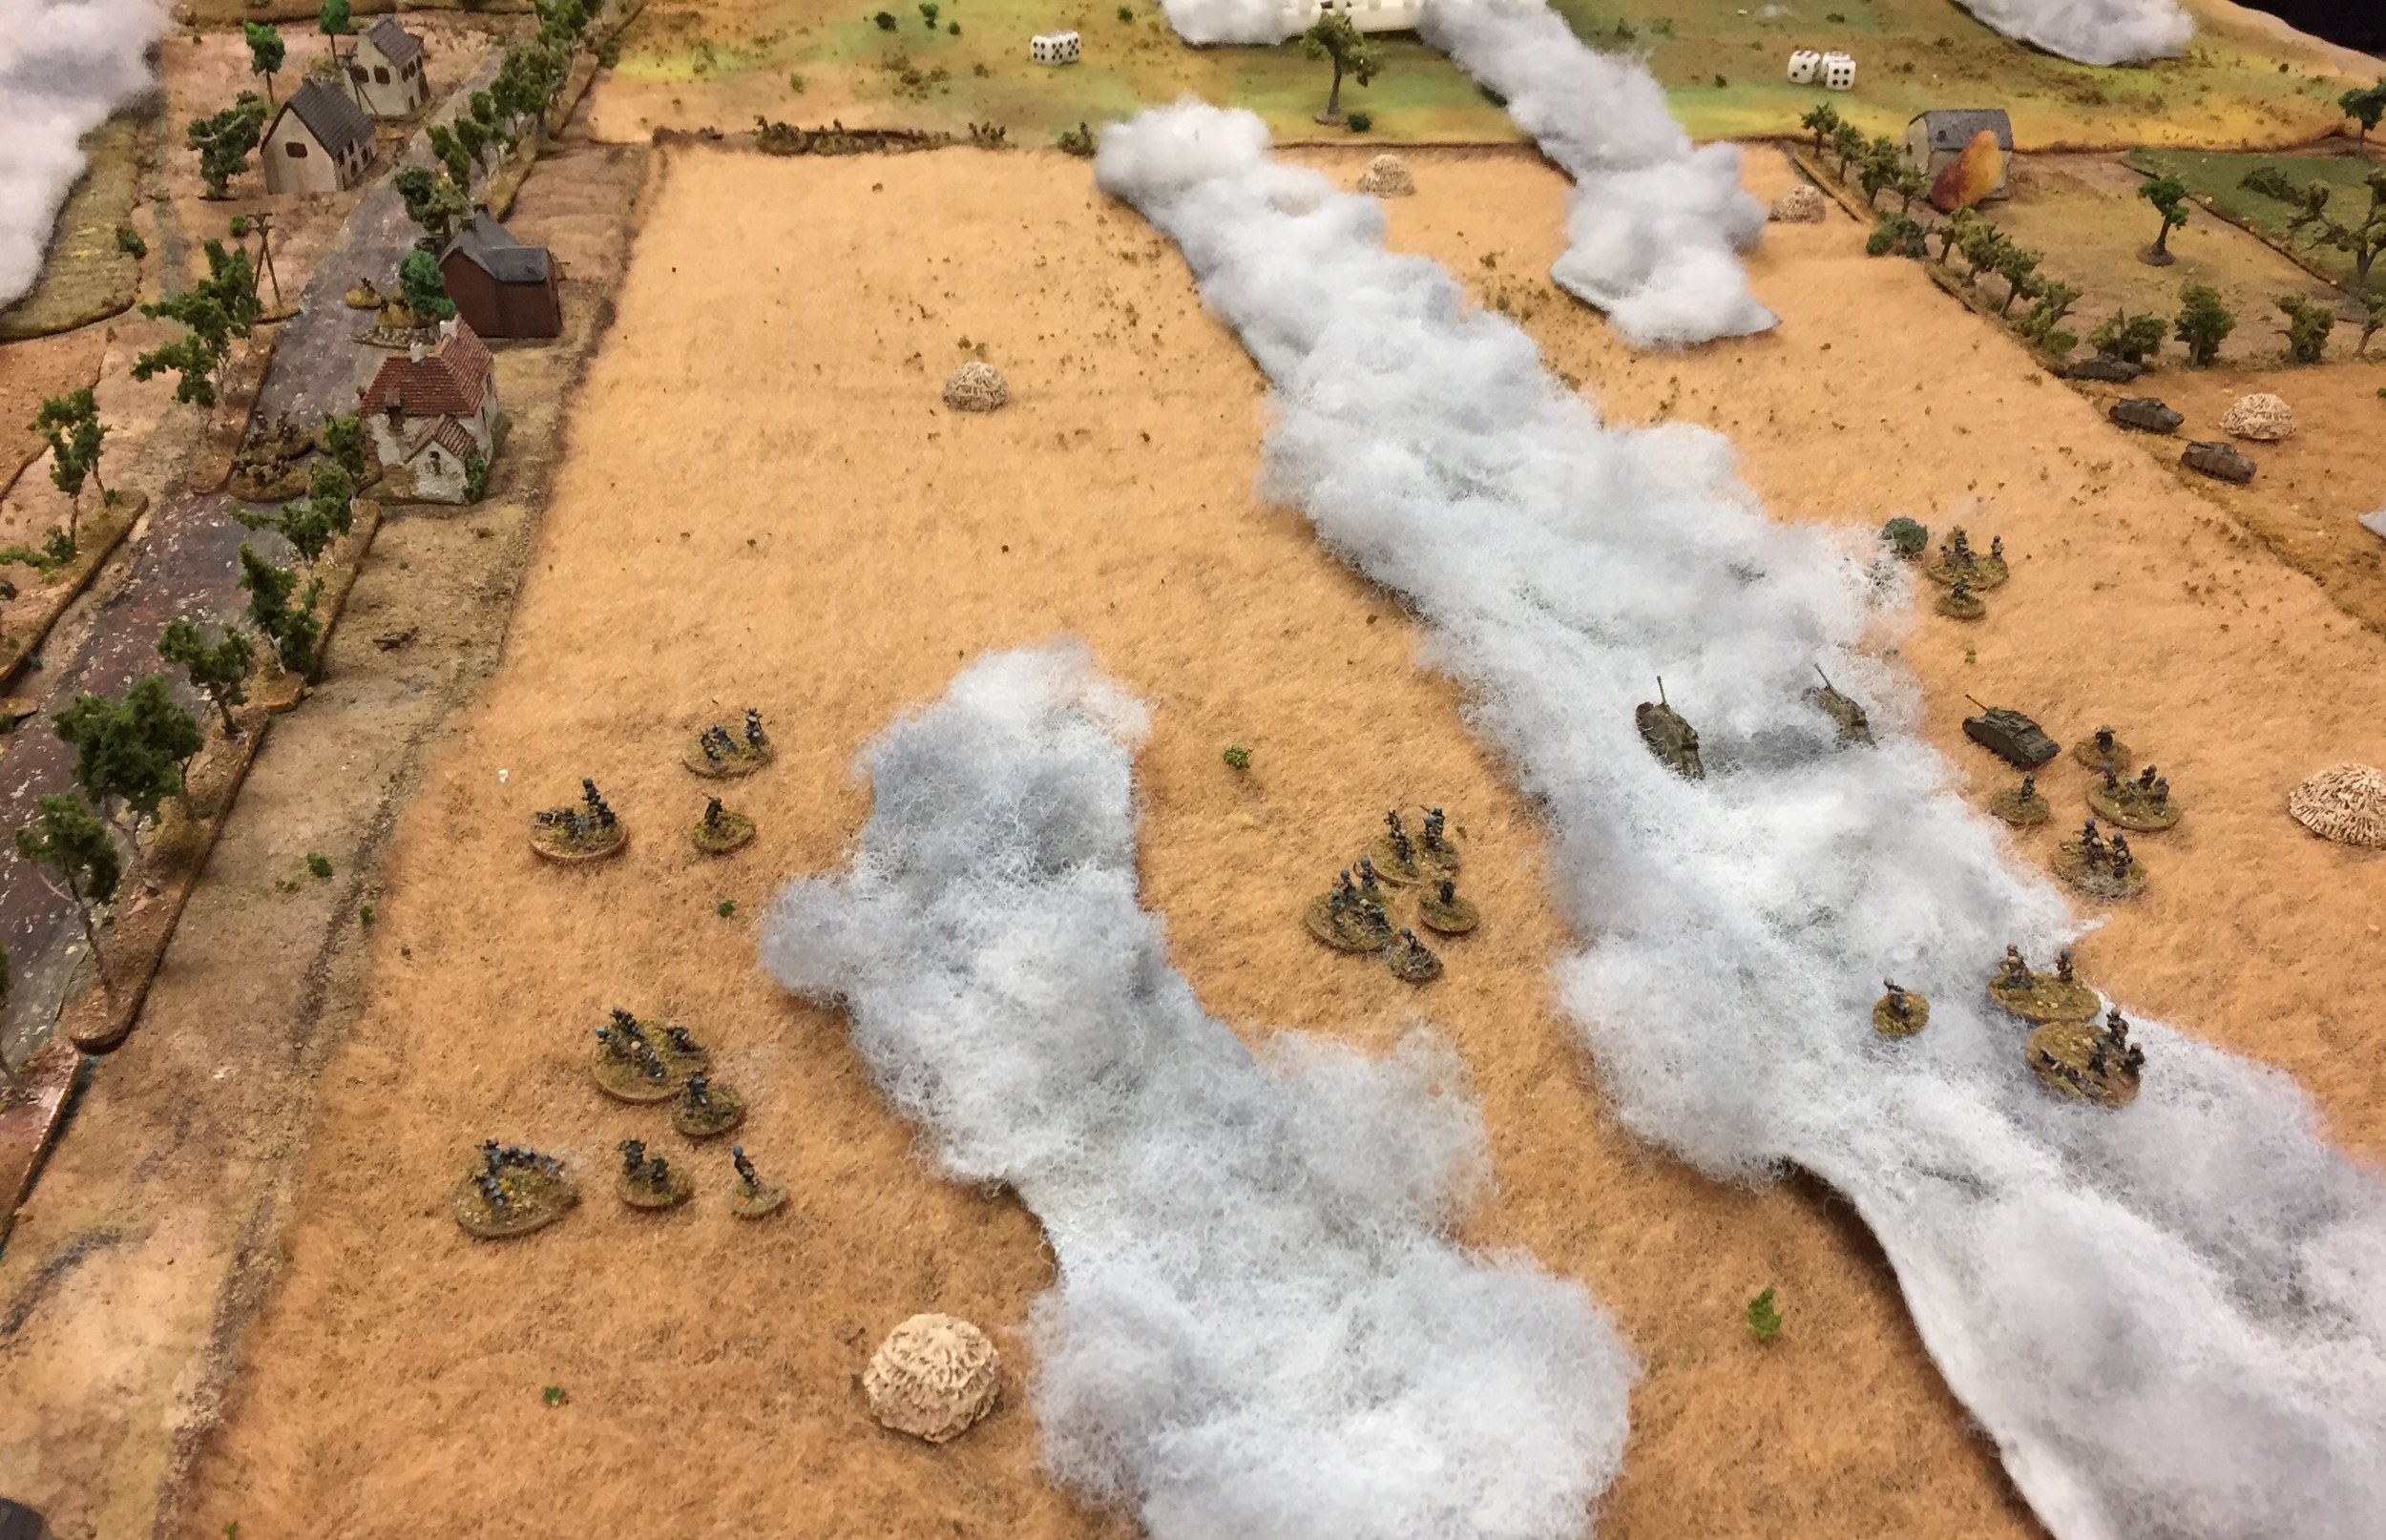
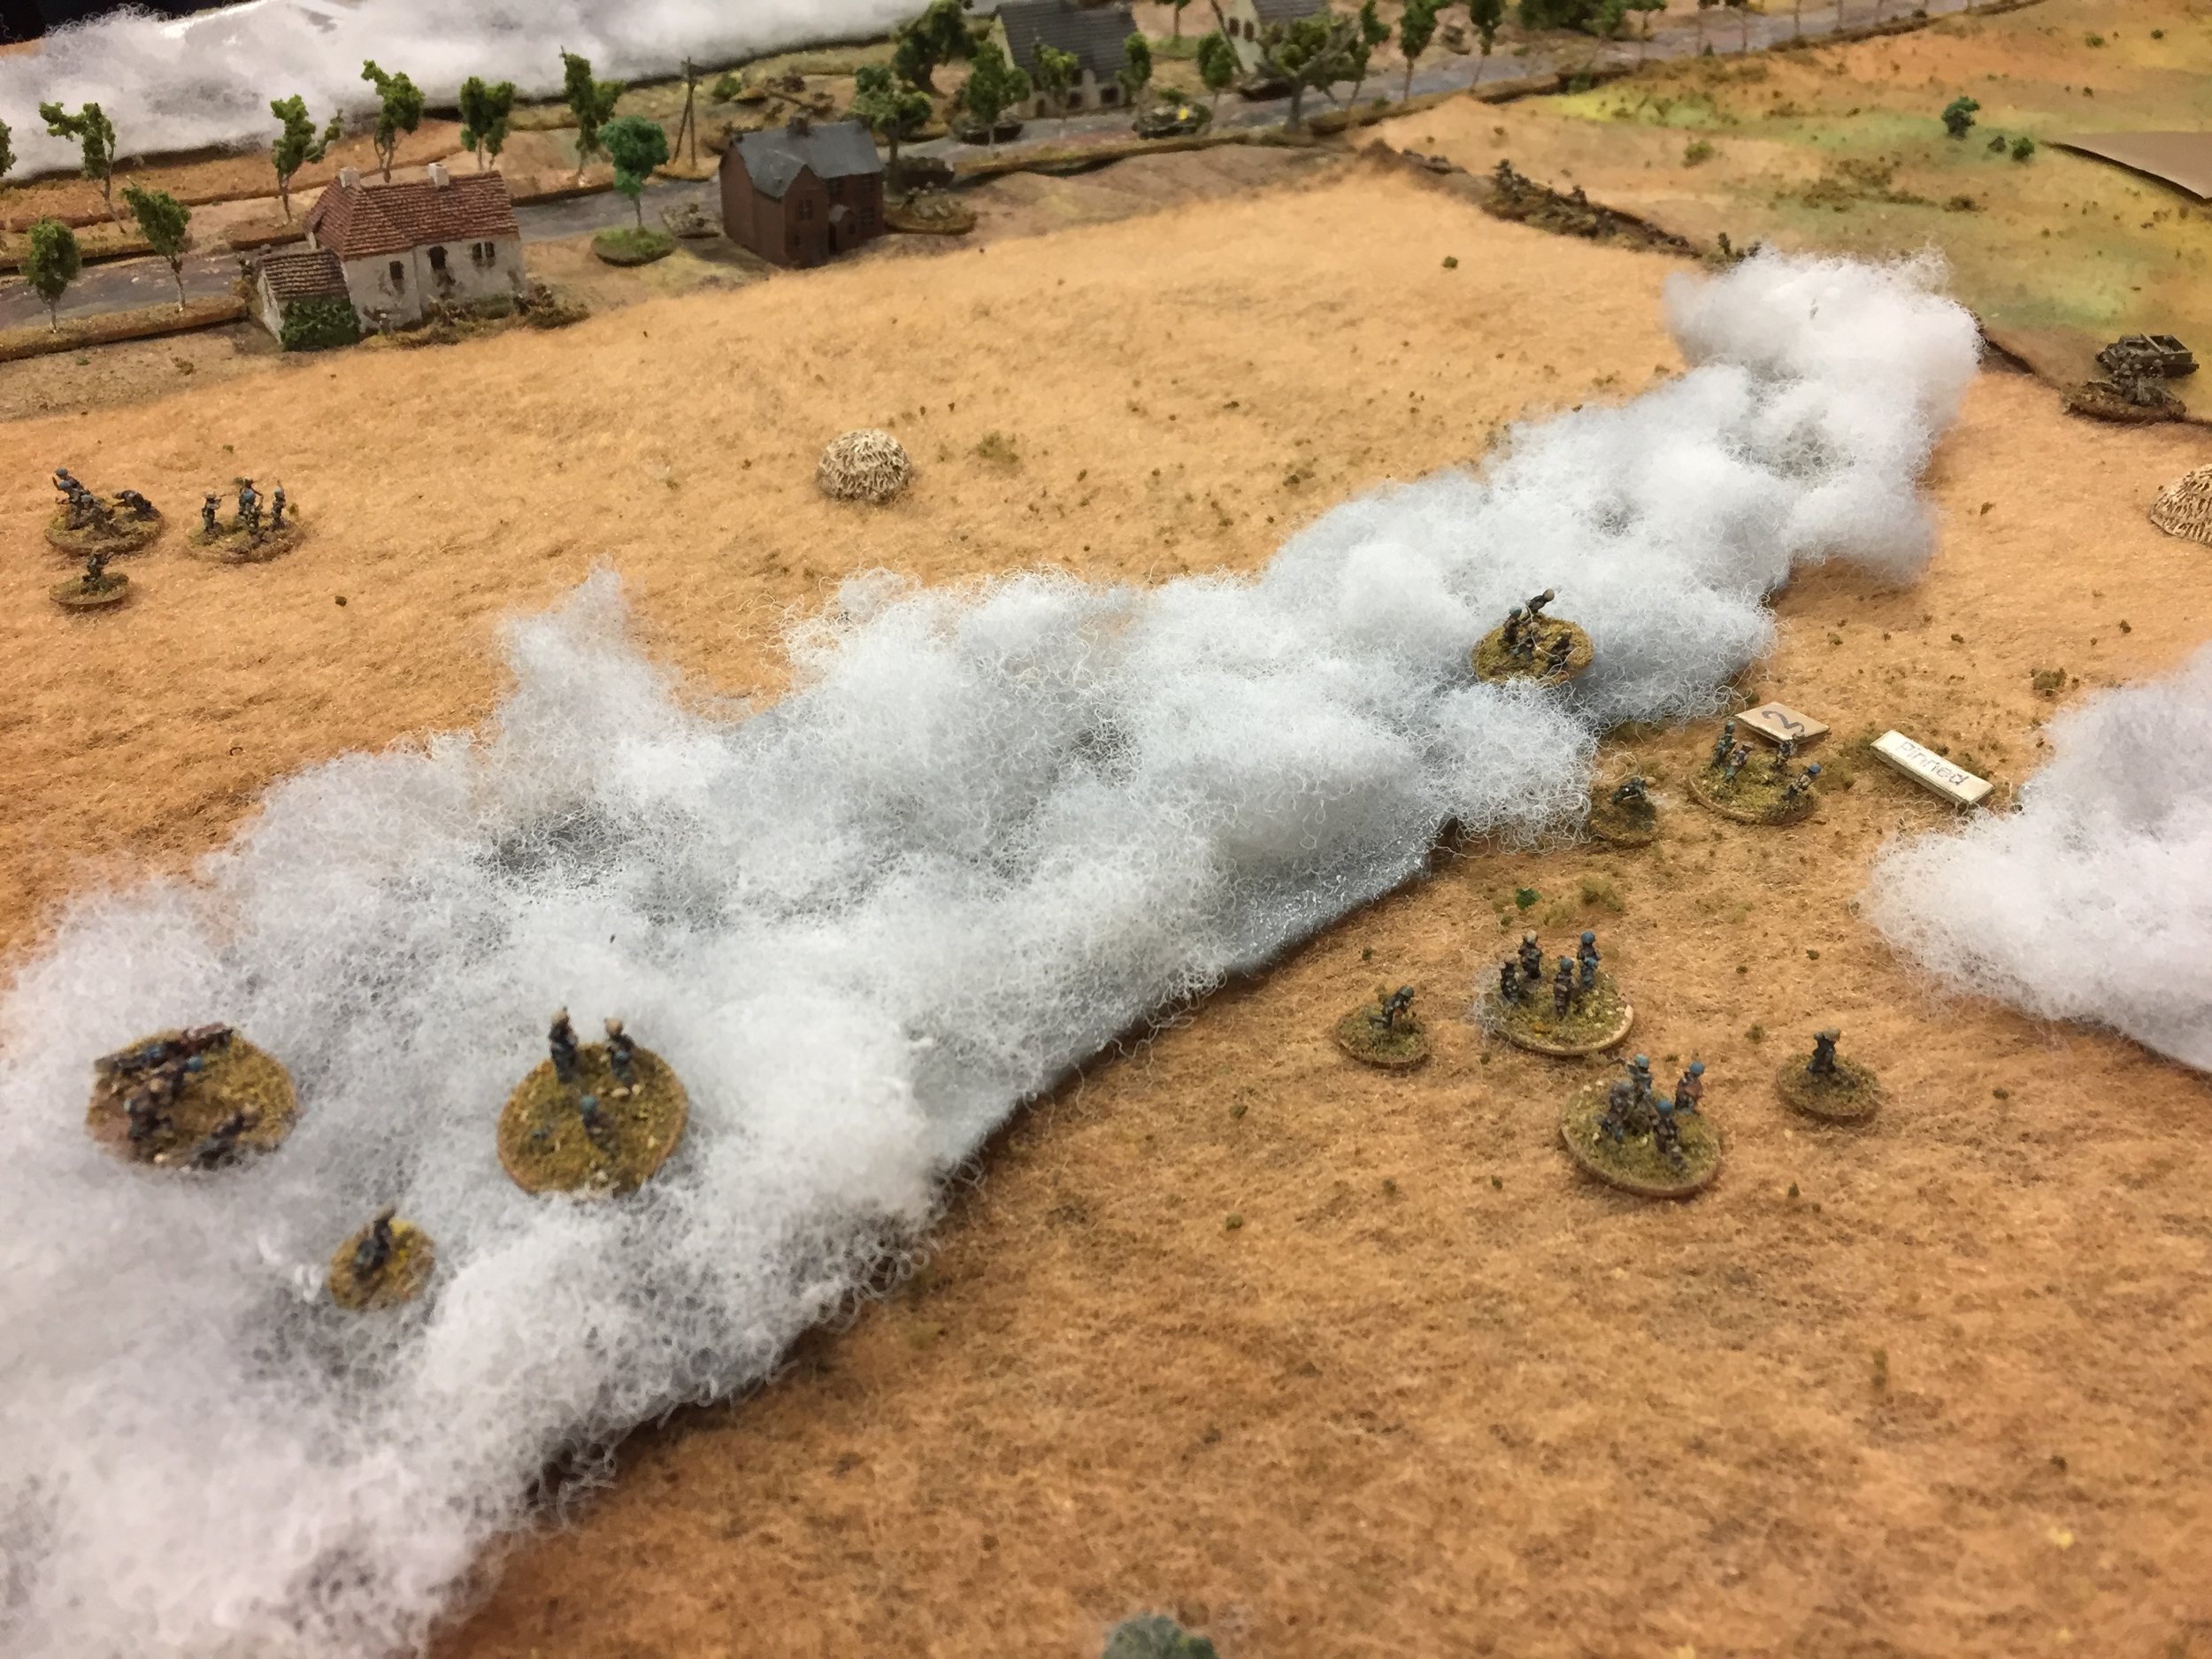
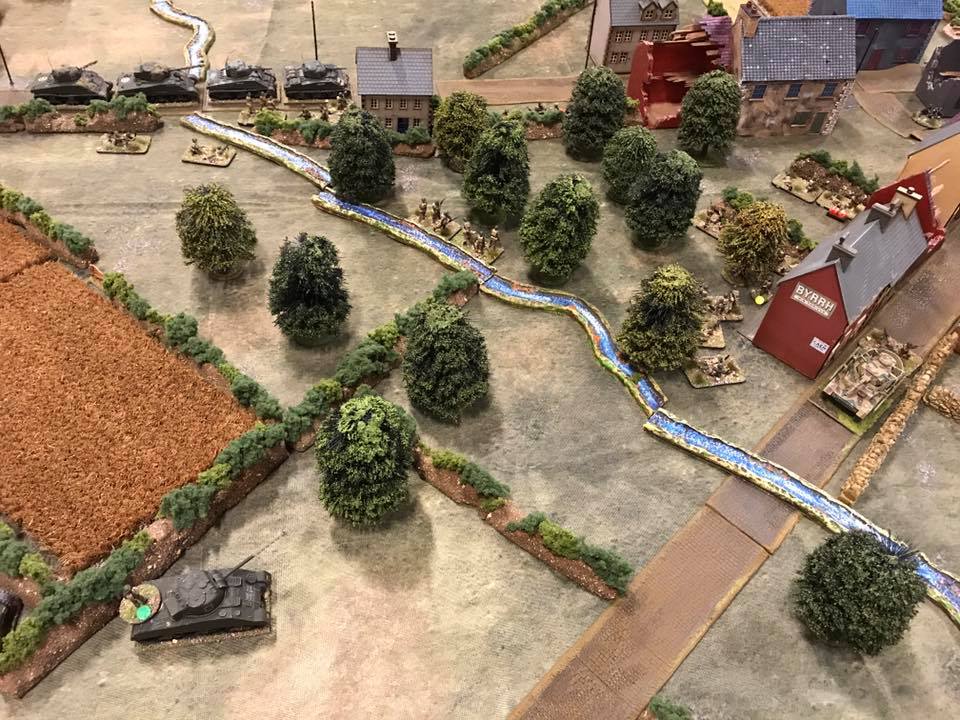
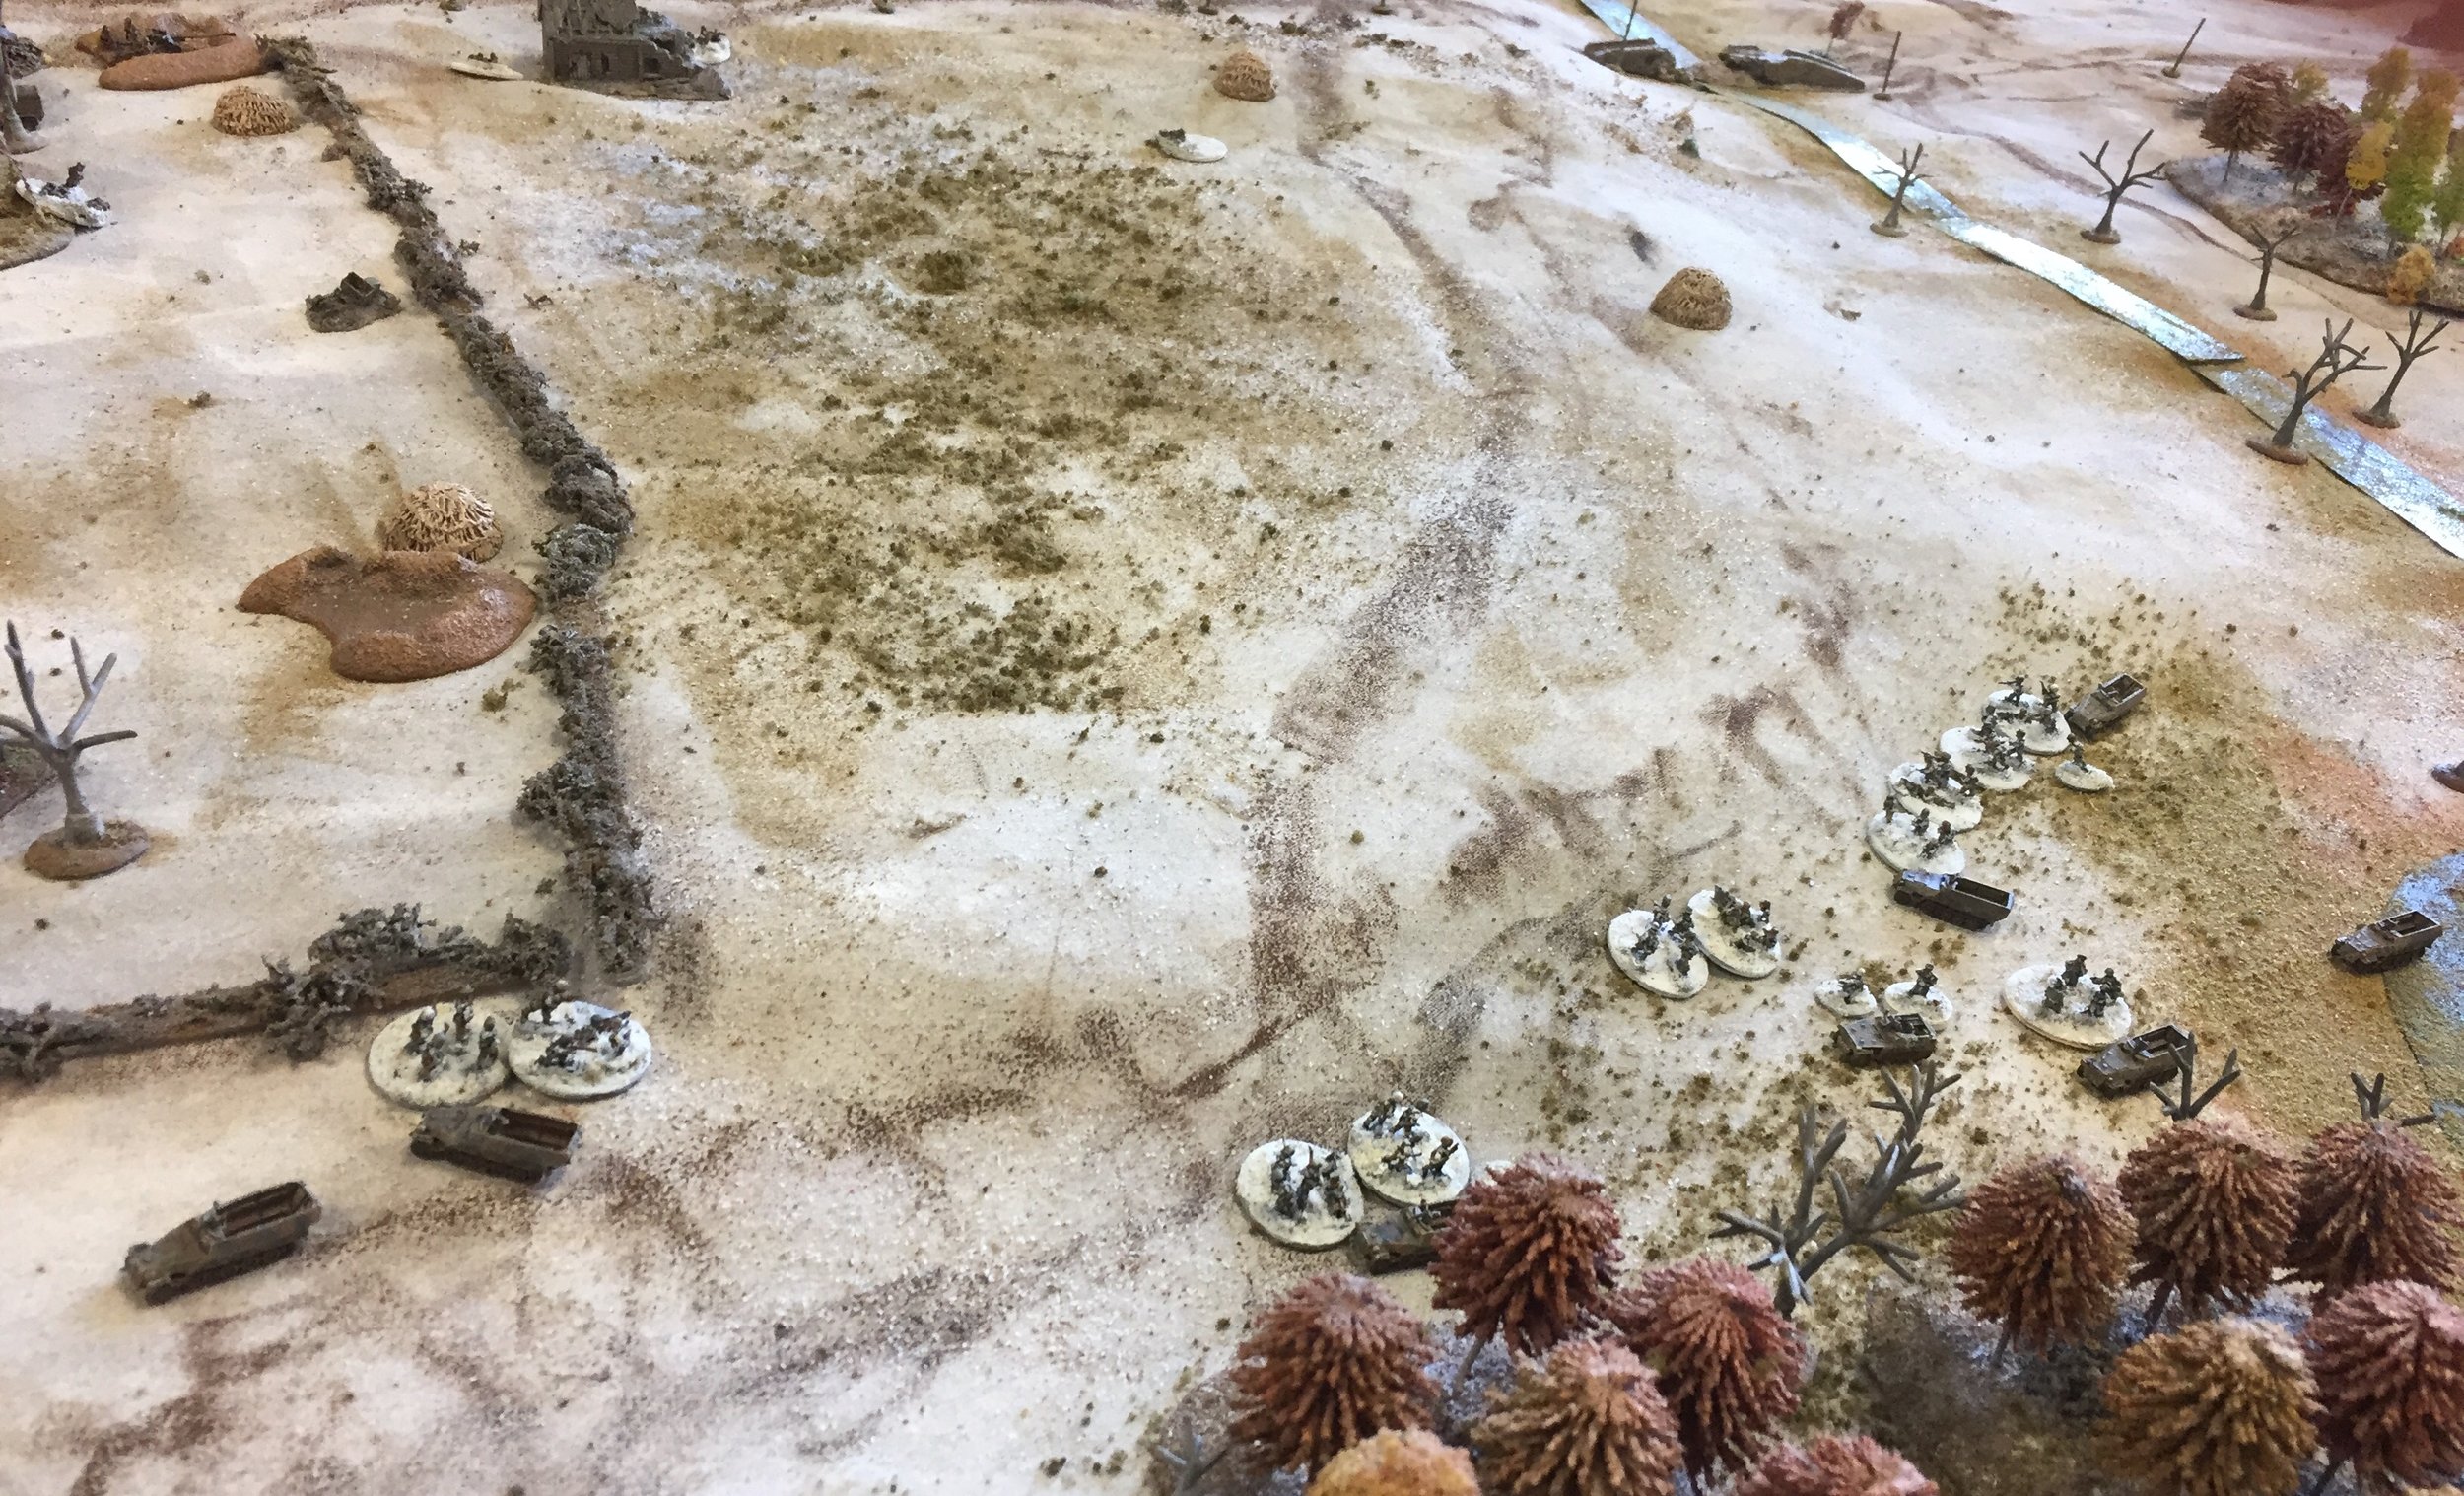
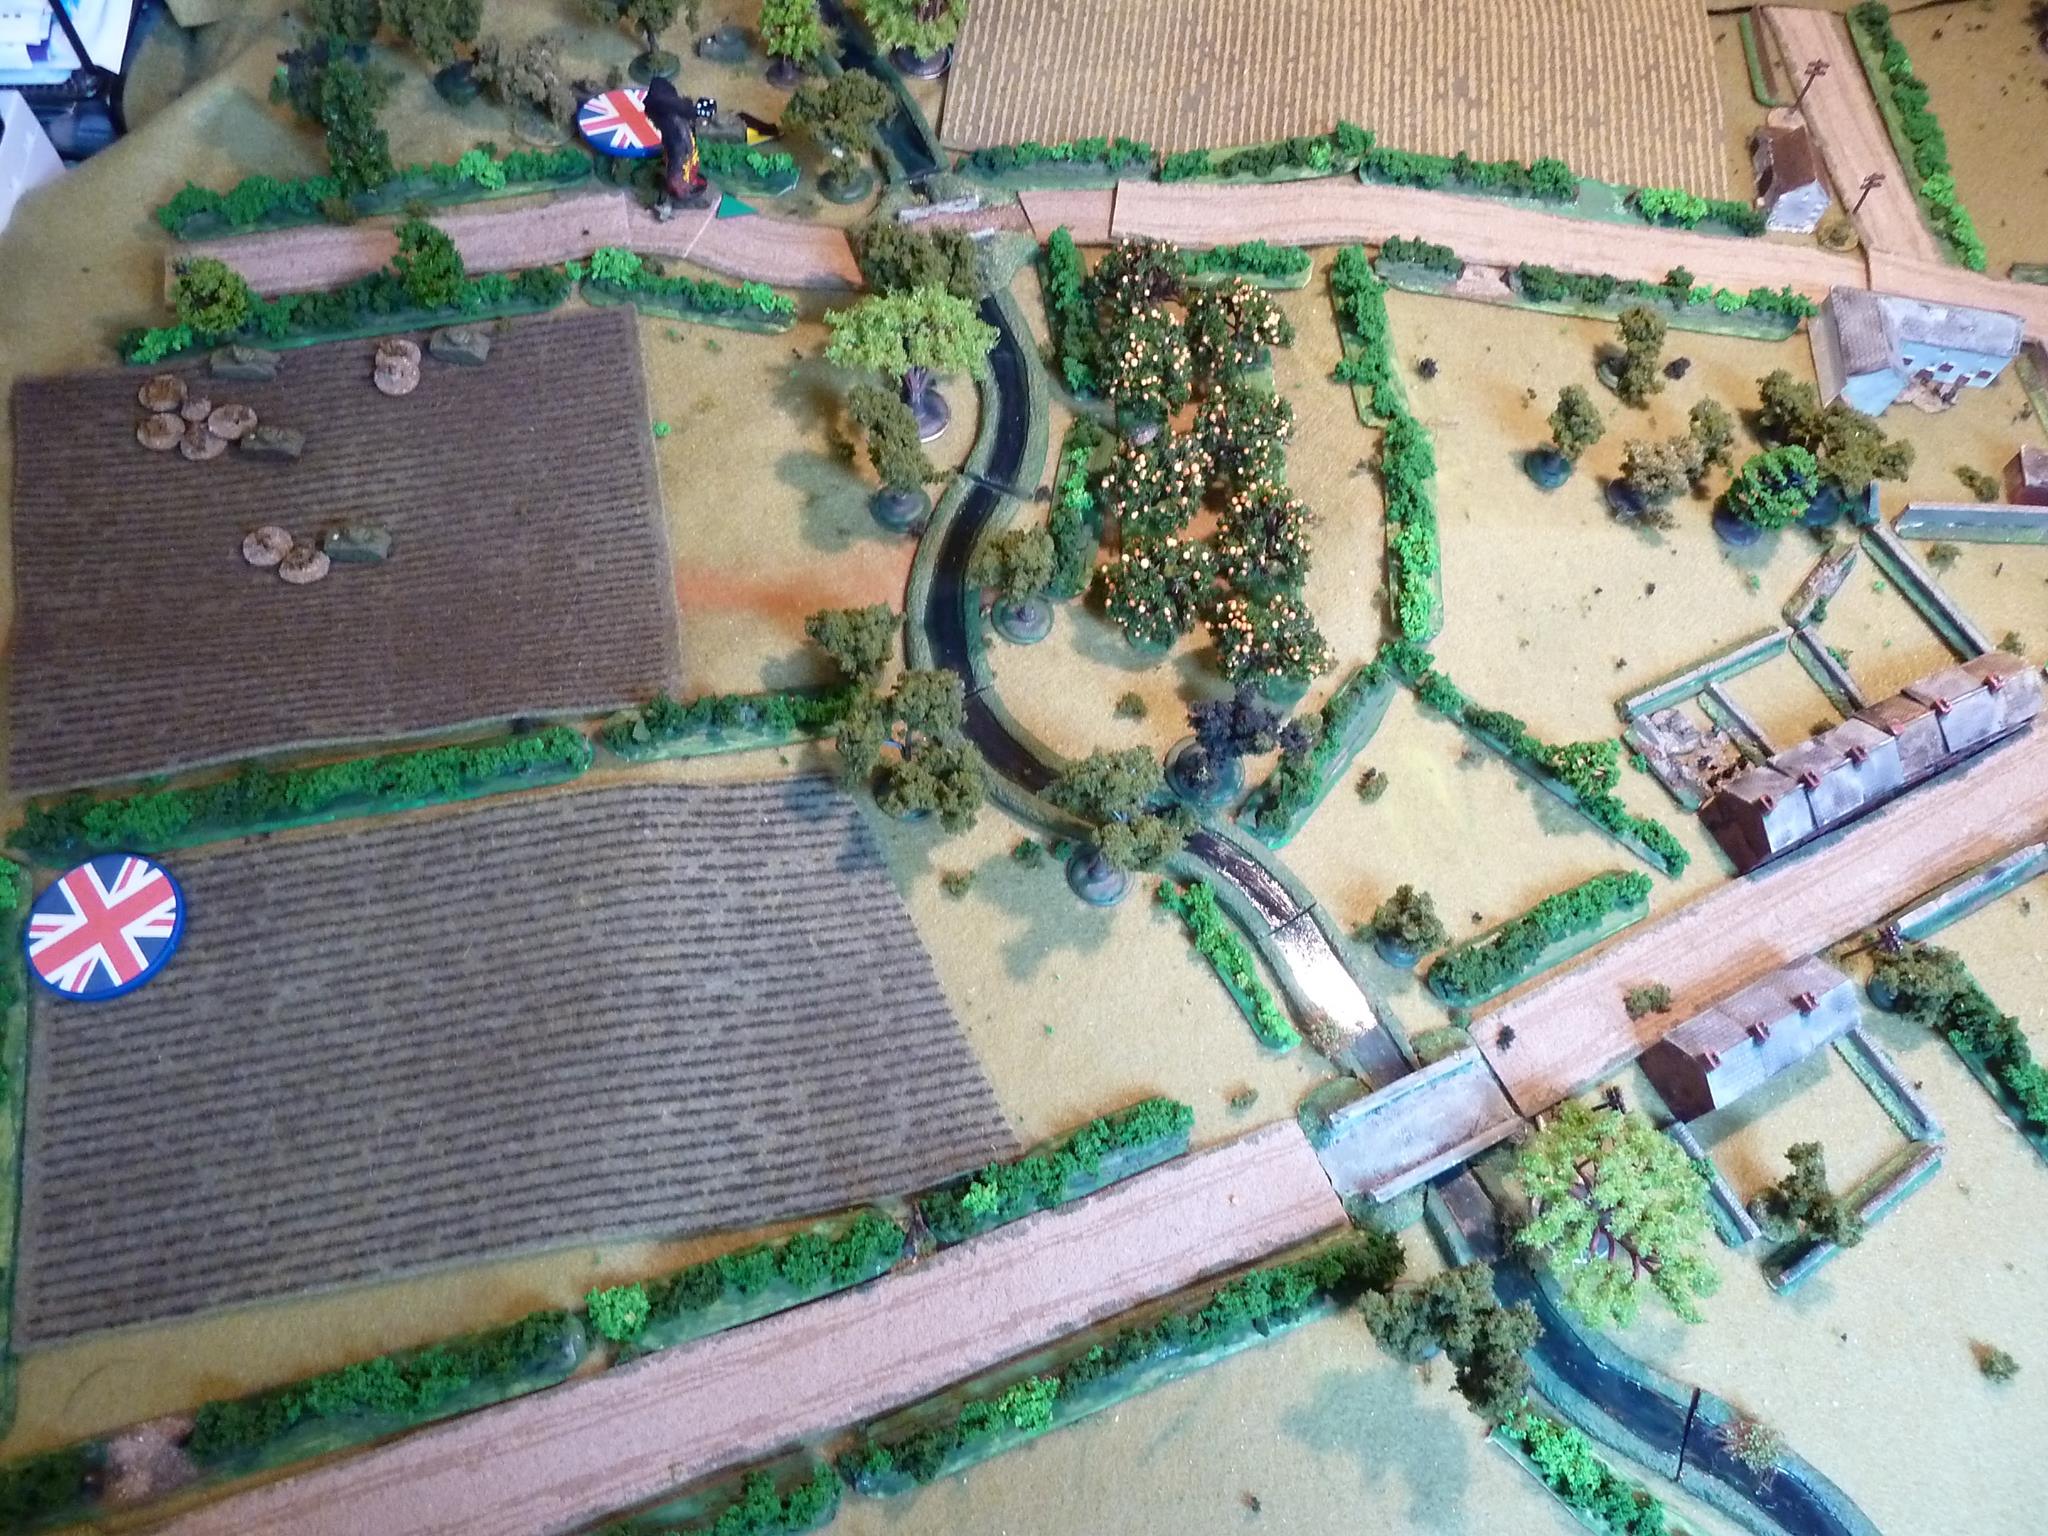
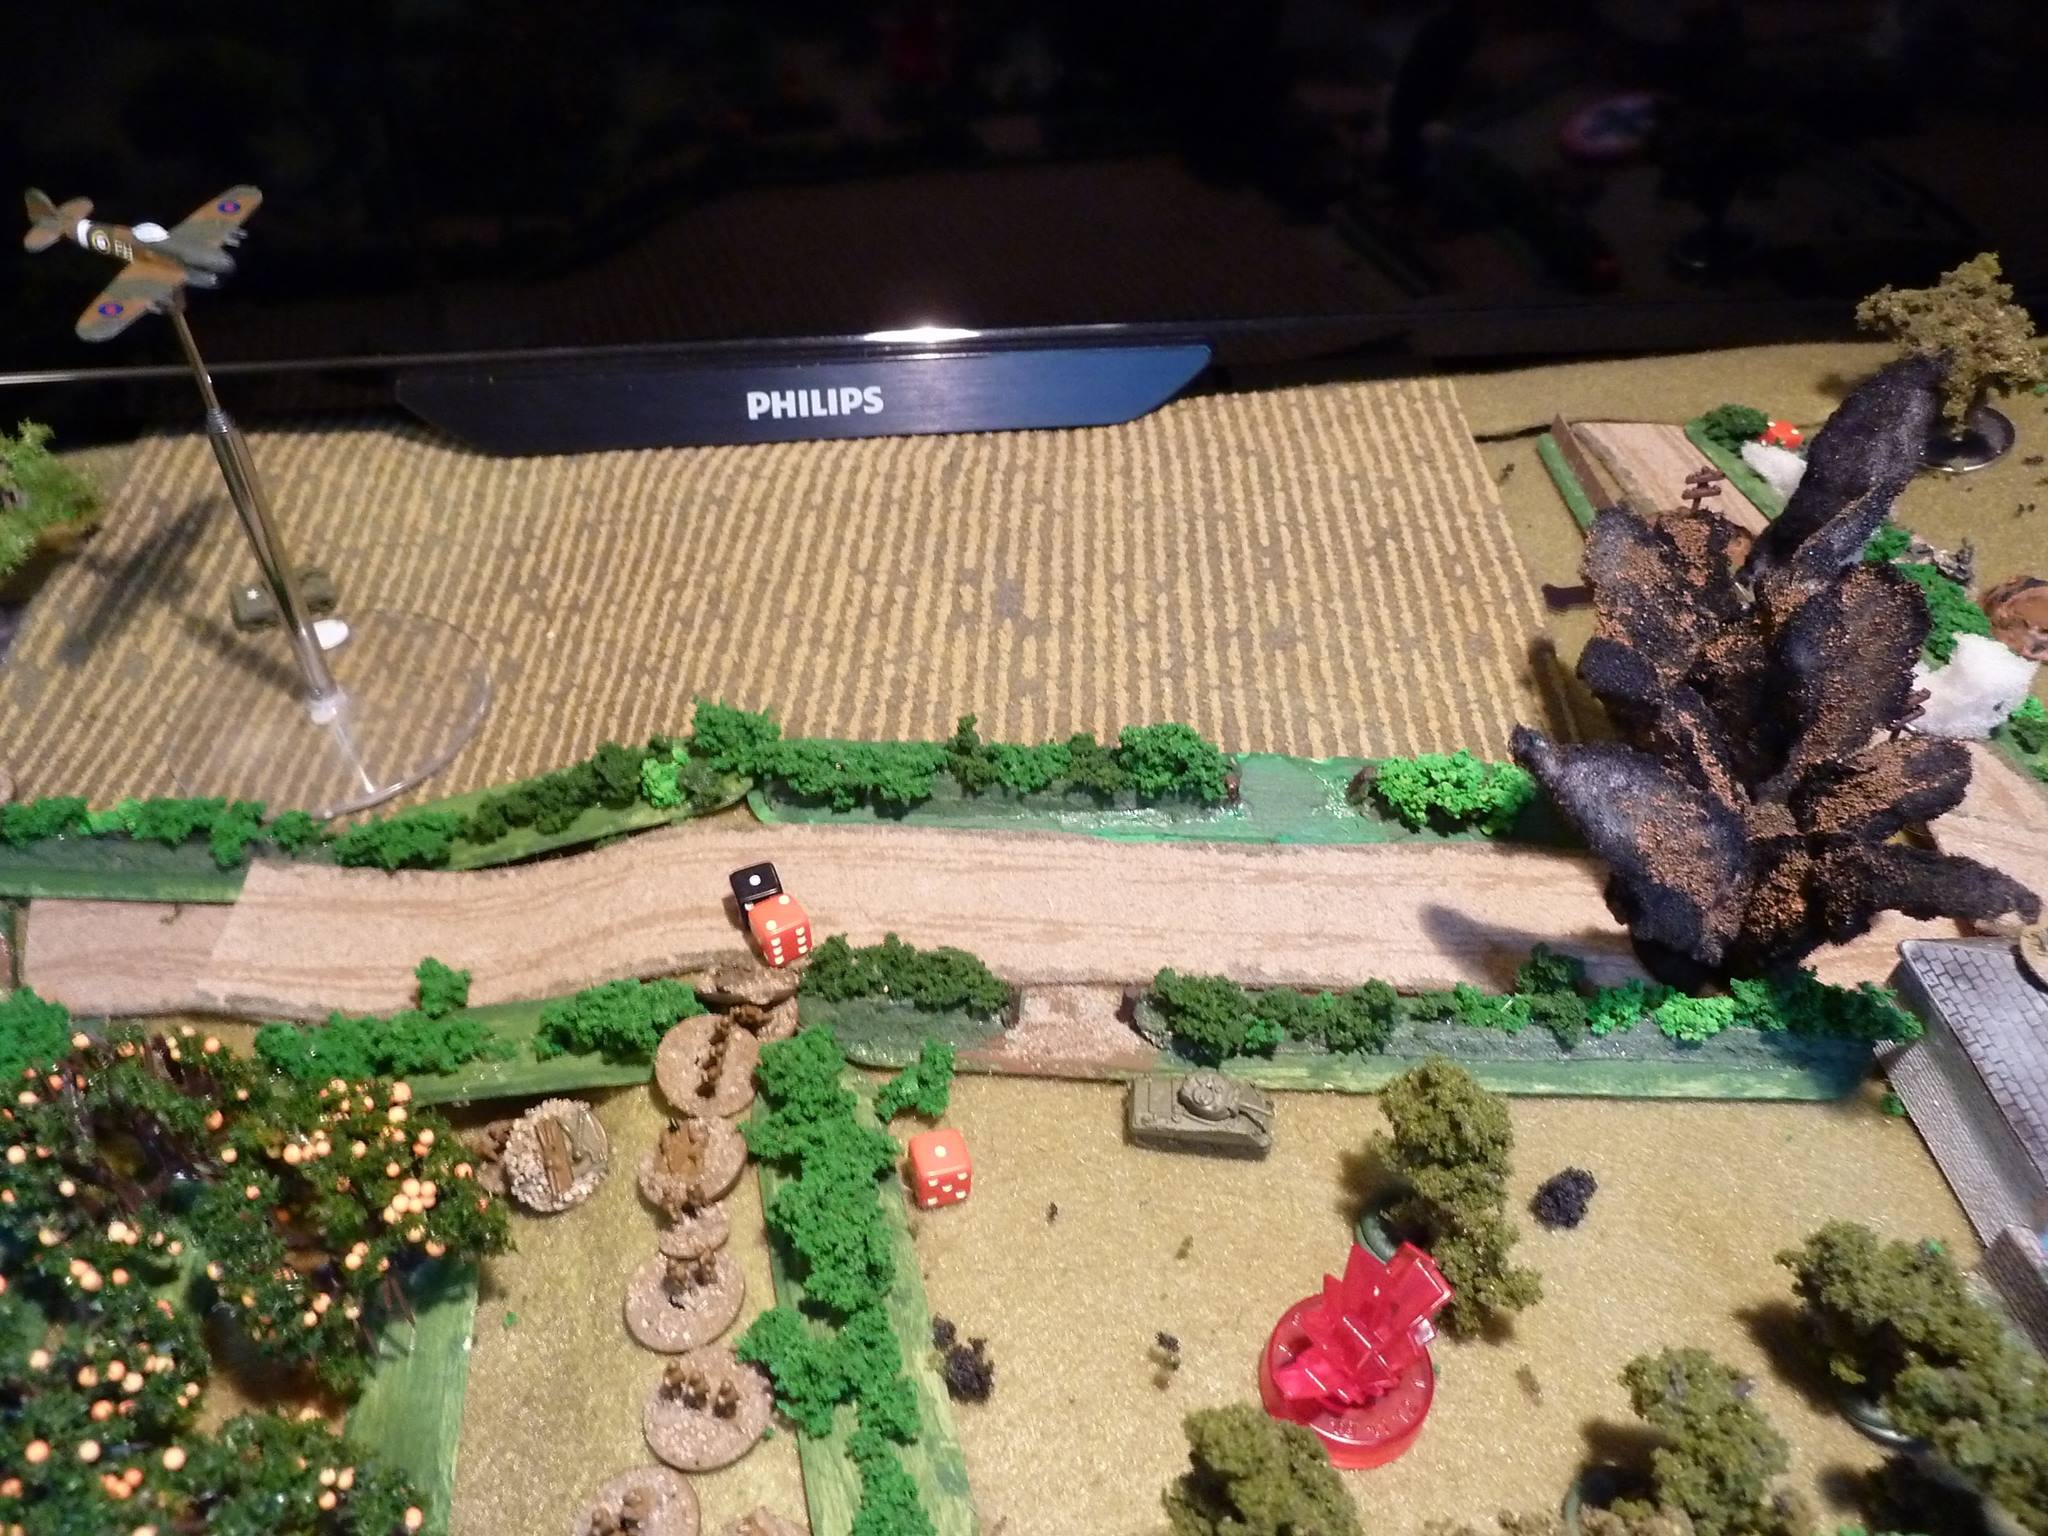
Our action depicts a small piece of this overall action between Tito’s now seasoned Partisans and their hunters.

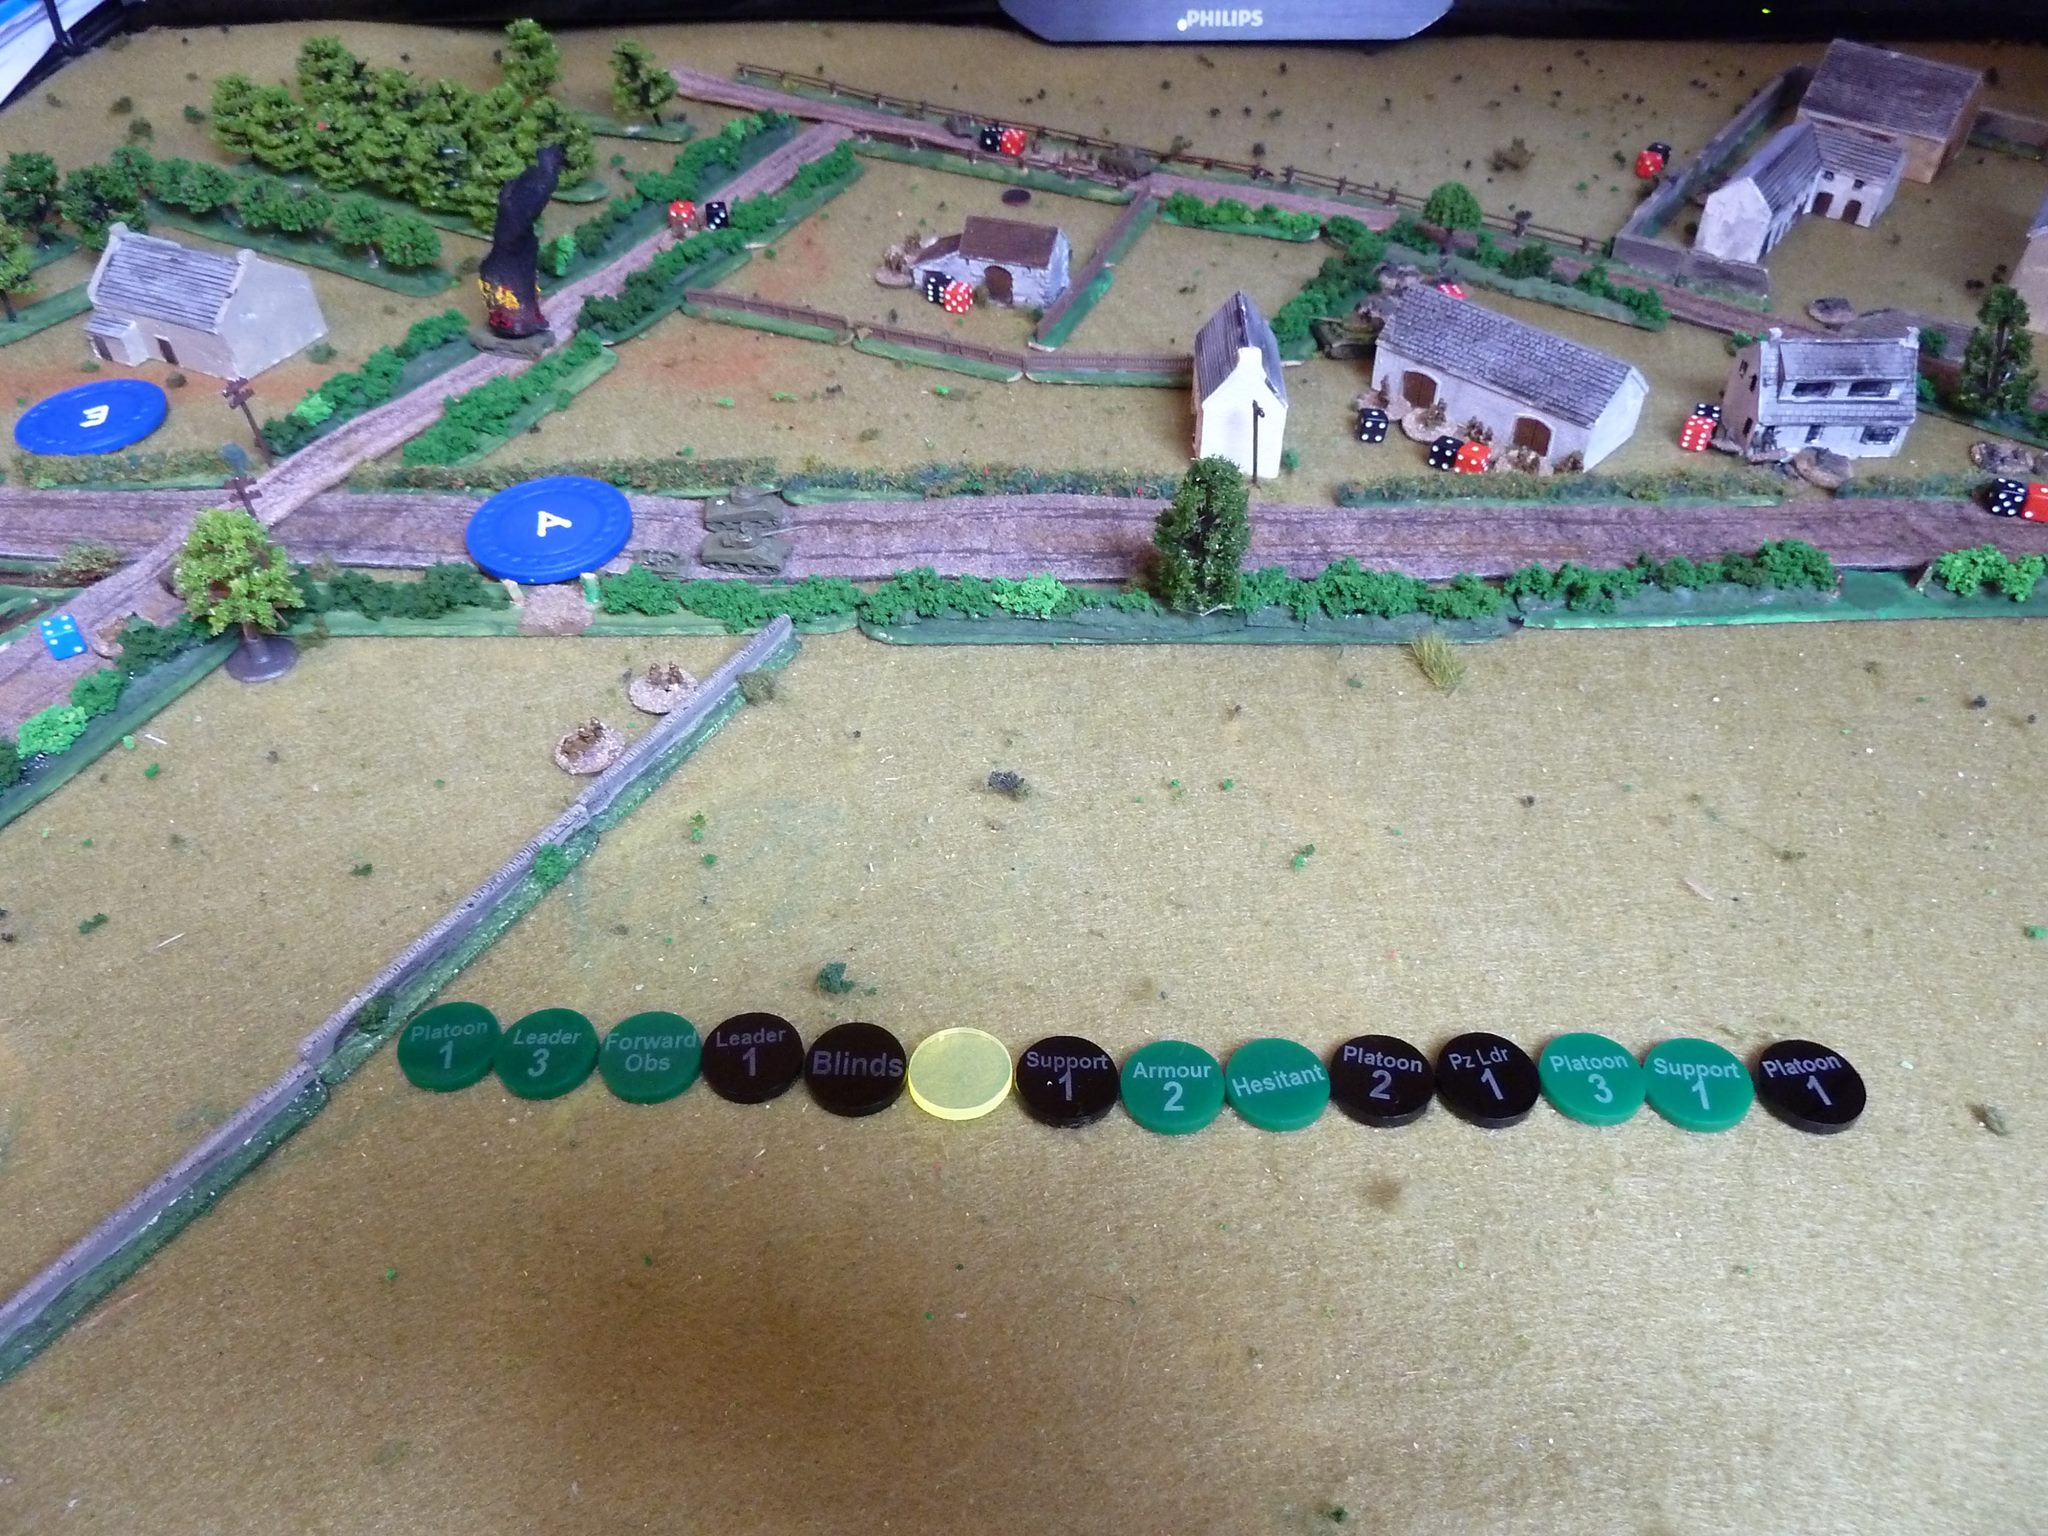
7th SS “Prince Eugen” Division Briefing

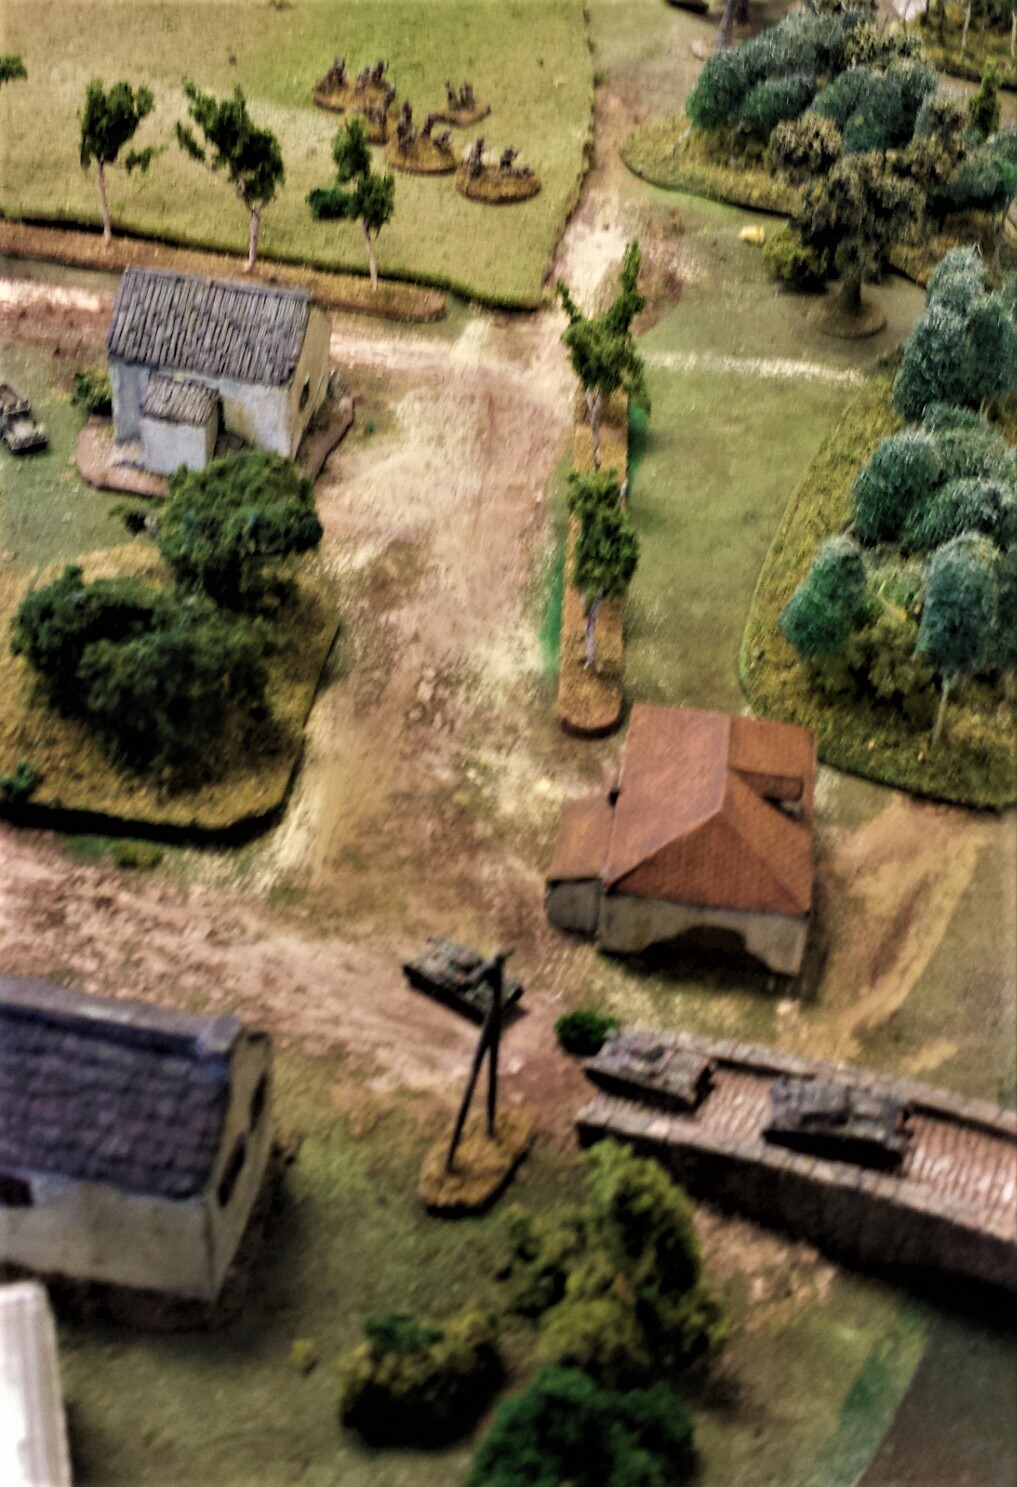
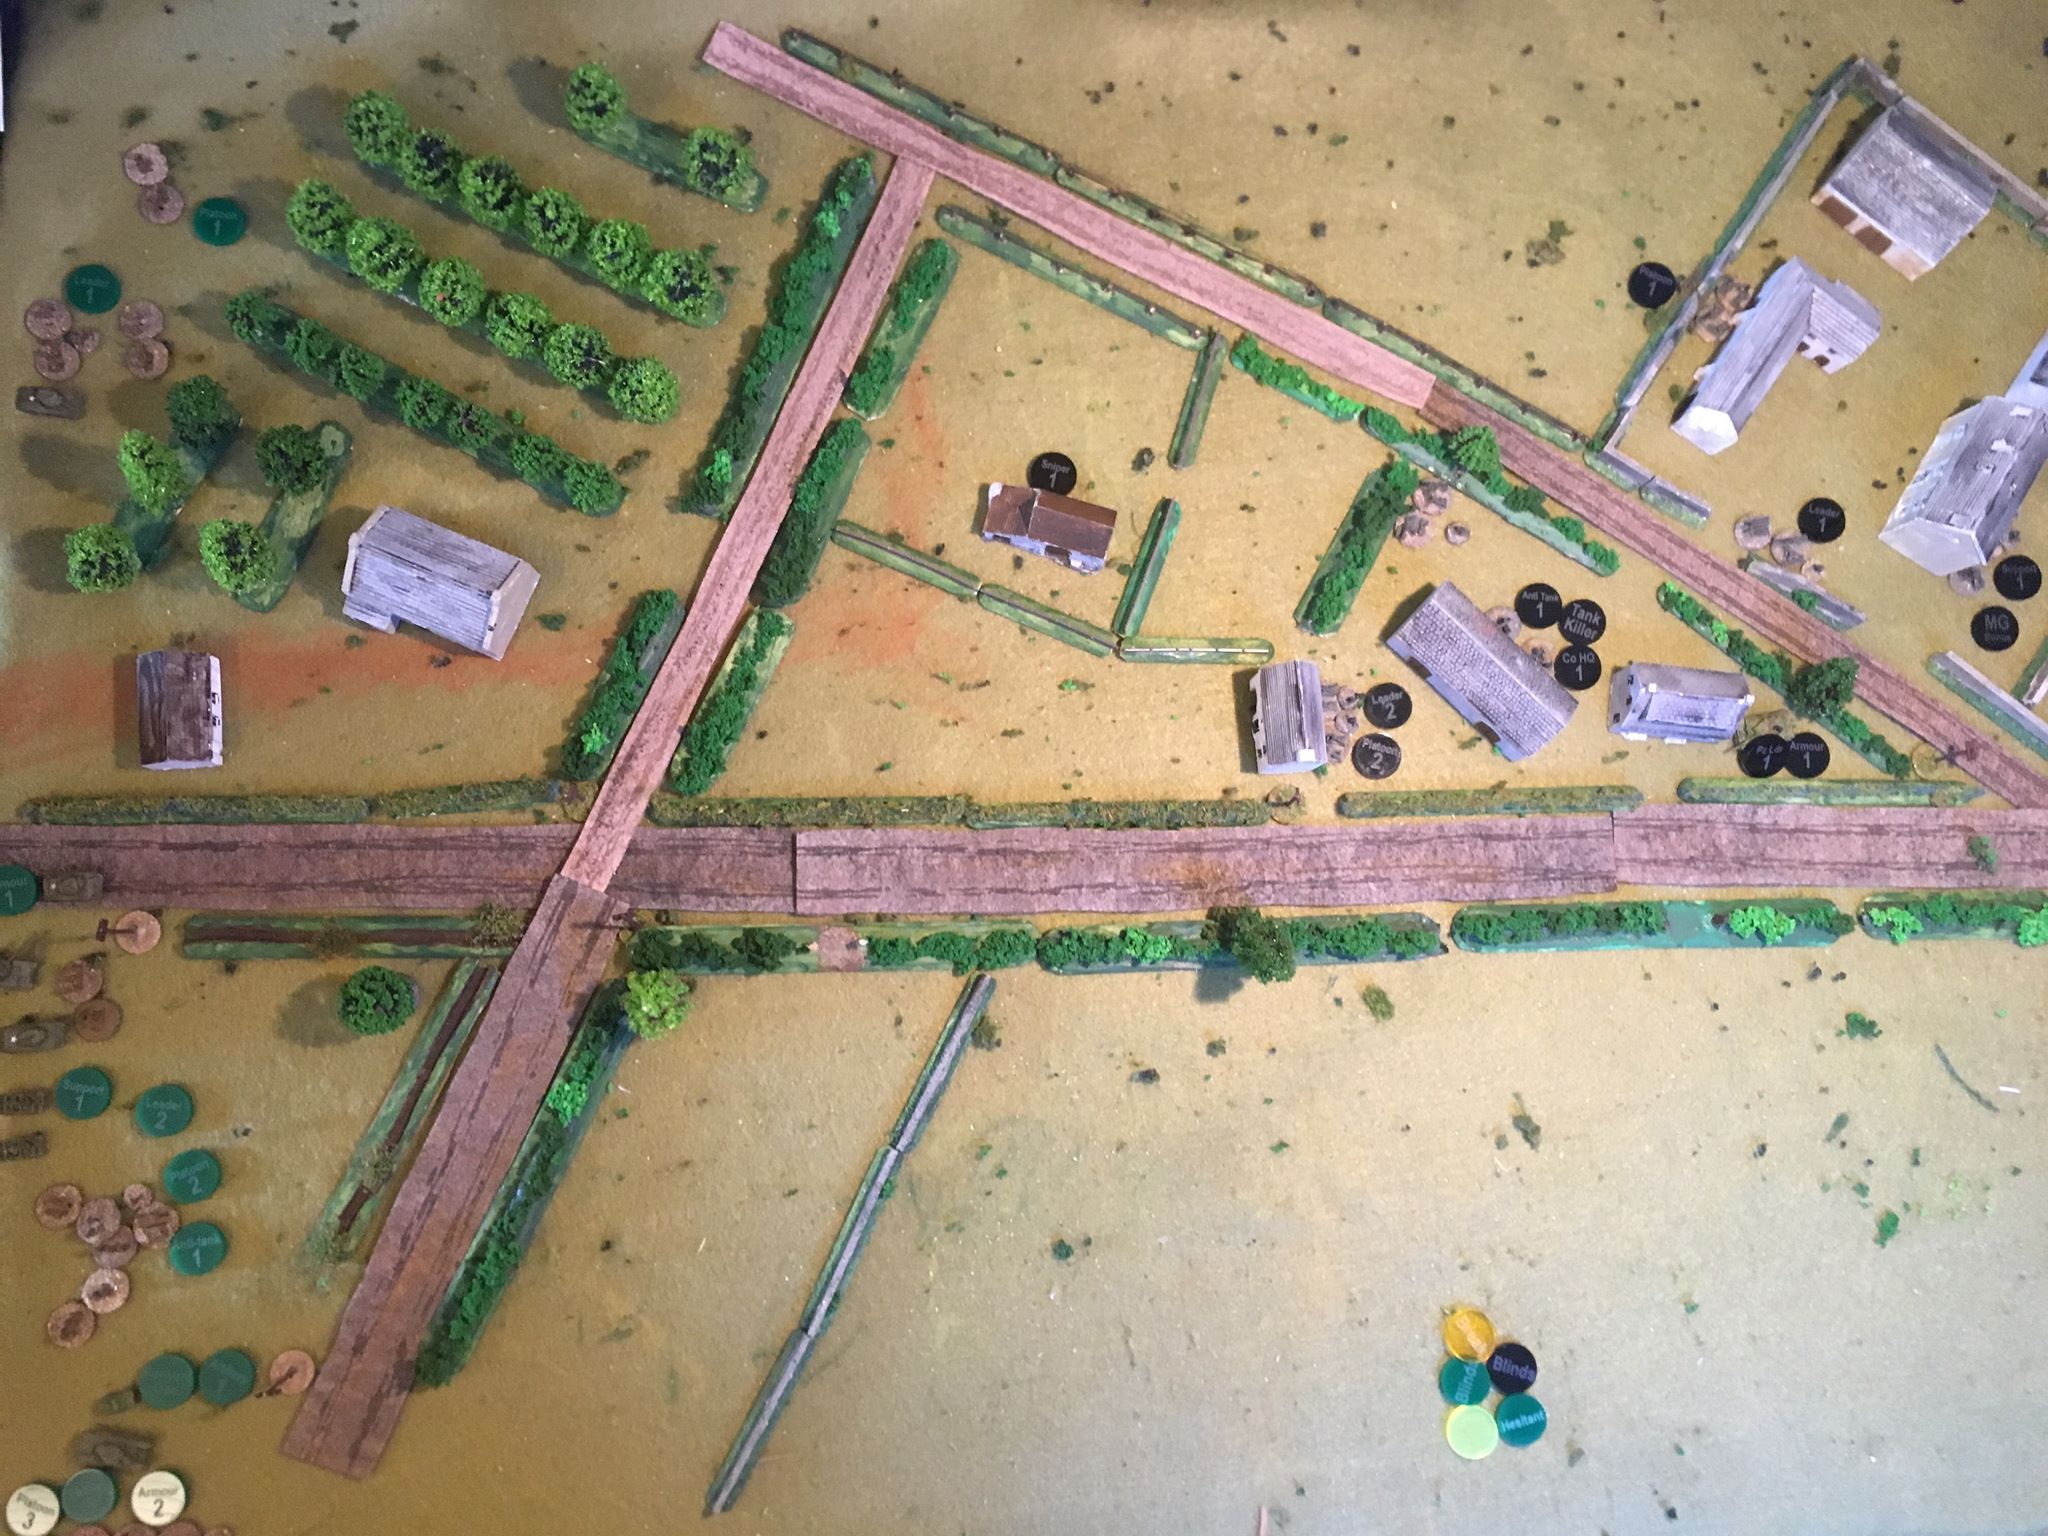
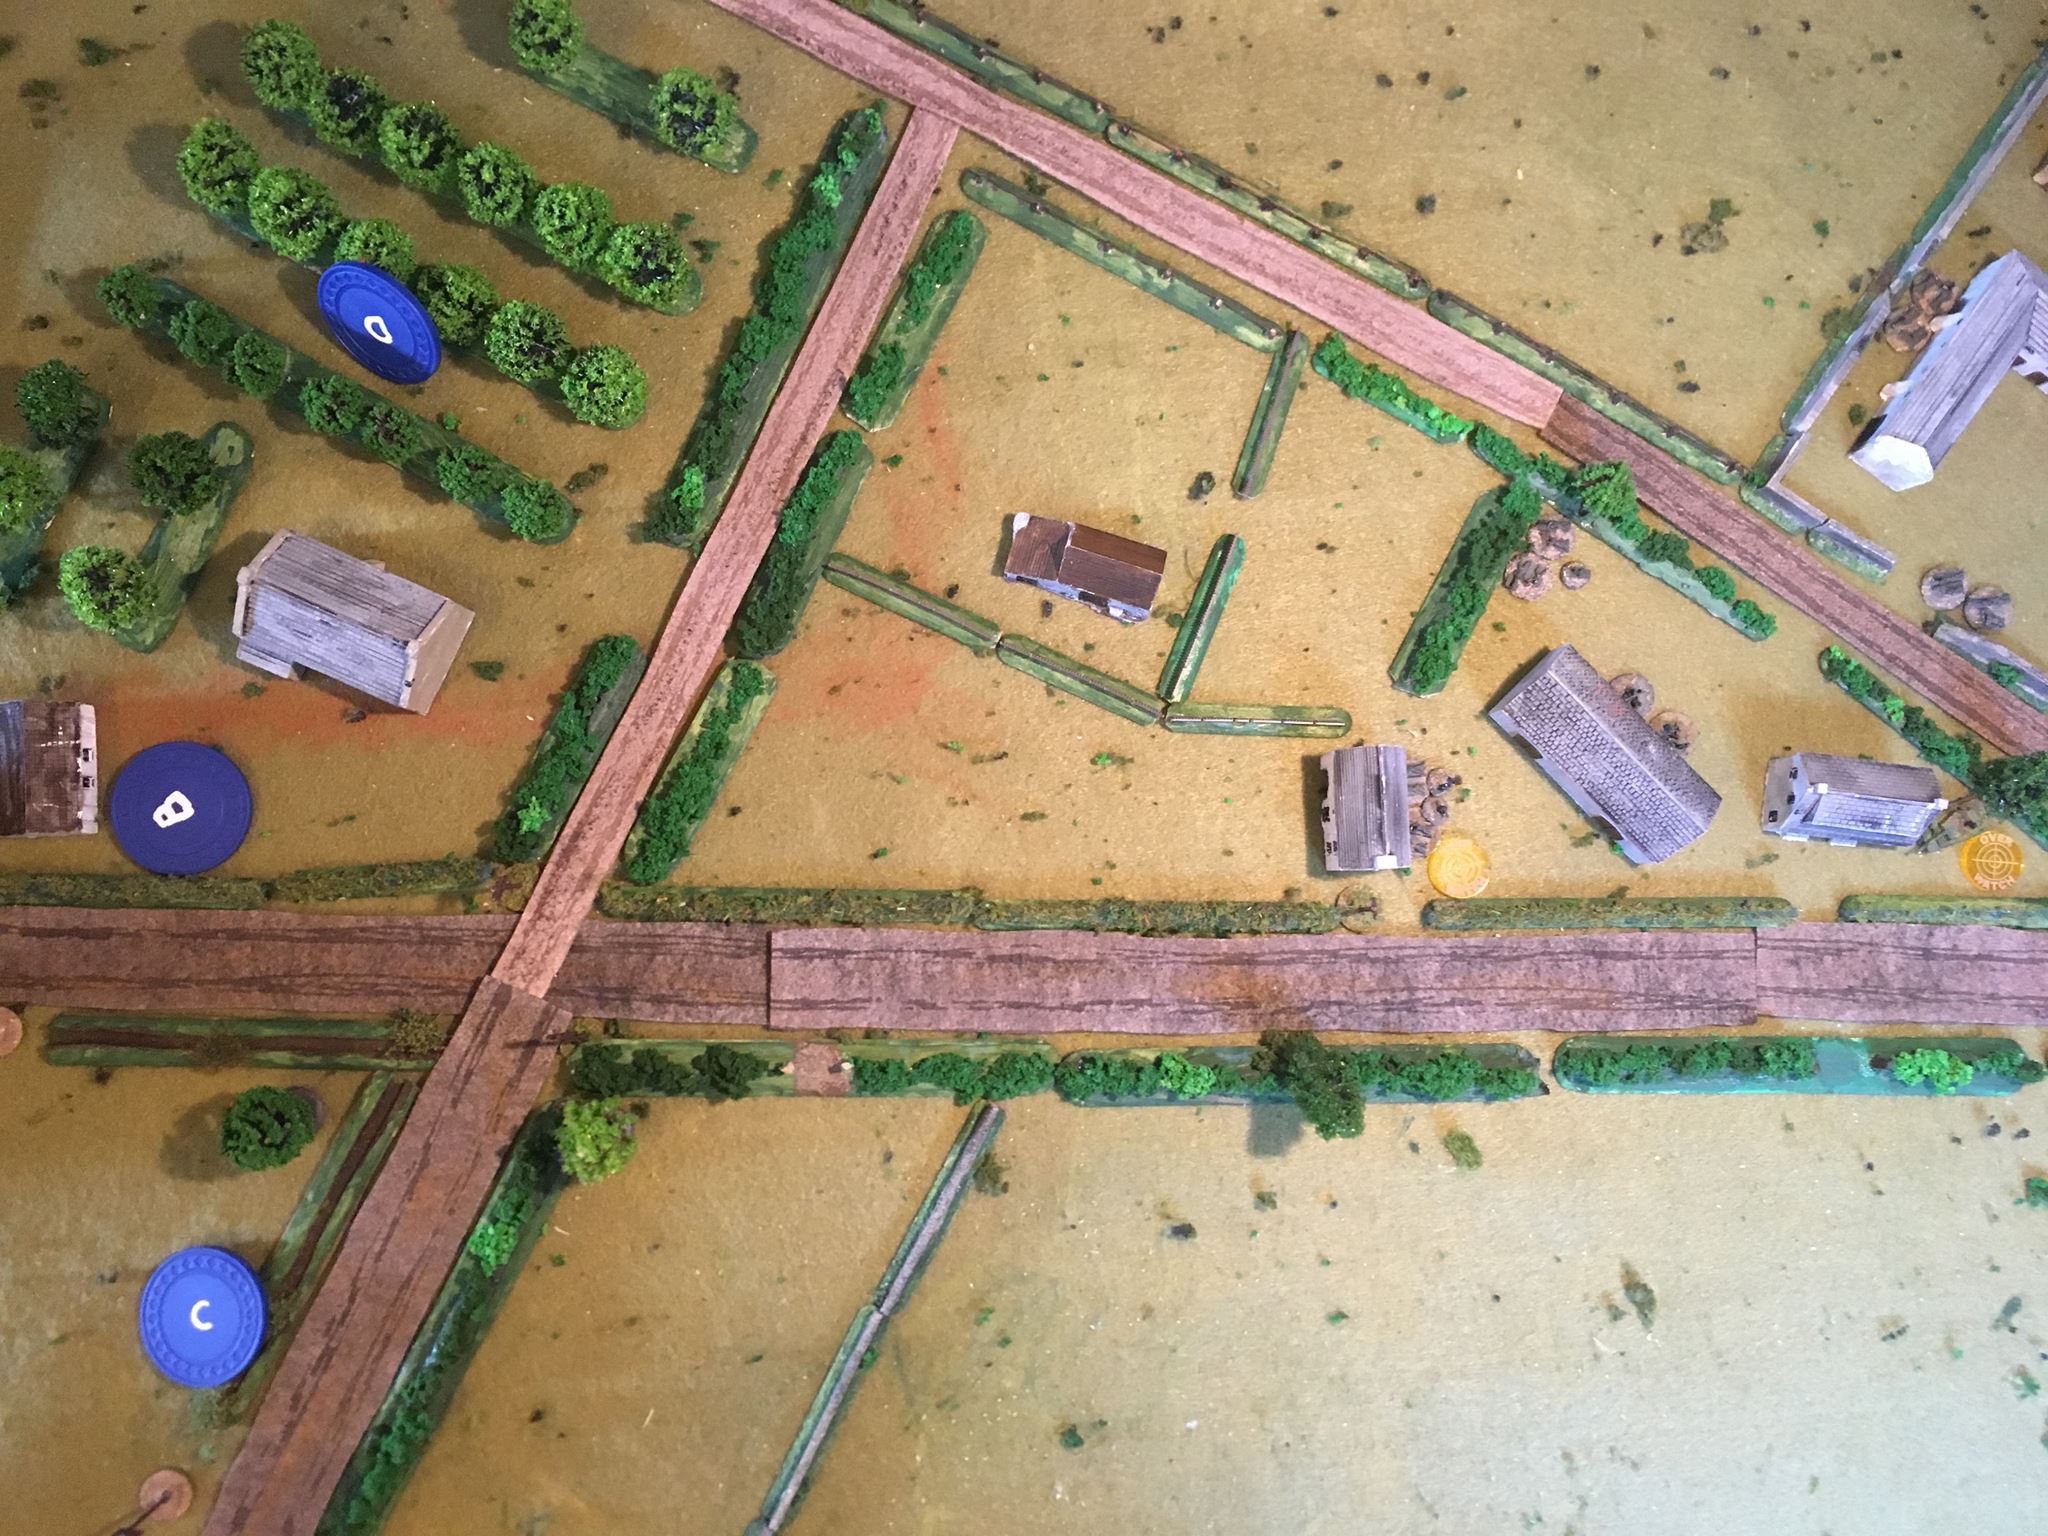
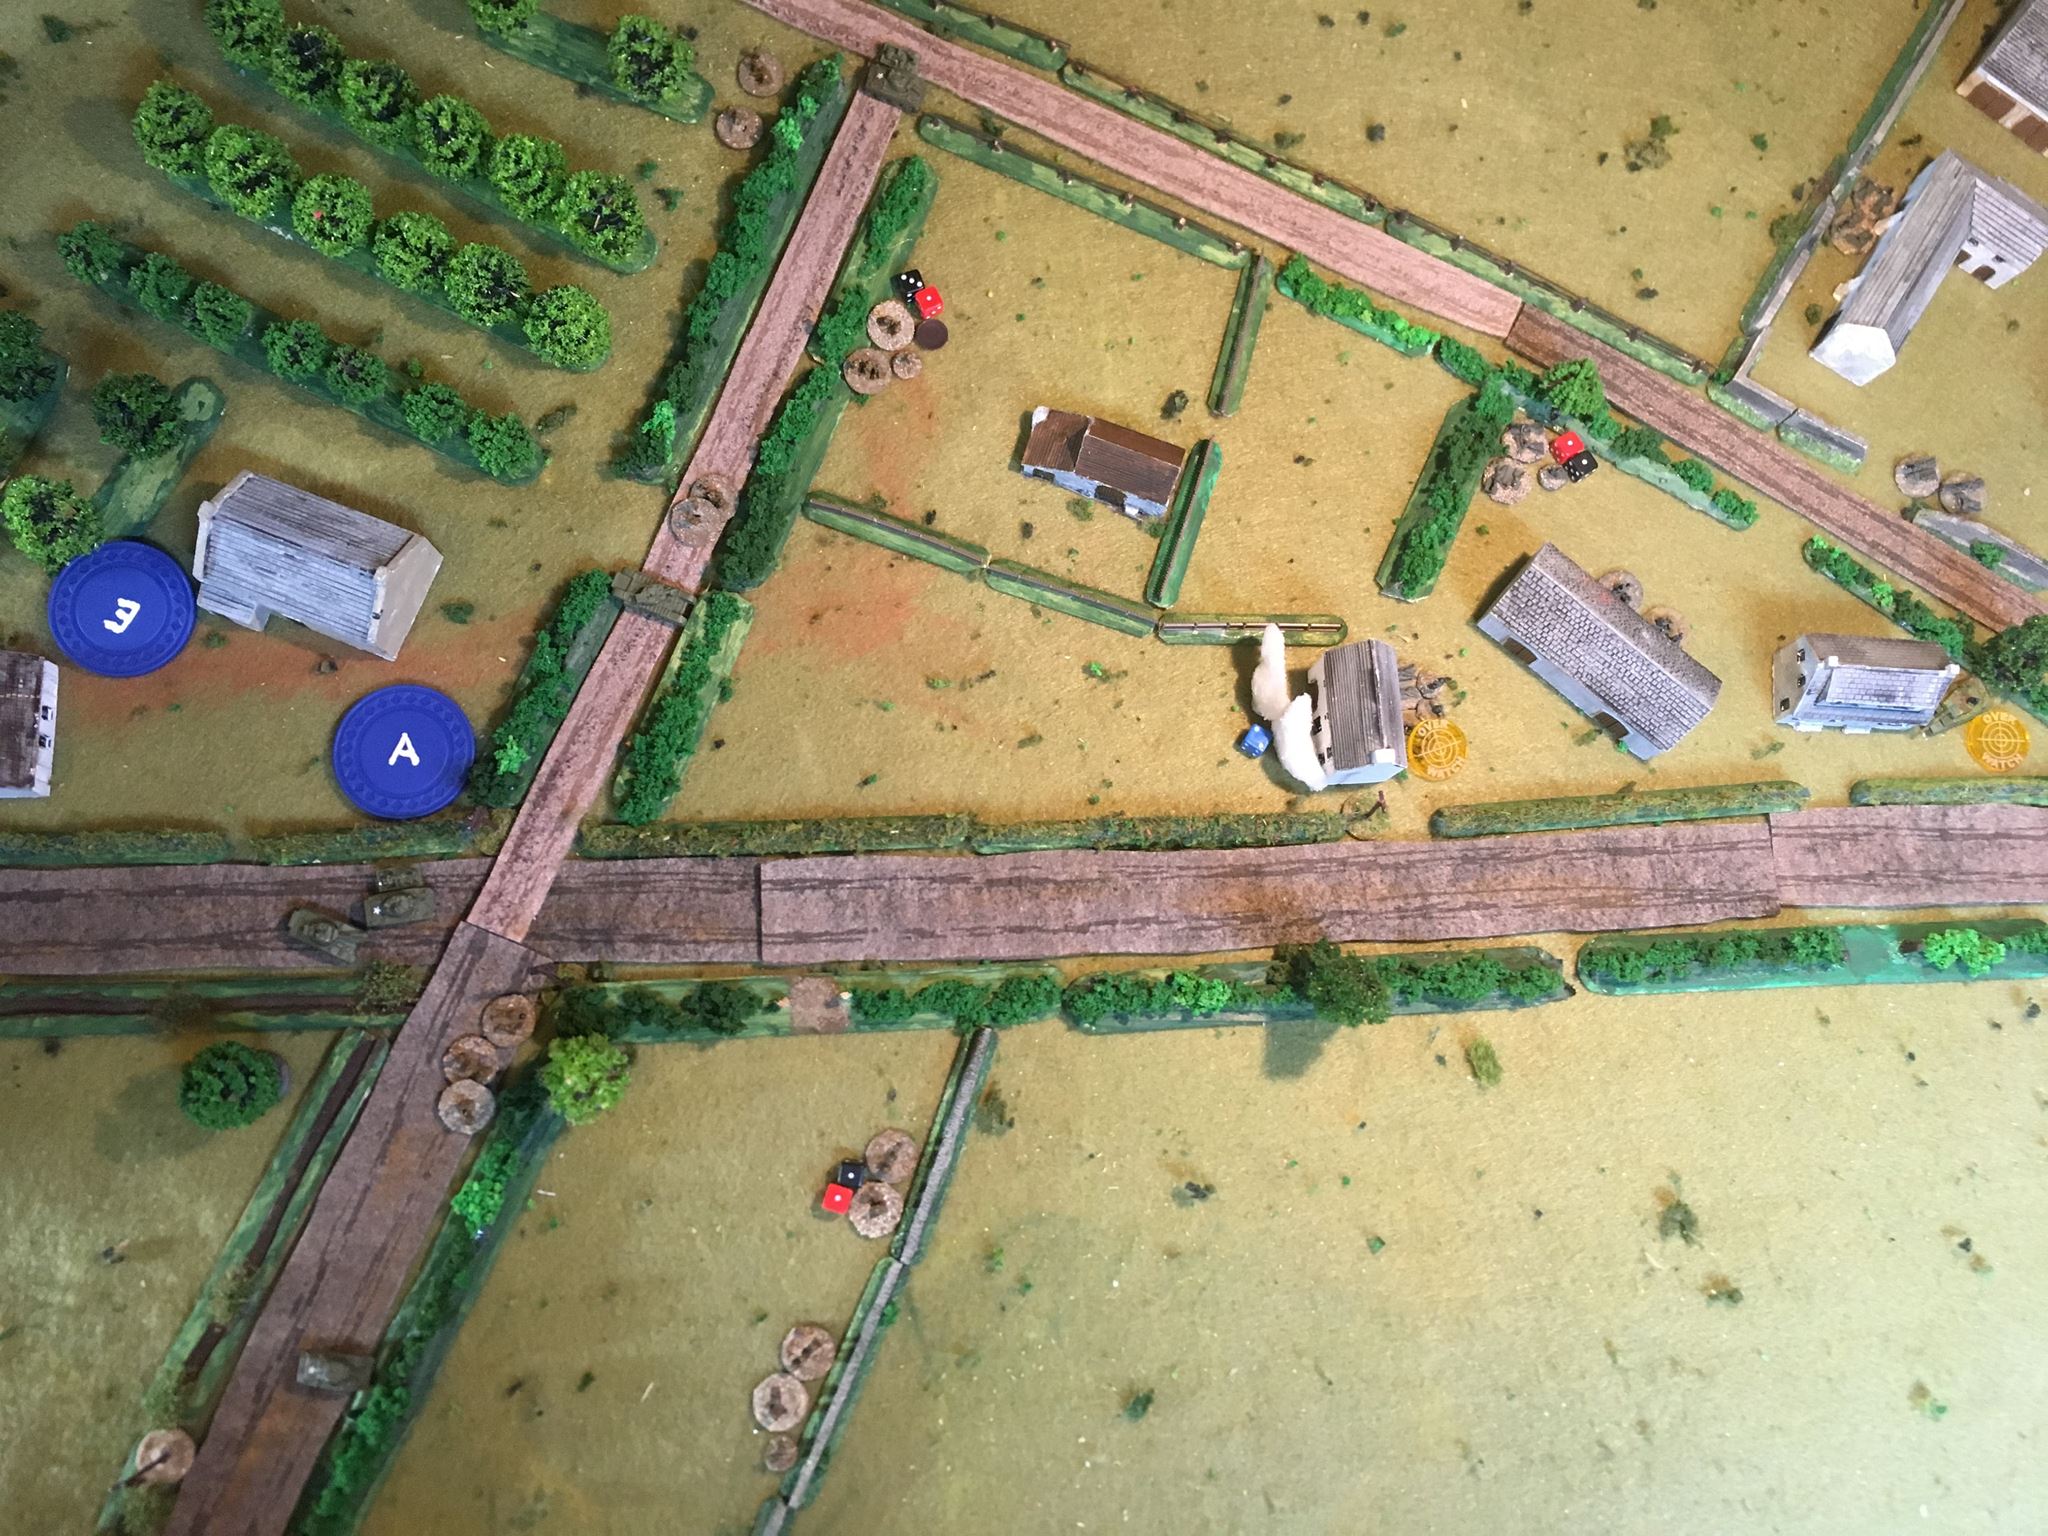
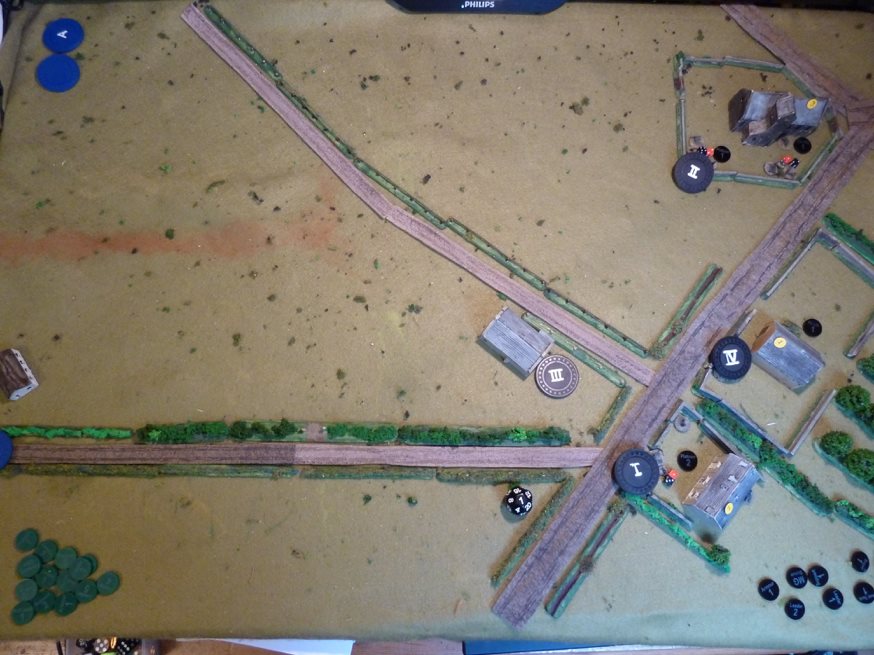
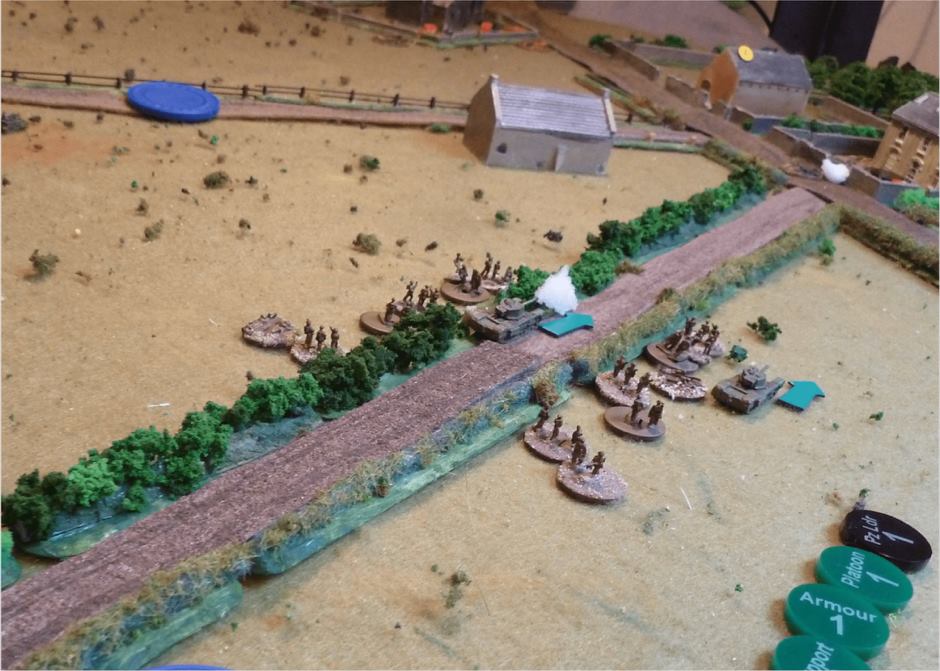
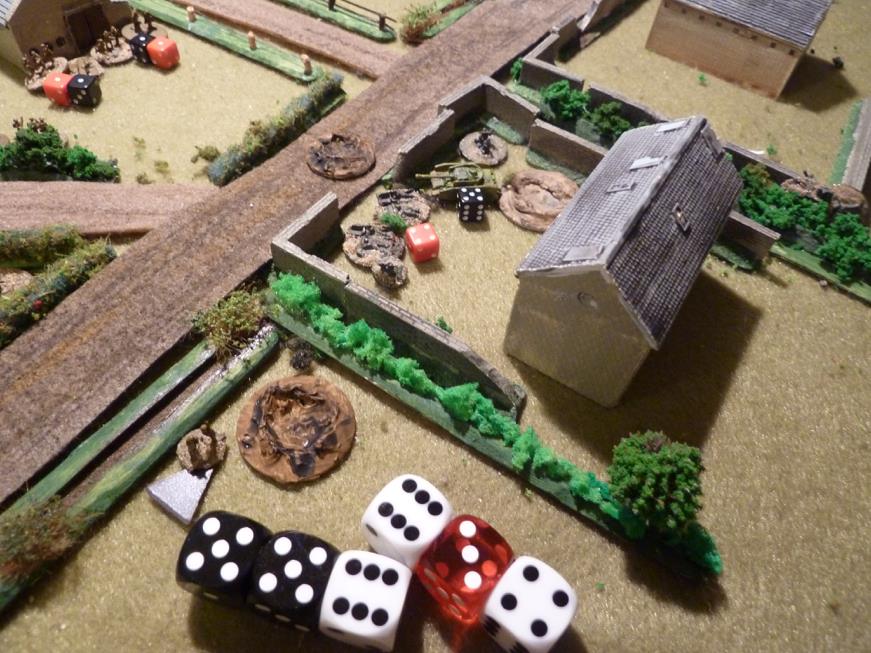
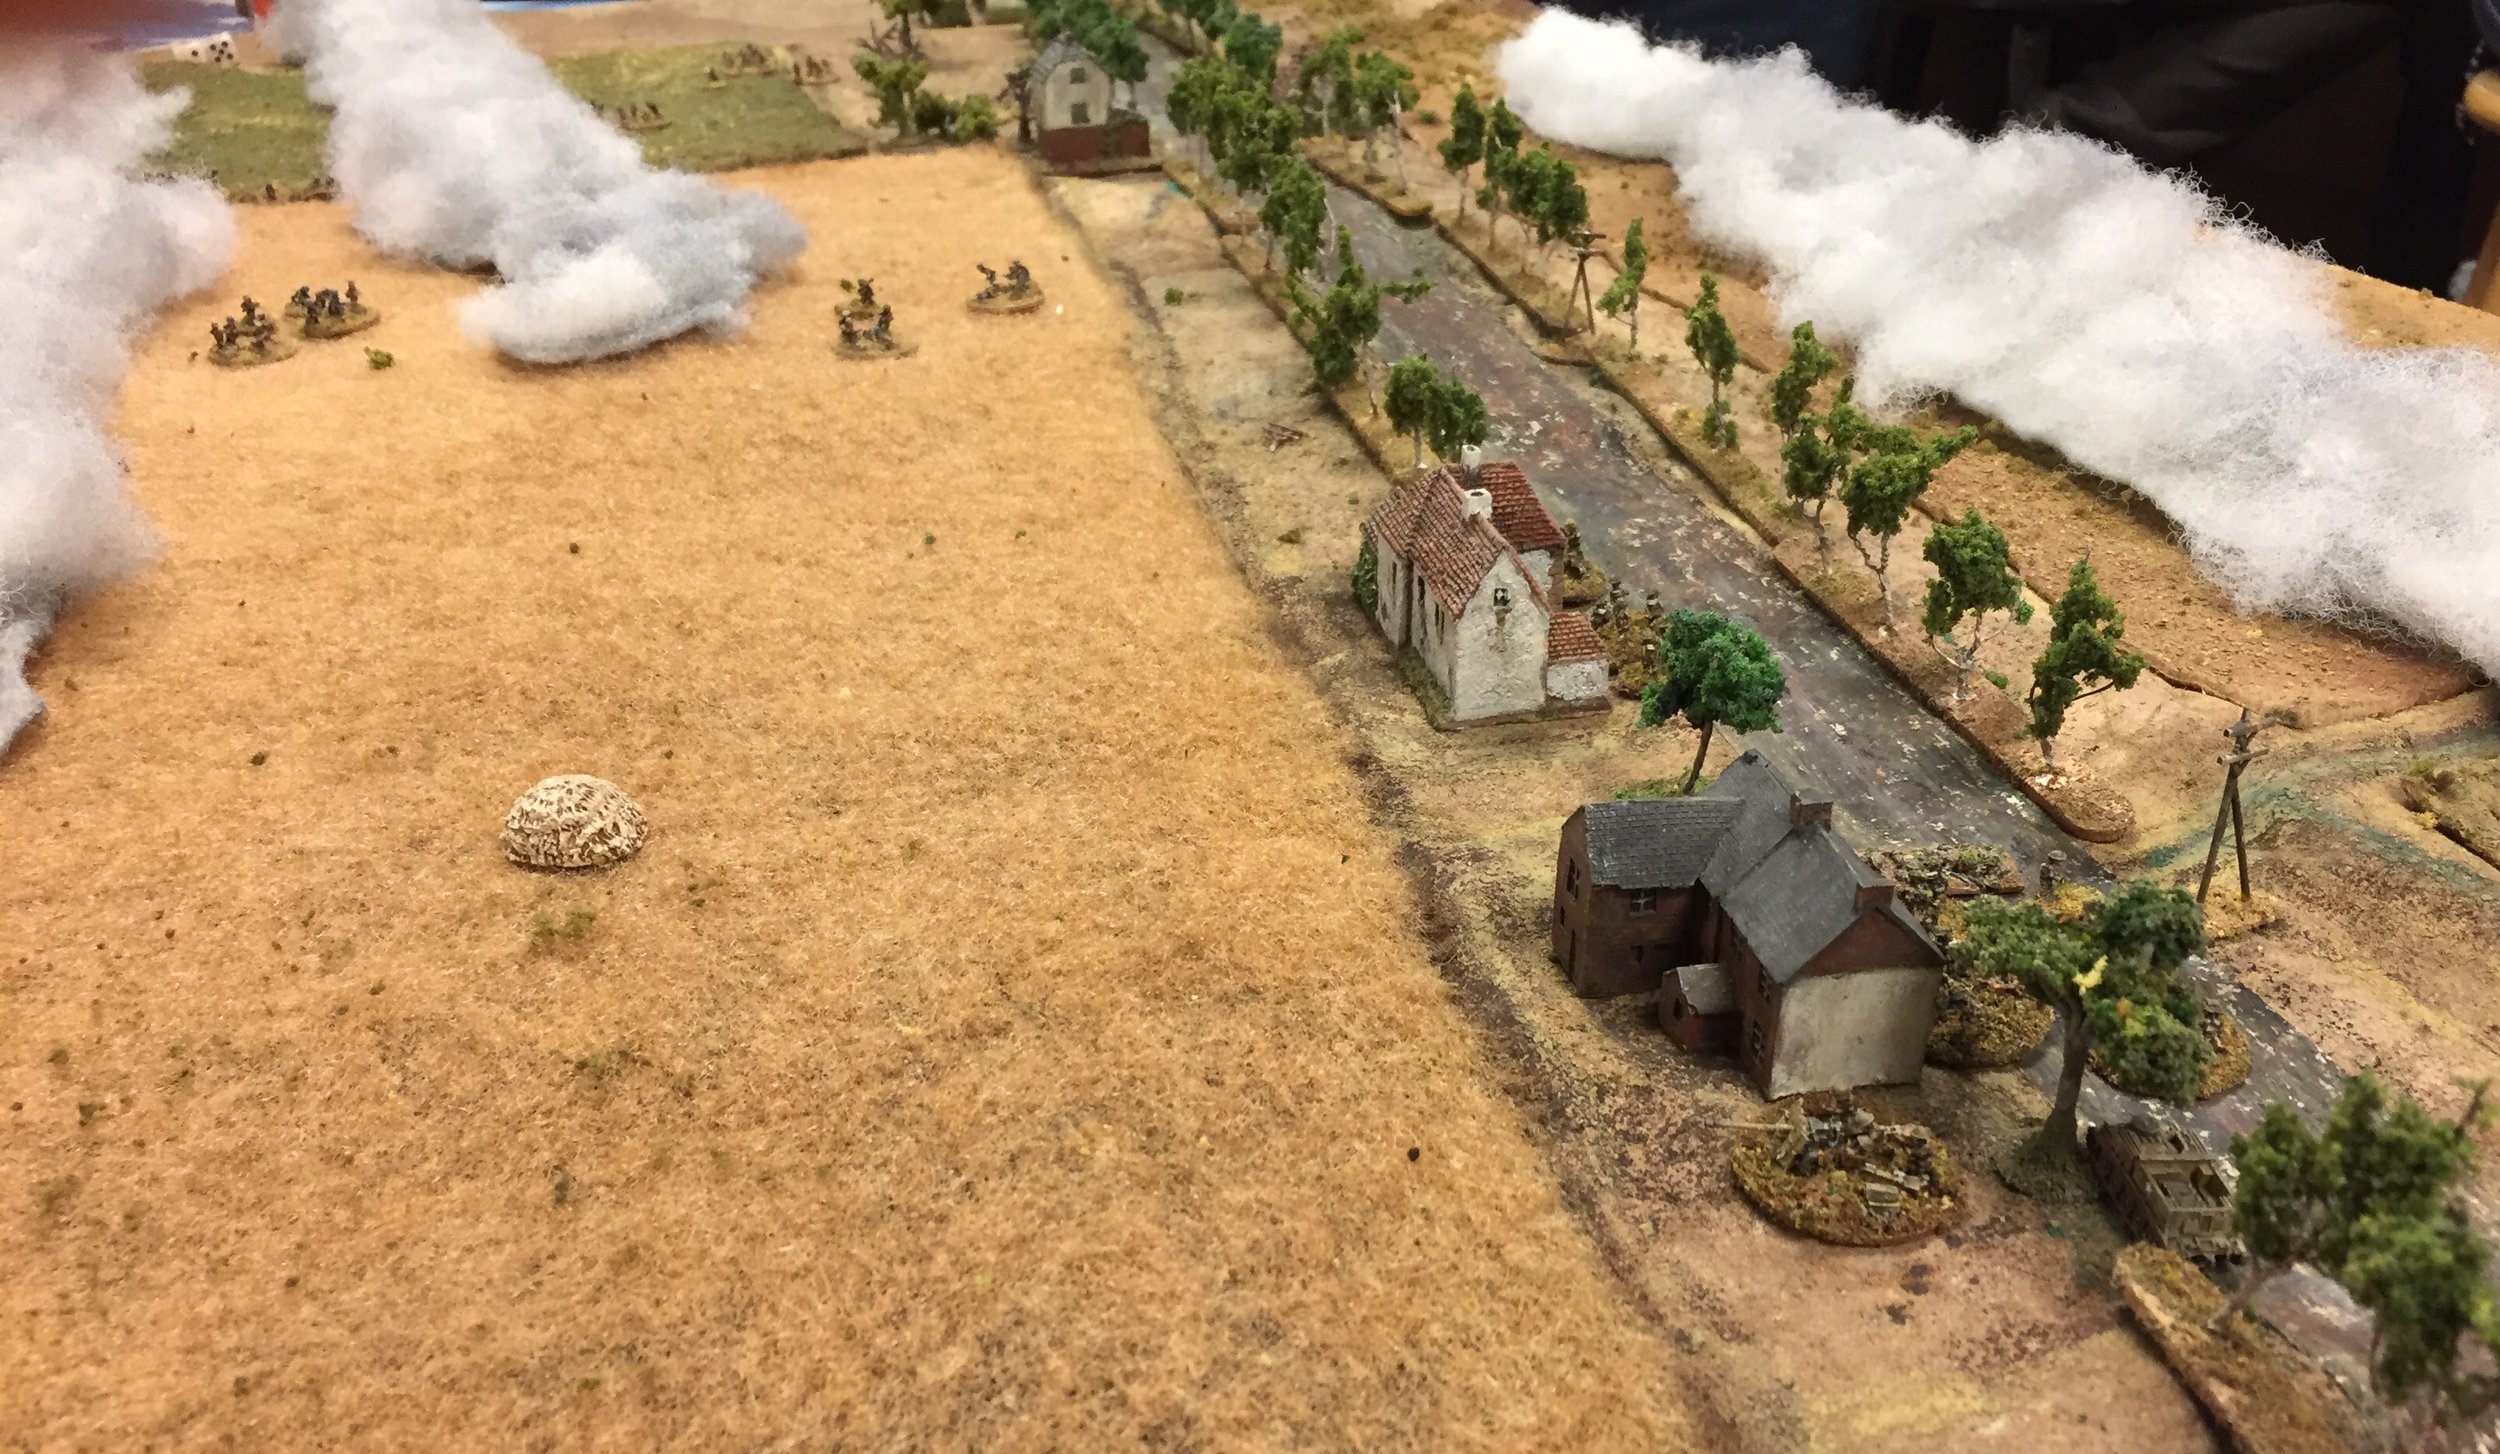
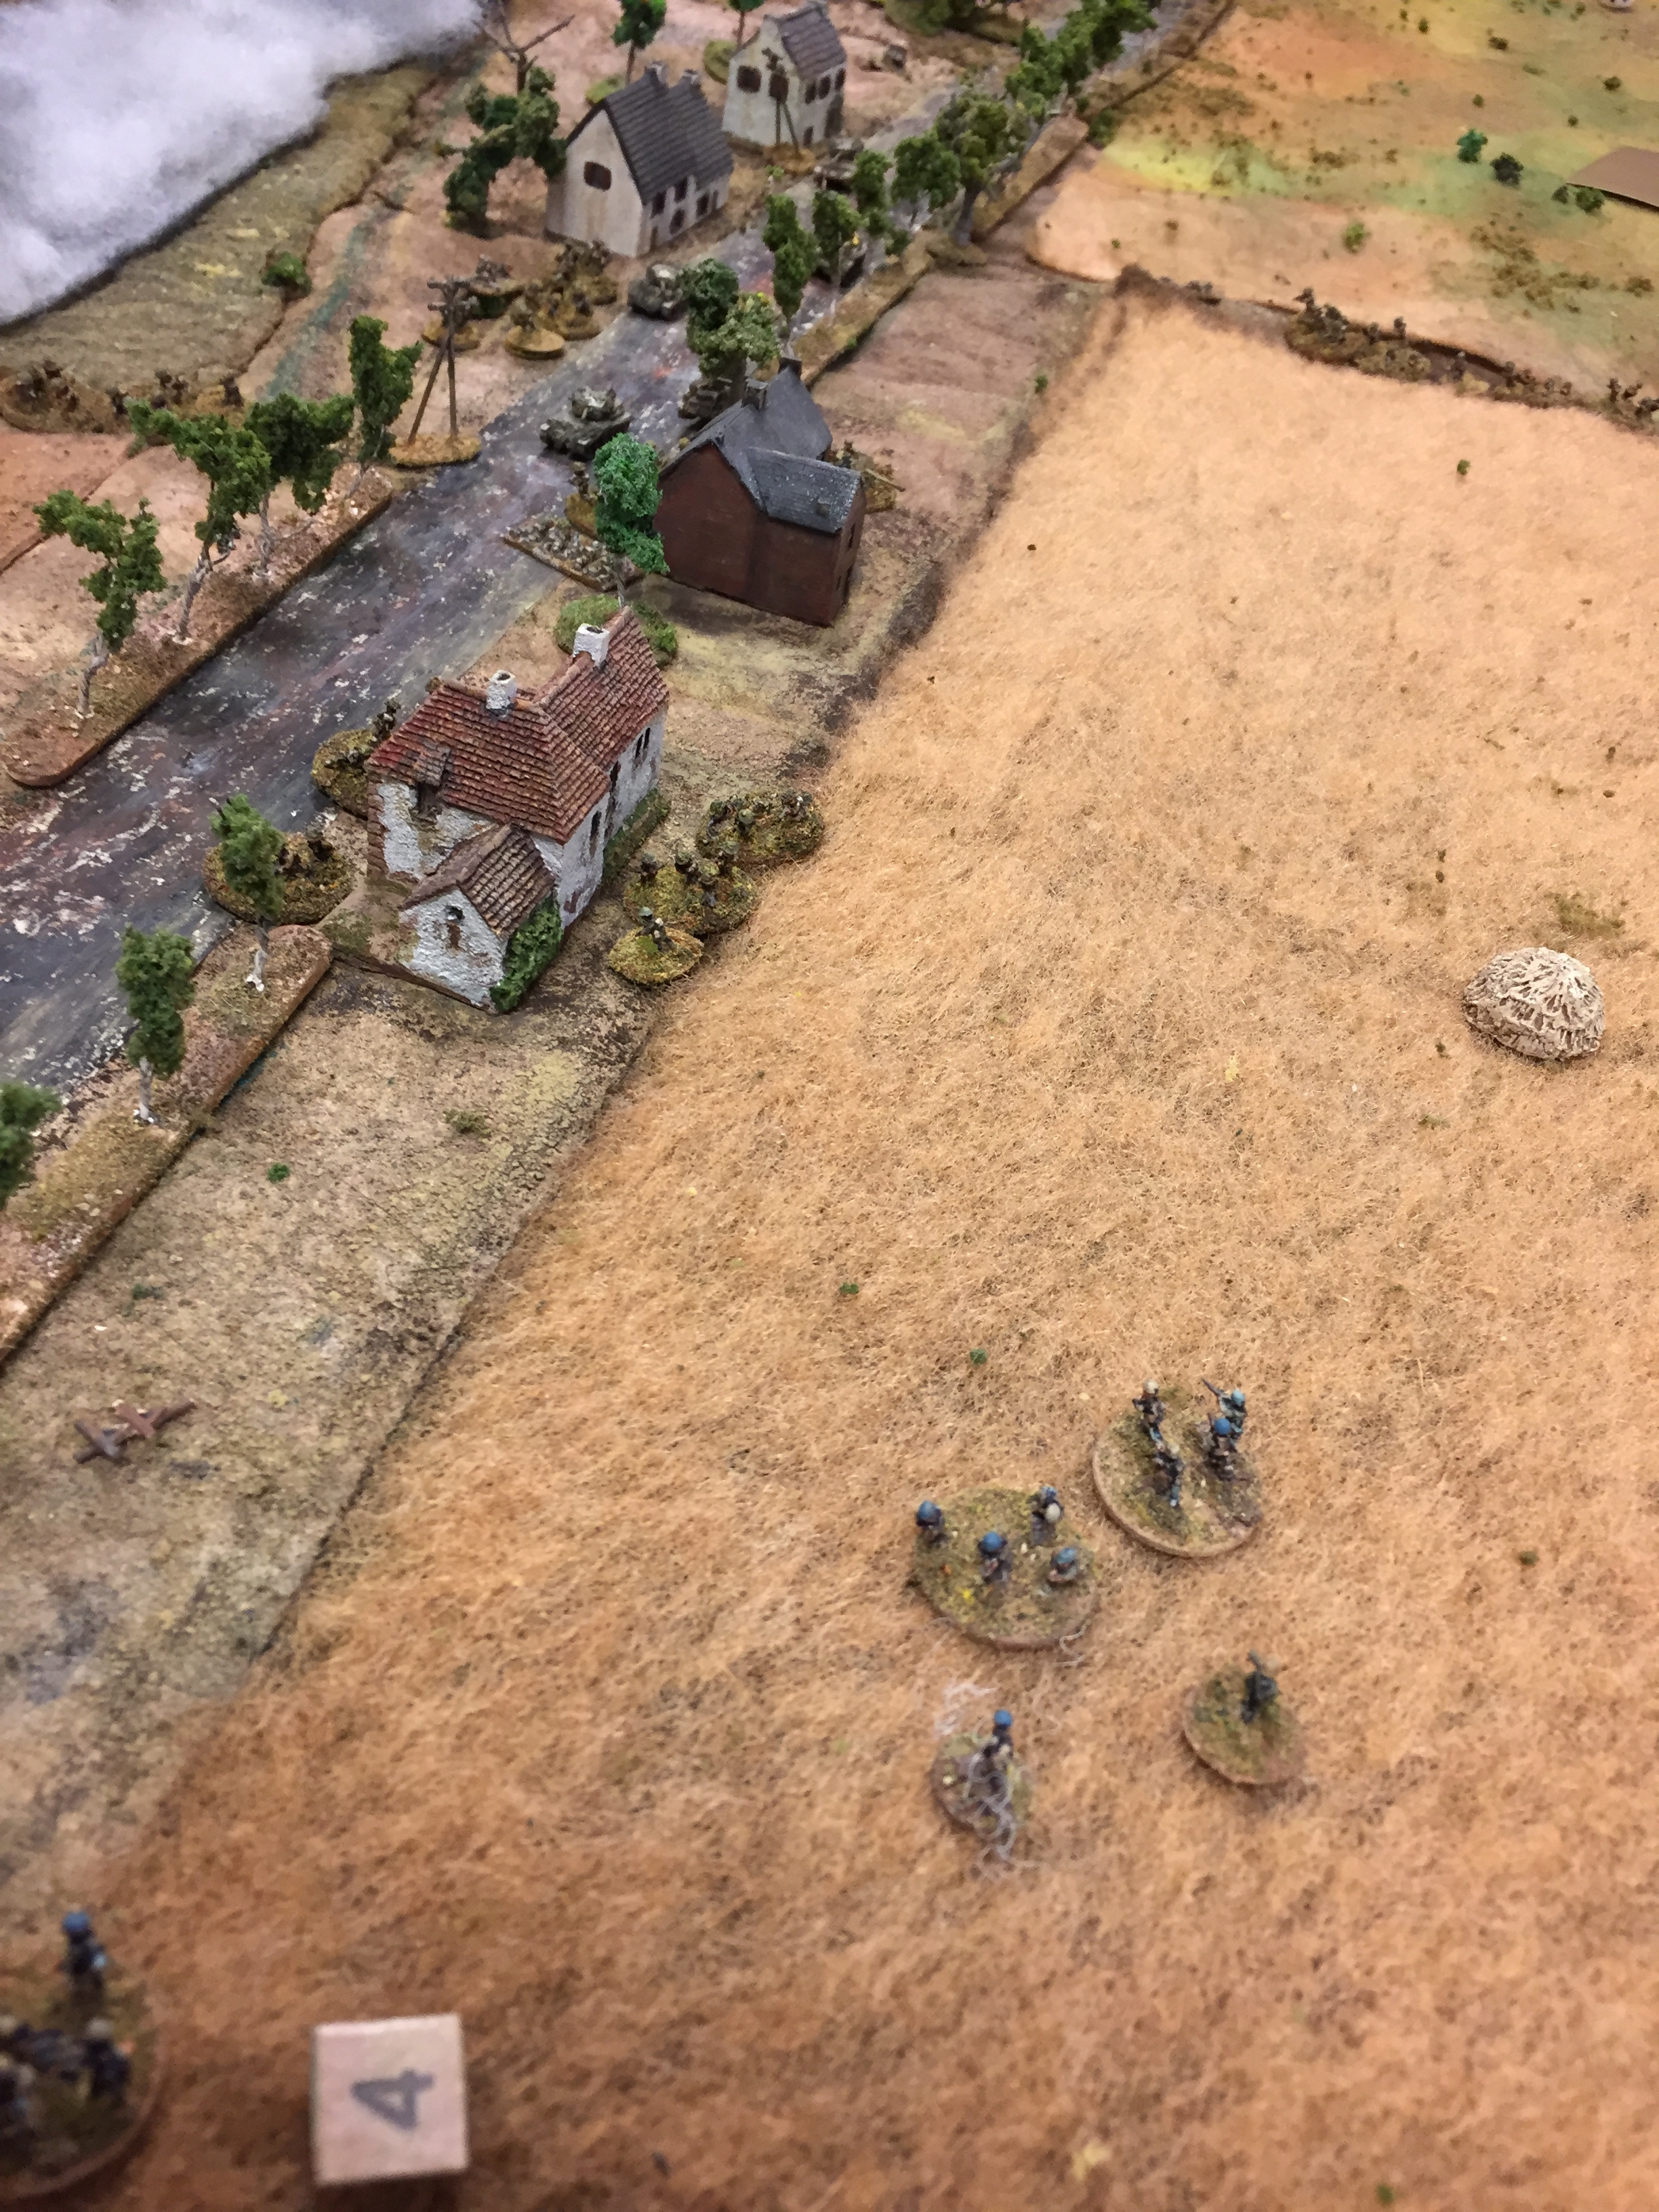
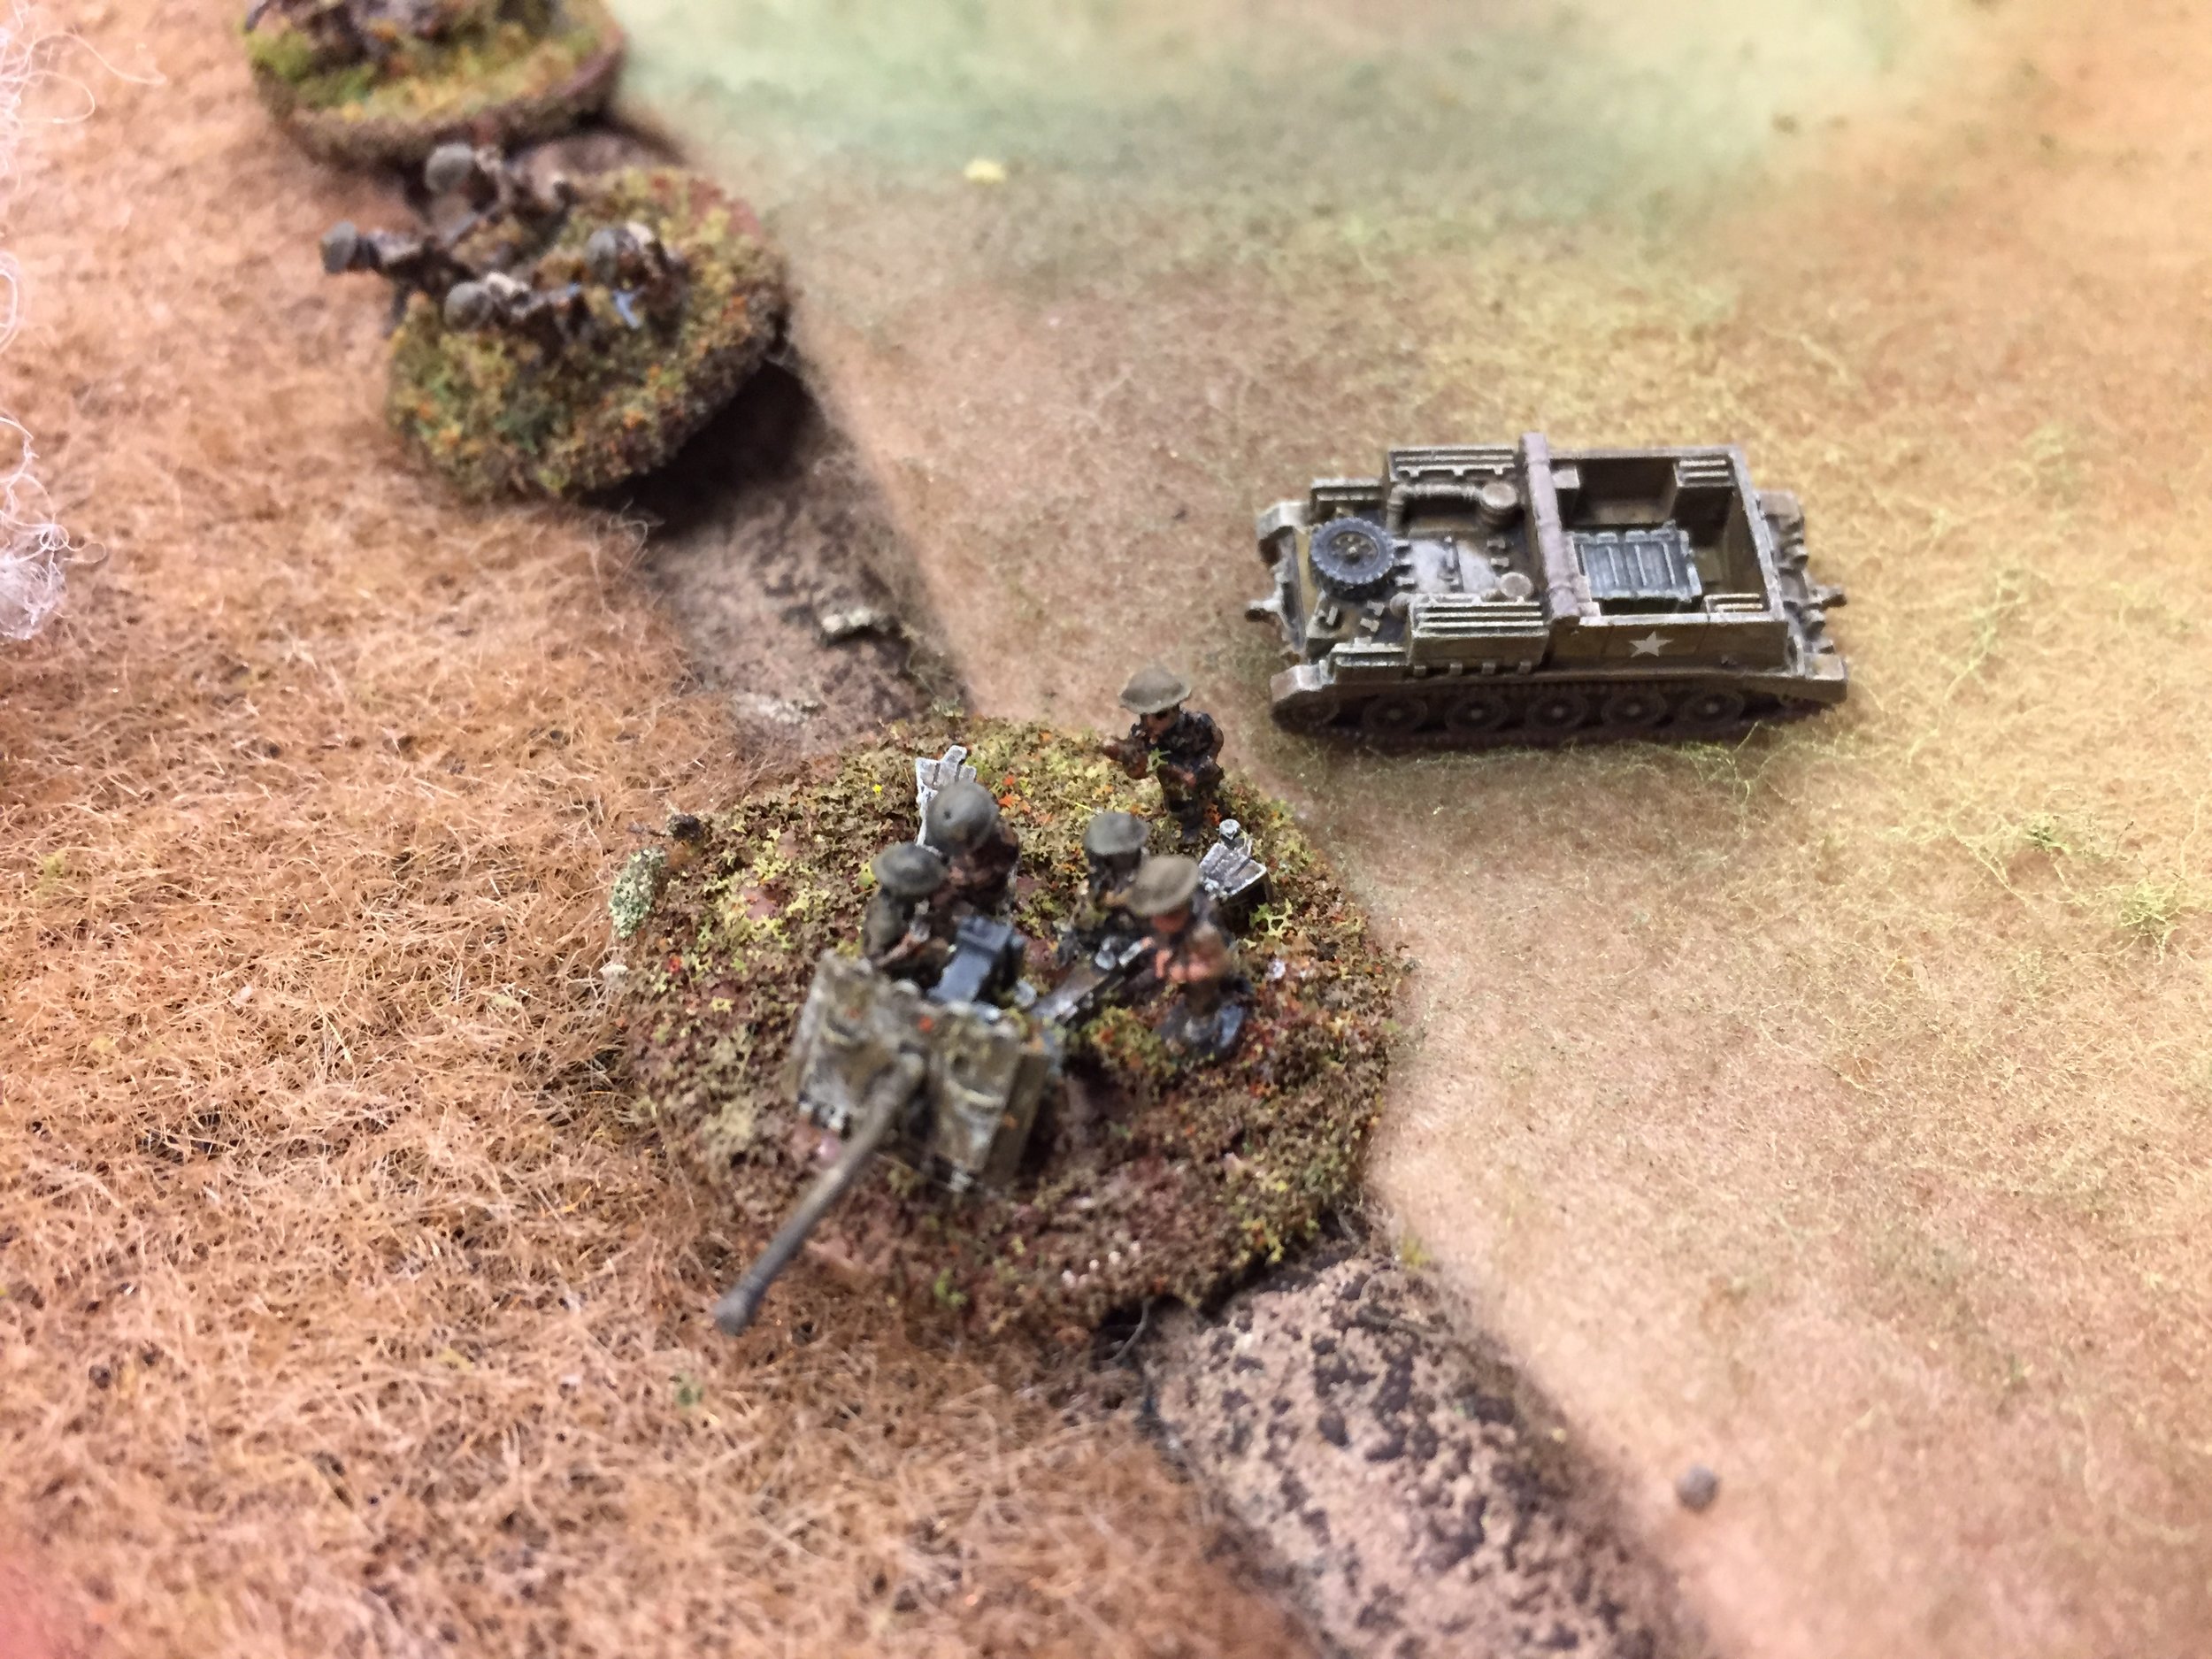
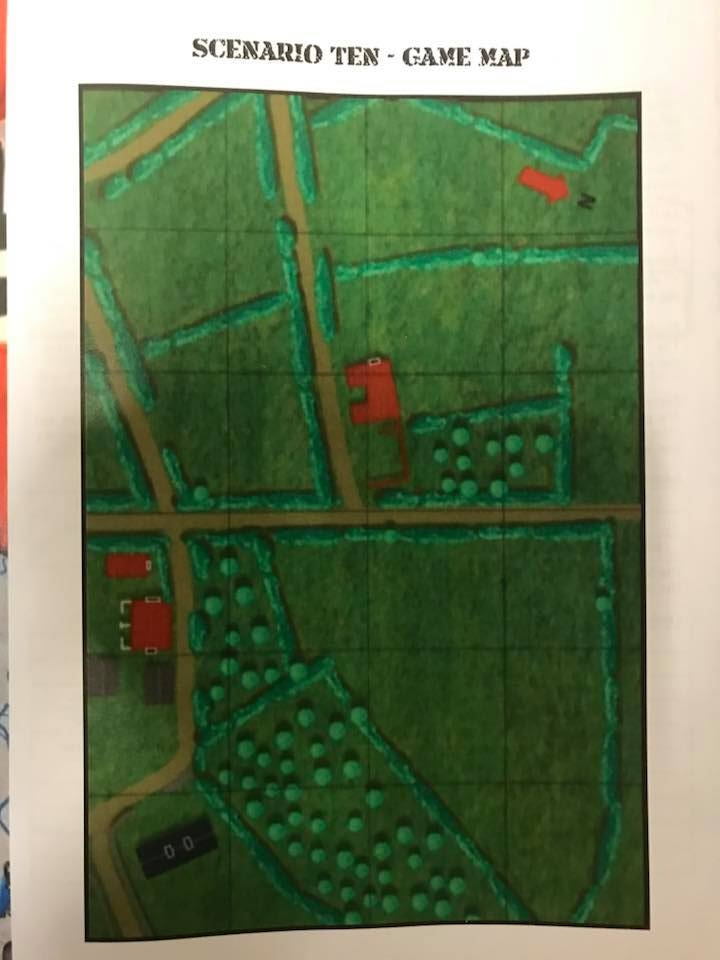
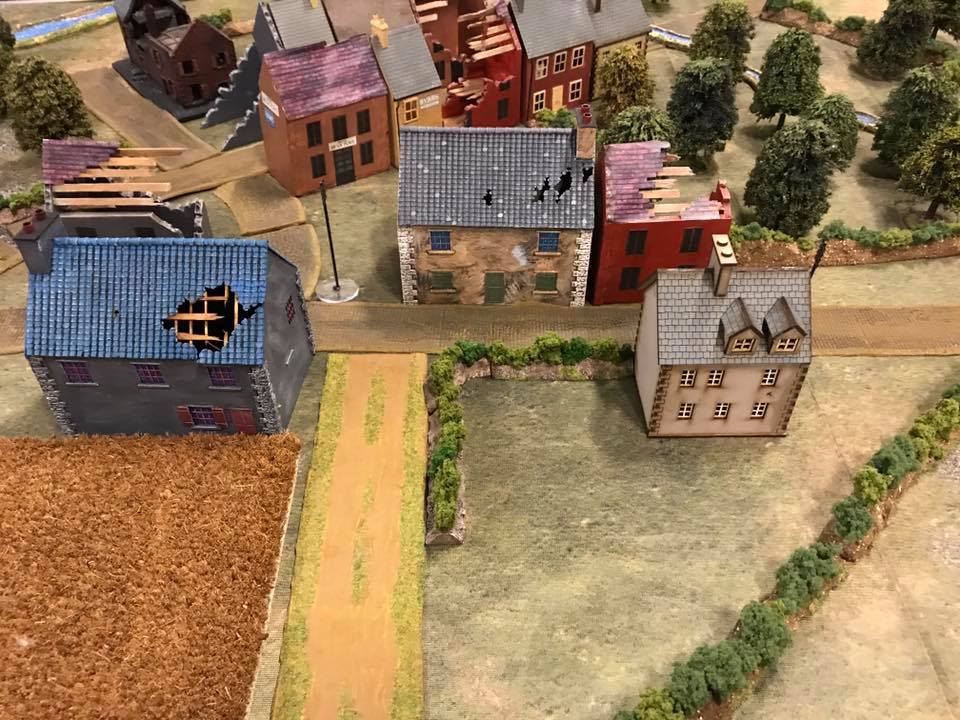
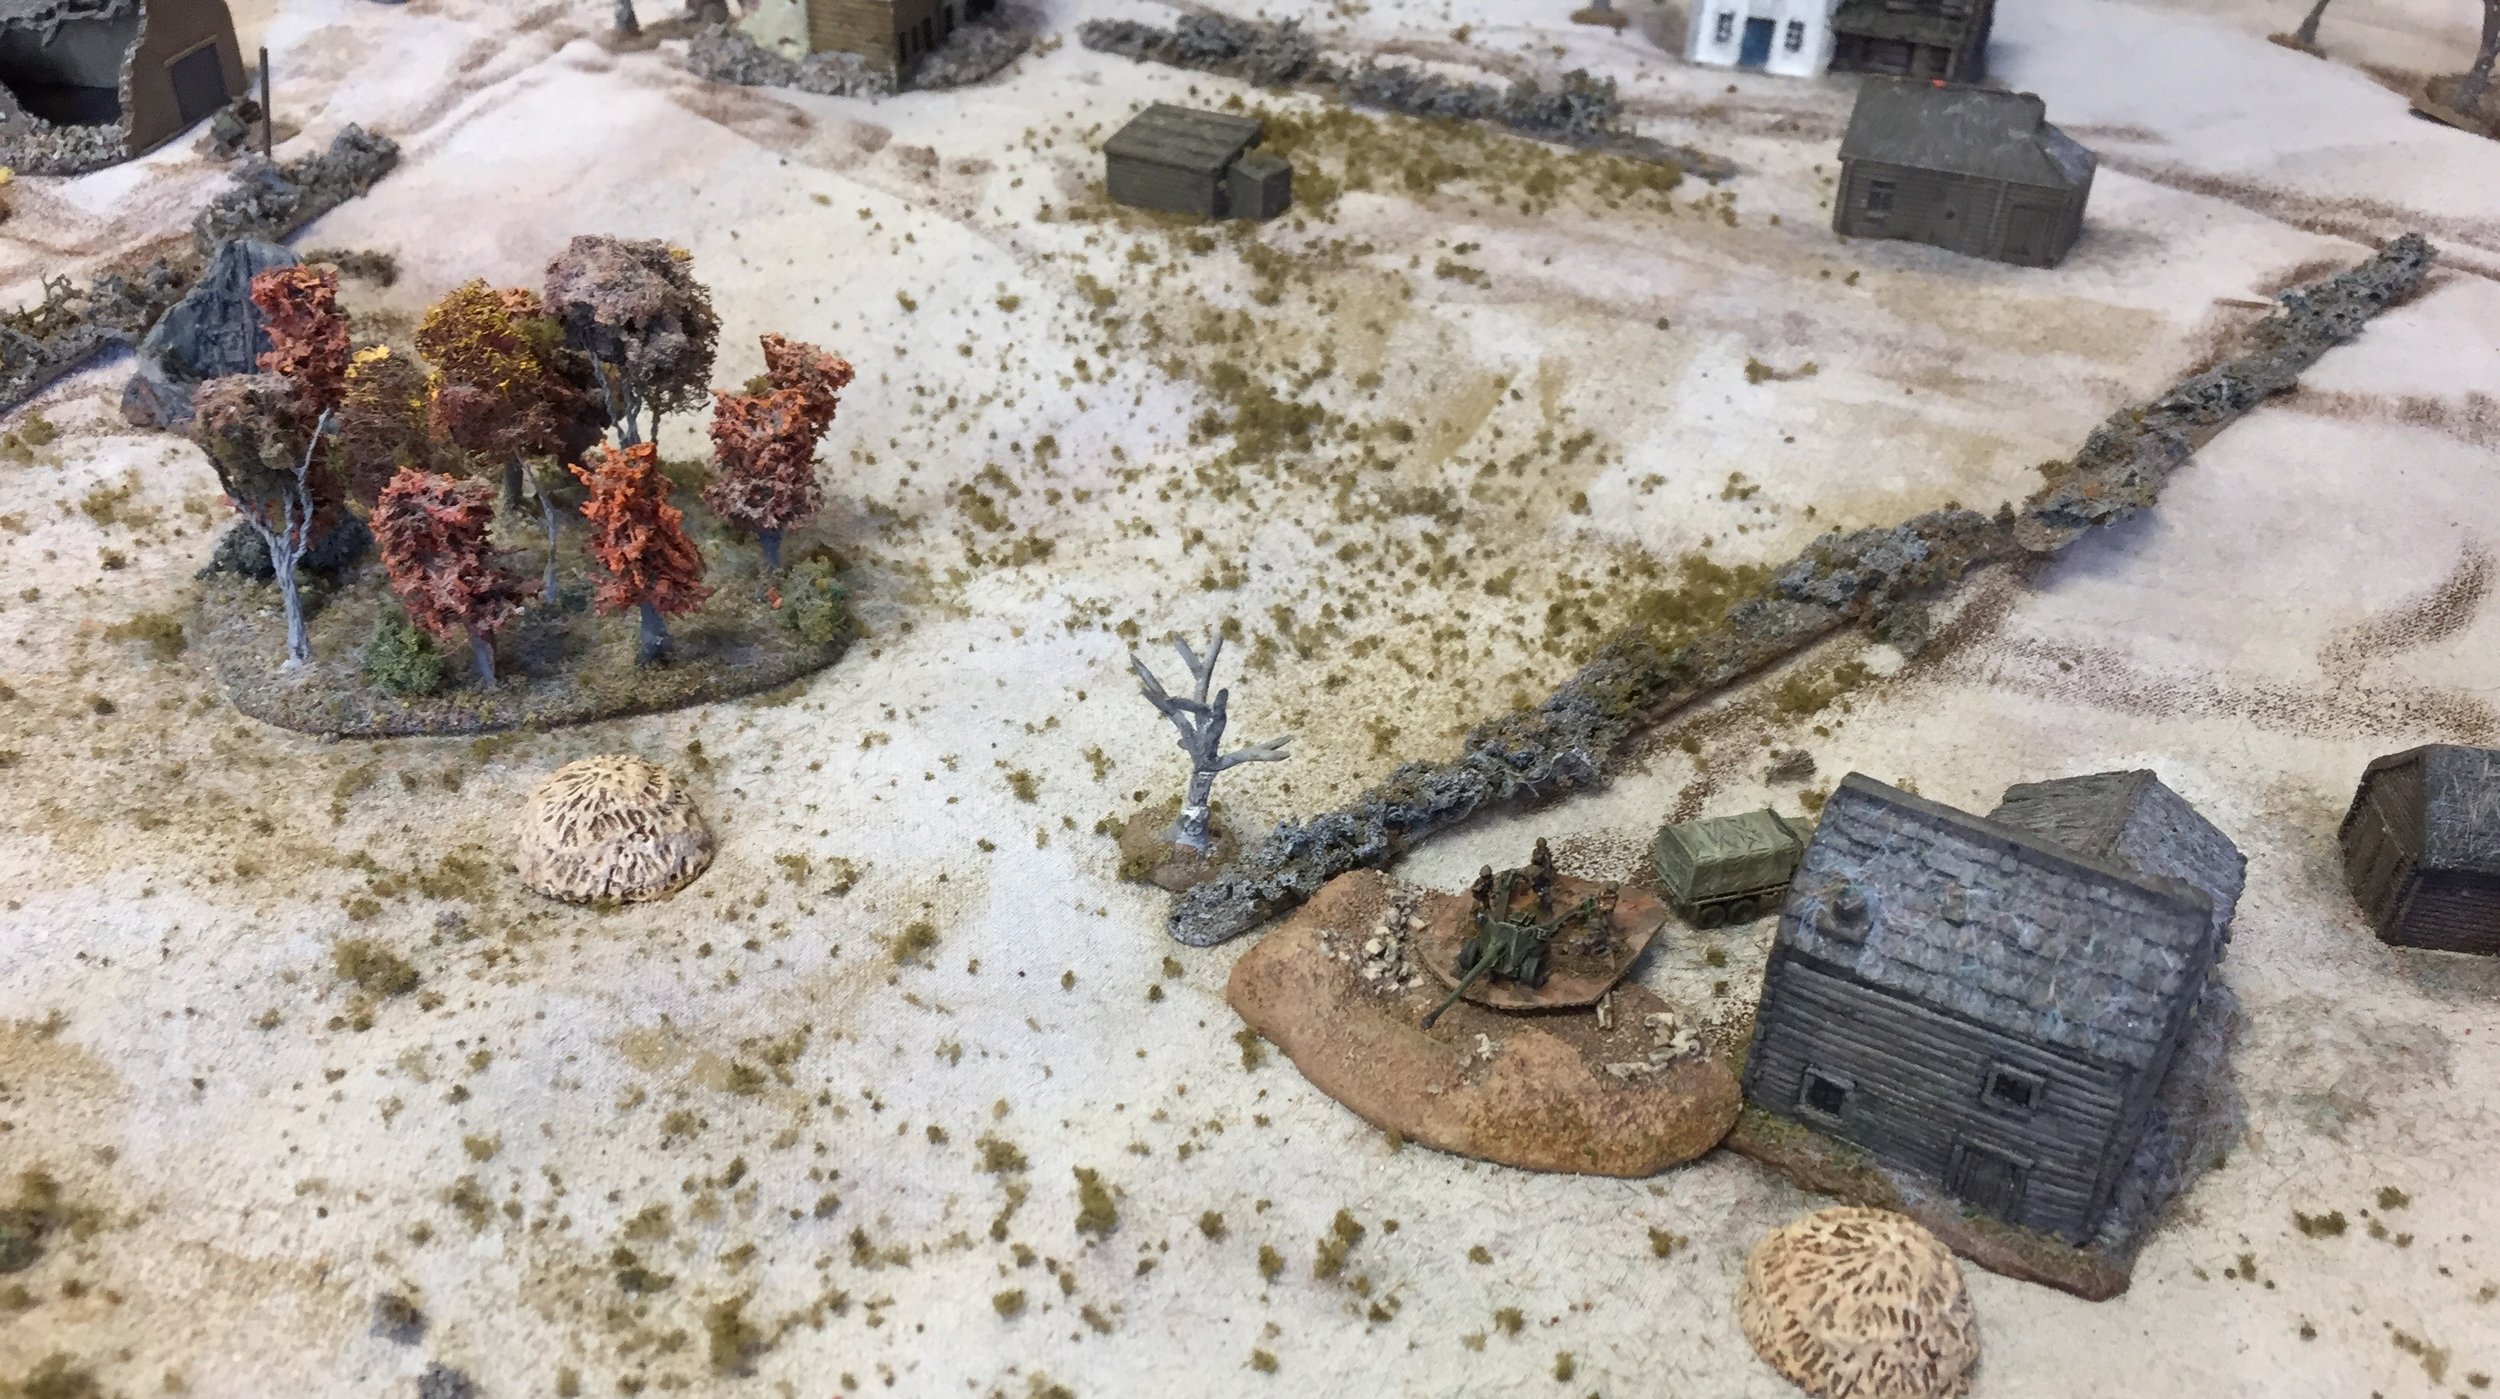
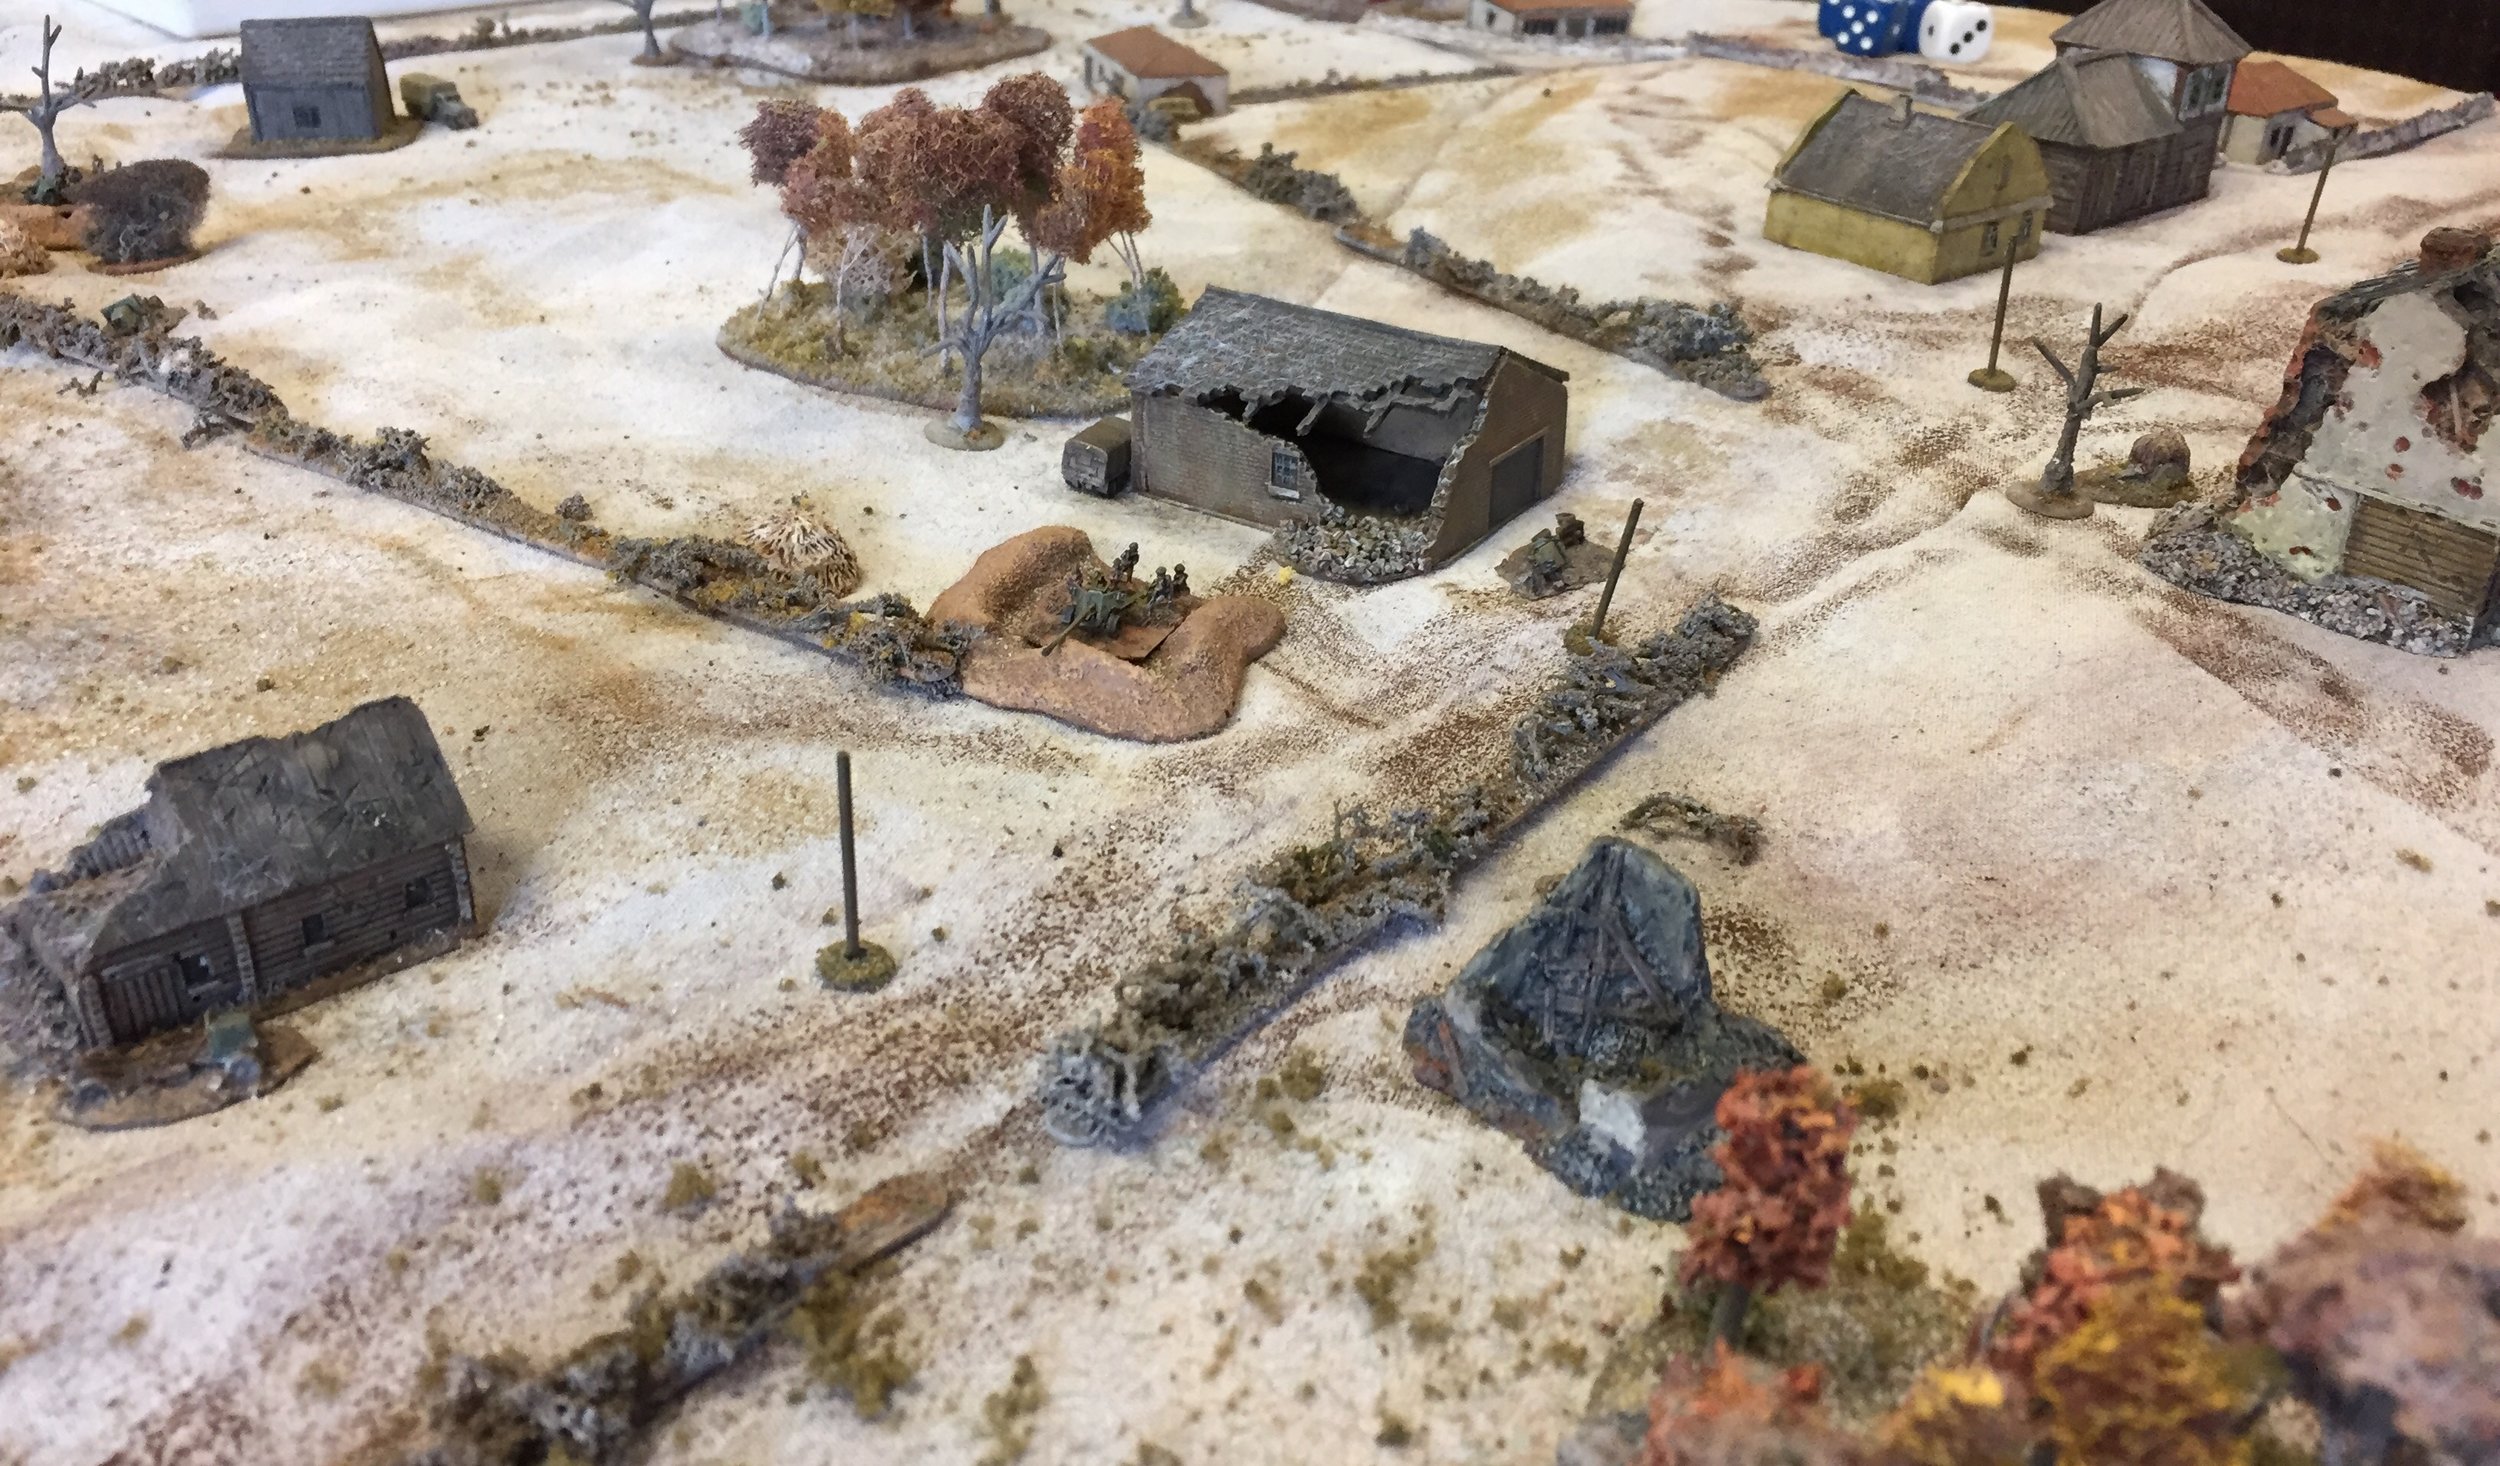
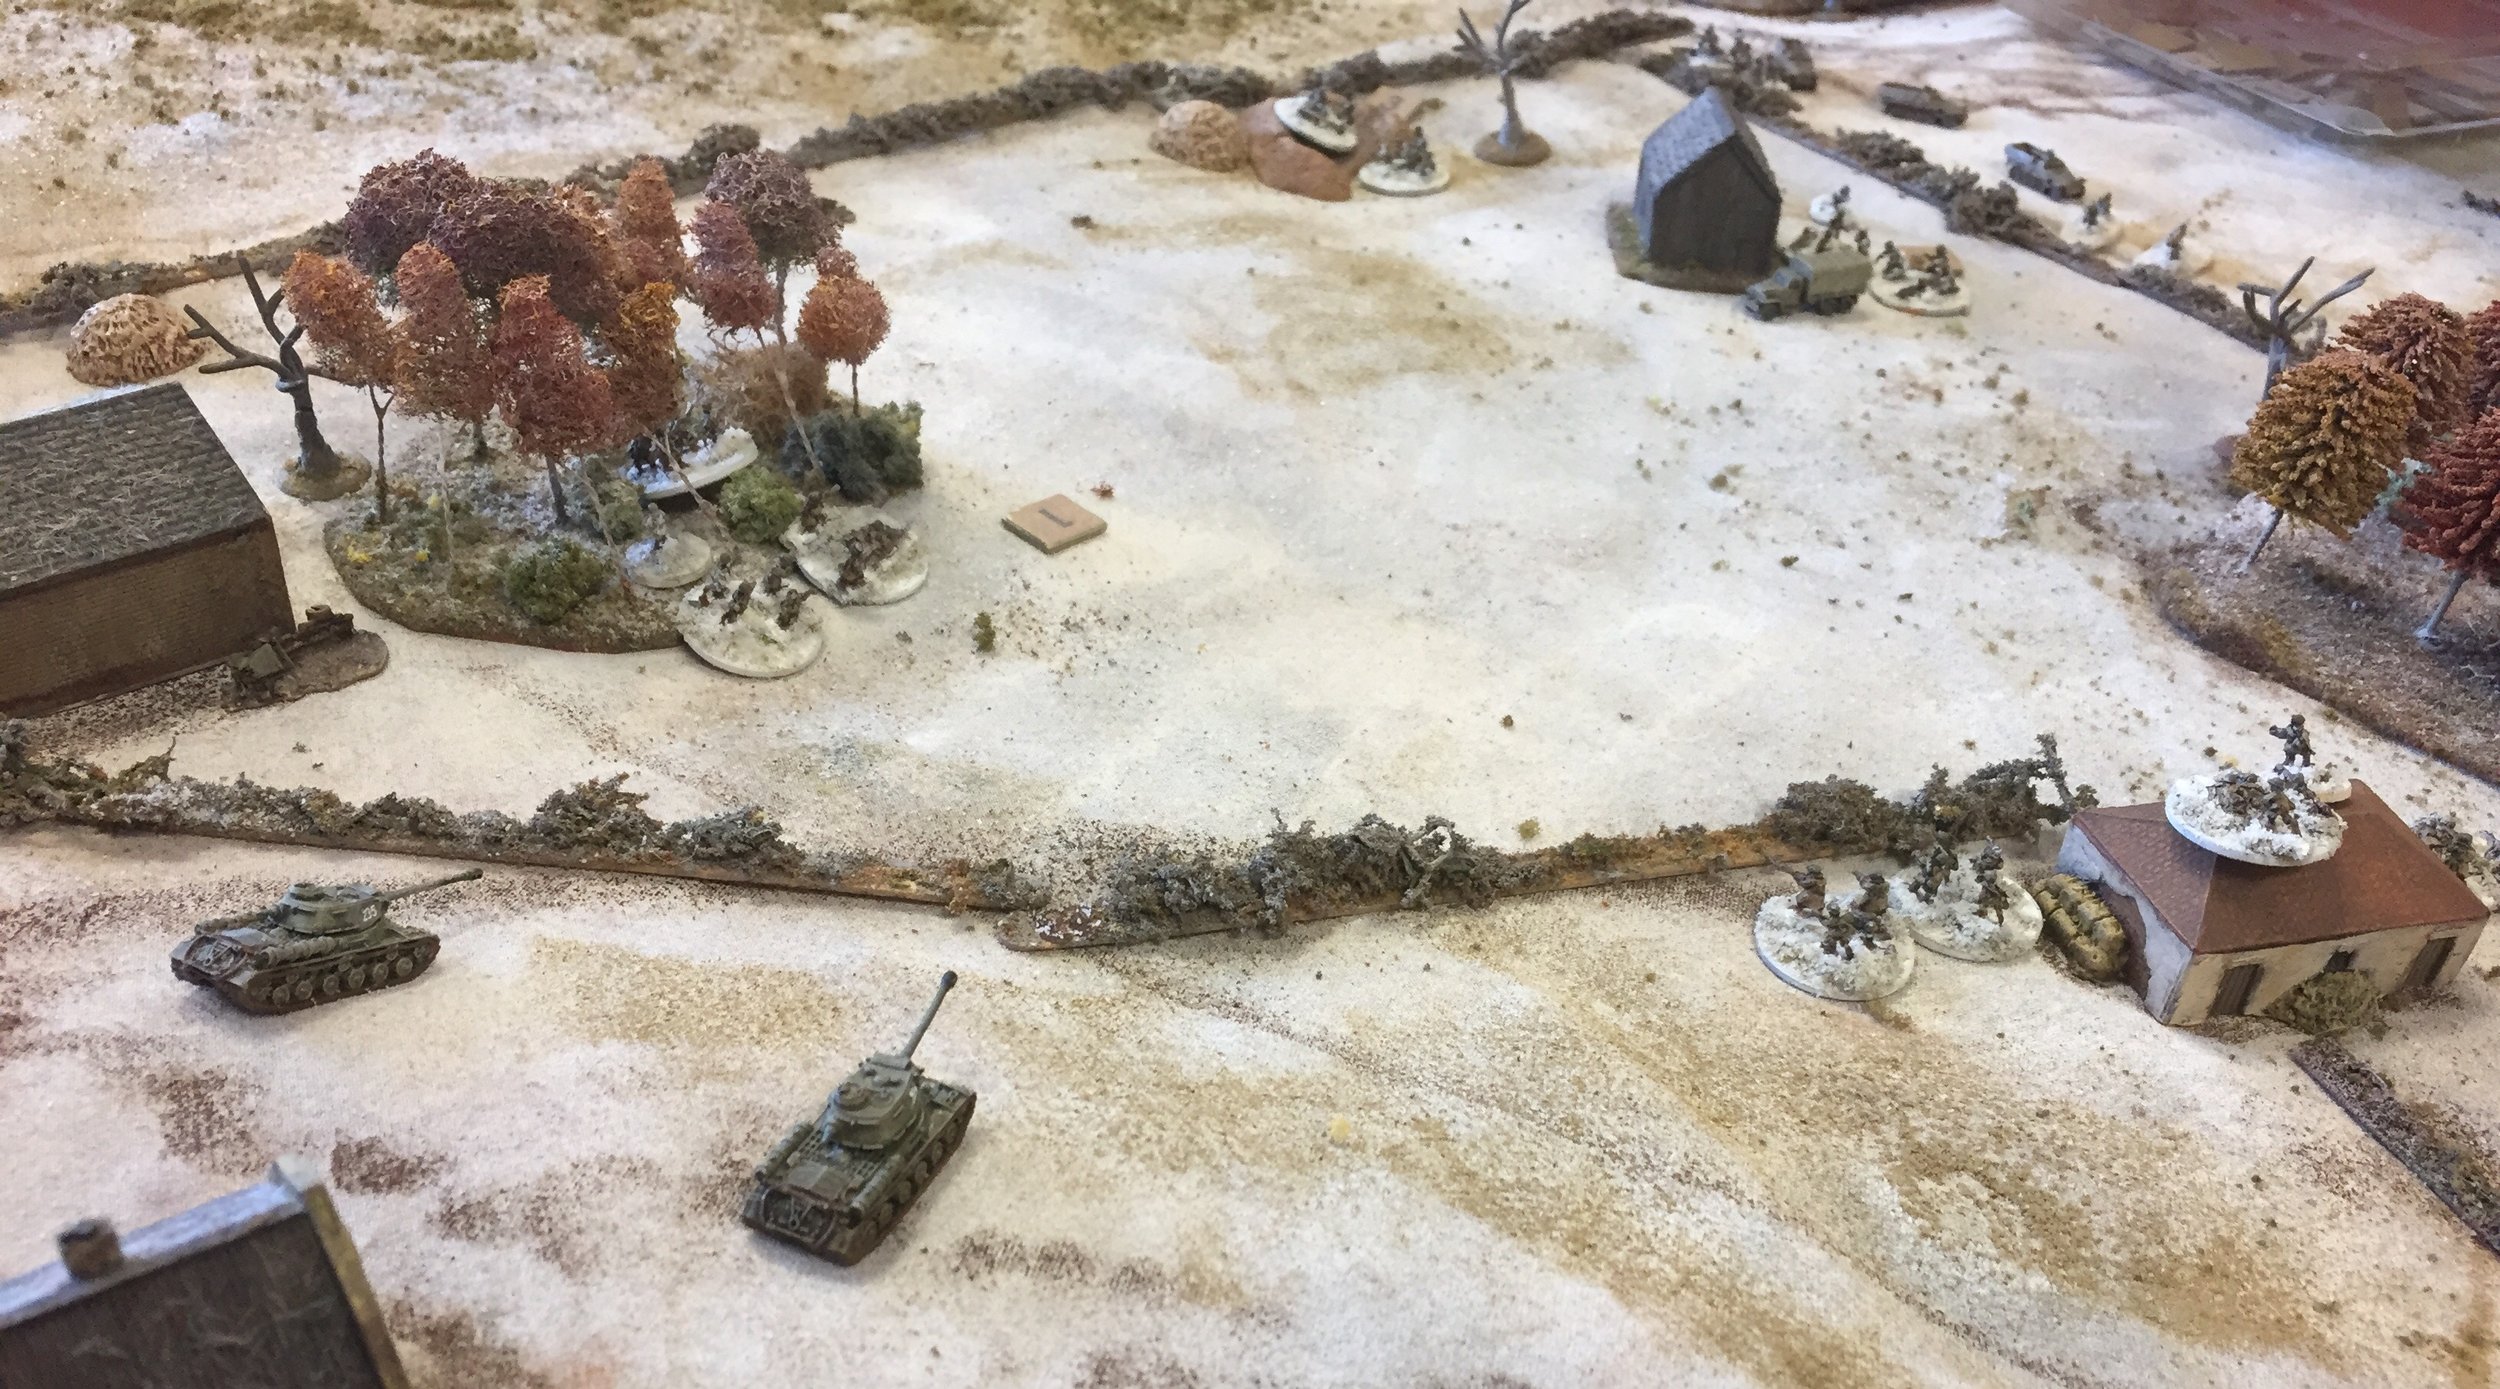
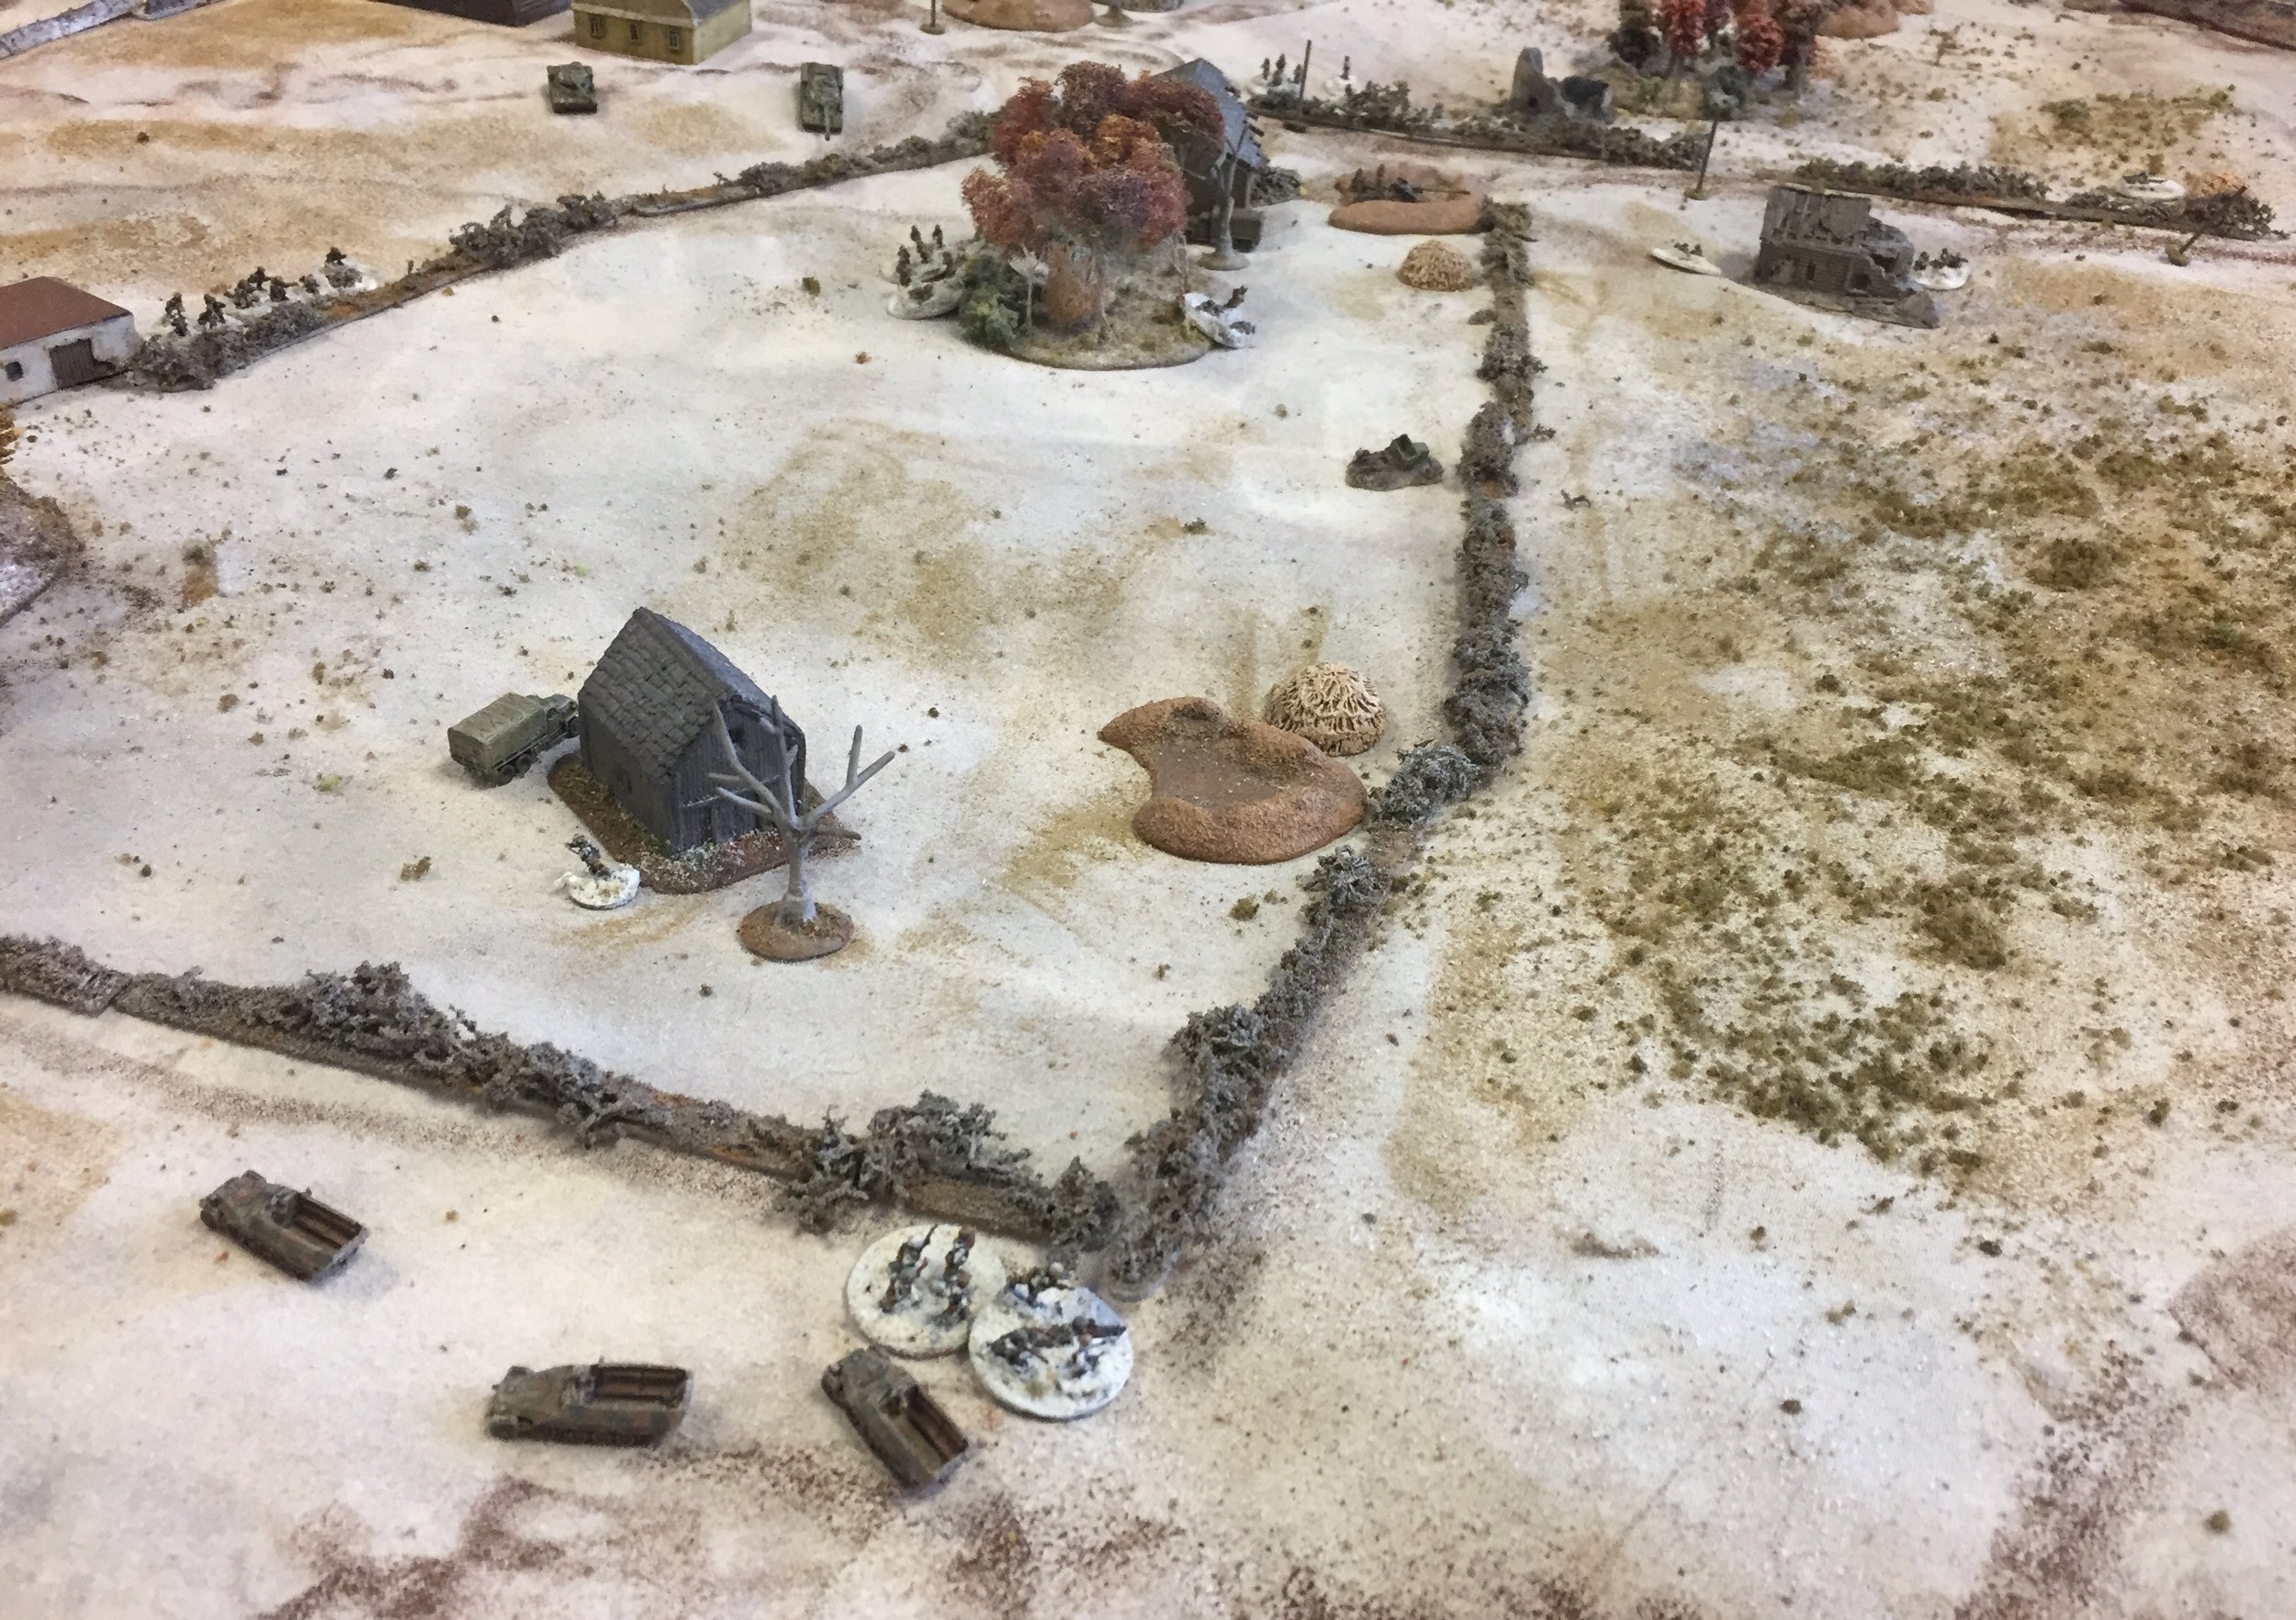
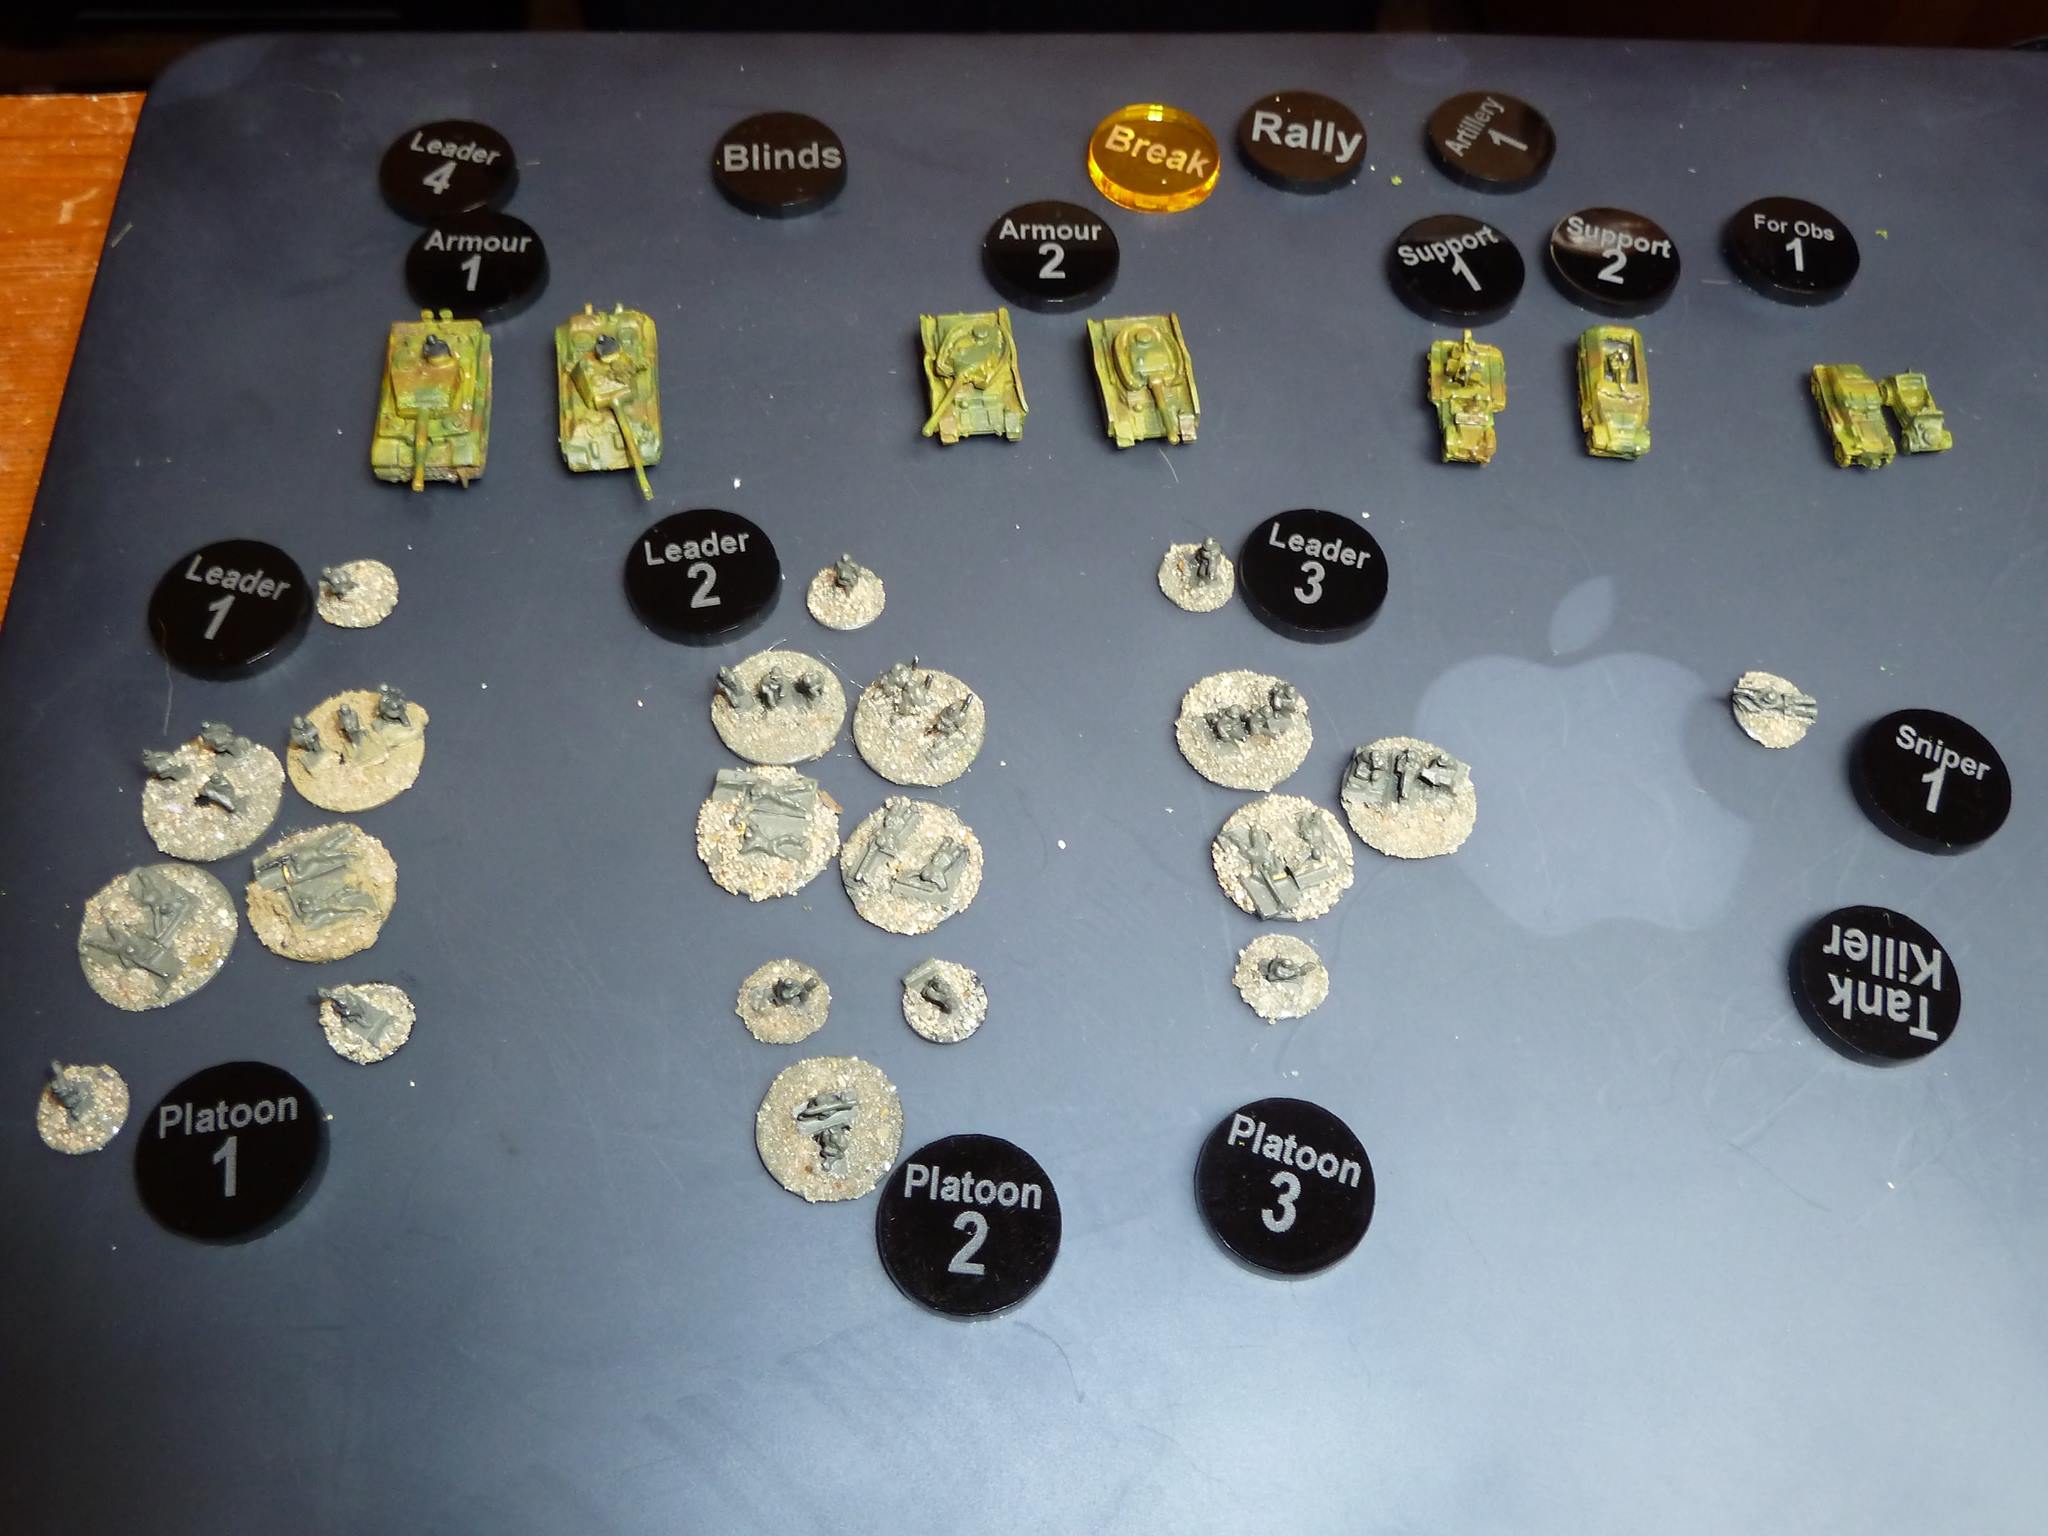
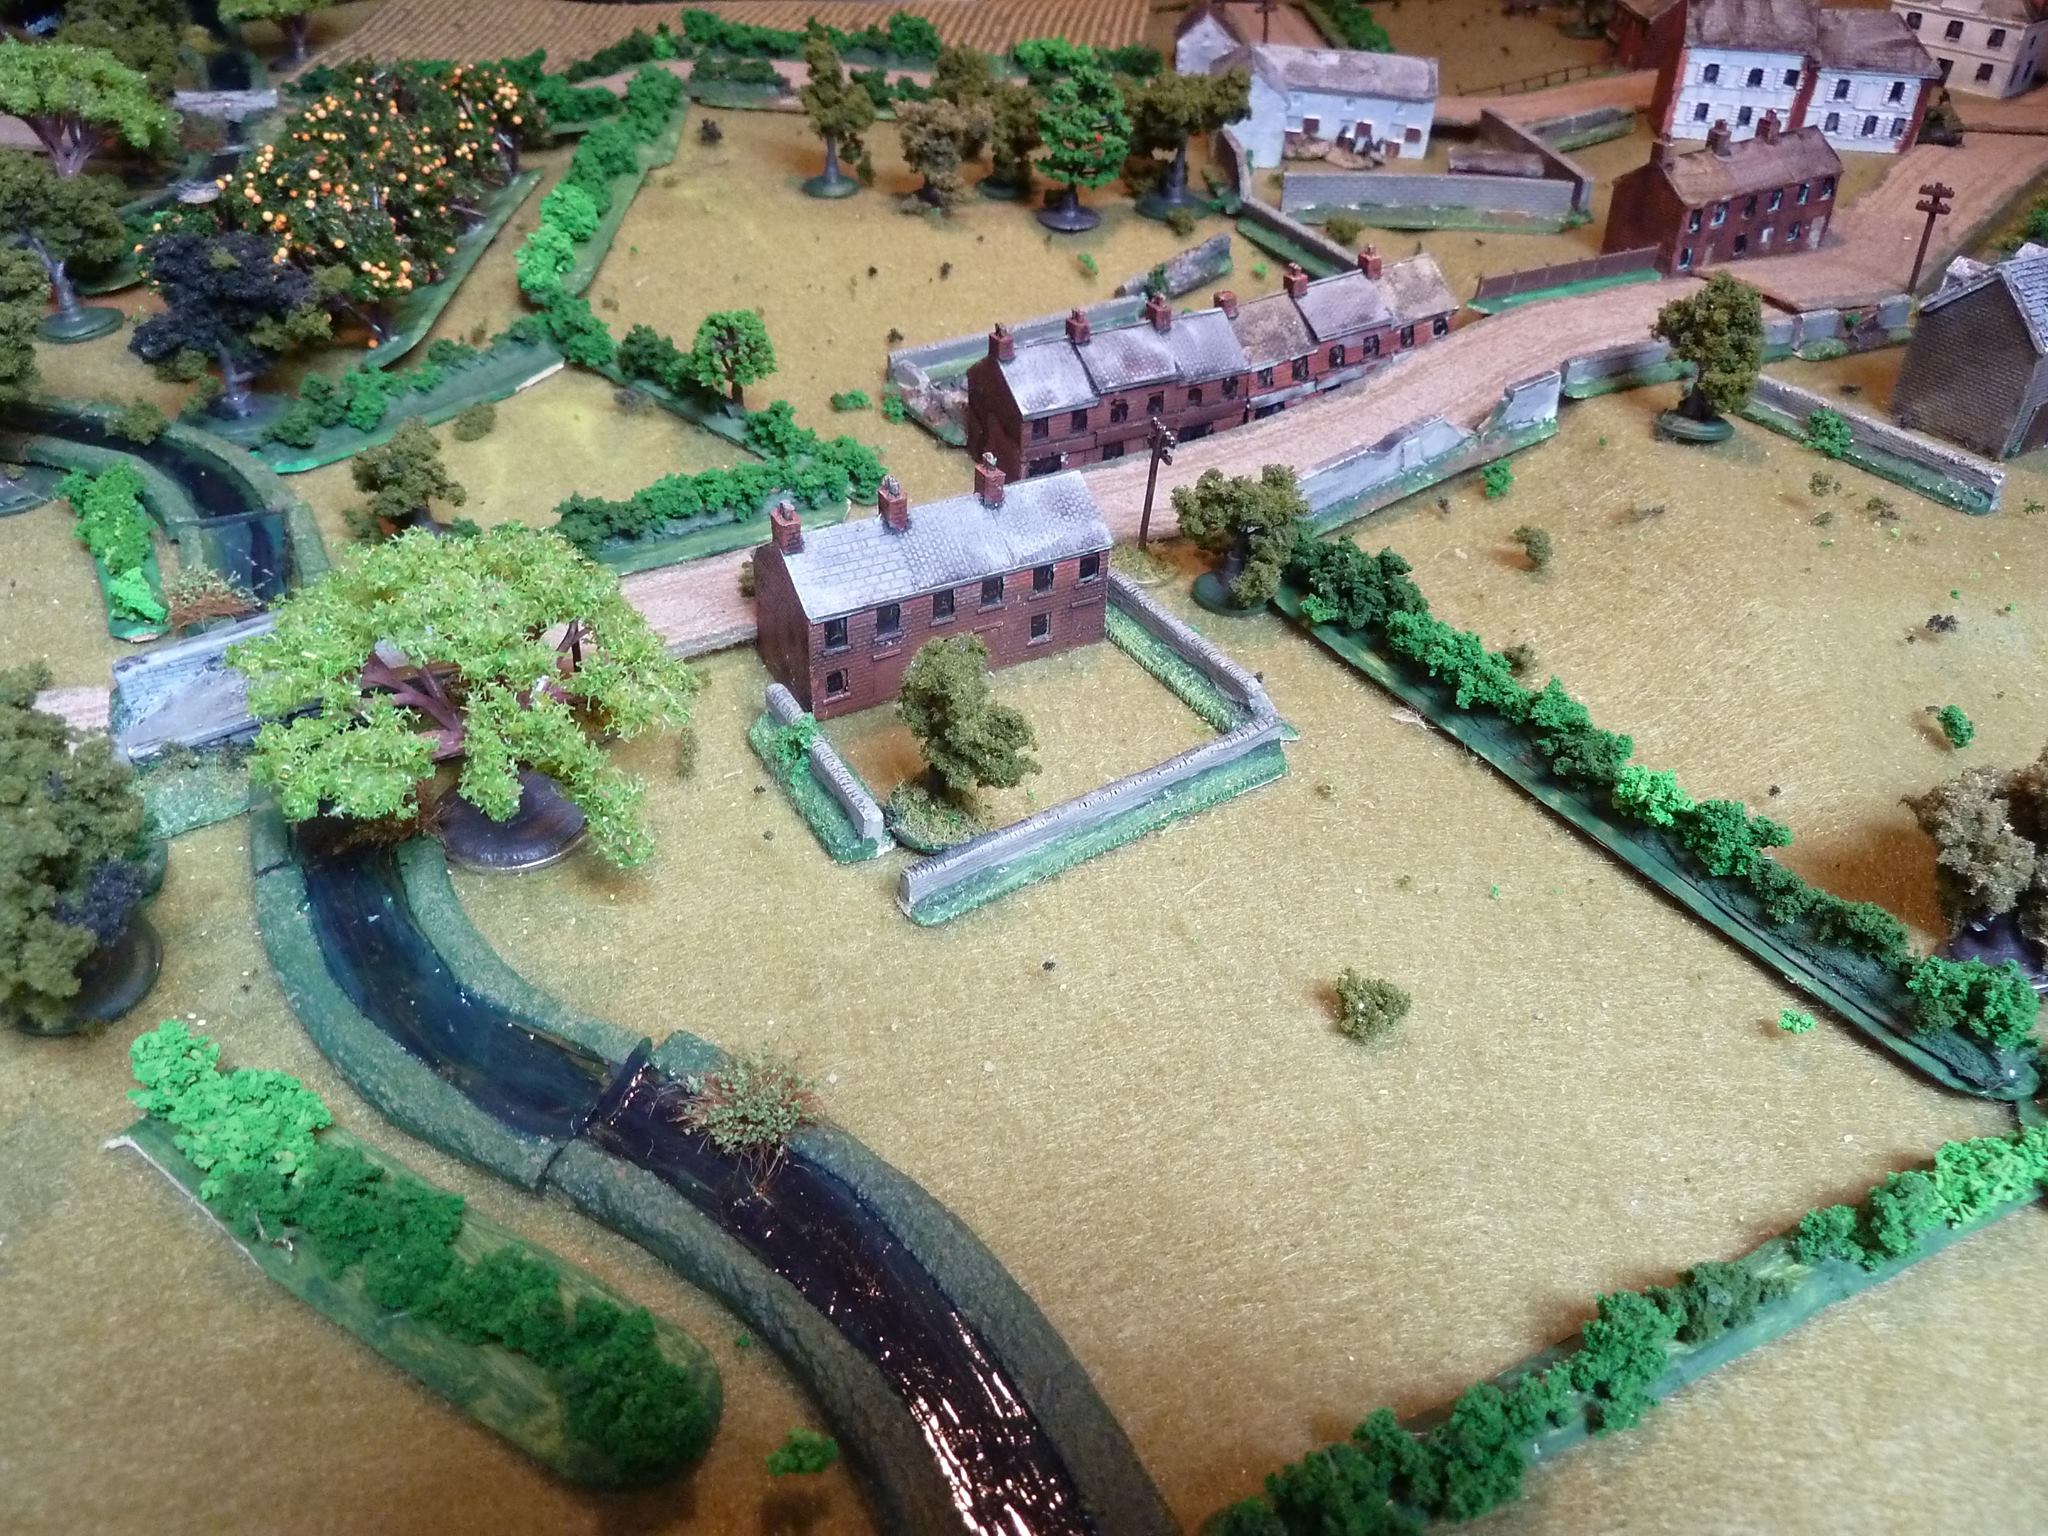
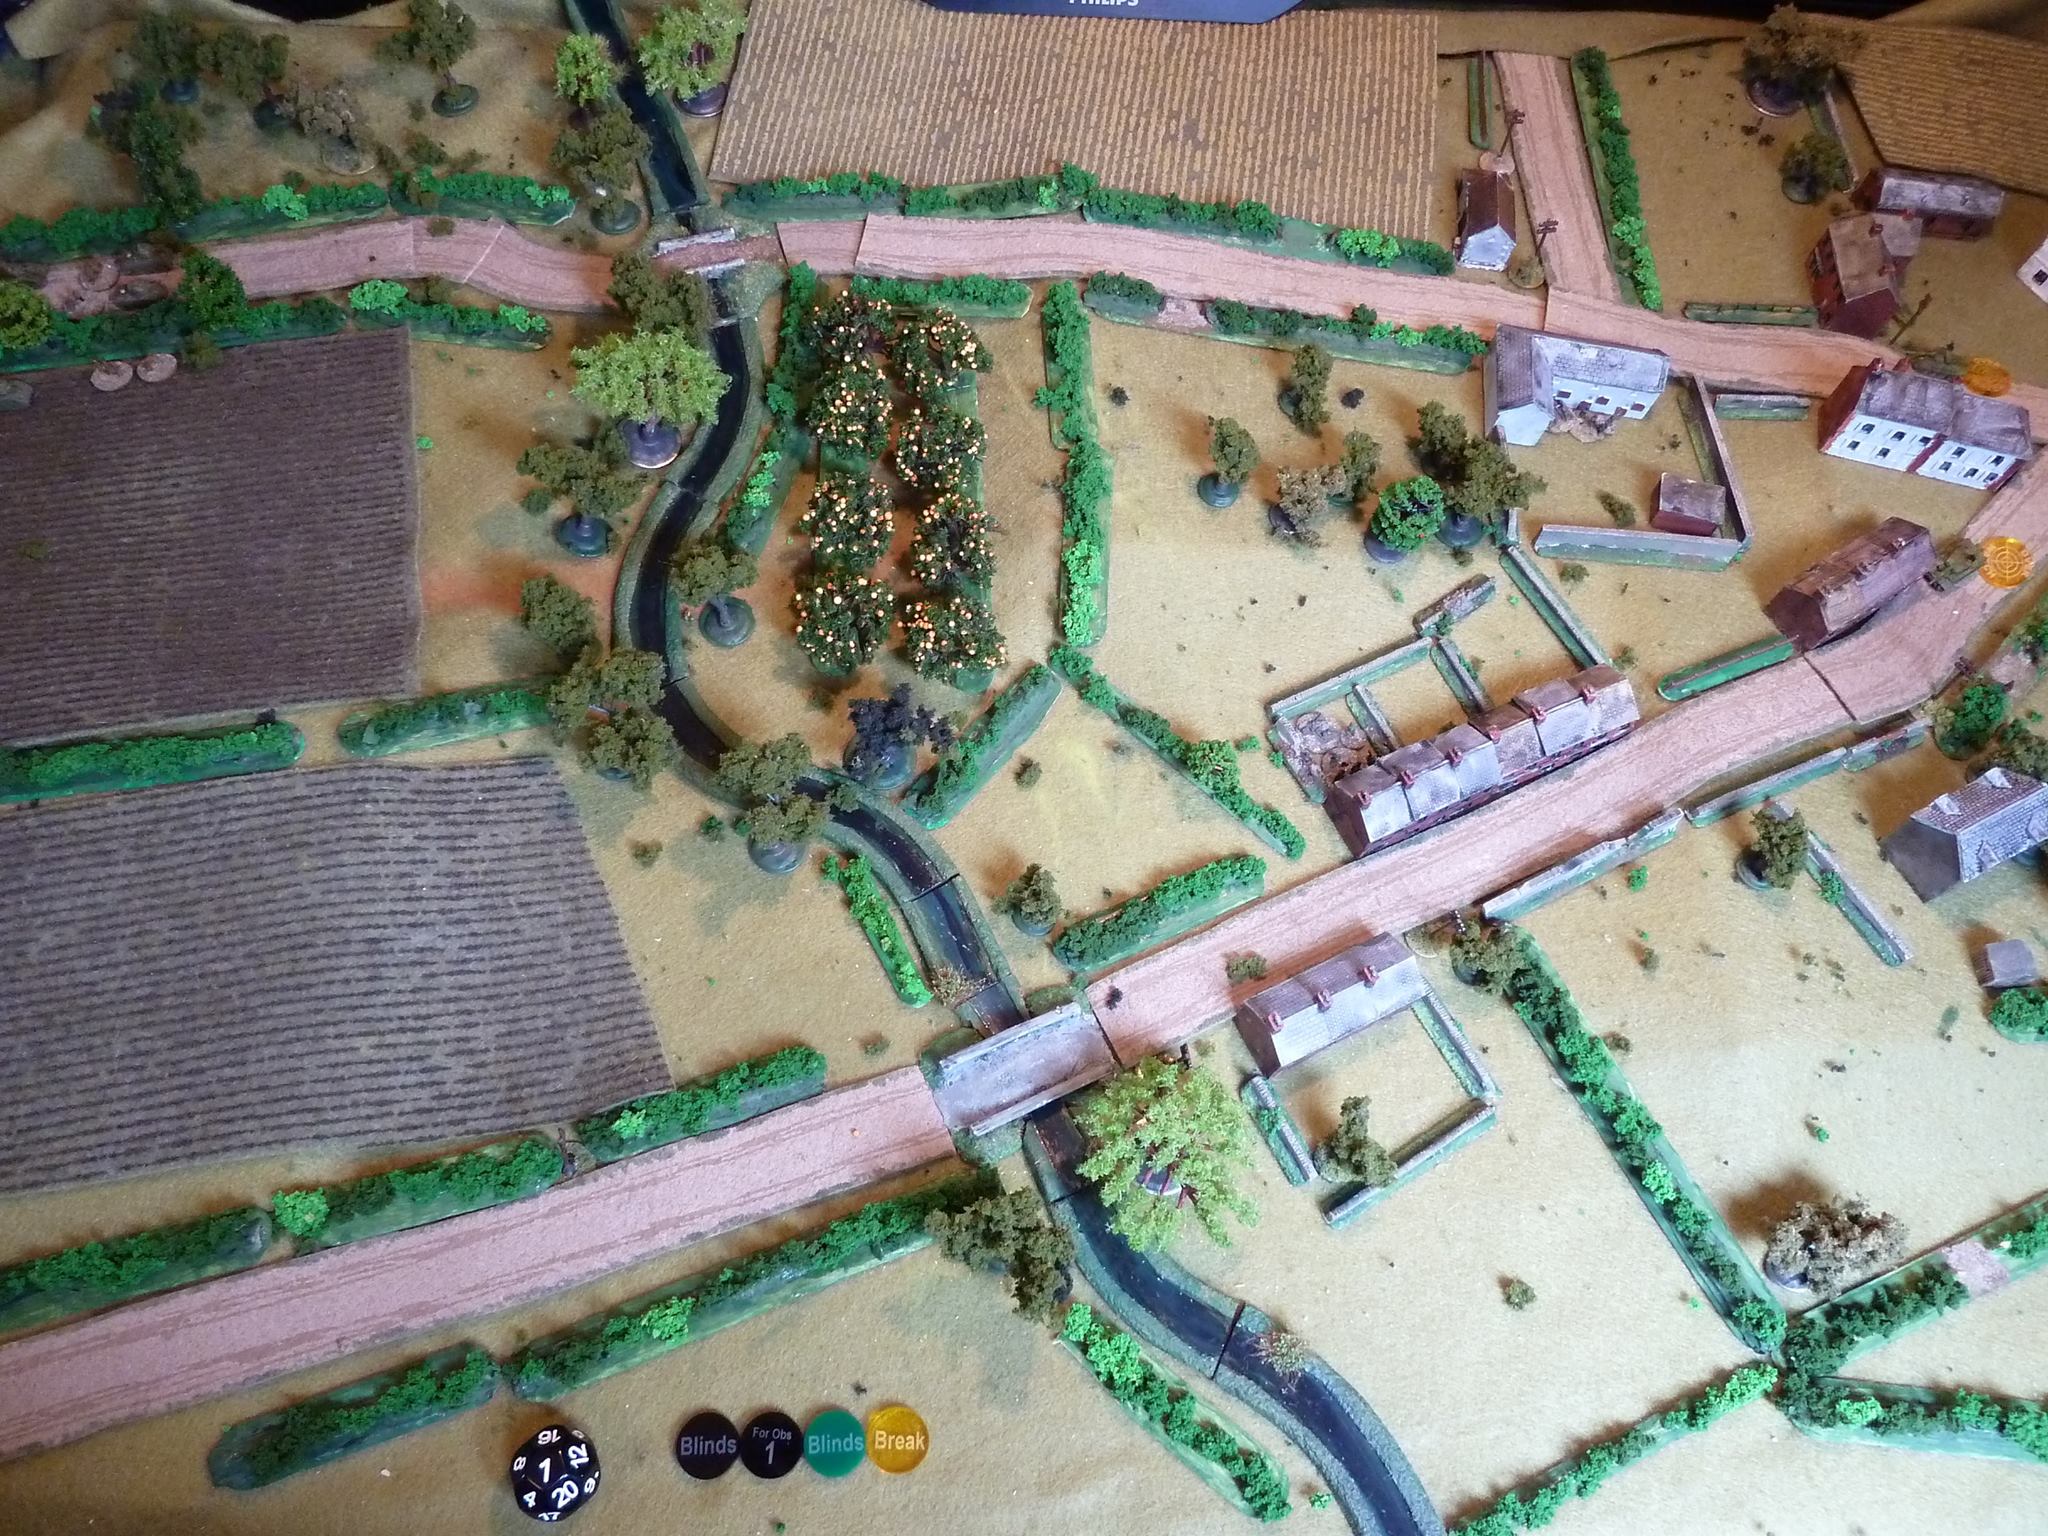
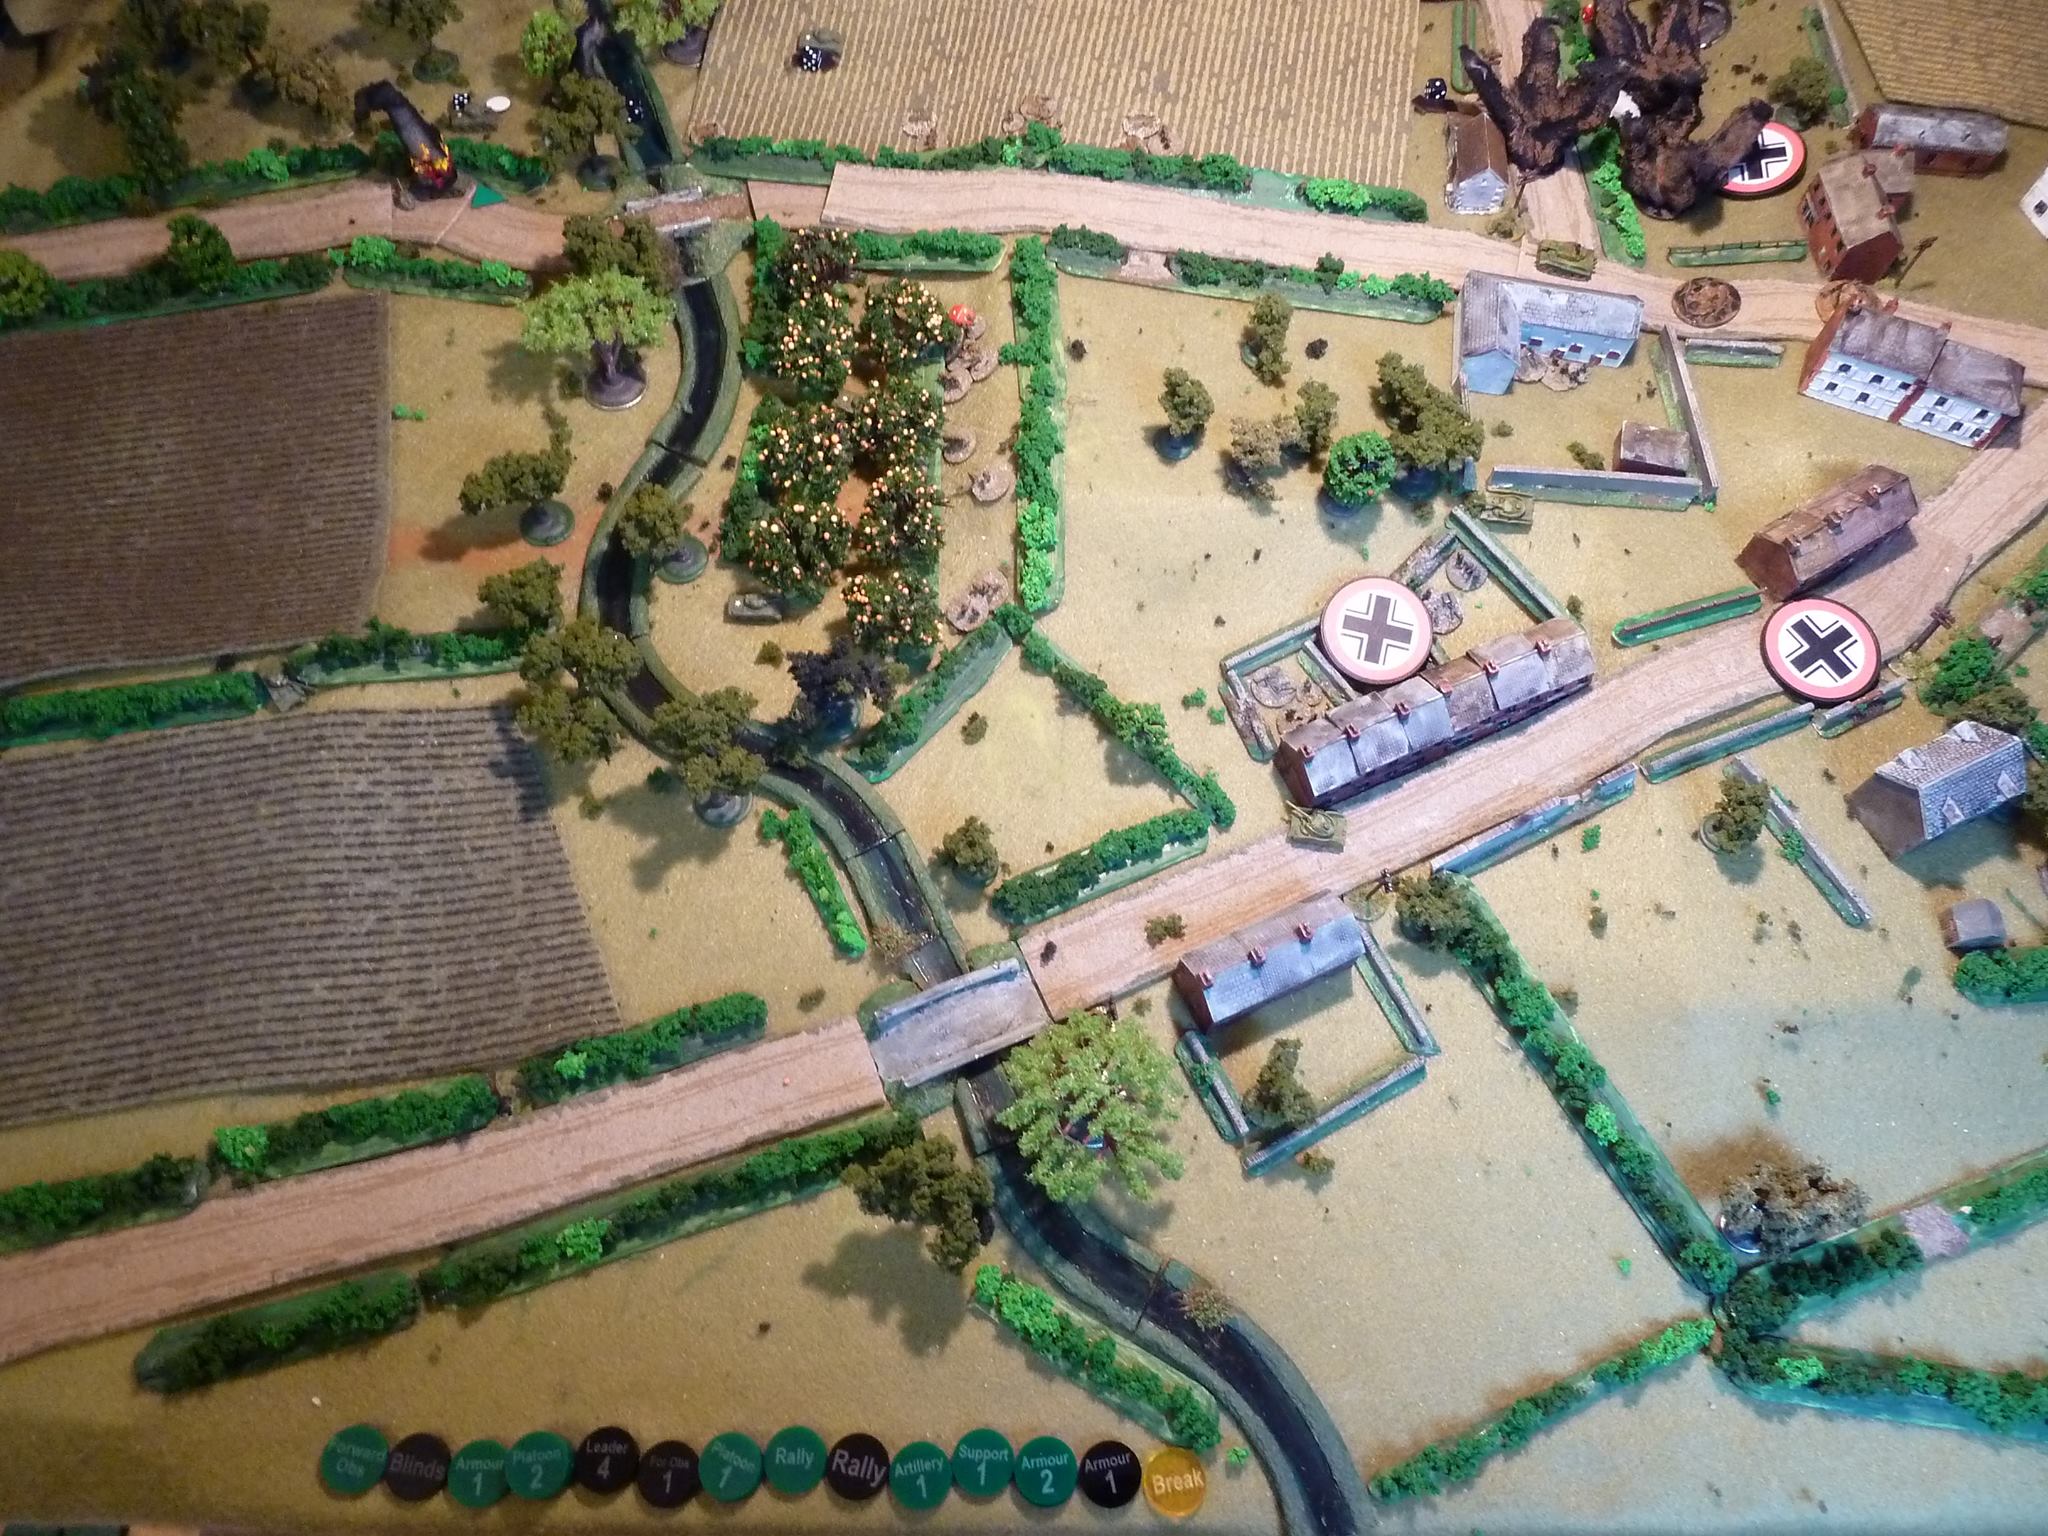
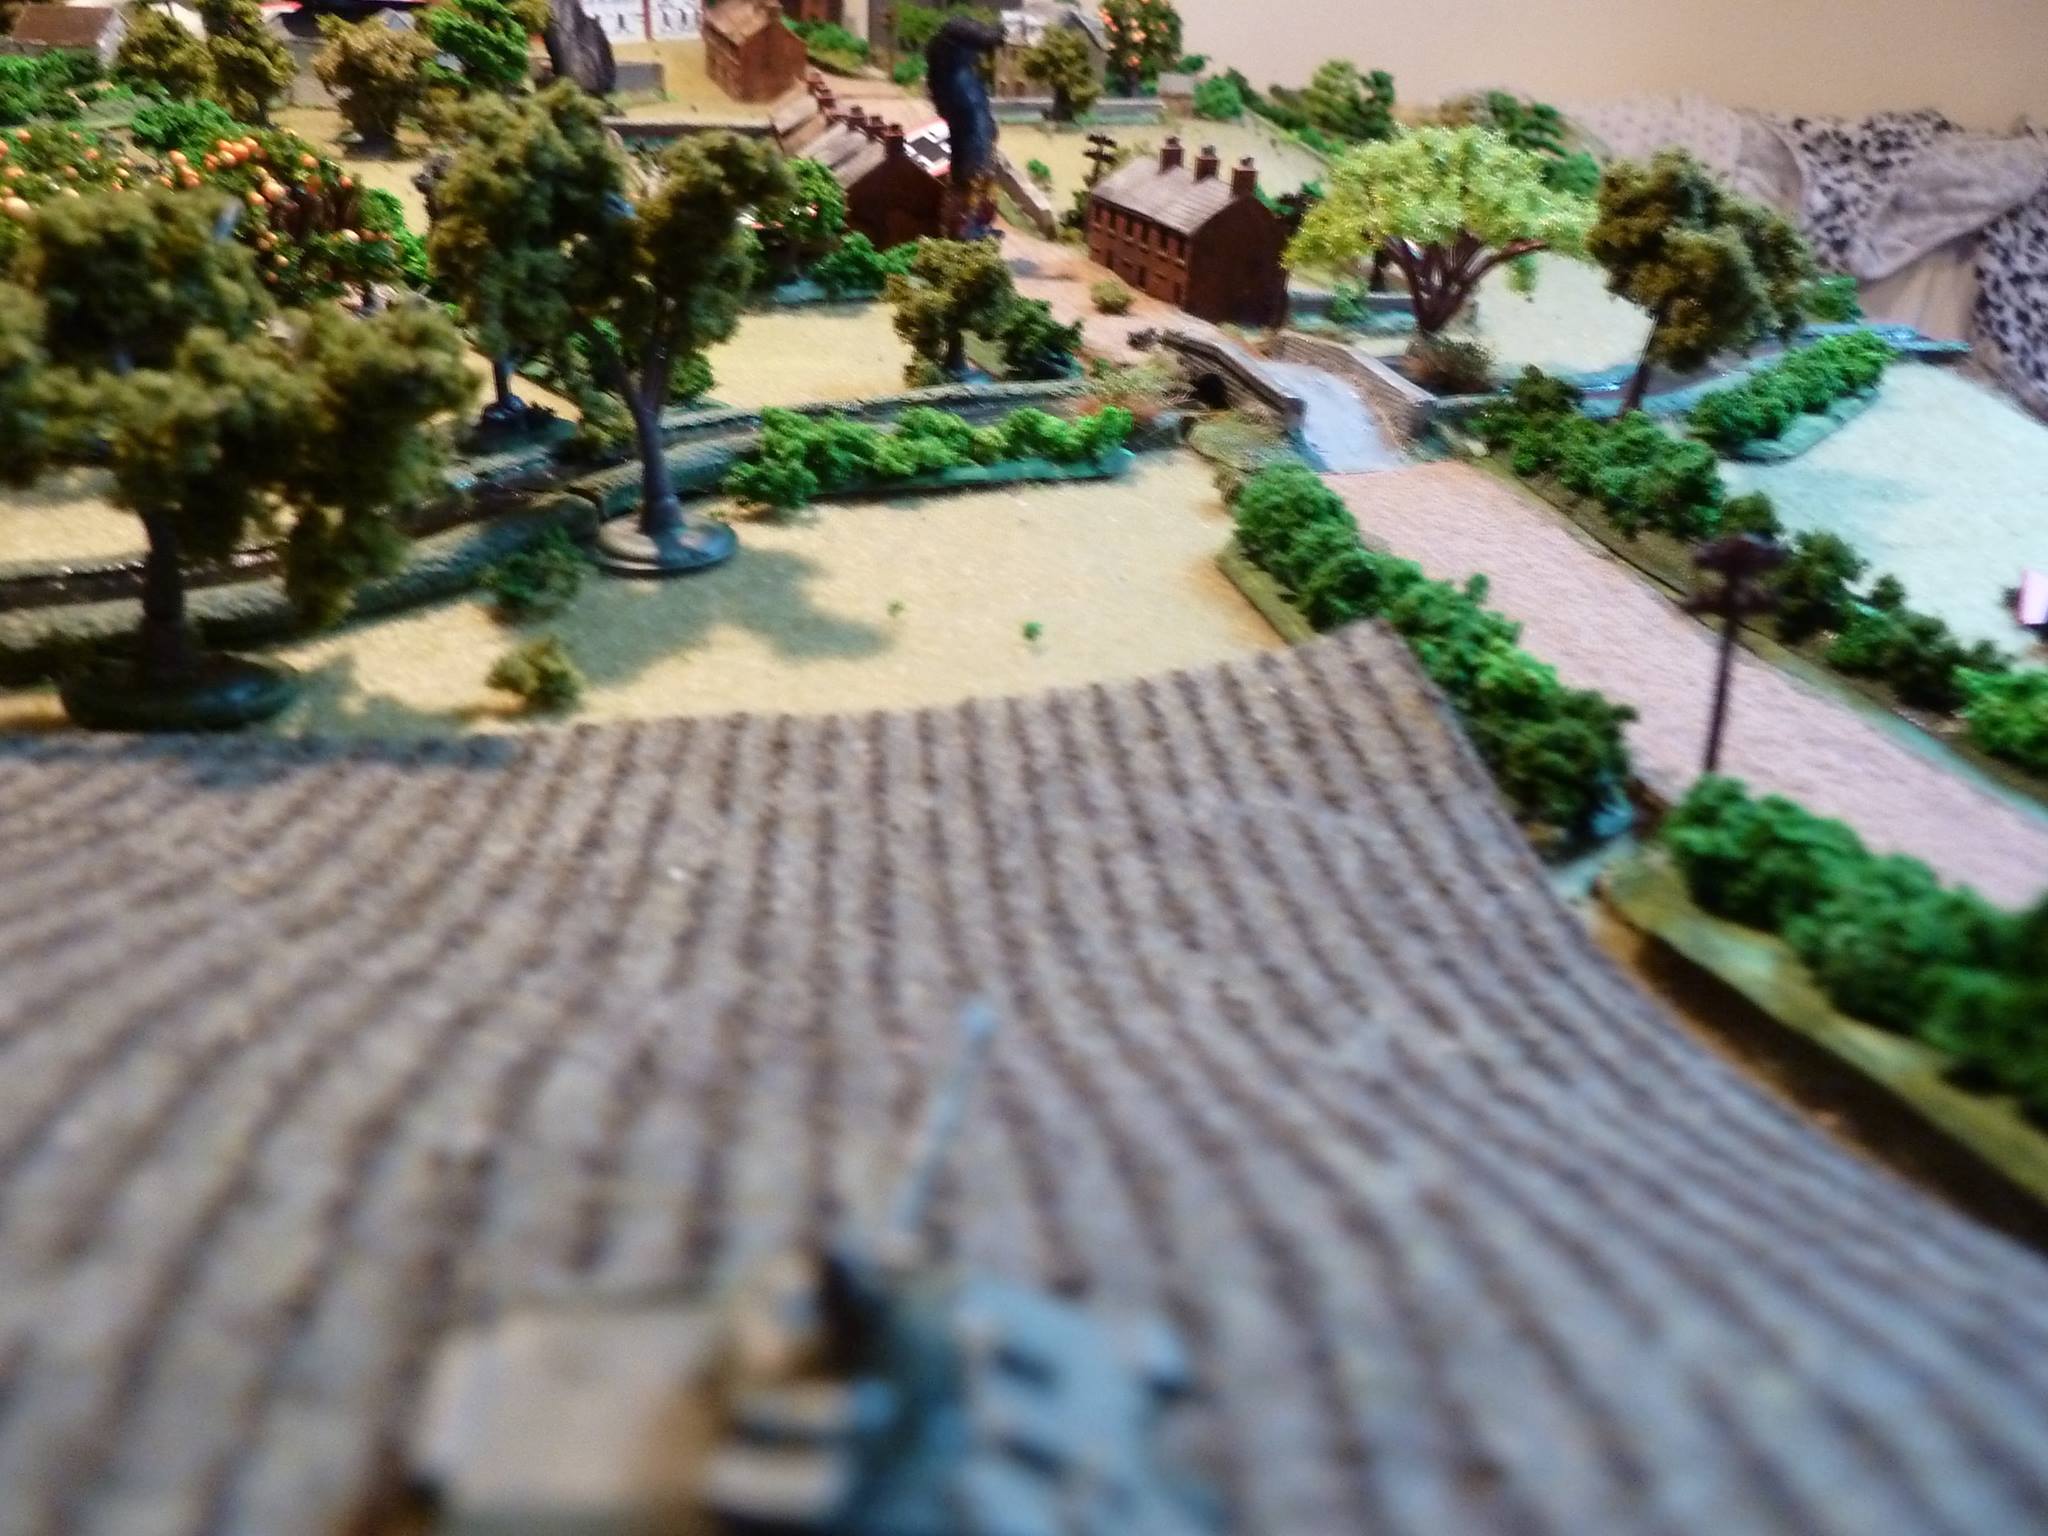
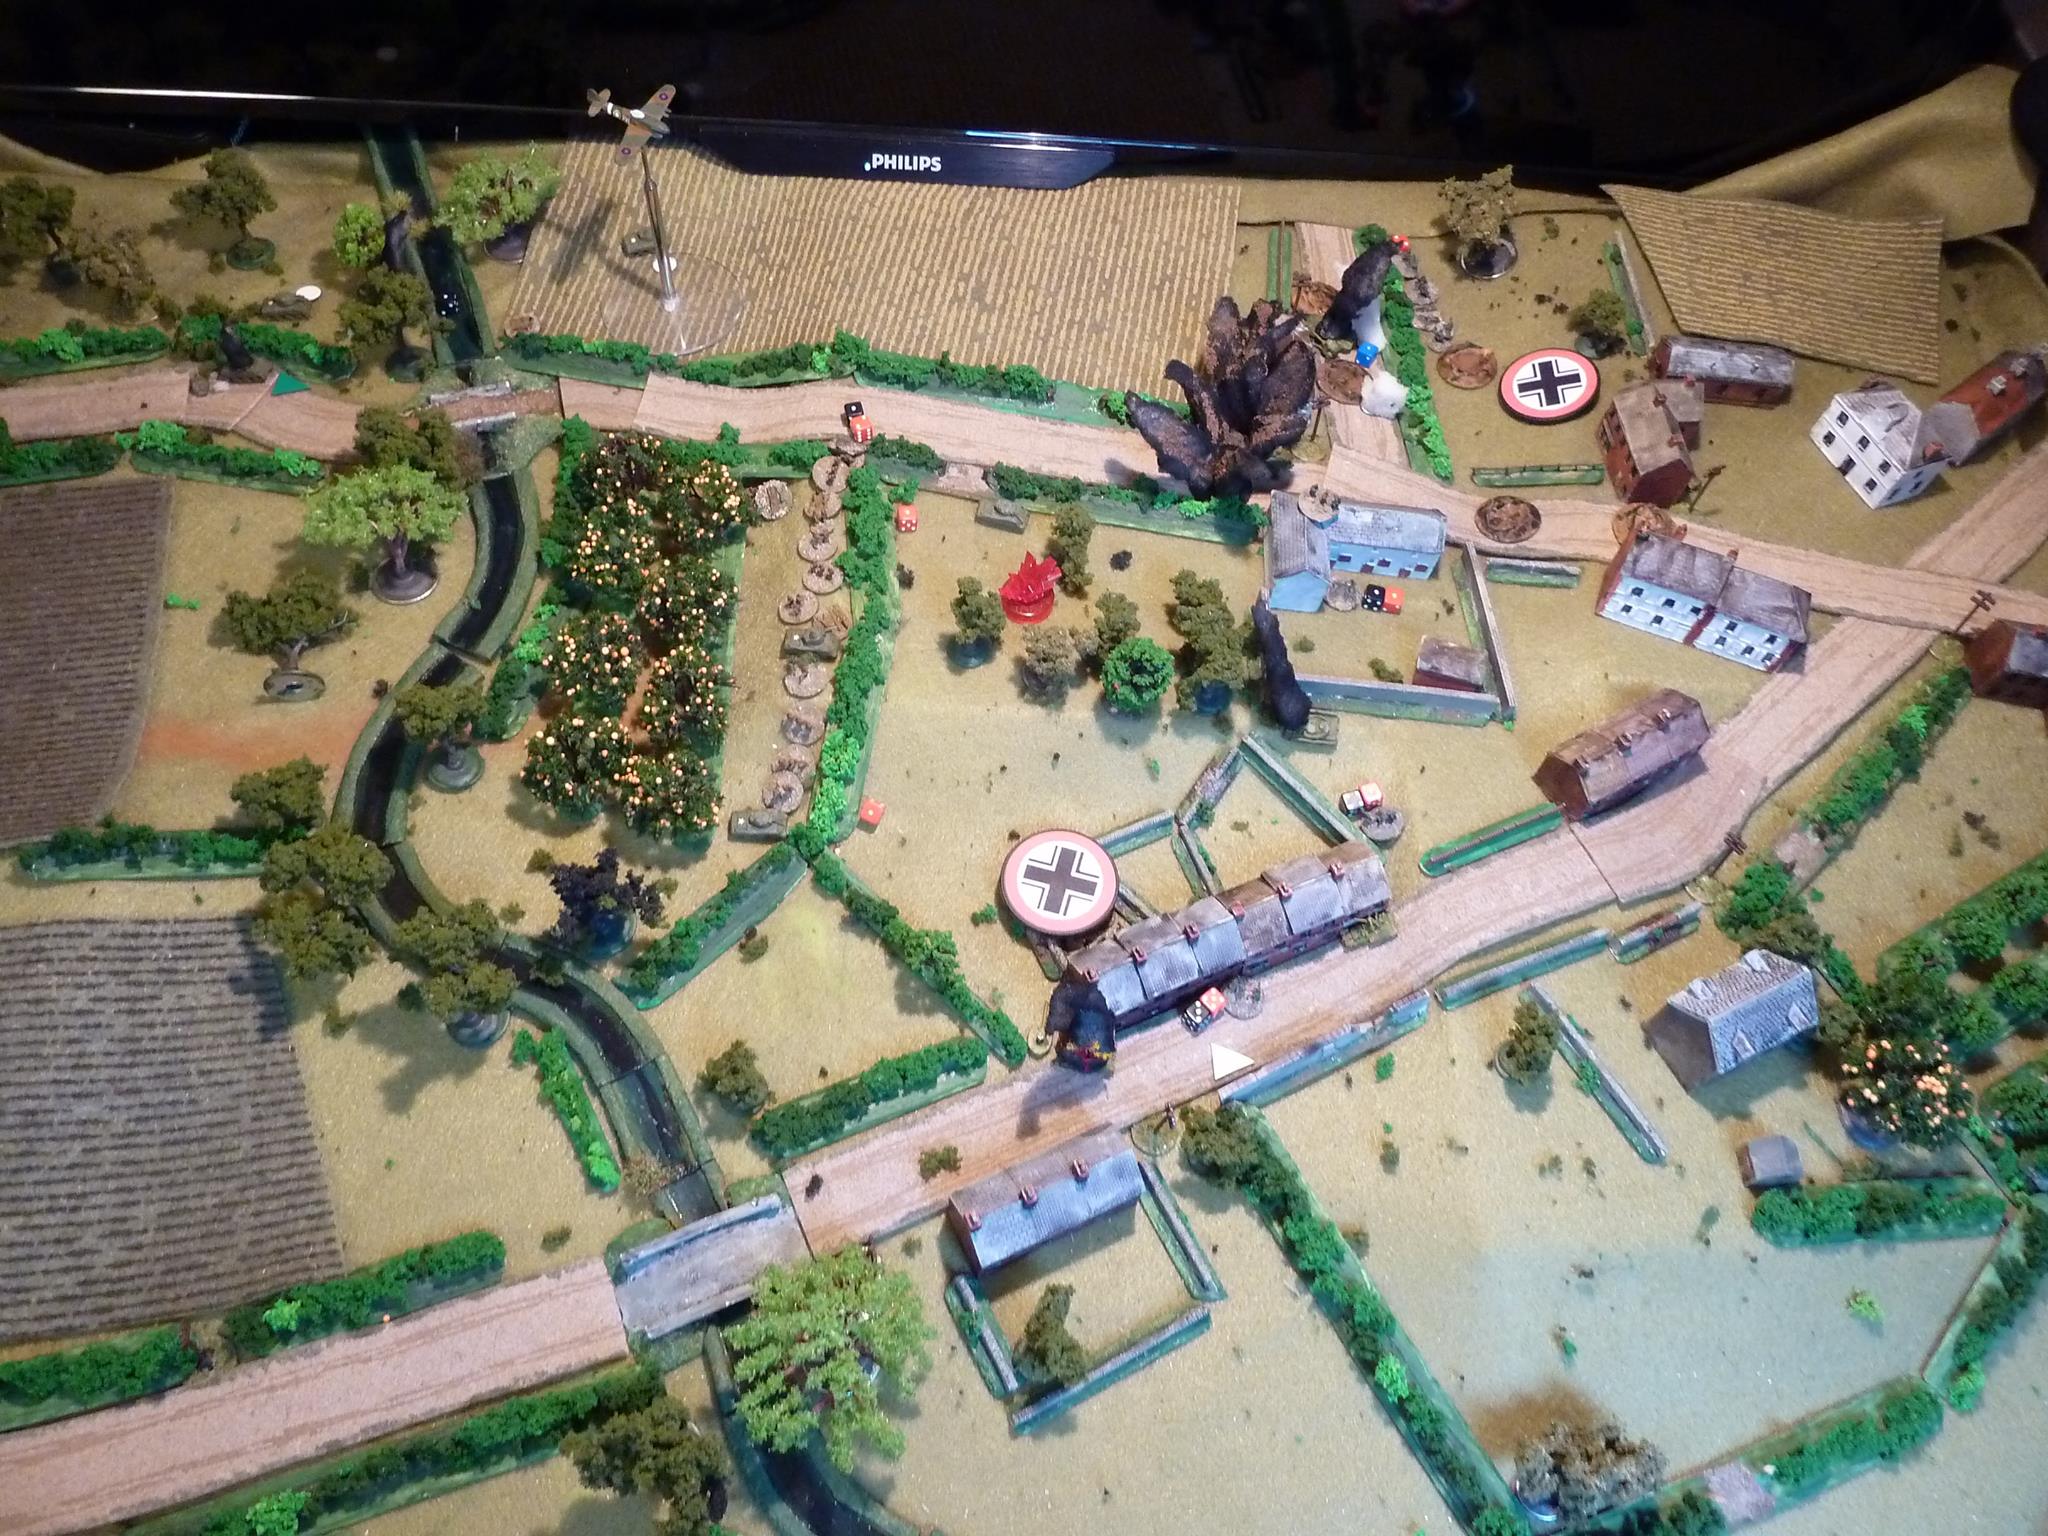
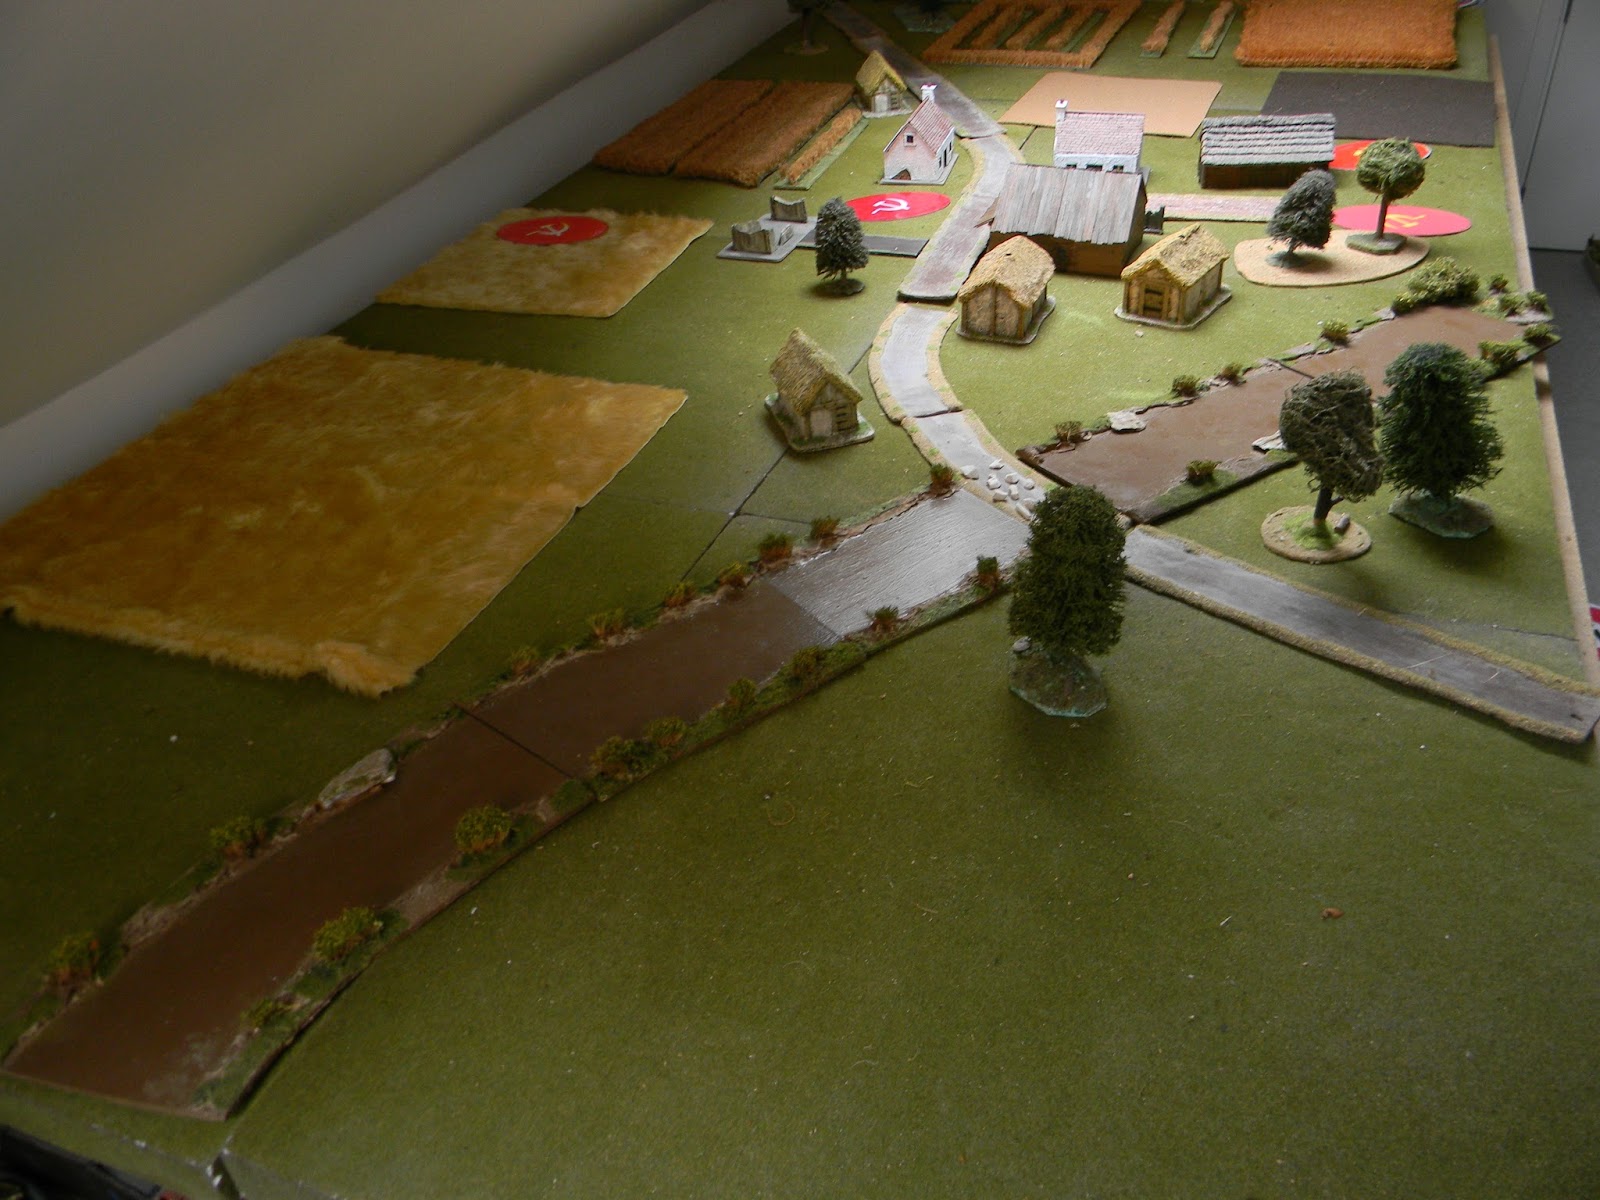
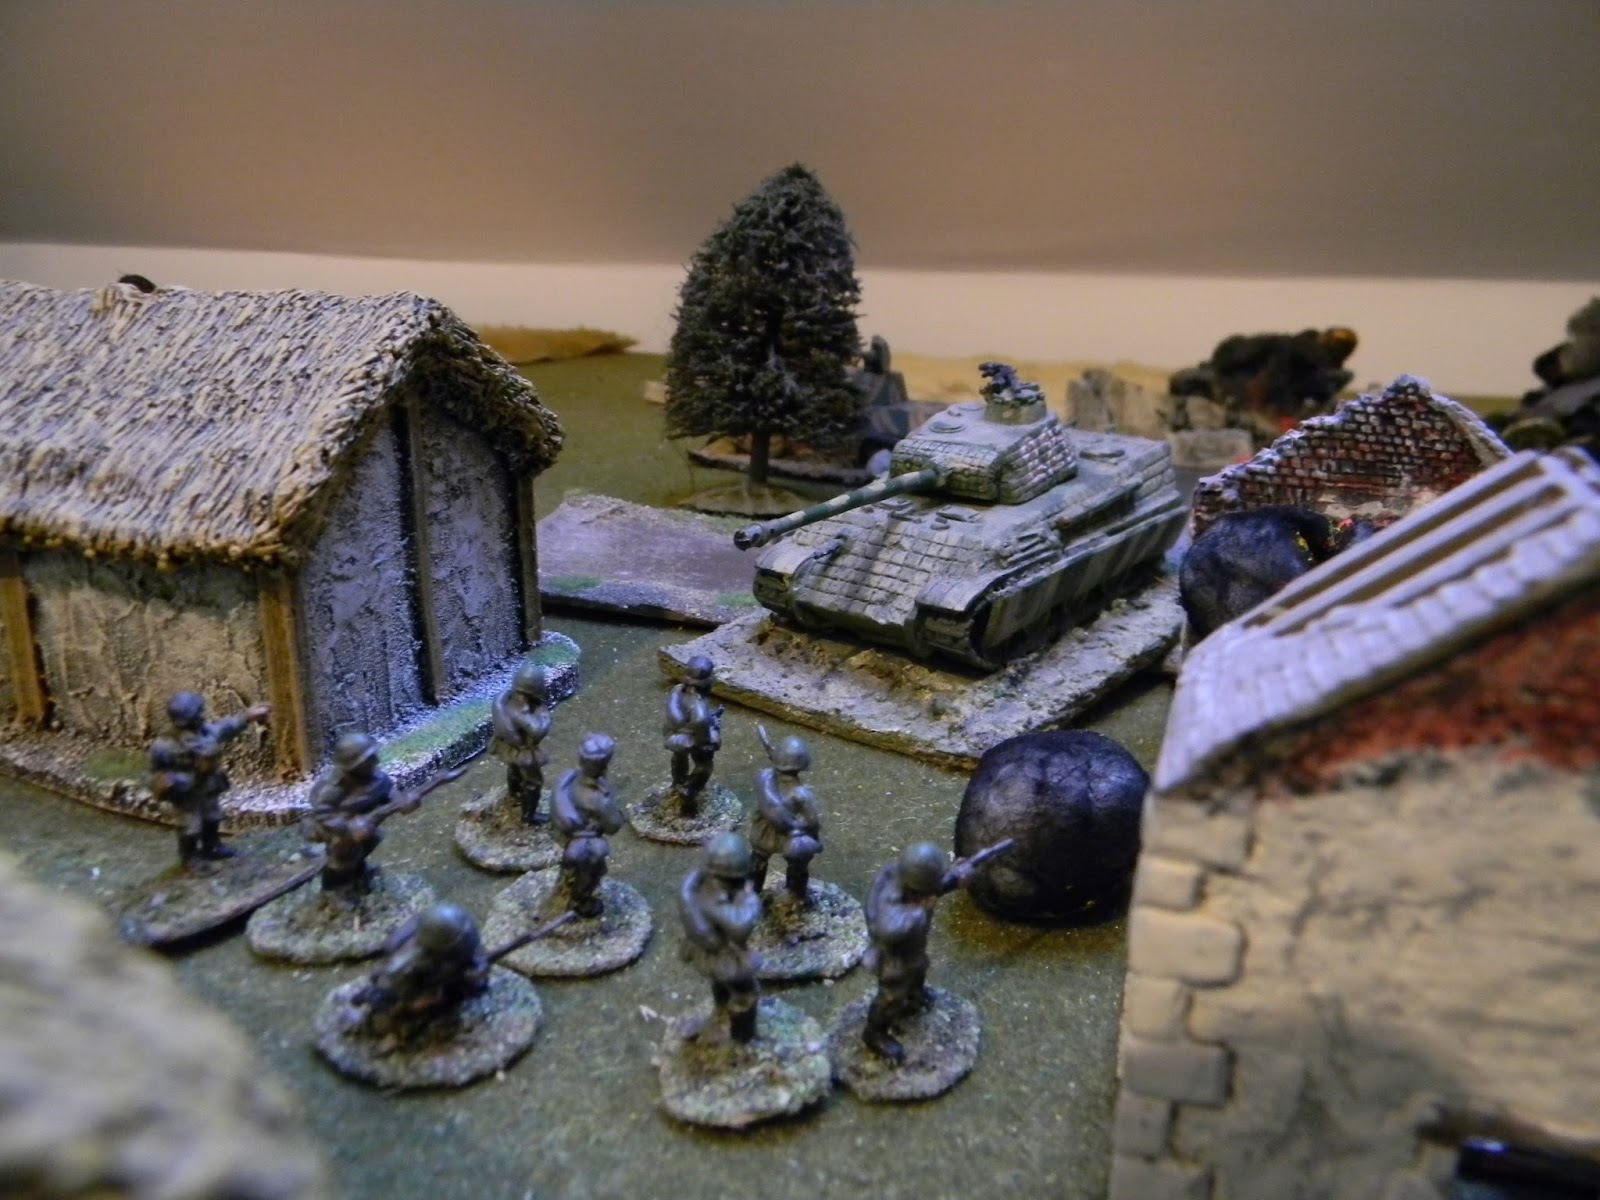
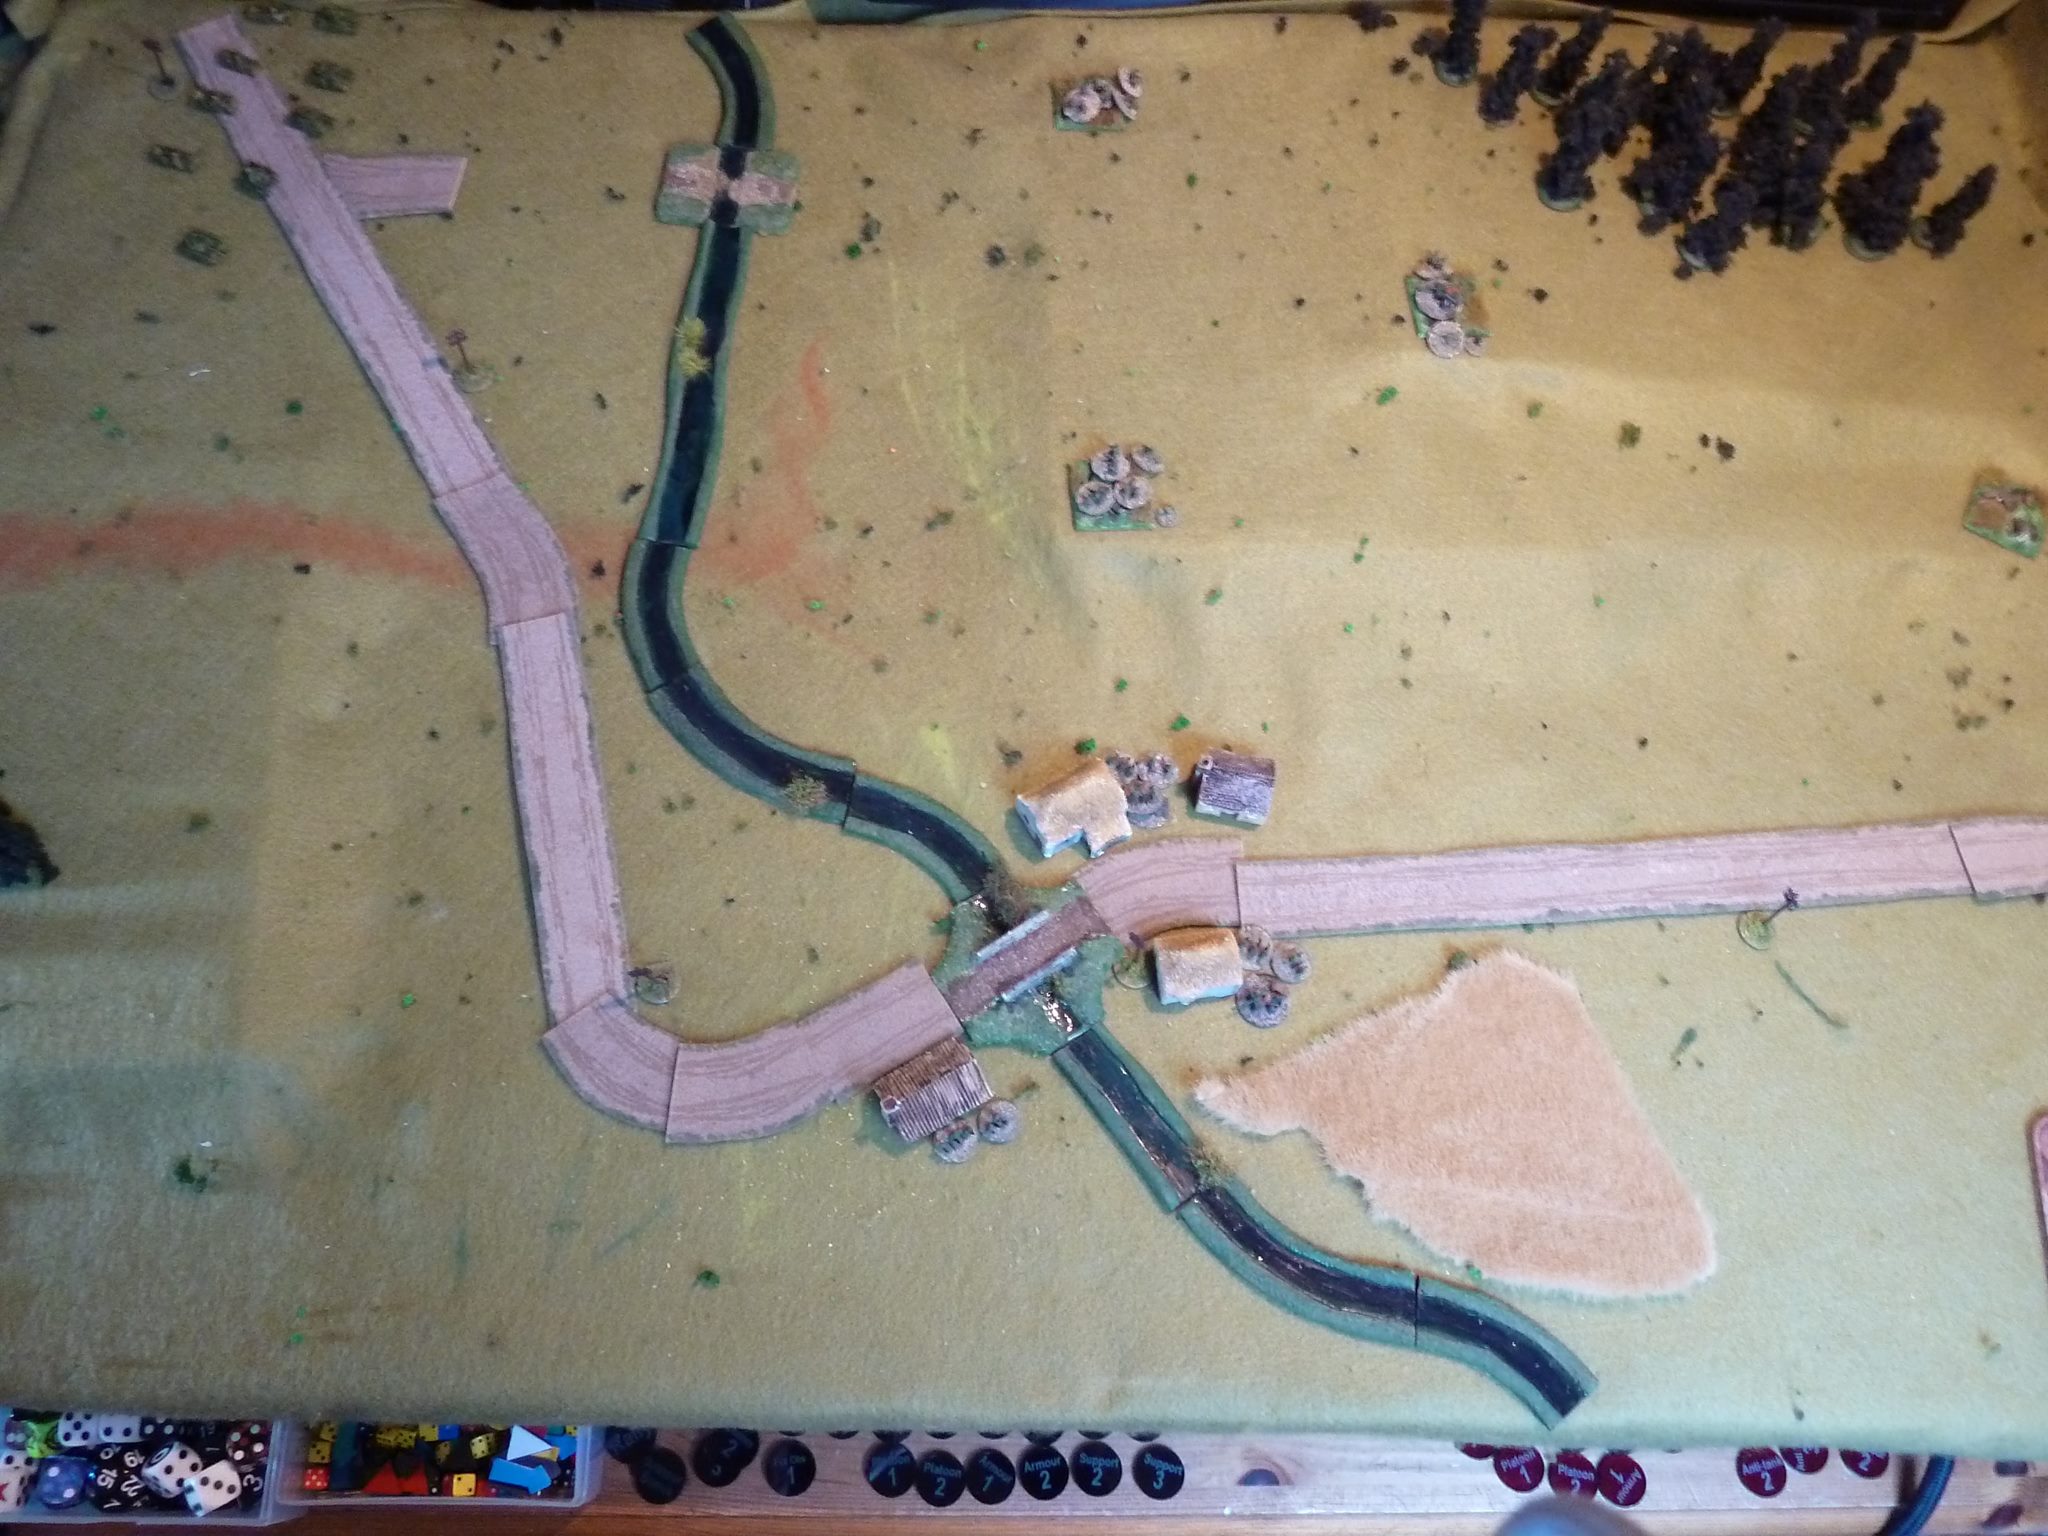
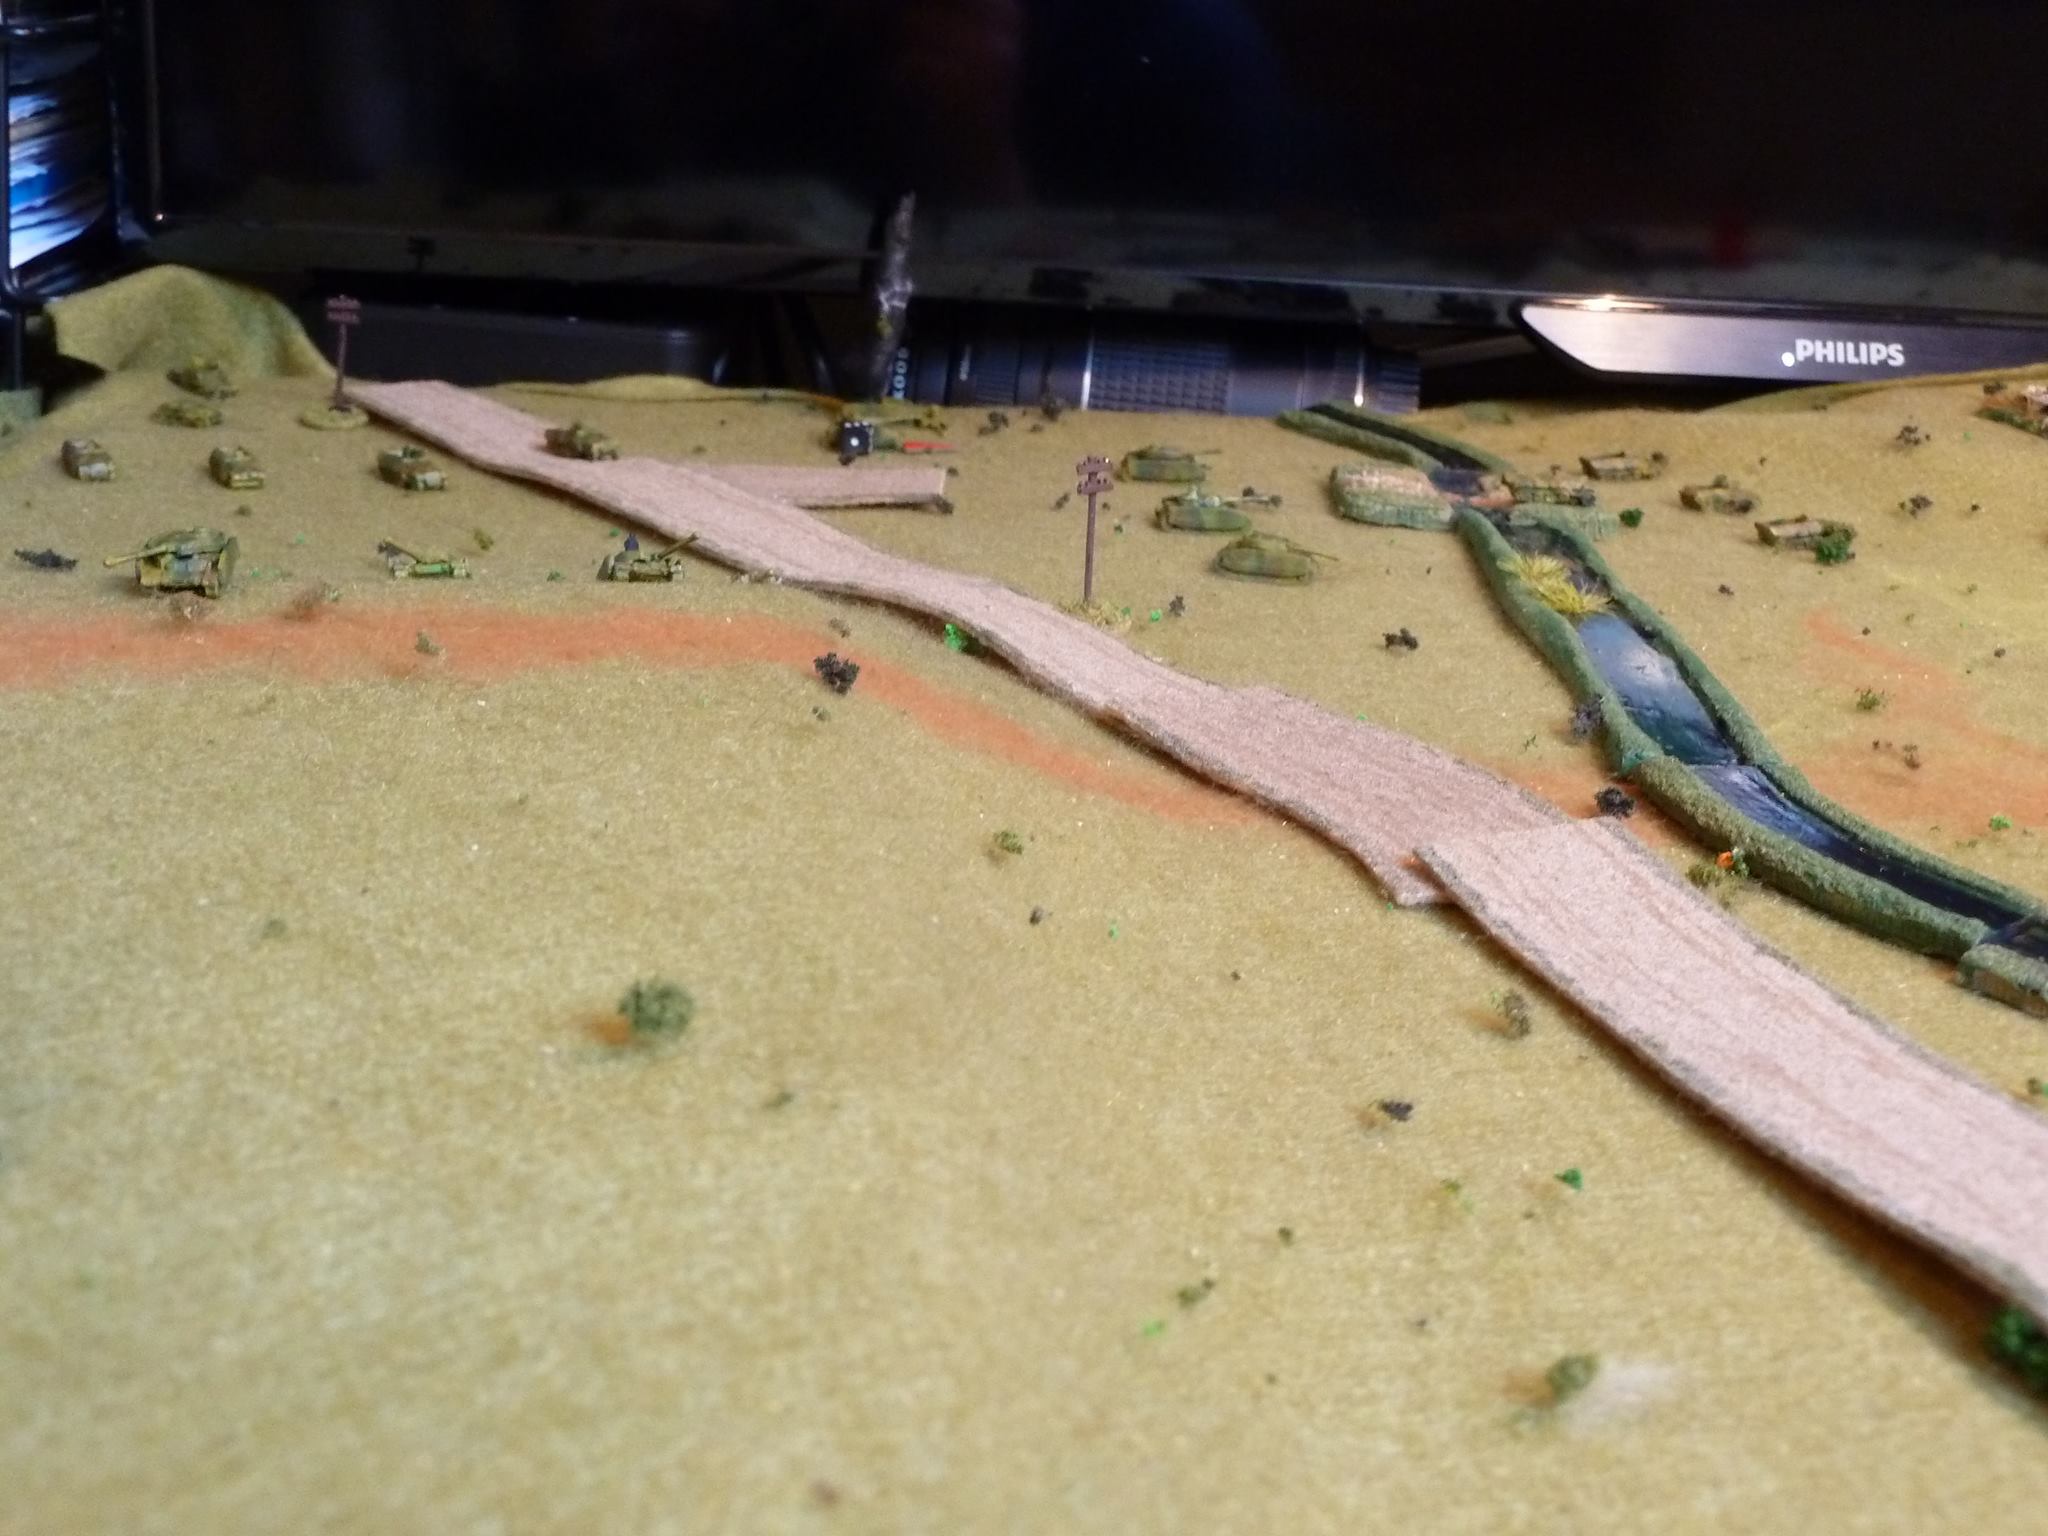
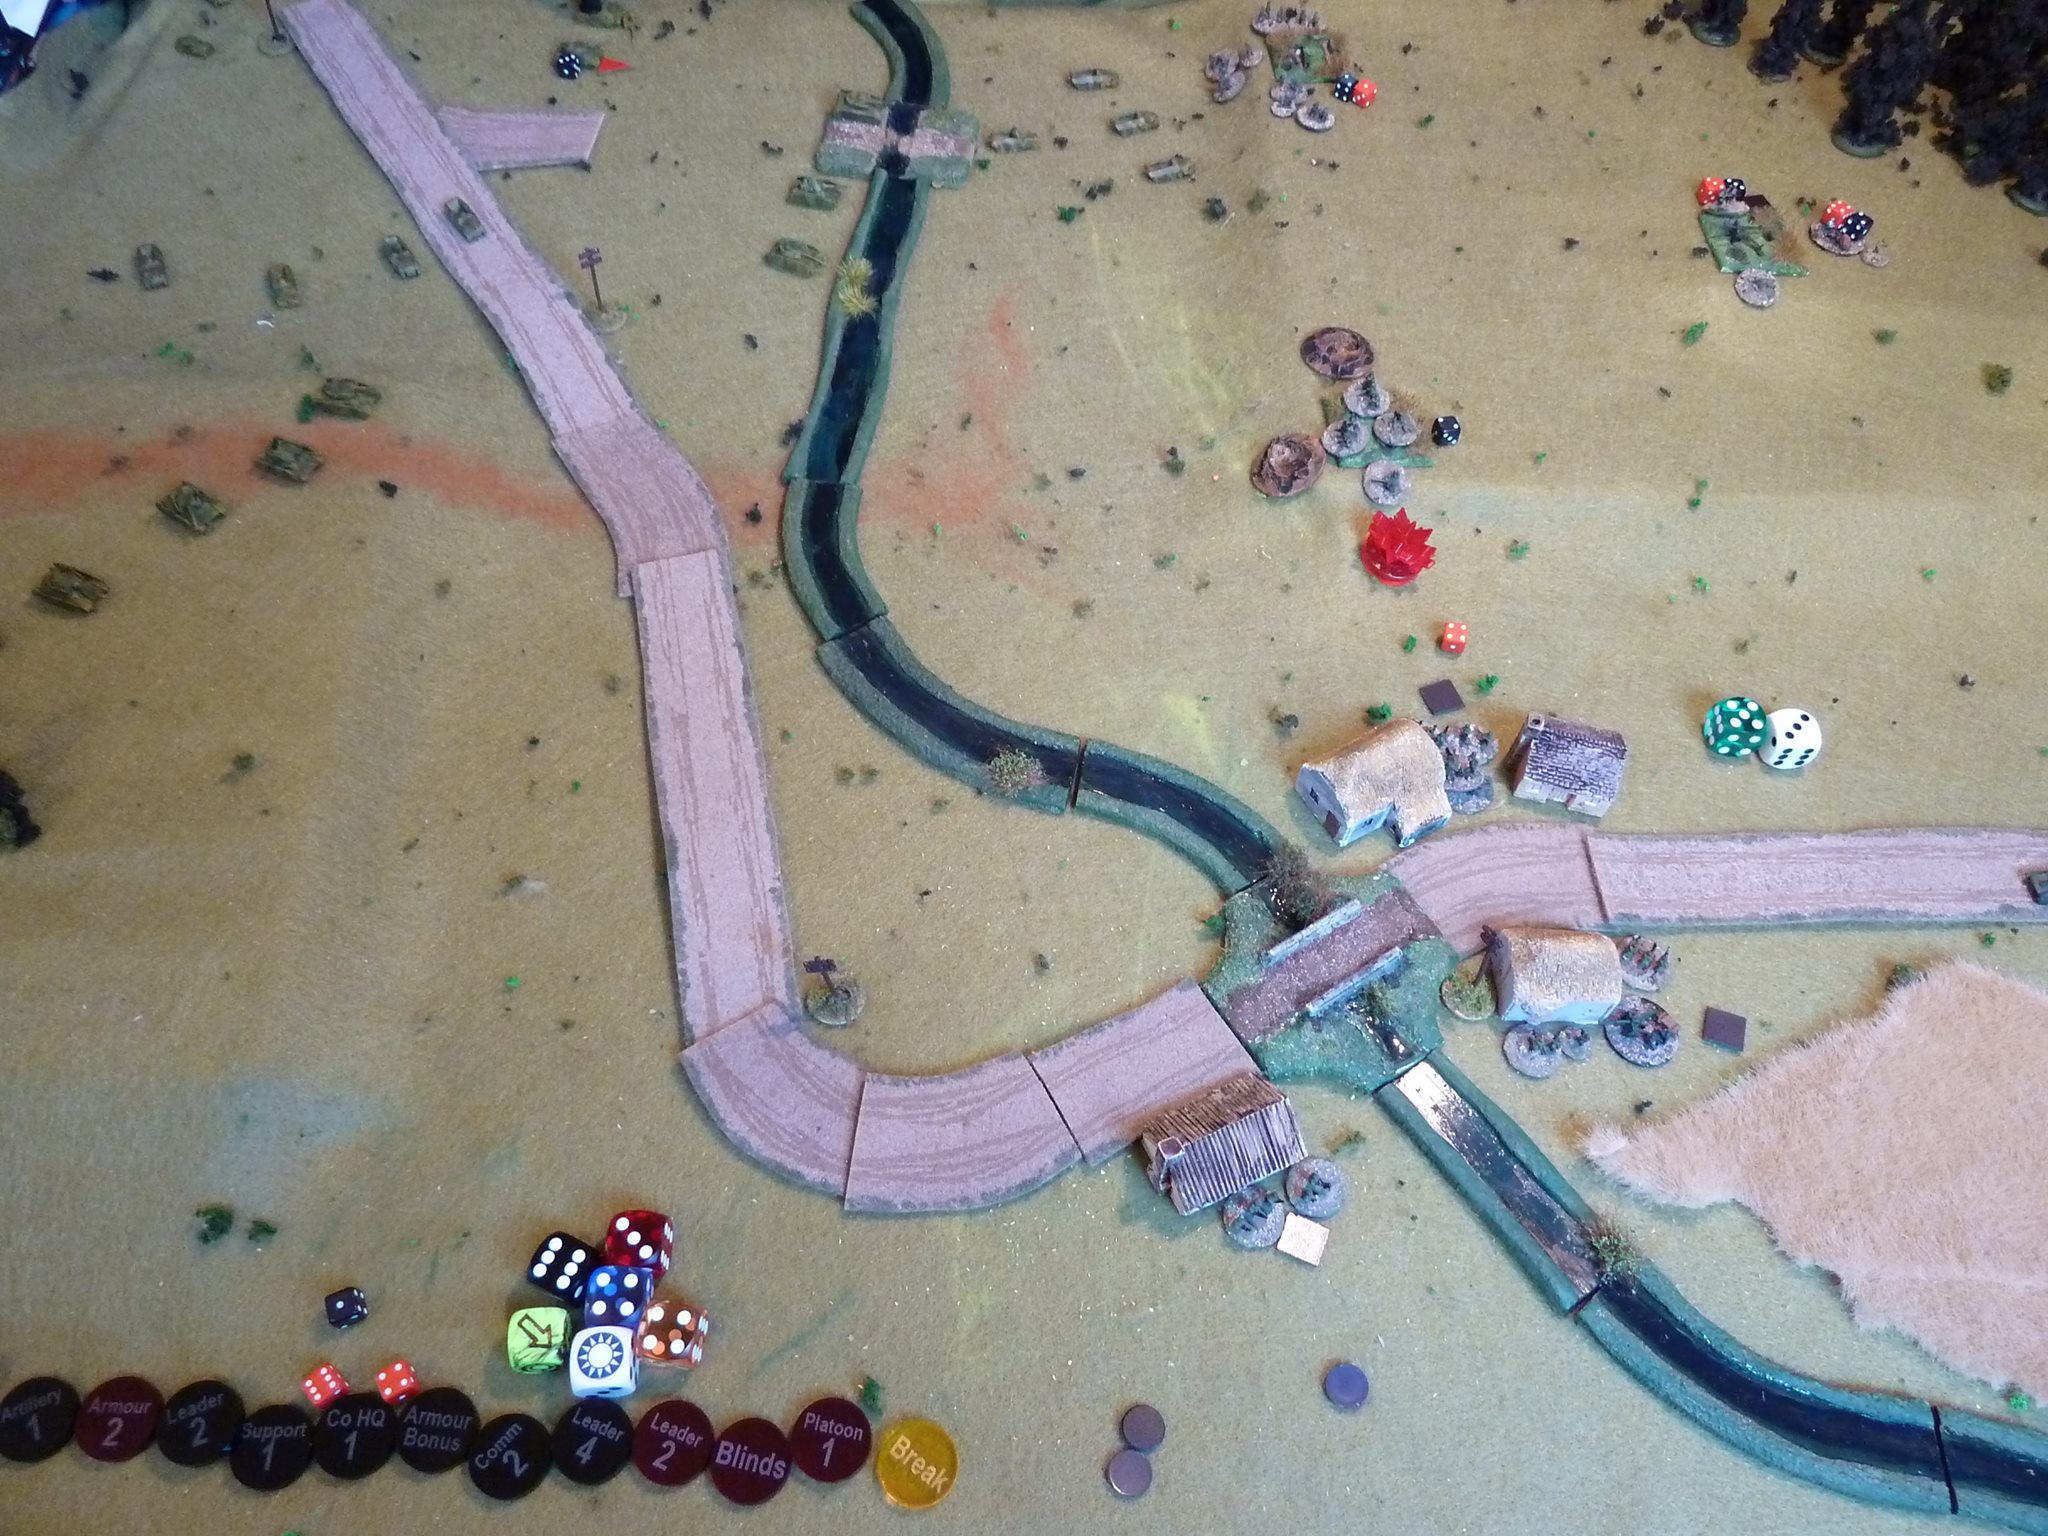
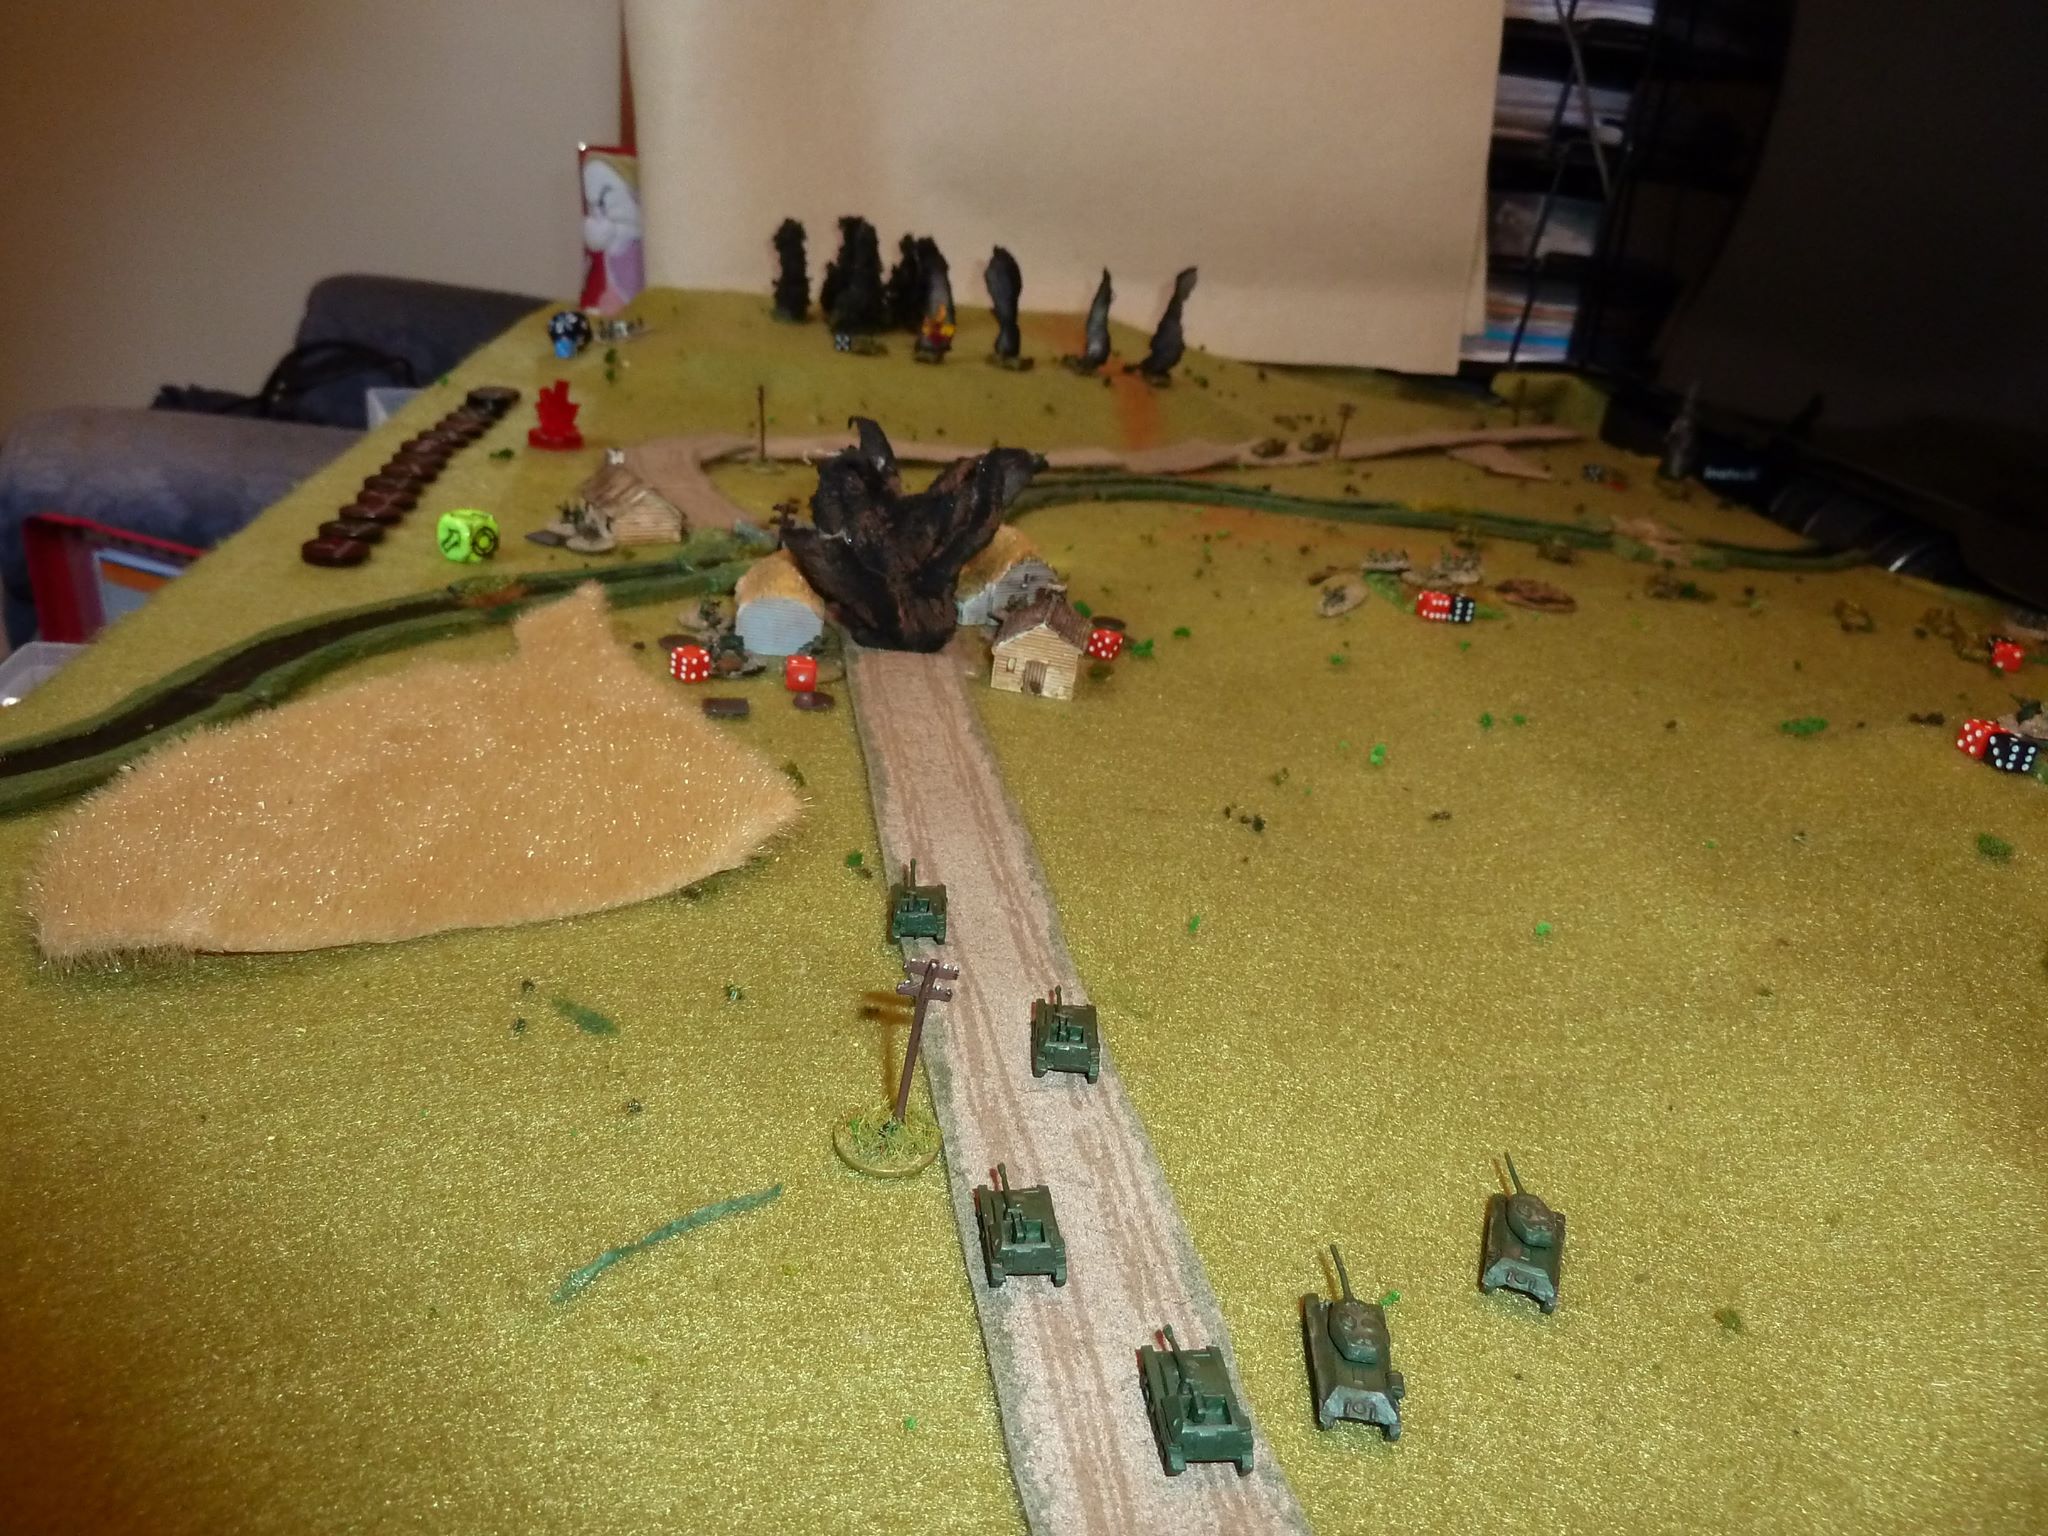
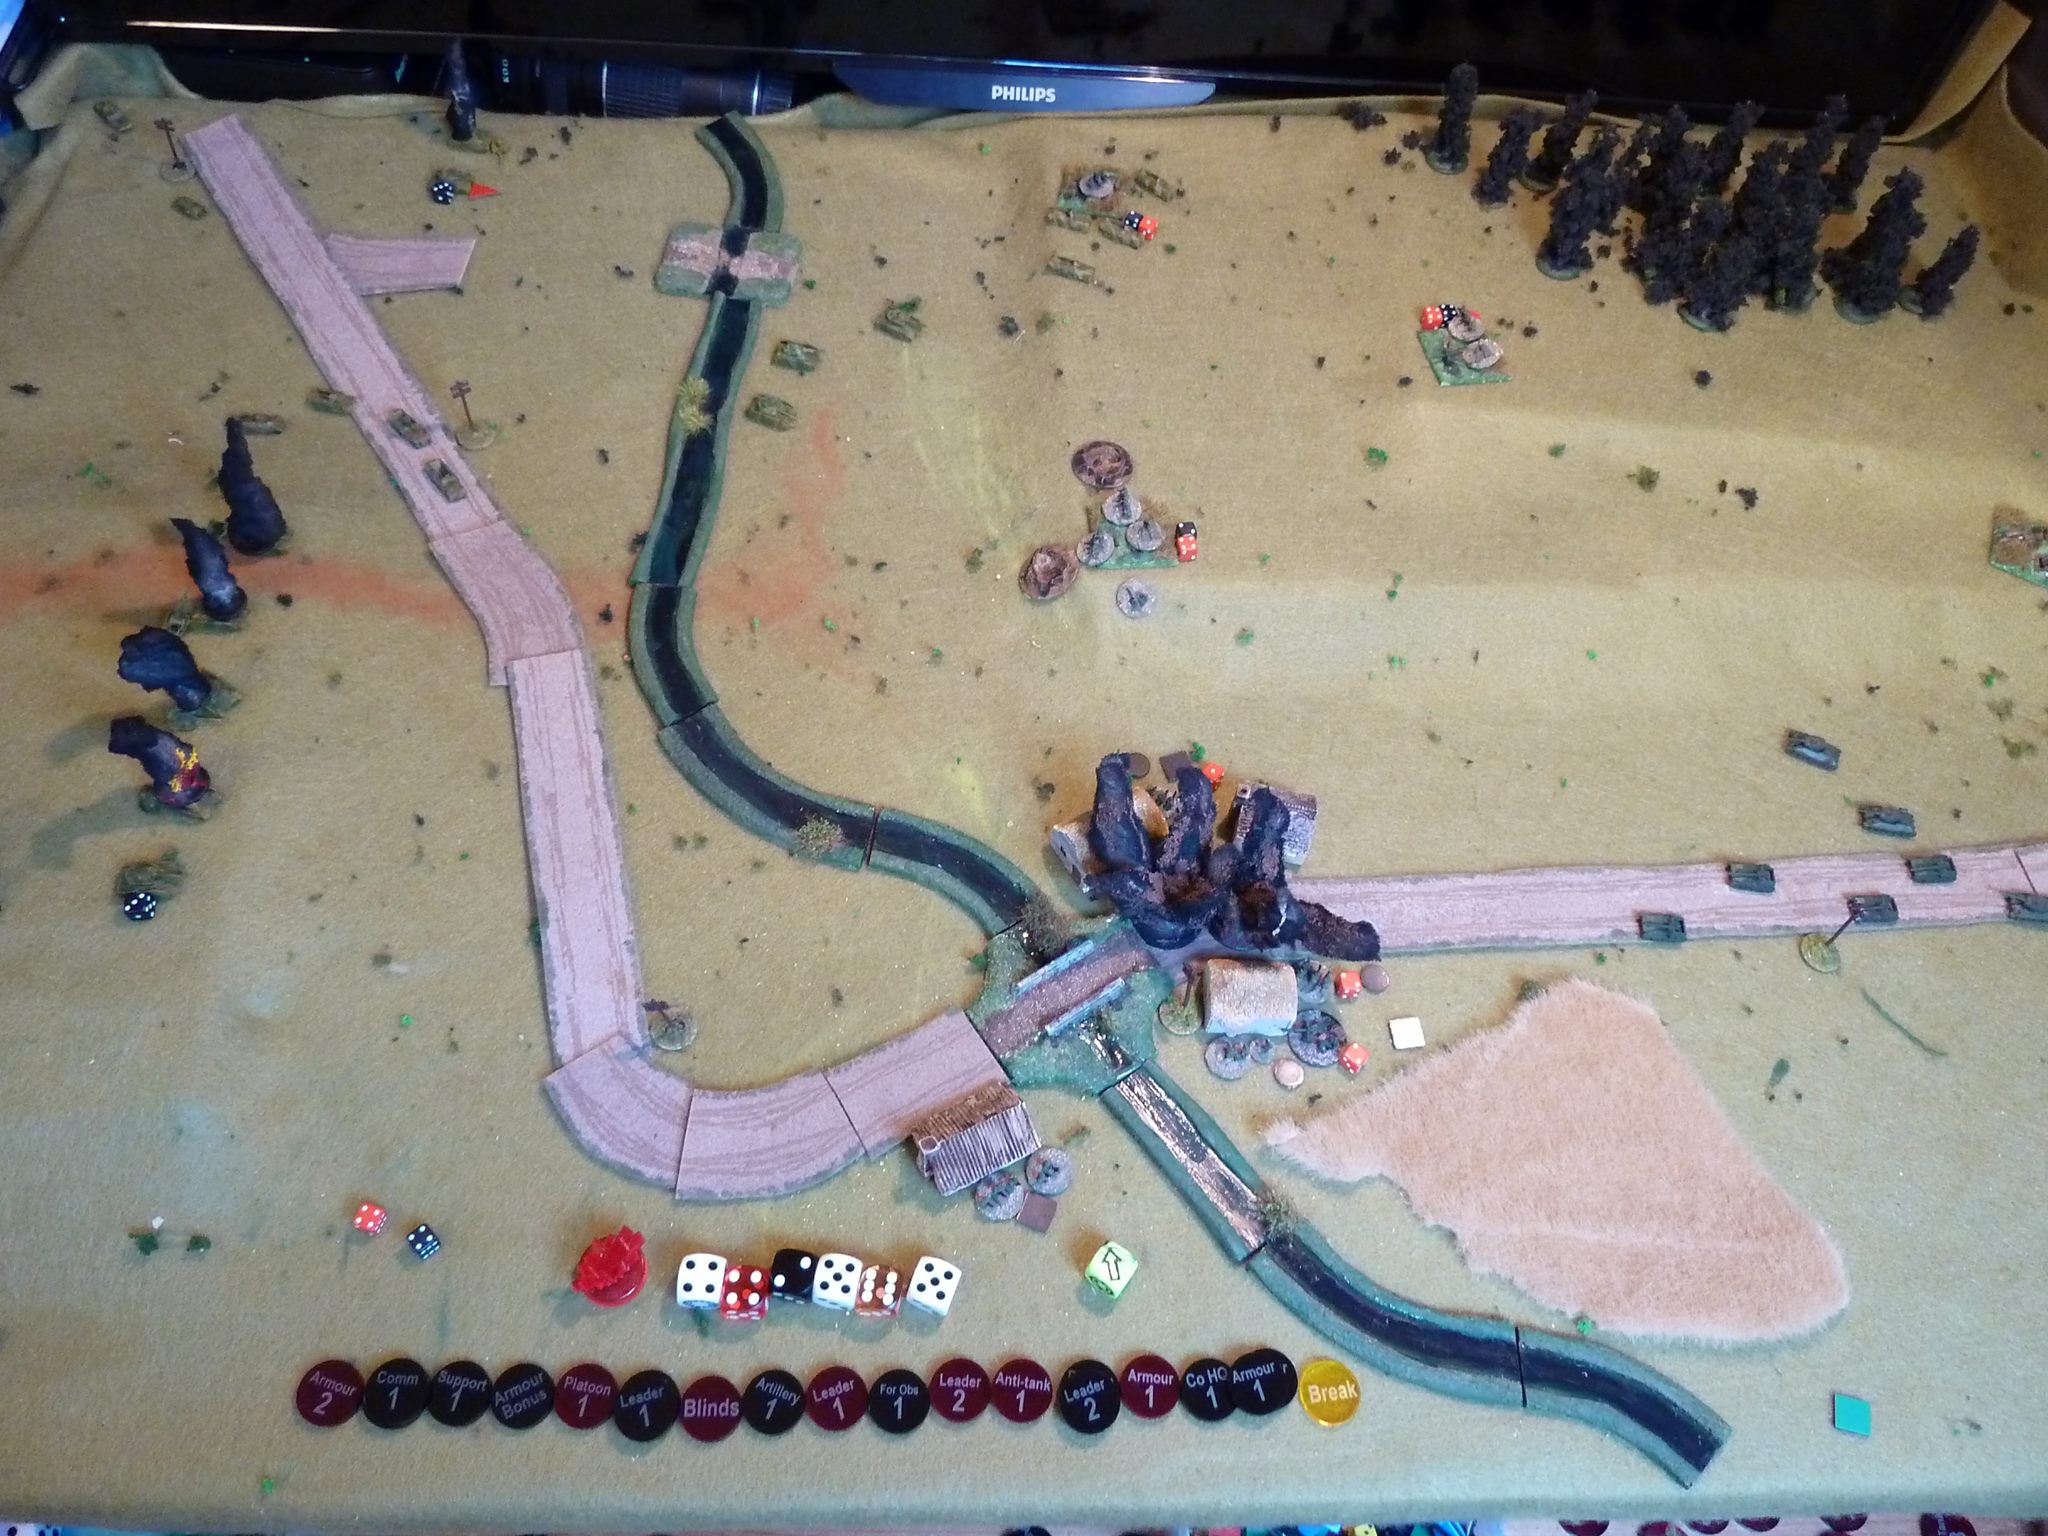
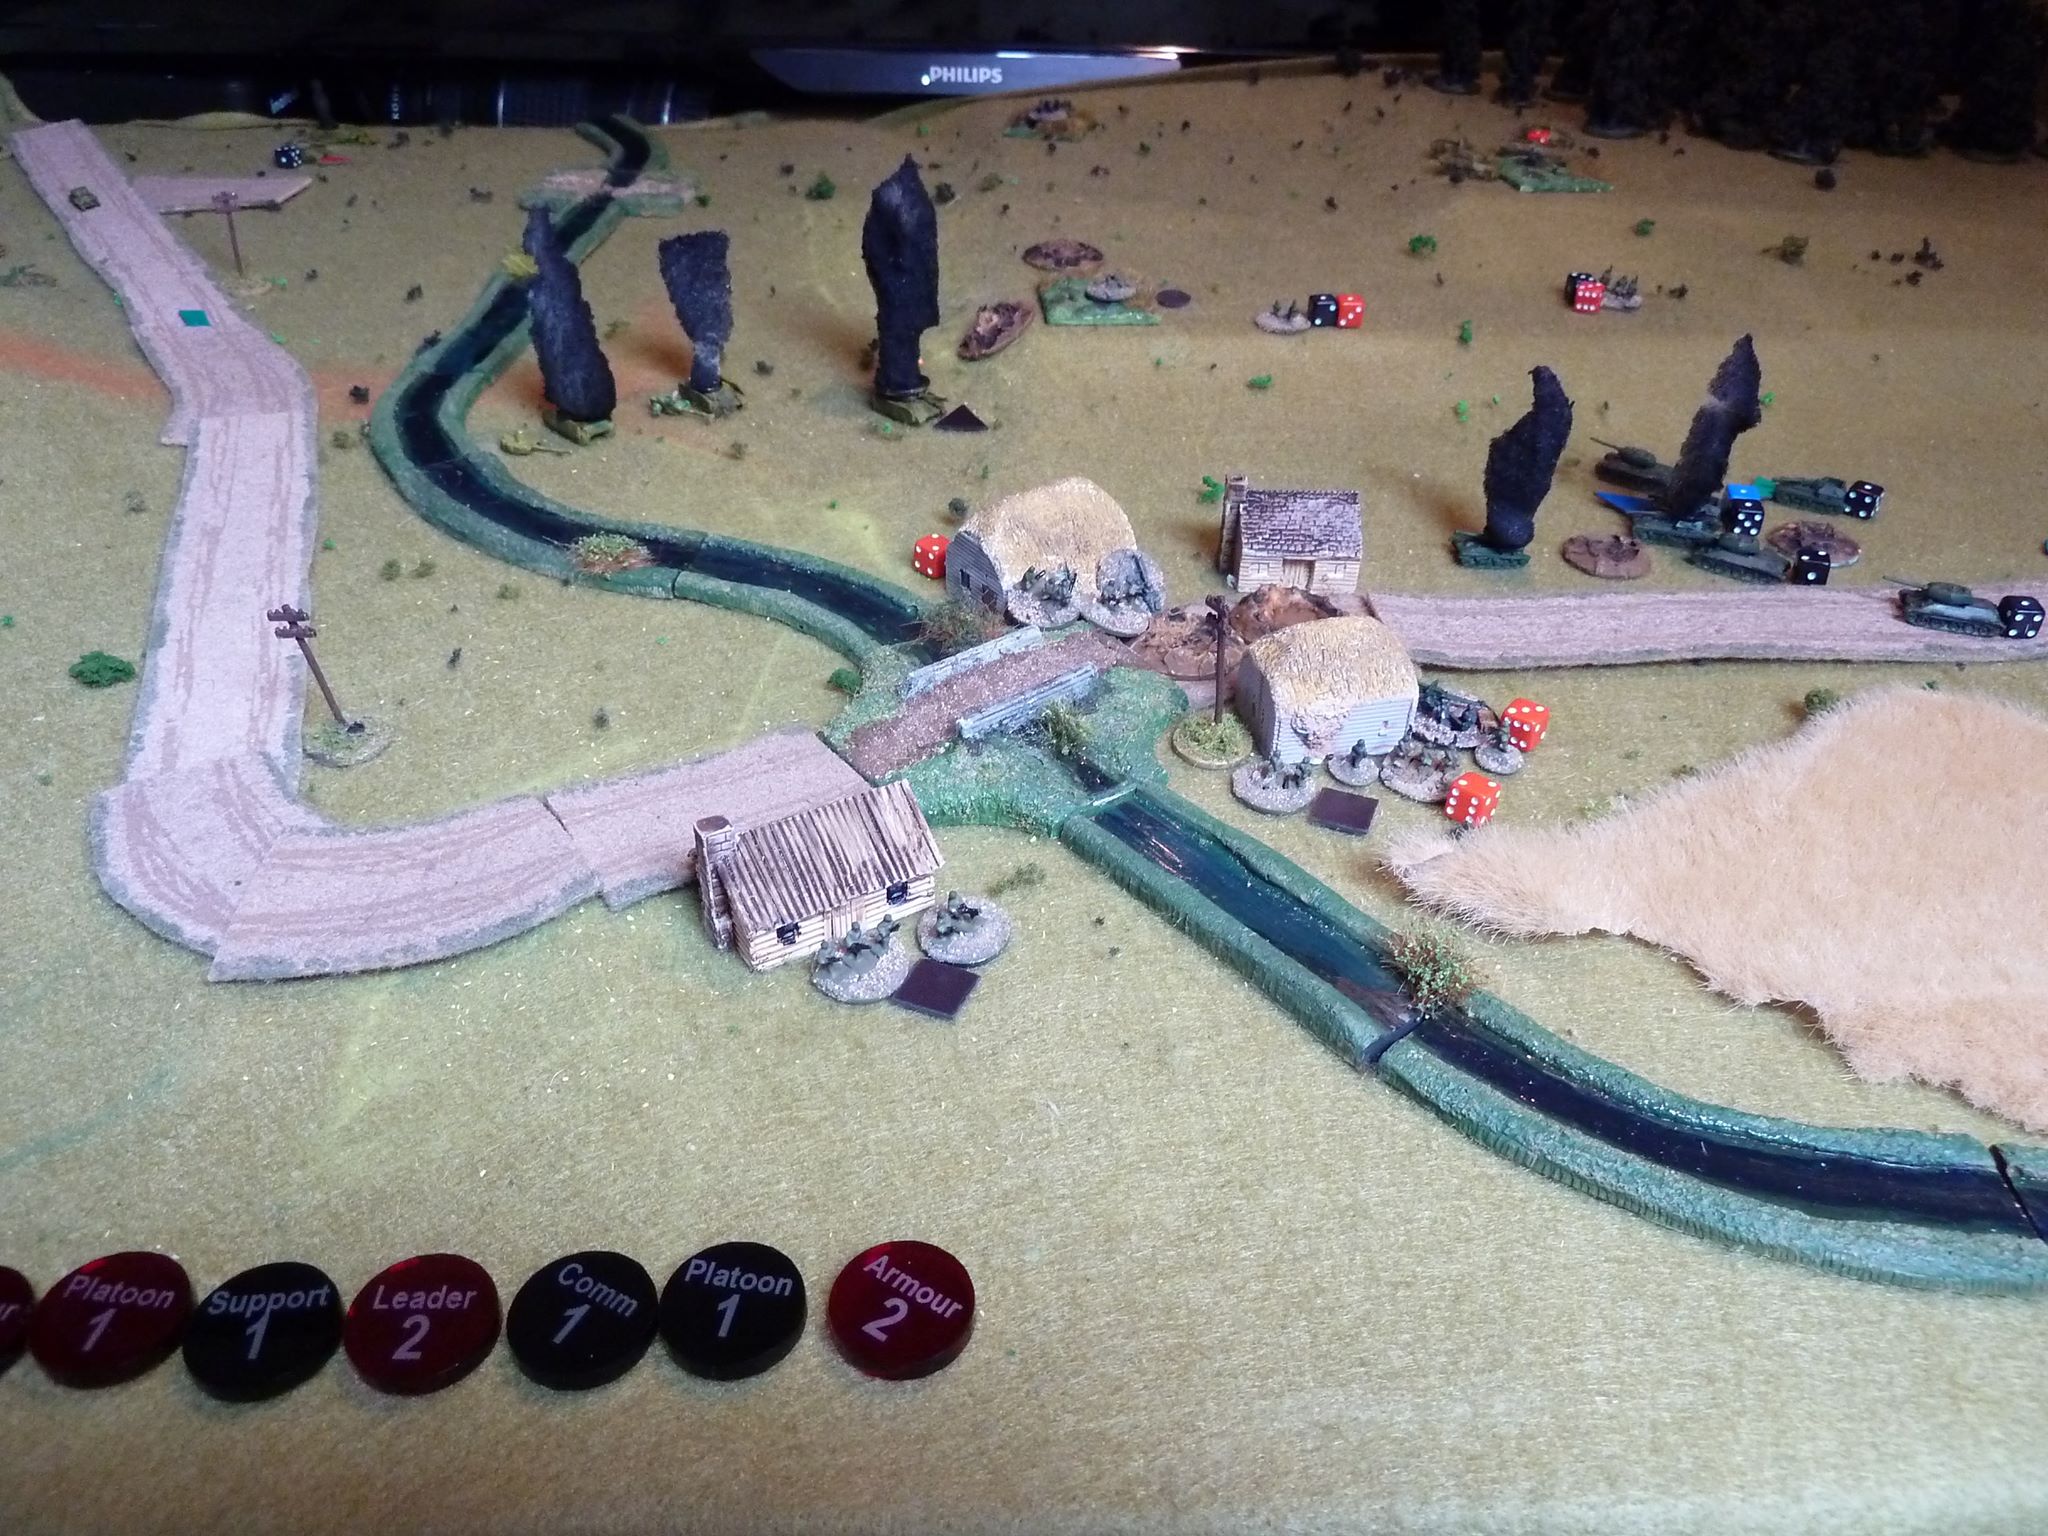
You are part of a blocking force to cut off the partisans on the run. You have a forward platoon in the village that sits across the escape route in radio contact with the company HQ off board.

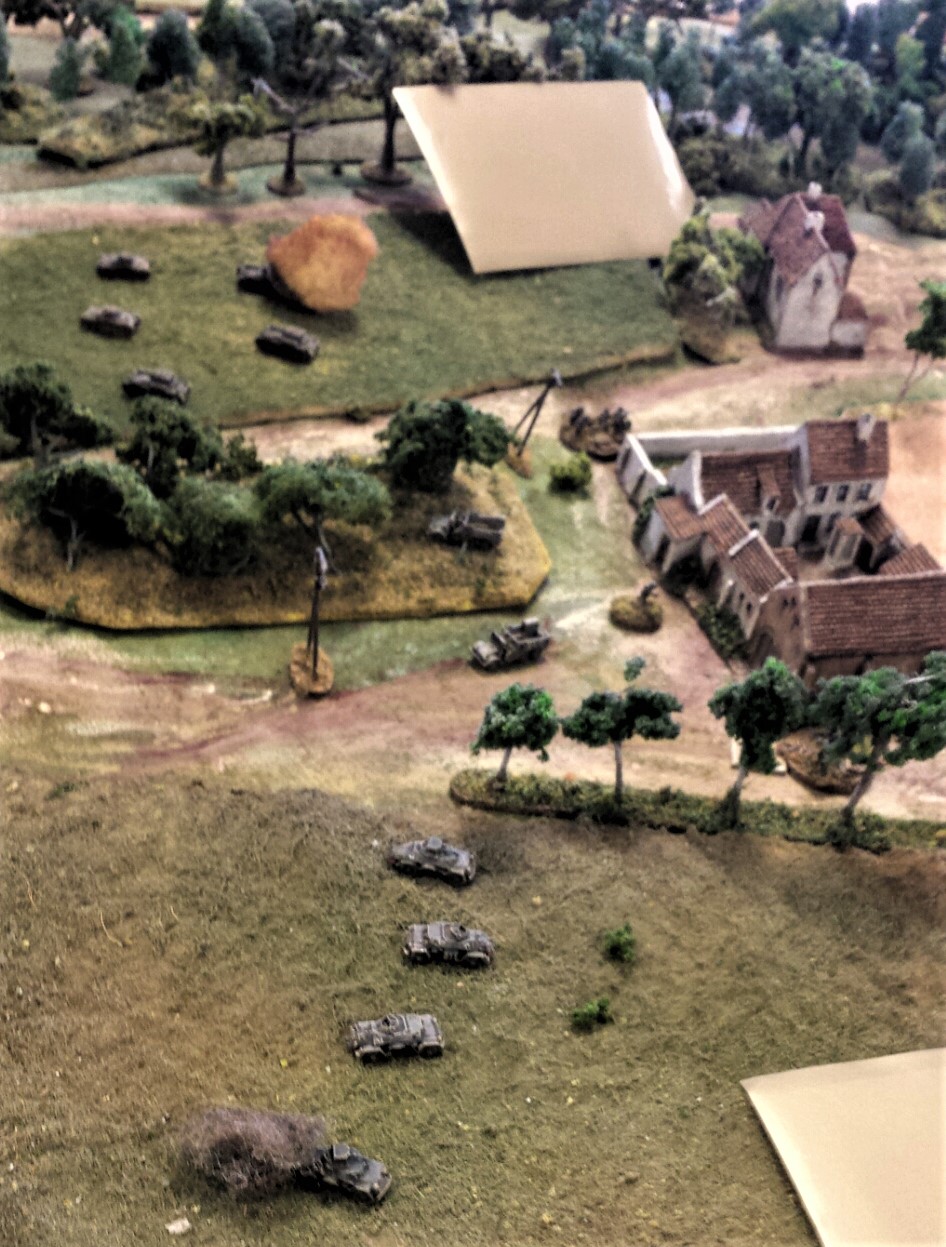
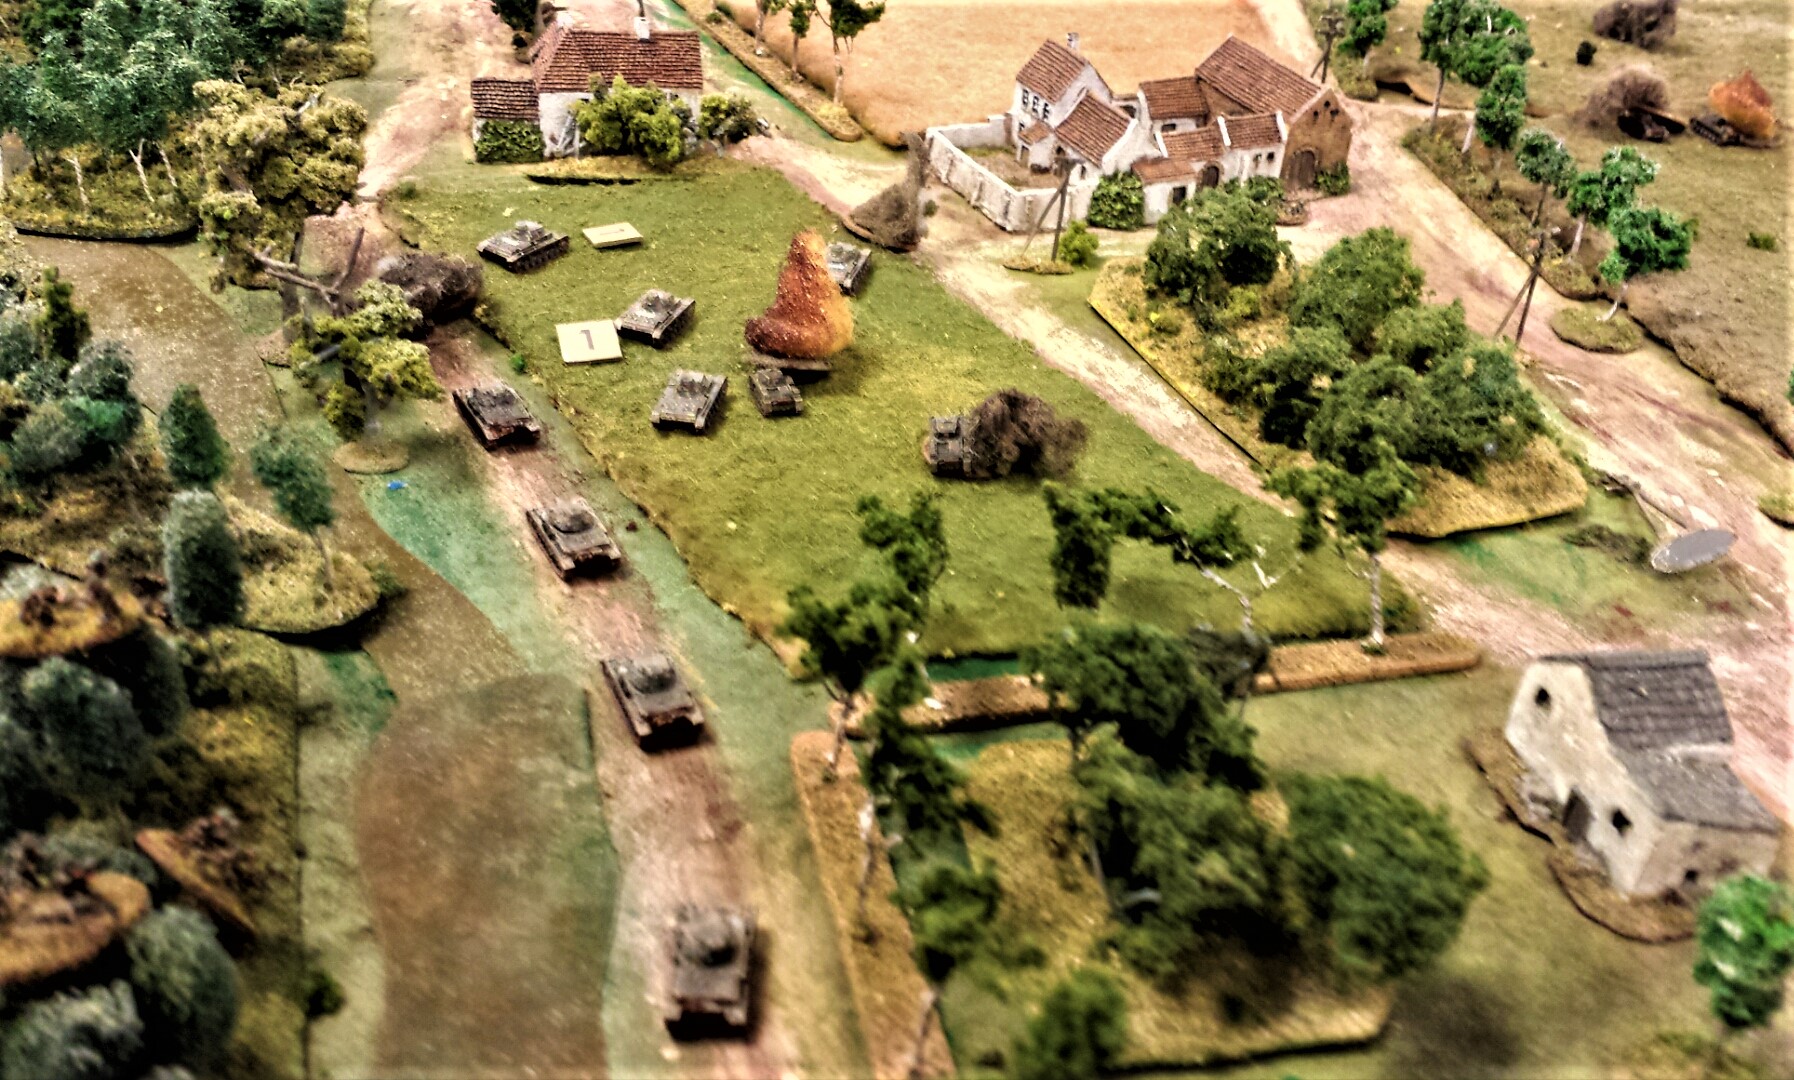
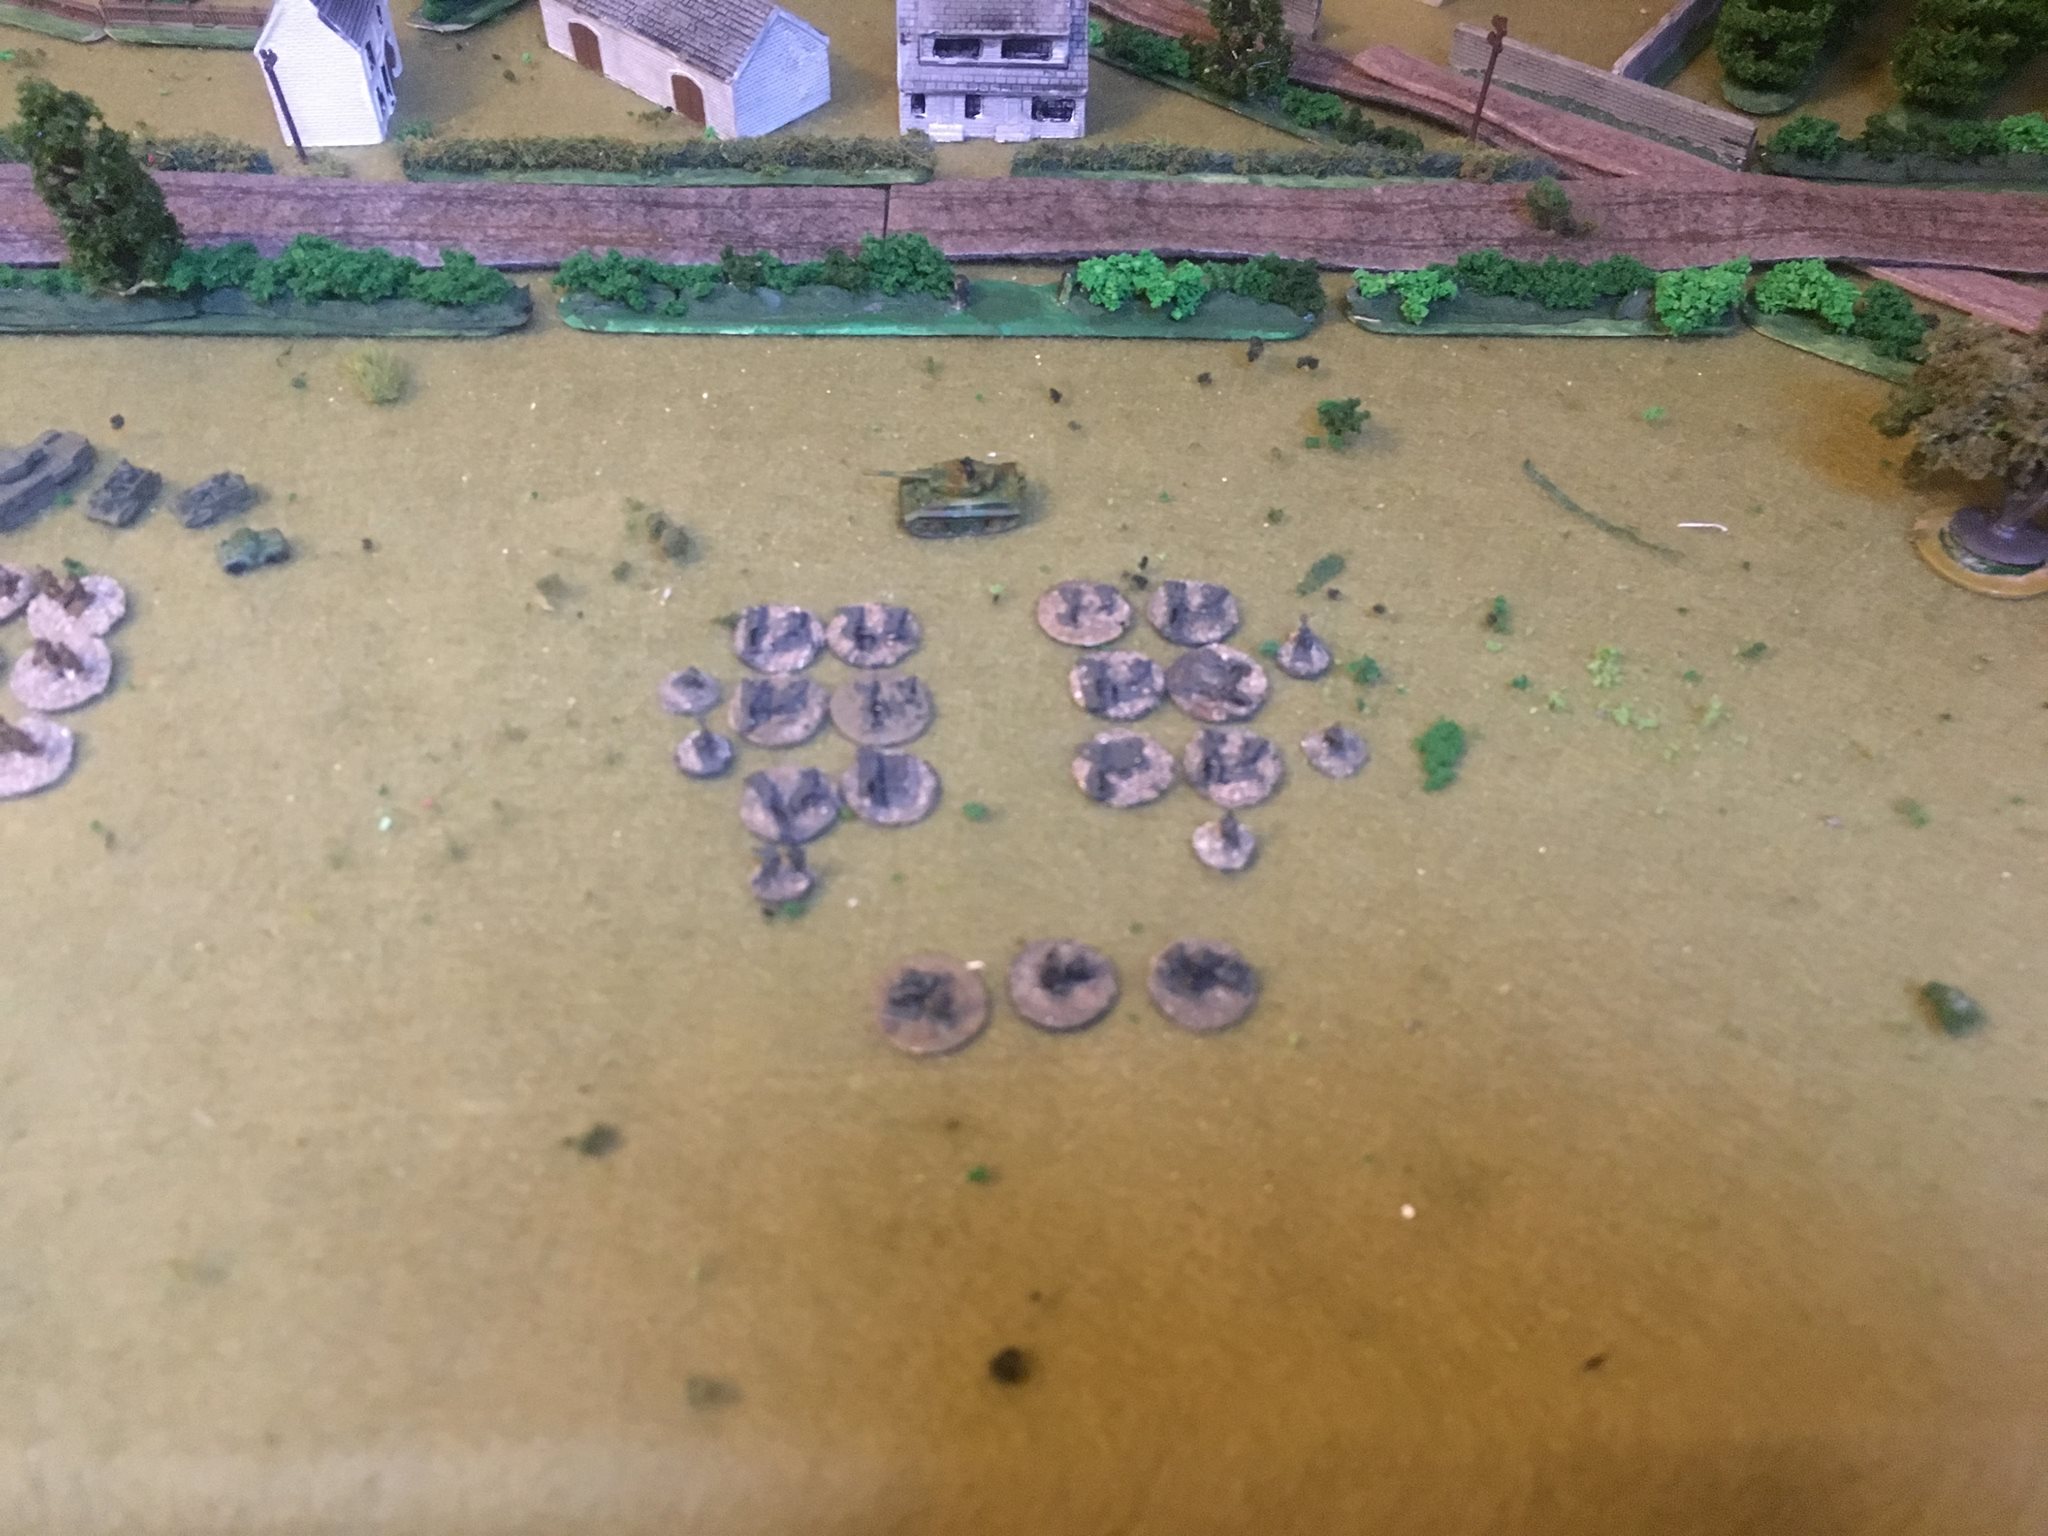
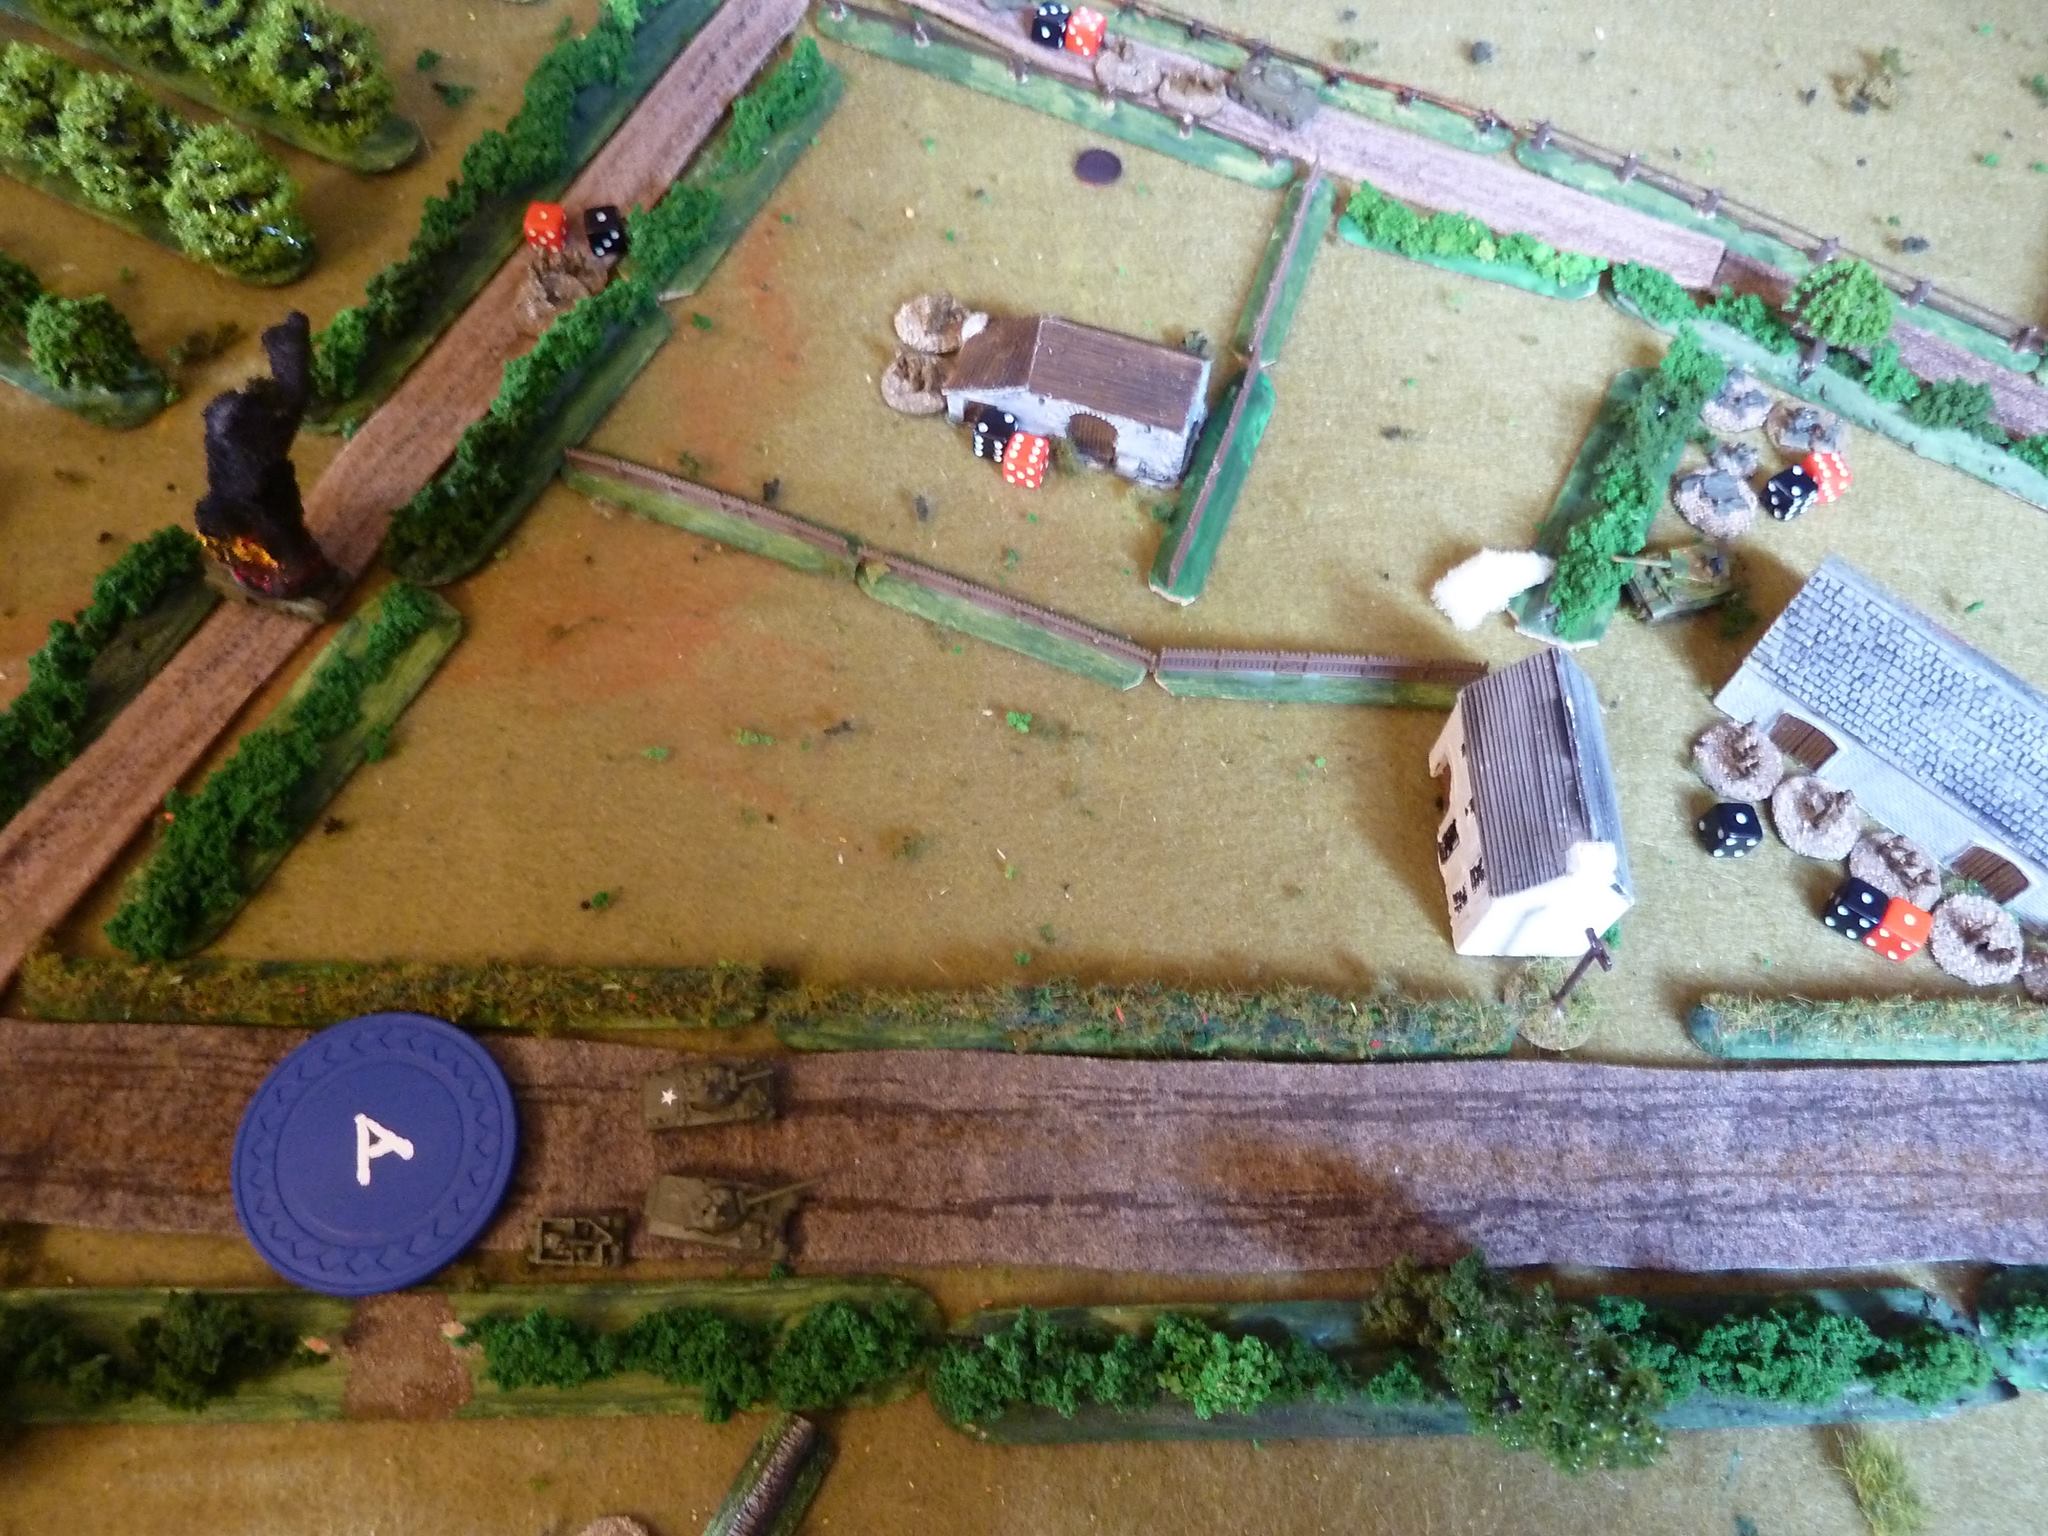
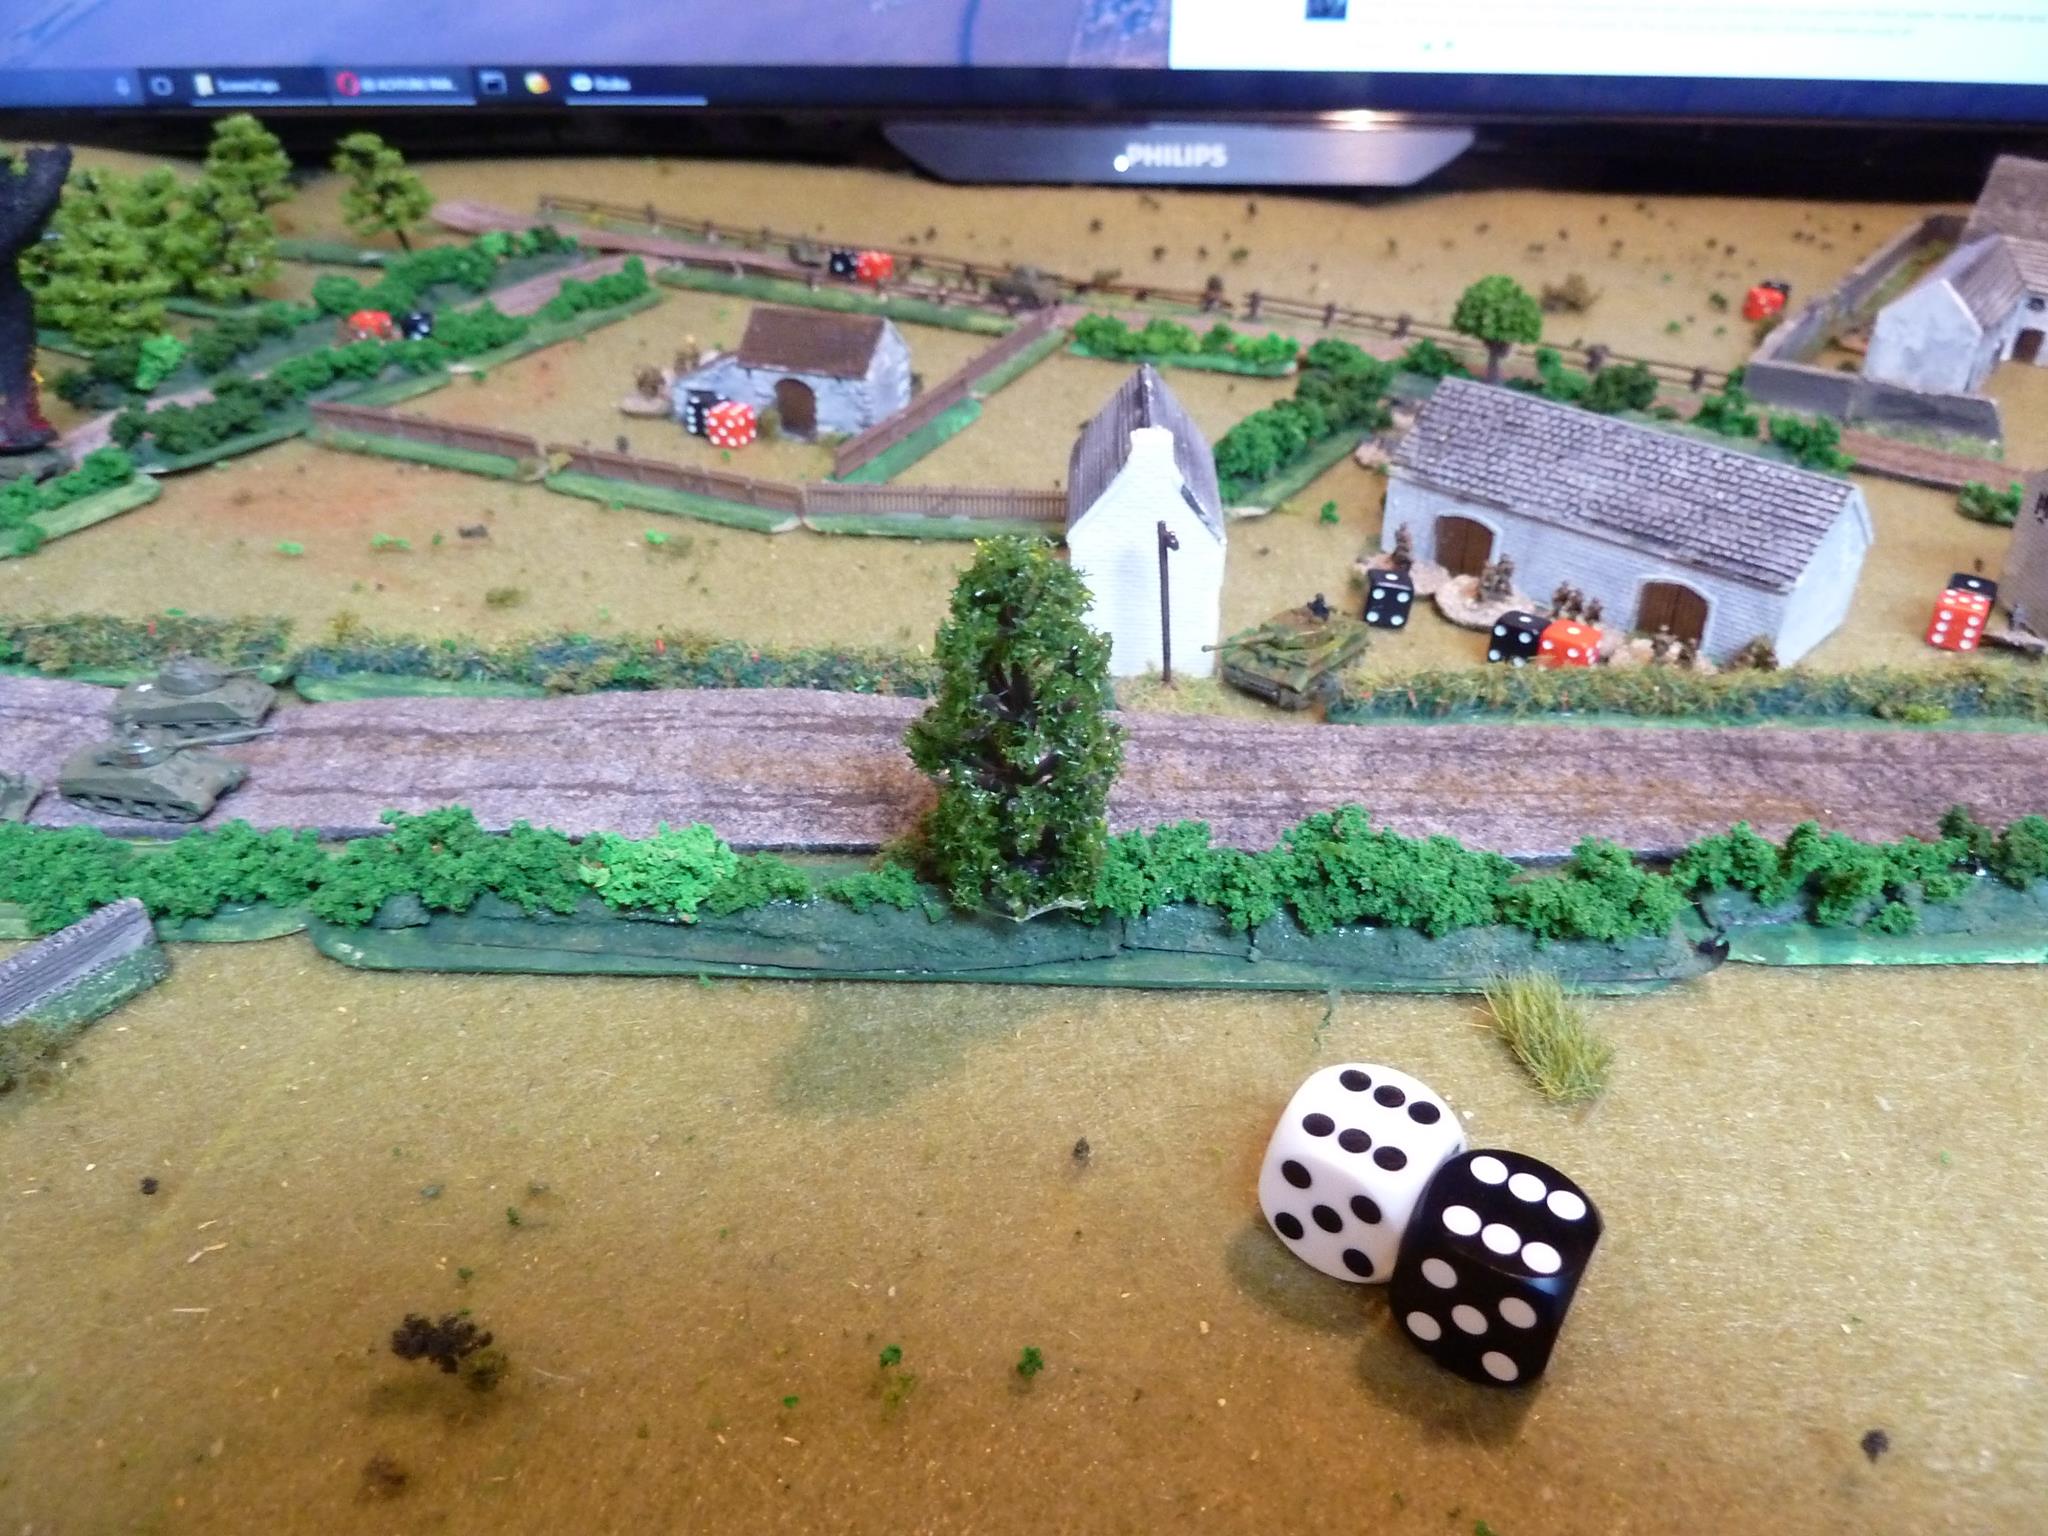
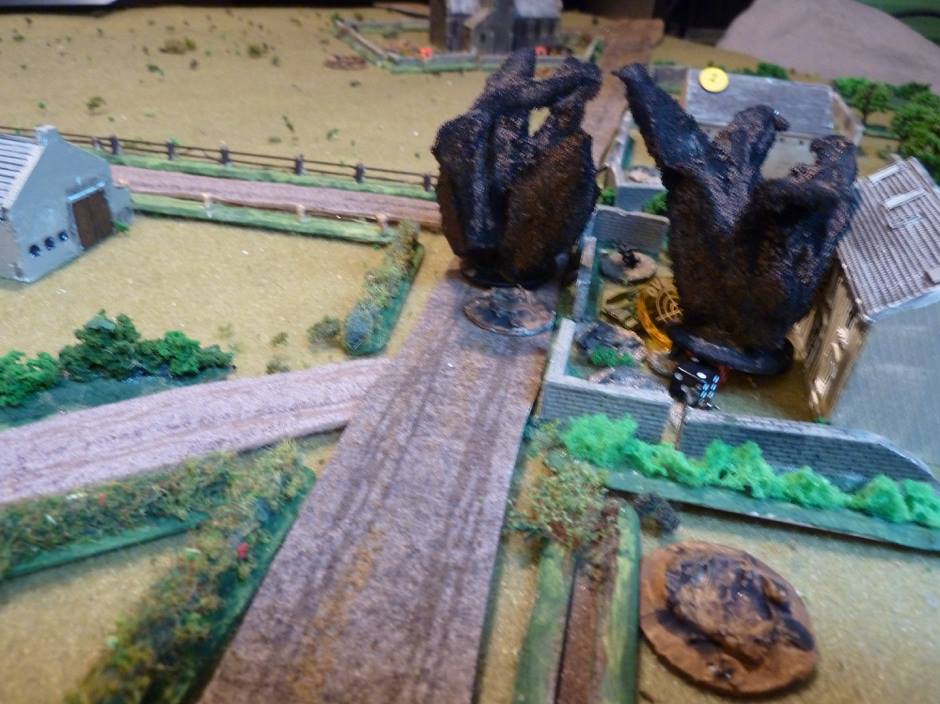
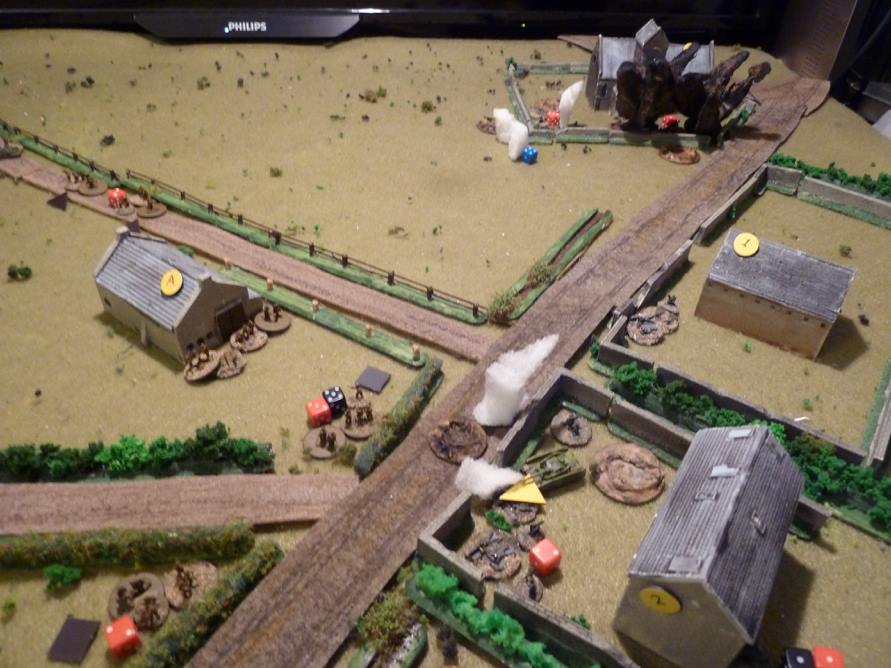
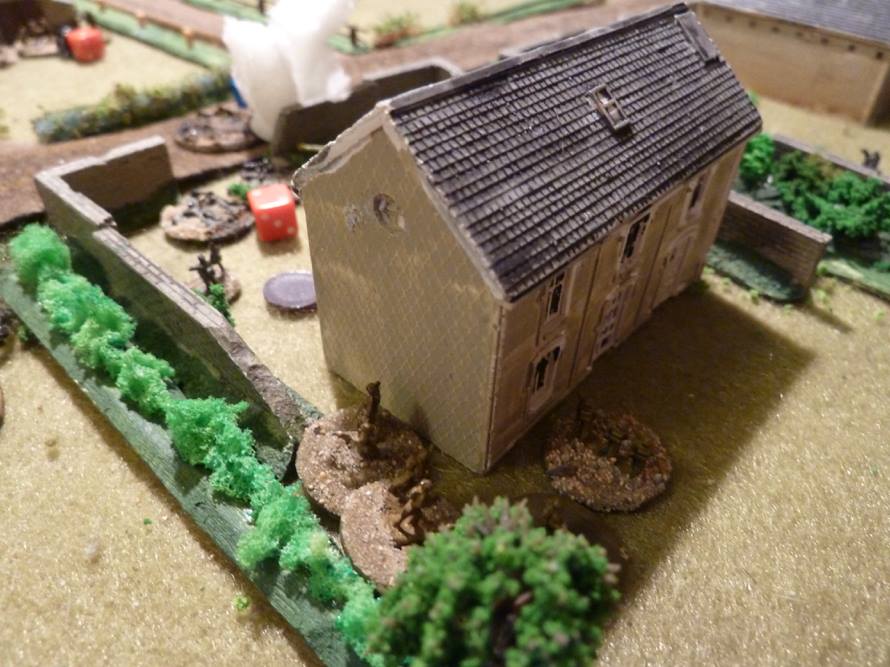
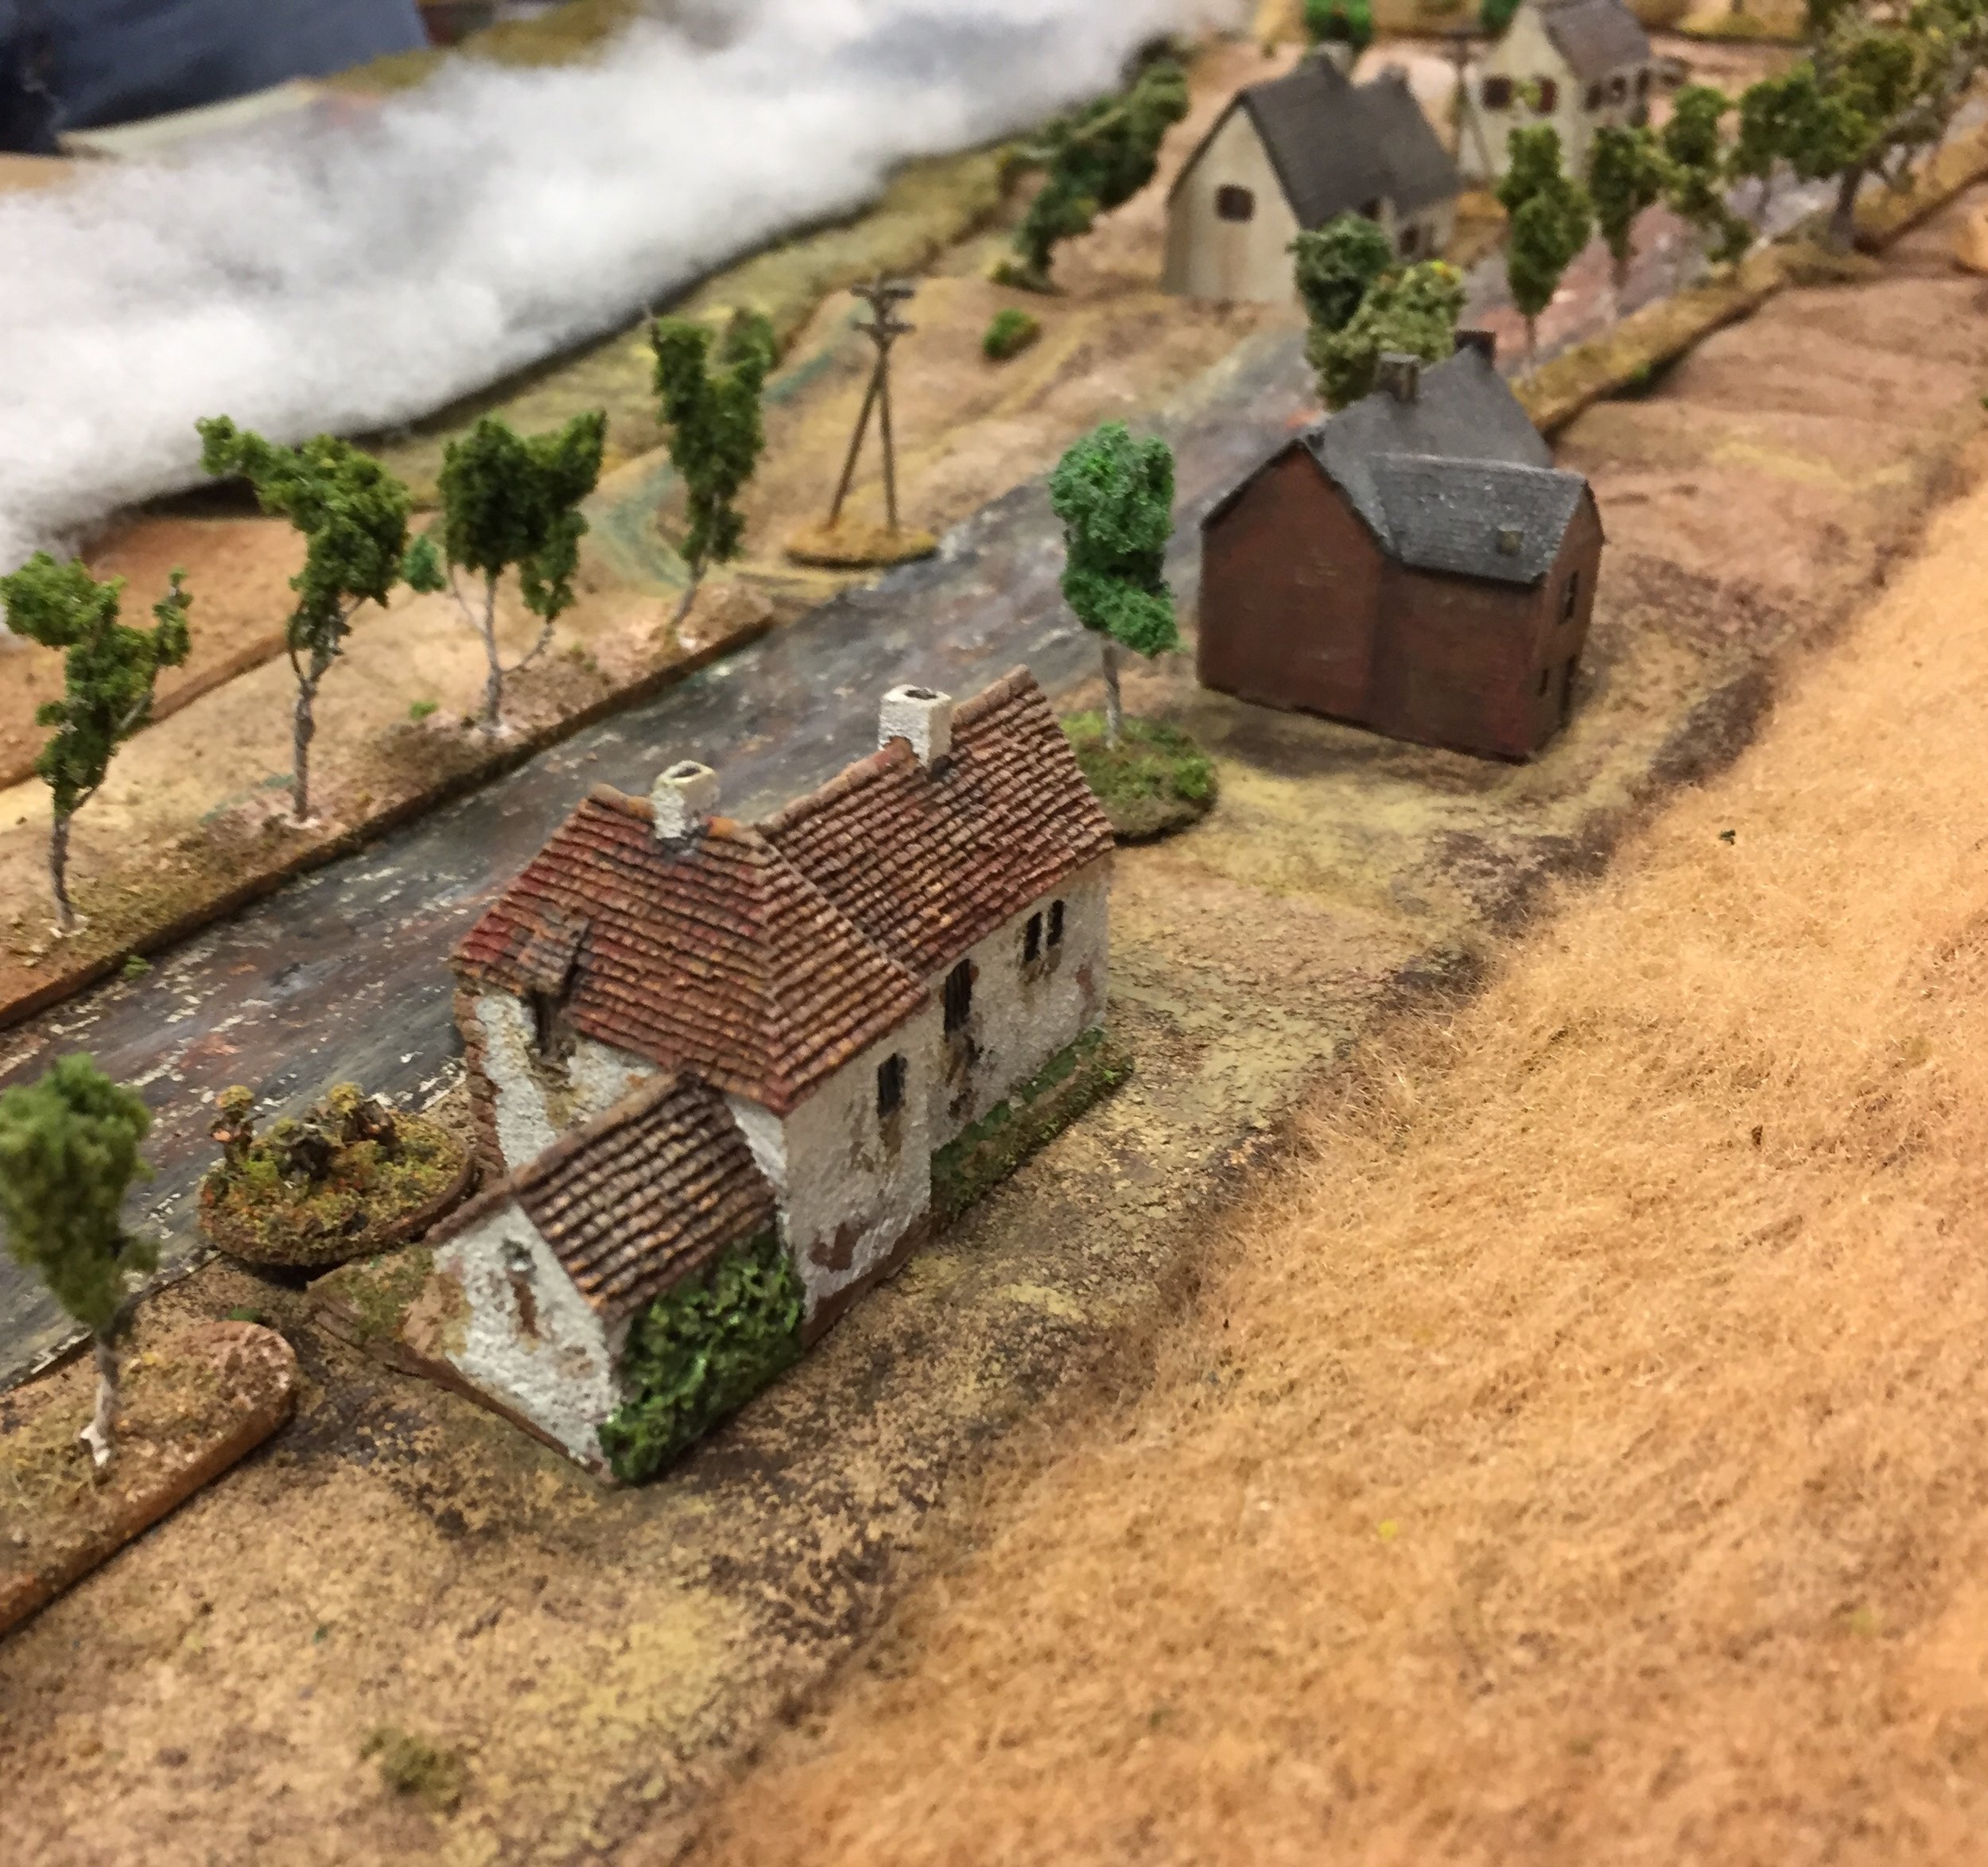
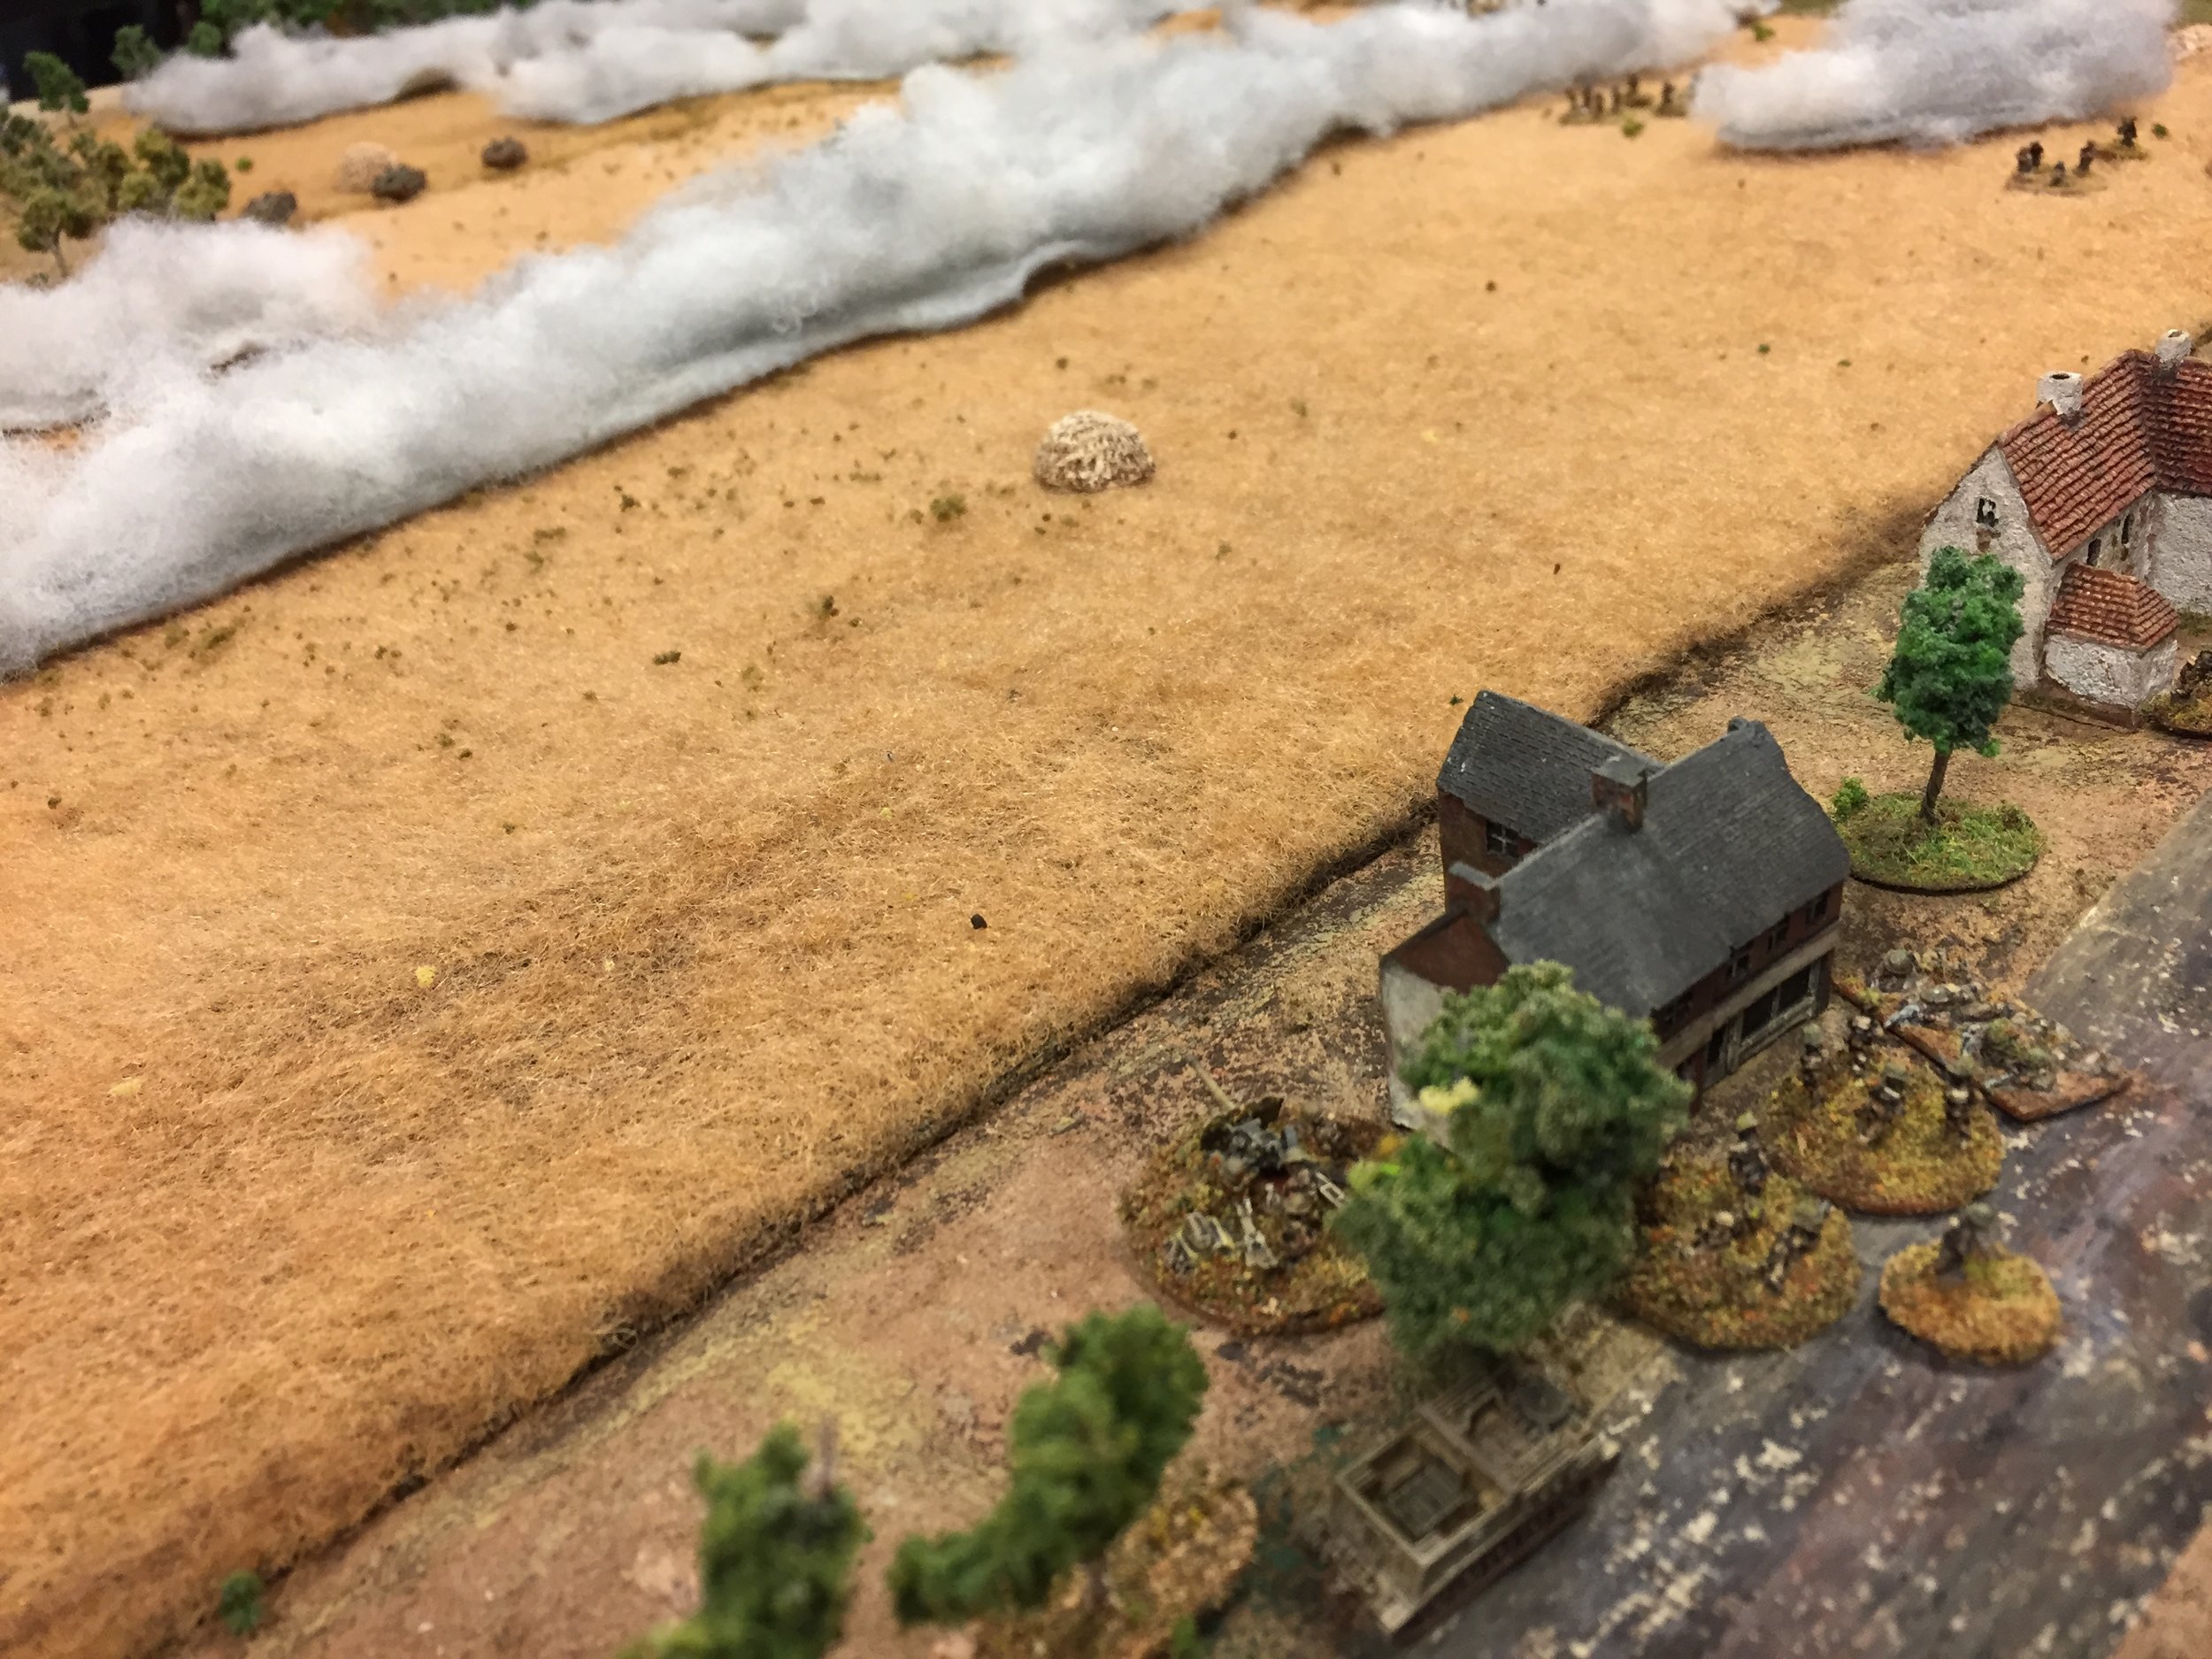
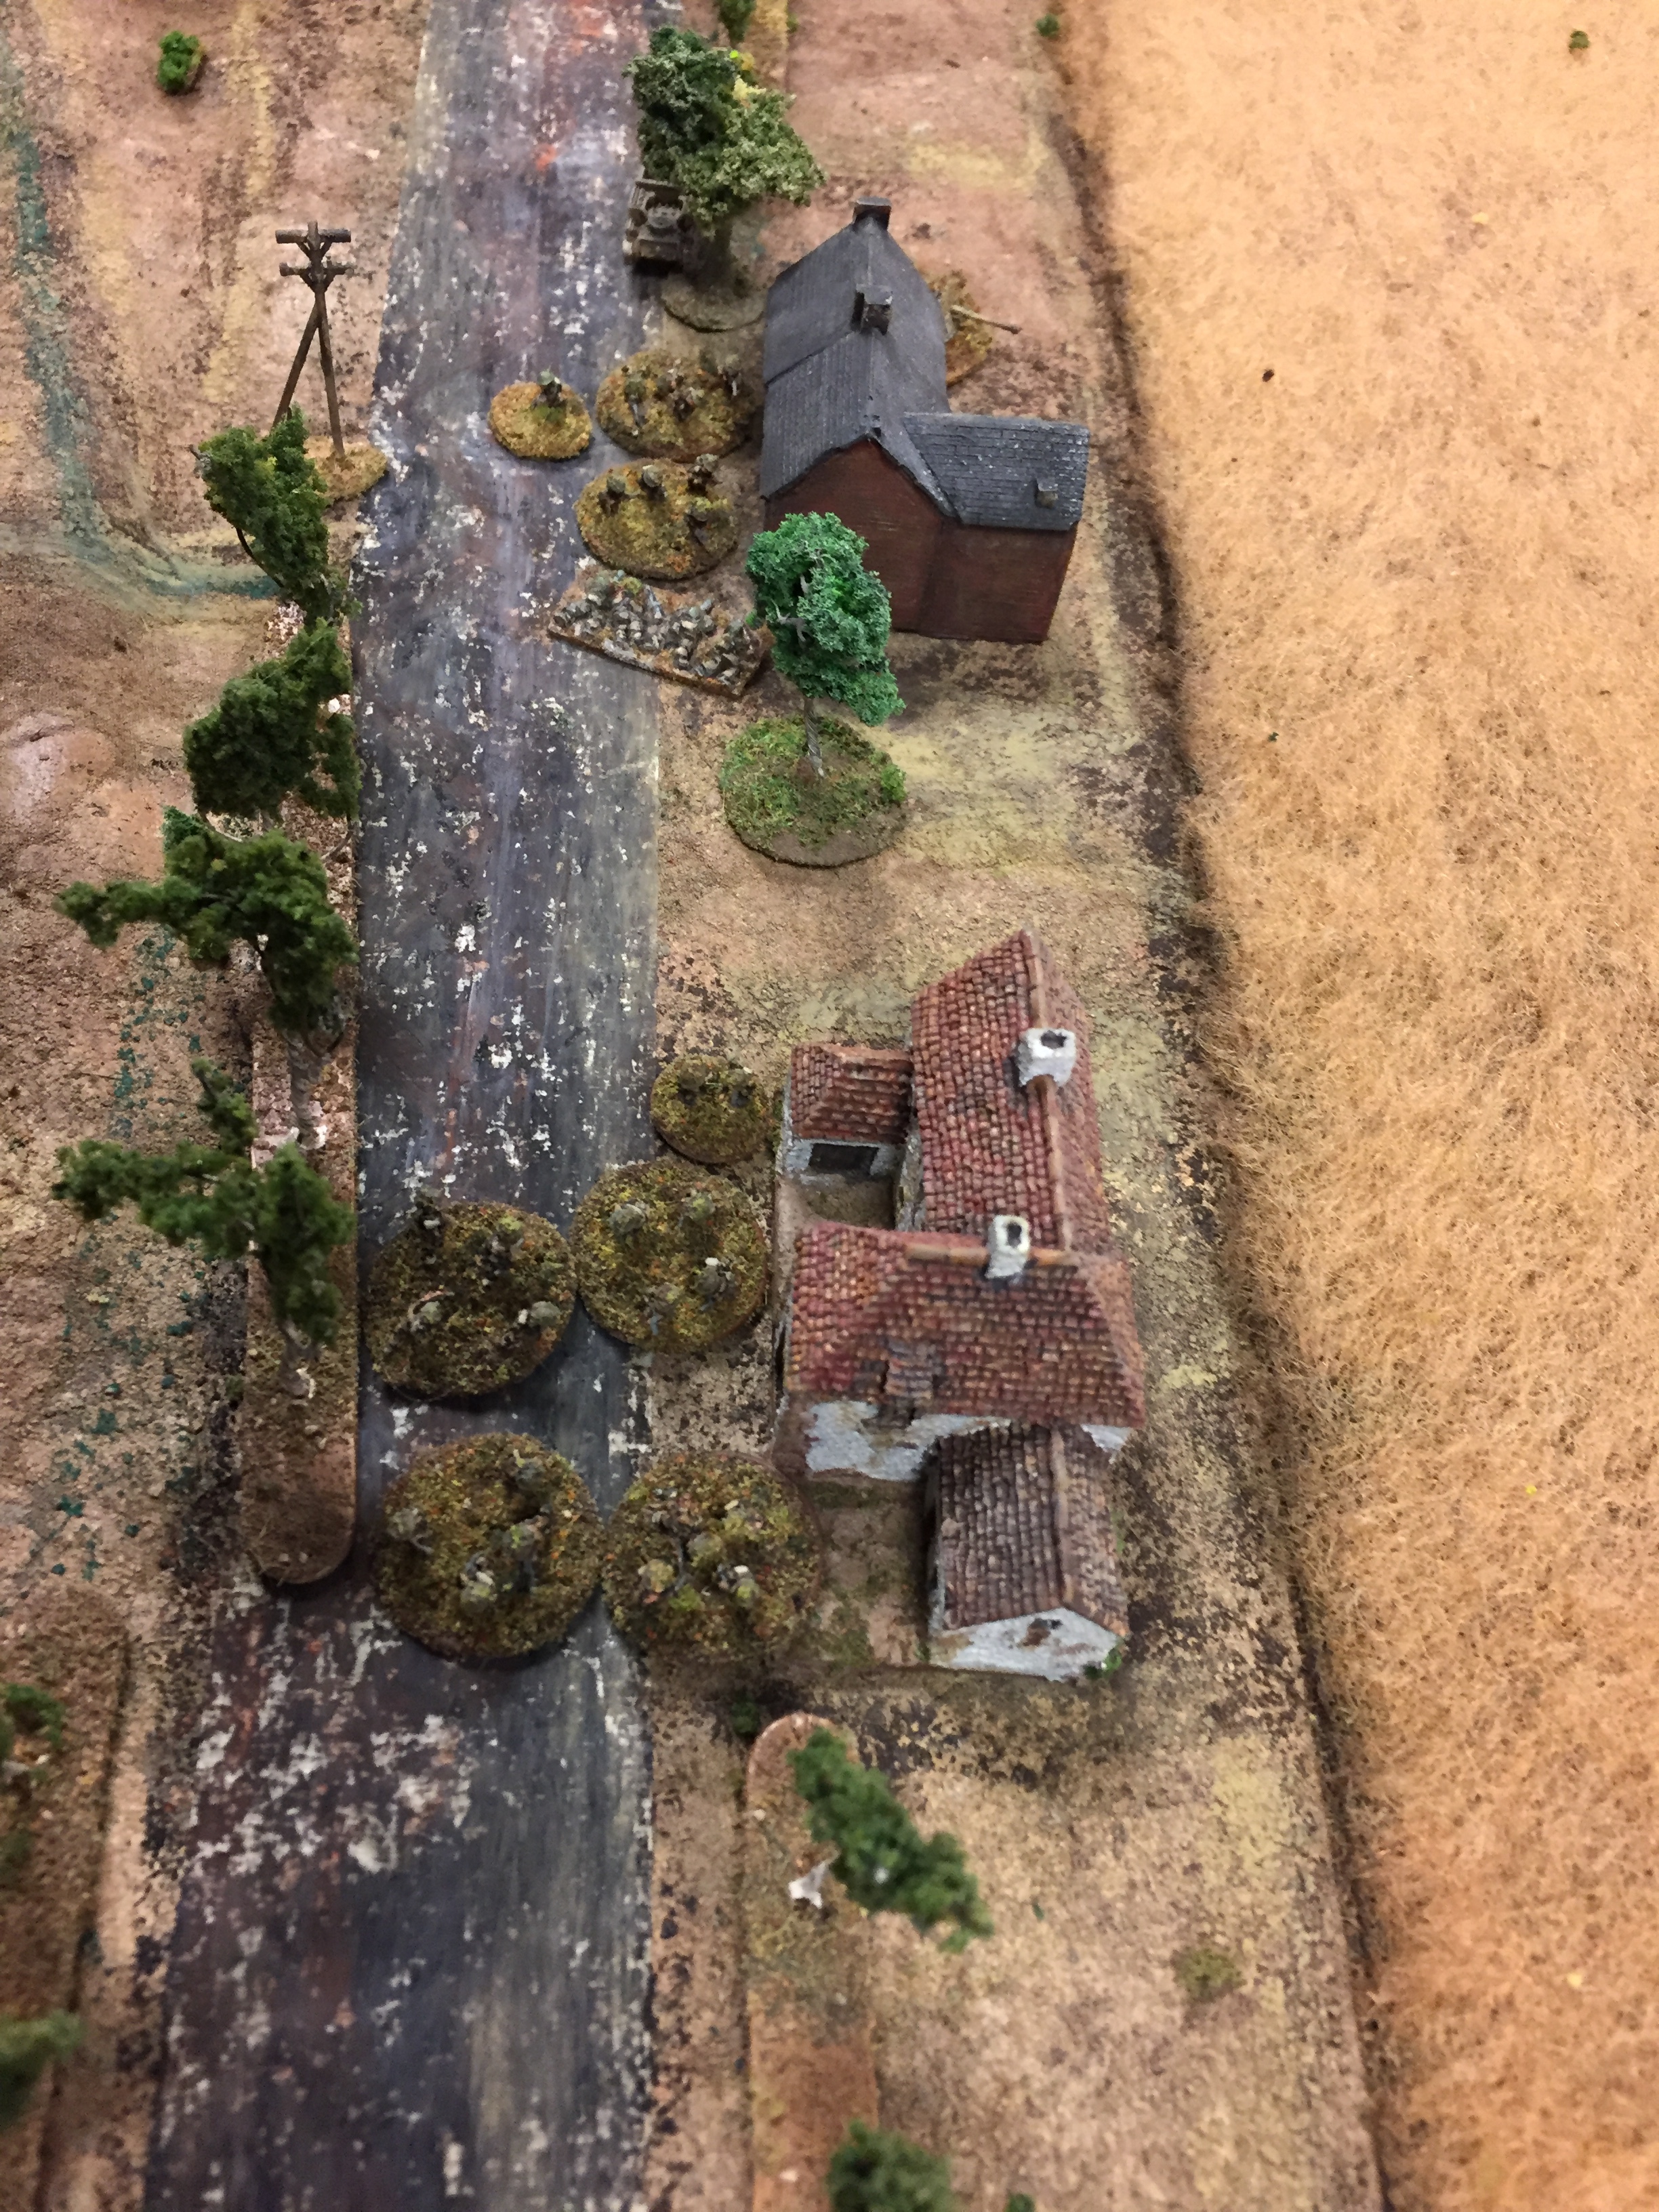
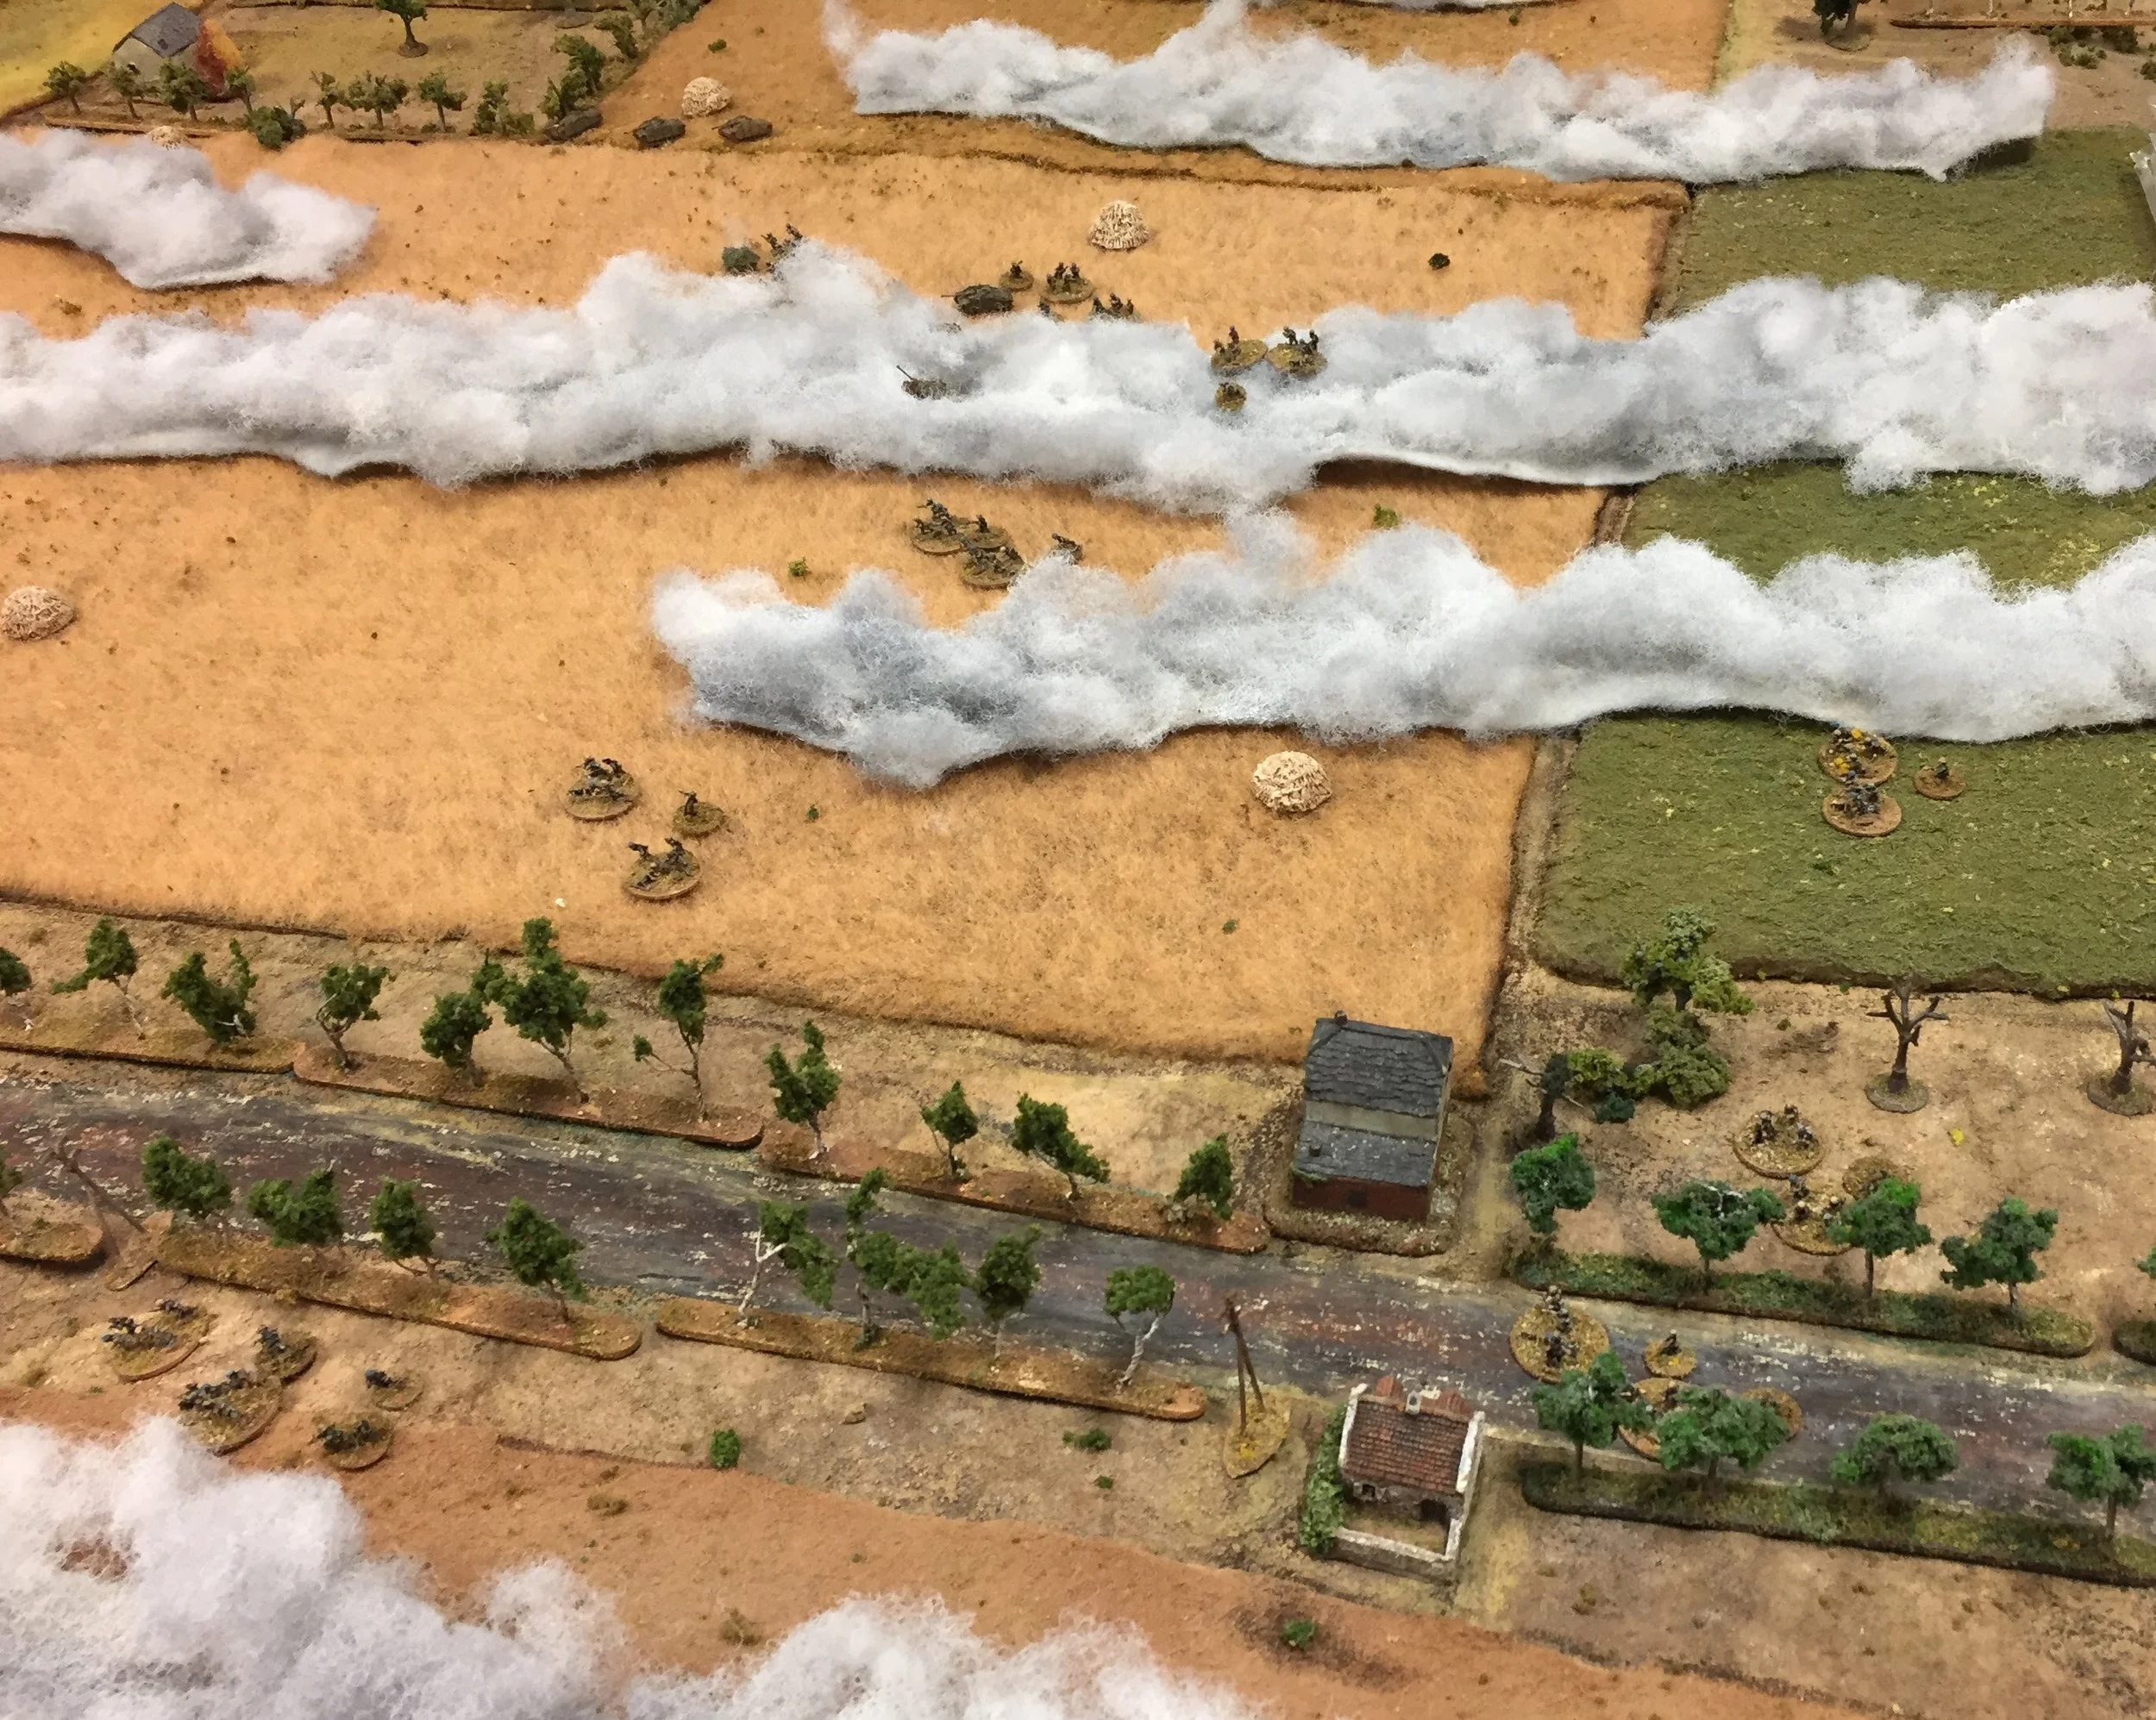
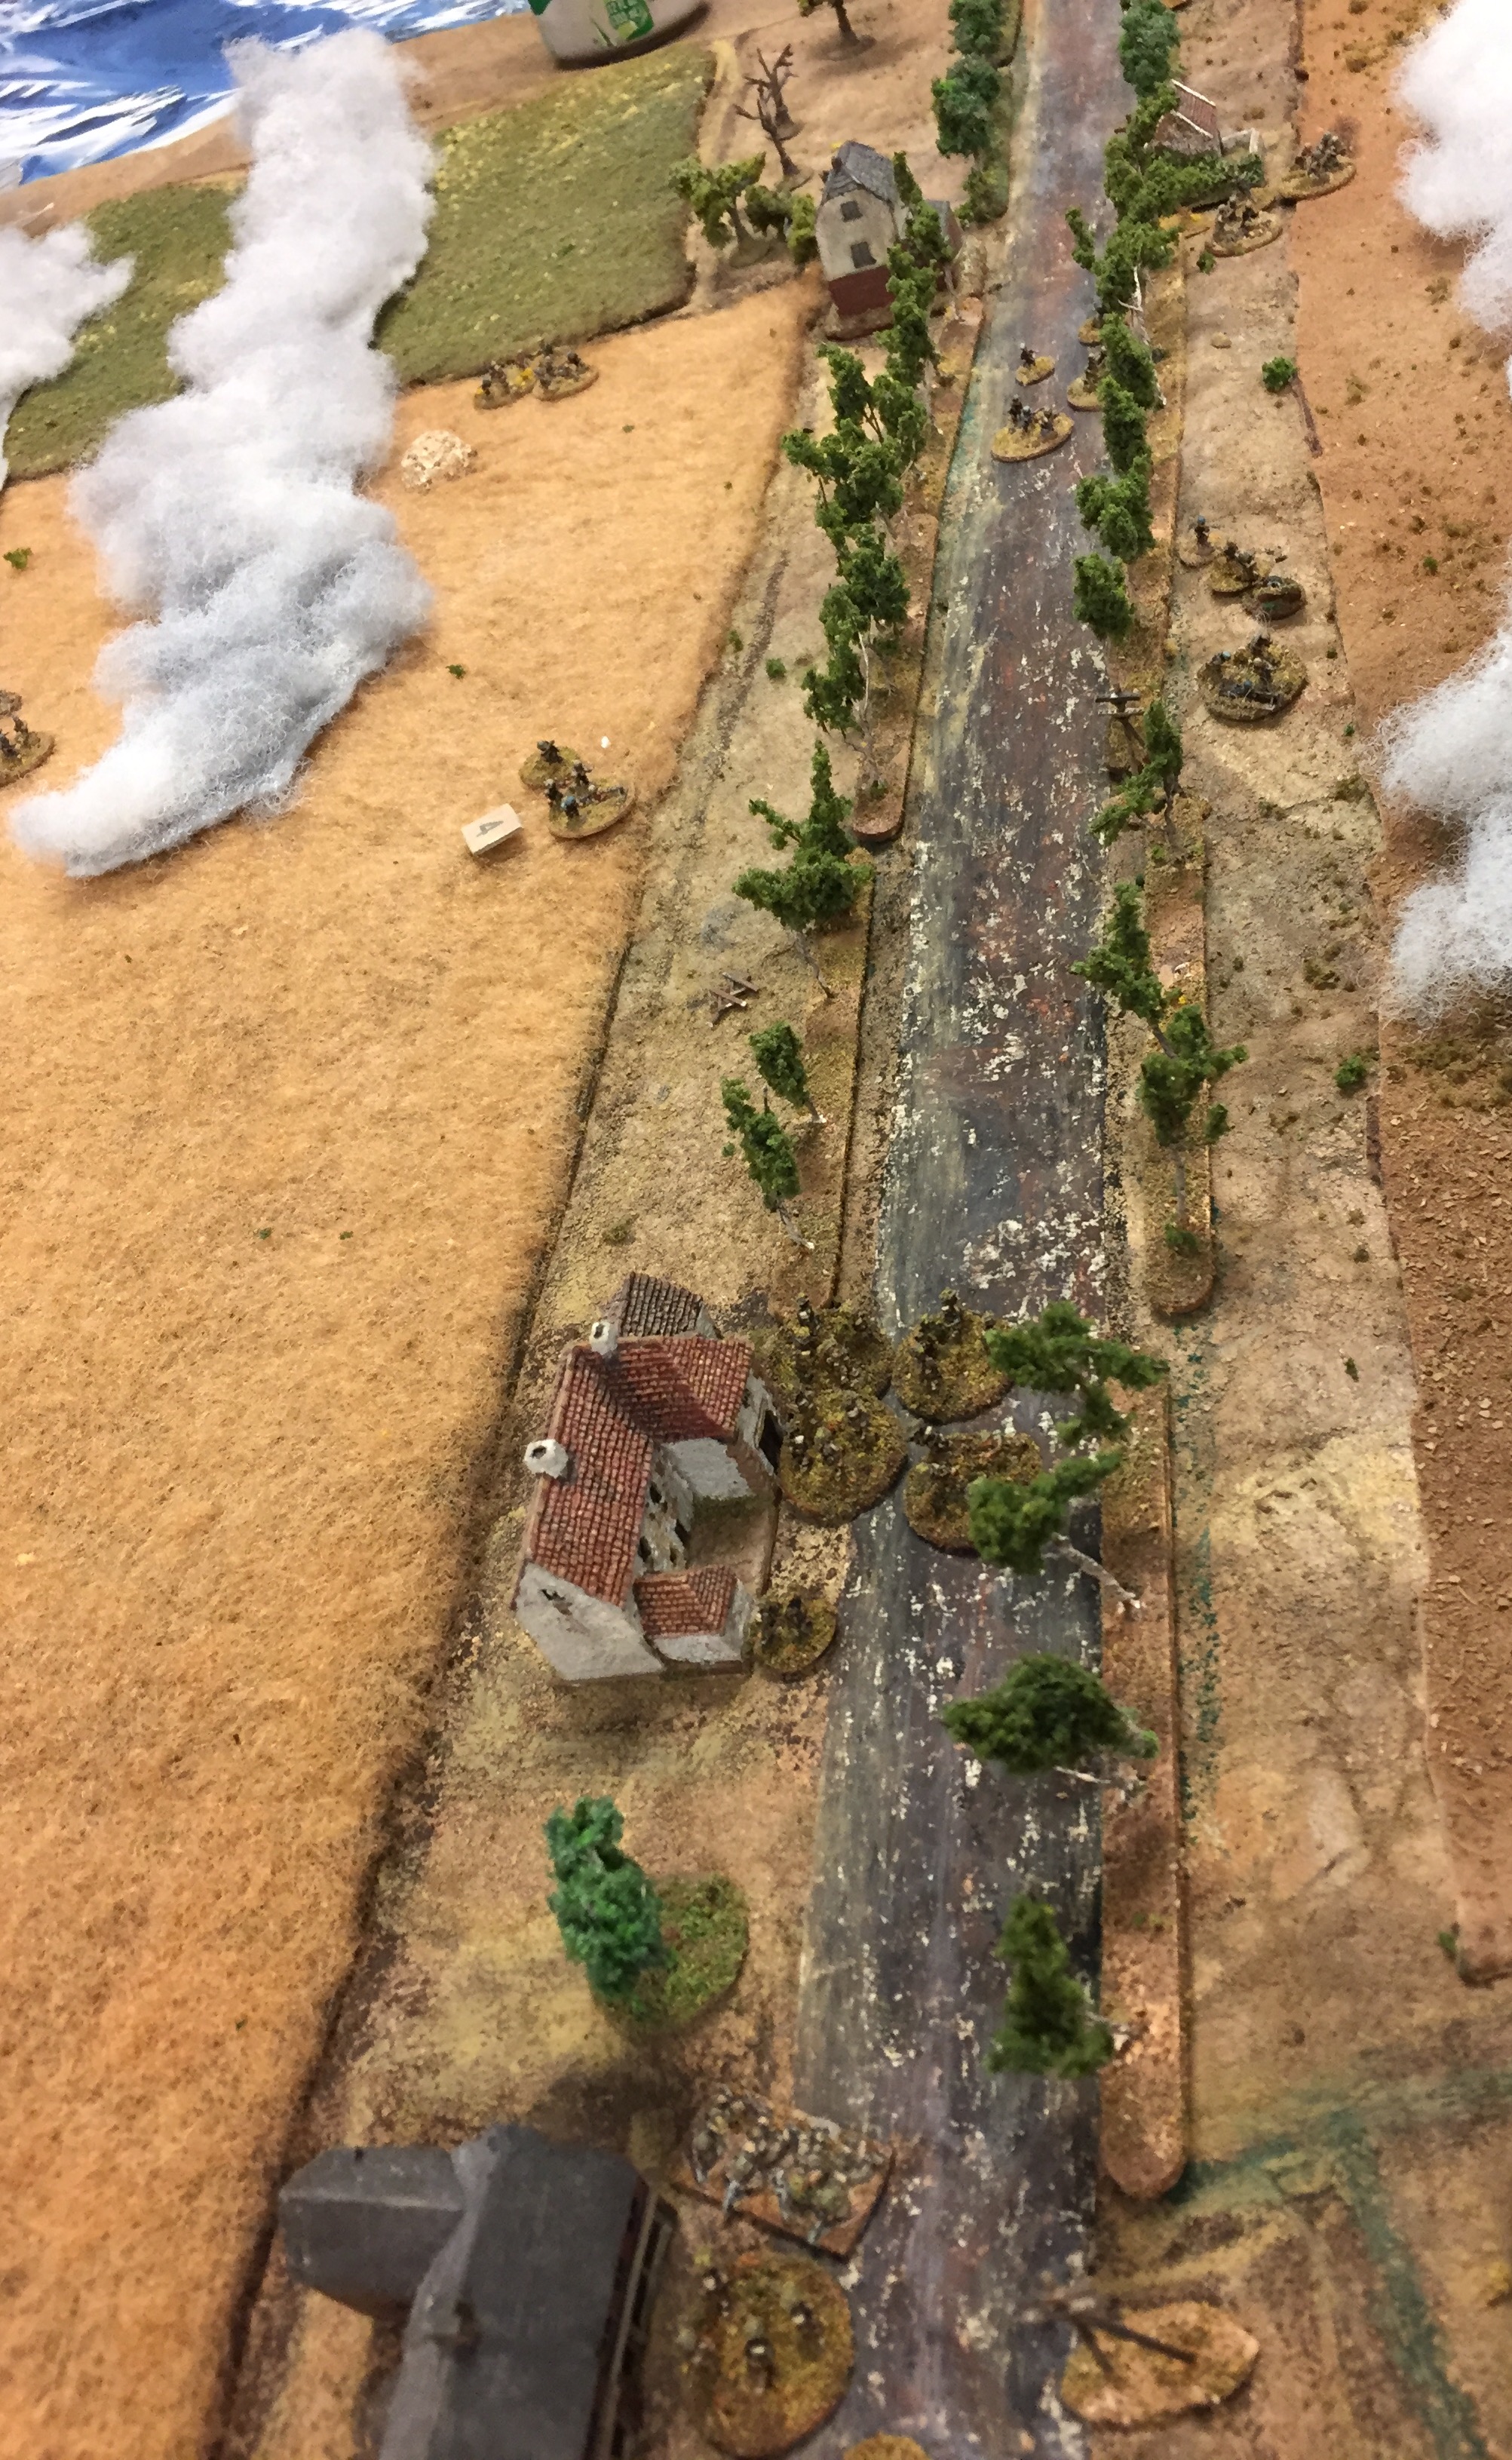
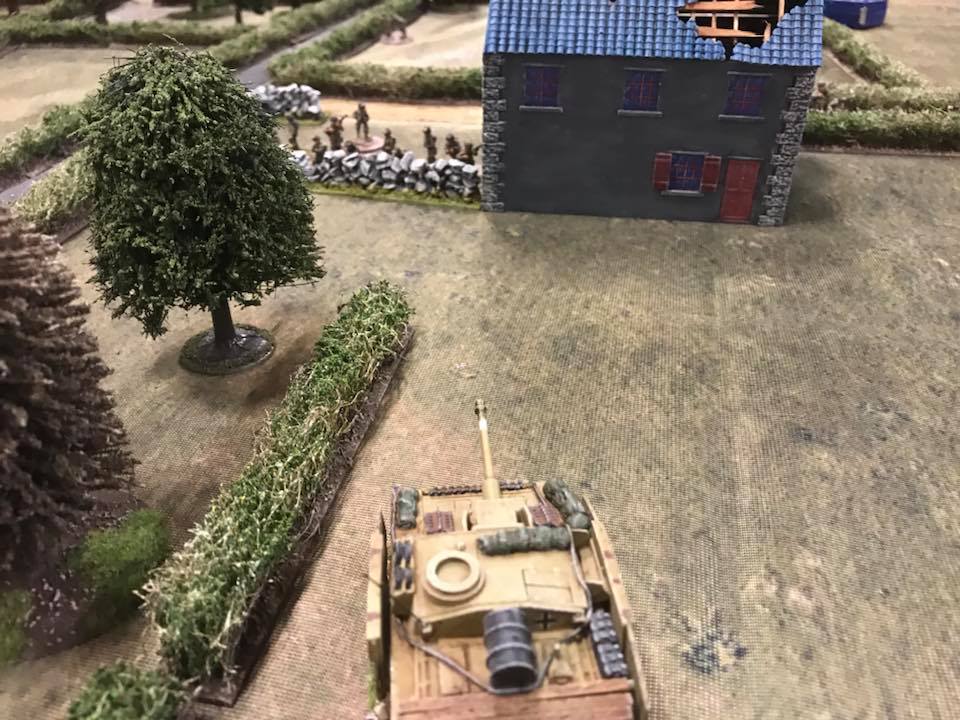
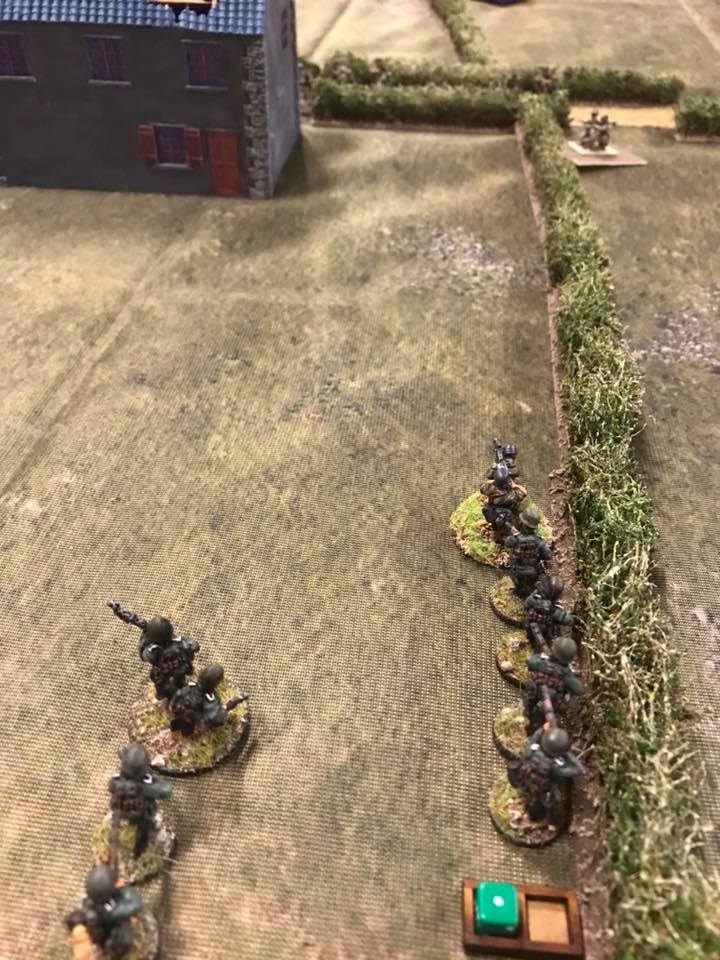
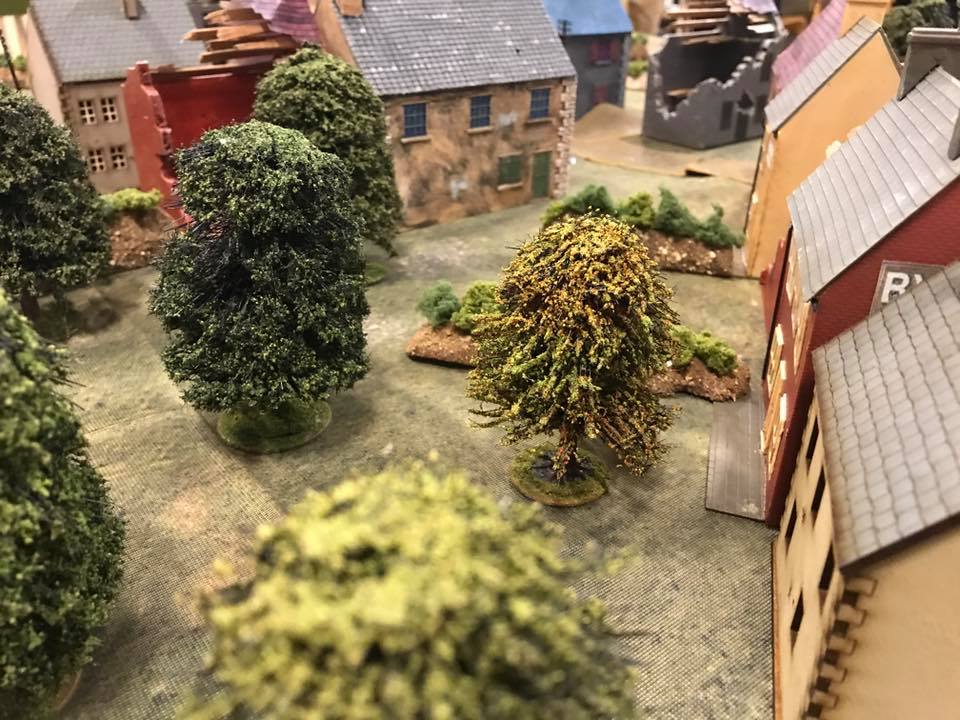
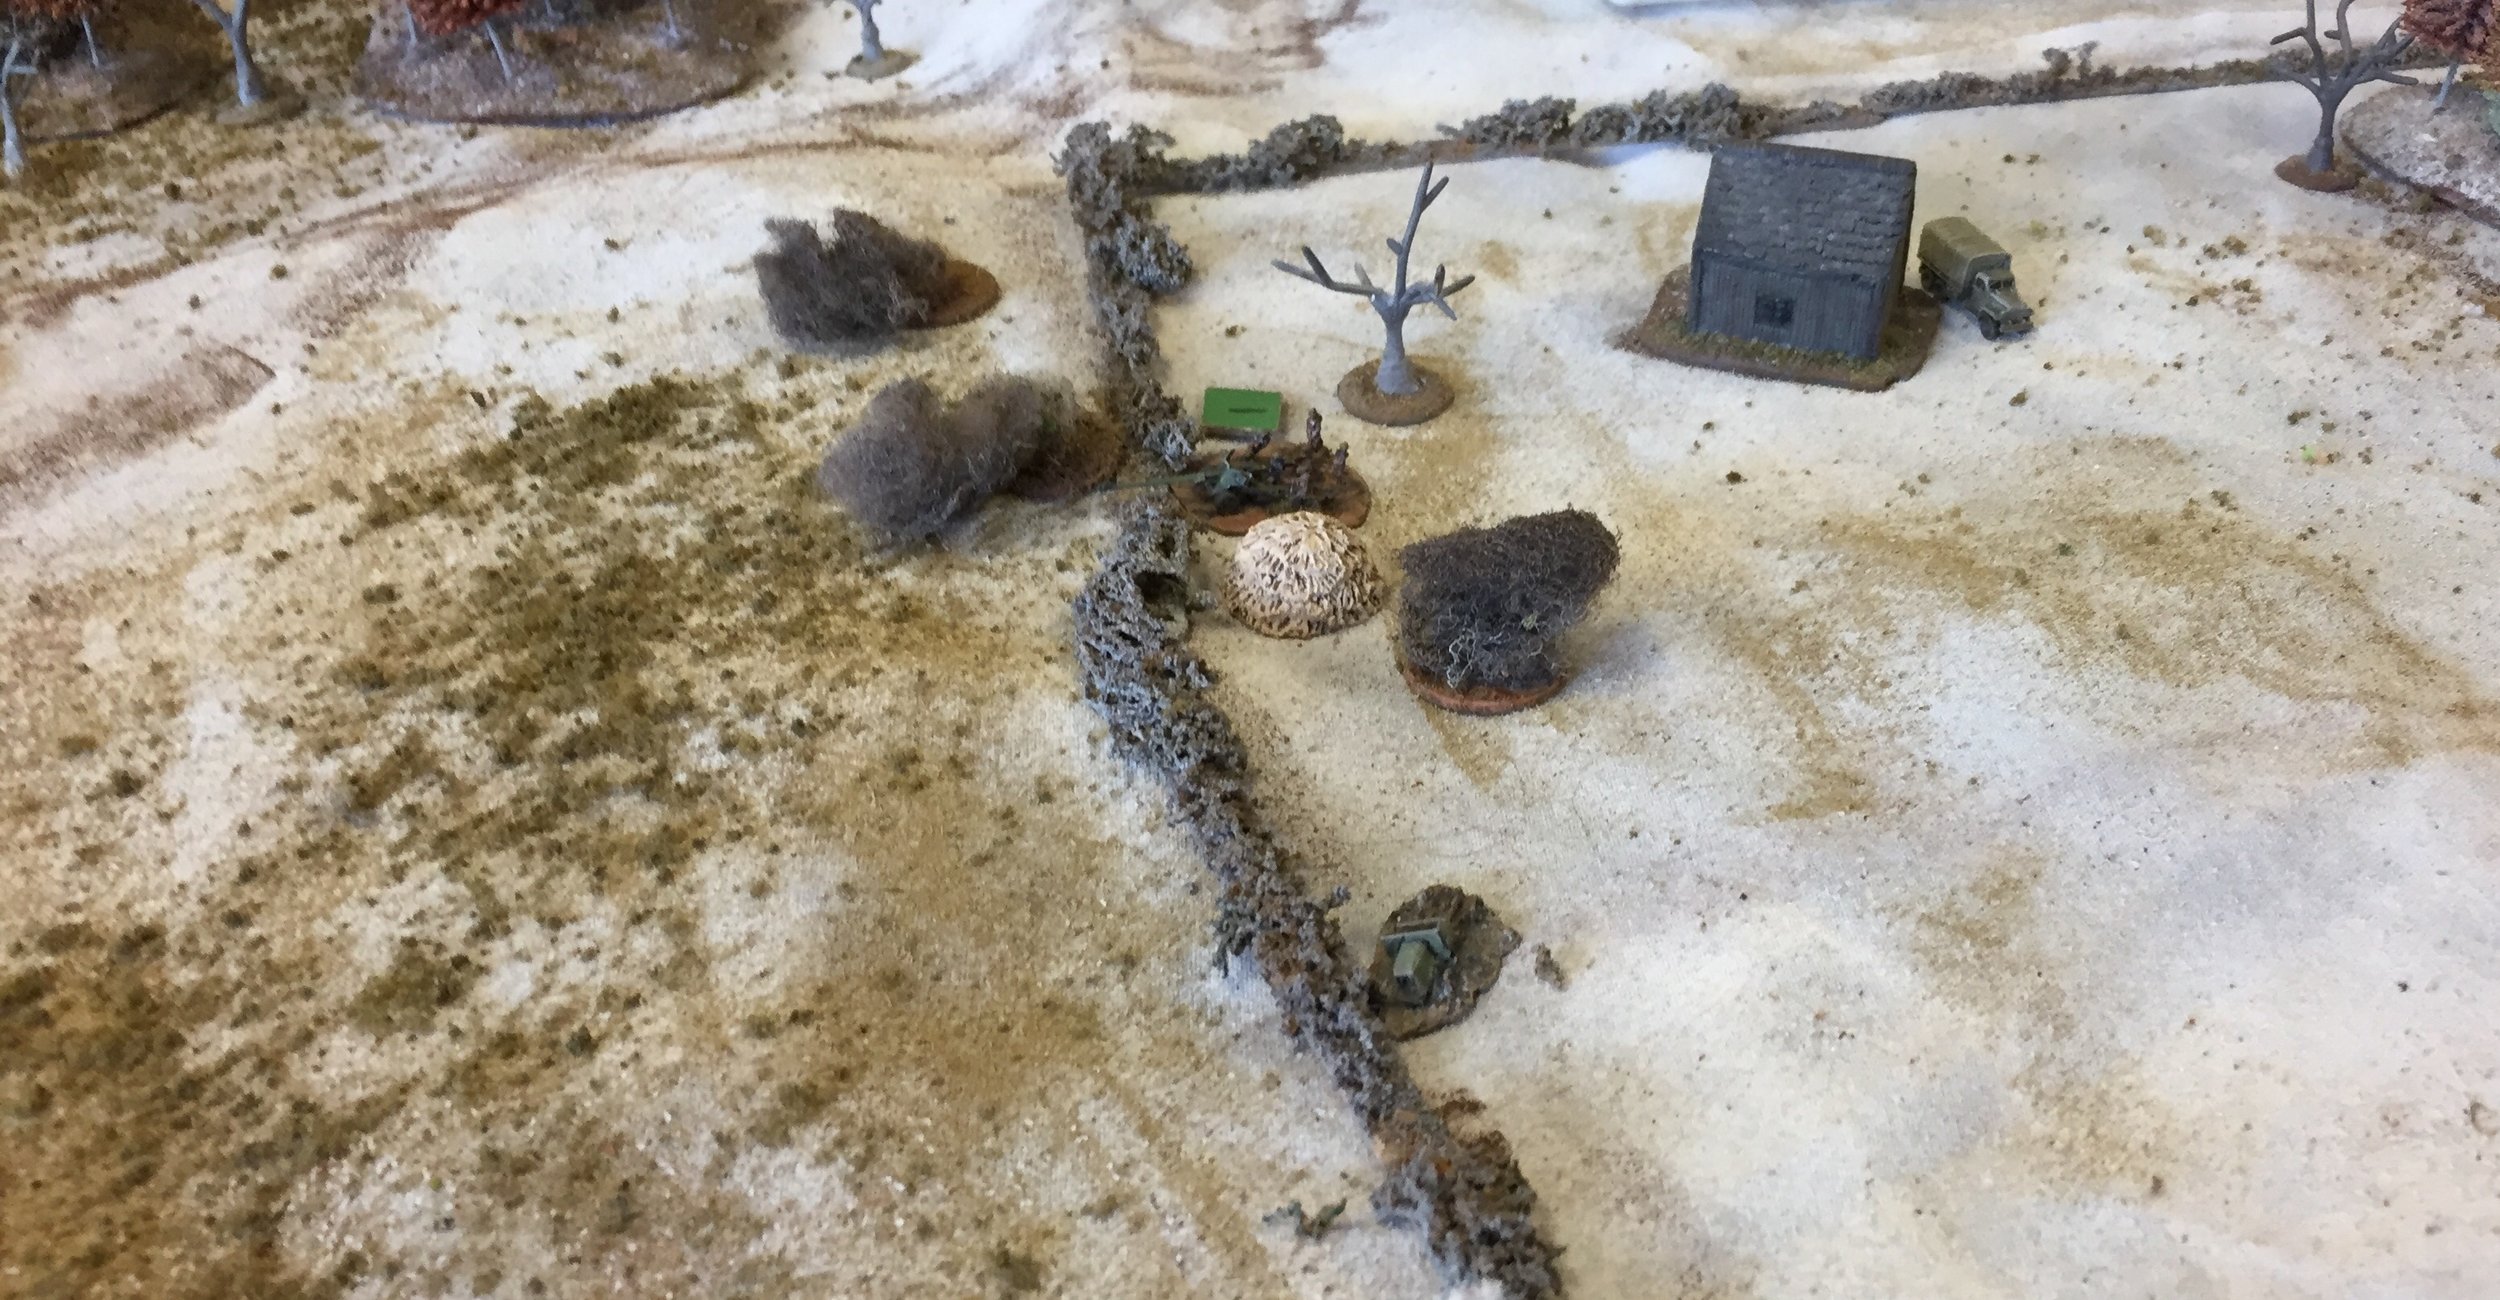
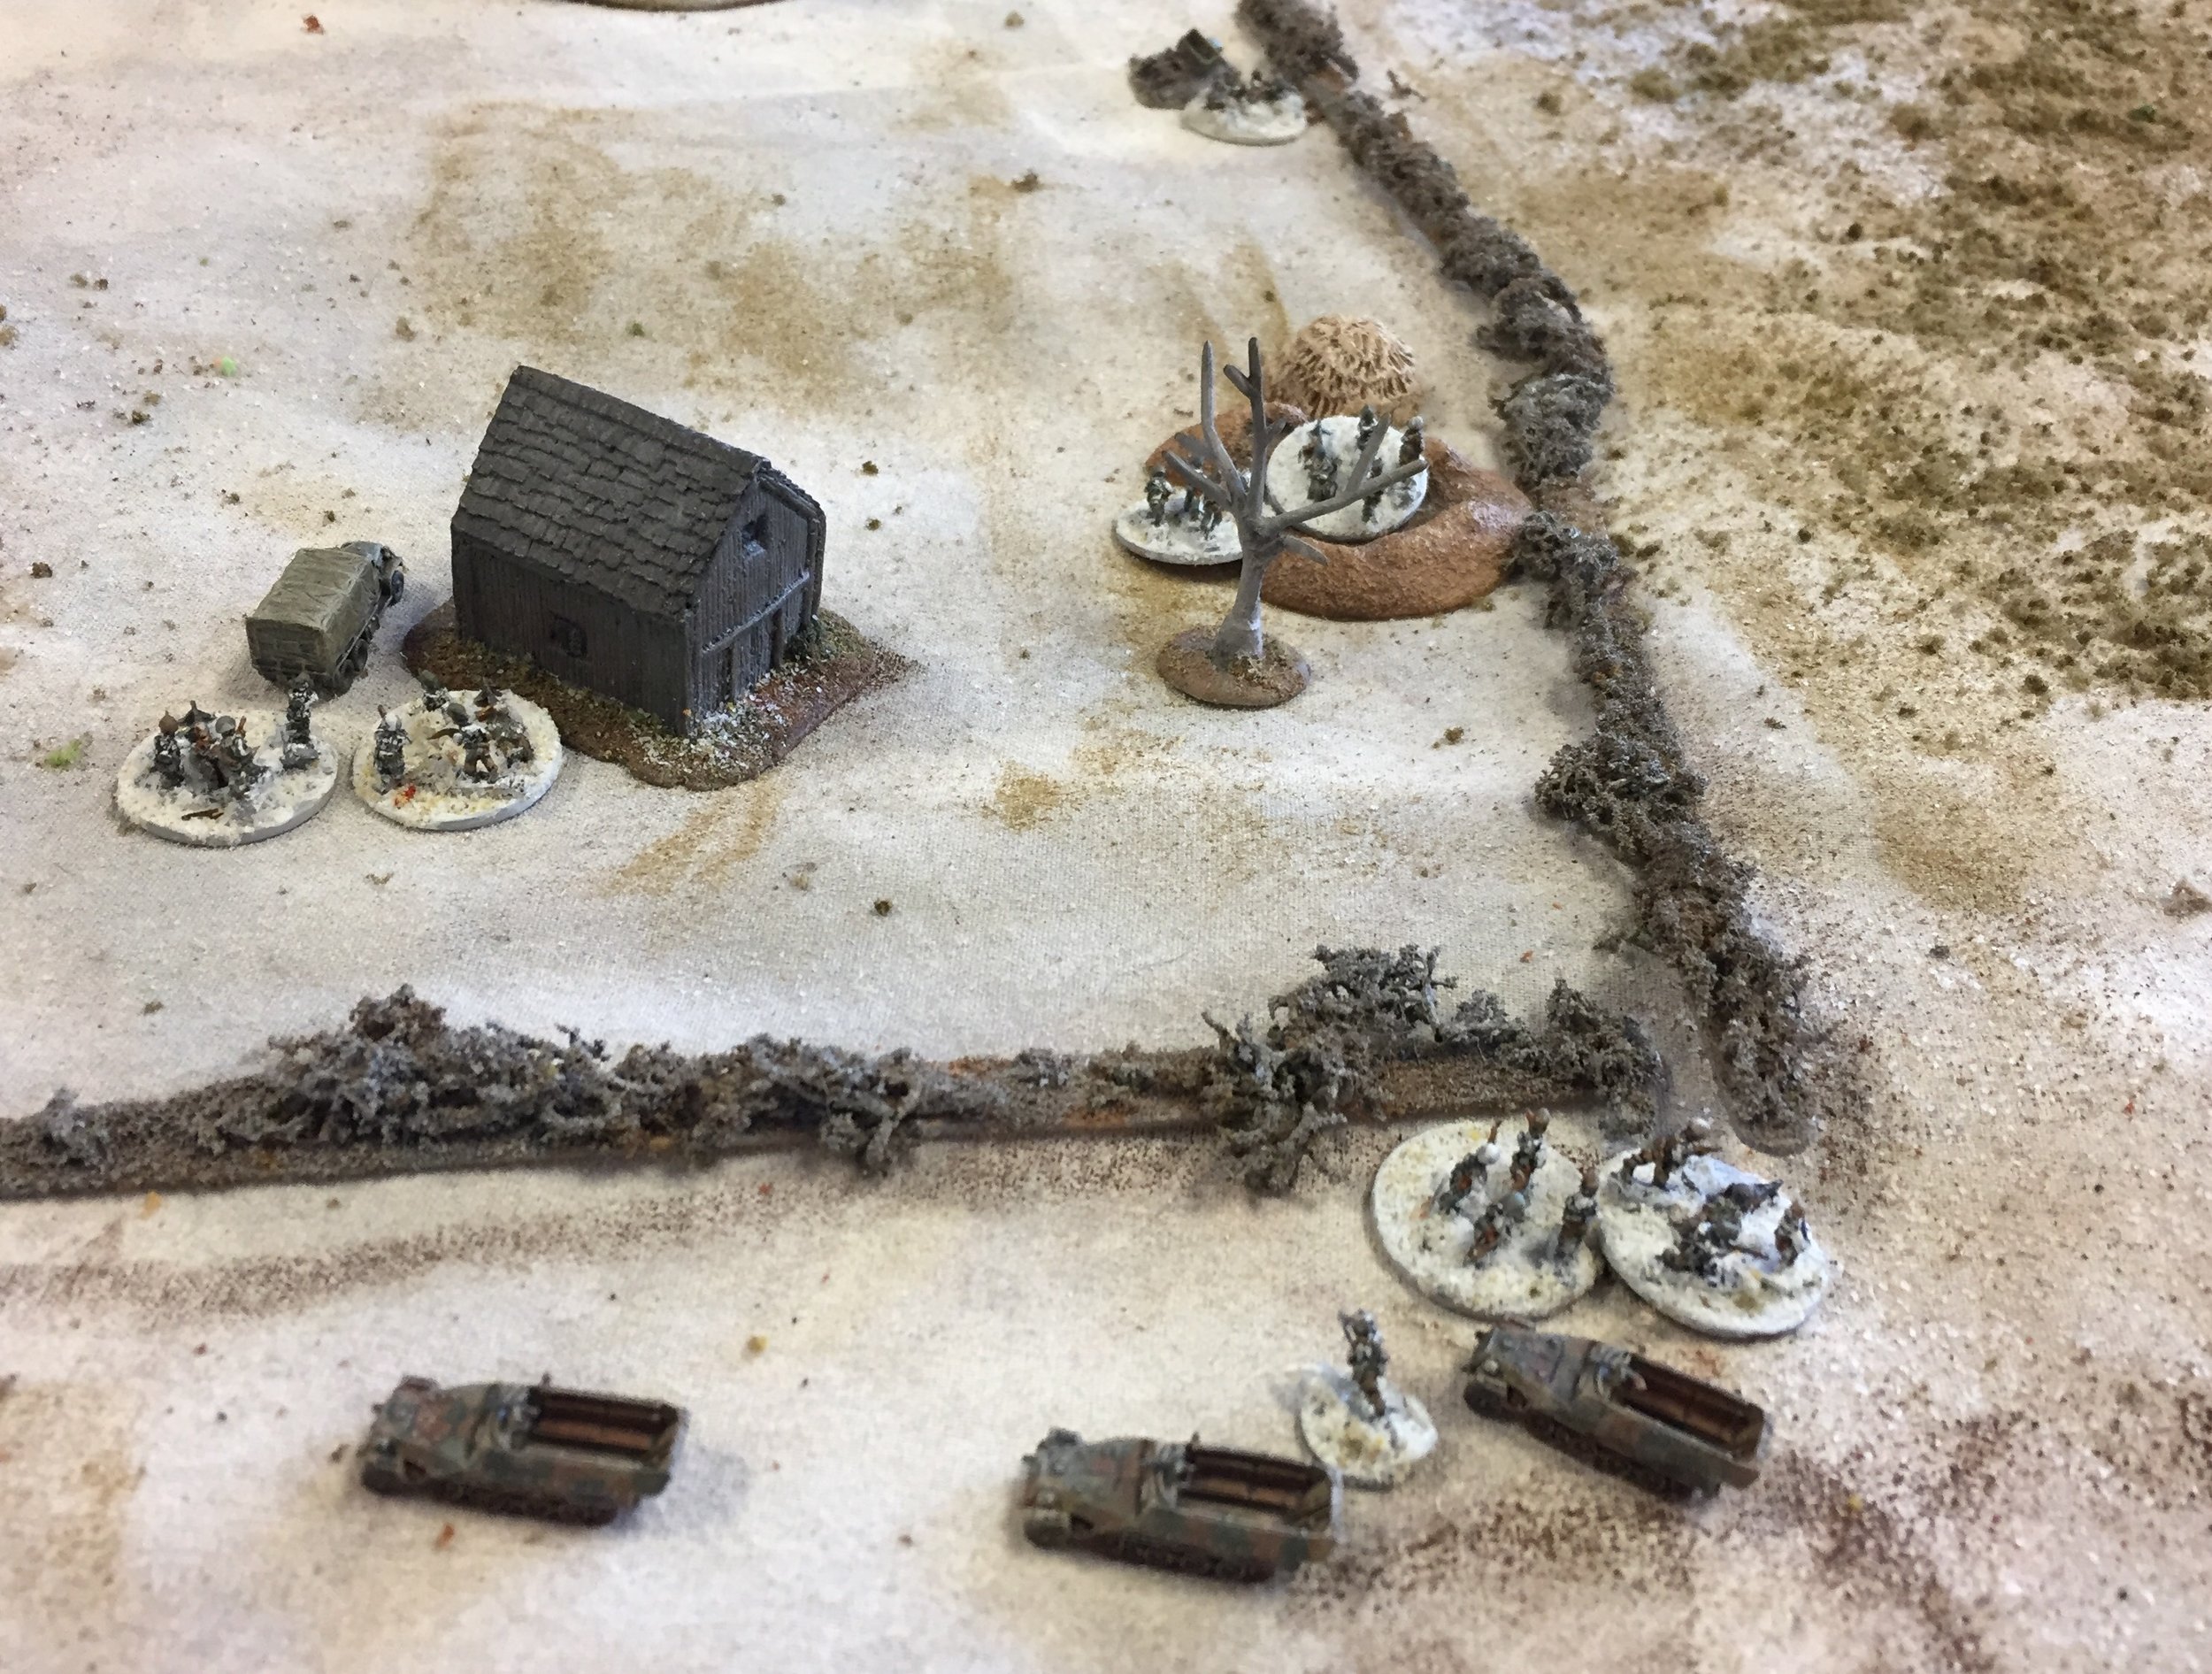
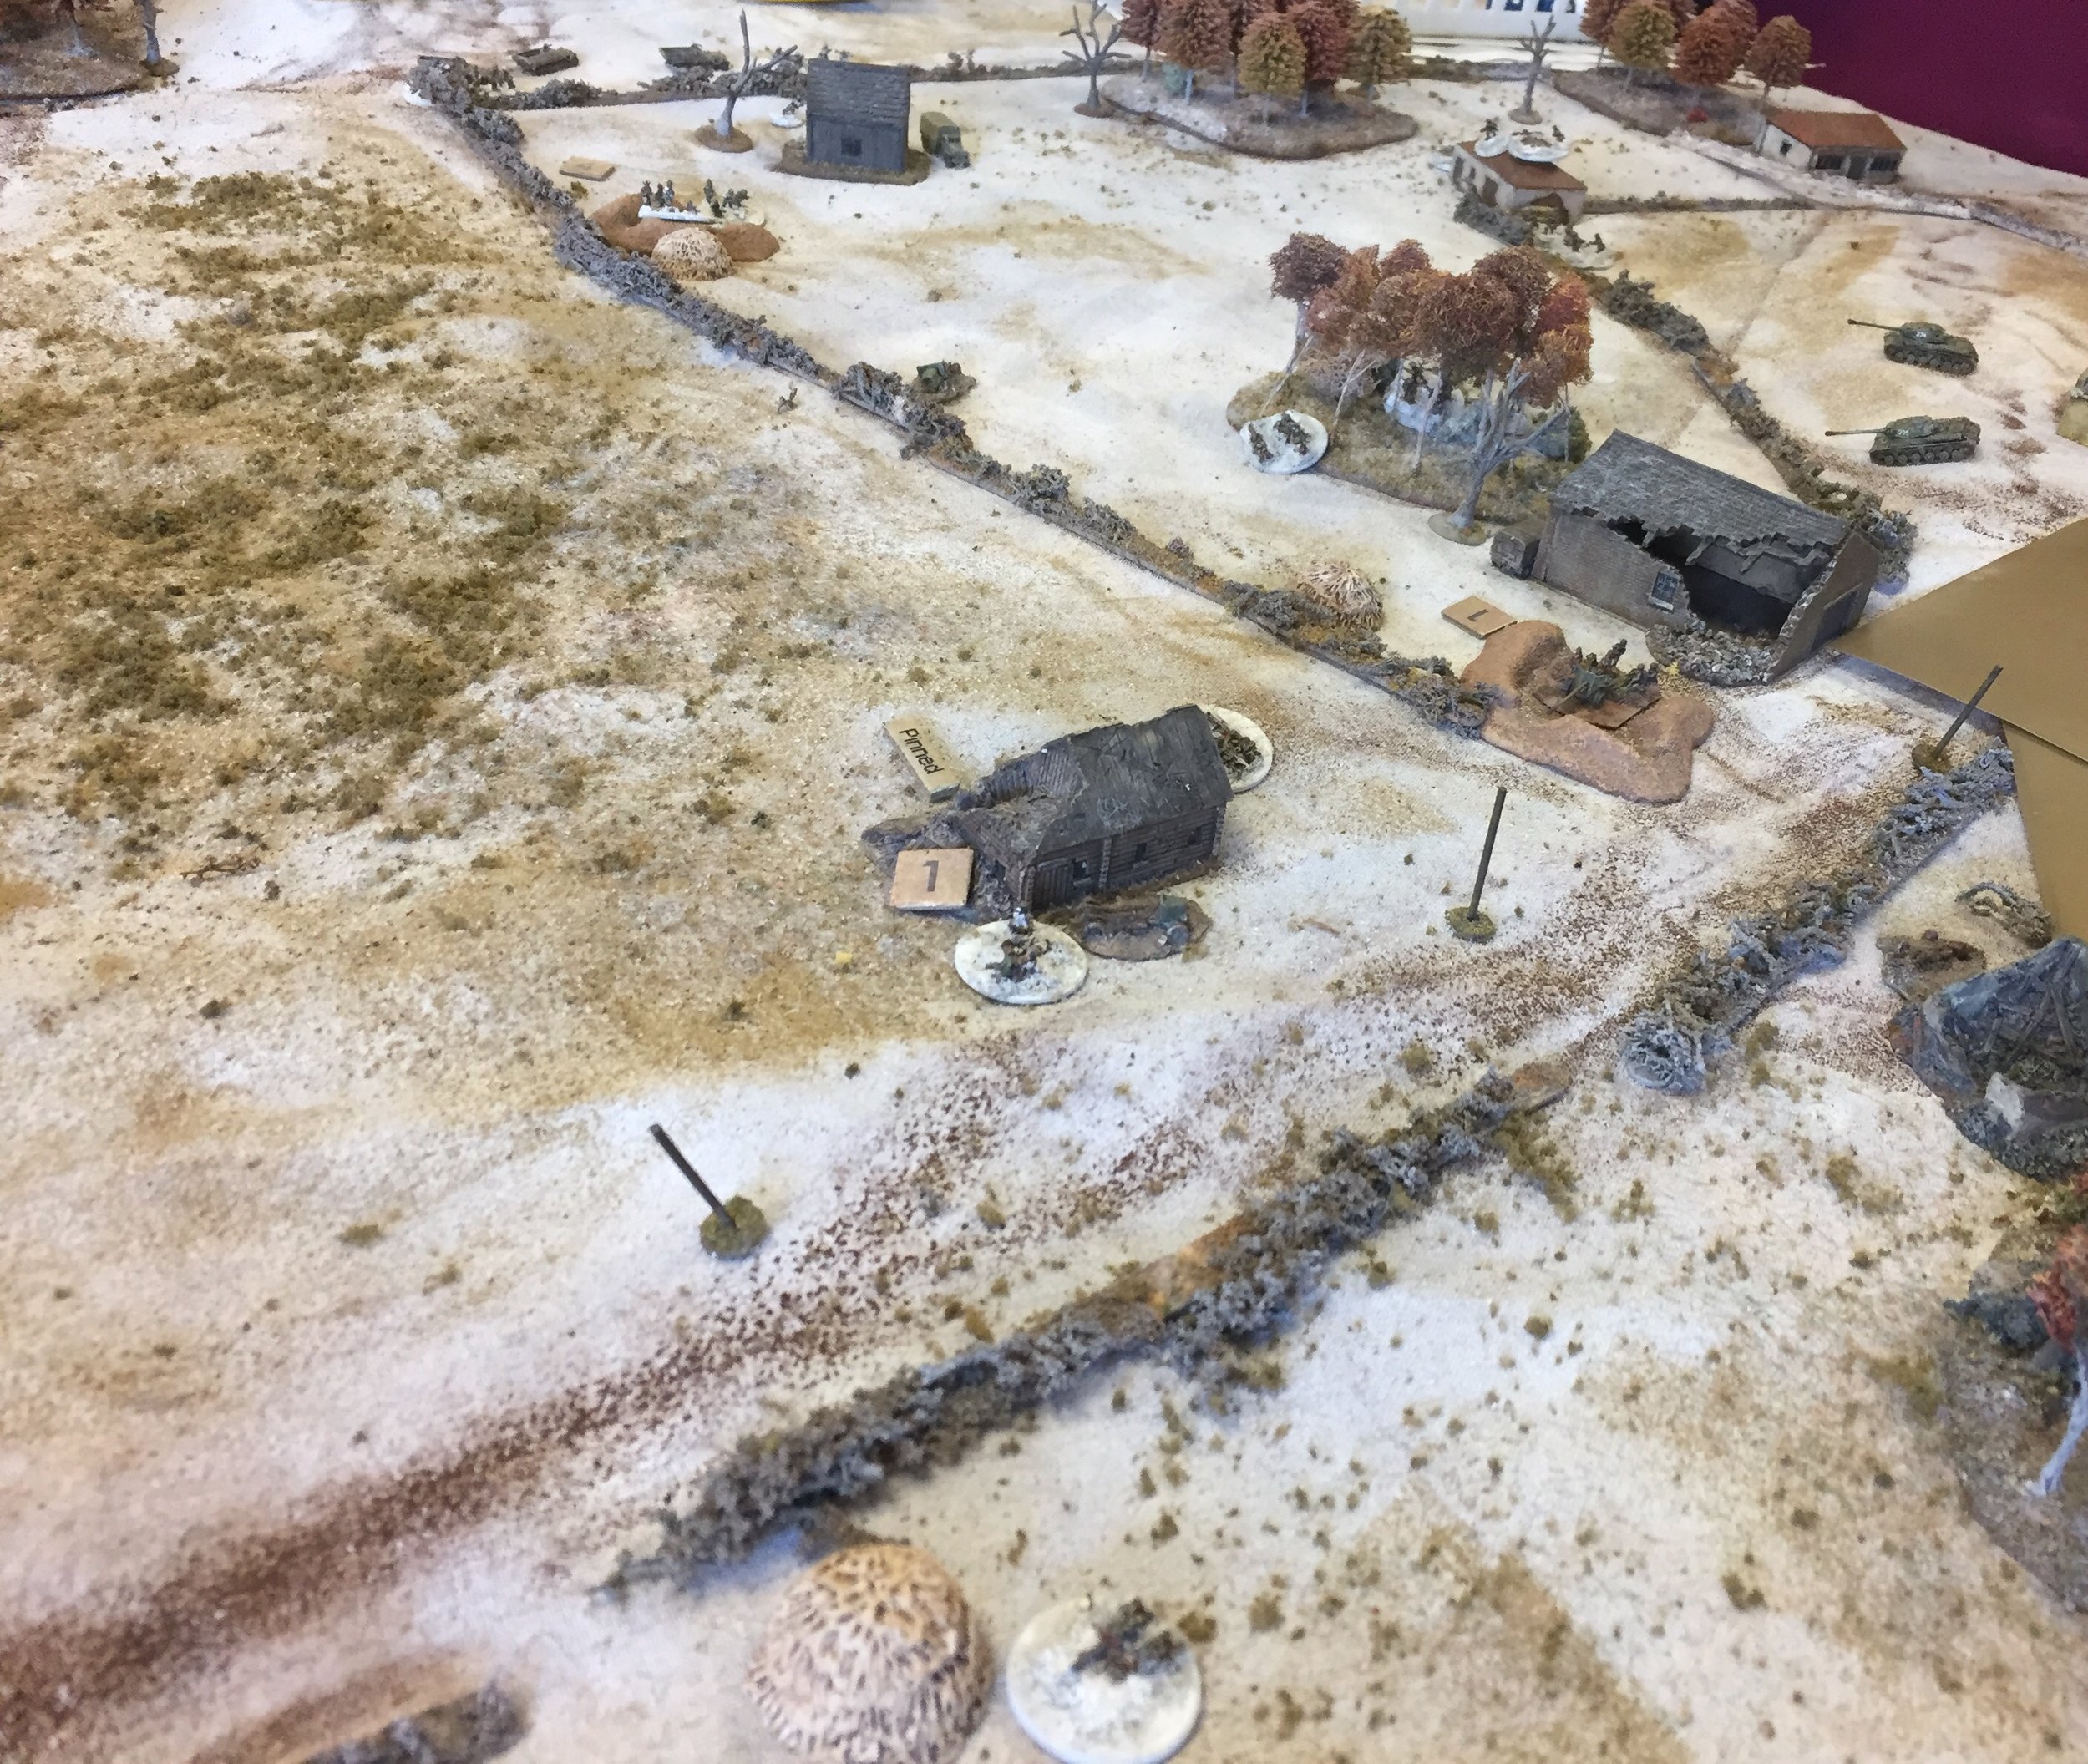
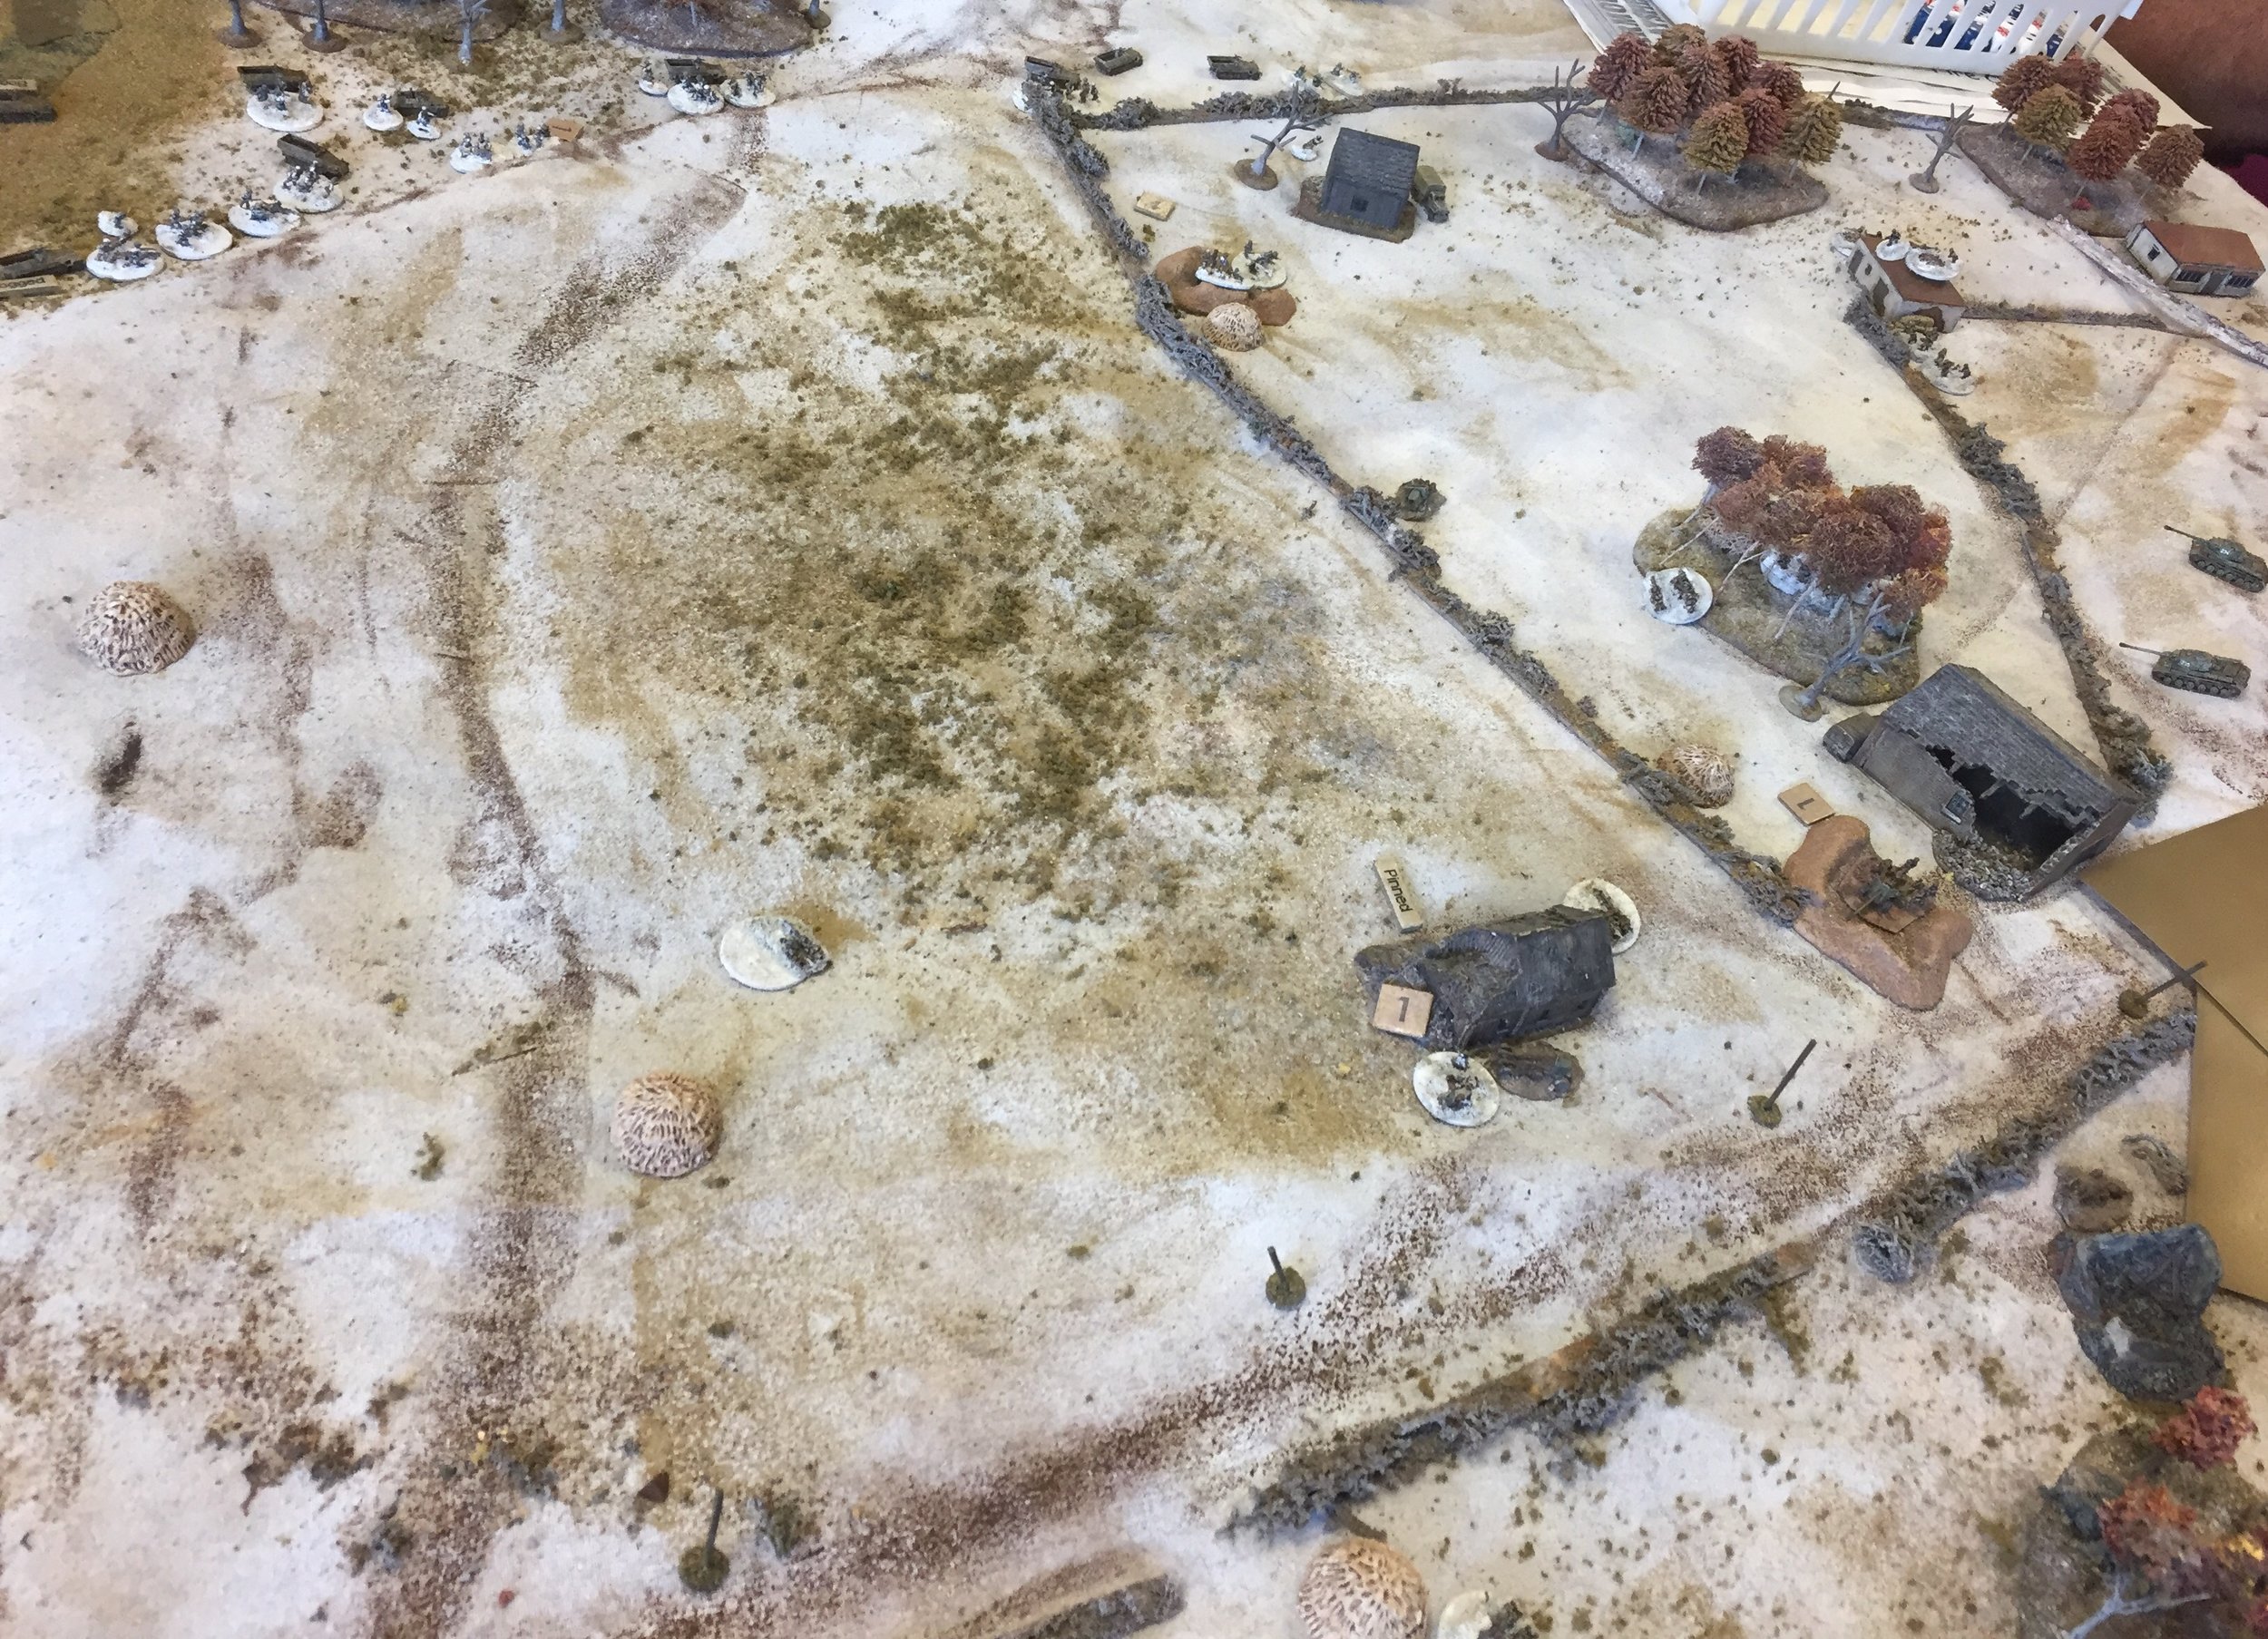
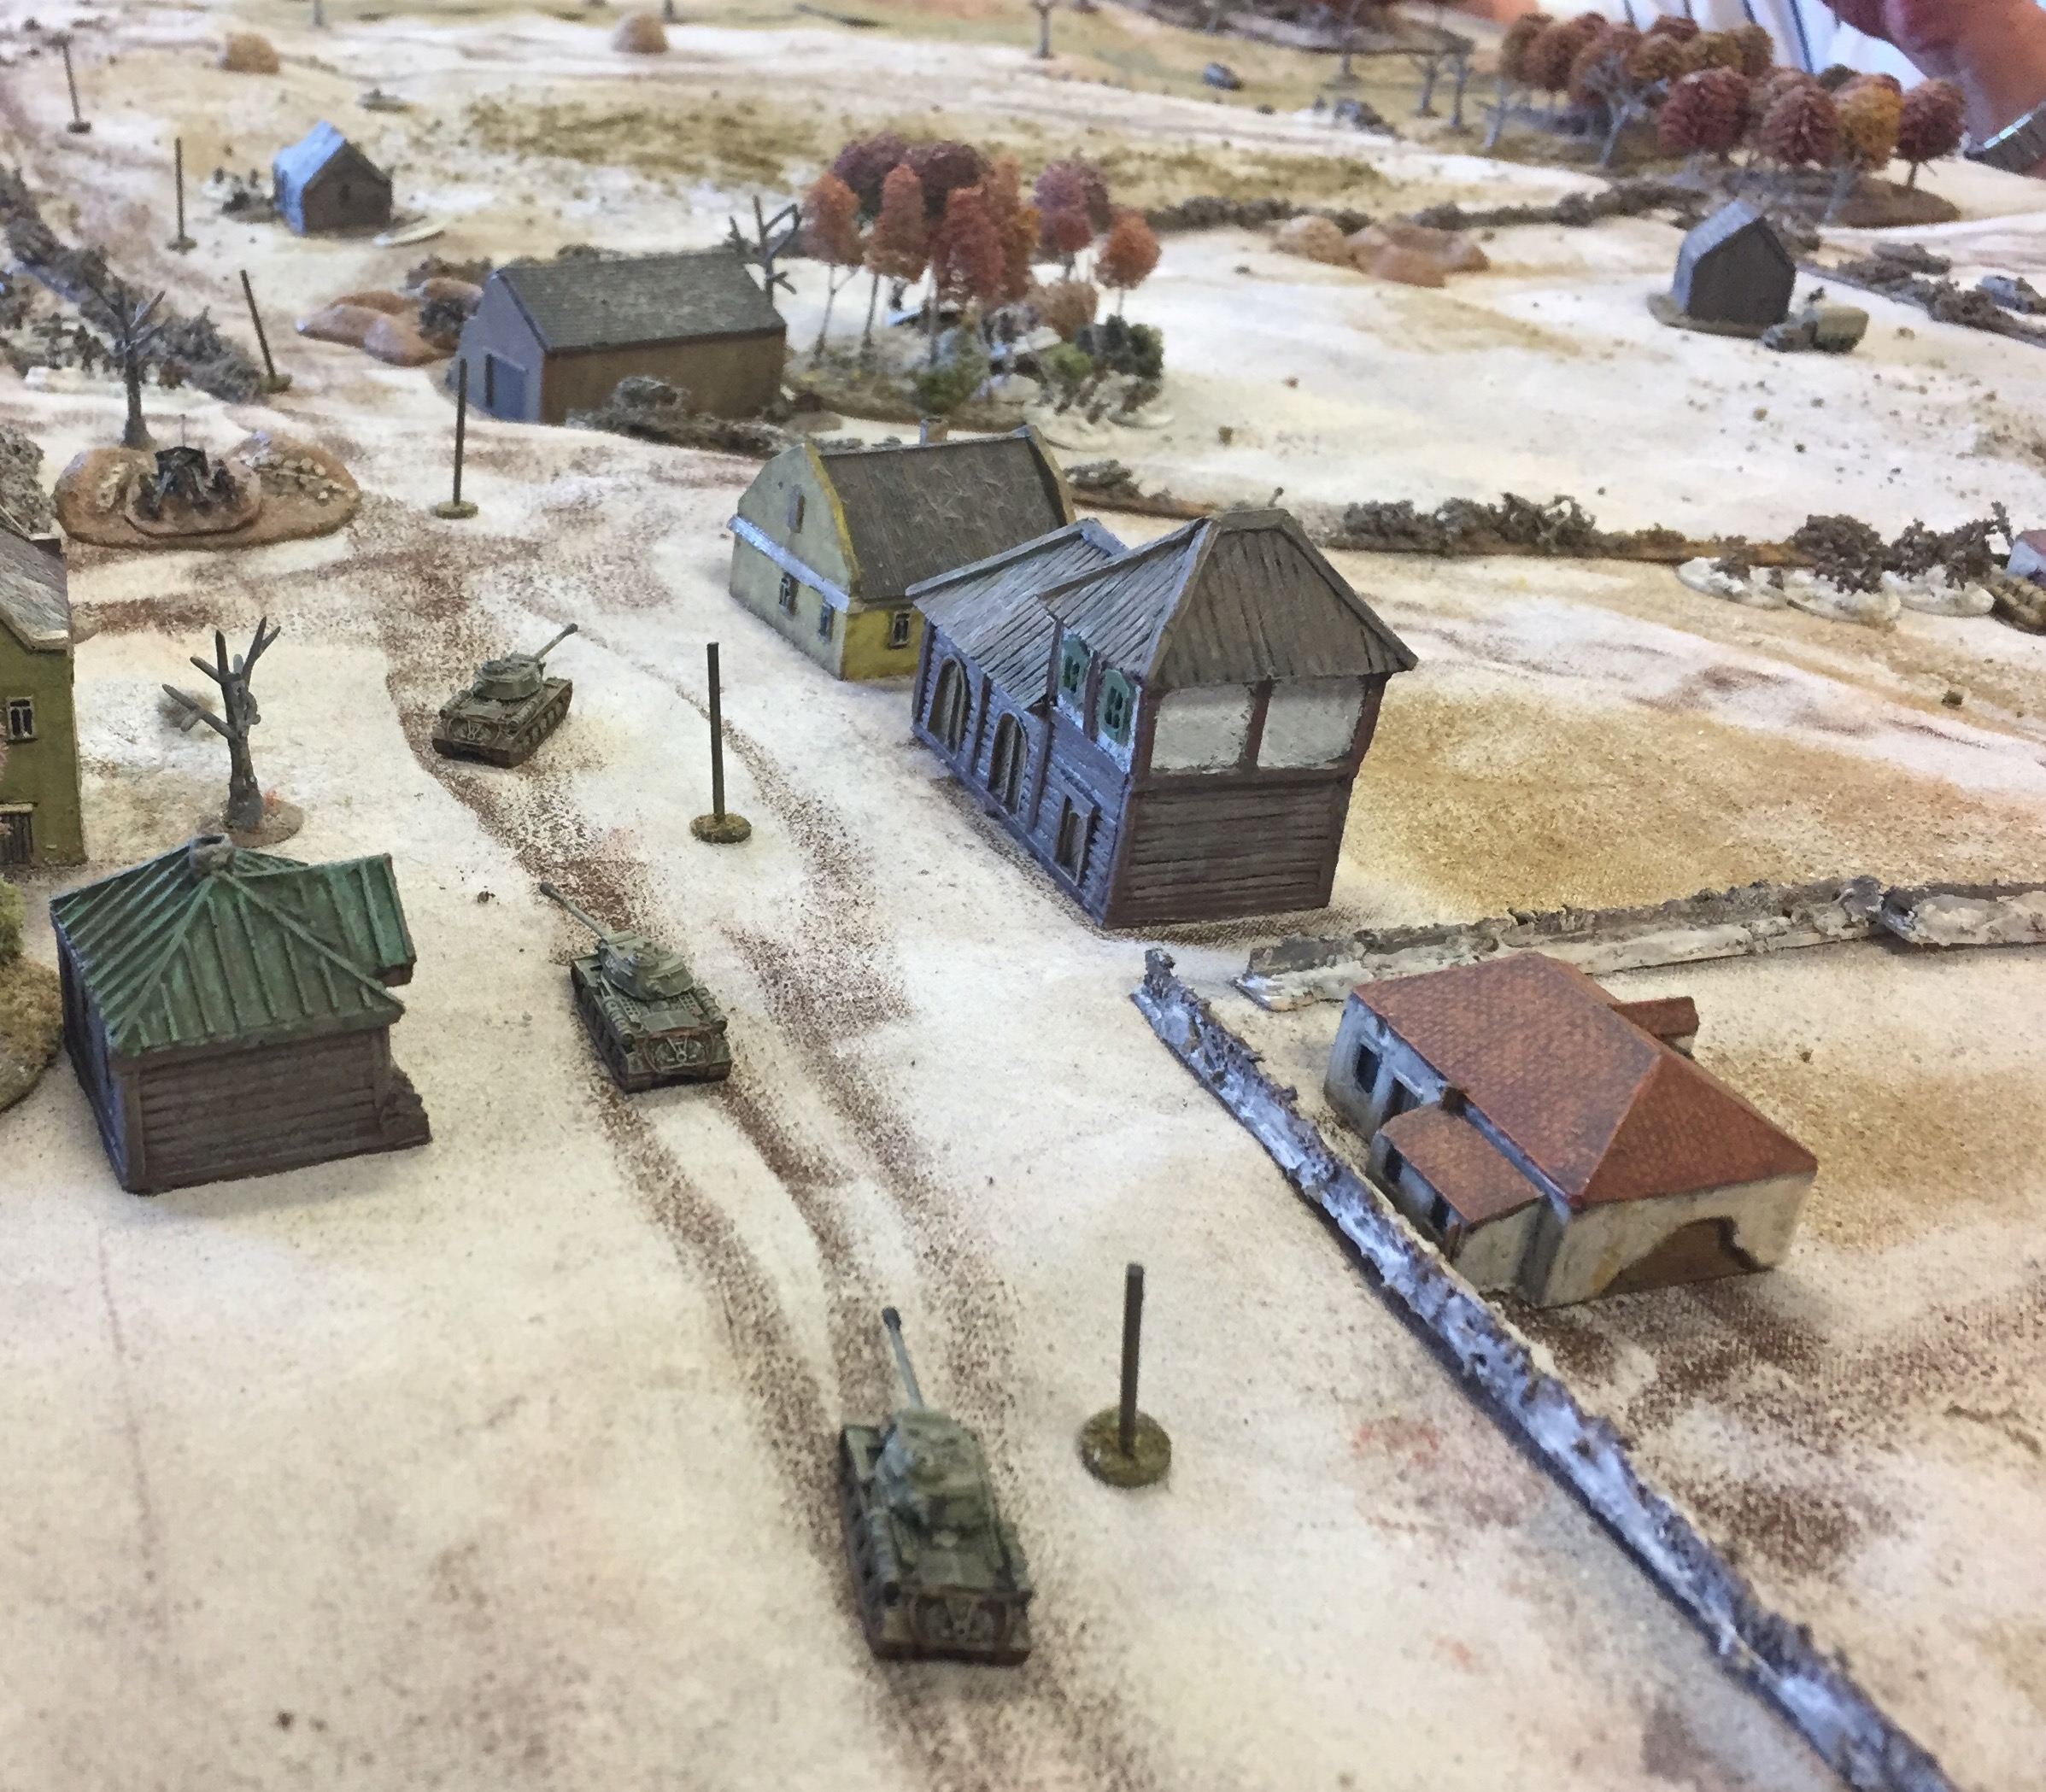
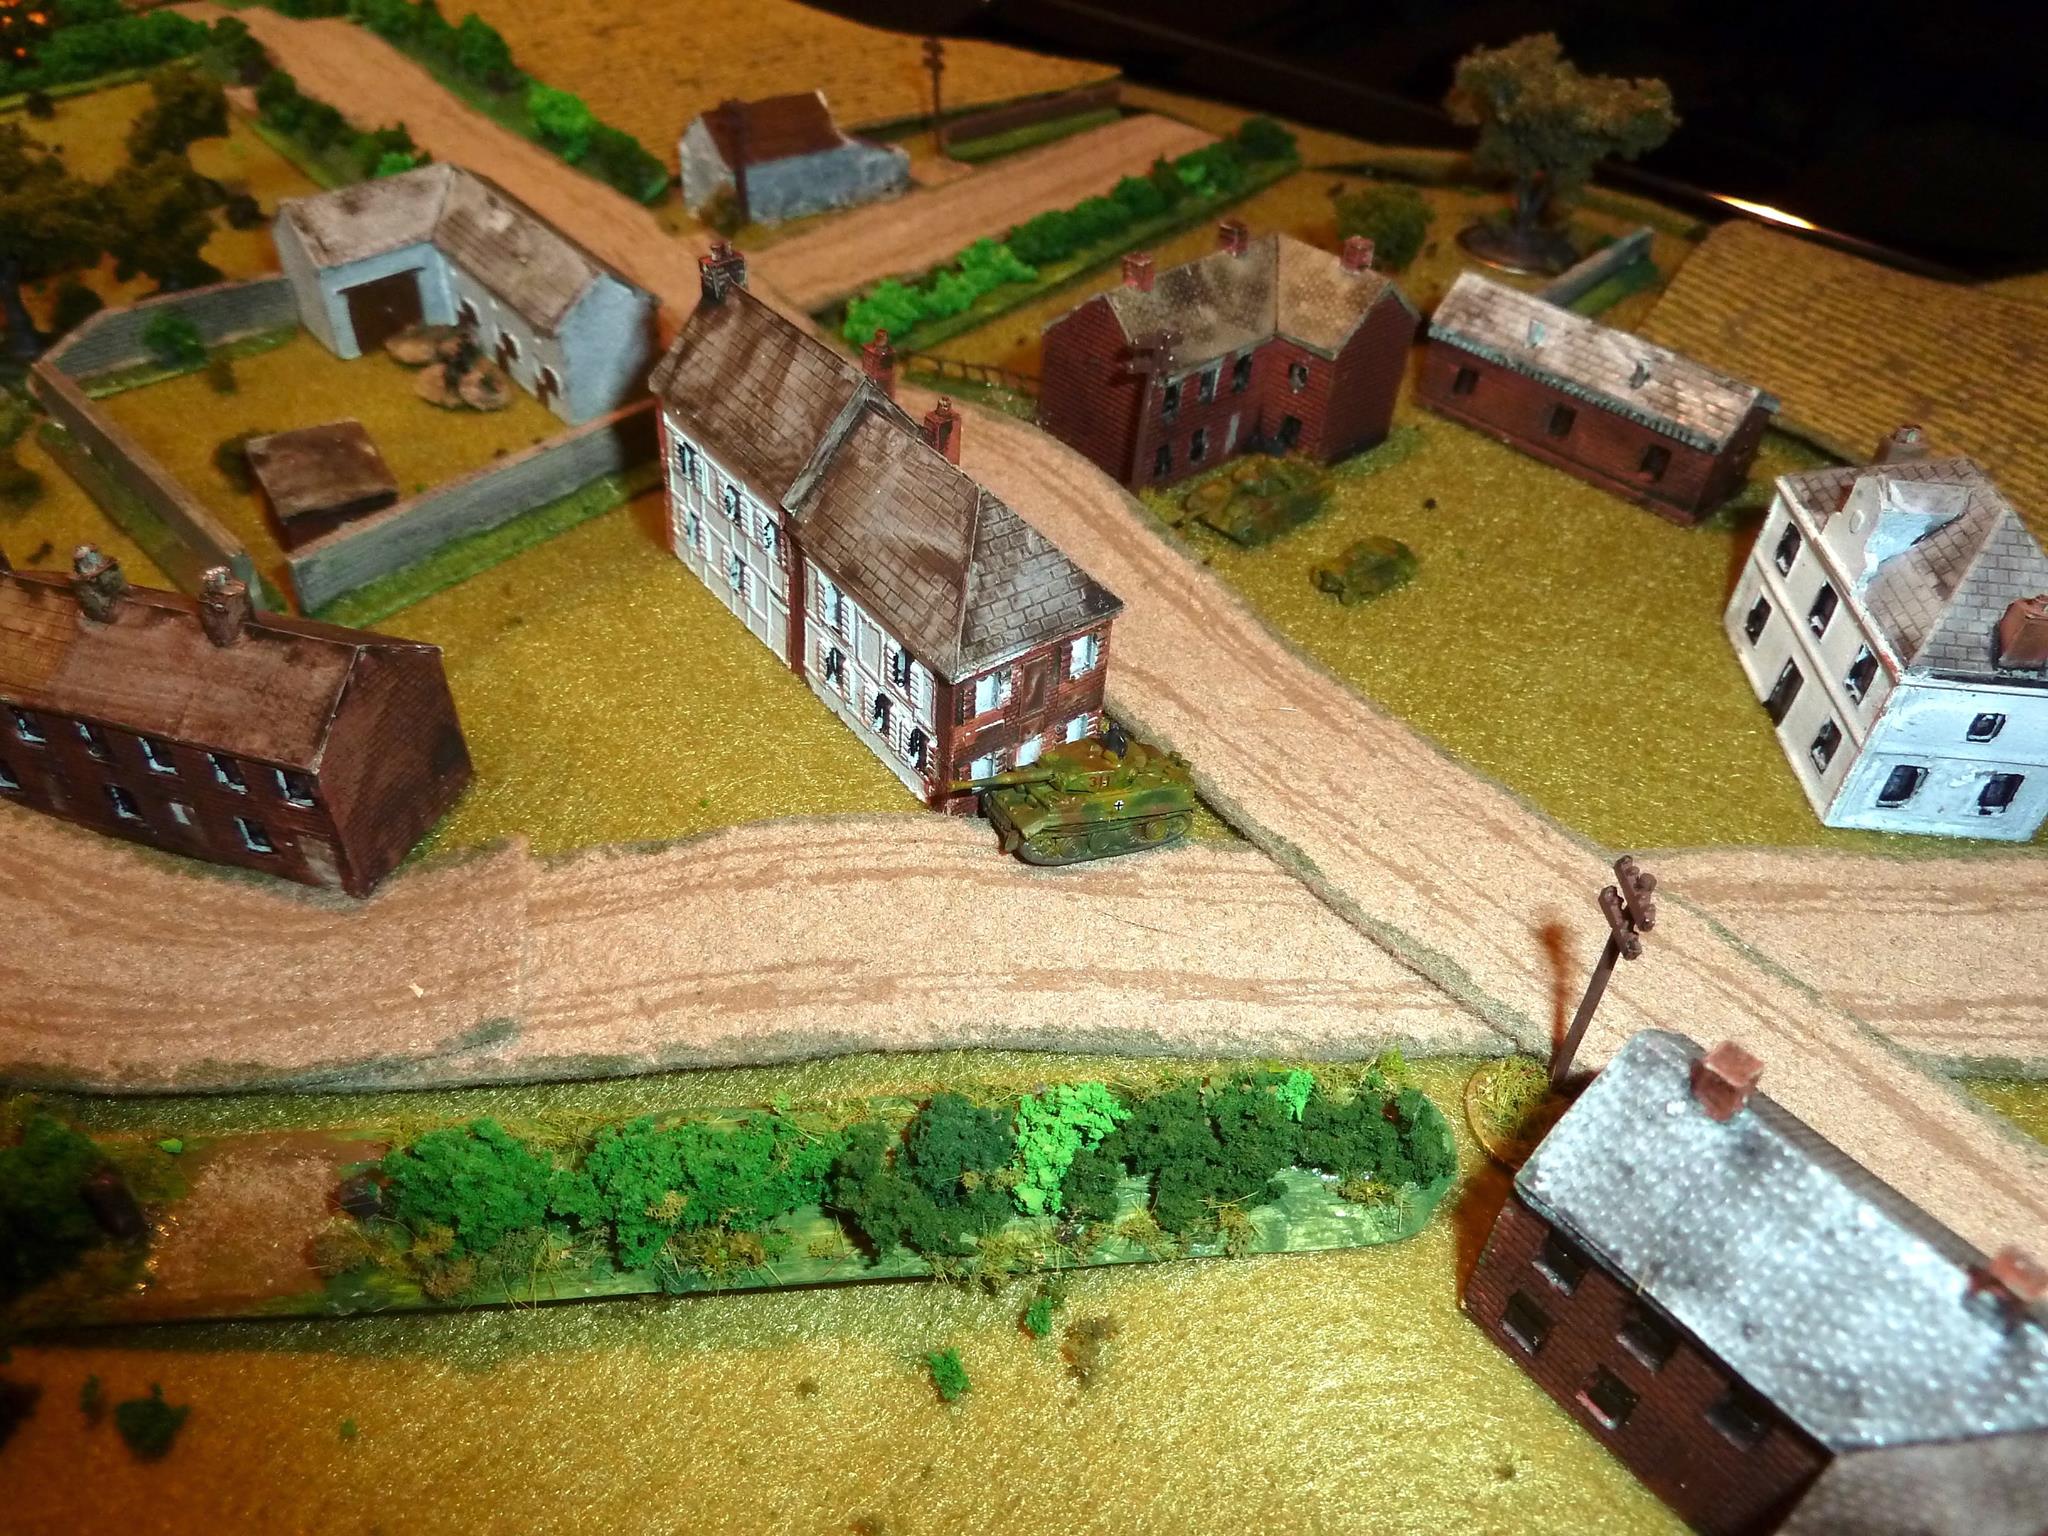
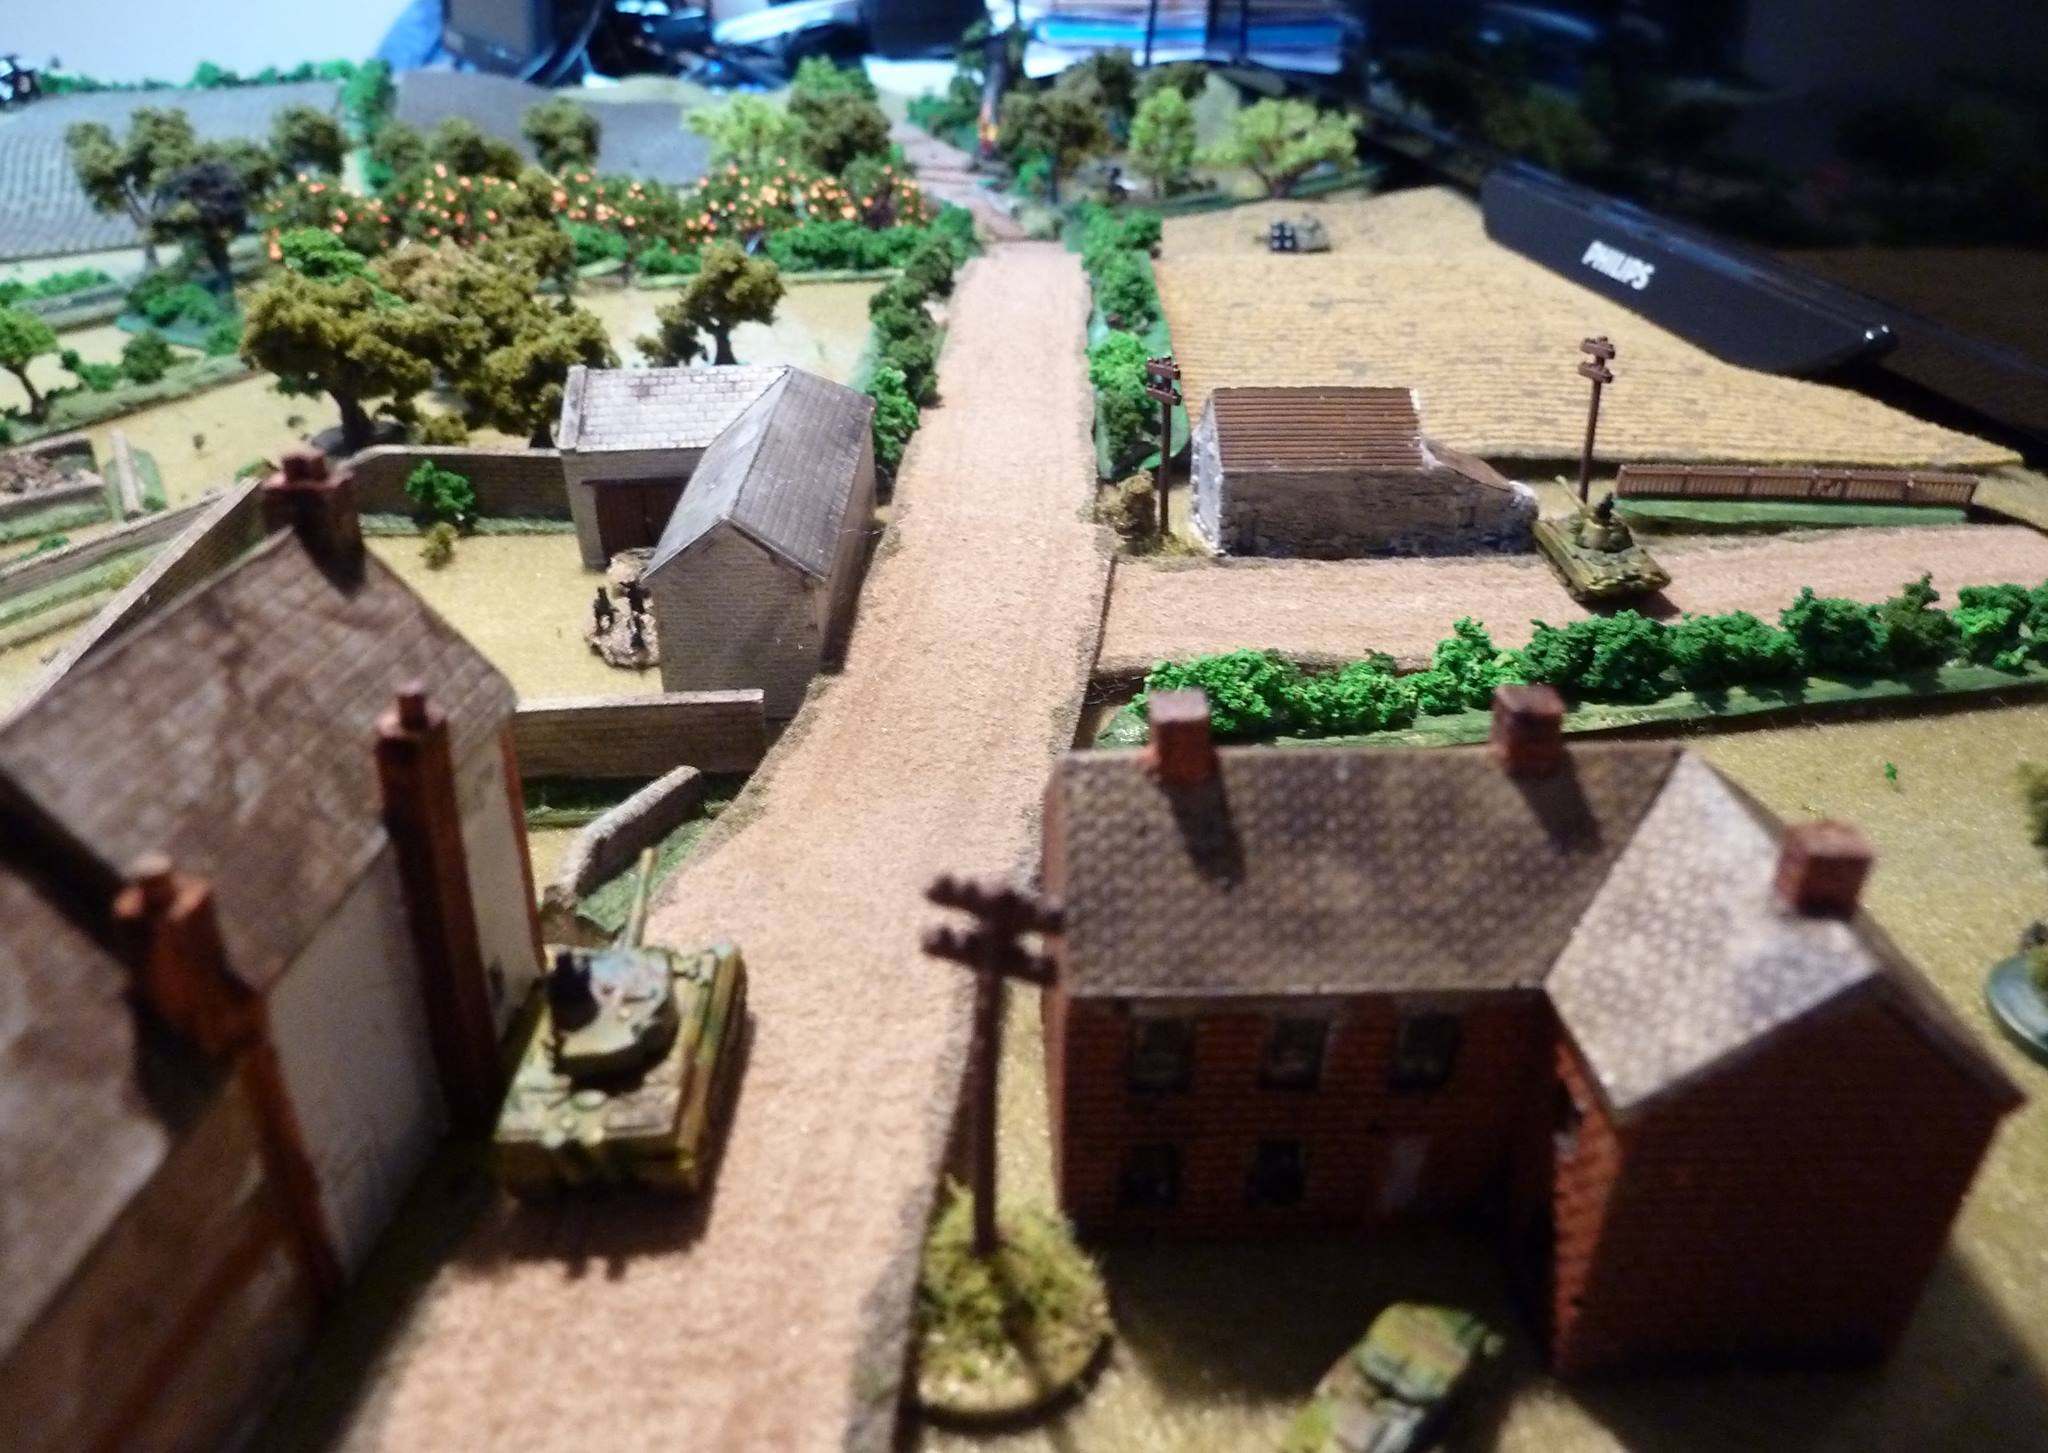
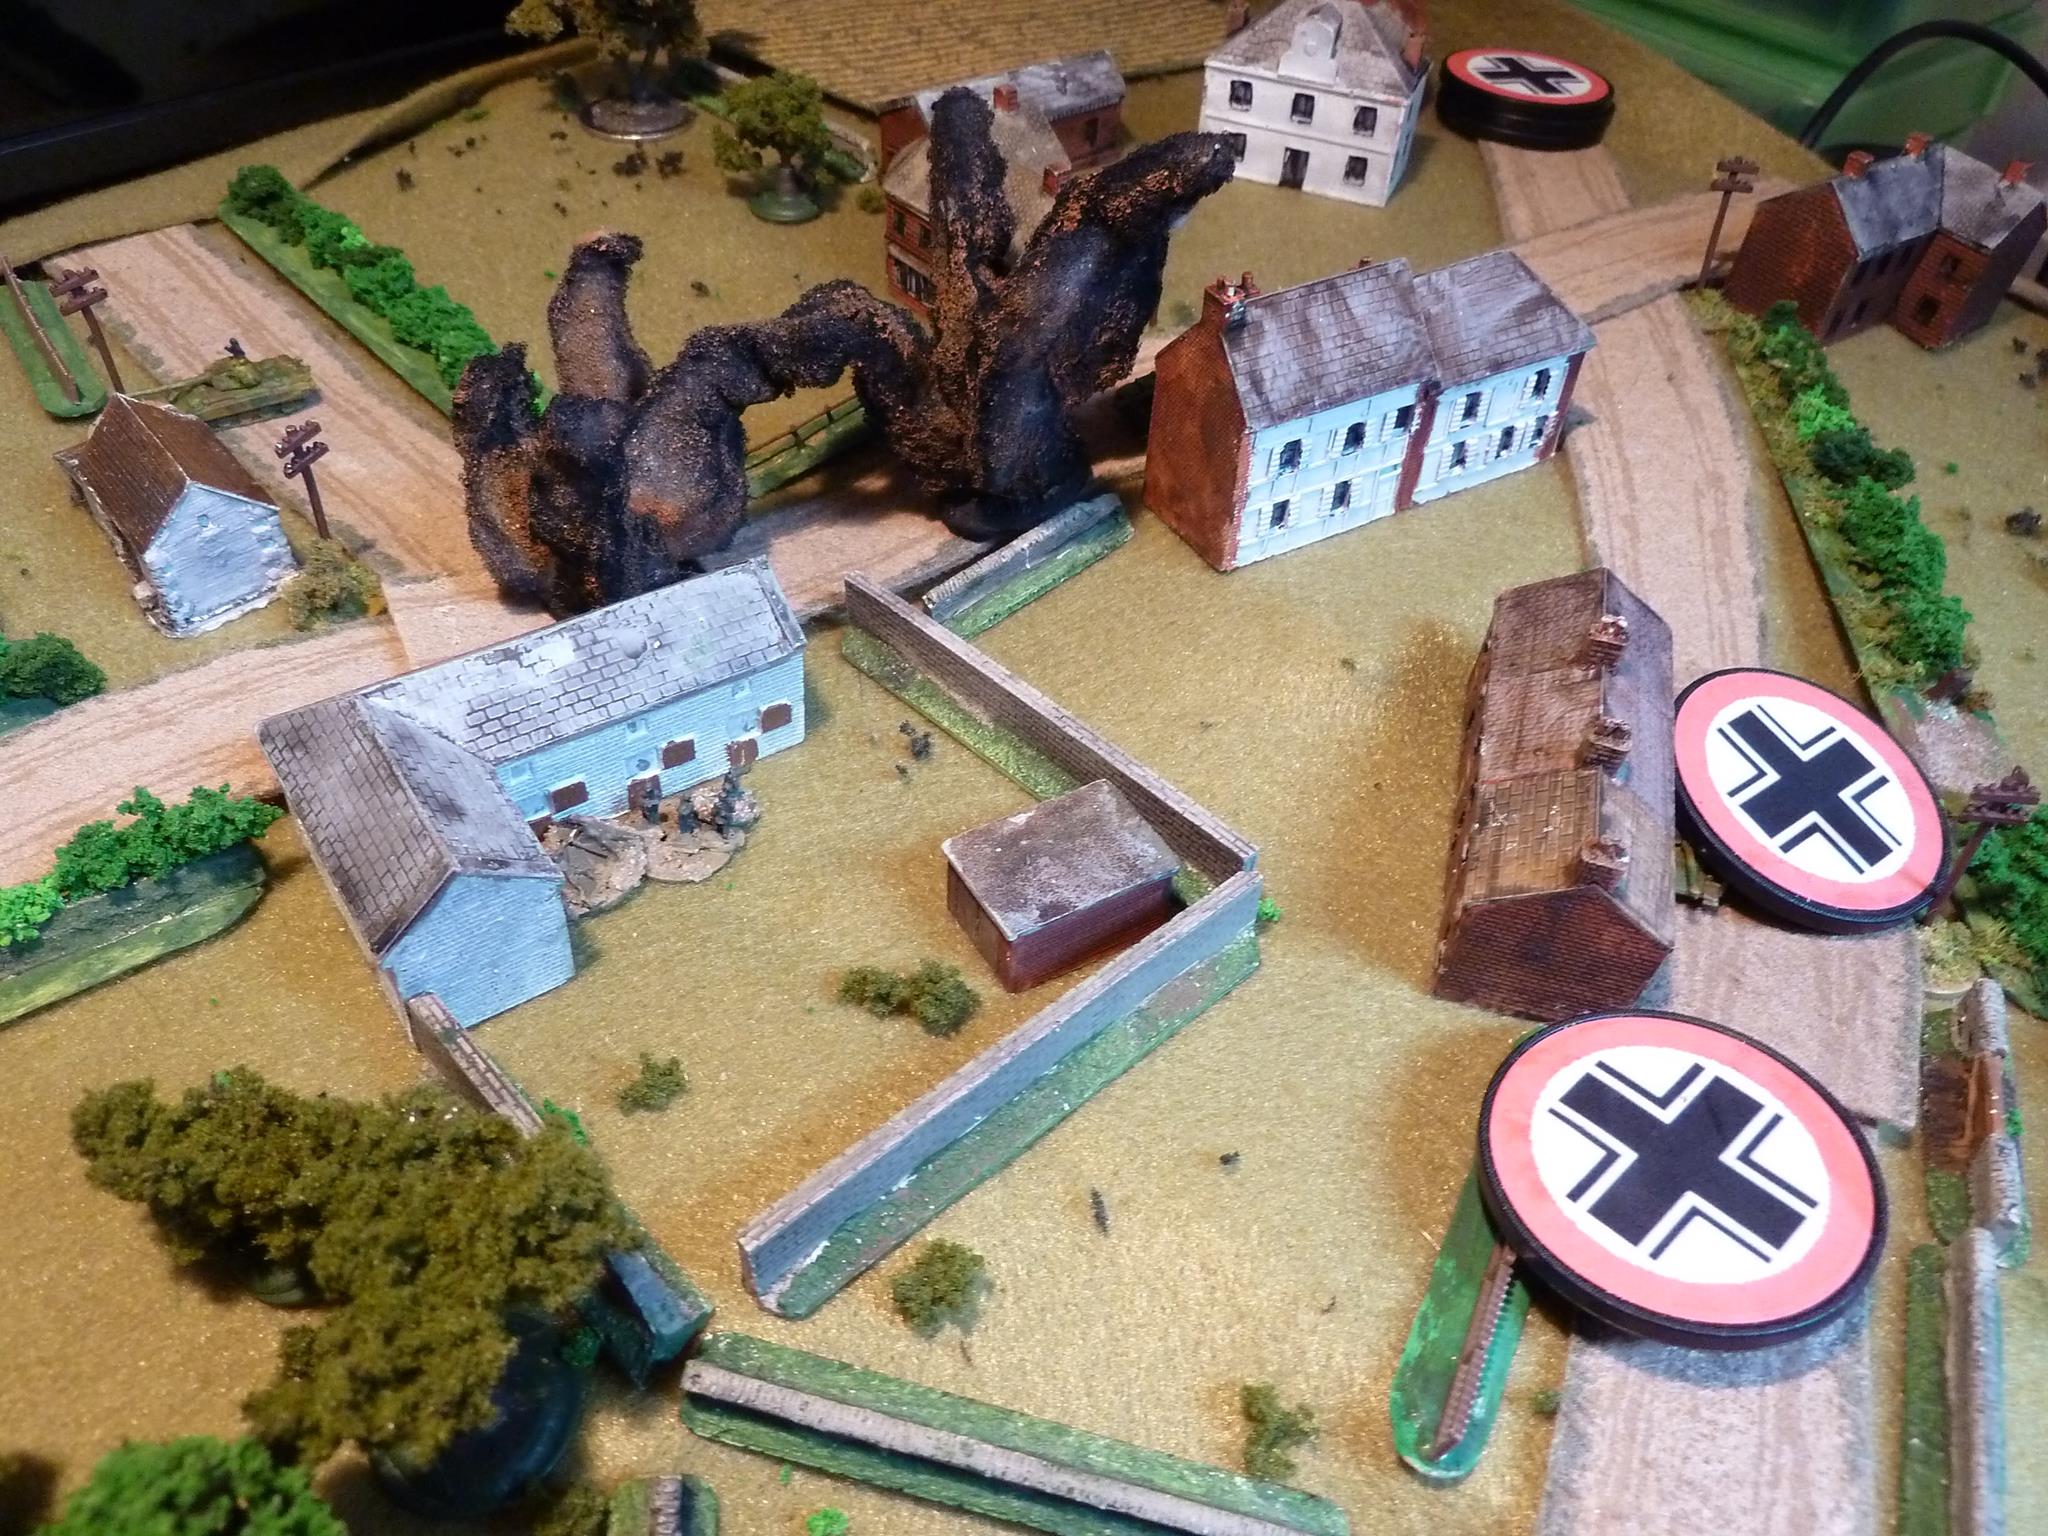
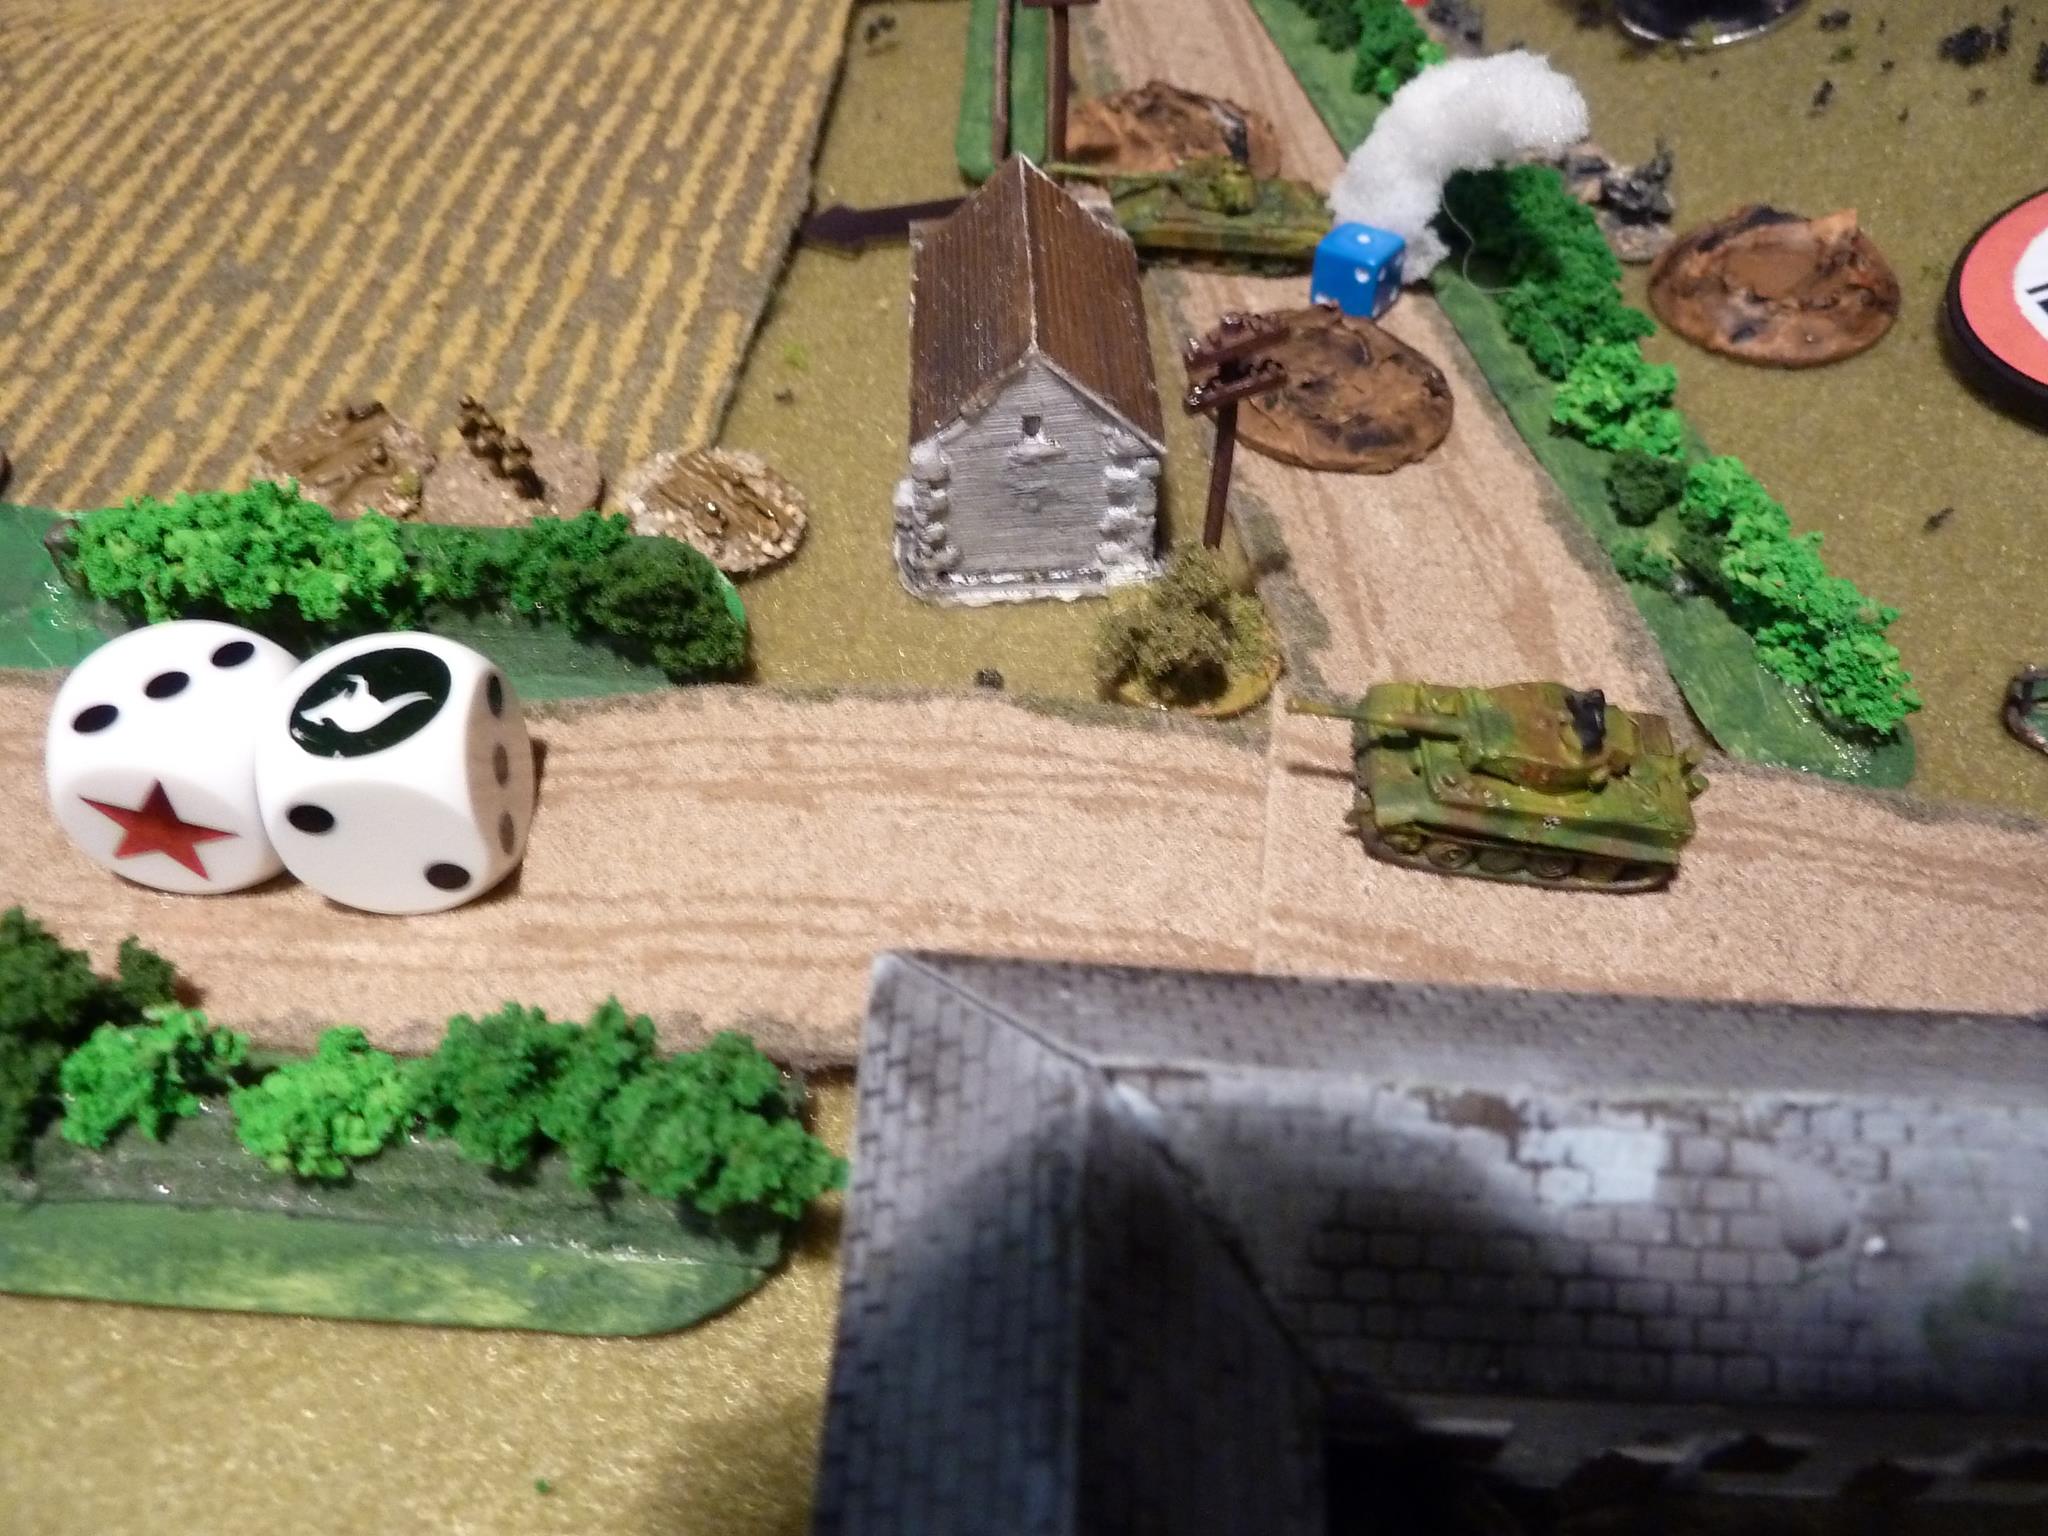
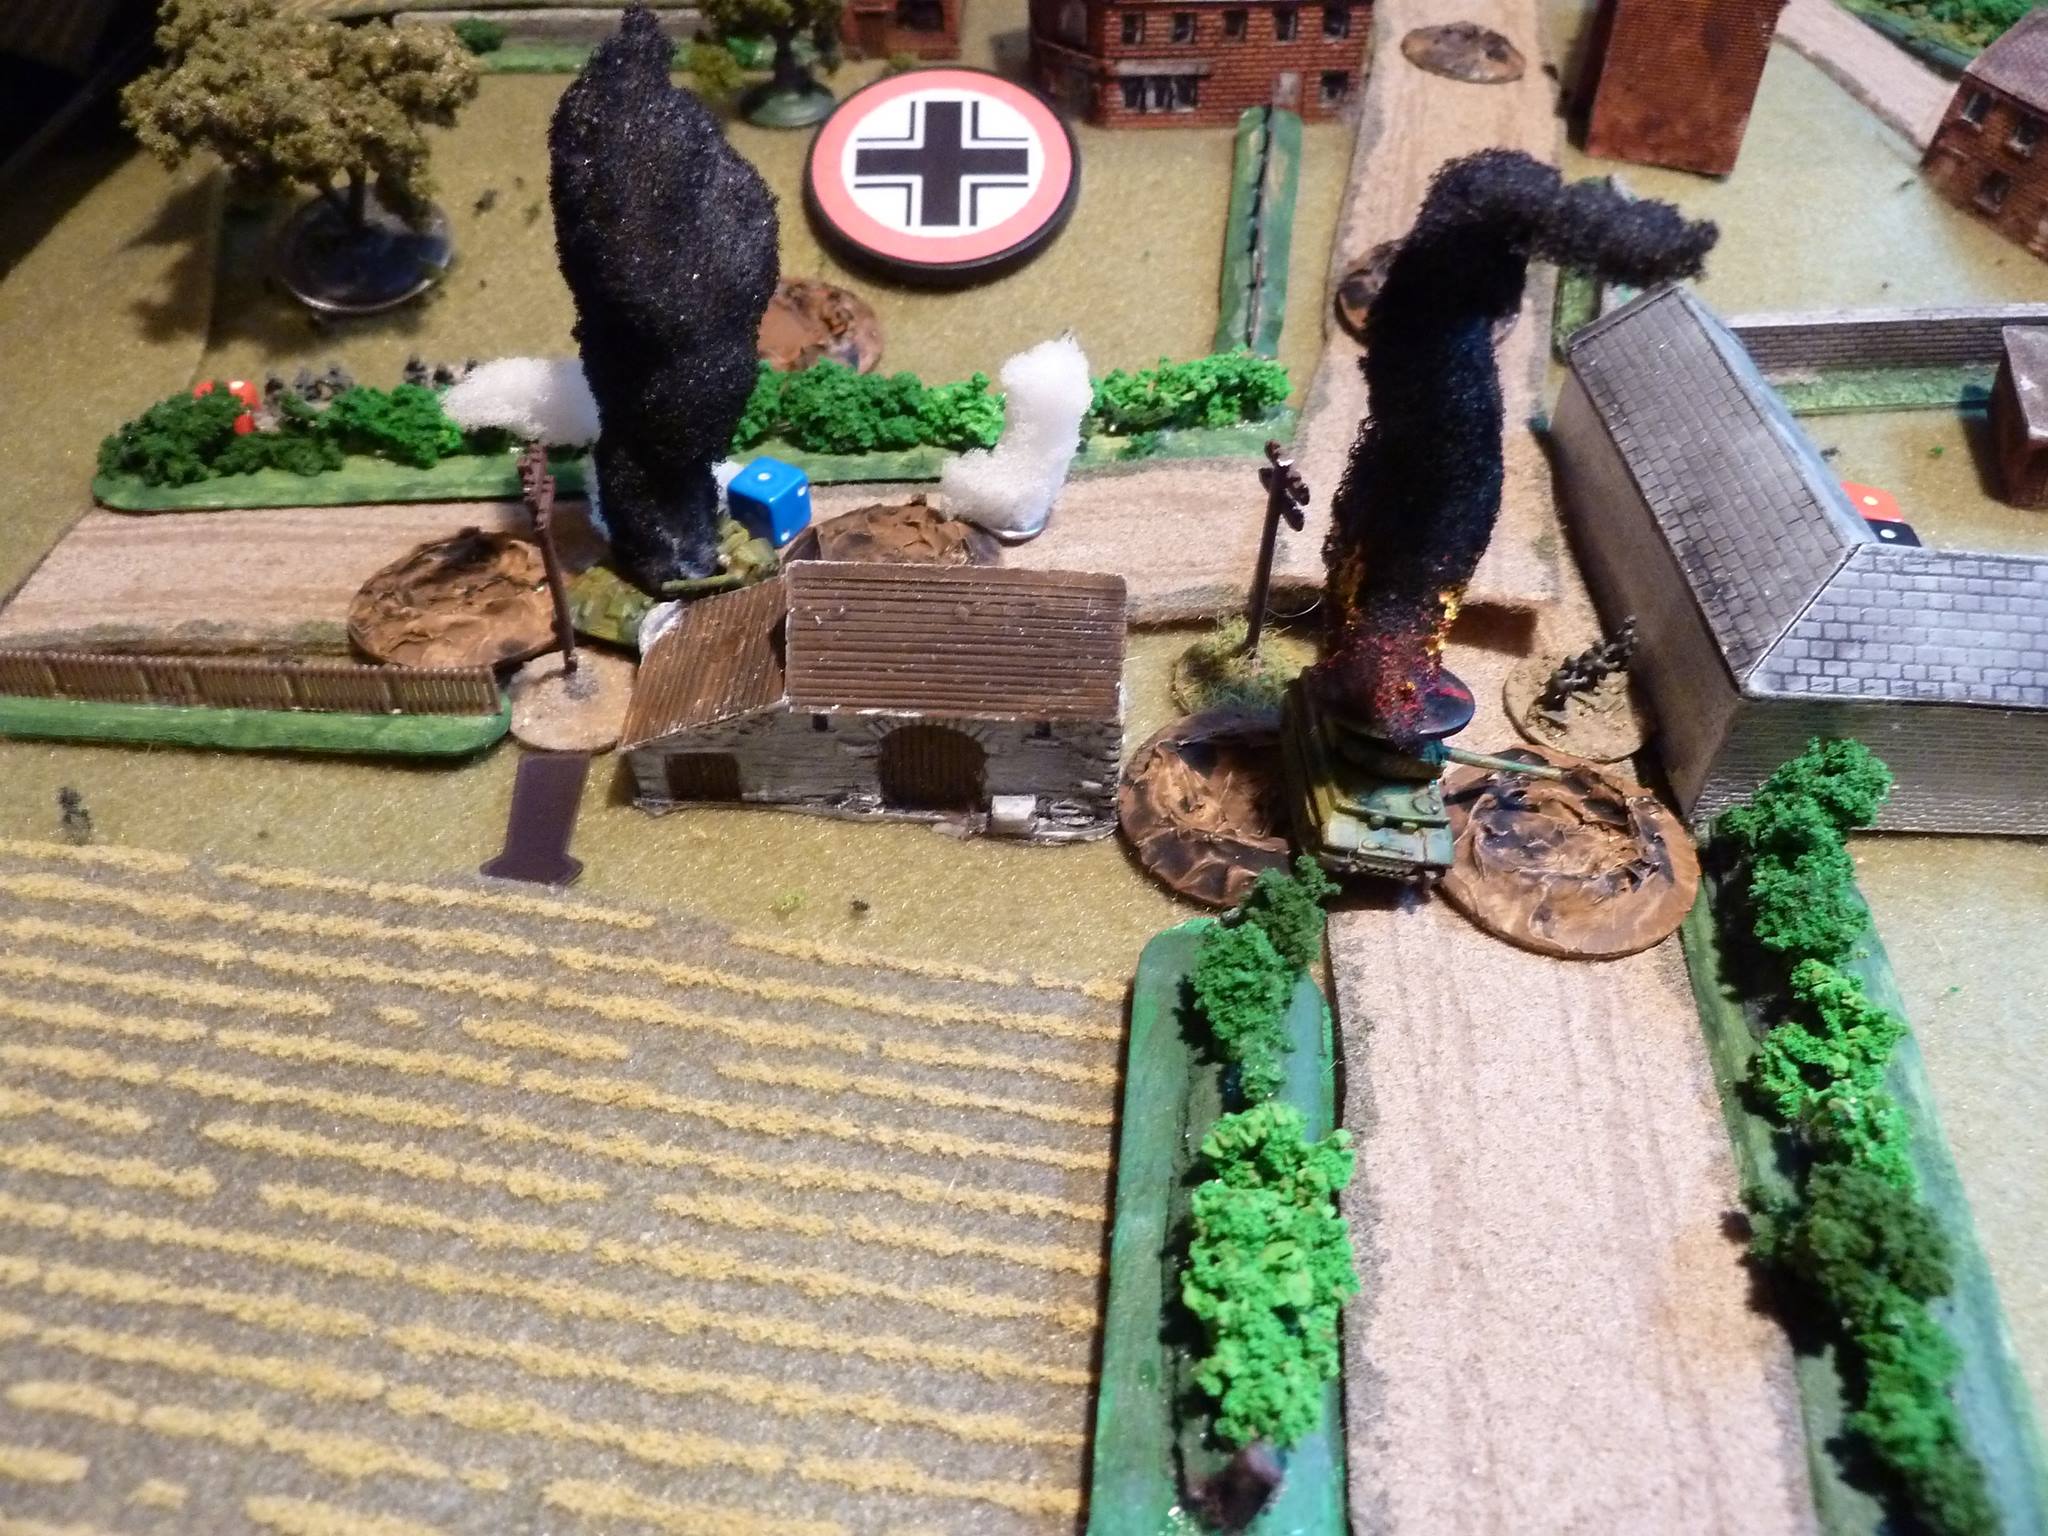
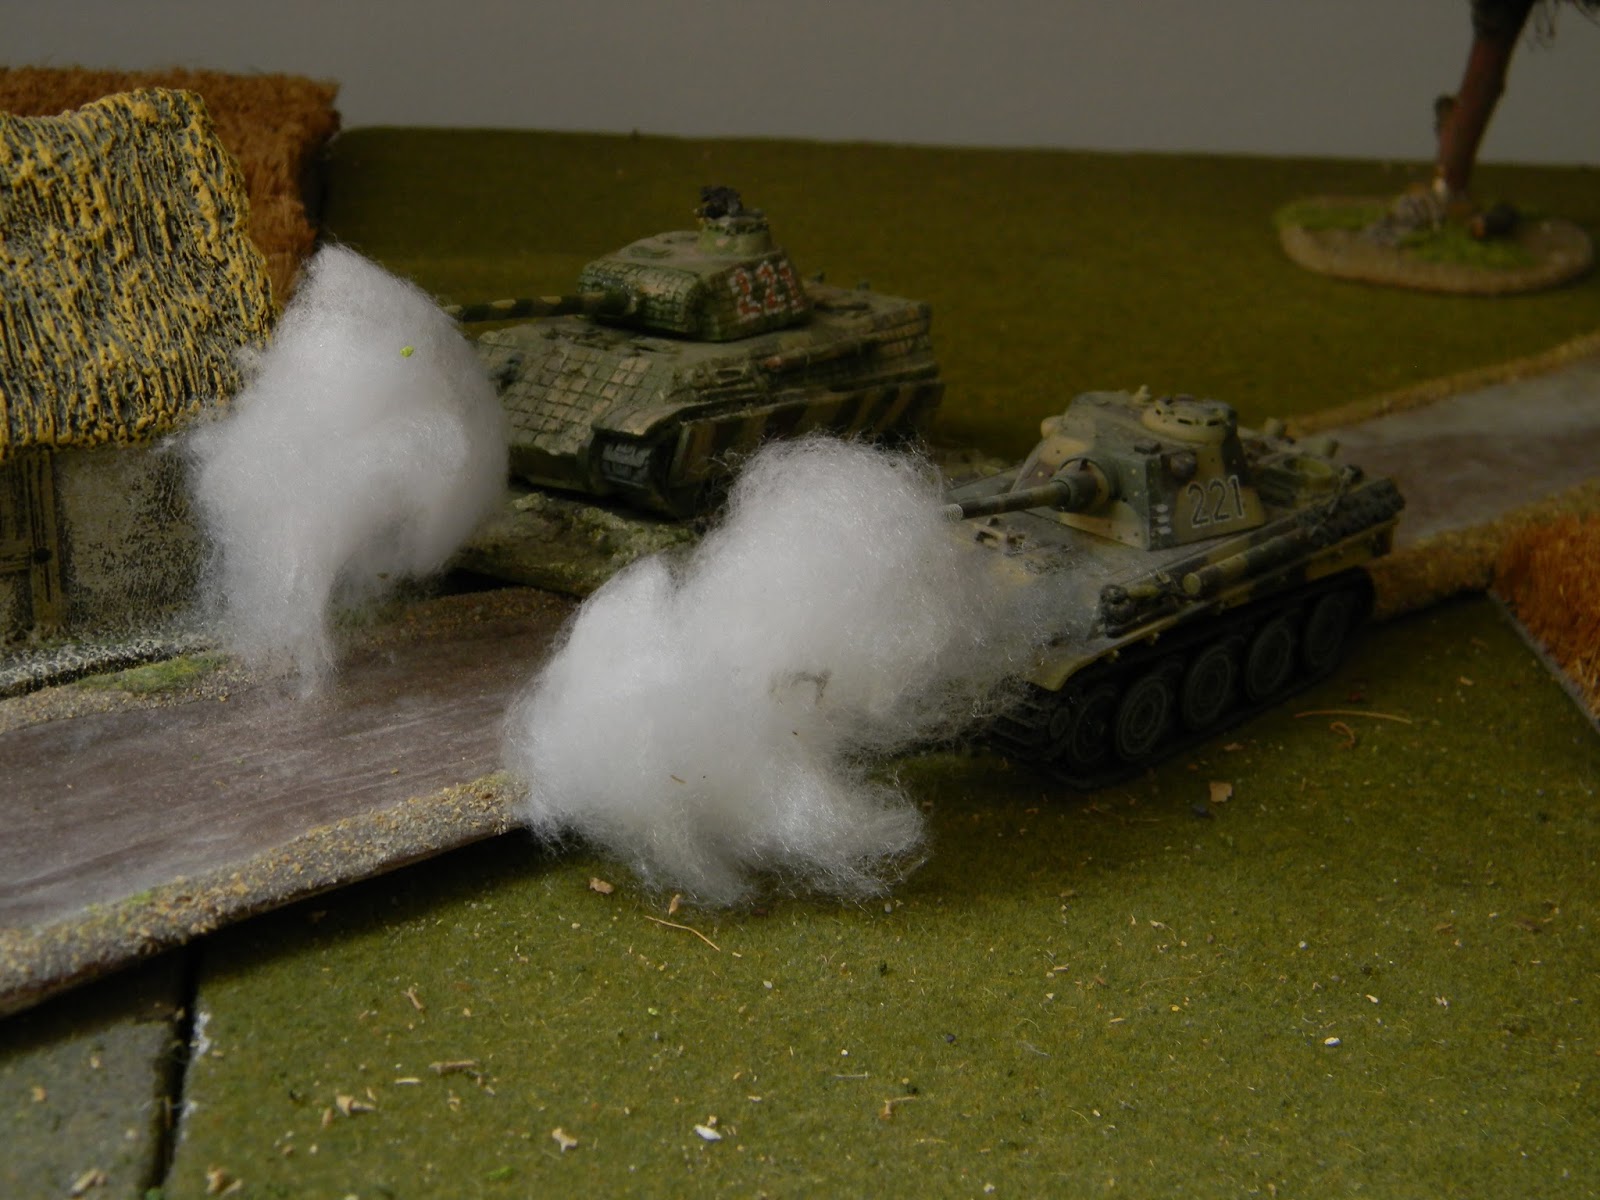
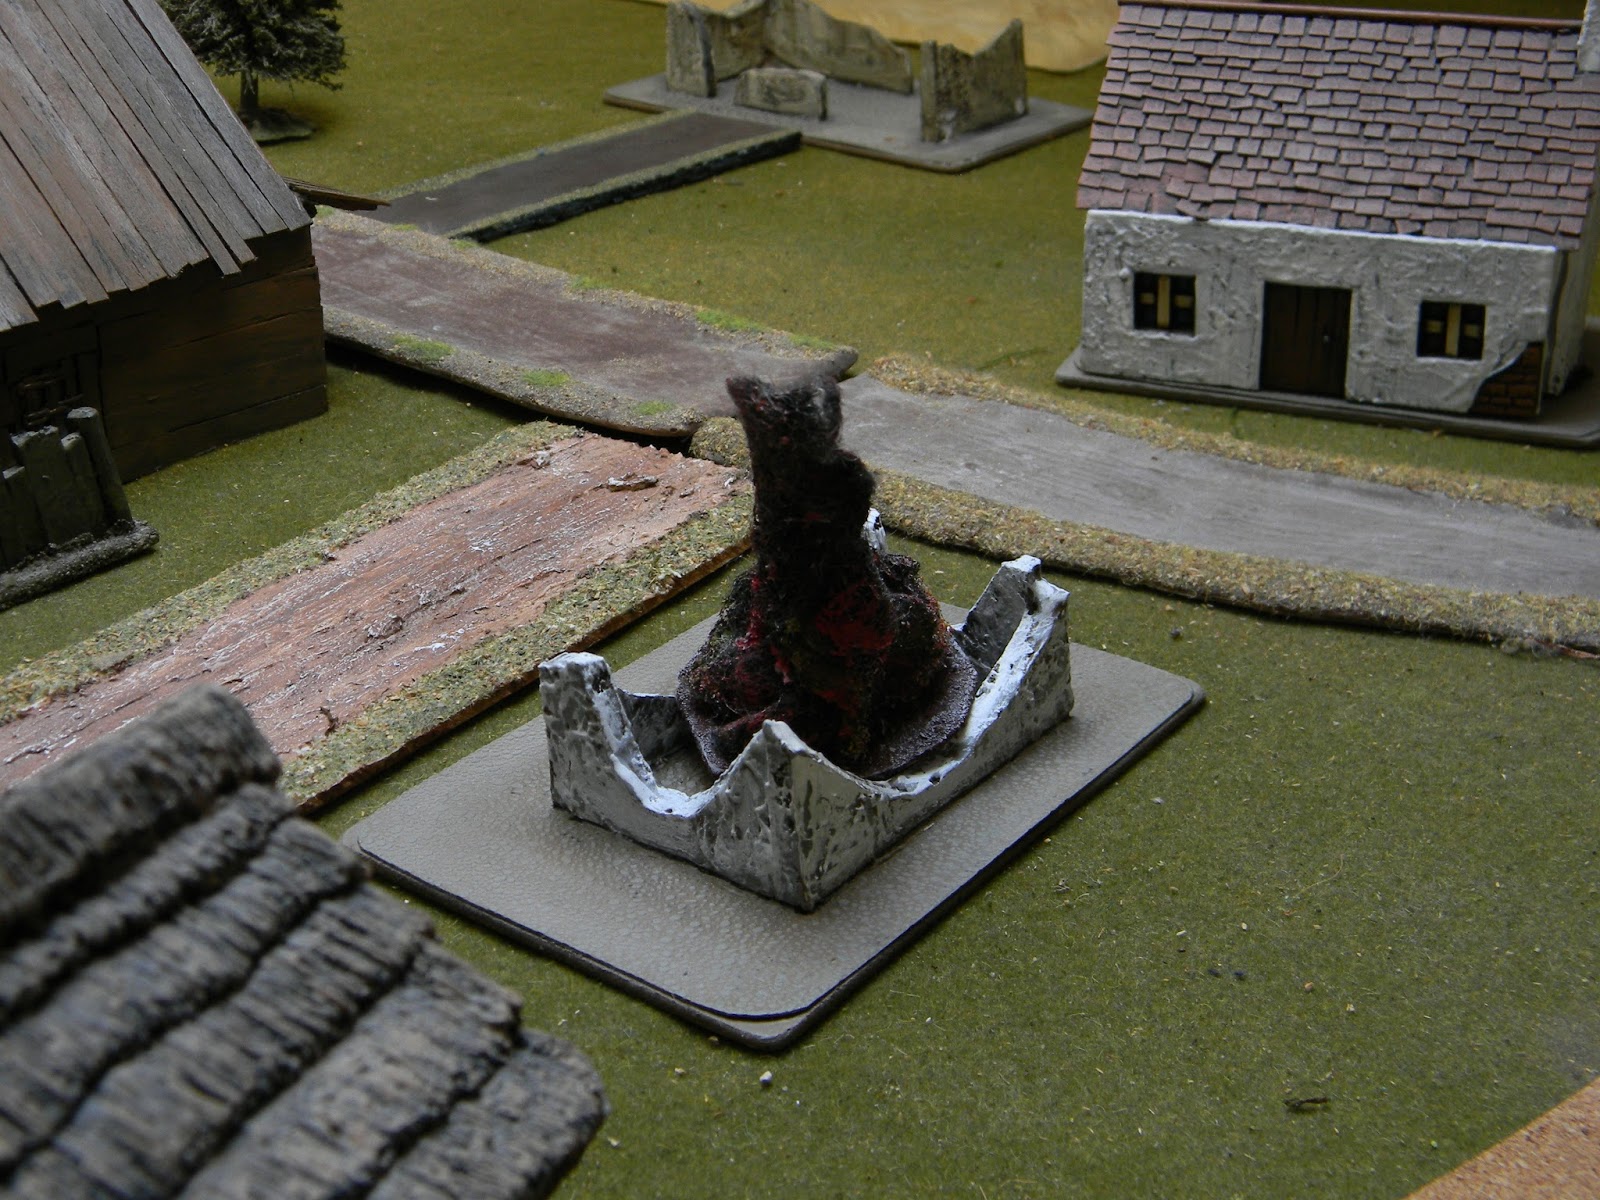
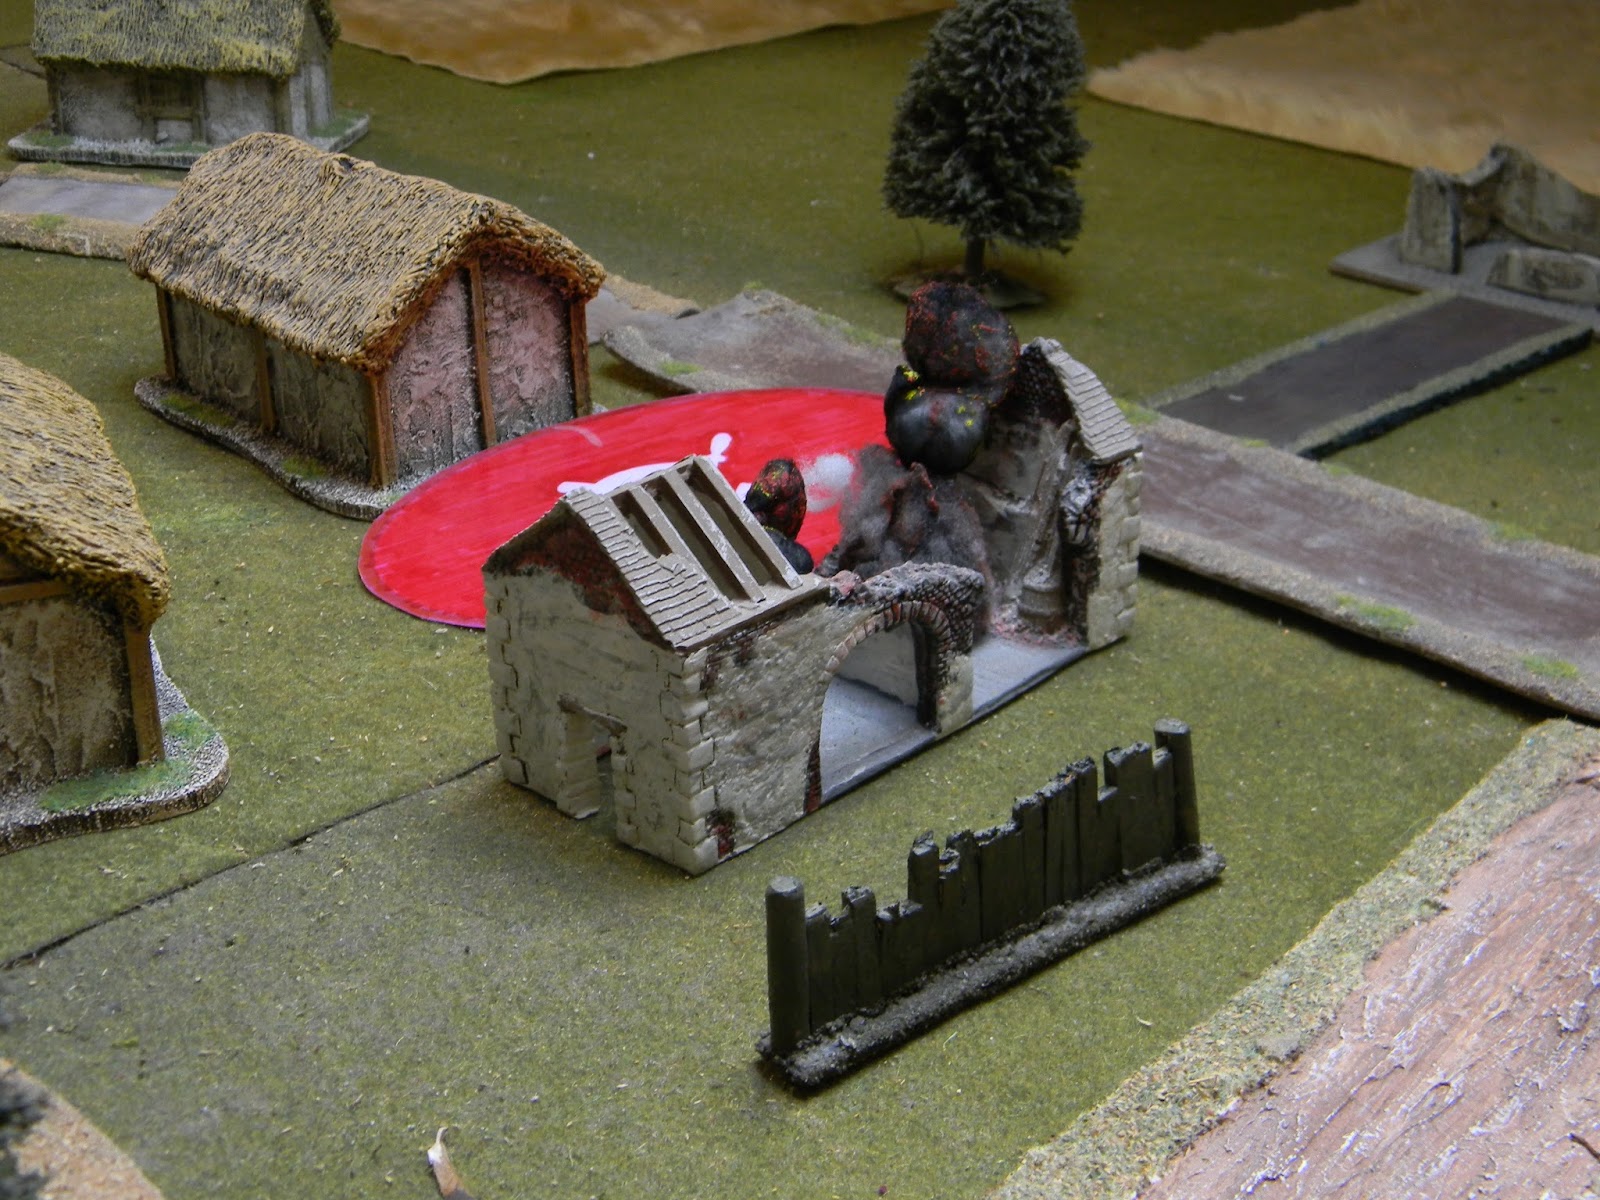
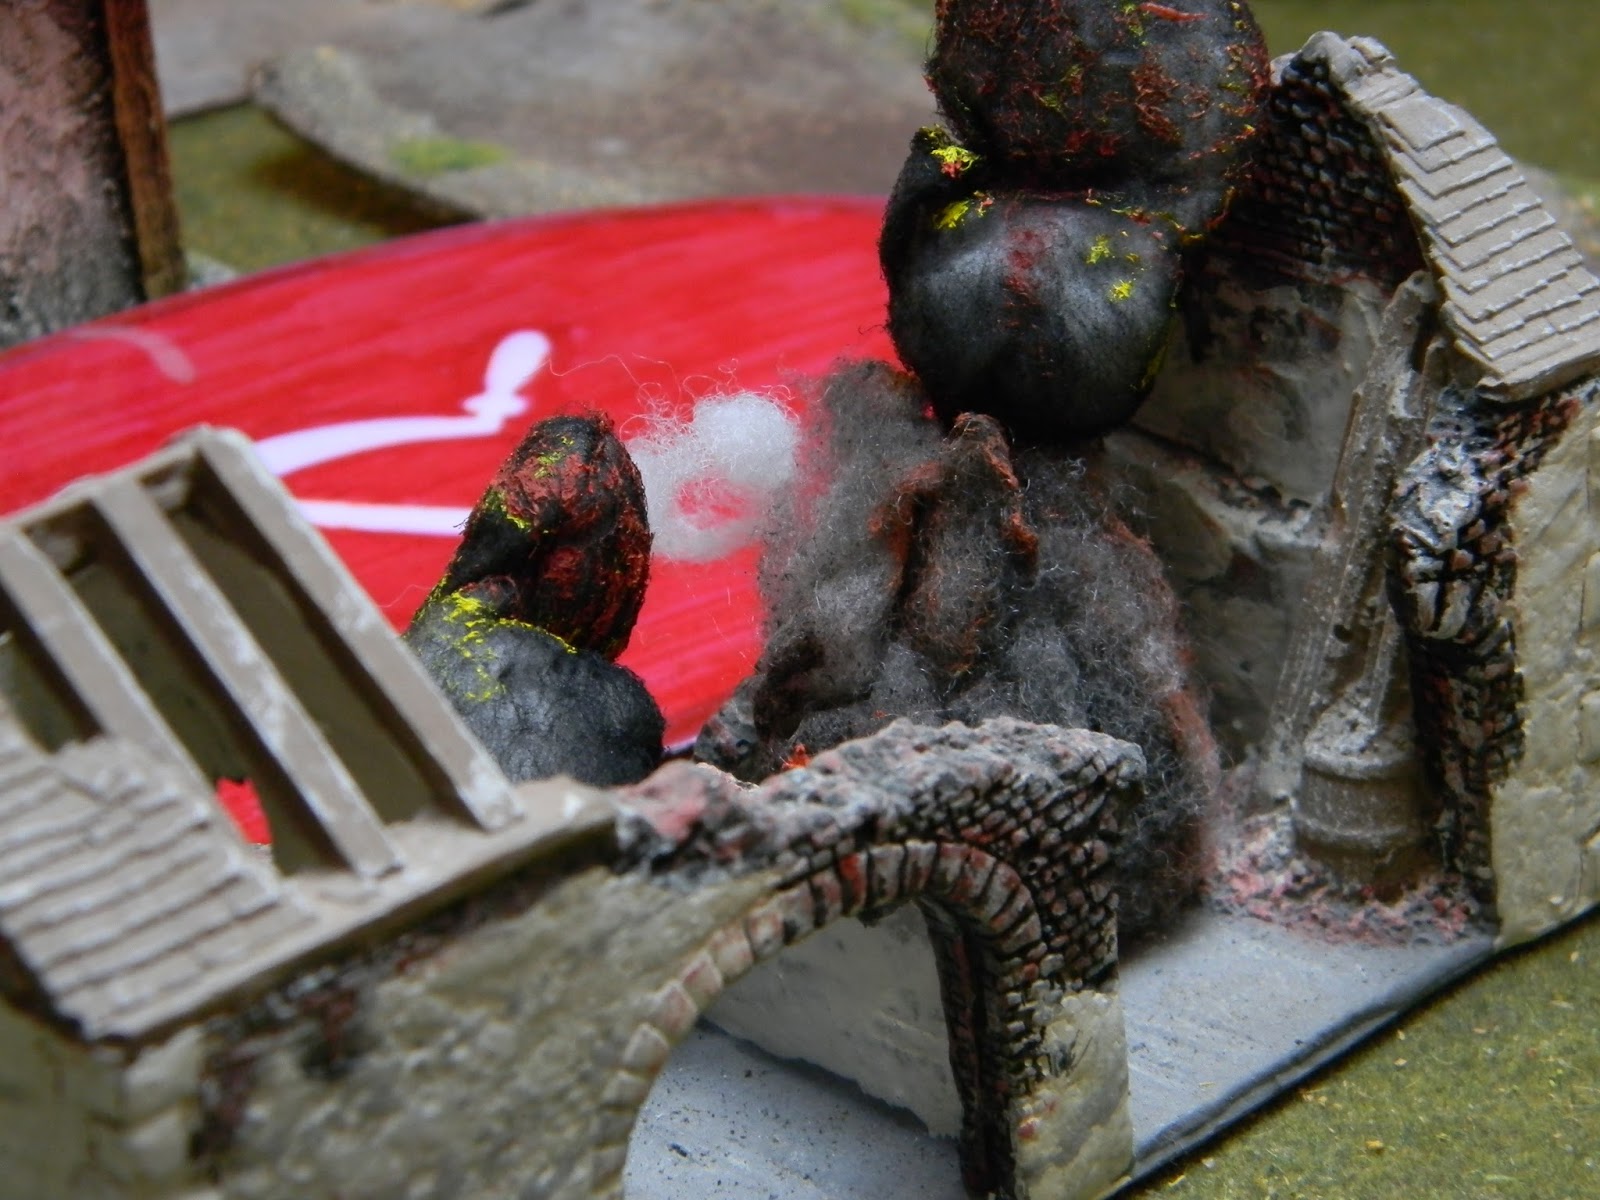
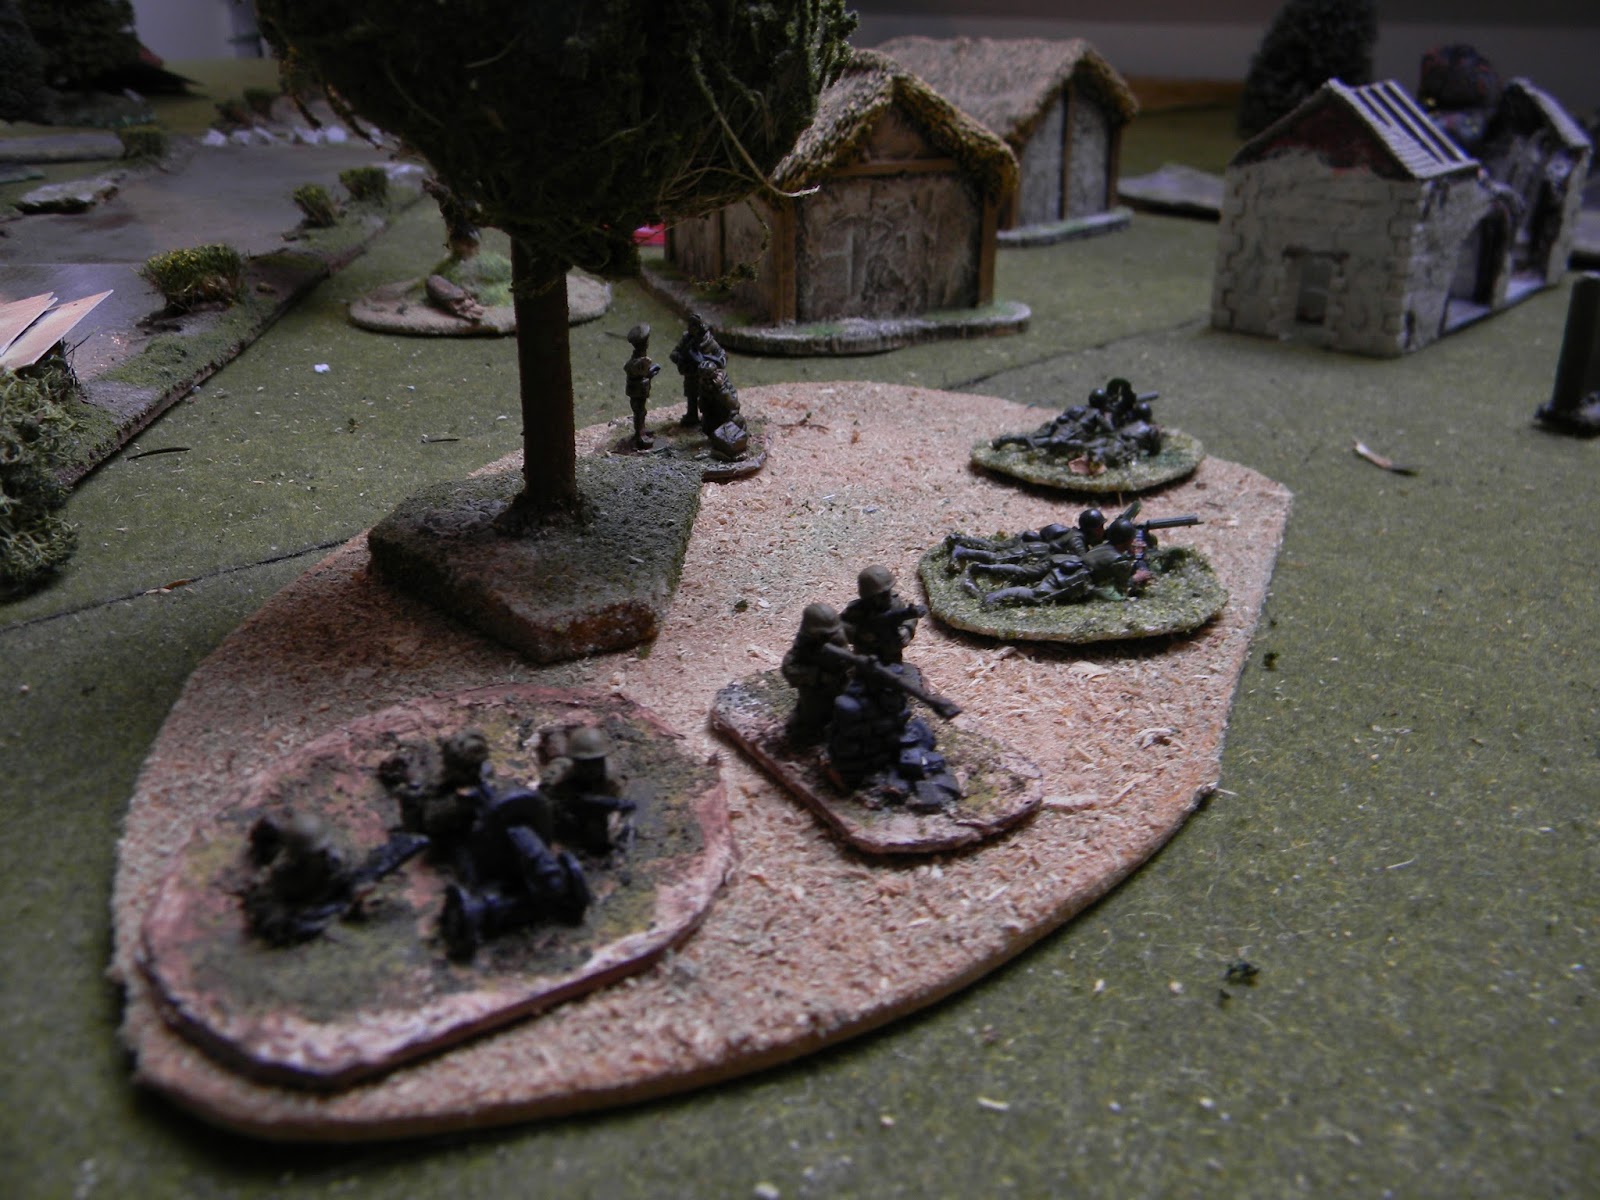
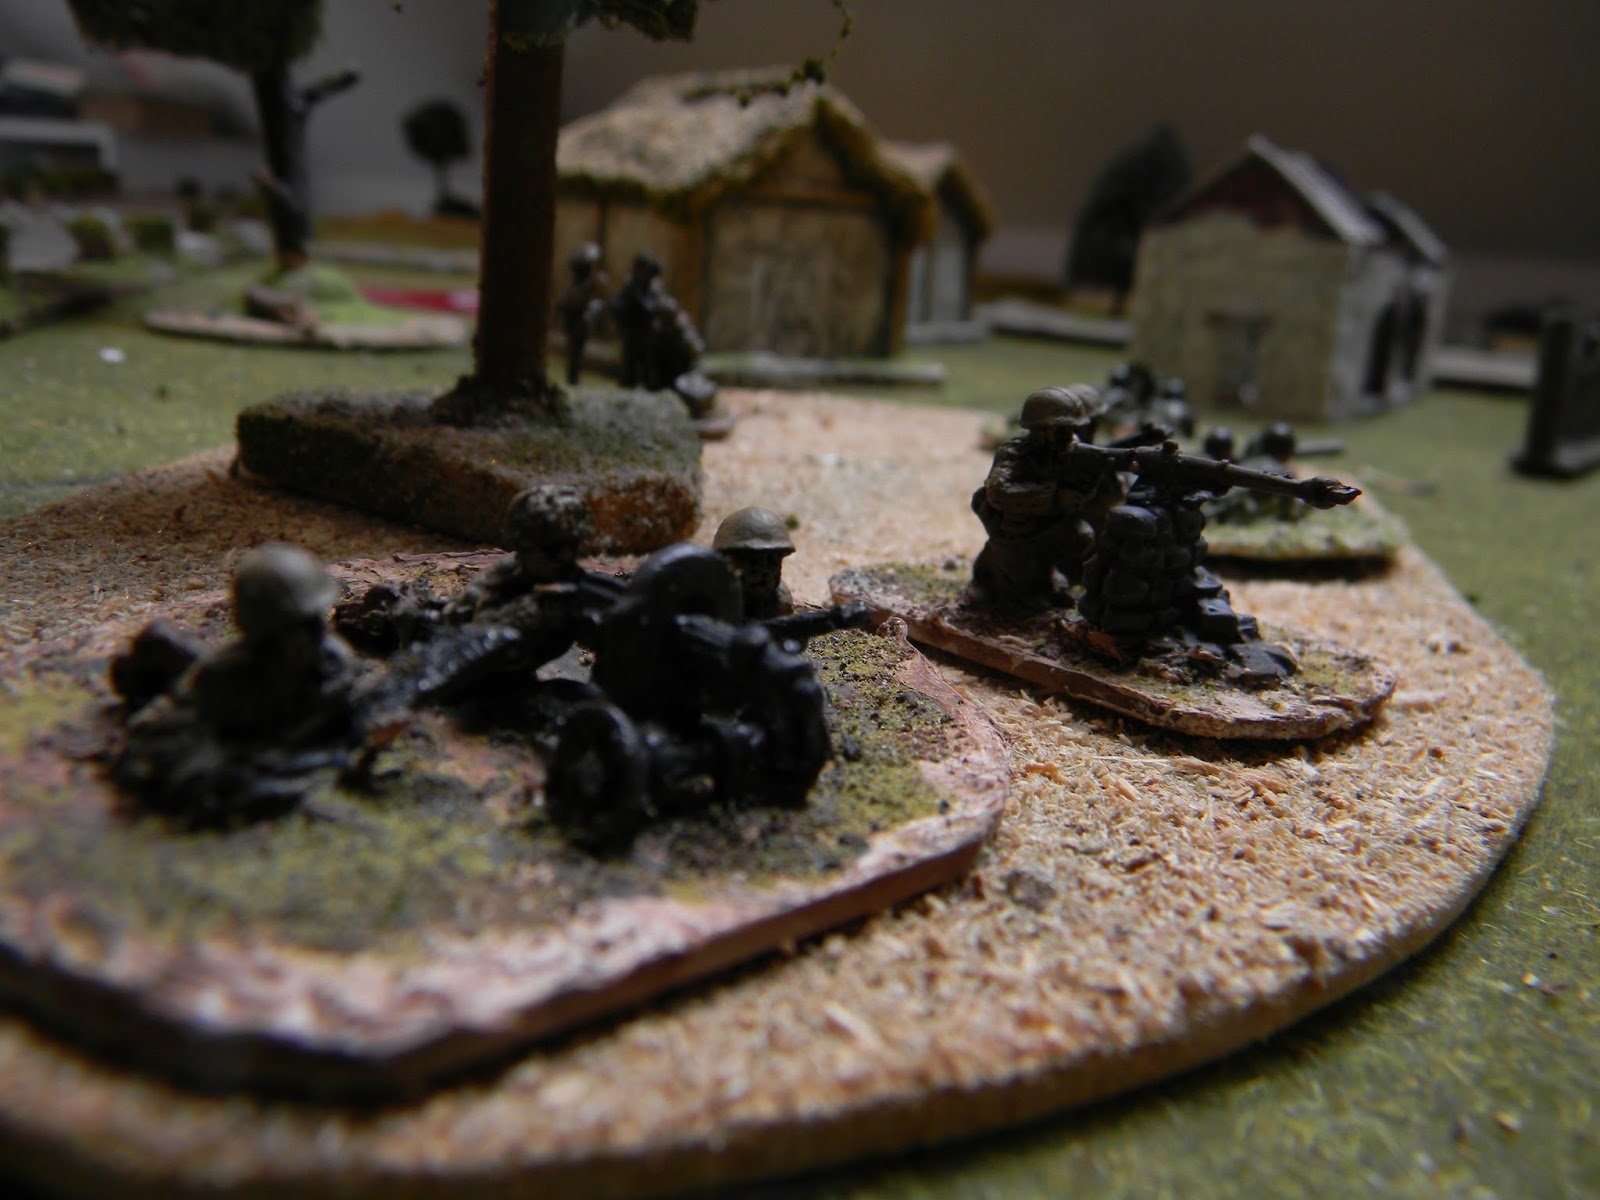
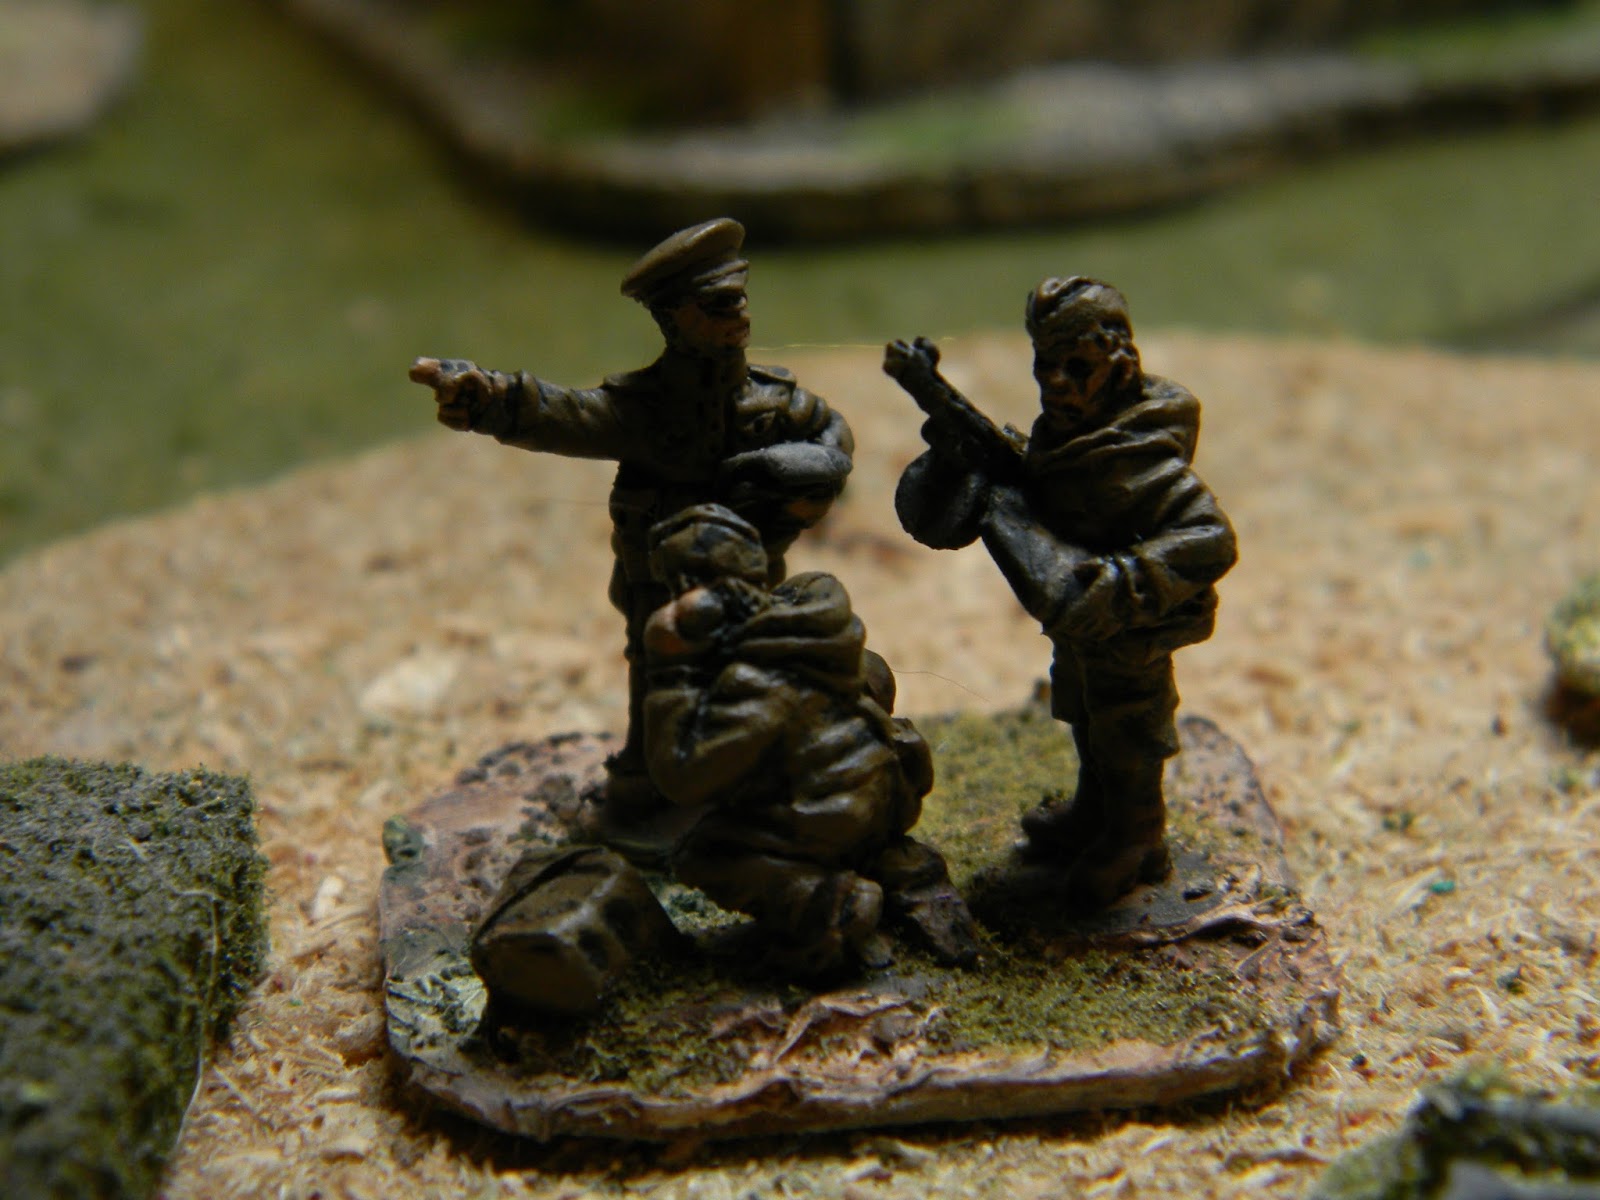
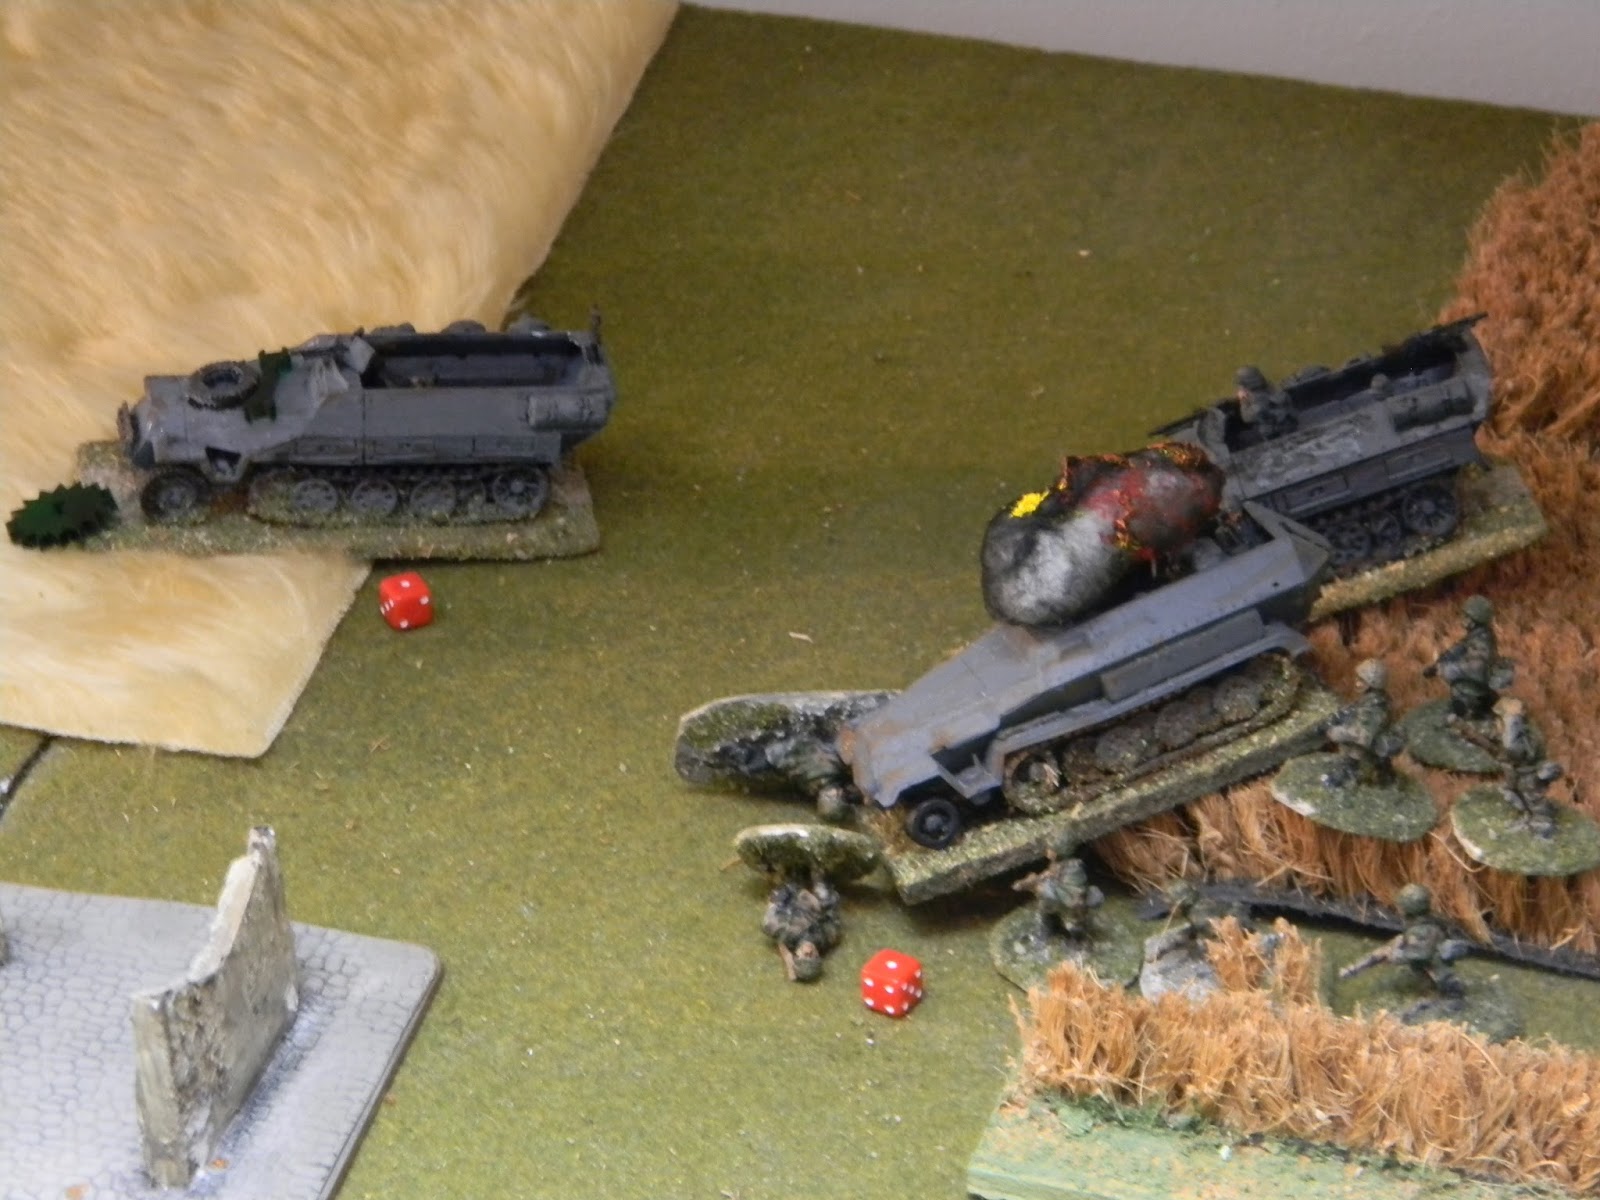
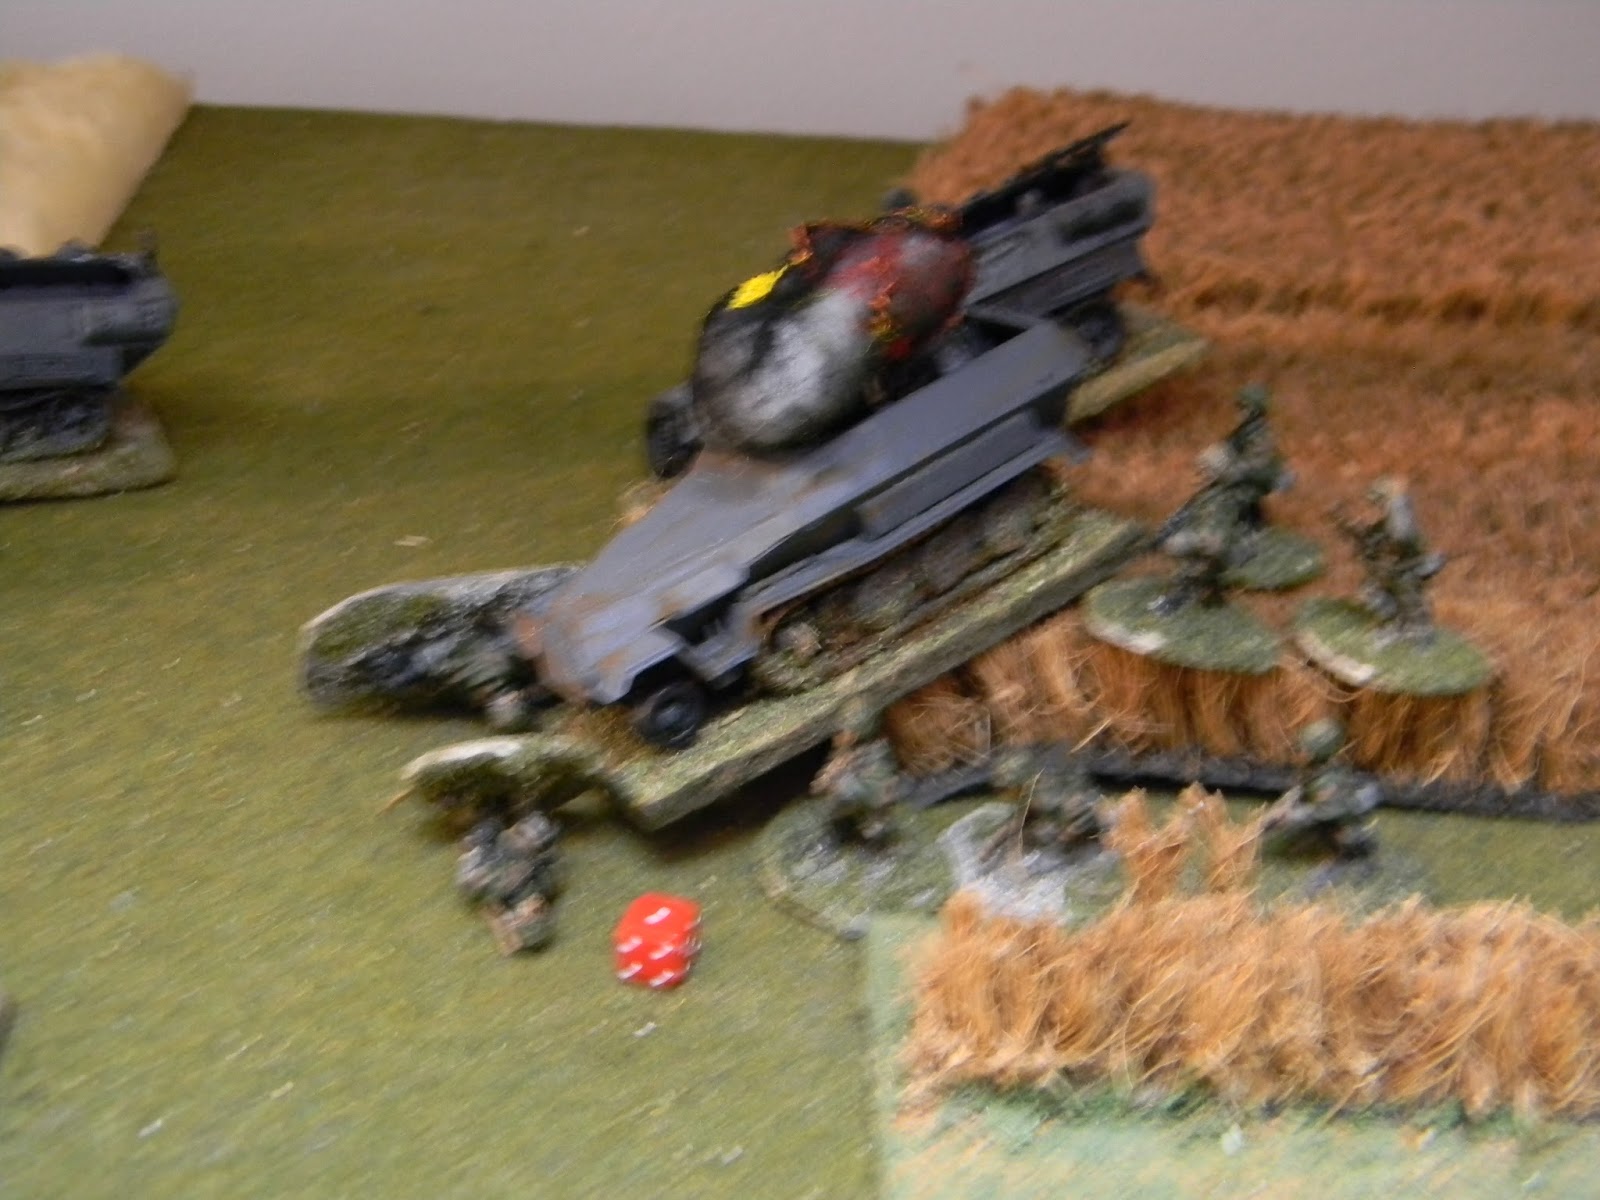
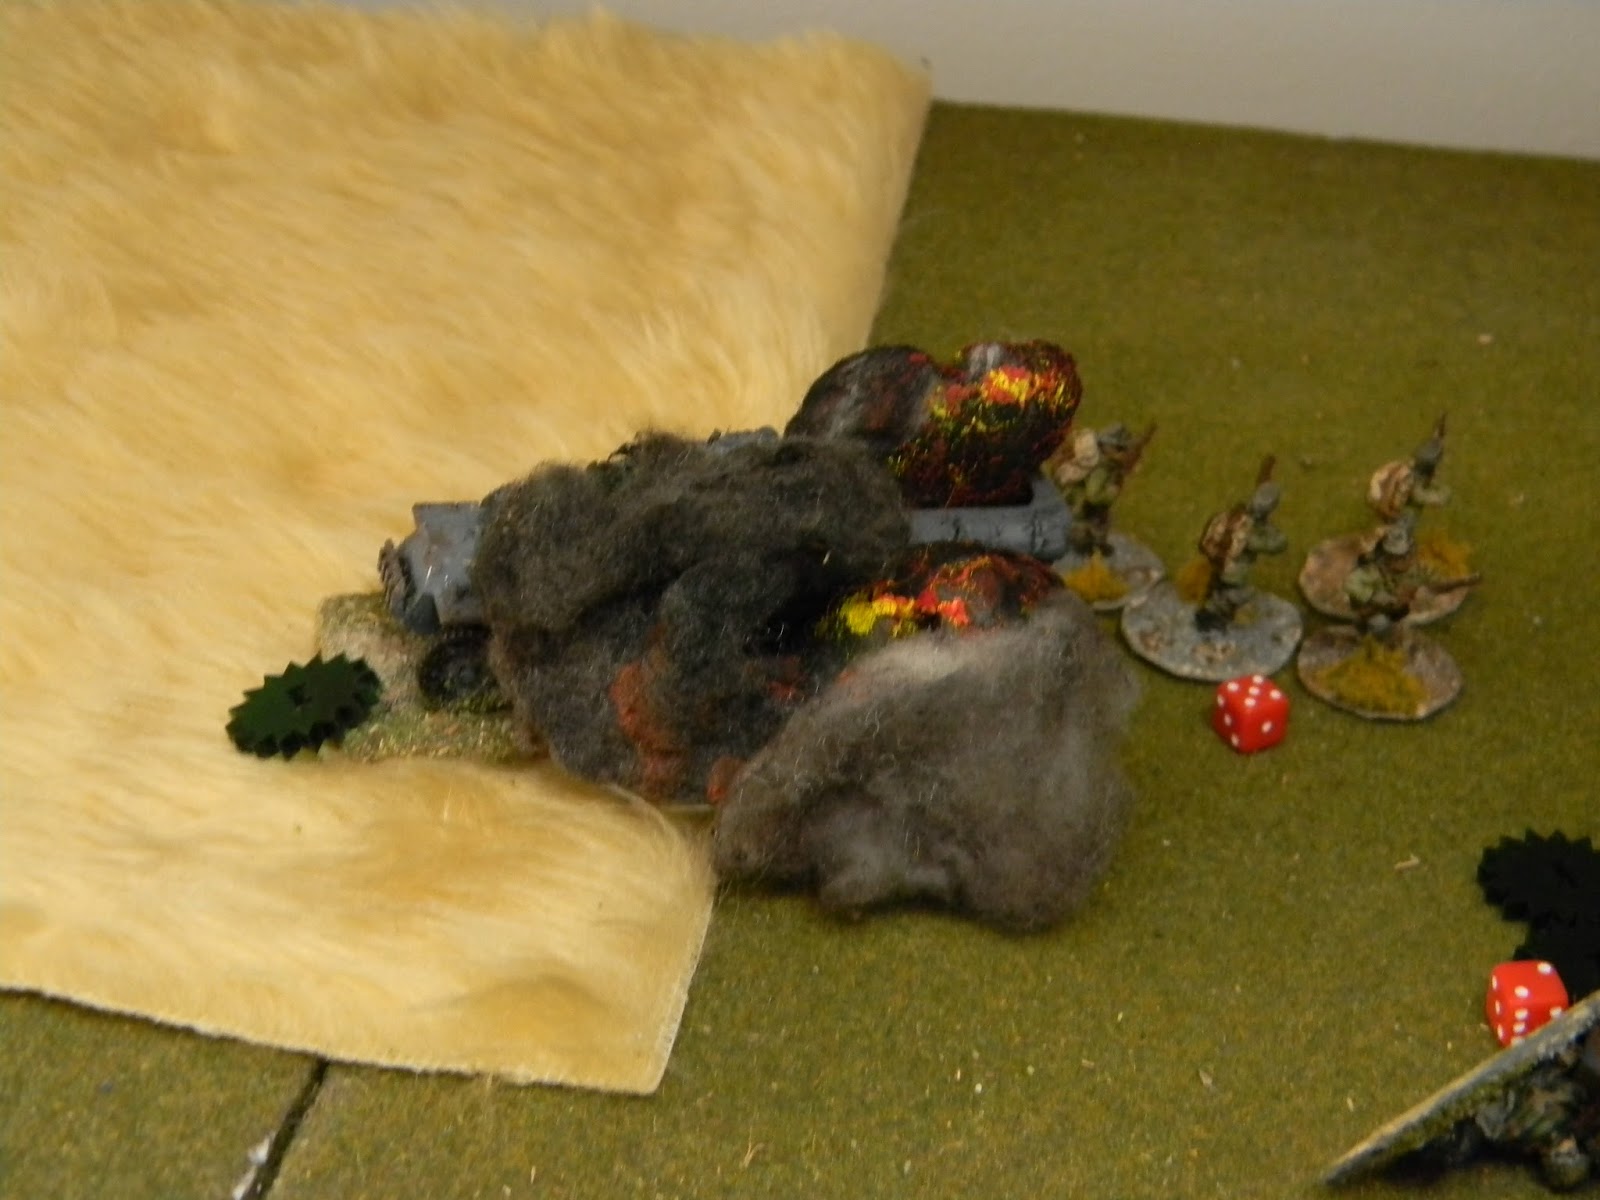
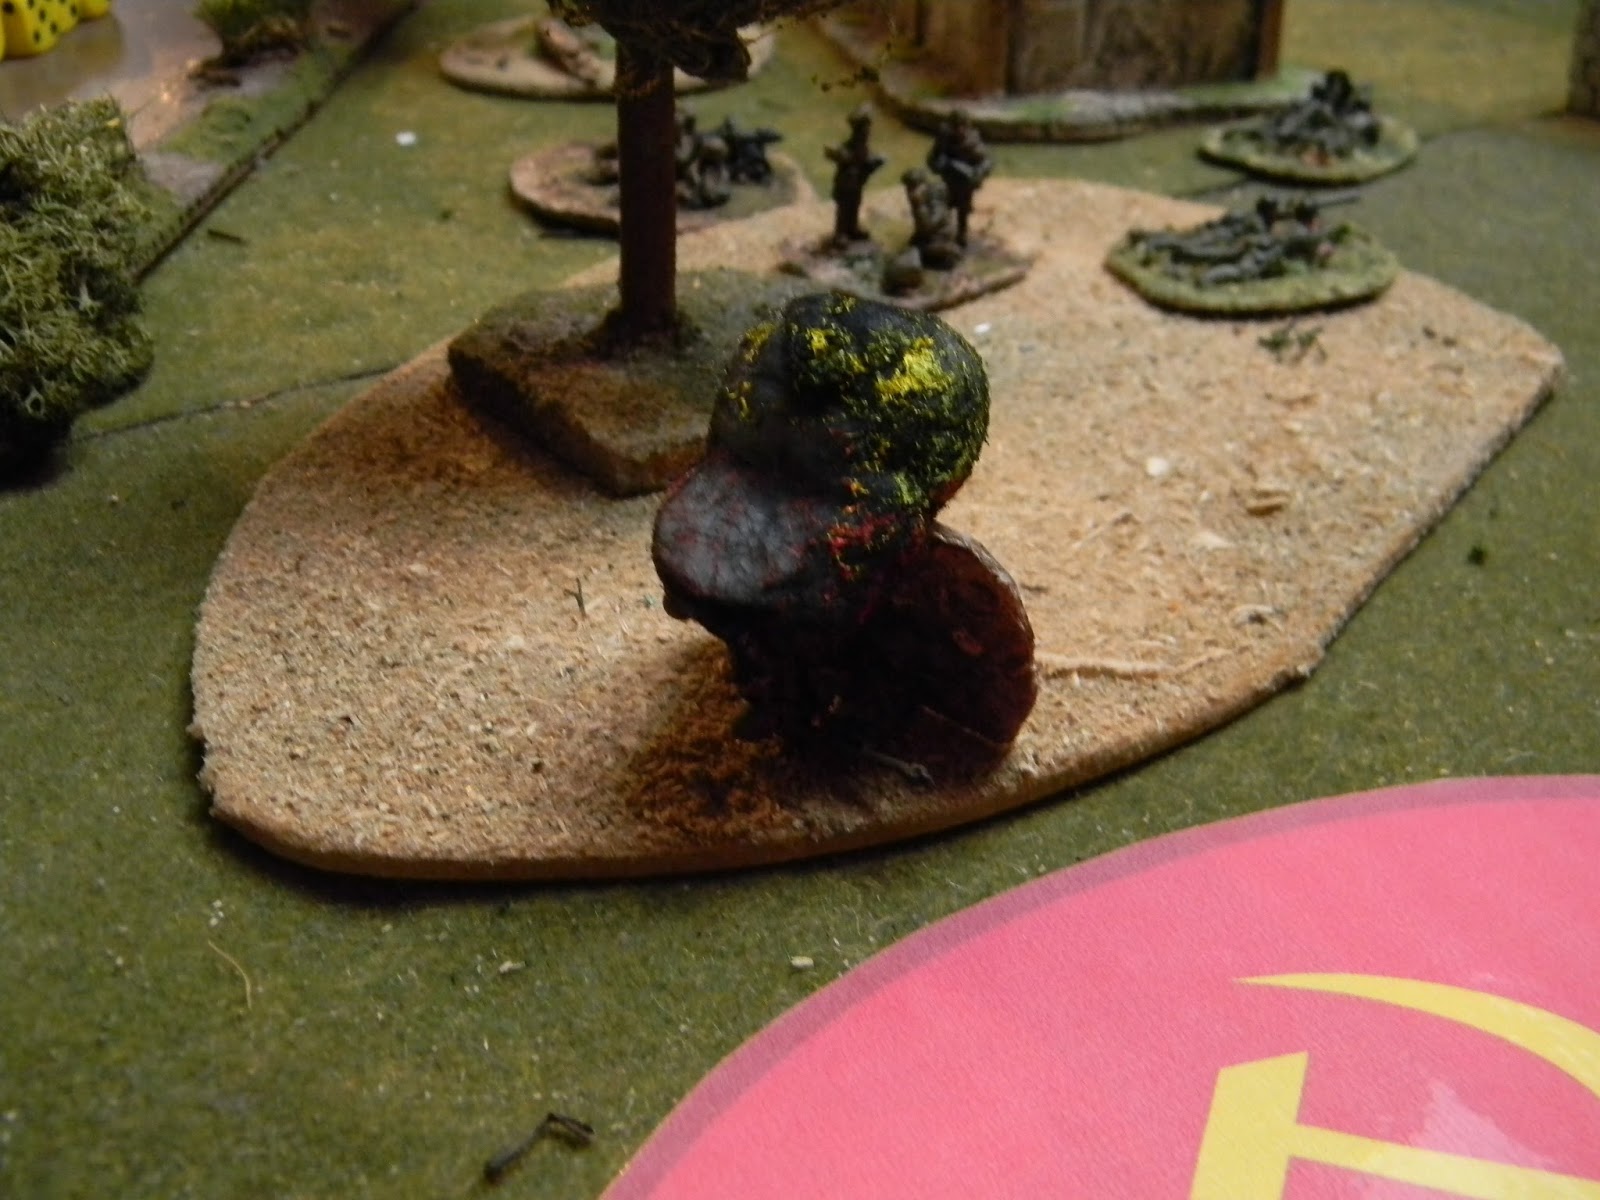
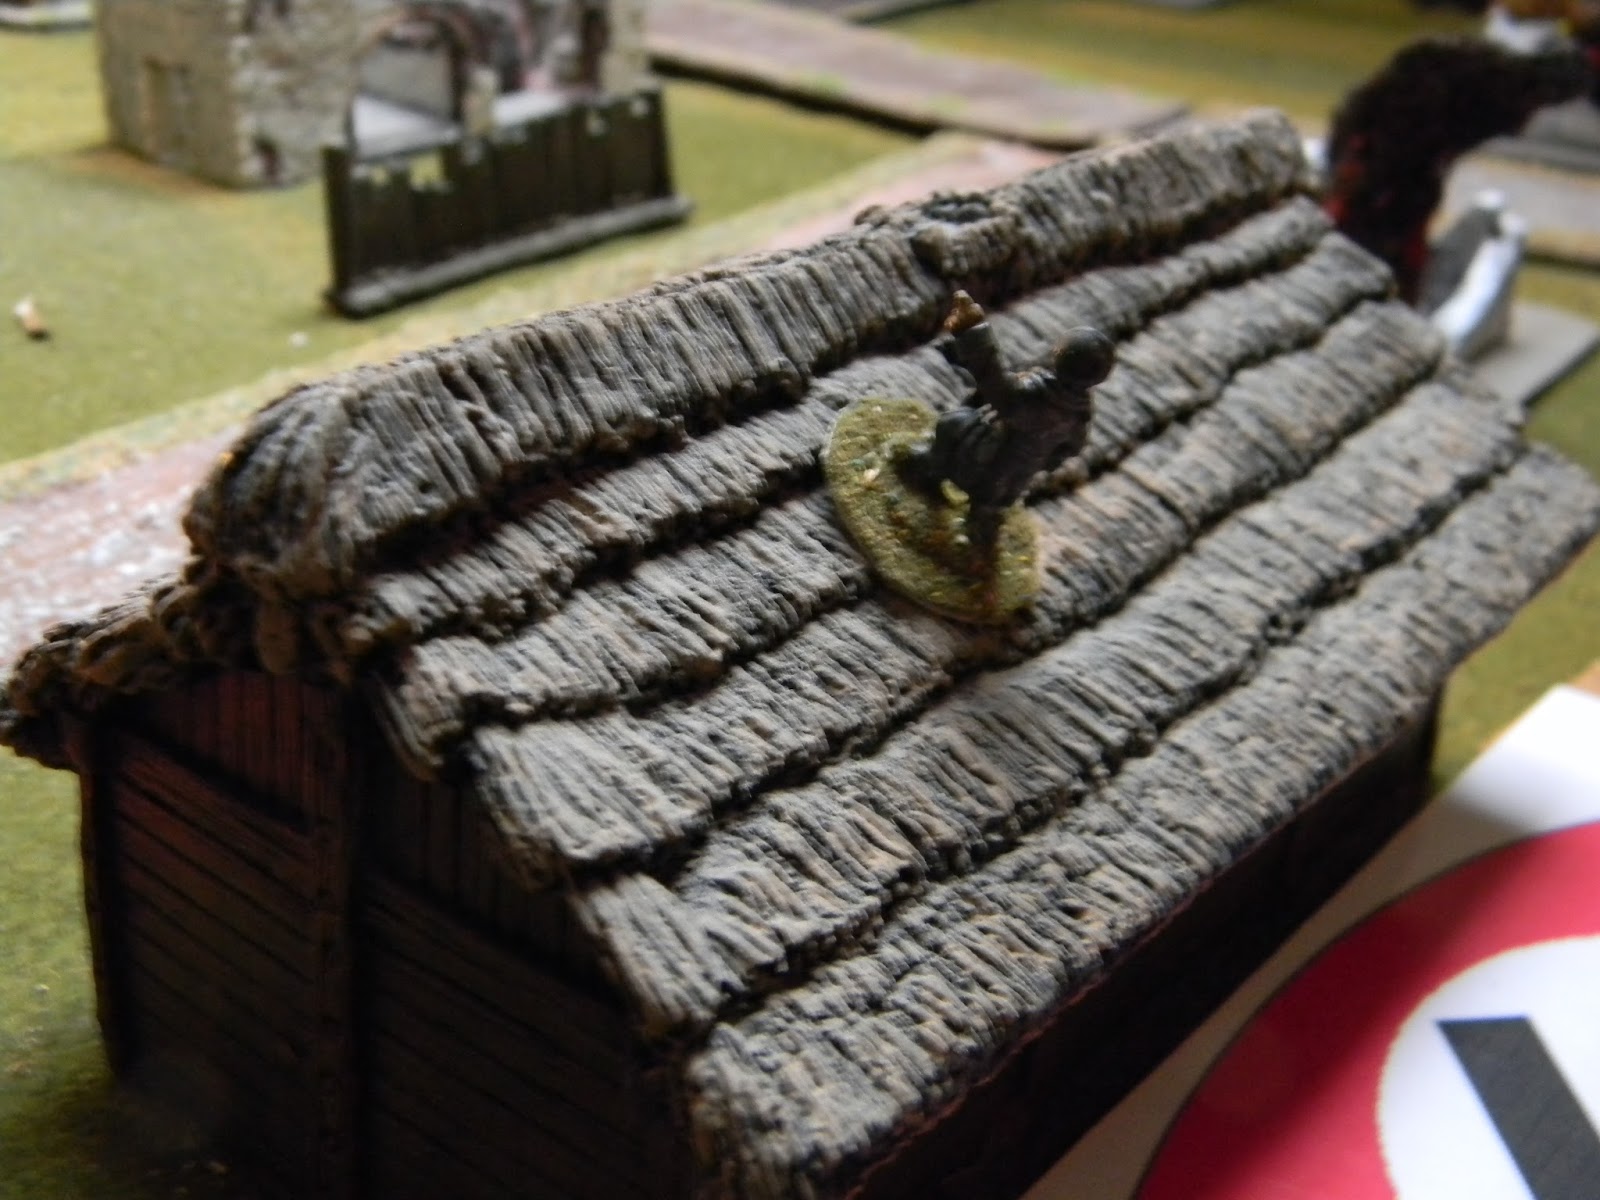
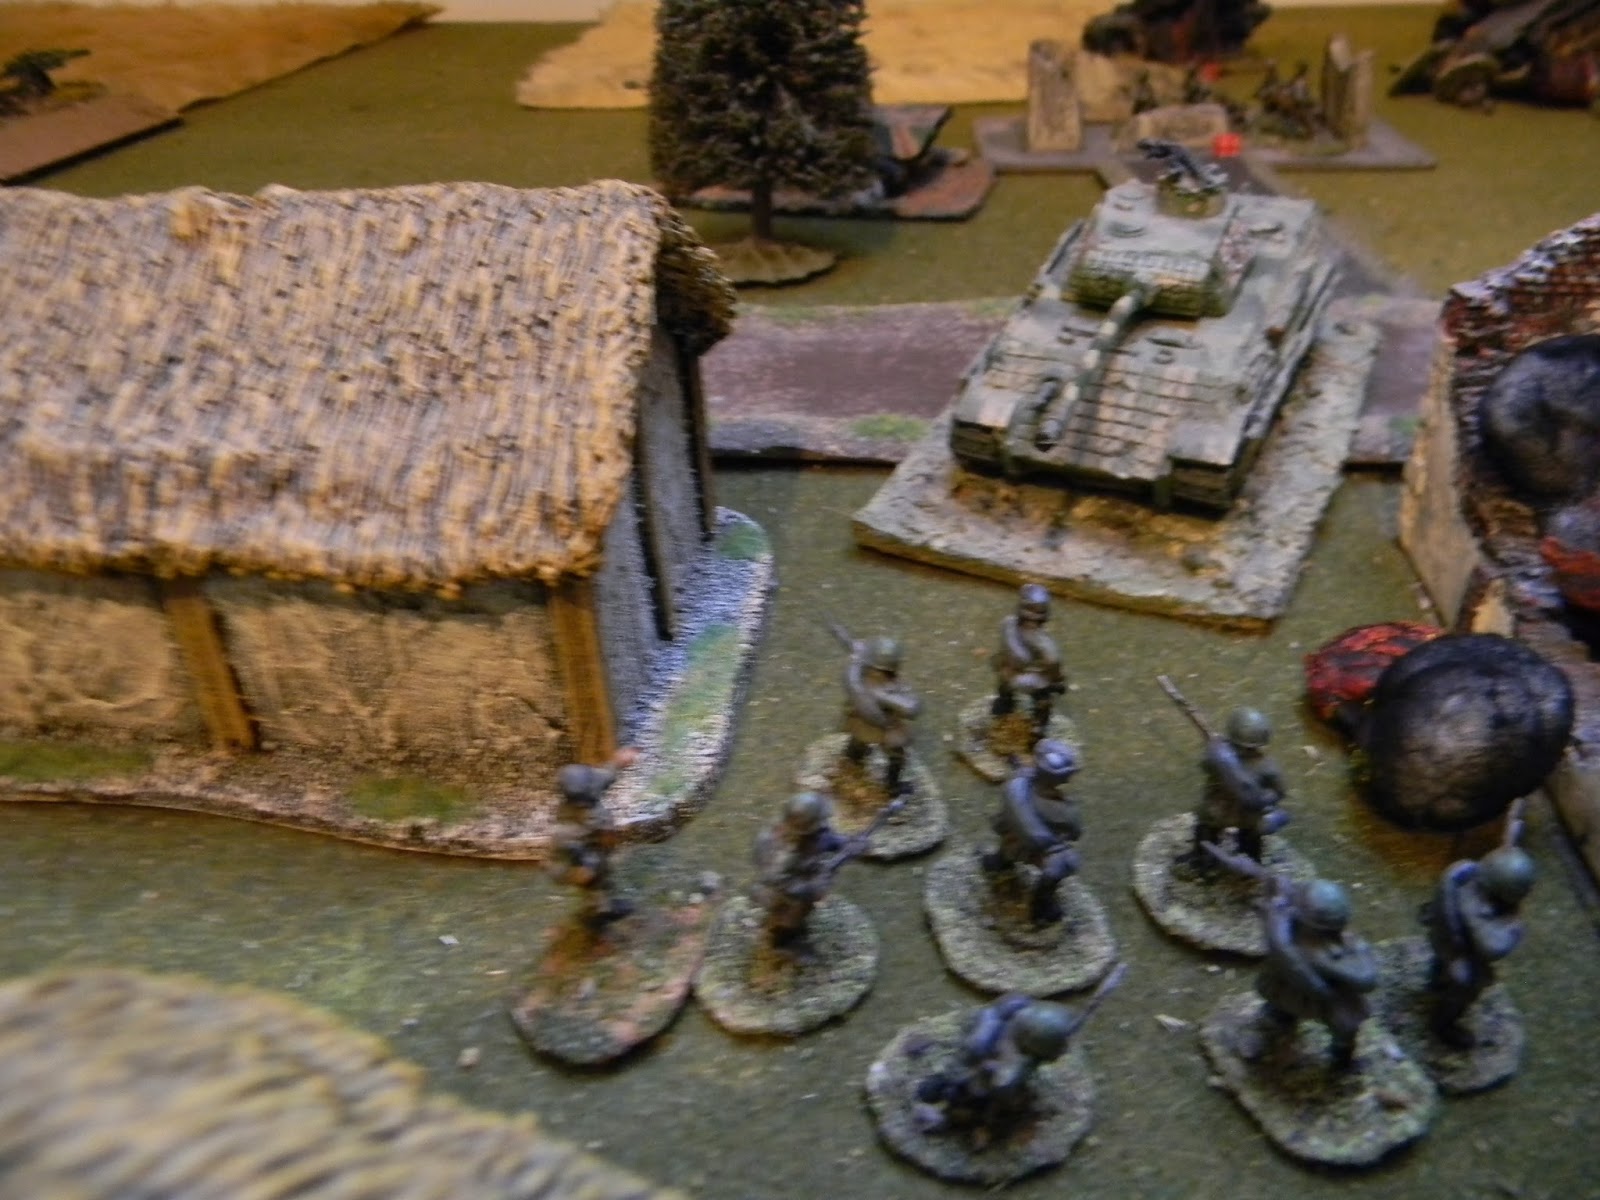
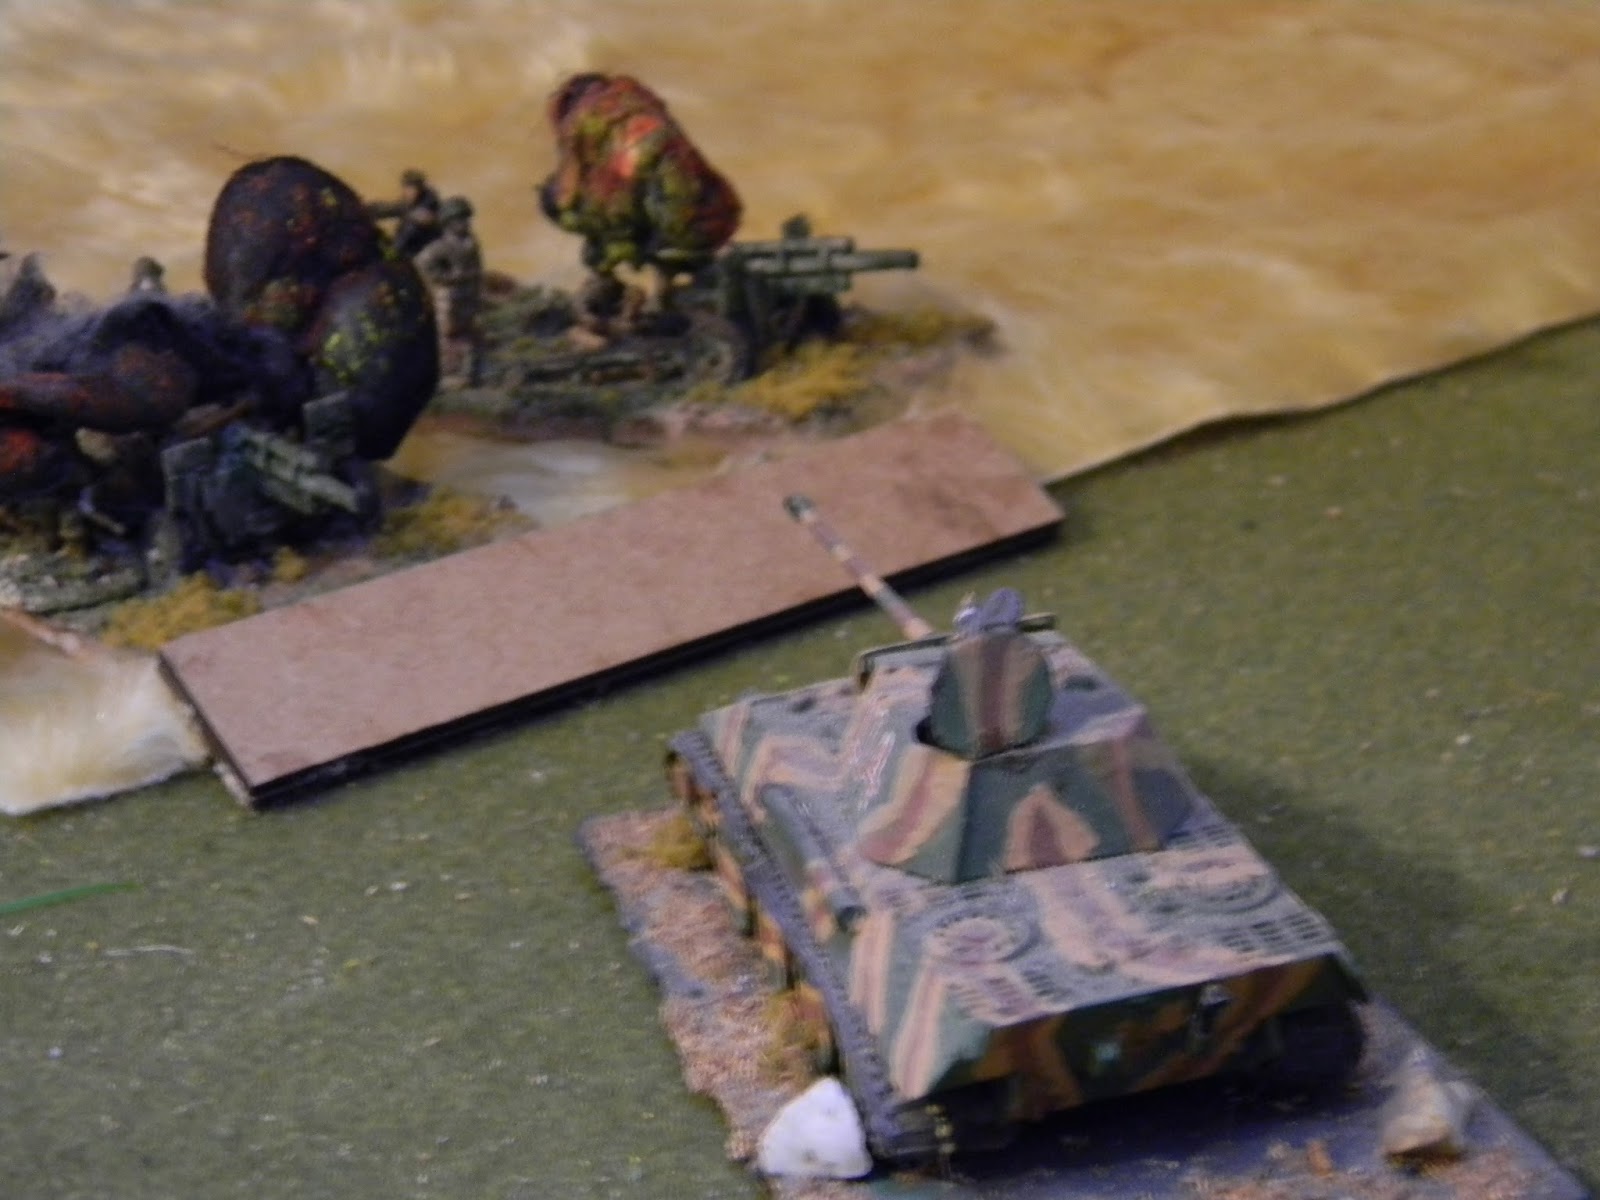
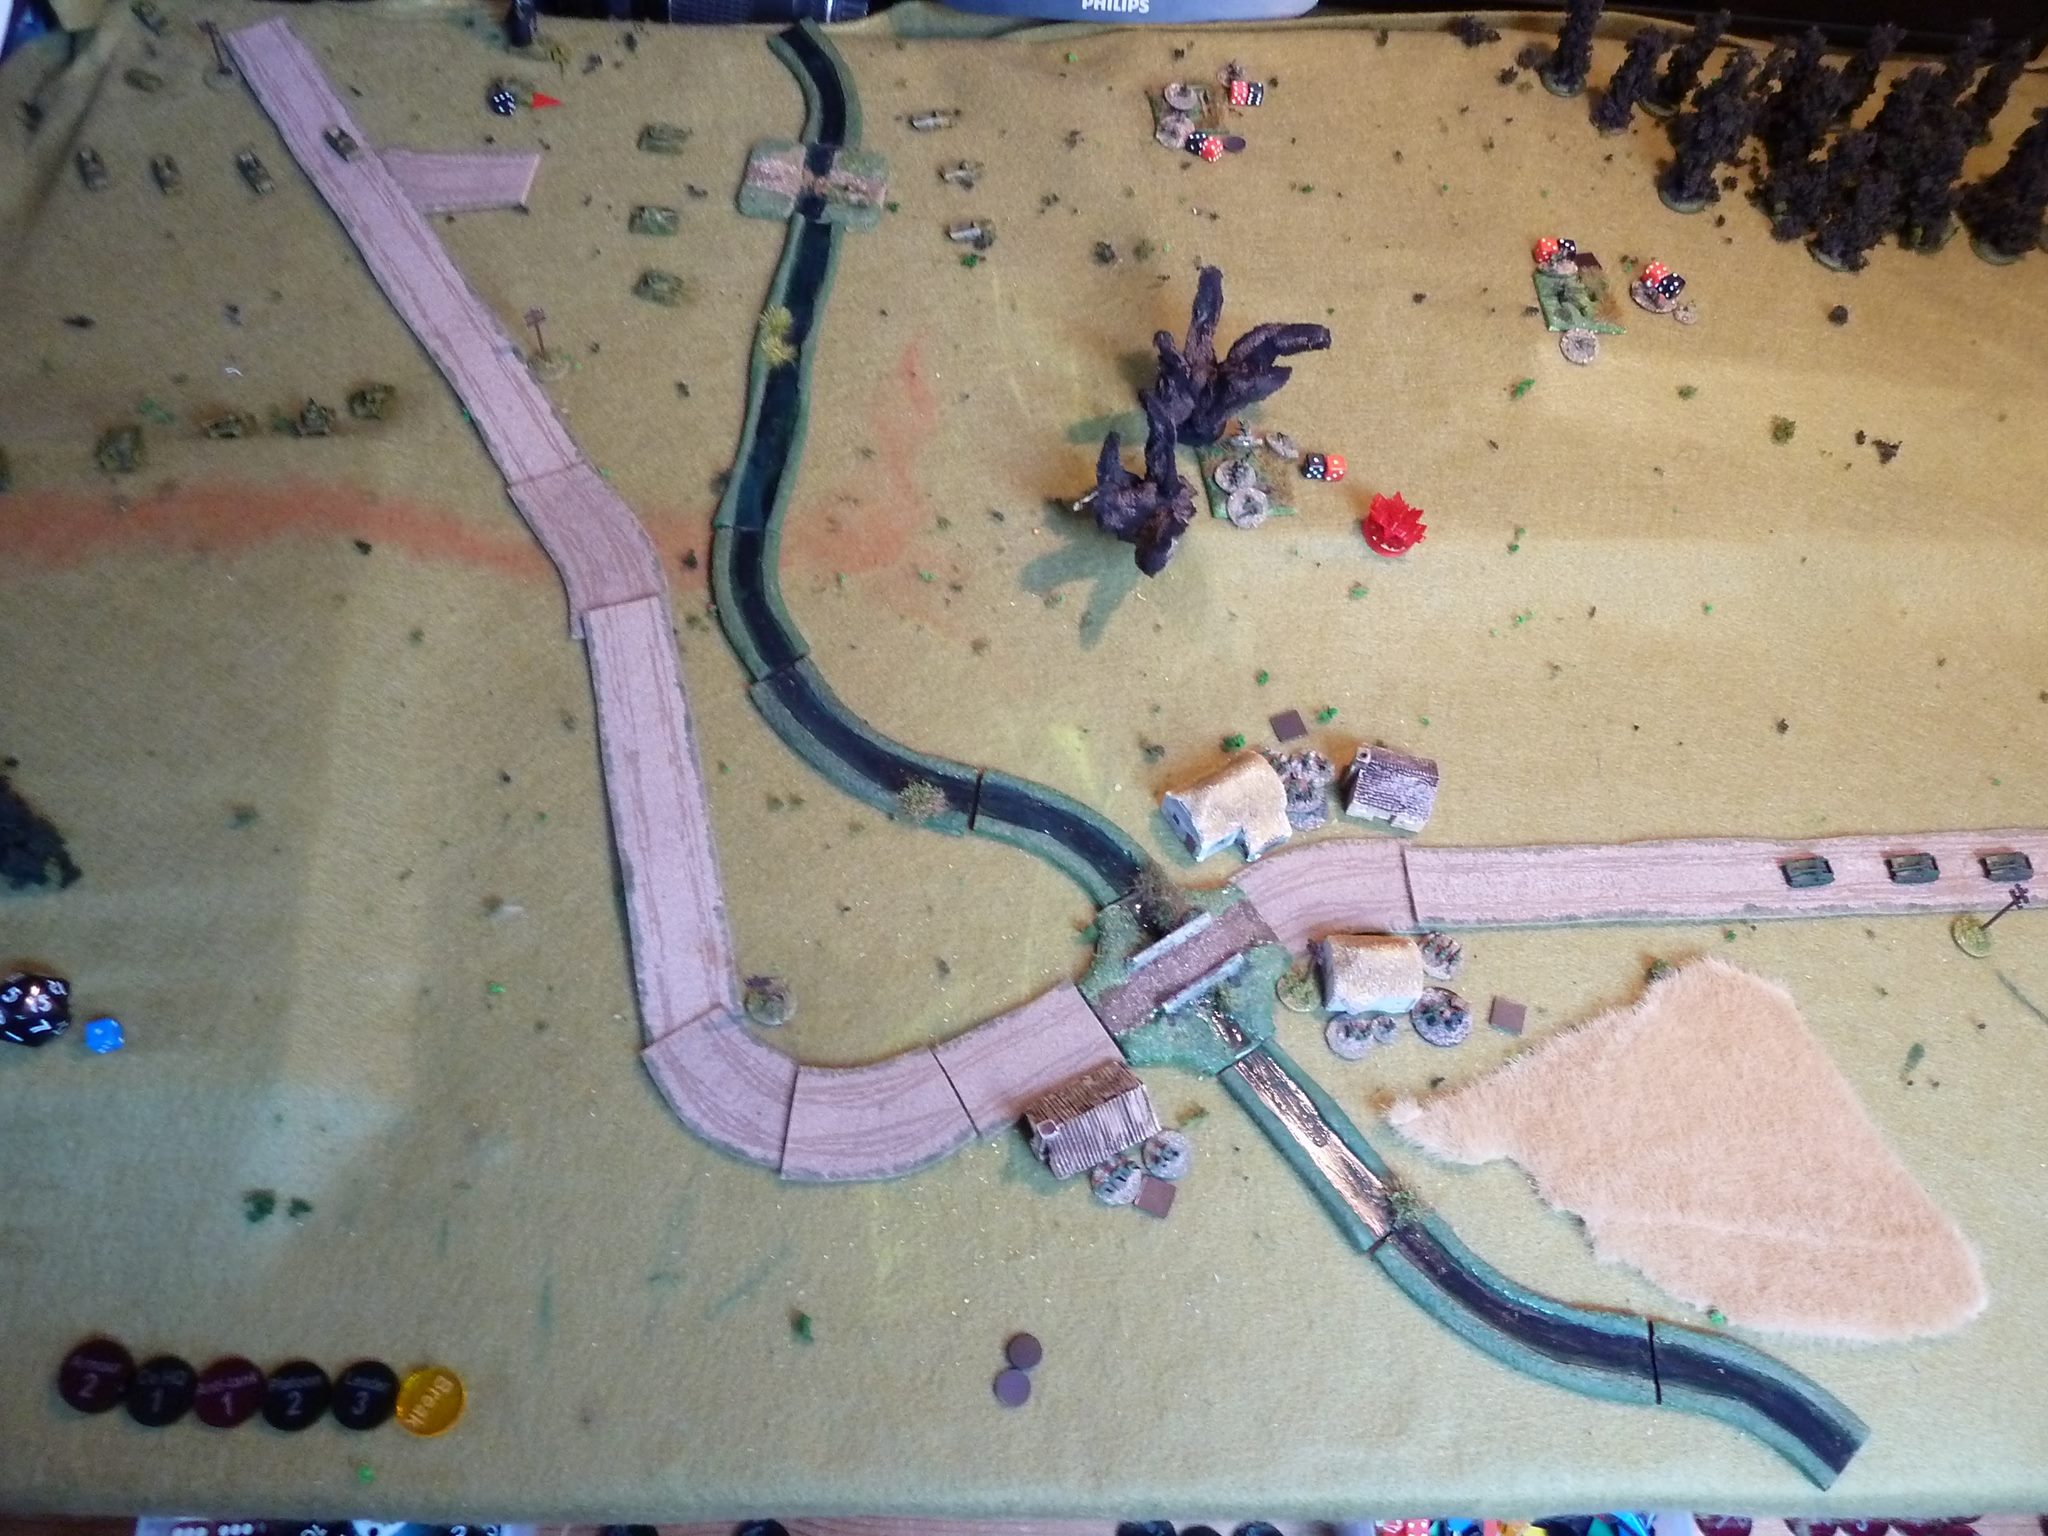
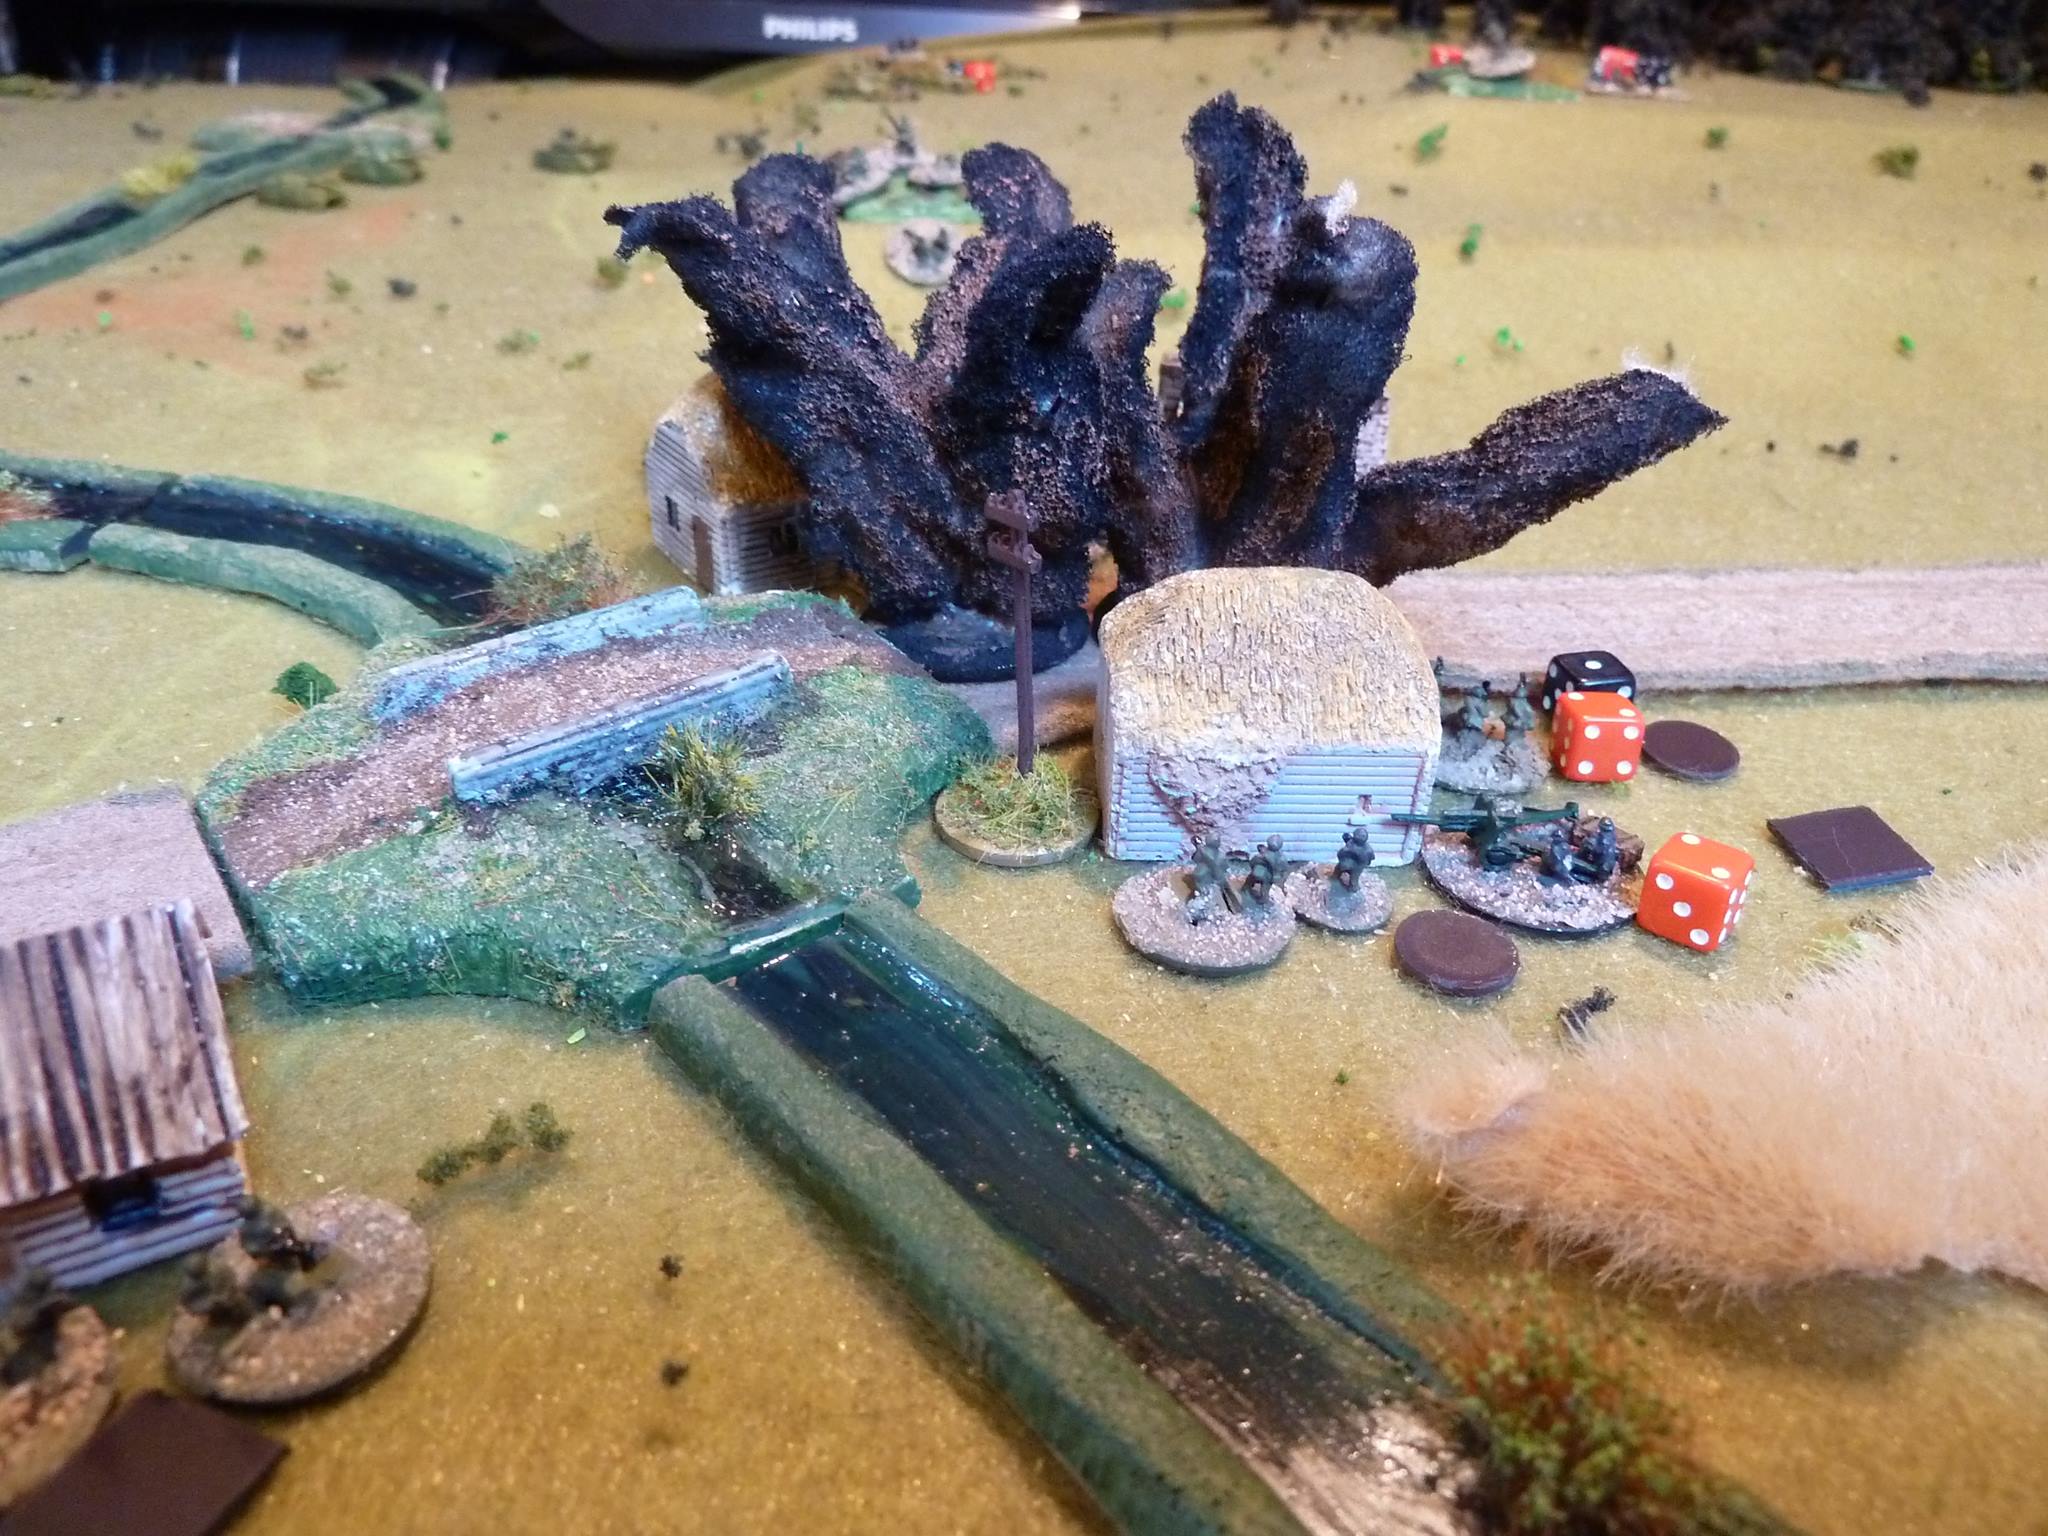
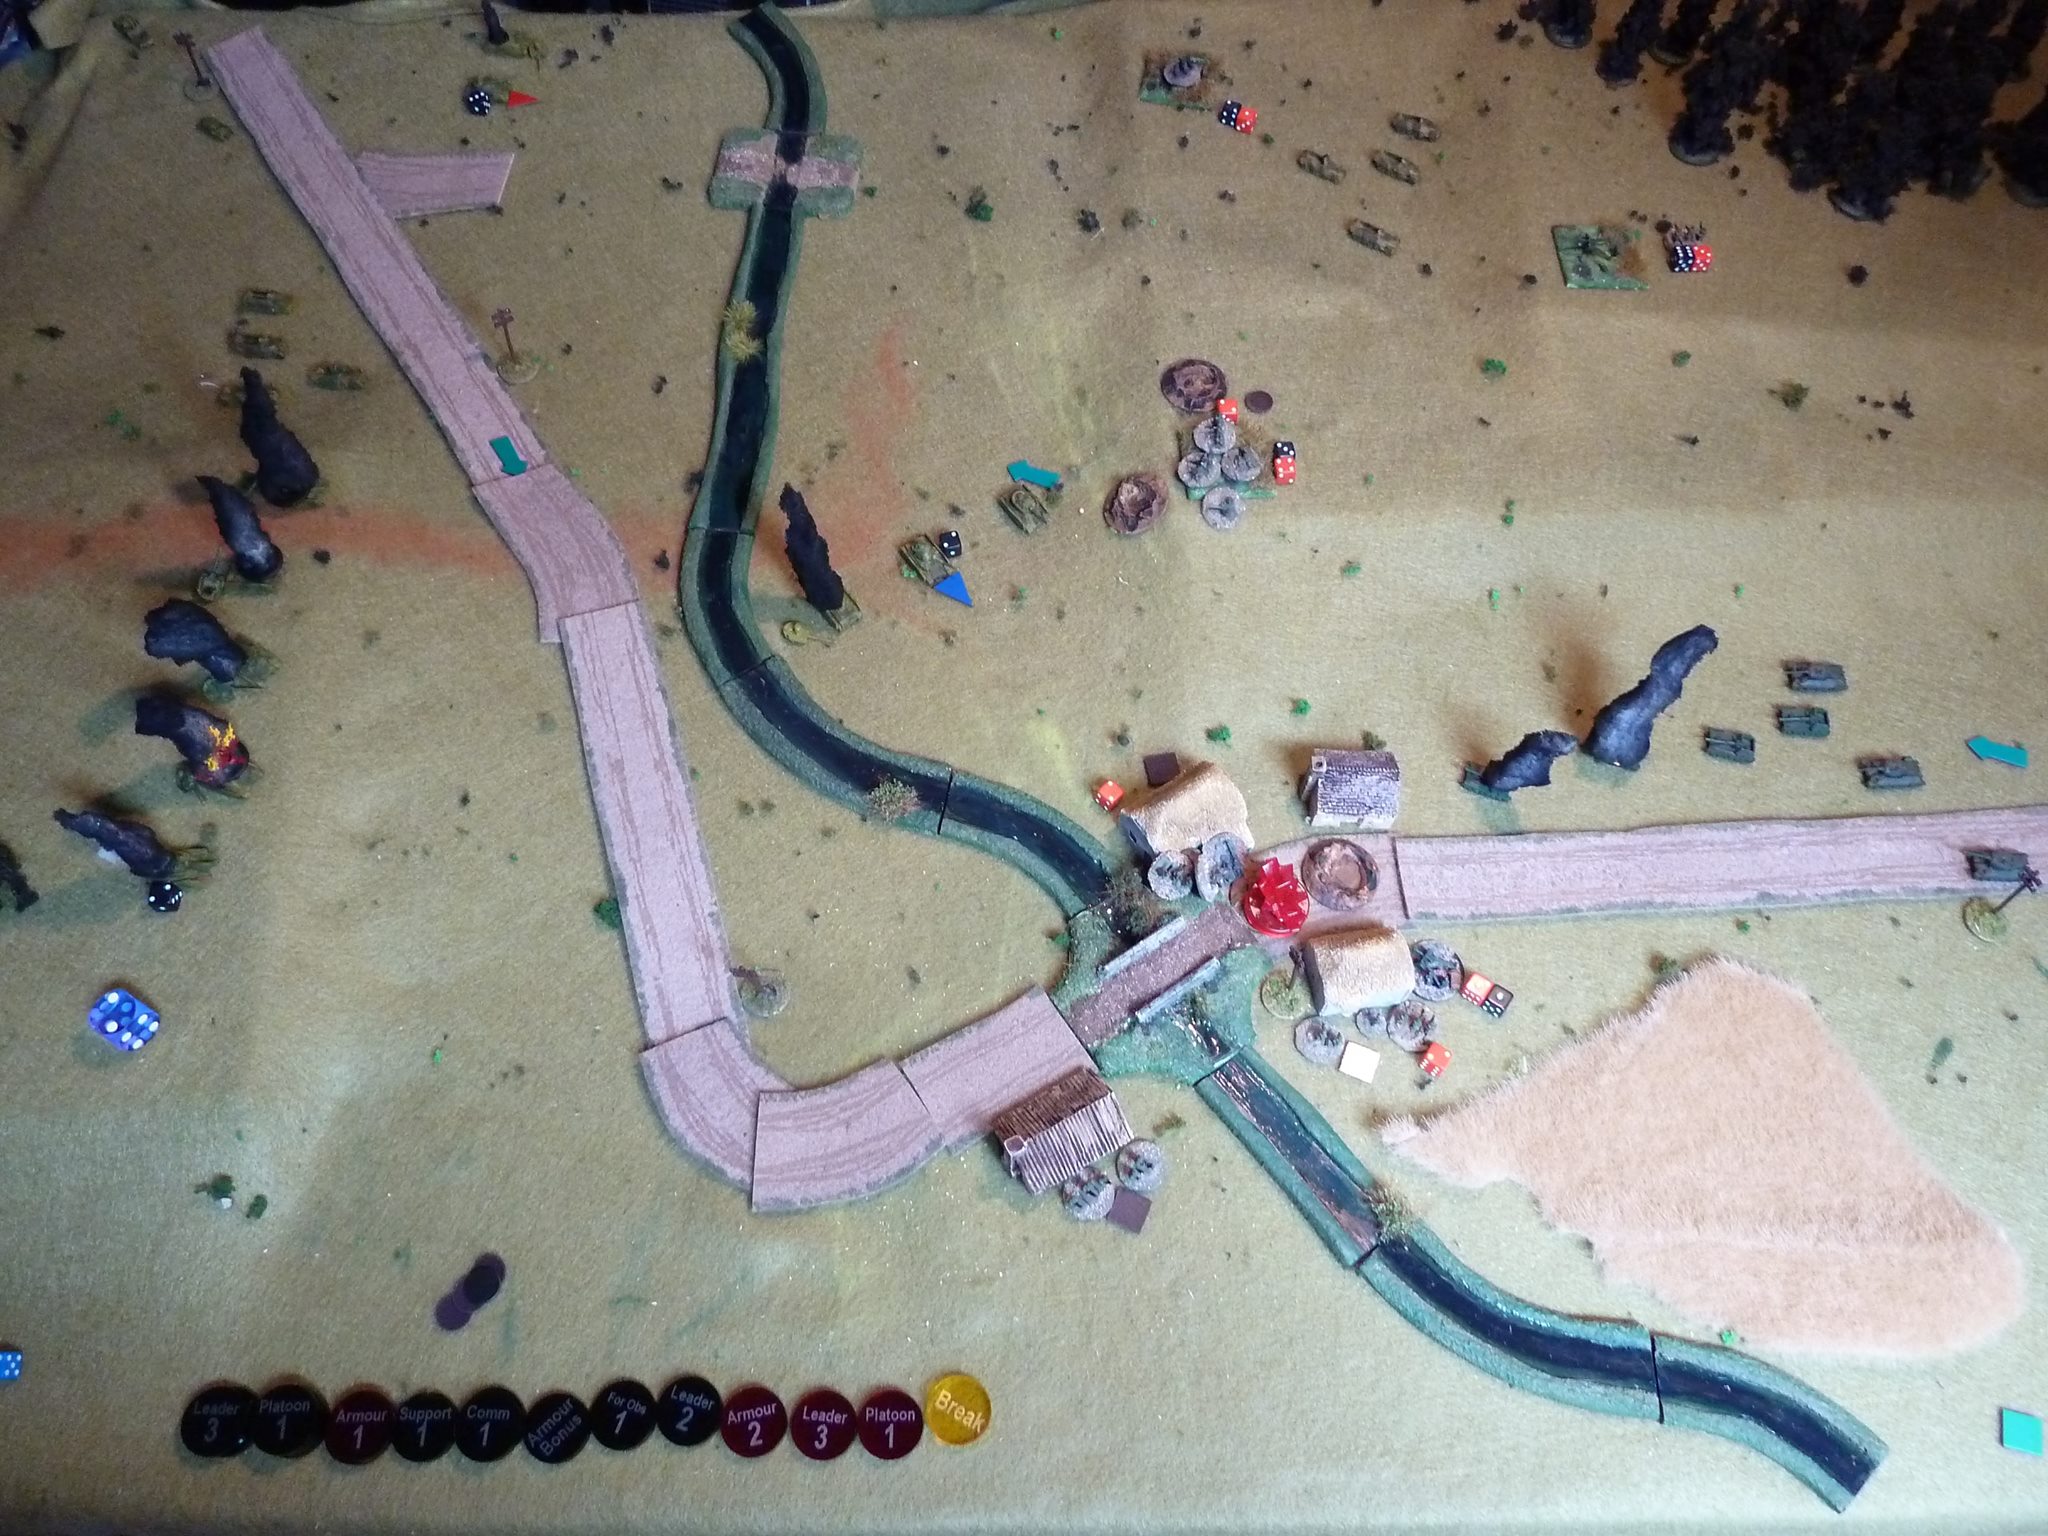
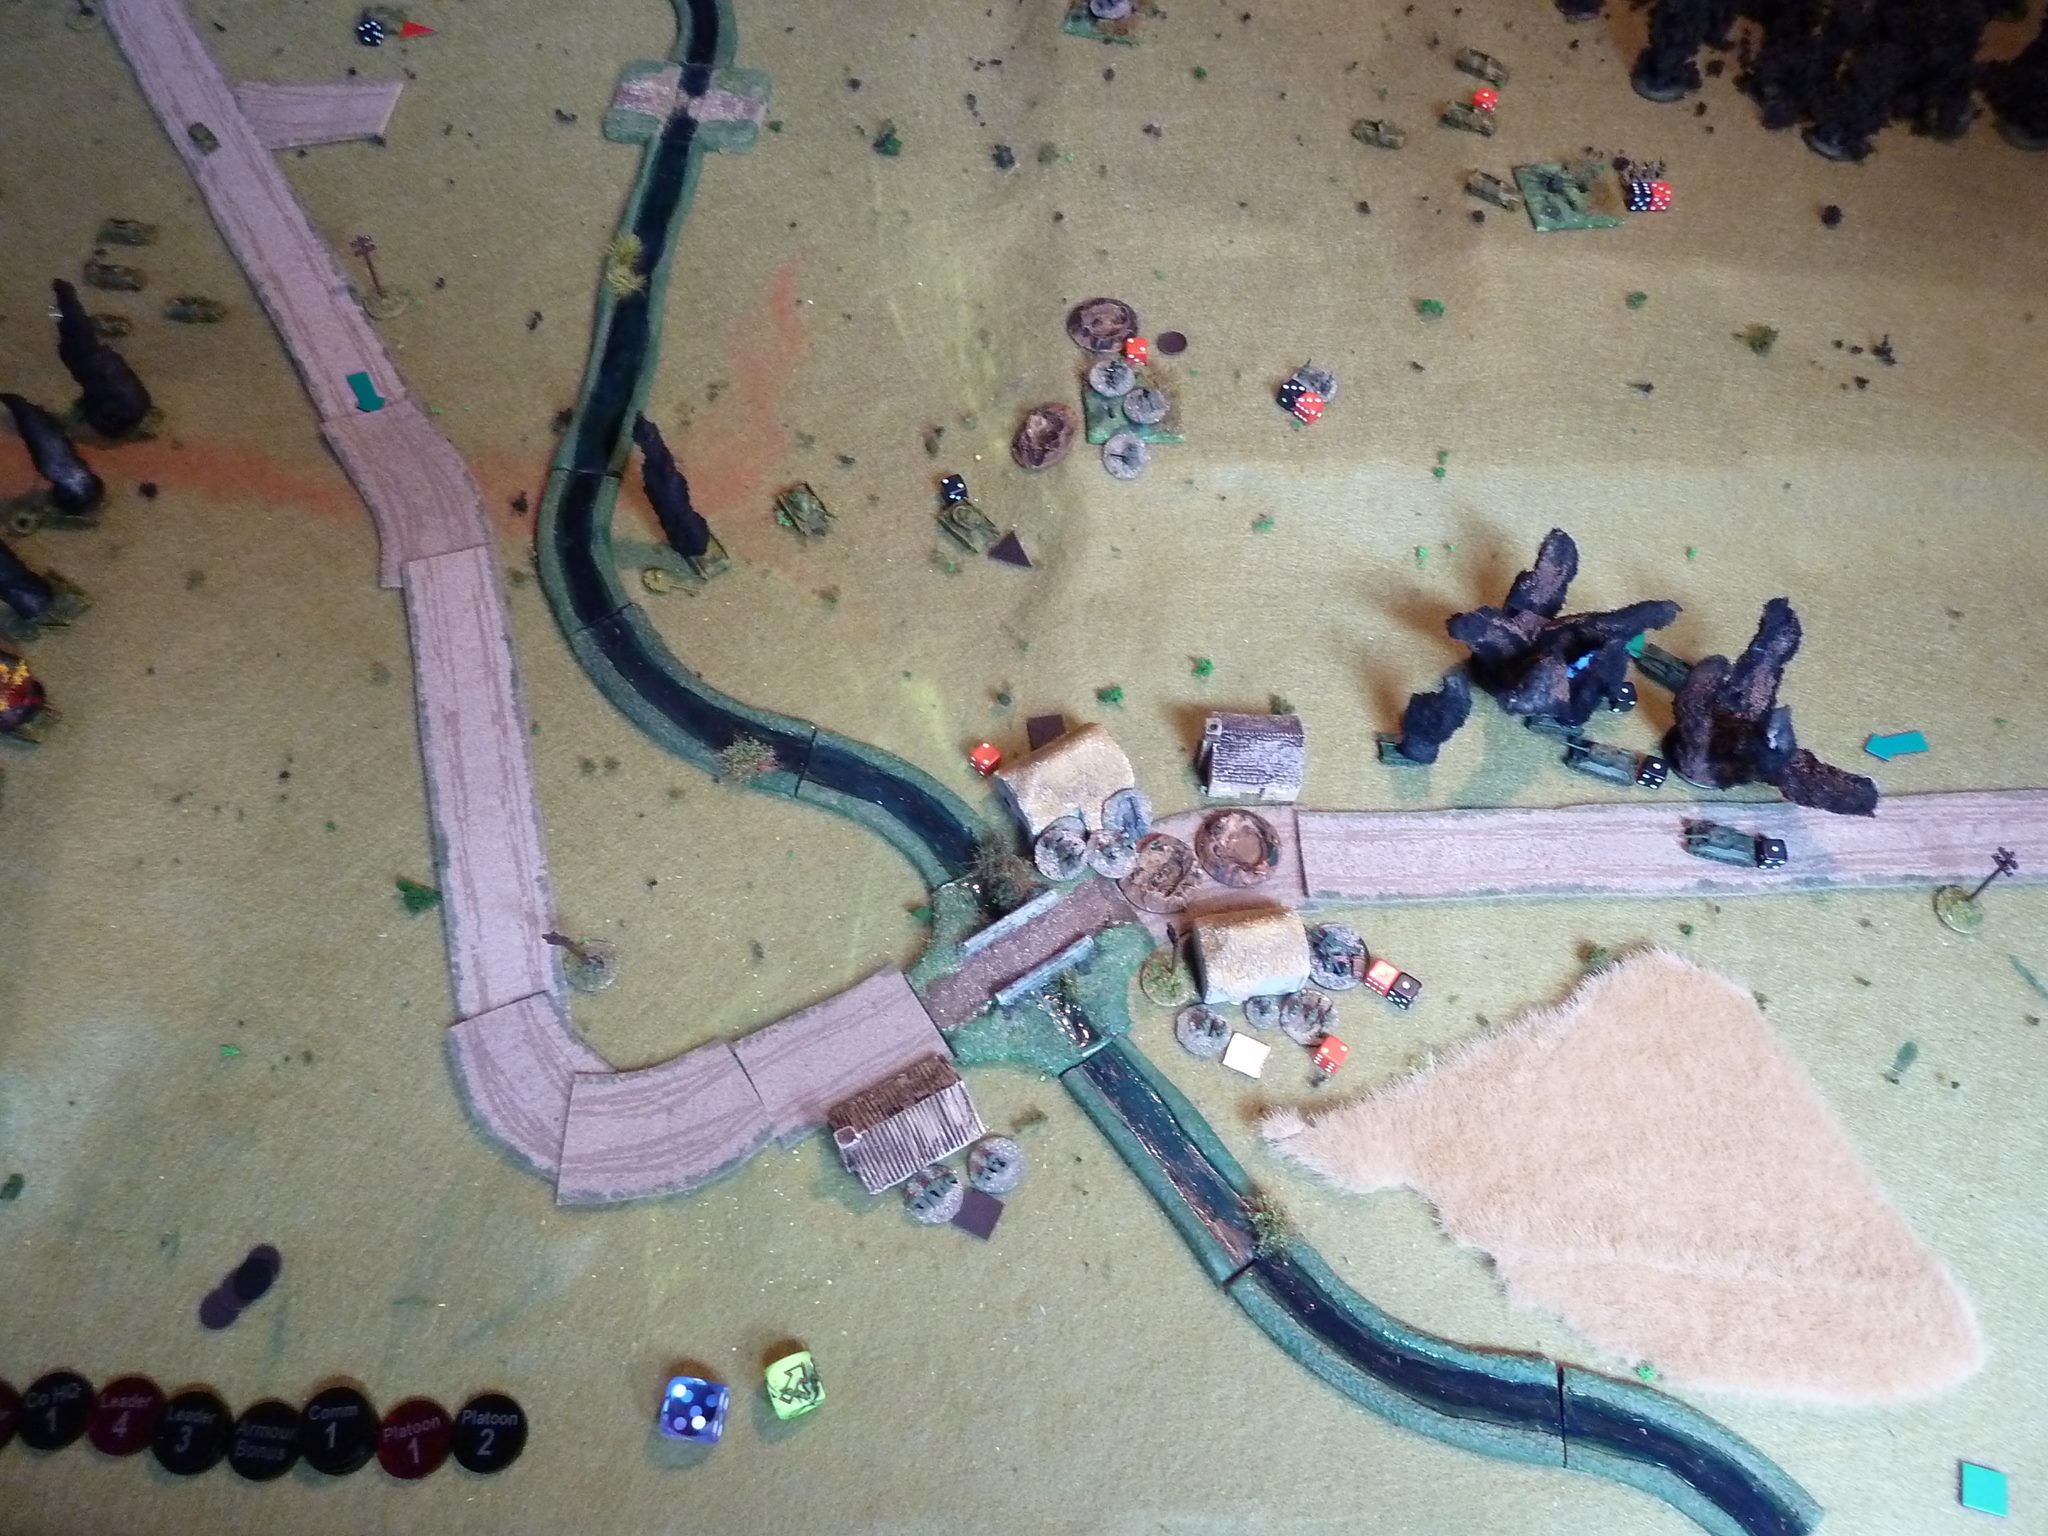
The forward platoon has just cleared the village in their normal brutal manner and now occupy it.

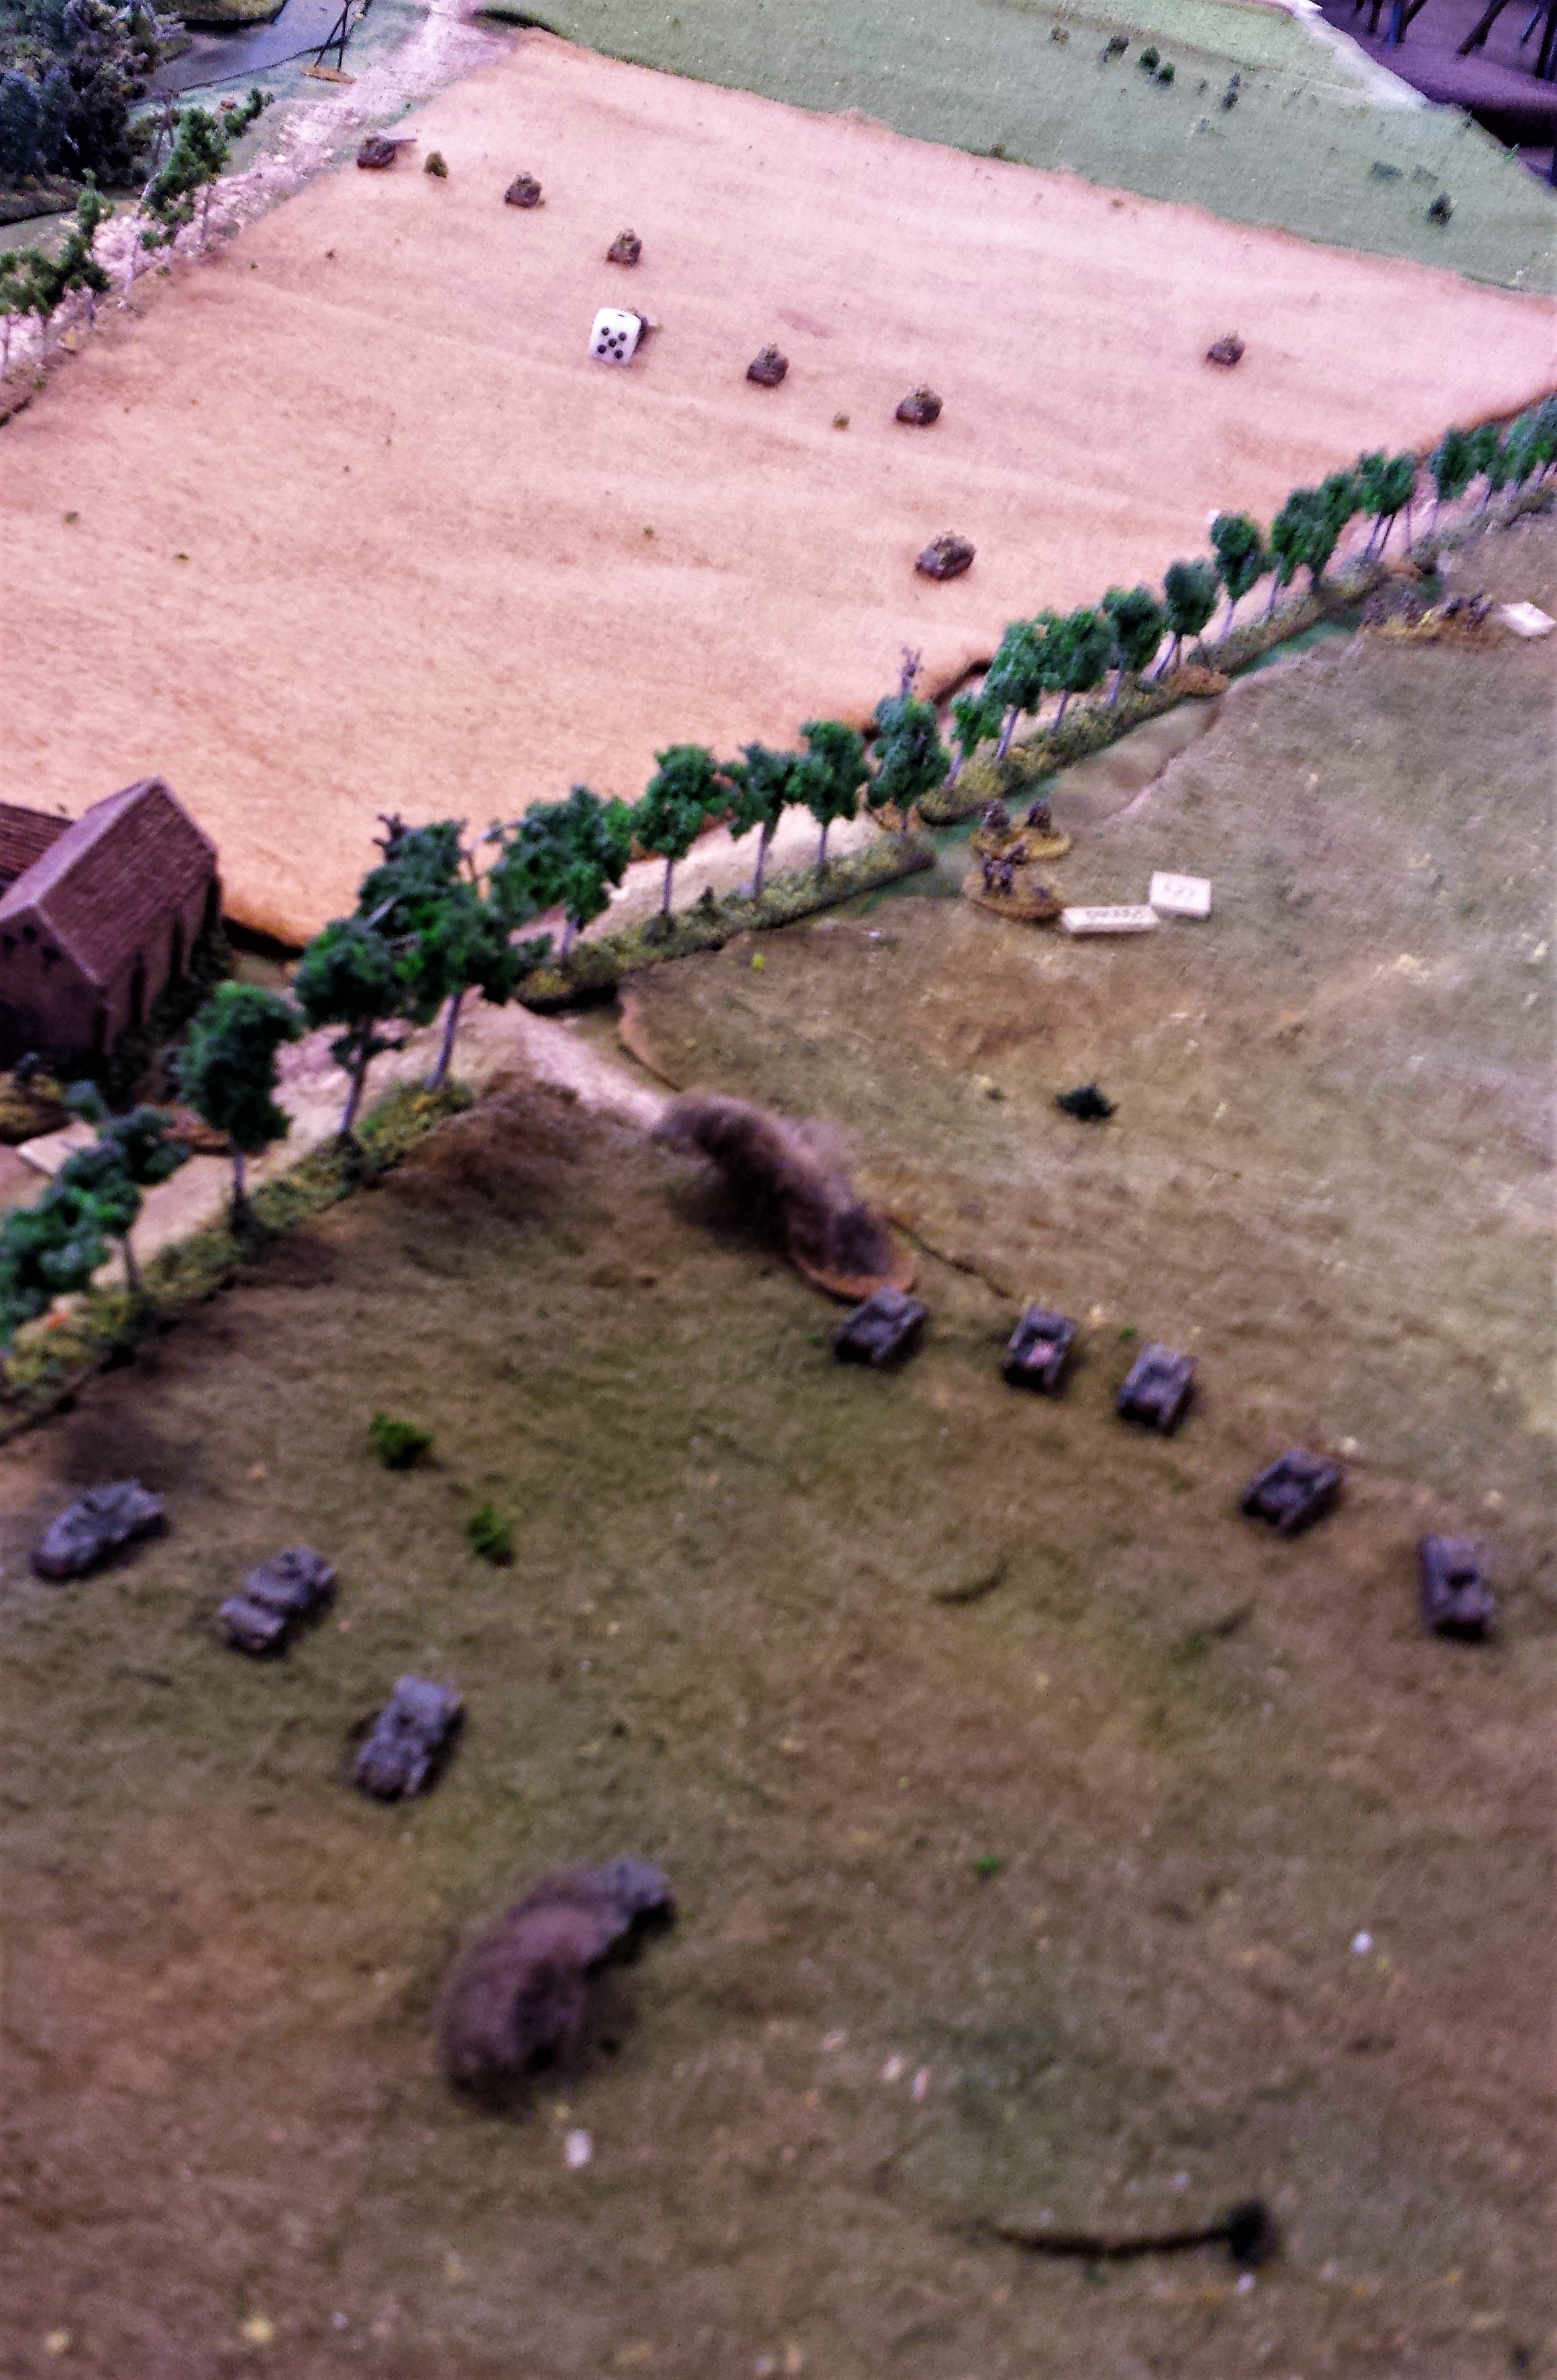
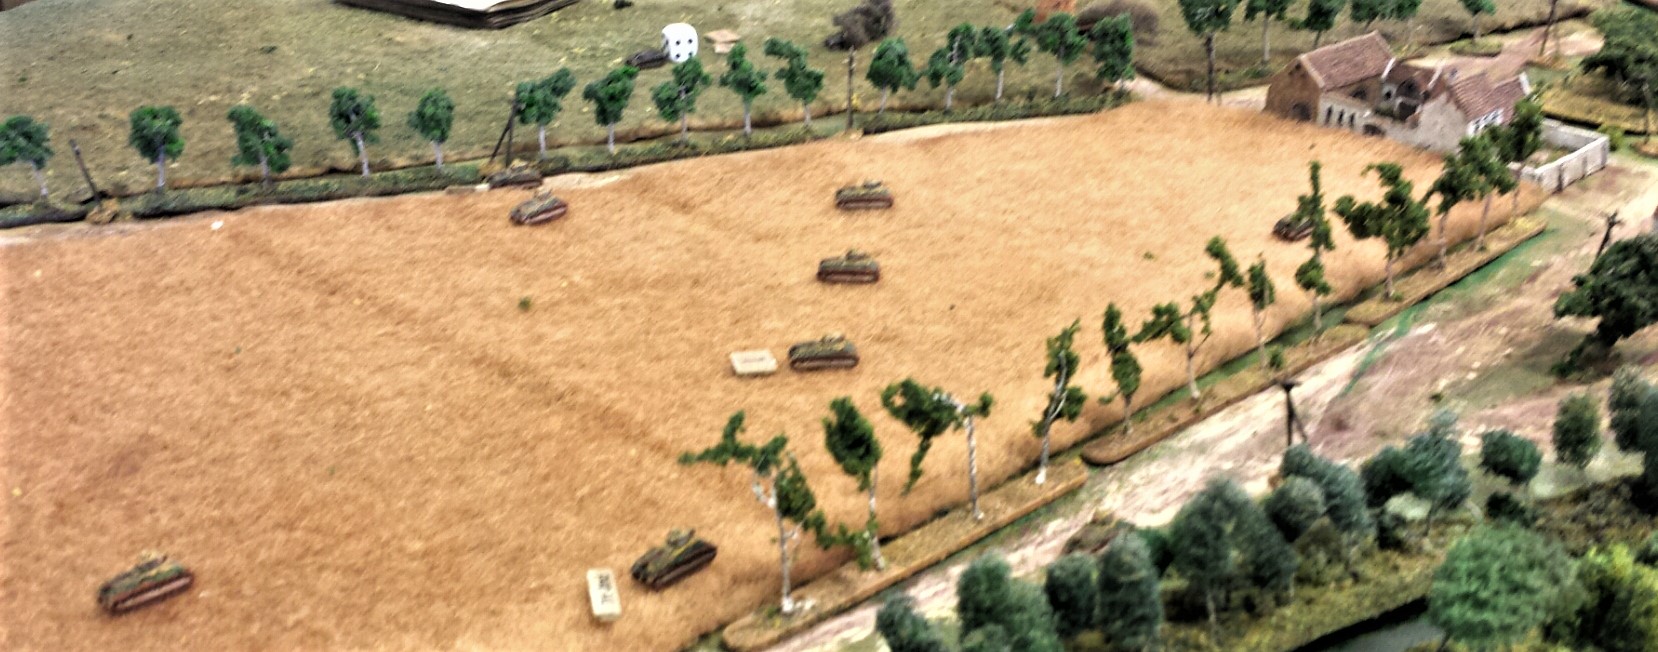
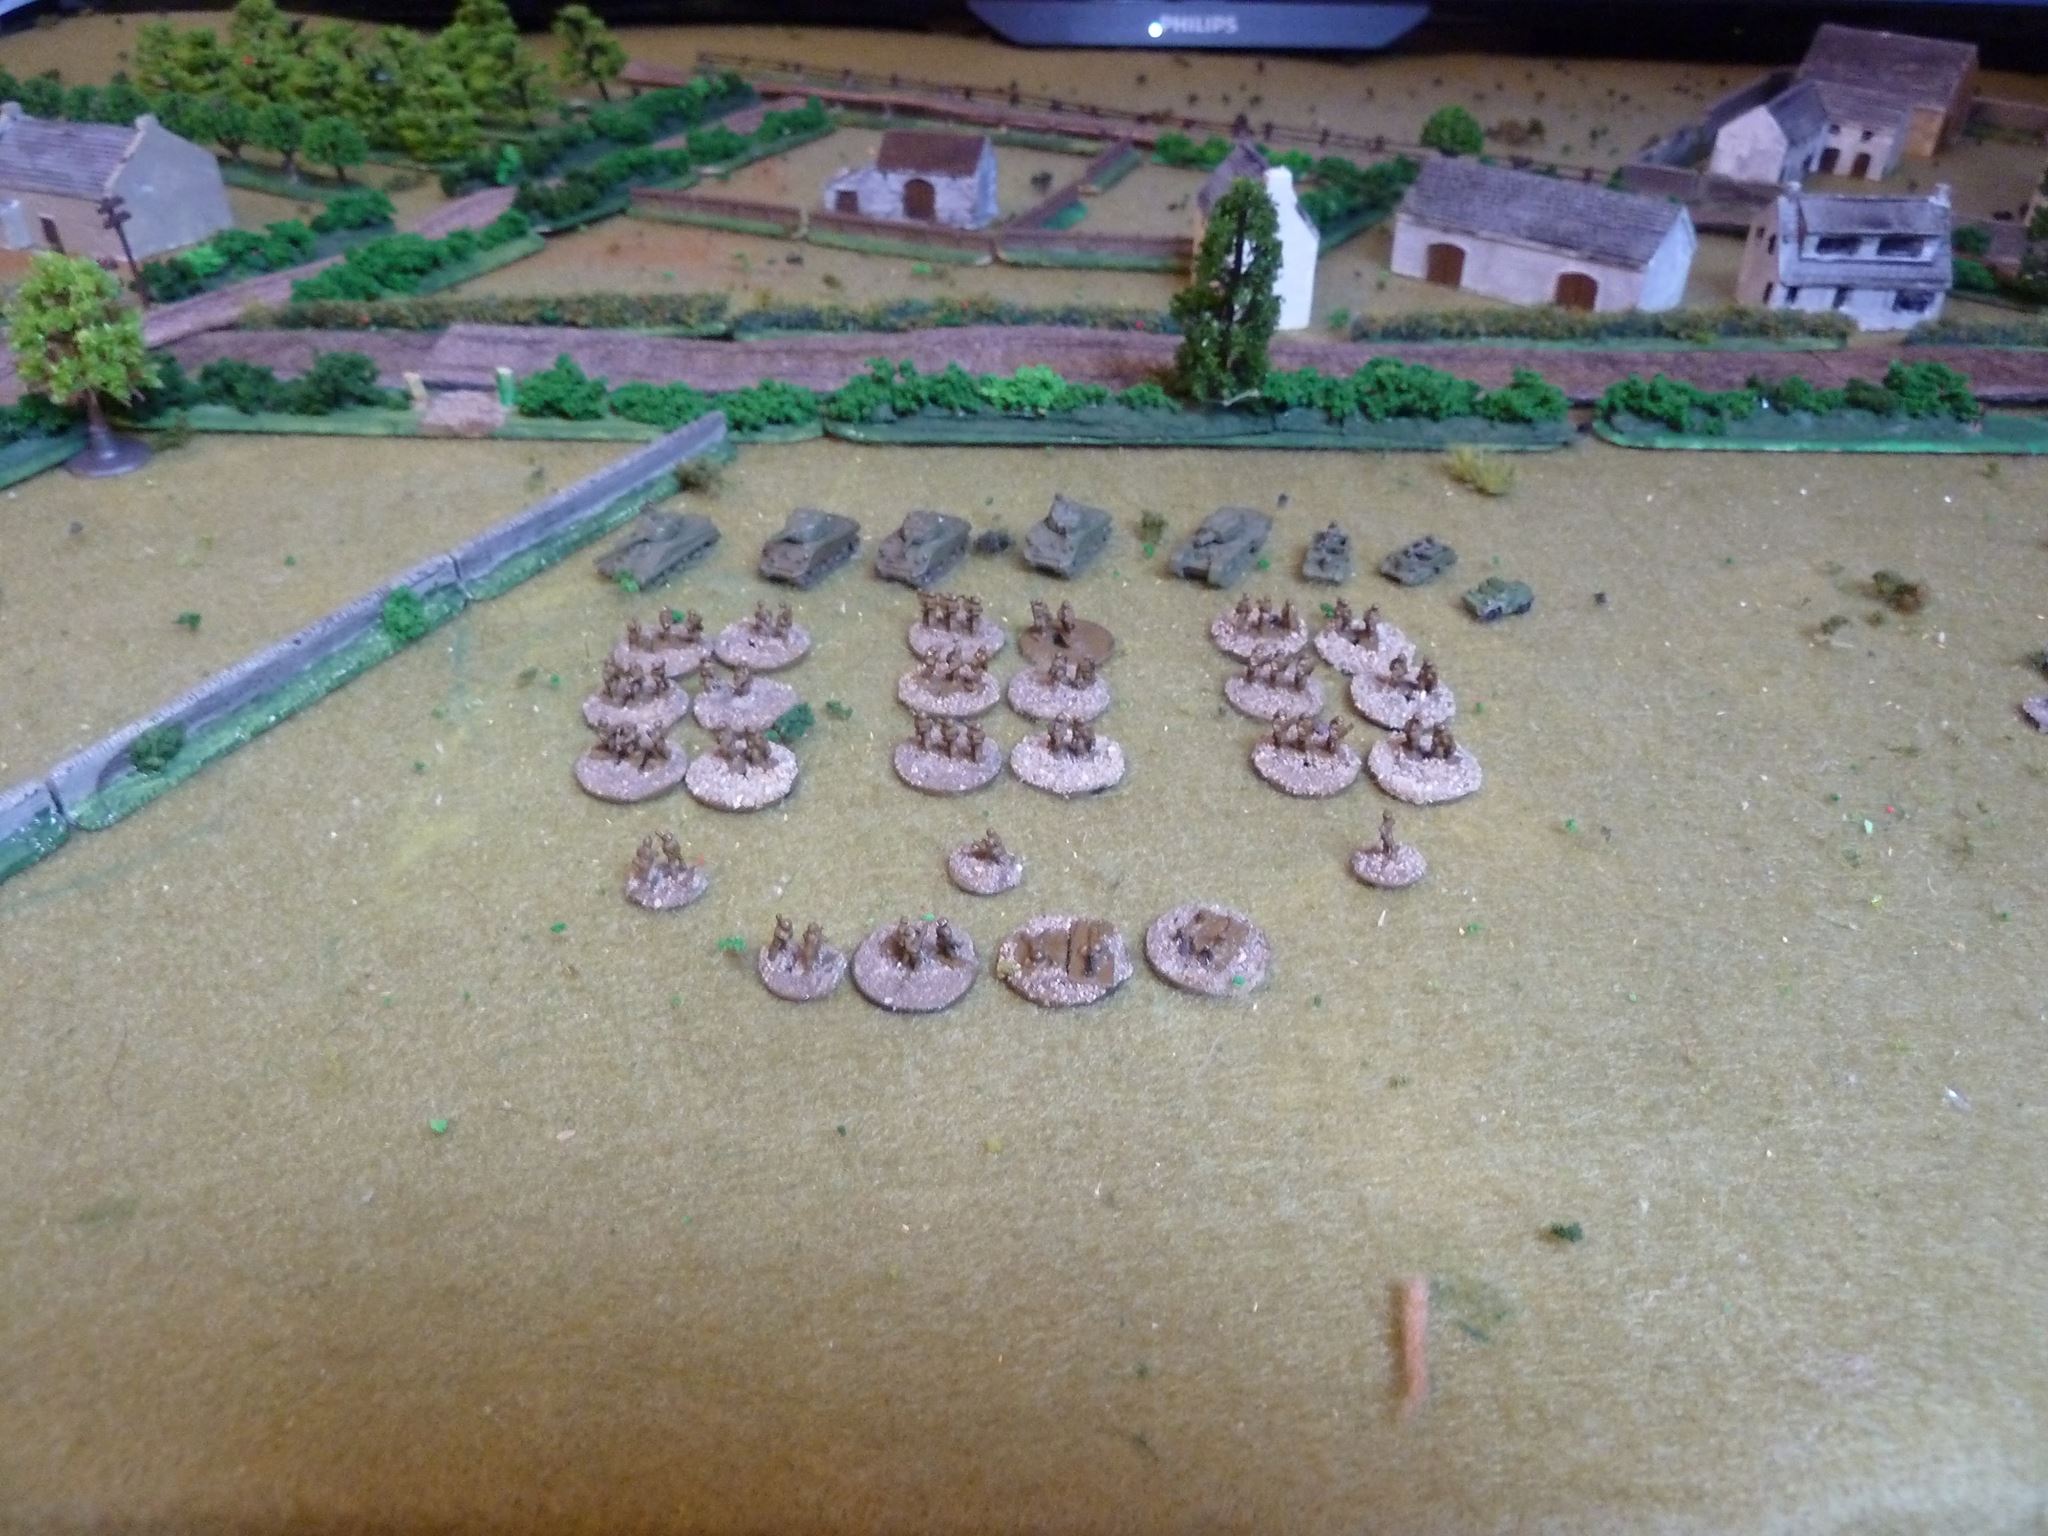
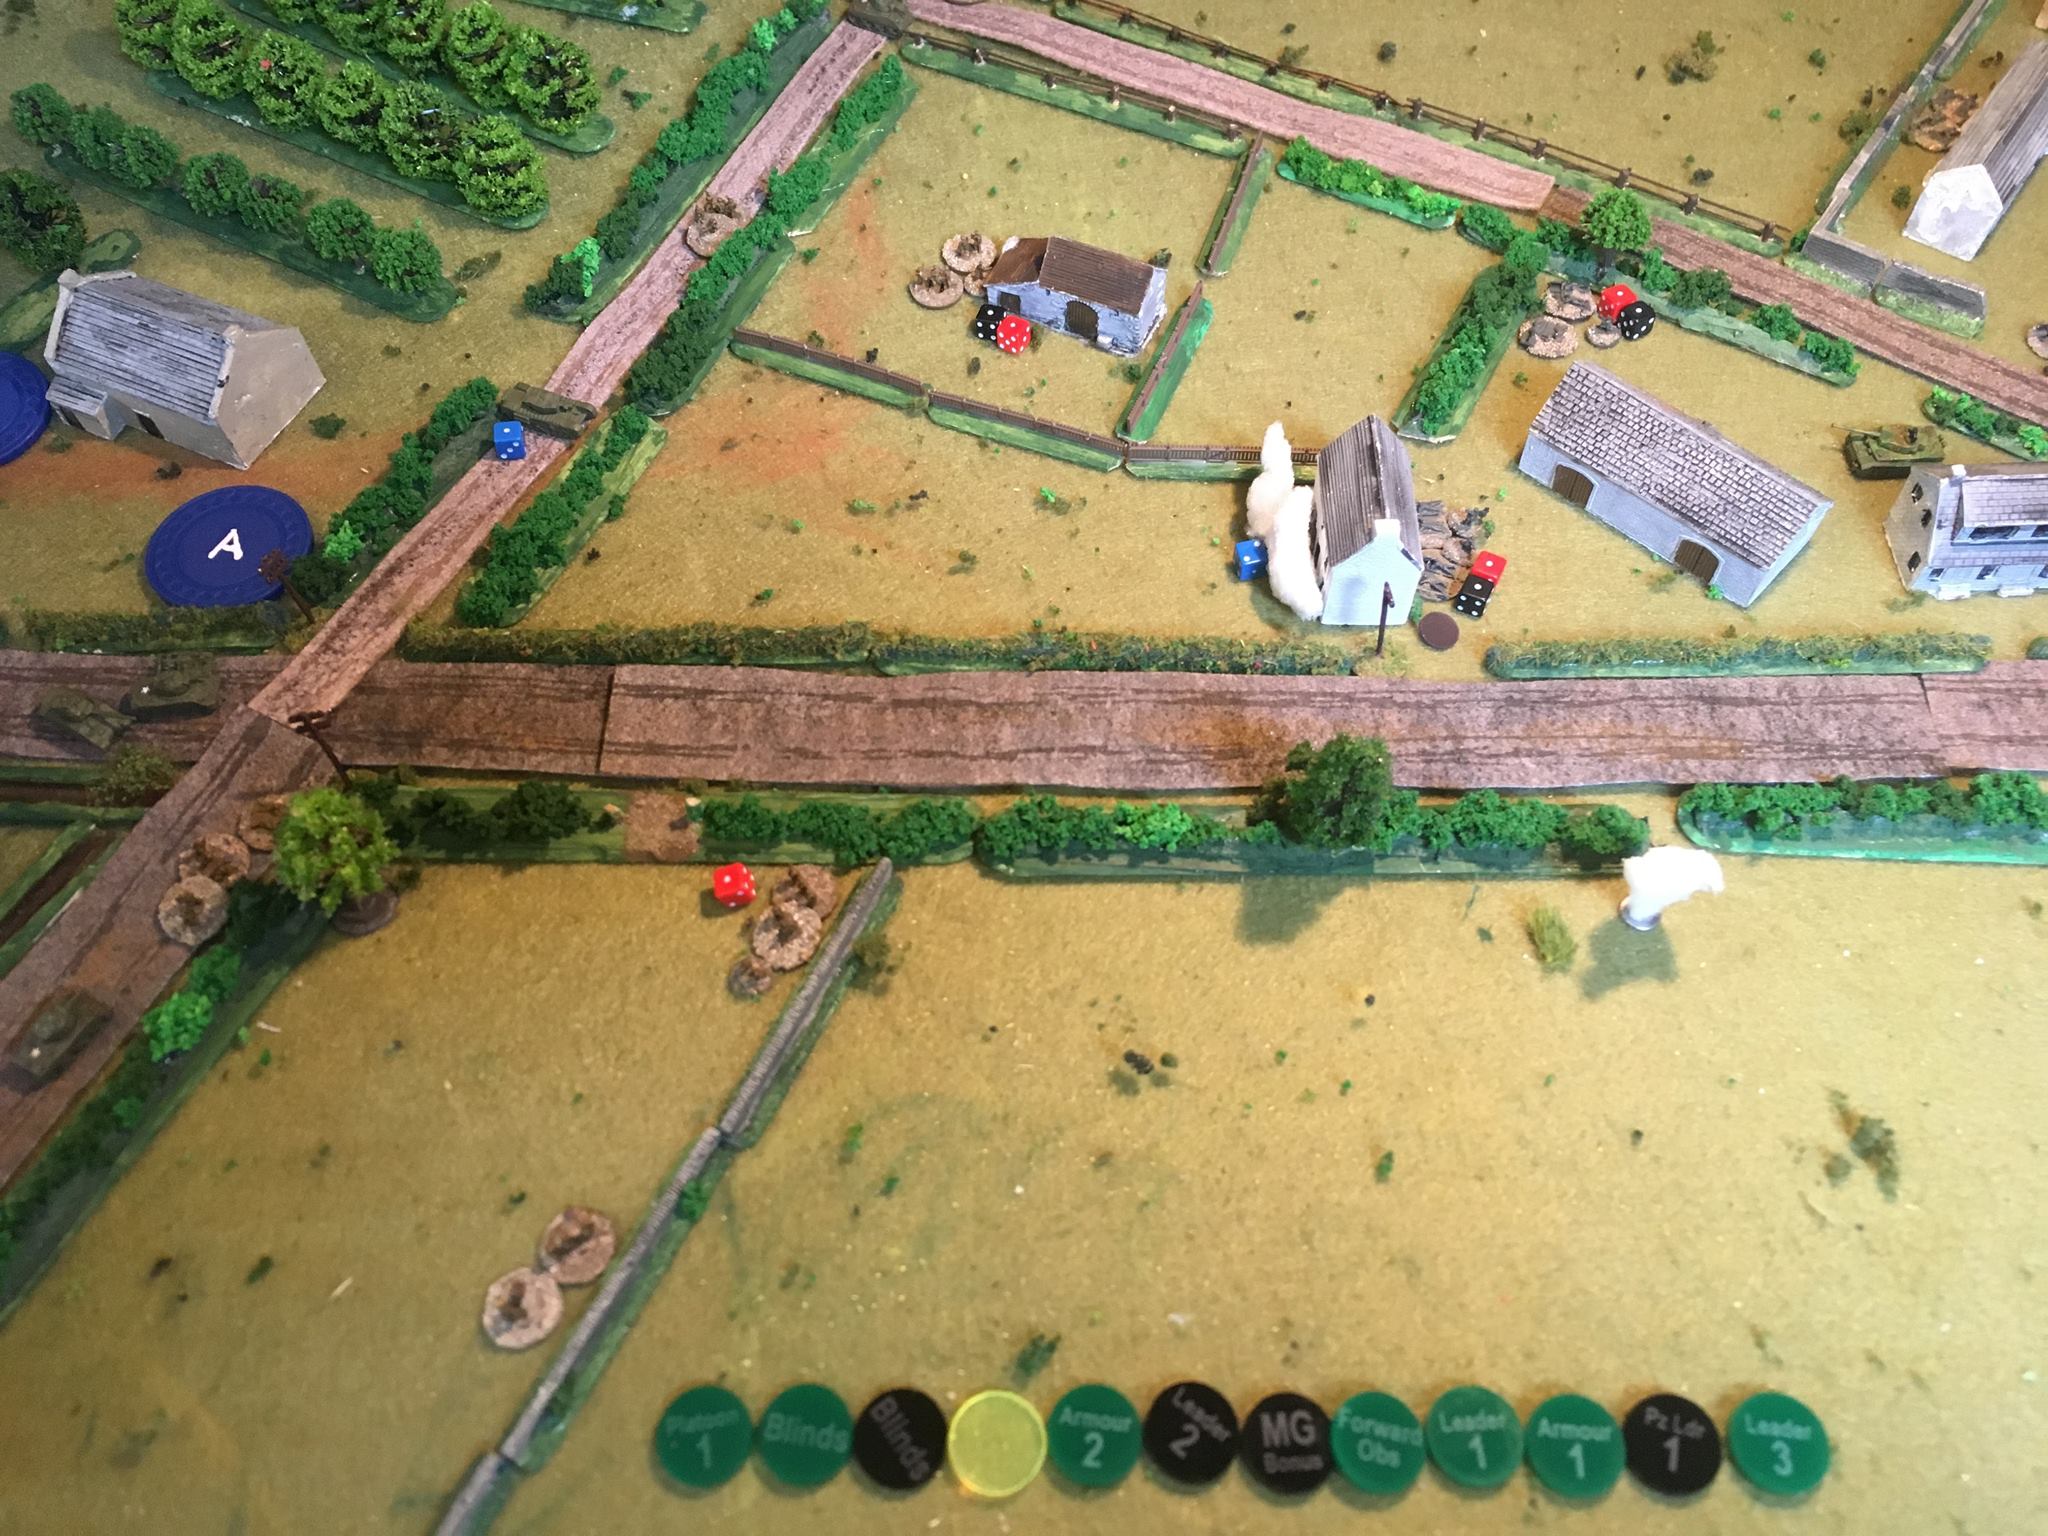
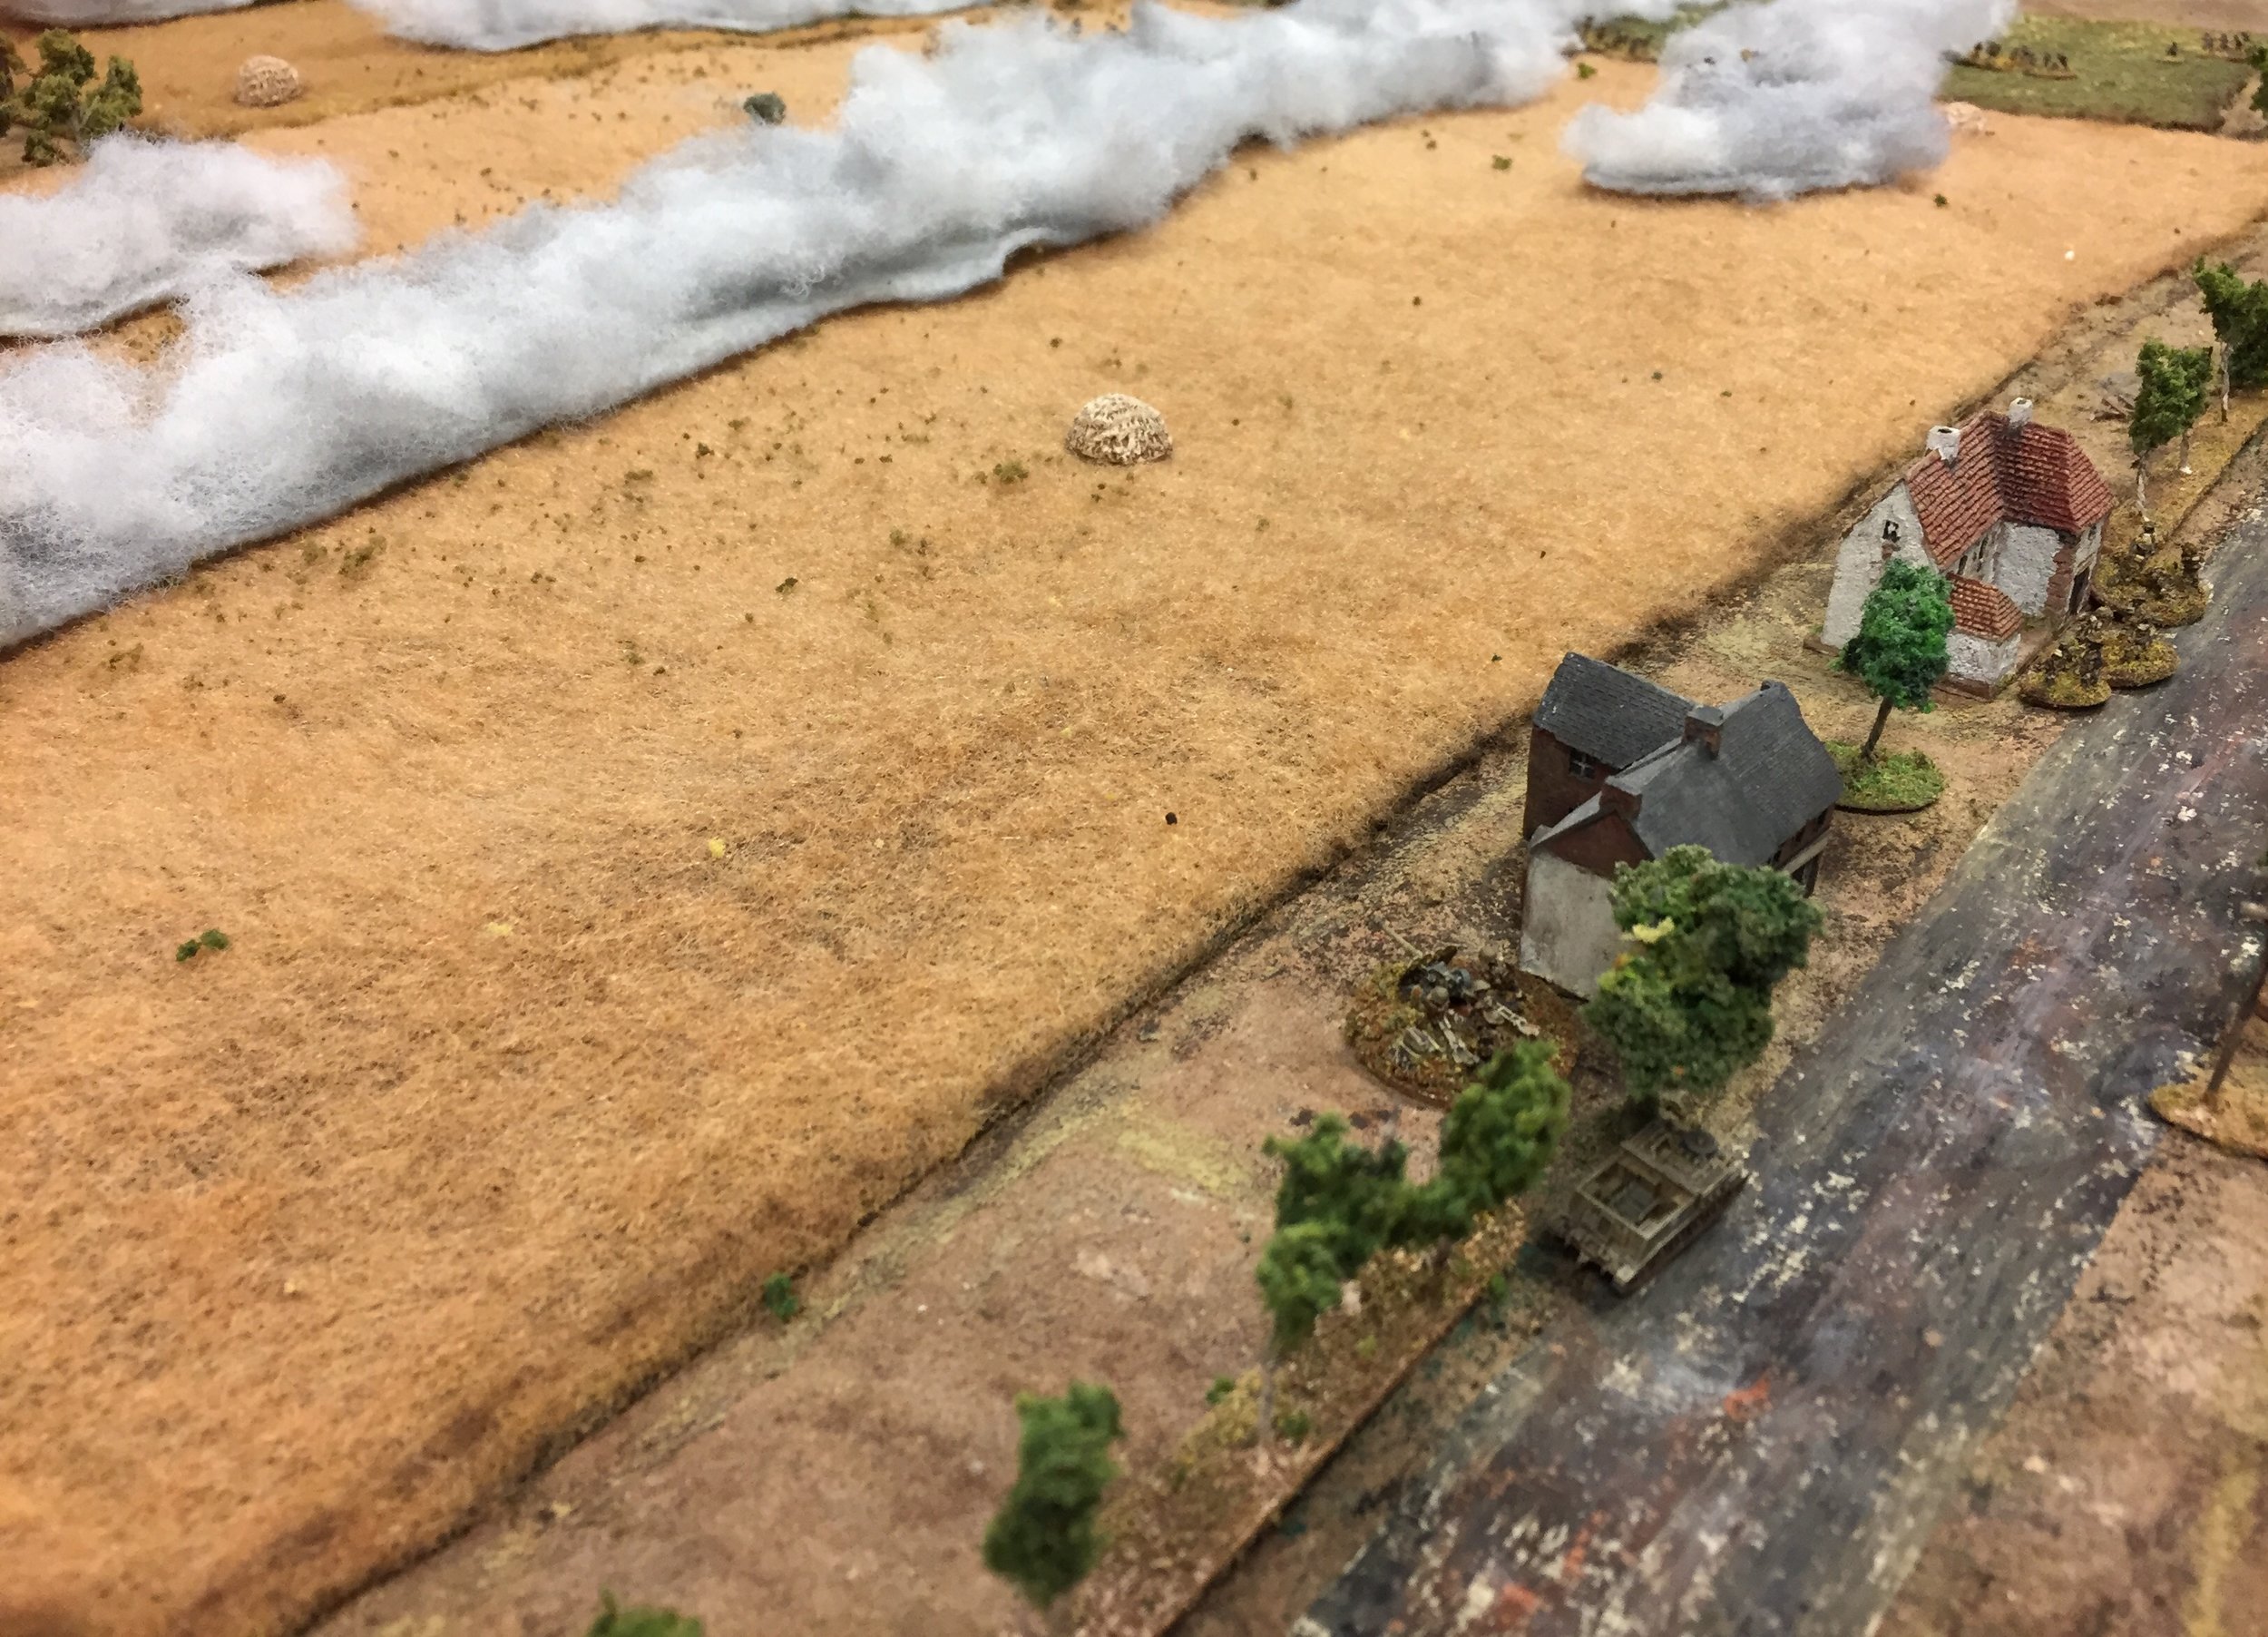
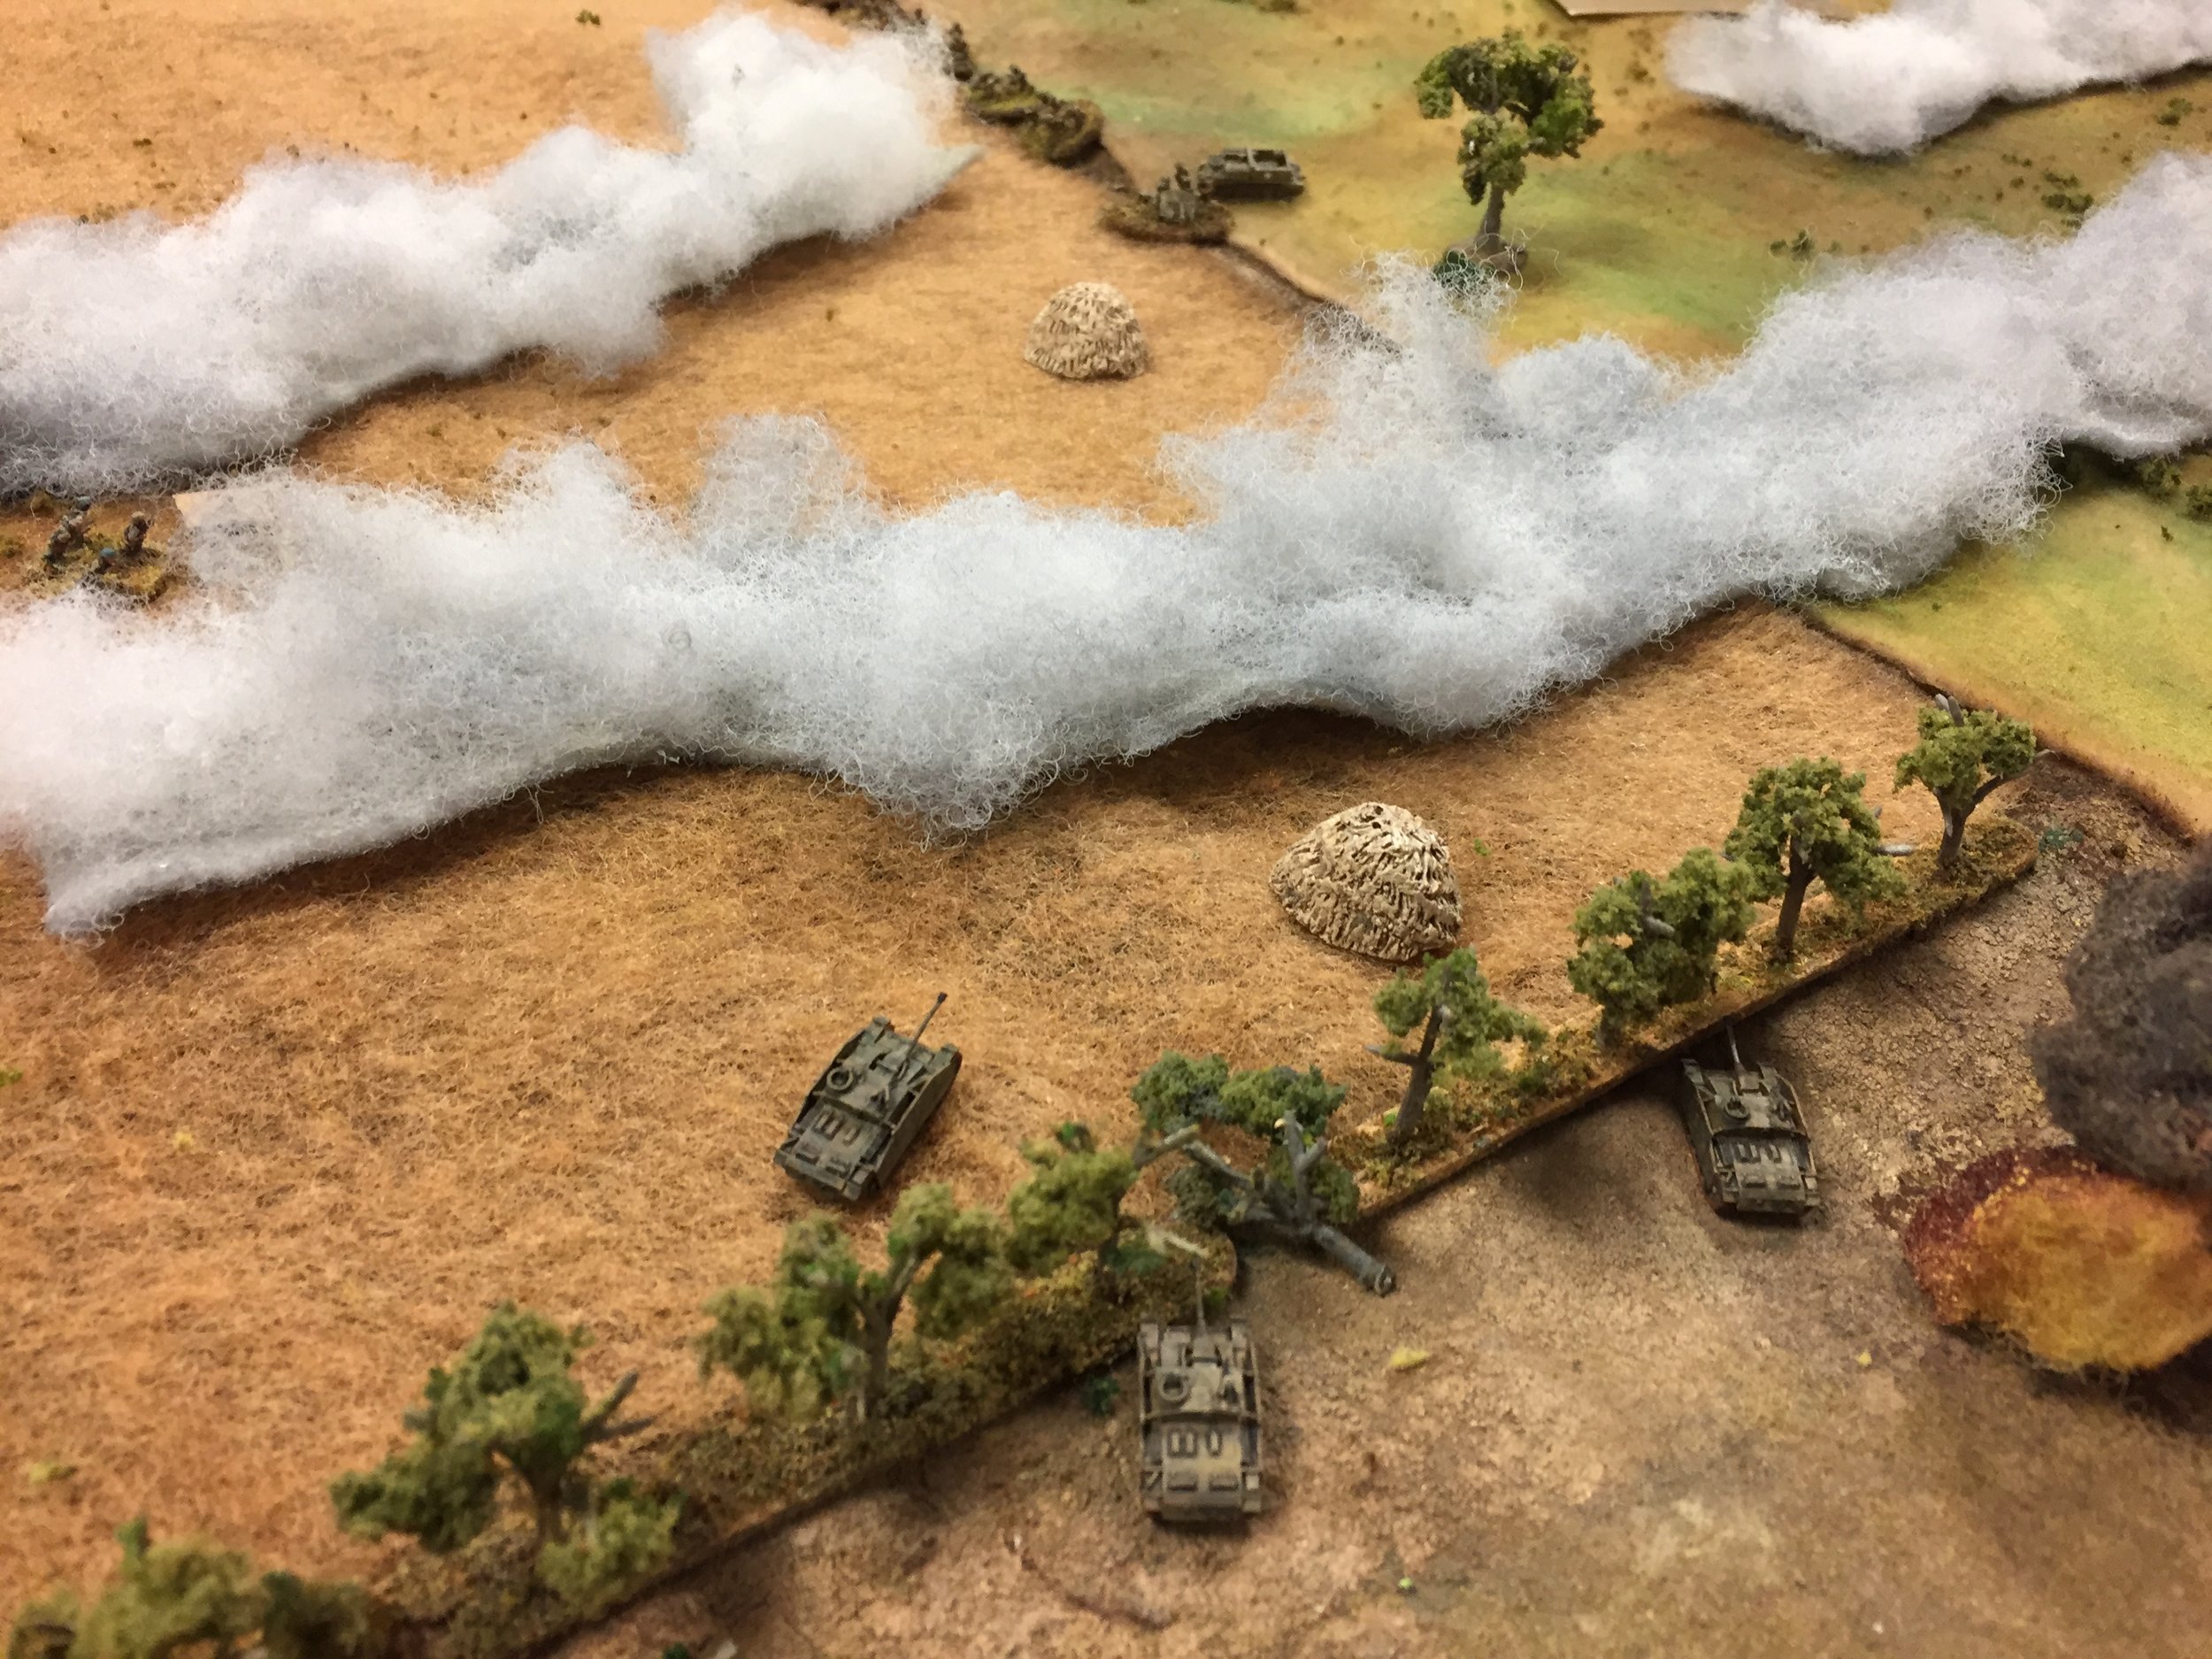
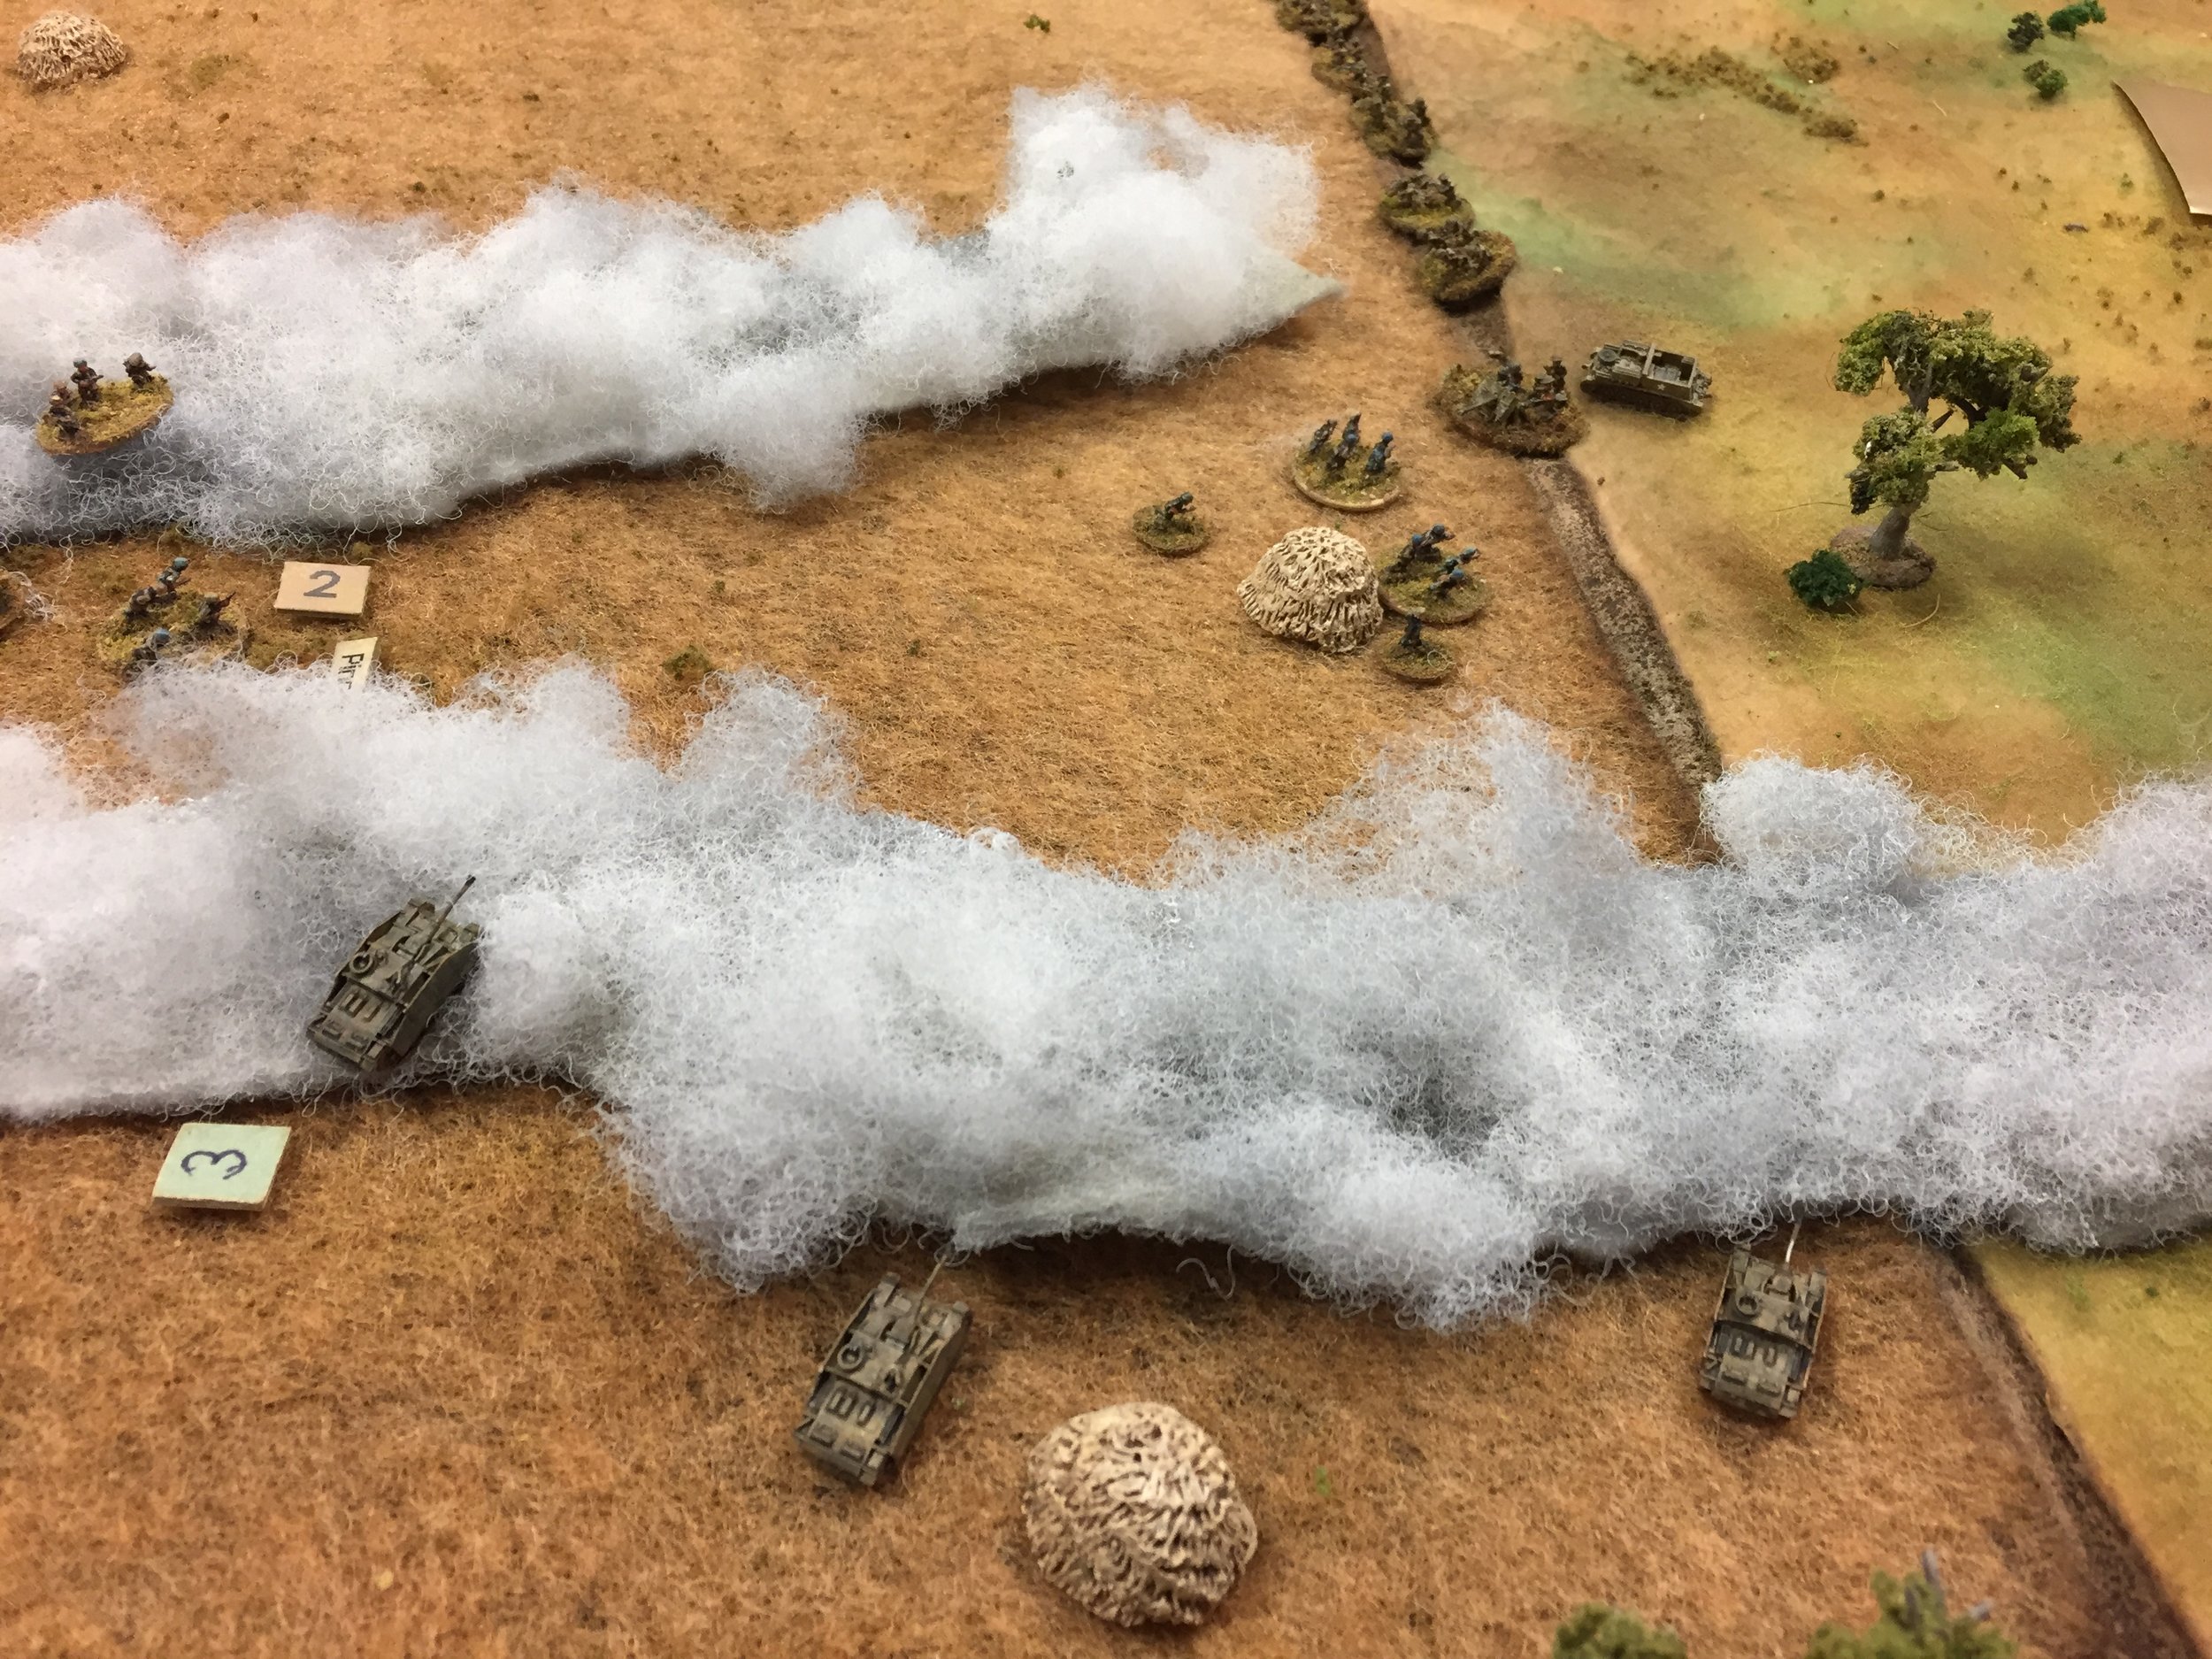
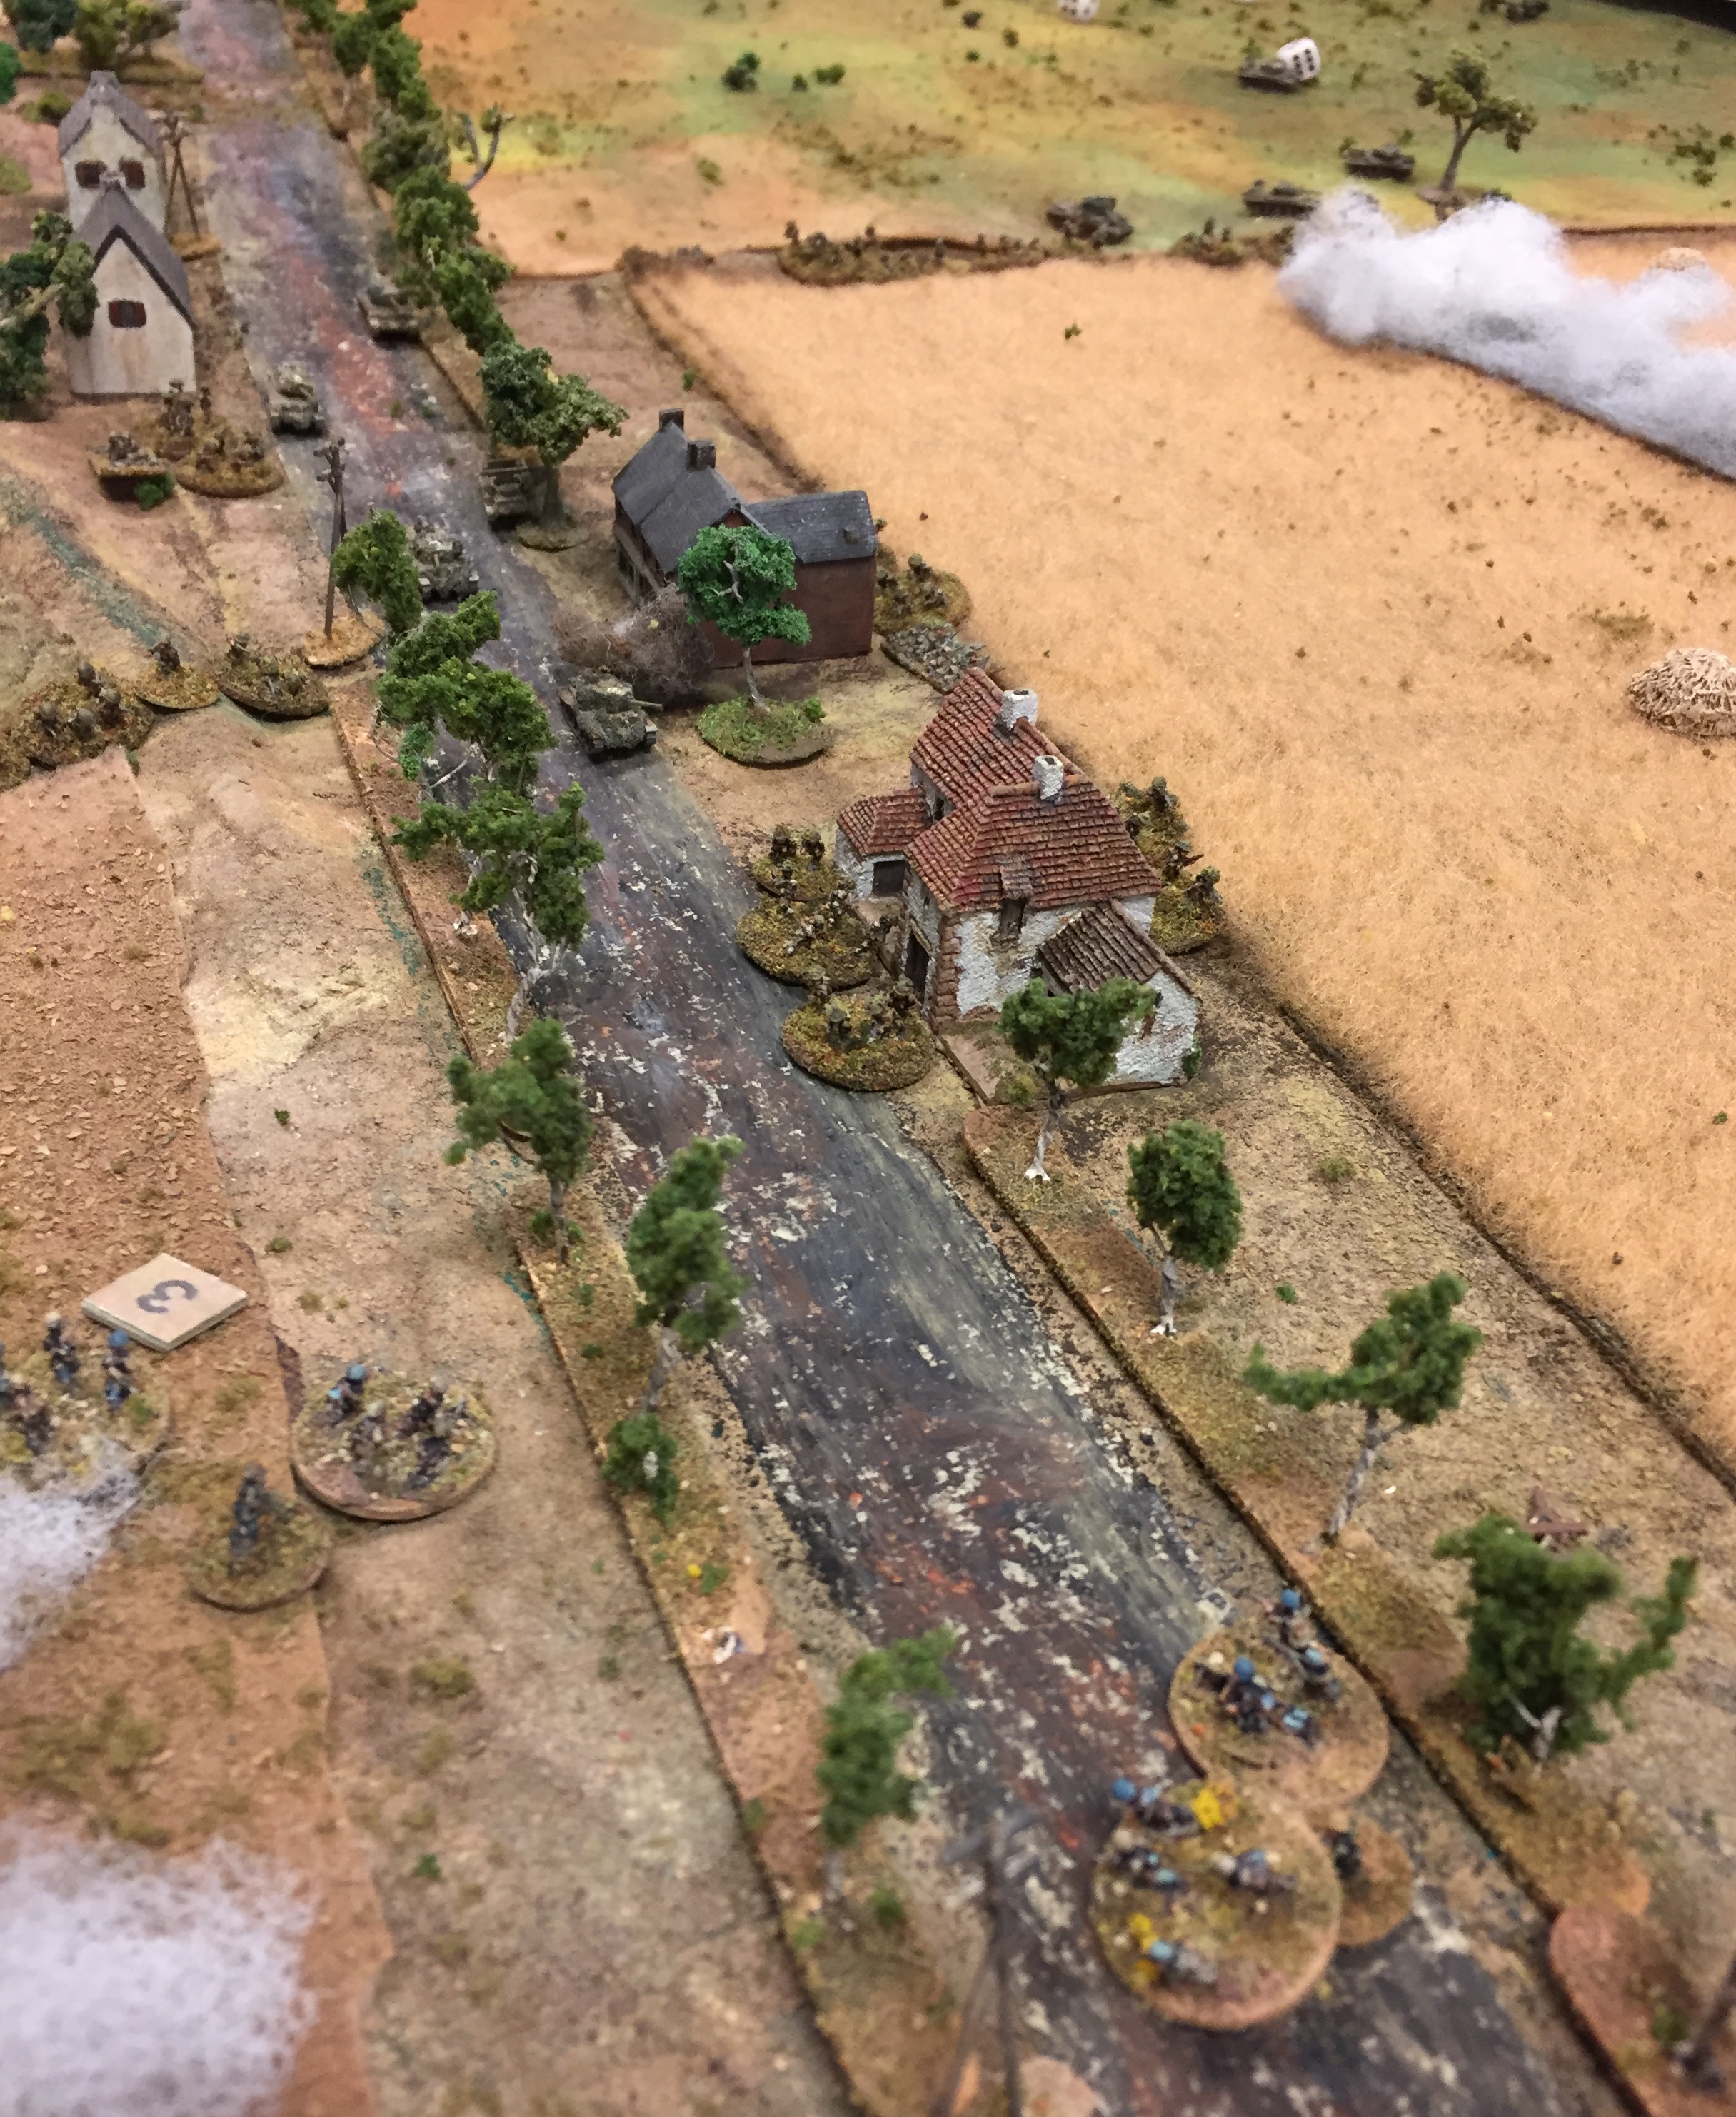
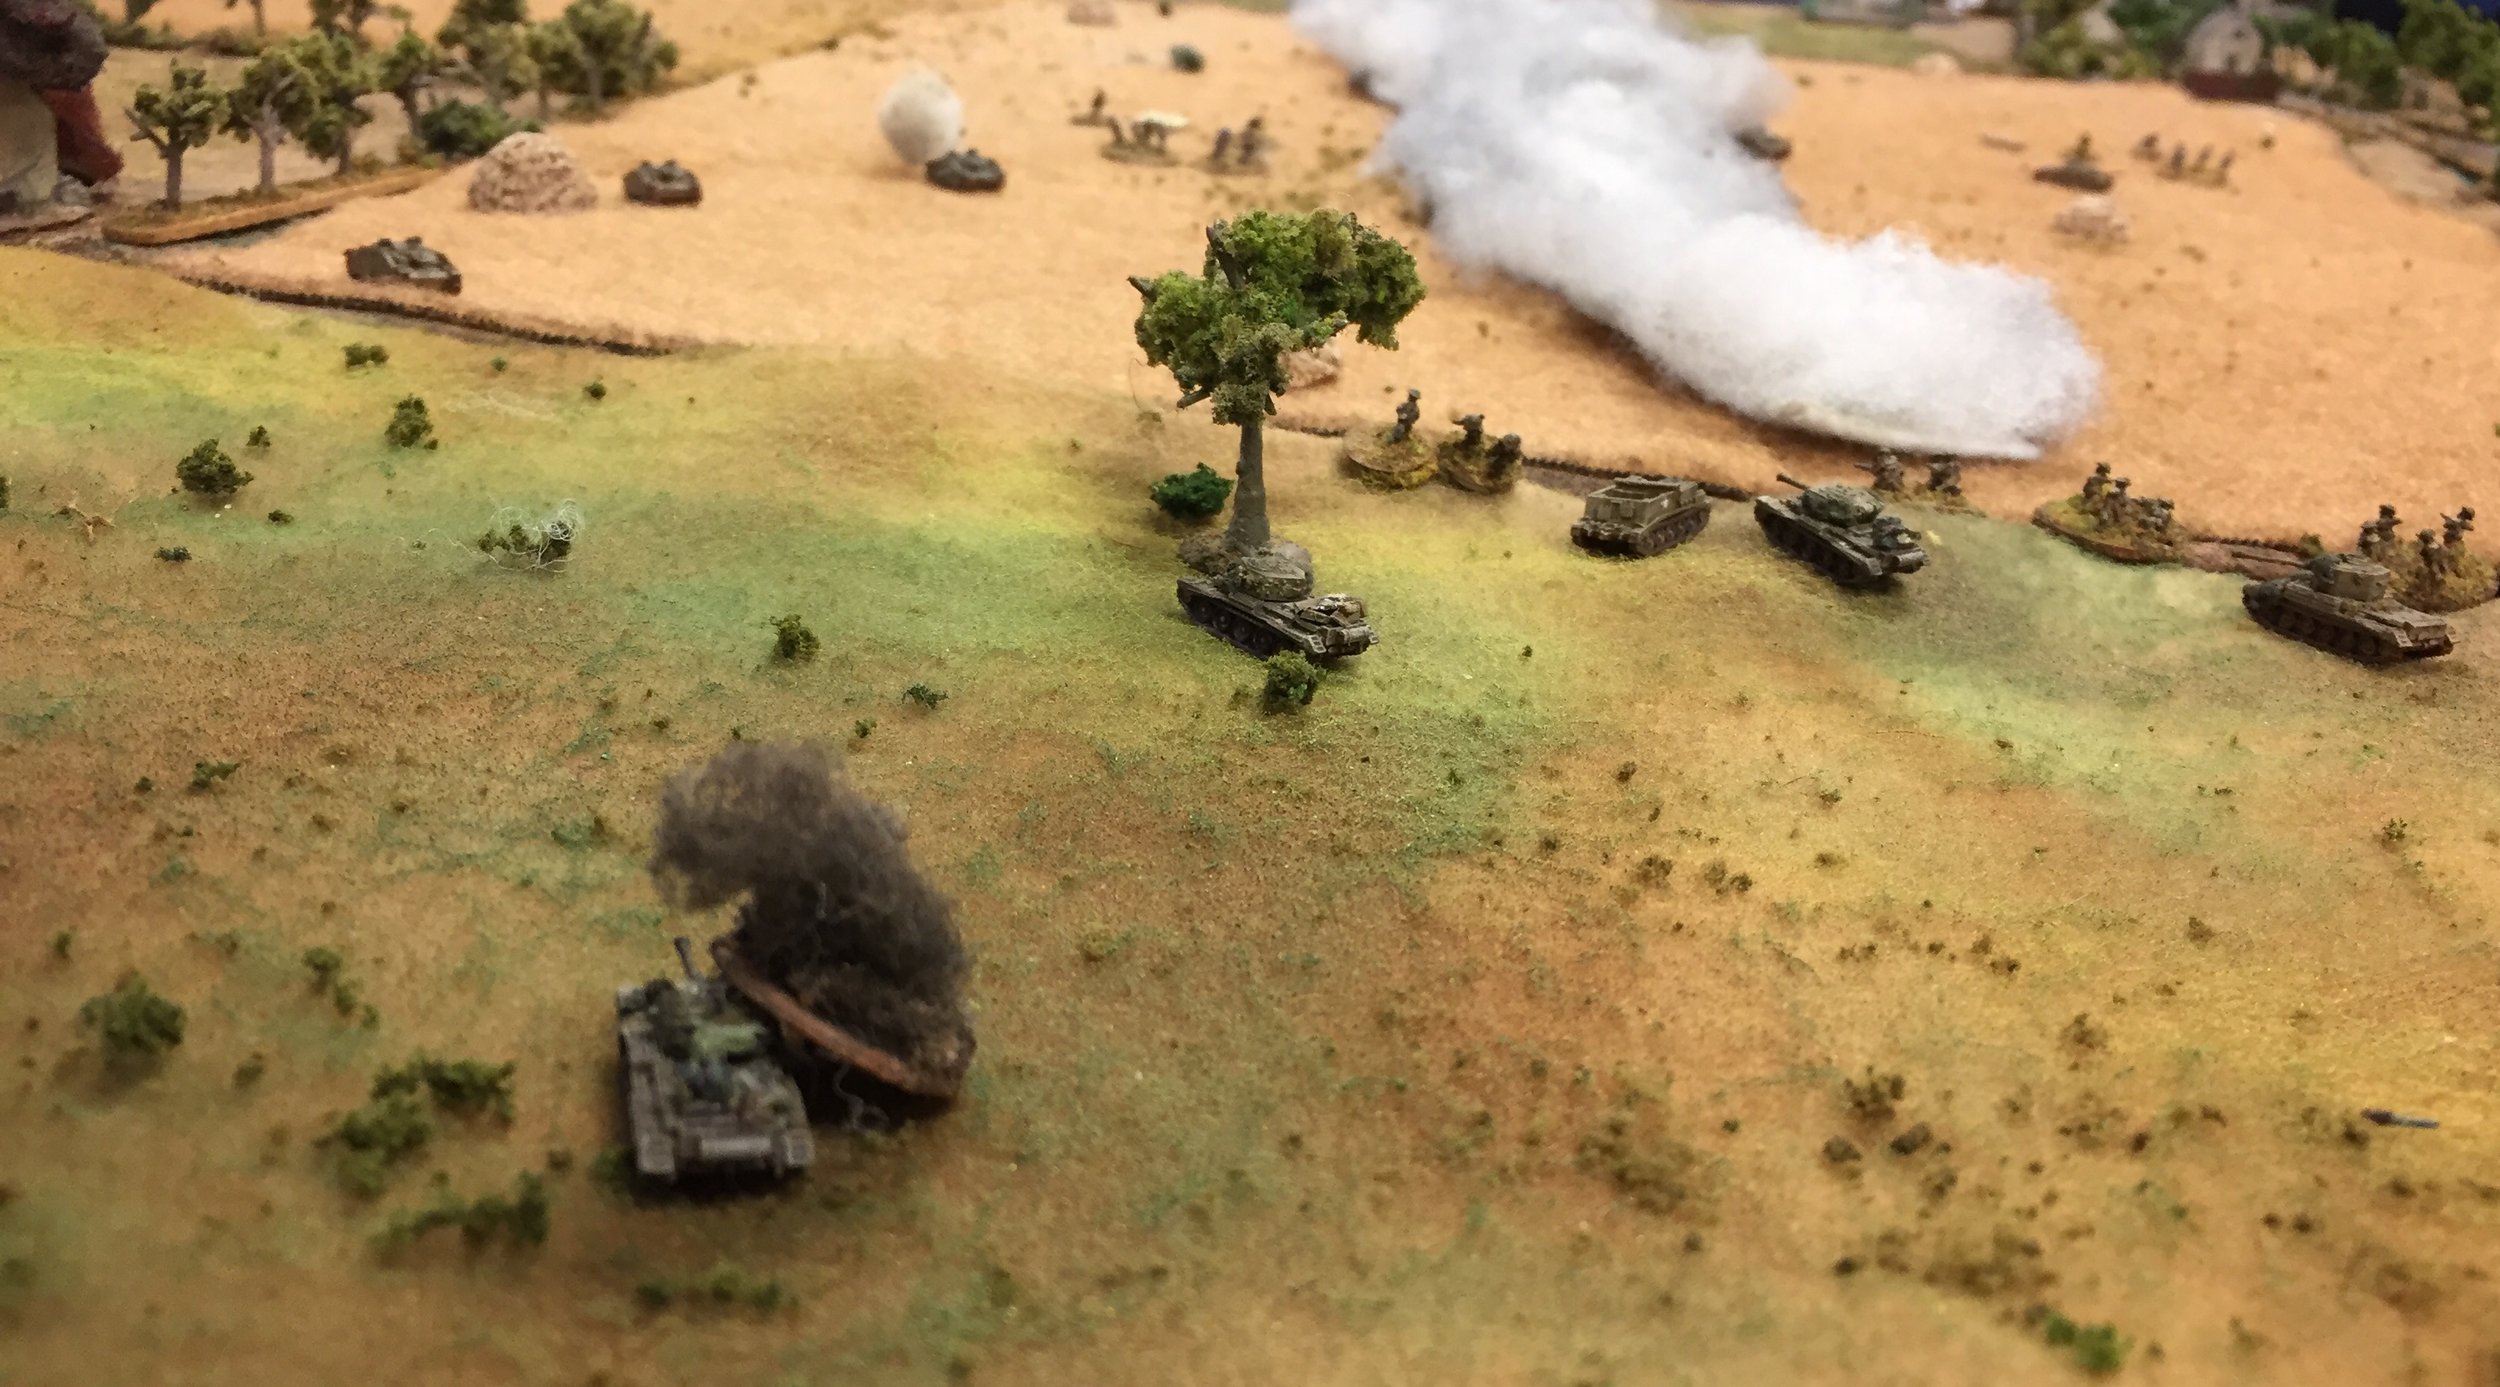
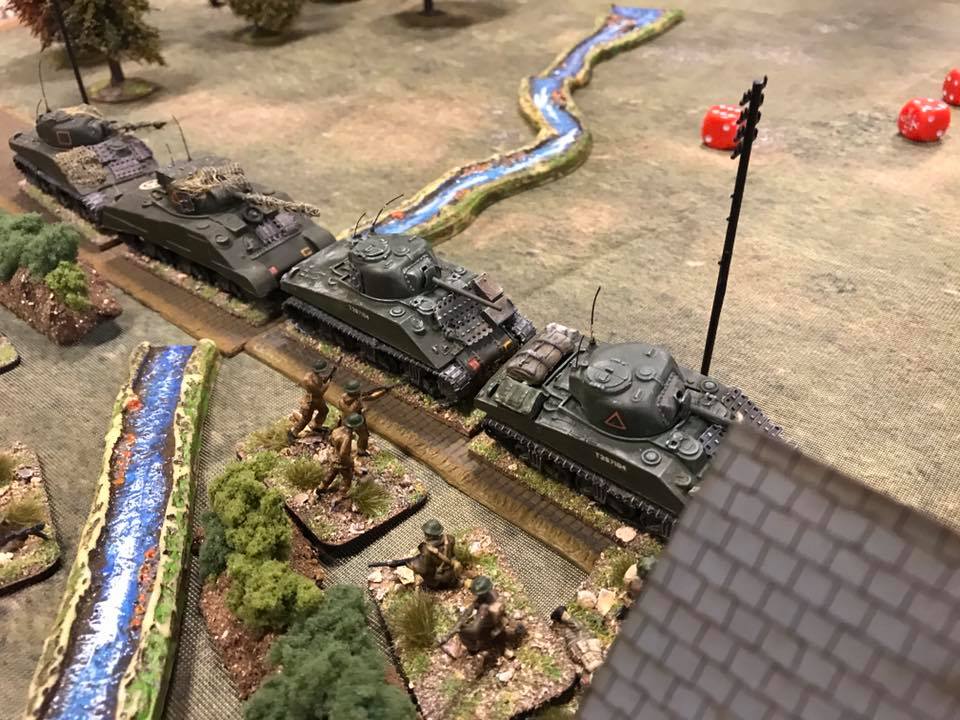
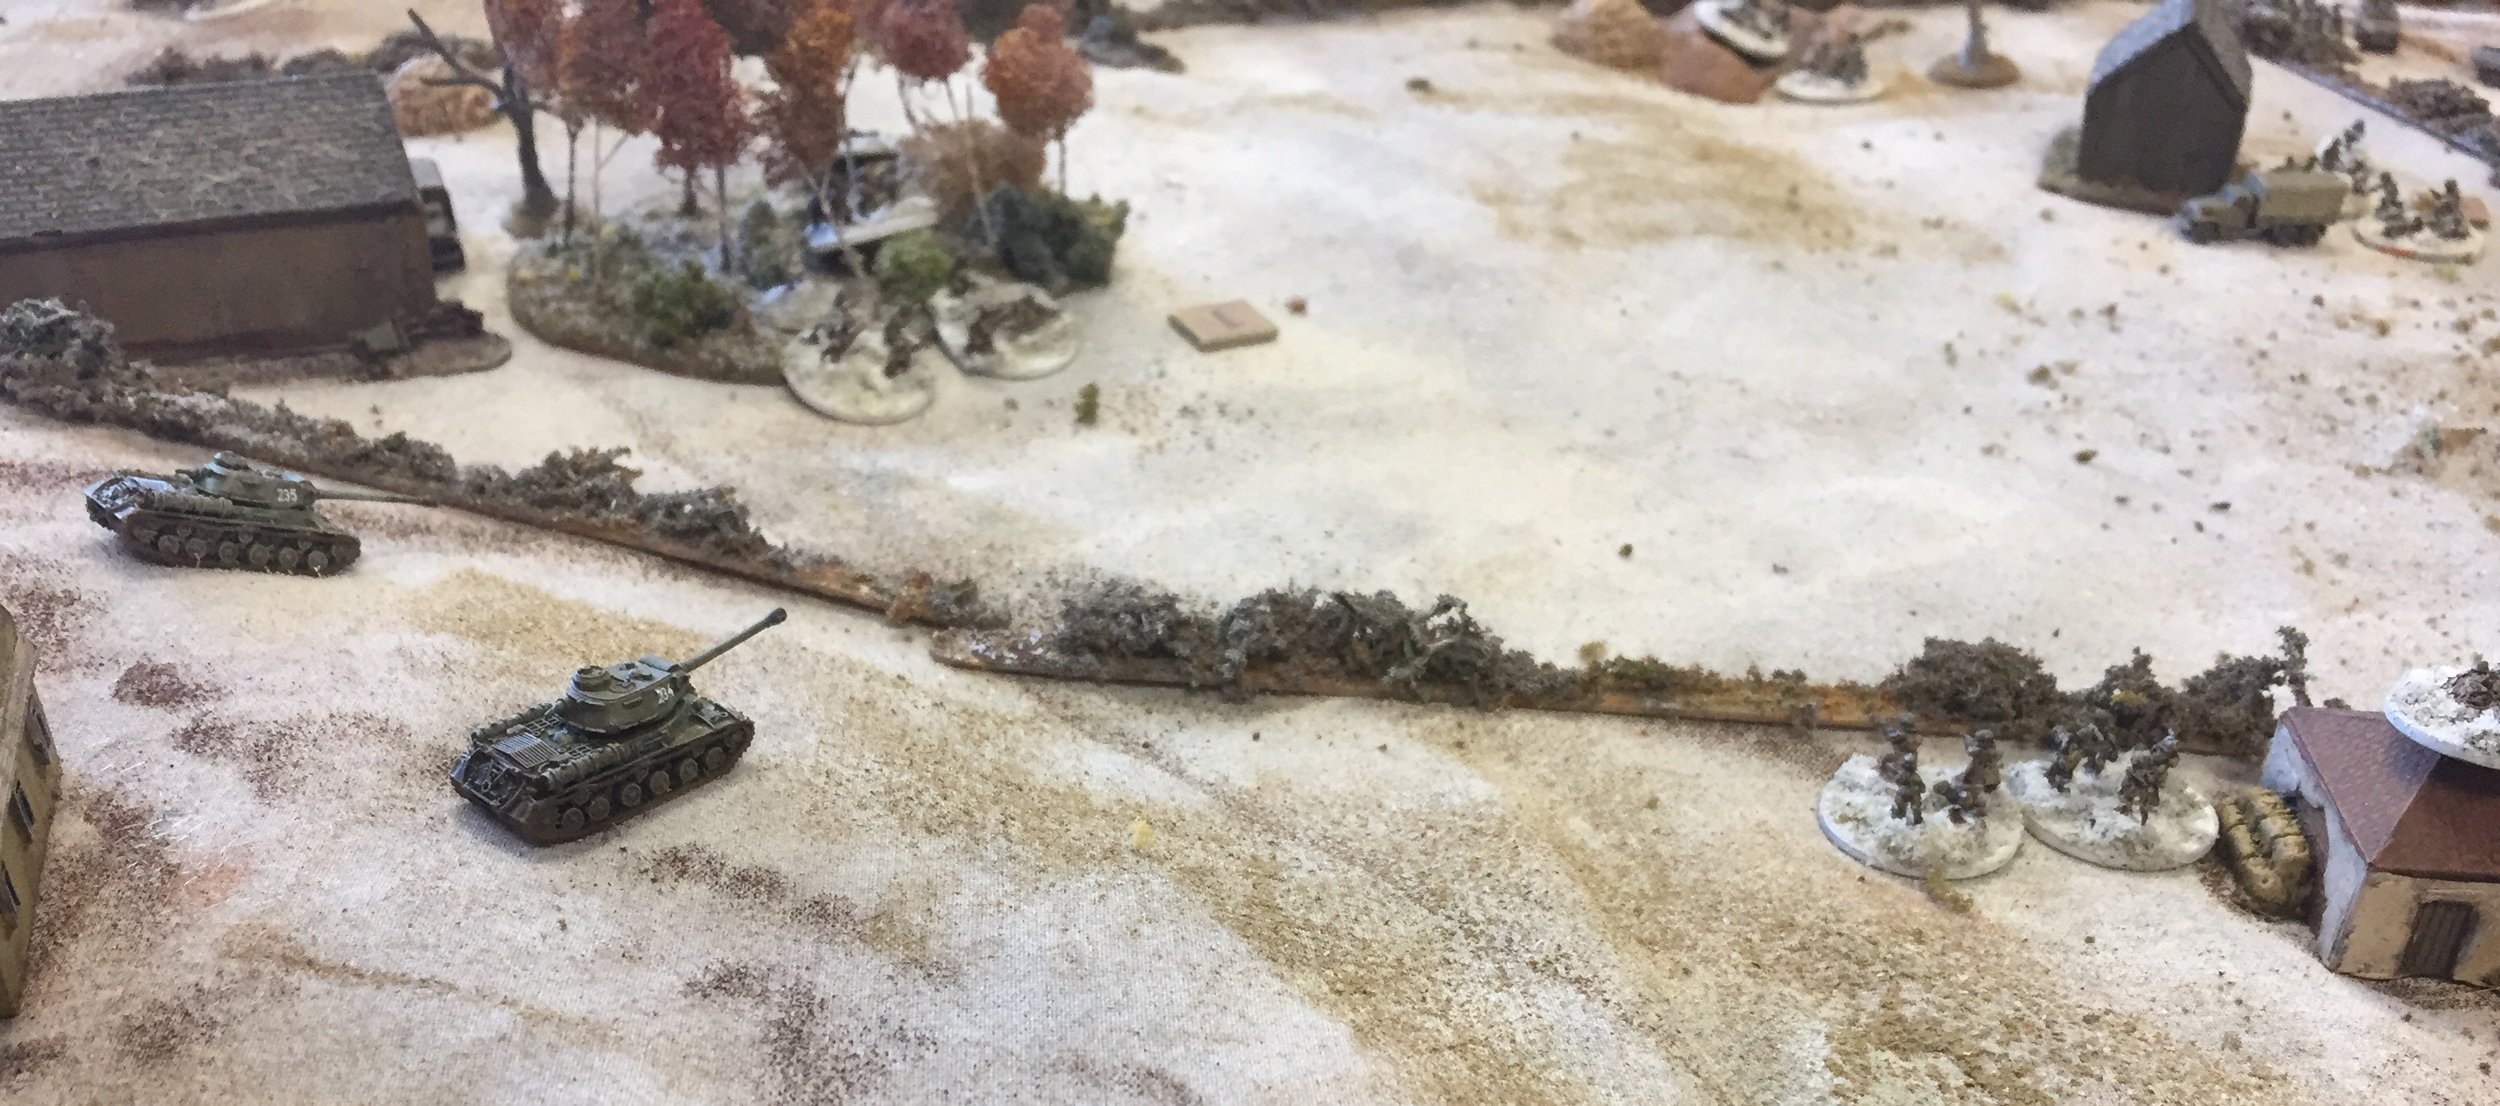
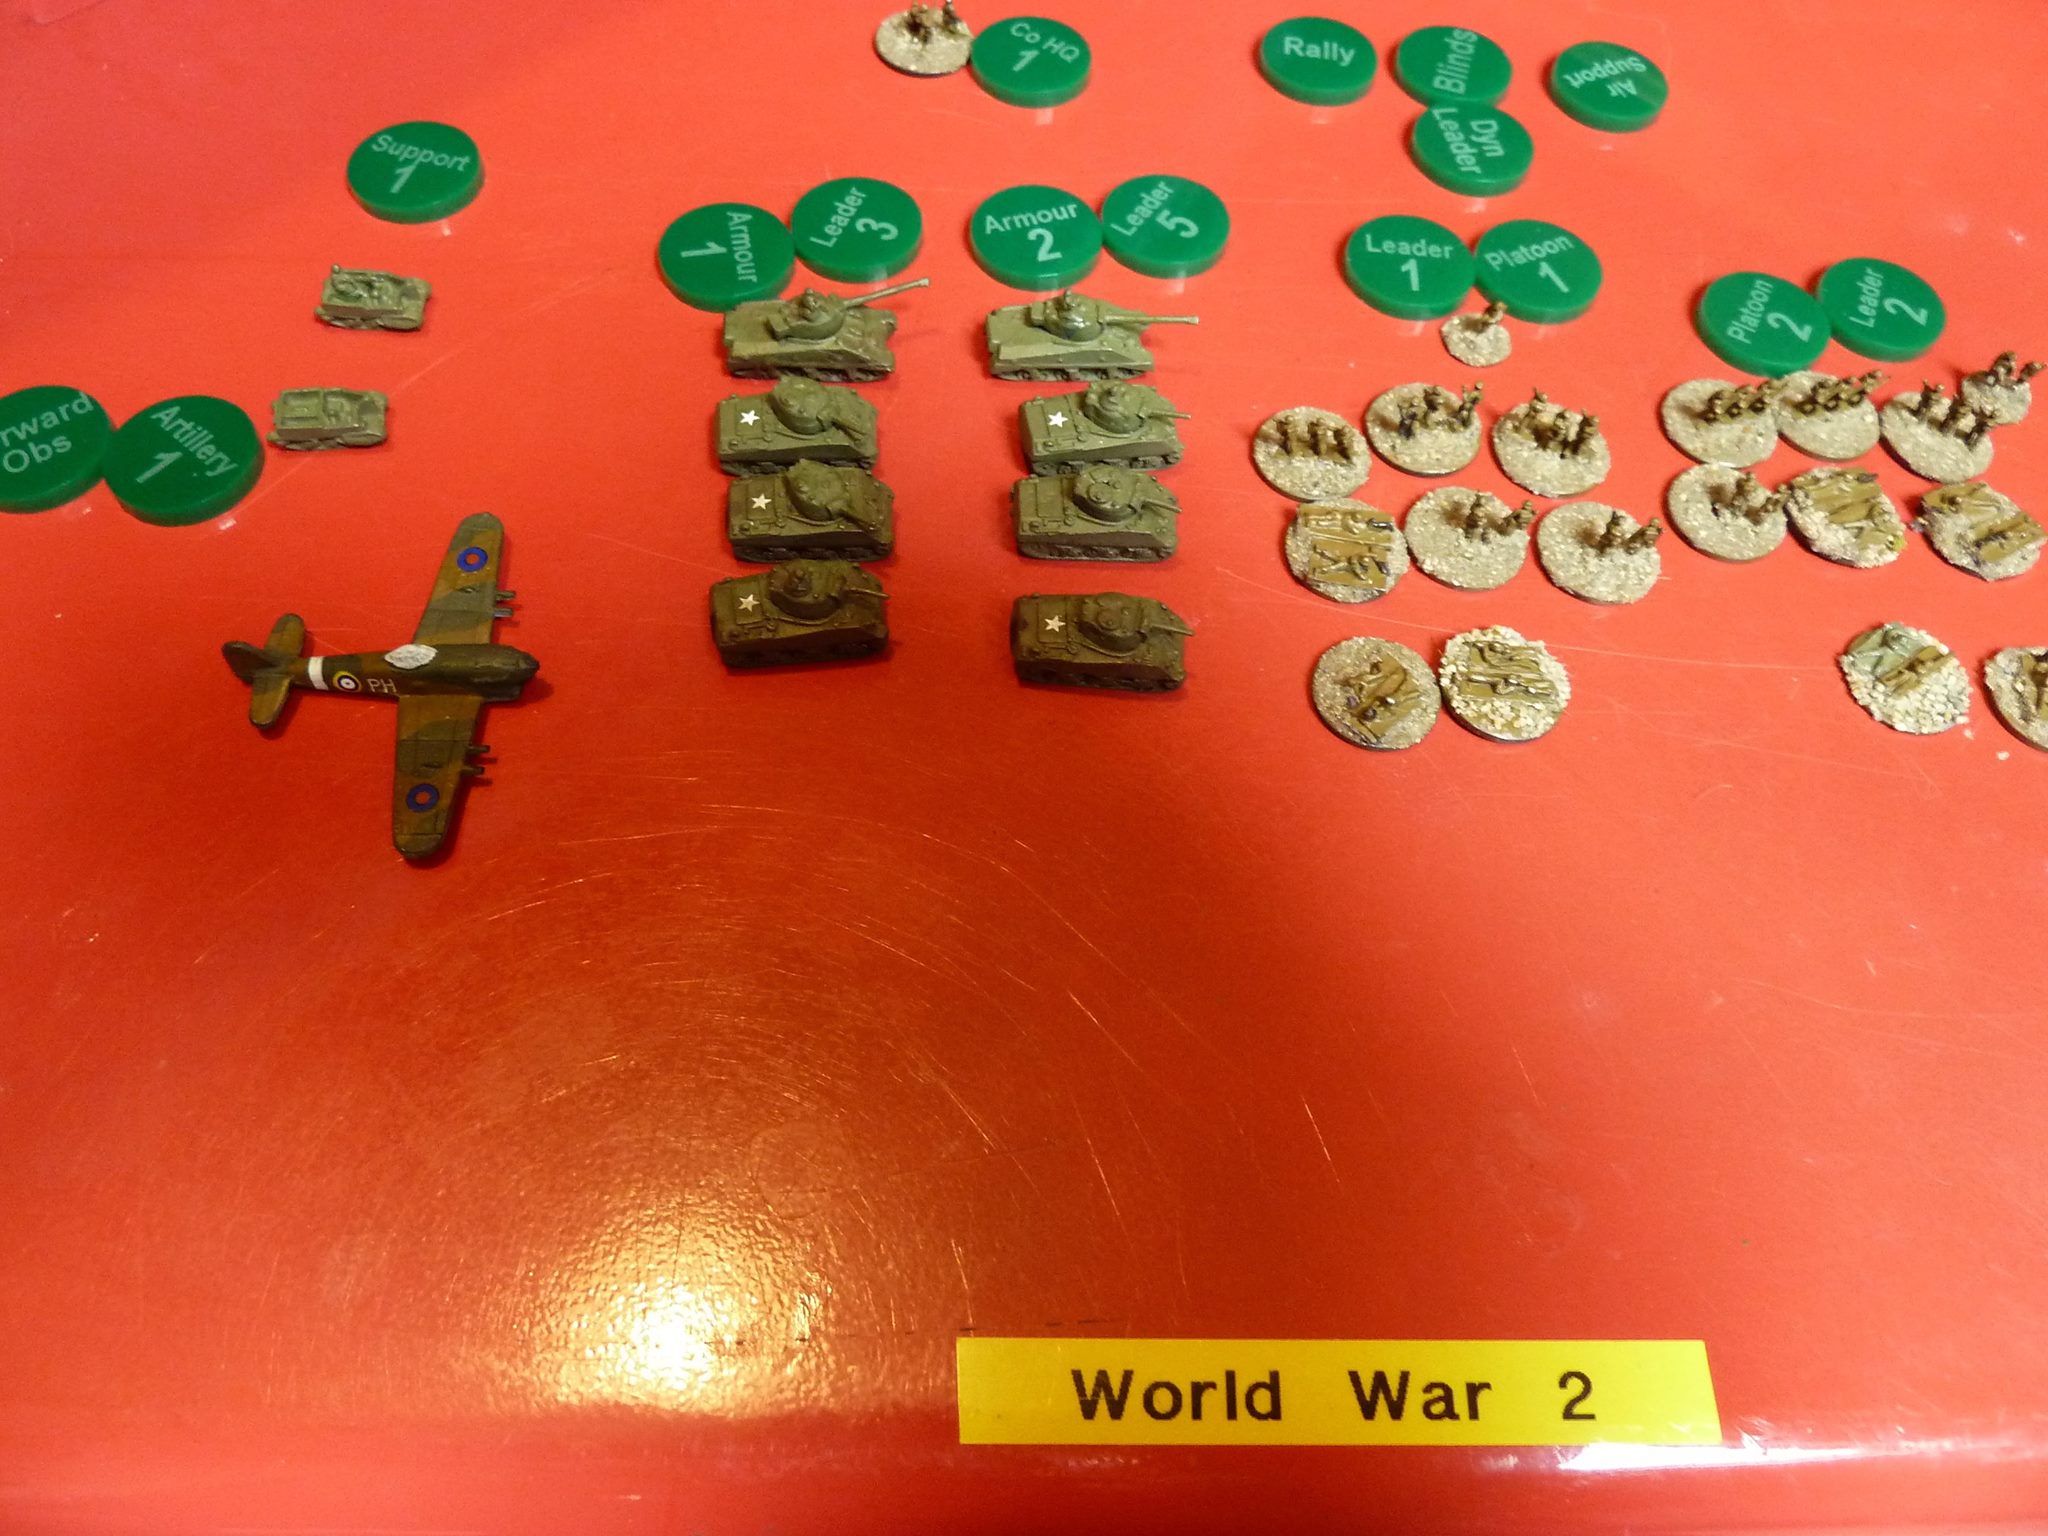
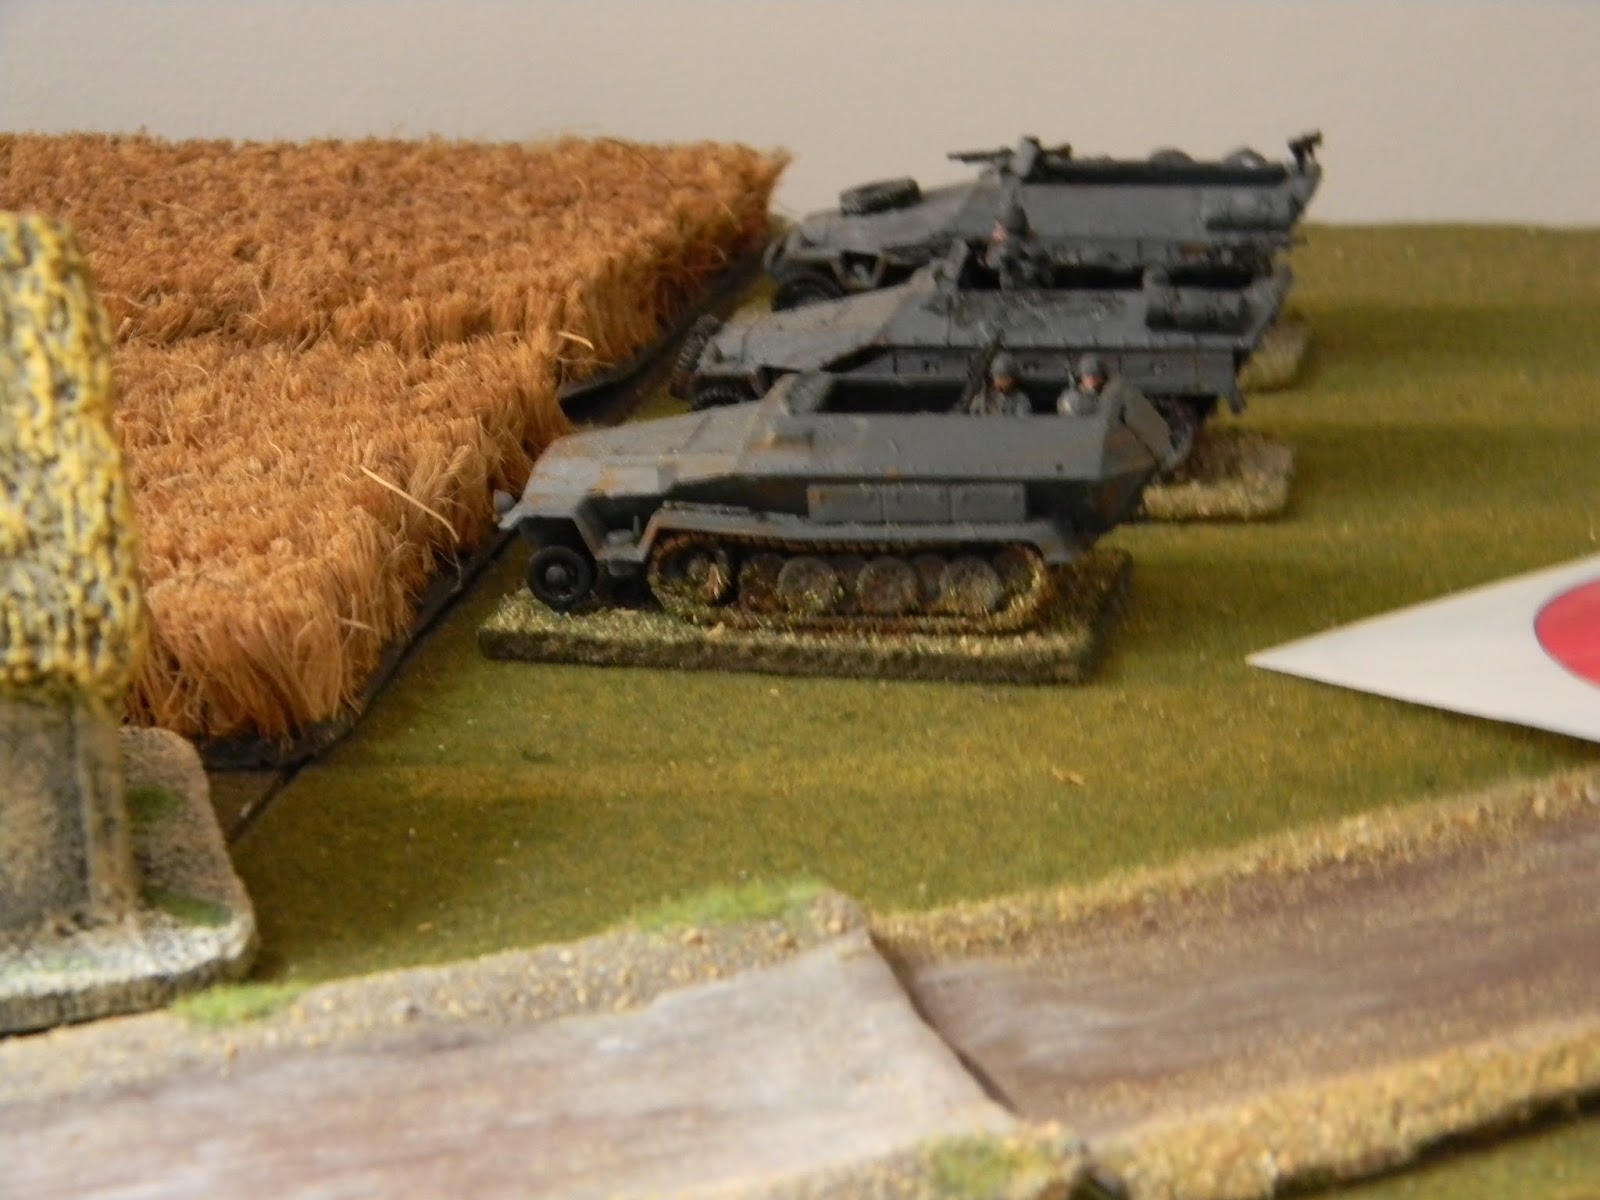
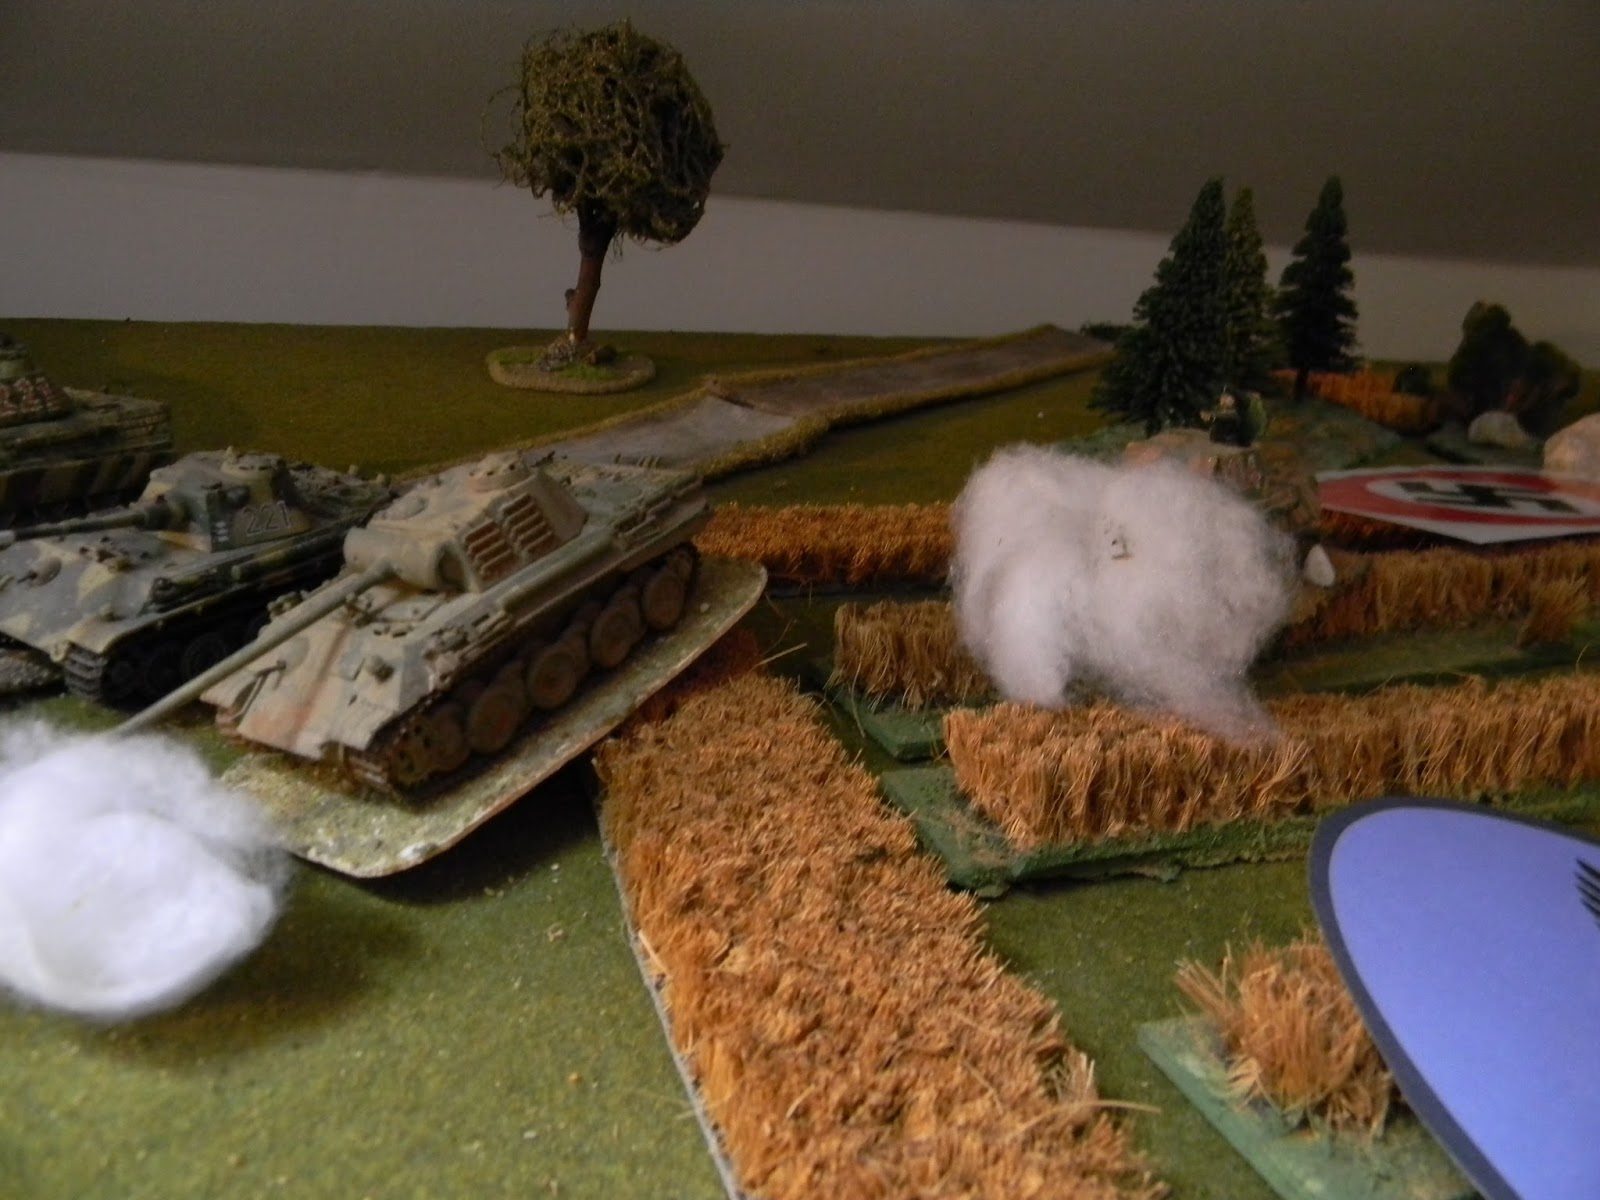
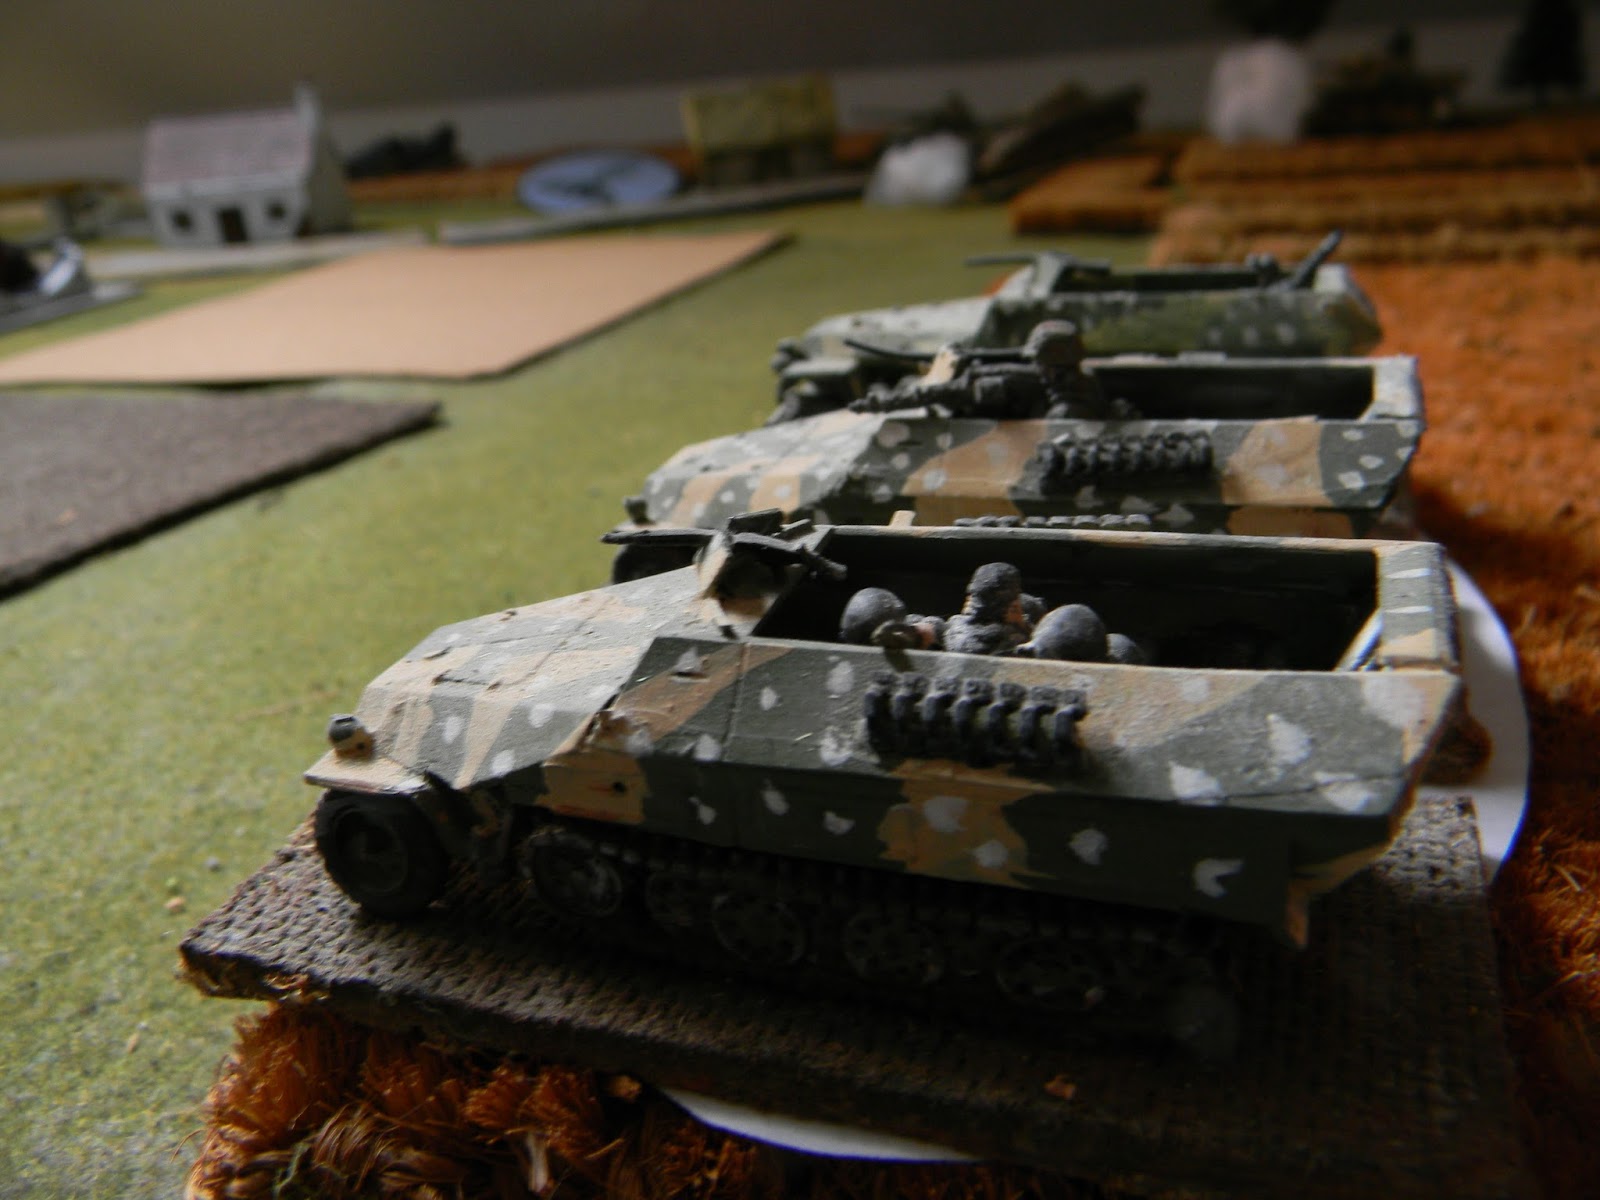
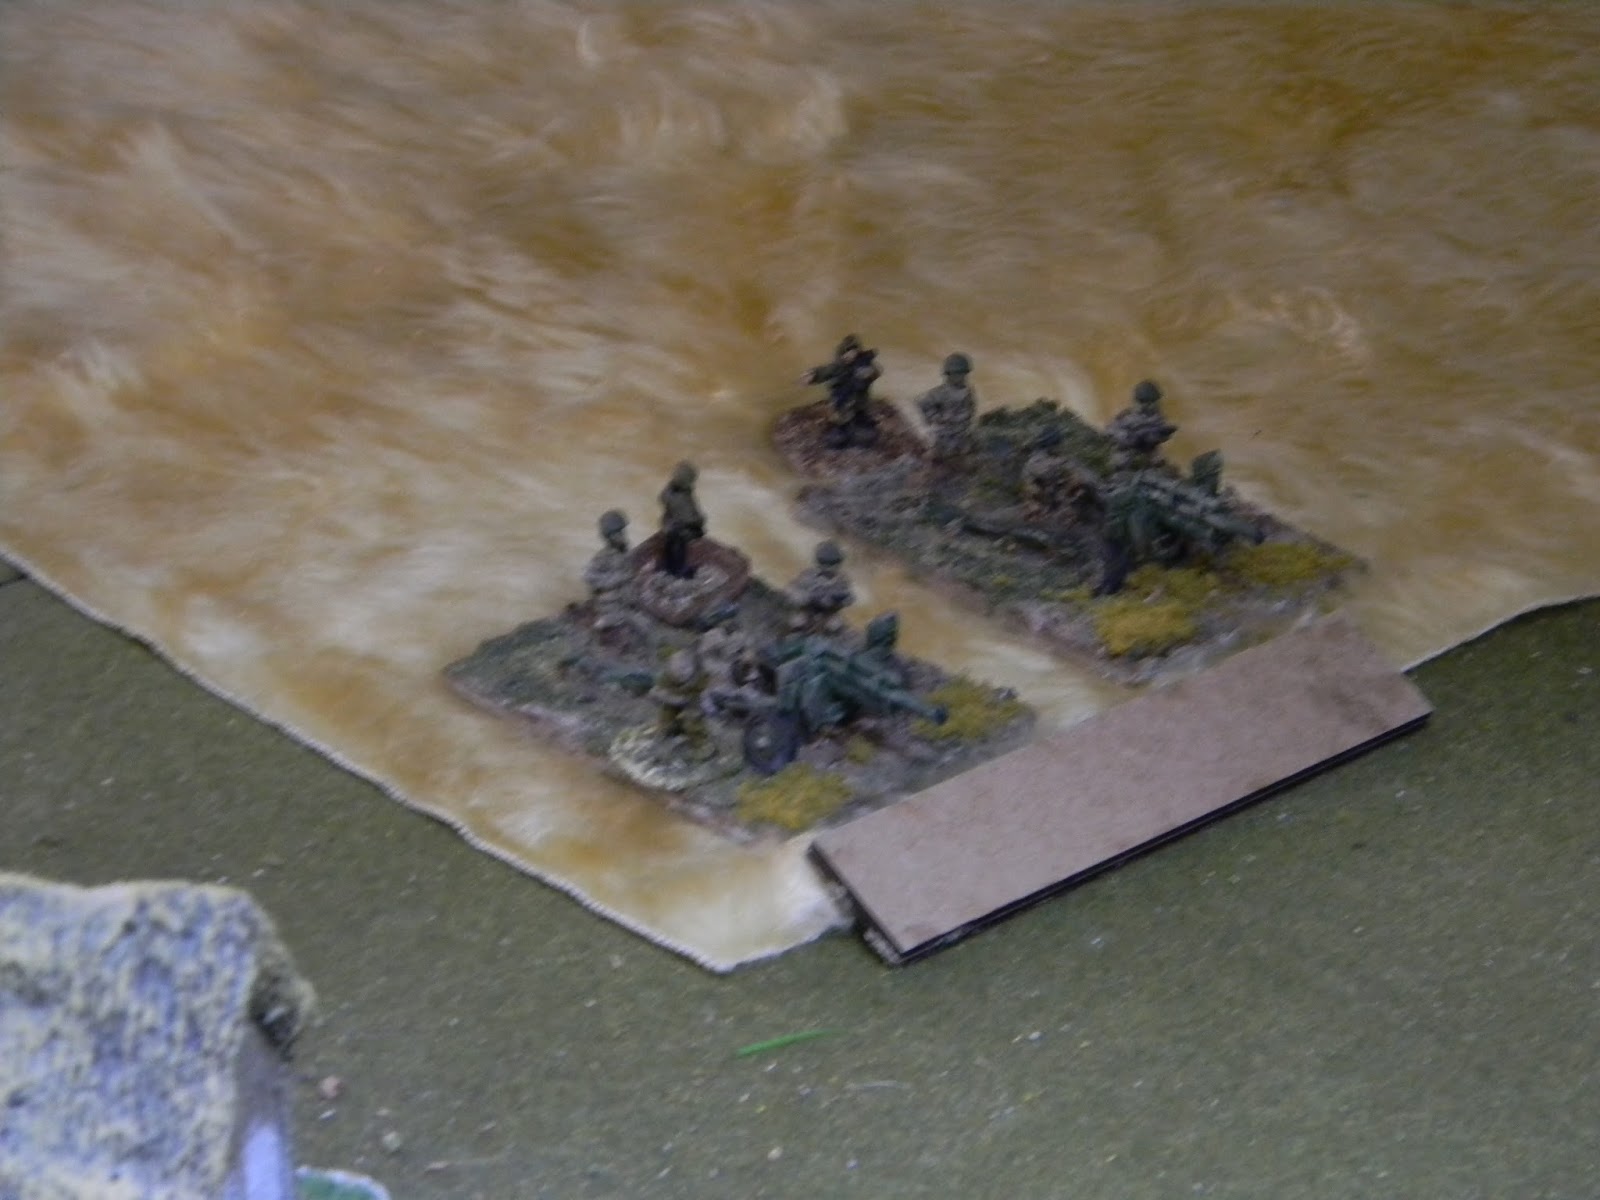
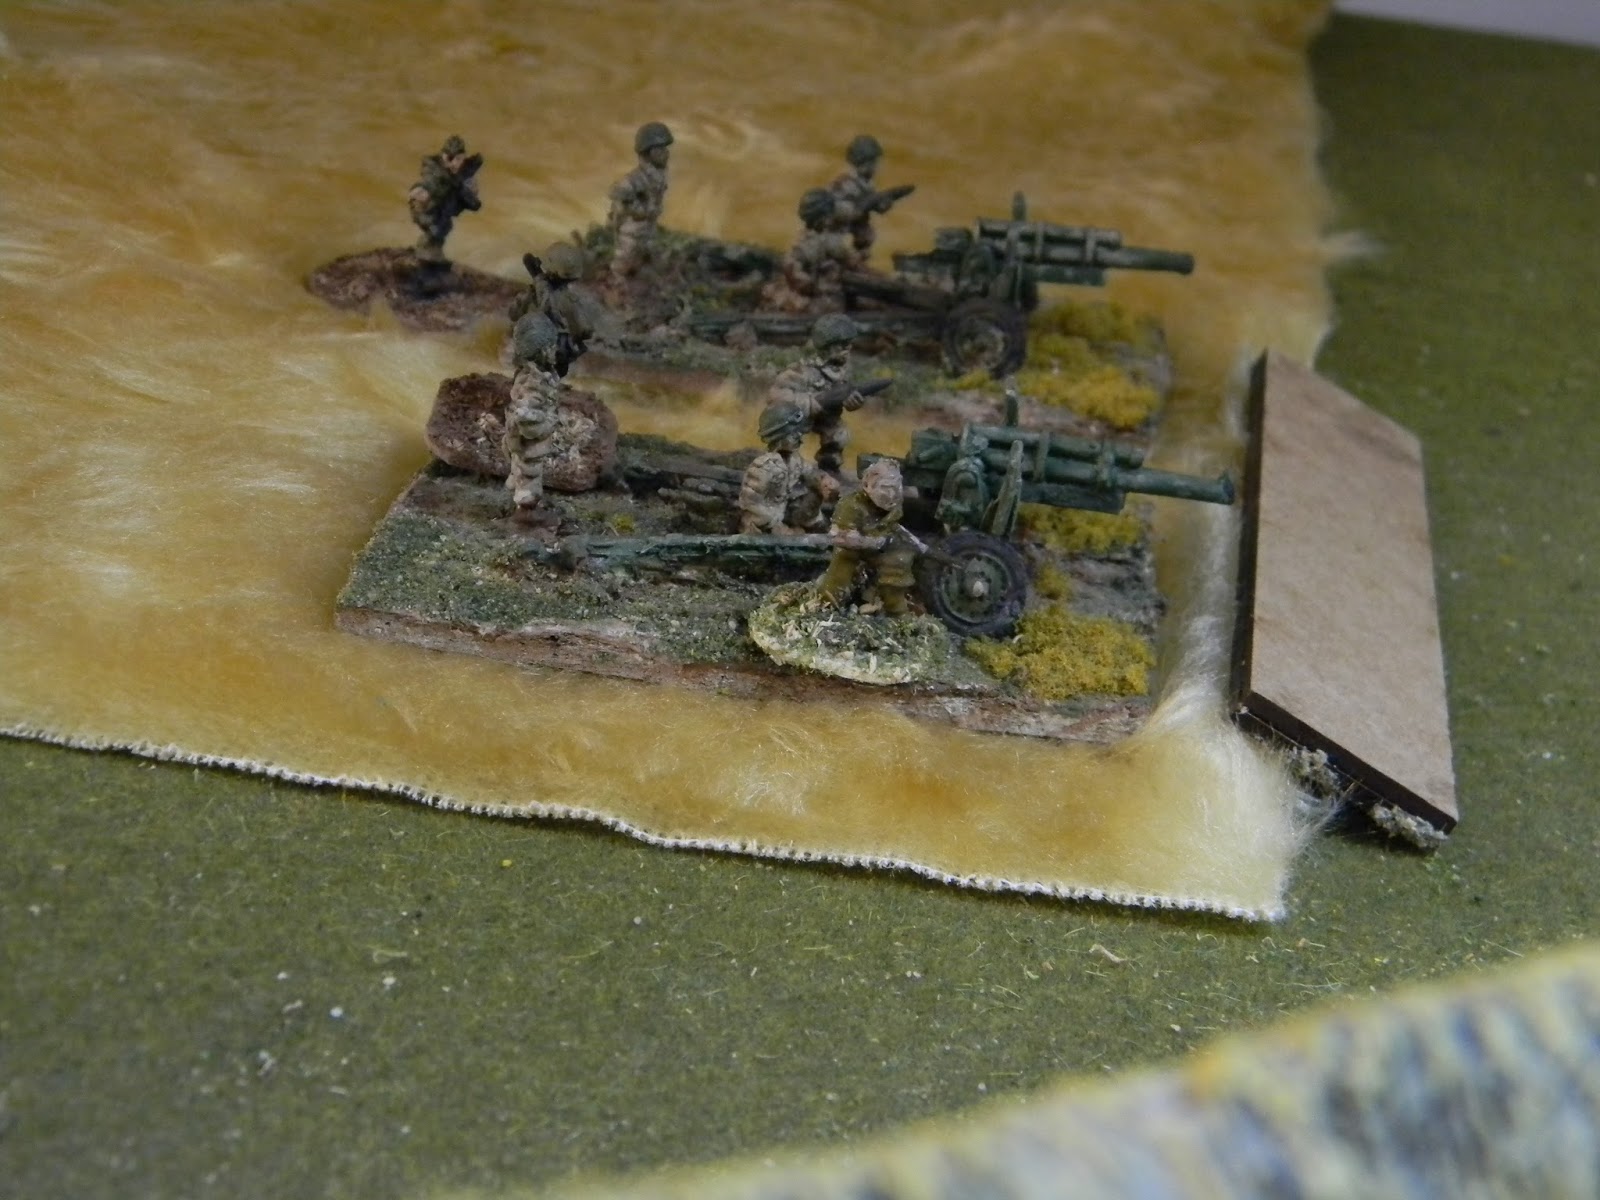
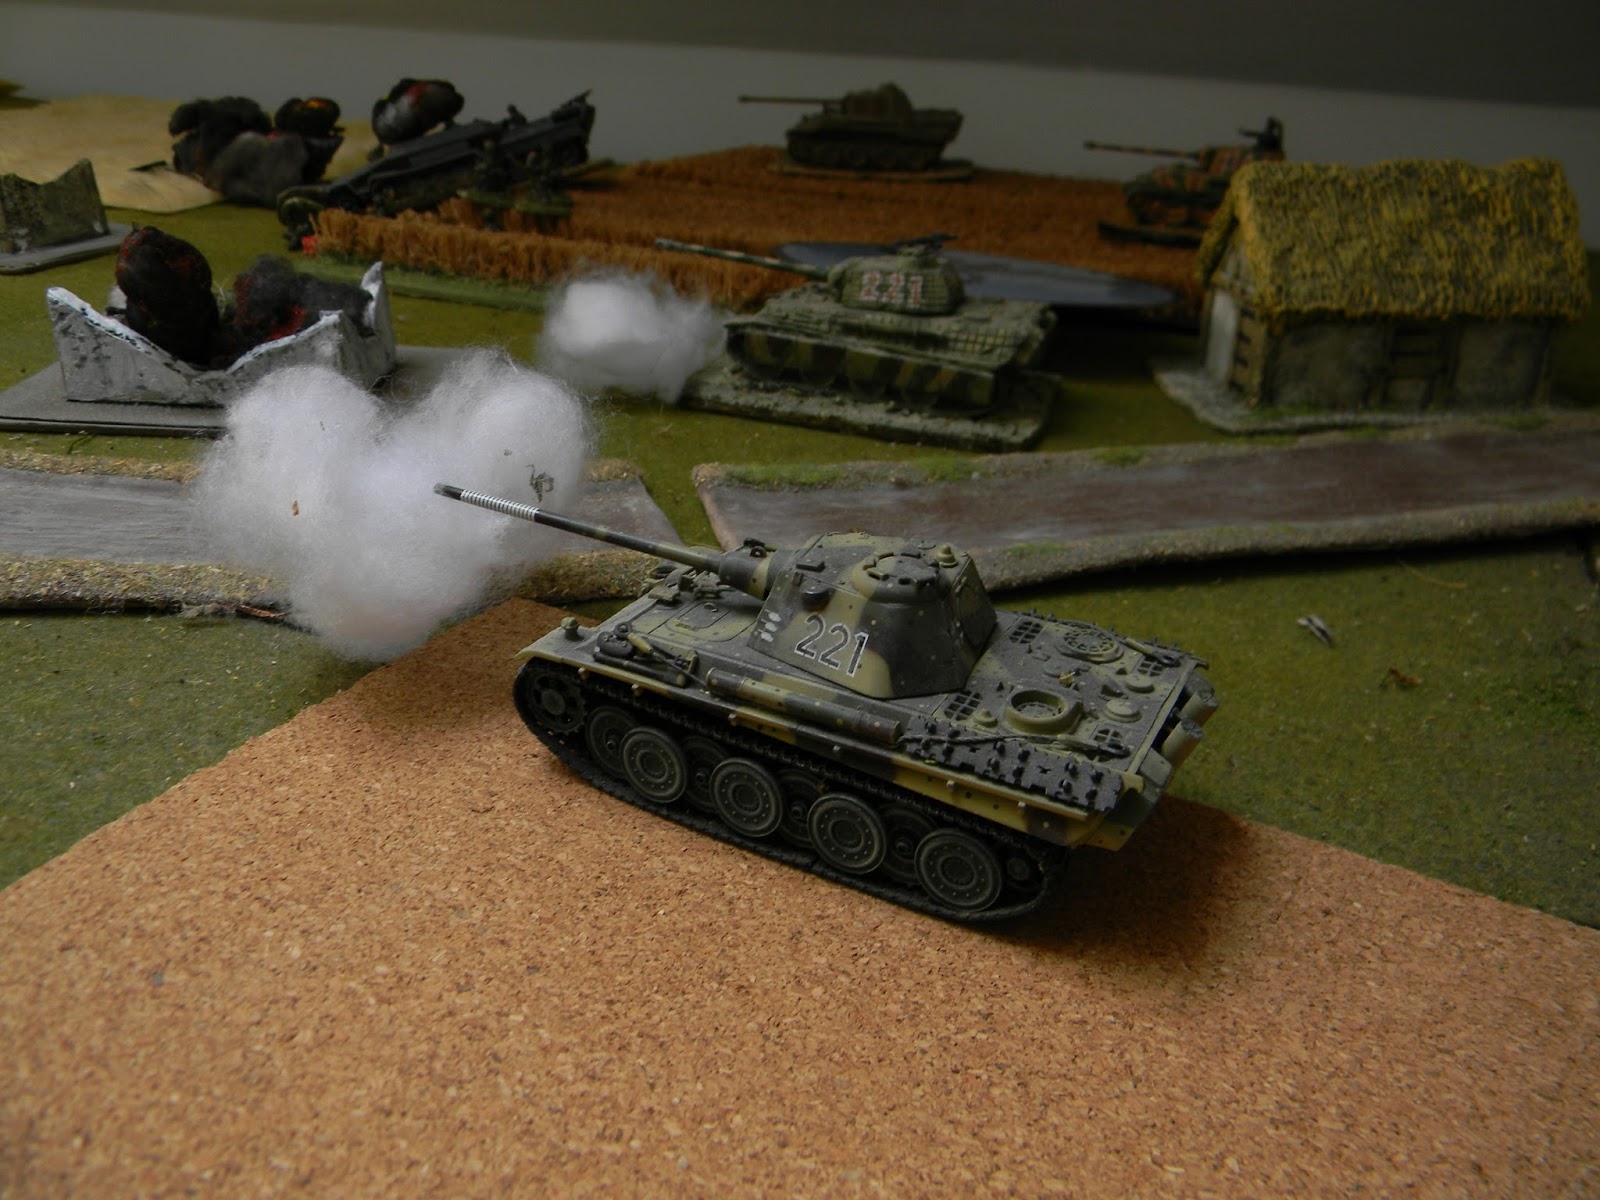
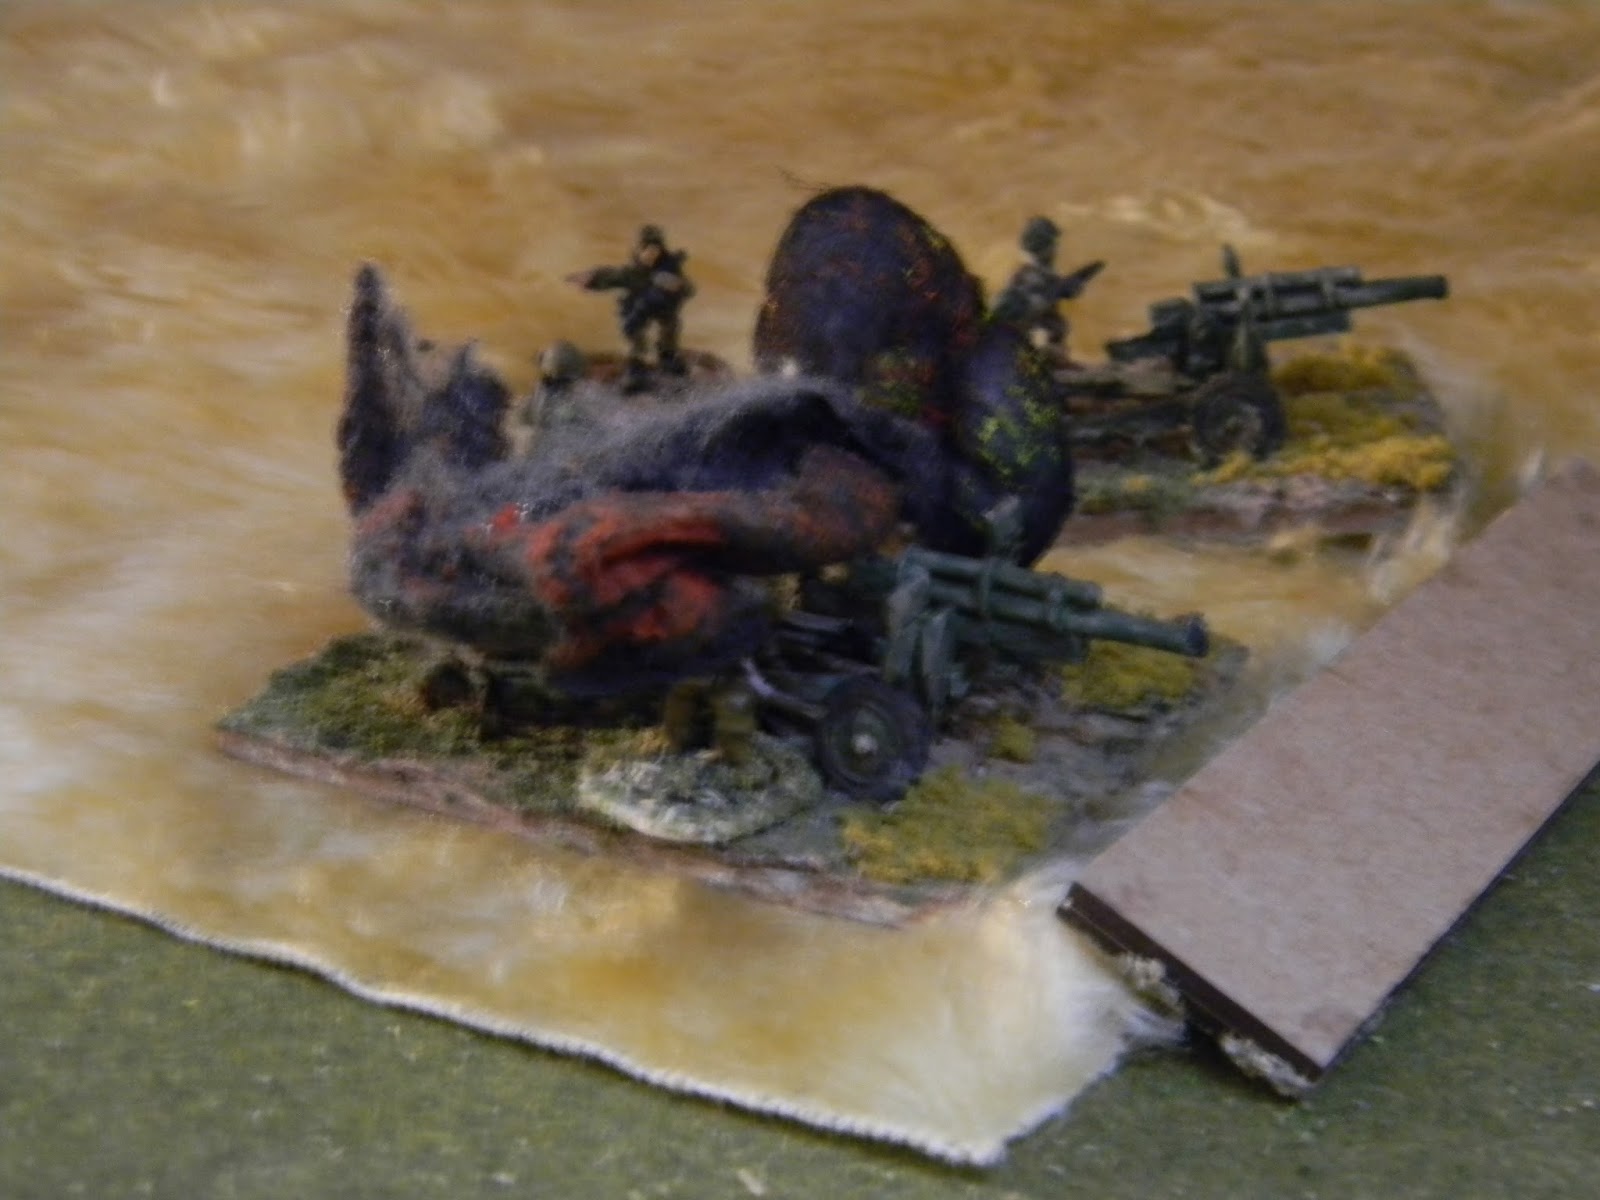
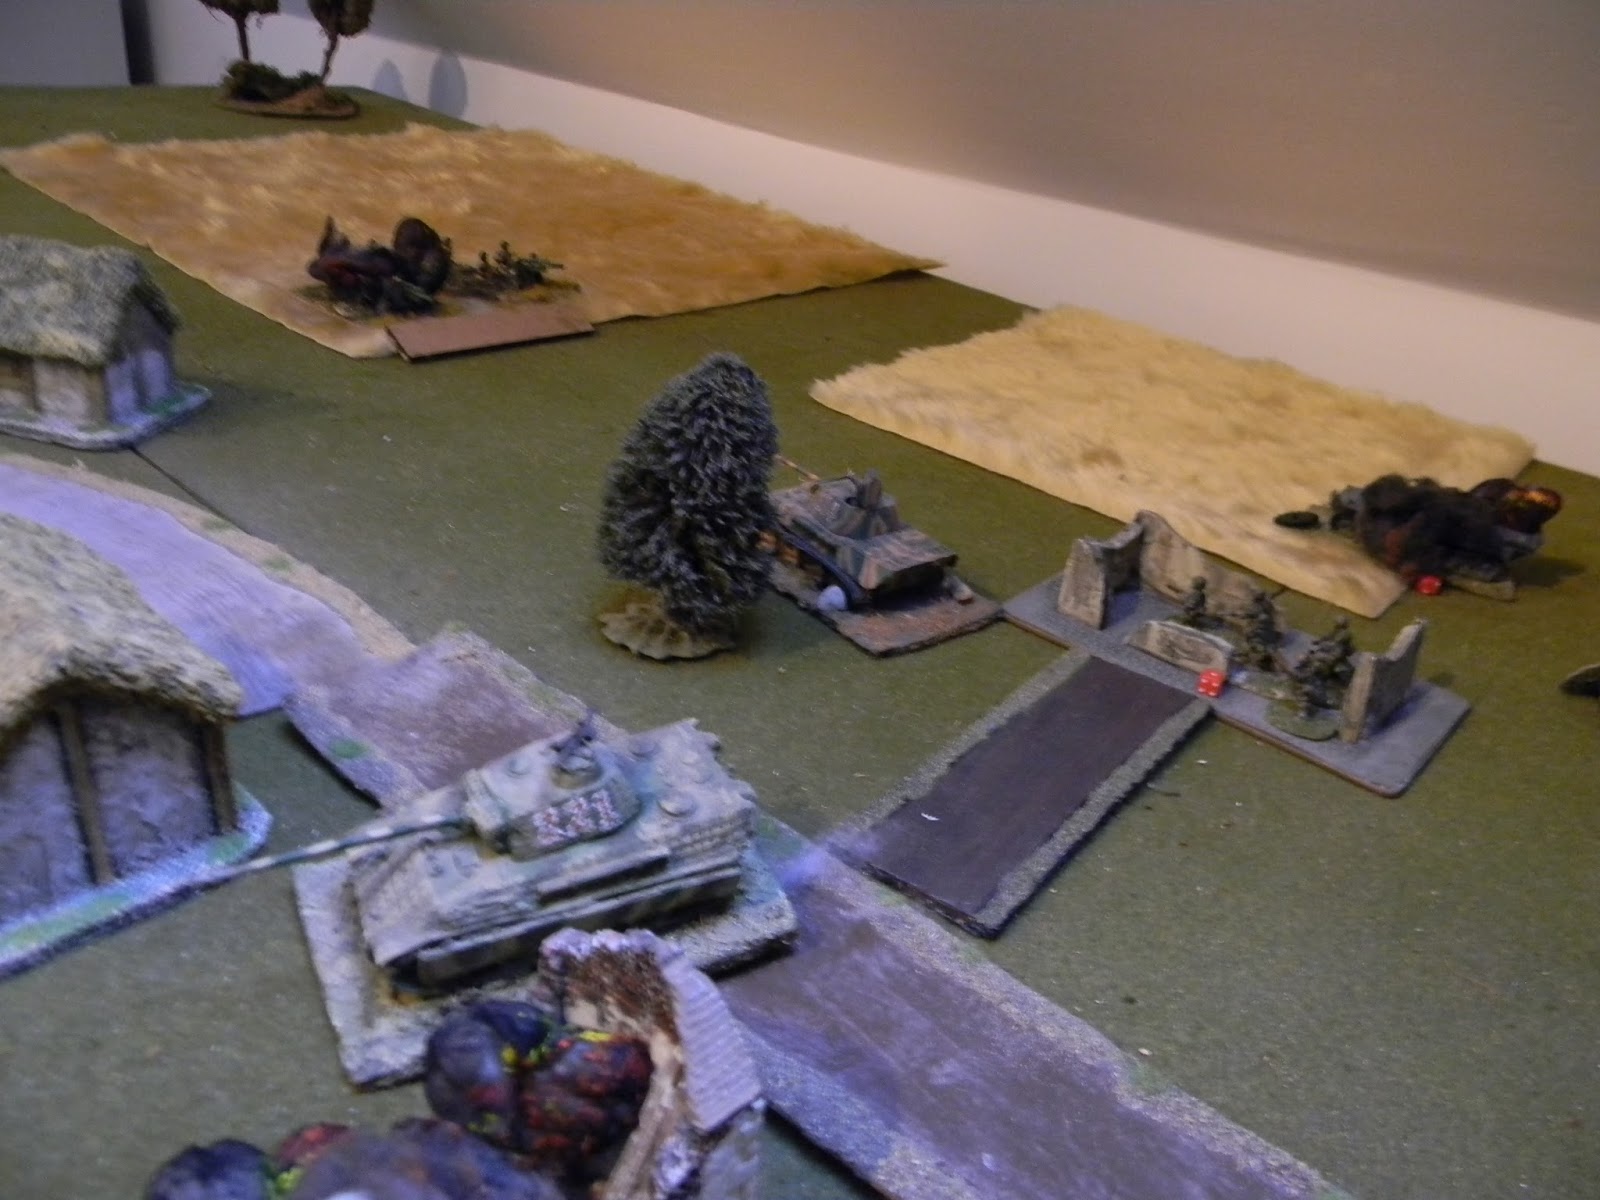
You will have two more platoons of infantry and a strong armour platoon coming up if the occupying platoon gets in any trouble.

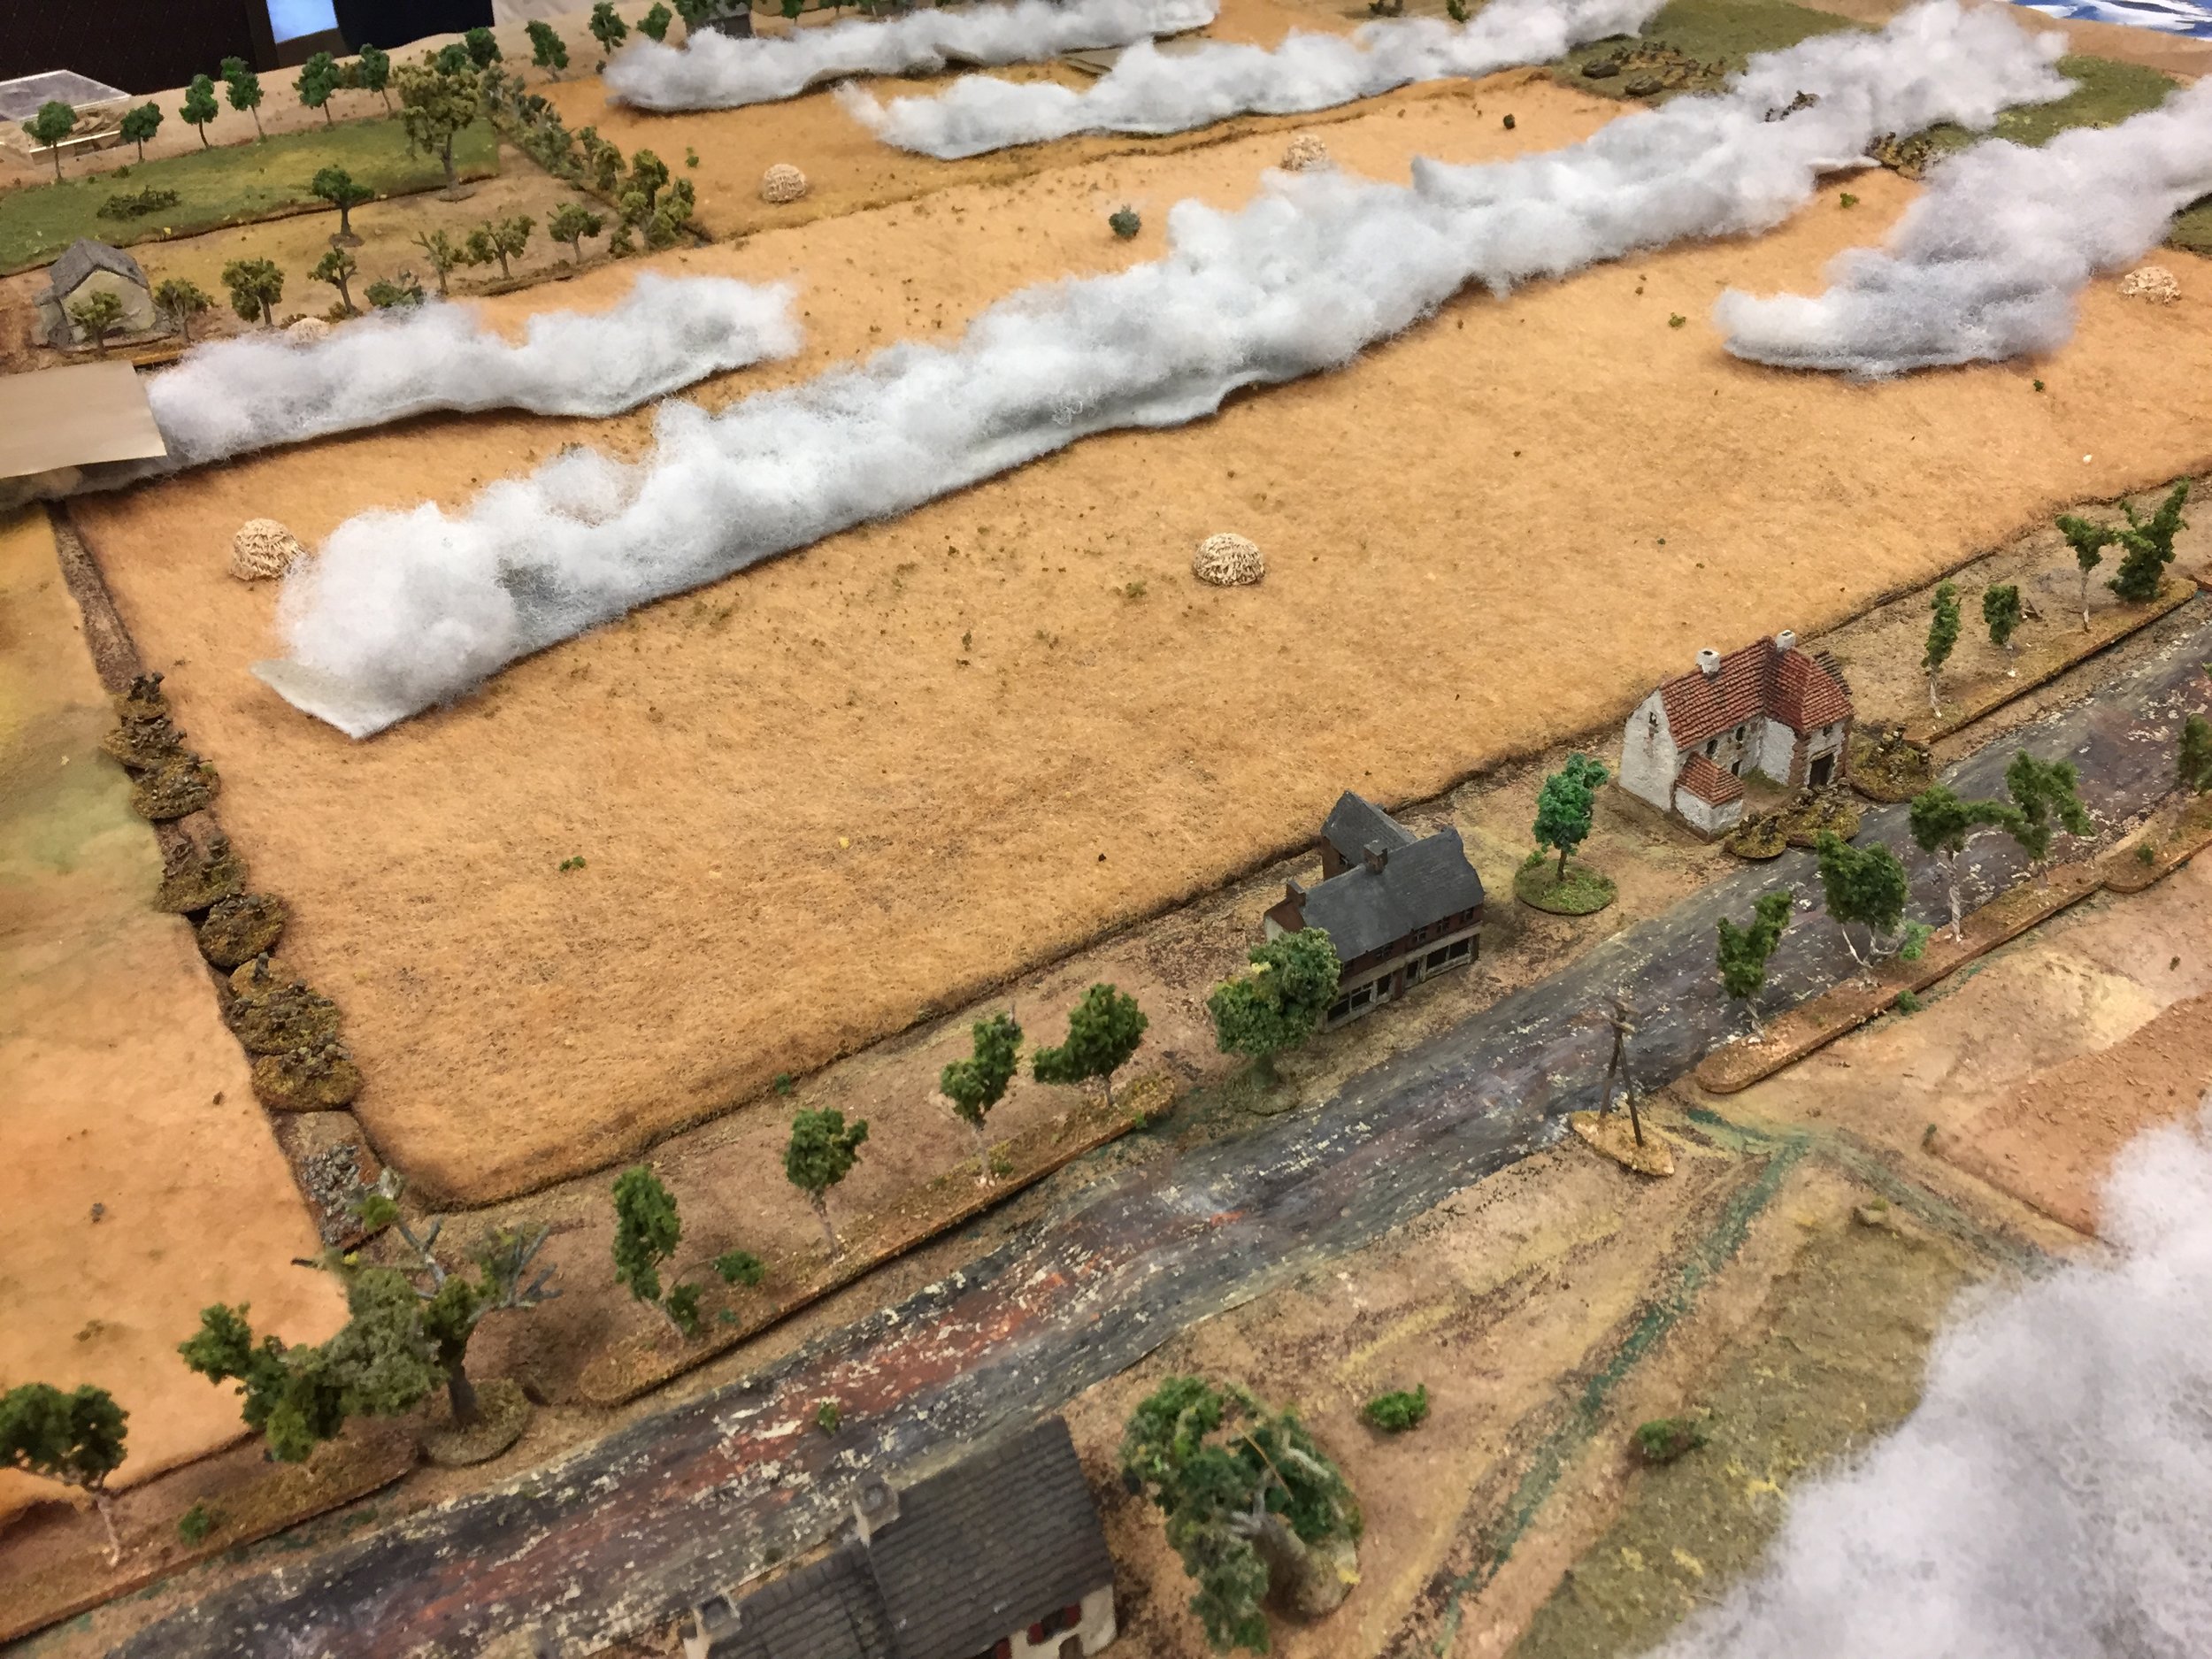
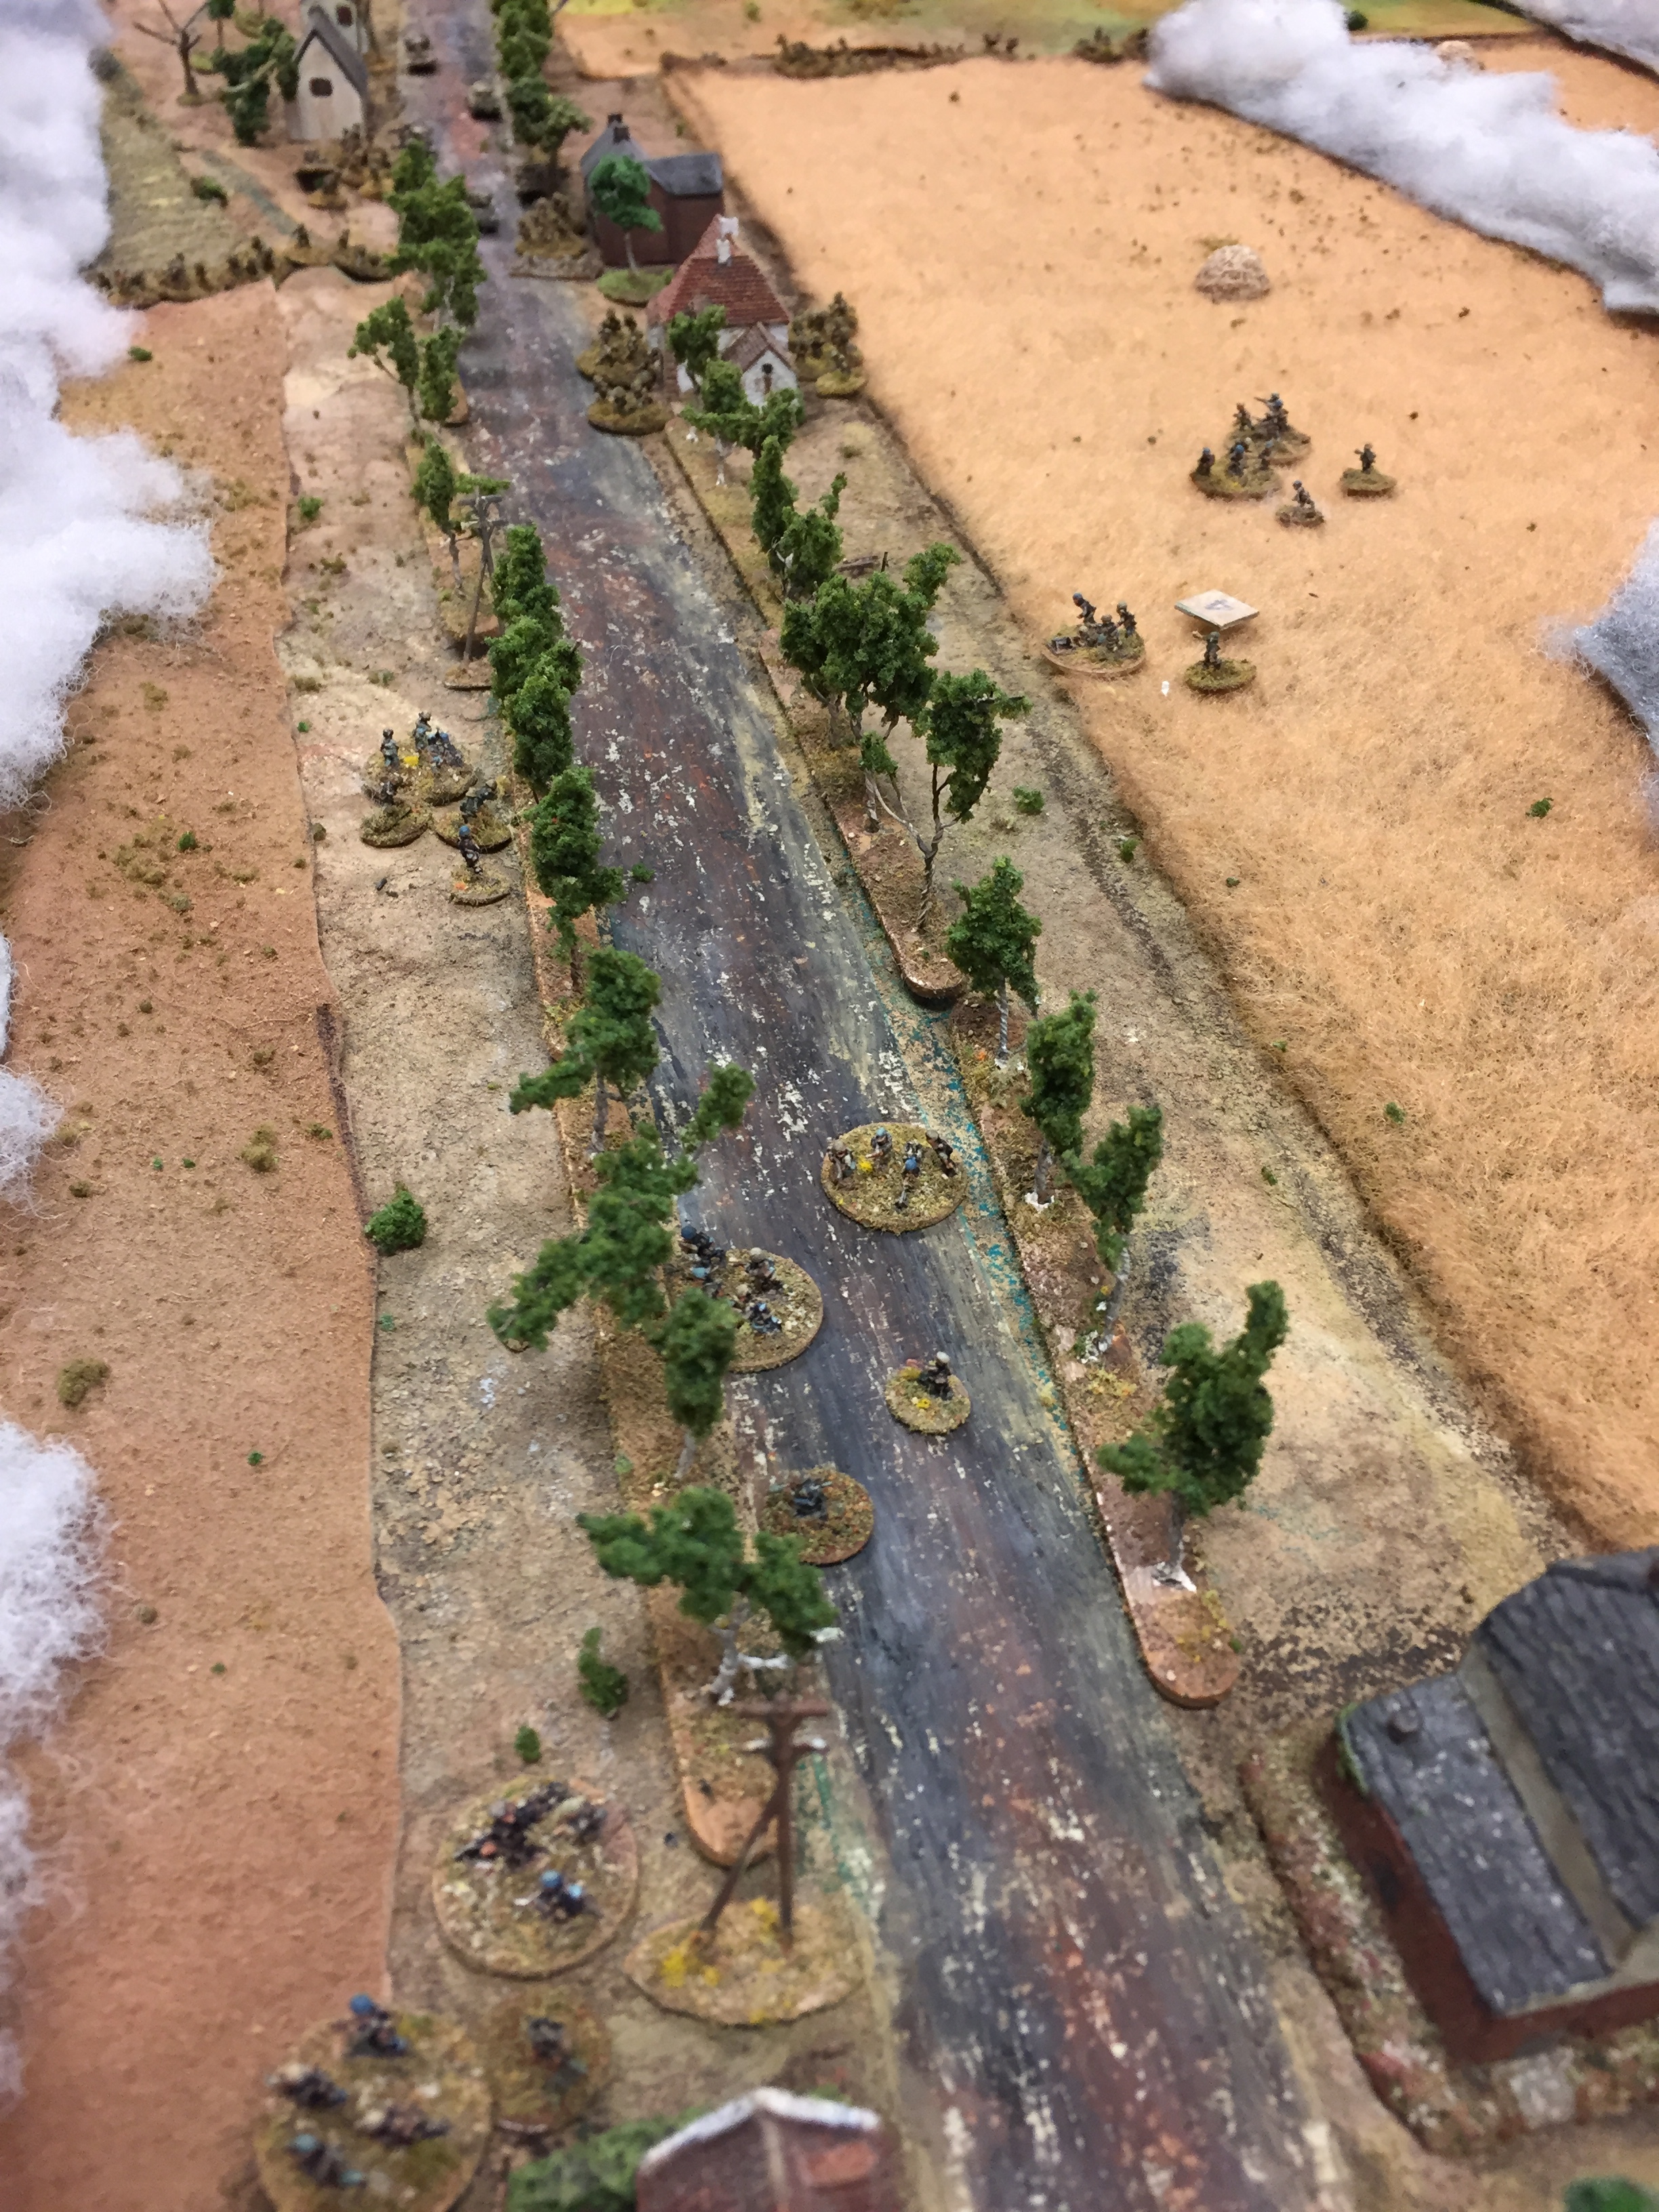
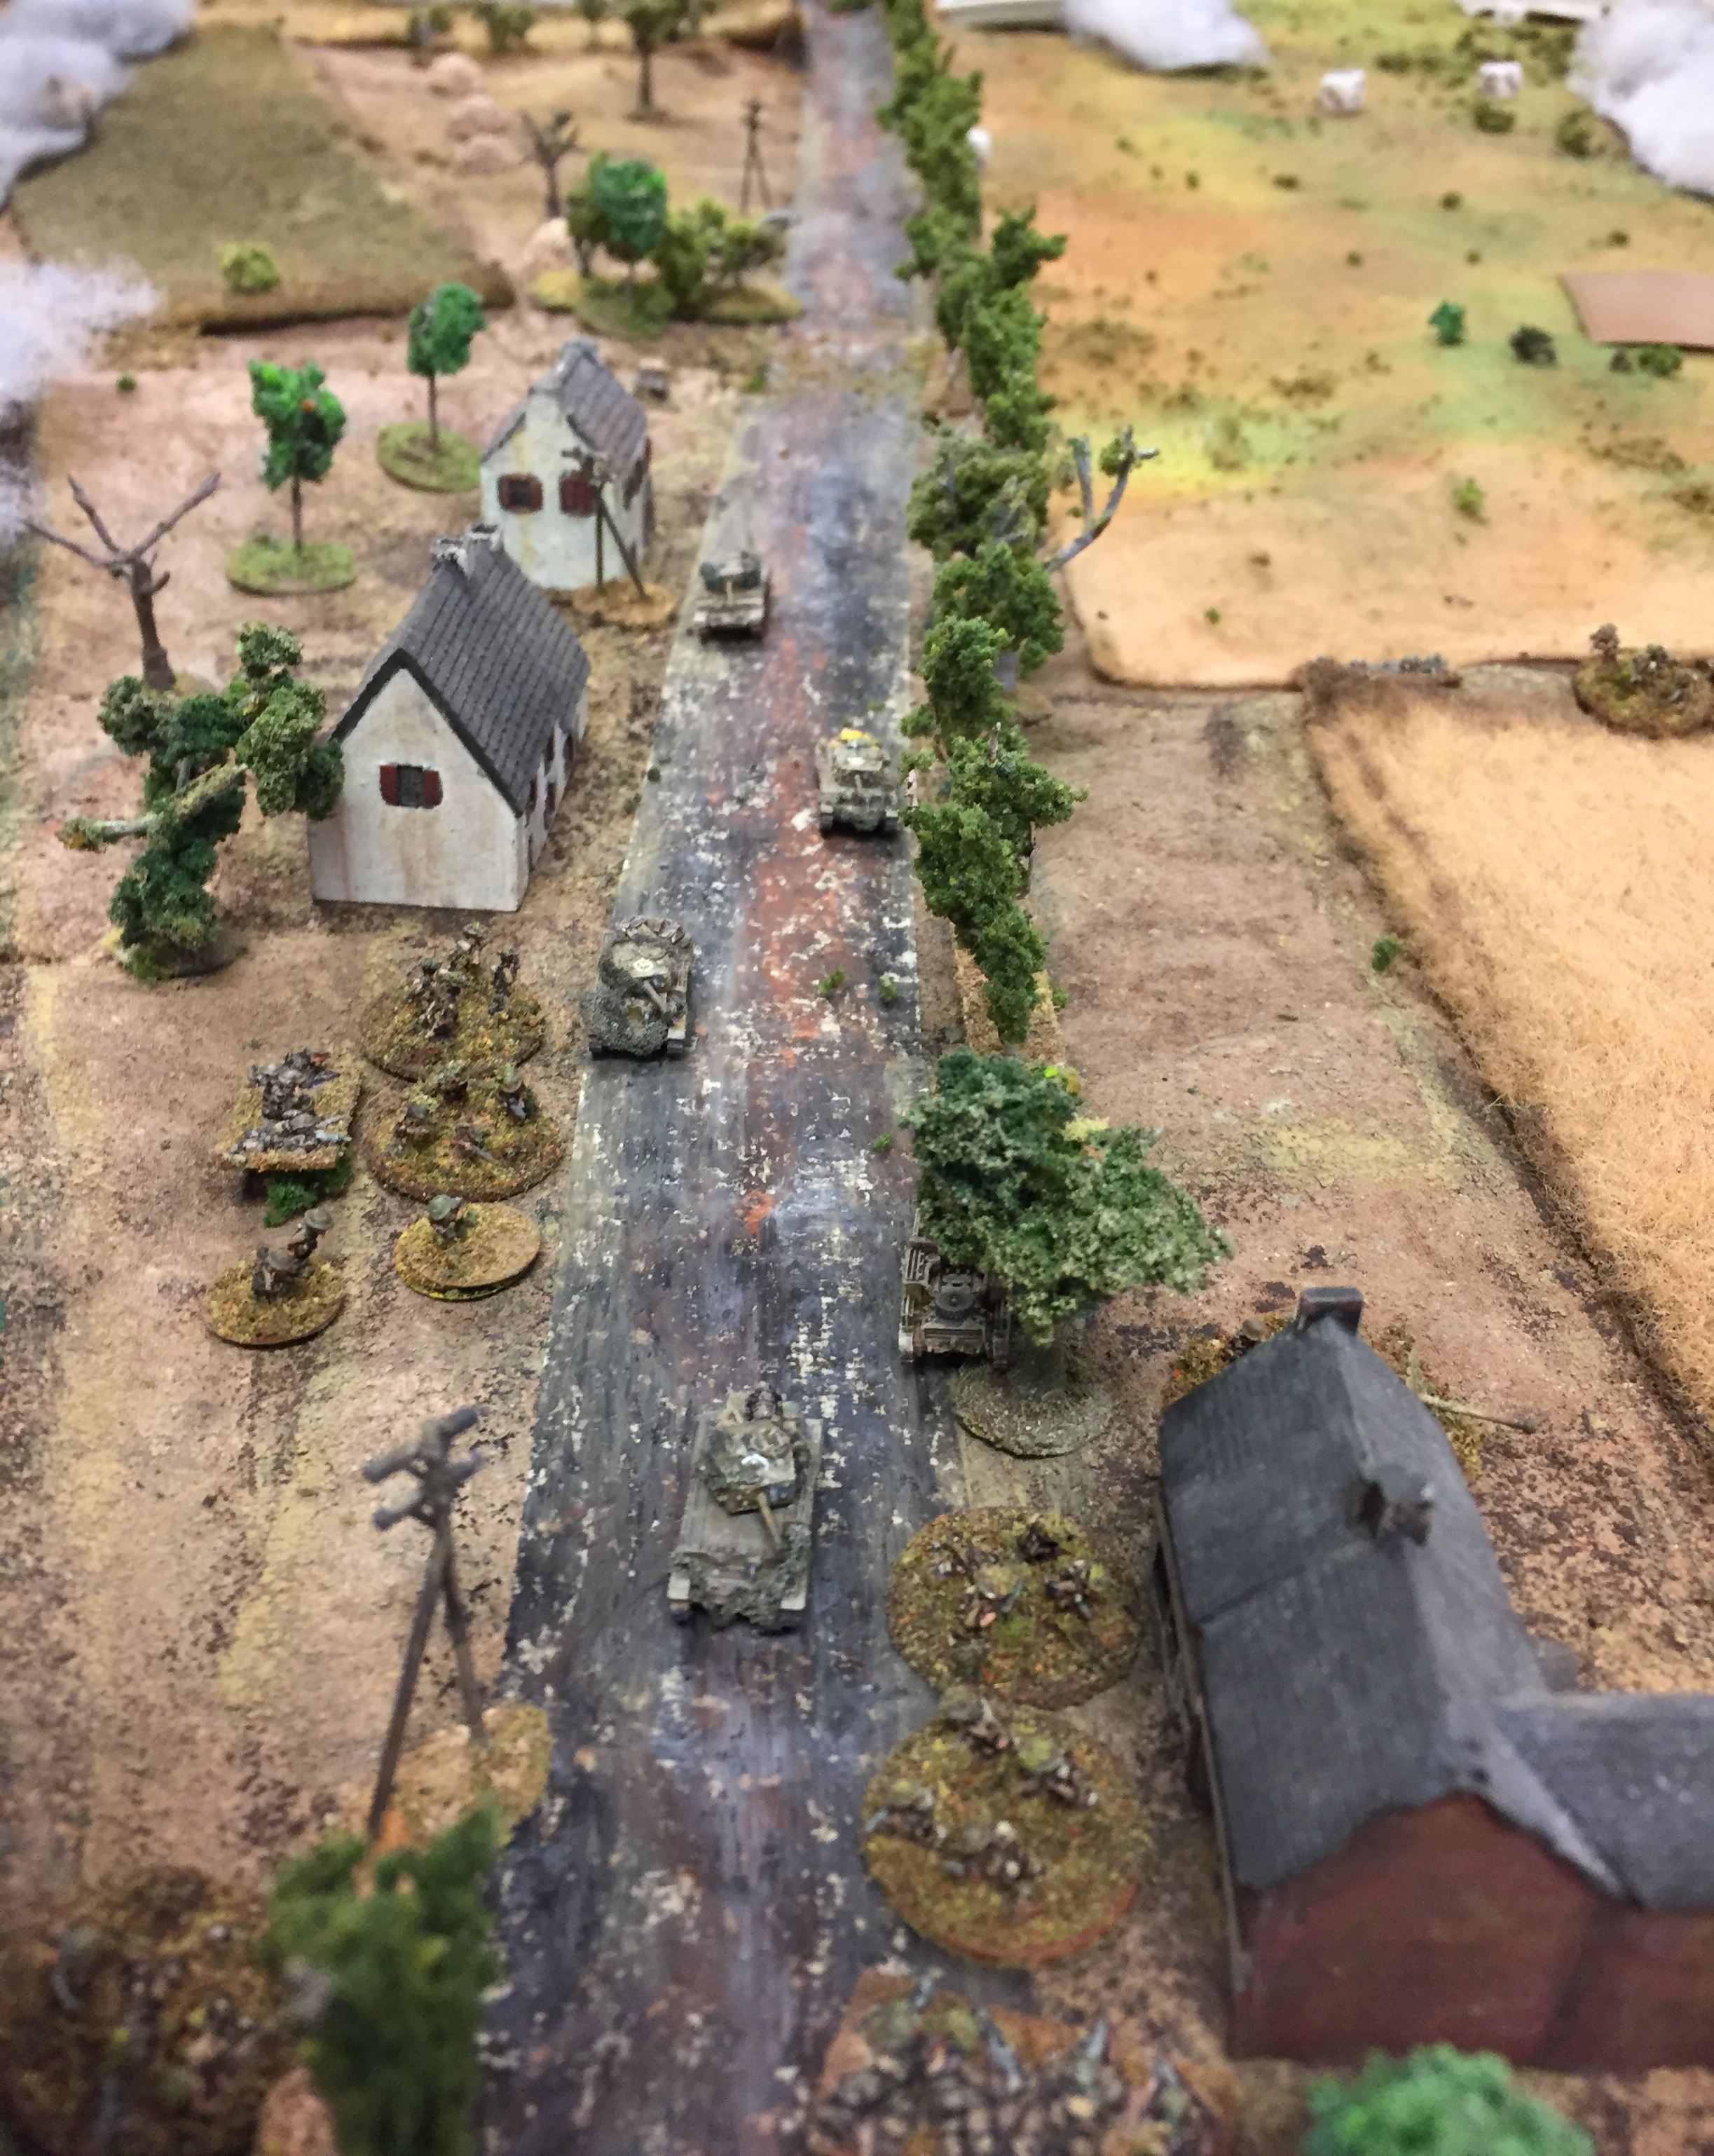
Once you are all assembled in the village, you will press on further down the road to chase partisan units that already passed this point before you blocked it.

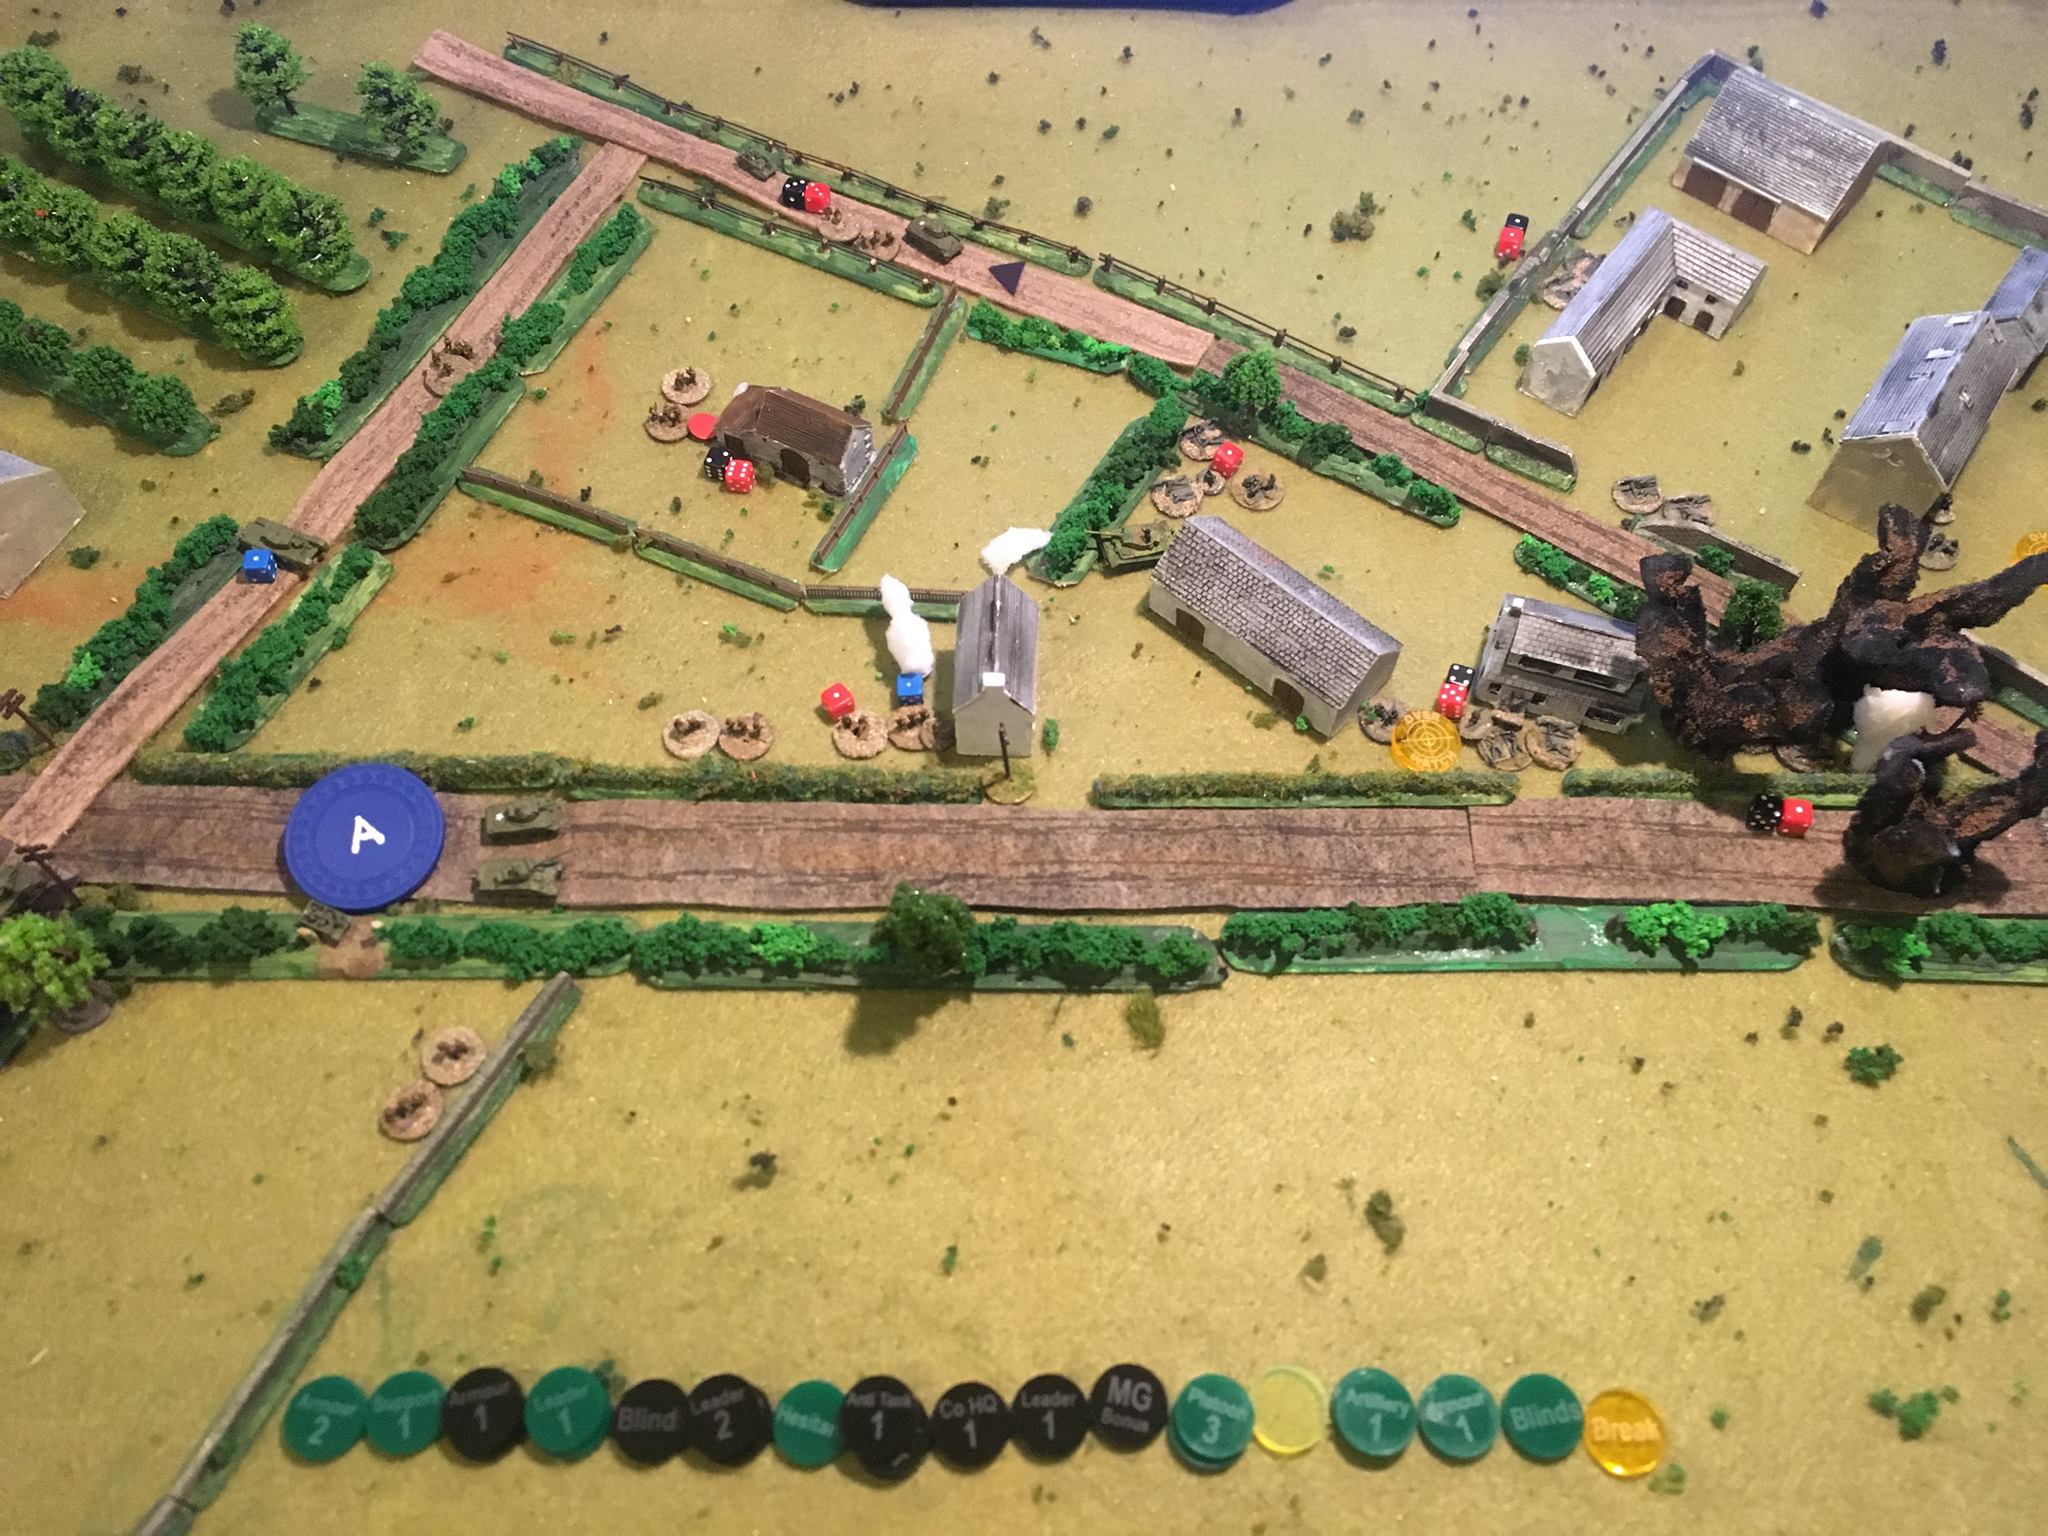
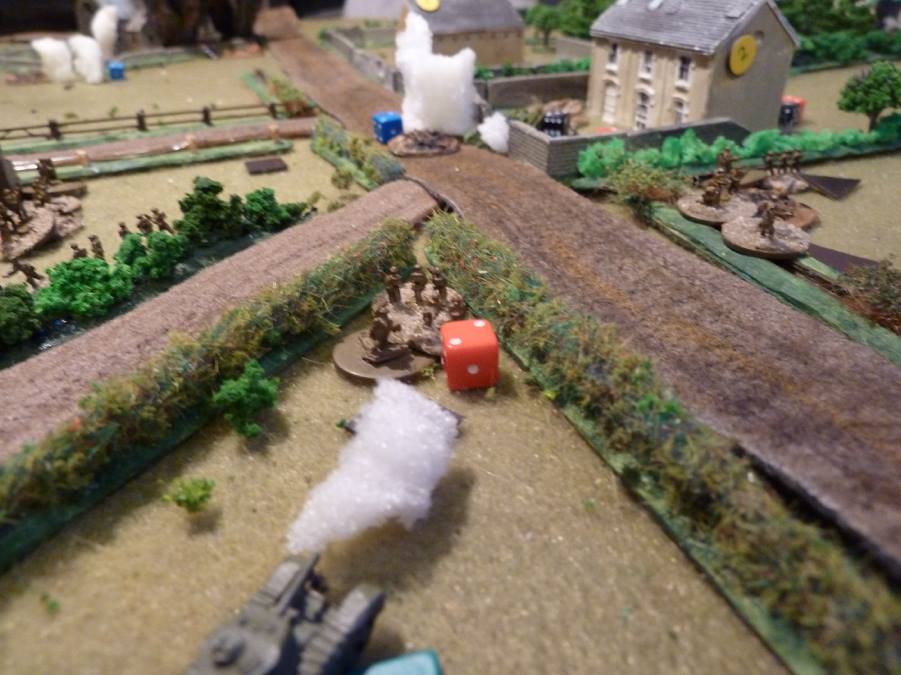
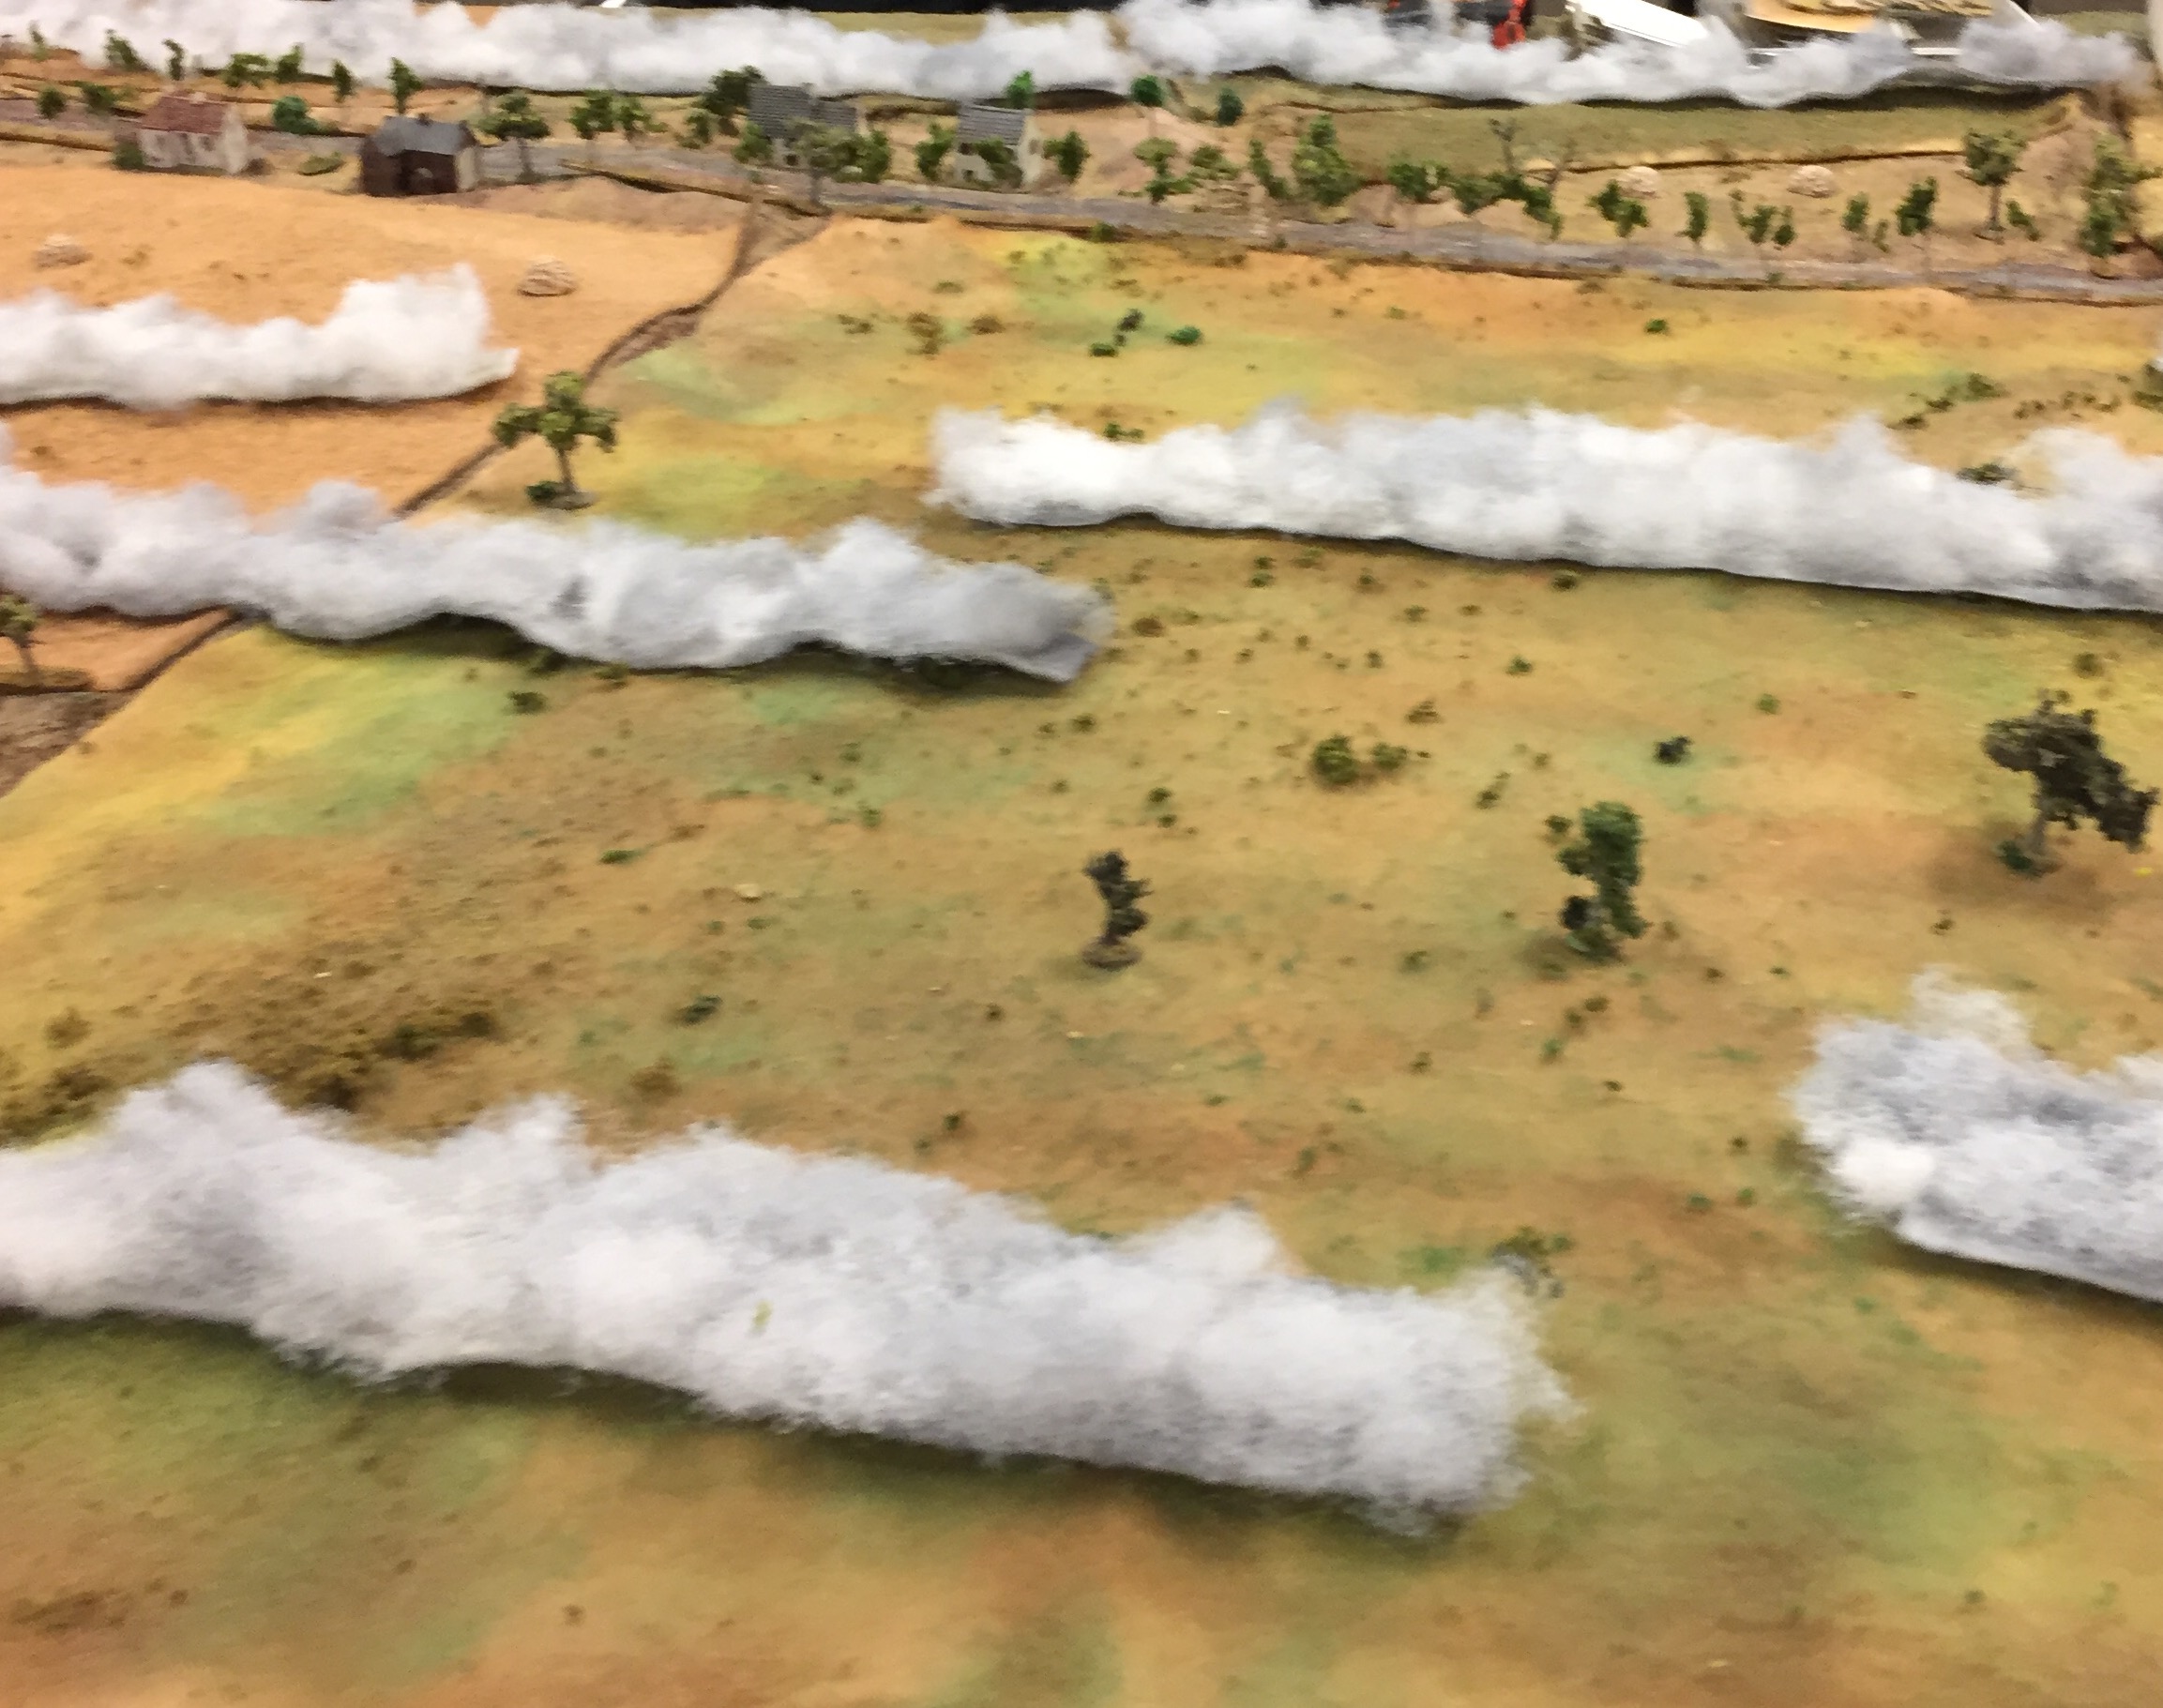
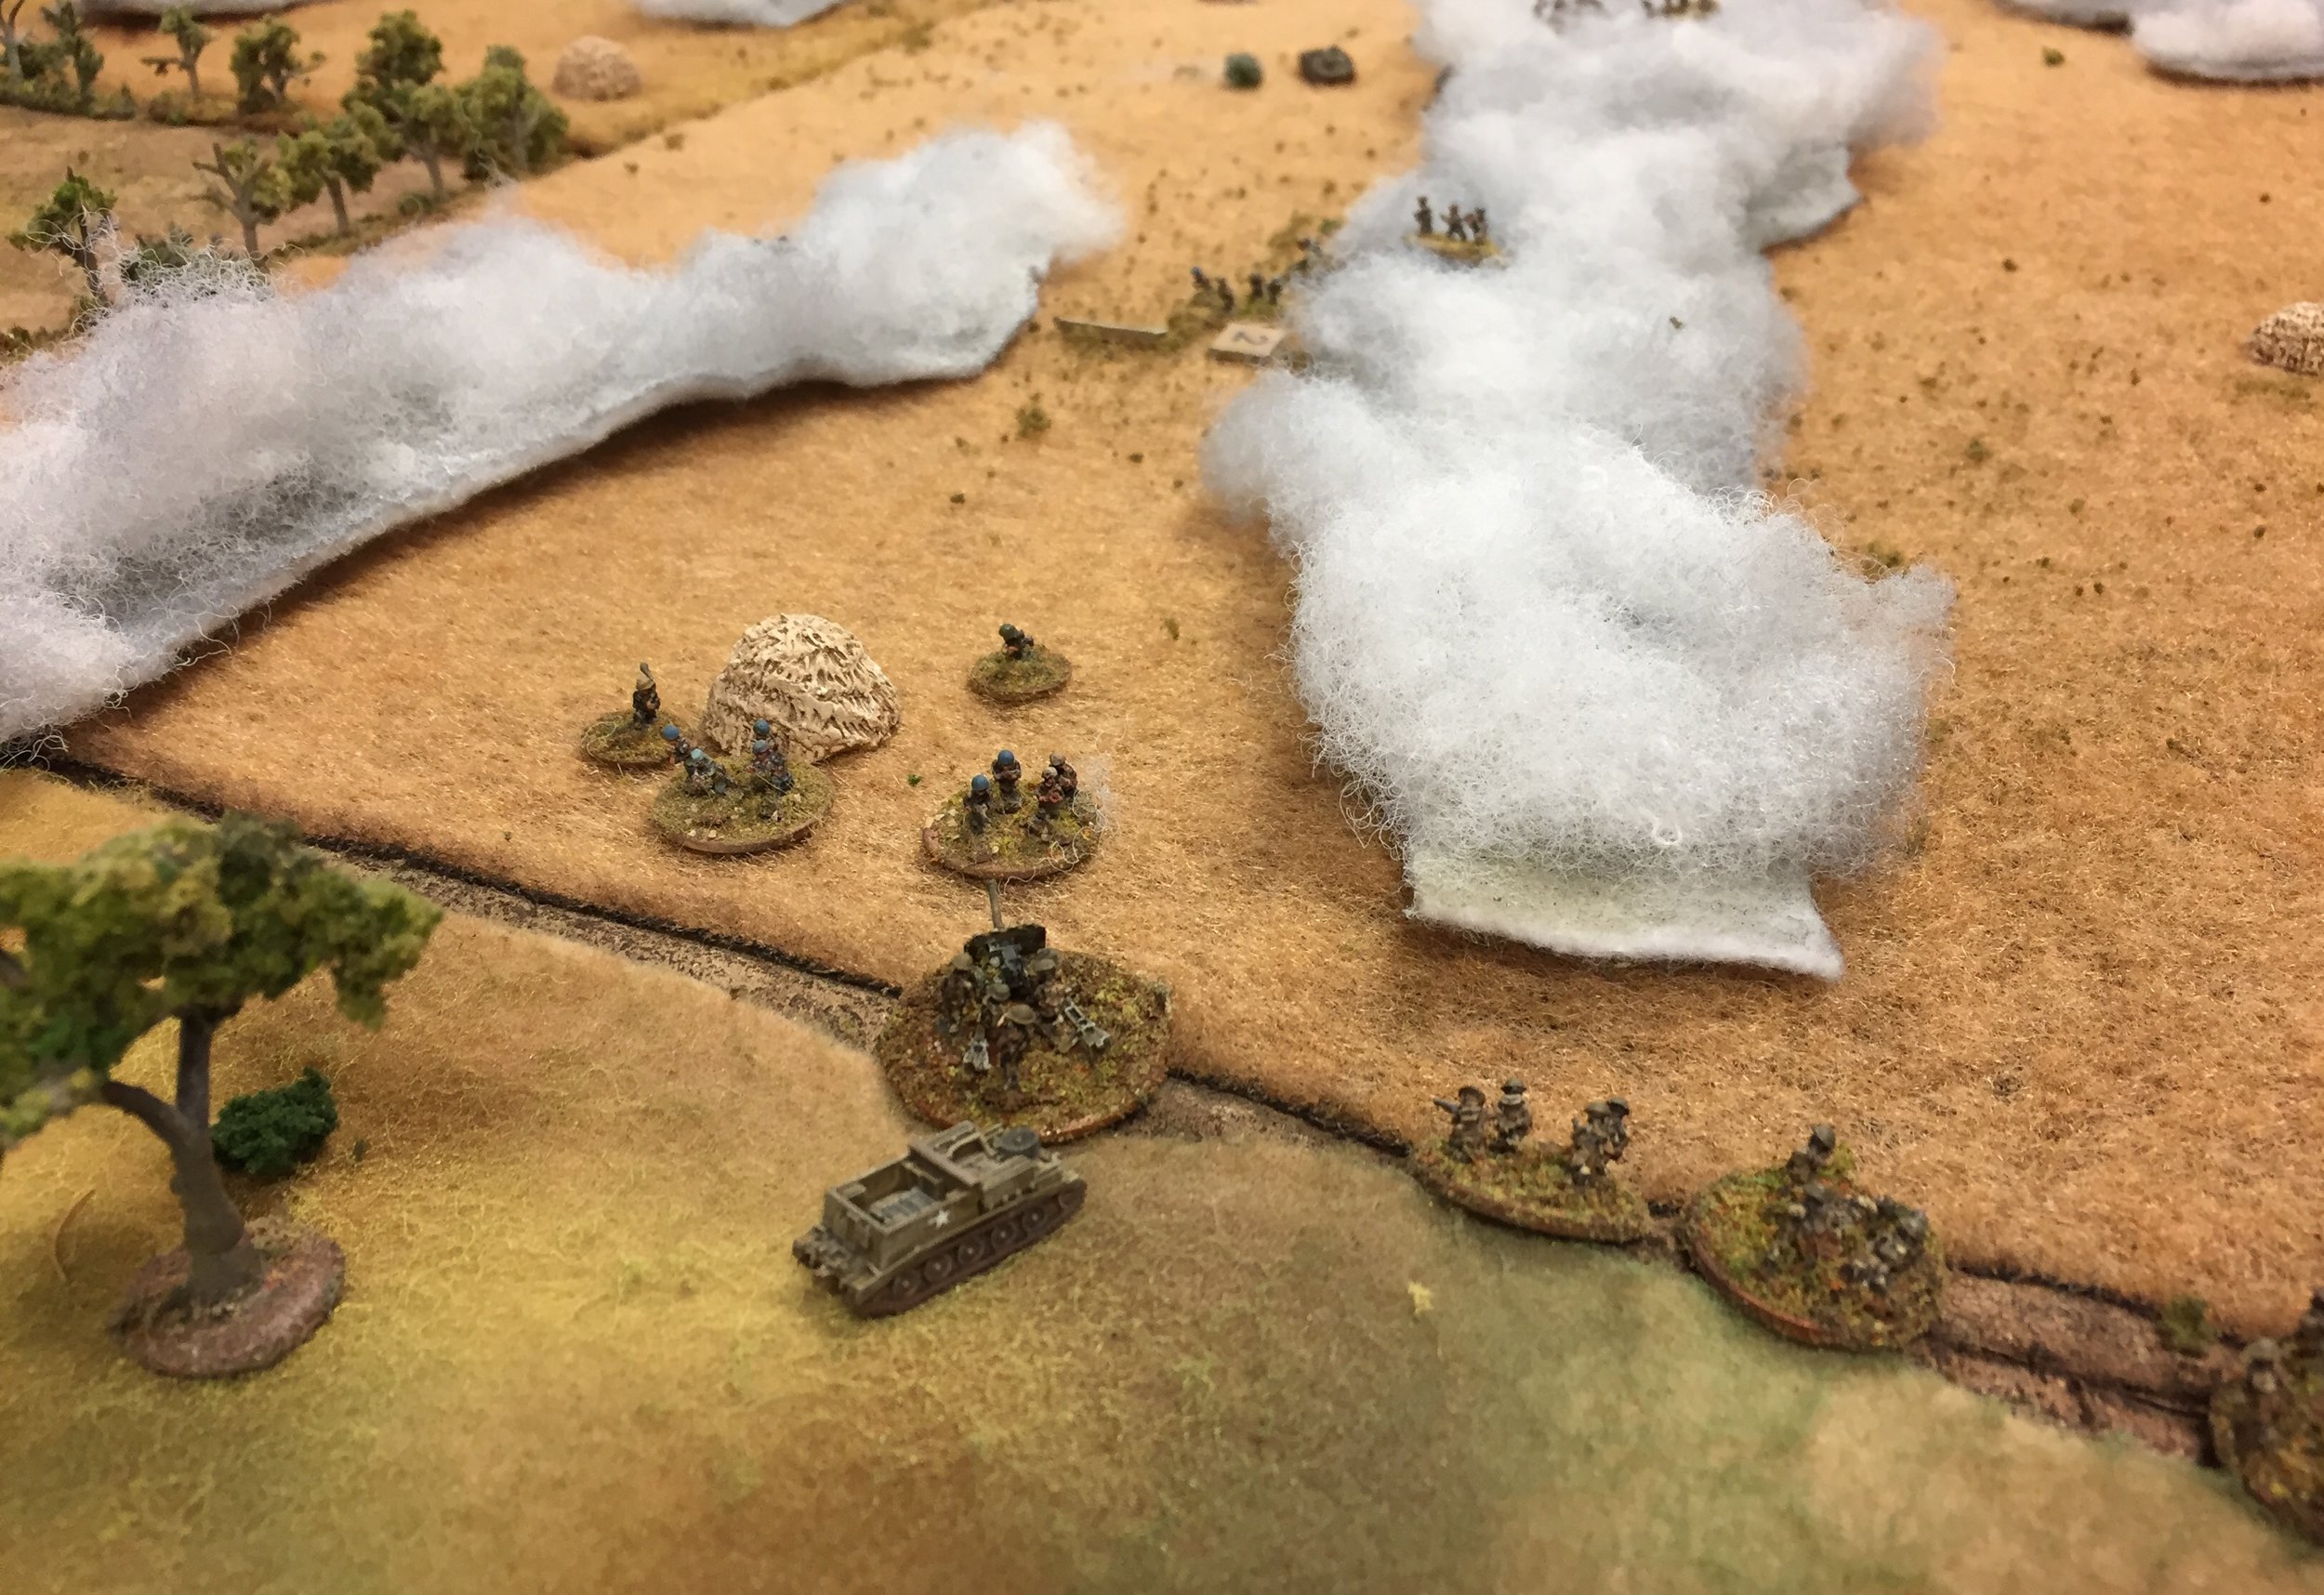
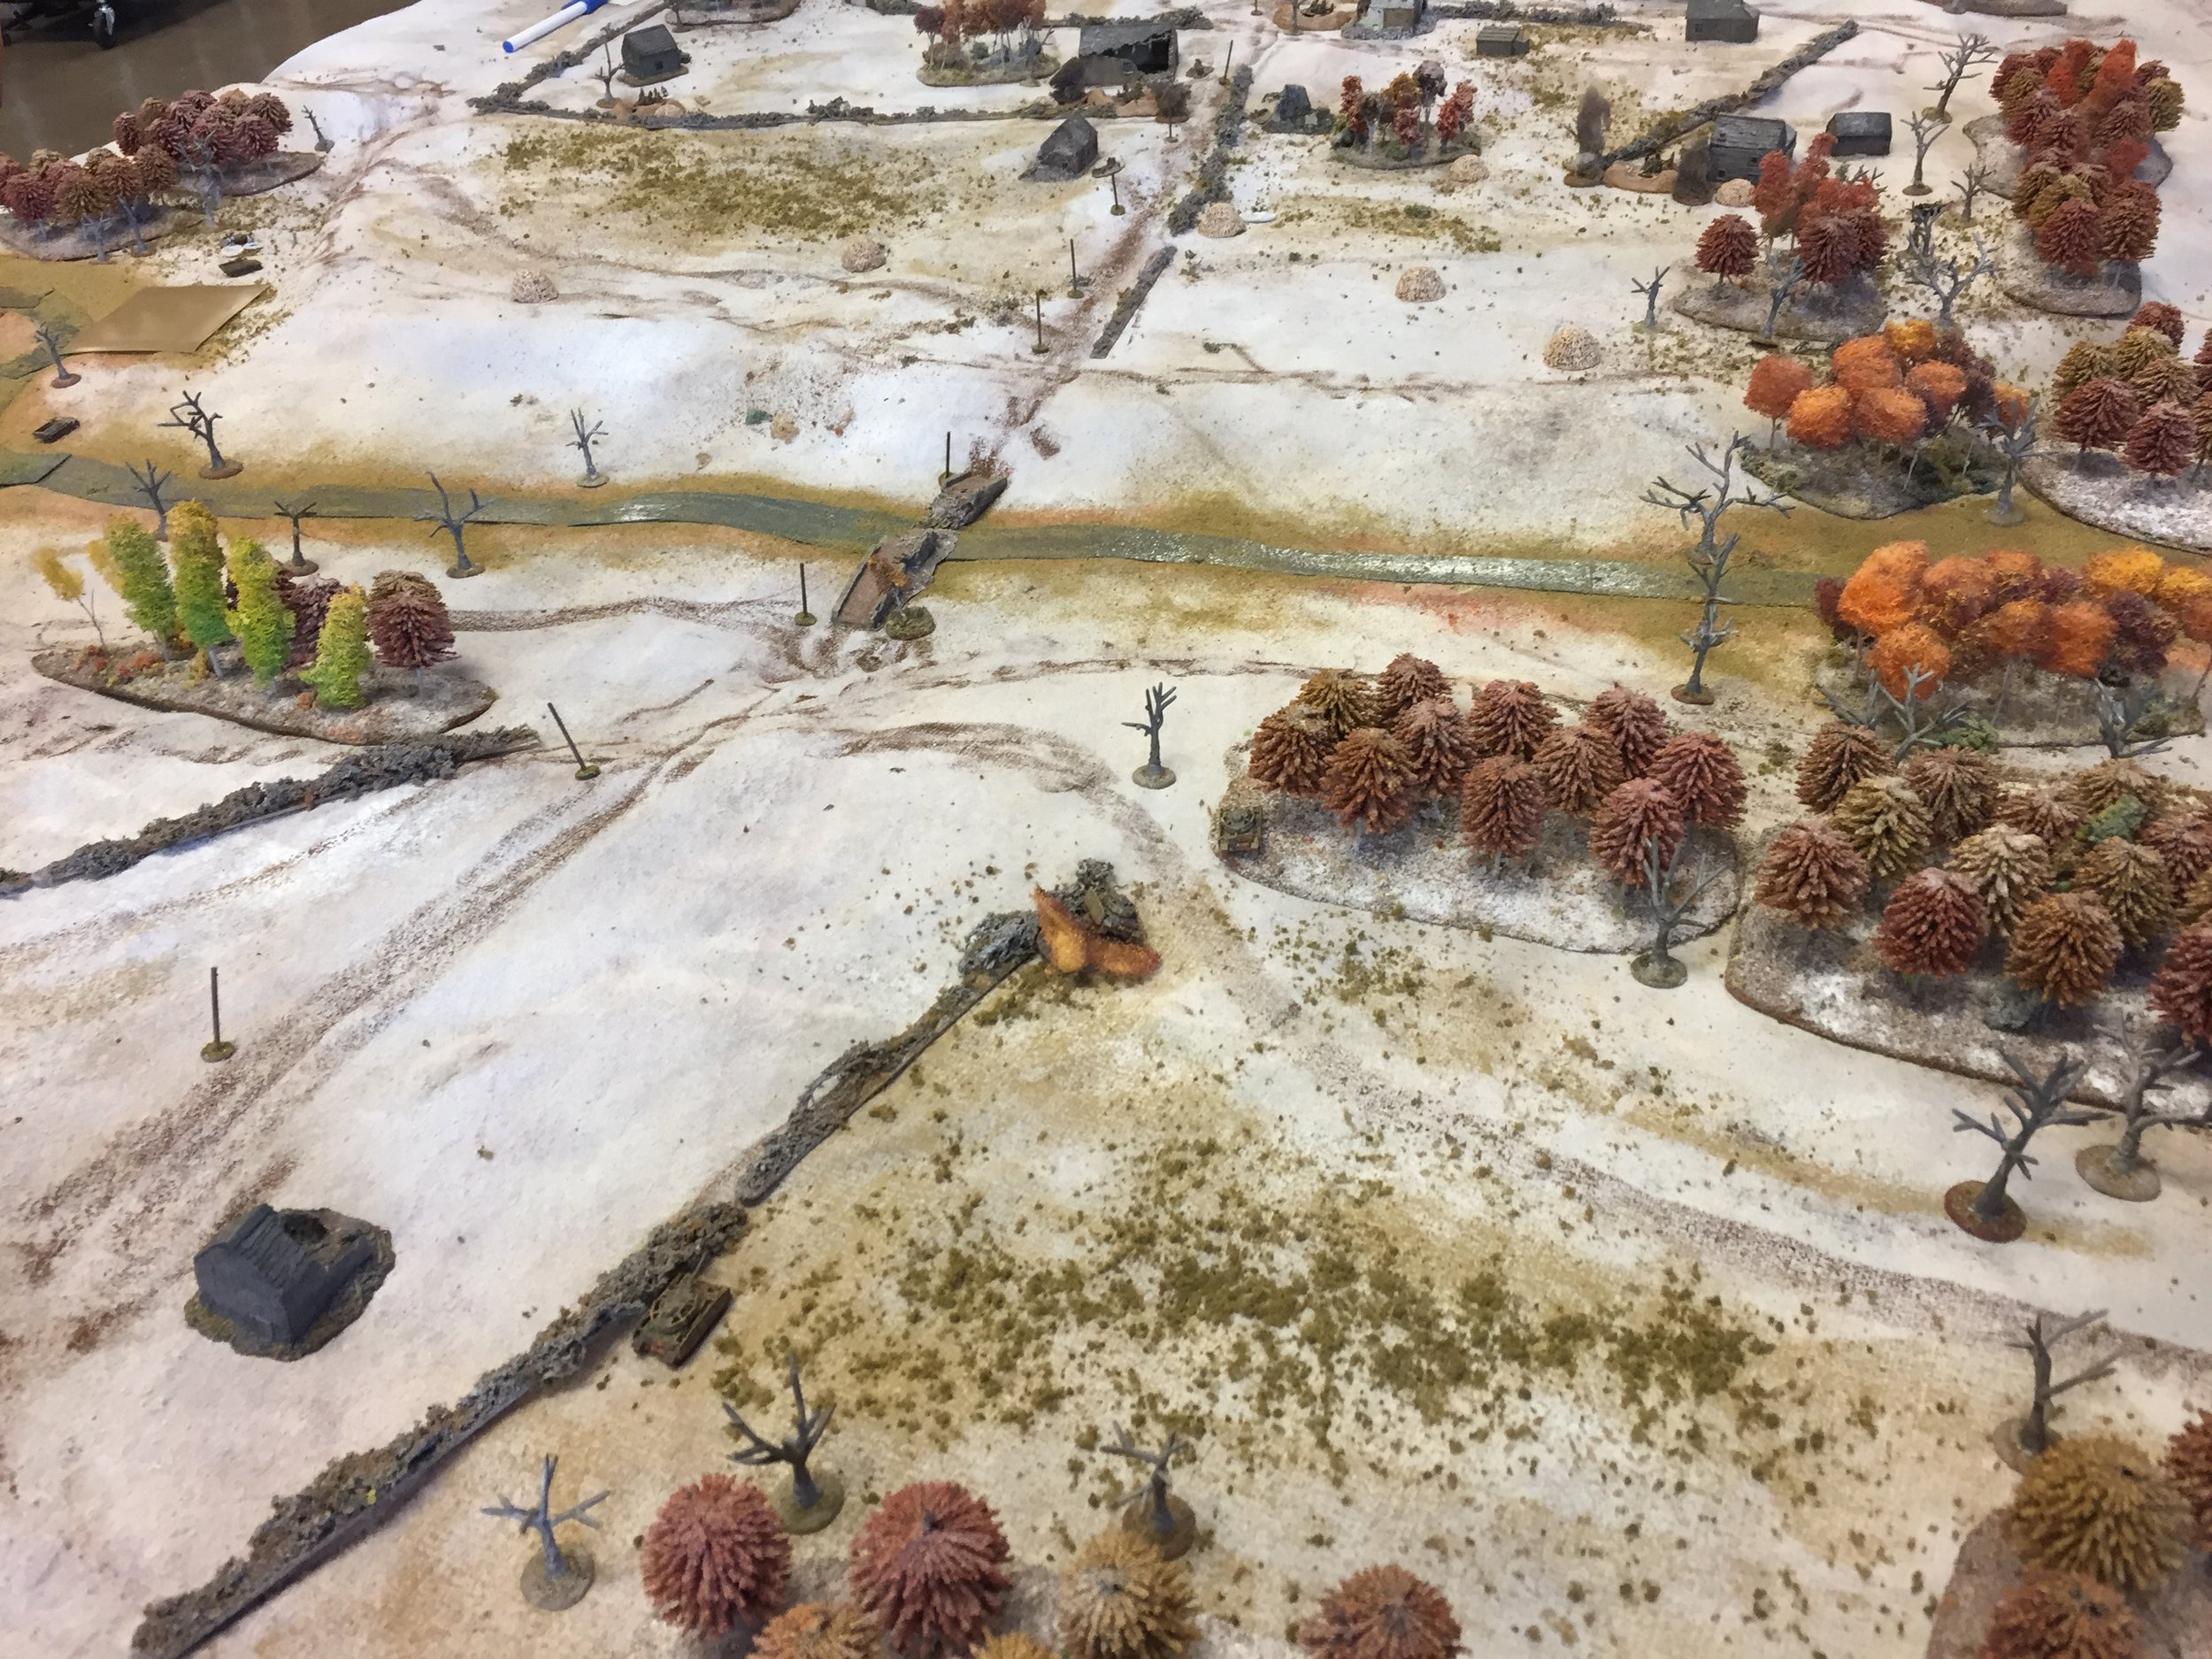
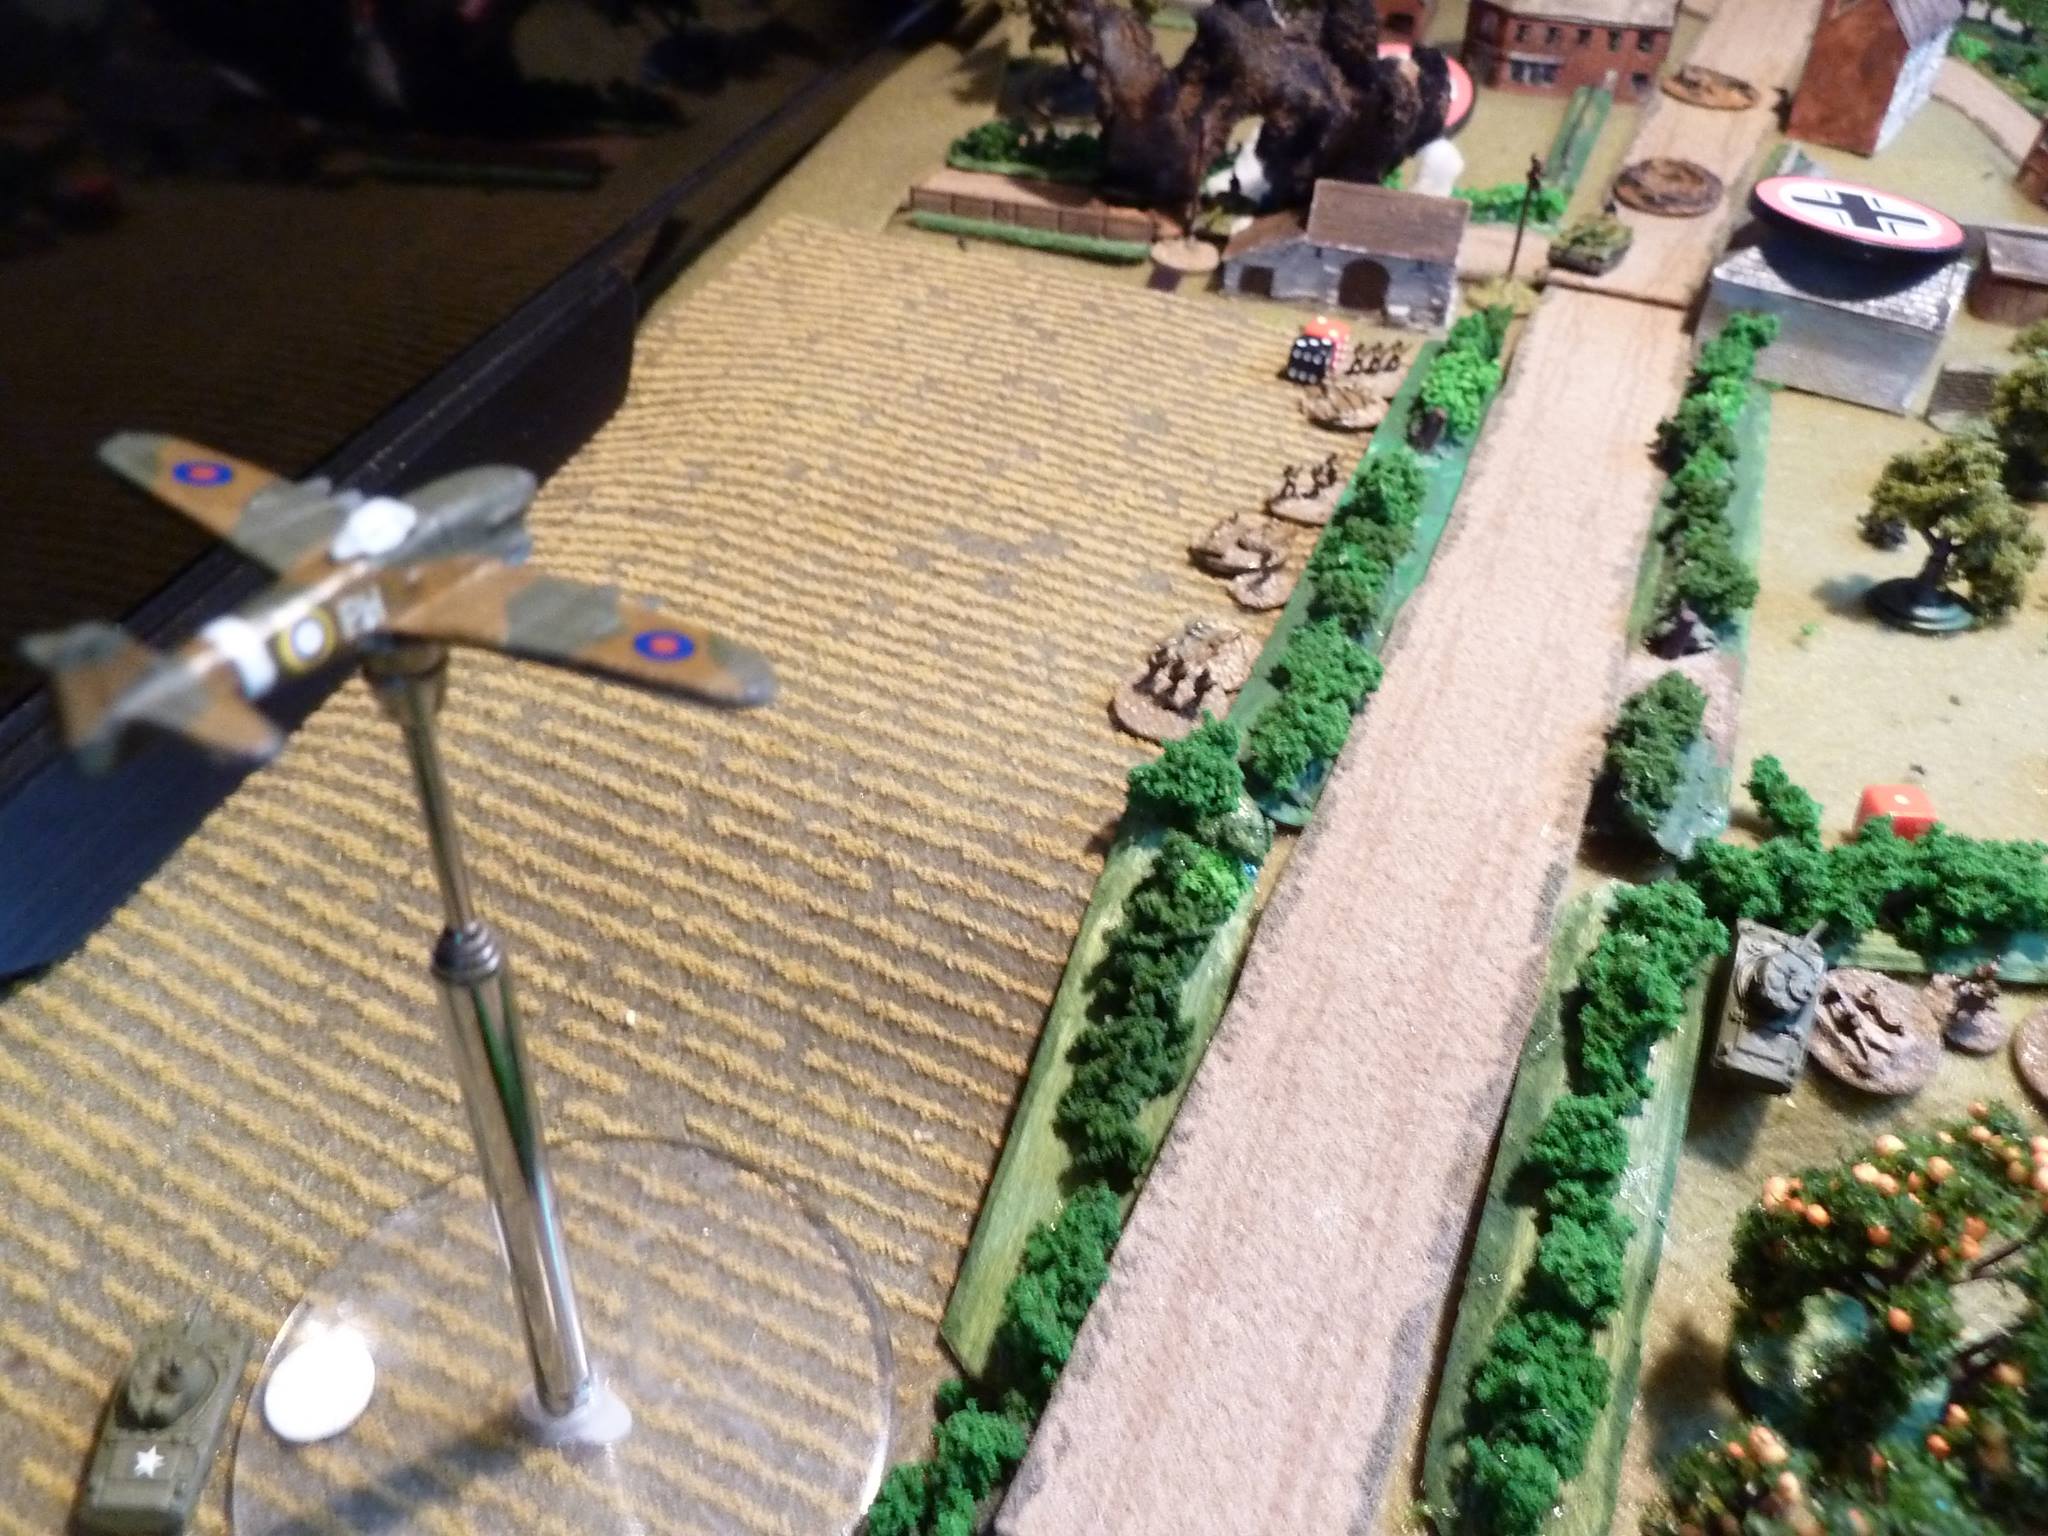
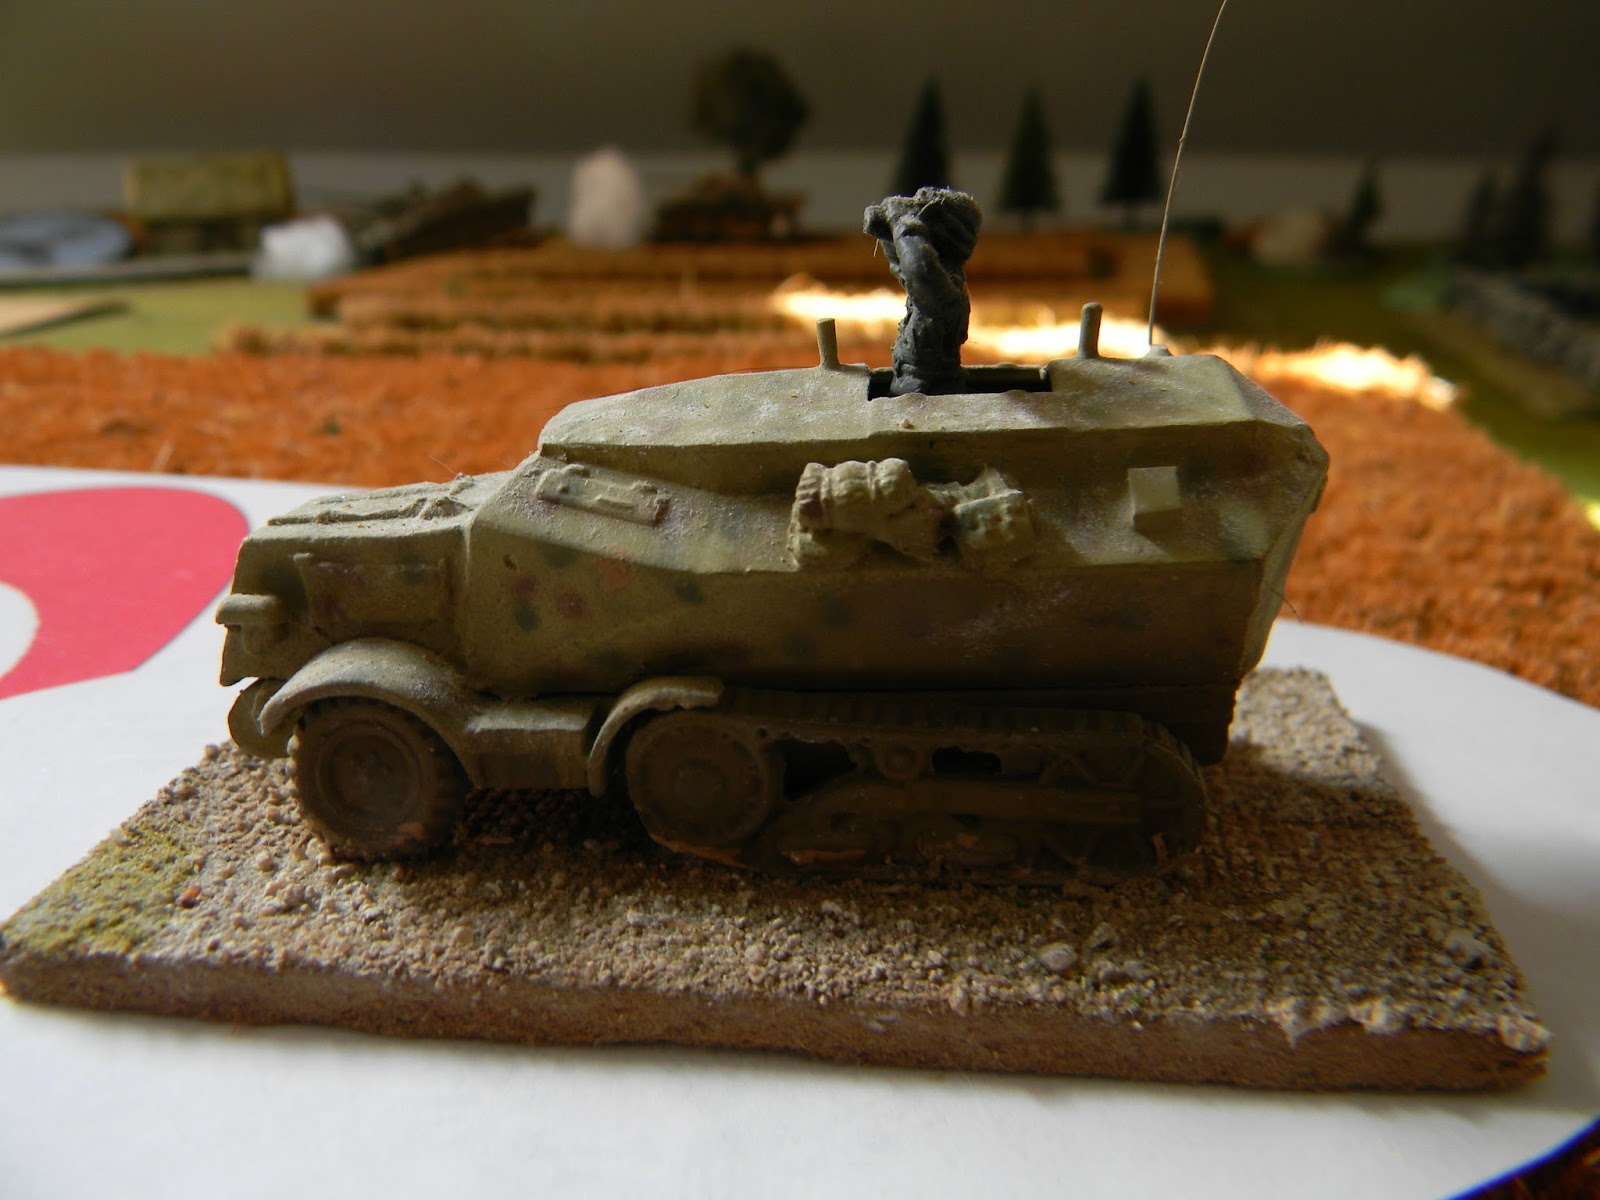
You will have occasional “eyes on” via a Storch recon plane.

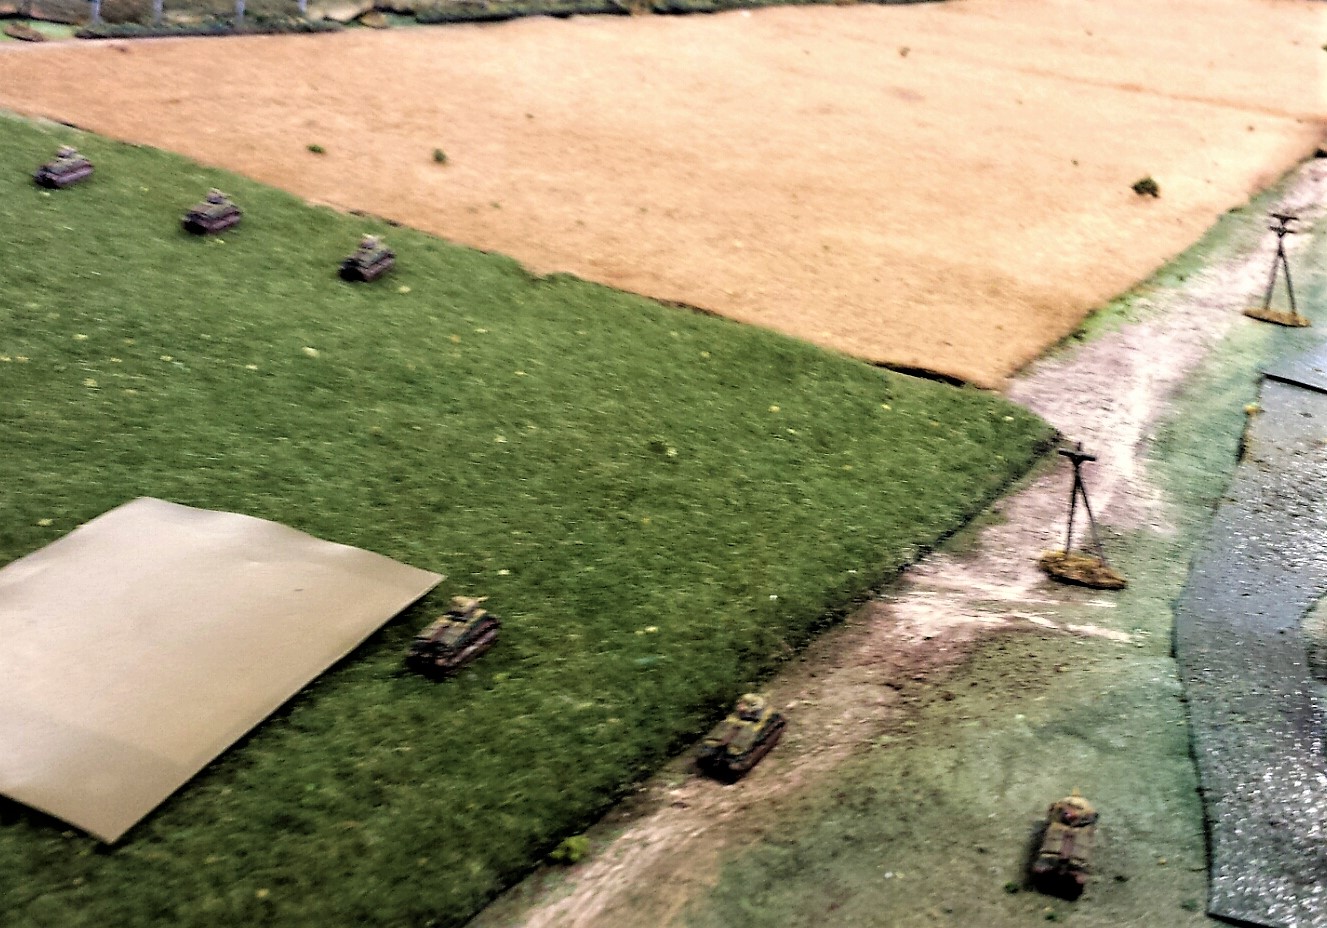
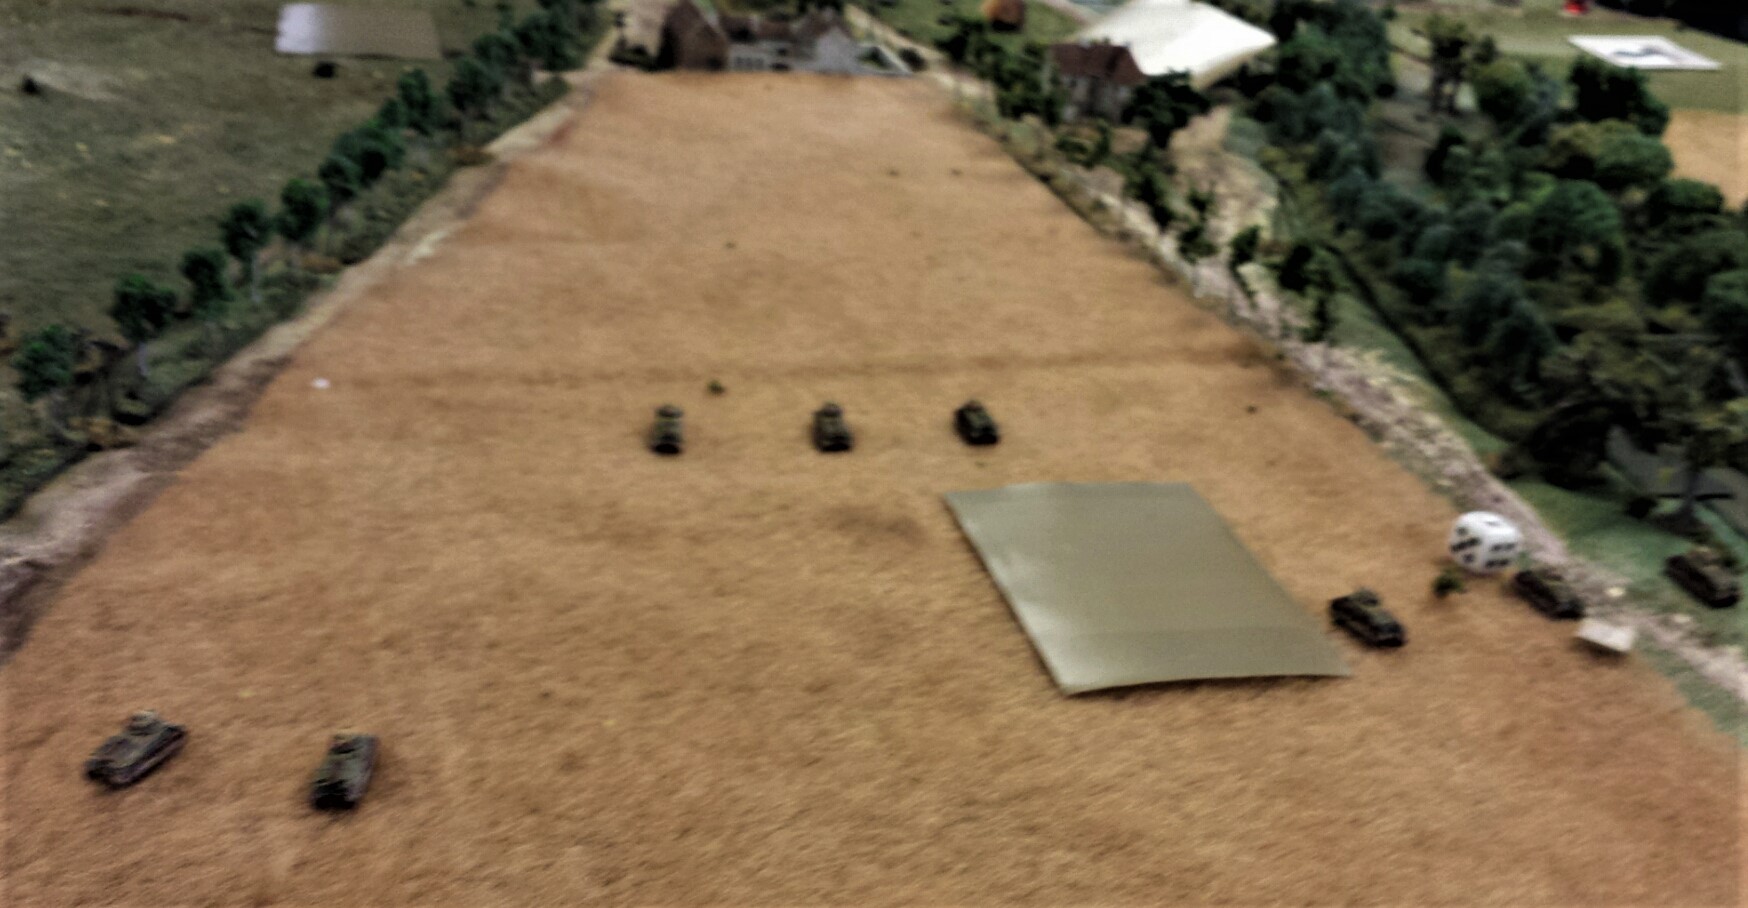
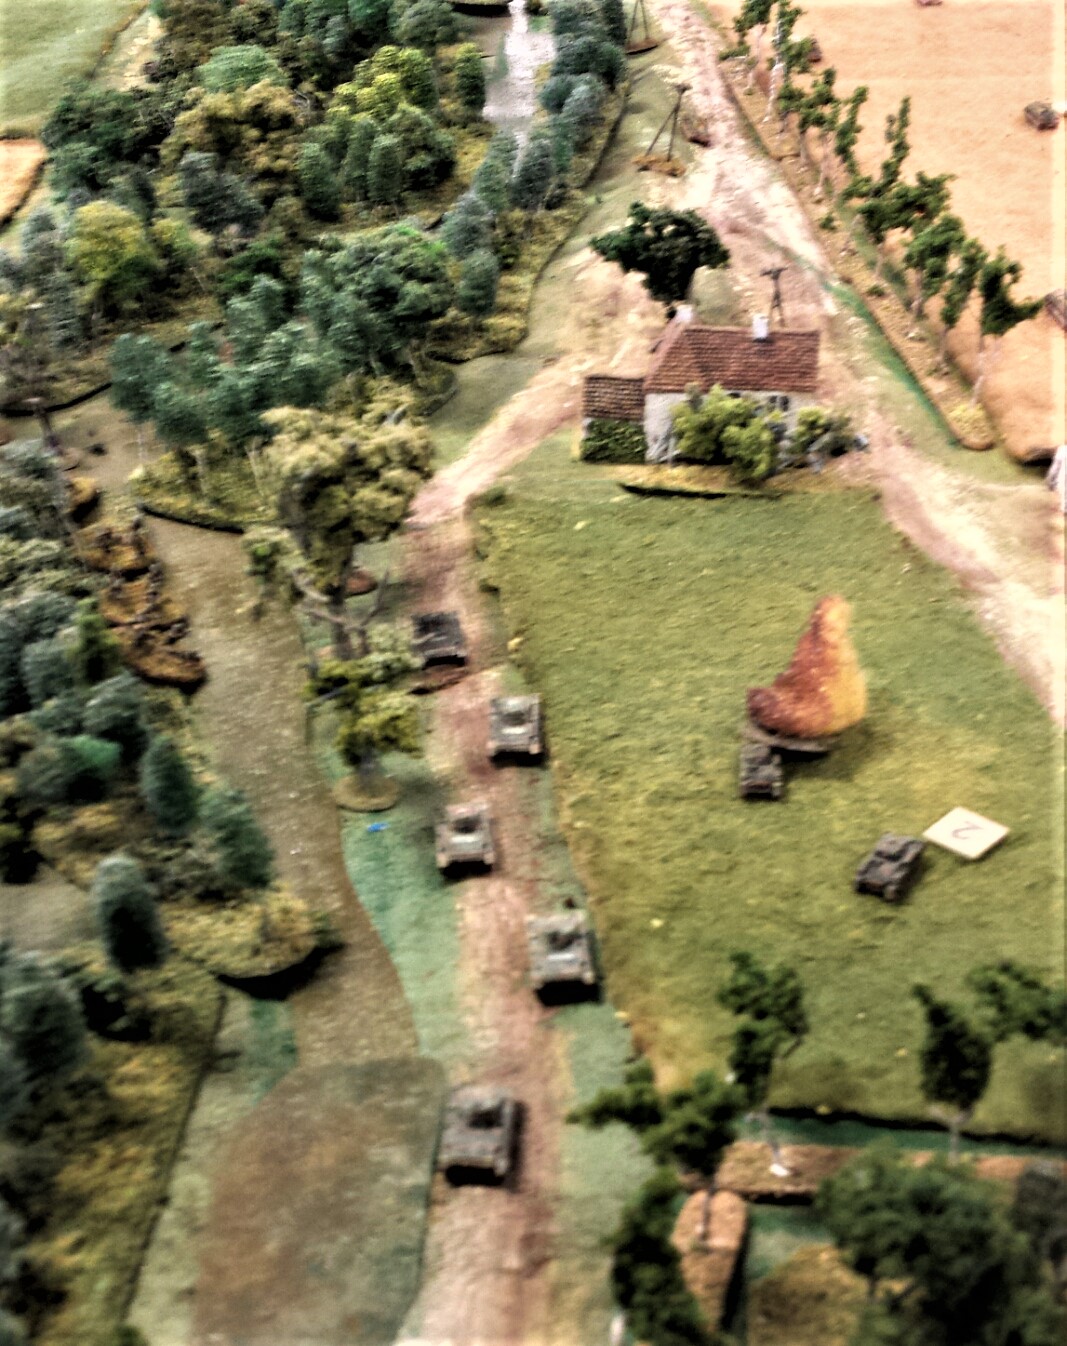
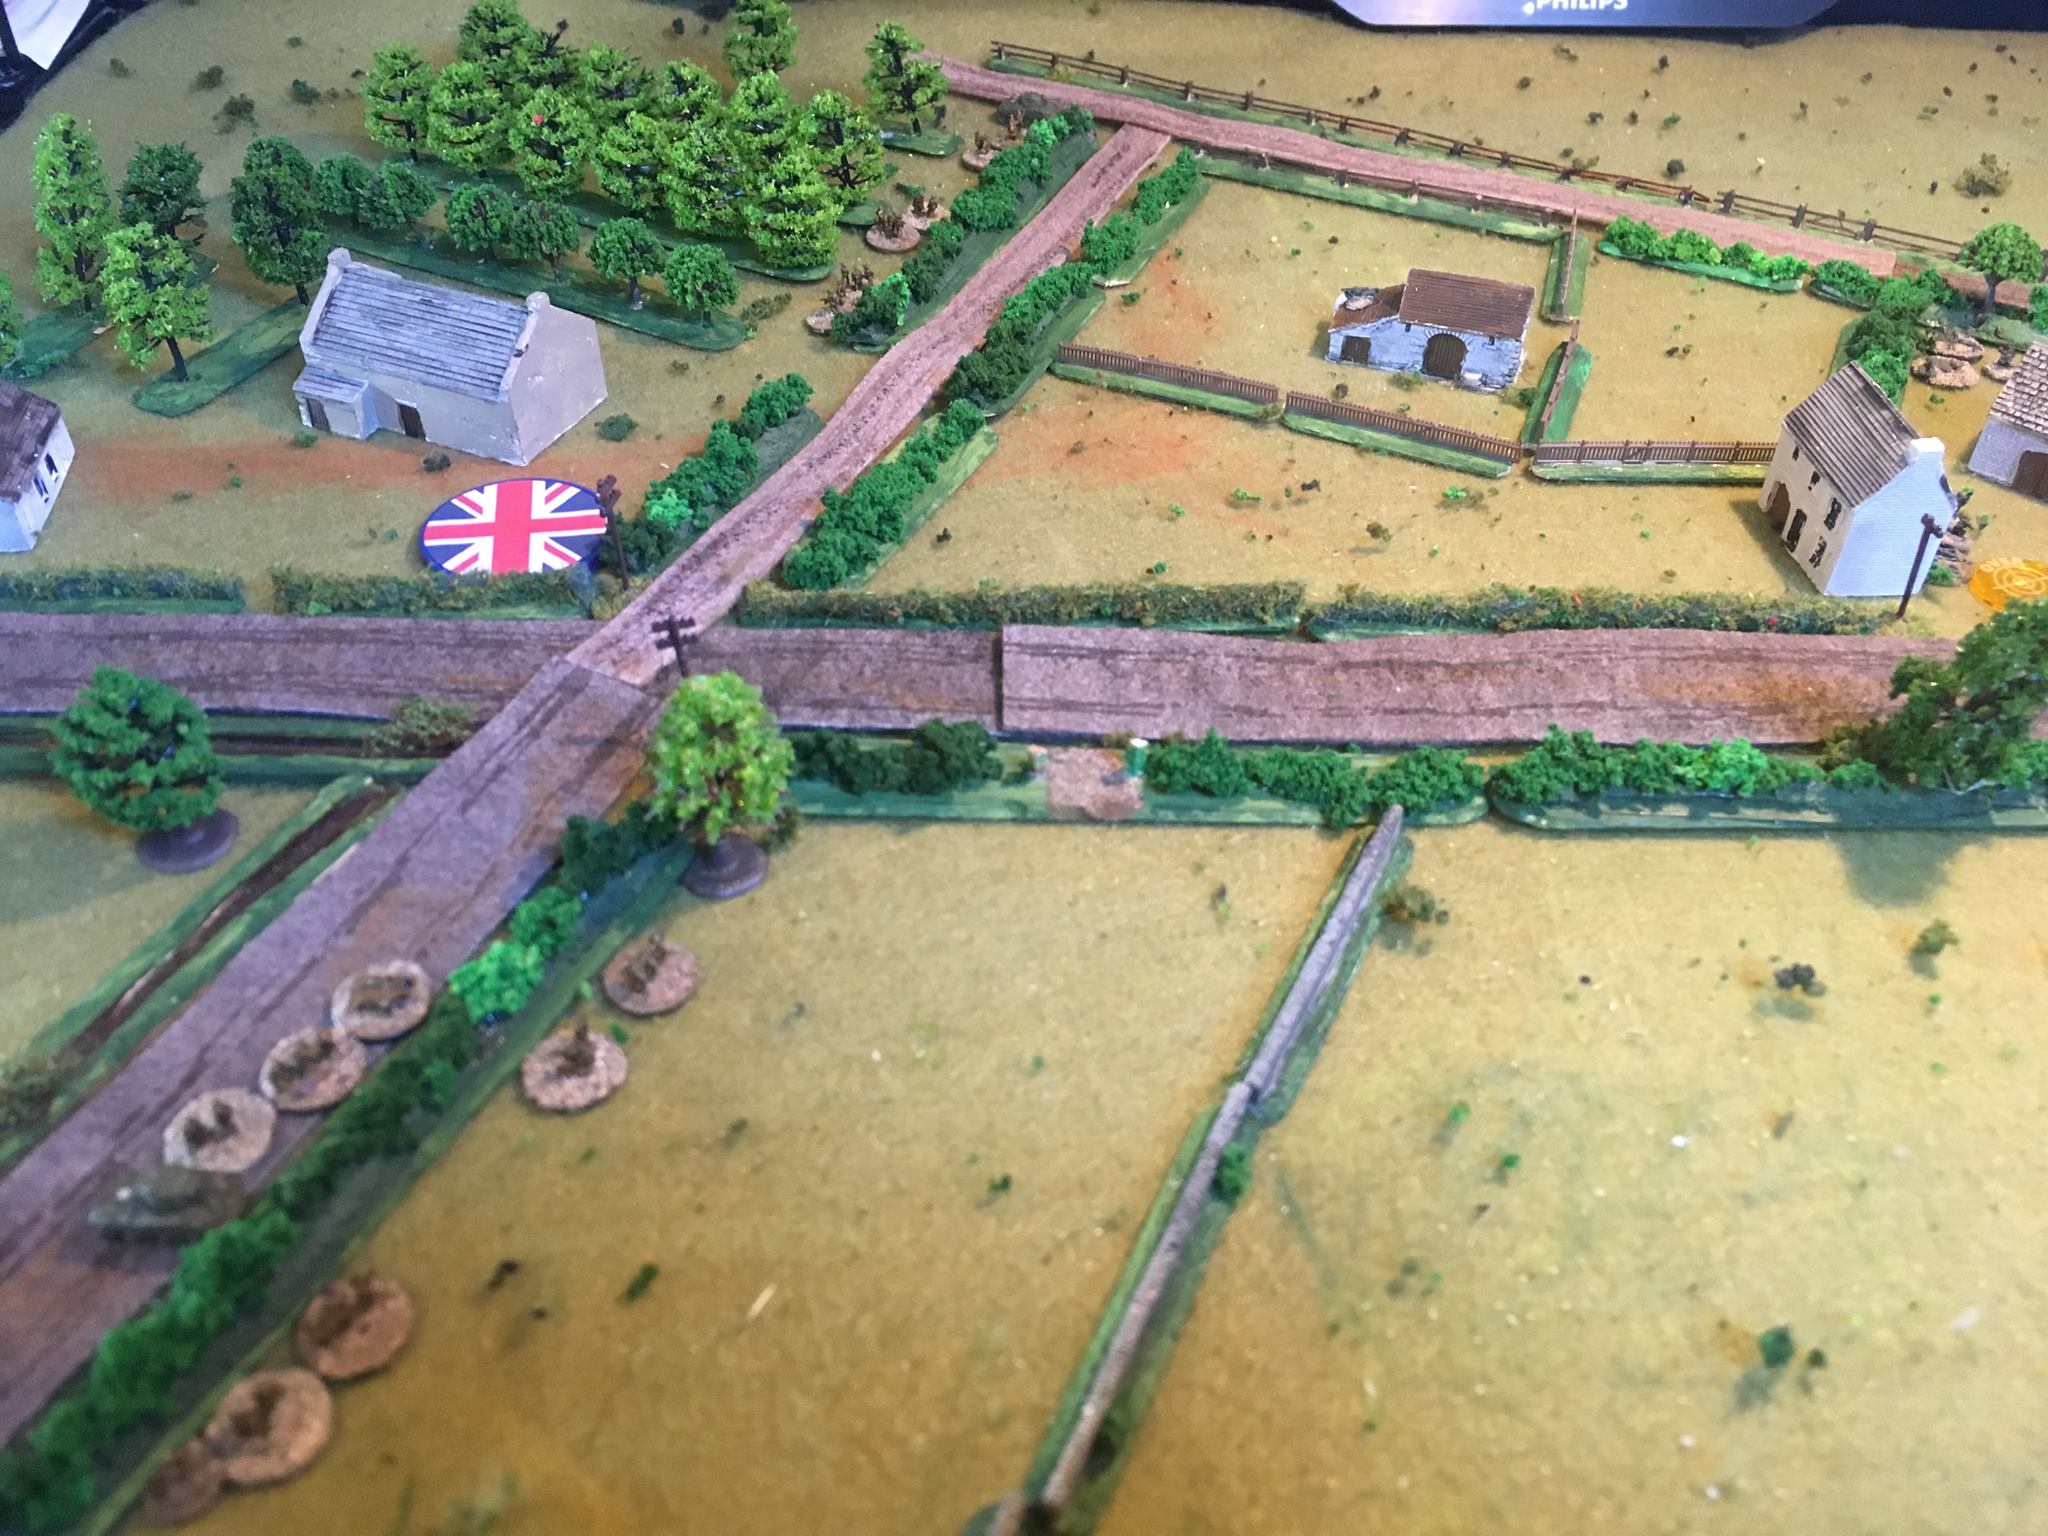
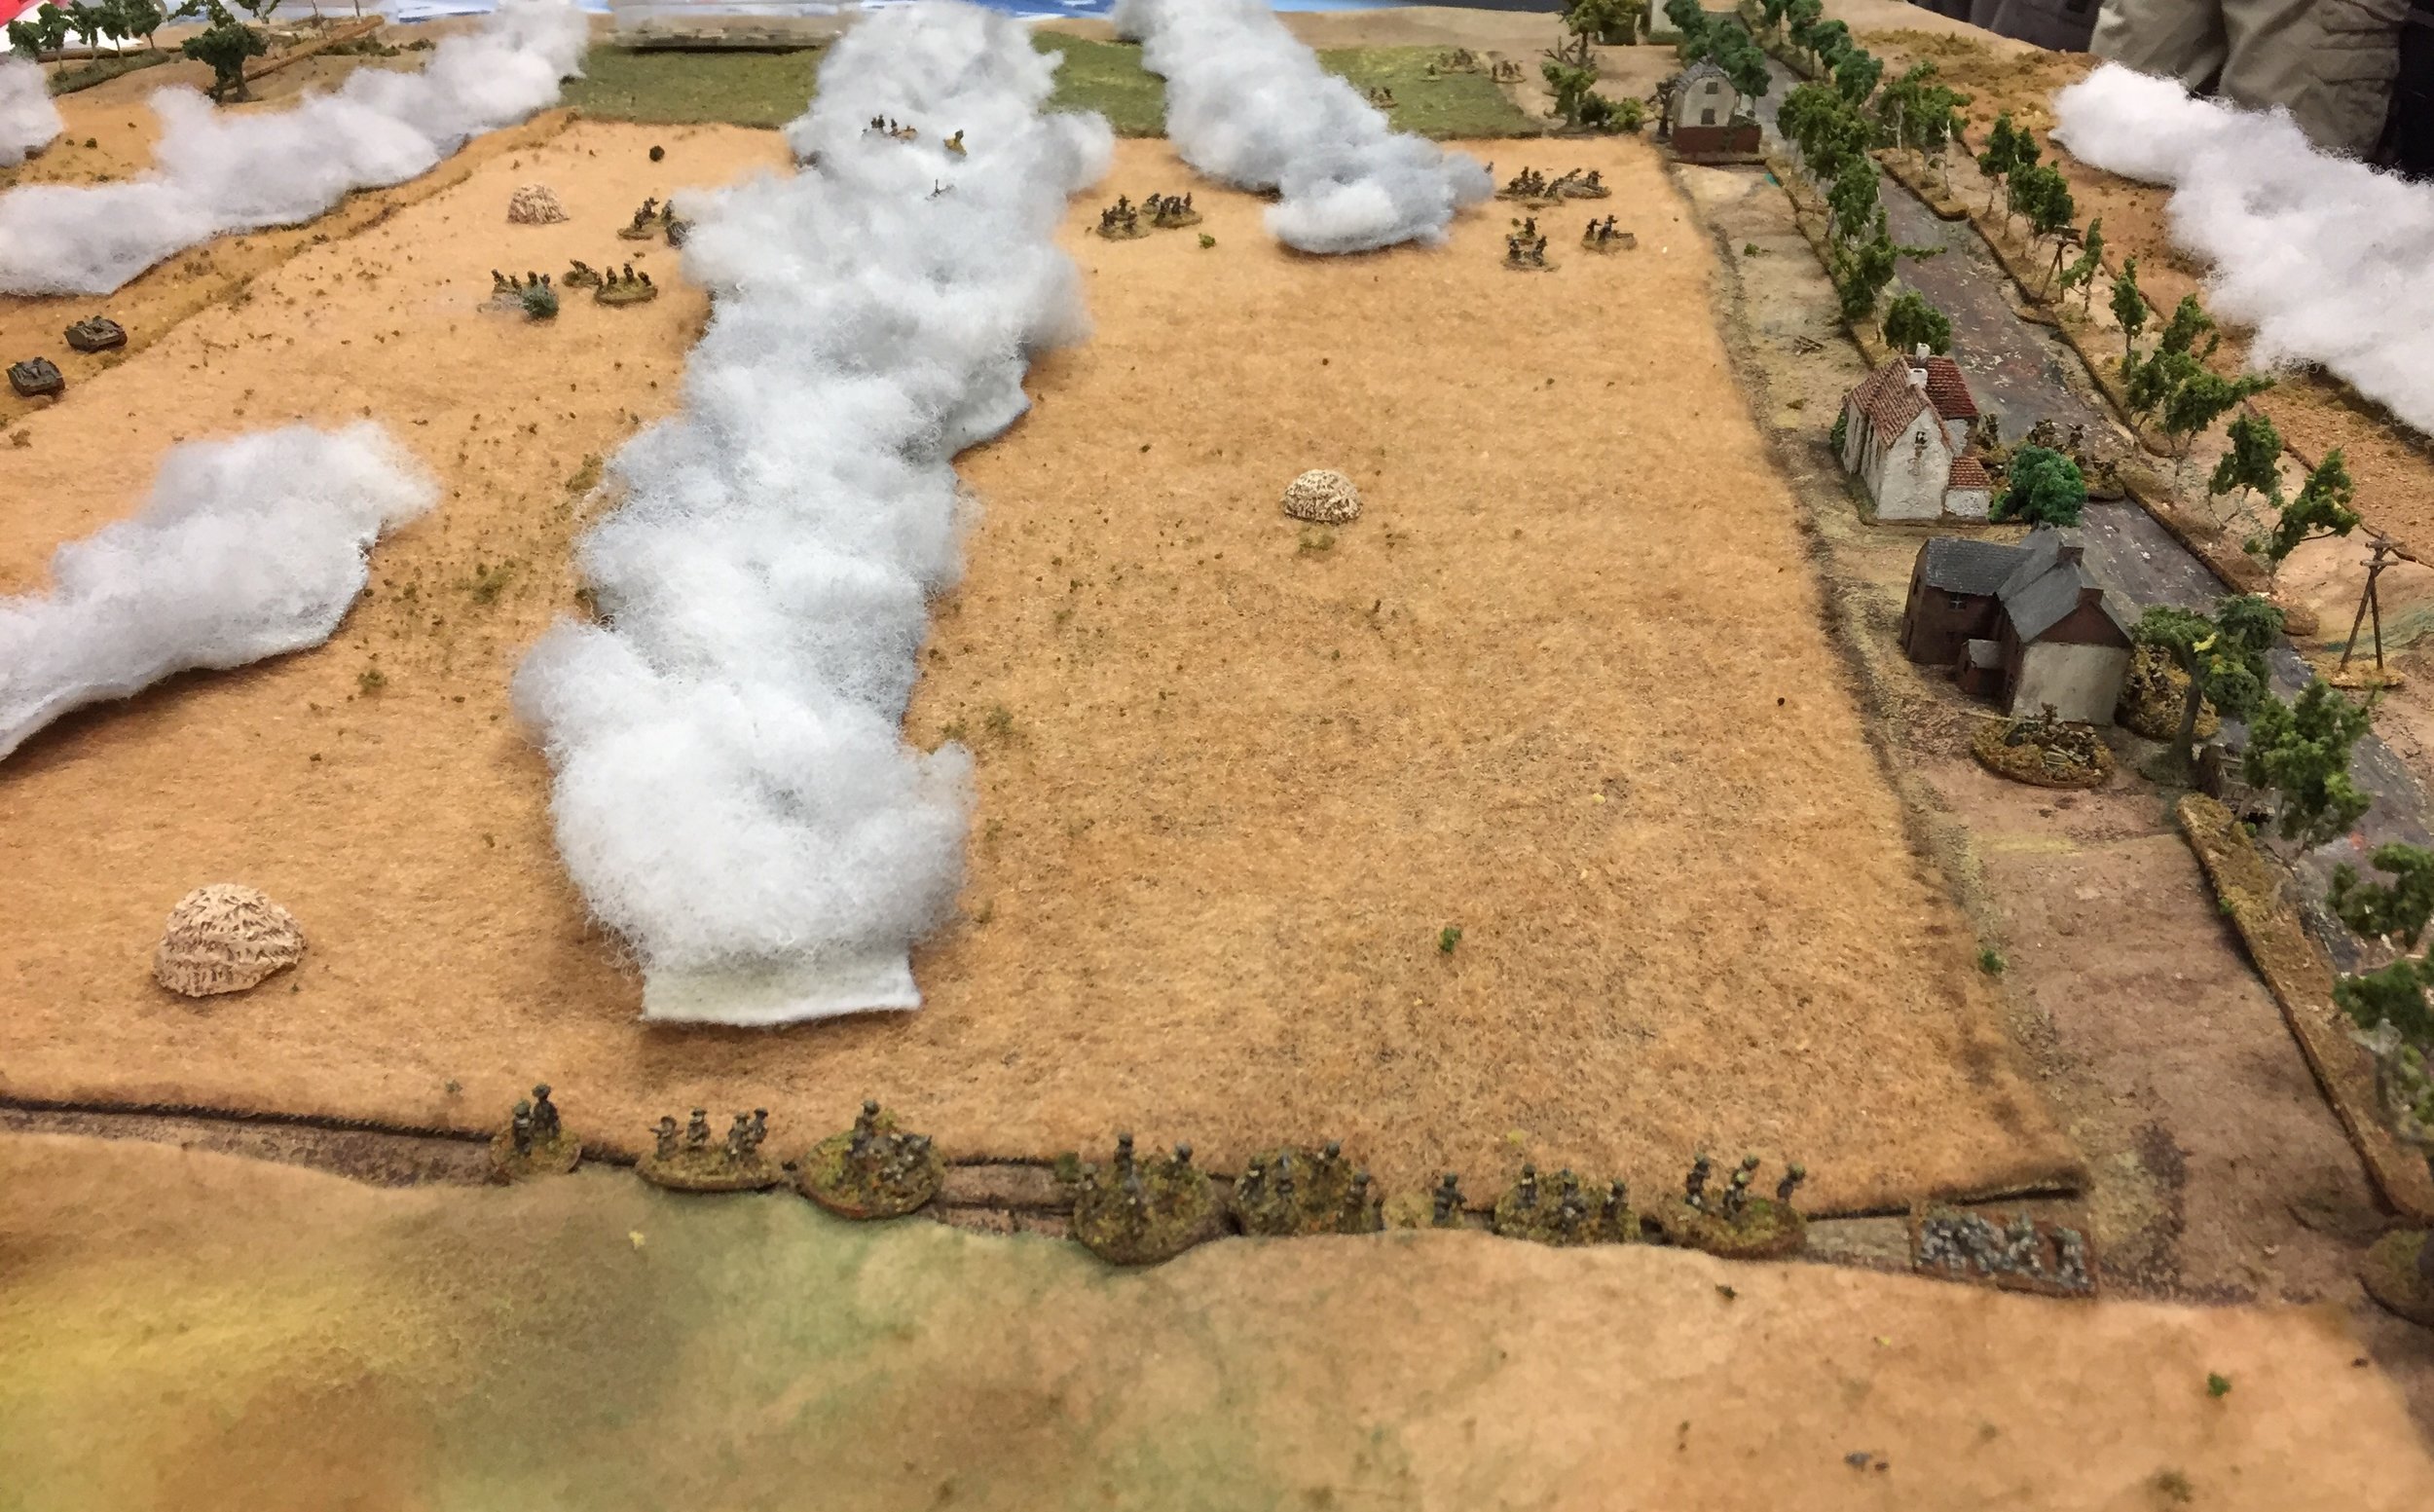
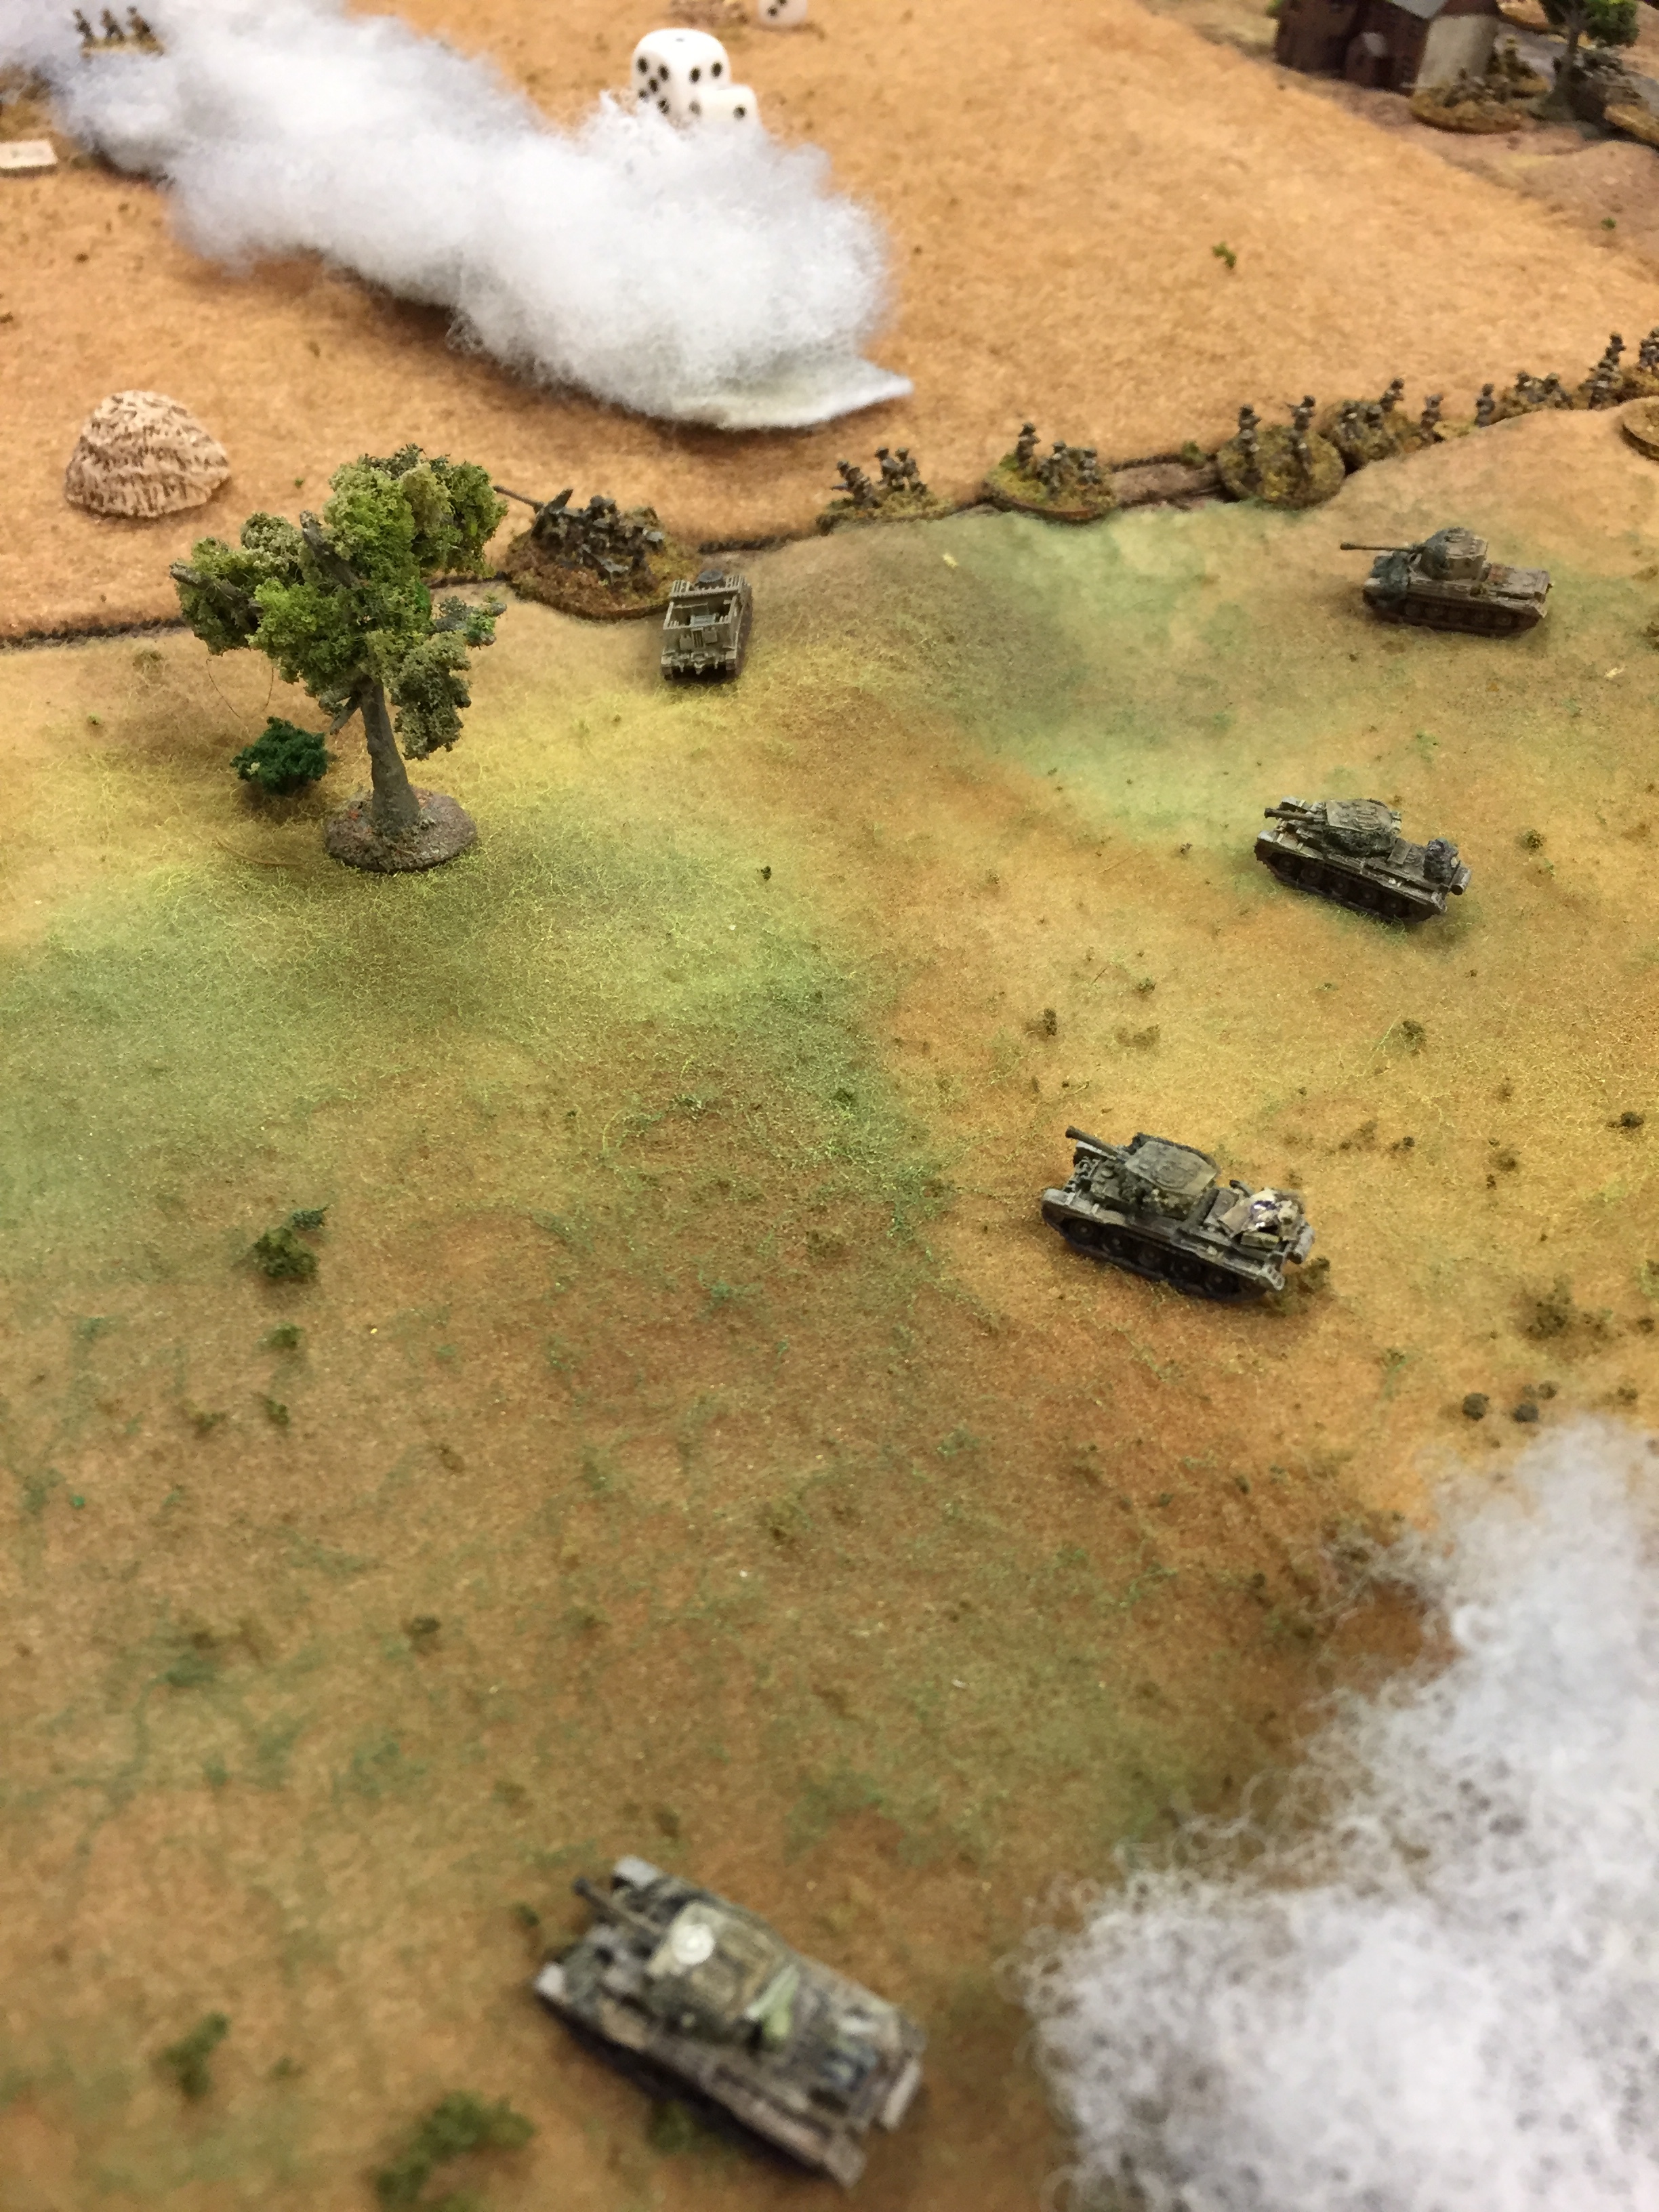
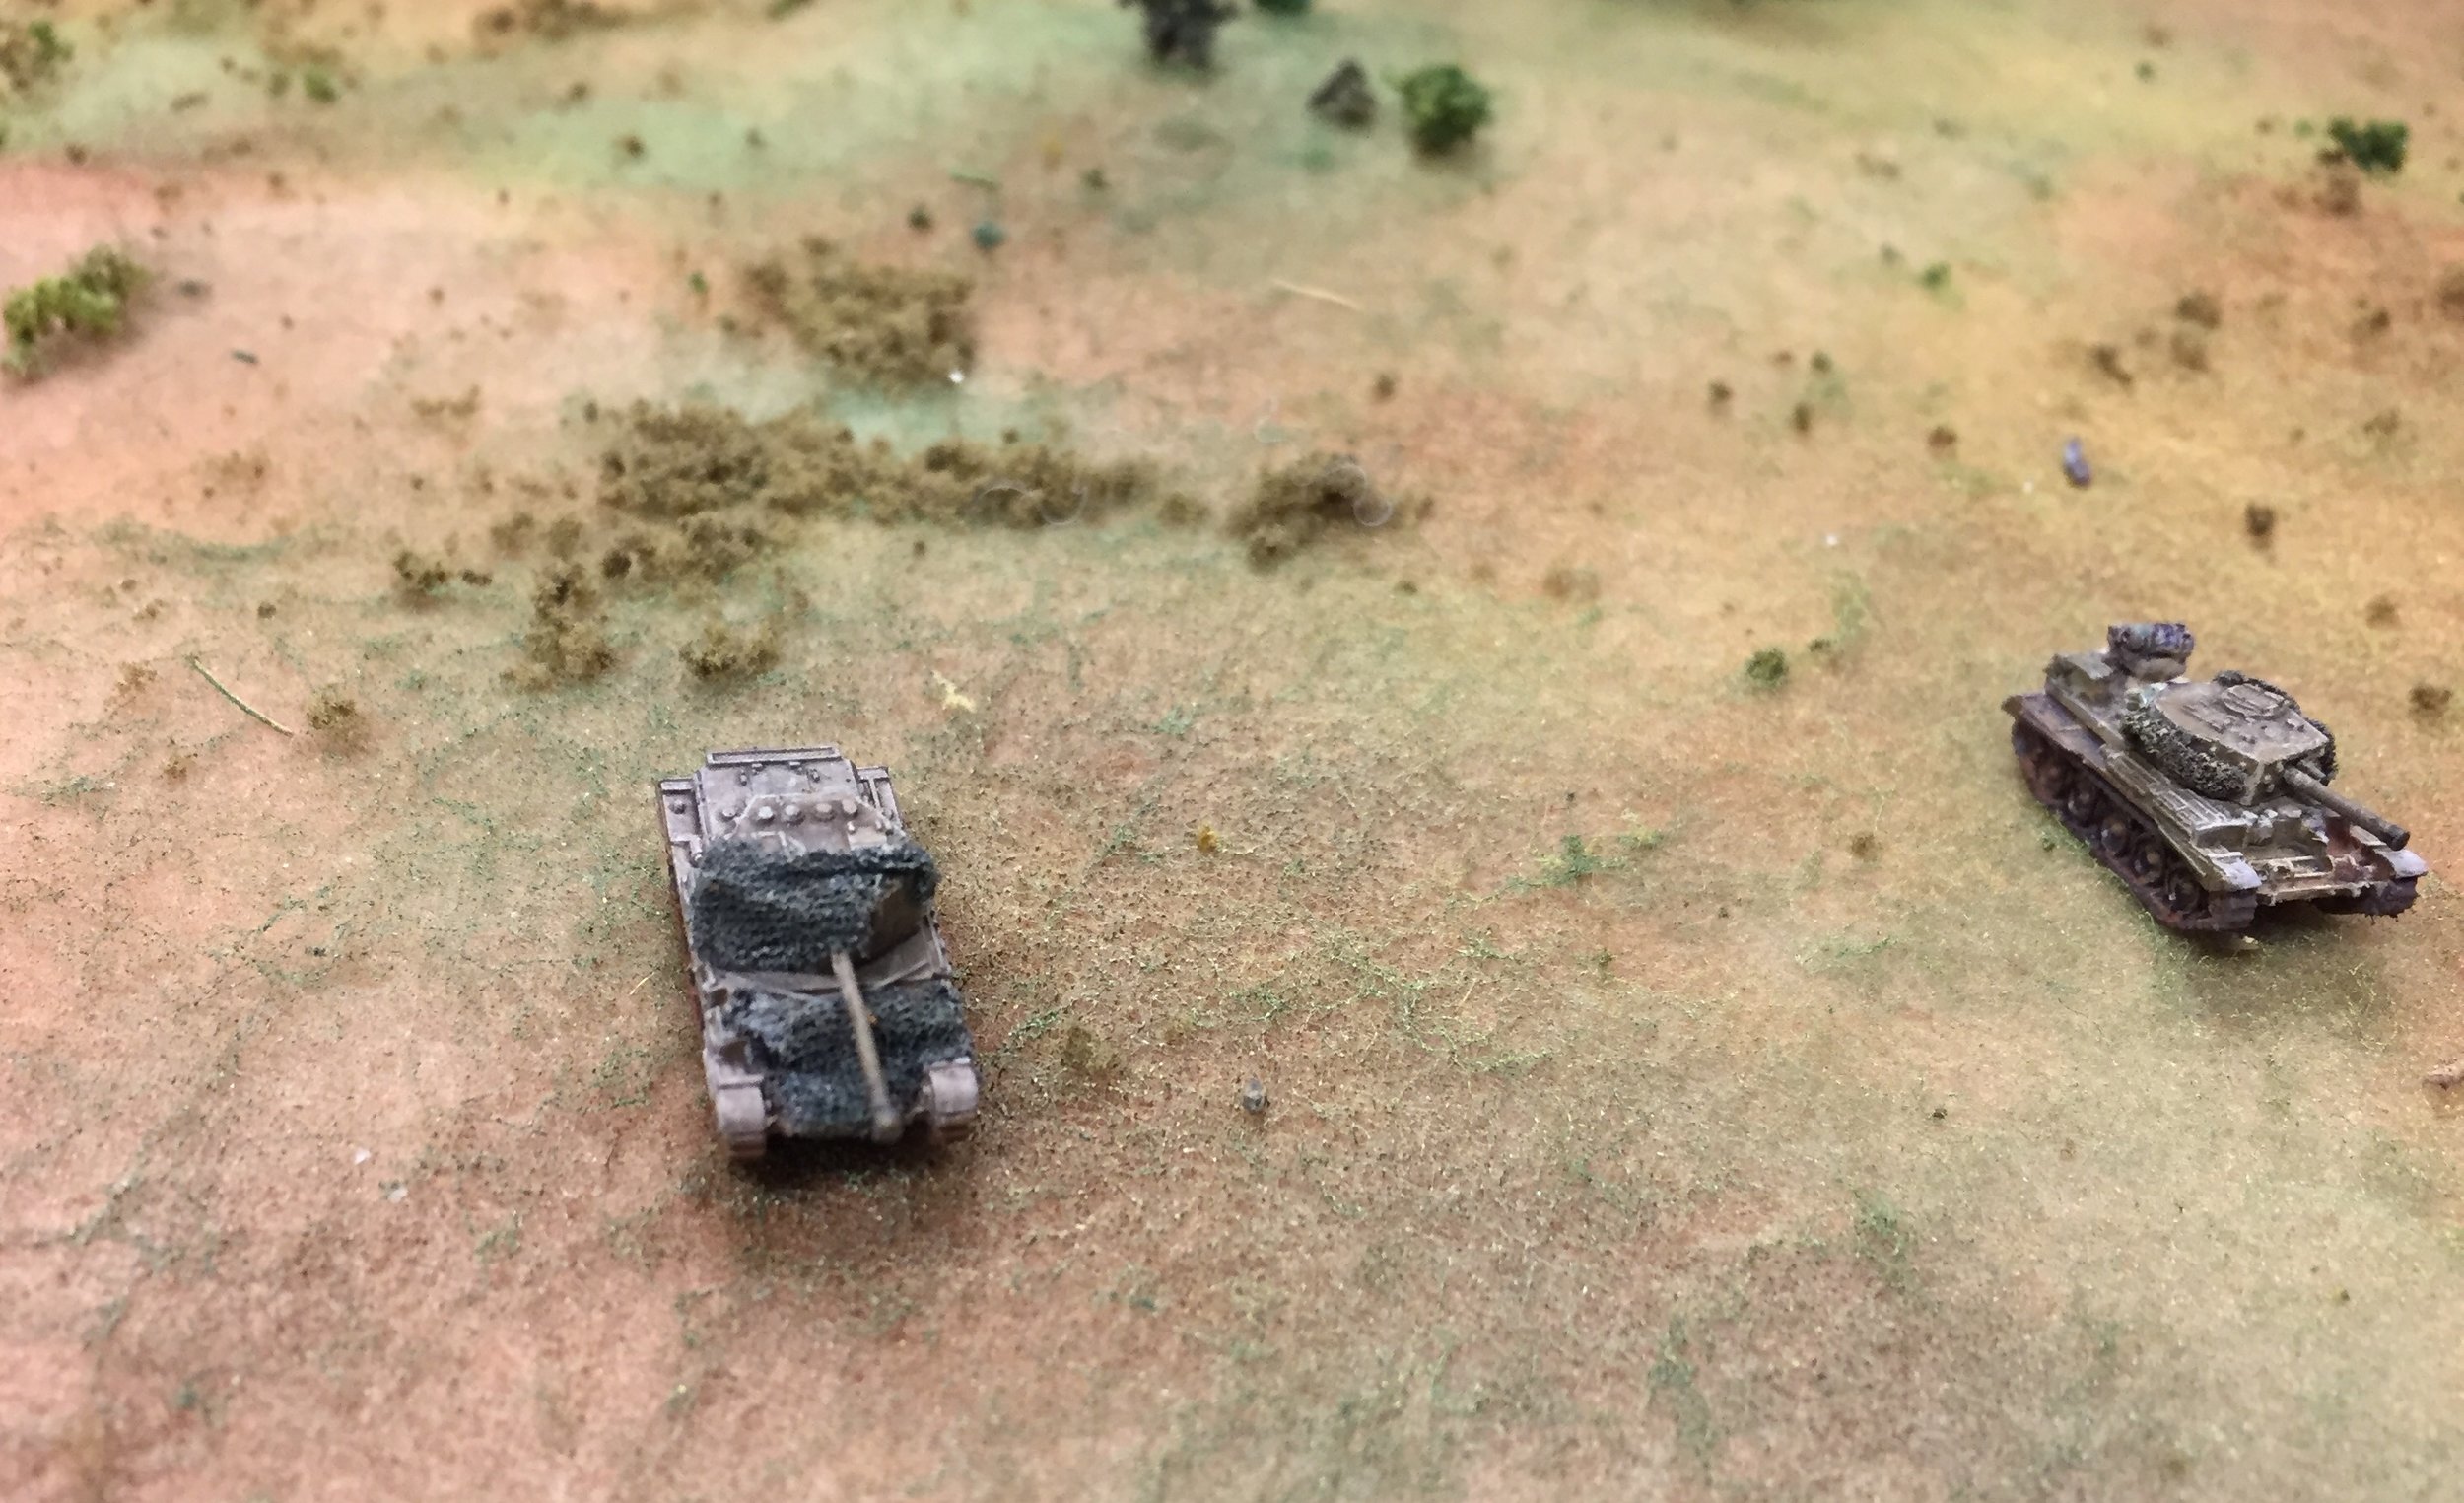
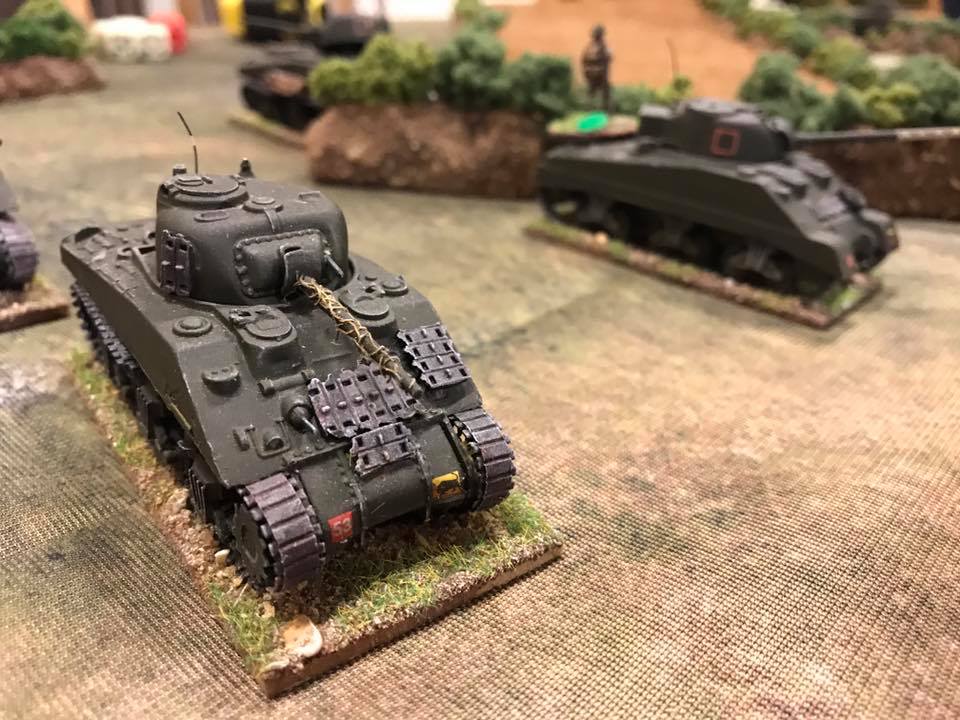
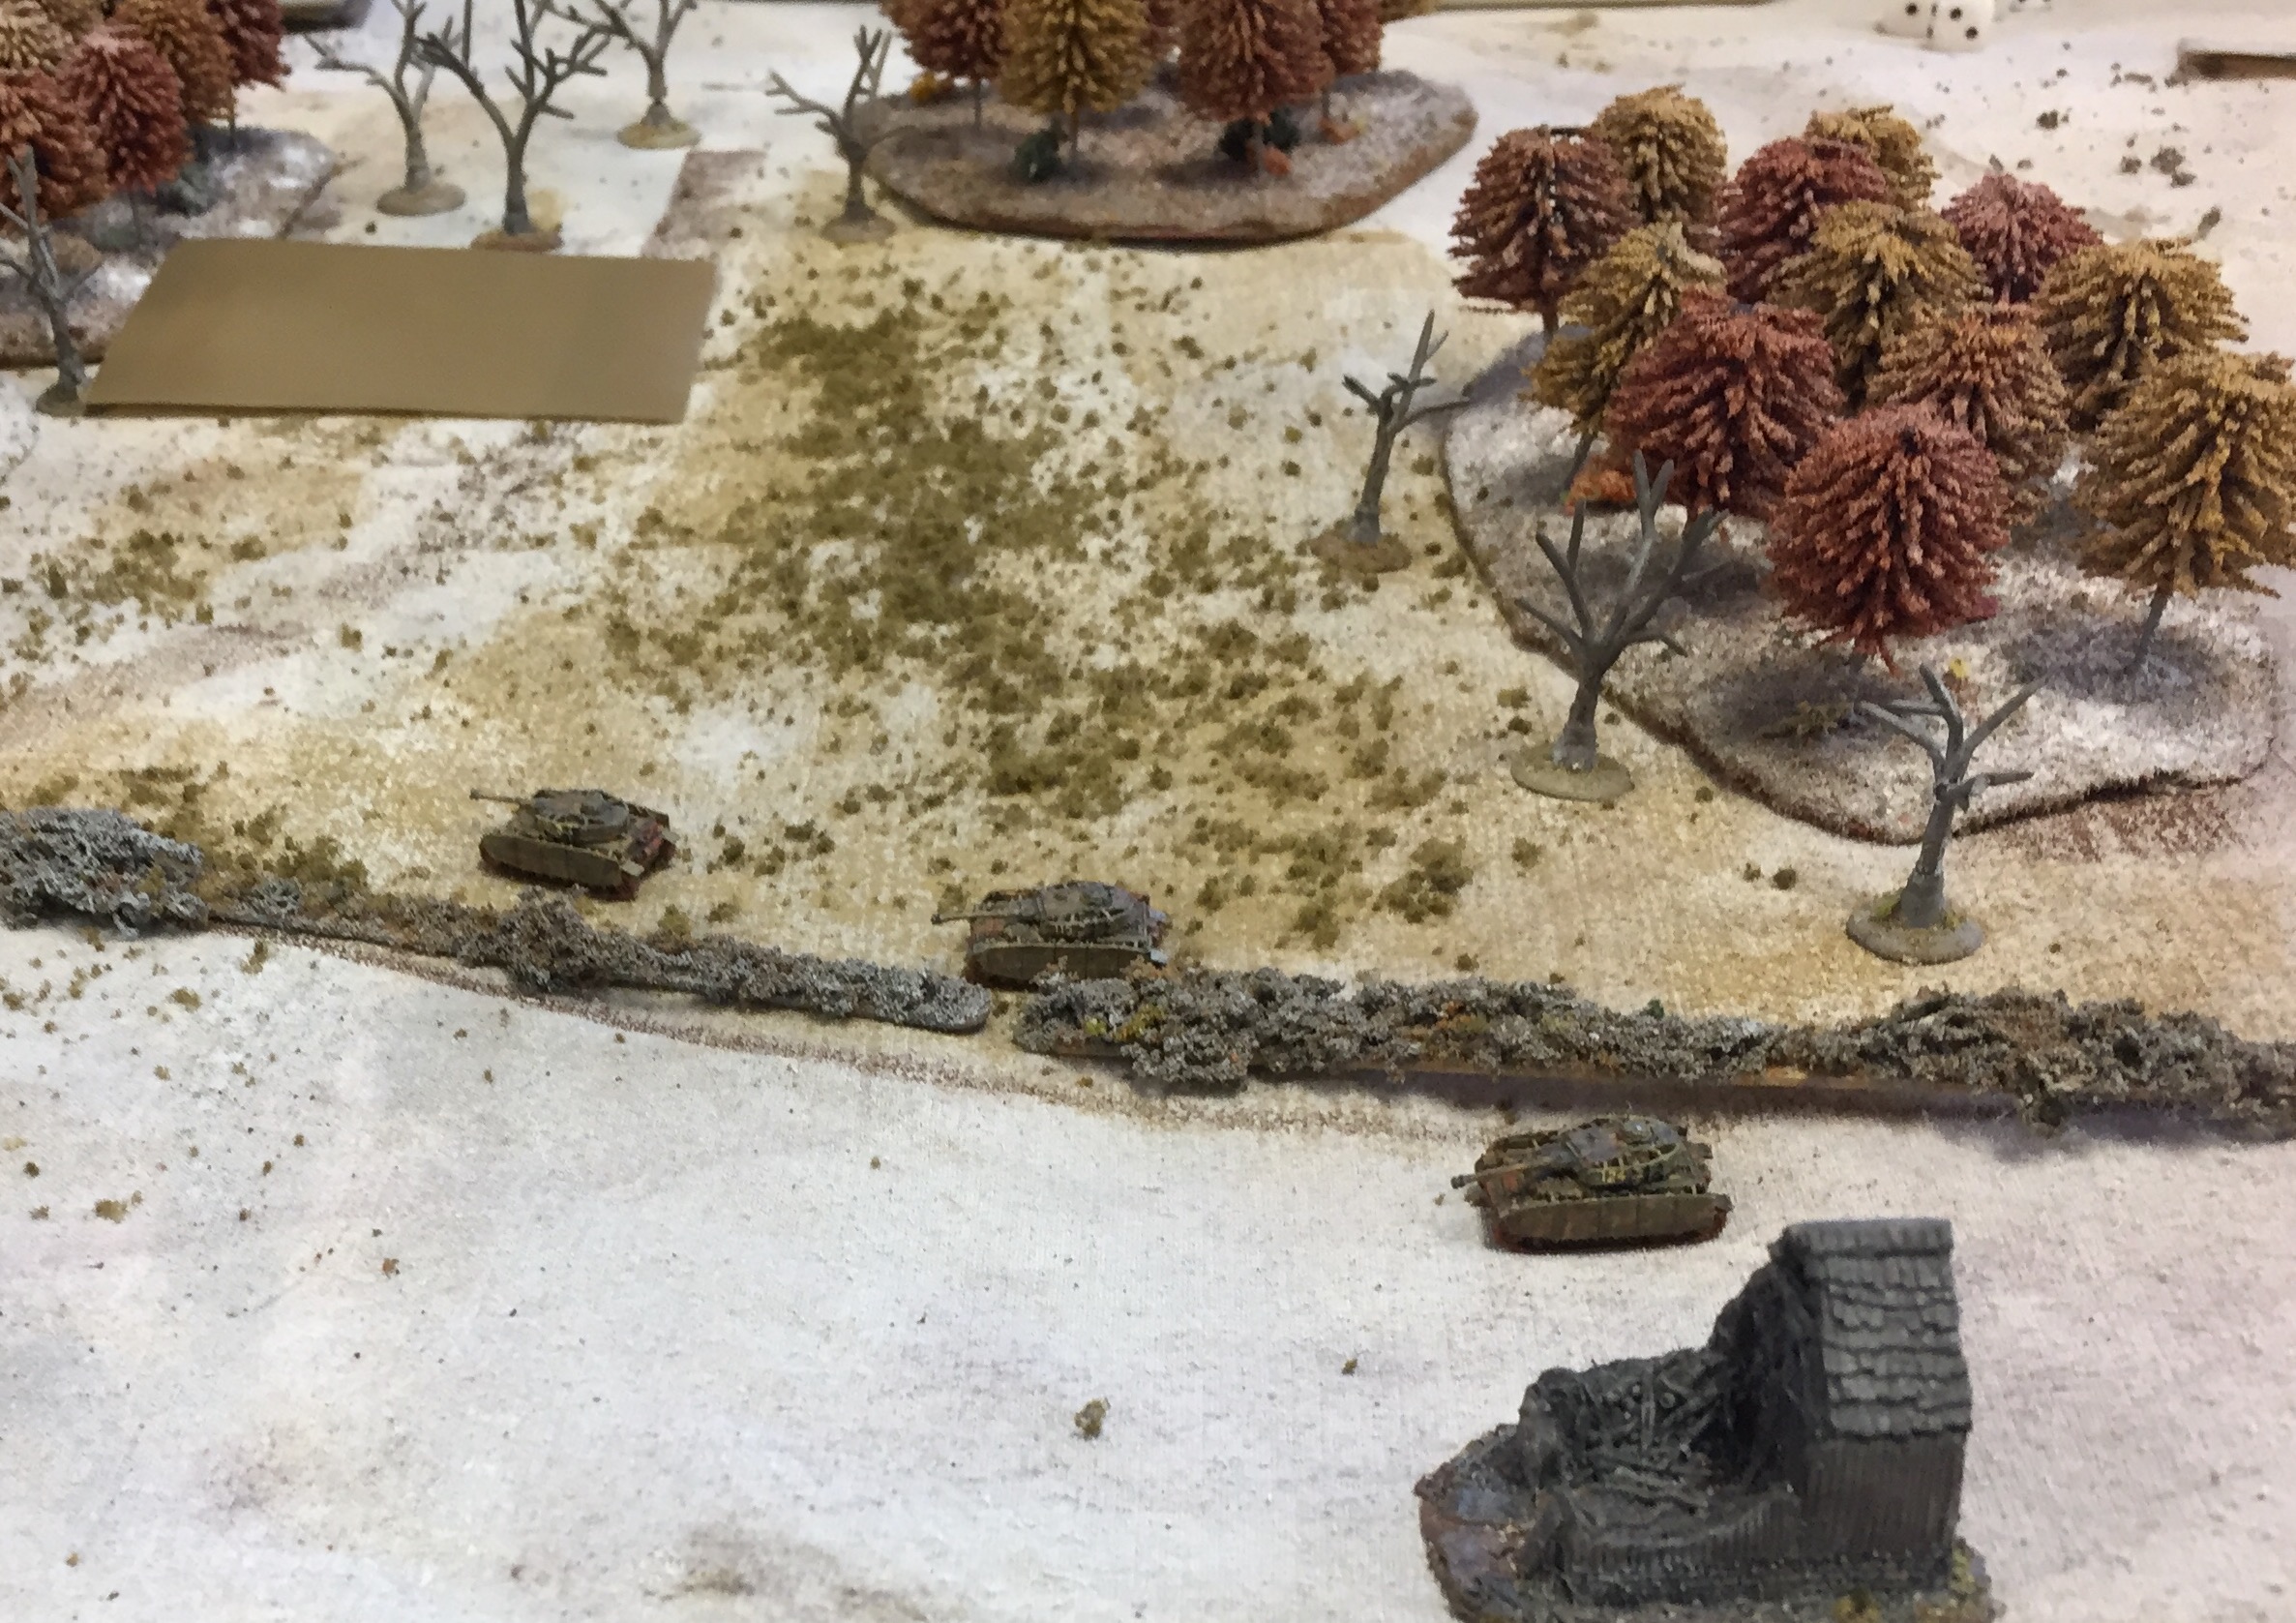
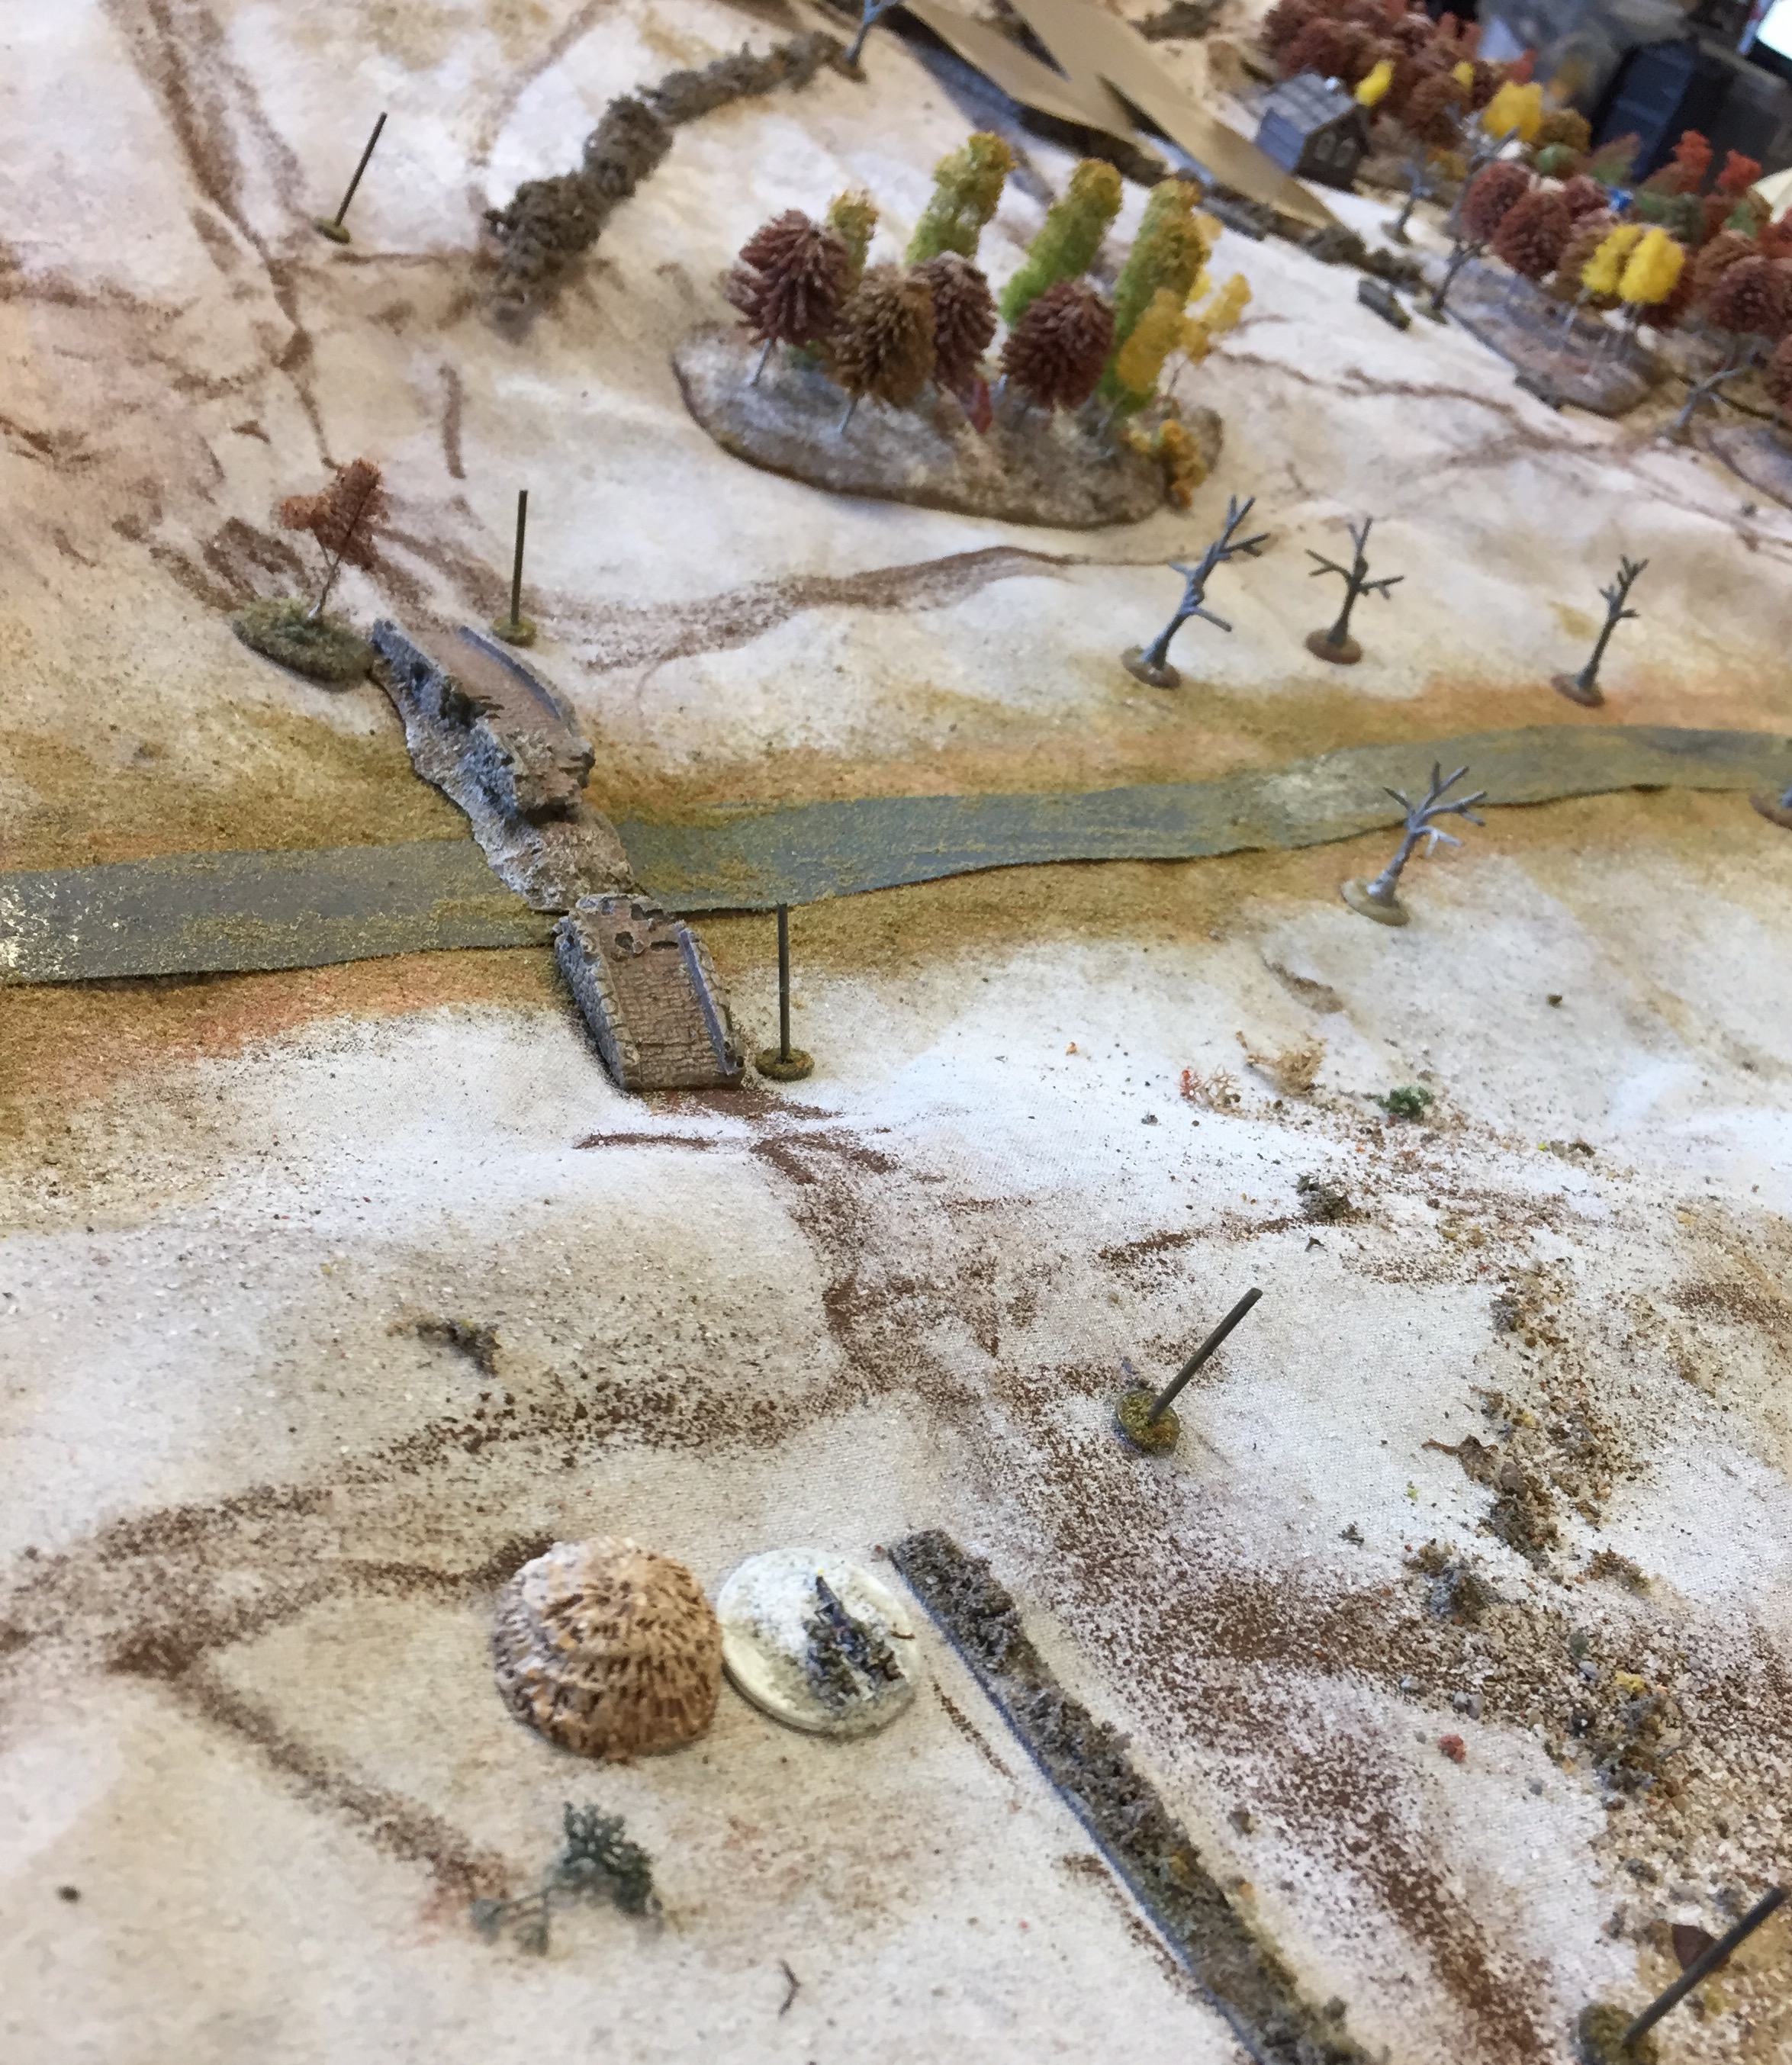
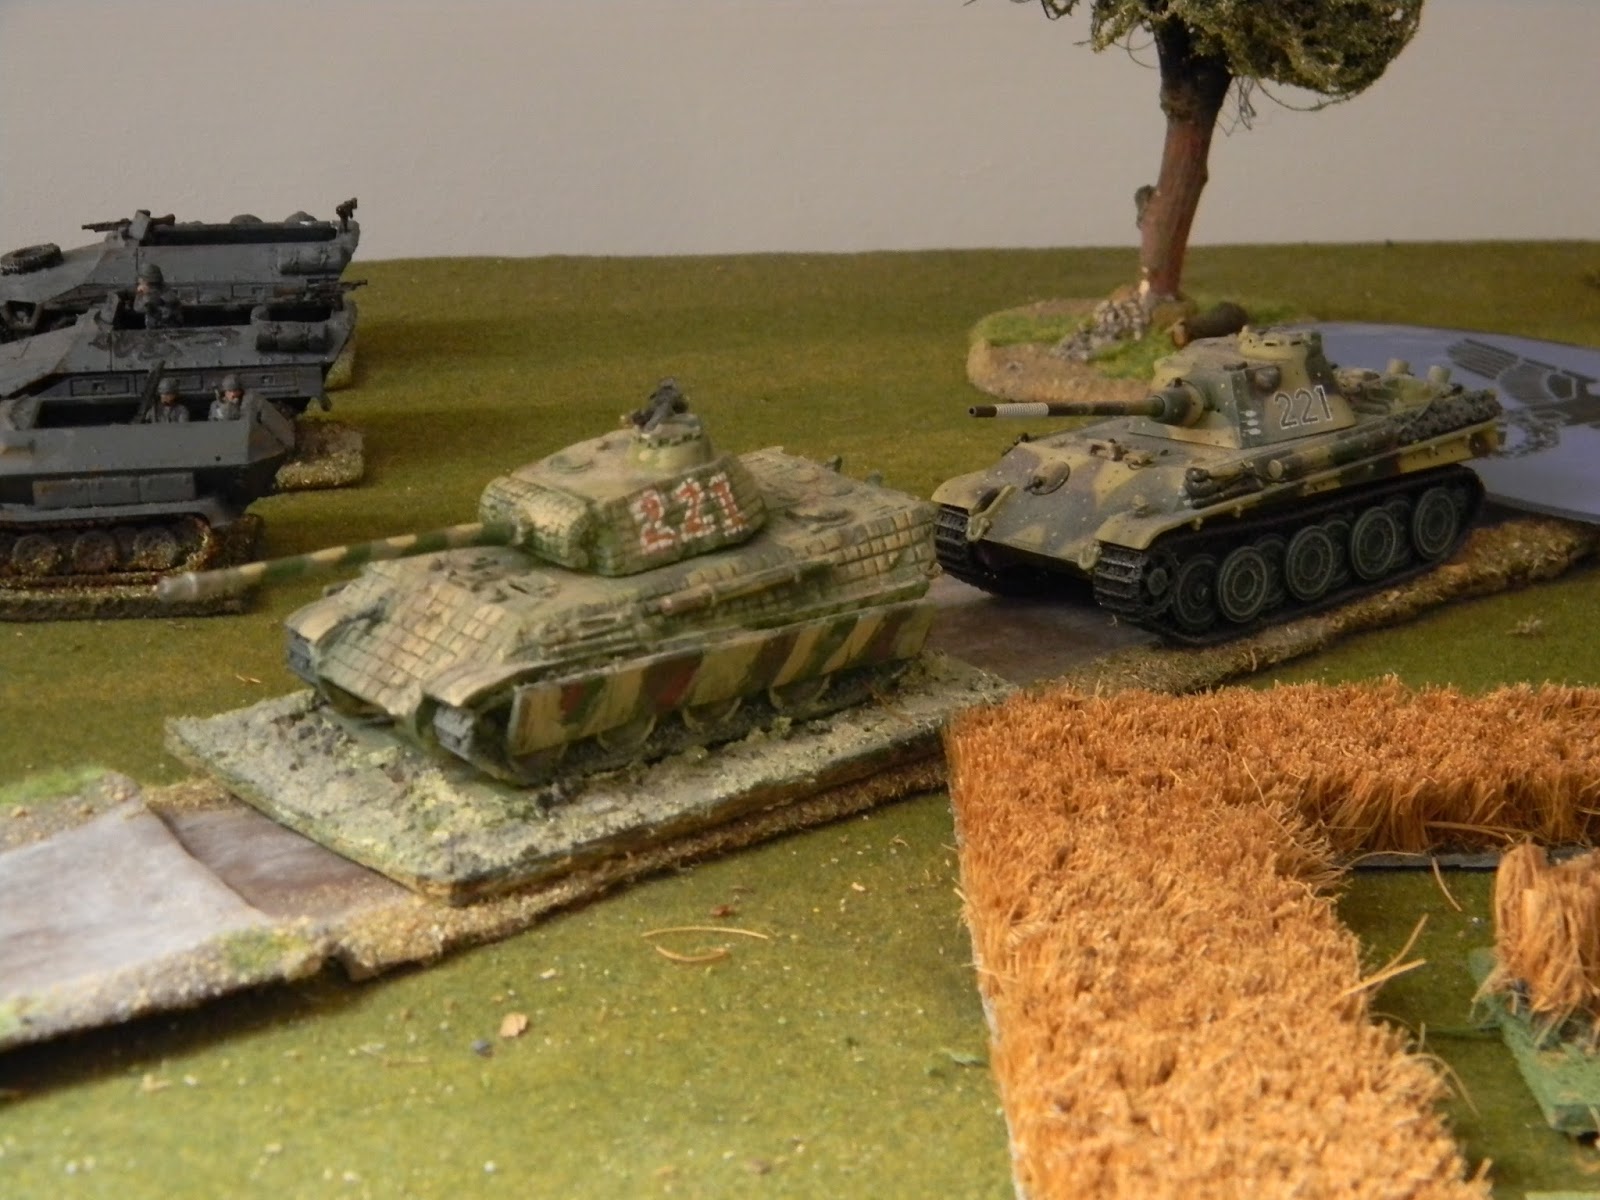
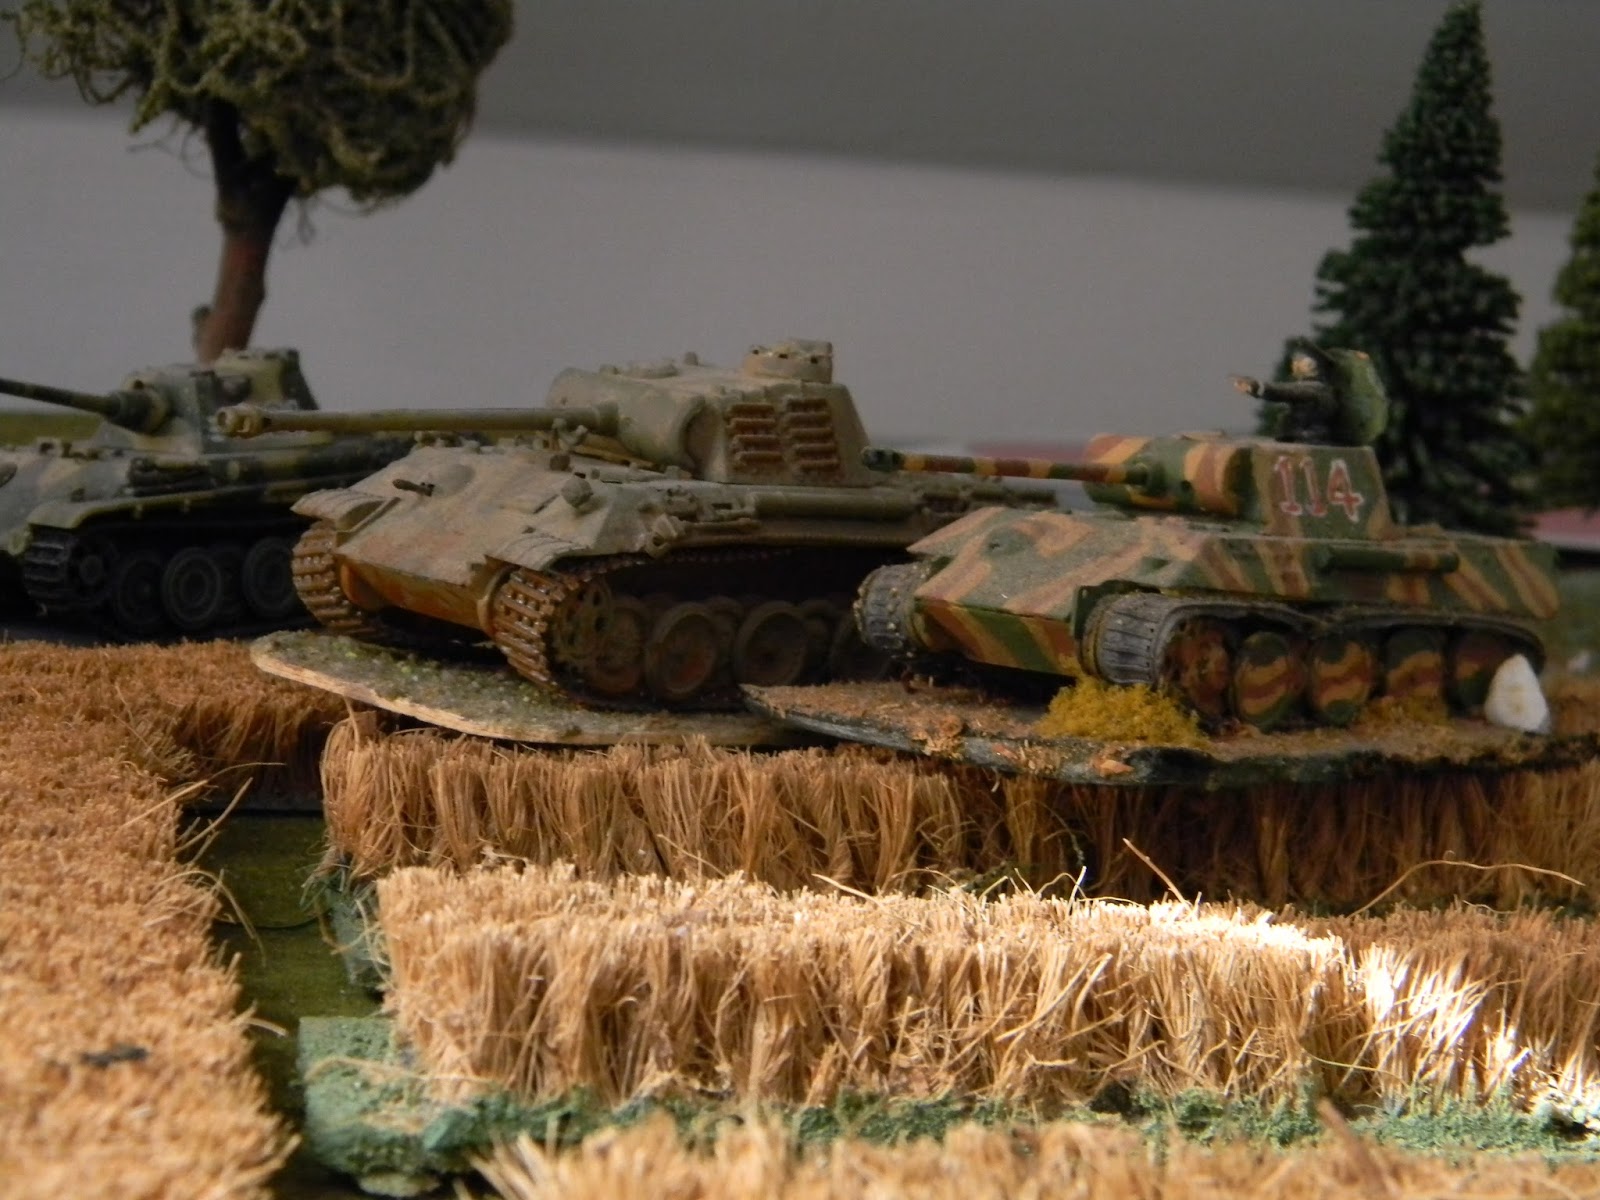
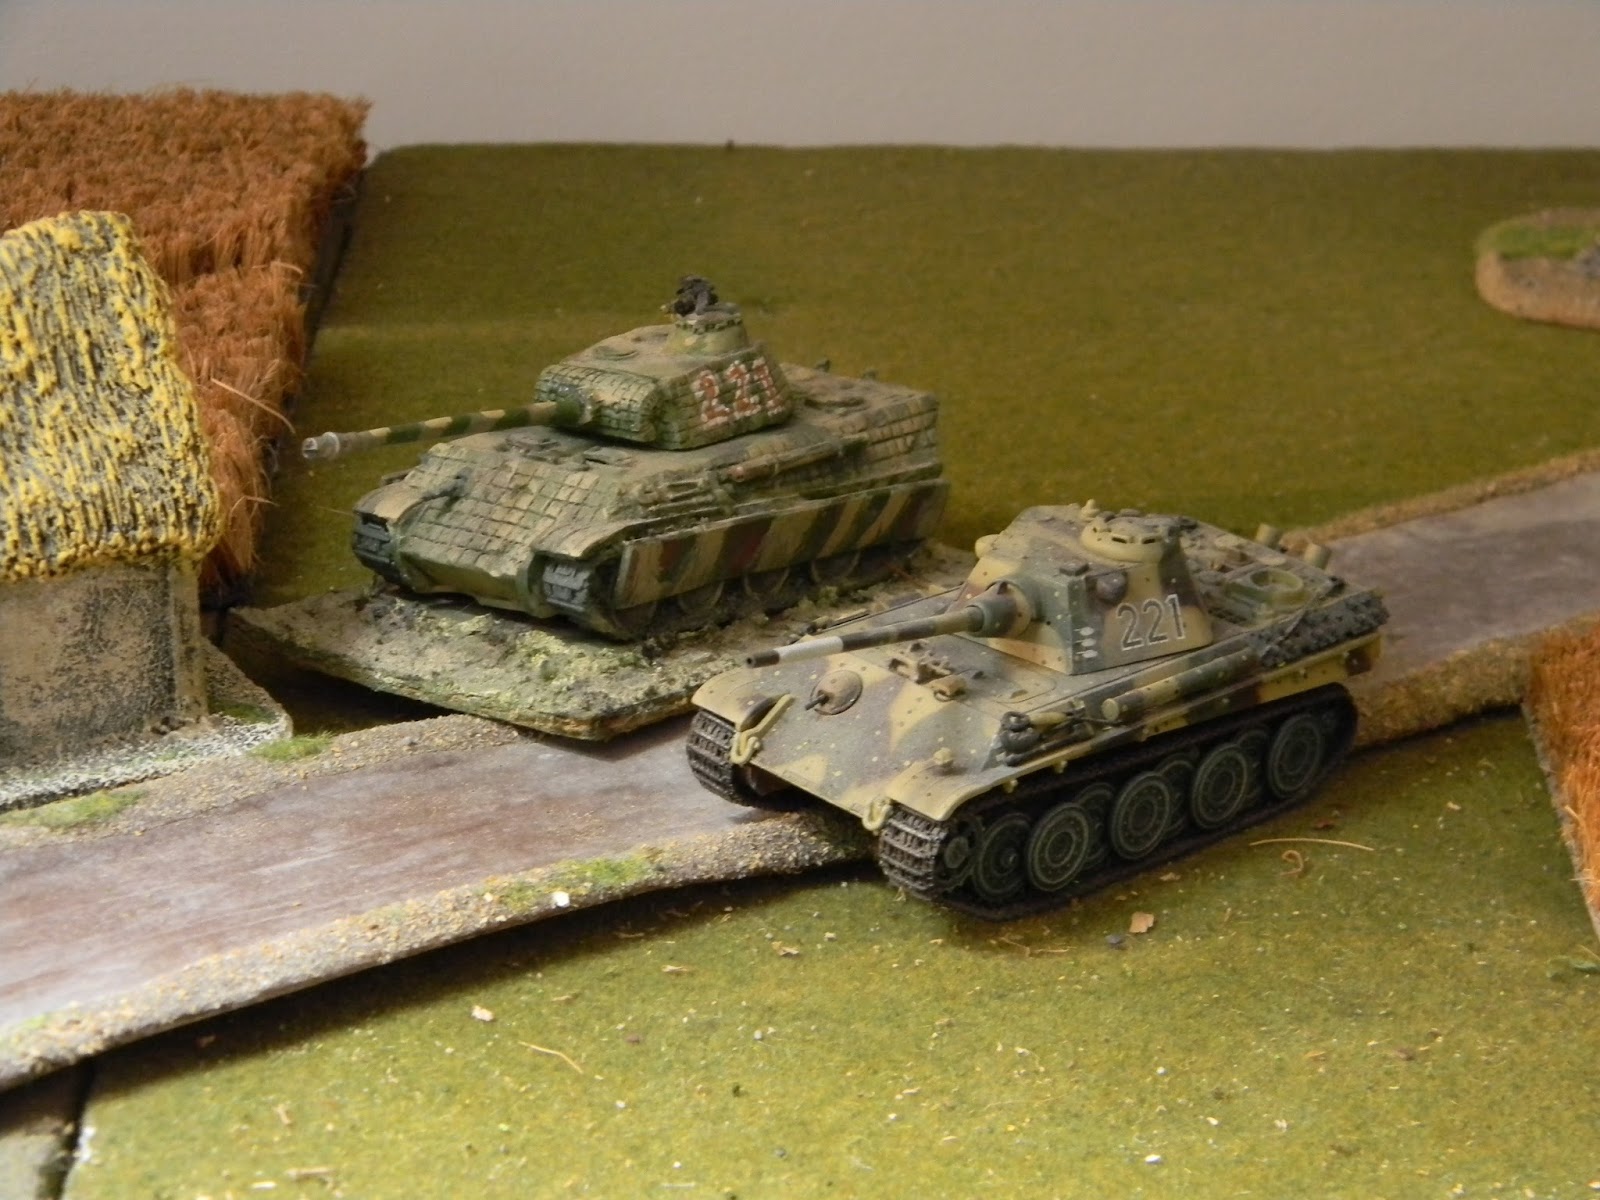
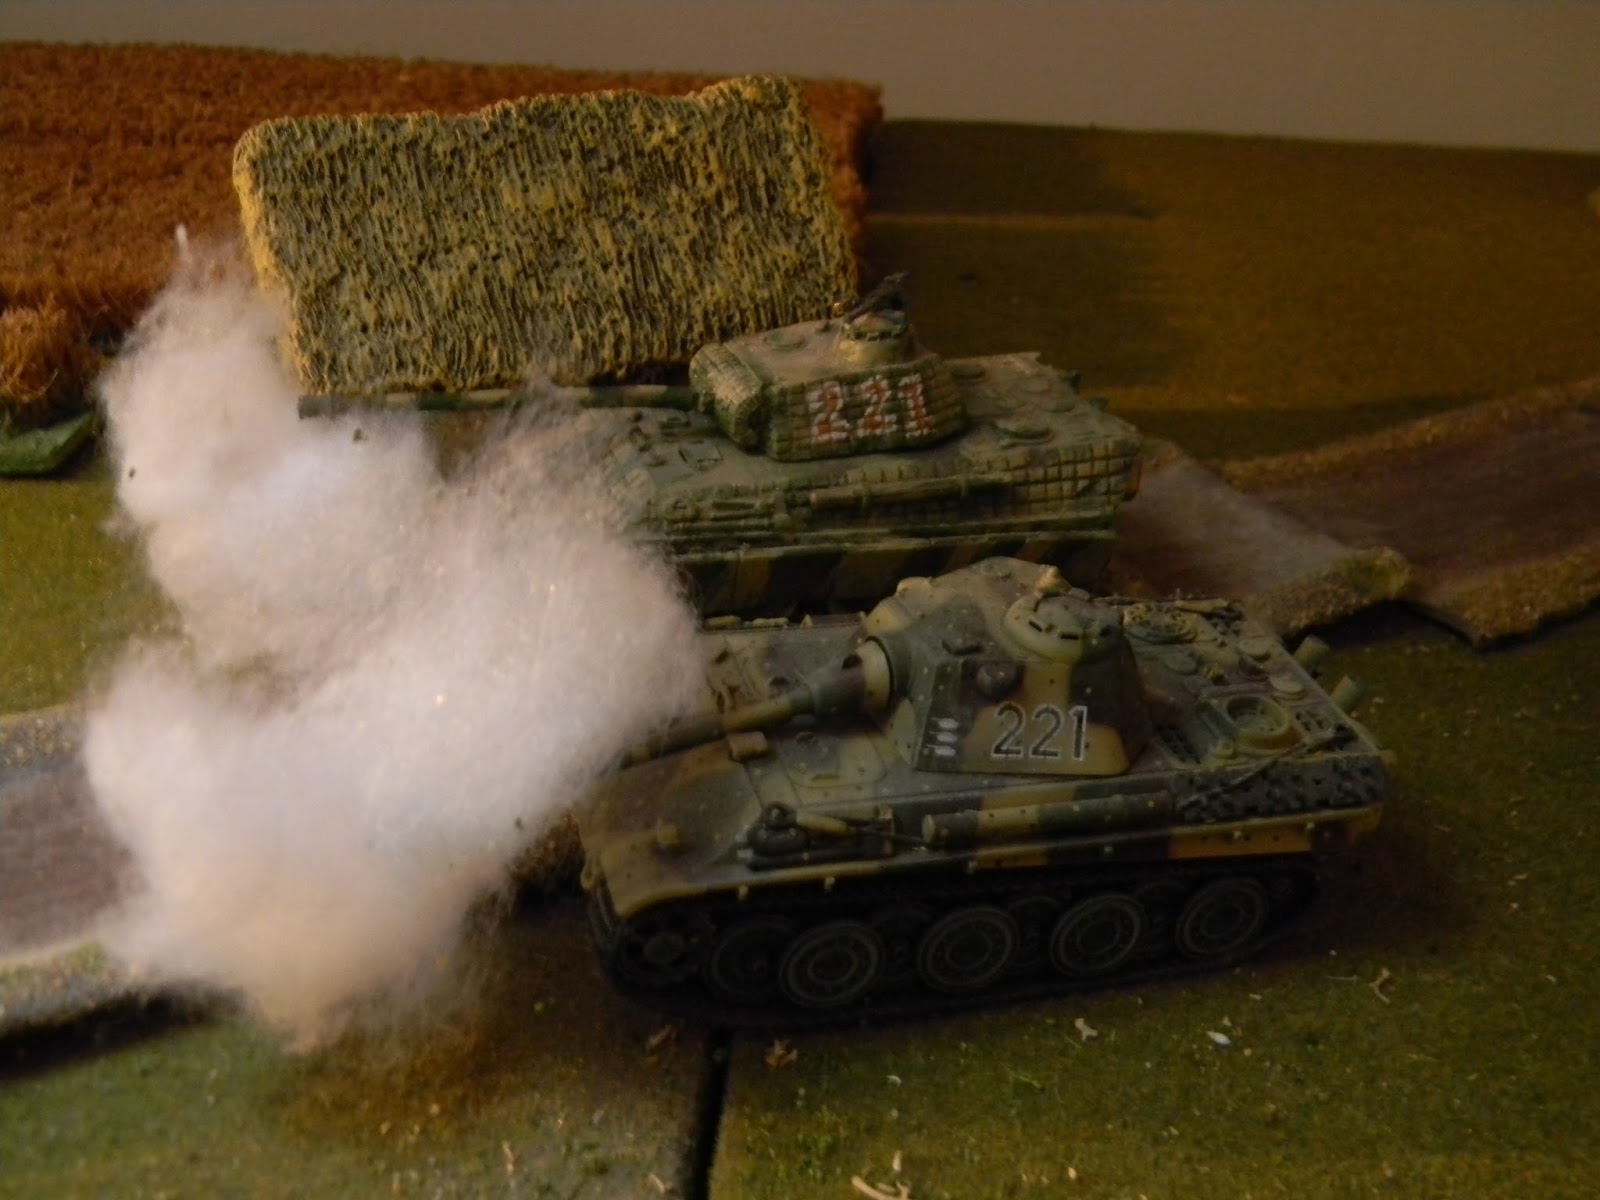
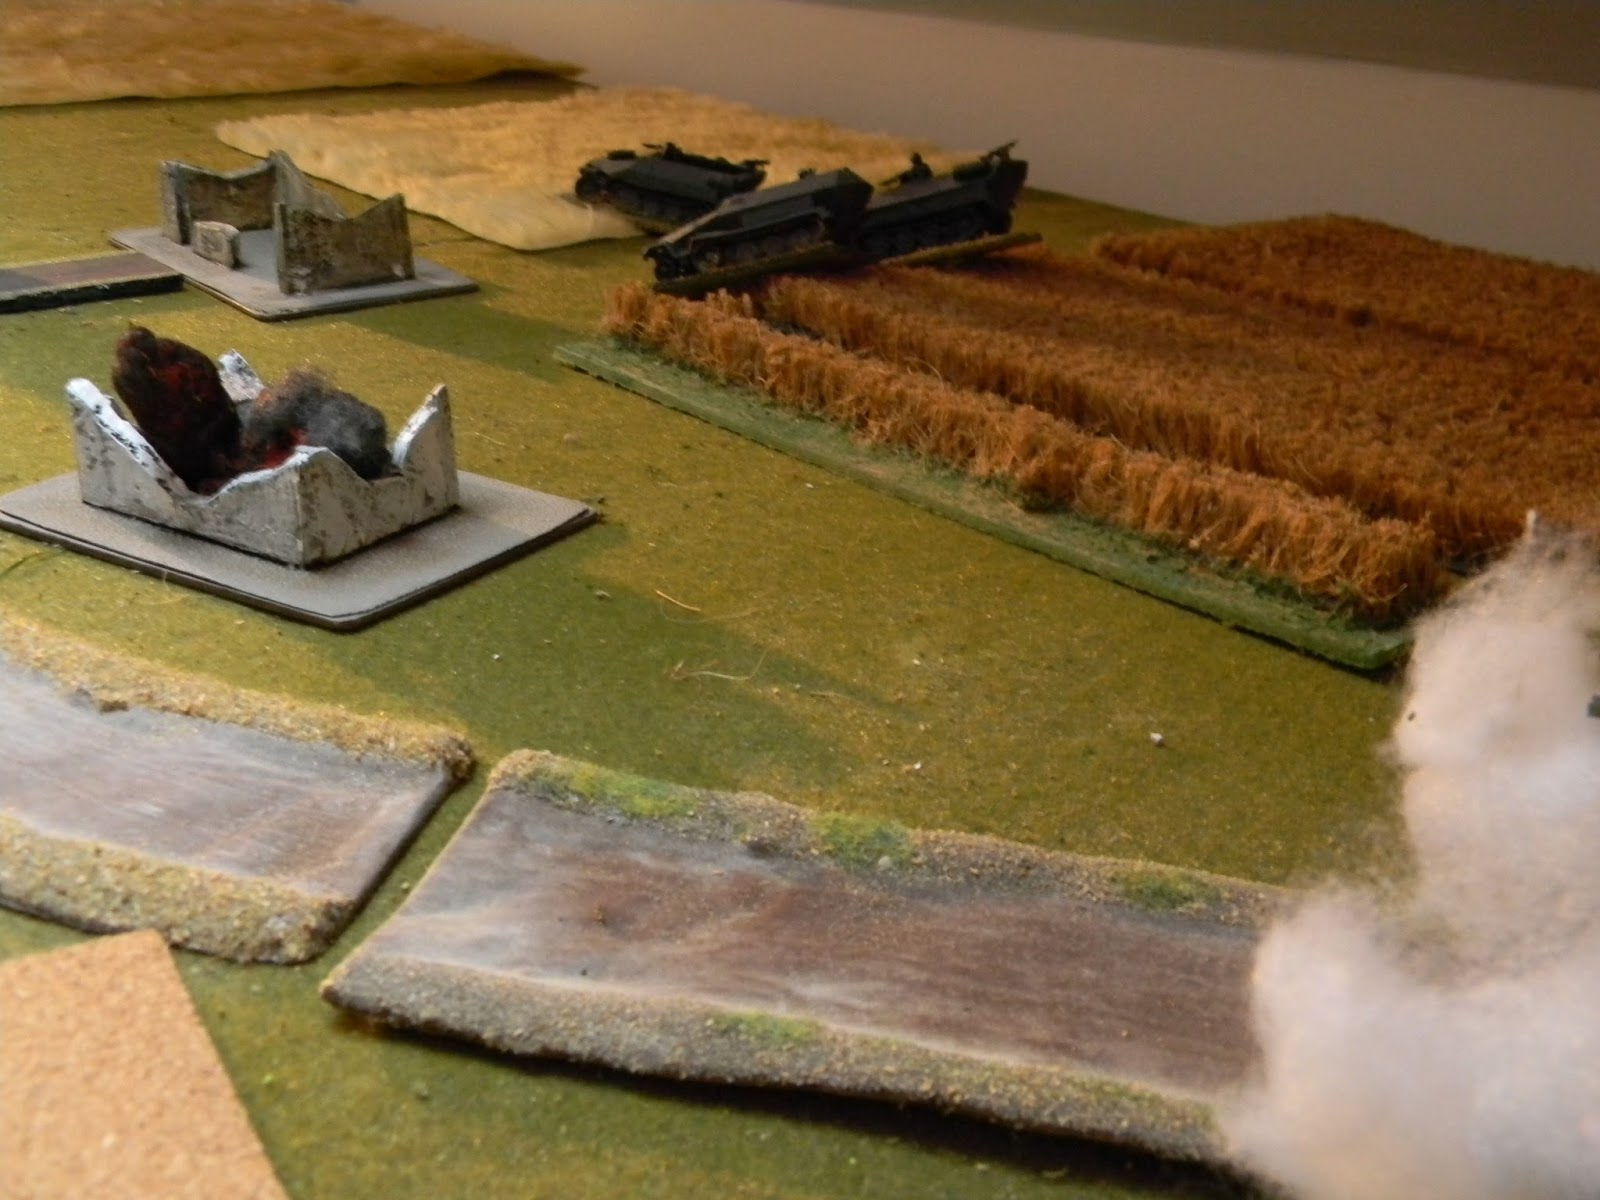
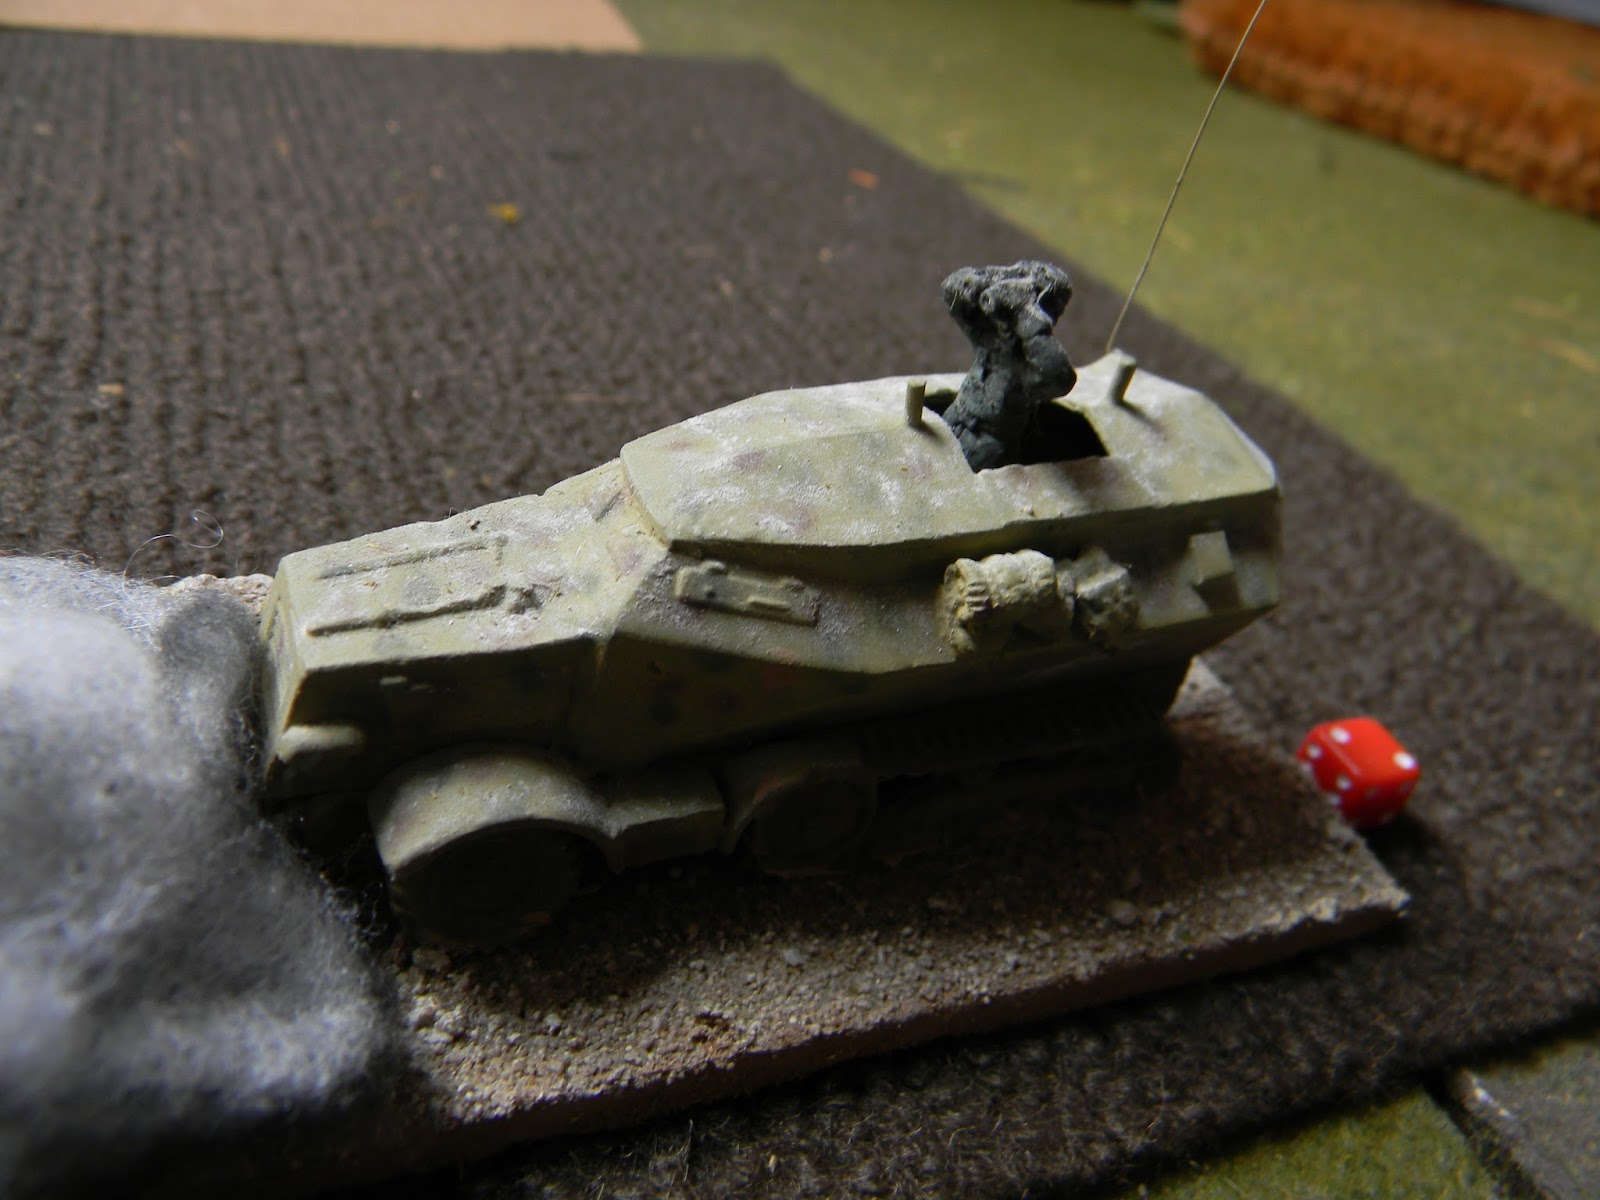
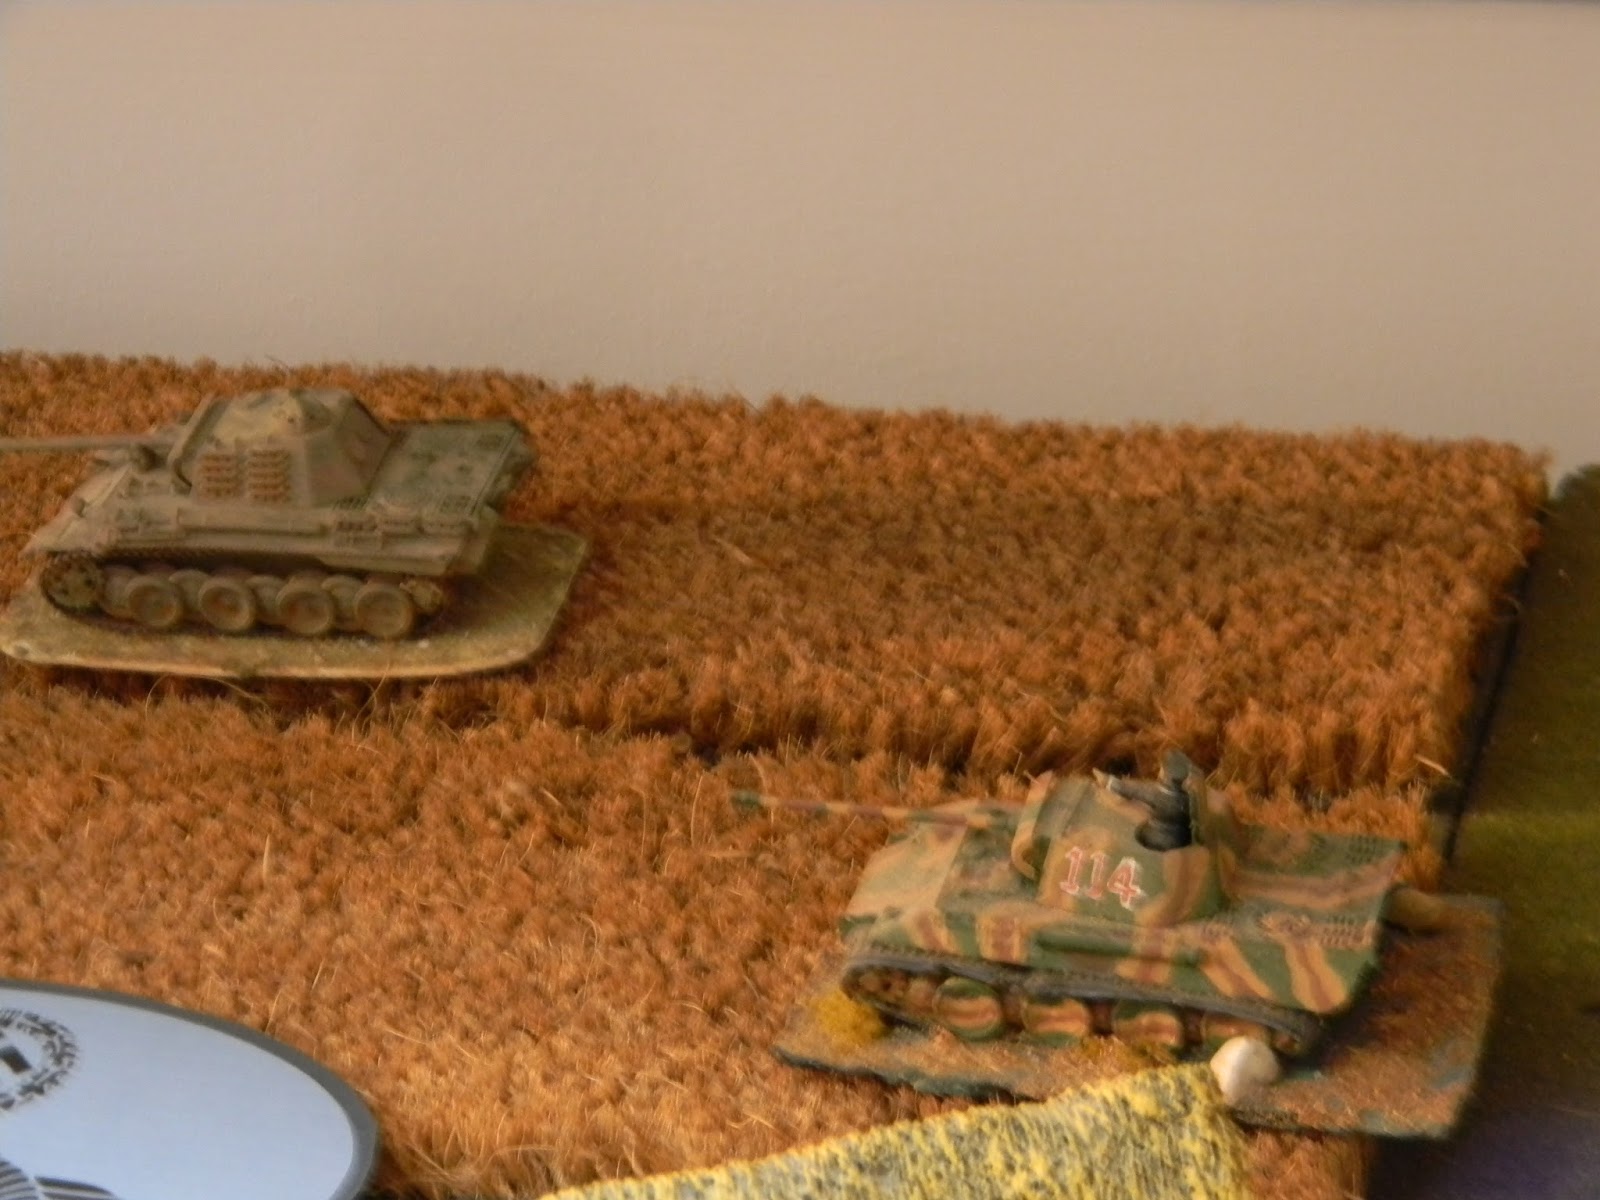
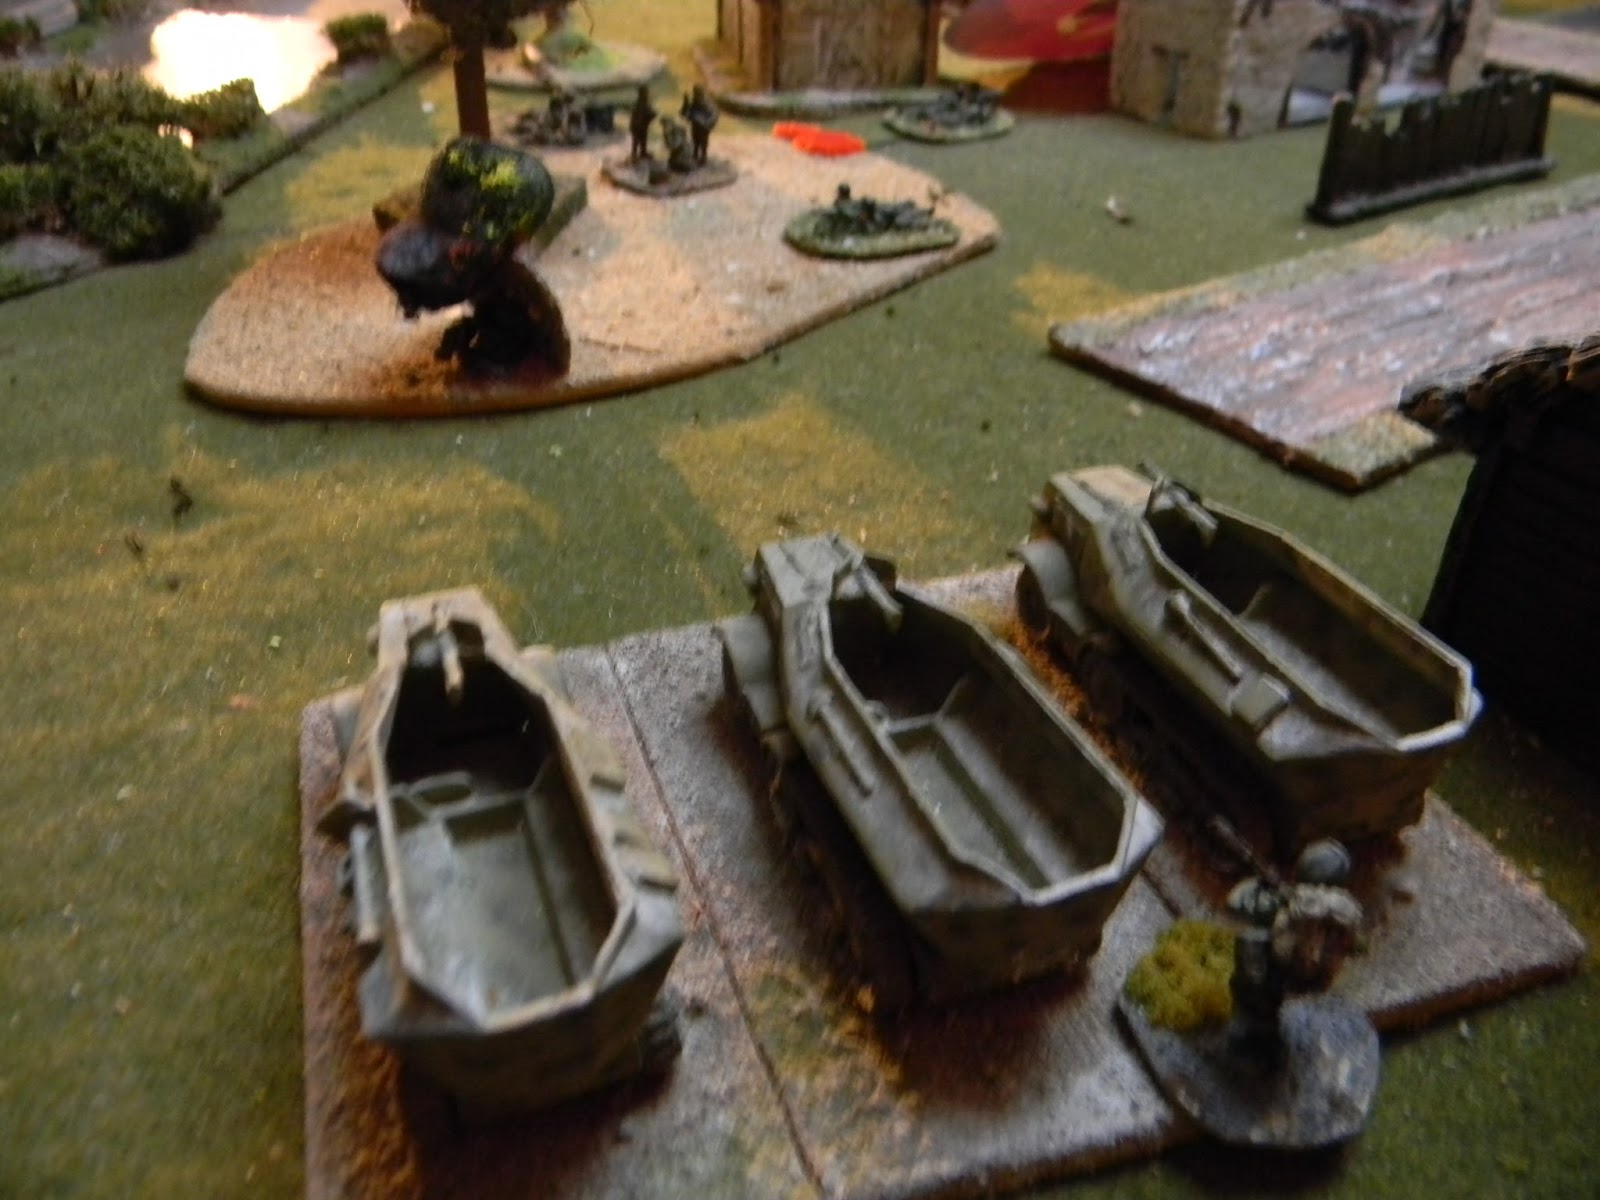
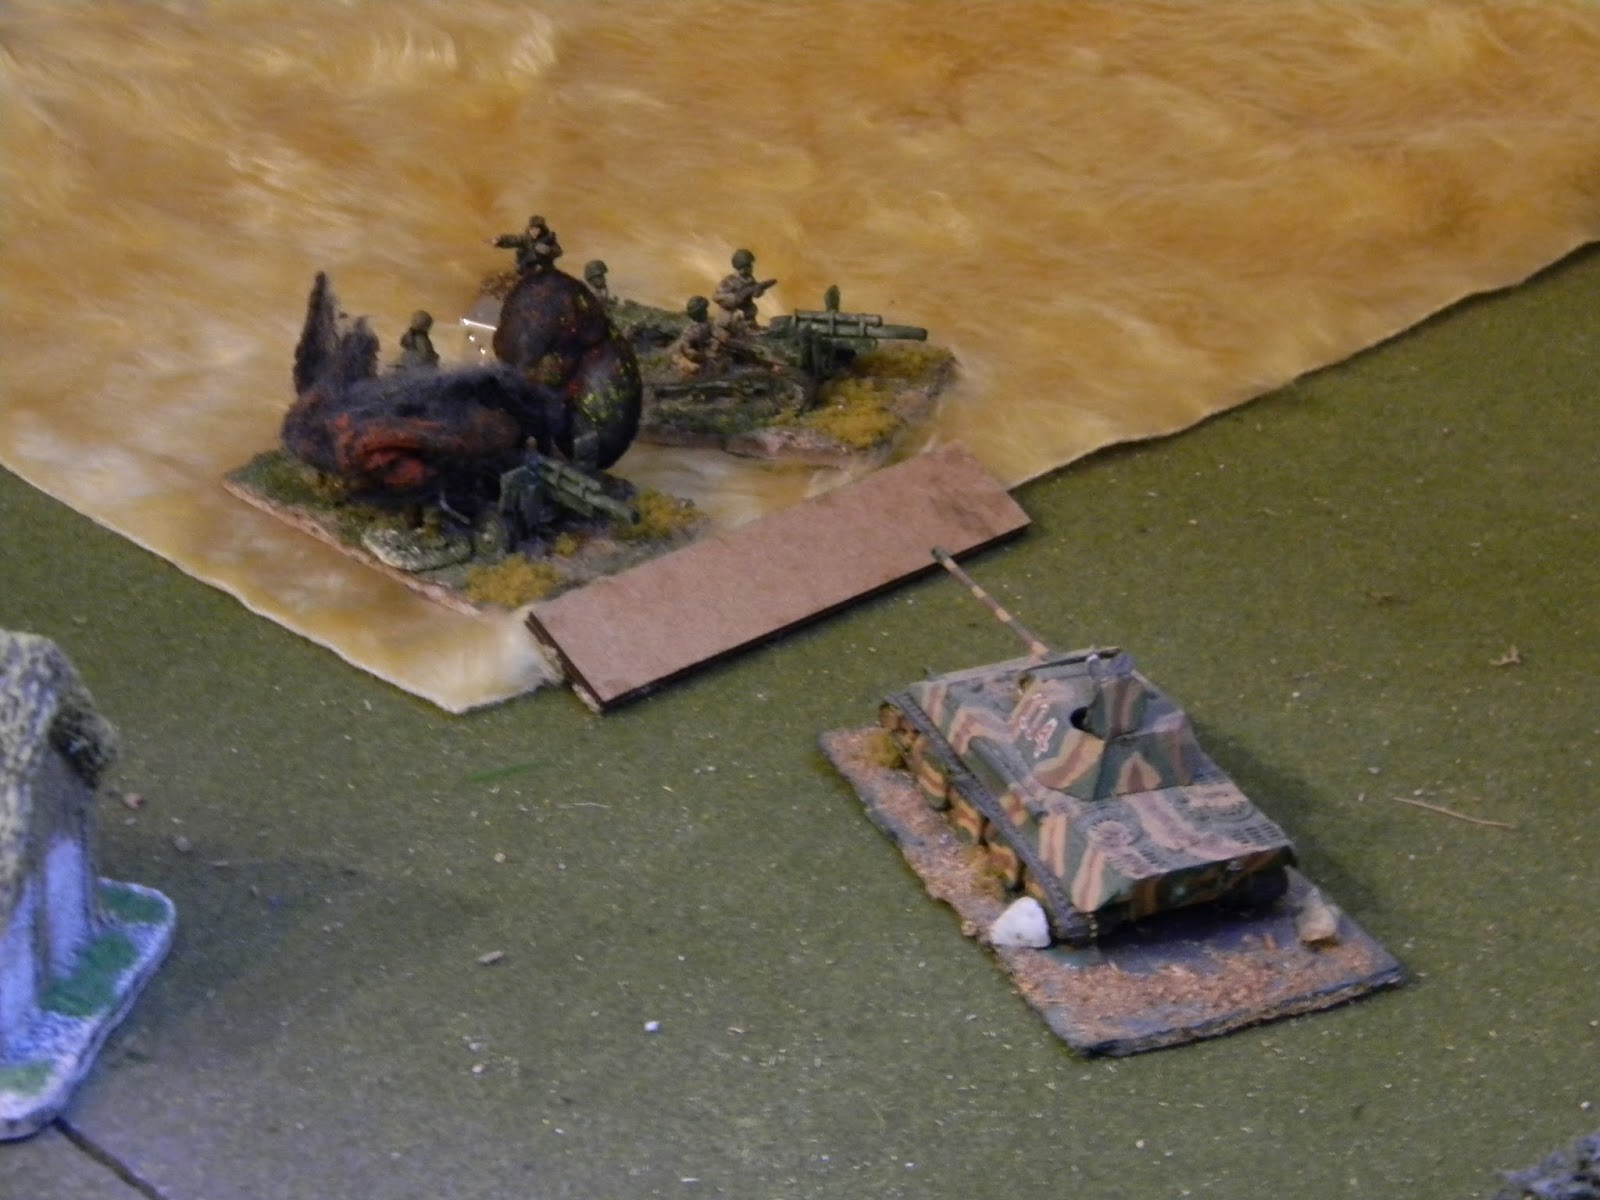
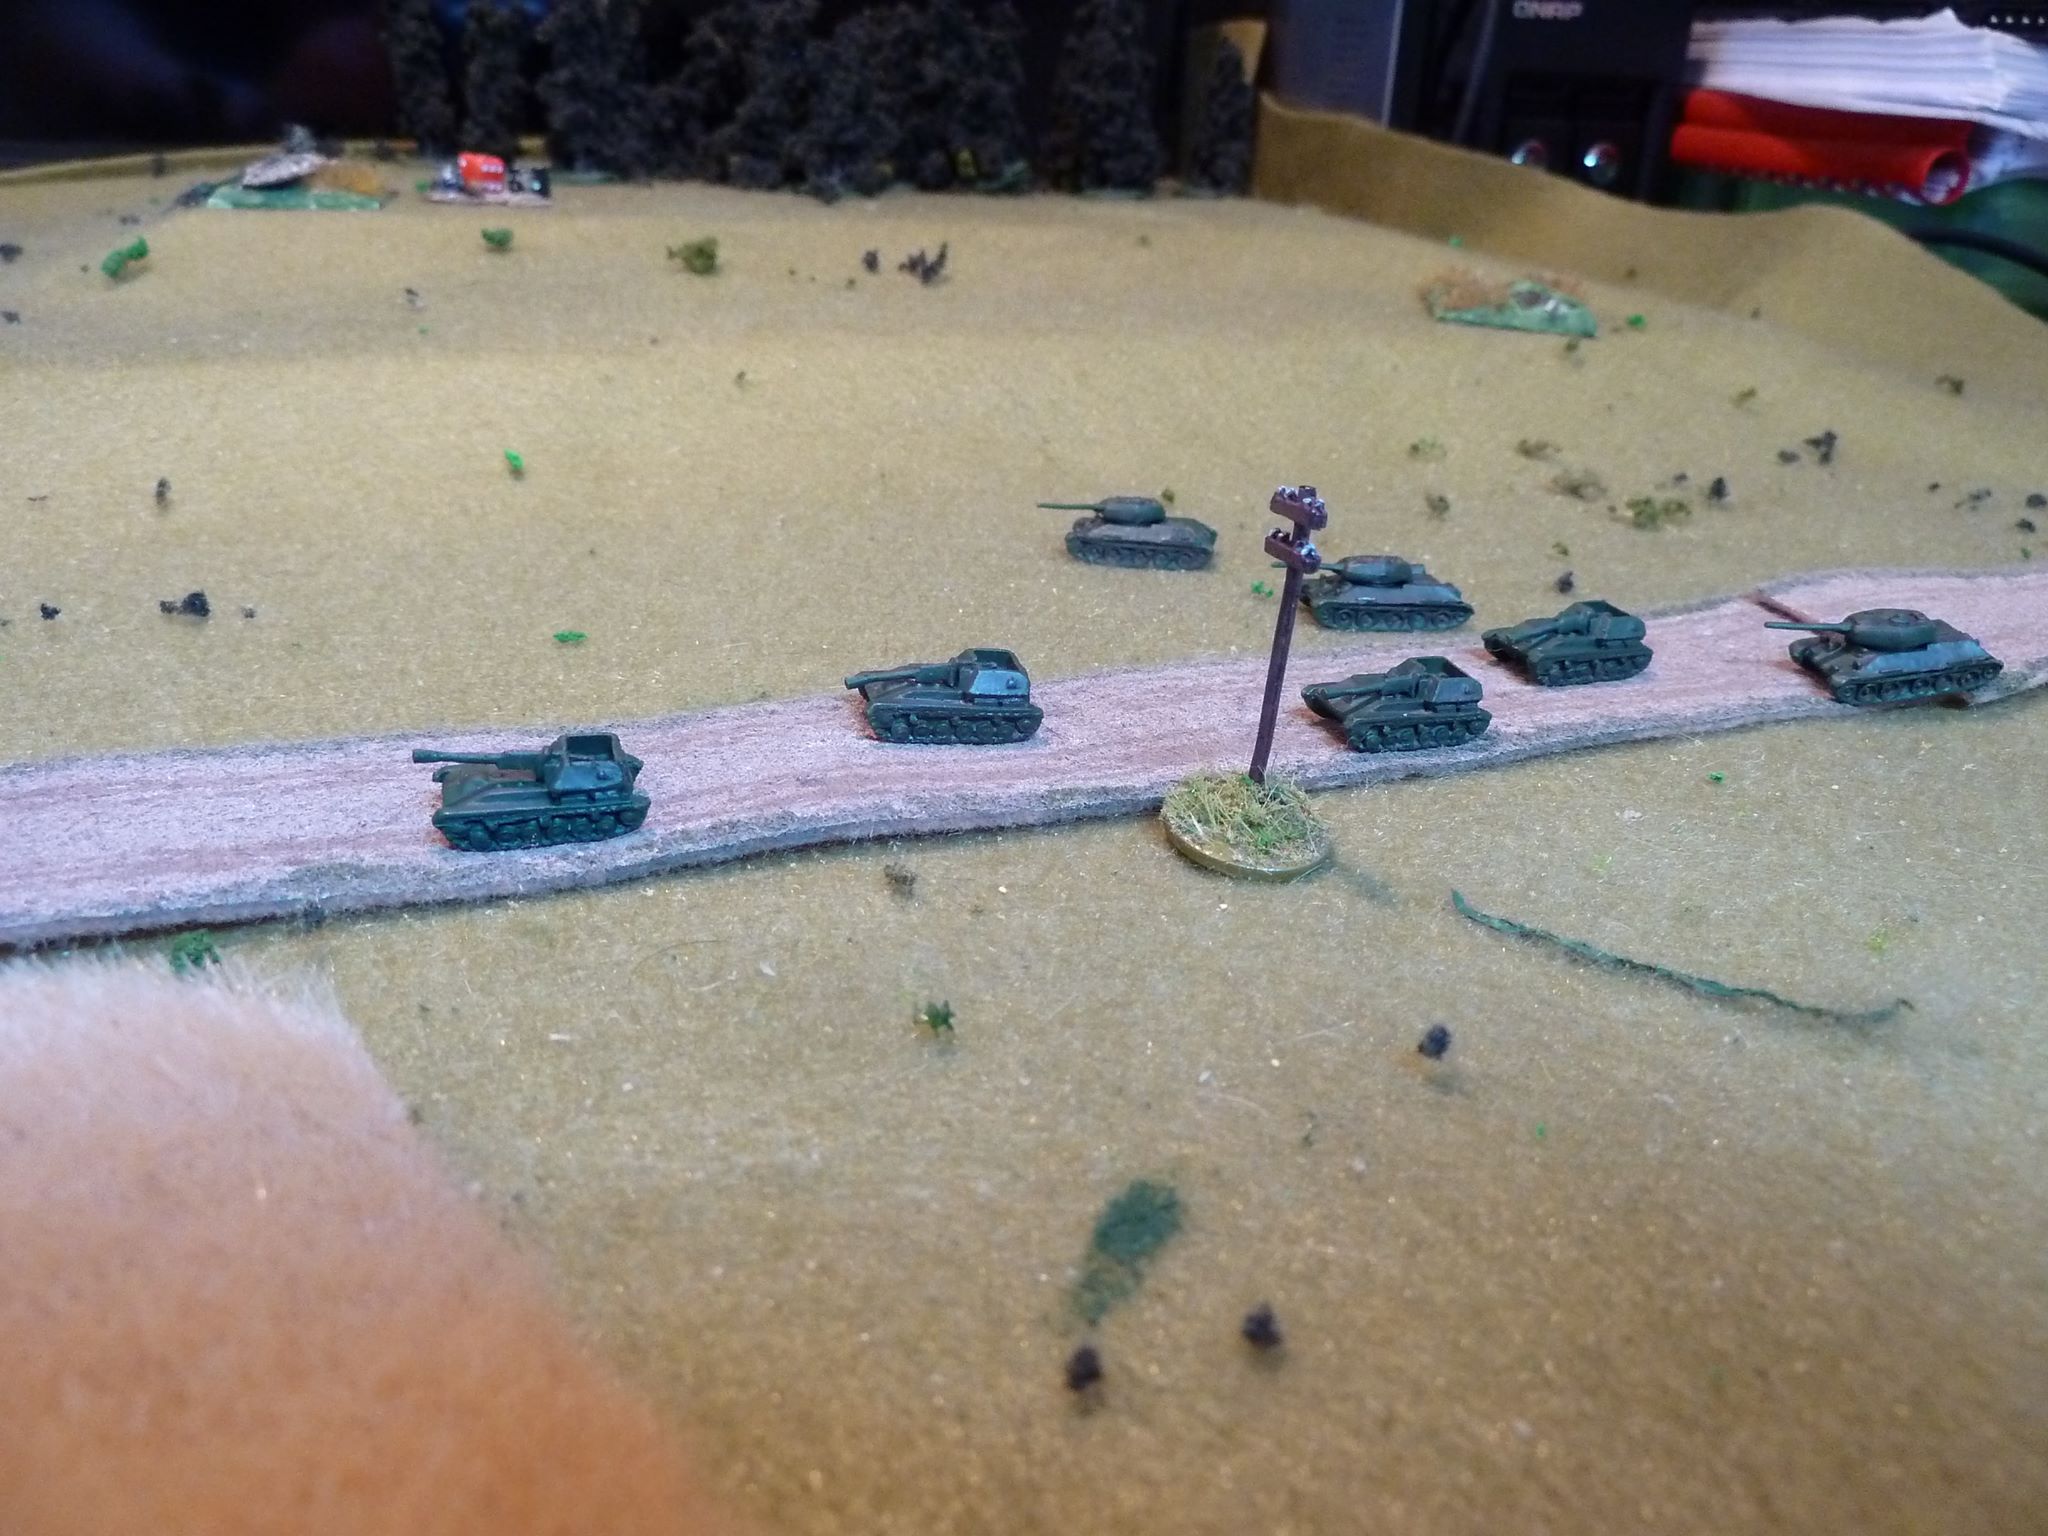
Reinforcements will arrive primarily via the north road with one infantry platoon via west edge. The armour element is strong: a platoon of three Italian M13/41 tanks and one heavy French Char-B with a  flamethrower in lieu of its 75mm hull gun.

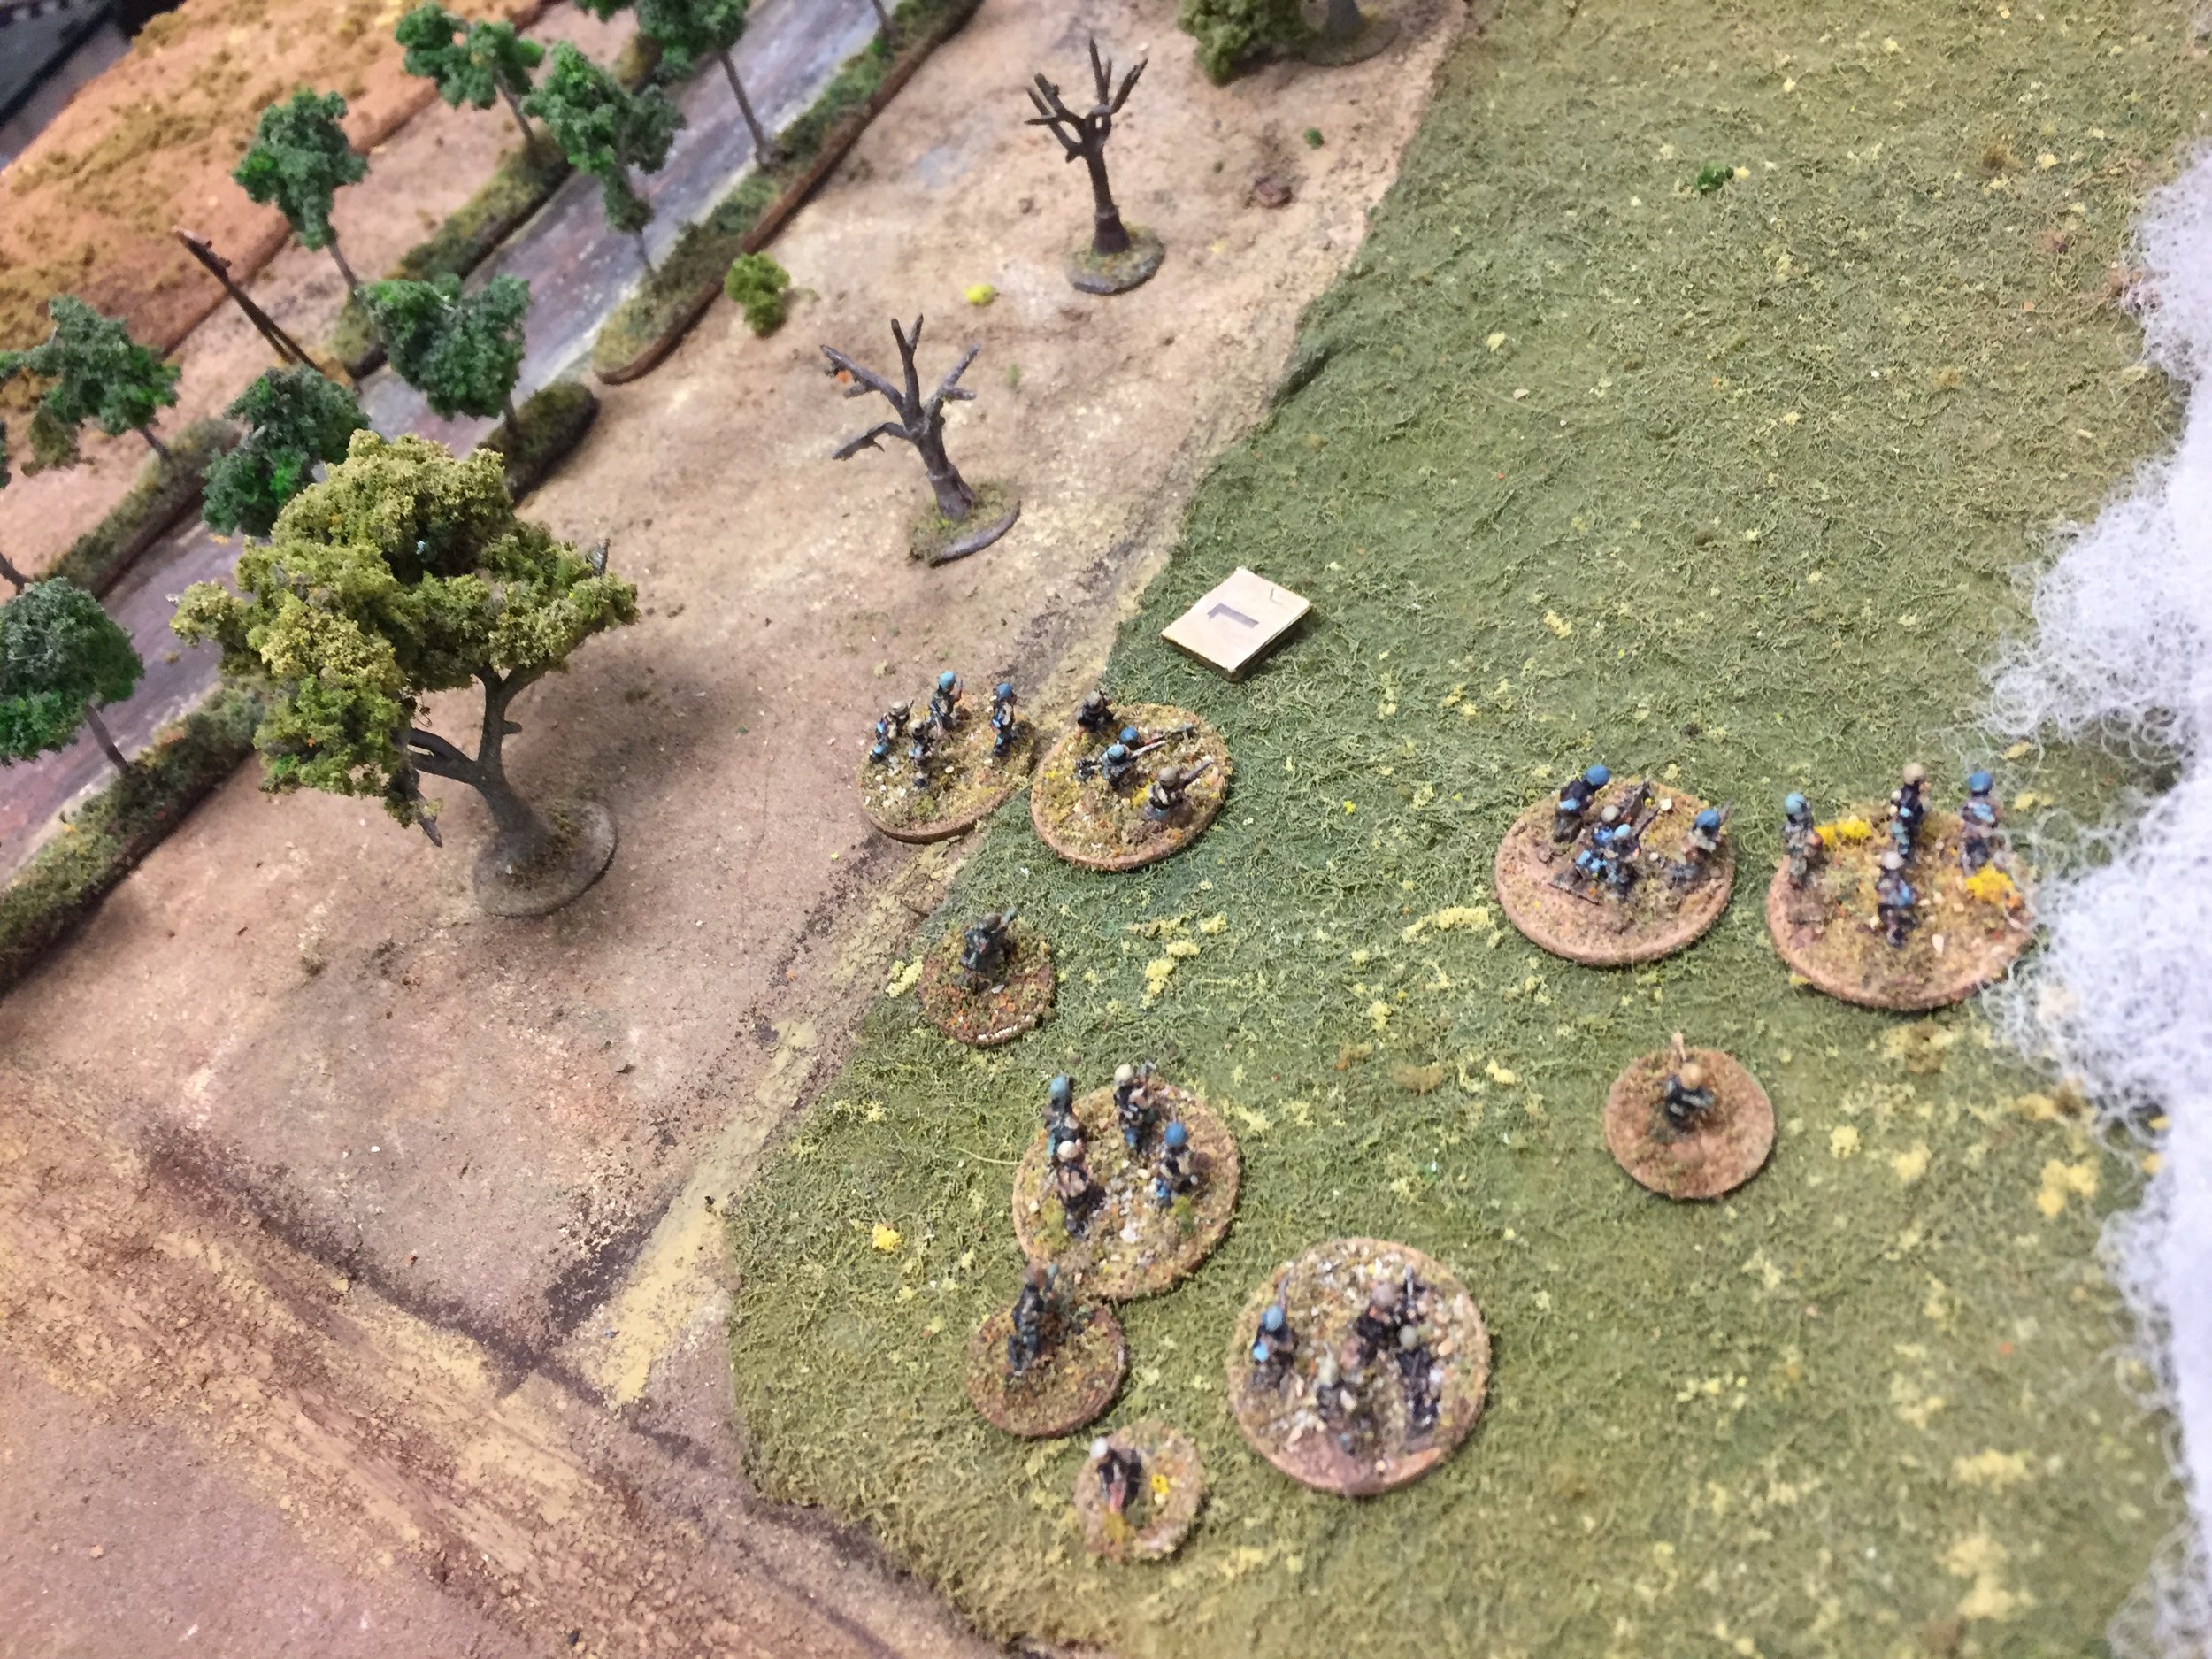
1st Proletarian Division Briefing

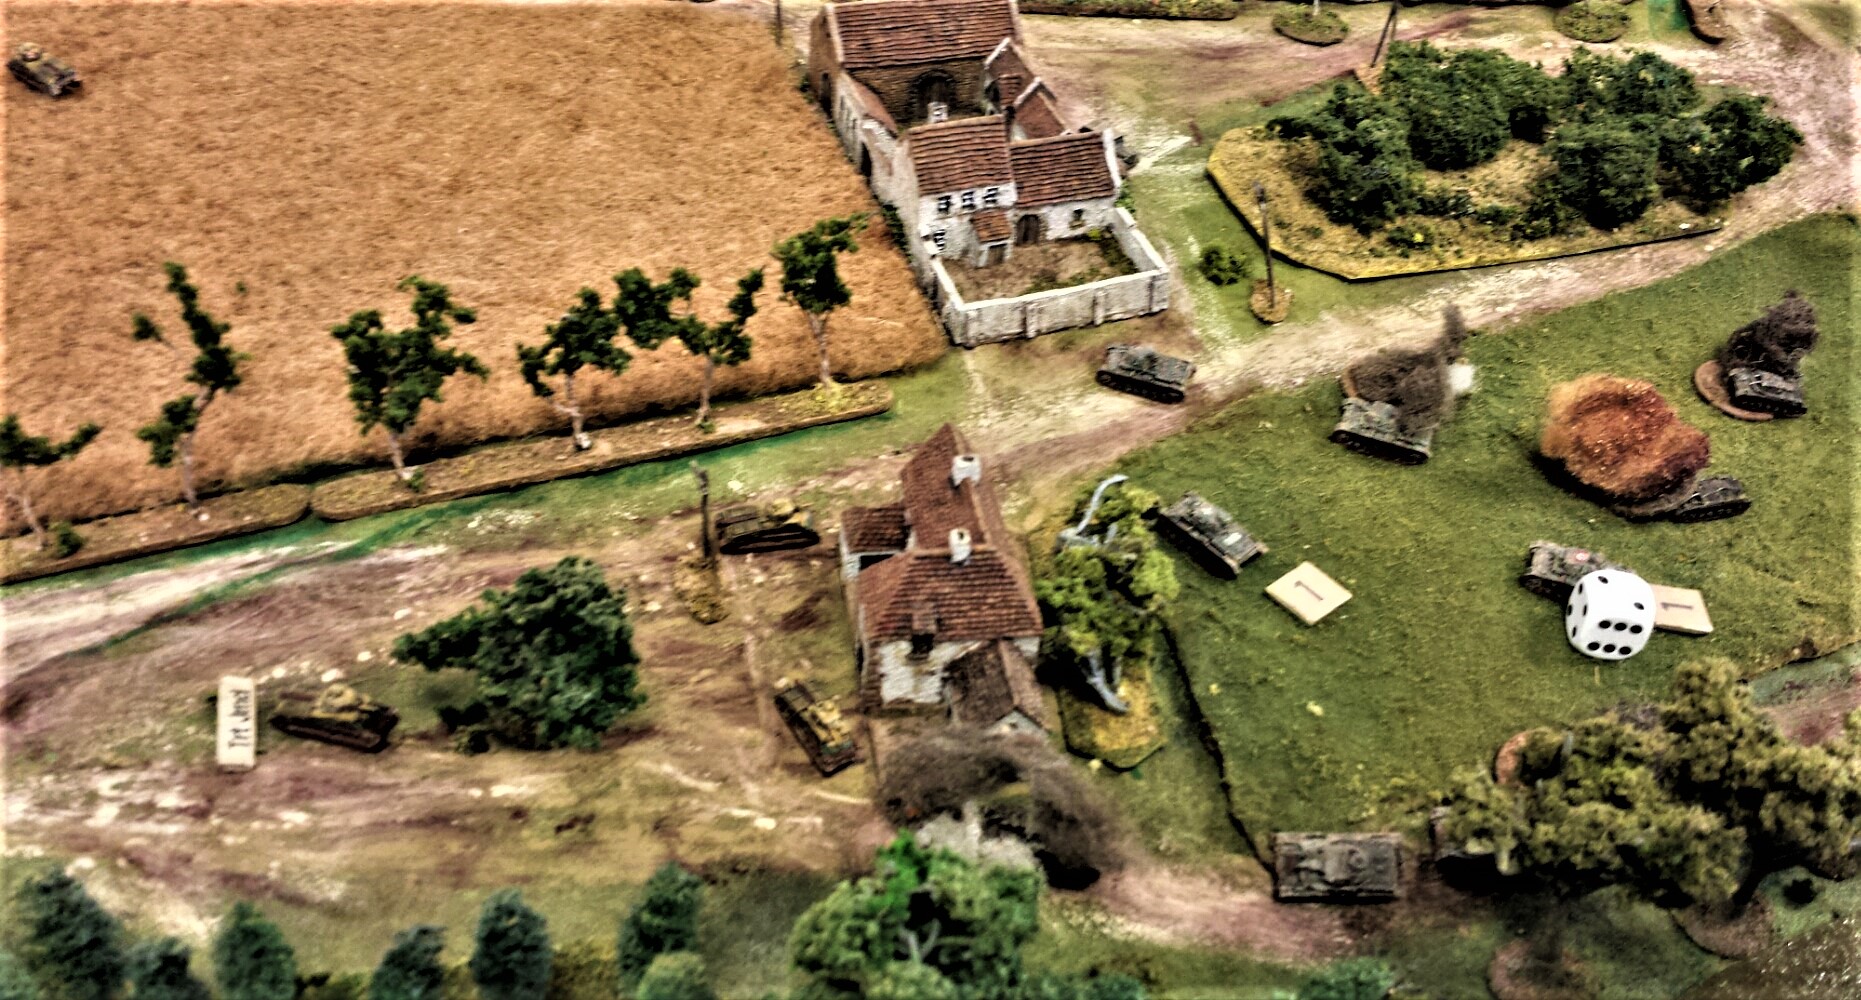
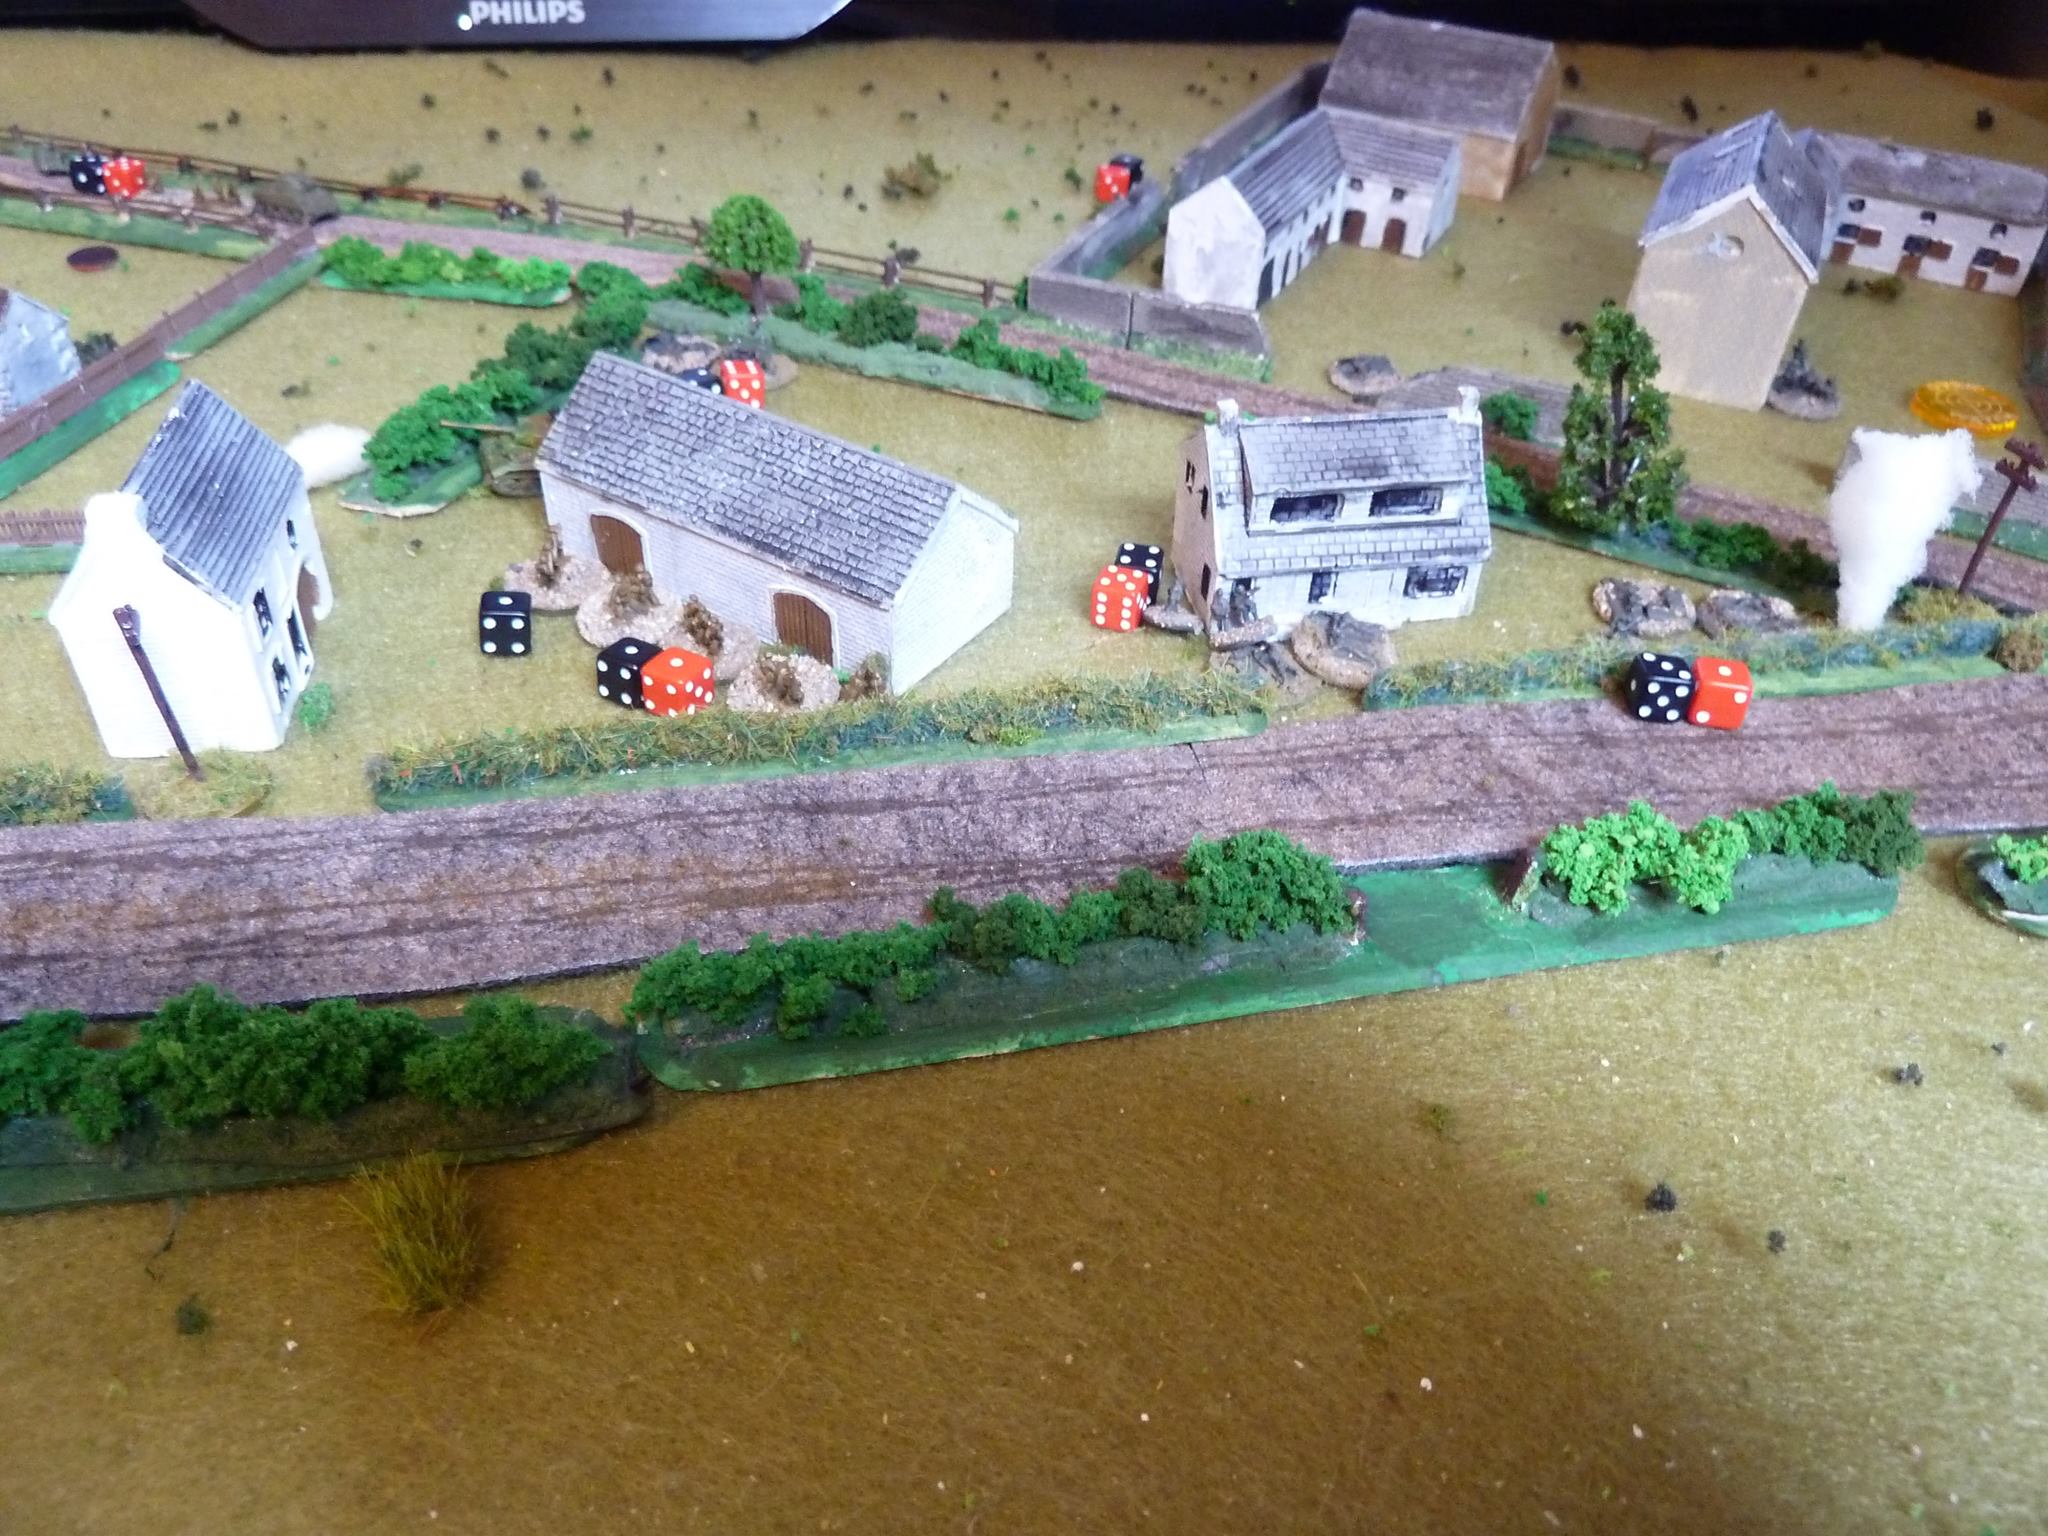
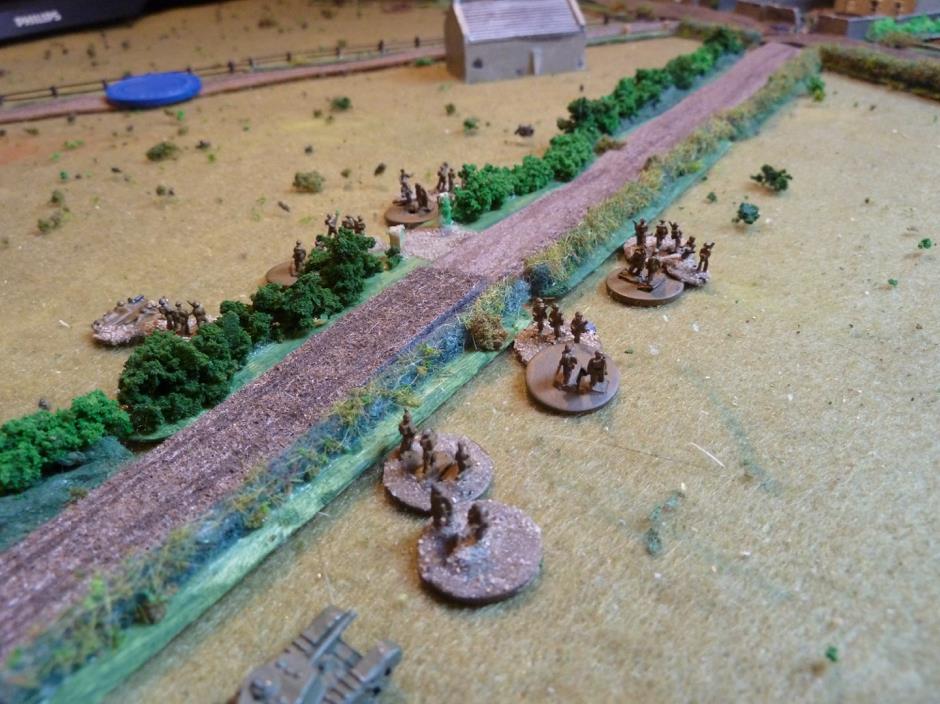
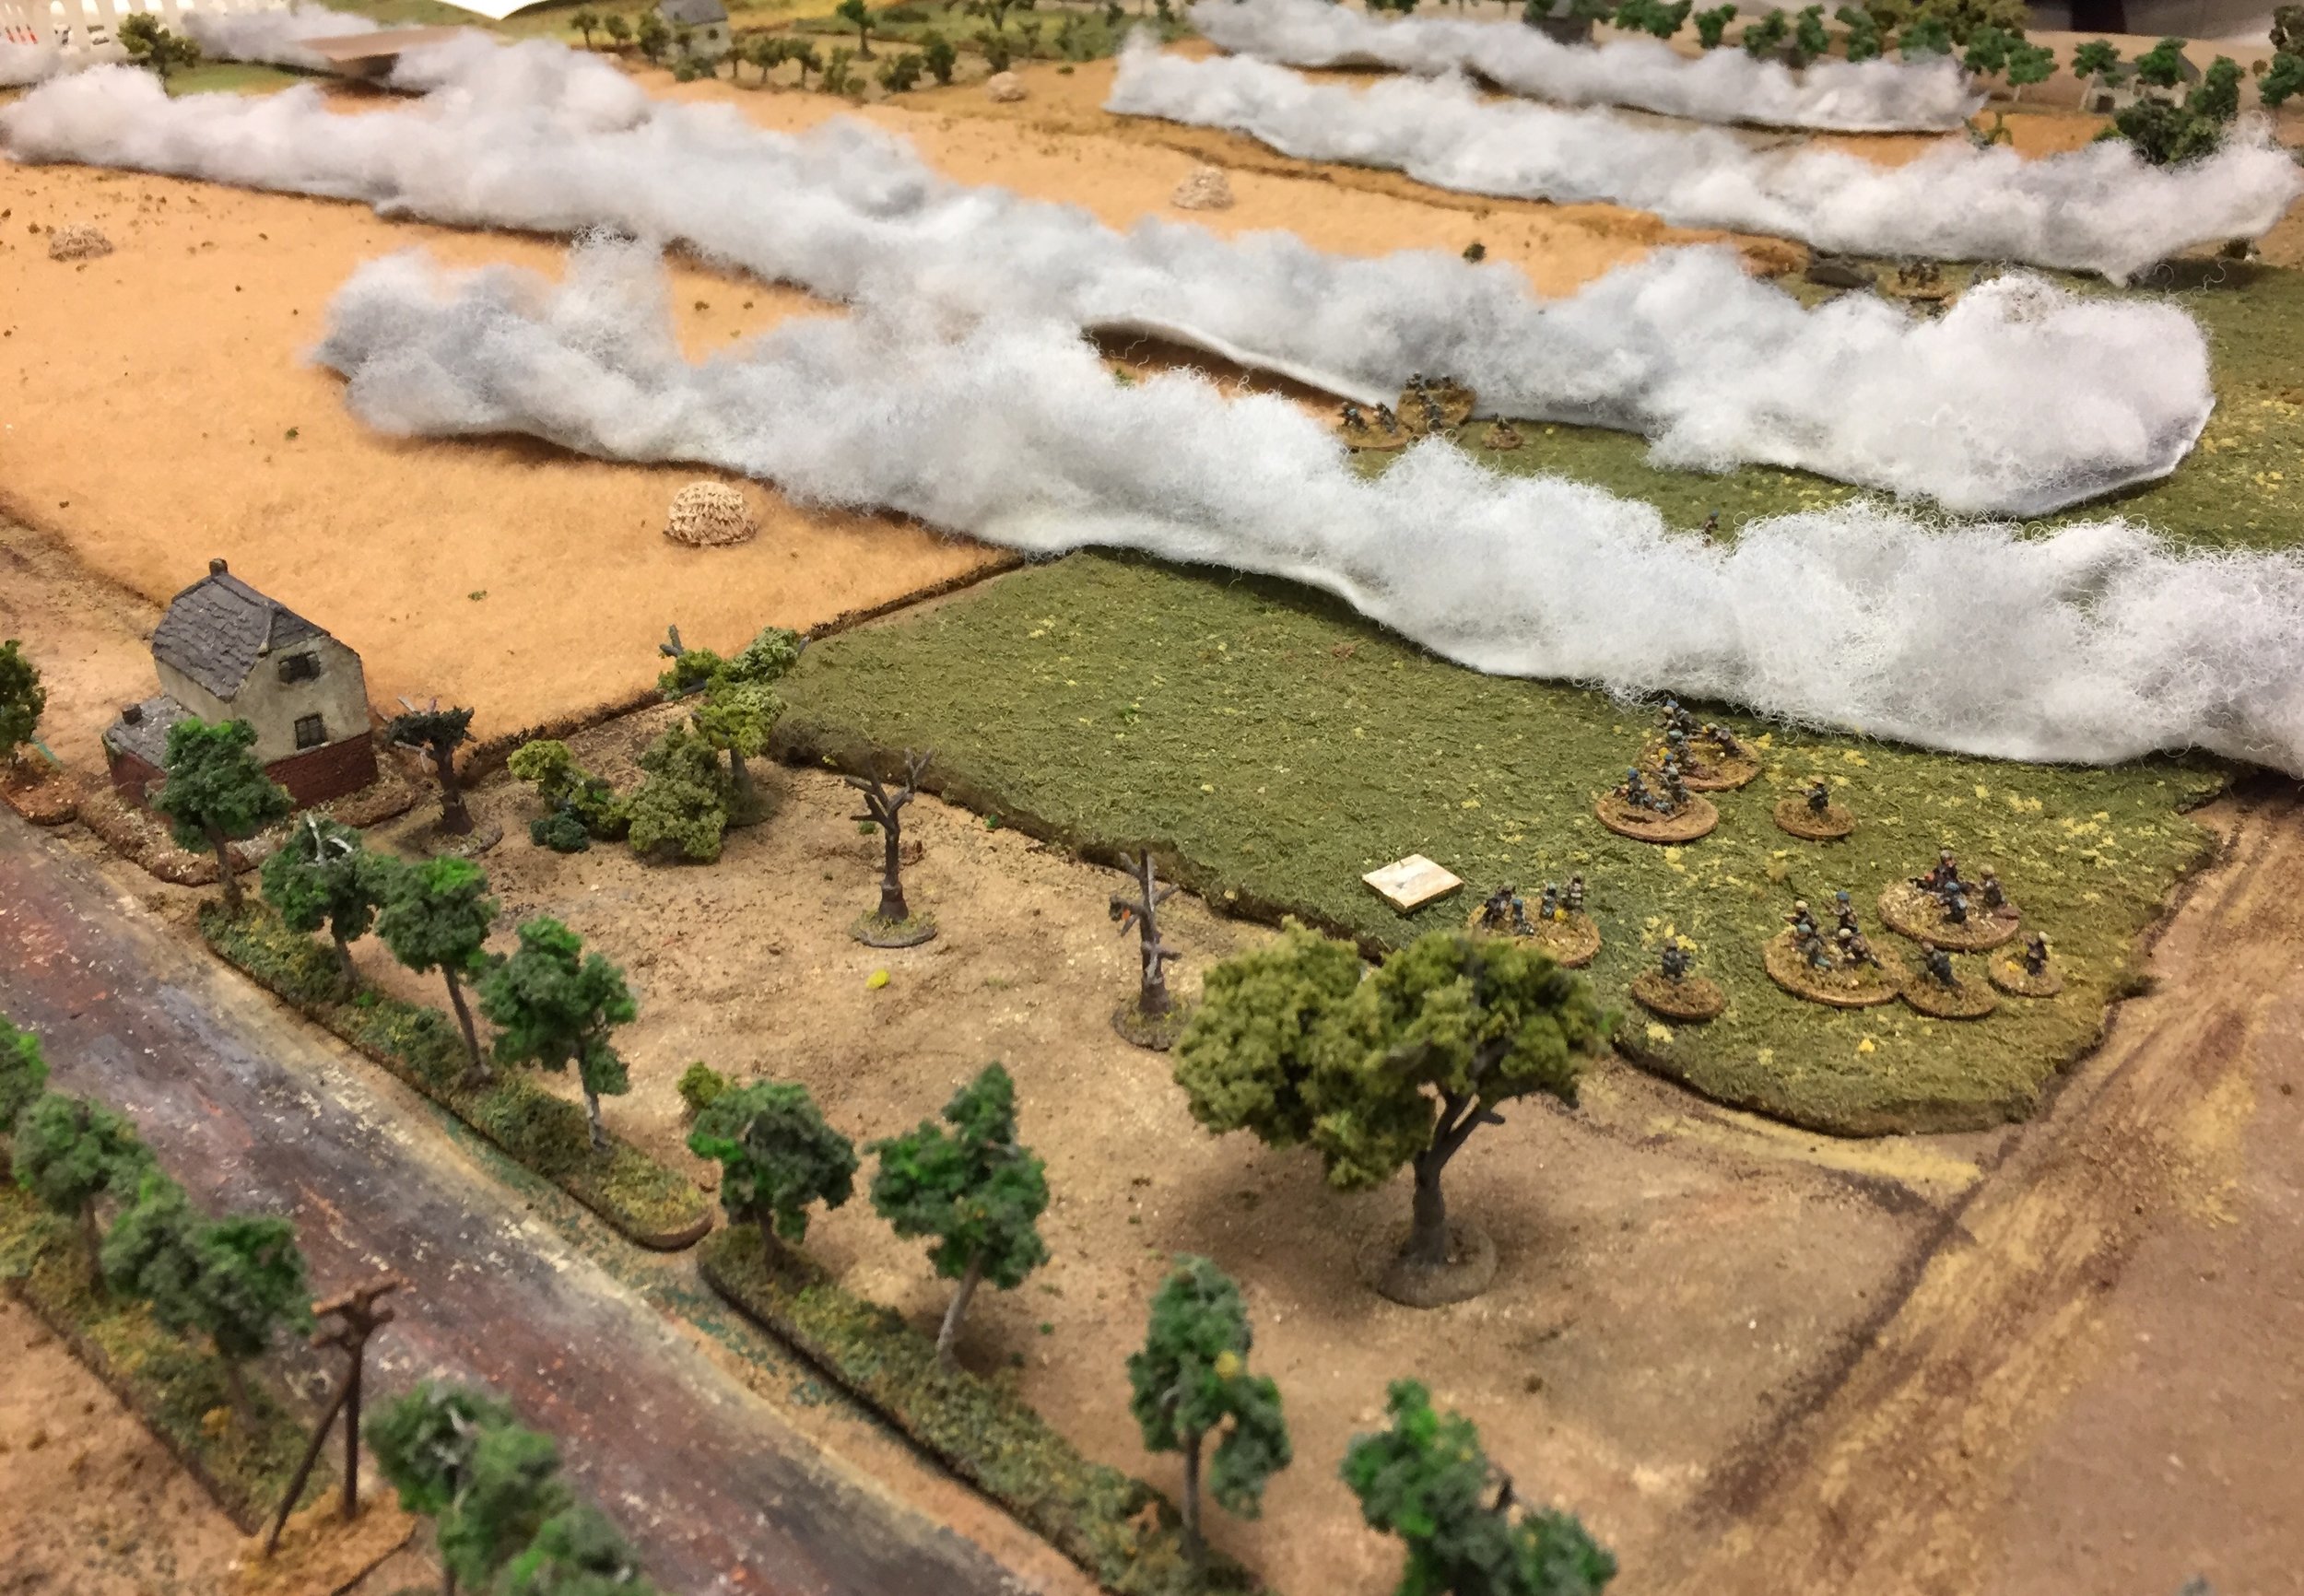
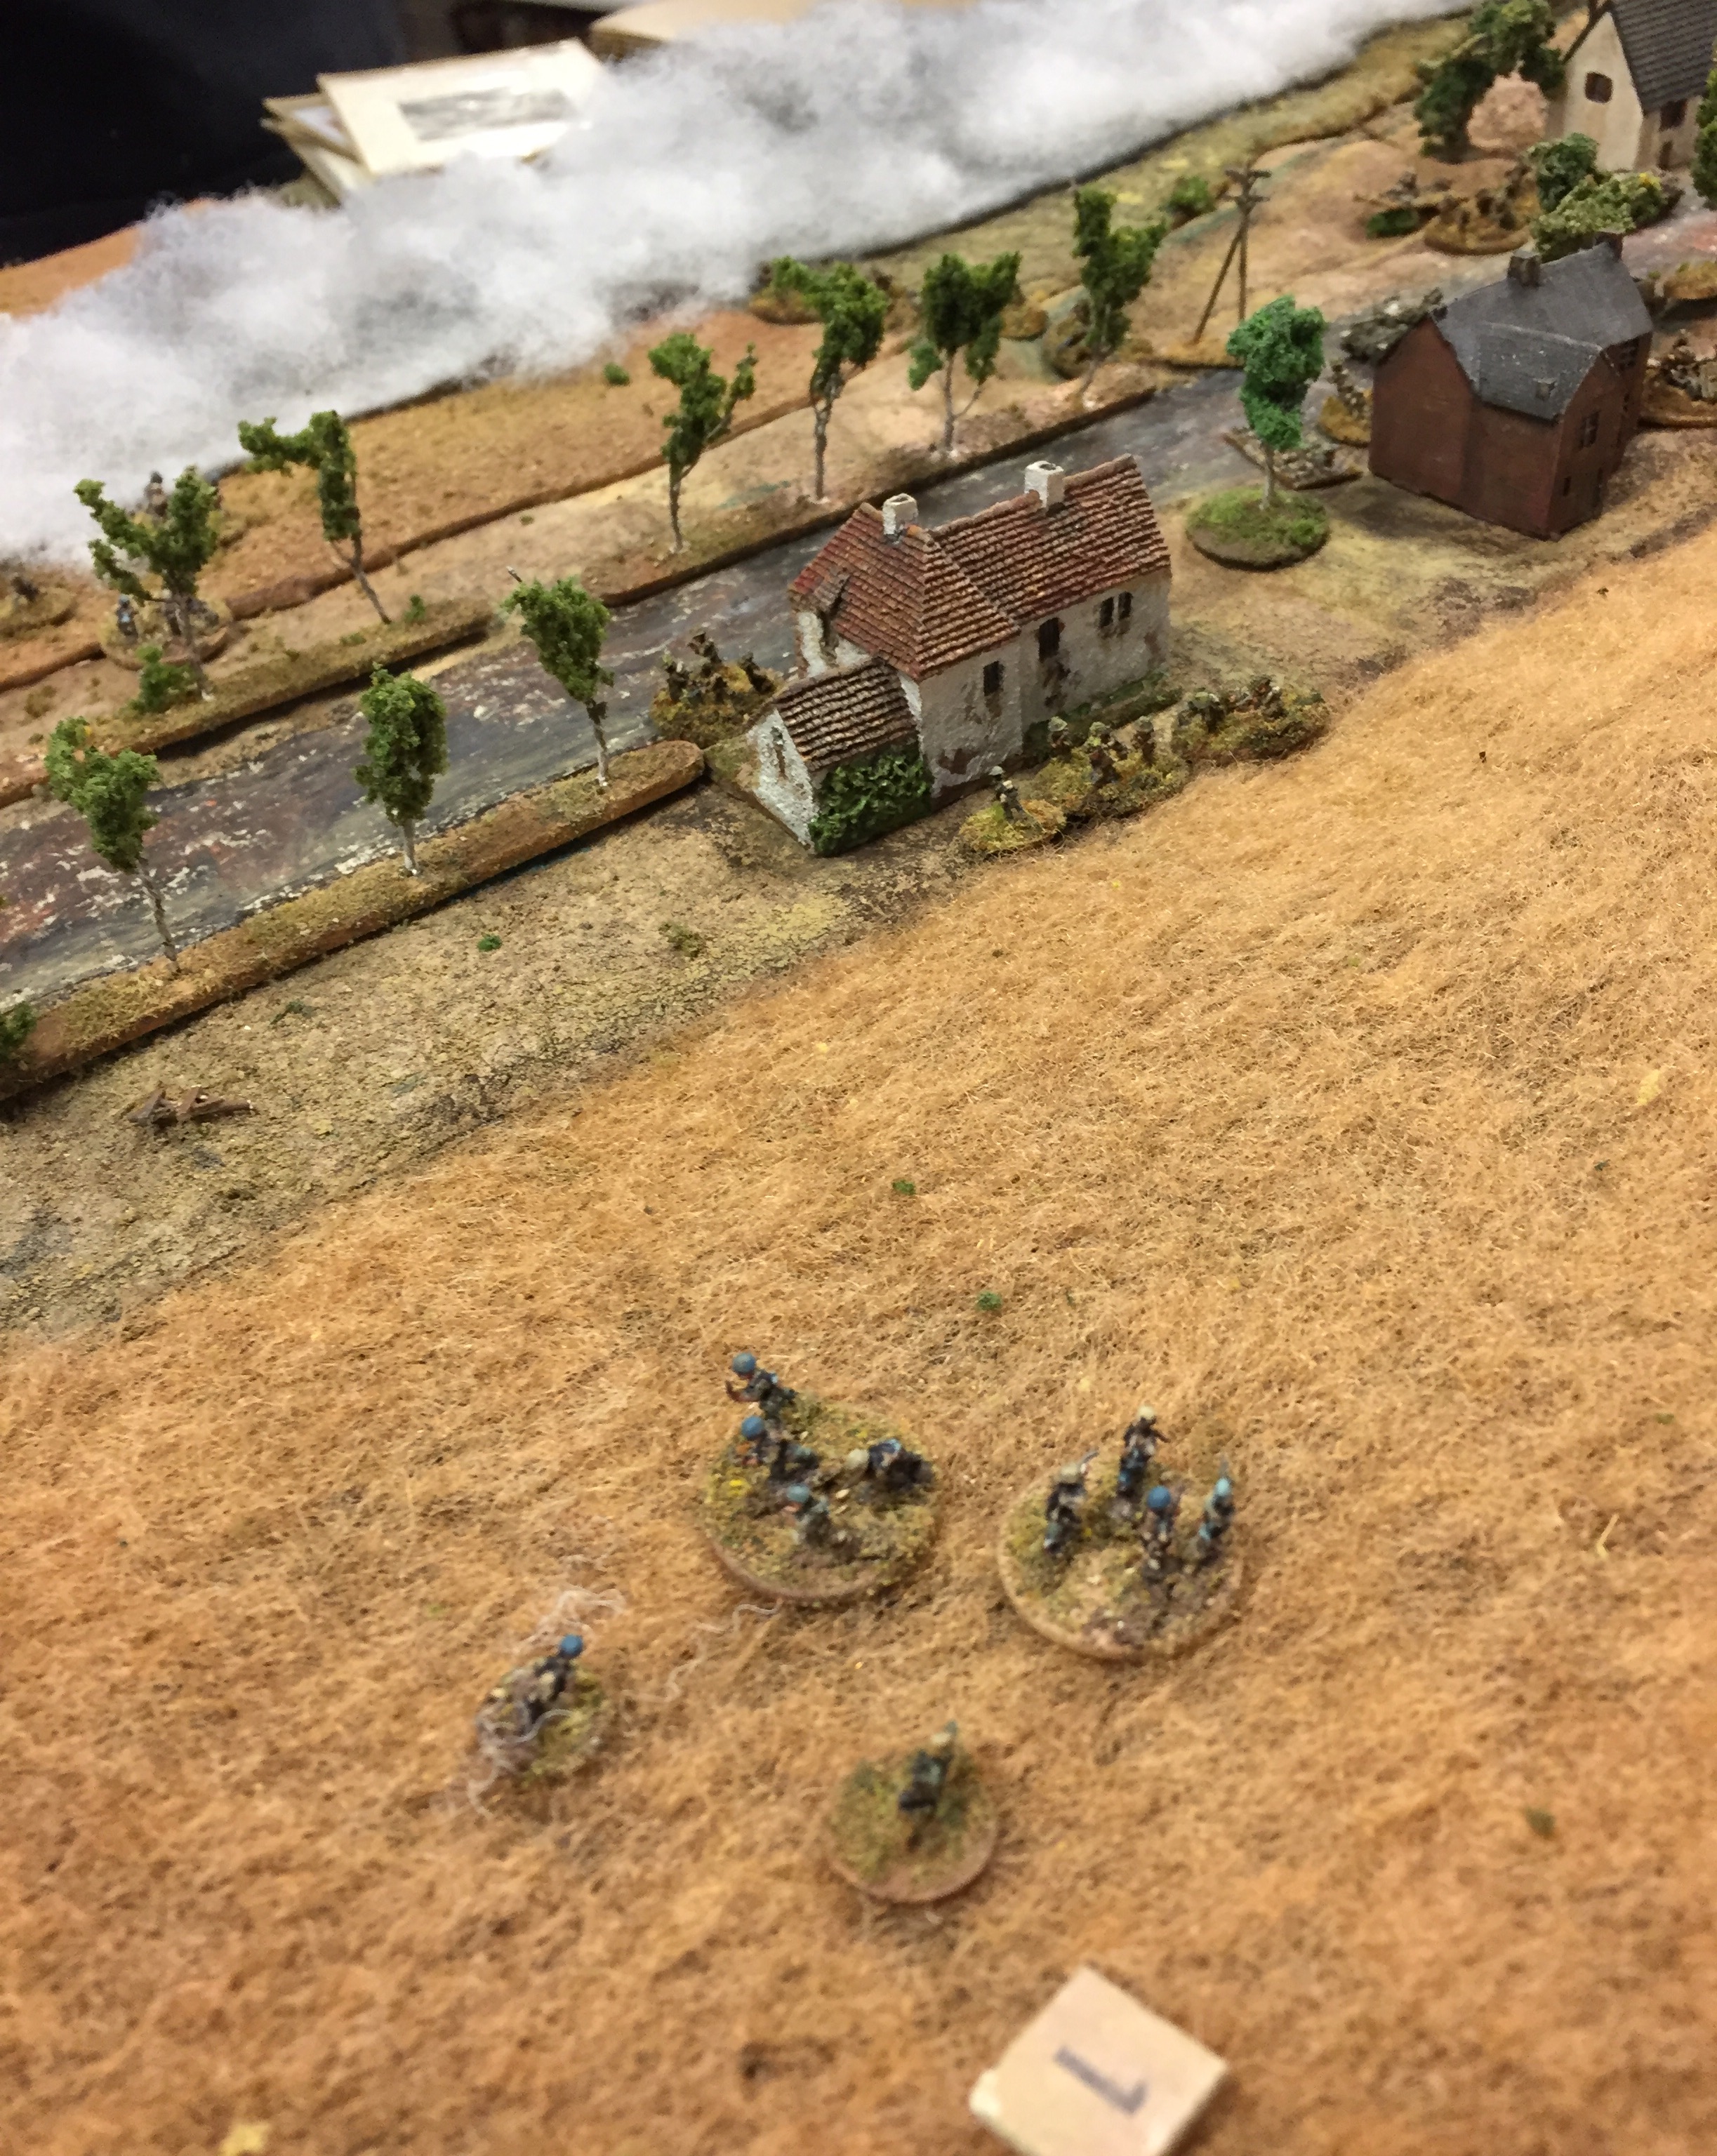
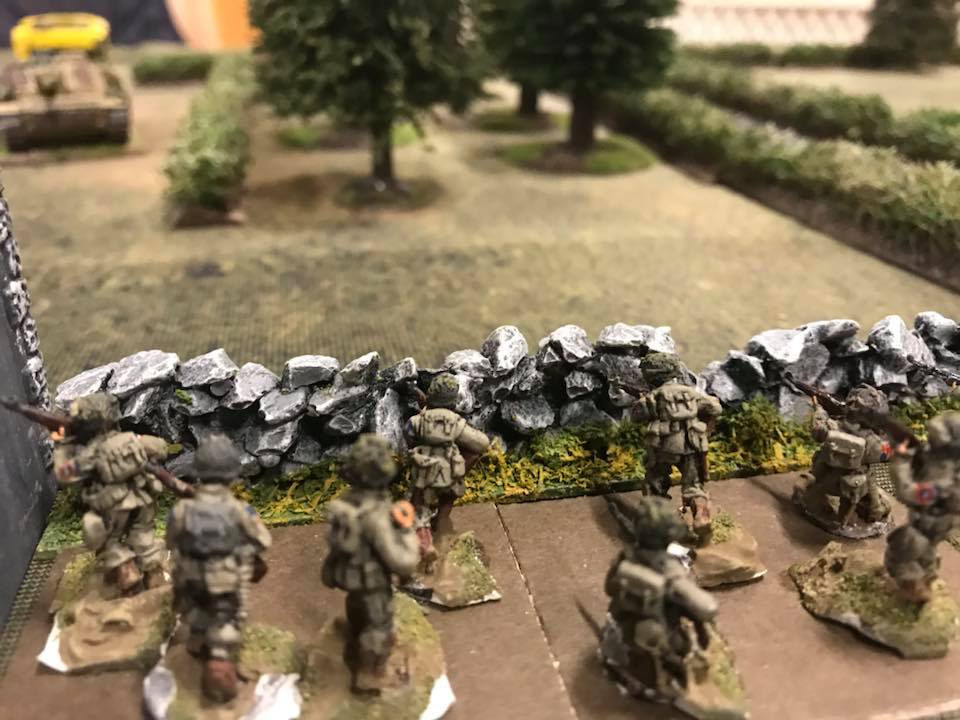
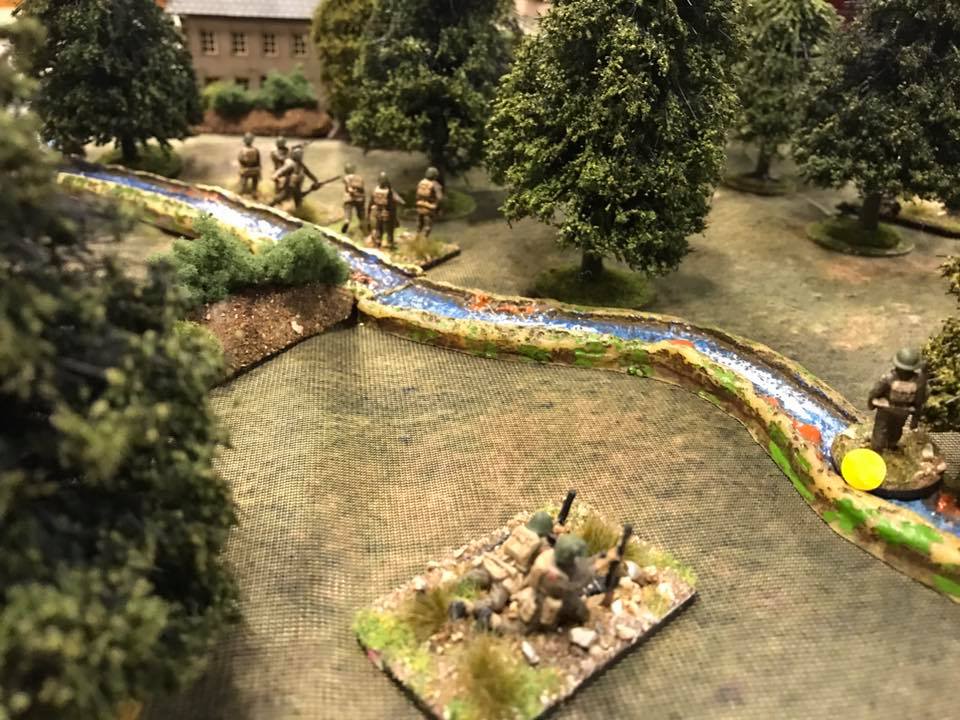
You are being pressed and are trying to evacuate in order, but a single platoon of fascists and their collaborators have occupied and are burning a village on our route.

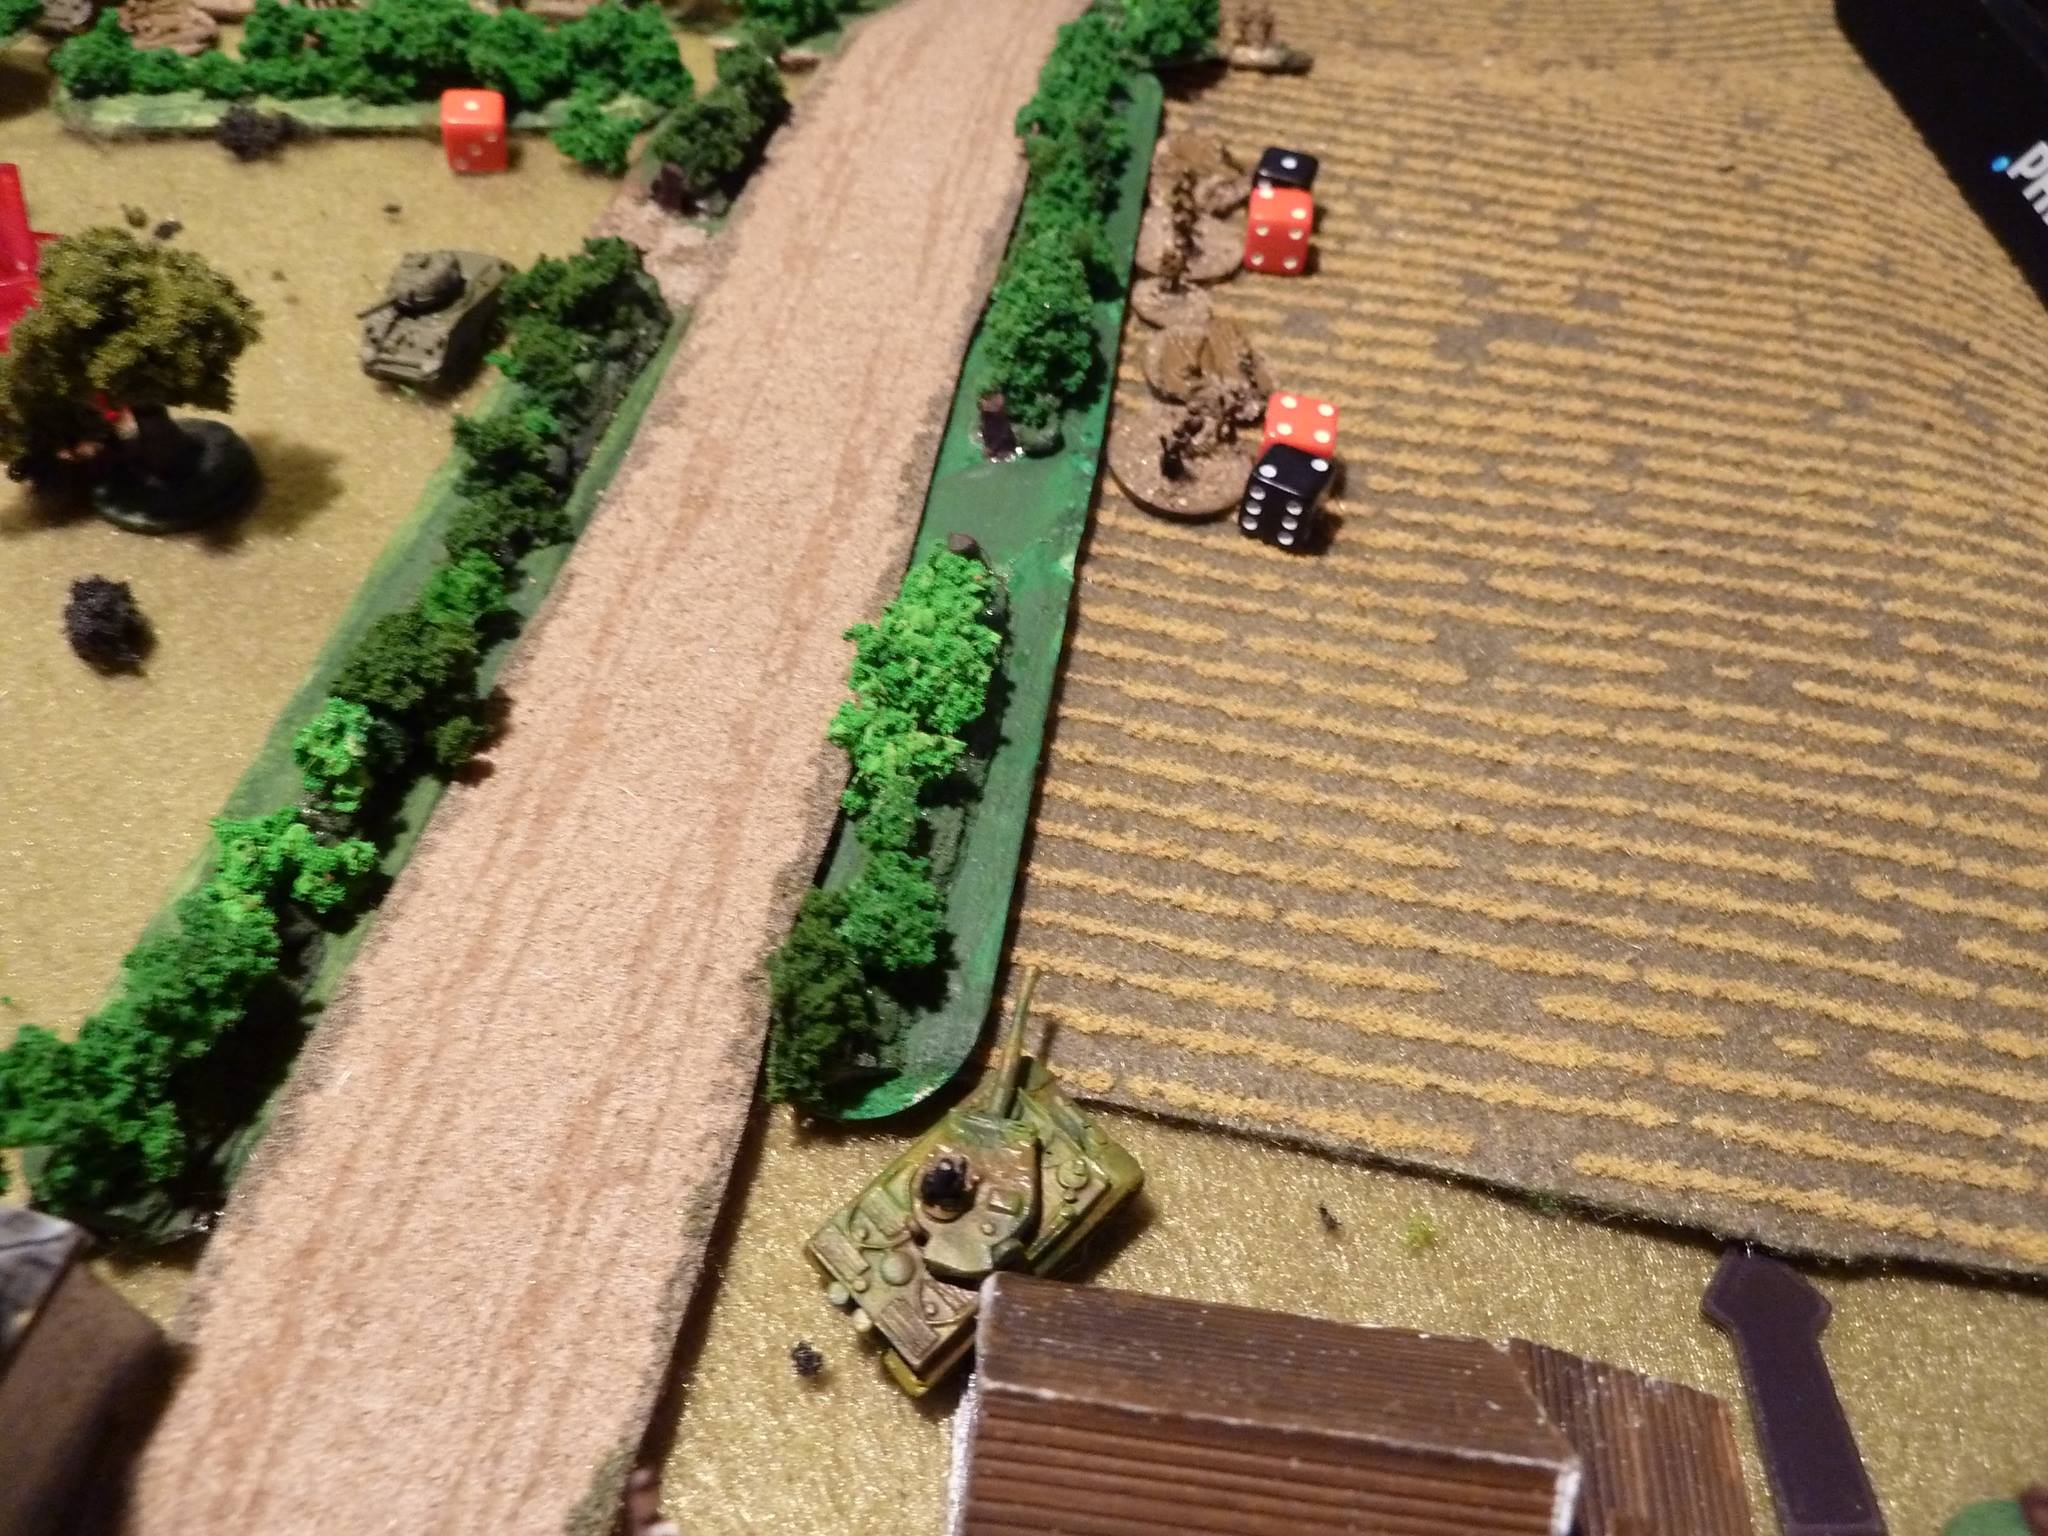
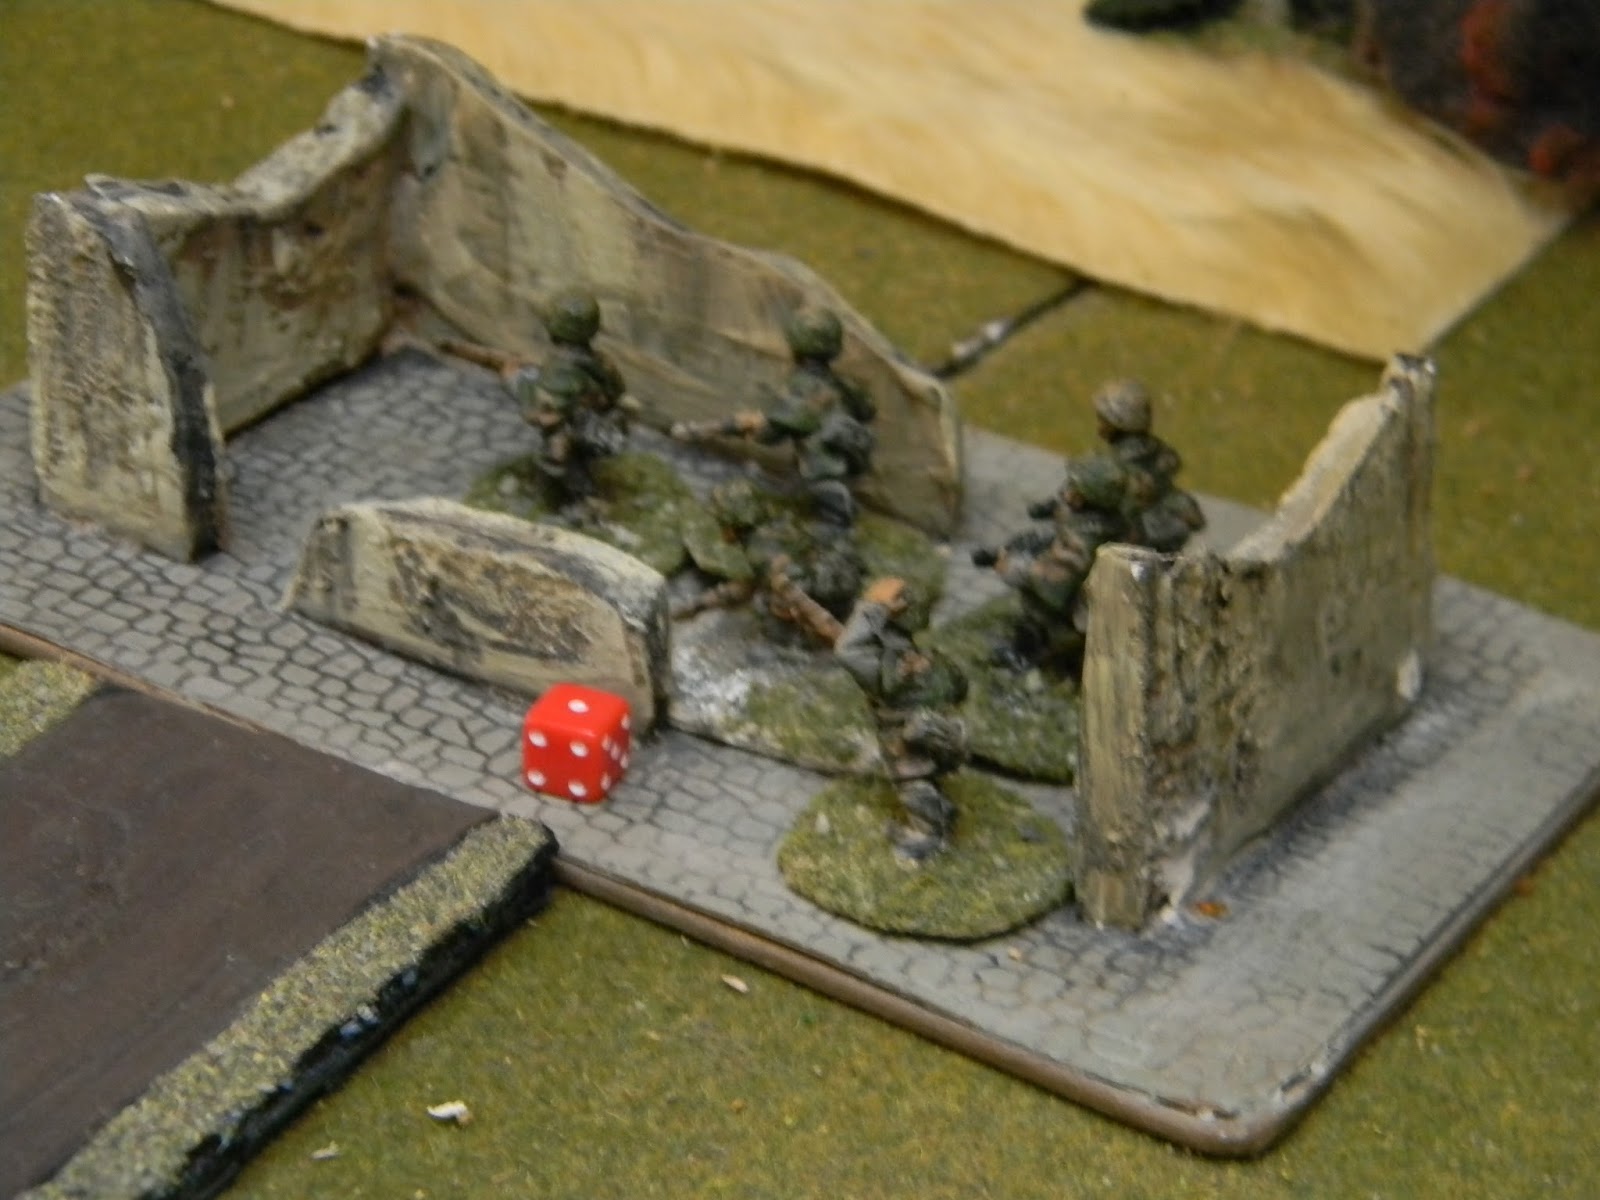
Your unit already crossed this point and will backtrack to clear the village for those behind, including our wounded, who will enter from the west road and  pass through the village and exit via the south road. You should have the element of surprise, as they will be distracted while they are rounding up the villagers for extermination.

Clear the village of the enemy before any of his reinforcements come up, make time for our wounded to pass through and get further down the road, and then hold up the fascists as long as you can before continuing our retreat.

The Partisan Hospital Train

The enemy is bound to have some armour in the area and we only have a few antitank rifles and a couple captured guns, but the terrain is narrow and rough, which will help.

All Partisans start on the board: four infantry platoons, two MMG teams, a captured Italian mountain howitzer, and a captured German PaK 36 37mm AT gun. The hospital train will enter from the west soon after they hear the attack start.

The Action

The Germans set up their three squads in and around the village square. One squad, with the lieutenant, conducted the work of herding the villagers into the building on the west side of the square and setting it alight, while the other two acted as security. While they went about this horrid business, the Partisan commander watched through binoculars, his blood boiling.  From the bluff on the far south edge, he sighted in his two medium machine gun teams, and waited for his four infantry platoons to creep up to the distracted invaders.

Partisan Machine-Gun Teams Prepare For Action

The Partisans were allowed to set up on Blinds no closer than 12 inches from the security squads. This allowed them to push three platoons fairly close to the back of the building on the east side of the square. At their commander’s signal, the machine guns and a platoon across the marshy wastes on the south end of the village shot up the security squad at the south side of the square to nothingness and the hit the lieutenant’s squad hard enough to persuade them to flee to the north side of the square. The security squad in the east building was swamped by two full platoons at their rear in close combat, with no quarter given.

Partisans Swarm The Village

The signalman in the square crouched next to the truck and sent out word to the captain: help! He was soon unable to carry on any further communication. Orders were dispatched to converge on the village.

Help!

Grasping that they would also be surrounded and destroyed, the remaining five members of the death squad and their leader scrambled out of the village and down the hill, sheltering in the house there.  The Partisans gave up the chase and consolidated their position on the crest,  and loading their captured truck with their newly acquired  guns, ammo, and boots.  

Soon, the German observation plane flew over and confirmed the fragmentary message already received—the village had fallen. The Partisan hospital train was spotted passing through the village and heading south, along with the captured truck.

 A Storch Confirms the Worst

The Nurses, the Wounded, and the Booty

A few turns passed, allowing the wounded to make it through the village and part way down the road, while two platoons of Partisans stuck to the buildings on the edge of the village and carried on a desultory shootout with the death squad at the base of the bluff. One more Partisan platoon still on Blinds edged out toward the north east corner.

Second Partisan Platoon Probes Forward

Soon after, the German HQ platoon and the other two infantry platoons came onboard, sheltering behind the wooded hills on the north edge of the battle area, awaiting their armour to clear the Partisans. The Germans were relieved when they finally saw their armour come on at the north road entrance.

German Reinforcements Start Arriviing

“What is THAT?” wondered the Partisans as the big French Char-B lumbered toward them, surrounded by her three Italian M13/41 handmaidens. They found out as the armour veered left toward the exposed platoon on the east and the Char-B shot a 12” stream of flame into one squad and their lieutenant. They got away with only two dead" amazing luck after the 5D6 fire effect.

Flammenwerfer!

The Partisan platoons on the village bluff took a quick lesson and before the tank platoon could turn back toward them and advance, they scurried away at top speed from the crest!

Discretion is the Better Part of Valour!

The door was open, and the German infantry started pressing forward and the tanks clattered up the hill into the village square before the infantry could catch up.

Tanks in the Square!

In the square, the tanks caught some of the escaping Partisans, but most escaped down the hill and into the woods and marsh beyond, just as the 37mm AT gun and the Italian mountain gun opened up, along with a few antitank rifles. One Italian tank was immobilized by an AT Rifle team.

While their fellows were fleeing, Partisan Platoon 3 boldly counter attacked around the west side of the village buildings, grappling in close combat with the German infantry coming up to support the tankers. The assaulting platoon and the defenders were both bled to a small number, effectively eliminating all supporting German infantry. An untouched German platoon, along with a squad from the HQ company had lagged behind and now were still at the bottom of the hill and of no help for the tank assault.

Platoon Three Counter-Attacks

Close Combat in the Square

Everything in the Balance

We called the game at that point, since the hospital train and captured truck had rounded the bend and were safely away and the Germans could not pursue without heavy infantry support through the marshy wastes and rocky trail beyond.

Had we carried on a few more turns, the puny antitank weapons of the Partisans might have done more damage to the Axis armour, and some more of the Partisan infantry would likely have been roasted by the fearsome flammenwerfer, but the result would have been the same: the Partisans would escape to fight another day.

Partisan Gun Line

Great job Hauptmann Bernie and Lt. Rick, and great job Comrade Captain Lee, and Lieutenants John C. , John M., and newbie Sgt. Chris!

Joe Patchen

German (North) End Positions

Partisan (South) End Positions


6mm IABSM game played at Gigabites Café in June 2017


Comparing my previous after action report to other batreps of the same battle on Vis Lardica, I realised I made a number of major errors:

  1. I played the stream as unfordable
  2. I forgot the Canadians were vets
  3. Also, after a bit of research I figured I had the hamlet a little wrong:  no church and the main road being the 'lower' of the two

Which all add up to a good excuse to play through the scenario again. So...

James Tree


Today, Steve C and I returned to our I Aint Been Shot Mum WWII campaign. The Germans had pushed the Soviets back last time, and the battle has moved on to the small town of Sorok which guards a ford crossing.

With the Russian infantry fleeing before the advancing German armour and totally outgunned, the town falls to the German force.

It was not an equal contest - but who knows what is coming next - well, we do because we have looked at the next scenario and the T-34s are back.

Tank fest !

Norseygamer


Split into two halves on two rather separated club nights (largely due to the umpire (me) not having time to build the northern half of San Marco!).

Initial assault (red table area)

The British advanced largely up the right flank, with 7 Platoon in the lead, under cover of a smoke barrage from the supporting 25 pounder. They came under some heavy MG fire from the church, and in an attempt to root that out, their supporting Churchill CS had its 90mm gun knocked out by a StuG III.

After a fairly gritty firefight, the Germans, taking heavy losses to the advanced Nr. 1 Zug, chose to fall back across the river, and the British were thwarted by a well placed minefield (just south of the bridge) from following before the bridge was blown up. As the river was somewhat tricky to cross, they elected to consolidate their position and renew the assault after a couple of hours.

Initial assault from the eastern end. Note the large smoke barrage centre table. 7 Platoon close-assaulting across the road centre of picture

Followup assault (blue table area)

Some fairly heated discussion at the British O group led to an original plan to feint an attack towards the vineyards and Castello San Marco, while gong for a main thrust towards the church. This (as ever, perhaps) didn't survive contact with the enemy, as initial probes revealed no German forces south of the ford on the British side of the river. (There was a fascinating almost 'pre-game' of cat and mouse with Blinds, with a lot of missed spotting rolls, but some excellent use of Blinds by the British.)

Followup action - the calm before the storm. The villa roof is just visible bottom left.

7 Platoon (with a scratch section made up of Nos 2 and 3 sections), thus went in up the left flank via the unoccupied villa, seeking to cross the river by the vineyard. 8 Platoon, meanwhile, pushed across on the extreme right, encountering no resistance to taking the church. A Spitfire dropped its 500lb bomb load roughly in the middle of town, causing some consternation among the Germans but little serious damage.

The Villa, and Castello San Marco

If you go down to the woods
today...

About the point 7 Platoon splashed across the river, a Tiger was revealed in the woods north of the castle (spotted by a dummy Blind that had been advancing up the extreme left and making excellent use of the topography and available cover not to be spotted itself). The Spit, to the frustration of the ground troops, turned for home before spotting it (anything but a 1 would have done for it to stick around). 

The British deployed their armour off Blinds (a troop of Sherman IIIs and a Firefly of the Granta Yeomanry), and proceeded to unload on the factory, reducing the chimney to rubble and generally doing a fair bit of damage. 

Over on the right, 8 Platoon pushed into the orchard and came under heavy fire from the building that overlooked it, as well as a well-placed  stonk from the Germans' 8cm mortars. Unfortunately for the Germans, the section defending that flank was the rather tattered remnants of Nr. 1 Zug, who came under a withering storm of return rifle and Bren fire. Meanwhile, the Firefly (after Ash had actually read its stats line and realised that the 17 pounder is definitely a match for the Tiger :D) poked its nose round the side of a house on the south bank and popped off a round at the Tiger. 6 hits to 4 saves - gun out! Jubilation from the British, and it looks like Unteroffizer Honisch will not be getting promoted to Junior Ace this time out. 

Bridge out? No problem! (Churchill ARK by Skytrex)

7 Platoon (not for the first time in and around San Marco) take a fair amount of hammer from the factory and an MG in the house by the ford: the scratch section manages to stick around, but No. 1 Section bails (0 actions, lots of shock).  Meanwhile, the German Nr. 1 Zug also bails (its Big Man unpins it and has it retreat), and Nr 2 decides the factory is becoming untenable.  

About this point, another British Blind, that's been largely keeping out of sight, deploys at the river's edge - a Churchill ARK, which uses all its actions to drop ramps and provide a river crossing for (what I assume was) Platoon 9, advancing on Blinds behind Platoon 7. 

About here is where we called it for the night. The Germans are surrounded on three sides, from 8 Platoon advancing from the orchard, 7 and 9 through the woods to the factory, and the Grantas who will be pushing across the ARK to lend fire support. 

In short, a British victory.

Mike Whitaker


Rather than immediately clear away the rather nice set up for the For the Honour of France game played a couple of weeks ago (click here to read the AAR, opens in a new window), I decided to use the same scenario for a game that I was umpiring between John and Dave.

Quick background

Syria, 1941, Vichy French versus Australians. The village of Ras Begus nestles astride a road running through a region punctuated by rocky hills that hamper movement by reducing any dice rolled by one. On a nearby hilltop lurks the ruined Red Fort, south of the village is an olive farm. A wadi runs from the southern end of the table right up to the village, providing excellent cover to infantry within it. Tracked vehicles could risk the wadi, but were likely to bog down.

The French were defending the village with a force consisting of three platoons, one of four and two of three ten-man squads (100 total). Mr Clarke, who wrote the scenario, didn’t specify the stats for the French infantry, so as I already thought the scenario would be walkover for the French, I classified them as Good Troops starting on three Activation dice. In addition to the infantry, the French had three 60mm mortars, three MMGs and a forward observer in touch with a battery of three 75mm guns. In command were four decent quality Big Men, and there was an extra MMG team sited in the fort with a Poor Fire Discipline card. In reserve, arriving after a certain number of appearances of the Turn Card, were three R-35 tanks. Formidable.

The Aussies also had three platoons, but each was four sections of eight men each (total 96 men) along with a light mortar and an anti-tank rifle (ATR) per platoon. In support, they had a recce platoon of three MkVI light tanks, five recce carriers (two with MMGs, two with LMGs and one with an ATR) and, as proved very significant, an FOO connected to two 25-pounders sited just off table. The 25-pounders were very responsive: they had a Bonus Fire card in the deck. I decided that the Aussie’s would start on four Activation dice and get the Aggressive bonus in Close Combat.

In today's game, Jon would play the defending French, Dave would play the attacking Australians.

The Game

Unlike Bevan in the previous game, John had chosen to hang back and wait for the Aussie's to come to him. His Platoon 1, the big one, occupied the village, with Platoon 2 positioned along the edge of the wadi in front of the town. Platoon 3 was in reserve behind the town. 

What this meant was that the Aussies had almost a free hand to get onto the table and deploy...which they did, massing just behind the hill.

Being largely out in the open, the Aussie's were spotted fairly quickly. One infantry platoon had headed down into the wadi; their light tanks and carriers had headed straight up the road towards the town; and a couple of Blinds lurked at the back (the Blinds on the far left and far right in the picture below are Dave's other two infantry platoons).

For their part, the Aussie's had spotted the French in the wadi (one squad is still concealed on the other side of the road) and were aware of movement to the rear of the village: John was bringing his reserve platoon across to cover his left flank.

A Mexican Stand-off then ensued. The French infantry crouching down at the bottom of the wadi were effectively immune from fire from the Aussie carriers and light tanks, but couldn't shoot back. The Aussies were unwilling to advance to edge of the wadi to shoot down at the French: they didn't want to risk getting a hail of grenades into their open-topped carriers.

Something had to give...and it did: the Aussie FOO picked up his radio and contacted the two parked-off-table 25pdrs dedicated to support the attack and called in their fire. Direct hit on the wadi!

And now the French infantry's defensive position became a death trap. If they stayed where they were, the enemy artillery would just pulverise them; if they left the wadi, it would be to end up right under the guns of the Aussie carriers and light tanks.

A tricky situation!

To give himself time to think, John fired his light mortars into the mass of British vehicles in front of the wadi, luckily scoring a direct hit on one of the carriers: exit carrier!

This brought home to the Aussies the fact that they couldn't hang around out in the open for too long, so with the French machine gun team in the wadi forced to fall back through the damage done by the artillery and a bit of rifle fire, in went the Aussie platoon in the wadi: charging into the mass of Pinned French infantry from the flank.

In they go!

Bounced back!

Unbelievably (I mean seriously unbelievably) the French managed to bounce the Aussies back (largely due to their Big Man: the Level IV Sergeant-Chef Aubergine!) but had suffered serious casualties in doing so. One more round of rifle fire from the Aussies and the whole platoon evaporated, except for Aubergine, who merely fell back to the town to take charge of one of the infantry squads there.

This left the wadi in the possession of the Aussies, who promptly moved their slightly battered platoon forward to within striking range of the town, followed by a Blind concealing a second infantry platoon.

Now it was the turn of the Aussies to get stuck in the wadi. Yes, they were under cover from fire from the French units in the village but, just like the French moments ago, leaving the wadi in an assault would have led them straight into a devastating hail of fire. Stalemate again!

Meanwhile, the third Aussie platoon had moved along the hilltop on the right flank of the battlefield, catching up with the lead light tanks and carriers. As it was manoeuvring into position to attack the village, however, a French Blind appeared at the end of the nearby road and, with a couple of good dice rolls, was right on them almost immediately.

Automatic spotting revealed the Blind as the three R-35 tanks that formed the French reserve:

But had the French tanks advanced too far?

A fierce combat broke out between the tanks and the Australian infantry platoon, attacking from the flank. On top of that, the Aussie carriers and light tanks joined in too.

One French tank was forced to bail, bits were knocked off another, but the MGs on the third tank were reaping a terrible price from the Aussie infantry: one section being shot down to a man.

Whilst that battle was being fought out on the right hand side of the battlefield, the Aussies on the left, in the wadi, had decided that if they didn't get a move on, they'd spend the rest of the game crouched undercover.

Unfortunately, the British artillery, having done such sterling work earlier, had now gone incommunicado, so shifting its focus to the French troops in the village just wasn't happening. There was nothing for it: the village was going to have to be cleared the hard way.

Up popped the Aussie platoon on a Blind, and charged the back of the souk building. The French squad therein was evicted, but the Aussies had lost five men, and were now coming under fire from French troops elsewhere in the village.

The Aussies gathered themselves and cleared another house, but lost more men, and it soon became apparent that they just didn't have enough men to clear the village in the way that they were attempting to do. They really need to bring up their carriers and tanks...but they were still engaged with the two remaining French tanks, whose heavy (for this time of the war) armour was proving tough to crack.

At this point it became apparent that neither side were getting anywhere, and a draw was declared: they had fought each other out.

Aftermath

Both sides sat back and considered the battle.

The French agreed that they had been a bit too passive and reactive: they had given the initiative to the Aussies and then let them keep it. They had let their tanks, which should have been a game-changer, get embroiled with enemy infantry when a bit of distance would have led to the same outcome but no damage. 

On the other hand, however, from the French point of view, the Aussie's hadn't managed to take the town by the end of the game, and had been fought to a standstill.

The Aussies had been suitably aggressive, but had failed to co-ordinate properly between their armour, artillery and their infantry. At the start of the battle, their armour had advanced way forward of their infantry: something that would have been harshly punished if the French had had even one anti-tank gun. At the end, their infantry was forced to assault the town unsupported by either armour or artillery: a very costly way of doing things.

On the other hand, however, the French tanks were almost neutralised, and the Aussies were almost in a position to take the village...almost!

A great game and, as Dave said afterwards "something for everyone and some scary bits for both sides"!

Robert Avery