New/Updated Army Lists for Q13
/Just realised that some of the army lists in the Quadrant 13 section needed updating...so I've updated them.
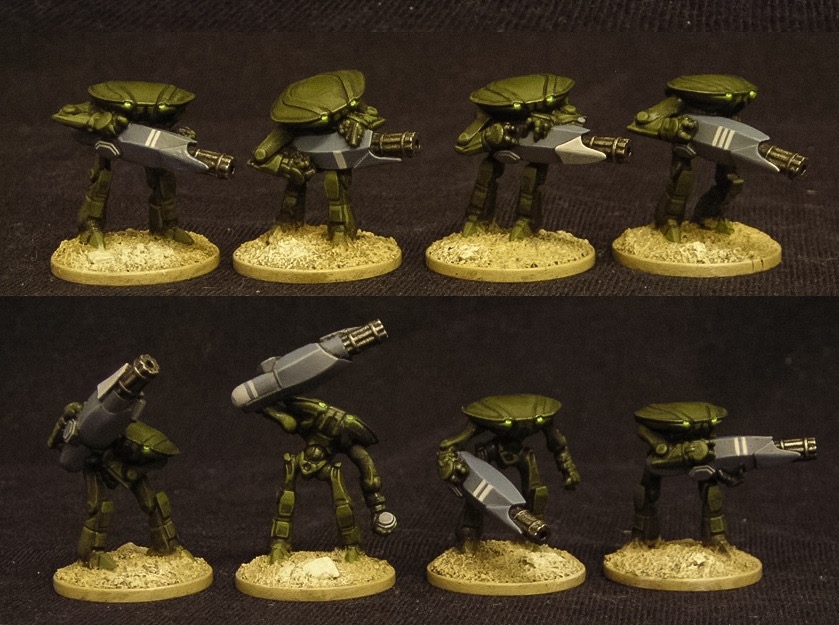
First up is a new list covering Khurasan's Tah-Sig: some very non-human aliens for which there are figures to represent a nicely scoped out platoon. No vehicles yet, but the infantry are cracking.
Here's the particle cannon team from Khurasan's website:

Click on the pics to go to the relevant manufacturer's website

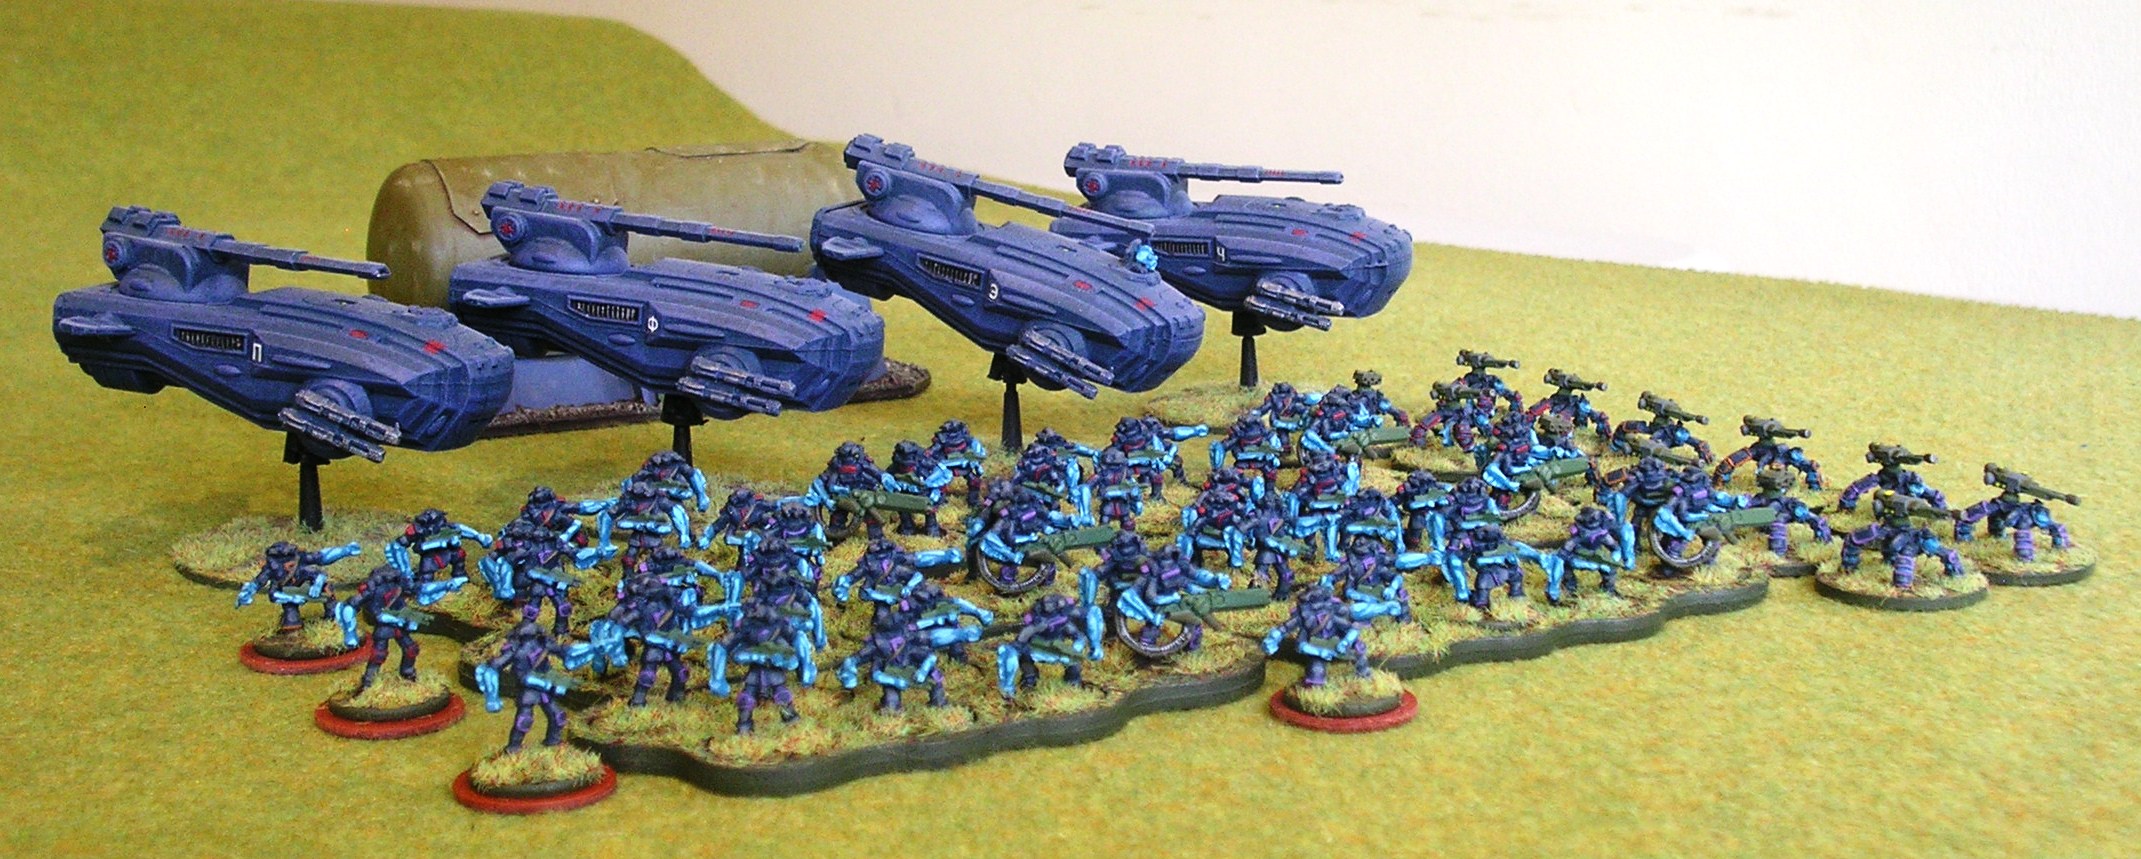
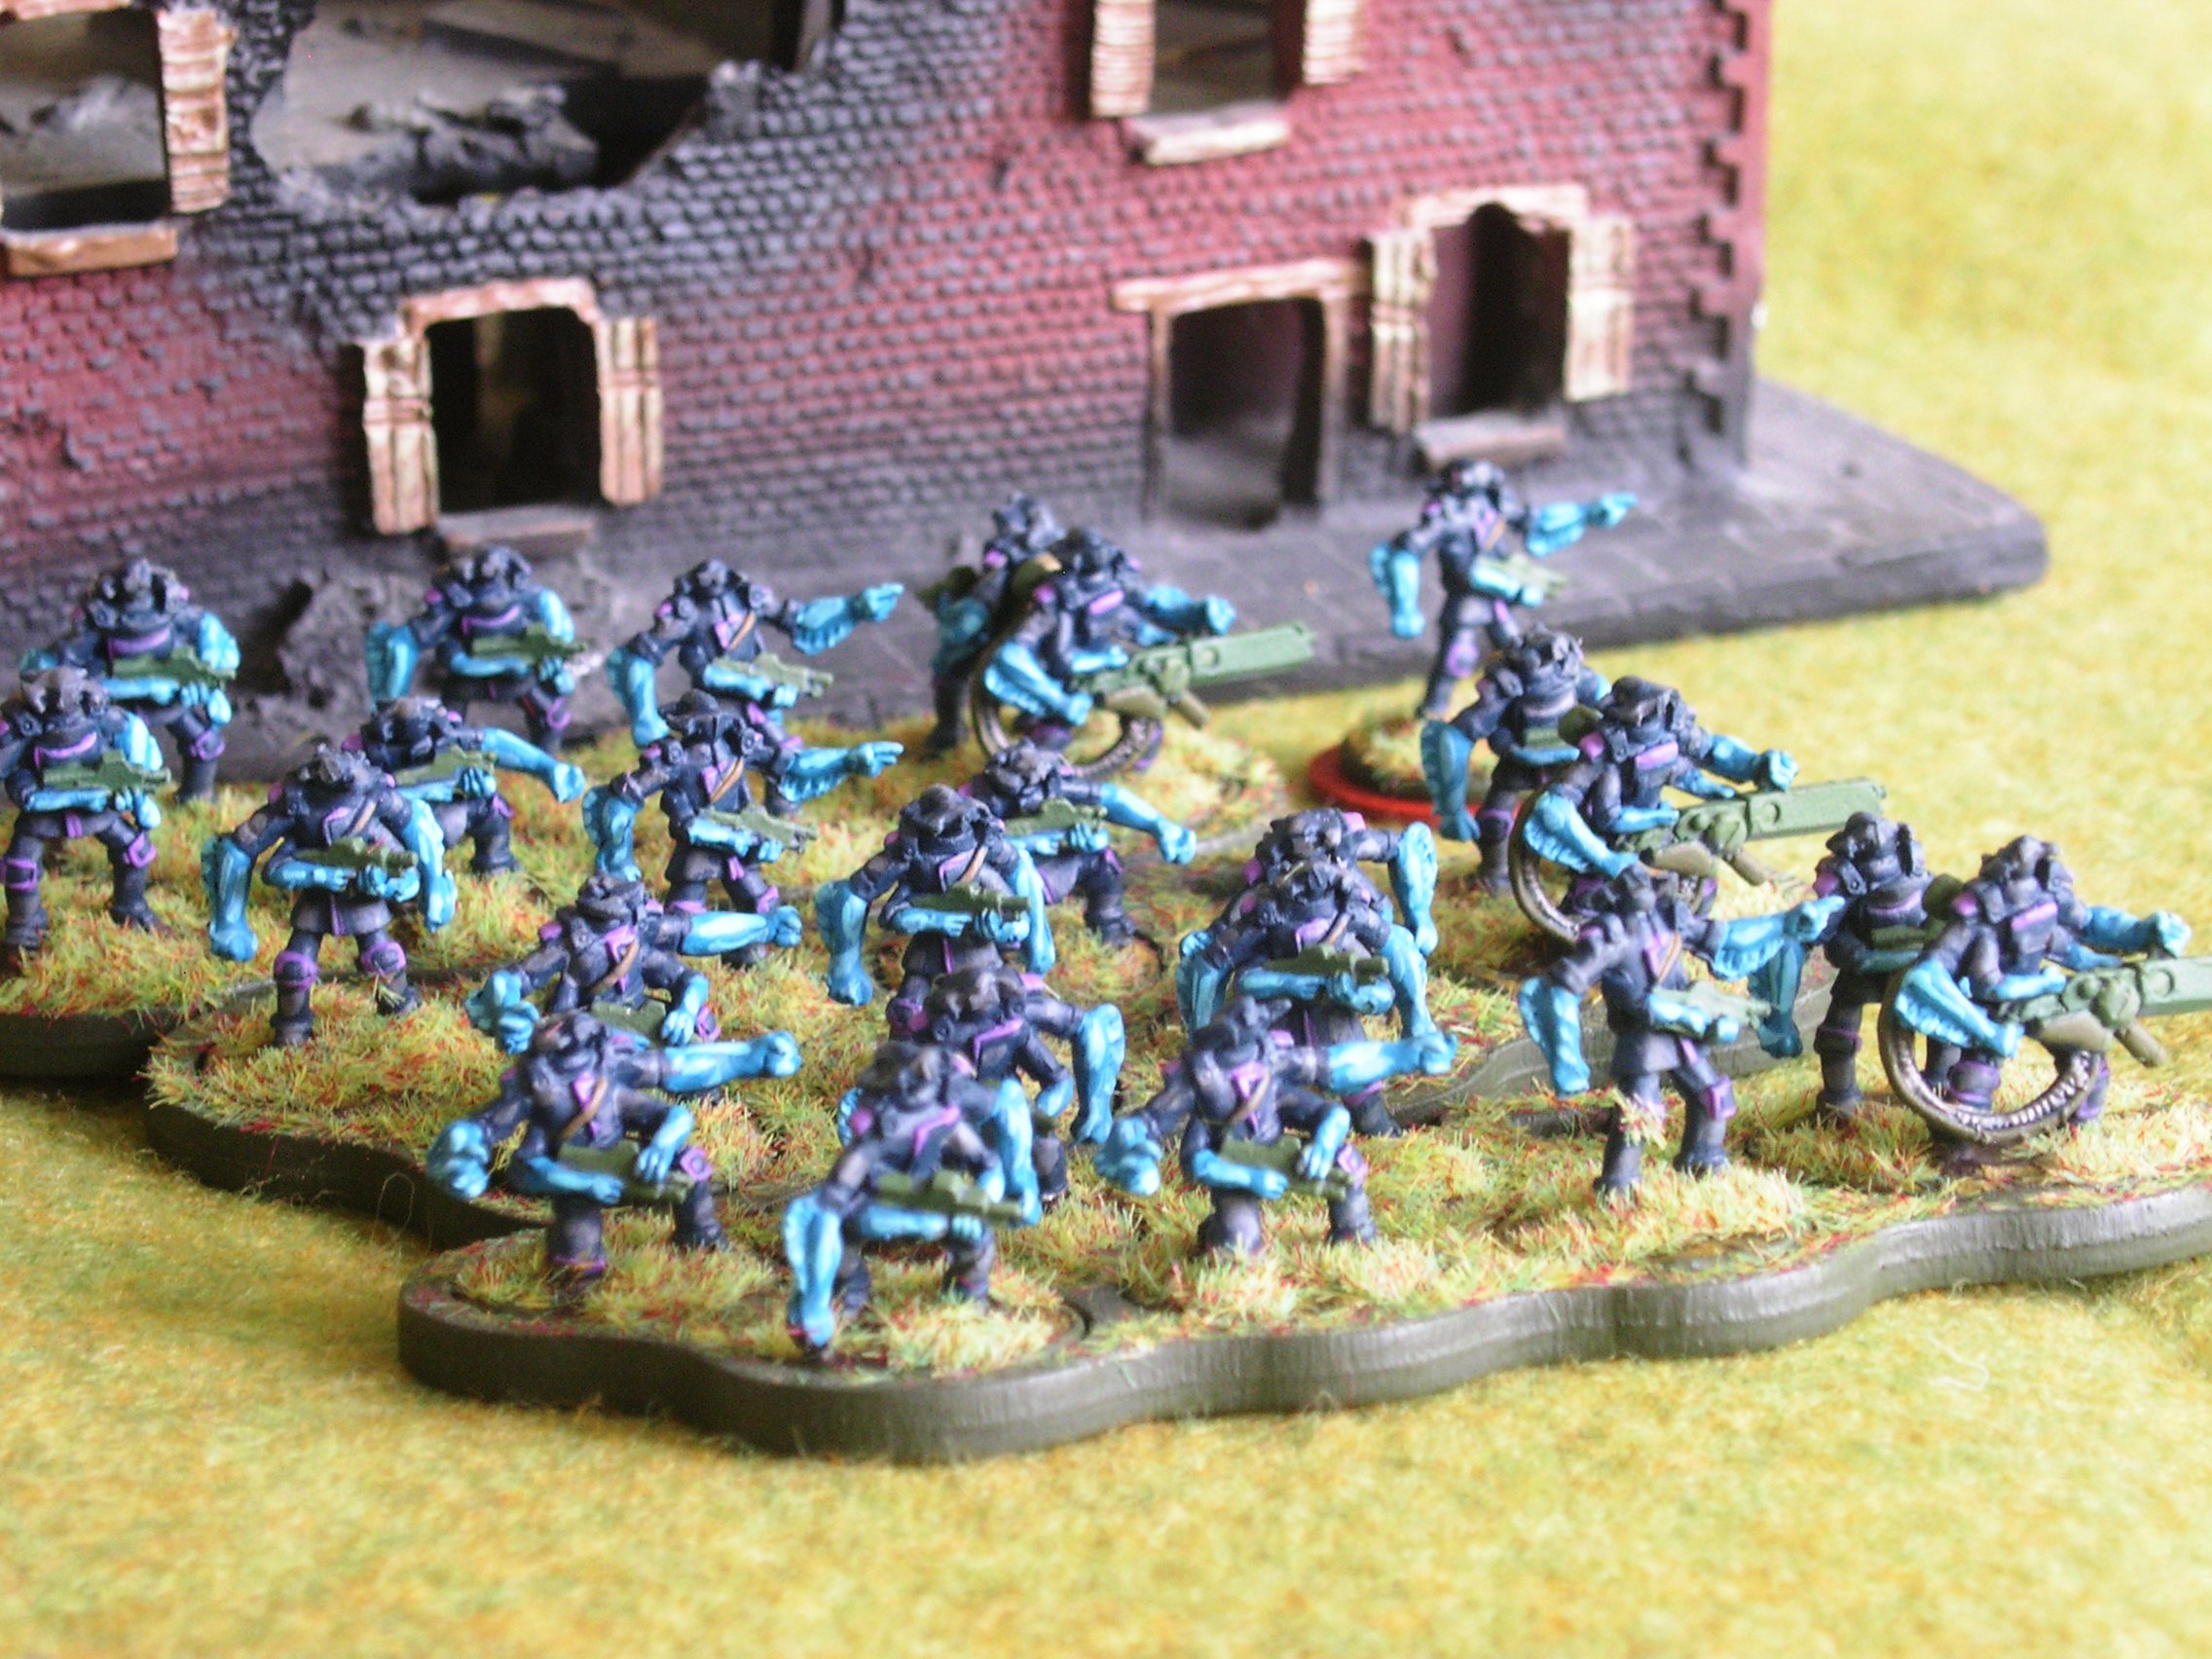
Secondly, I've updated the Xar list to take into account the relatively new Xar infantry on flying saucers, and the fact that I've equipped mine with vehicles from Critical Mass/Ral Partha's Kaamados Dominion range.
The pic on the right is a shot of the saucer chaps in the raw, as it were, straight from GZG's website.
I haven't linked here to the pdfs of the relevant army list: how boring would that be! You'll need to vsisit the Q13/Army Lists page to get them.