

FK&P AAR: Dick's Tower
/Regular visitors will know that friend Rob and I are working our way through my The Siege of Norchester campaign book for For King & Parliament. We have completed five of the twelve scenarios so far, with a run of poor results leaving my Parliamentarians six victory medals behind overall.
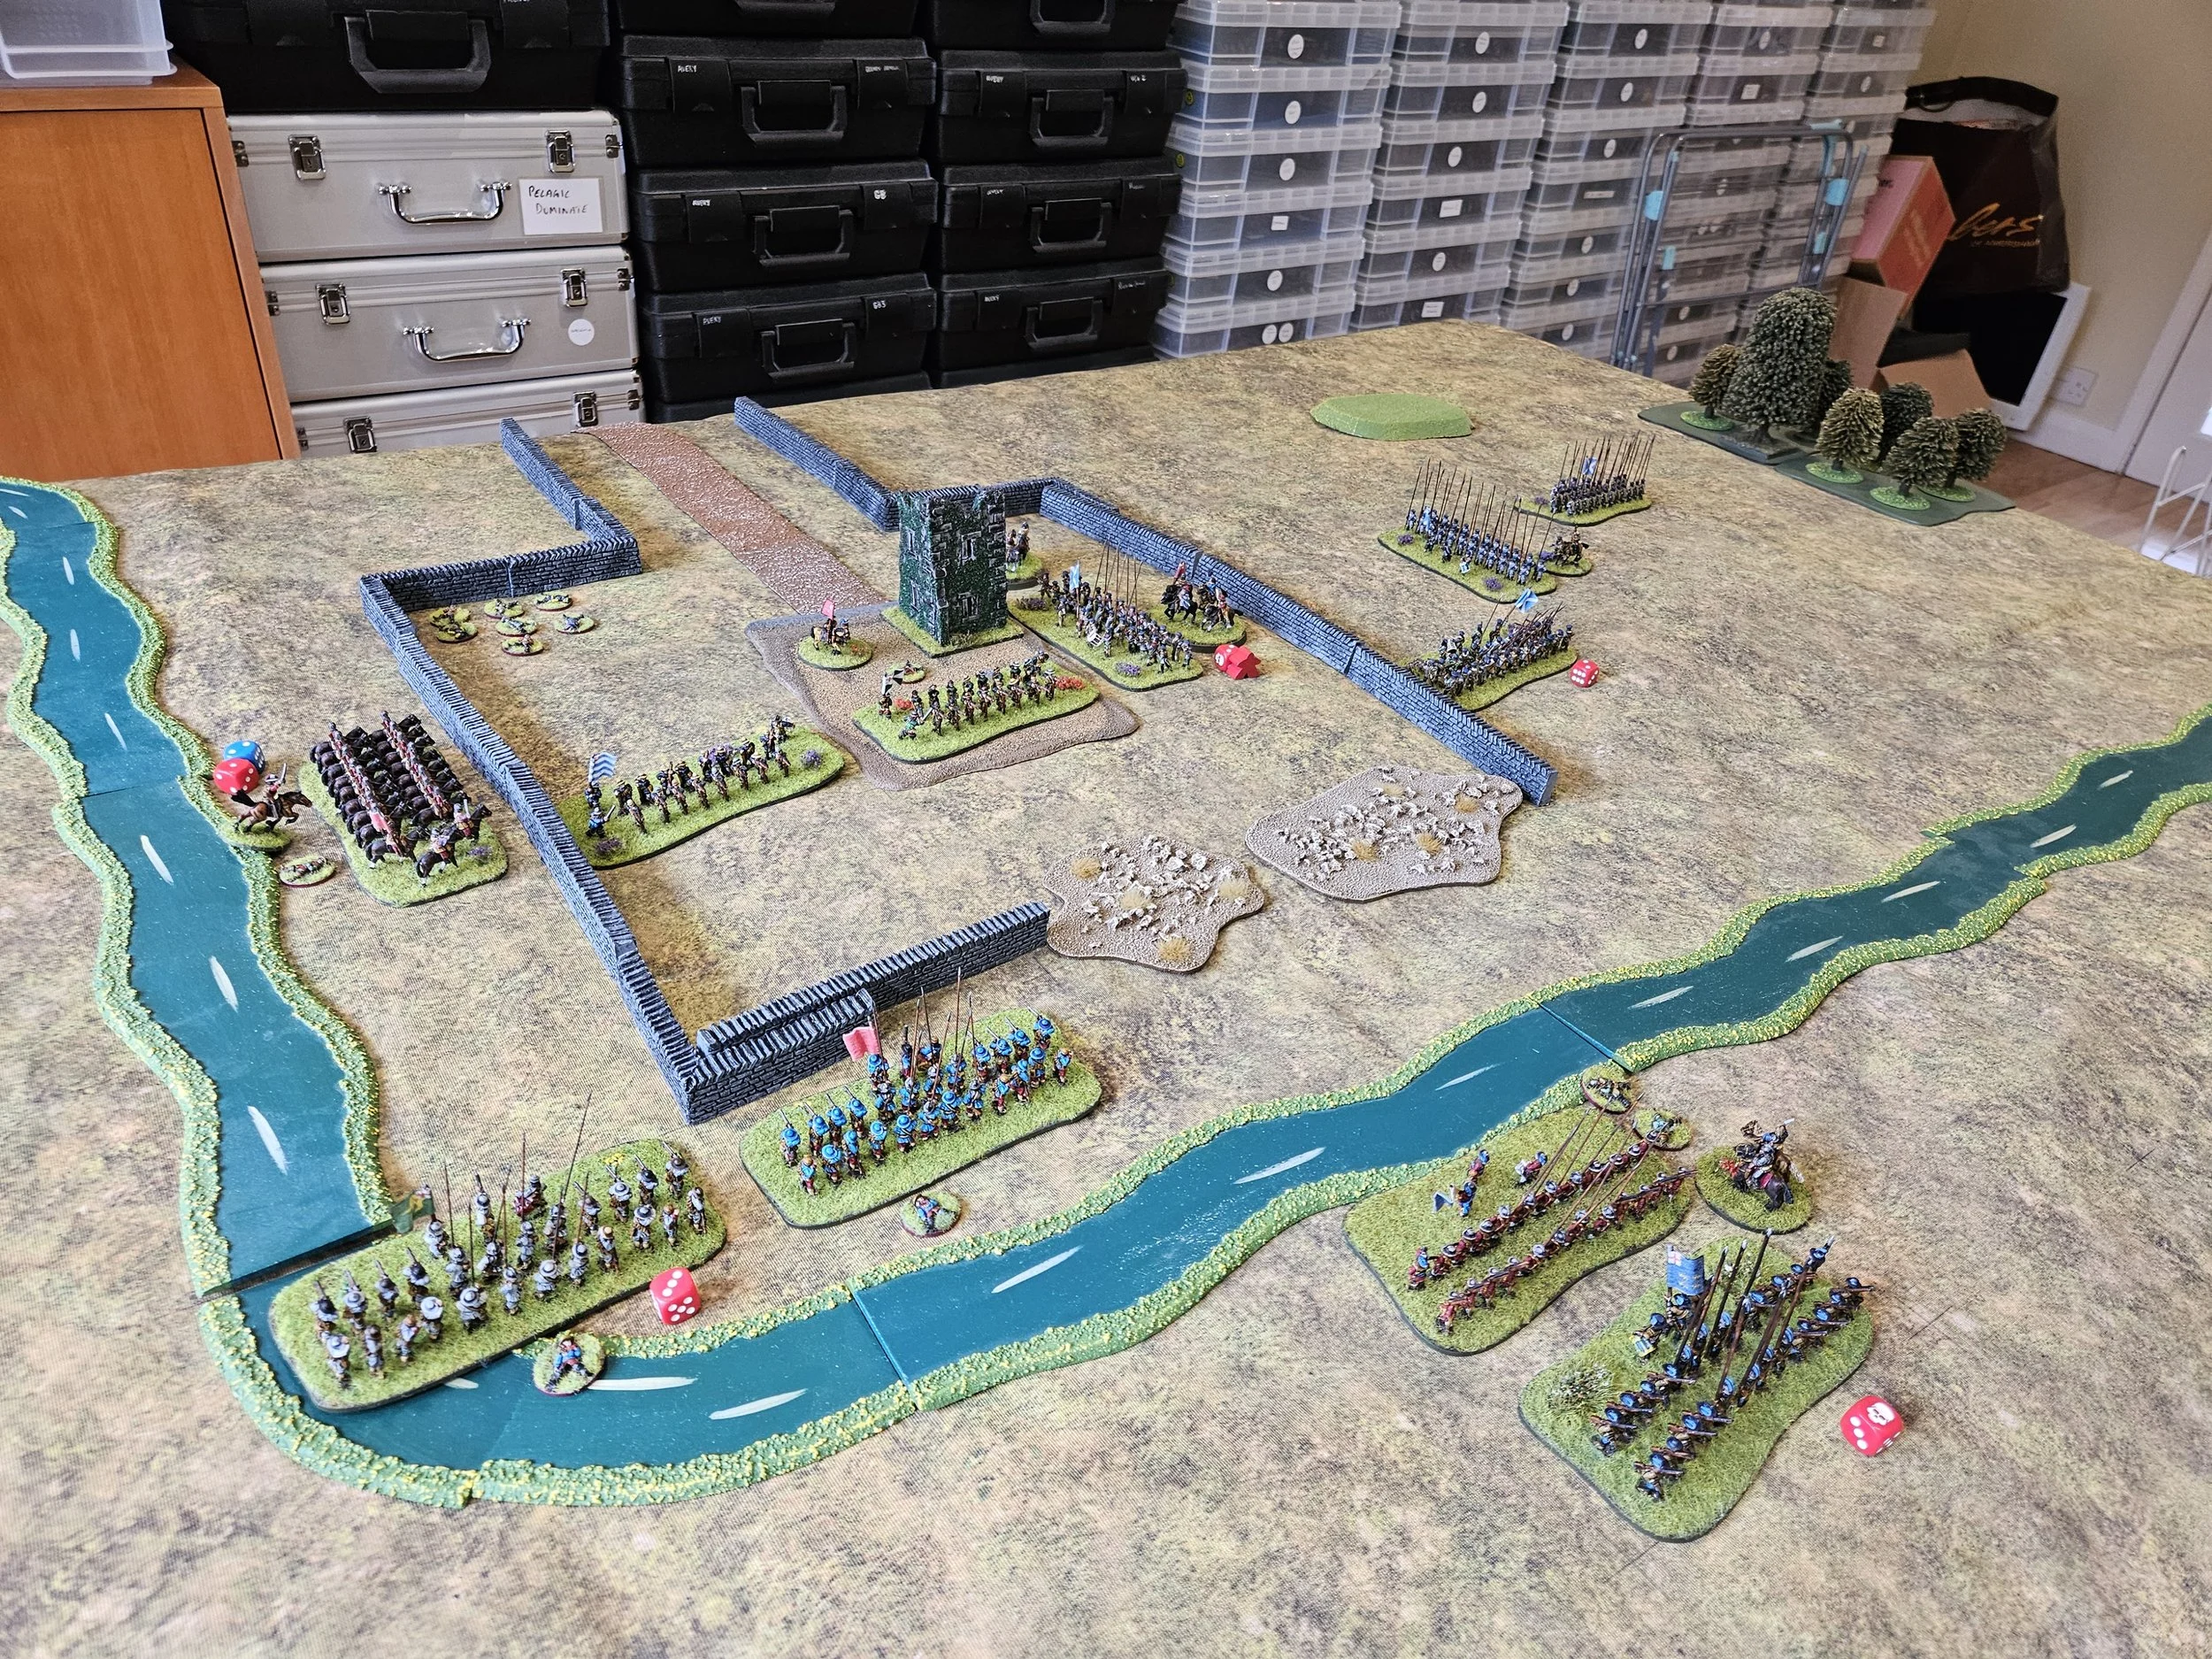
Game six involves a Roundhead assualt on a section of the walls of Norchester that have been breached by Titan and the other siege guns: a section of the walls incorporating the so-called Dick’s Tower, a ruined tower where one of the King Richard’s was once supposed to have stayed.
As you’ll see in the picture, below, the Royalists are both defending the breach and have troops outside the walls…
View from behind the Parliamentarian lines after their initial move
My cunning plan was to use a couple of units to bottle up the enemy behind the walls whilst using the majority of my force to overwhelm, if only by sheer weight of numbers, his men outside, then turn back to the walls and use my again presumably superior numbers to defeat his troops there too. Think Napoleon at Austerlitz!
To his credit, however, Rob told me what he thought my plan was almost as soon as I started moving, so perhaps I should have said “obvious” instead of “cunning” when describing my plan!
Here’s a shot from behind the Royalist lines:
The Graveyard bottom left is just where we stored the casualty markers!
First action was on my left, where Rob rapidly advanced his cavalry in an attempt to keep my troops there from heading right to execute the first phase of my plan.
Two squadrons of Royalist Swedish horse hit the standard pike block on my far left, and although one squadron was destroyed, the other still threatened and my pikemen were on their last legs, meaning that my commander in chief had to move my reserve Dutch horse into a position where they could intervene if necessary.


My damaged battalia fell back and began to rally as the two cavalry squadrons met. Although Rob’s Swedish horse had the advantage of the counter-charge, the sheer weight of my Dutch horse coming down off the hill was eneough to eventually break them, and that side of the field was mine…but it had delayed the execution of my plan even if doing so cost Rob two squadrons of horse.
Roundhead commander staying out of the action: you can’t afford to lose your Commanding General in FK&P!
Meanwhile Rob had also moved his troops out from behind the breeched section of the walls surrounding the tower and started a rolling firefight with my three battalia of infantry there.
This firefight would continue for a couple of turns with neither side getting an advantage, although as Rob’s shot-heavy battalia would in due course be able to “double-shot” my men for longer than my standard battalia, I knew I needed to get stuck in on the right as soon as possible.
And so on to the right hand side of the field, where both sides advanced towards the muddy stream bed as quickly as they could: Rob’s men to block me from getting across, my men to get over the stream bed in order to deploy my superior numbers.
Although I did get over the stream bed first, a quick march from Rob’s infantry left two of my battalia isolated on the wrong side of the obstacle, but that situation was soon remedied, somewhat helped by the fall of the cards (FK&P has a playing card-based activation system).


Then it was just a matter of using my greater numbers to chew through the enemy facing me on the right flank. This I eventually achieved, then curling round to head back into the centre towards the rest of the Royalist foot.


By now I had won enough victory medals off the Royalists to win a standard game, but for this encounter there were actually three more victory medals in Dick’s Tower itself, so whilst the Royalists held the tower, they could keep on fighting…and did!
Things had been fairly even in the centre so far, with each side losing a battalia. A foolish charge by the blue-coated battalia against troops behind un-breached walls cost me the Colonel of the unit, but things were about to change dramatically as my infantry poured in from the right flank. My Dutch horse were also now threatening from the left.
Assailed from three sides at once the last remaining Royalists eventually gave way, leaving the tower and the last three victory medals in my hands.

A victory for the Parliamentarians which, once we’d totted up the points, brought me to within two victory medals of the Royalist running total. It’s now on to Mundaydean Lane to see if I can narrow the gap even further!


