FK&P AAR: Plumleigh Common Again

After a drought of about a month, I managed to play four wargames yesterday (huzzah!) and, incredibly, managed to win them all (huzzah again!).

That was a game of To The Strongest; two games of For King & Parliament; and a game of Art de la Guerre, which I hadn’t actually played before.

There will be After Action Reports for all of them in due course but, for the moment, here’s a catch up report featuring FK&P and another run through of the Plumleigh Common scenario from my forthcoming scenario book.

FK&P AAR: Plumleigh Common

Time to playtest the next installment in the follow up to the Marlowe to Maidenhythe scenario pack for For King & Parliament. This pack is provisionally entitled The Siege of Norchester and features actions surrounding, funnily enough, a fictional Parliamentarian siege of the Royalist held city of Norchester.

To cut a long story short, Plumleigh Common is a fight that occurs when the Royalists attempt to disrupt the Roundheads as they are digging trenches around the city. The Roundheads are, however, ready for the attack and so what was to have been a raid turns into head-to-head fight.

Here are two views of the battlefield. The walled area containing the church prominent in the left hand picture is Norchester itself, held by some Royalist infantry and artillery who cannot cross the city walls only shoot from them. The trenches represent the Parliamentarian lines, and are held by Roundhead infantry who are protecting a siege gun that could actually reach Norchester.

The battlefield thus divides into three sections: the area between the walls/ramparts; the open area next to it, and the area of enclosures on the far side. In this first game, I would play the Roundheads.

On My Right Flank

The battle opened on my right flank, opposite an area of dense terrain formed of enclosures. Here I had committed my troops raised from the Borders area…

In The Centre

In the centre, however, things were a bit more even:

The Climax

As you can see from the picture above, left, the fight for the centre had been carnage, with both sides losing many units. Victory Medals were now in short supply for both sides, but I had three relatively fresh units to bring over from my right which would swing the battle in my favour.

Unfortunately, this left my opponent with a temporary three to two advantage in the centre and a run of rather bad luck meant that I lost both units there in quick succession:

This wiped out my last few Victory Medals meaning that I lost the battle as my game-winning right flank force decided that the sight of the last two of my units in the centre going down fighting meant that it was far too dangerous to intervene despite outnumbering the opposition whilst in a tactically superior position!

Aaargh!

But a great game nonetheless, and the Plumleigh Common scenario is definitely passed as ready!

Marlowe to Maidenhythe: A Nice Review

Got to the game on Saturday and someone asked me if I’d seen the nice review of Marlowe to Maidenhythe ECW scenario pack for For King & Parliament that has just appeared on the Iron Mitten blog.

Well I hadn’t…but I have now, and they are right: it is very nice.

Here’s a link to the specific blog post: http://iron-mitten.blogspot.com/2021/08/marlowe-to-maidenhythe-review.html

I recommend that you all read it and immediately go out and buy a copy!

Yet Another Shot Heavy ECW Battalia

Here’s the last (for the moment!) of my shot-heavy battalia for my English Civil war collection.

With these, I can now field brigades of standard battalia, pike-only battalia, pike-heavy battalia and, of course, shot-heavy battalia.

The figures are from Peter Pig, painted with GW Contrast paints (the trousers are some kind of ork skin tone!), and mounted as a single battalia element on a large vehicle base from Warbases.

FK&P AAR: Stour Road again

With the first battle only taking 90 minutes or so, we had time to re-play Stour Road.

Bevan offered to swap sides but, despite the fact that I had lost the first game quite heavily, I was sure that I now had the key to victory!

So, once again the Roundheads are digging ramparts around Royalist-held Norchester when the Cavaliers launch an attack to disrupt their work…

Another great game of For King & Parliament and, unusually, a win for me!

It’s now off to Plumleigh Common, where the Royalists will try a lightning raid on the Parliamentarian lines again, but this time the Roundheads are ready for them…

FK&P AAR: Stour Road

As the Parliamentarians begin to surround Royalist-held Norchester with a ring of trenches, the Cavaliers send out Sir Edmund Dexter and his cavalry to disrupt their work…

At this point I forgot to take any more picture as the action reached its climax.

Somewhat unexpectedly, the Puritan Horse gave way, leaving the flanks of my infantry battalia facing the Royalist horse utterly exposed. These were overwhelmed one by one, and the chaps digging the trenches who had come to help (counting as Rabble) were shot down by the rest of the Royalist infantry.

A major defeat for the Parliamentarians!

Another Shot-Heavy Battalia

Here’s the second of my planned three English Civil War shot-heavy battalia: painted in a rather fetching shade of yellow!

The main body are from Peter Pig, the command figures from Hallmark via Magister Militum. The figures are mostly painted with GW Contrast paints and based on a Warbases large vehicle base. The flag is from Maverick.

FK&P AAR: Cadmore Hill

Anoher play-test battle: this time a Parliamentarian column escorting siege guns is almost ambushed by a Royalist force, but the trap is sprung a little too soon…

FK&P AAR: Munces Wood Again

As it hadn’t taken Bevan very long to beat me in the last game we played, we swapped sides and gave battle again.

In the last play-through, Bevan had withdrawn his Clubmen and given up the centre of the table. I decided to do the opposite and support them, moving my infantry forward to form a line half way towards the enemy edge.

On the left flank, my Swedish horse moved forward cautiously: I was waiting to see what the enemy Dutch horse (that you can see moving across the table towards me from left to right in the left hand picture, above) would do before committing them.

On the right flank I used two squadrons of horse and a battalia of foot (Shaw’s Horse Brigade supported by the Westferry foot) to hold off a brigade of enemy horse. Points-wise, a stalemate here would be in my favour.

A general melee broke out in the centre of the field. Incredibly, given my luck in recent games, I quickly gained an advantage, with a squadron of horse and a battalia of foot (the ones in dark pink: the Wickborough foot) breaking through the enemy troops in front of them!

Then I made a mistake.: a stupid schoolboy error that would haunt me for the rest of the game!

Bevan had sent a unit of commanded shot (a smallish group of musketeers) forward through the wood (Munces Wood, in fact) towards my cautiously-advancing squadrons of Swedish horse. I failed to resist the temptation and charged the blighters as they came up to the edge of the trees.

Yes, that’s right: I charged musket-armed infantry in woods with close formation horsemen!

My foolish horsemen (the Cranston horse) were soon eliminated, leaving that flank open for the Musketeers to threaten my victorious infantry in the centre and for Bevan’s “spare” squadron of Dutch horse (the Stand-Fast-On-High Puritan horse) to advance up that flank as well…and adjusting to counter those threats prevented my infantry in delivering what should have been the coup de grace!

With some brilliant tactical play, Bevan then used the breathing space I had given him to regroup his centre. I still had the advantage, but now would need to break him again.

My pursuing cavalry (the ones that had broken through the line earlier: the Staplehurst horse IIRC) went off the table and then came back on to hit a squadron of enemy horse. I should have broken them, but didn’t, leaving them free to rejoin Bevan’s troops in the centre of the field (what we had started calling “the arena” due to the way the hedges were laid out) and again forcing me to deploy to face them.

Meanwhile, a melee had finally broken out on the right flank as Bevan could see that he had no choice but to try and win there before his centre finally collapsed. This didn’t work for him, however, and I was soon able to punch through on that flank.

The battle was now all but mine. I just need to destroy one more unit of Bevan’s and the rest of his men would lose heart and flee the field. Okay, so it was true that I would lose the game if I lost one of my foot battalia or two squadrons of horse, but all my remaining units were still pretty robust versus Bevan’s shaky-looking troops!

Bevan, however, had one final card to play.

If you remember, my folly of attacking infantry in a wood with horse meant that I had had to defend my left flank against a squadron of Dutch horse. I had succeeded in keeping them from getting over the hedge, using a battalia of infantry to do so. Now Bevan would have one last go at breaking through here. Failure would allow me to deliver the final blow that I needed to win the day.

His horse were double-disordered, my foot were disordered…so he had to get over the hedge to get me and then do two hits with me saving neither.

You guessed it: the cards fell his way and, with a roar of triumph, the Performe-Thy-Vows Horse swept over the foliage and dashed my pike-and-shot battalia from the field!

And that, as they say, was that!

Aftermath

Well that will teach me not to charge infantry in a wood!

All my hard work in the initial stages in the centre destroyed by a need to watch my left flank: a flank that I had effectively exposed myself. Much kudos to Bevan for staying cool and conducting an excellent fighting reorganisation of his collapsing centre, and then for taking full advantage of my mistake and holding his nerve until the end.

Another great game of For King & Parliament that came down to the last moment!

Here’s a complete gallery of the game.

FK&P AAR: Munces Wood

Time for another game of For King & Parliament: a fictional encounter battle near Munces Wood.

I would play the Parliamentarians, with a force consisting of a strong contingent of mostly Dutch horse, three decent foot battalia, two pike-only foot battalia, and a couple of units of commanded shot escorting some guns.

Up against me were some Royalist rabble (the units out in front of the main Cavalier line), lots of Swedish horse, and six battalia, half of which were pike-heavy.

Neither side started the game happy with their deployment, and the arena-like nature of the terrain would make things interesting as well.

Horrible picture: apologies for the over exposure!

The battle quickly divided into three segments. On the left, the cavalry clashed, with my Dutch horse unable to get over the hedge and into contact with the opposition. Not so for his men, who succeeded in clearing the foliage and headed for my poorly-mounted Pistoliers.

In the centre, the Royalist Clubmen retreated back to the hedgerow behind them, with his more battalia then coming forward to face mine.

On the right, some of his horsemen charged forward ferociously, routed one of my units of commanded shot, then ended up under the guns of the other and were blown away in turn.

I had expected to win the cavalry action on the left and then bring my horsemen around into his flank and rear, but that hedge stymied all my plans. The main cavalry clash would grind on without a clear result for the whole battle.

Both sides reinforced their centres with some cavalry but a run of bad luck as the two lines first came into musket range dogged me for the rest of the game. Although honours were even in terms of units lost, my remaining troops were all disordered or double-disordered, and that pooping Royalist Rabble then made a reappearance!

The game, however, was ultimately decided on the right flank, where my commanded shot and guns faced another cavalry assault.

My commanded shot were not able to stop the enemy horse from running them down, the guns acted as effectively against charges as usual (!) and my right flank evaporated.

With his horsemen curling around my right flank, and my cavalry still engaged in the grinding melee on my left, my centre gradually and unspectacularly collapsed.

Victory to the Royalists!

A challenging scenario which my opponent coped with much better than I did. If I had committed just enough horse to bottle up his men on the left, then I could have properly reinforced my centre and won the battle there before my right was defeated. I was a bit unlucky on my right, as I never had the chance to get my commanded shot into the trees, but plaudits to the Royalists for coming forward so speedily.

A great game, and one that only took about 90 minutes to complete. So we set it up again and played it the other way round but that, as they say, is another story…

First Shot-Heavy Battalia

I’m still working on filling in any gaps I might have in my ECW forces, so here’s a first battalia of shot-heavy foot:

The chaps with the muskets and the two officers are from Peter Pig, the pikemen and drummer boy are from Hallmark via Magister Militum.

On reflection, I should have mixed up the poses a bit, or at least had the back rank re-loading or similar, but one unit with the figures all giving fire isn’t a tragedy.

The figures are painted with GW Contrast Paints and mounted on a vehicle base from Warbases.

FK&P AAR: Tounton Bridge

Friend Bevan wanted to play some more ECW battles, and as we had exhausted all the scenarios I had written for the Marlowe to Maidenhythe scenario pack, it was time to get the quill out and write a new one.

The background is simple: the Royalists are withdrawing into a walled town but need to cross a bridge to do so. Sir Henry Carlyle therefore volunteers to hold the Roundheads off from the bridge whilst his comrades make their retreat. His opponent is Sir Edward Dexter, leading a force of men from the Borders supported by a brigade of Puritan horse (commanded by Colonel Kill-Sin Rhapsody) and some rather uncouth Reivers.

View from behind the Parliamentarian column. The bridge is just behind the village.

This turned out to be one of the best games of For King & Parliament we have ever played, with the luck being evenly split all game and the result in the balance right to the last moment.

The Royalist Forlorn Hope opened the game by deciding that their position was not just forlorn but actually untenable. They were also blocking the fire of the Royalist artillery. They therefore retreated behind a nearby hedgerow to await developments.

The Roundheads took their time to shake out from column into line, with the Puritan Horse performing various convoluted evolutions to end up heading across the battlefield on the far left Roundhead flank. The Royalists watched all these developments with interest from behind their hedgerows, but eventually decided that something needed to be done about the Puritans, so dispatched Col Shaw’s Swedish horse to deal with them.

Parliamentarians shake out their line

There are an awful lot of Puritans!

As the Parliamentarian pike in the centre of the field approached the Untried Royalist “Just-Raised” brigade, the Cavaliers opened fire at long range and promptly disordered themselves due, presumably, with their surprise at how loud their guns were! This was a right pain, and would dog me for the rest of the game as I never had a spare moment in which to try and rally them.

Meanwhile, however, one of Shaw’s horse units had sprung forward and smashed a squadron of Puritans straight off the field: the first time we could remember a 3-hit Dutch horse unit succumbing to a 5-card attack in one go. The other unit didn’t do quite so well though, ending up even-stevens on one disorder apiece.

The Royalist centre-right scares itself silly!

Some initial success for Shaw’s horse

As all this was going on, some nag-mounted Parliamentary Pistoliers from the Border regions rode forward, survived the long-range fire from some of my Commanded Shot, and then promptly charged them and dashed them from the field. Not good, especially as this left a big hole in my line right in front of my guns. Worse, those very same Pistoliers survived flank fire from one of my veteran Battalia. Surely my guns were now toast!

Gulp!

Most unusually, however, the guns actually worked for a change, and blew the Pistoliers away. Crisis averted.

Meanwhile, the main melees rolled on:

Here’s a look at the whole battlefield. Note how I’m desperately trying to get a horse unit over from my left hand side to help shore up my centre and right!

Things now started happening in rapid succession (too fast for many pictures).

My two units of Swedish horse on the right finally succumbed to the four units of Dutch horse they faced, but they had down a good job in holding them off for so long. One unit of enemy horse came forward and threatened to turn and hit my infantry line from behind, but those reinforcements I’d moved across blocked them.

Then, in the main melee, one of my Untried units gave way, but this allowed me to turn the Battalia directly under command of Sir Edward onto their flank and destroy them. That gave me access to the flank of the main Parliamentarian line, and I took full advantage and destroyed another enemy Battalia.

The battle reached its climax

This left both Bevan and I on three coins each i.e. the first person to lose another unit would lose the game. There were also two combats underway: my reinforcements versus the enemy horse, my triumphant Battalia against some enemy Commanded Shot.

I chickened out of sending my Swedish horse in against his Dutch boys (the photo above left is actually from slightly earlier so my horse had become blown by now, which meant two cards versus two cards with death to whoever lost) thinking that I would charge his Commanded Shot from the field but, as you will see from the photo above right, I drew an Ace which meant my lads wouldn’t charge home.

Bevan then turned his Commanded Shot towards me and opened fire: two Nines, no Saves from me, Battalia and game lost!

Aftermath

An absolutely terrific game of FK&P: tactical challenges, extreme but even luck on both sides, and a succession of notable events: Swedish horse bashing Dutch horse from the field; three Untried Battalia disordering themselves; the guns surviving a frontal charge by blowing their enemy away; a succession of flank charges; reinforcements rushed from one side of the field to the other just in time to charge an outflanking enemy units; and, of course, everything coming down to the last combat.

Epic stuff, and I’m now inspired to write Scenario #02!

Robert Avery

Marlowe to Maidenhythe Gets Physical!

Exciting news. My Marlowe to Maidenhythe scenario pack for For King & Parliament has been printed in physical form i.e. is now not just available as a pdf but also as a wire-bound book.

This is the first time one of my books has been available ready-printed since the heady days of Vis Bellica.

I’m sure that you have all bought M2M in digital format already (and if not, why not!) but here’s the link to the hard copy.

As a reminder, here’s the marketing blurb:

The 66 page Marlowe to Maidenhythe scenario Book, written by Robert Avery, is a physical print book, designed for the TtS! For King and Parliament English Civil War rules but useful with other rule systems too. It is printed on 130 GSM paper and is wire-O-bound so that it will lie flat on the table.

The book contains twelve free-standing fictional scenarios set around in the counties of Buckinghamshire and Berkshire during and shortly after the English Civil War. They tell the story of a series of clashes between Sir John Boulters (for the King) and Sir Christopher Grey (for Parliament). Each scenario contains a background briefing, separate briefings for each of the players, a deployment plan and orders of battle. The scenarios can be played individually or in sequence, as a campaign. Many of the characters and units recur throughout the campaign.

And finally, here’s a couple of pics of the Cookham Moor scenario just starting, one from a game I played over Zoom recently and one taken from the FB 6mm Miniatures & Wargaming group.

FK&P AAR: Rogue Nation

Last weekend I had the chance to re-play the final scenario in my Marlowe to Maidenhythe scenario pack for FK&P: Rogue Nation.

It’s a stand-up fight between a late ECW period Parliamentarian army and a combination of militia and clubmen set, once again, around the village of Gappe.

As is customary these days (but not for much longer!) we played via Zoom: with my opponent being able to see the whole table via an overhead webcam, and more specific areas of the battlefield via an on-table mobile phone.

Here’s the report:

So a glorious victory for my Parliamentarians for a change. My opponent’s post-game e-mail began “what was I thinking?” as I think he realised that coming forward as his men did had been a mistake.

What was also pleasing was that my run of extremely (really extremely) bad cards seemed to have come to an end. In fact, another reason that my opponent gave for his defeat was that he was careless of his tactics as he was expecting my cards to be as bad as usual! Well, this game I actually had some quite good luck for a change, especially in the opening stages of the main infantry clash.

My victory was, however, not enough to reverse the course of the campaign in general. The M2M pack gives you a totaliser to keep track of how you do in each battle…and I think it fair to say that after twelve games played I was firmly on the losing side.

Great fun, and I must start writing the new pack soon!

Postscript

As I was playing the Rogue Nations scenario, the chap of FB who’s playing through the campaign was playing the Pinkney’s Court game:

Nice to see that someone else also has problems with the Royalist horse at this stage of the war!

FK&P AAR: The King's Secrets

Lots of pike-and-shot content on here at the moment. No apologies for that: I’m playing all my games via Zoom at the moment, and grid based games are a lot easier to manage than freeform games such as IABSM or Q13. Normal service will be resumed as soon as possible!

Anyhoo, on to today’s post: an after action report from my latest game of For King & Parliament : another scenario from the Marlowe to Maidenhythe pack, this time scenario 11: The King’s Secrets.

The basic premise is that the Royalists (played remotely by my opponent) have to get a stagecoach carrying secret documents off the opposite end of the table. Blocking their way are a Parliamentarian militia supported by local villagers…

Even after the disastrous cards on my left, I came close to winning the game in the centre: but the Parliamentarians remained resolute and I couldn’t get the disorder I needed.

Although at the end of the game I had curled around his main line and was about to roll it up, other Royalist units had punched a hole for the stagecoach and bodyguard Cuirassiers to get through.

Another great game, despite the result!

Another M2M Report

A couple of days ago I mentioned that I’d seen the Marlowe to Maidenhythe campaign from my new scenario pack for For King & Parliament being played out by someone on the Facebook 6mm Miniatures & Wargaming group. They’d just played the first scenario in the campaign: the Attack on Marlowe.

Fortunately they seem to have enjoyed that game (!) as they’ve now posted game two: Widbrooke Common.

You have to be a member to see posts on the group, but here’s a link for those of you who are, or who would like to be: link.

In the meantime, for those of you who either belong to far too many FB groups already (guilty as charged, your honour) or who don’t like FB at all, here’s a pic from the start of the game.

And now for the plug!

You can buy the scenario pack from the BigRedBat shop by clicking here or on the pic below.


First Marlowe to Maidenhythe AAR!

One of the nice things about writing scenario packs (in addition to having a little bit of extra cash to buy more figures) is seeing that people are actually playing games based on your work.

Marlowe to Maidenhythe, my English Civil War scenario pack for For King & Parliament was only published about two weeks ago, so it’s really pleasing to be able to report that I’ve seen the first AAR based on the first encounter of the campaign.

It’s posted on FB, in the 6mm Miniatures & Wargames Group which, as it is Private, you might not be able to immediately see from this link…but it is there, let me assure you!

I hope the author doesn’t mind, but here’s a quick pic of the initial stage of the battle:

If anyone’s interested, you can buy your own copy of Marlowe to Maidenhythe by clicking here or on the picture below.


FK&P AAR: McCleod's Odyssey

With my Rabble bases now painted, it was time to have go at scenario #10 from the Marlowe to Maidenhythe scenario pack: McCleod’s Odyssey.

In summary, the Scots who have featured as mercenaries in previous scenarios in the campaign are making their way home, but run into a force of Militia backed up by locals who want a word, shall we say, about the Scots’ behaviour as they went south.

It’s a standard encounter battle, with both sides directed to get stuck in as soon as possible.

The Scots, to the right, approach the village of the Gappe, held by the Militia and local folk

Deployment

The Scots placed their Highlanders on the left, opposite the rough and more enclosed terrain, their artillery and pike only units in the centre, and their standard battalia on the right. In reserve were their horse: a unit of poorly mounted pistoliers and a unit of poorly mounted lancers.

The Militia occupied the Gappe: infantry battalia in the centre, Swedish horse on the left and Dutch horse on the right. The three units of Rabble were on the far right, facing the Highlanders.

The Battle Begins

My plan was for my Highlanders to deal with the Rabble then sweep in to the Gappe from the flank. Bevan, my opponent, however, was up to all my tricks, and moved his Dutch horse to the right of the village, threatening the Highlanders’ flanks.

At the same time, the enemy Swedish horse moved out to their left. Not wanting my day ruined by the sudden arrival of cavalry on my right flank, I moved the Scots horse to counter: you can see them top left in the picture below.

Finally, my main infantry units moved forward…but my pike-armed battalia decided that they had walked far enough and just about refused to move.

Everything then seemed to happen at once.

On the left, two of my Highlander units were charged, as predicted, by the enemy Dutch horse, with both surviving the charge but becoming disordered in the process. I struck back and, incredibly, one unit of Dutch horse was double-disordered and had their Colonel wounded.


This was a great opportunity for a game-winning opening clash but, try as I might, I just couldn’t find a way to break the enemy horse and would now have to suffer the fate of all loose infantry attacked by large numbers of close formation horse!

Meanwhile, on the other flank, my horse and the enemy Swedish horse now faced each across one of the fields outside the village.

A victory for the Scottish horse, despite their manky mounts, but now they would Pursue their fleeing enemies from the field unless they stopped and rallied.

As these actions were happening on the flanks, my centre moved forward, me seeking an advantage by overlapping his left wing.

Mid Game

After the initial clash, I had won the right flank but was about to lose my left flank: the Highlanders were outnumbered 5:3 and could do nothing except take the charges from the Dutch horse.

One unit of Highlanders crumbled and fled, leaving a gap through which one unit of Dutch horse could pour. The enemy horse pursued for a bit, then rallied and headed into the big open space behind my centre. All that was in front of them was my guns, and although I managed to disorder the horse and wound the General with them with some startlingly accurate artillery fire, I was soon overrun.

Meanwhile, another of my Highlander units had gone, leaving the third in a dire situation.

Meanwhile, the two centres were fighting it out but, despite having superior numbers, a bit of bad luck meant I was losing.

If my cavalry didn’t return soon, I was going to be out of victory medals!

End Game

The left side of my centre was now beginning to crumble as well as his successful right wing started to curl in on me.

We were both down to a handful of victory medals, with enough units at double-disorder to settle the matter one way or the other if they broke.

My pistolier horse quite their pursuit and crashed into the left side of the enemy battalia in the right hand building. That pike unit broke, and the advantage was momentarily mine, but then my pike-only unit in the centre of the field (bottom left in the pic above) went, and we were evens again.

It was down to whoever lost the next unit and, finally, my last unit of Highlanders could take no more: they had been fighting front and flank for three turns now, somehow hanging on…and that was the last of my coins gone!

The day was lost: but it had been an epic battle that, once again, had come down to a could-go-either-way climax.

Afterword

My big mistake was to let my Highlanders get into combat with Dutch horse: I should have retreated to cover if I could. That would have meant I went into the more successful clashes on the right and centre without having haemorrhaged victory coins on the left.

A great game, however, whatever the result.

FK&P AAR: Return to Widbrooke Common

This being the second game in my latest run-through of Marlowe to Maidenhythe, my just-published scenario pack for For King & Parliament.

I had lost the first game quite badly (down ten victory medals) so was keen that this one went my way. The scenario is an encounter battle, with the Parliamentarians (played by Peter, boo, hiss!) facing the Royalists (played by me, huzzah!) across Widbrooke and Battlemead Commons: the open land between Cookham and Maidenhythe down near the river.

Roundheads to the left, skulking in the hedgerows!

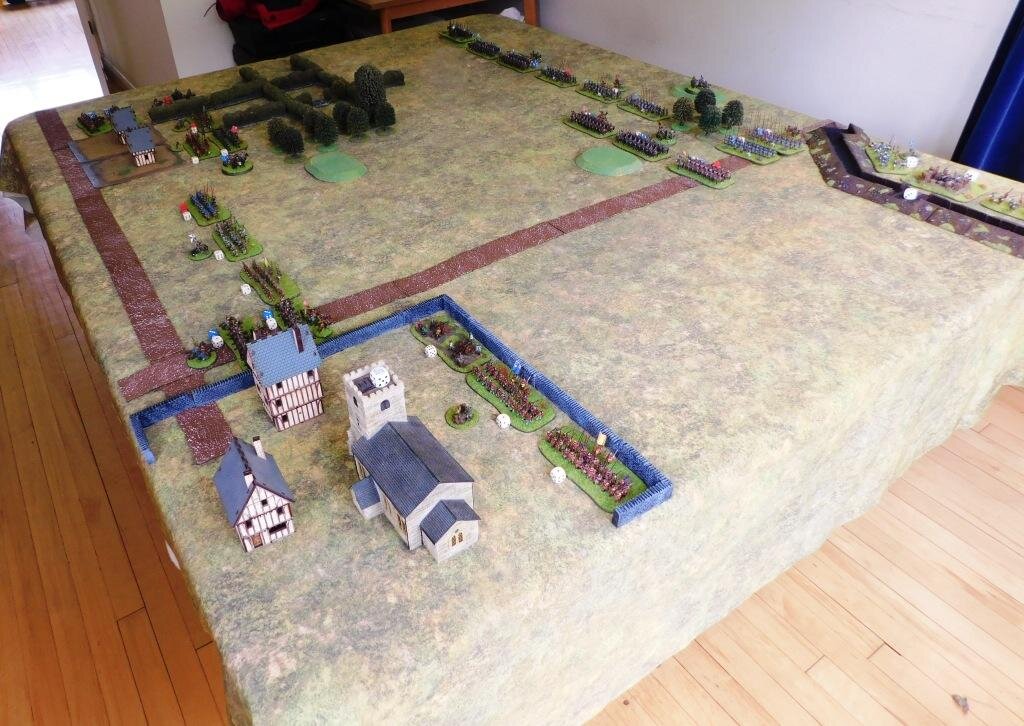
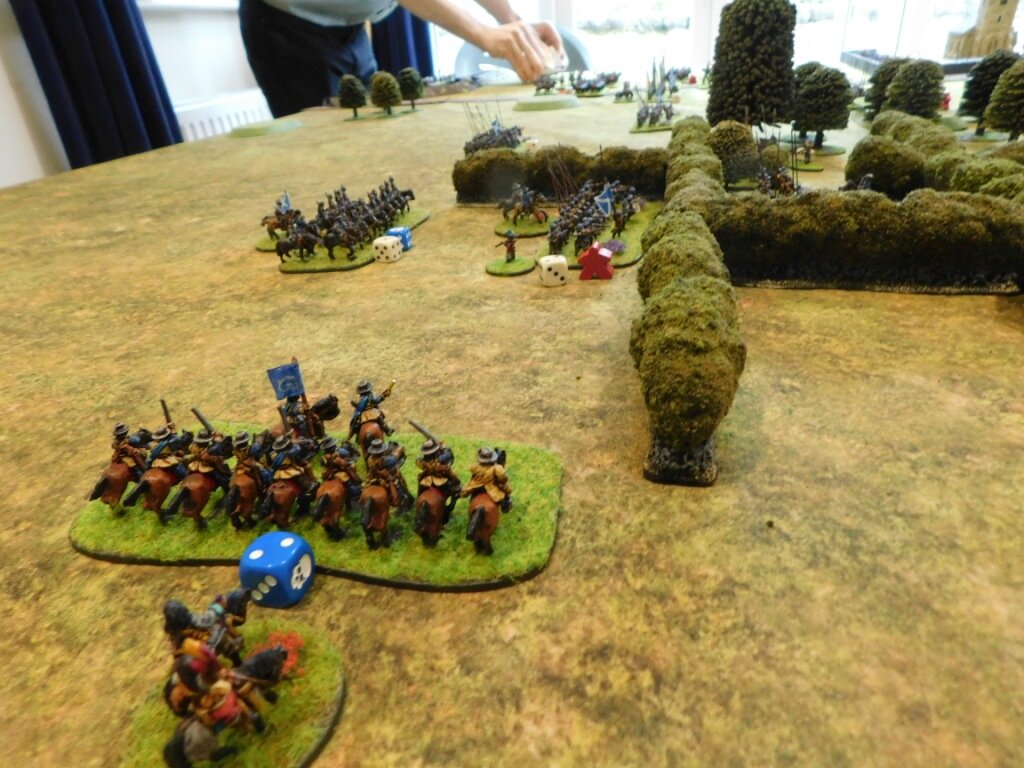
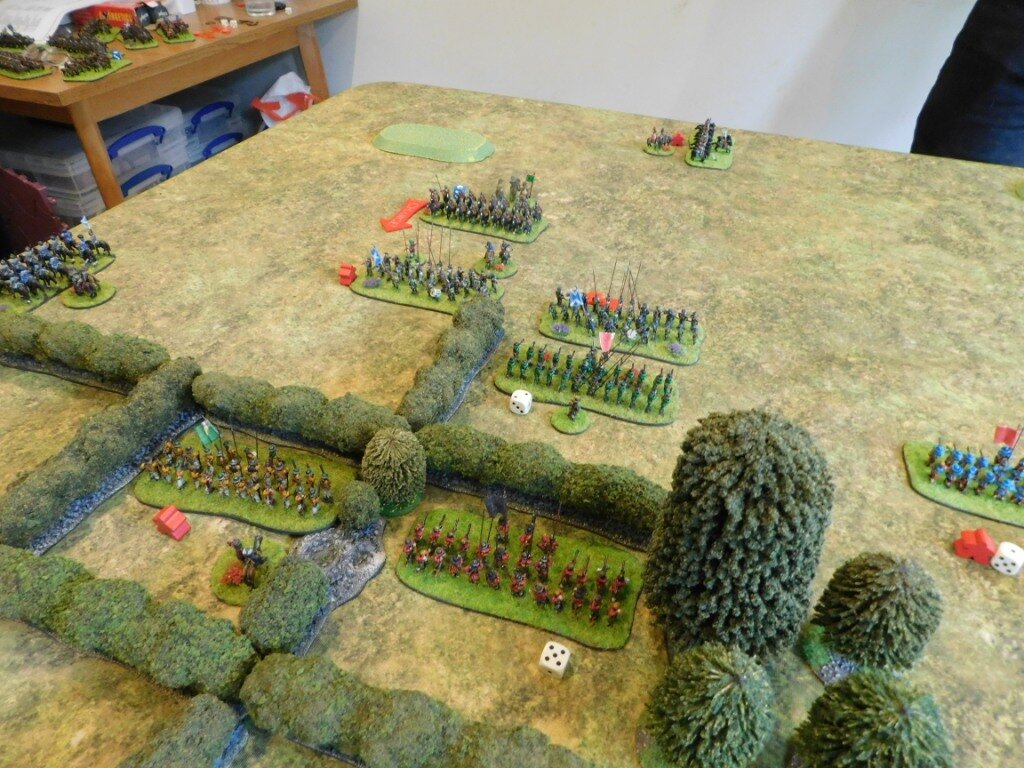
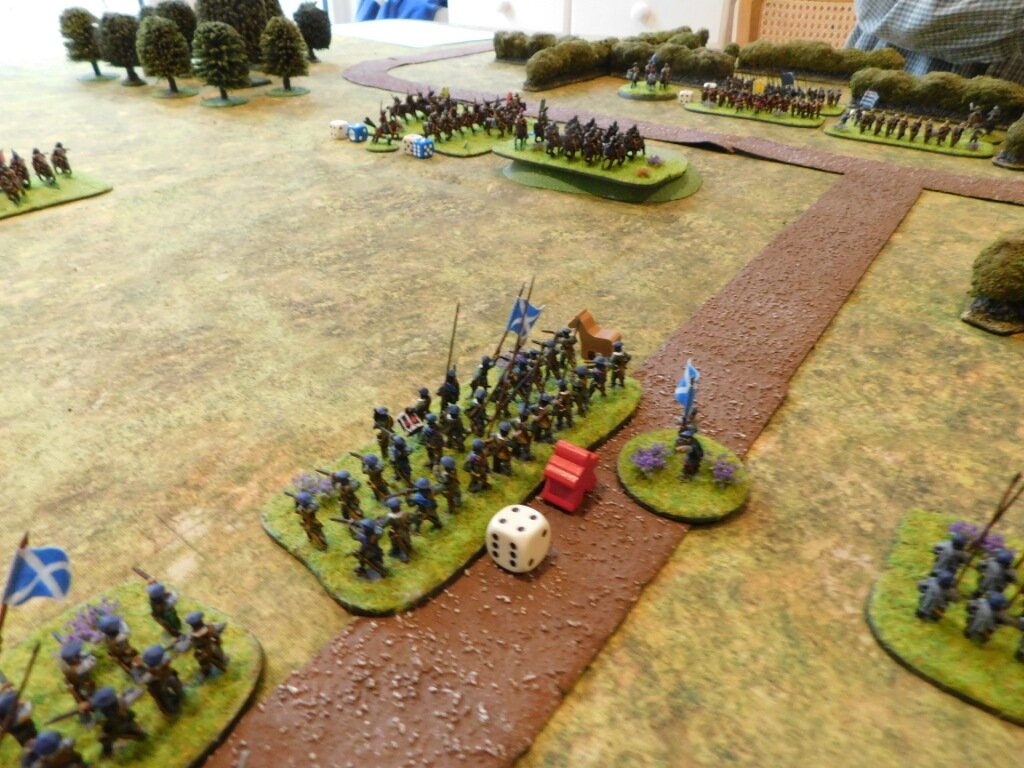
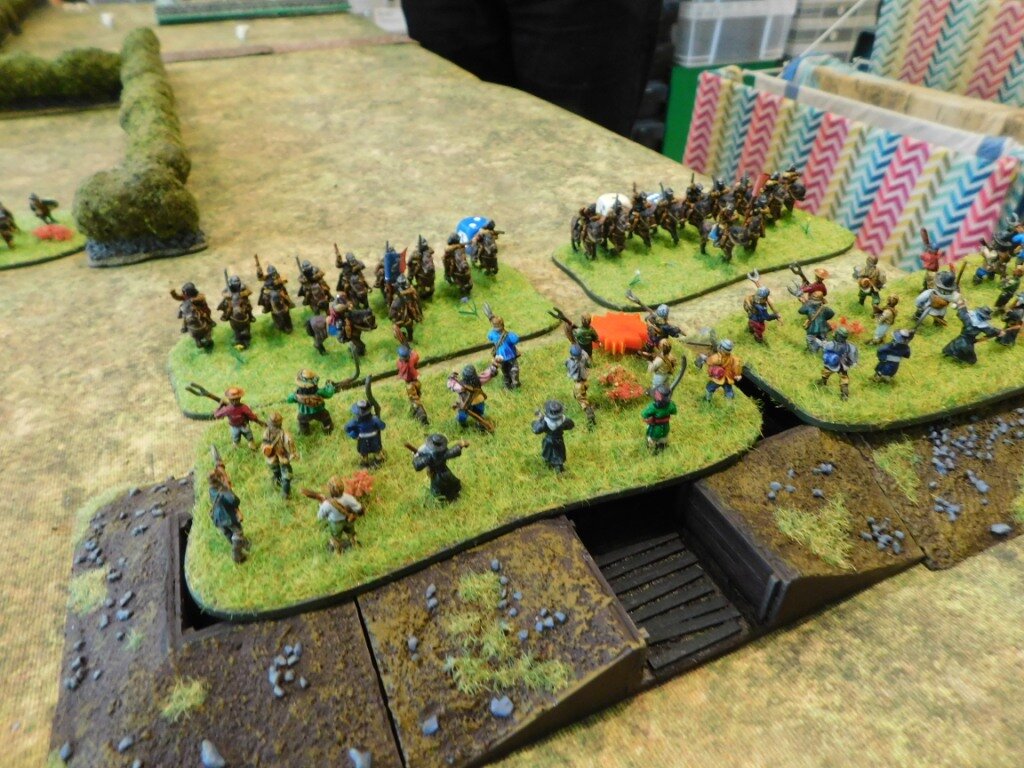
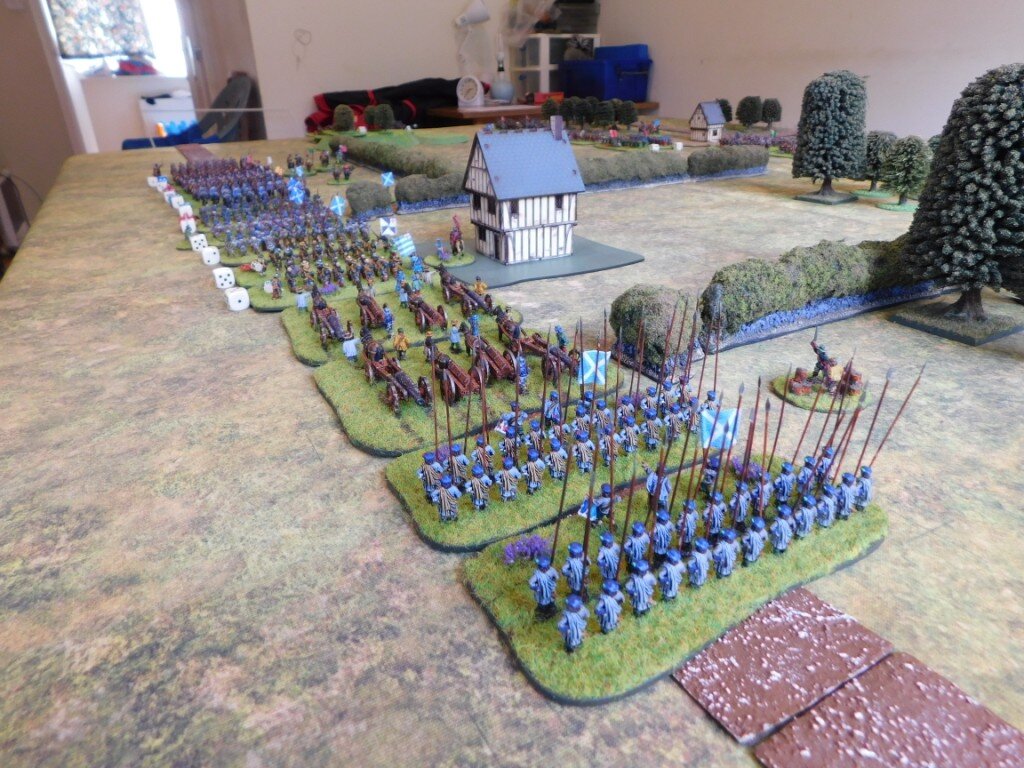
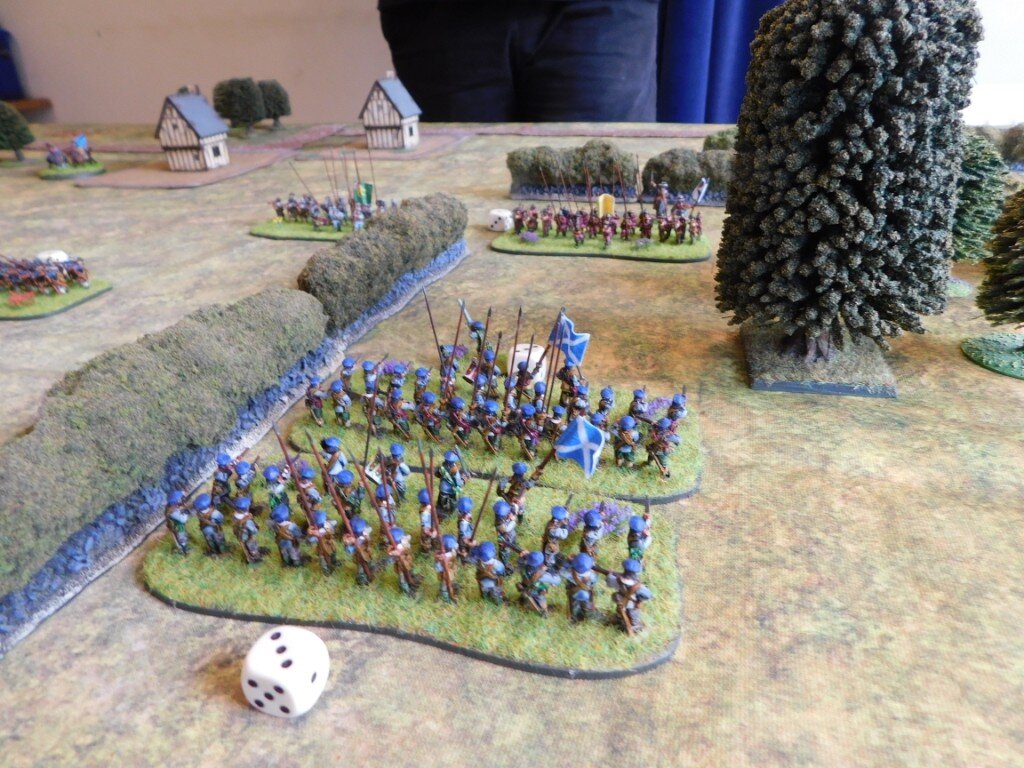
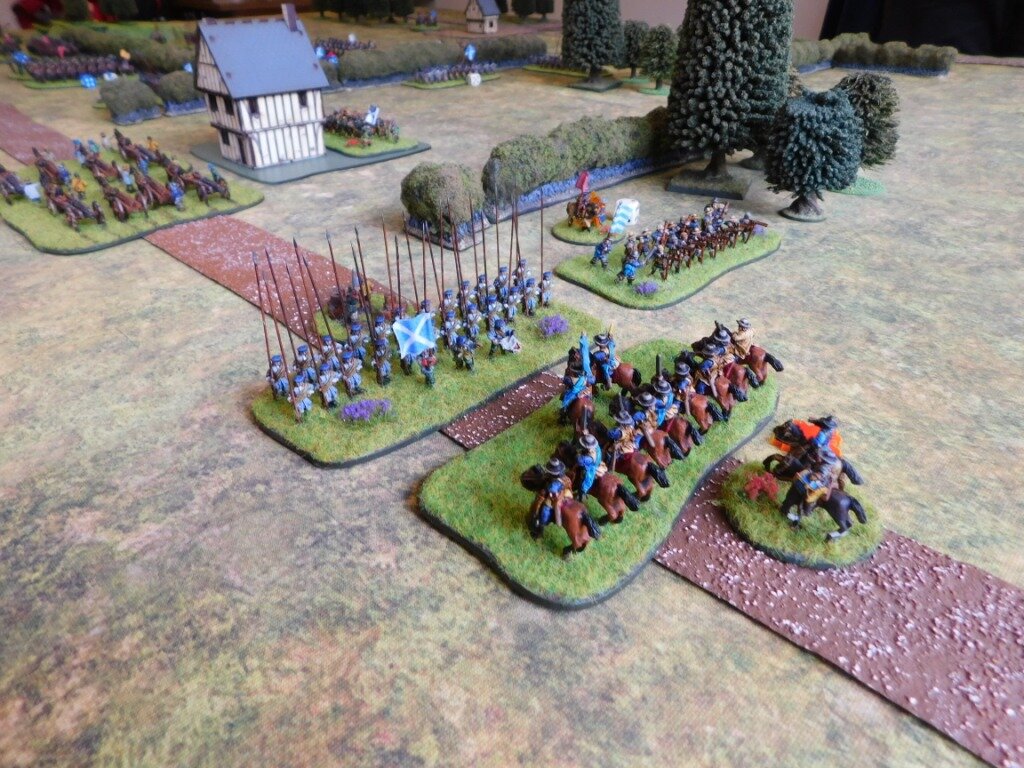
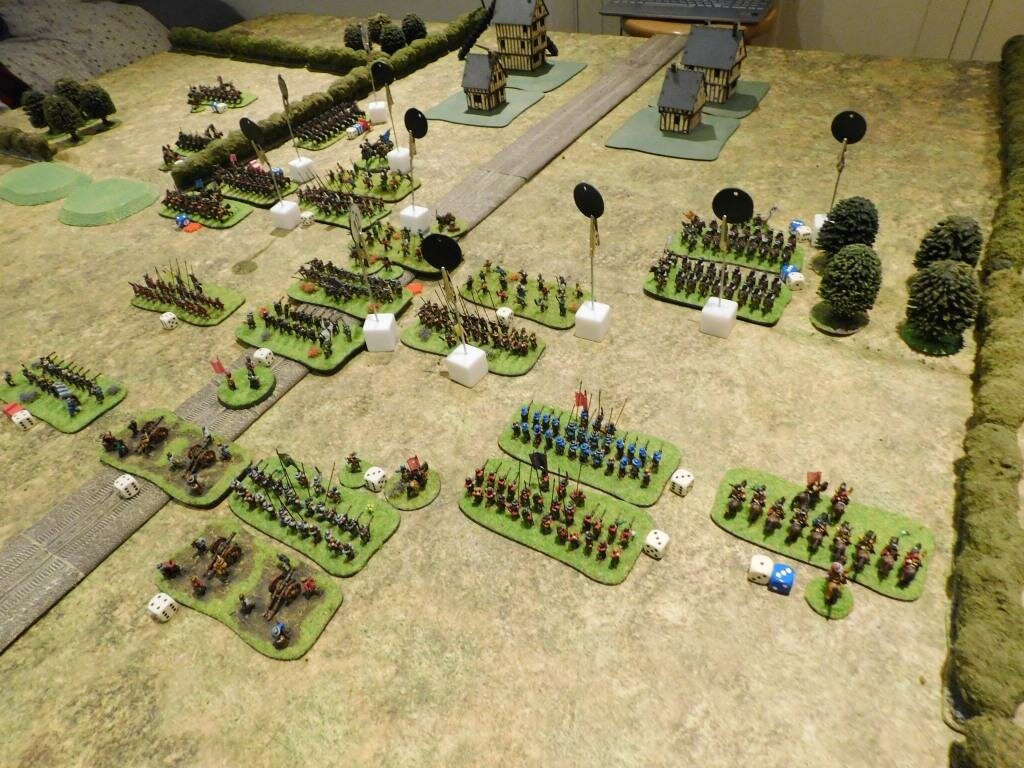
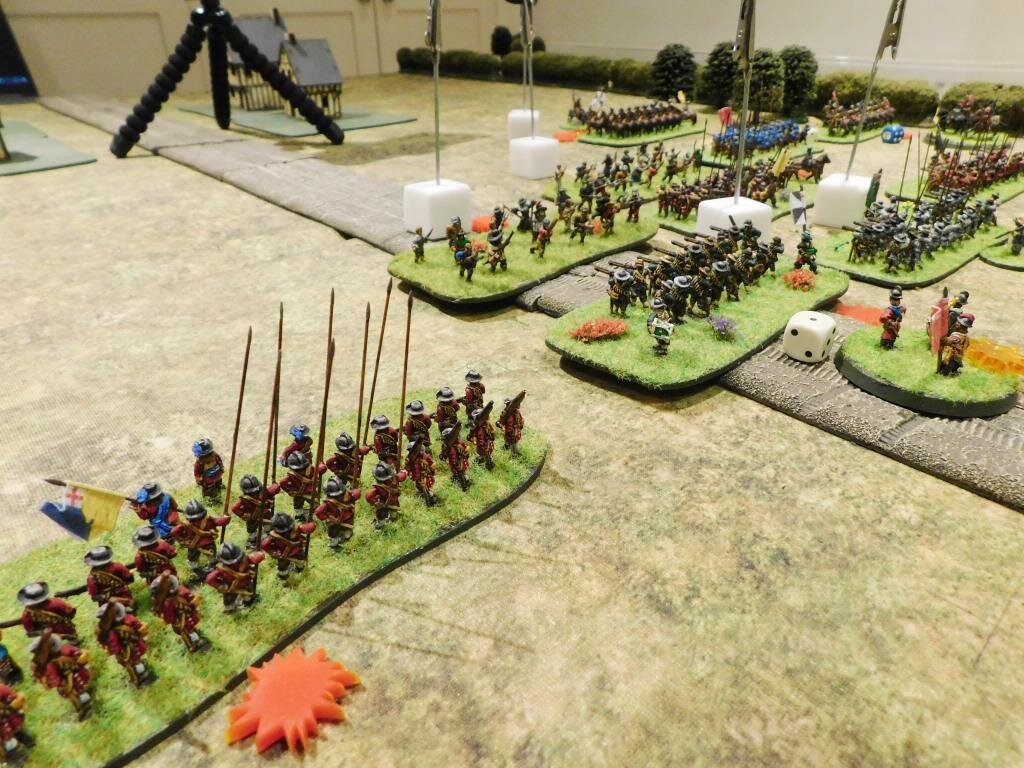
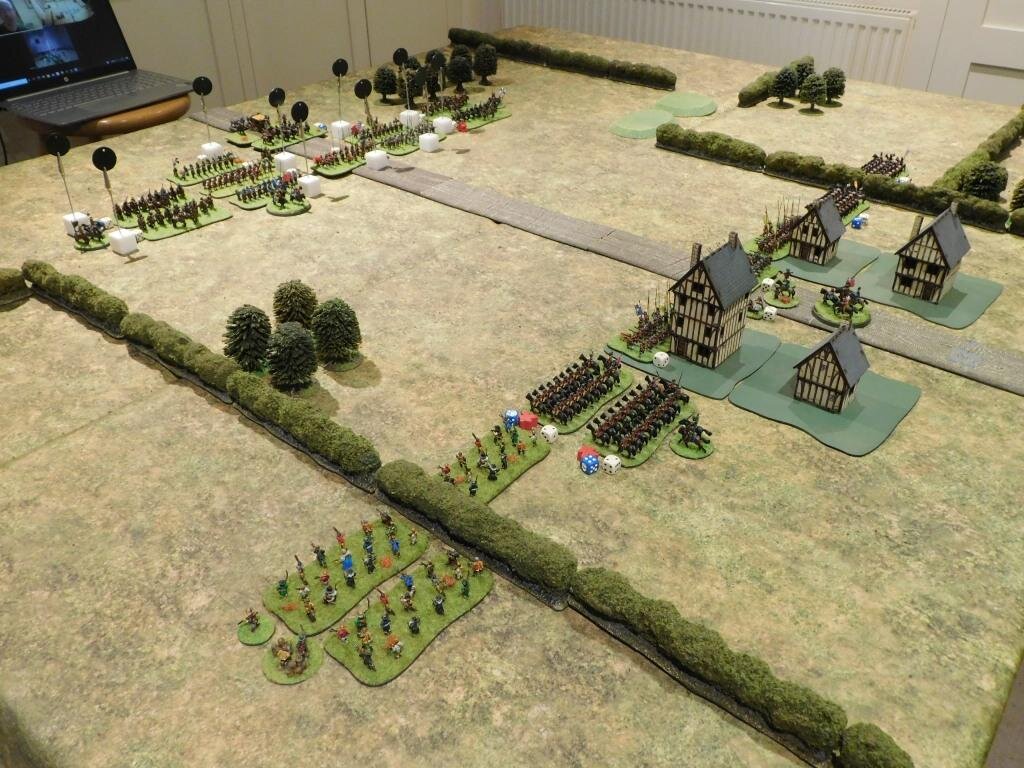
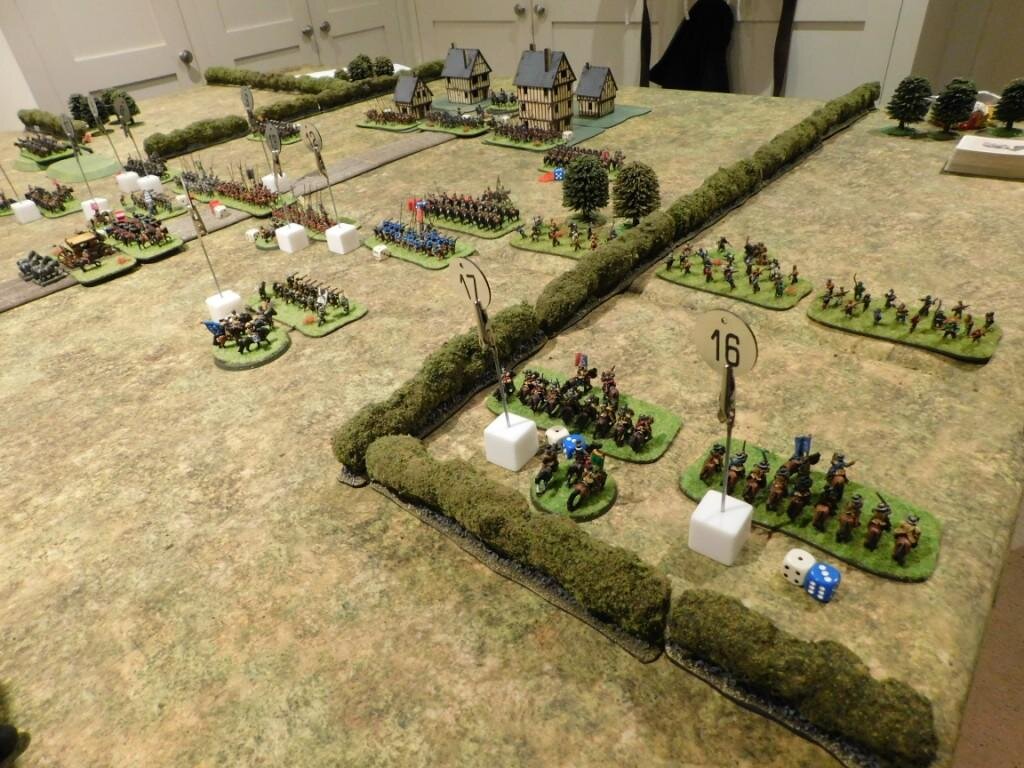
The Royalists face a couple of problems. Number one, the enemy has hedges to hide behind meaning that if they didn’t attack I would have to assault troops in cover with an even number of points; and number two, my main infantry brigade is all untried, meaning the danger of disorder in any first clash is high.

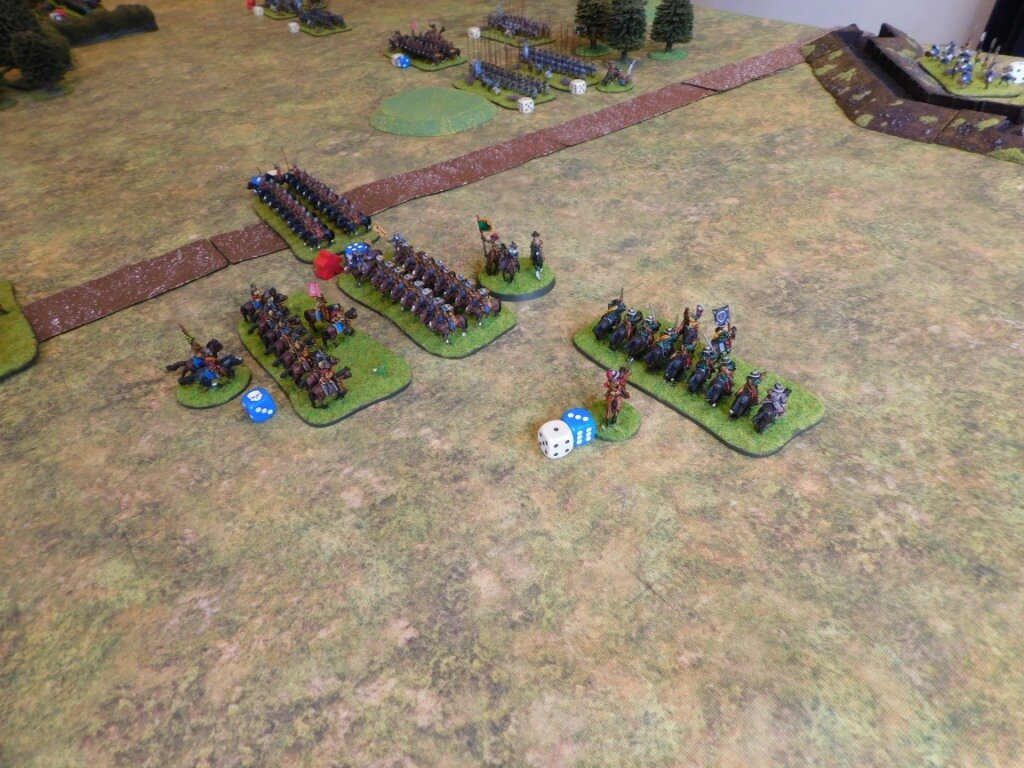
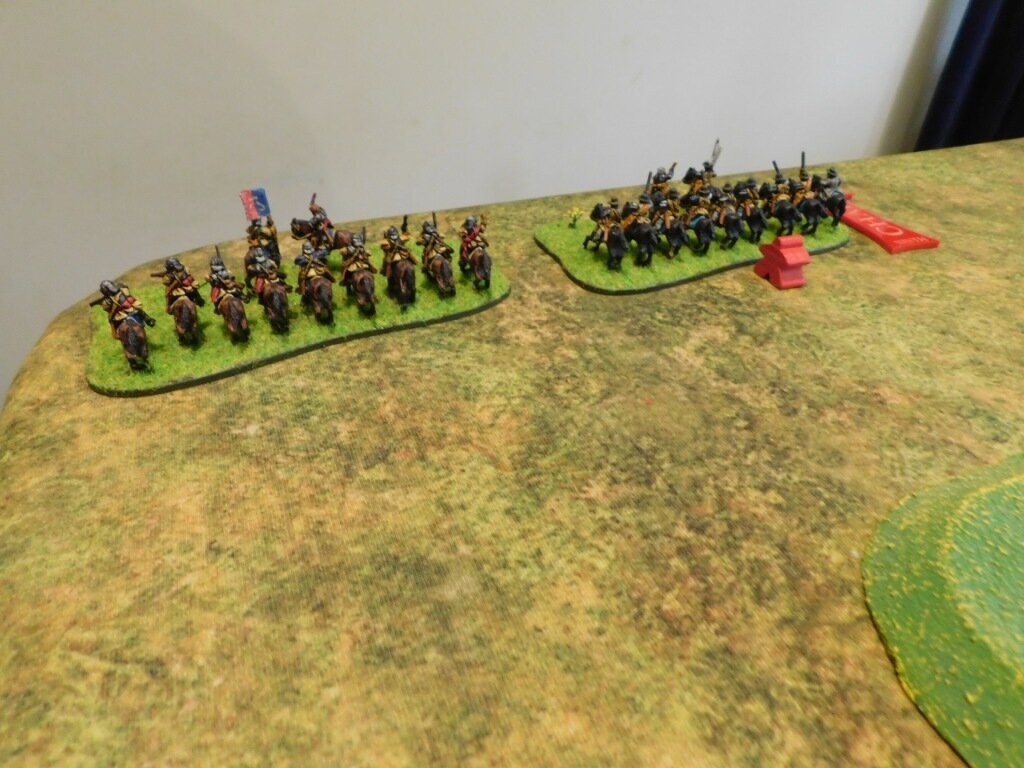
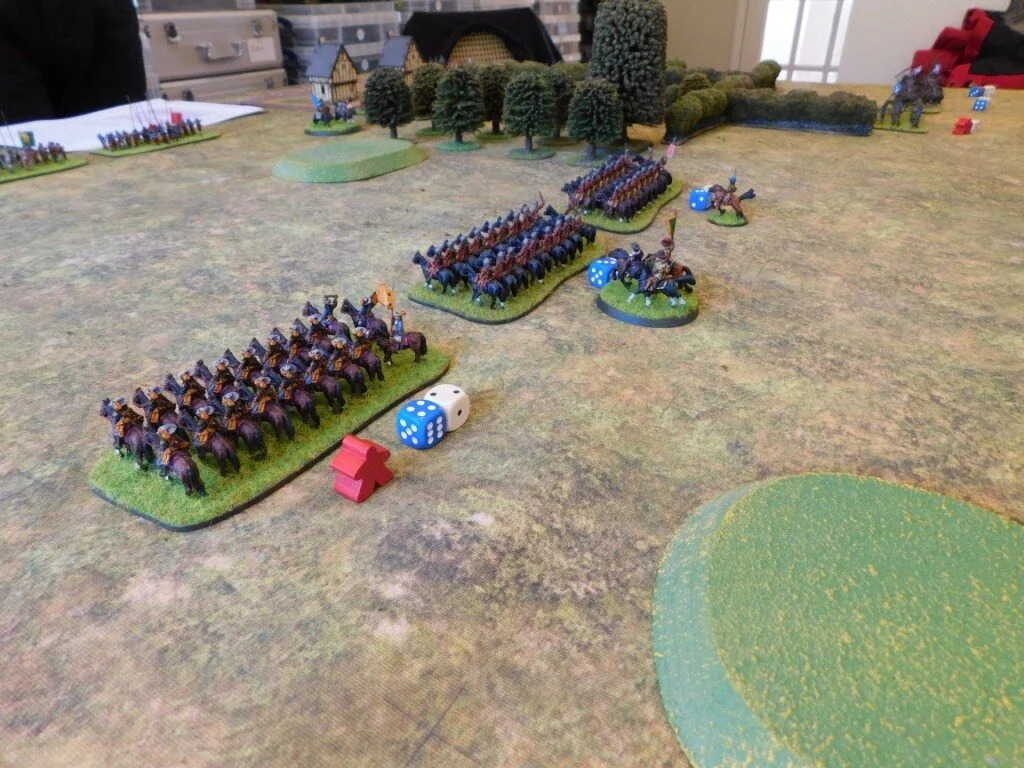
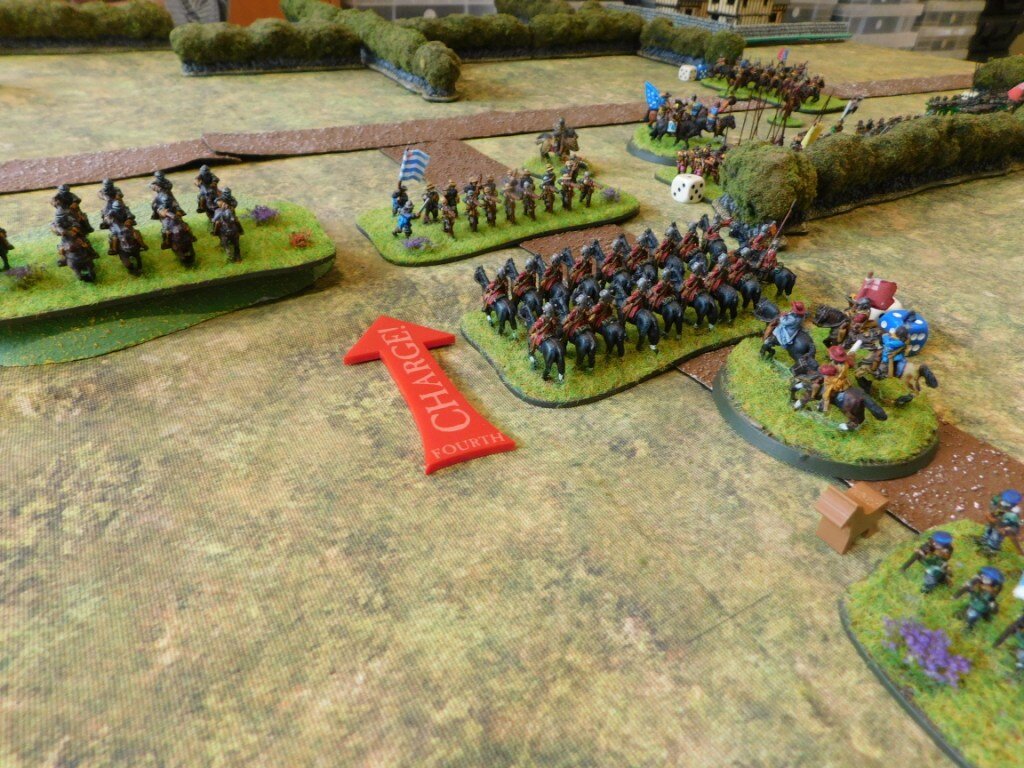
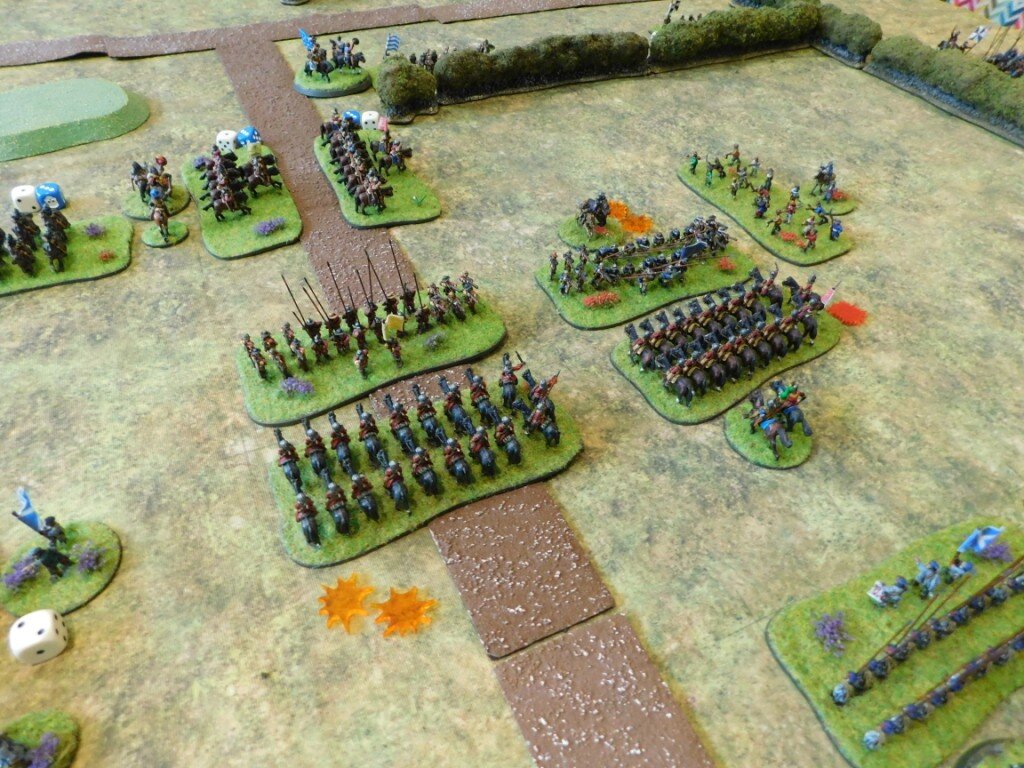
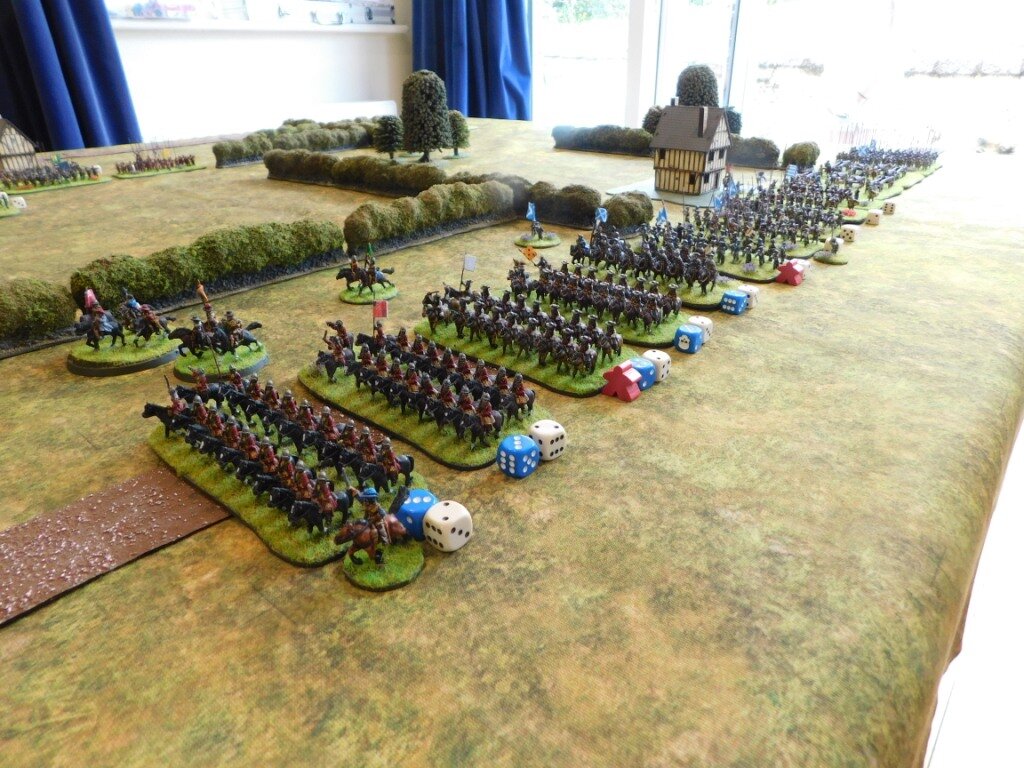
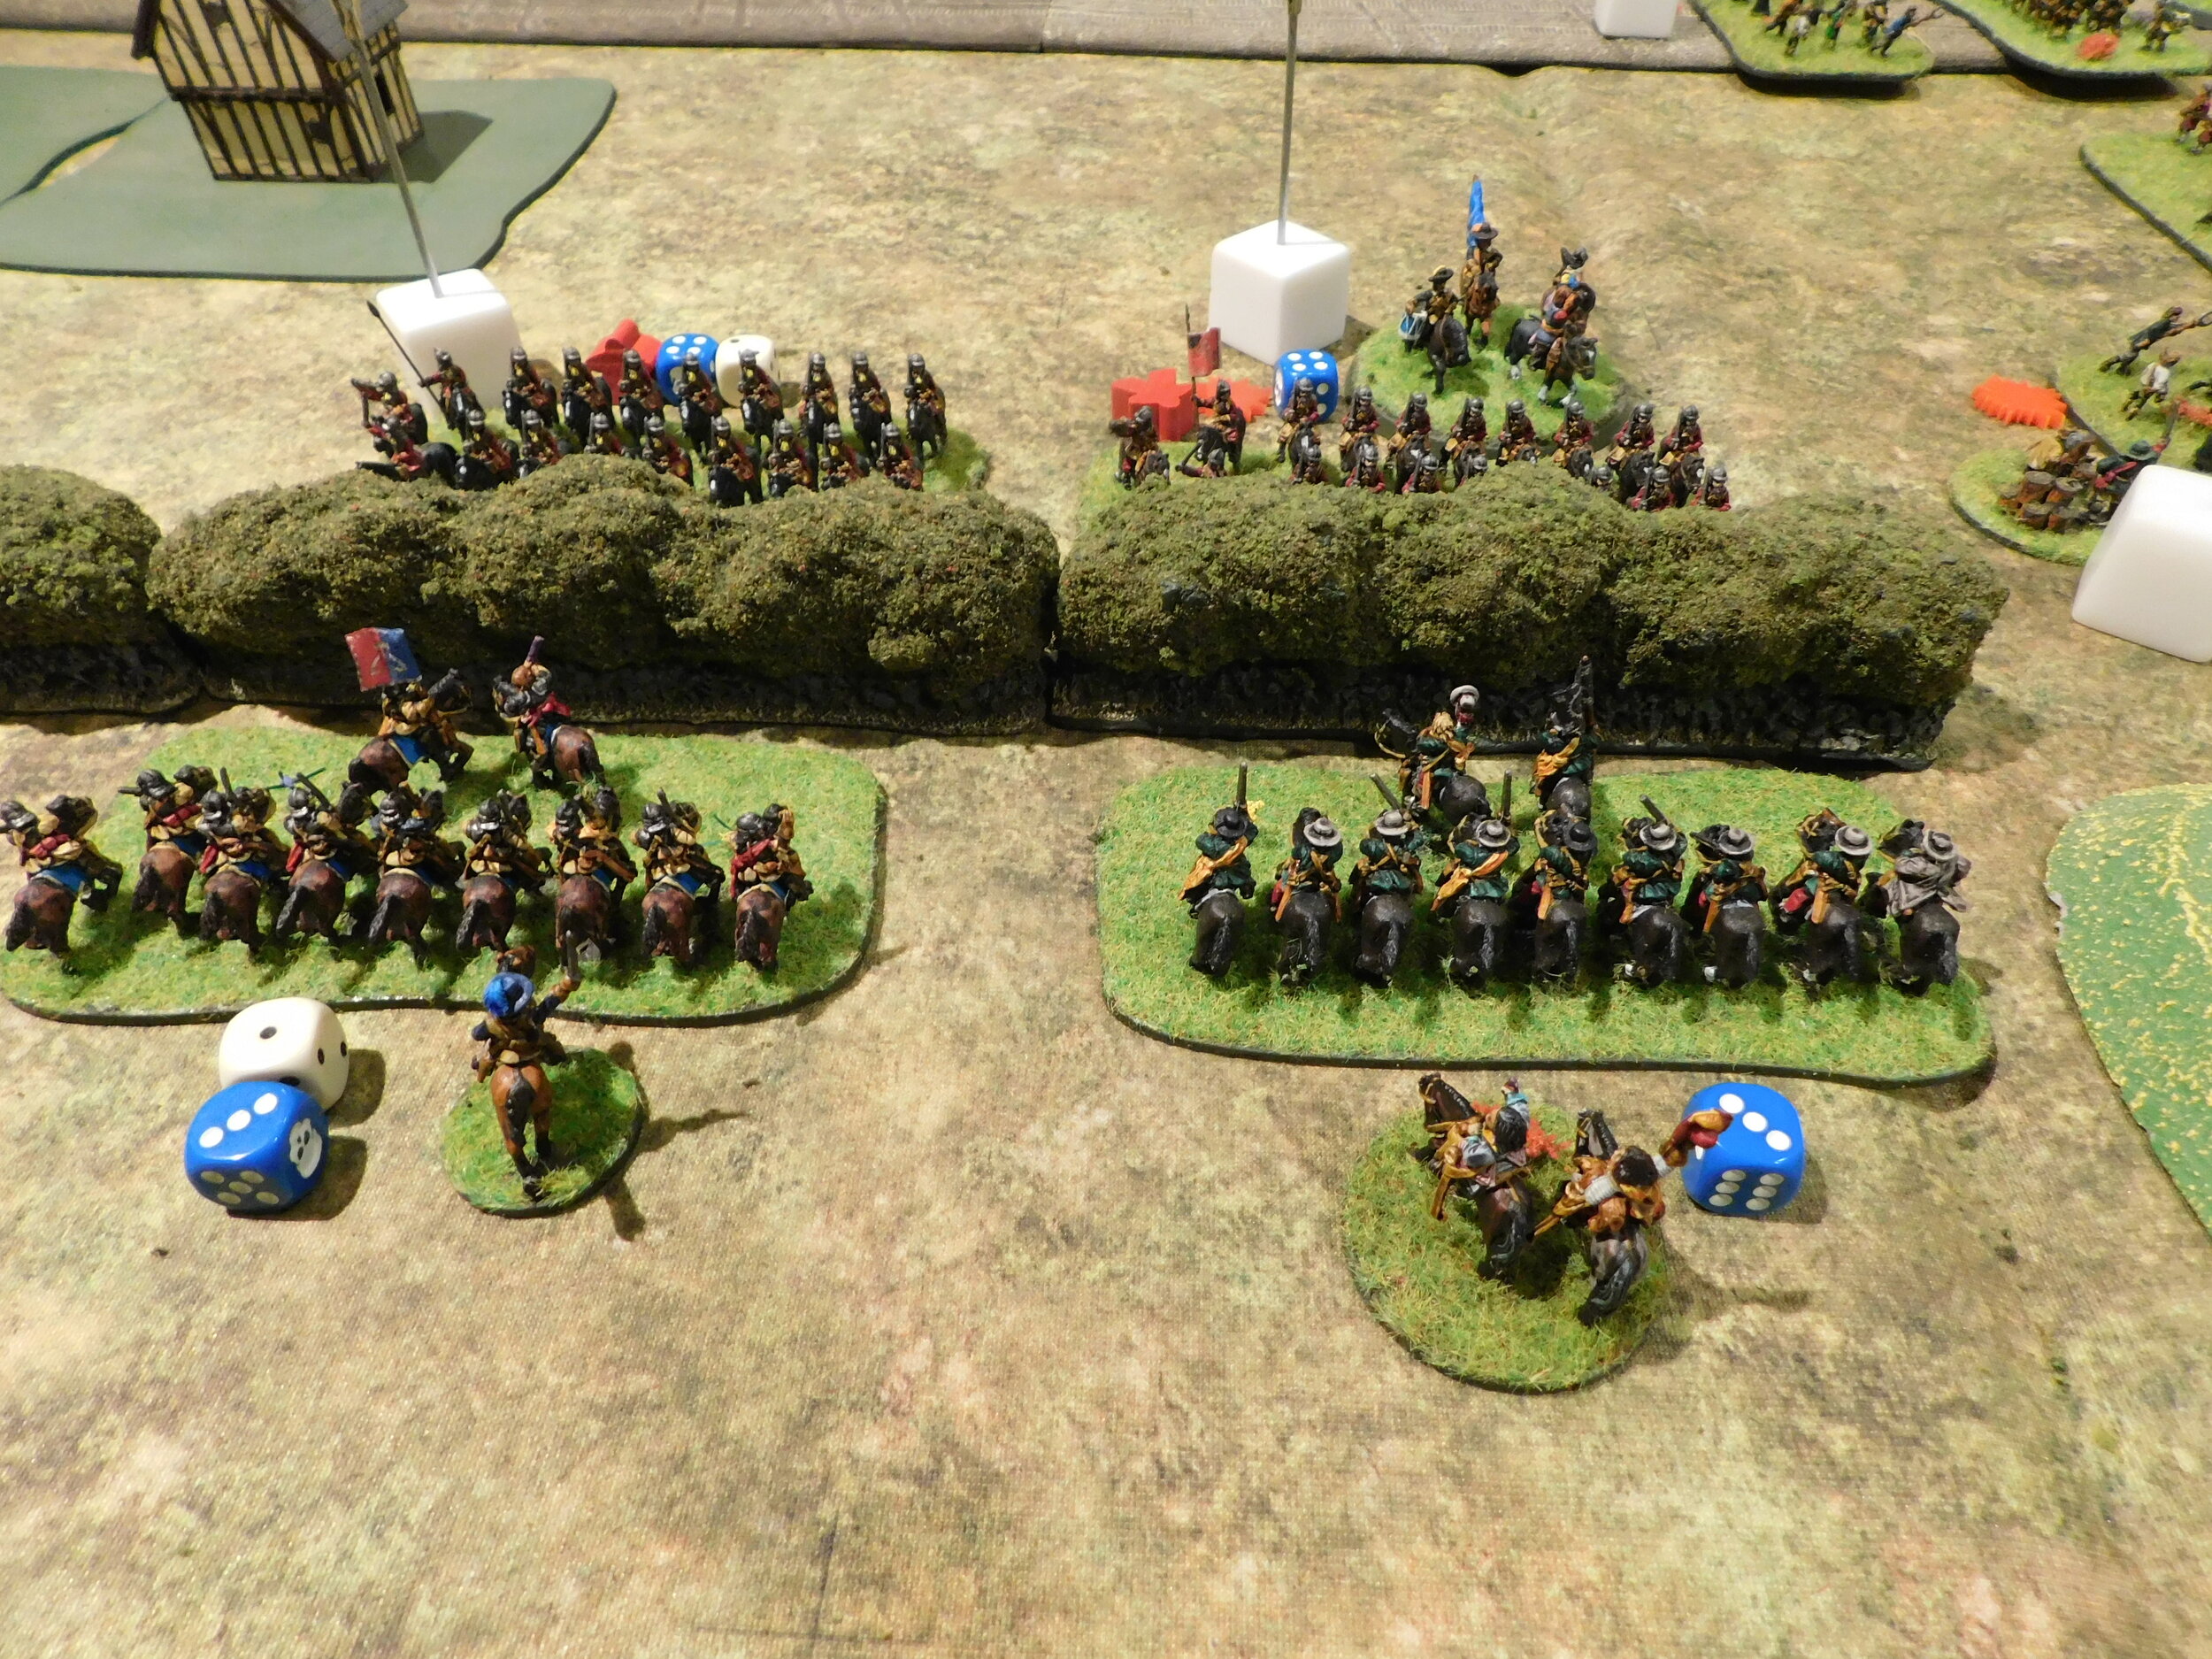
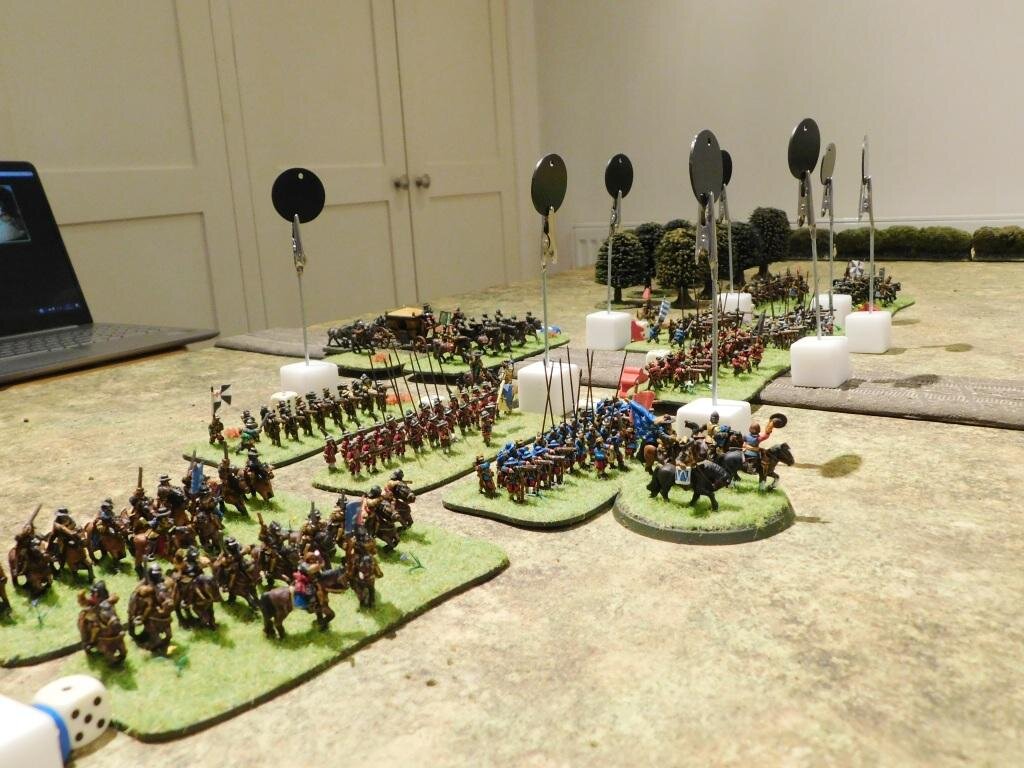
On the other hand, my opponent, Peter, was absolutely paranoid about the large numbers of “Swedish” horse that I was fielding. He was convinced that they would make mincemeat of his “Dutch” horse (a fair assumption, but one that had been firmly shown not to be a surety in our first game last week*) to the point that I am fairly certain that he had lain awake at night moaning “the Swedes, the Swedes: what do I do about the Swedes”!

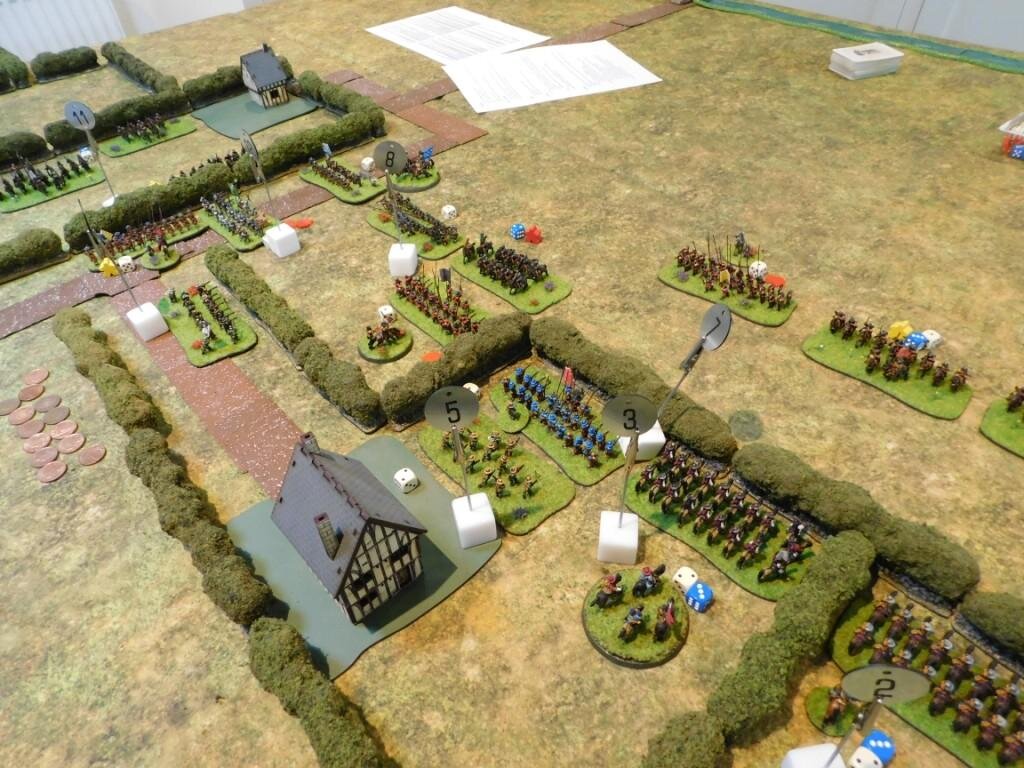
This worry would actually be the major factor that decided the outcome of the game.

*Dutch horse fight deep and slow, Swedish horse fight fast and thin. They tend to lap around the flanks of Dutch horse and thus get a substantial advantage in an initial melee.
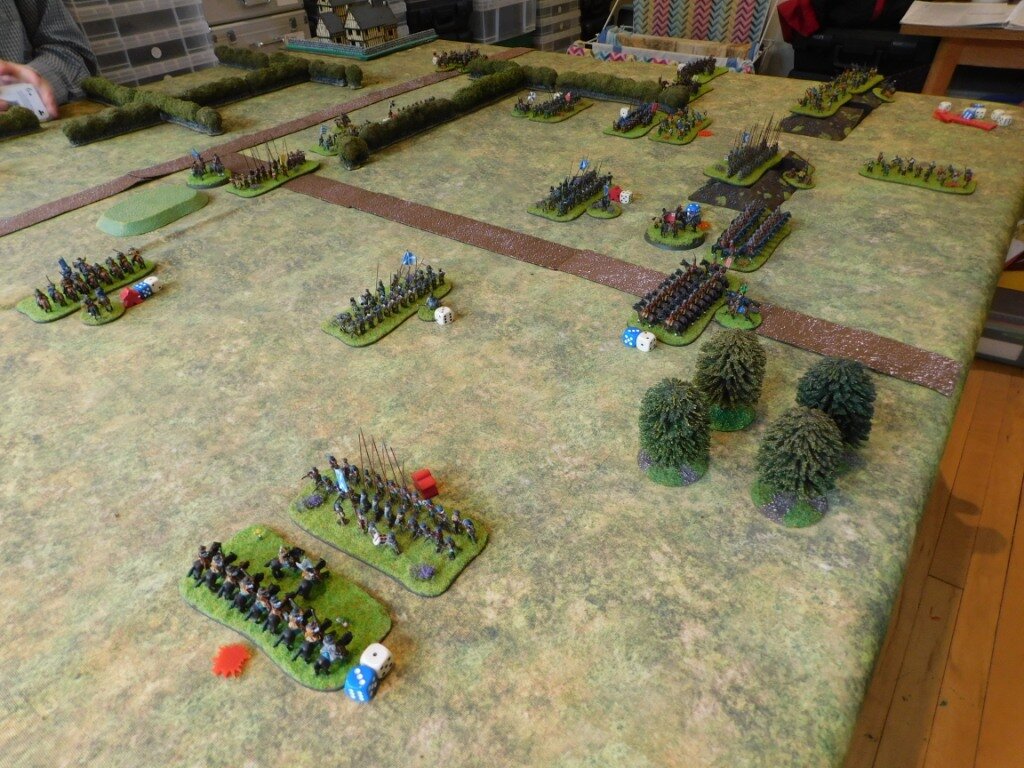
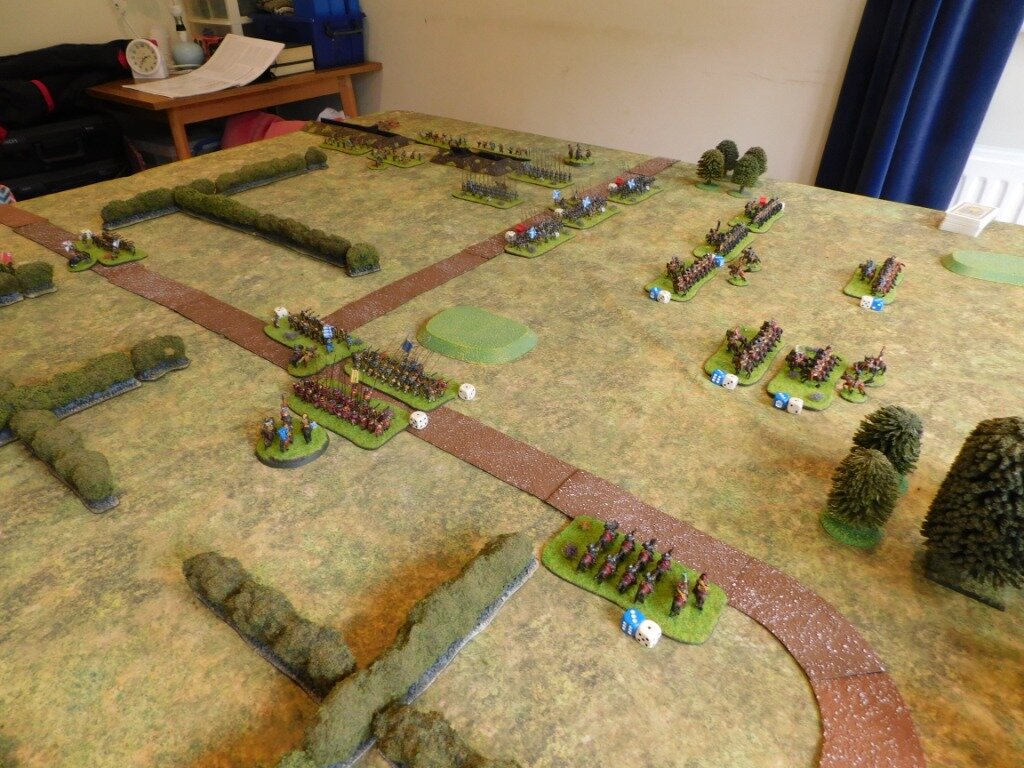
The Battle Begins

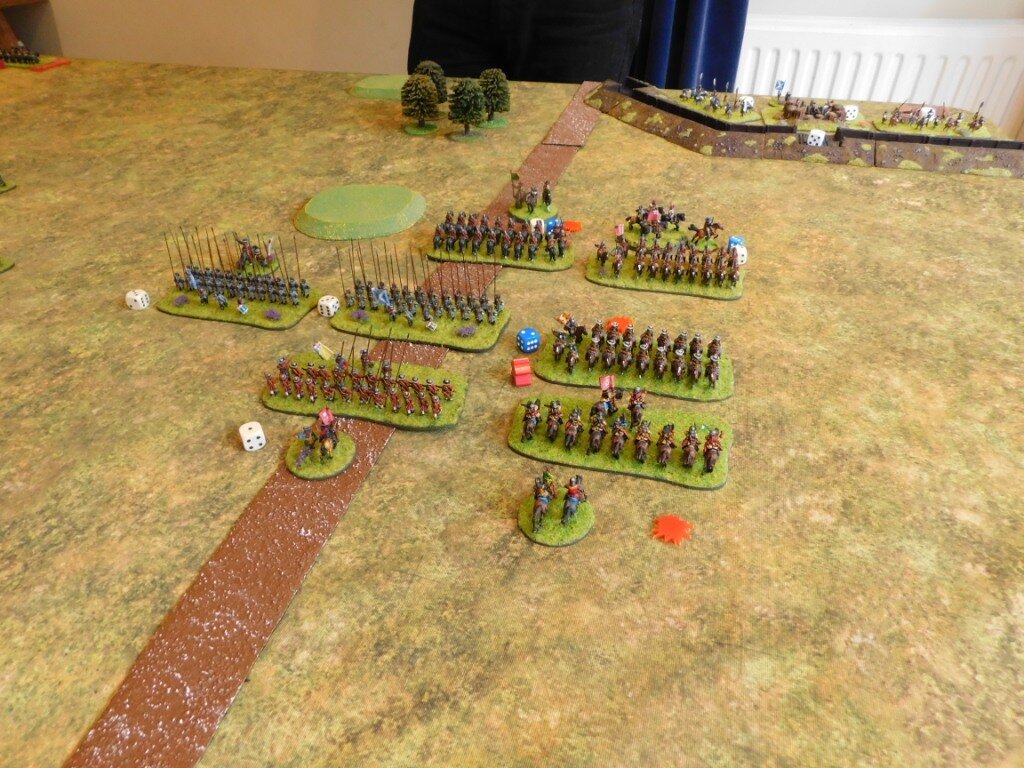
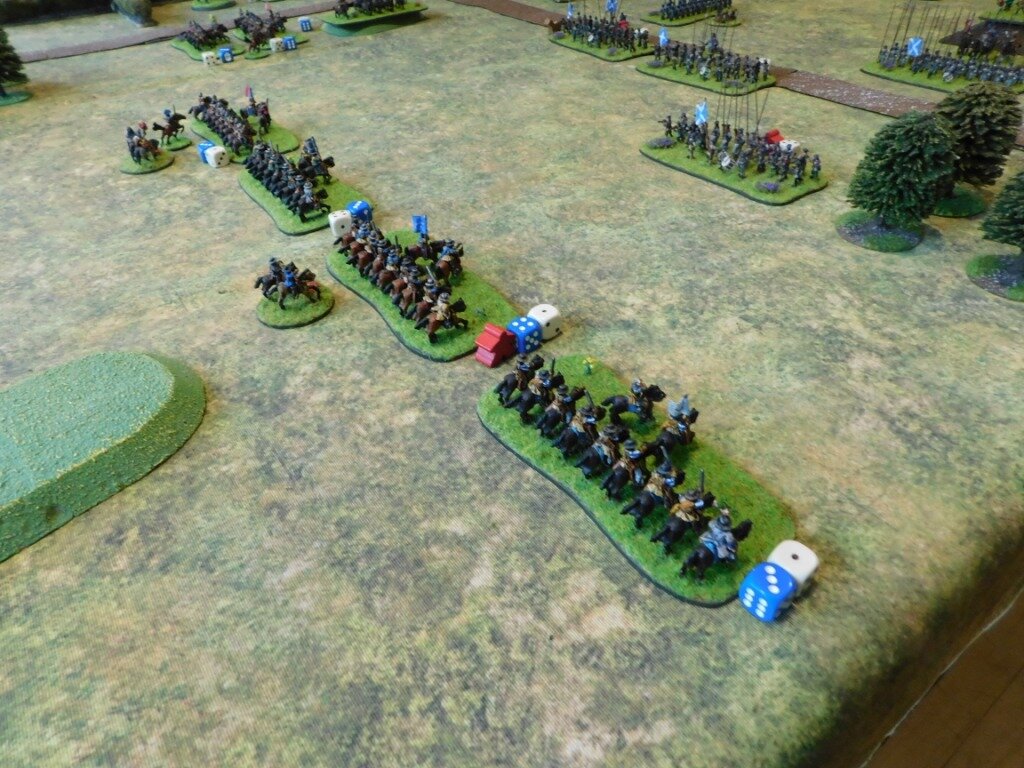
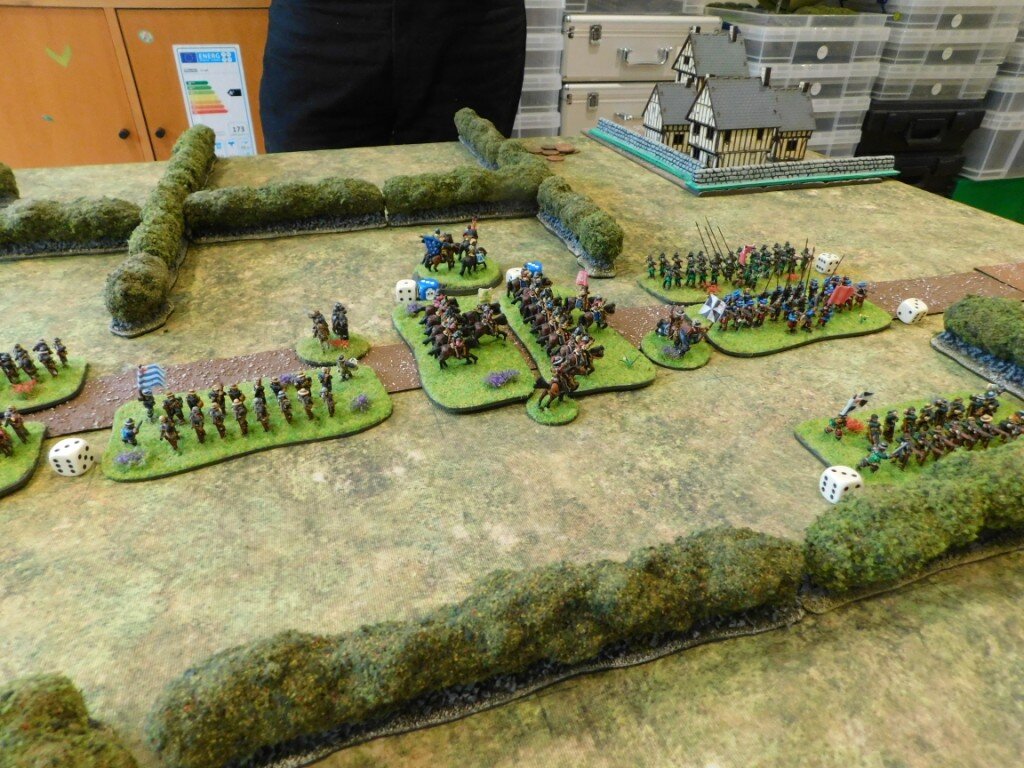
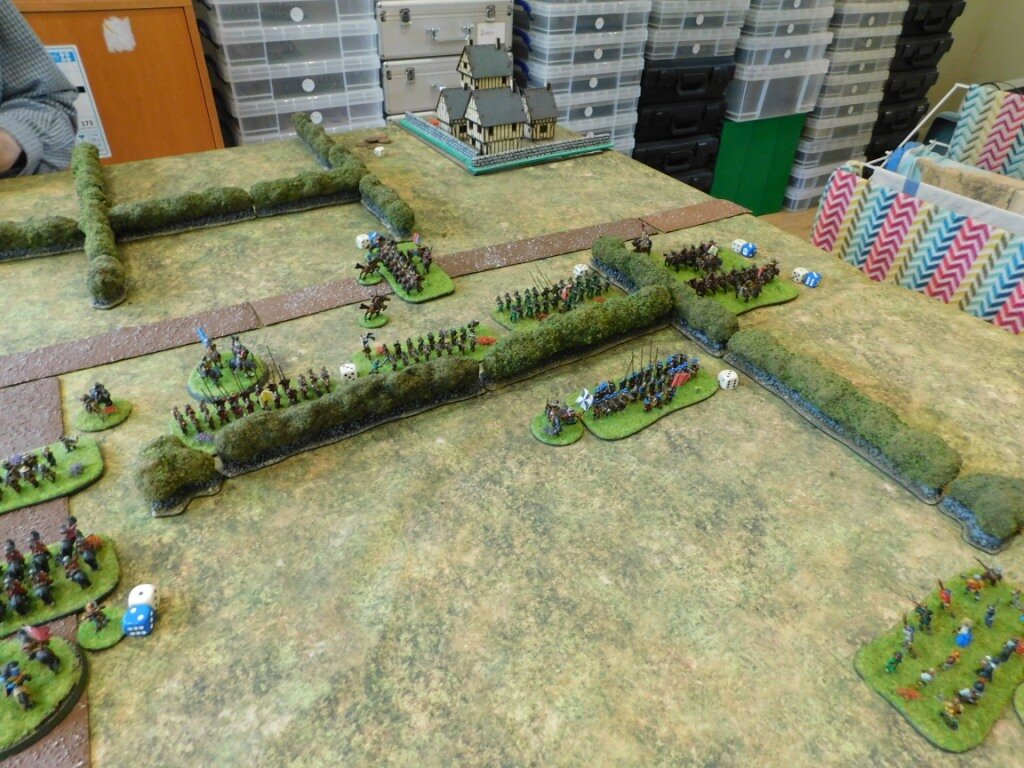
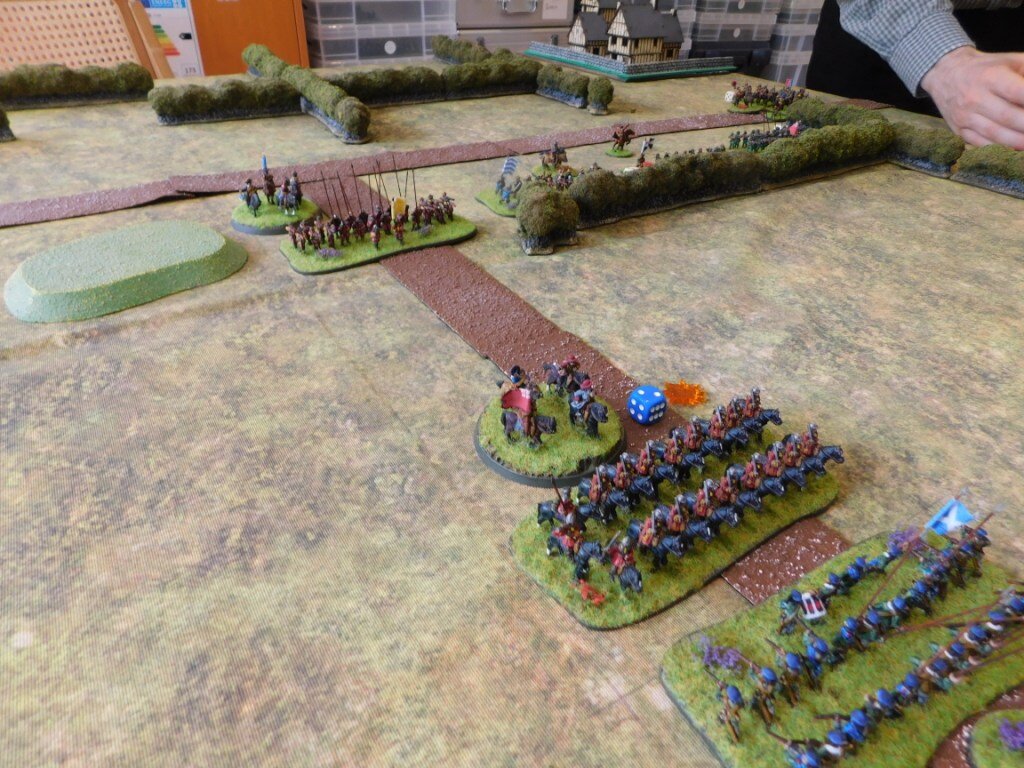
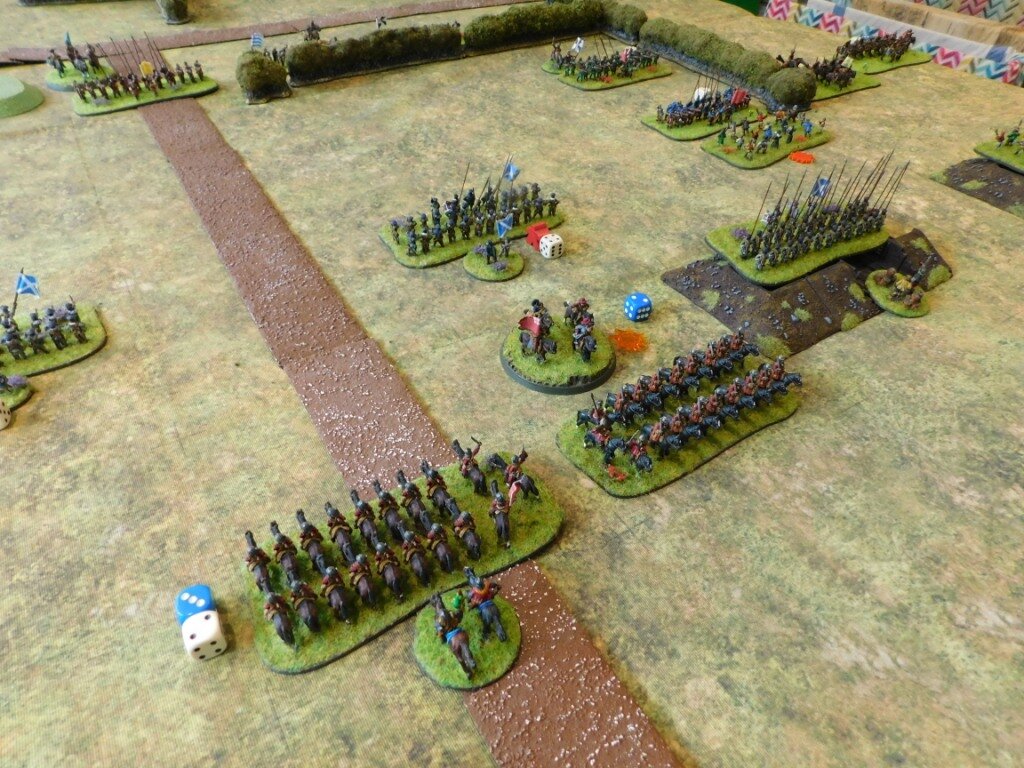
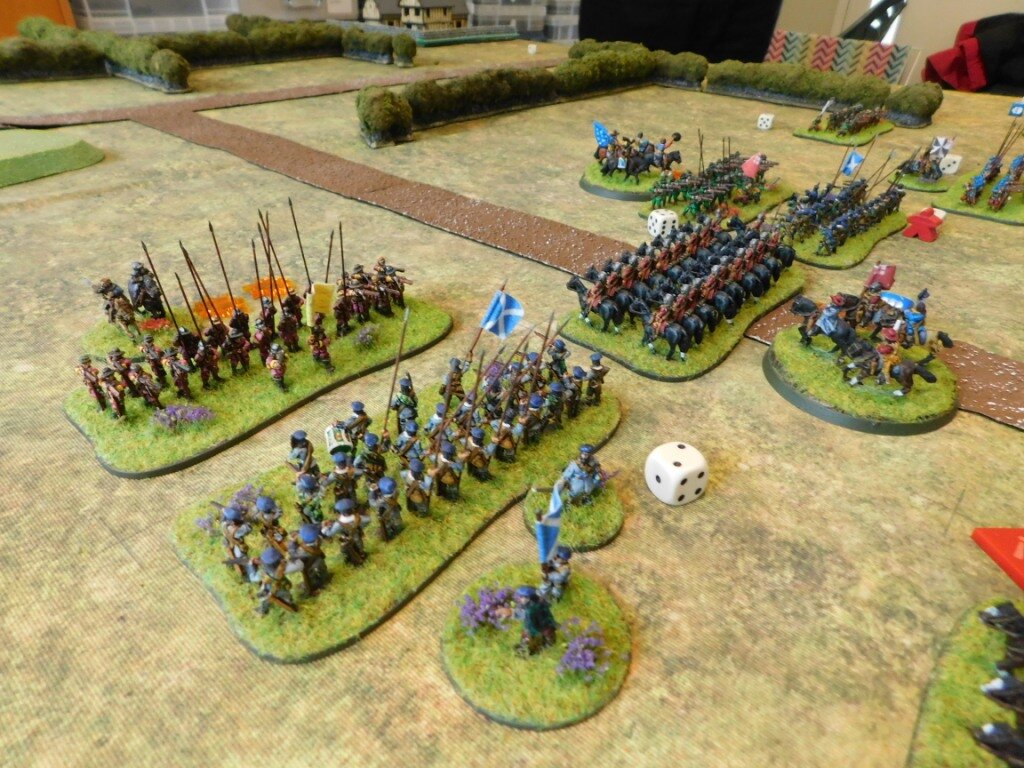
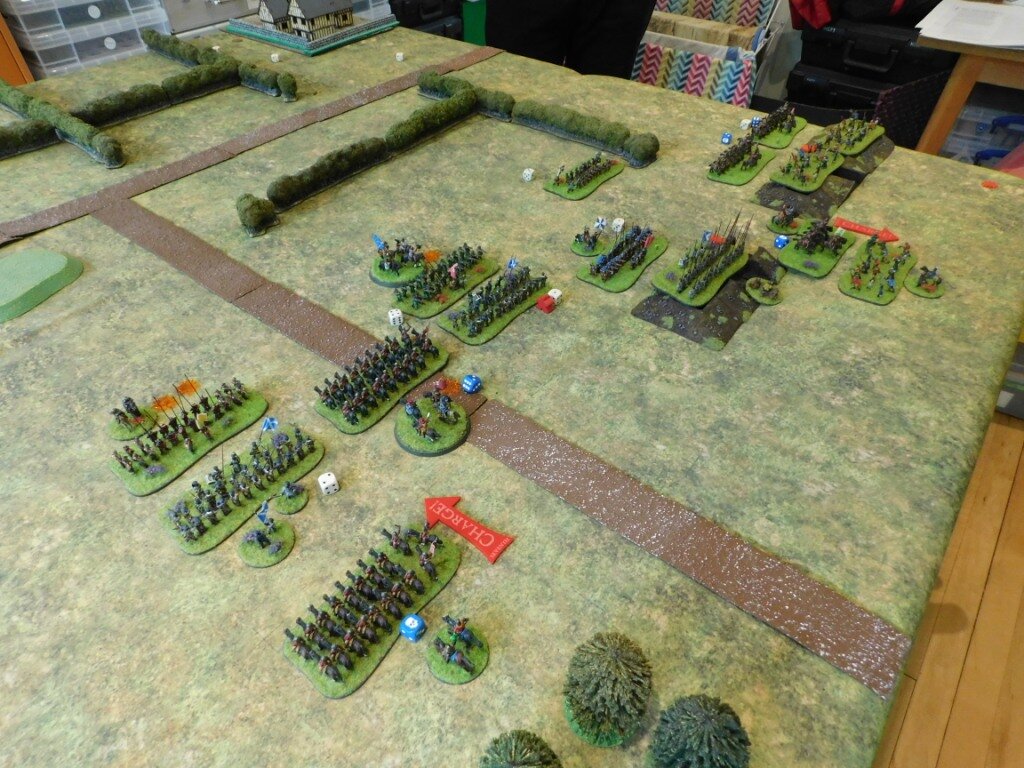
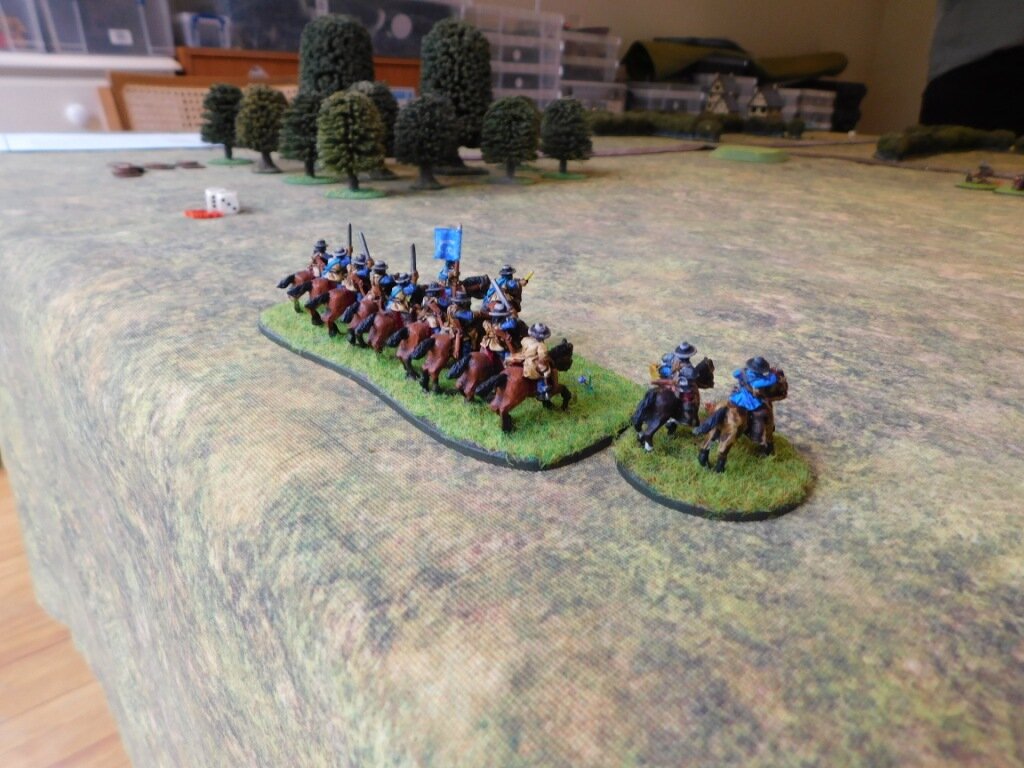
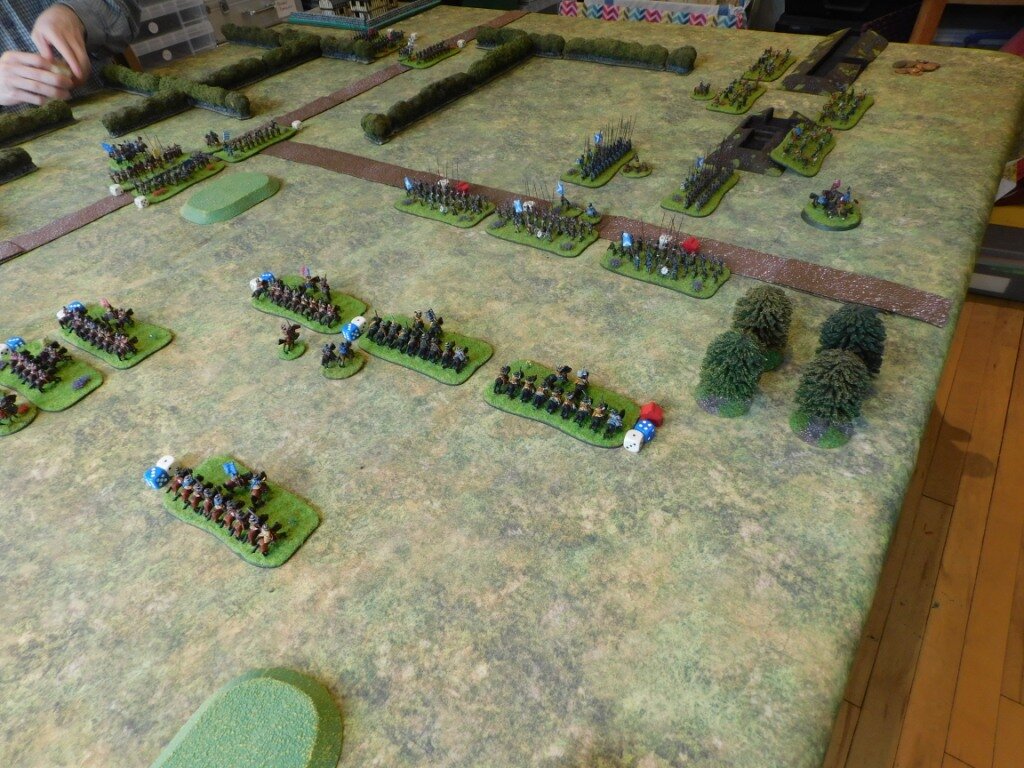
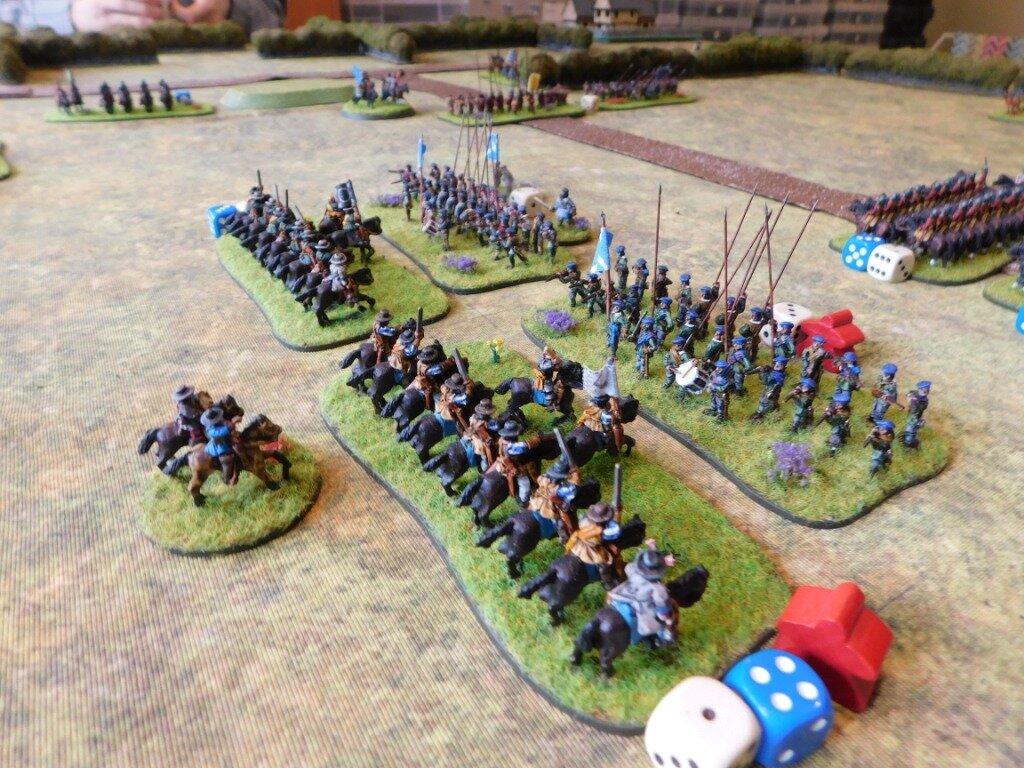
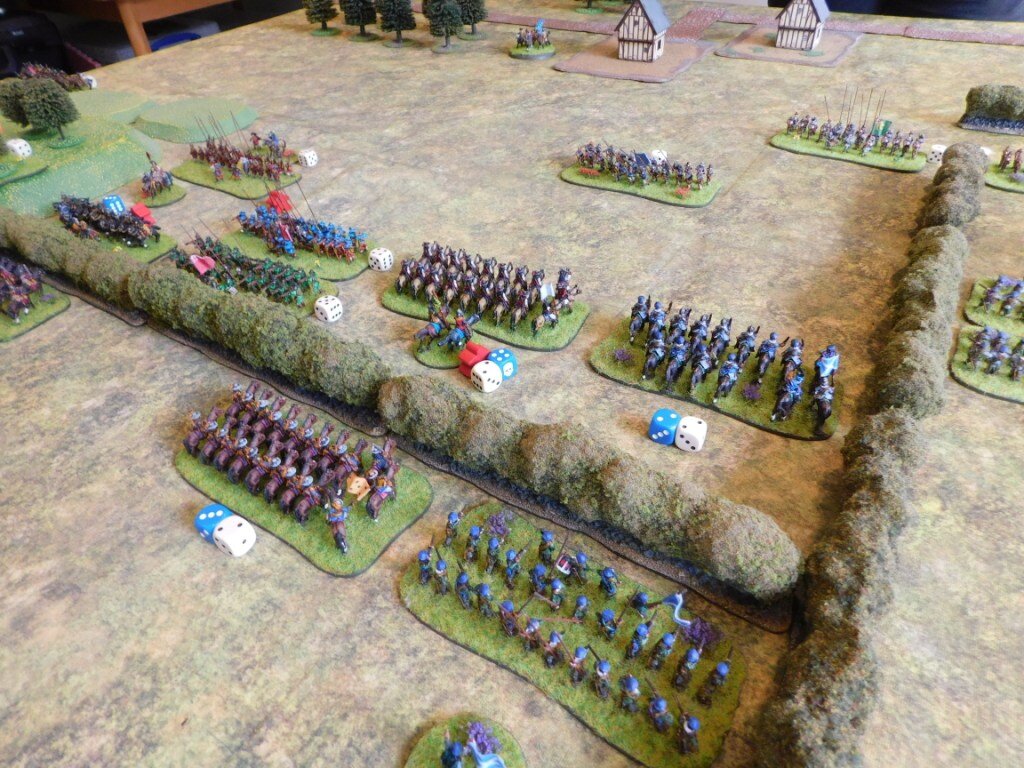
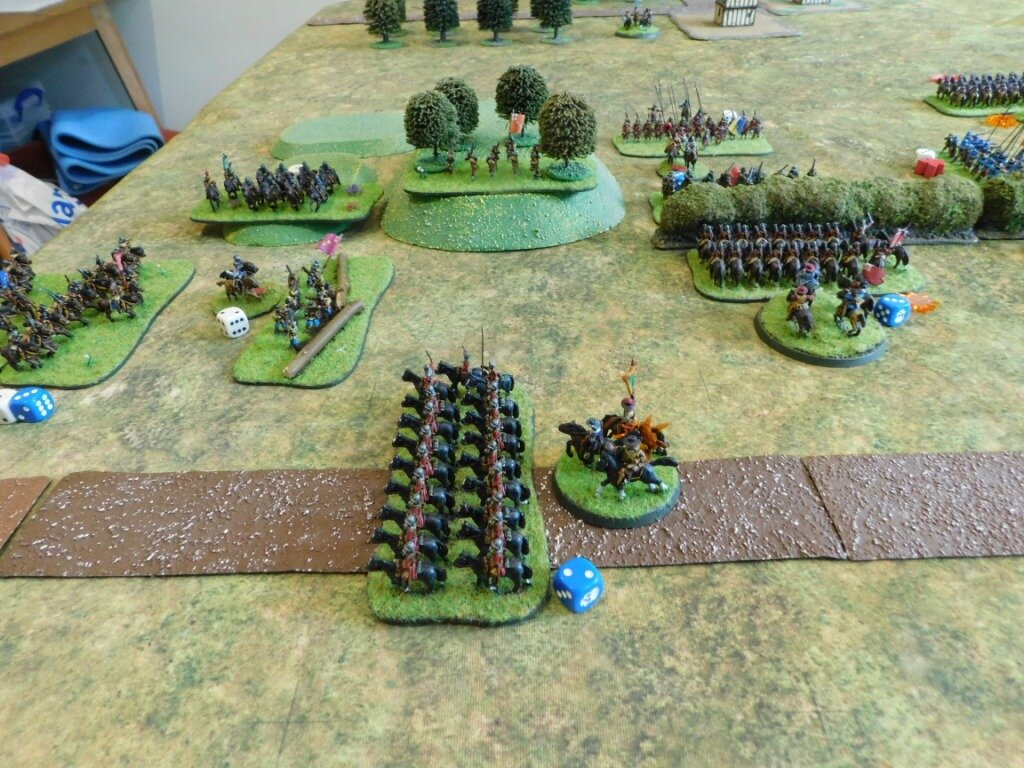
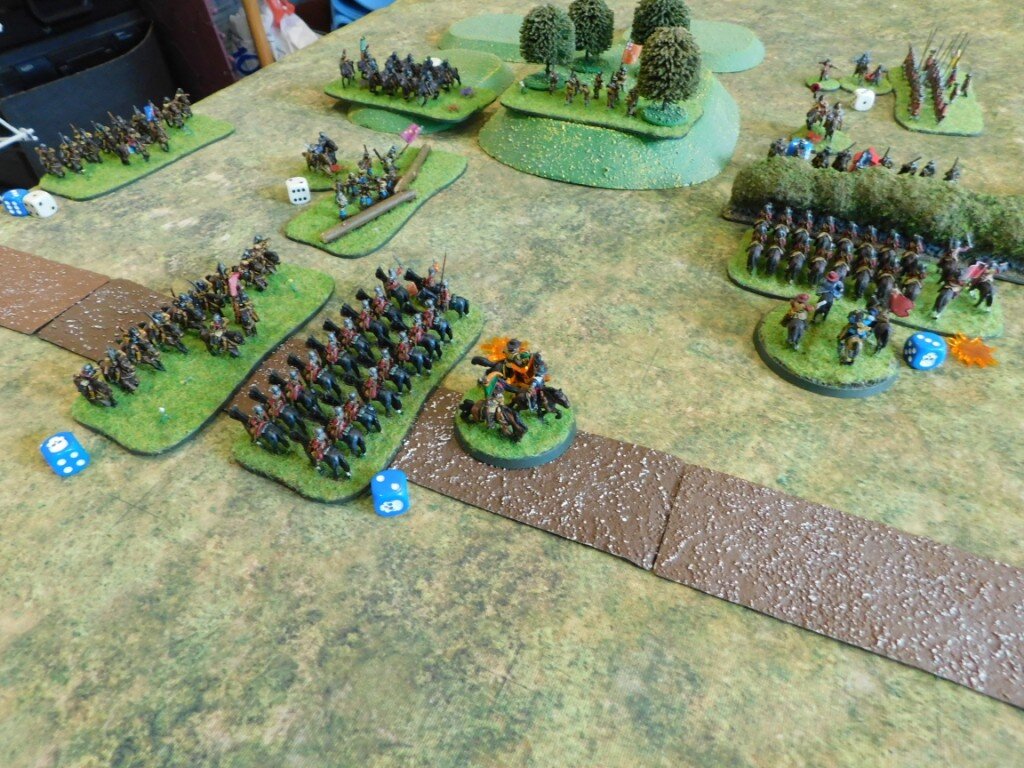
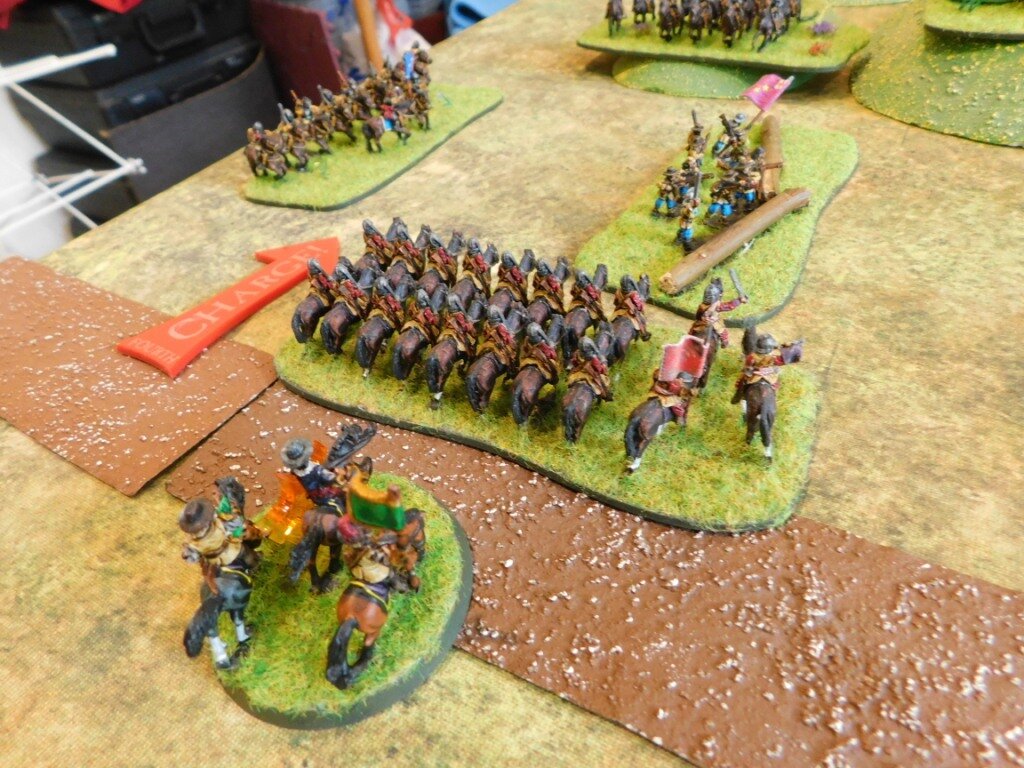
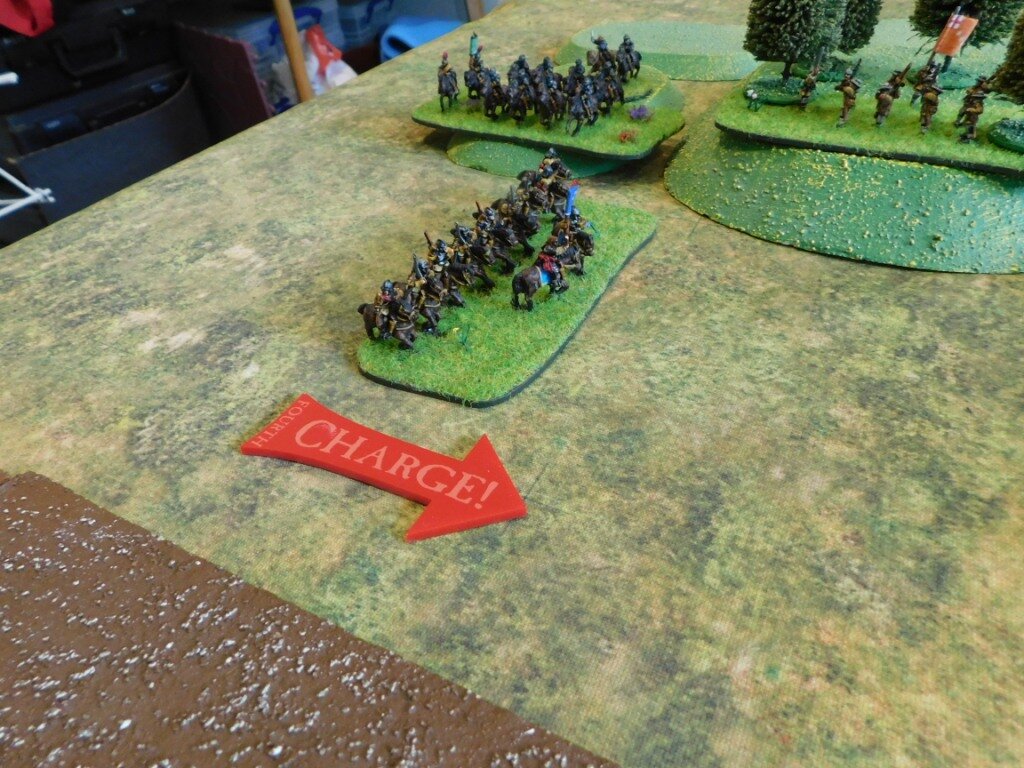
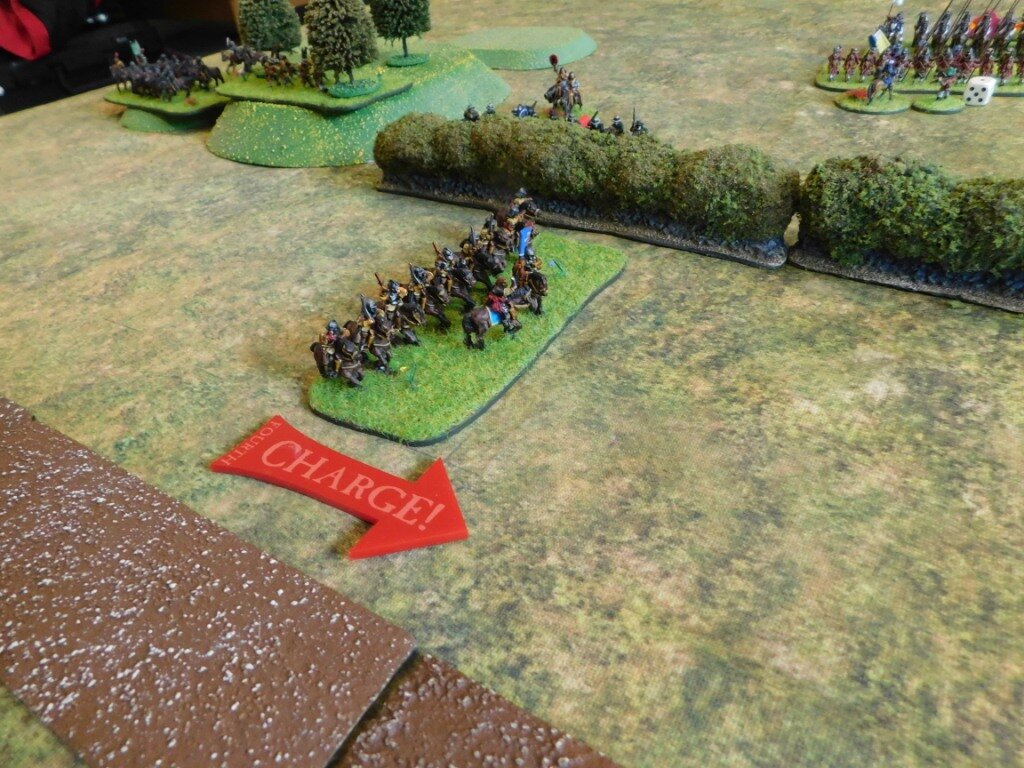
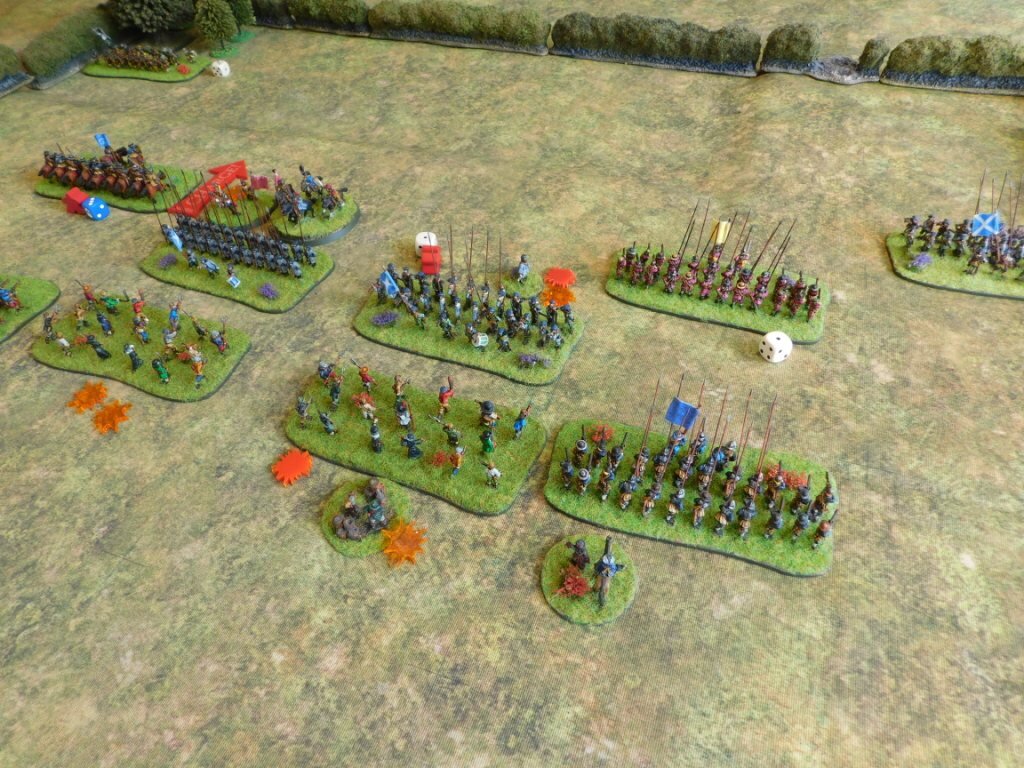
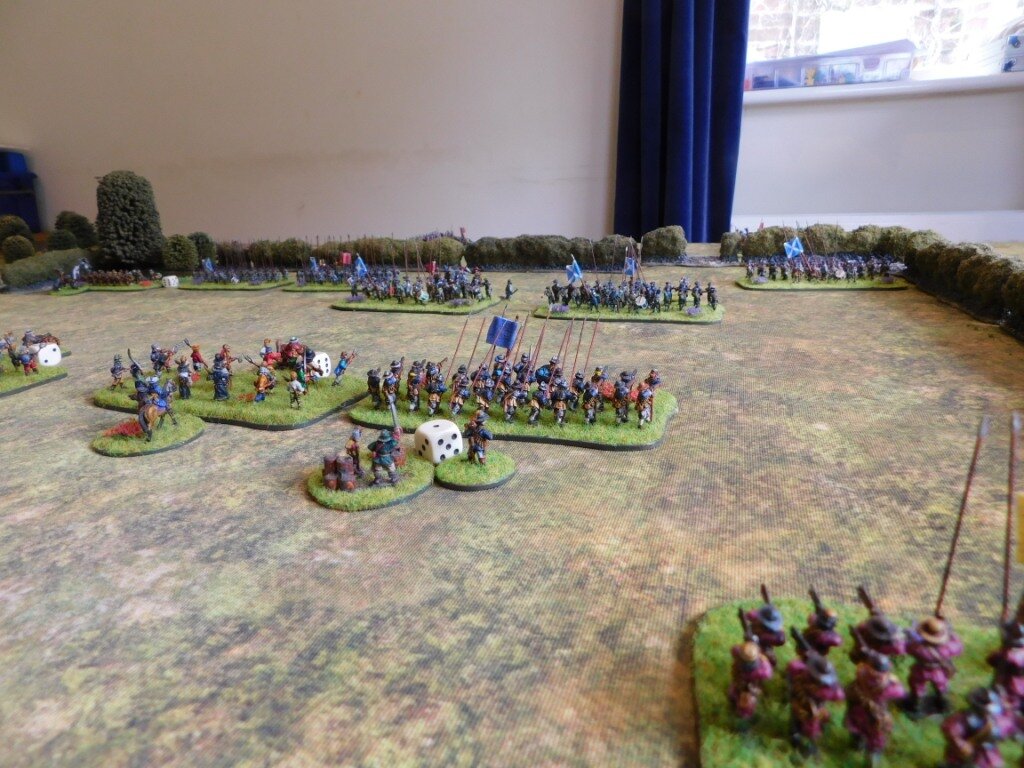
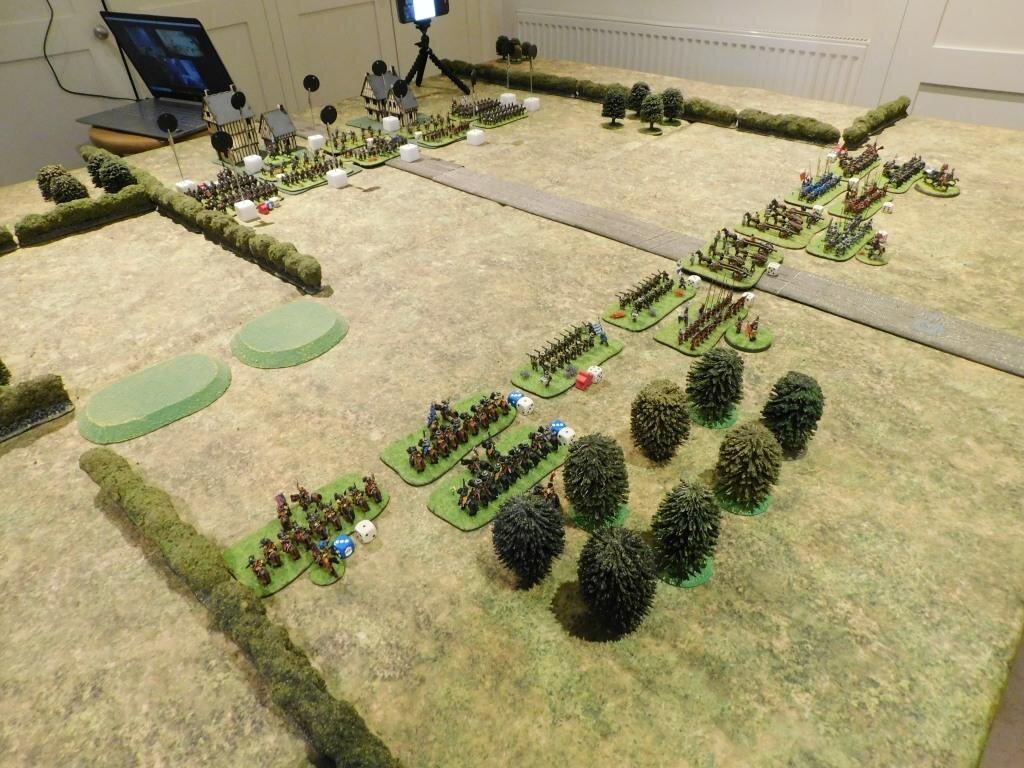
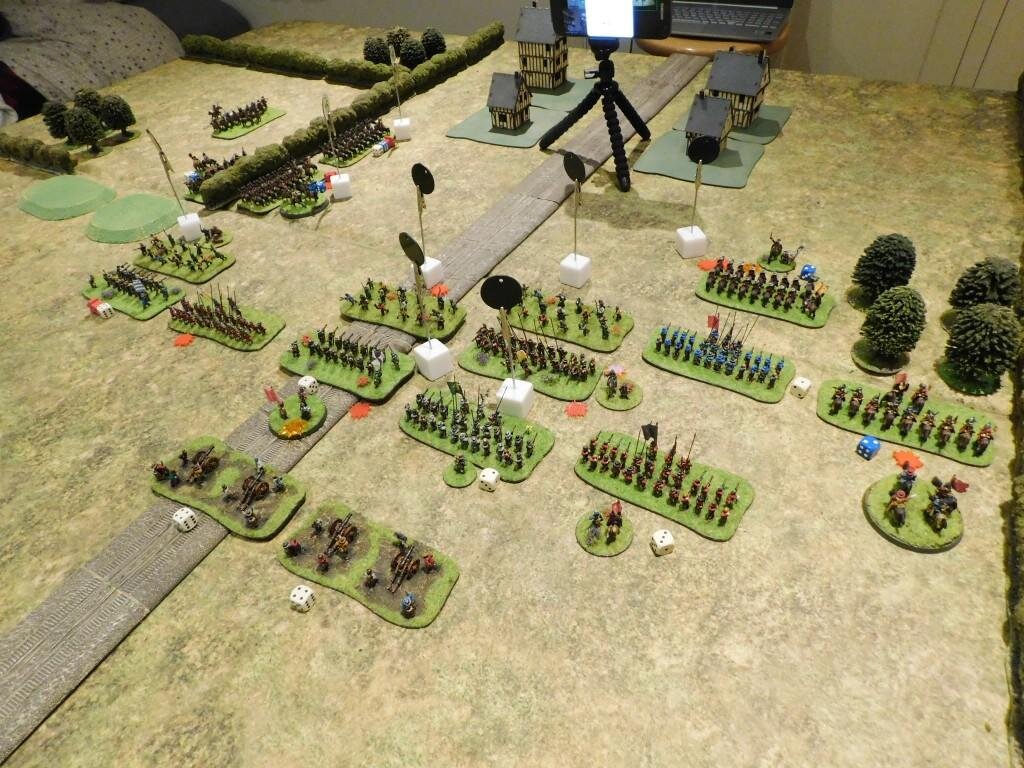
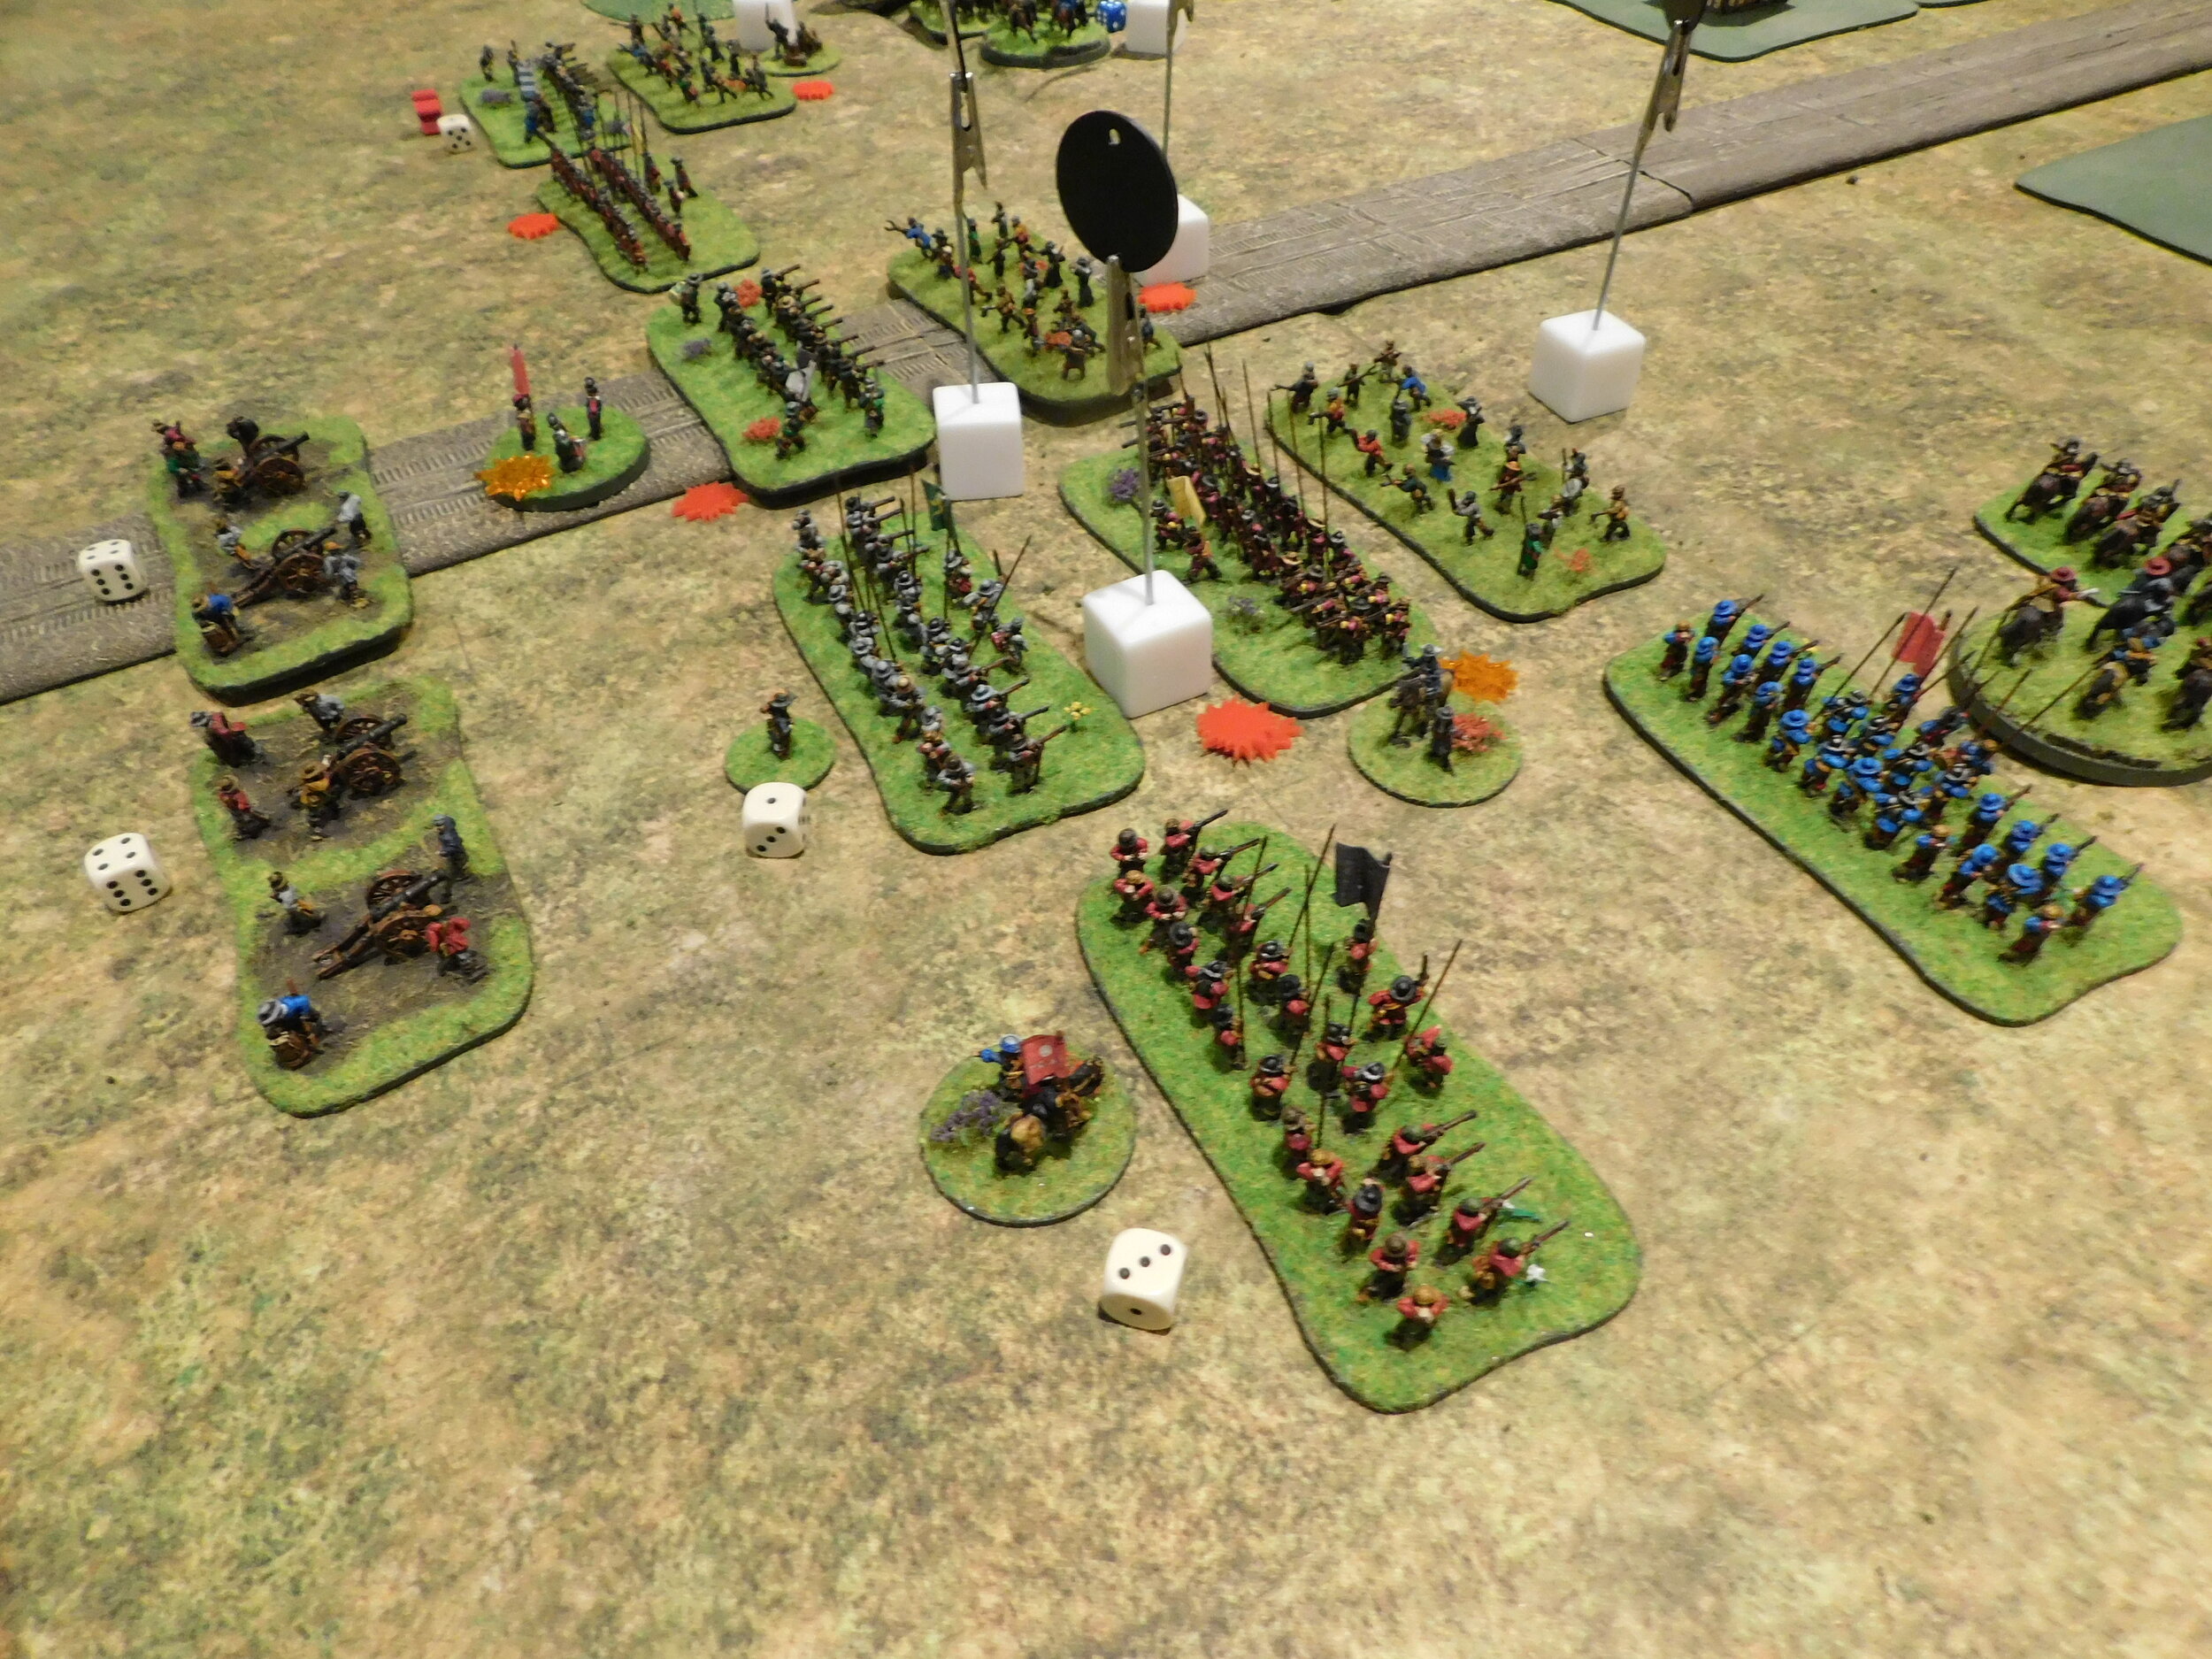
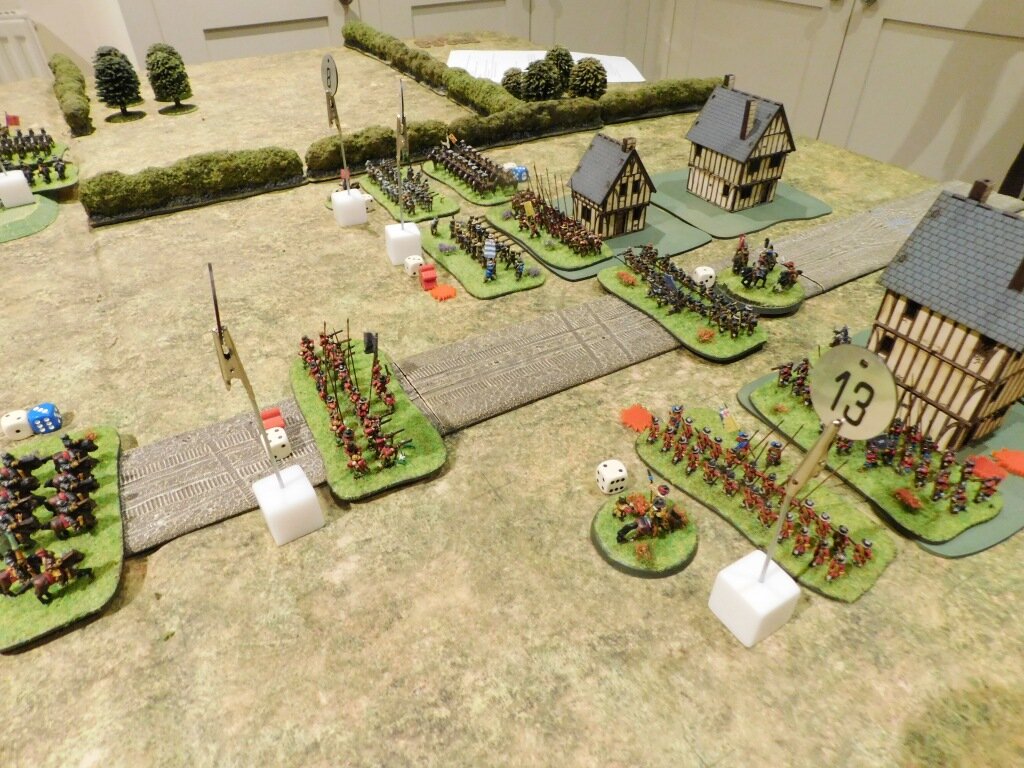
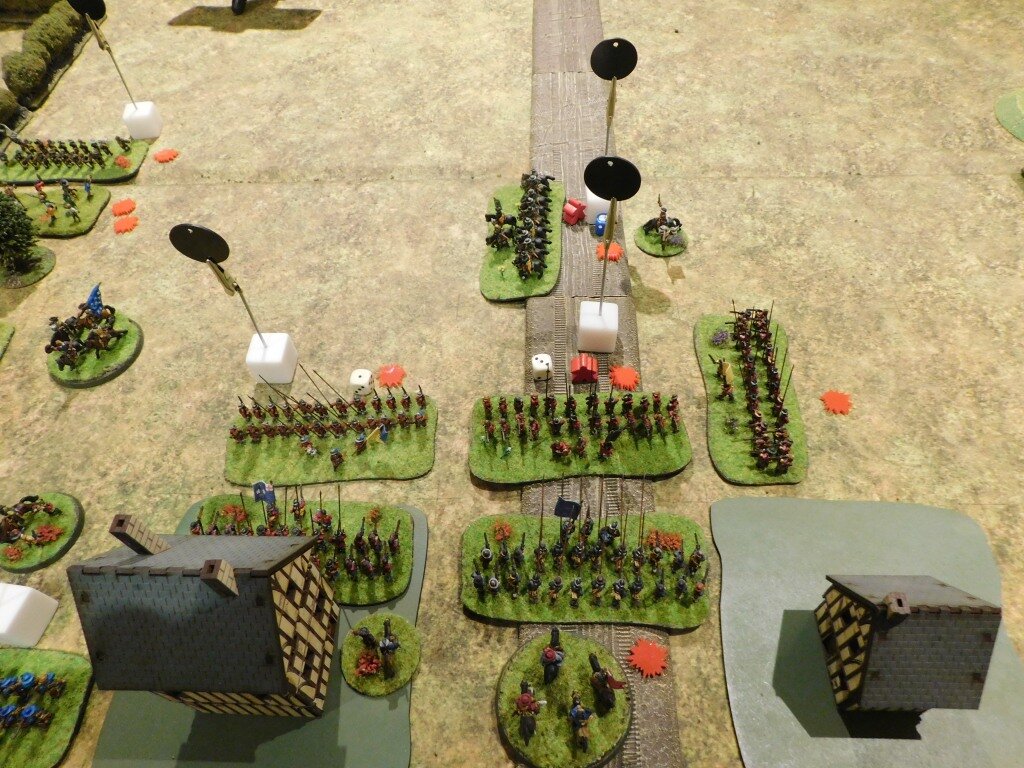
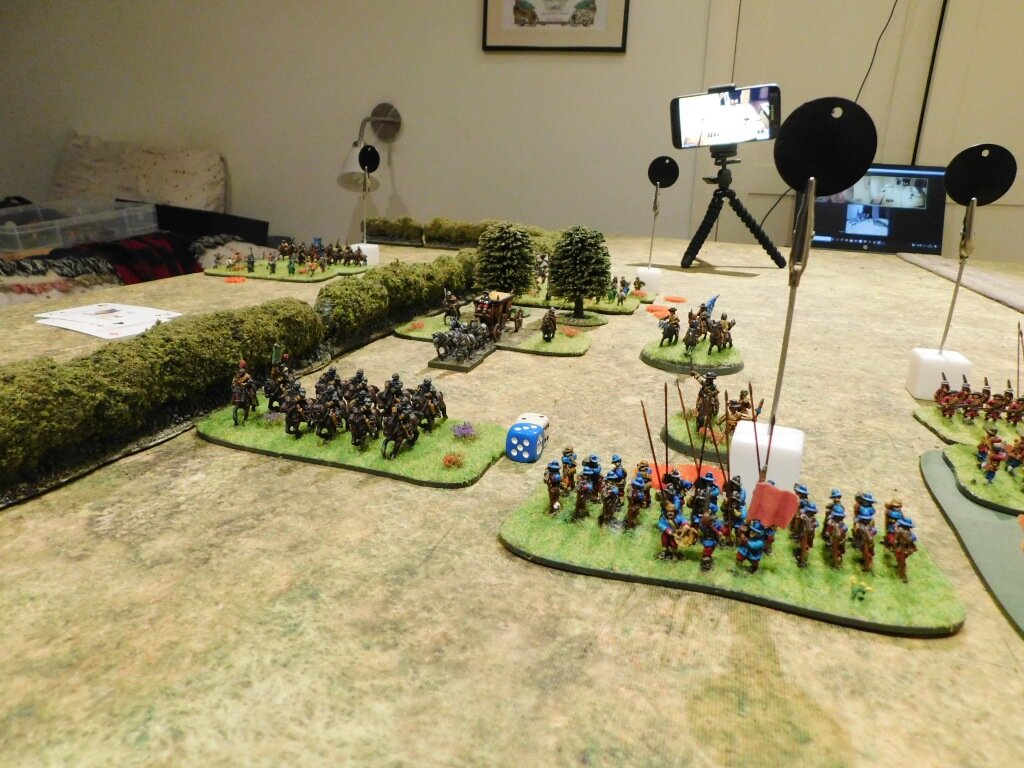
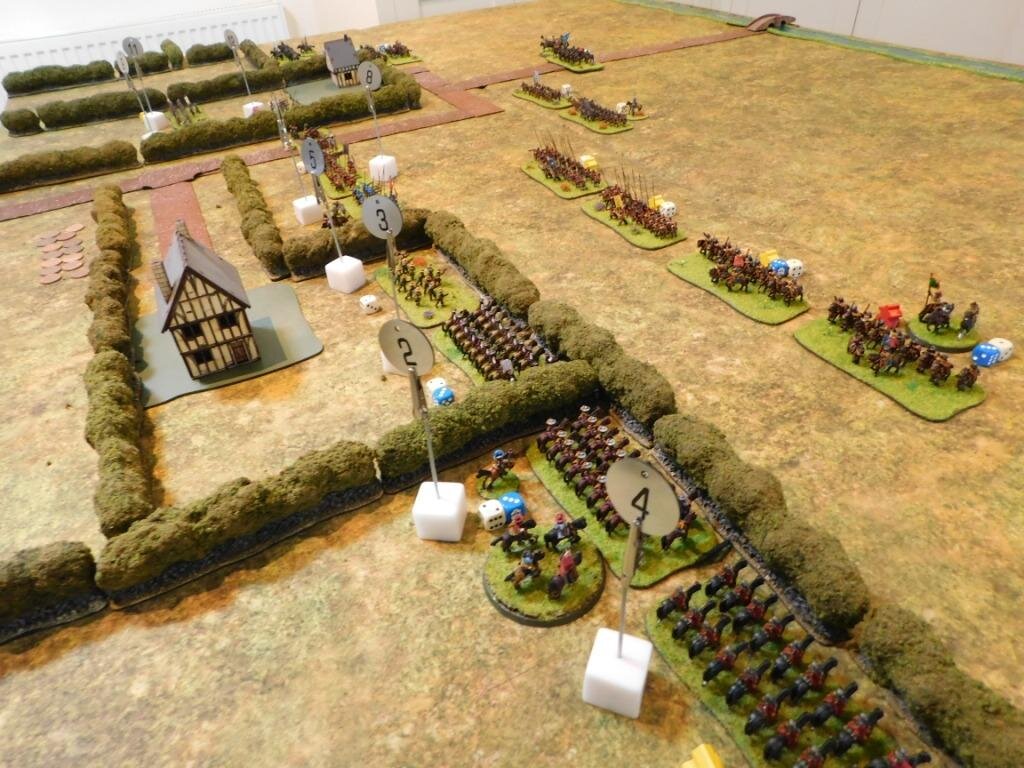
I opened the proceedings by sweeping forward on either wing with, you guessed it, my Swedish horse. My infantry I advanced cautiously in the centre.

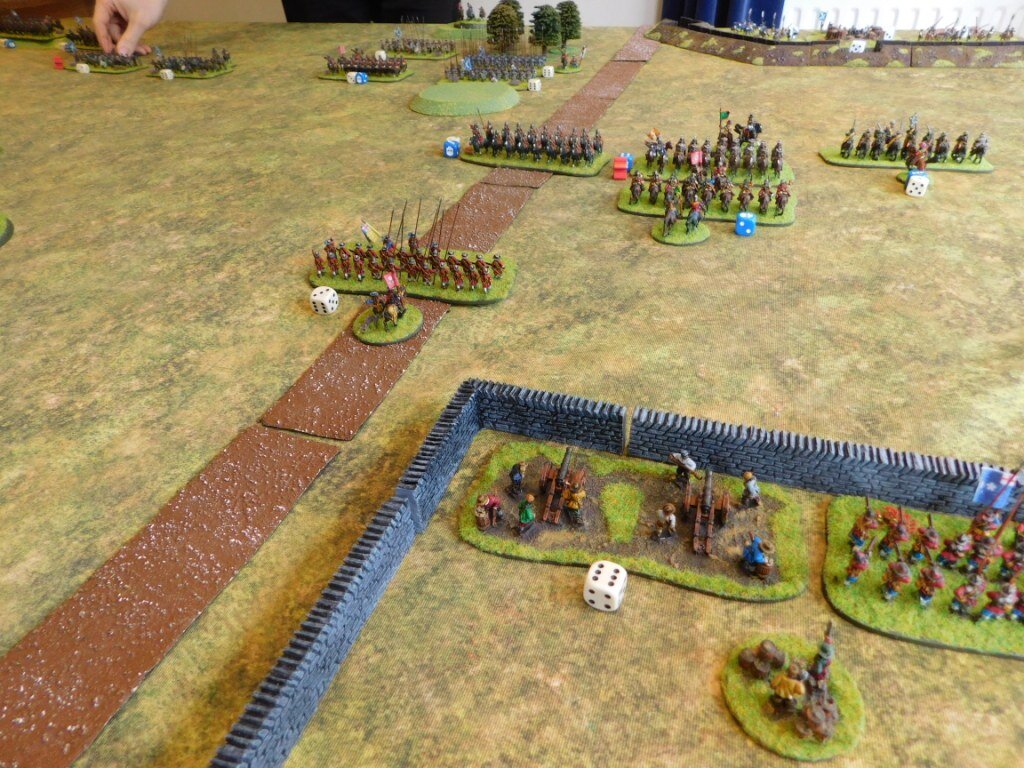
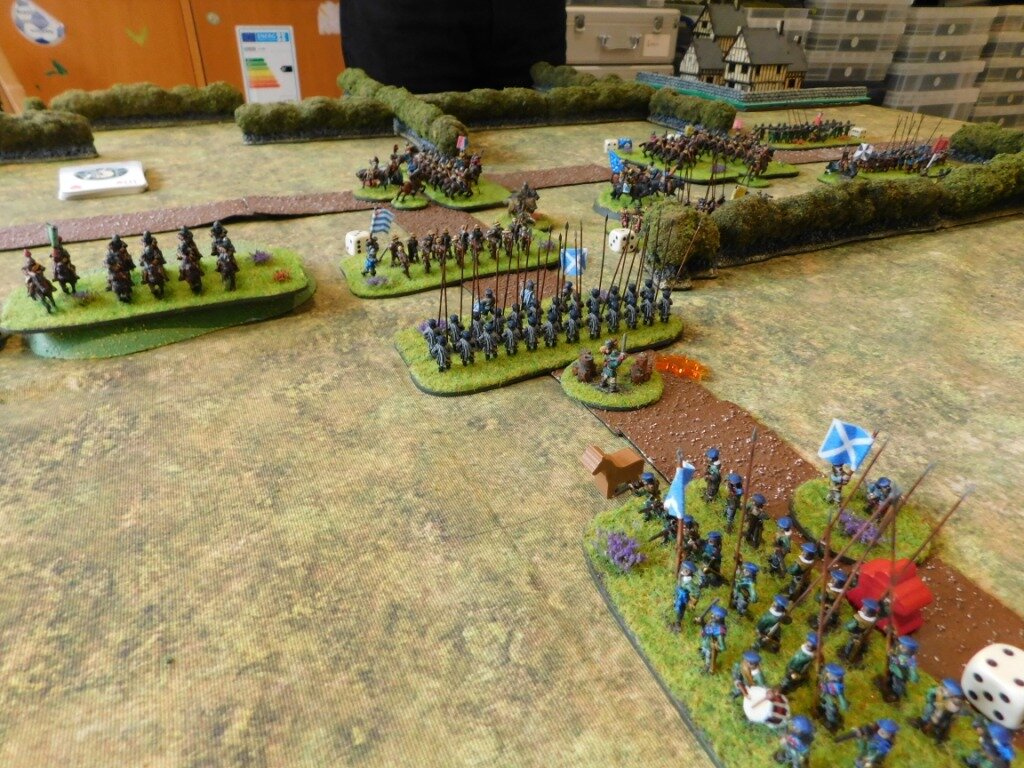
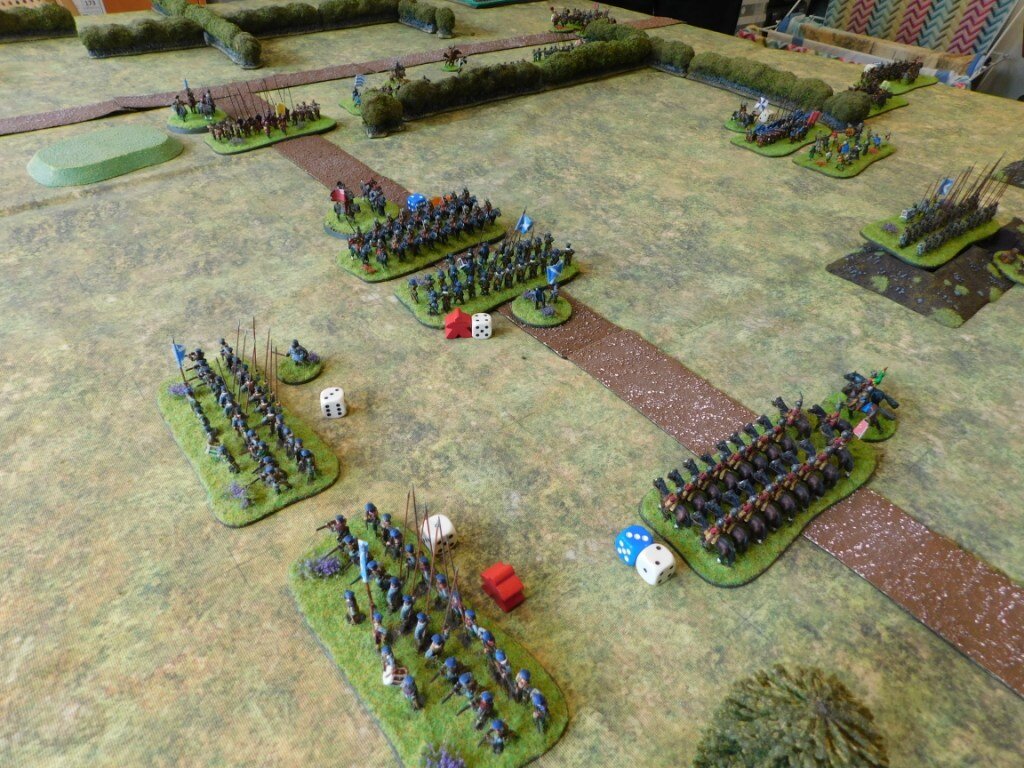
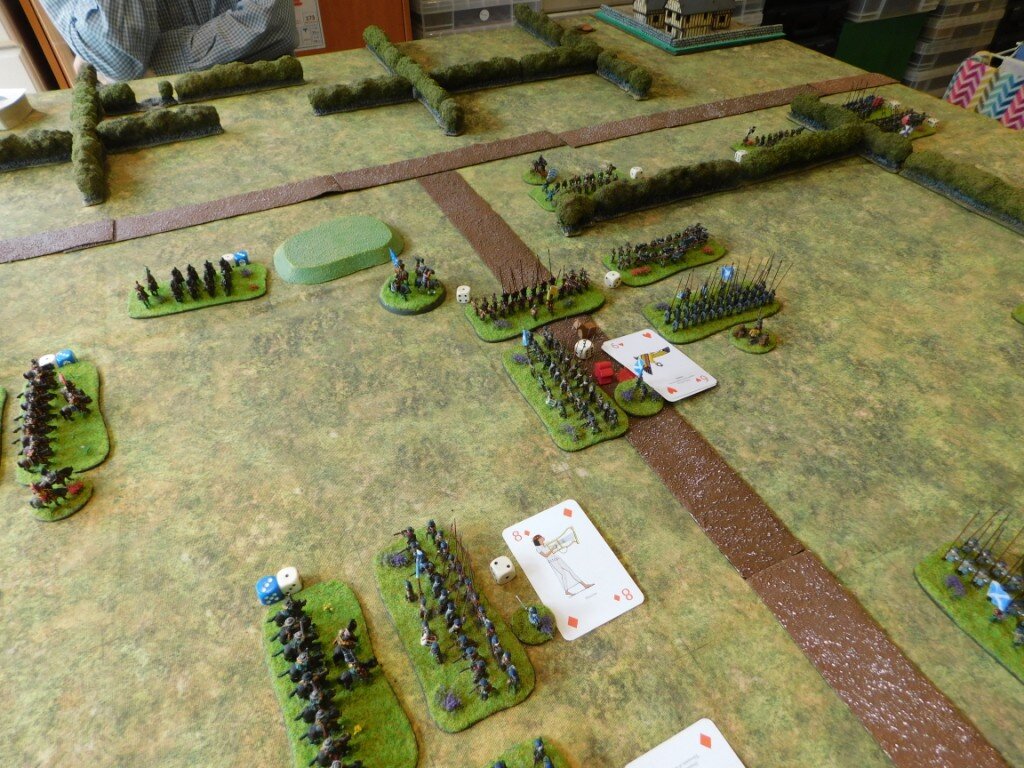
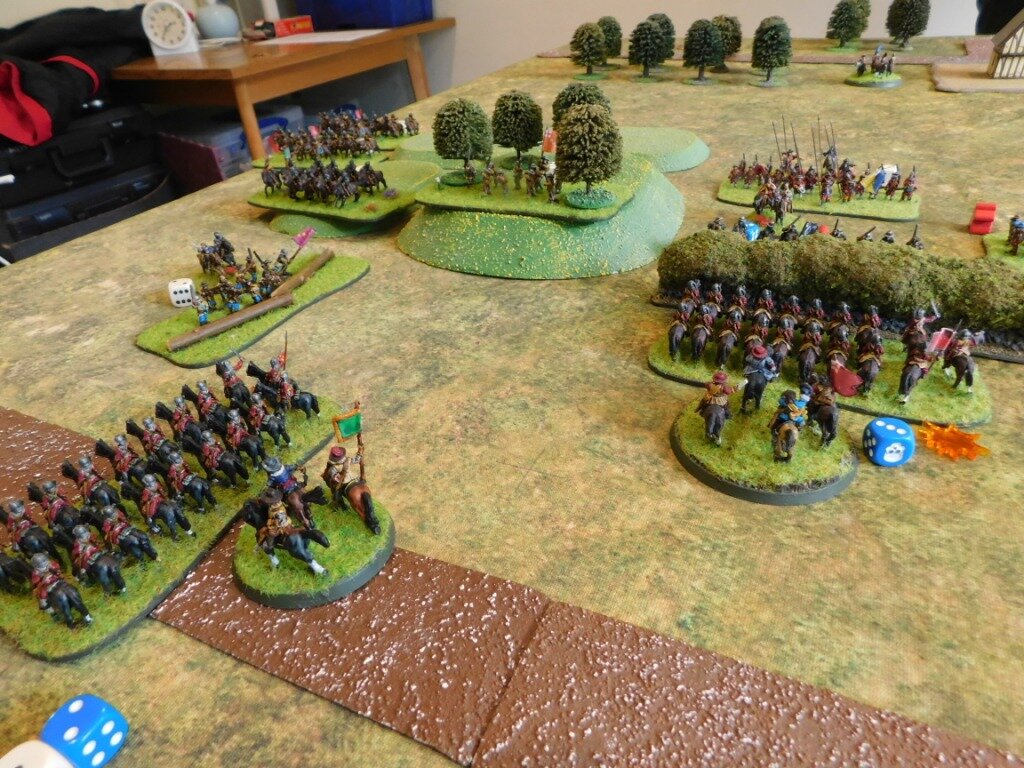
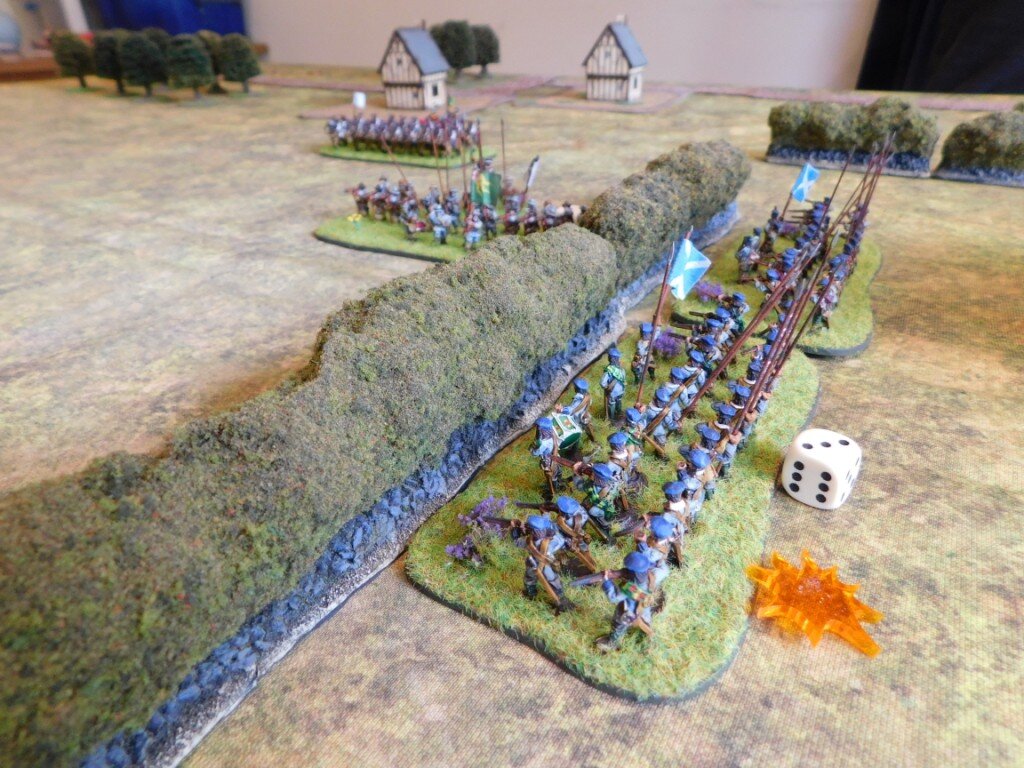
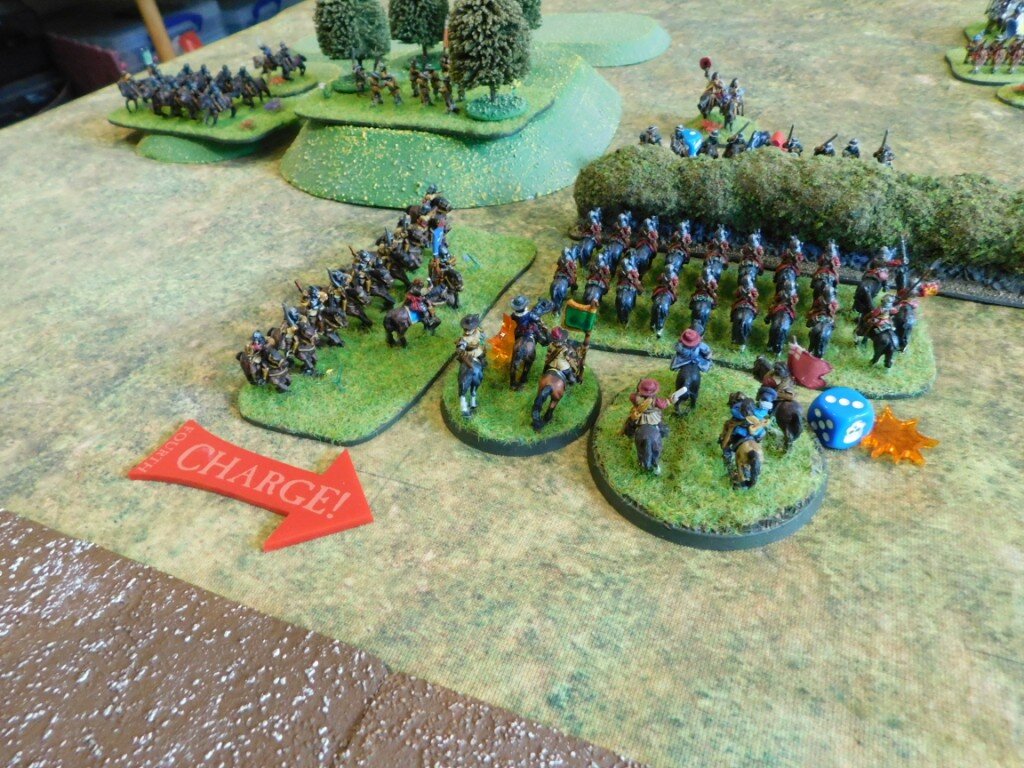
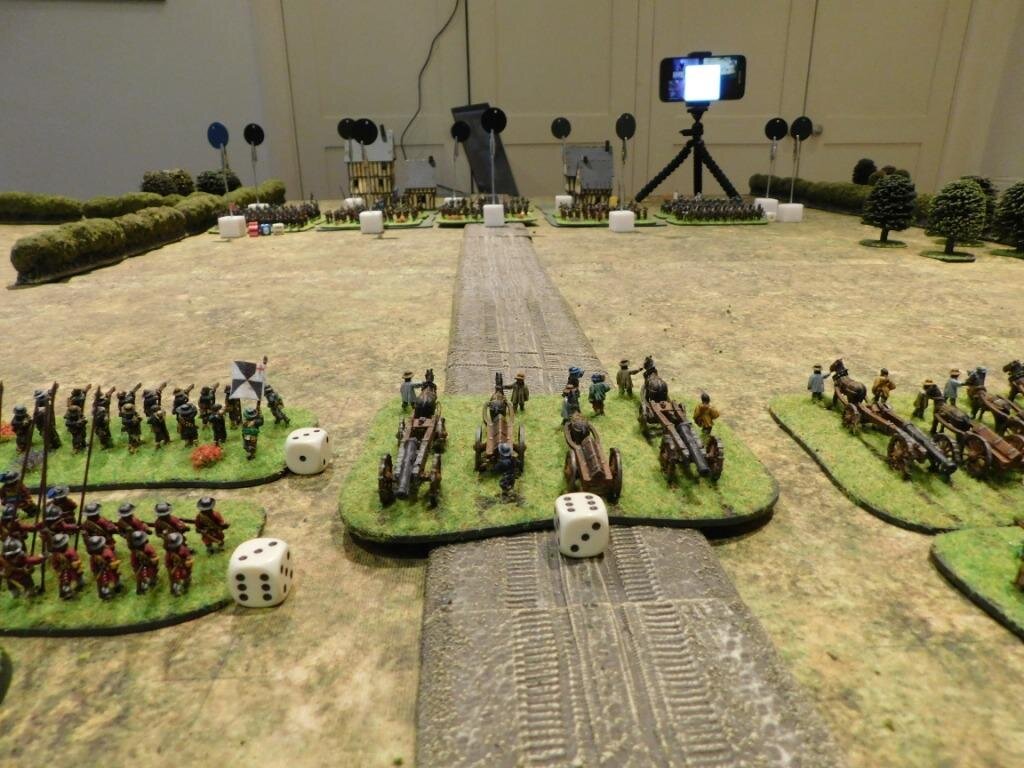
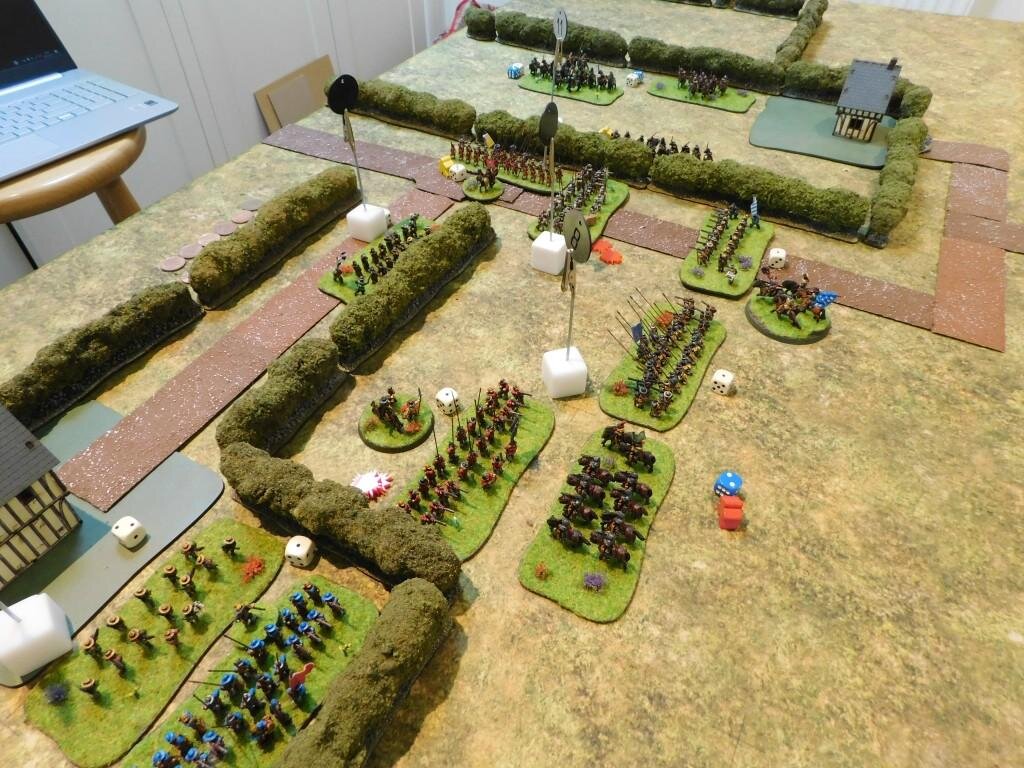
Peter replied by opening fire with his artillery, which actually did me a favour, as the units targeted had to check for disorder due to their untried status: which both failed, but so early on in the game that I had the chance to re-order them before any enemy was encountered. My men had now had their first taste of battle and survived unscathed: they would act normally from now on.

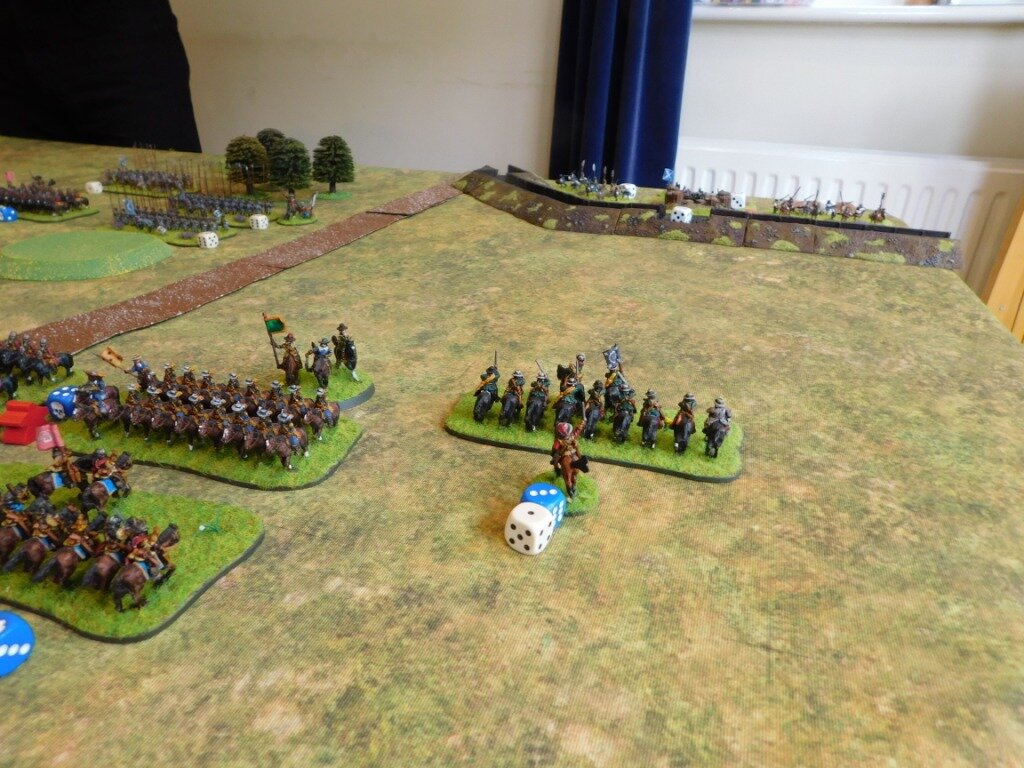
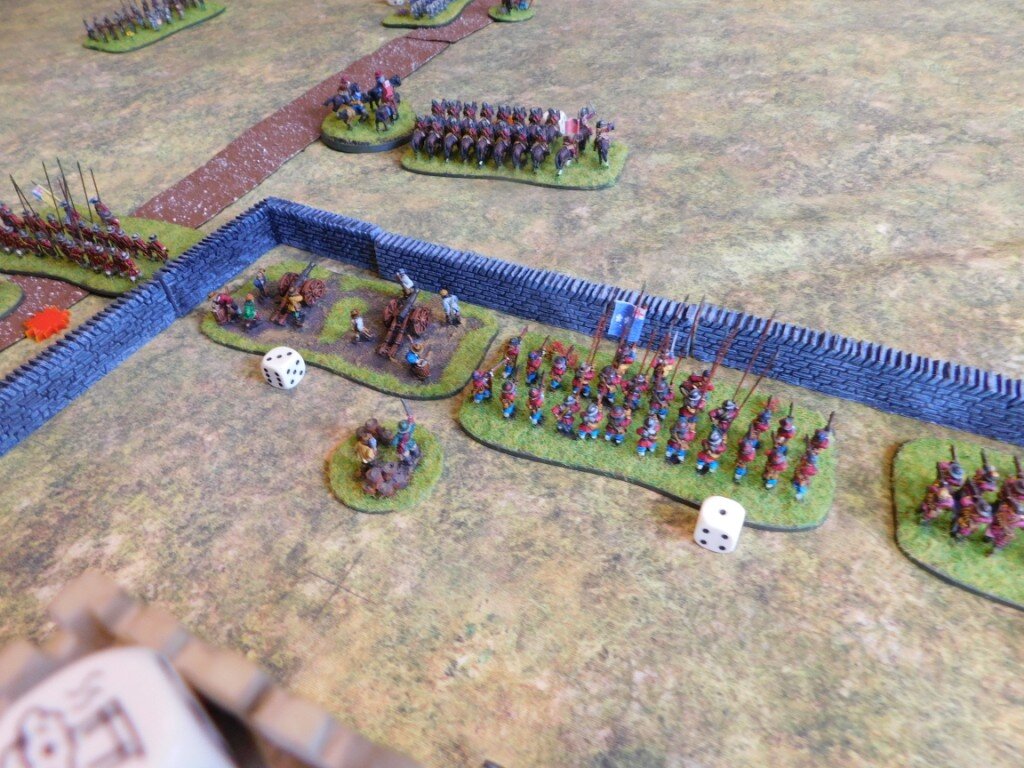
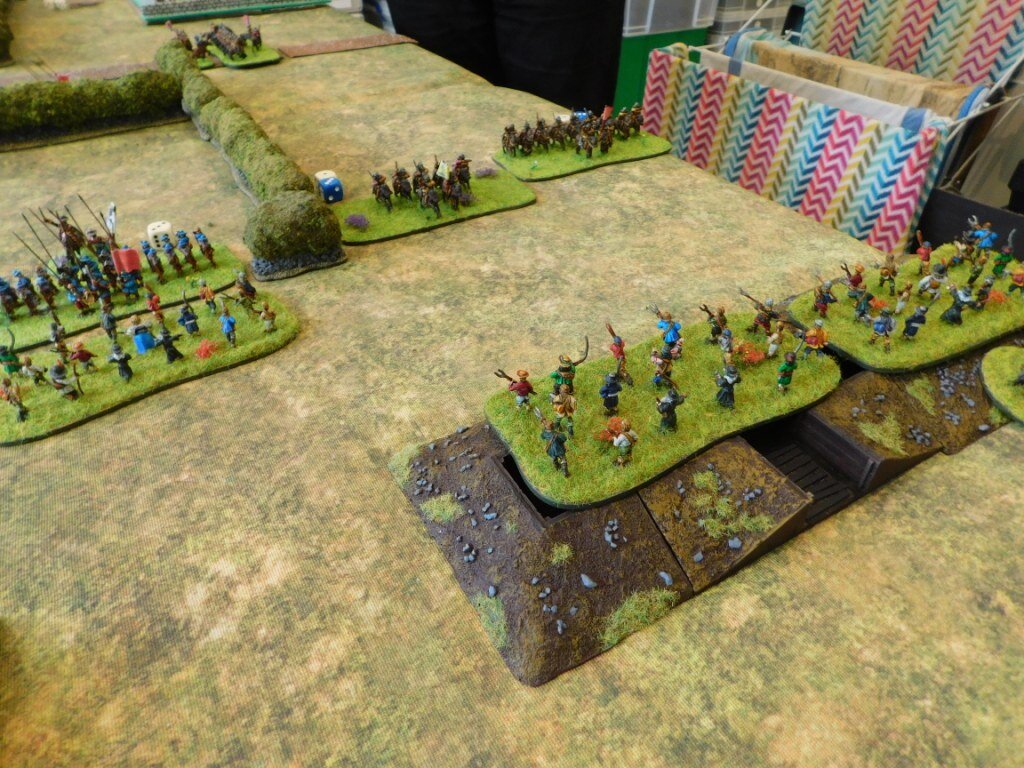
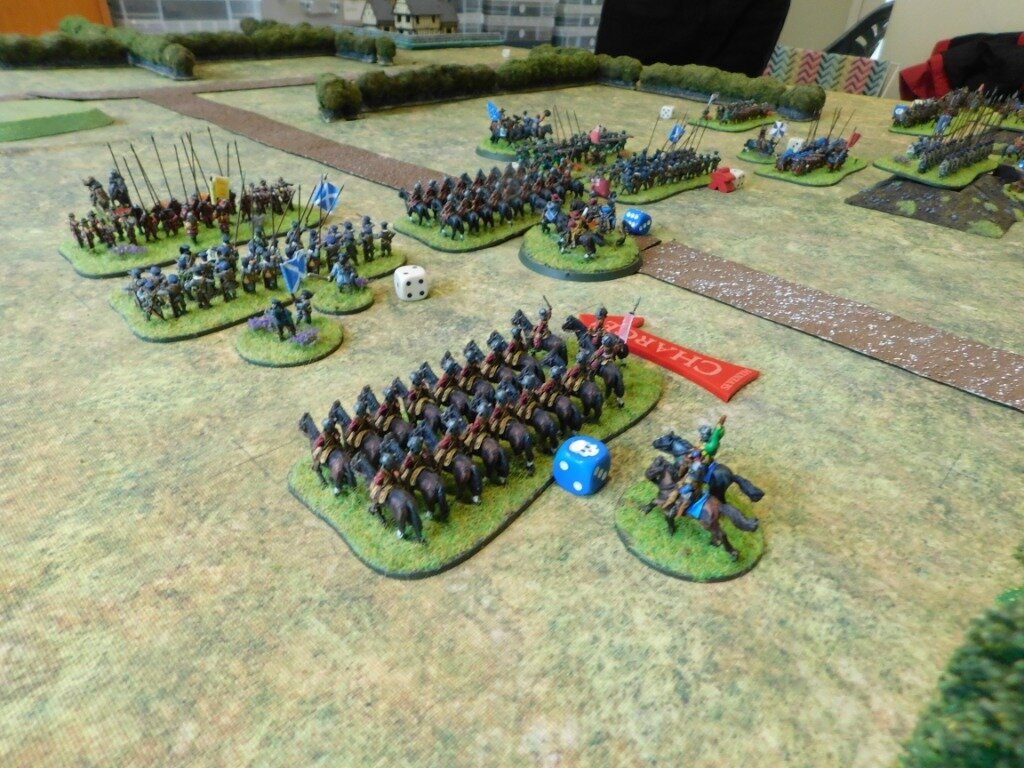
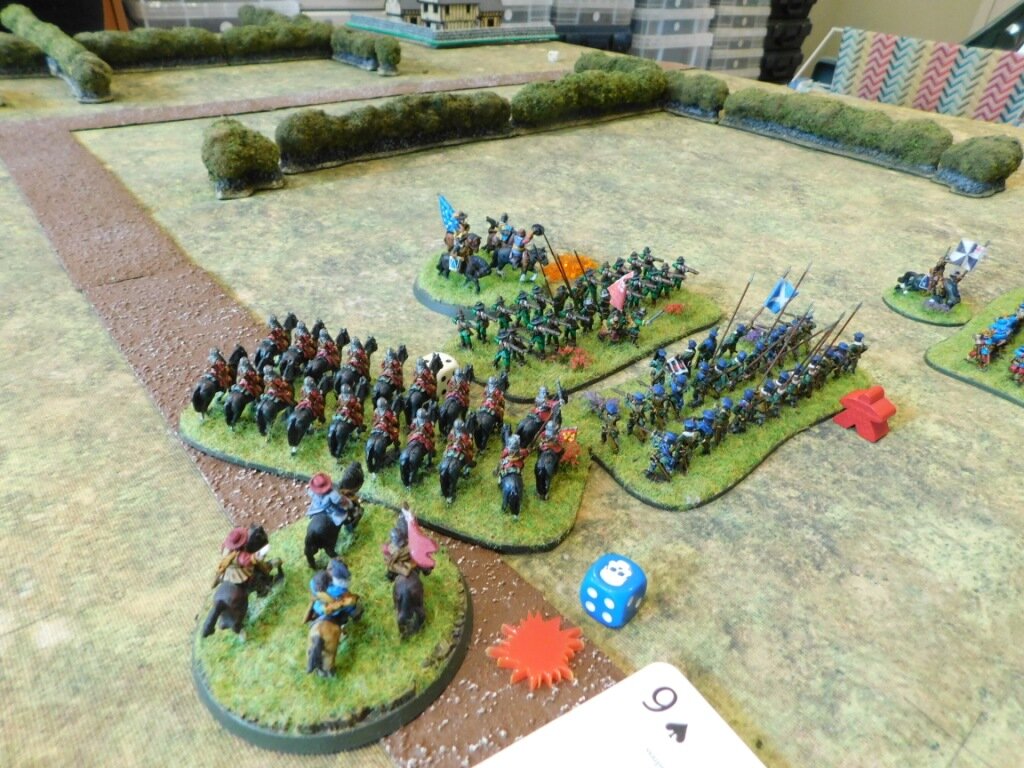
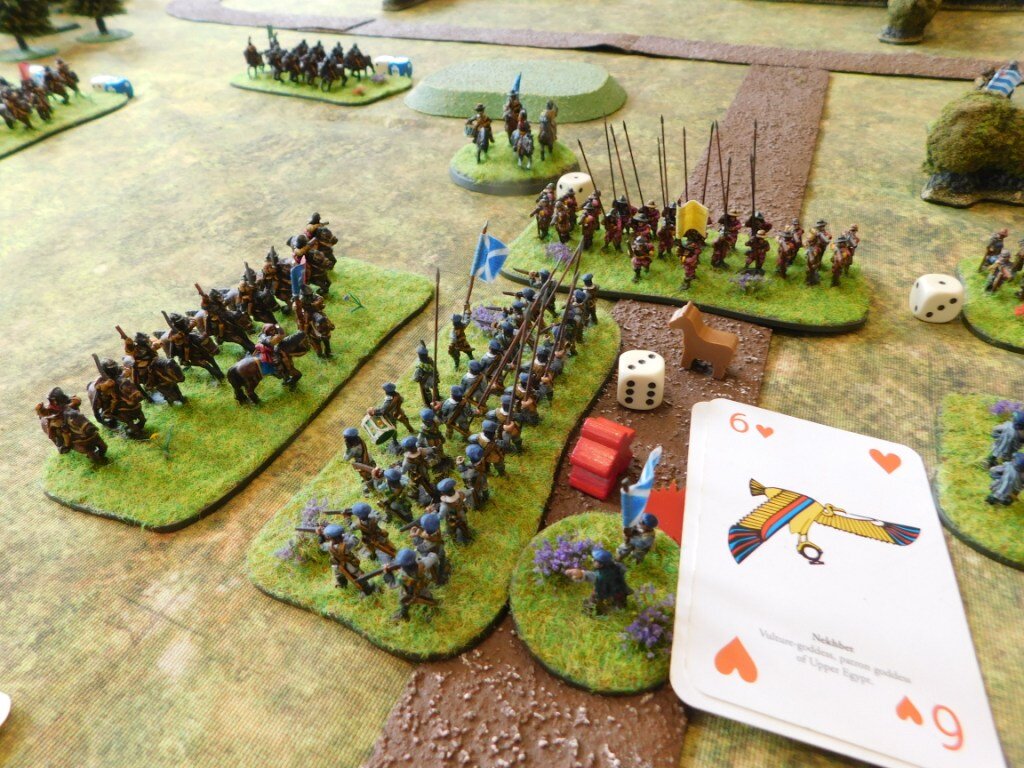
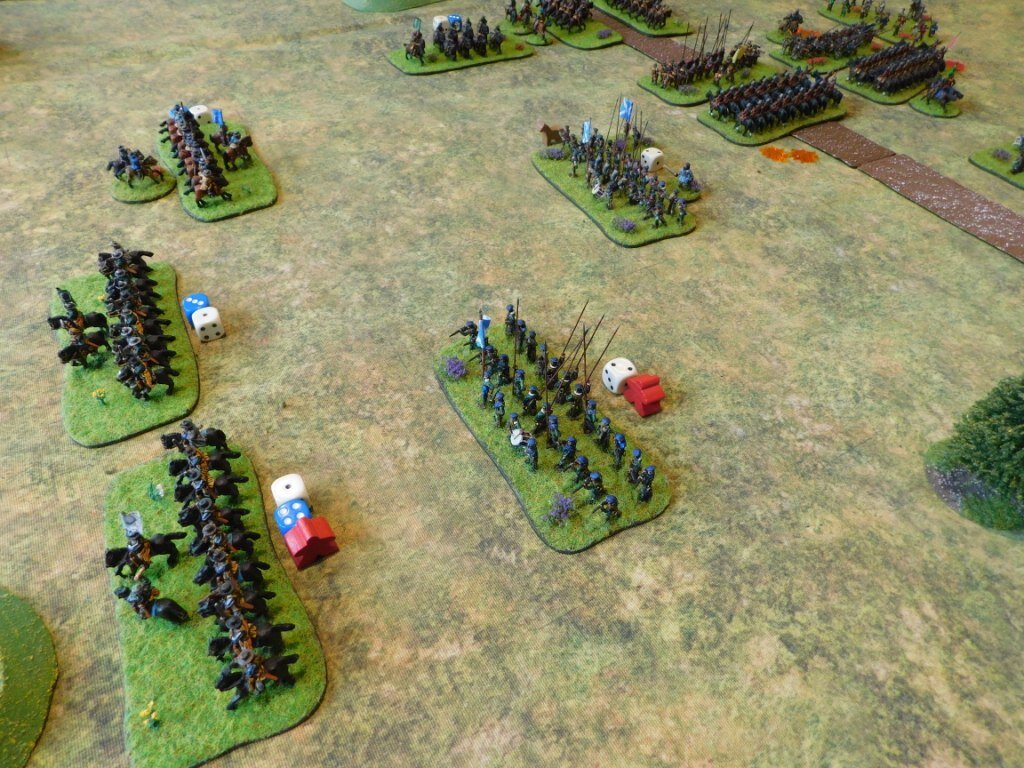
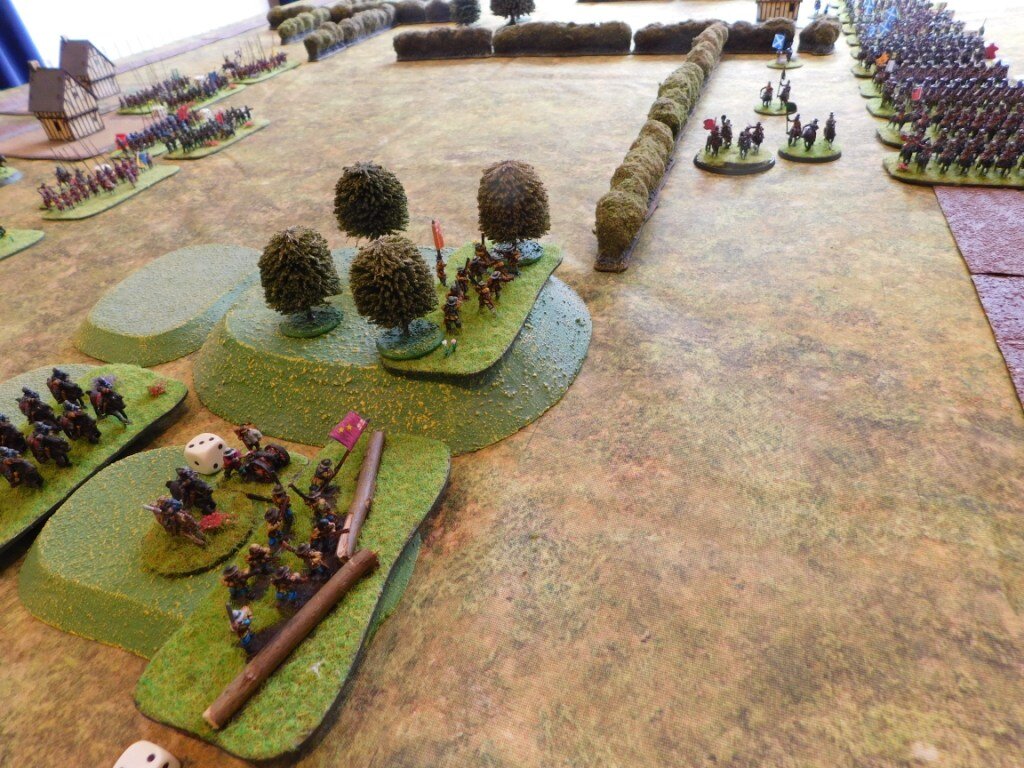
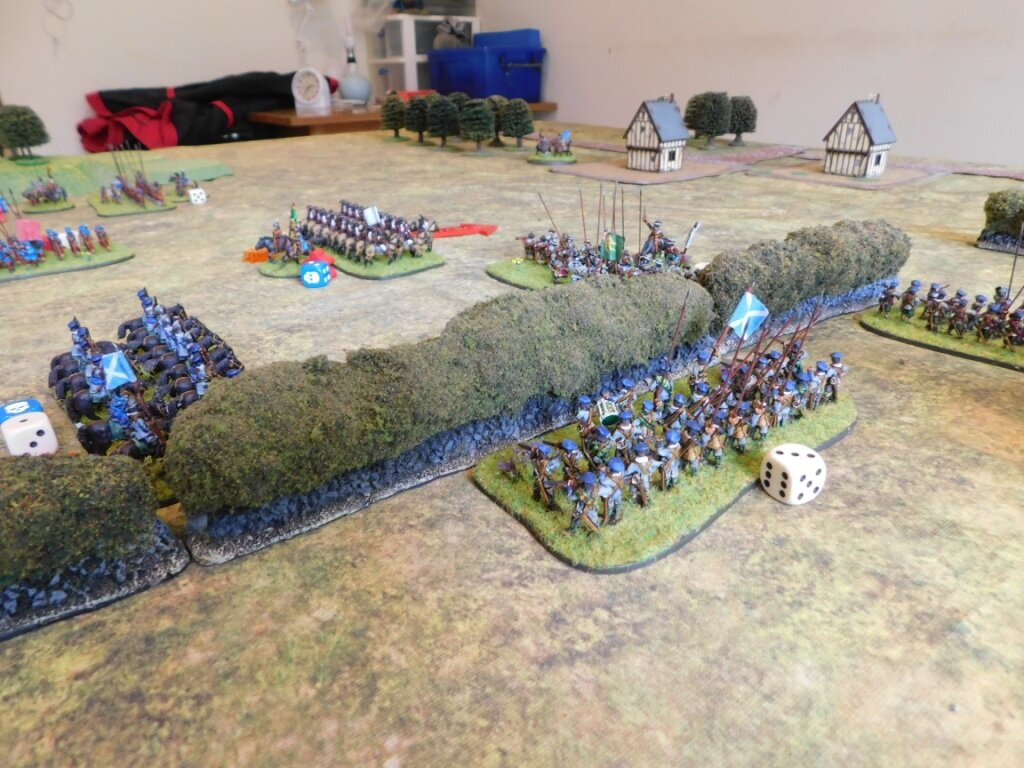
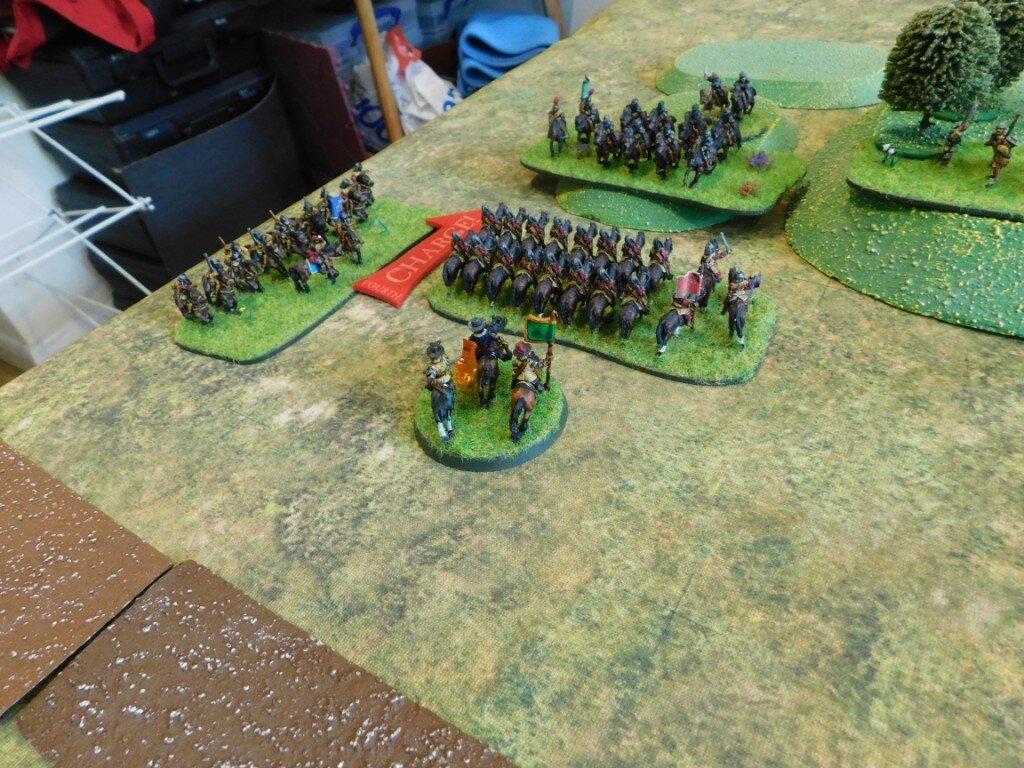
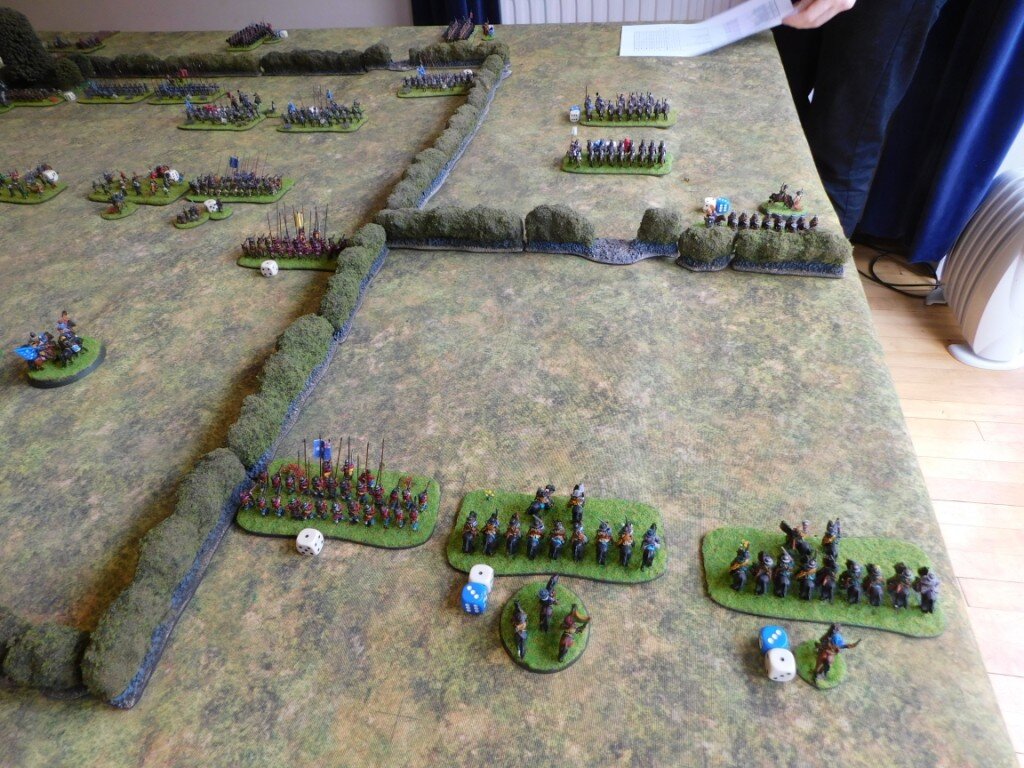
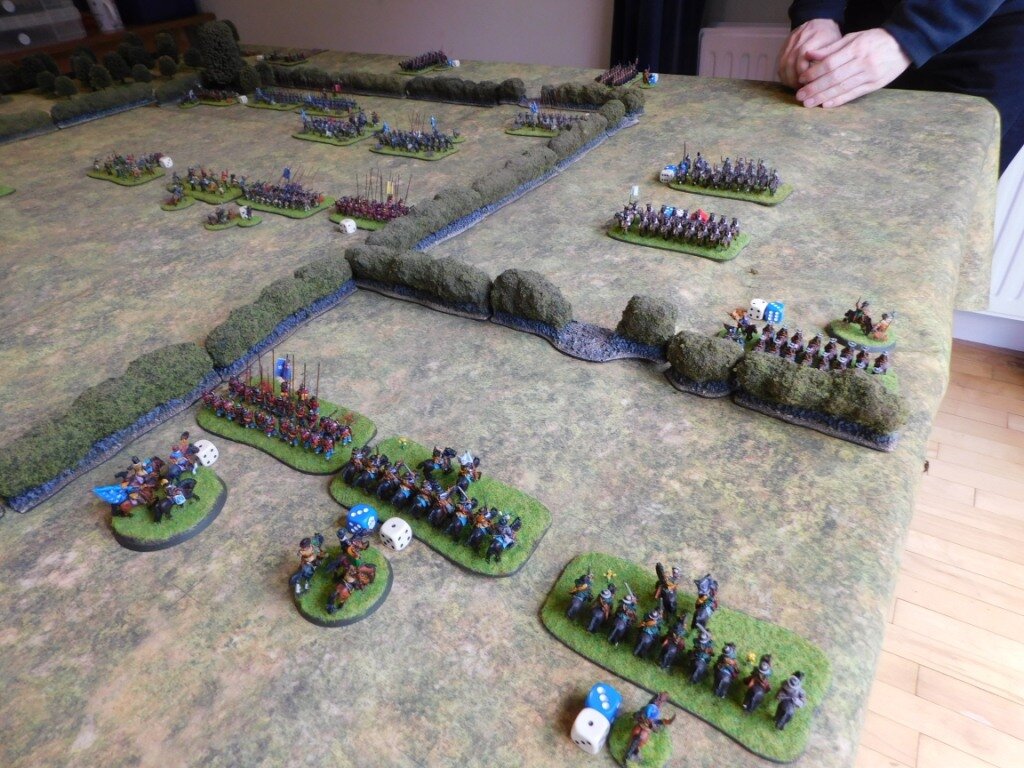
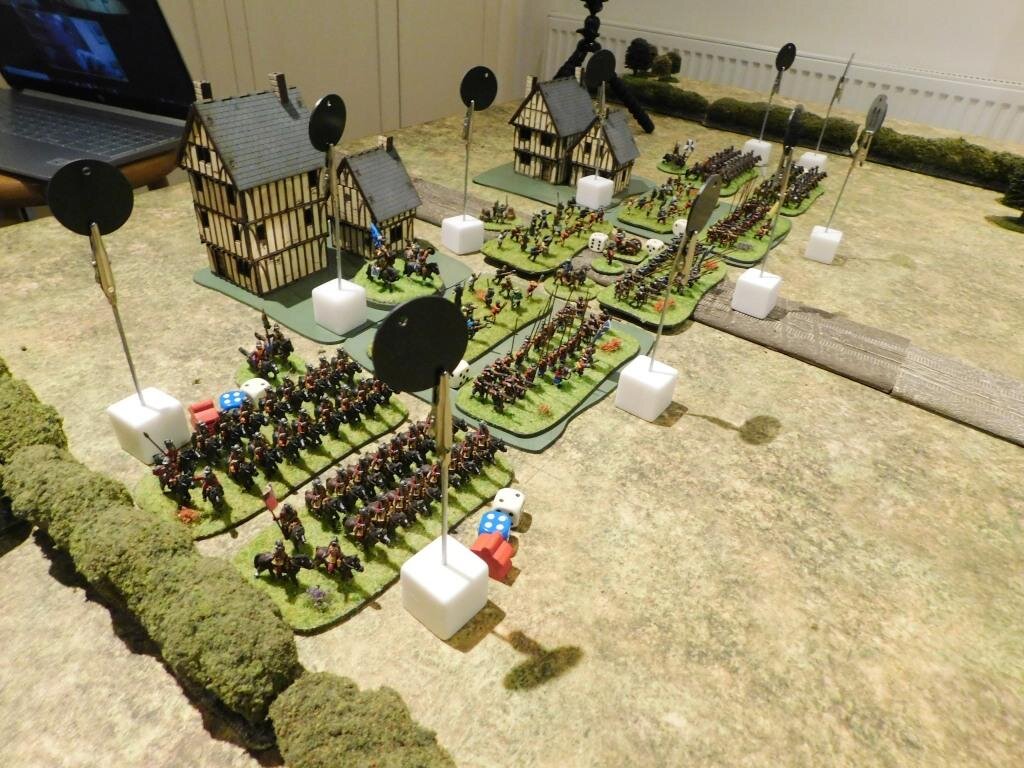
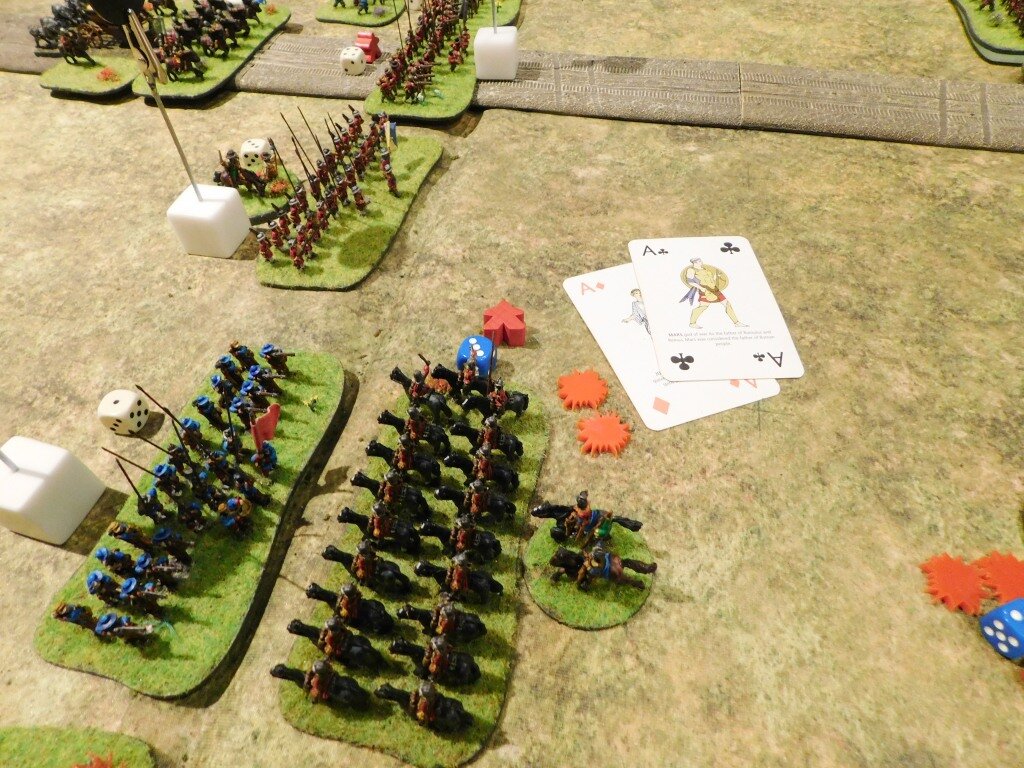
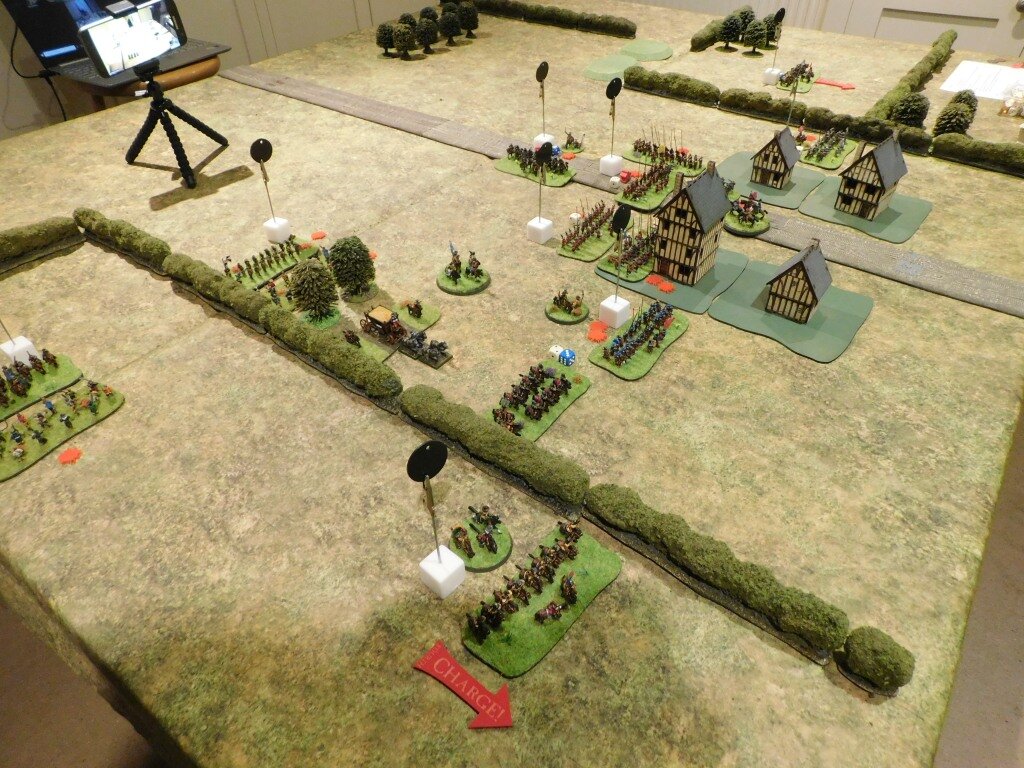
As my Swedish horse on my left approached his Dutch horse, they retreated behind the hedgerows to their rear. This suited me just fine as Dutch horse, despite their deficiencies, are worth more points that Swedish horse (they are strong against almost everything else) so I was happy to have his cavalry bottled up in a corner ‘guarded’ by units worth half the cost.

The Roundhead Dutch horse bottled up in one corner by their own fear of my Swedish horse

Meanwhile on my Right

Meanwhile on my right, my other brigade of Swedish horse was attempting to turn the Parliamentarian flank.

This looked difficult to do at first, as there were a couple of infantry battalia there who turned to face me, but my infantry were coming forward as well, meaning that the Roundhead foot would potentially have to fight in two directions at once.

Scene from behind the Parliamentarian lines. Units 9, 11 and 12 are about to retreat to their right, leaving my horse free to curl in from the flank

The Roundheads attempted to consolidate their position by pulling back and to the right as much as possible, but this manoeuvre, whilst sensible in some ways, let me bring my cavalry around in a proper outflanking movement.

Once my cavalry were around his flank, with my infantry coming forward, the Parliamentarians were in some difficulties. I used a battalia of infantry to clear his guns (by this time out of ammunition) and then sent them in through the gap opened up to attack the right hand side (from my point of view) of his line.

A bit of bad luck saw me lose the battalia, so I was forced to commit my reserve (my commanding general’s Cuirassier bodyguard) into the attack, but by this time my cavalry were in position for their flank attack.

The Royalist cavalry are round the flank!

With commanded shot to their front and Swedish horse to their flank, the grey-suited Roundhead battalia quickly crumbled, exposing the flank of the untried infantry battalia next to them.

This followed suit, and the rest of his line quickly followed them off the table: pinned from the front and rolled up from the right.

The Roundhead cavalry were, eventually, thrown forward but, by this time, it was too late to have any real effect: the day was mine.

Aftermath

A solid victory that netted me 10 victory medals (I had lost a couple of units early on) and evened up the campaign to date.

Next we will fight for Pinkneys Court, but here are some more pictures of today’s encounter: