

TTS AAR: Normans Take The Field!
/As mentioned in my last post, with the last of the Milites finished it was time for the Normans to finally take the field with a game of To The Strongest versus Kavan playing the Vikings.


This would be quite an interesting battle as the Normans were mostly heavy cavalry and the Vikings were all infantry. My plan was to take advantage of my extra mobility and get around his flanks, as charging formed infantry with cavalry is rarely a good idea!
As the game began, both sides advanced forward strongly, with the battle rapidly dividing into three sectors: the left, the centre and the right.
In the centre, Viking huscarls (the units with the red Meeple) had sped forward and hit a line of Norman cavalry in the Norman half of the table. With three Norman units in play against just one Viking, I was fairly confident that I could win the first clash, but I had underestimated just how ‘hard’ the huscarls were: being a deep, veteran, shieldwall unit with extra two handed cutting weapons!


My first Norman cavalry unit just evaporated and, worse, the follow up huscarls, led by their overall commander and waving their ‘land-waster’ standard, hit my own overall commander’s unit and forced him to make the decision to run away as fast as possible! Oh, the shame!

A quick overview pic, with the Viking huscarls bursting through my centre!
Meanwhile, on the left flank, my plan had actually worked out rather well.
Three units of milites had faced up to a couple of the lesser-quality Viking bondi units supported by some lights, and used their superior mobility to get around the hairy infantry and into the Viking camp. Six glorious victory medals headed my way as my horsemen remembered their heritage and sacked and plundered the enemy camp for all its worth!


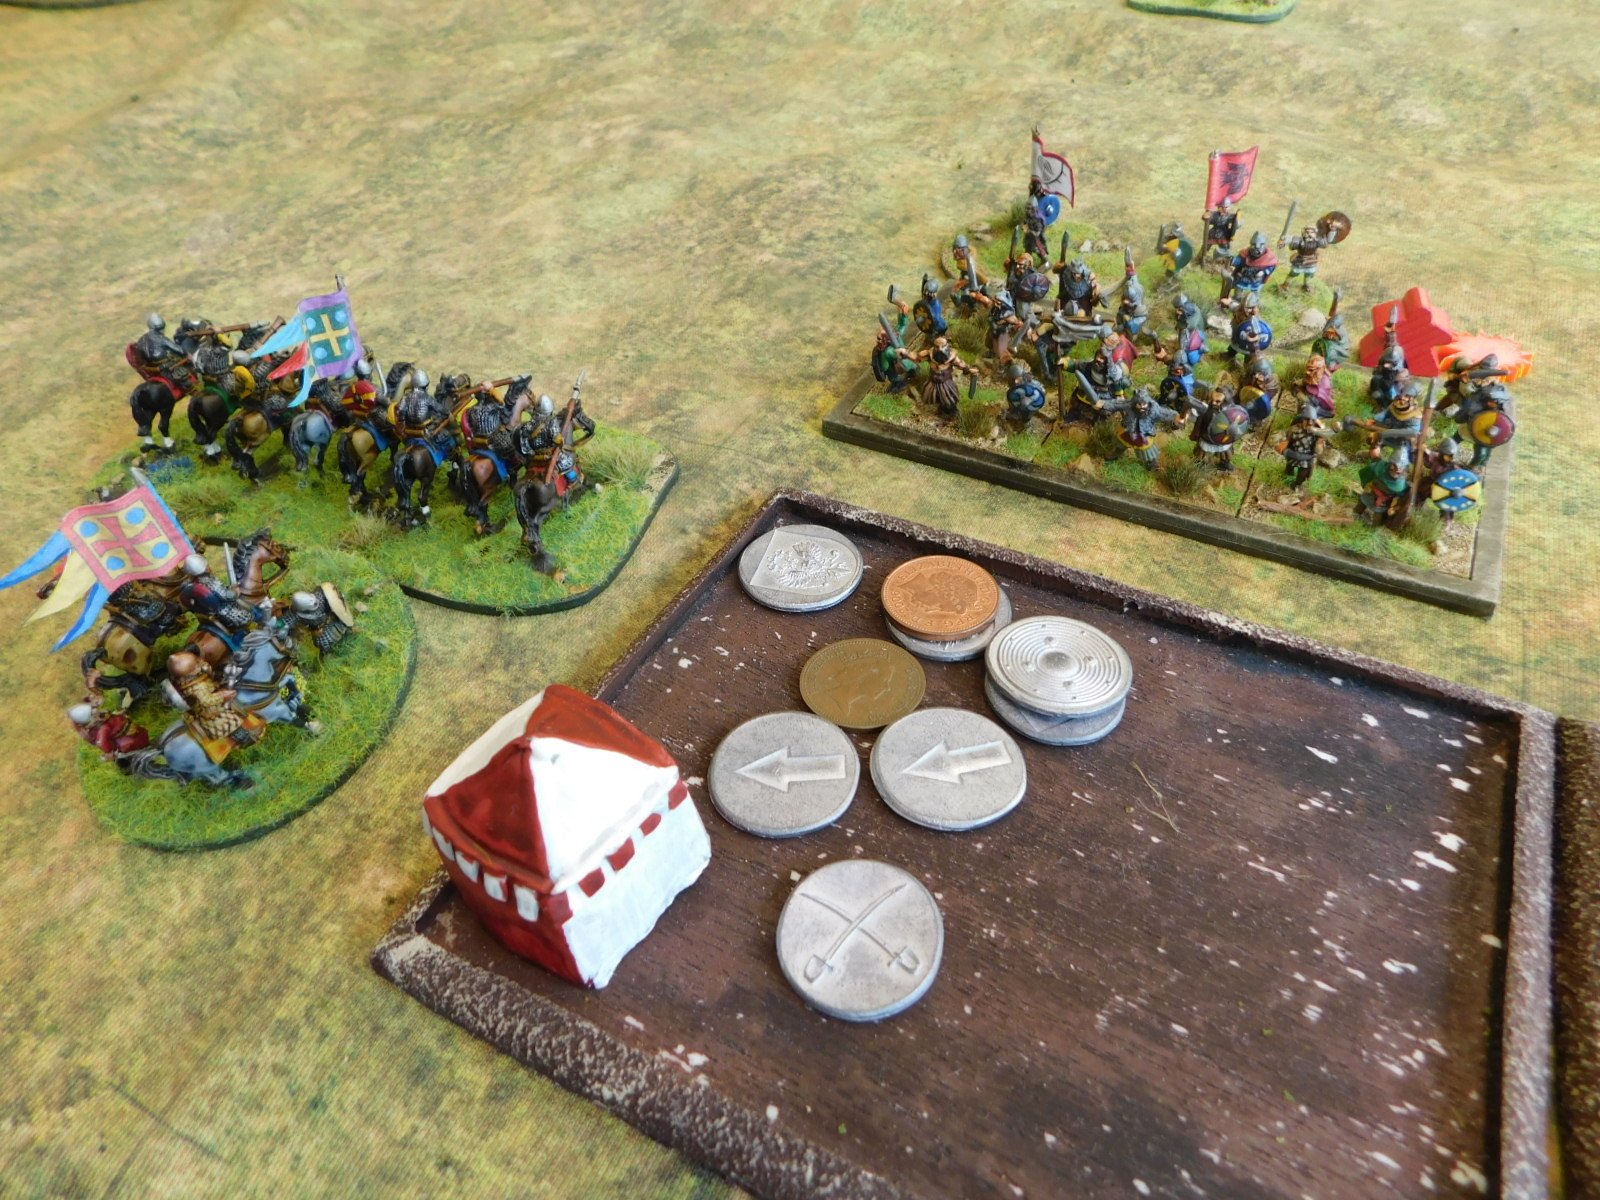
My Viking Longships haven’t arrived yet, so the Viking camp has a weird looking hut in it…and lots of Norman cavalry!
In the centre, however, the Vikings were about to do to me what I had done to them, with their commander’s huscarl unit crashing after my fleeing horse and then into the Norman camp and refusing to be shifted even by William himself!
Fortunately only one half of my camp was taken, but that still meant three victory coins to Kavan!


Casualties were now mounting on both sides, so it was obvious that the battle would be decided on the right where, up to now both sides had cautiously crept towards each other.
Somehow I had managed to get into a decent tactical position where I could get two of my cavalry units onto one of the bondi units but, as I have said before, these deep units are tough and the bondi survived long enough to pull back and get some support.
Not even the toughest Viking, however, can keep taking charges from the front and flank, and so it was here as well. The bondi unit broke and with that Kavan’s final victory medals were spent and the Vikings decided to retreat.


A great game and a very narrow victory for the Normans as I only had five coins left myself.
It was an interesting battle and one where I learnt that Norman cavalry definitely do not want to take on Viking huscarls or bondi units head on, even with lances: the only way is to get around their flanks or hit them two-on-one.


