

FK&P AAR: Widbrooke Common Again
/As Rob had not only come a long way but also beaten me fairly quickly playing The Attack on Marlowe scenario, it seemed only meet and right to have another game…and being logical chaps, we set up the table for the second scenario from Marlowe the Maidenhythe scenario pack: Widbrooke Common.
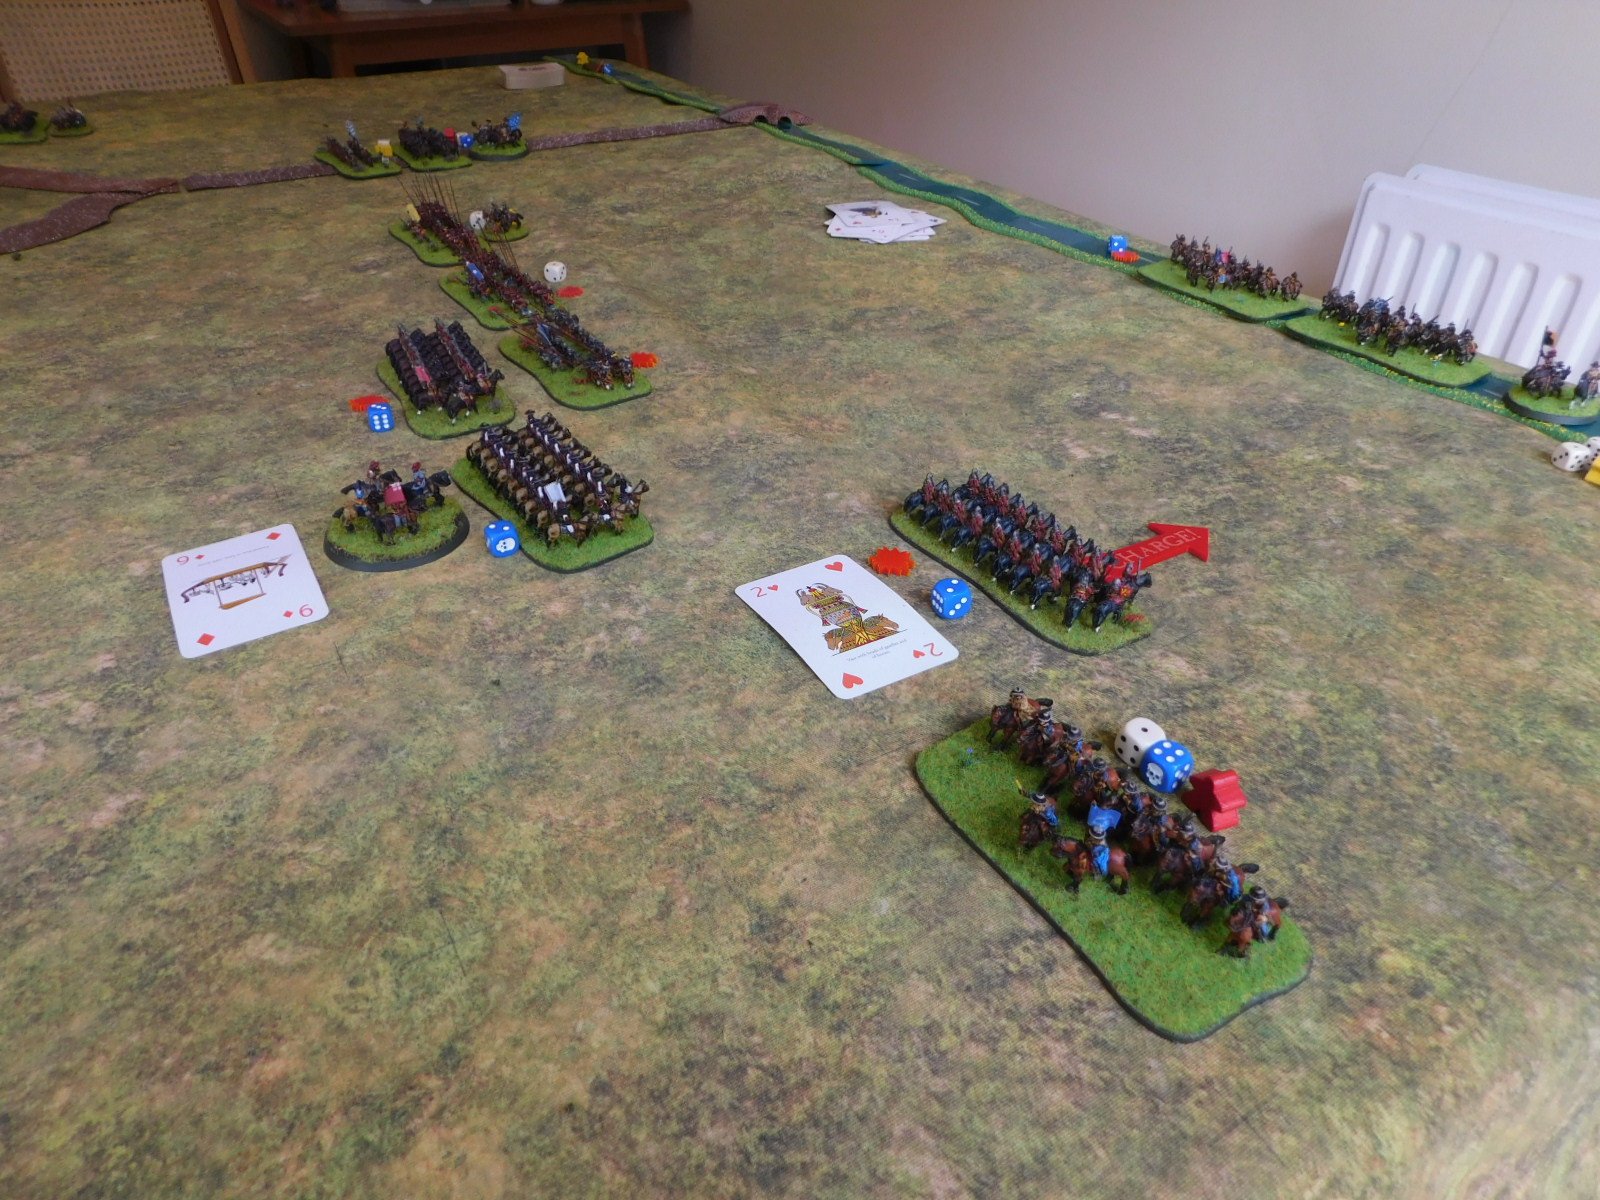
Scene from behind the Parliamentarian lines
It’s the Royalists on the attack: advancing against the Parliamentarians across the eponymous common. Although Rob had played the Cavaliers in the first game, we got switched around somehow, and now I would take the loyalists into battle against the Roundheads.
The Royalists wasted no time, and marched forward smartly towards the traitors opposite them. One slight worry was that a lot of my infantry were Untried (the yellow markers in the picture below) meaning that the first time they encountered anything battle-ly (were shot at, wanted to shoot, were charged etc) they would have to check their morale
Slightly to the left of centre, the two cavalry lines clashed, with honours really falling to the Roundheads: their bigger ‘Dutch’ units surviving the initial charges of my smaller ‘Swedish’ squadrons and then bashing me up in the melee that followed.


In the event, both sides cavalry effectively cancelled each other out, especially as one of my infantry units was able to turn and blast a Roundhead horse unit in the flank. The battle would end with each sides’ surviving cavalry manoeuvering for advantage in the open ground on my left wing.
Which meant that the battle would be decided in the centre and on my right.
As you can just about see in the picture above, the first thing that I did was to dispose of the Roundhead artillery with my small unit of Cuirassiers. A bit risky, but the cards were with me and the guns were silenced for no loss.
The Cuirassiers then went on to threaten the Roundhead rear, eventually destroying the unit of commanded shot that formed the Parliamentarian reserve.
You can also see, in the picture on the right, that my infantry have moved forward and begun to push back his main line. Here’s a couple of great shots of them going into action:
What isn’t shown in the pictures above, and the reason that victory was eventually mine, is that on the right flank my horse had moved forward and outflanked two Parliamentarian infantry units that were trying to evict a Royalist Forlorn Hope from a small farm building.
Here’s a shot from earlier in the game: the Forlorn Hope would keep the Roundhead infantry distracted for long enough for my horse to turn left and hit them in the flank…which meant that when I broke the infantry in the centre, Rob ran out of Victory Medals and I had won!
It had been a great game, fairly tight right until the end. The initial Roundhead success with the cavalry hadn’t turned into more mainly because his horse pursued my retreating horse for too long, which gave me a chance to re-group what I had left and at least keep him occupied while my infantry moved forward.
The Cuirassiers were, despite their small size, the stars of the game: punching a hole in the enemy line and then disordering the main Roundhead line by violently removing their reserves behind them.
Another great game of FK&P!


