Lust for Glory: Polish-Lithuanians versus Ottomans
/
Time for our first game using the “finished” preview edition of Lust for Glory: the new rules for the 17th/18th Century from the To The Strongest stable.
Mark and I would command a Polish-Lithuanian force (“the Poles”) fighting the Ottomans, commanded by Dillon and Si. We used the new rules giving generals different abilities and, as is only meet and right, it turned out that I was a “Brilliant” general, with all others on the table being “Cautious”. A good start to the day!
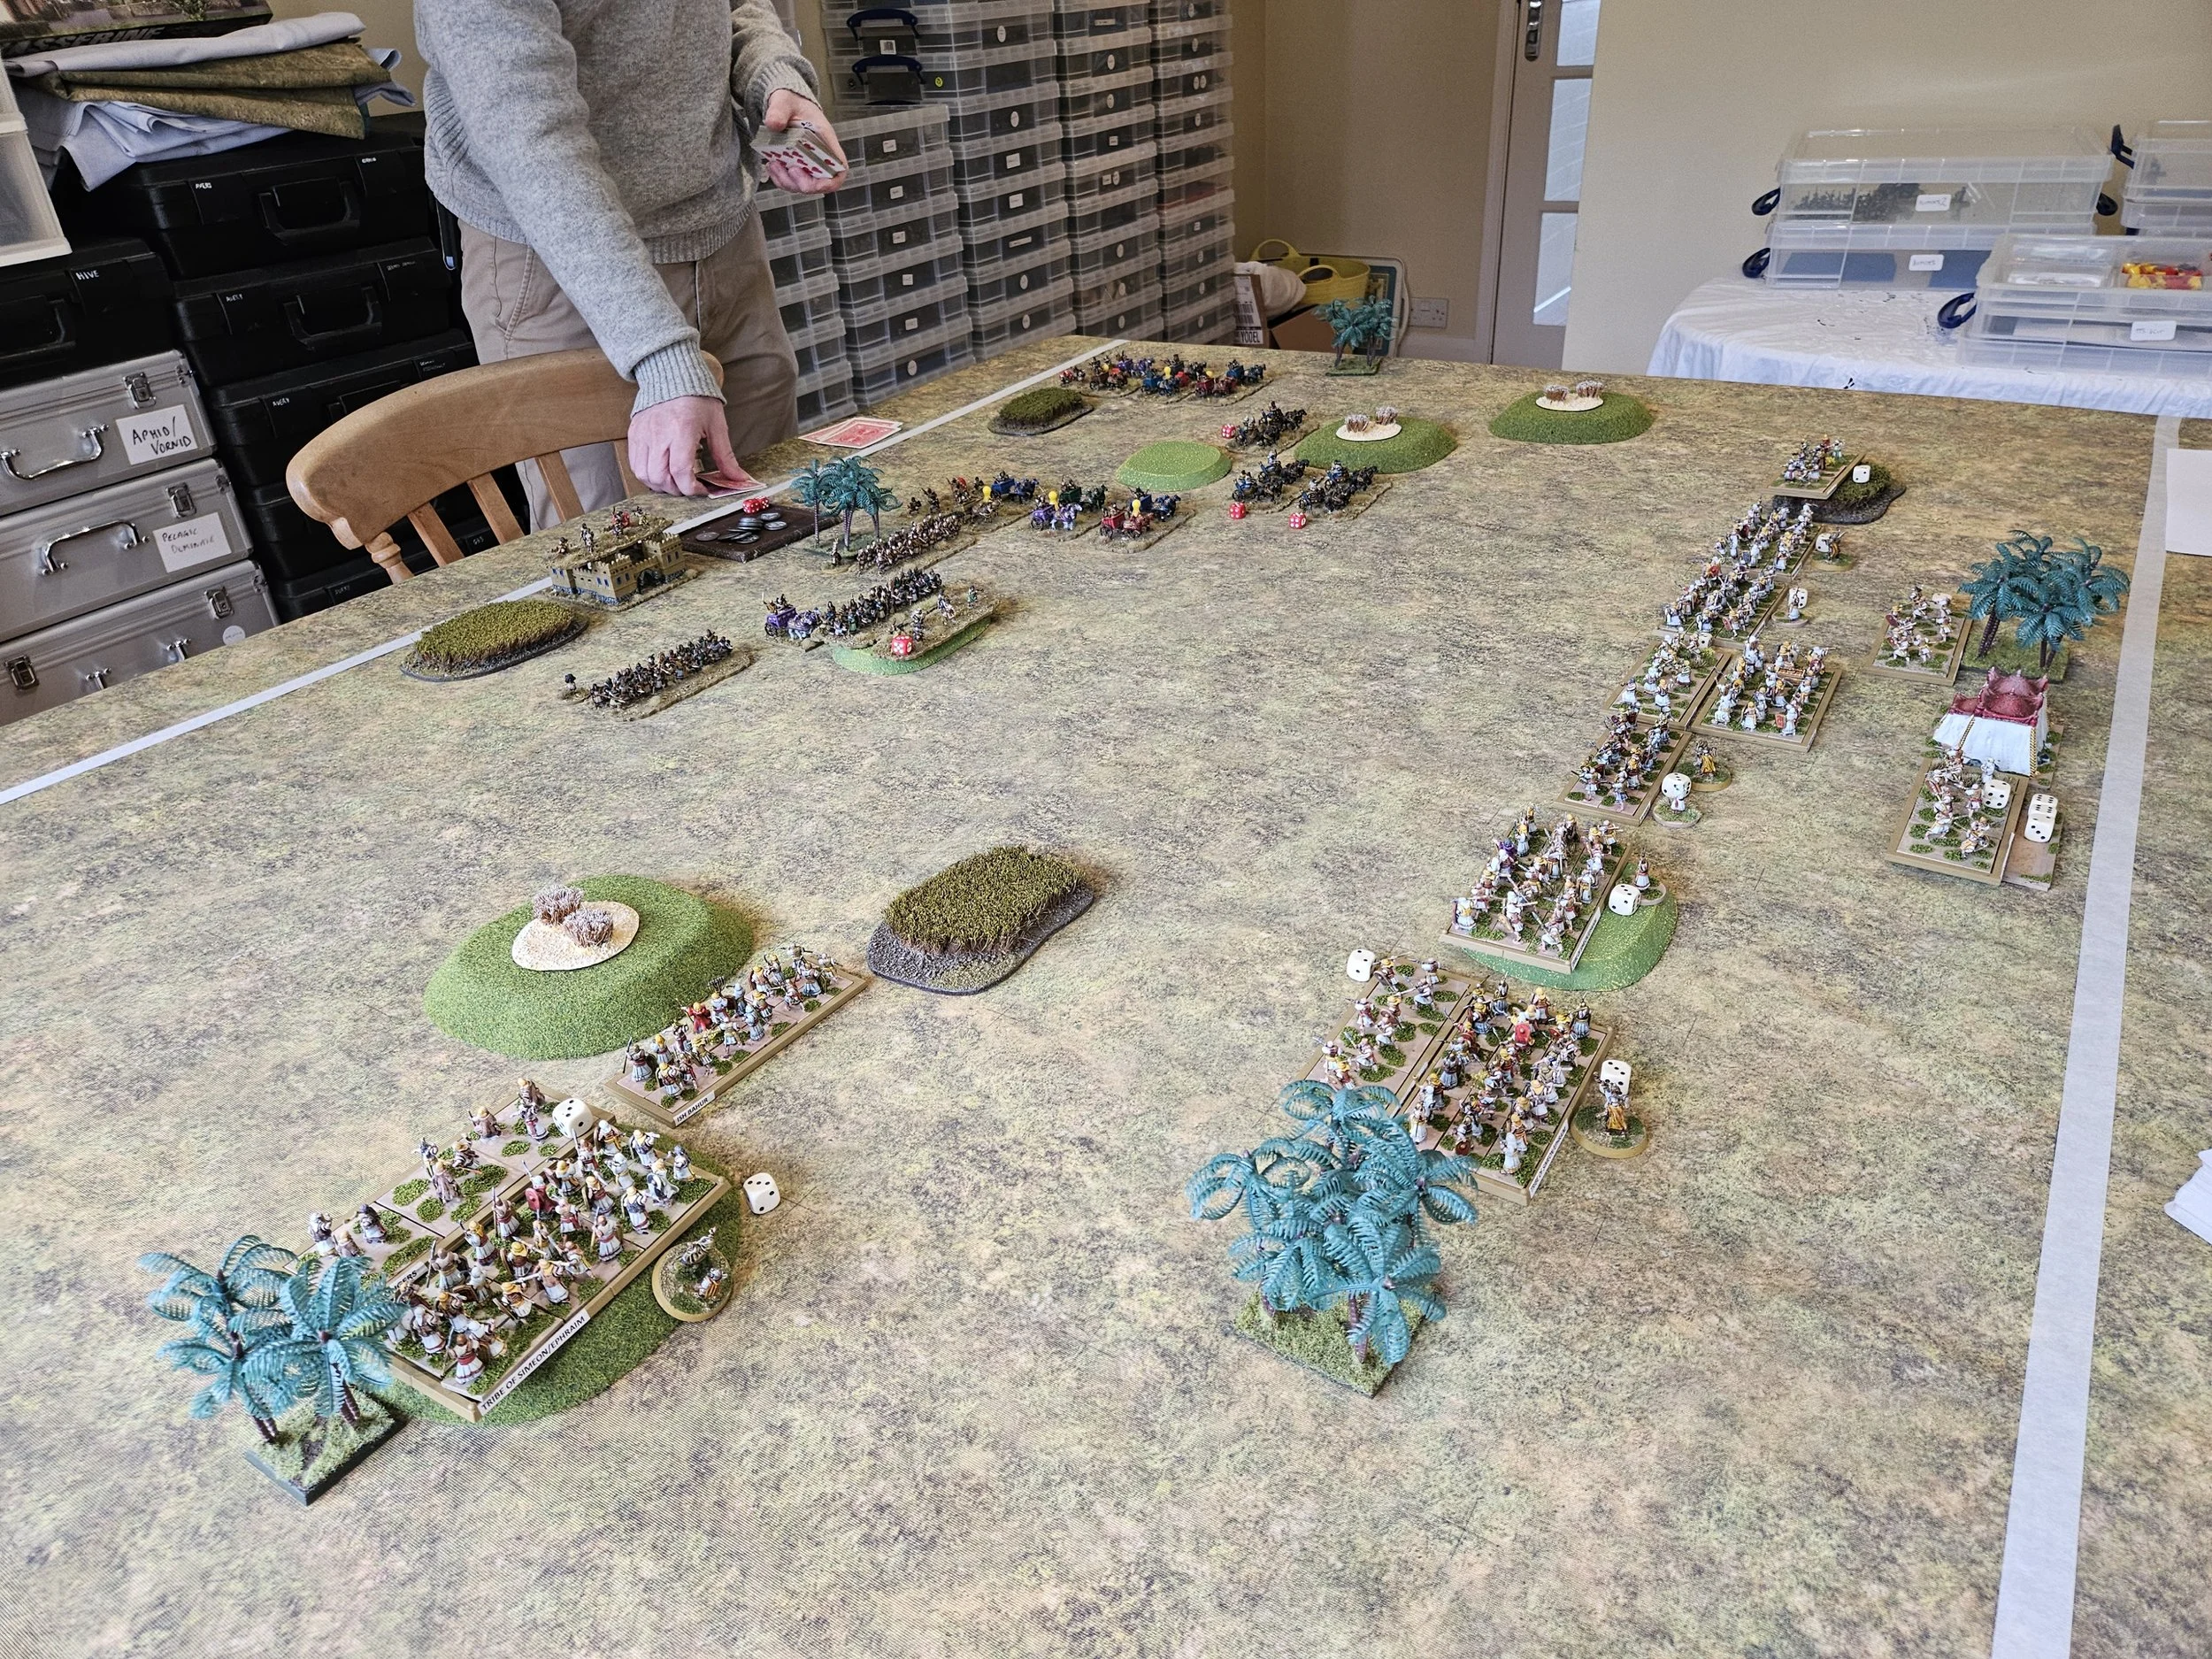
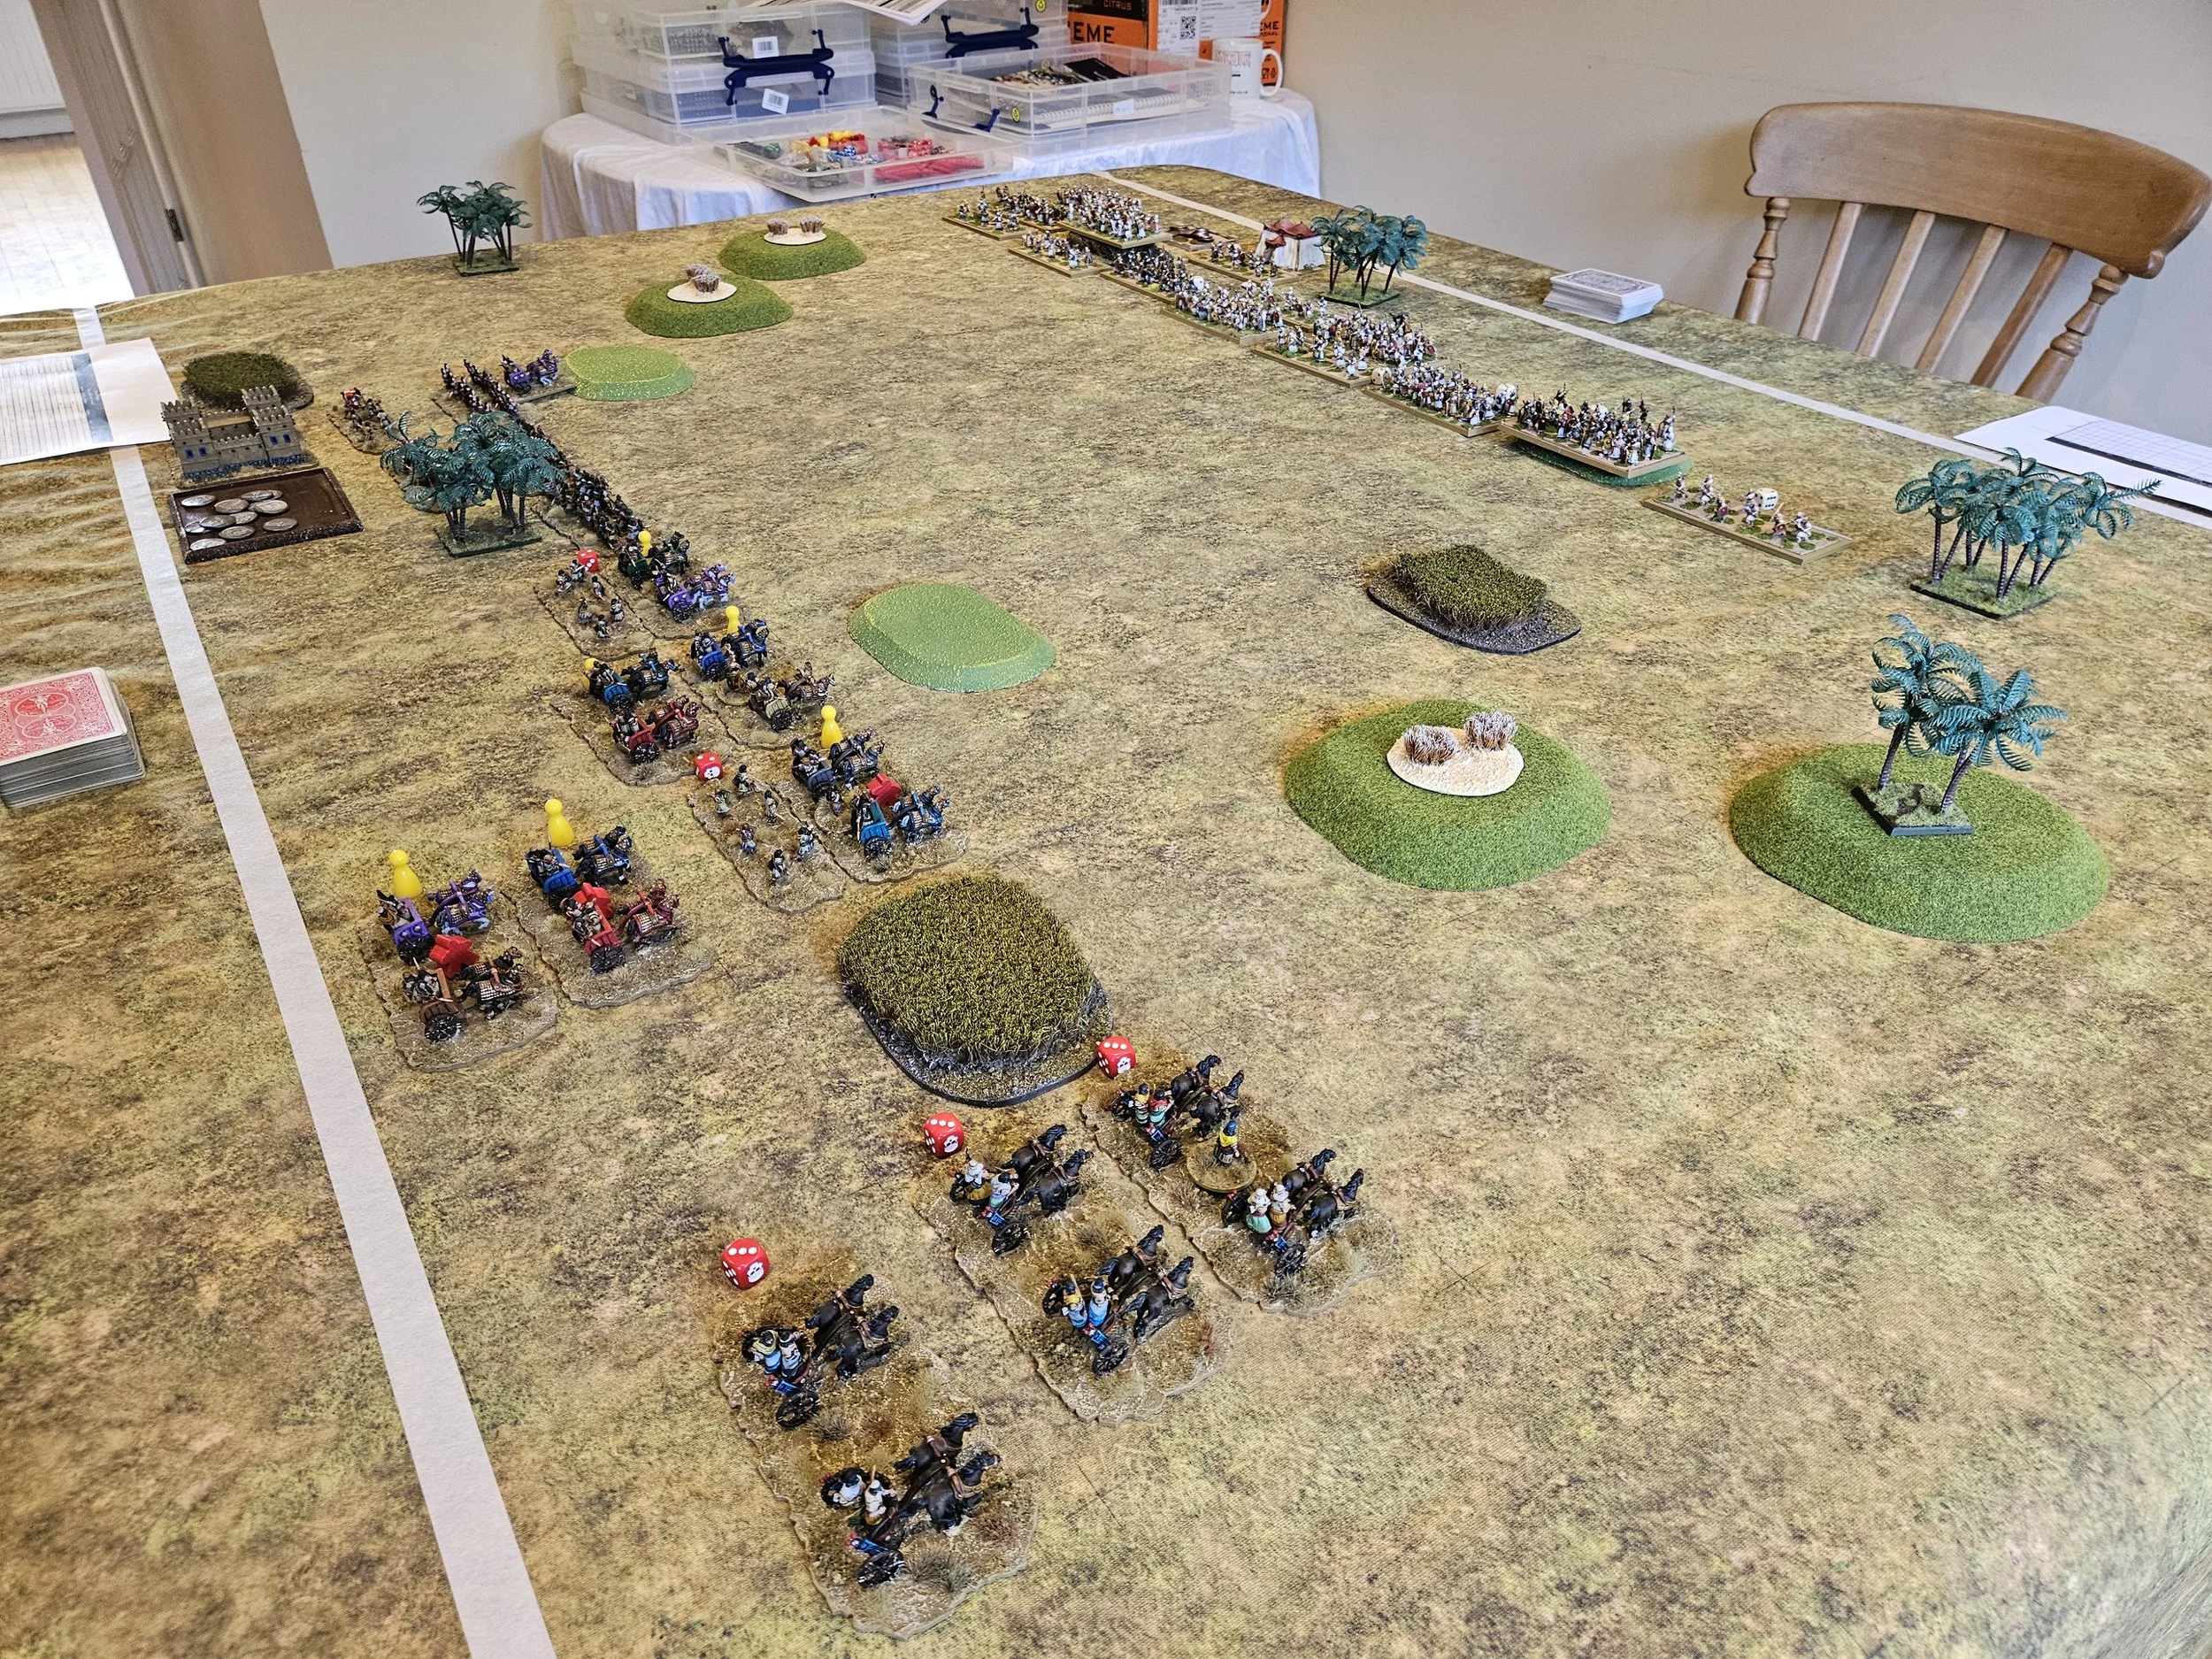
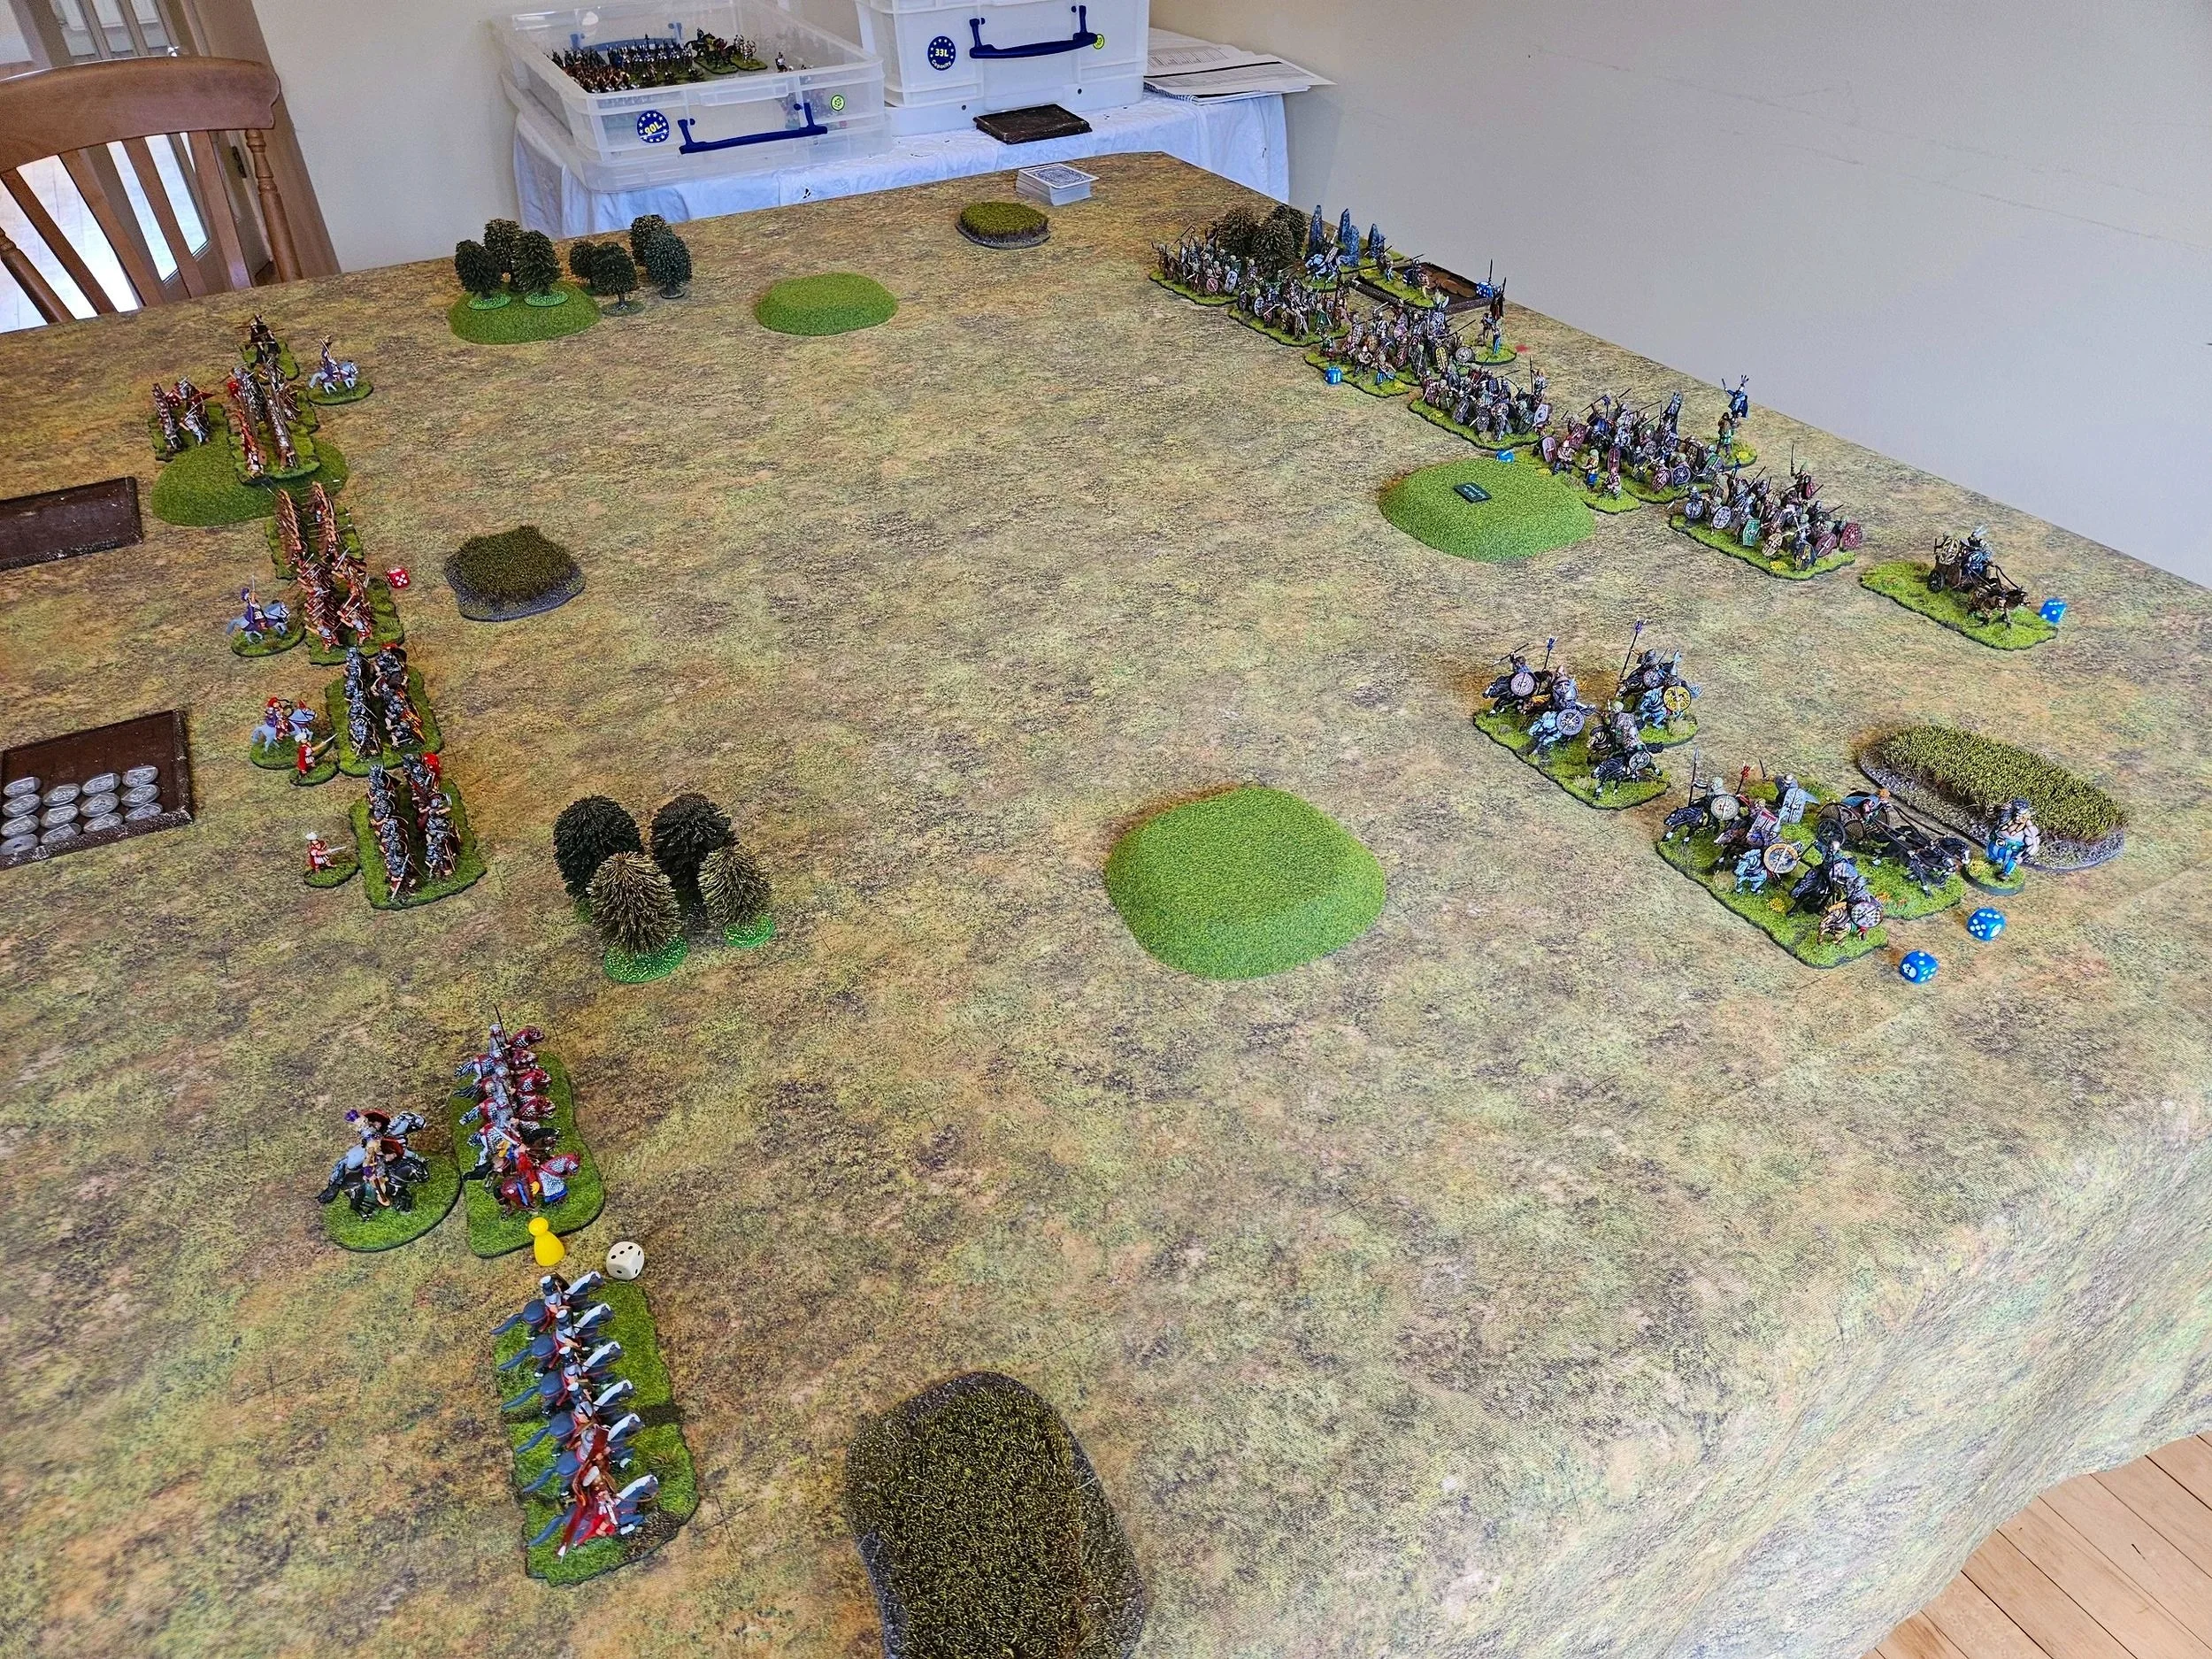
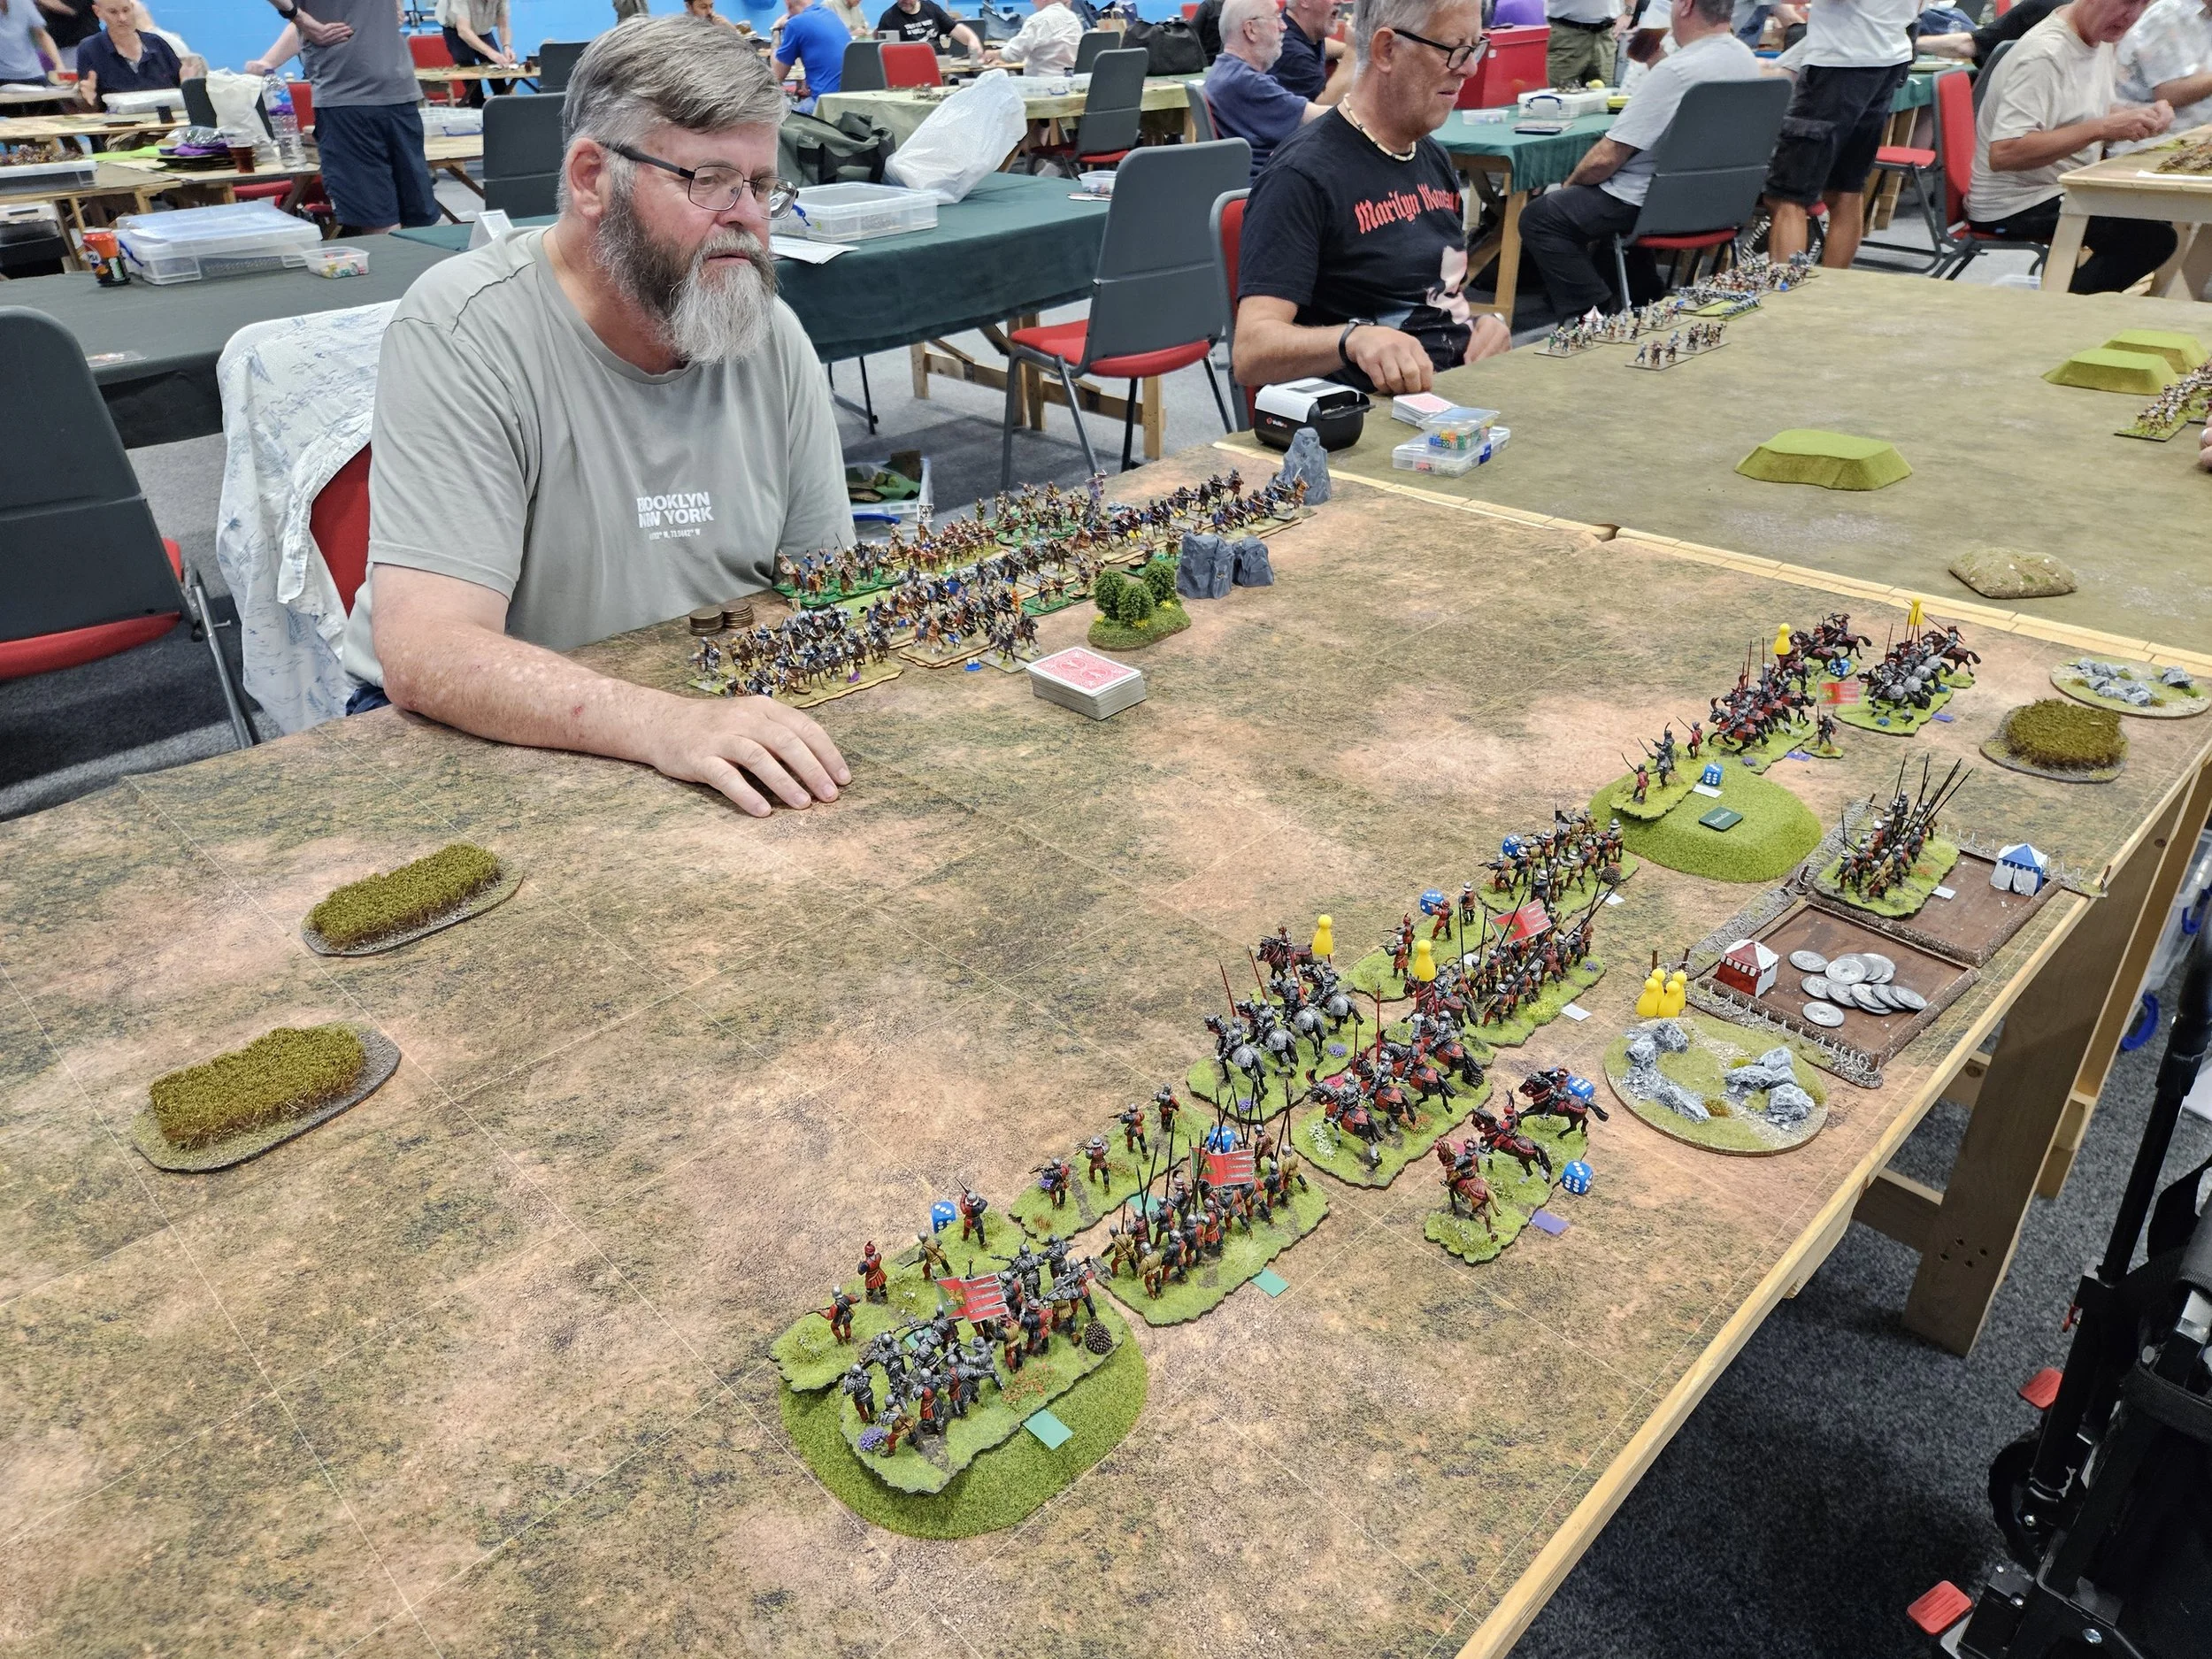
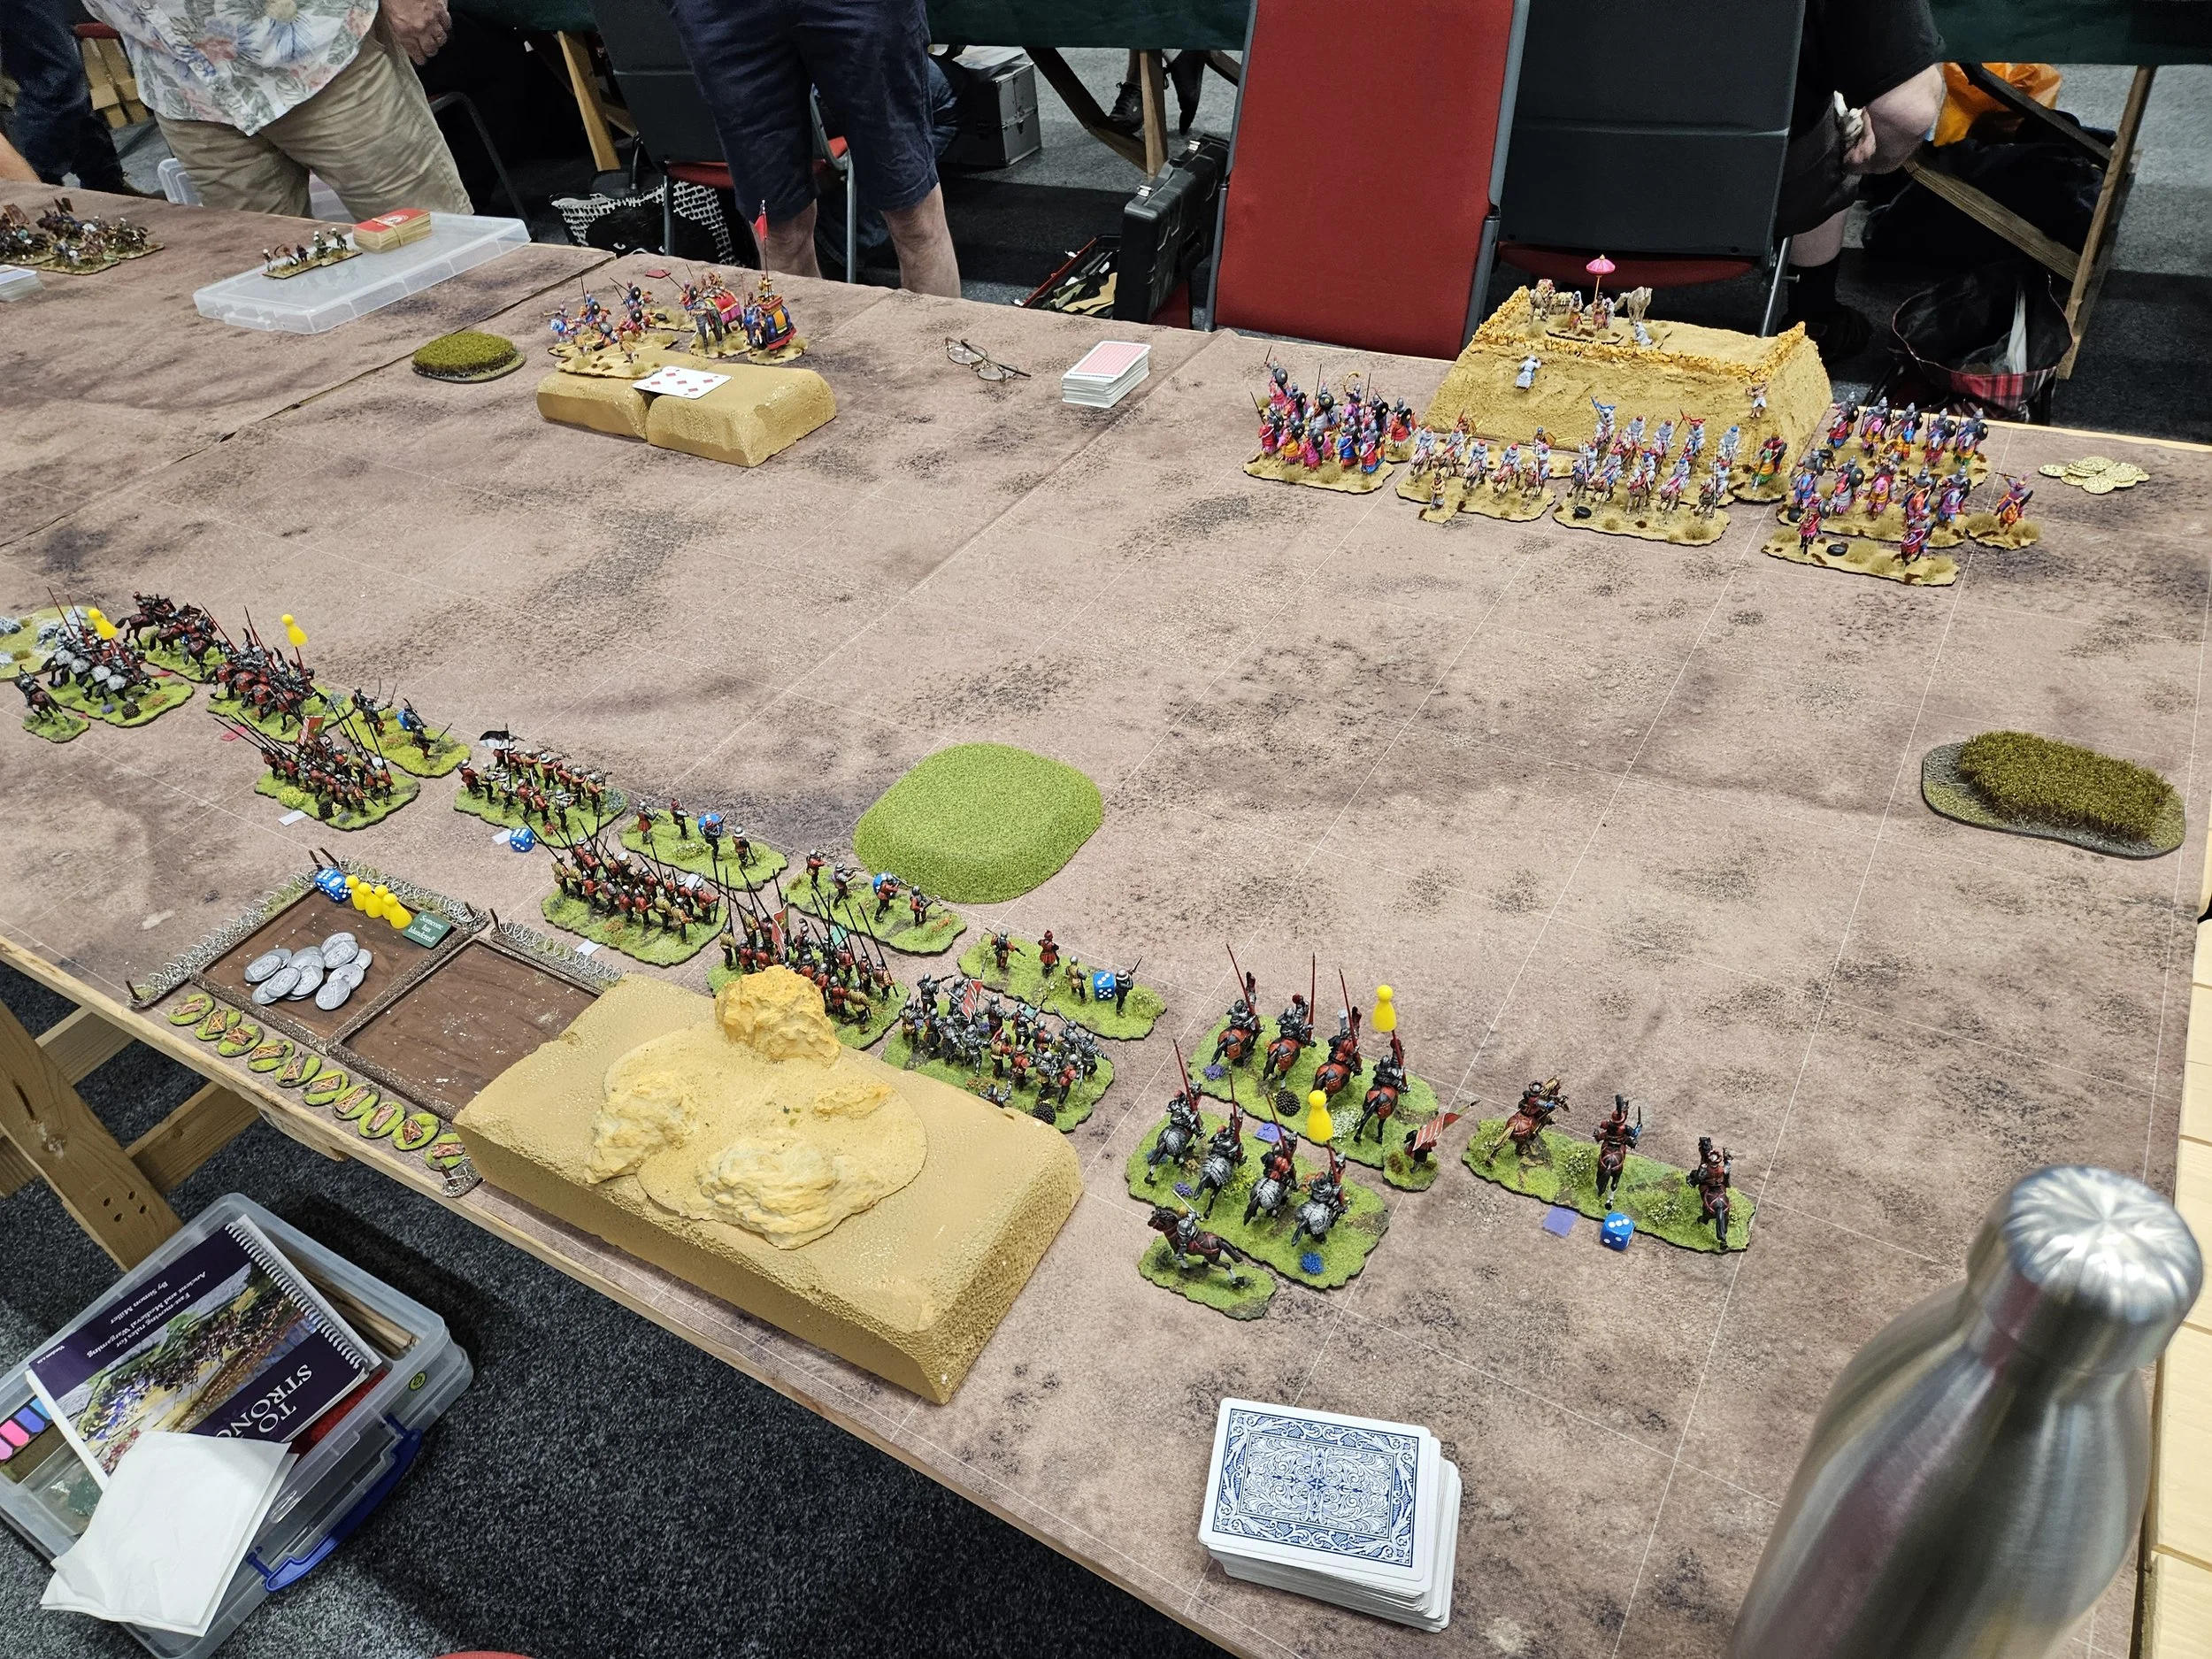
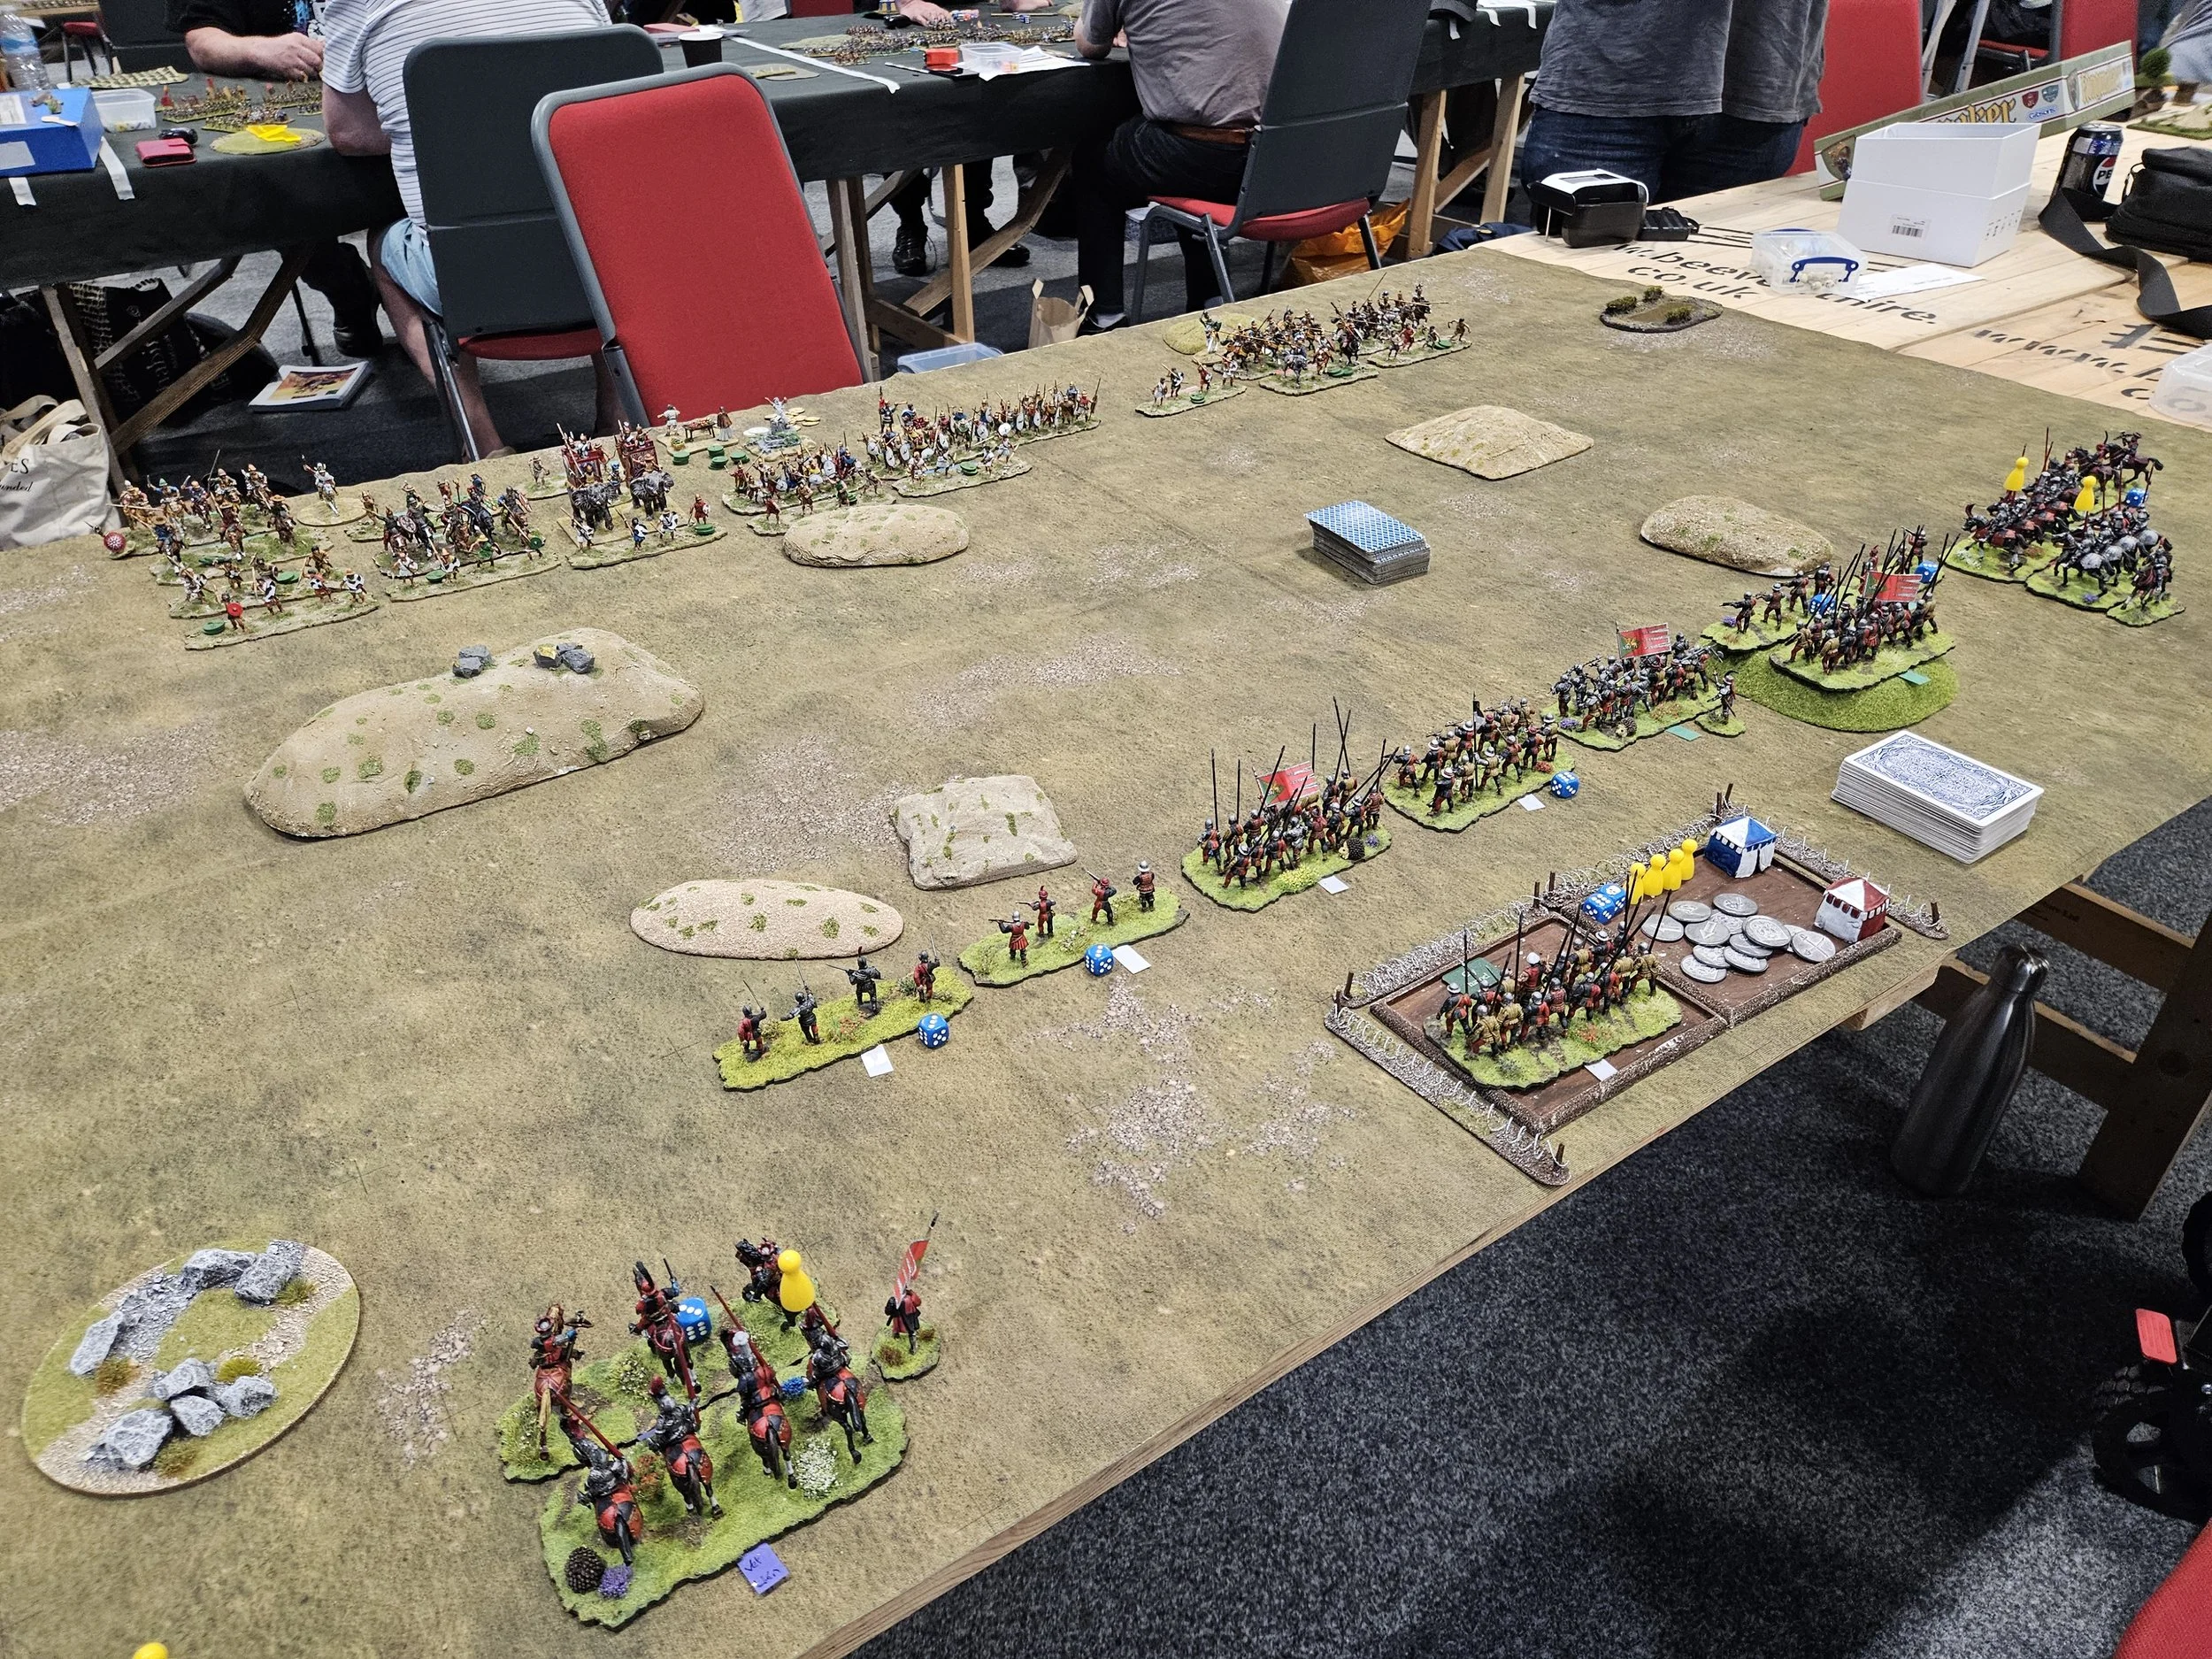
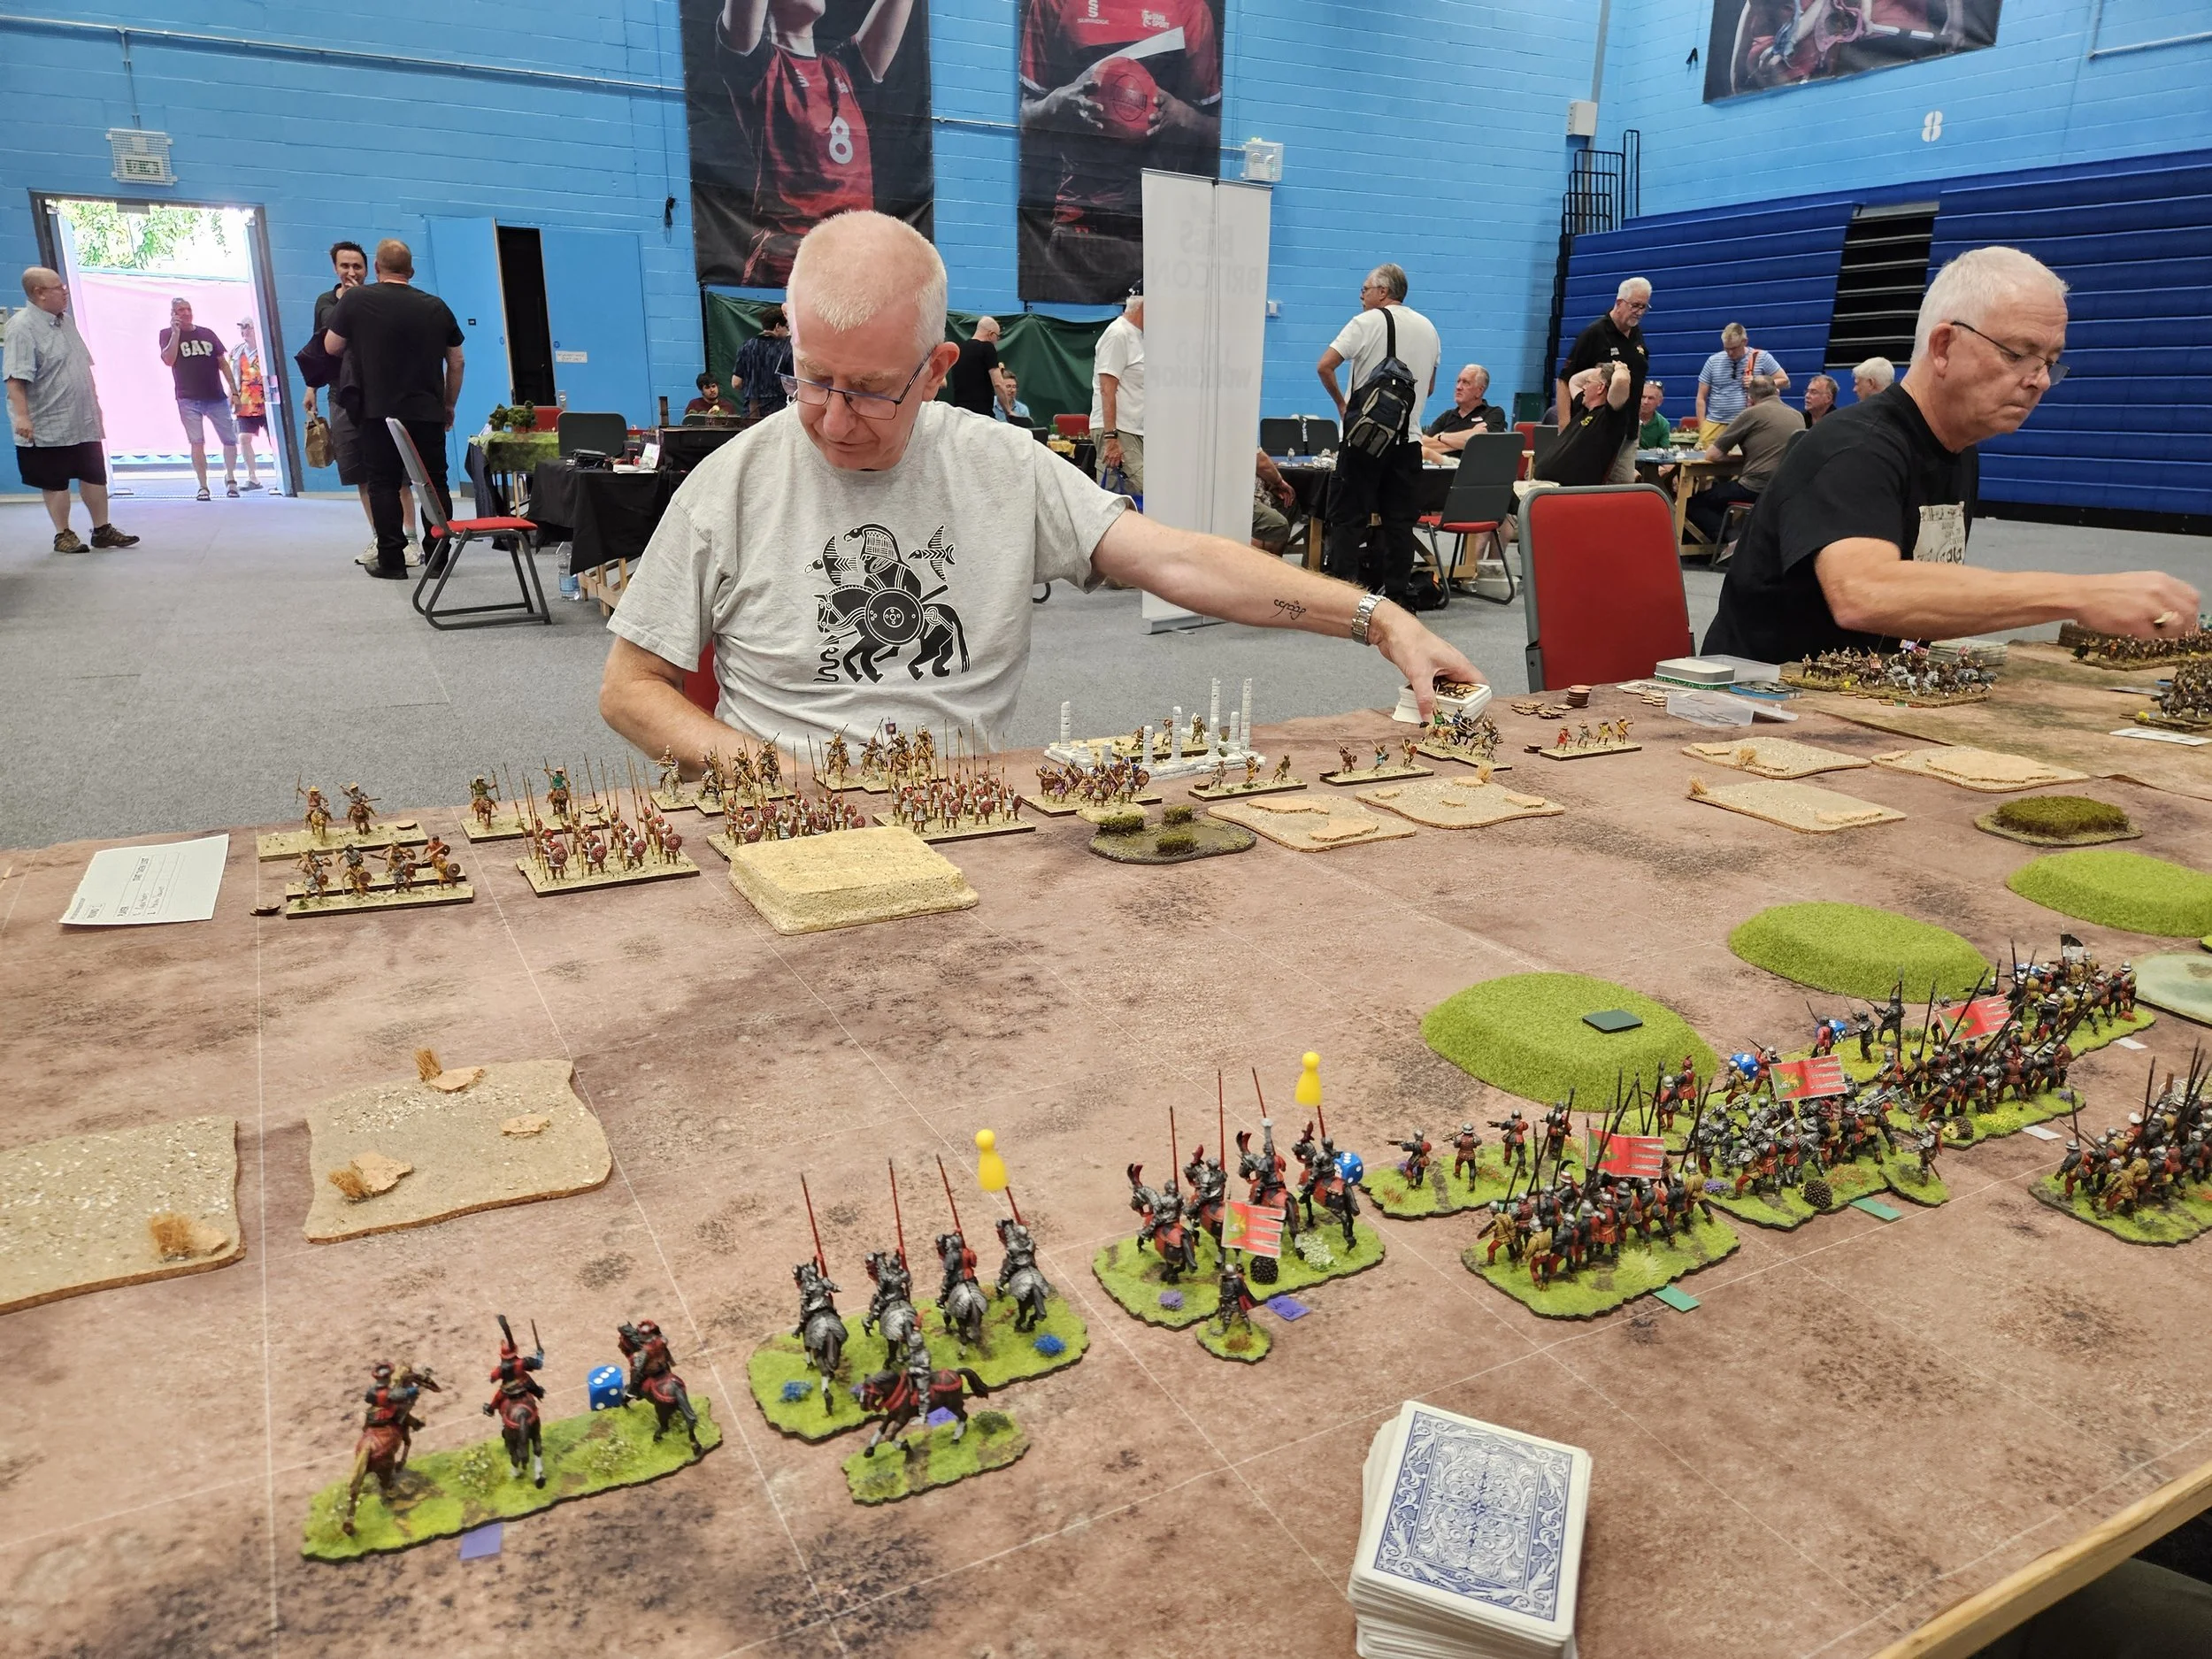
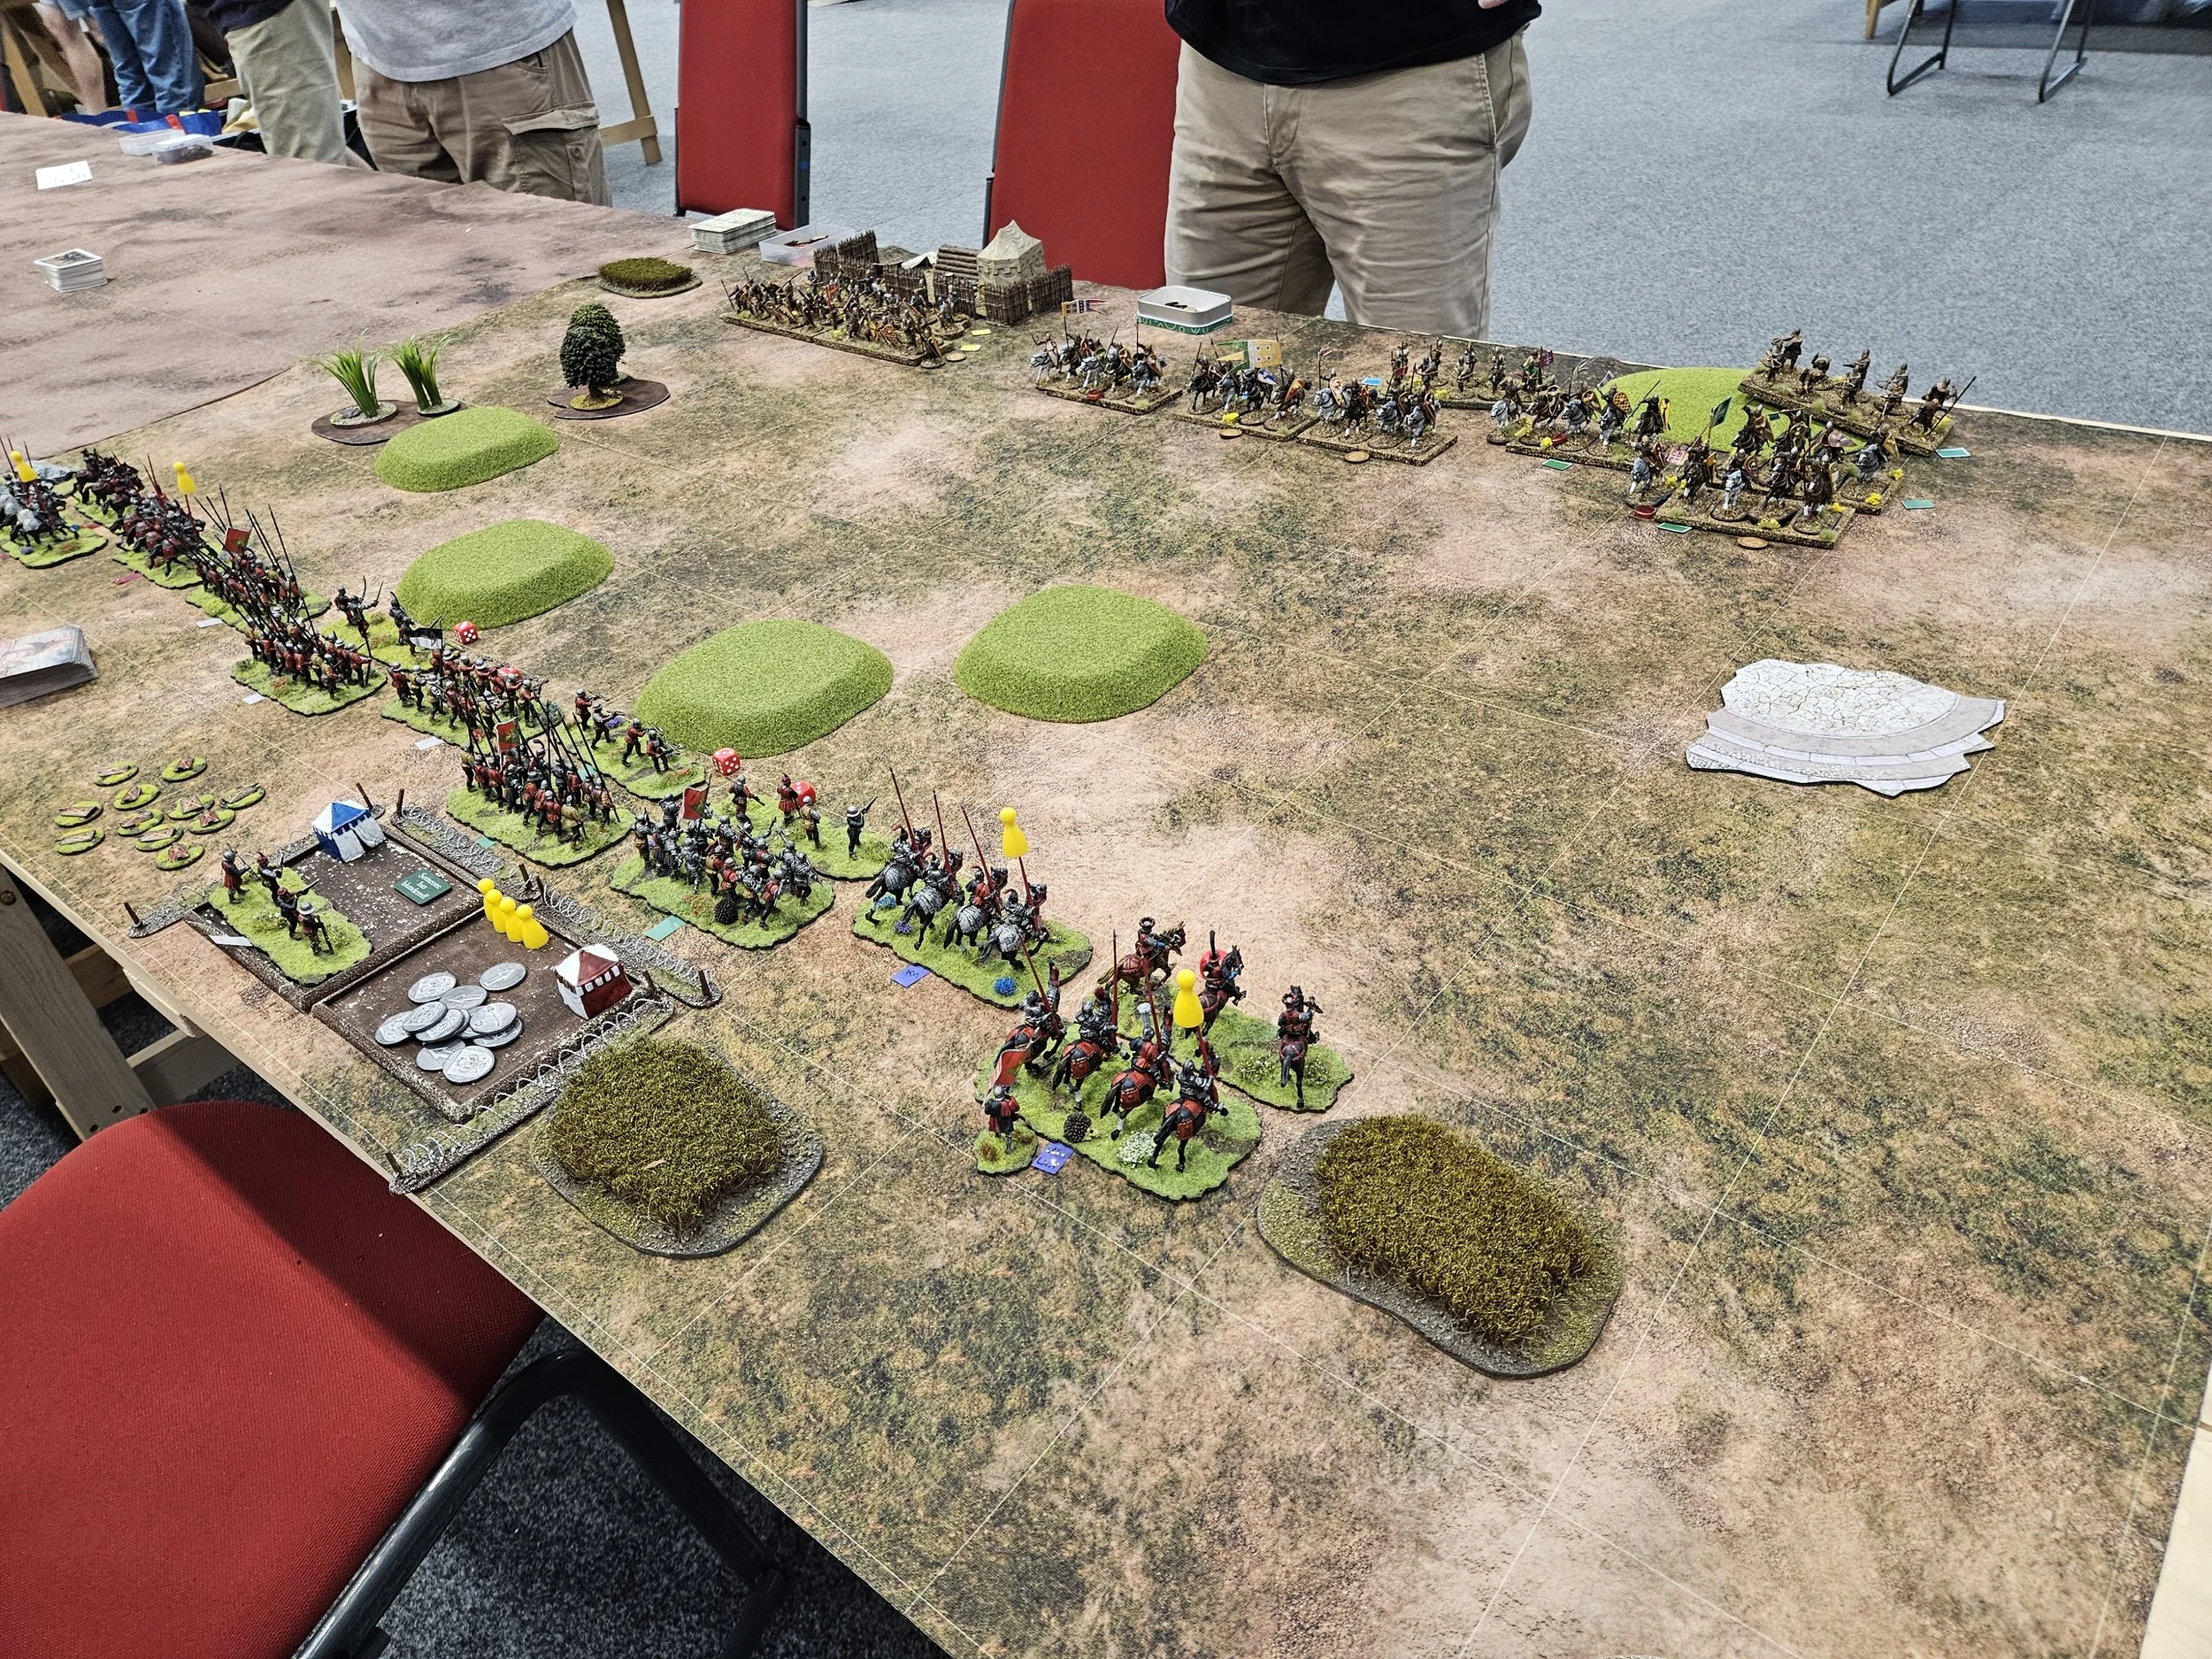
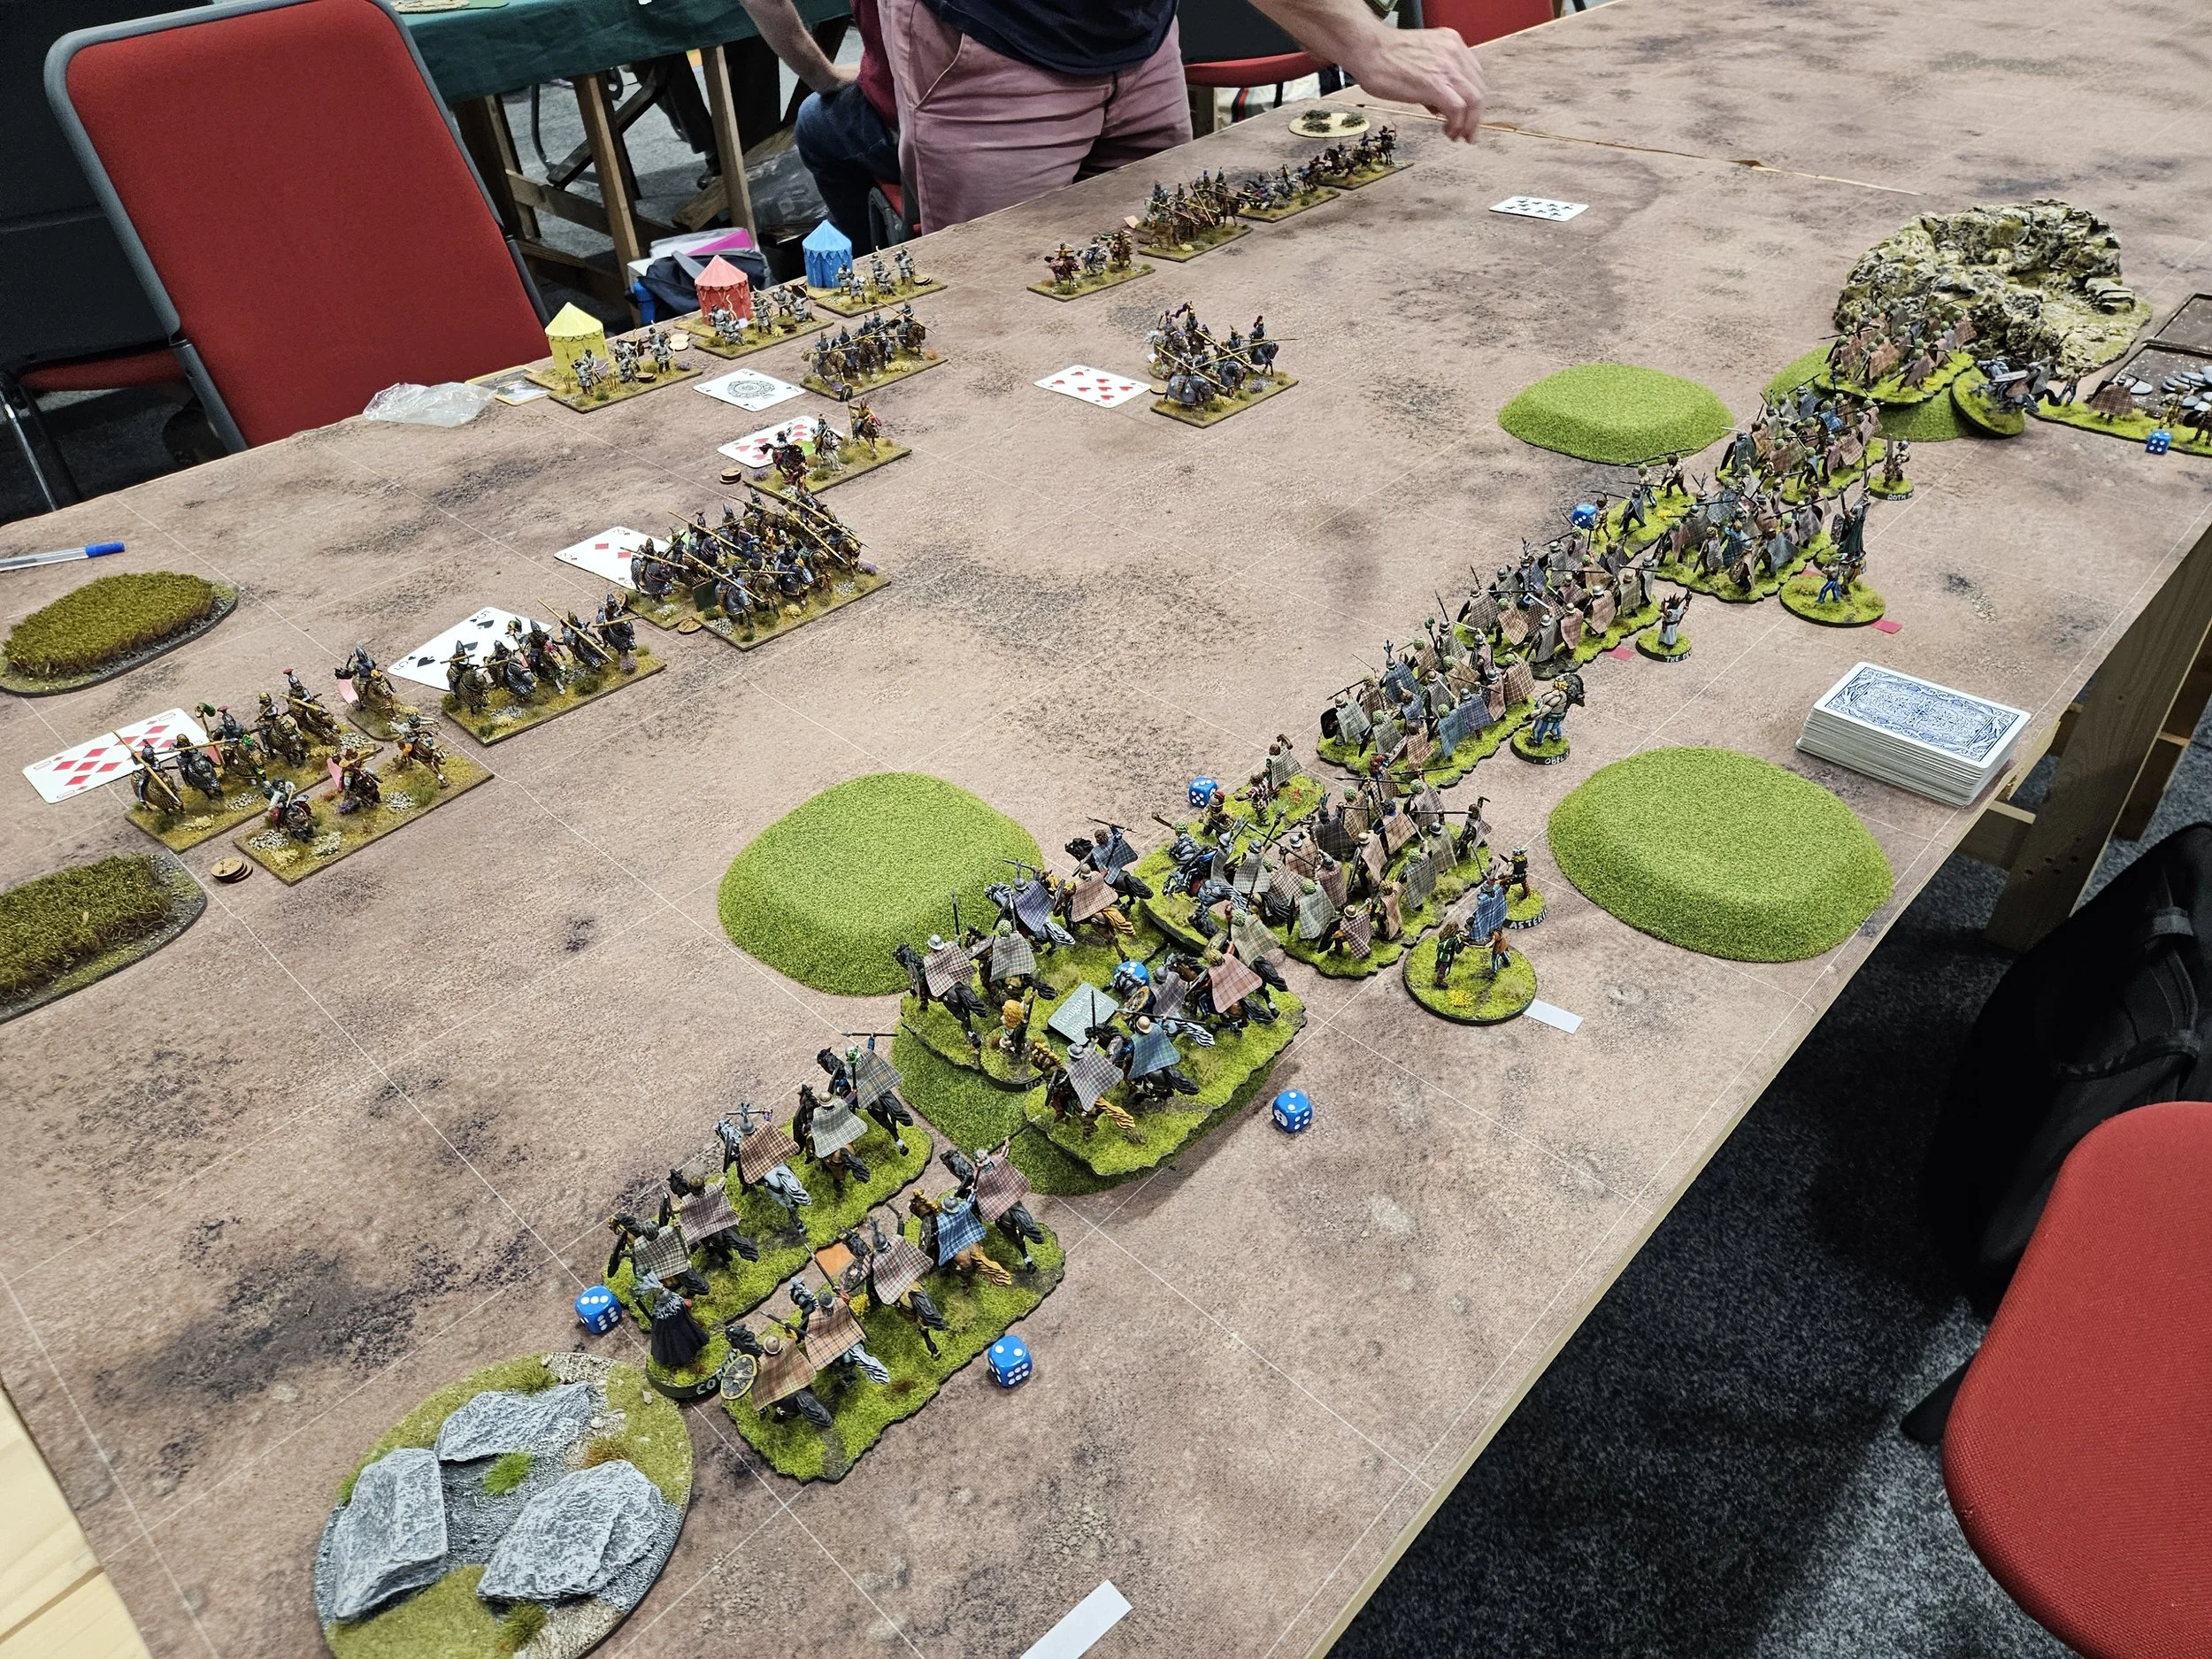
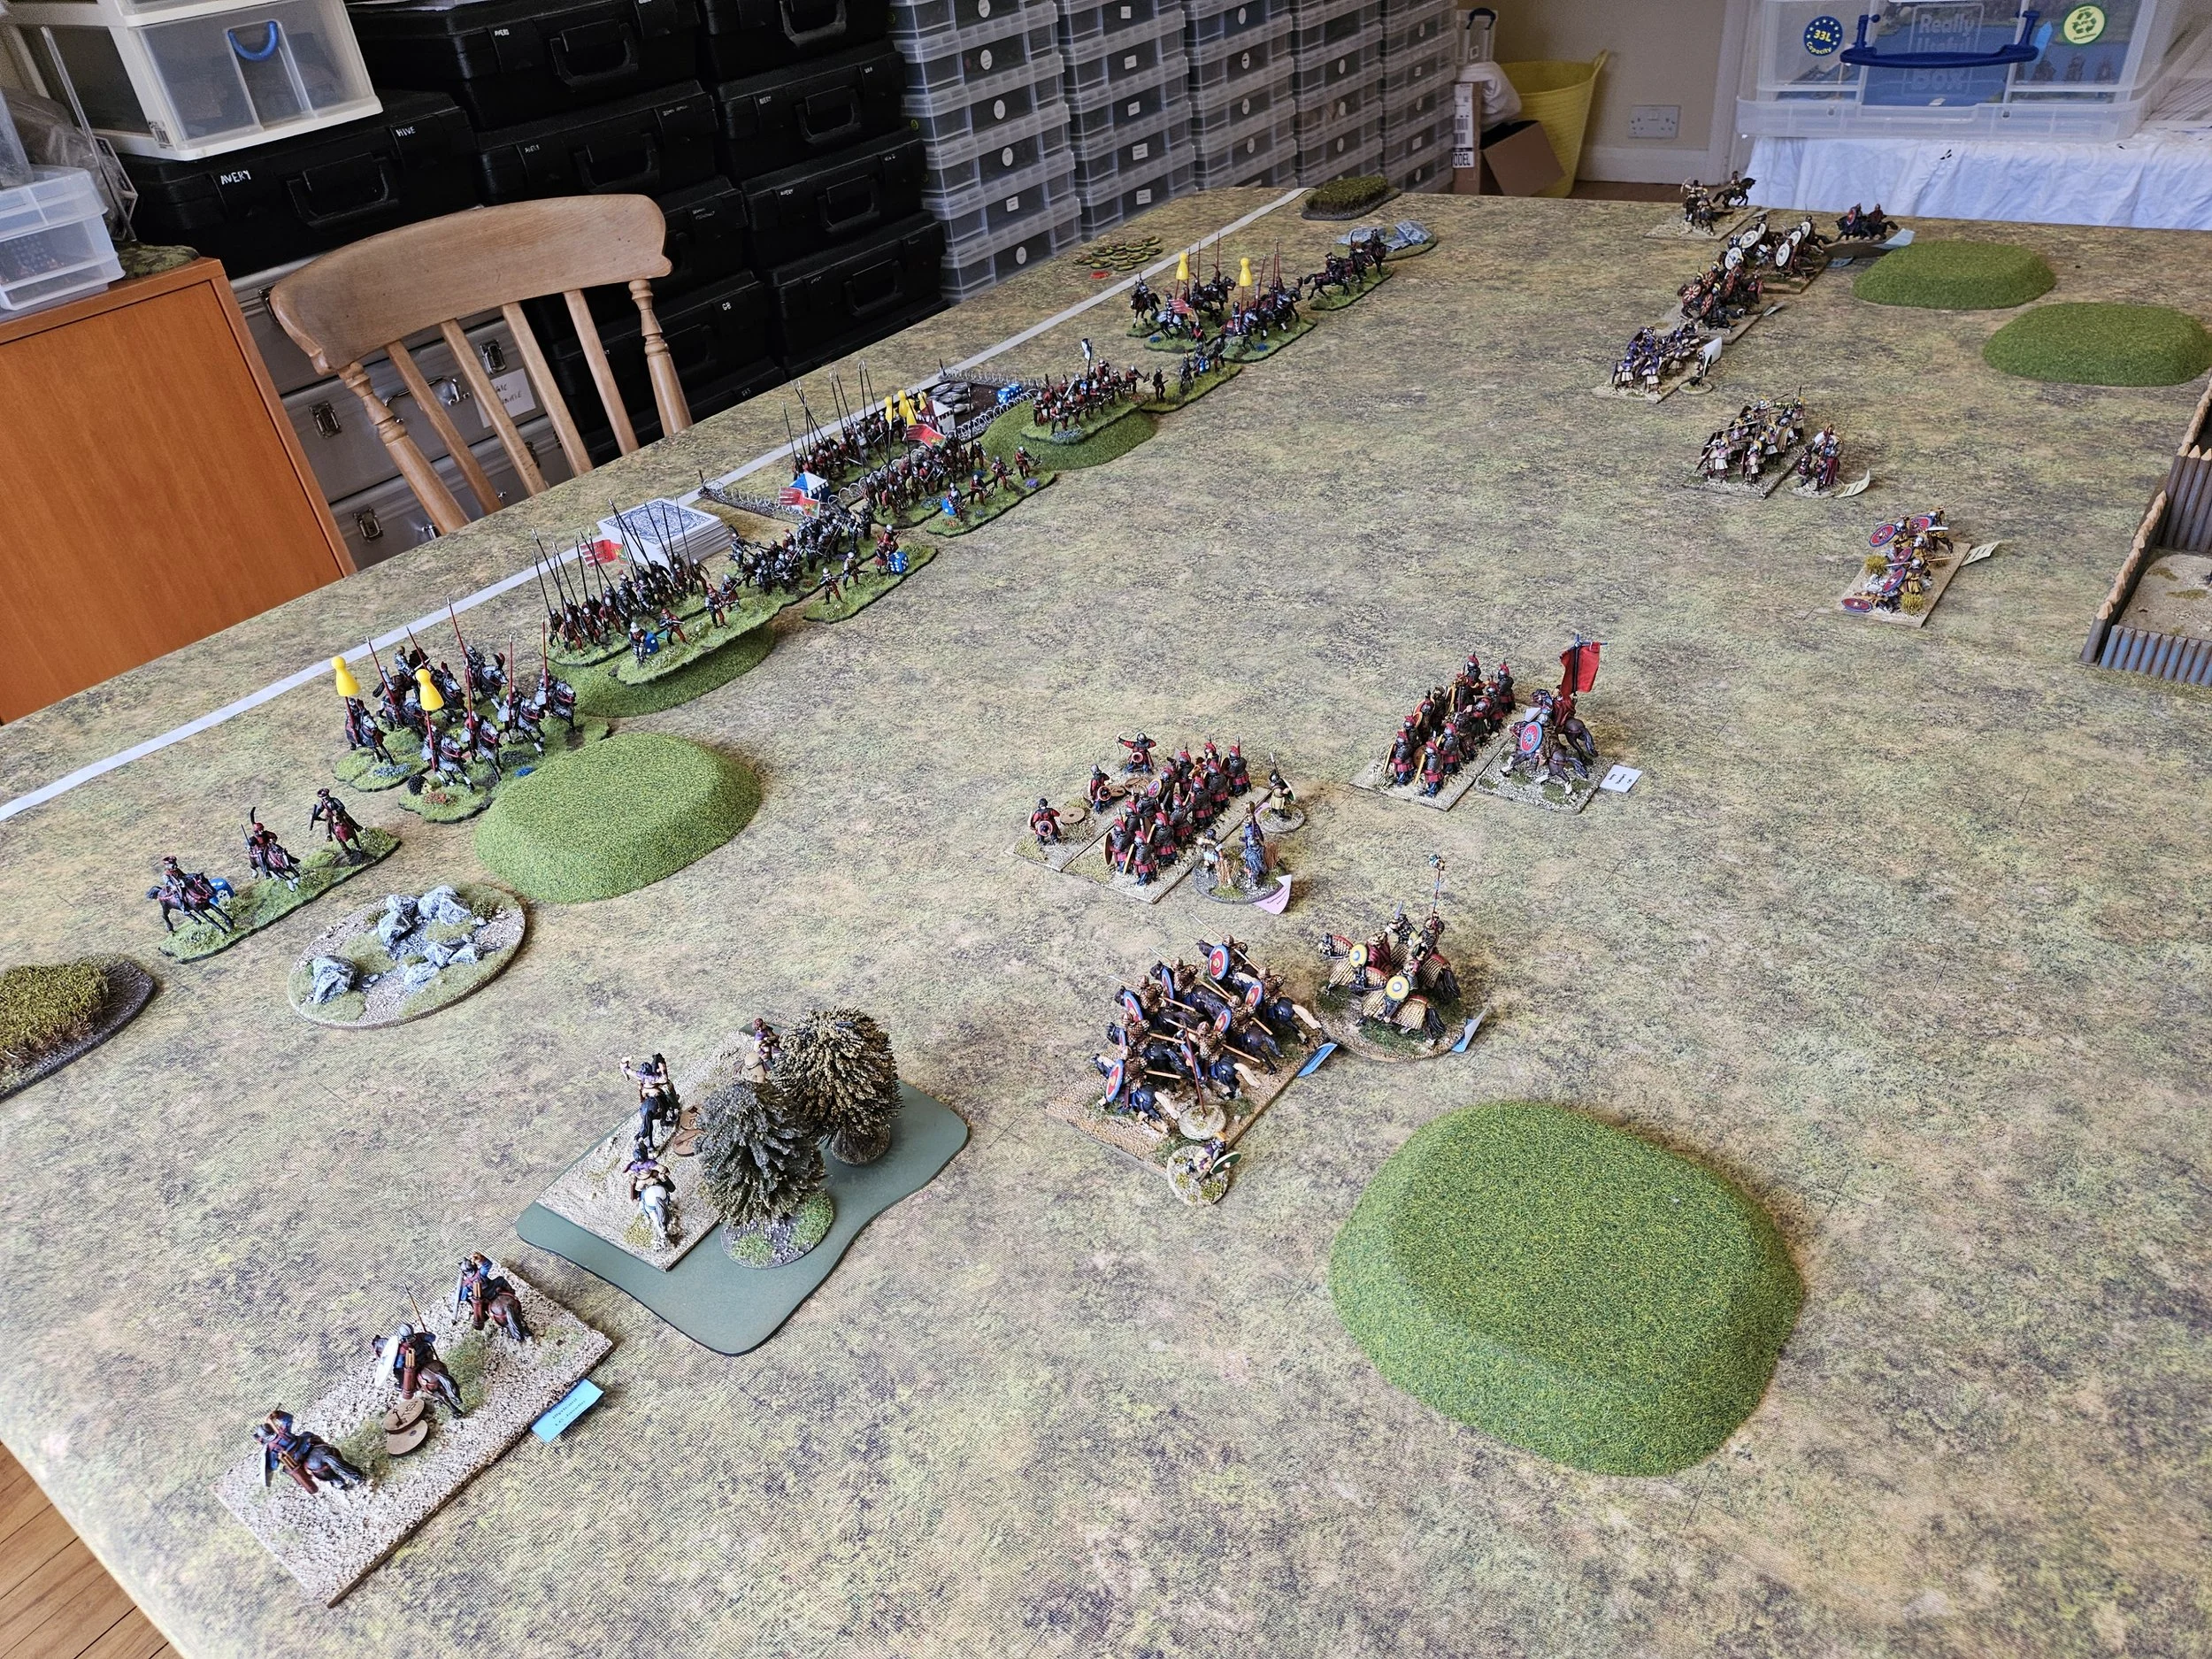
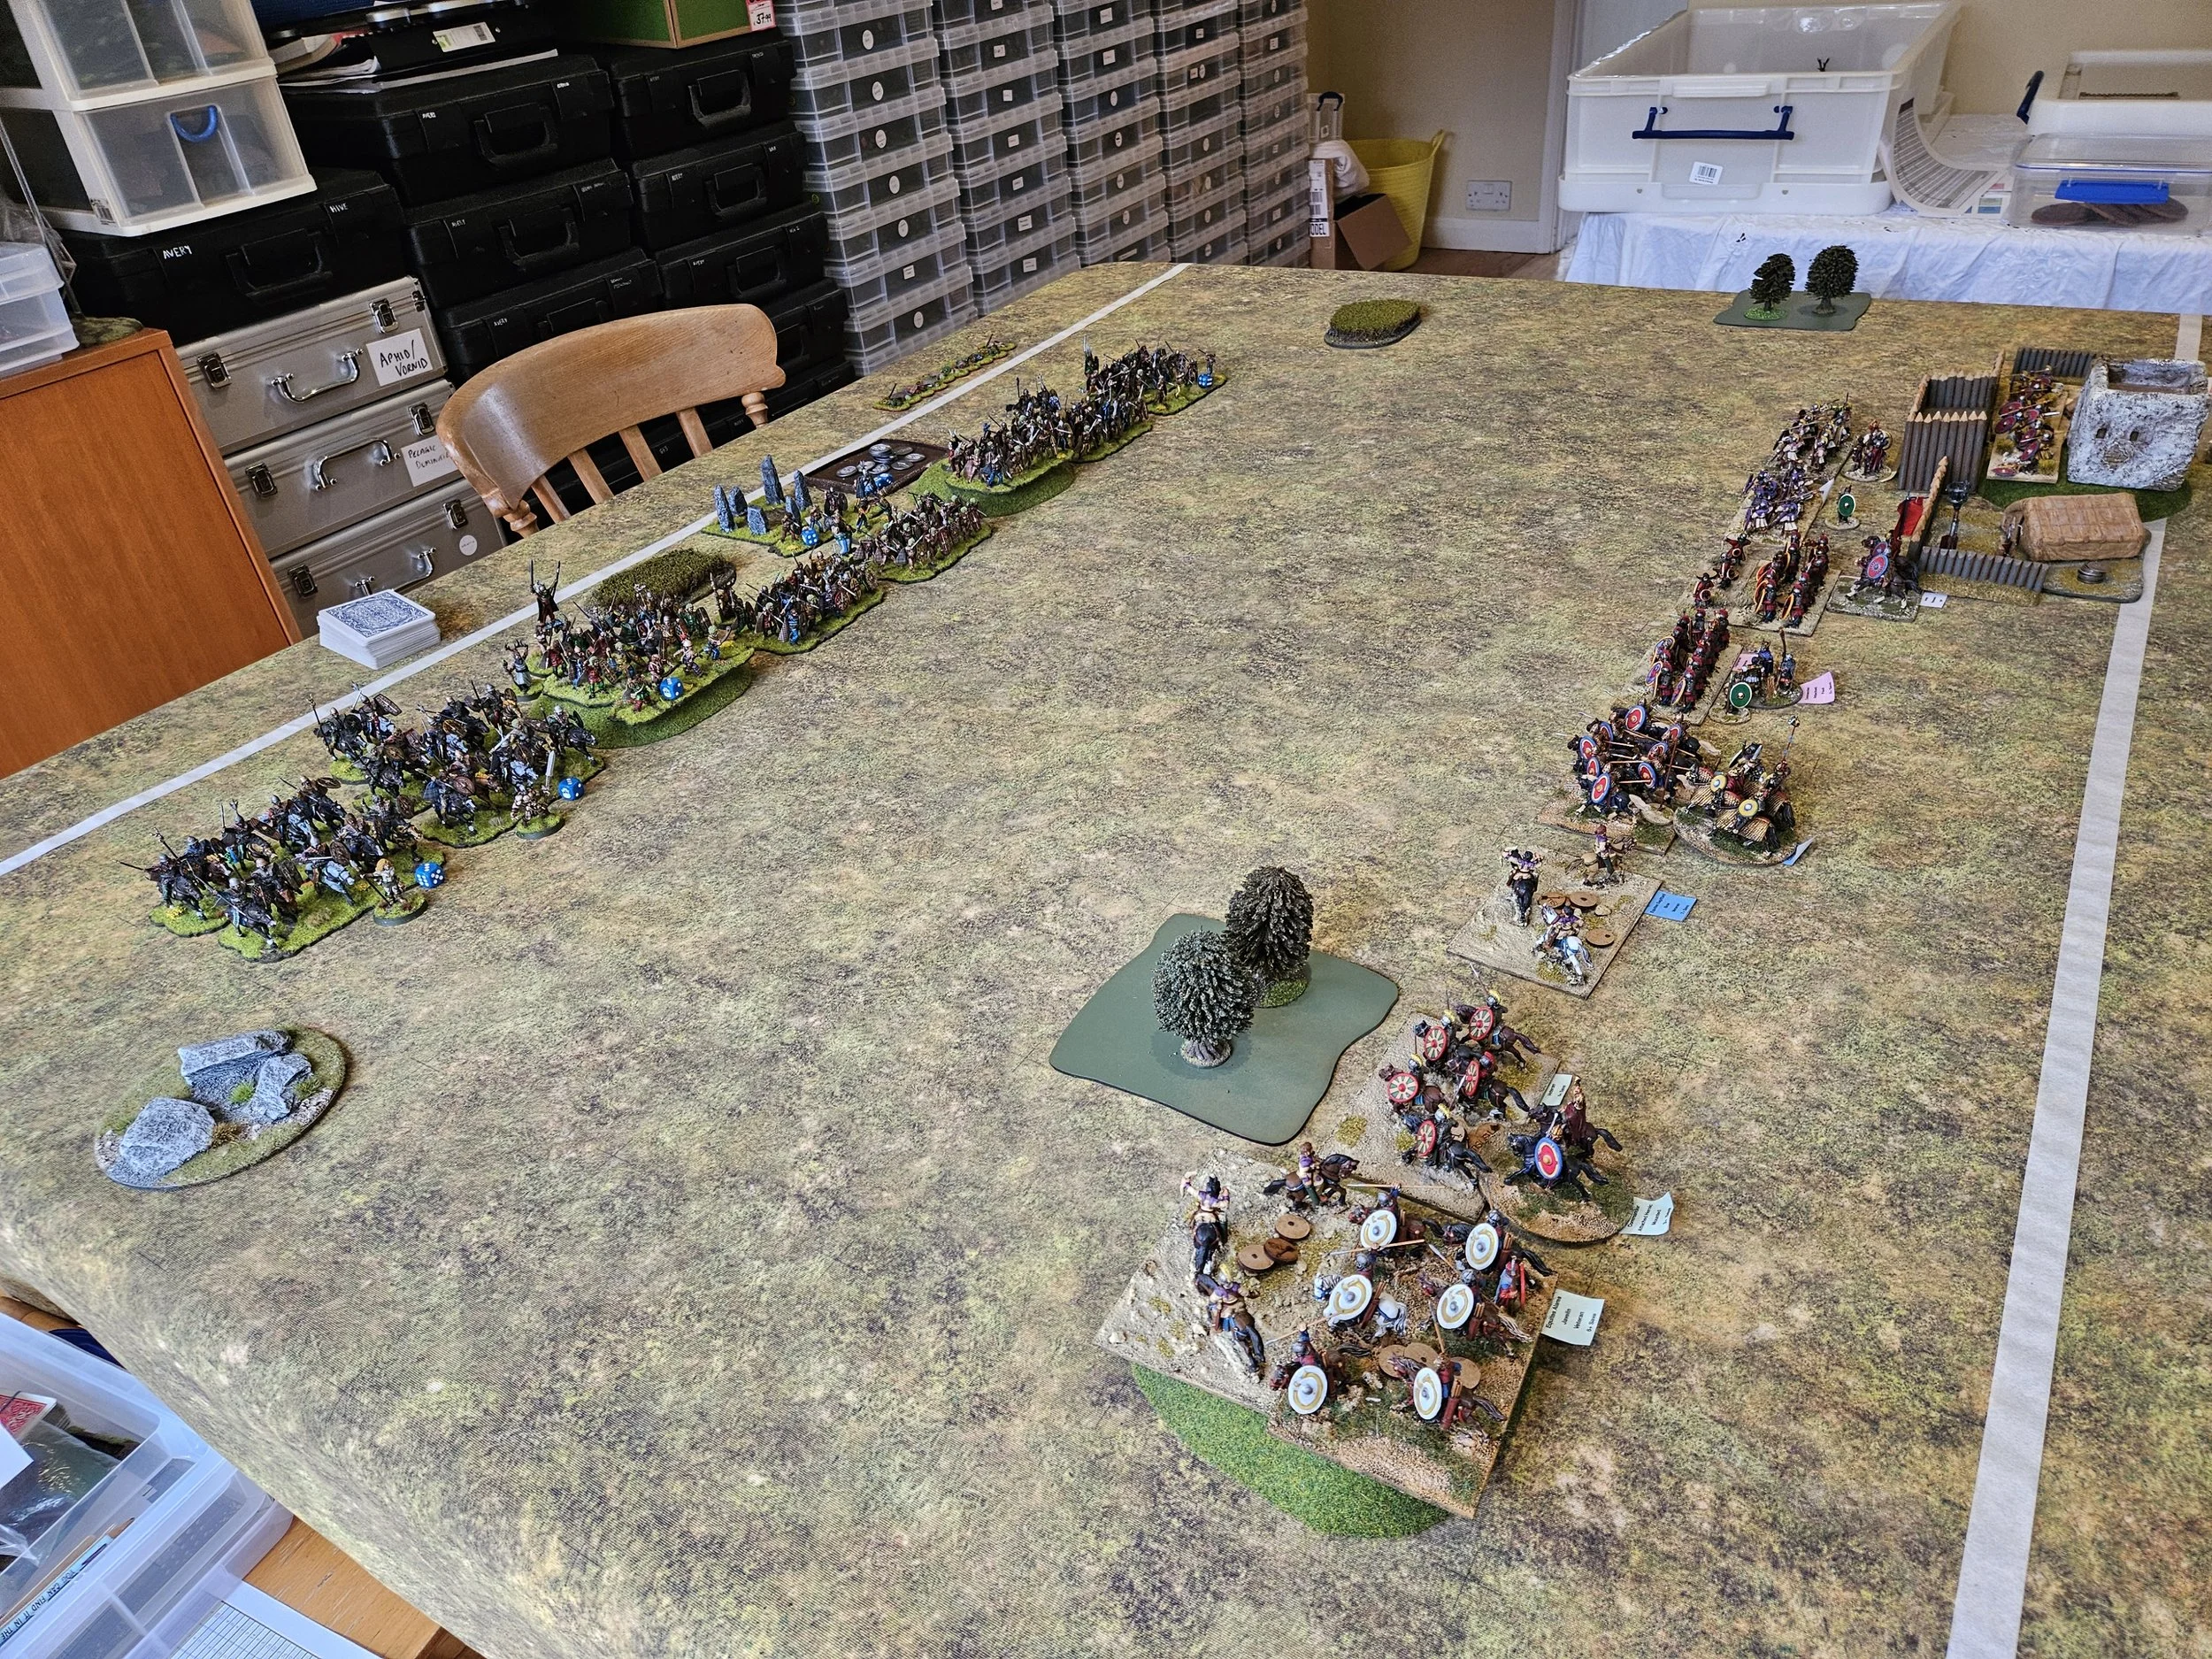
The two sides deployed: the Poles massed all their cavalry on the right flank, with the Ottomans using a more traditional set up of cavalry on each wing with the fearsome Janissery and not so fearsome Azab infantry in the centre.
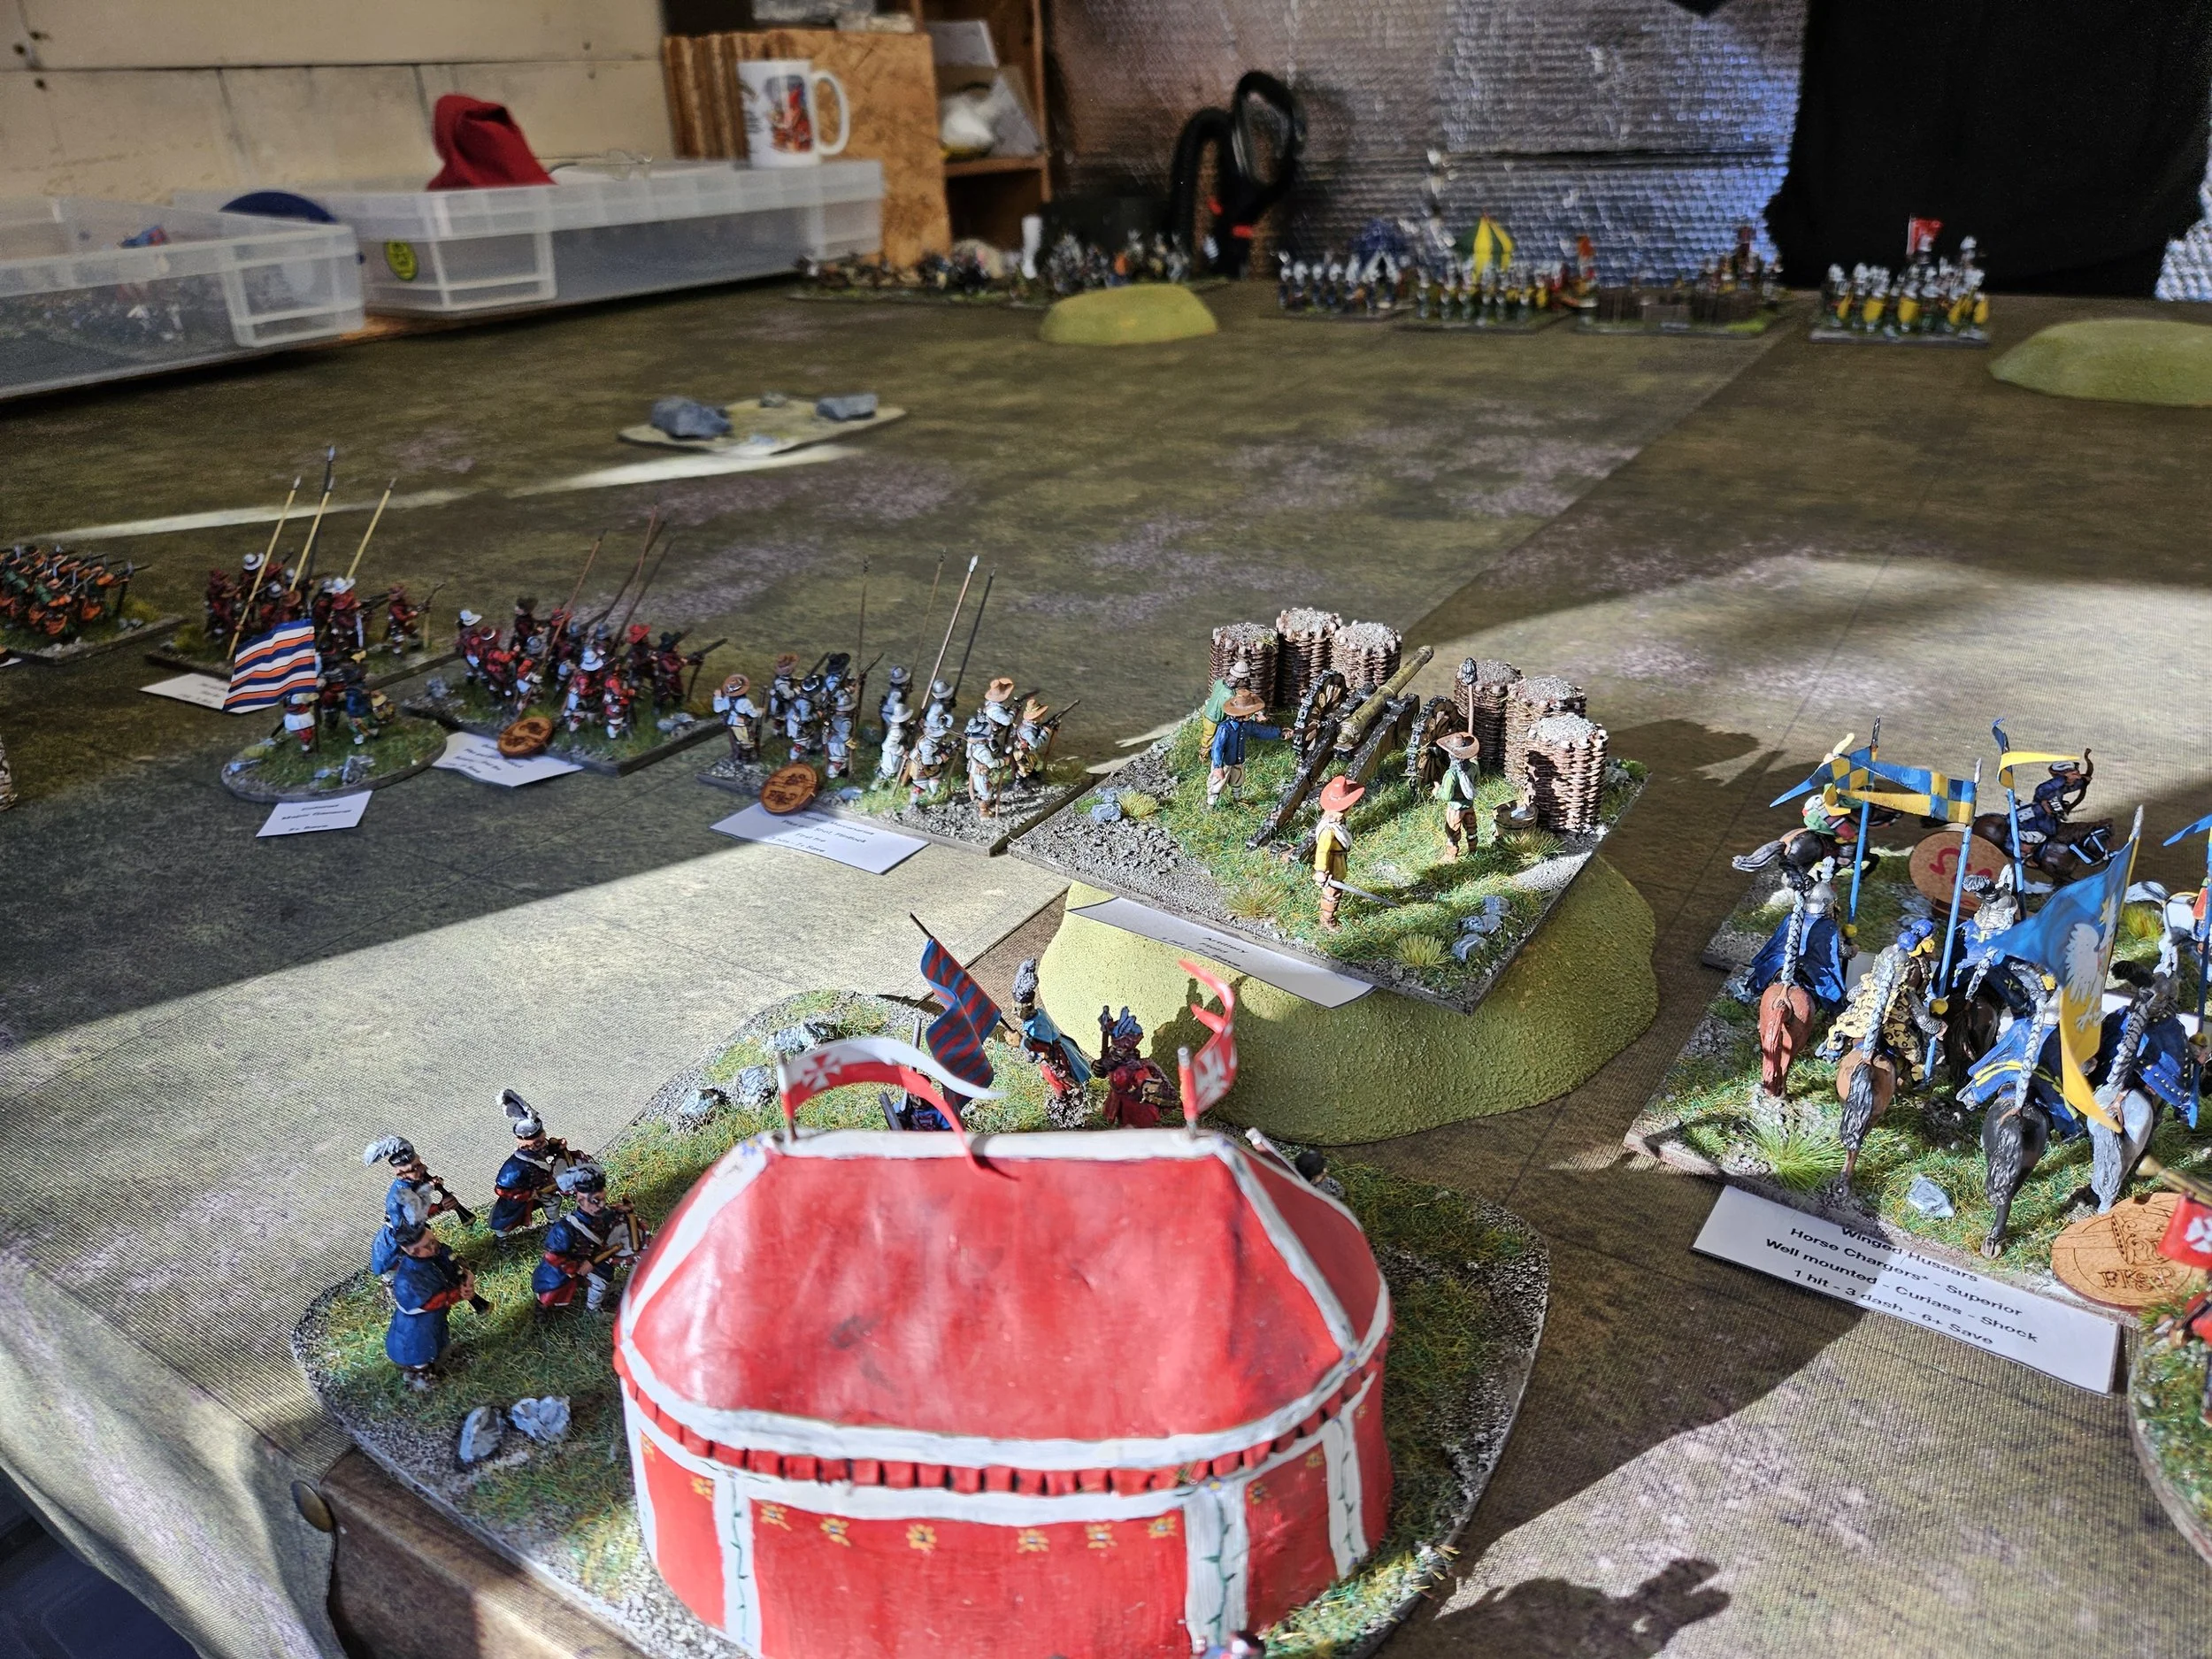
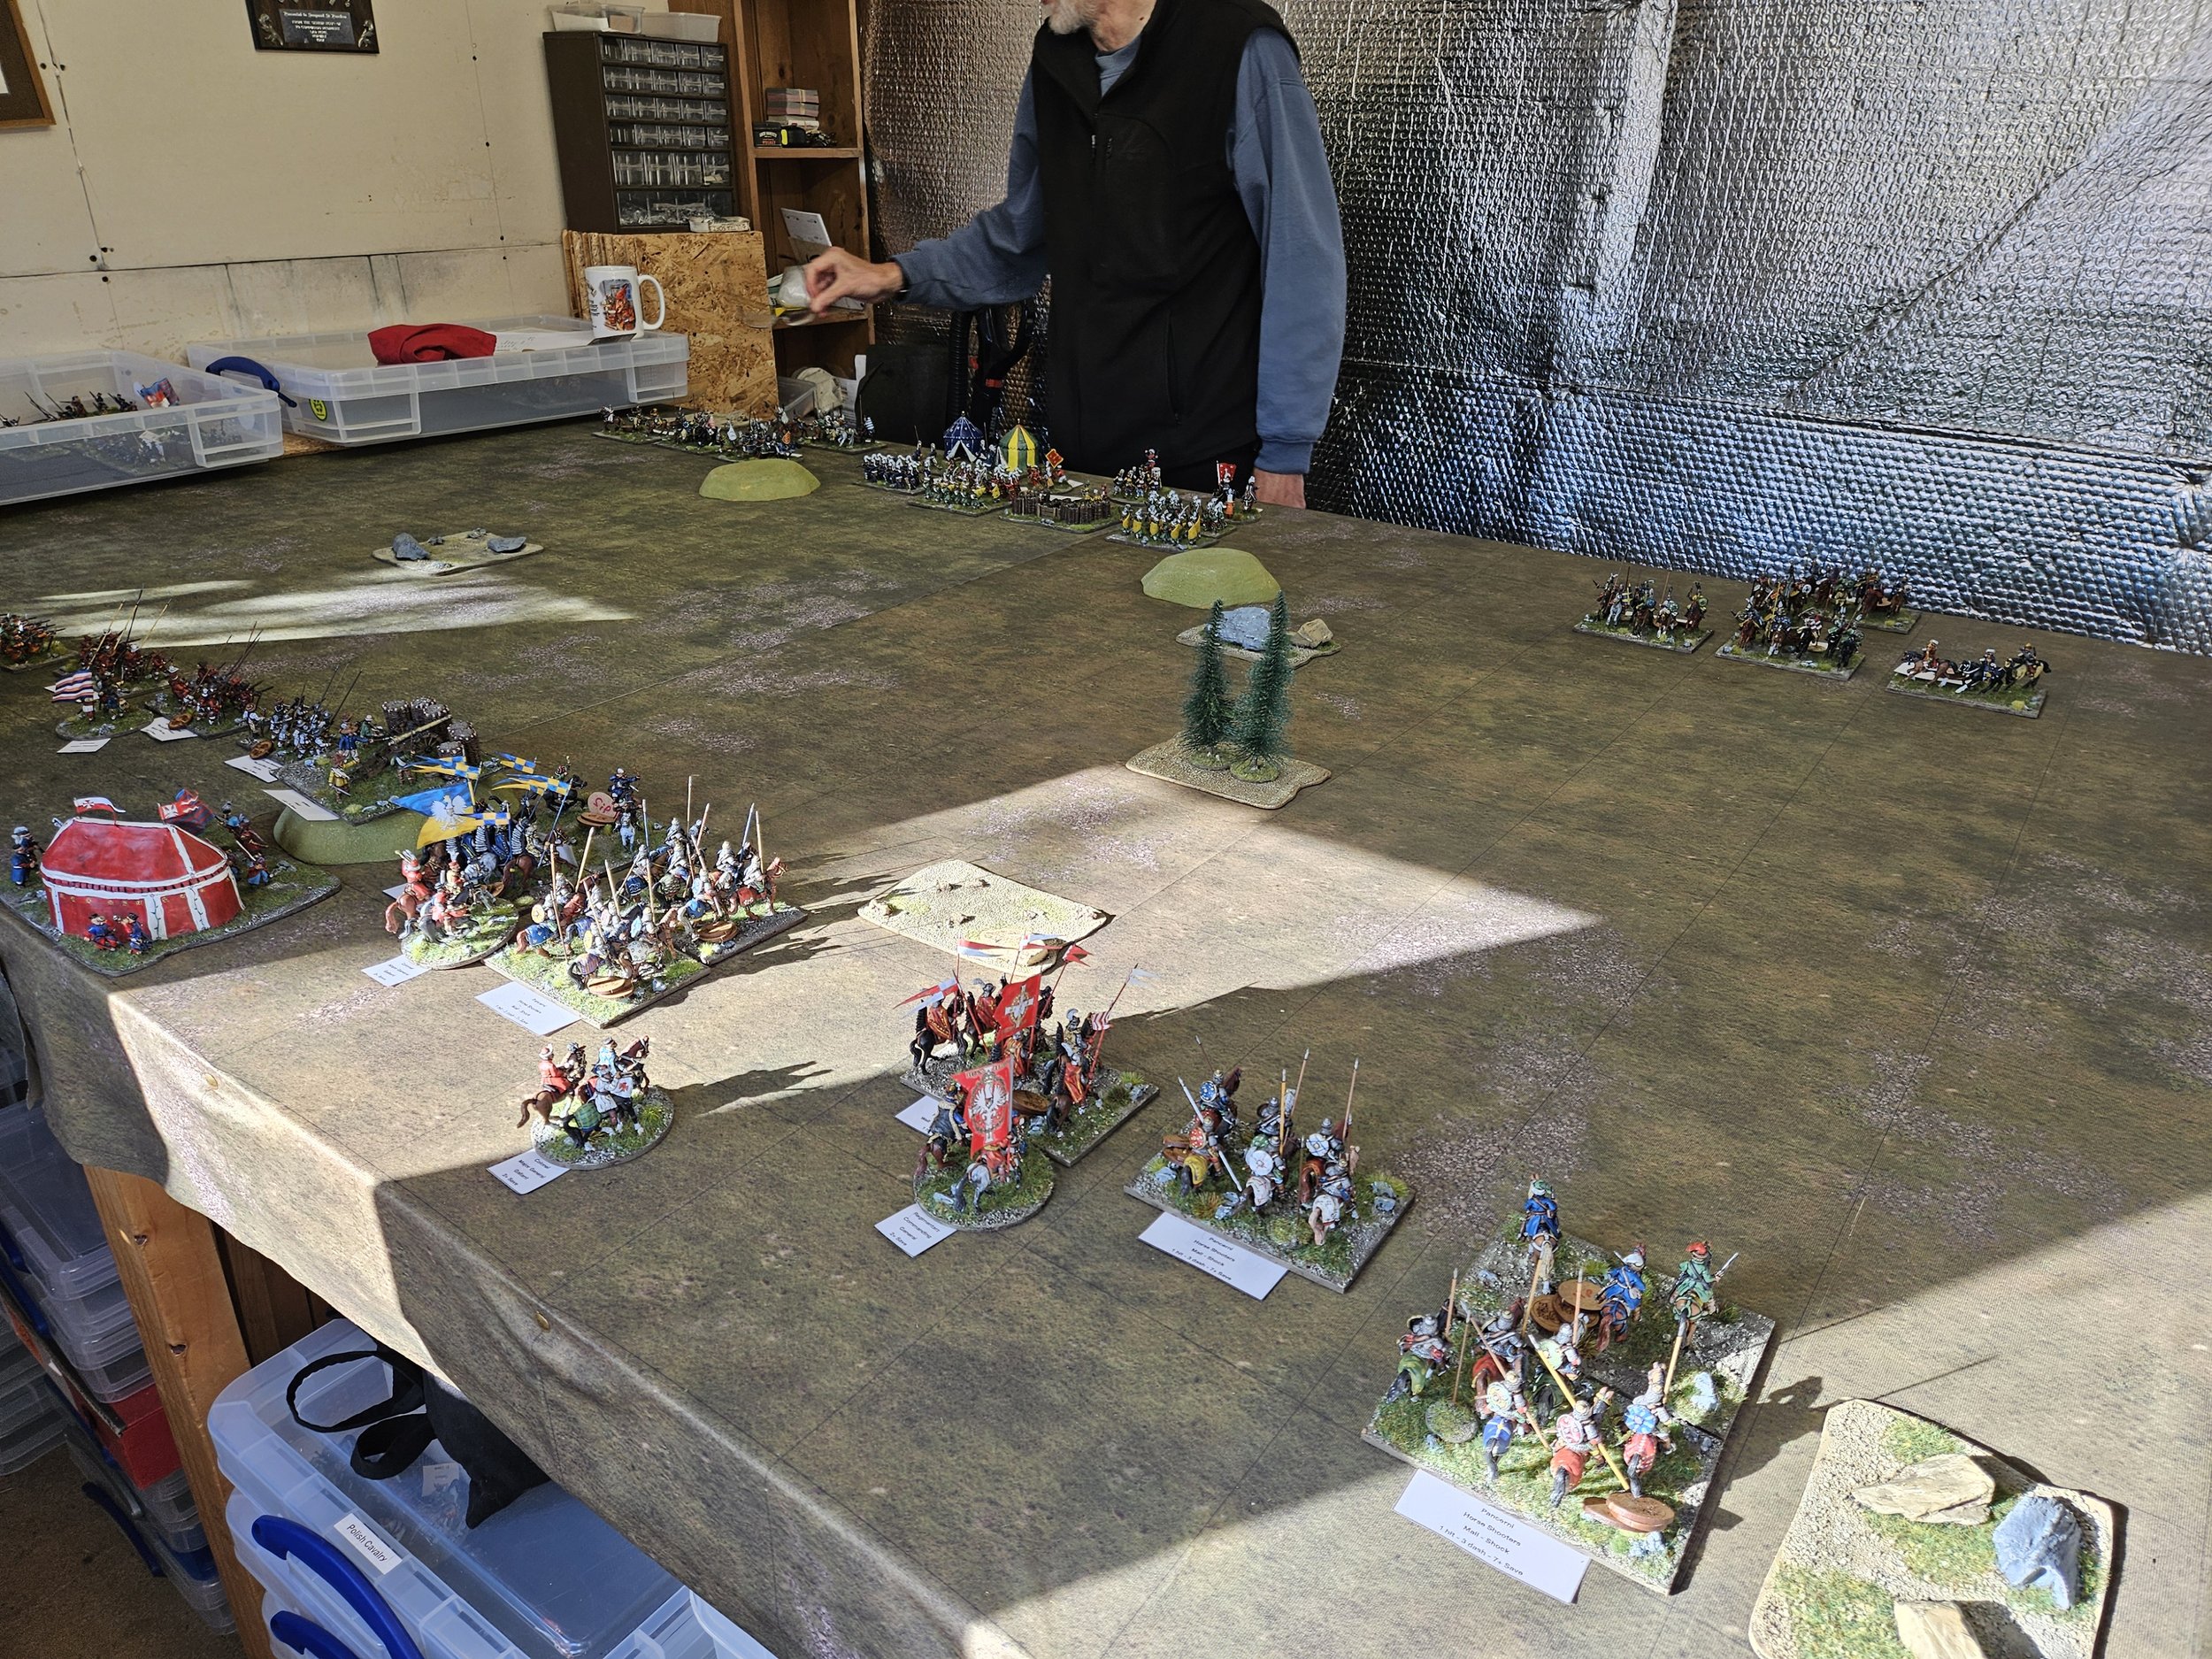
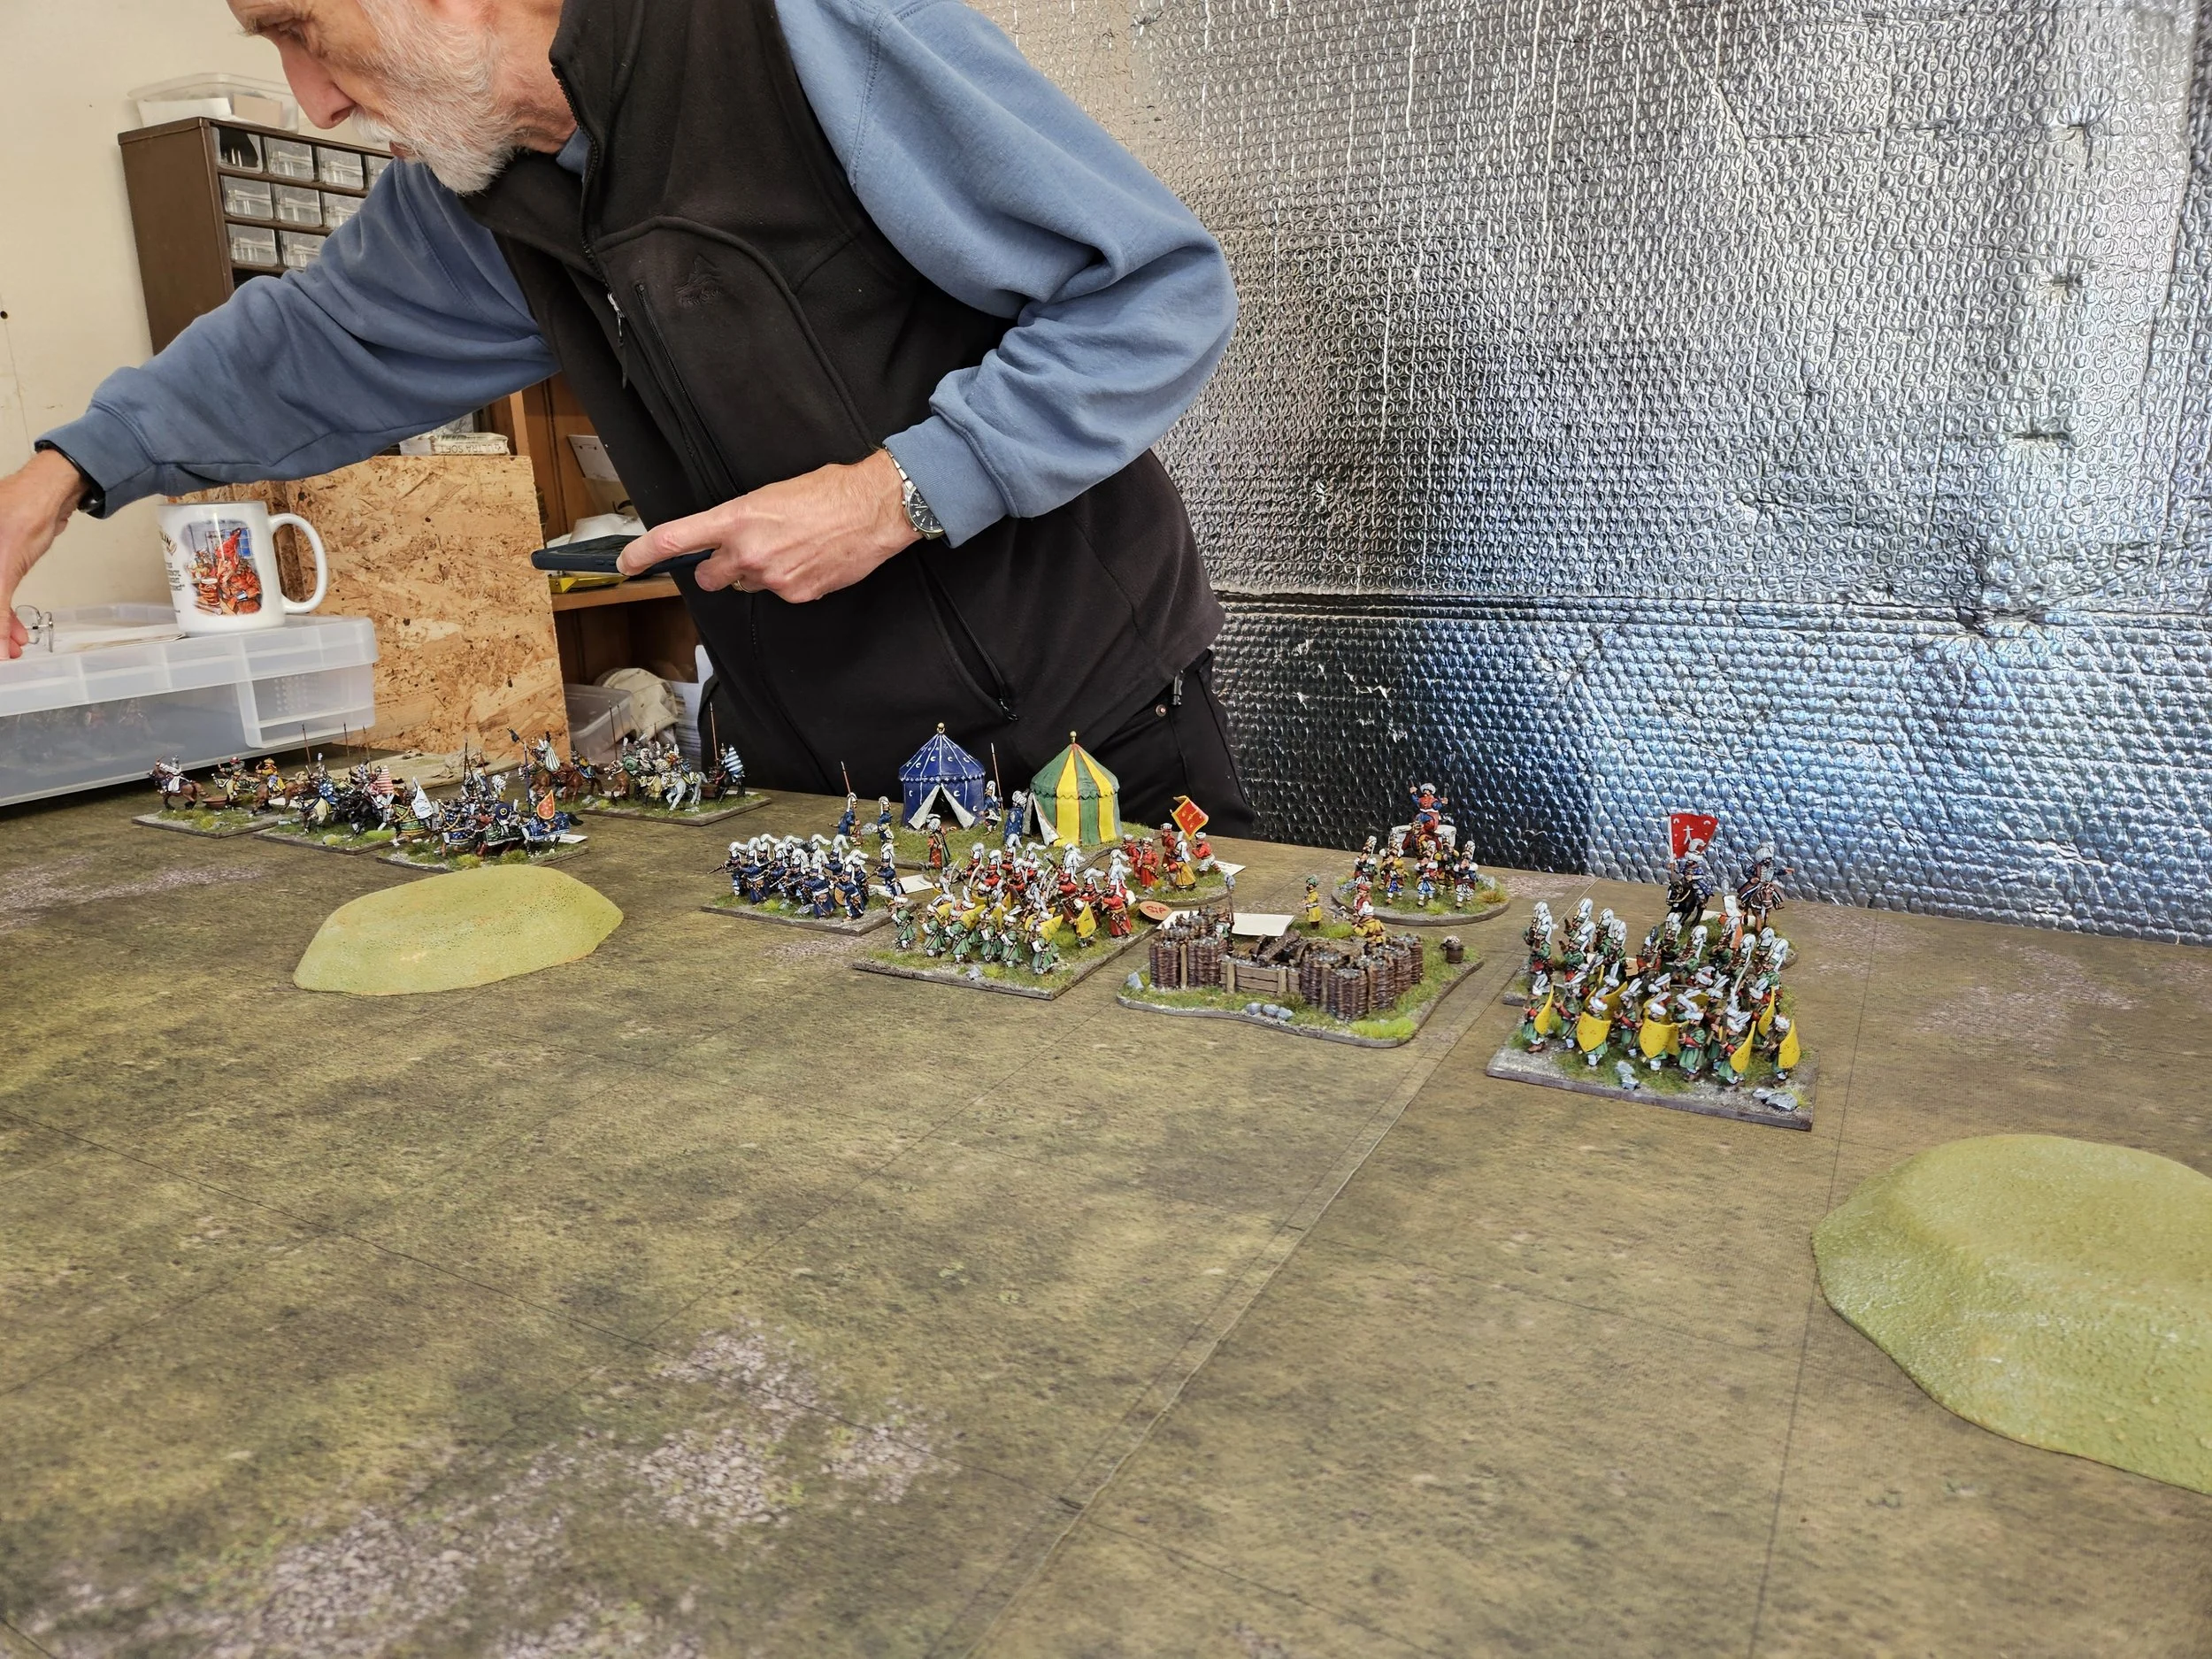
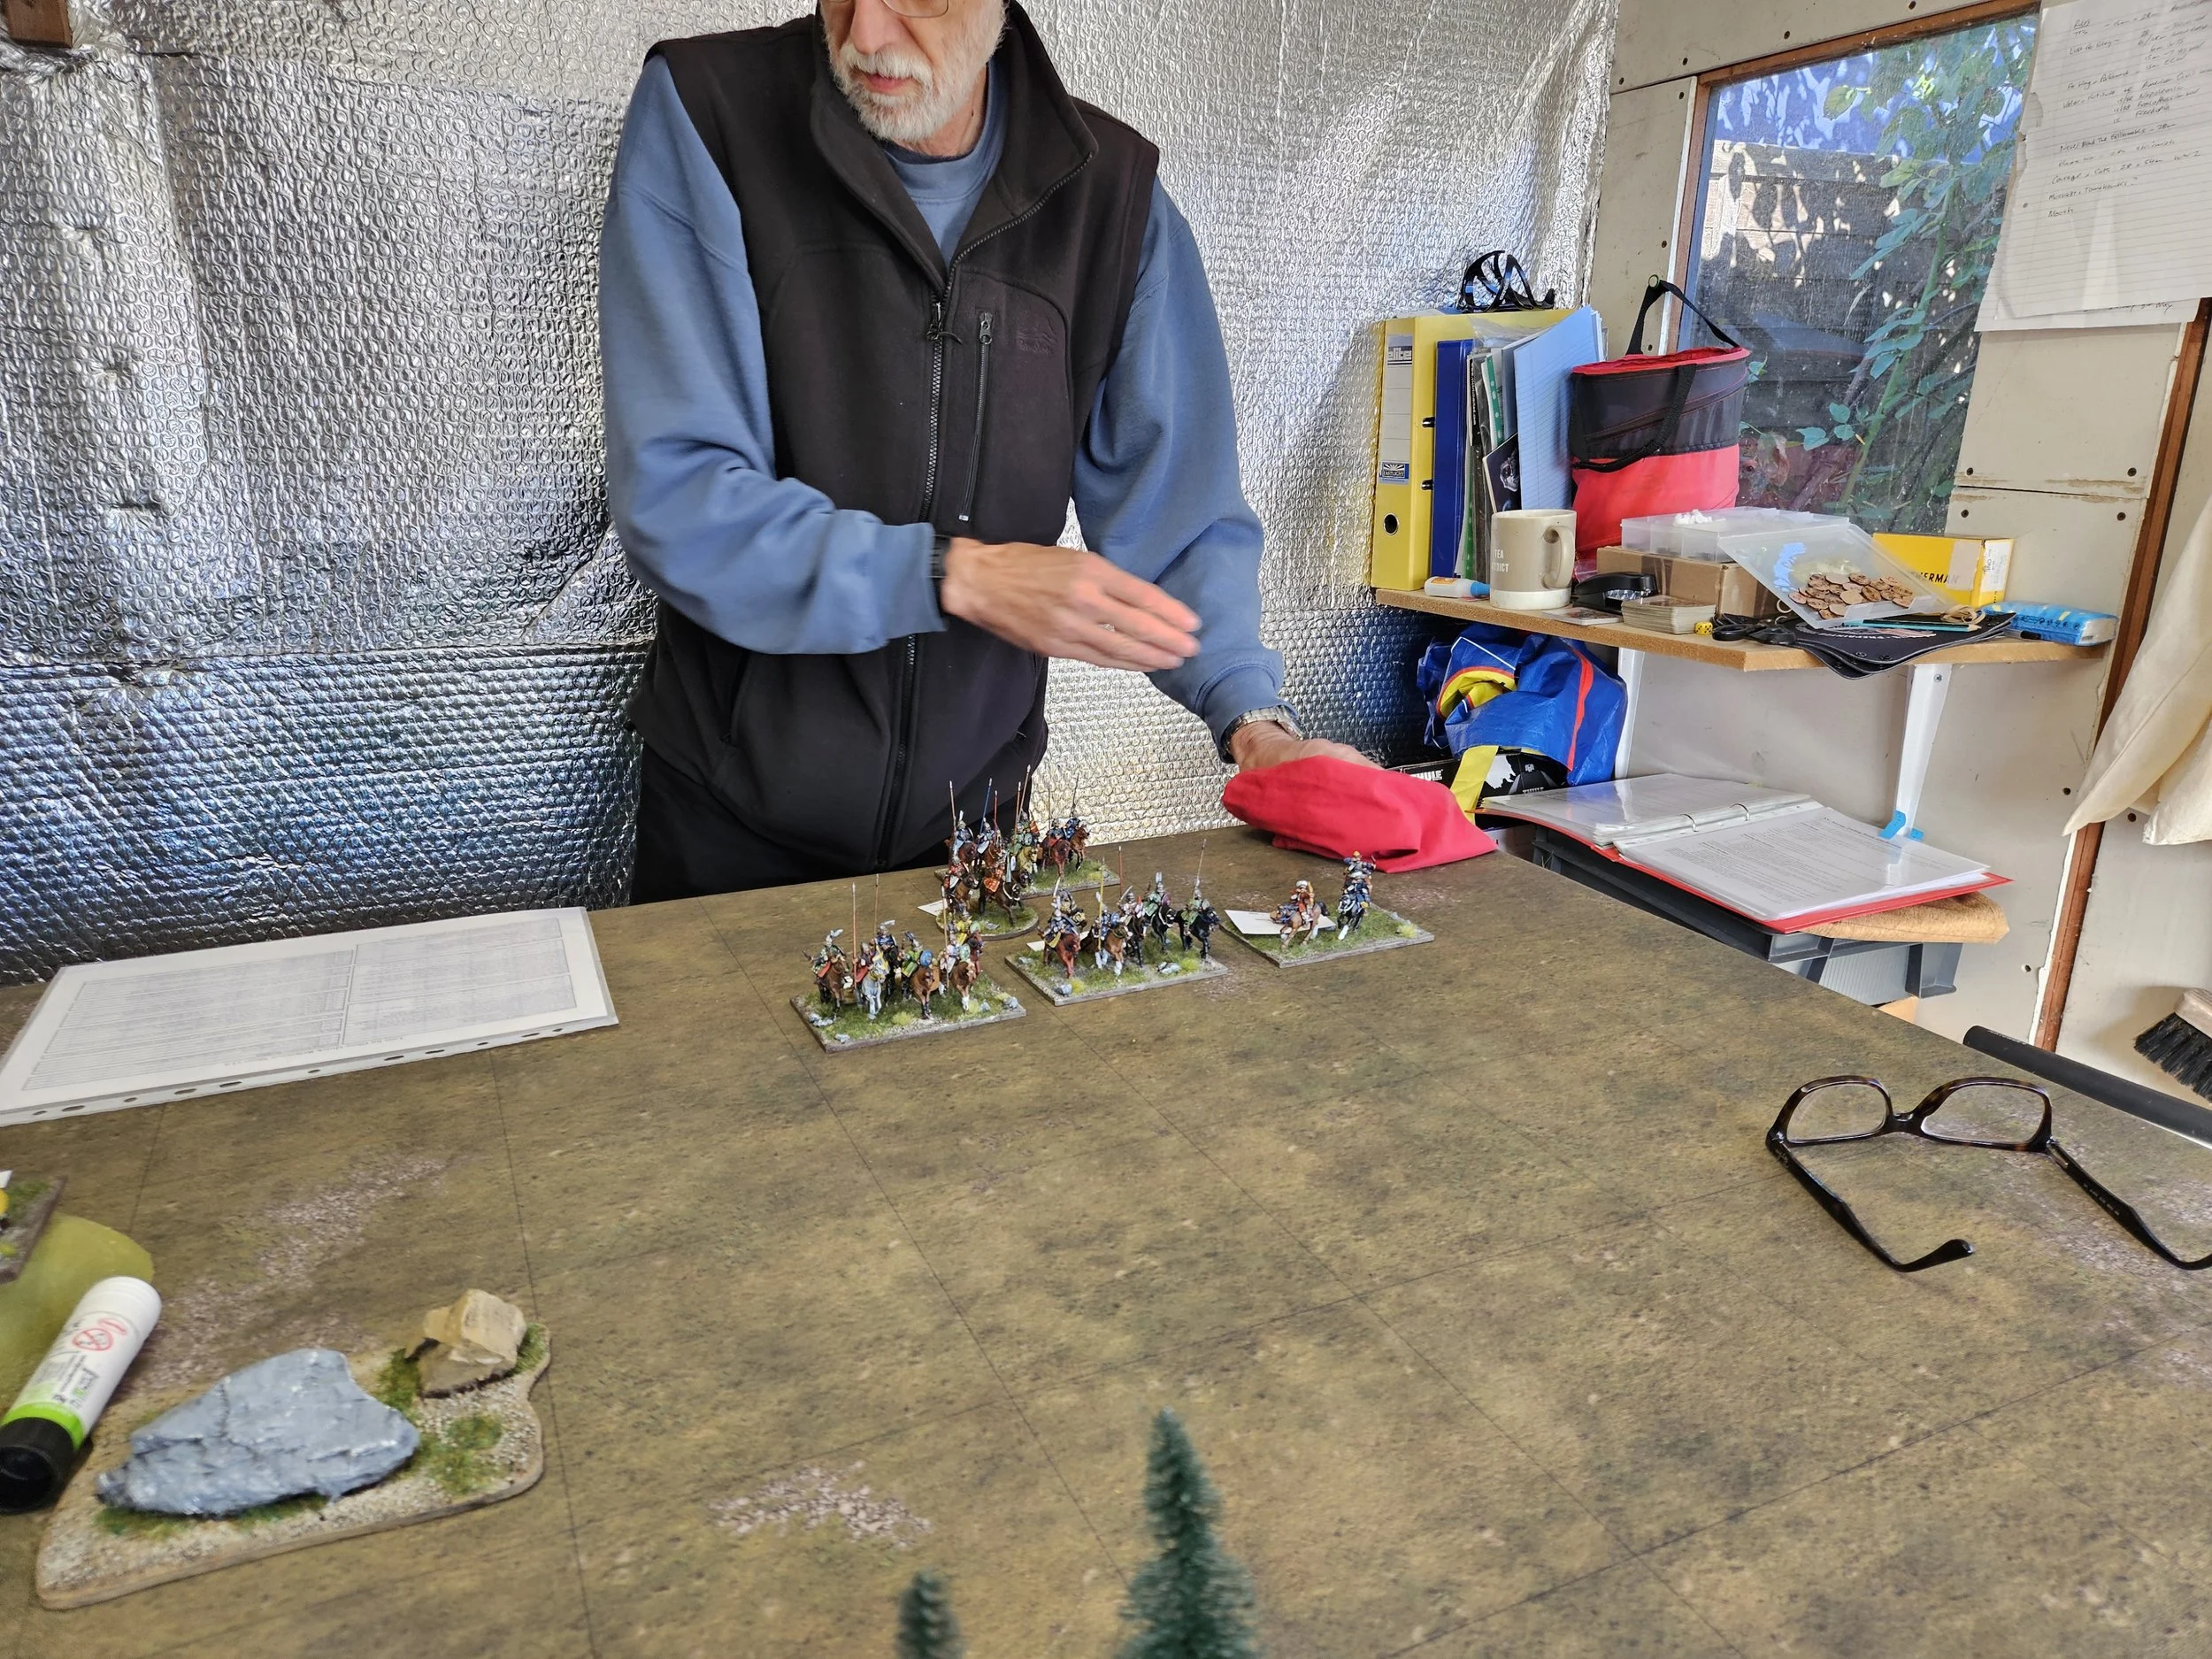
The game opened with the cavalry on both sides advancing forward rapidly.
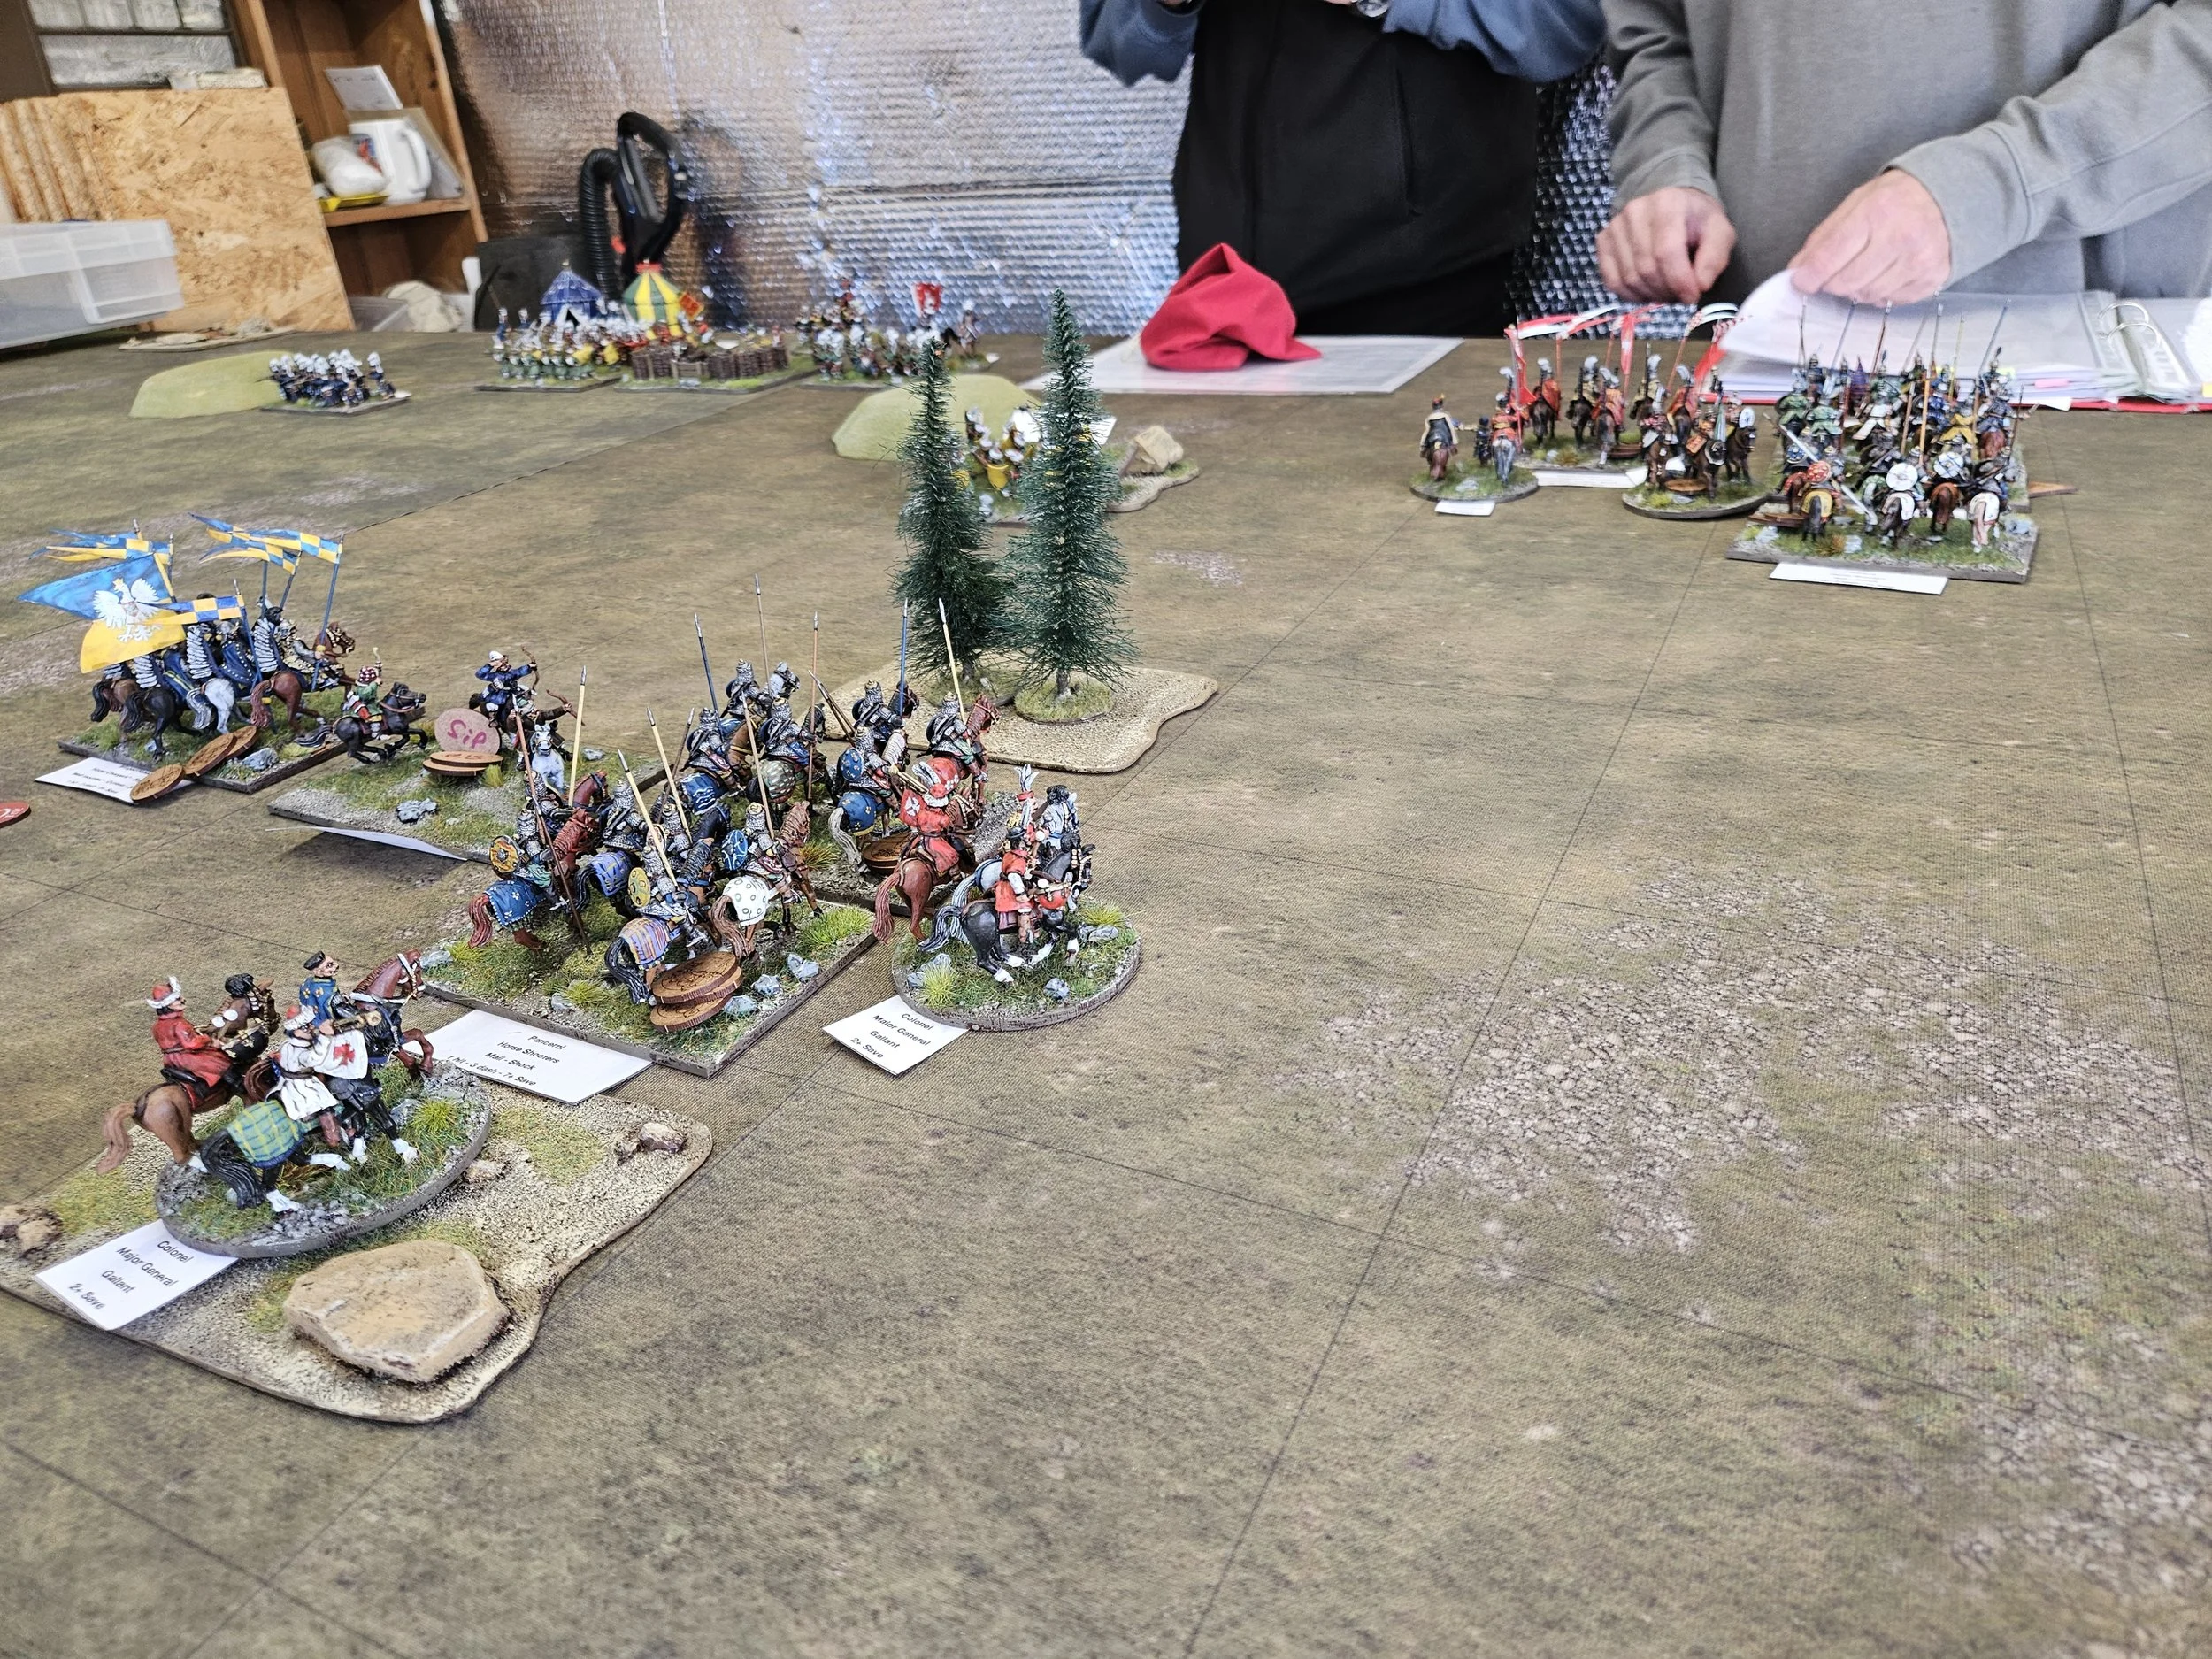
On the Polish right flank, one cavalry command smashed into their Ottoman equivalents and, within two turns, had sent them fleeing from the field.
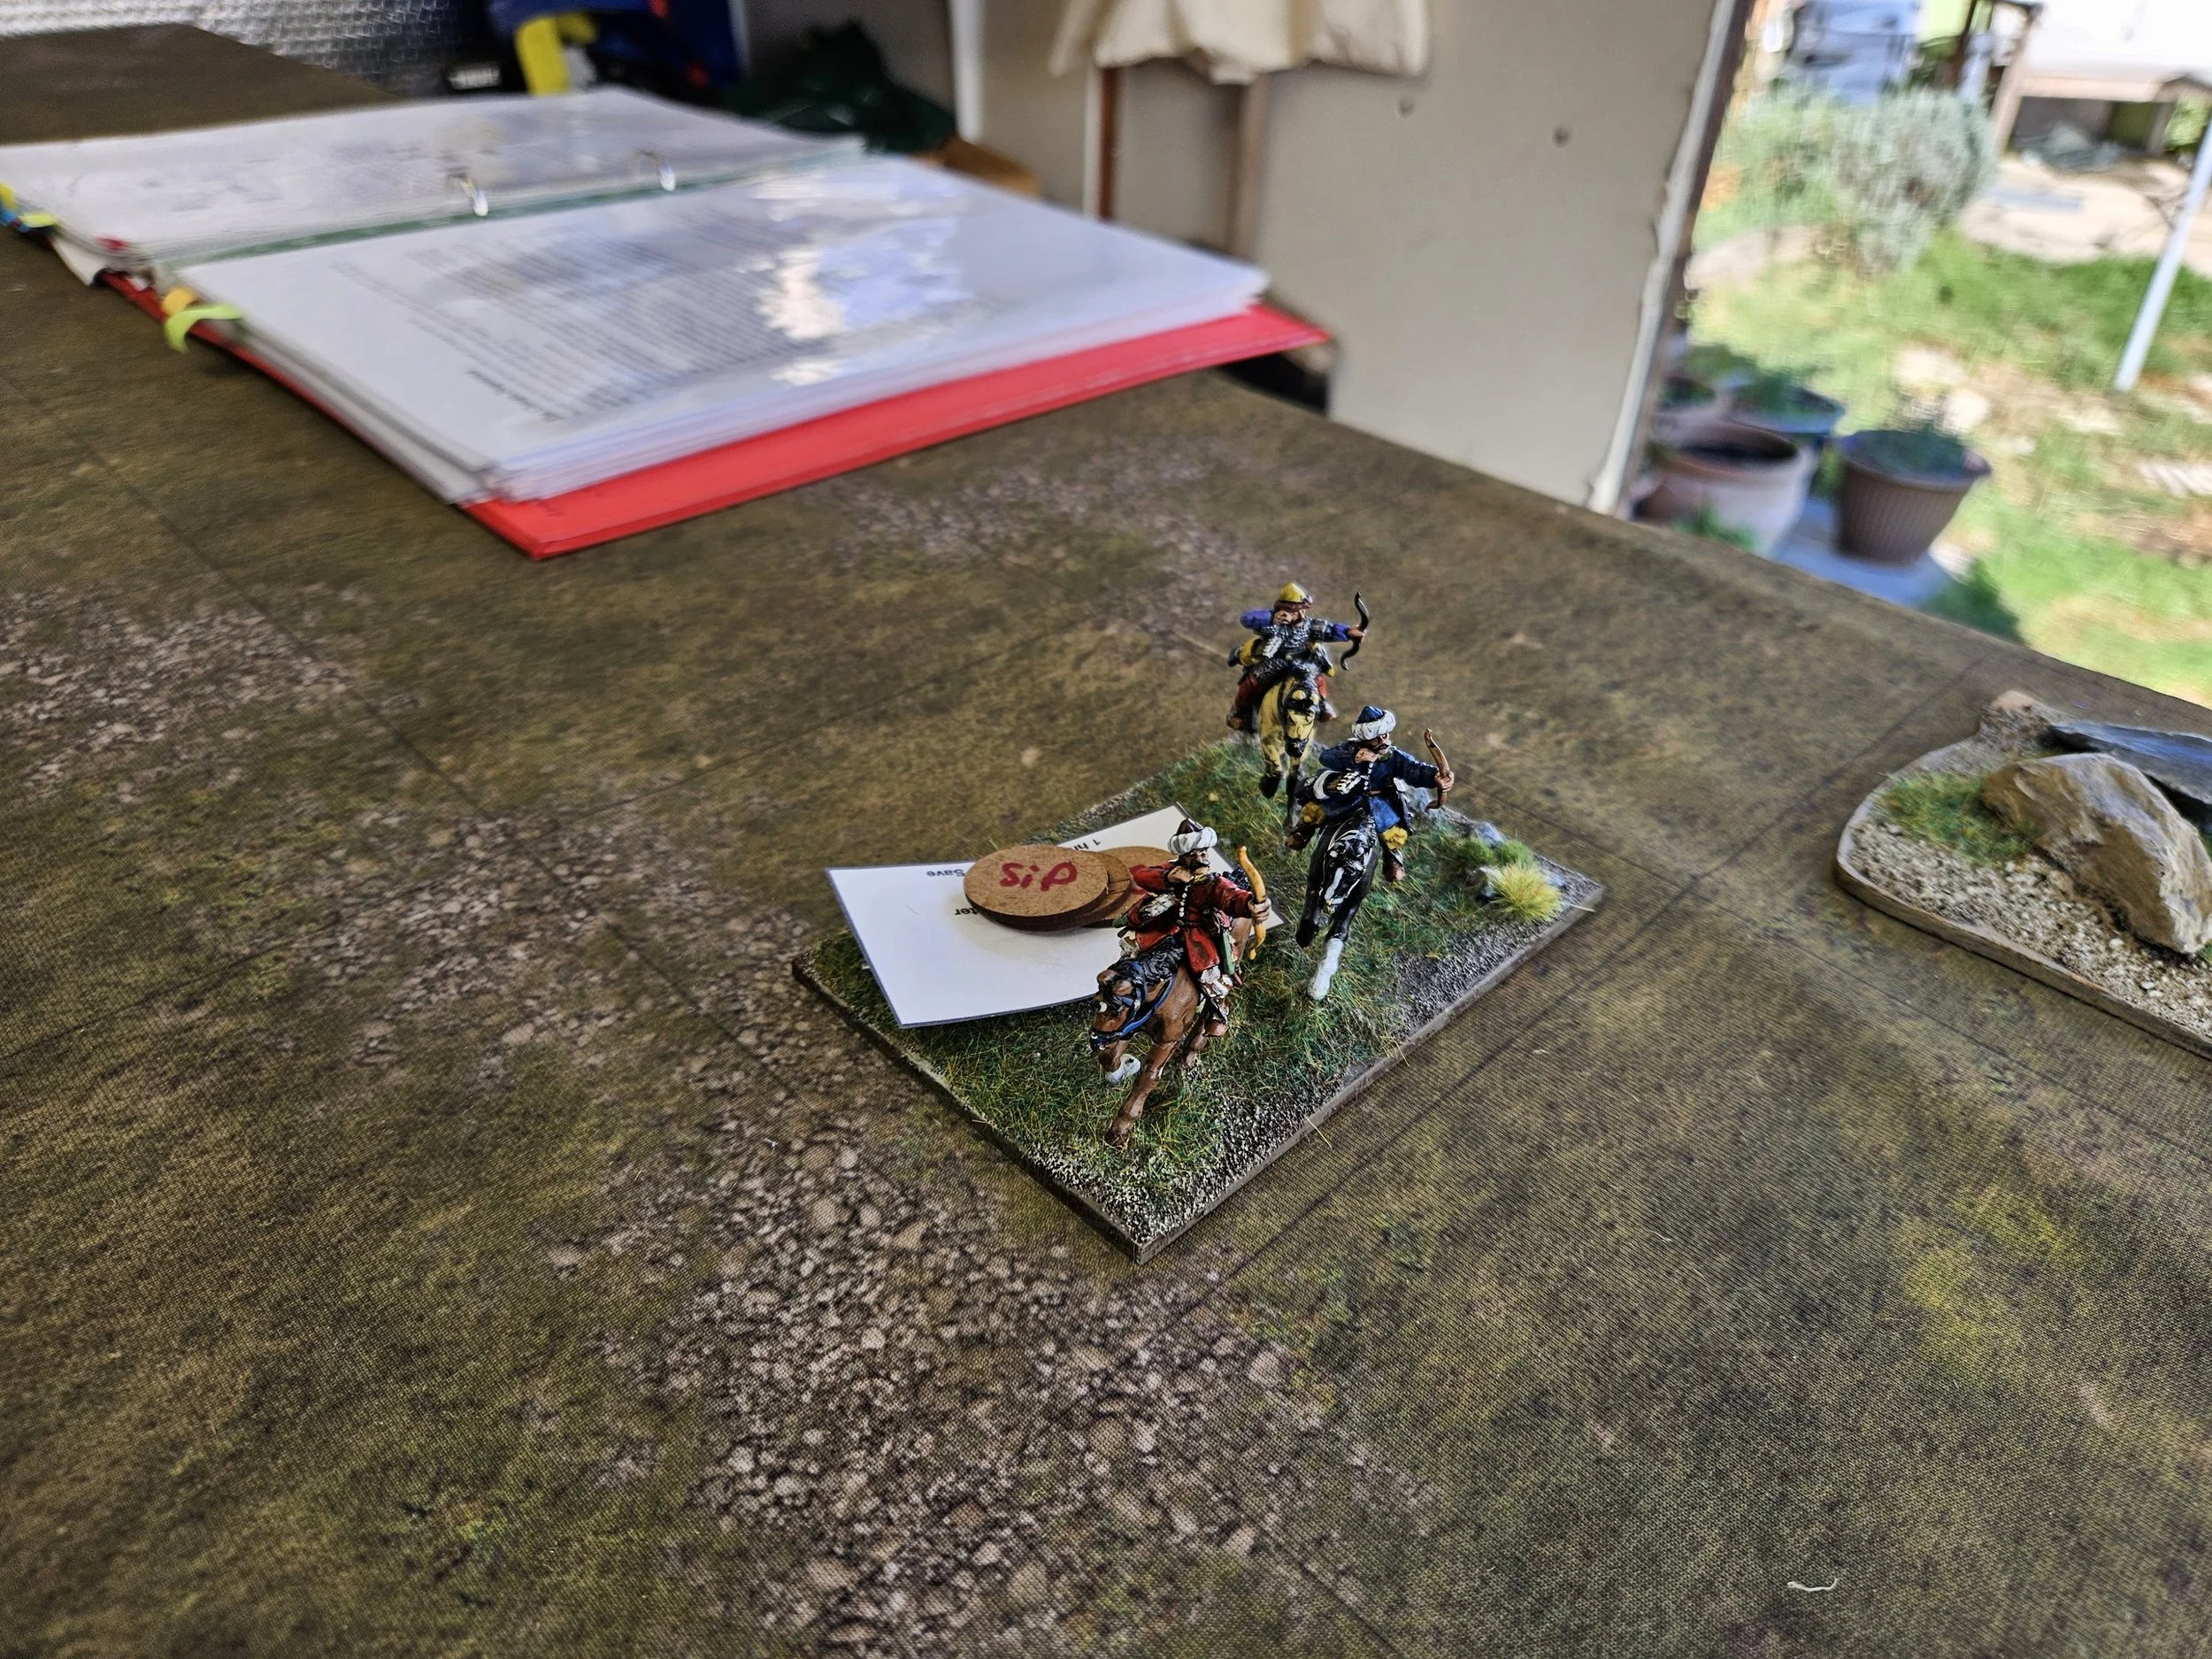
This was good, but both units (one light, one Pancerni) that had been left behind to deal with an errant Ottoman unit of light cavalry were then routed by missile fire from the aforementioned Turkish lights, so although the eventual outcome was still very much in the Polish favour, it wasn’t by as much as it should be, and there were still the errant enemy lights to deal with.
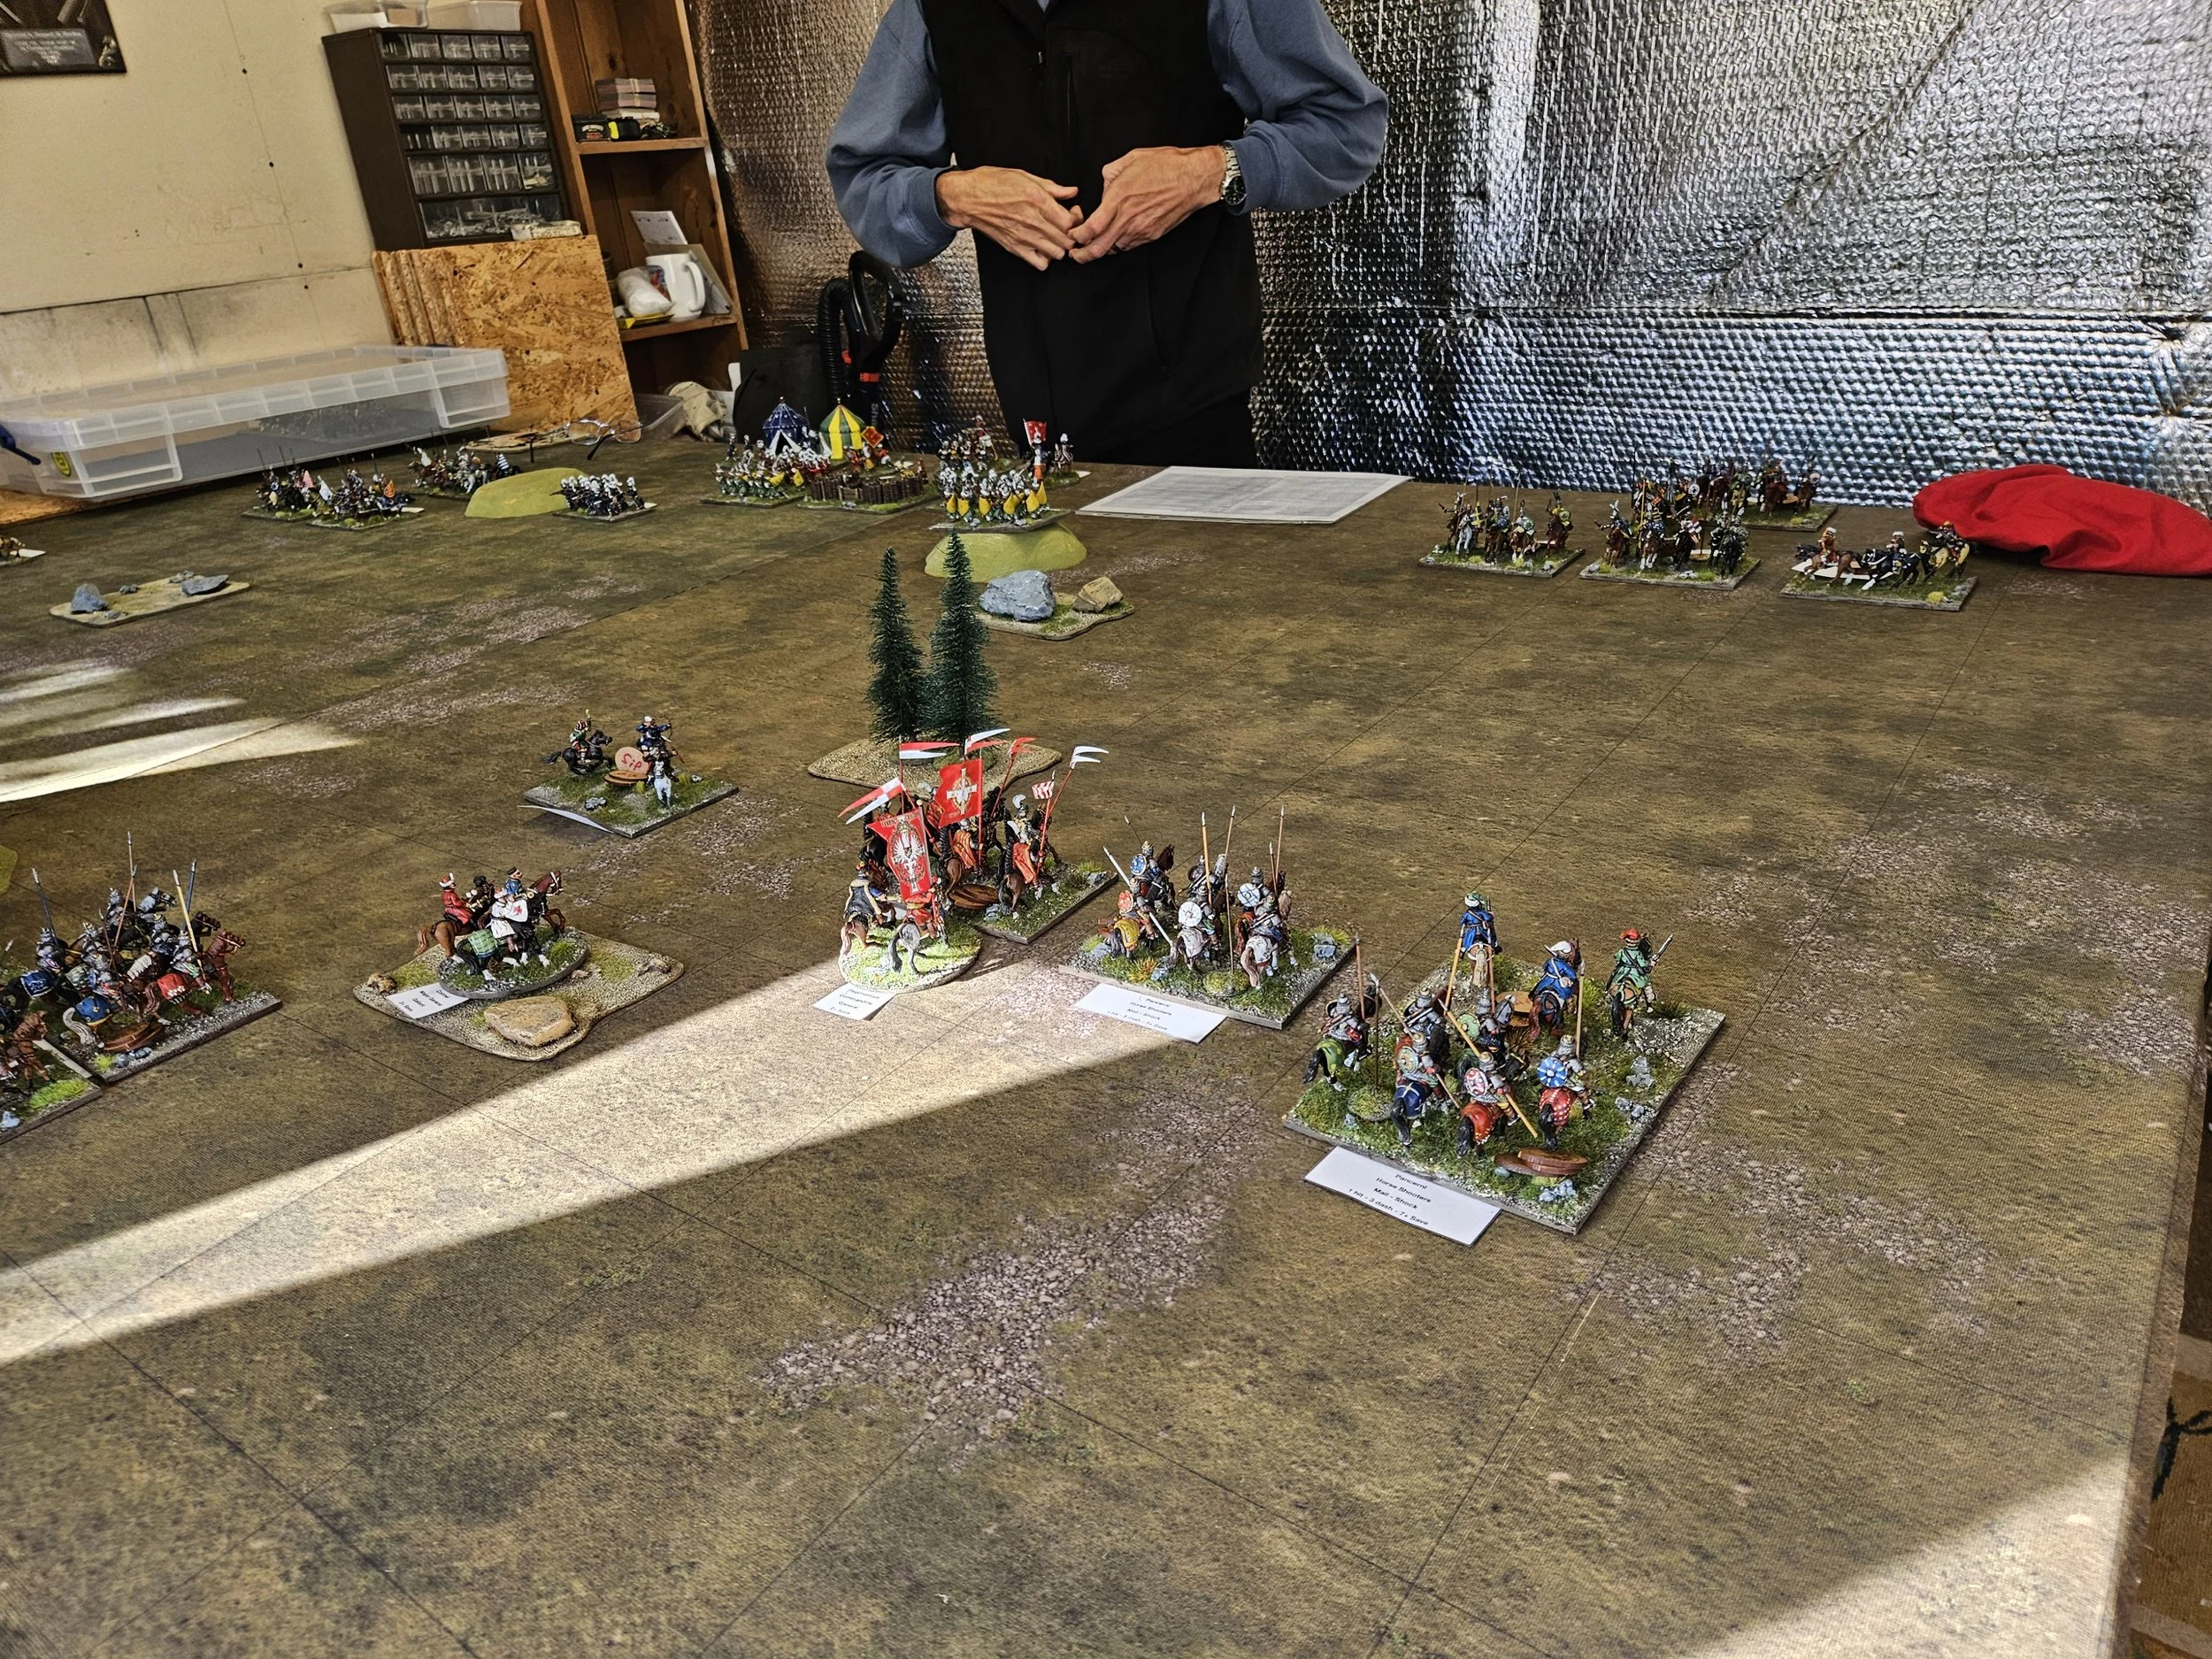
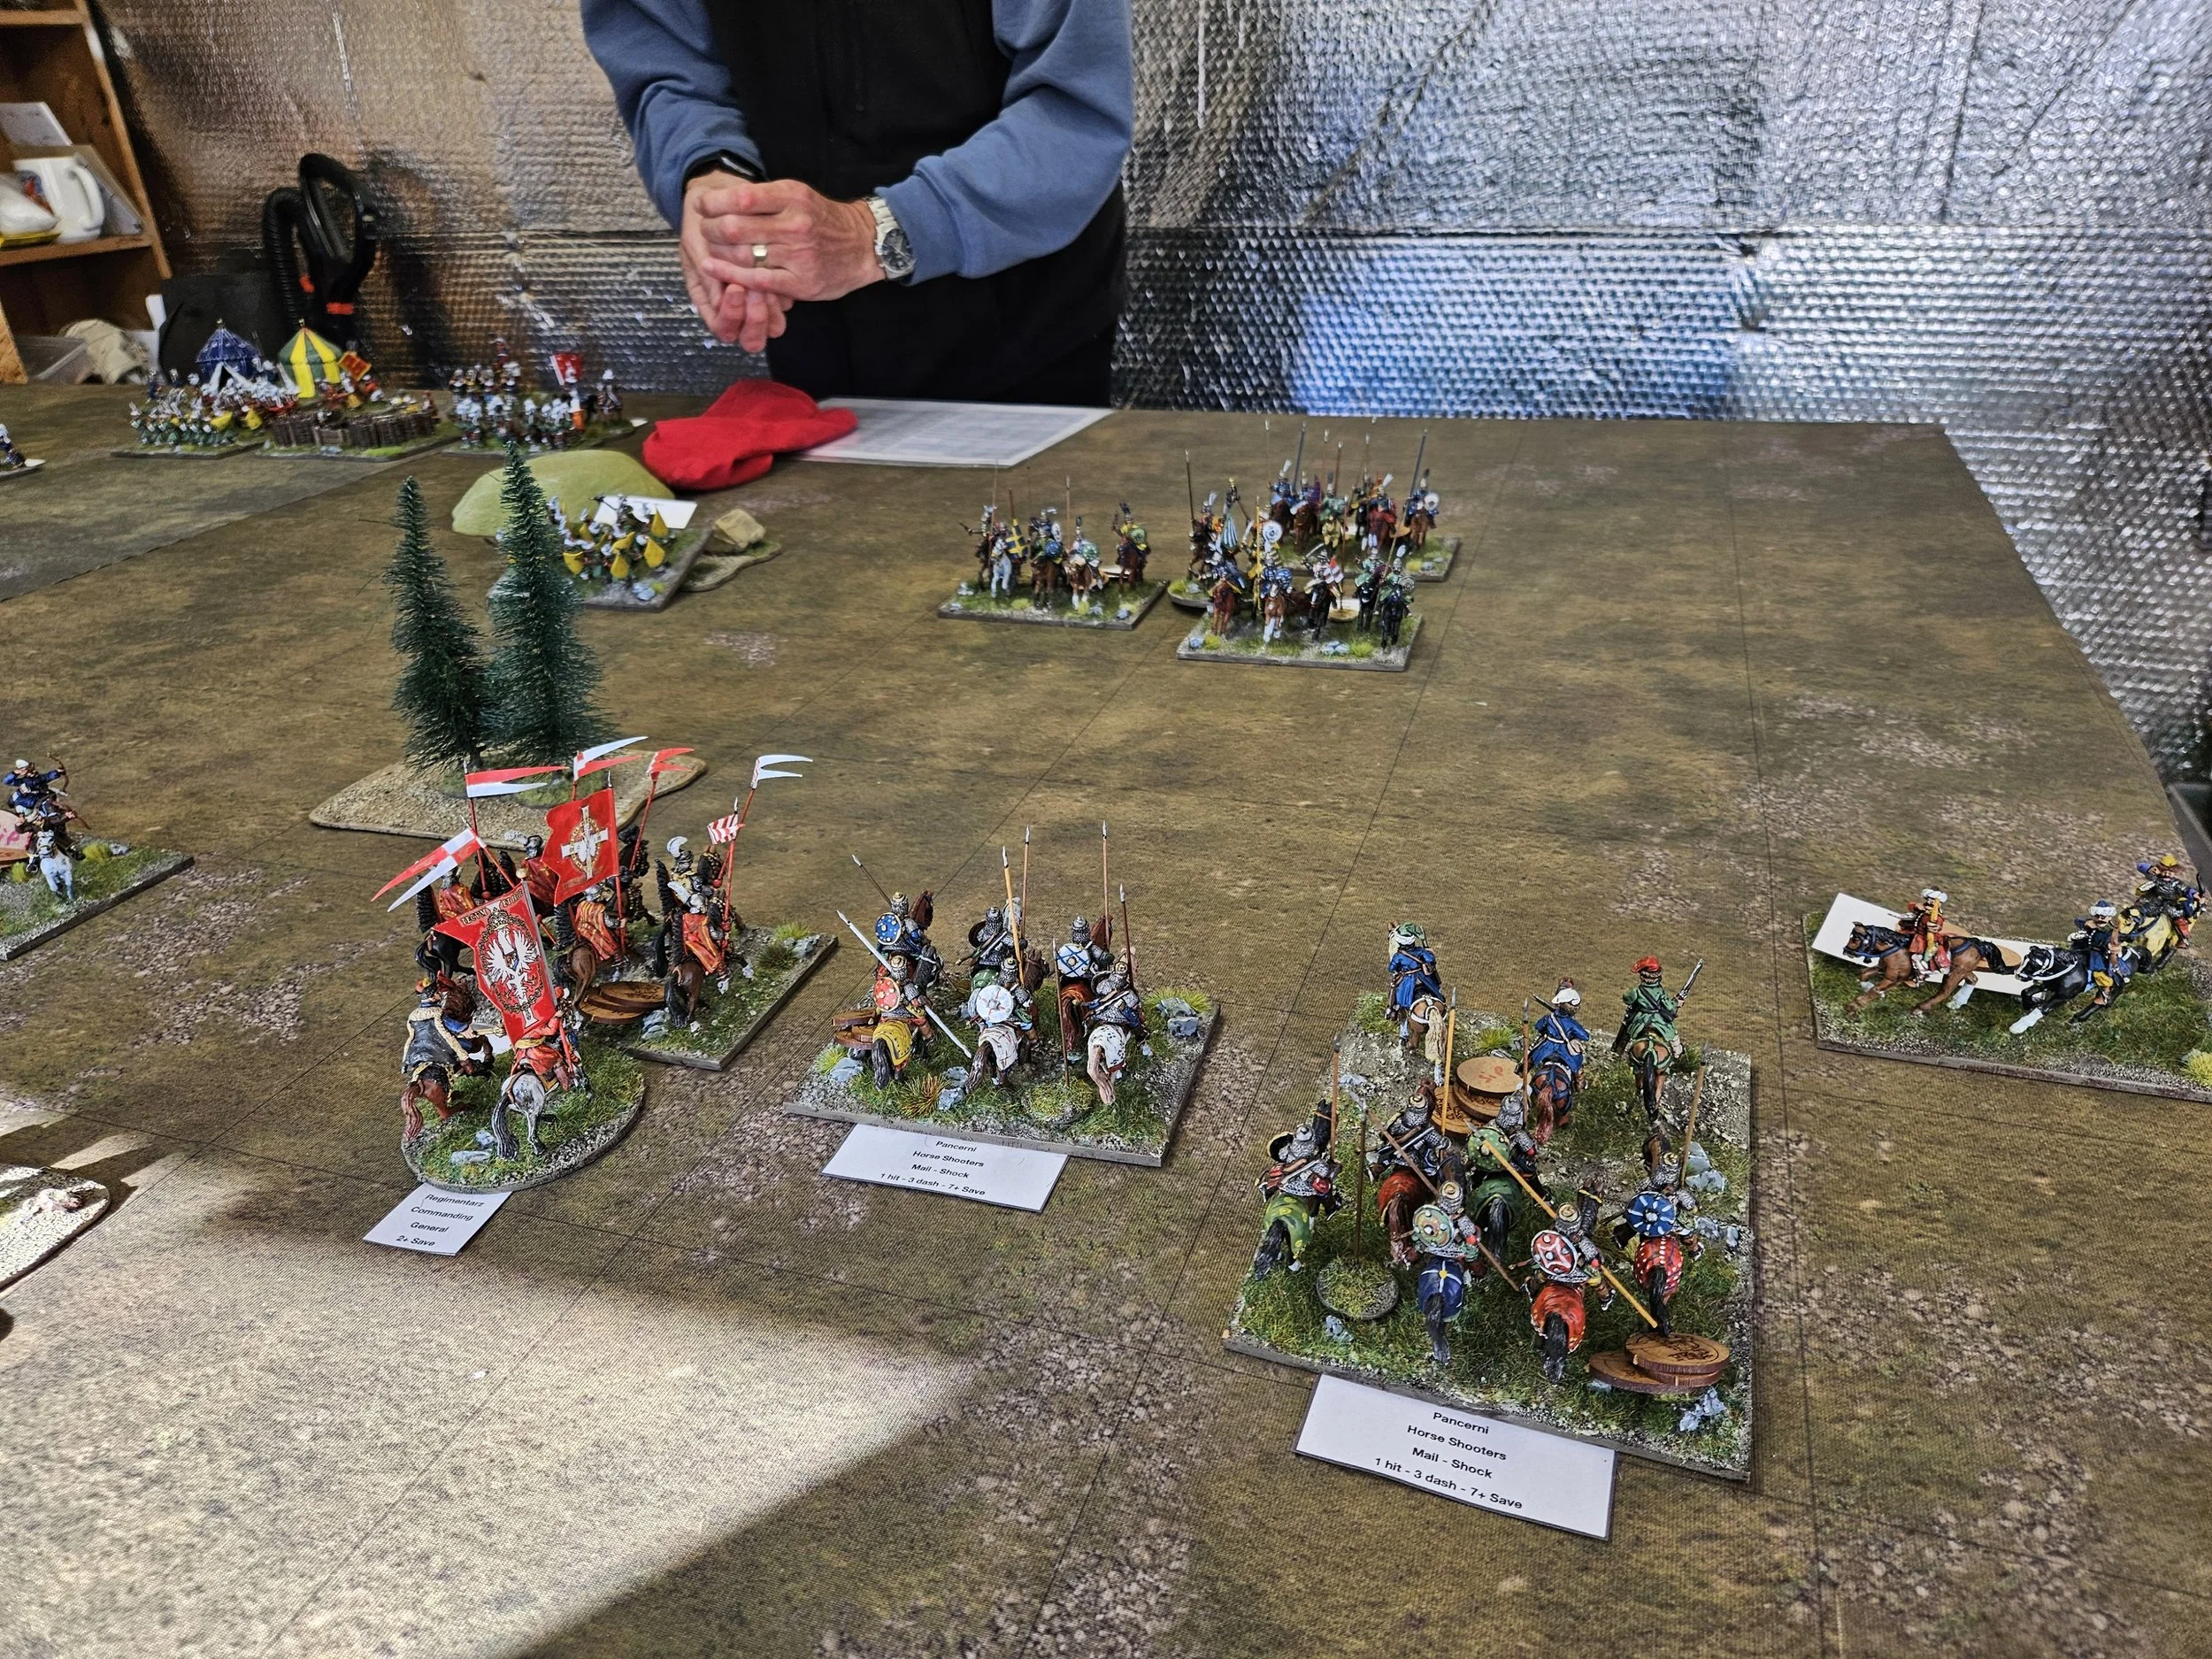
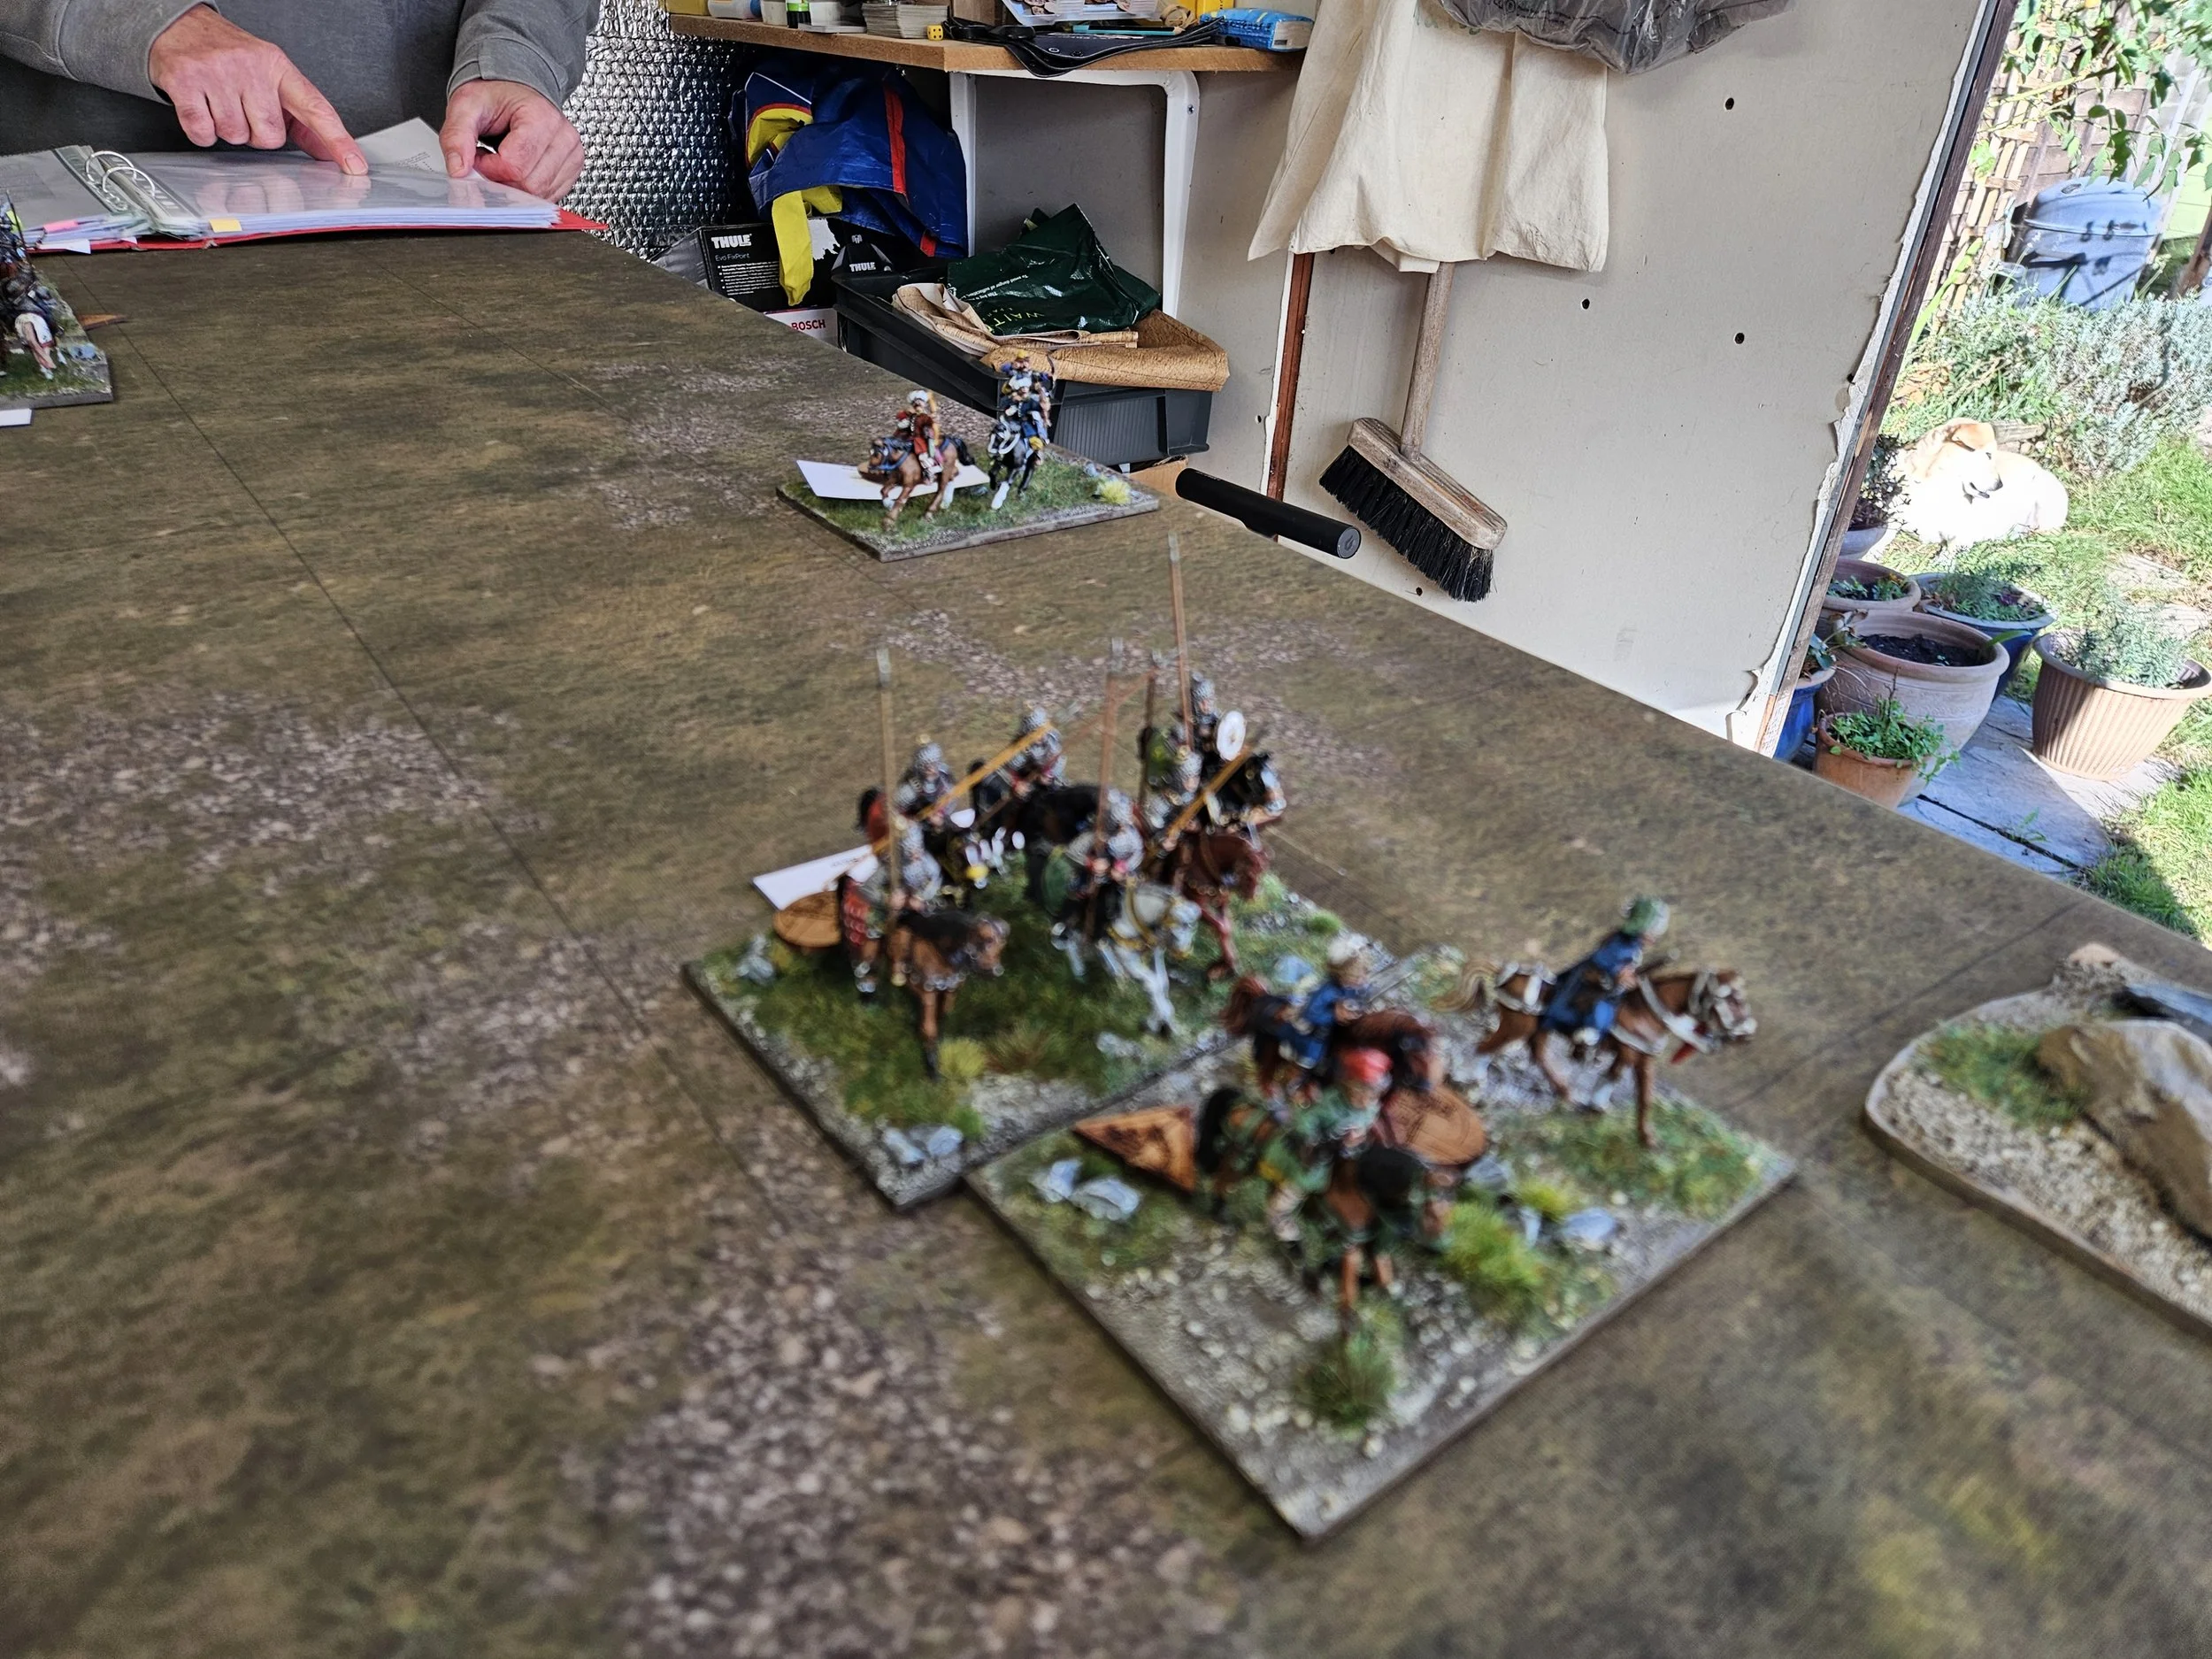
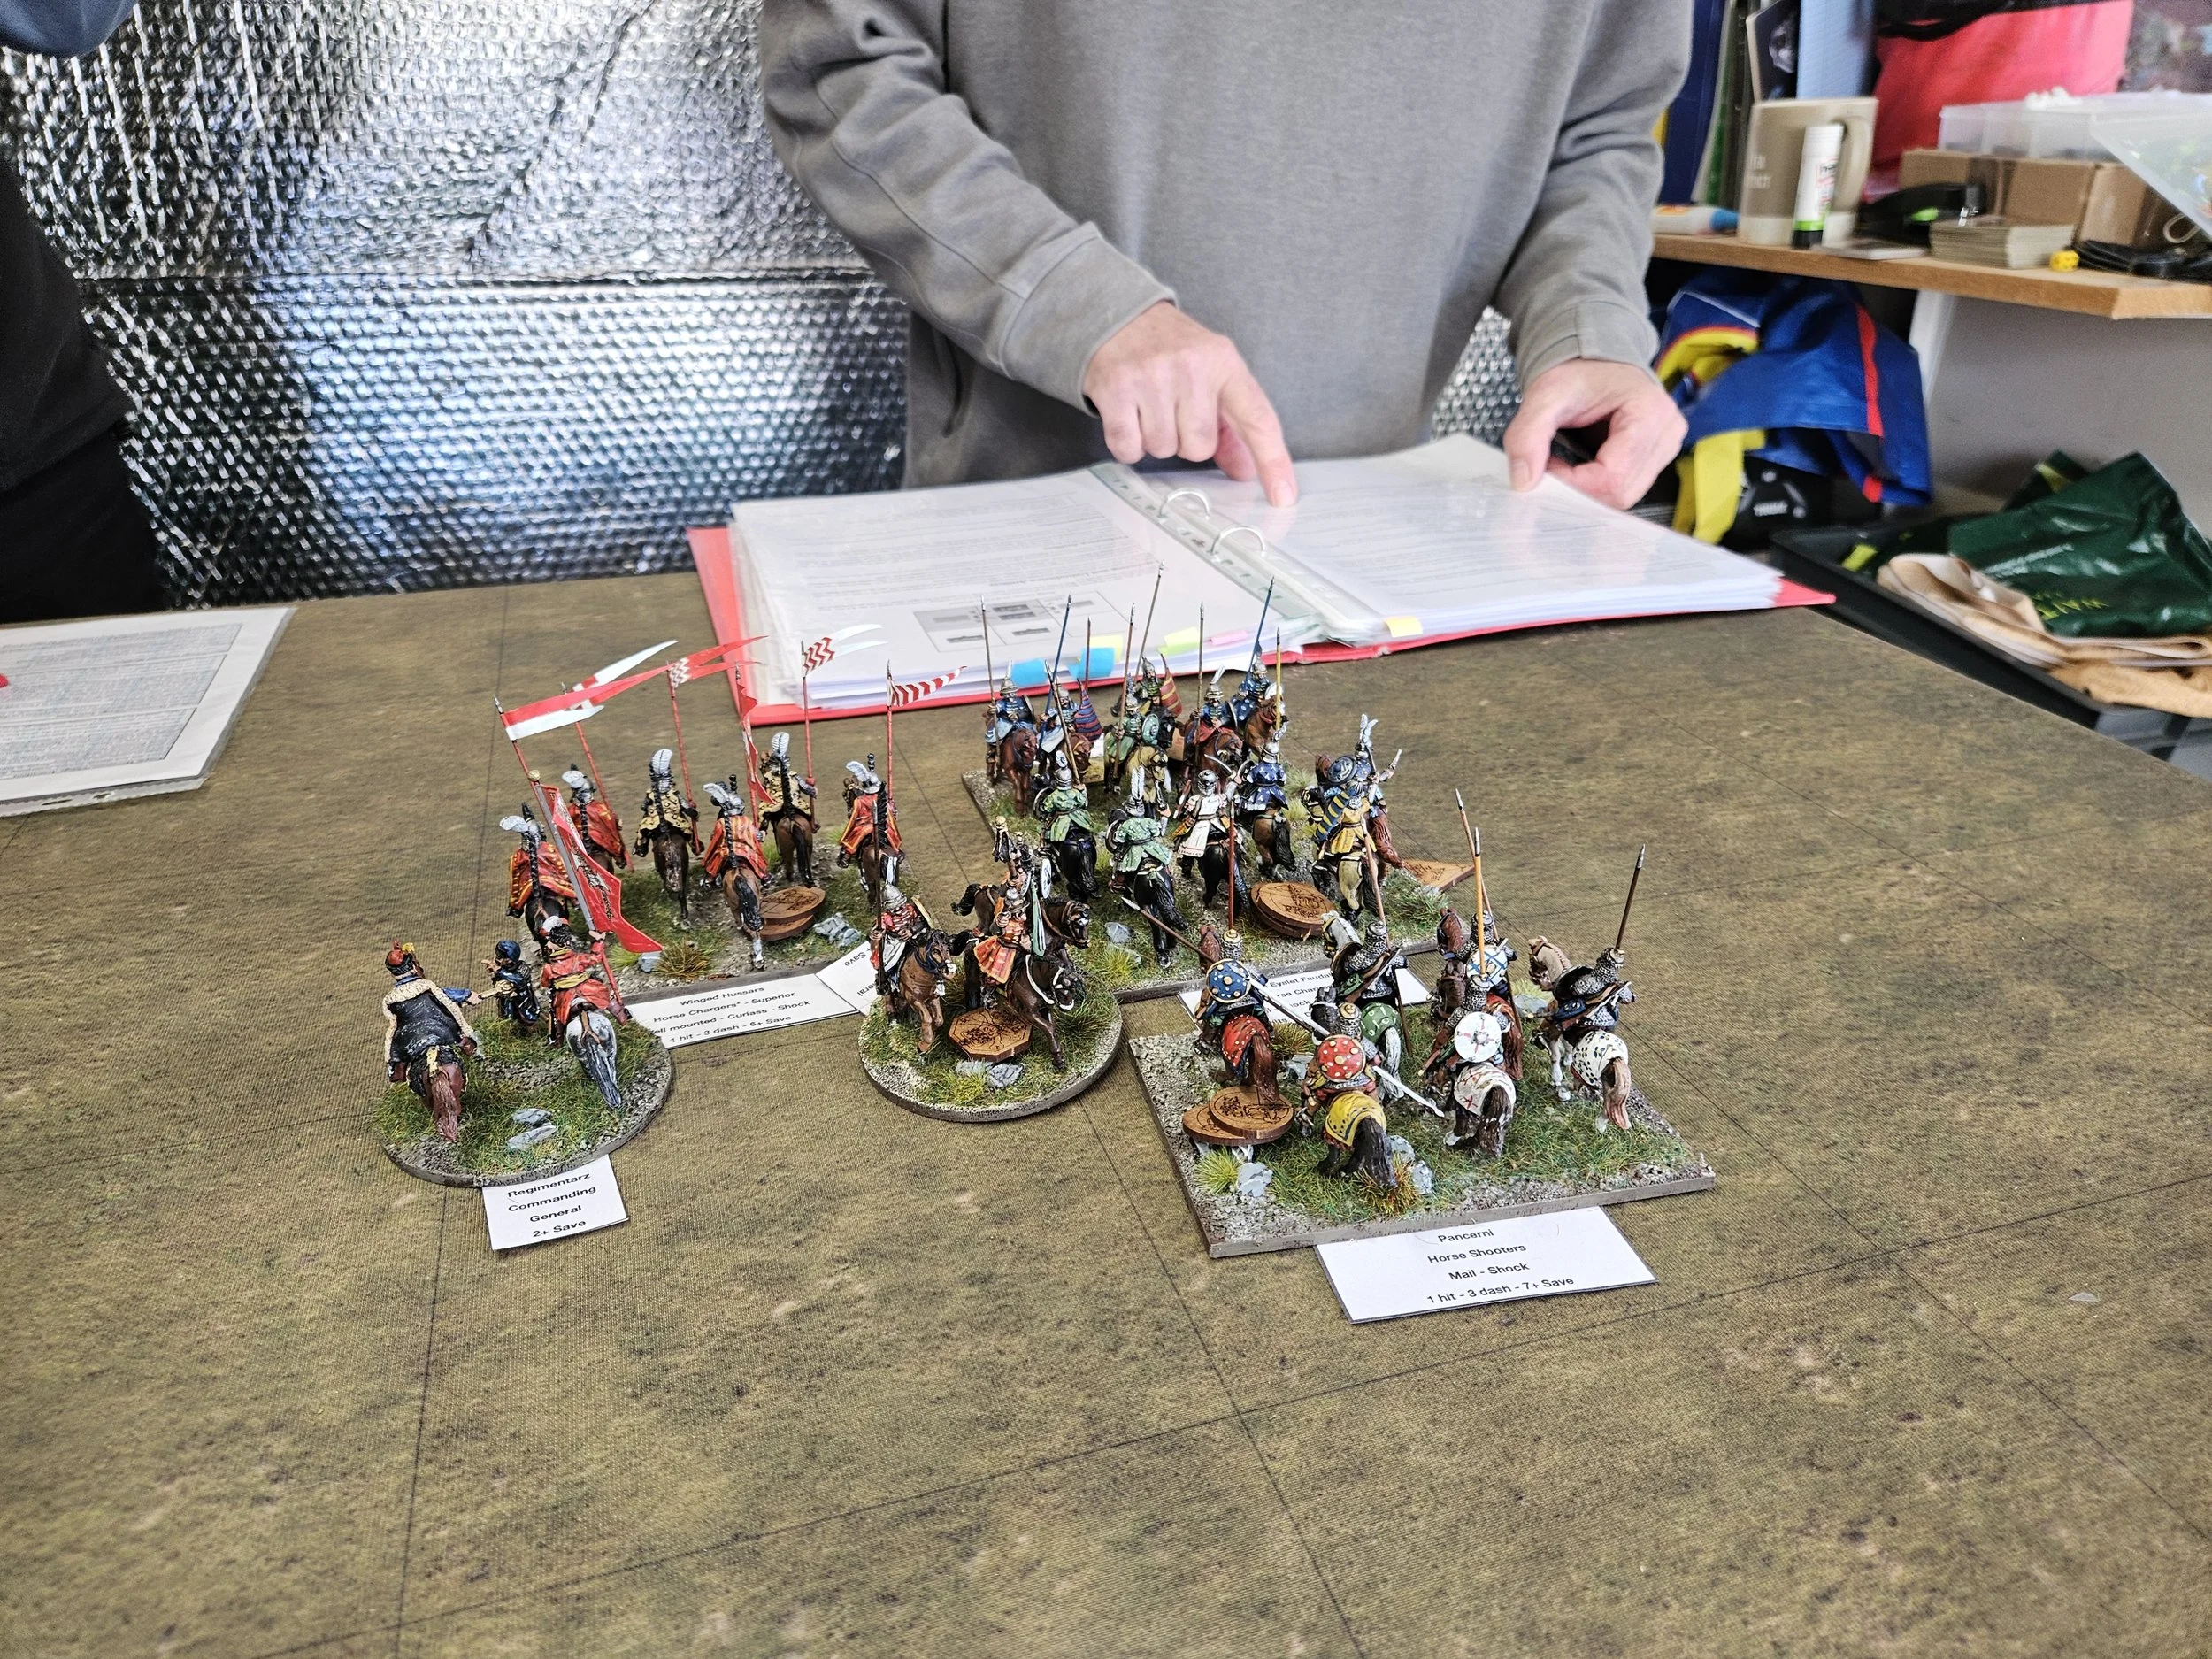
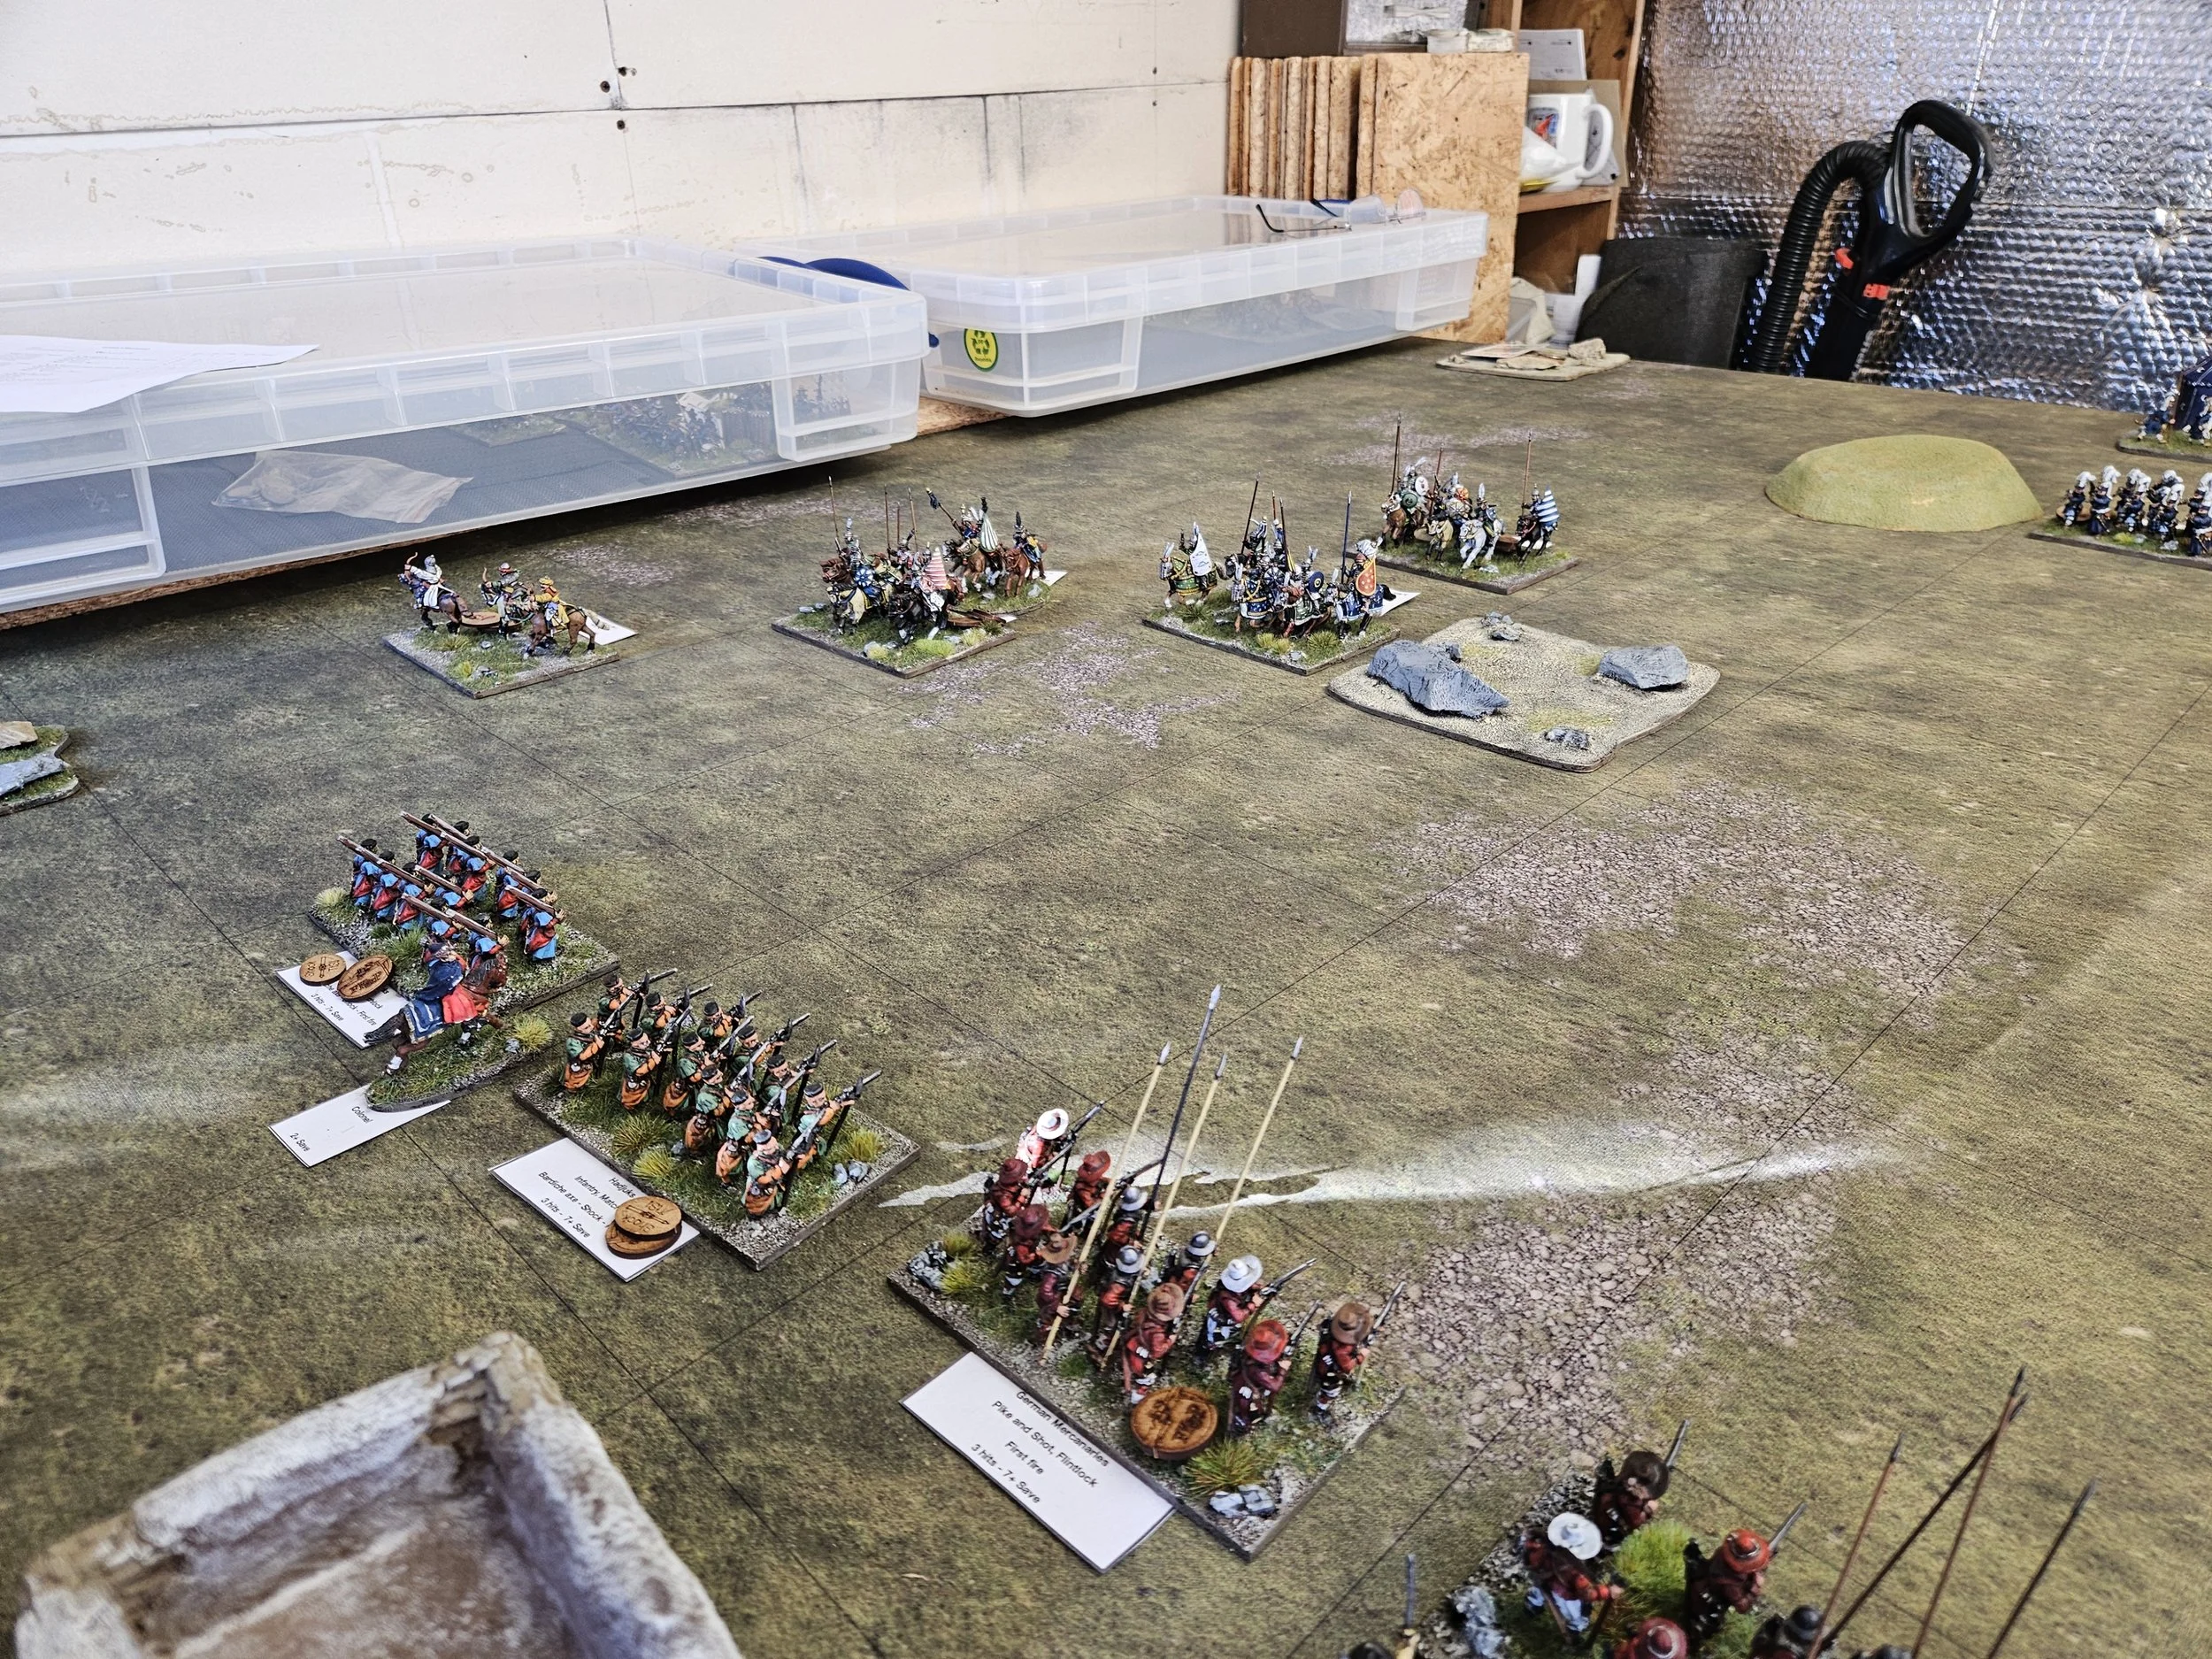
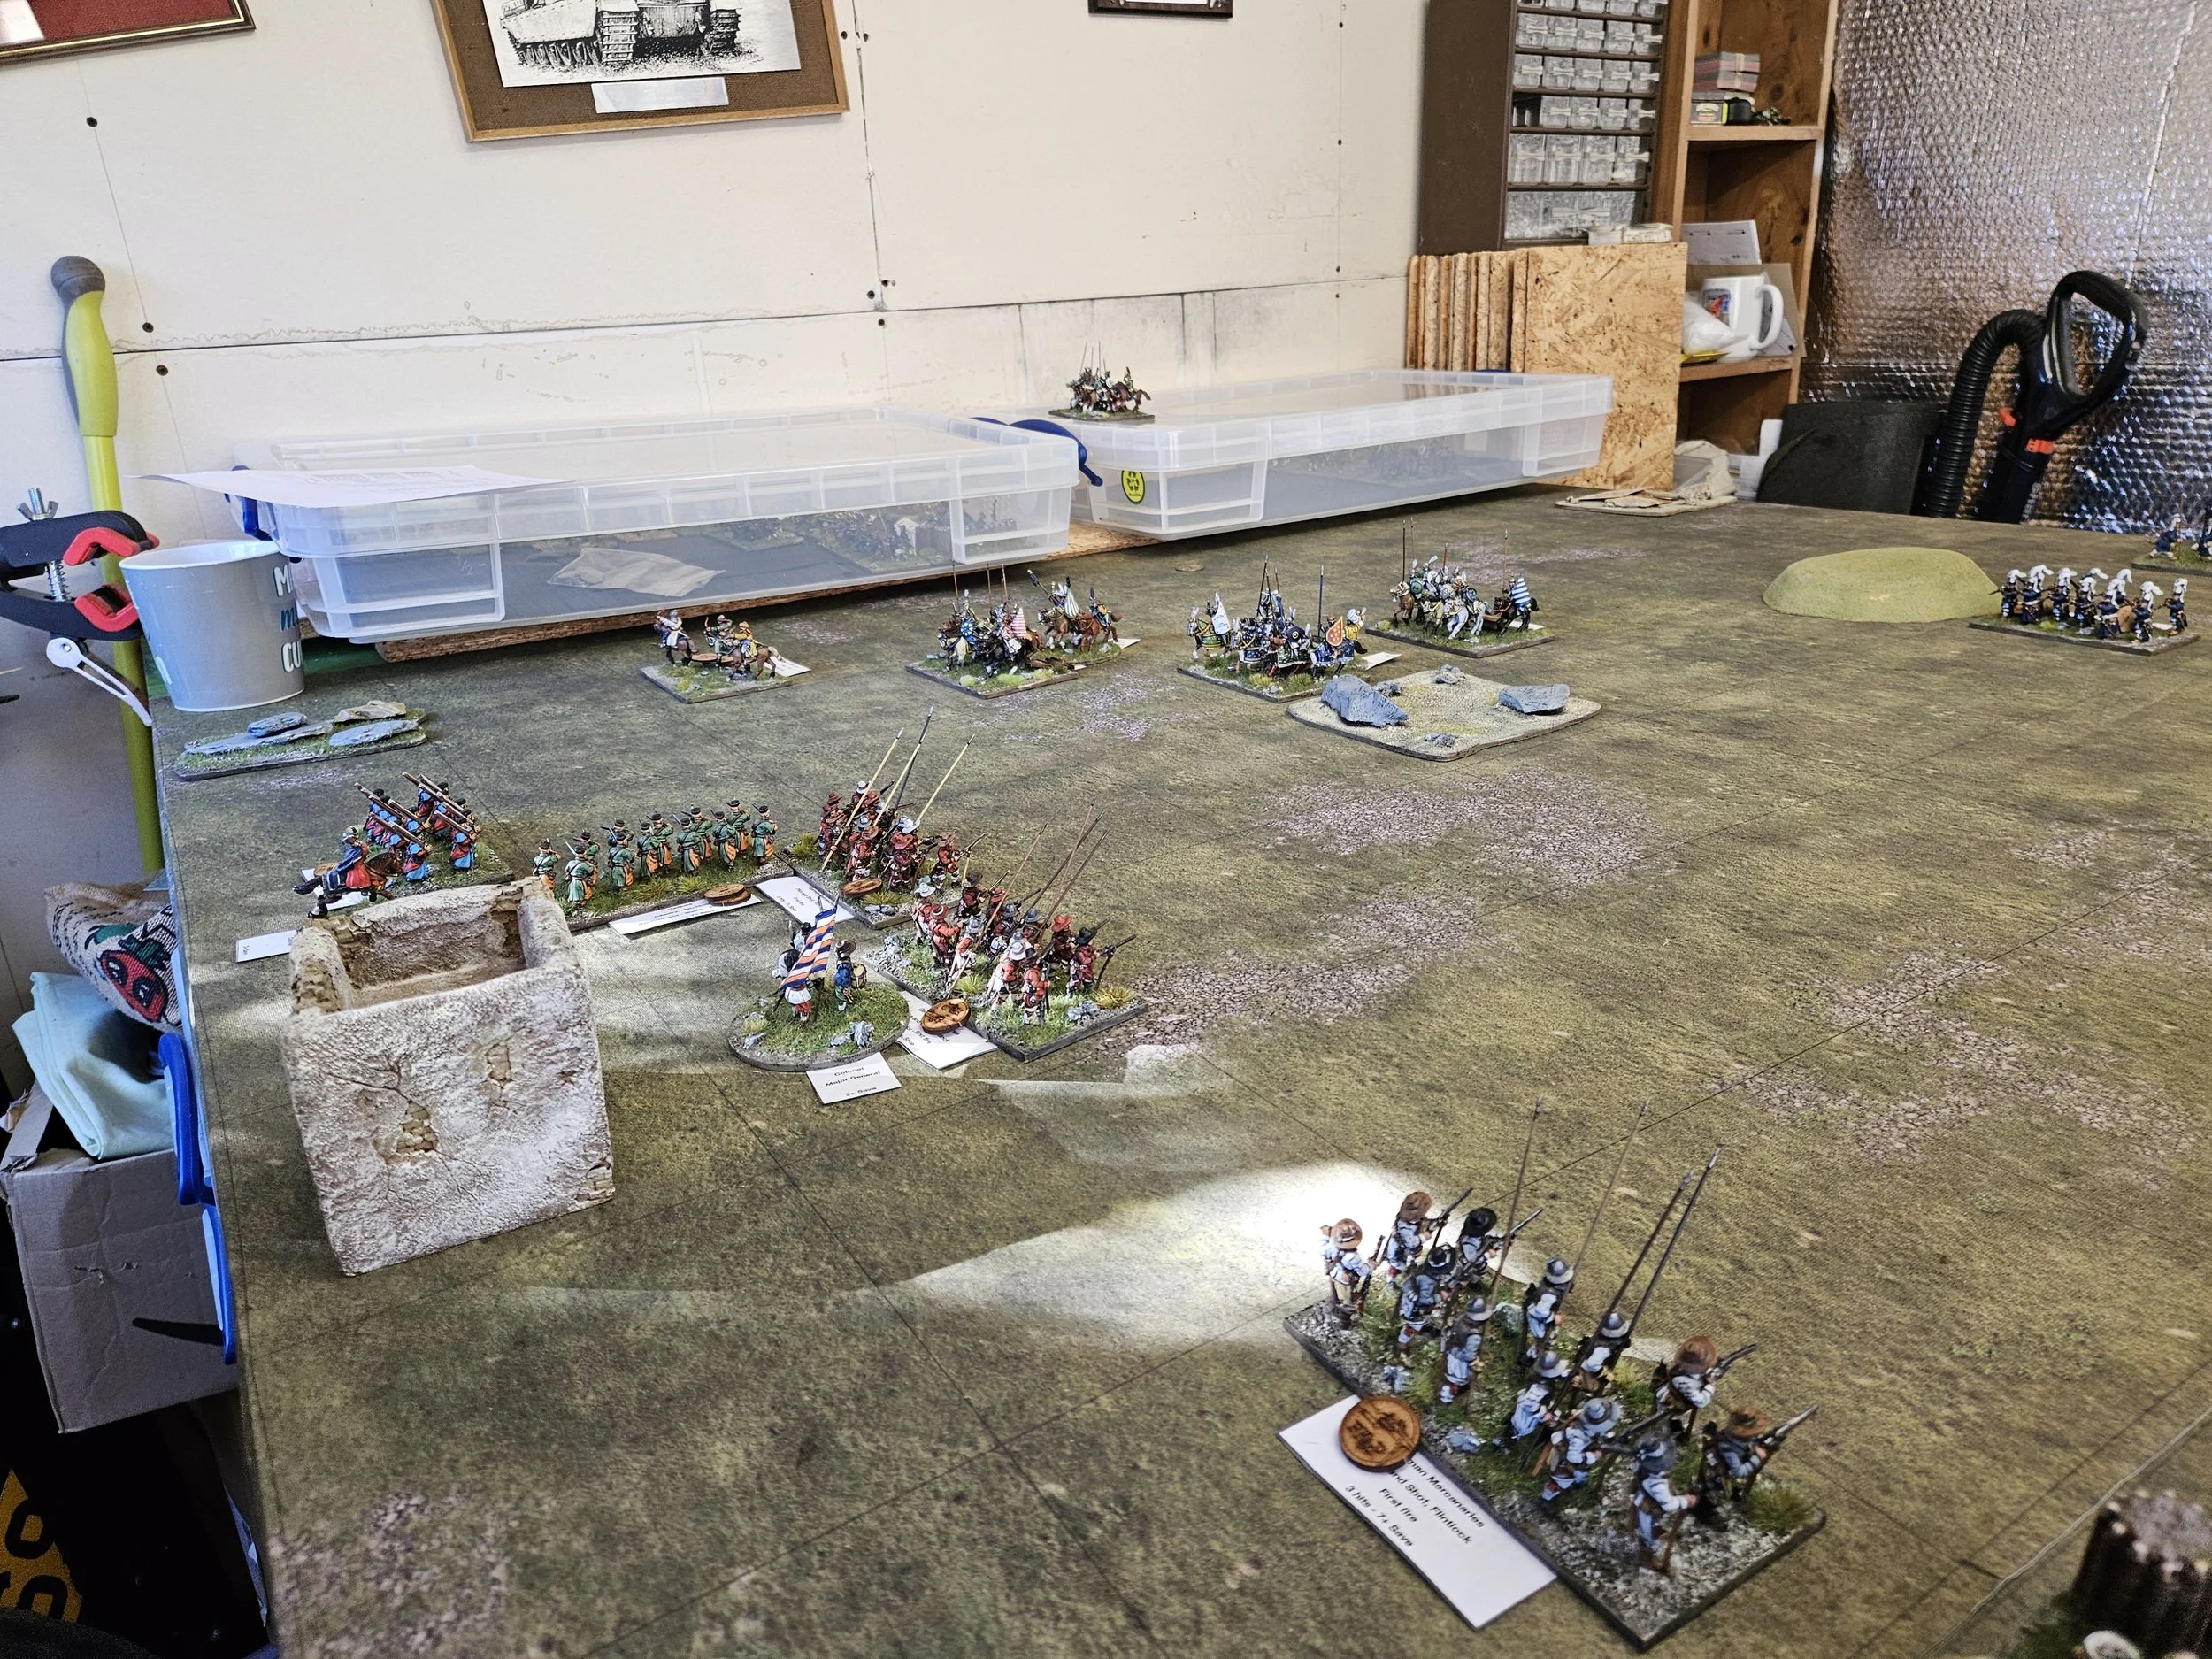
Meanwhile, on the Polish left flank, Ottoman cavalry had swung round to try and take the German mercenary and Hadjuk infantry in the flank. In response, the ‘Polish’ infantry formed an L-shape and prepared to fire volleys into the advancing enemy cavalry…but there was something seriously wrong with the Polish muskets that day: no Turkish cavalry were routed and a hail of arrows flew back in return, disordering some Hadjuks.
The Ottoman infantry then charged home, blasting one regiment of Hadjuks from the field, and leaving themselves perfectly positioned to roll over their secondary objective (the white building) and then threaten the main Polish camp.
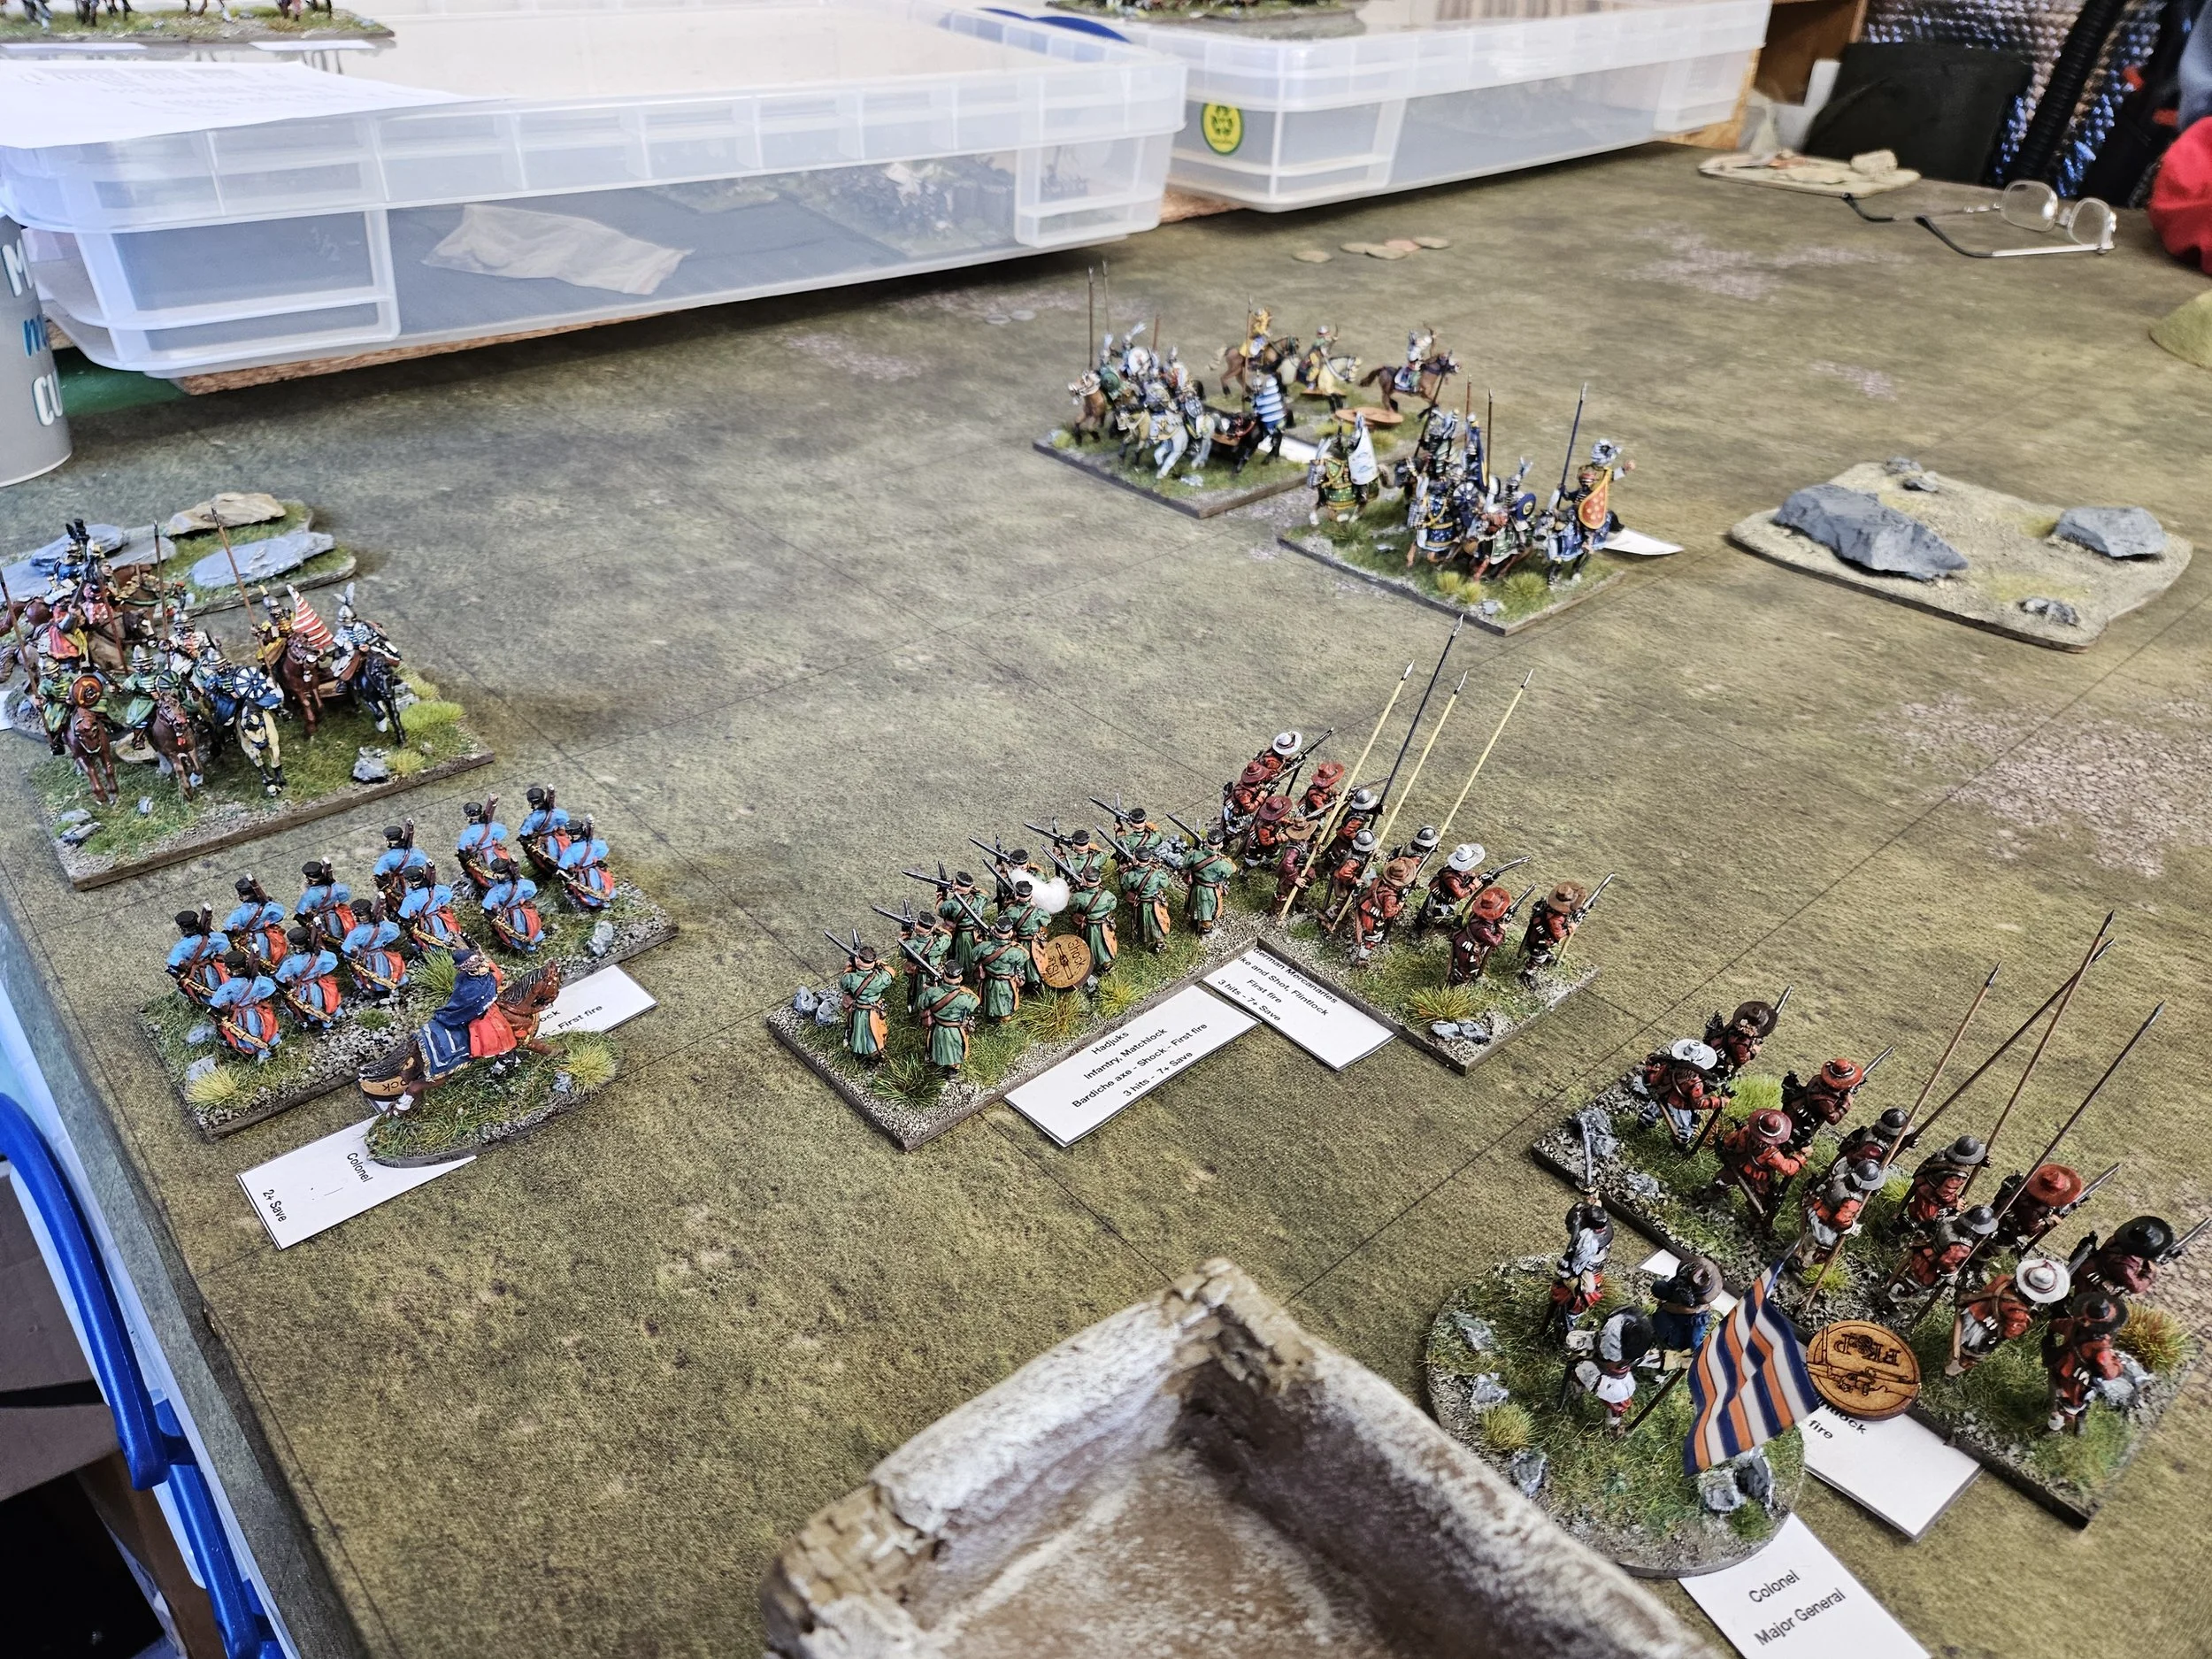
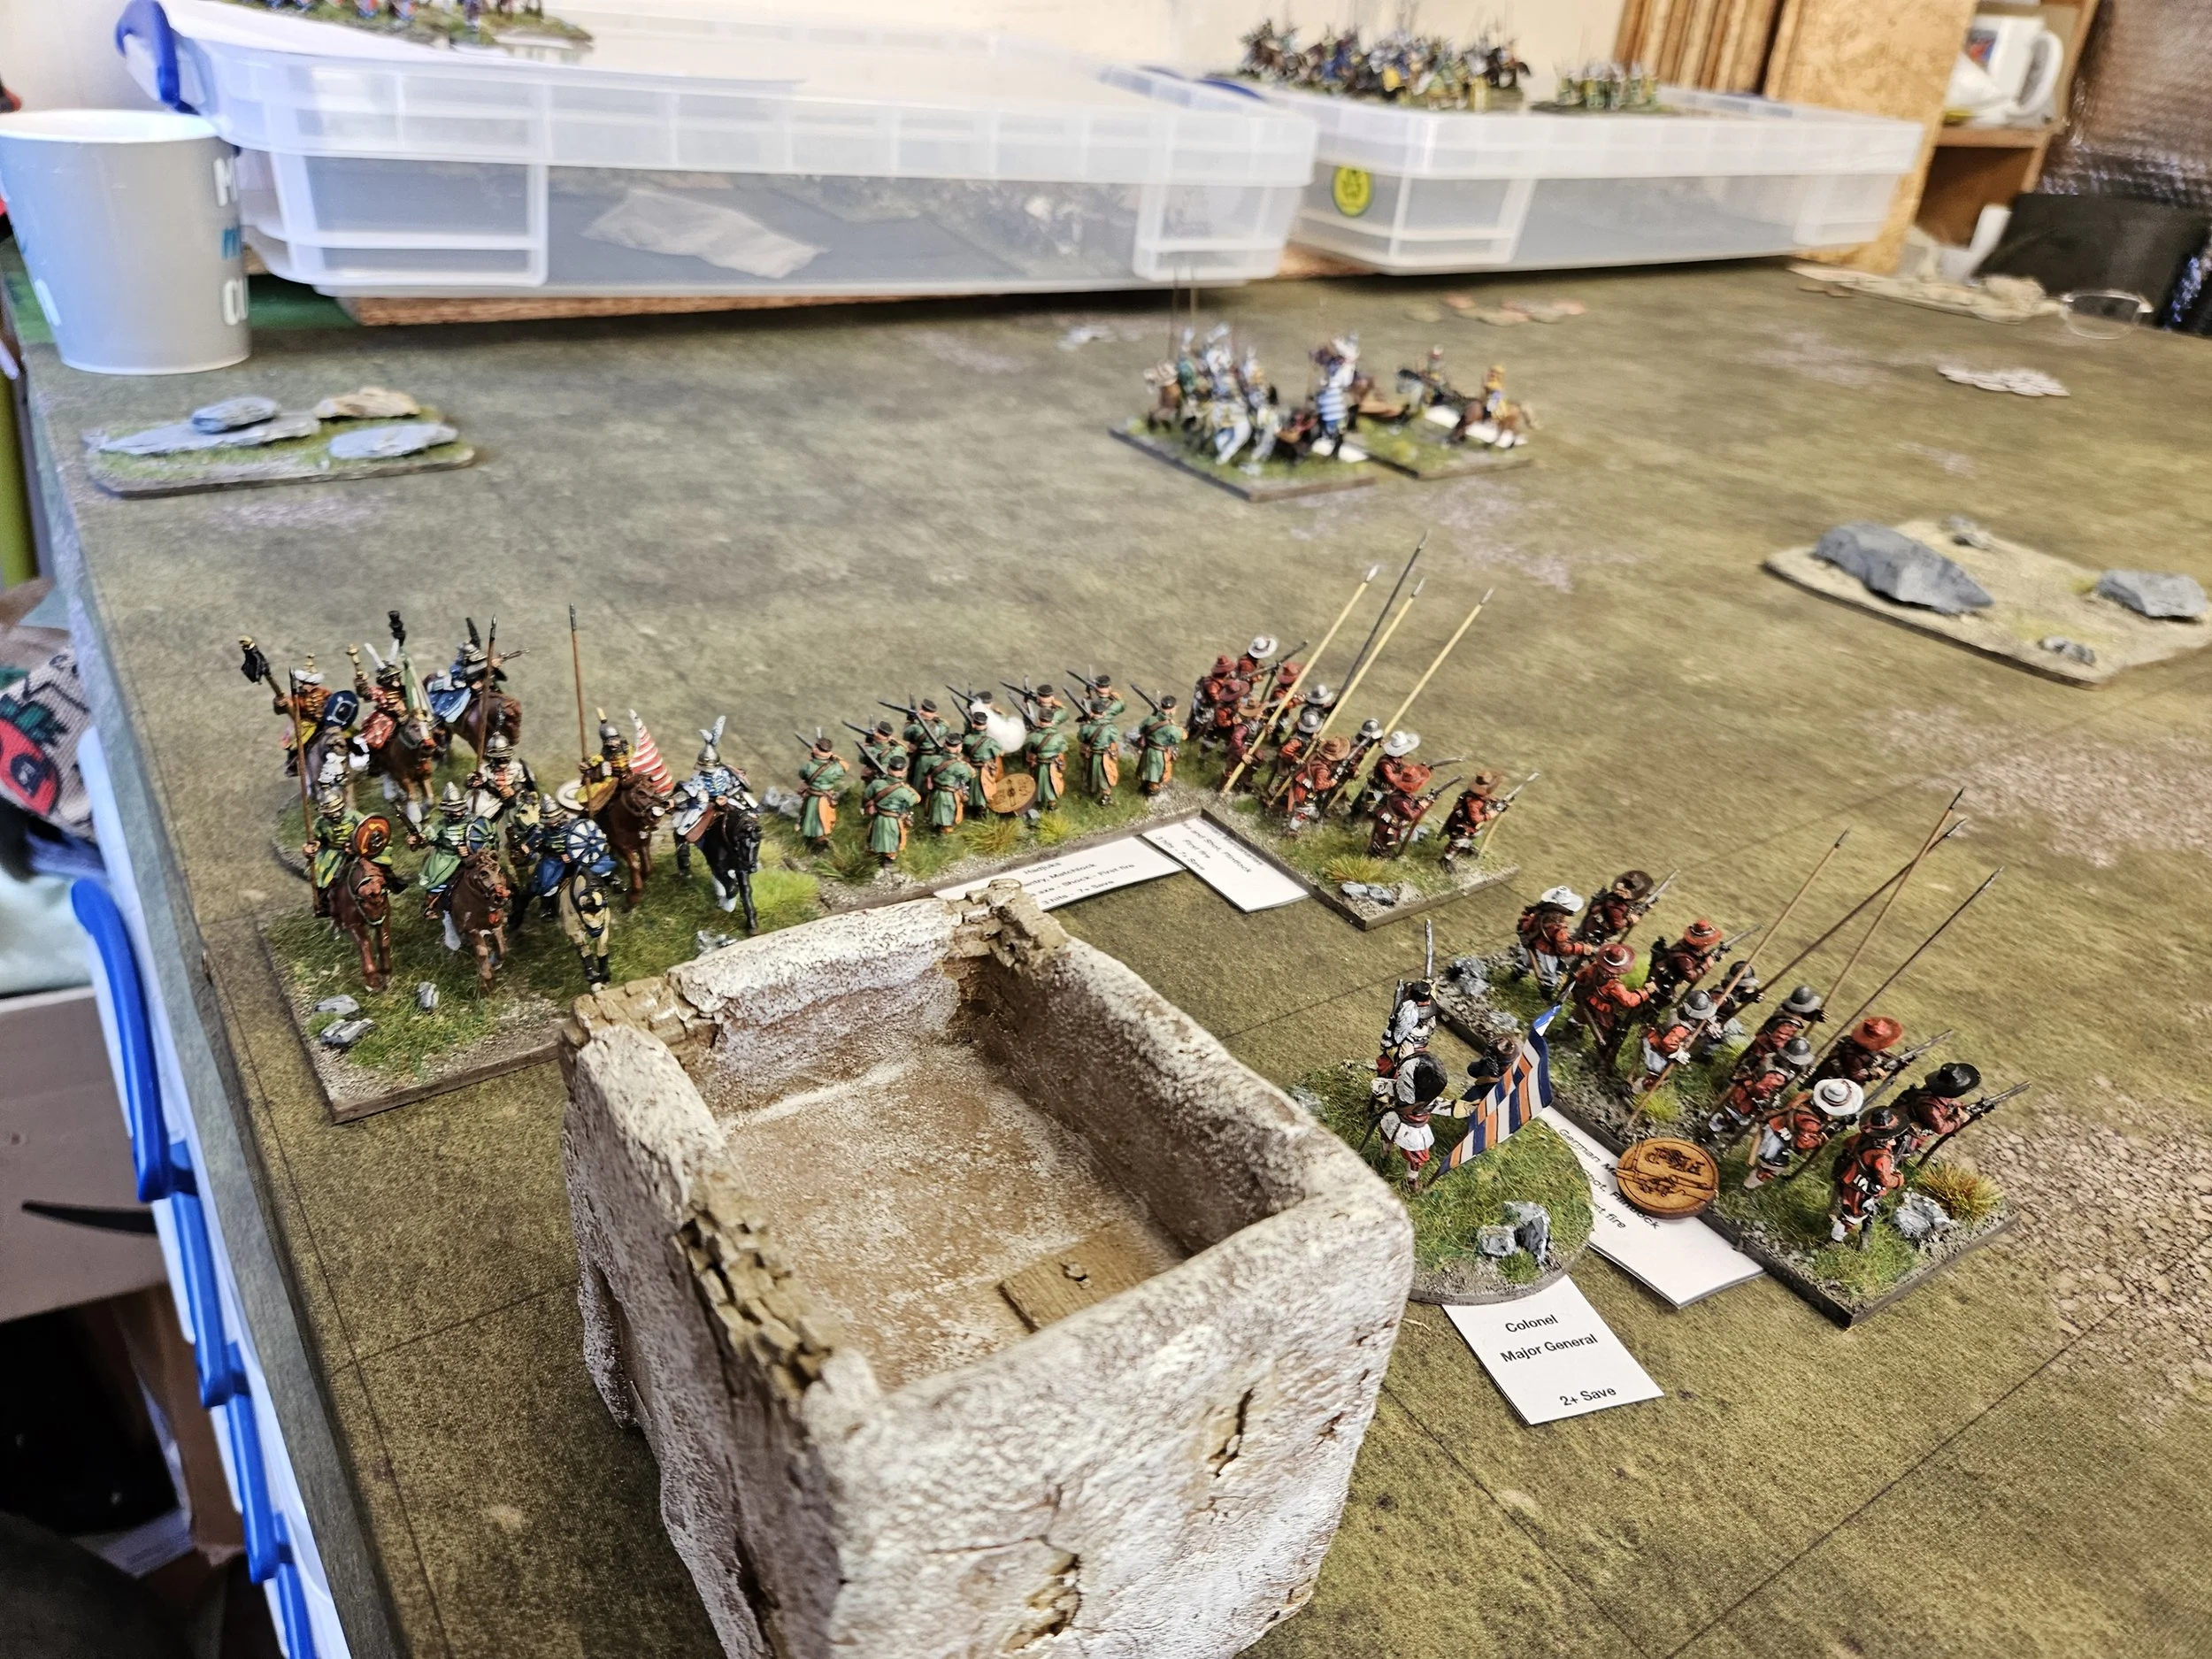
So things looked a but grim for the Poles on the left, but fortunately they had a Brilliant general in command in the centre (that’s me, in case you had forgotten) who led the cavalry into the rear of the Azabs protecting that end of the main Turkish line.
This was quite an amusing passage of play. The first Polish charge went home over the rough ground the Azabs were sheltering in due to a lucky card, but then the Winged Hussars failed to hit with any of their four chances to do so!
I then remembered that my stratagem (the King of Spades) allowed me to deploy engineers to flatten any area of rough ground. Consulting the rulebook, we couldn’t see any reason why this wouldn’t apply to the rough ground actually under the Azabs, so the next Polish charge went in easily and unhindered, and squished the Ottoman rabble underfoot!
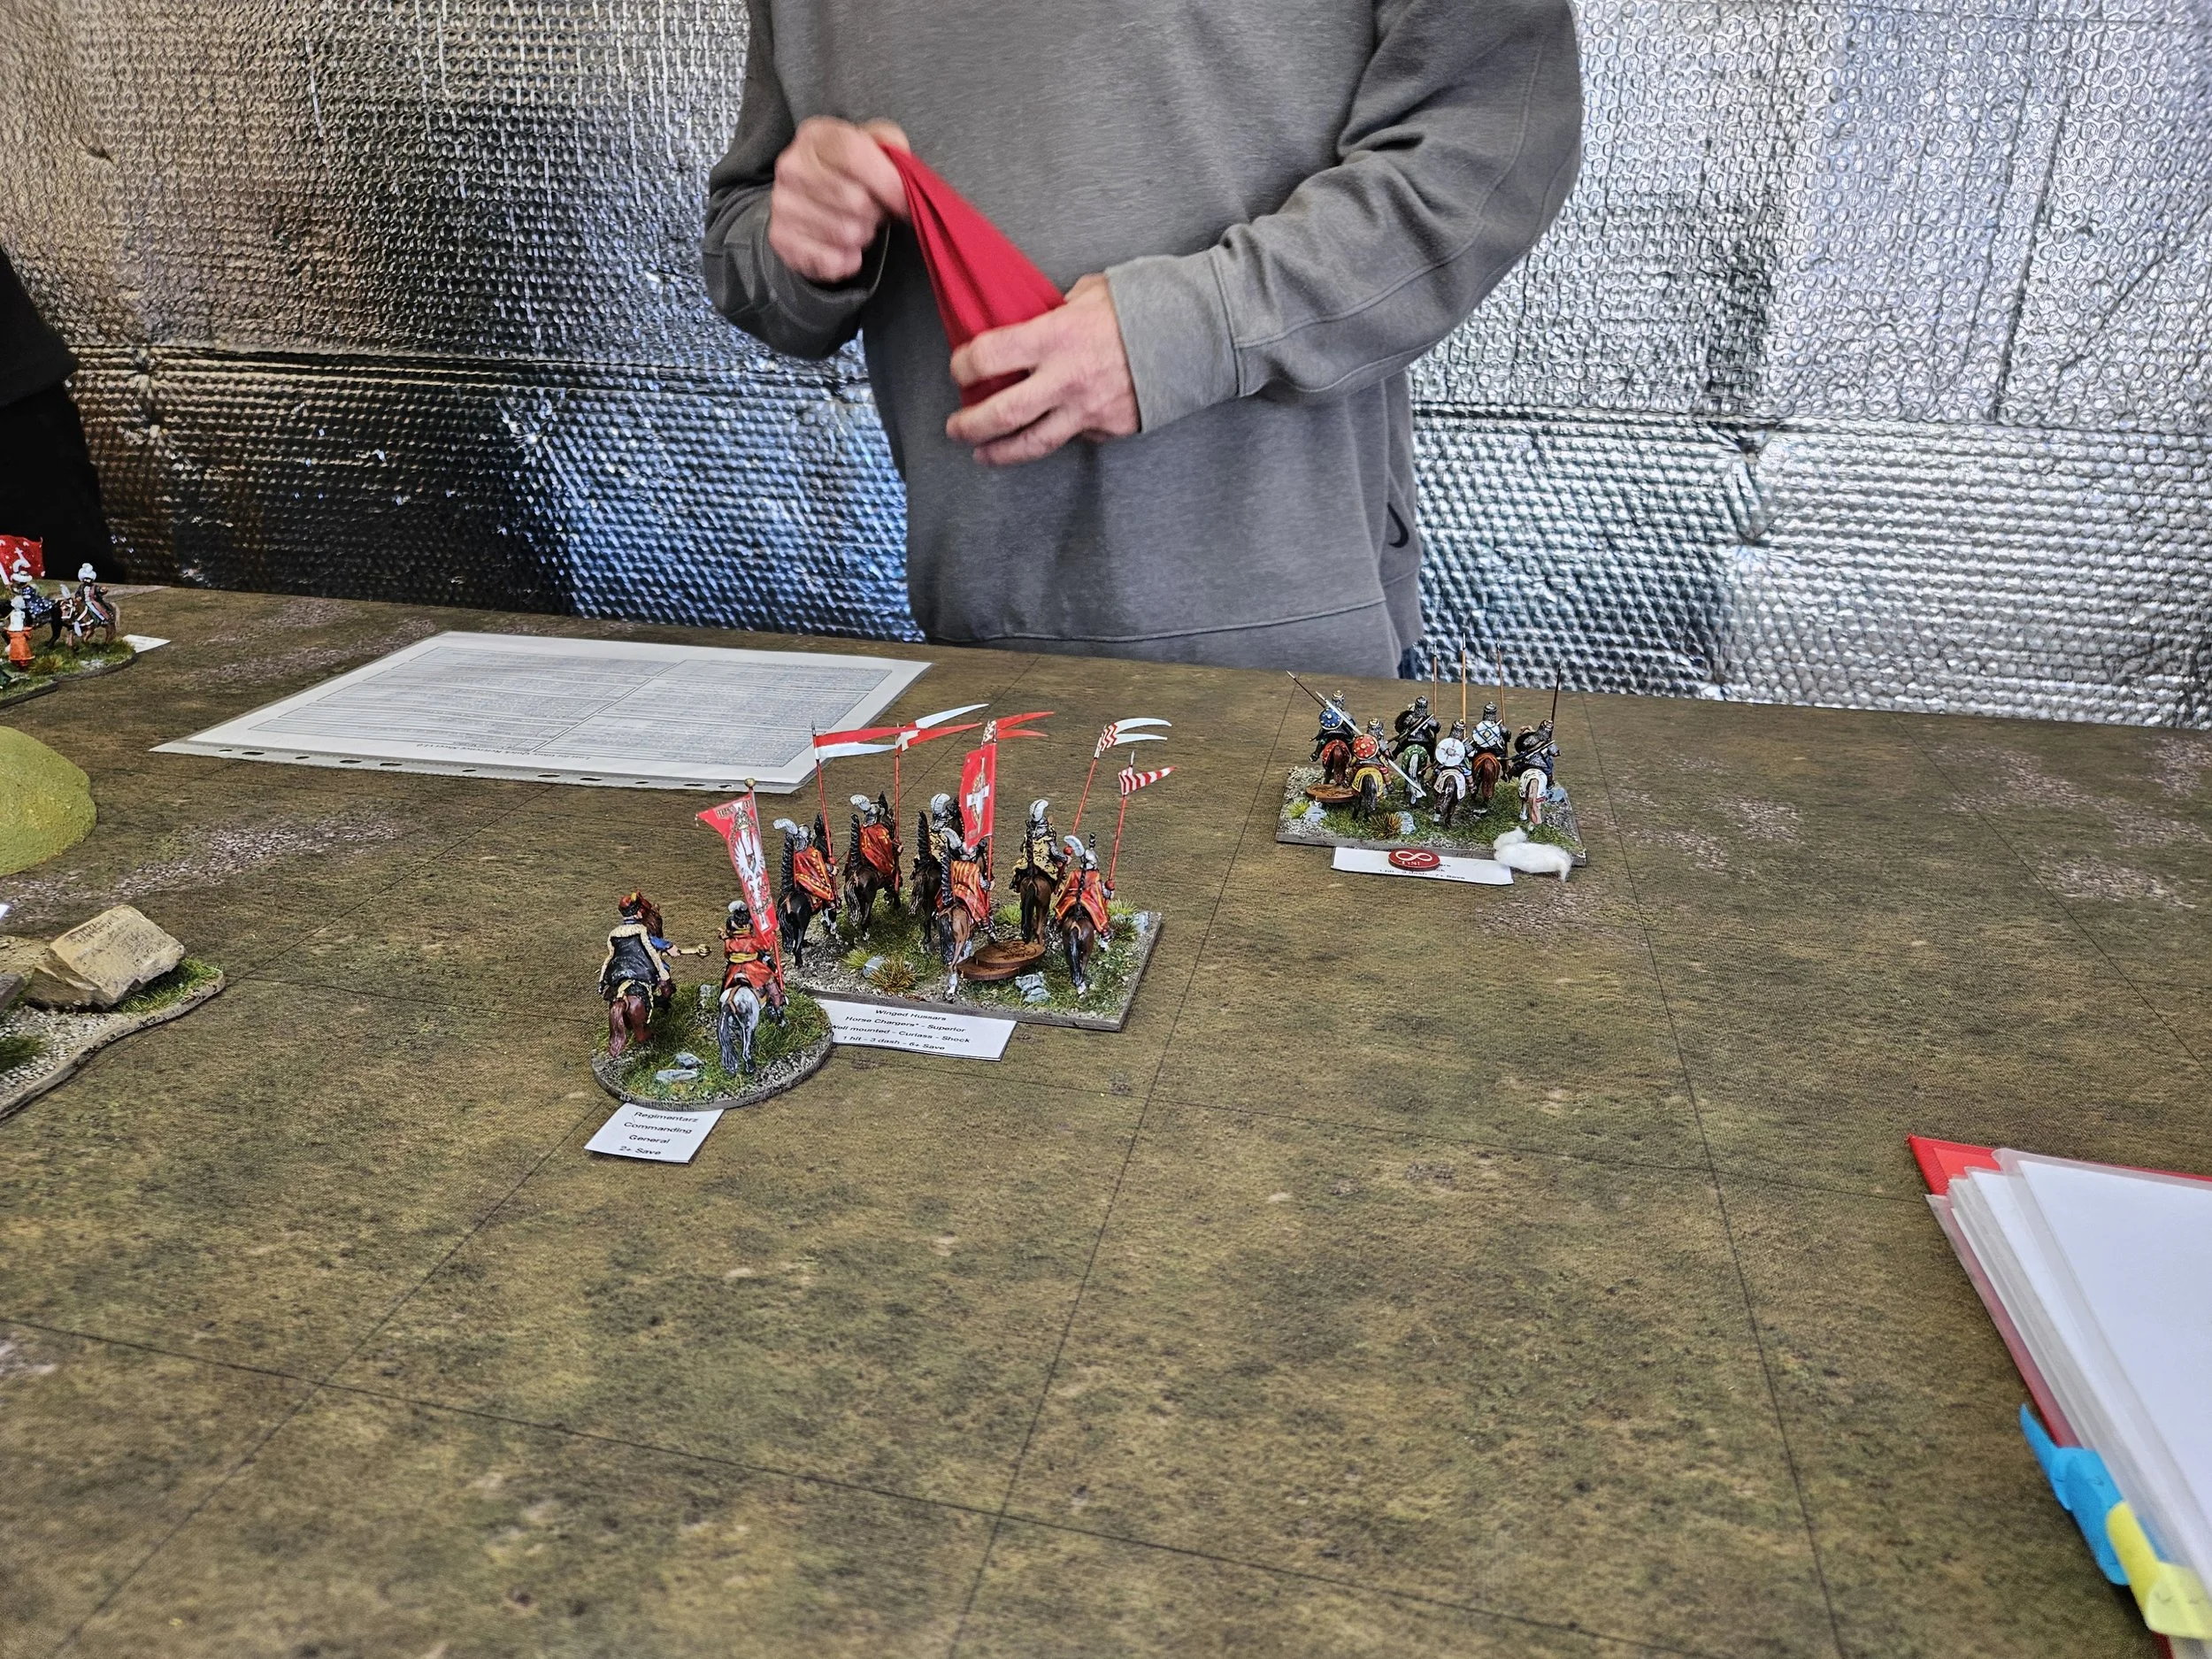
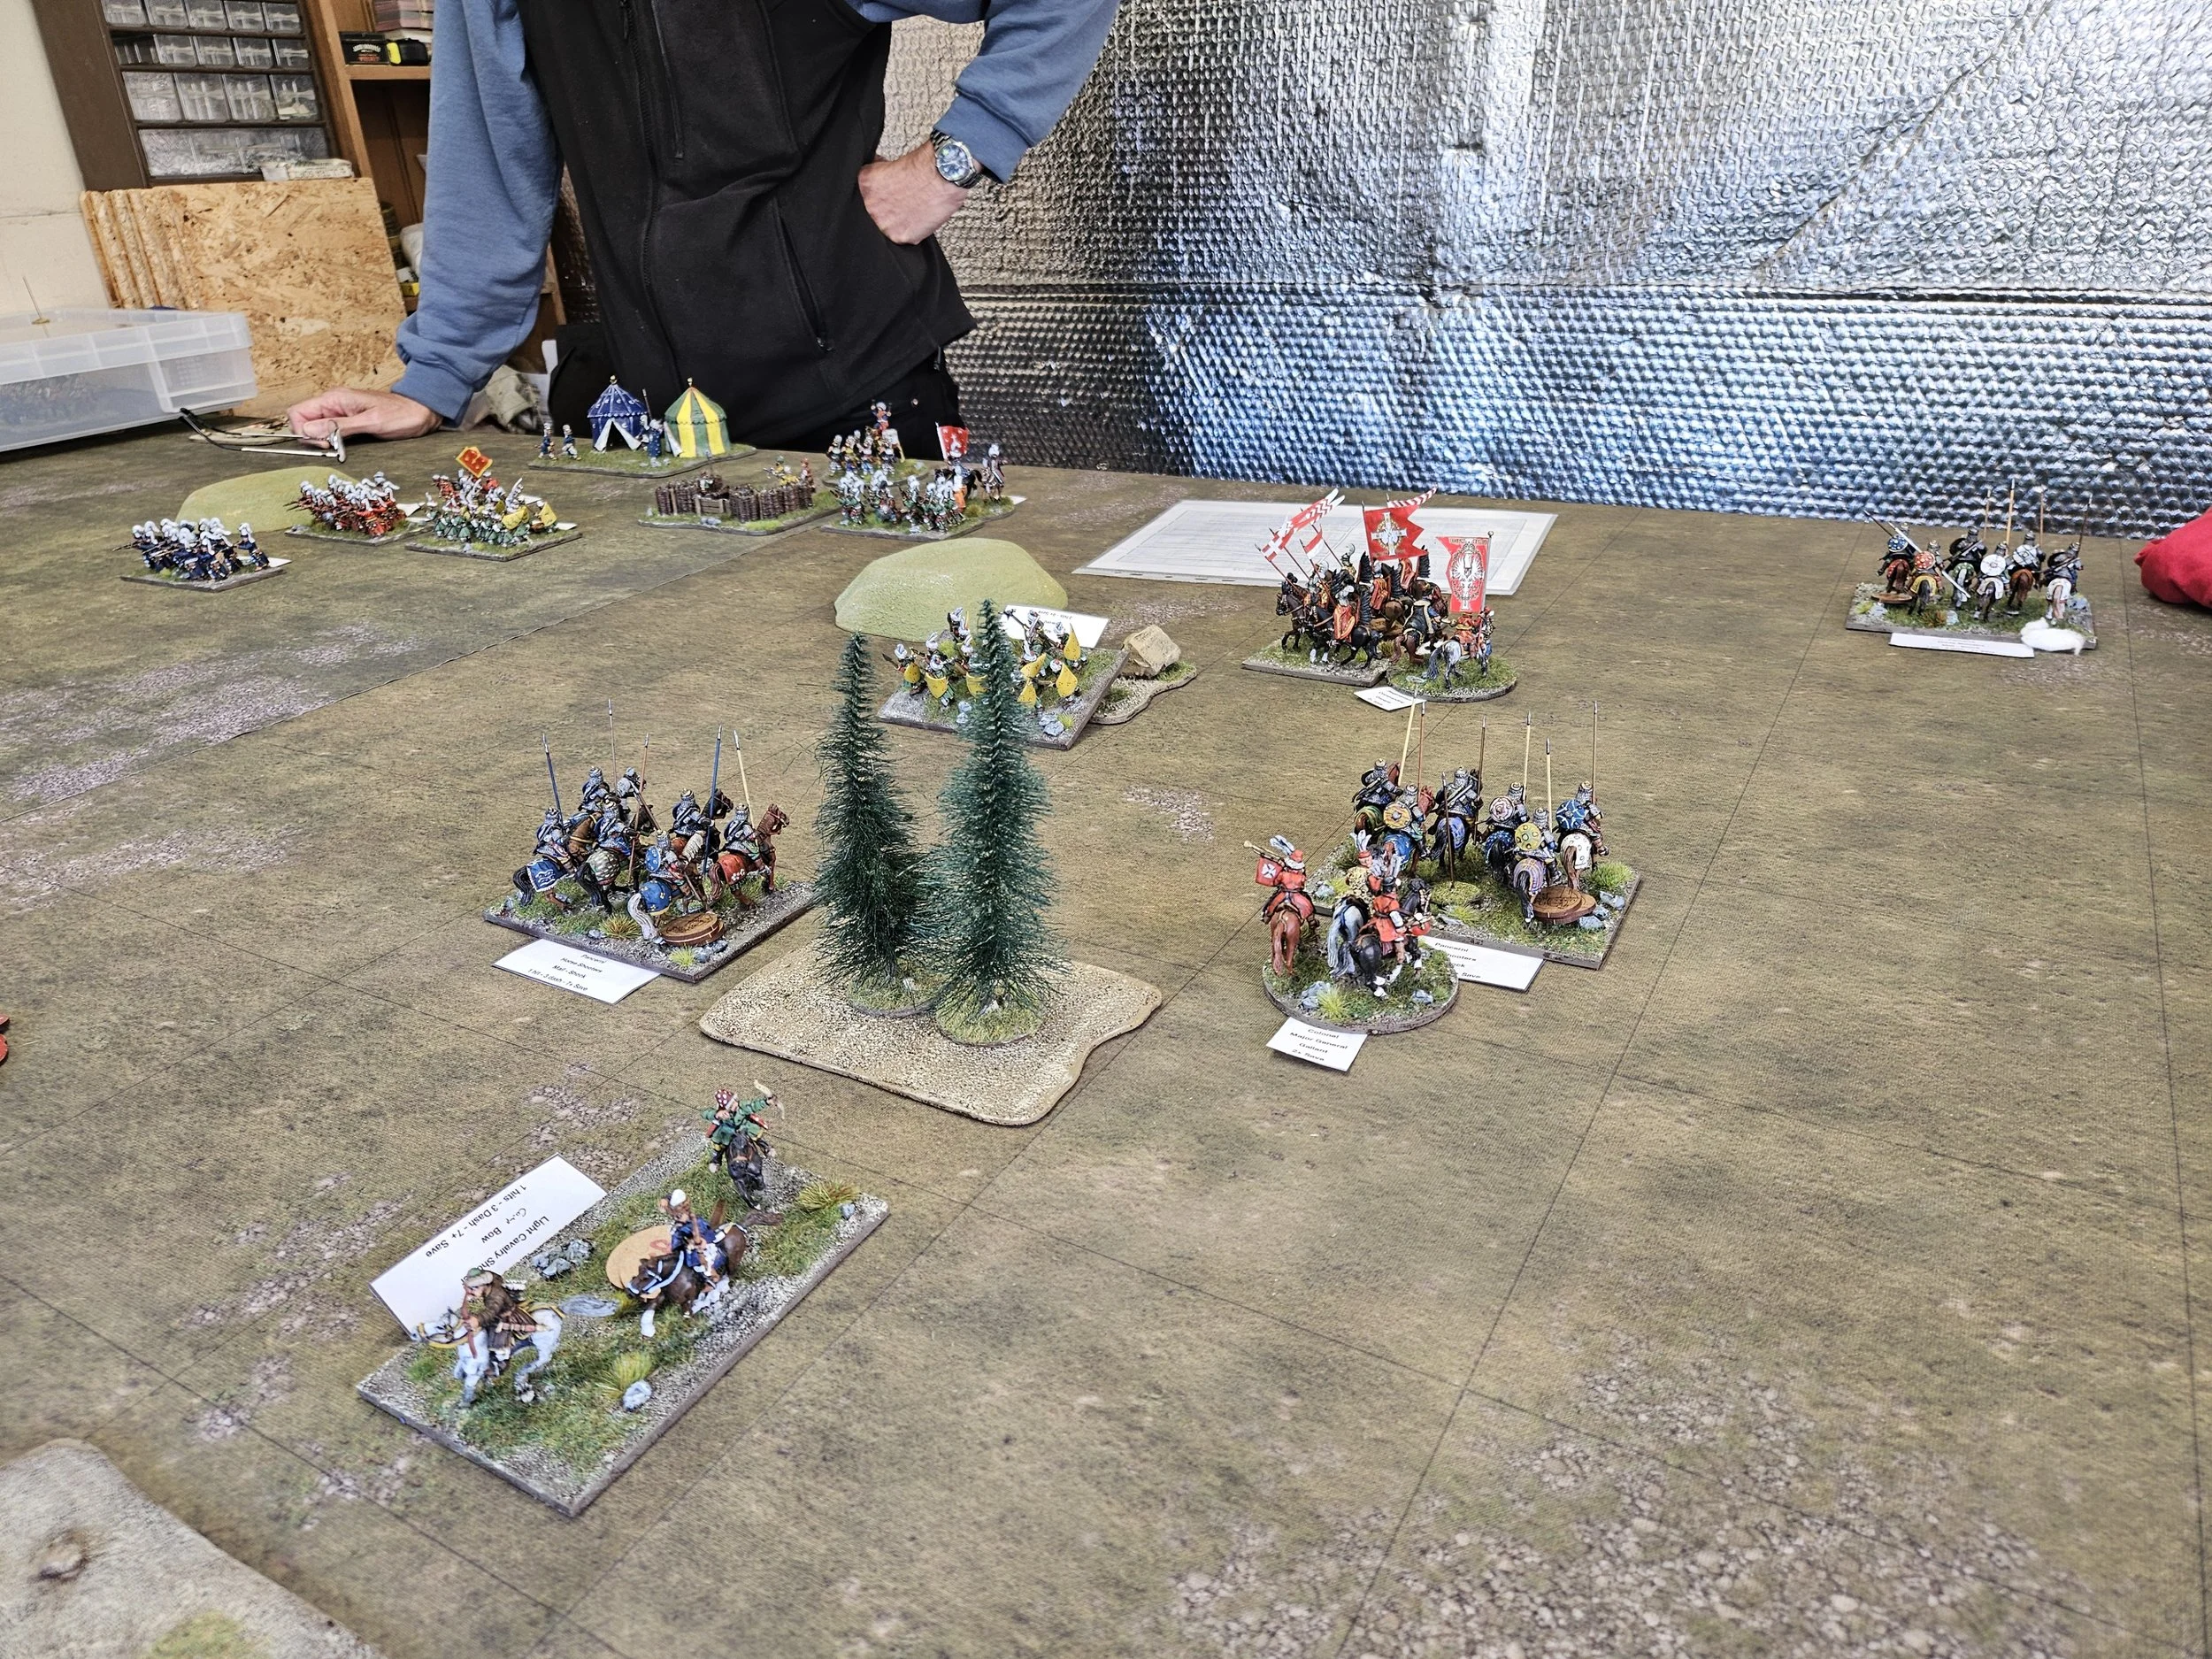
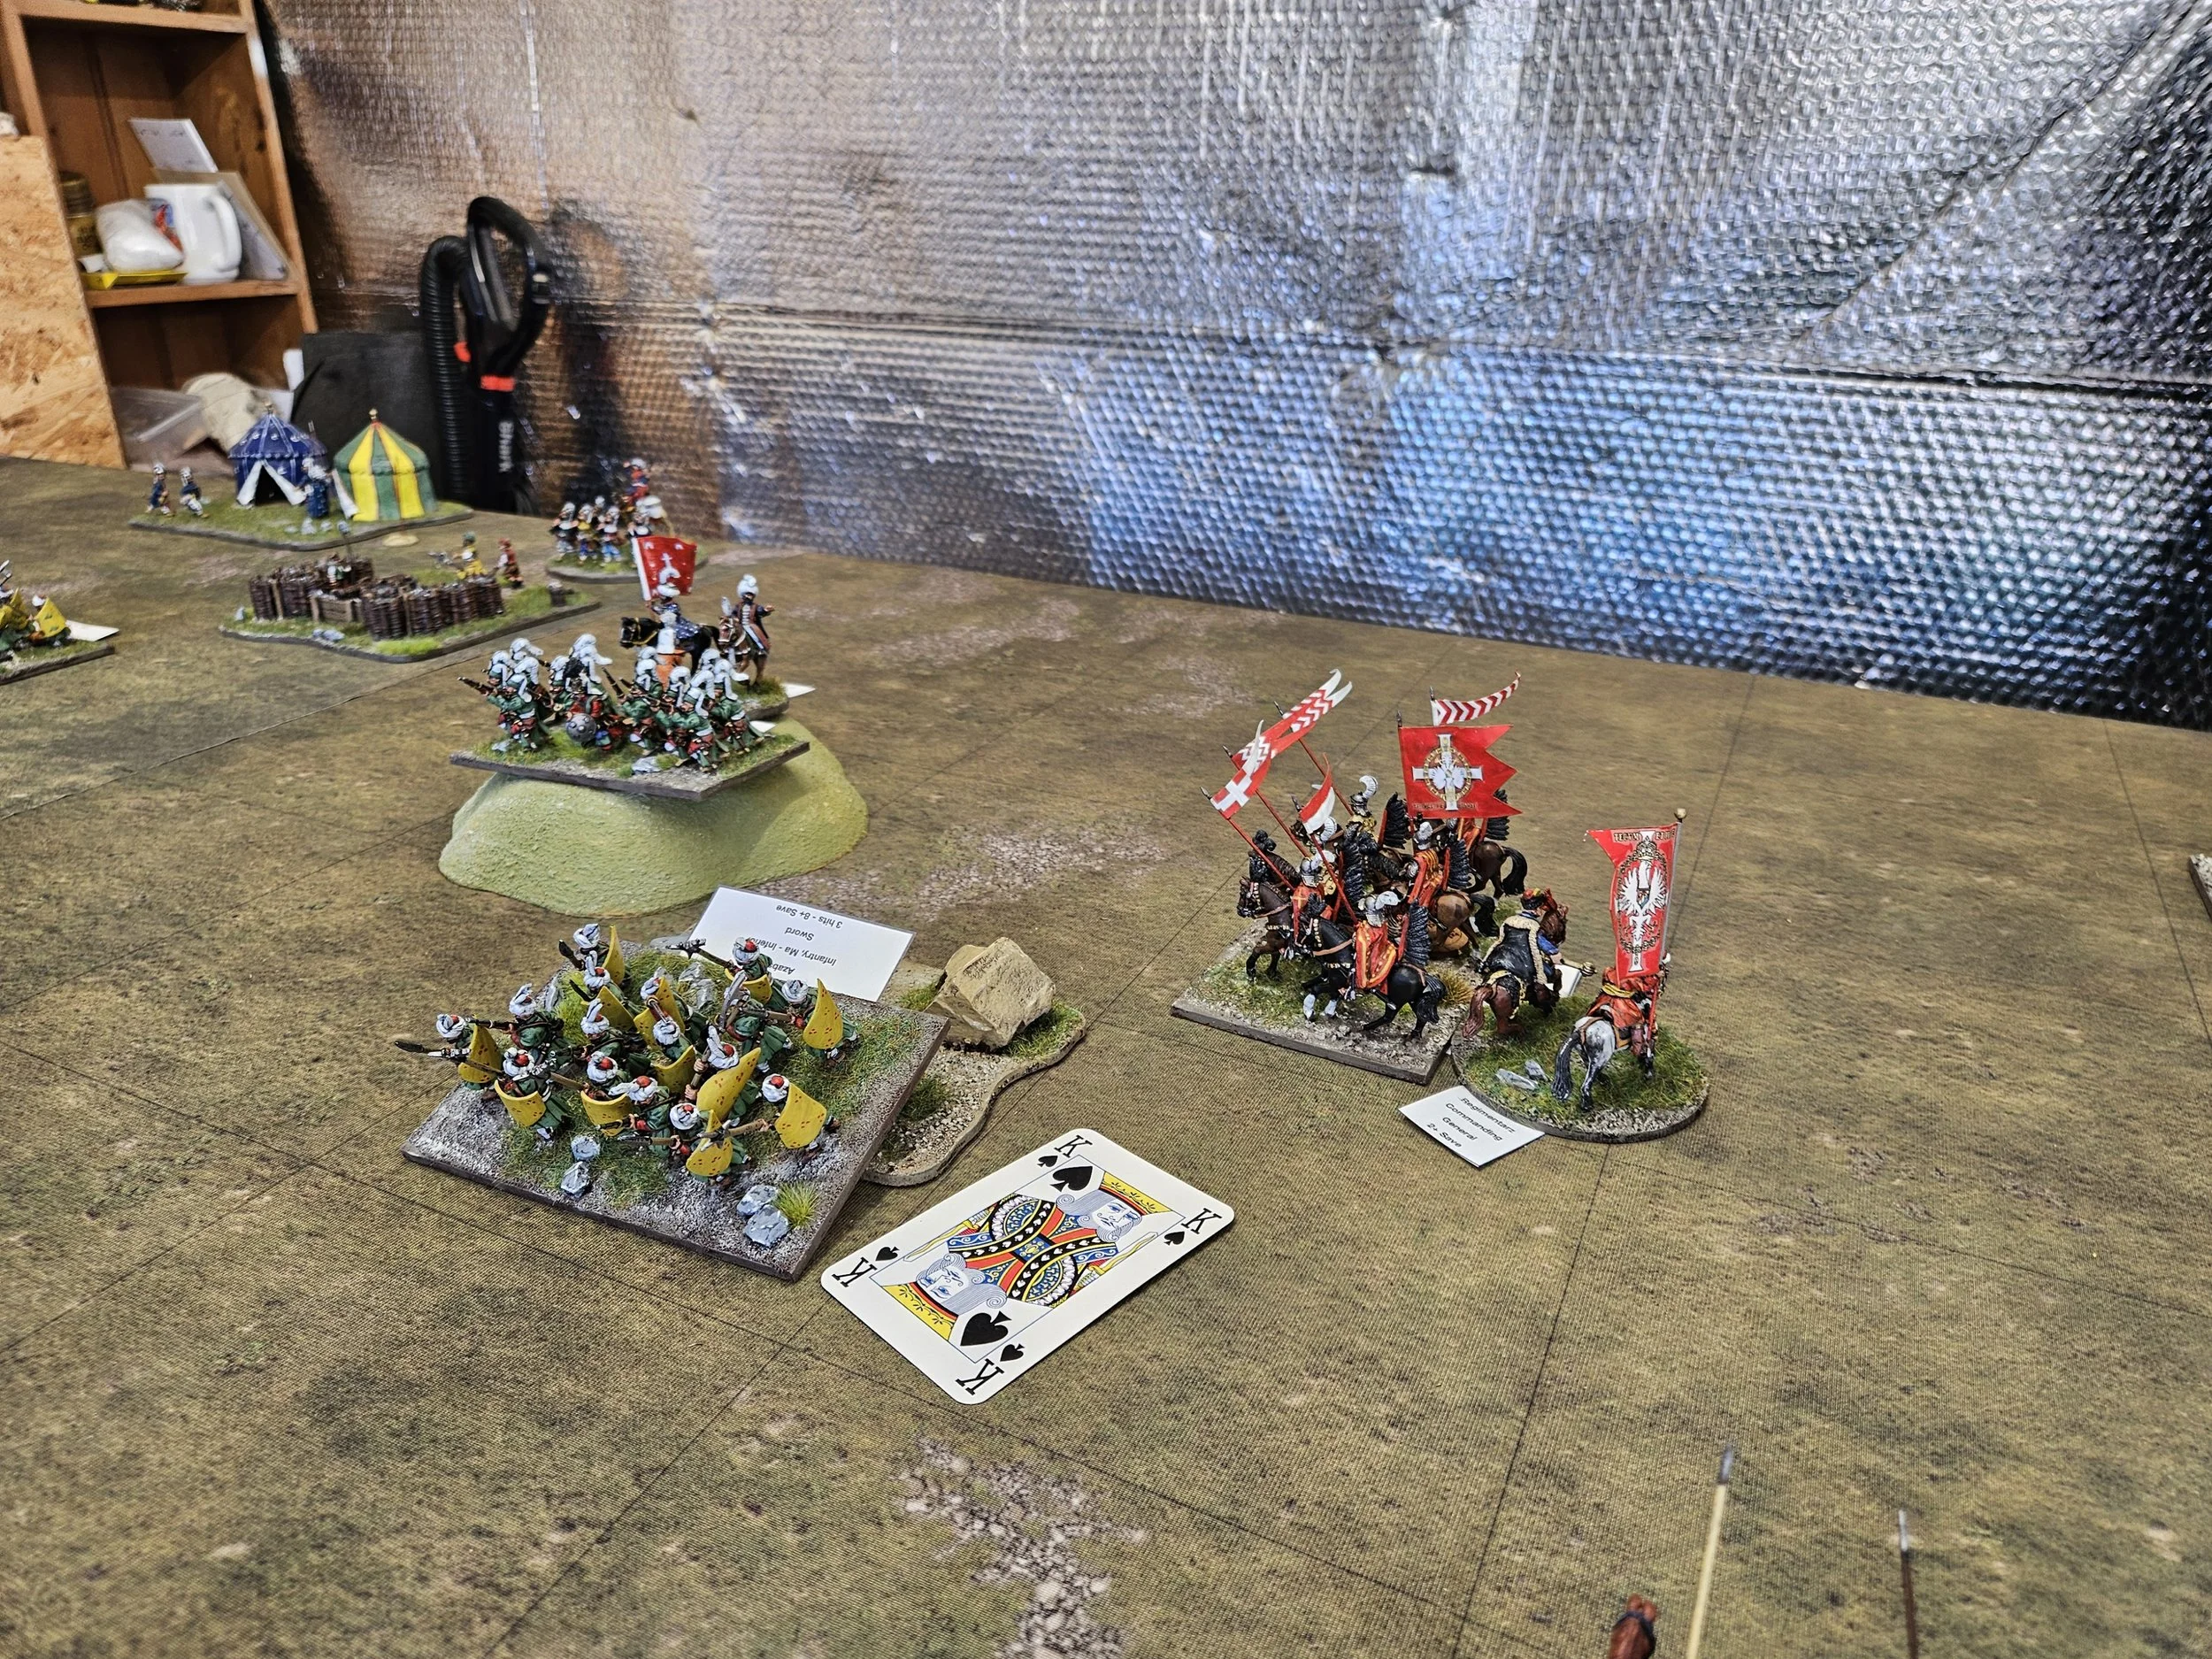
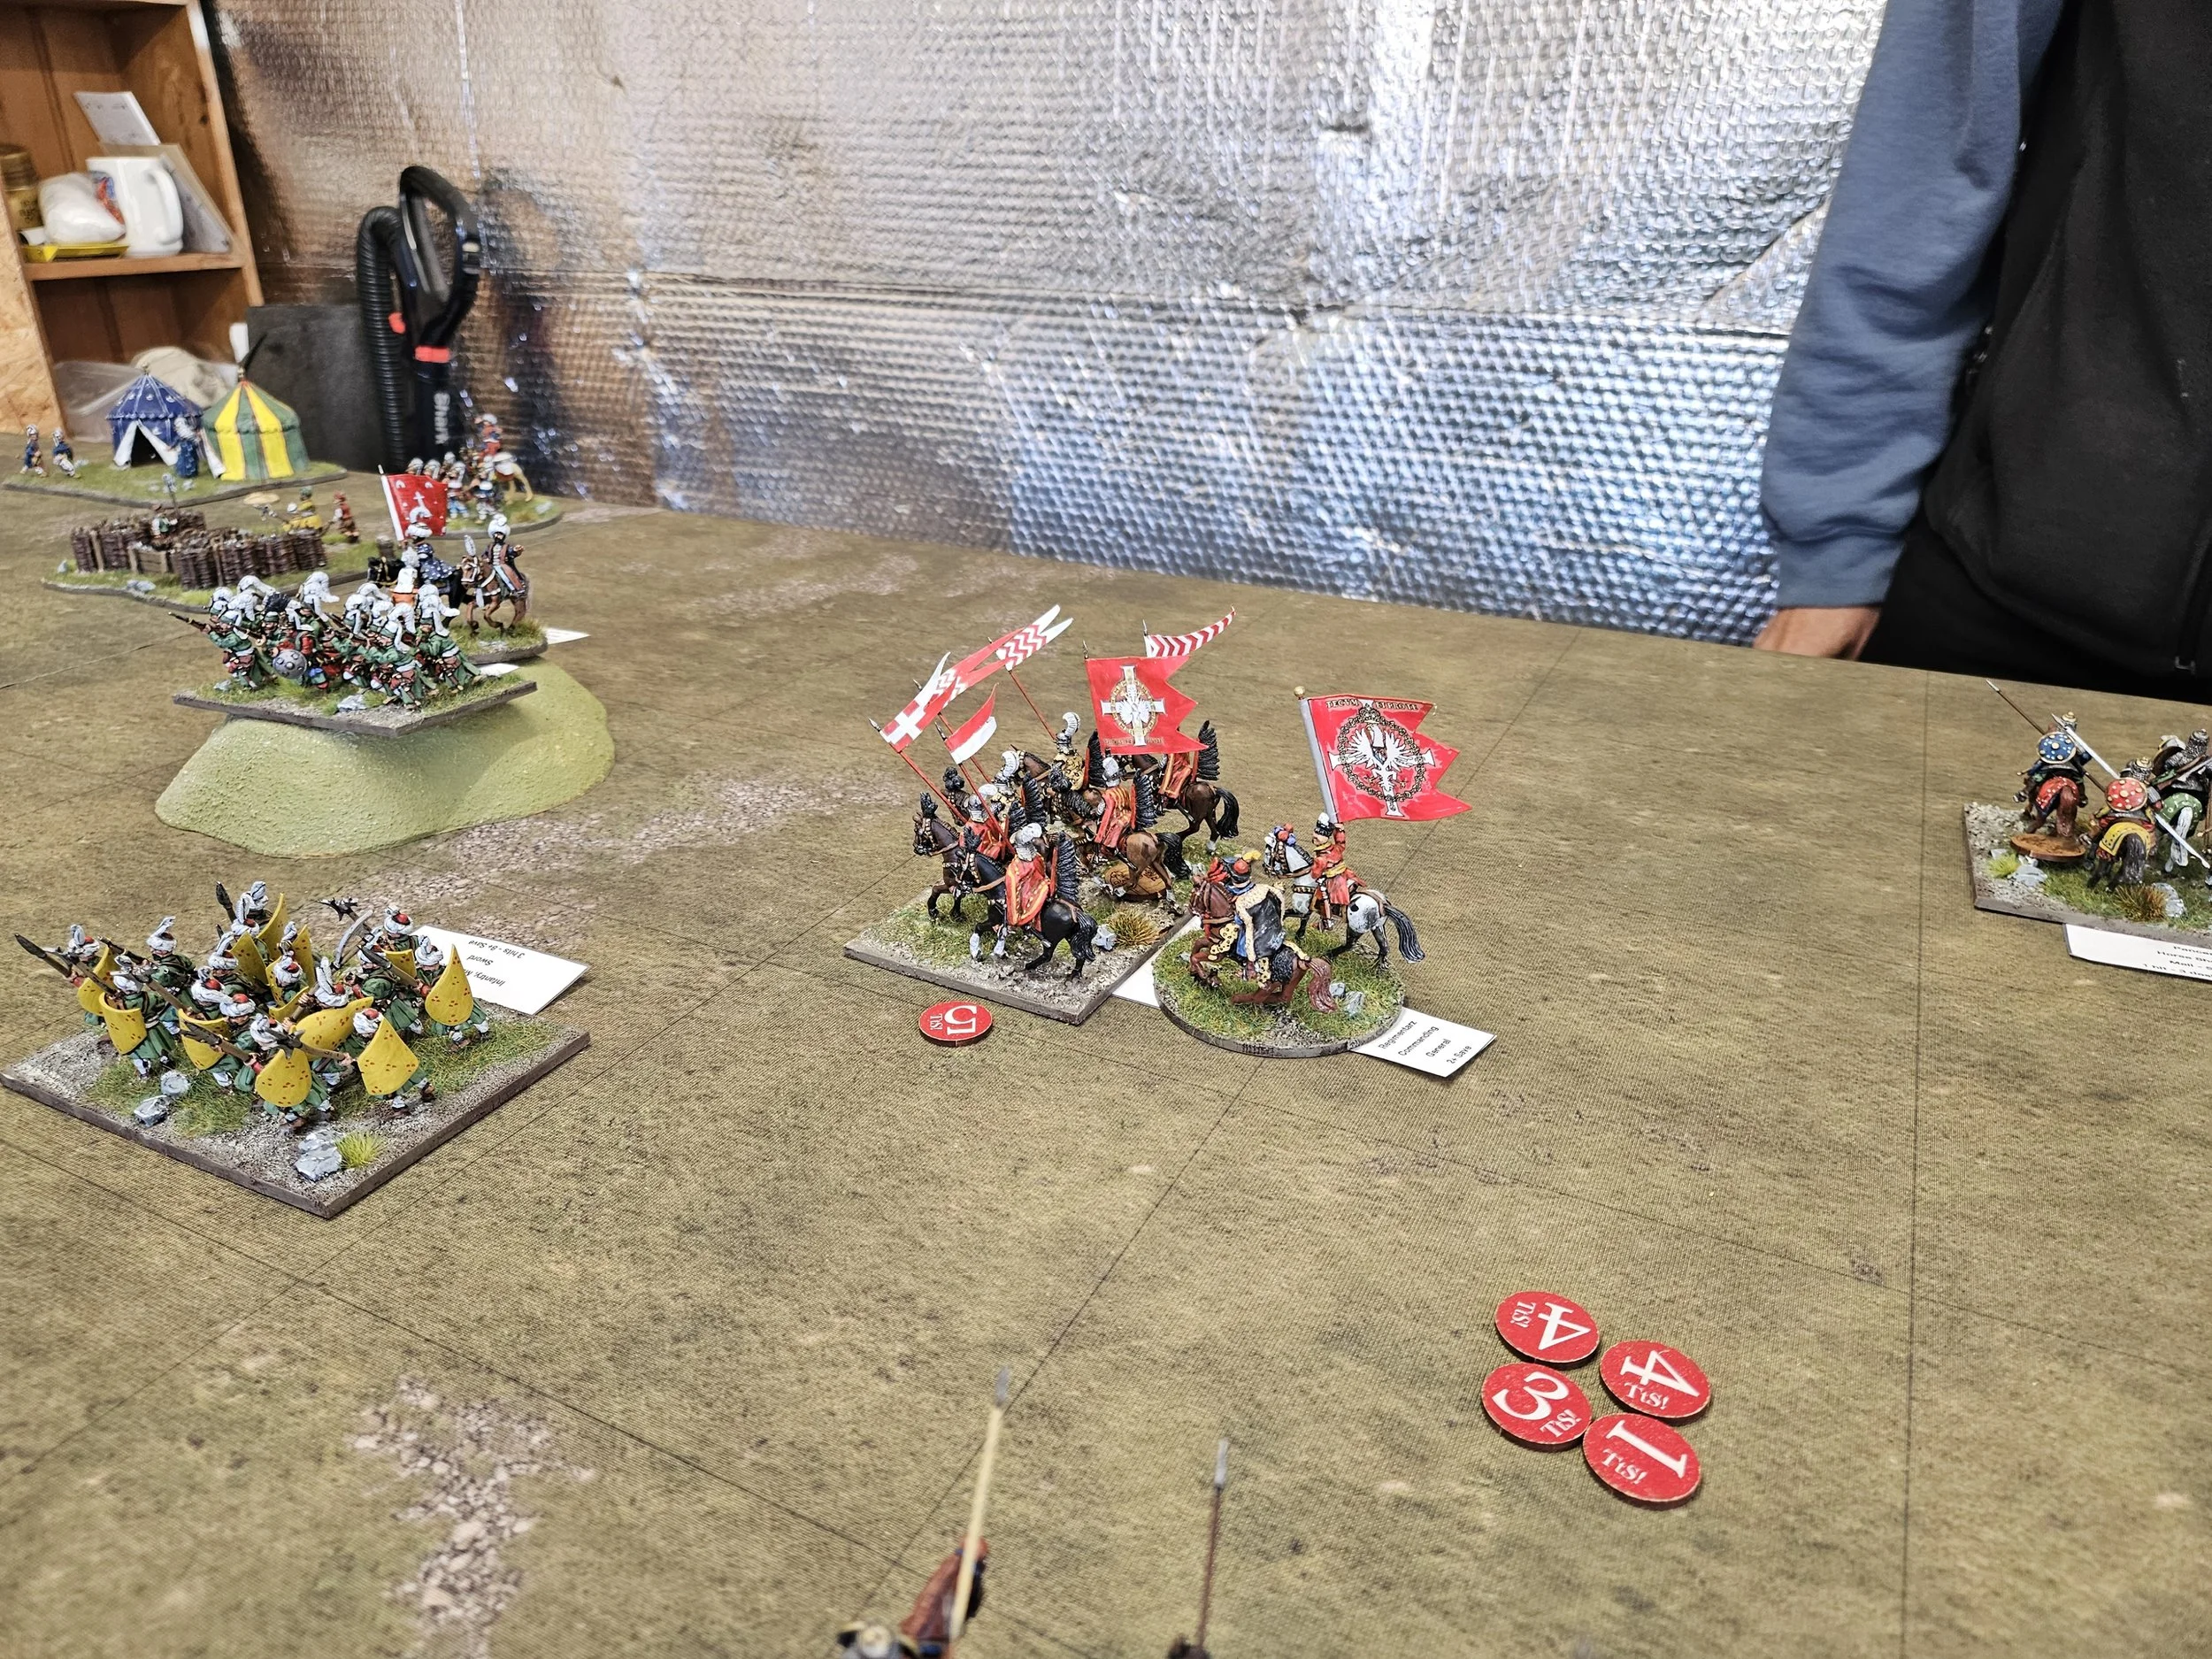
This put the Ottomans in a precarious position: almost out of coins and with rampaging enemy cavalry on their flank.
The Turks shifted a battalia of Janisseries to cover the gap, but the rest of my horse had come up and I was able to use one squadron to by-pass the Janisseries and strike for the Ottoman secondary objective: their band.The Poles desperately needed to capture the band quickly, as the situation on their left was, as we’ve seen, critical. Fortunately, an extraordinarily lucky card draw (the perfect ‘10’!) saw my Pancerni sweep forward and seize the band, securing the game for us…and only just in time!
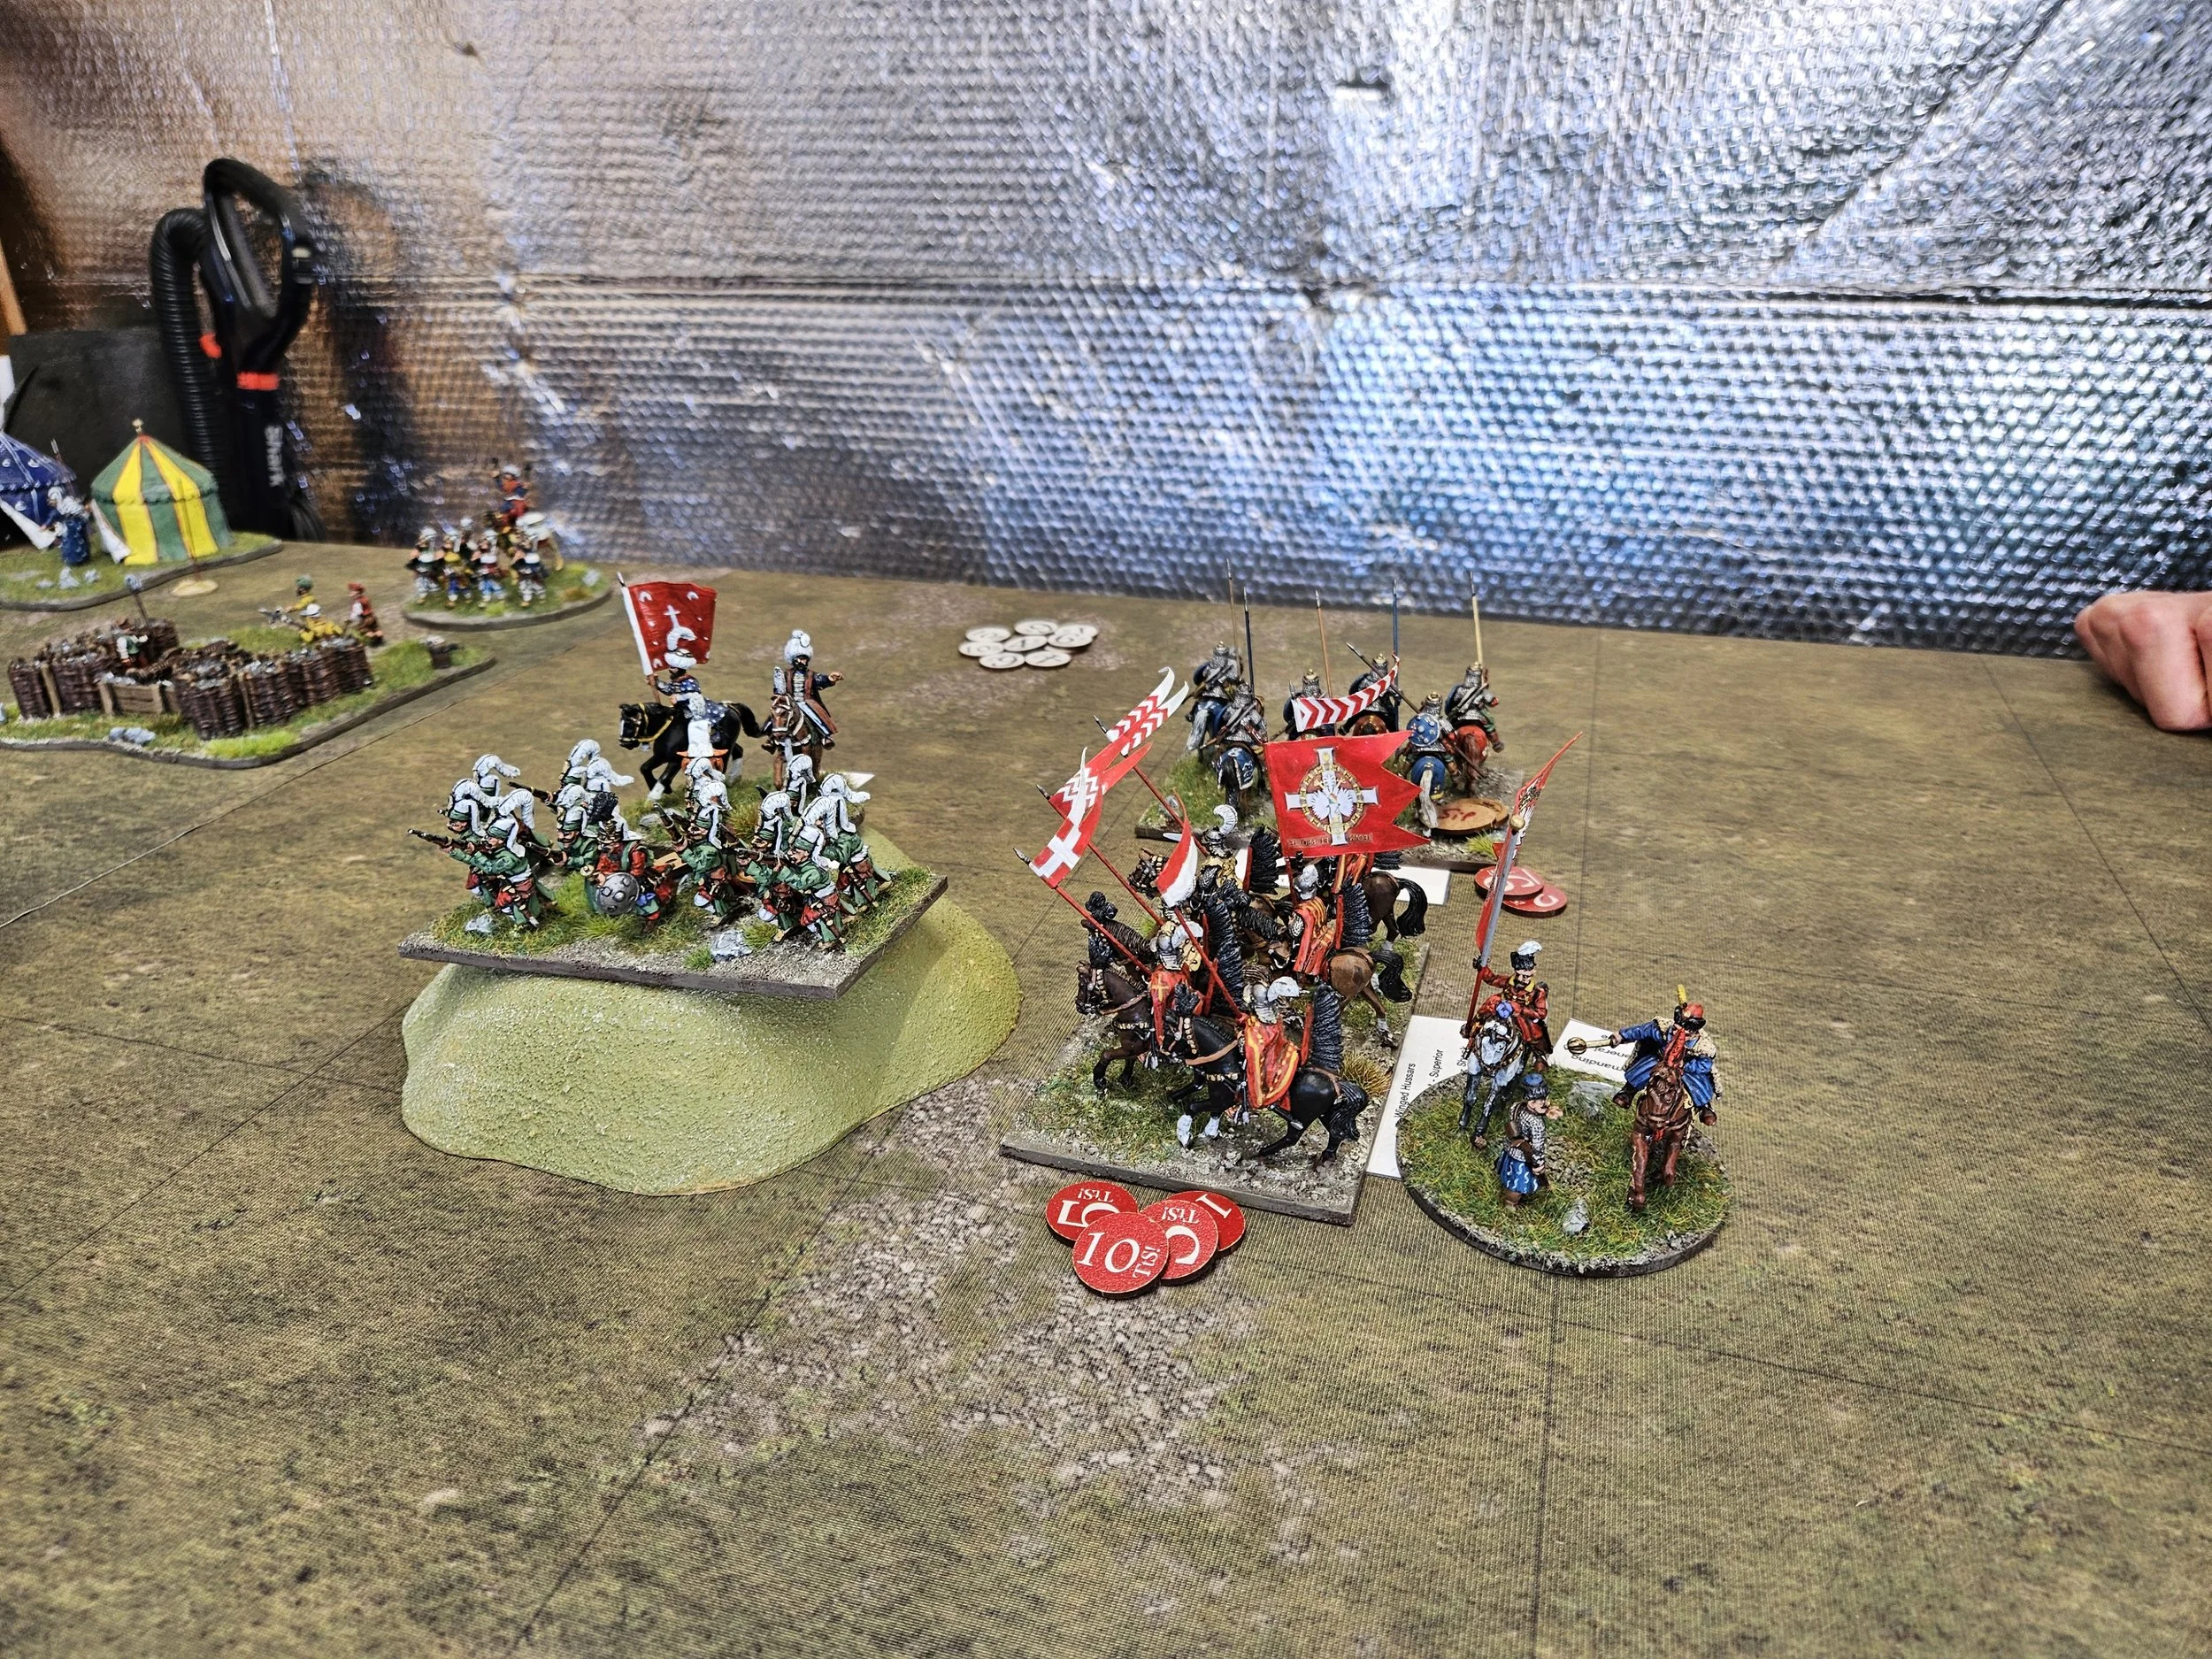
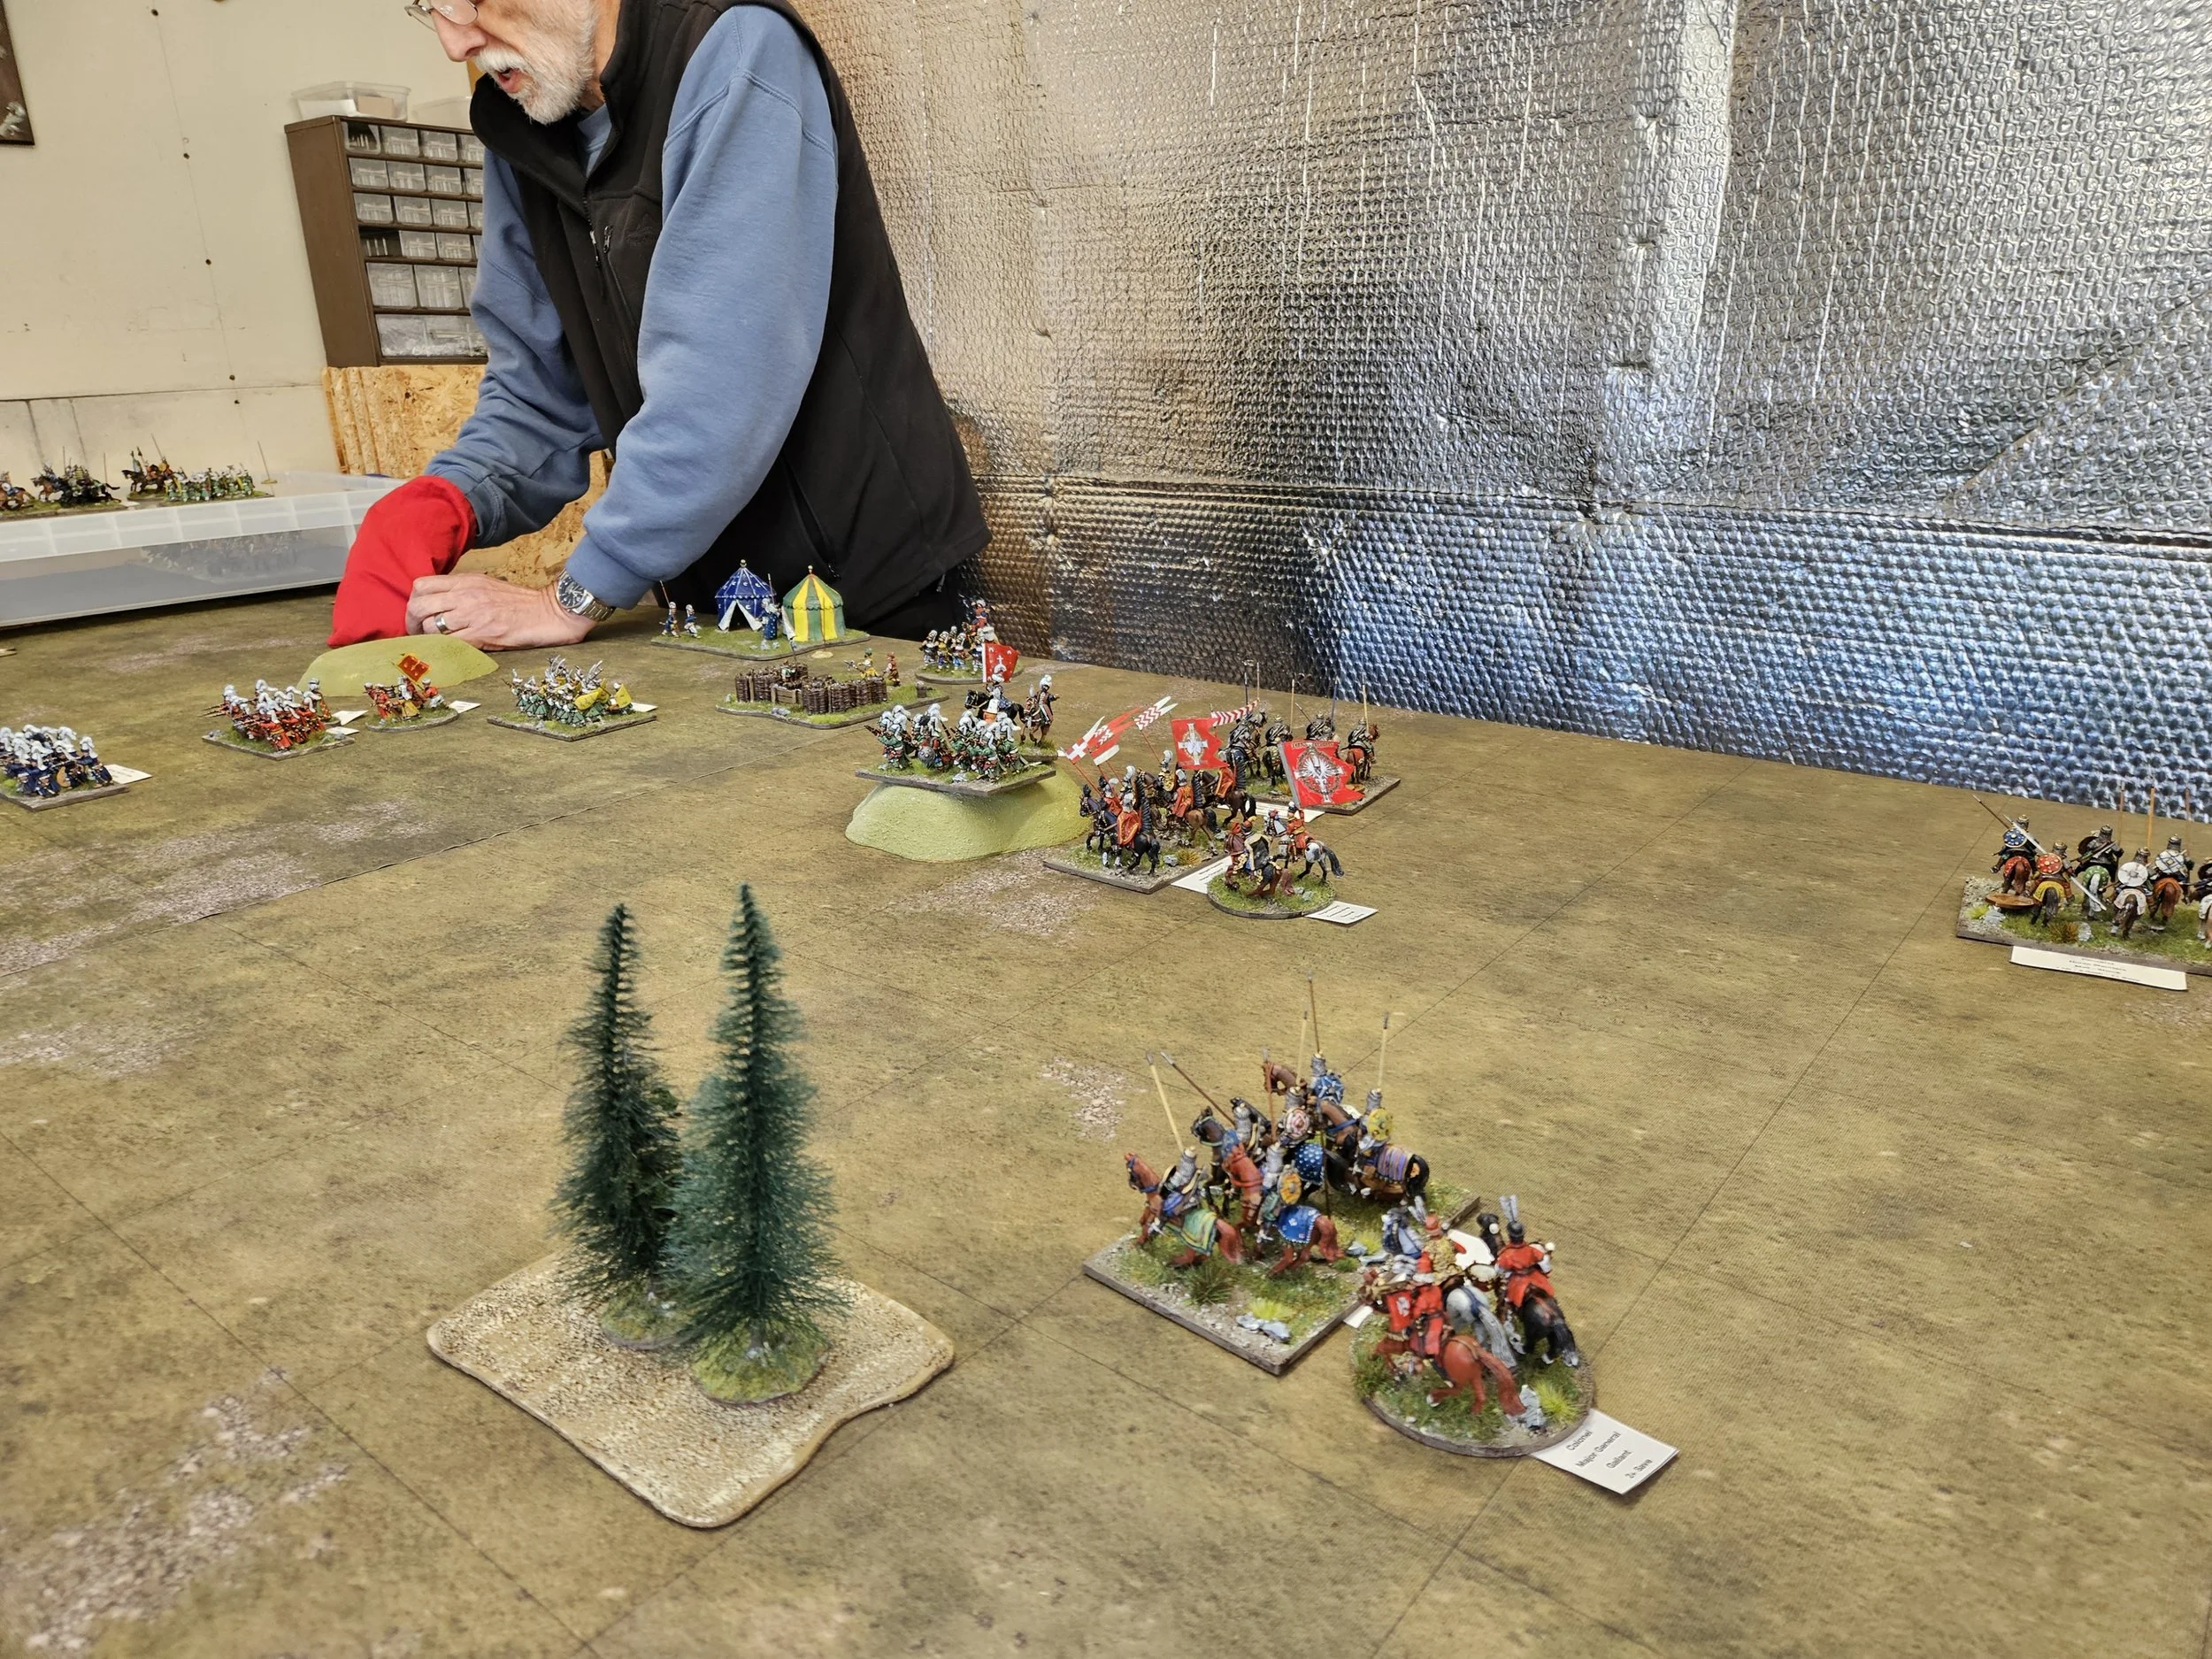
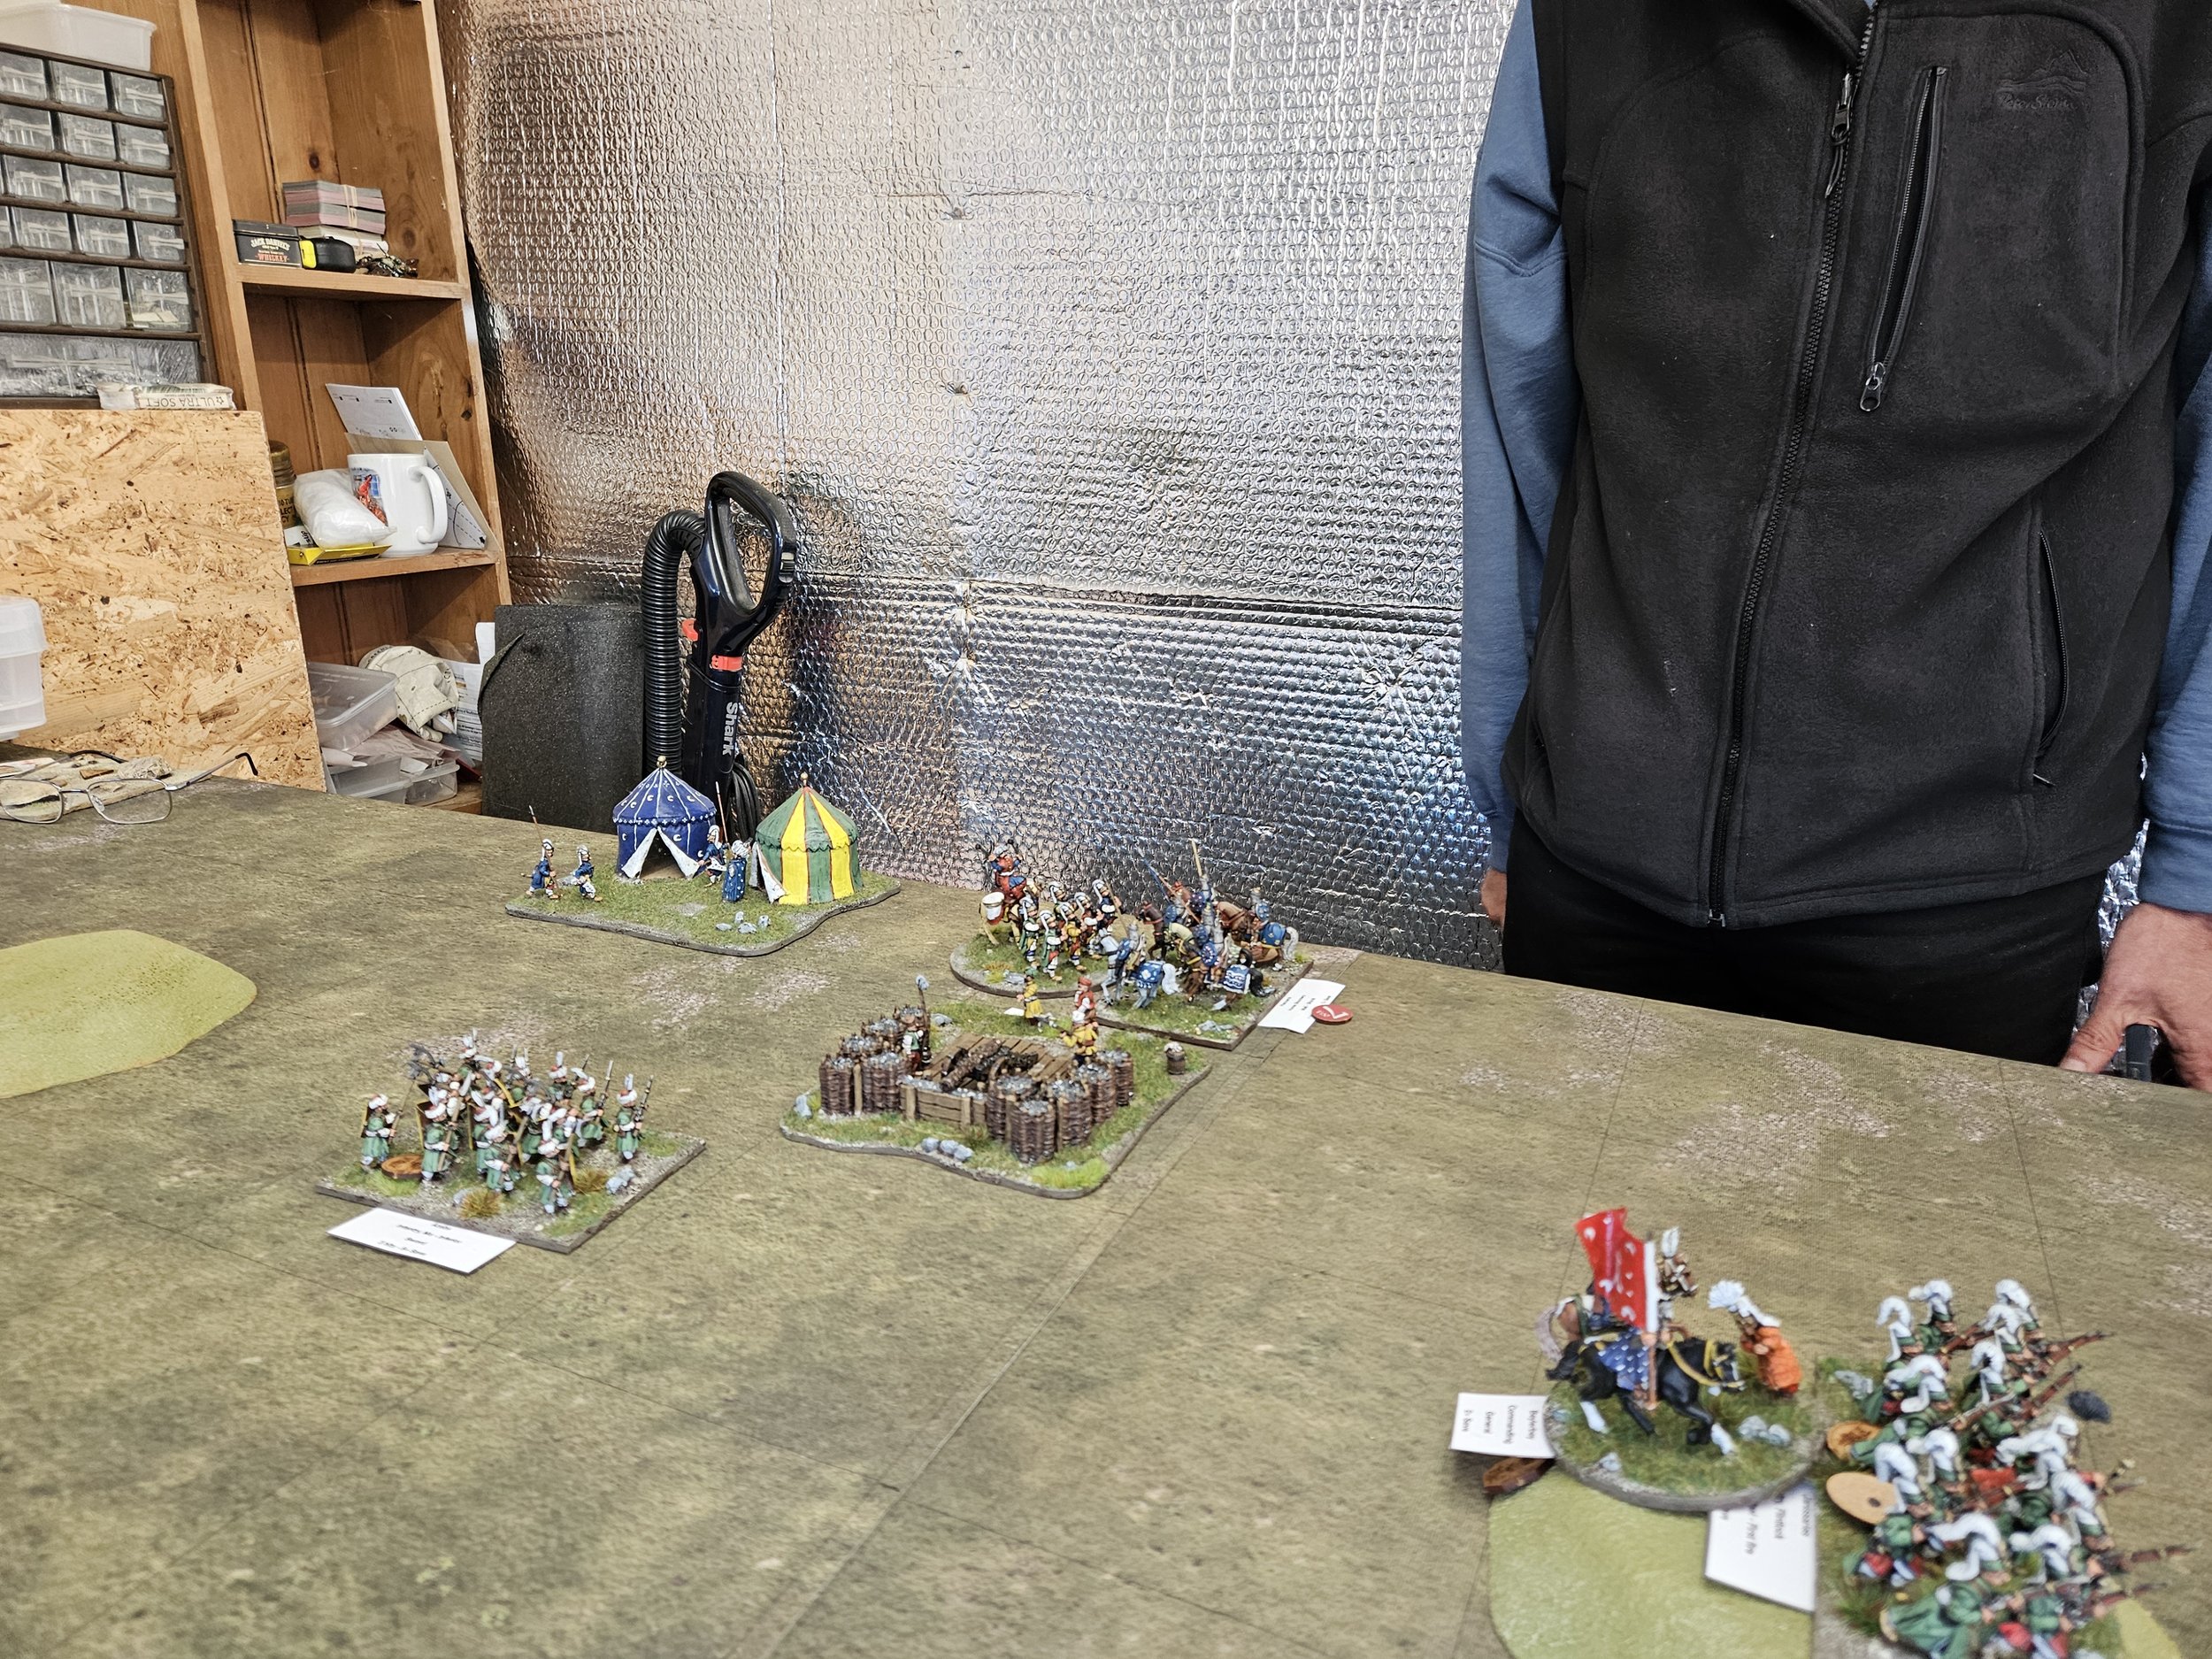
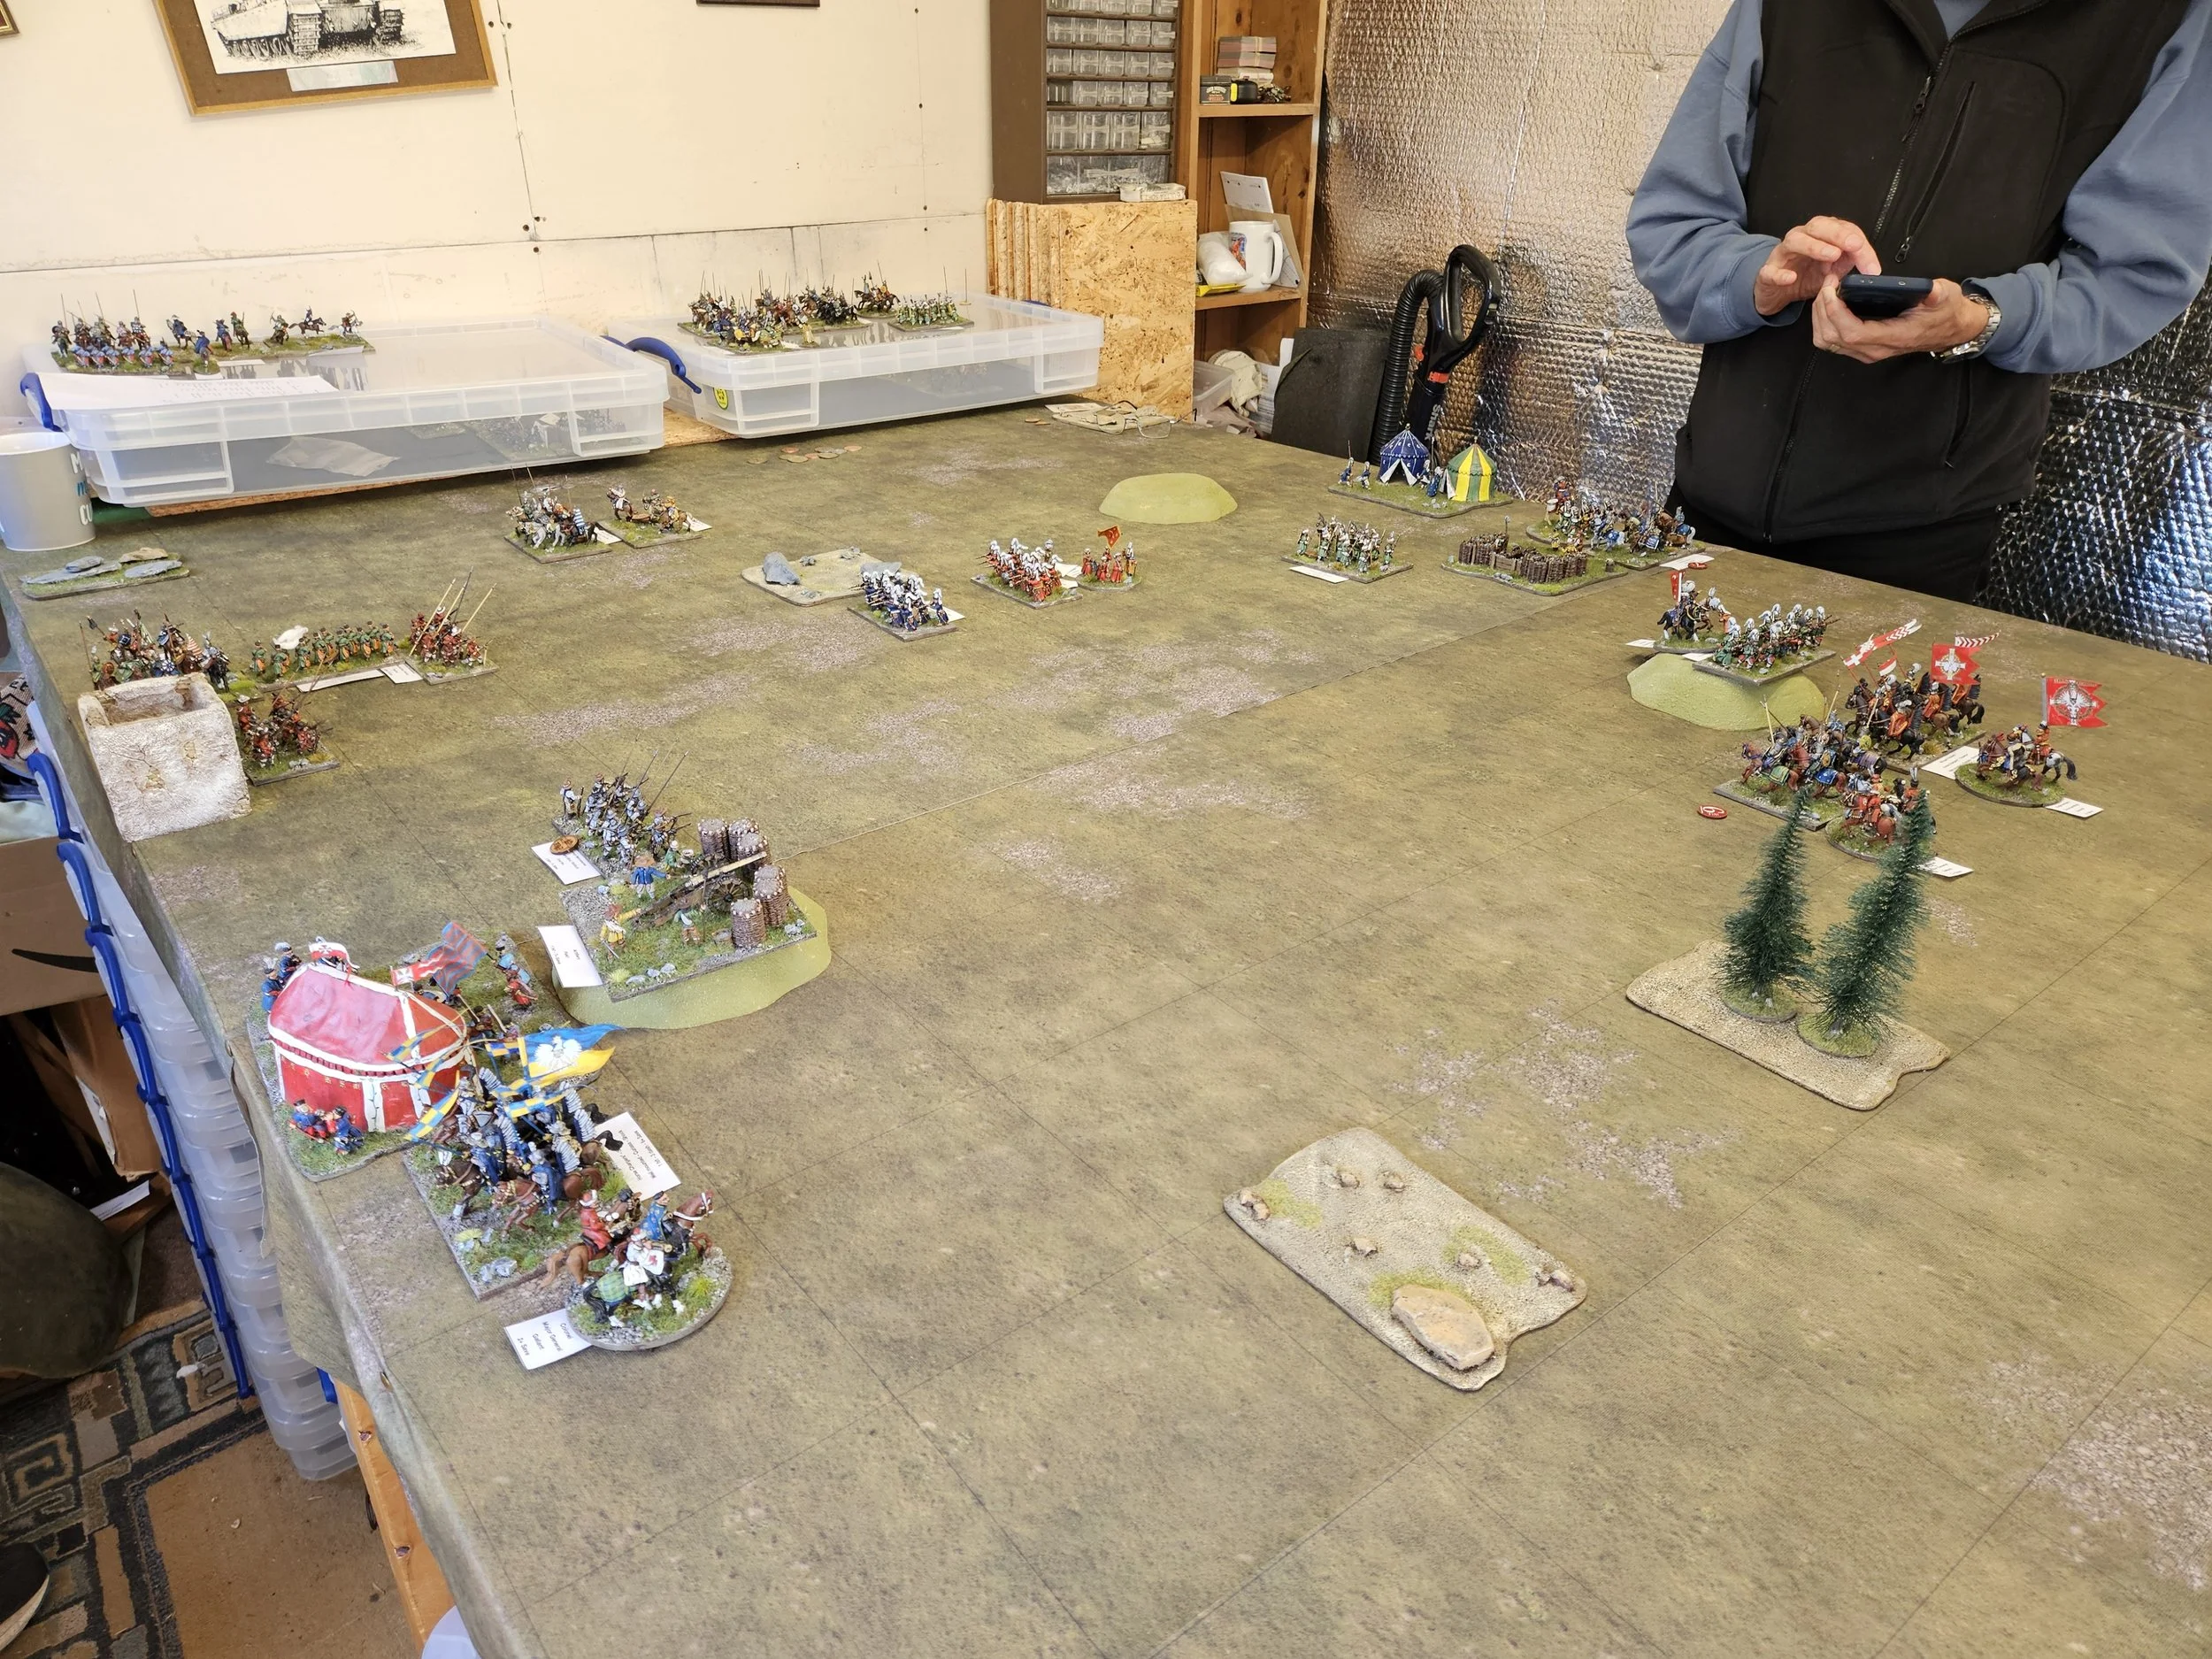
A bit of post-game ‘what if’ analysis revealed just how close it had been. The Janissaries on the hill, plugging the gap in the Turkish flank, were charged by my Winged Hussars—but it was the Hussars who were blown away, as the Janissaries rolled two ‘10s’ out of three chances to hit! Meanwhile, the Turkish cavalry on the Polish left would indeed have swept forward to capture the Polish secondary objective. Either of these outcomes would have handed the game to the Turks. Talk about cutting it fine!
A great game of Lust, and a digital edition of the rules are now available to purchase from the BigRedBat’s shop. Click here to see.