TTS AAR: Early Crusader versus Arab Conquest
/More To The Strongest action in 2mm: this time I would play an Early Crusader army against Neil’s Arab Conquest force.
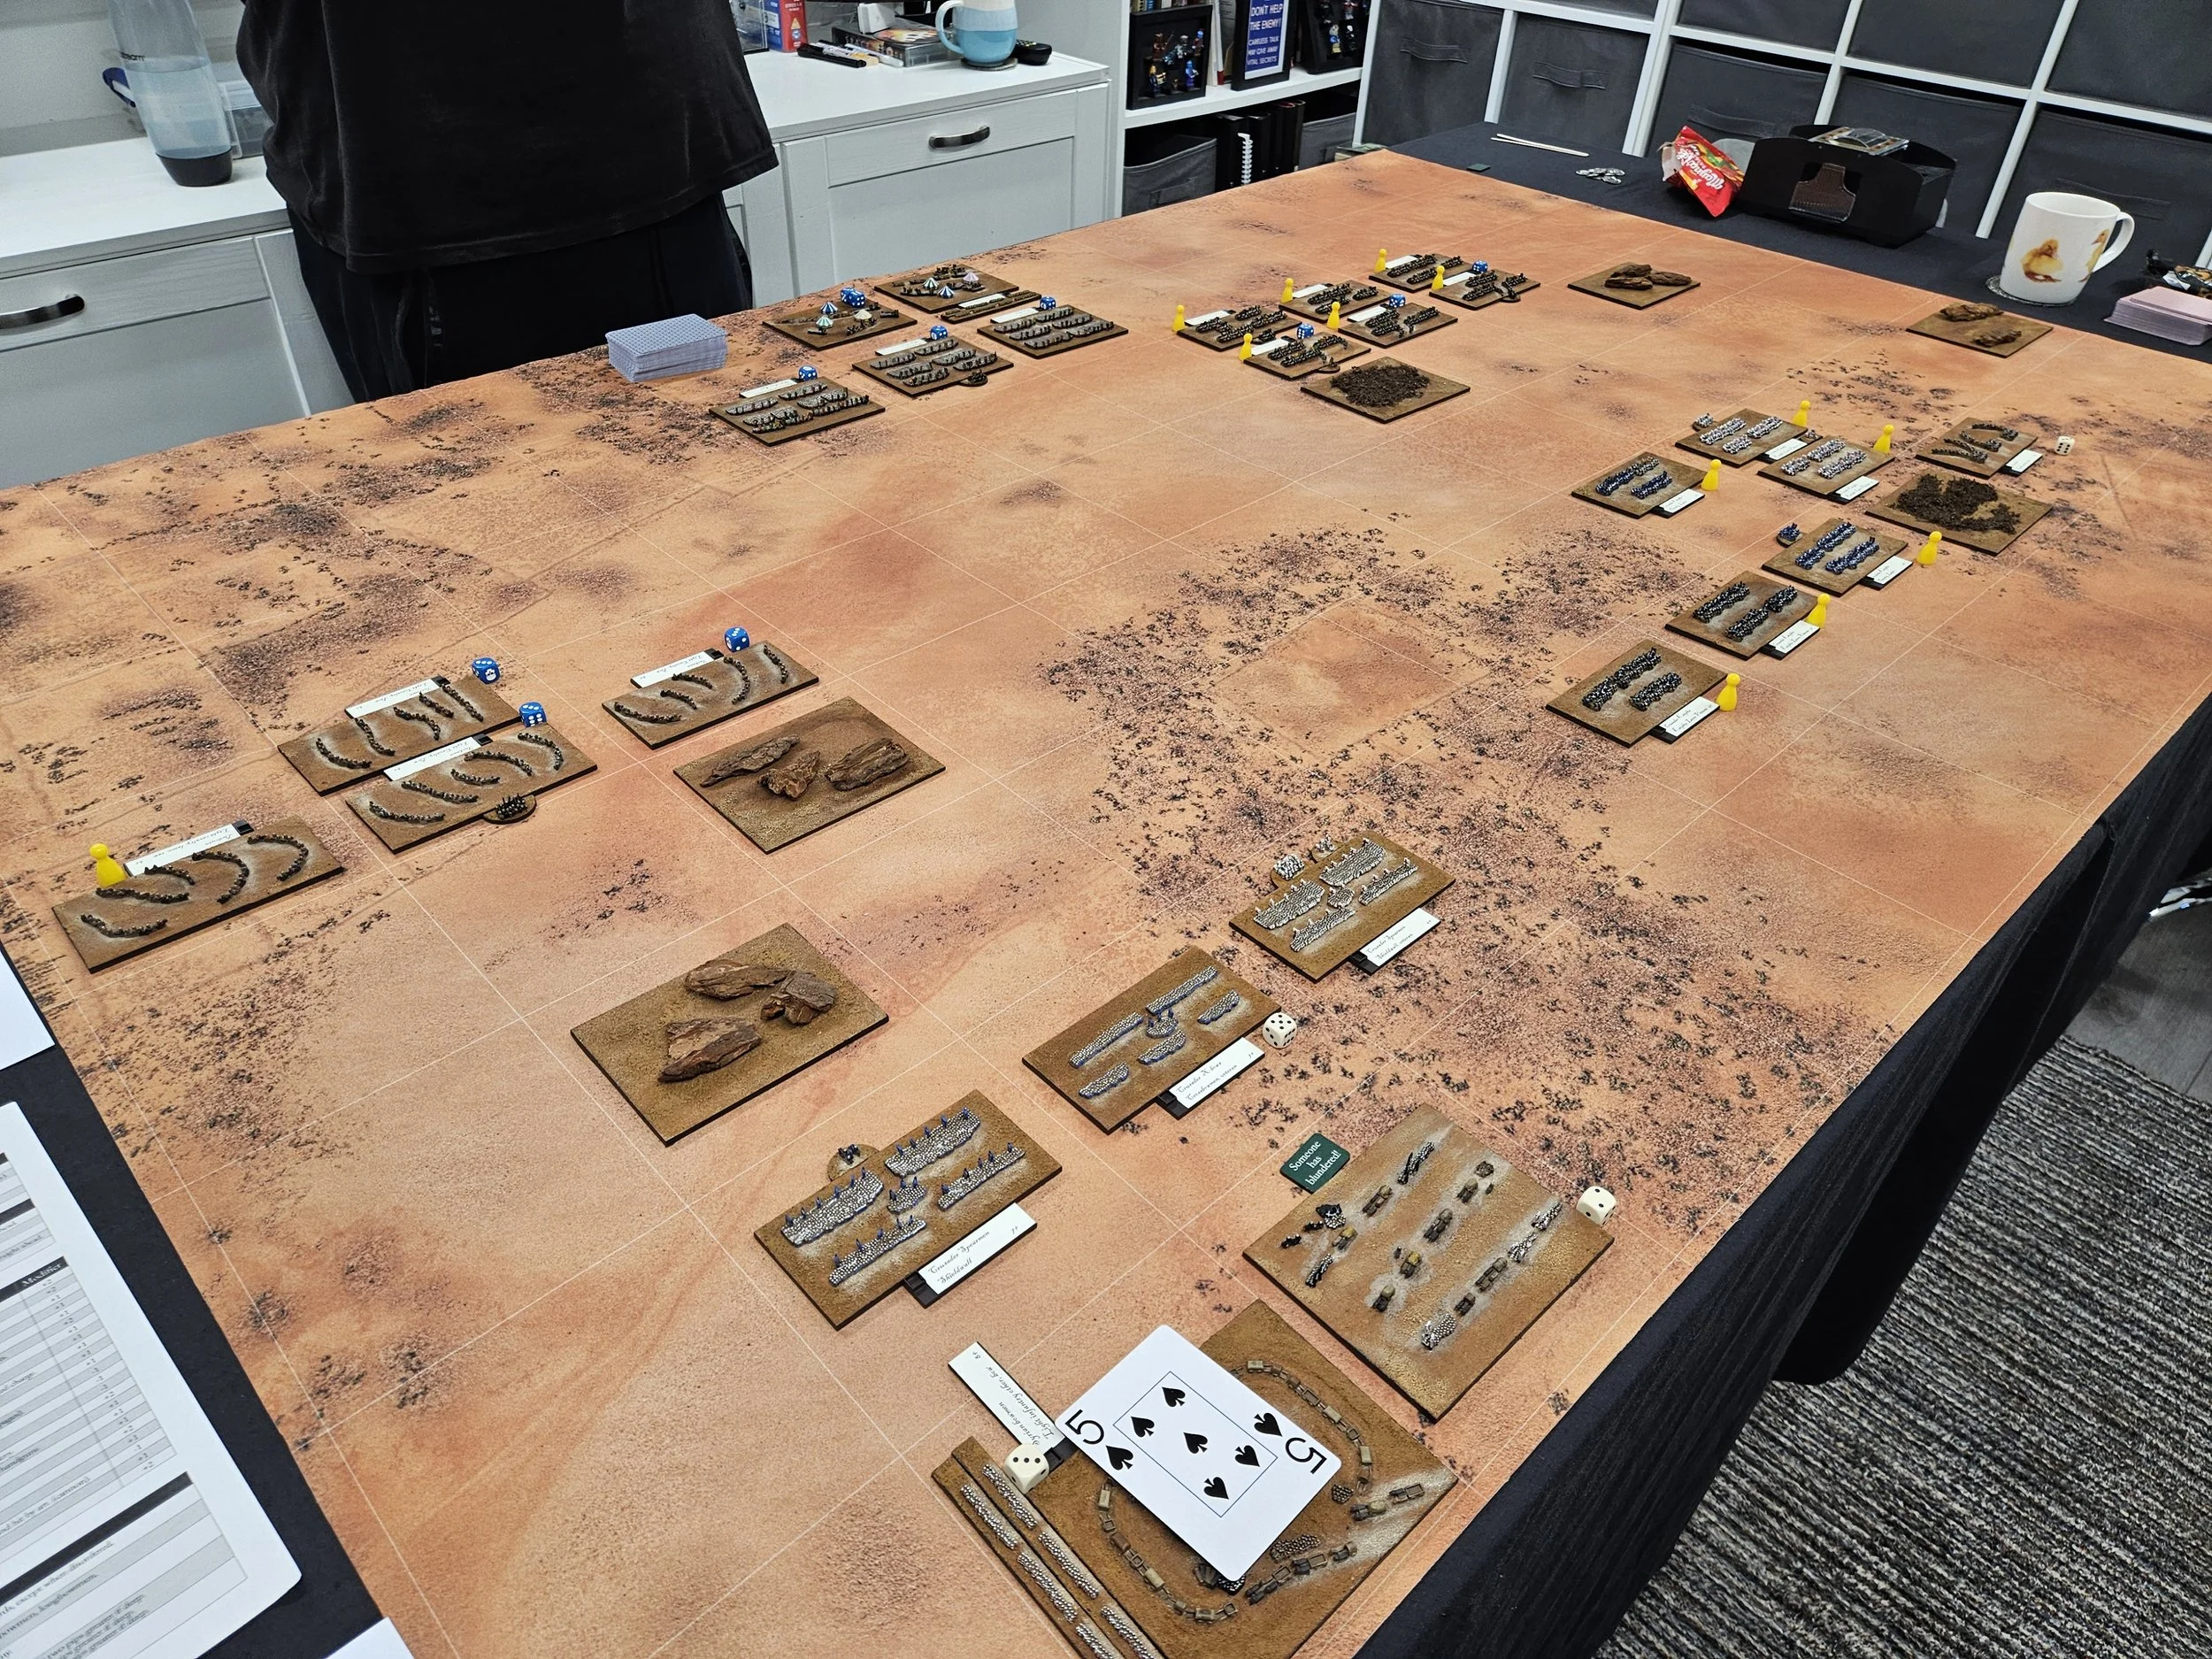
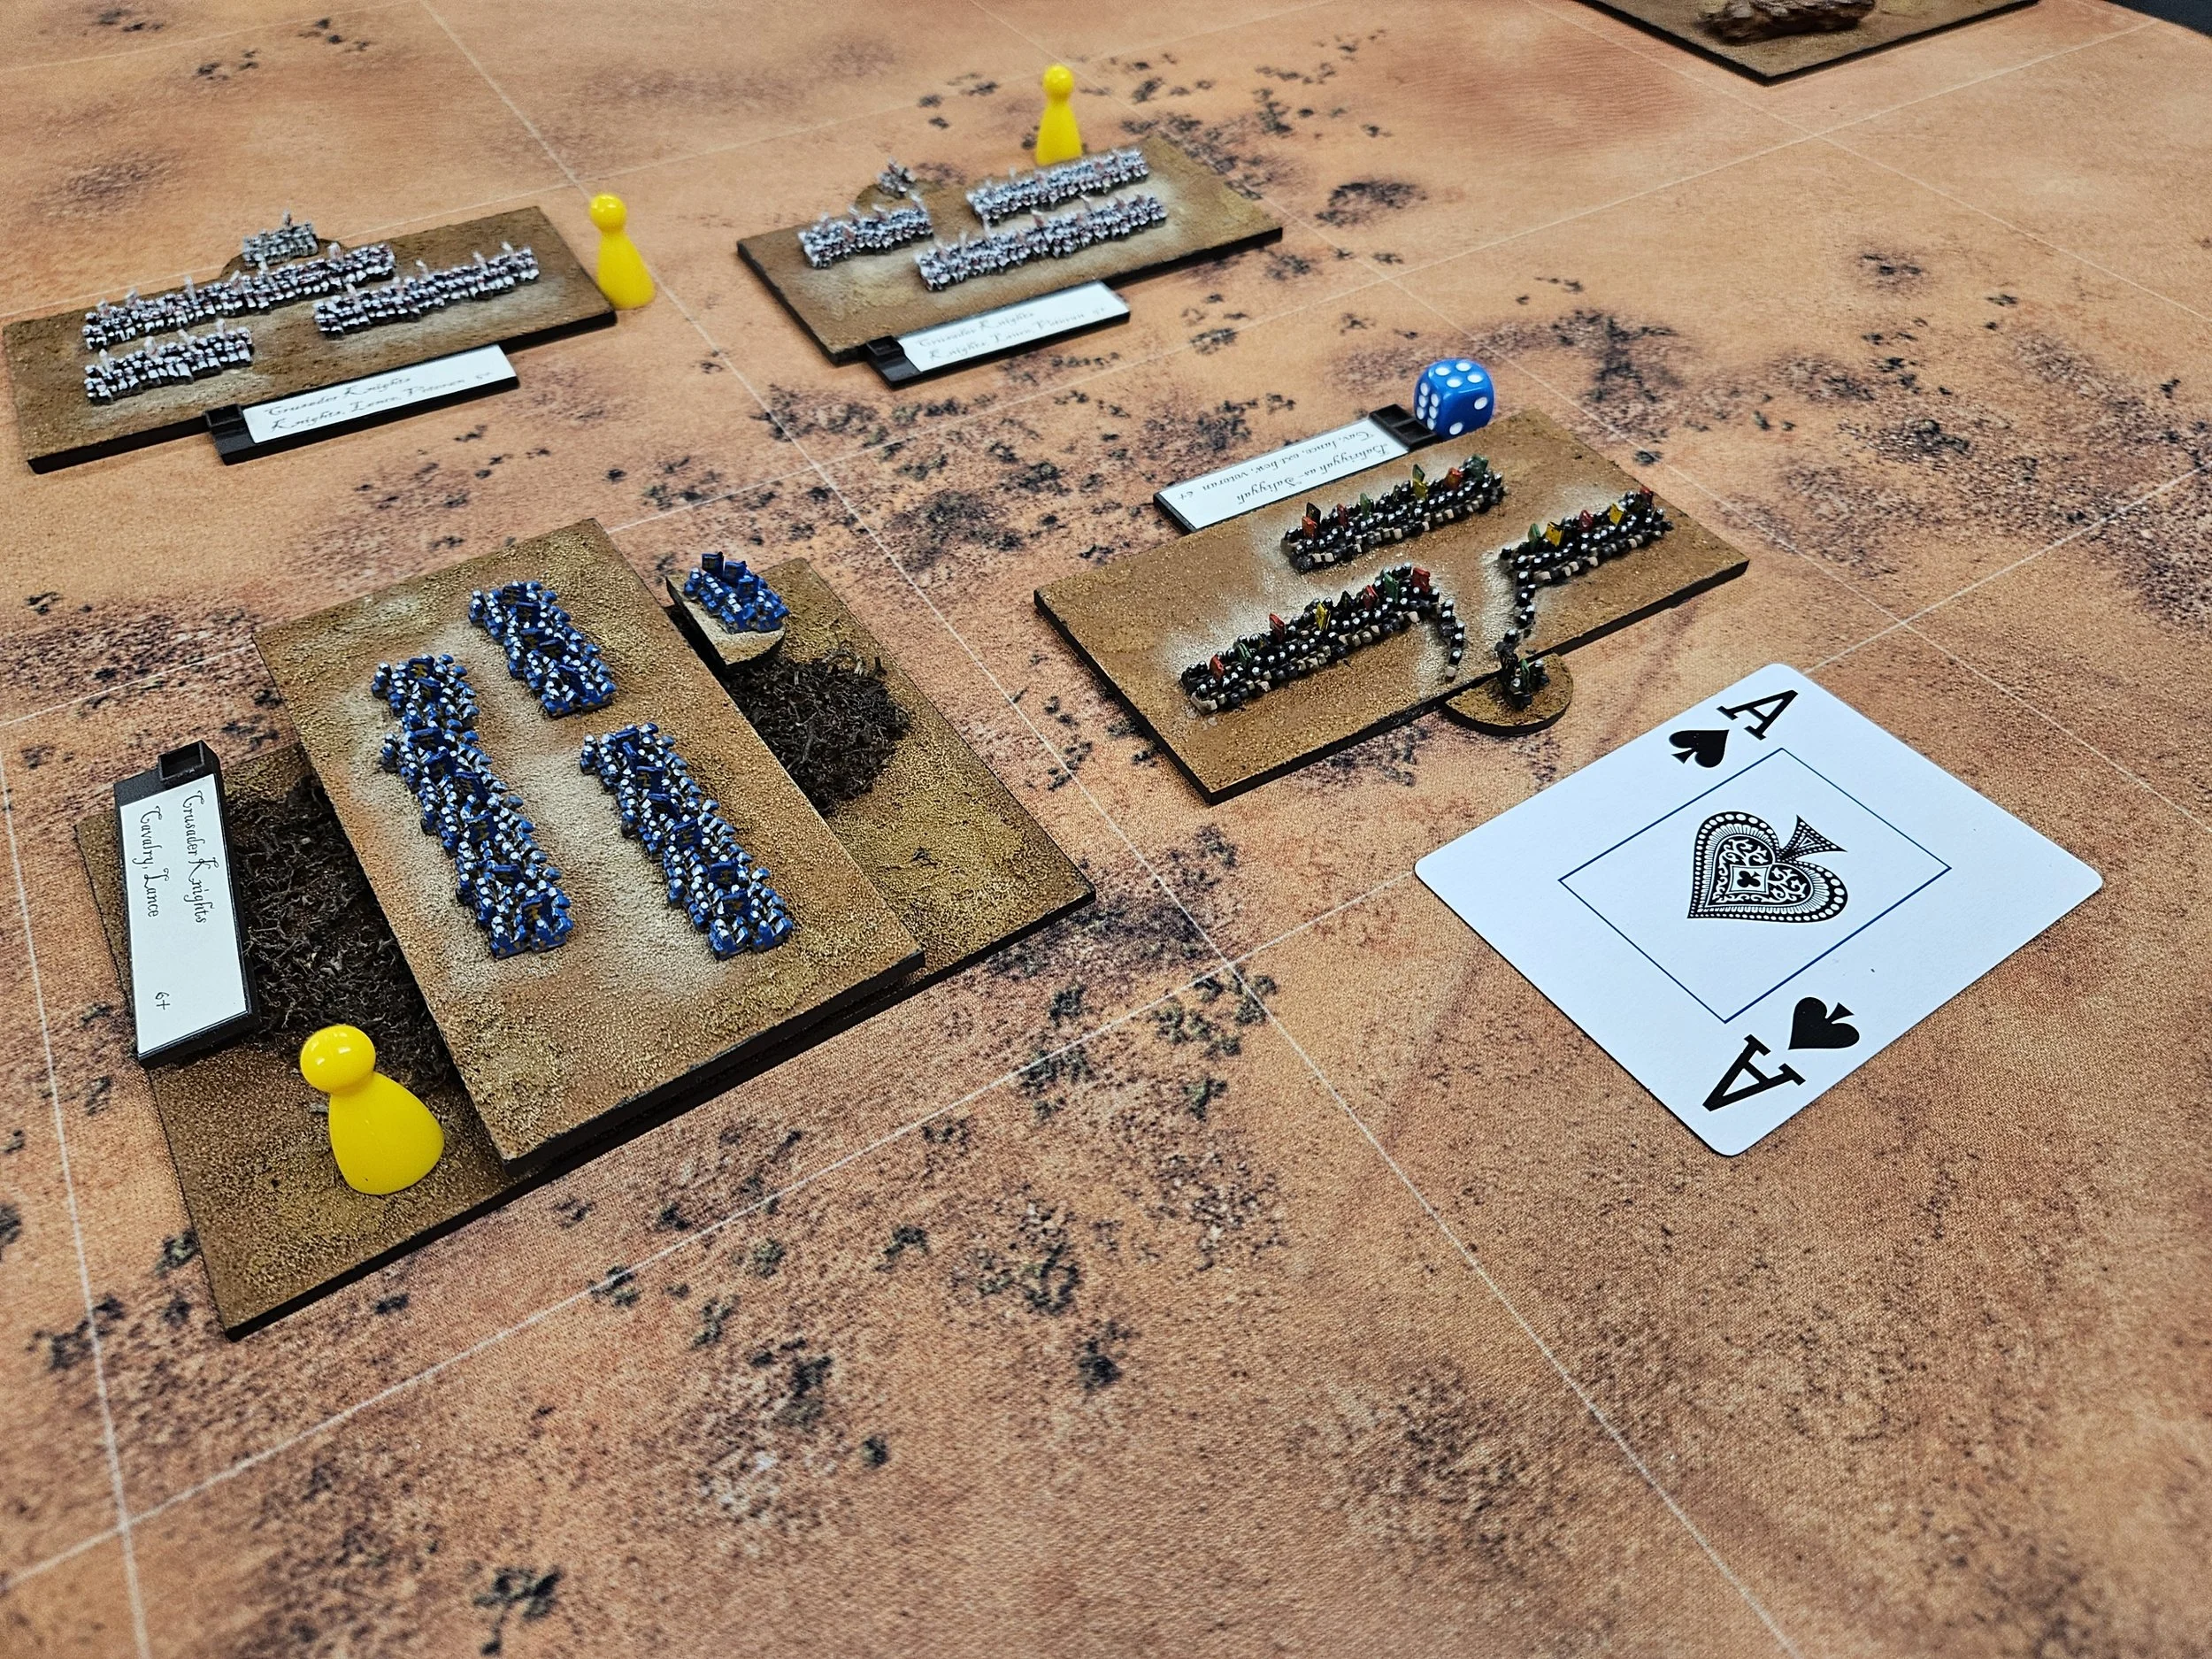
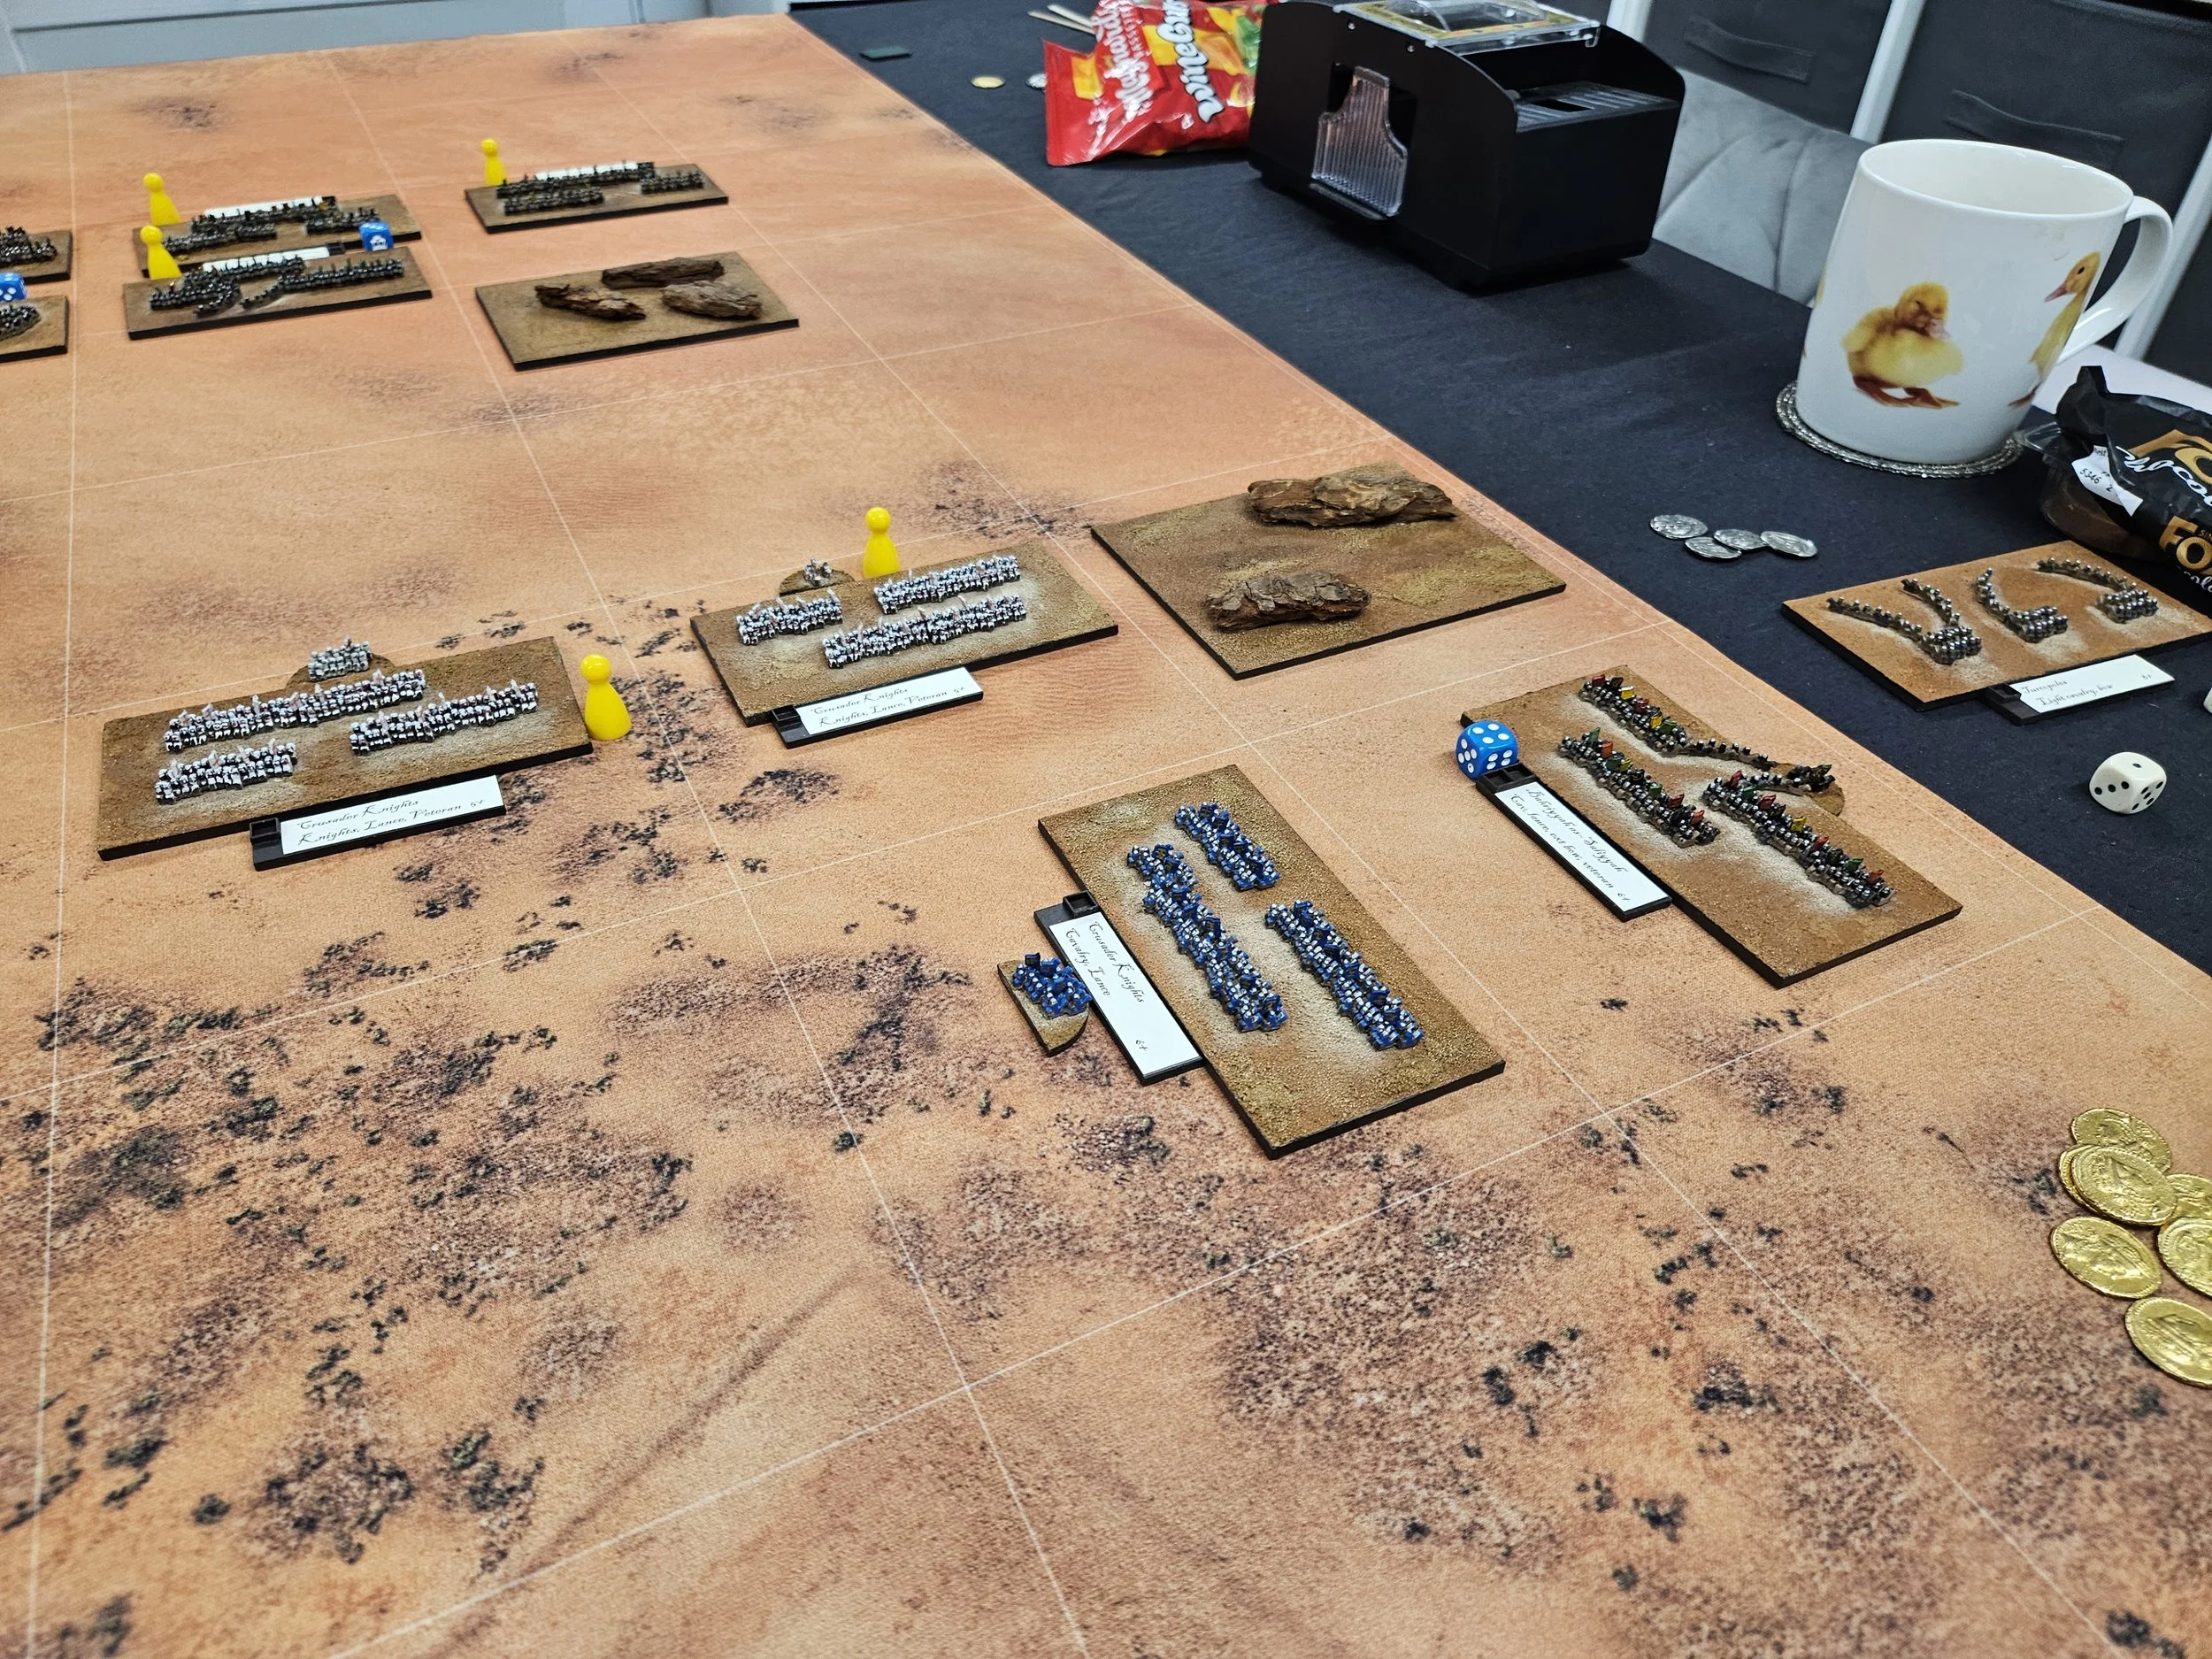
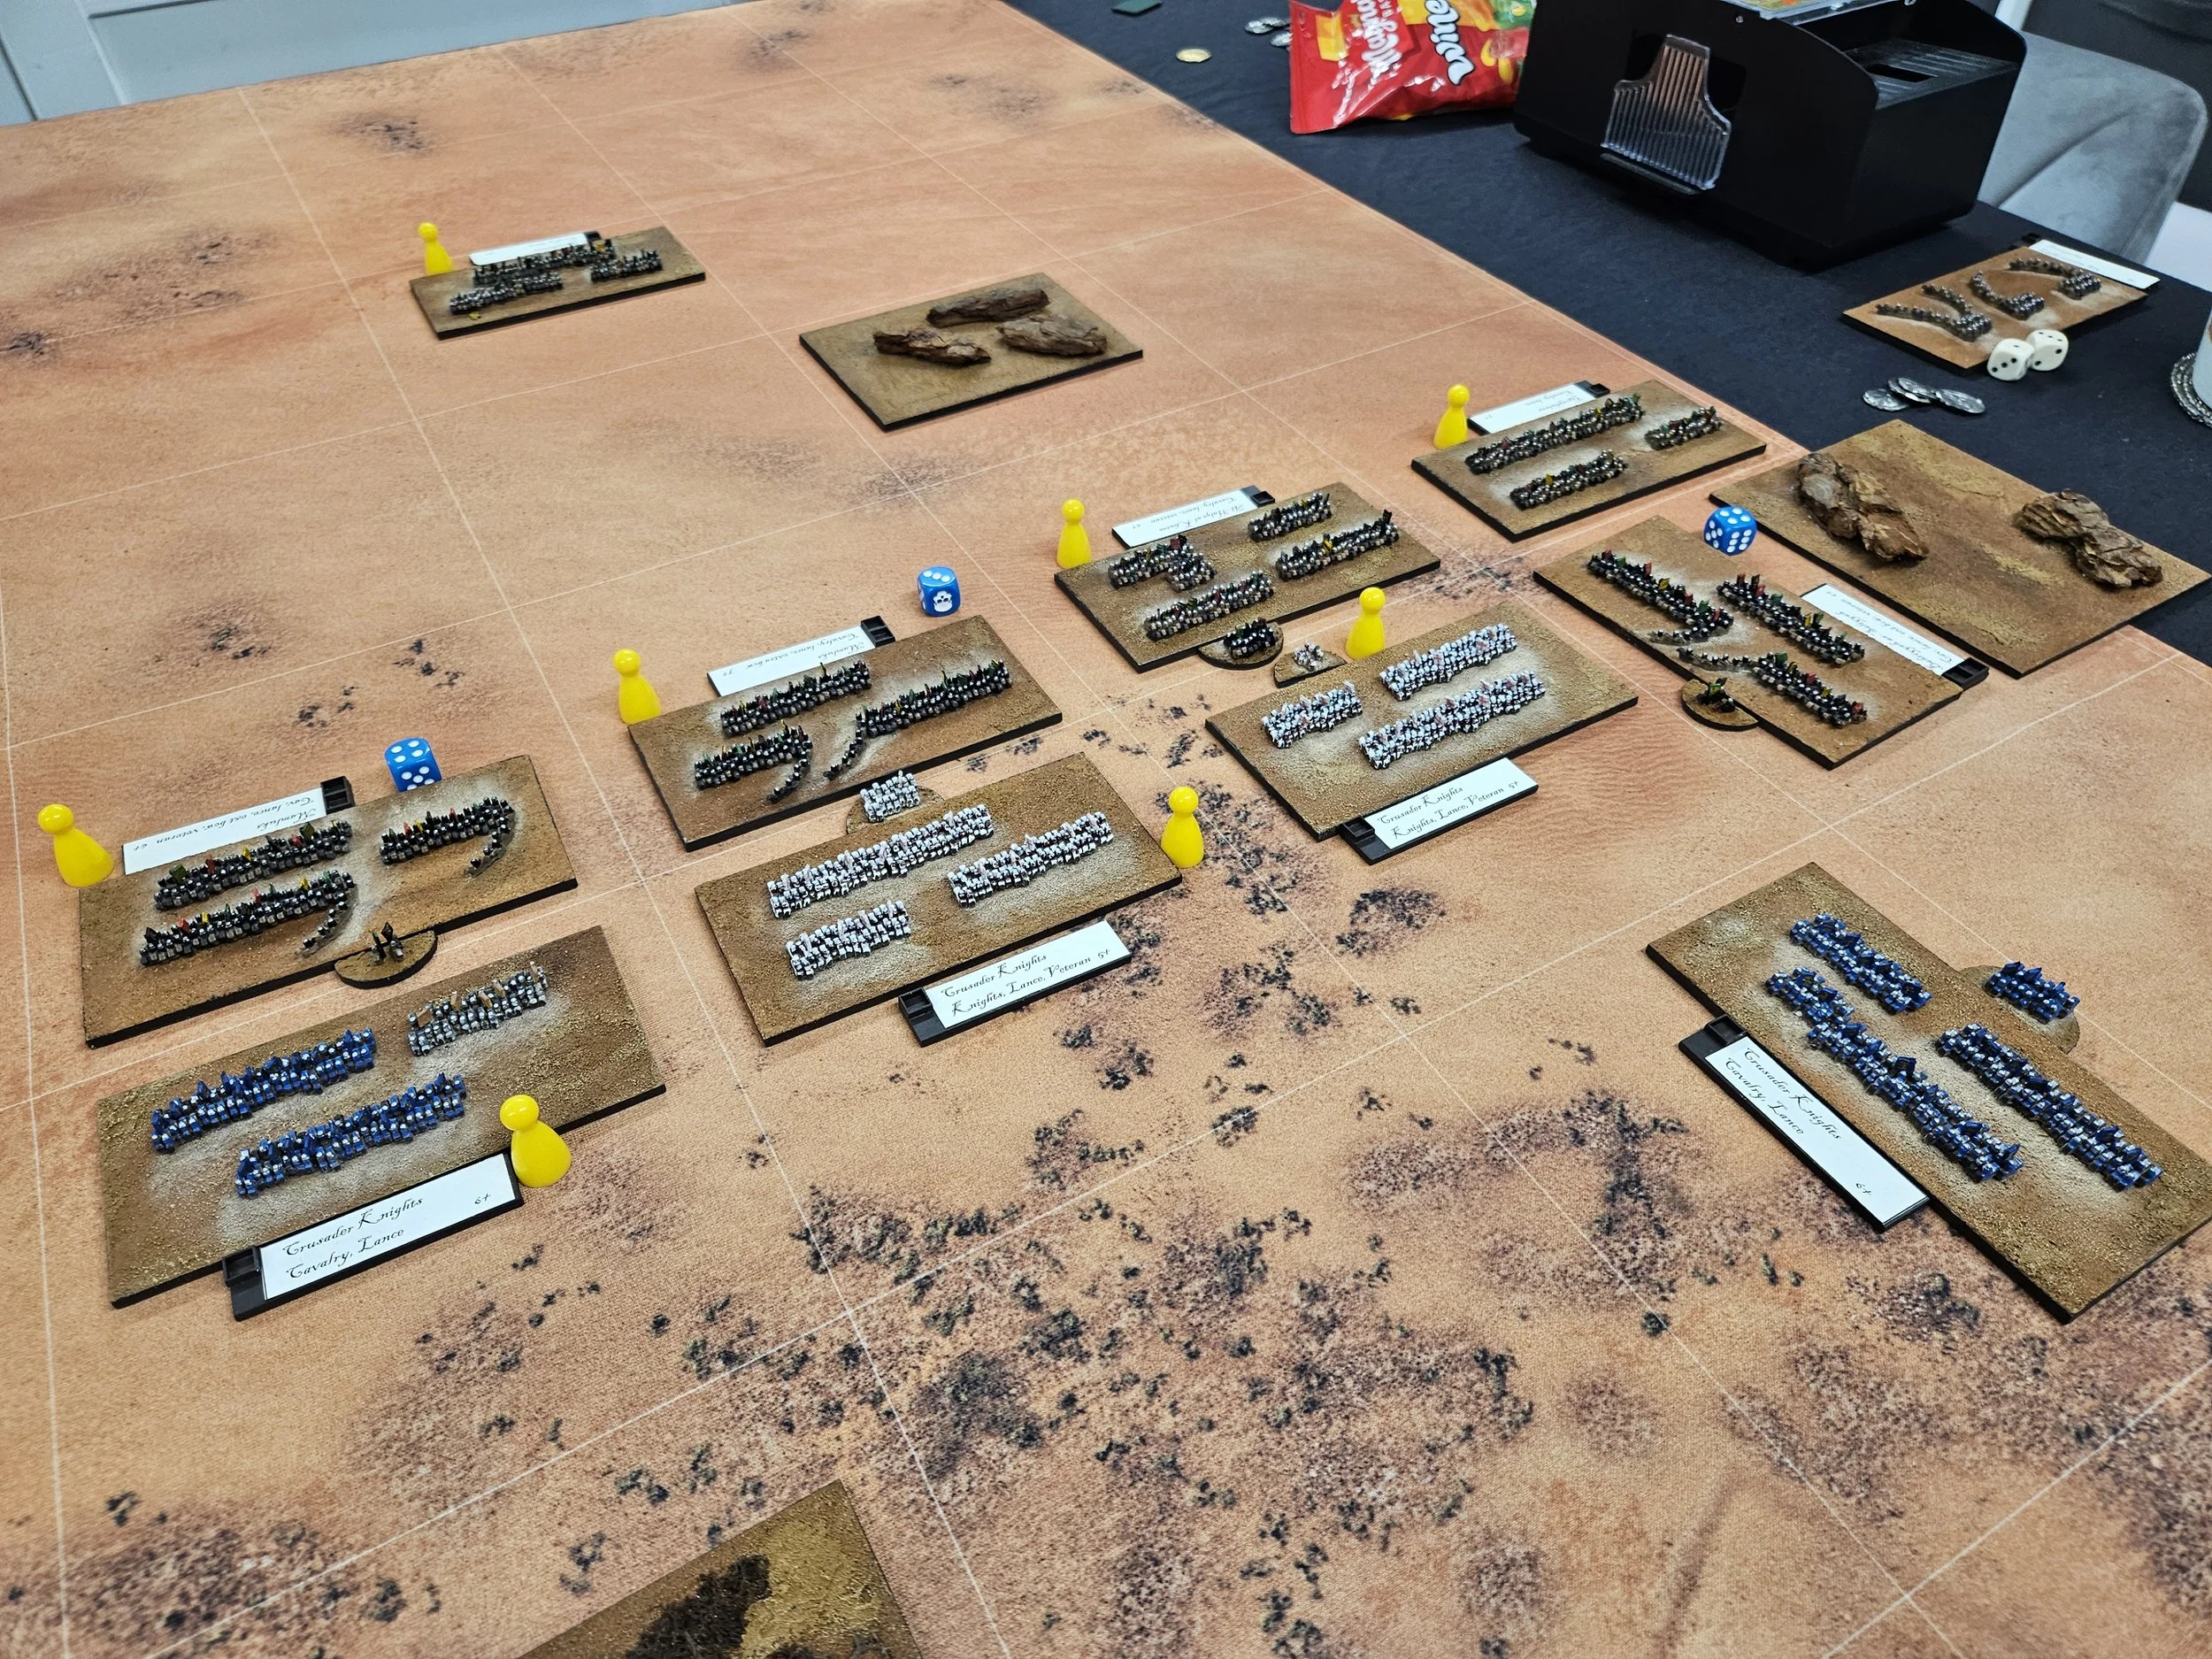
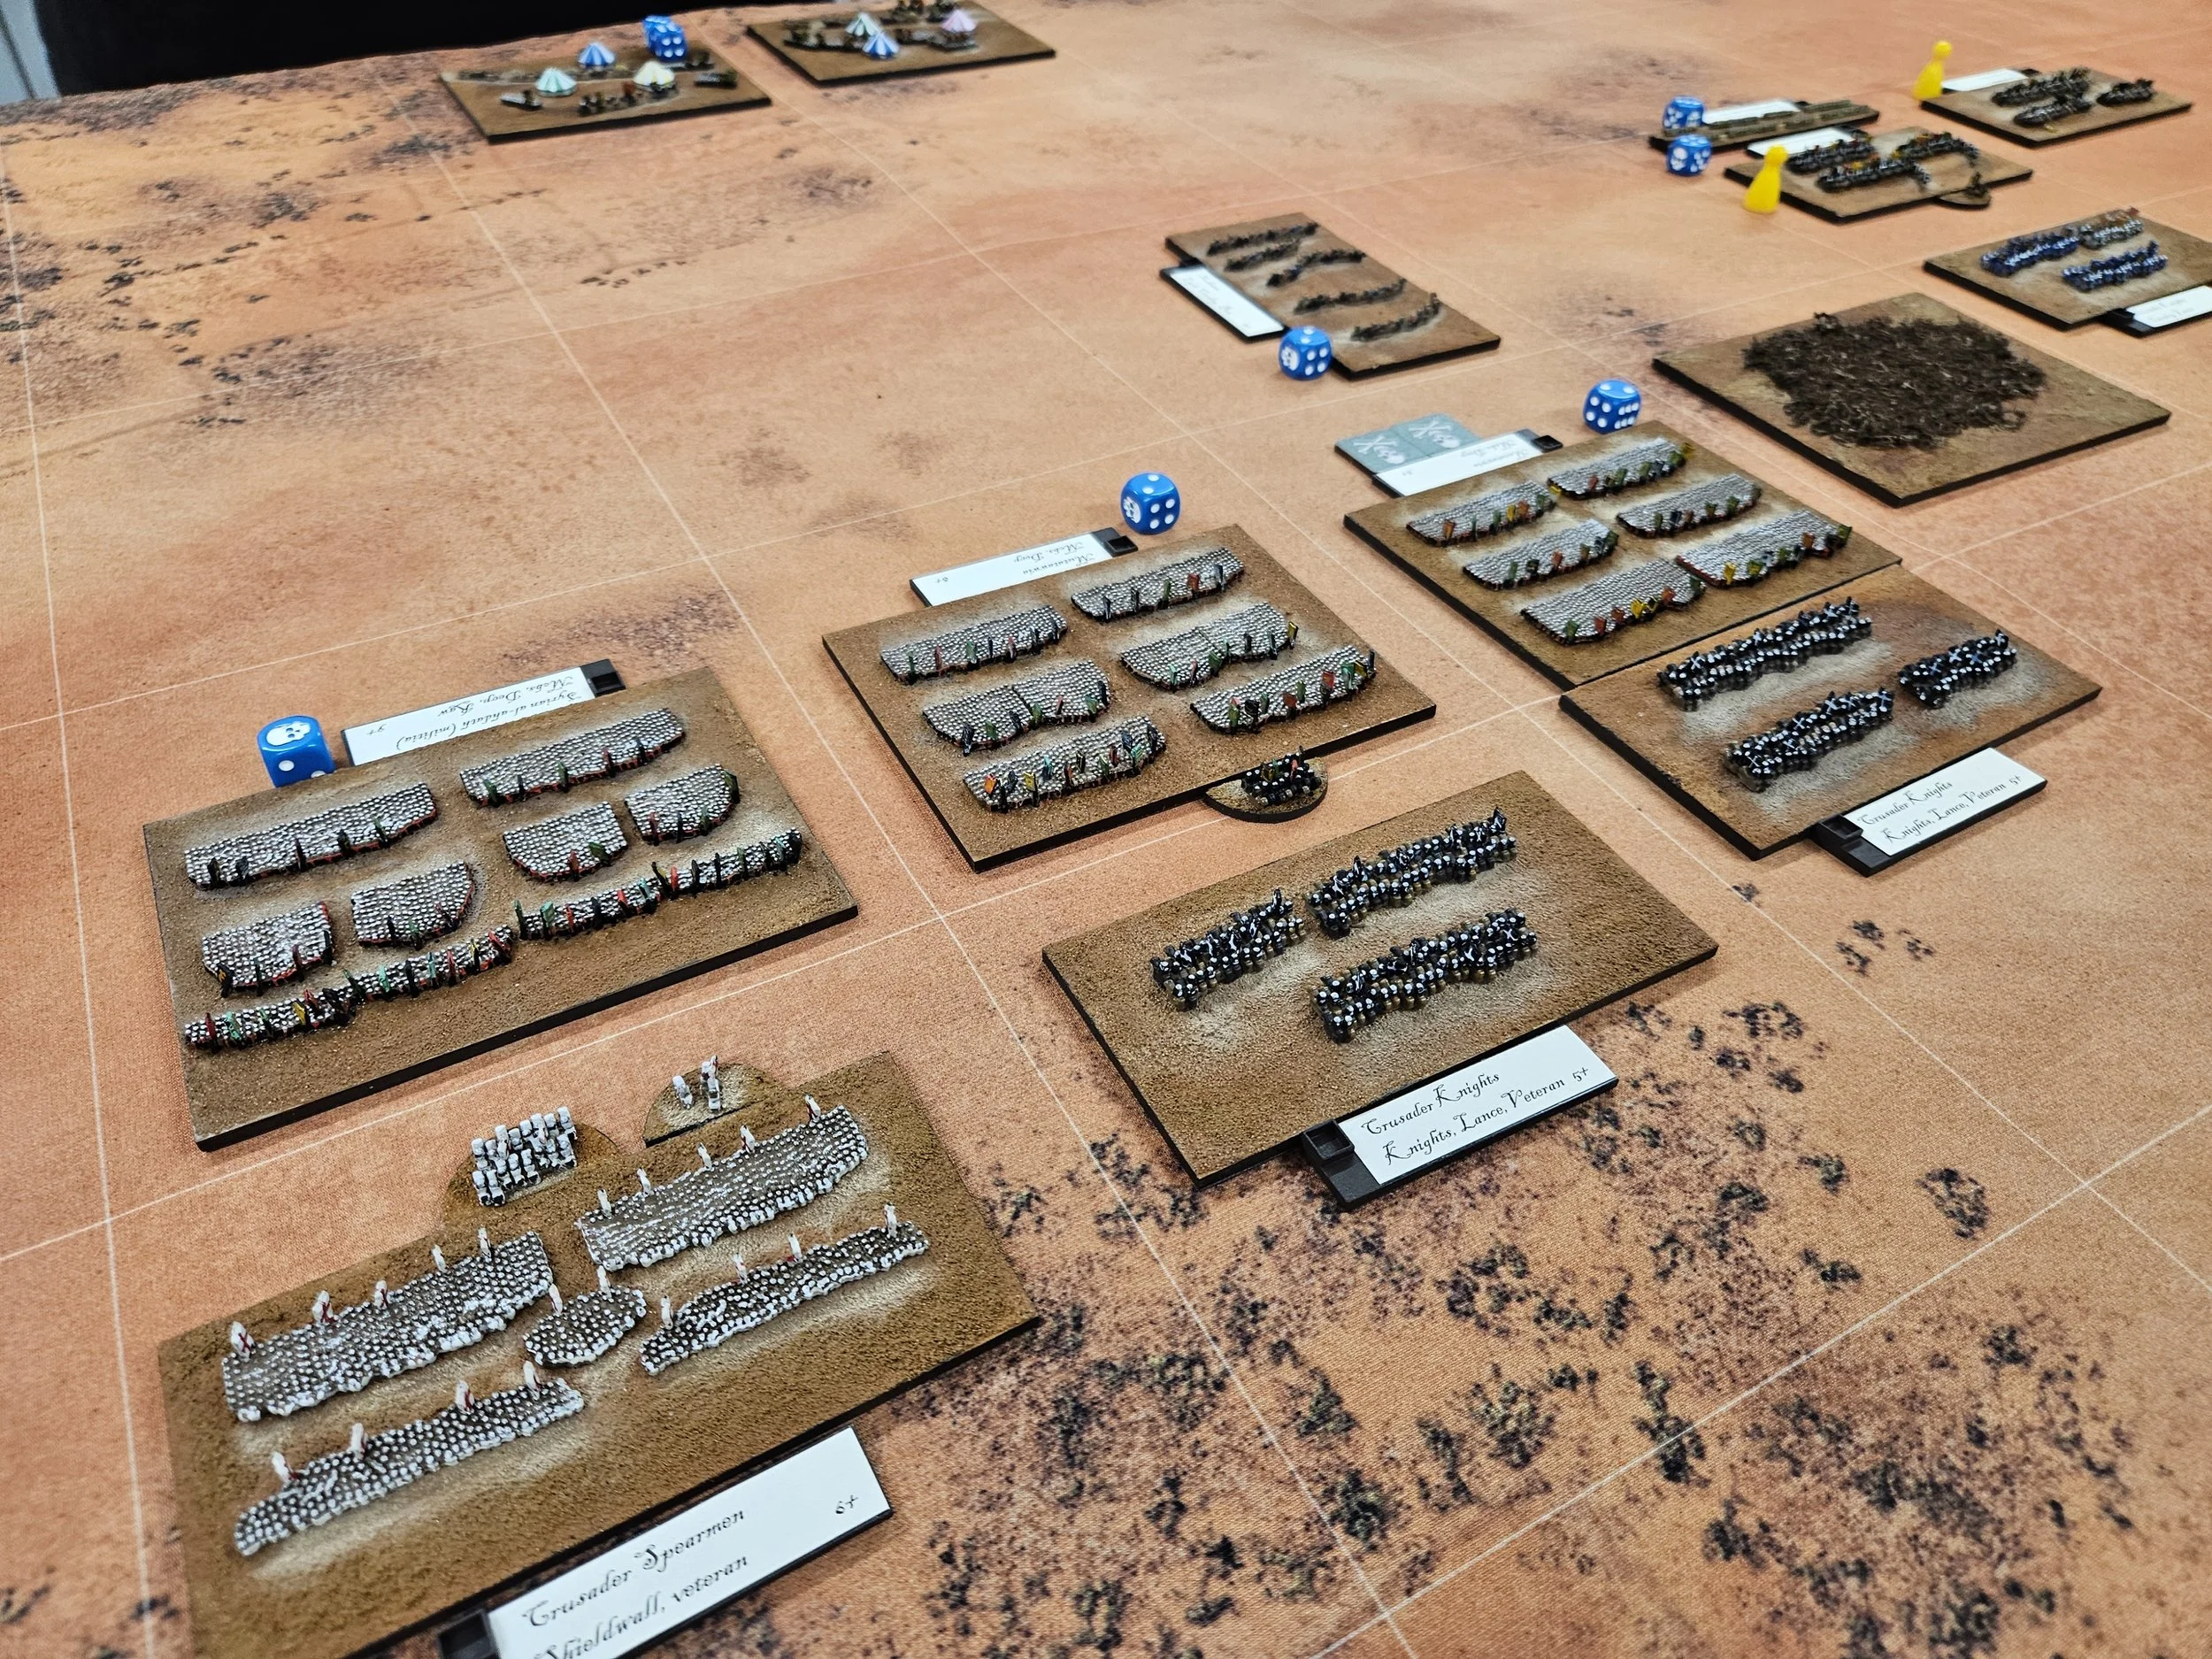
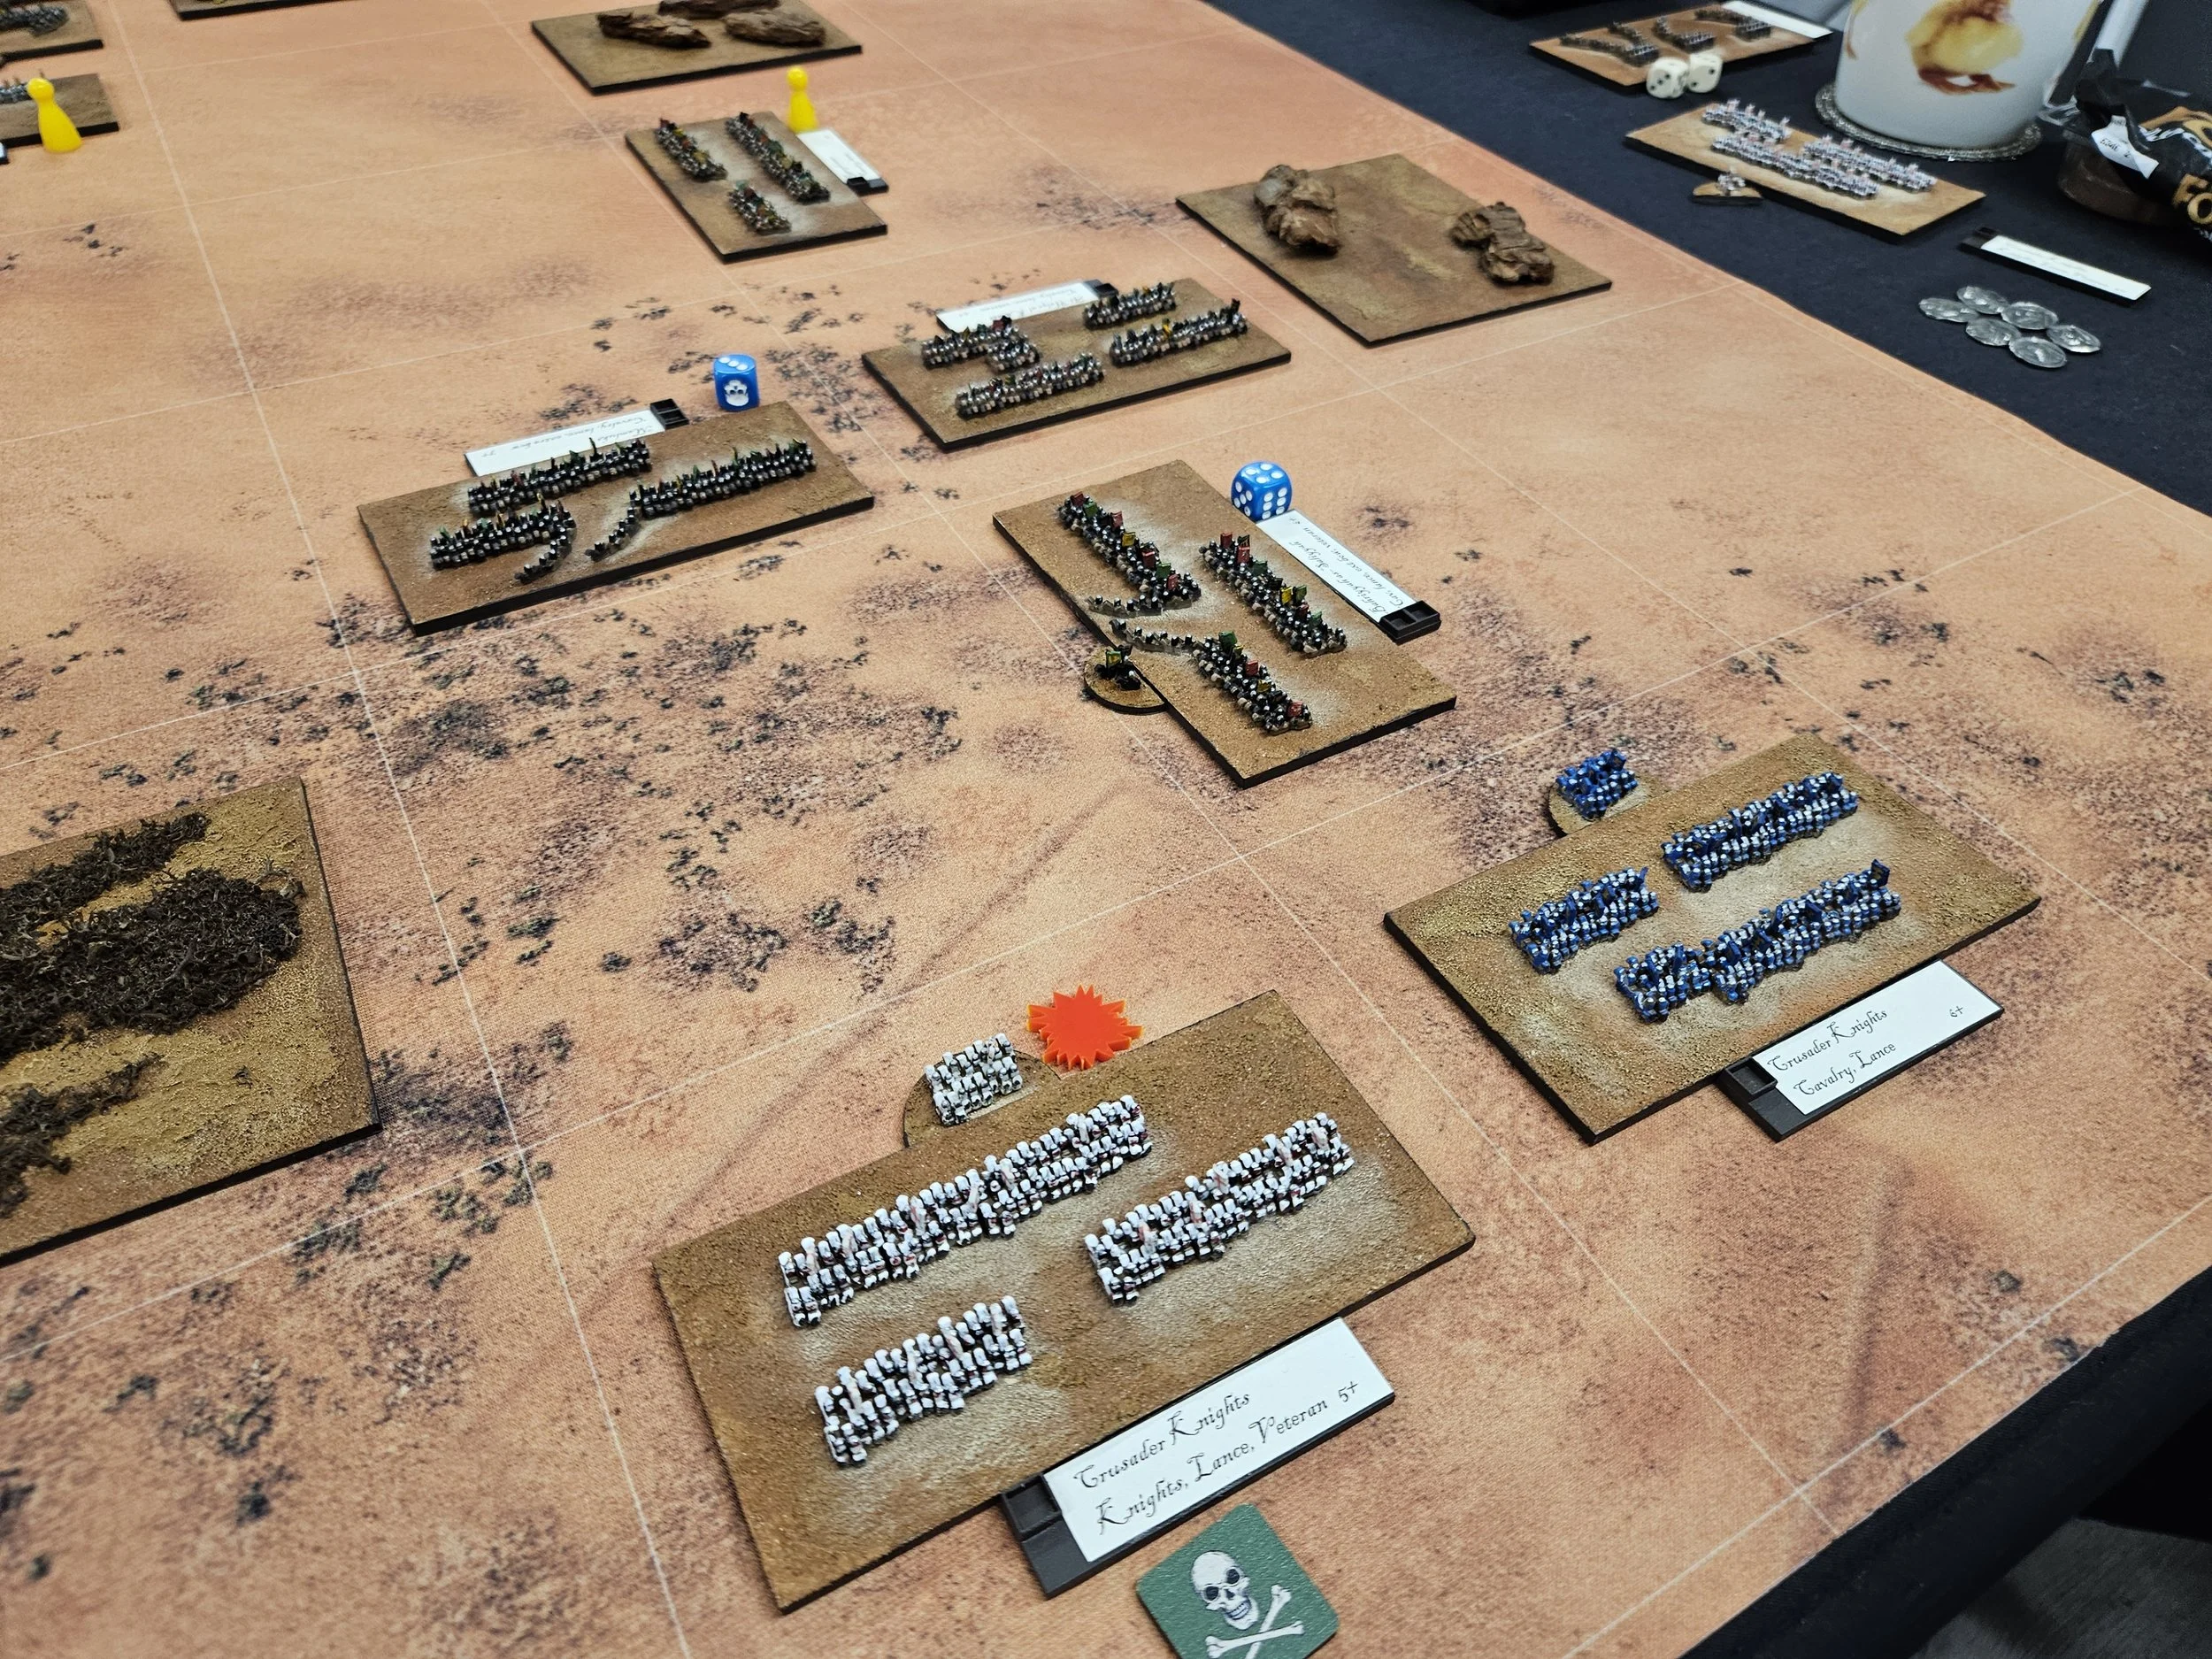
I lost scouting so, wary of being outflanked, I set up my camps in one corner of the battlefield, put my infantry in front of them, and then placed my two commands of Crusader Knights on the right. The Arabs responded by placing all their light cavalry opposite my camp, their large contingent of mobs in the centre, and all their cavalry opposite my right.
A plan emerged: my infantry would cover the left flank, with my crossbowmen aiming to shoot down any enemy lights that came within range. My religeous-order knights on right would attempt to contain the enemy cavalry, using the patches of rough ground to try and fight one line at a time rather than being swamped by Arab horse. Finally, my other knights would wait until the Arab army was sufficiently battered, and then attempt to win the game by targeting the raw Arab mobs, looking to take batches of three coins of poor quality troops off the table at a time.
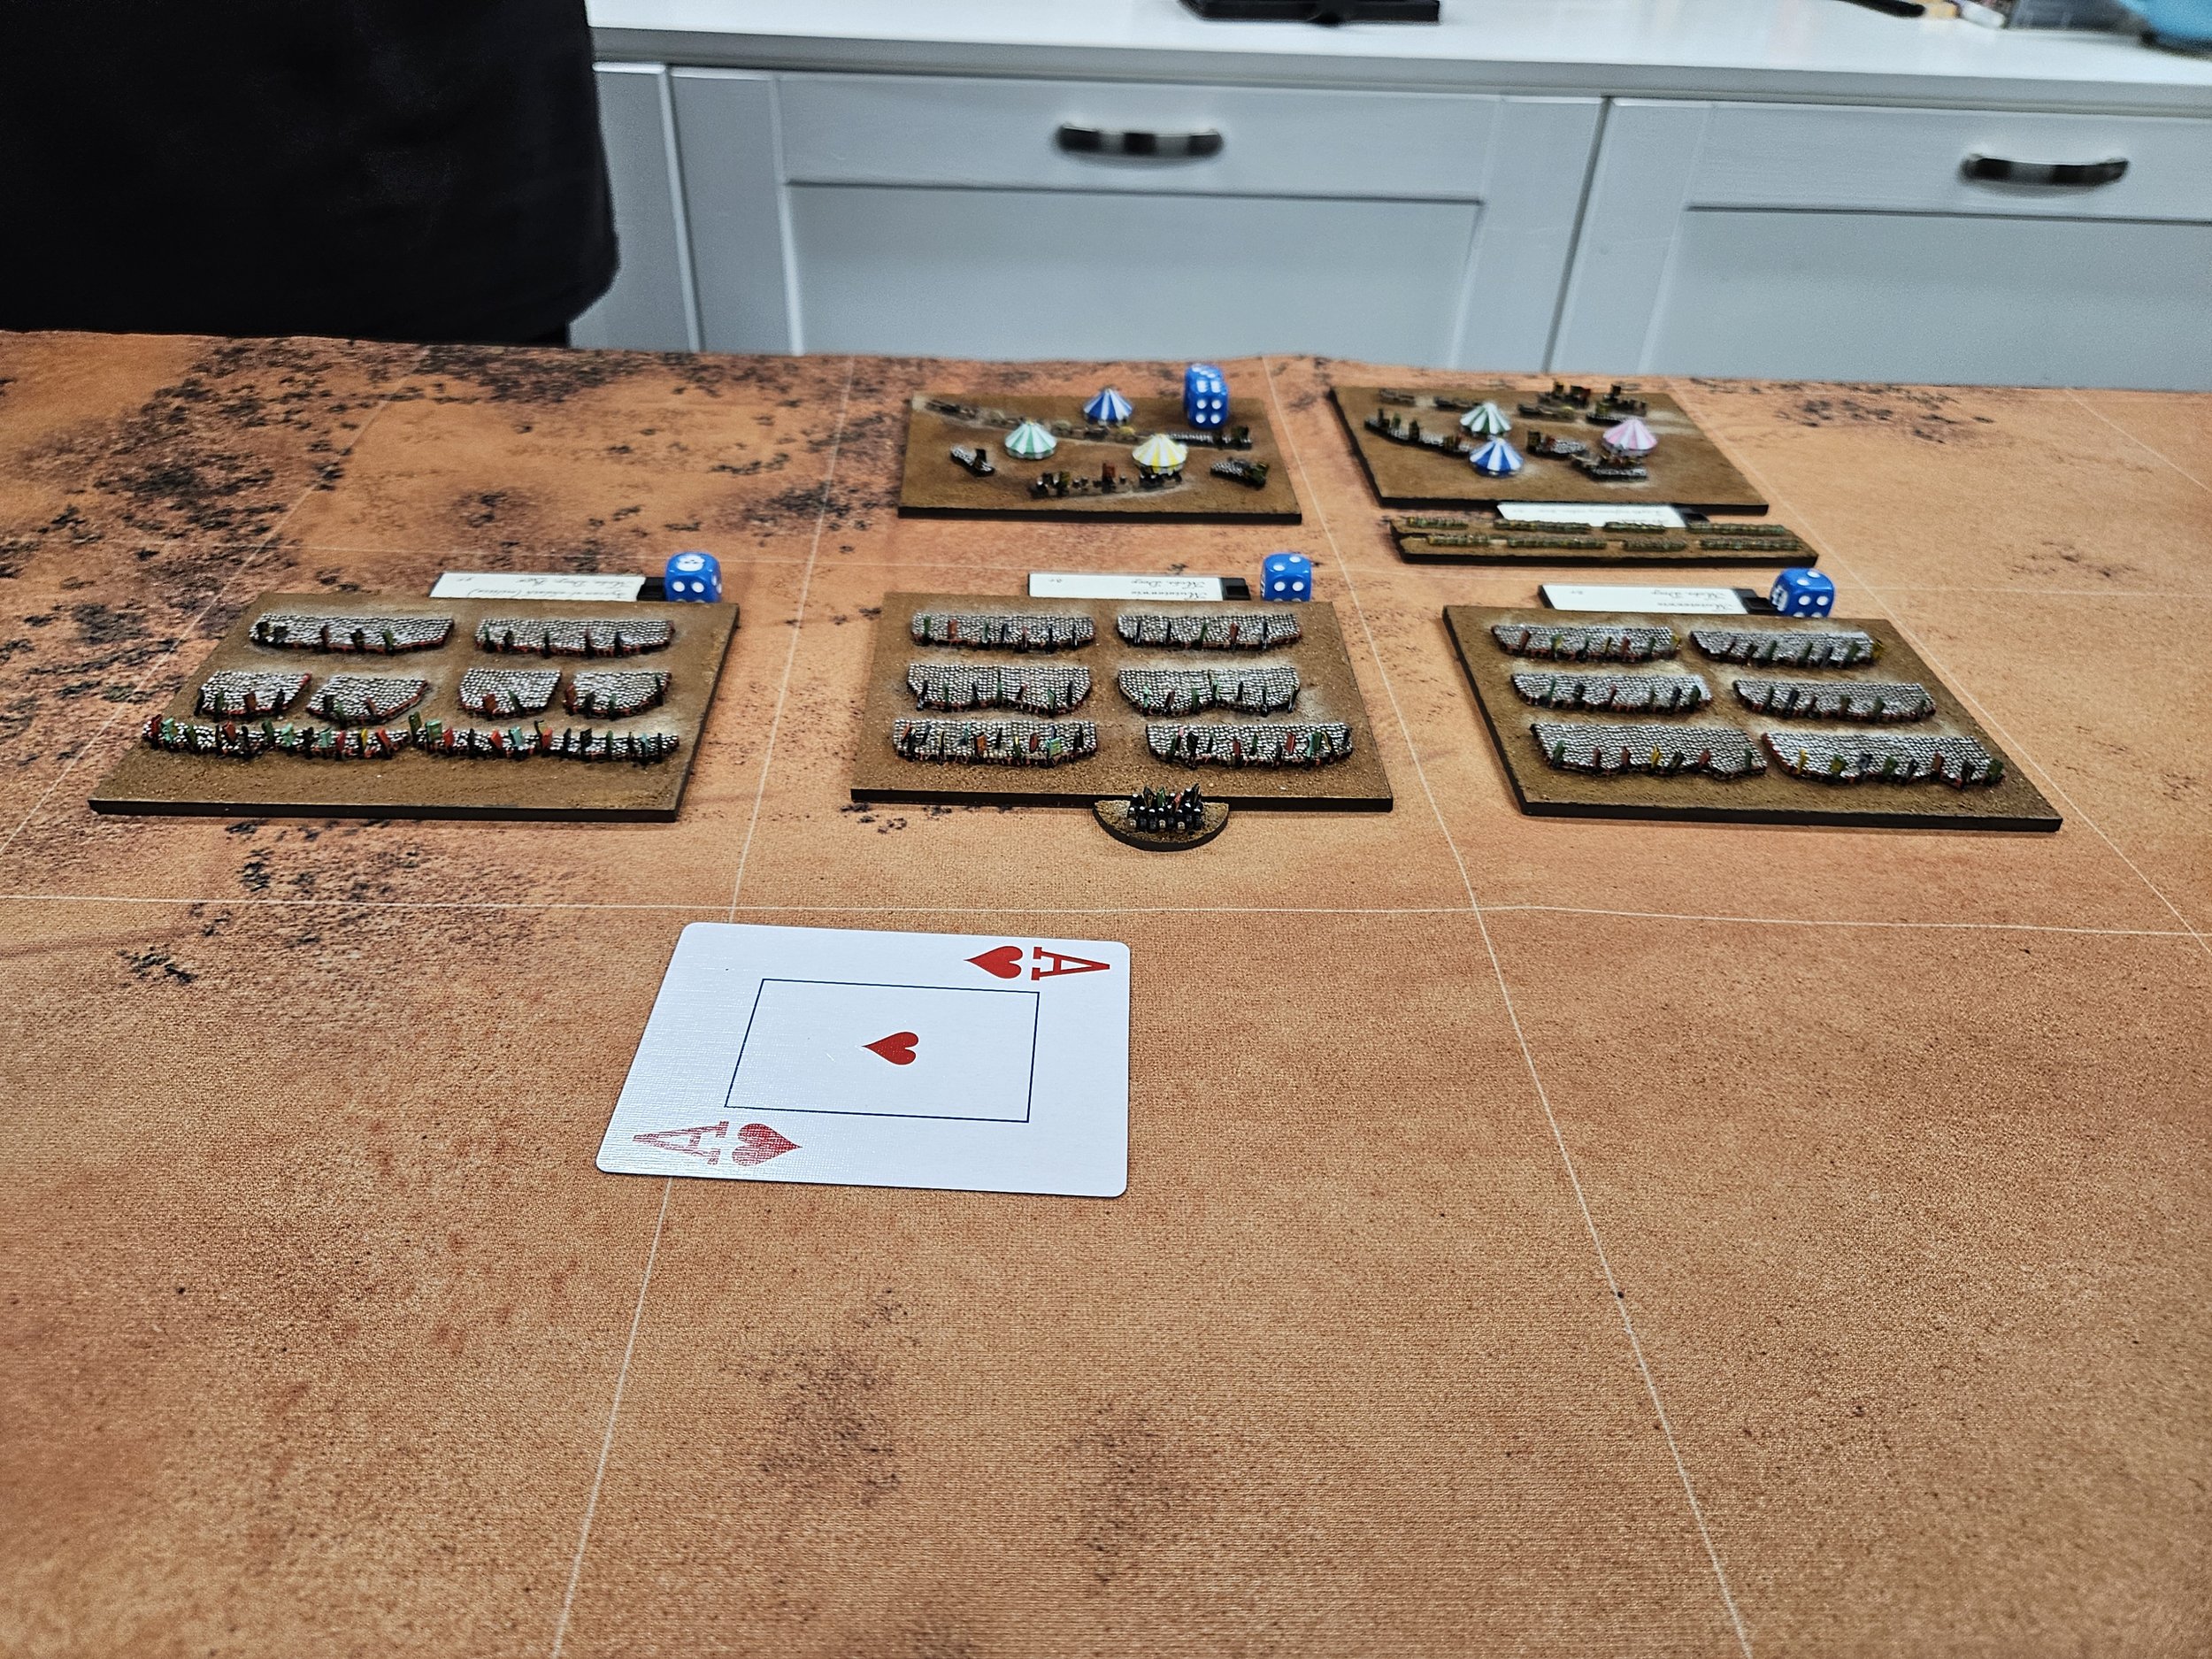
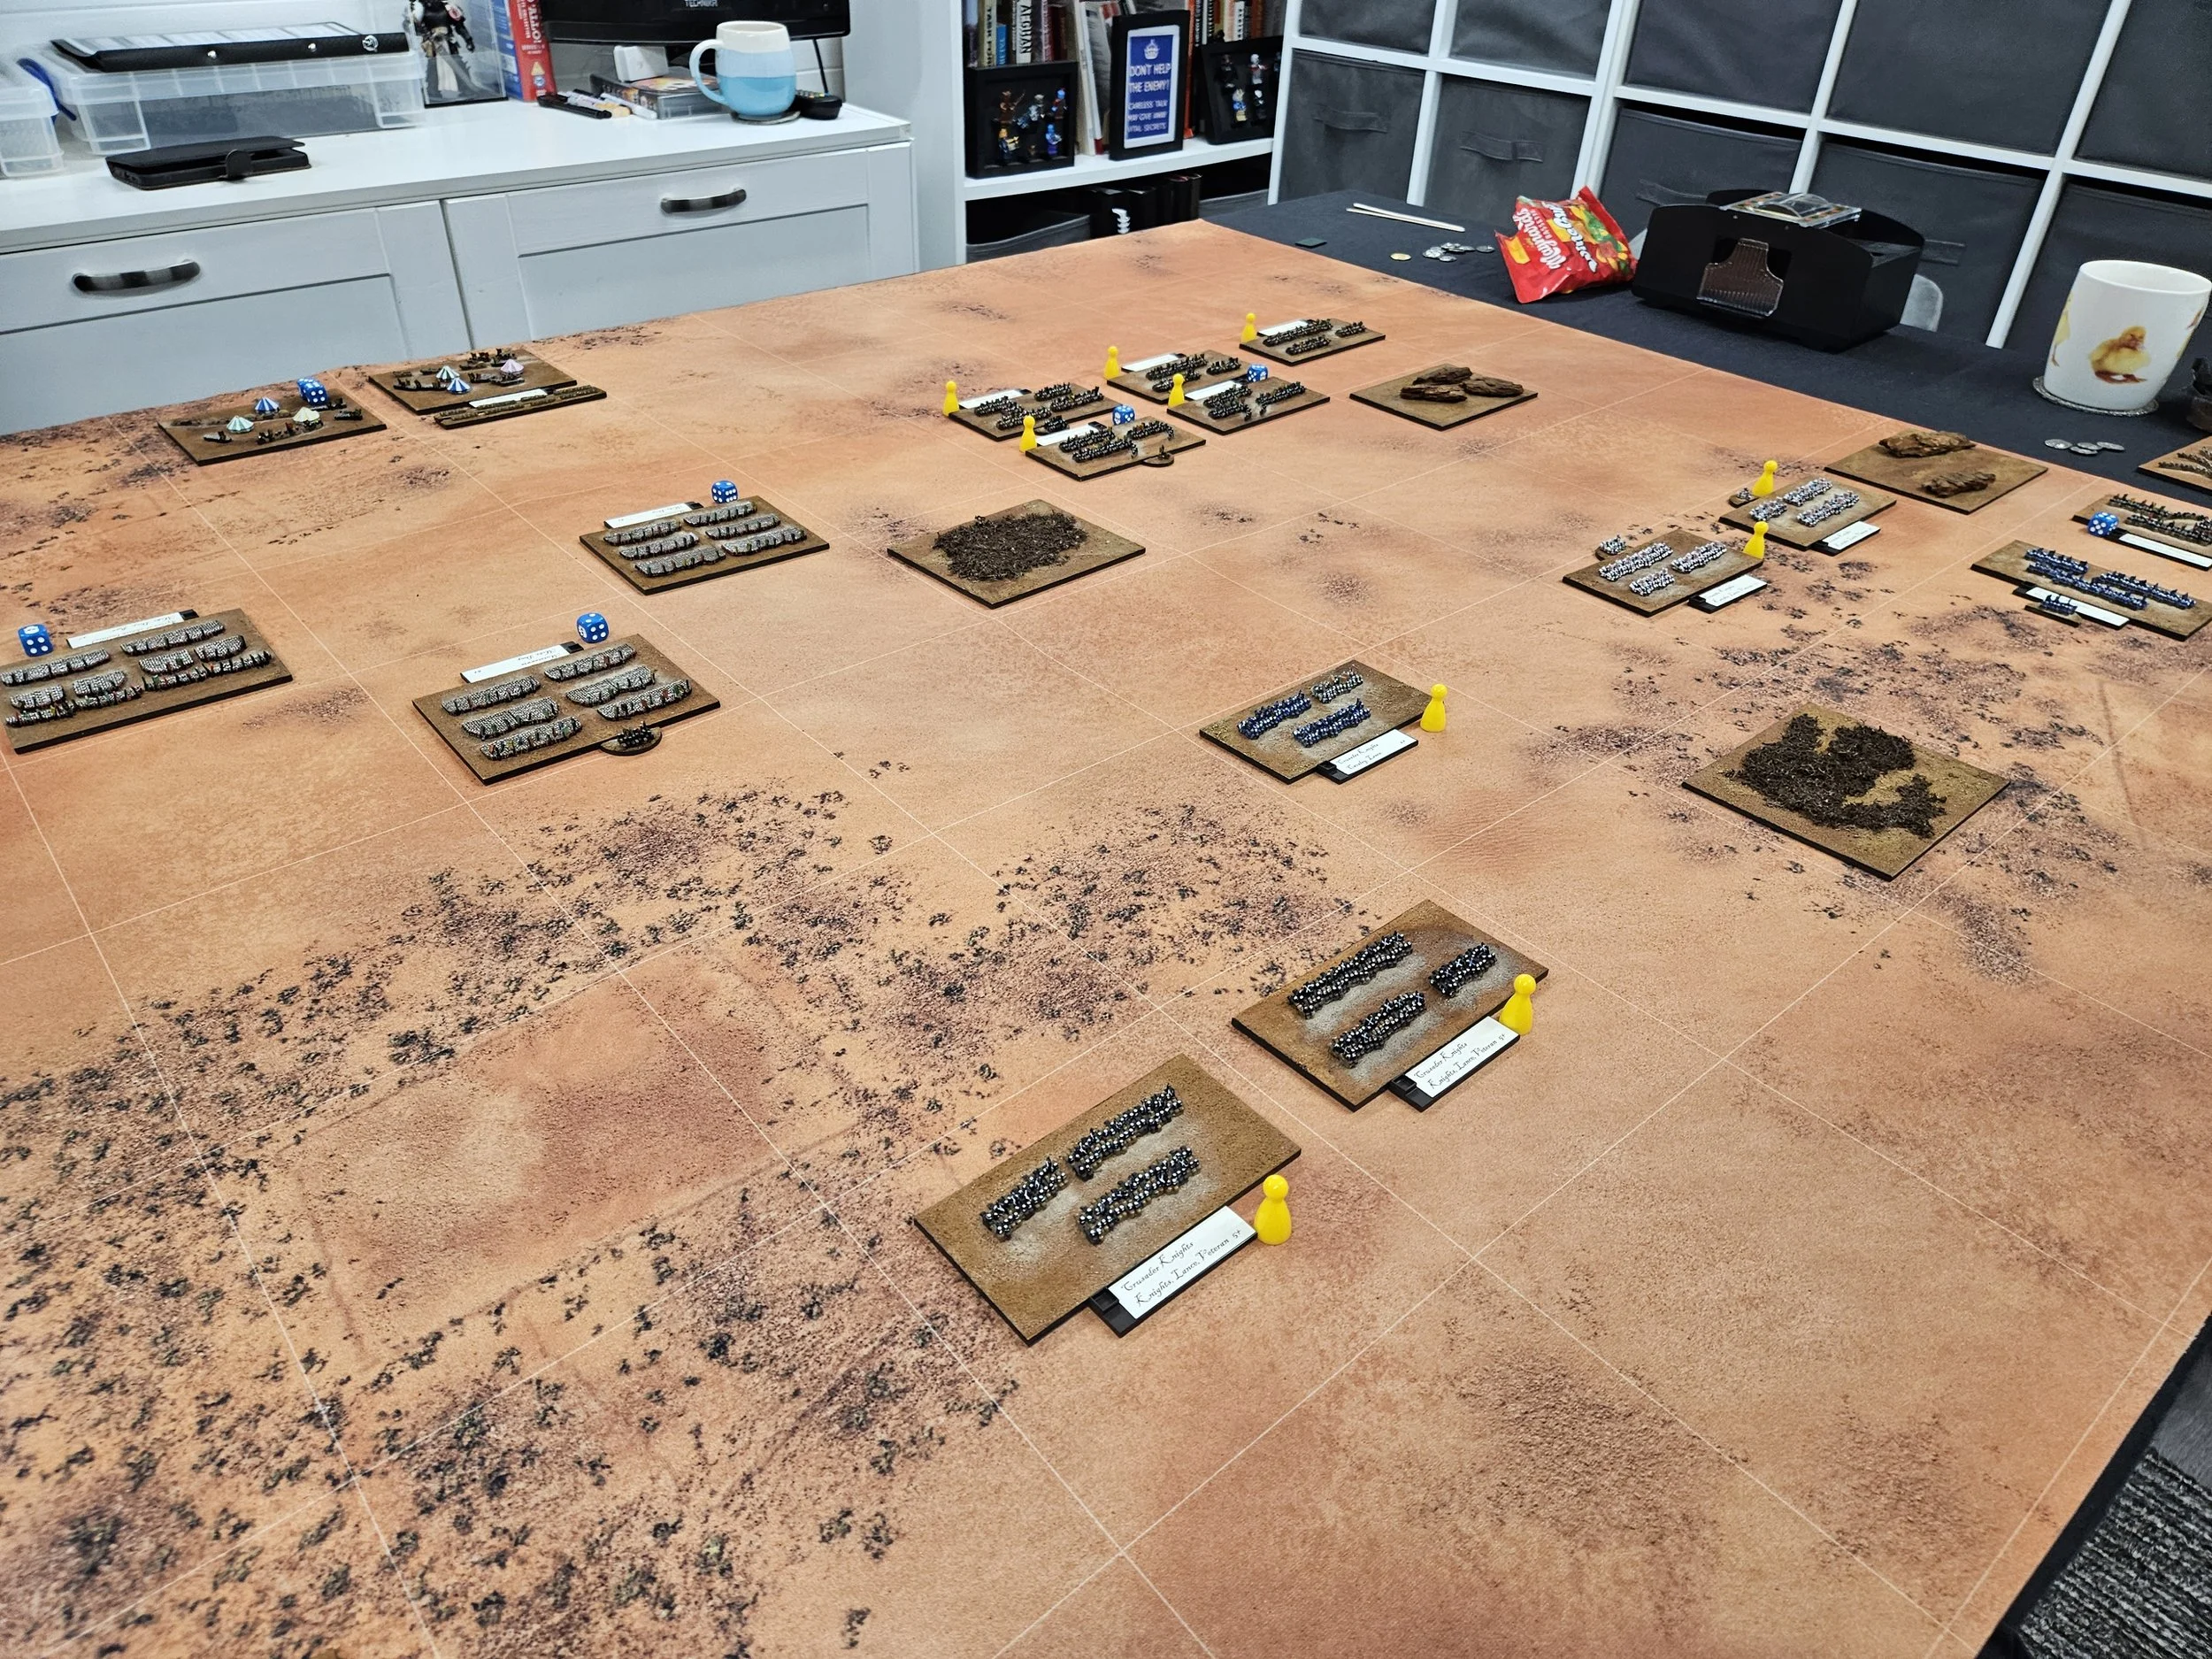
As the game began, the enemy lights swept forward towards my camp, the Arab cavalry on the right cantered towards the gap in the rough ground and, excellently, the Arab mobs resolutely stayed where they were: consecutive Aces for a group move pinning them in place. Phew! My plan might just work!
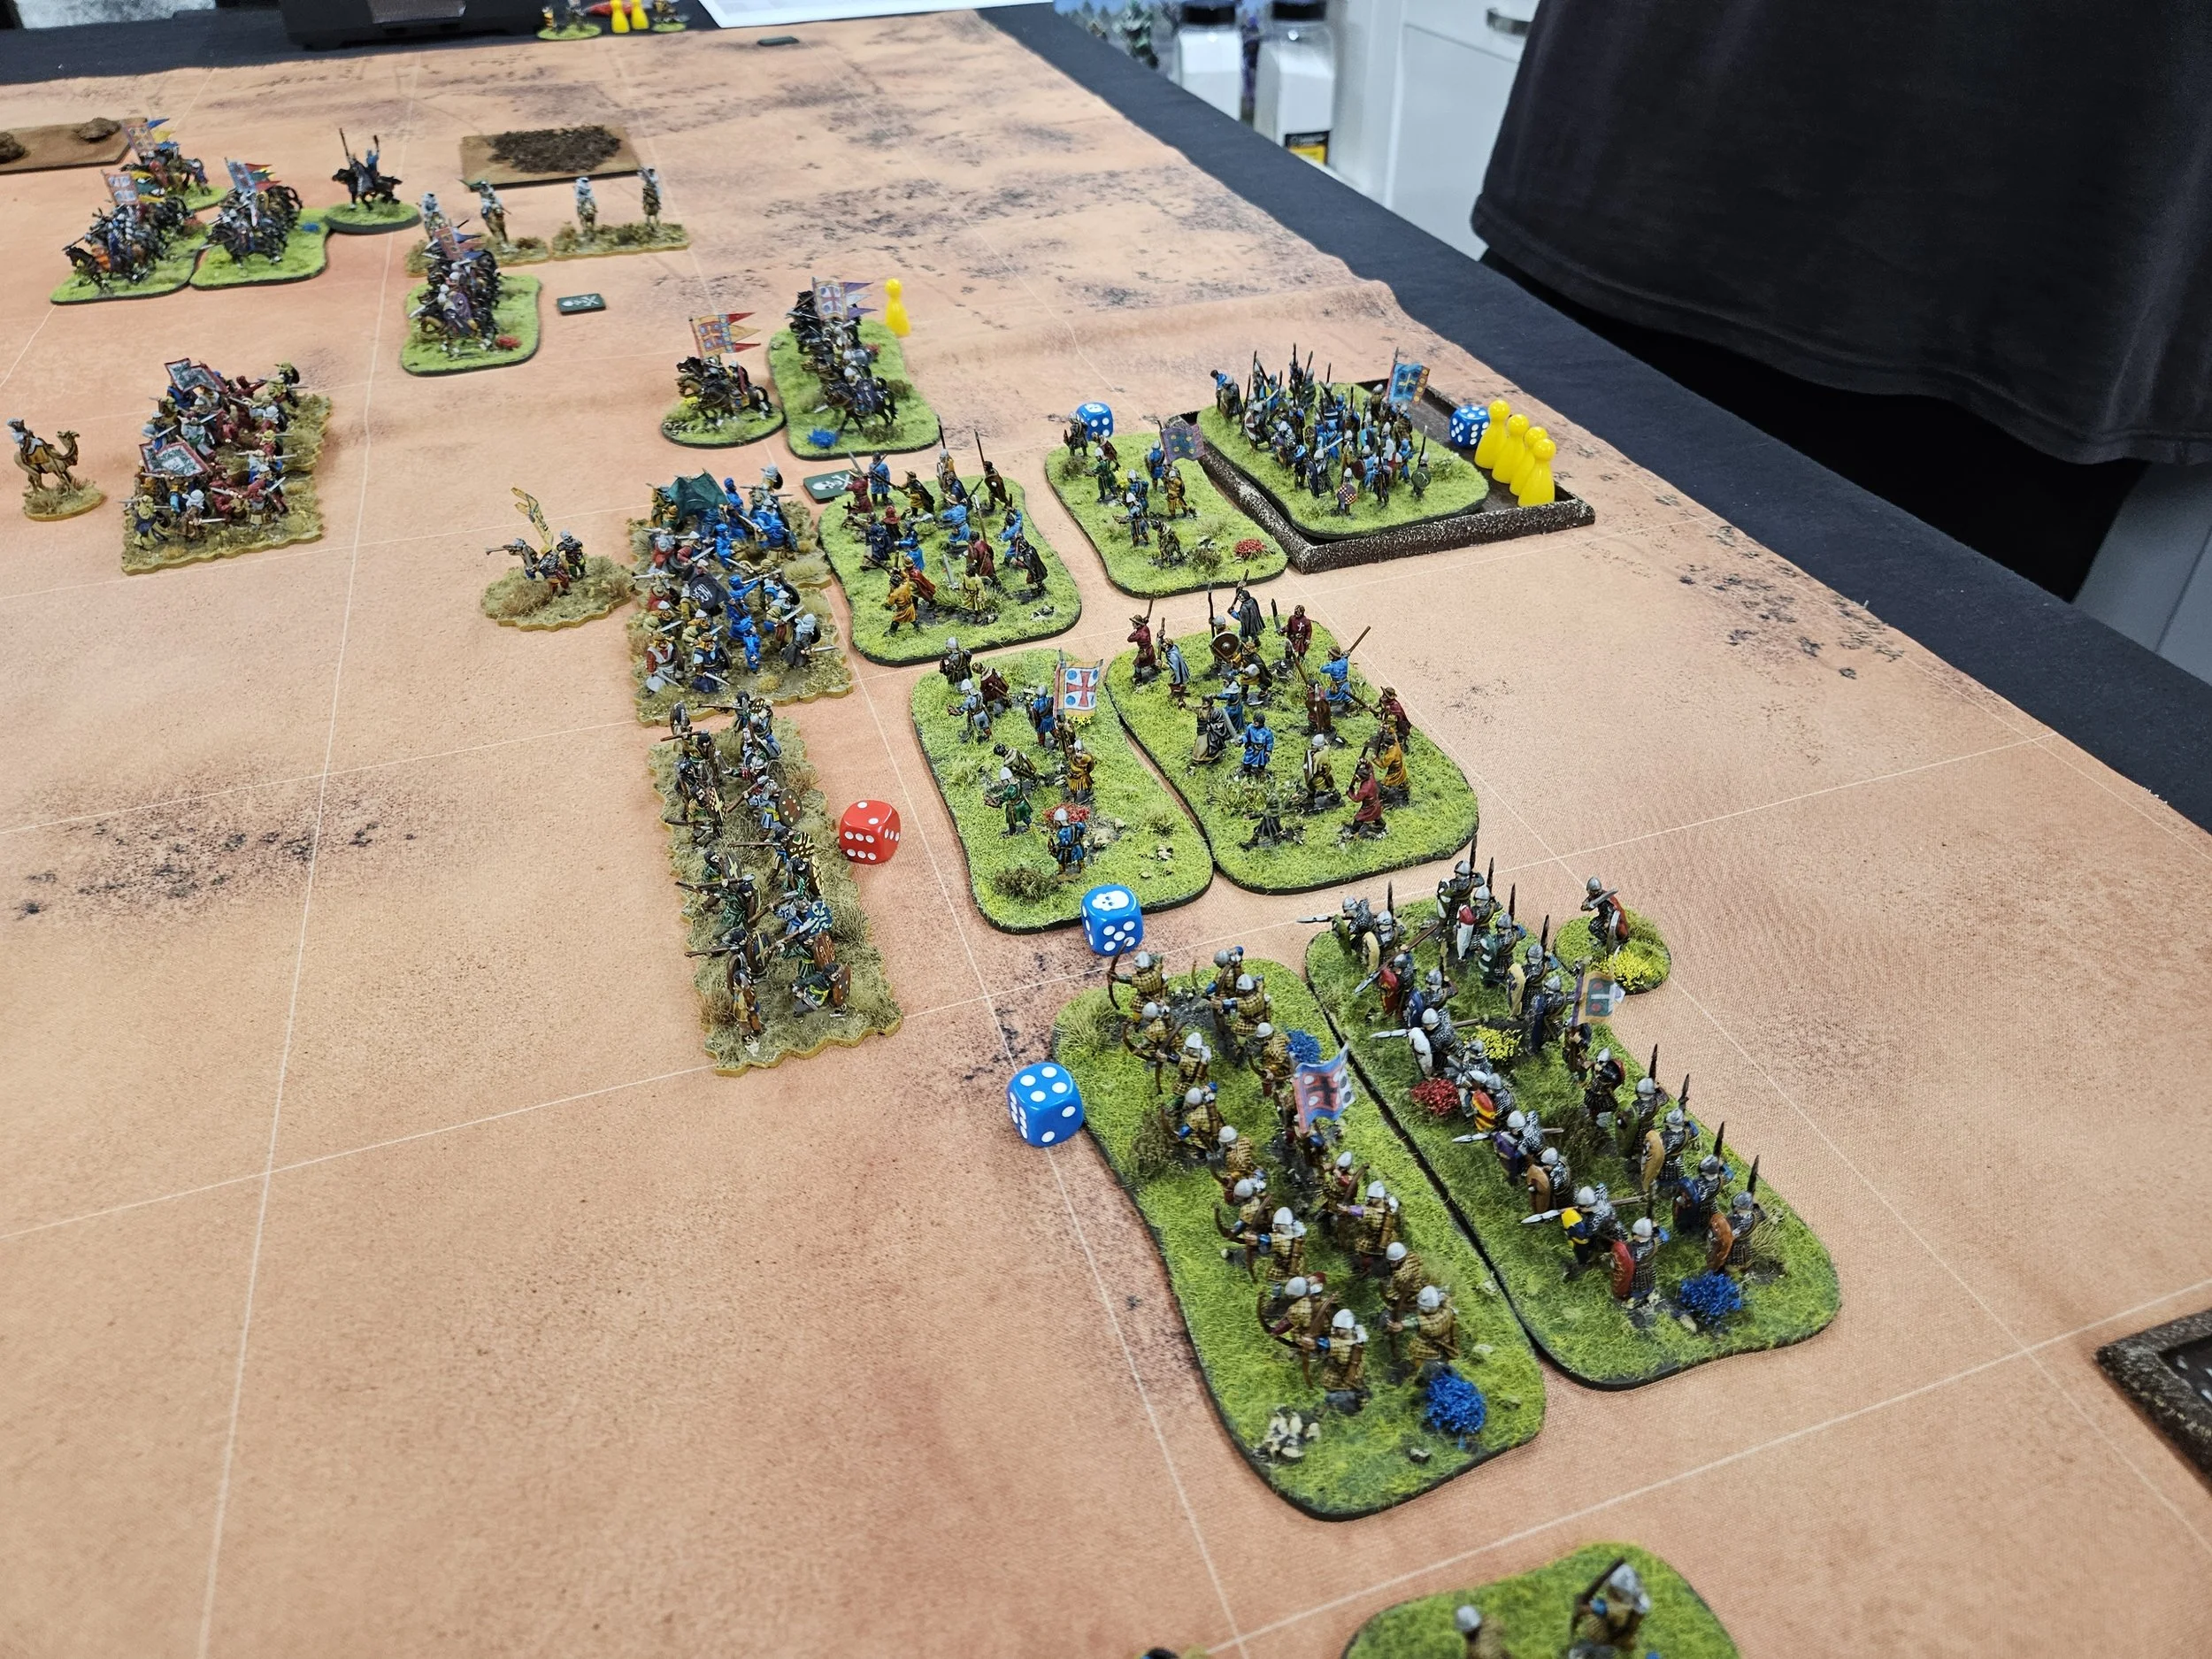
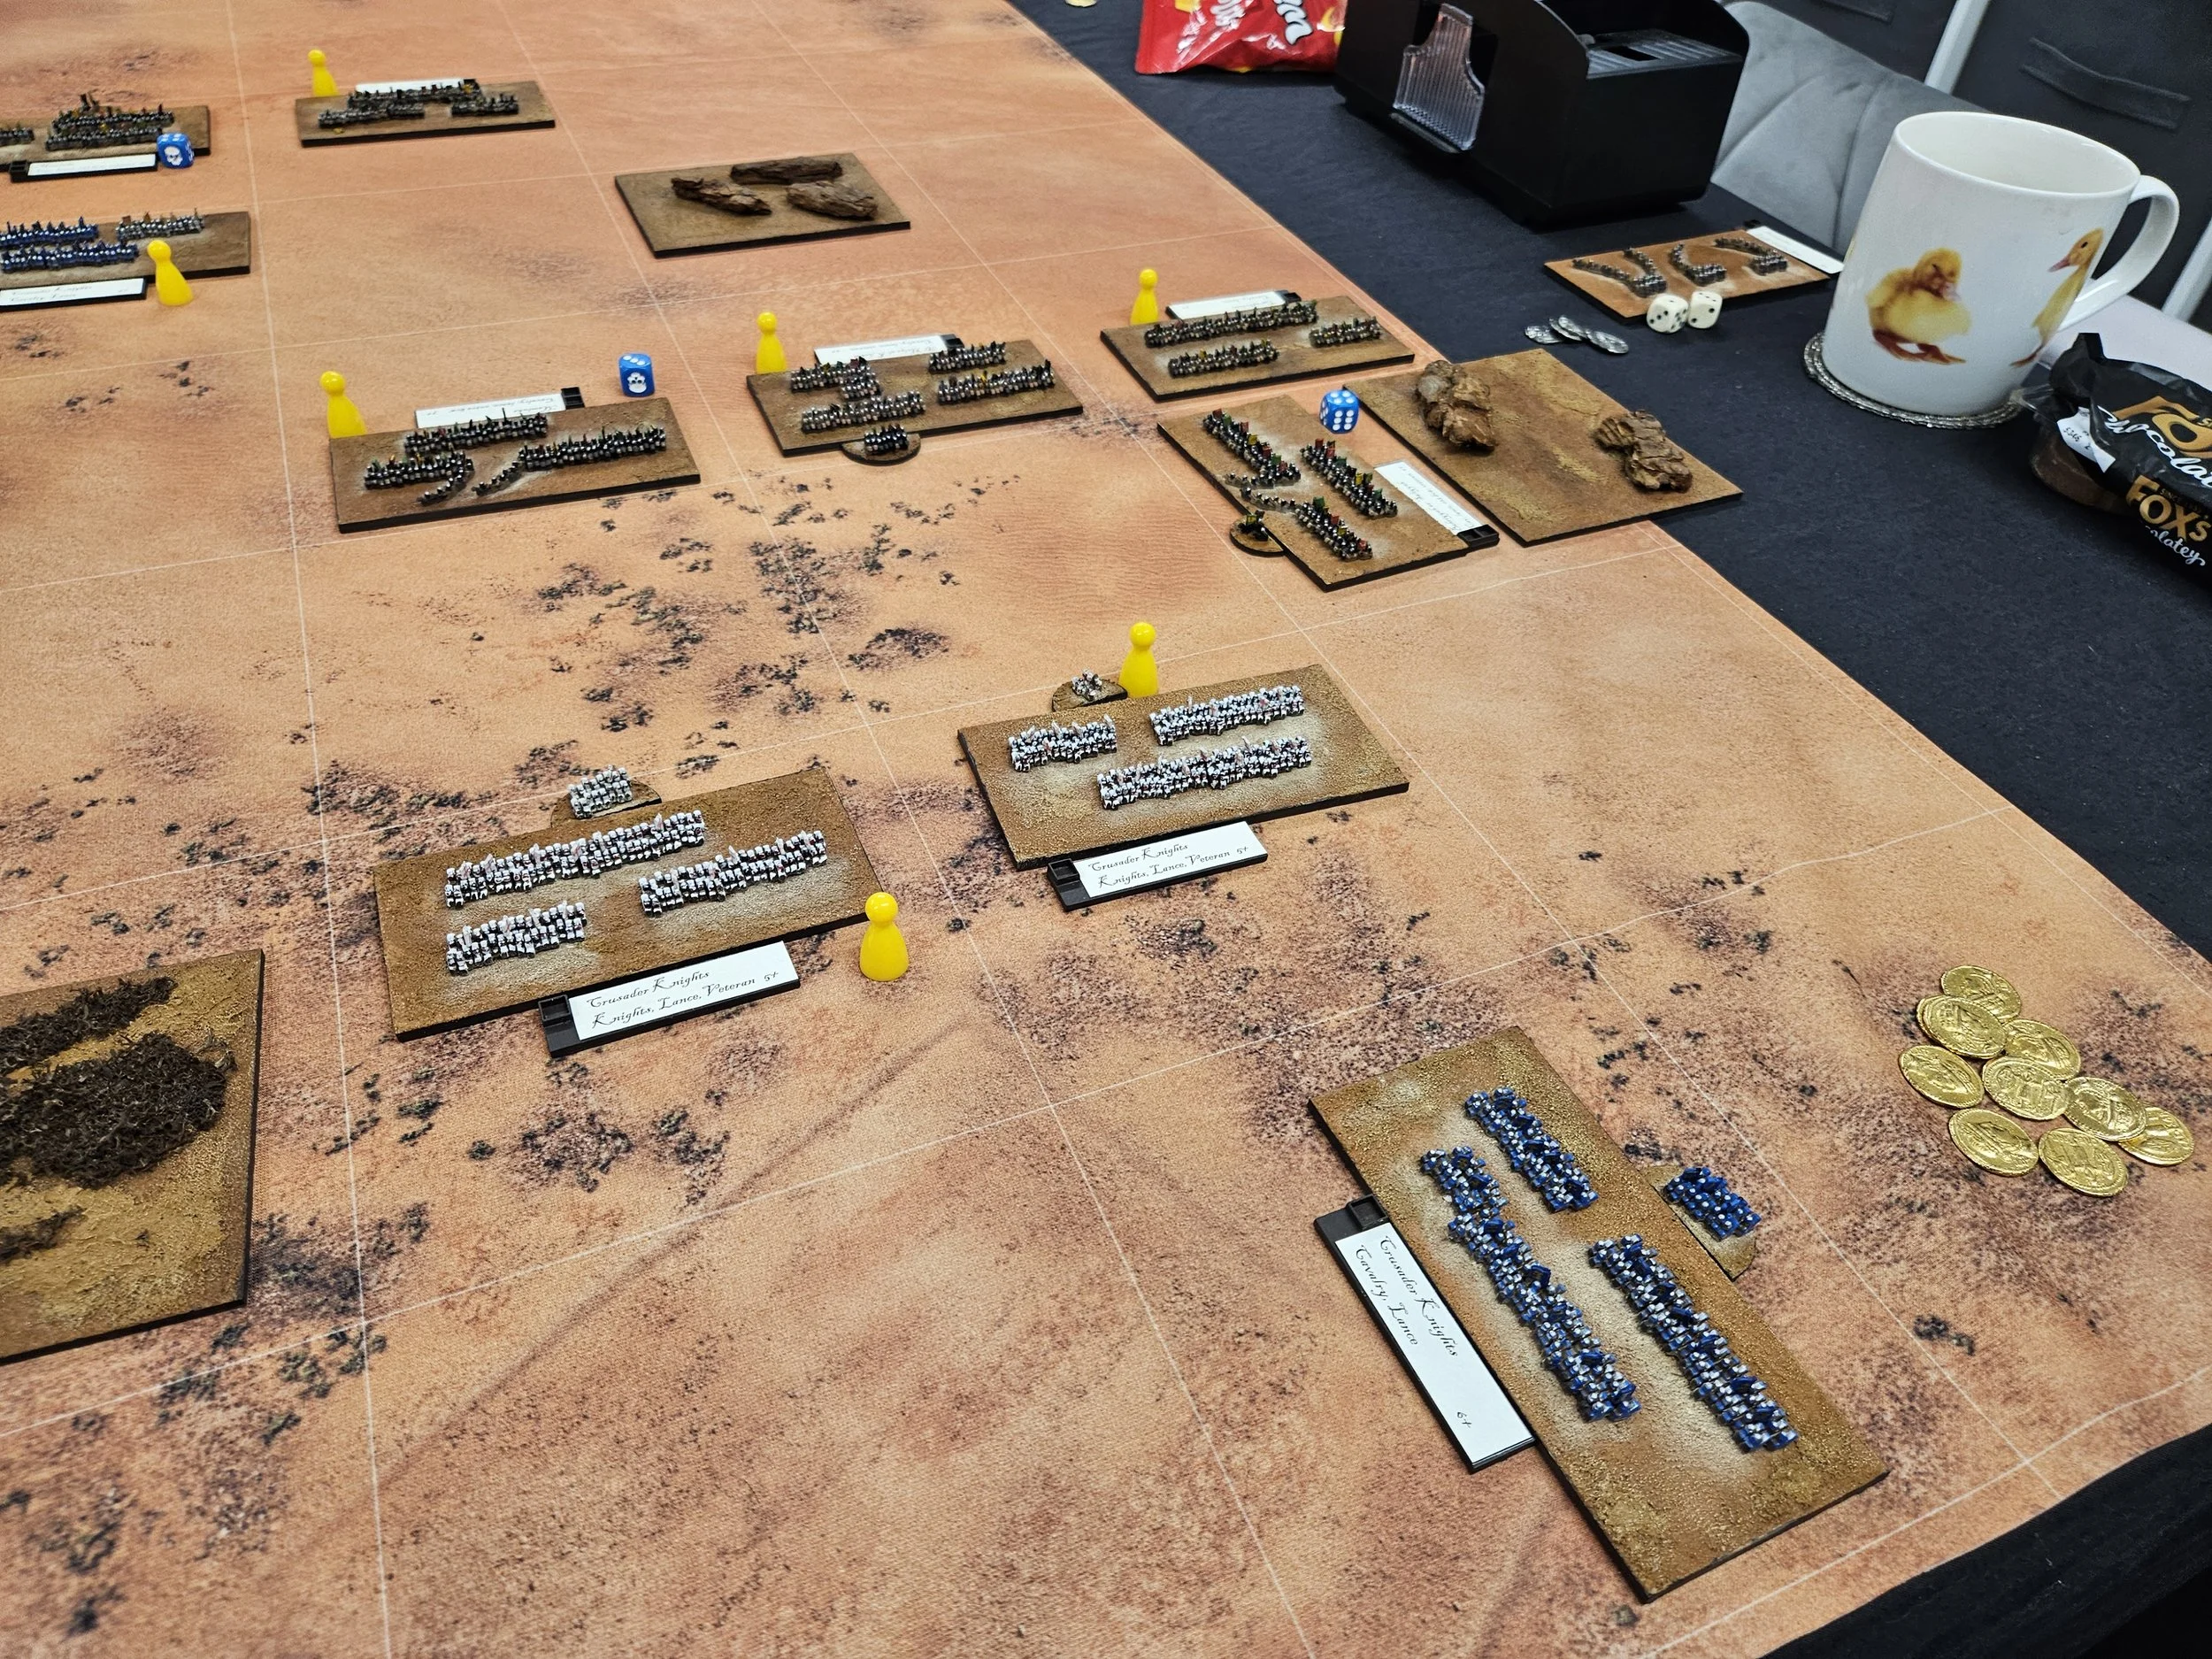
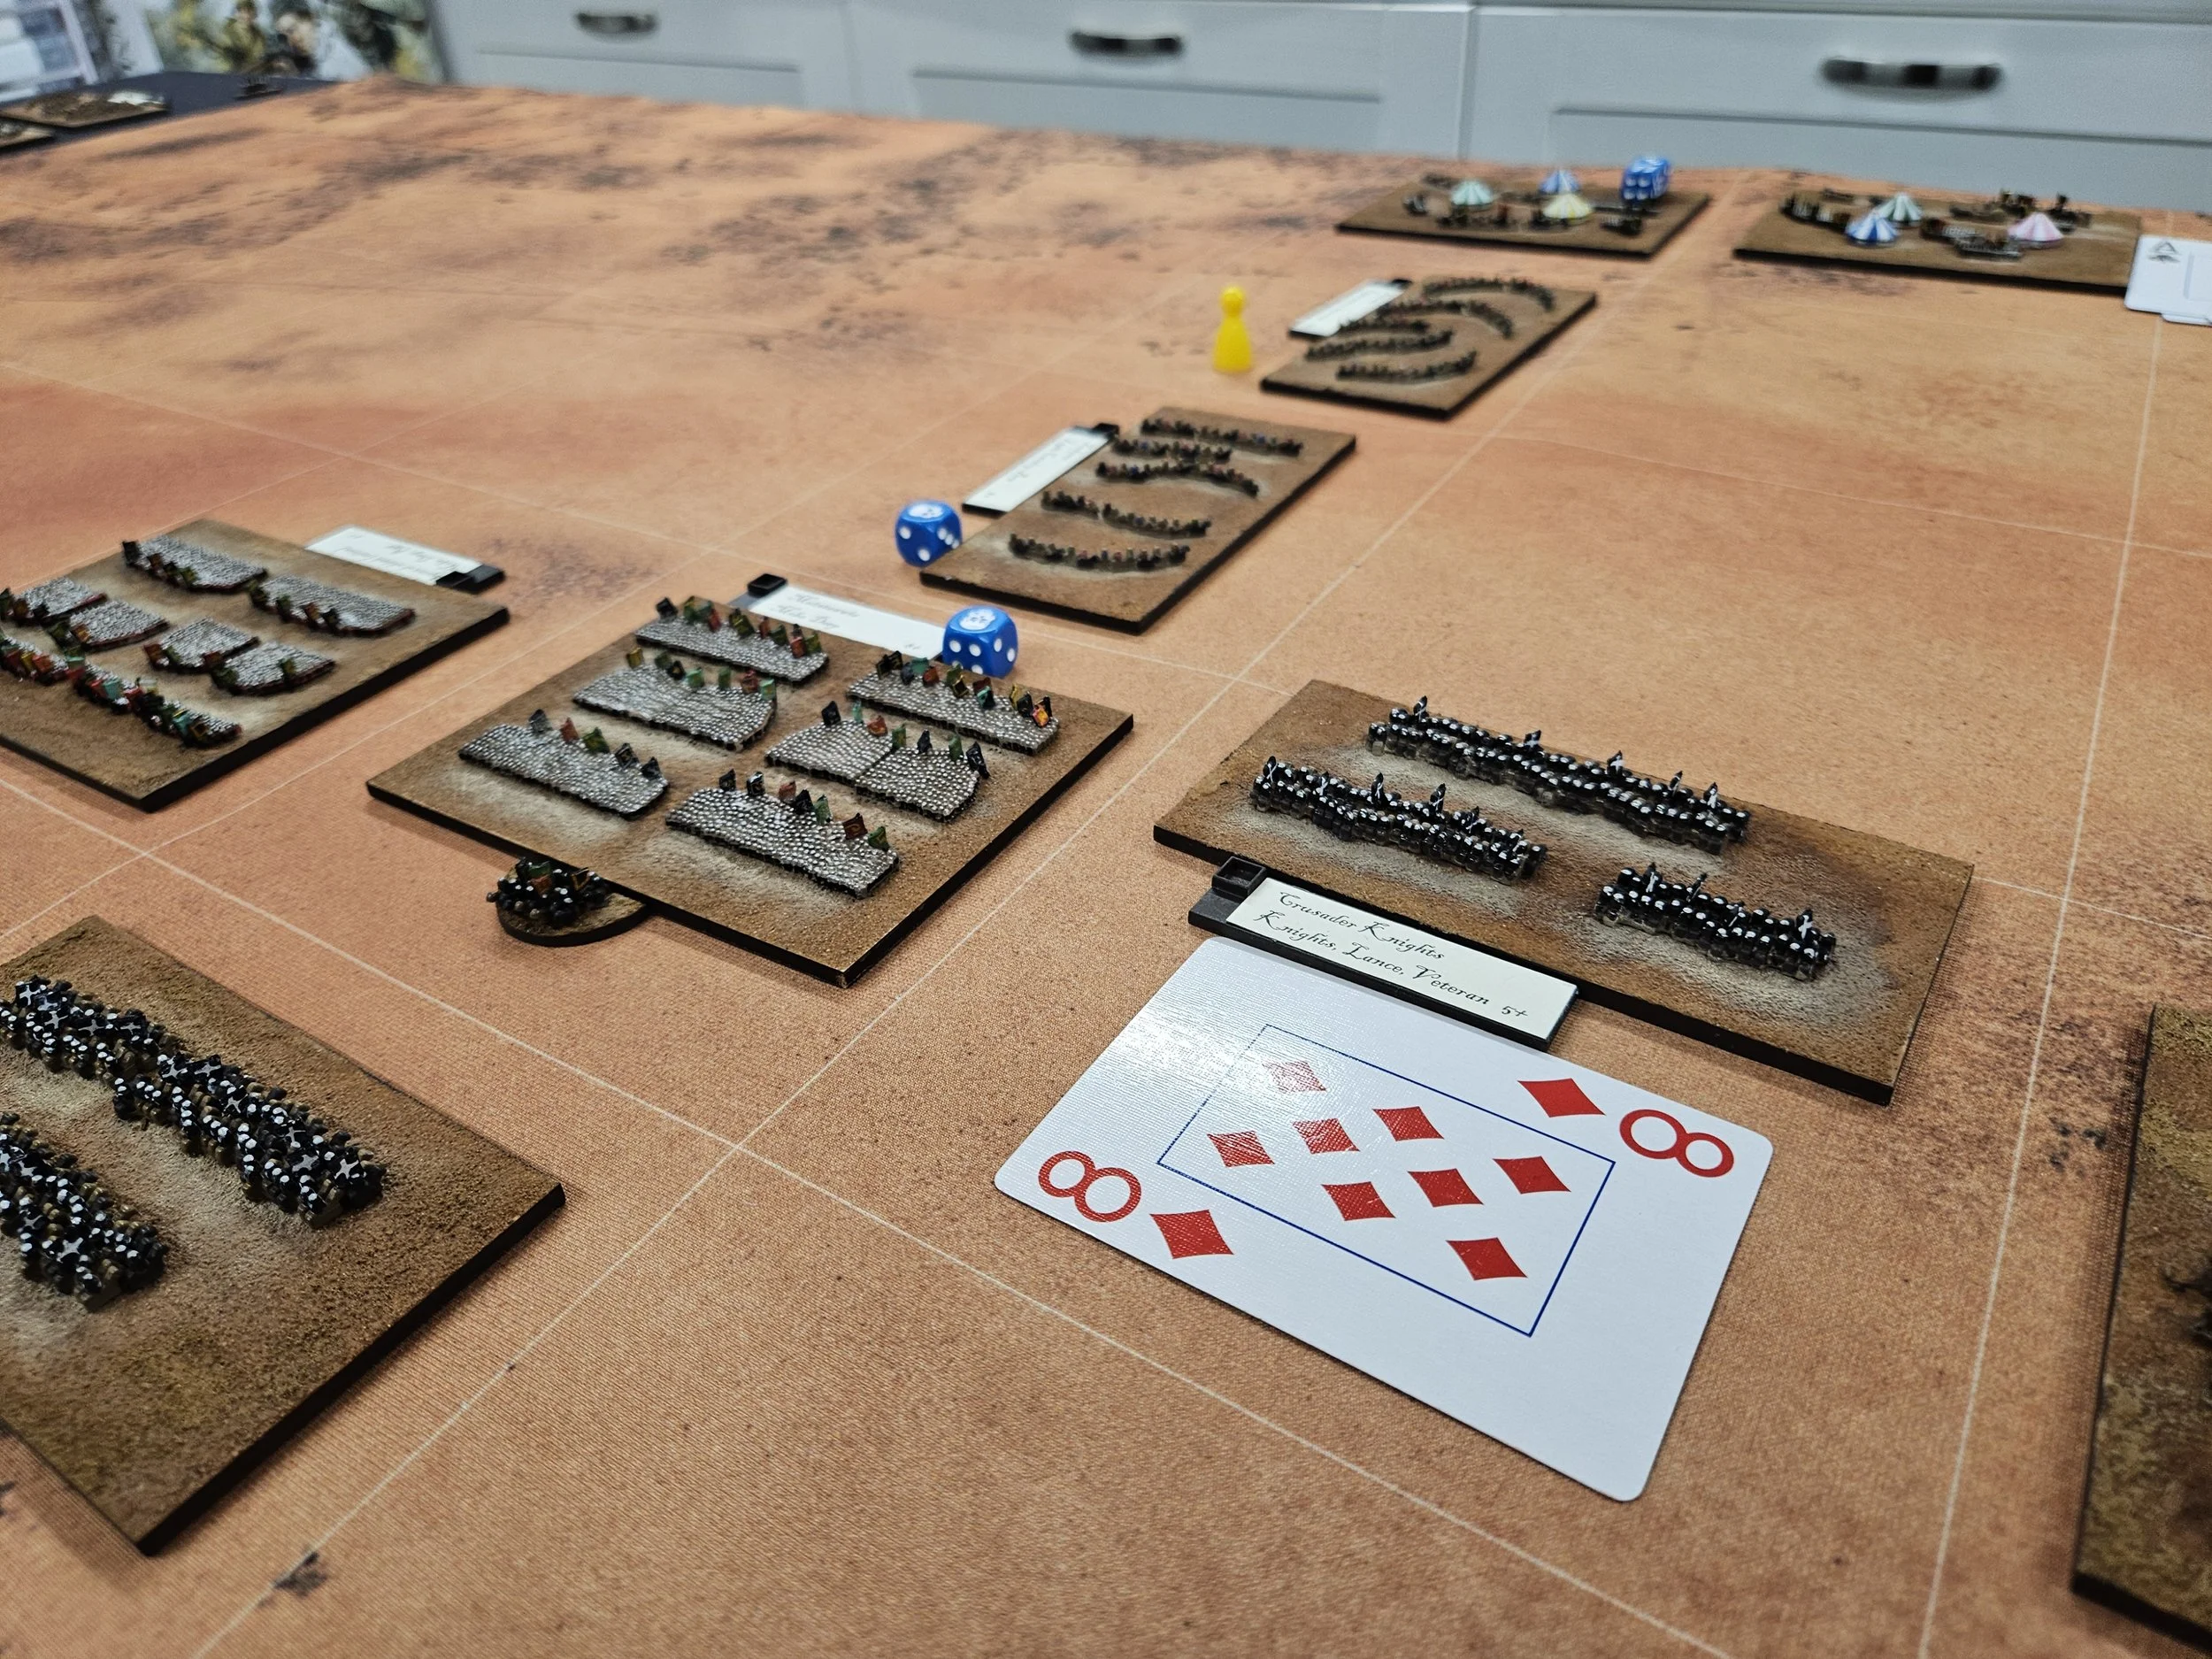
On the right, the Arab horse came forward and, misere de misere, smashed one of my religeous-order knight units right off the table! This was definitely not in the plan but, as the mobs had remained pinned to the Arab baseline, I was able to redeploy some of my normal knights to plug the gap.
The cards then helped me out again, refusing to let Neil’s Arab cavalry turn to face my knights…but although I charged in successfully, the nimble Arab horse evaded and would eventually leave the table.
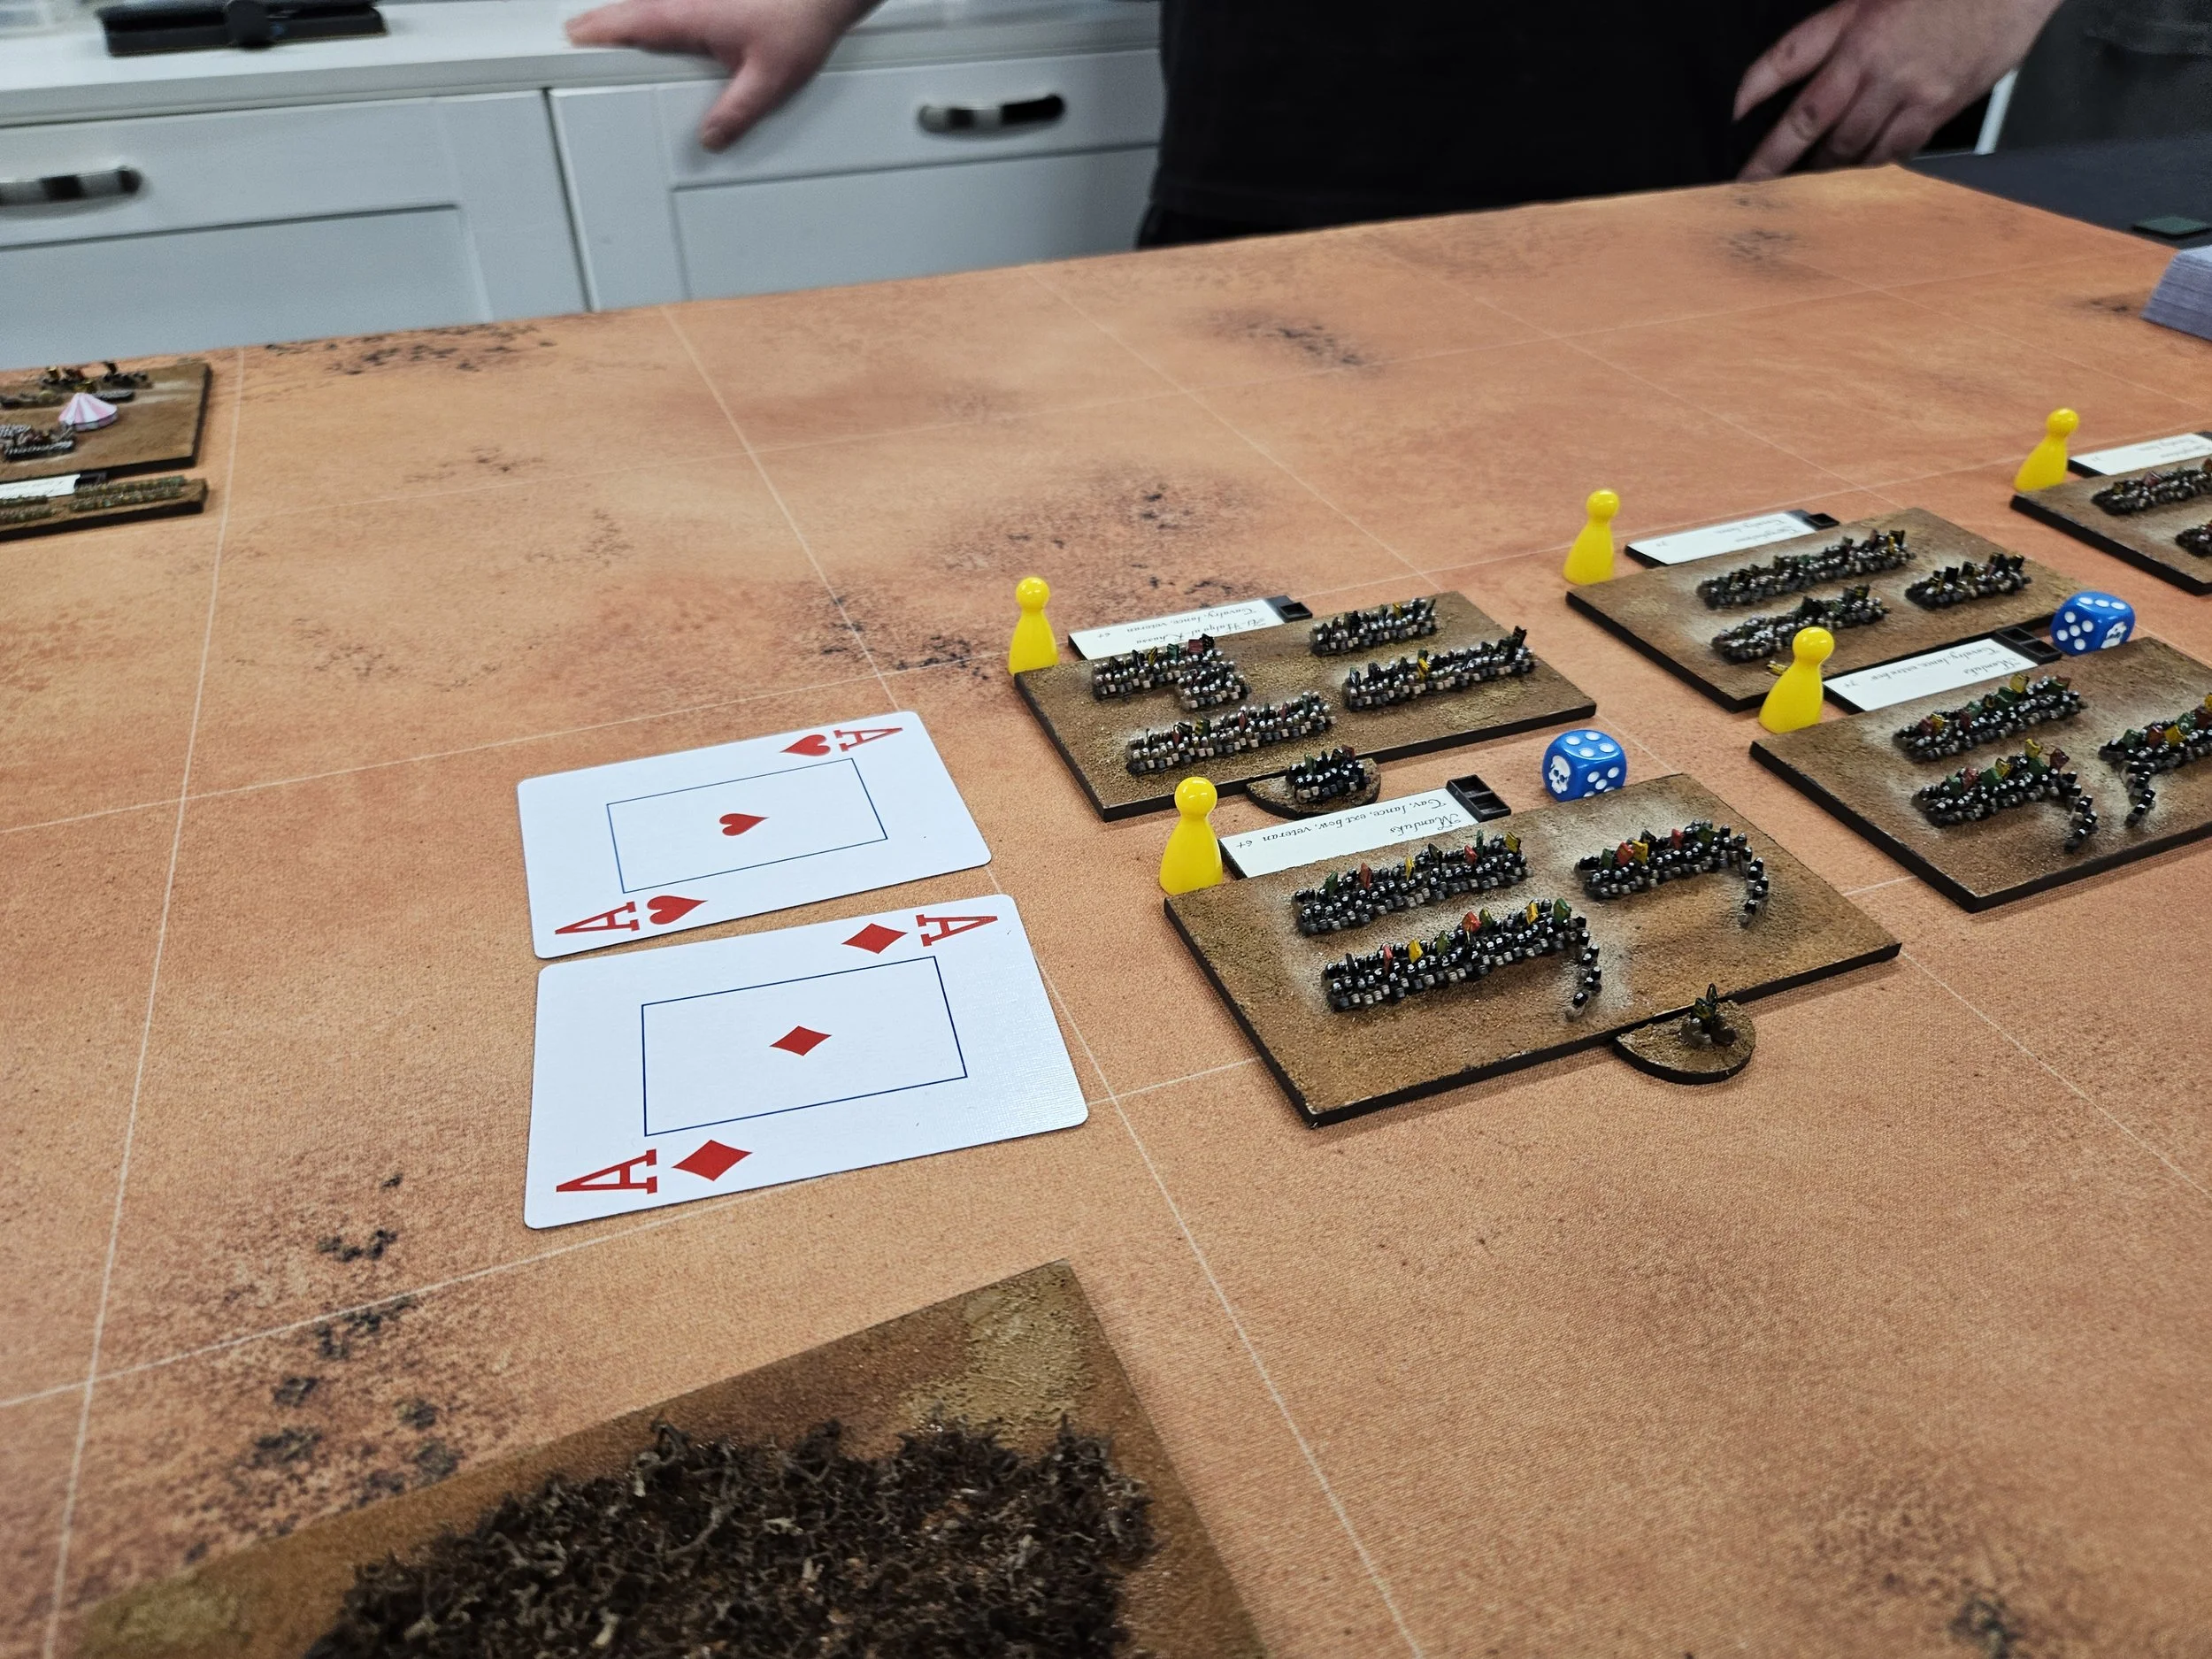
That Ace also stopped the rest of the Arab horse coming forward, which was a bit lucky as the mobs had now finally got moving…
Meanwhile, on the left, my foot had done an excellent job in containing the Arab light horse, killing half of them and their general for no loss.
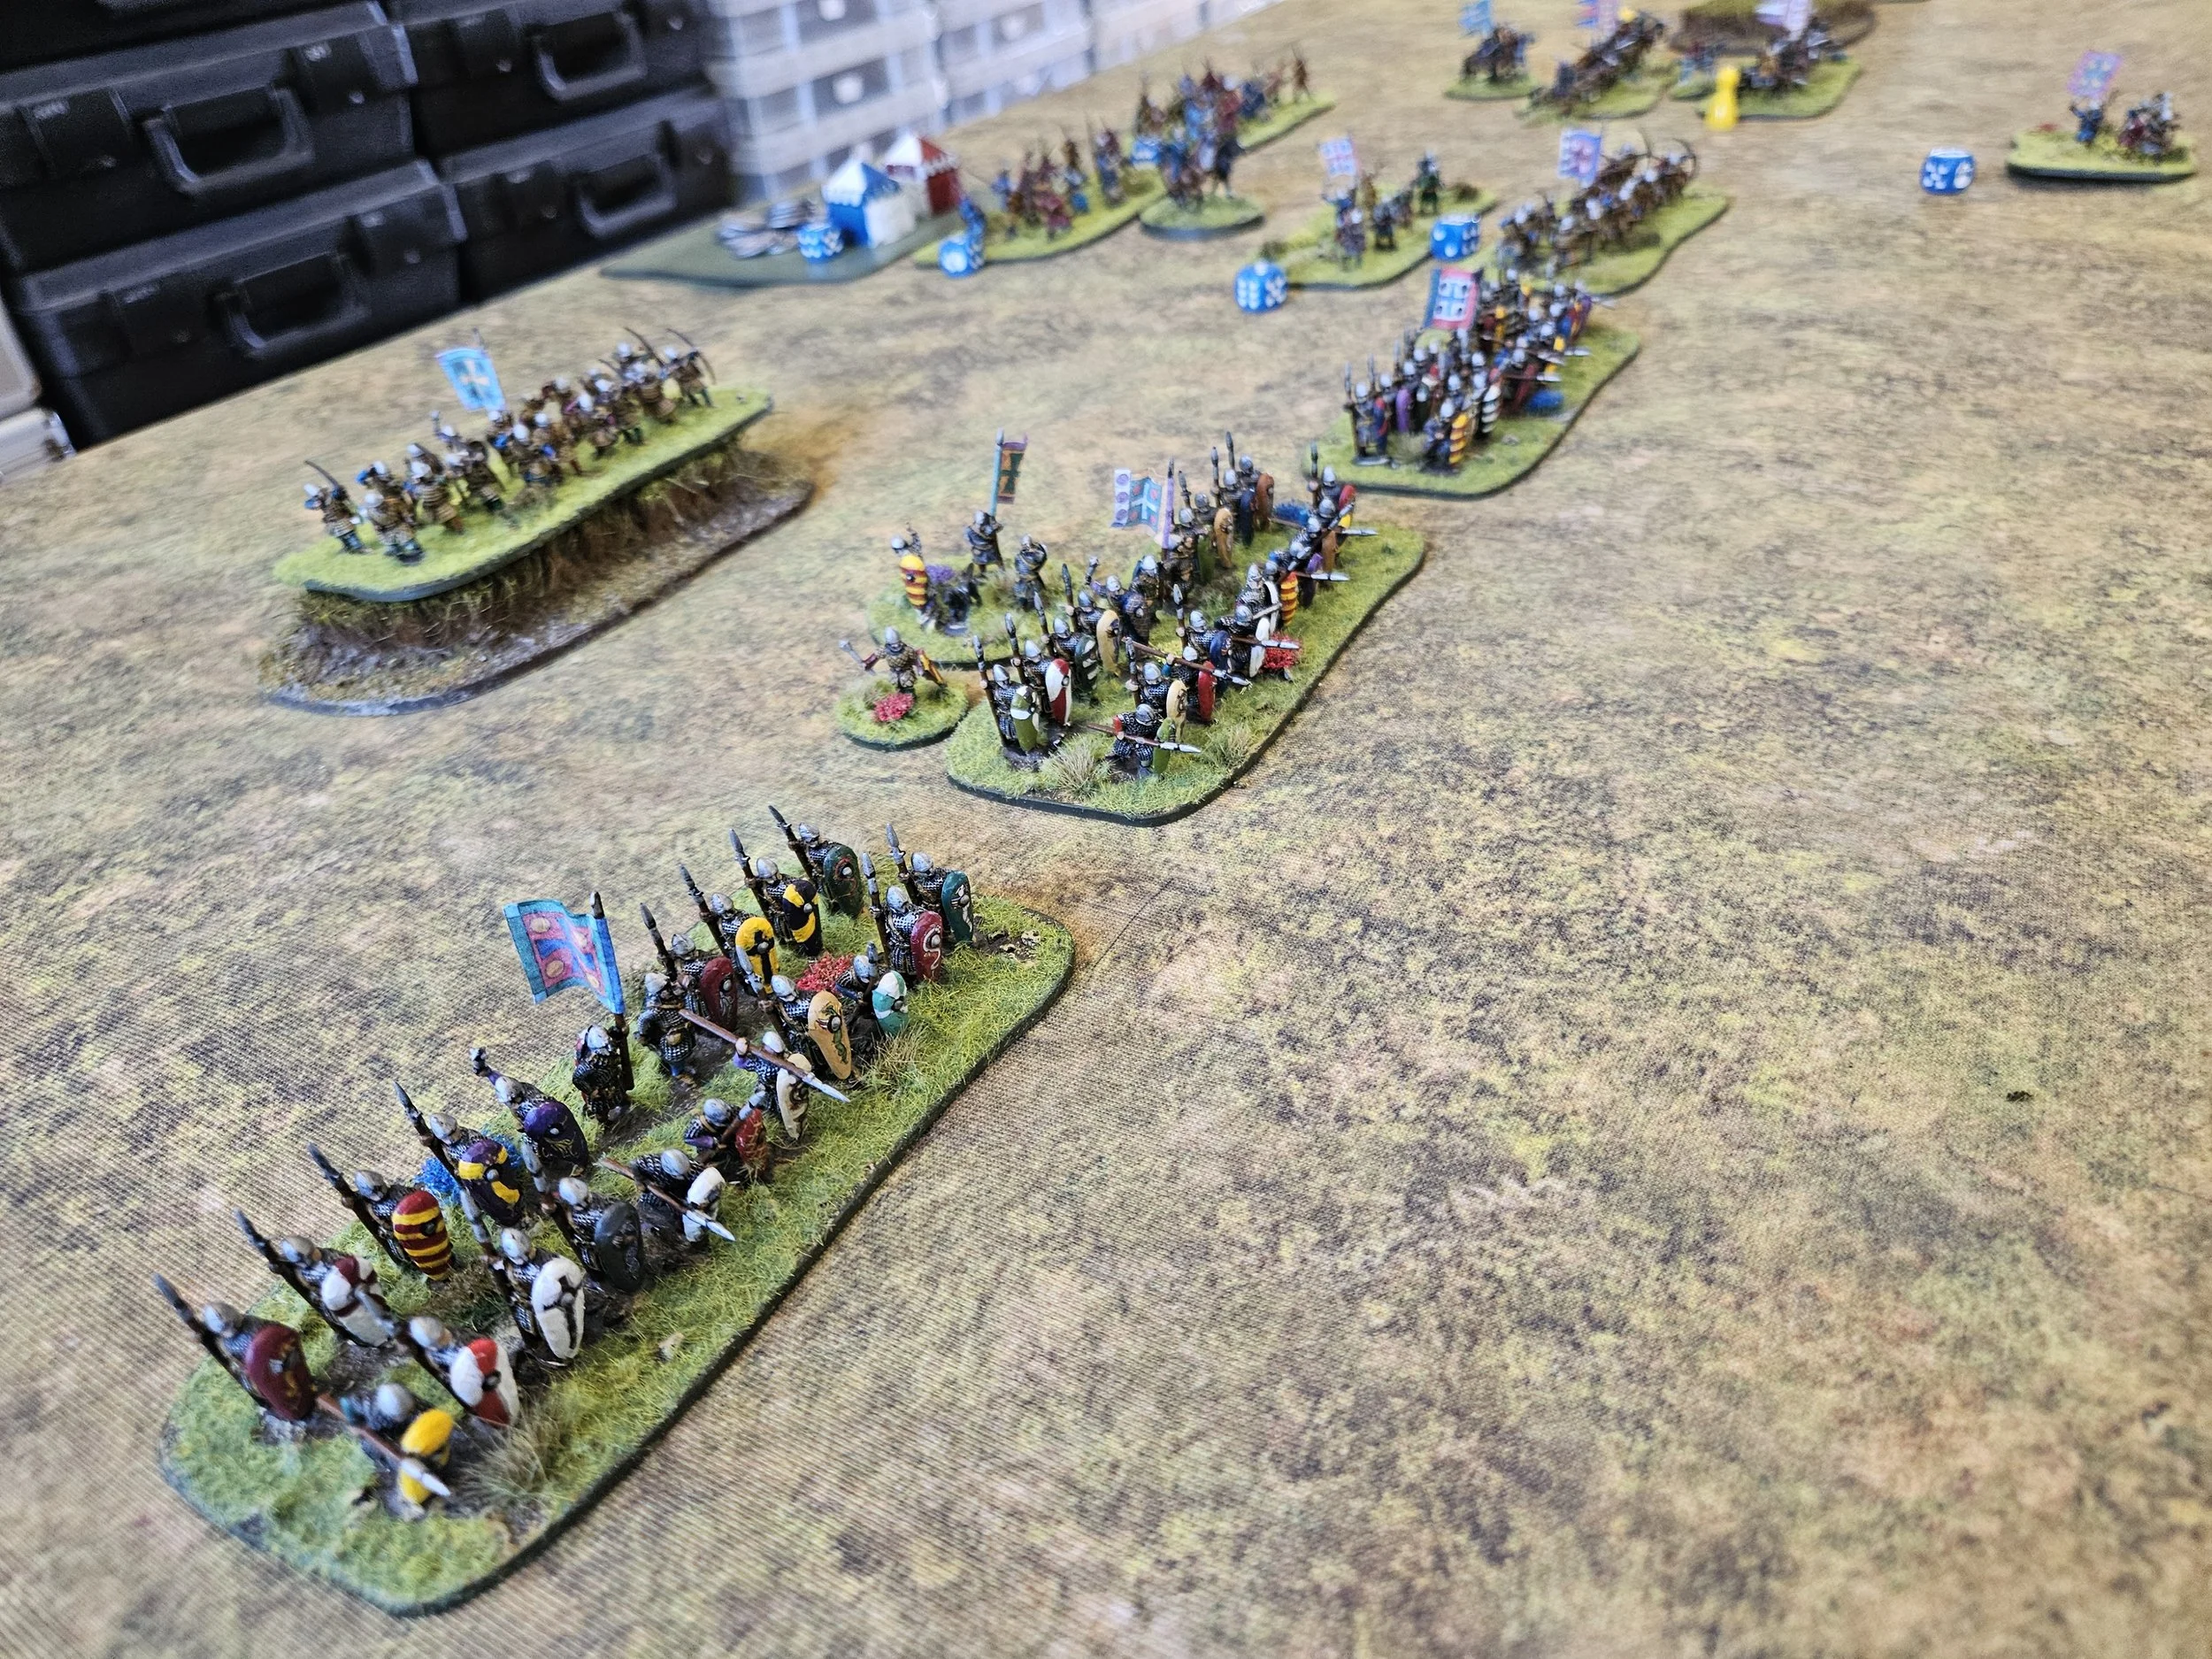
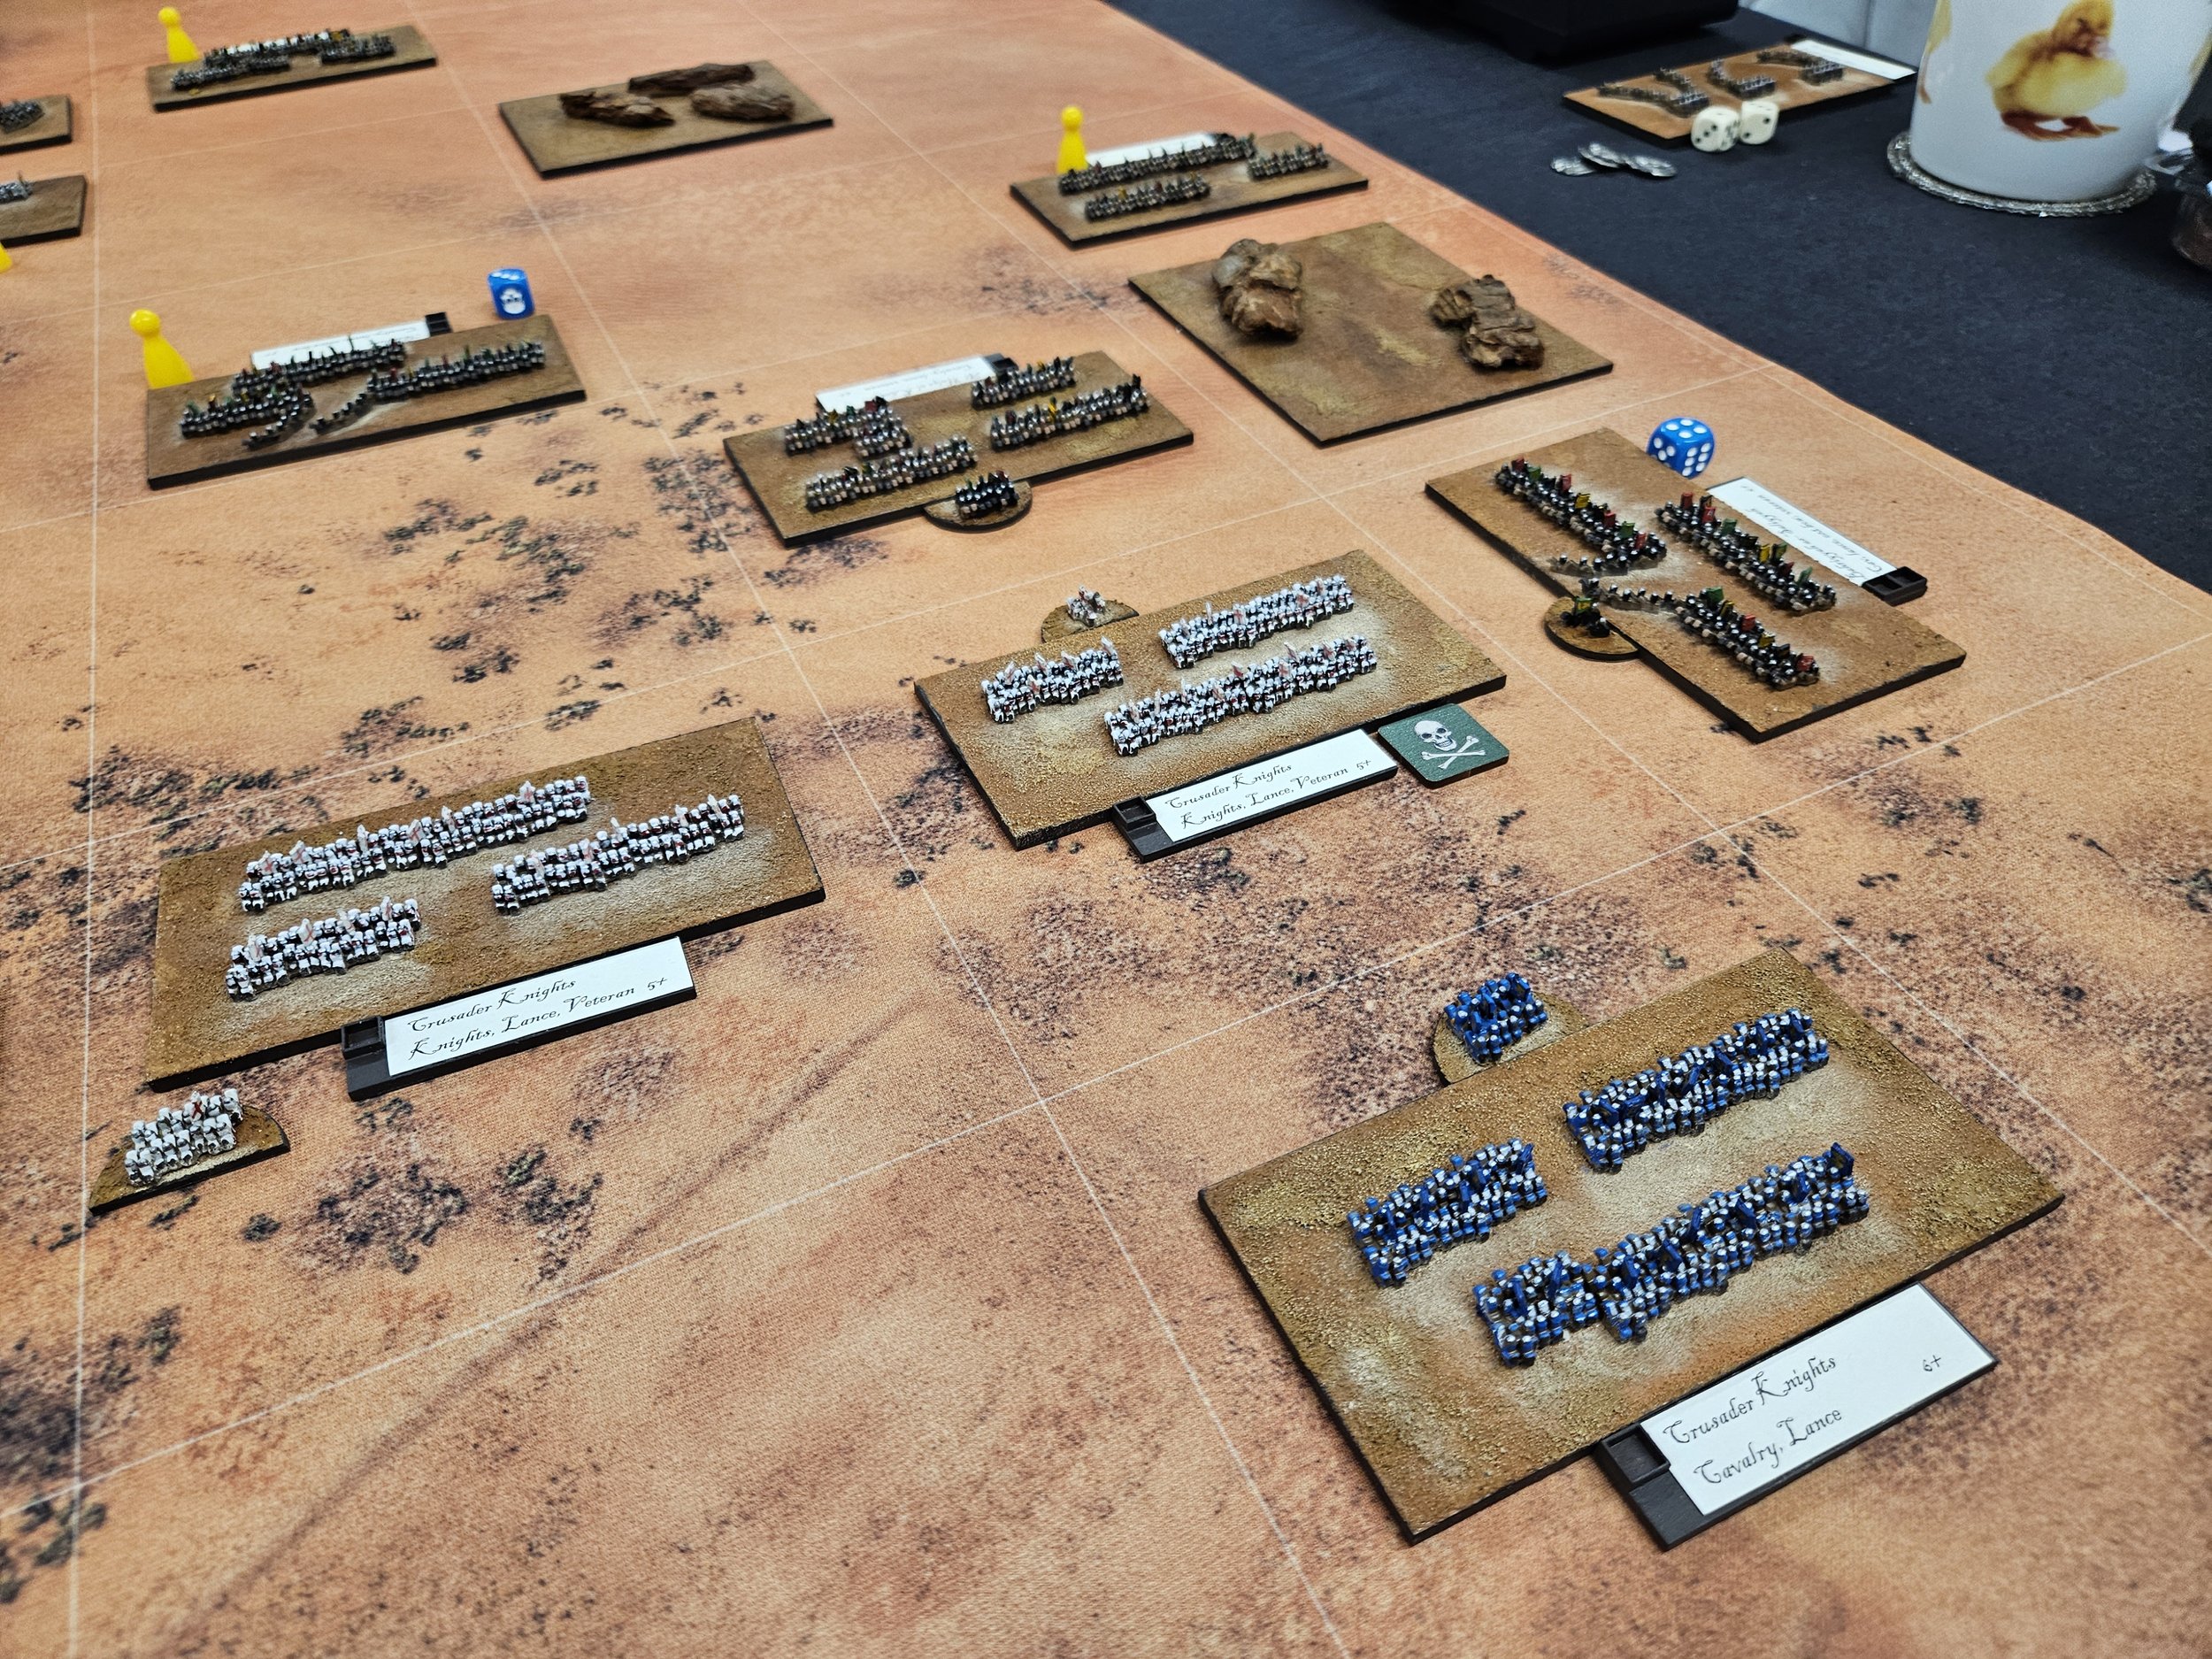
This meant that I could move some Crusader spearmen over to the centre to help the knights face the mobs, hopefully preventing them from getting overwhelmed by sheer numbers as the raggedy crowd closed for combat.
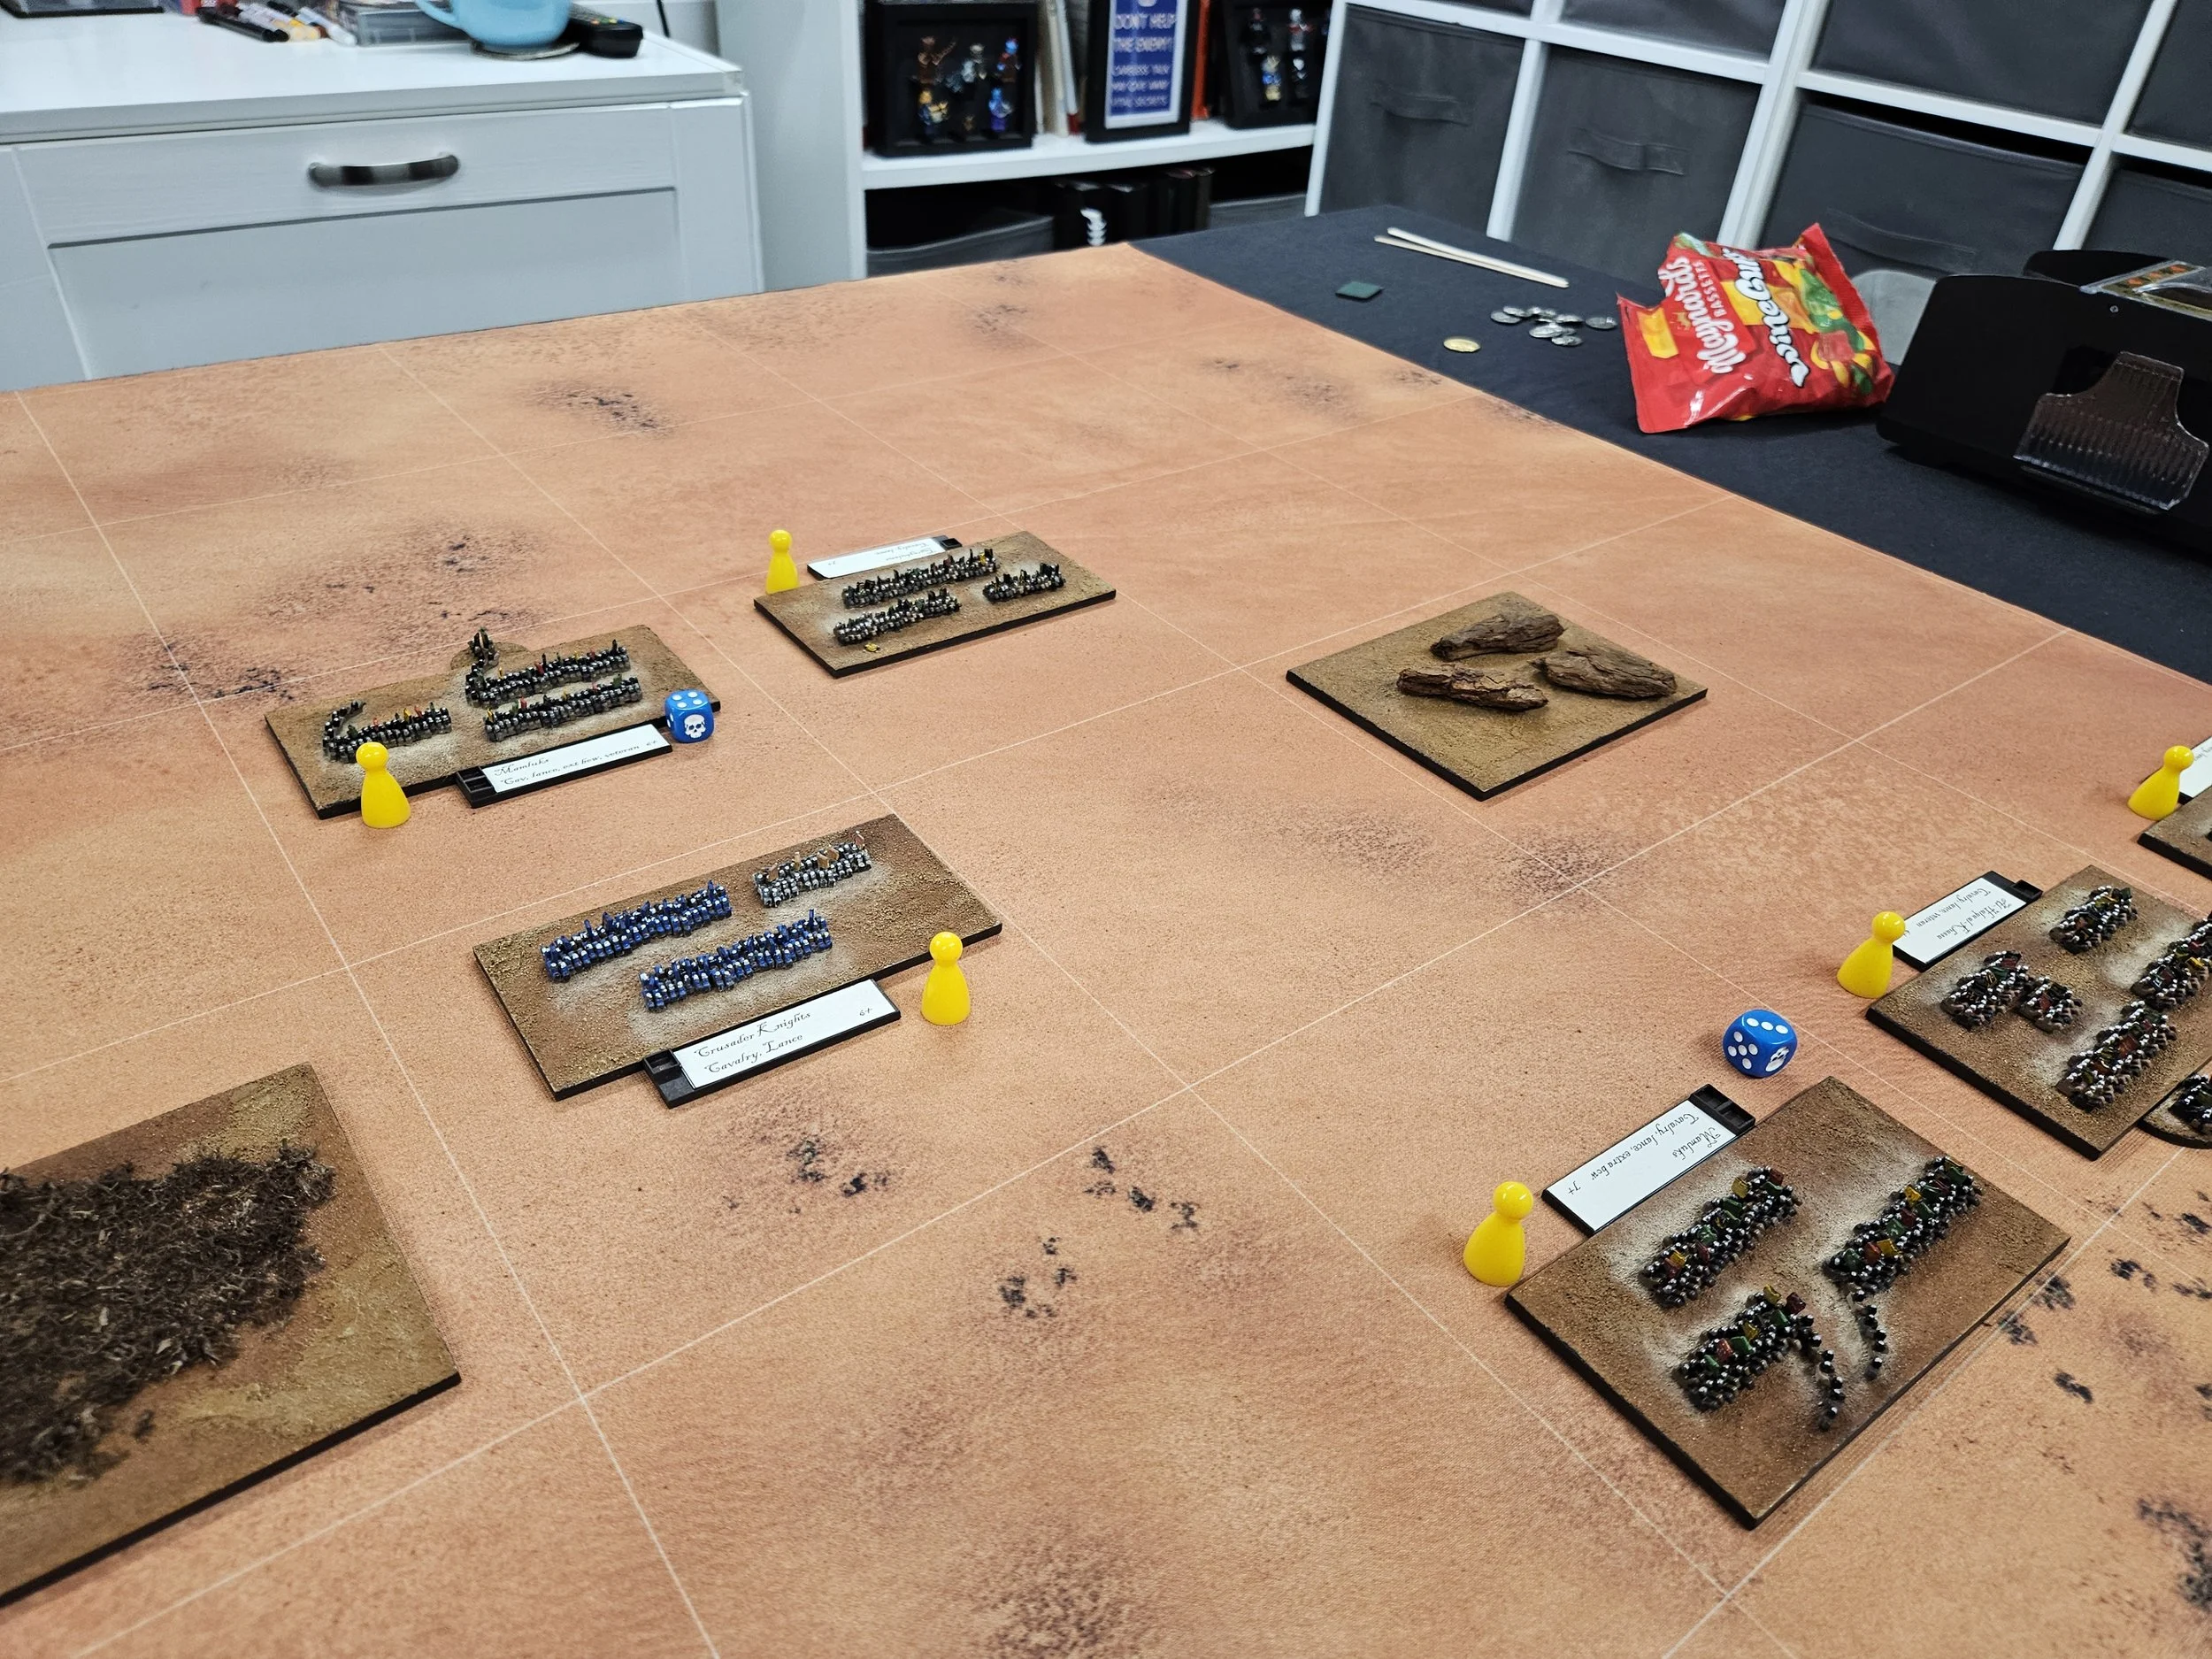
What was really worring me was all the Arab horse on the right. Yes, I’d knocked one unit off the table, but if the rest got moving before I could kill some mobs, it was actually here that the overwhelming might actually happen as I was effectively outnumbered five to three.
Fortunately, the cards came to my aid again, keeping the enemy from moving forward. Once they did get moving, however, my Crusaders were soon under huge pressure as, having retreated to avoid being outflanked, they just couldn’t seem to win a melee once contact had been made.
One unit did push forward but, again, soon found itself a bit isolated and at risk of being overwhelmed.

By now I’d taken a tidy pile of Arab coins, so it was time to see if I could break some mobs and take the rest. If I didn’t, I hasten to add, I could see my knights being beaten on the right and then waves of Arab horse sweeping round to roll me up!
Fortunately raw mobs don’t save for toffee, and soon my knights had sent one lot screaming for their baseline!
This was good, but my religeous order knights on the right were now in some trouble: another unit being destroyed and the third disordered.
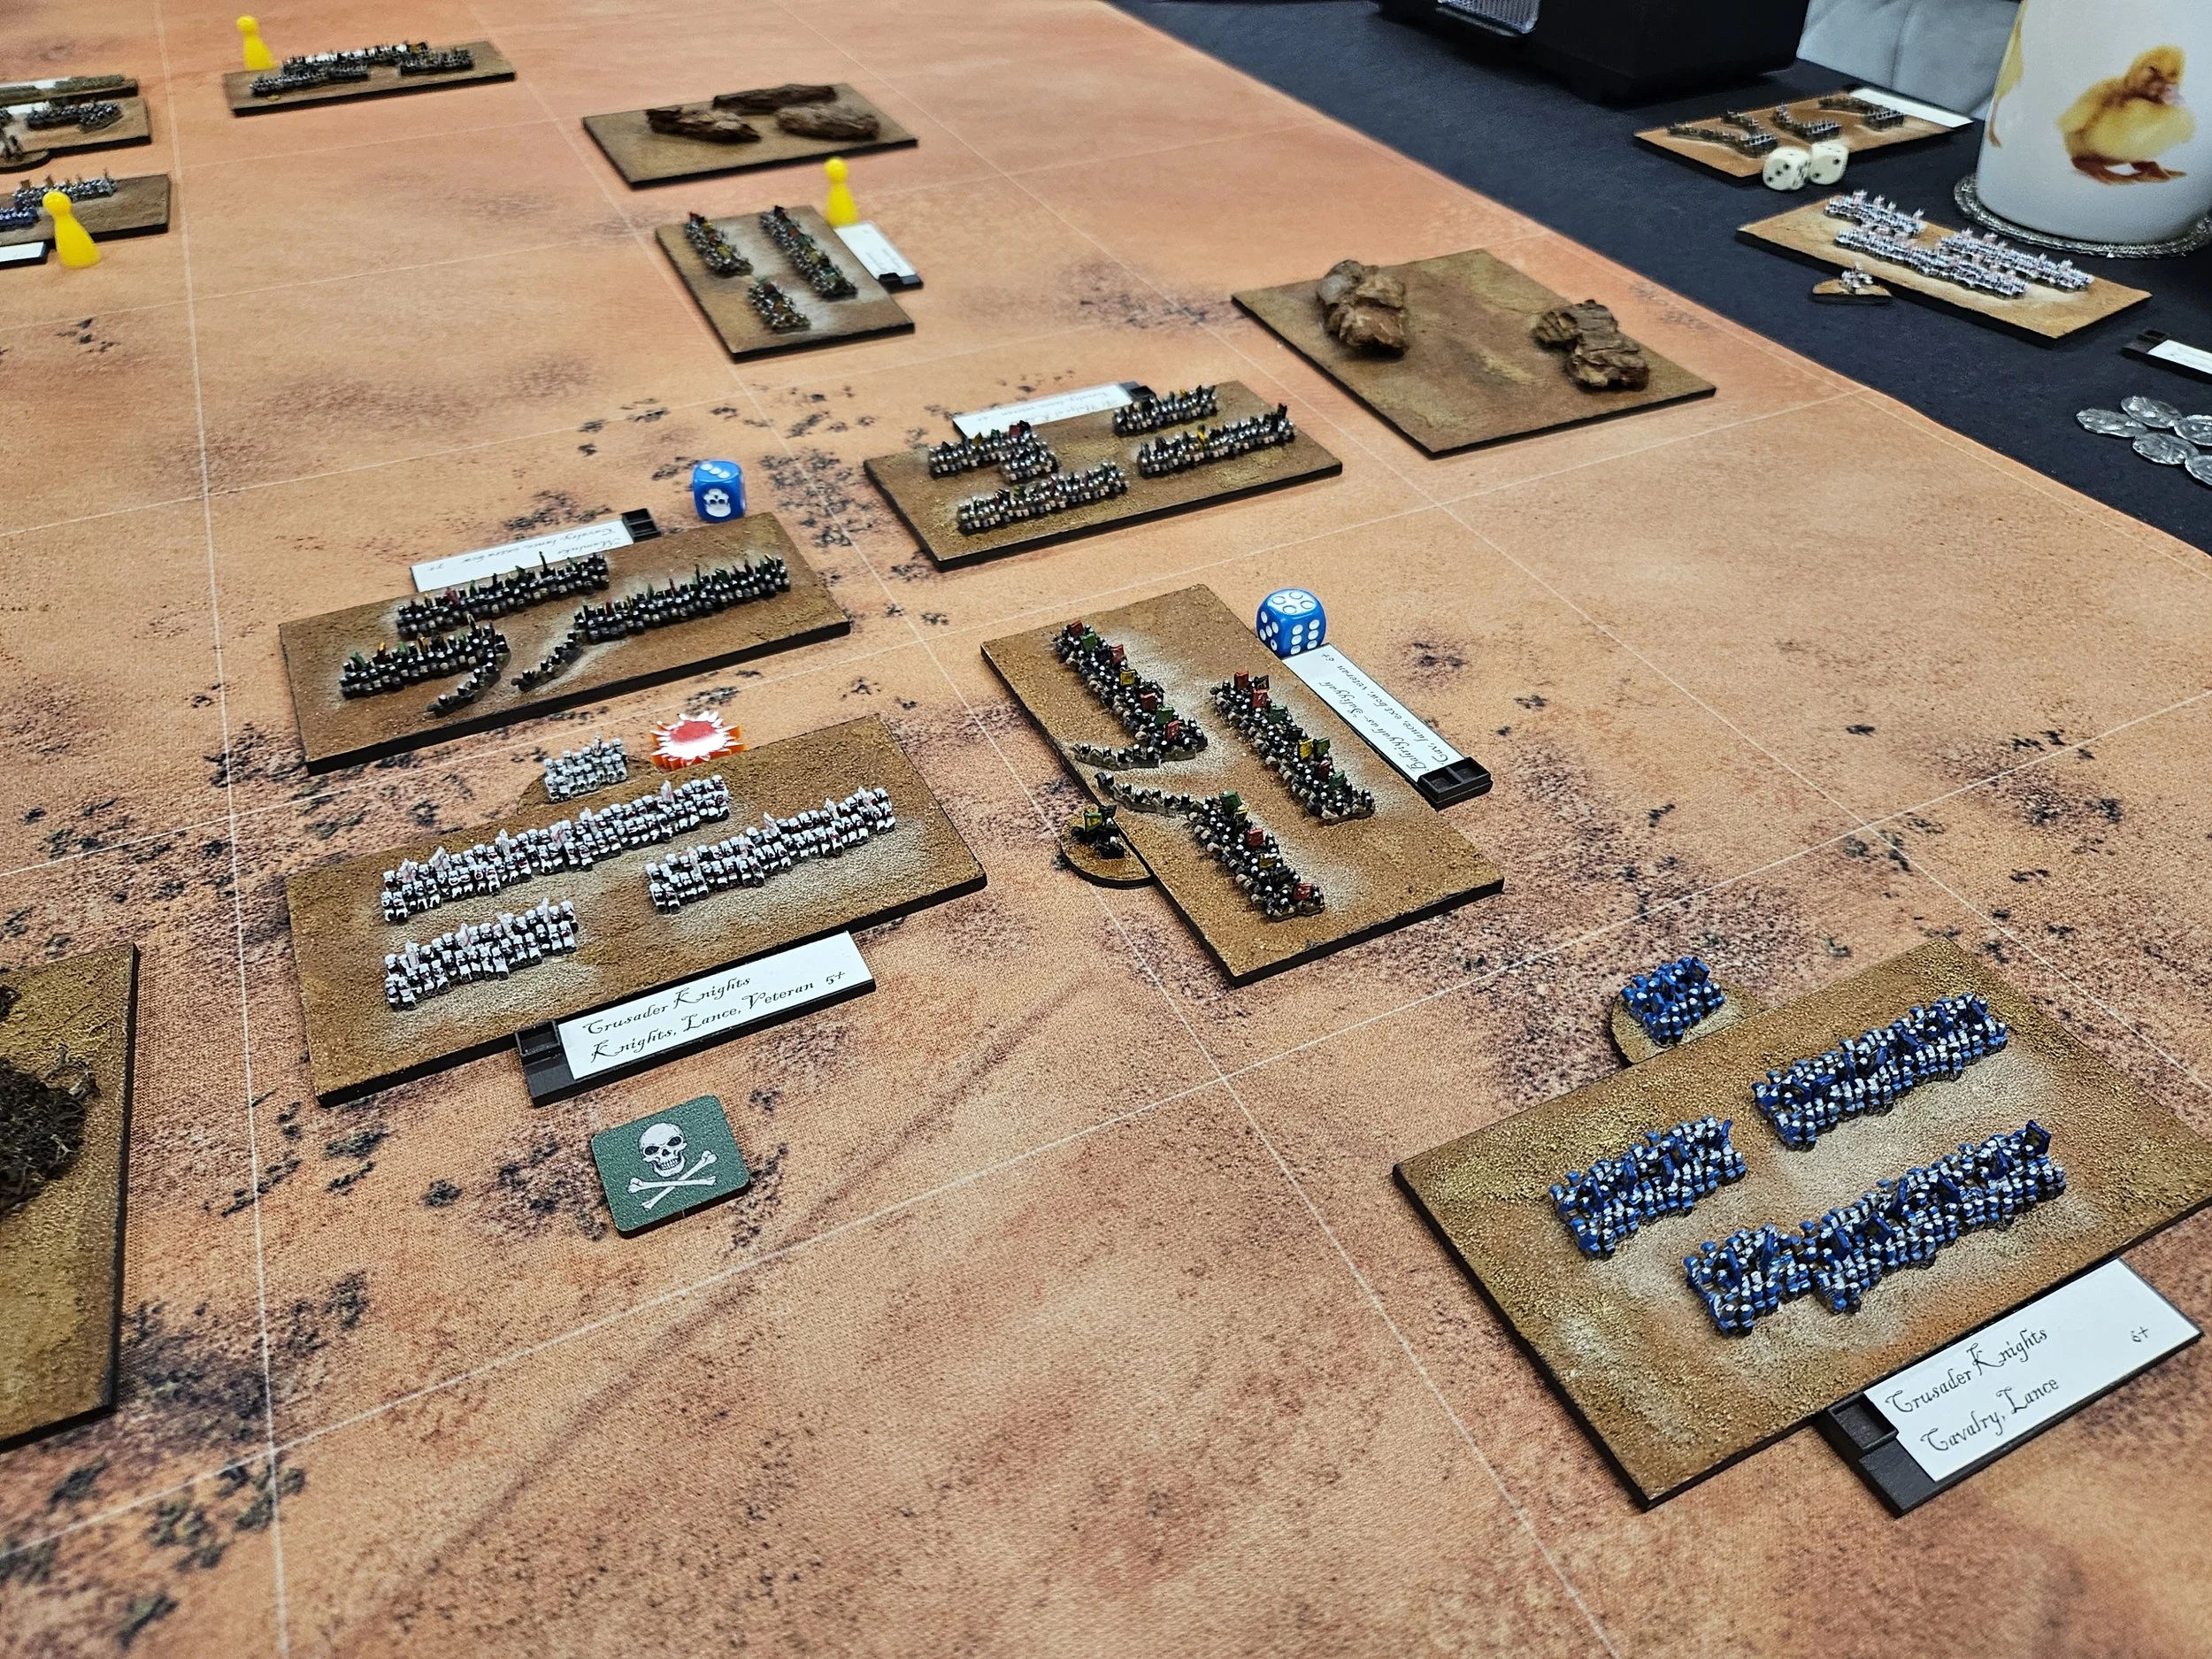
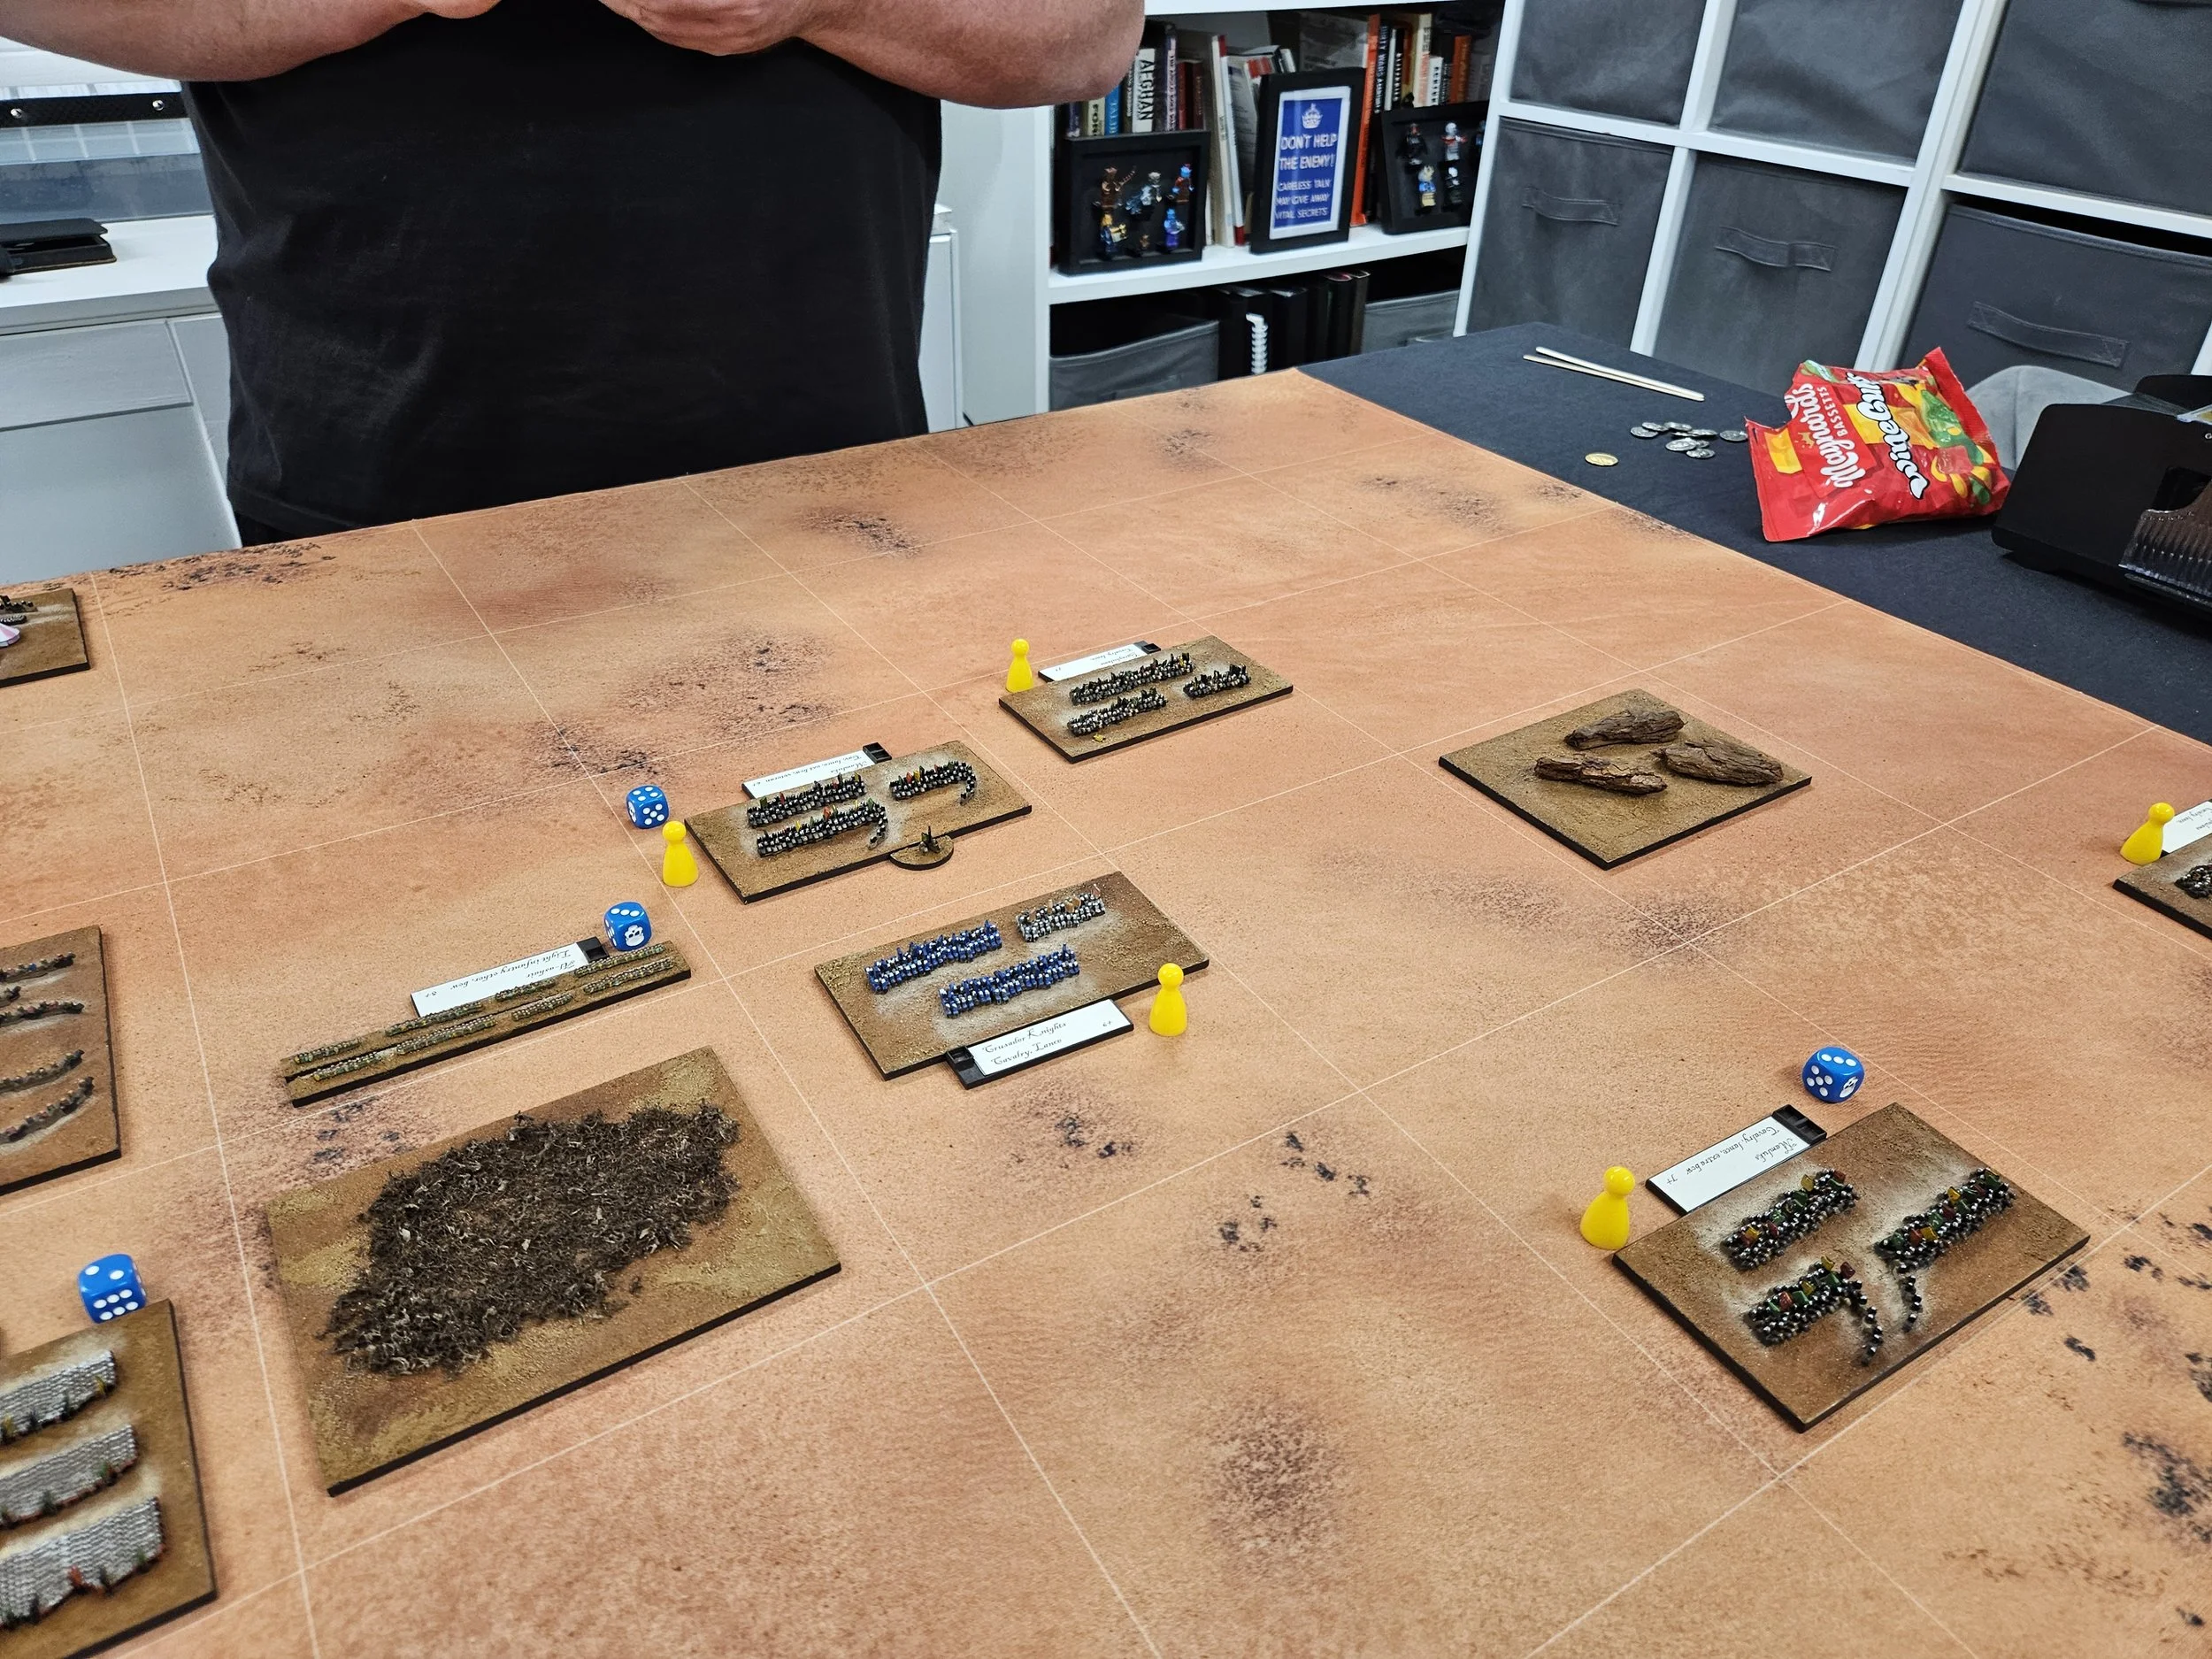
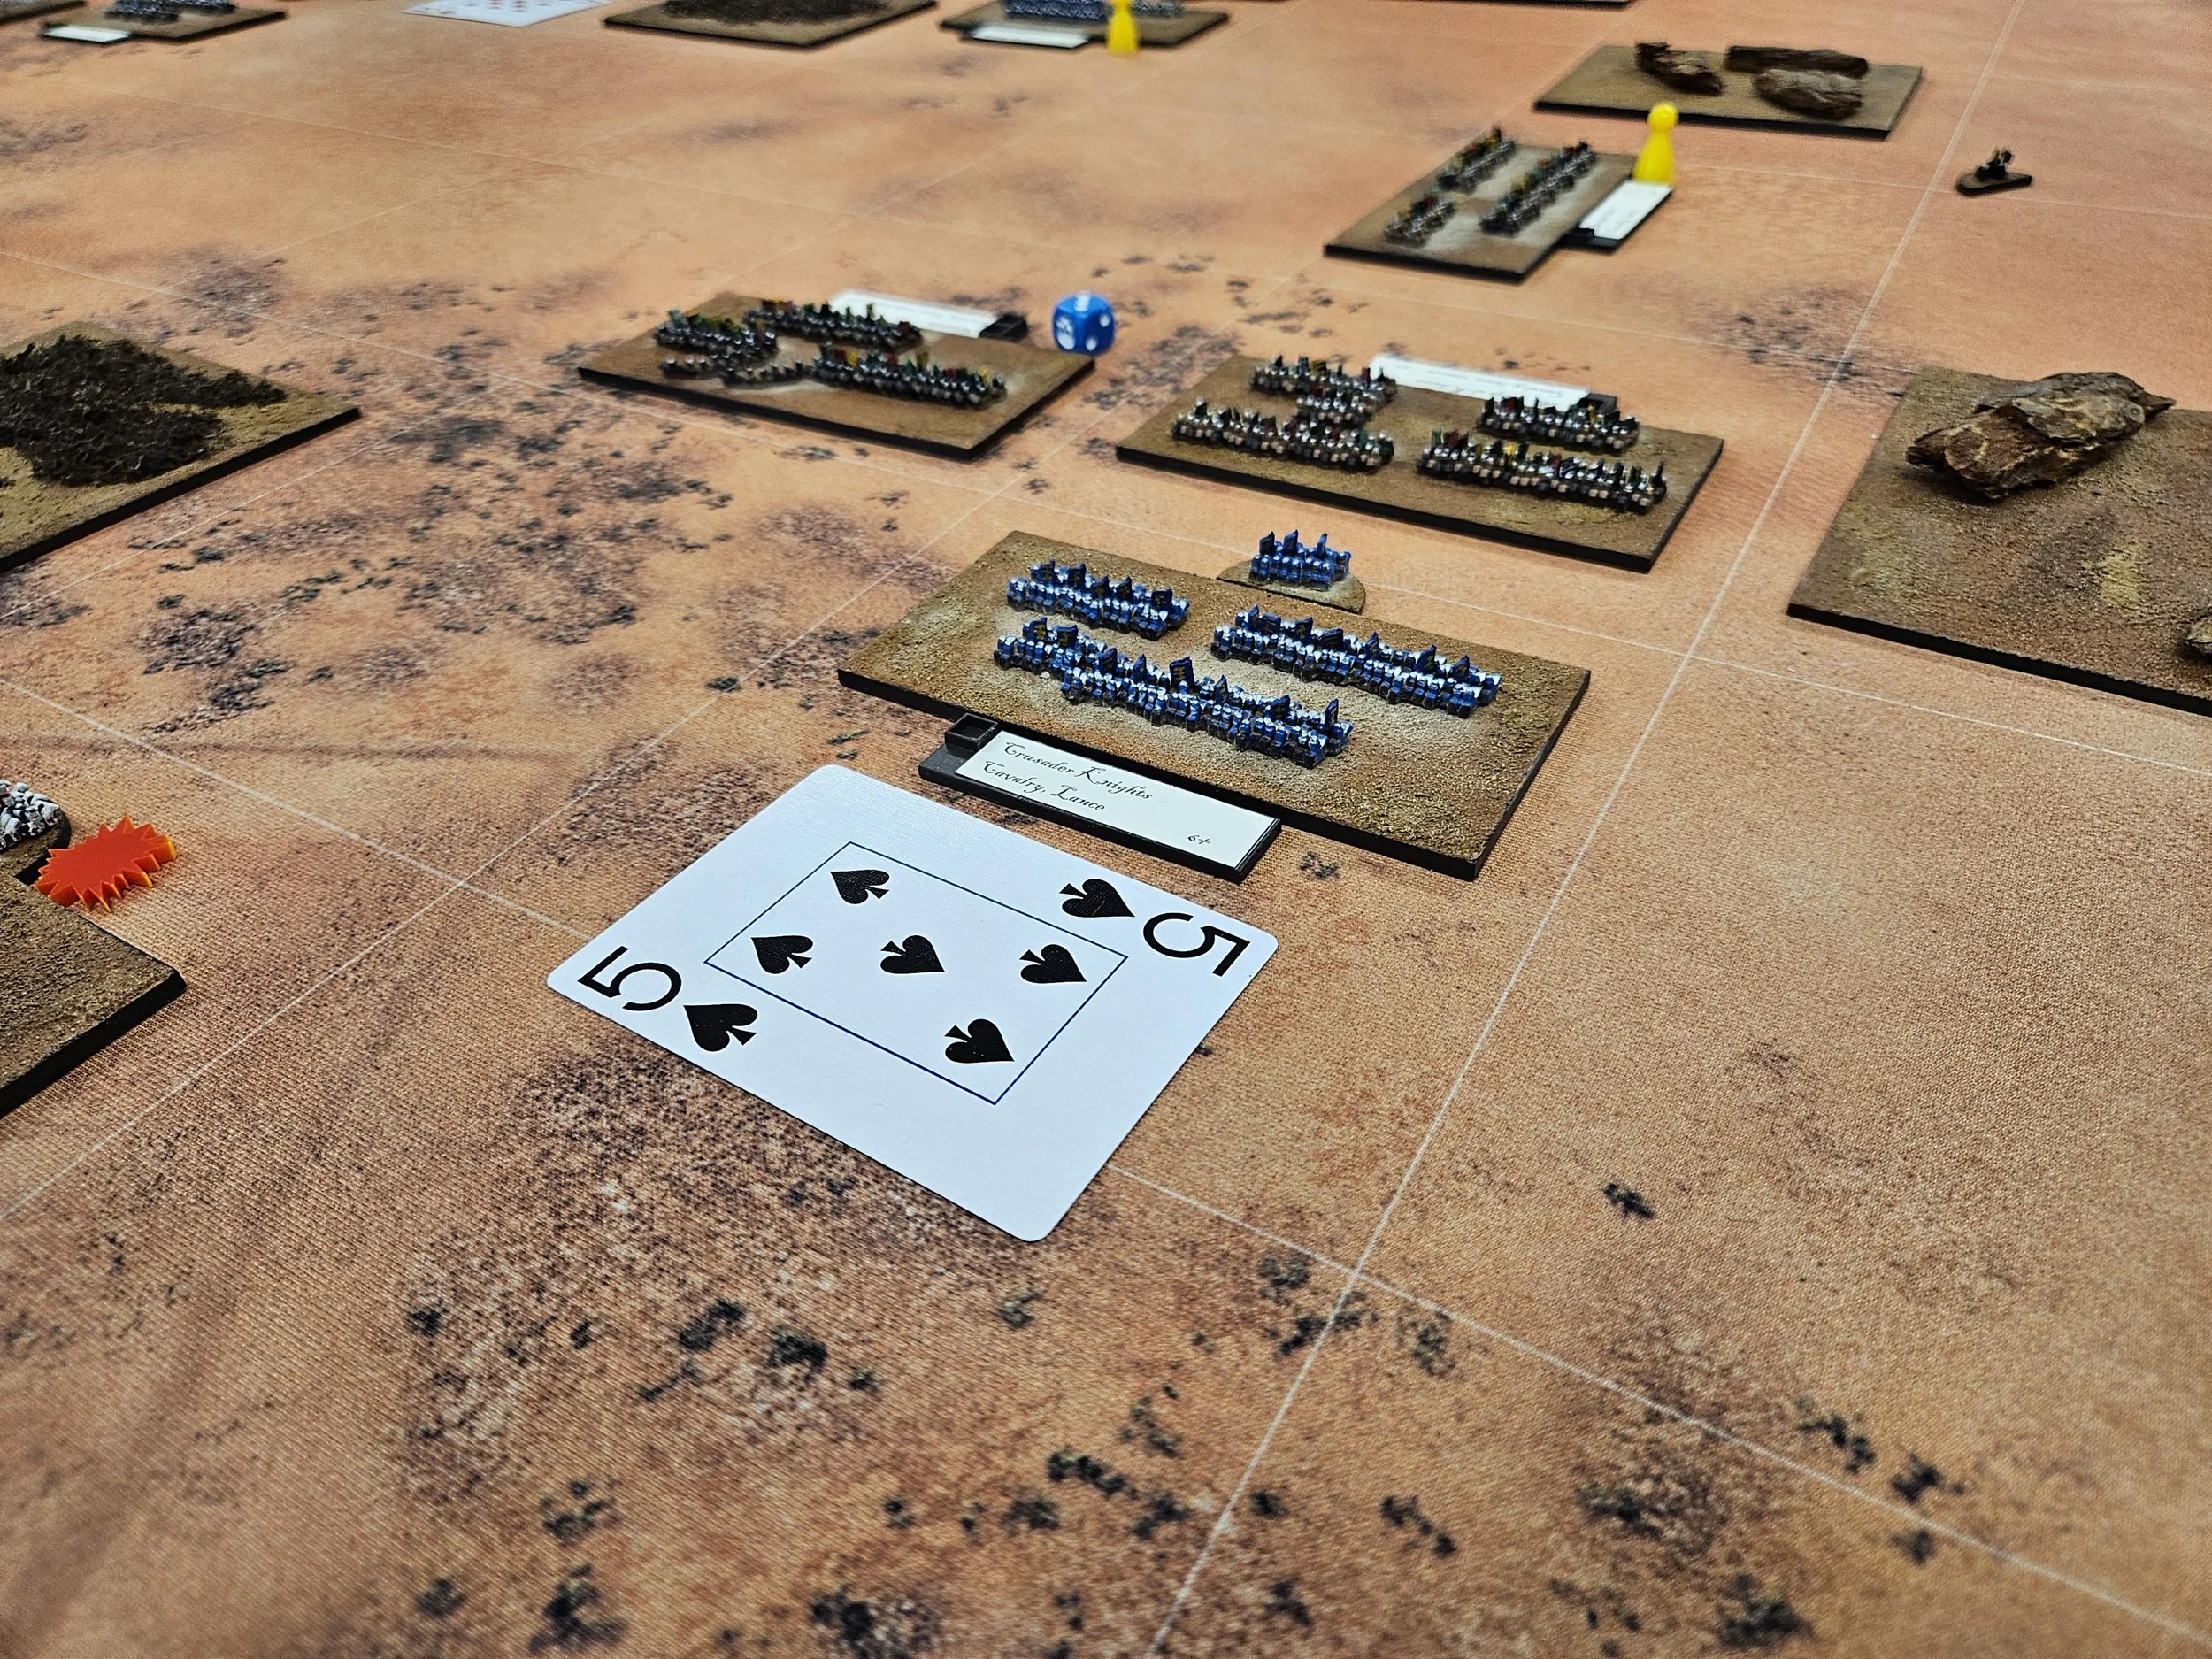
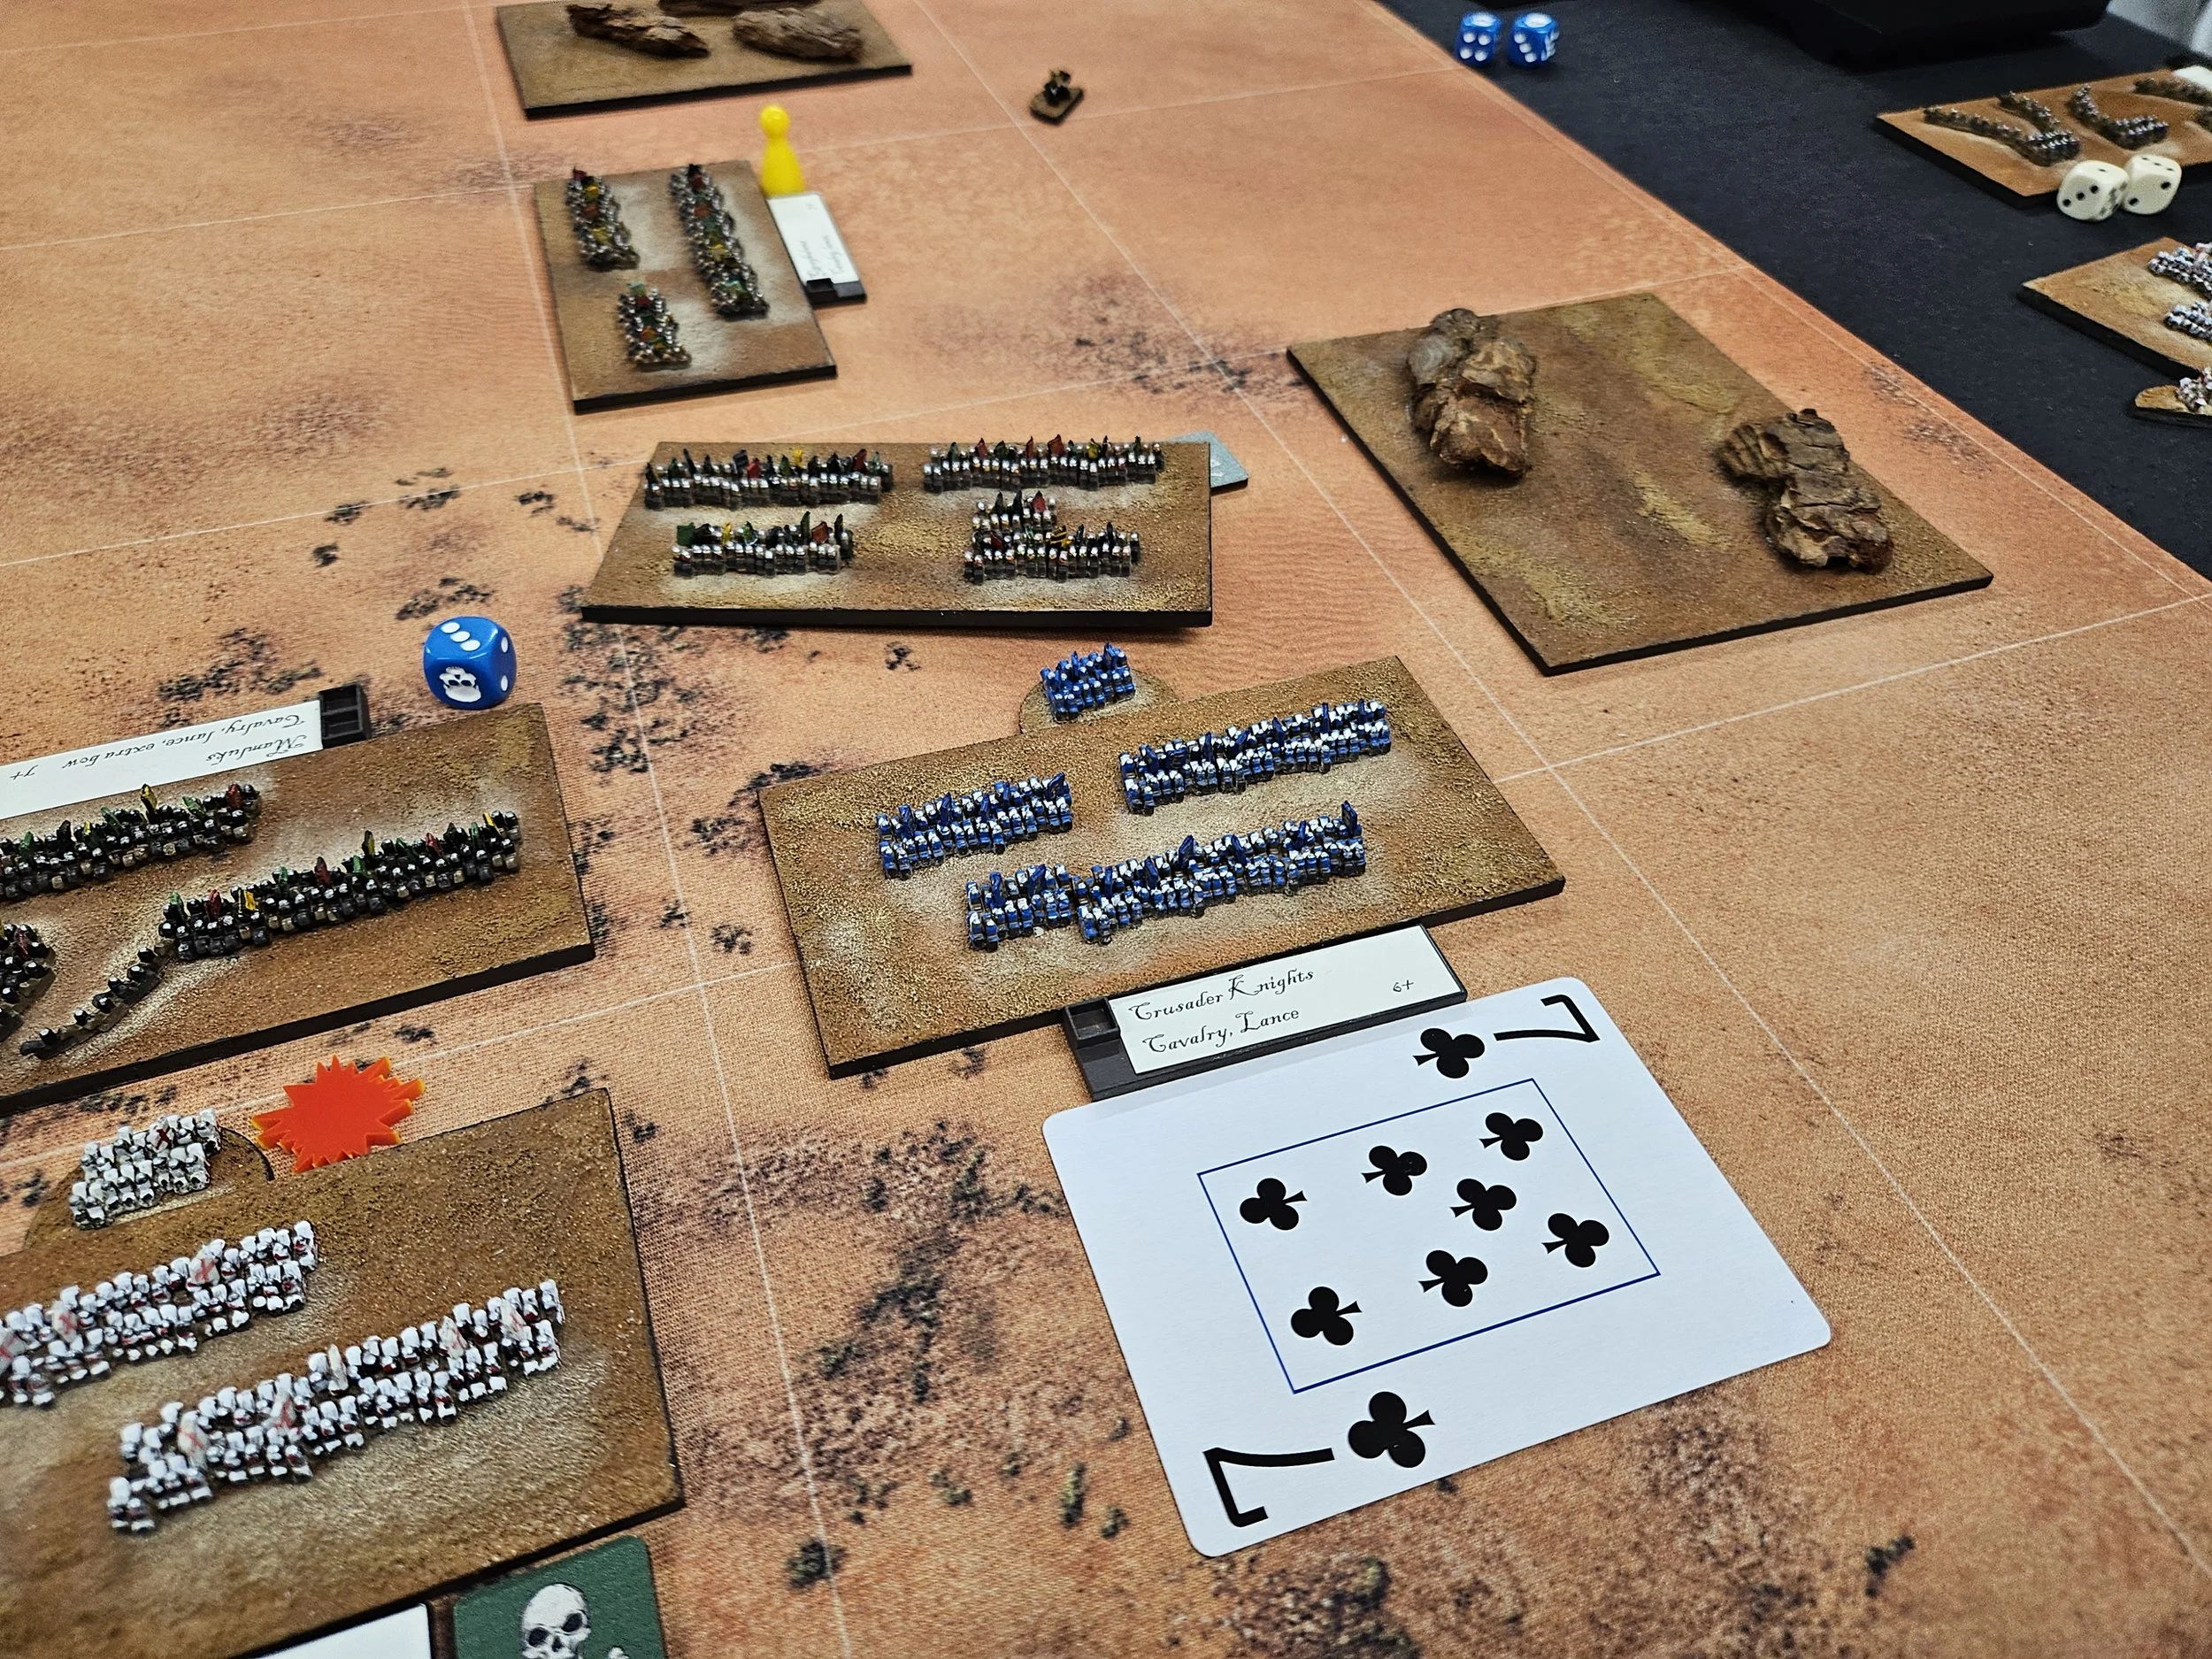
To their rescue came some normal Crusader knights: the same ones who had dealt with the Arab cavalry that had initially smashed through my line.
This unit (the blue ones) were definitely the men of the match as they quickly polished off two units of Arabs - one with a flank charge, one just head on! - giving me four more coins and the game!
Exciting stuff and a glorious victory…but it has to be said that Neil didn’t have much luck throughout the game, particularly in terms of movement at key points in the battle. My religeous-order knights might not have been able to fight their way out of a wet paper bag (and it’s hard to find one of those in the desert!) but too often Arab units just stood there doing nothing when they desperately needed to move forward.
Another great game of TTS!