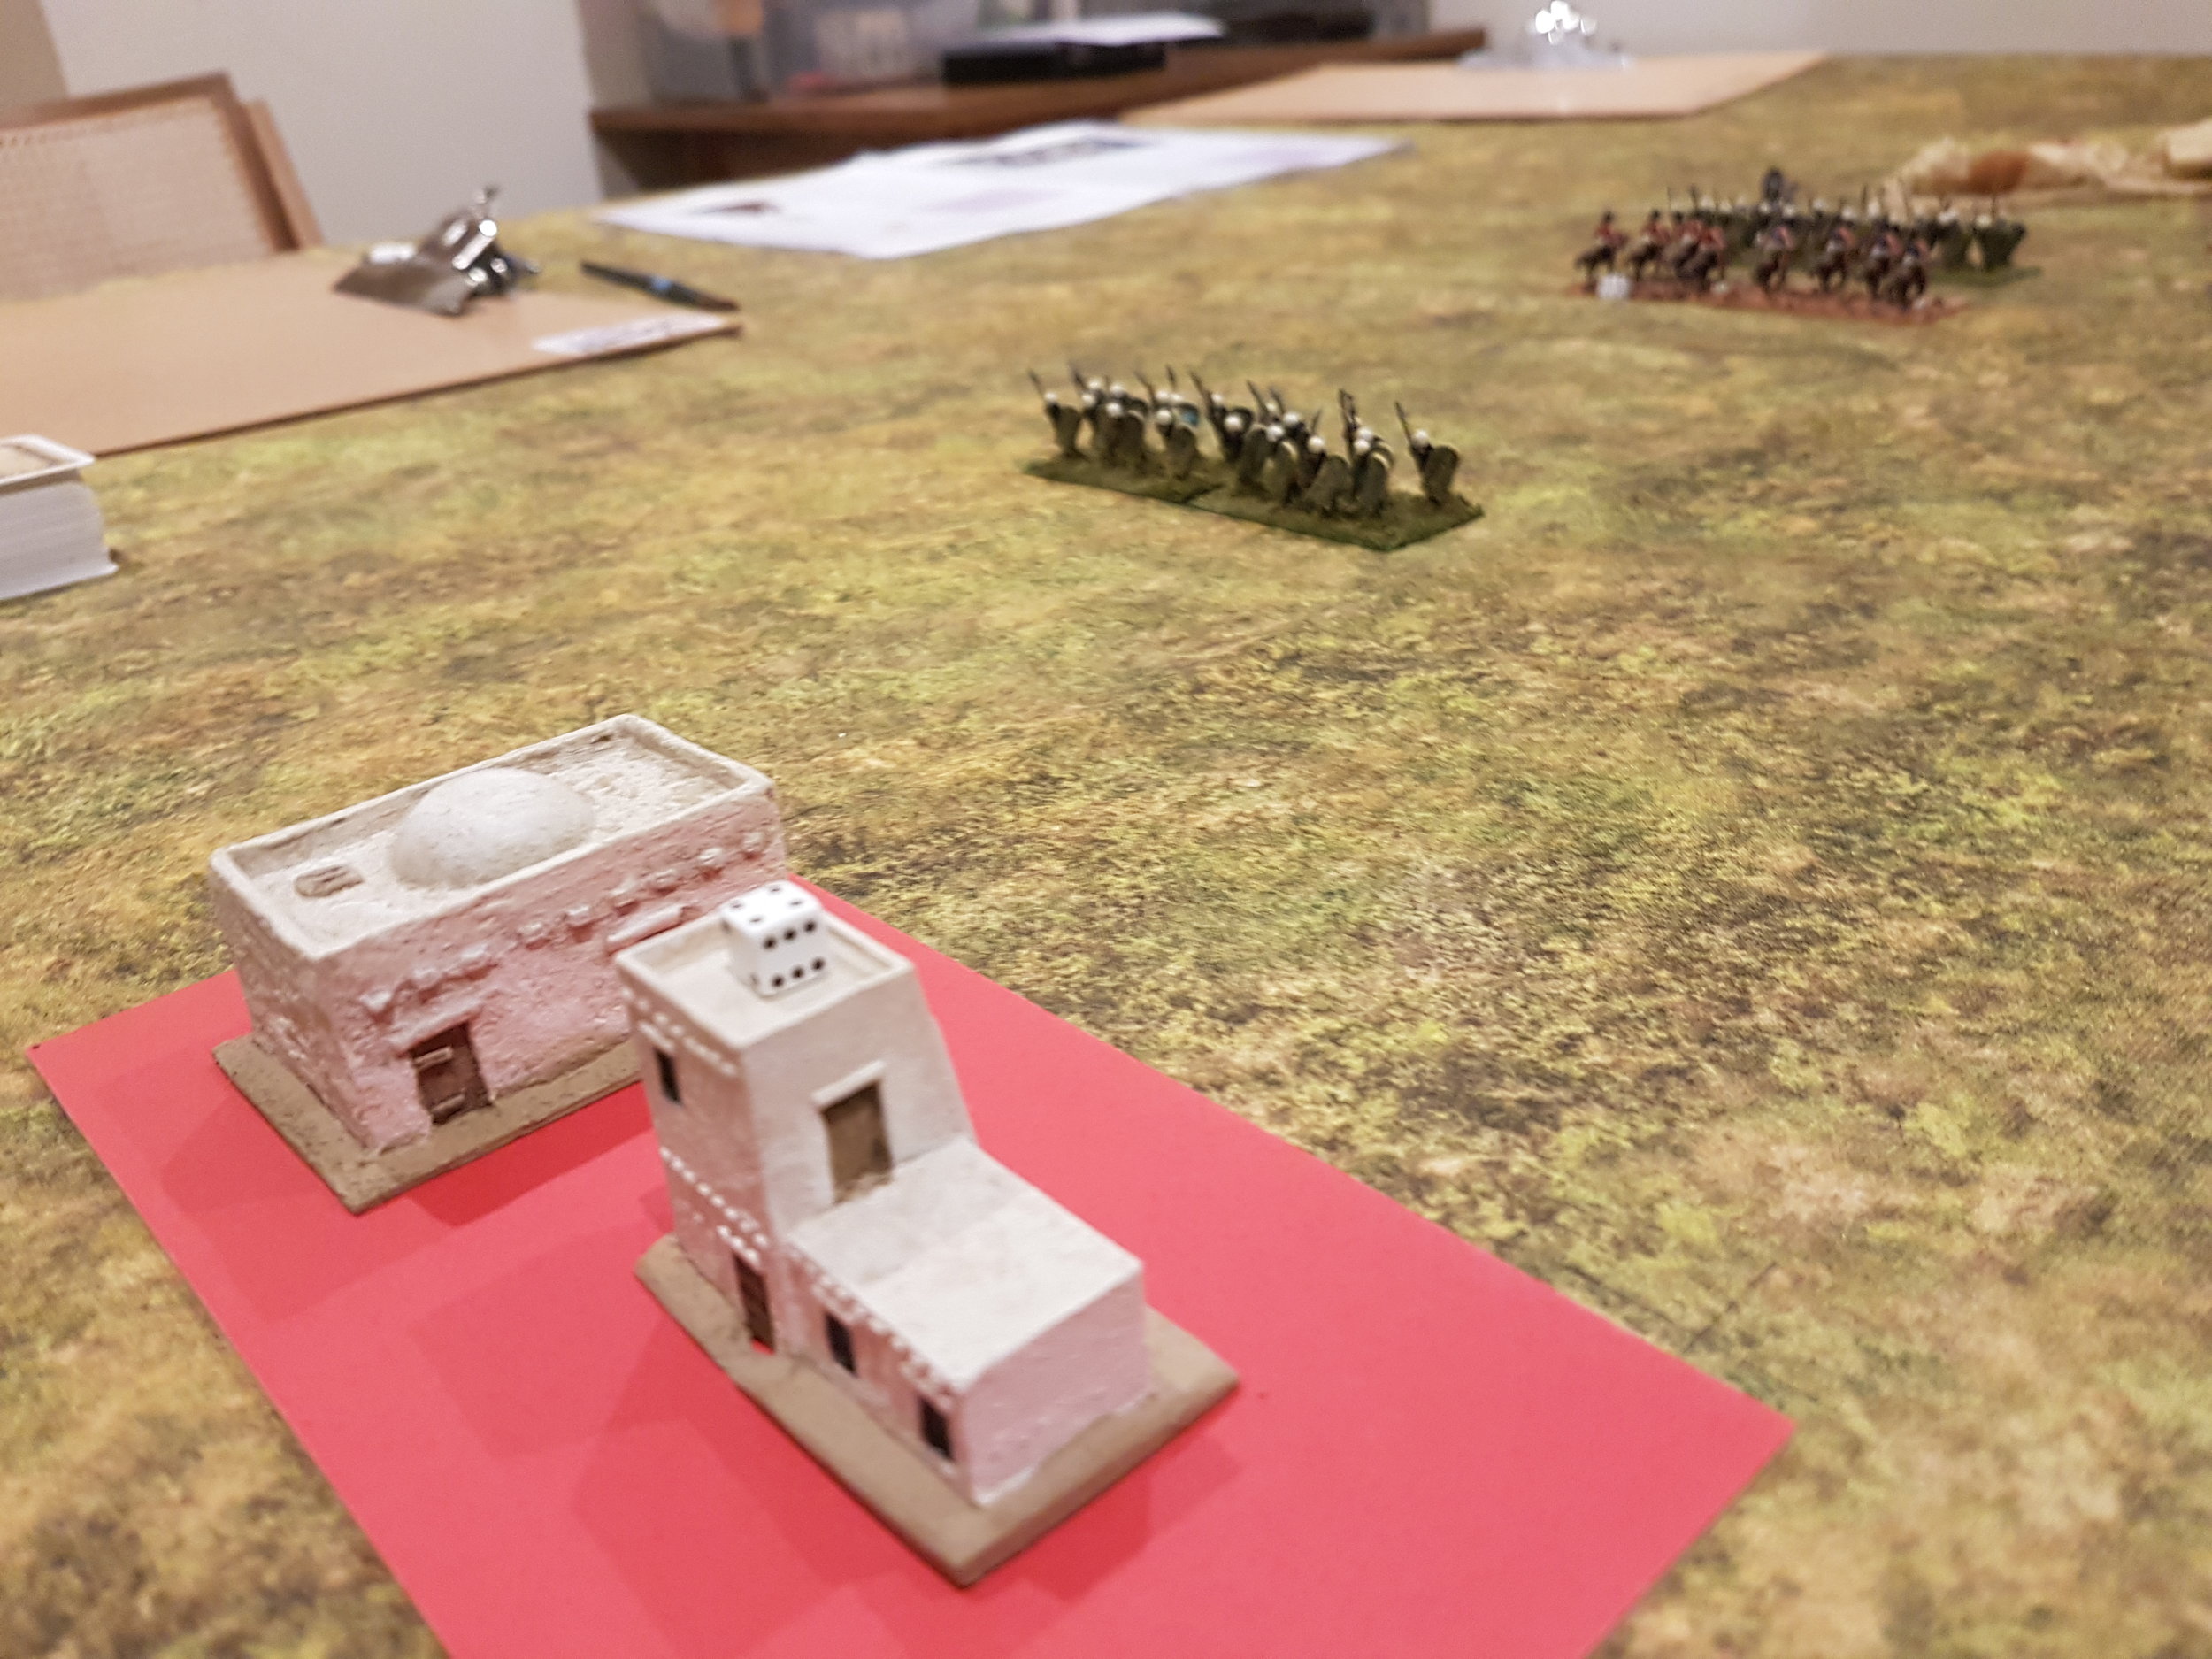
Two the Strongest Game Three: Northern Dynasties Chinese versus Polybian Romans & New Kingdom Egyptians
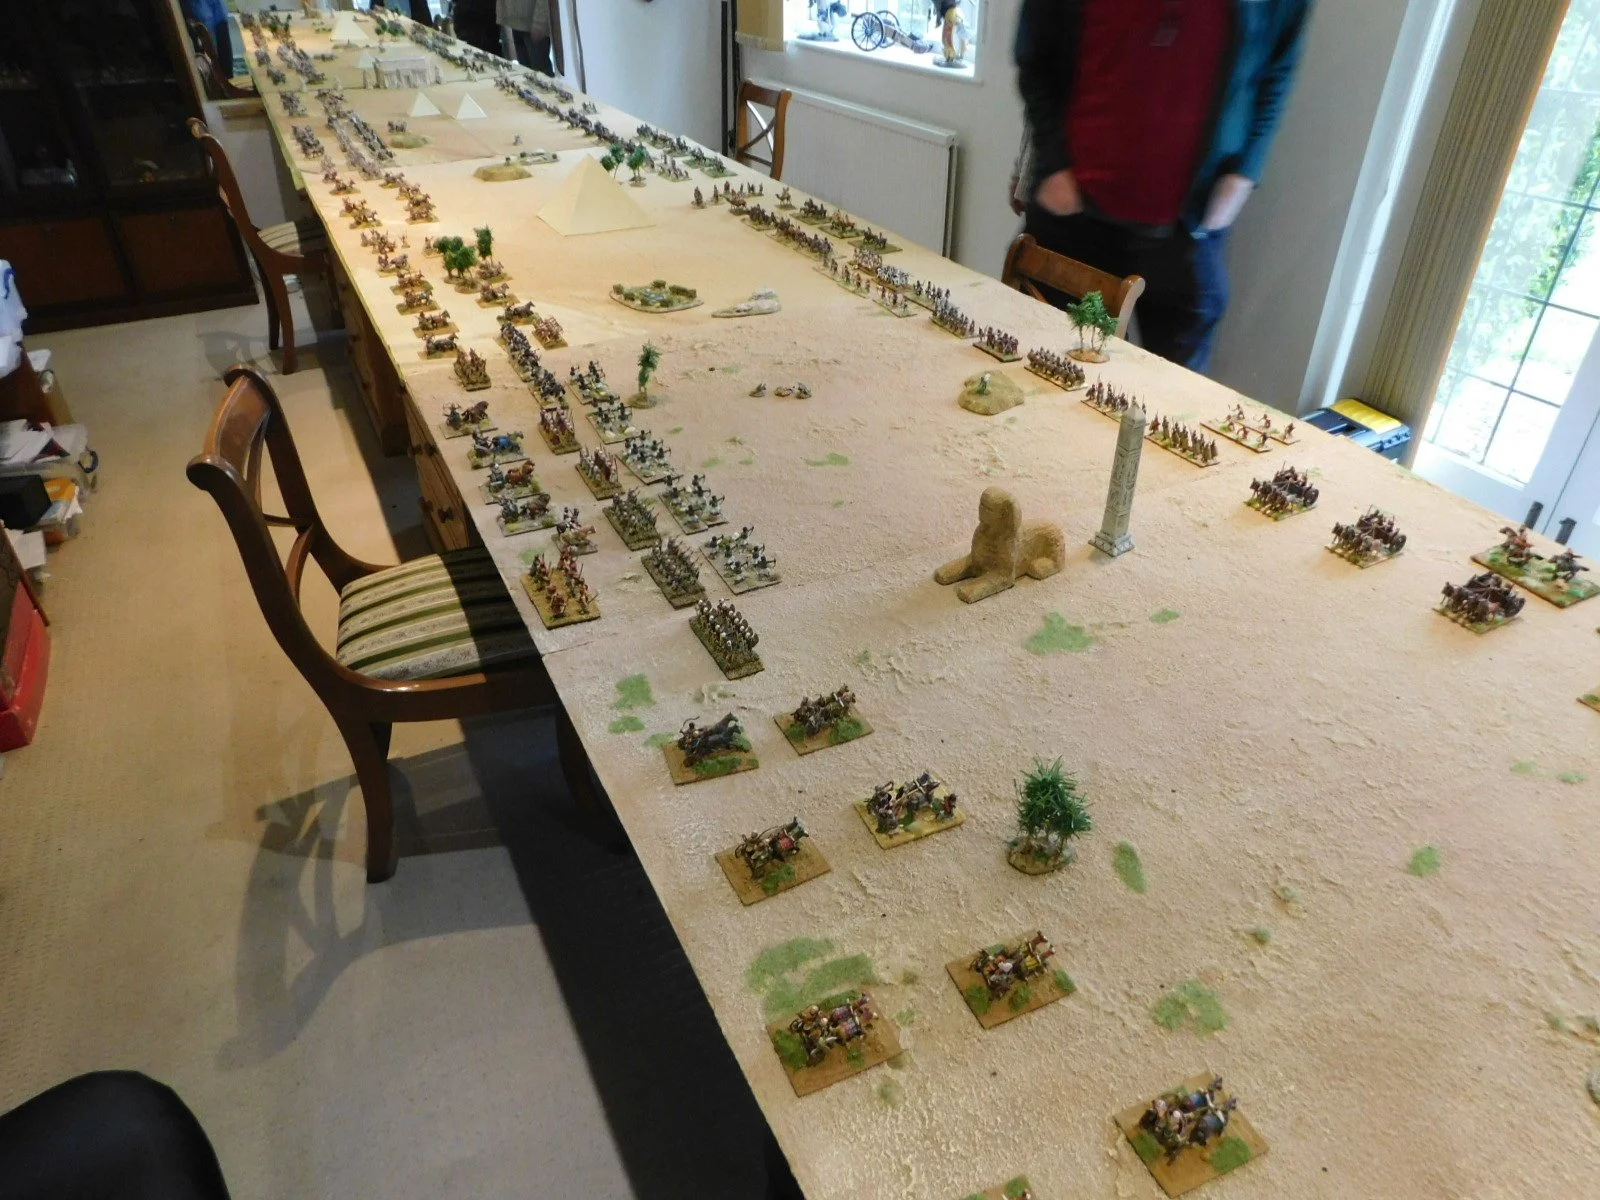
/Our third game at the Doubles was against Geoff and Nate using Polybian Romans and New Kingdom Egyptians respectively. This was a crucial game as the way in which the points system worked meant that three pairings were still in with a very good chance of winning the tournament overall: not only, therefore, did we have to beat Geoff and Nate, but also beat them by more than Si and Dave beat their opponents. Exciting stuff!
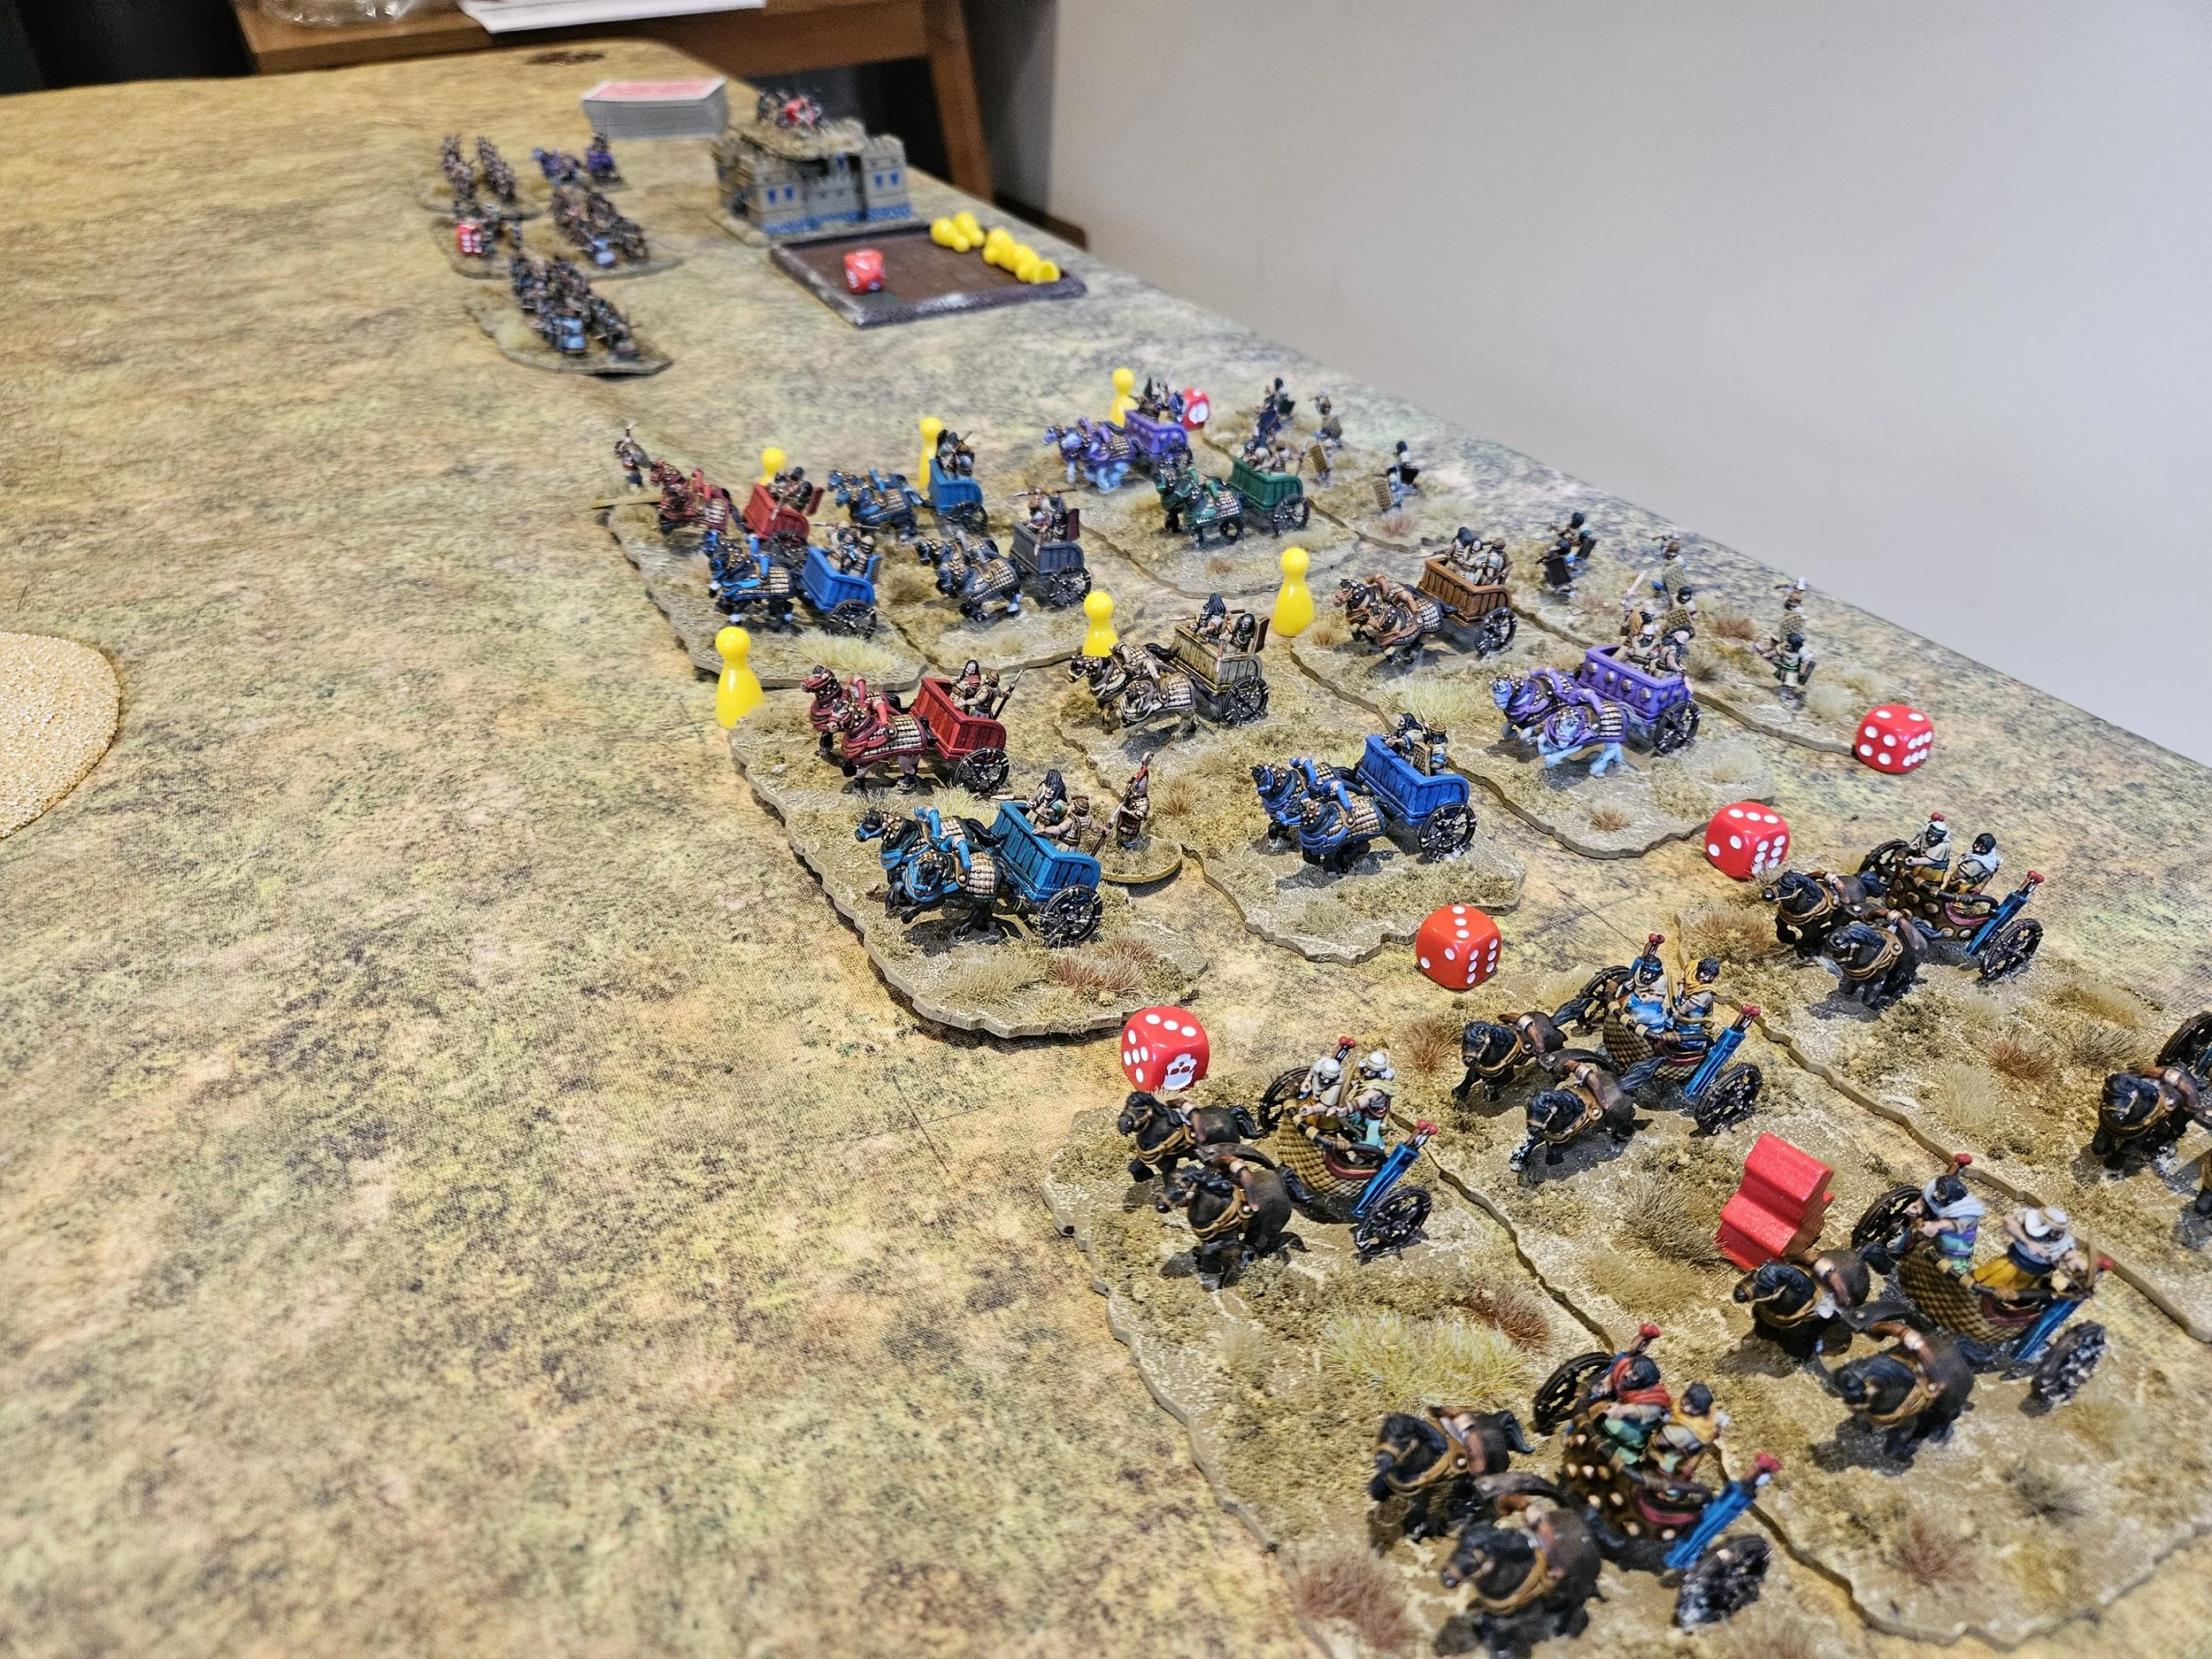
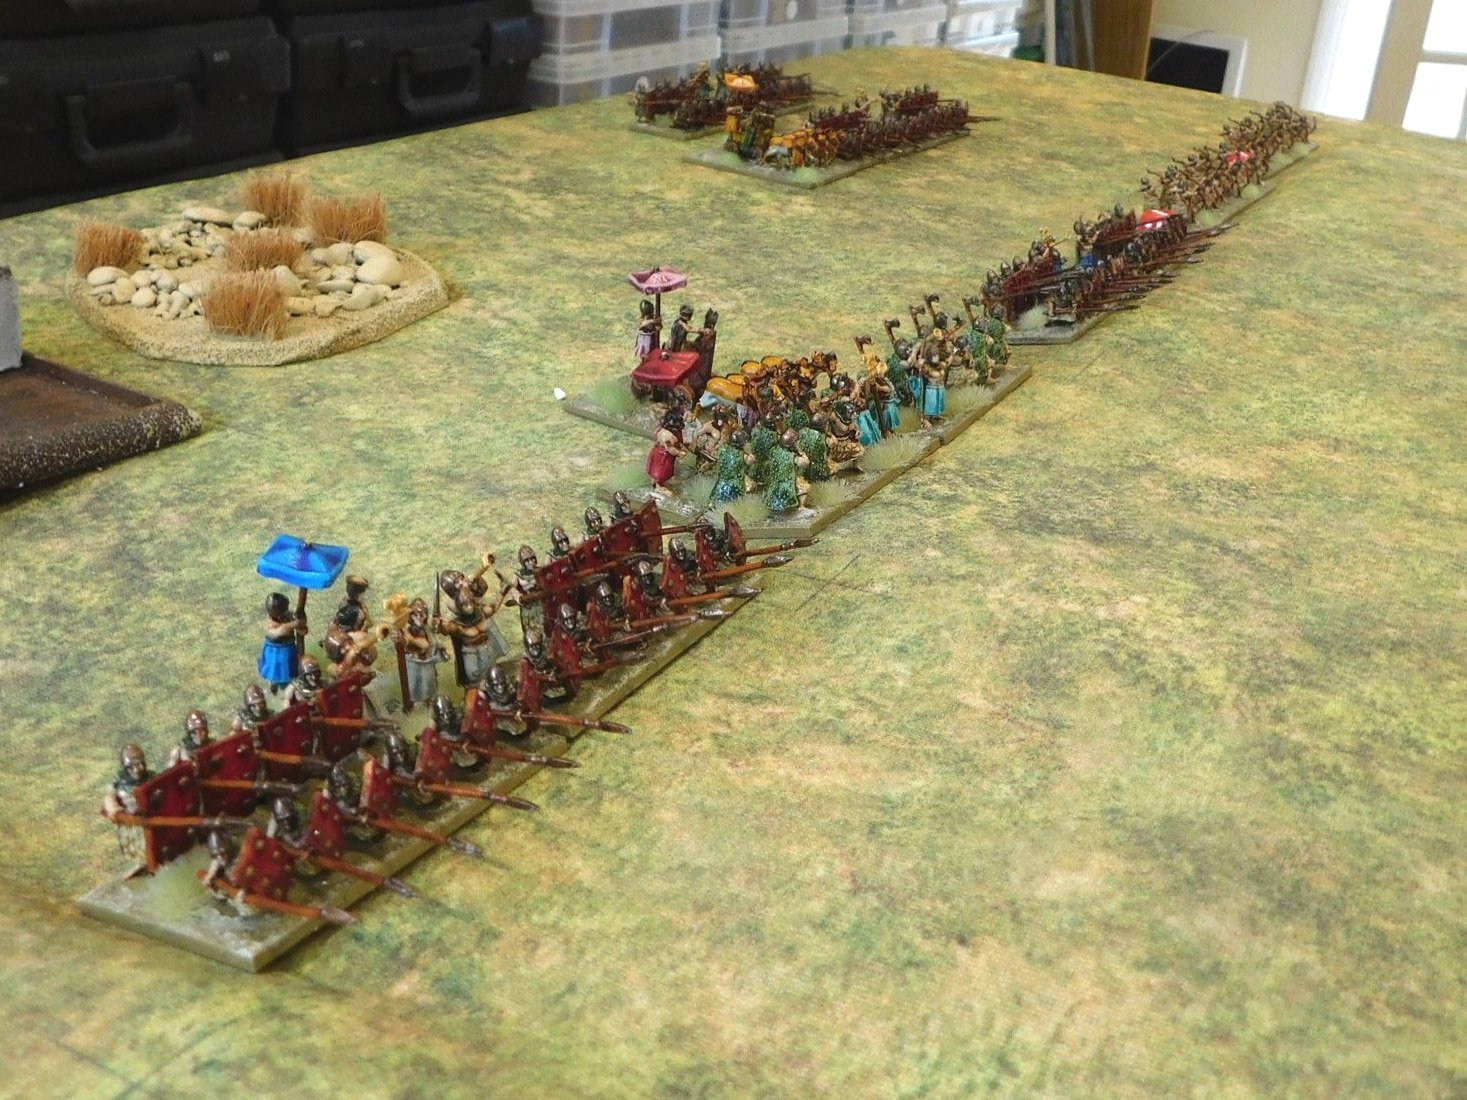
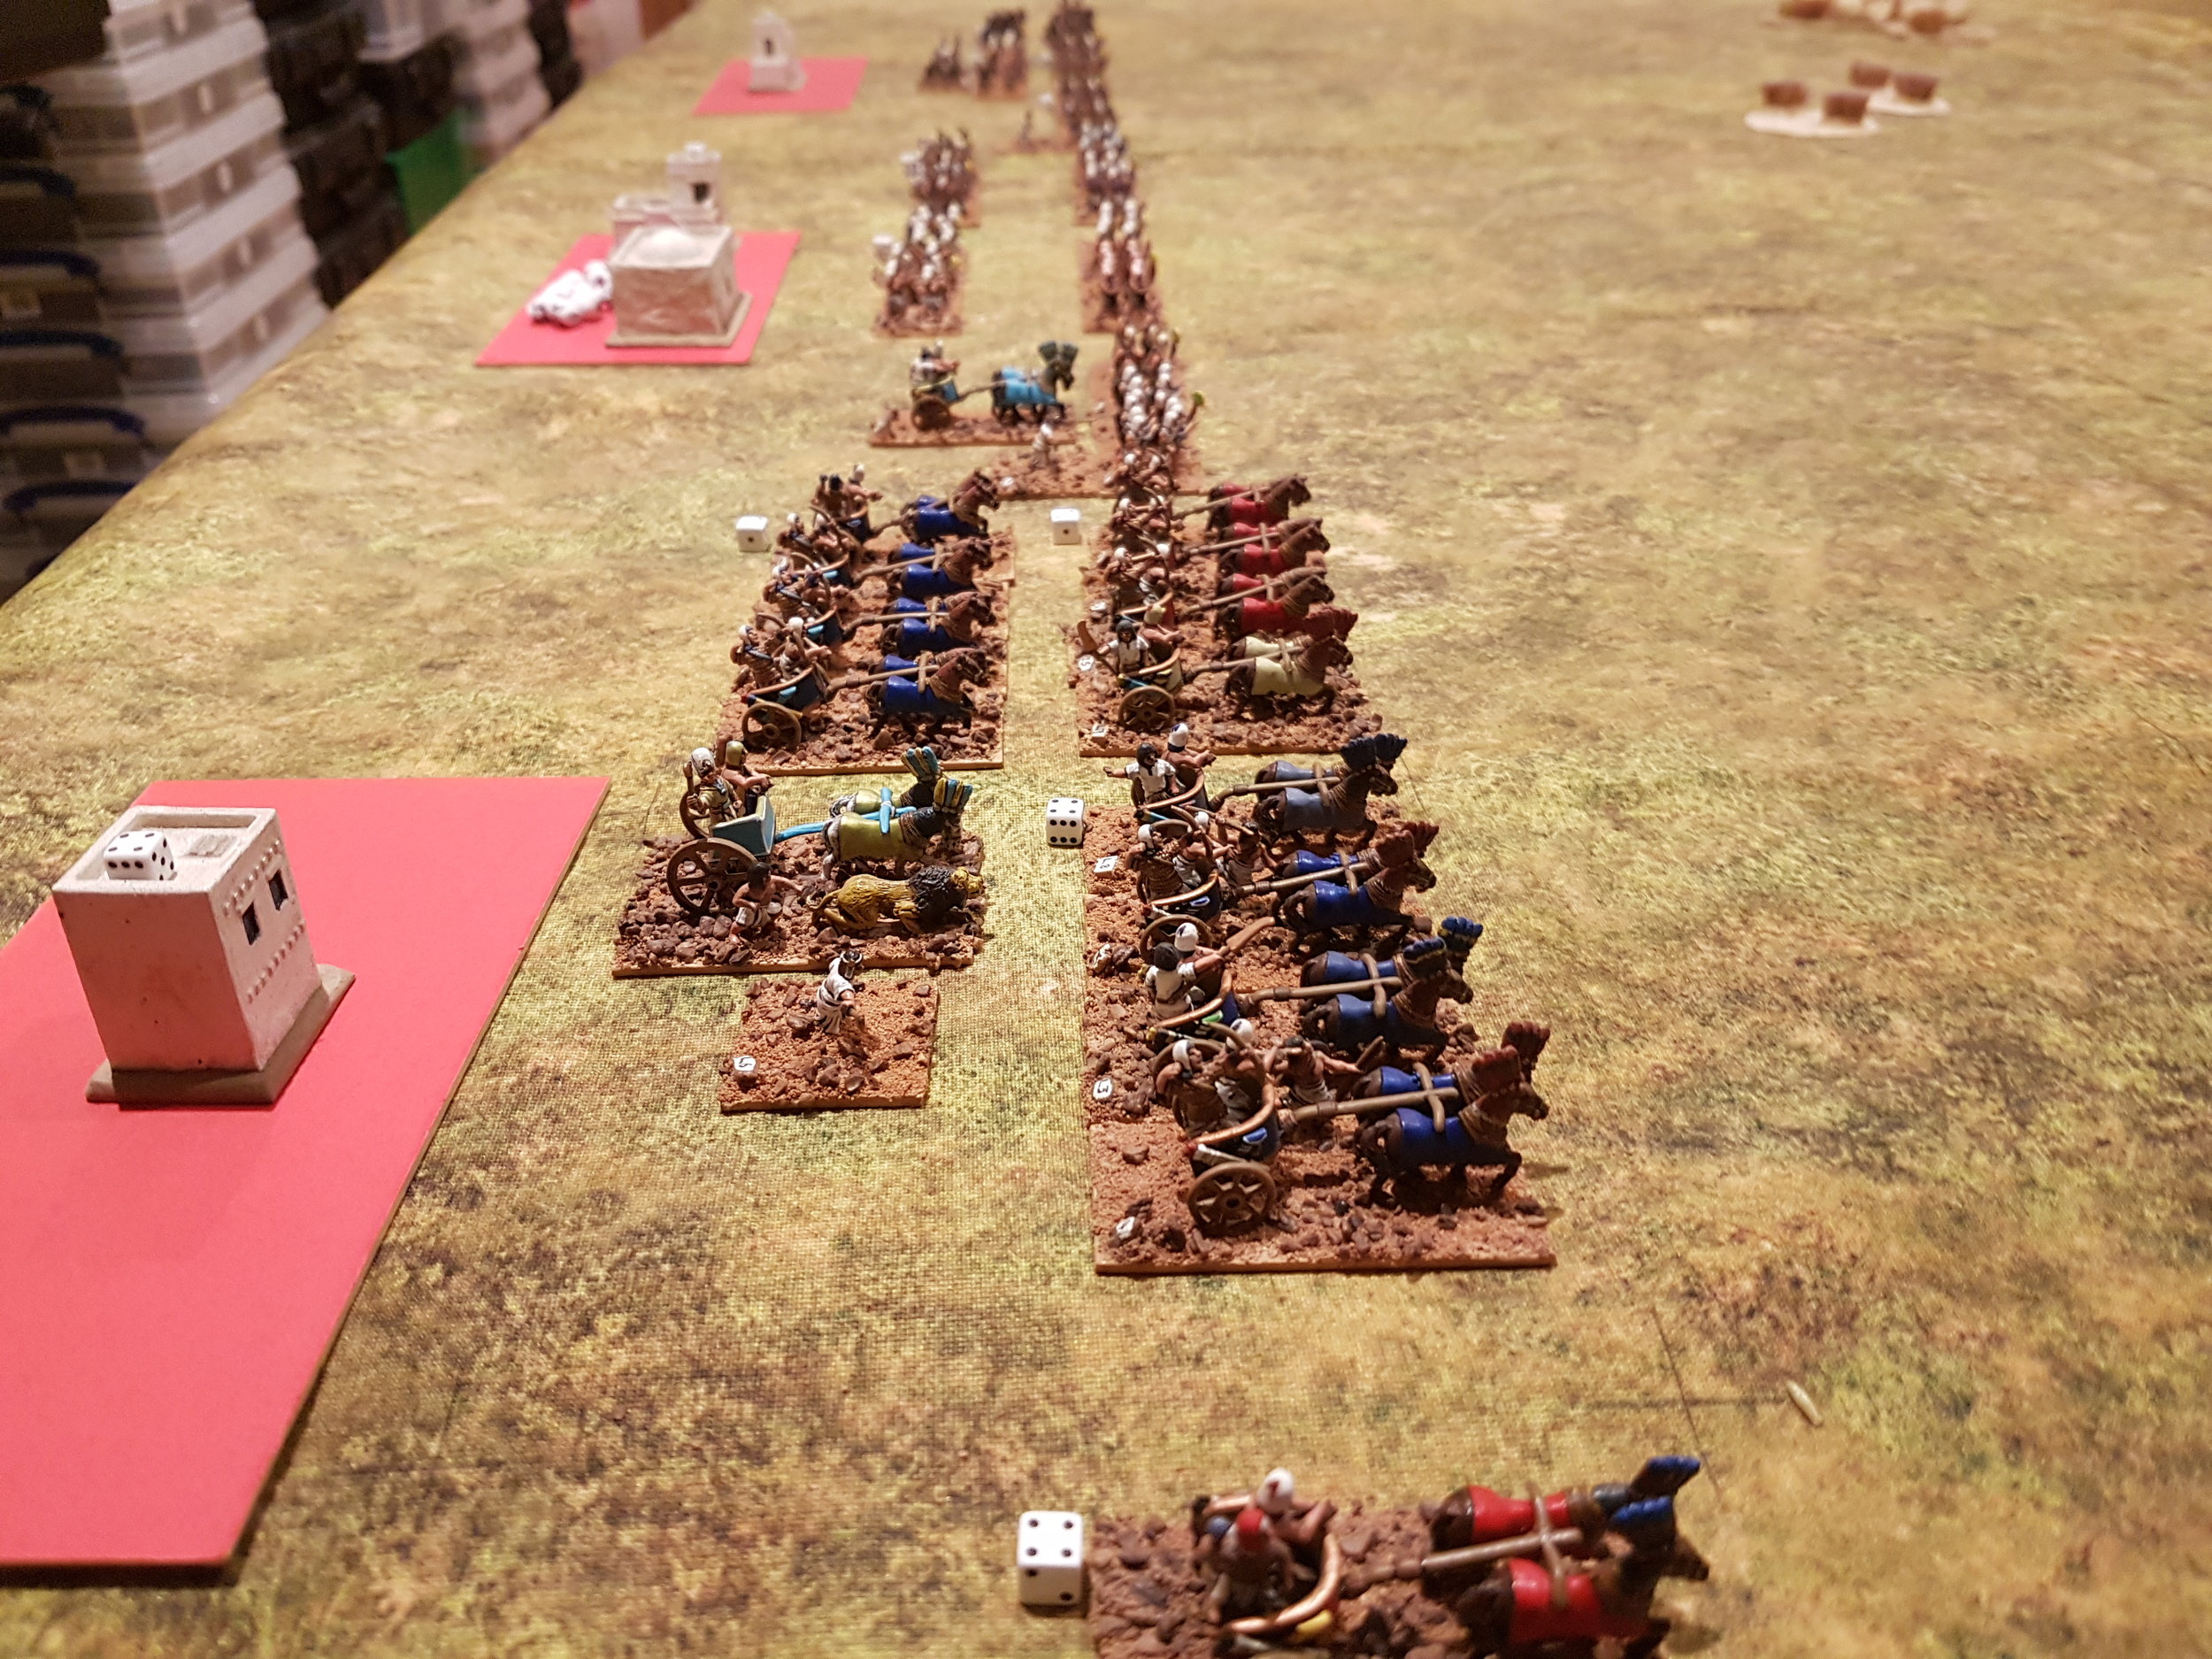
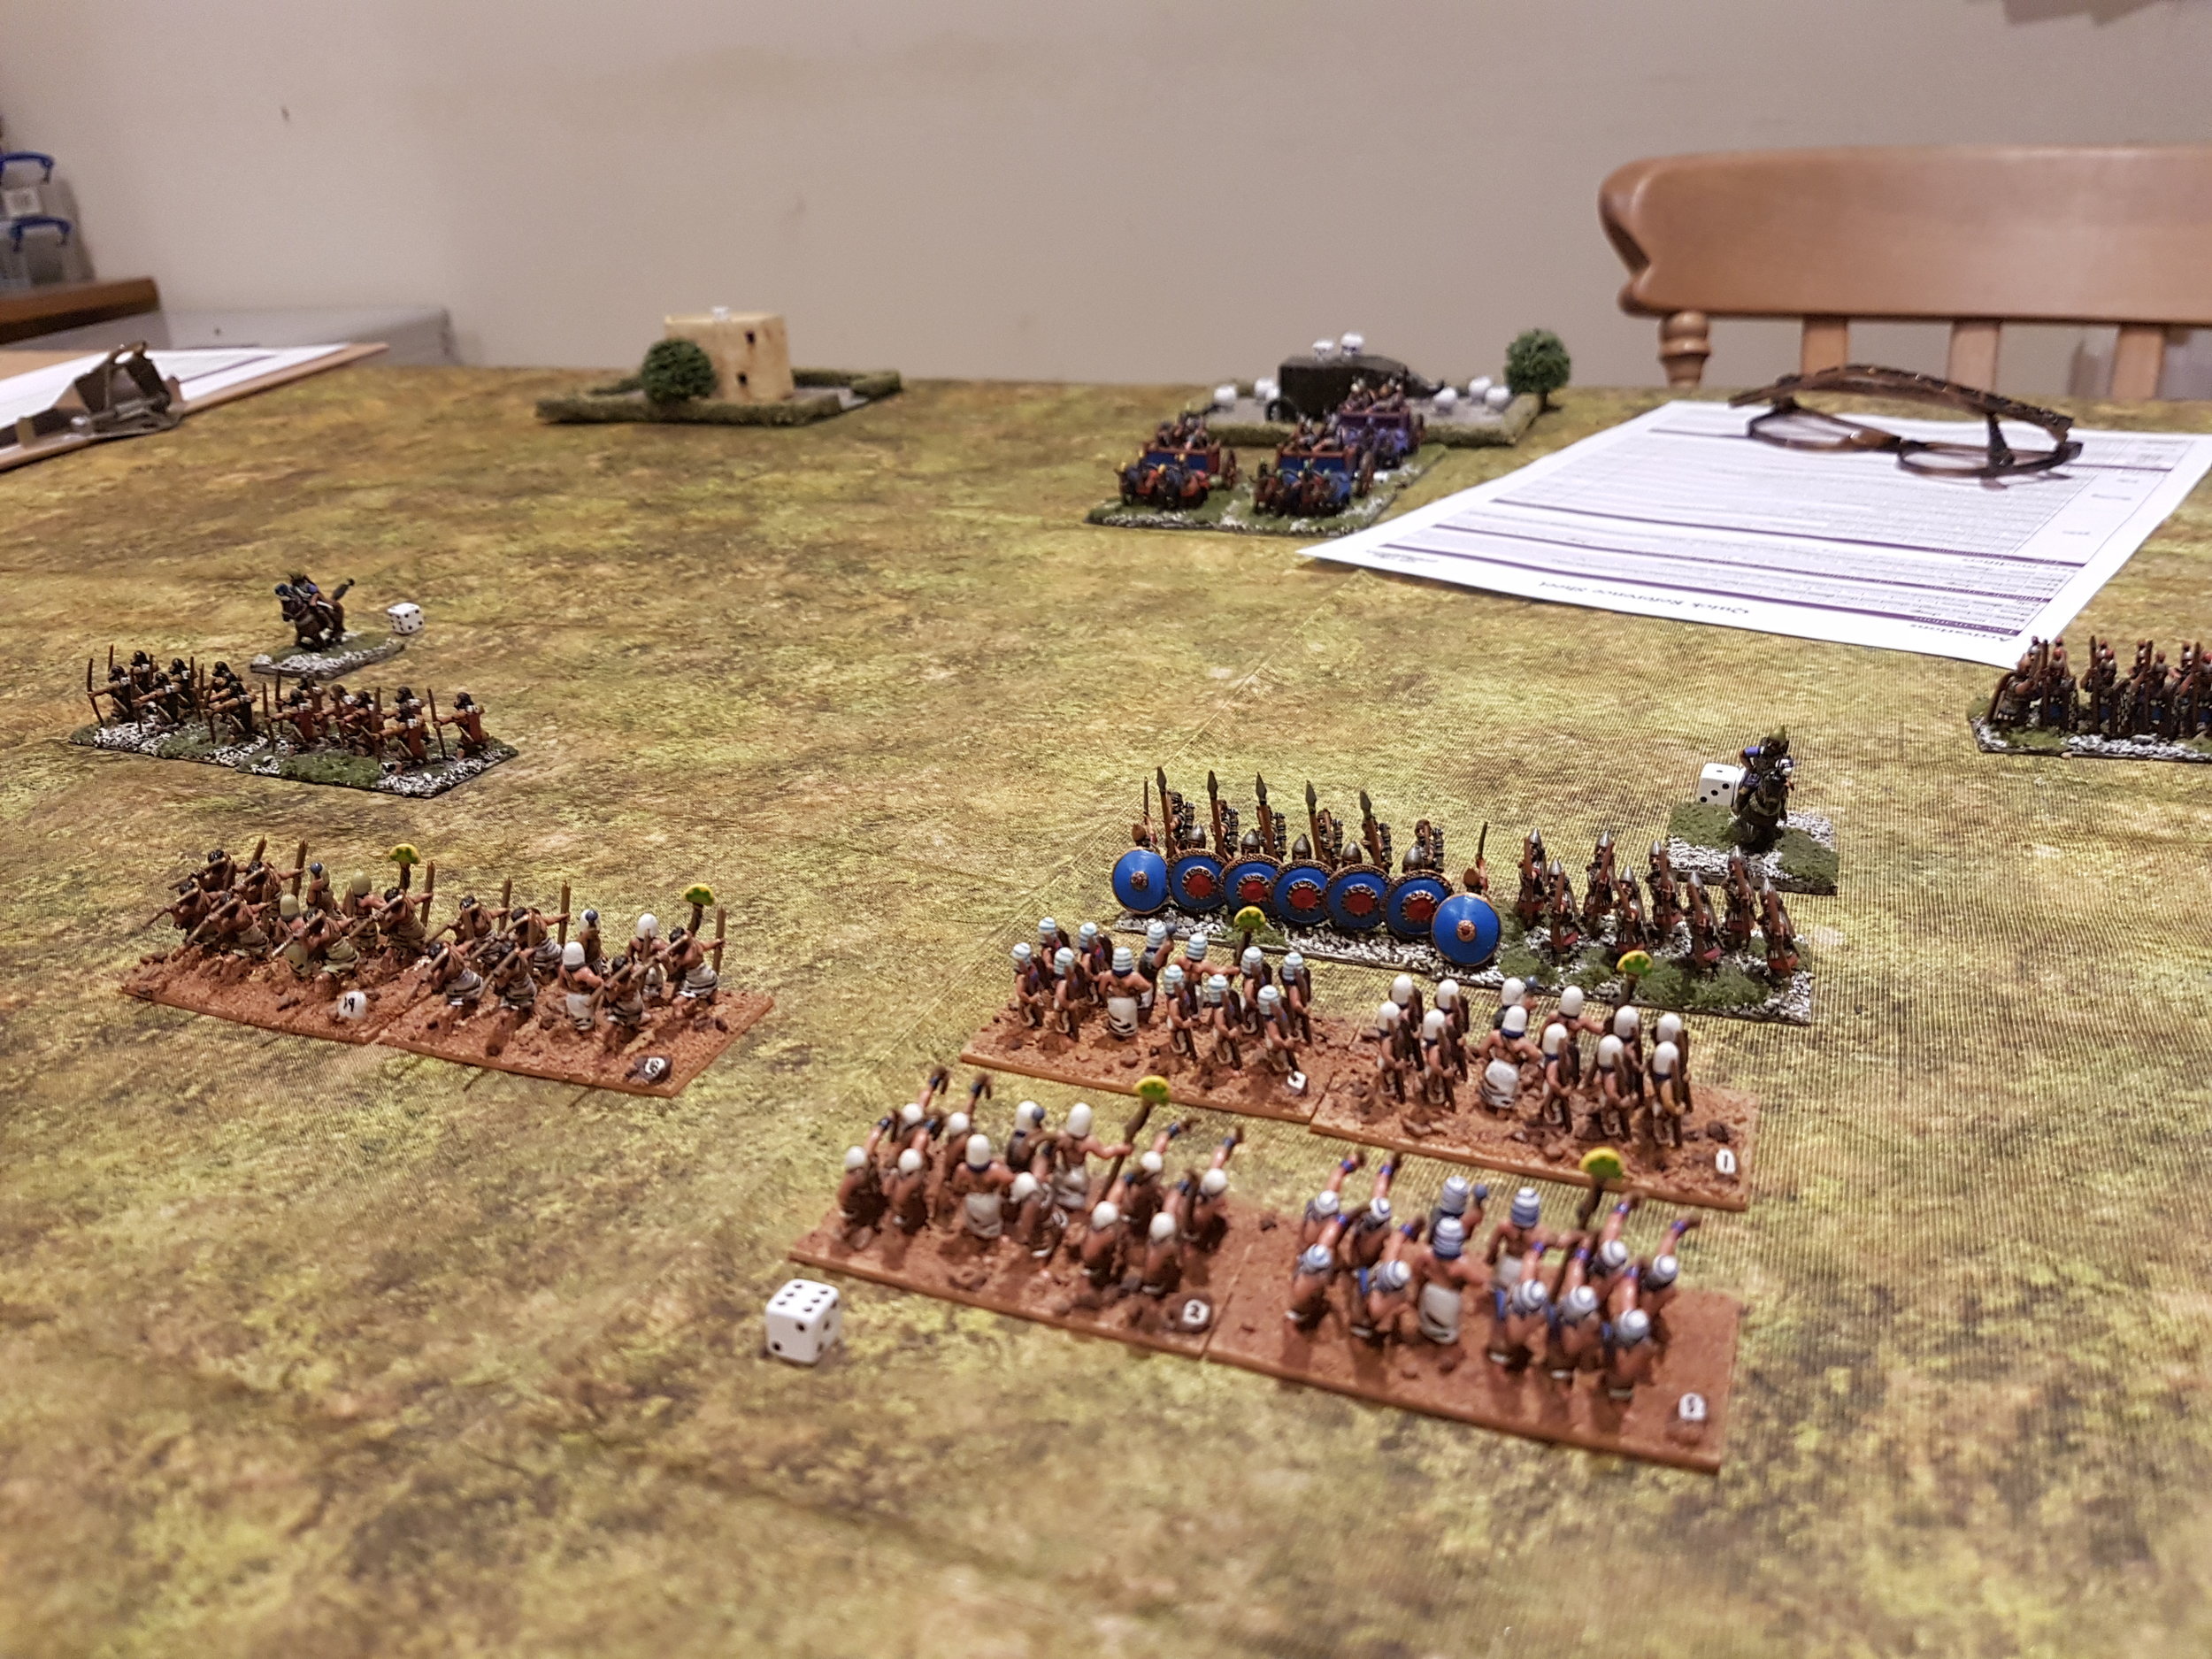
I have a New Kingdom Egyptian army myself, so I know something of its strengths and weaknesses. My plan was therefore very simple: charge forward with my heavies and steamroller the enemy before they had a chance to use their superior shooting to pincushion me to death!
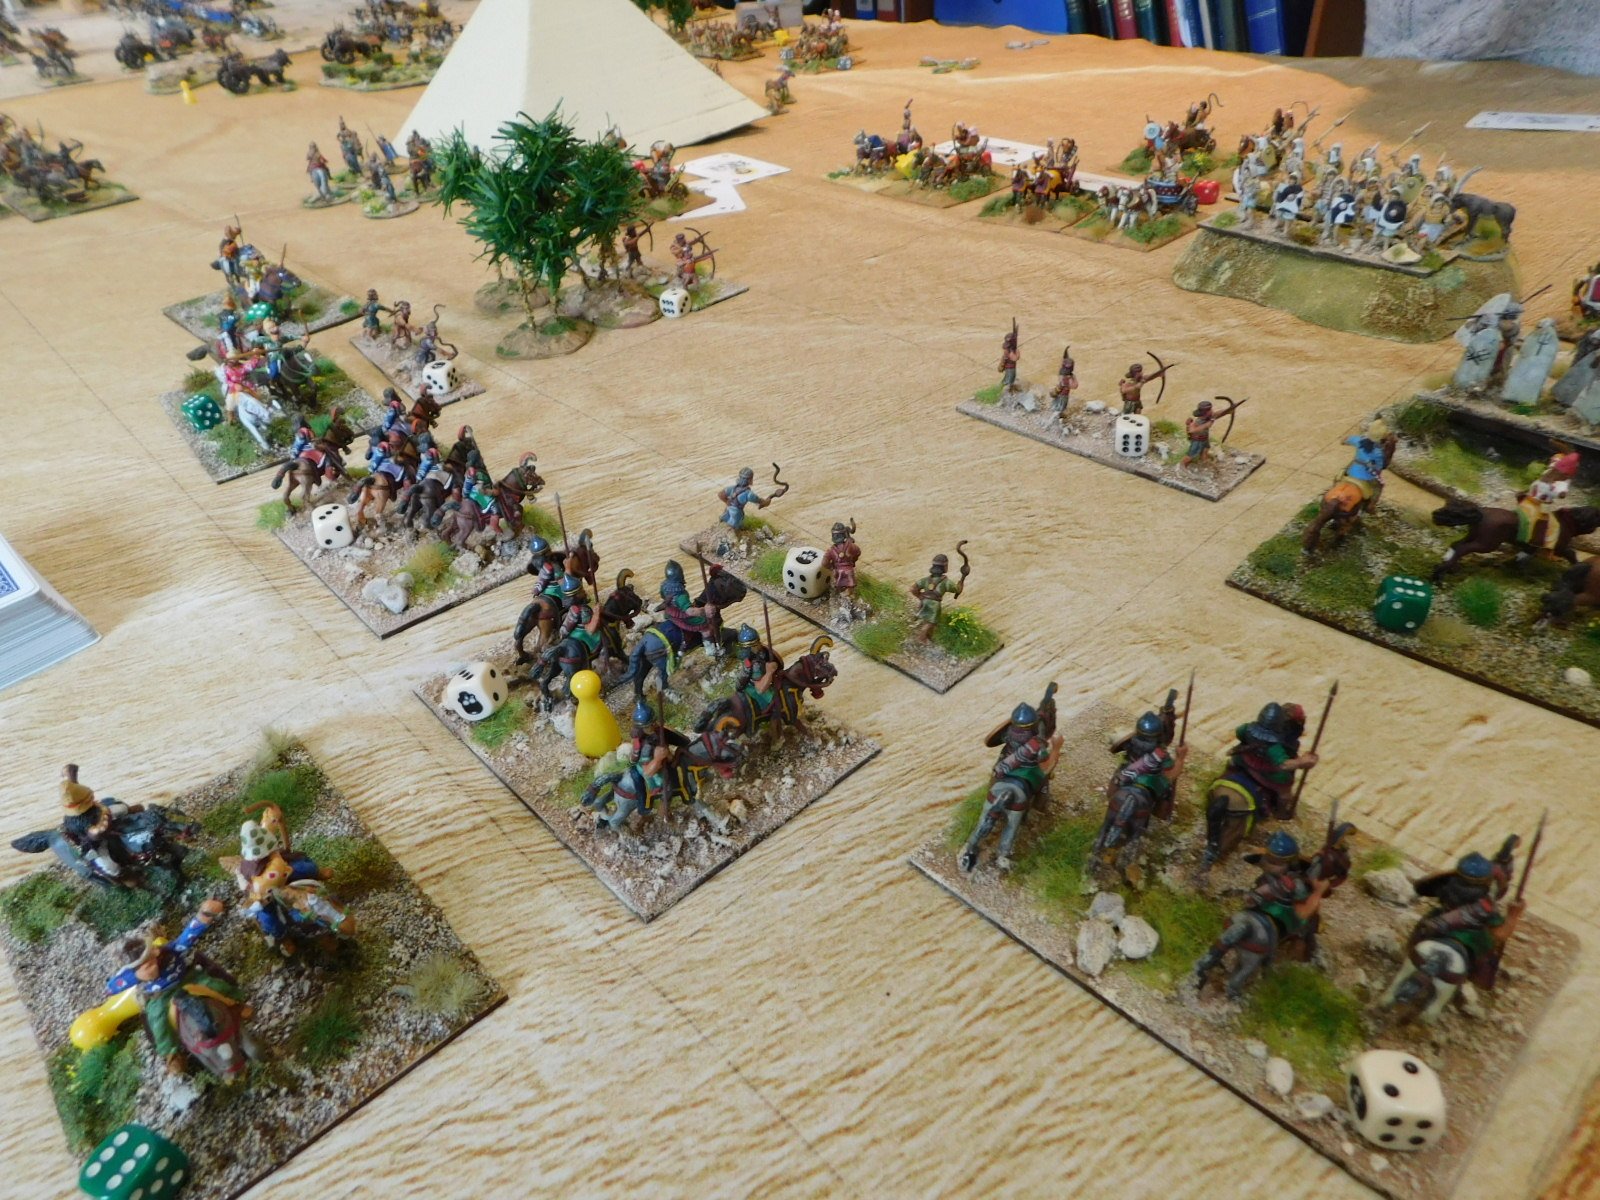
So that’s what I did: straight forward and to hell with the consequences!
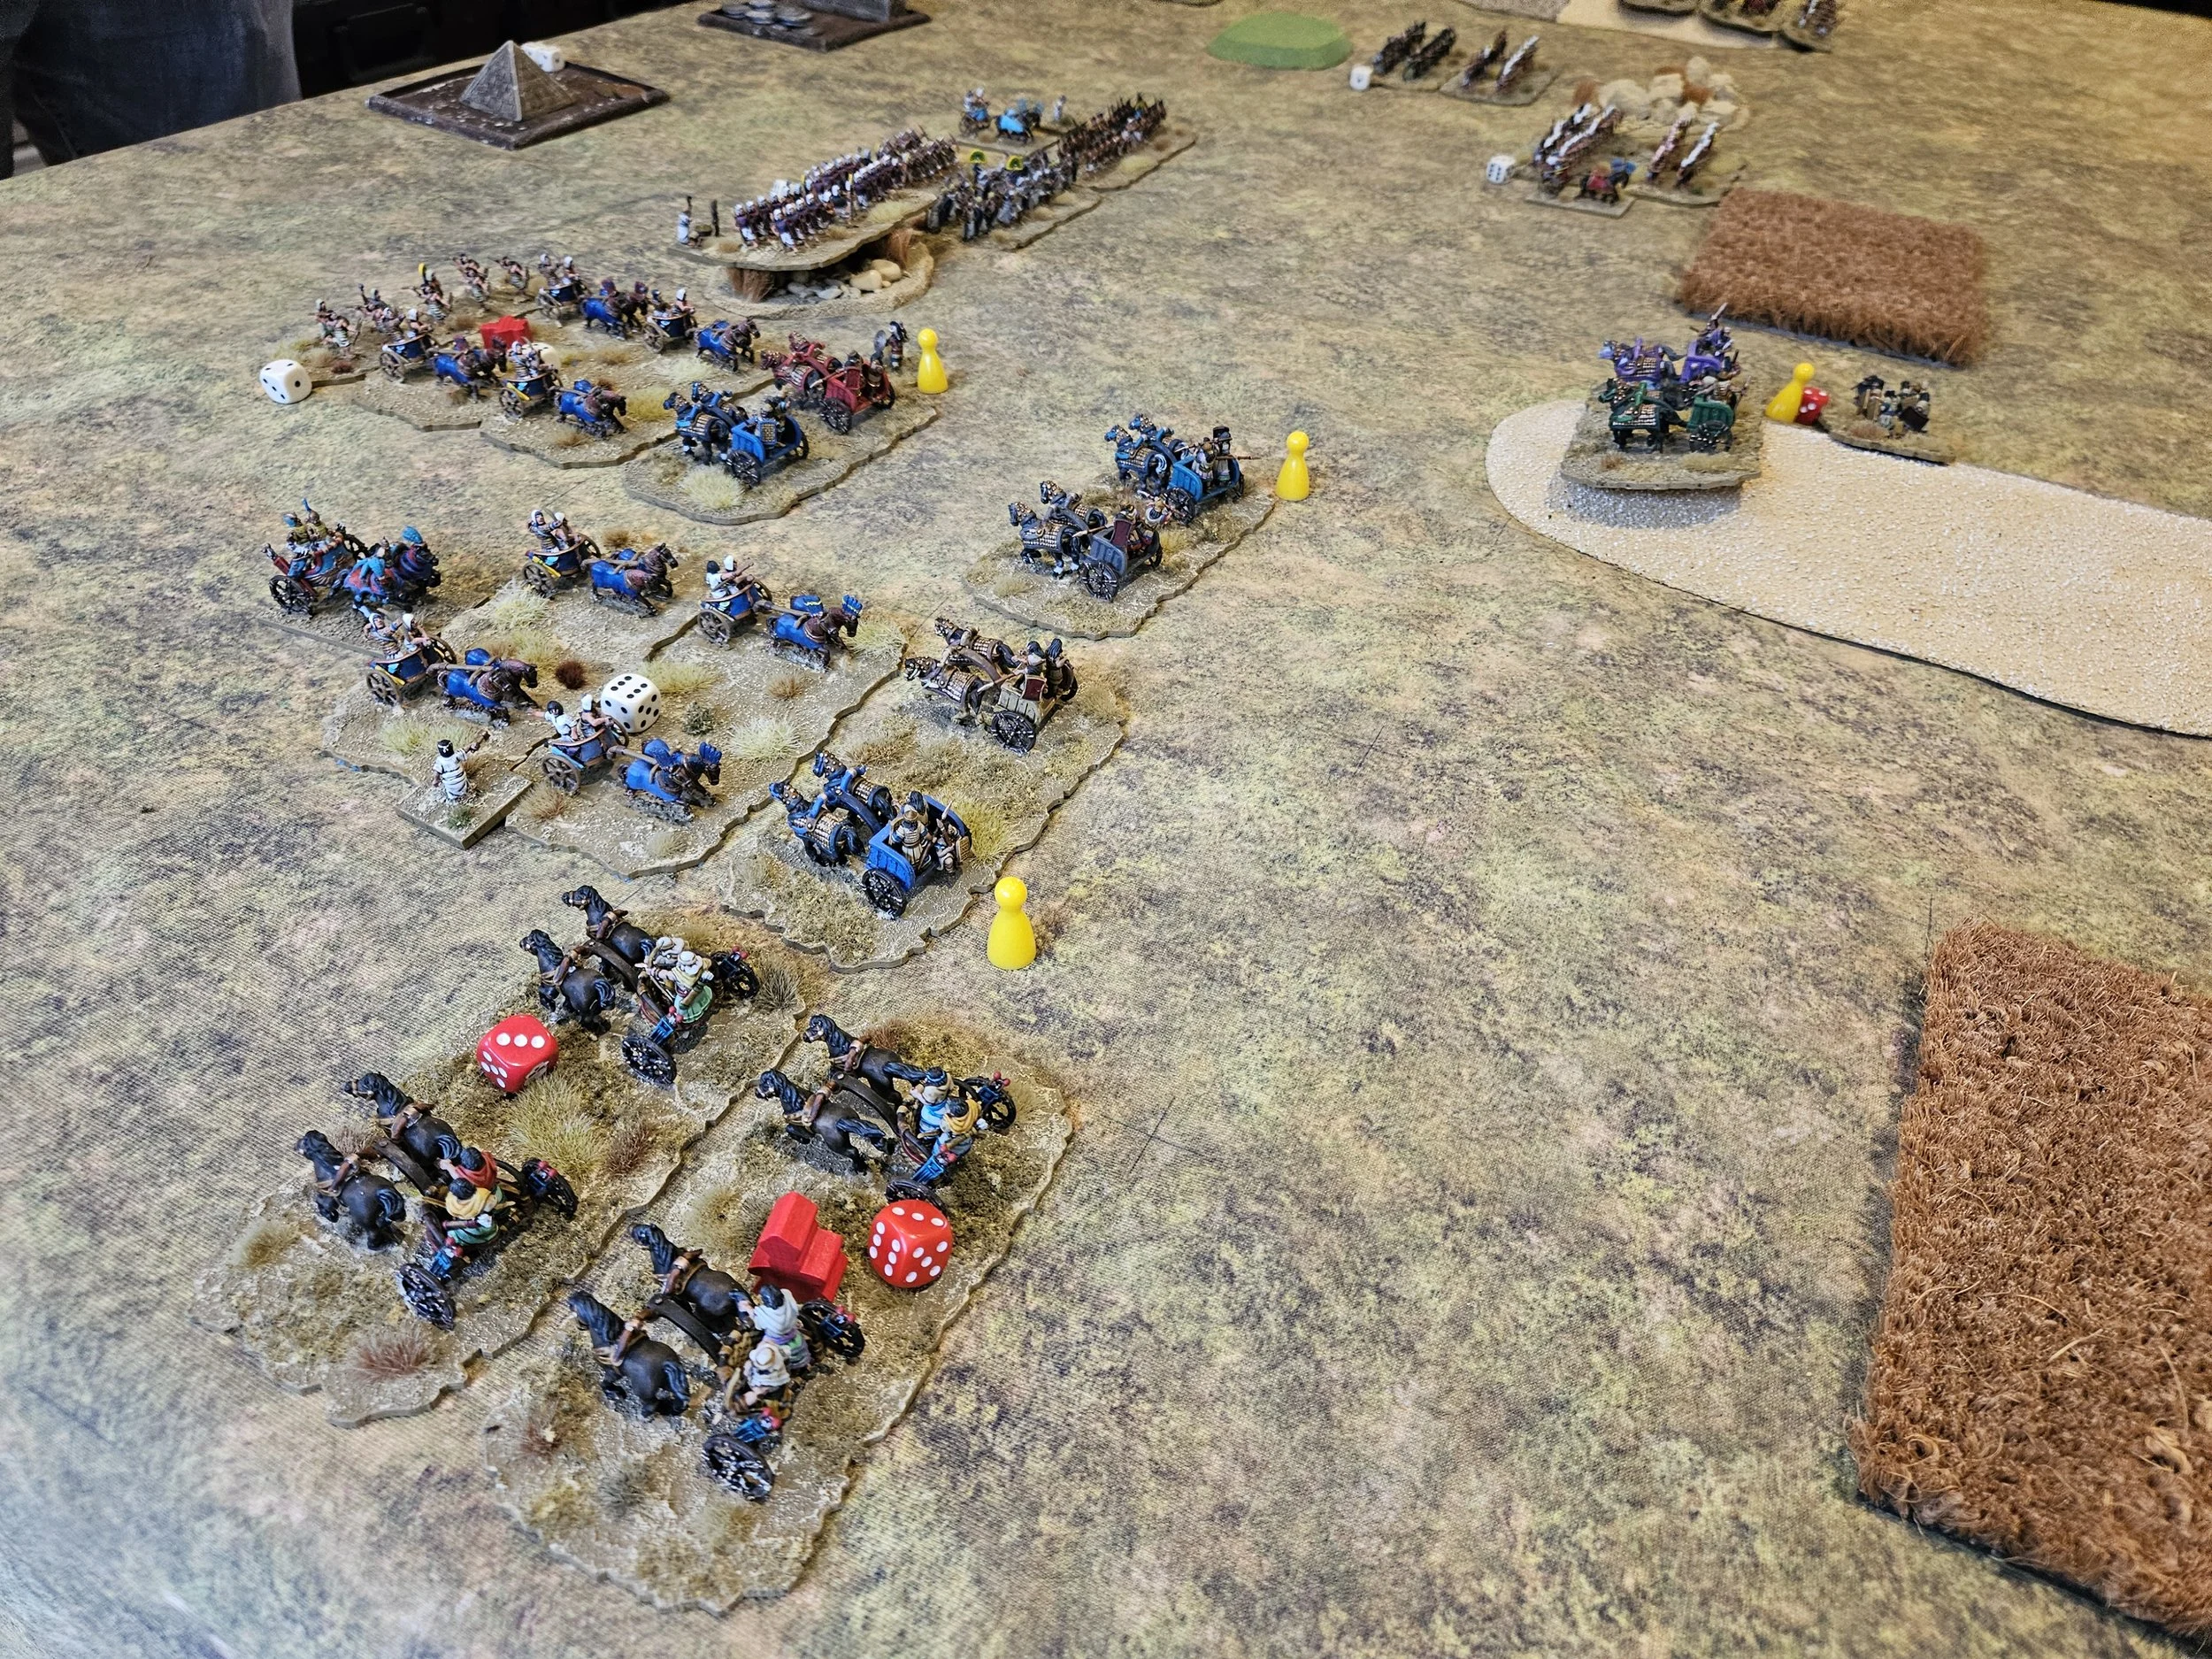
Crude tactics, but they worked like a charm. The Egyptians crumpled under the onslaught of my heavy cavalry and were dismissed from the field after only the second turn!
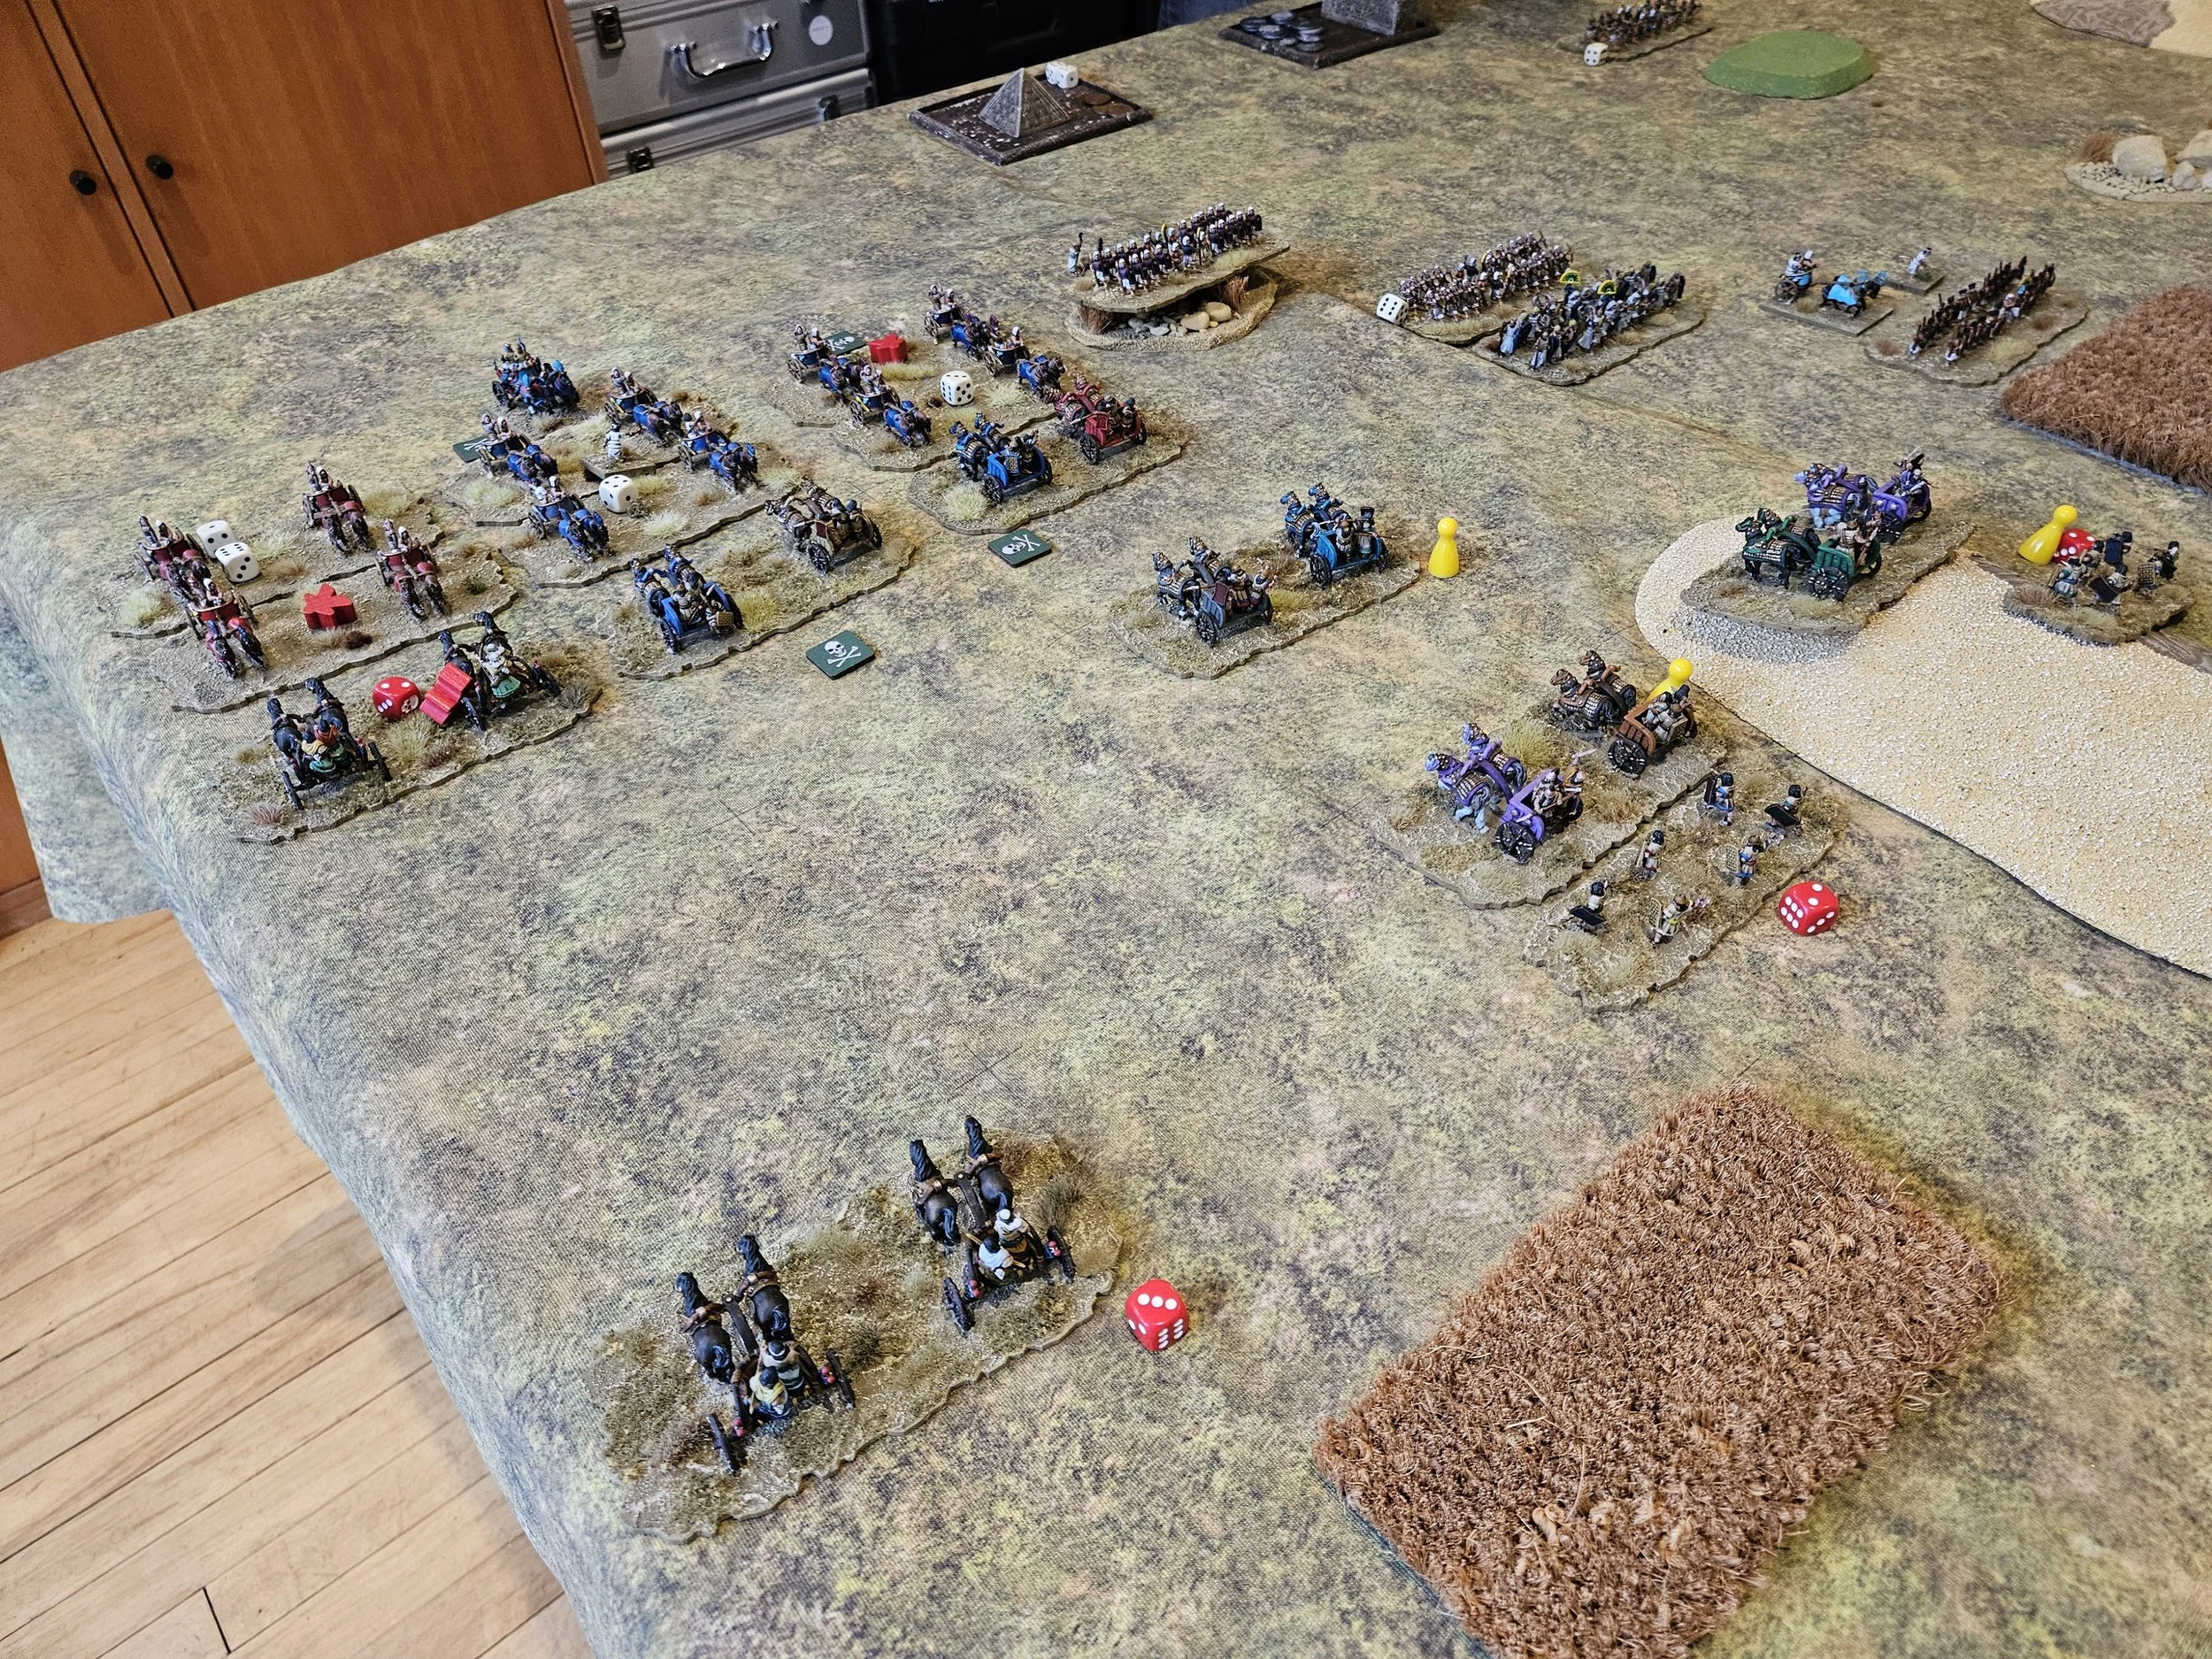
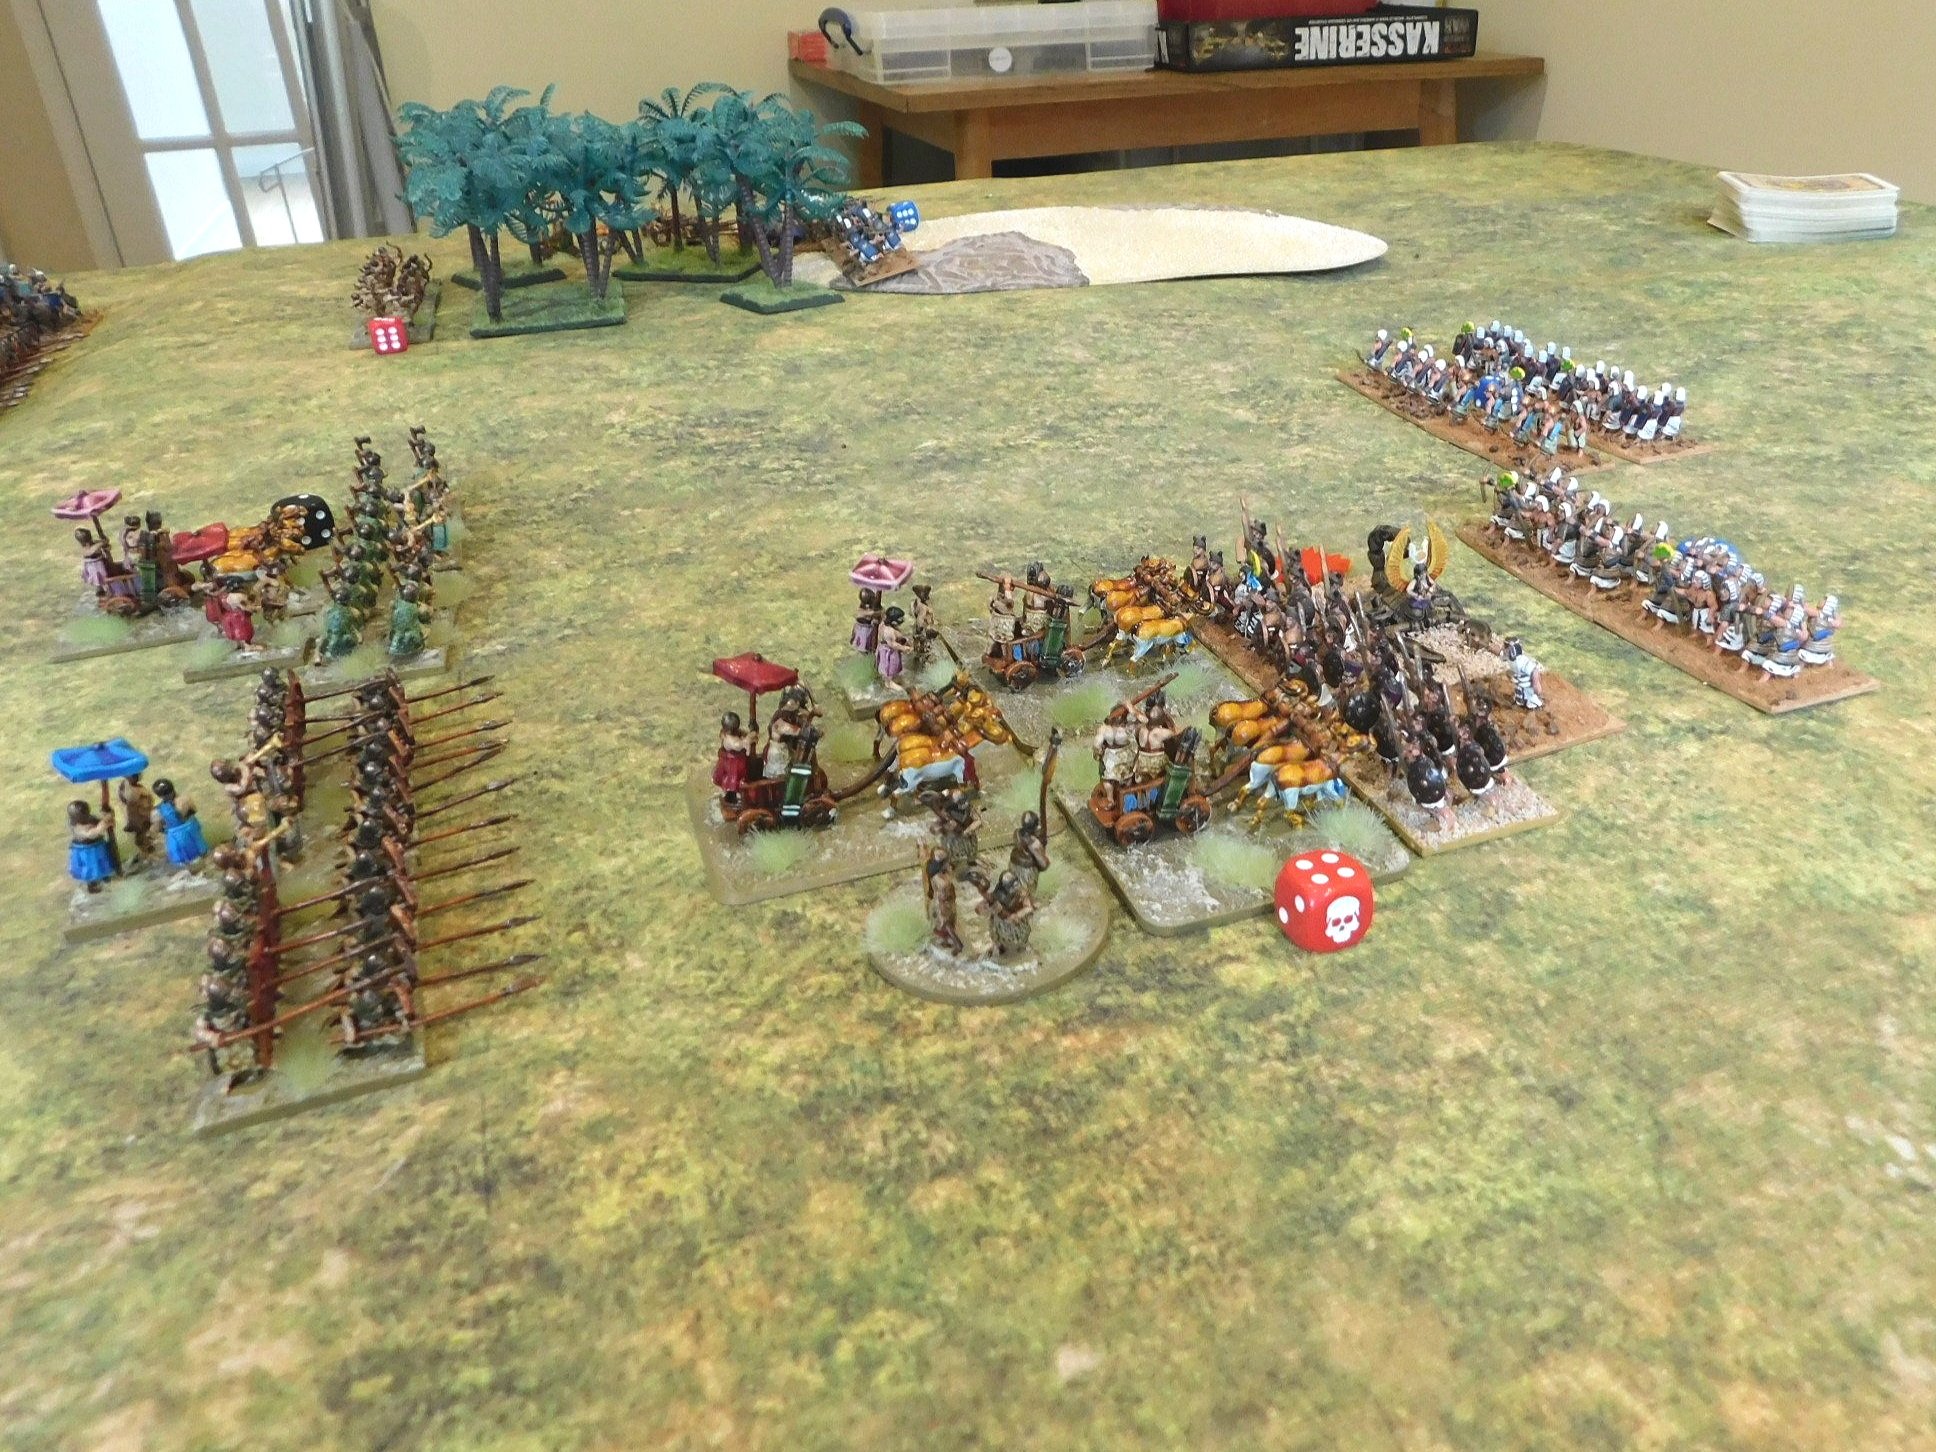
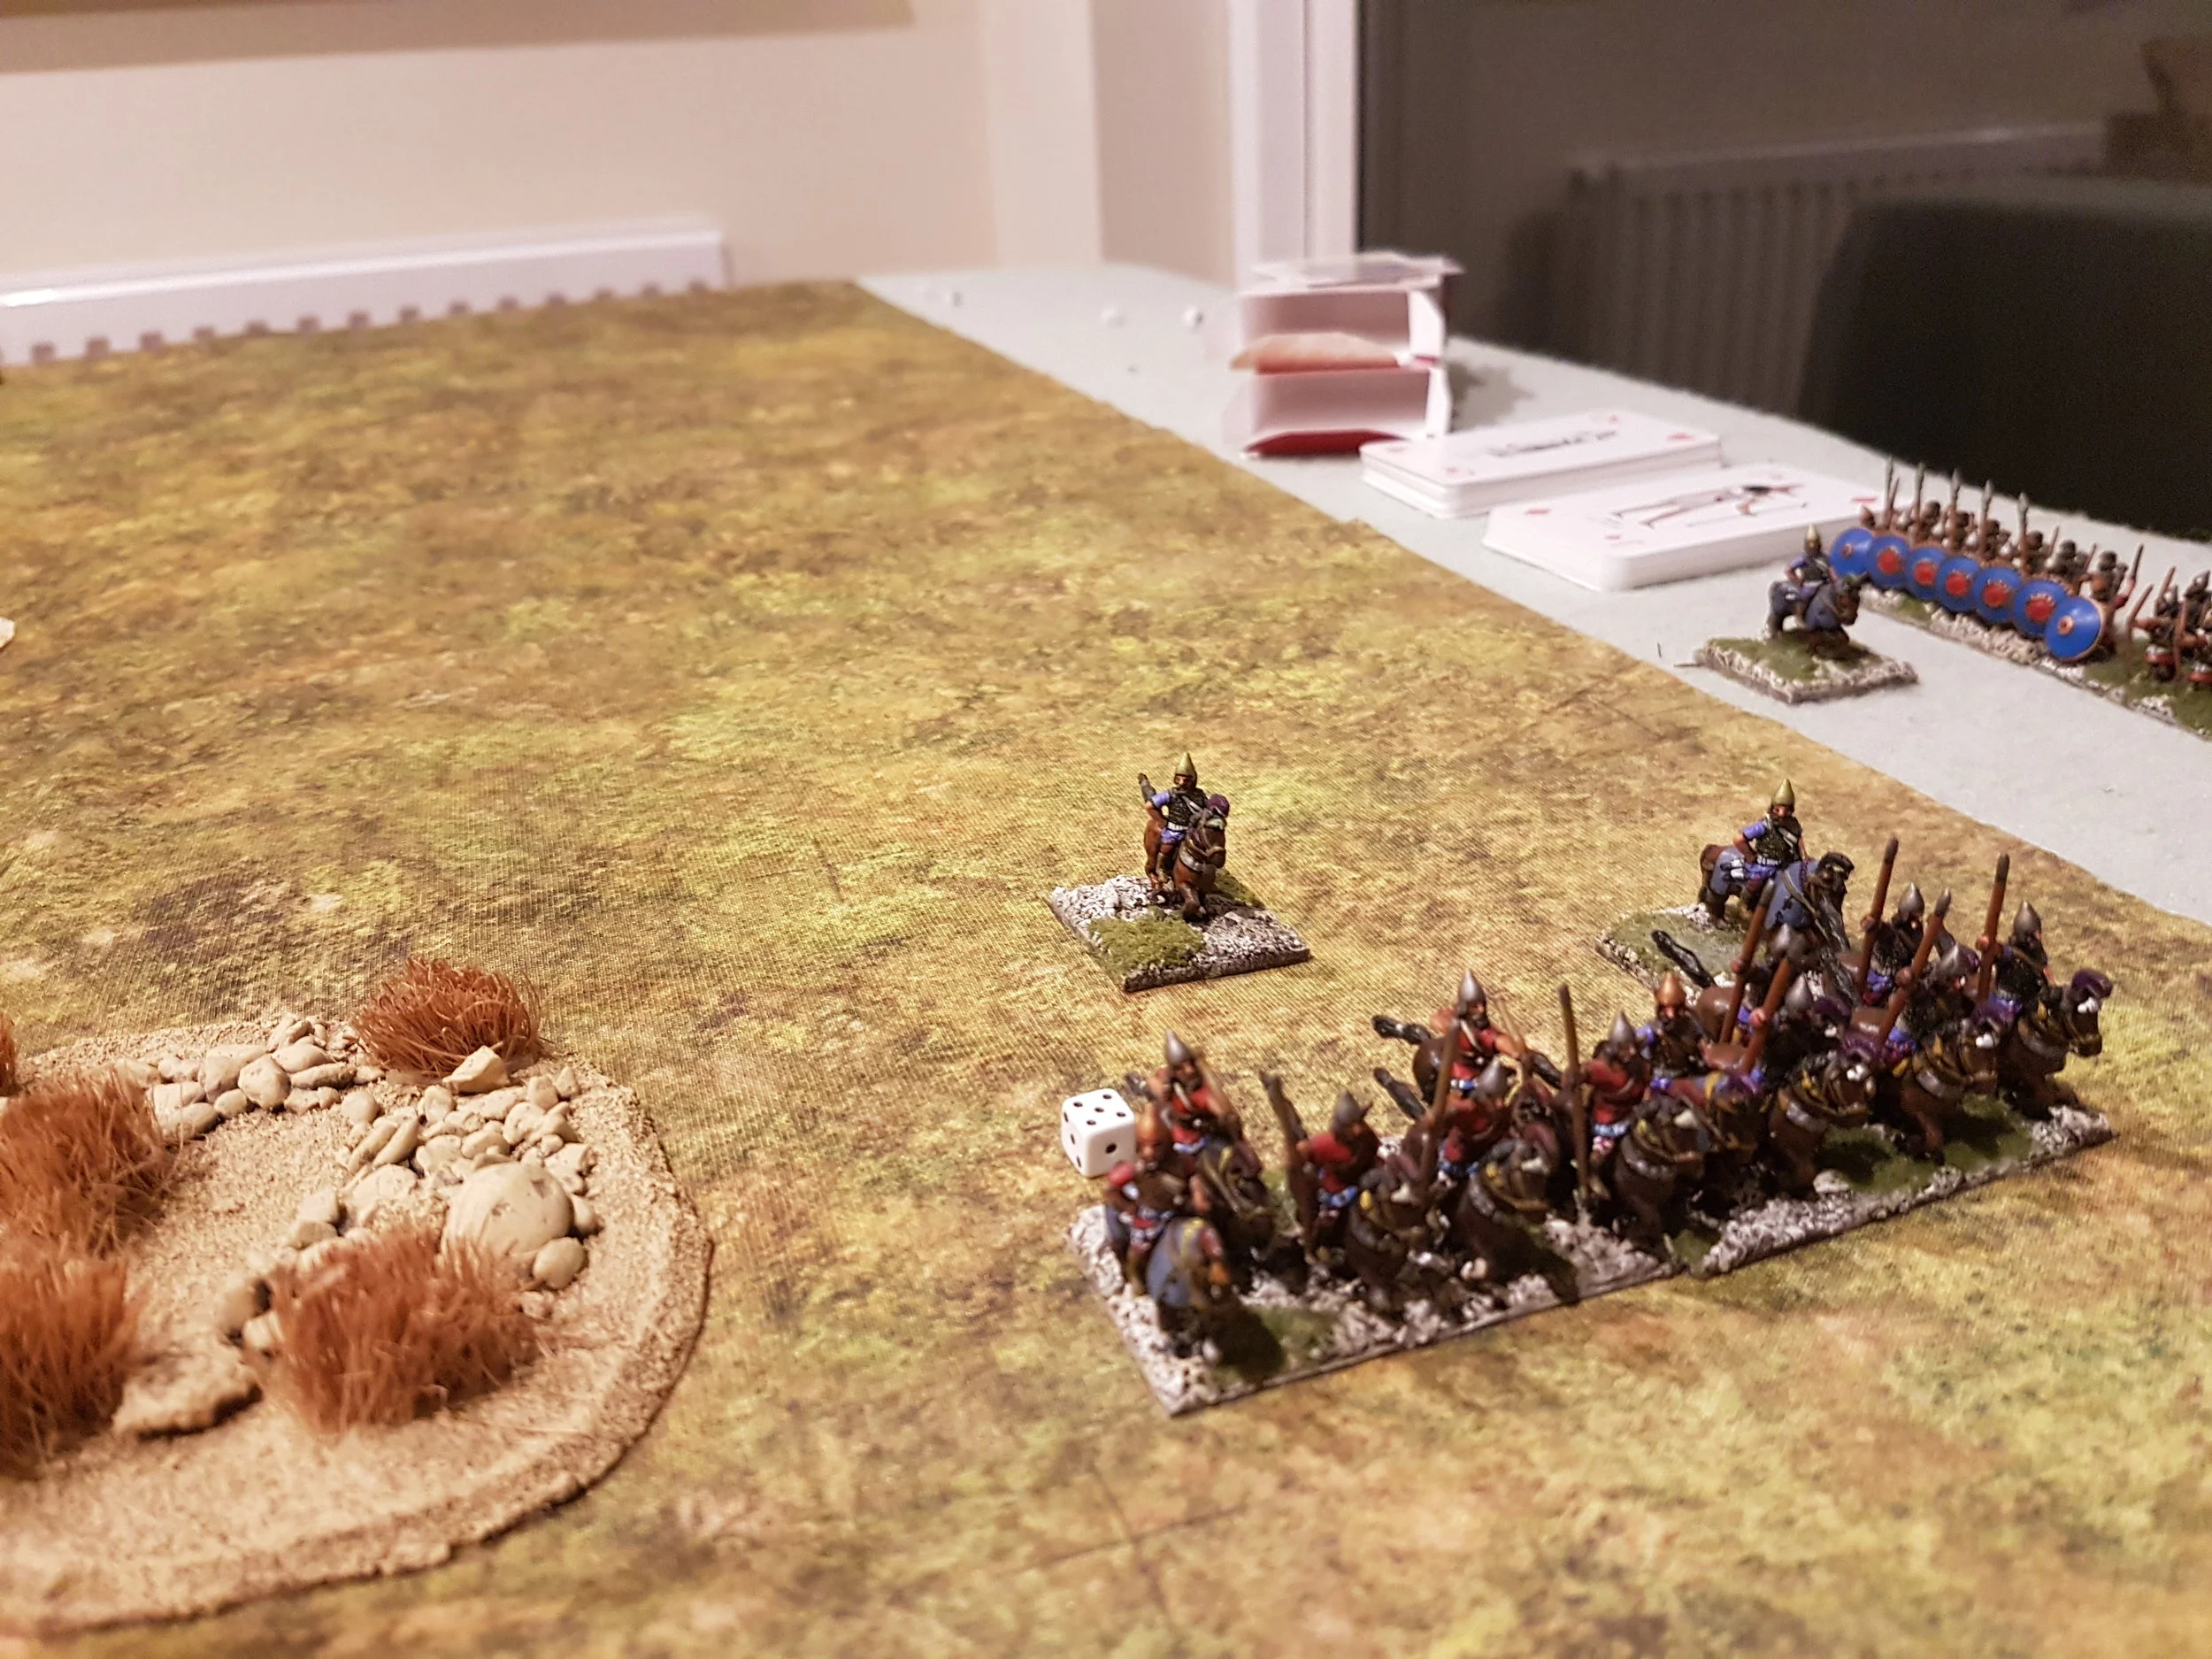
This was very unfortunate for Geoff, who now found himself facing Peter’s army from the front and my army from the flank.
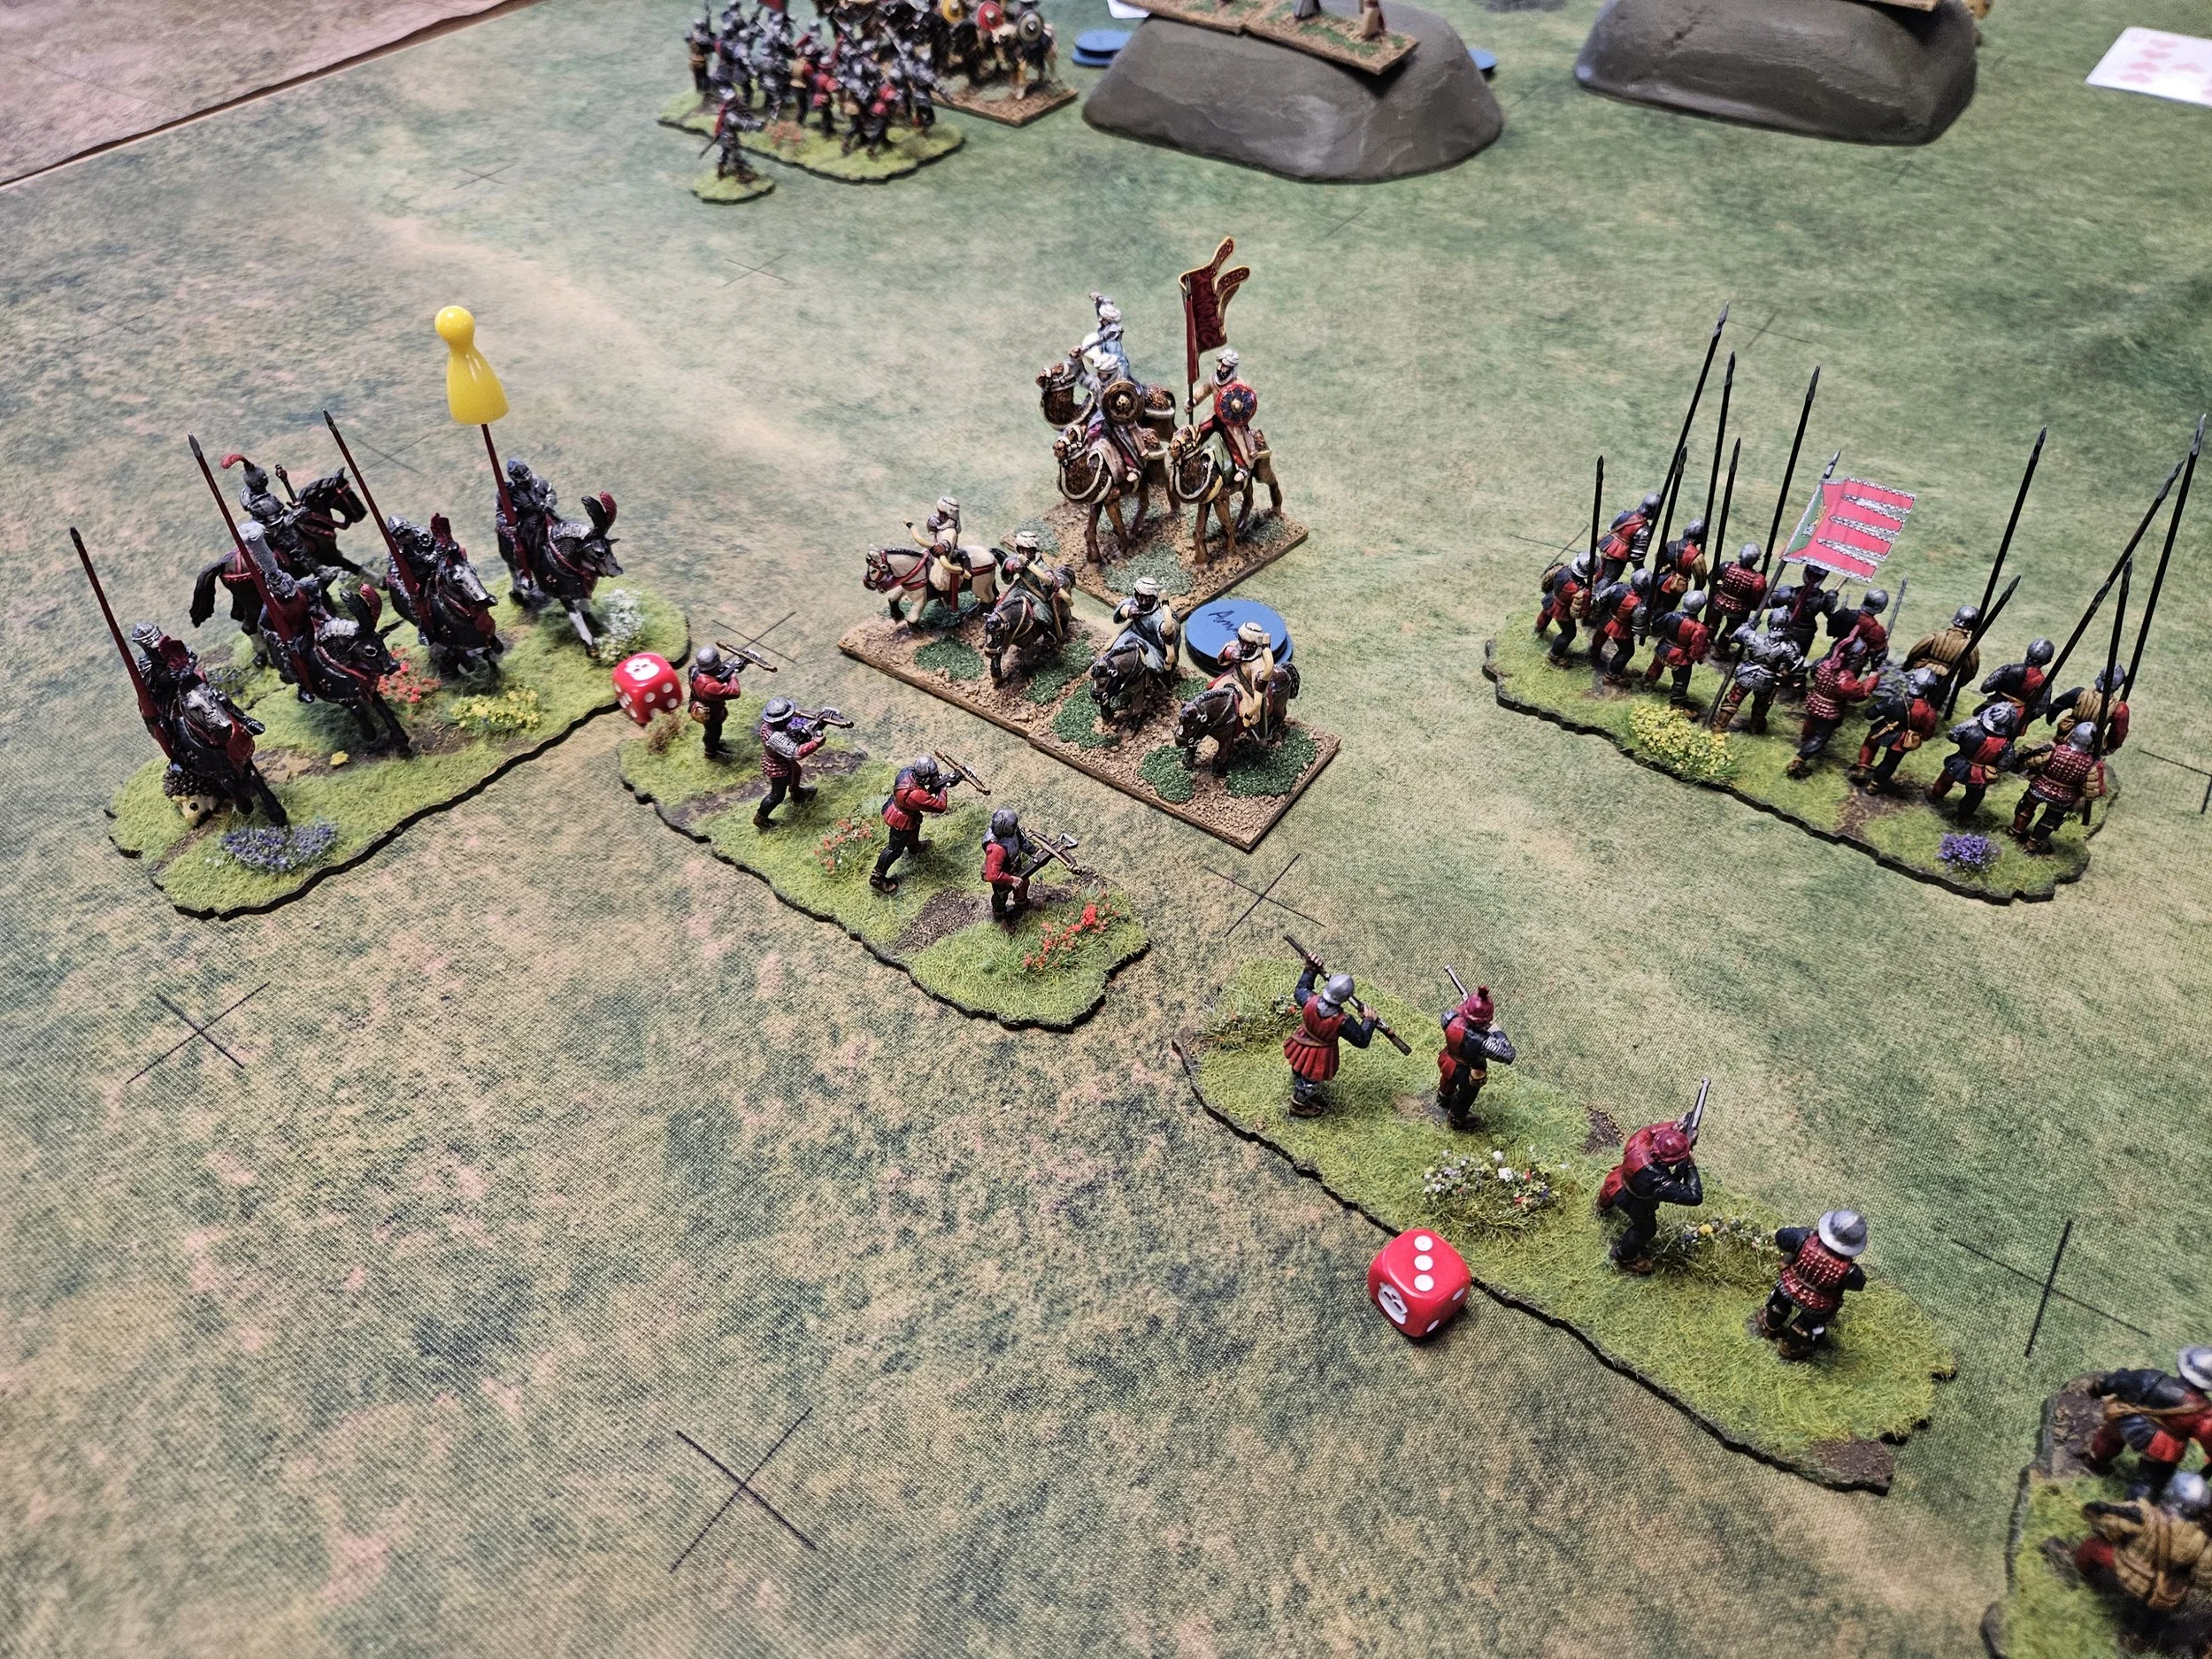
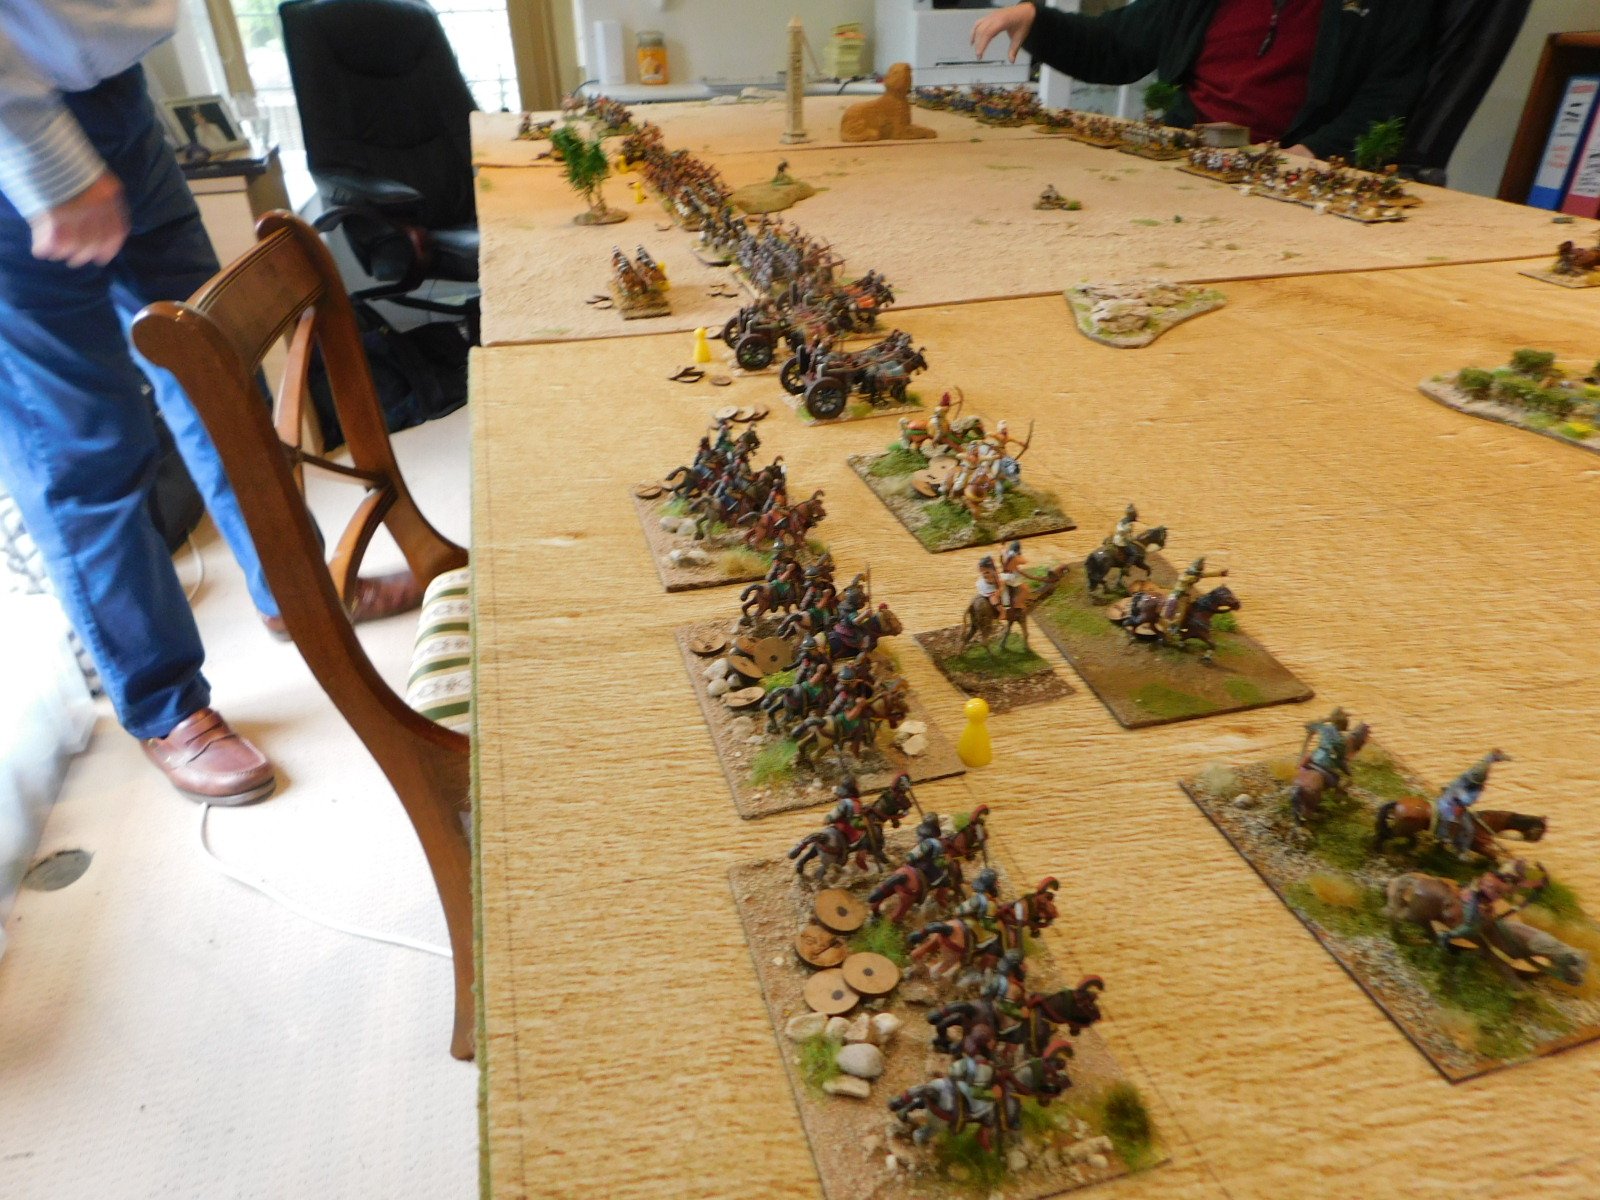
This turned out to be no foregone conclusion, as the Polybian quincunx proved incredibly difficult to break.
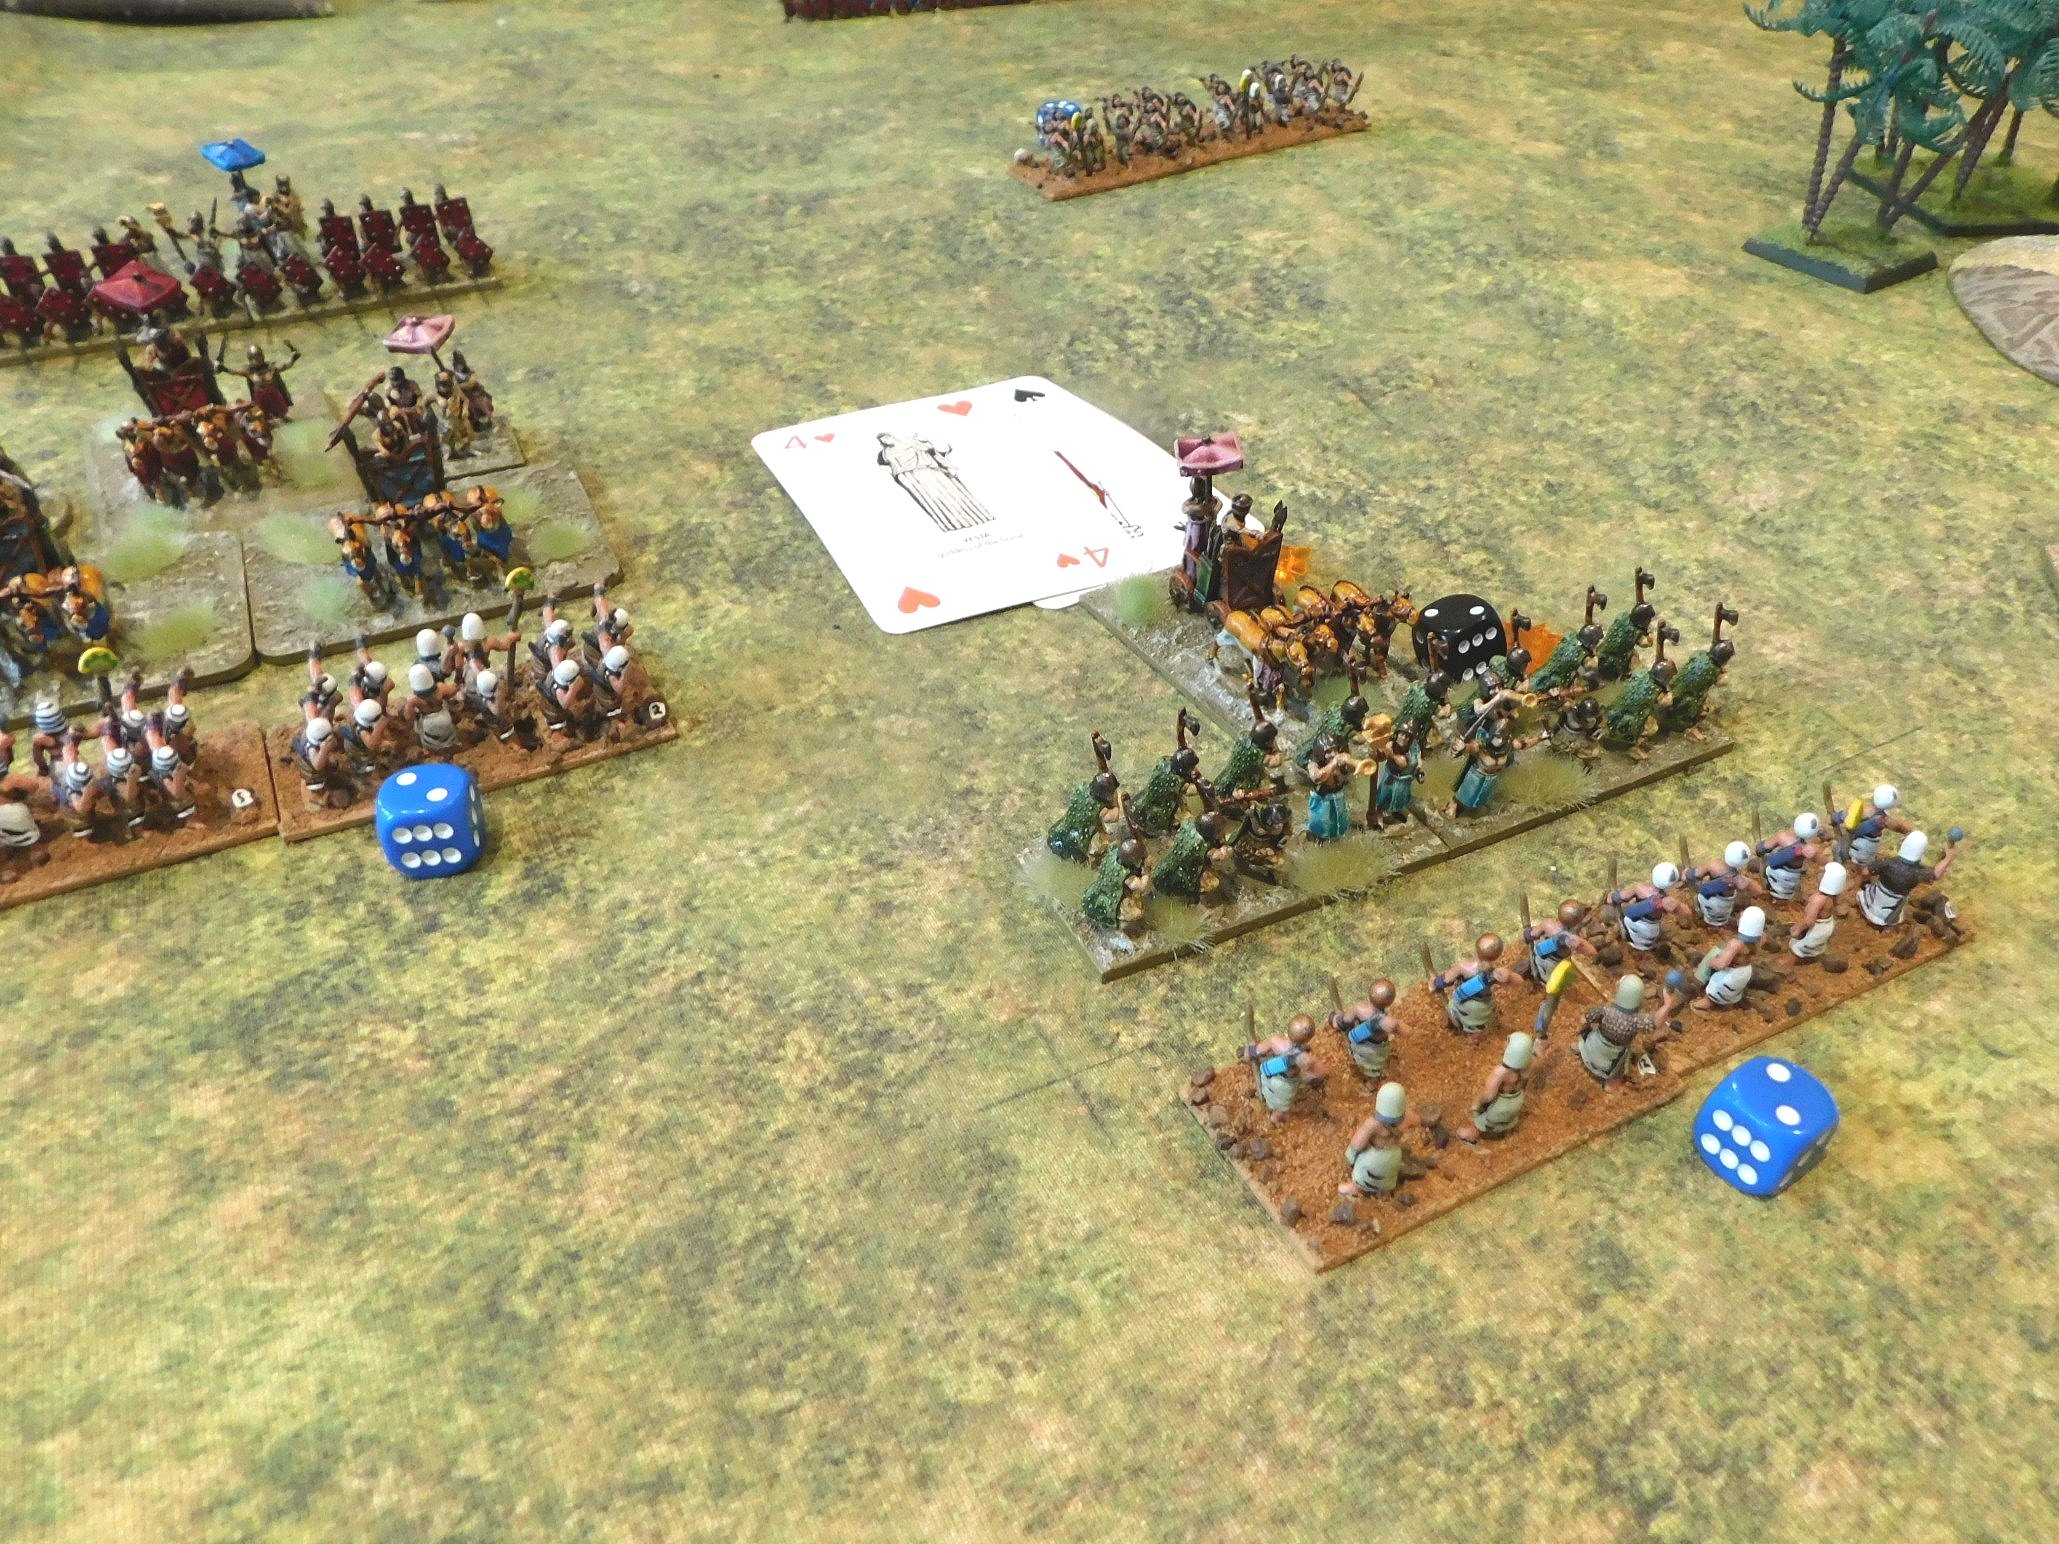
Peter did manage to get his cavalry past the main Roman line and capture the enemy camp, but then had to spend his time trying to keep the camp (and the three coins it represented) and trying not be killed by superior numbers of Roman cavalry, all the while watching the three quincunxes marching inexhorably forward.
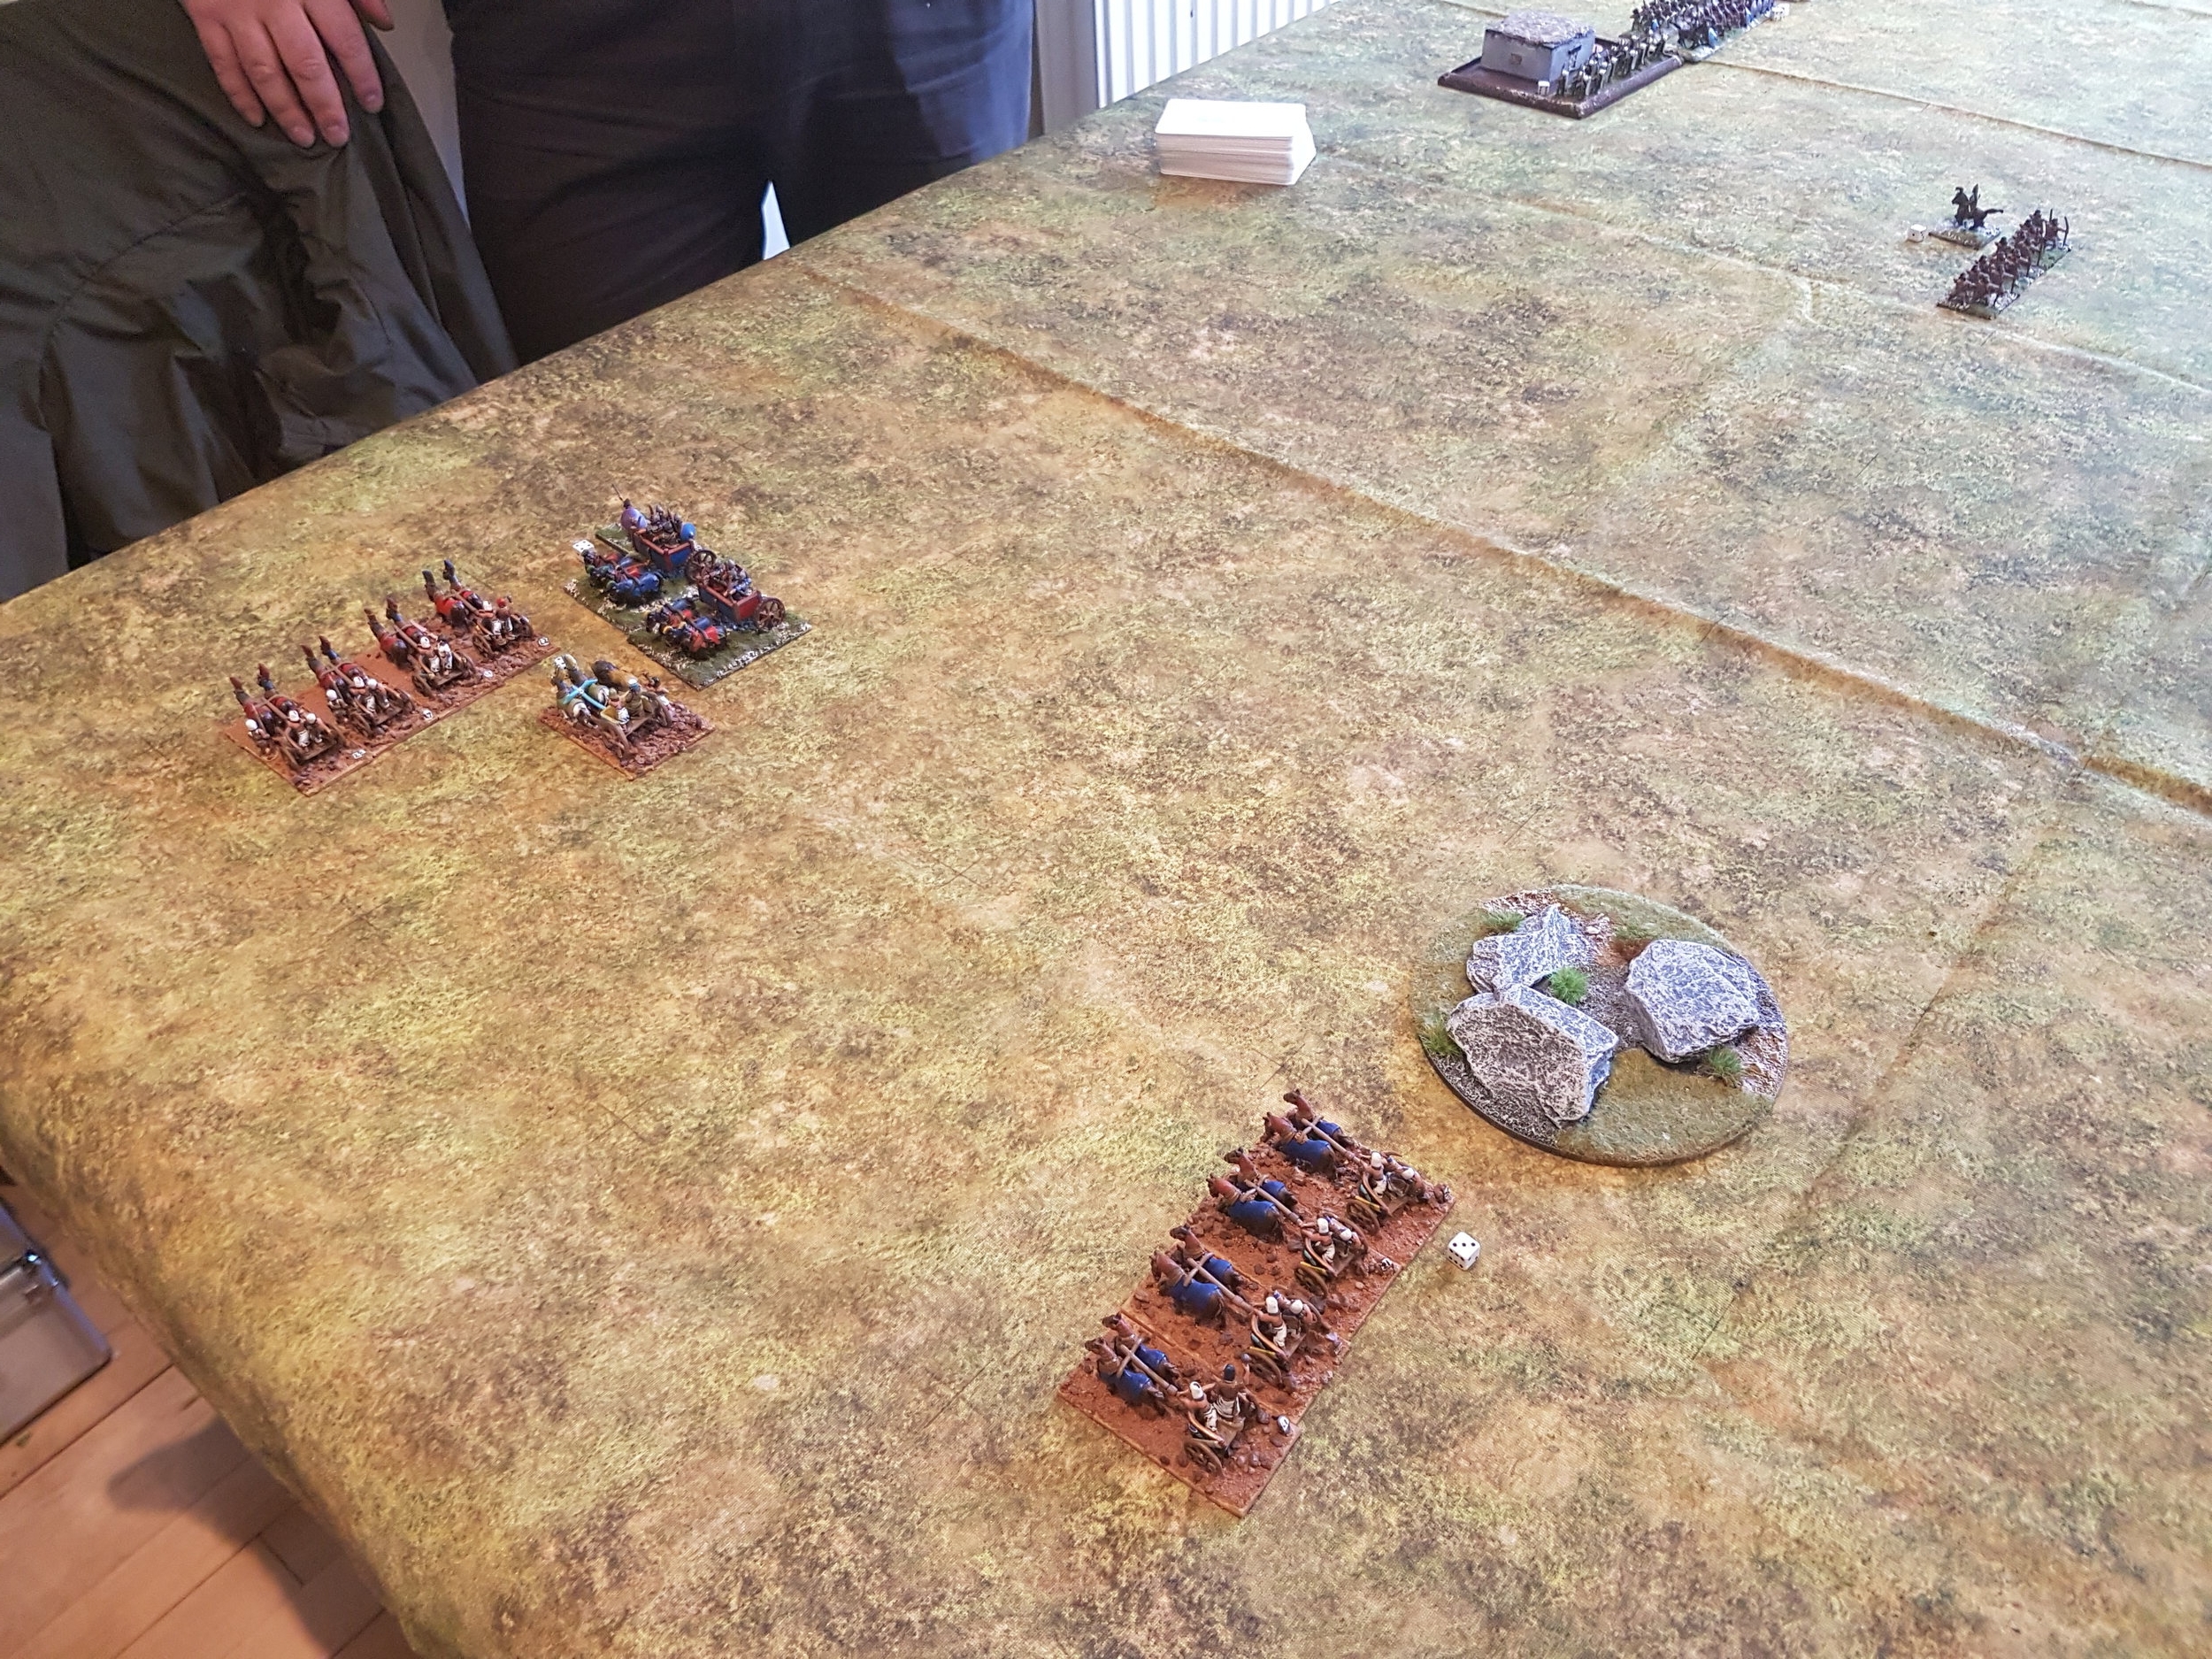
Time was also ticking on, and in the very last turn of the game I finally managed to get enough of my own heavy horse across and into the flank of the Romans to finish them off, but it was a near run thing and the Latin infantry resisted charge after charge before finally giving way. A tremendous, if untimately unsuccessful, defence of a very difficult position by Geoff!
All that was left was to wait for the final scores to be added up…Peter and I were overall winners again, but only by the very narrowest of margins: 102 points versus Si and Dave on 99 points!
My thanks to Nate and colleagues for organising, to all my opponents and, of course, to my doubles partner, Peter. Perhaps I can have a rest now before next year’s competition!