FK&P AAR: Swedish vs Moghuls

With the Moghuls having defeated the Cossacks in short order (see previous post) there was time to have another game. This time I thought that I would wheel out the Swedes: not sure quite how the contemporary but not contemporaneous Swedes and Moghuls would ever encounter each other…but then that’s the great joy of wargaming!

I was a bit more confident of victory this time: the Swedish army has a good mix of pike-armed infantry and decent Reiter horse: surely this would be enough to put the upstart easterners in their place!

The Swedes

The Moghuls

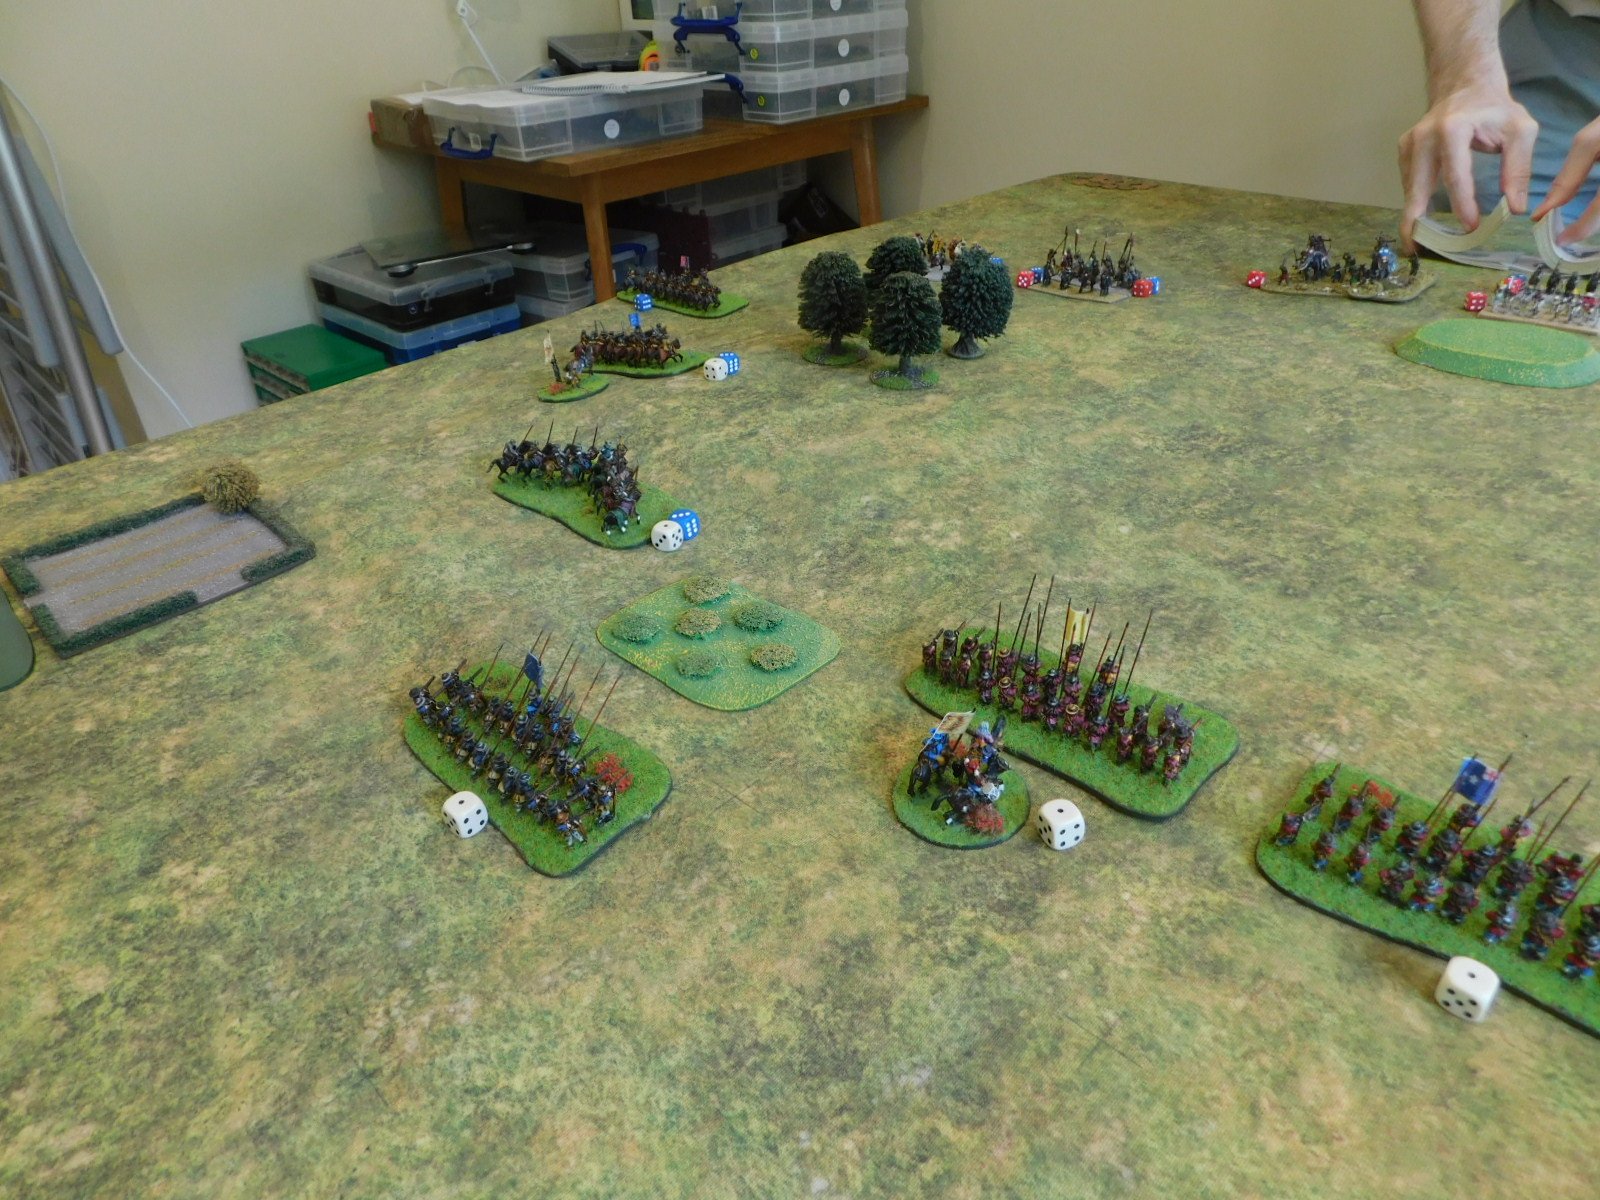
I drew up my Swedes in entirely the traditional manner: two brigades of infantry in the centre, a brigade of cavalry on each wing. My plan was to advance in a line and just get stuck in as soon as possible: my pike should be able to defeat his largely musket- or sword-armed infantry through reach alone!

The Moghul plan was to sweep his wings forward using weight of numbers to win the cavalry battle there, then curl in to take my main line in the flanks just as his main line hit them from the front.

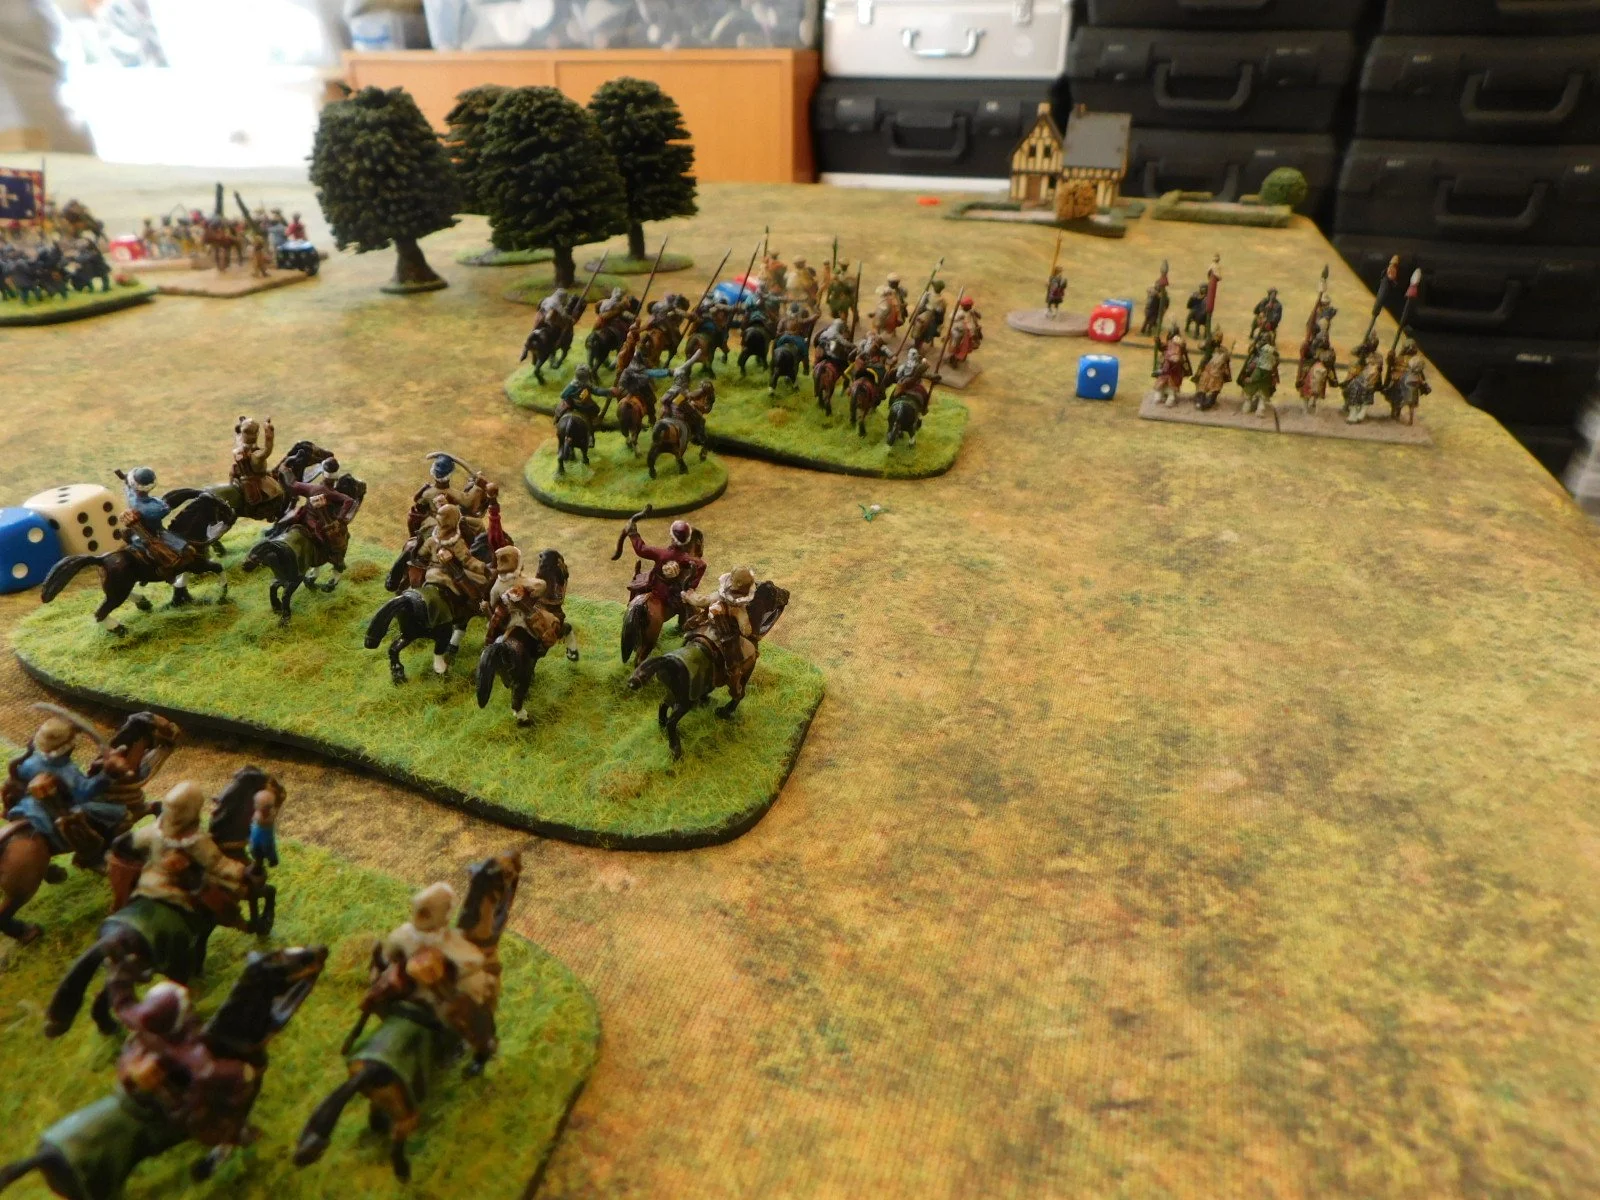
His cavalry duly swept forward, with my cavalry advancing to meet them.

Left flank

Right flank

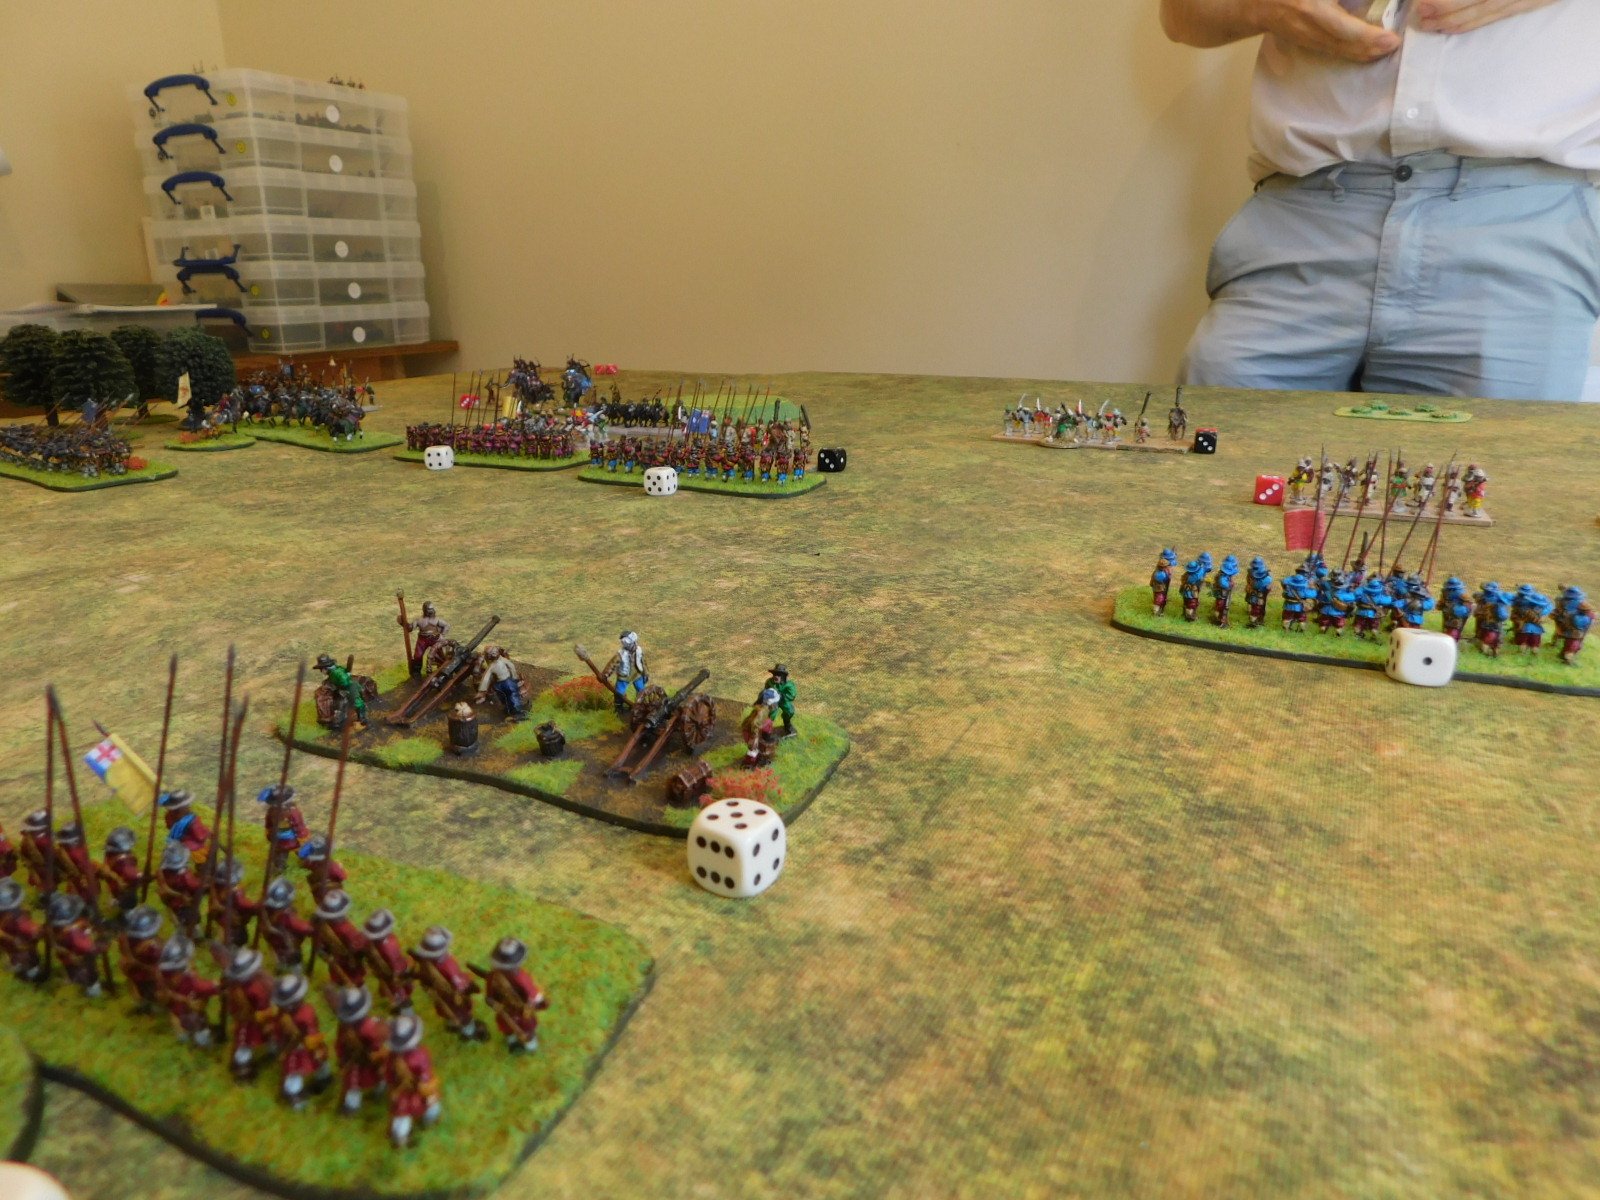
As the cavalry on both sides began their fight for dominance on the wings, the Swedes marched their infantry forward in the centre.

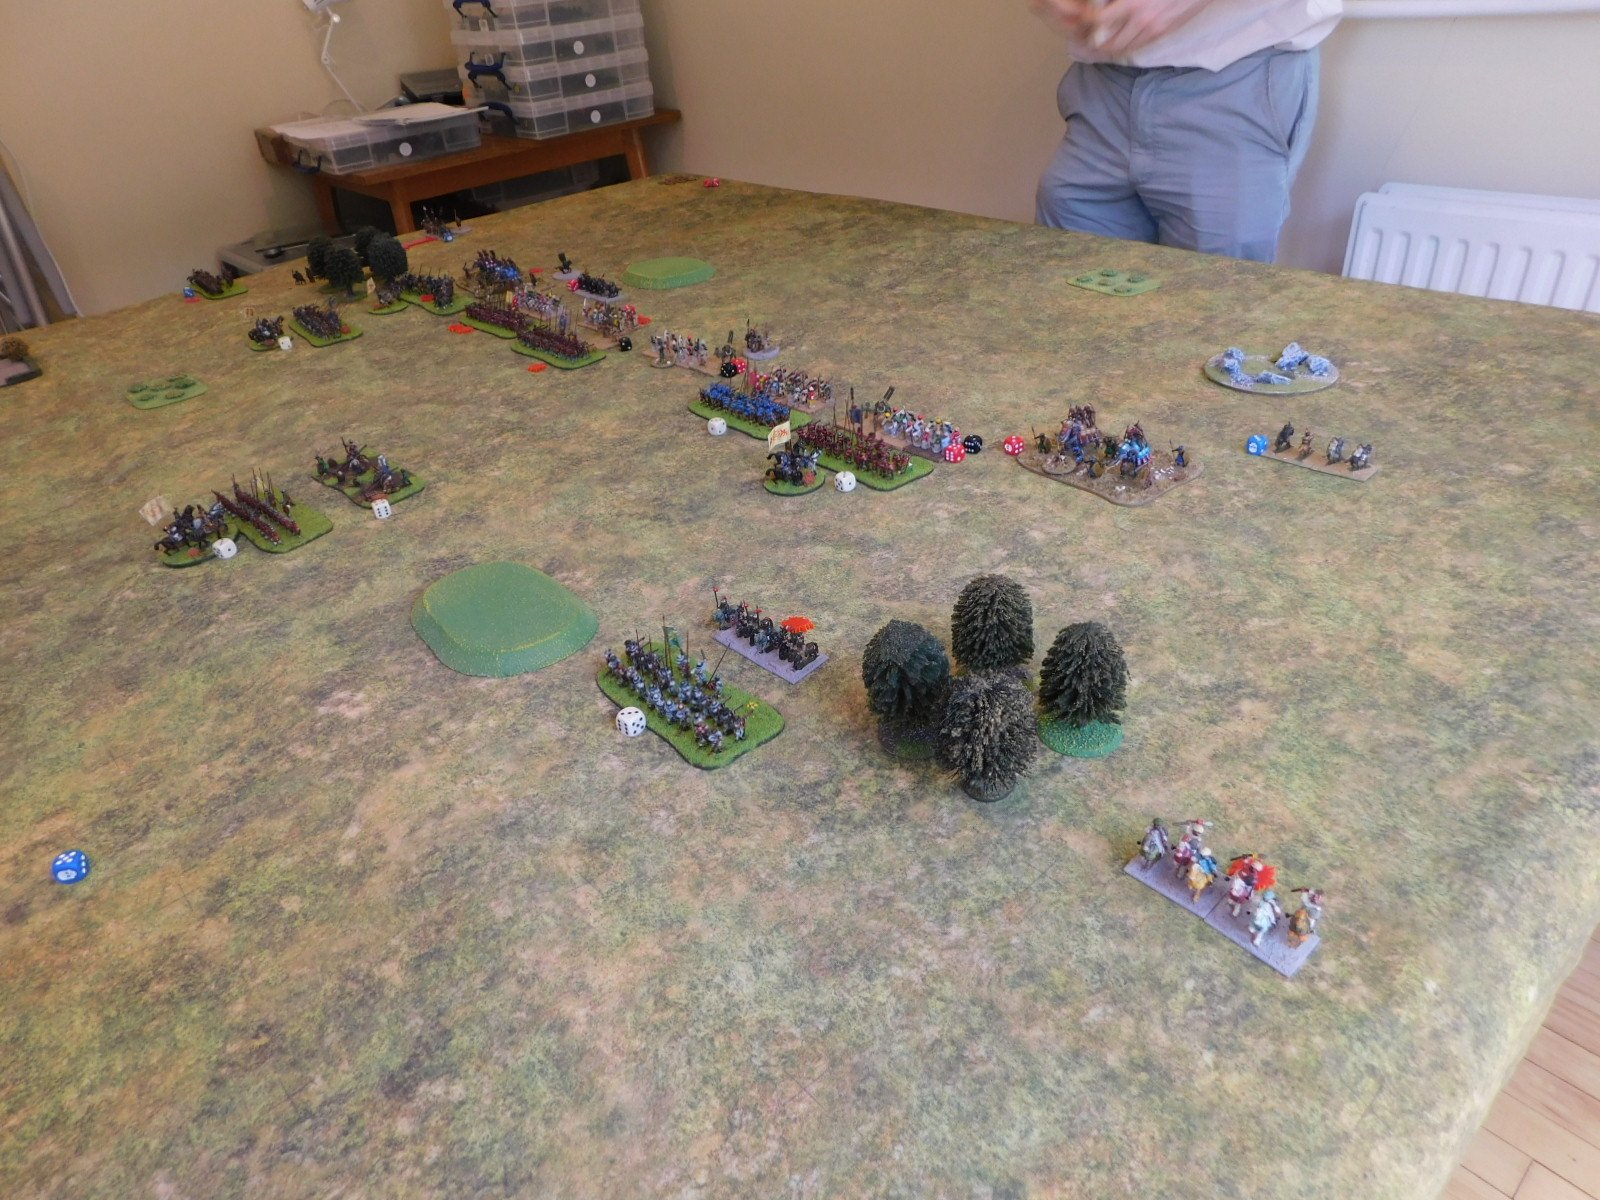
On the left wing, my cavalry were initially successful, and had a great opportunity to charge his main horse units in the rear by swinging around the small wood top left in the left hand picture above. Unfortunately, I drew a “10” for my first movement card, so got into the perfect position to launch the charge but just couldn’t actually charge before the way into the enemy cavalry’s rear was blocked by Moghul elephants.

Meanwhile, on my right wing, the cavalry clash had proved inconclusive. Both sides had lost multiple units, and things ended up with his cavalry technically ready to do more, but positionally unable to do so before the main battle lines clashed.

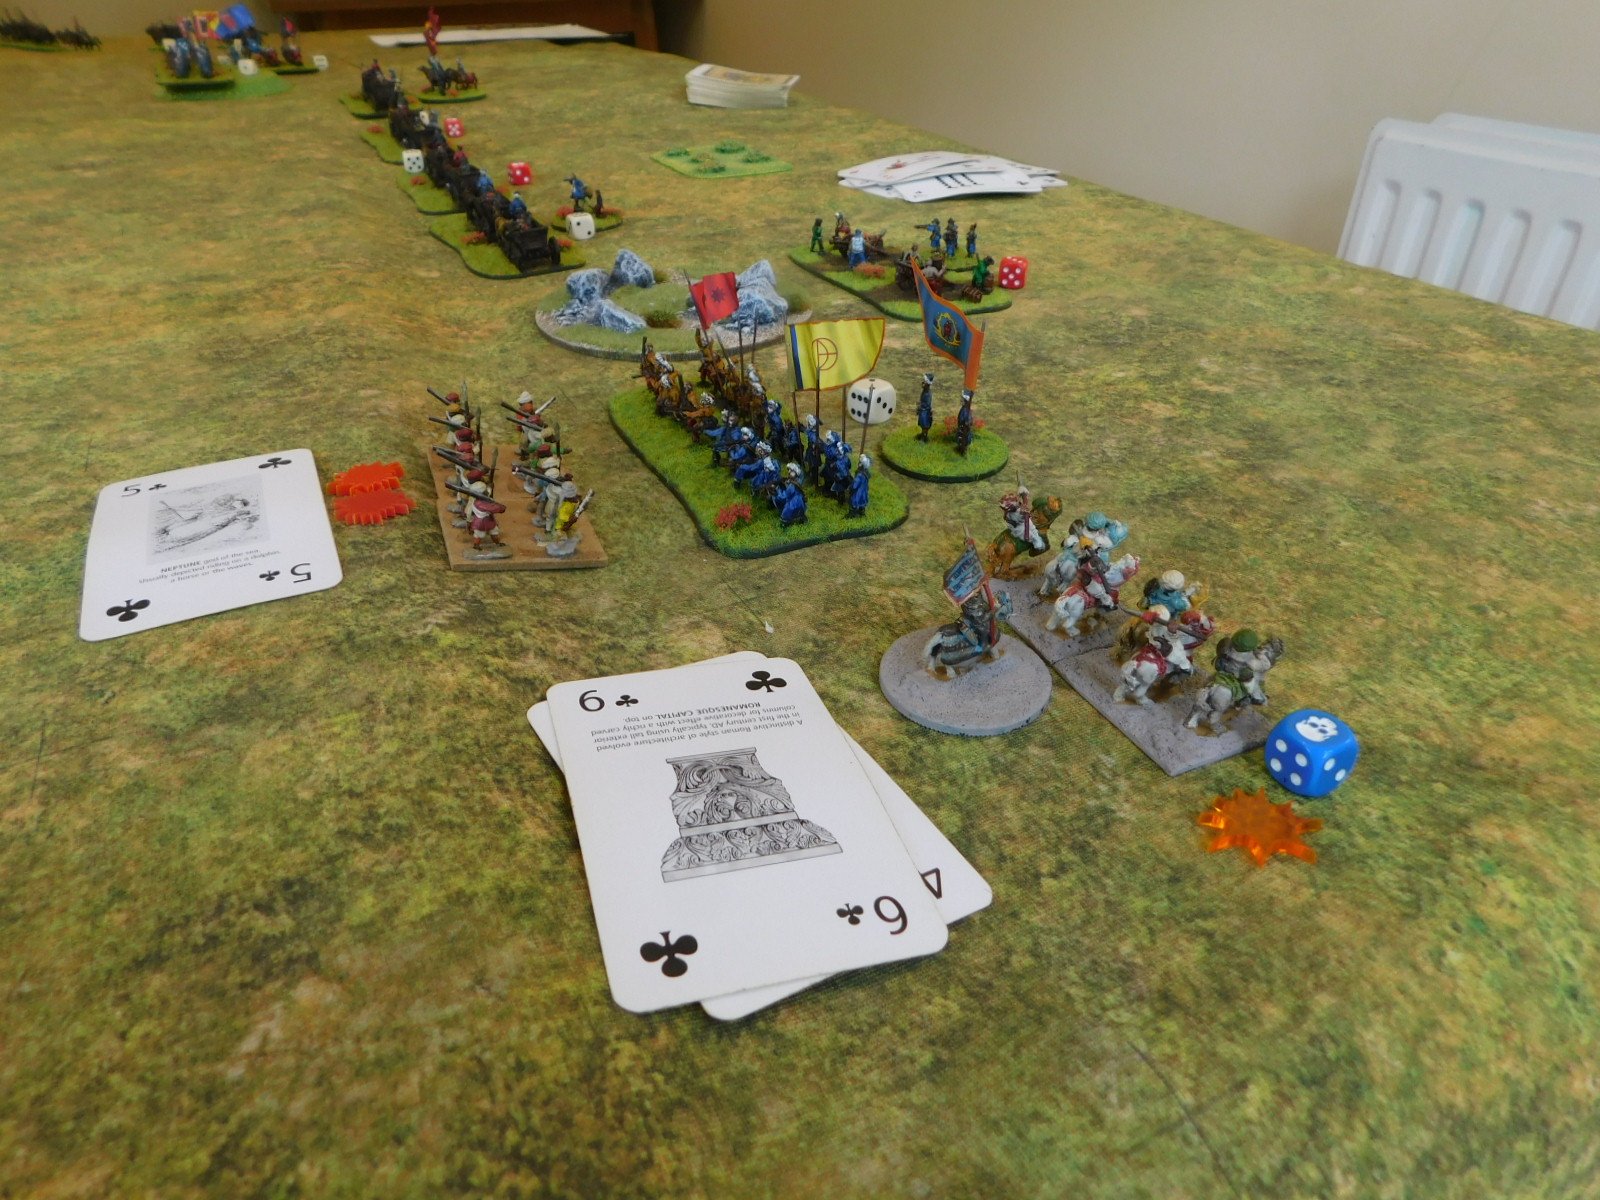
With the cavalry actions on the wings proving inconclusive, it was obvious that the battle would be decided in the centre. The two lines moved into contact and a grinding melee began.

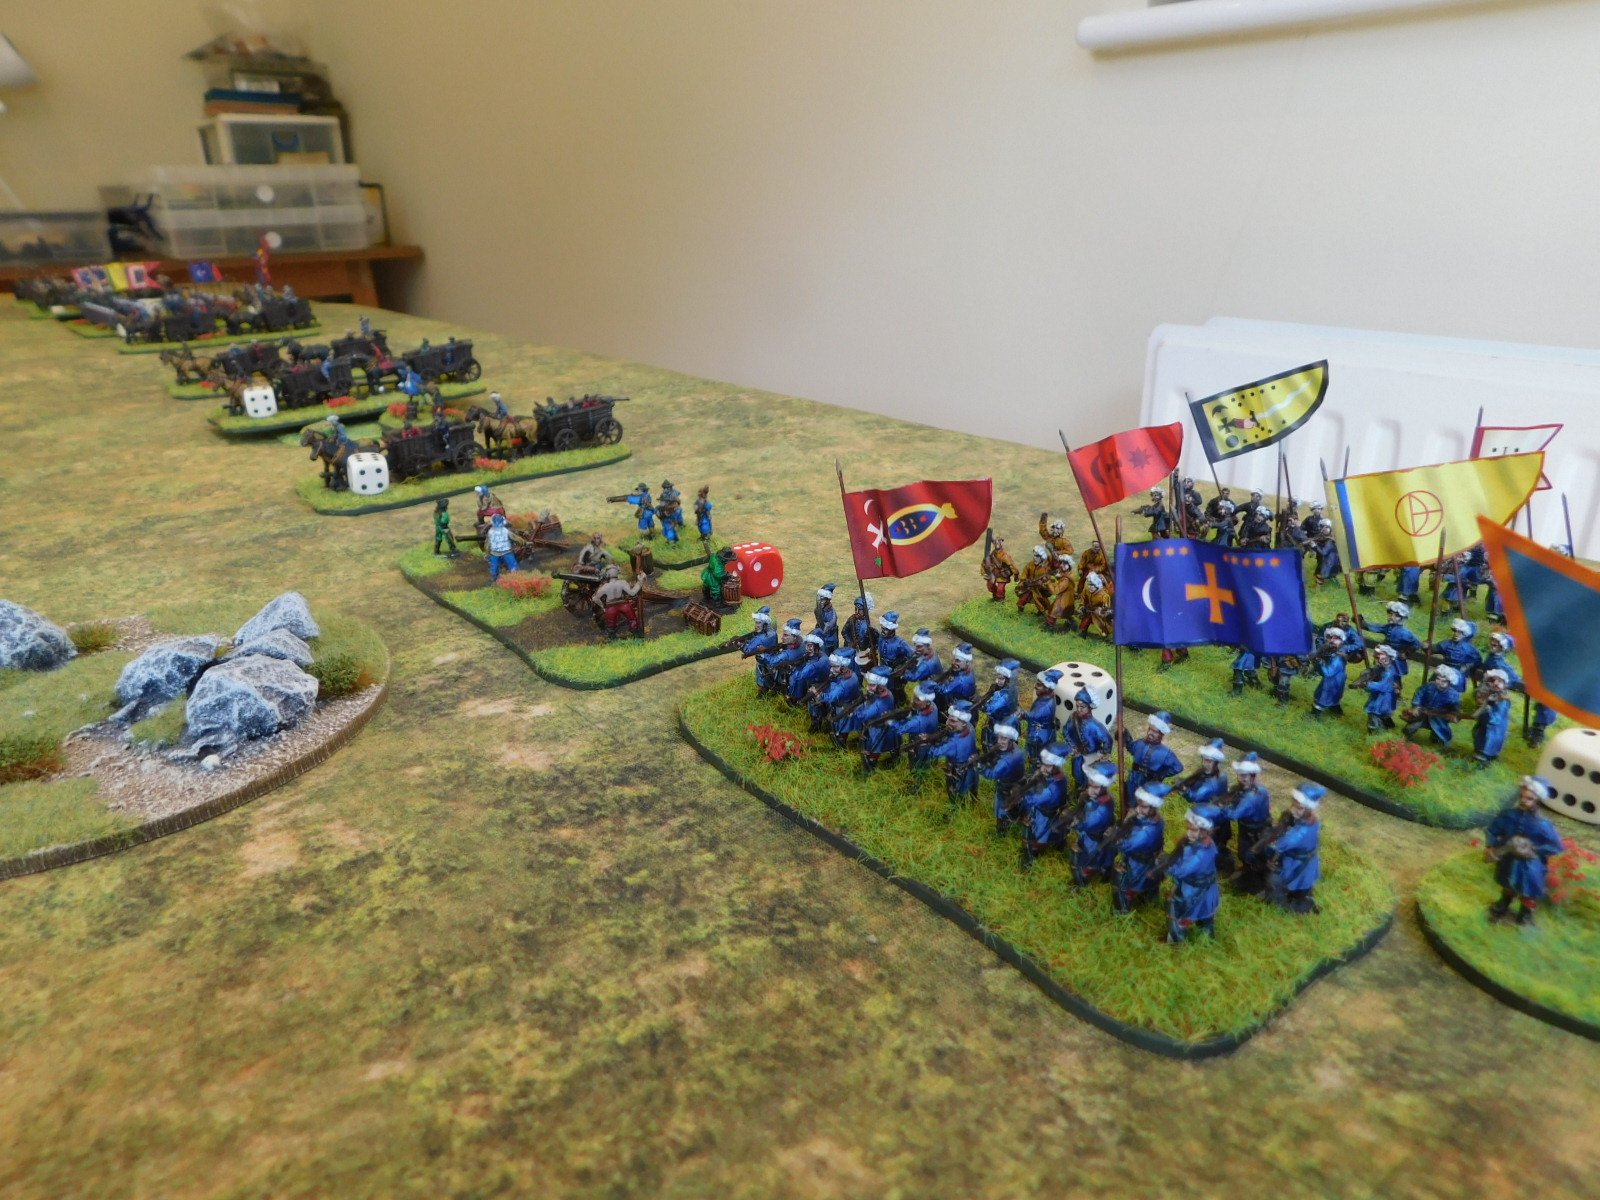
As with most grinding melees, it was 50/50 who would win: the advantage I had from my pikes countered by the Moghuls slightly outnumbering me.

To cut a long story short, after a long series of to-and-fro clashes, I lost. At the end of the battle, the Moghuls had only three victory medals left, so if I’d broken one of his foot units before he broke one of mine, then I would have won.

All that was left in the centre of battlefield!

A great game, with the Swedes proving decidedly harder for the Moghuls to beat than the Cossacks!

Here’s a chronological, pictorial history of the battle:

FK&P AAR: Cossacks versus Moghuls

Friend Bevan has recently acquired a 17th Century Moghul army, so naturally we had to get it onto the tabletop as quickly as possible.

The Moghuls’ first opponents would be my Zaphorogian Cossacks, and we’d use the “eastern front” version of For King & Parliament (in turn the ECW version of To The Strongest) that we have built up based on some core rule variants that you can find on the Tales from a Wargaming Shed blog.

The Moghuls

The Cossacks

My plan was to anchor my left flank on a patch of impassable ground, placing my artillery behind it so that they couldn’t be charged from the front (you can see this in the picture, above right). The left flank would be held by one foot brigade consisting of a sotnia of Registered Cossacks and two sotnias of Moloitsy.

Stretching out to the right from this point were the tabor war wagons, able to hold the centre of the field with sheer weight of fire. To their right were a second infantry brigade (same as the first one) and then, on the far right wing, the stars of the last battle, a brigade of Tatars: one squadron of noble lancer types, two clumps of horse archers.

The plan was, as I said, to anchor my left and centre, win on the right, and then sweep in and take his centre, battered from the fire of the tabor, from the flank.

Bevan’s plan, on the other hand, was to stay well clear of the killing field in the centre in front of my tabor, and advance strongly on the flanks. Hopefully his men there would win, and he’d decide what to do after that. Seems like quite a good plan to me!

The battle opened with the Cossacks being extremely reluctant to move forward at all. I managed to get the left wing into place, but only one tabor war wagon did what it was supposed to do. On my right wing, although the Cossack infantry were well up for a fight, the Tatars were not interested at all. This was slightly worrying: were my allies not quite so allied as I had thought? Had the Moghuls paid them off with more coin than I could afford?

The Moghuls trundled forward towards me.

Rather than spell out each phase of the battle in turn, let me give you an overview of what happened. In essence, Bevan’s plan worked perfectly.

On my left flank, my infantry, who should have been able to give a good account of themselves, especially as they were supported by the artillery and one end of the tabor line, crumbled under the weight of the Moghul attacks. One moment i had a left wing, the next I didn’t.

It was even worse of the right wing. The Tatars, the battle winners of my last two games, just refused to engage at all, and when they were attacked, just melted away. Definitely some dodgy politicking or bribery going on in the background!

Once my flanks were broken and driven it, Bevan’s Moghuls curled in on my flanks and the last of my victory medals soon disappeared. My tabor had hardly got to fight at all.

A nicely executed plan by the Moghuls and a well deserved victory. Here’s a chronological pictorial account of the game: