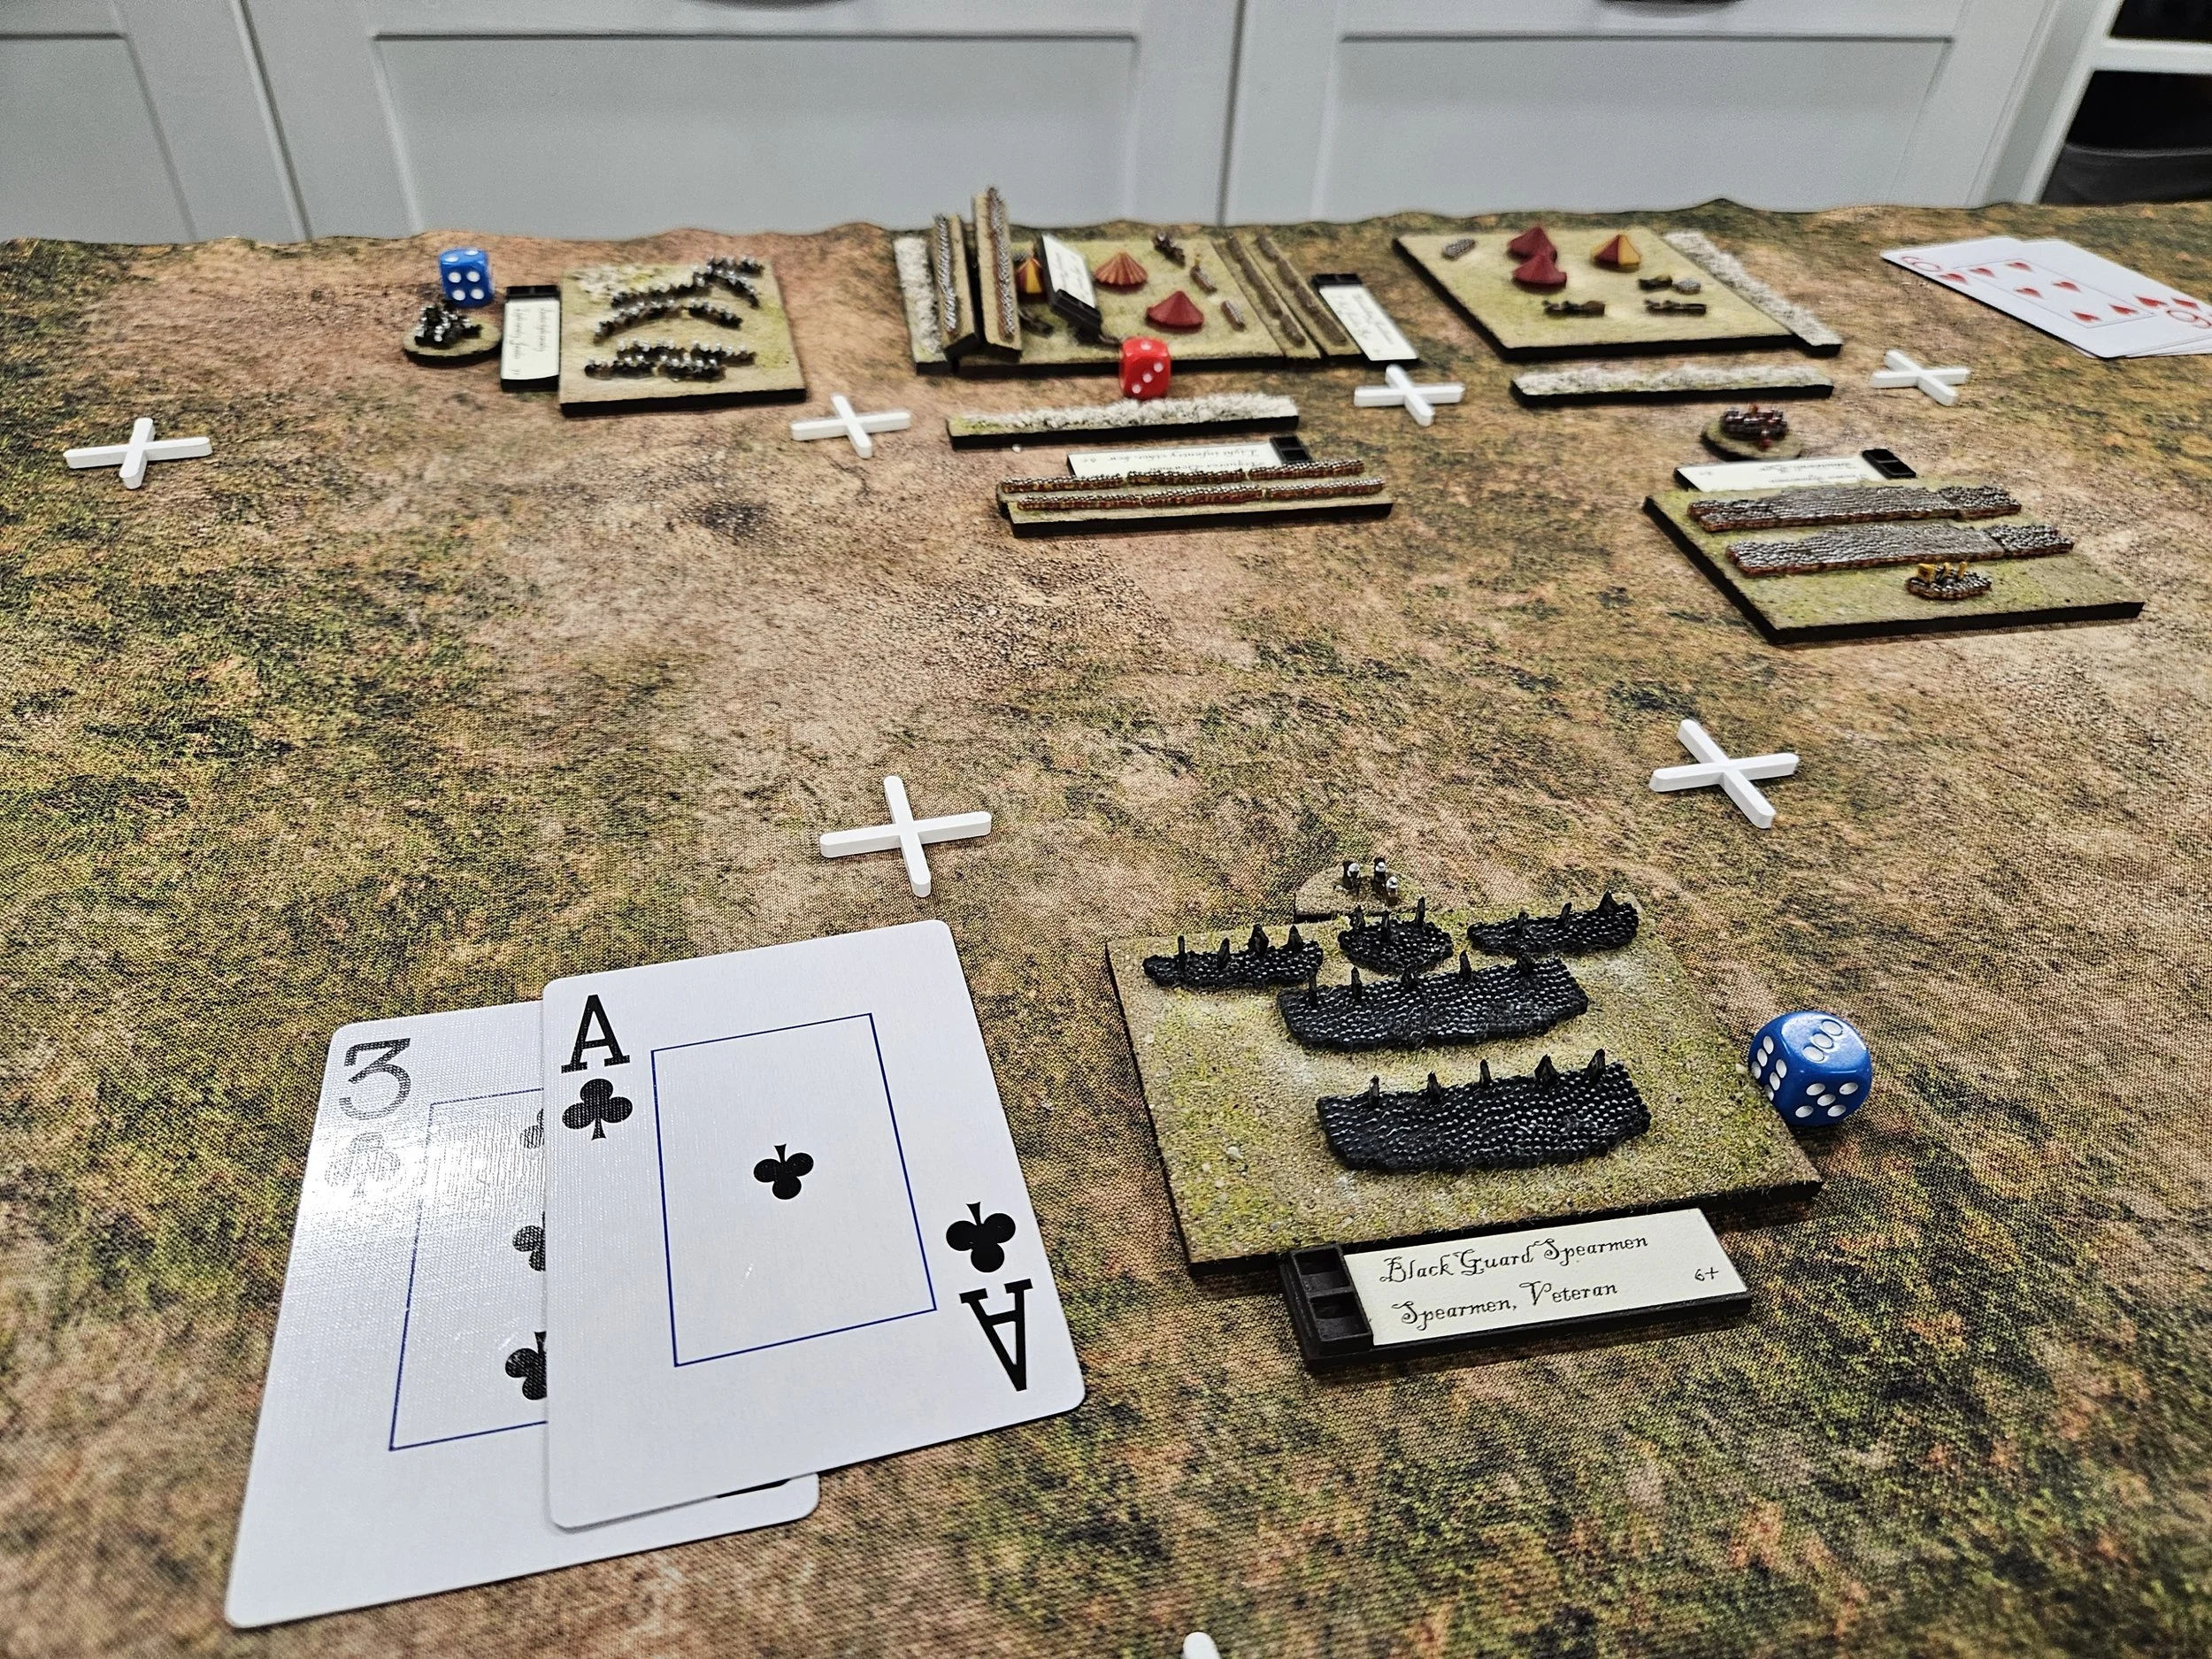
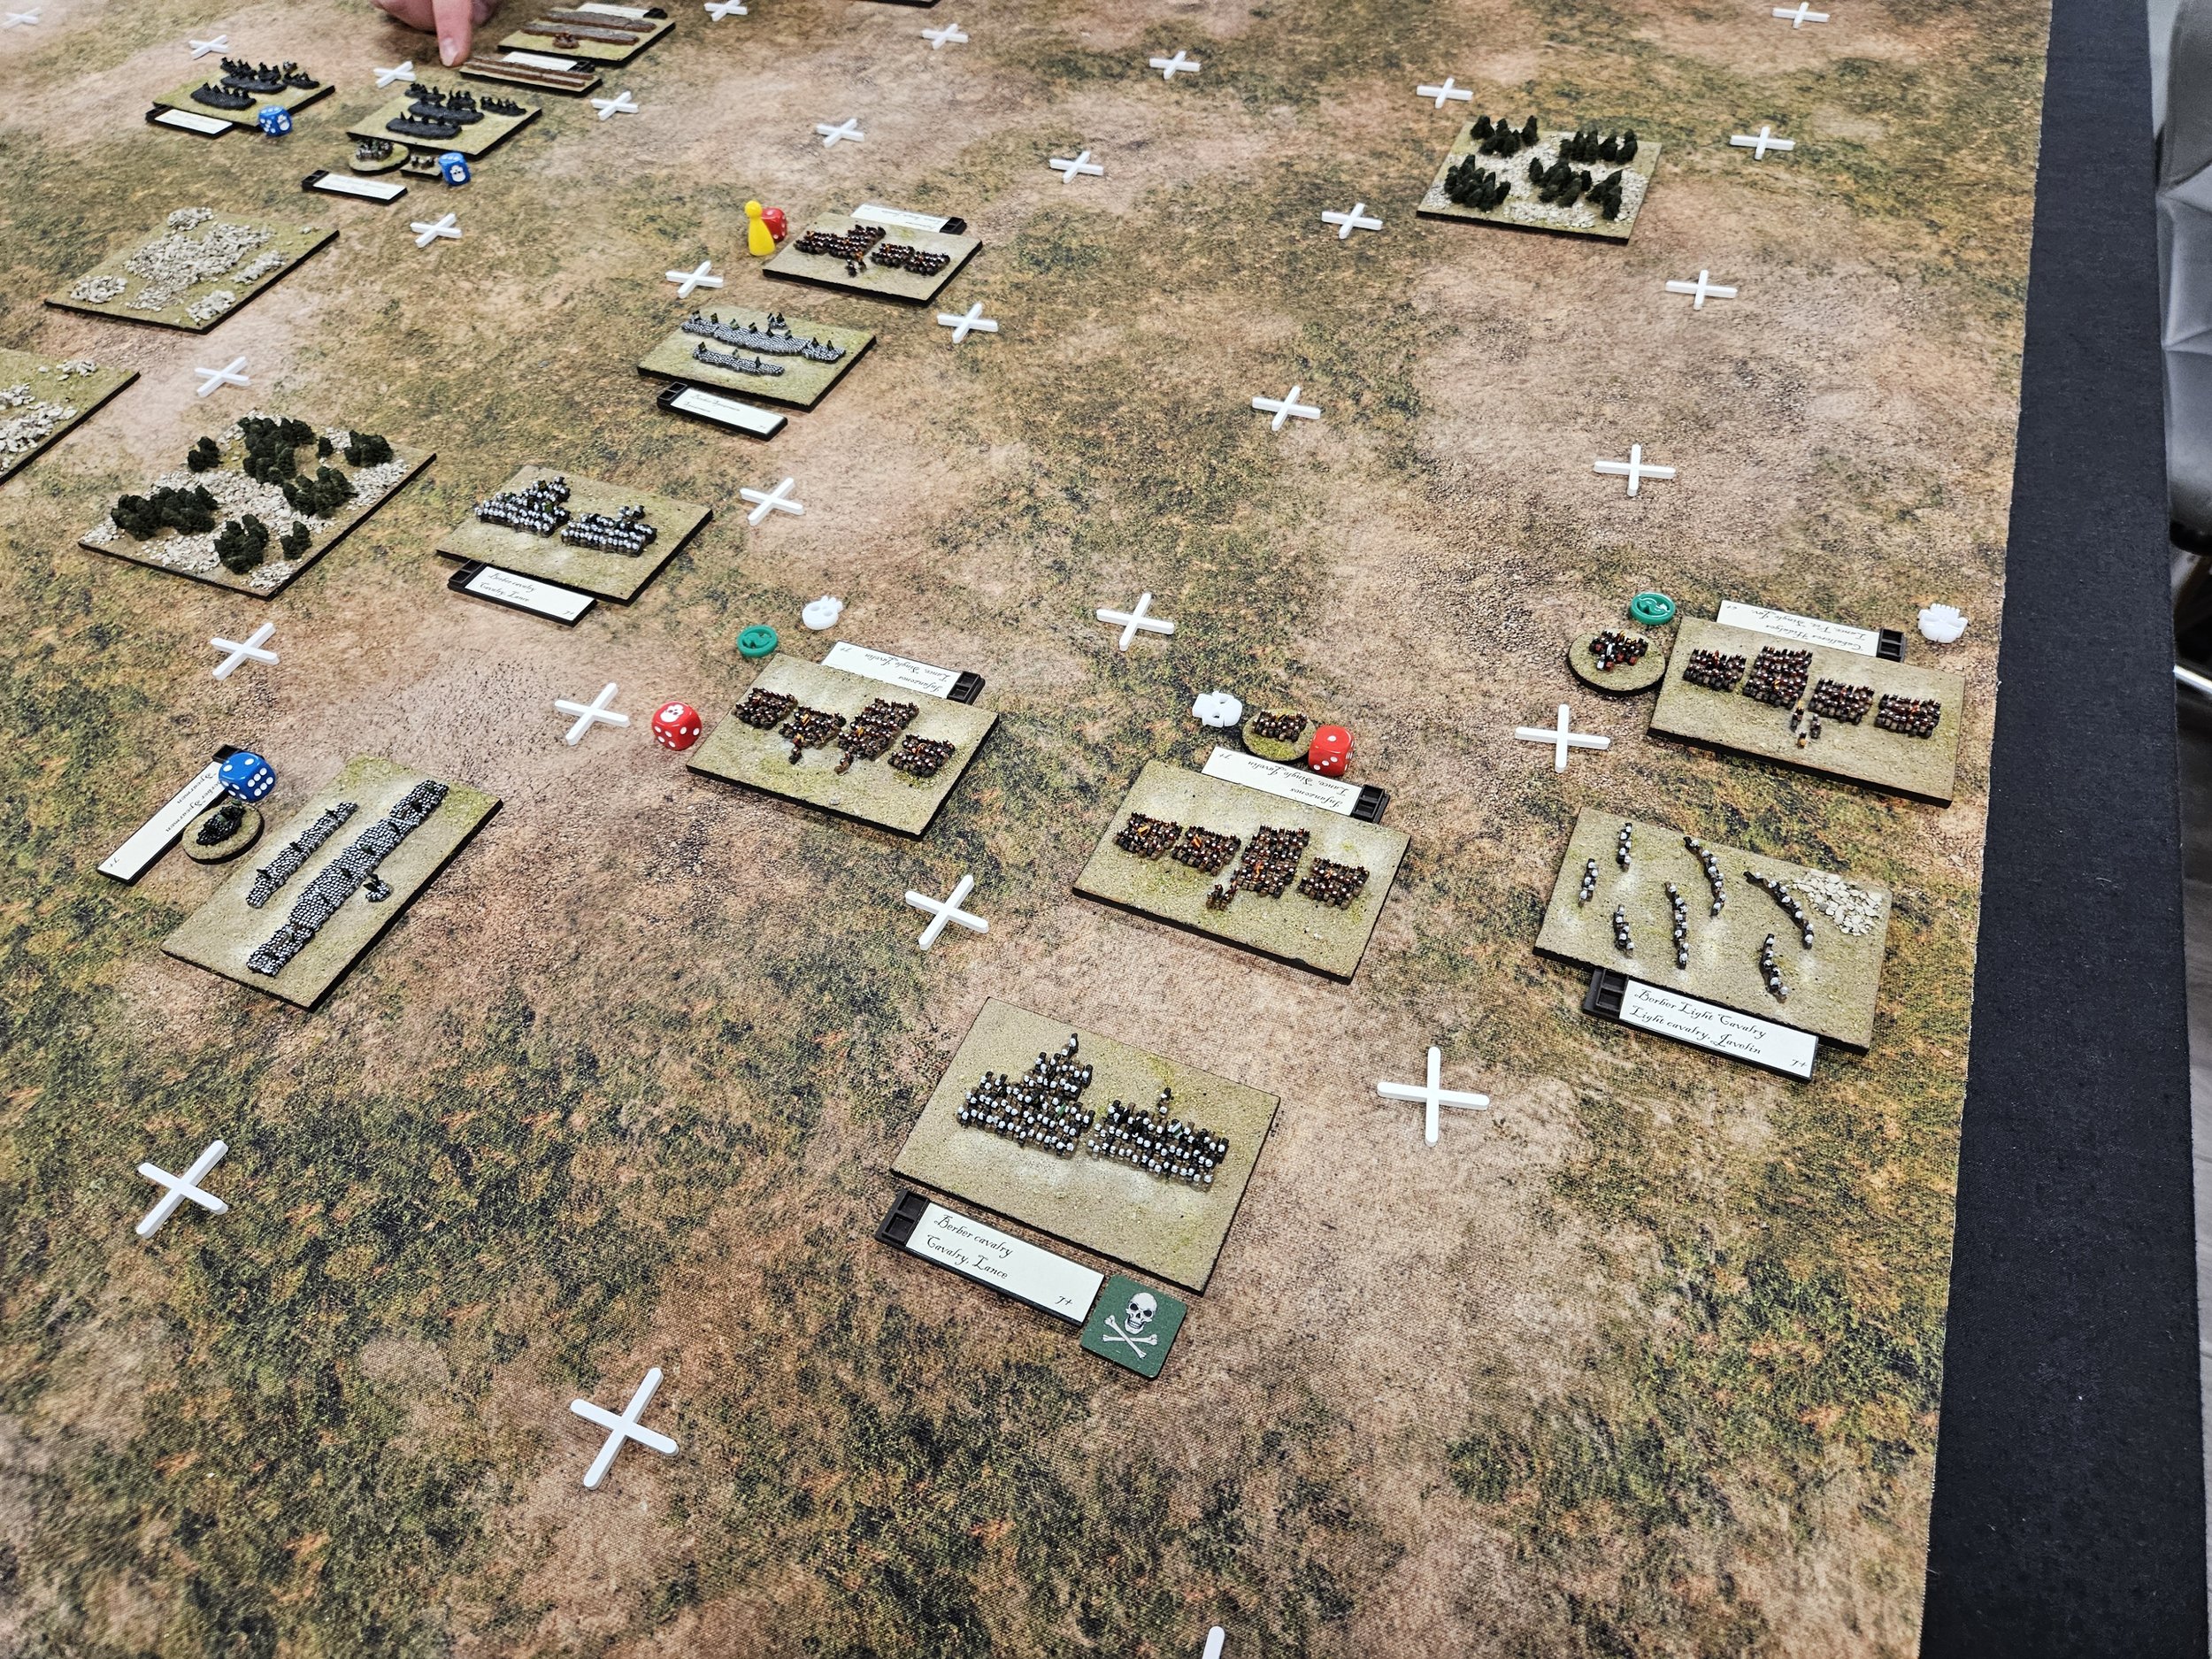
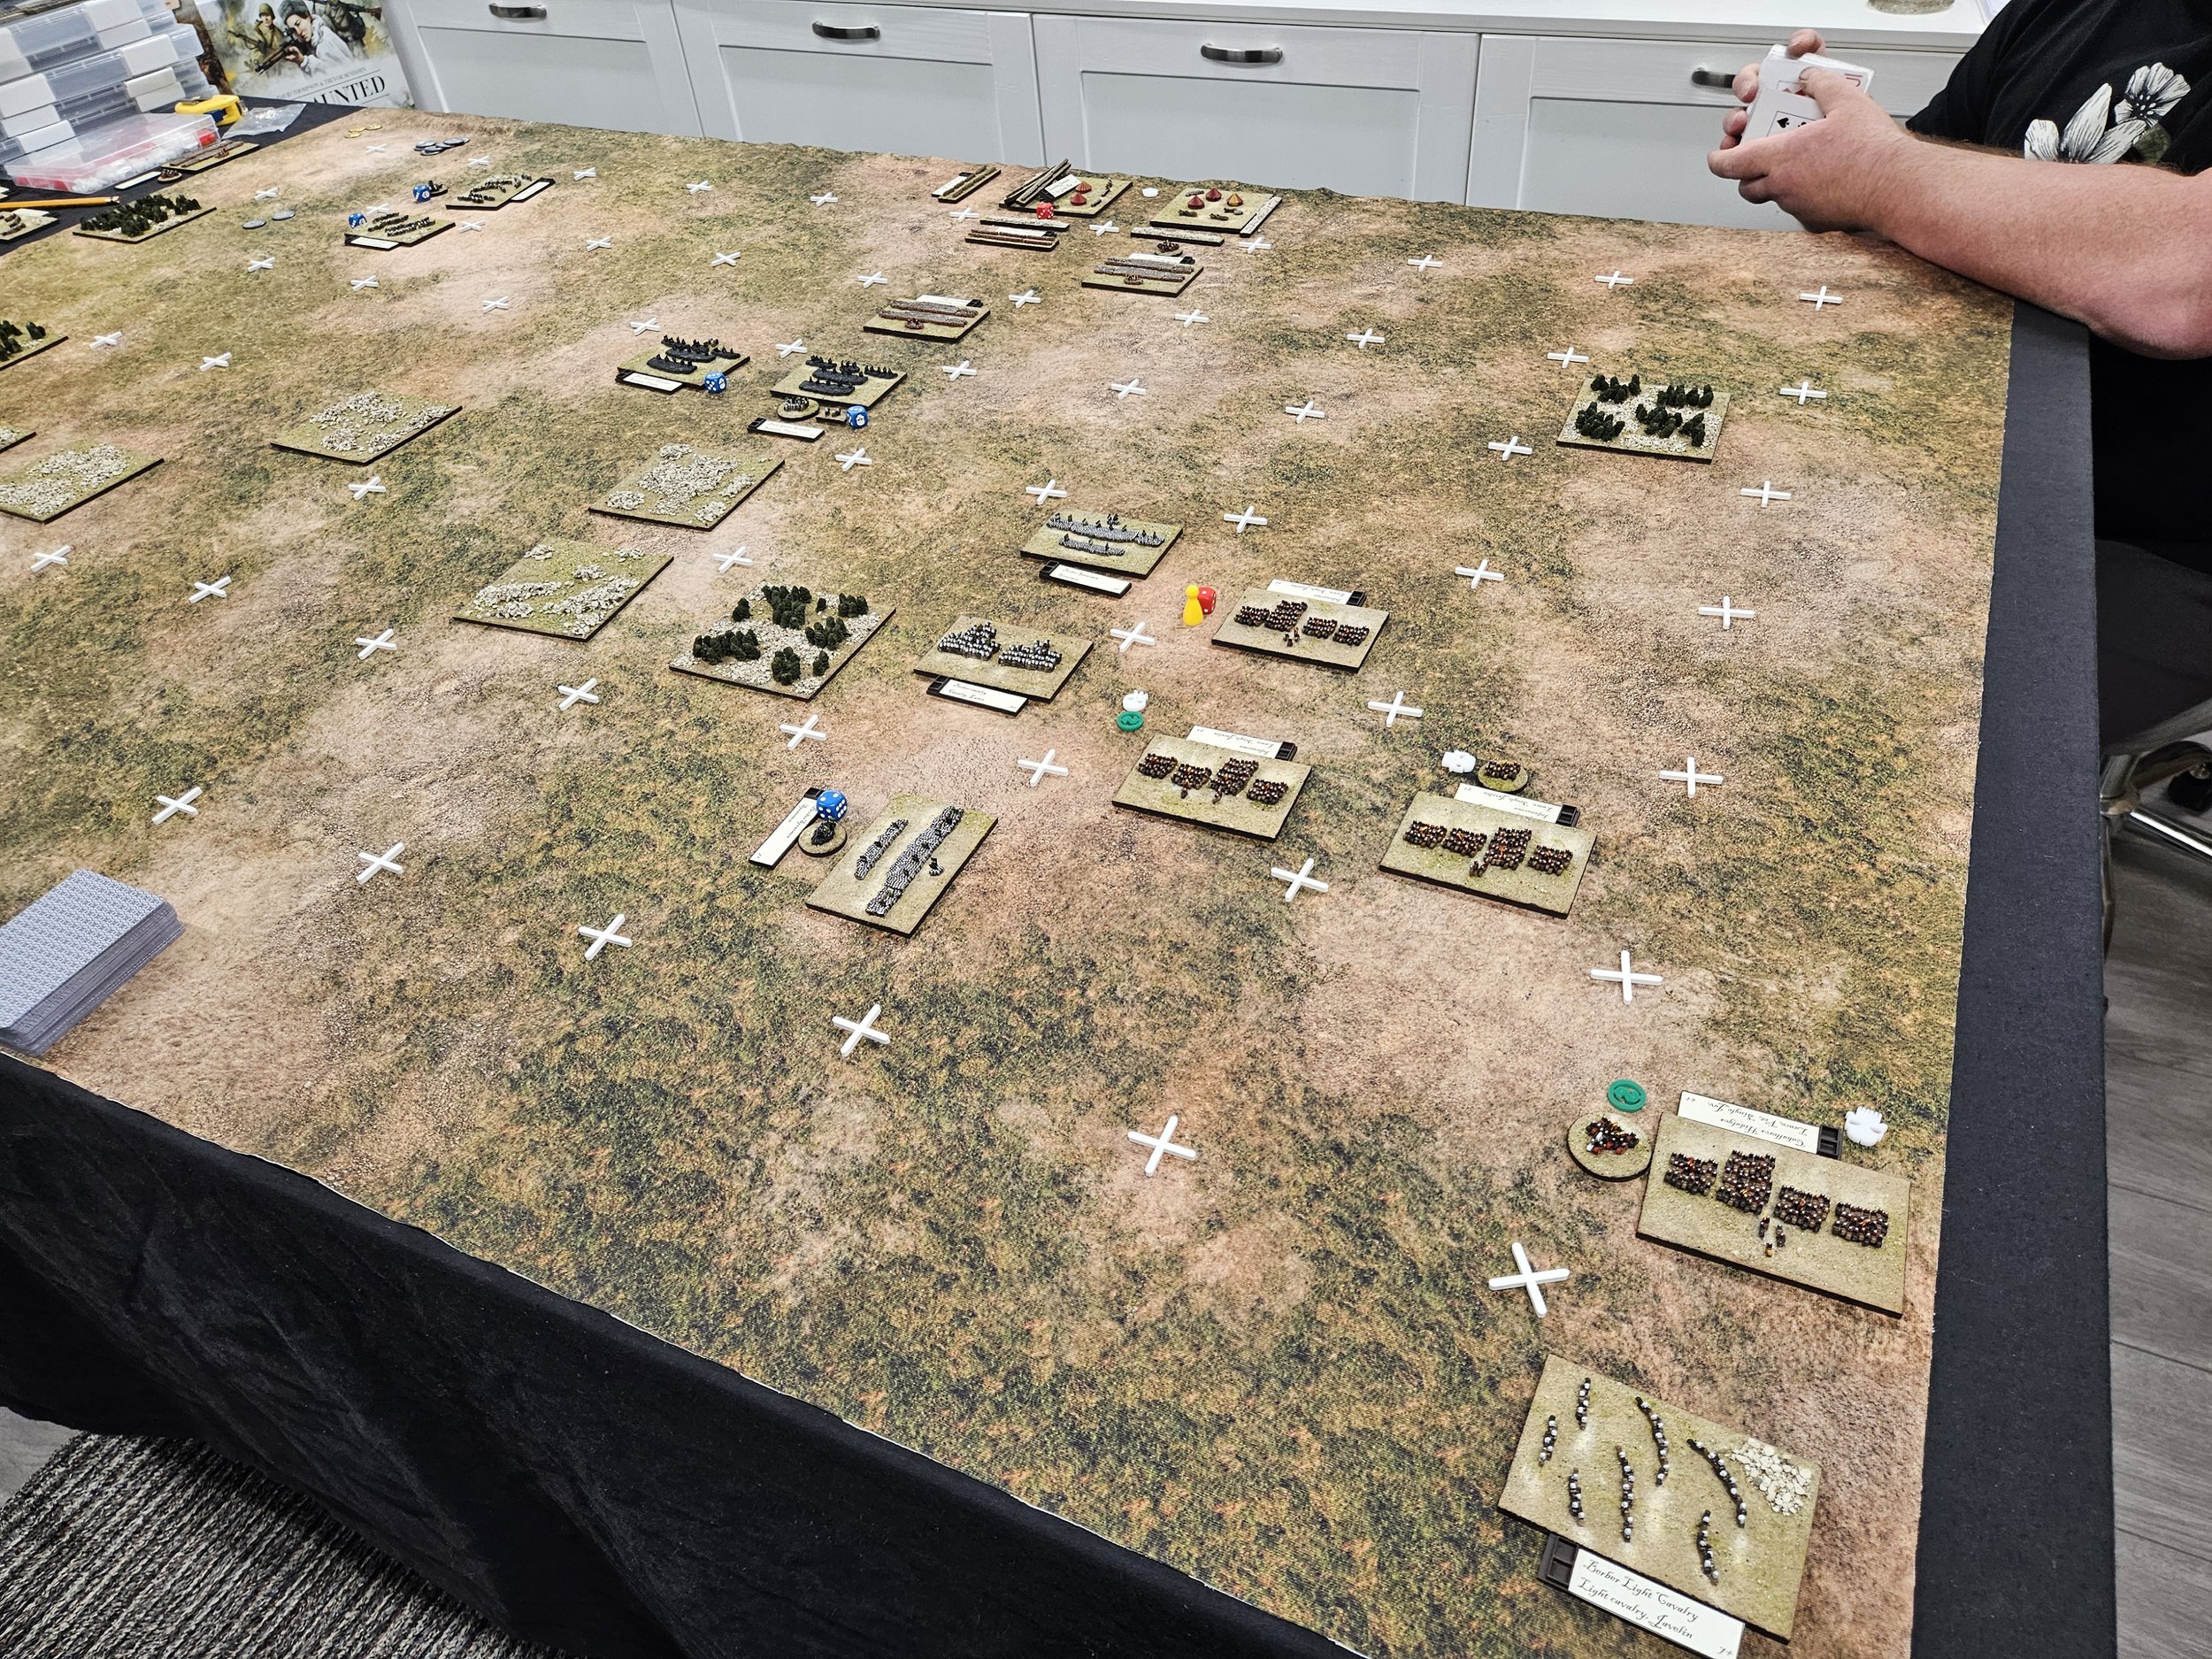
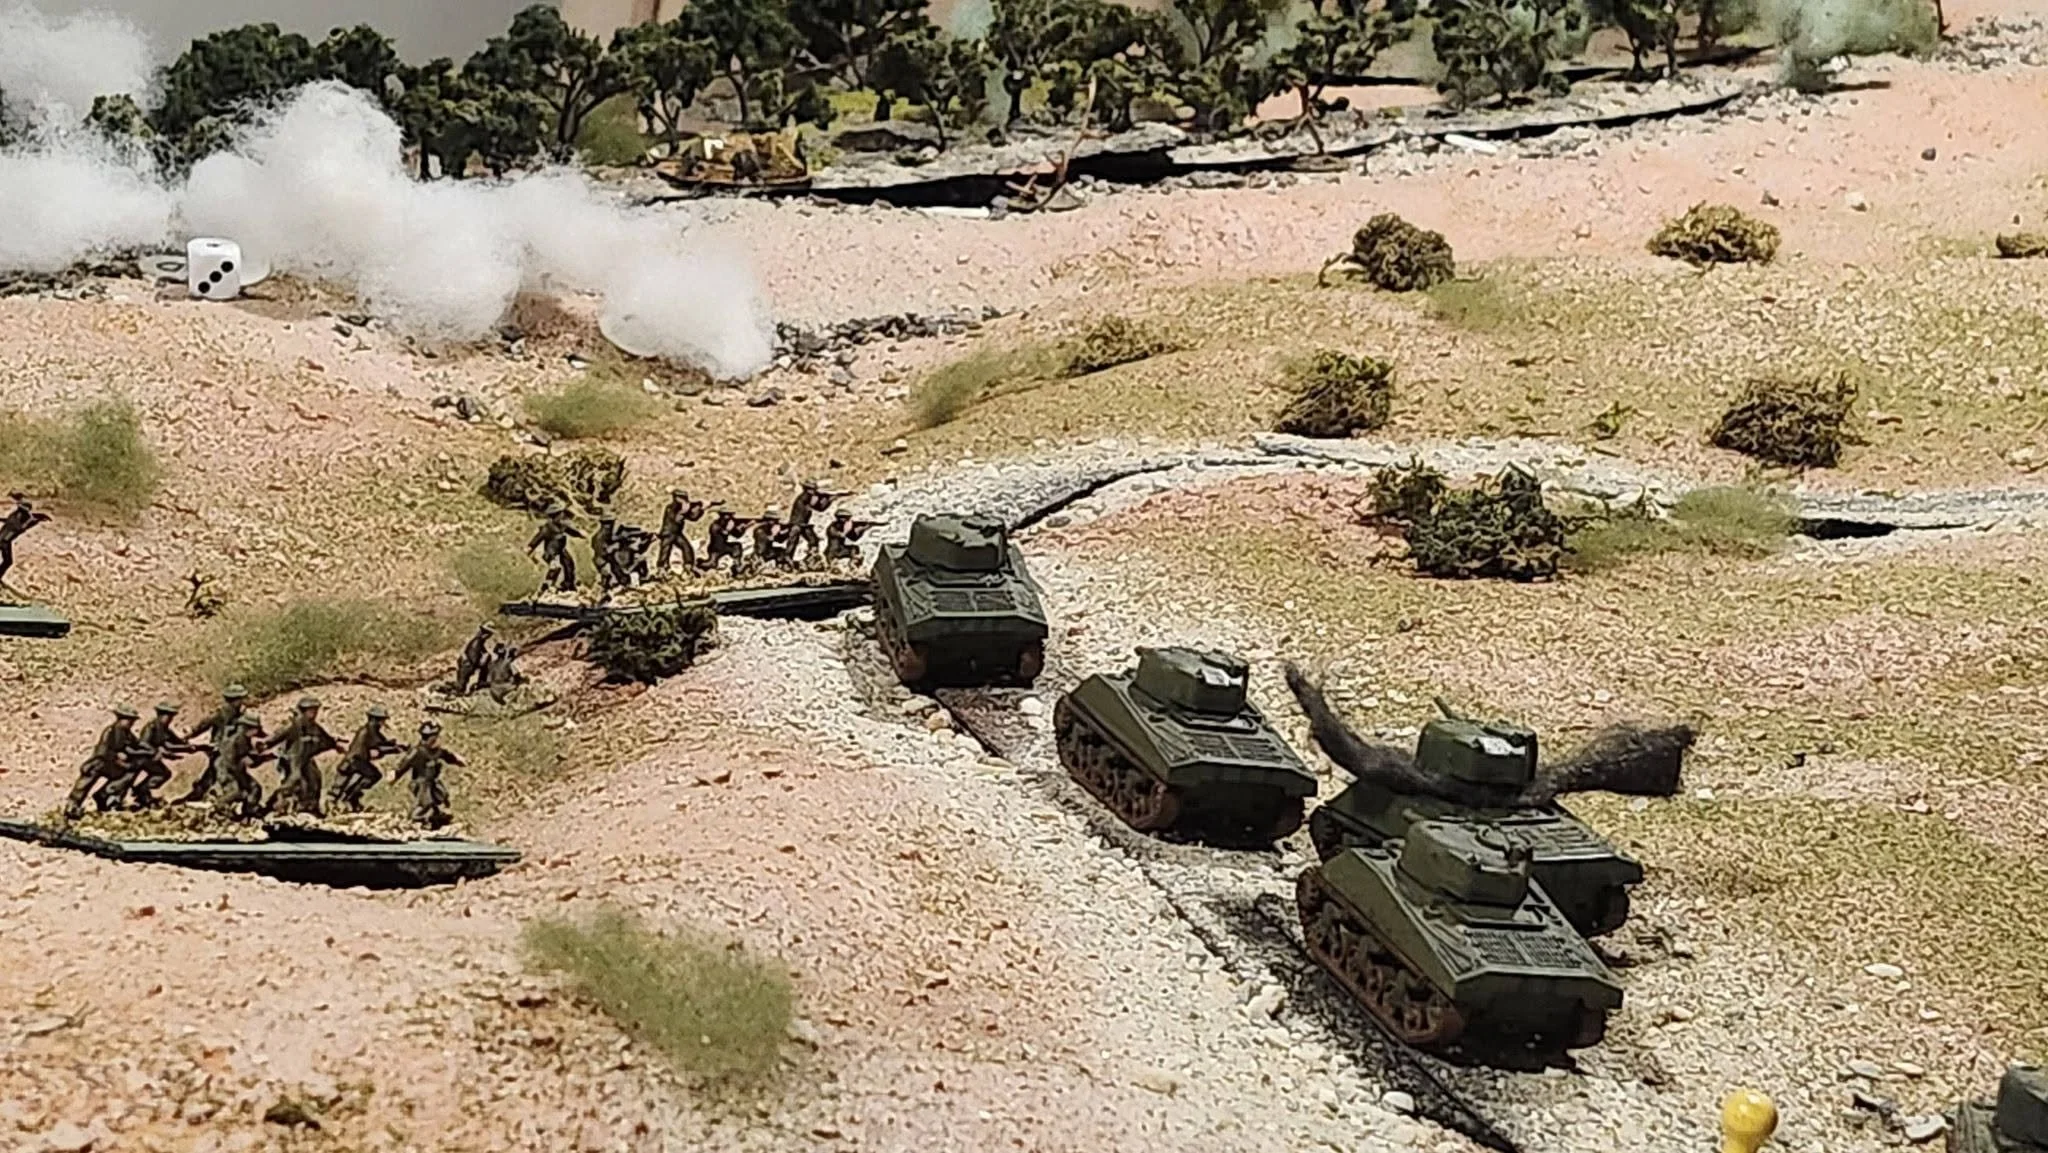
To The Smallest: Game Two: Khurasanians vs Early Muslims

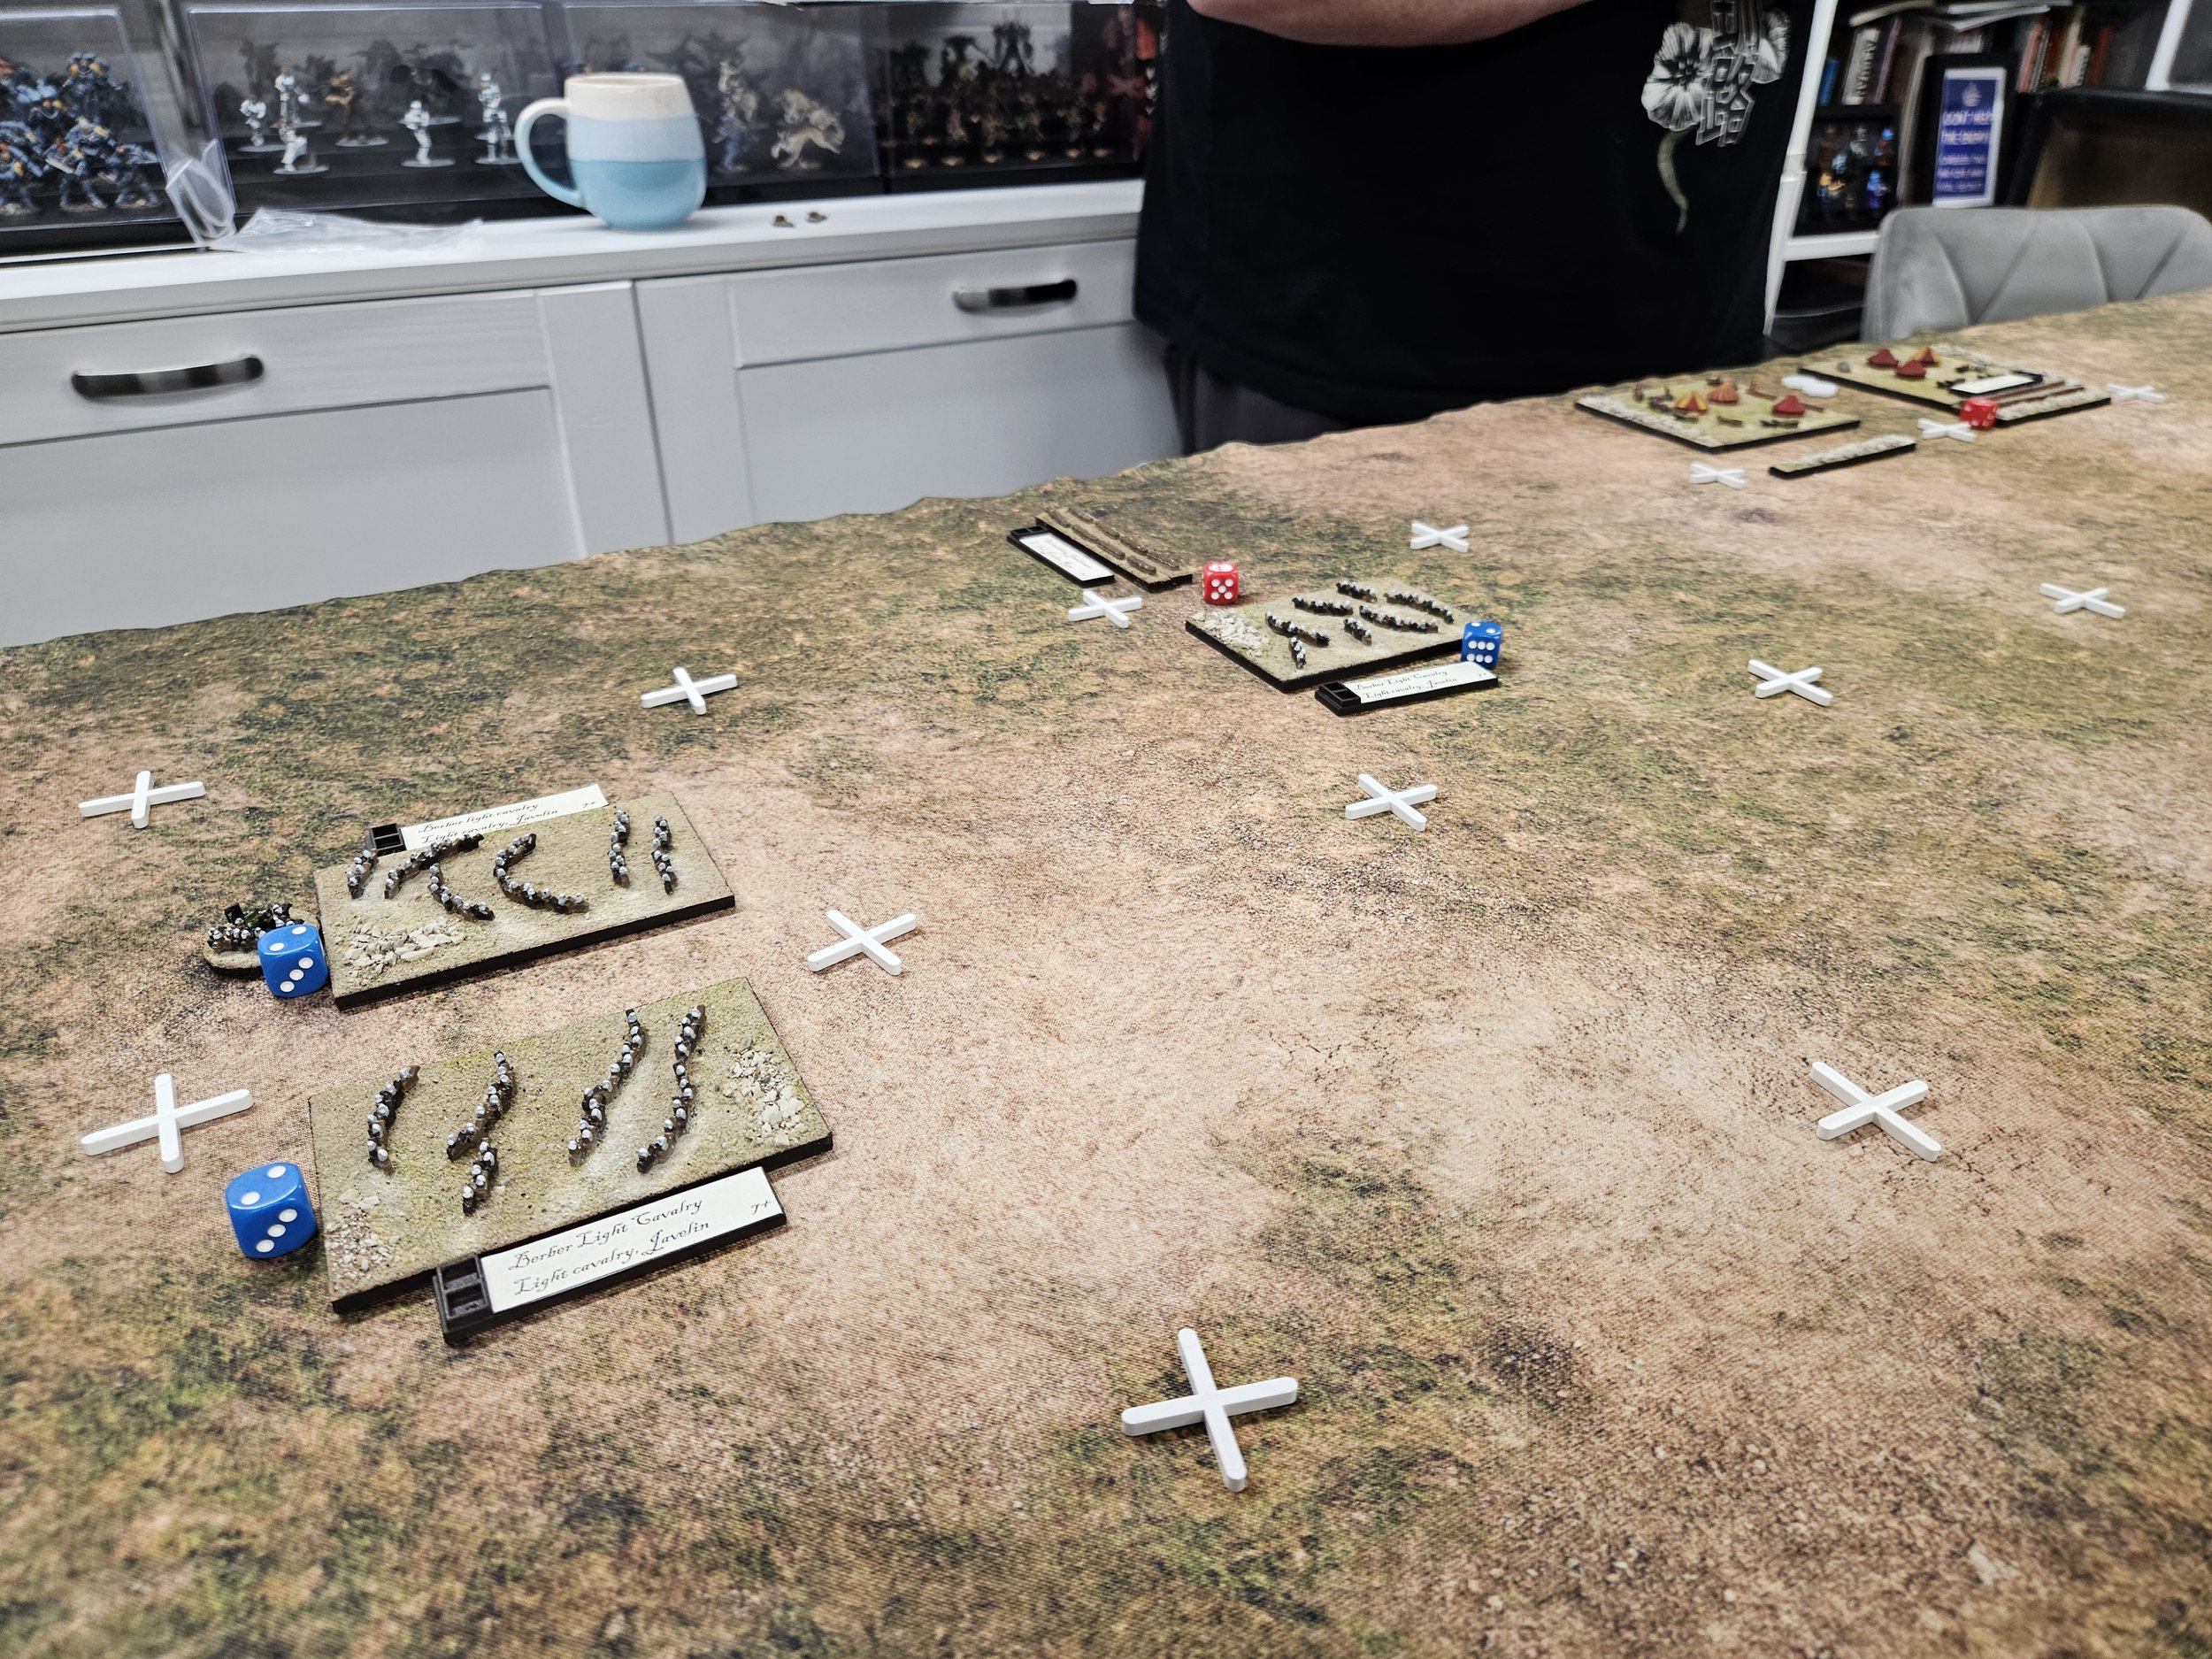
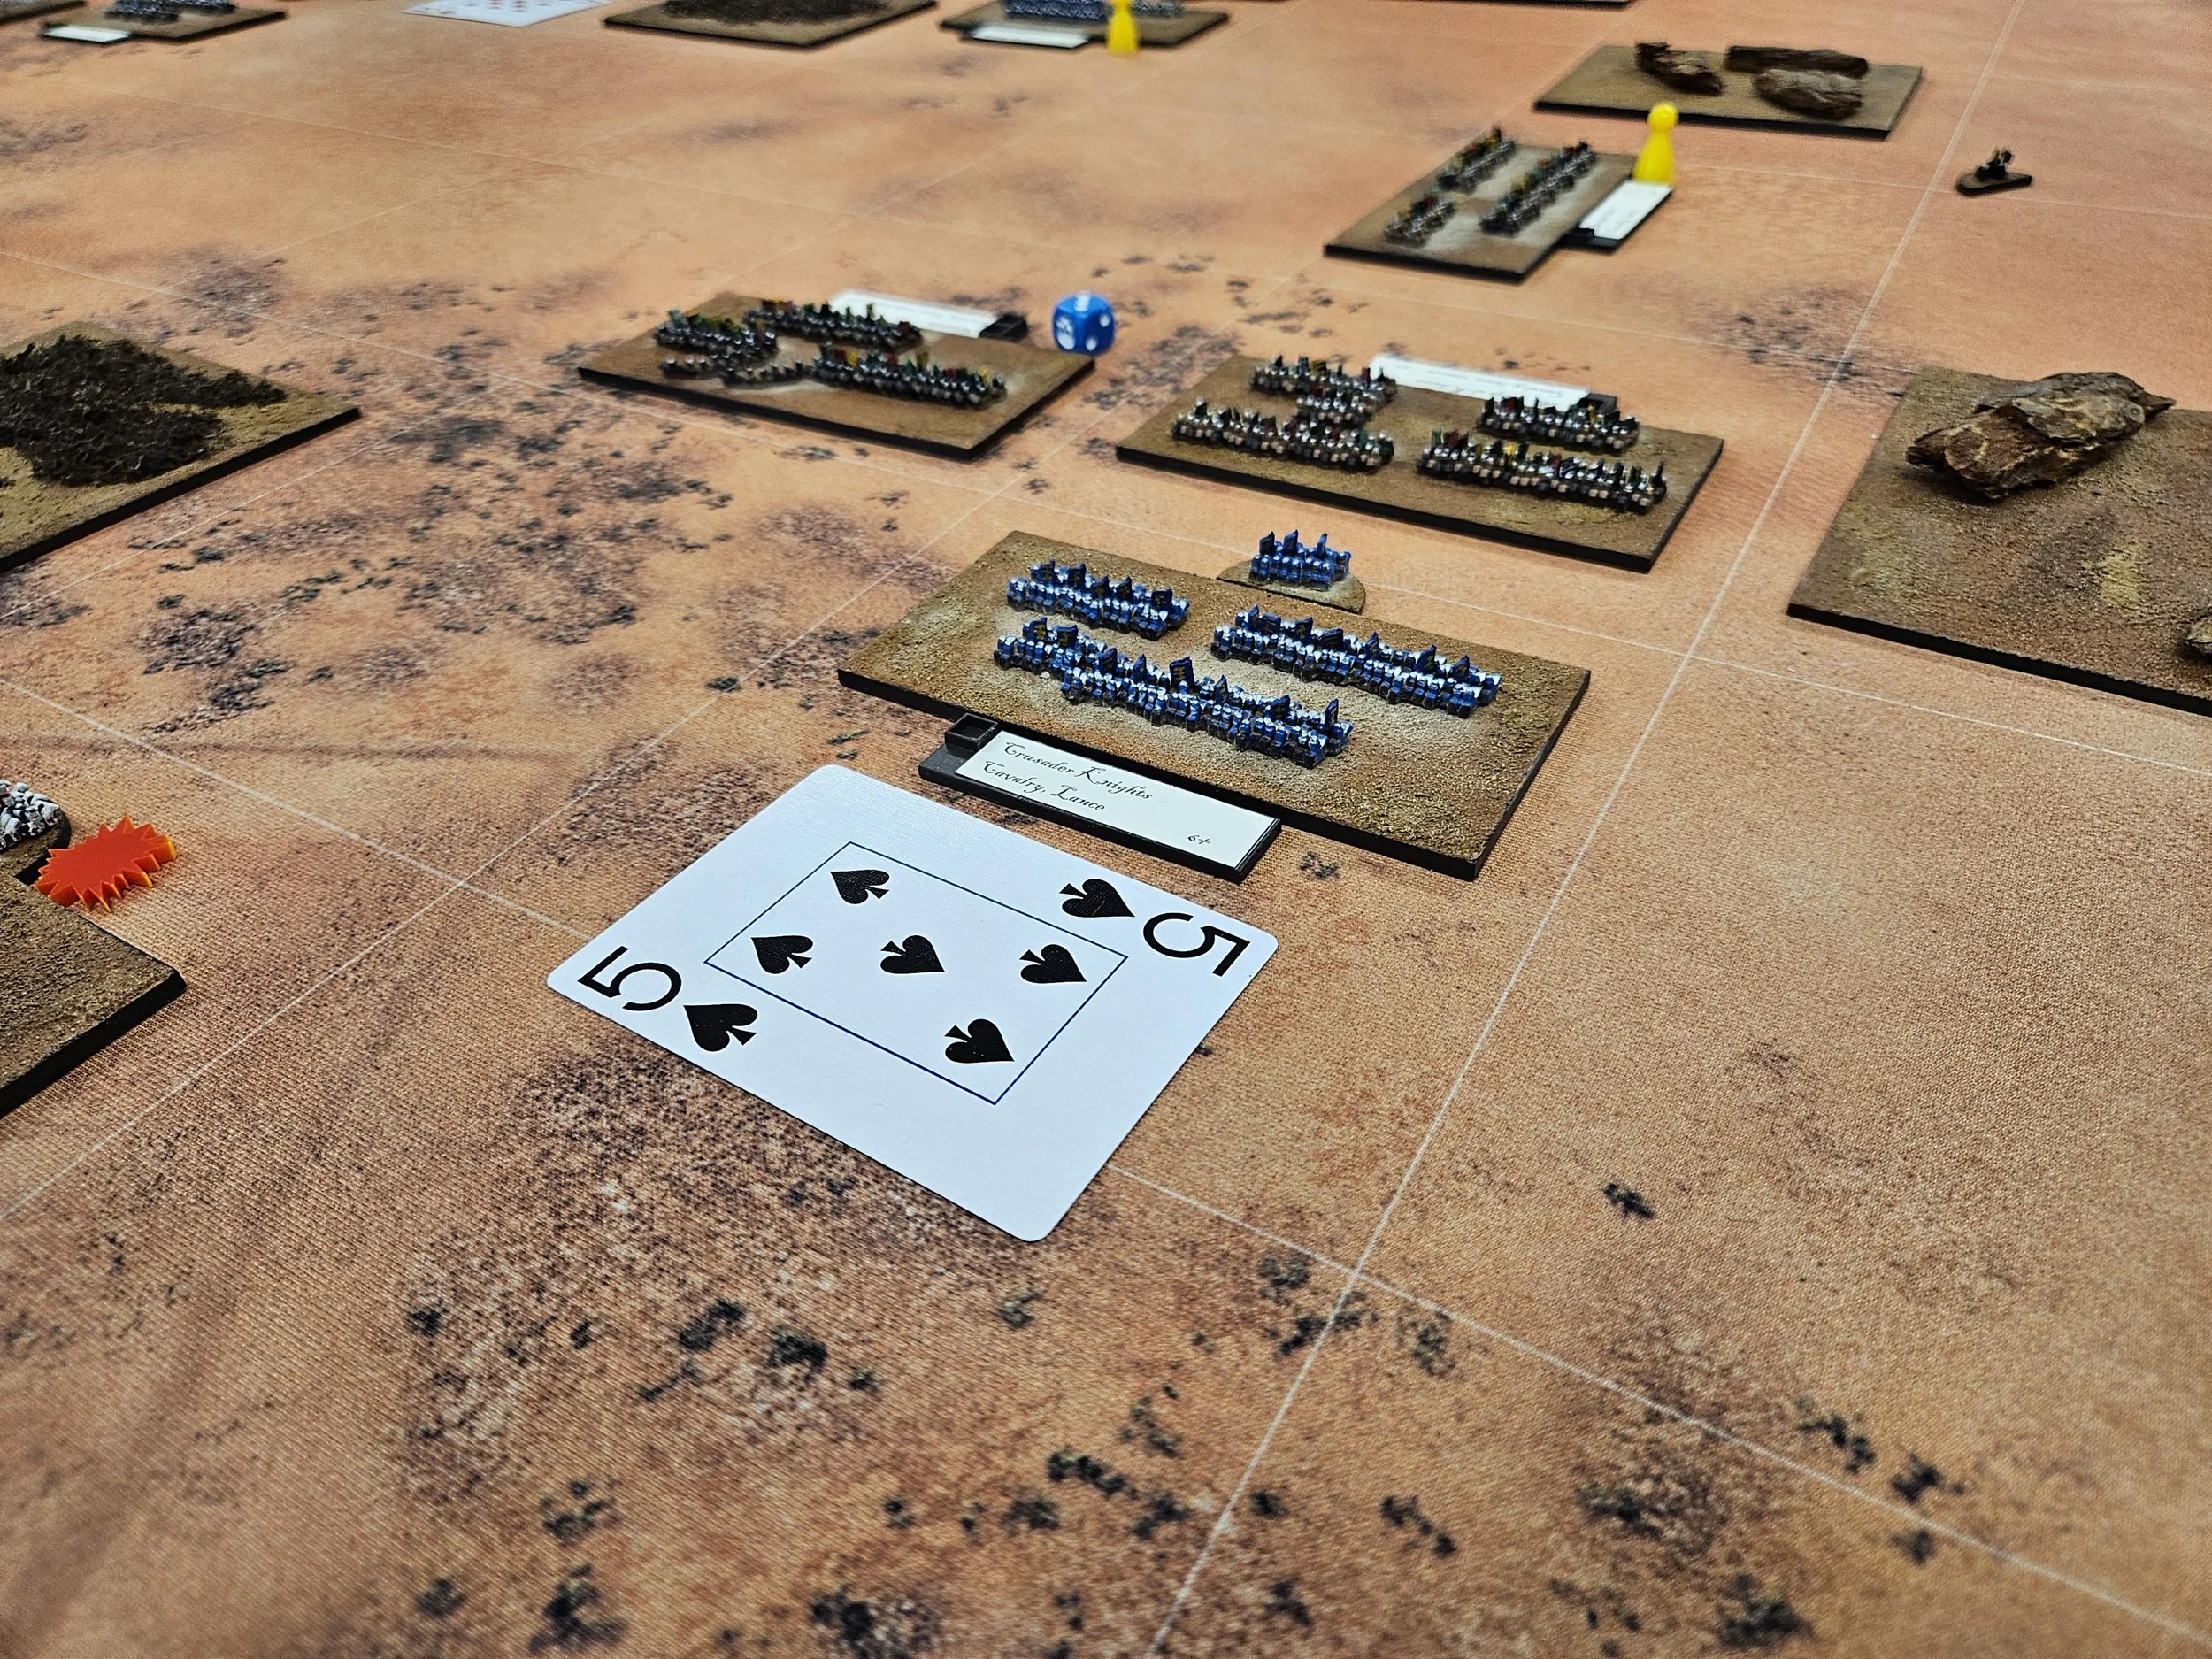
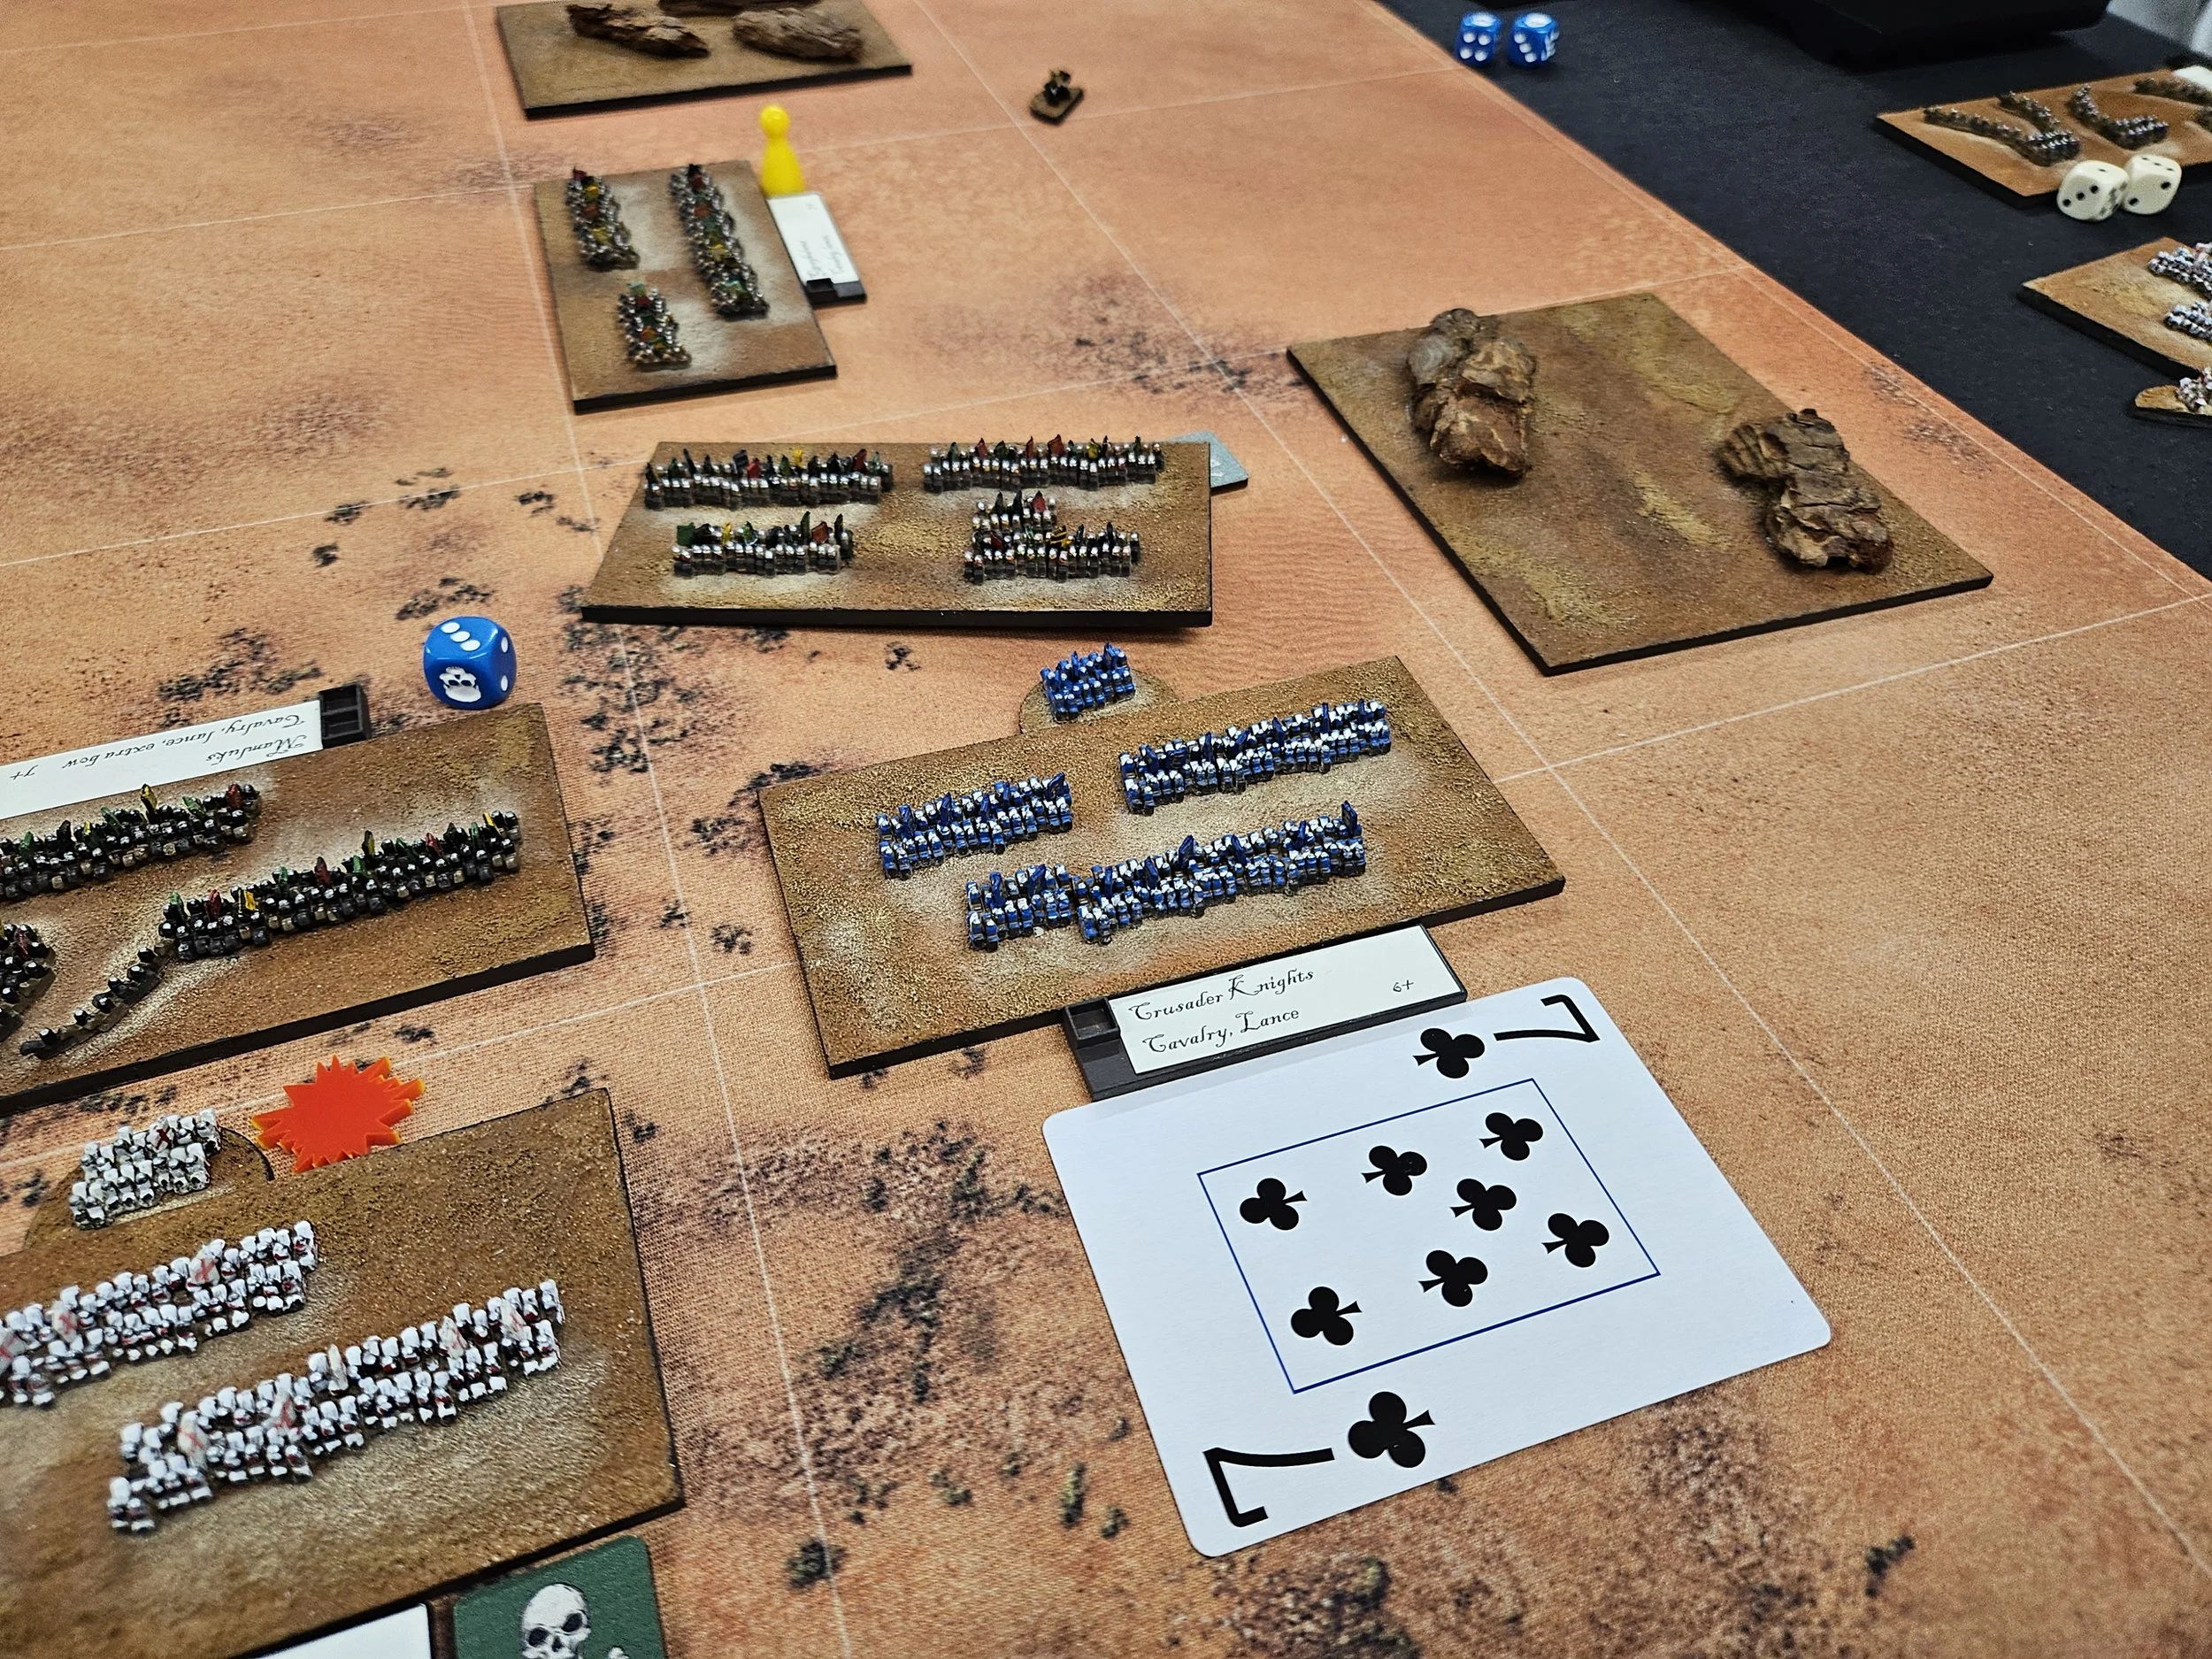
Well would you Adam and Eve it: my second game at this year’s To The Smallest tournament was a refight of my Friday evening warm-up game against friend Richard’s Early Muslims.

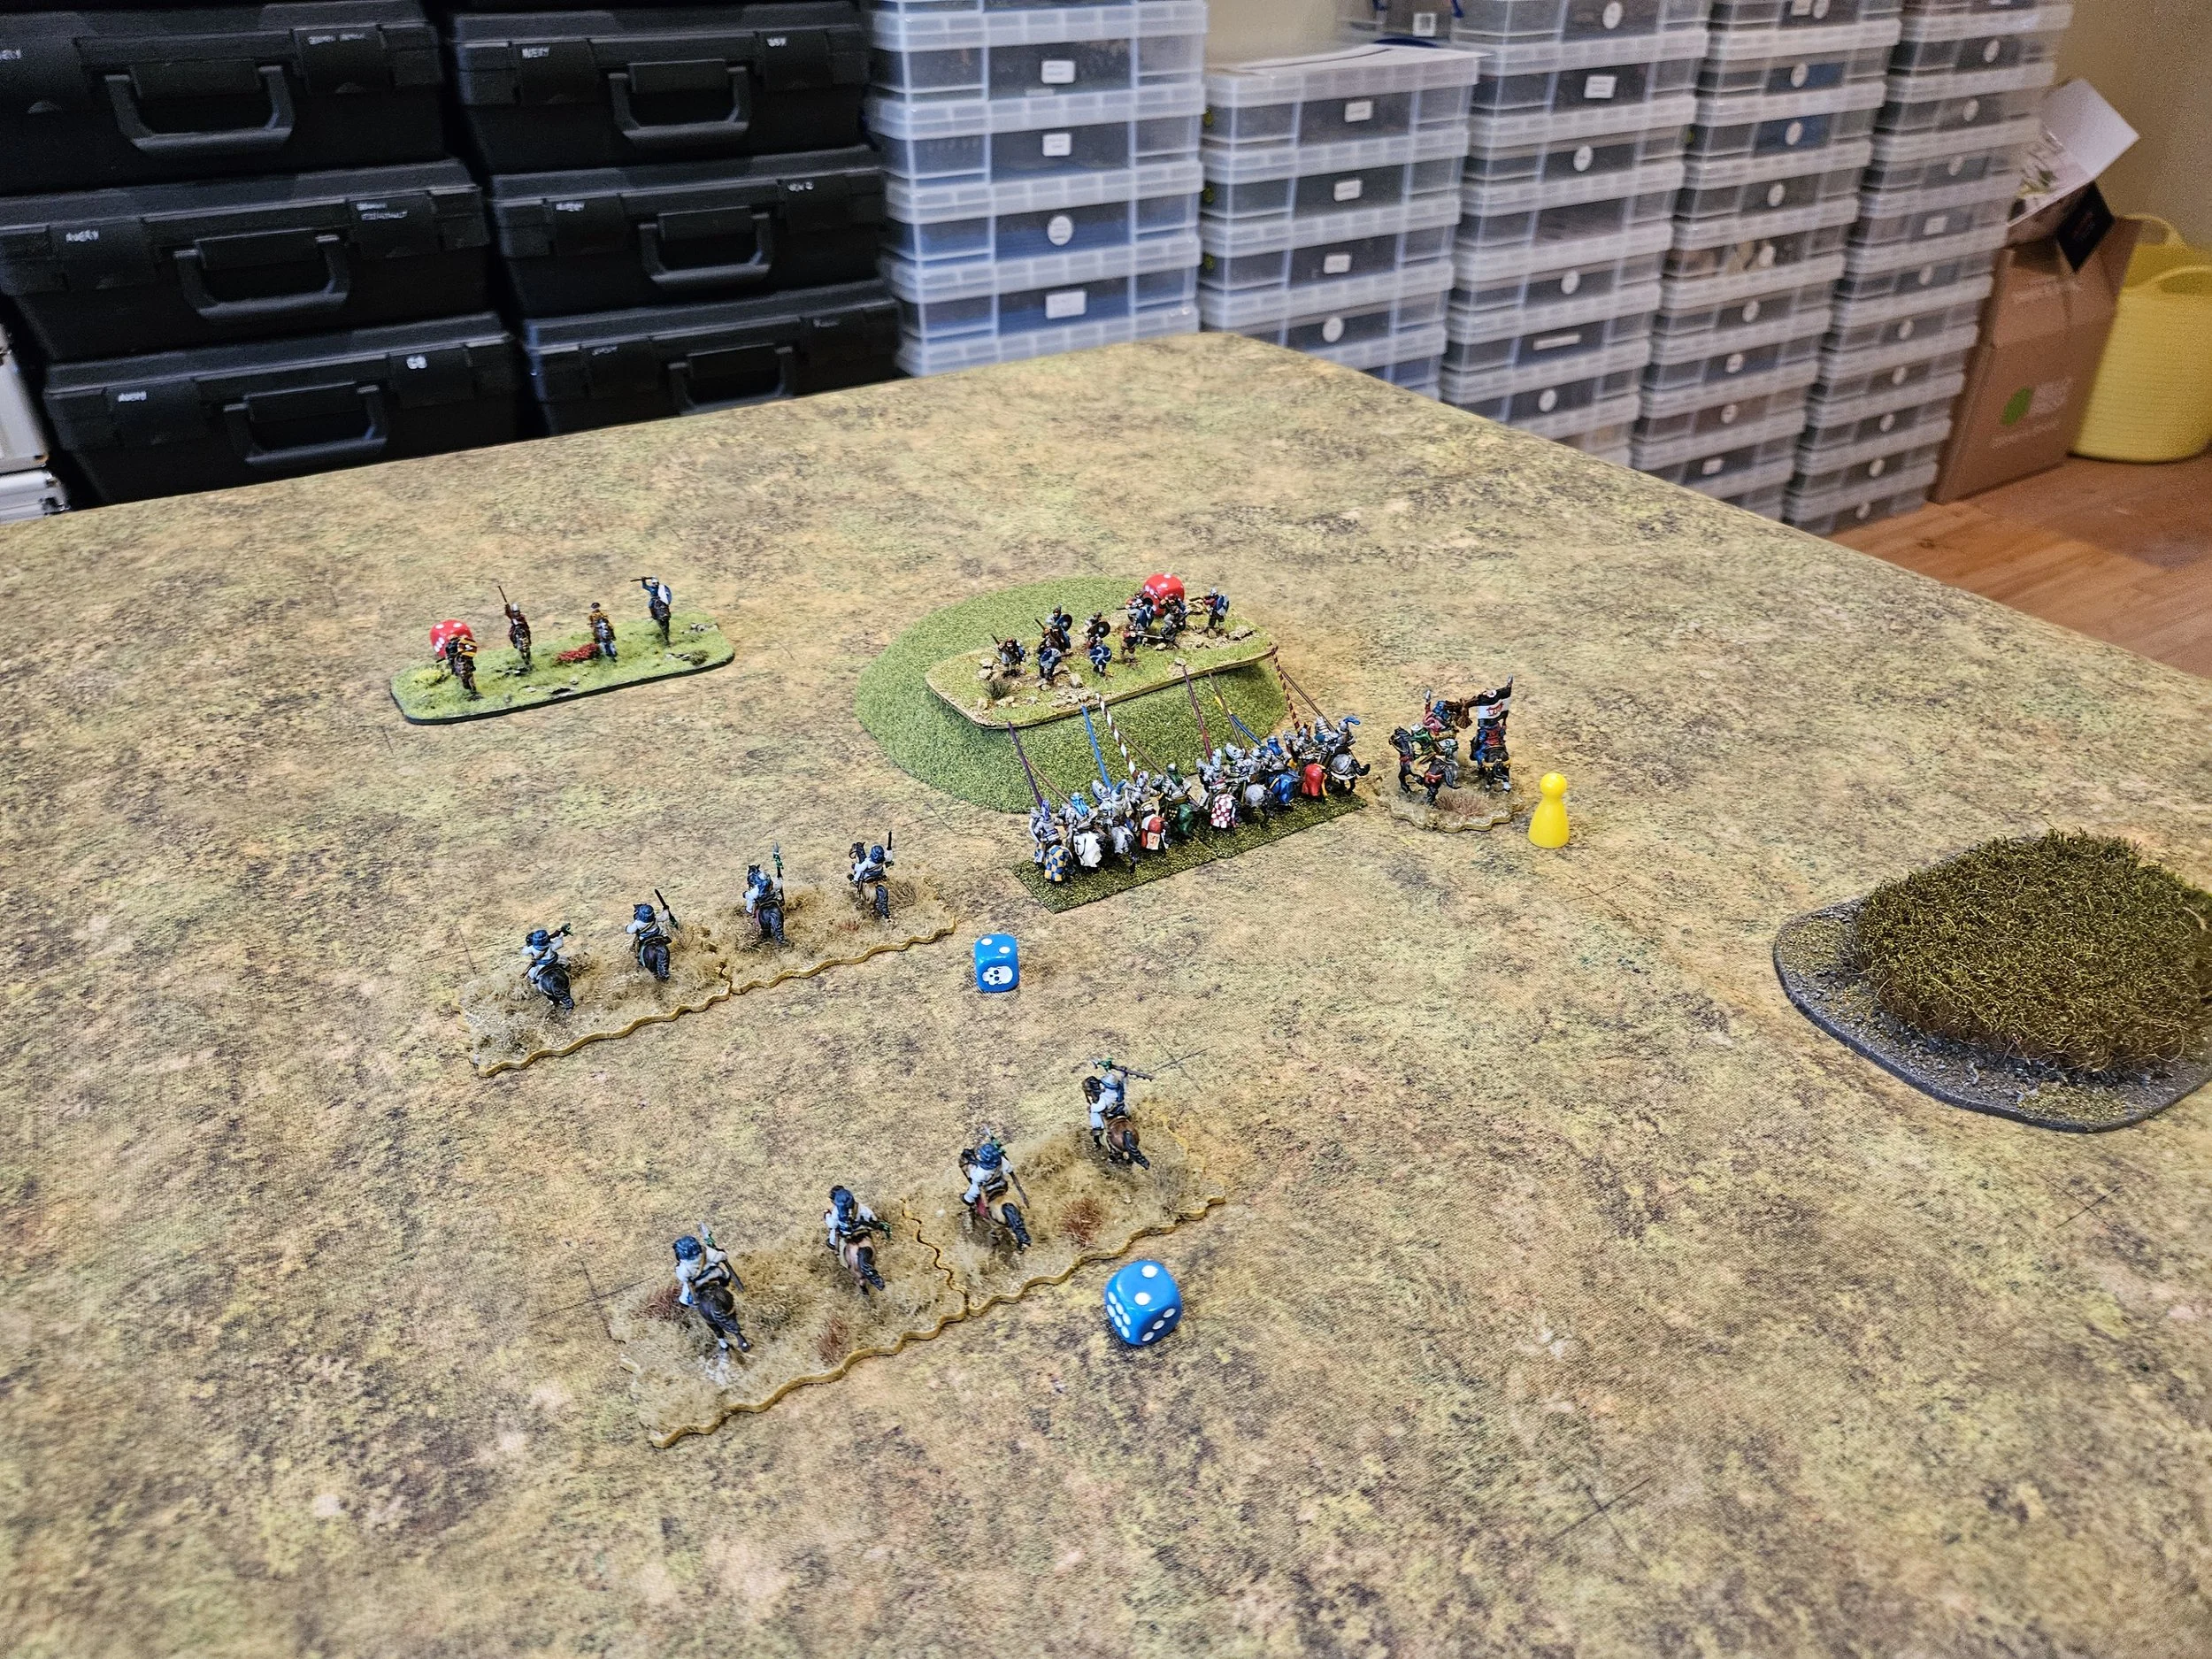
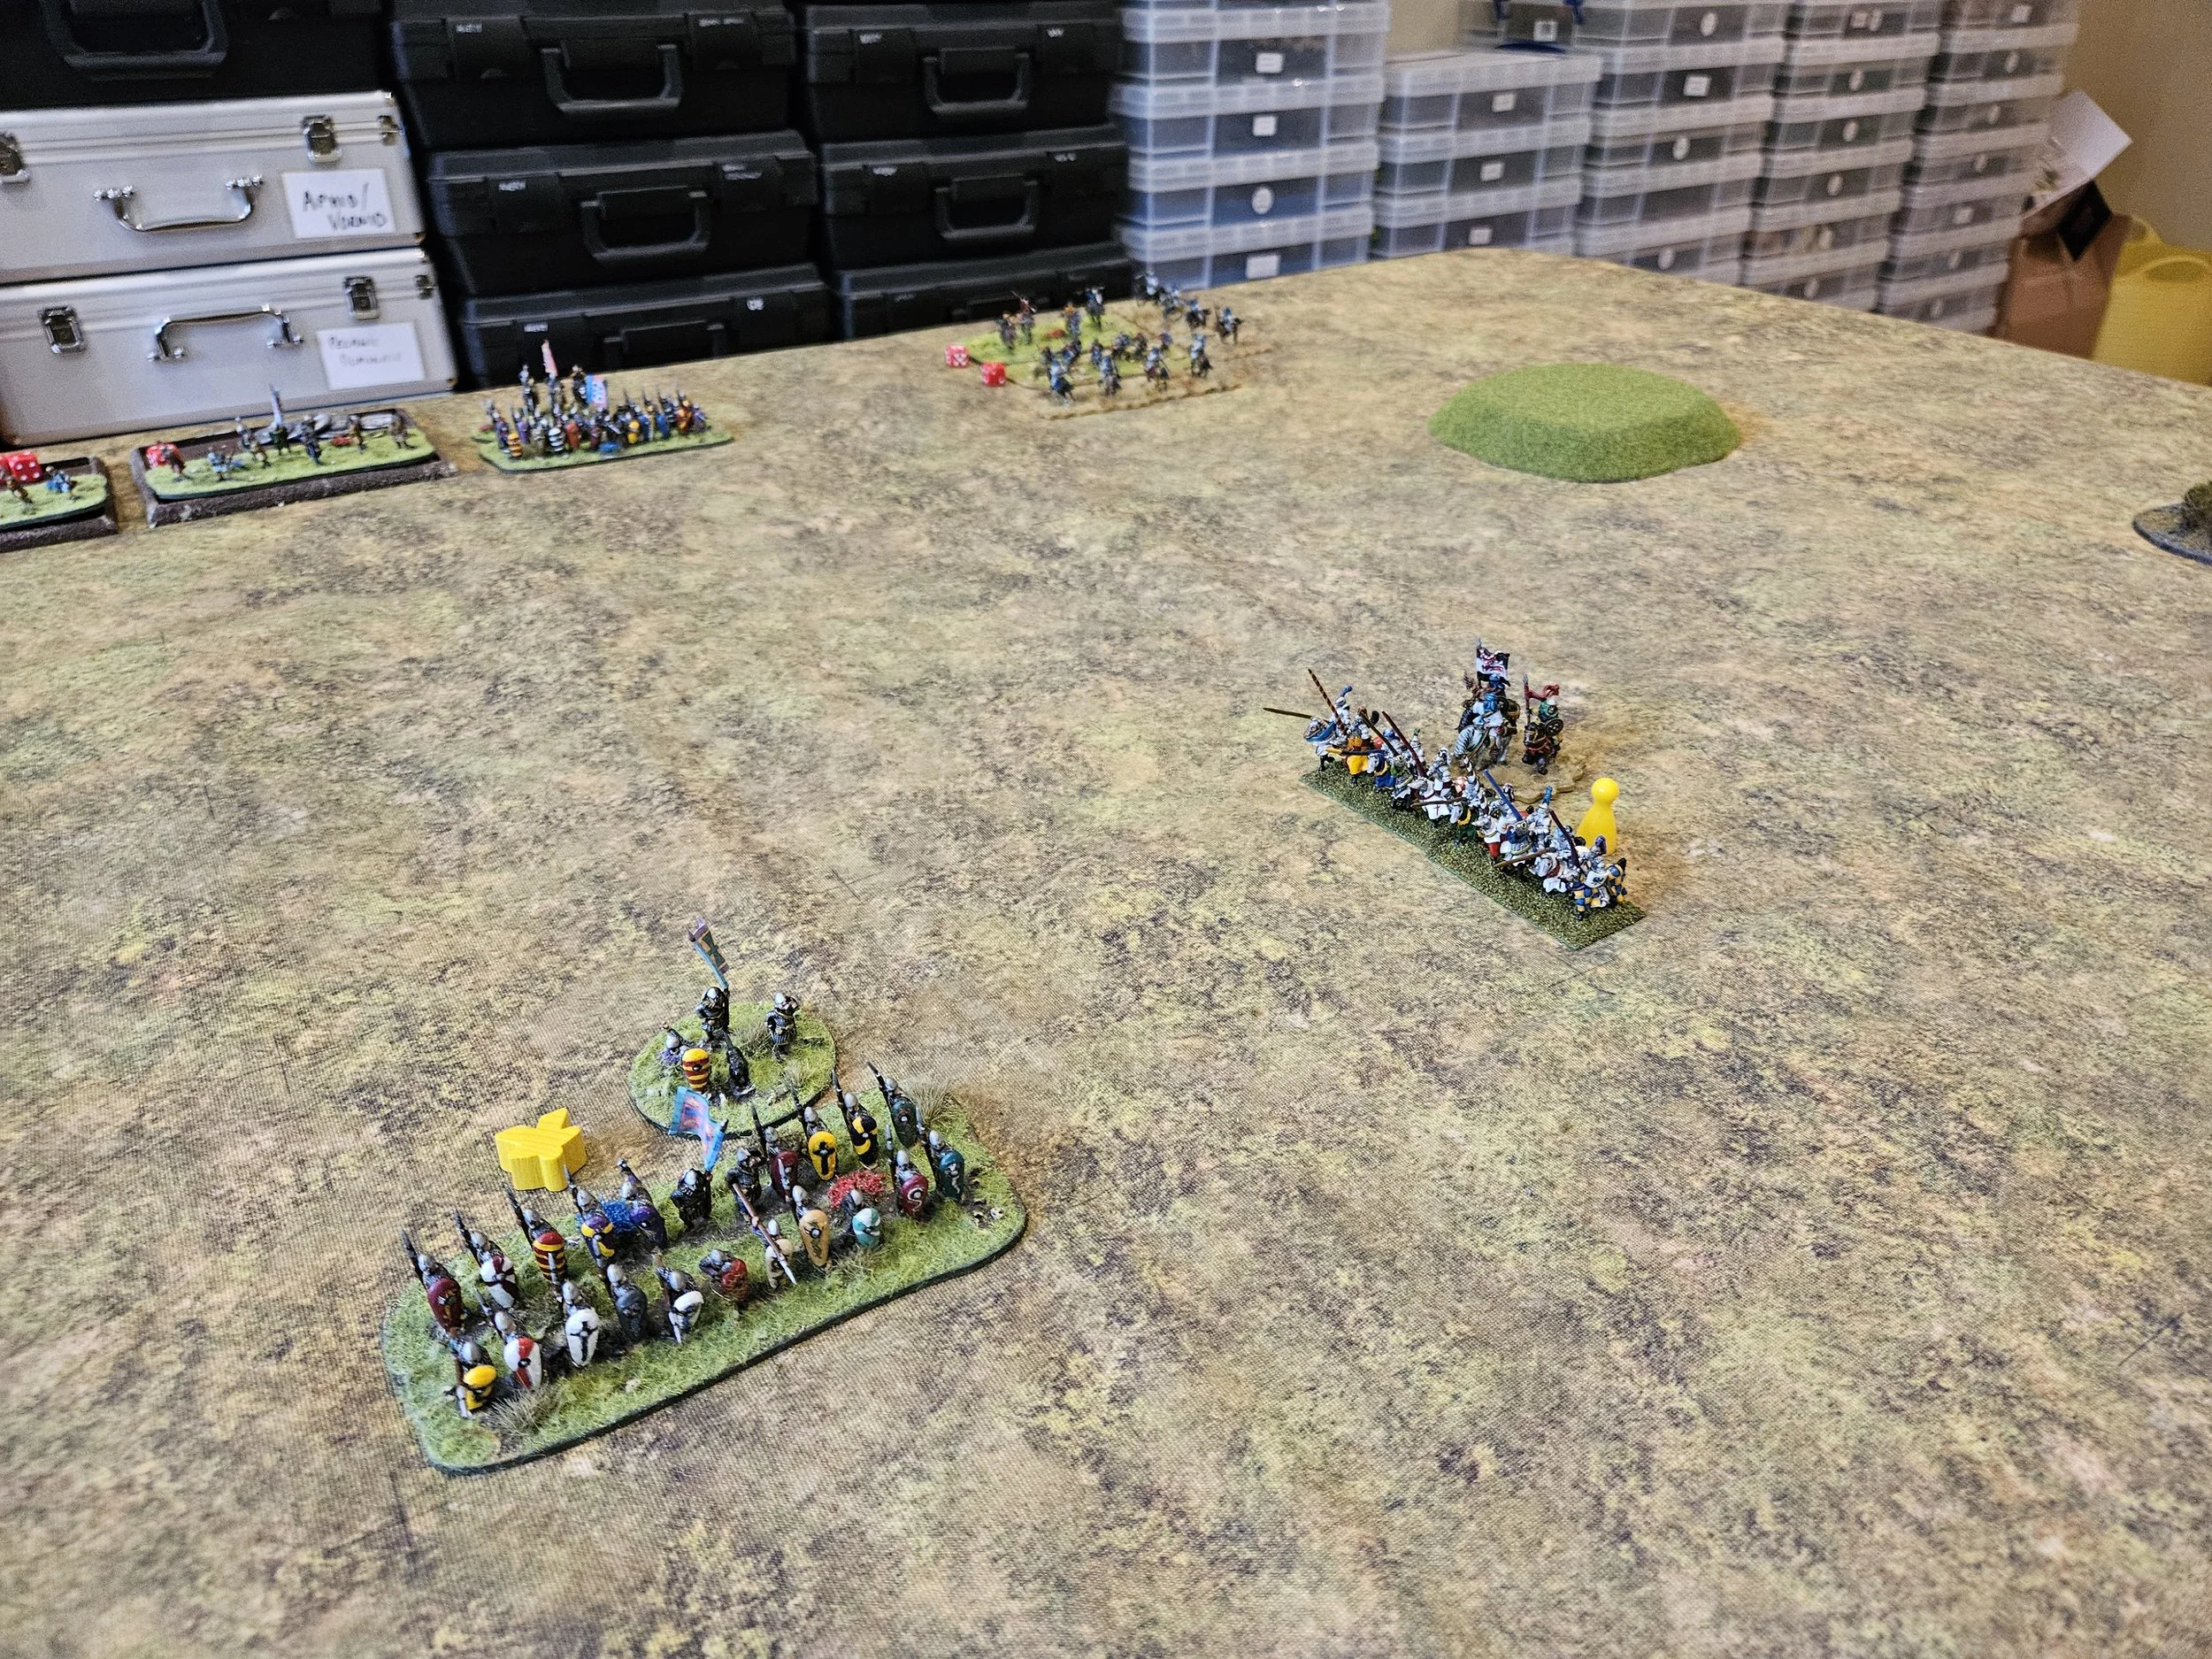
That game had been fought on the battlefield of Towton (all the To The Smallest tables represent historical battlefields) a most unsuitable place for both our cavalry armies, so surely this encounter would take place on the proverbial bowling green?

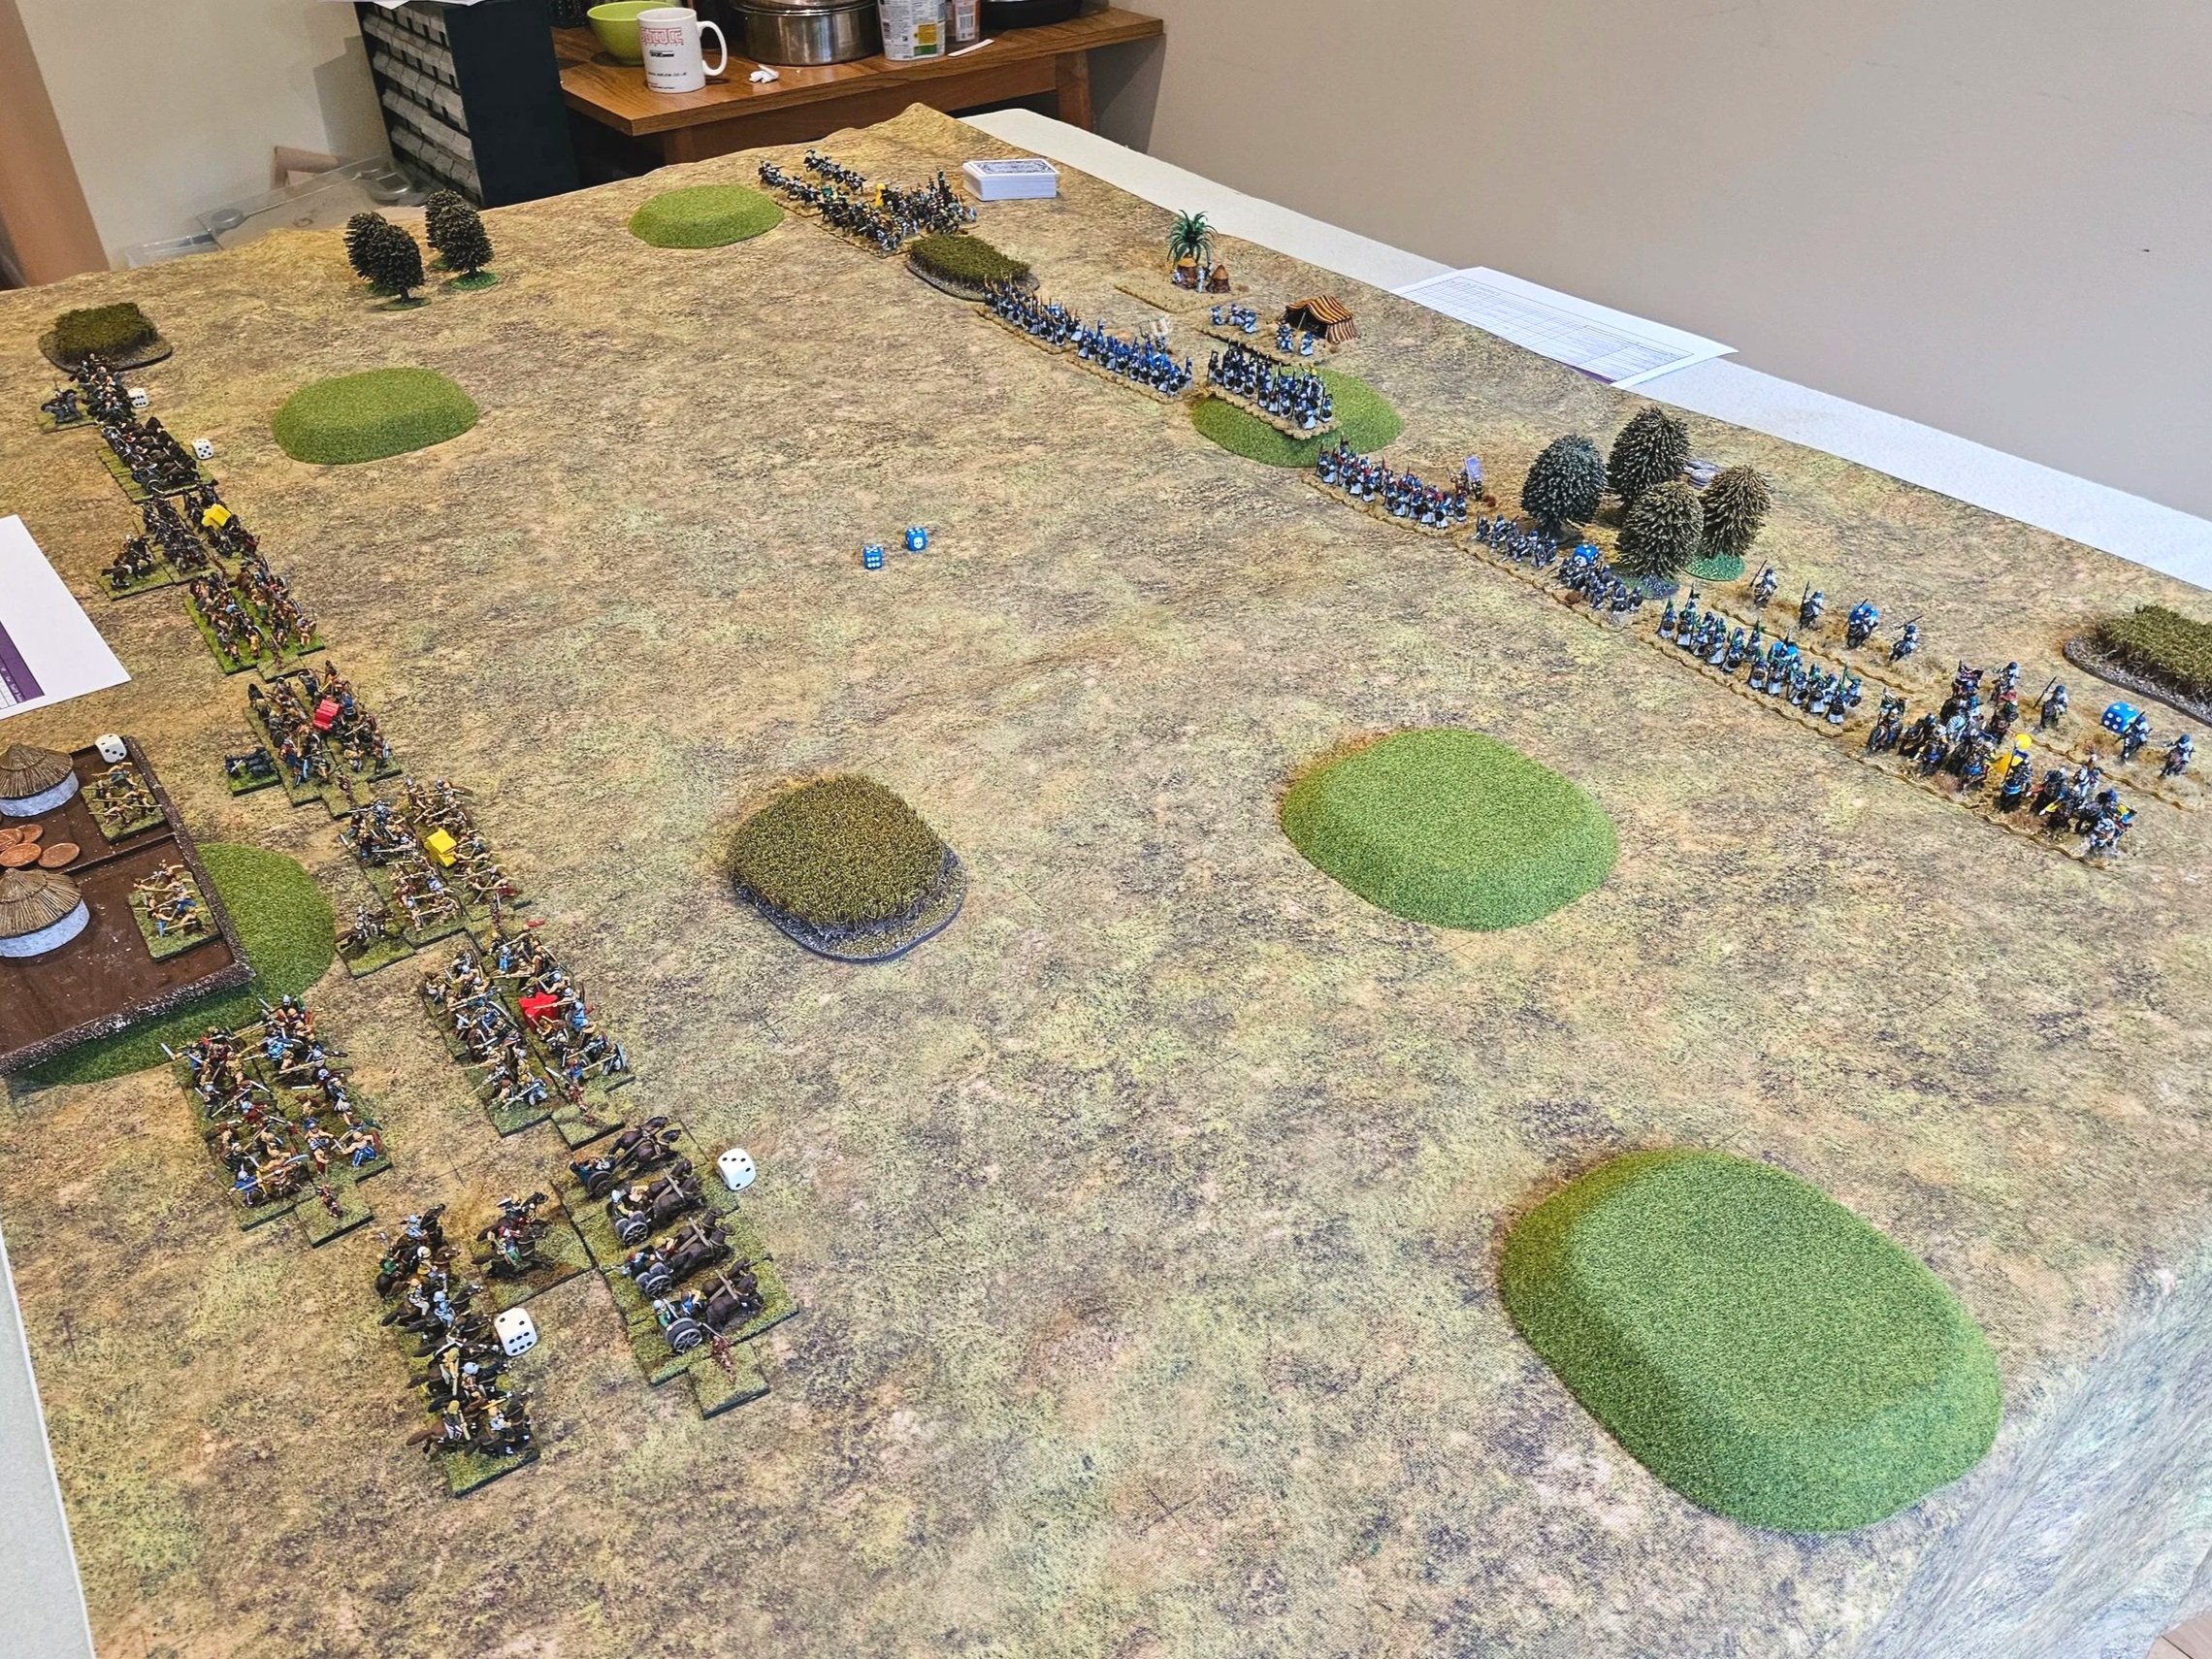
Er, no, even worse: Hastings!

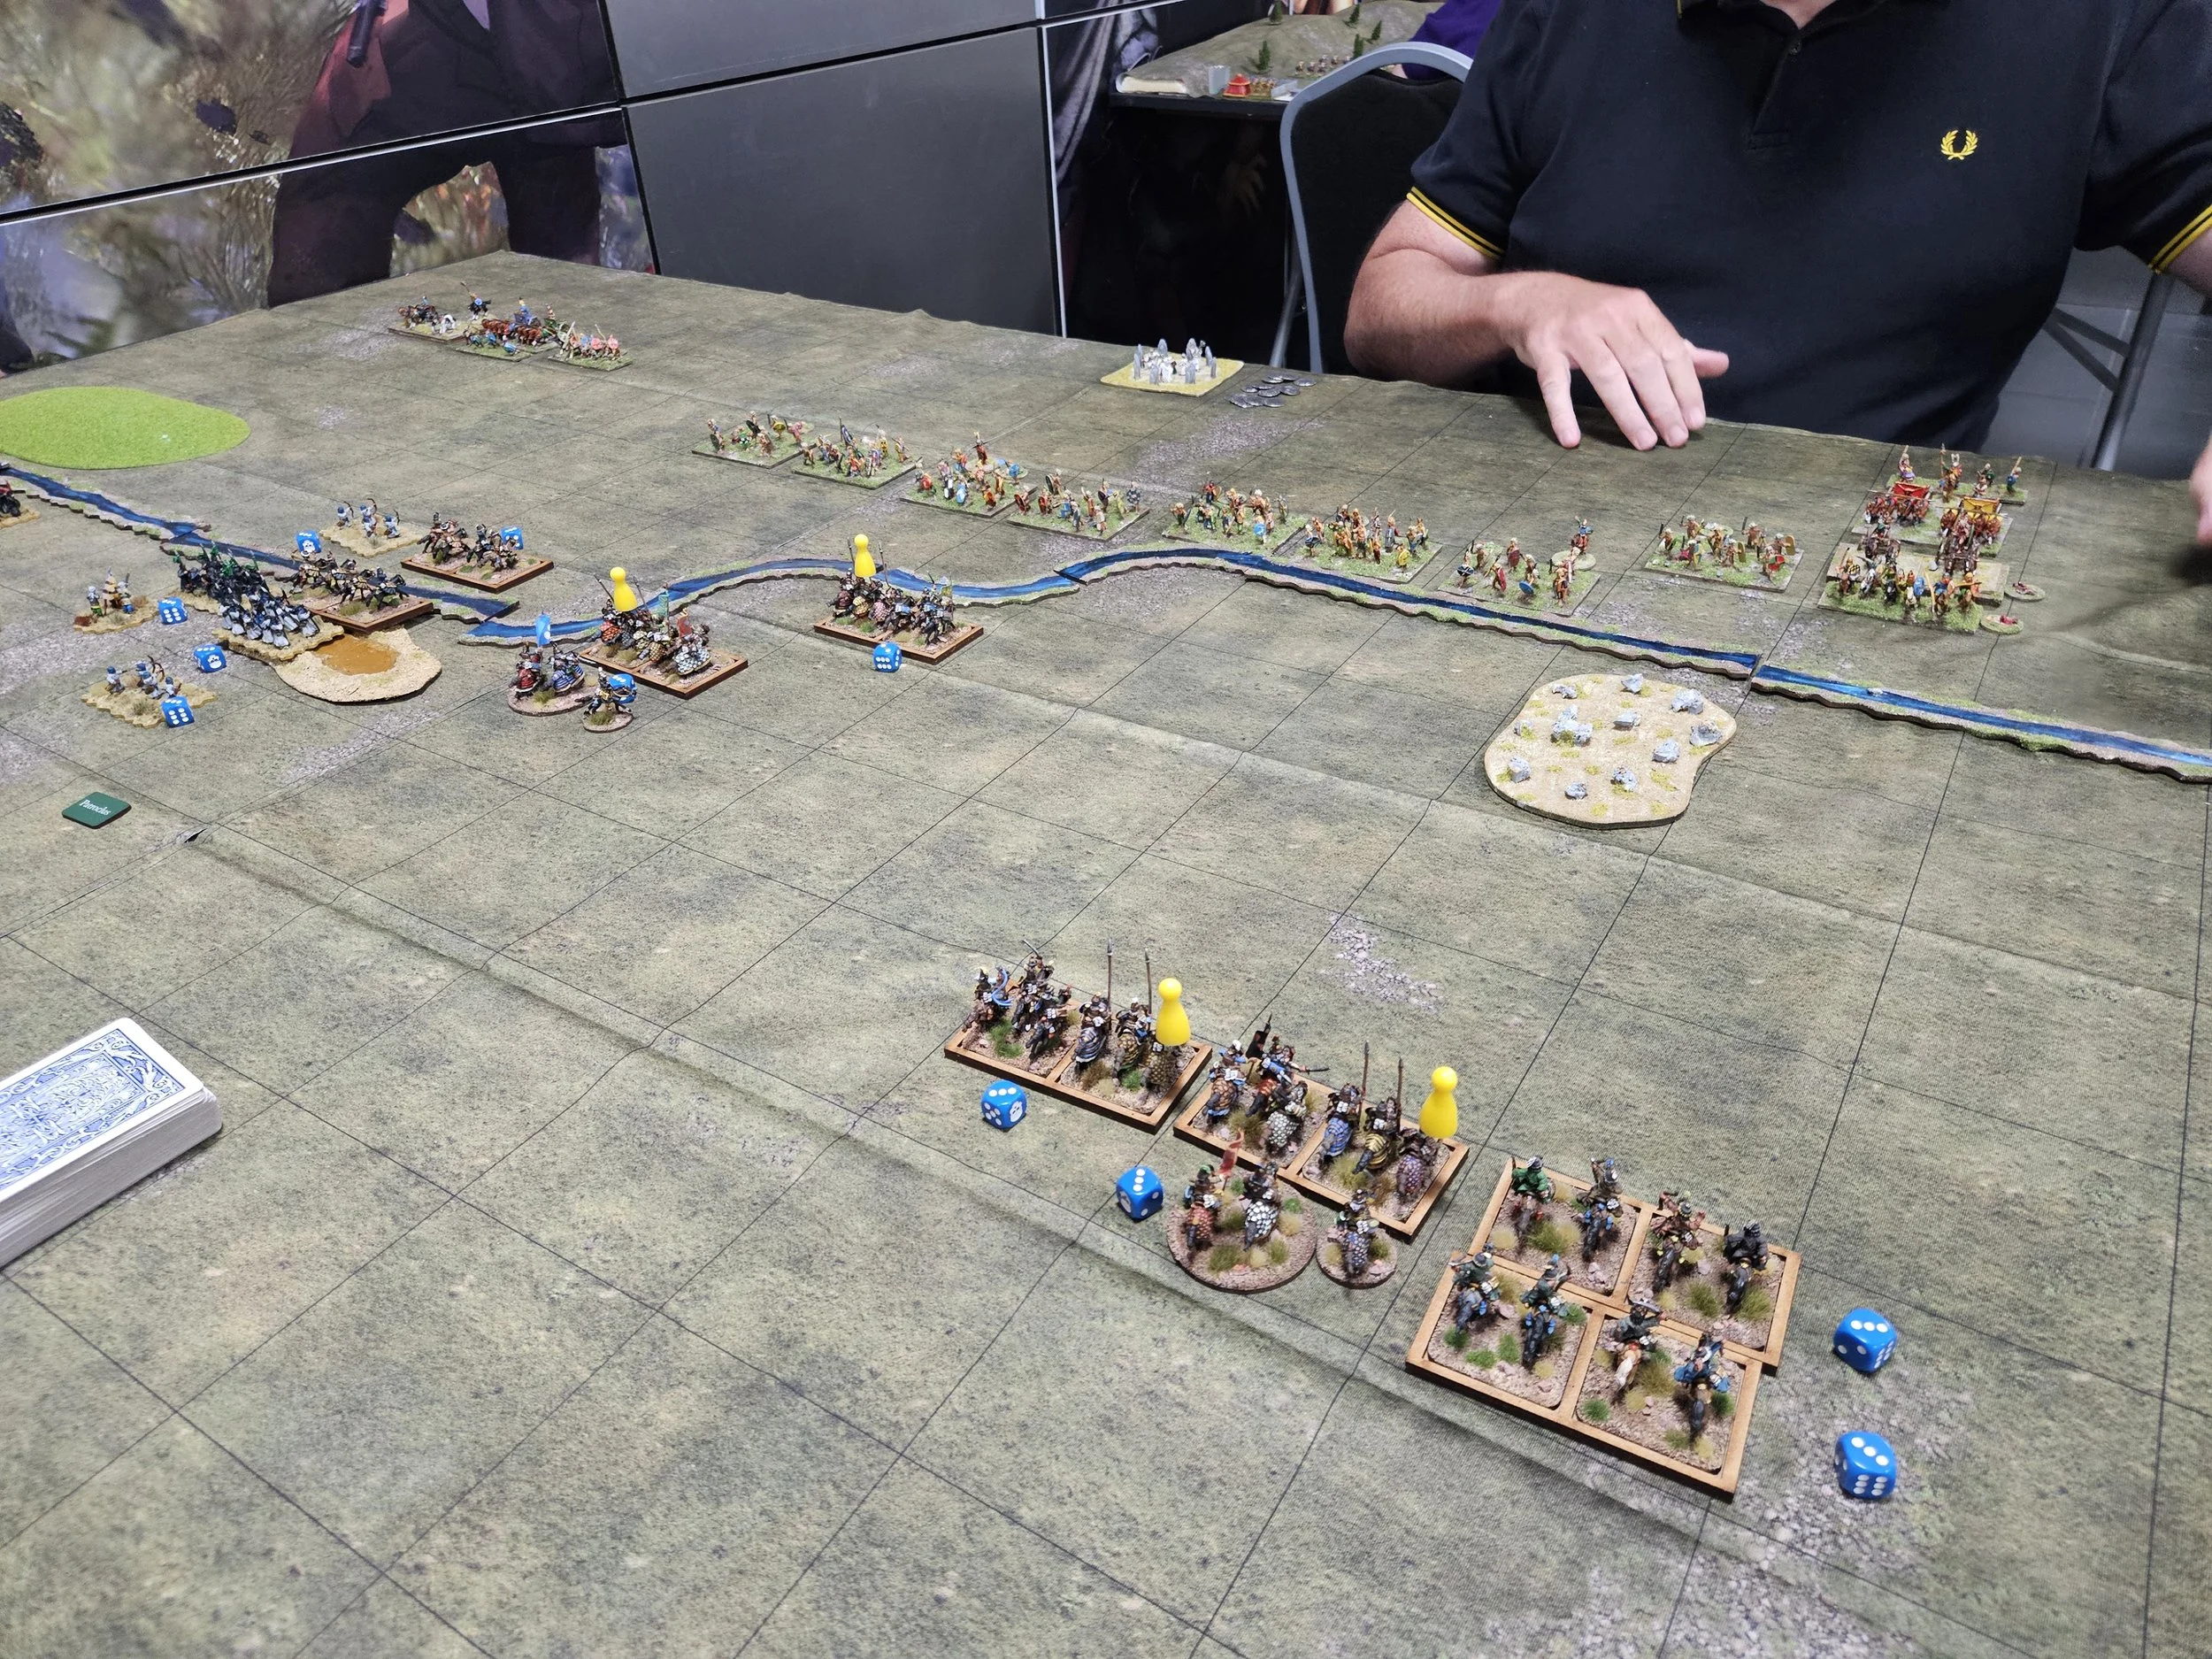
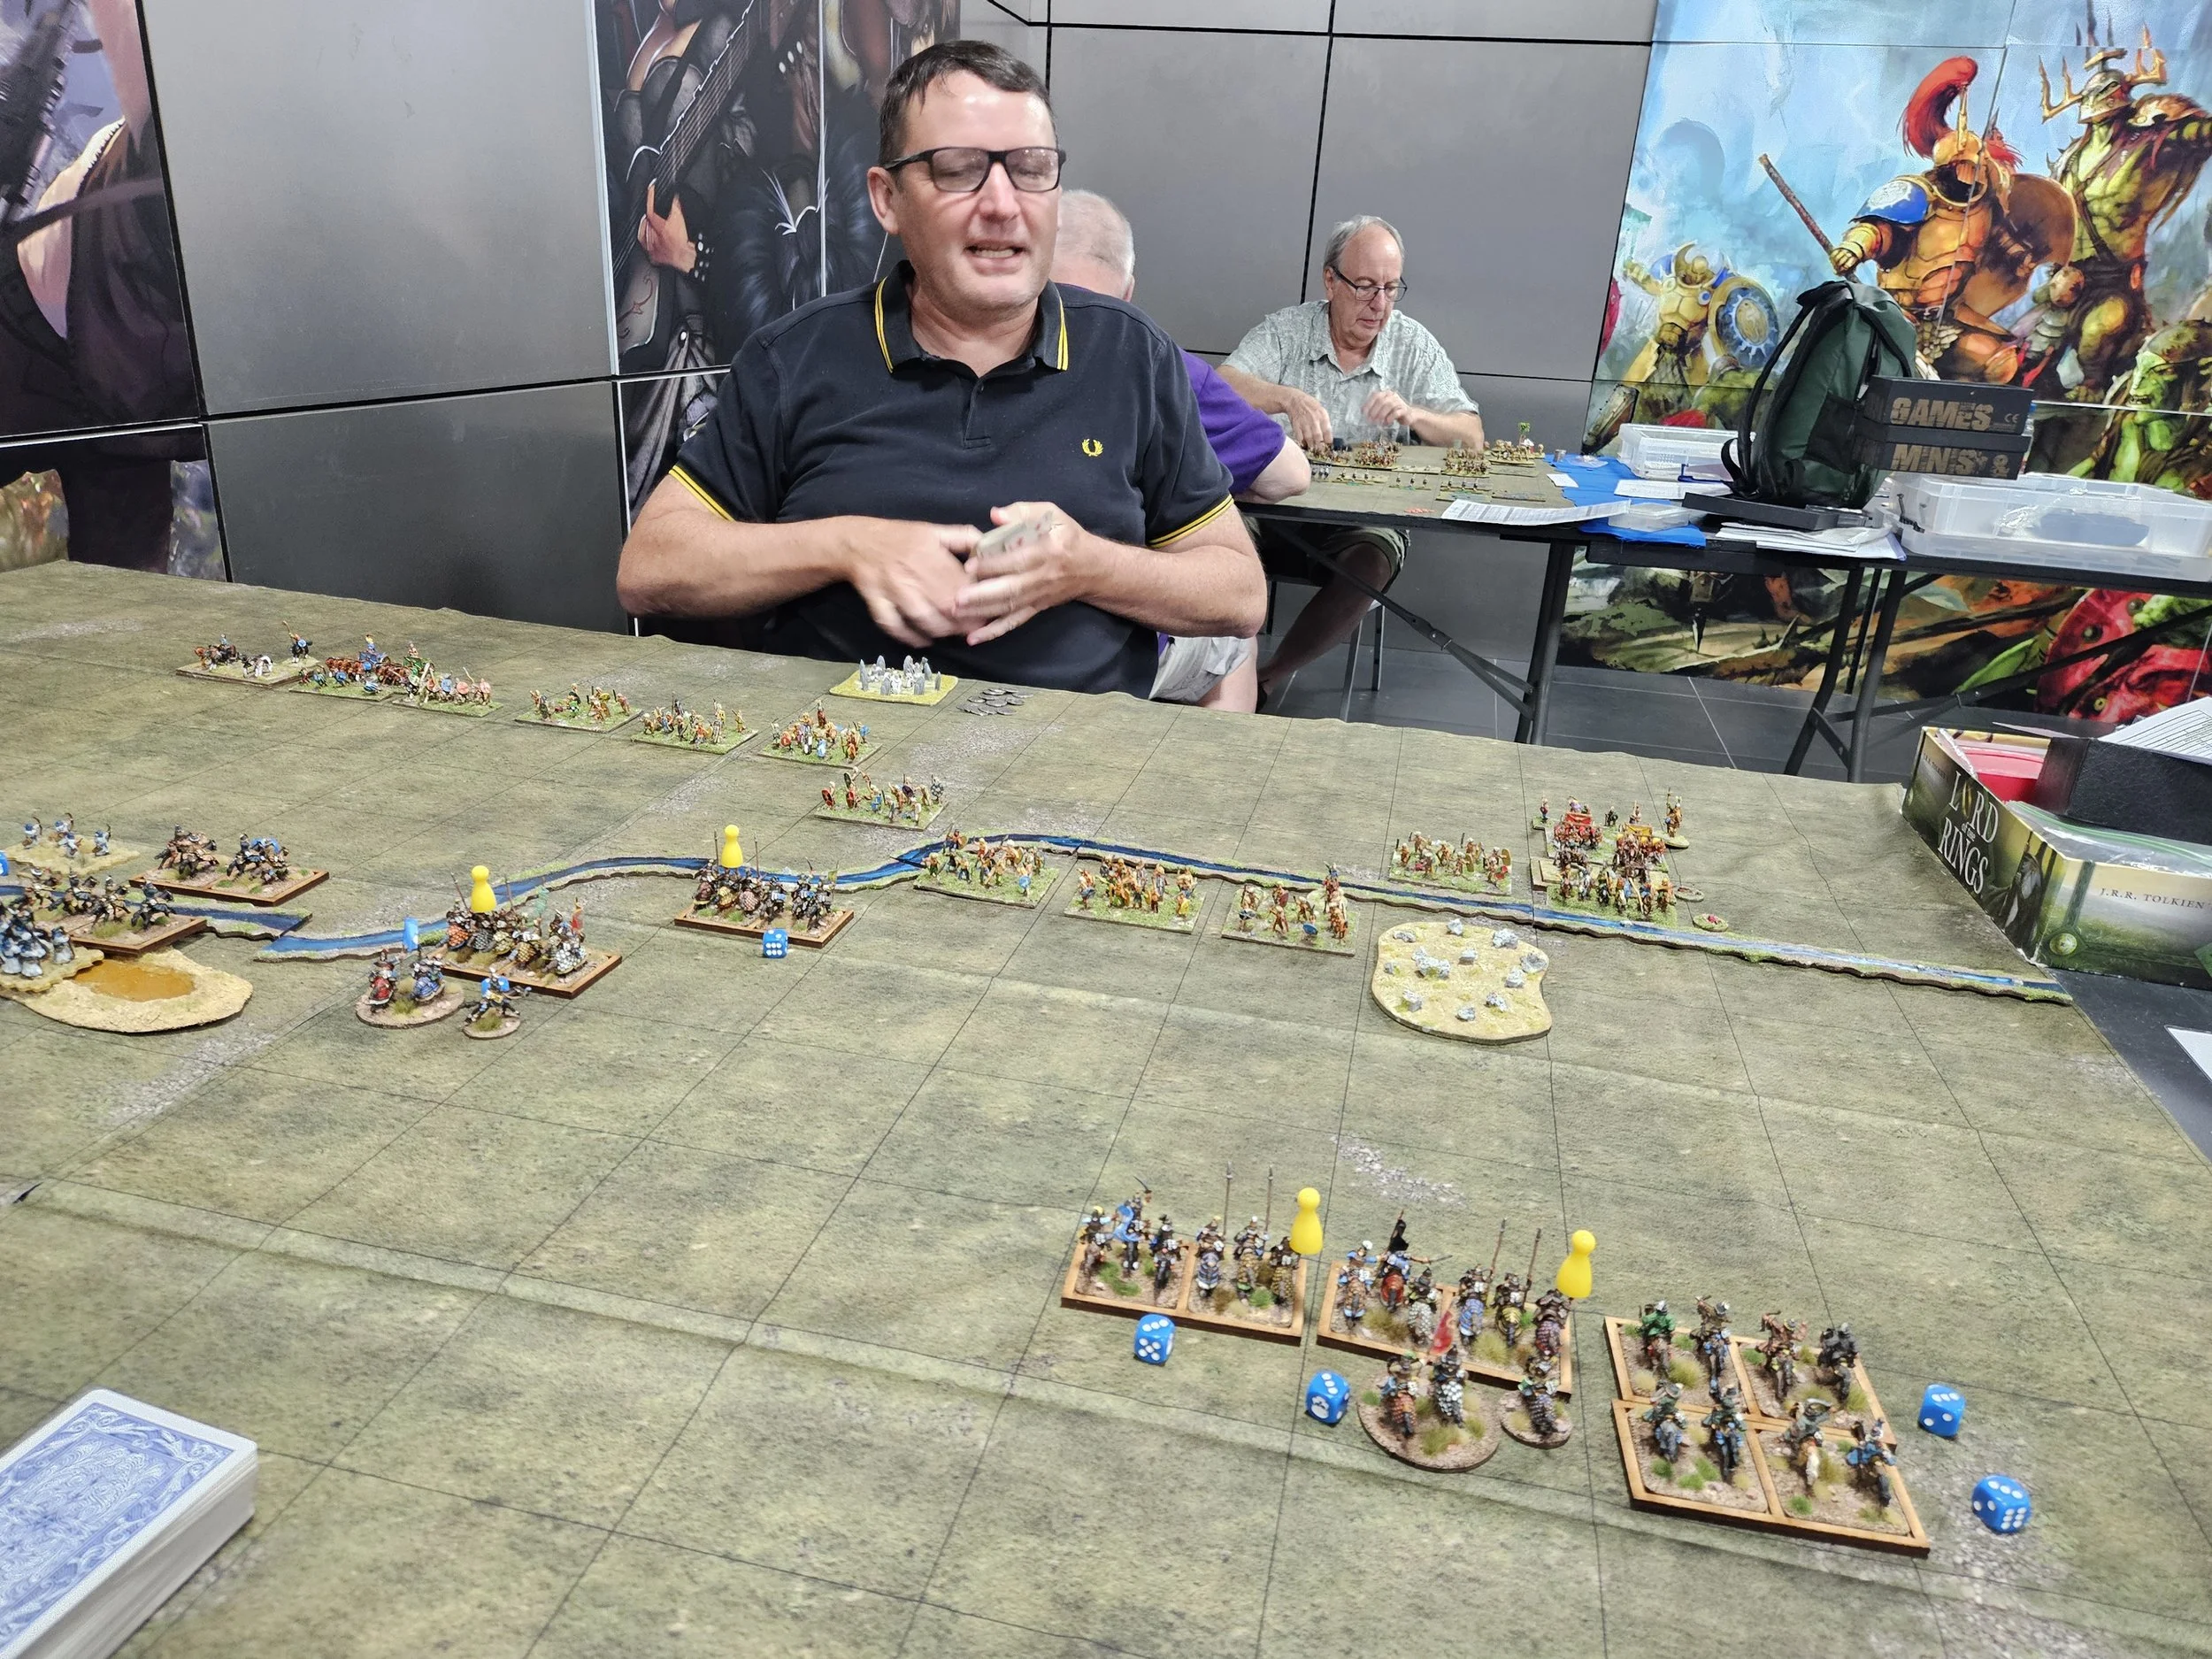
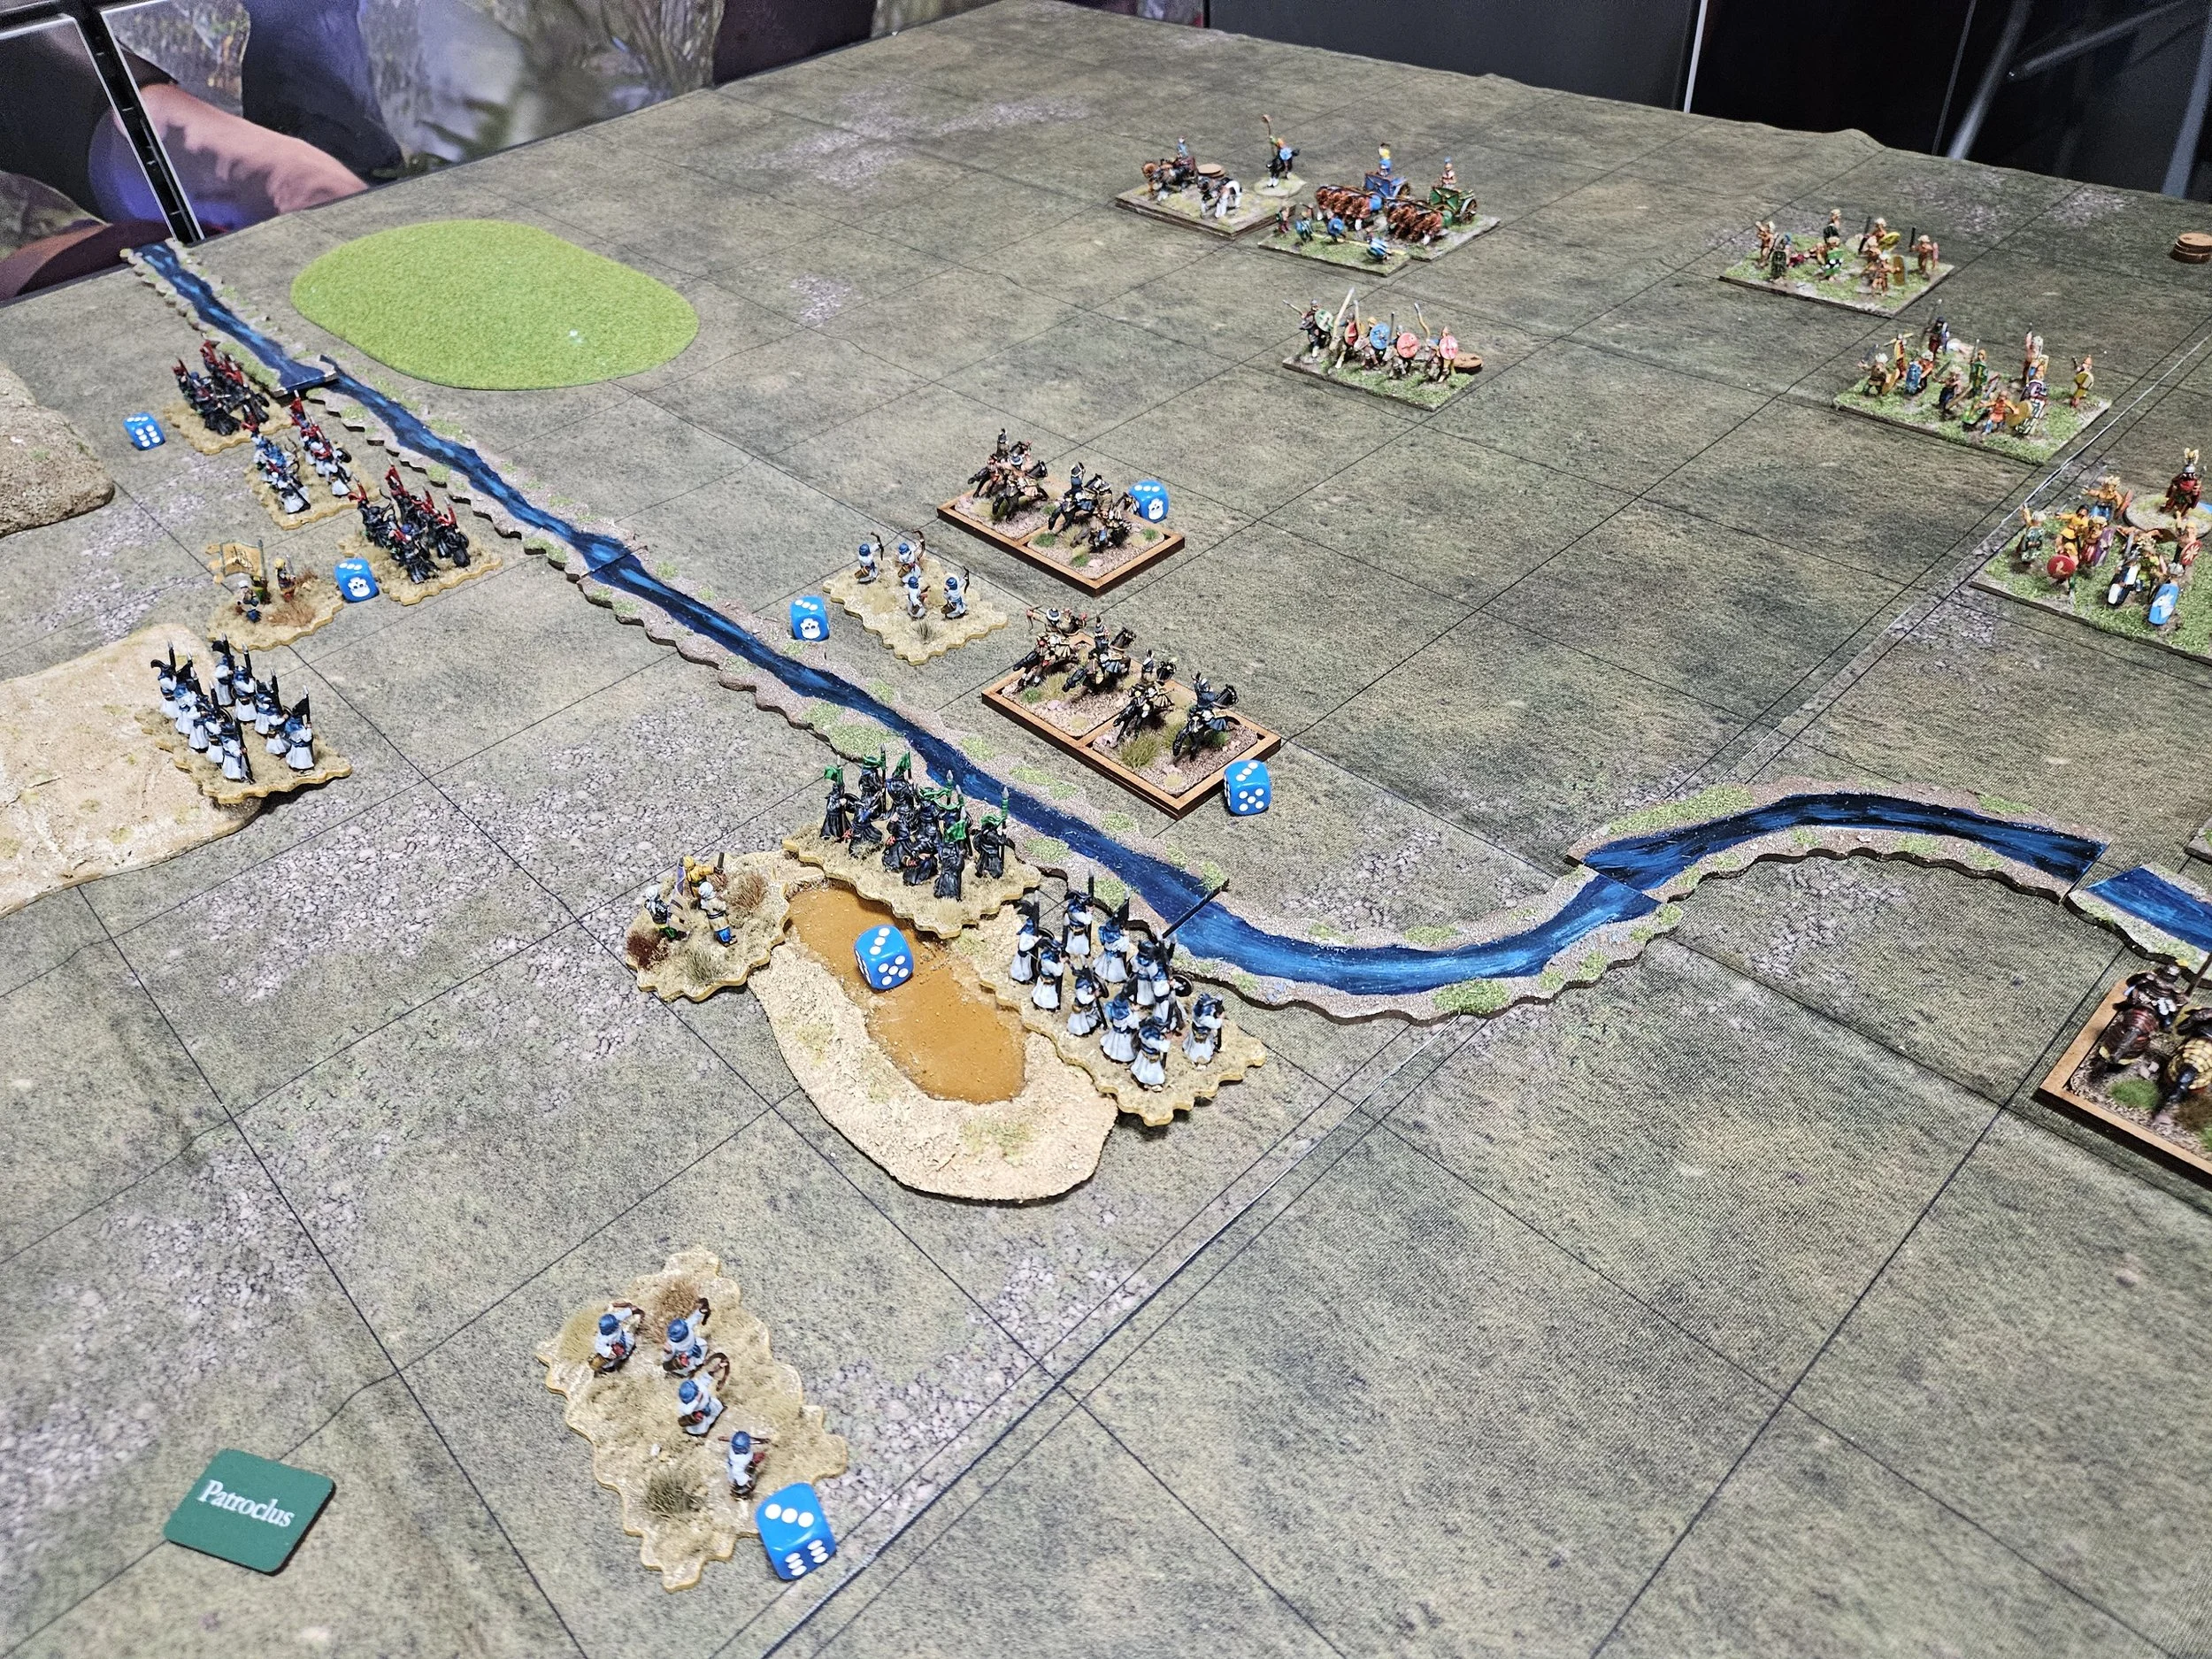
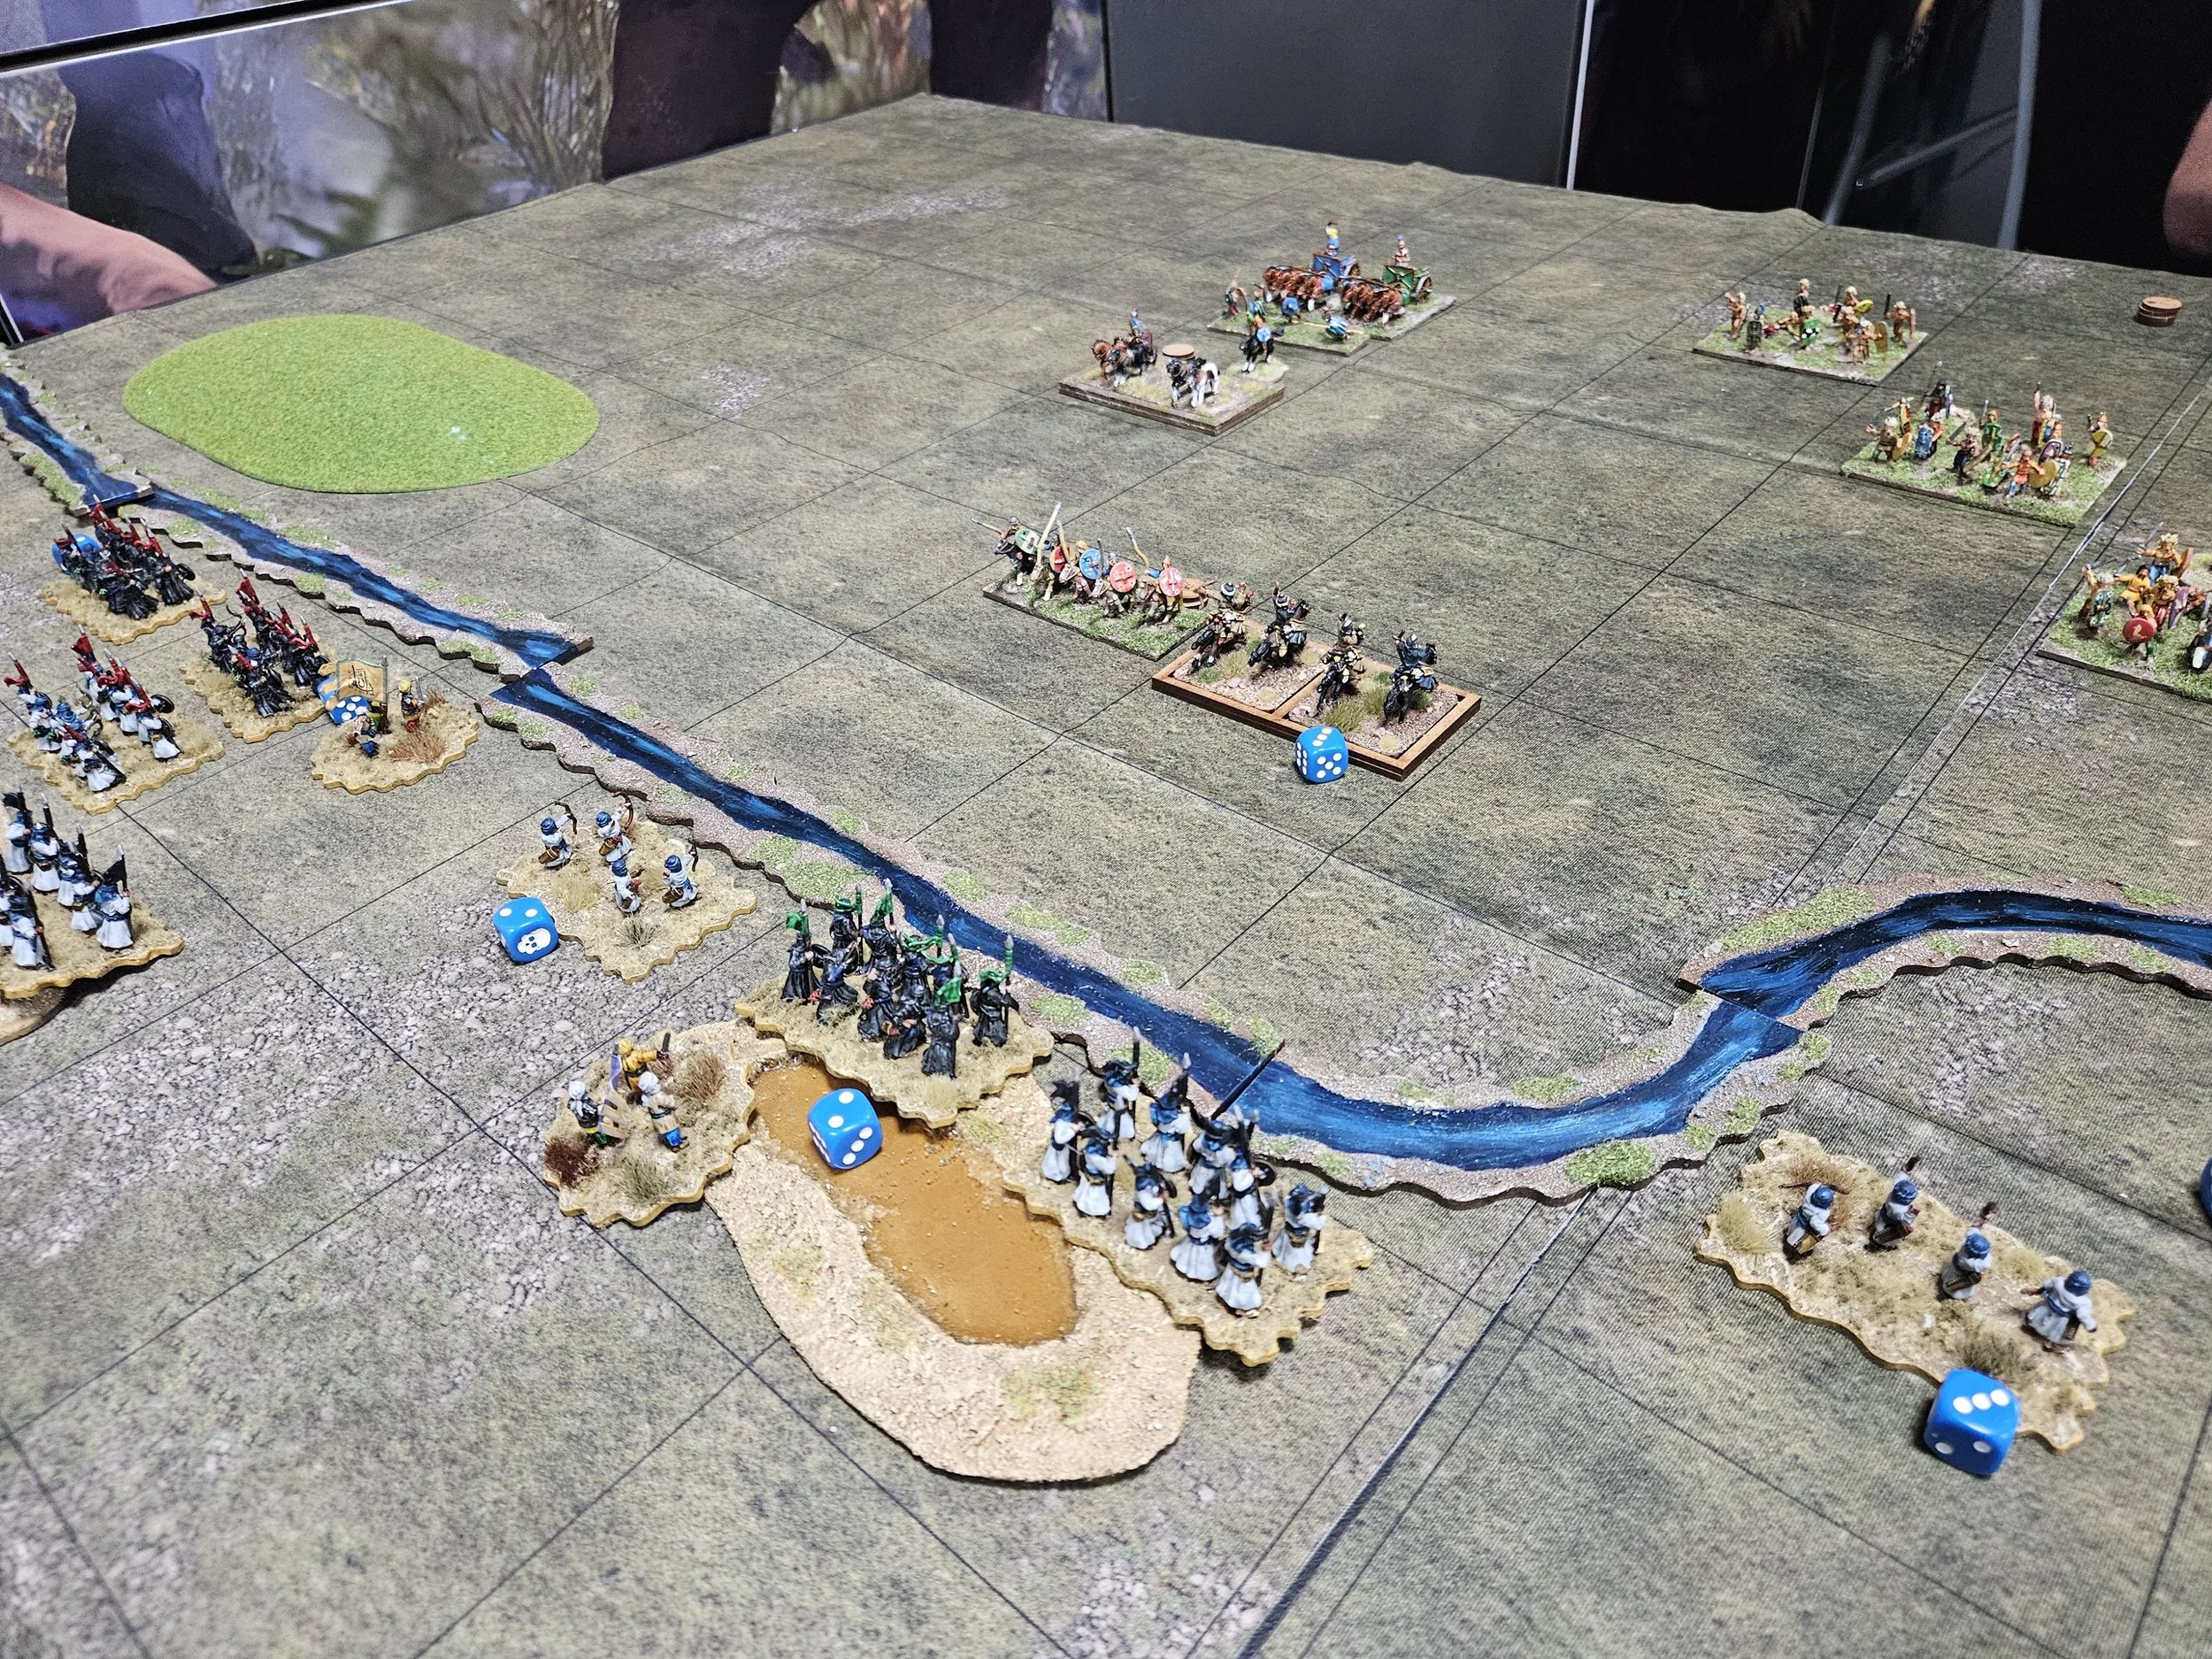
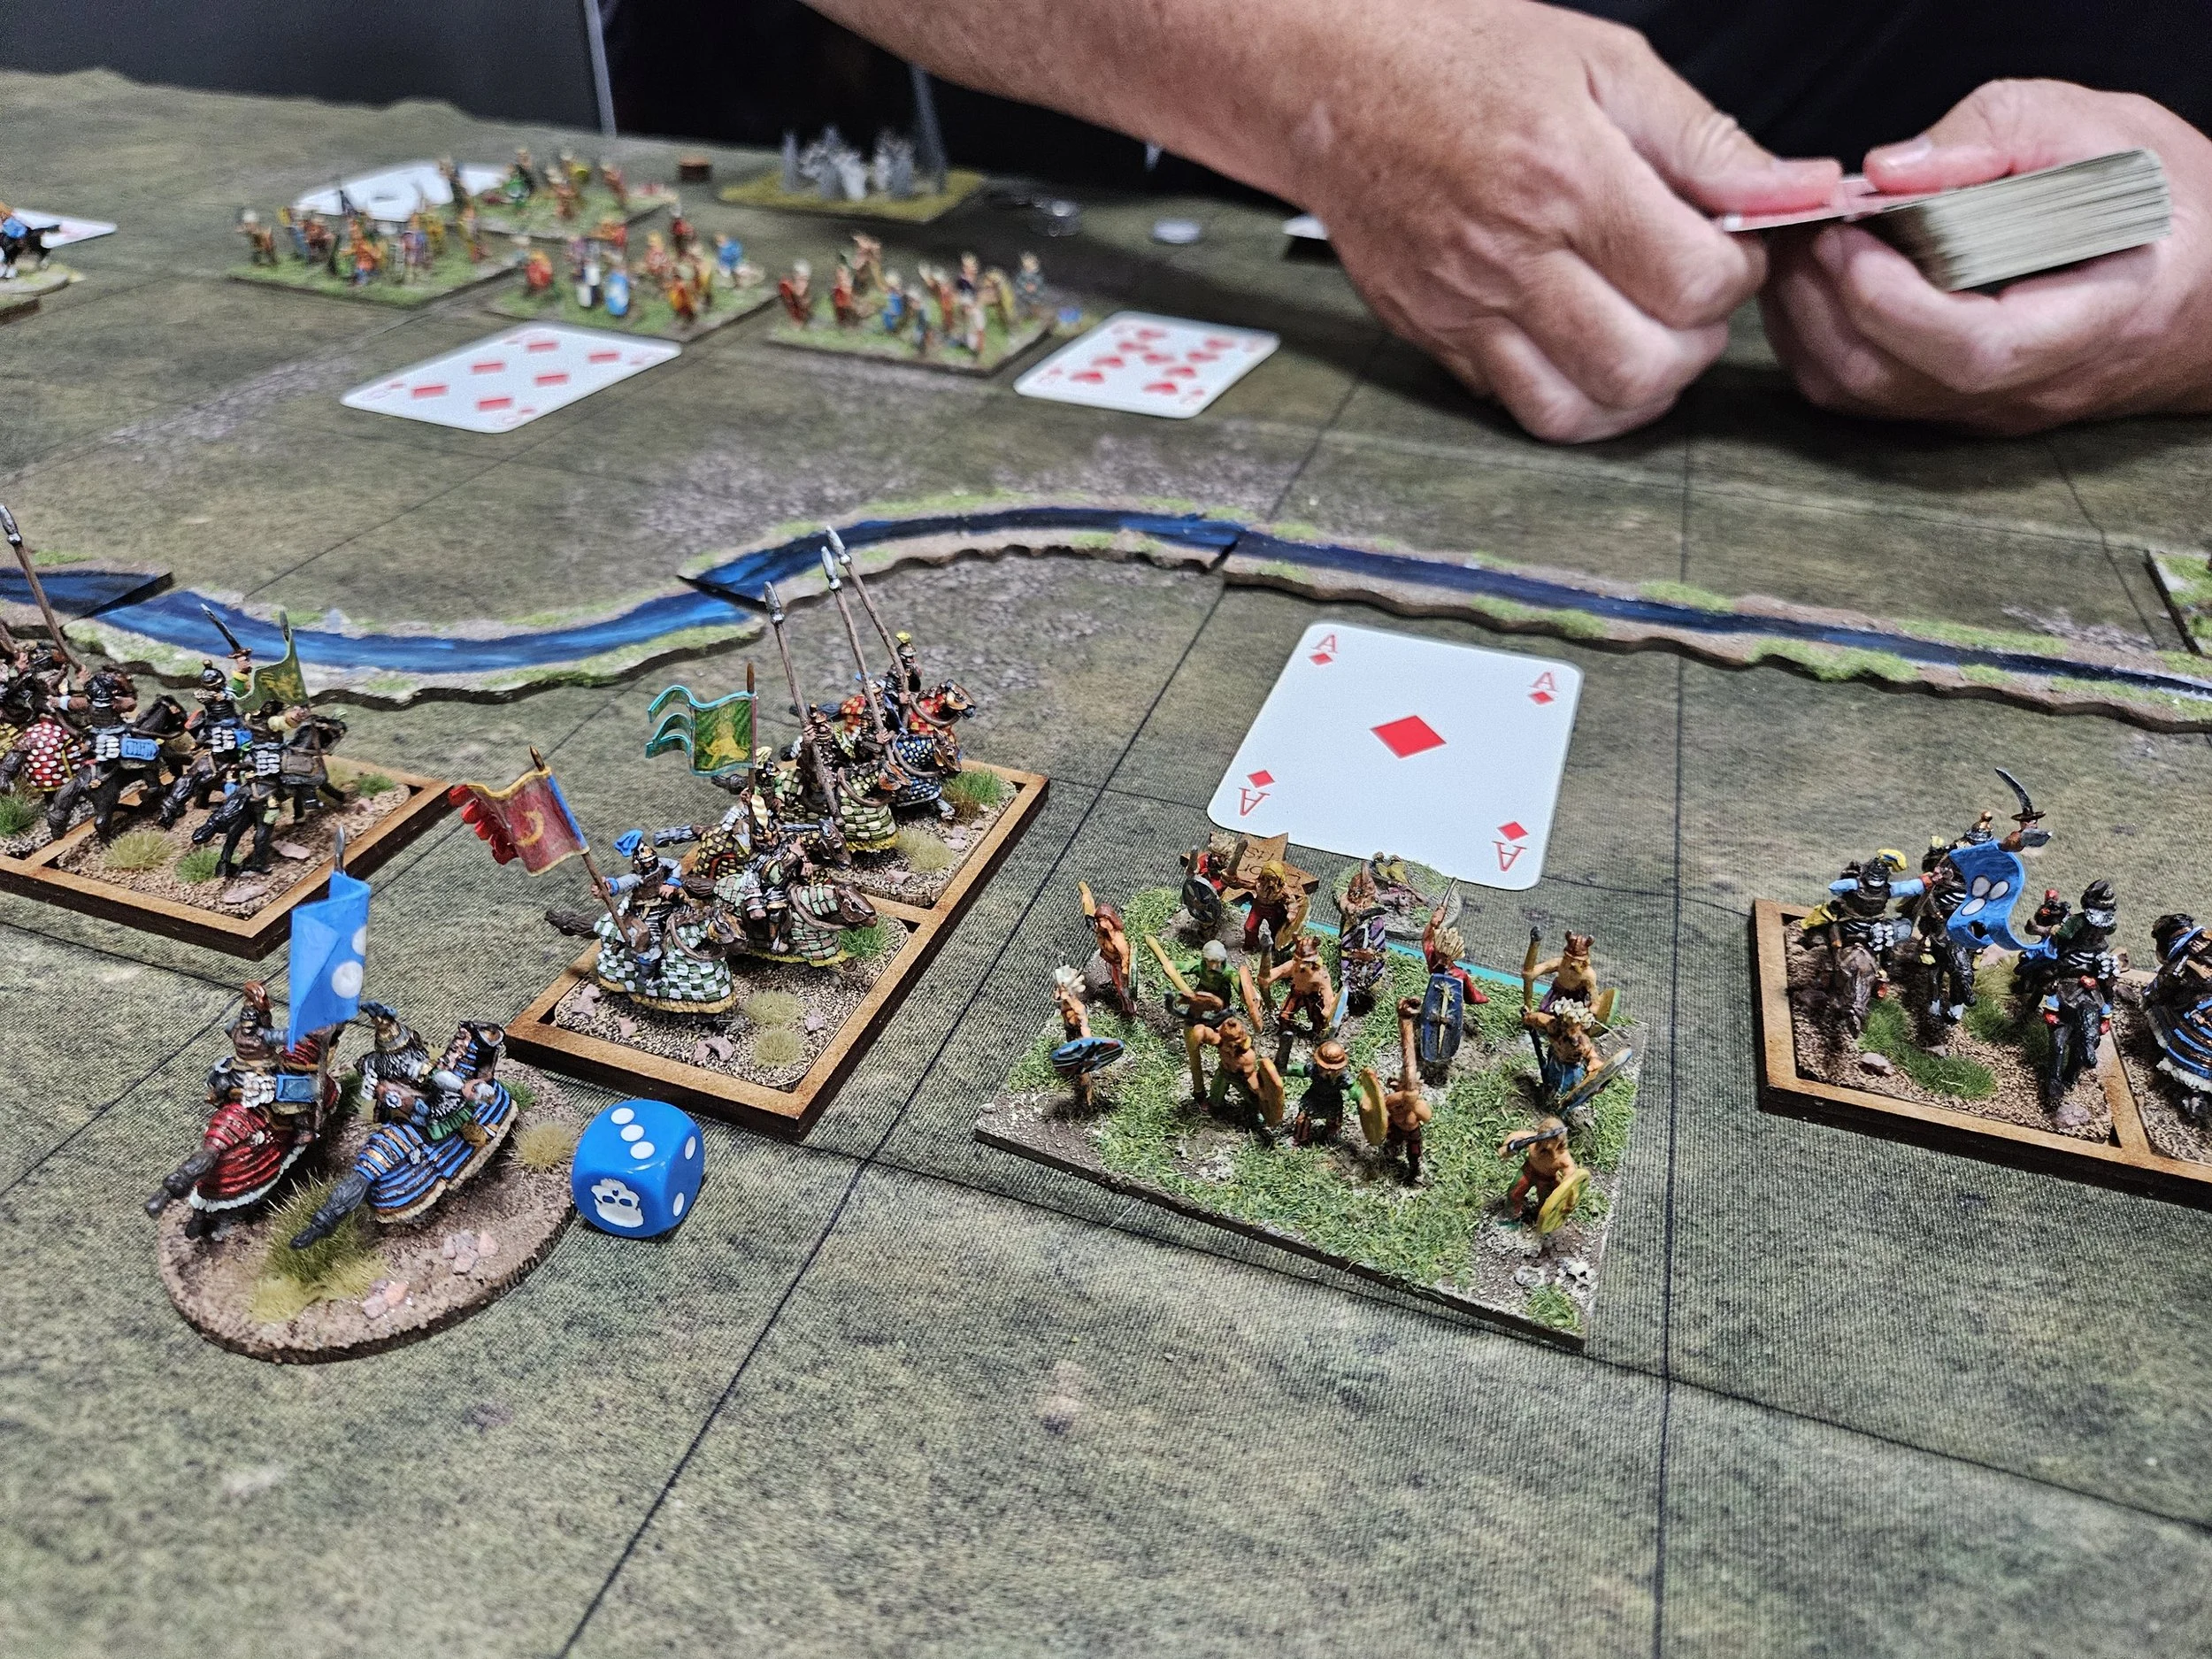
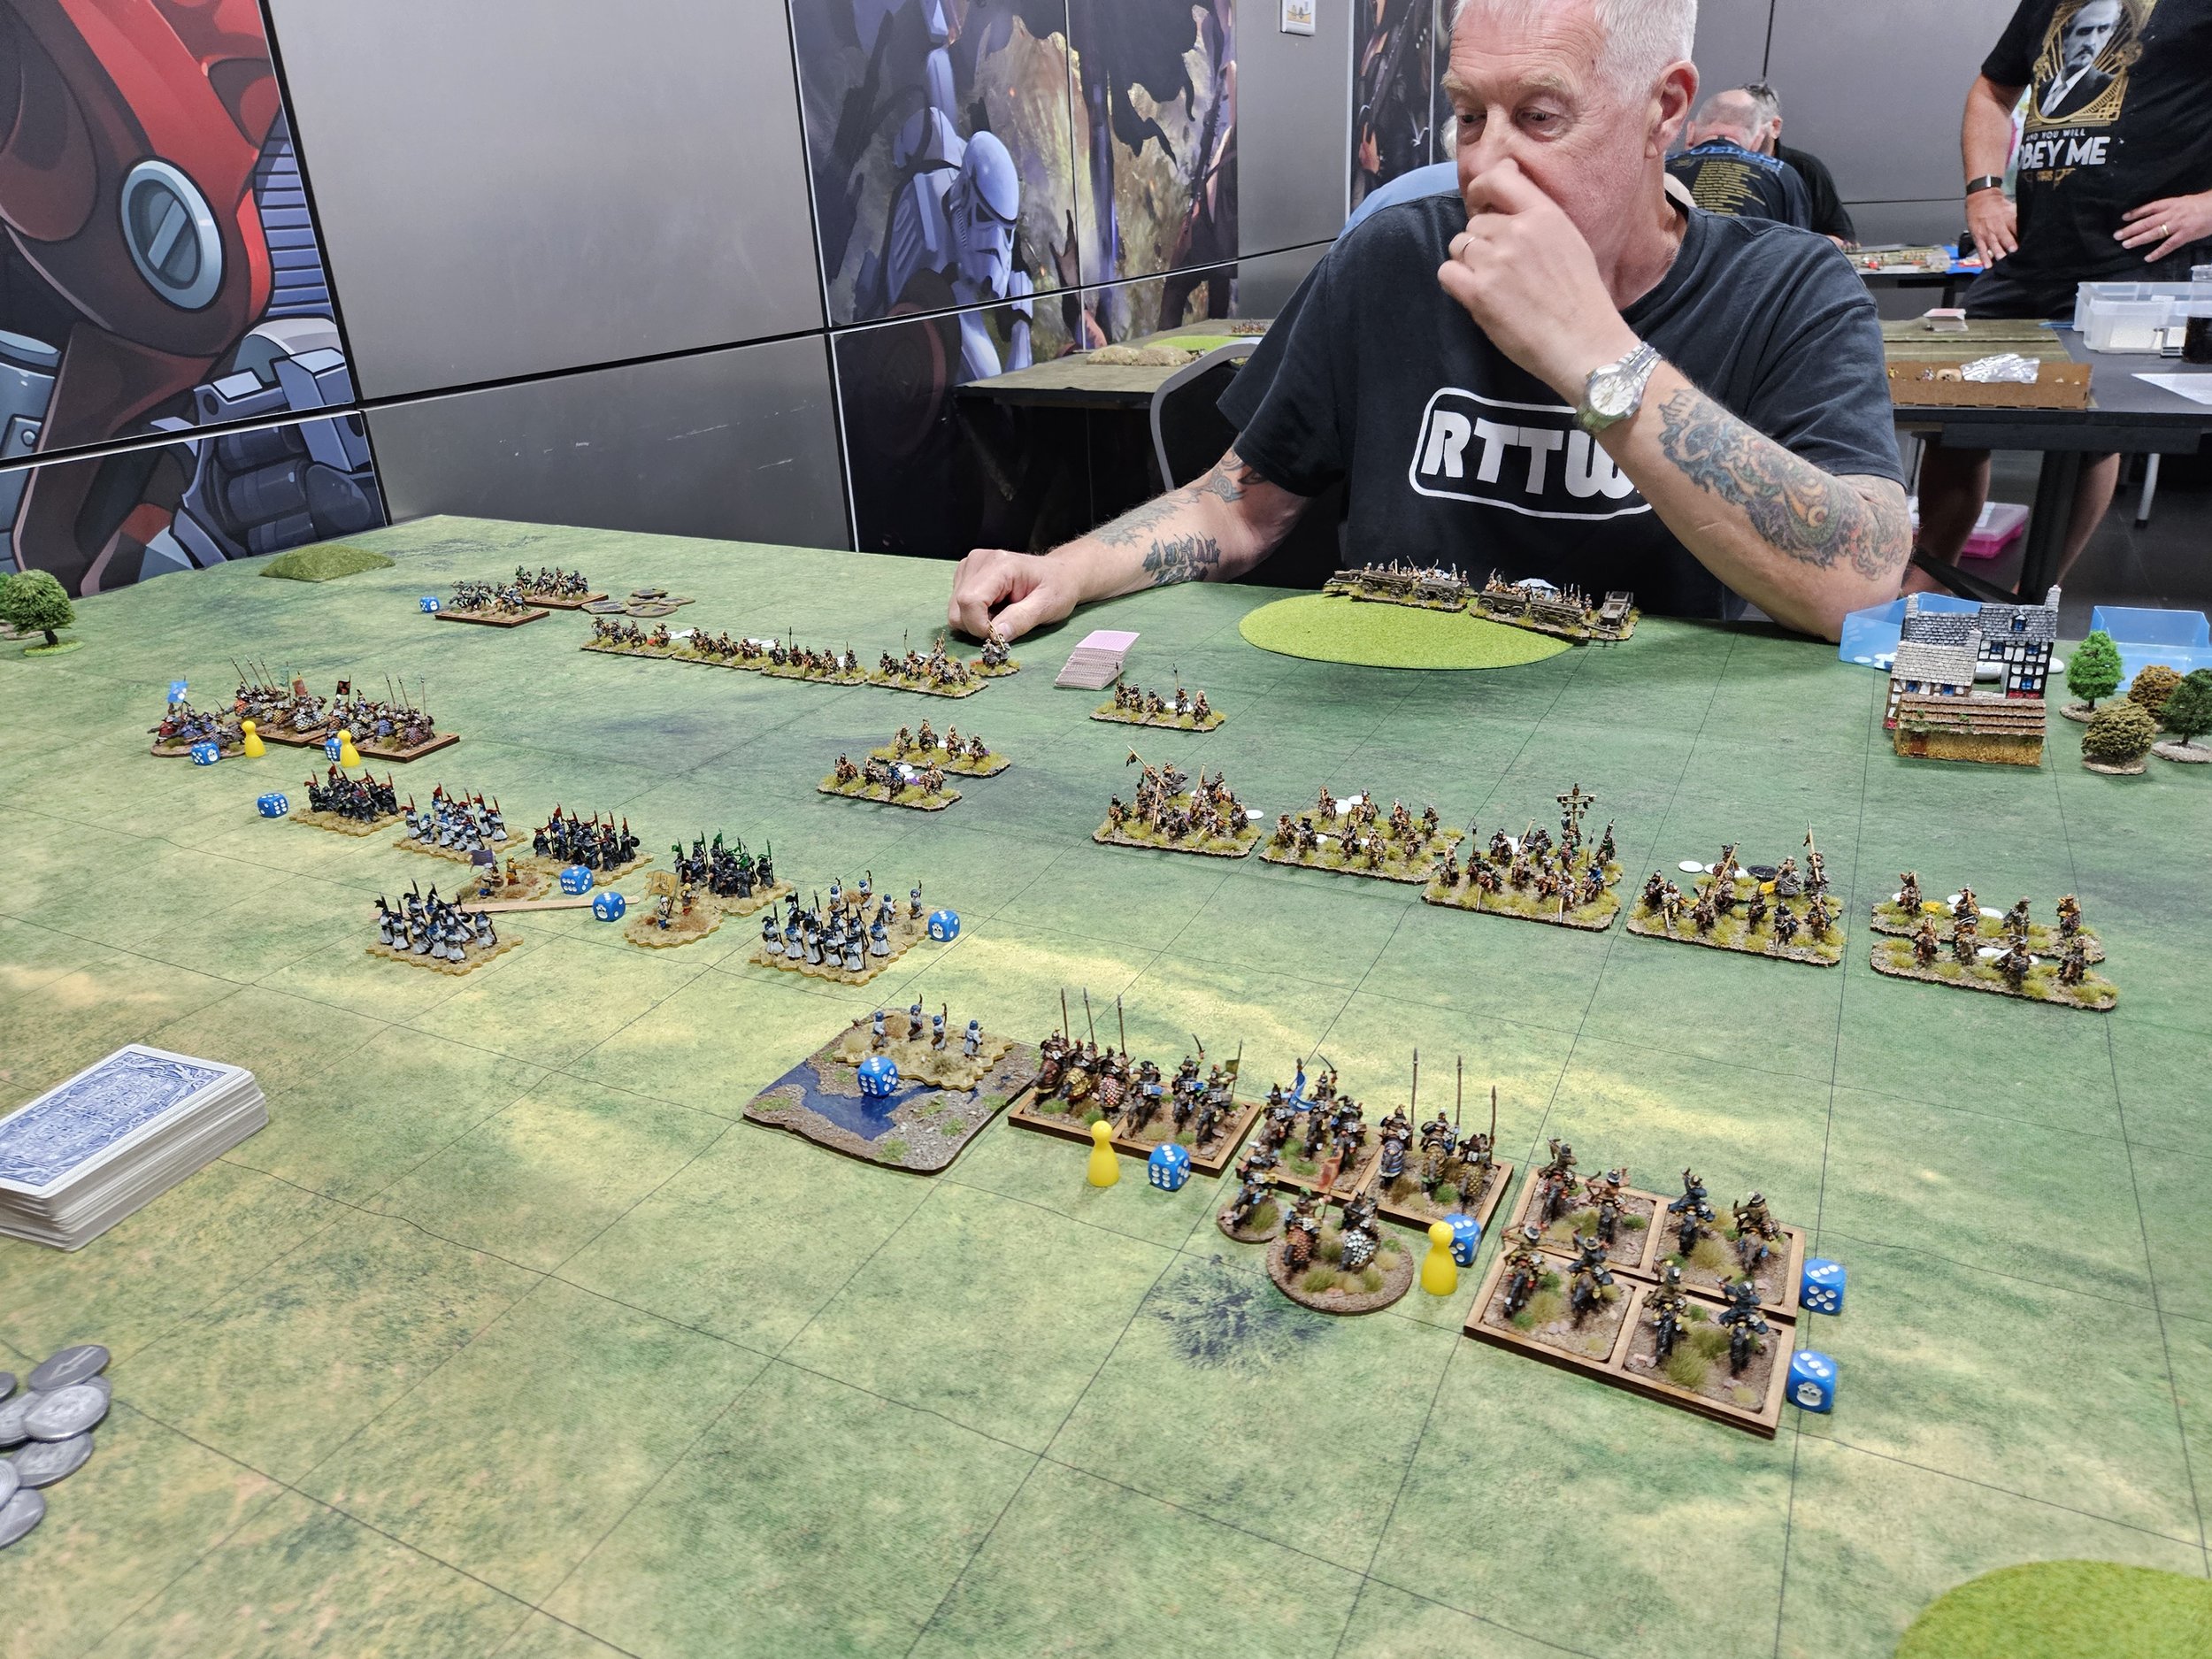
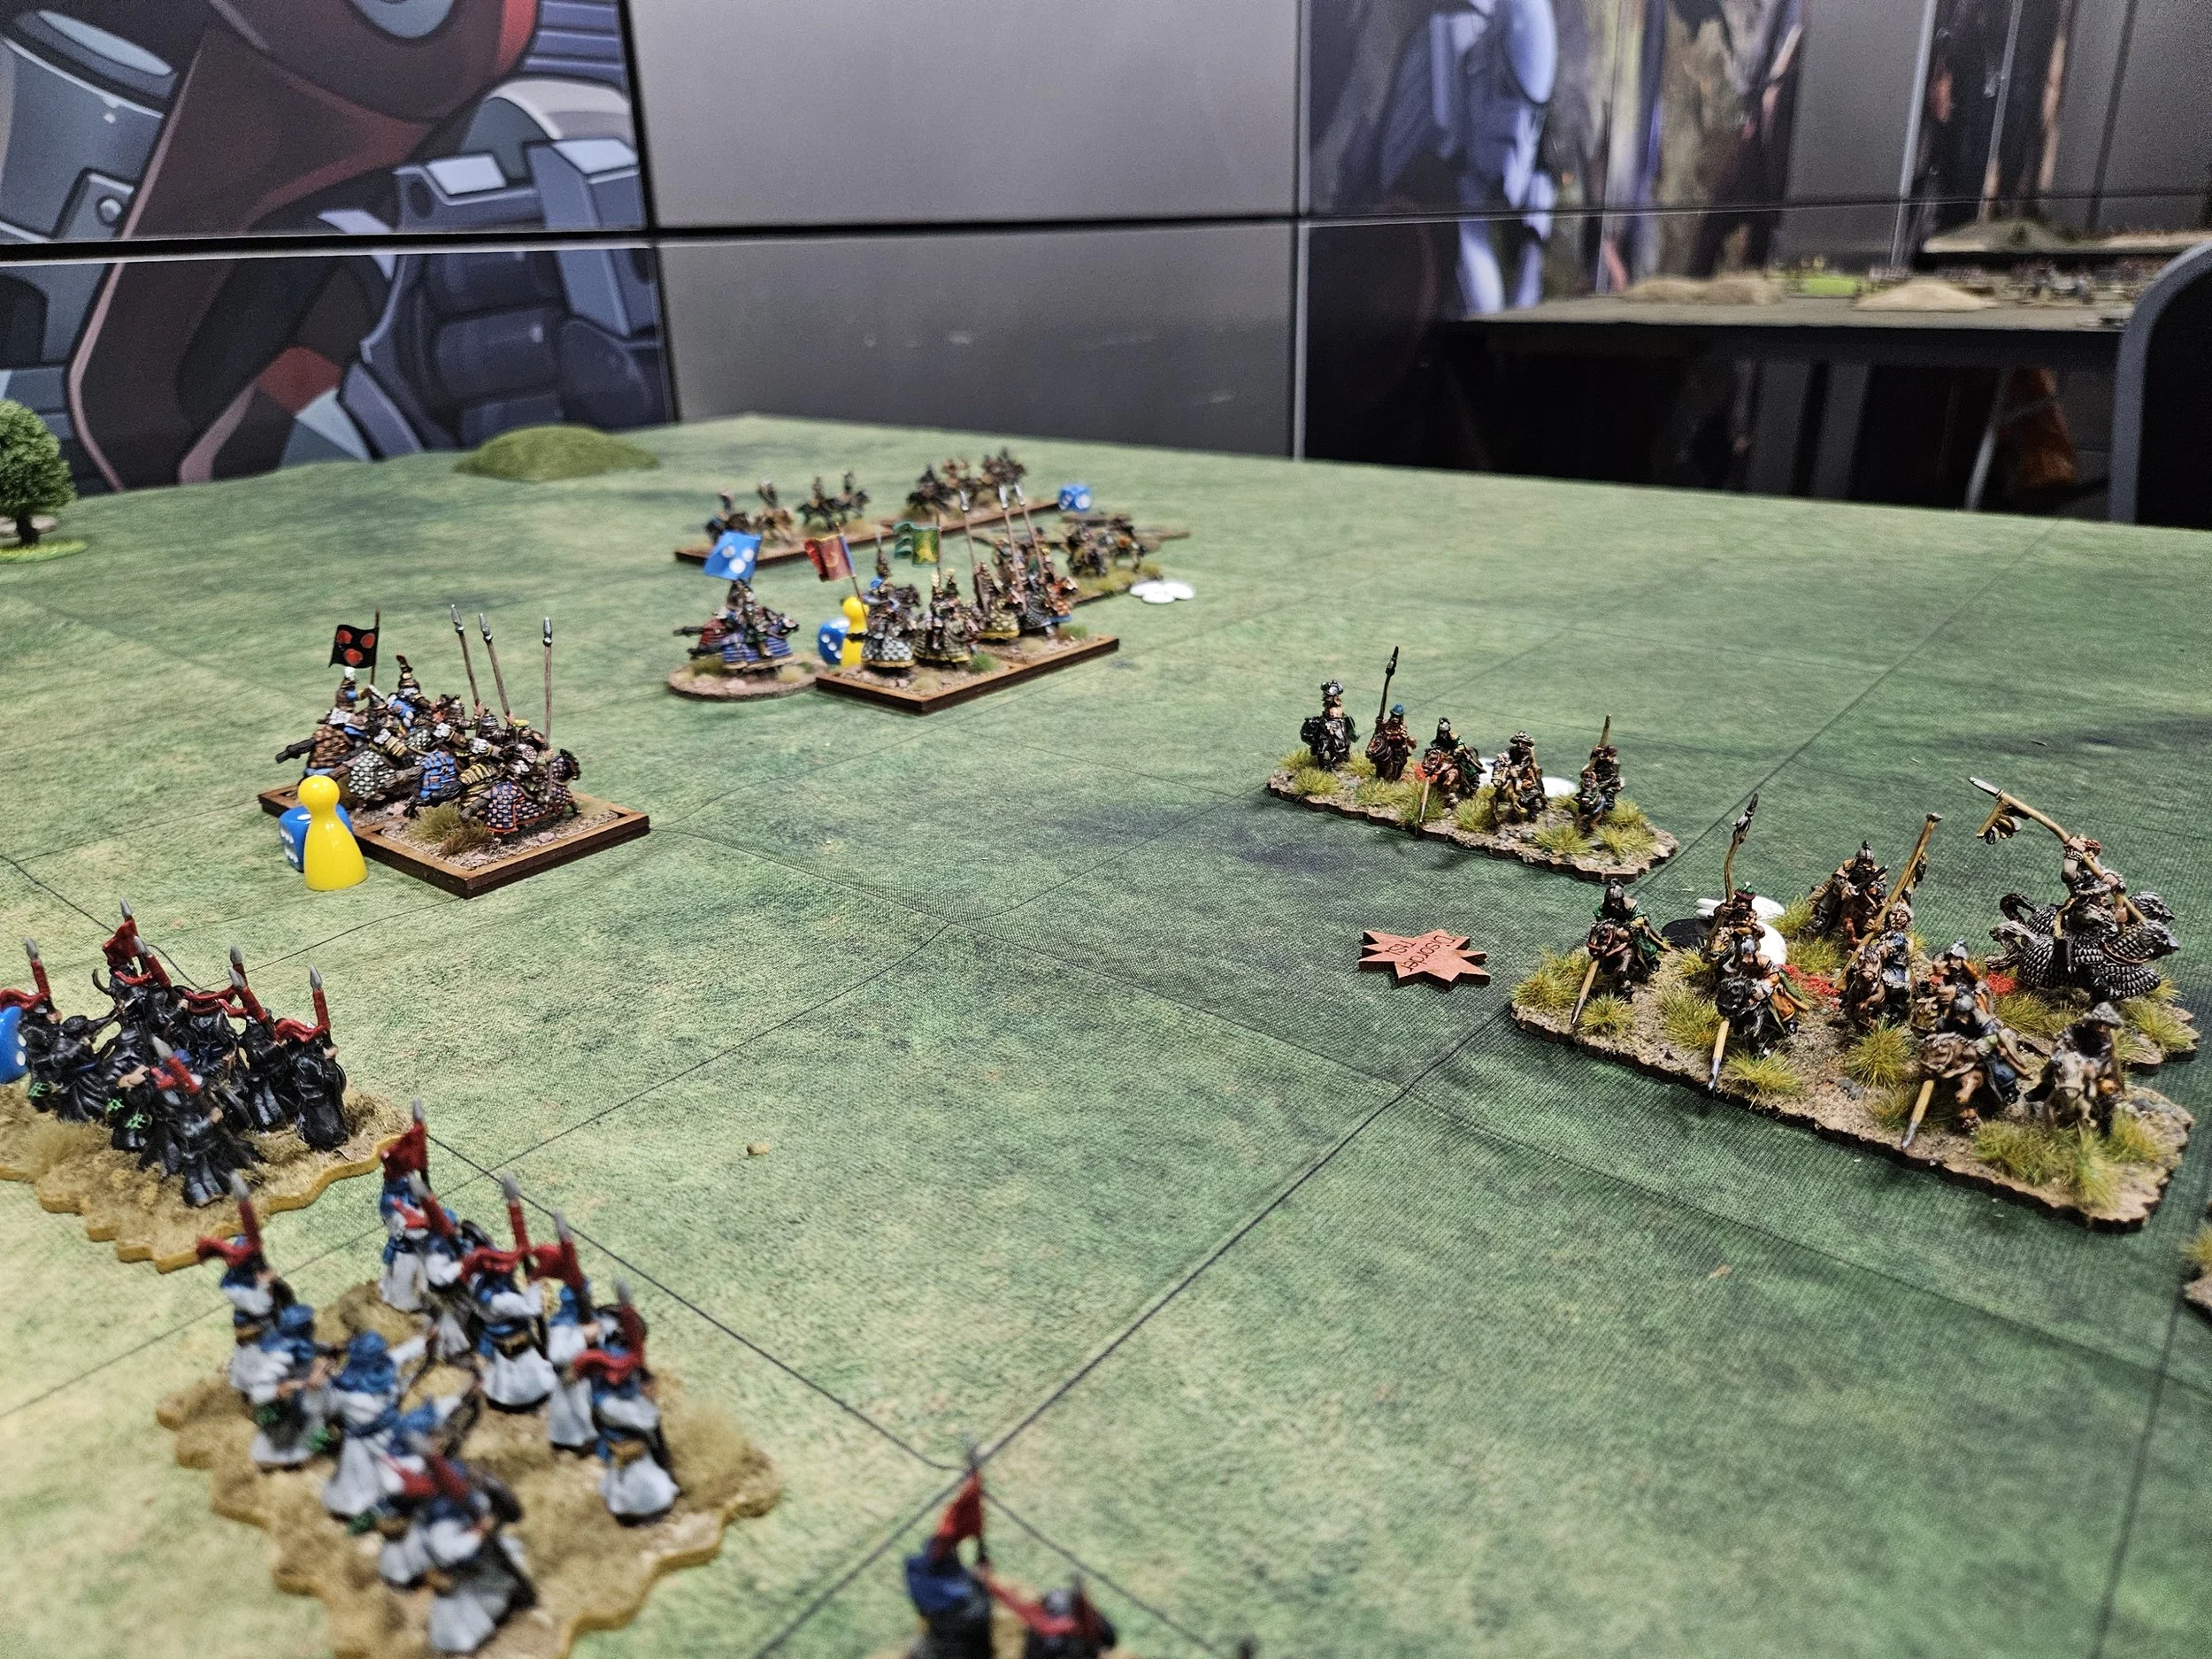
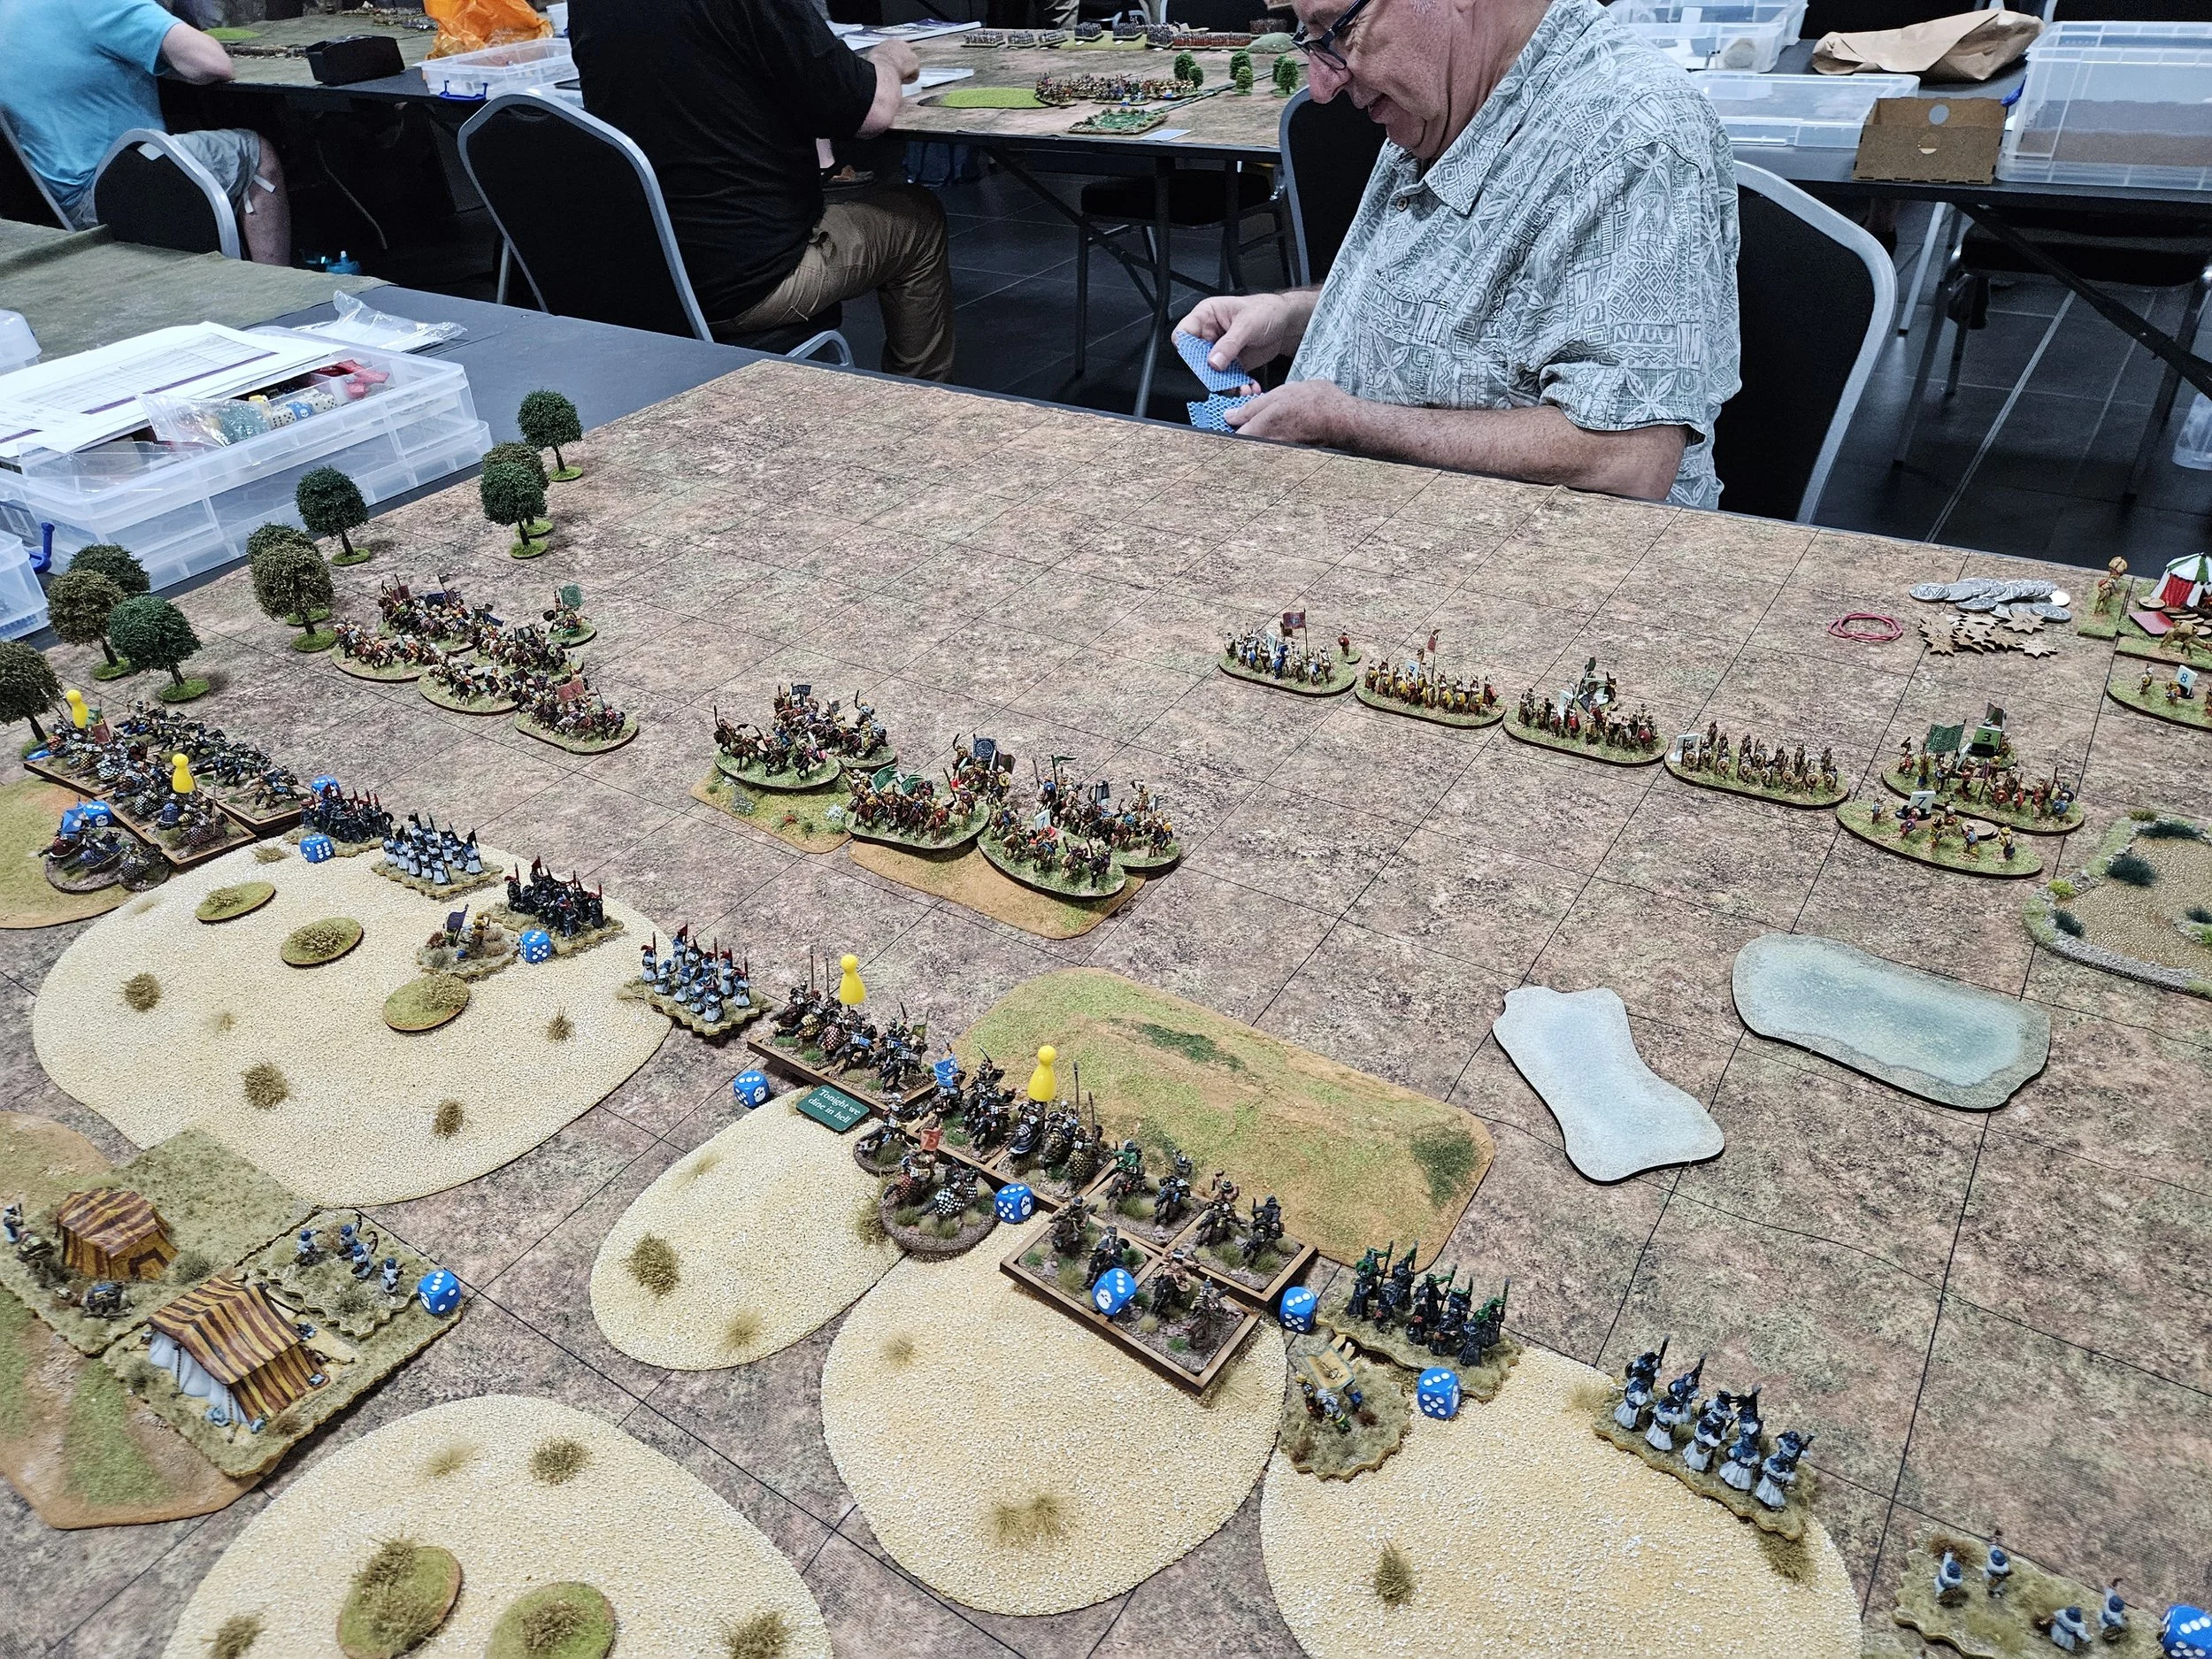
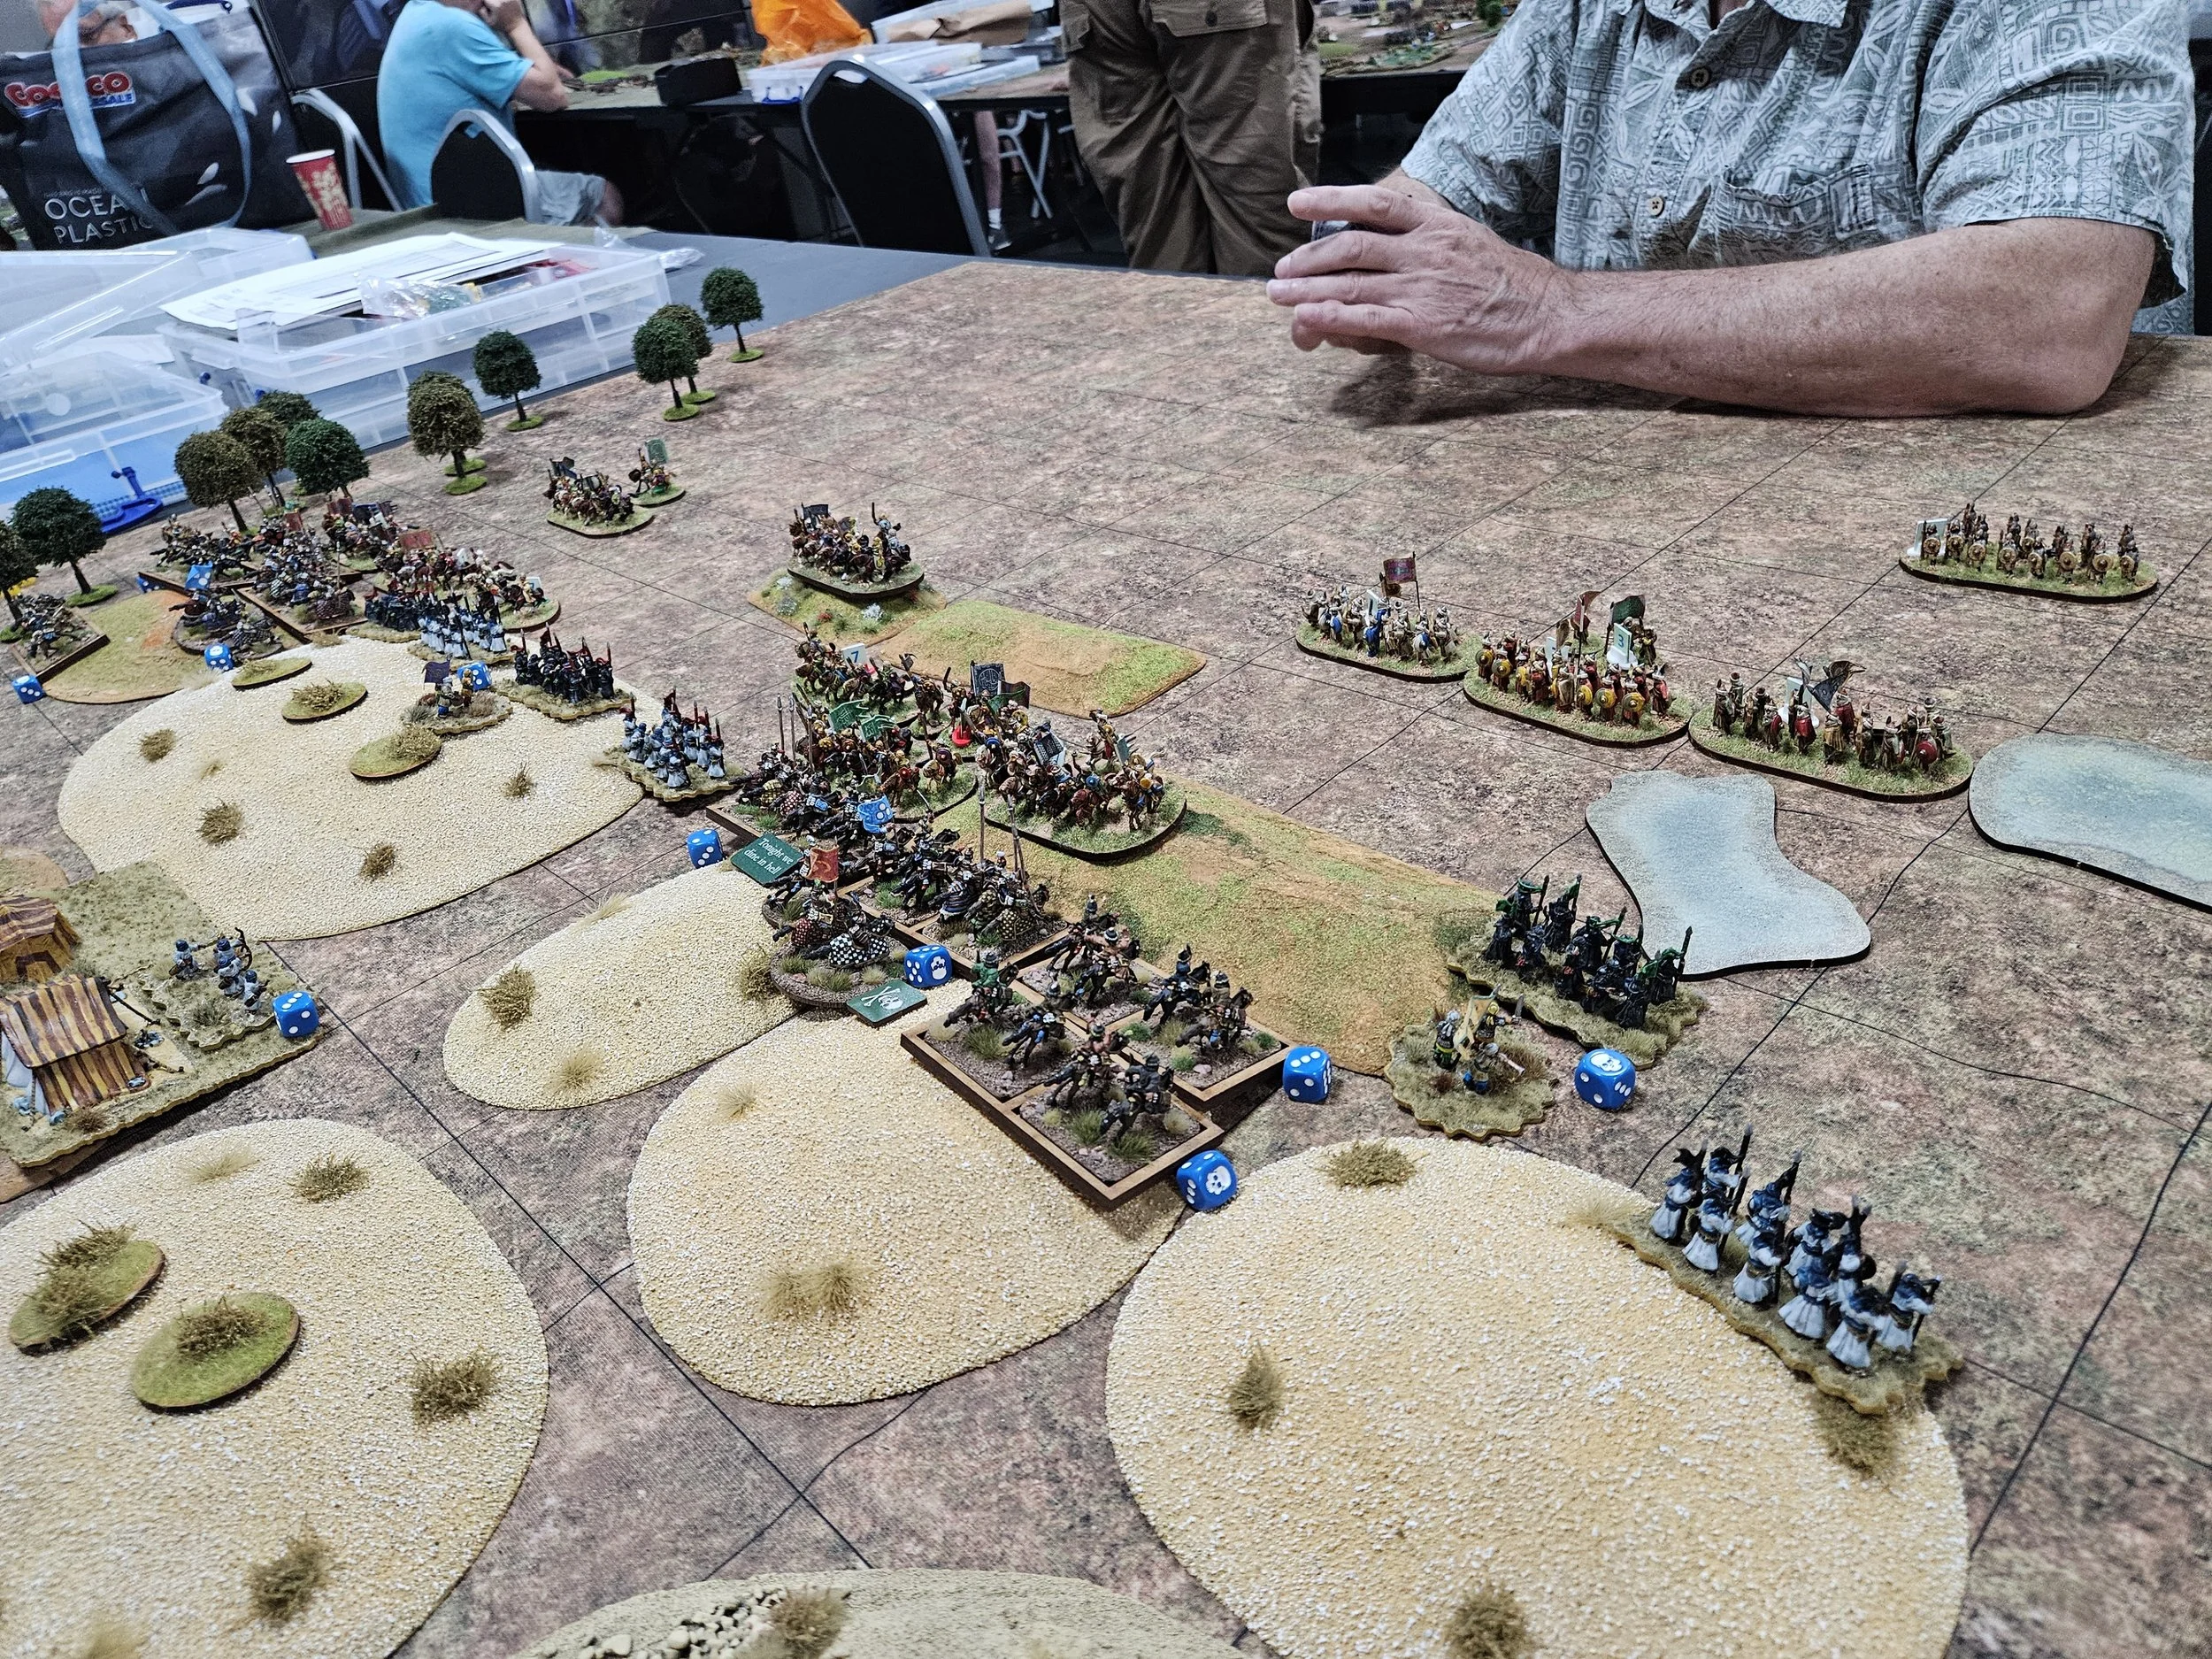
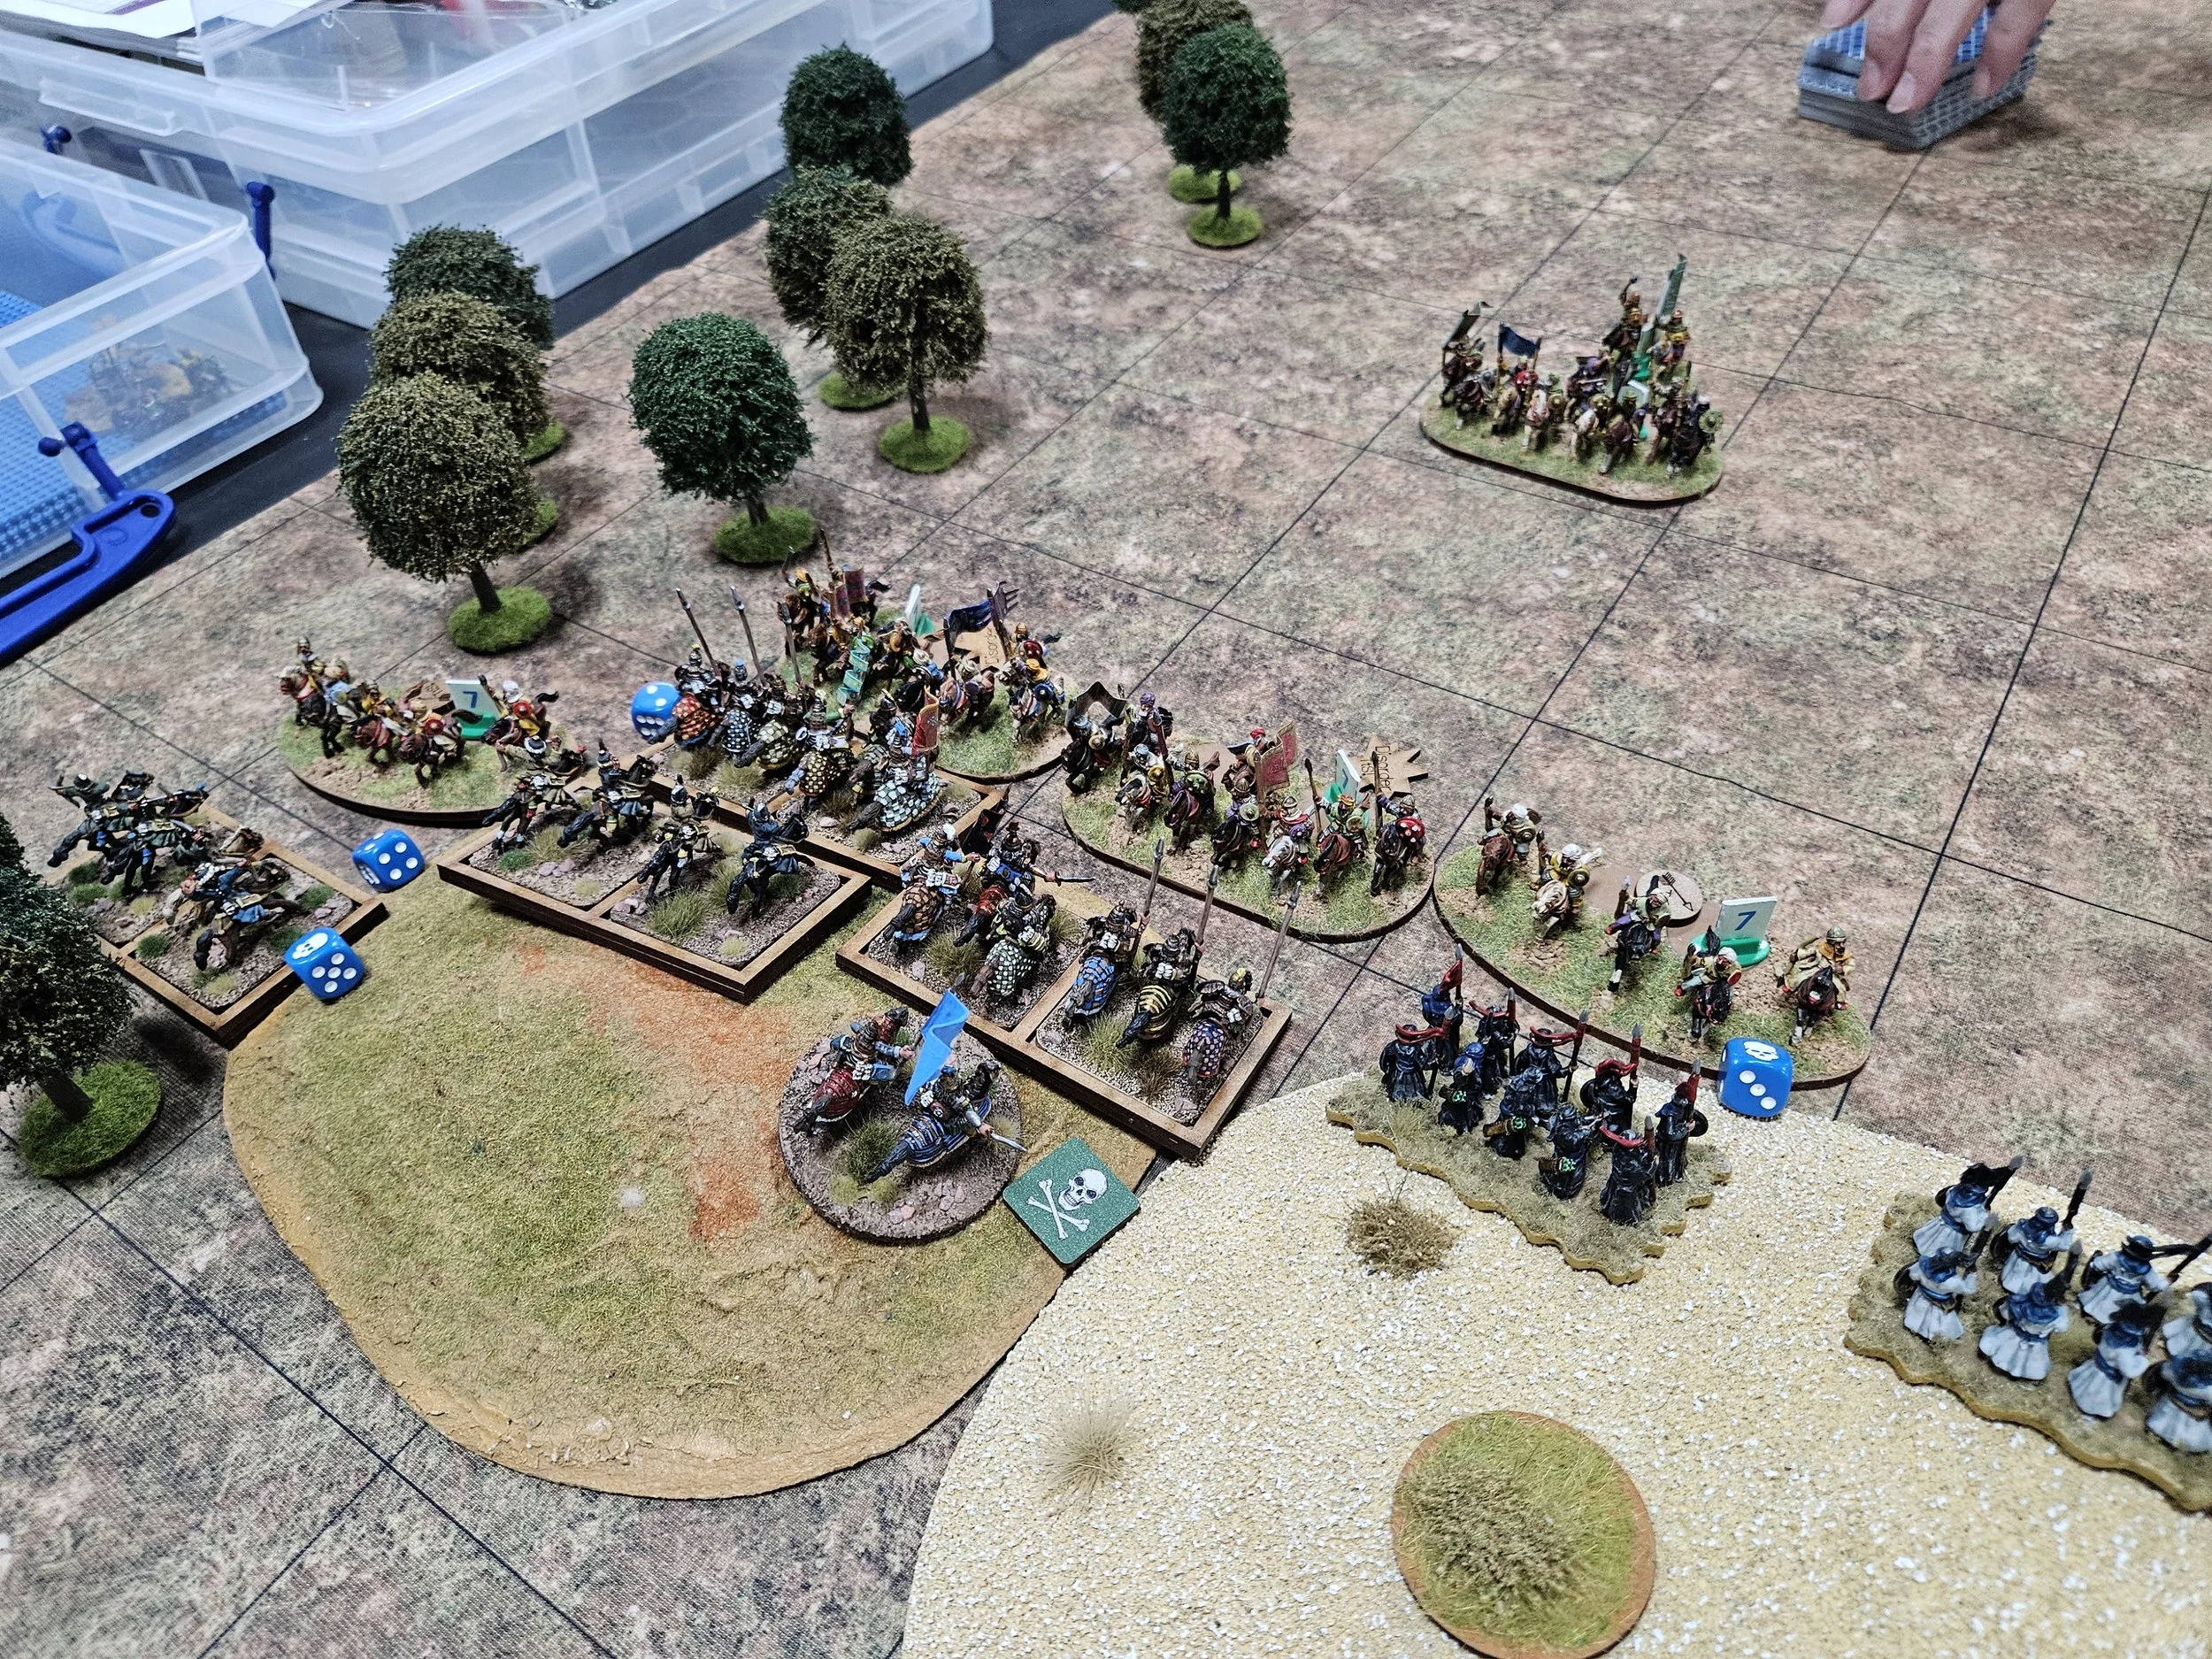
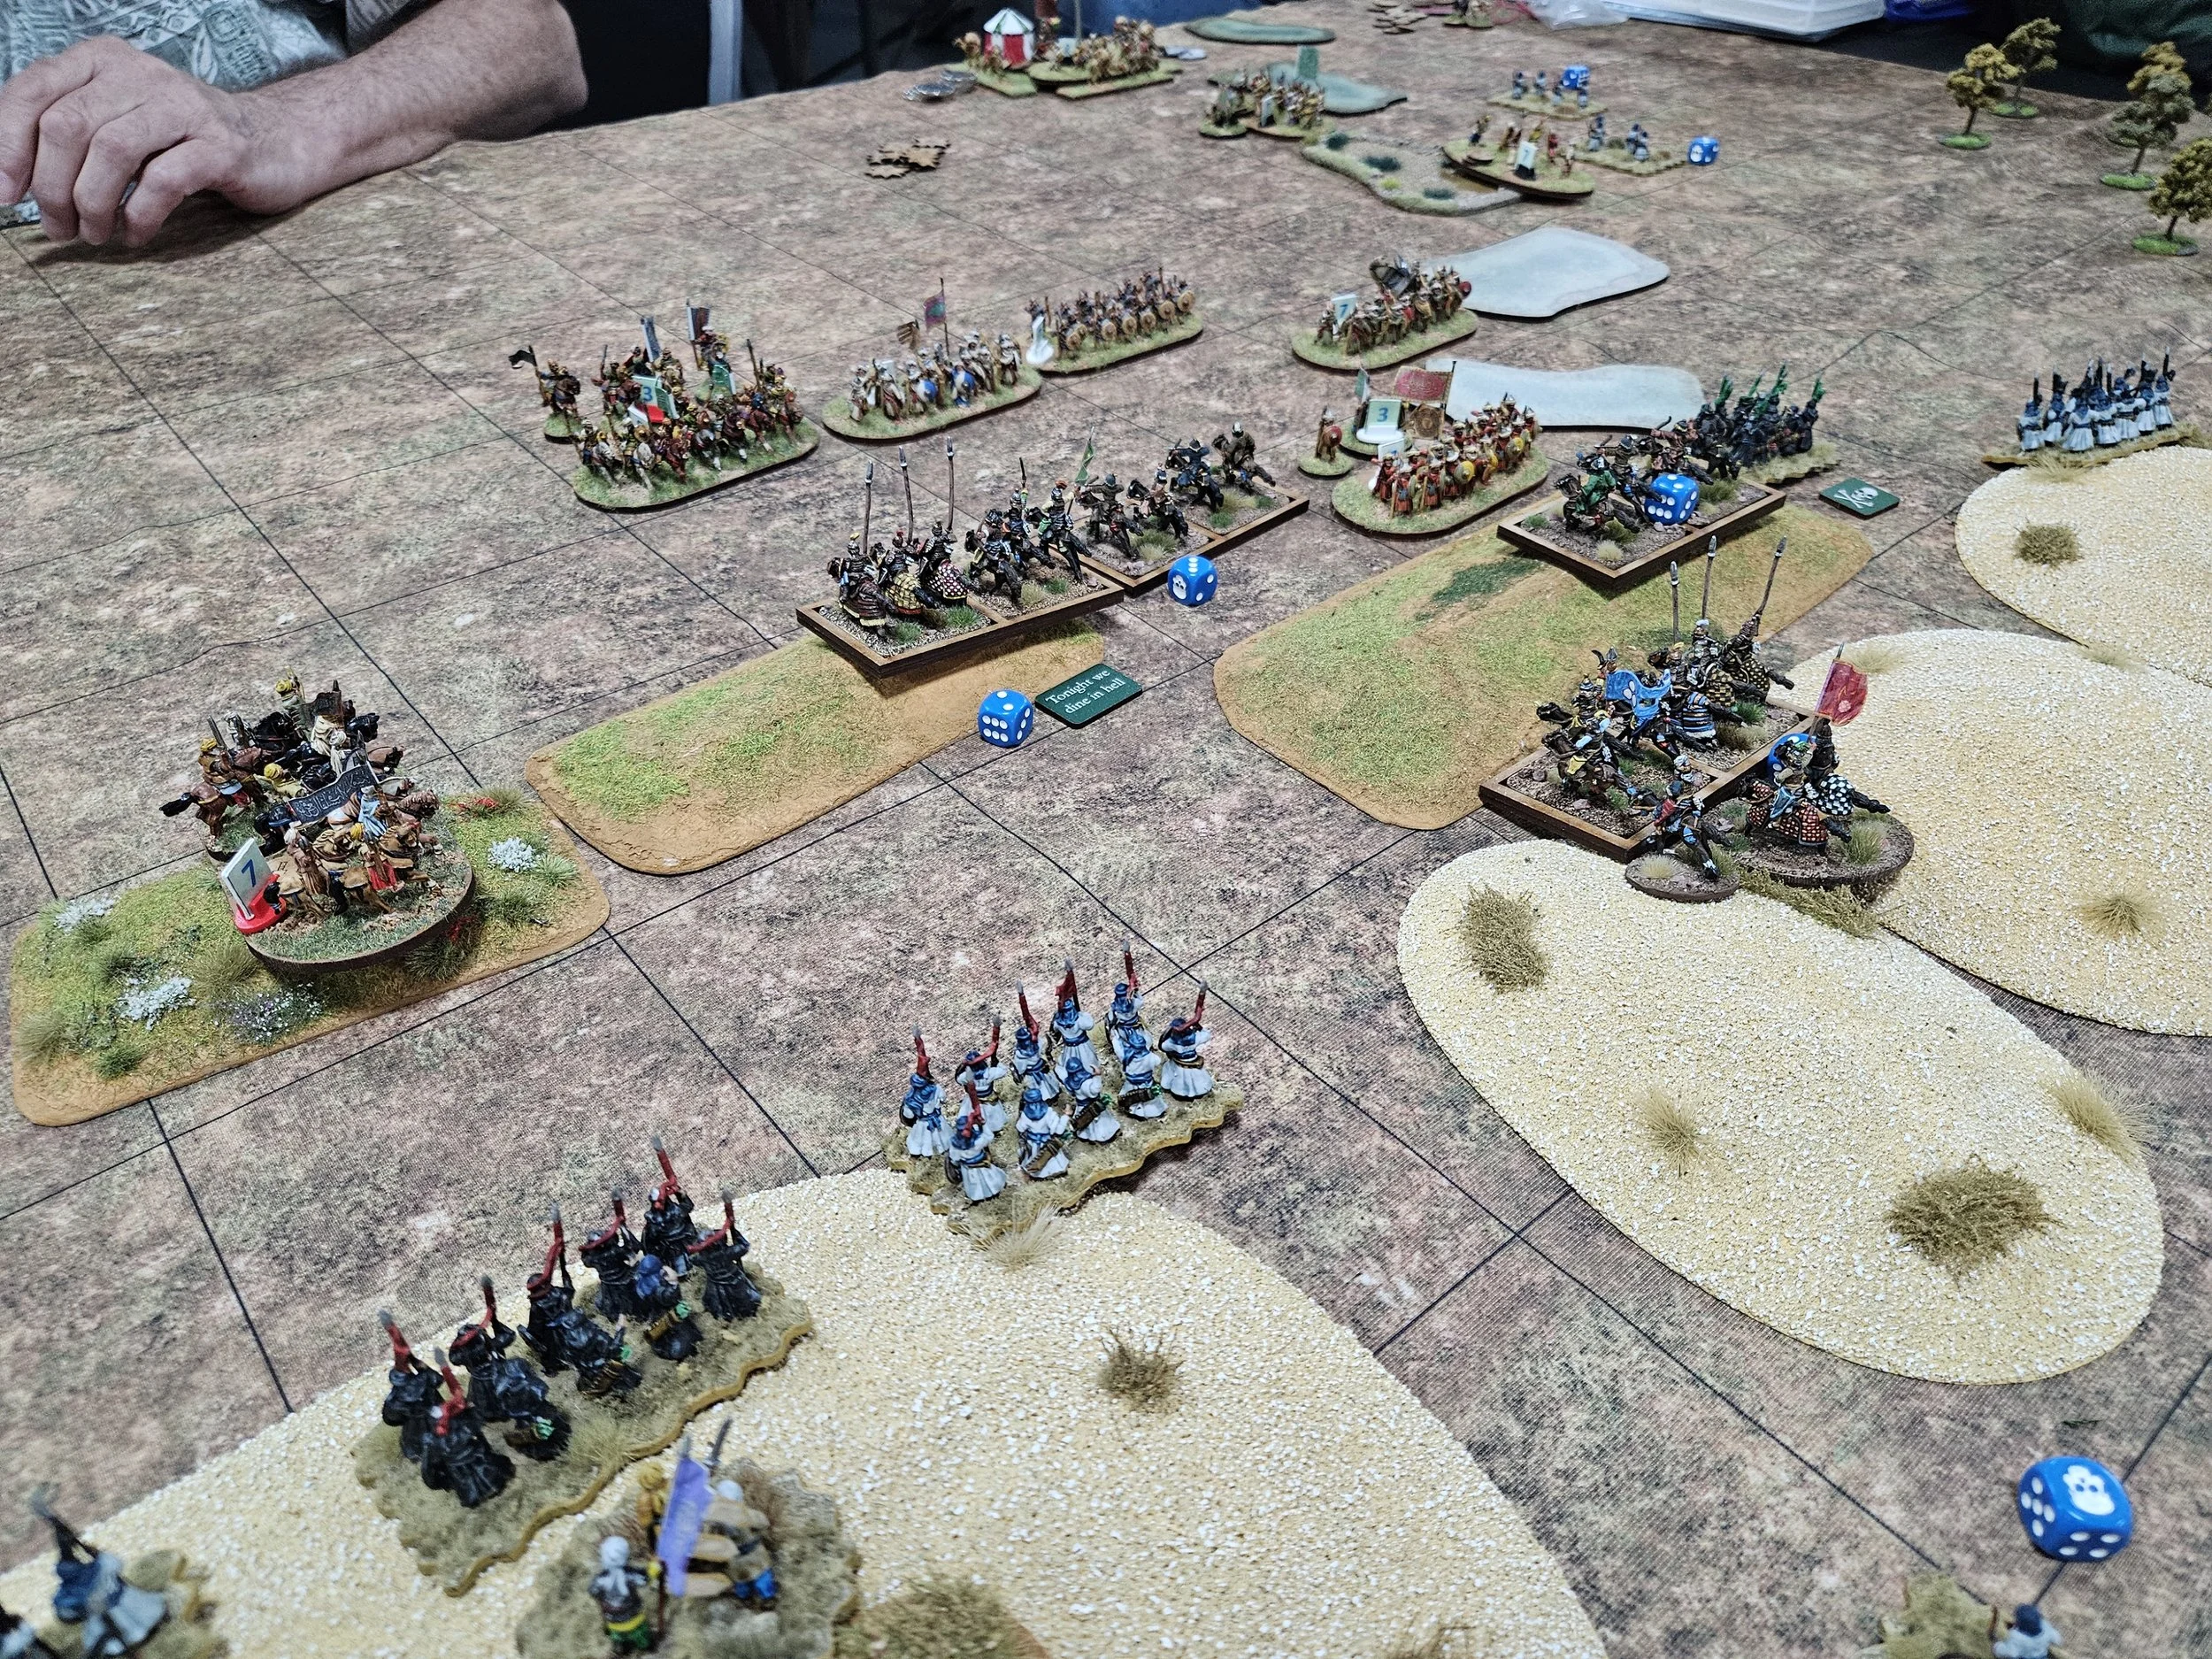
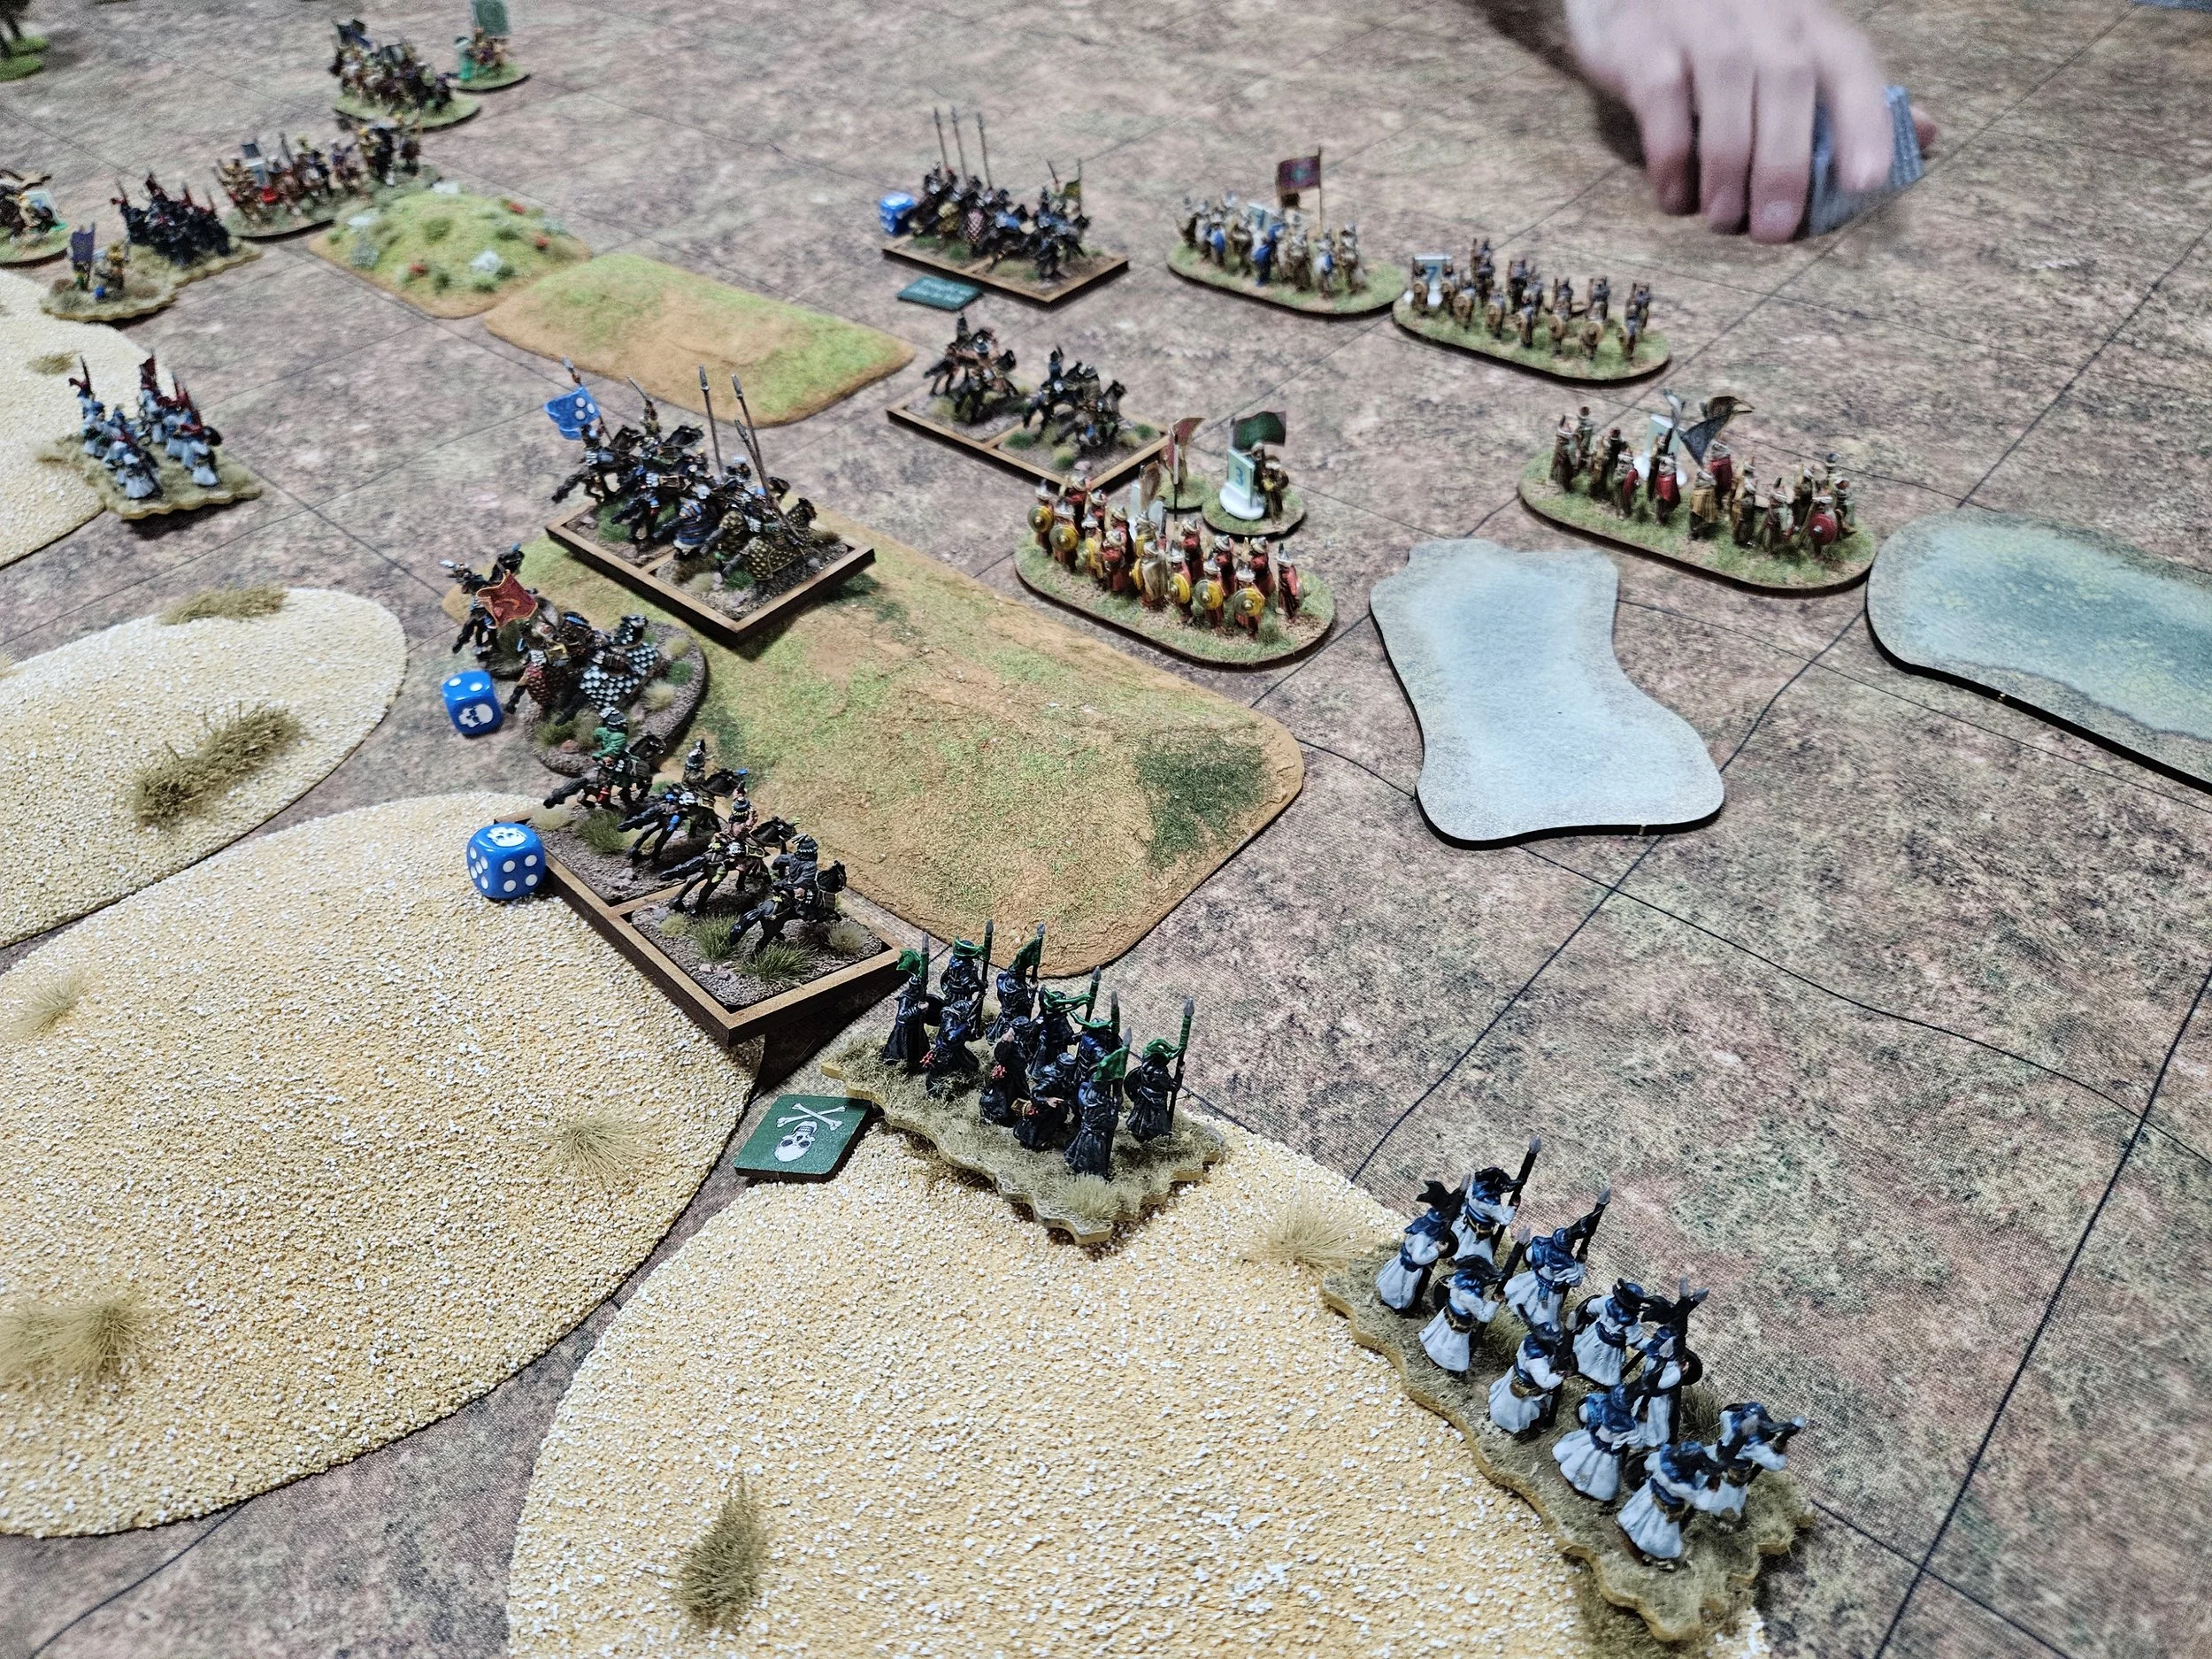
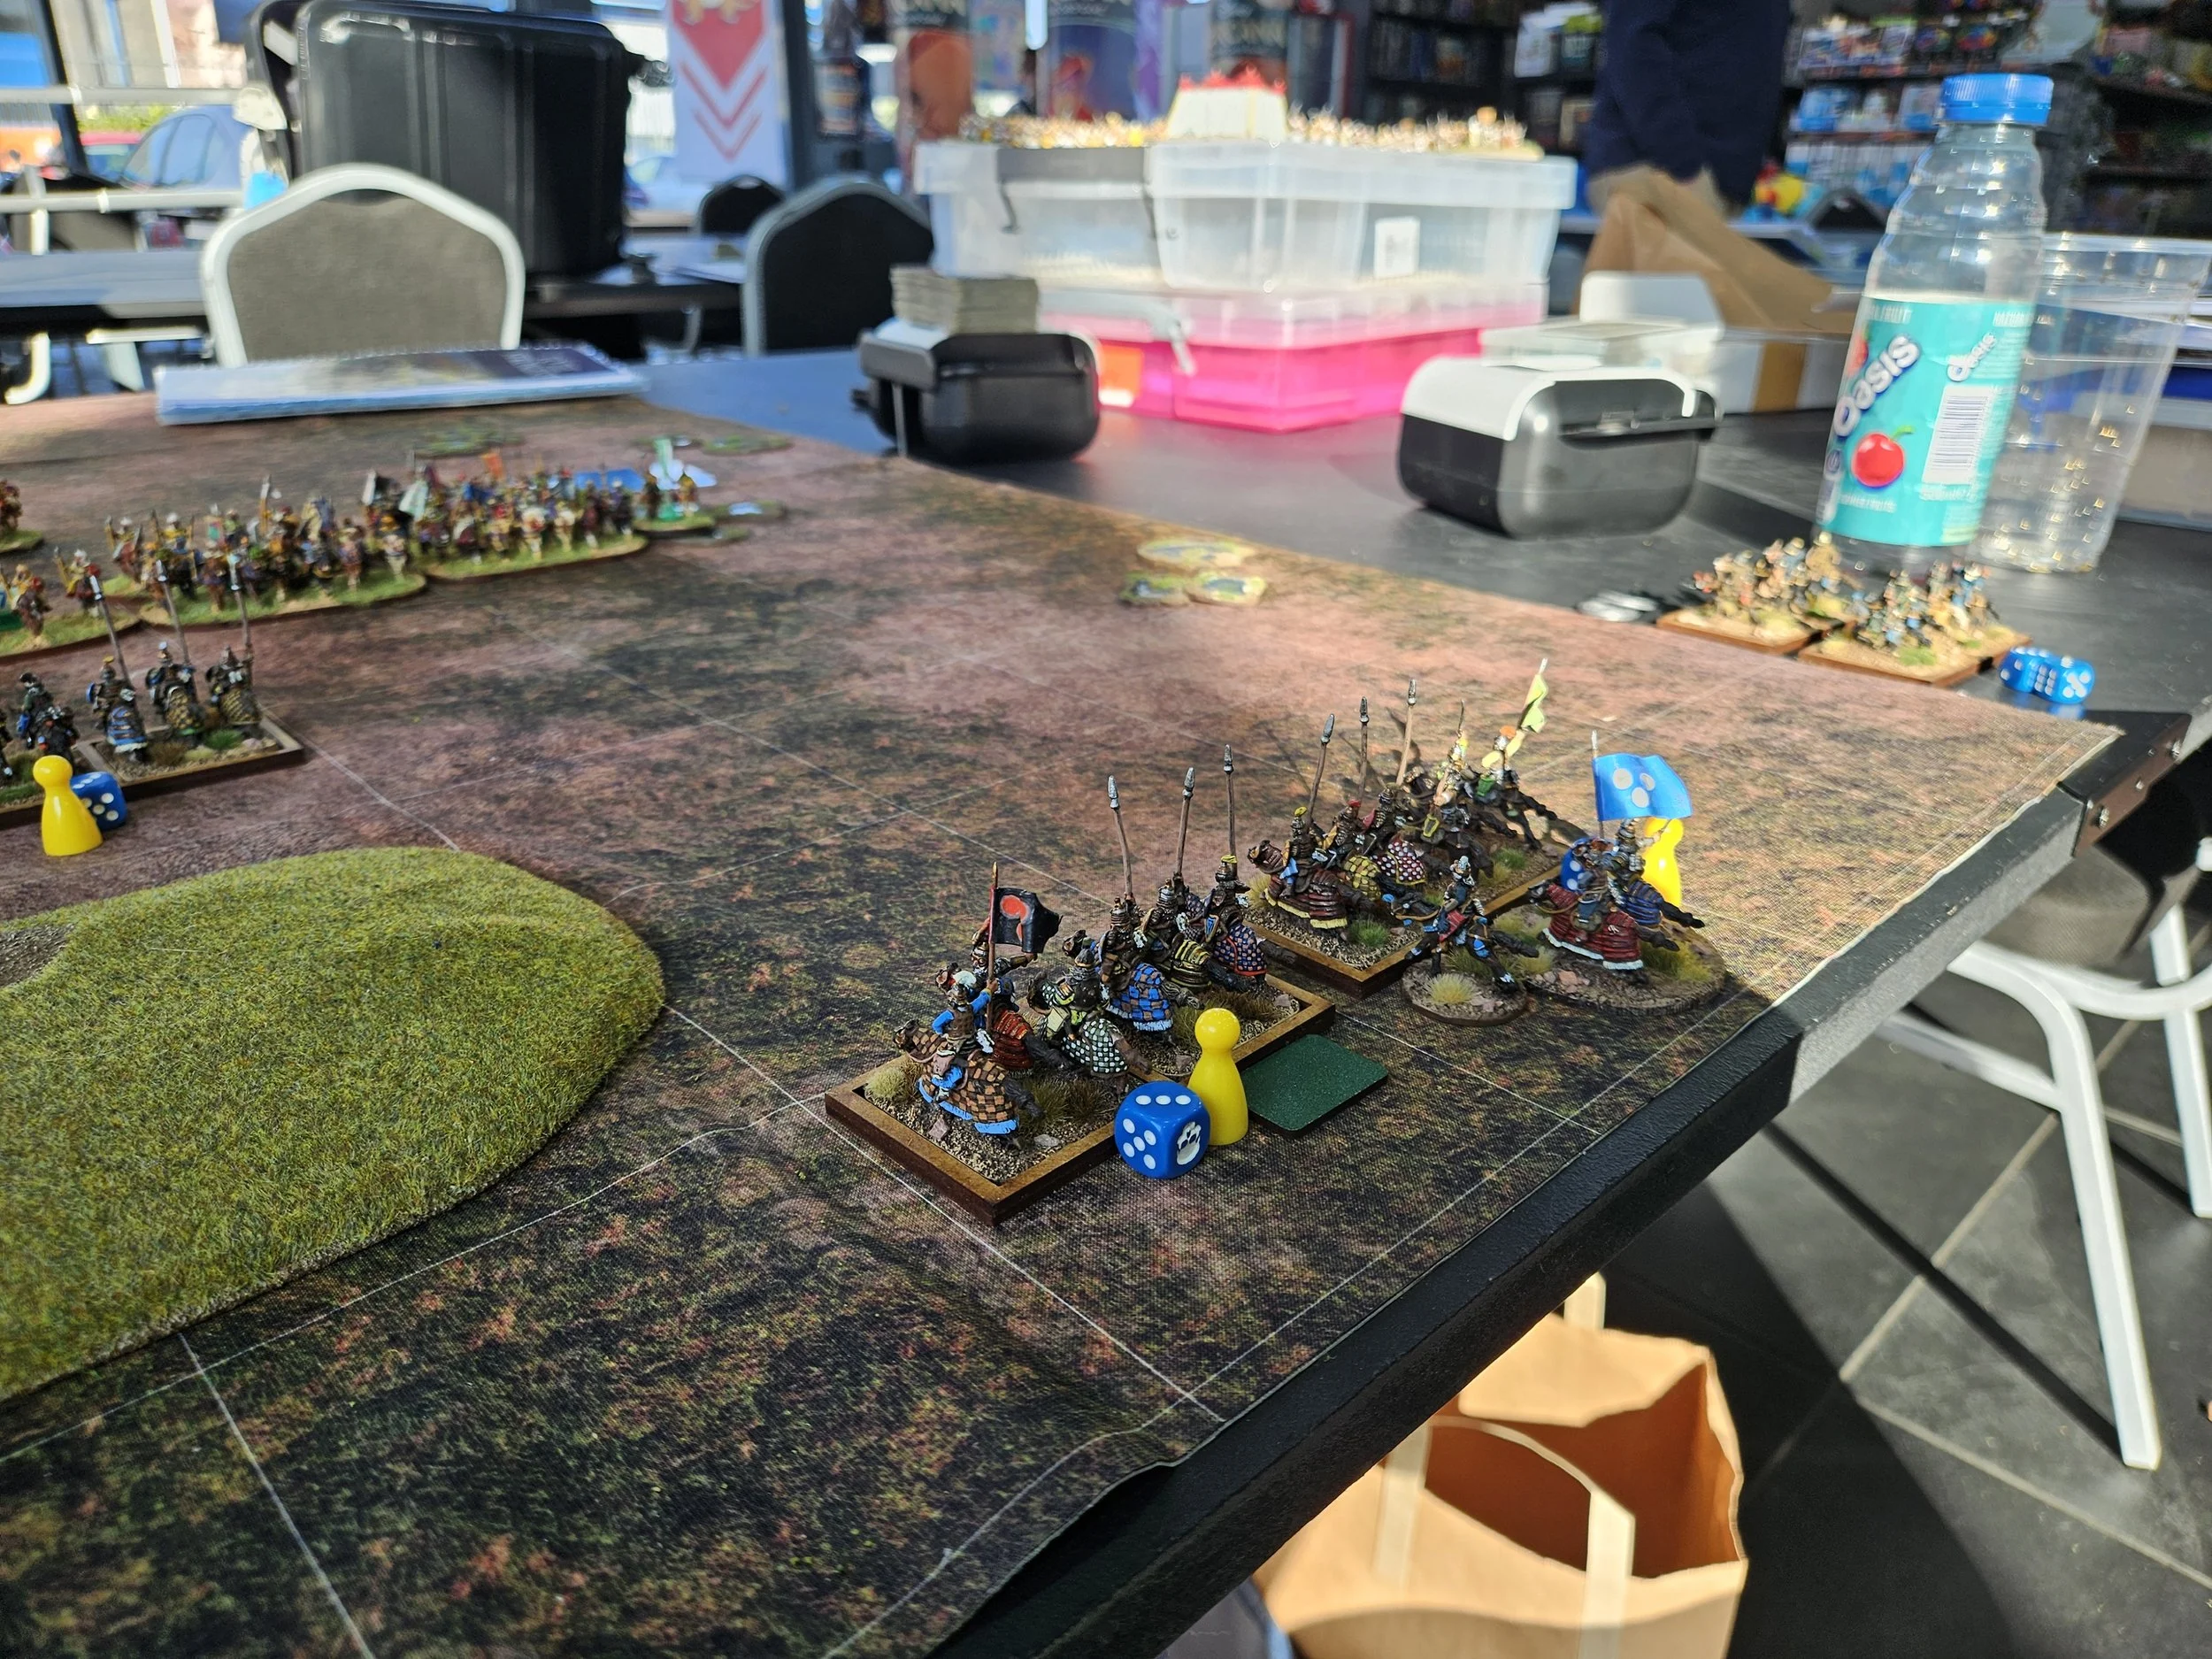
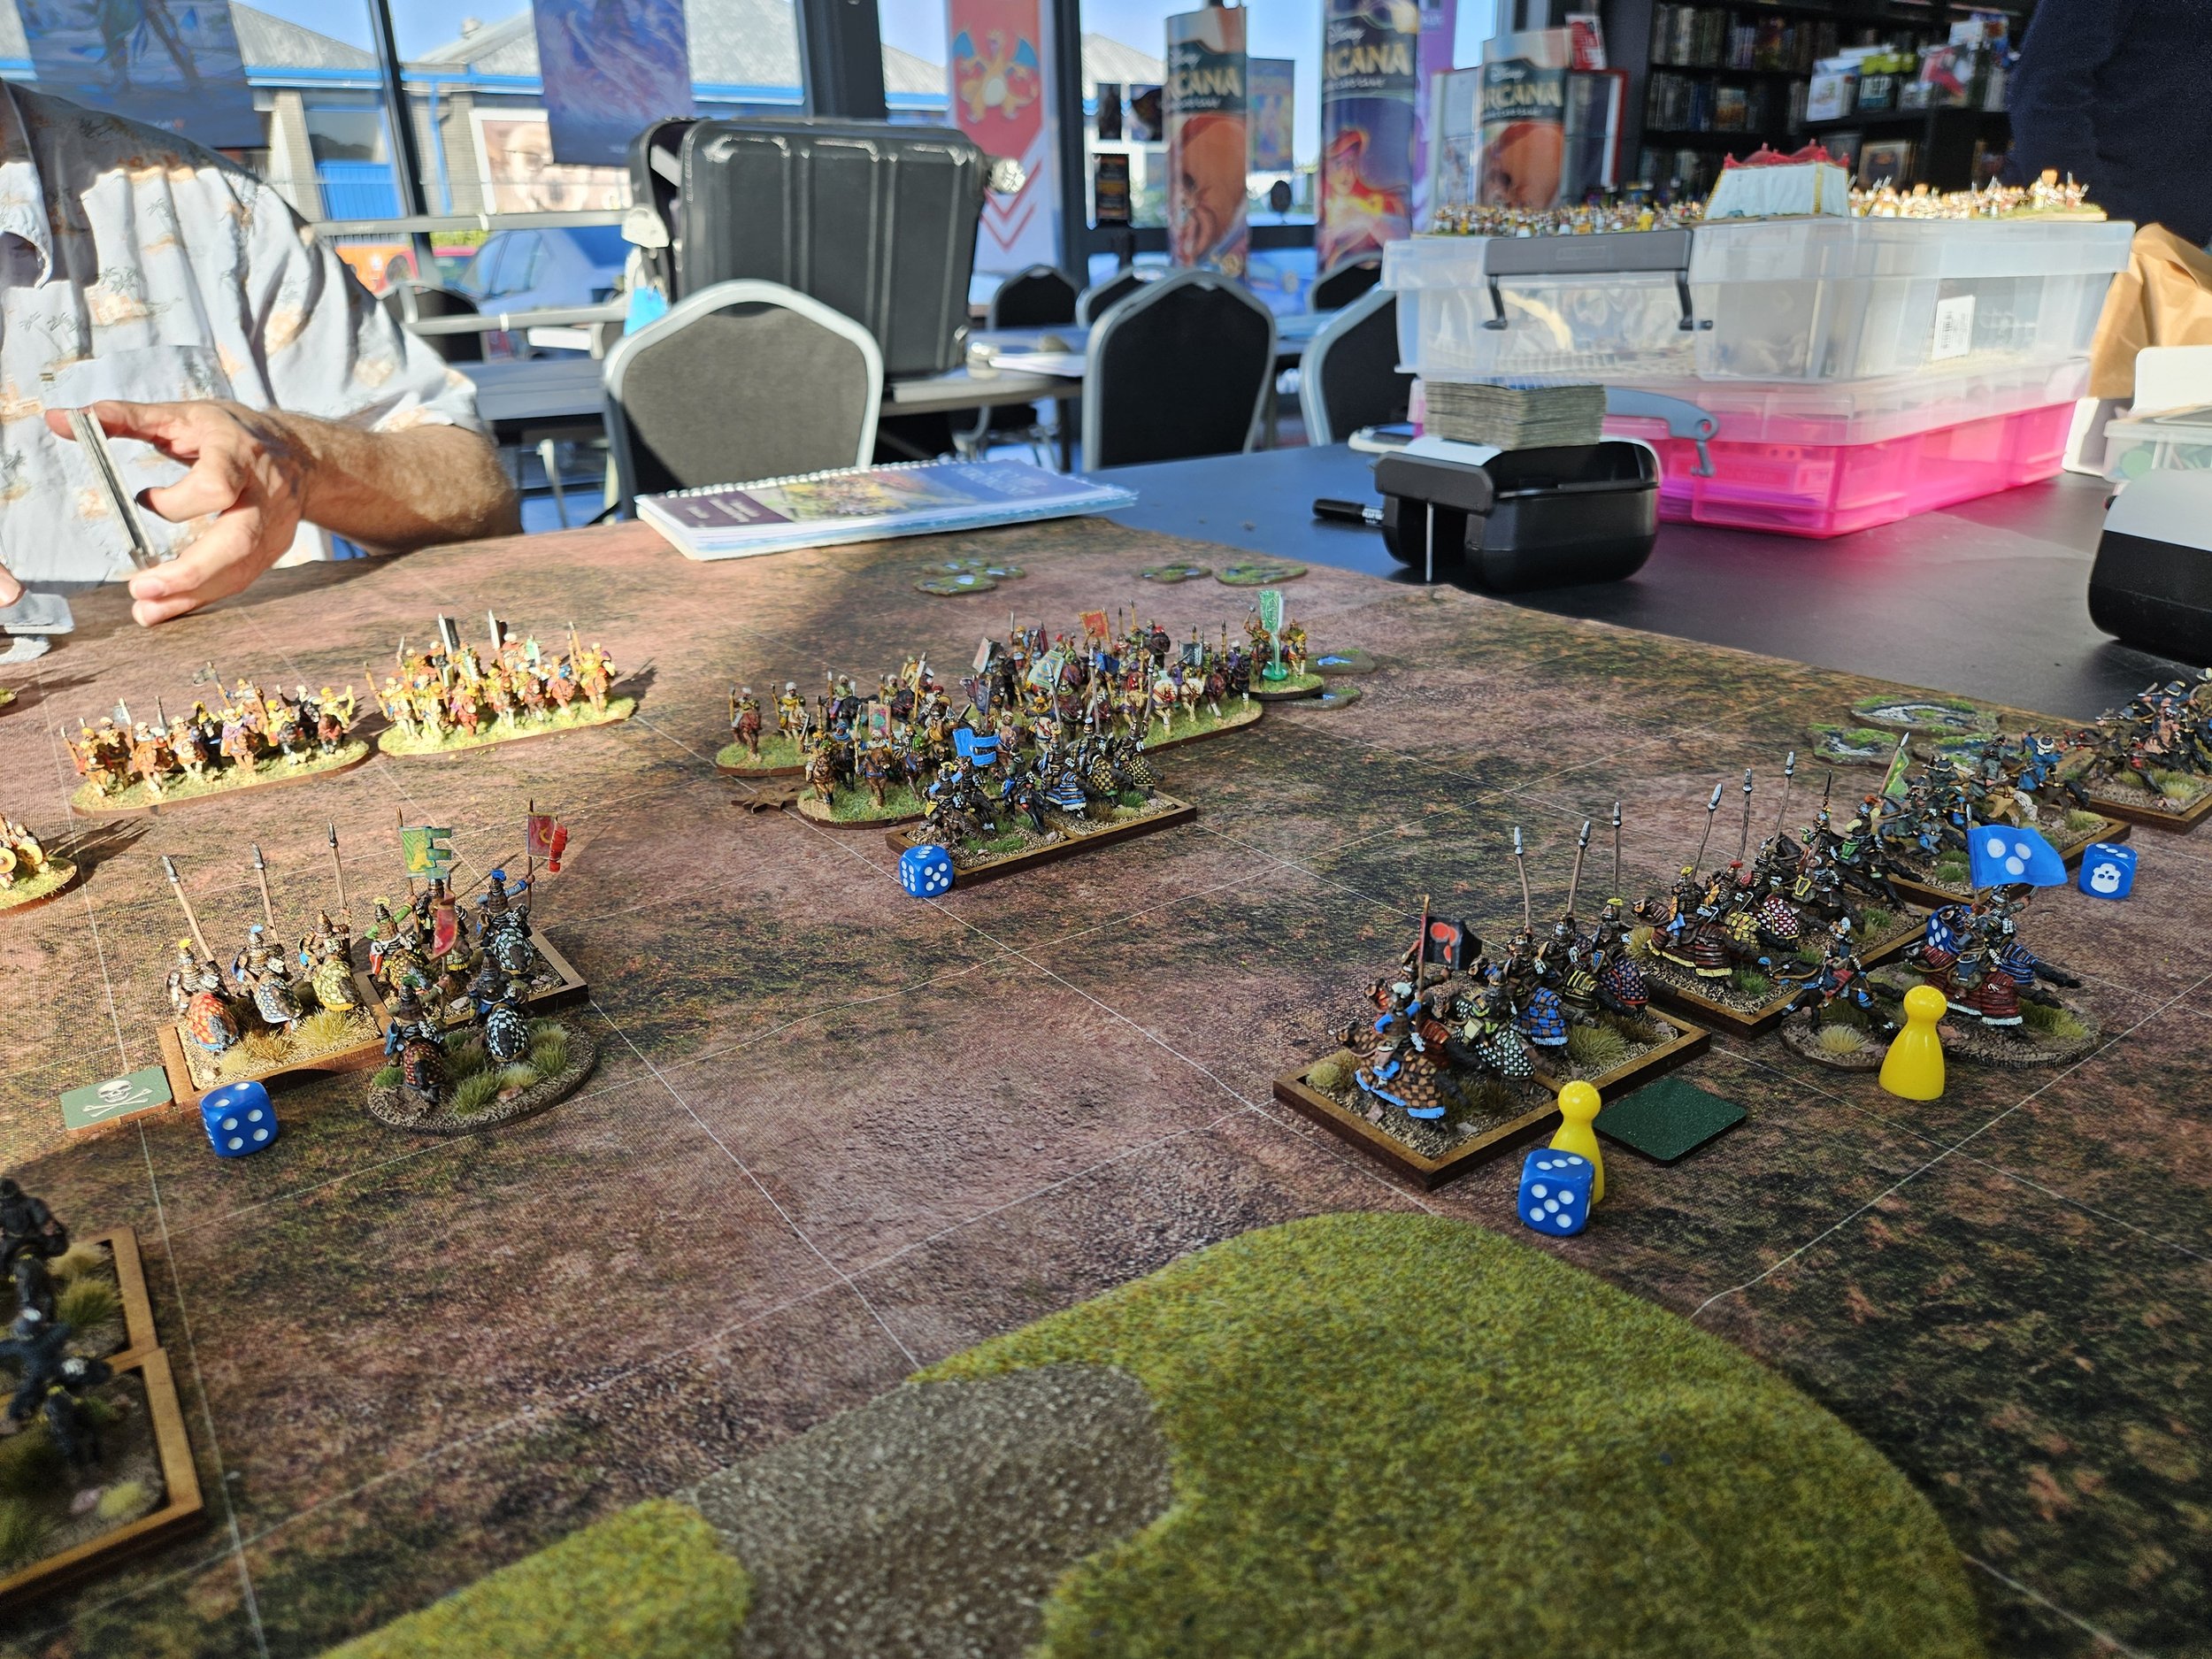
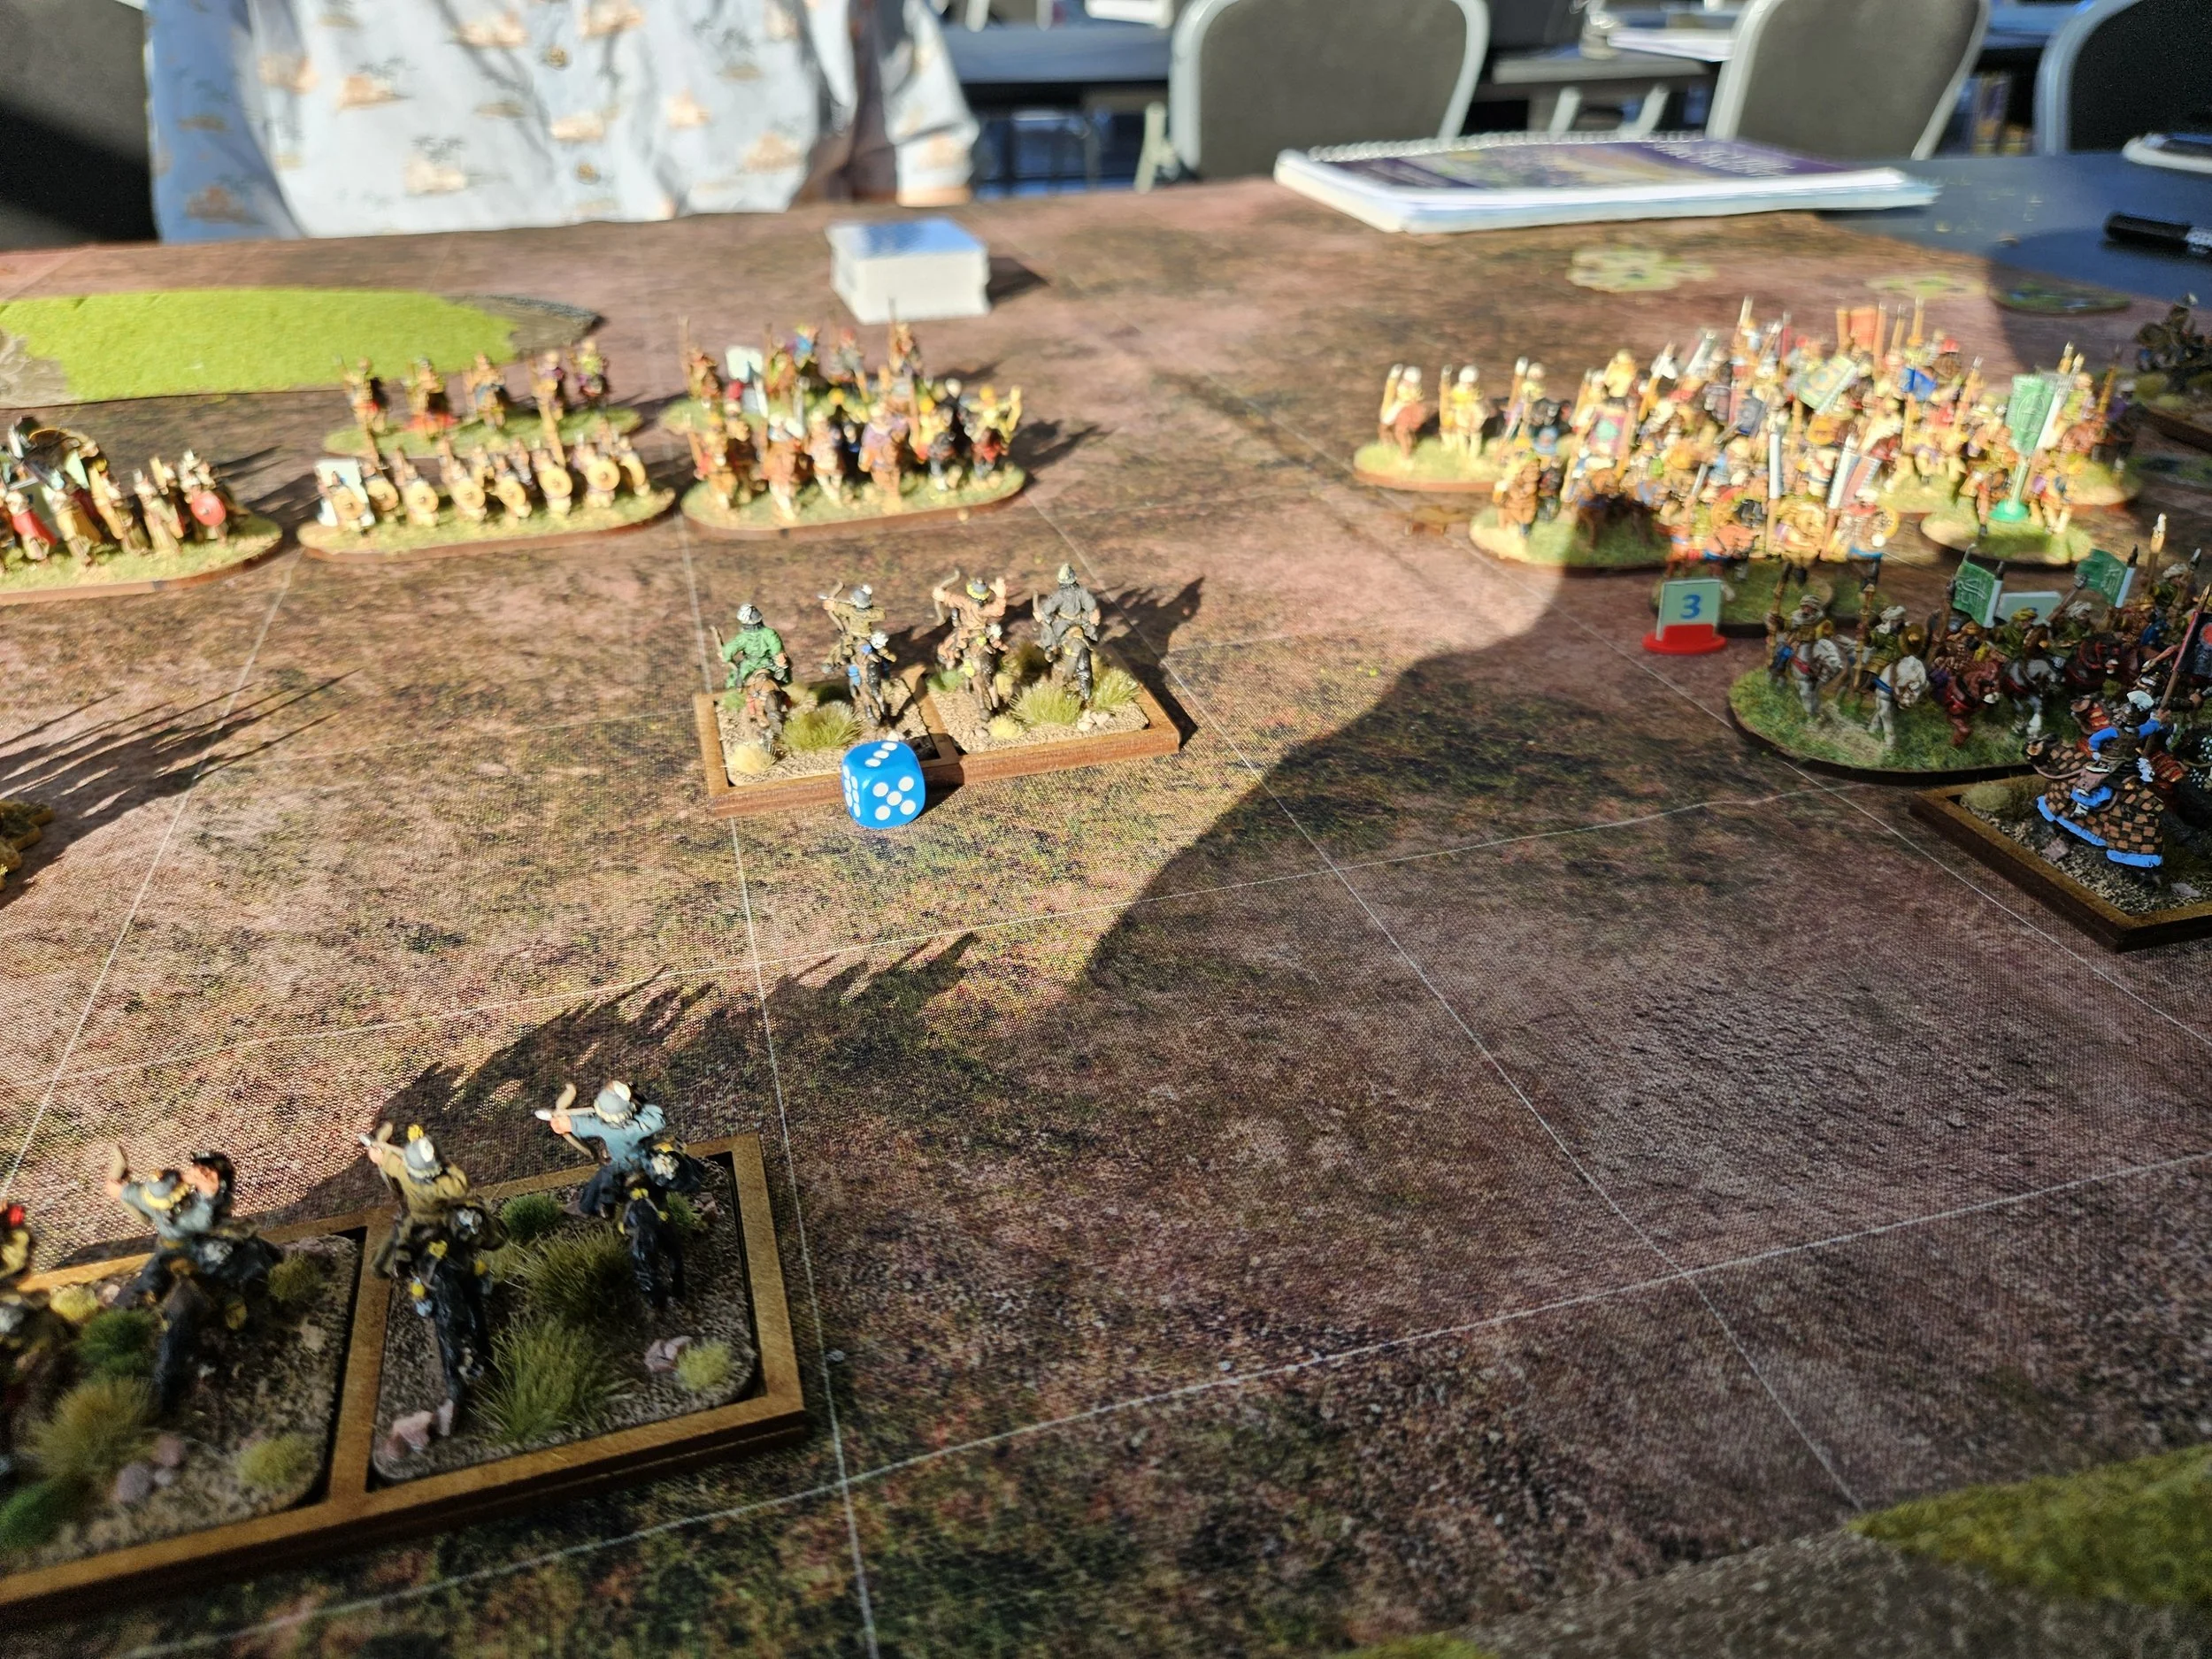
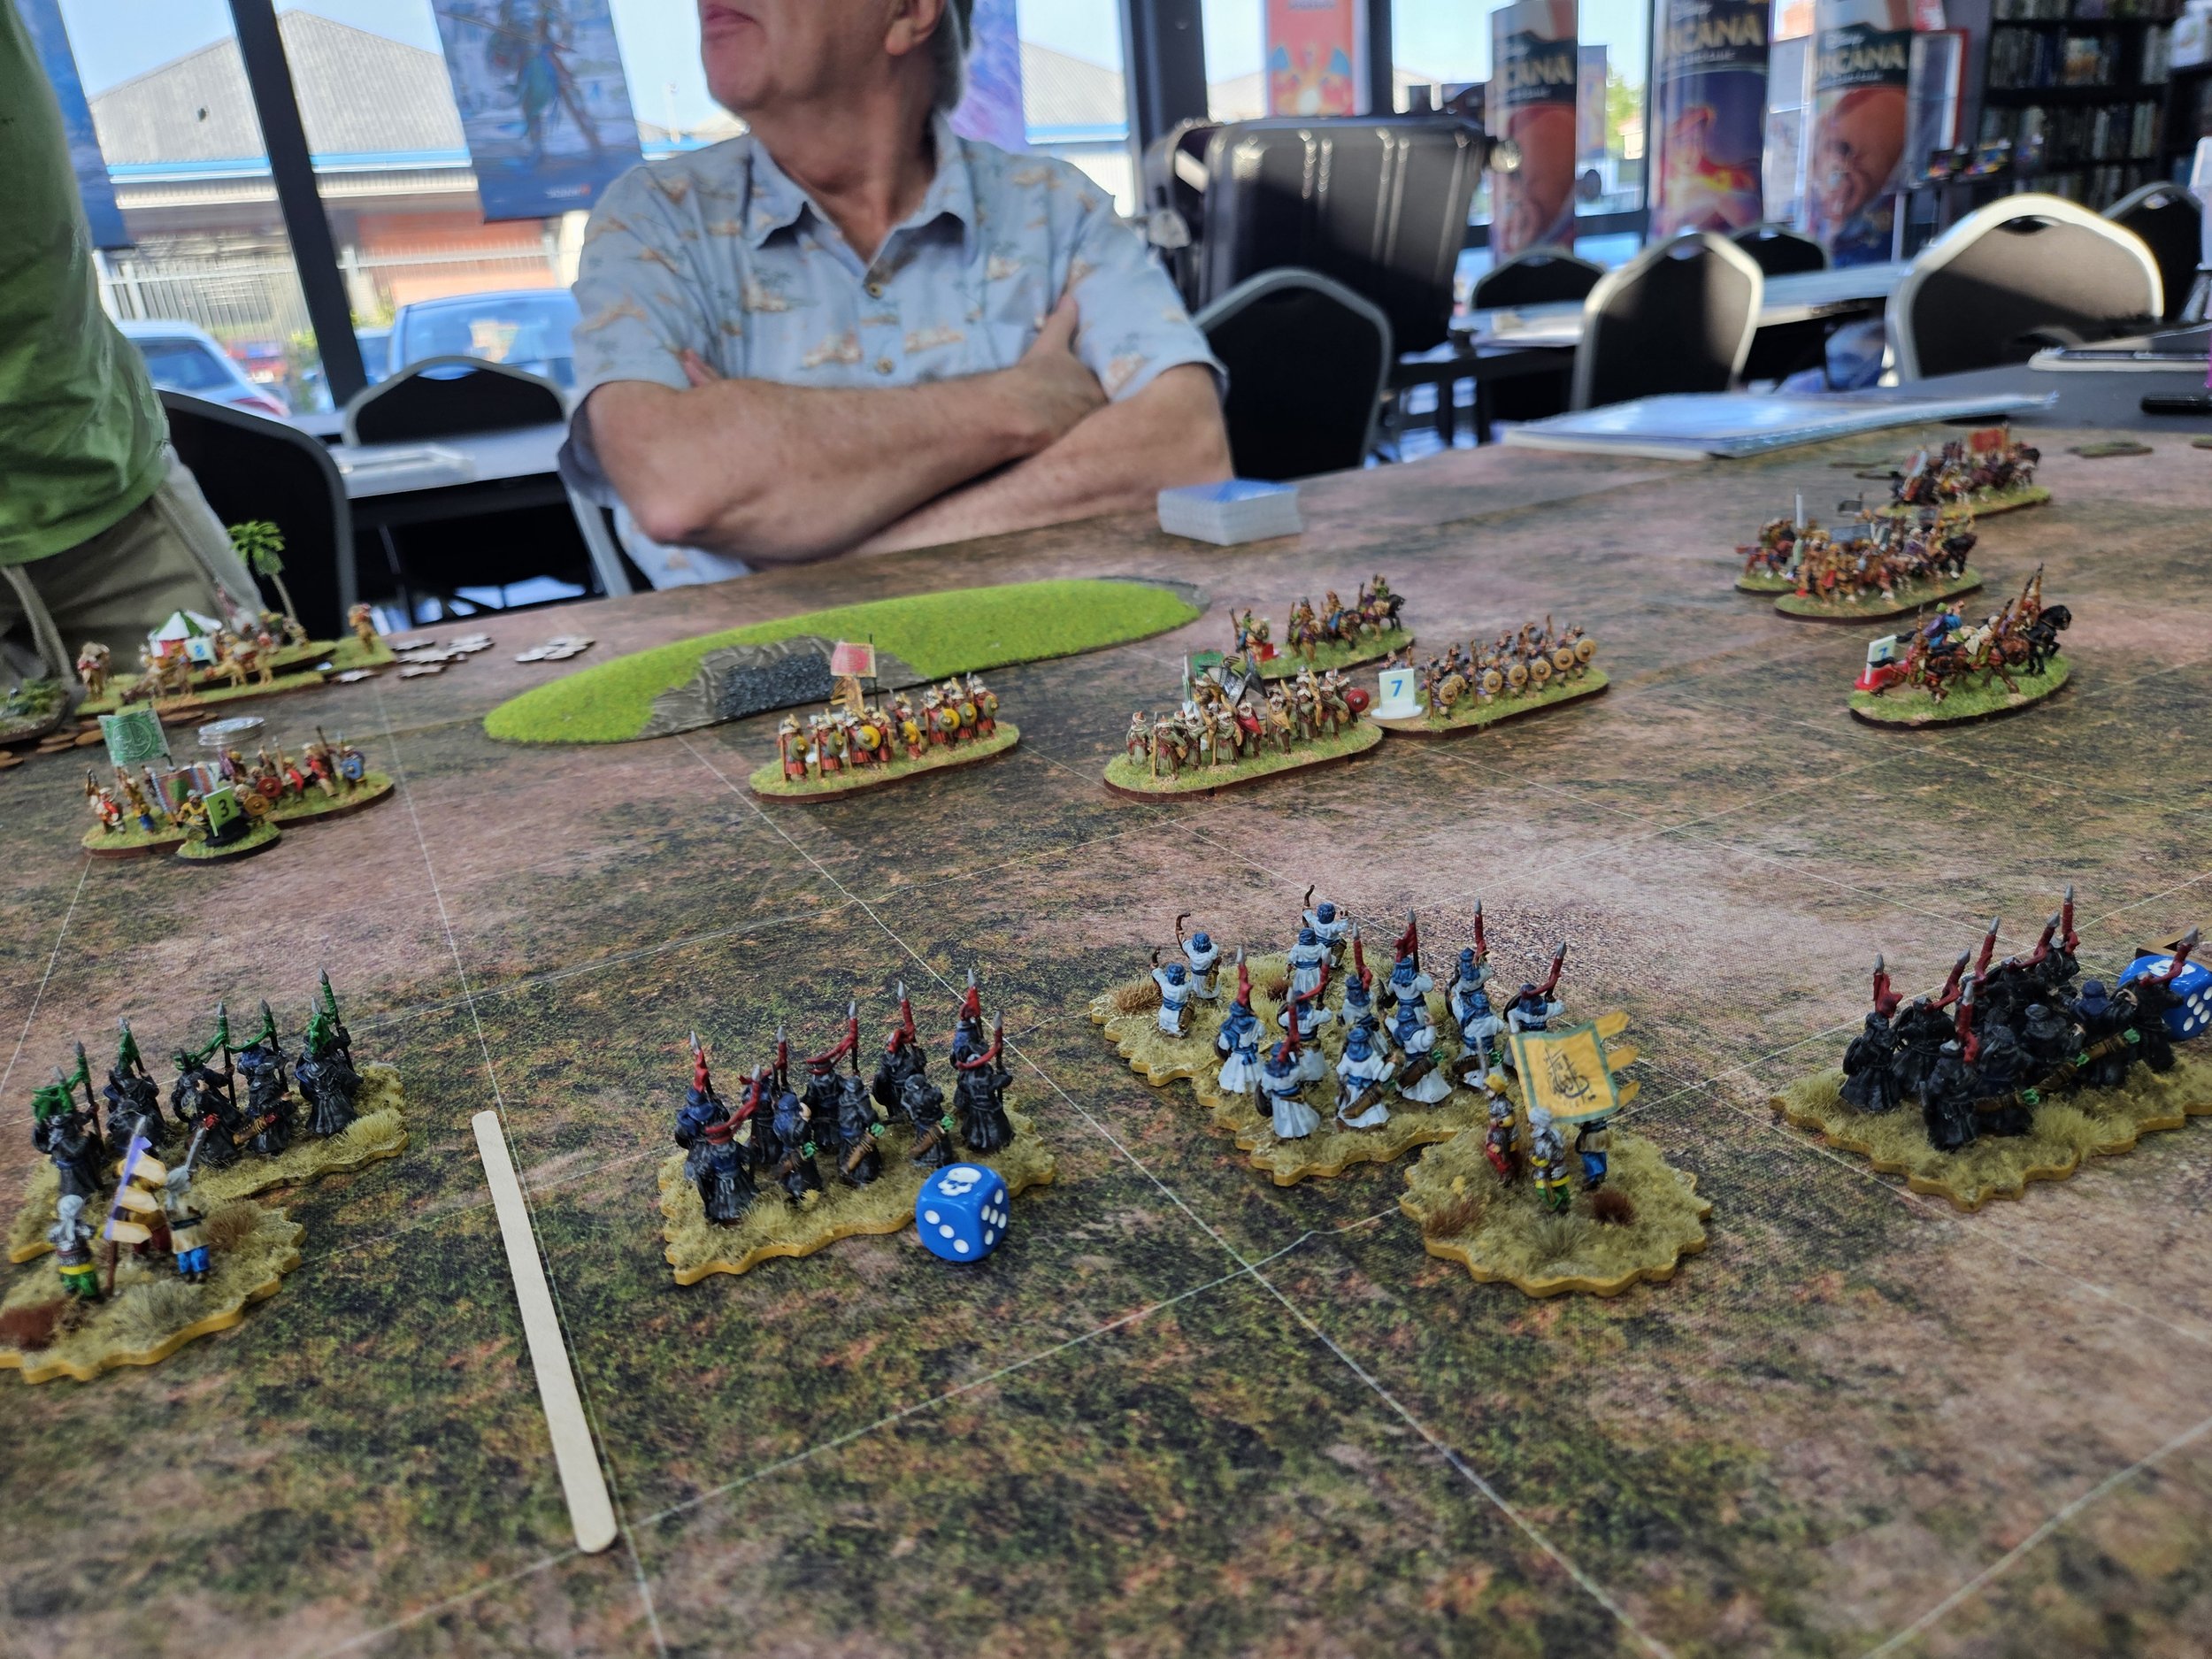
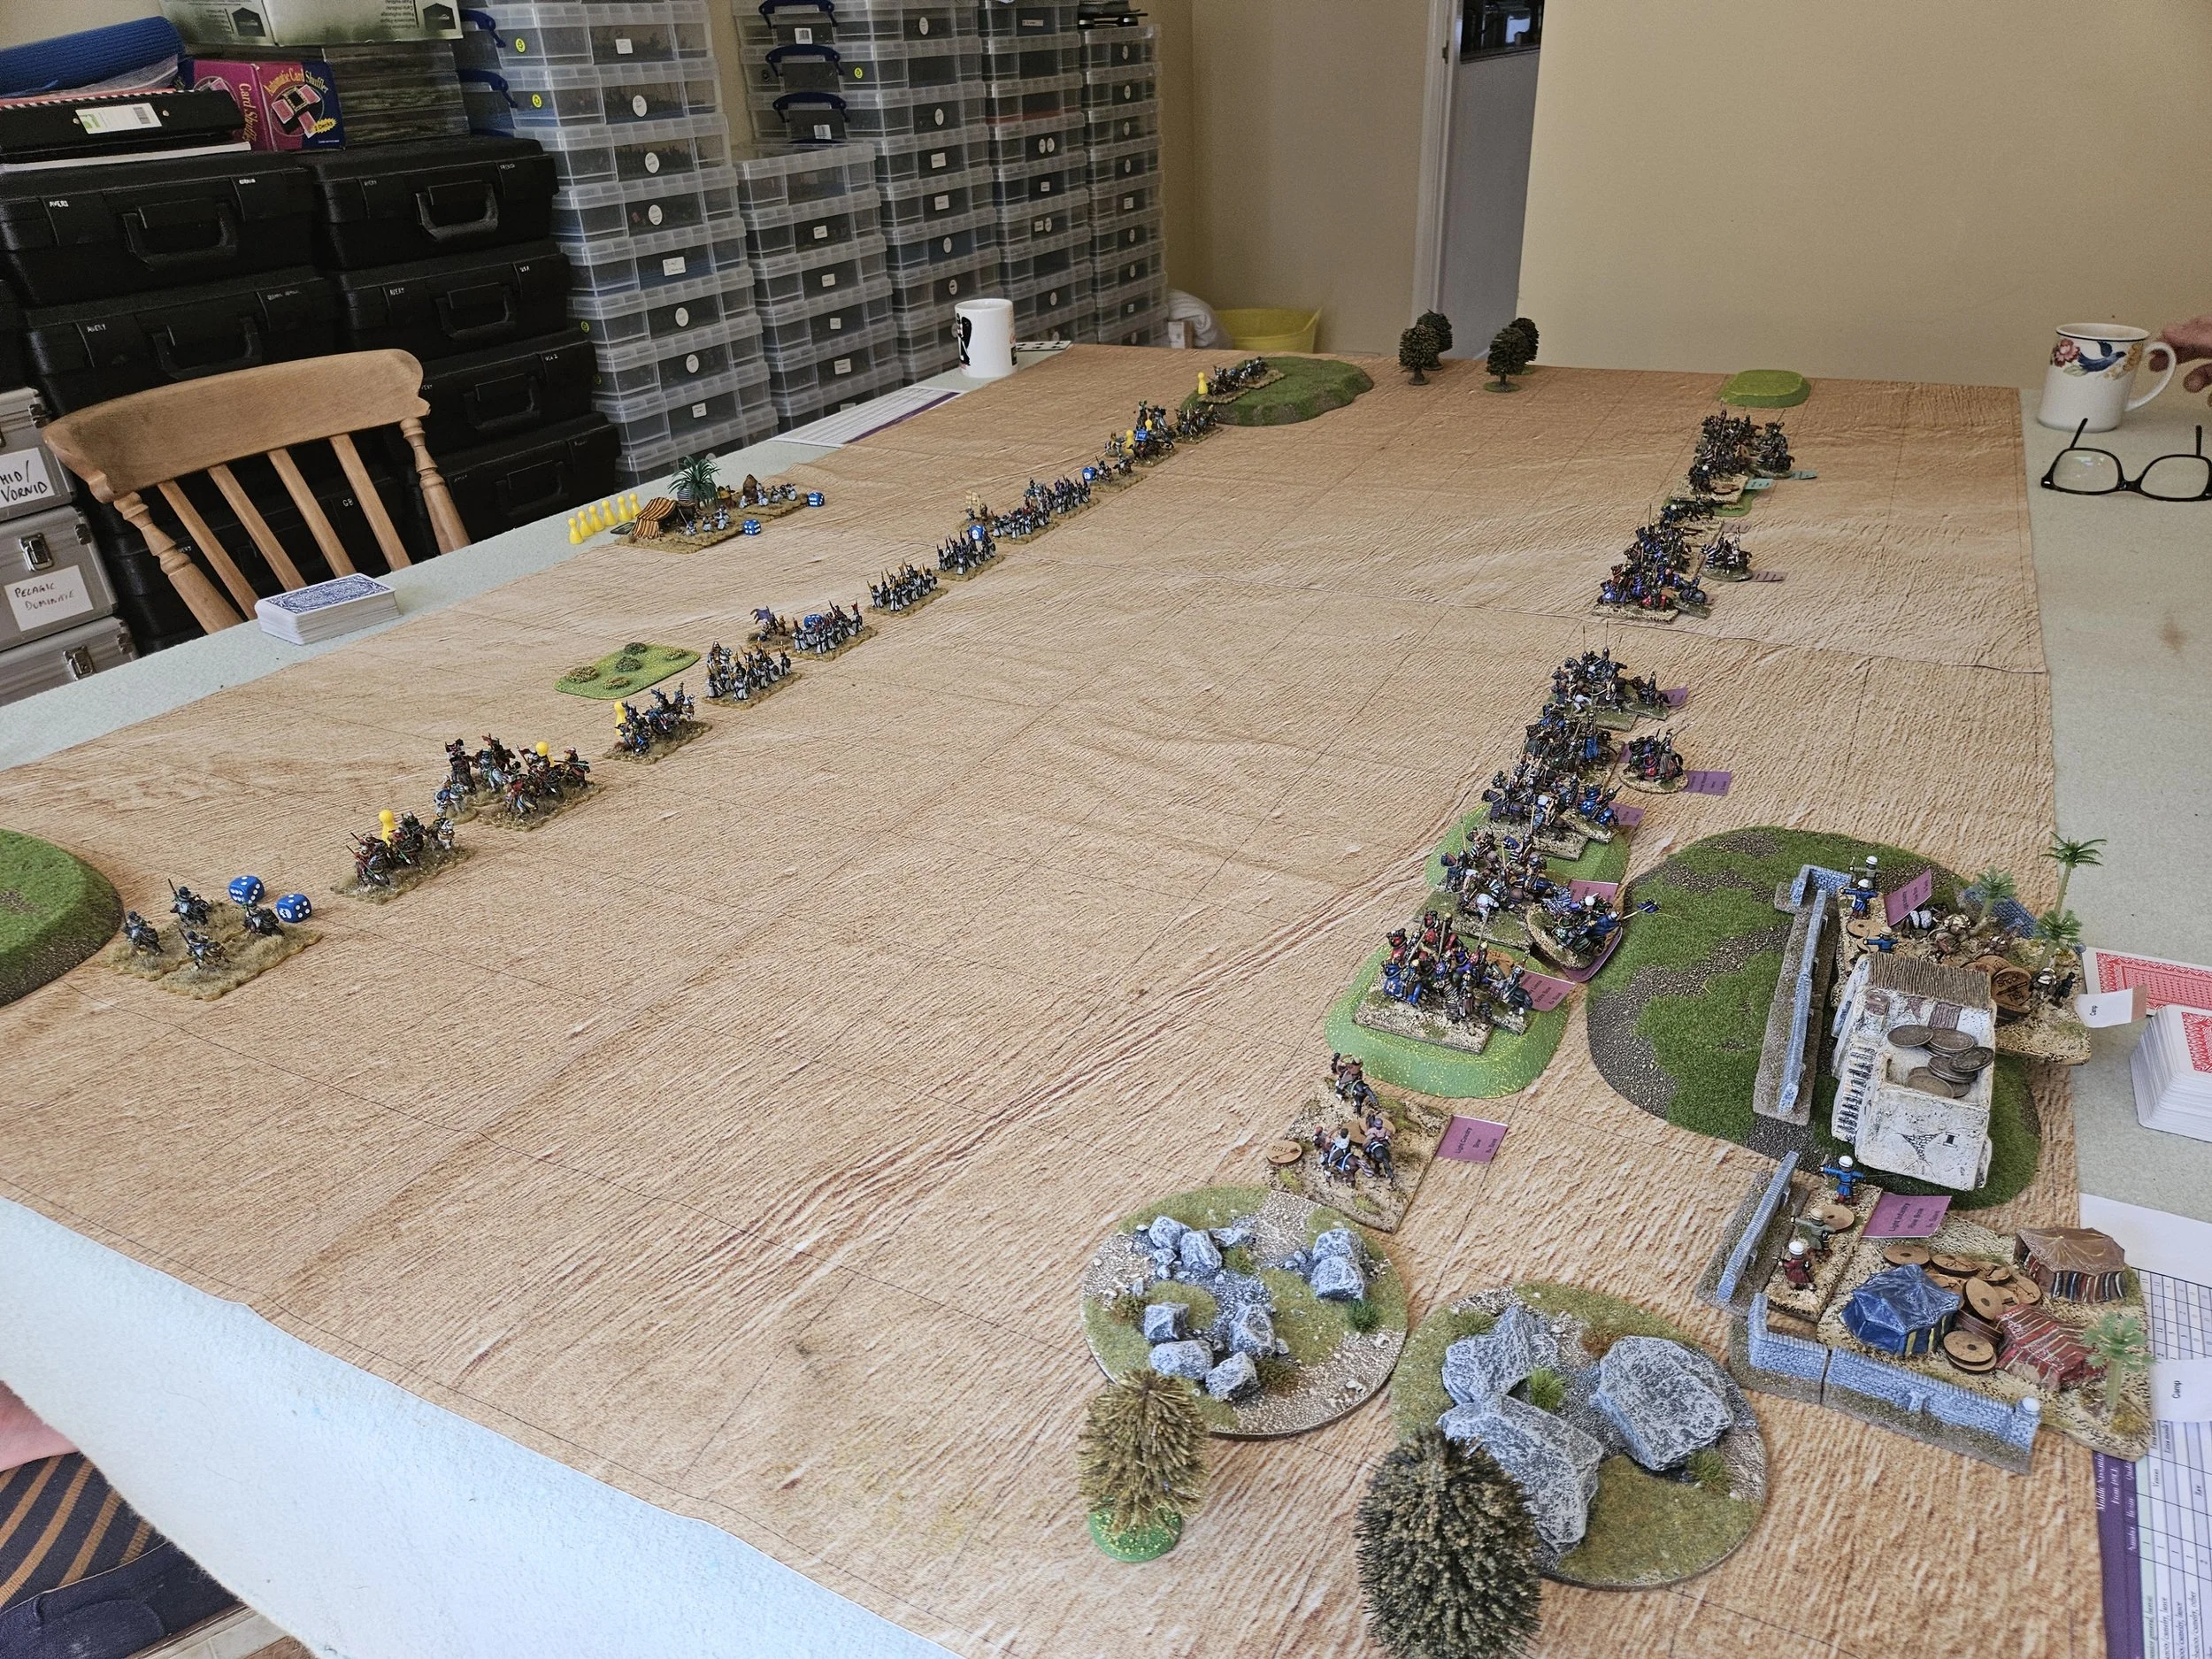
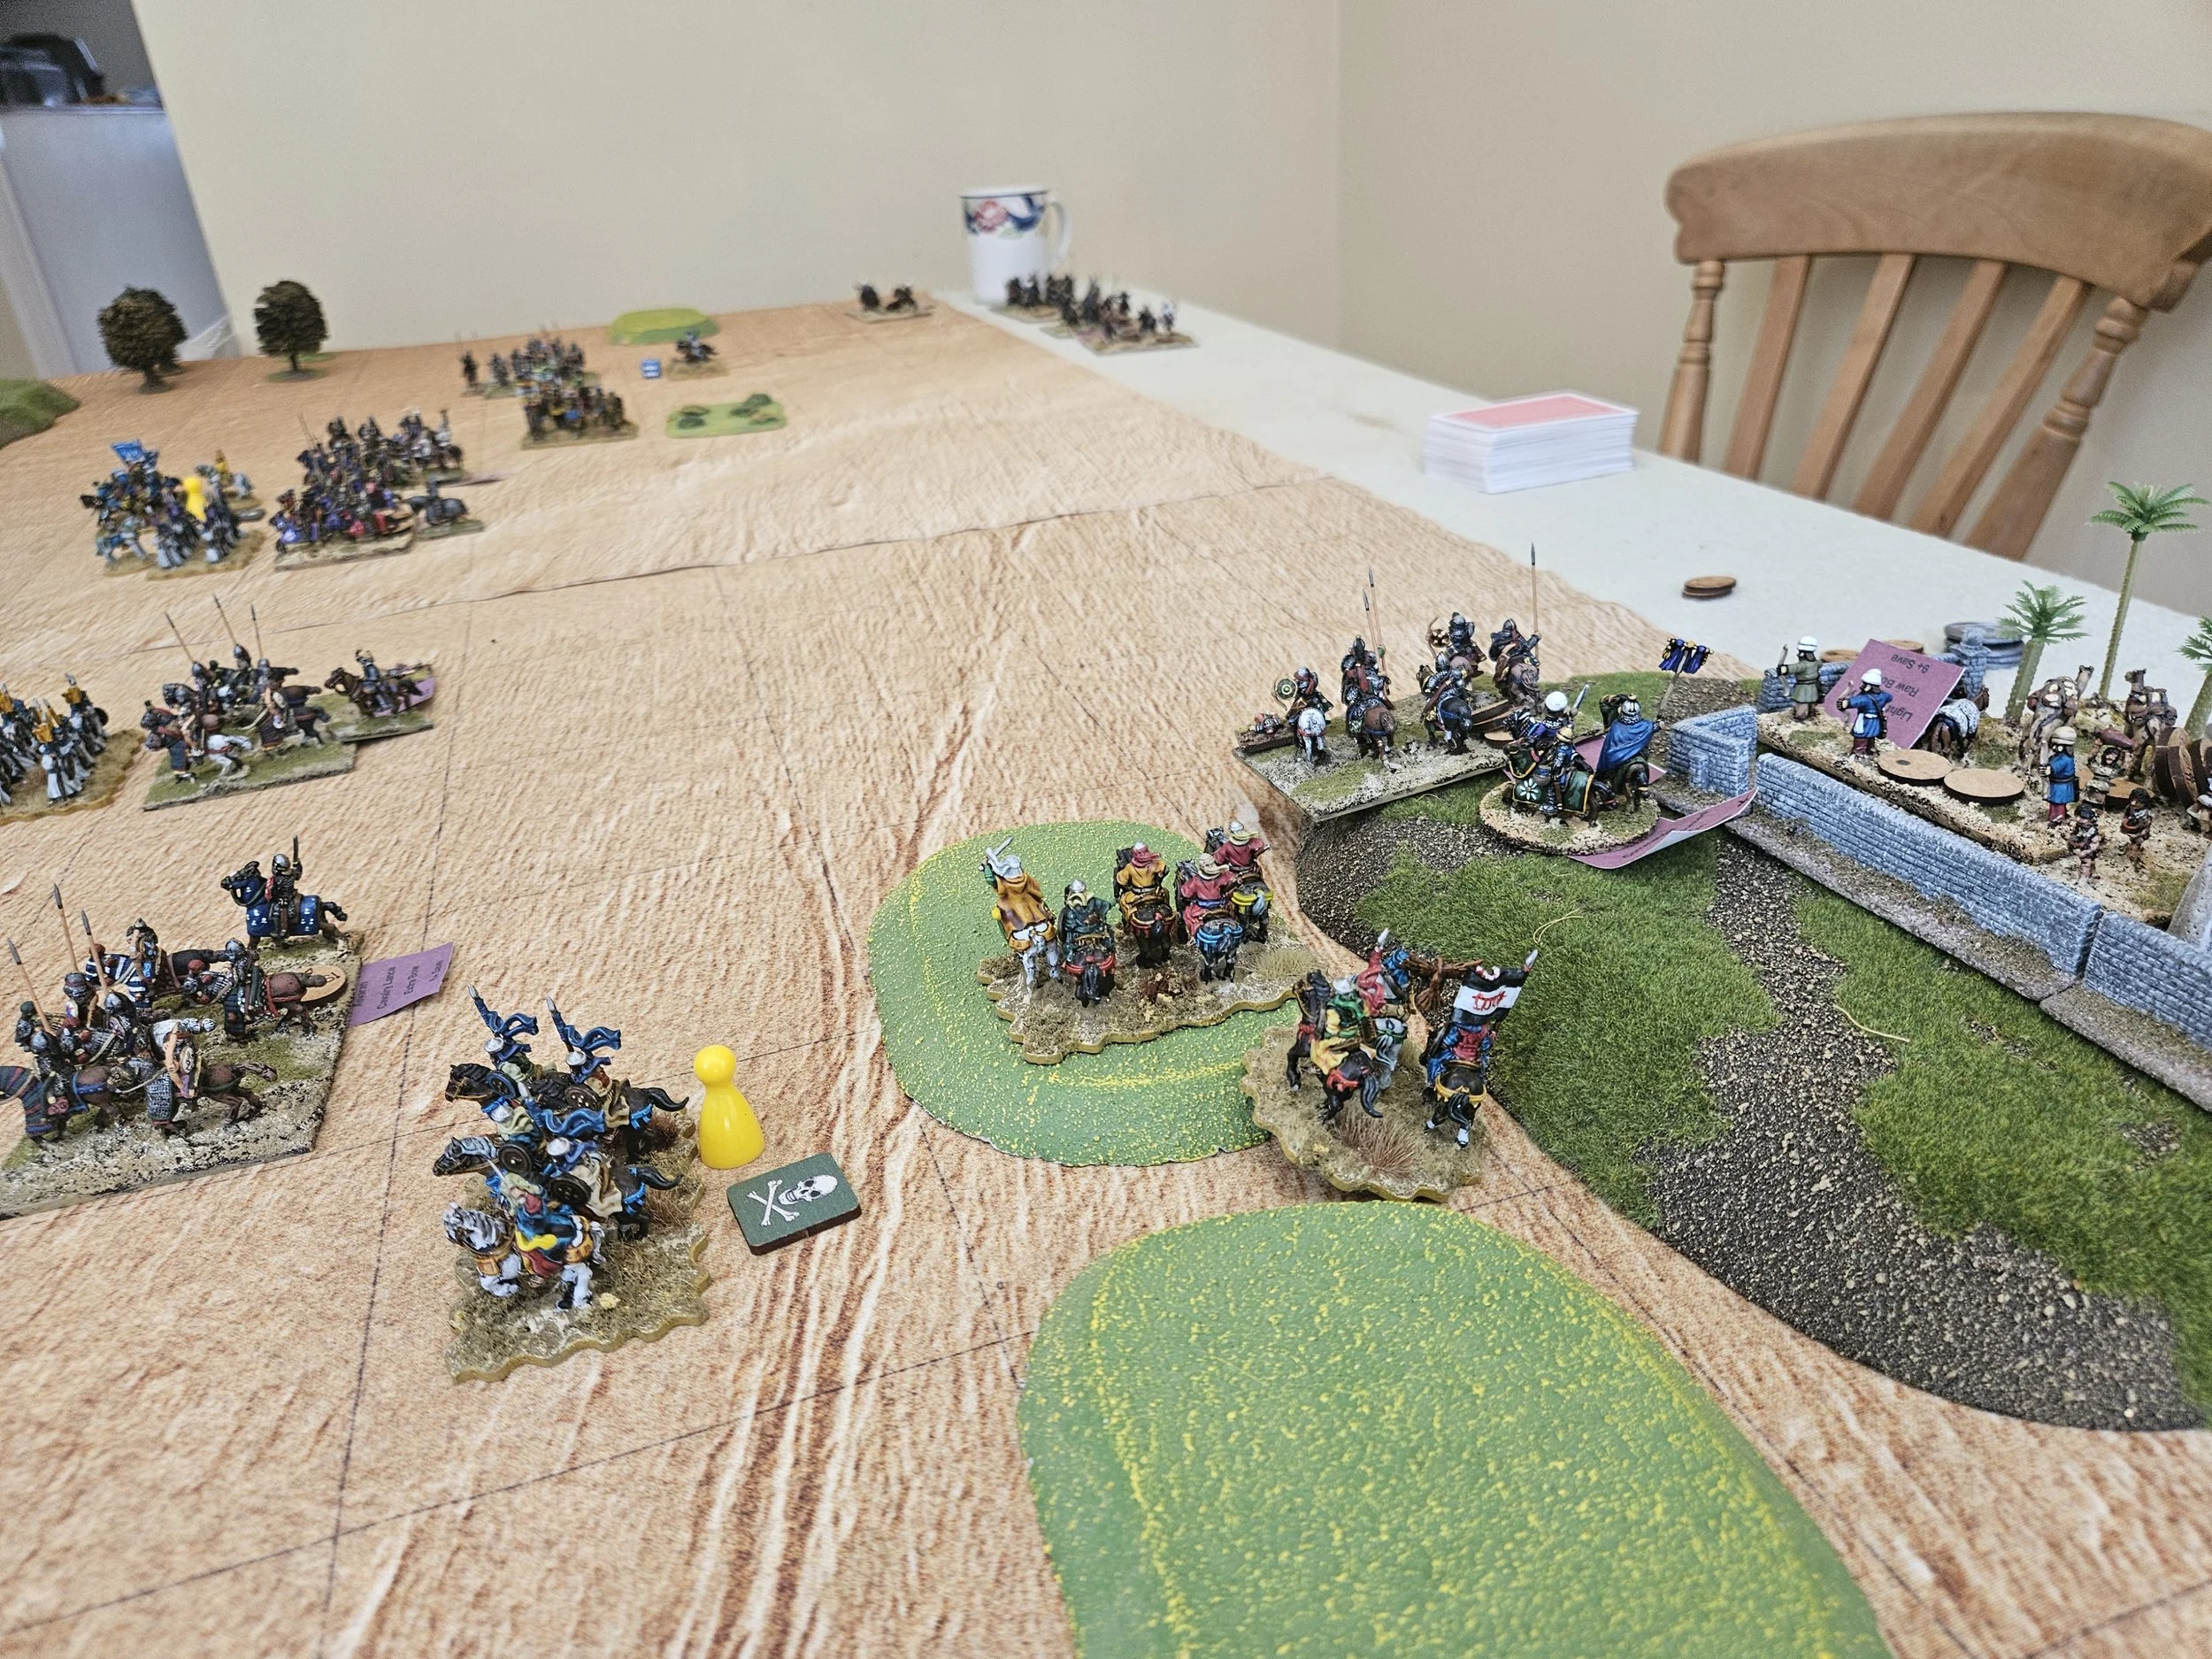
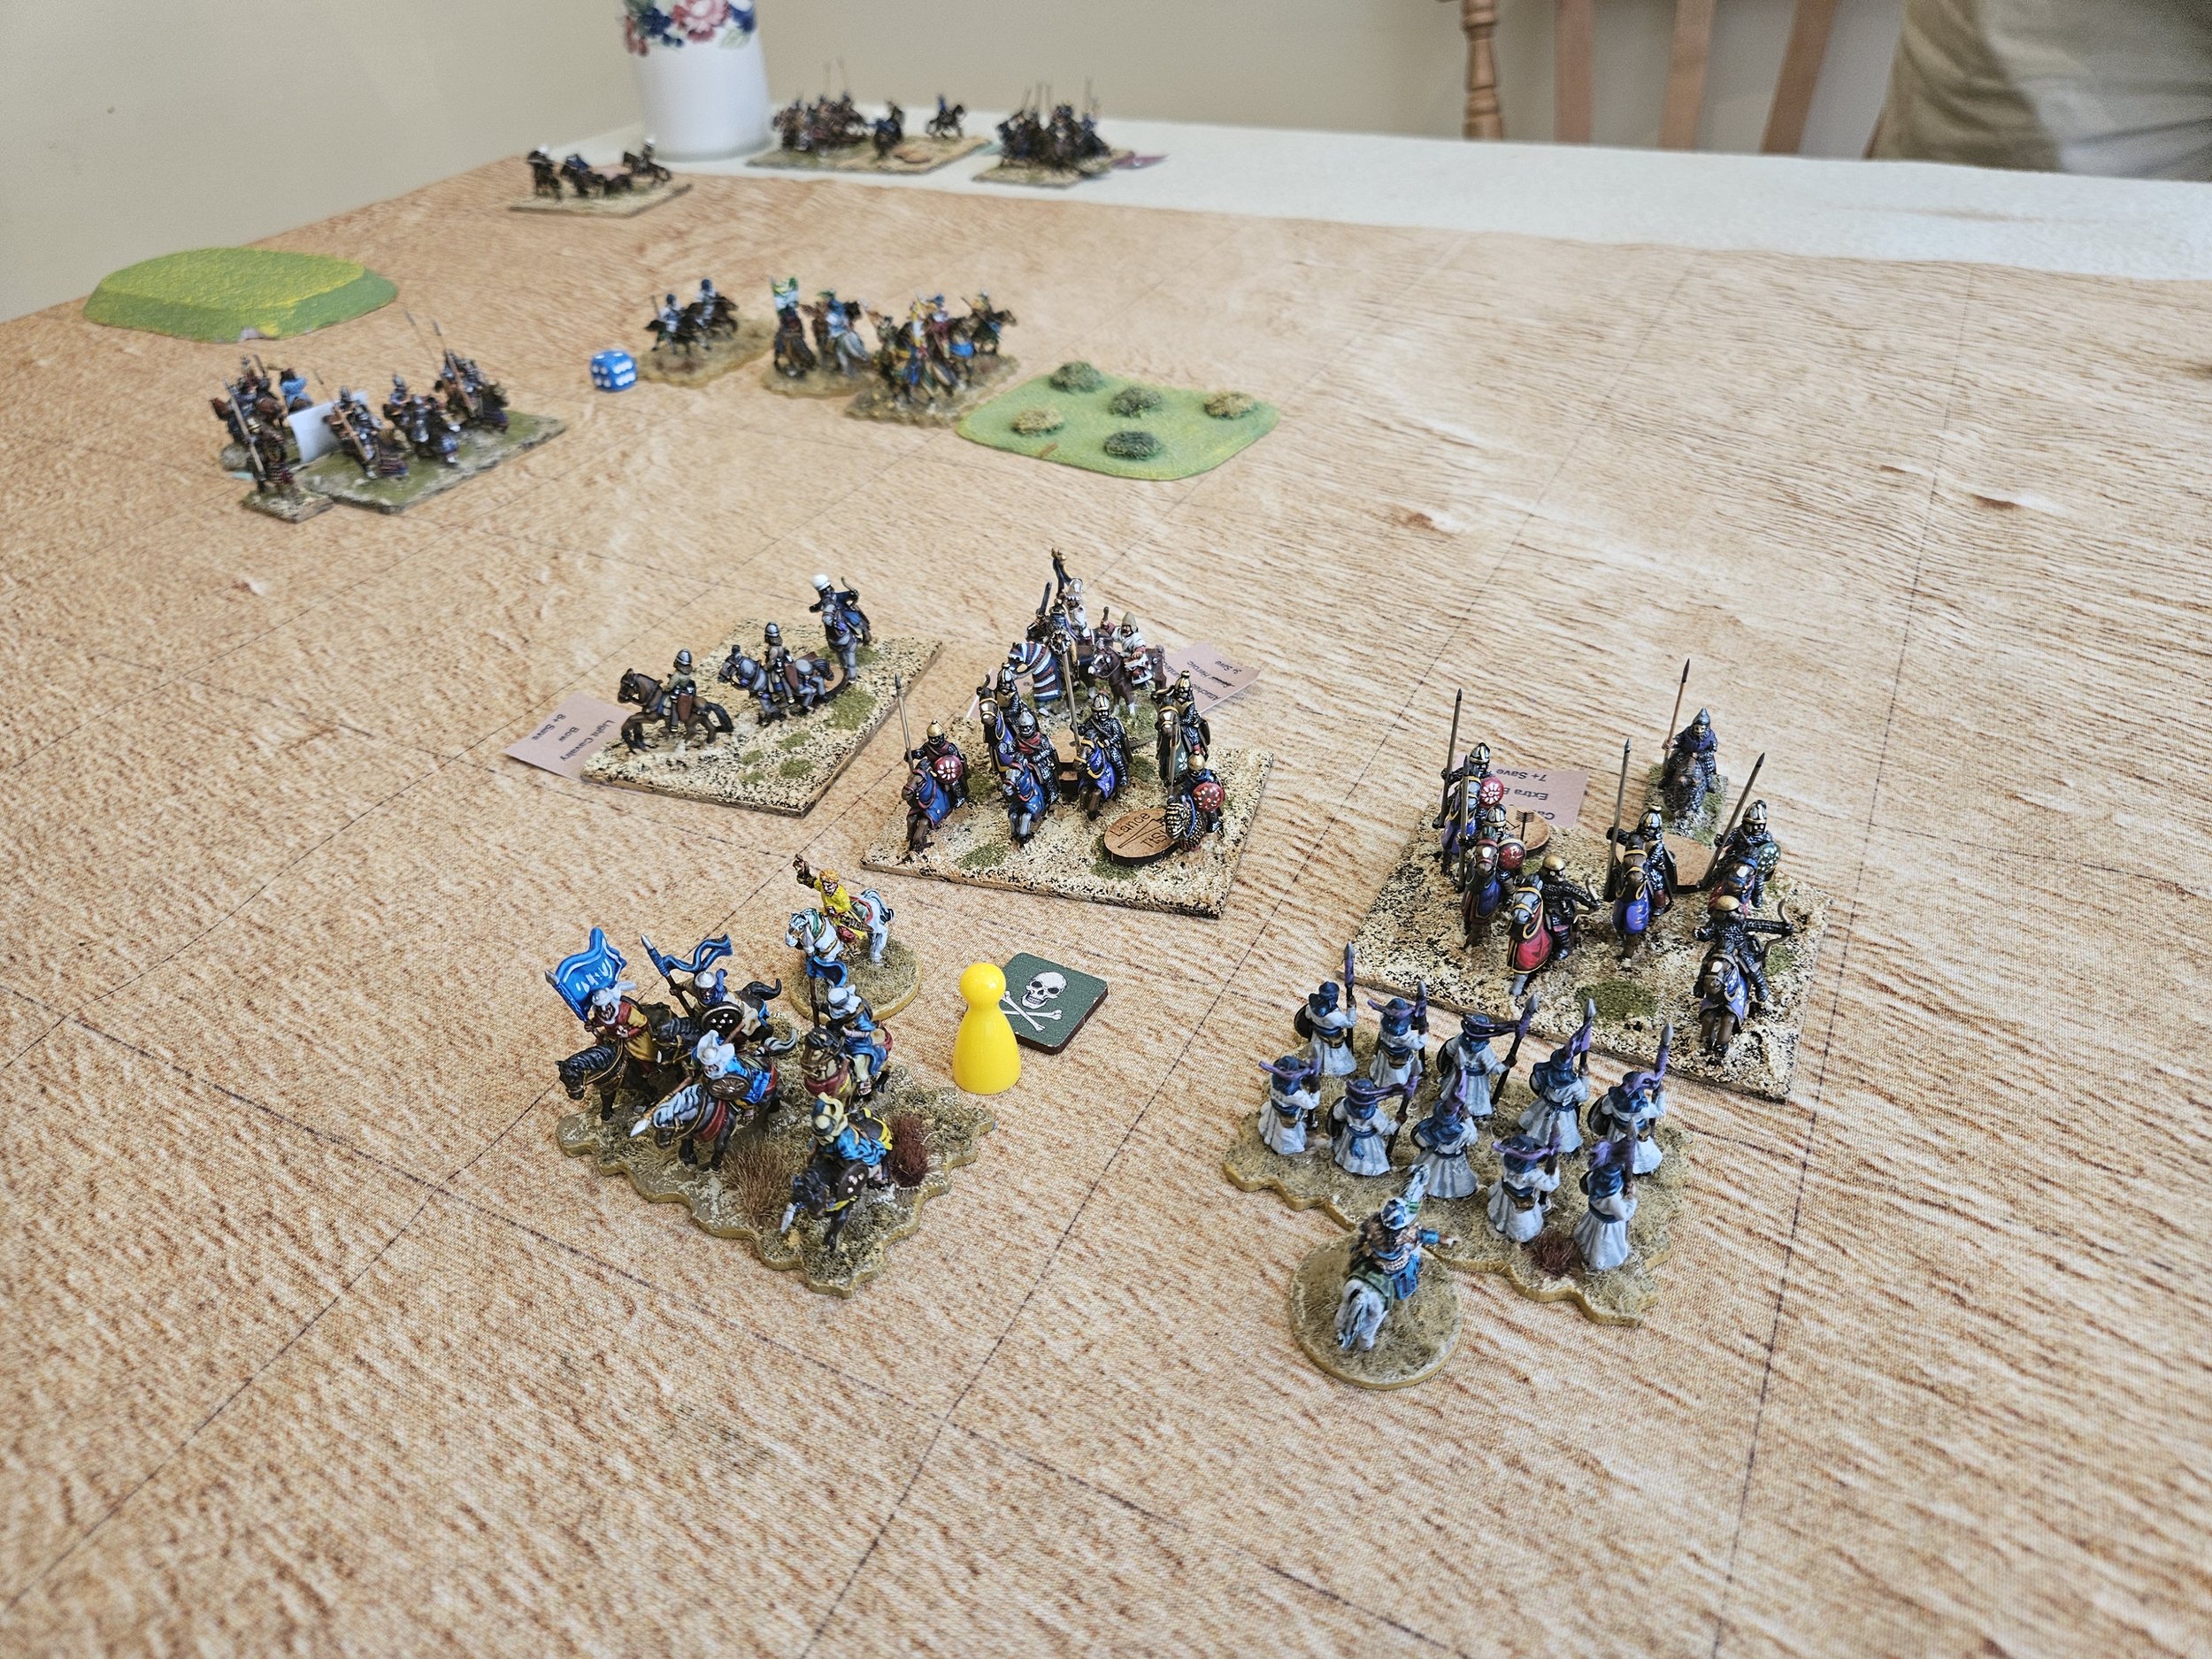
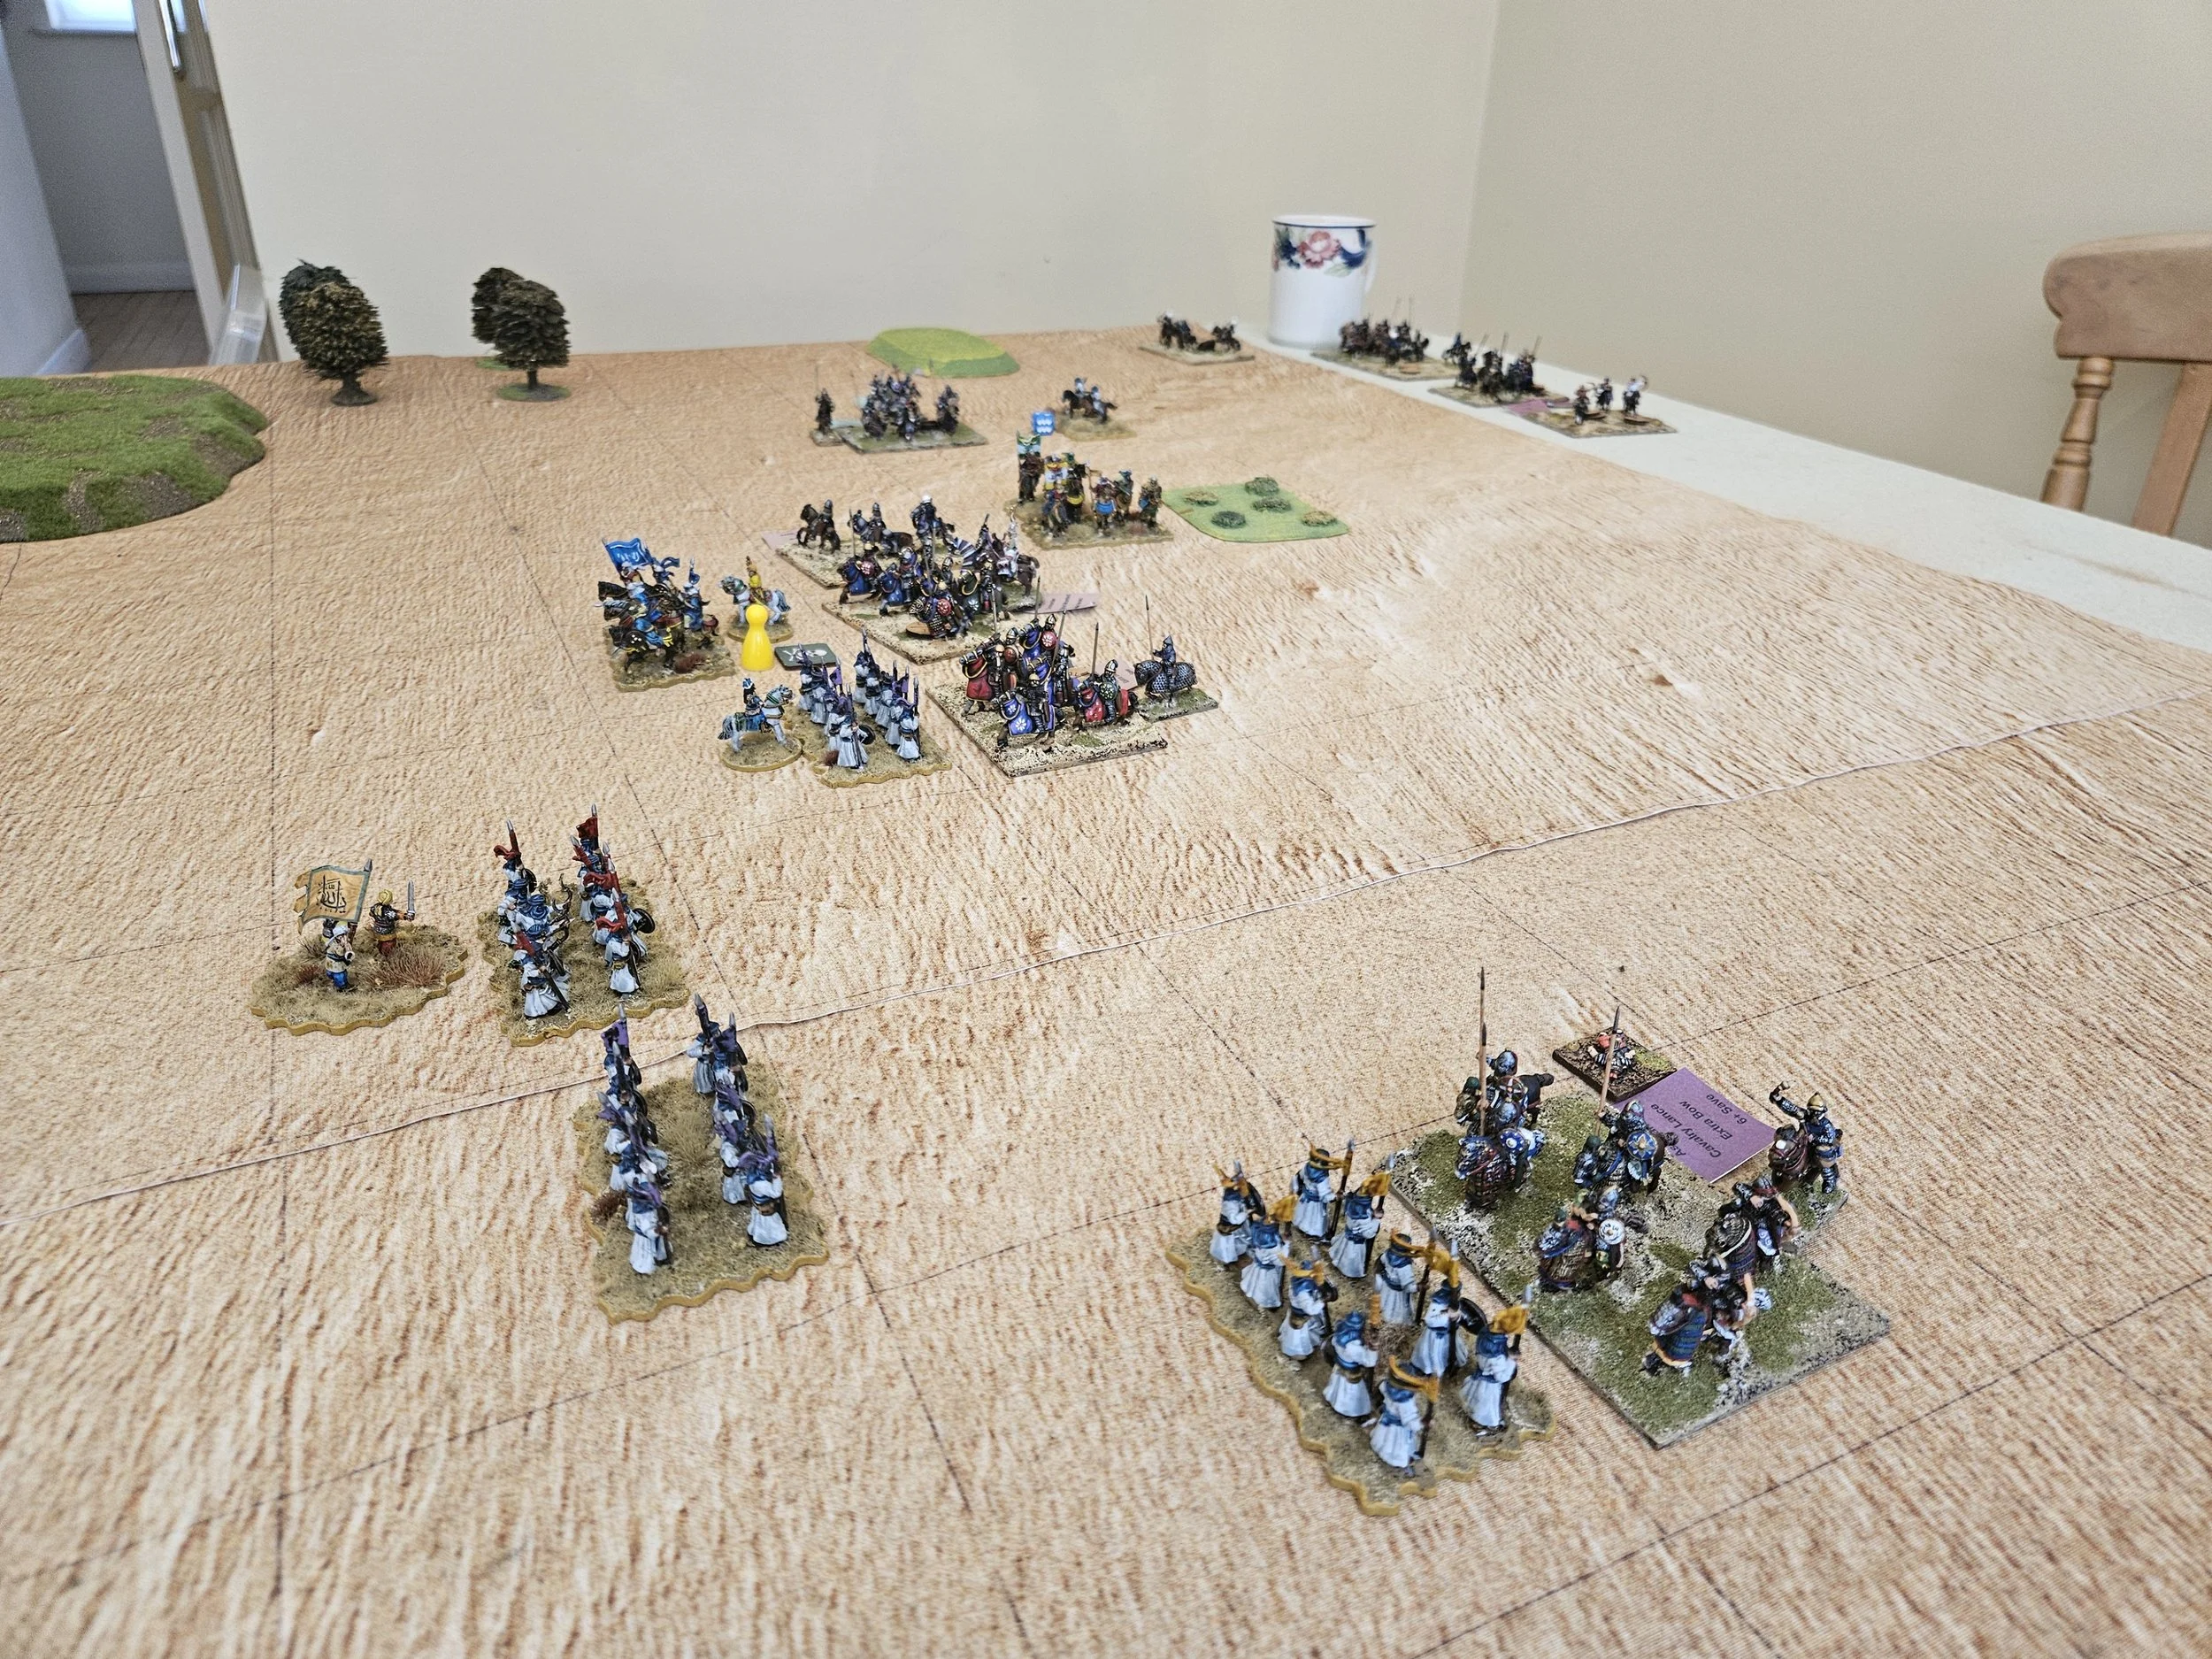
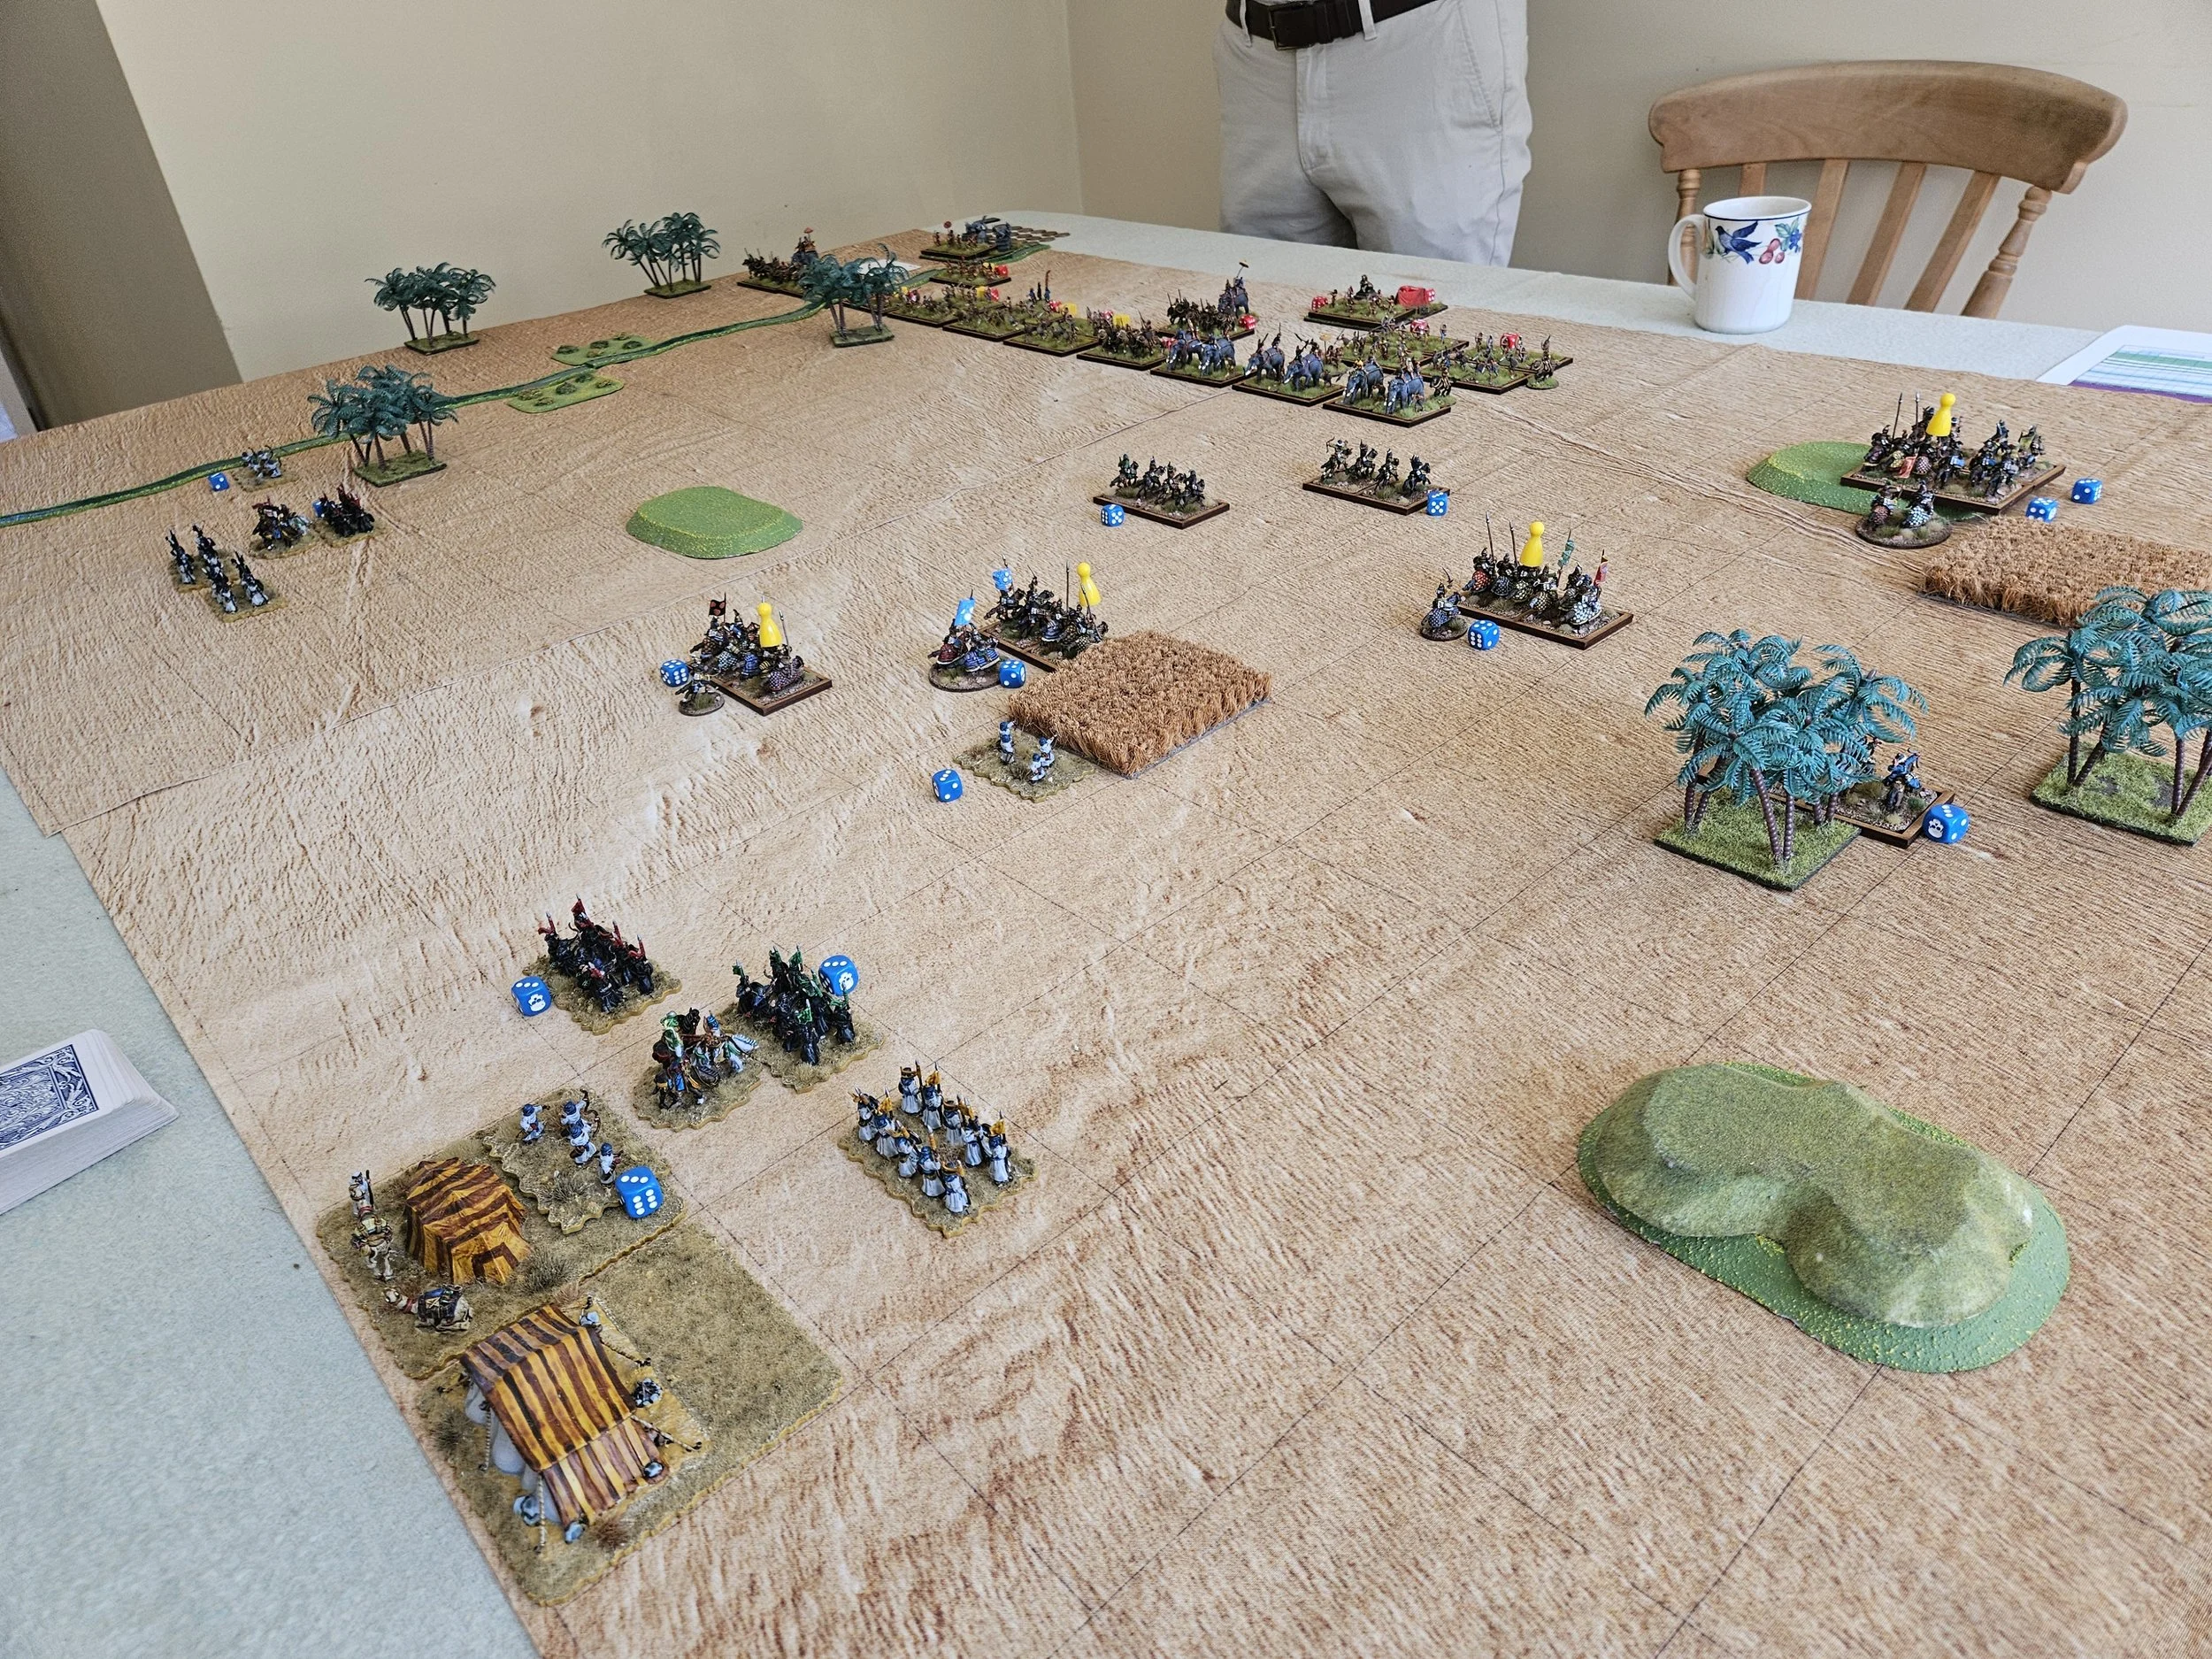
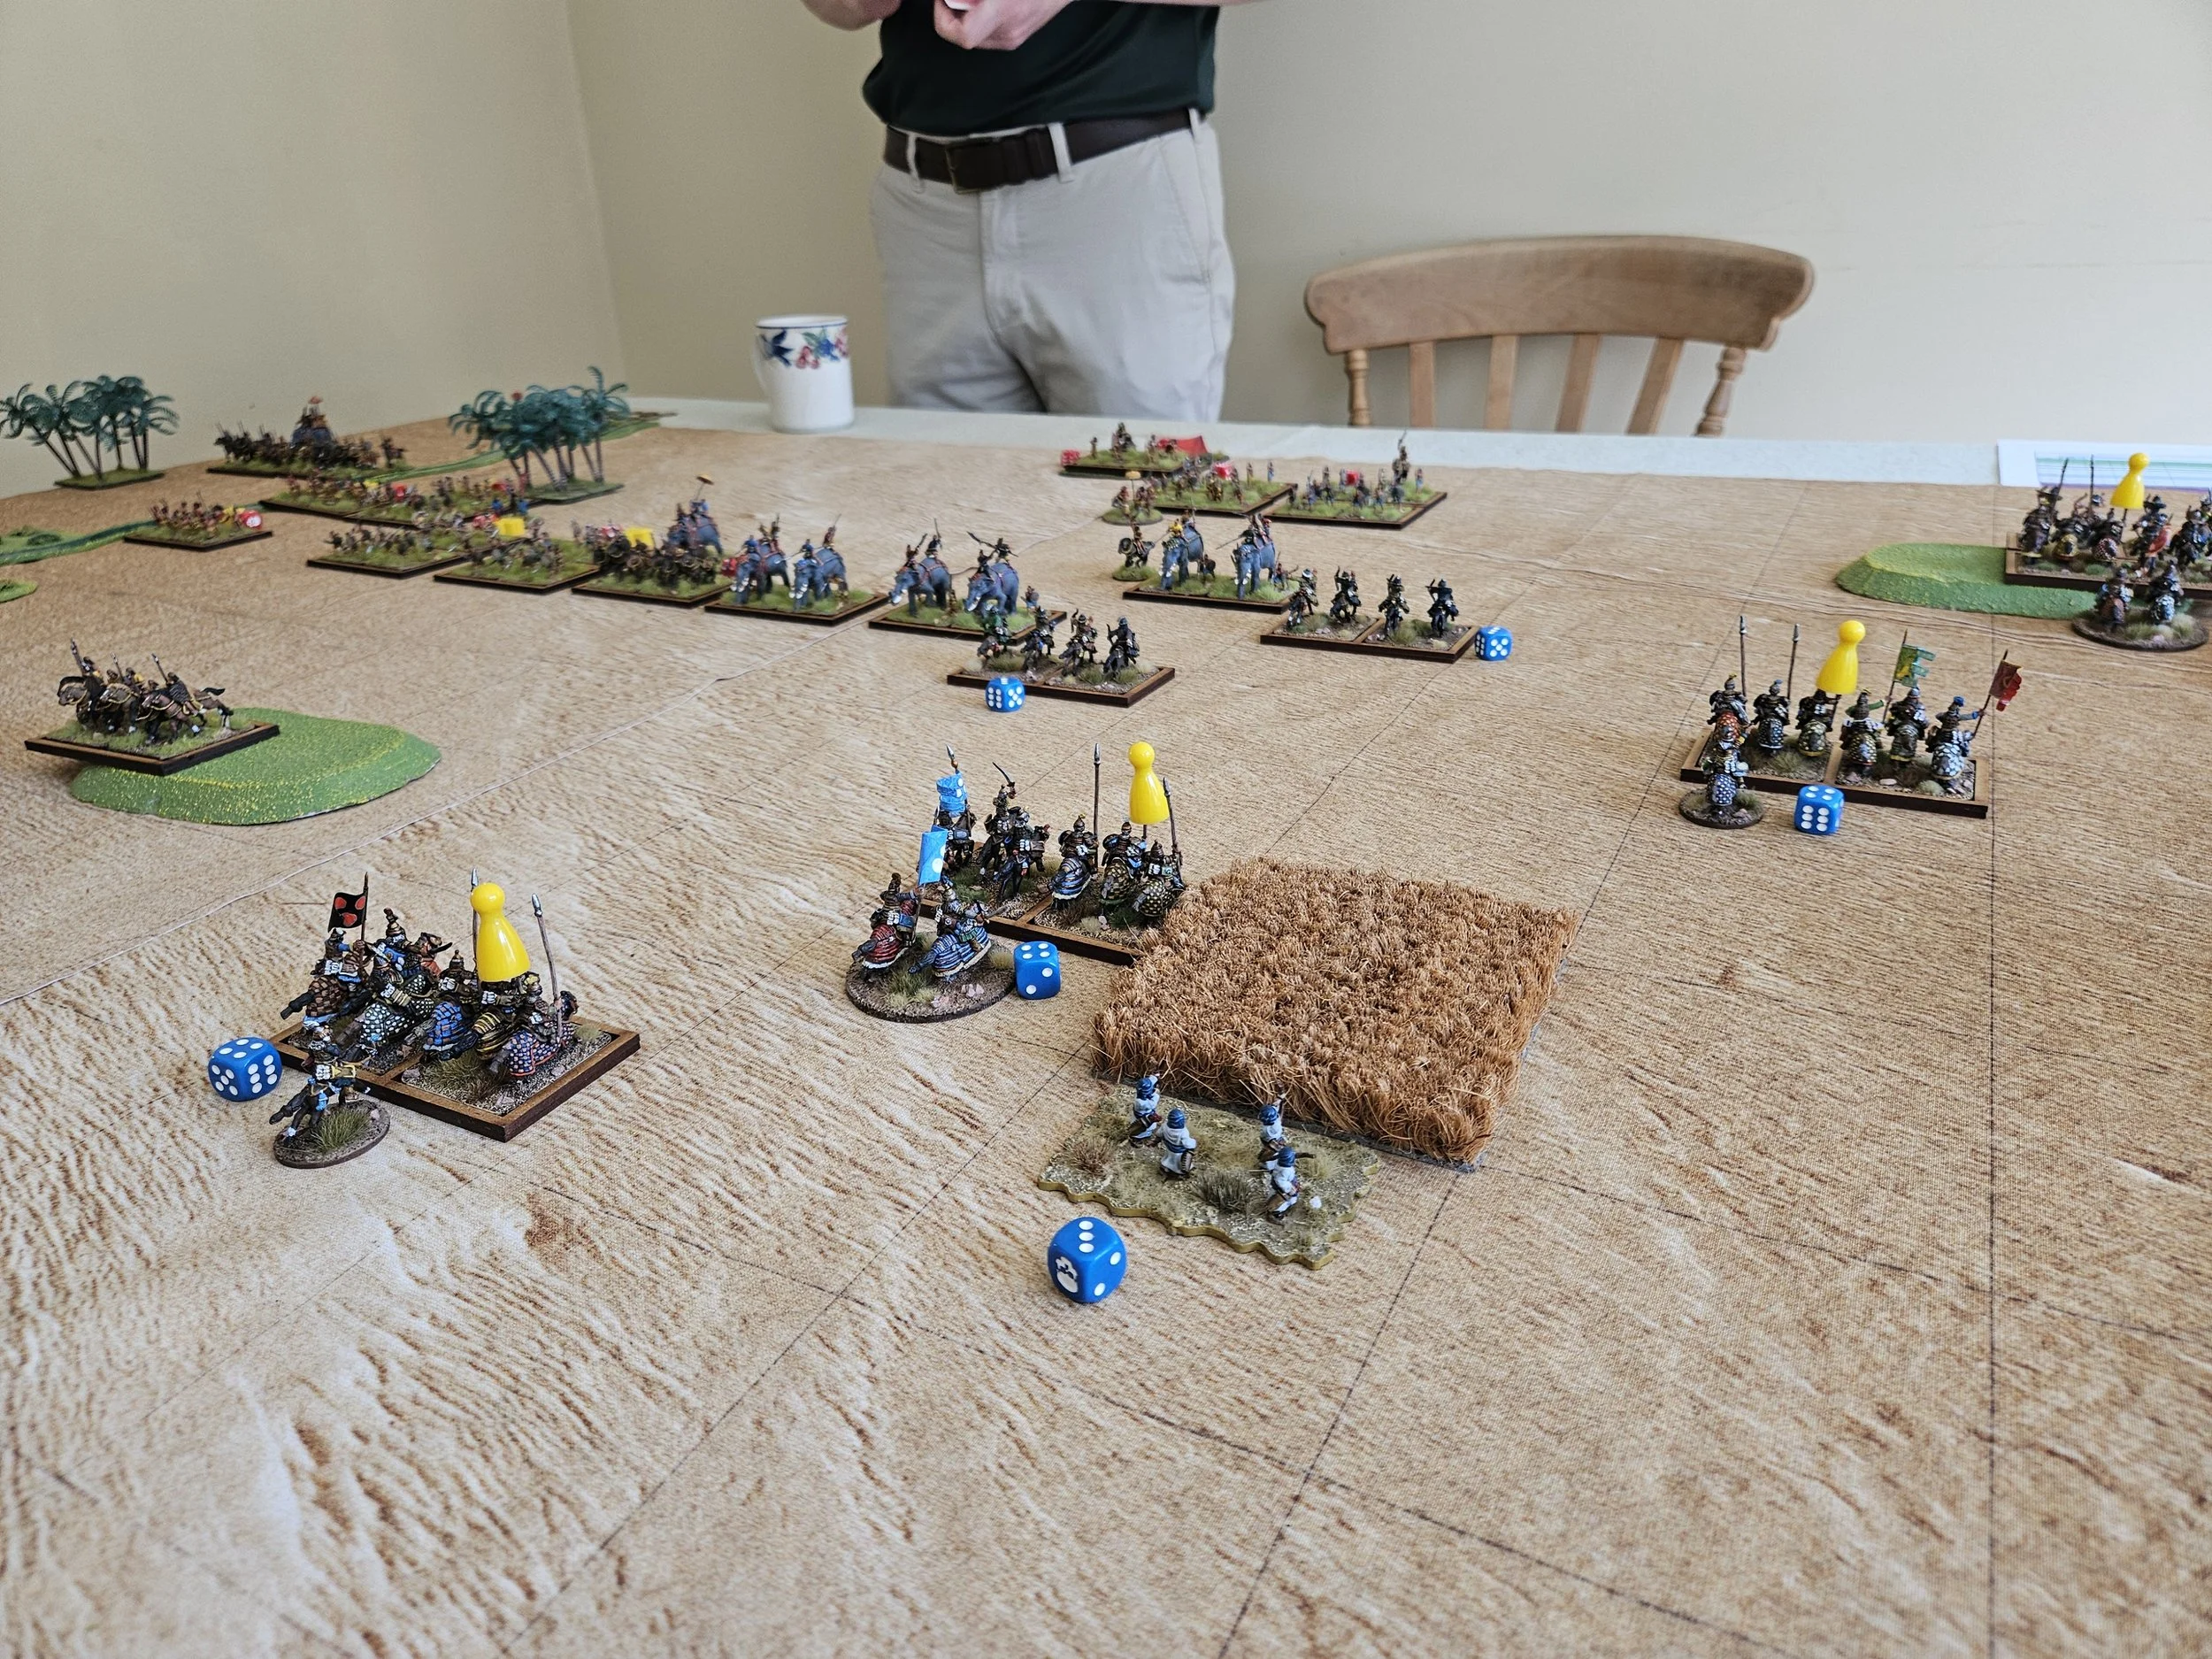
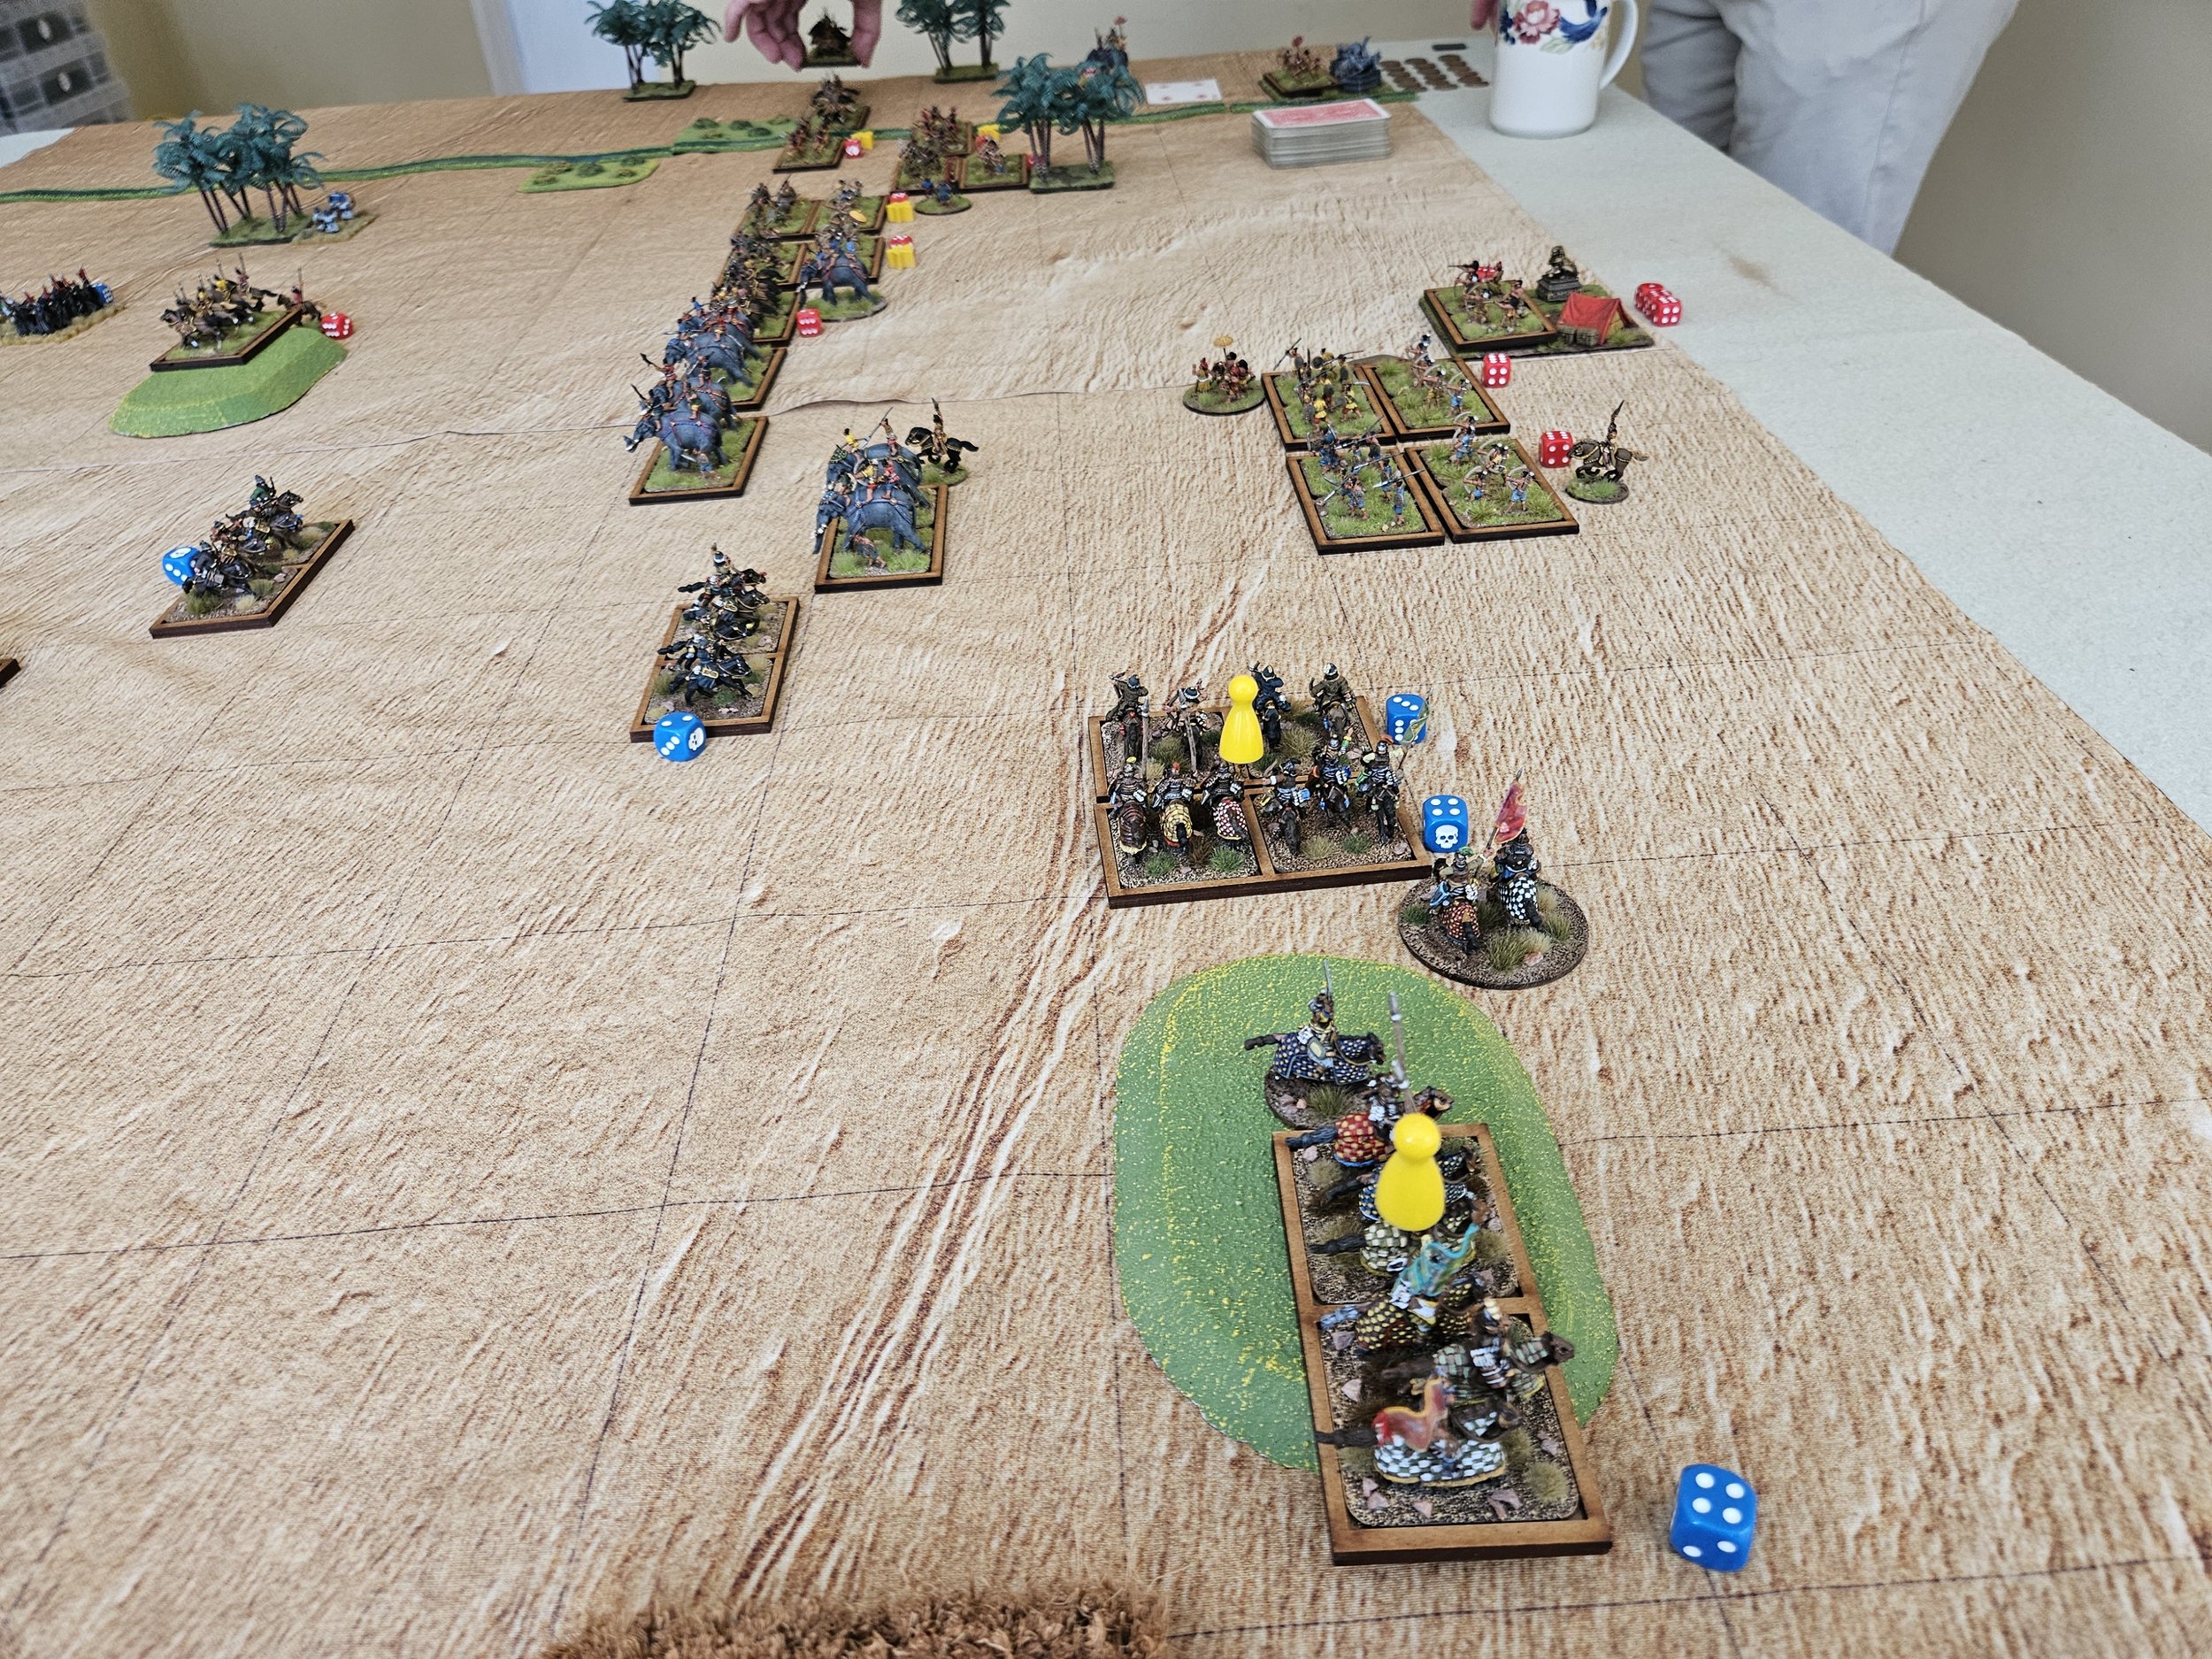
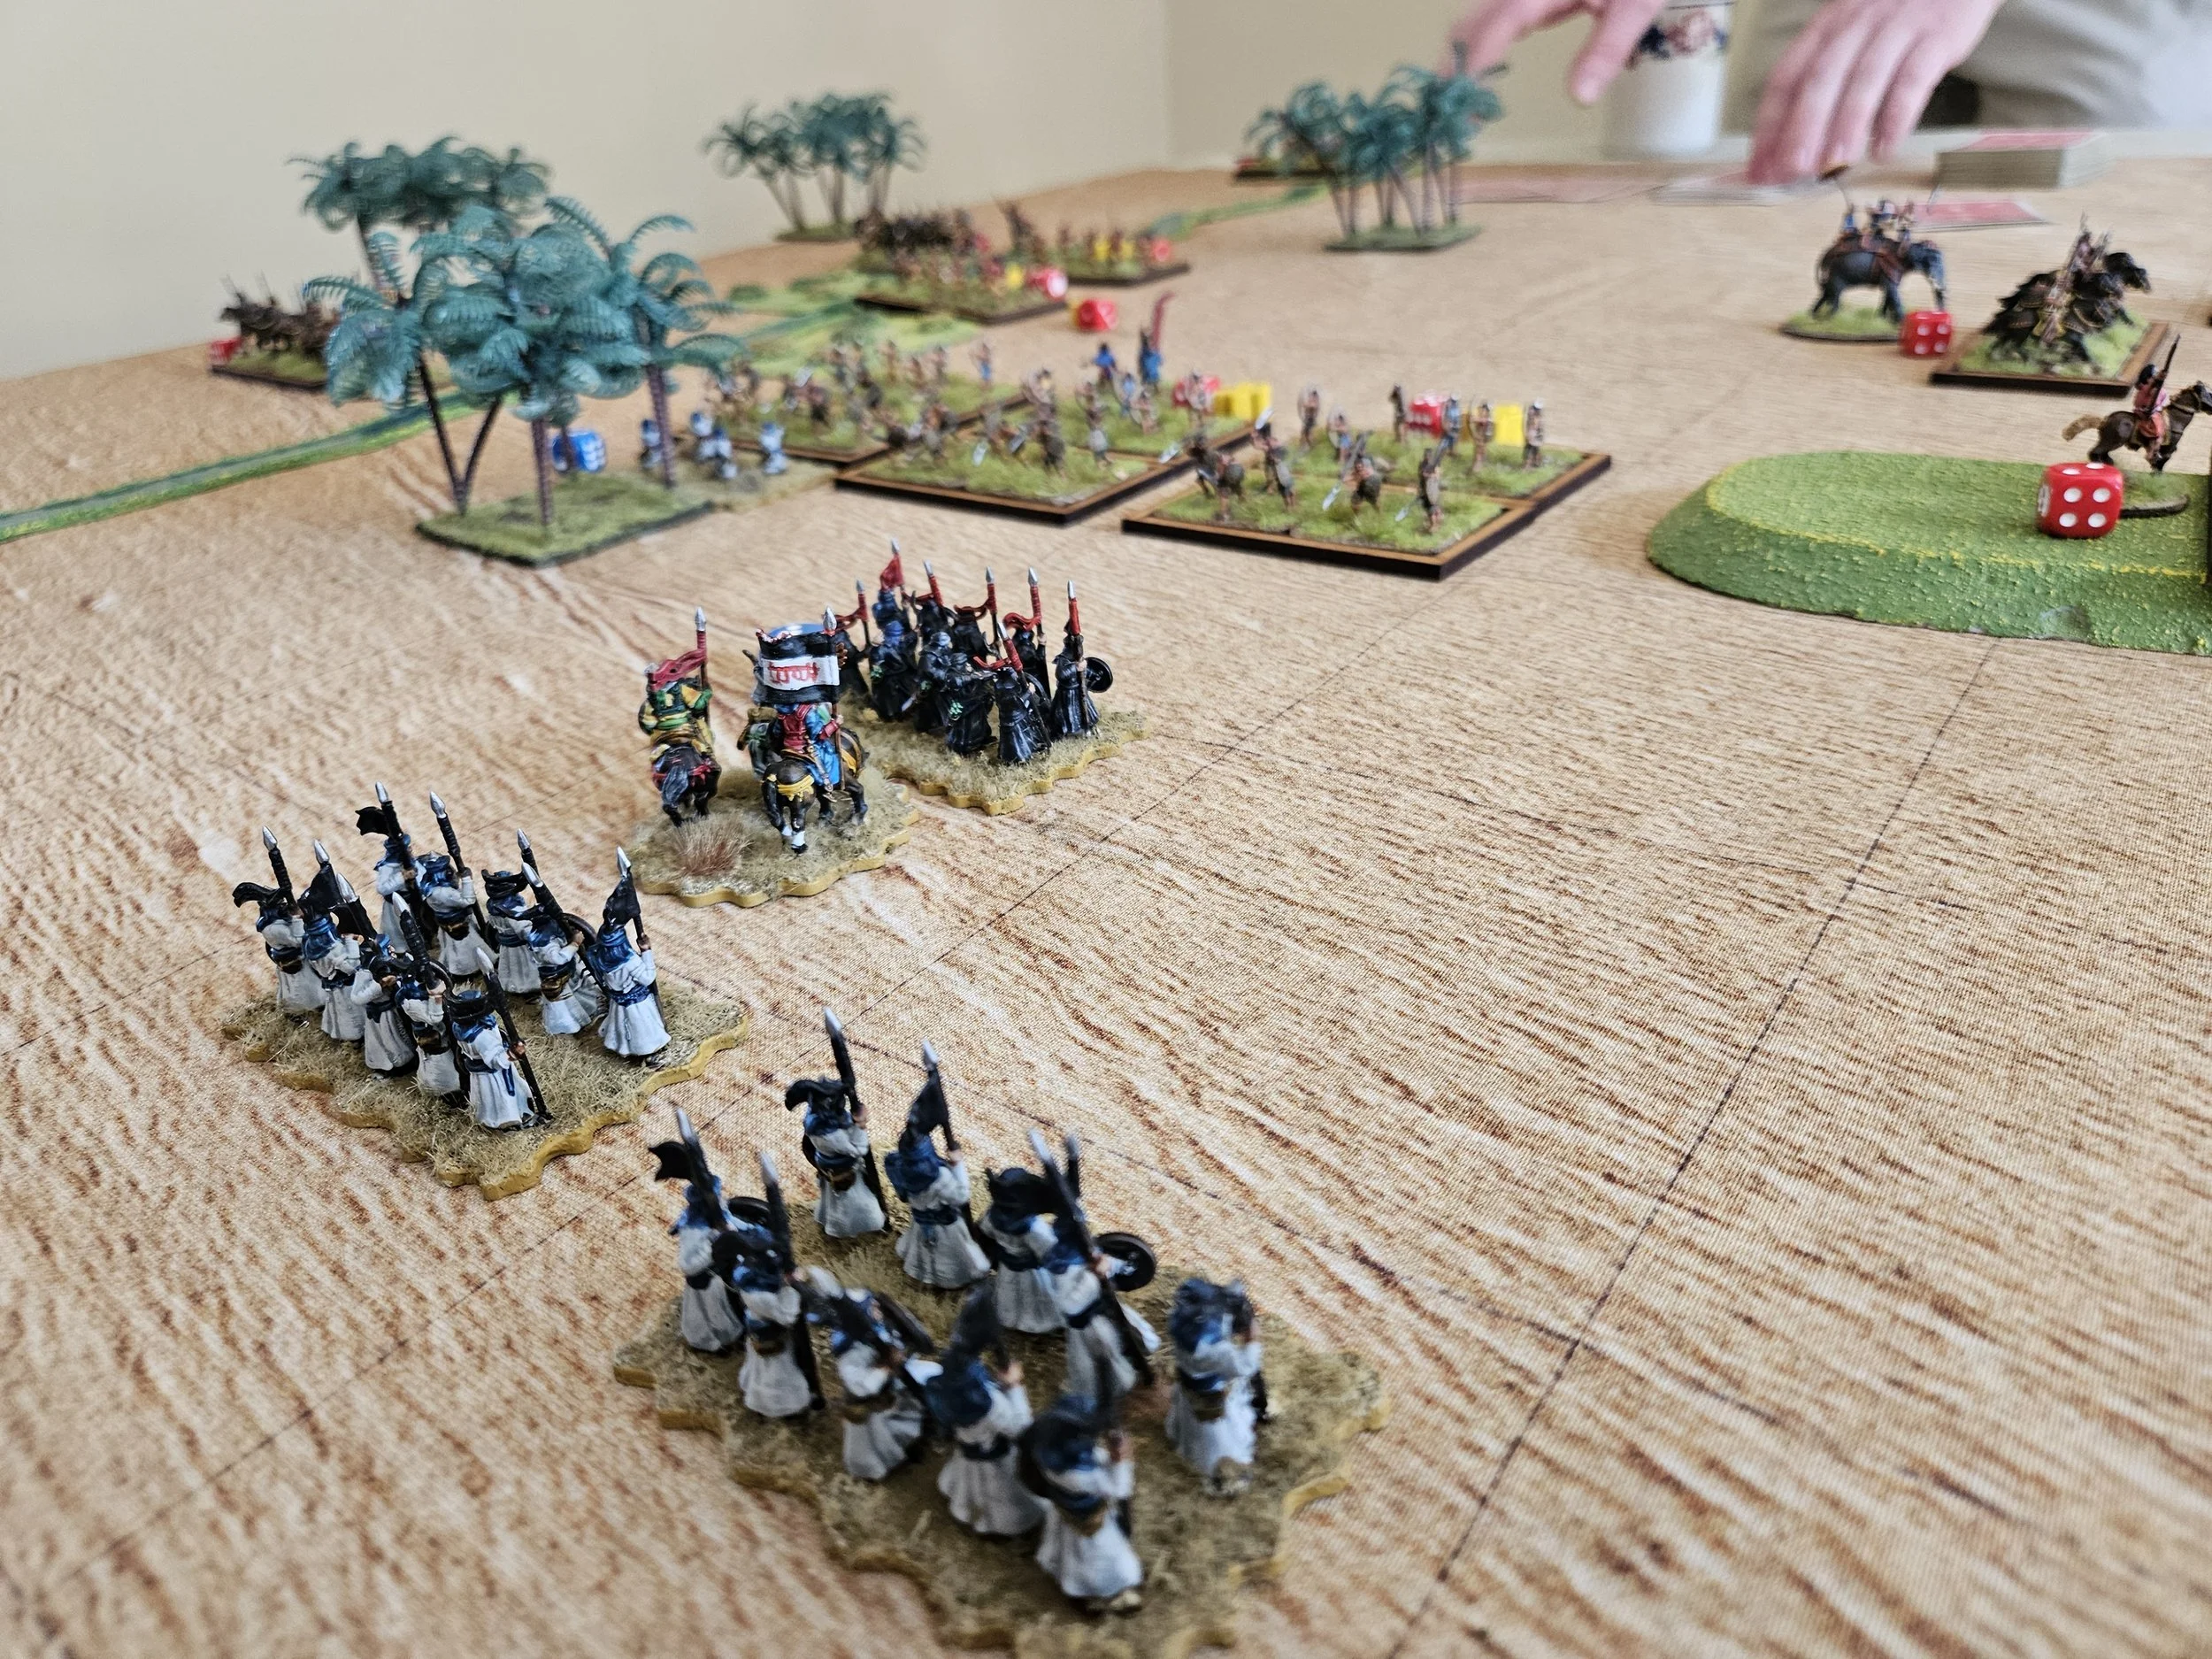
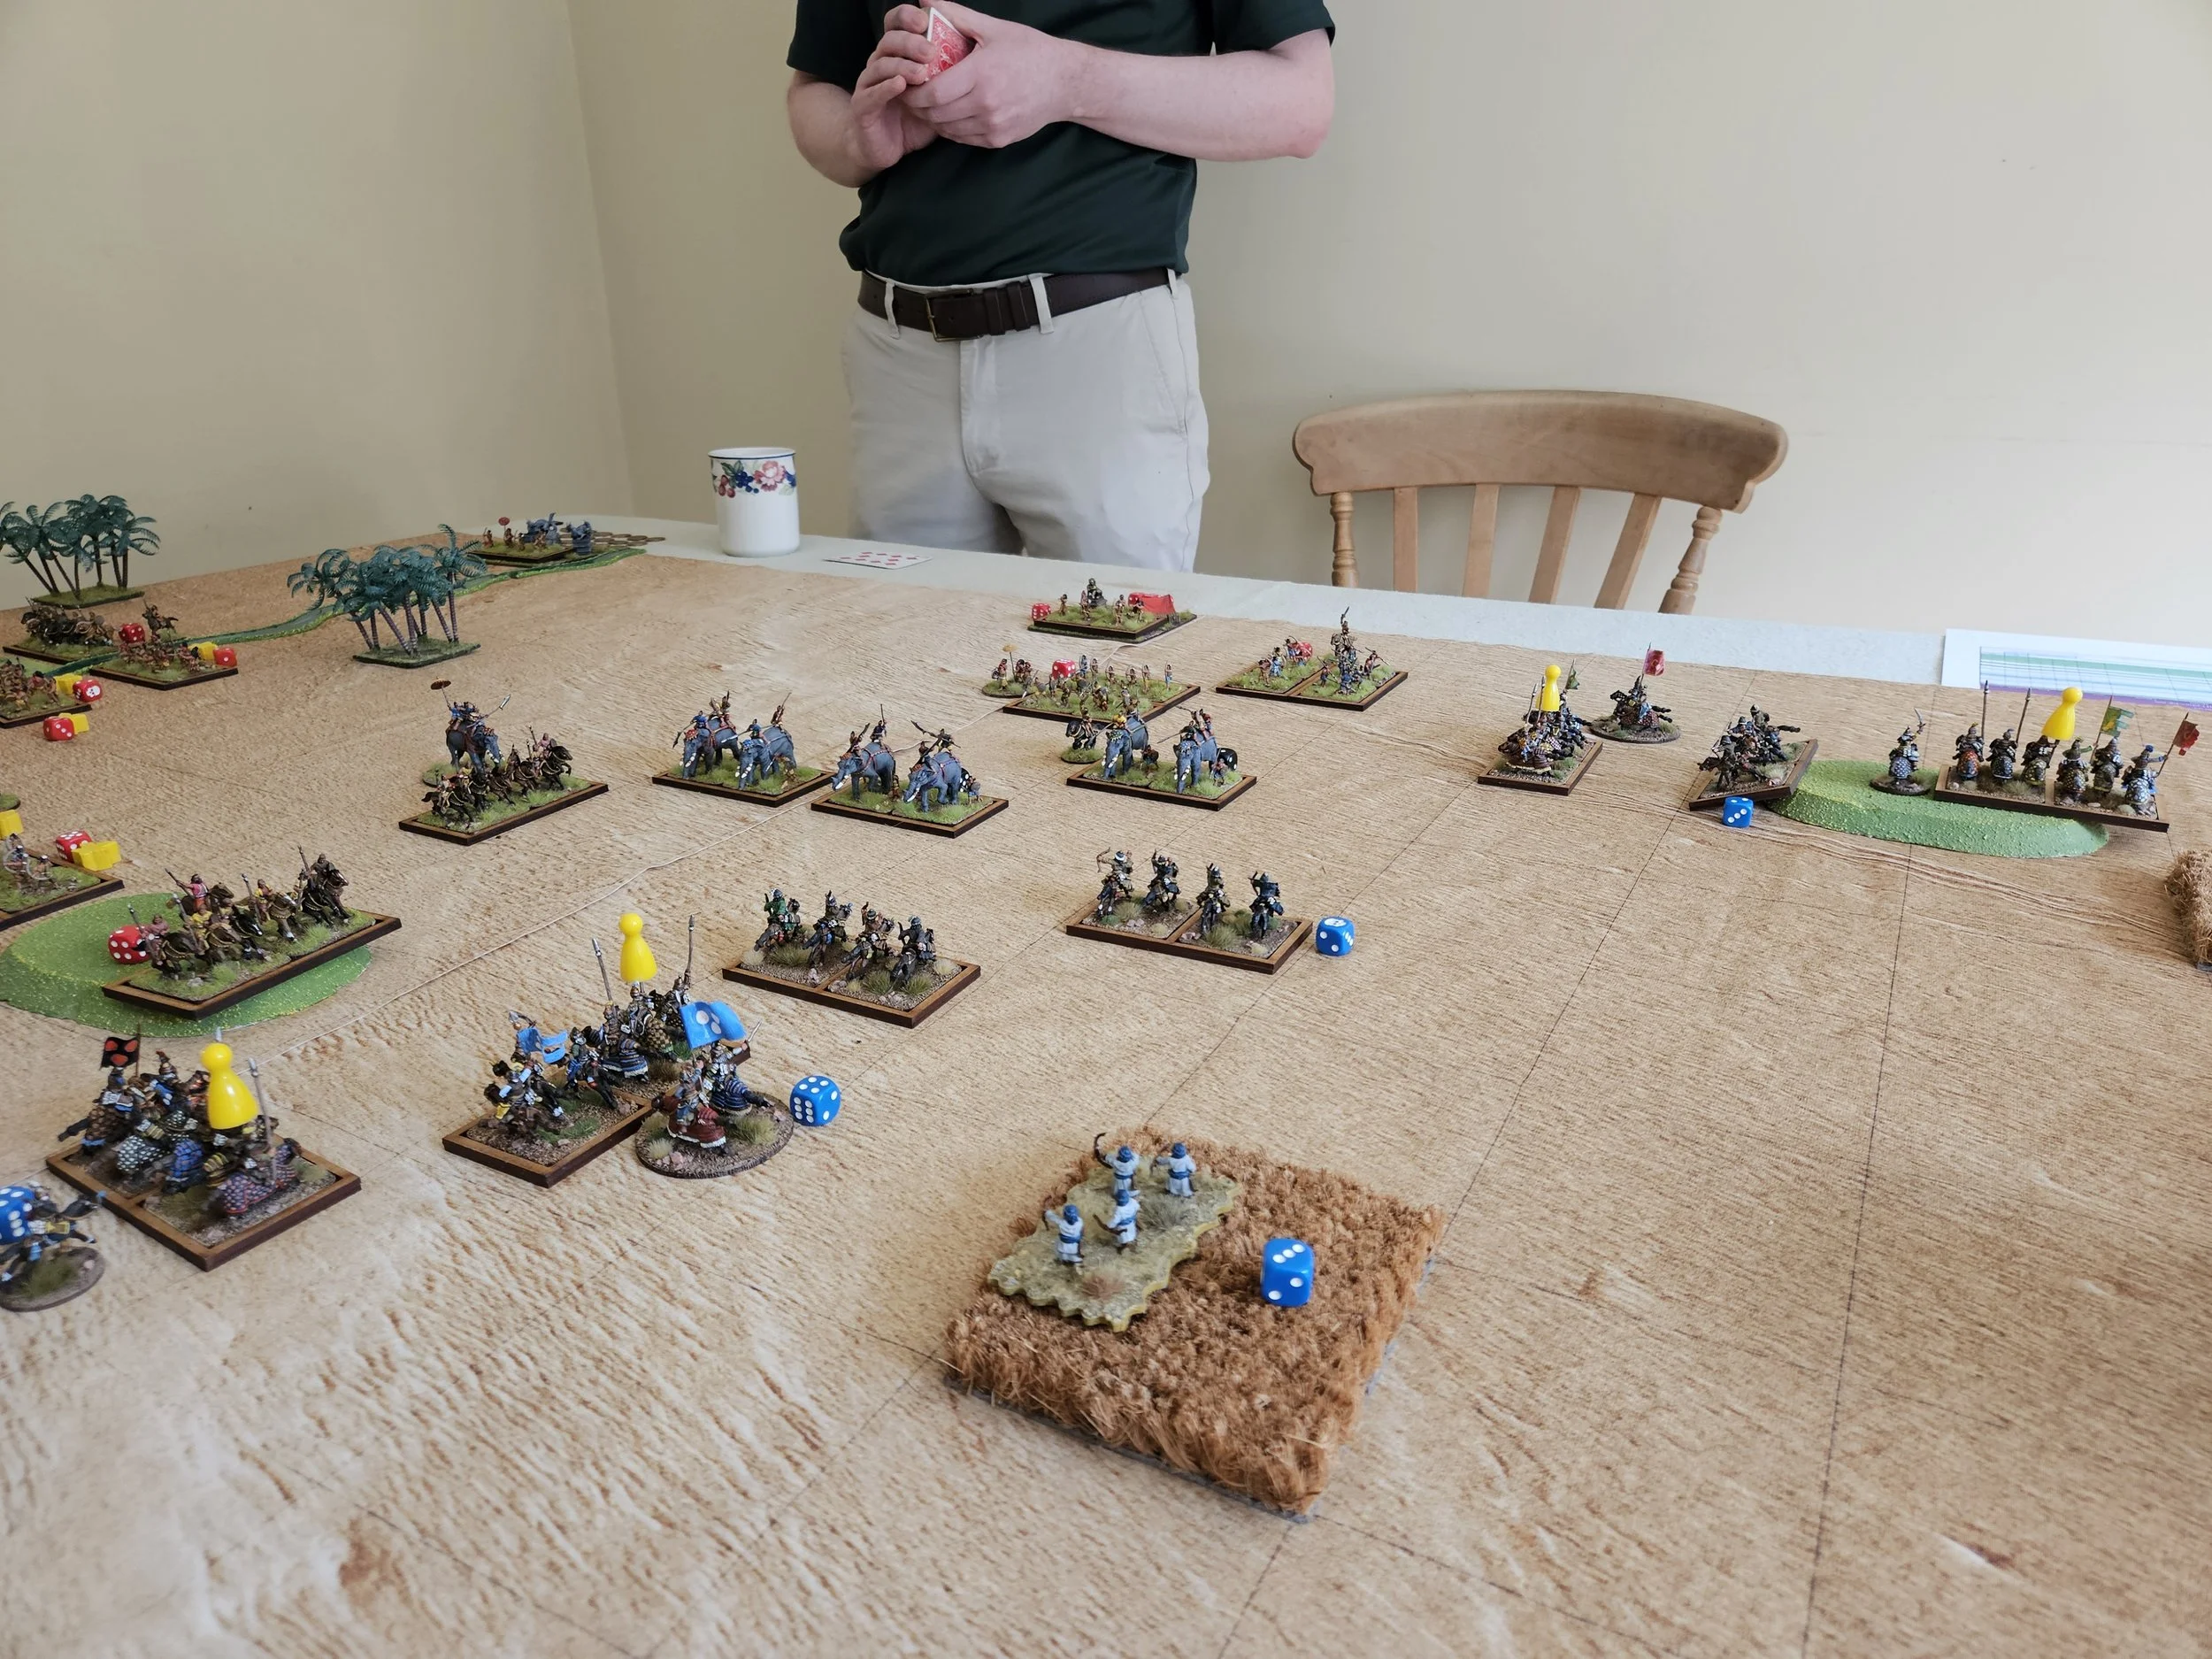
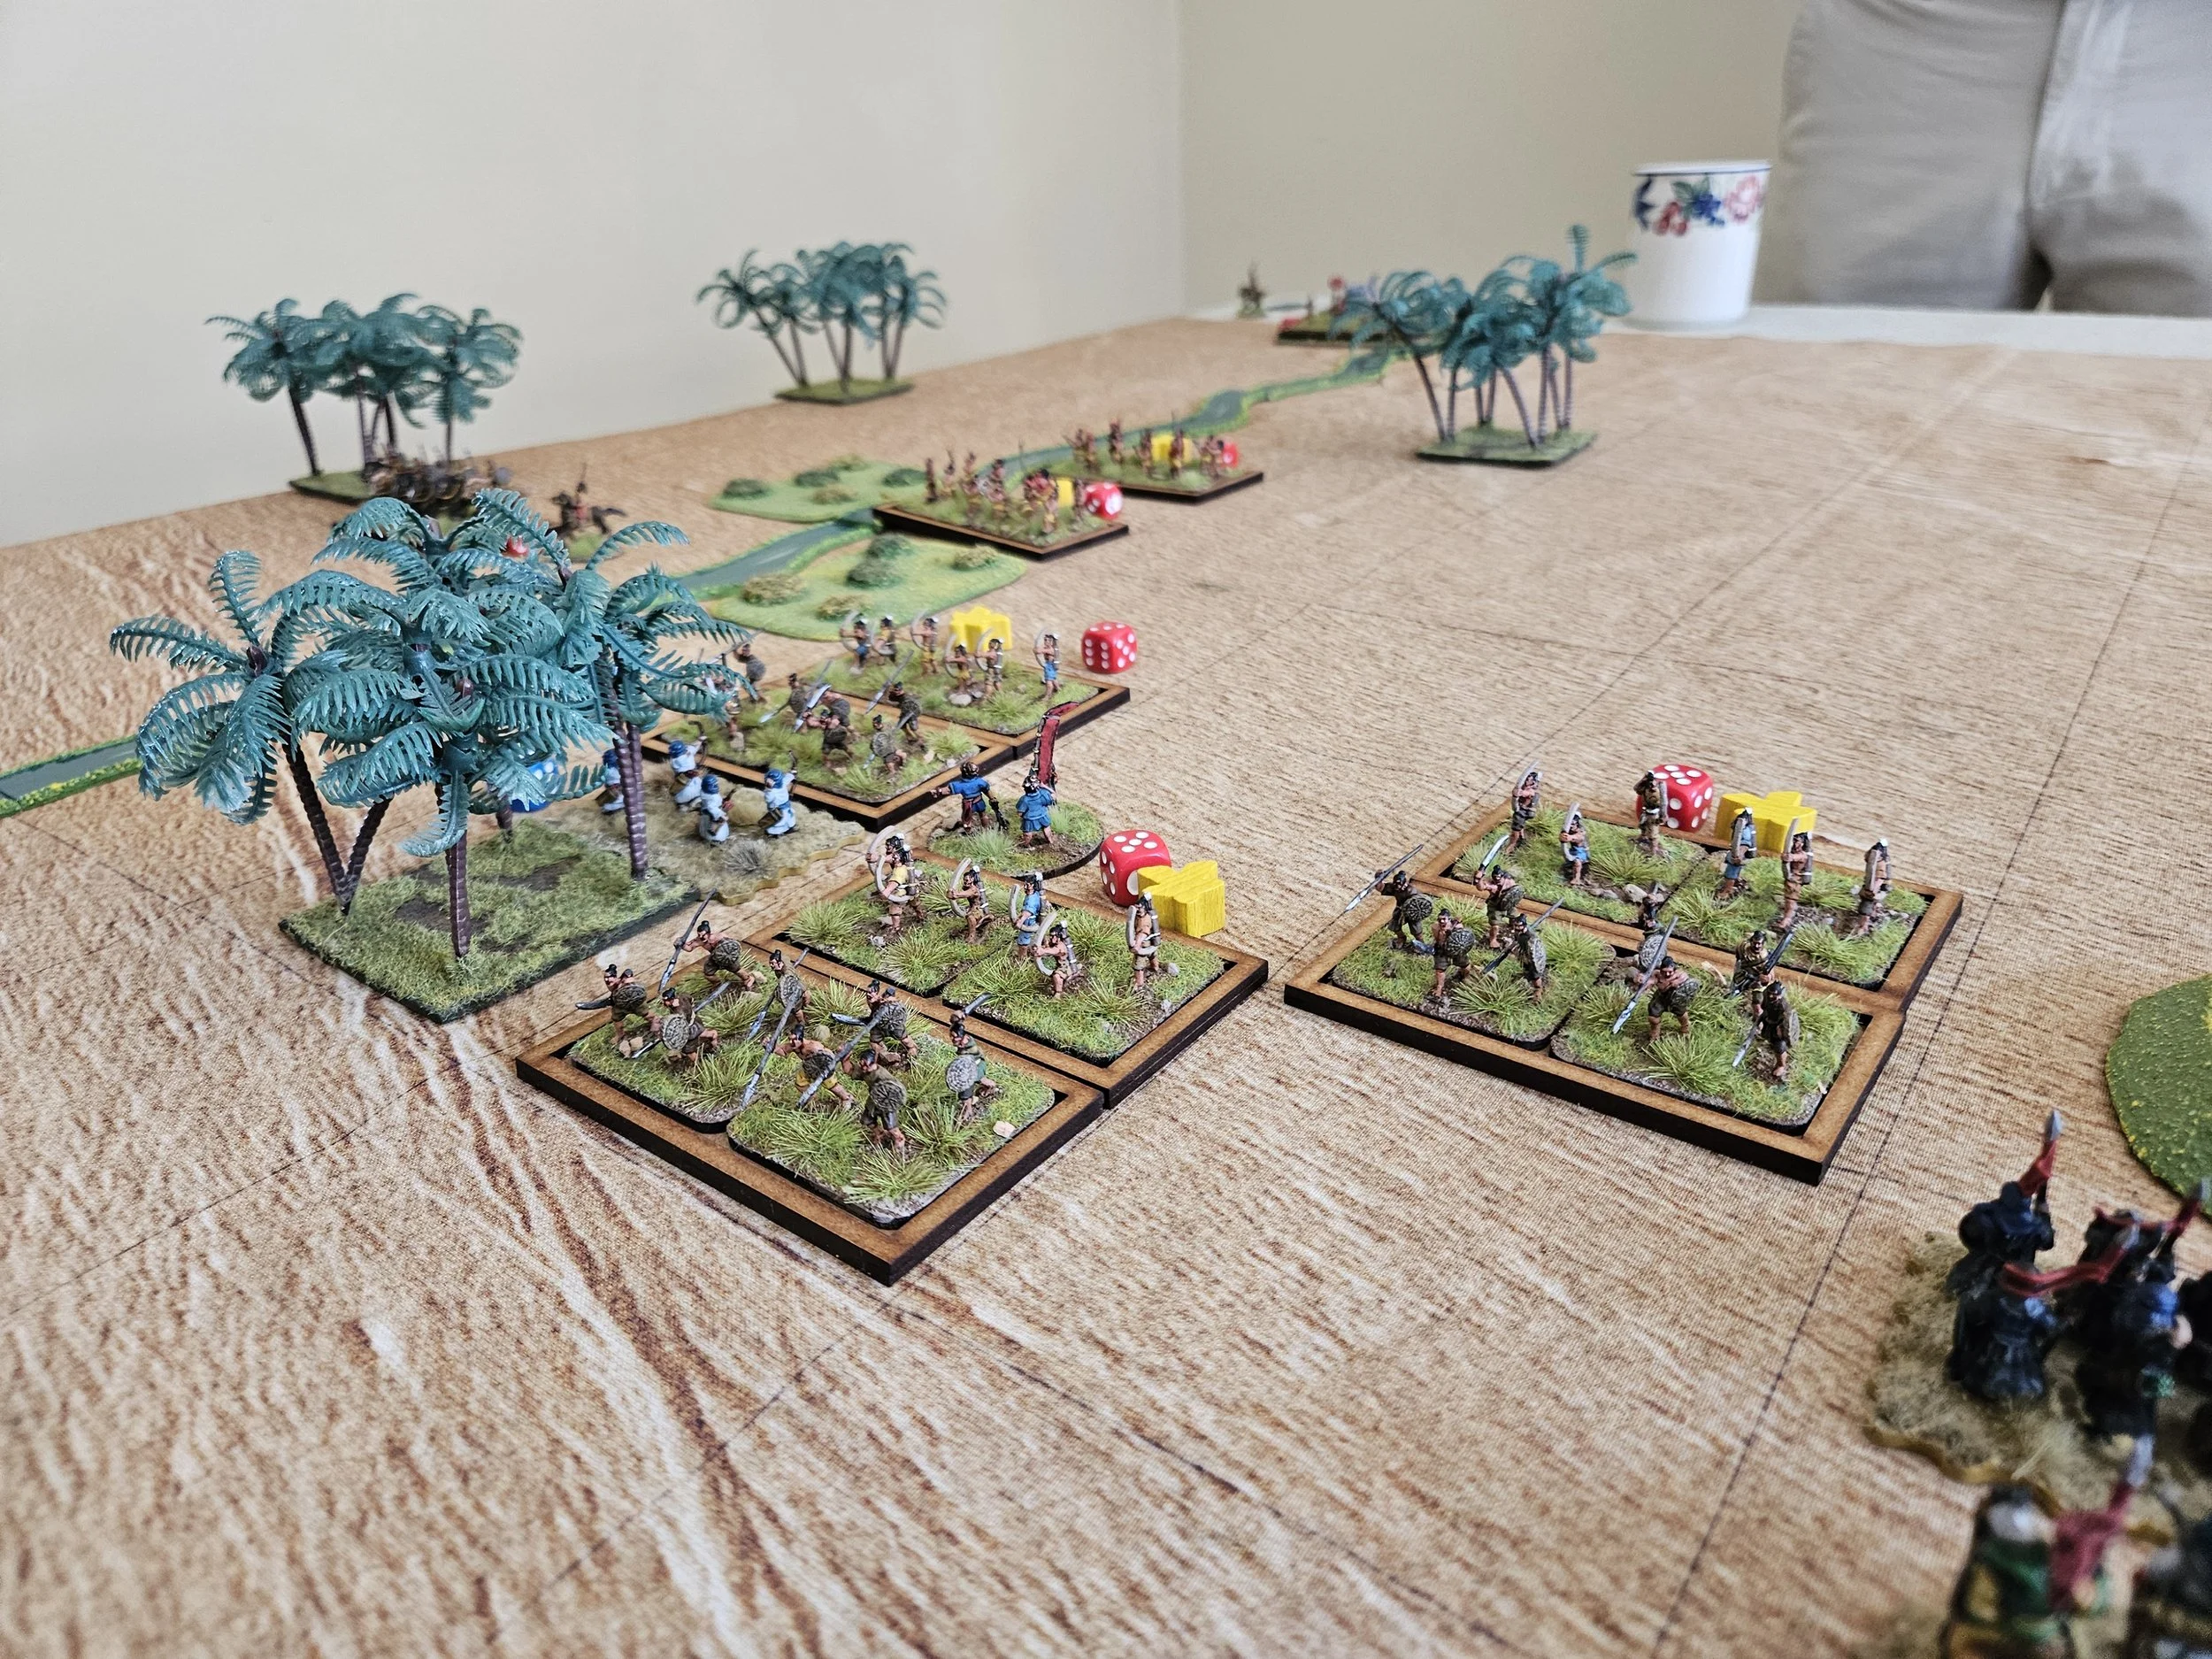
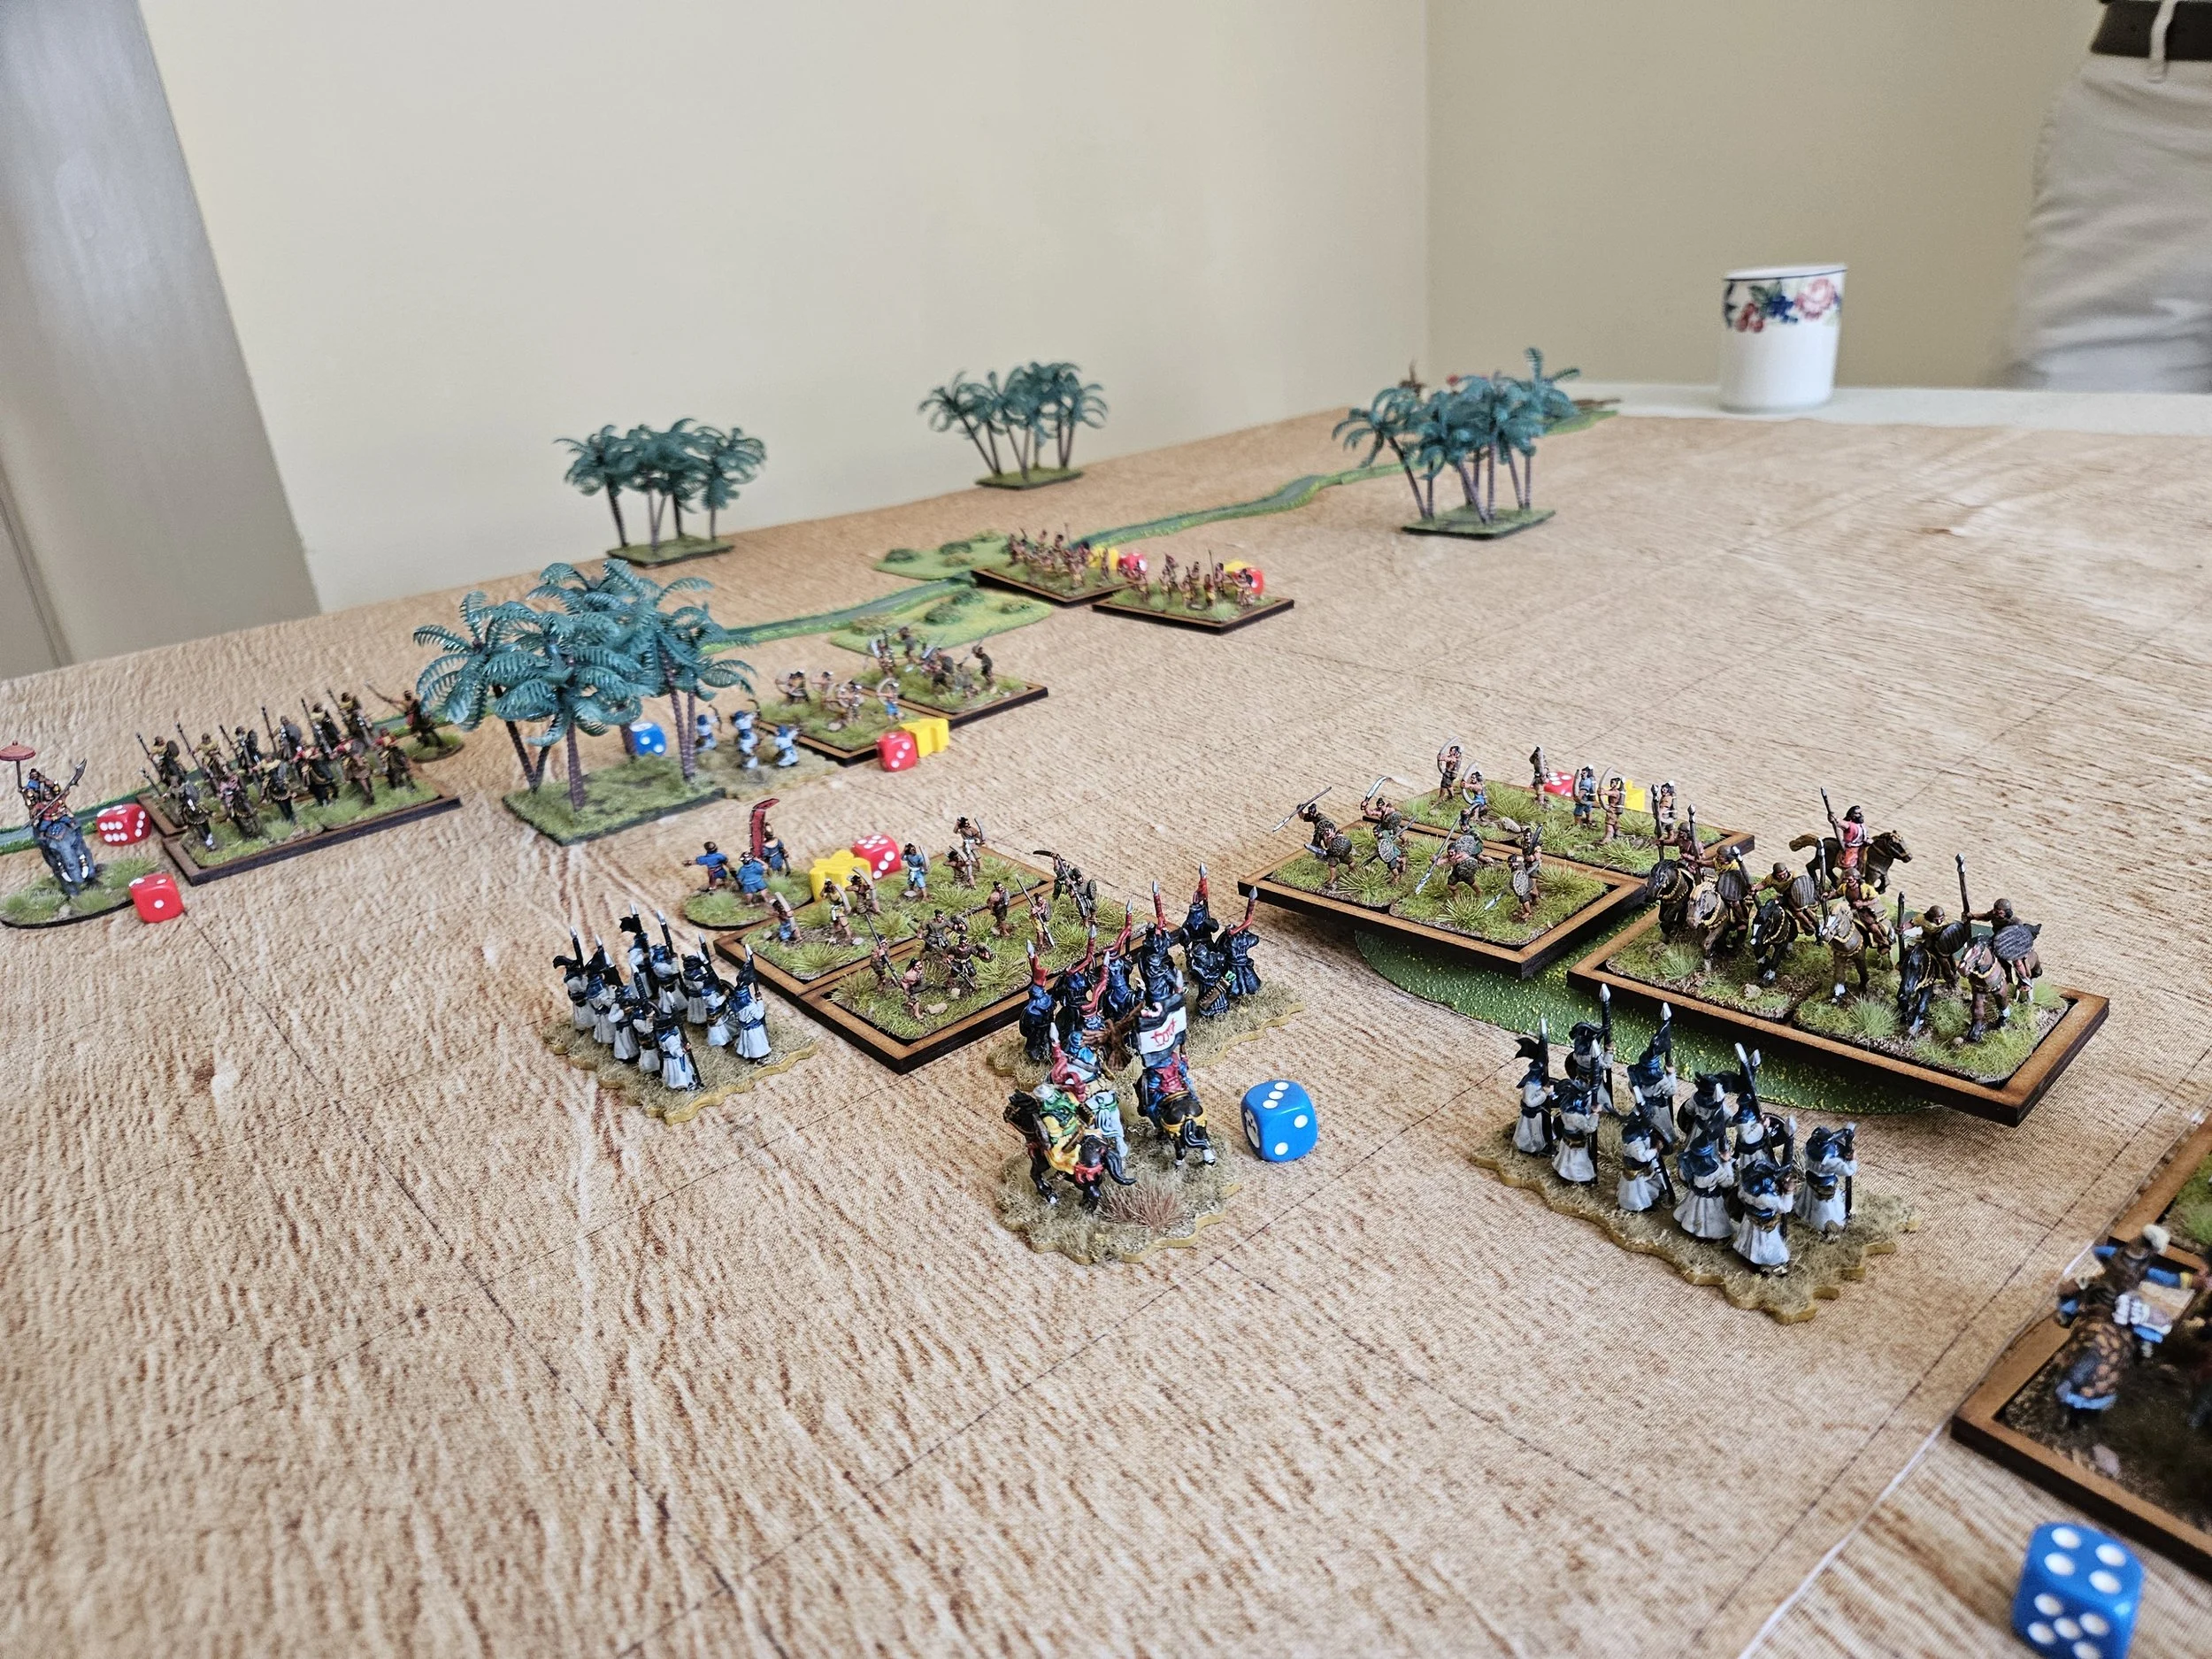
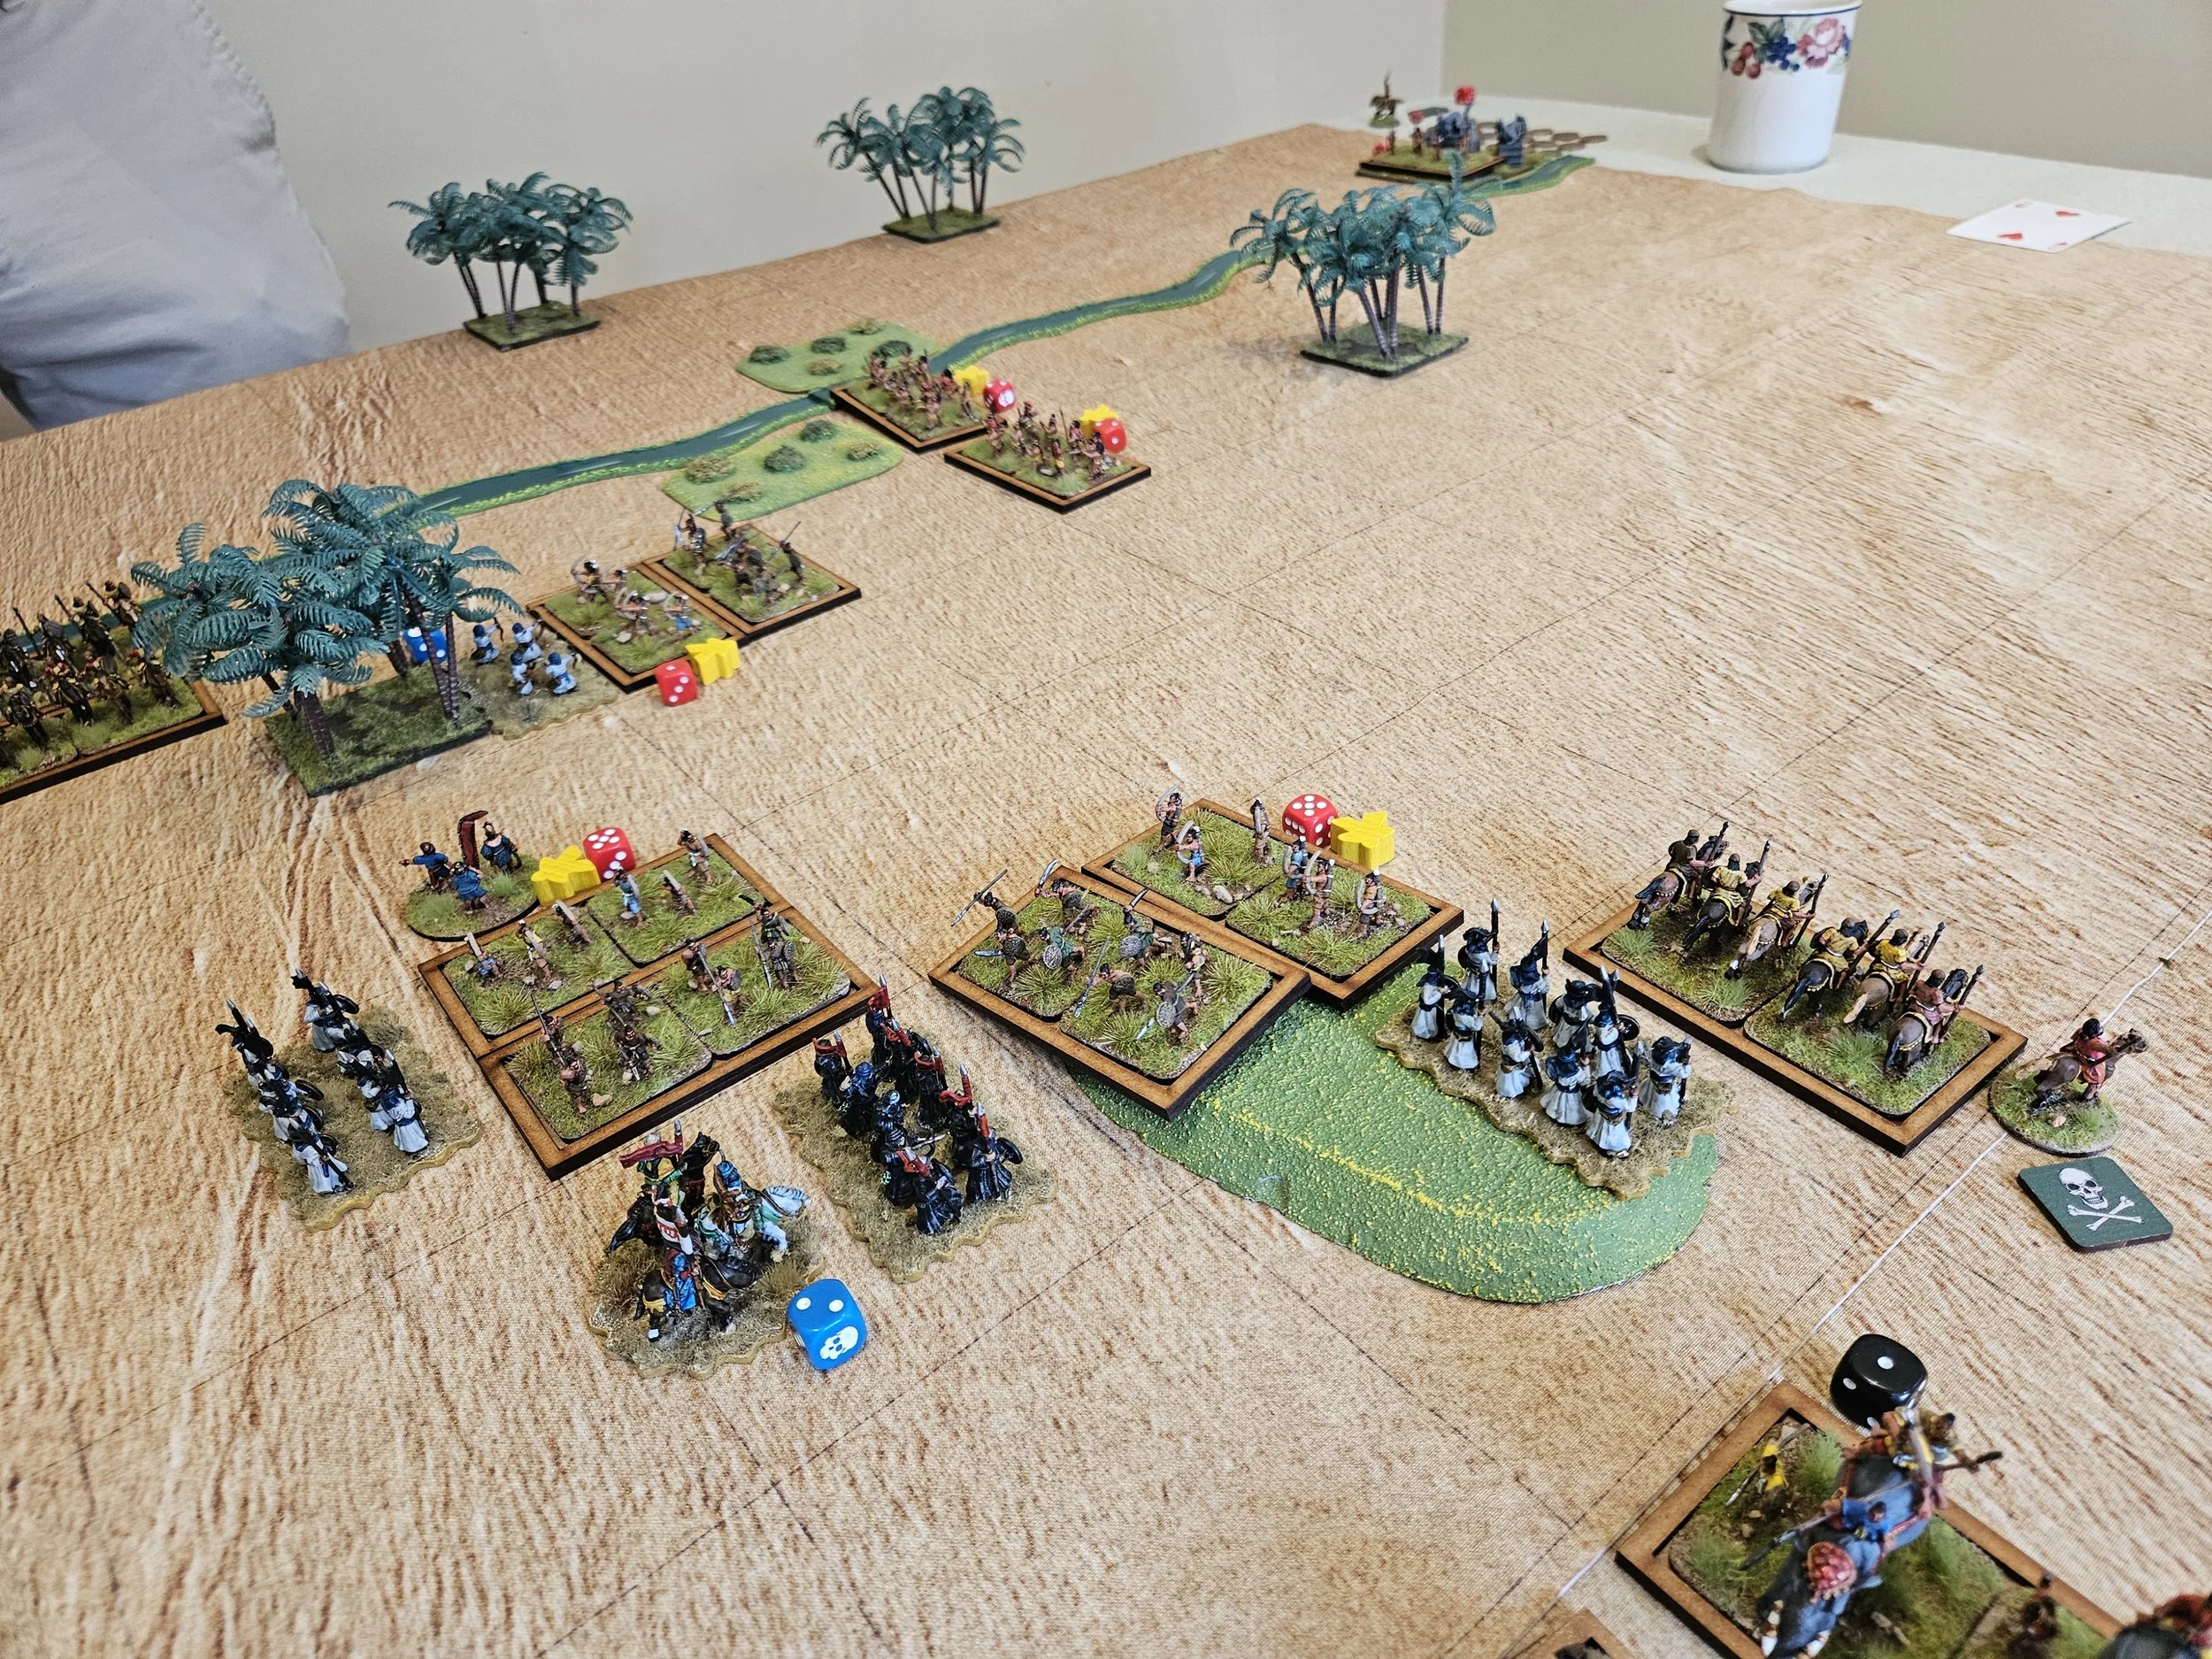
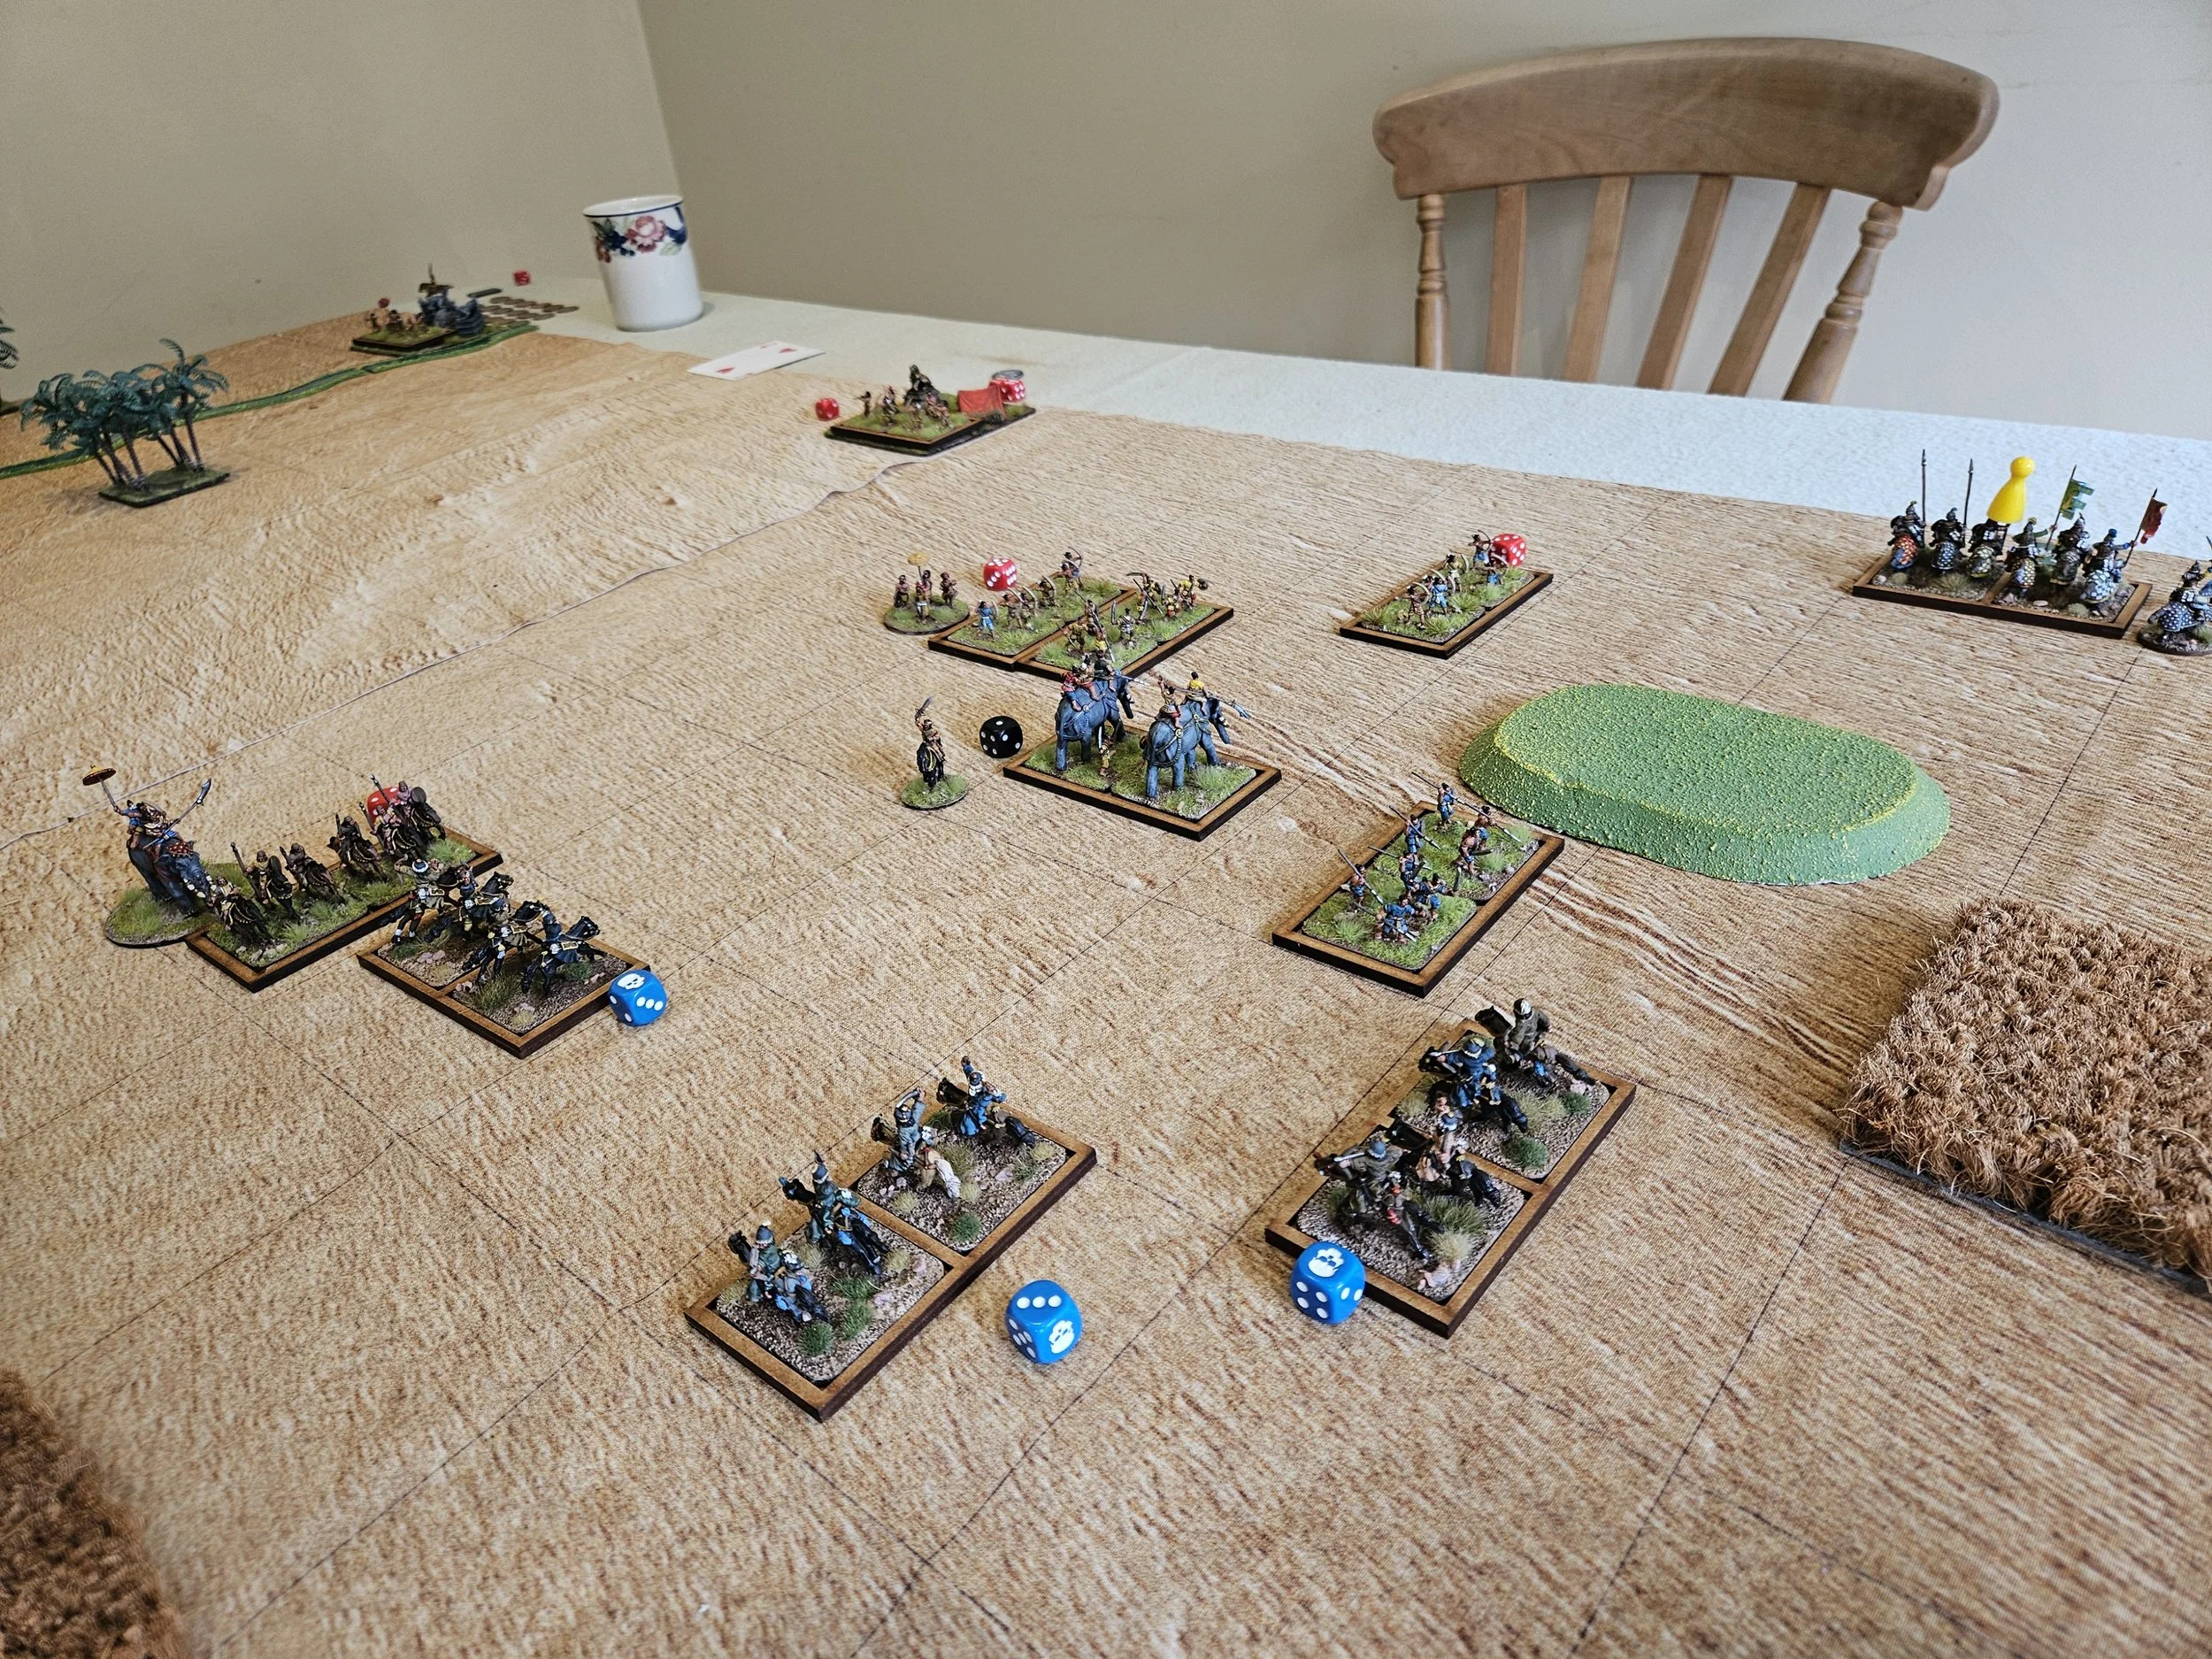
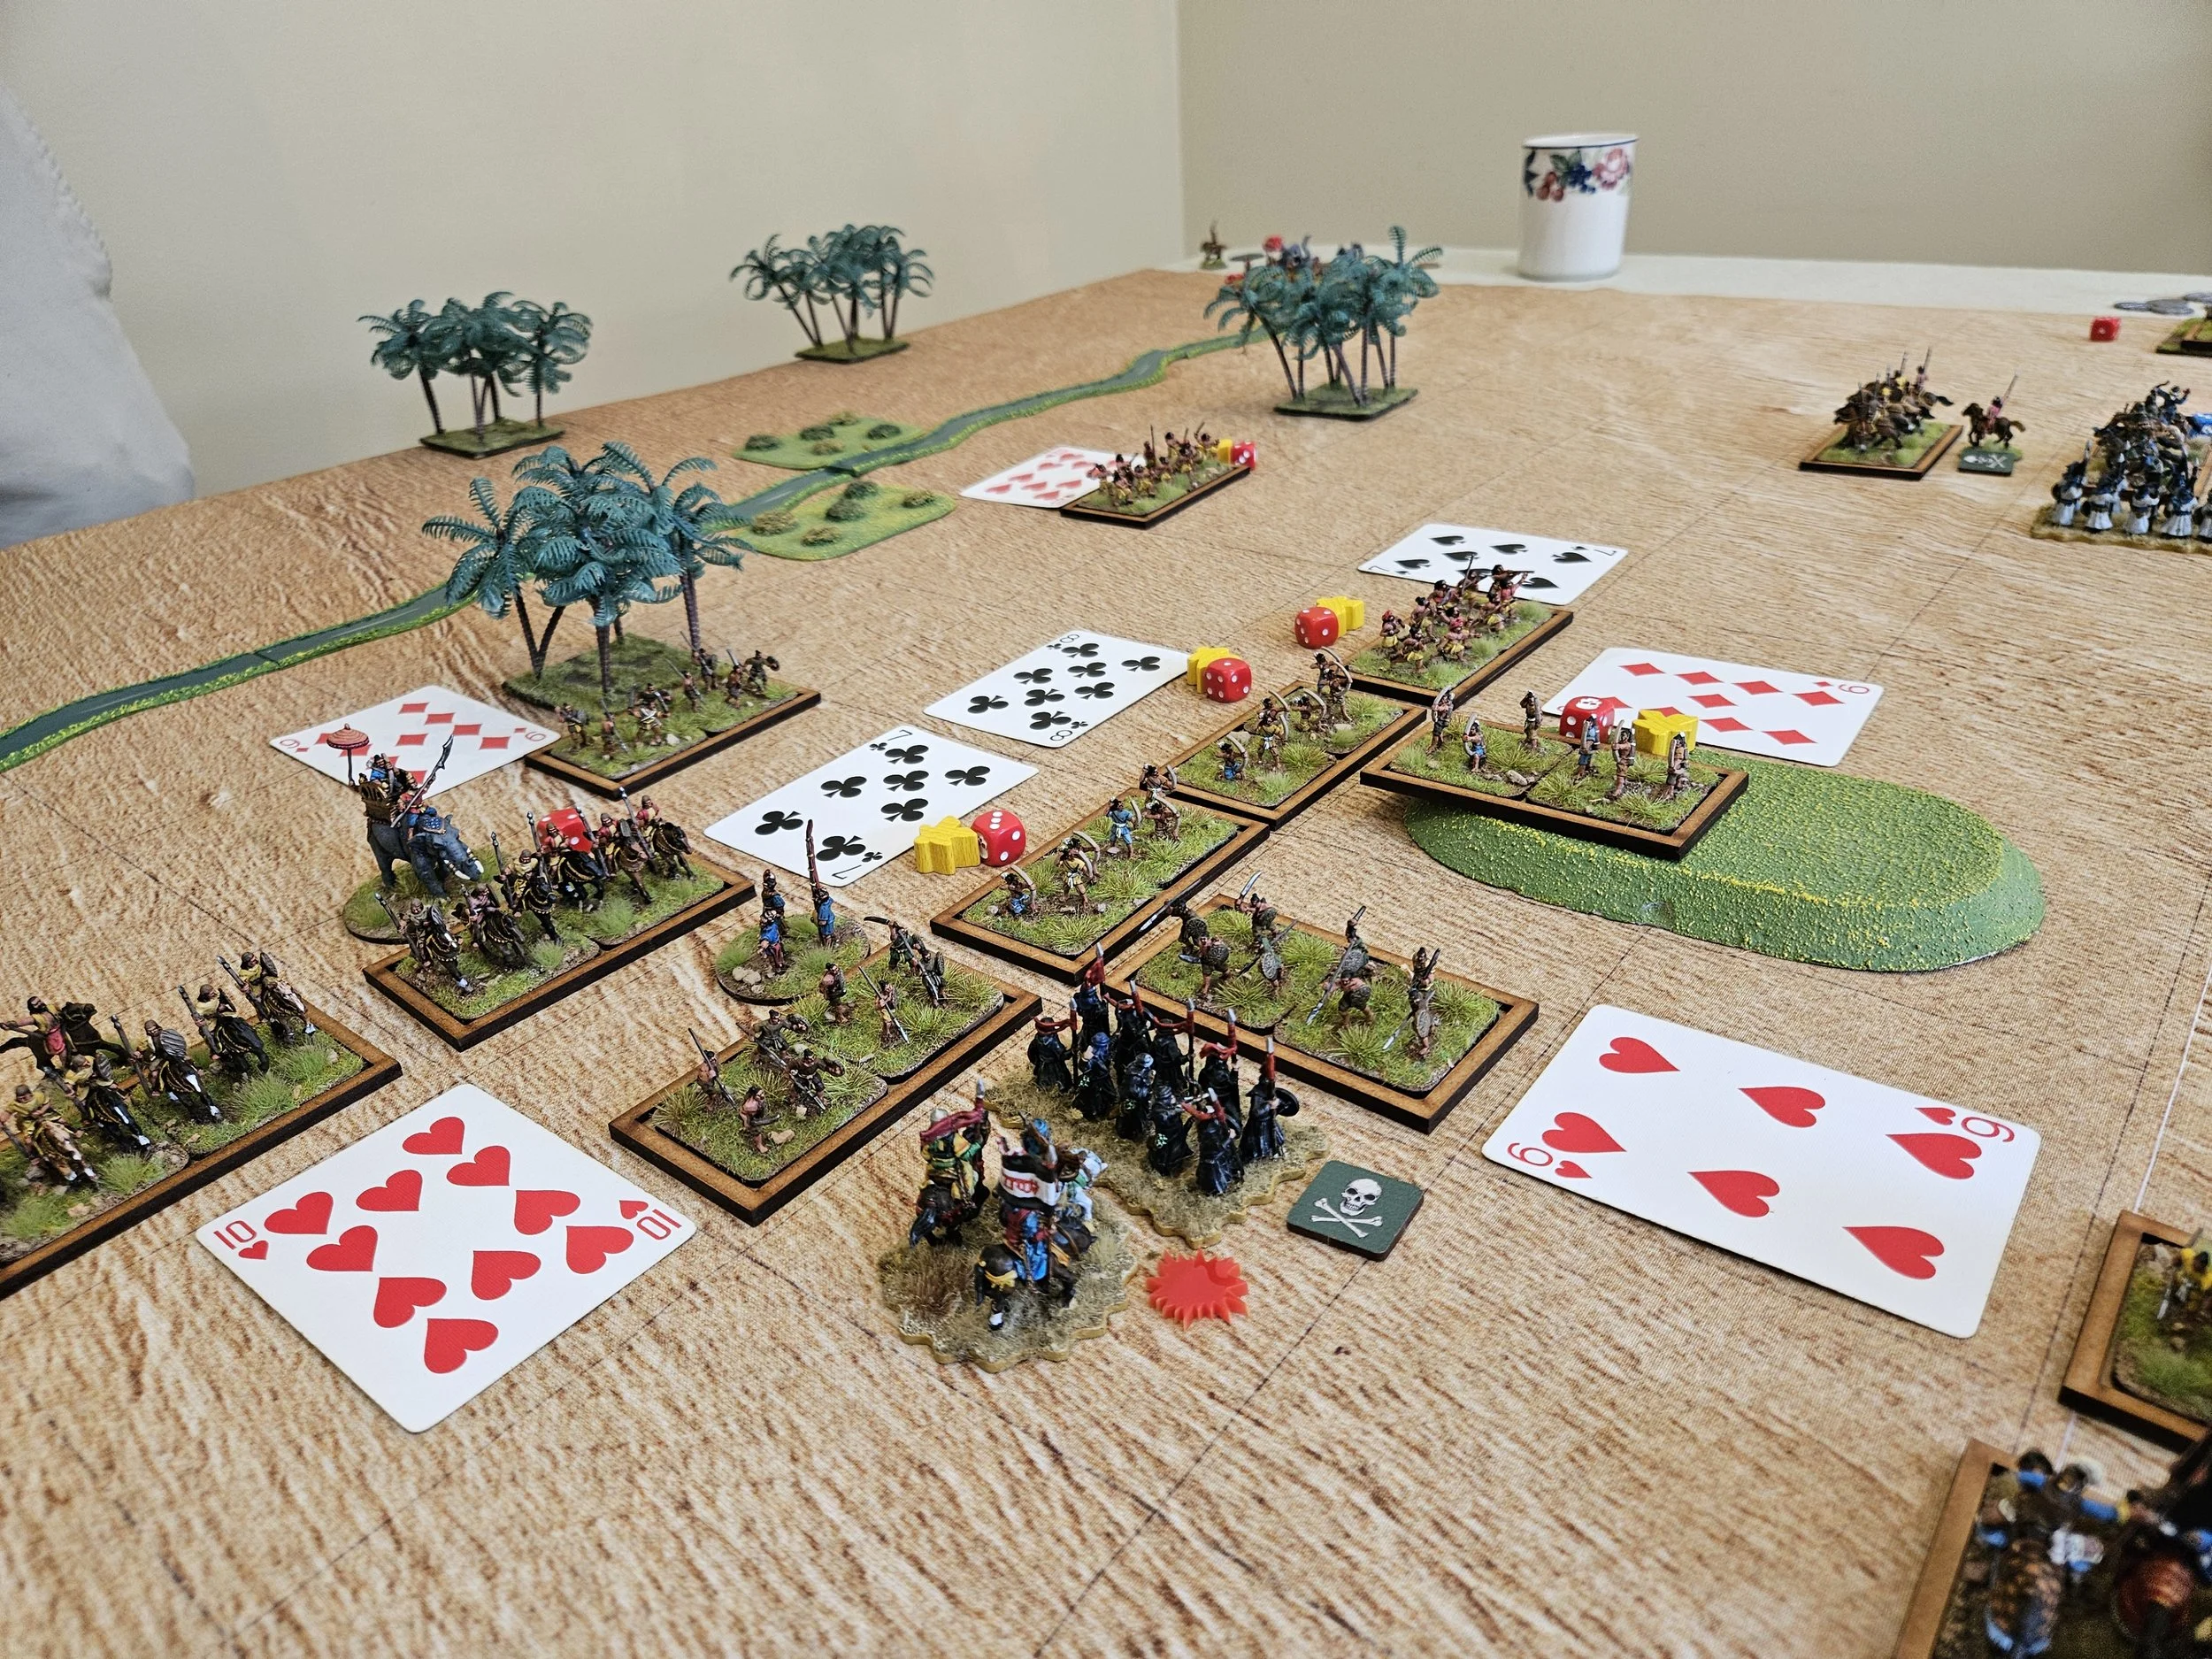
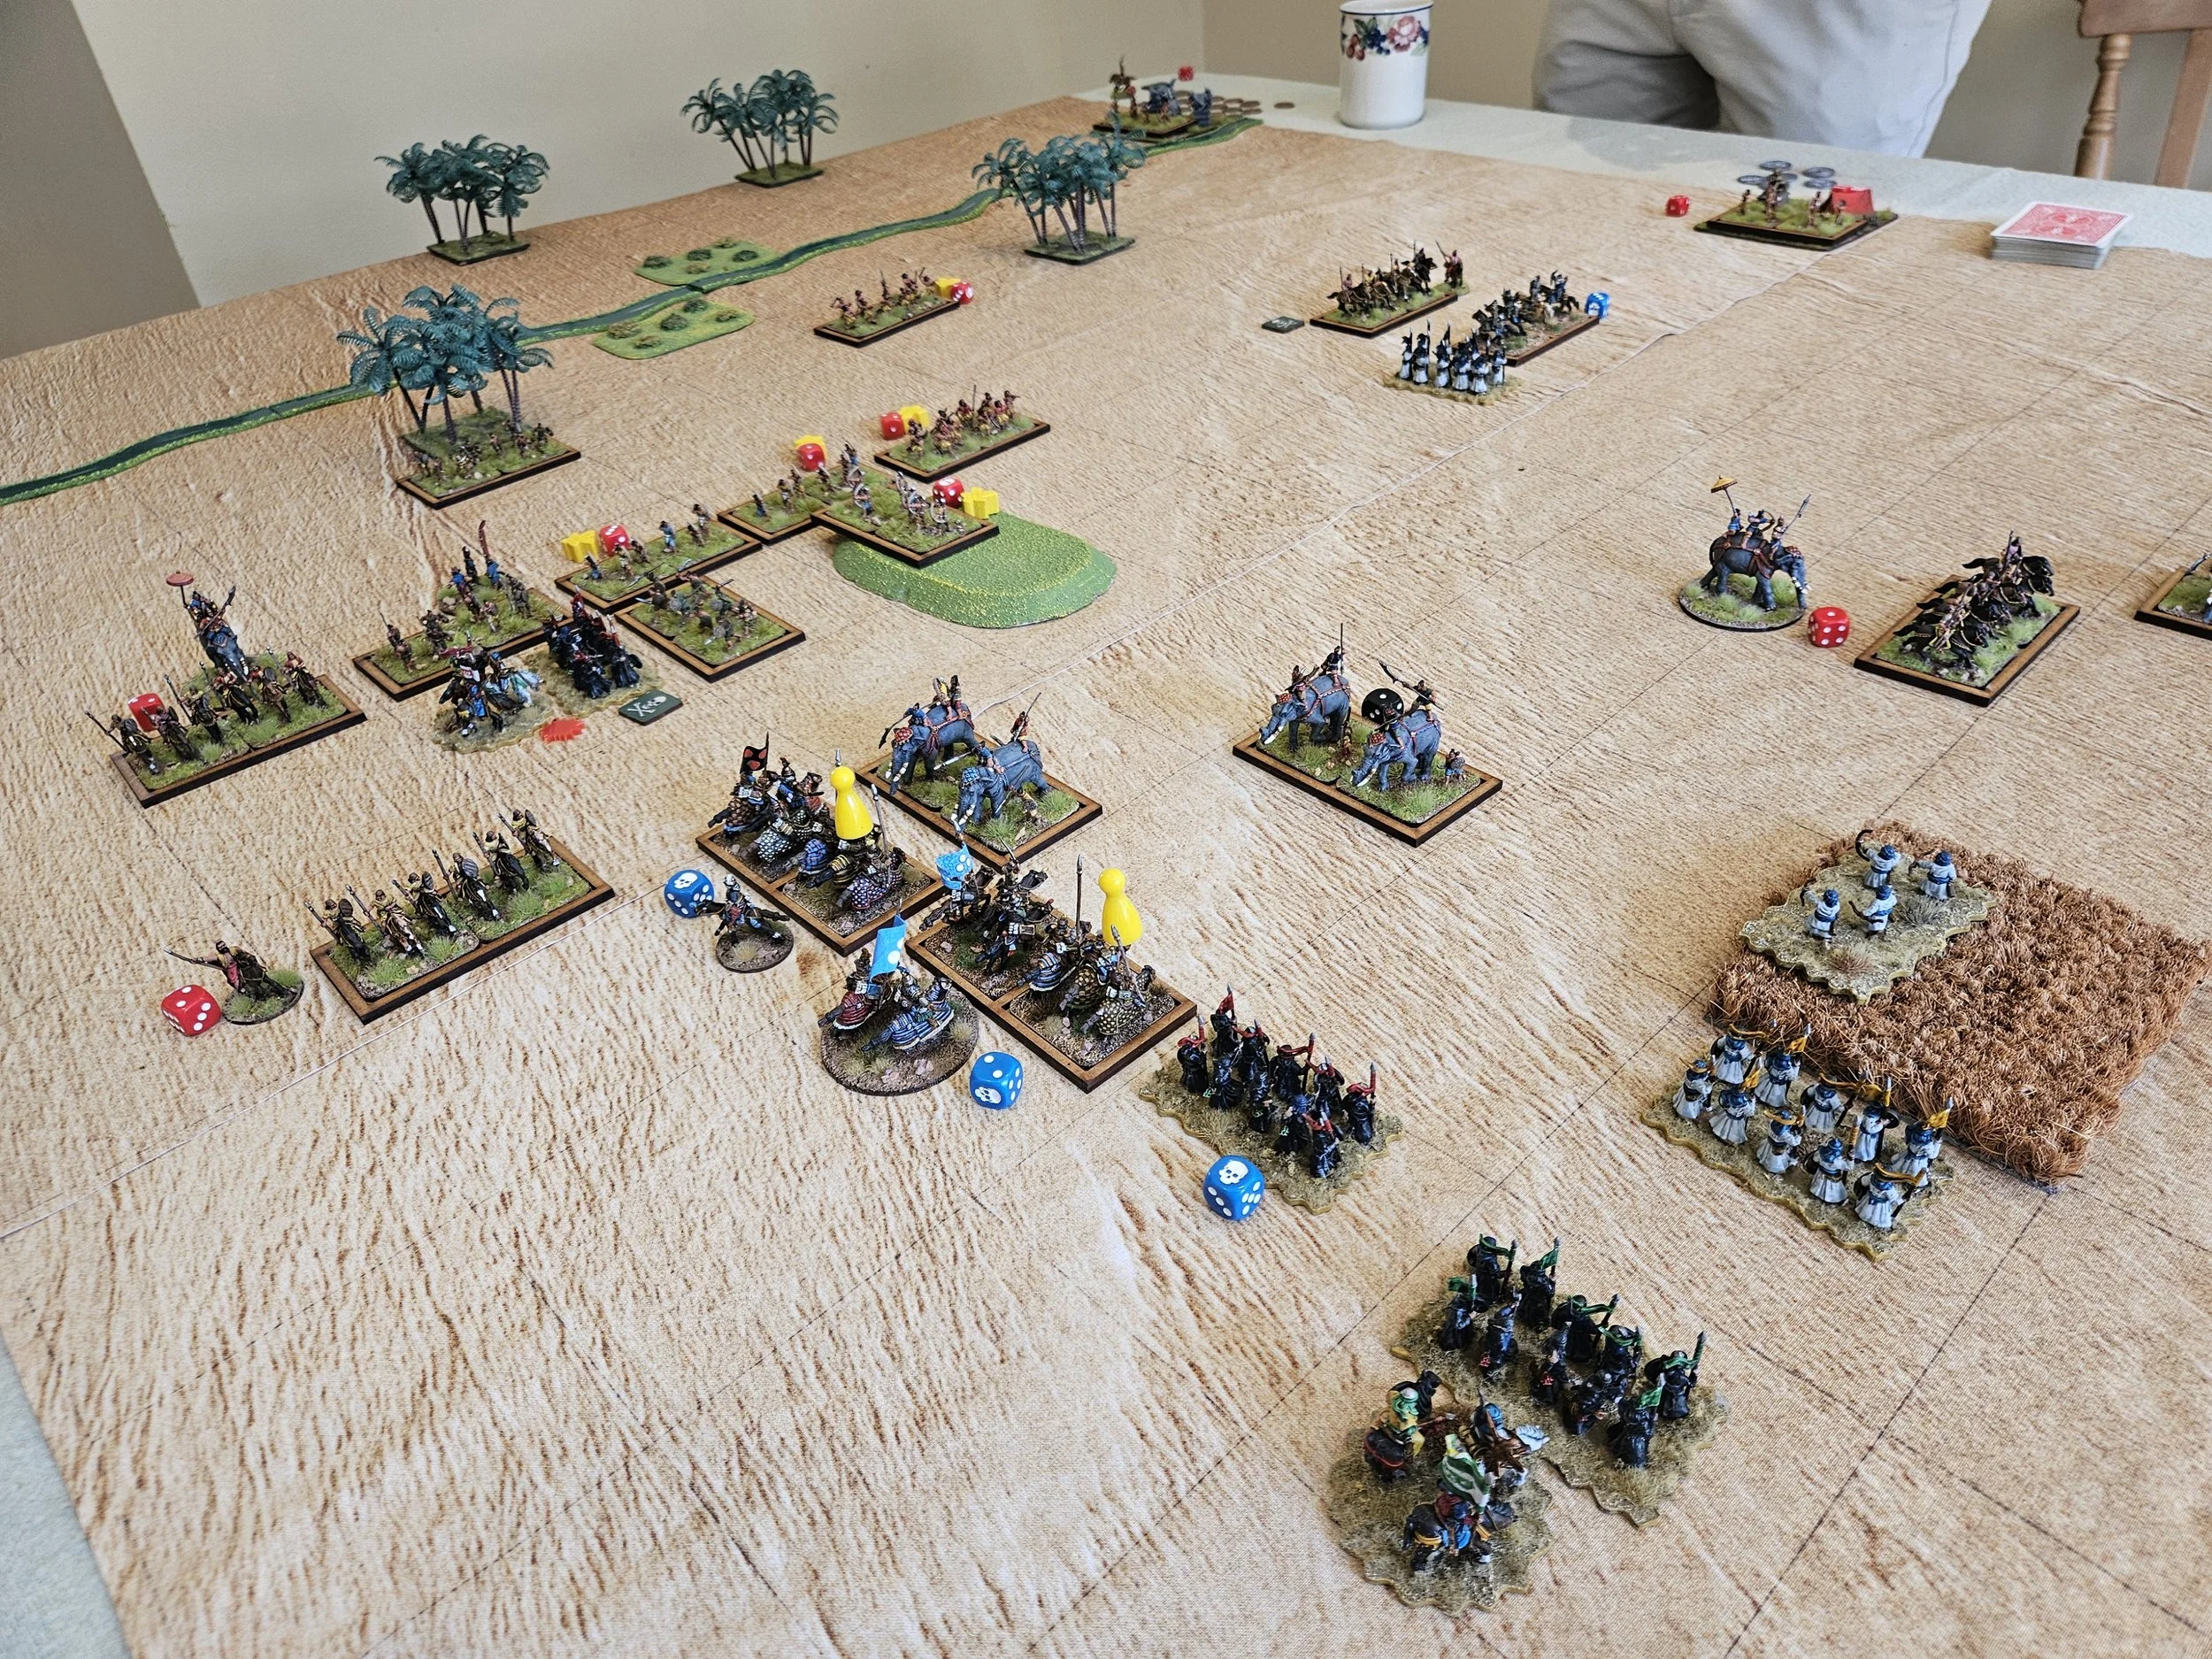
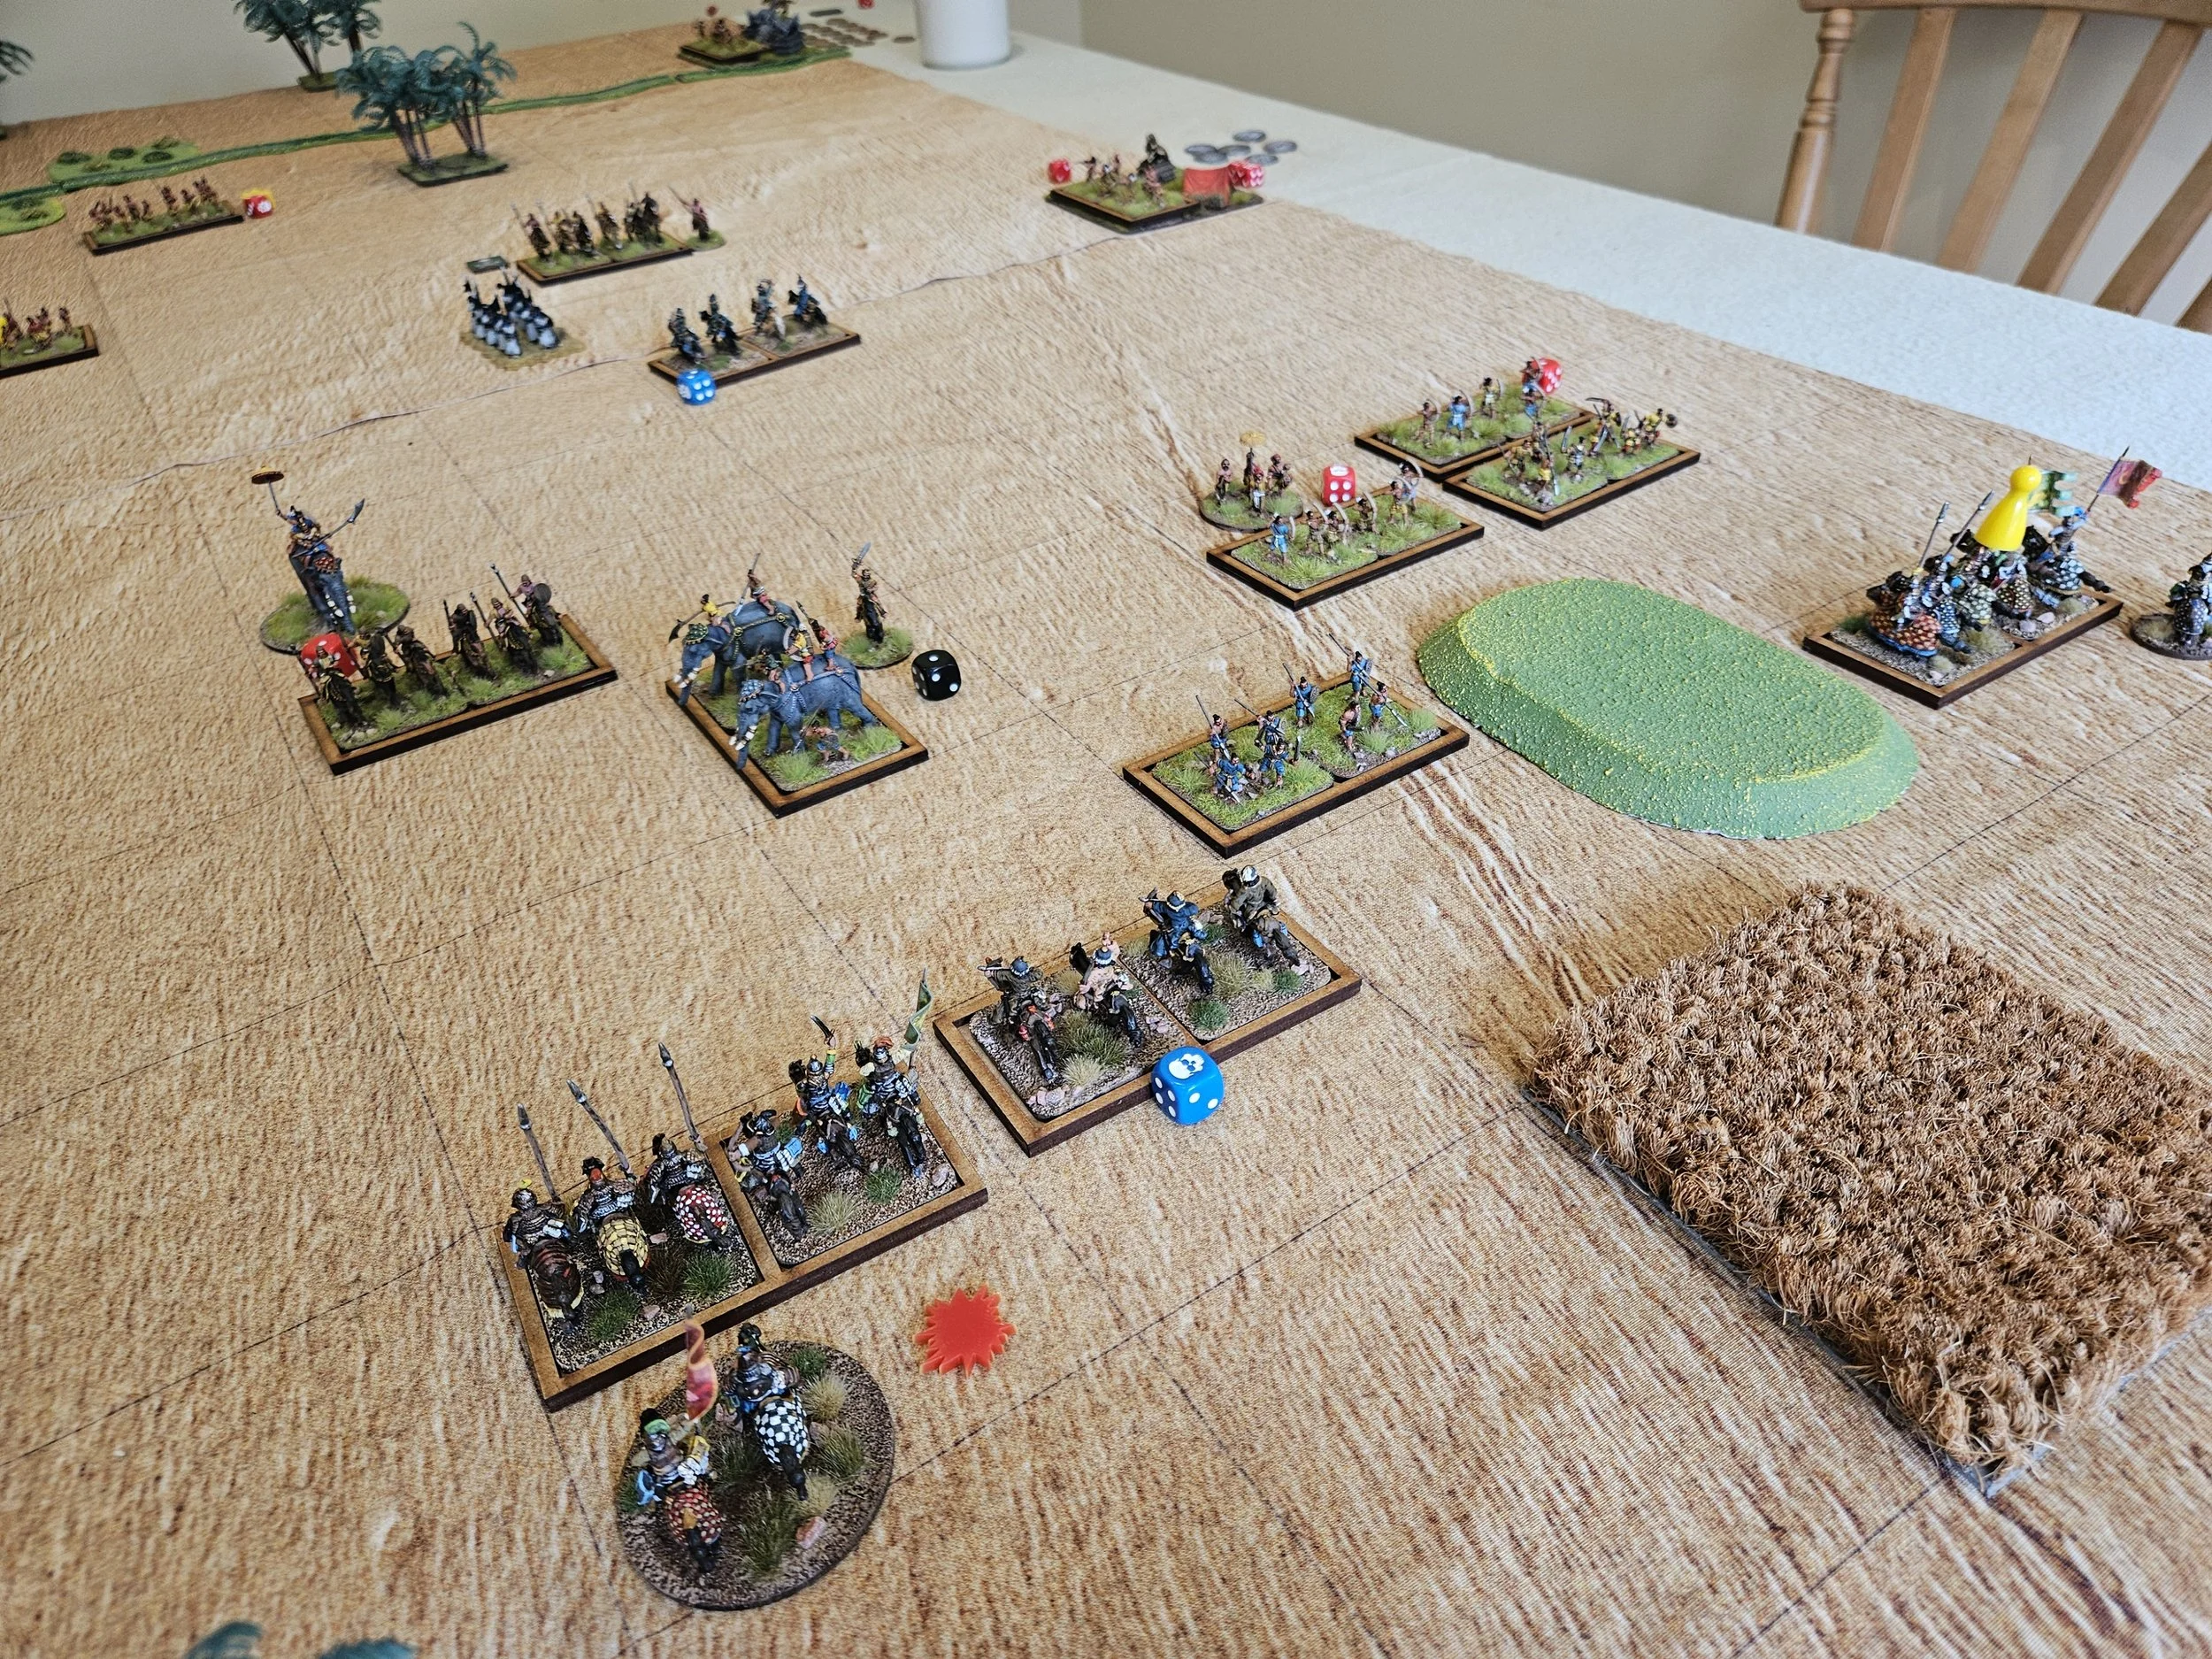
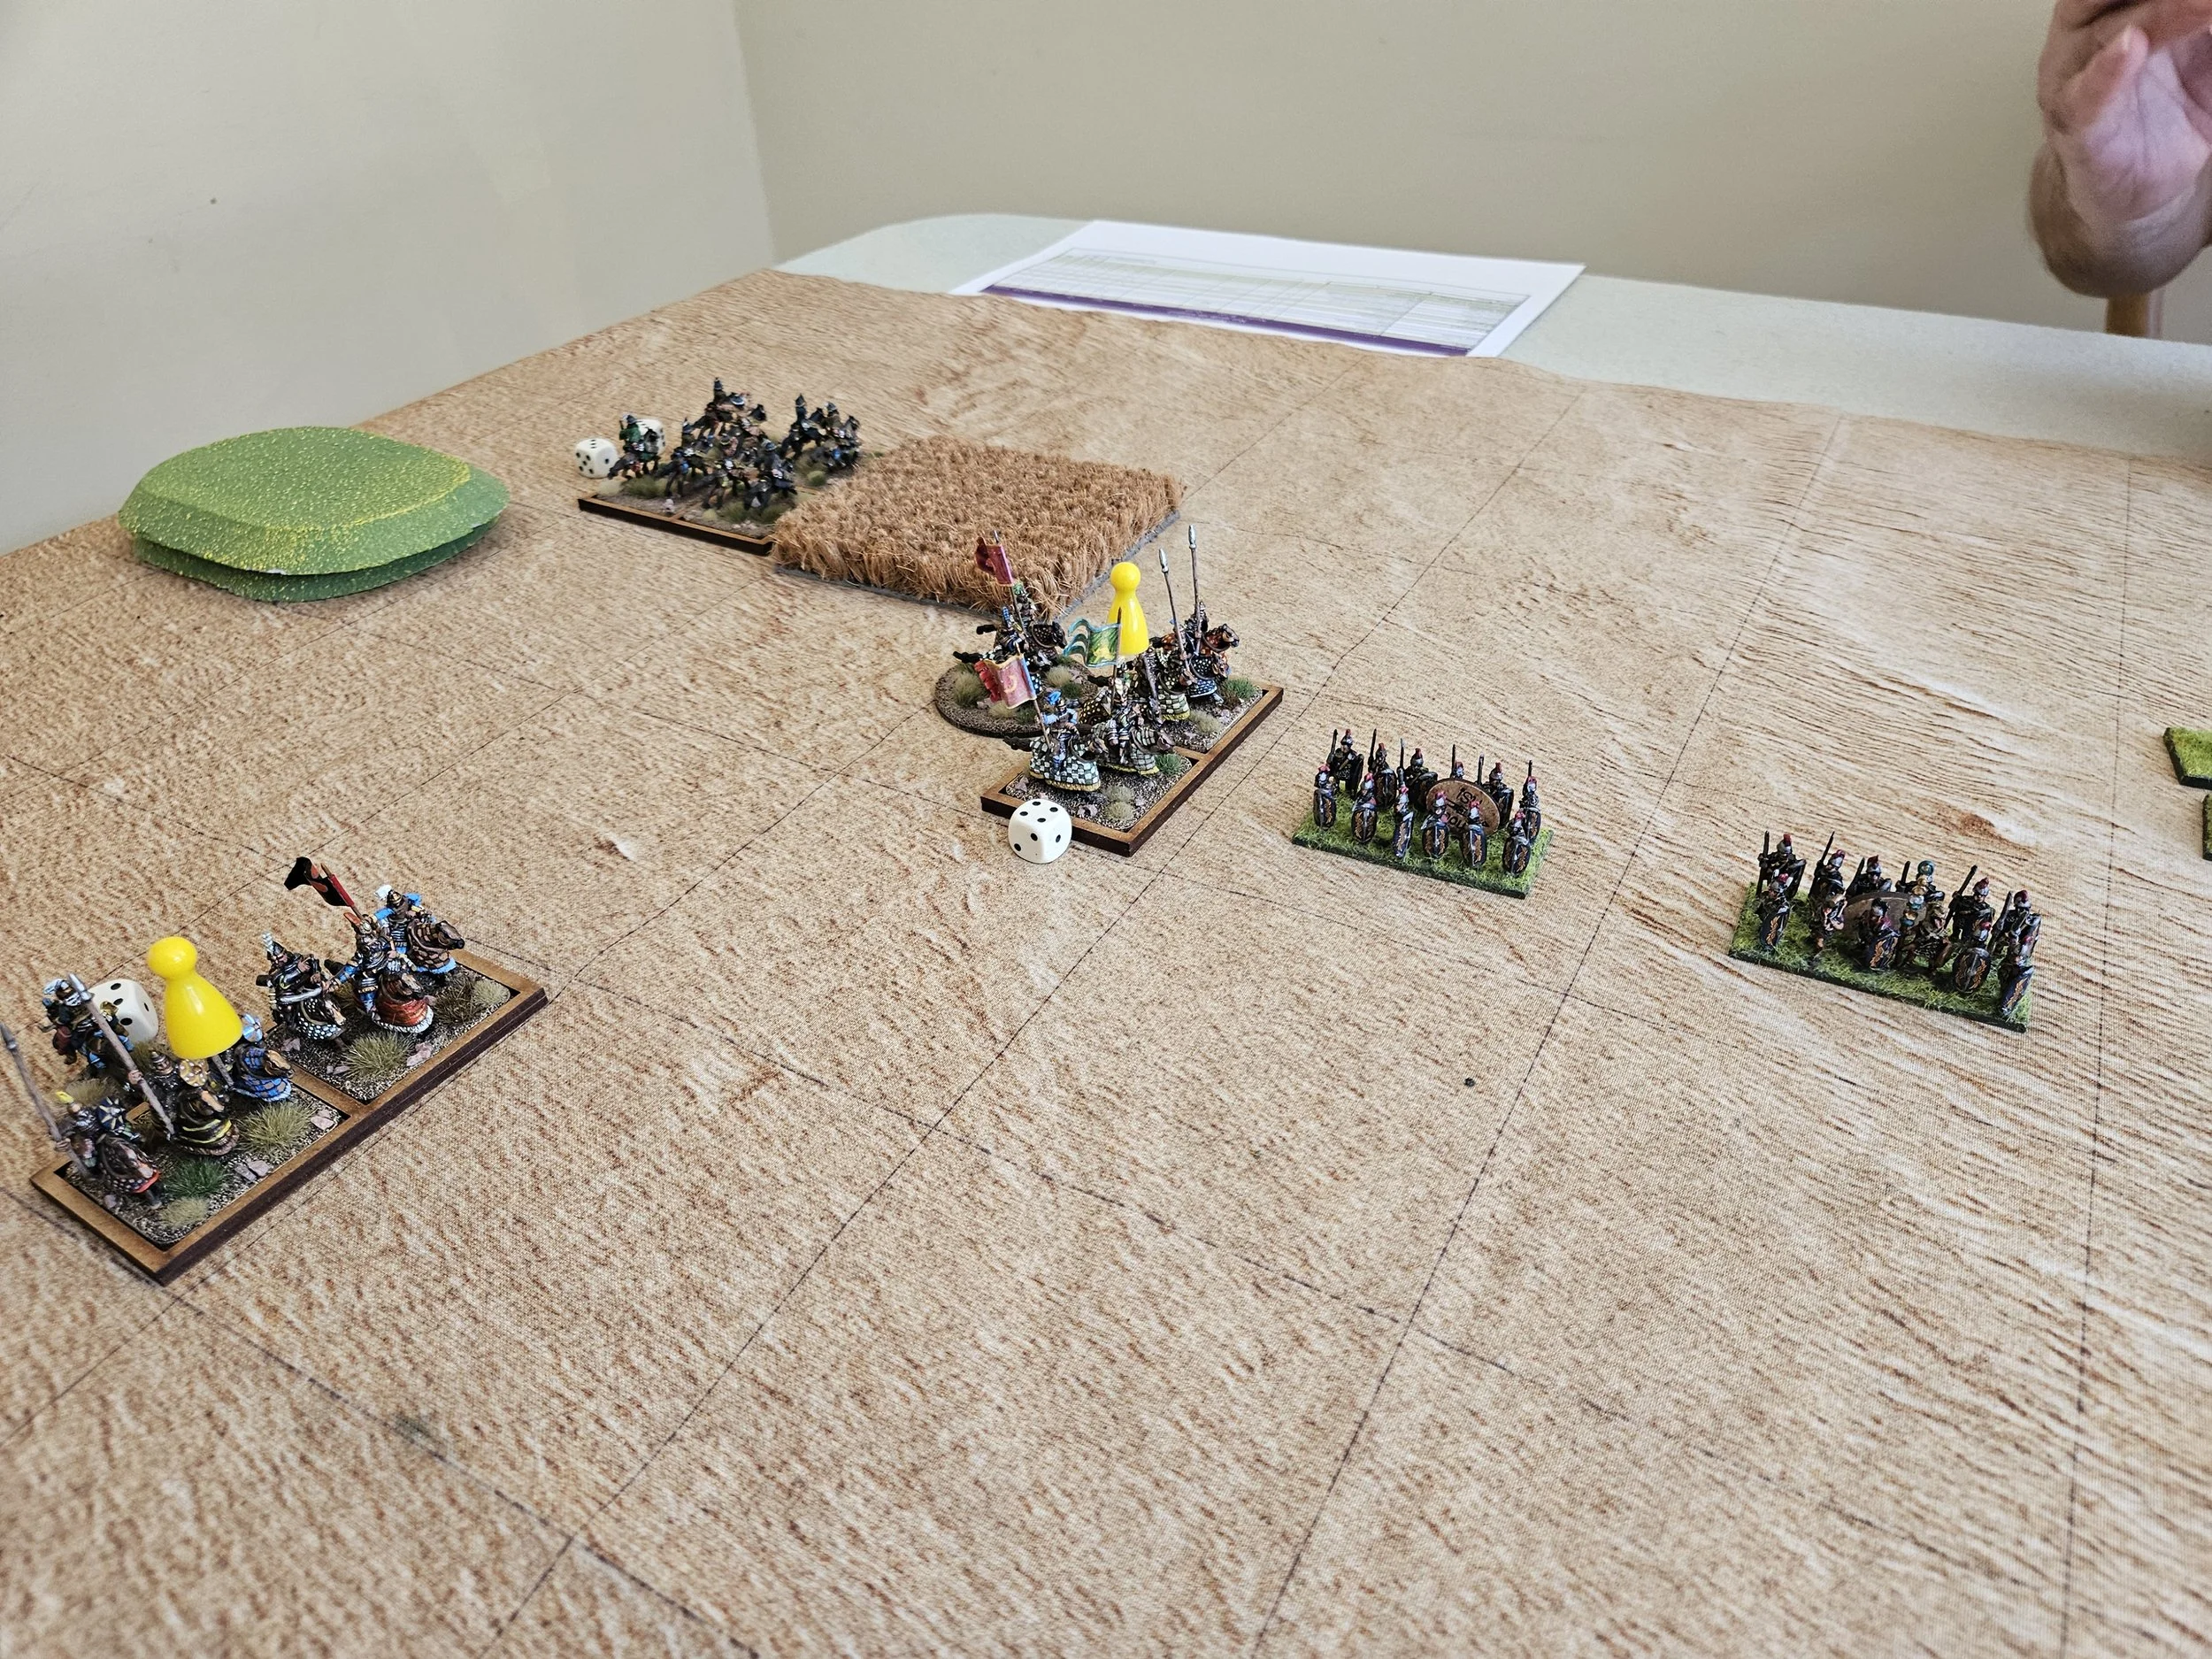
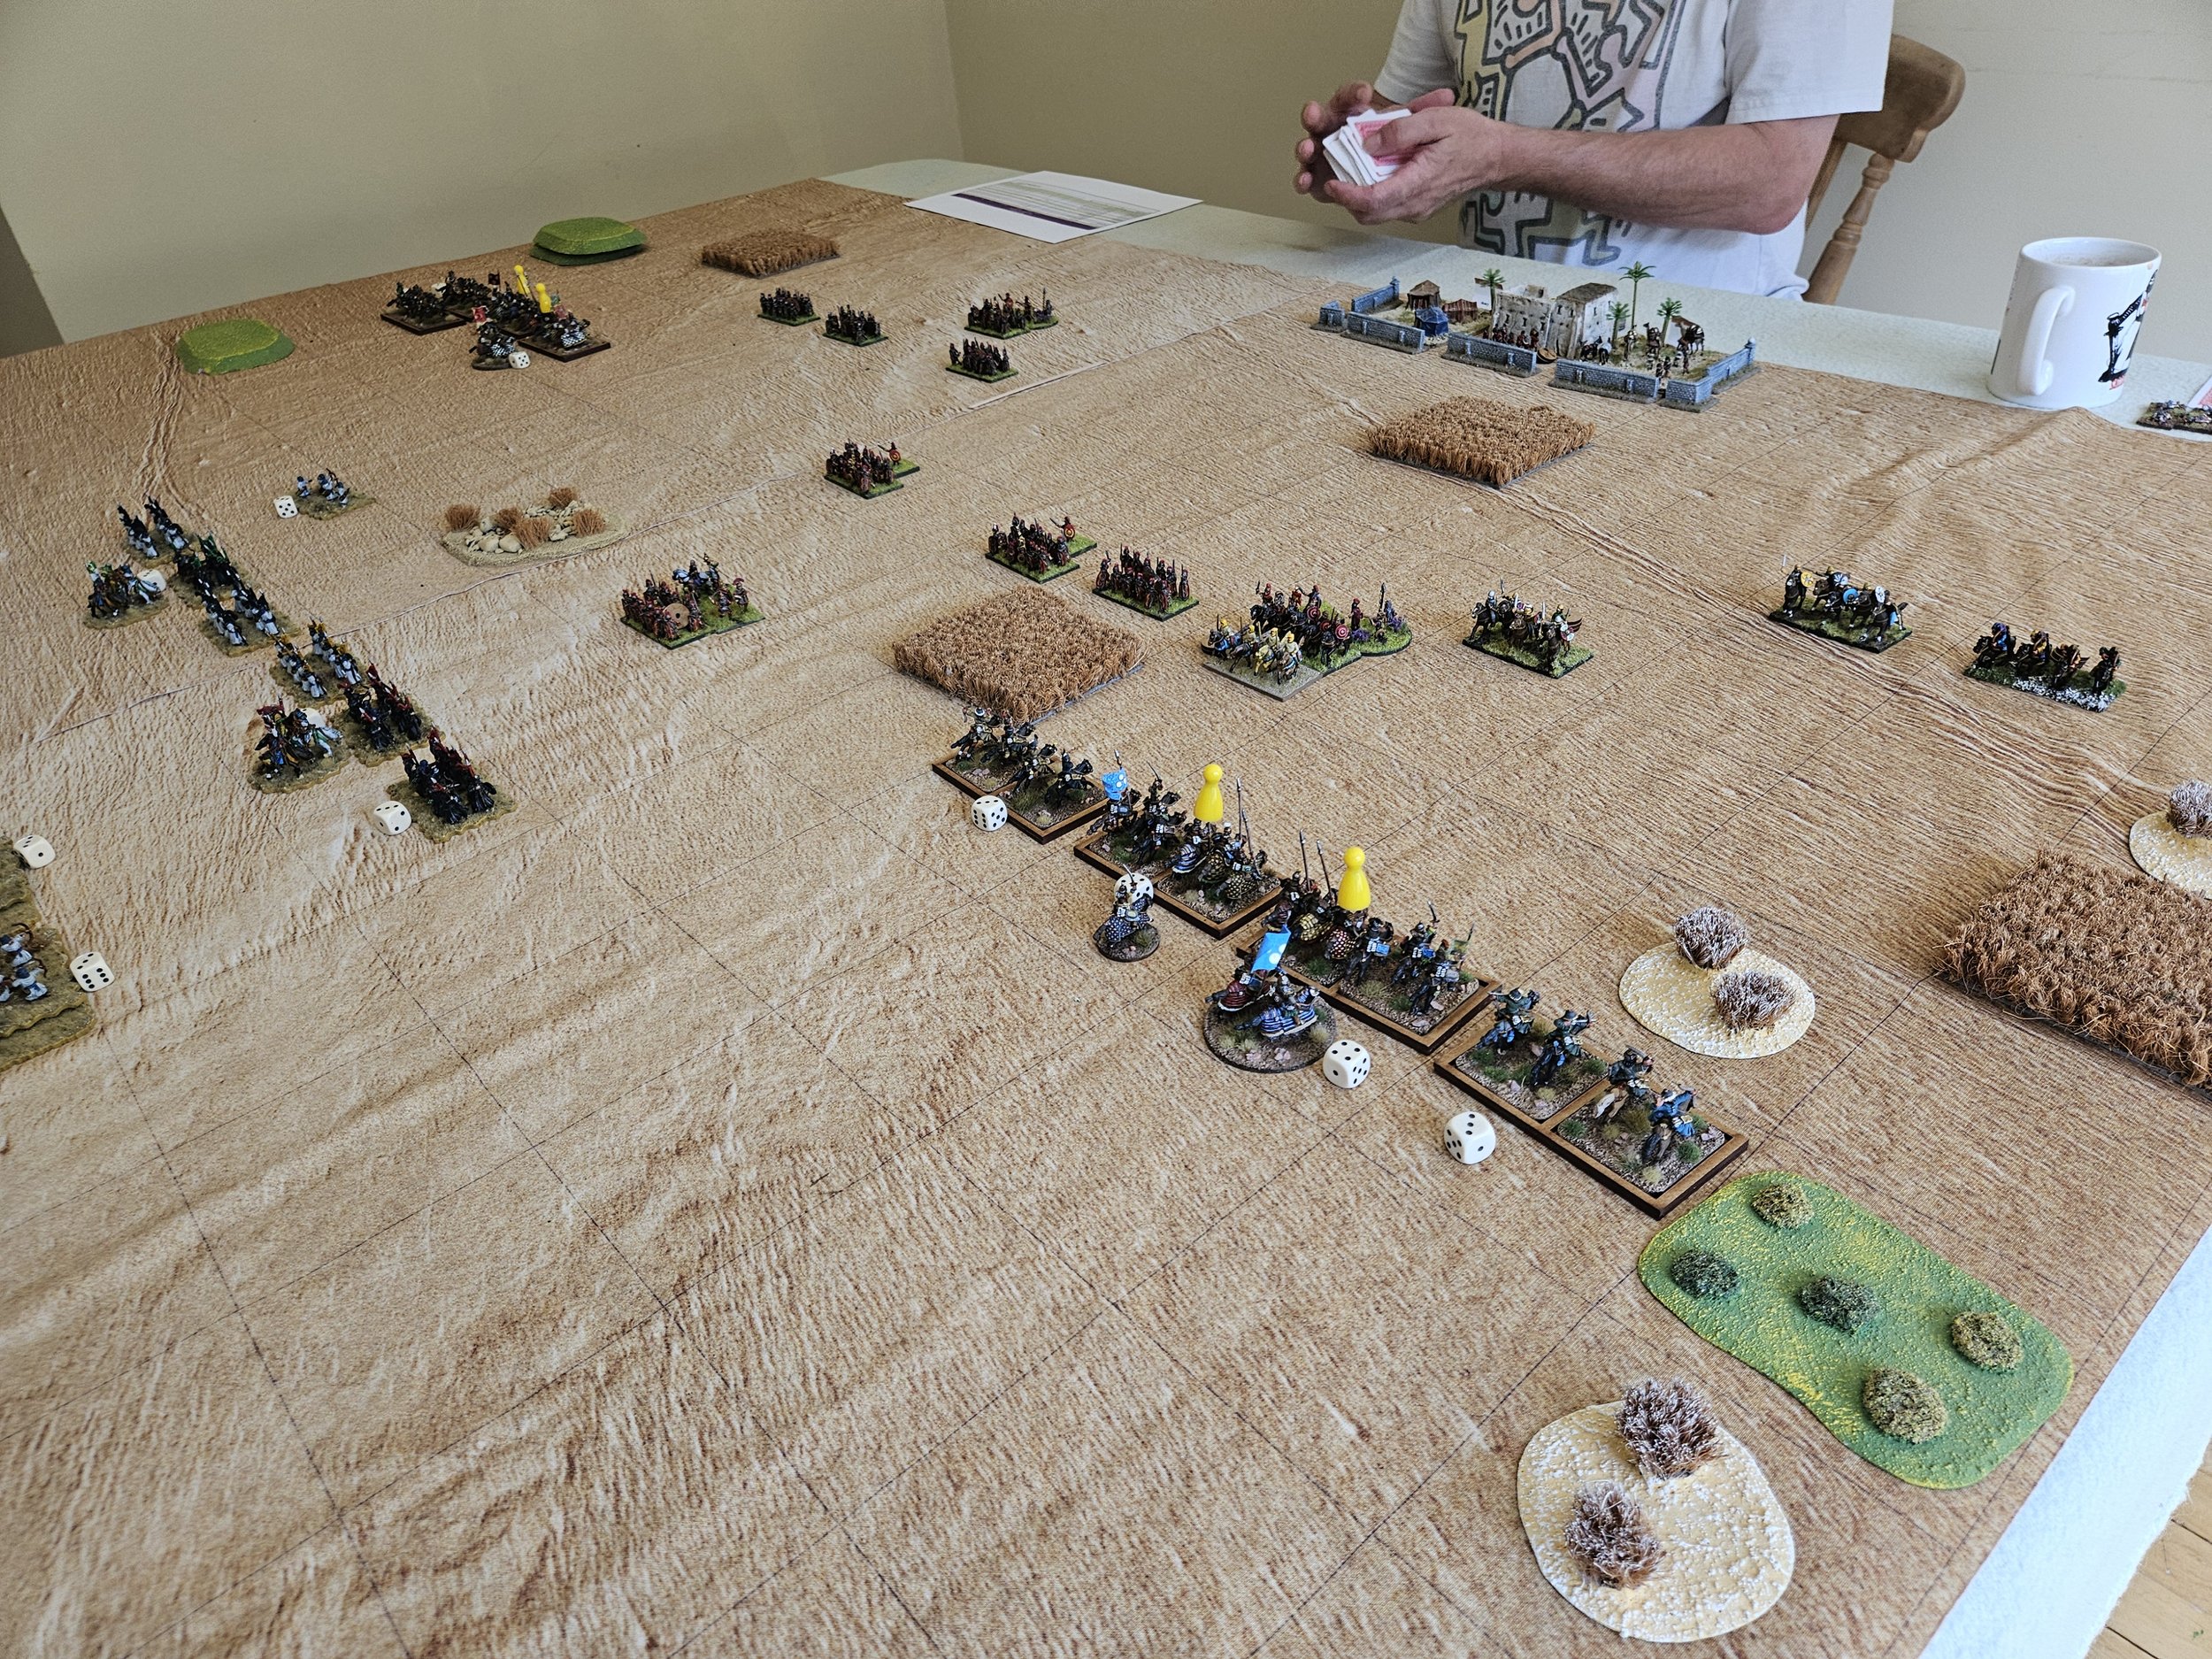
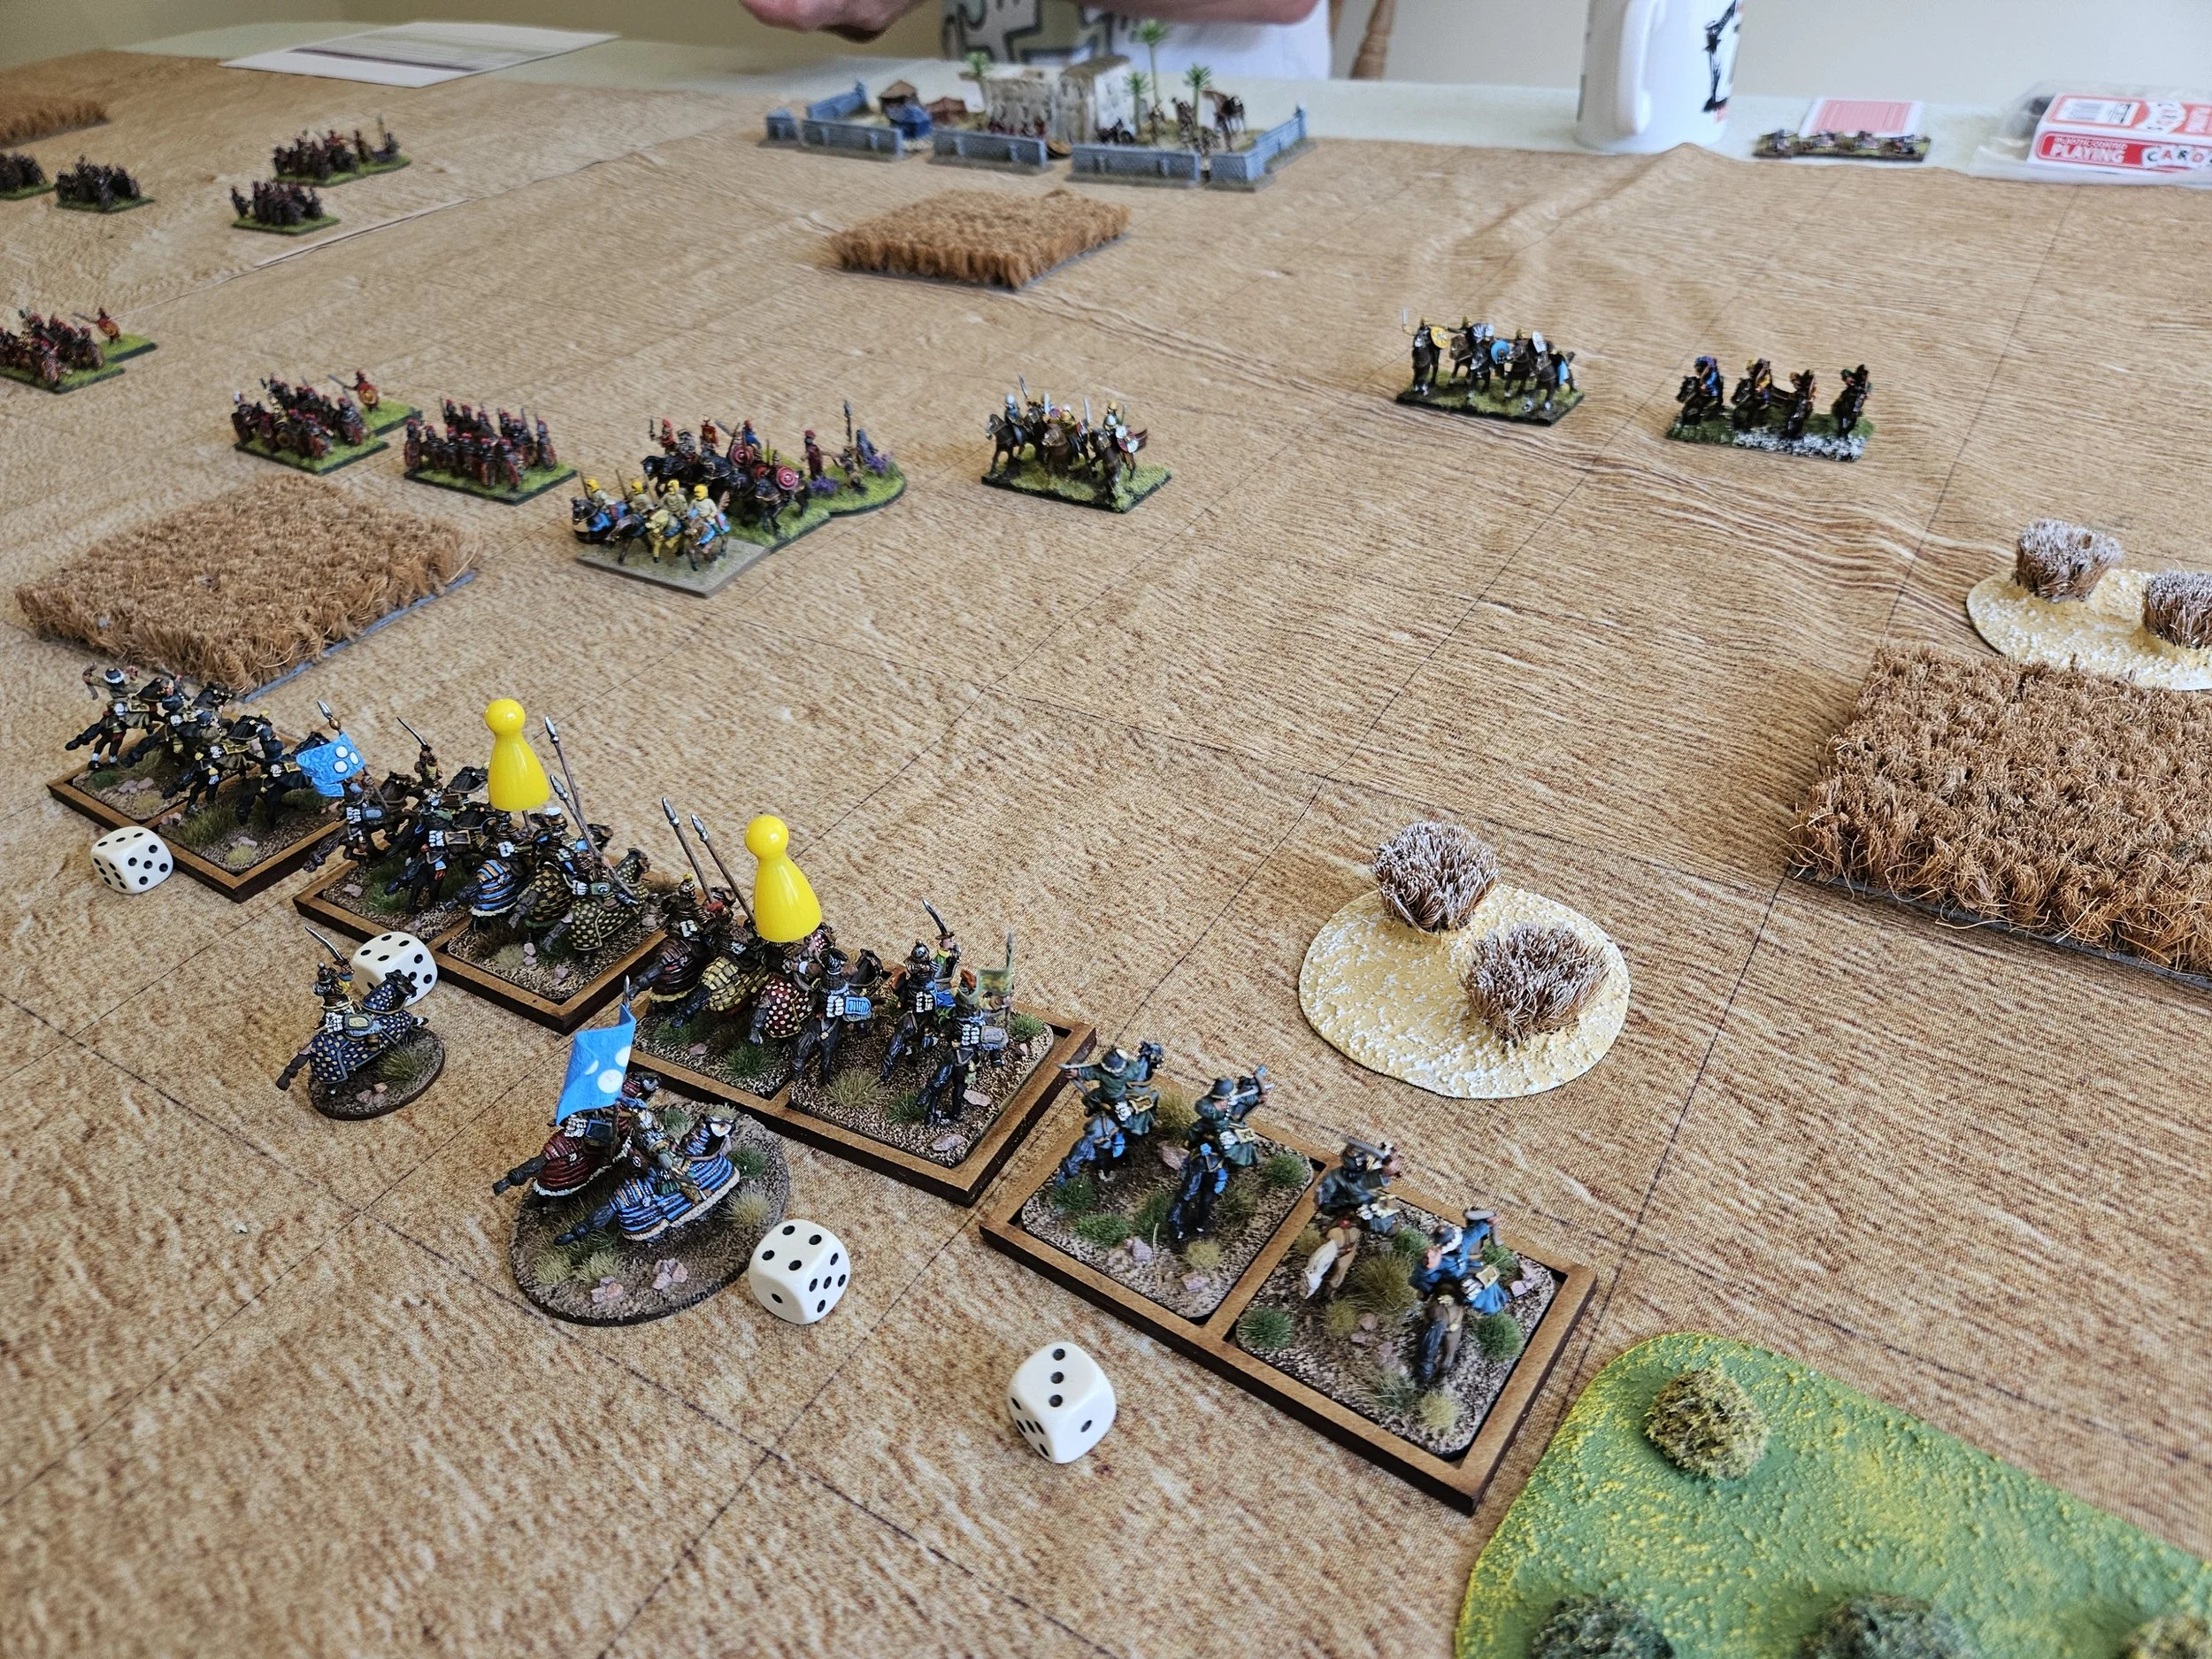
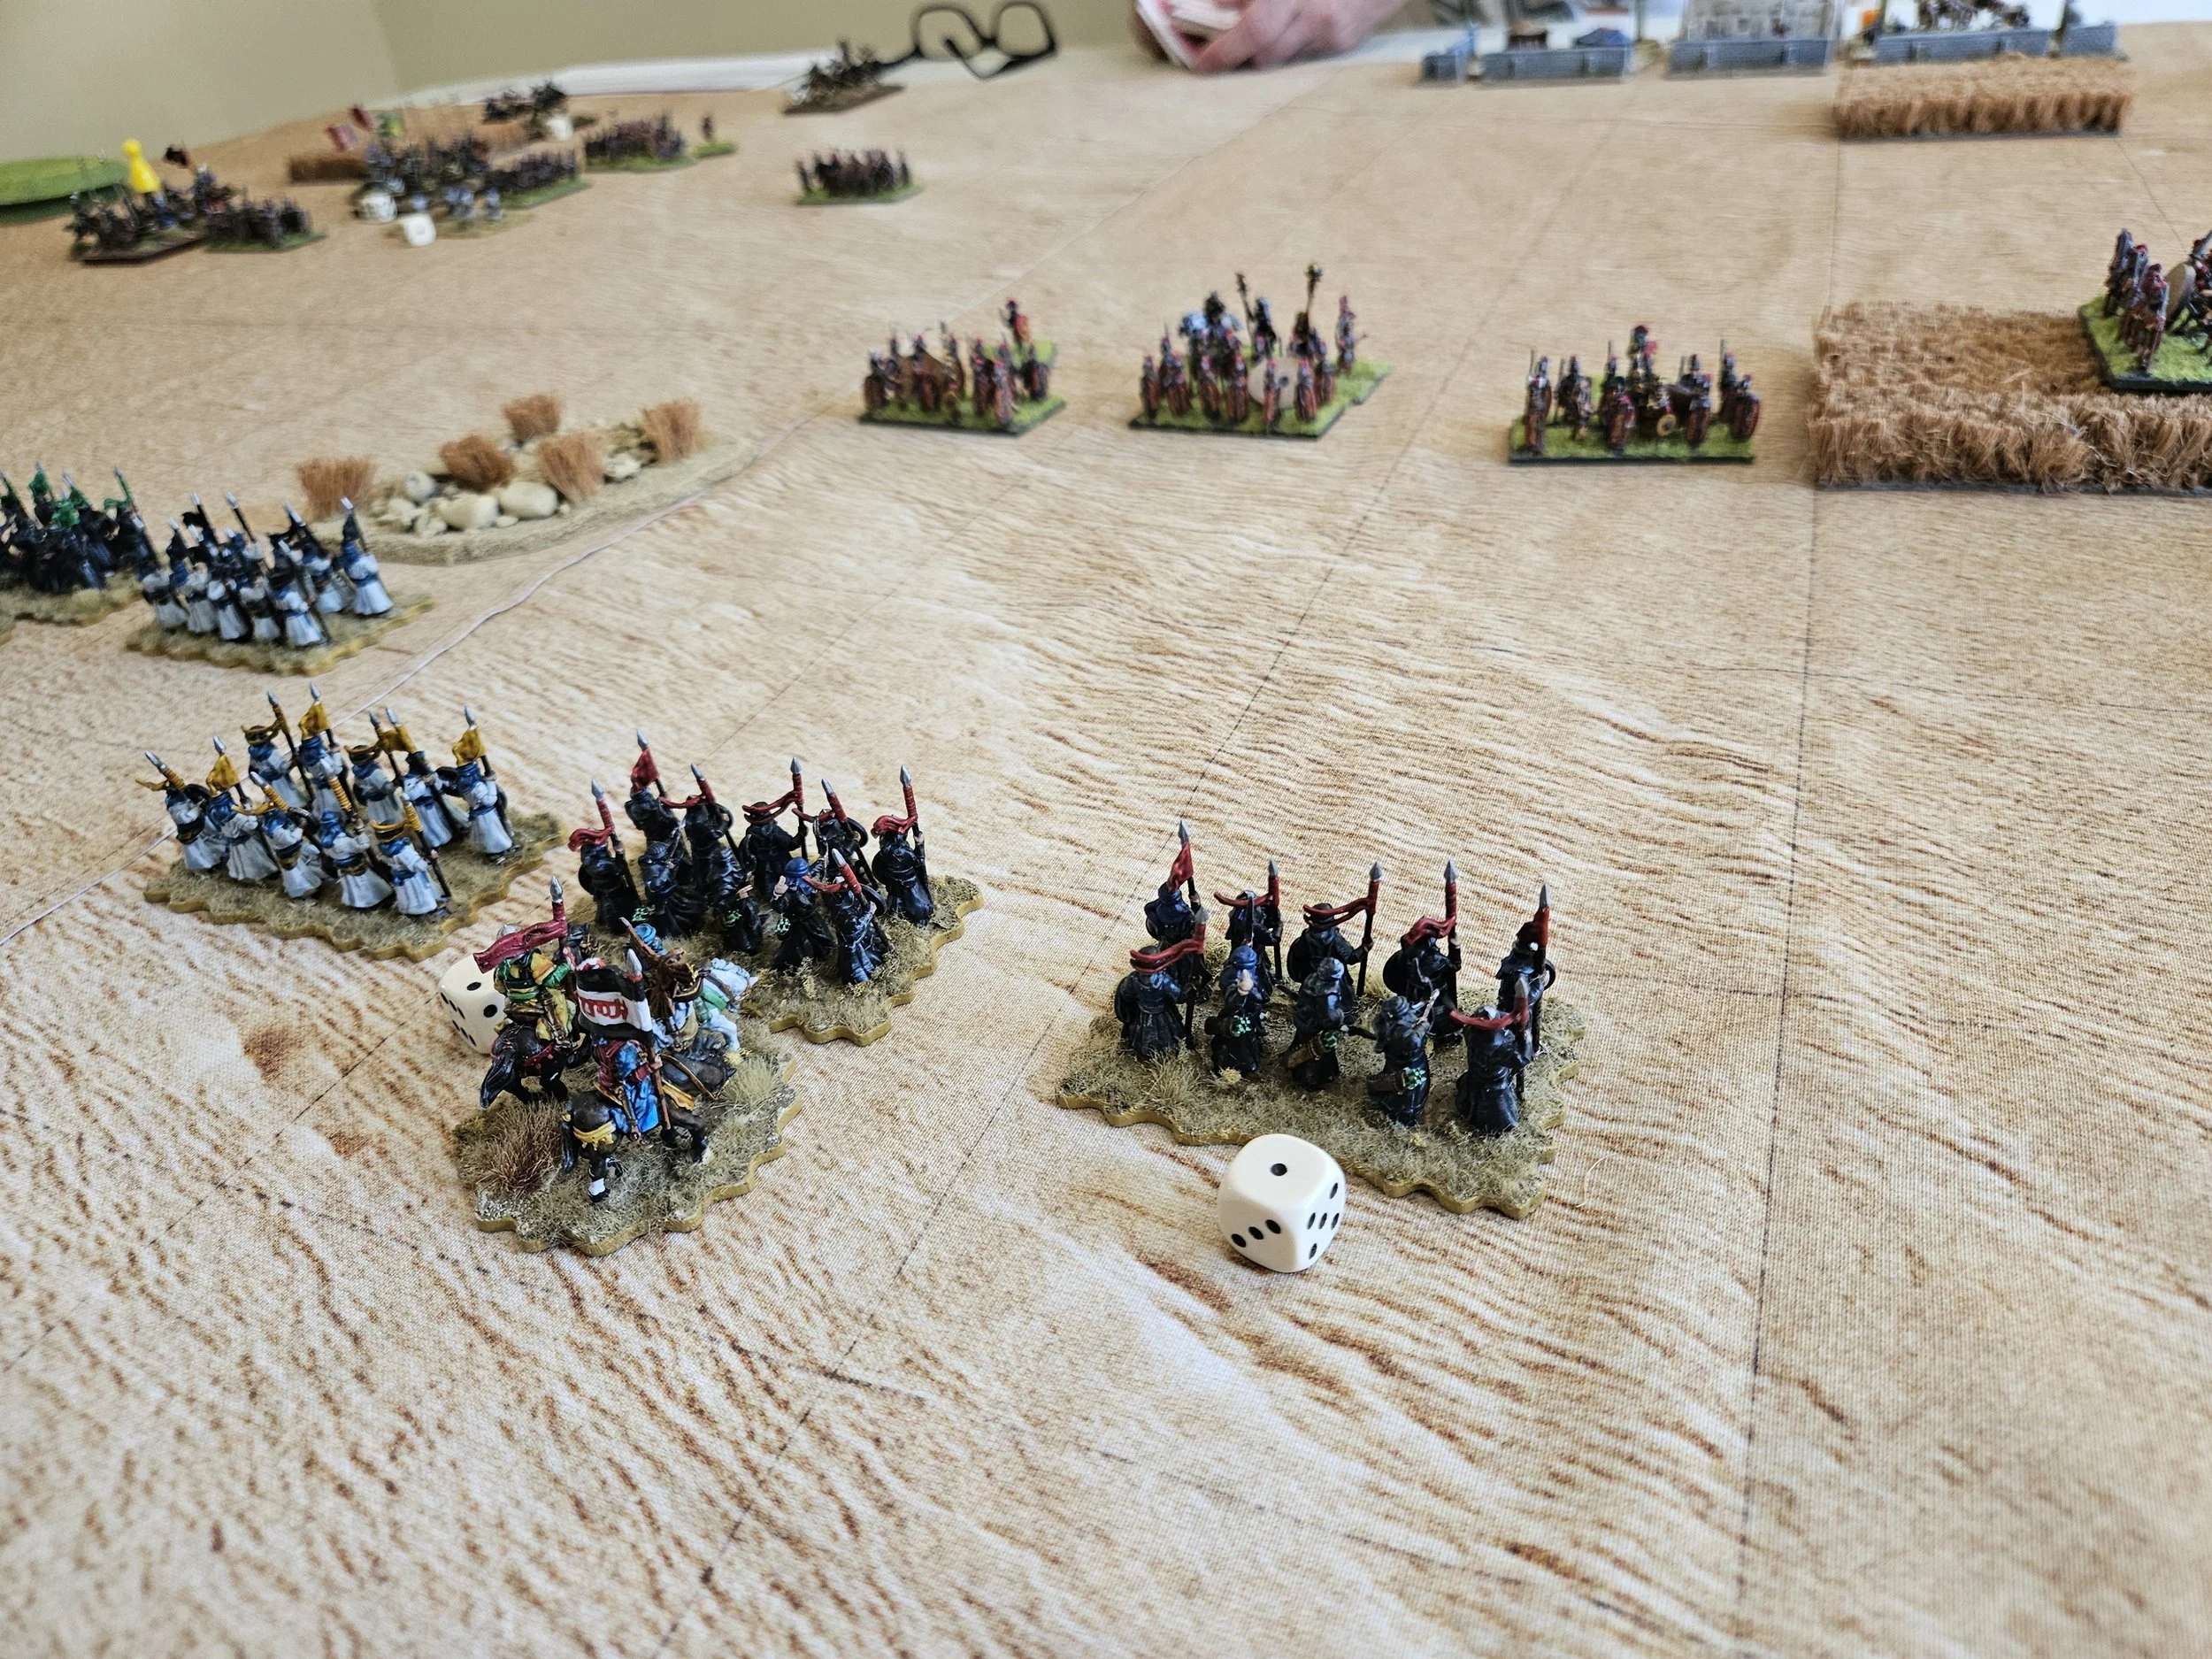
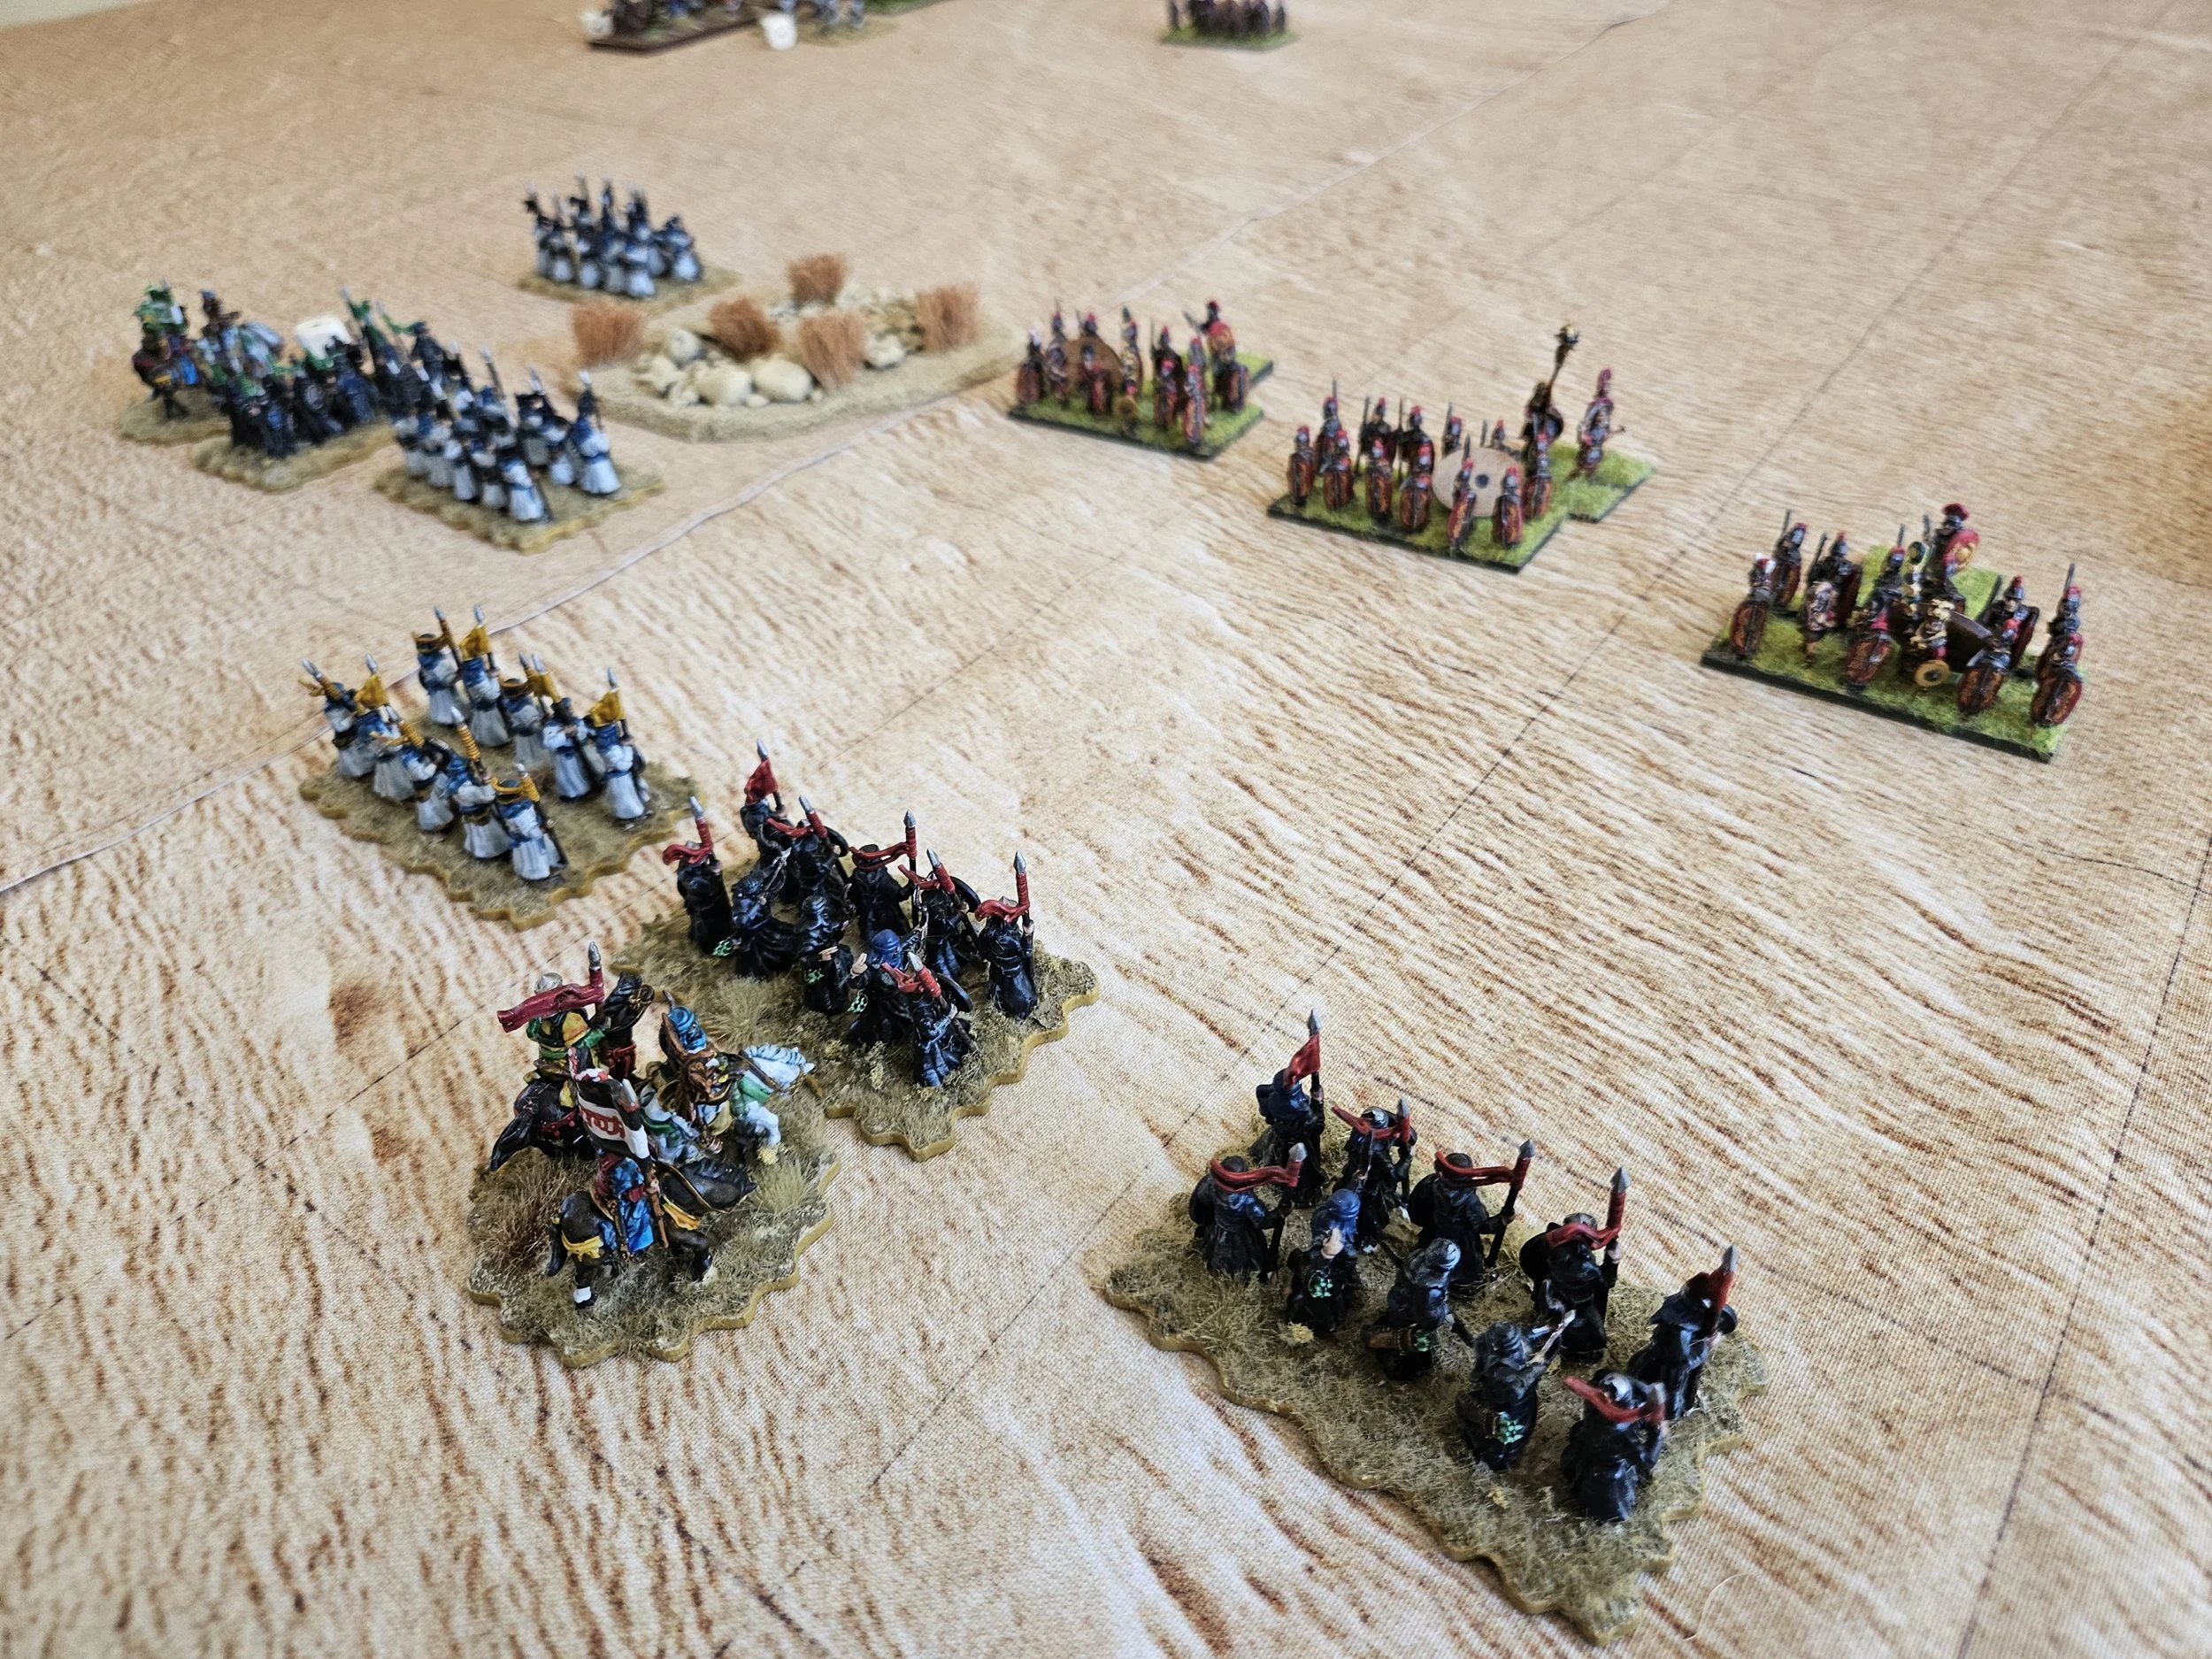
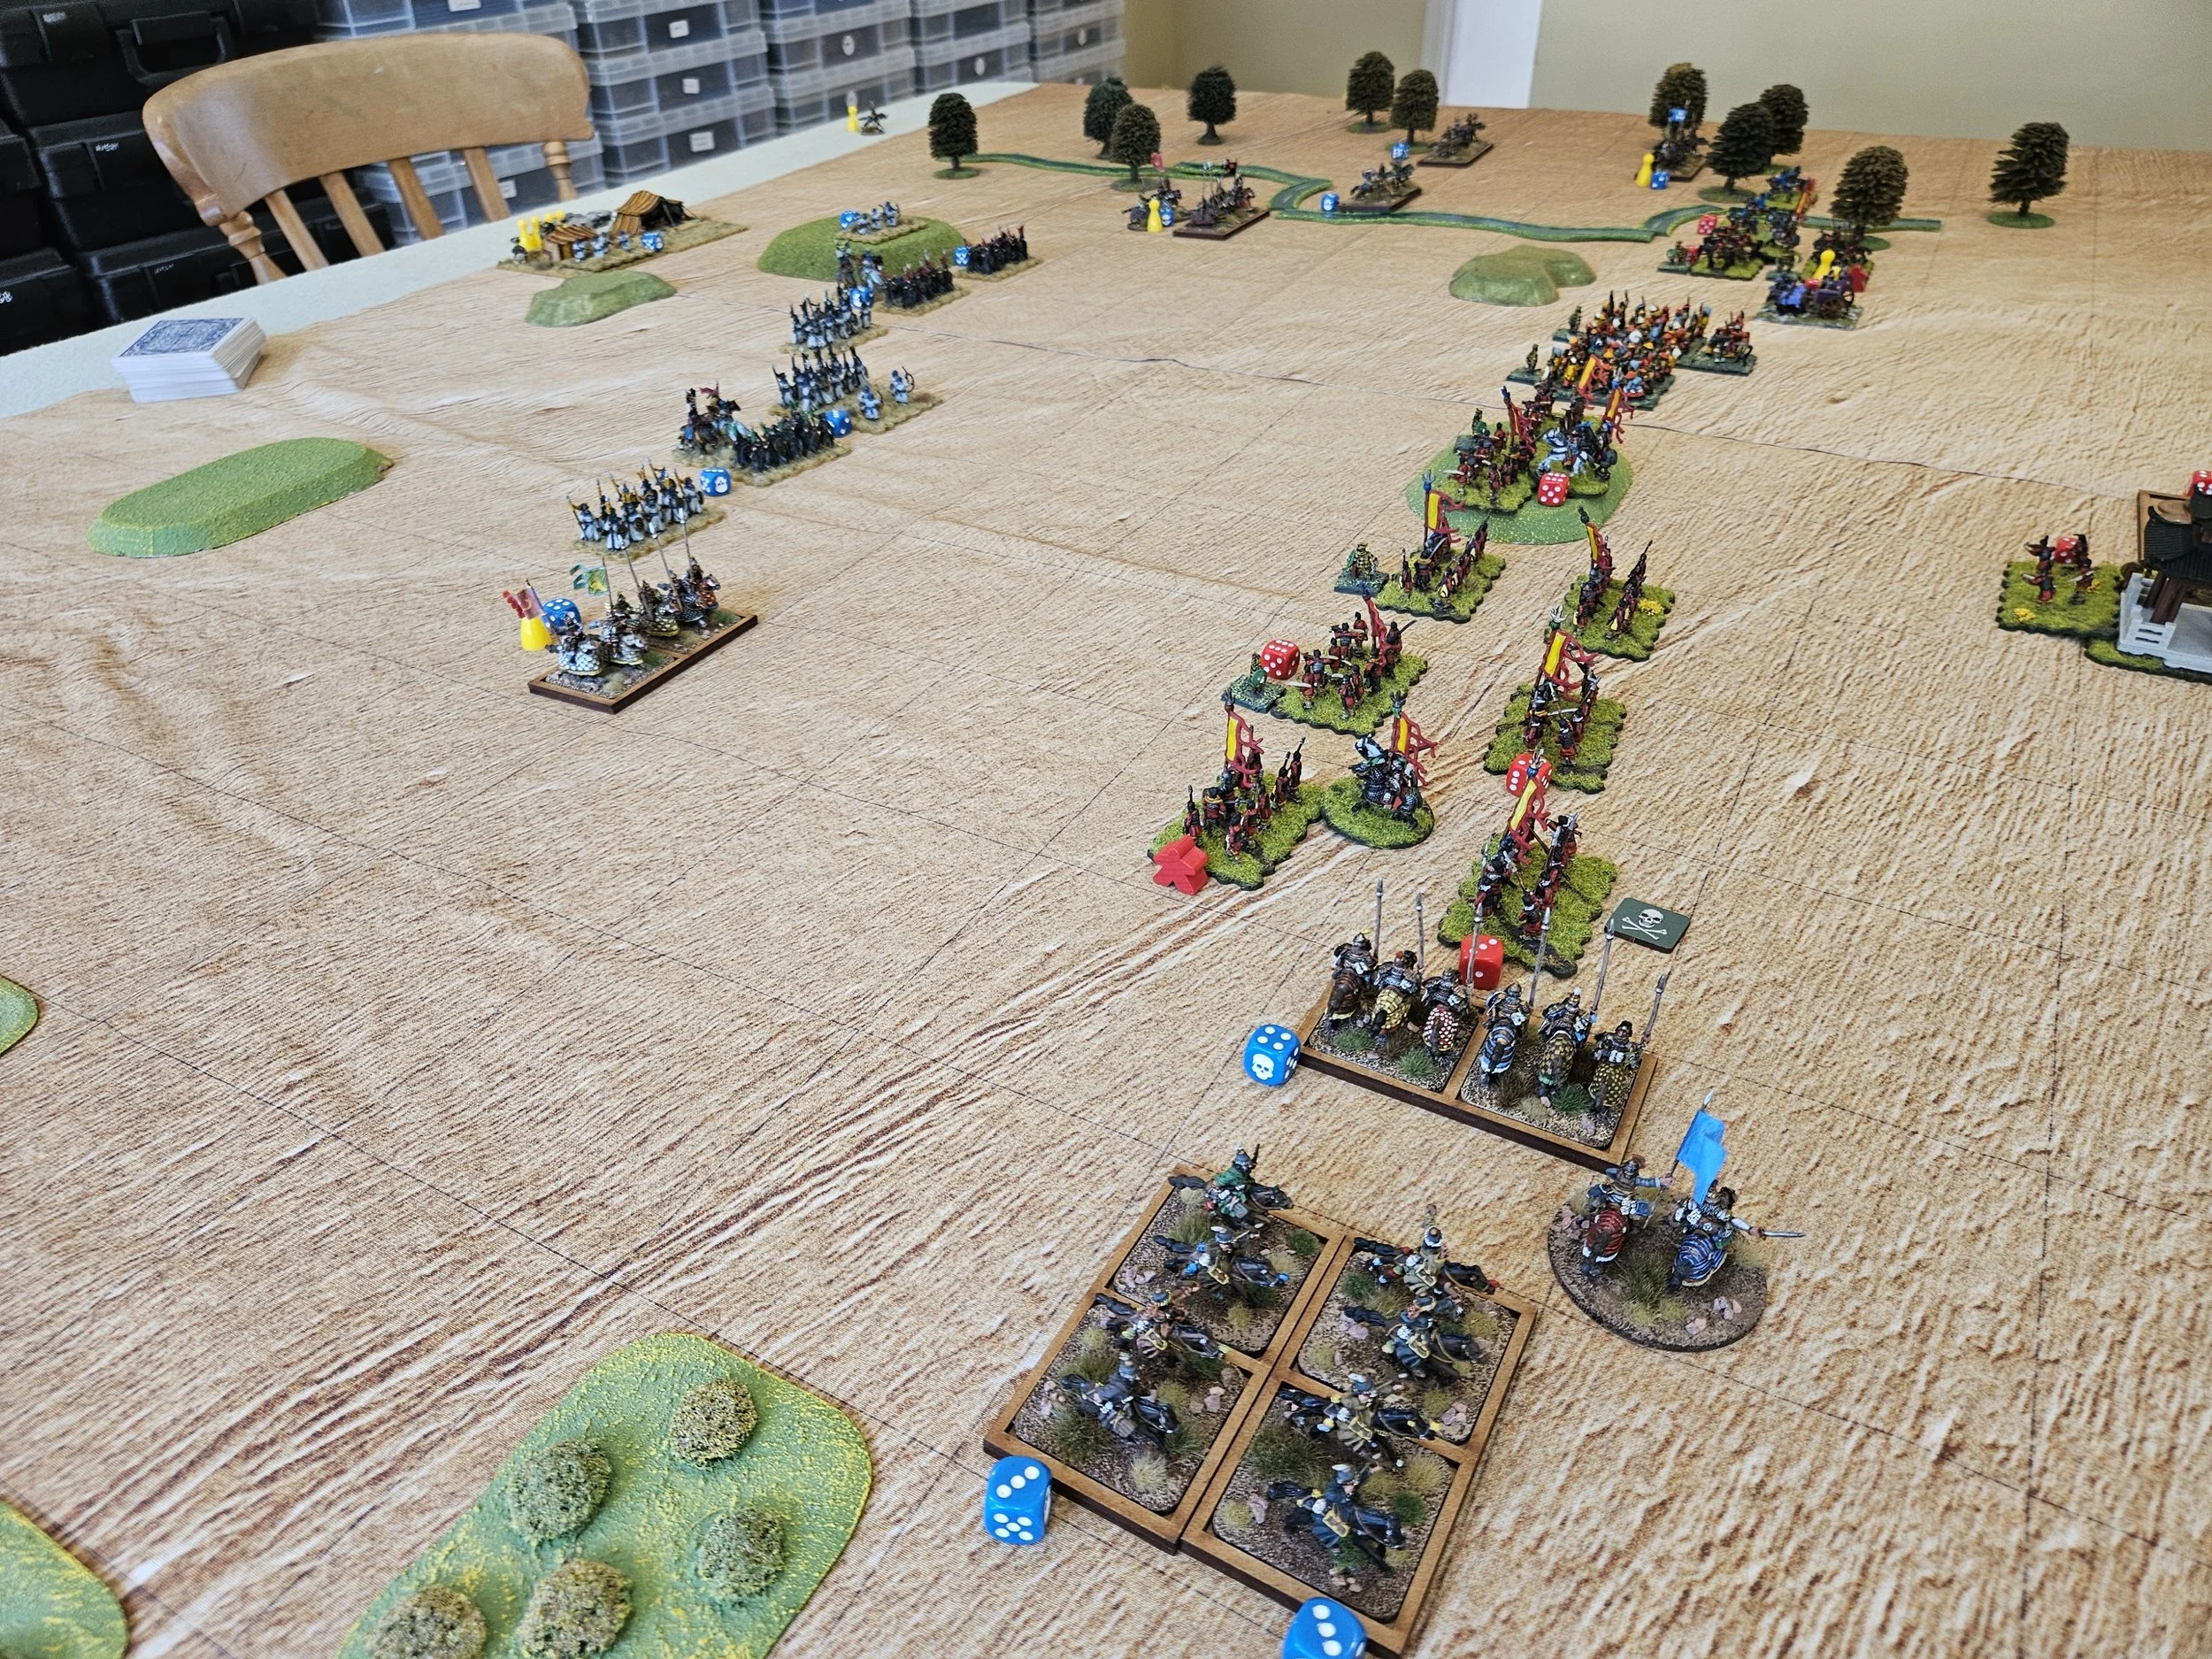
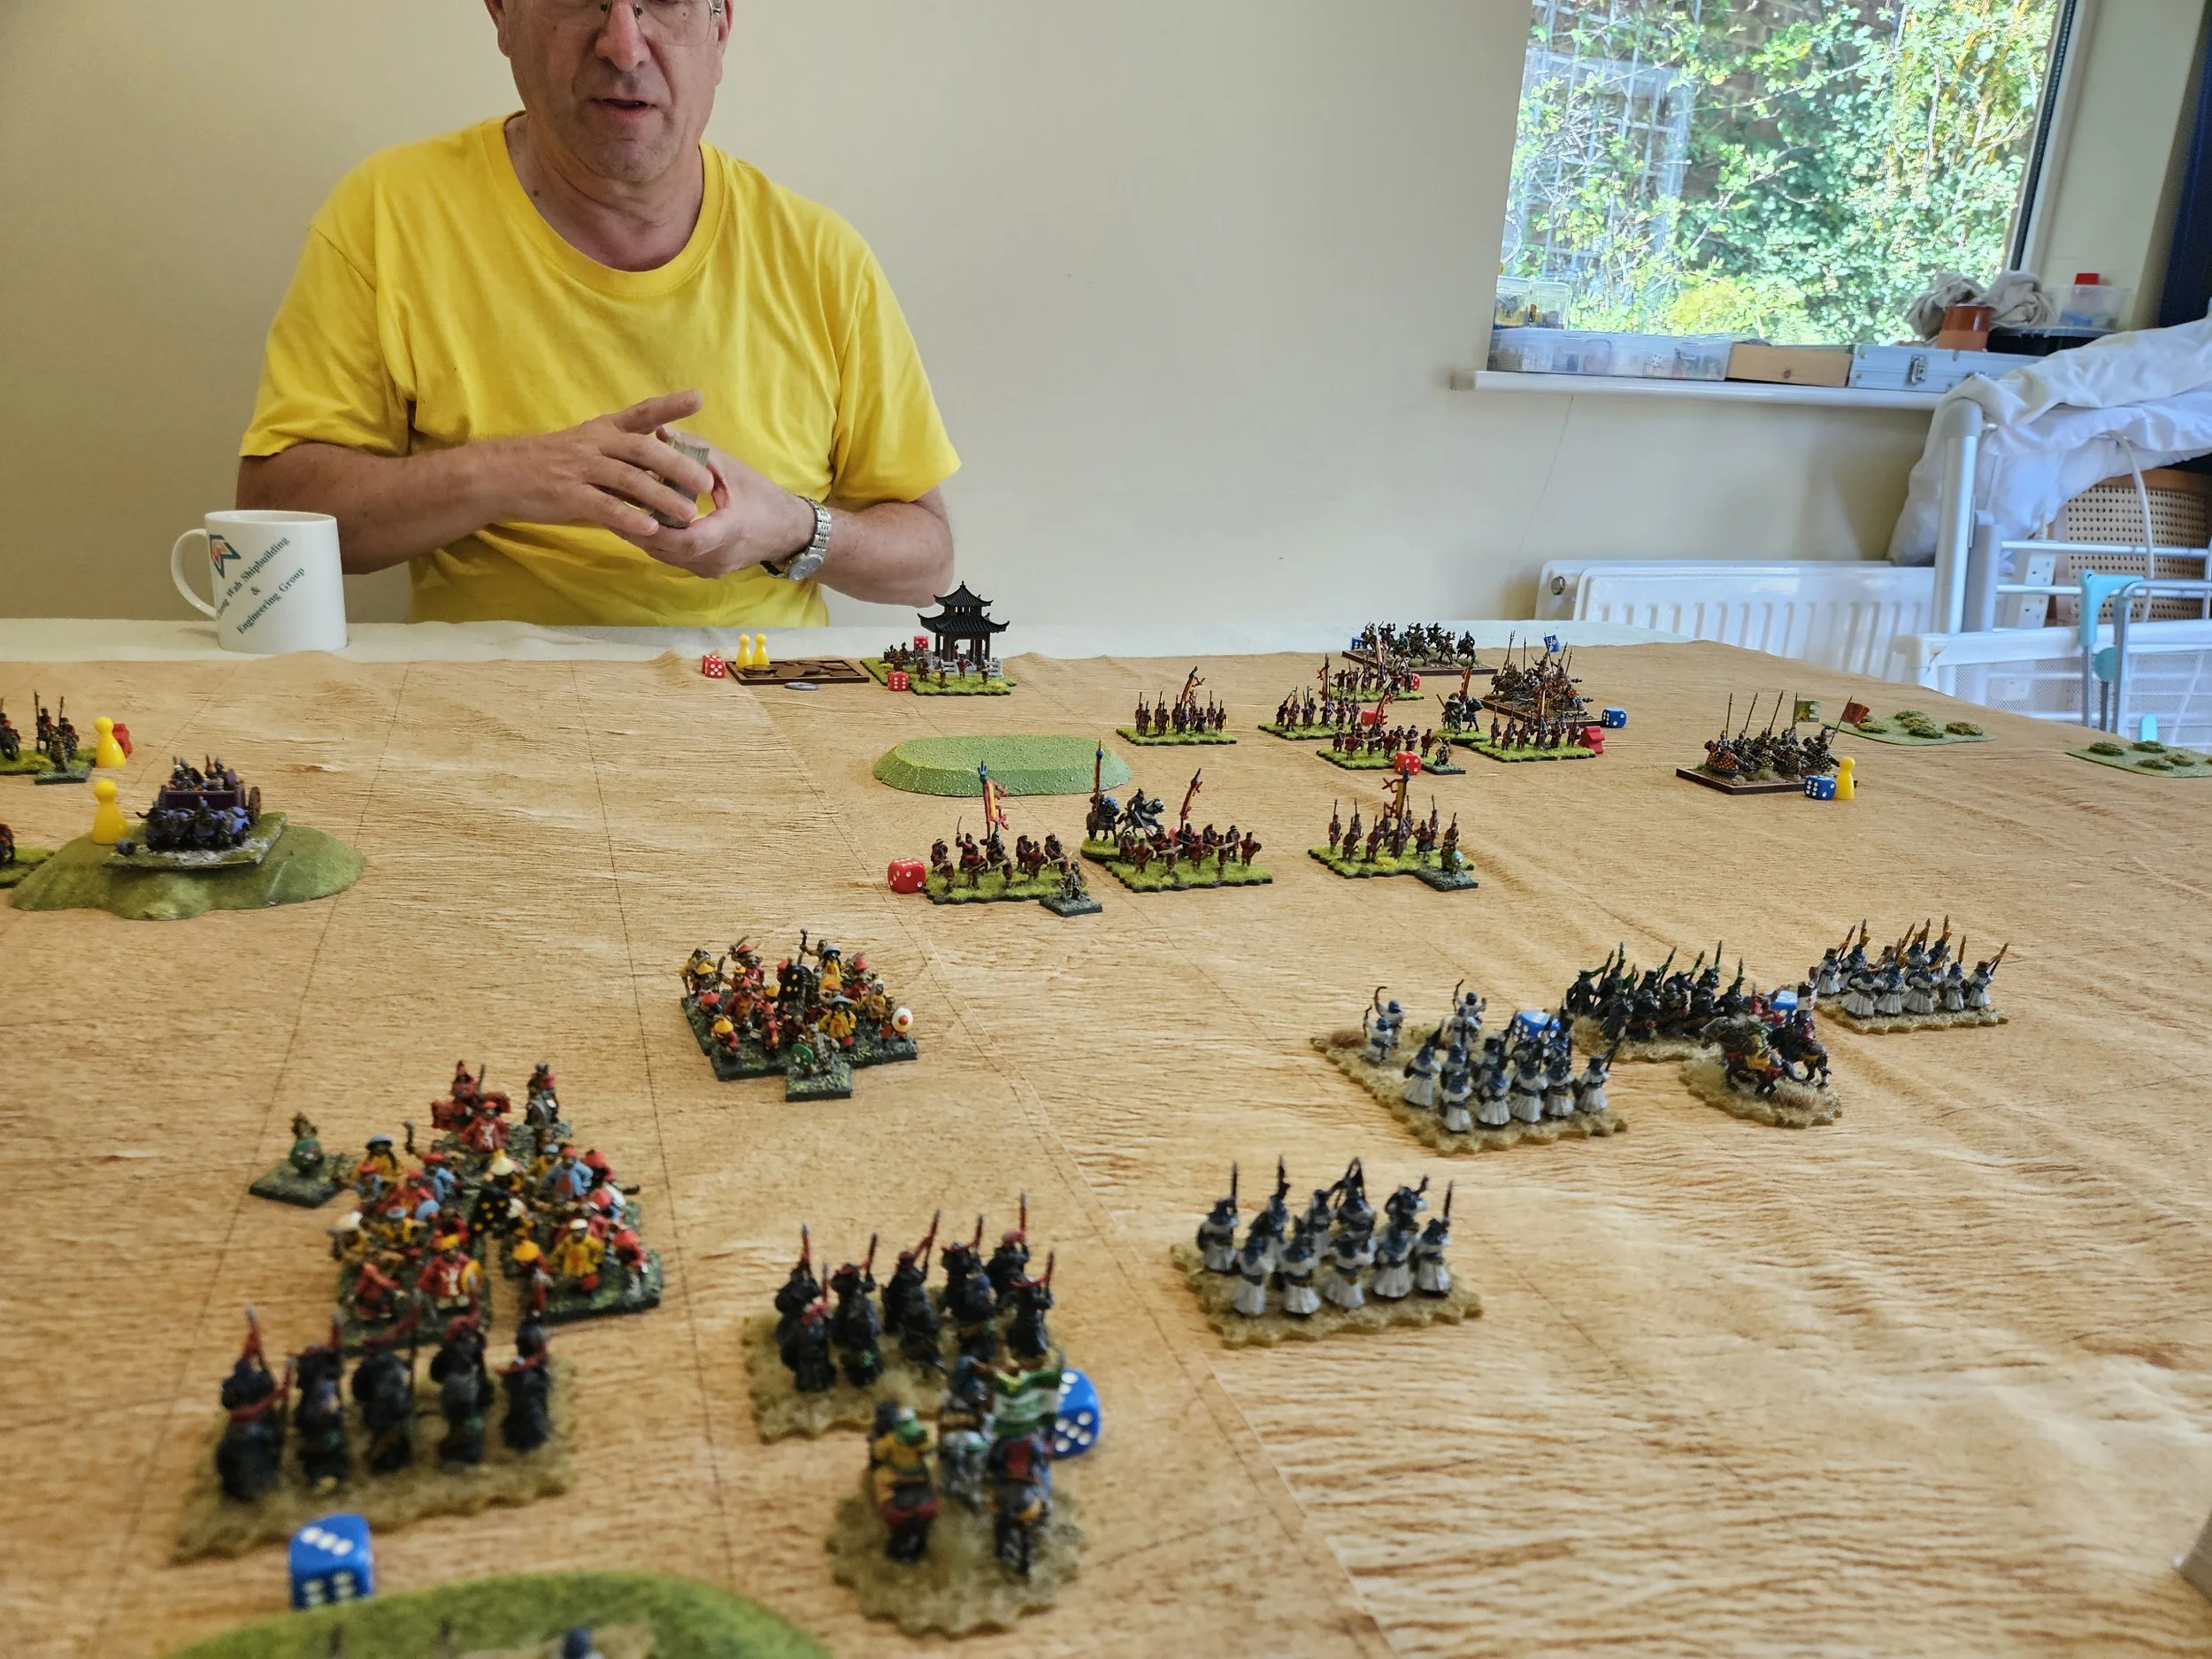
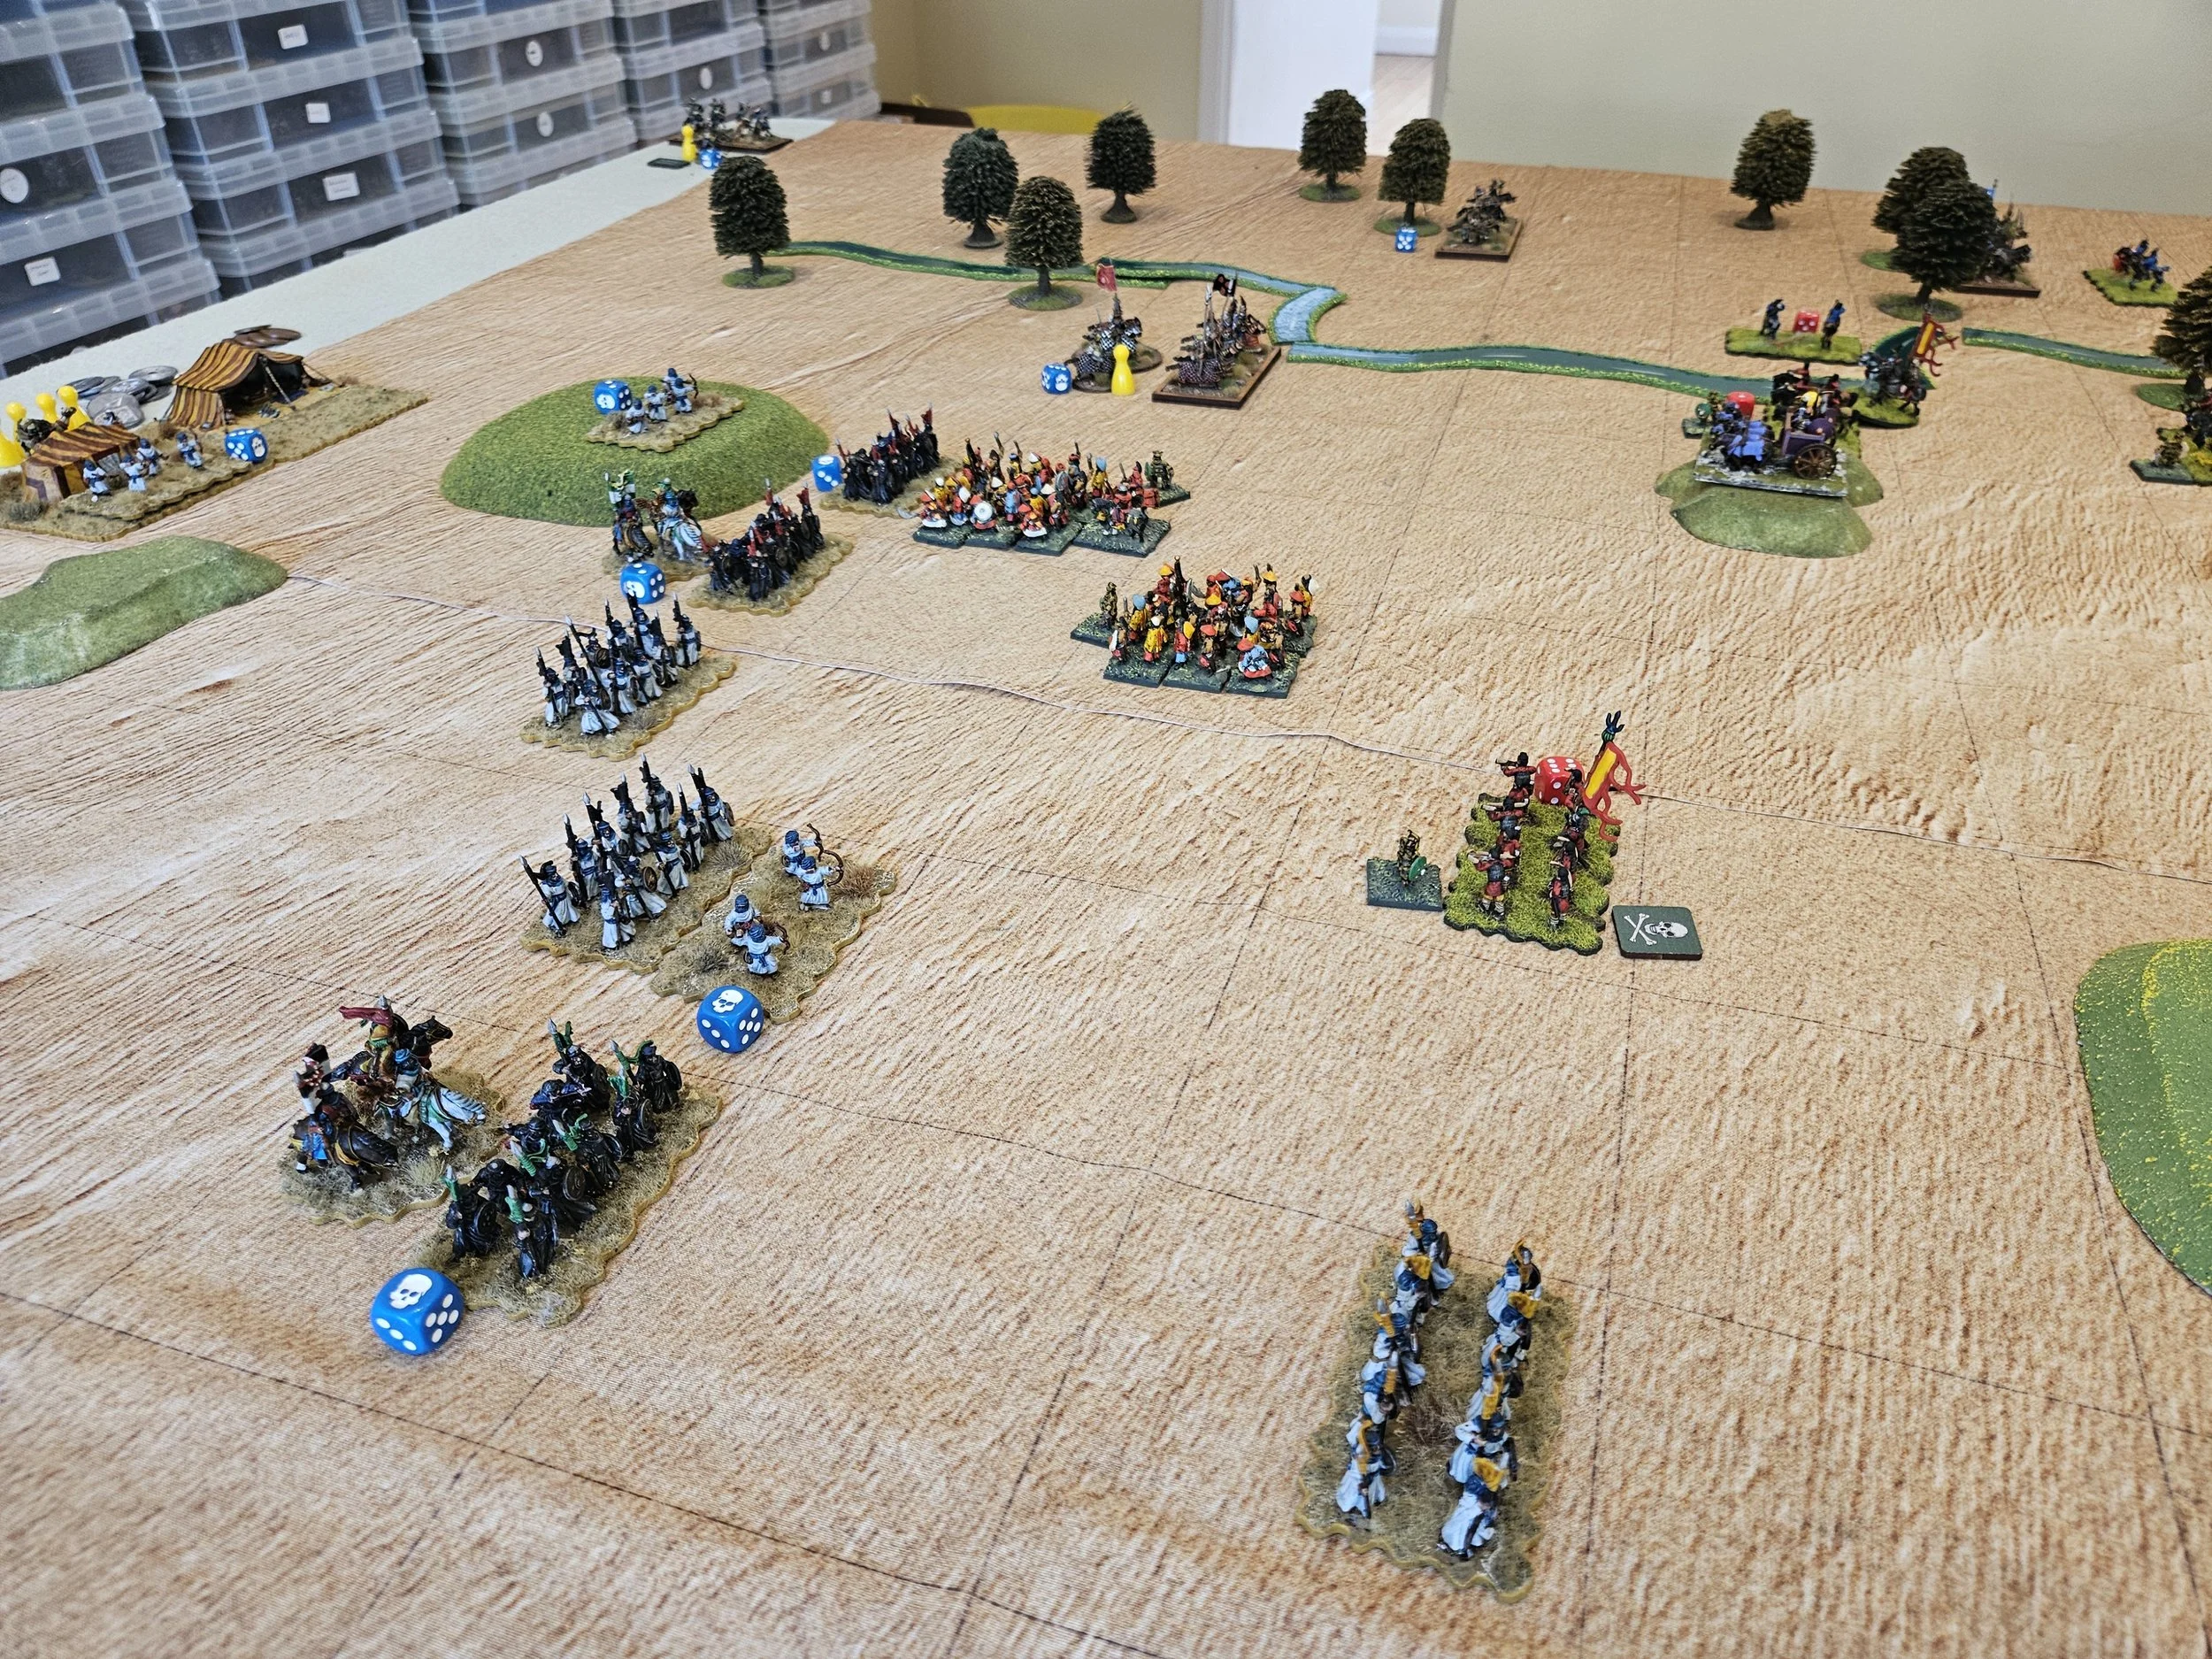
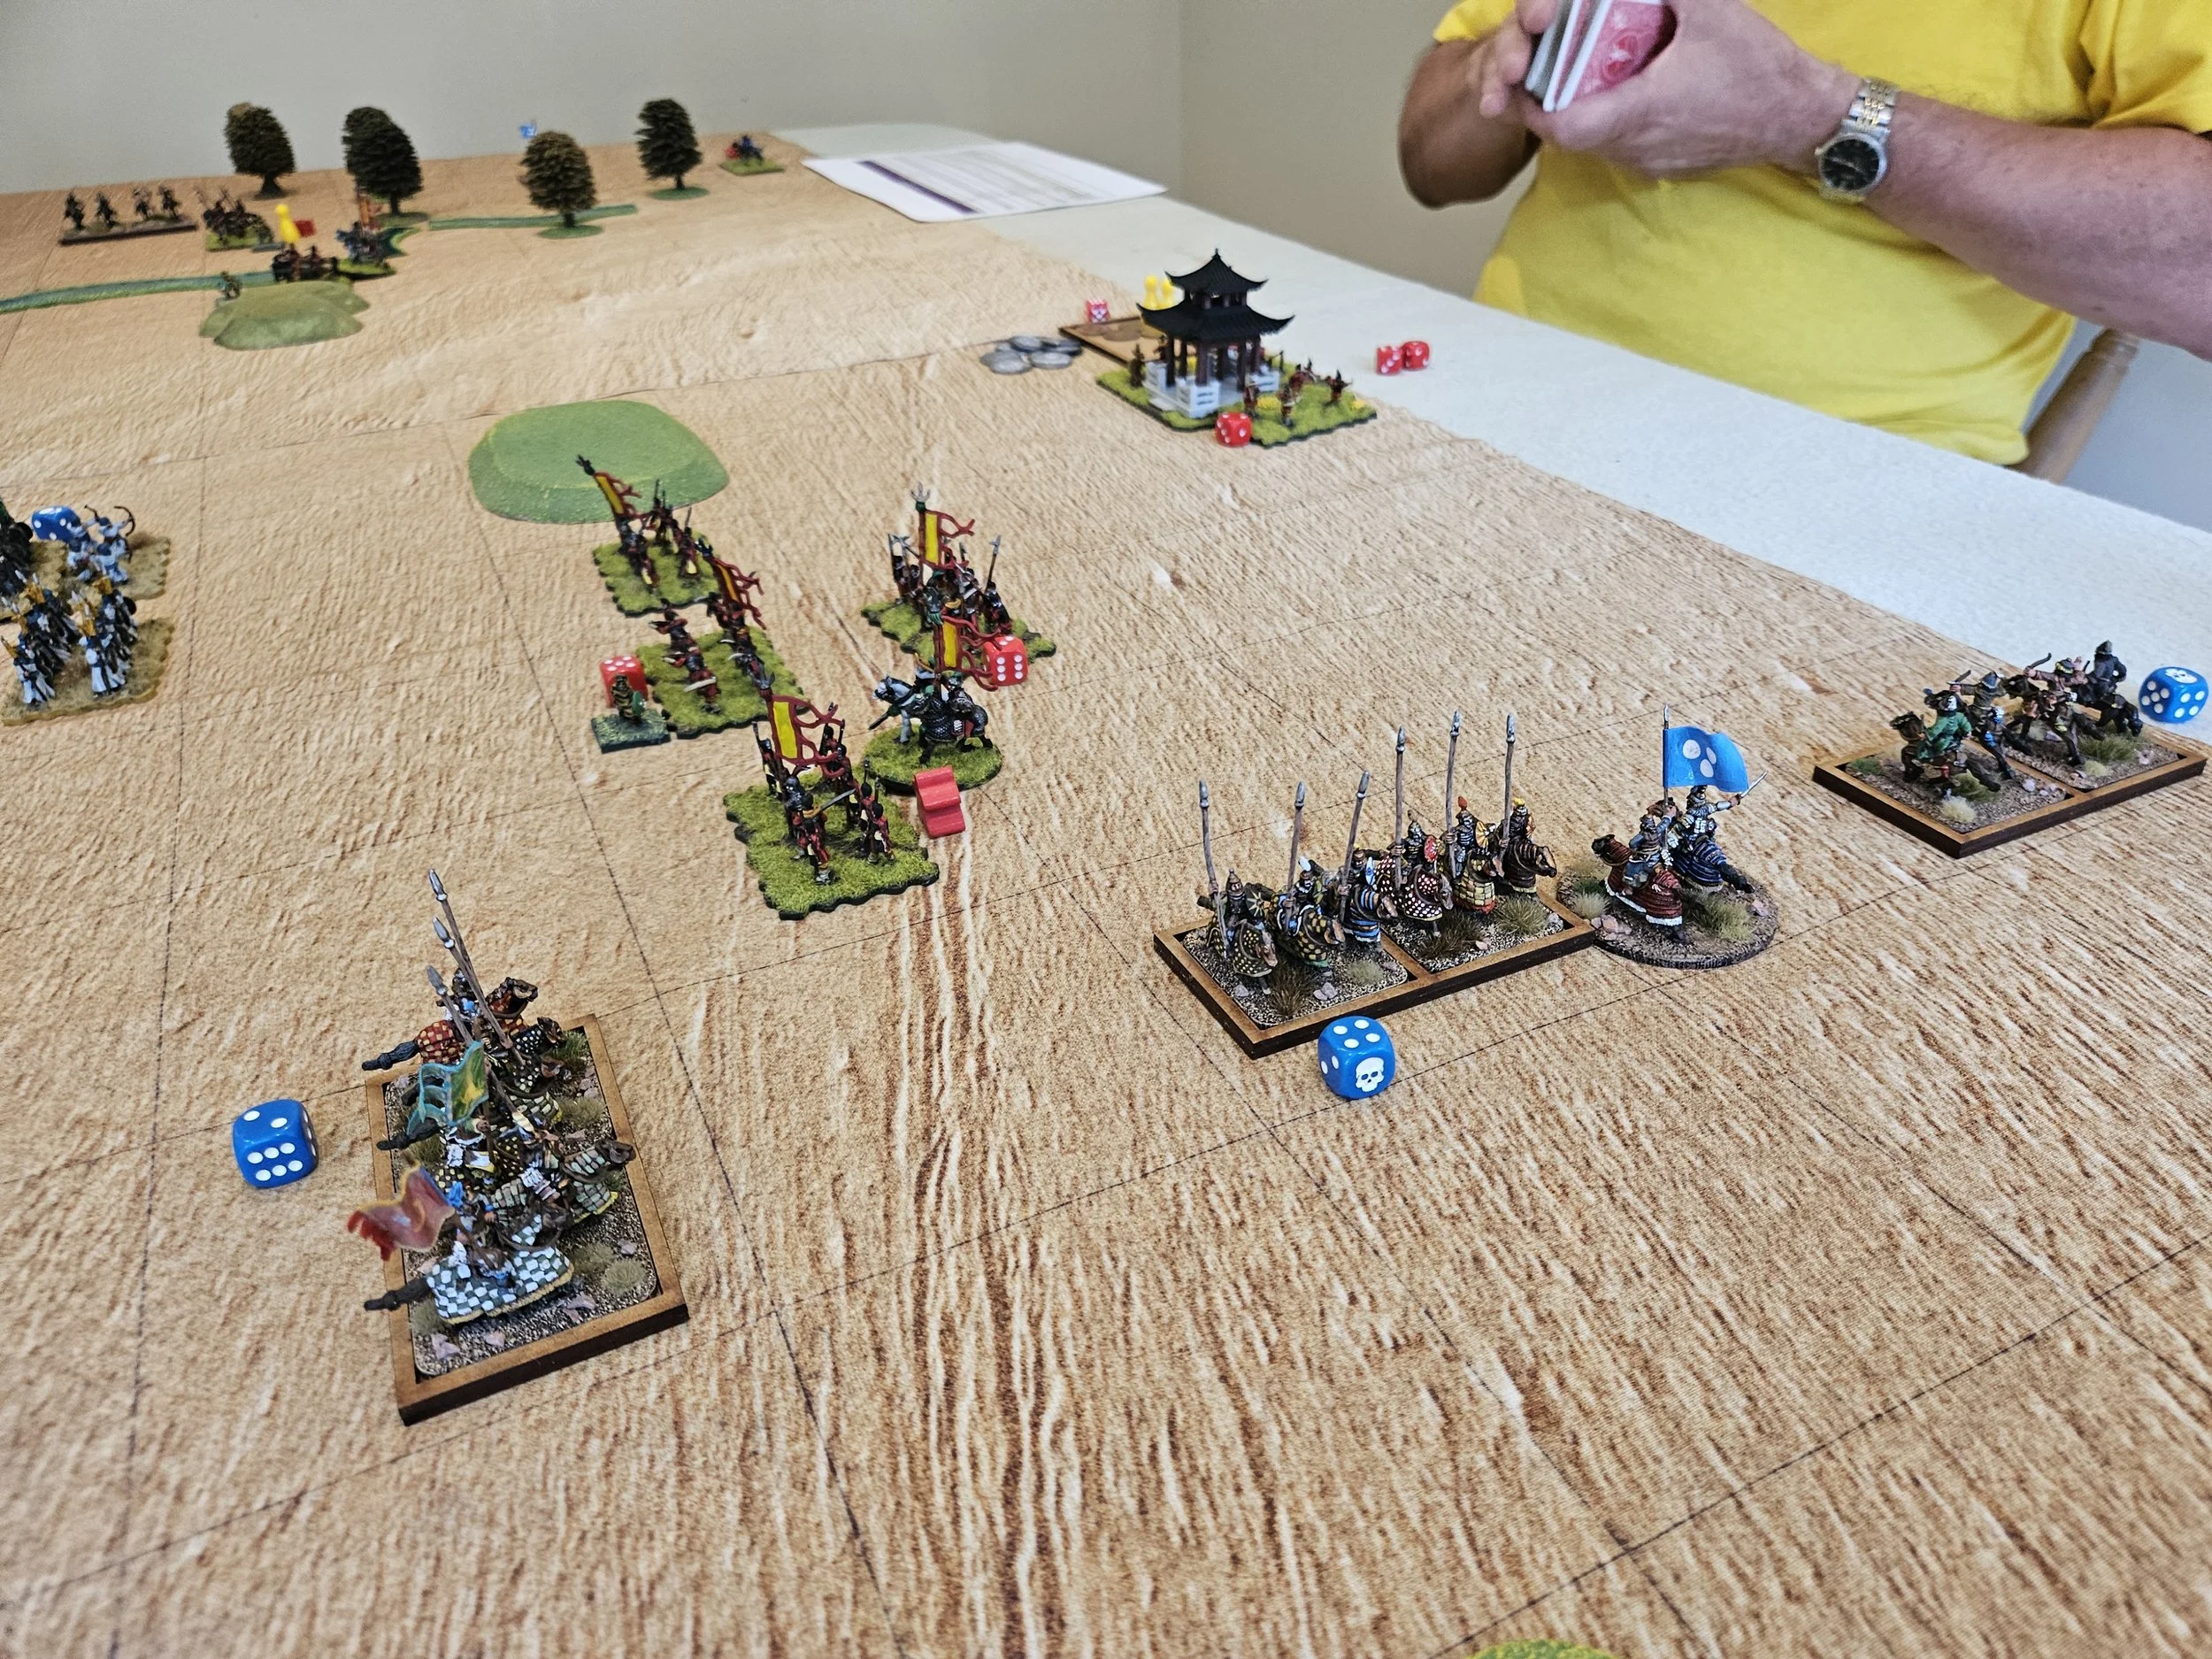
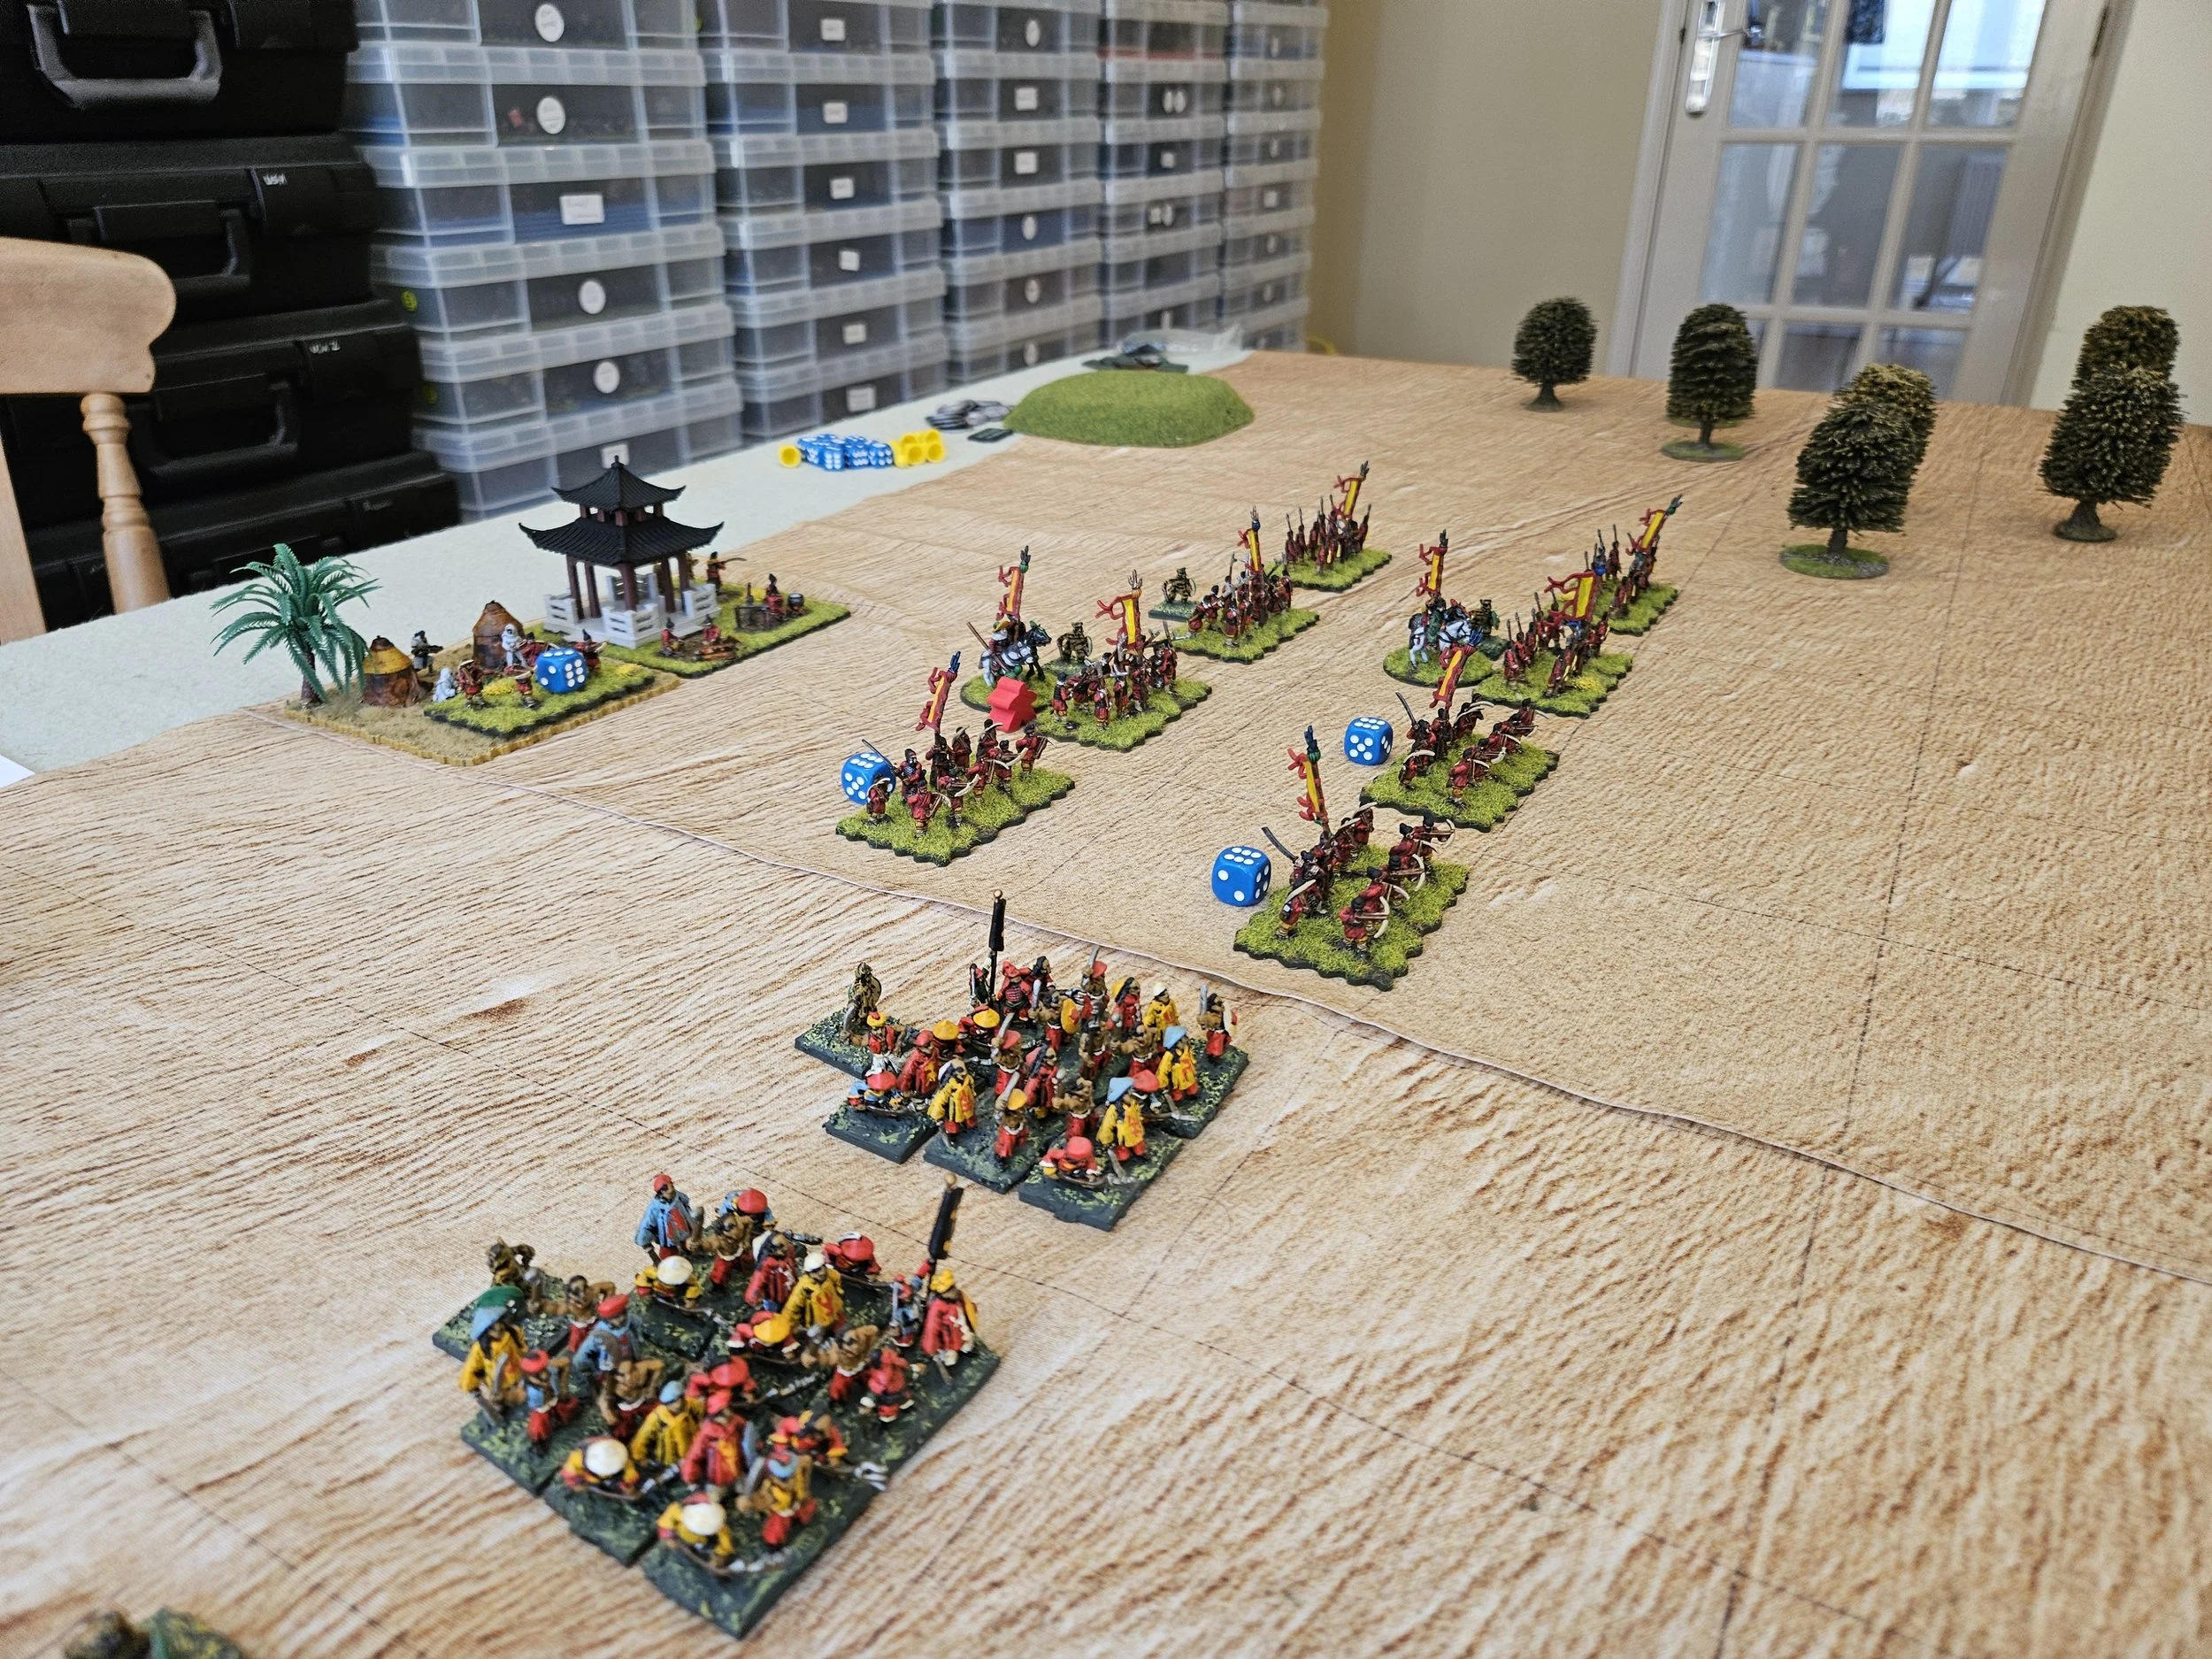
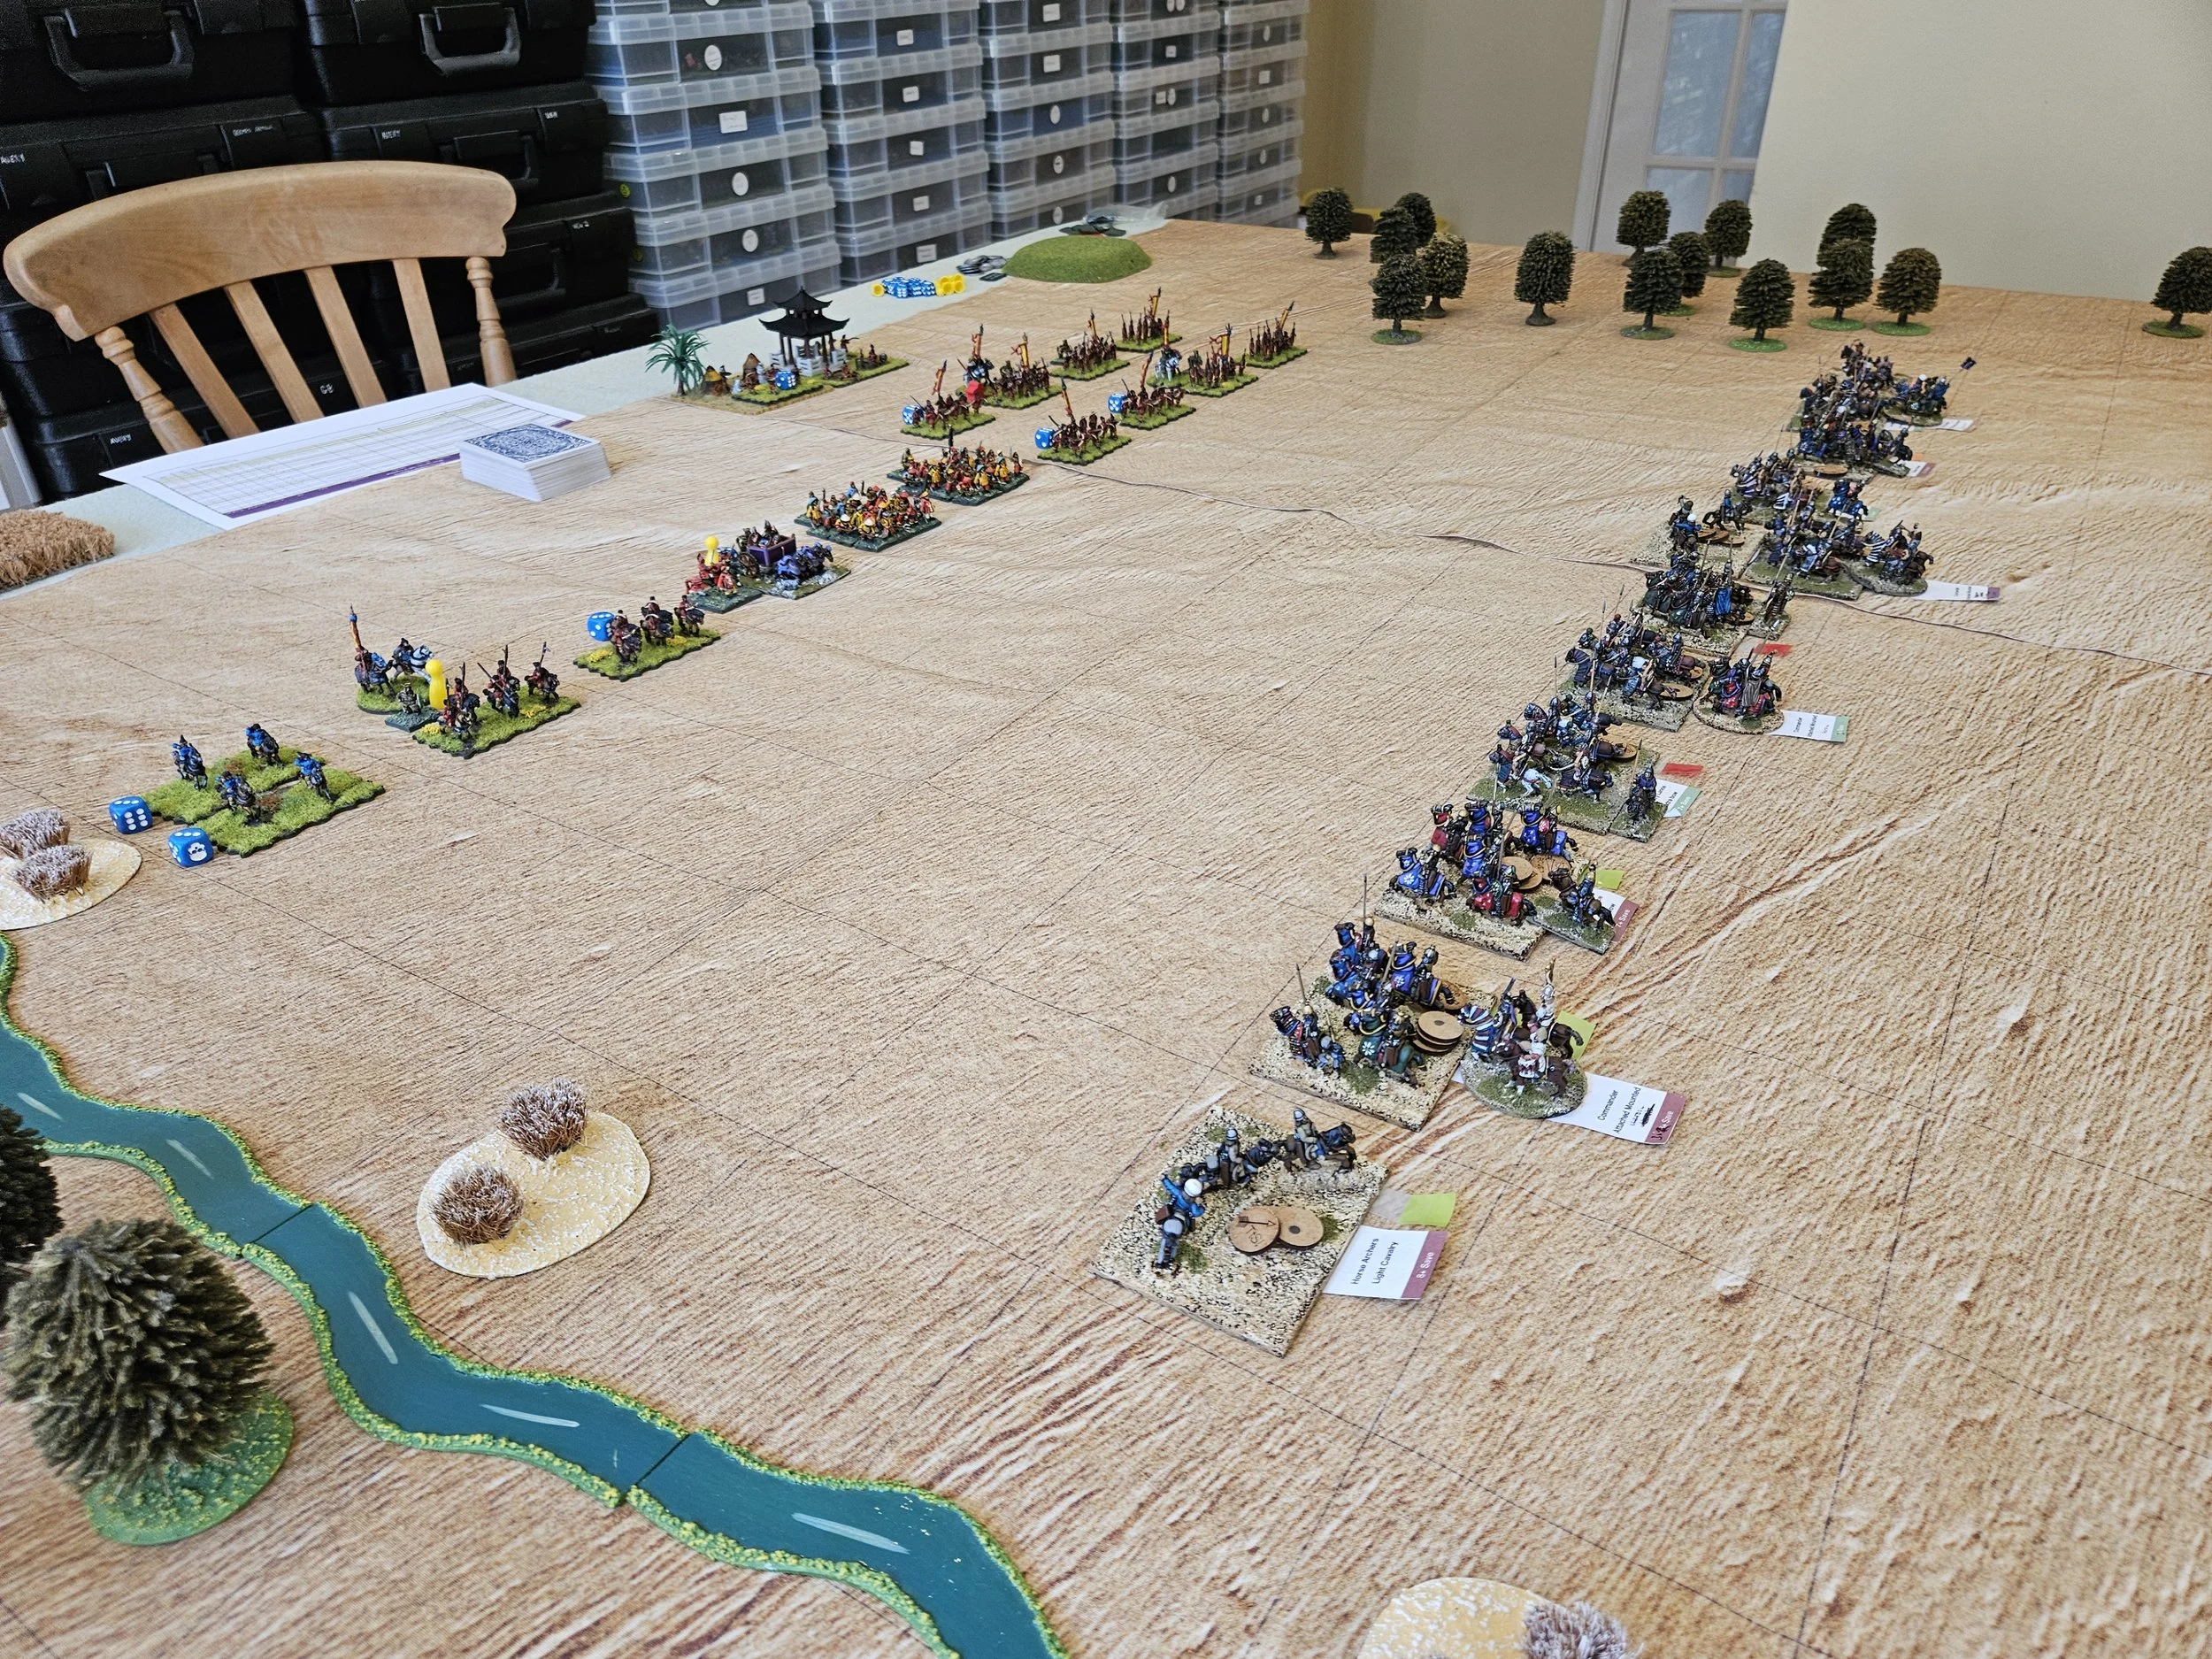
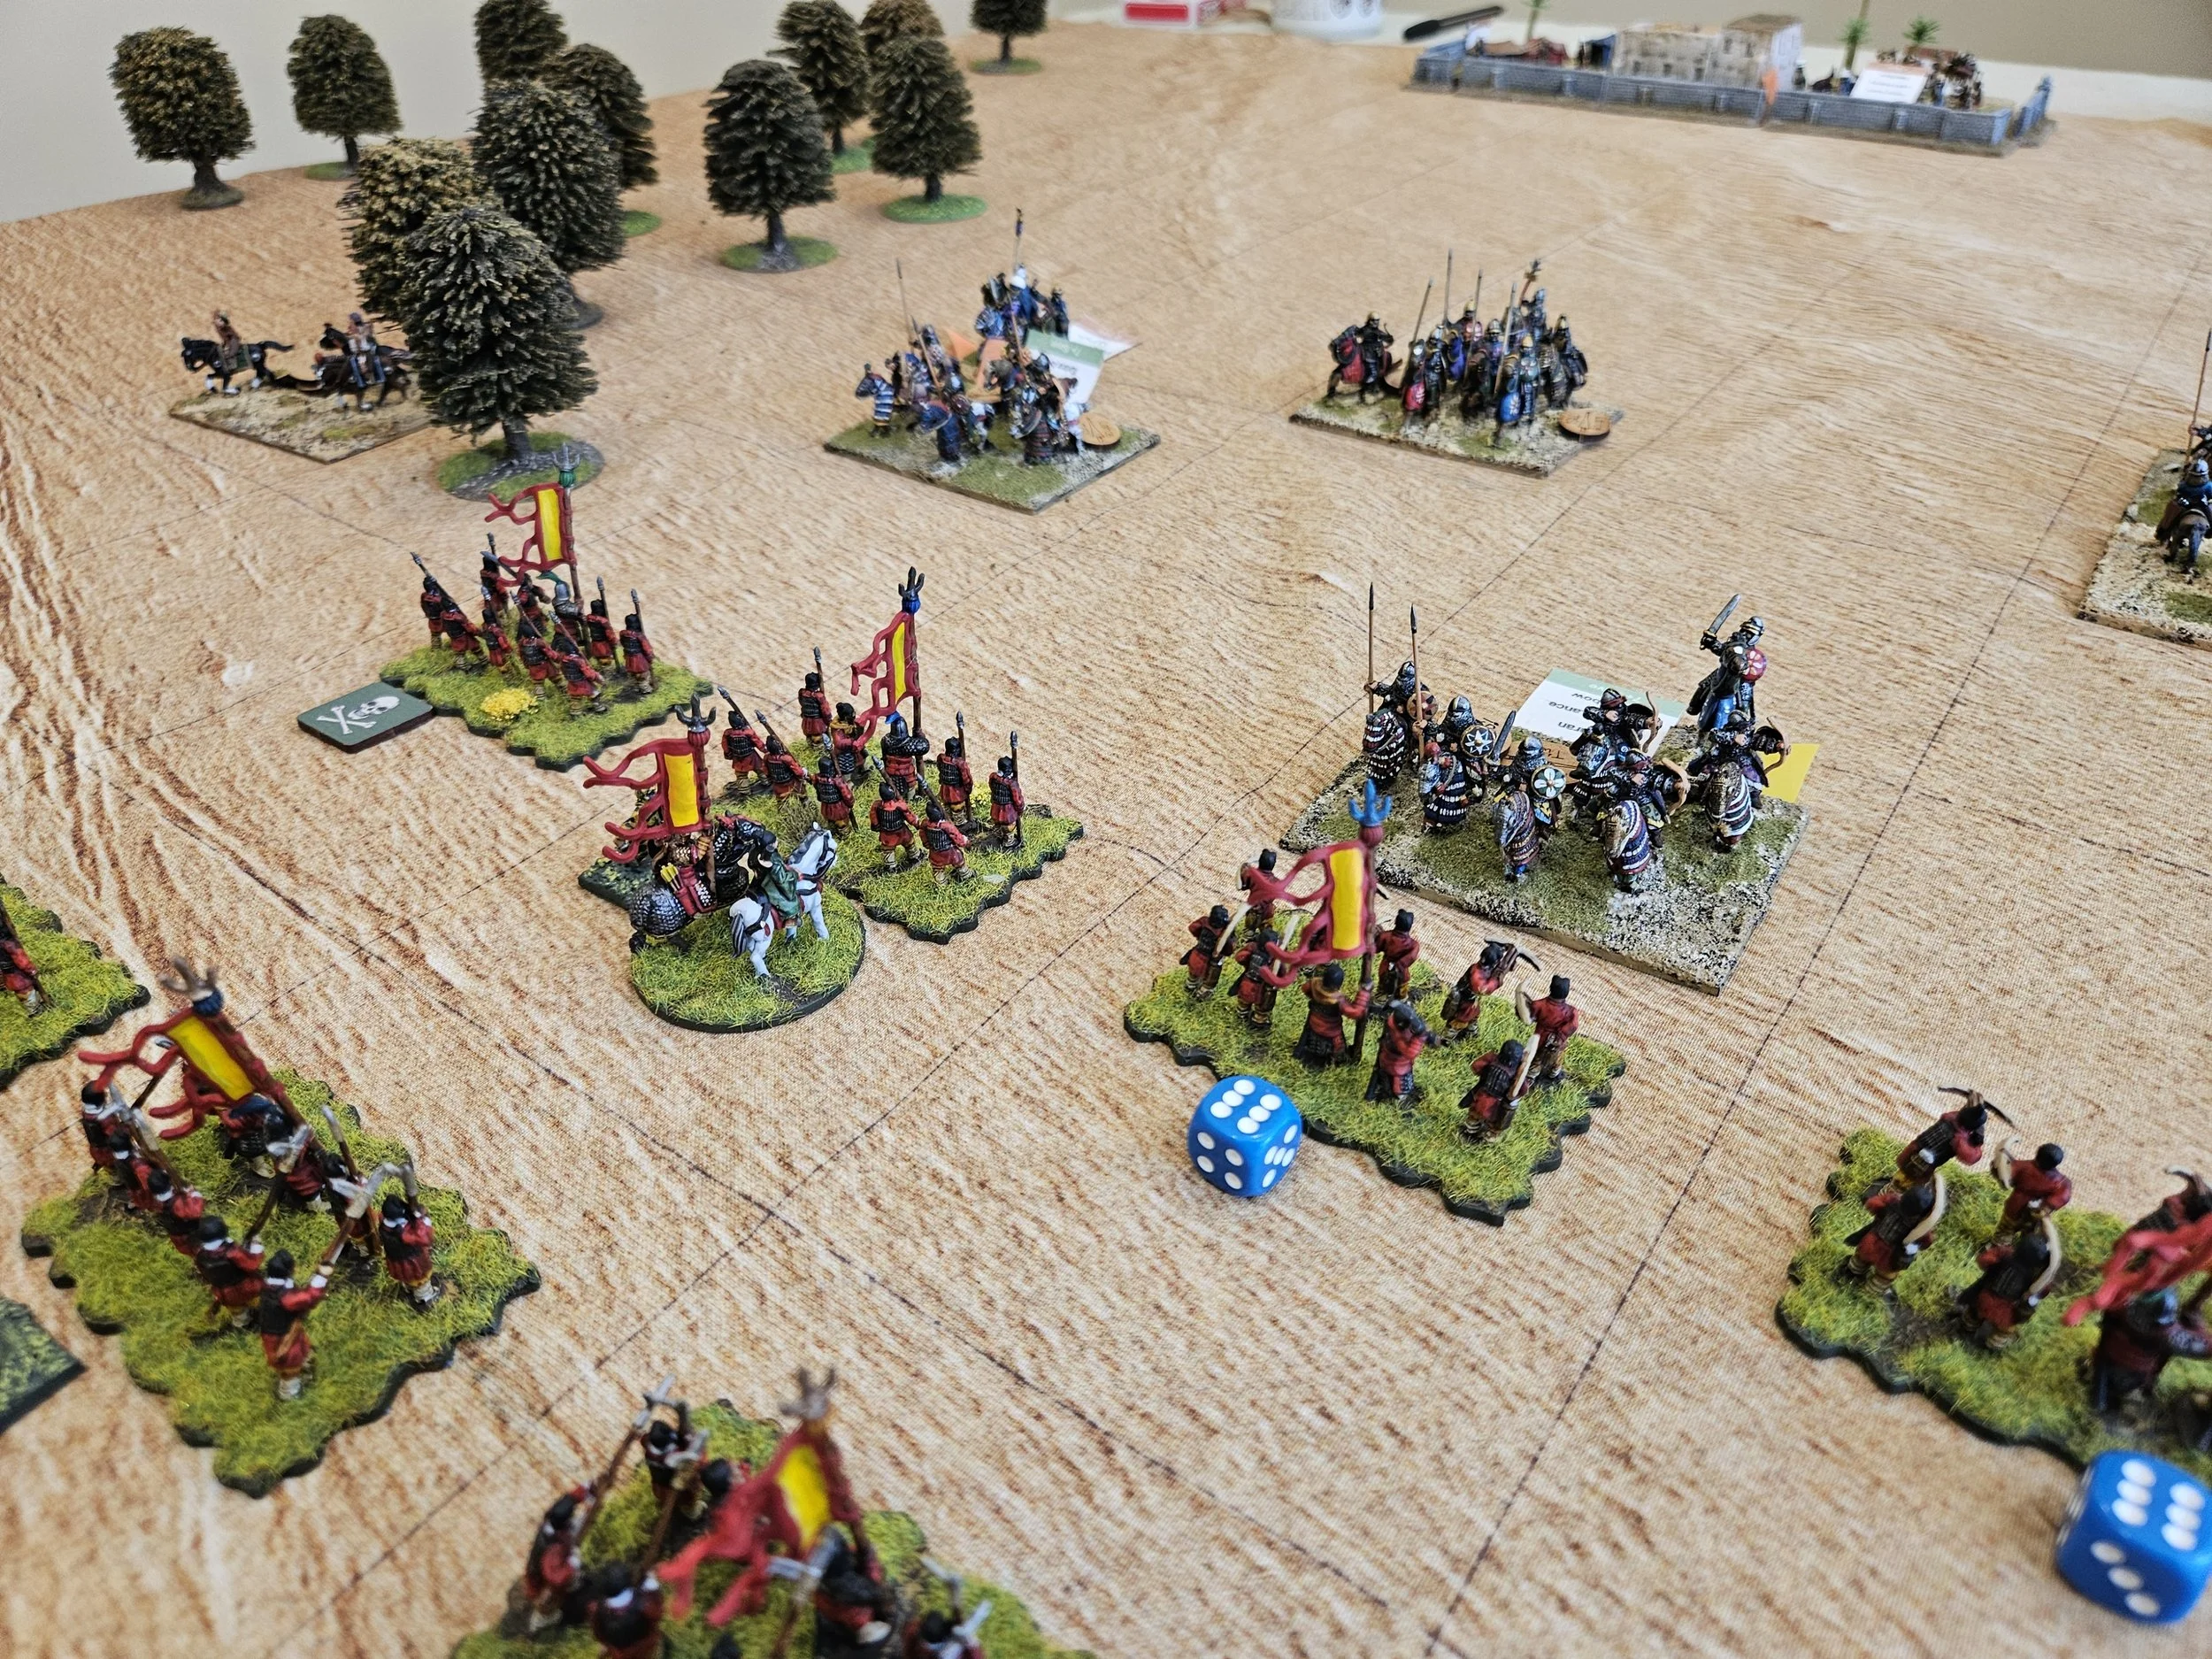
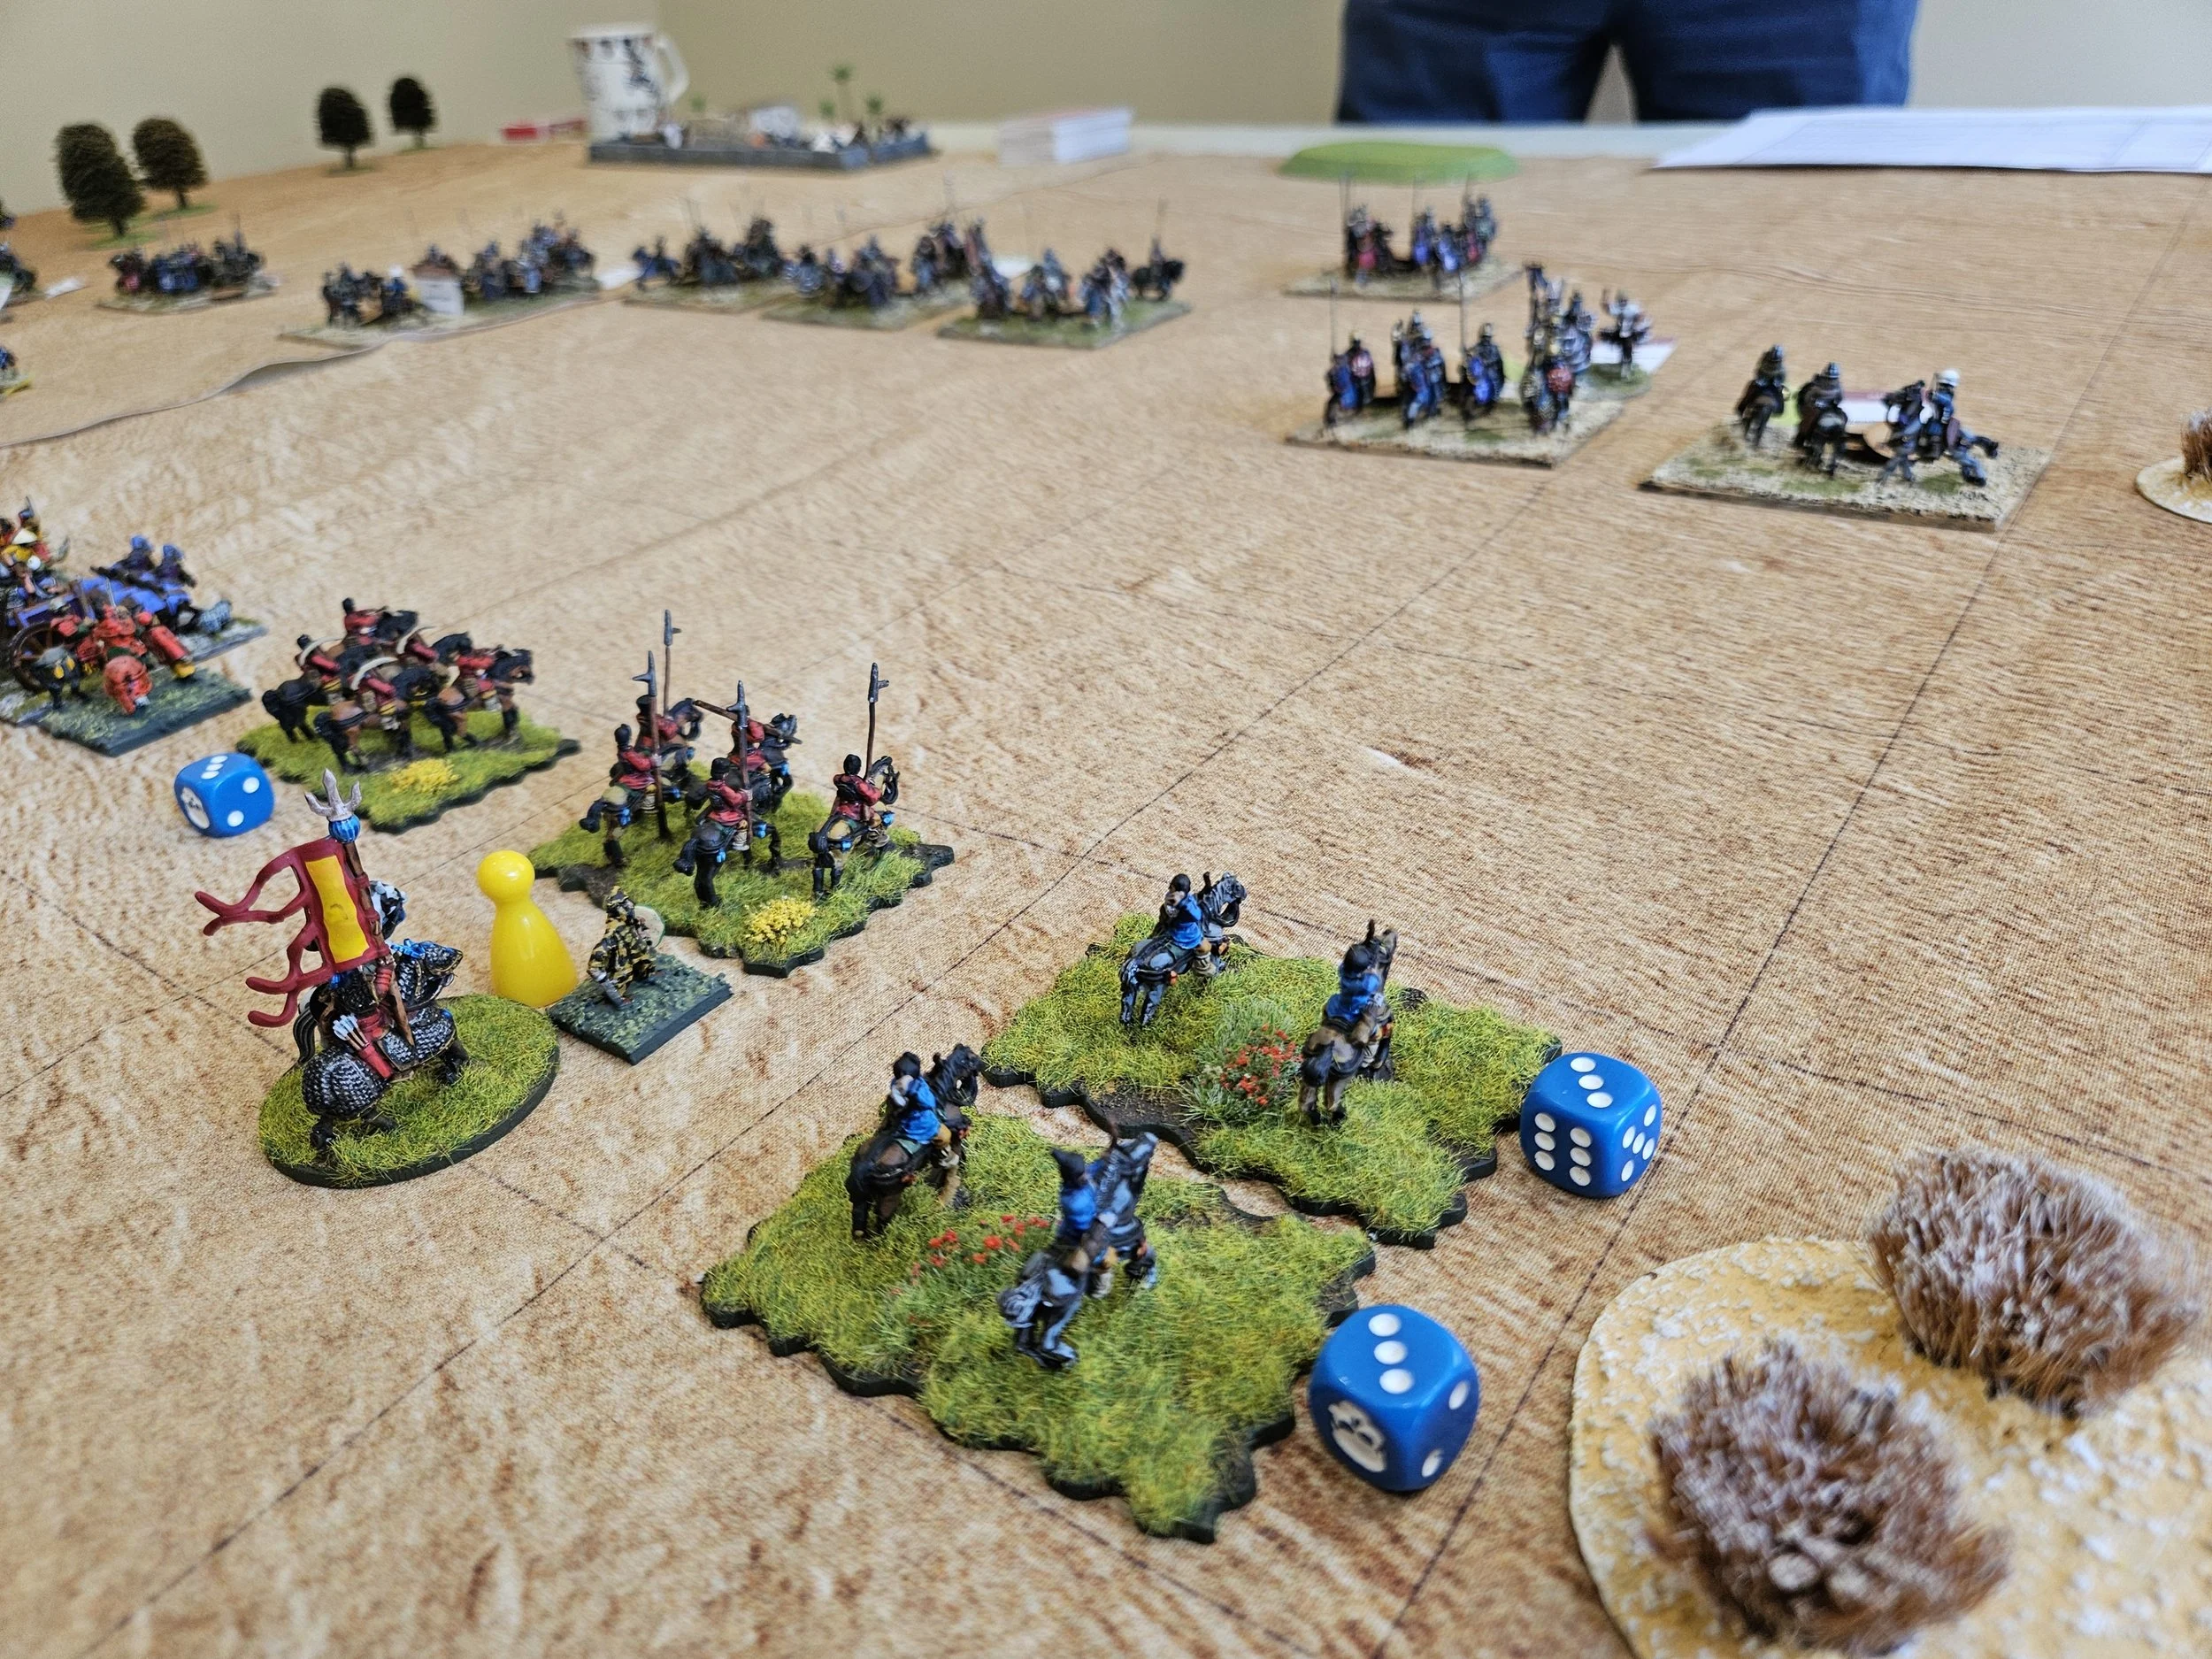
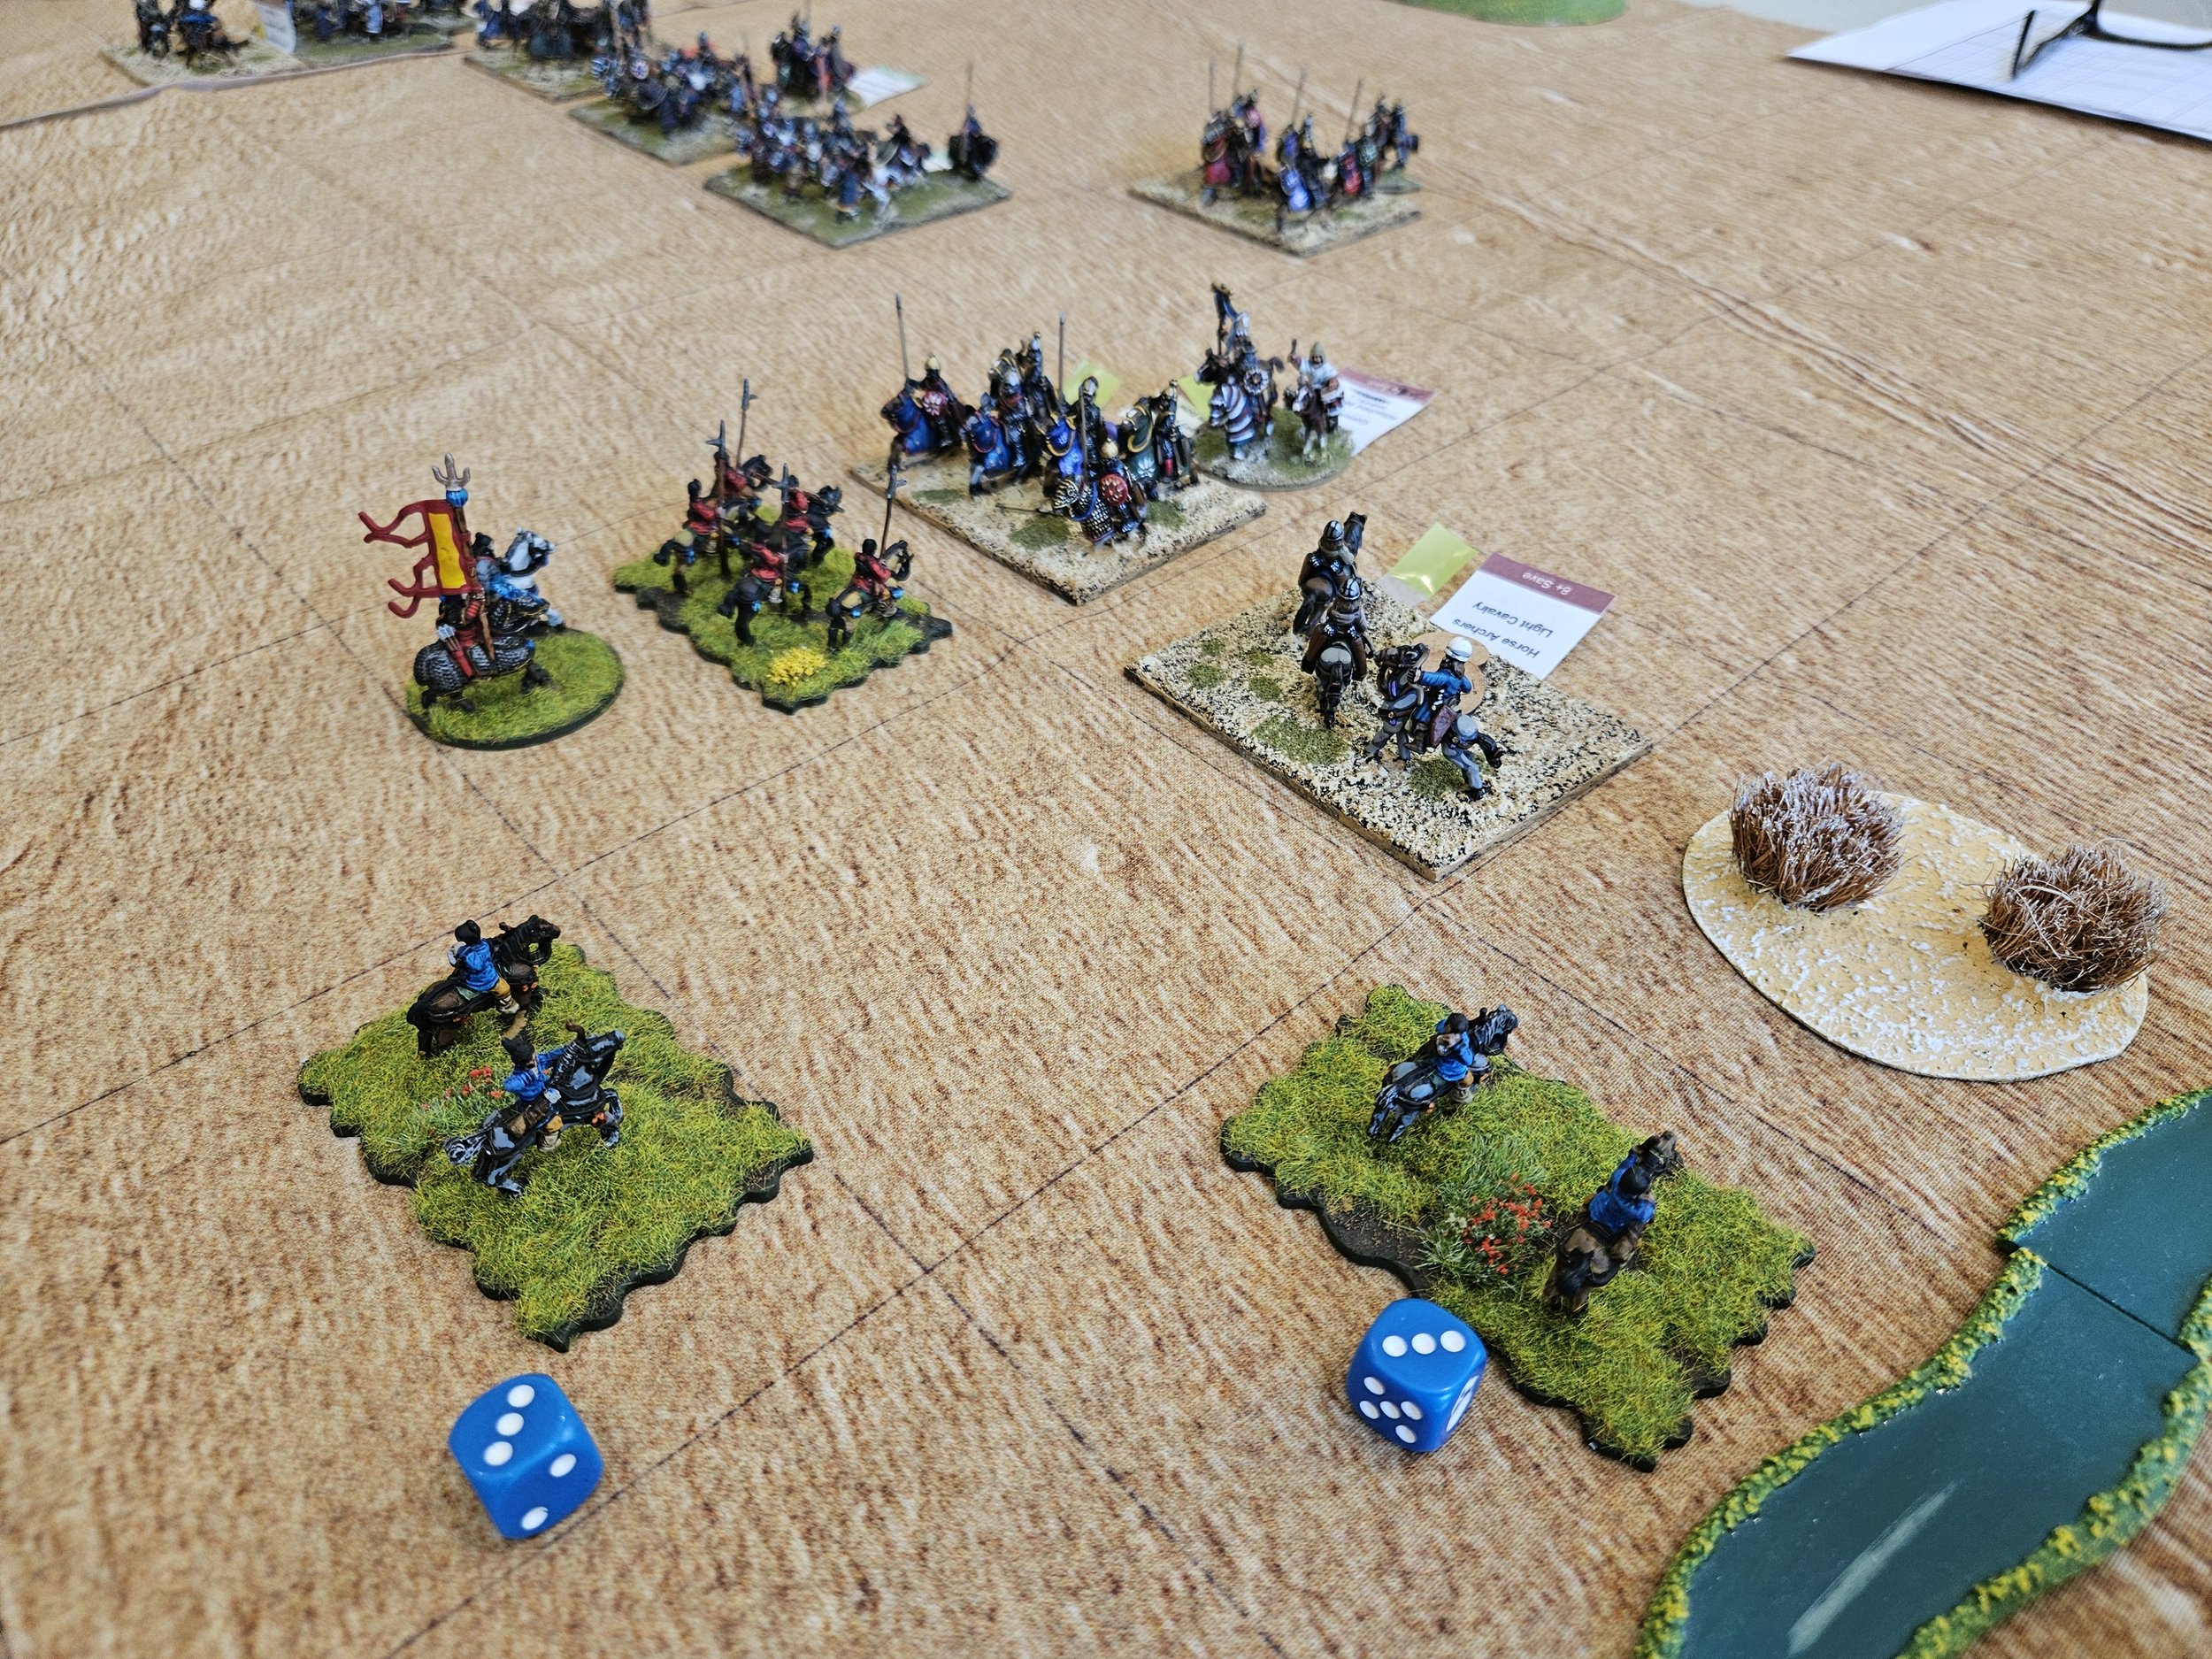
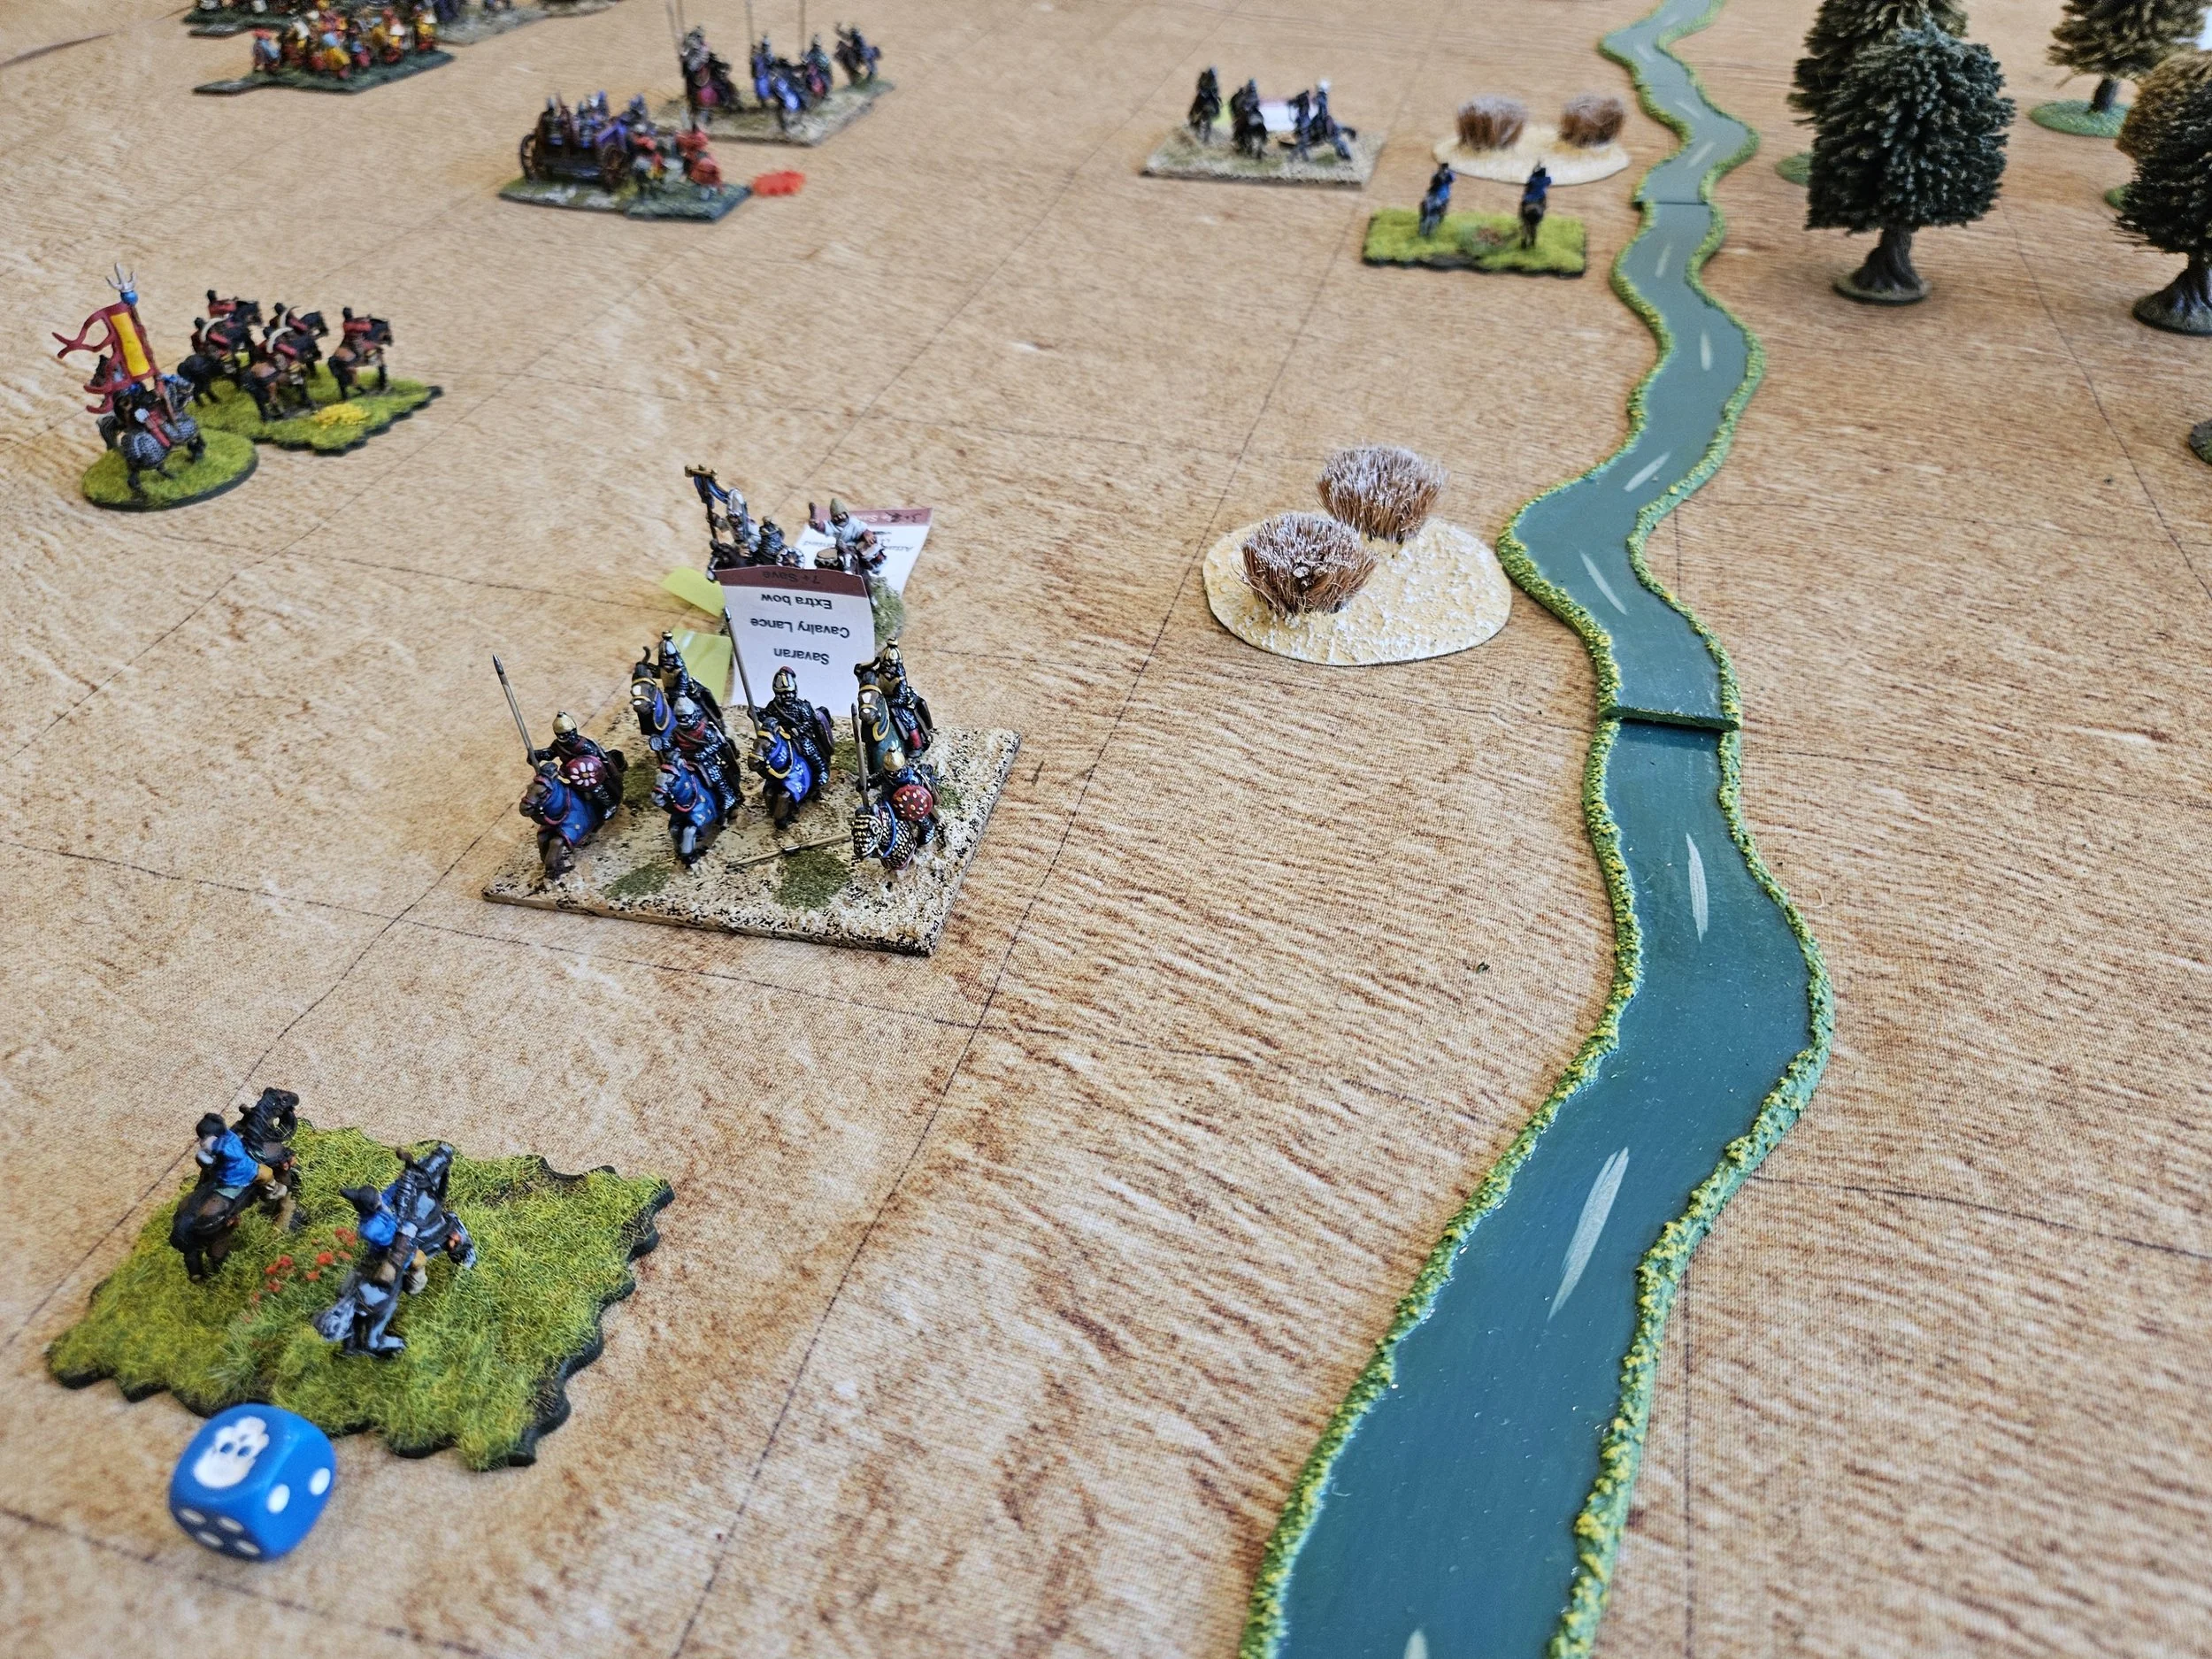
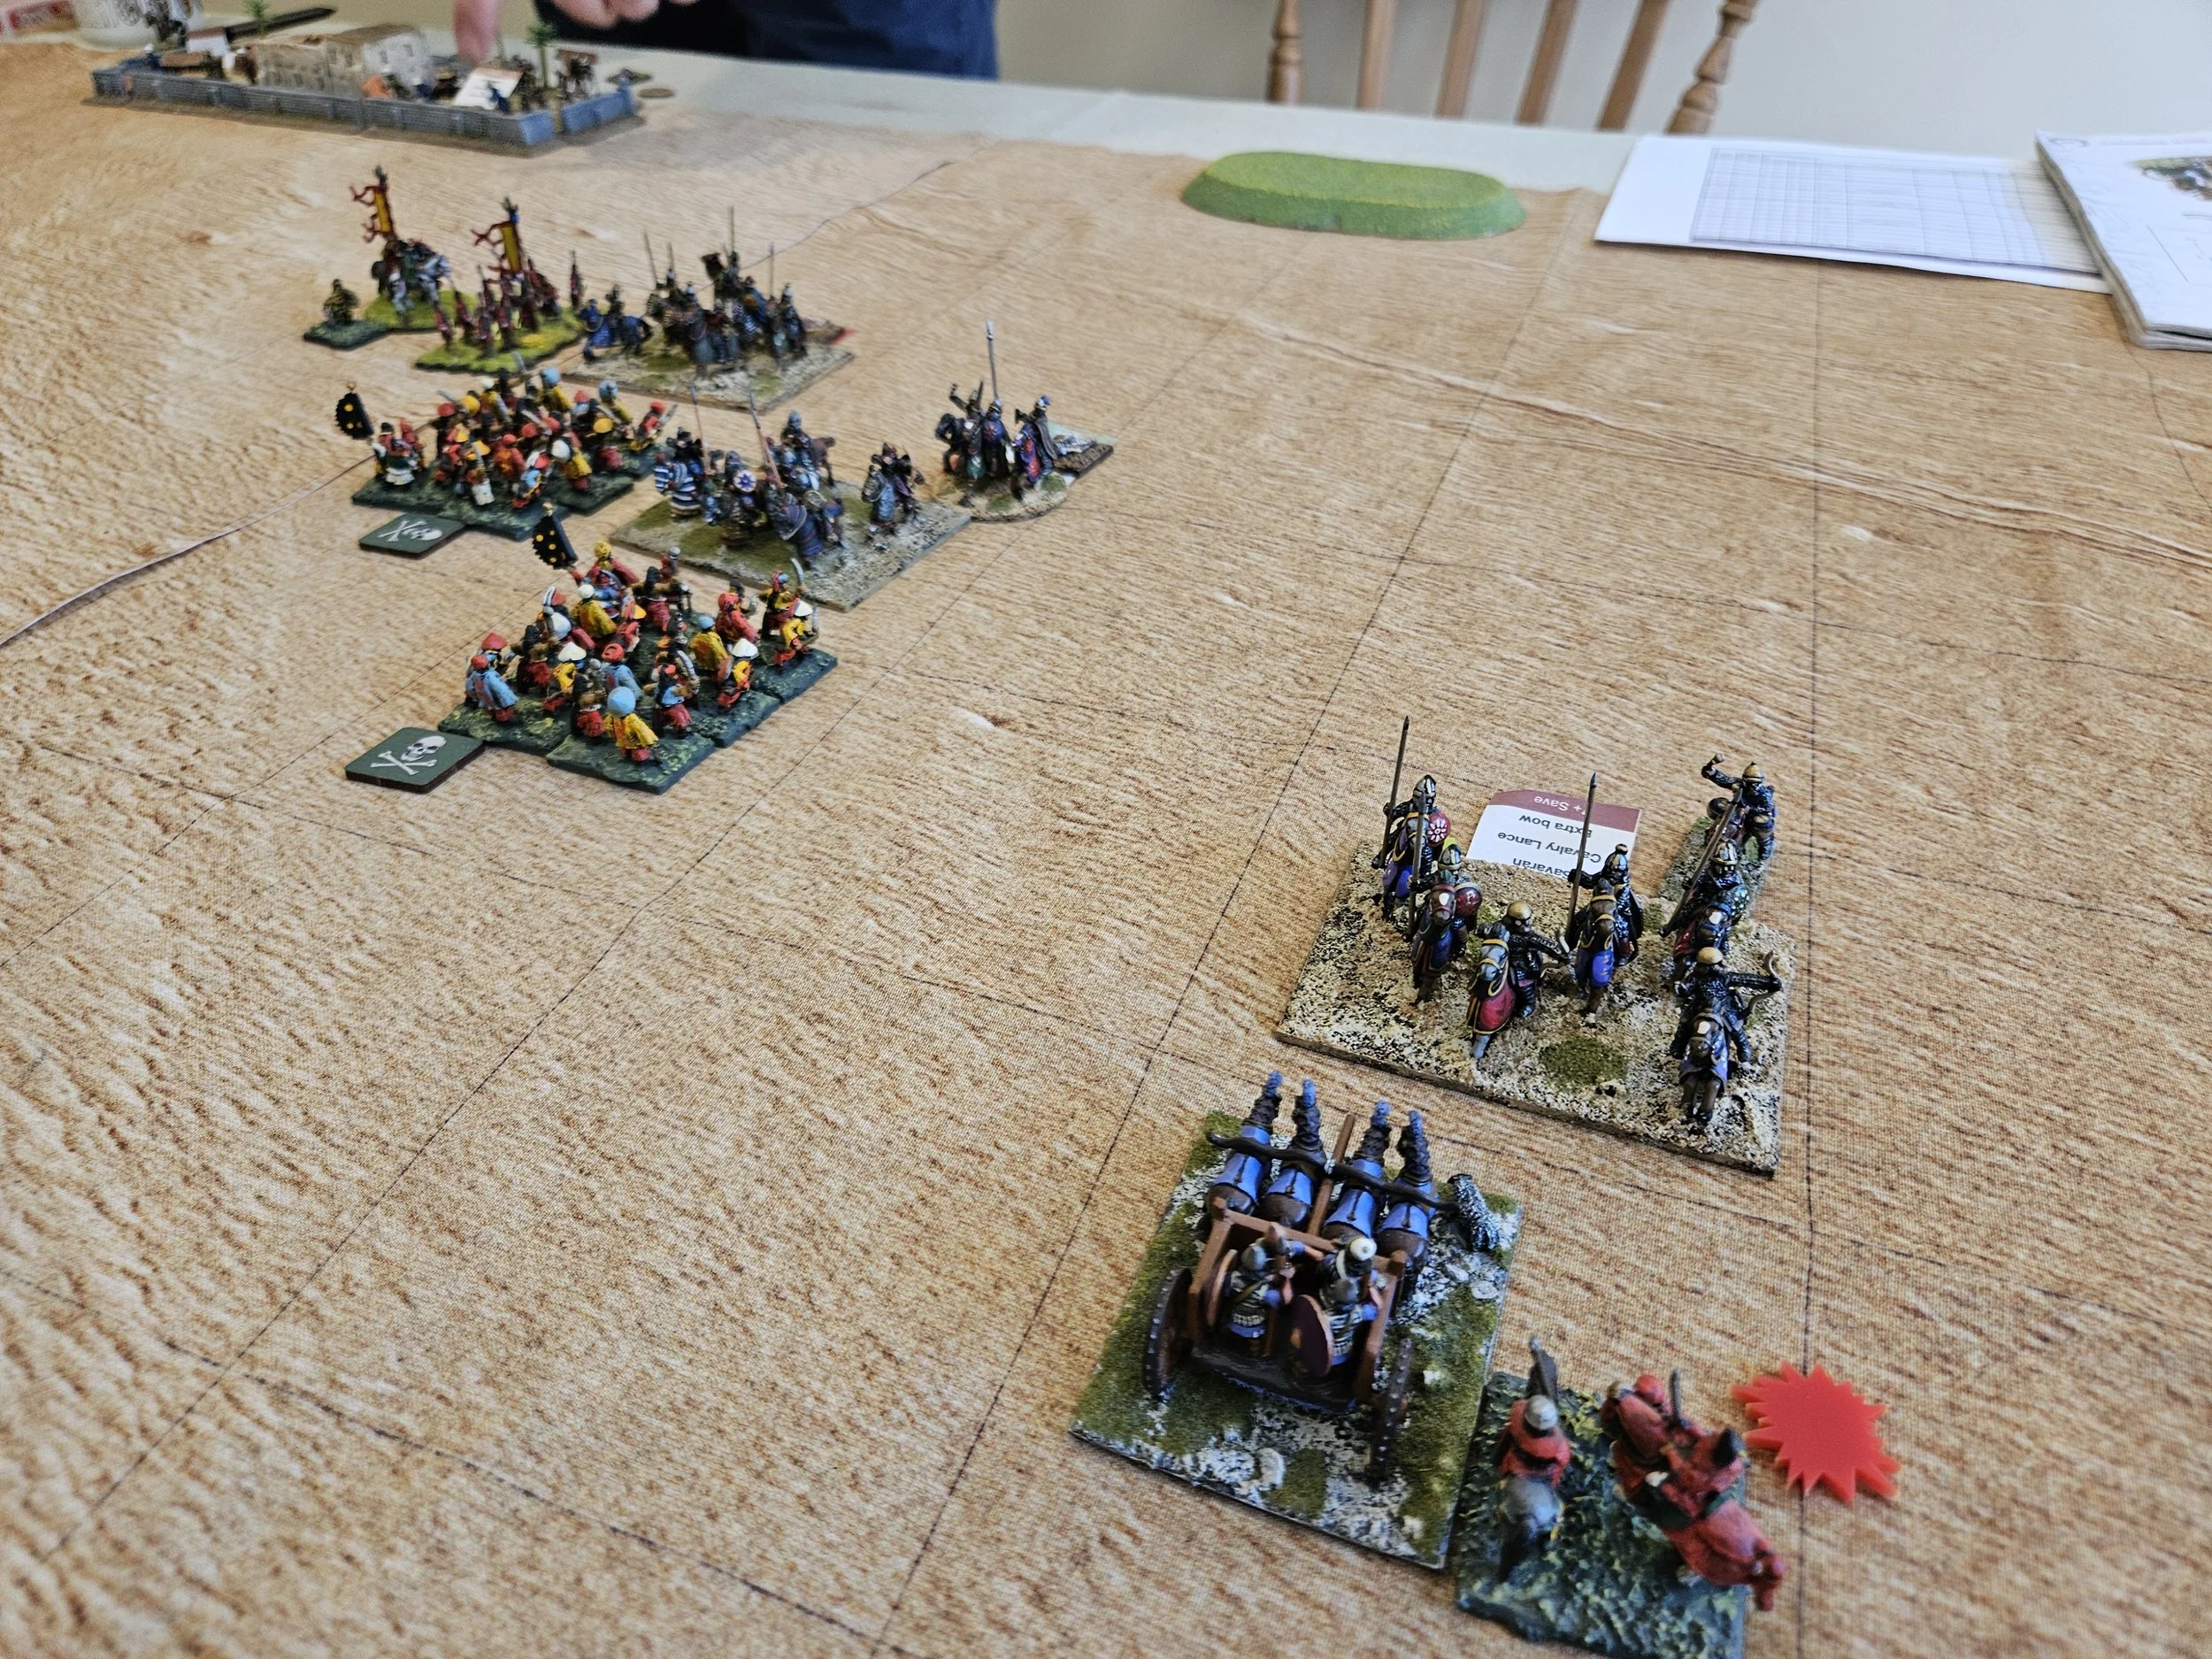
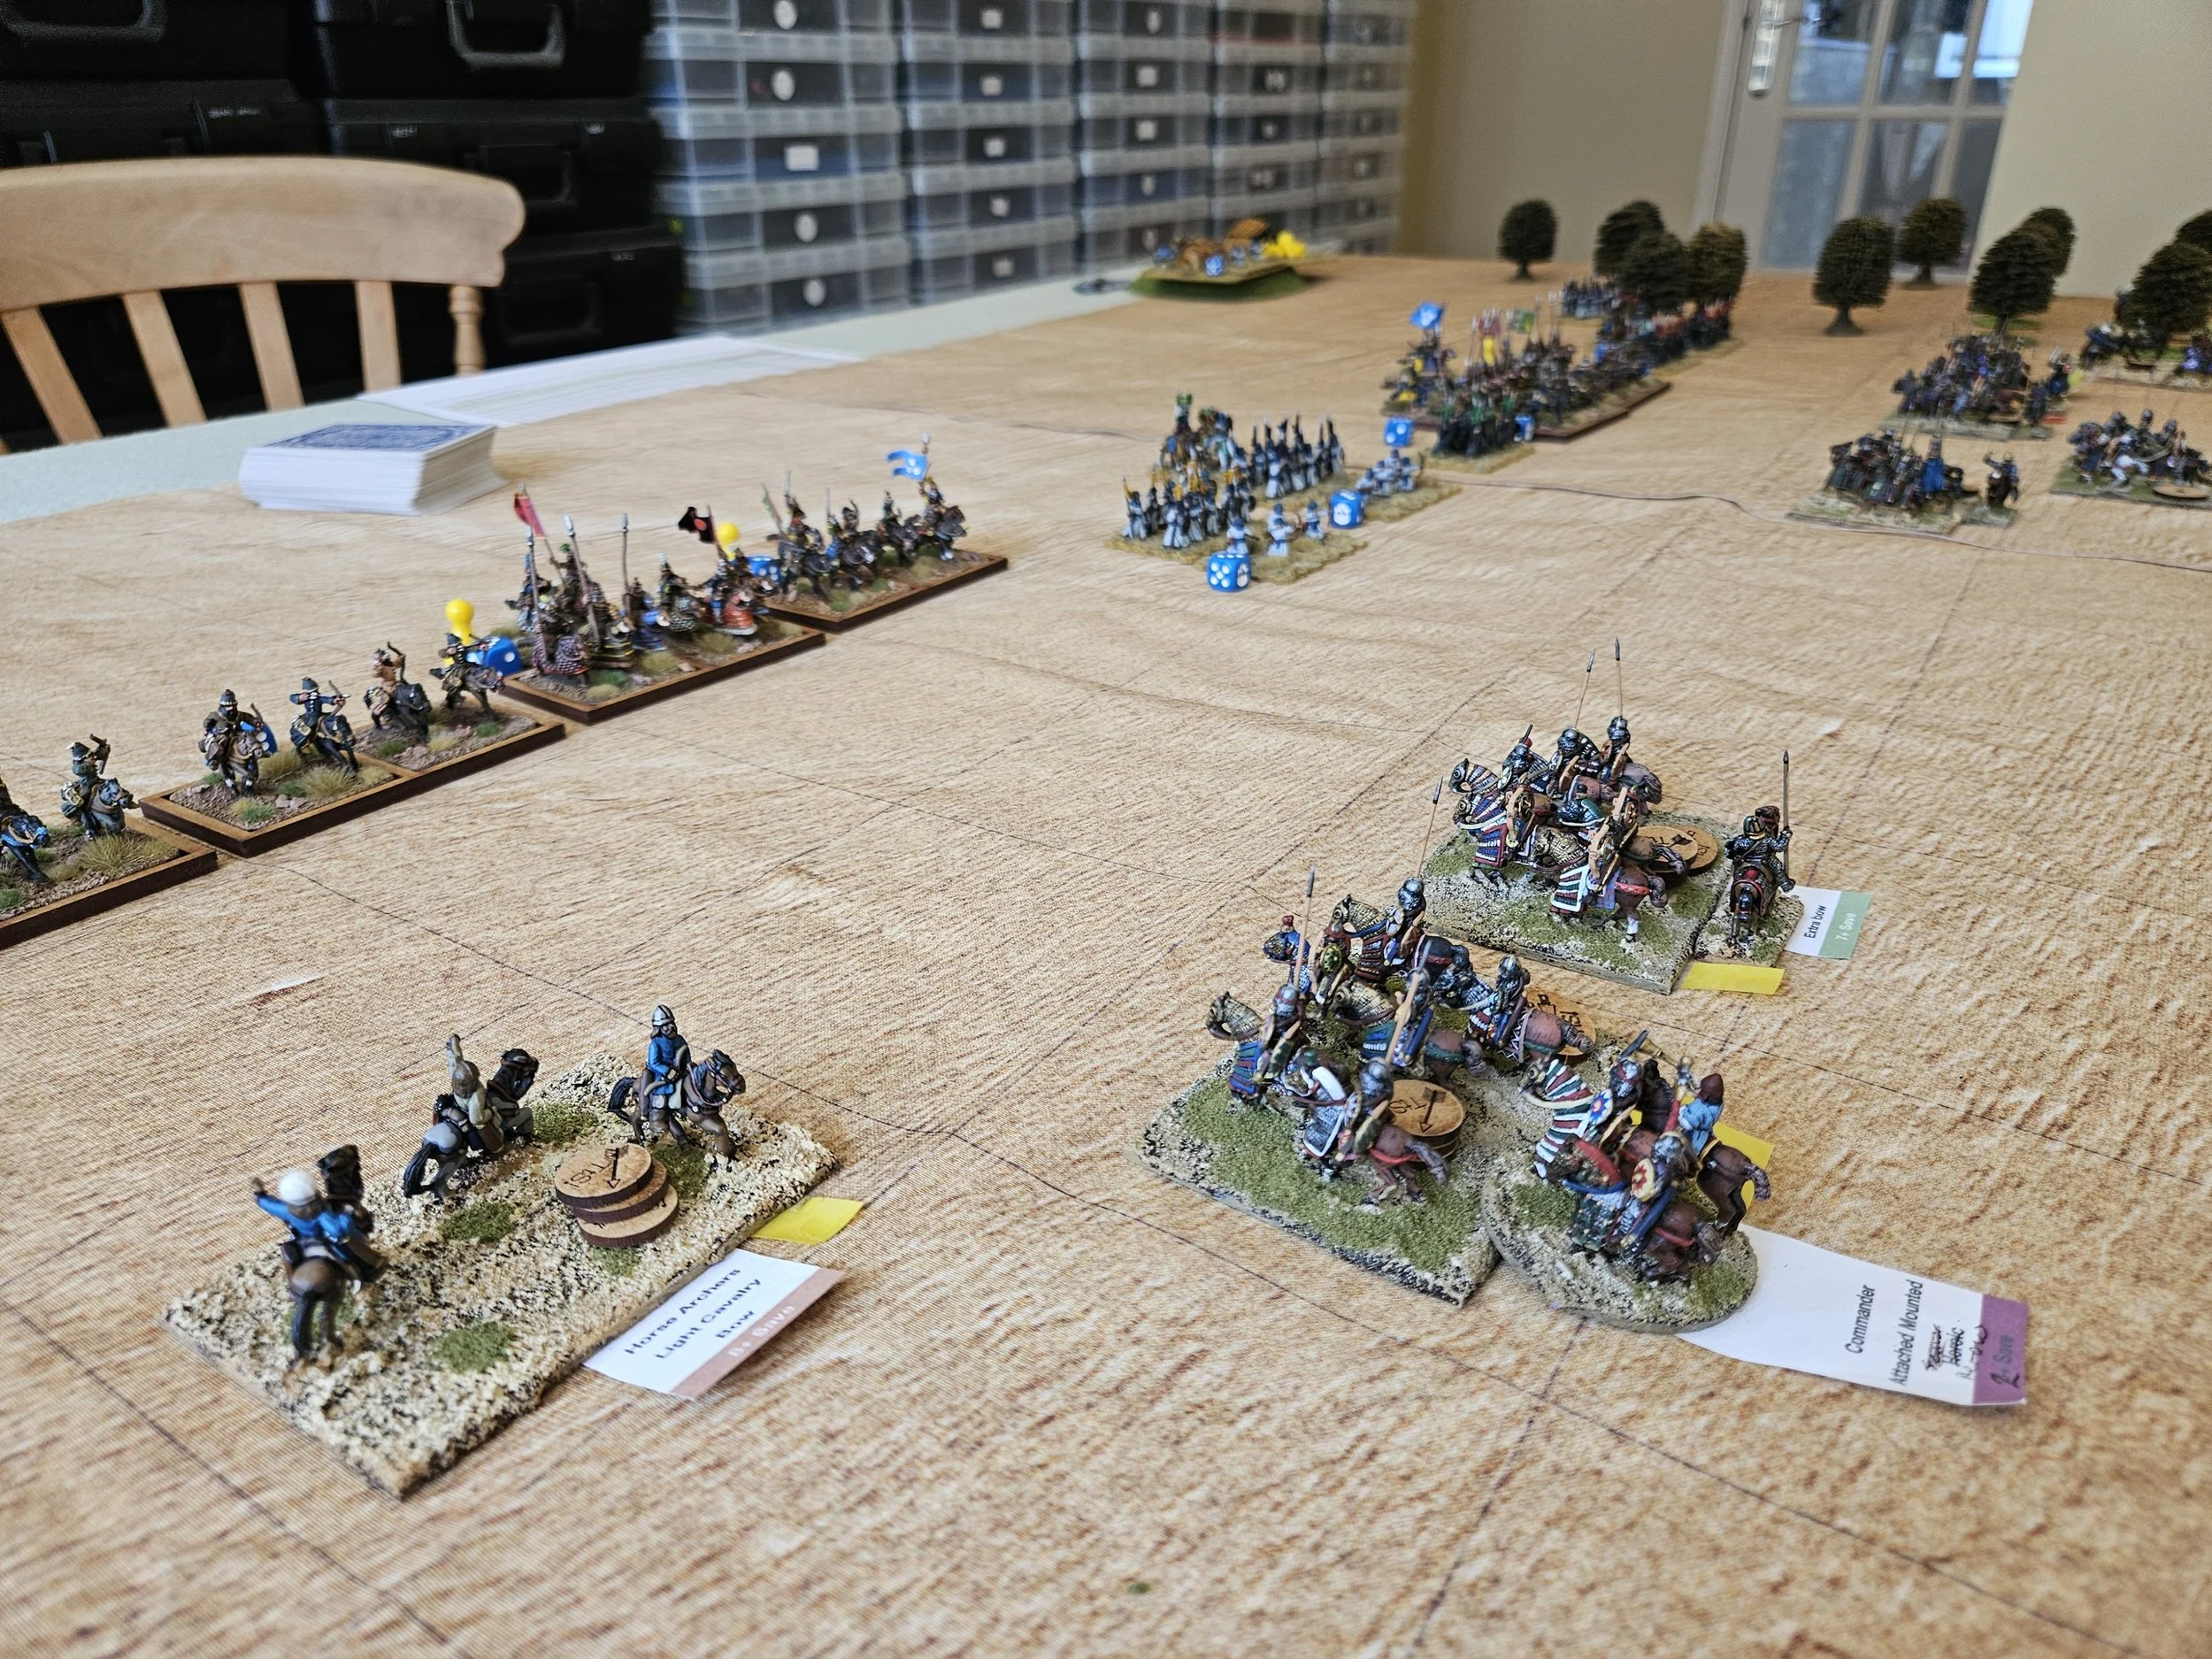
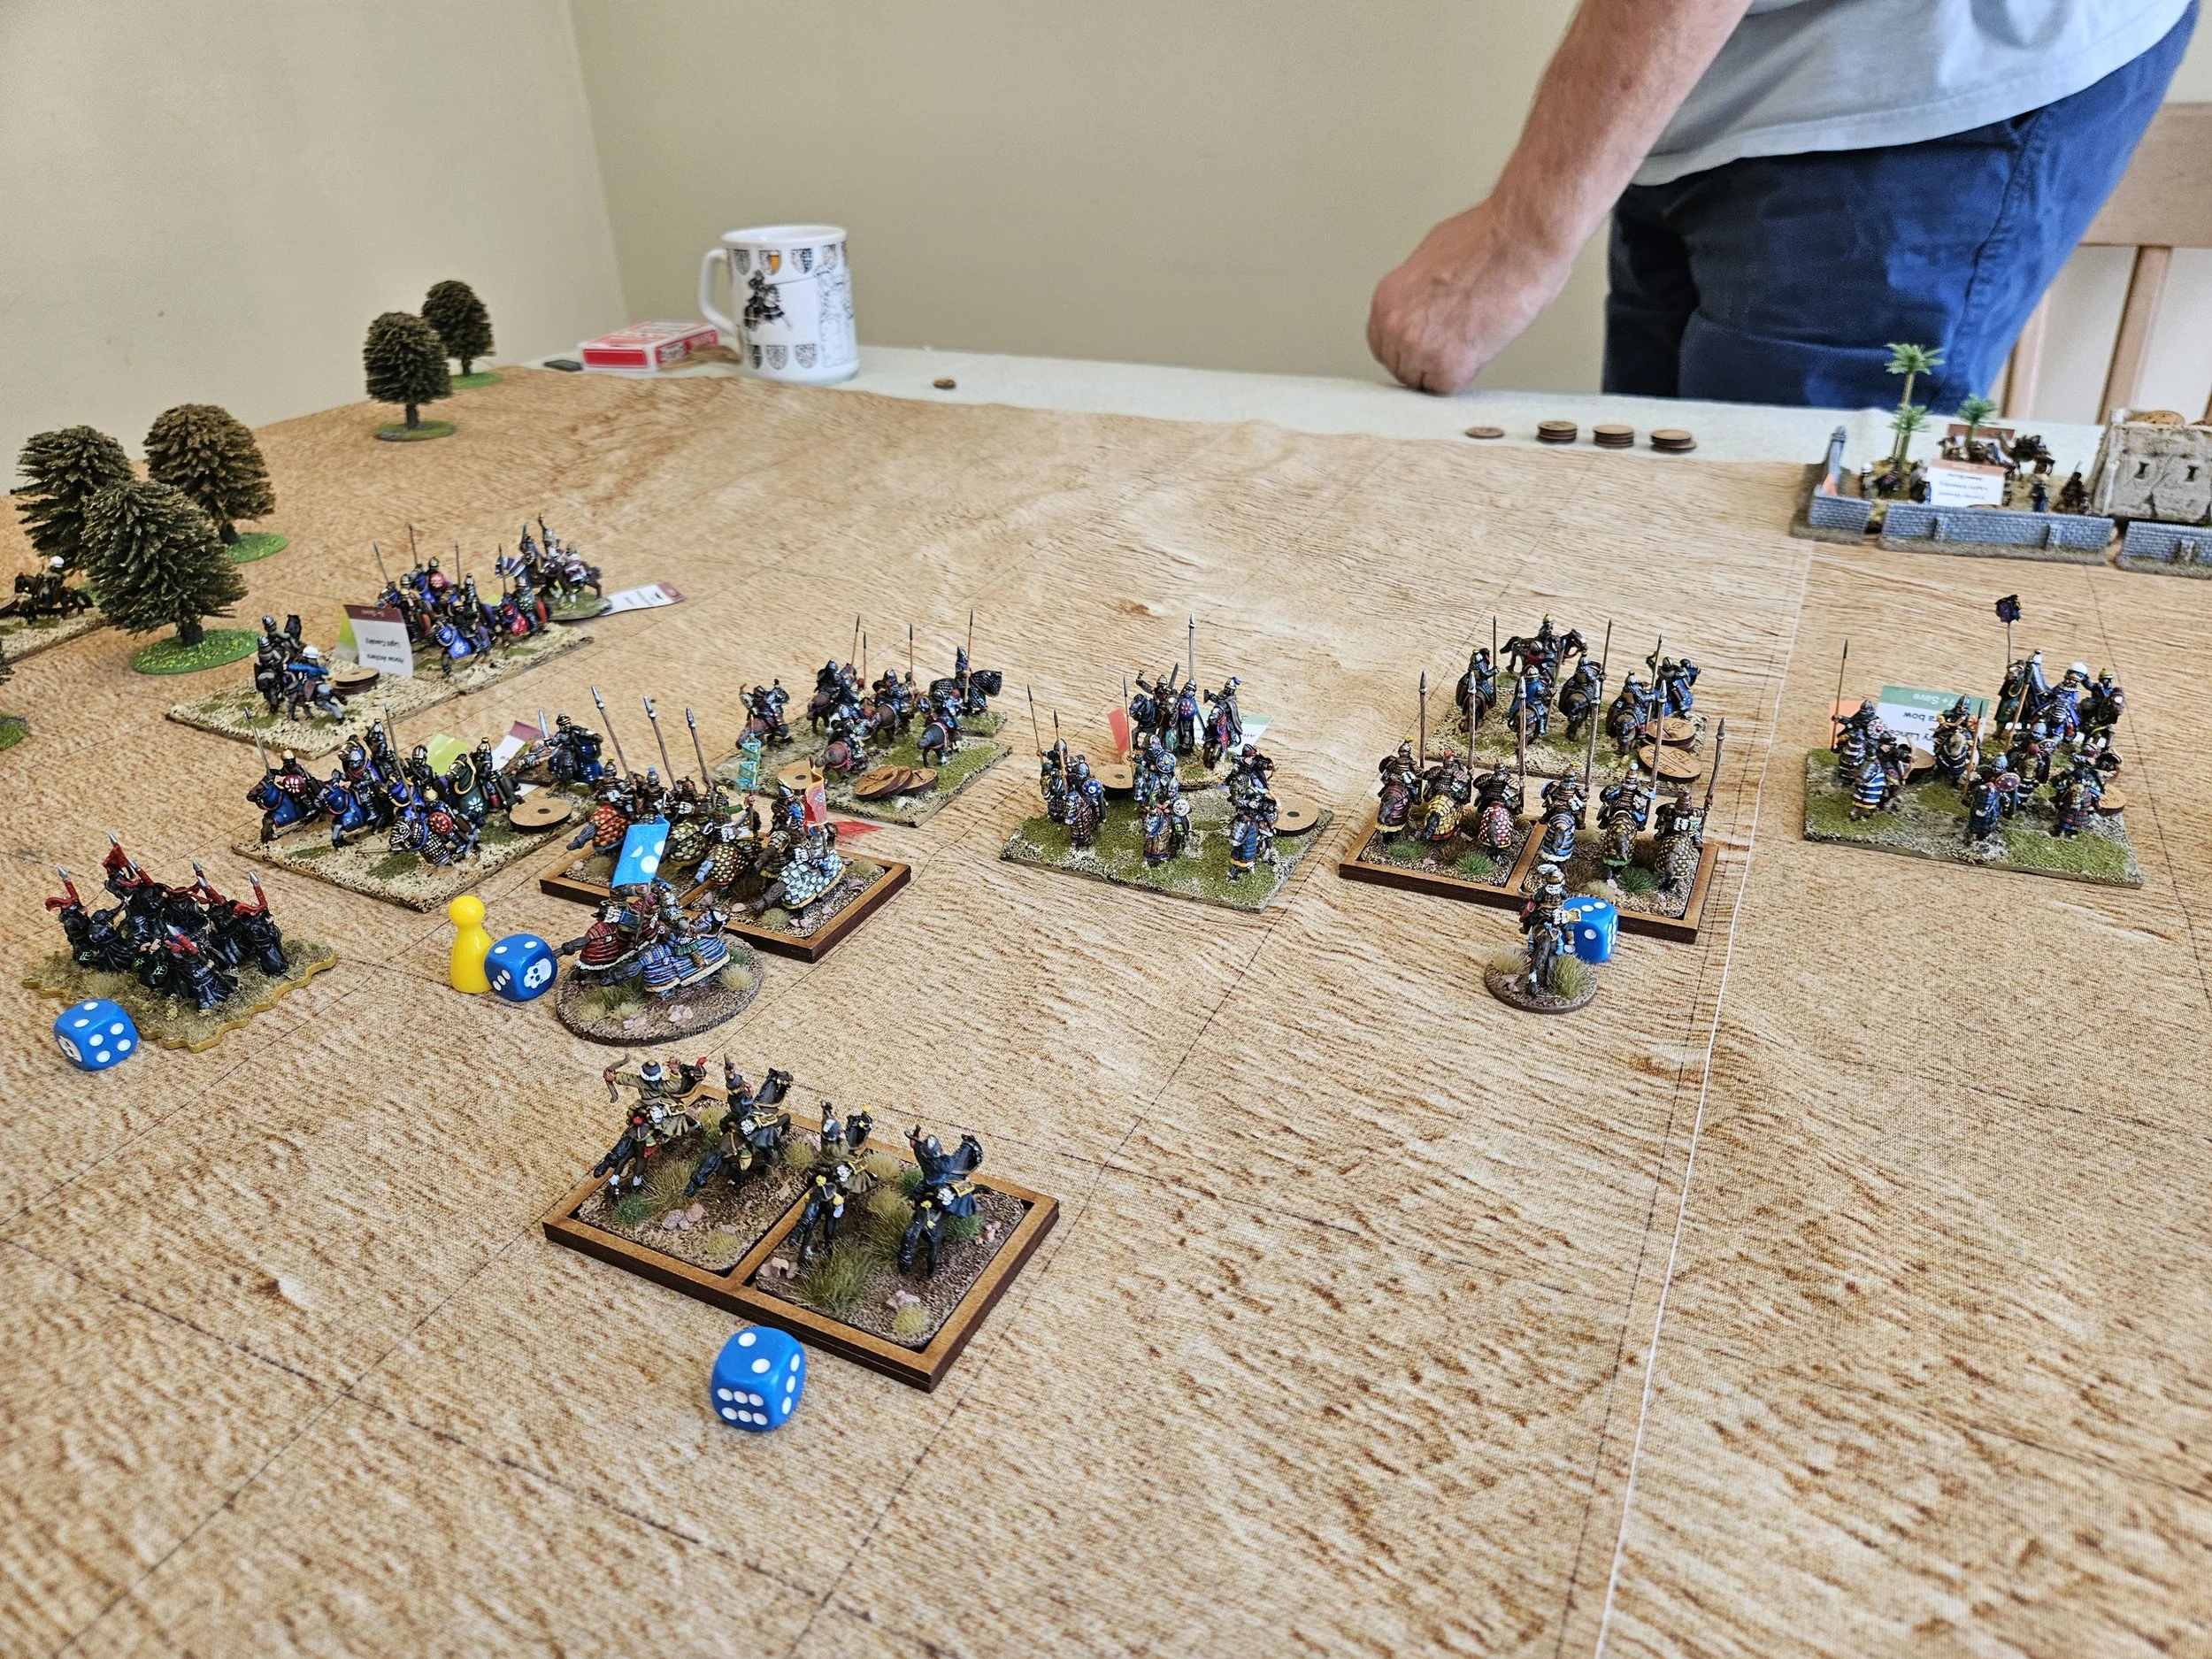
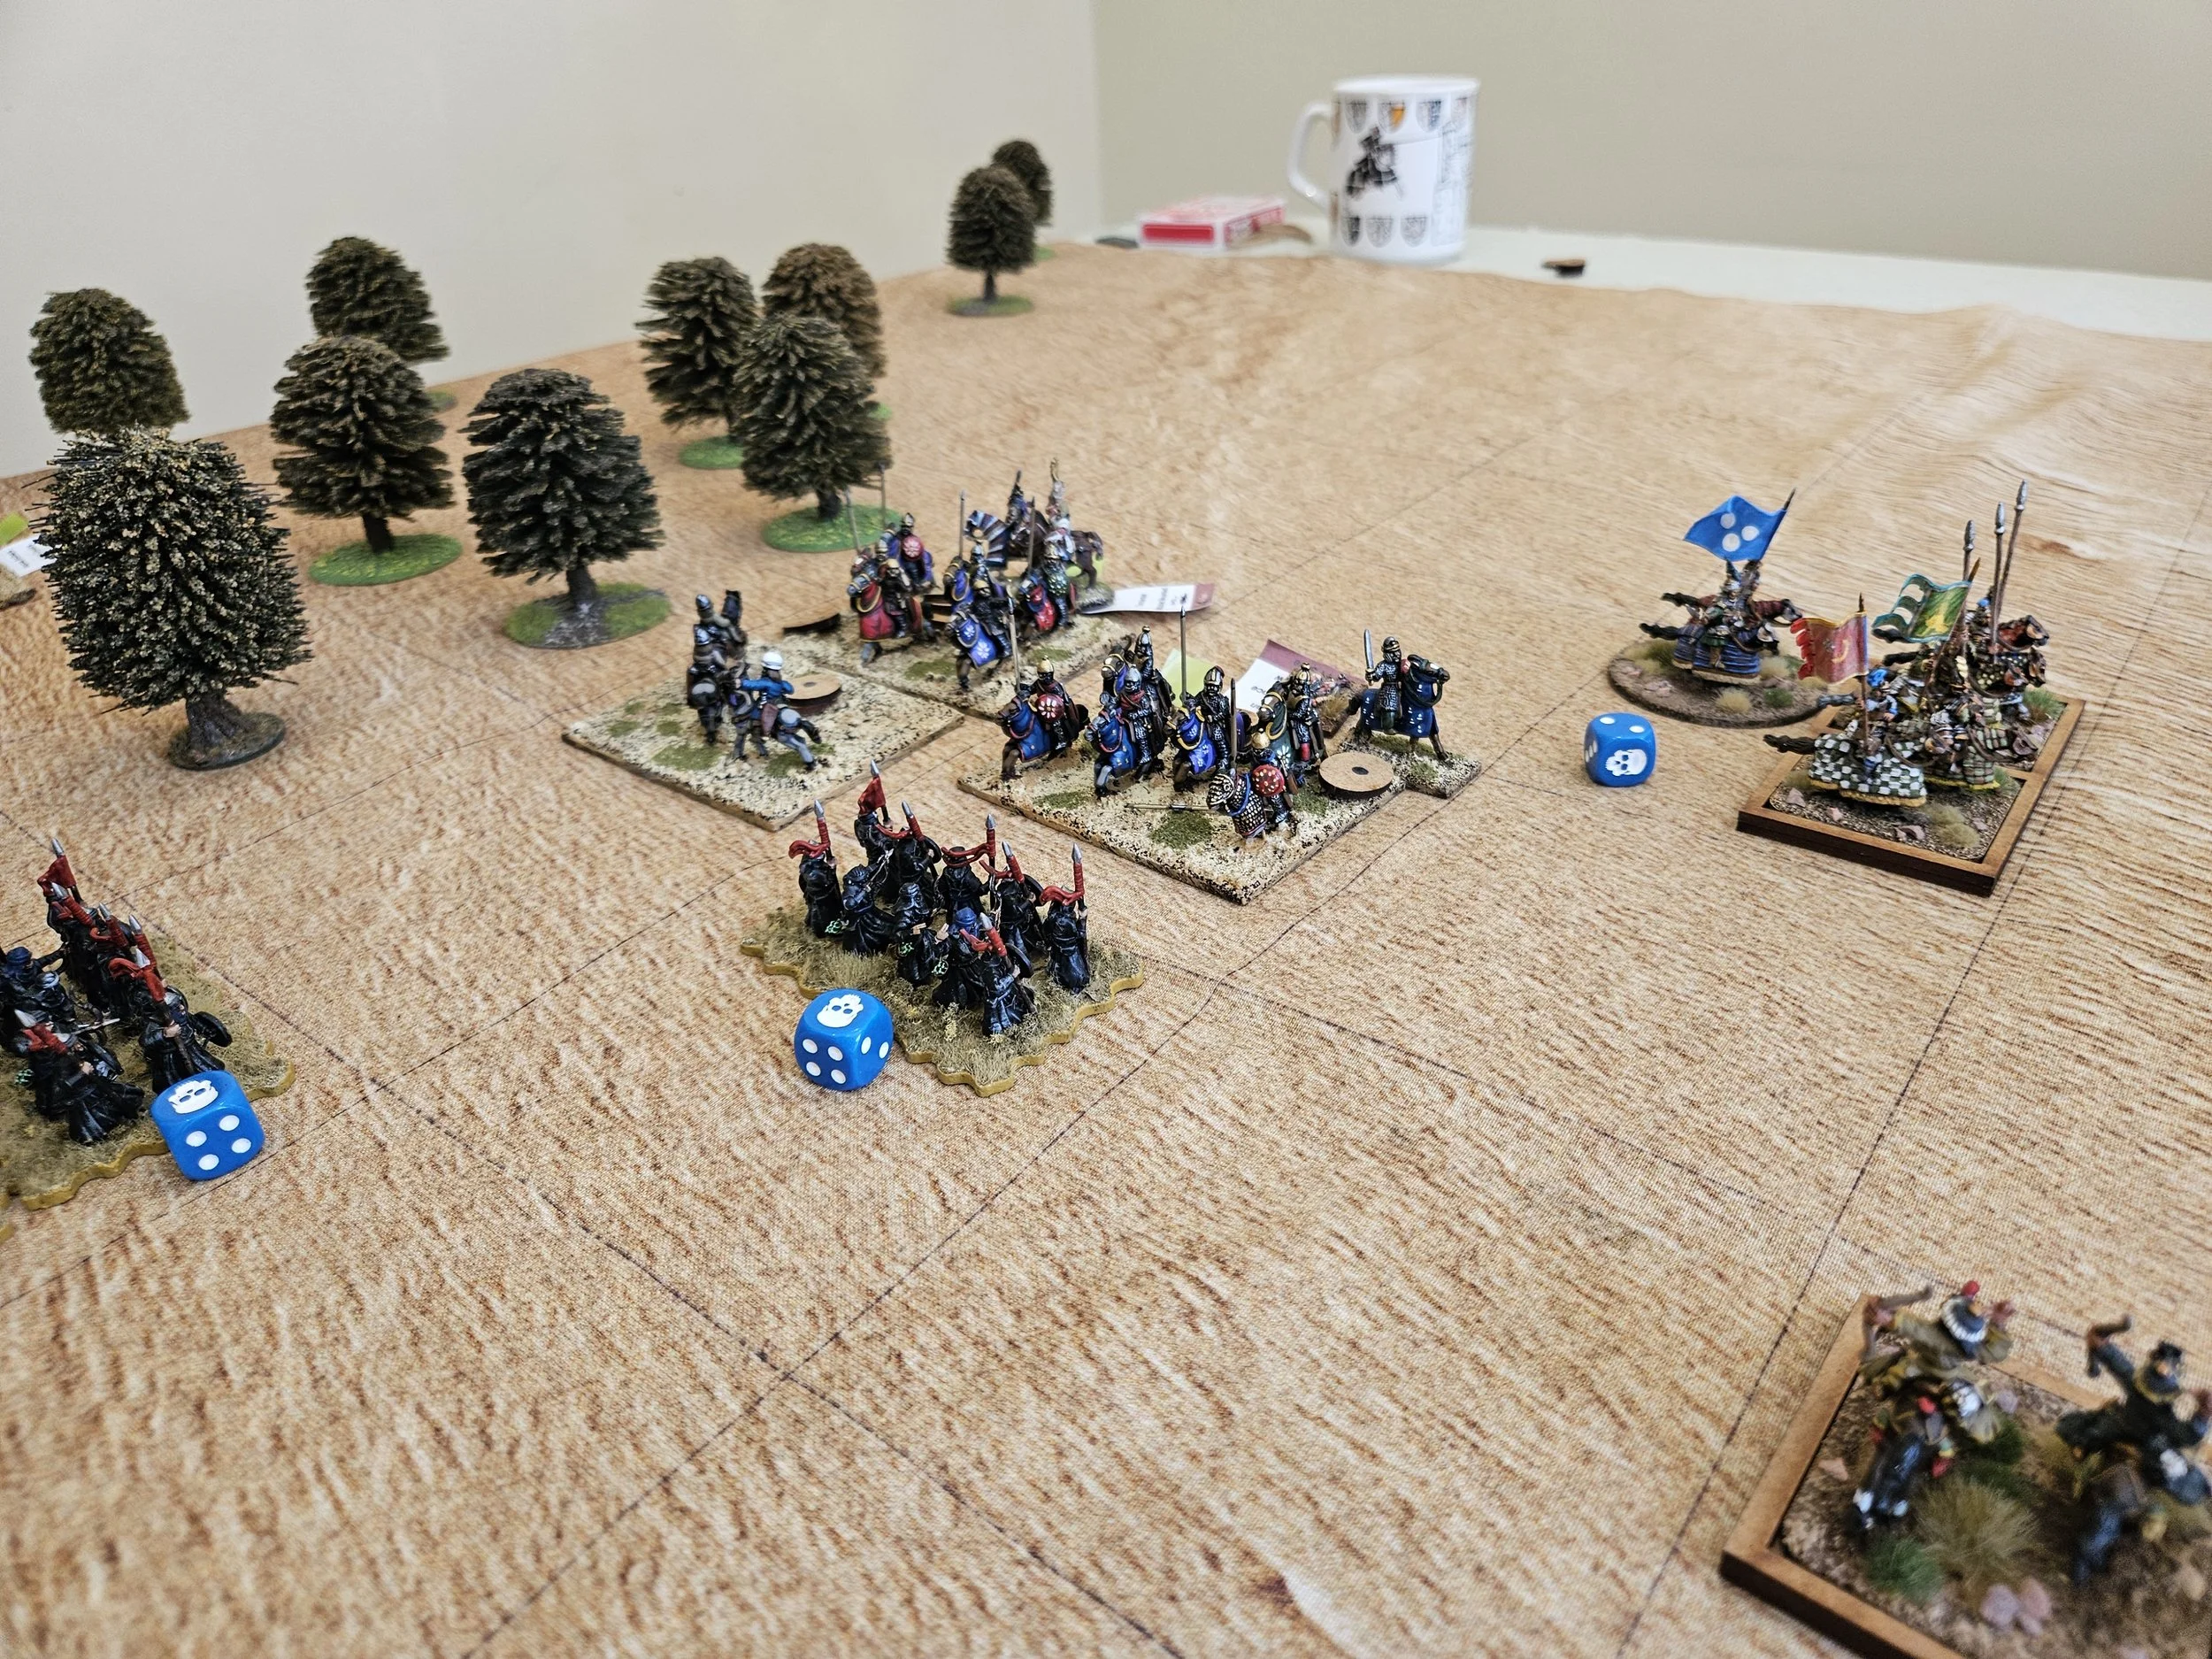
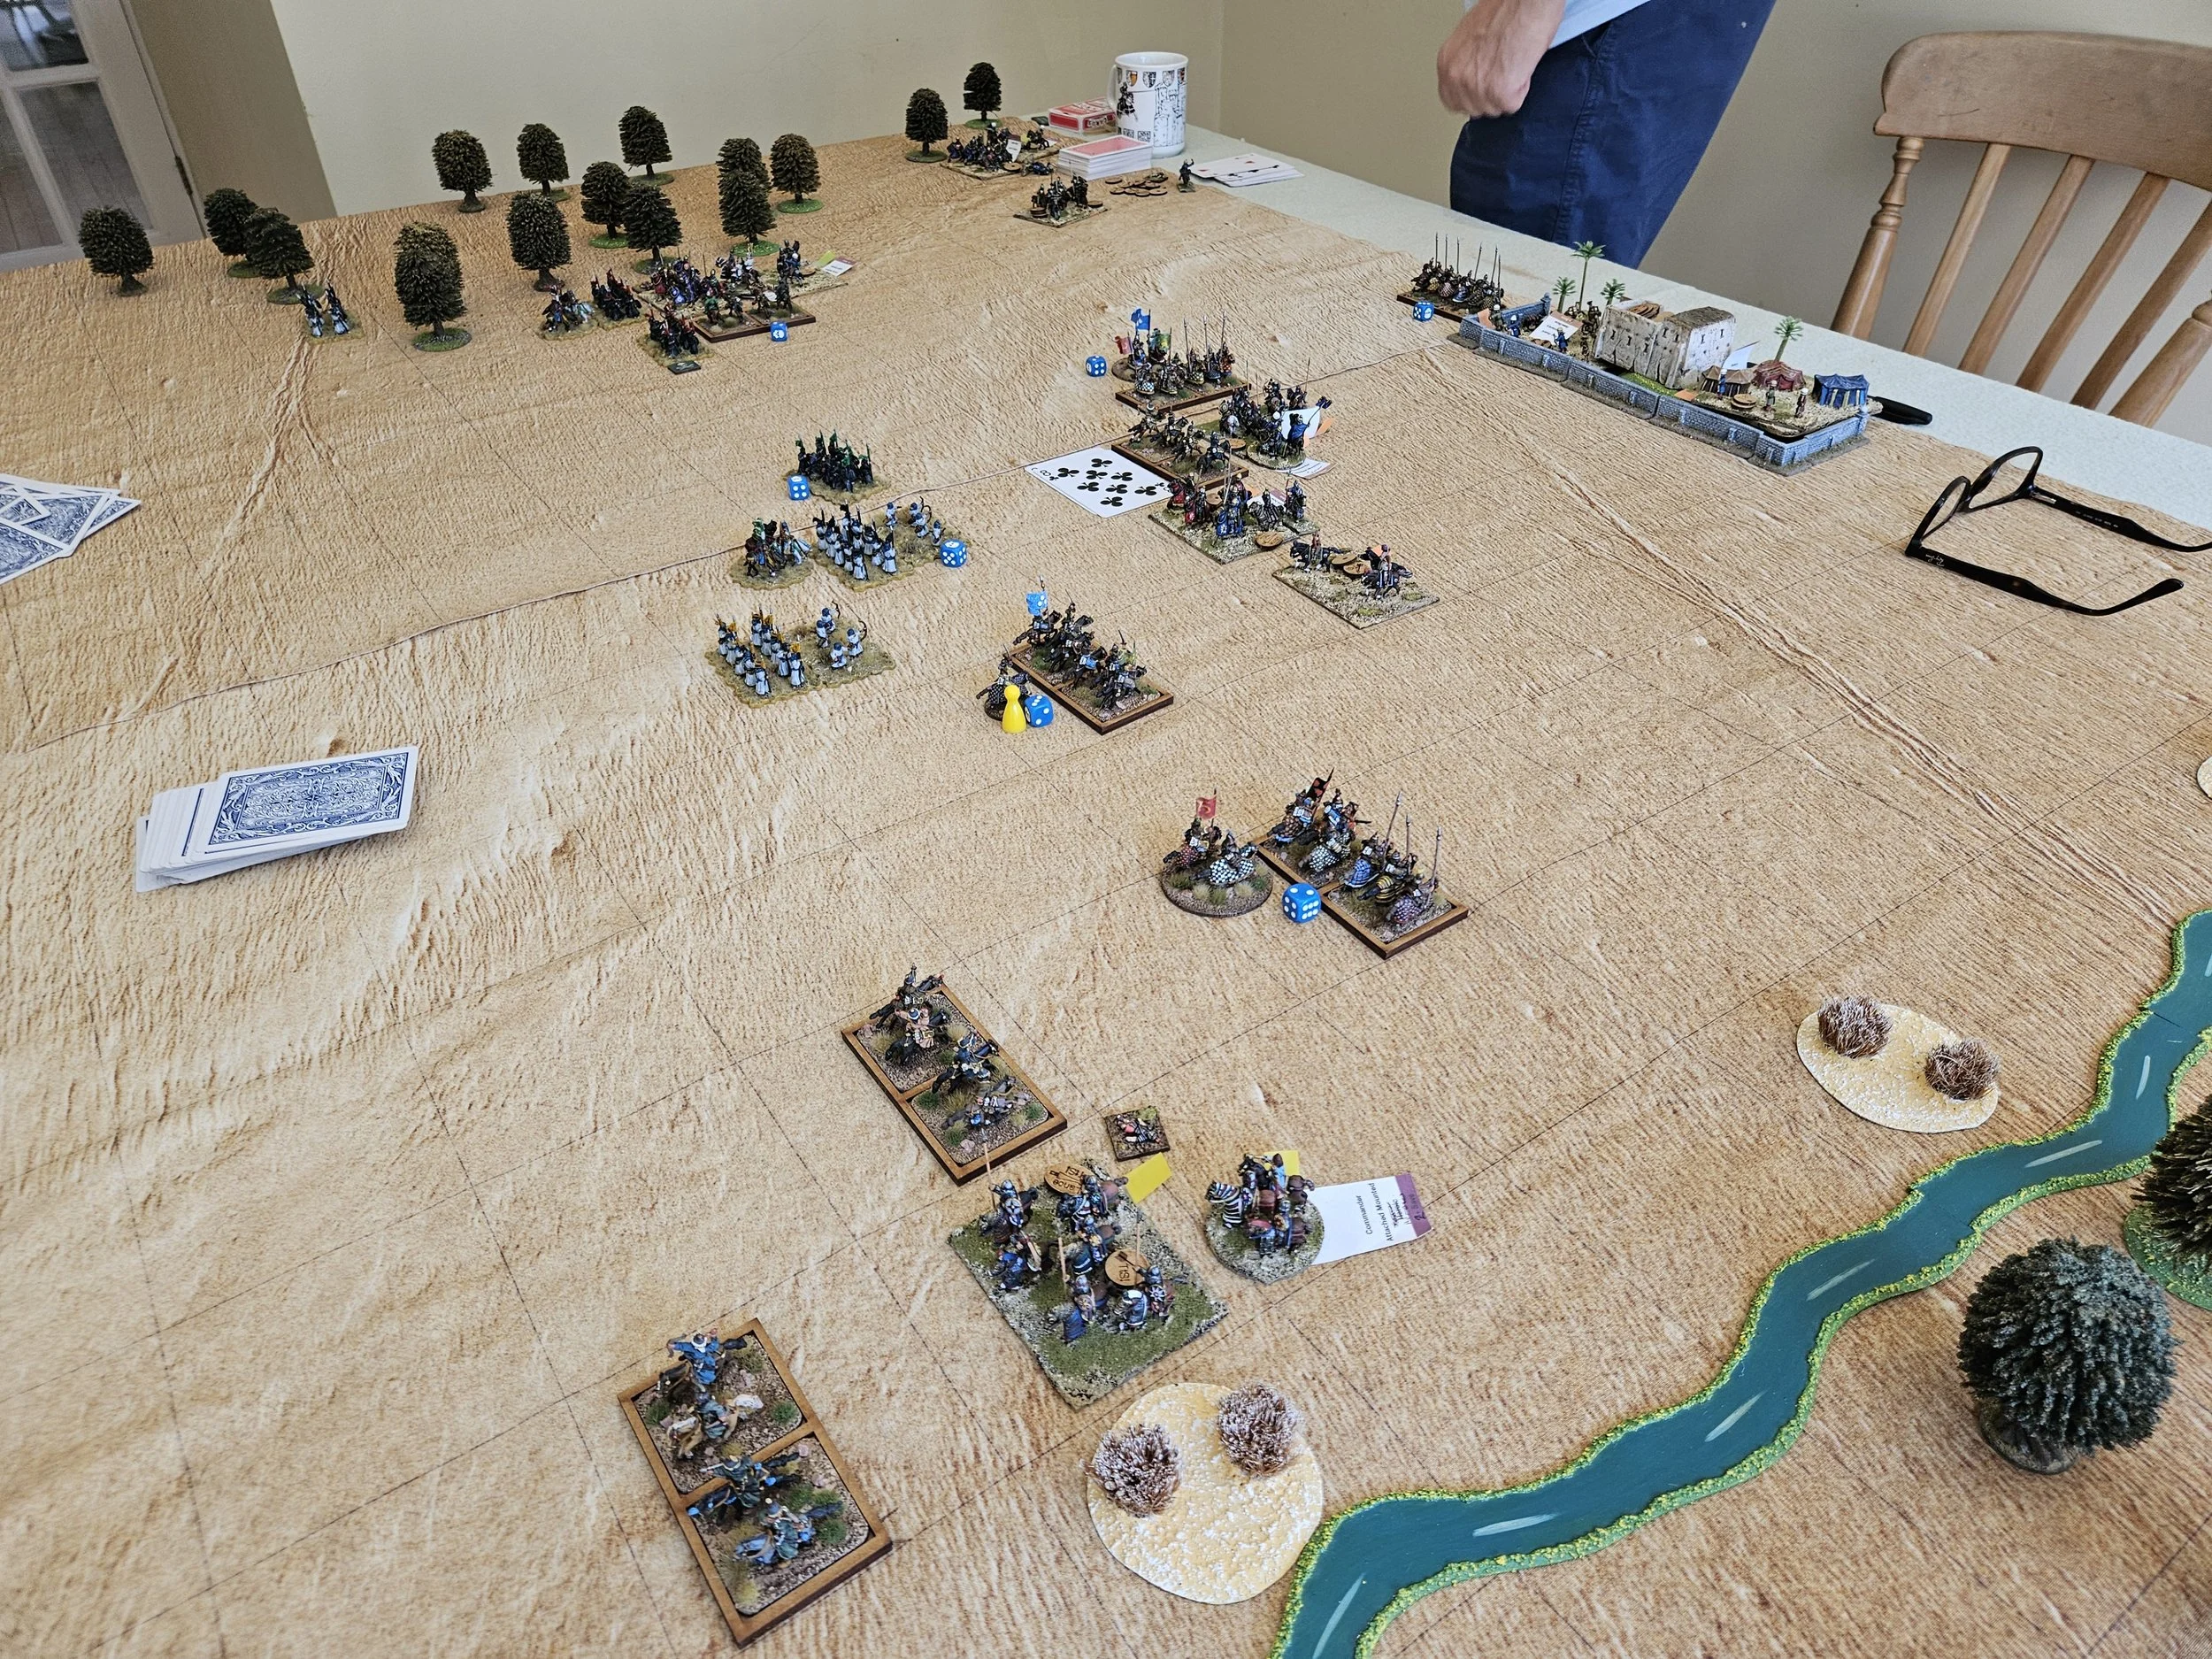
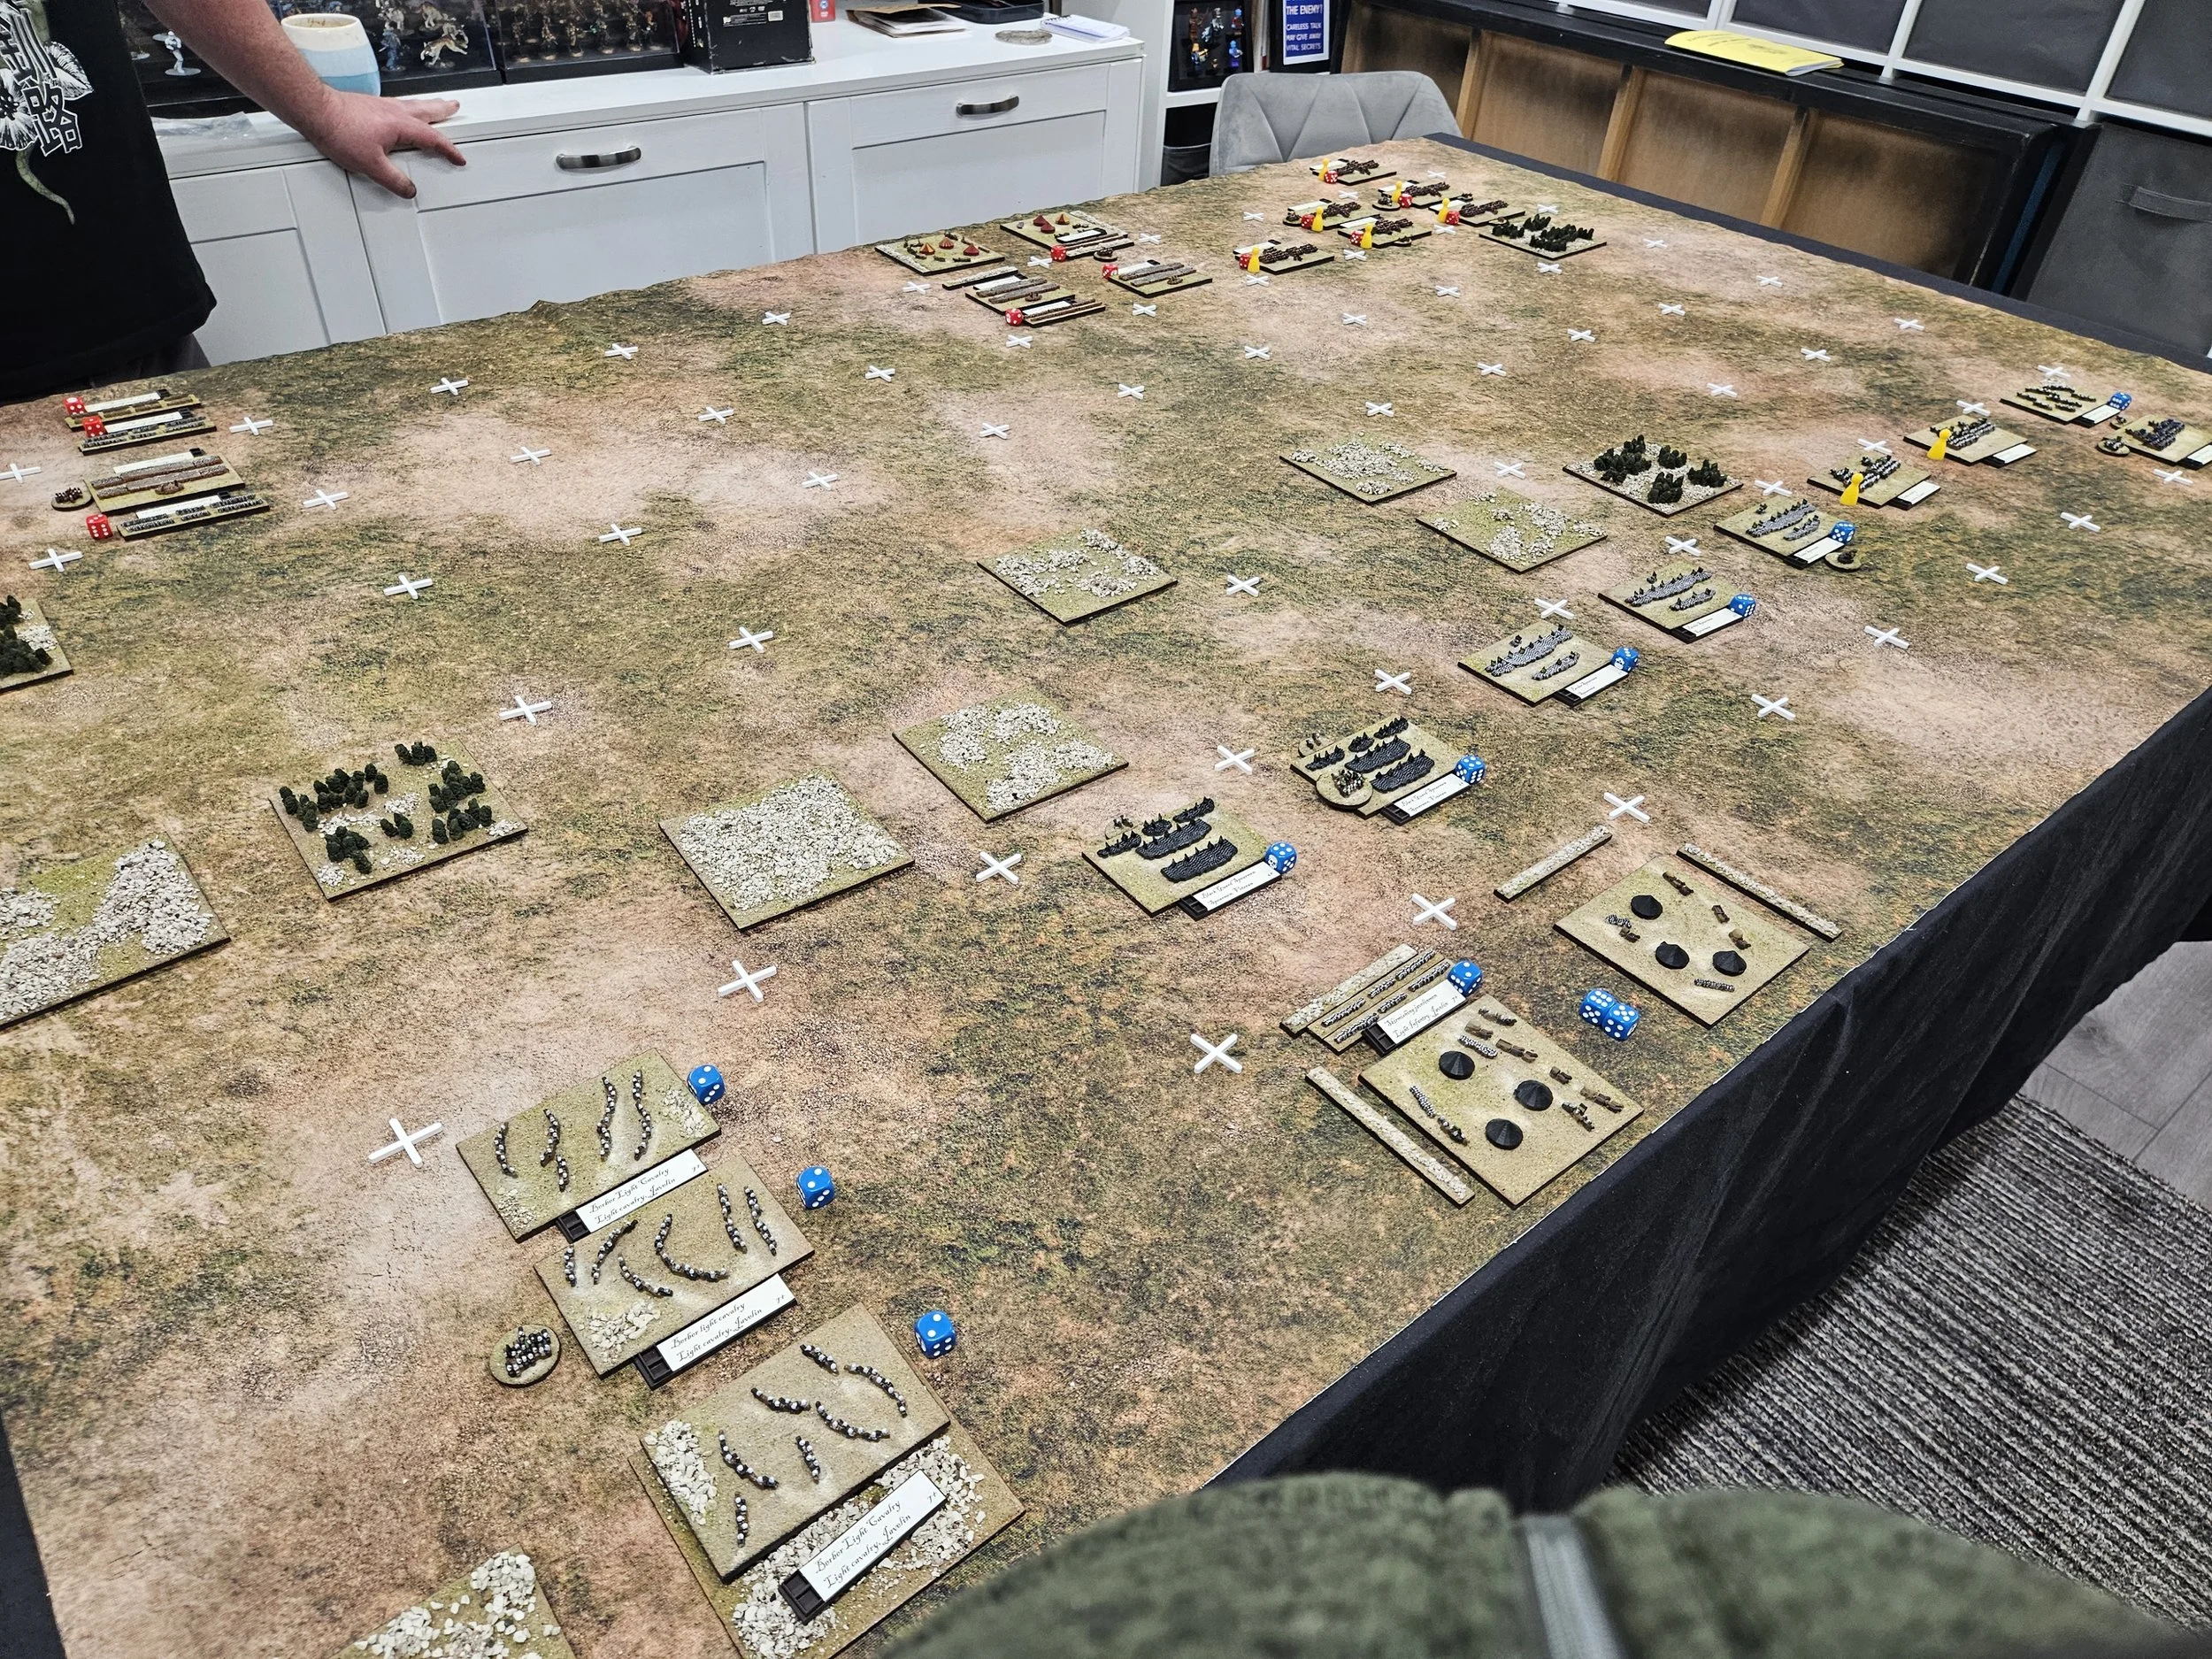
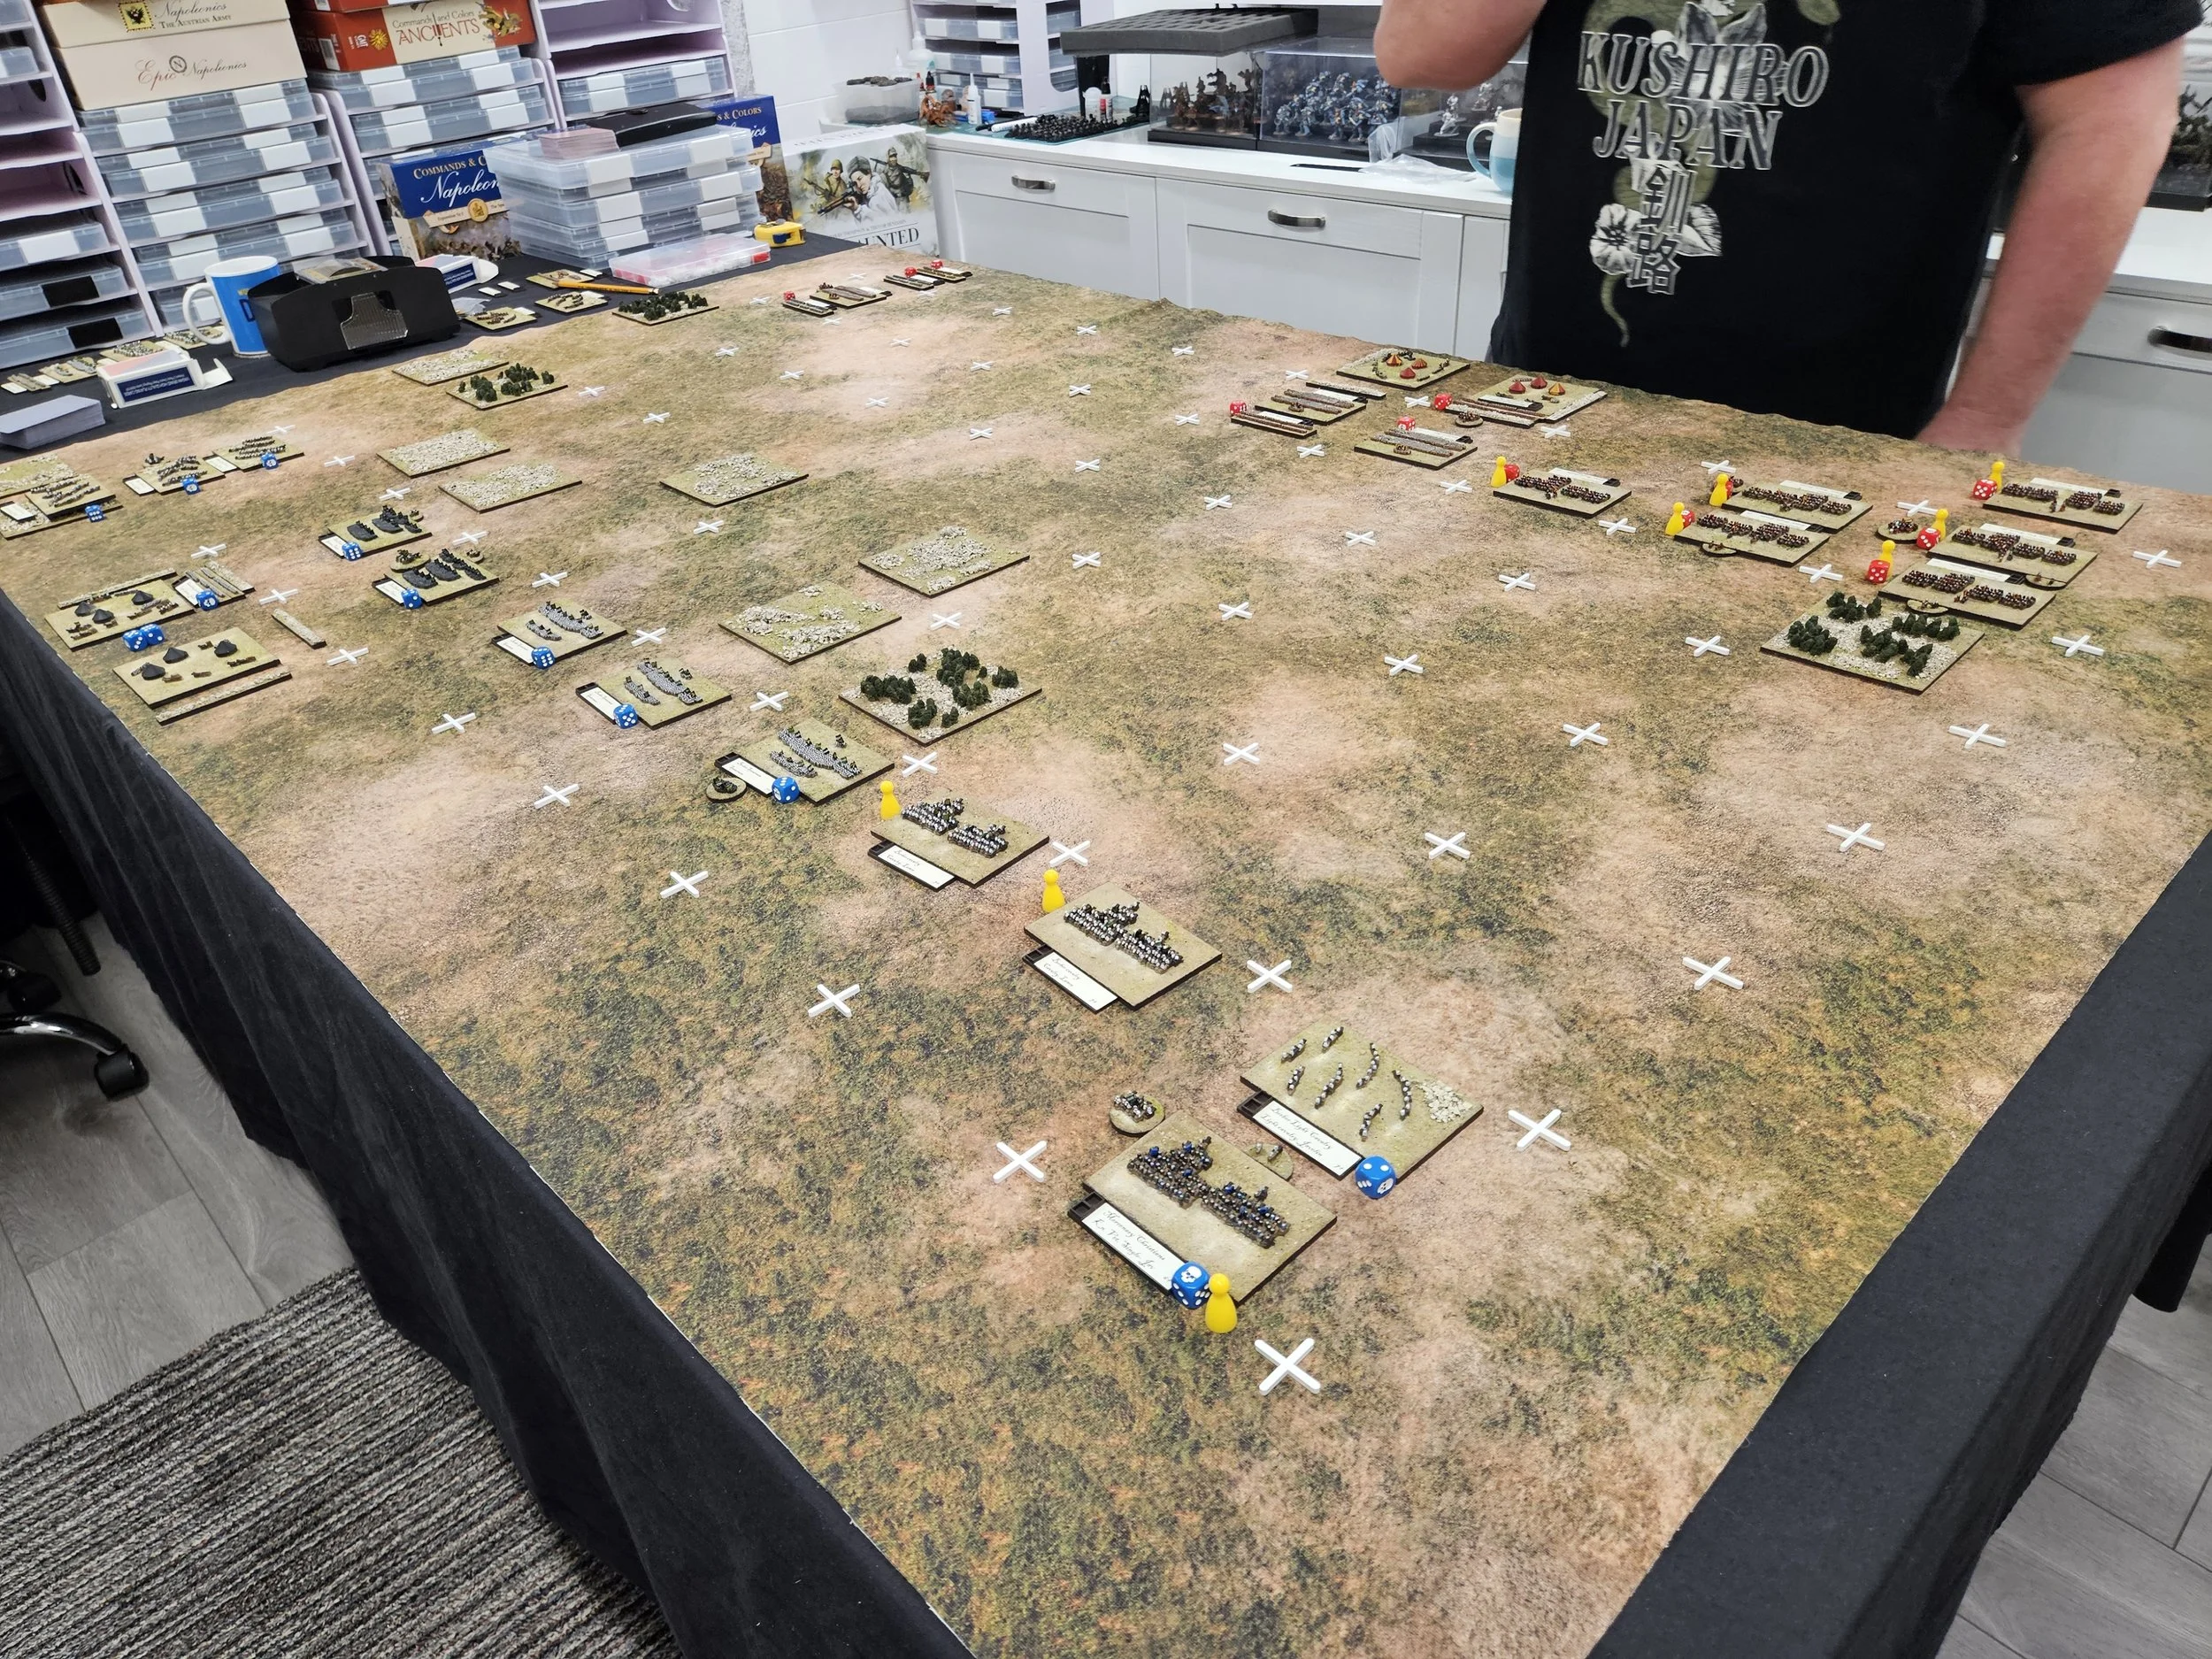
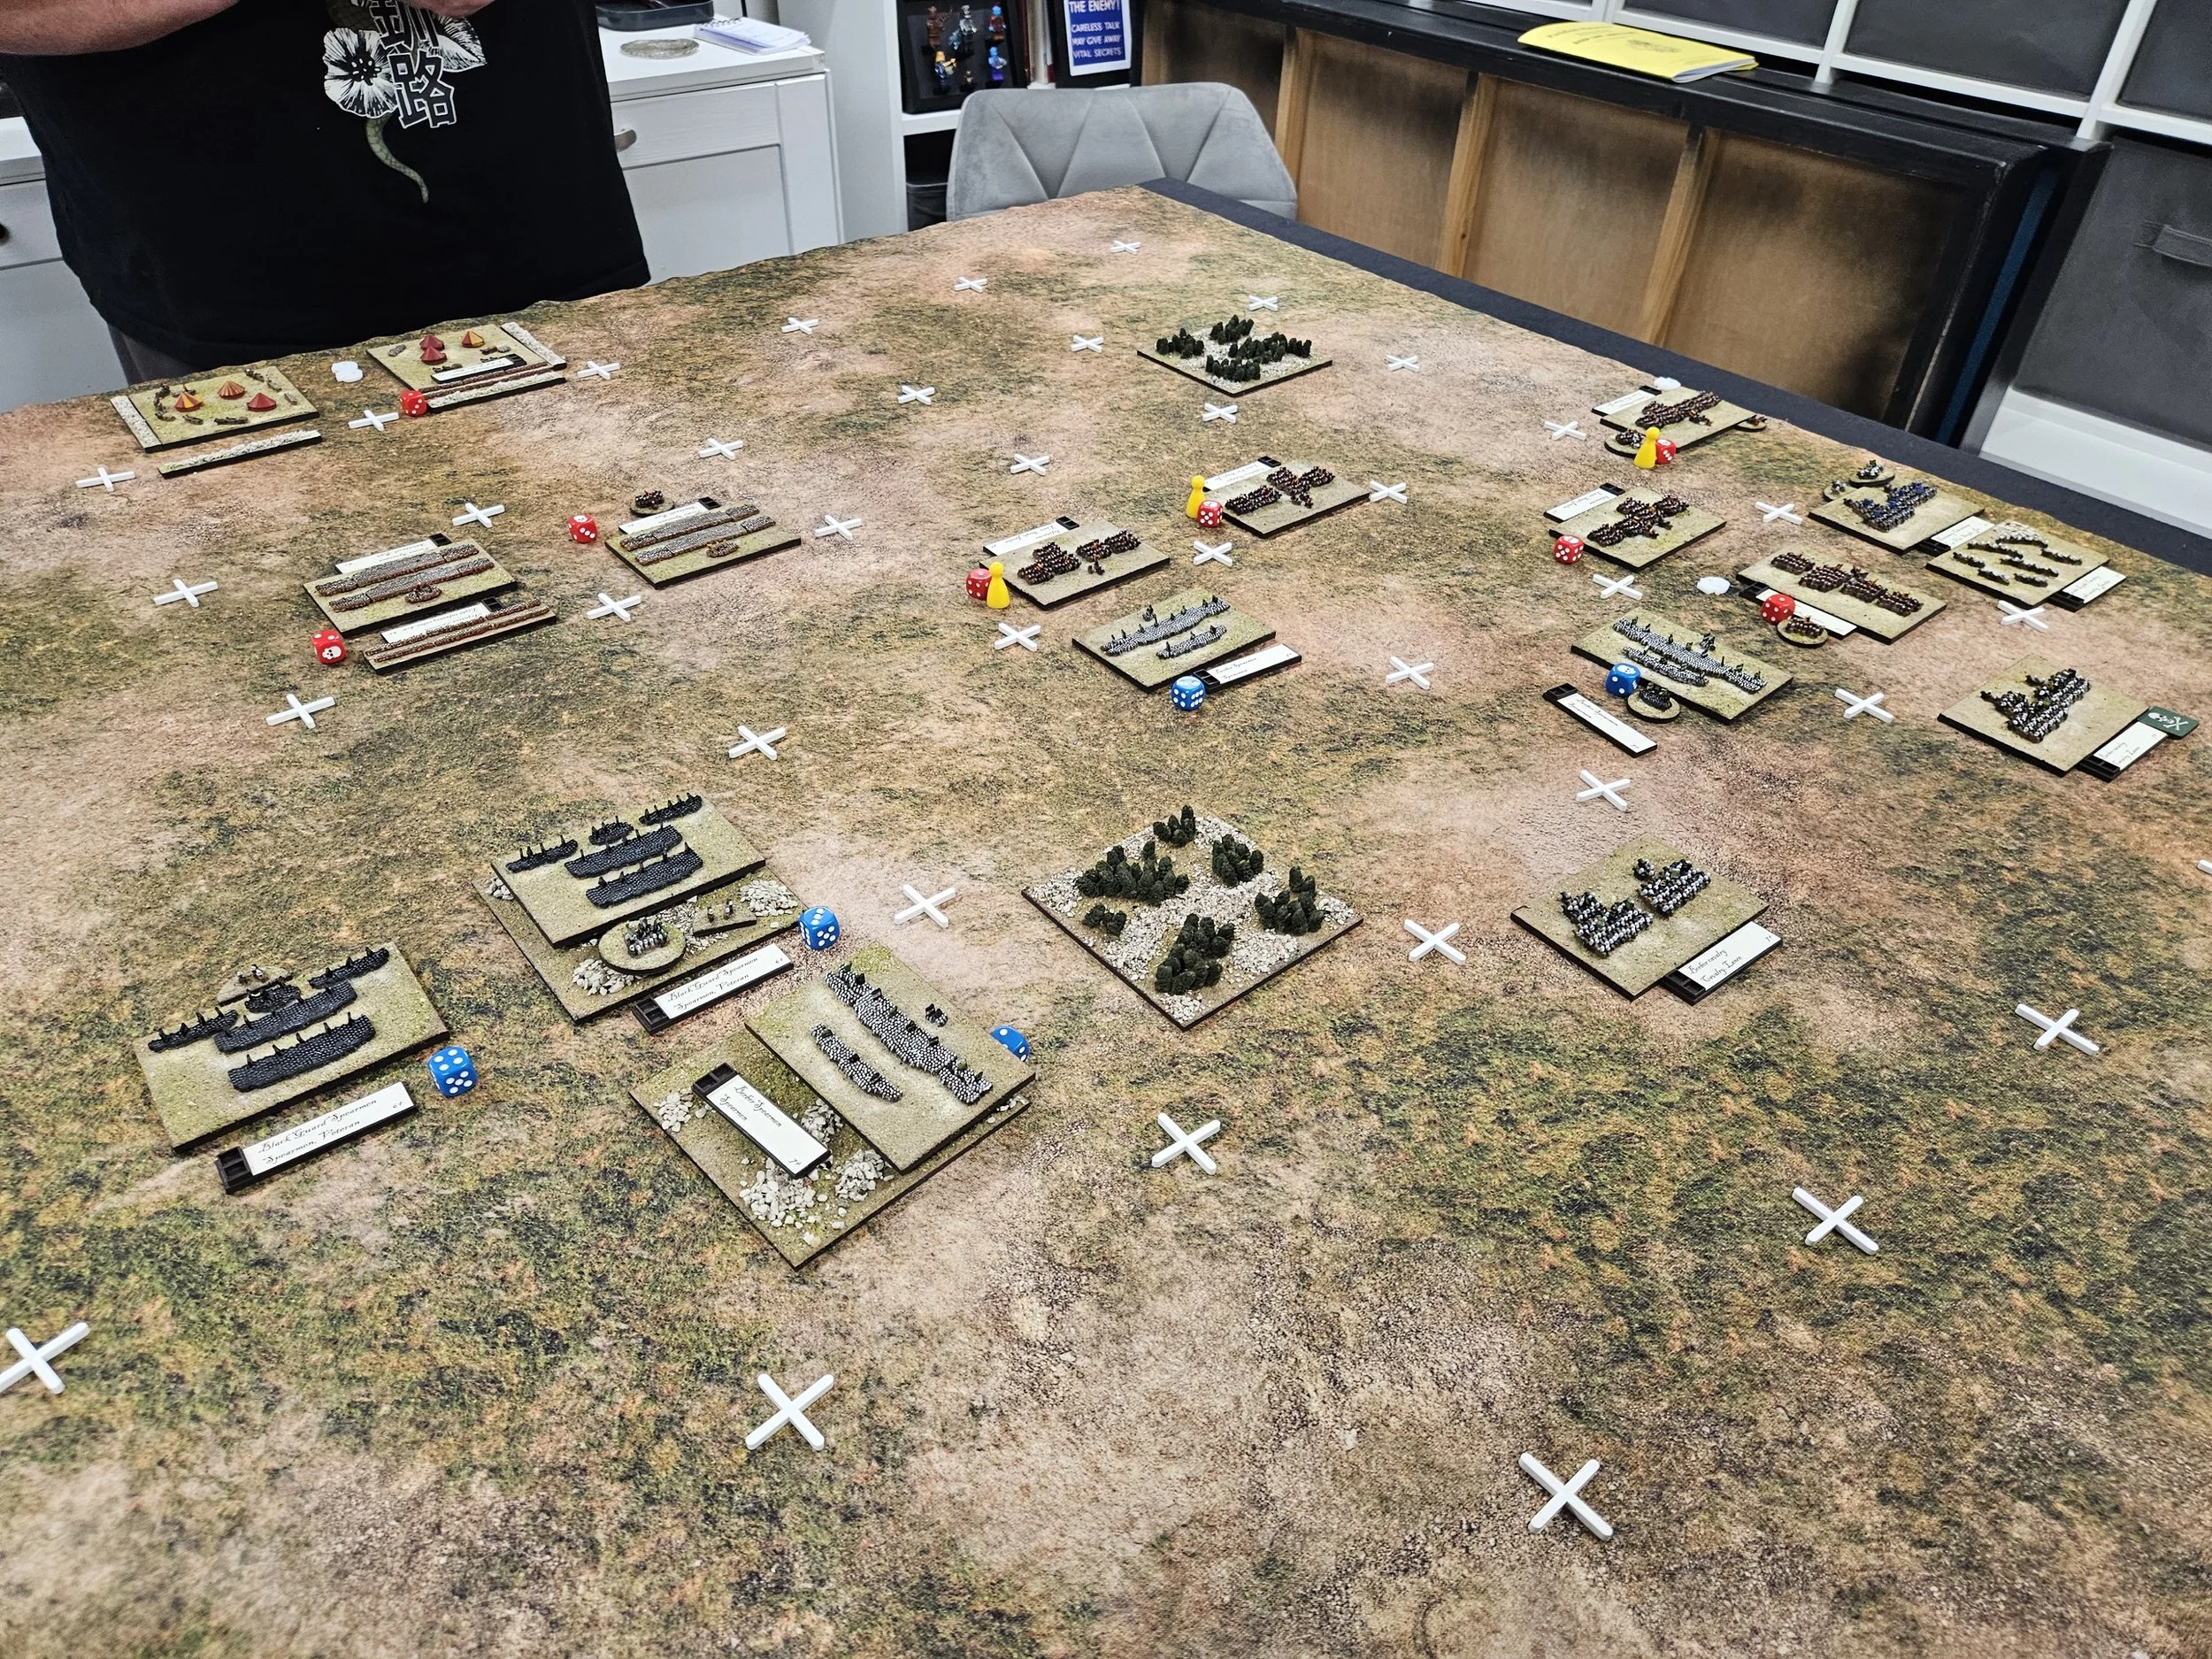
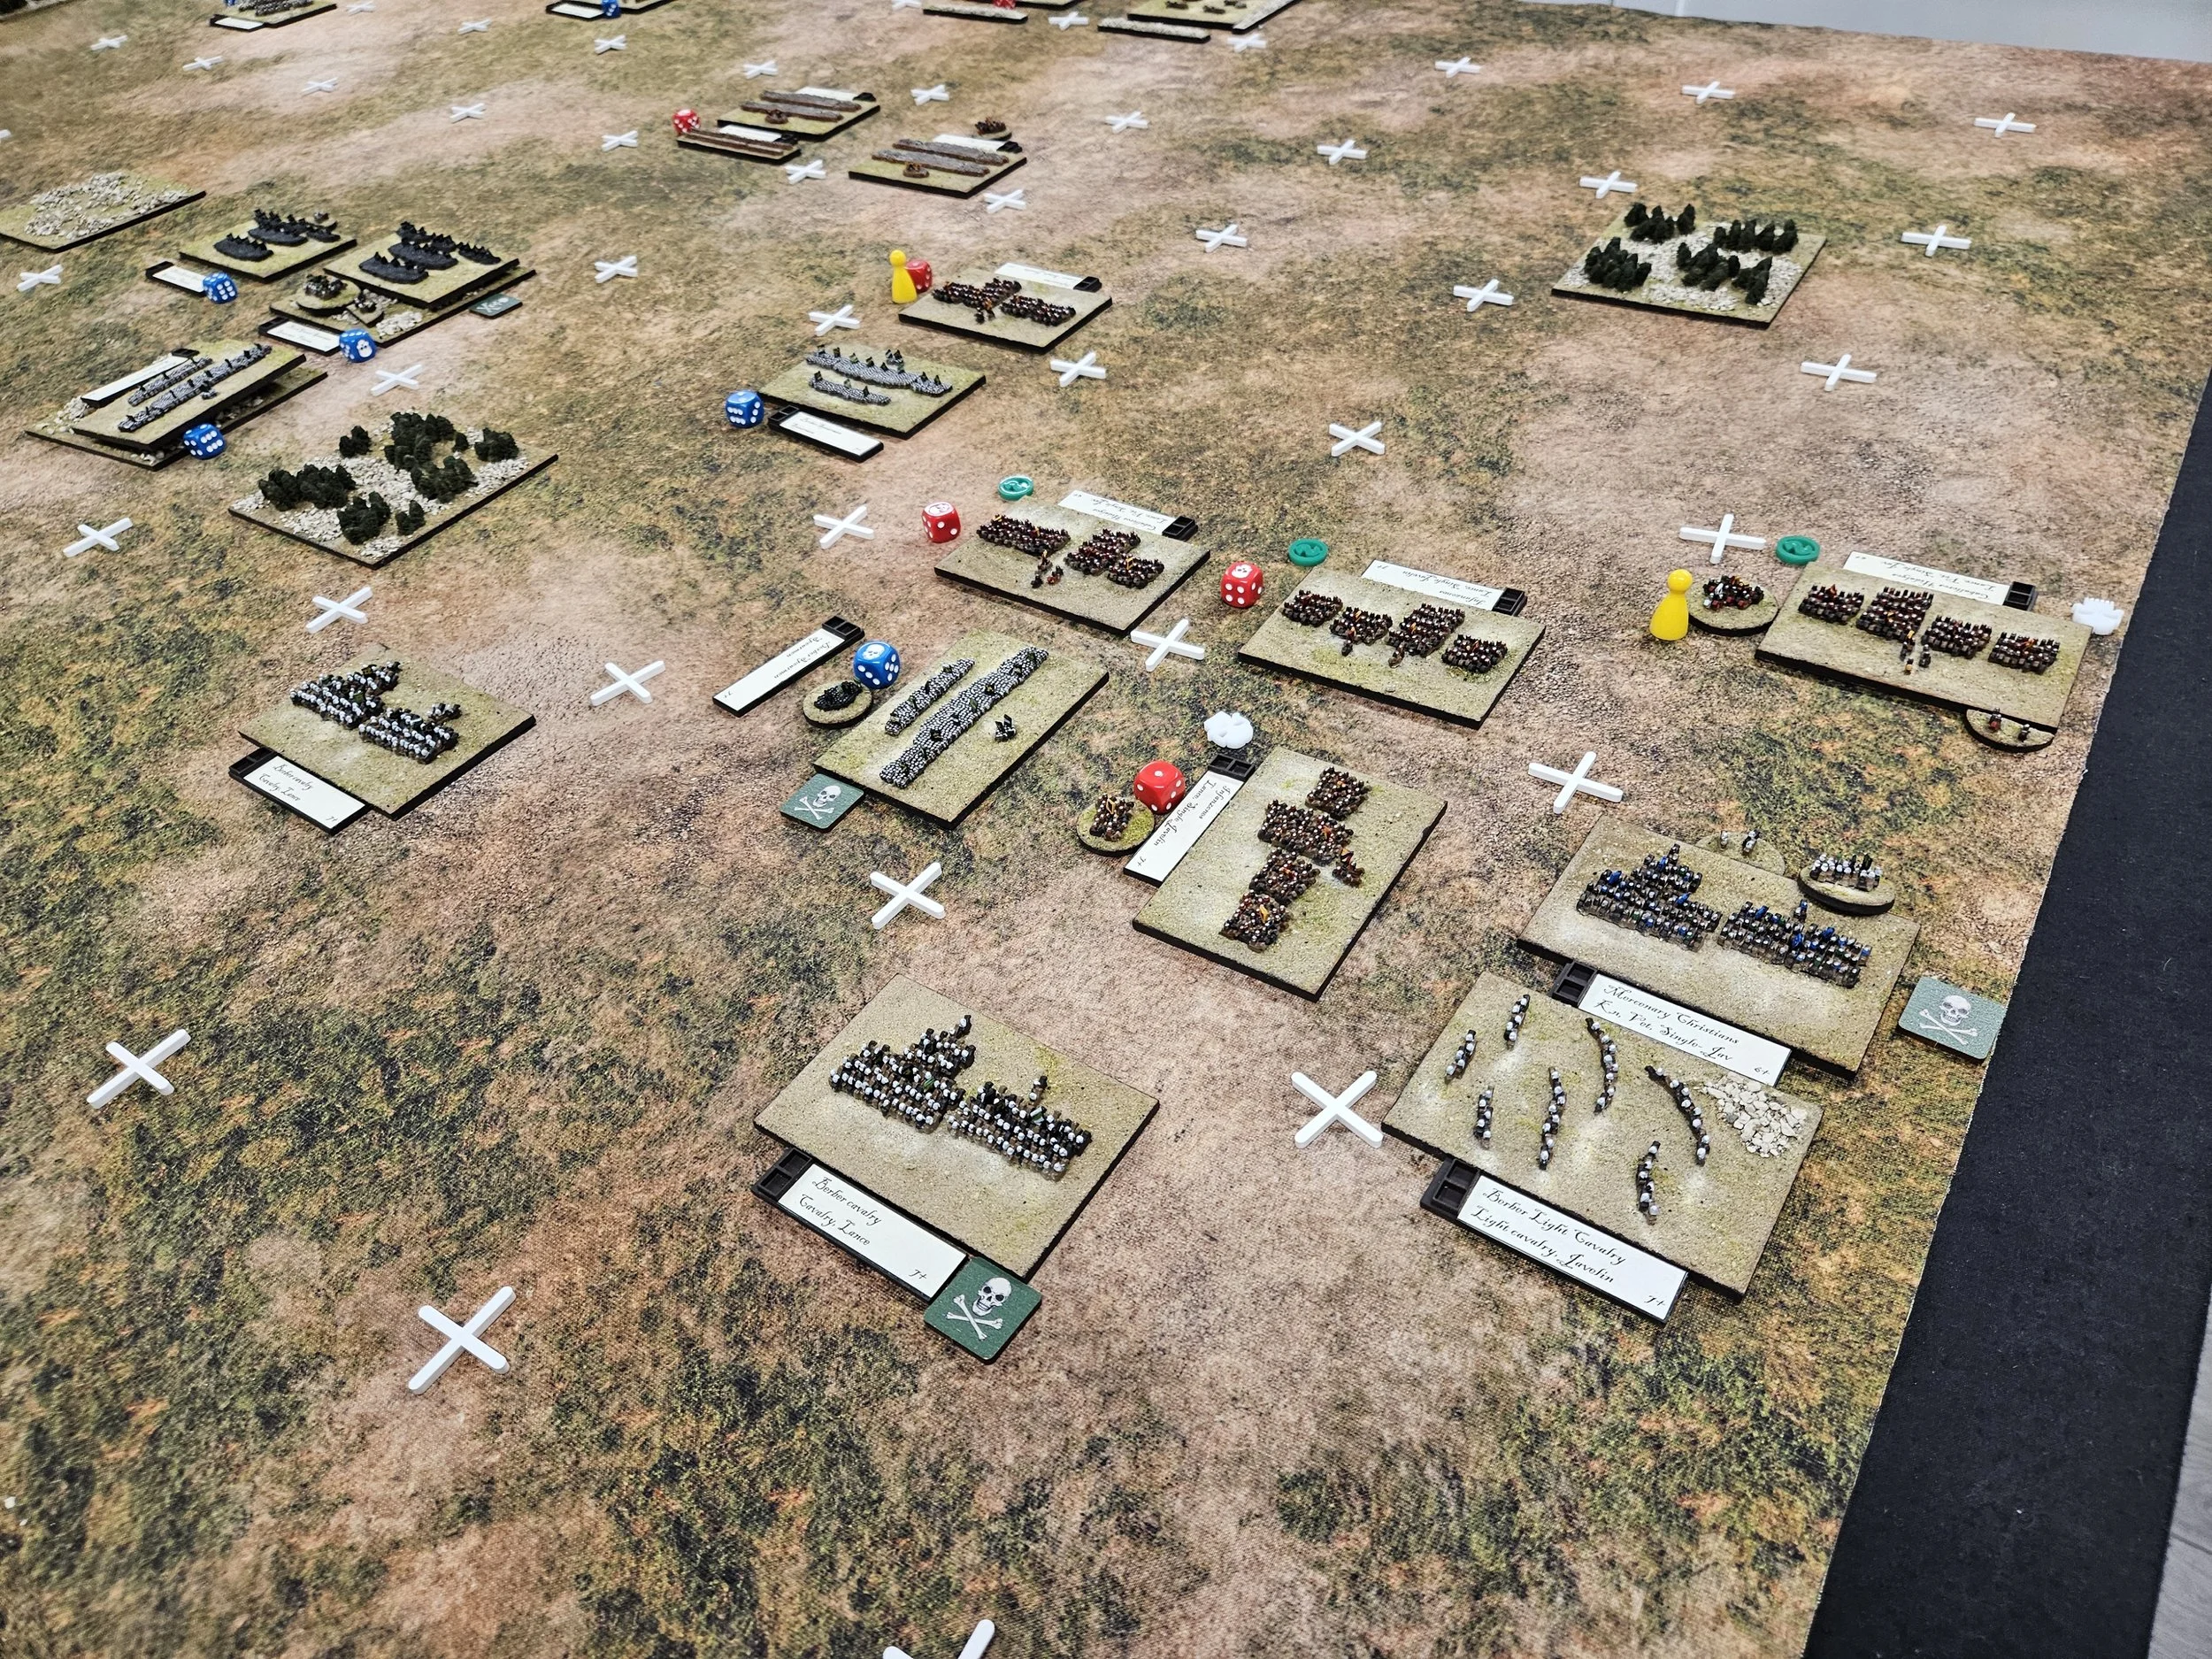
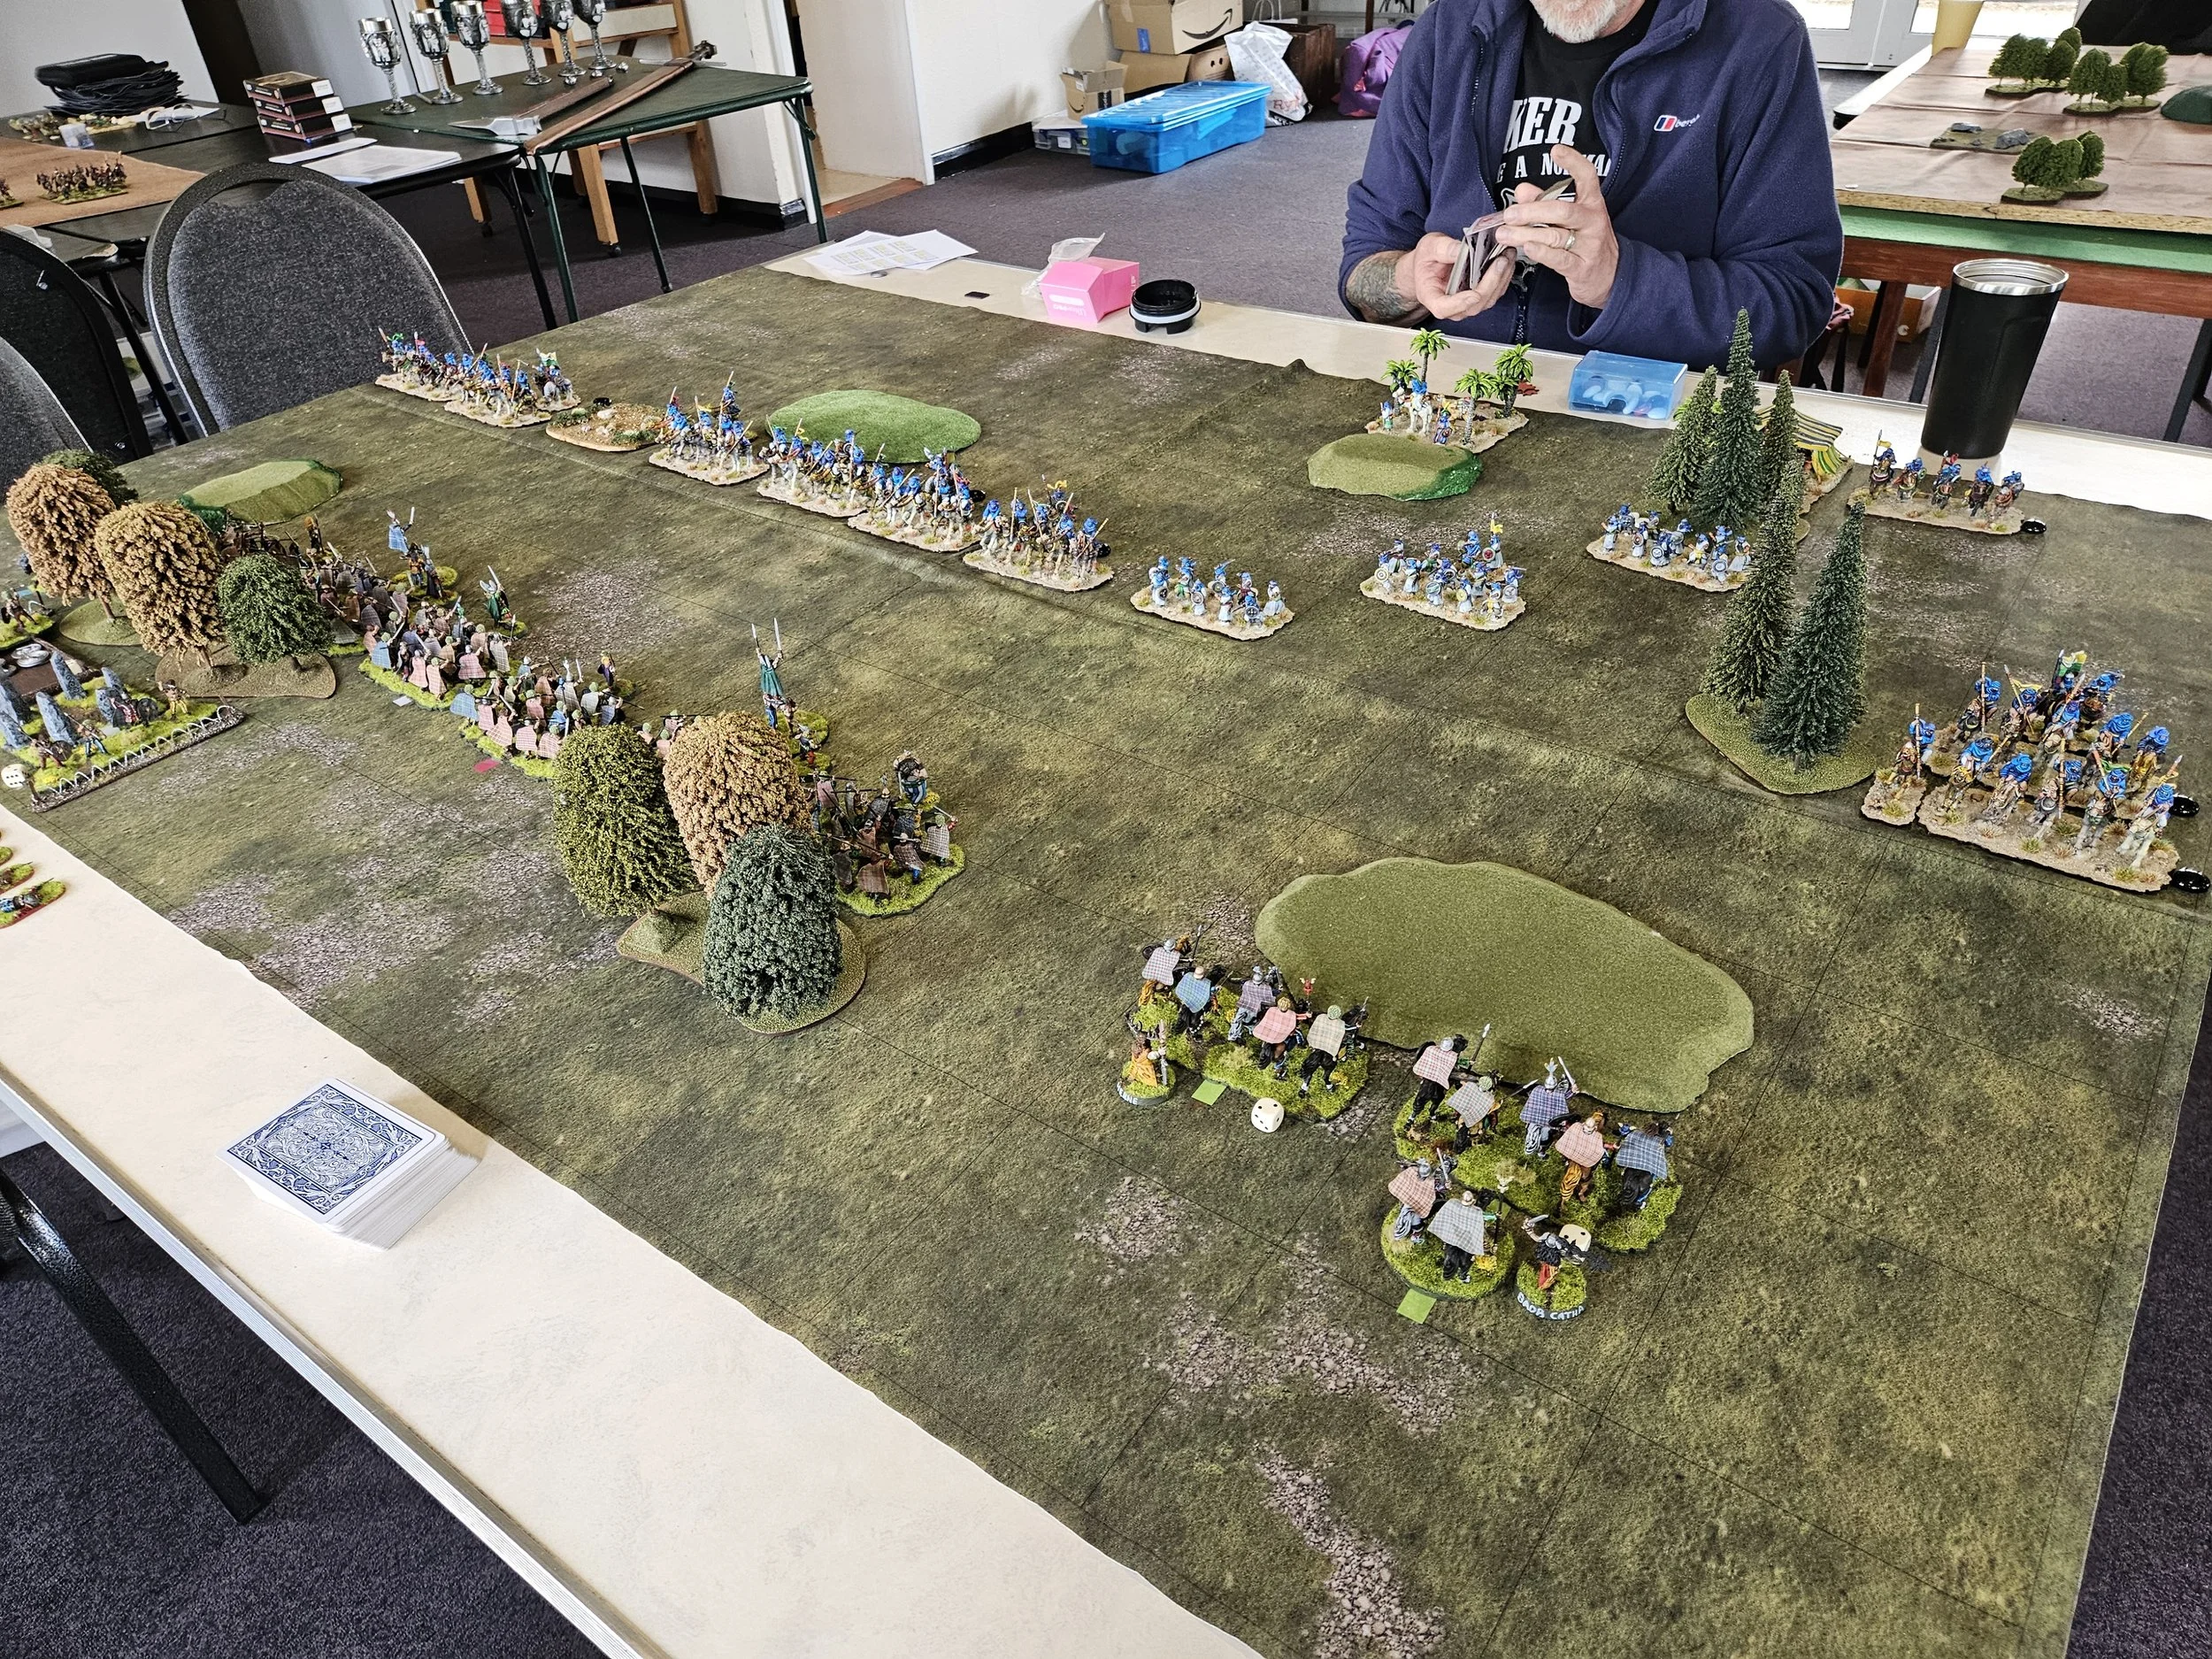
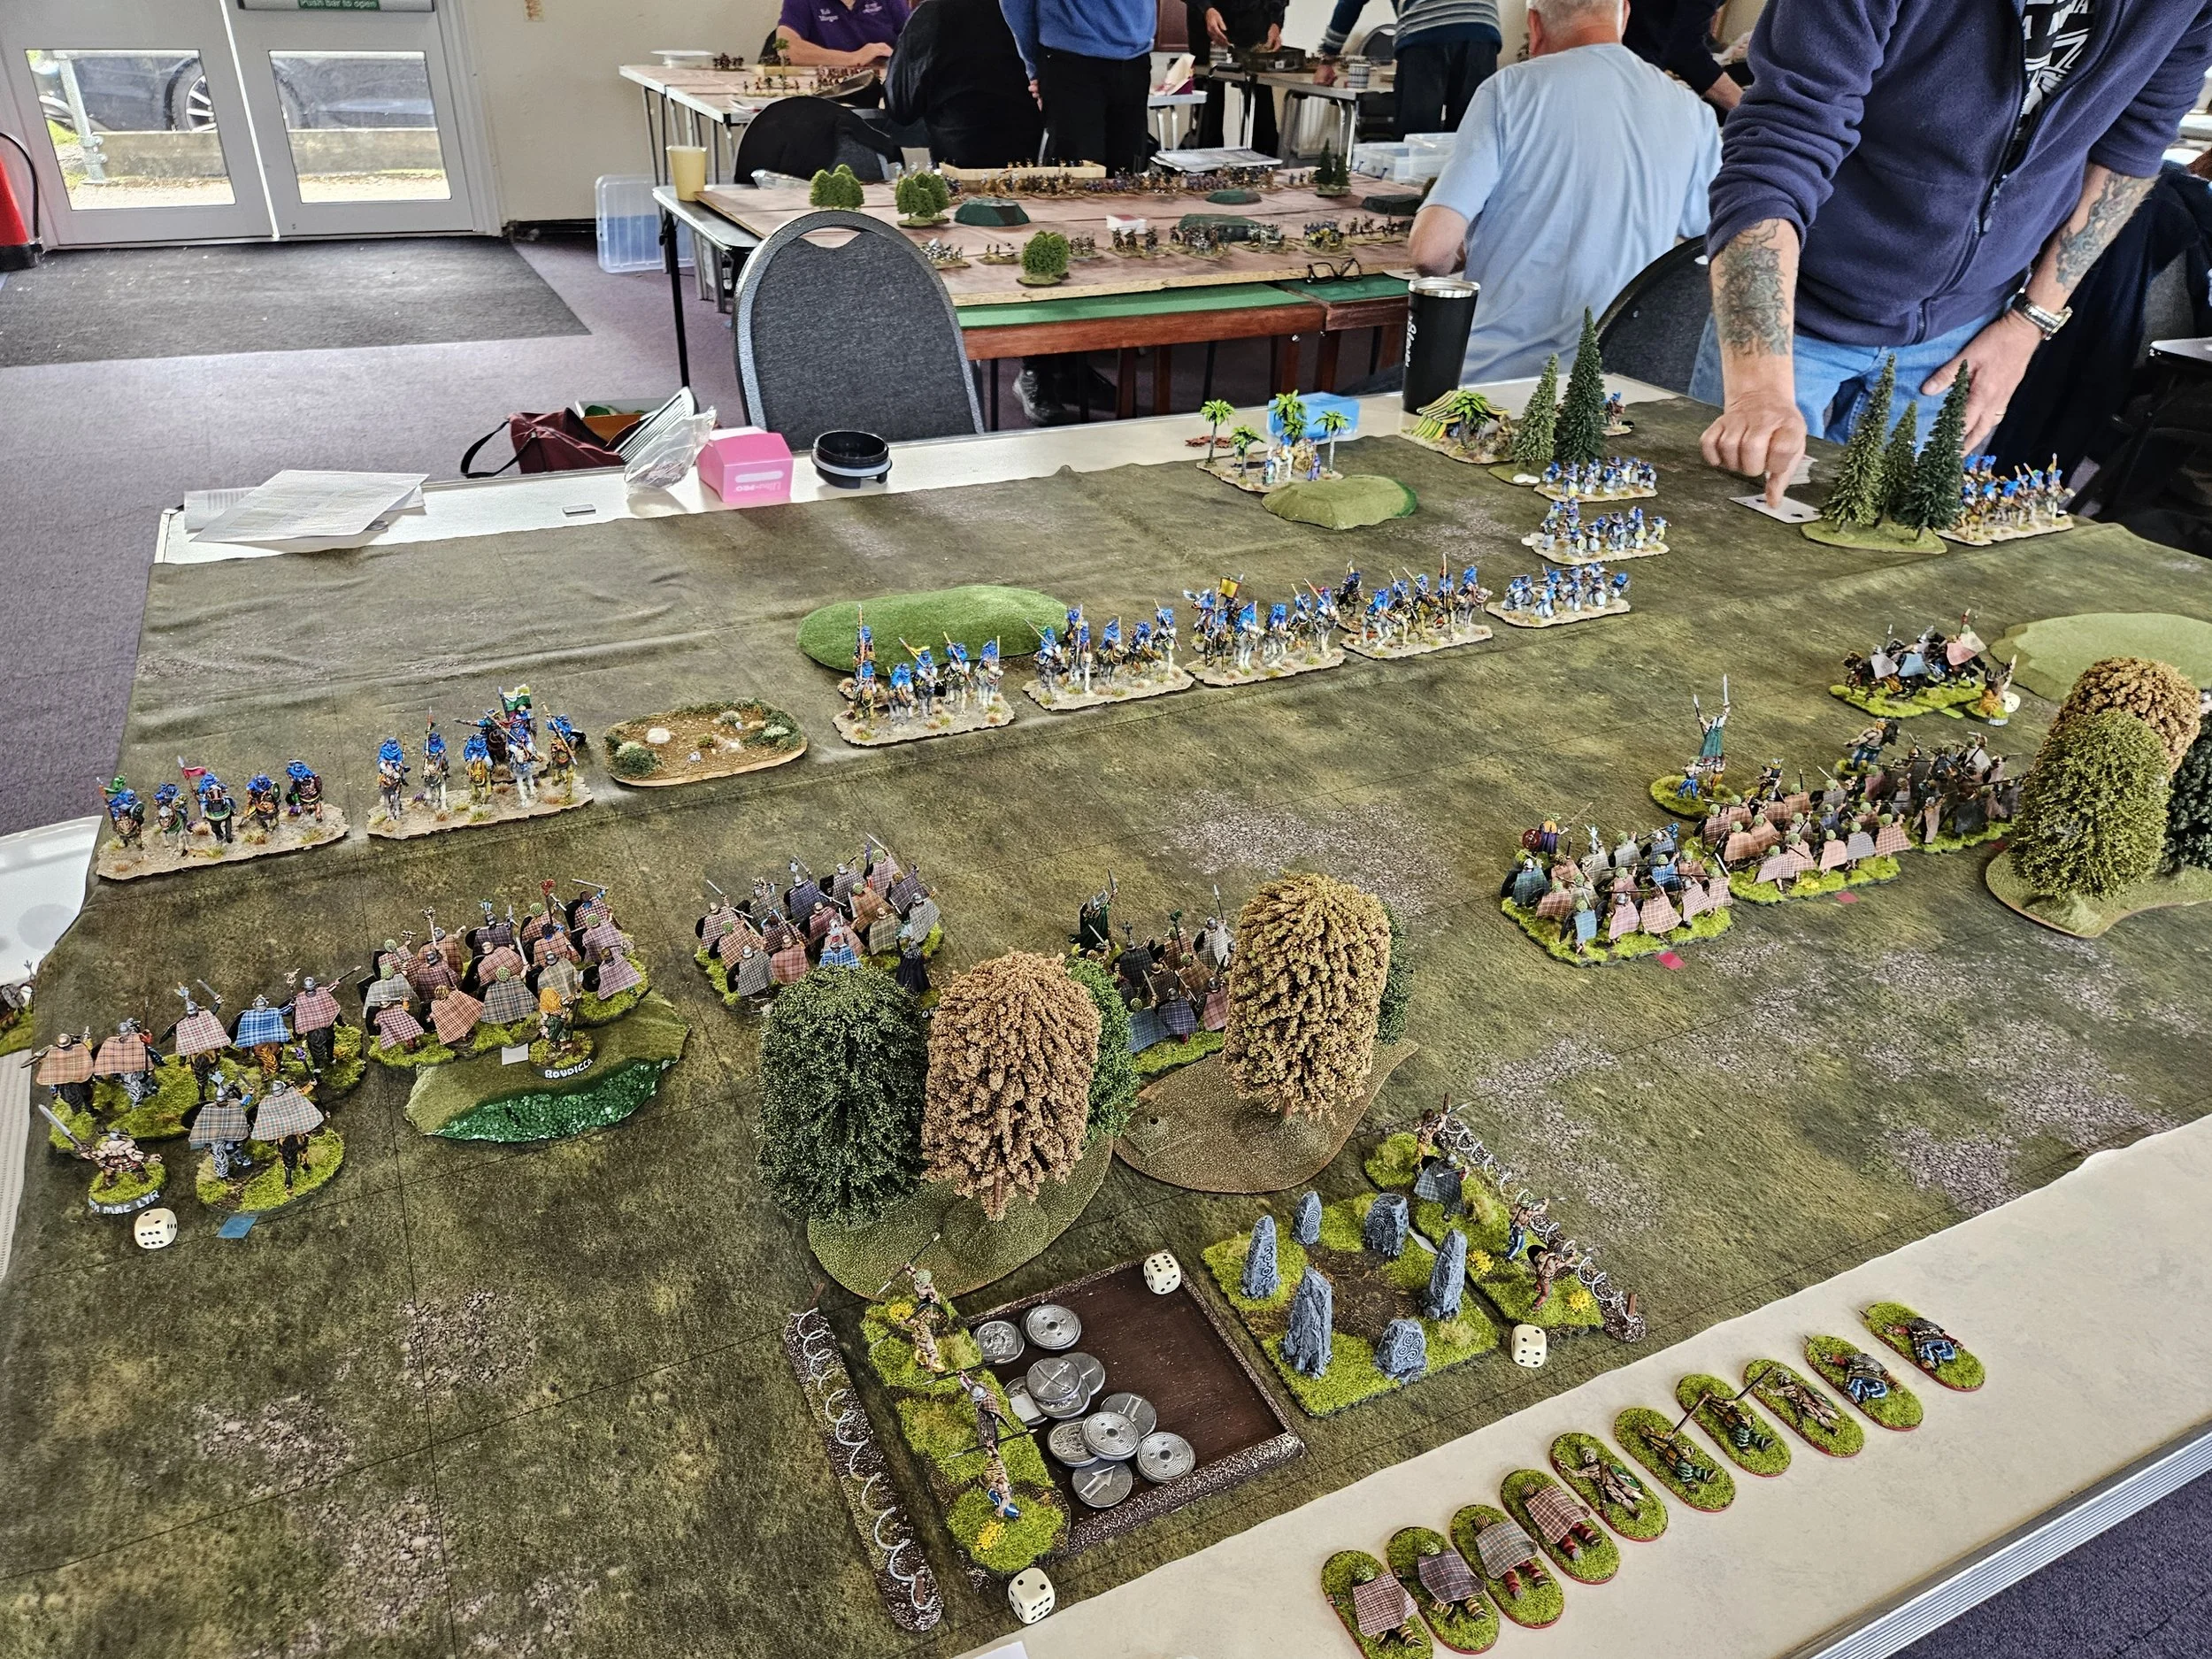
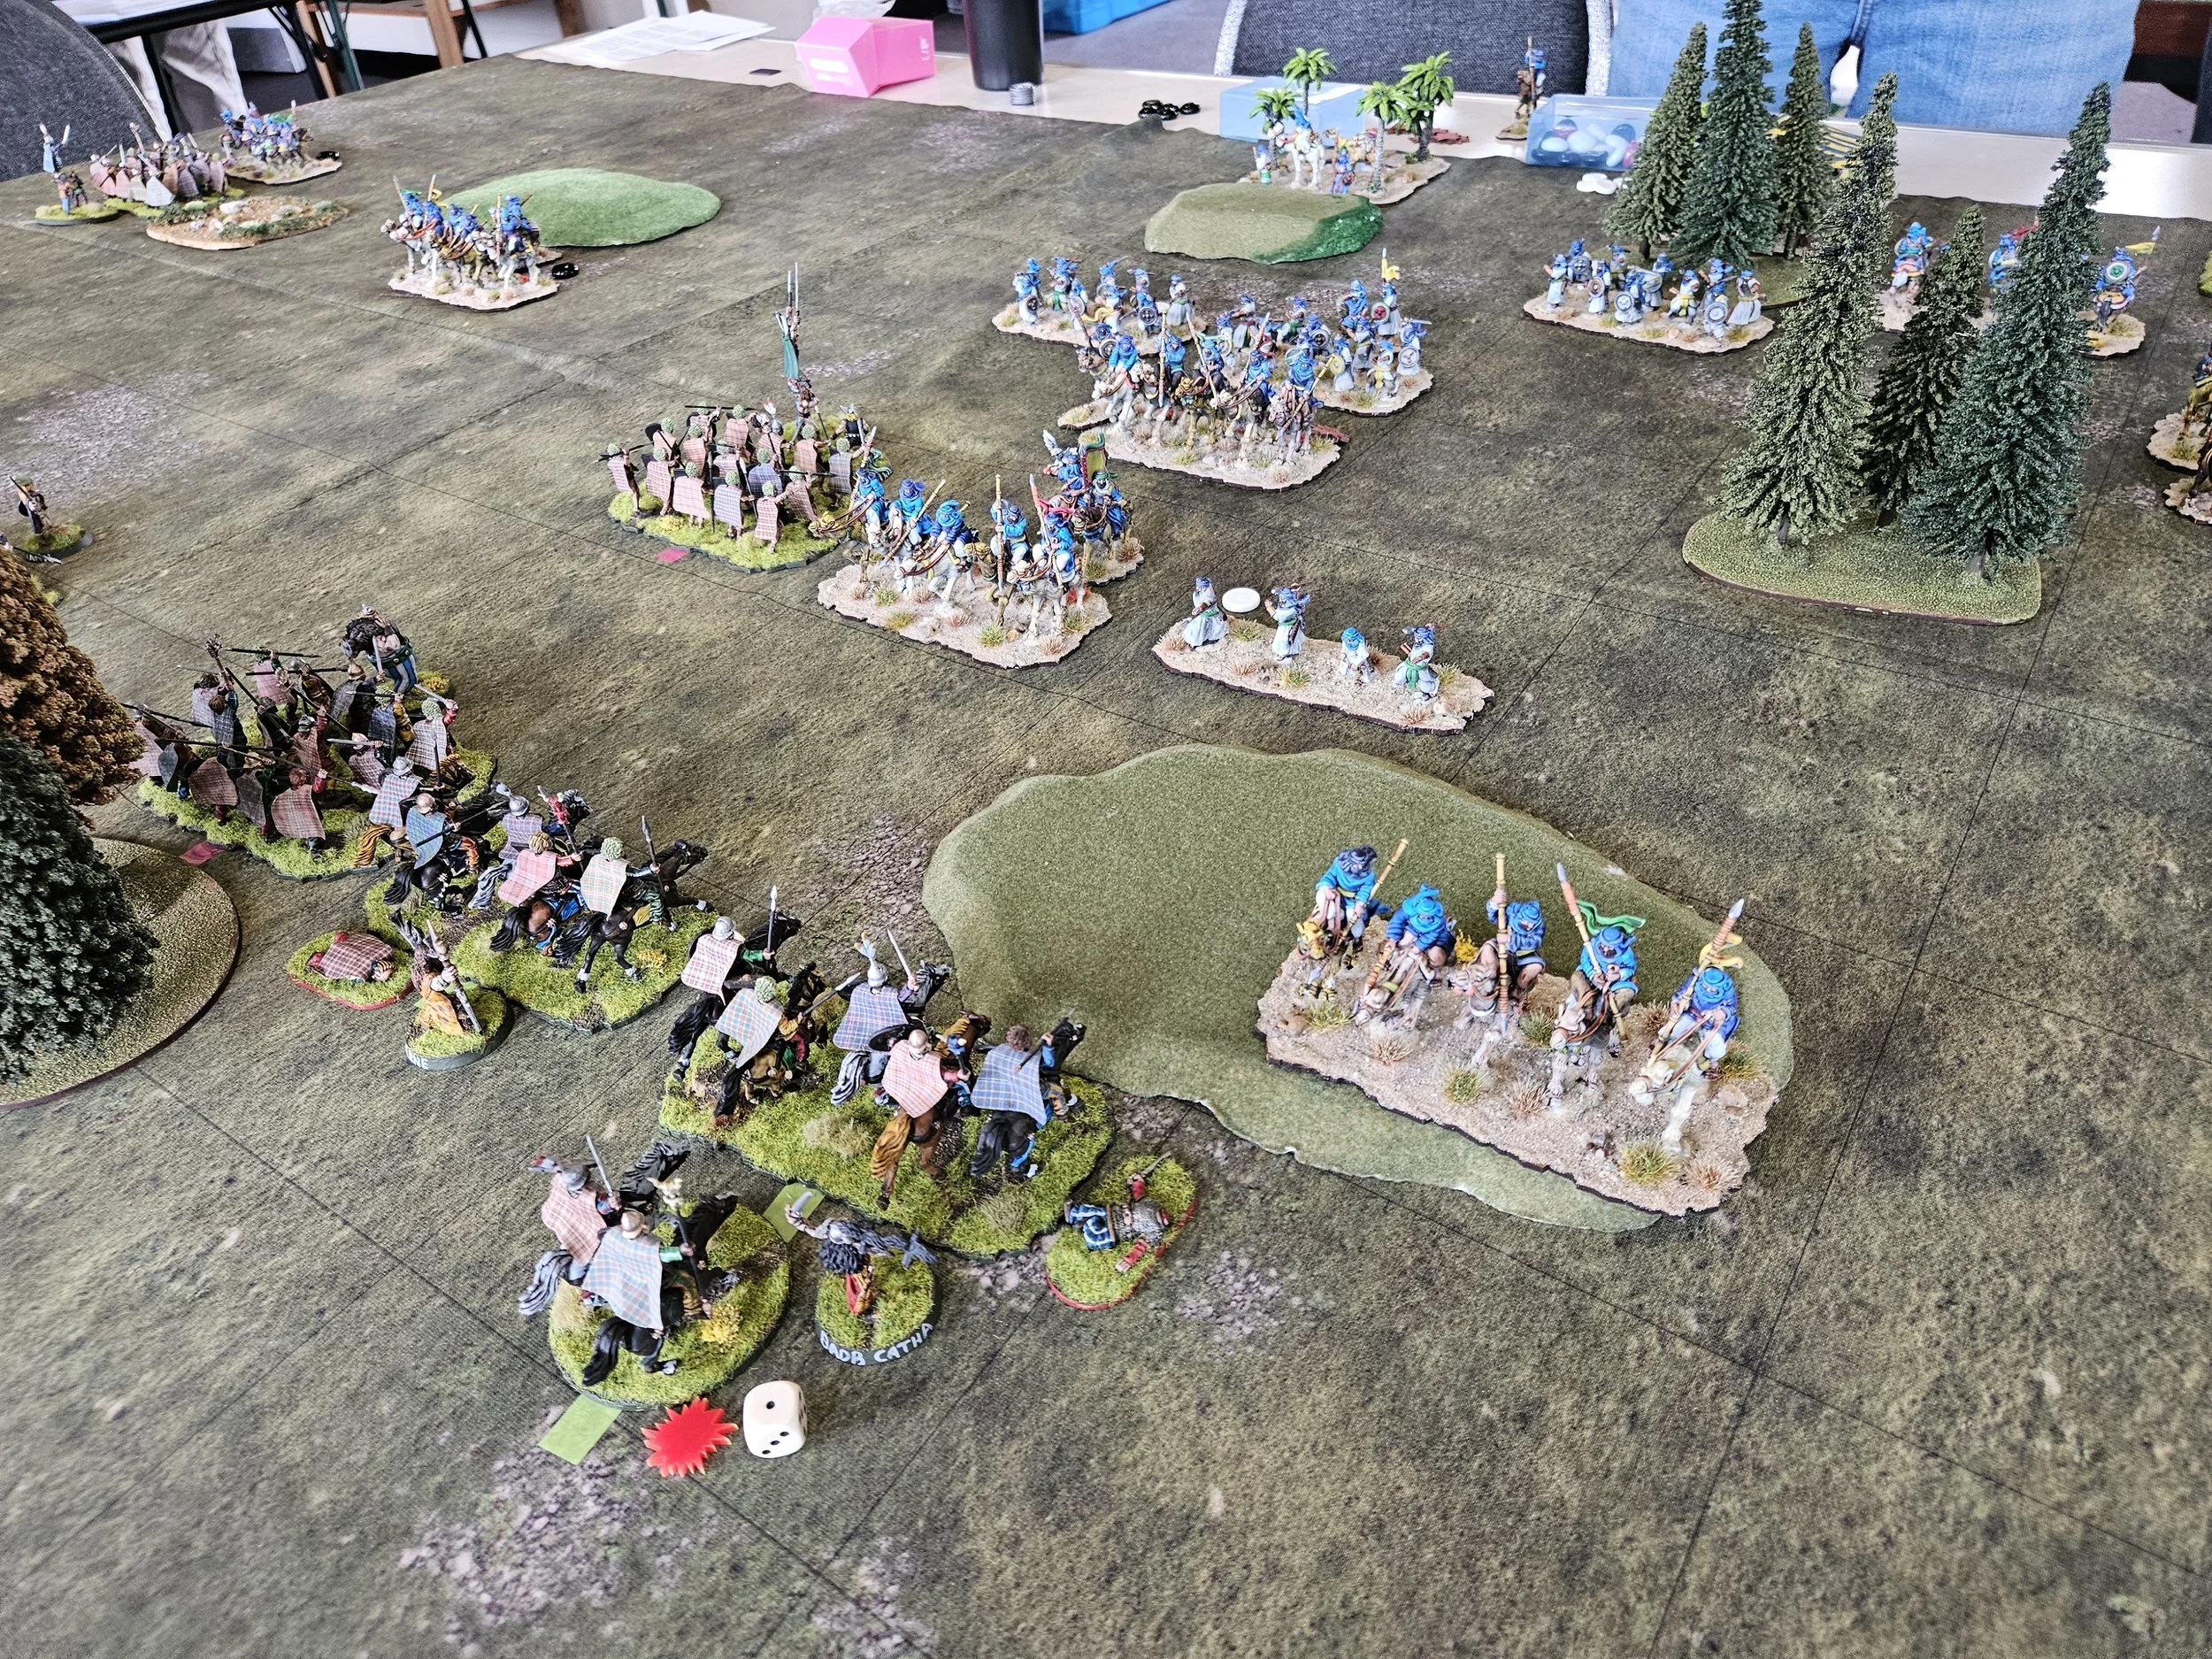
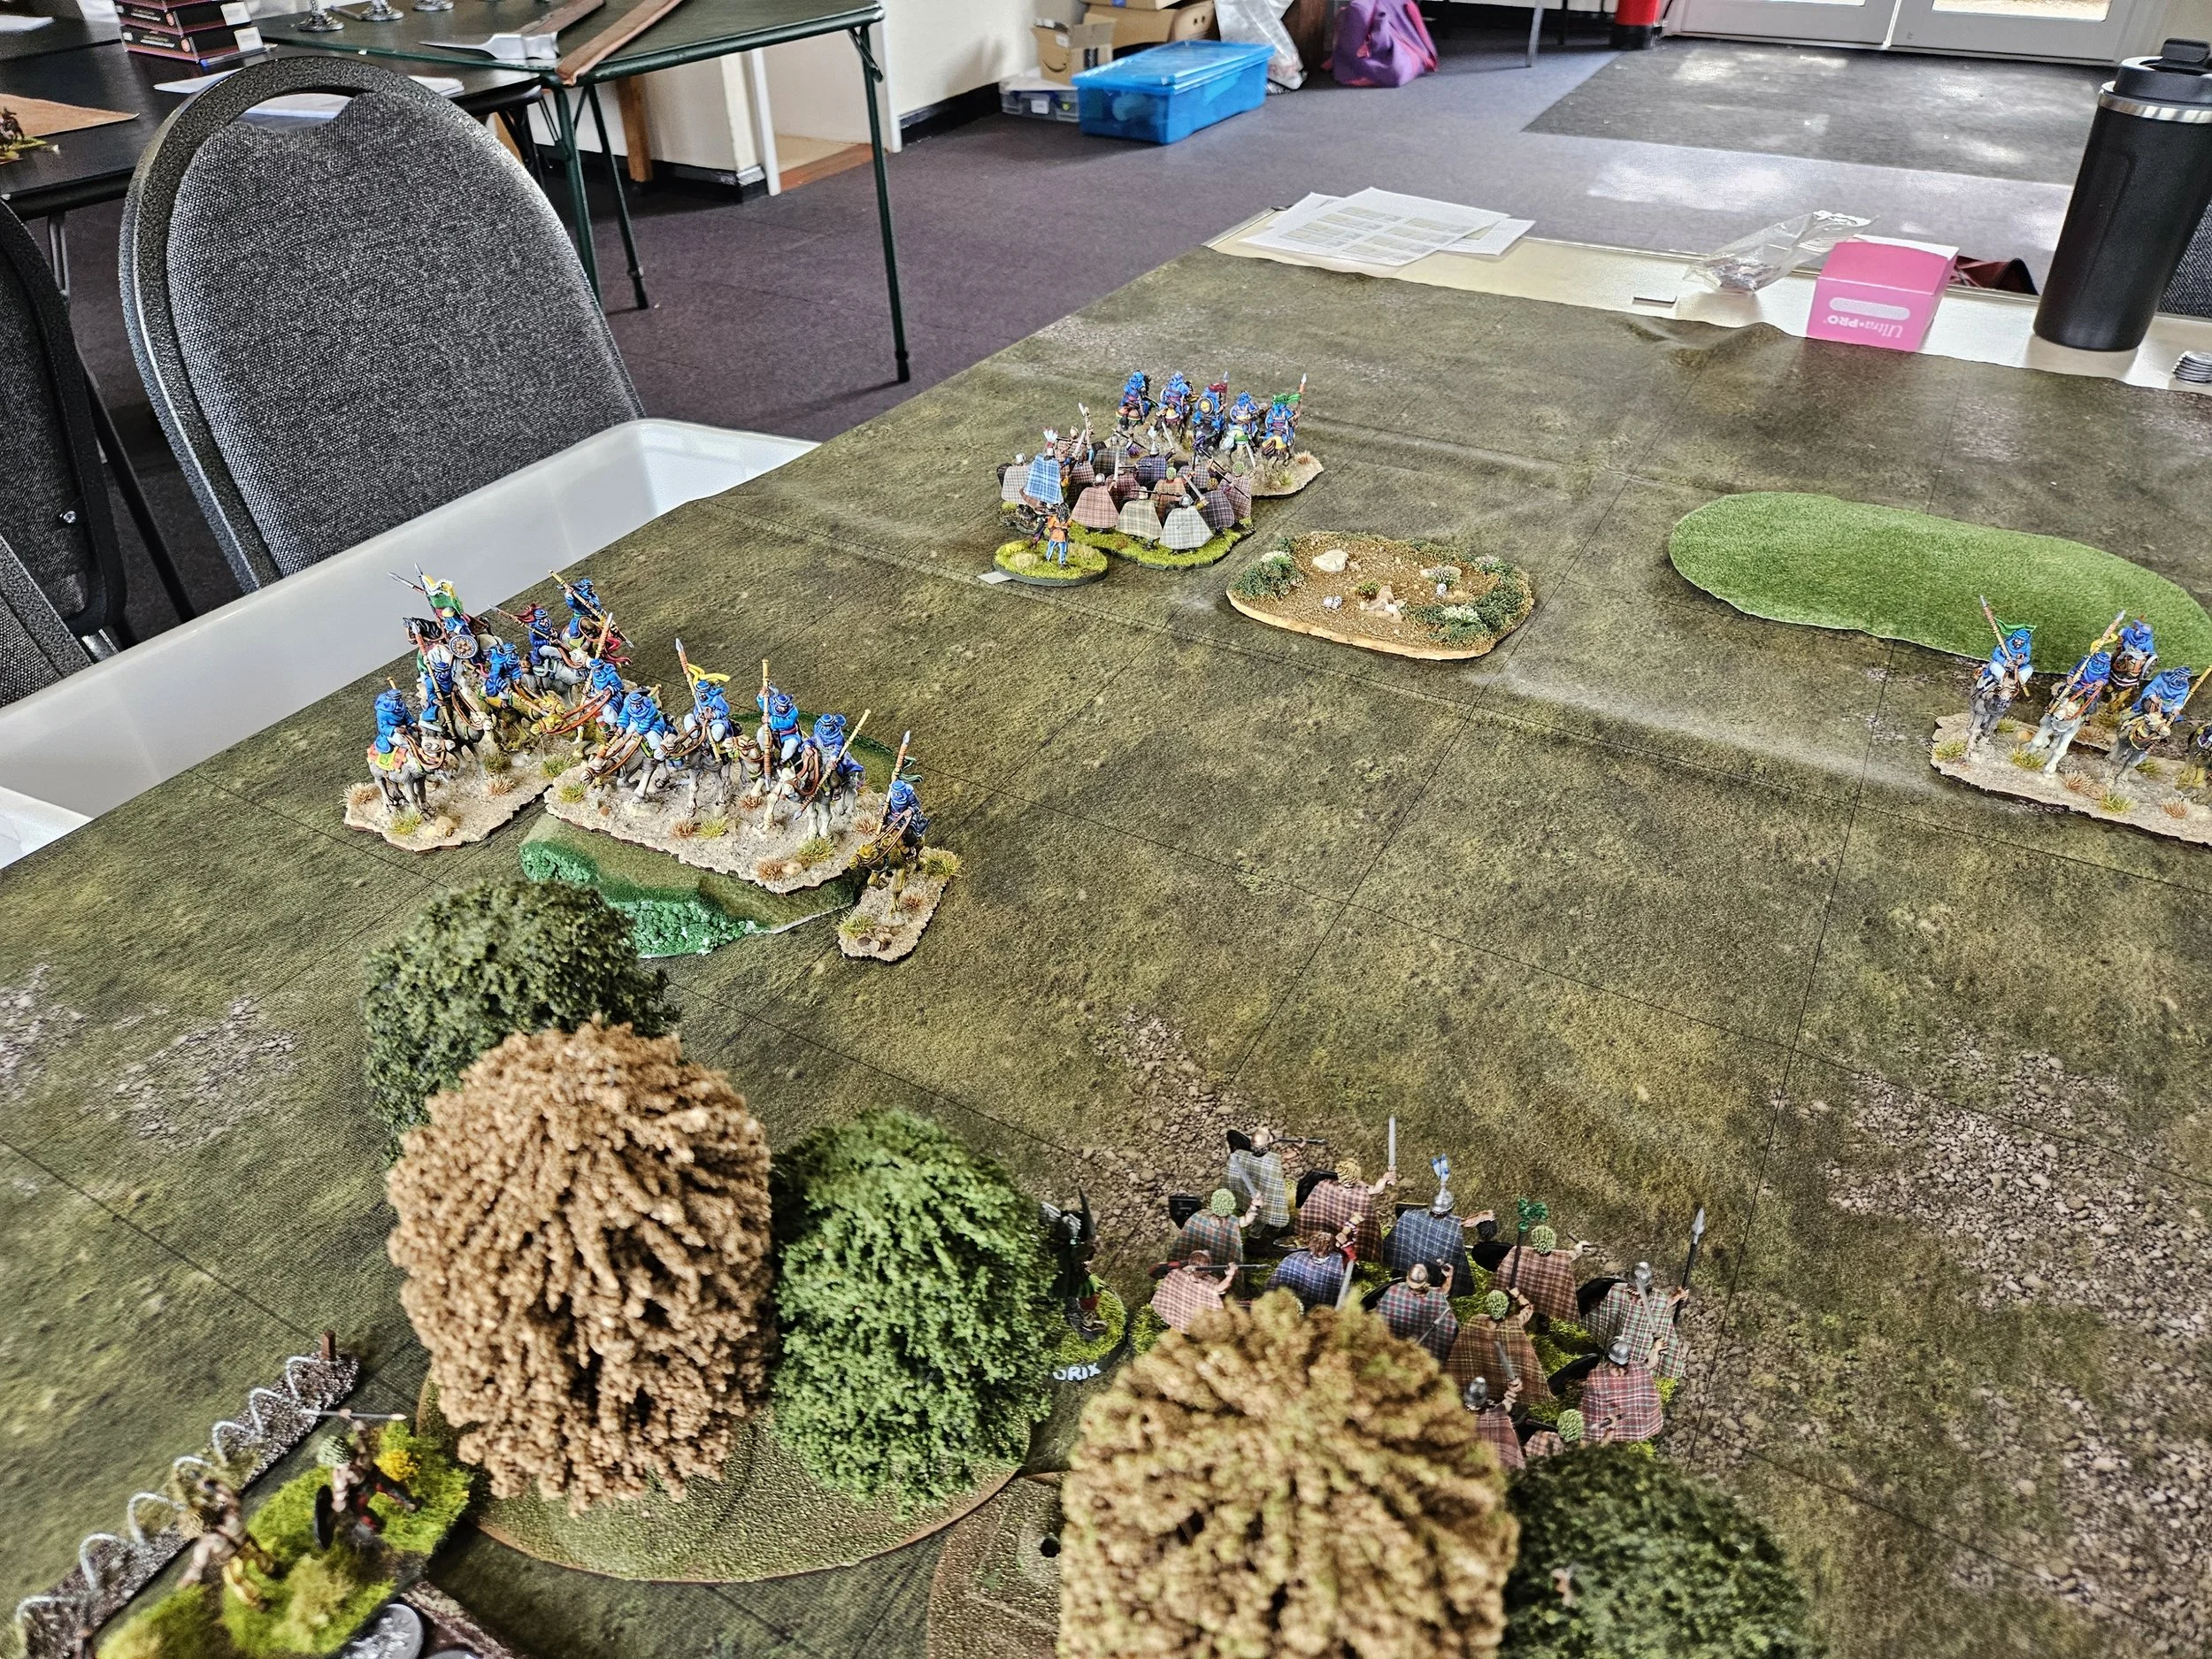
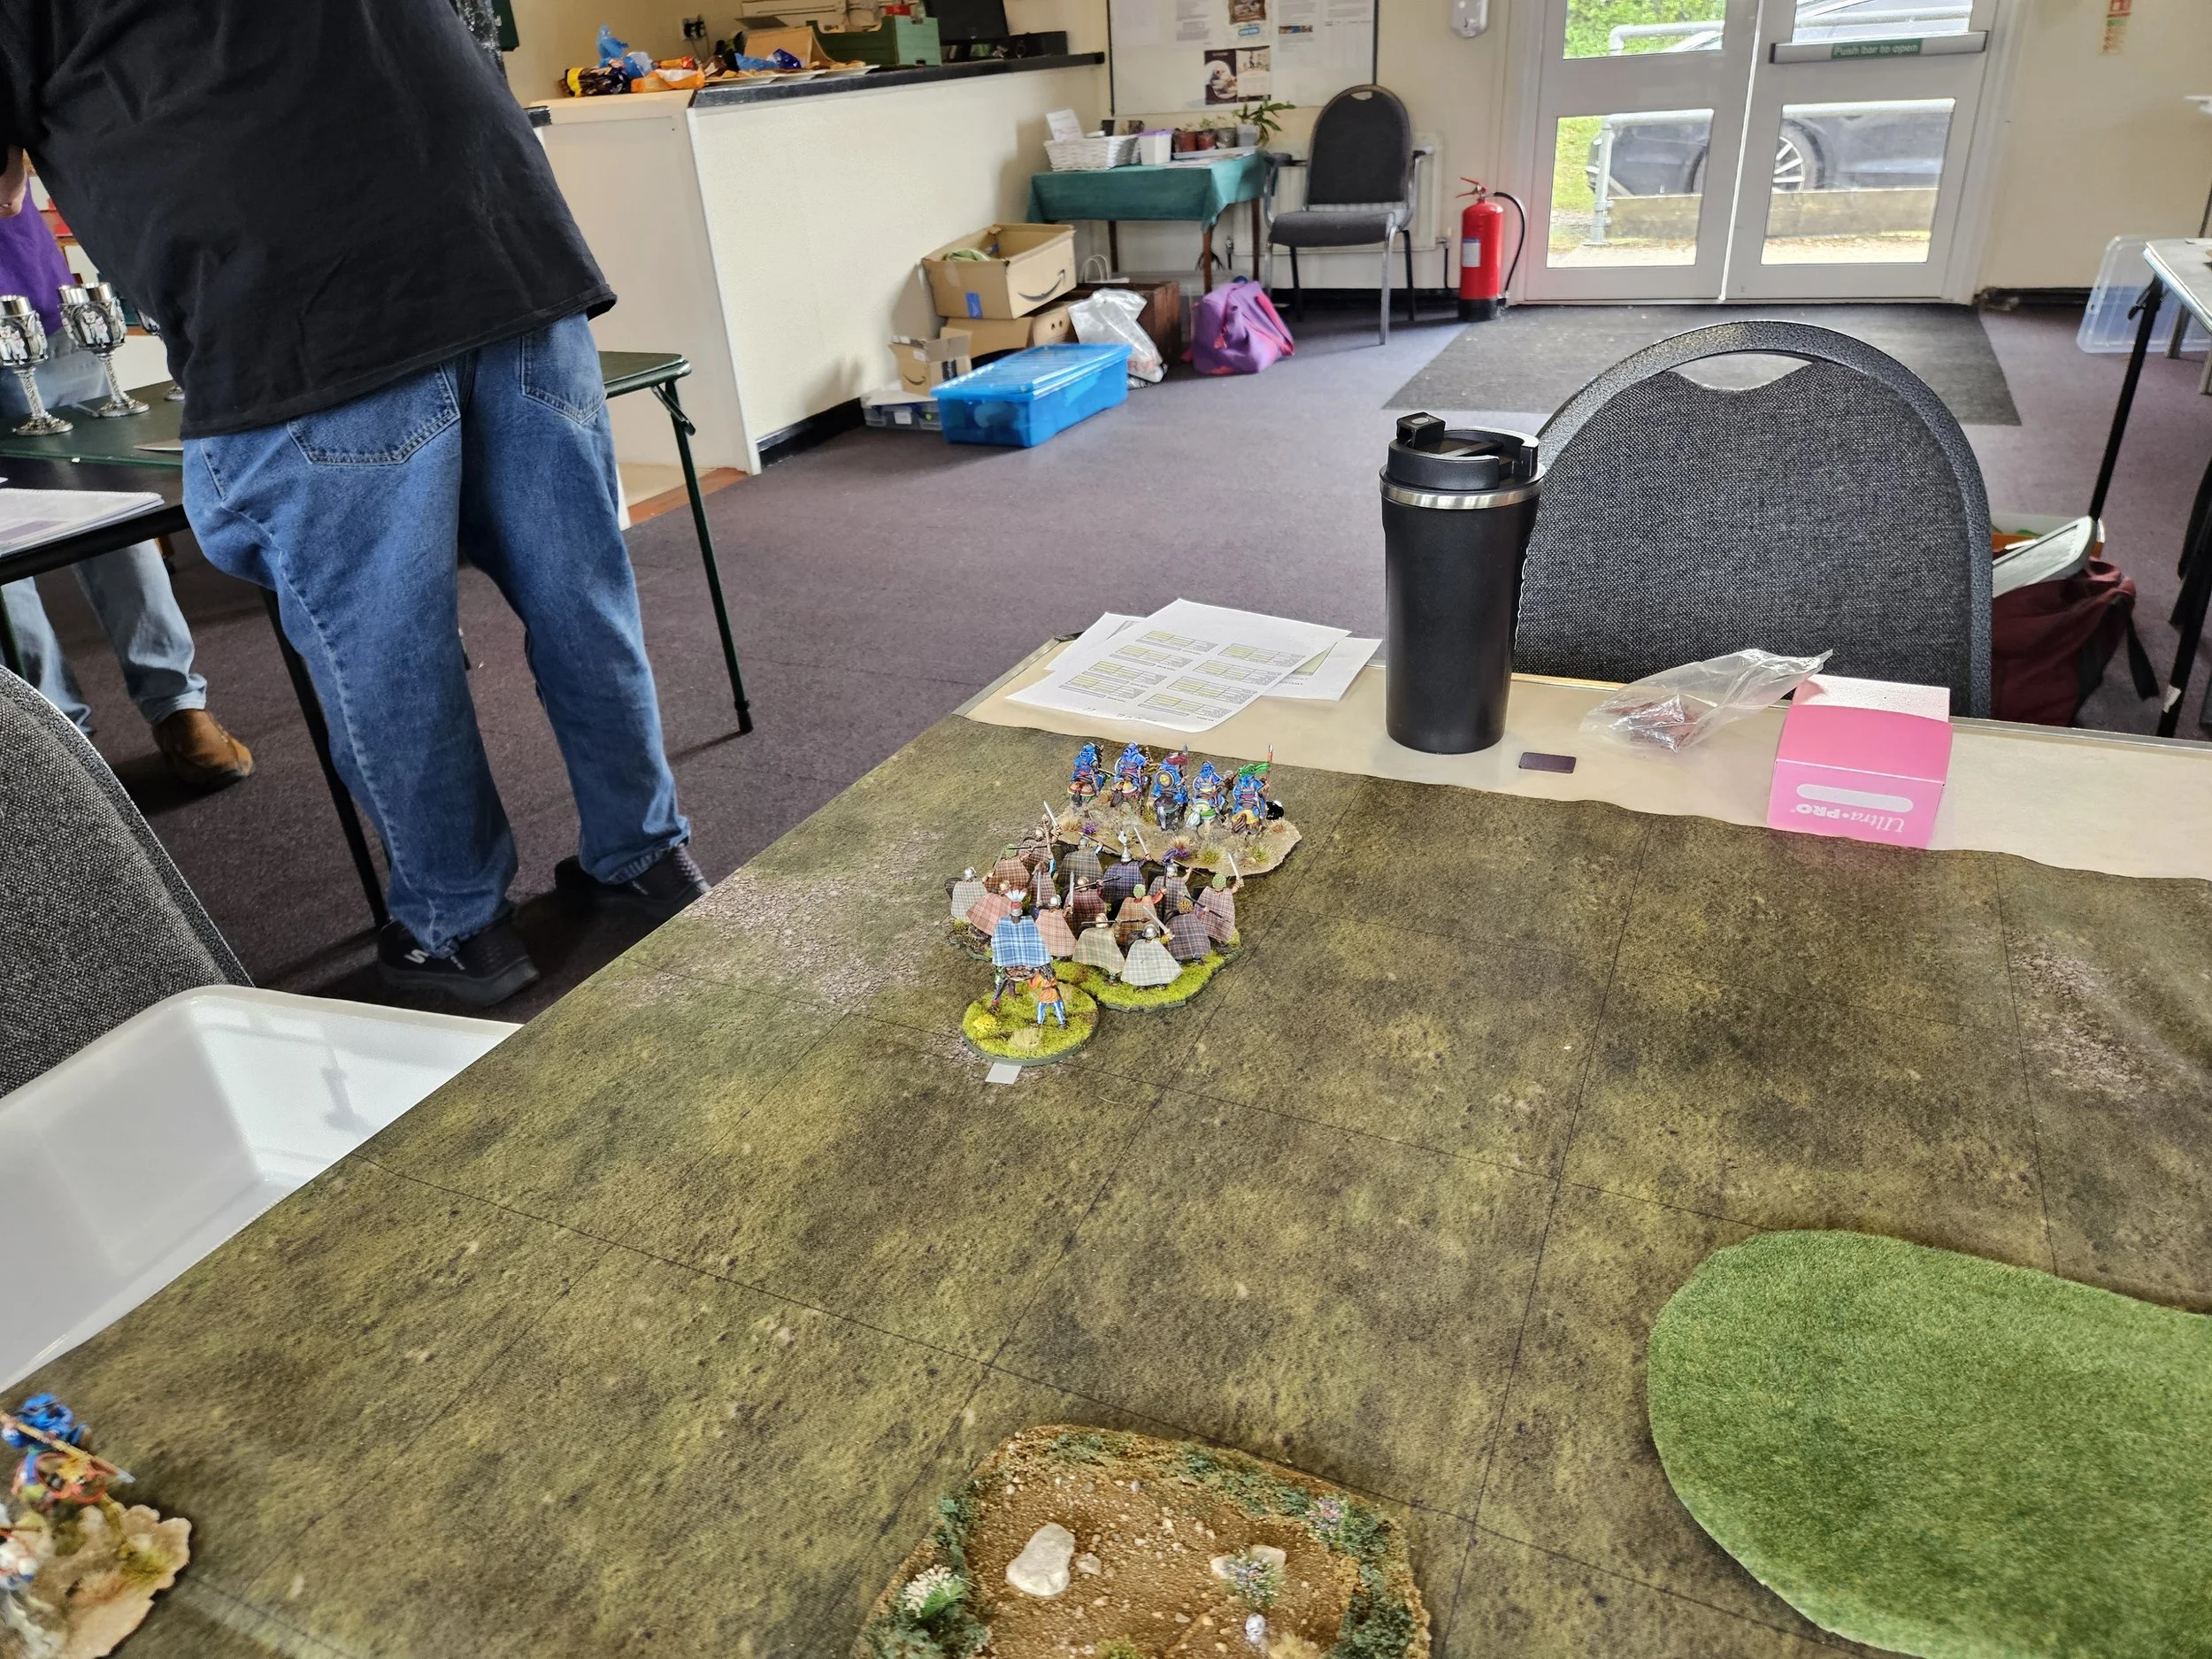
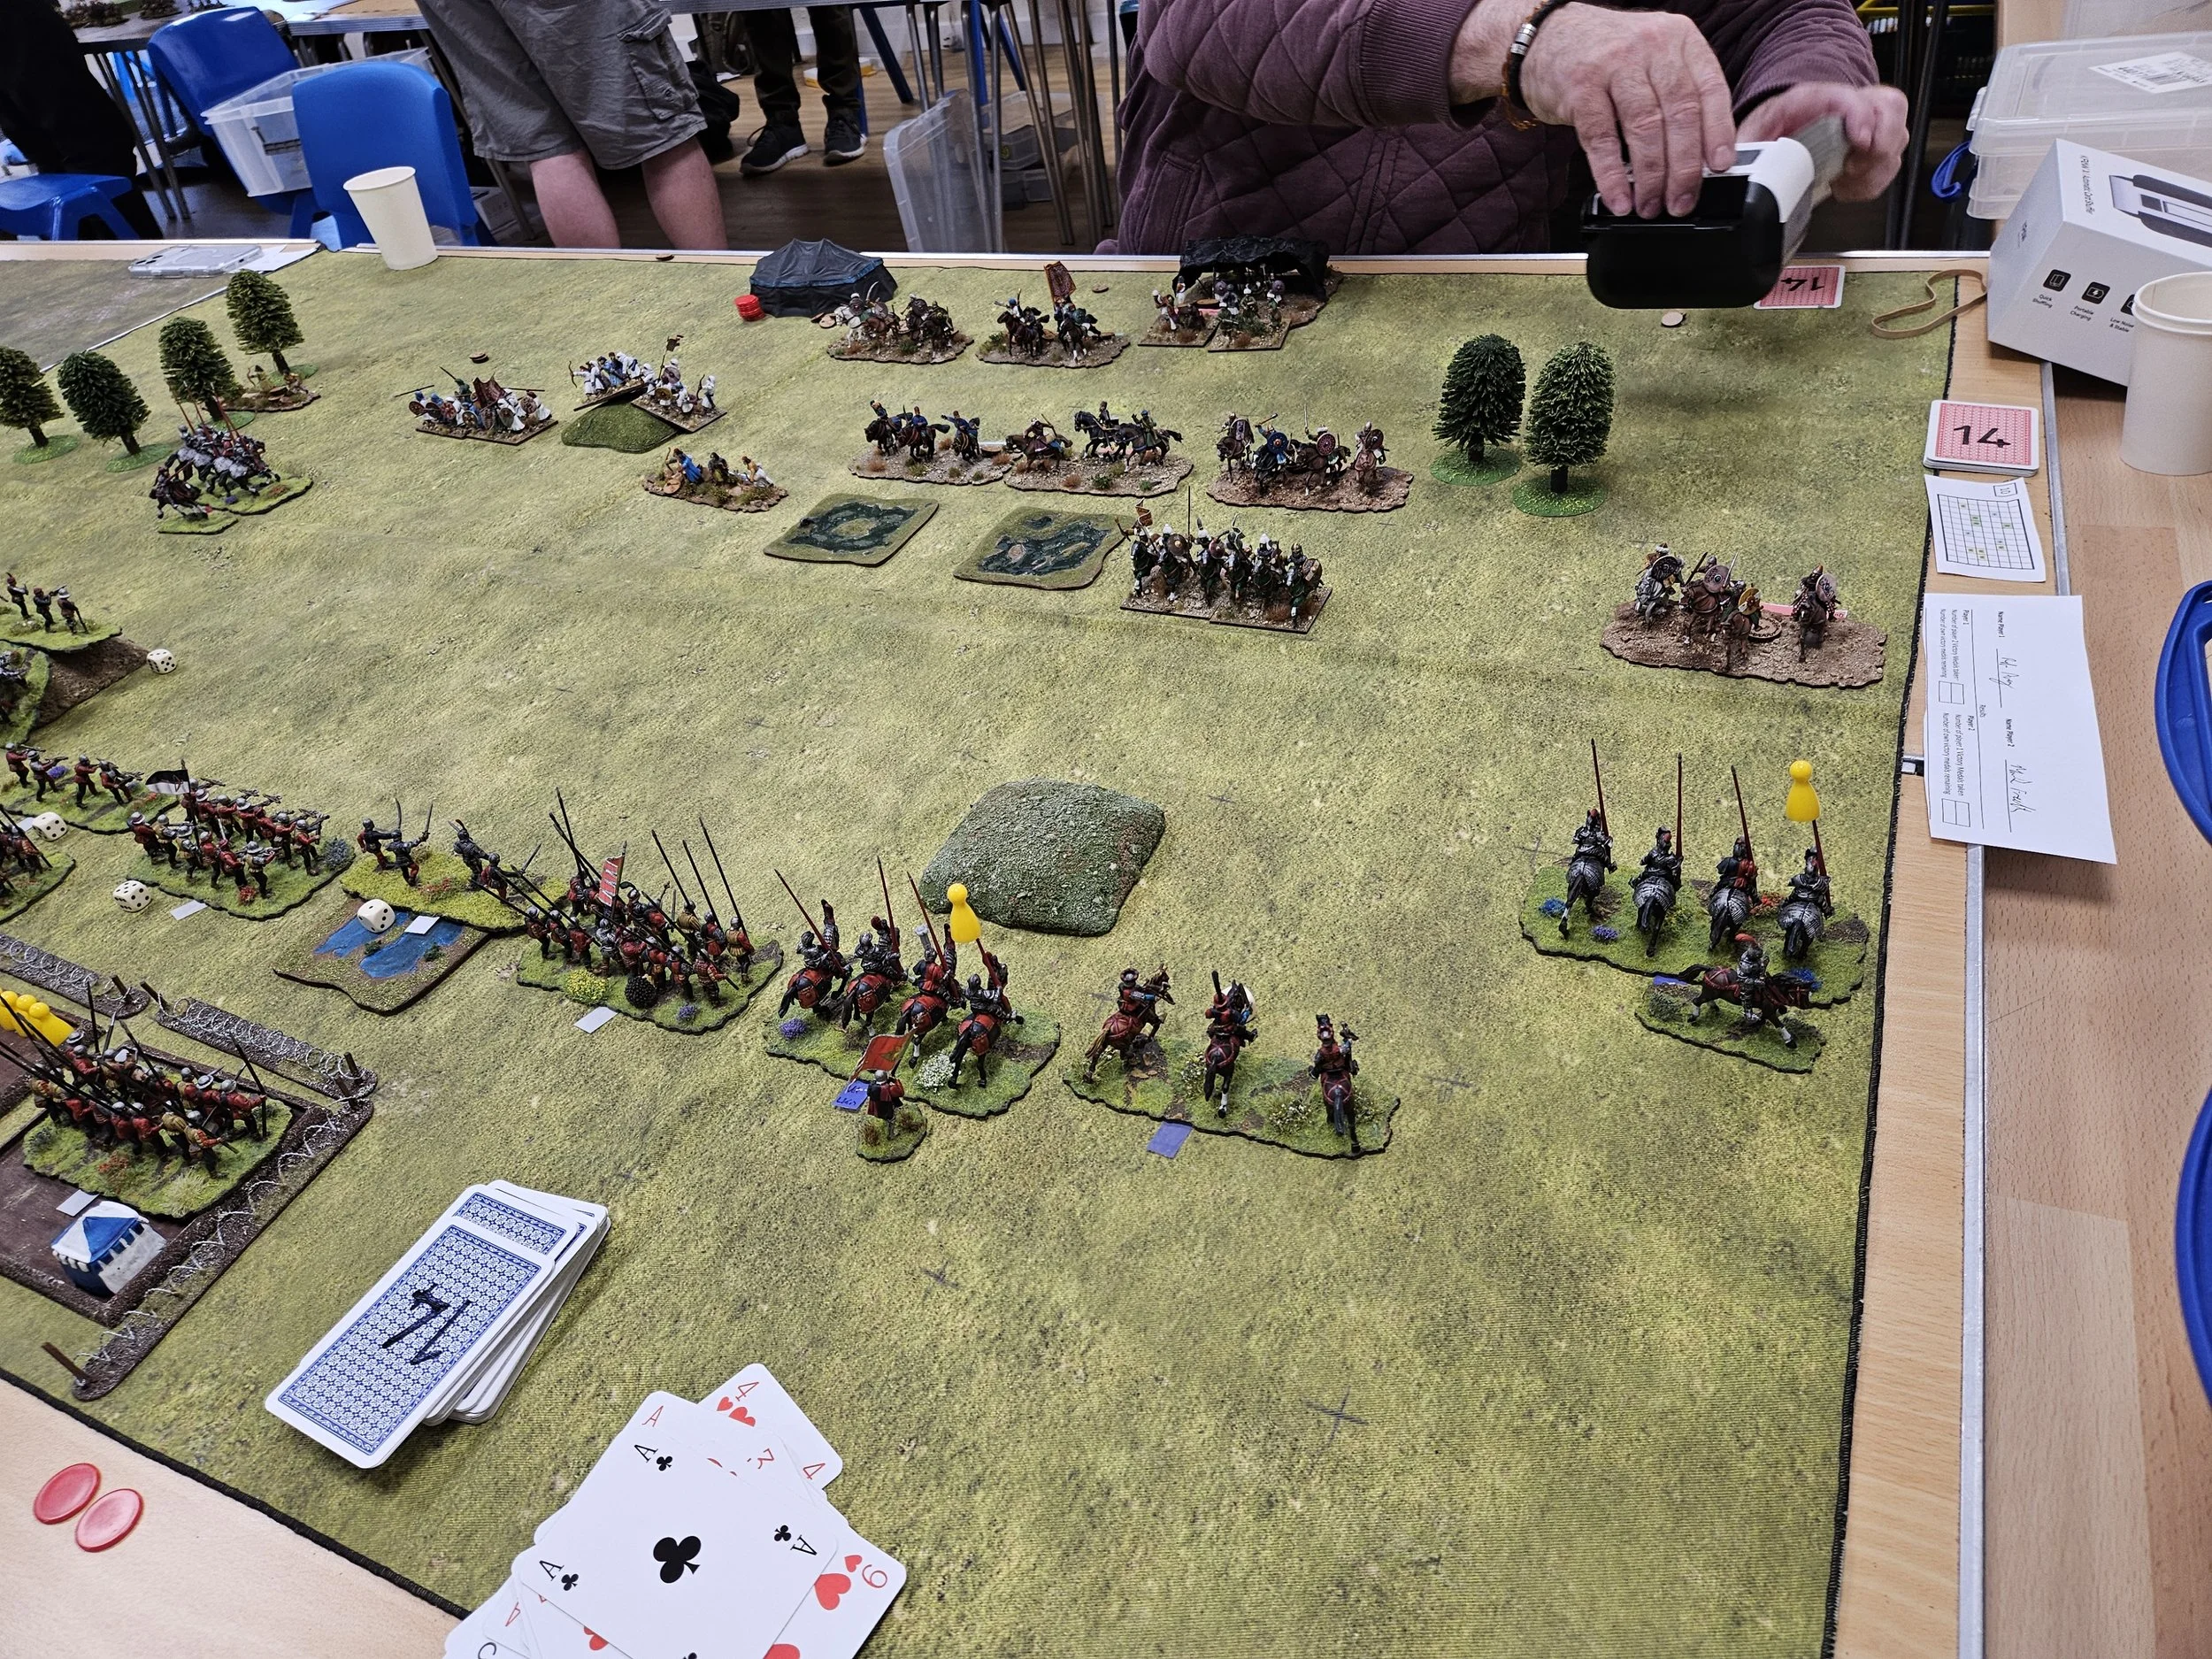
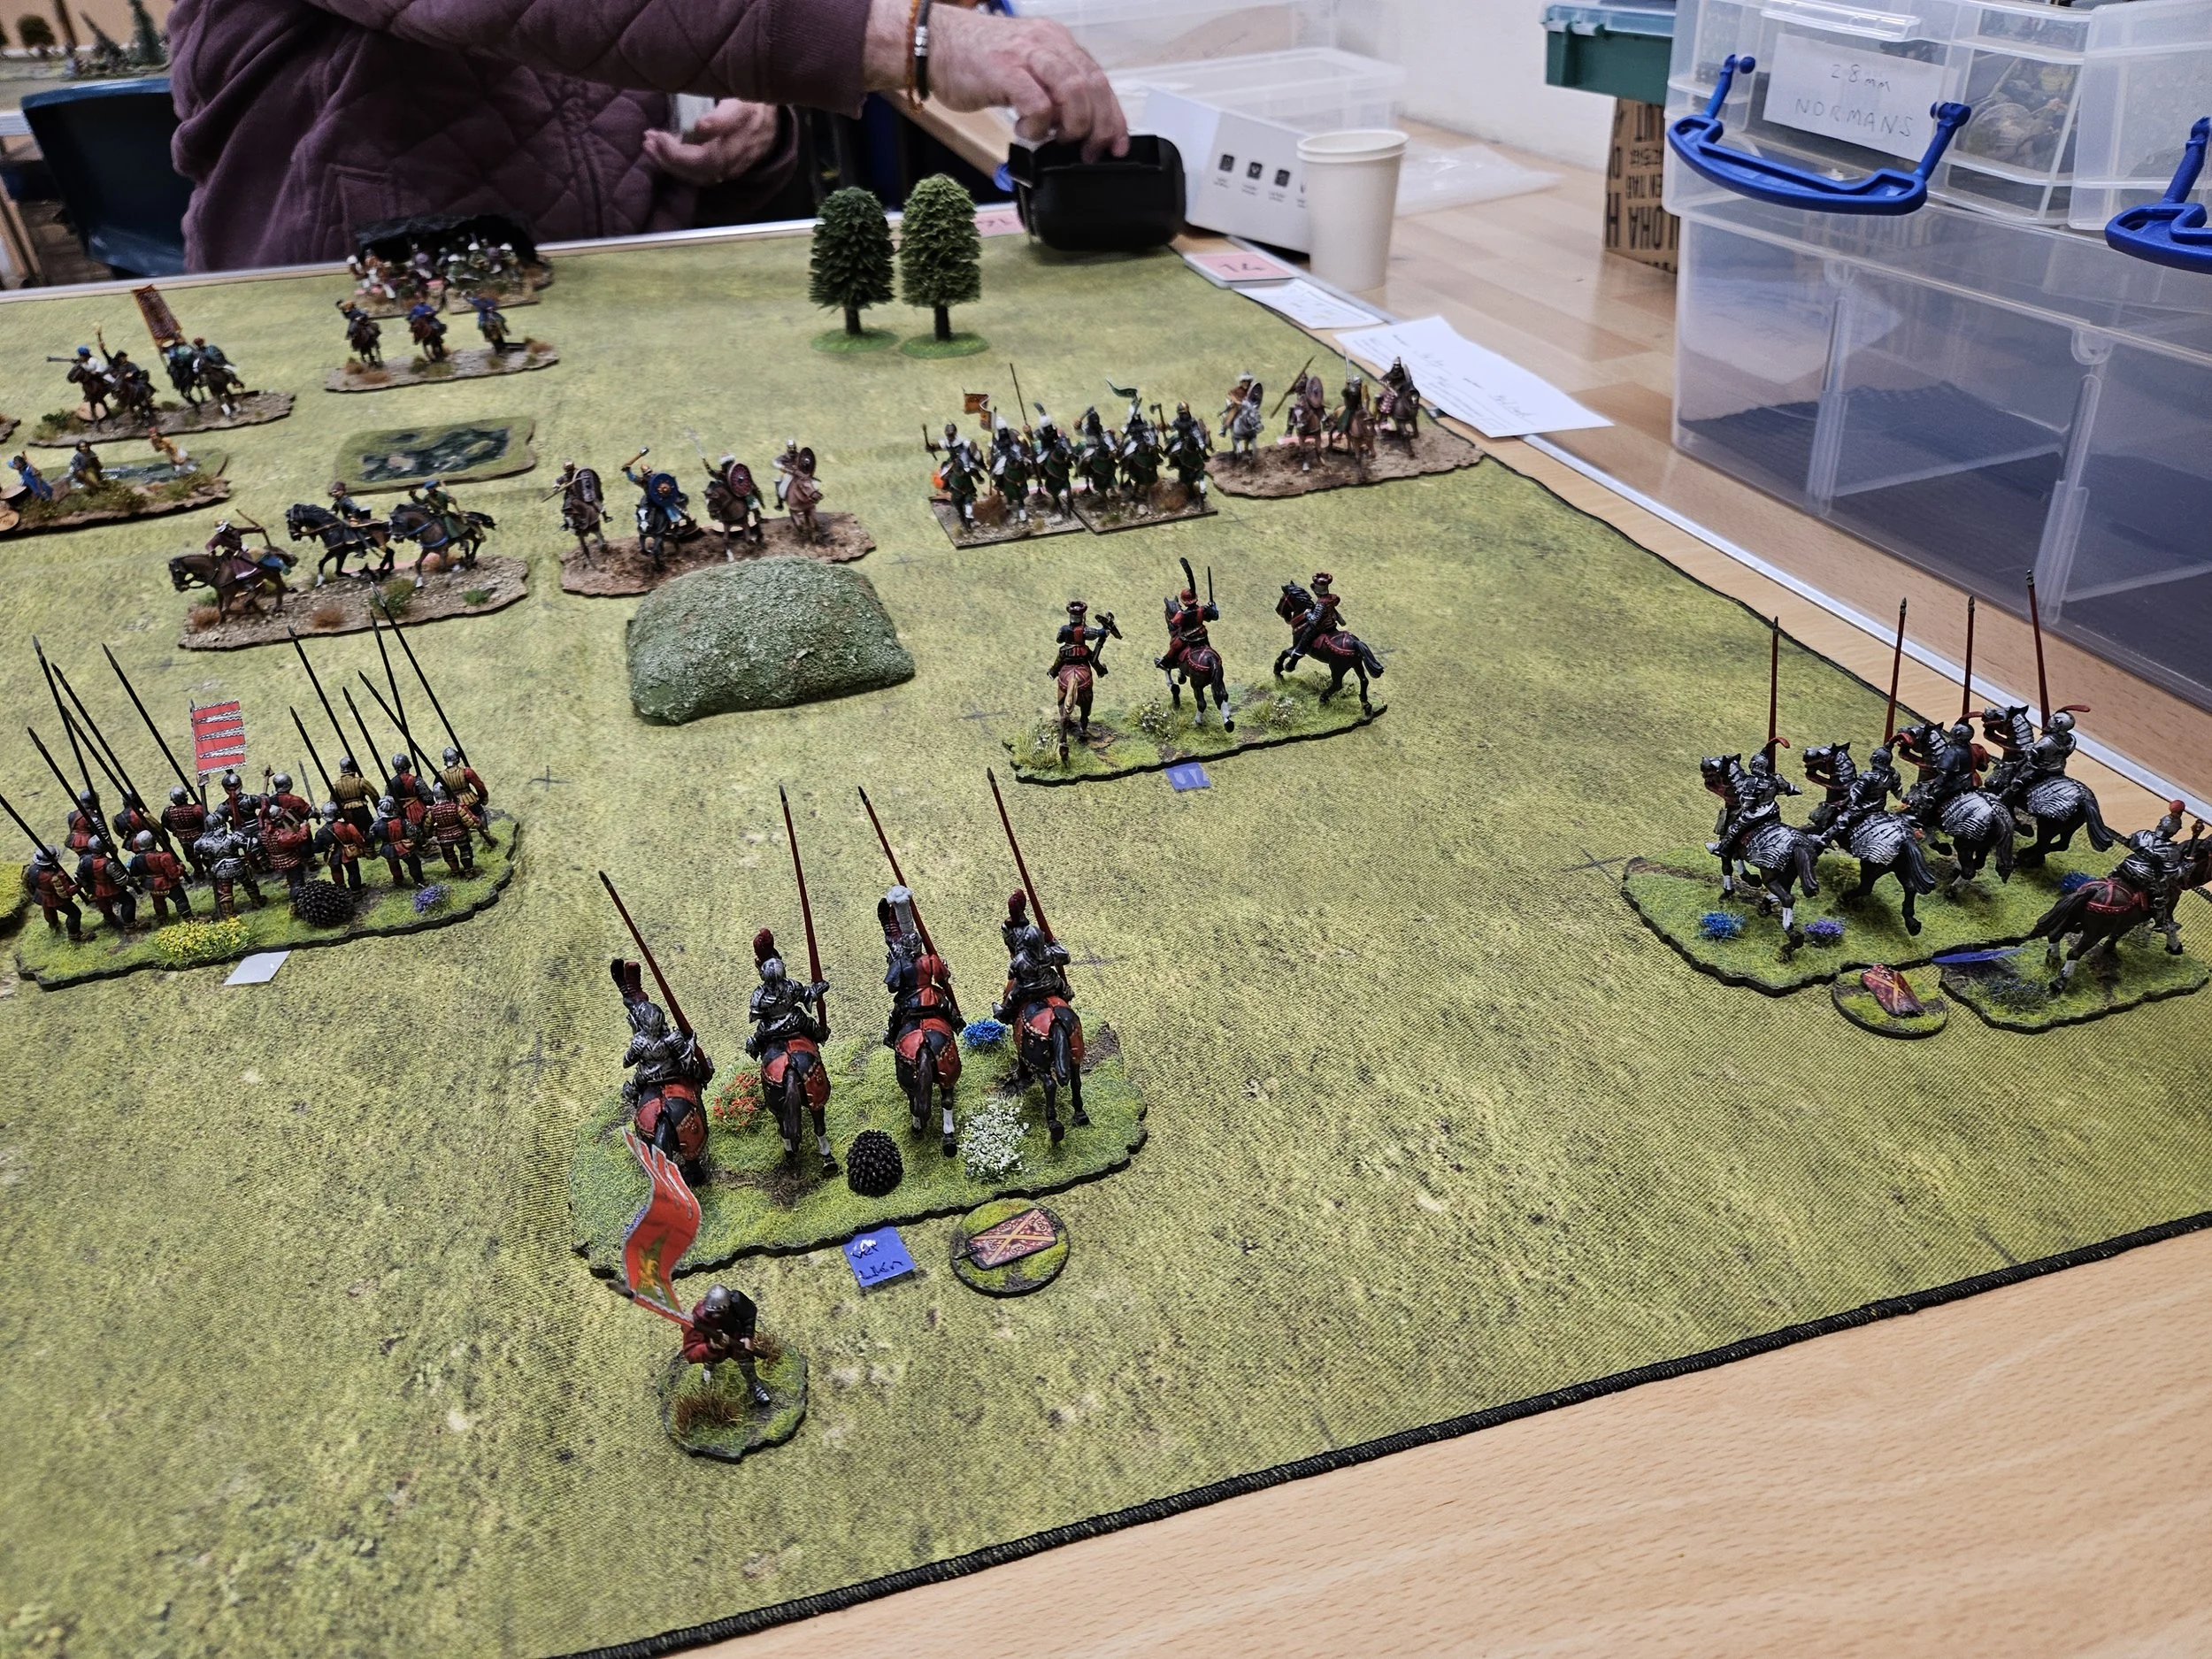
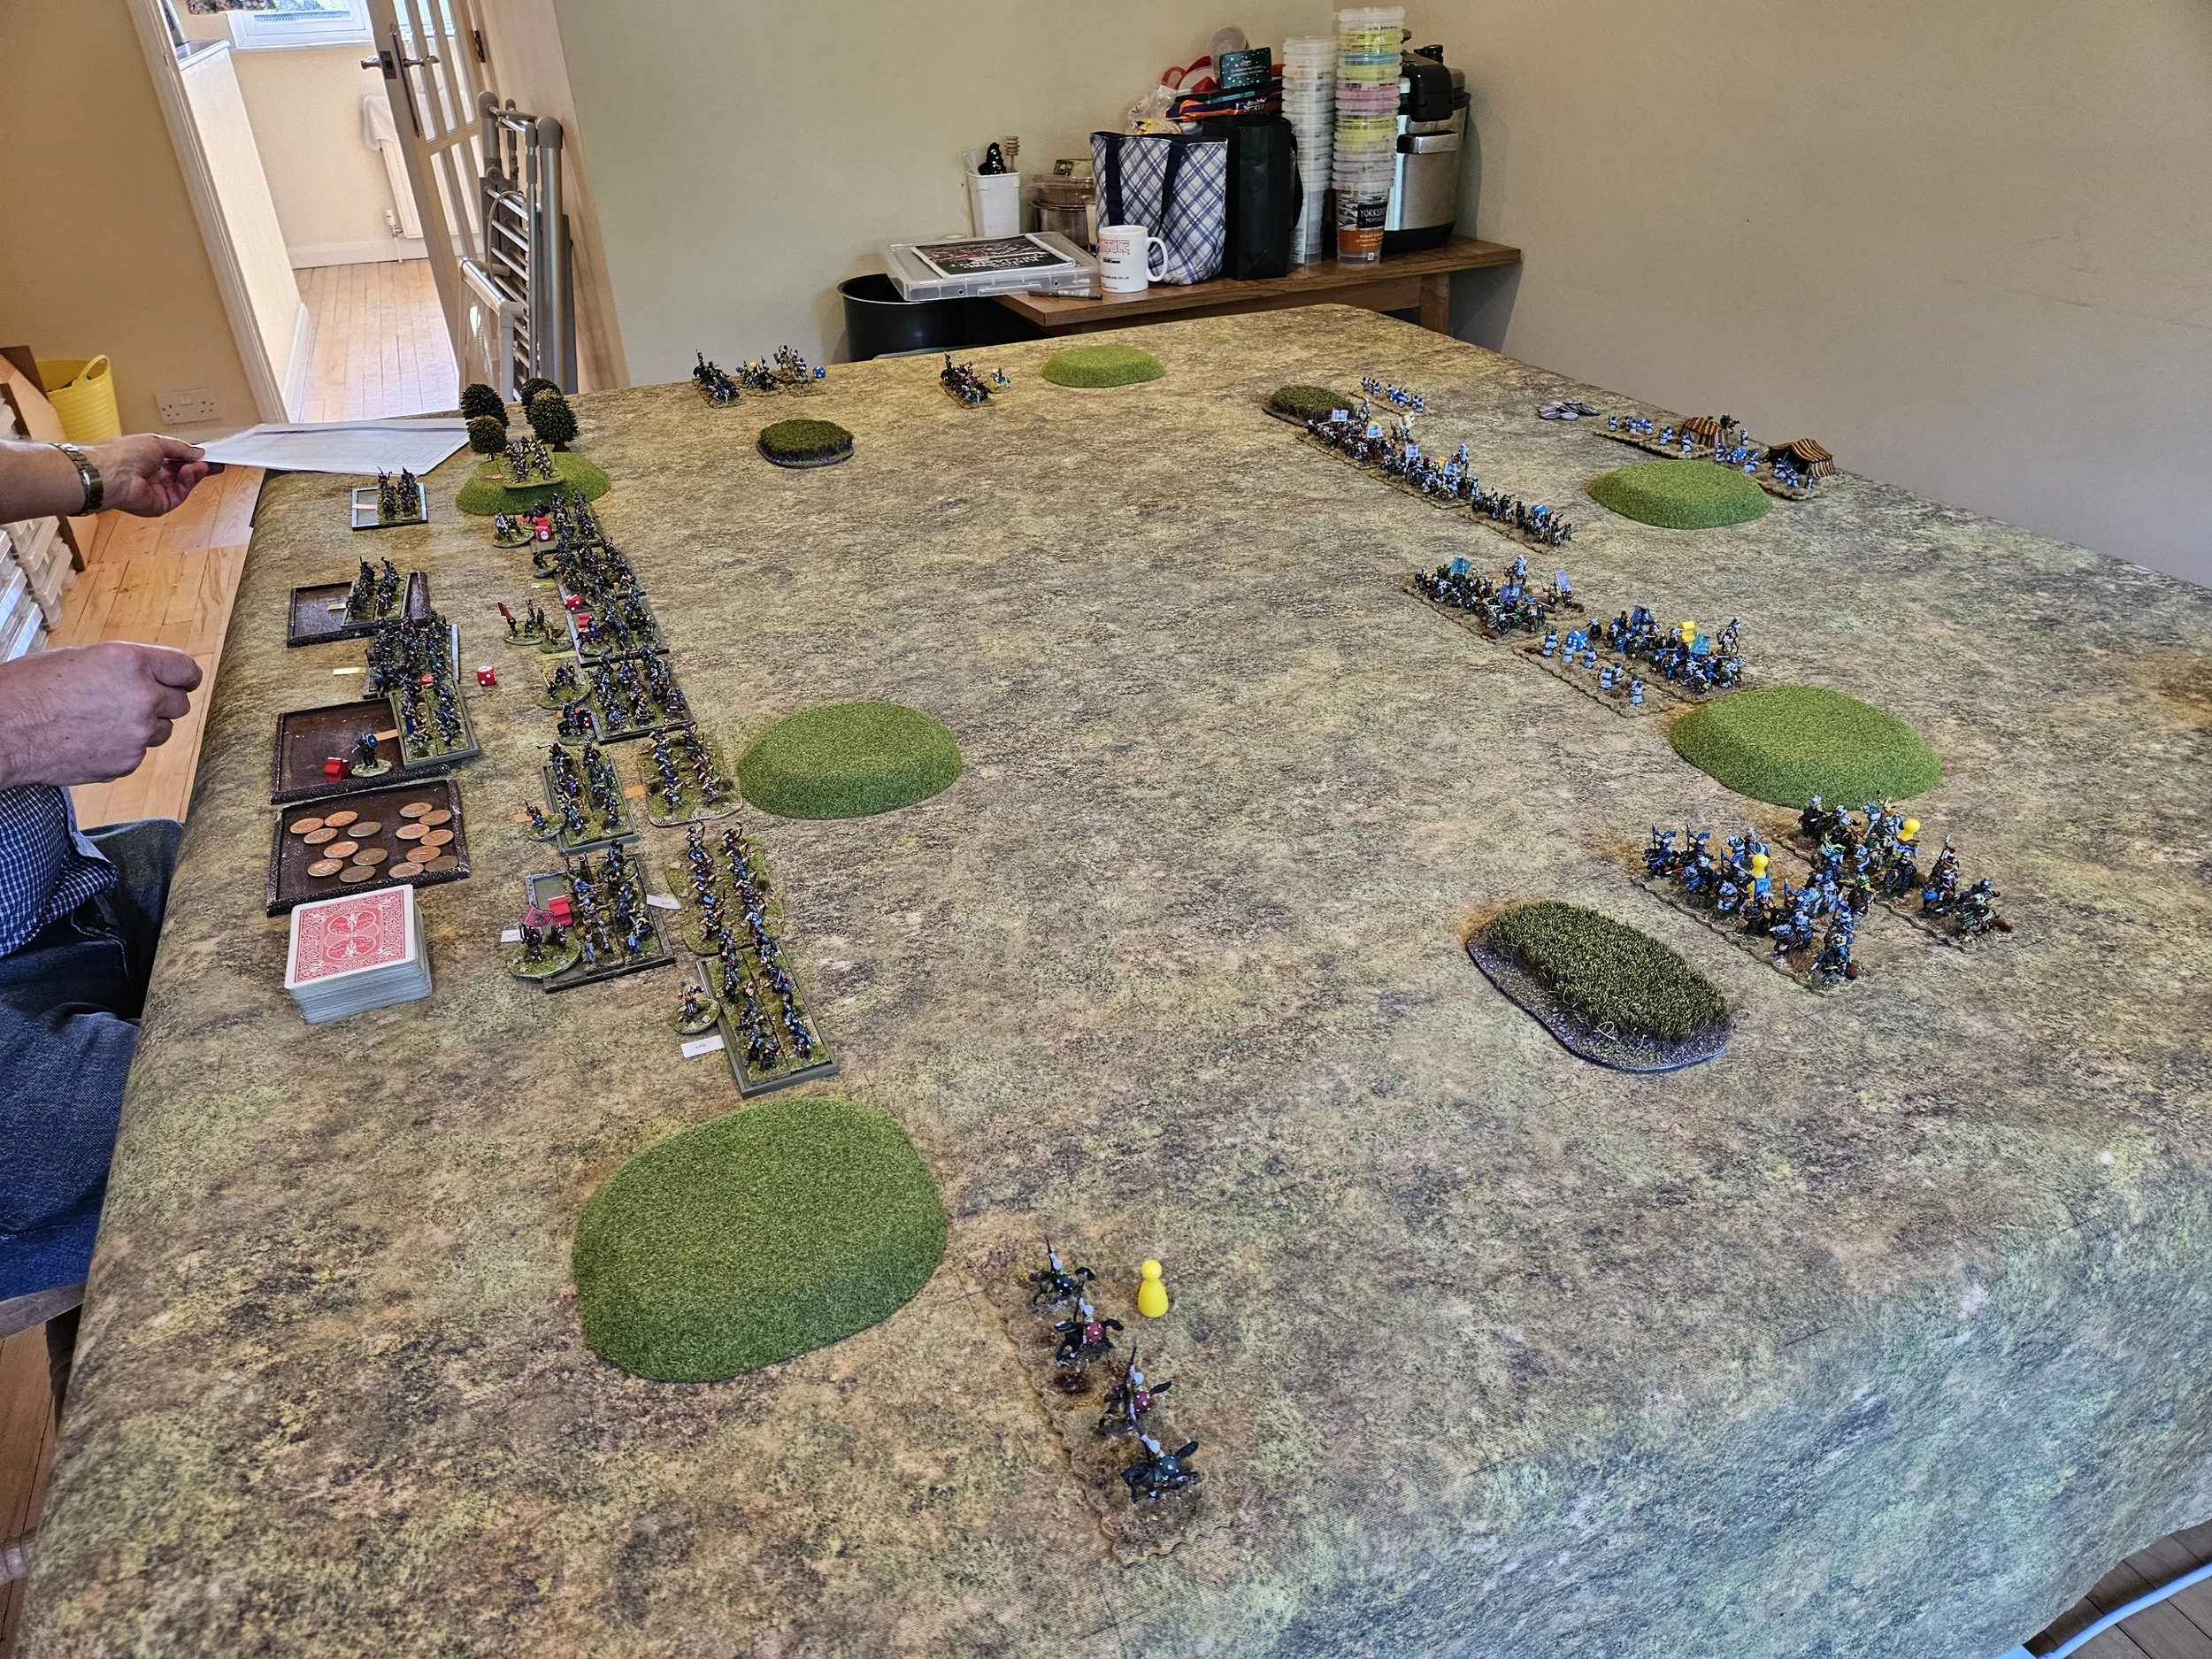
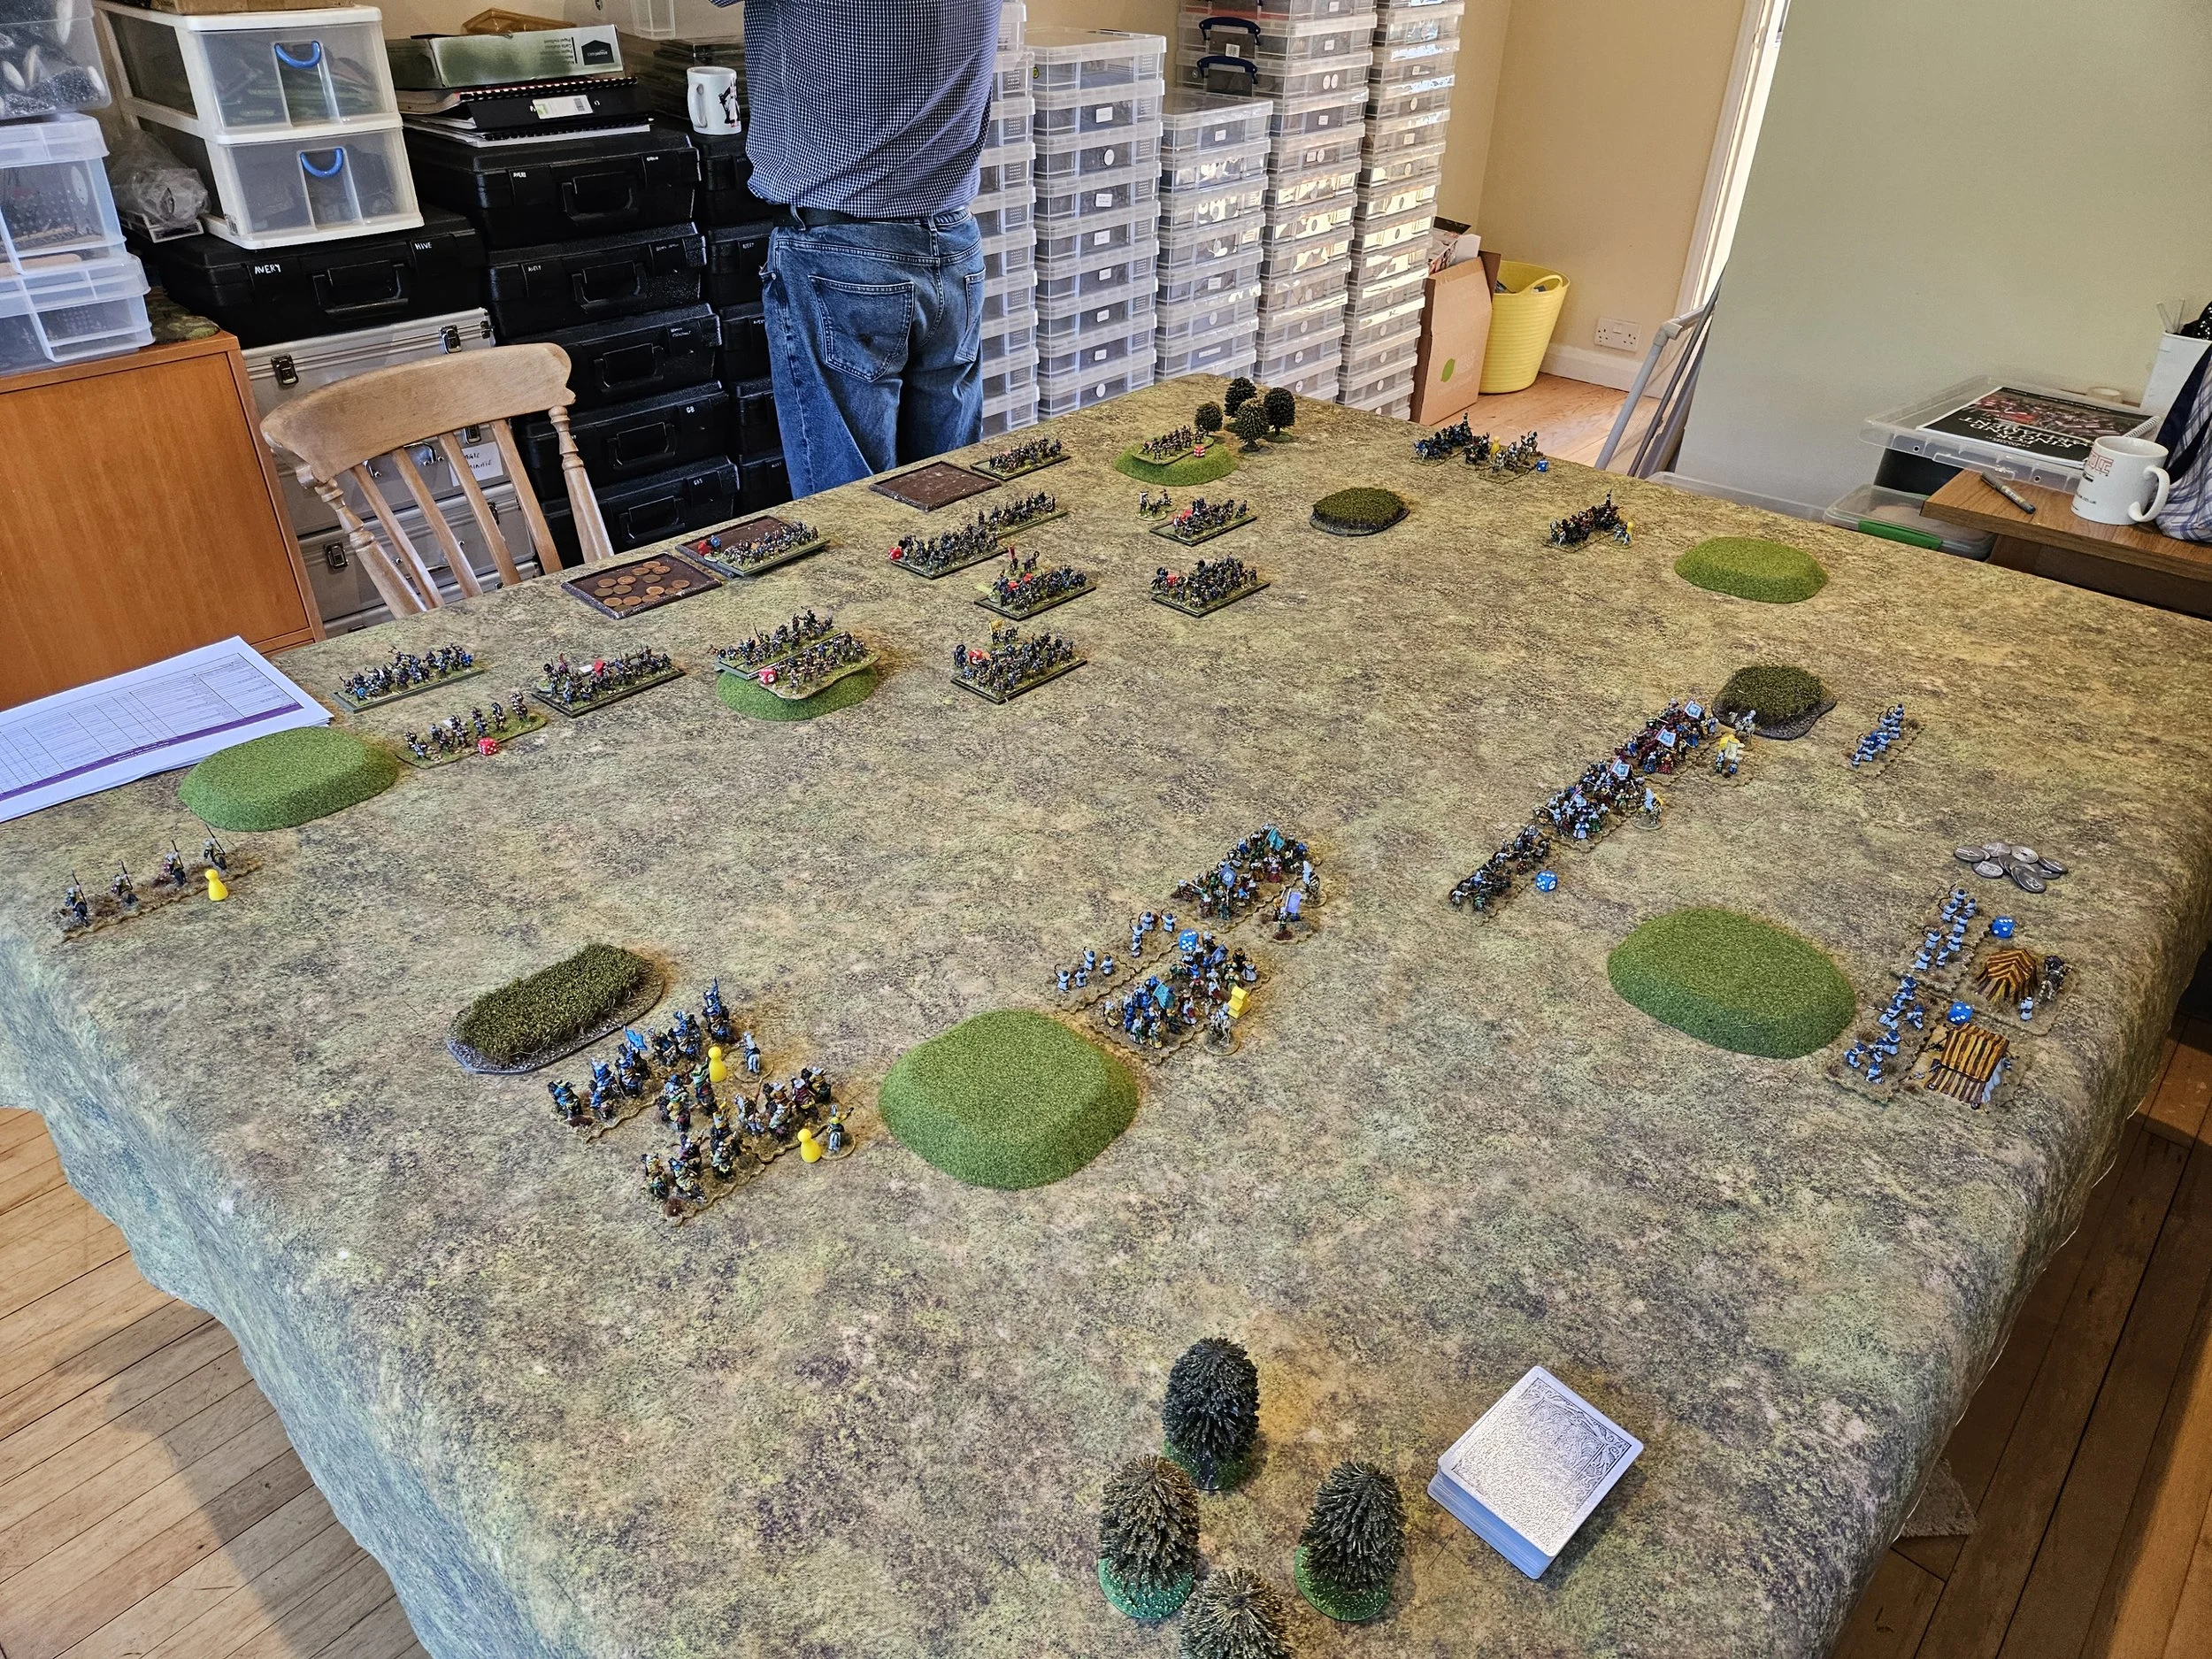
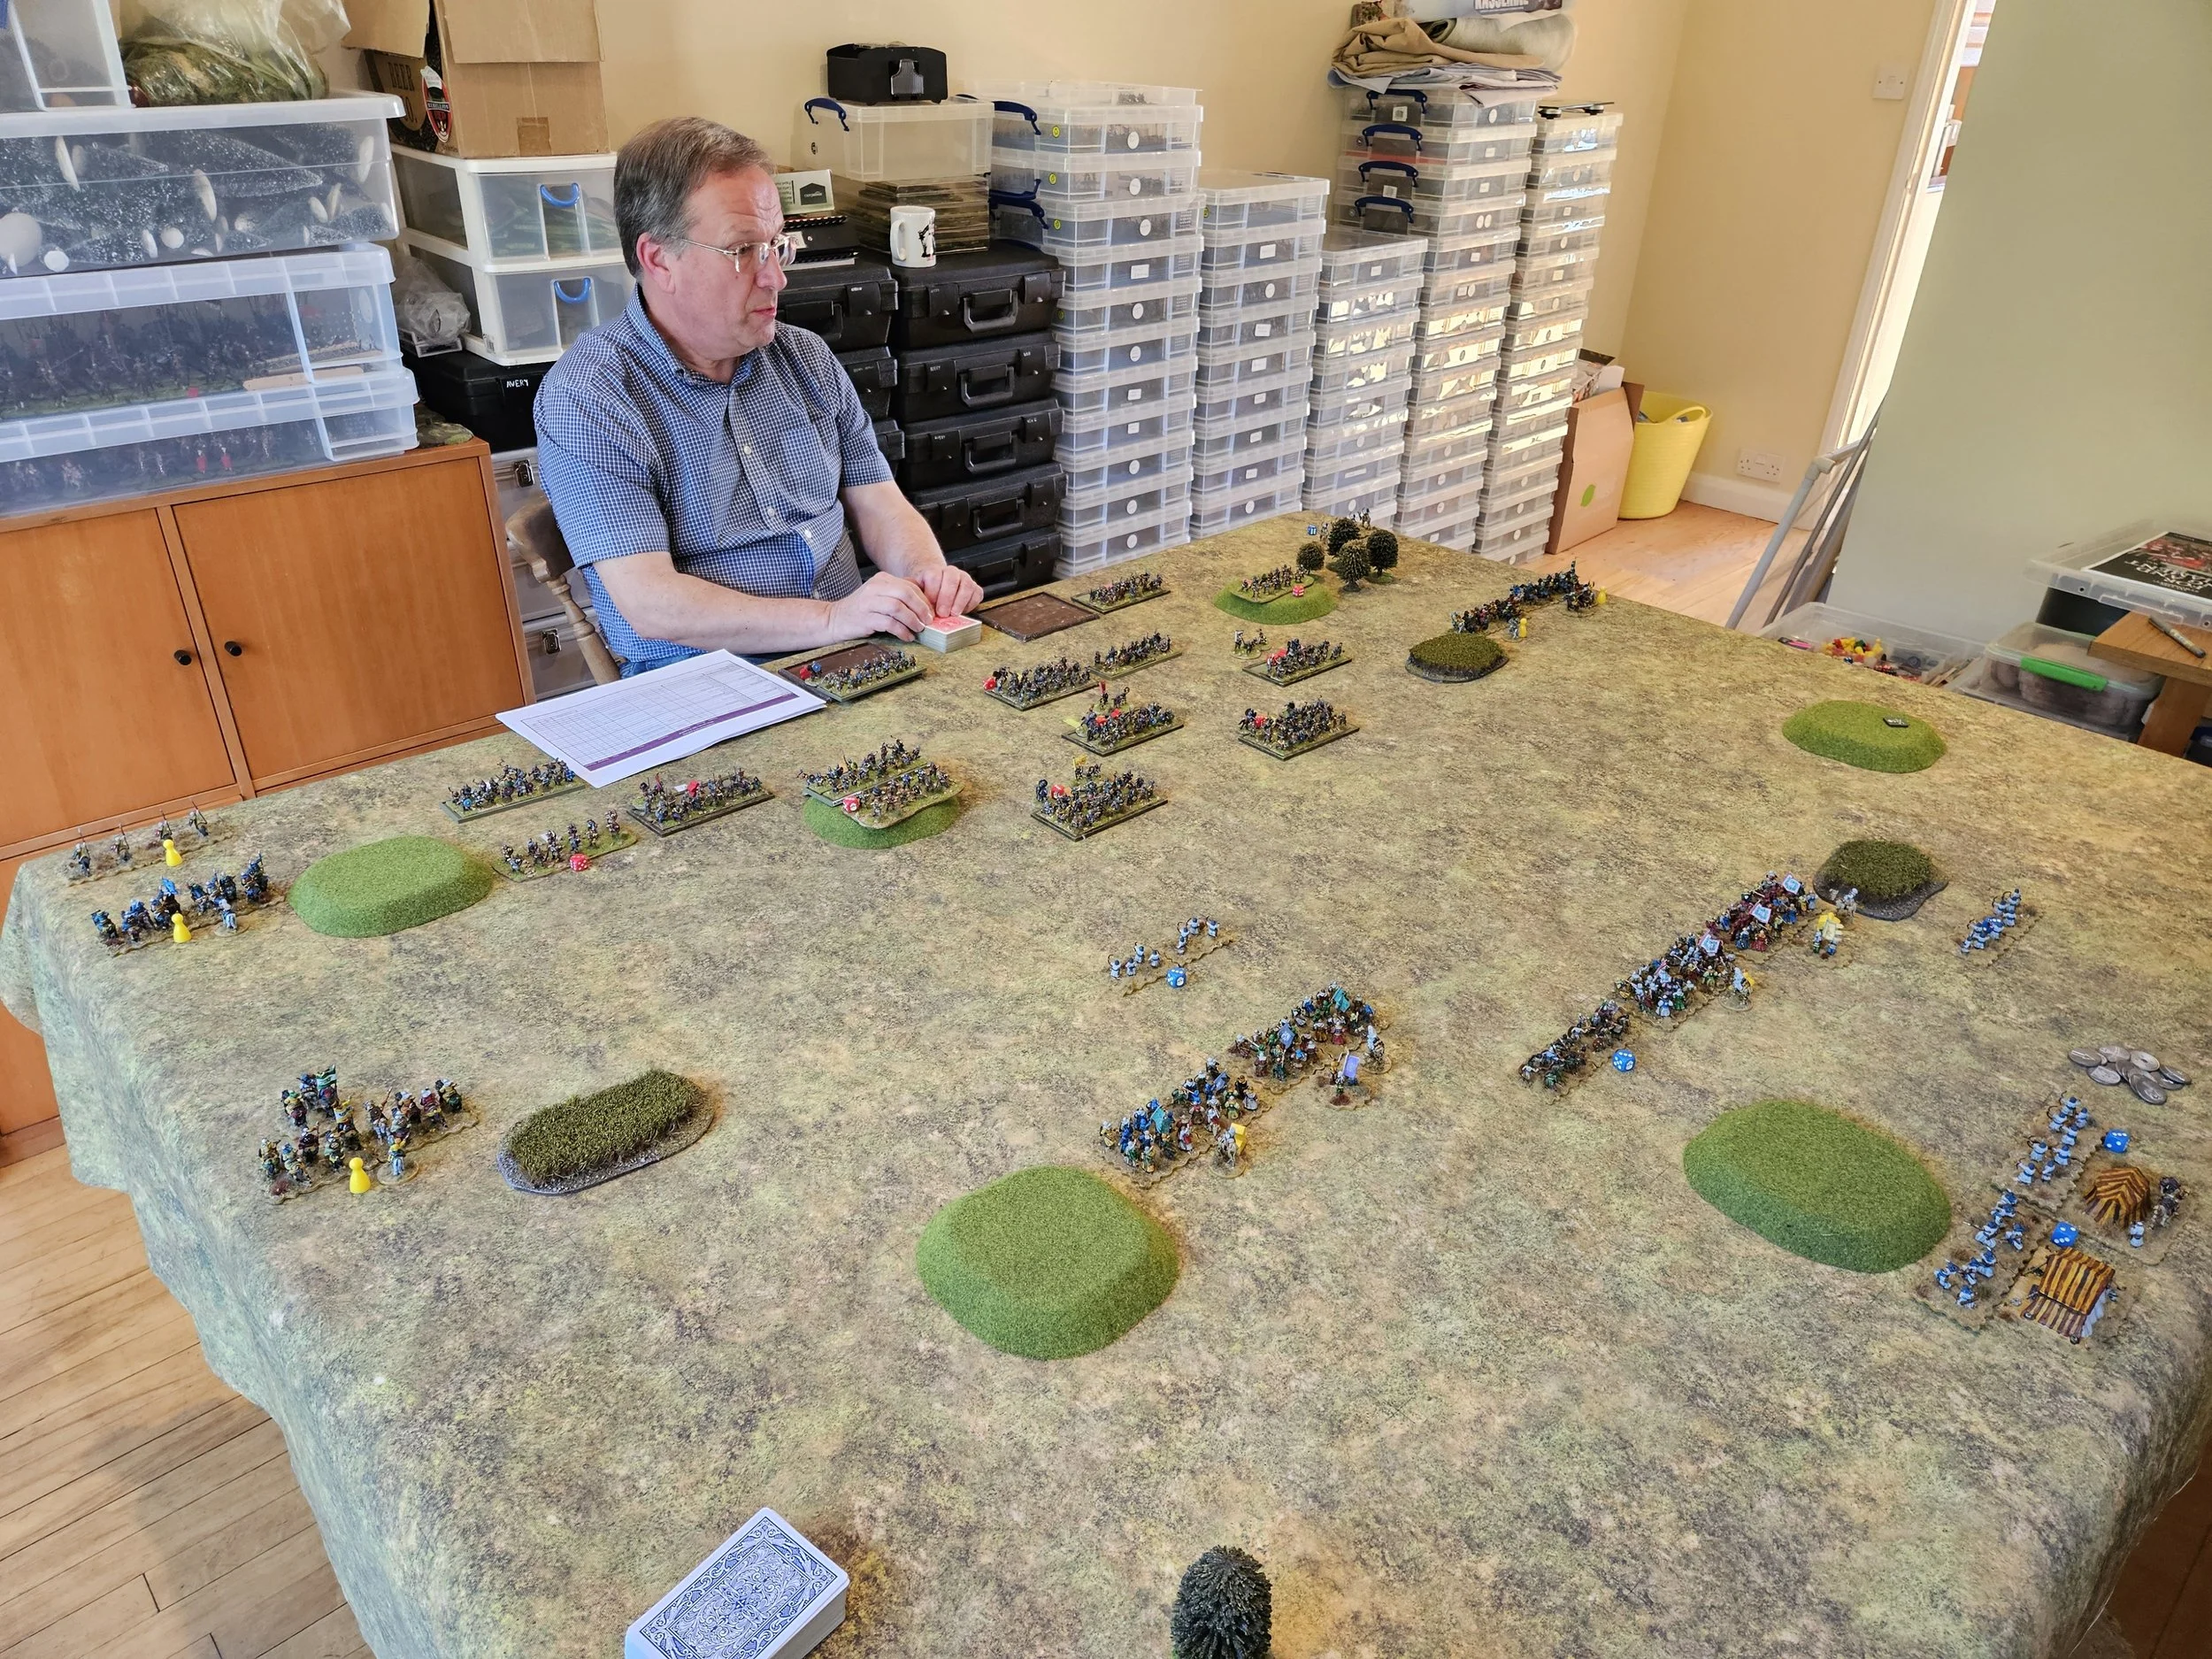
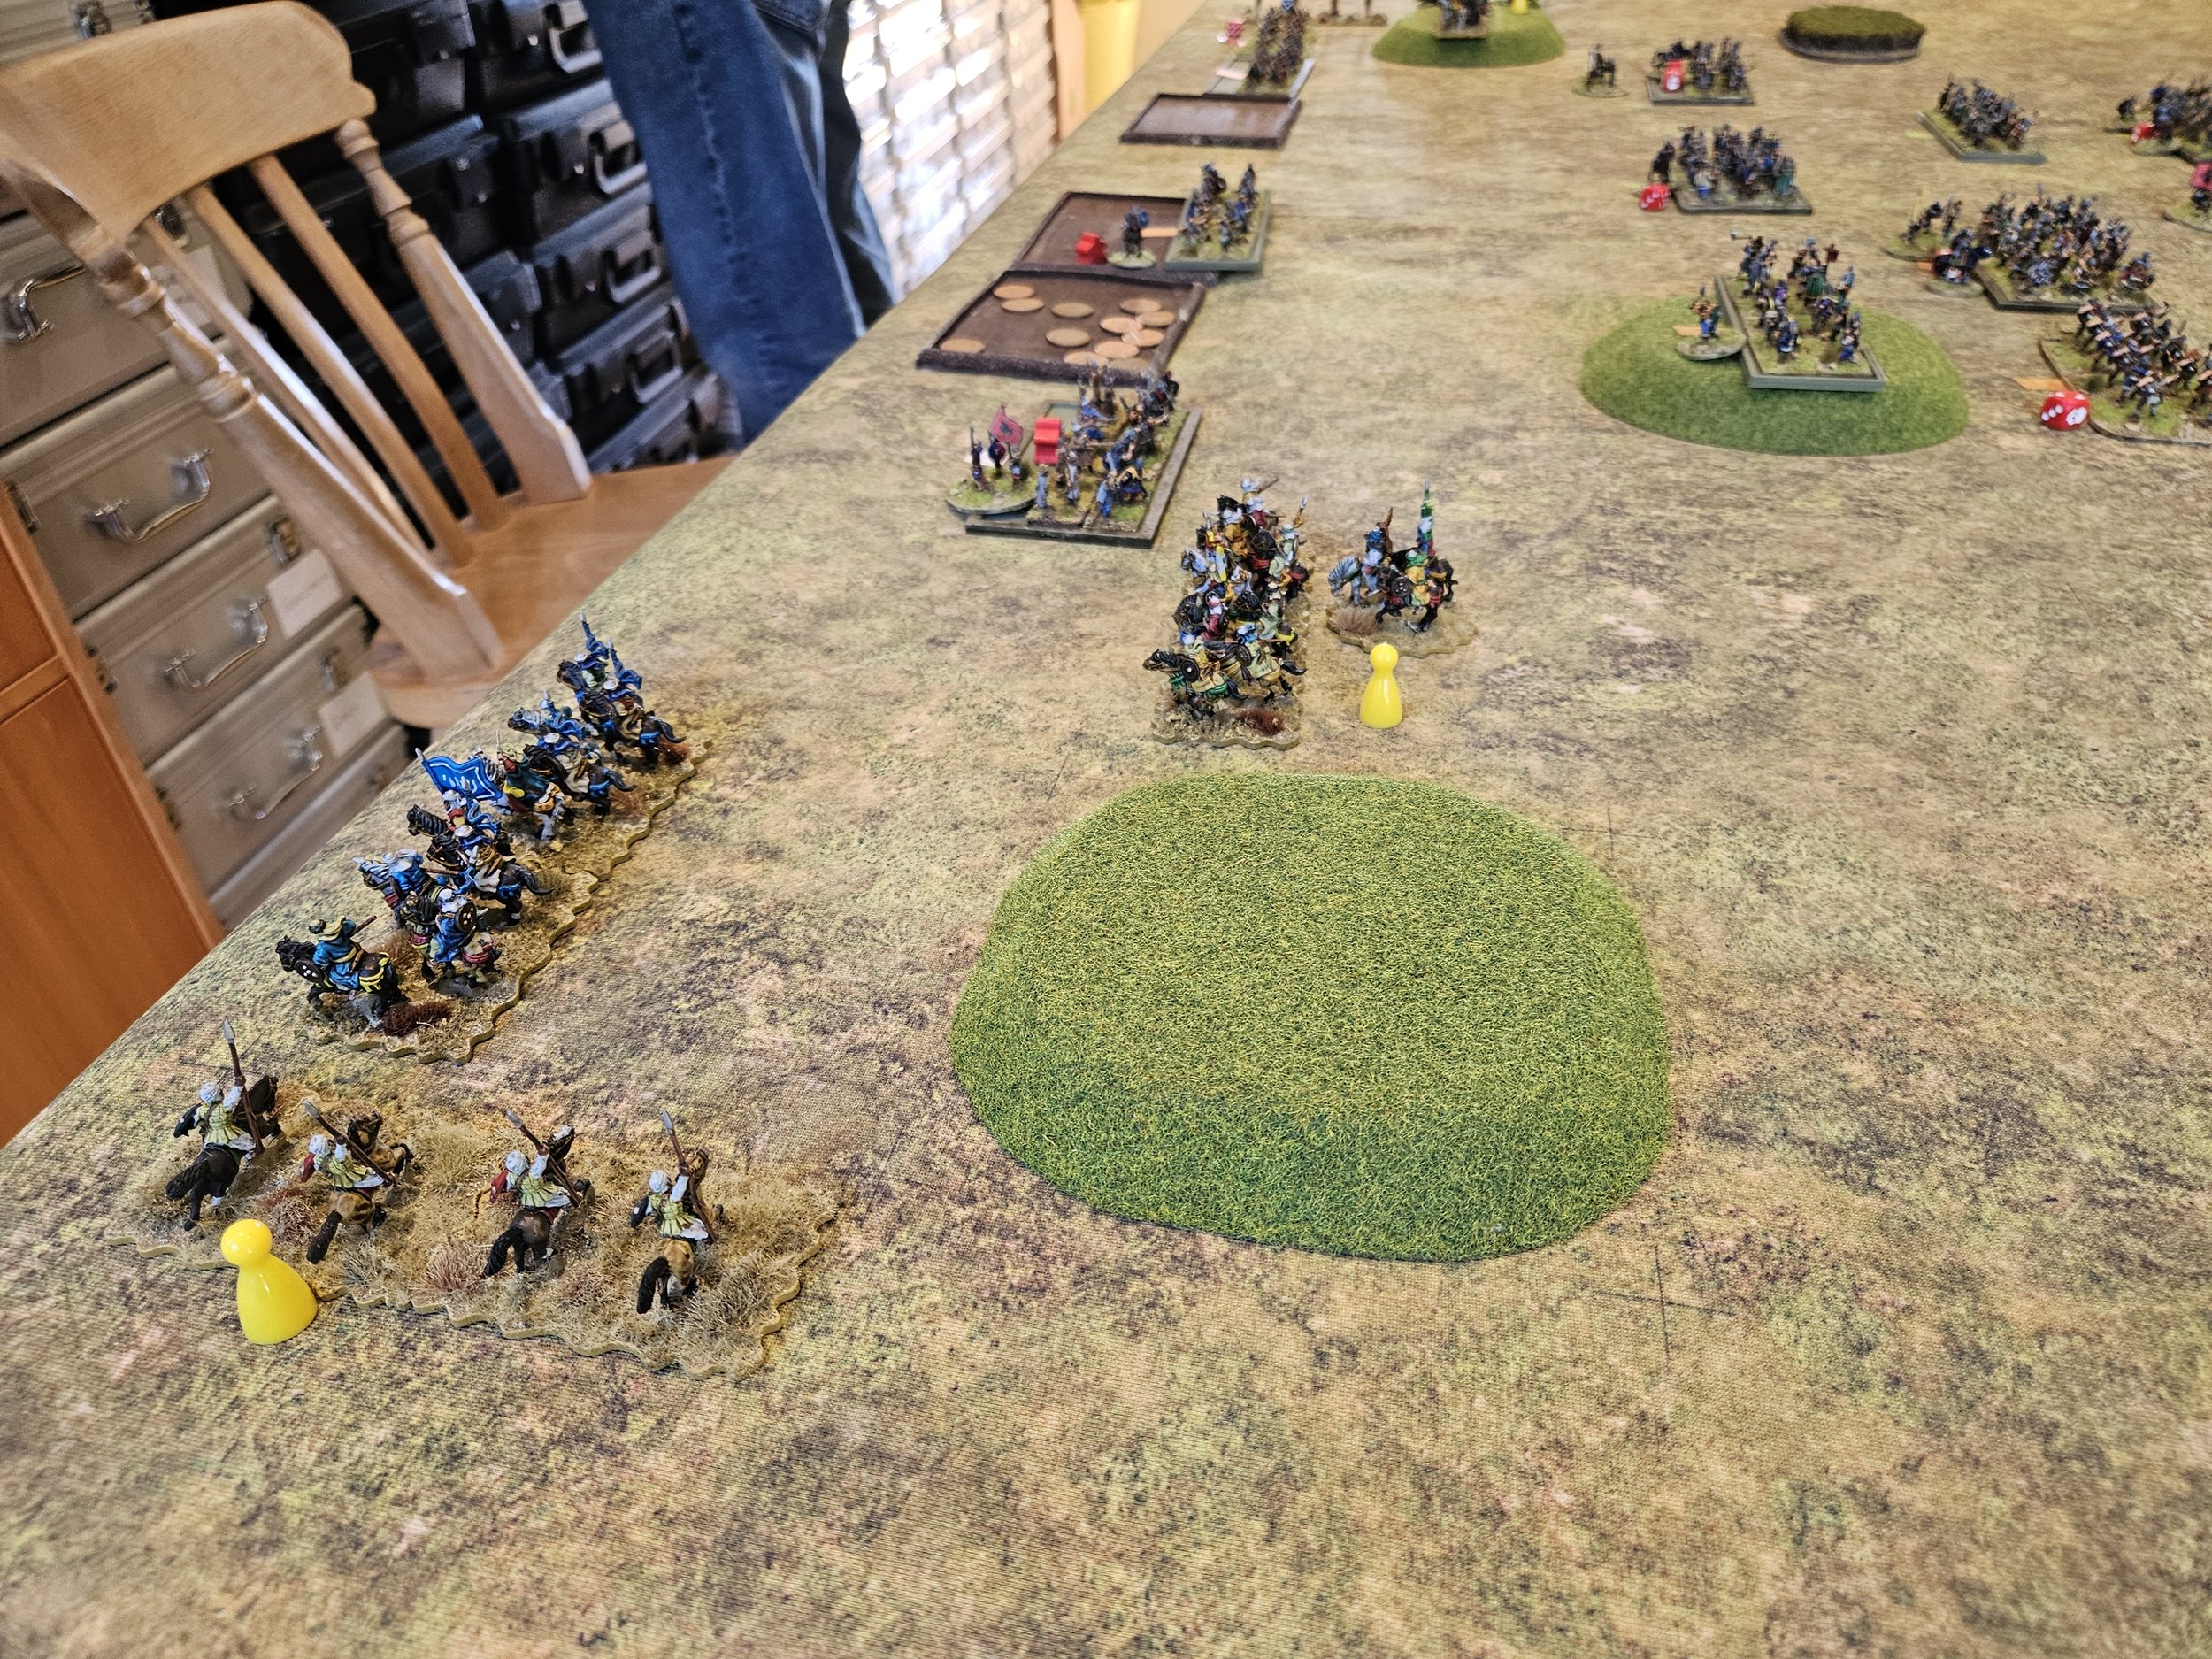
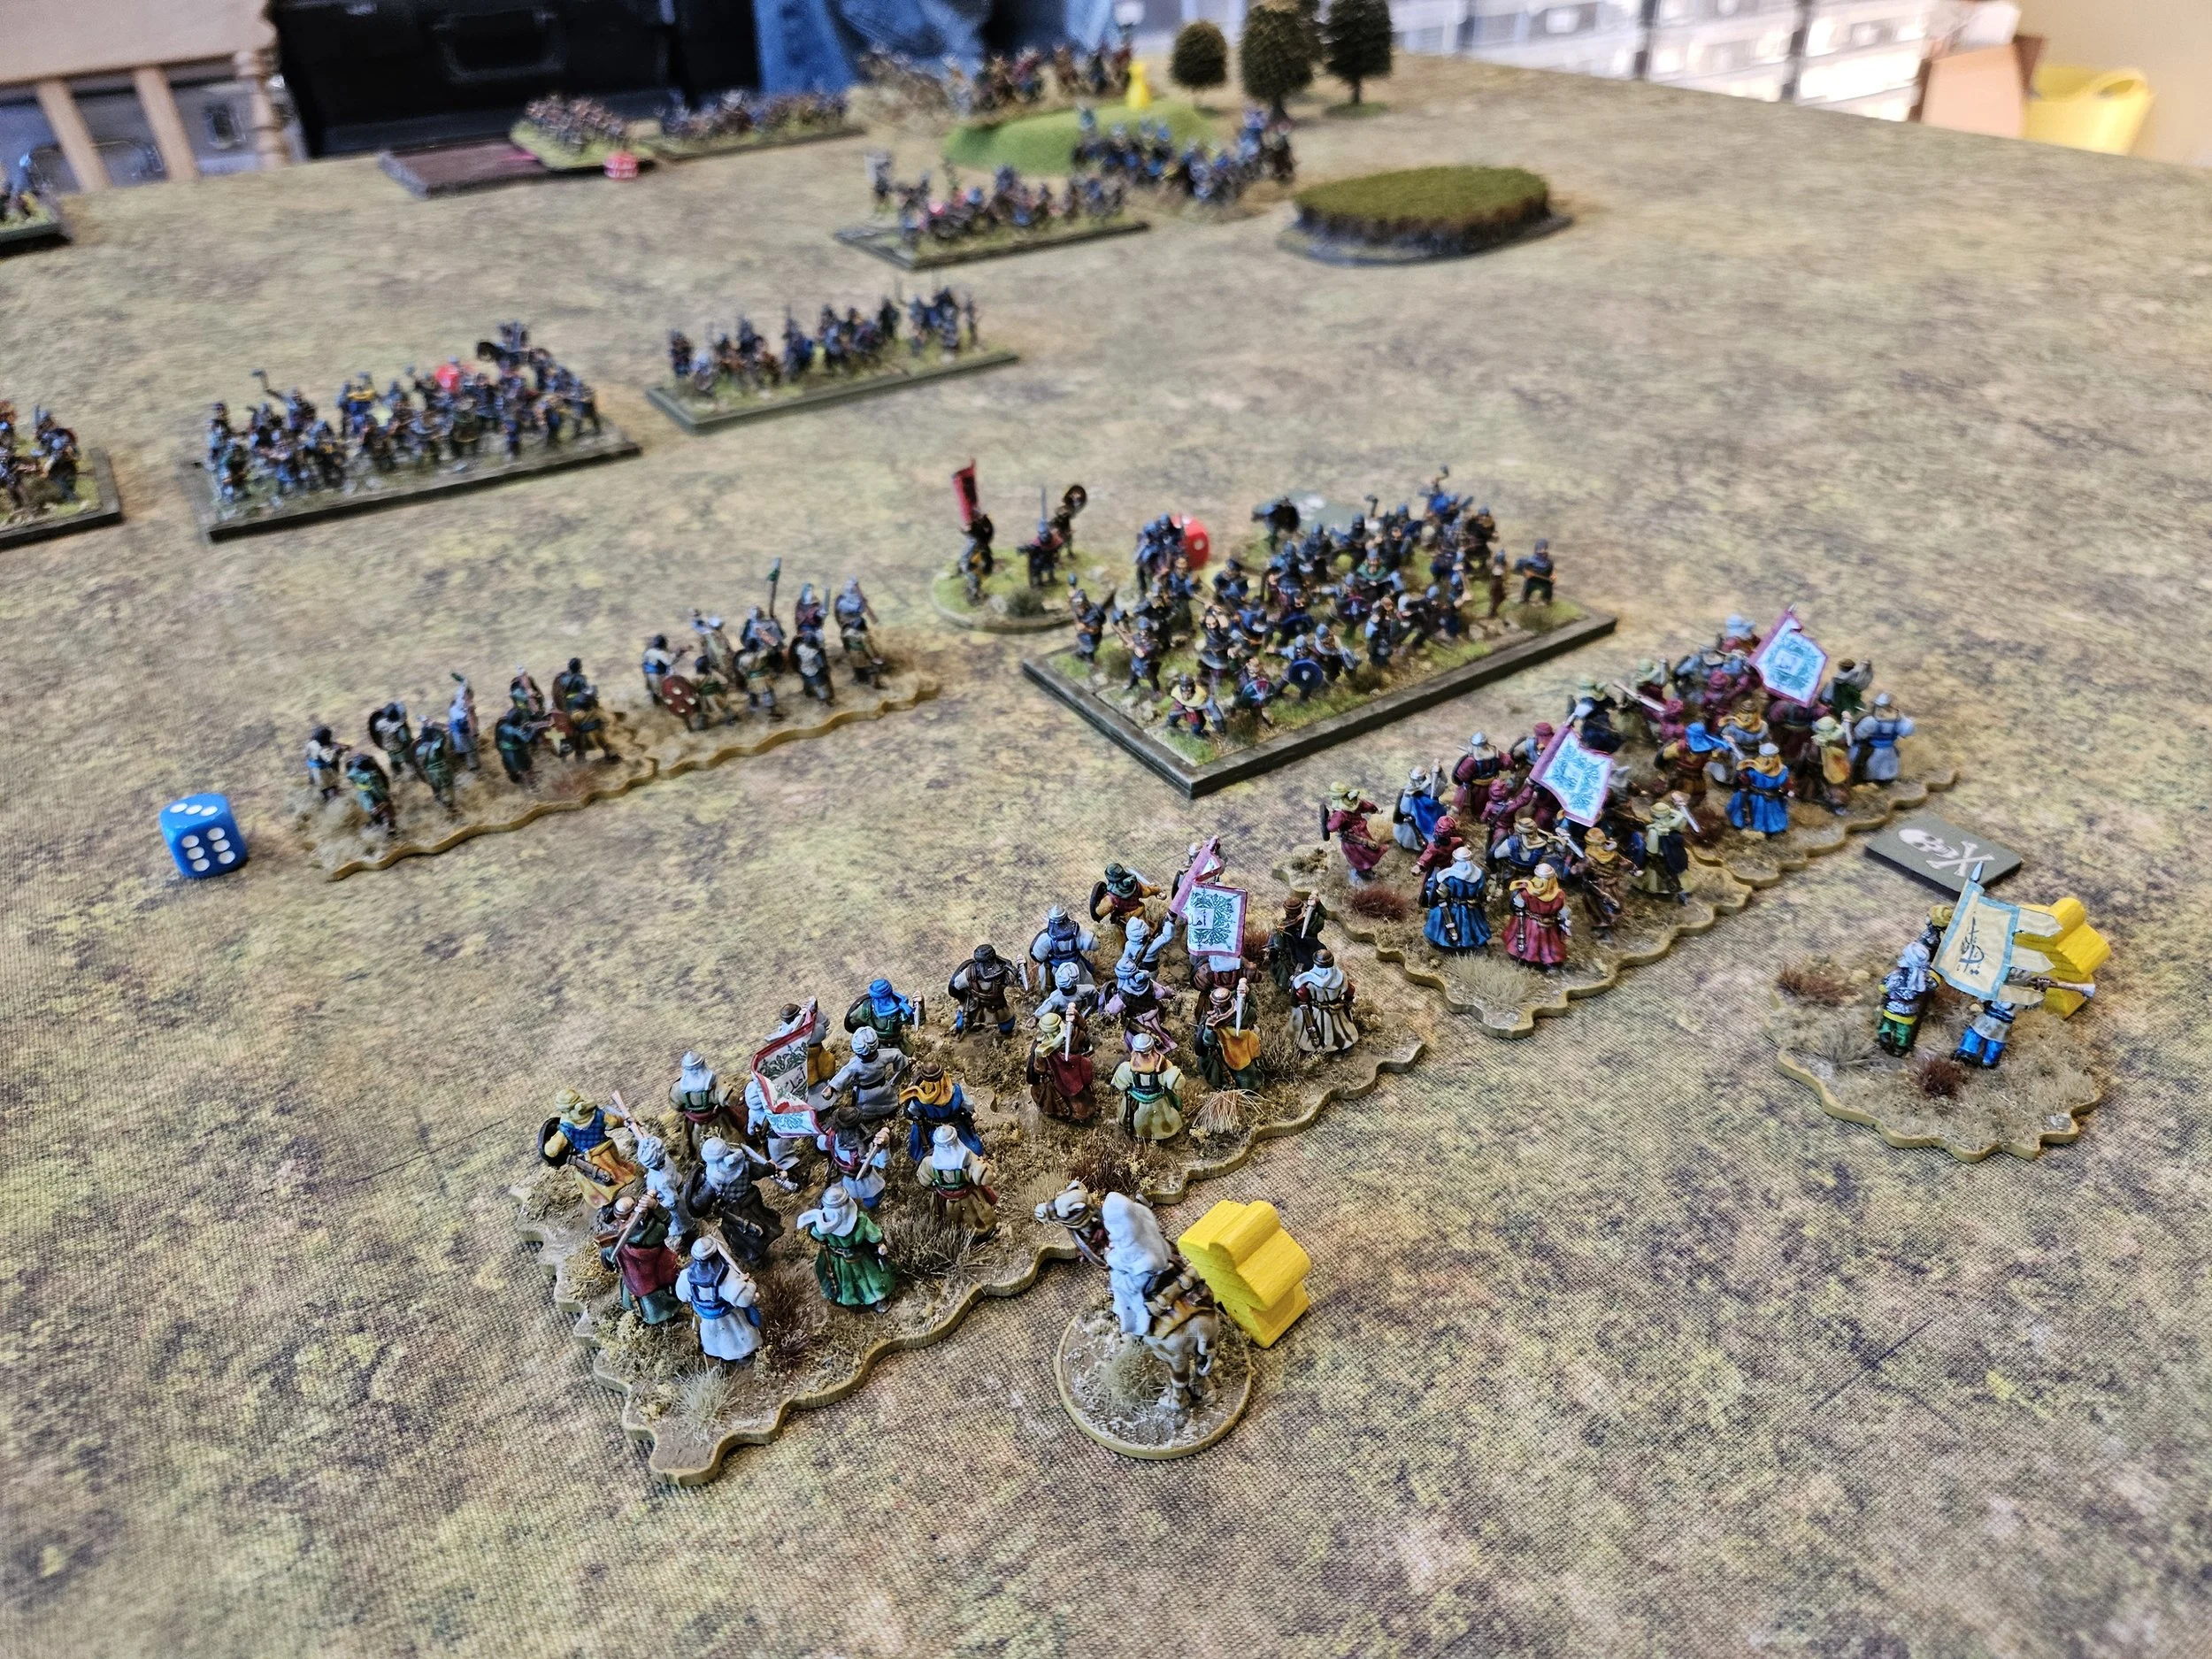
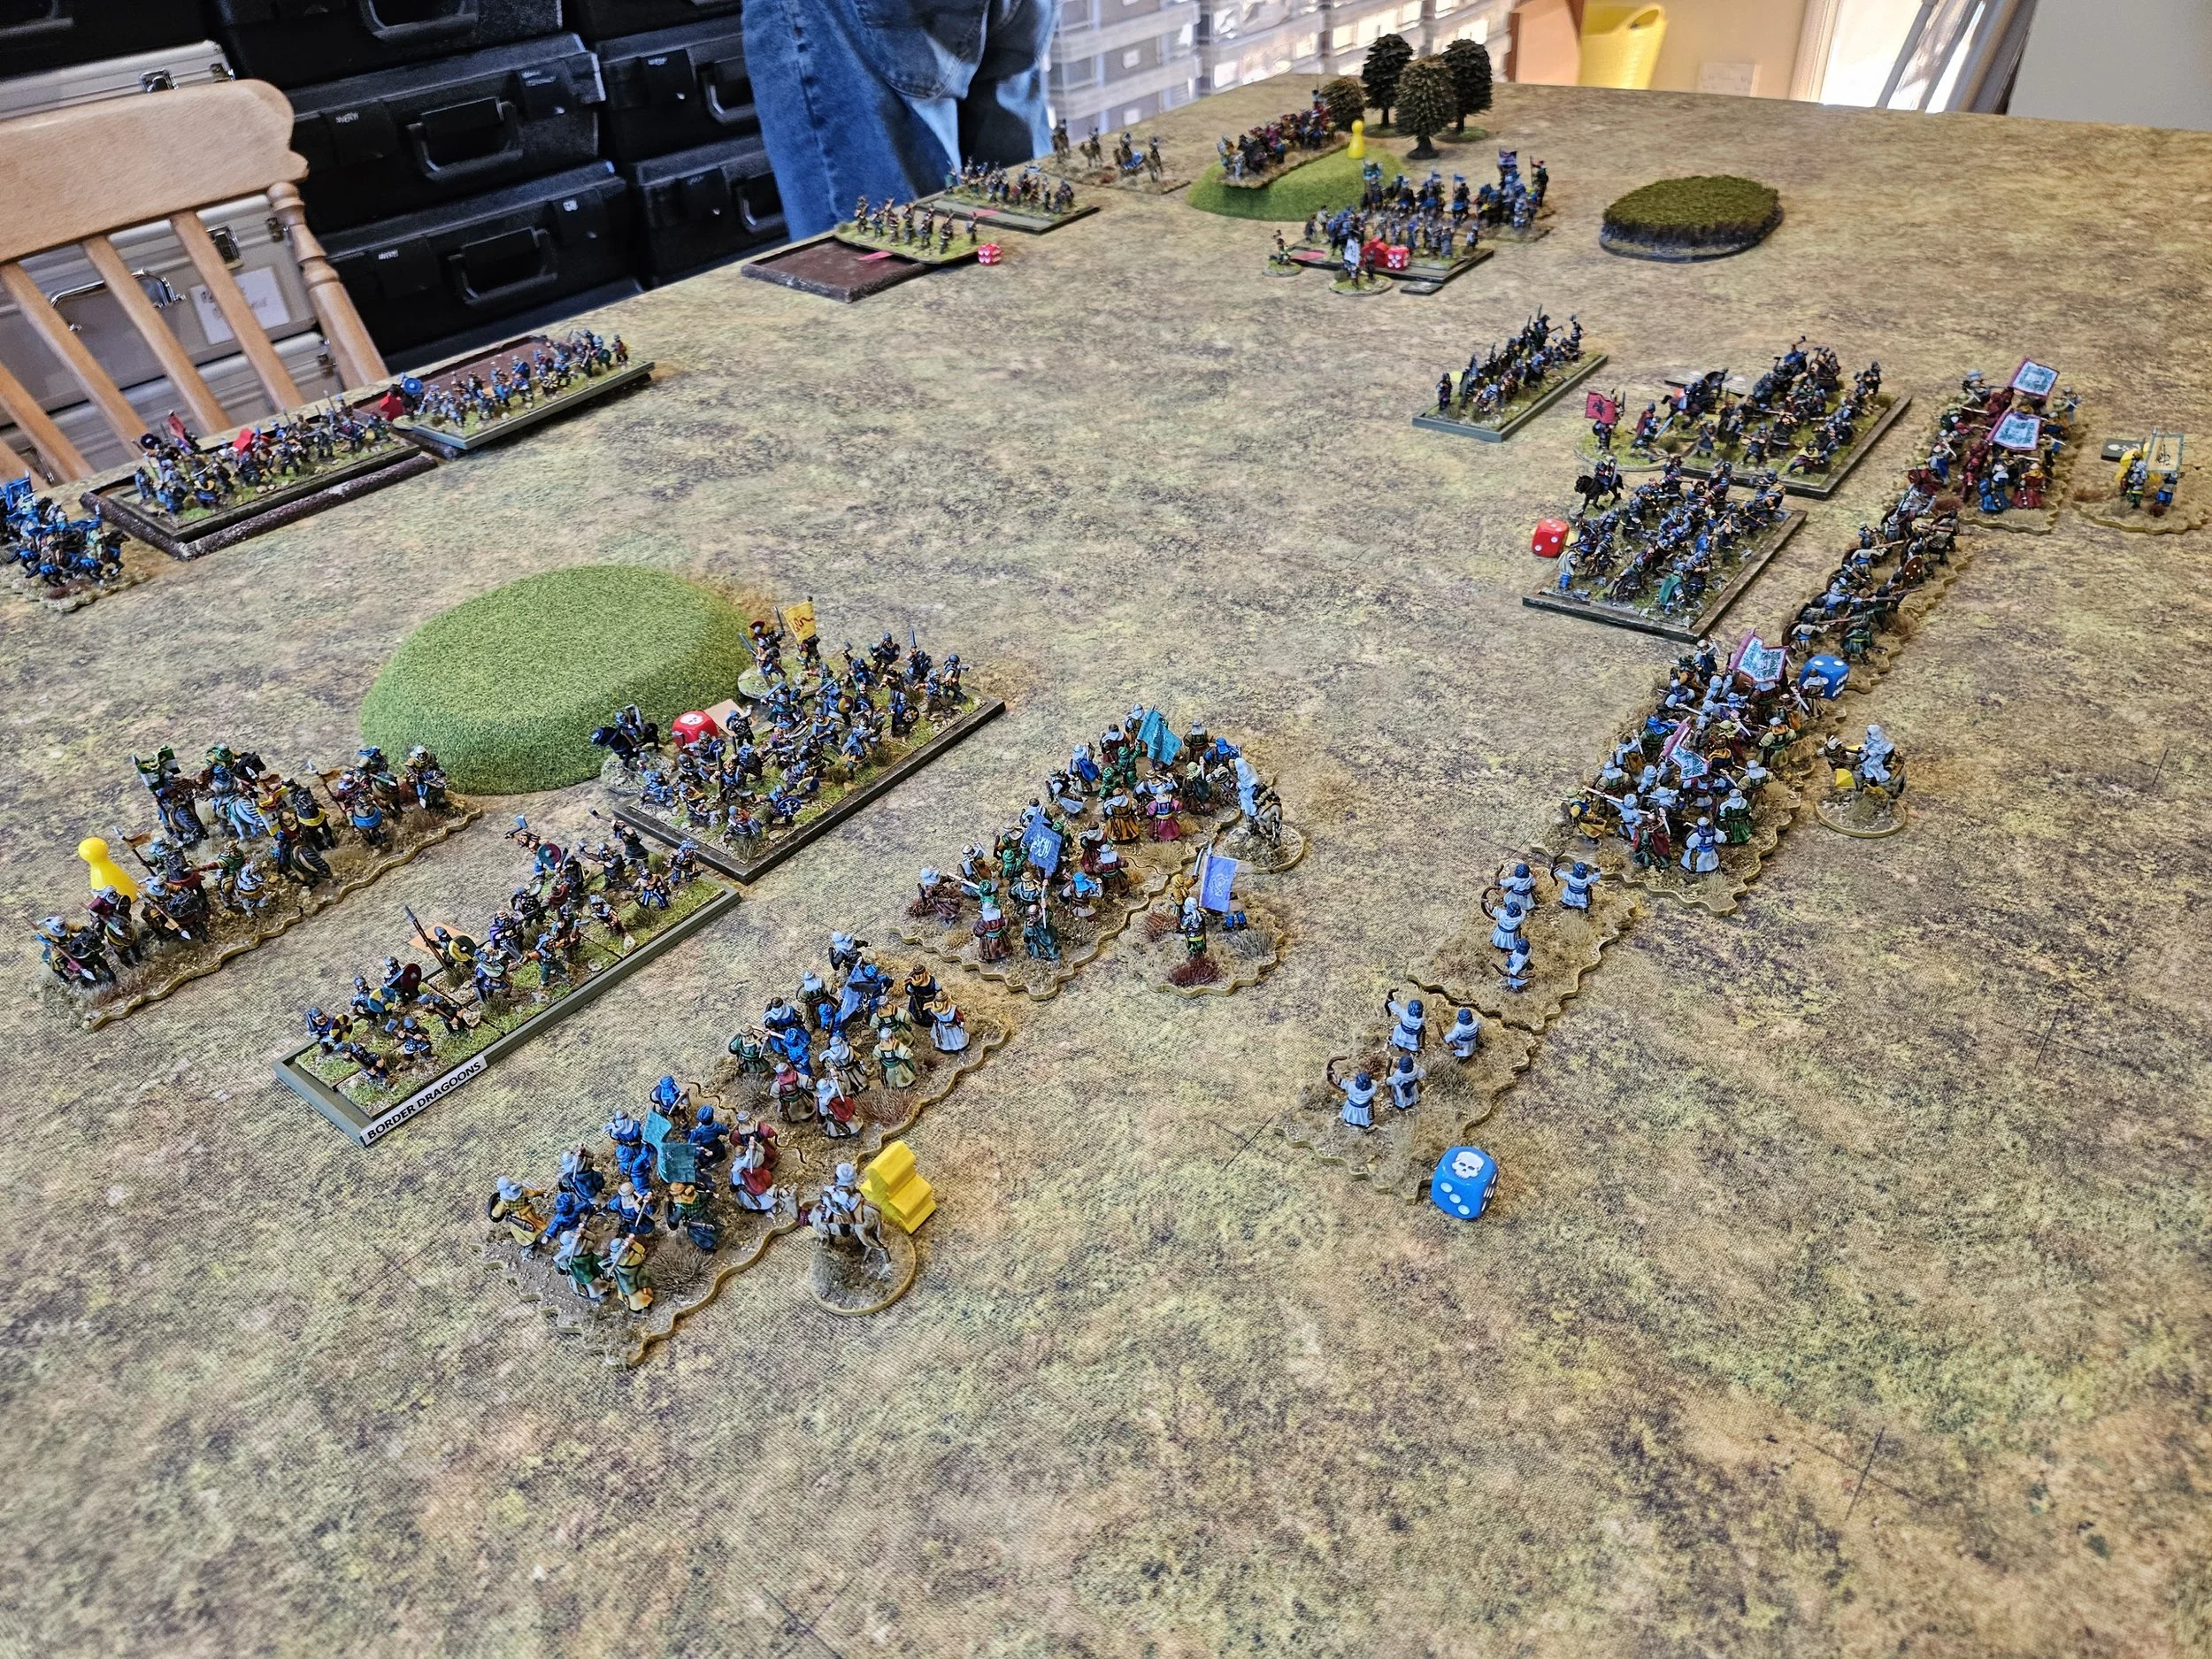
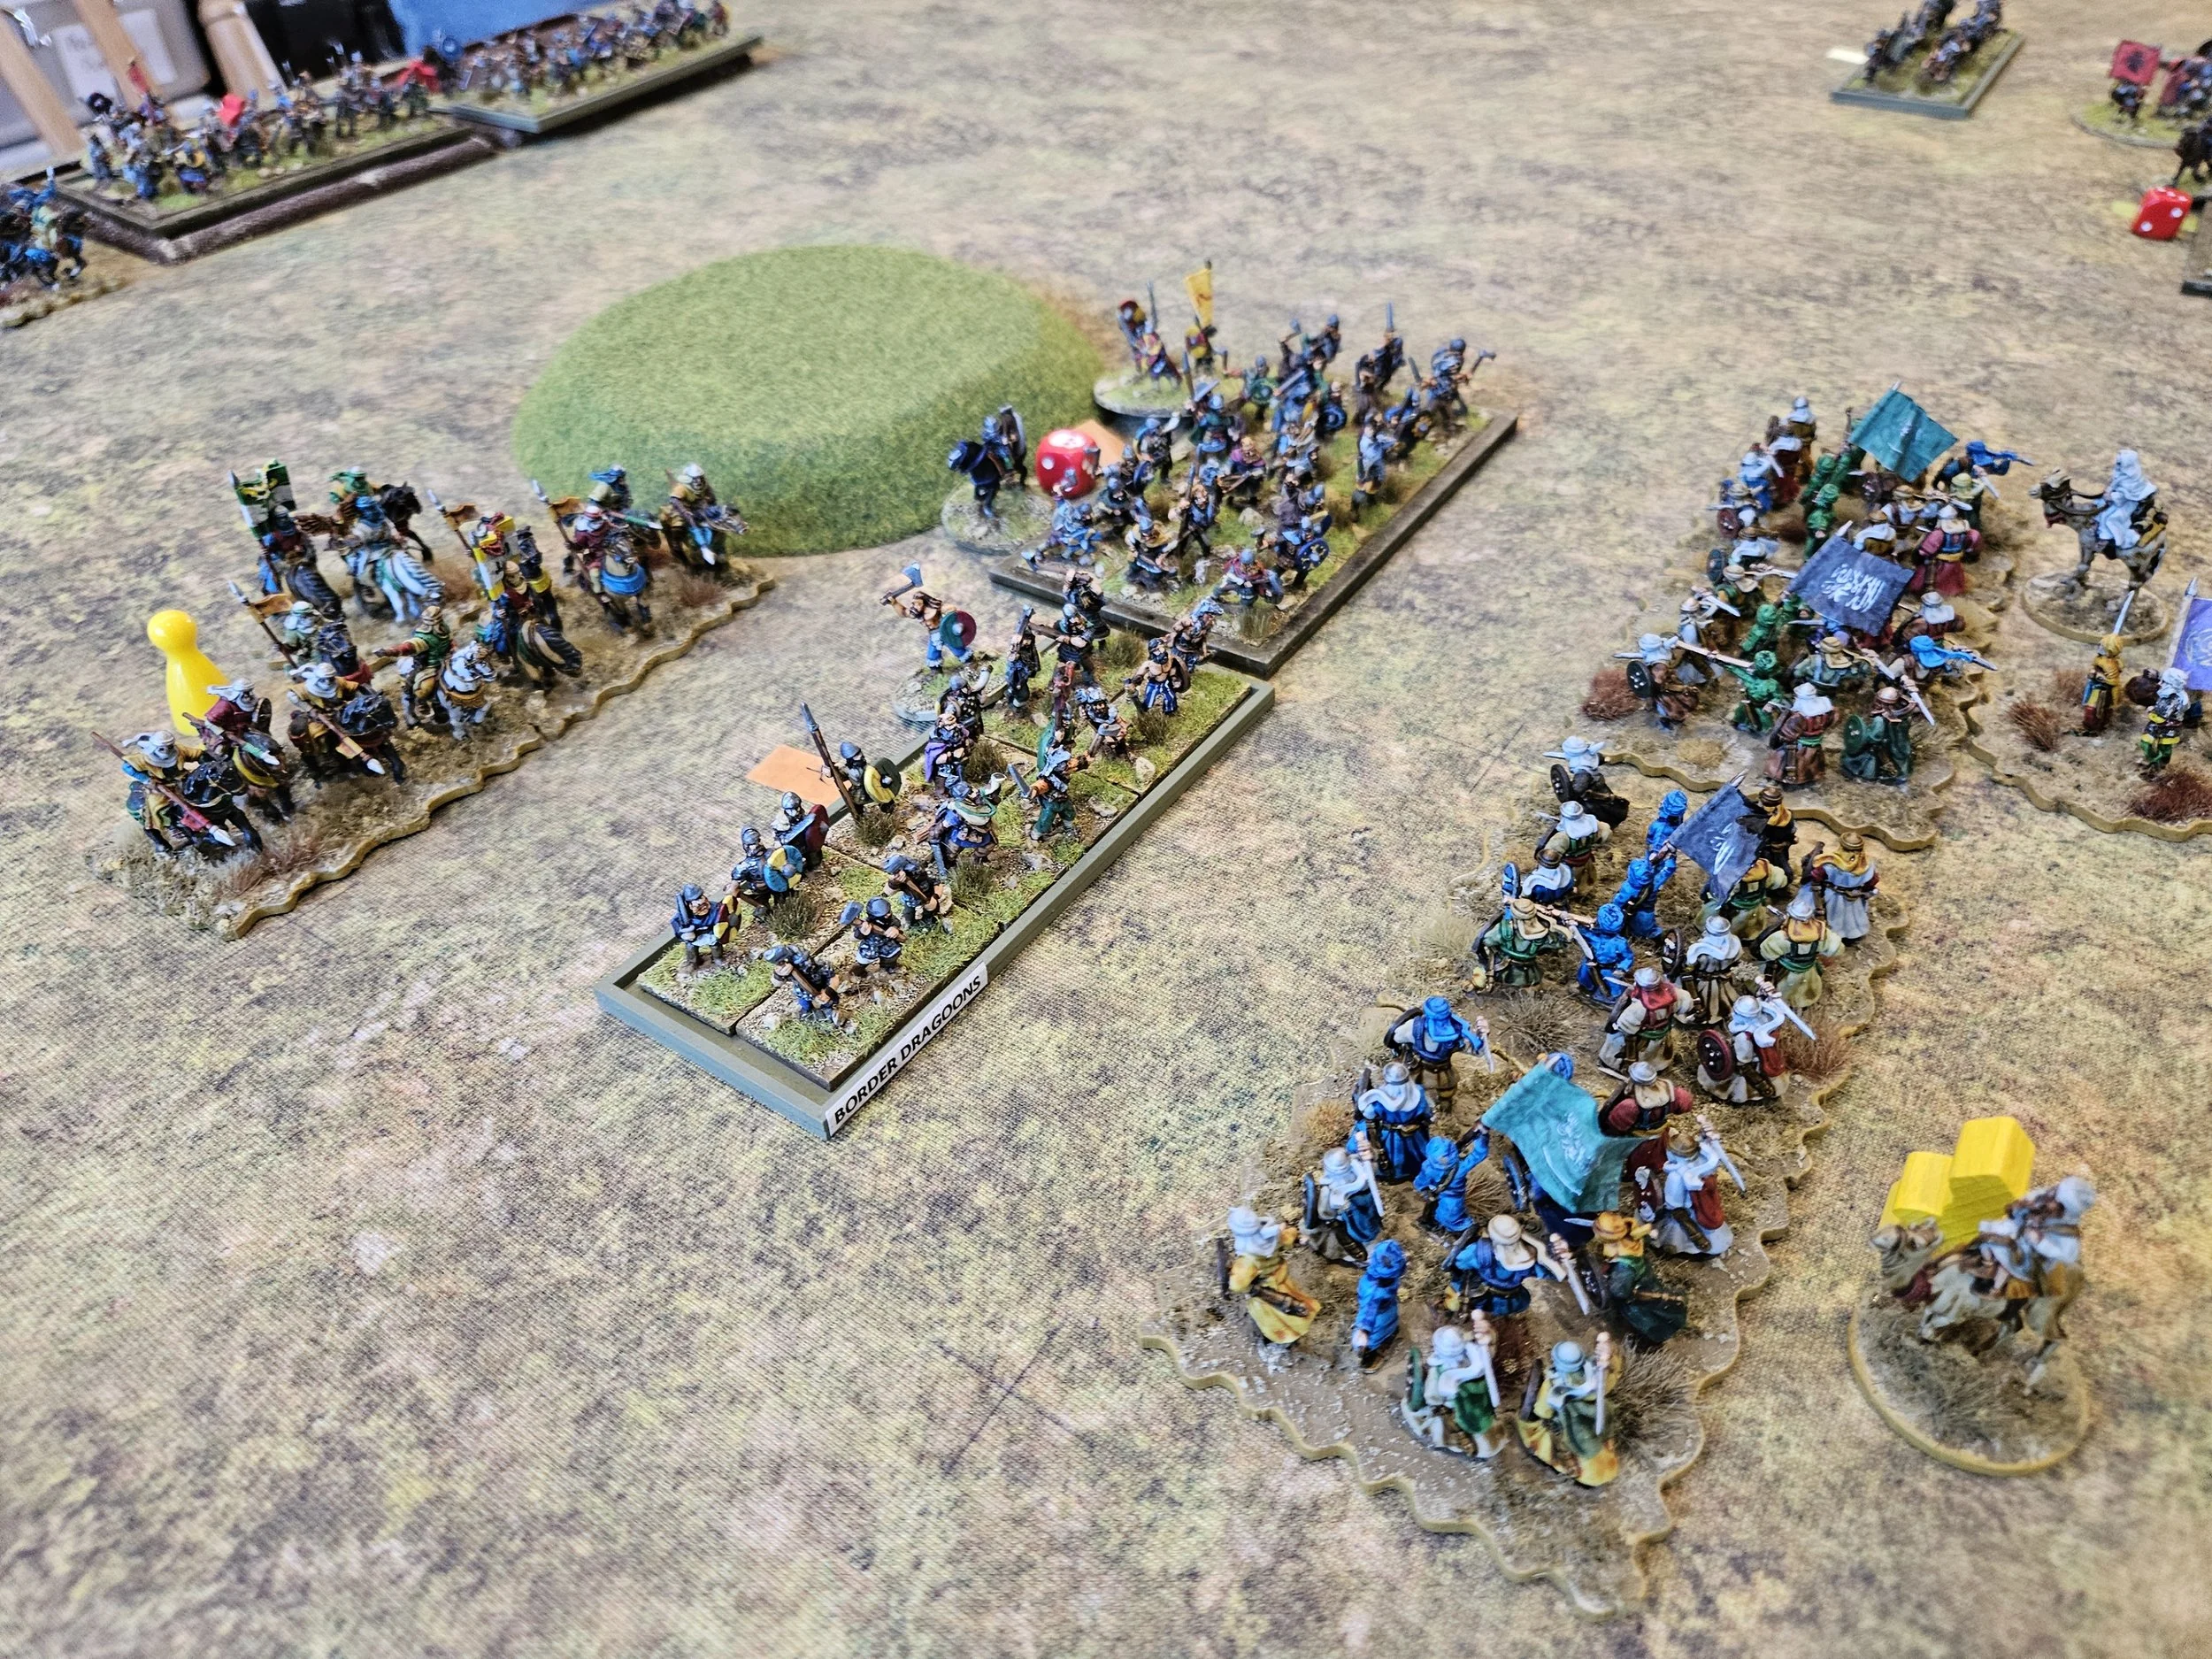
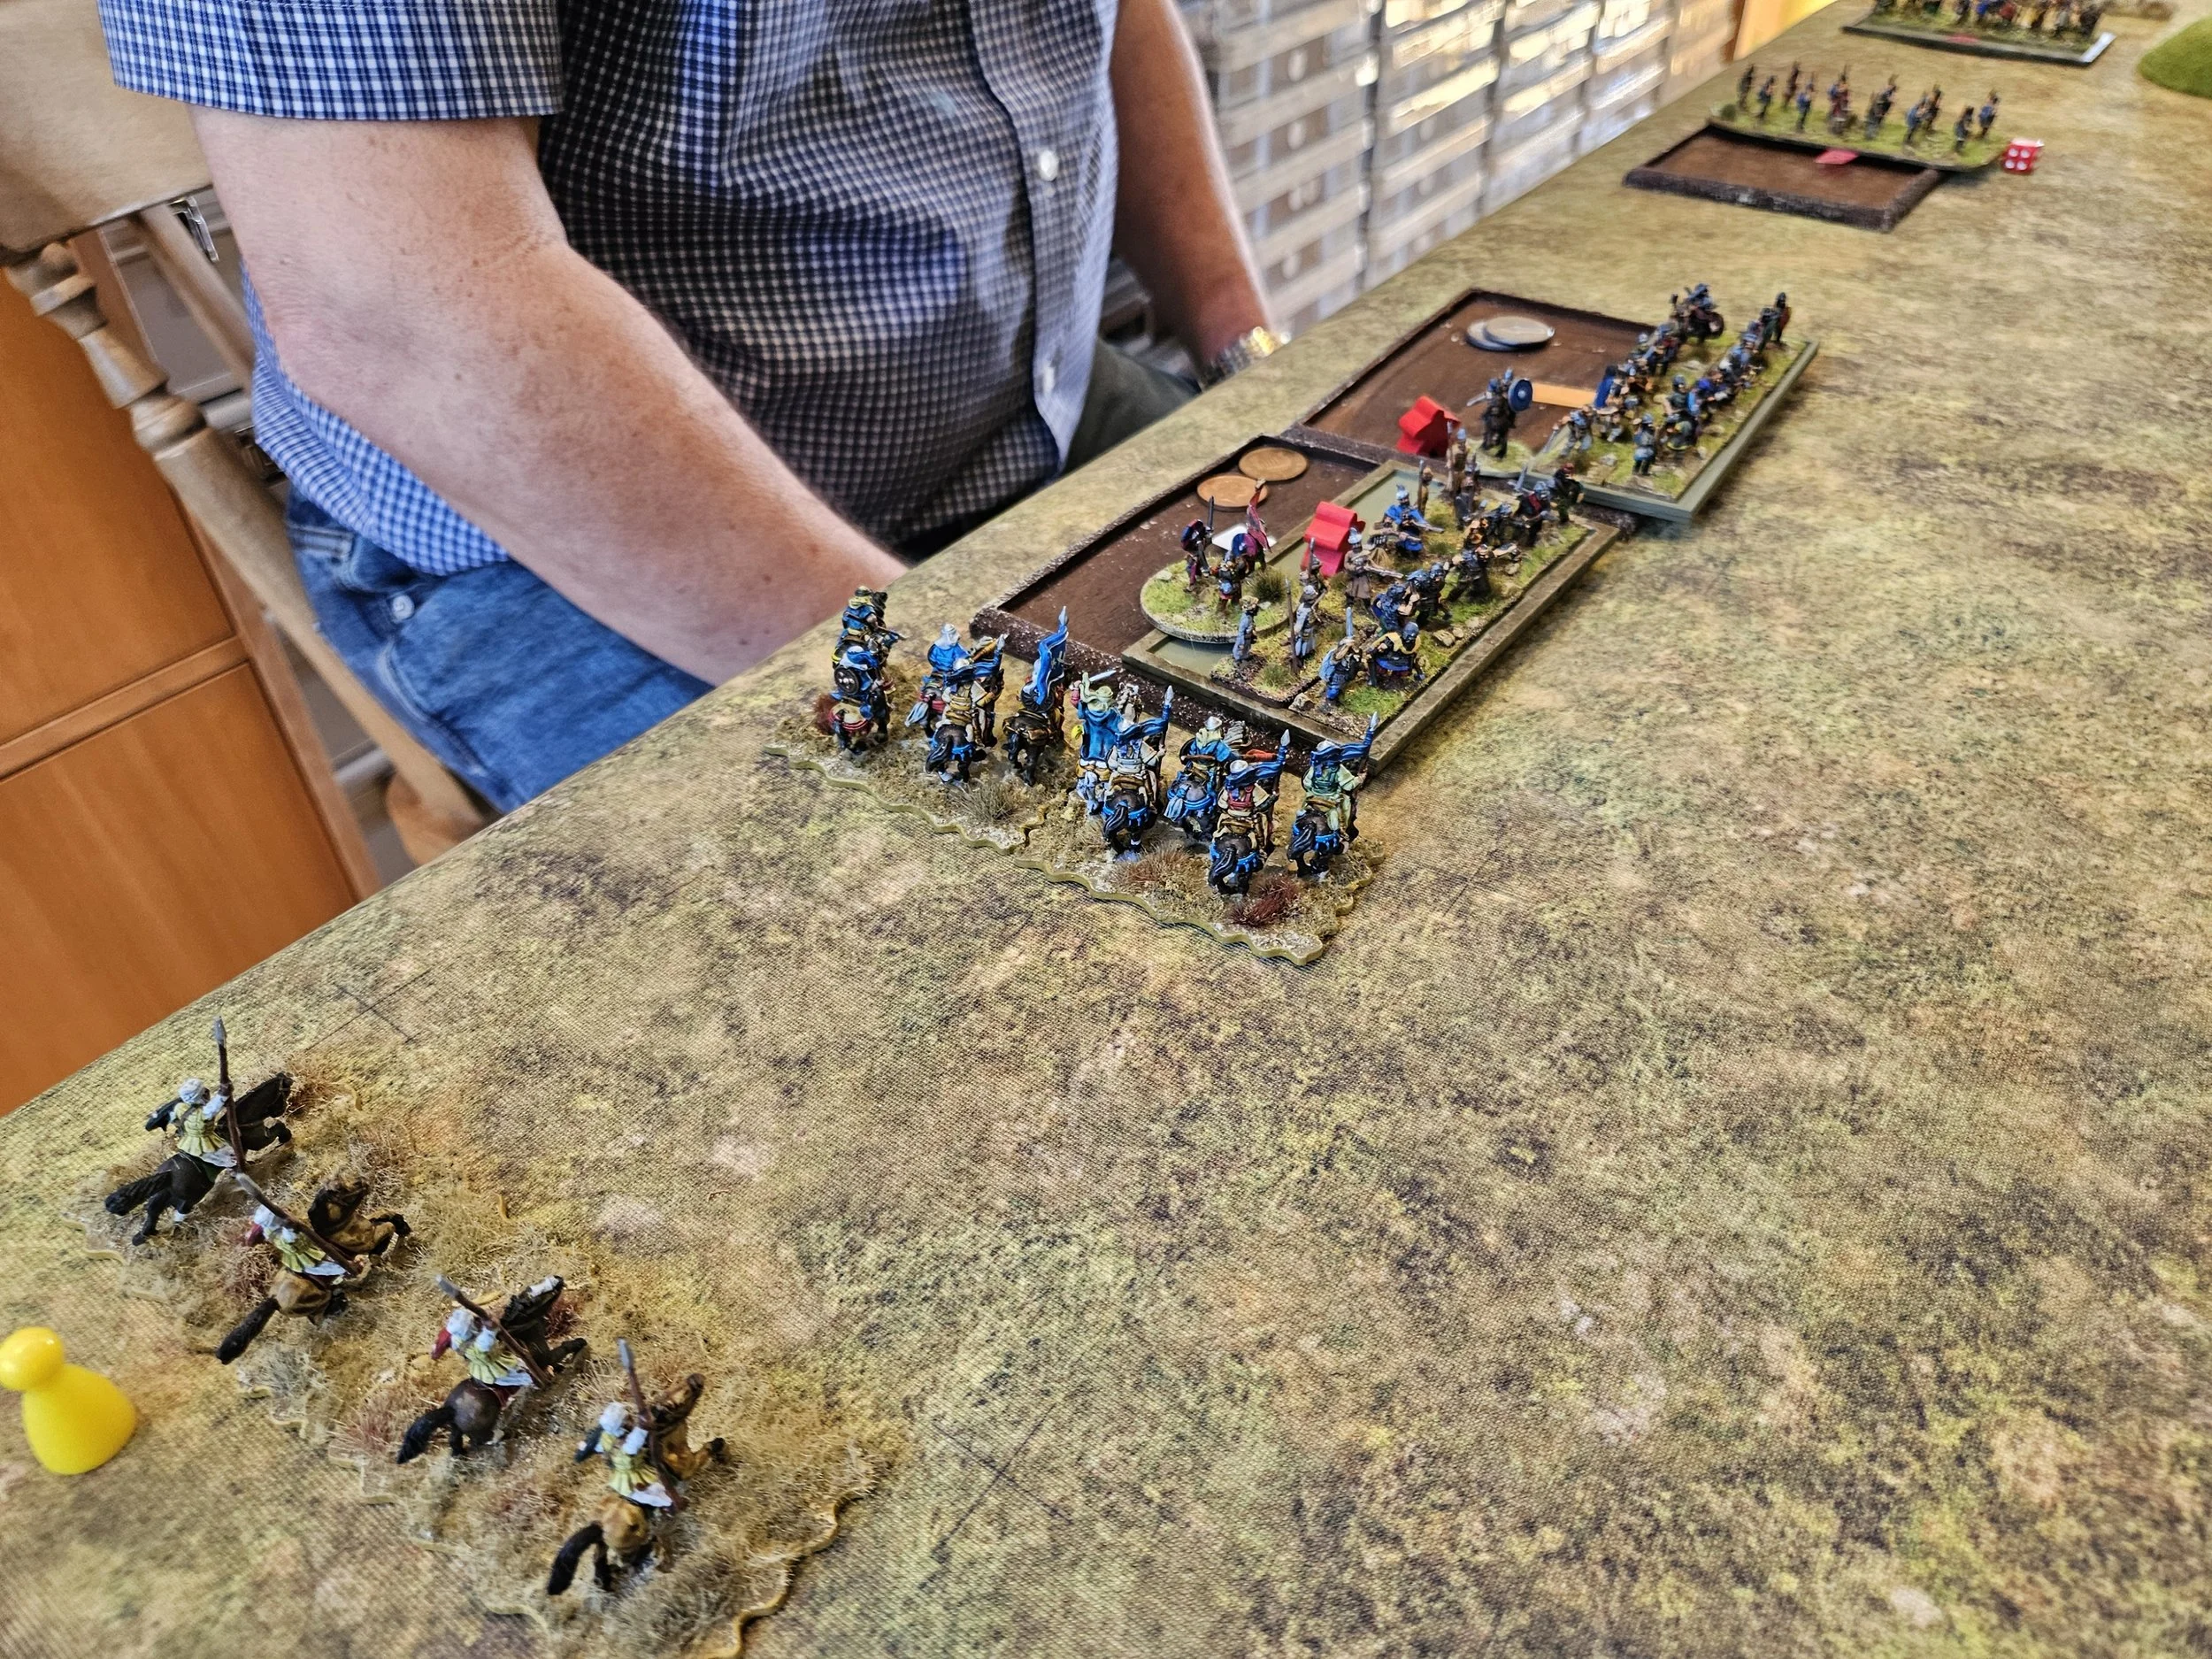
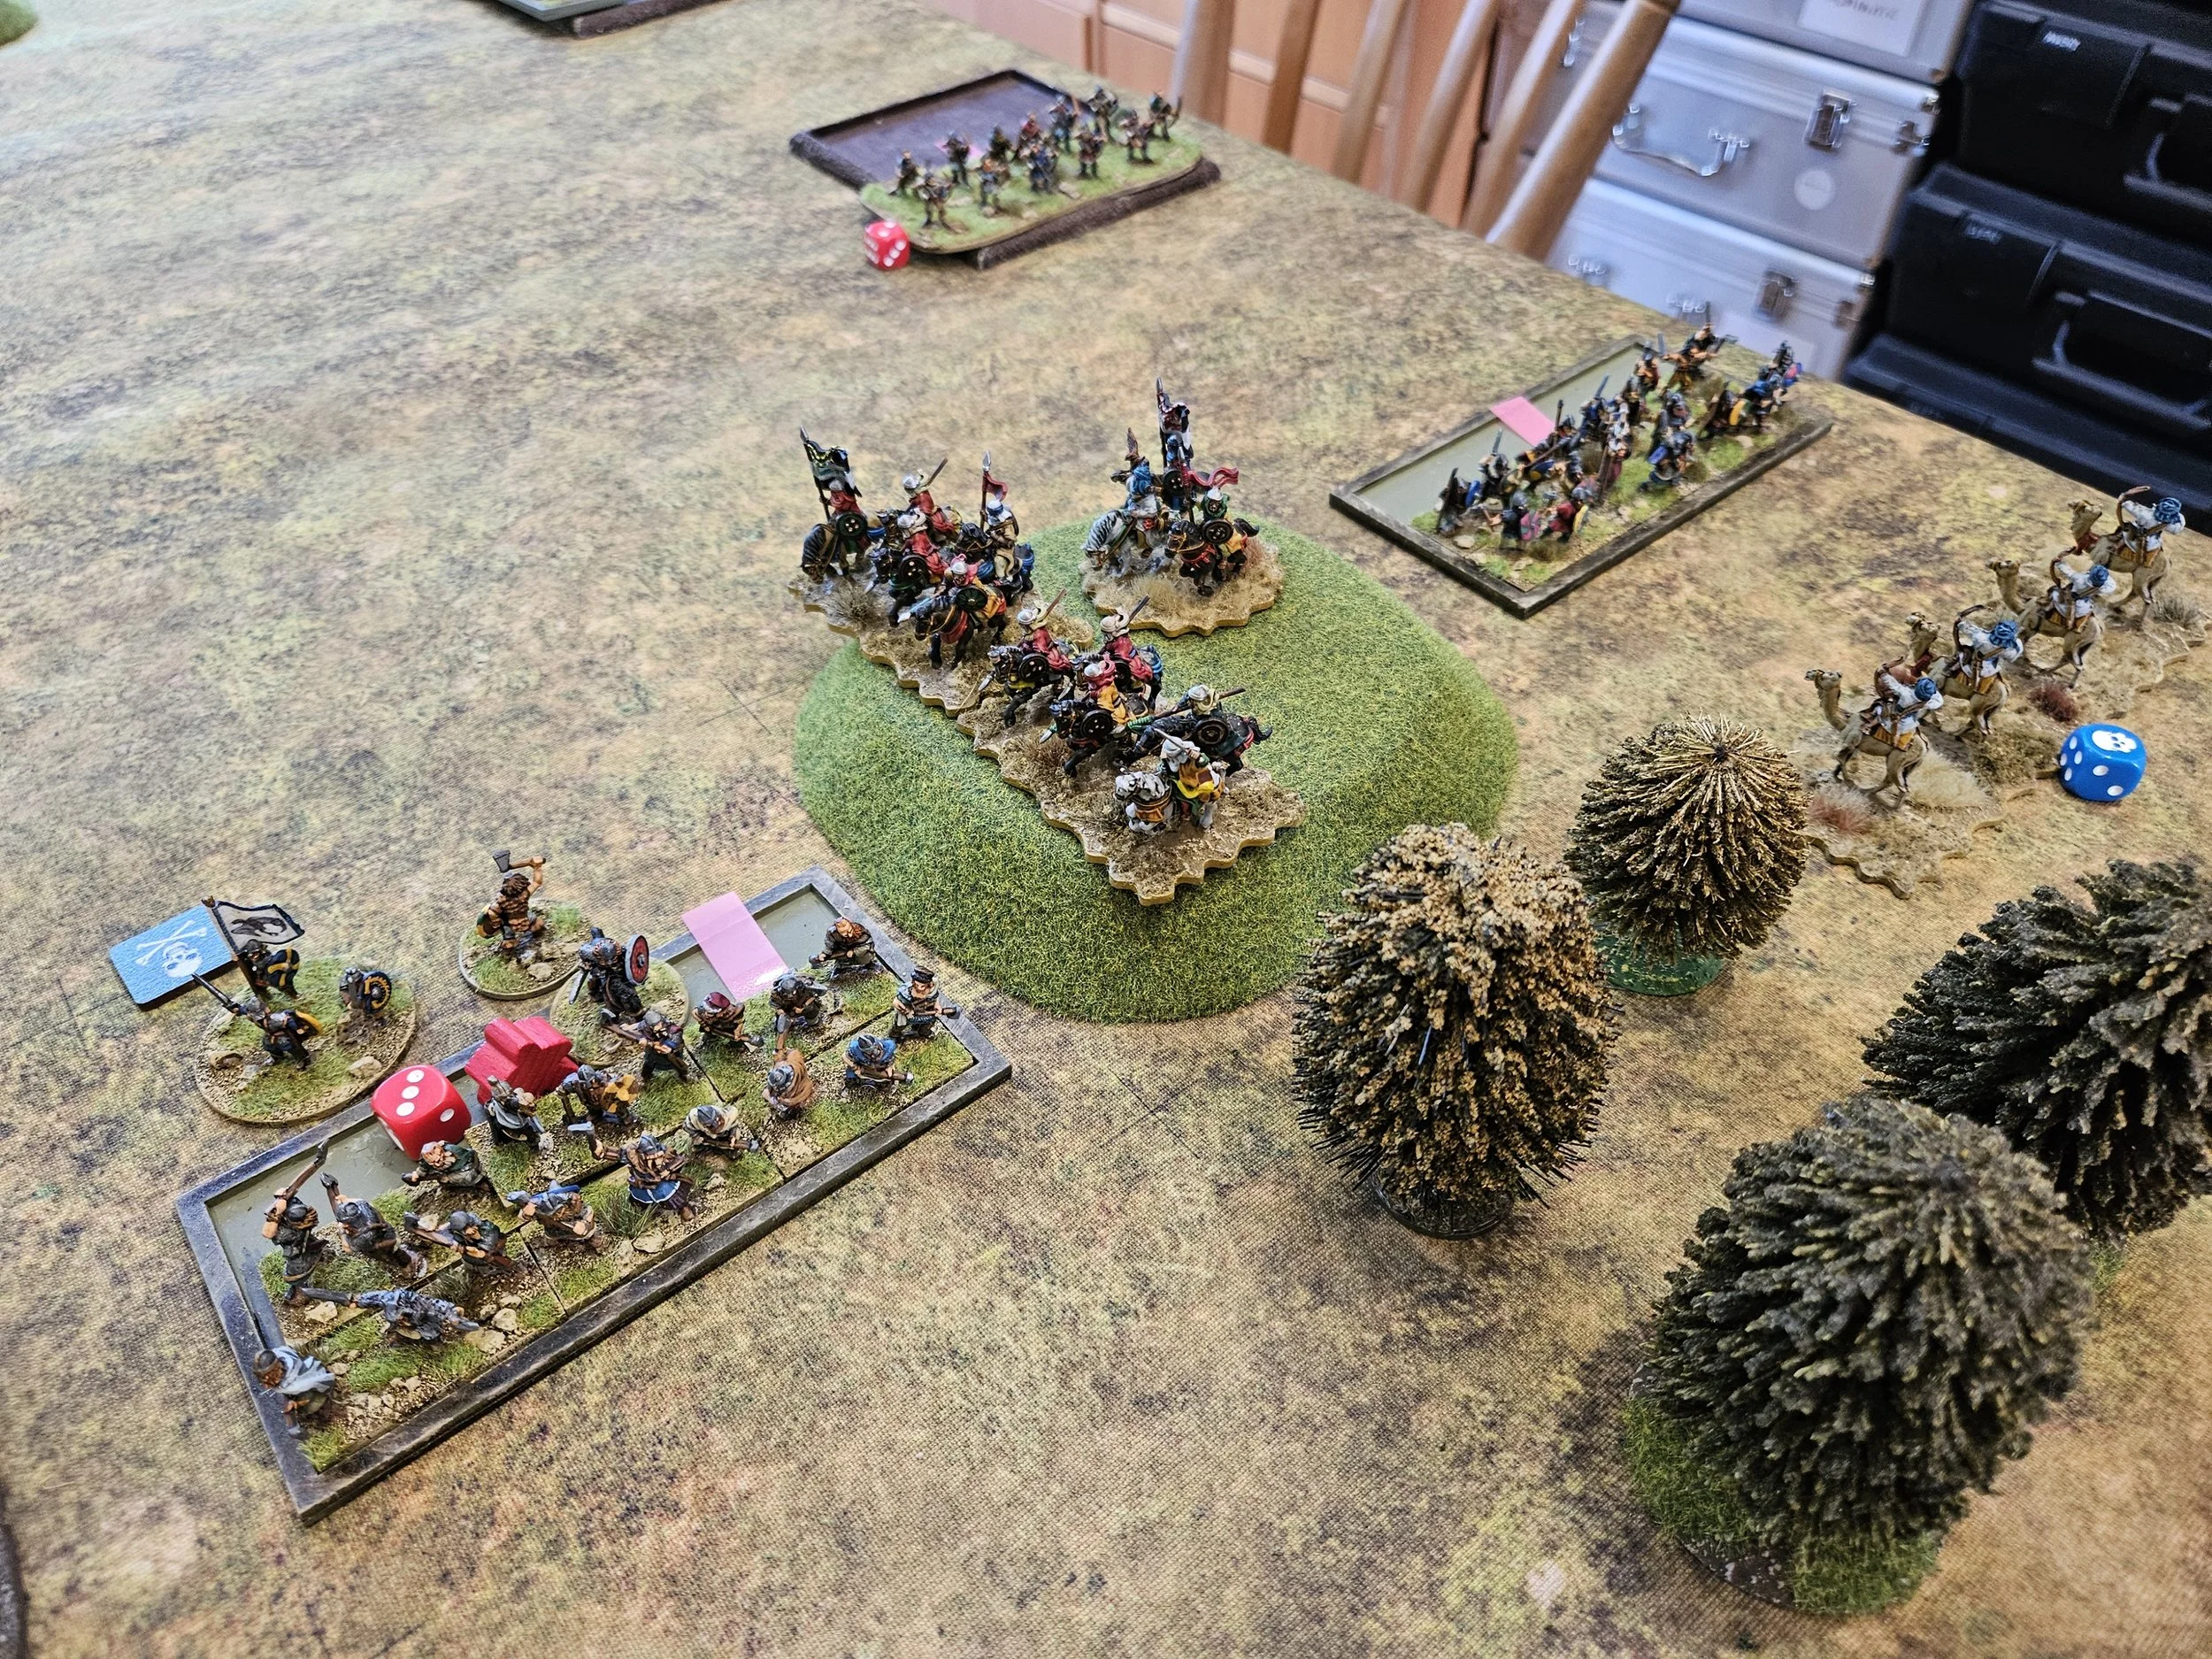
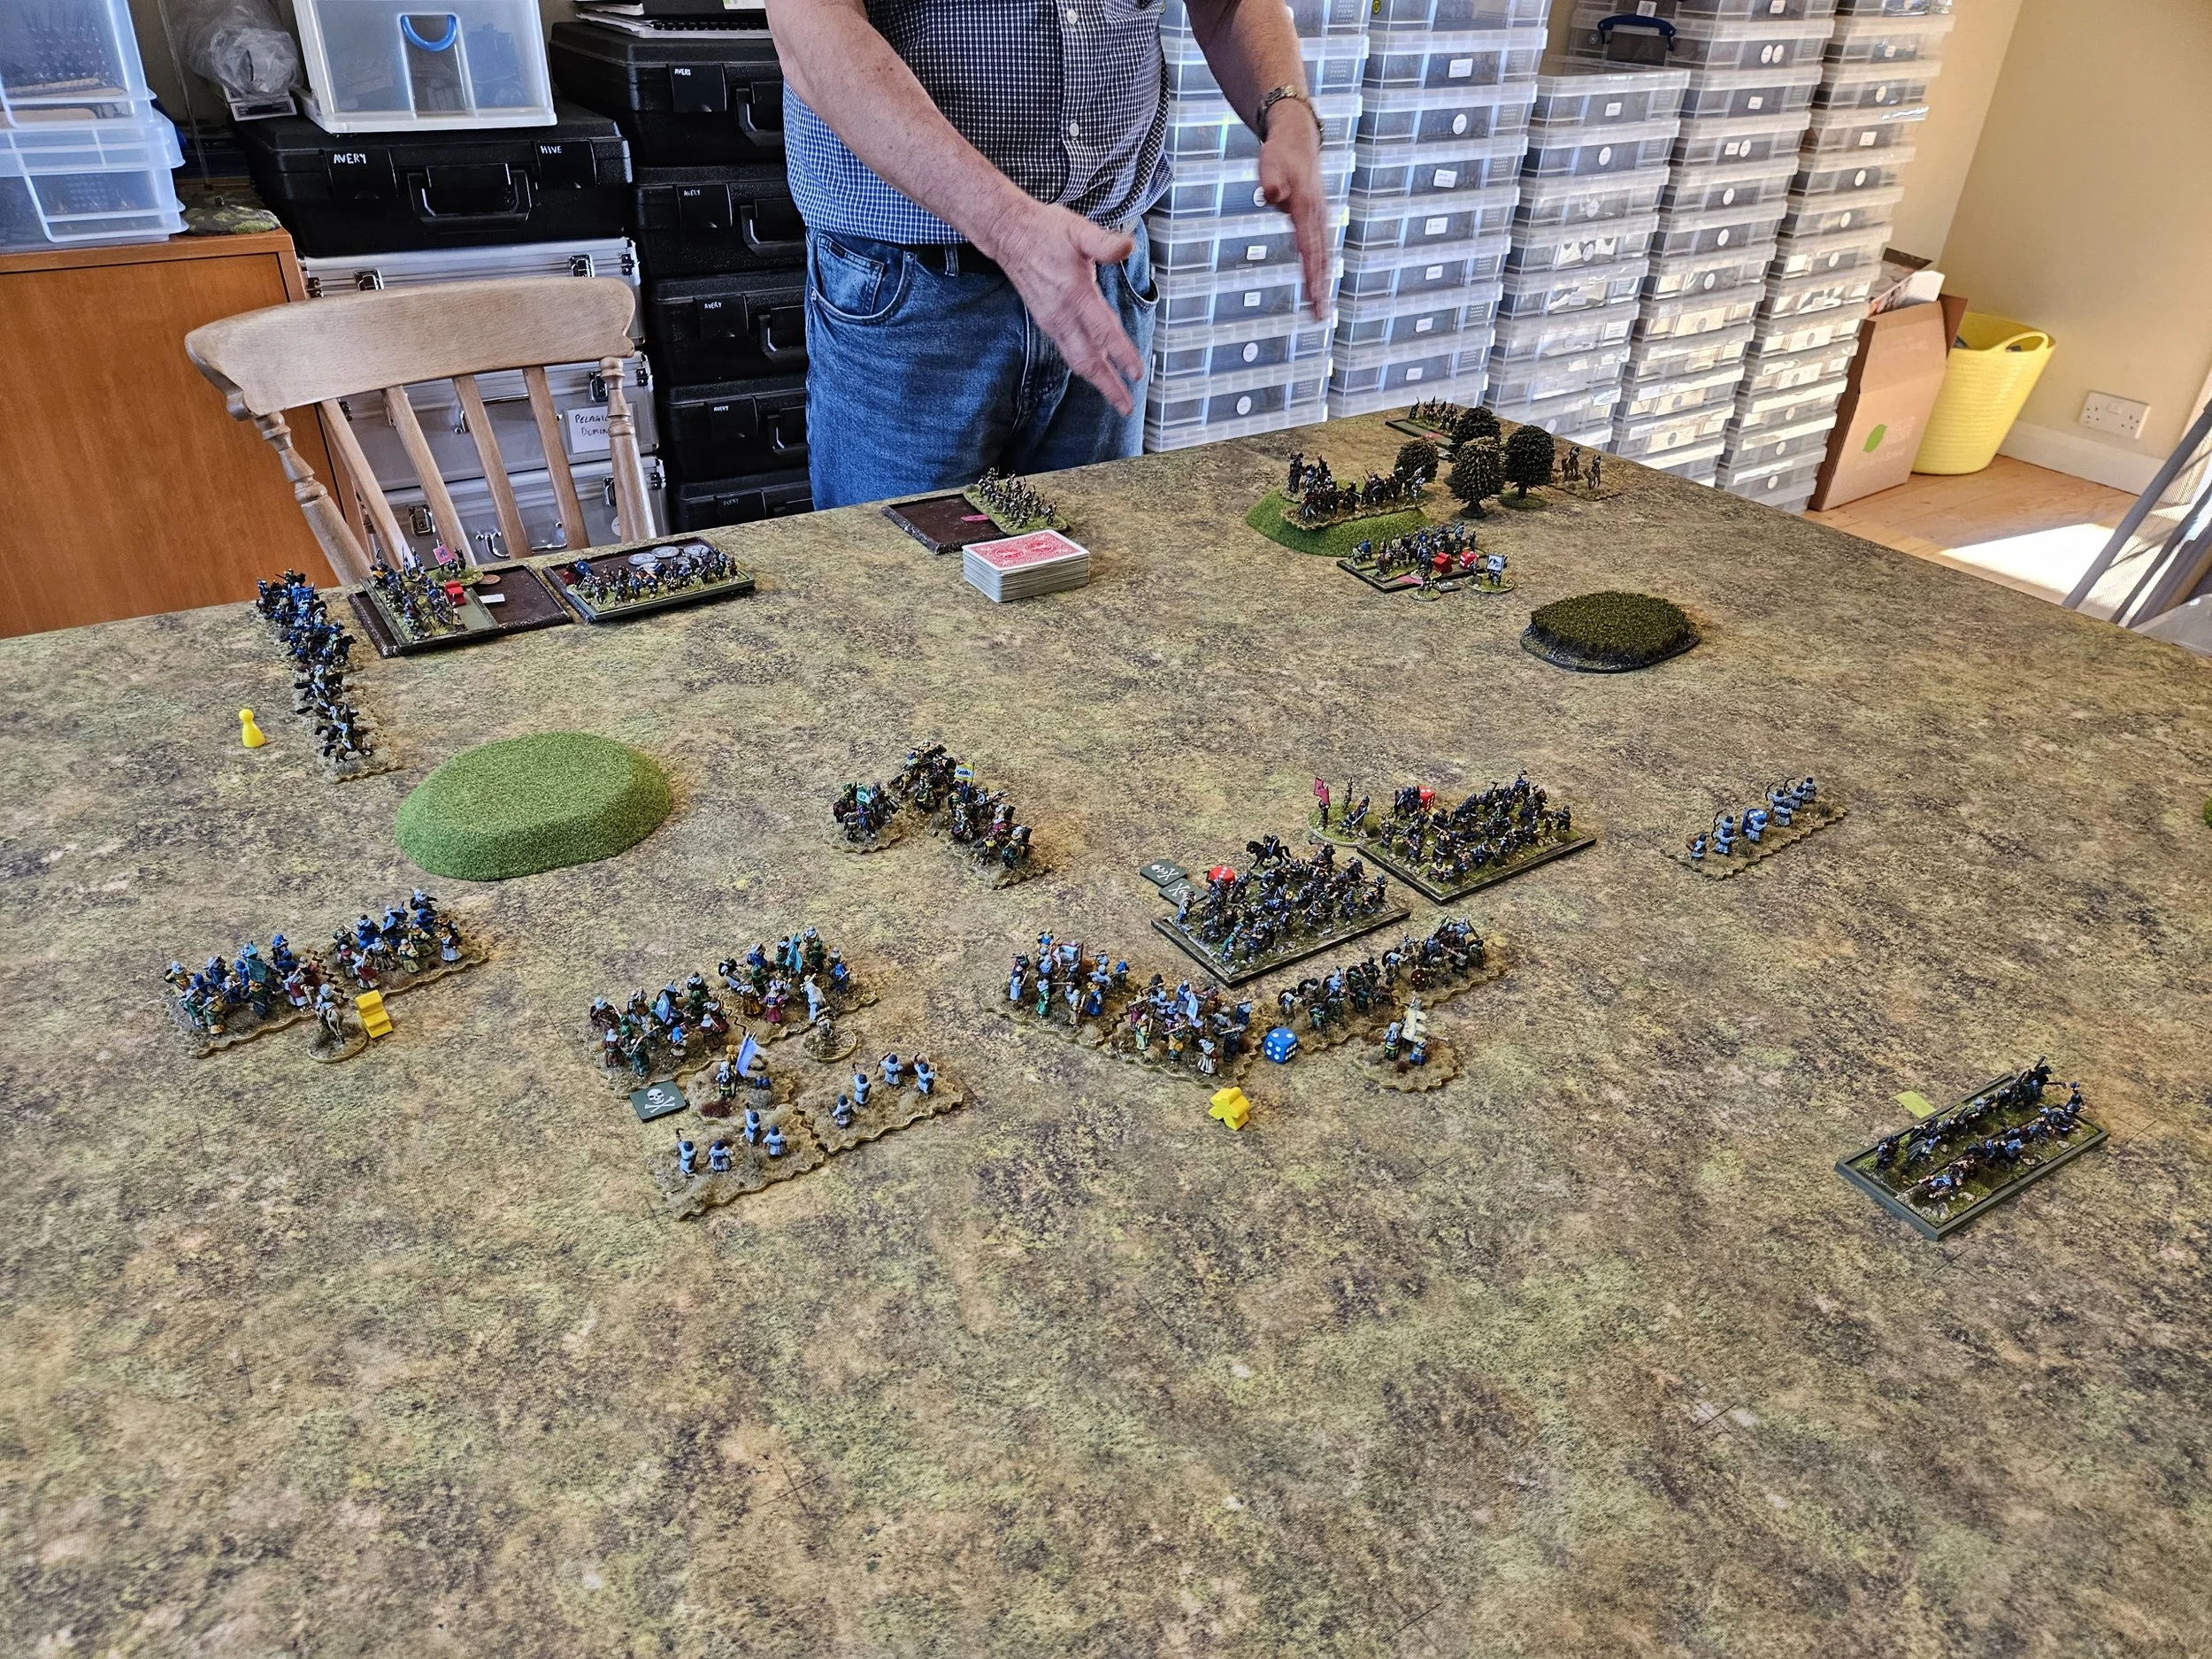
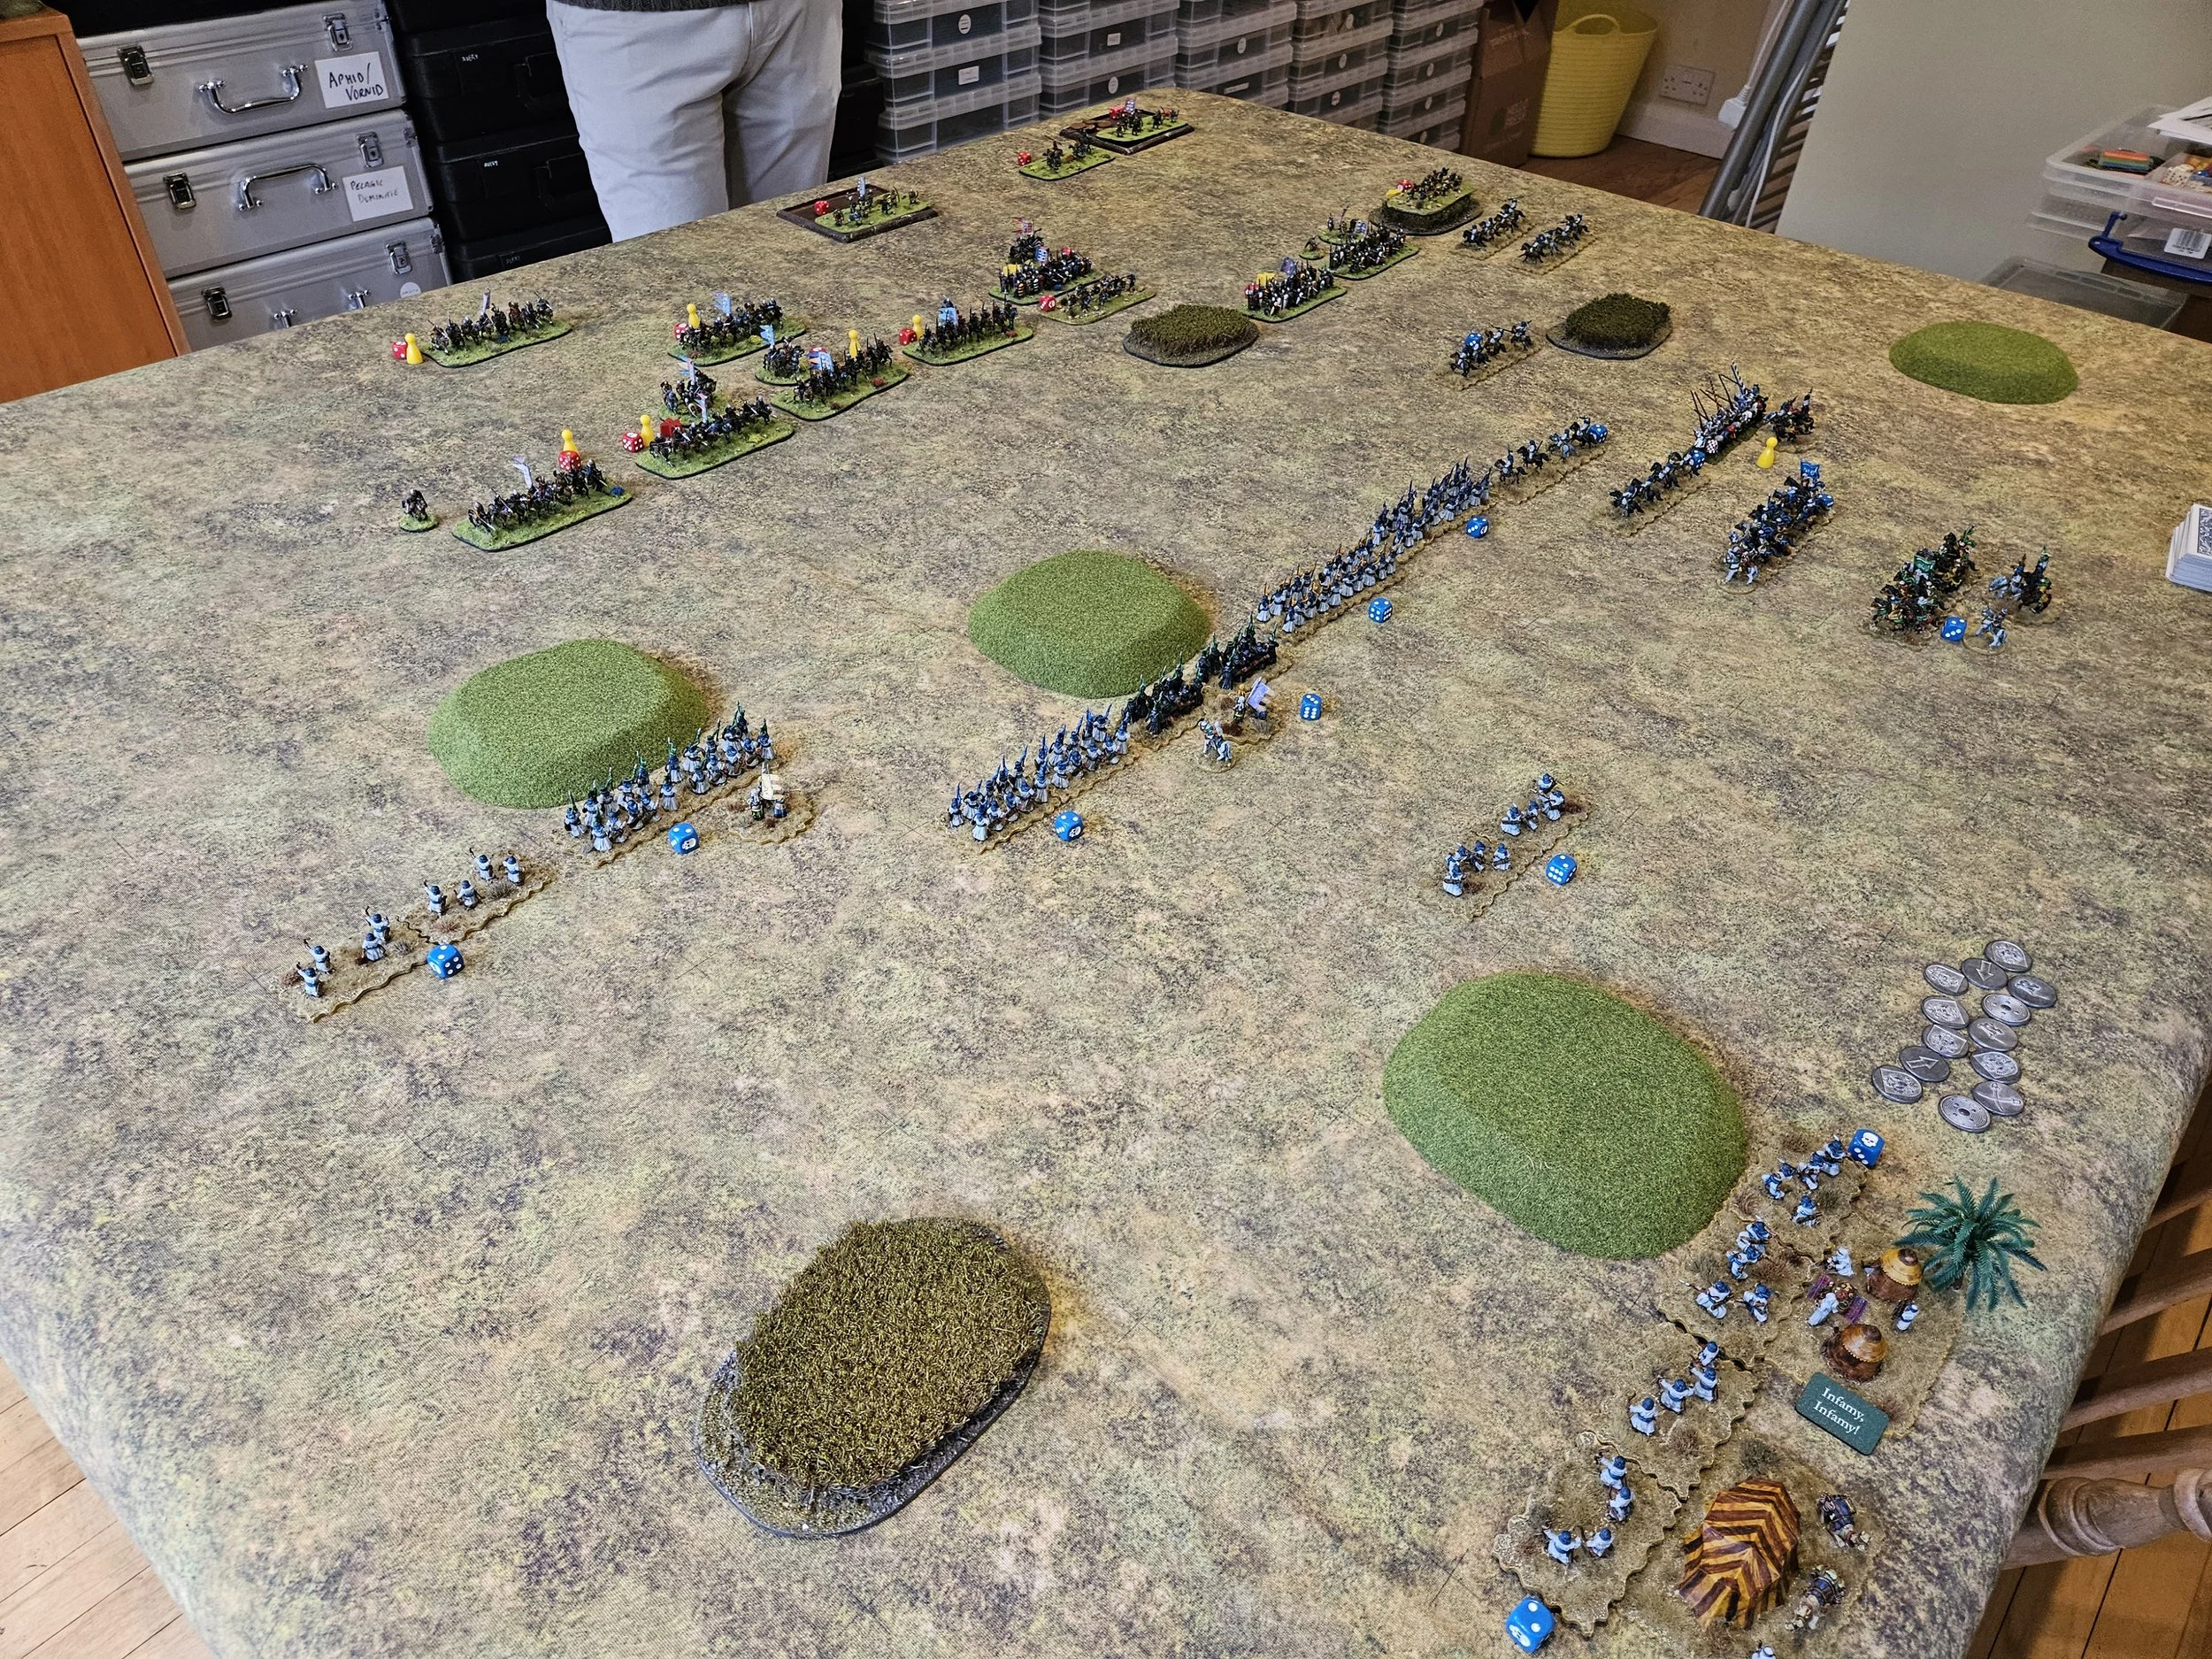
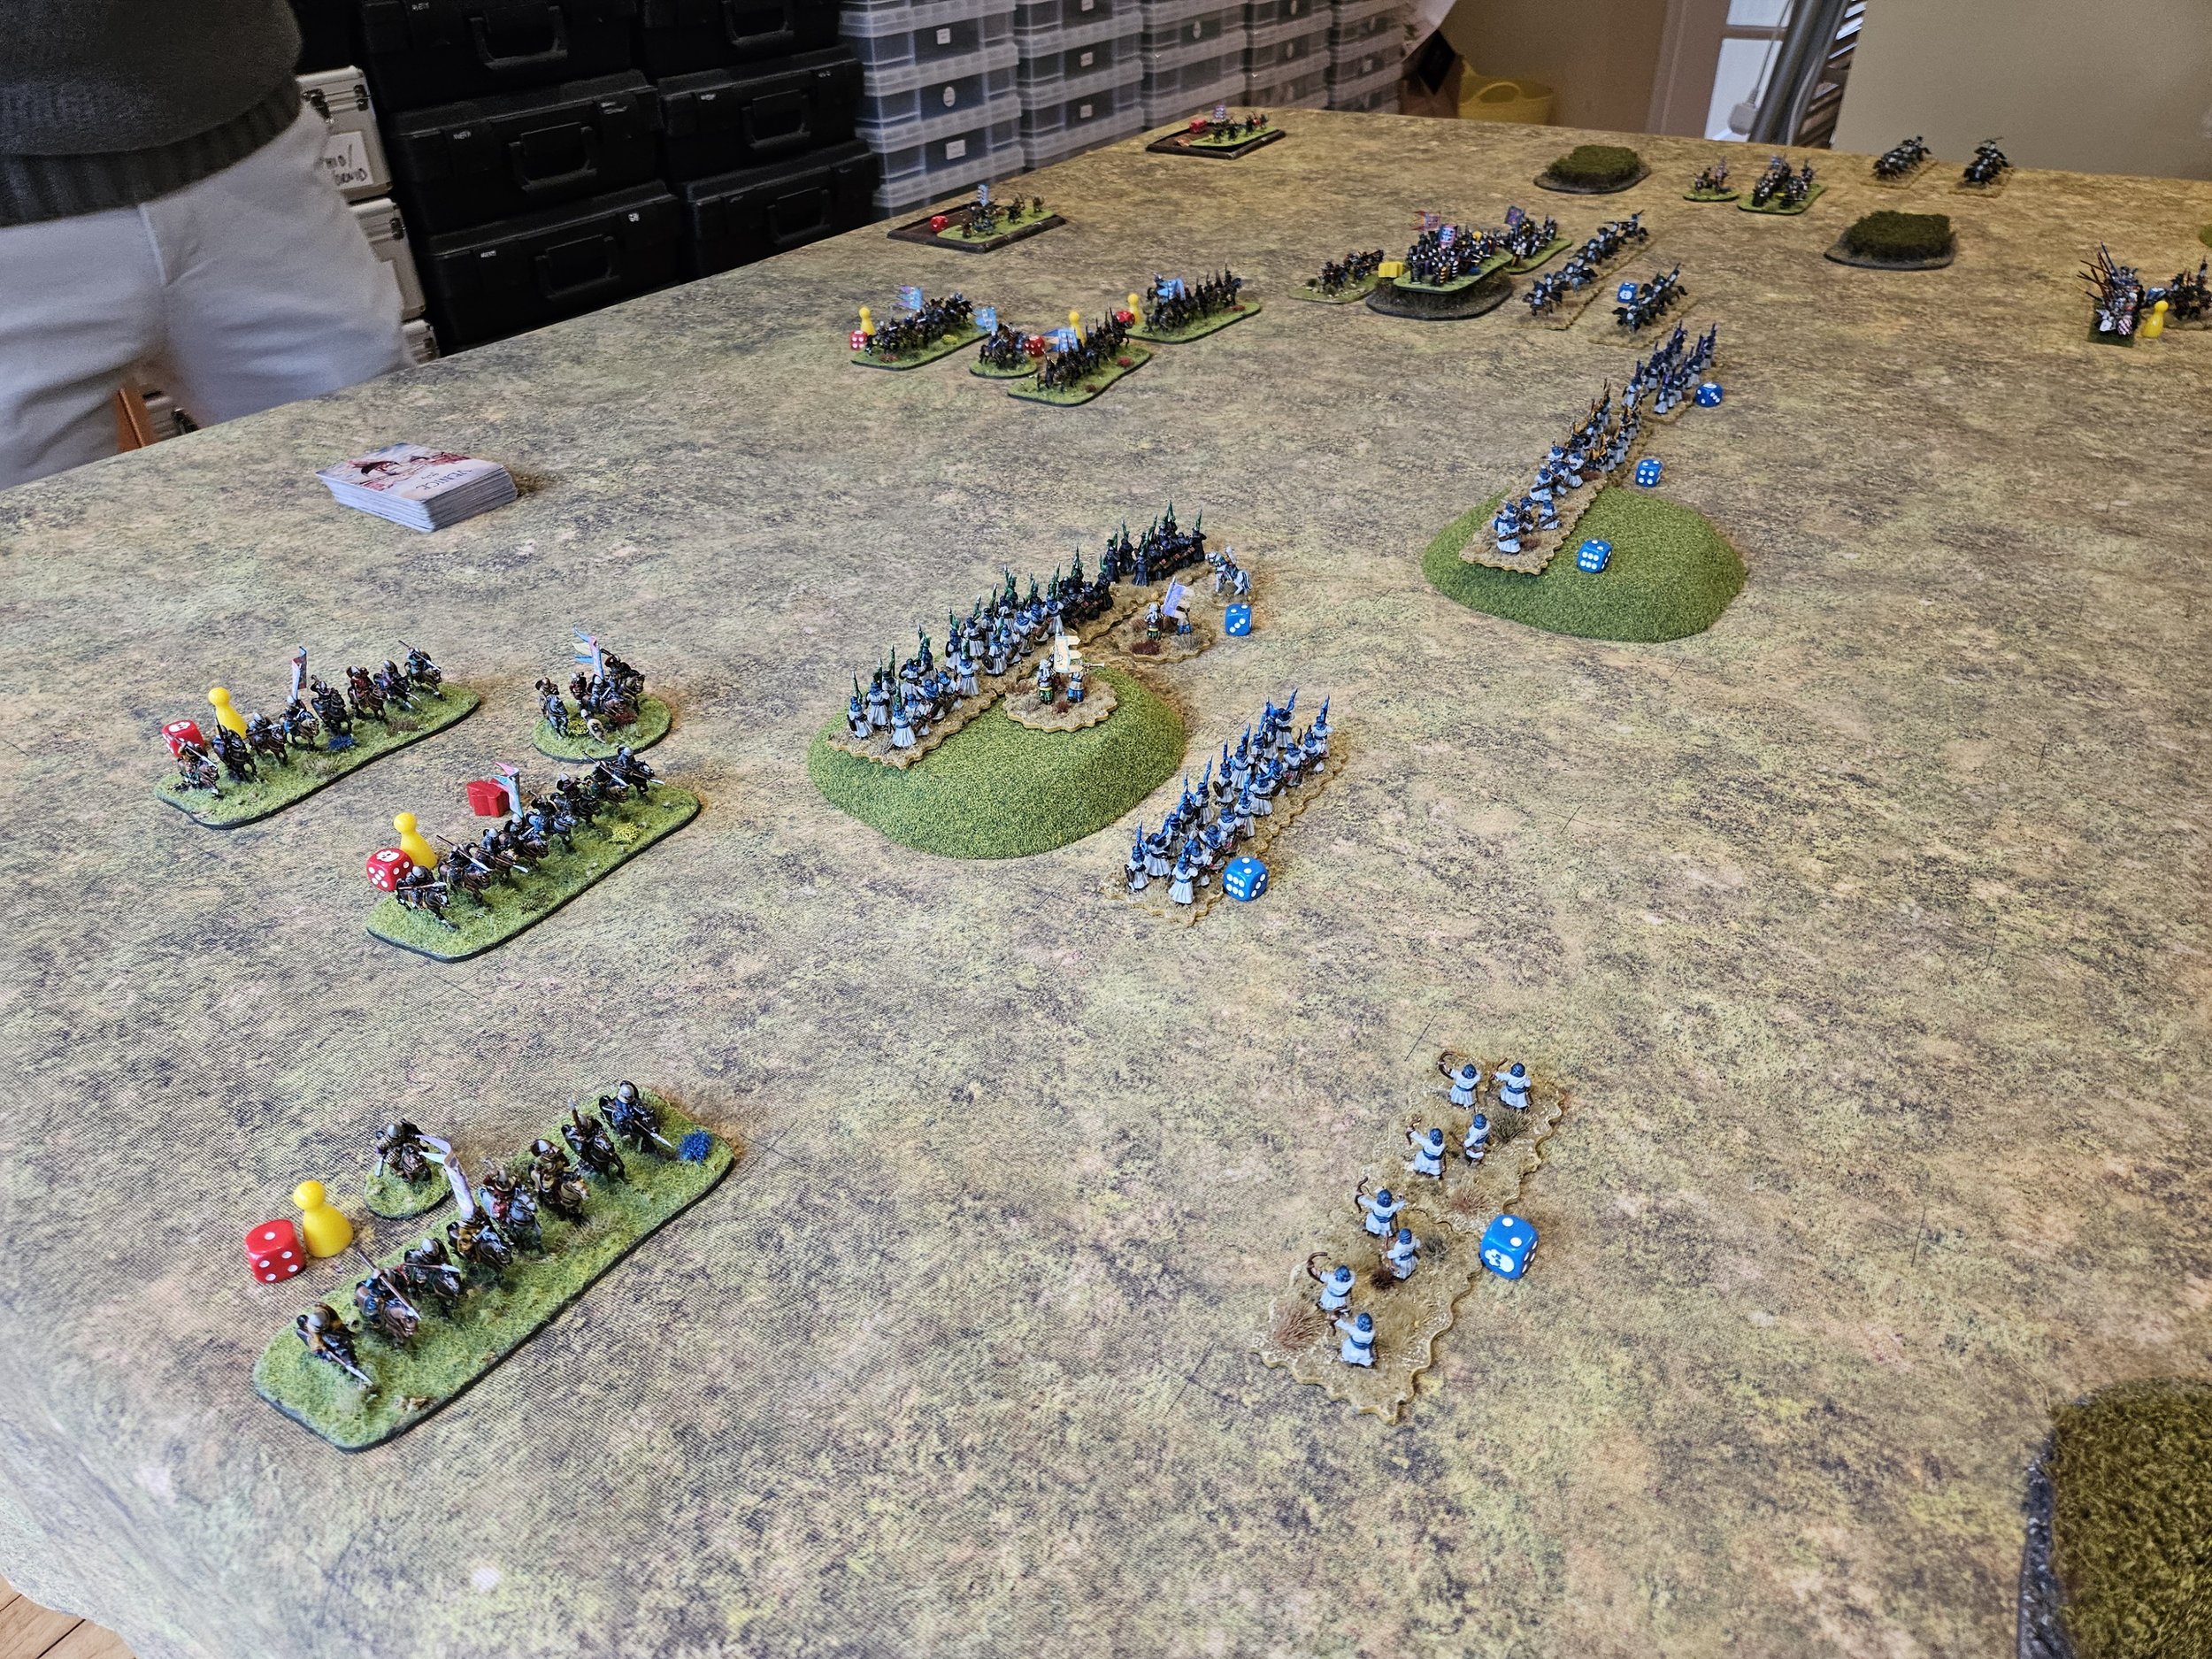
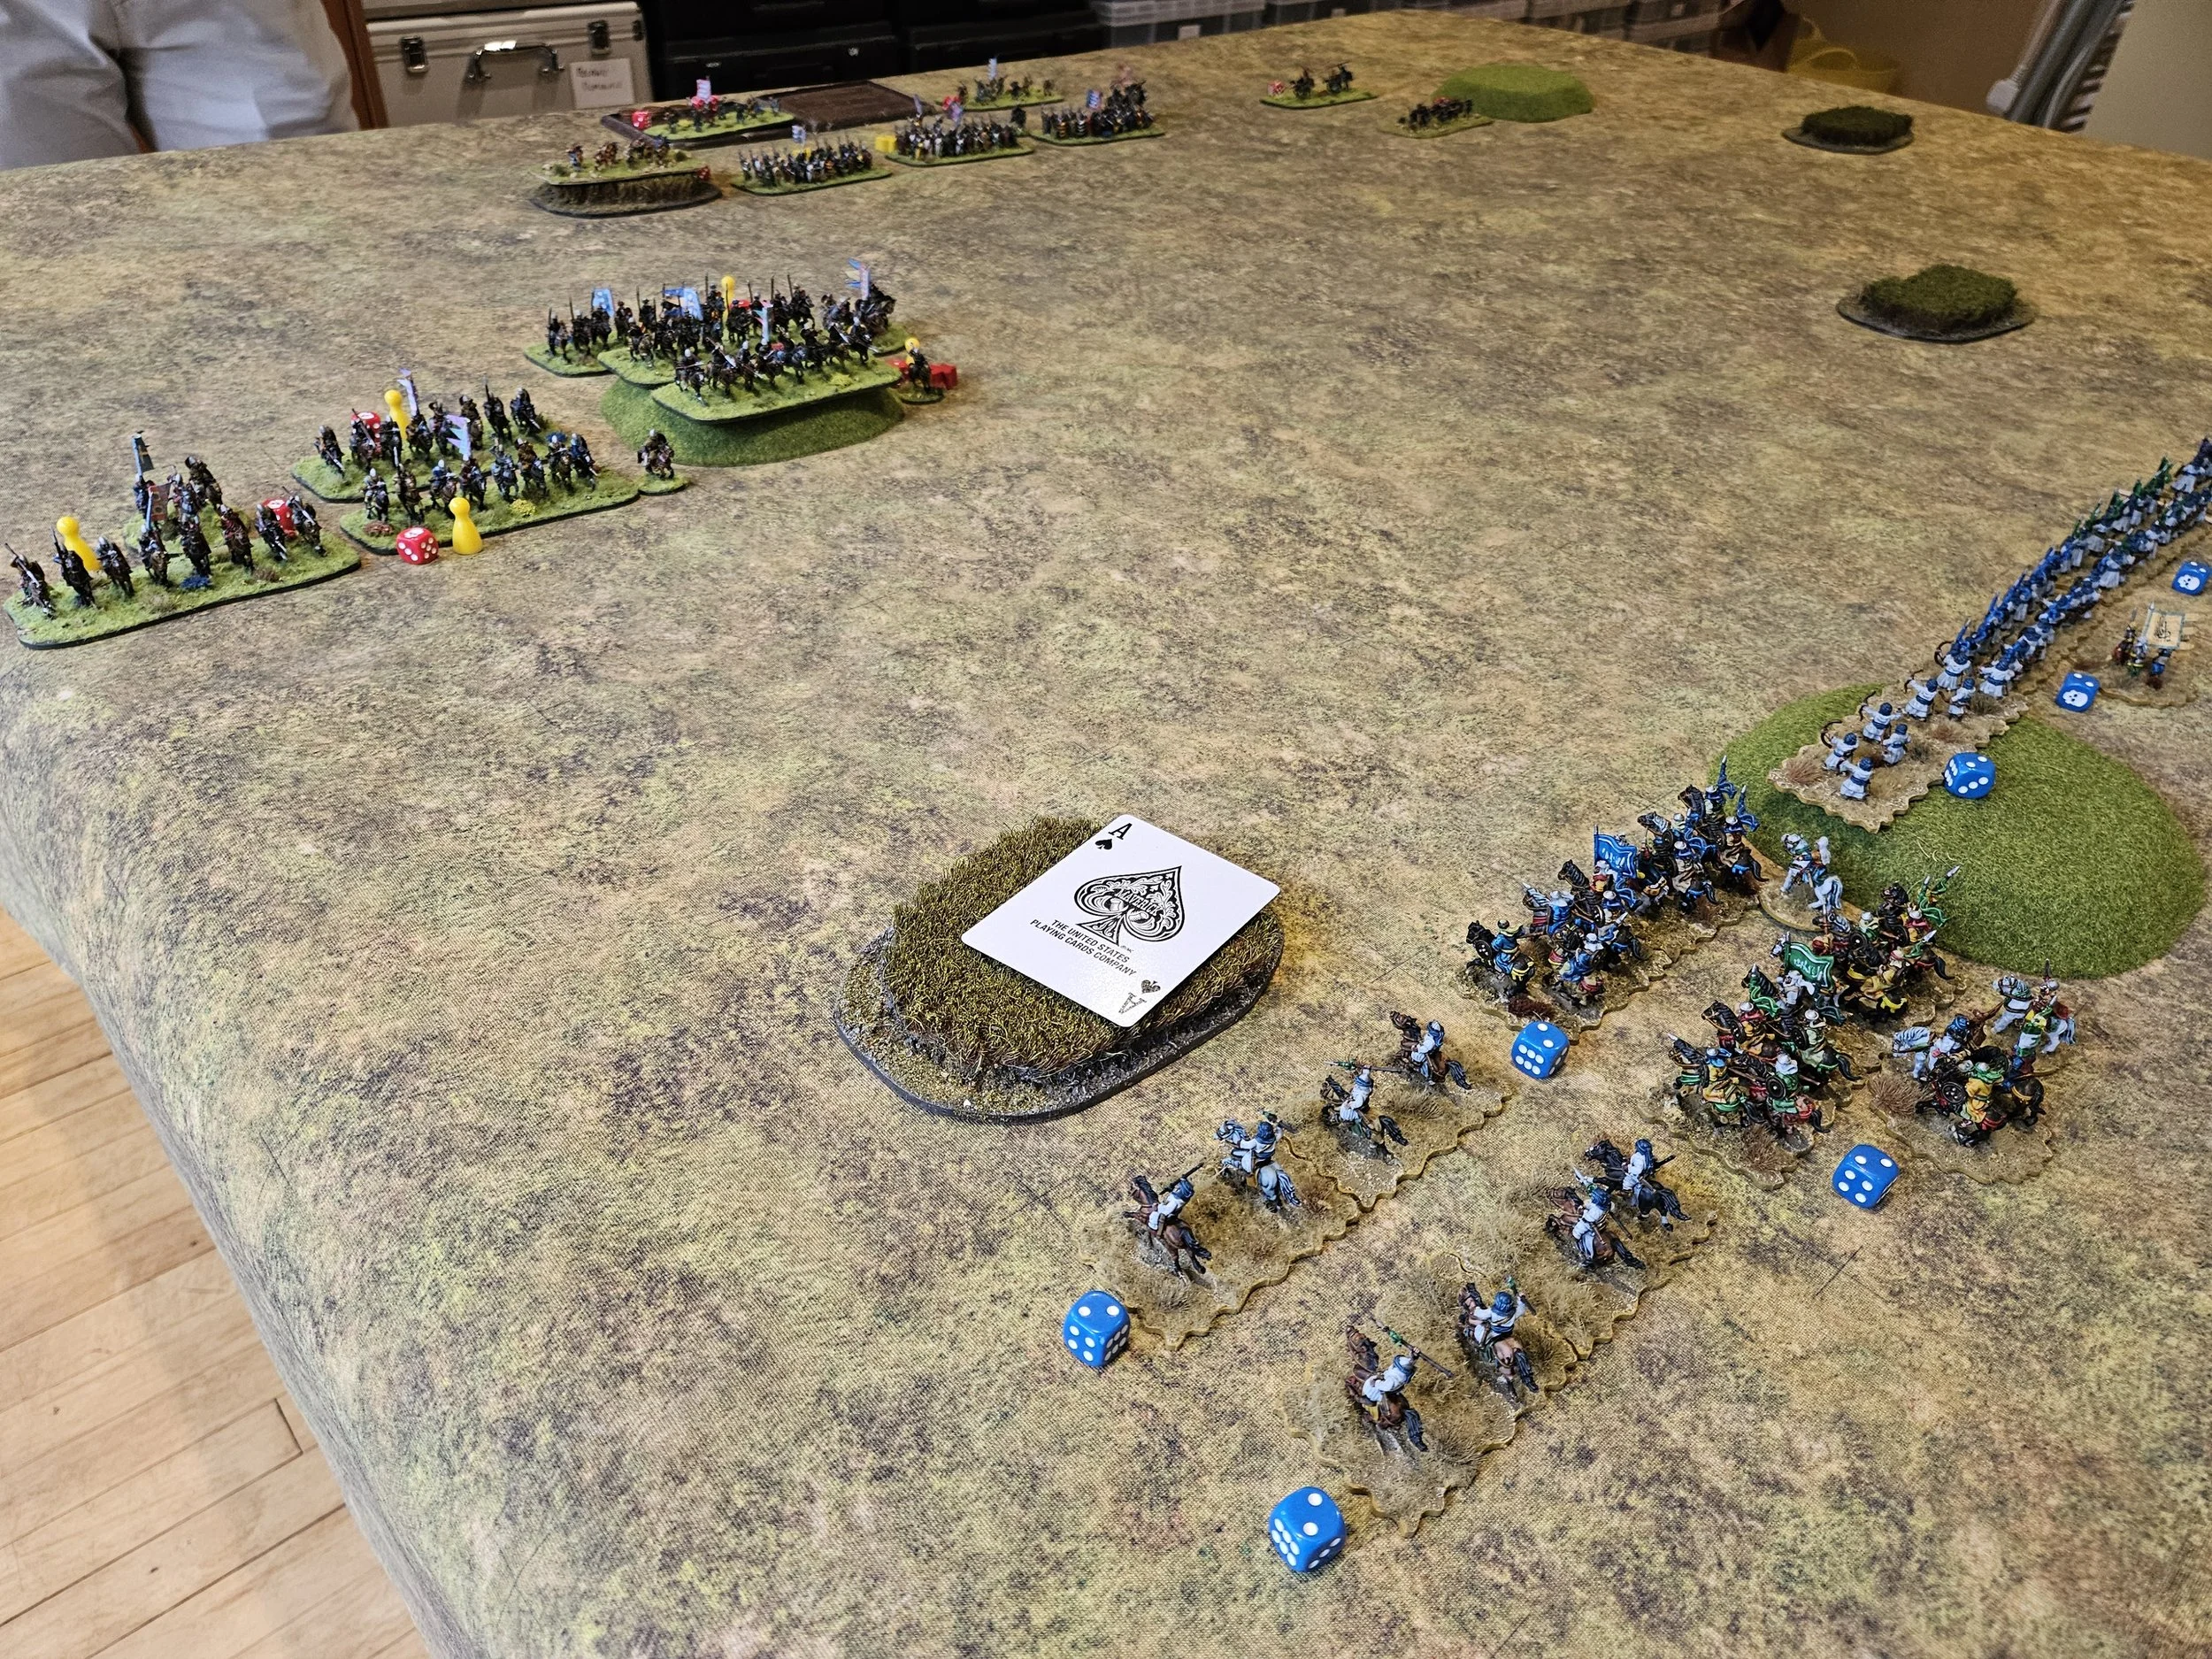
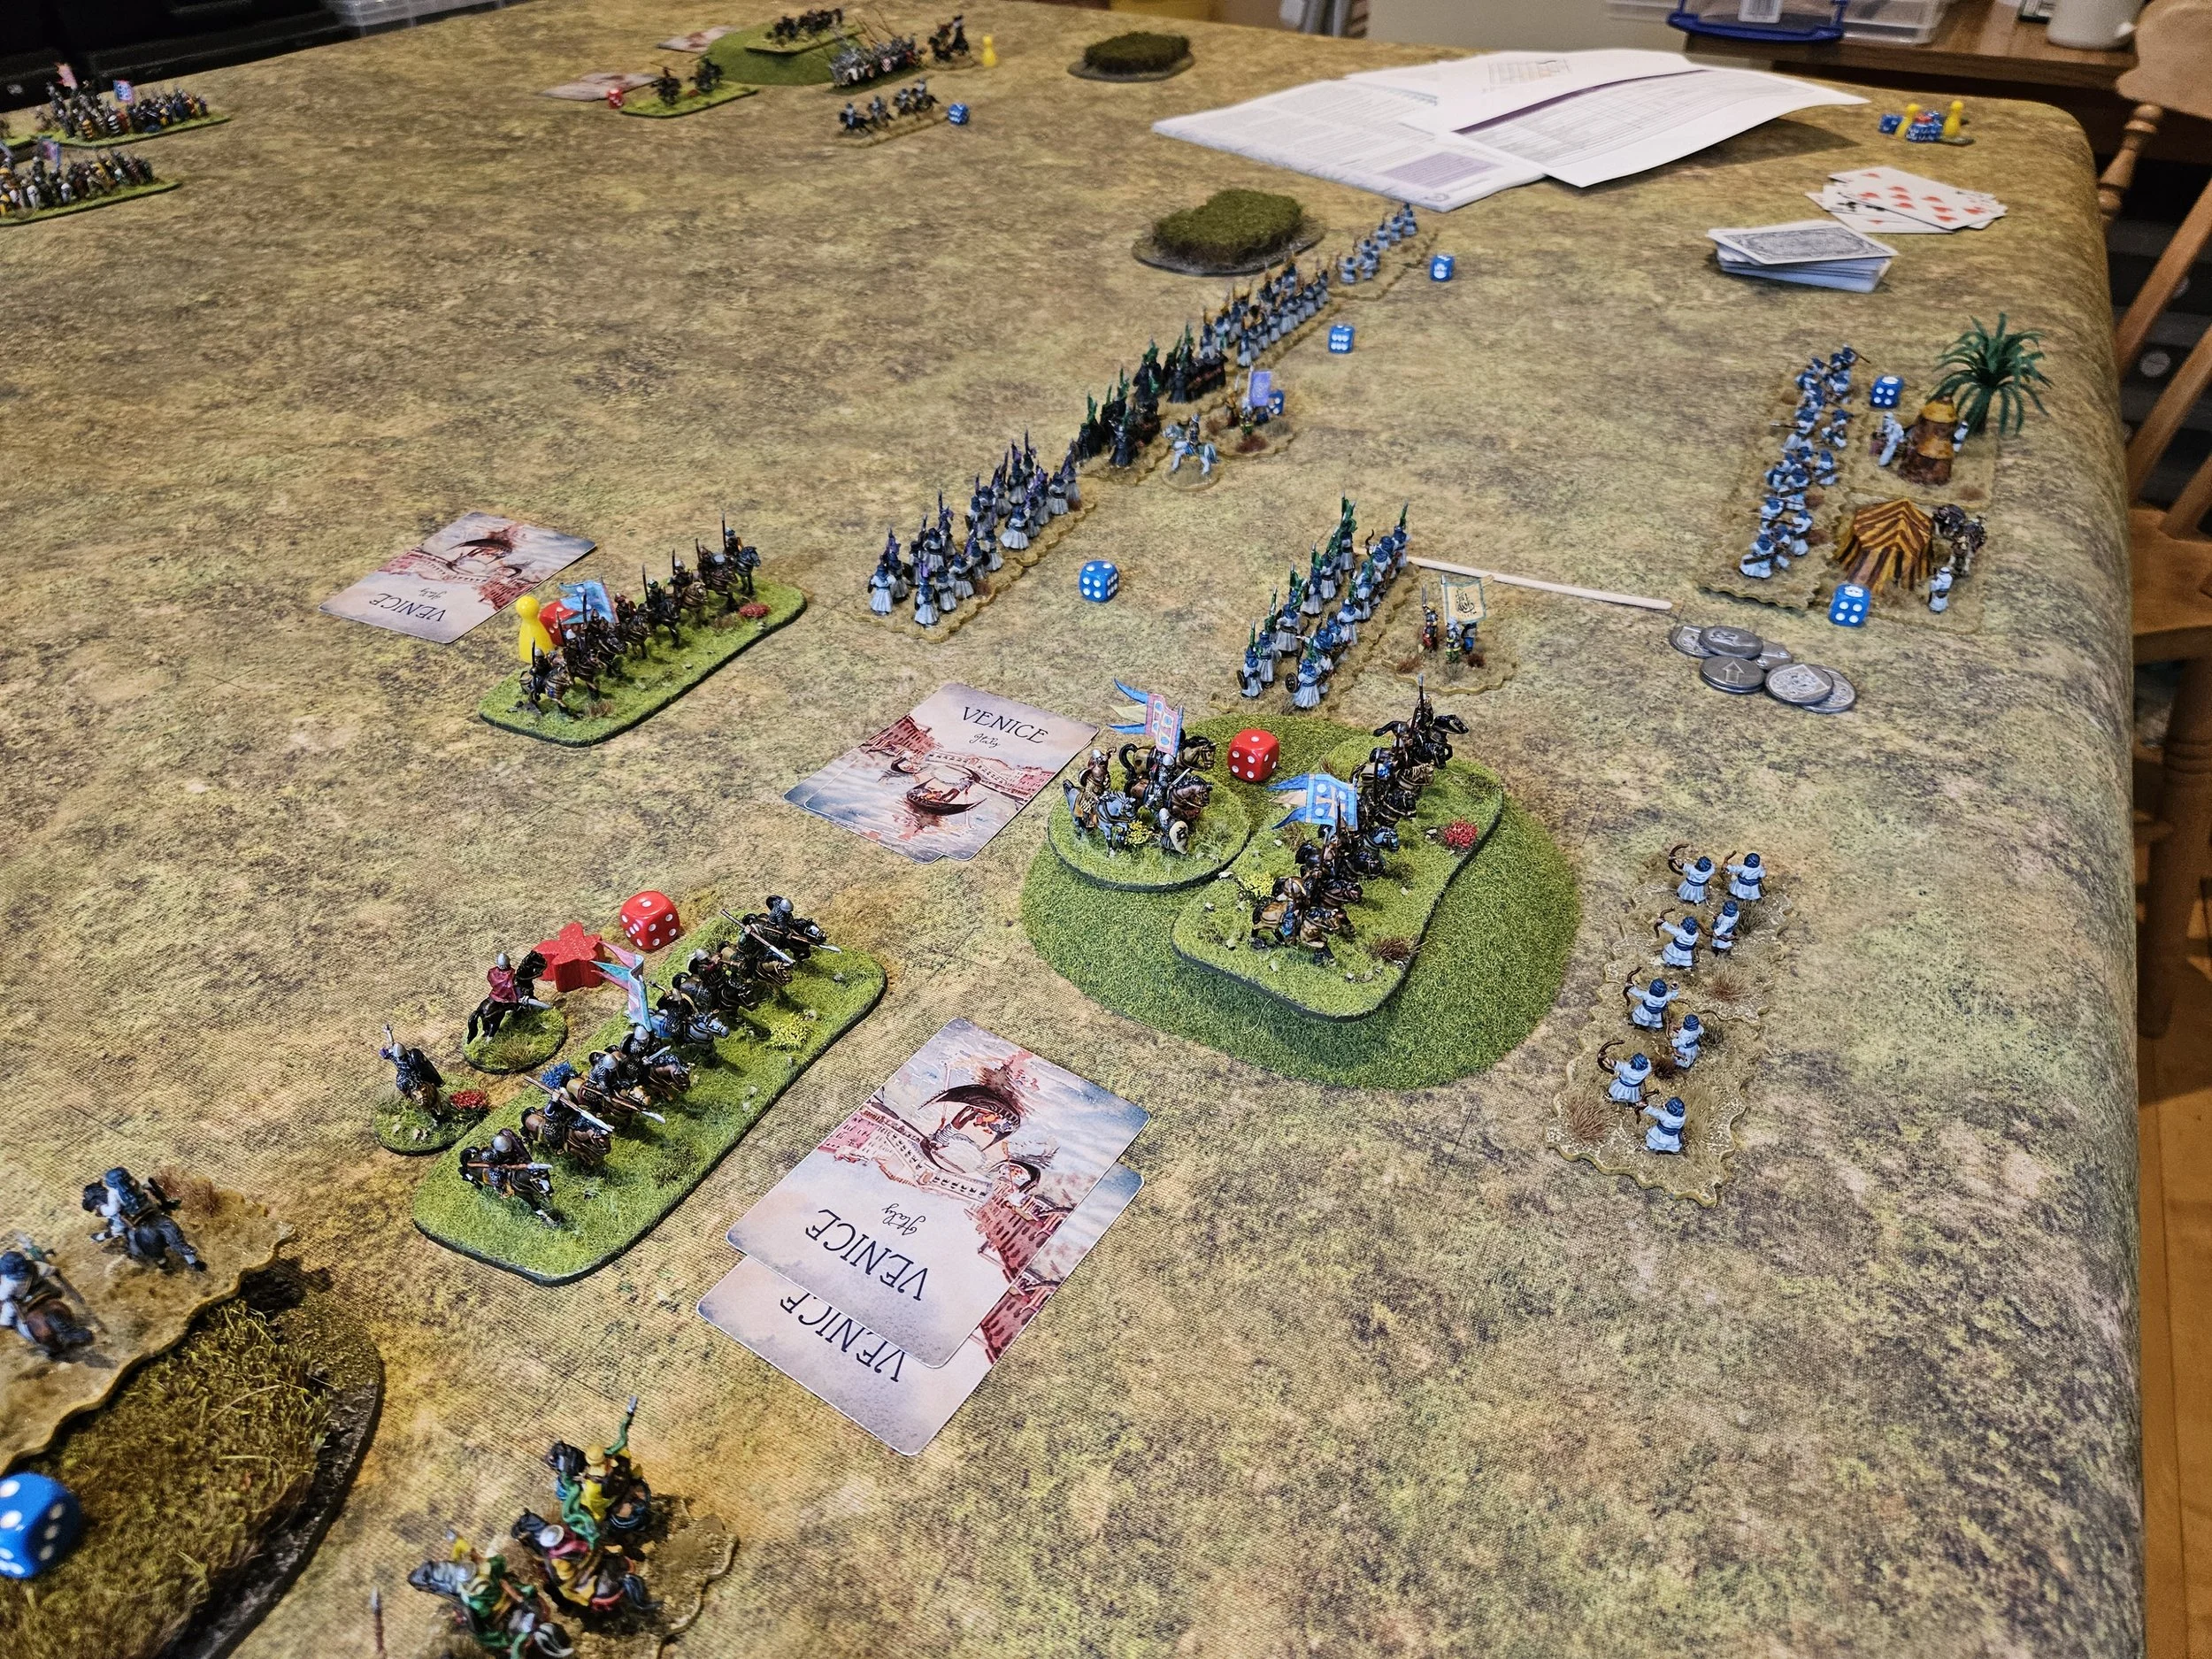
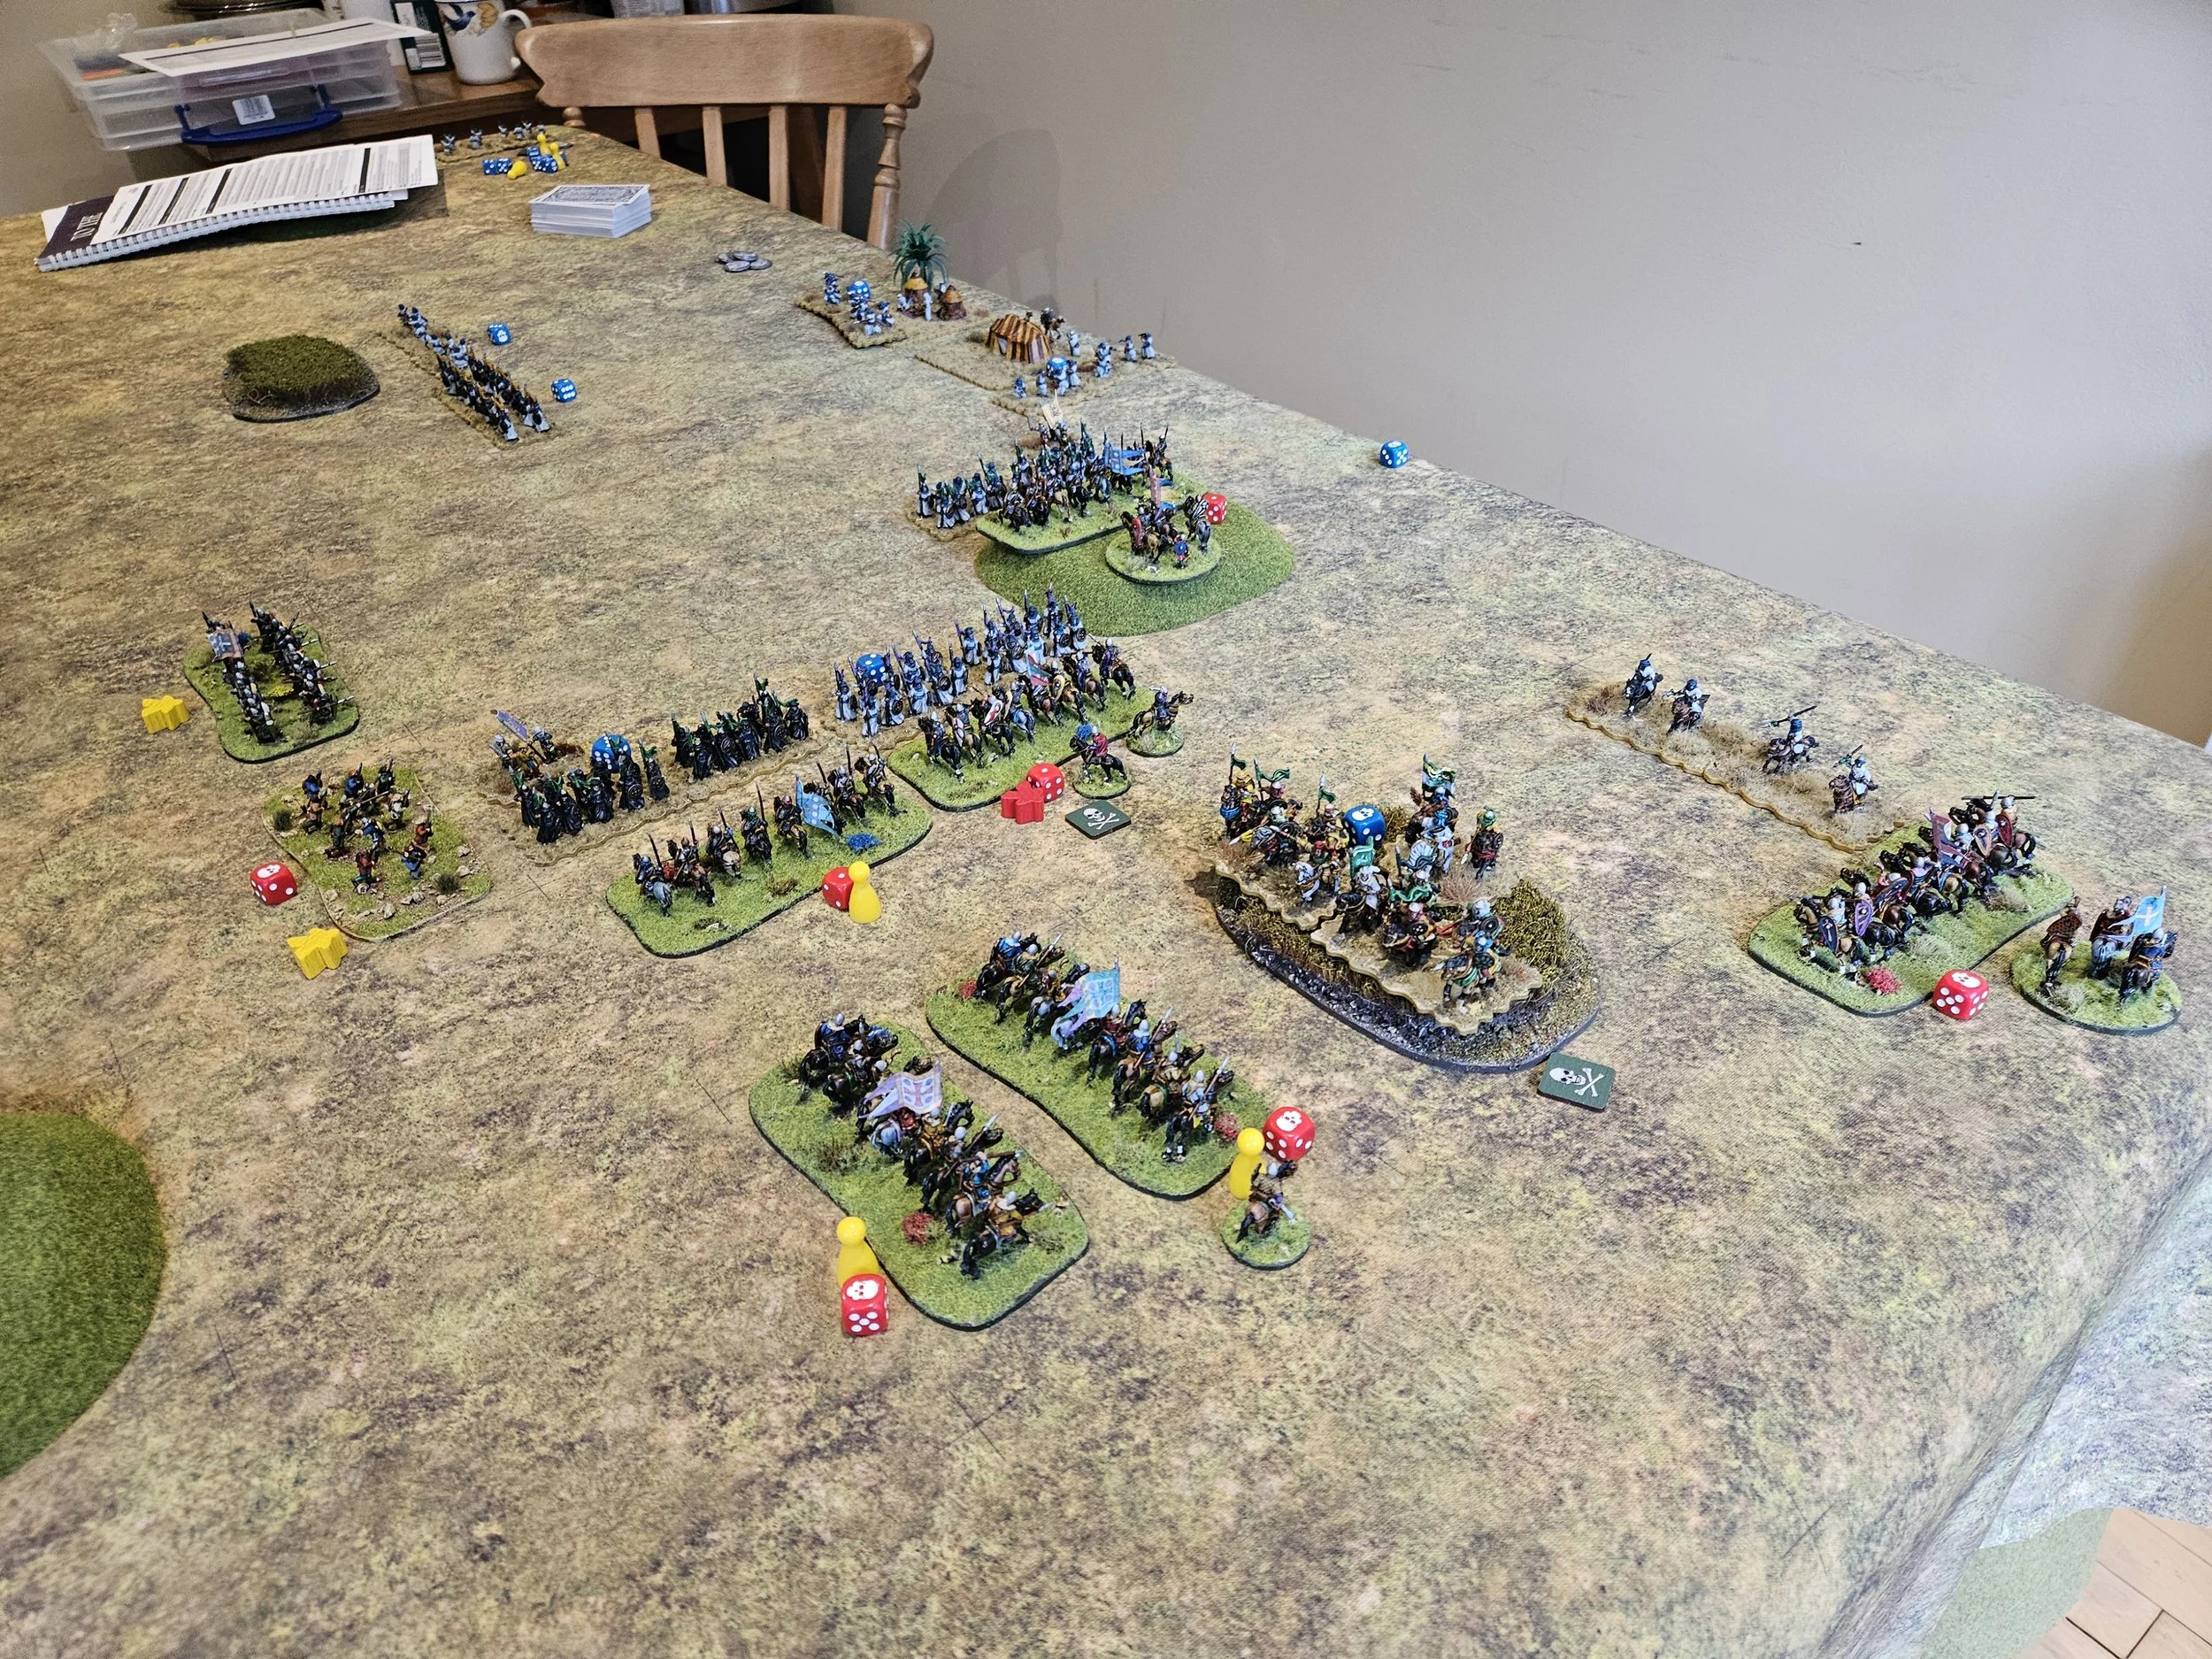
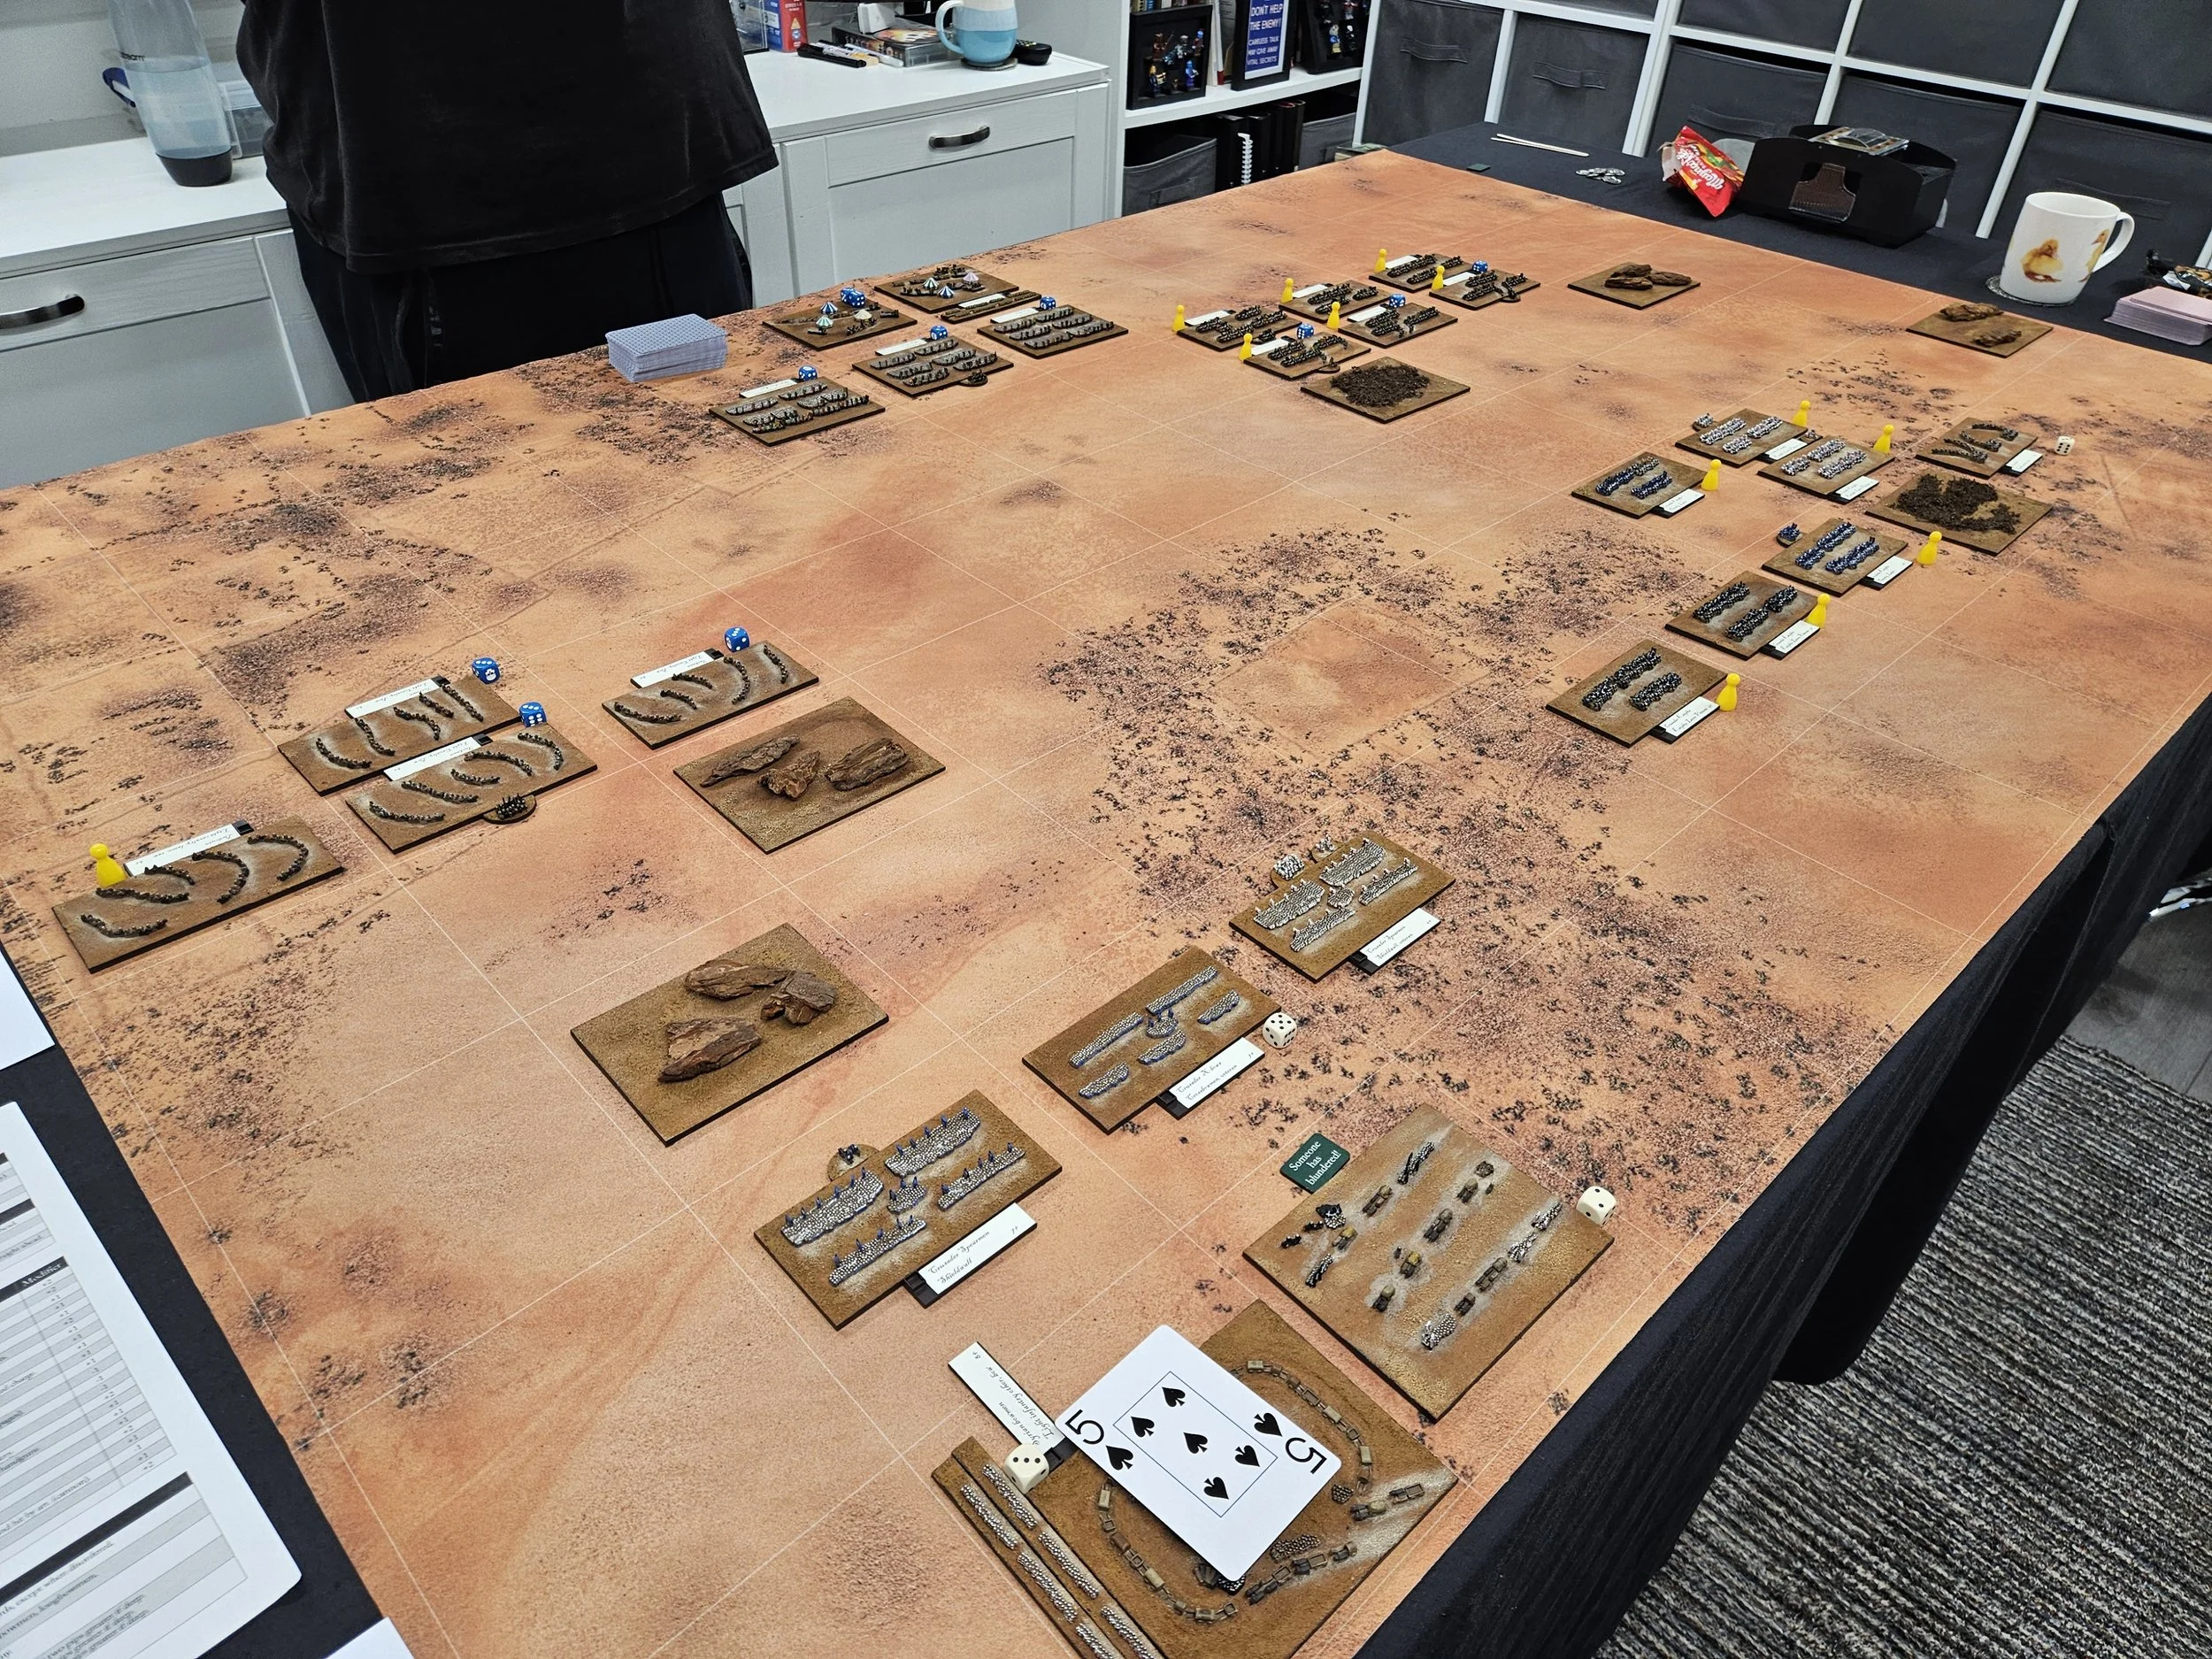
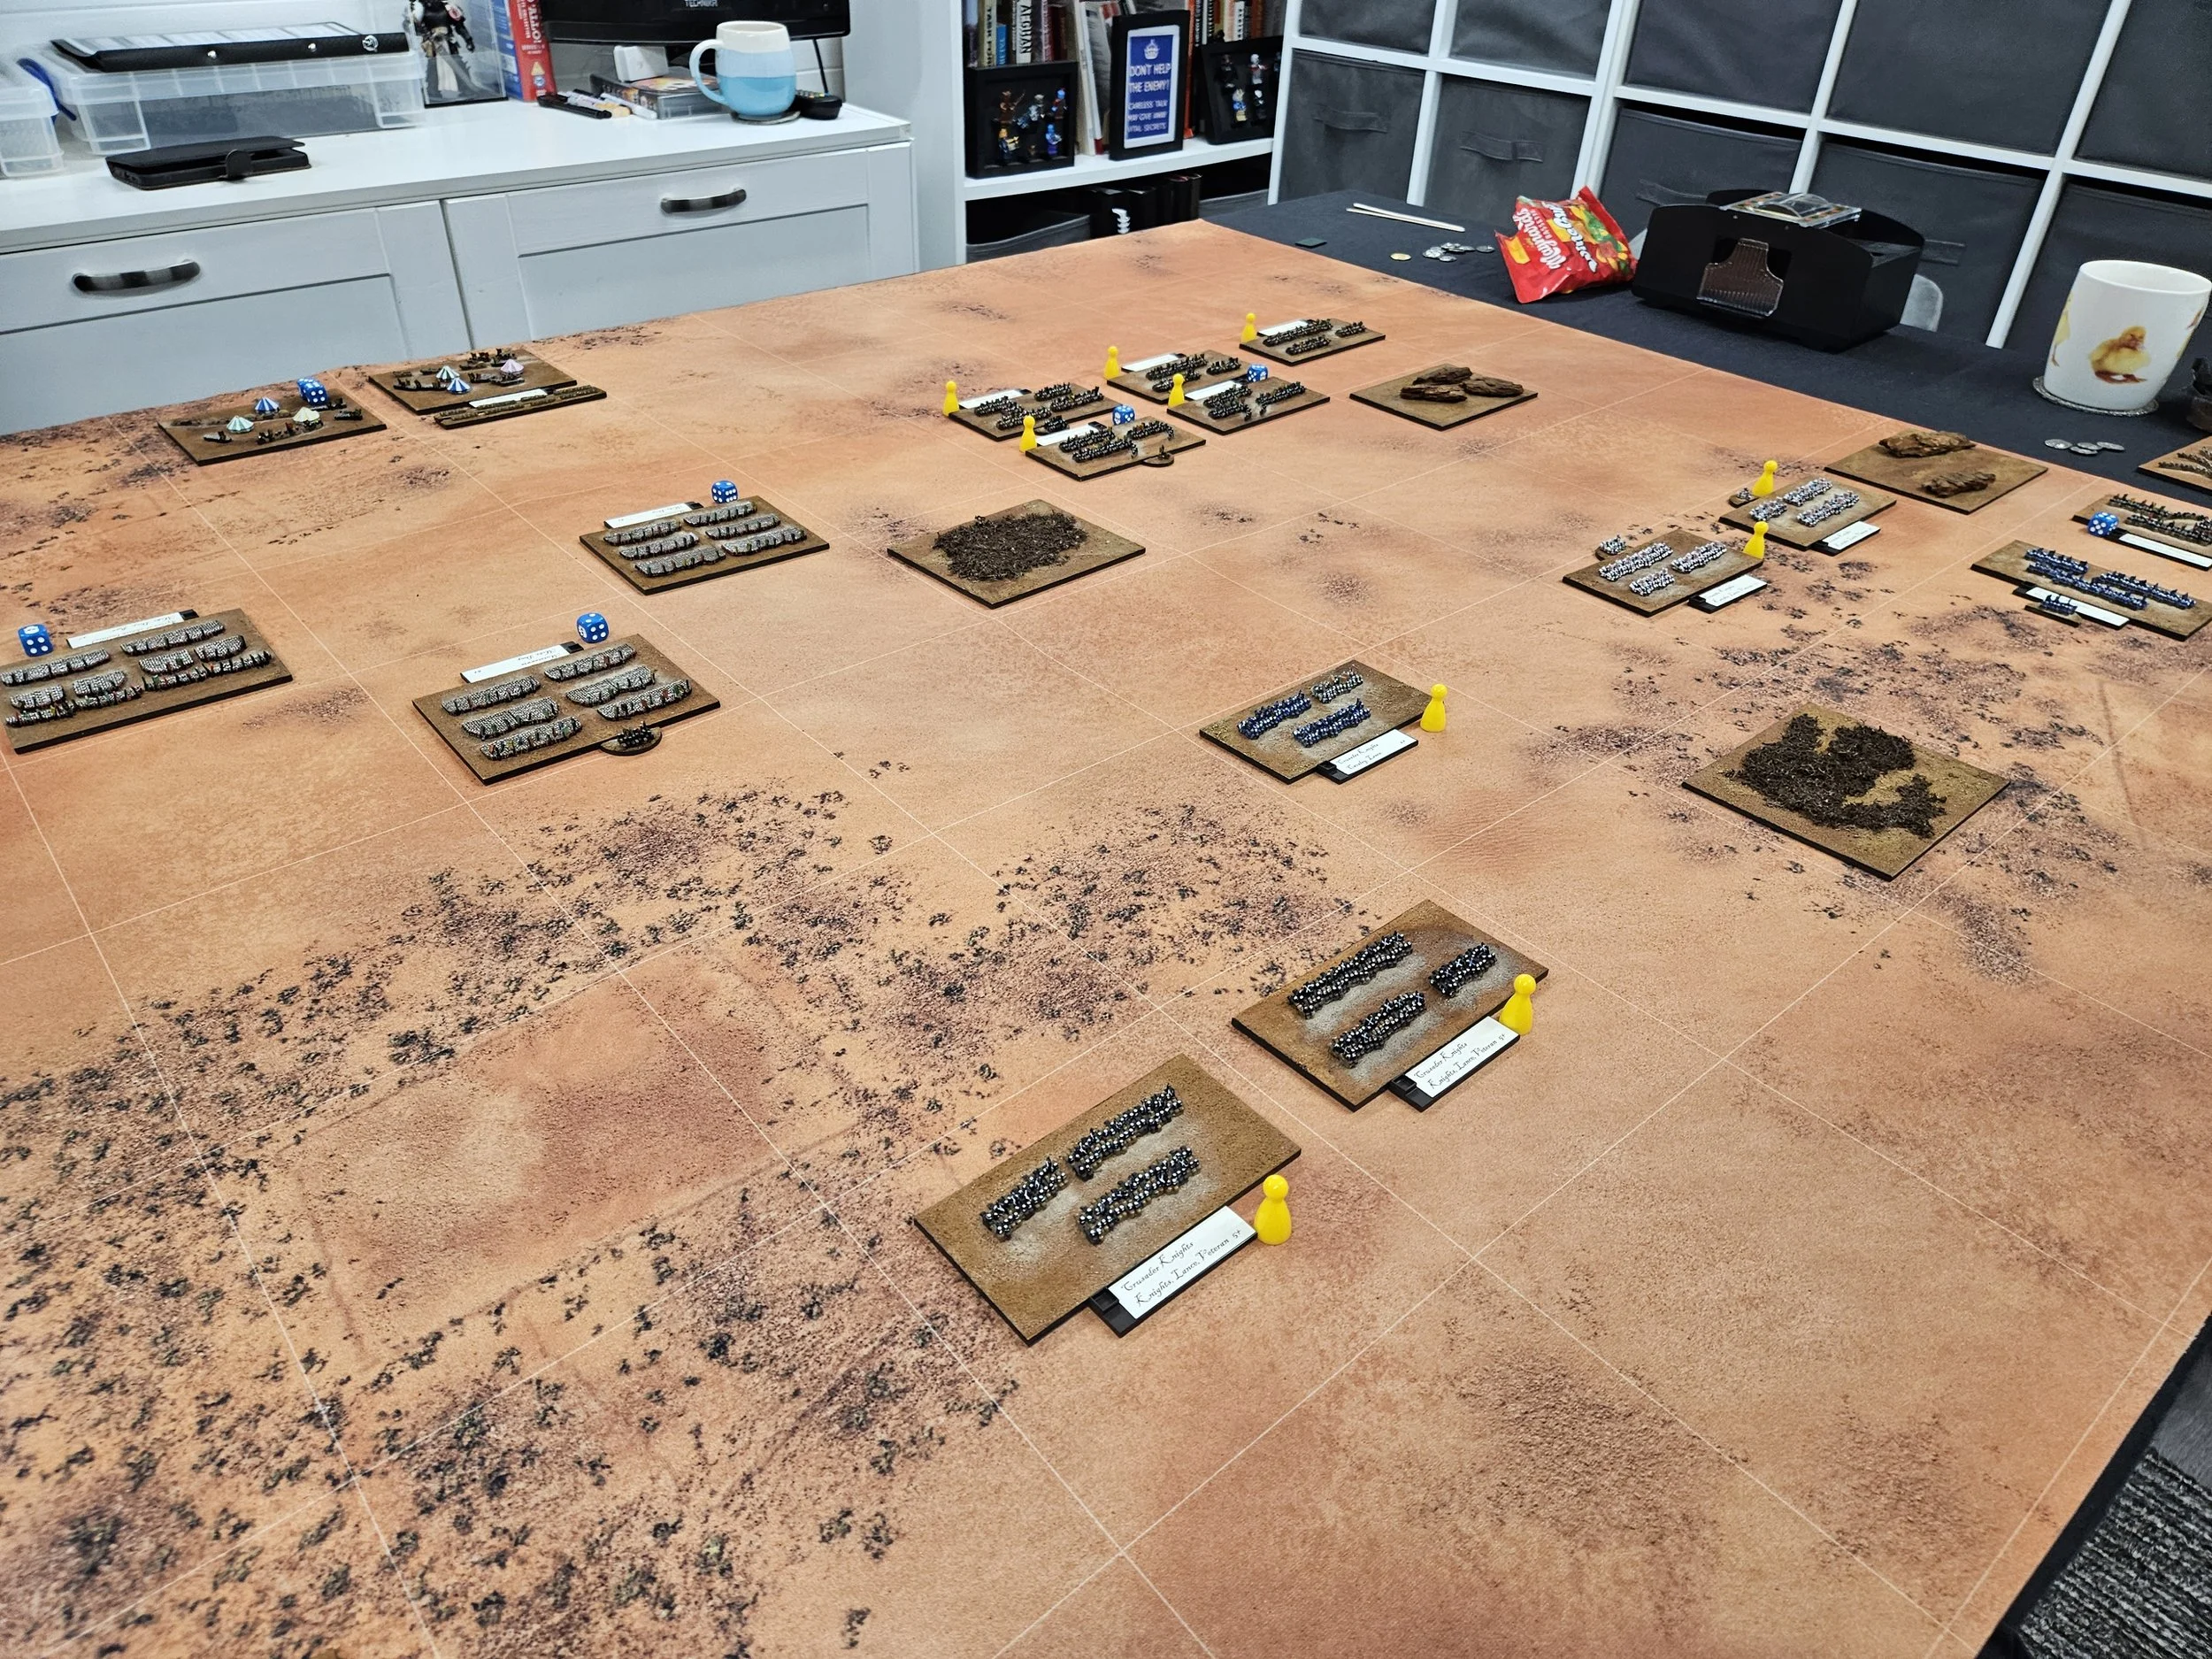
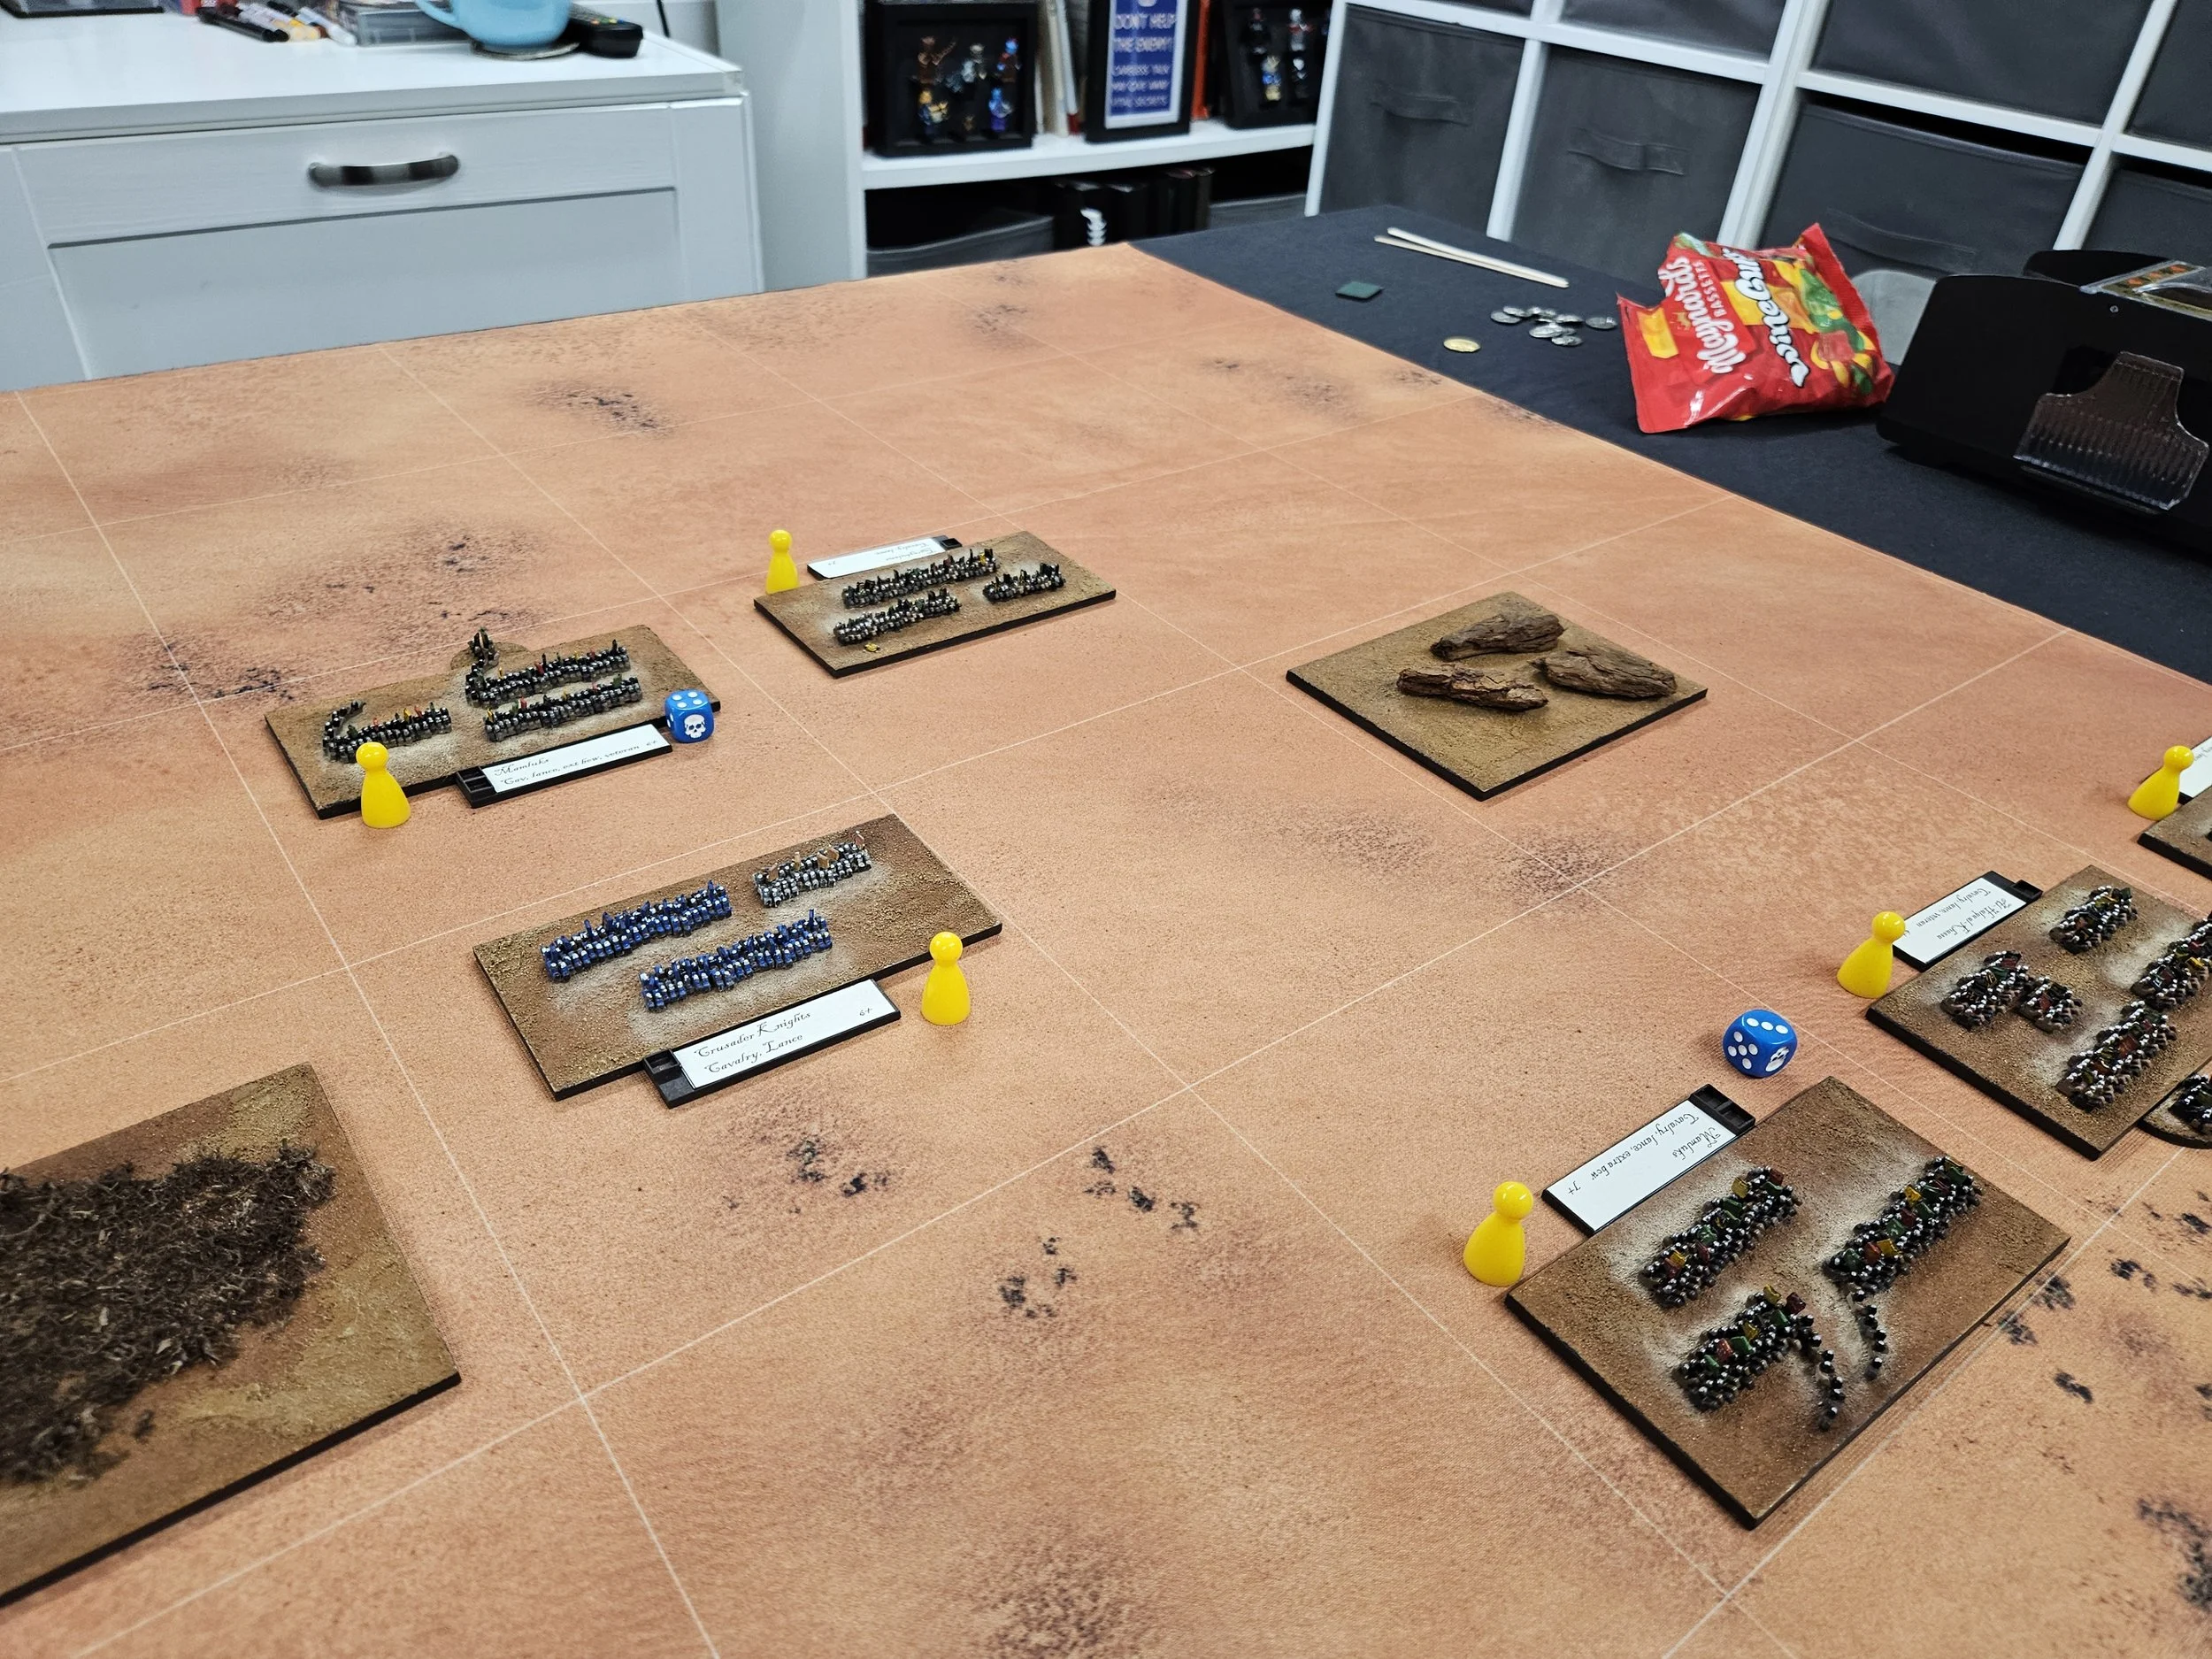
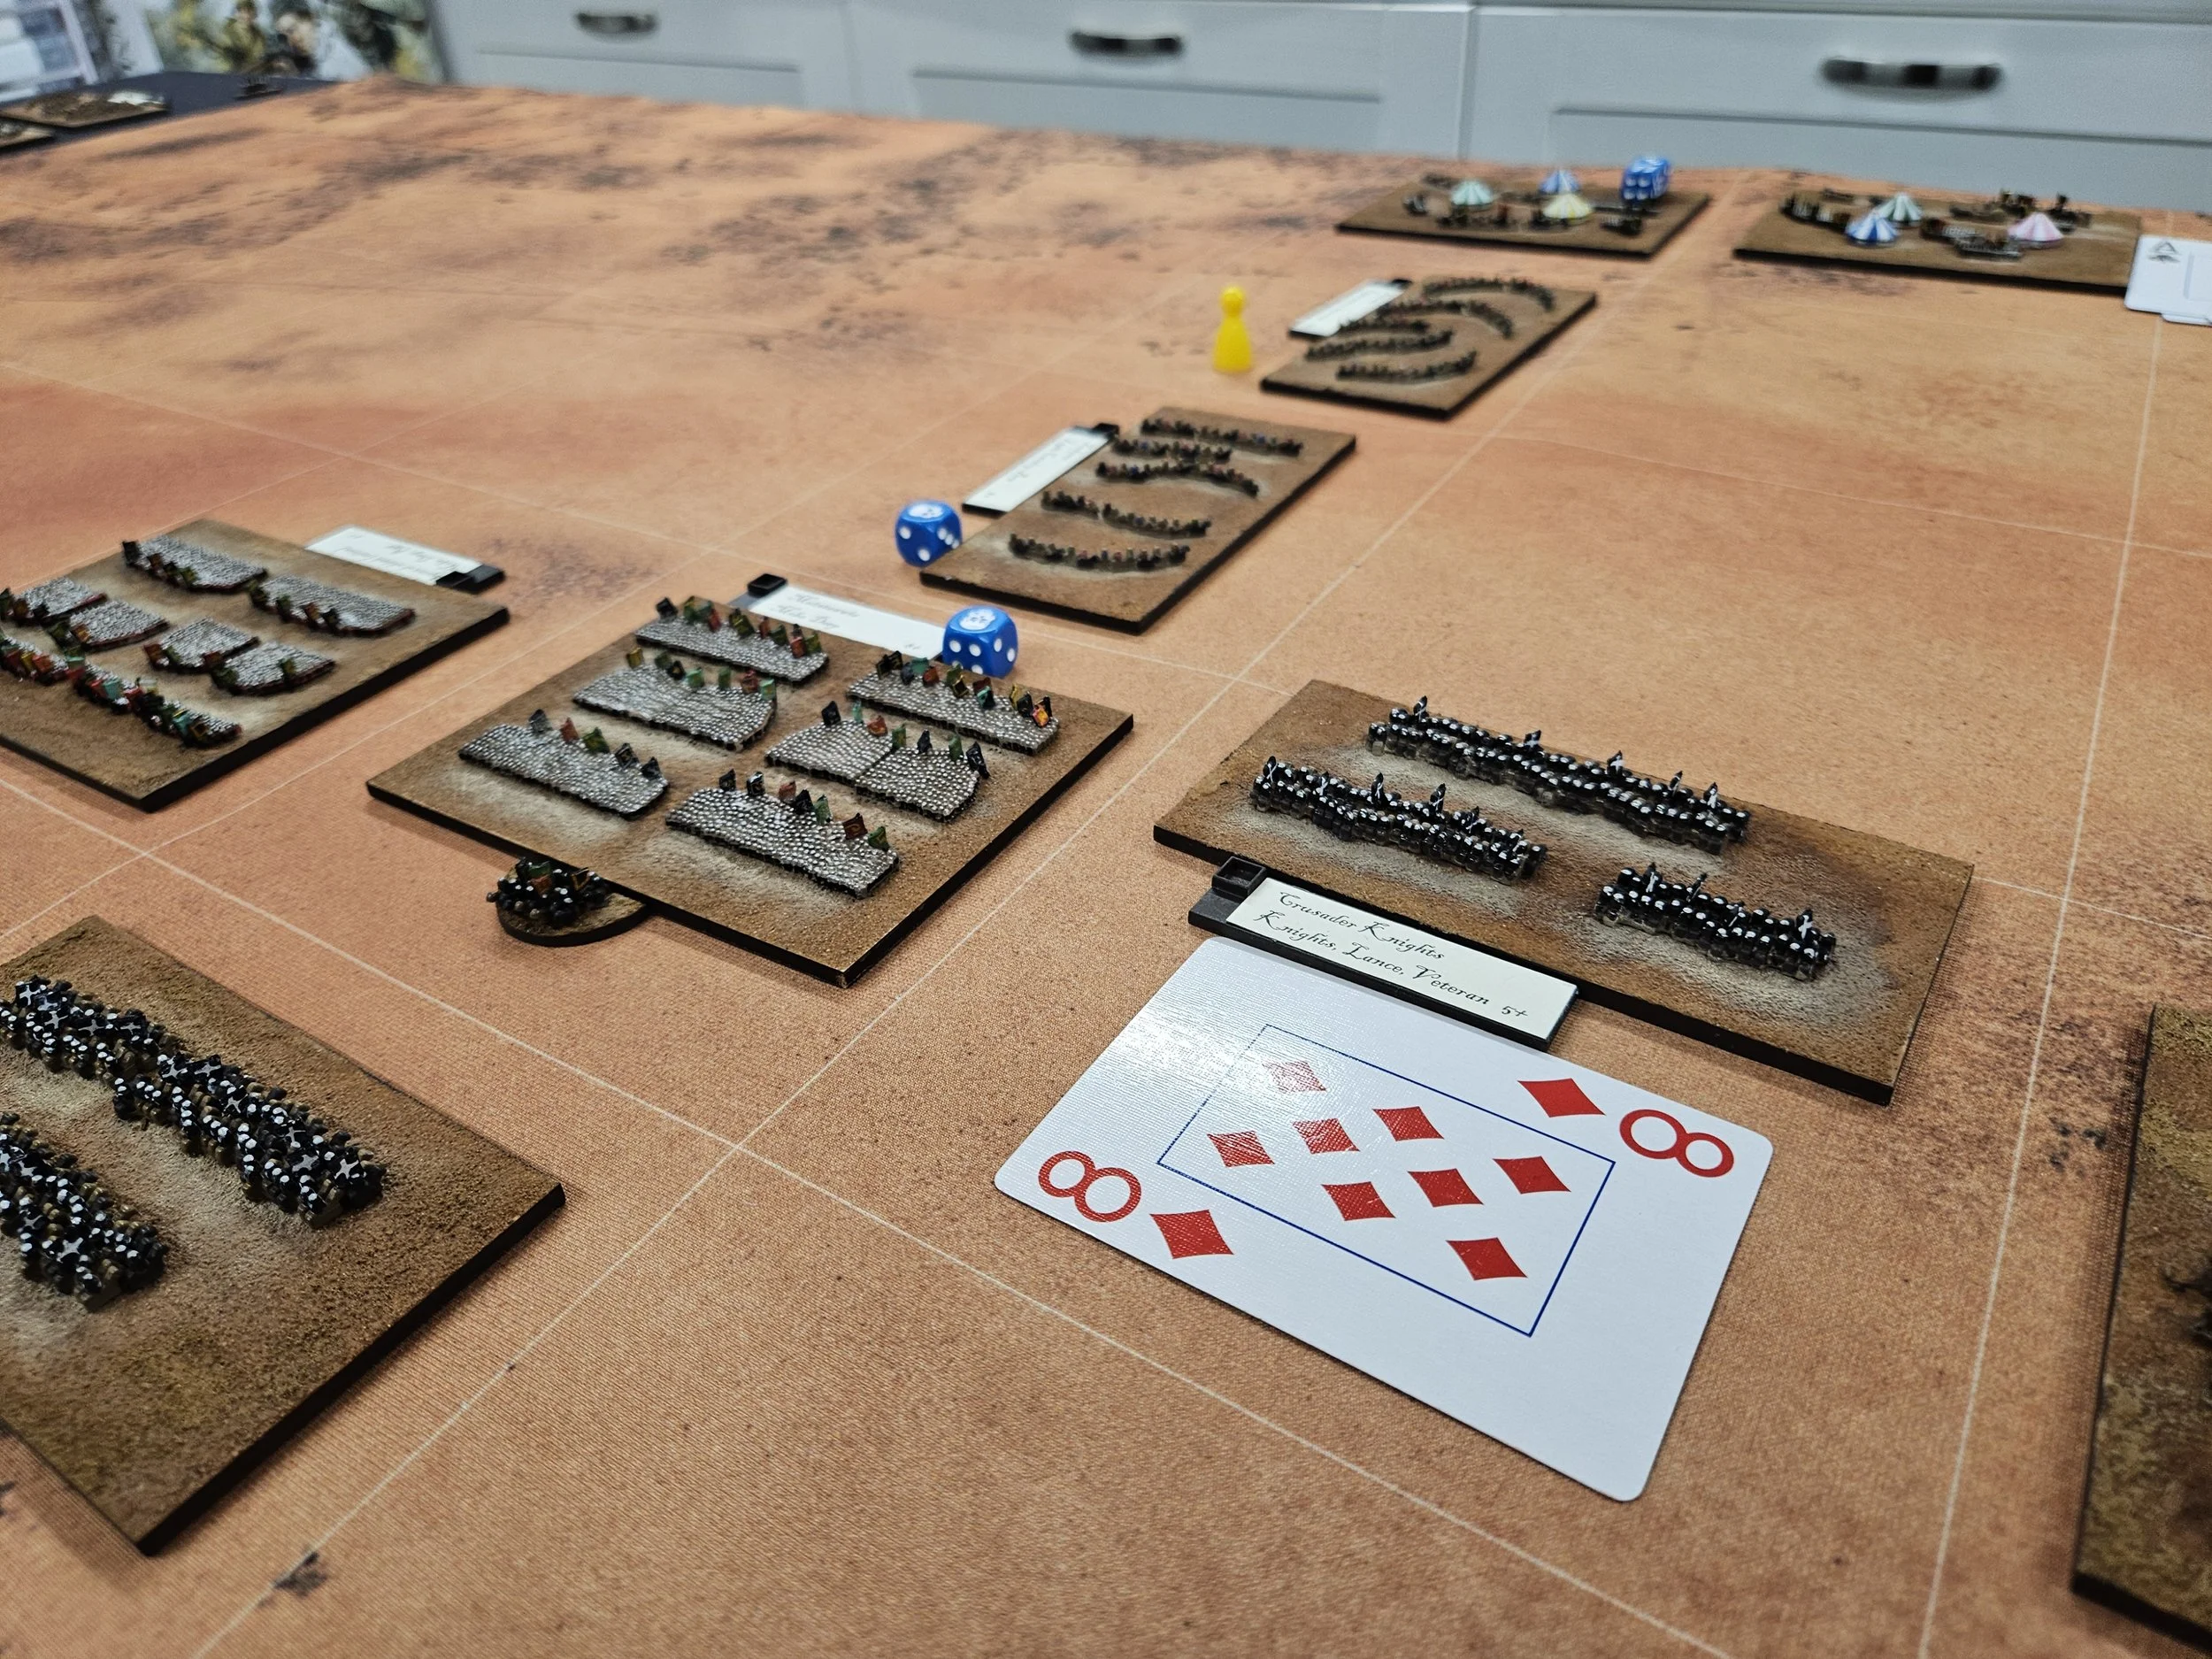
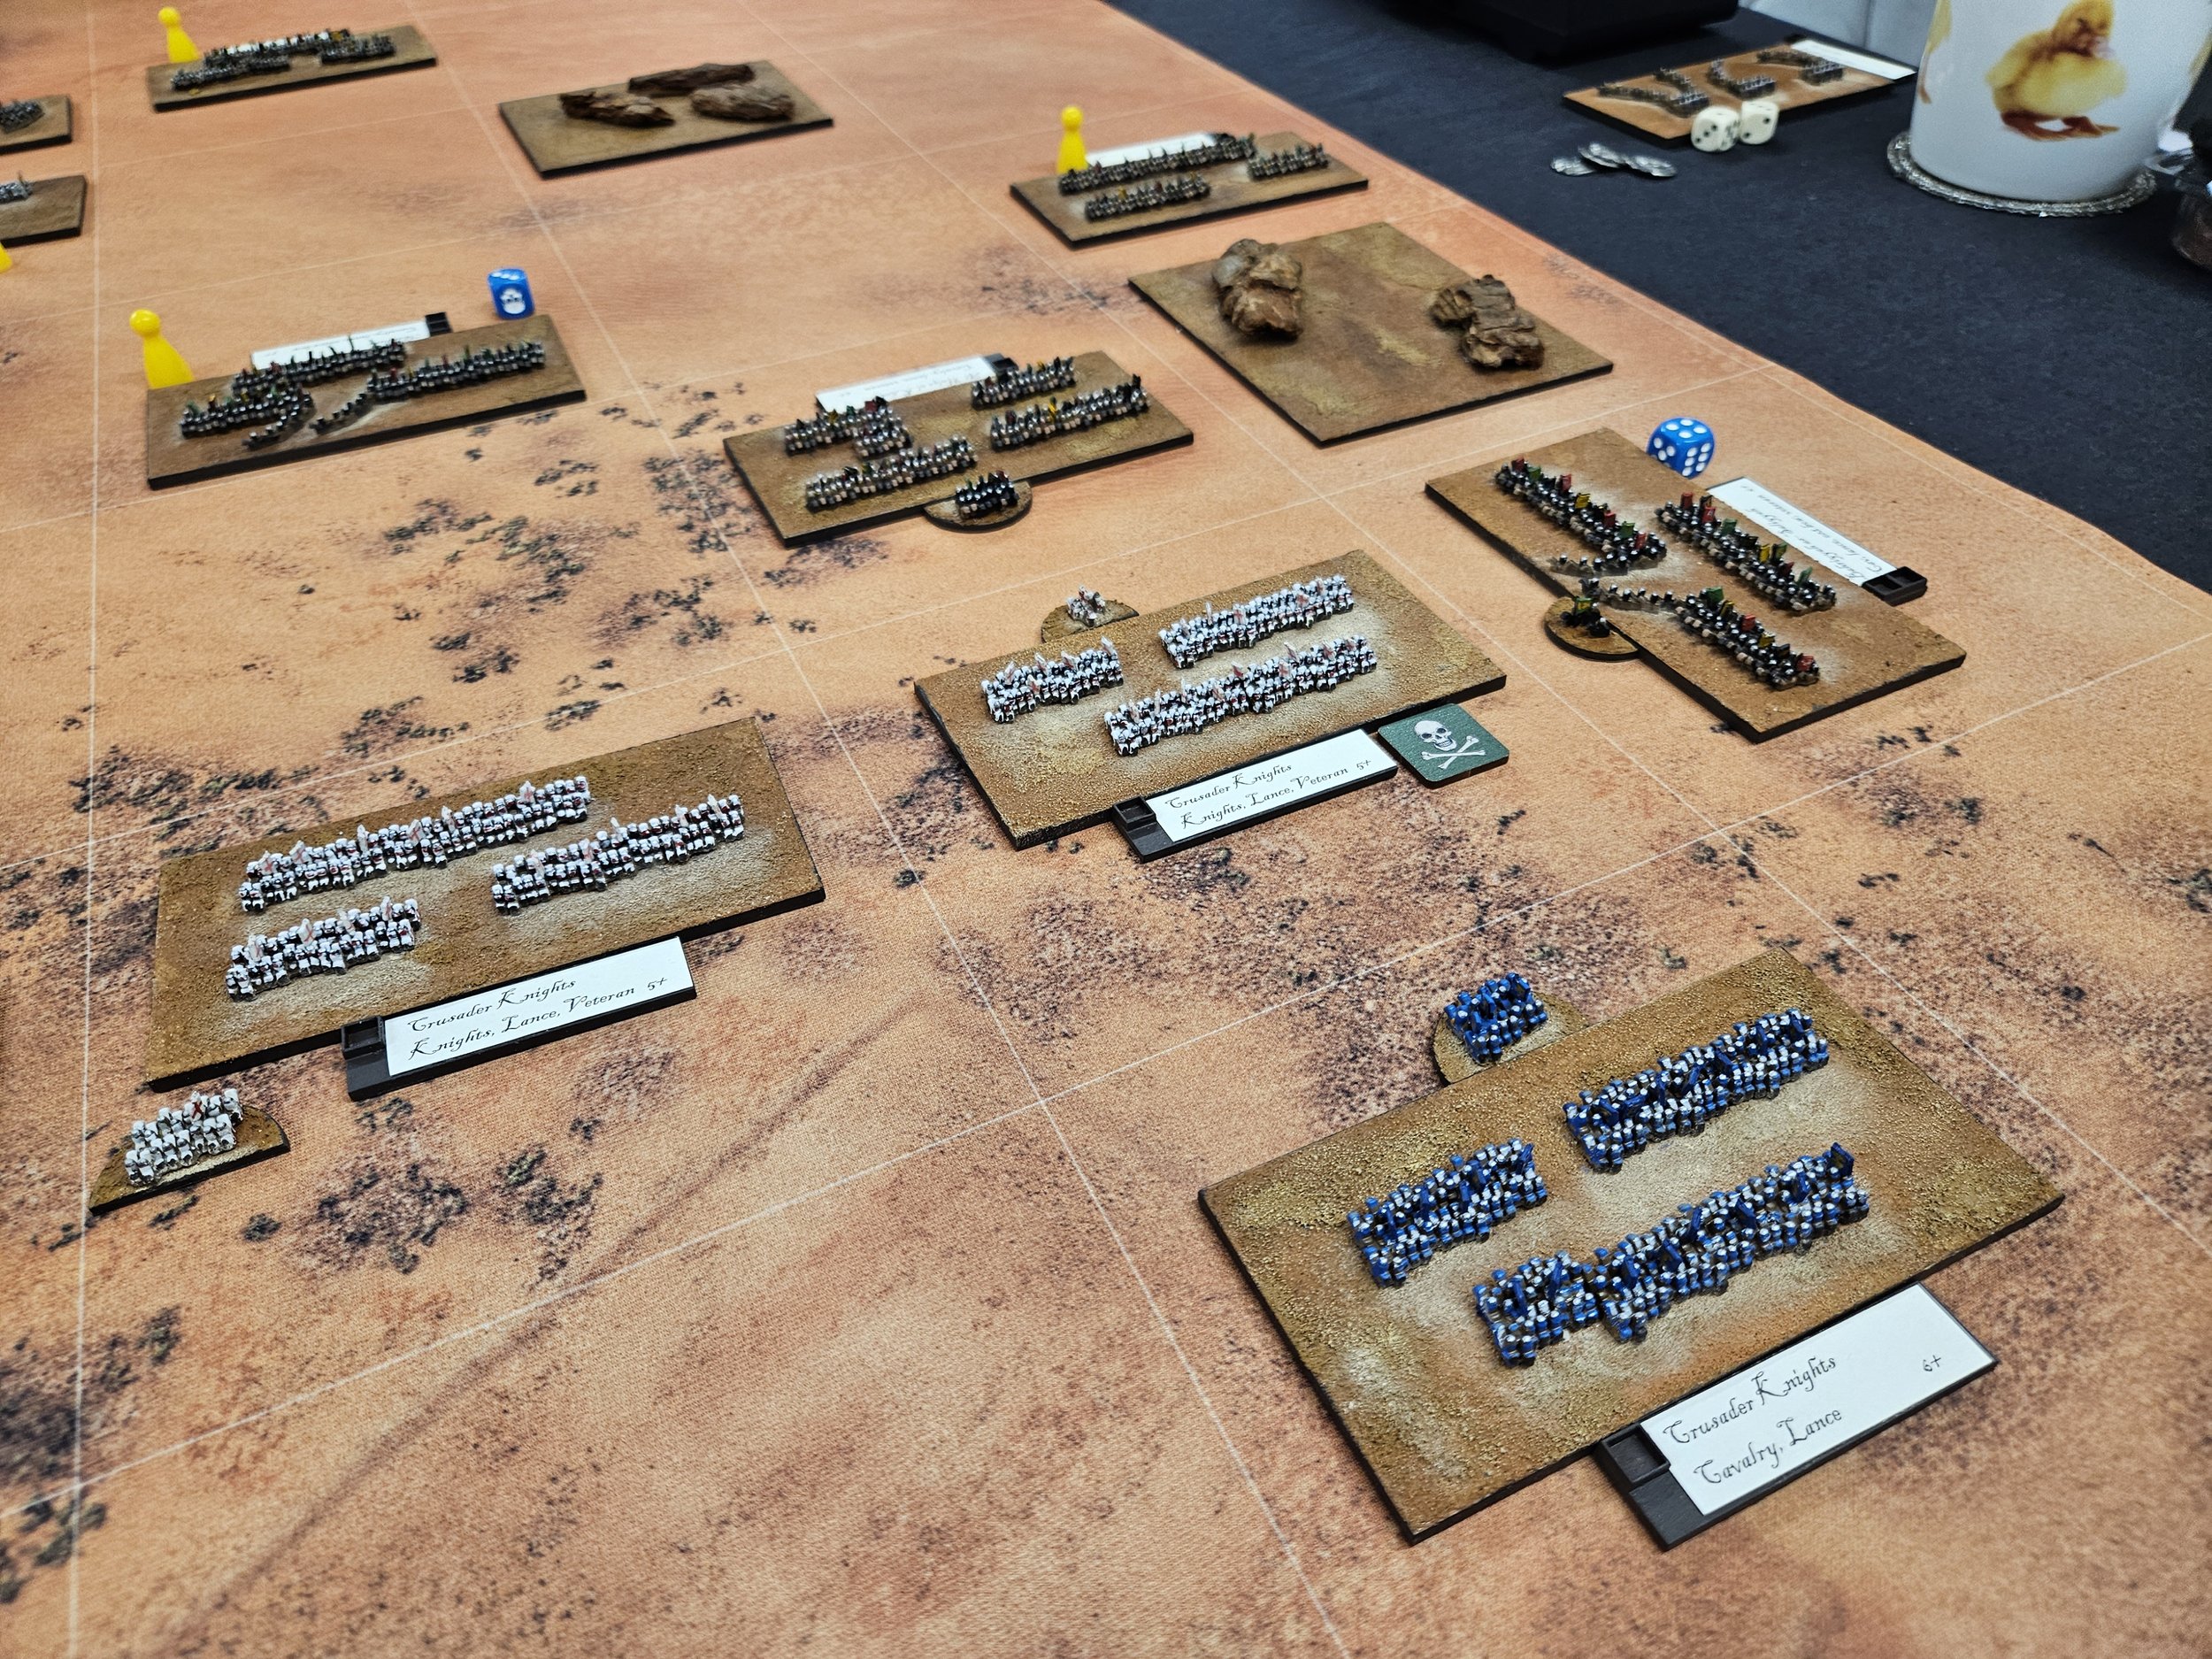
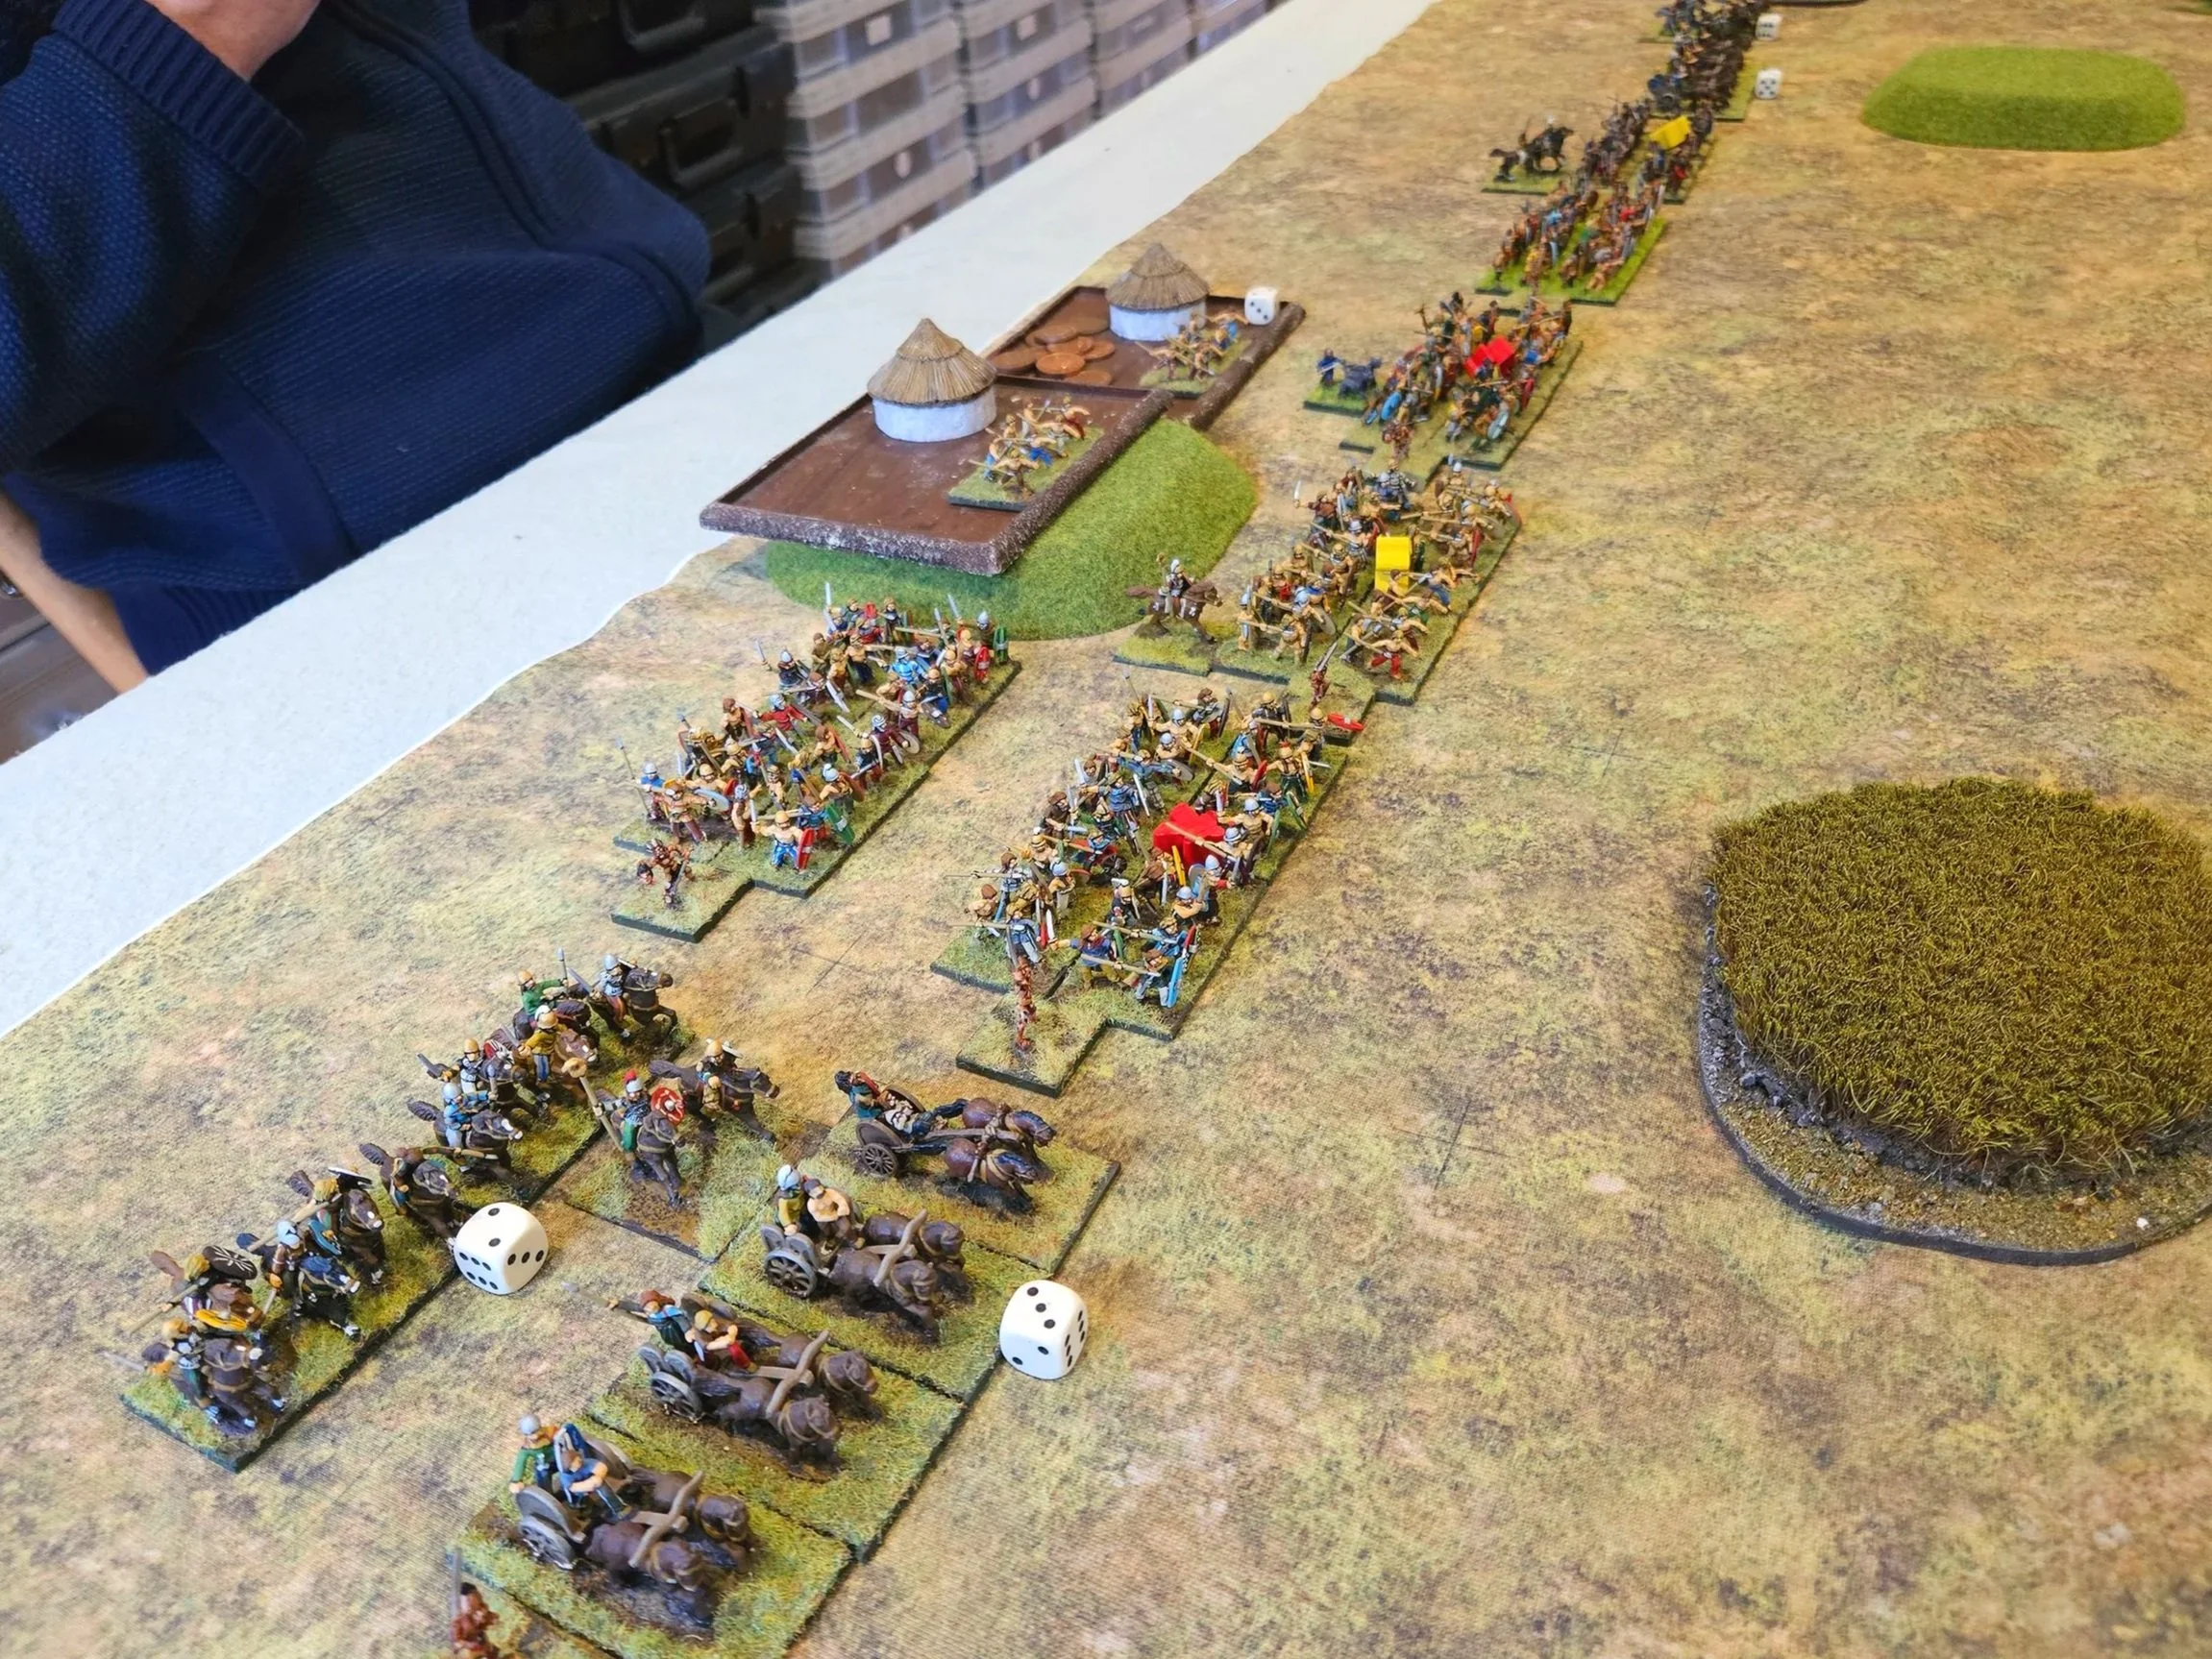
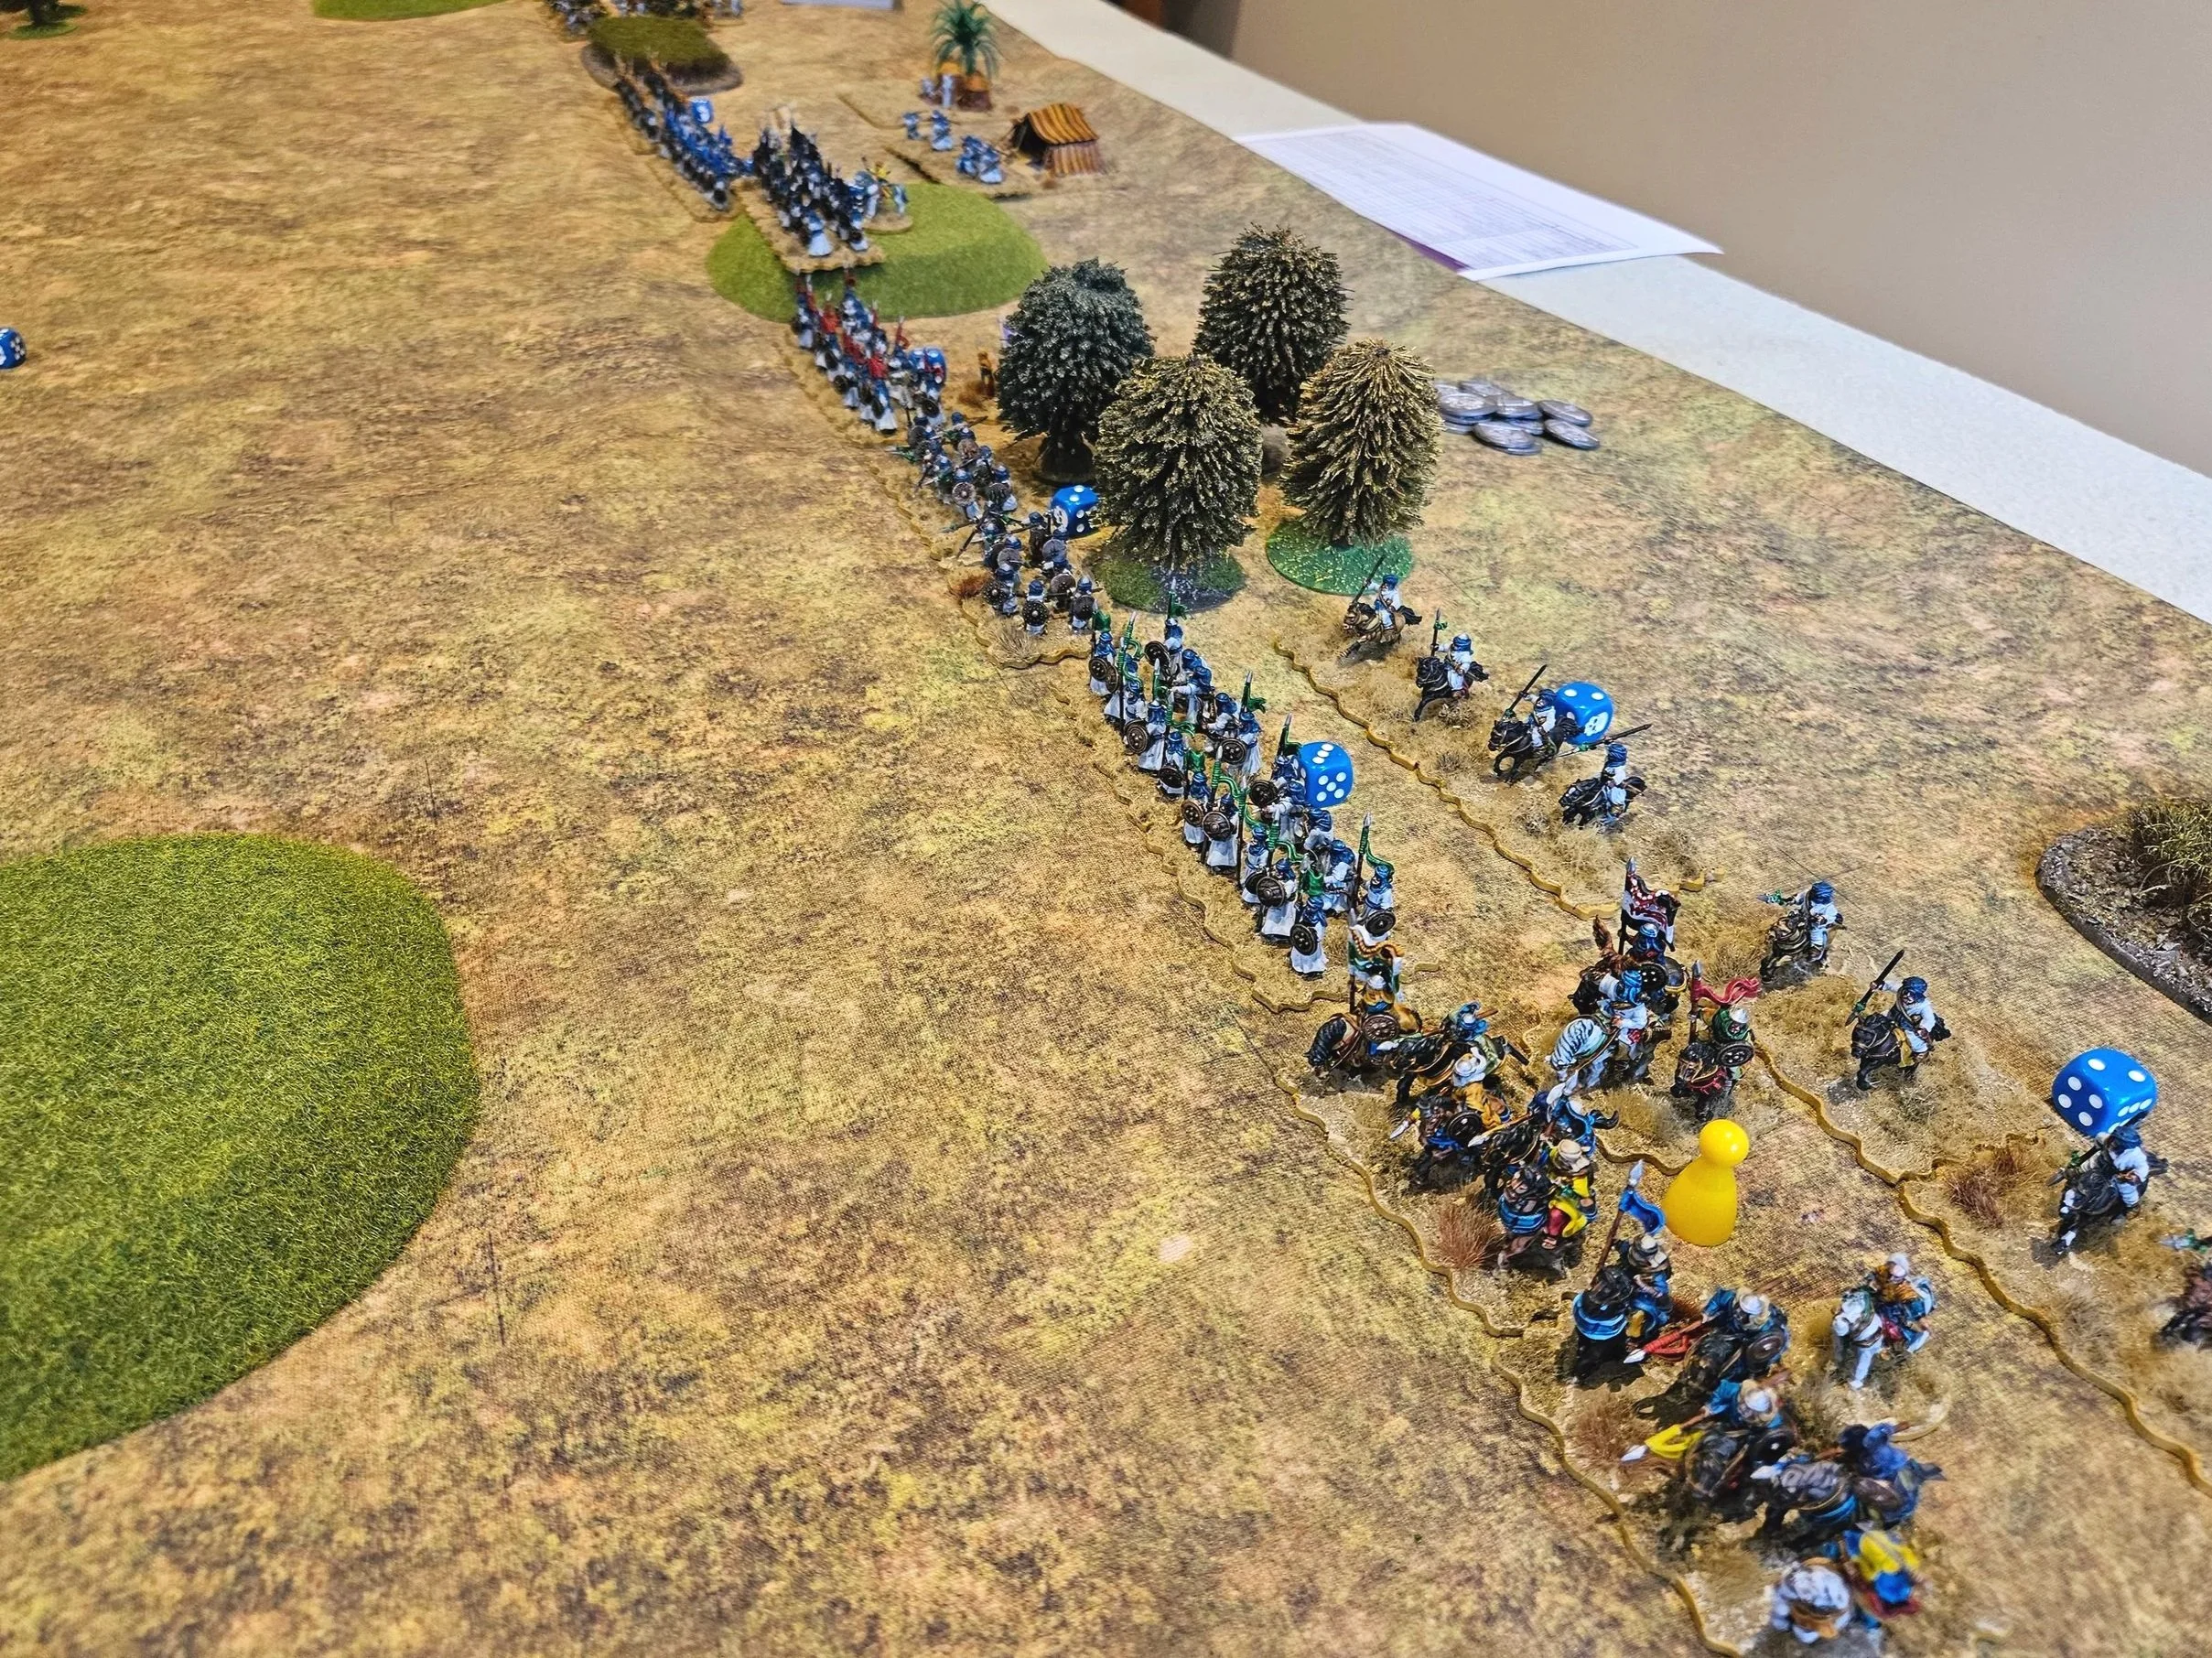
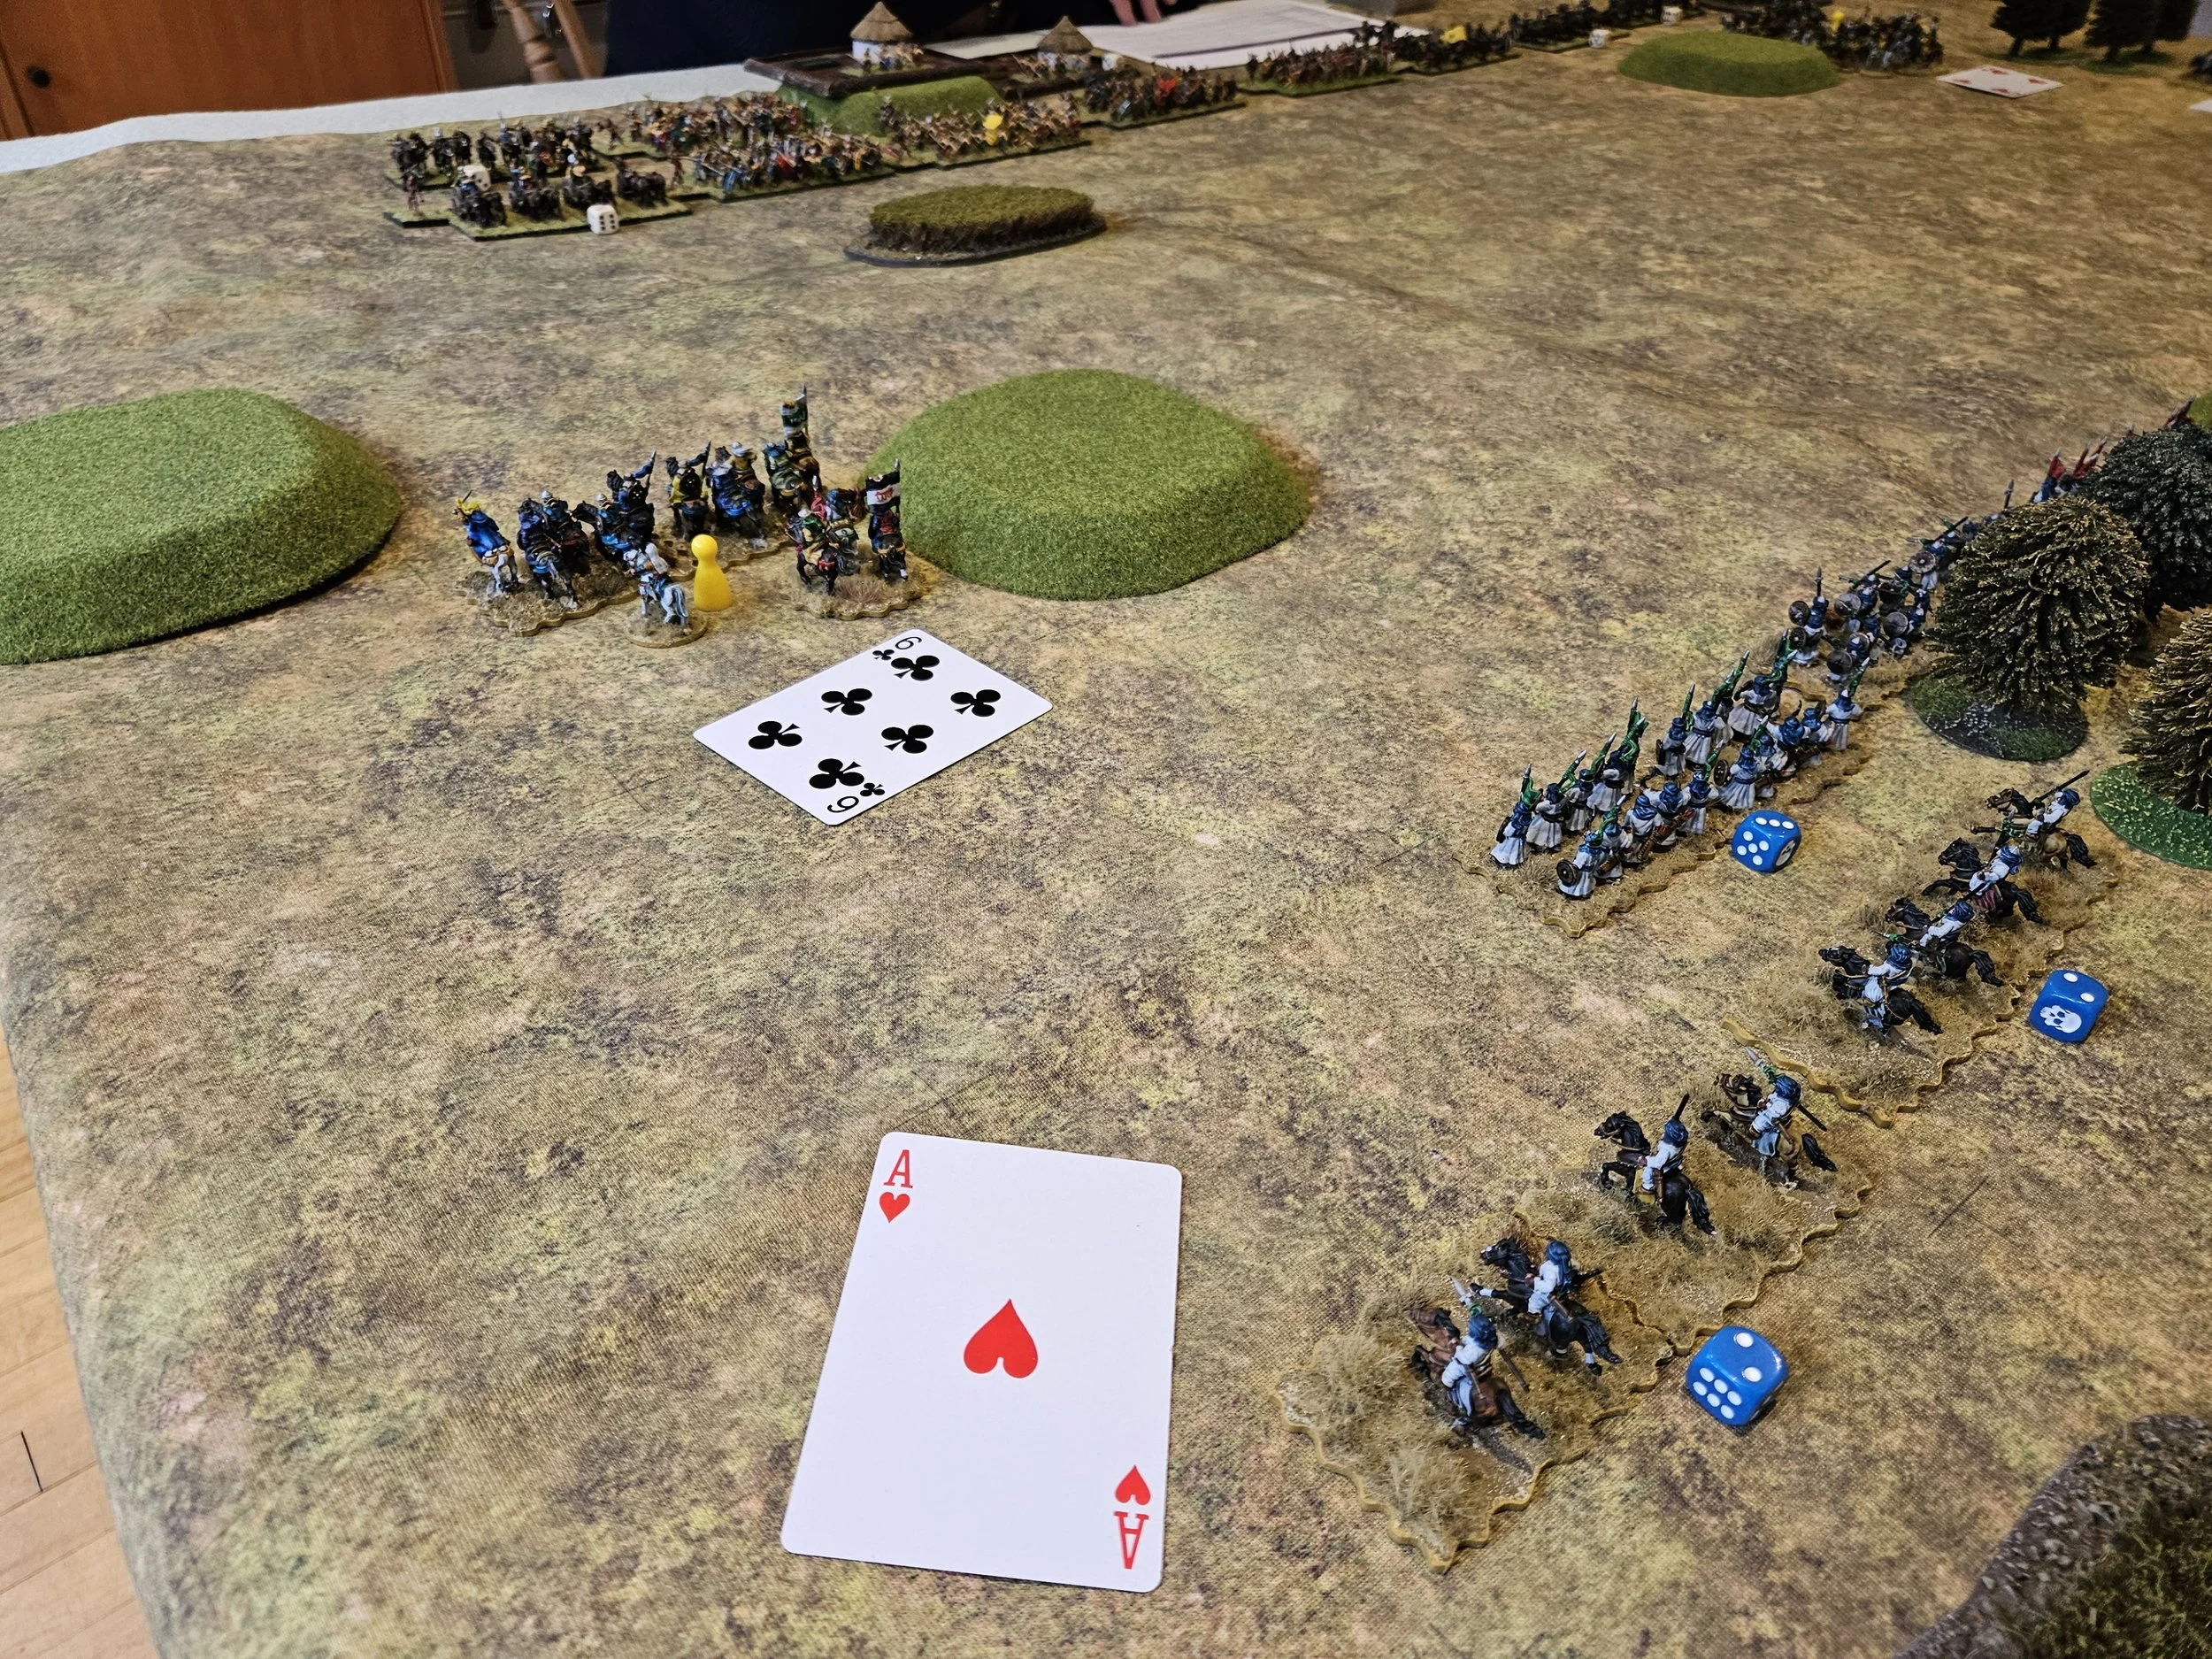
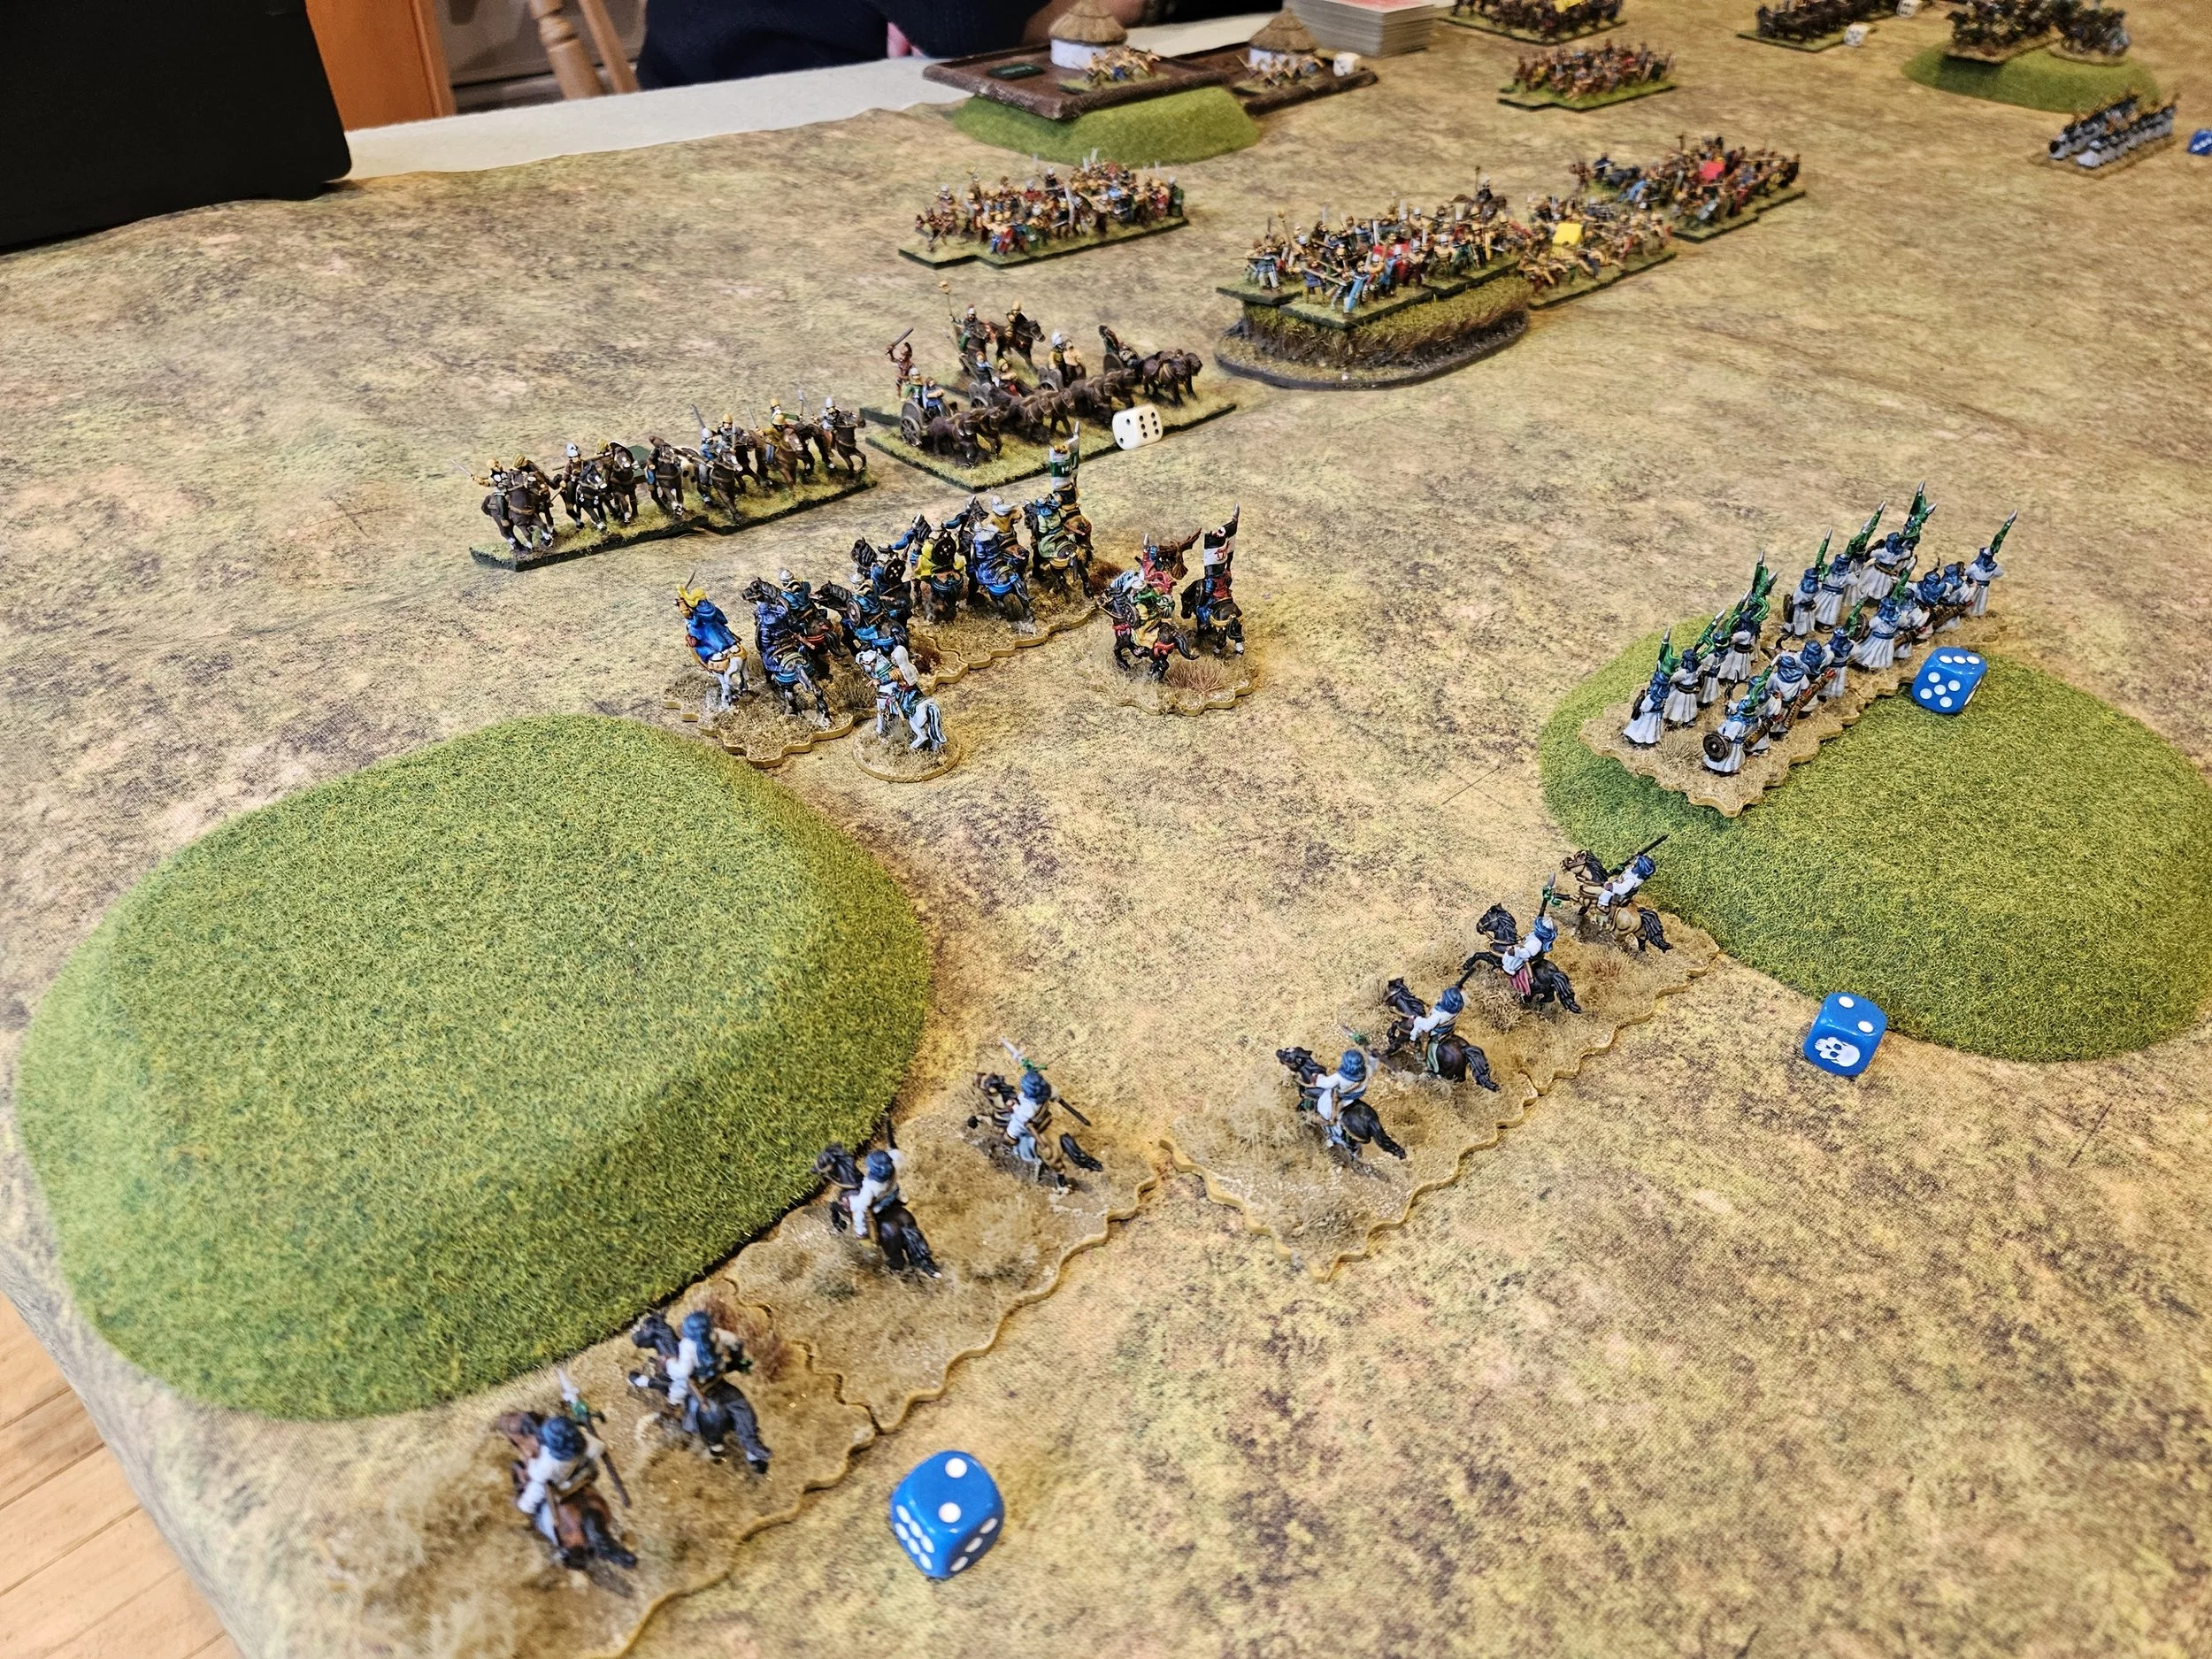
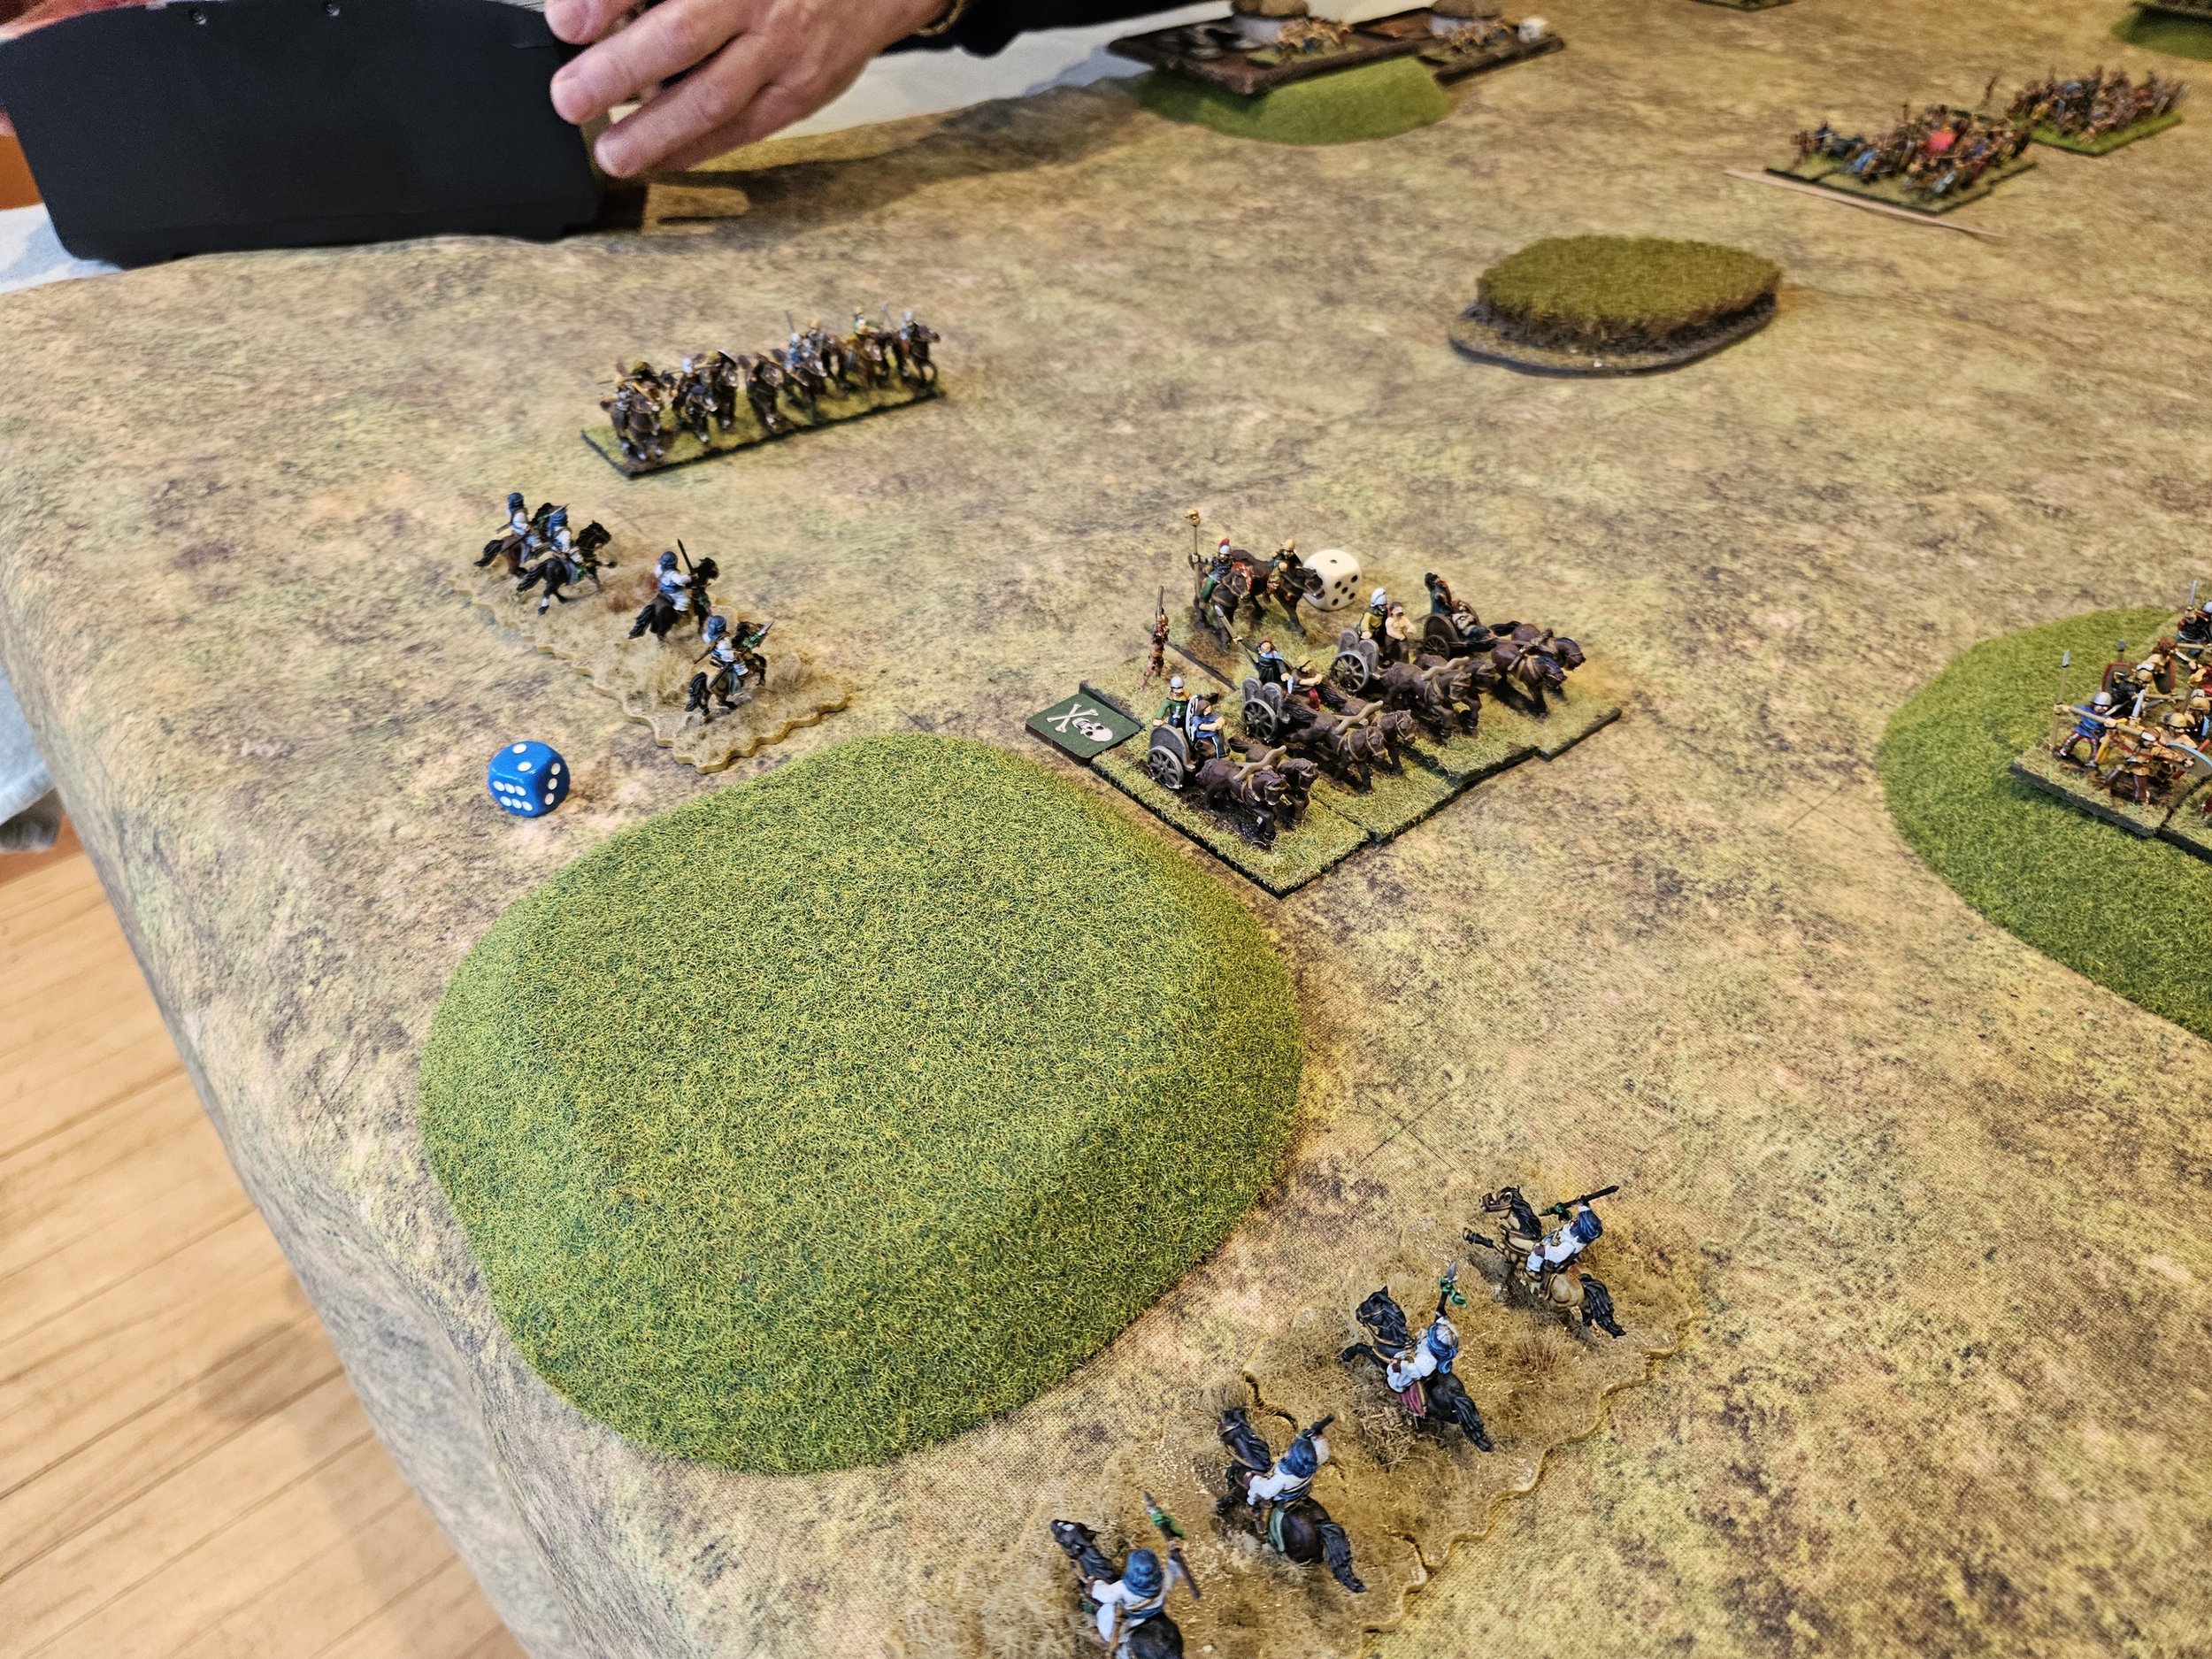
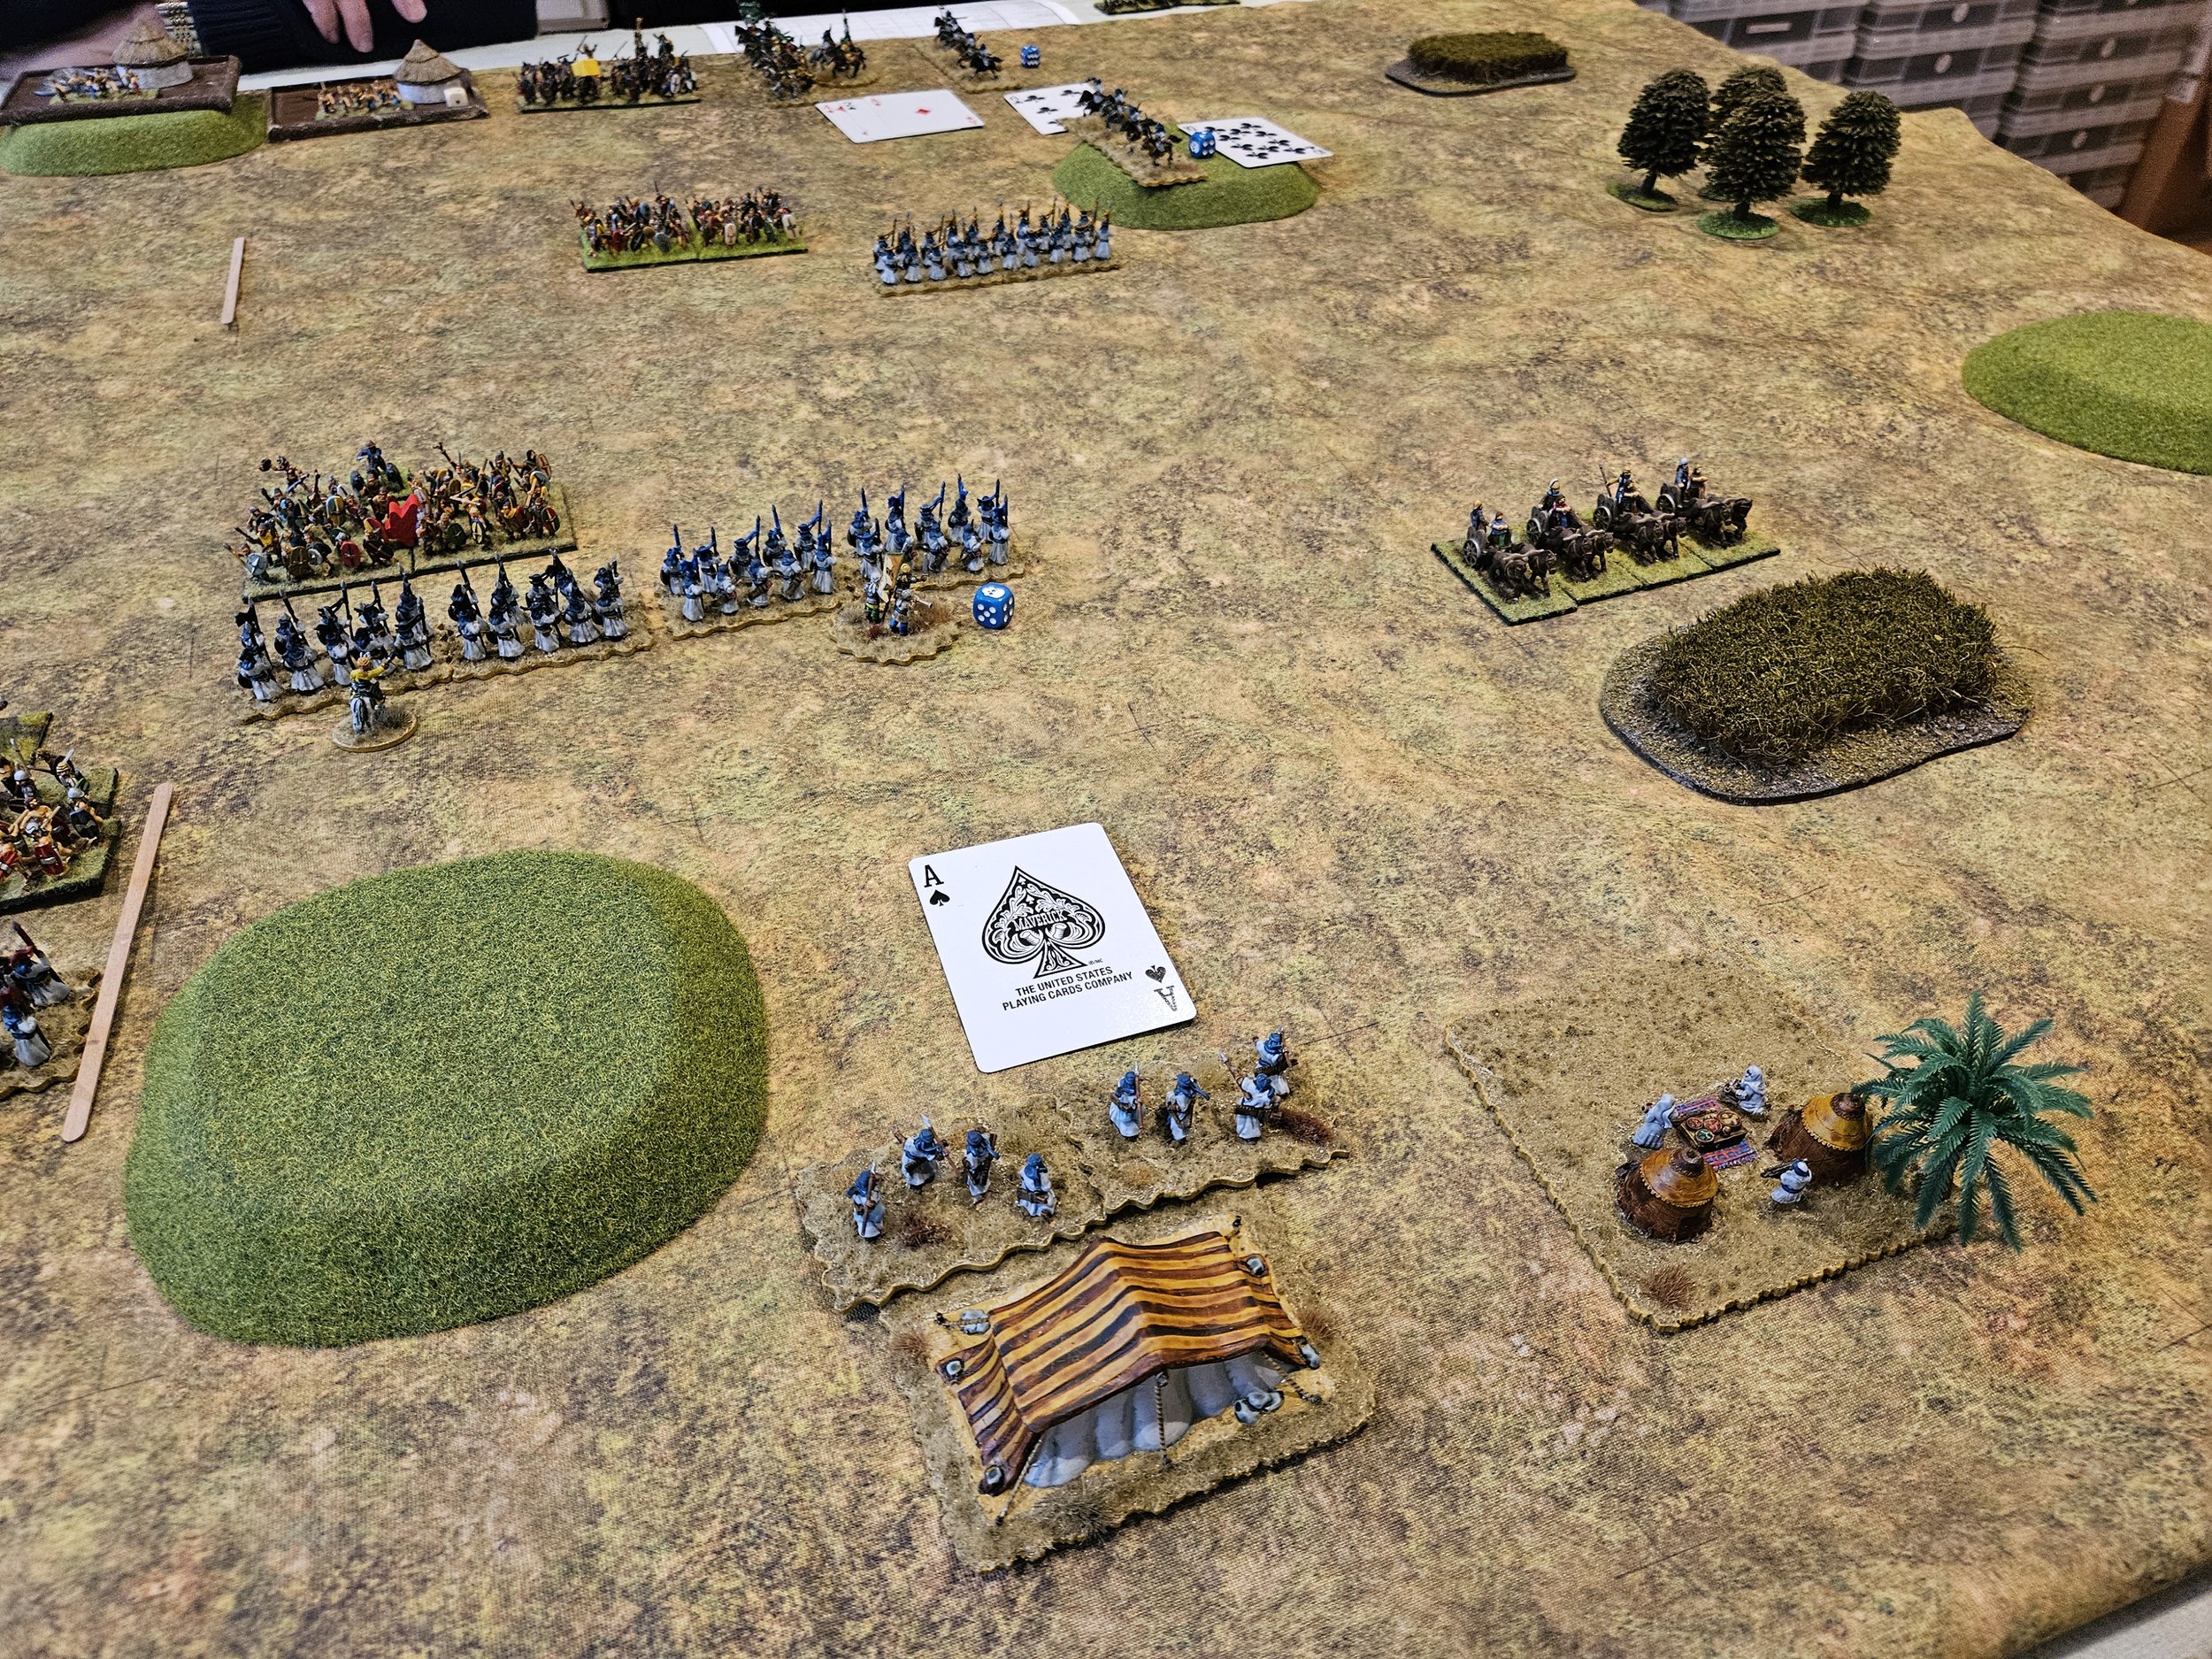
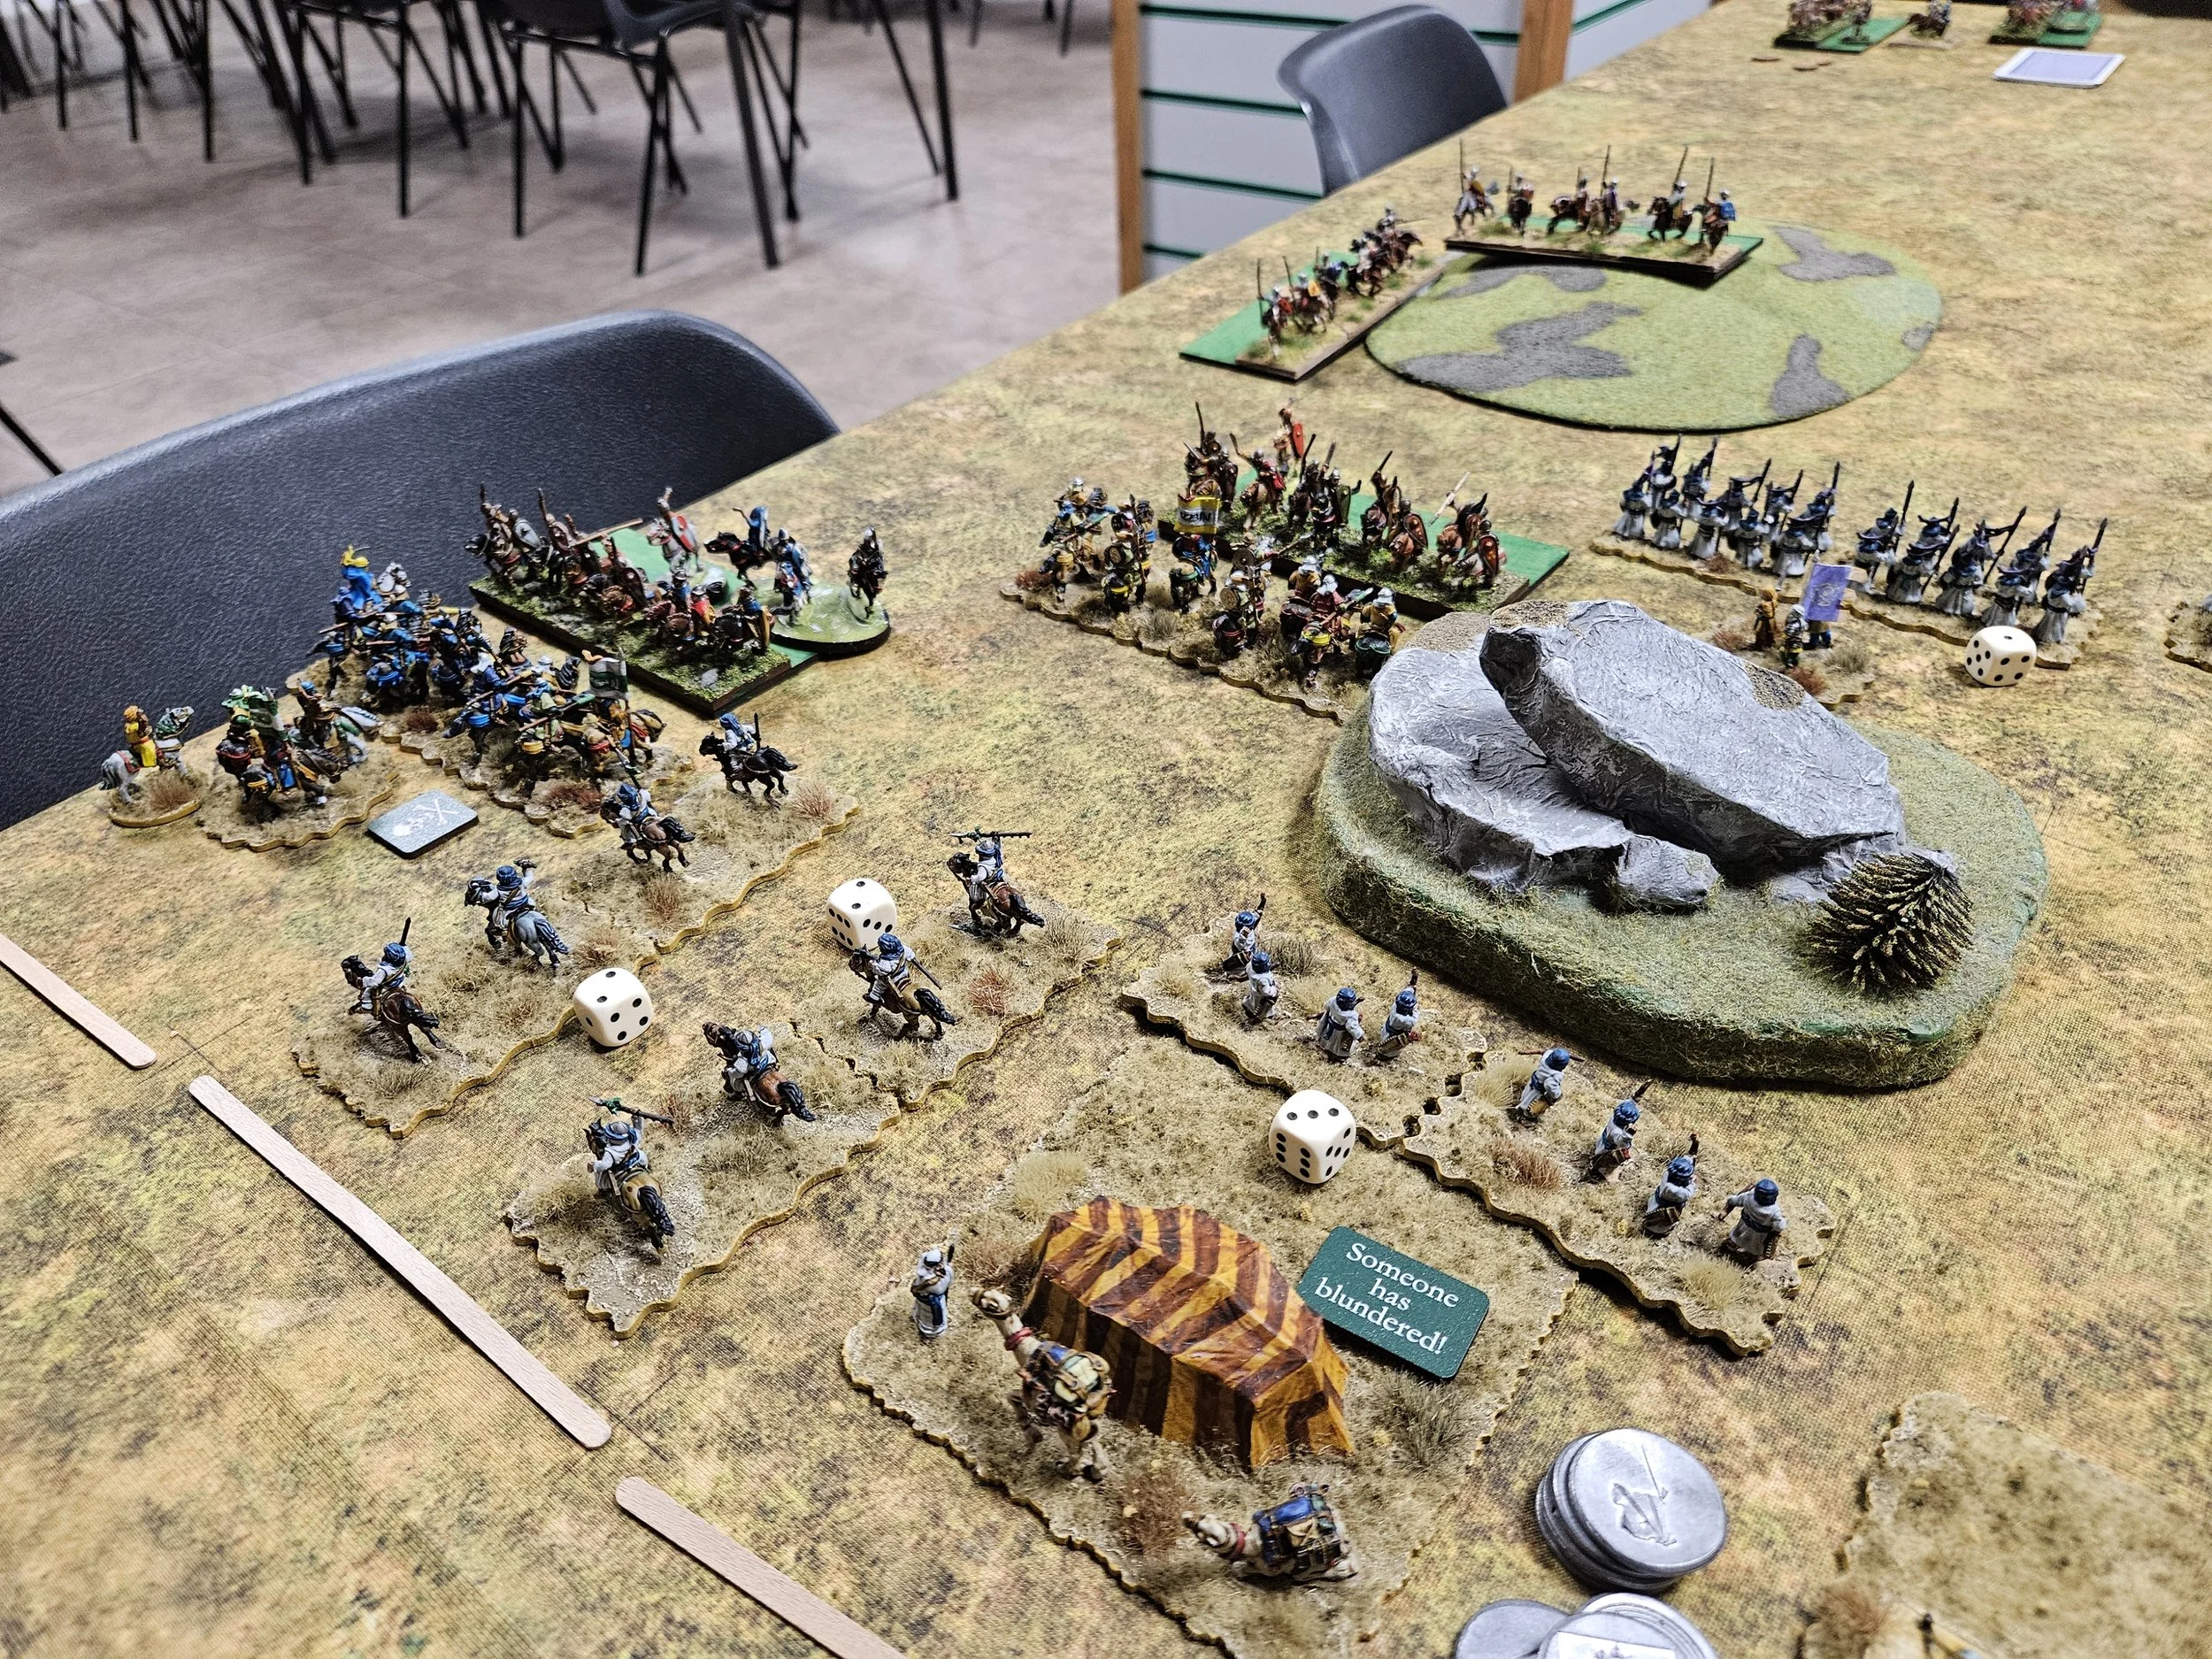
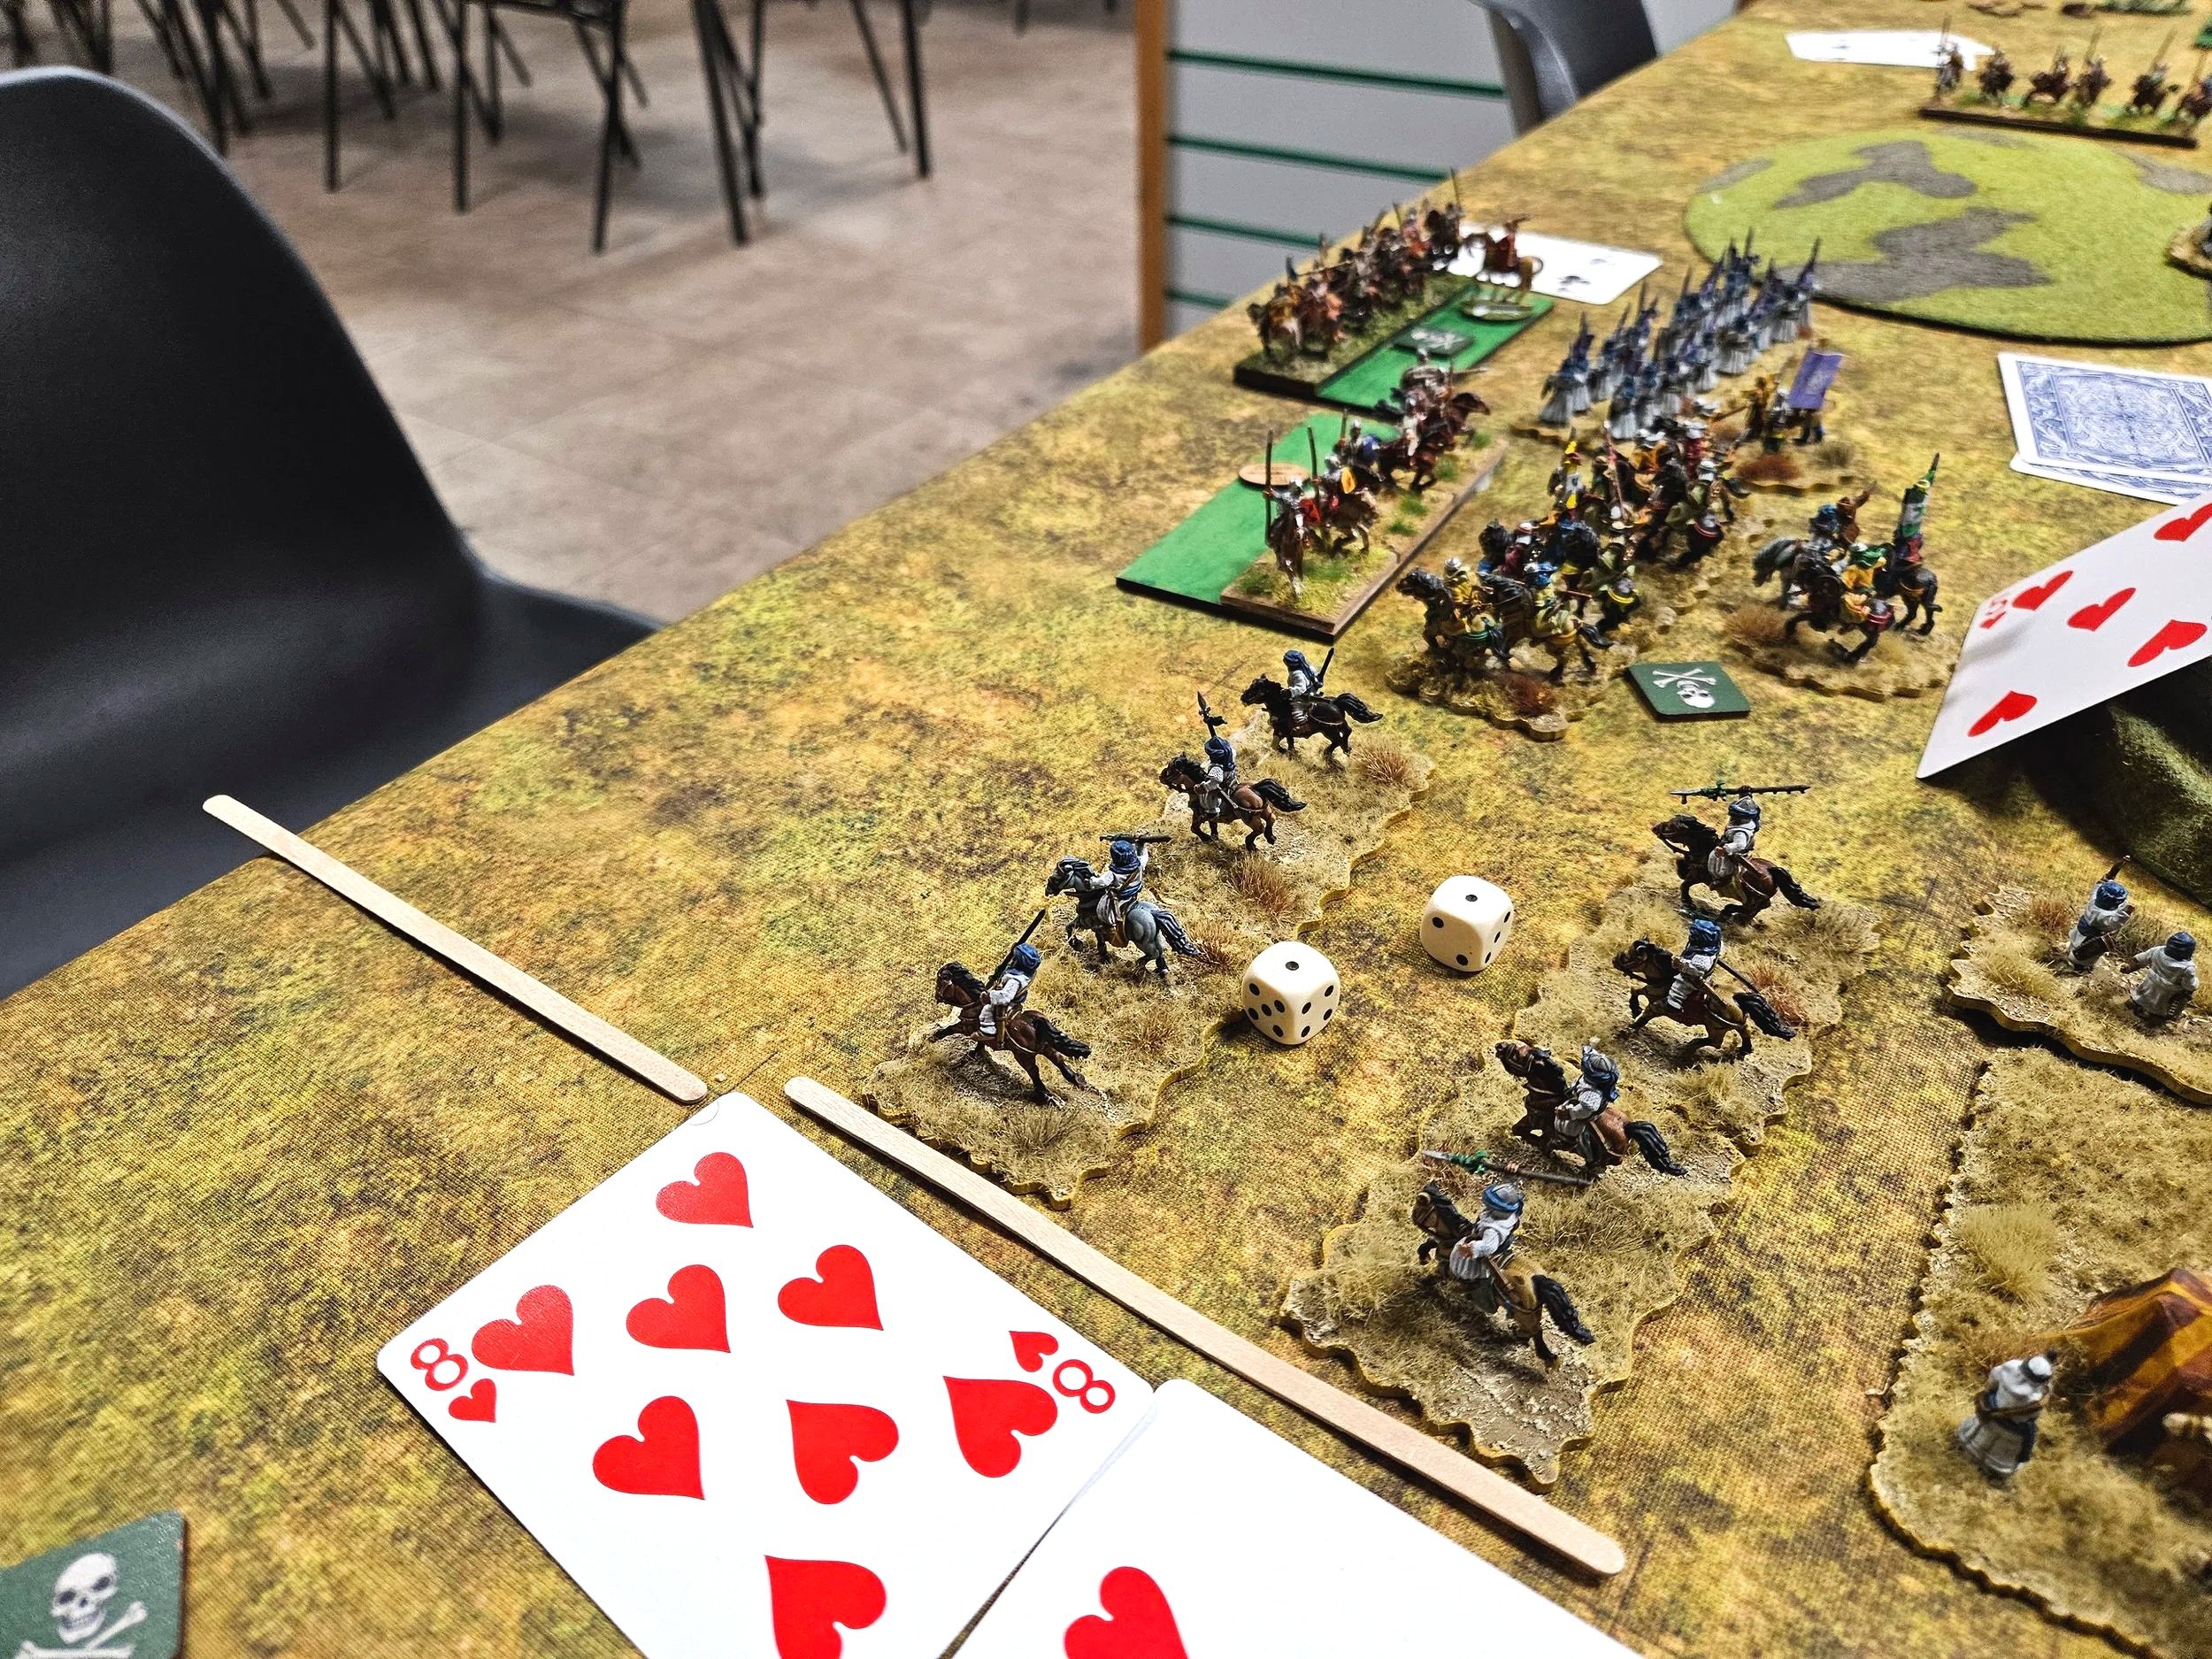
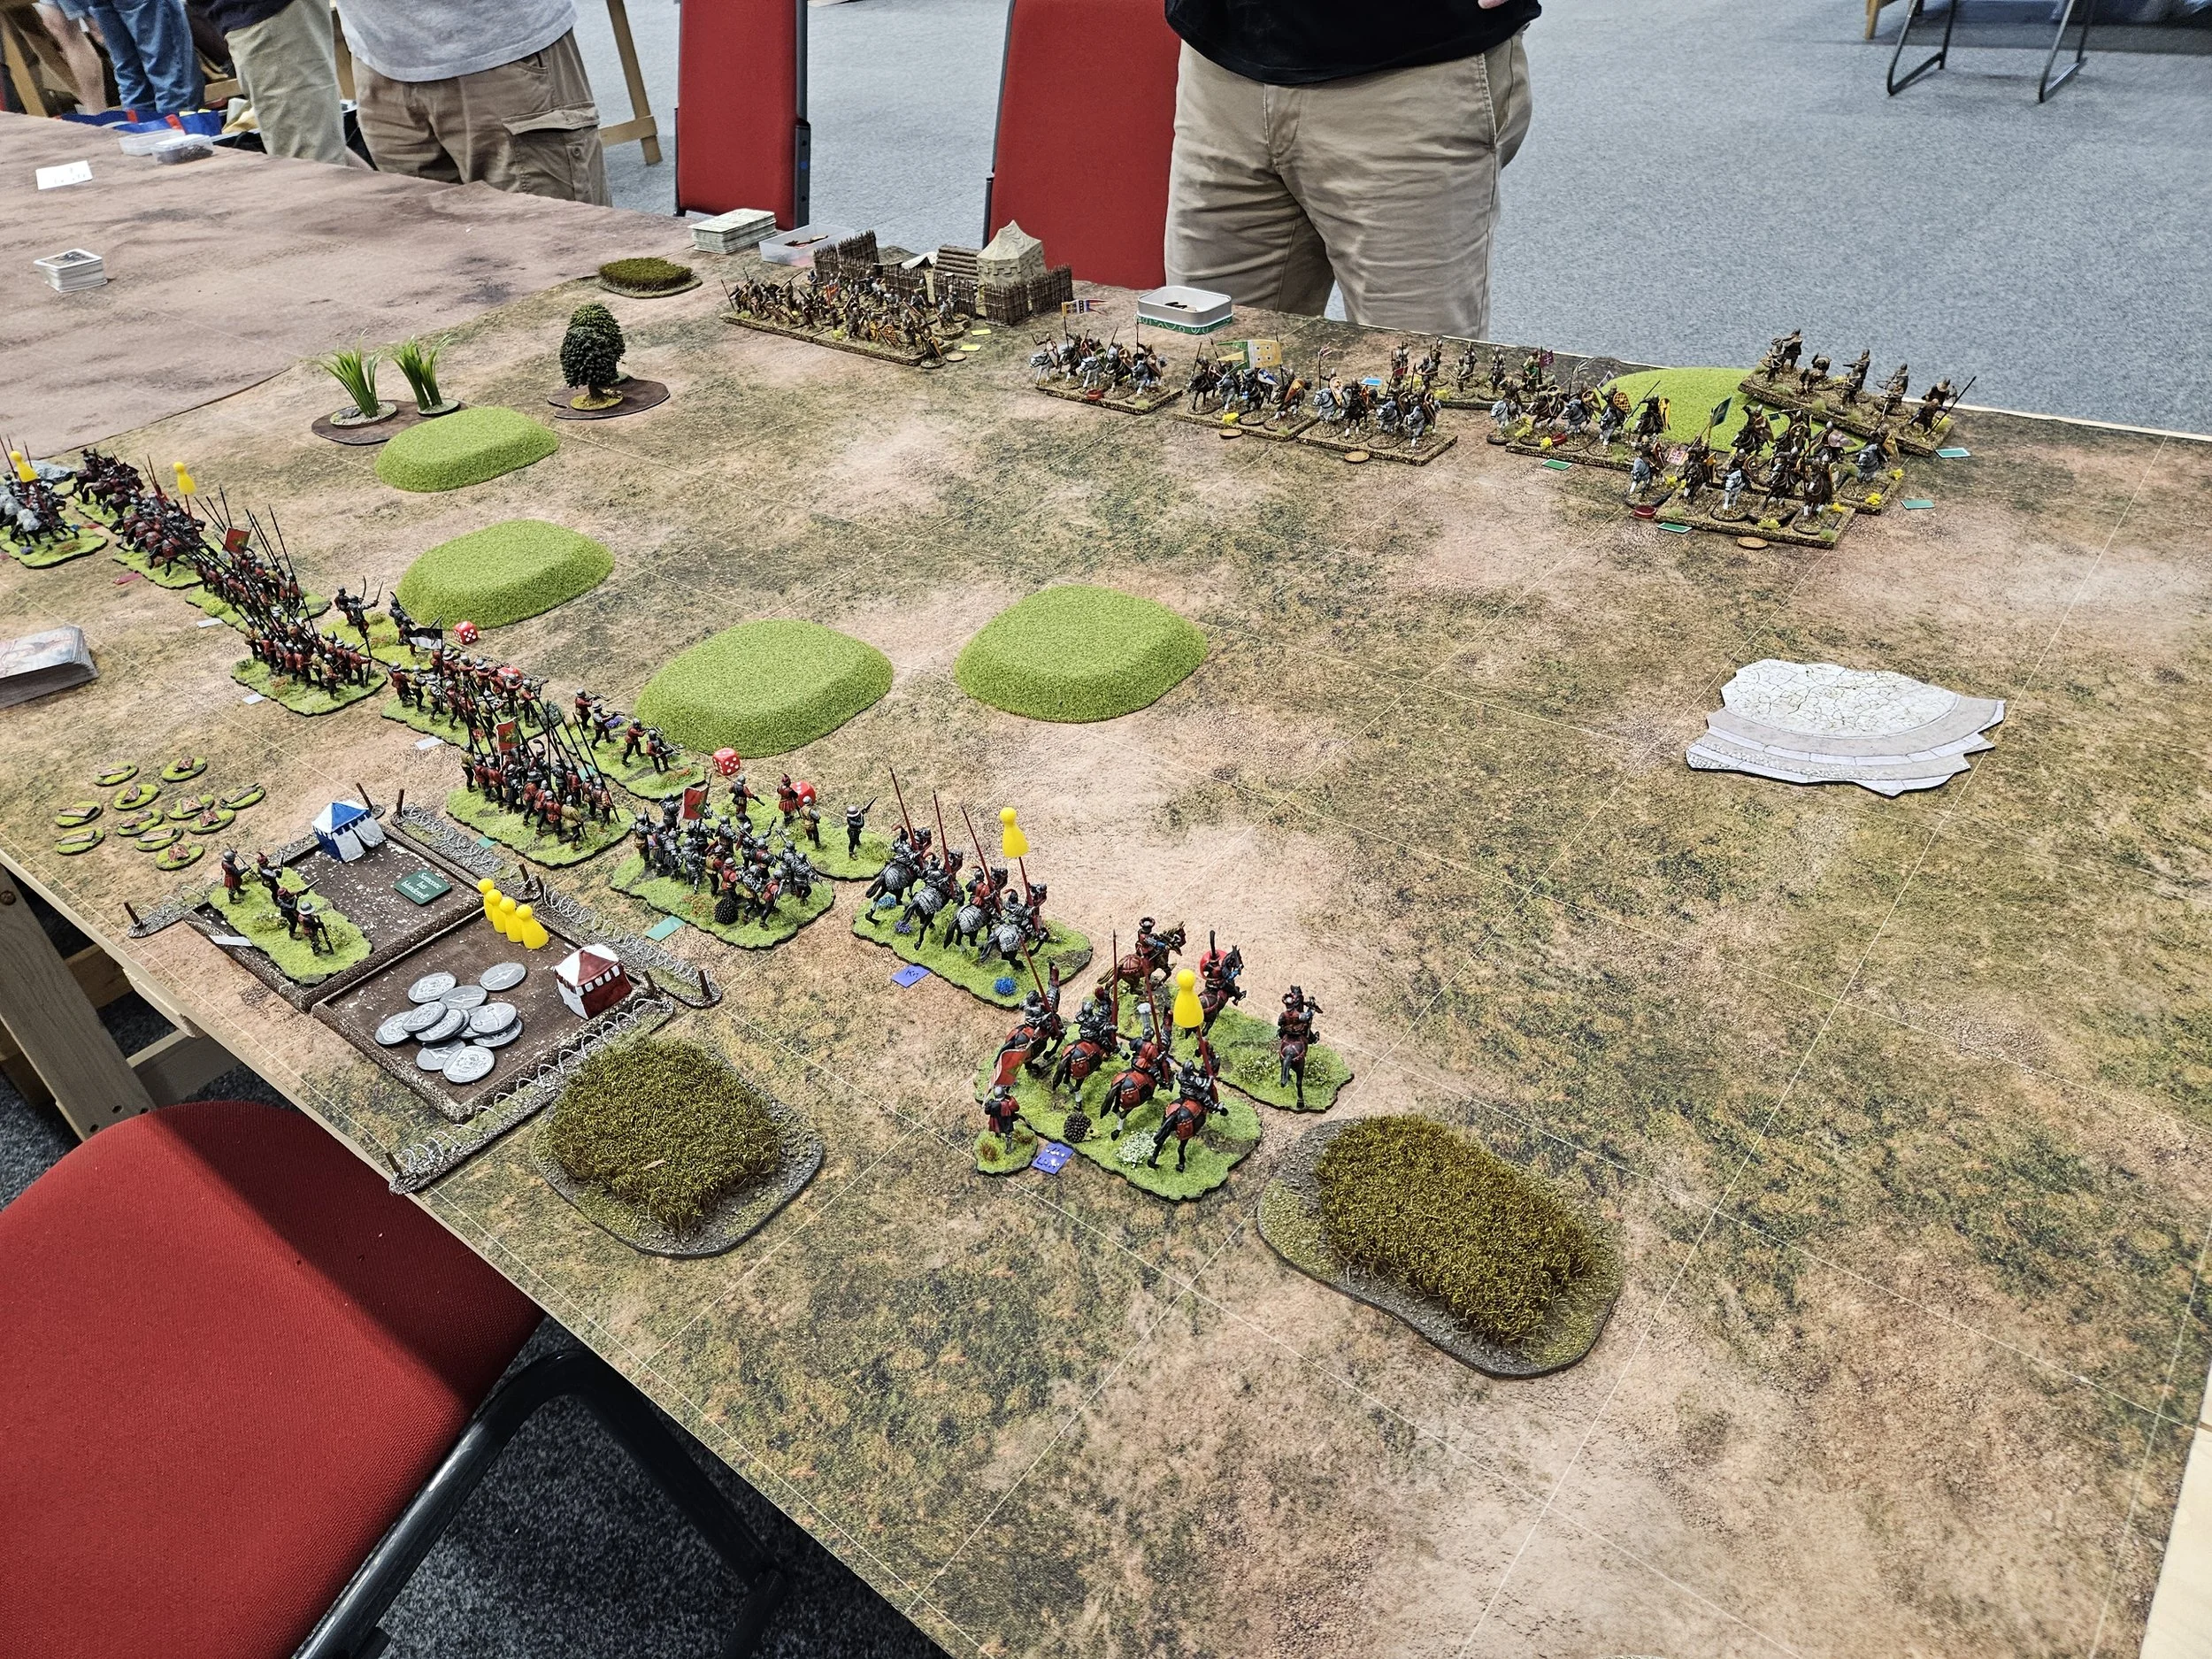
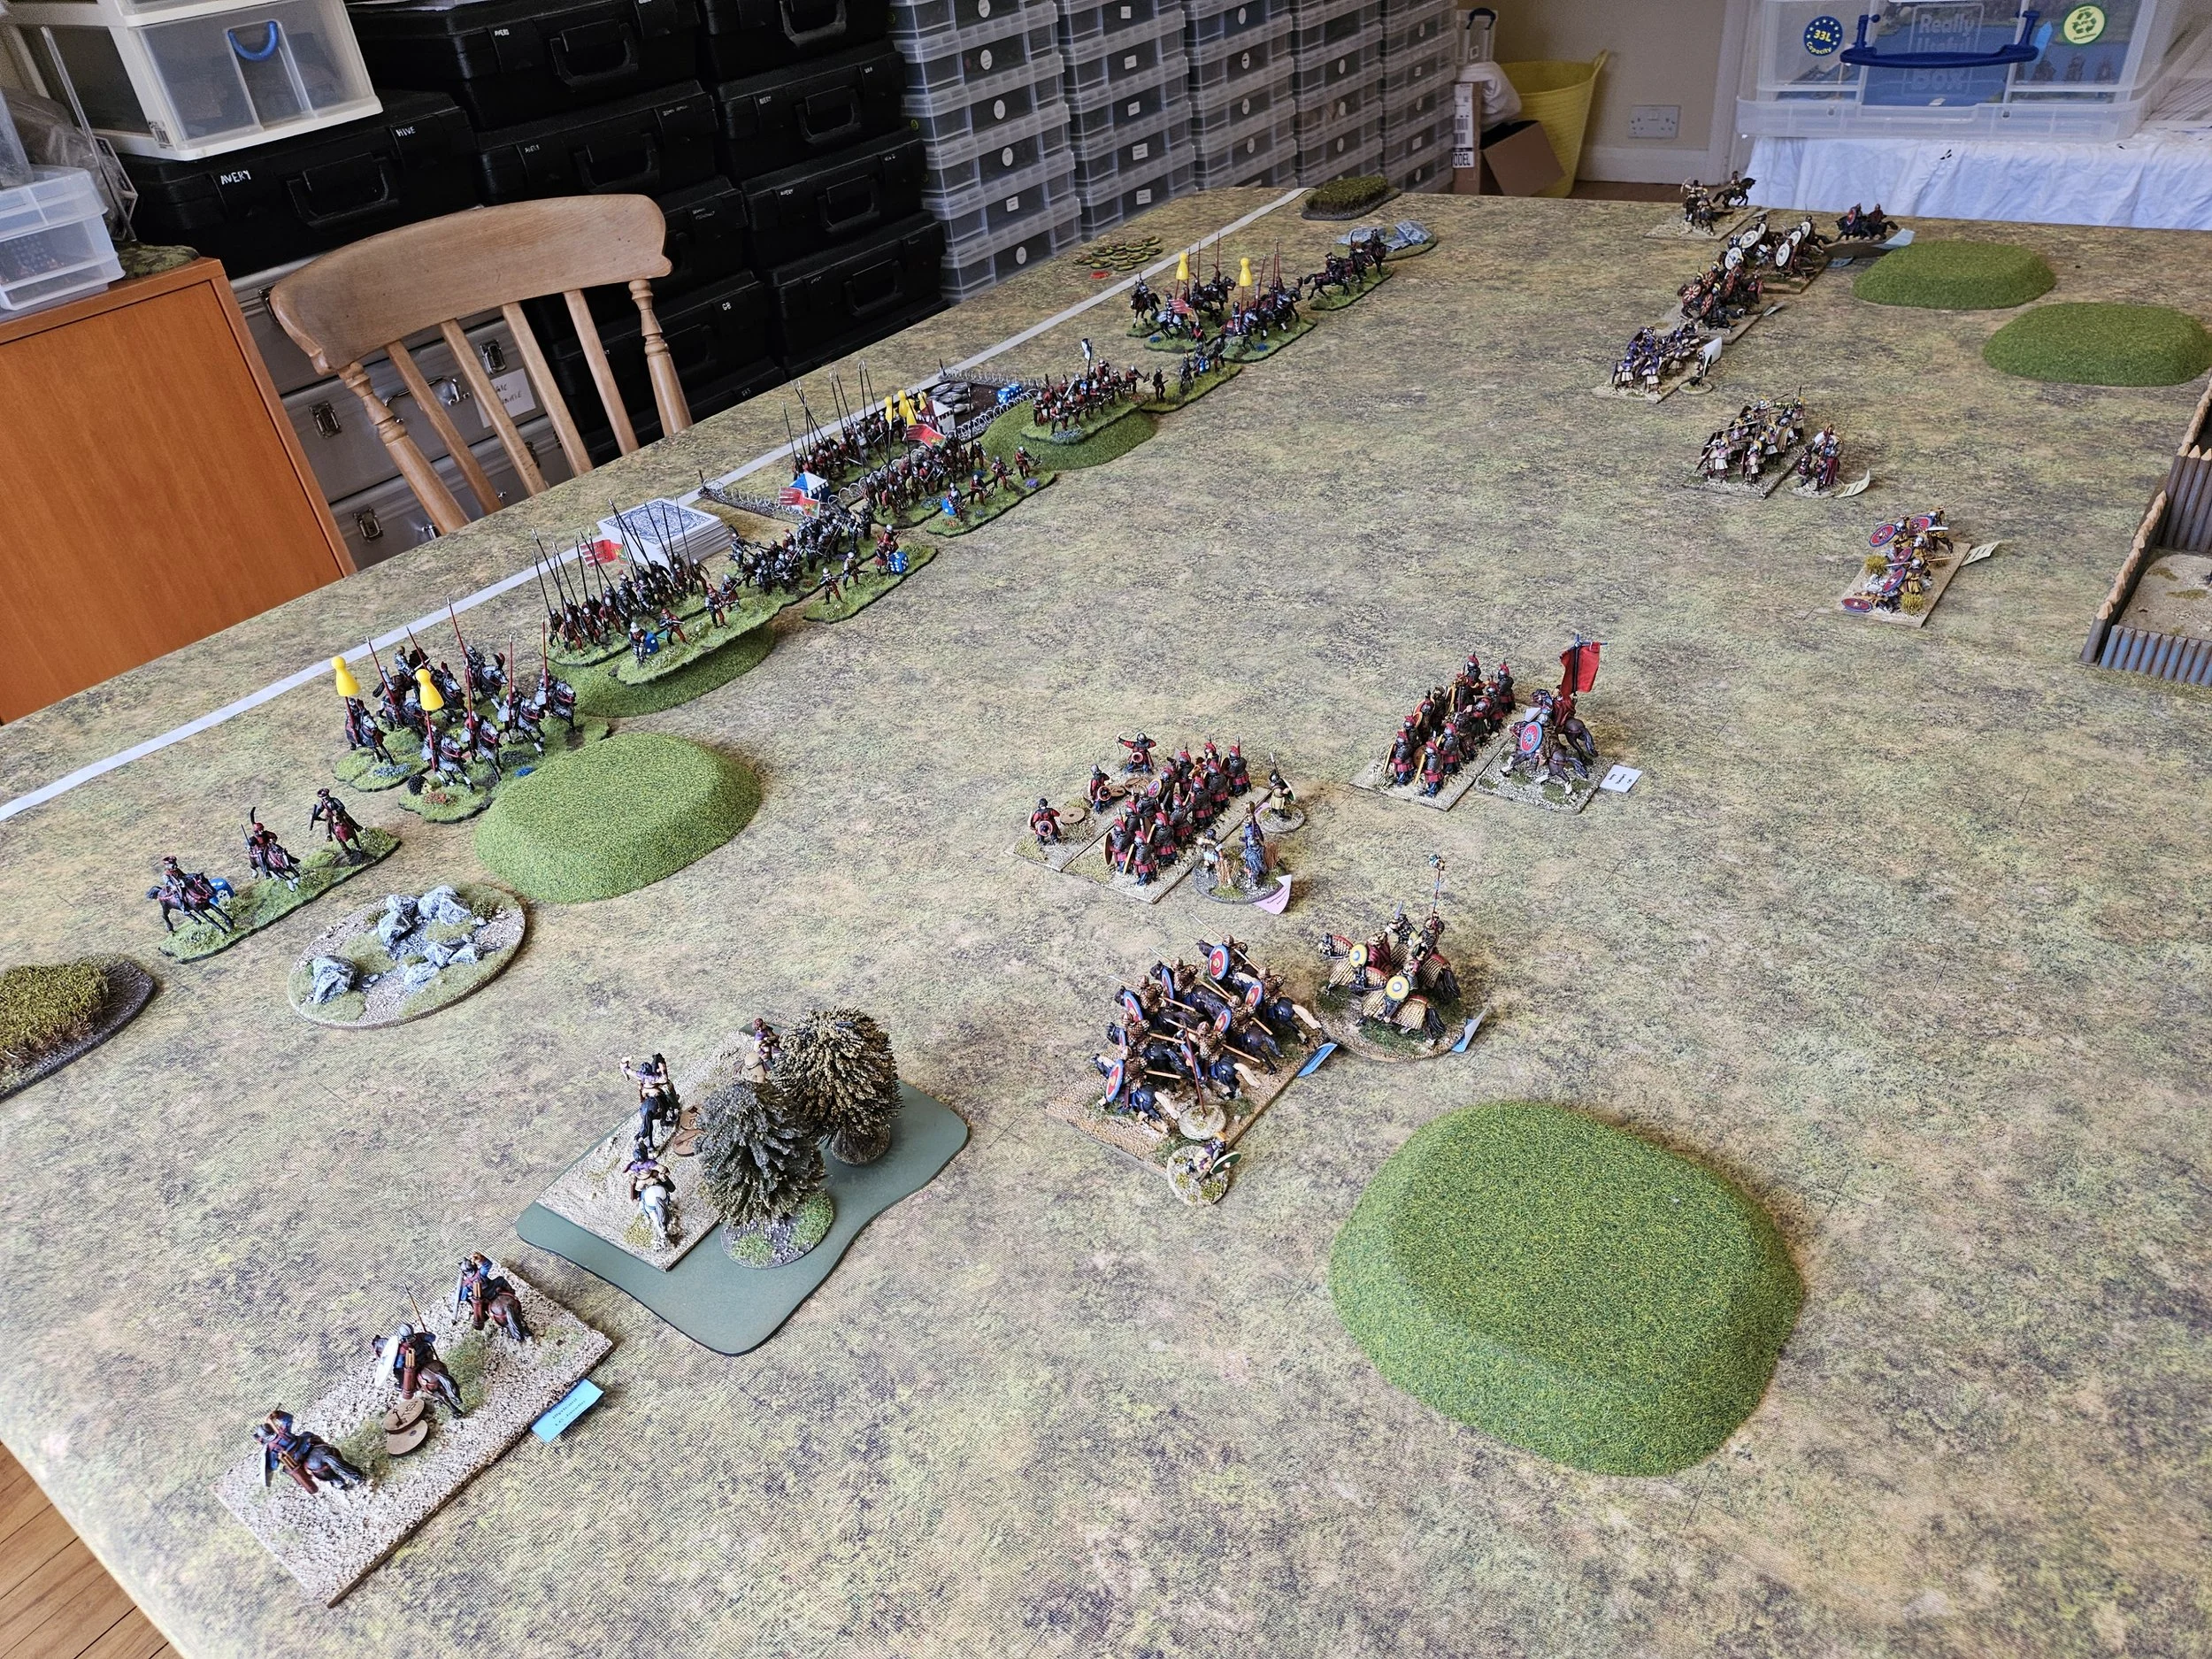
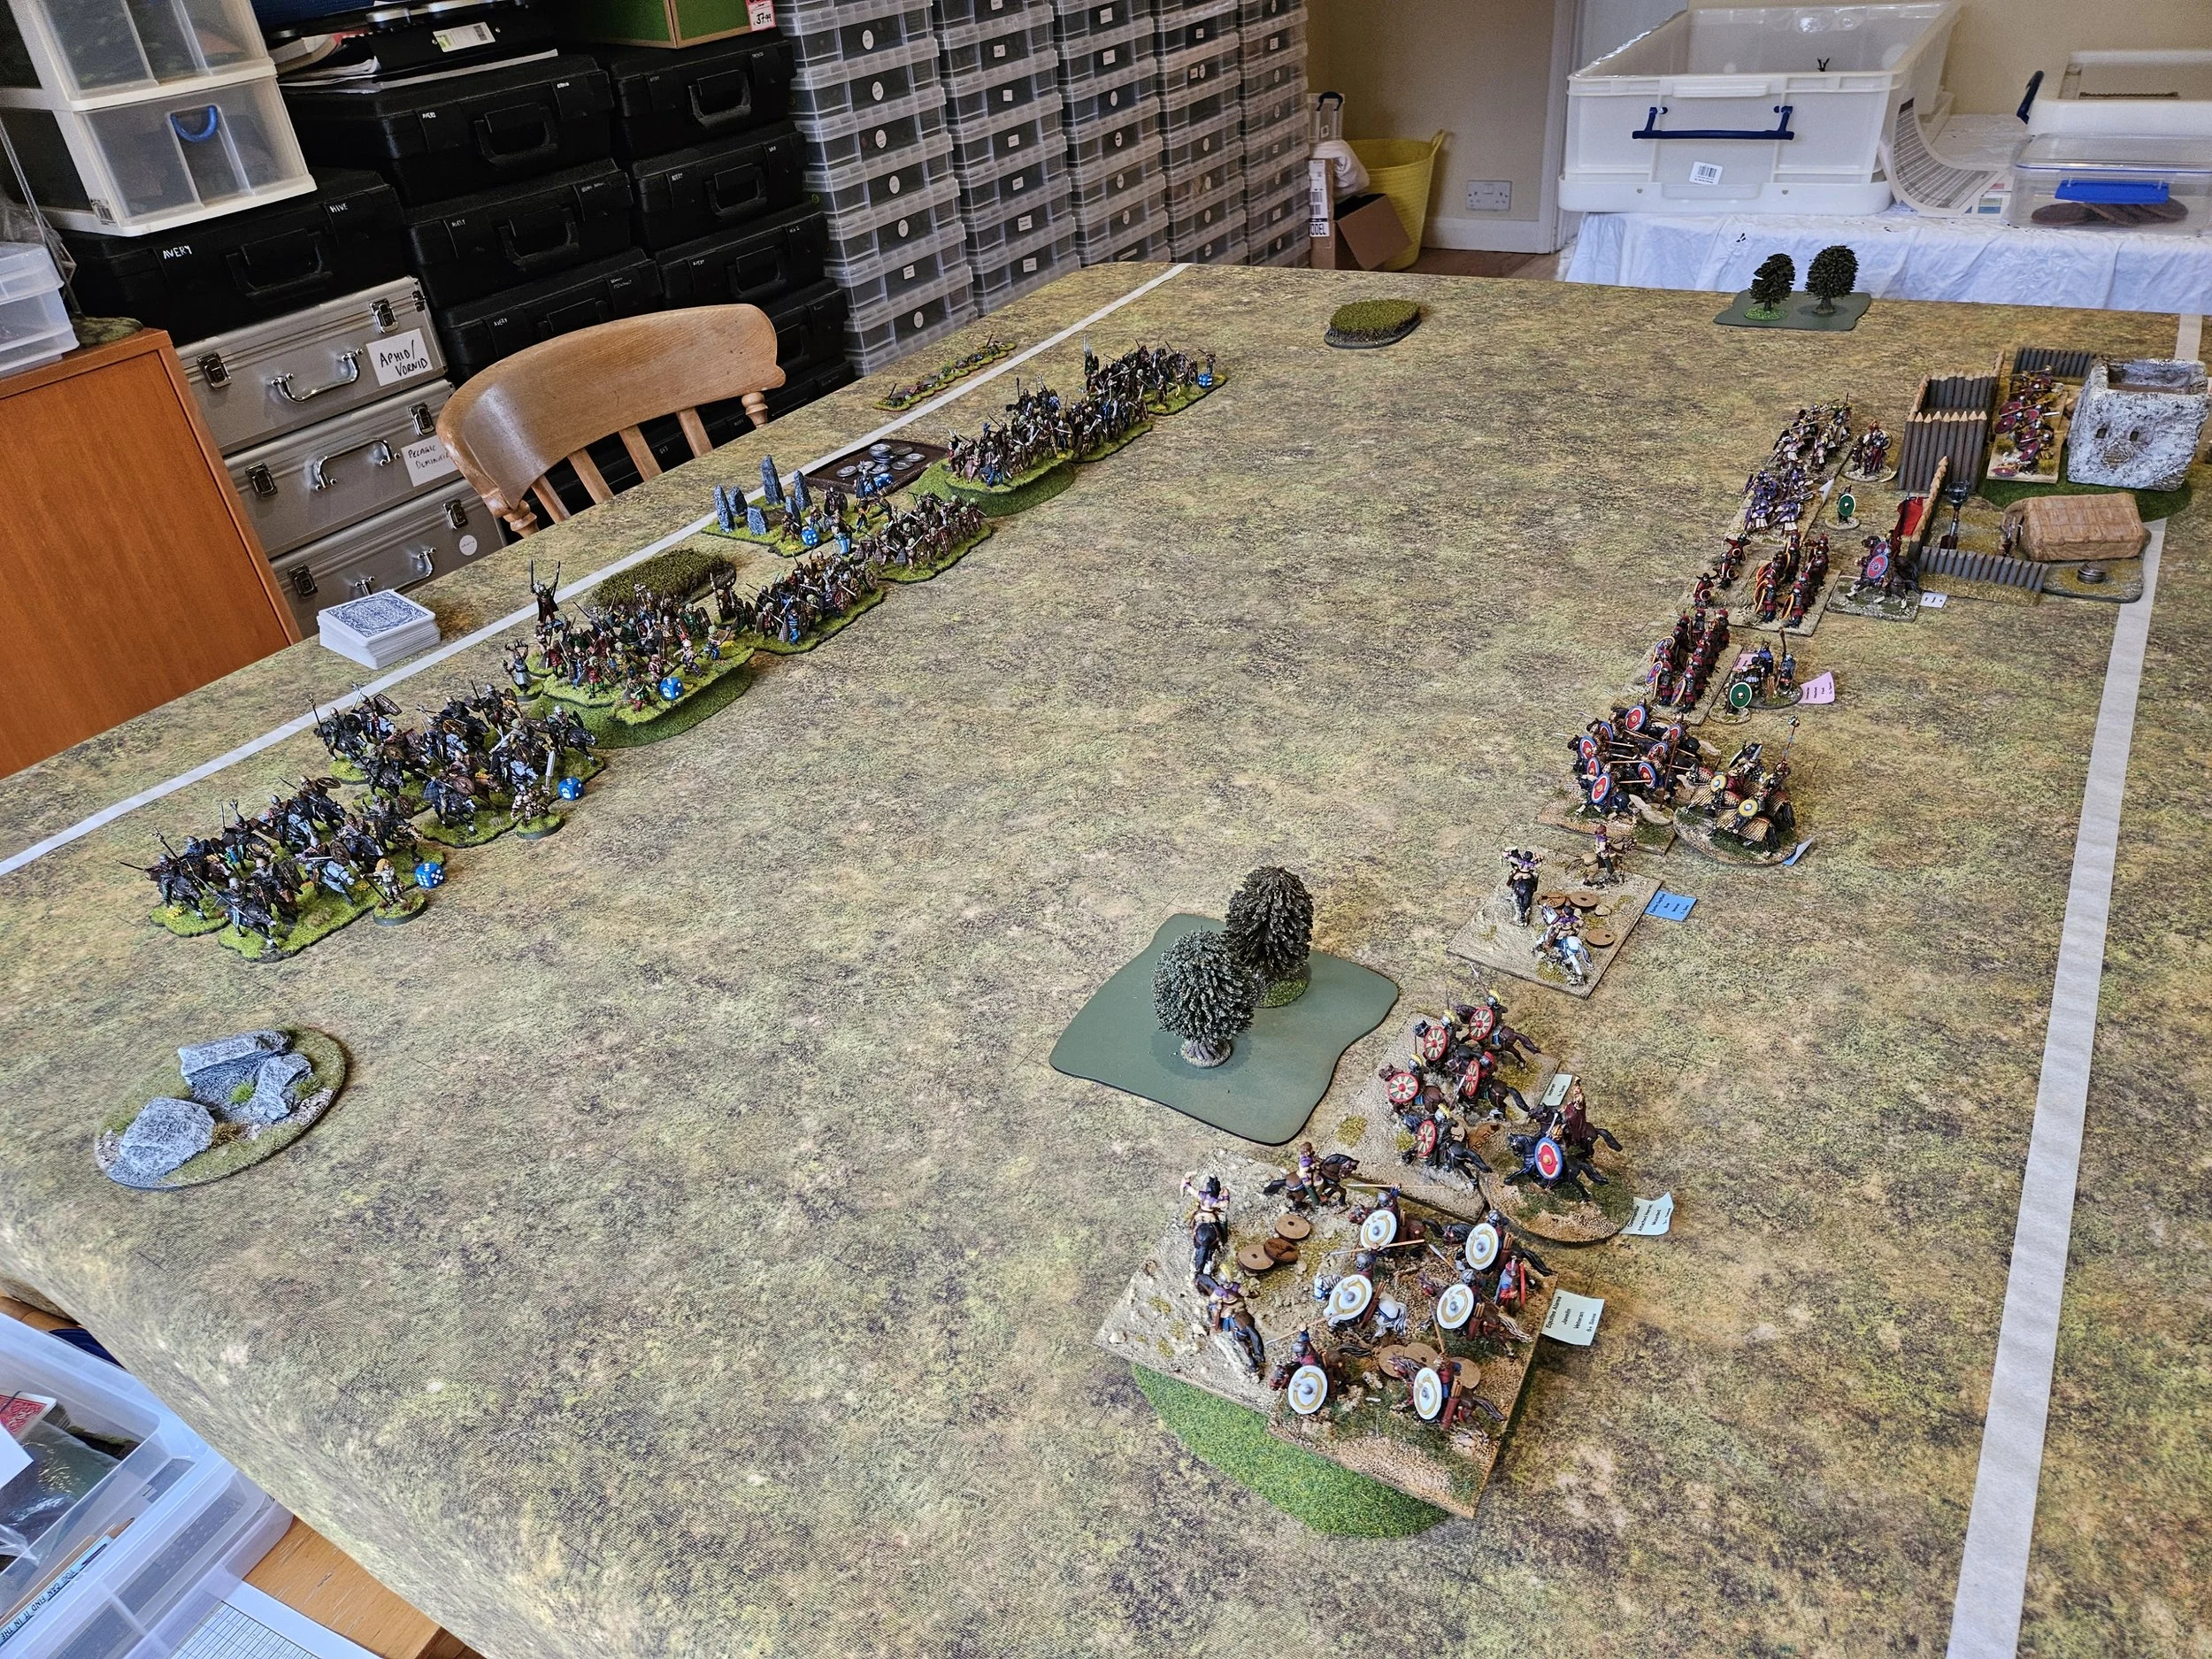
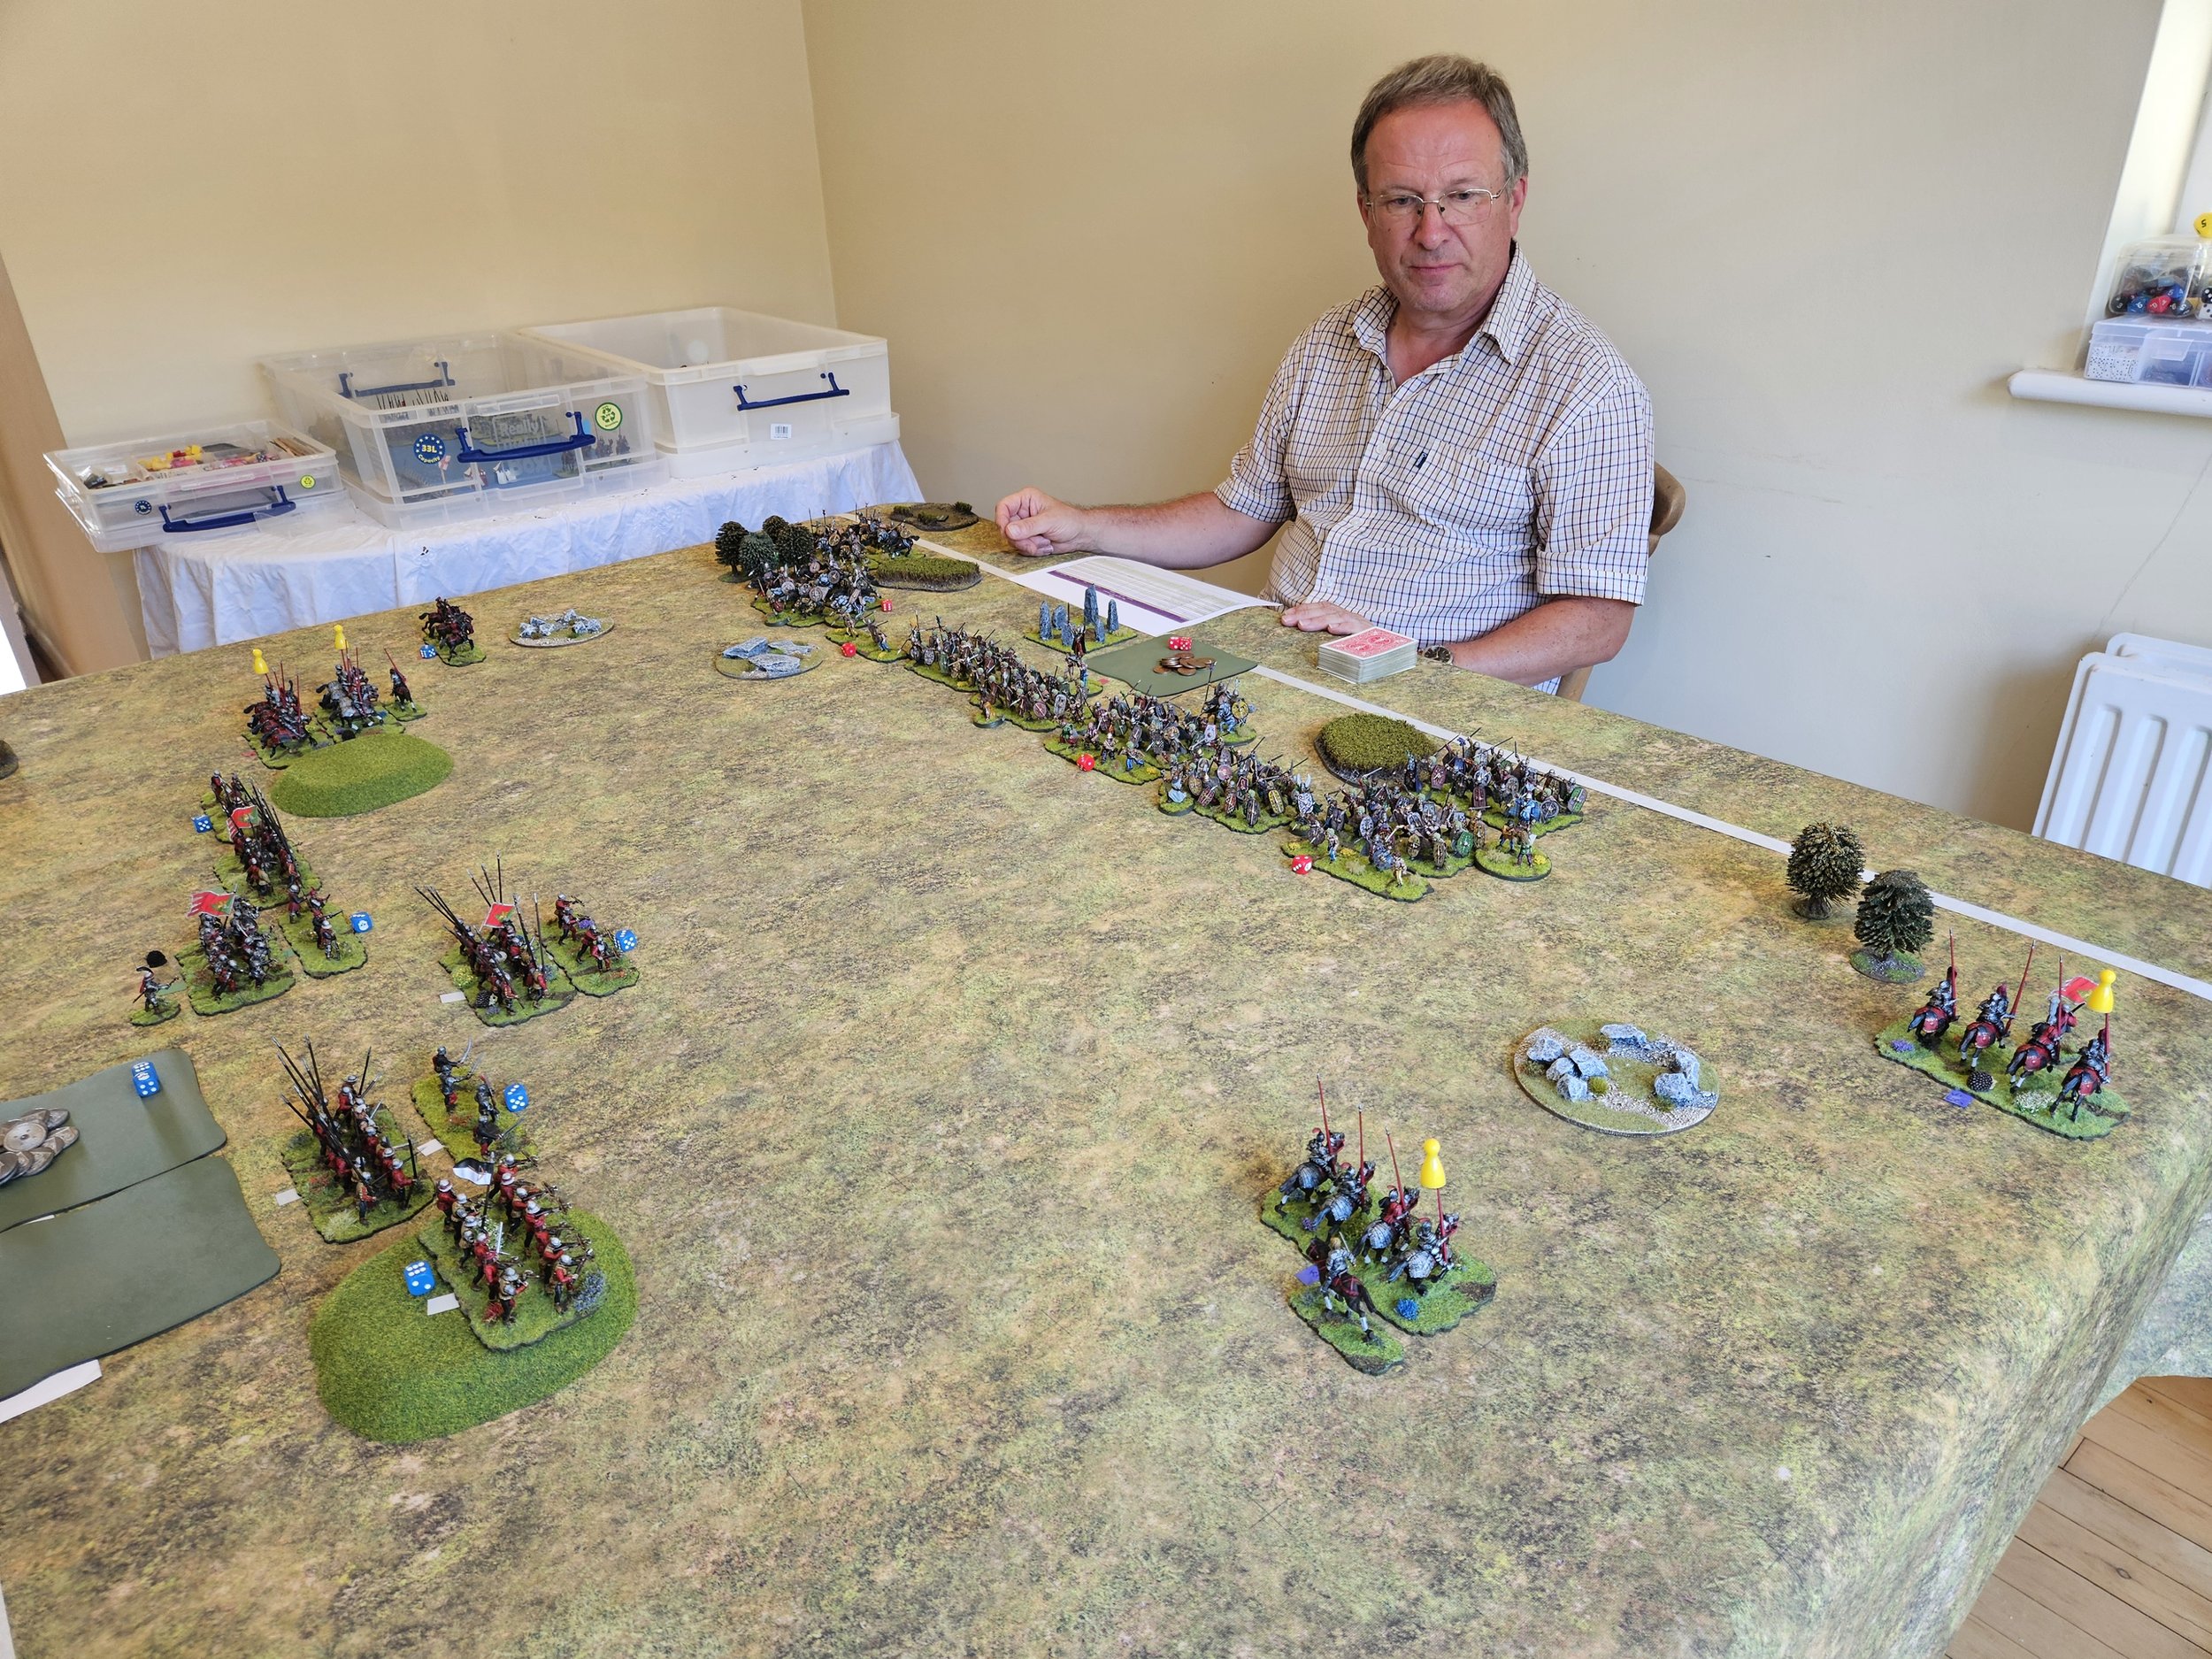
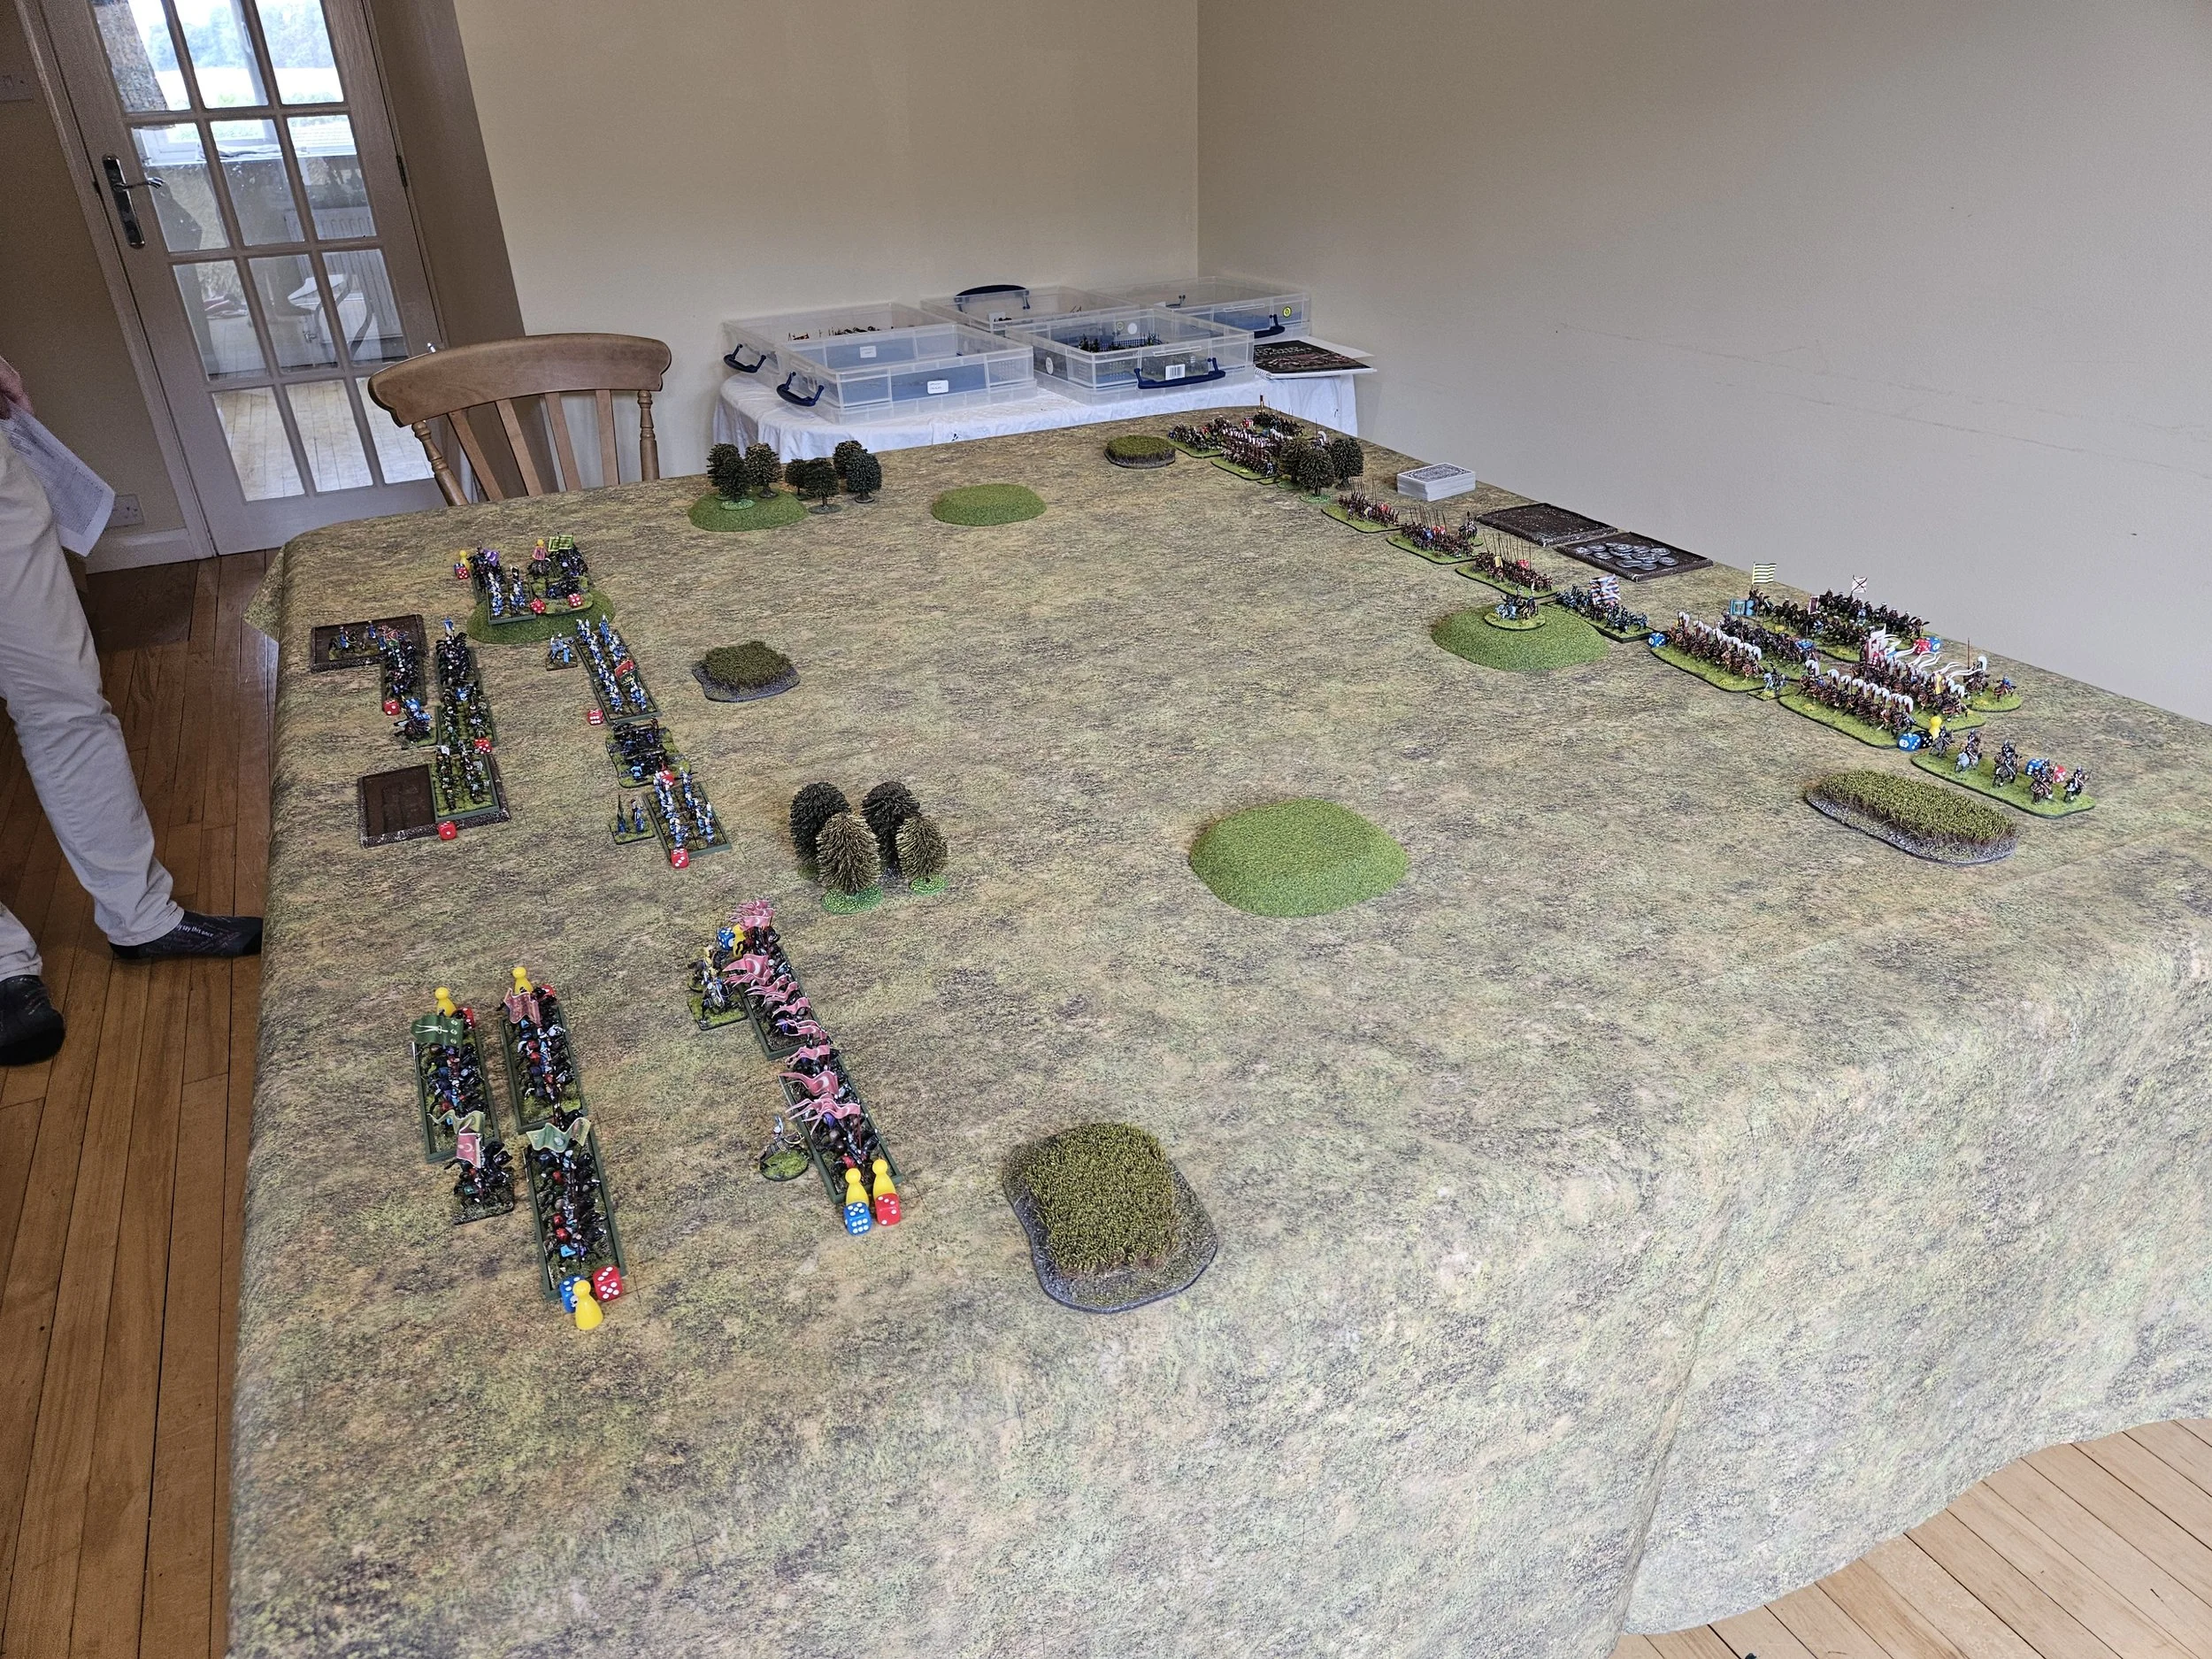
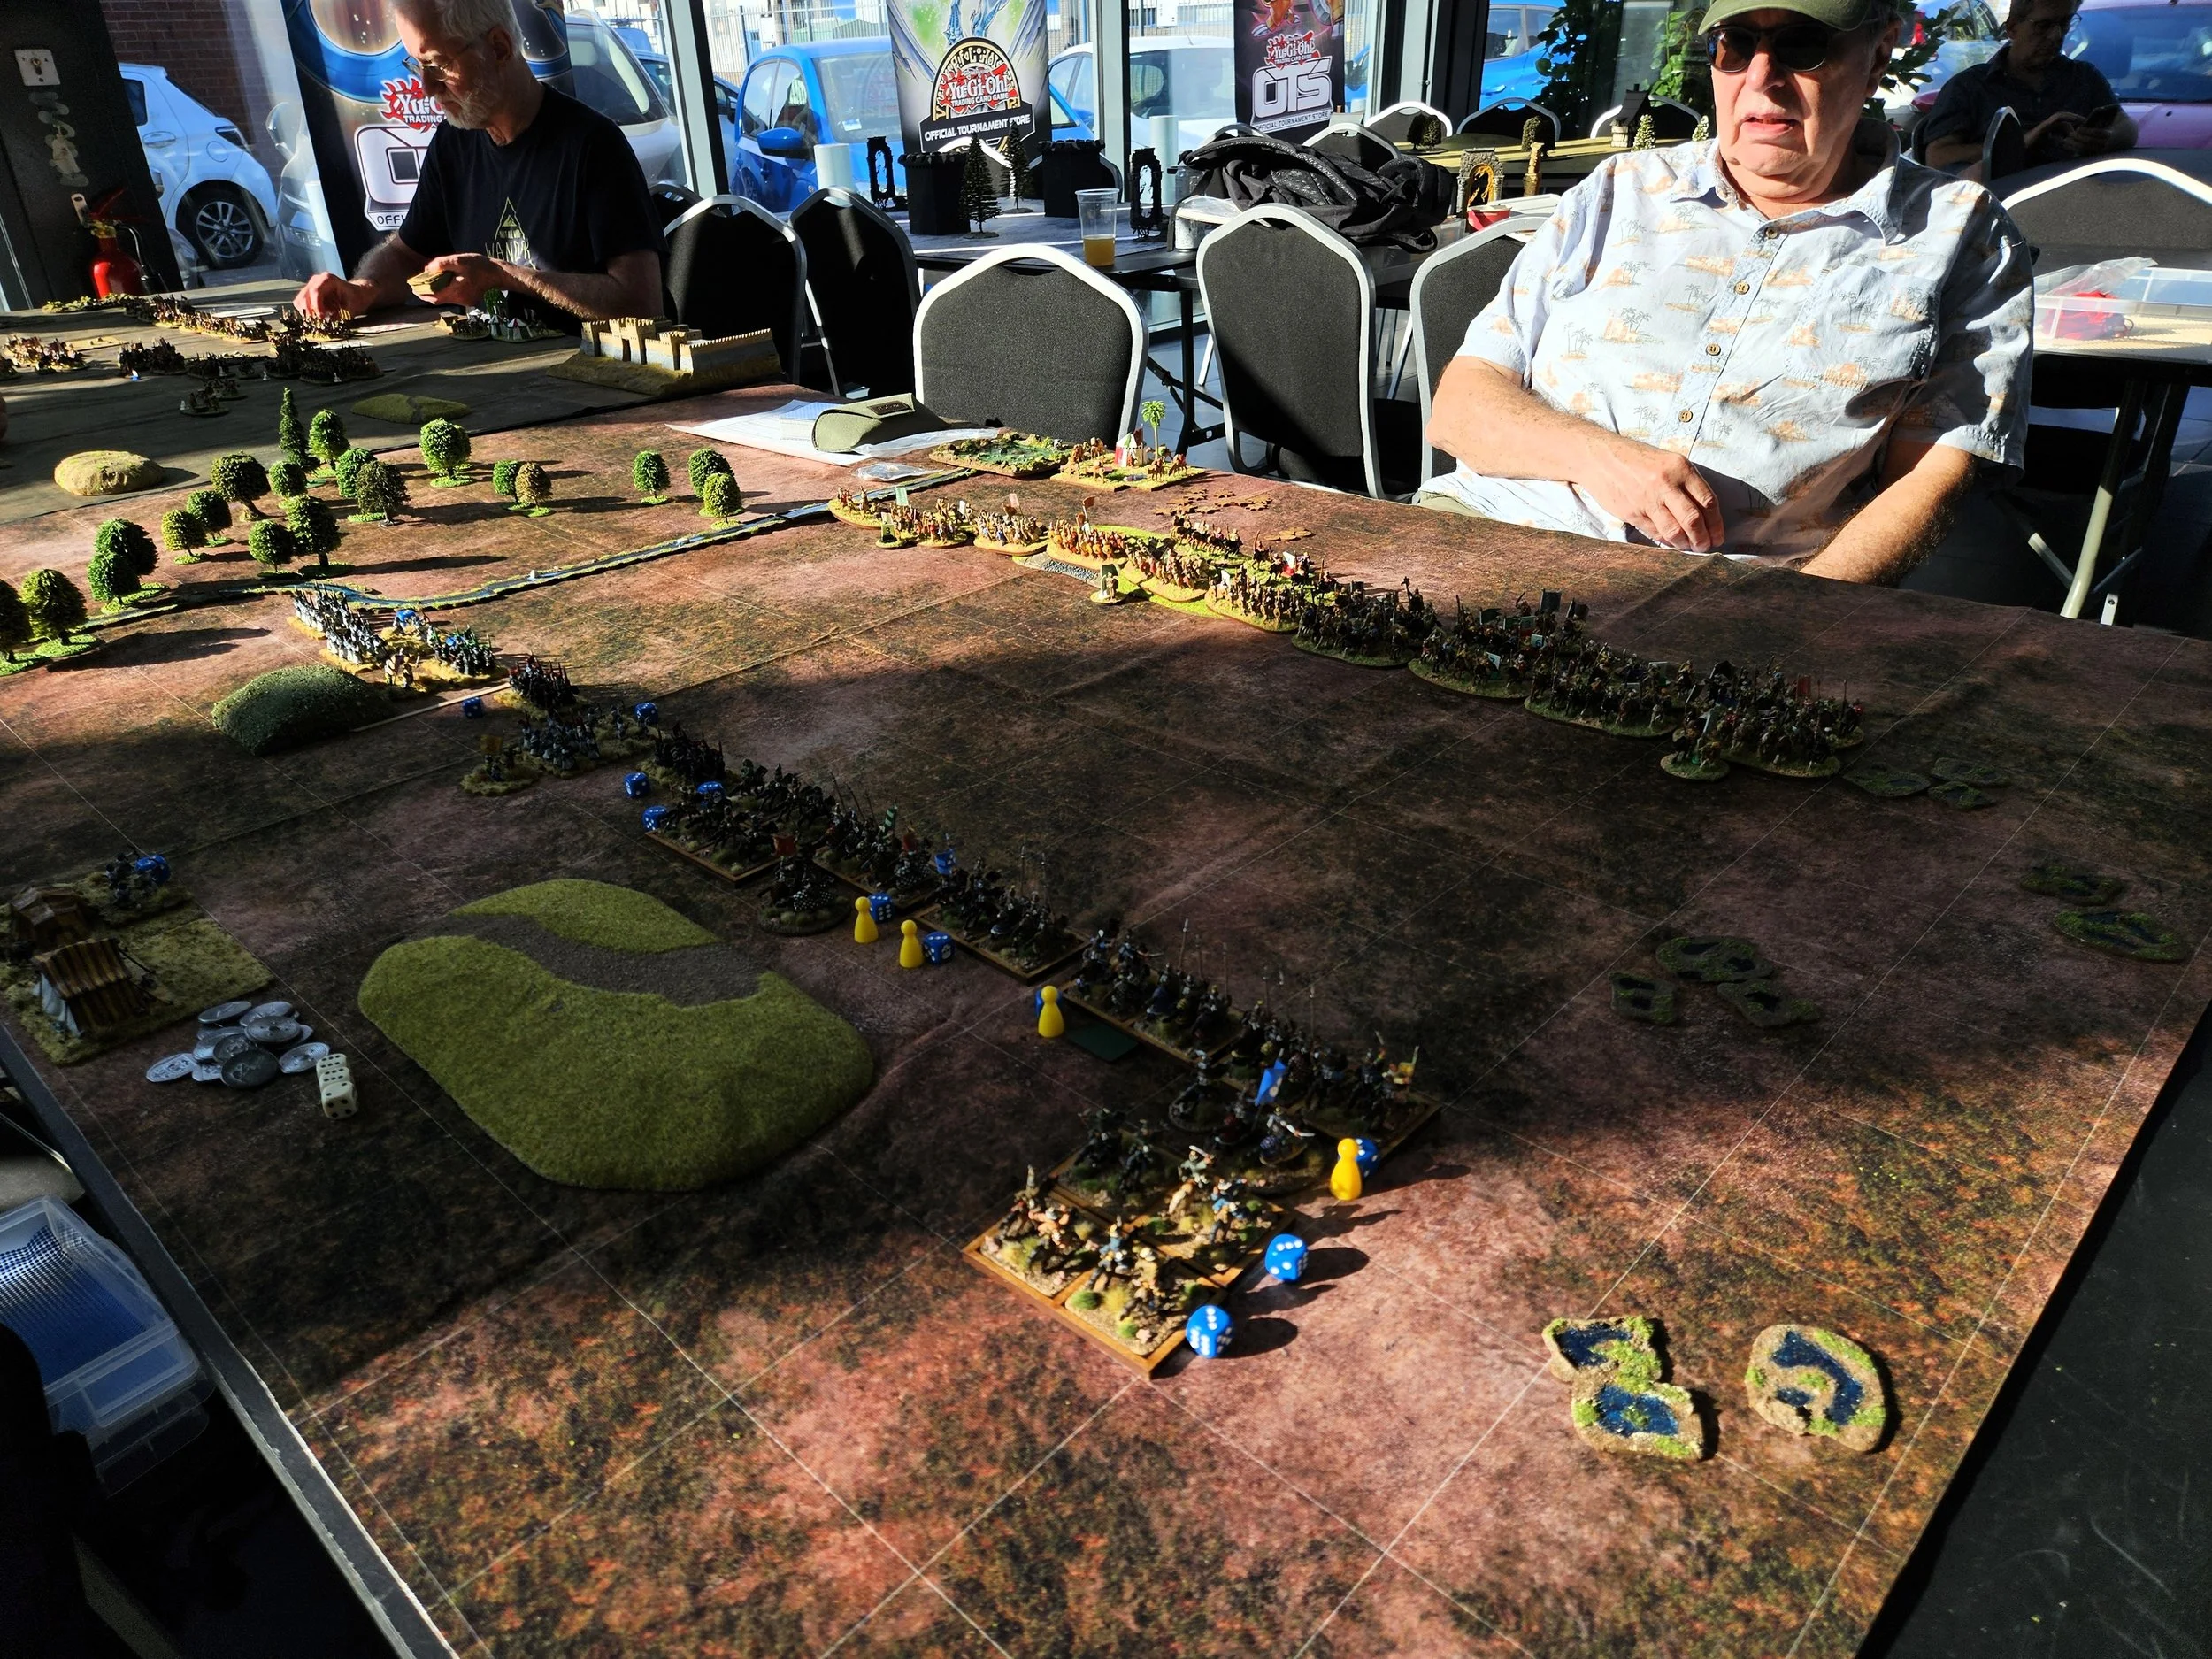
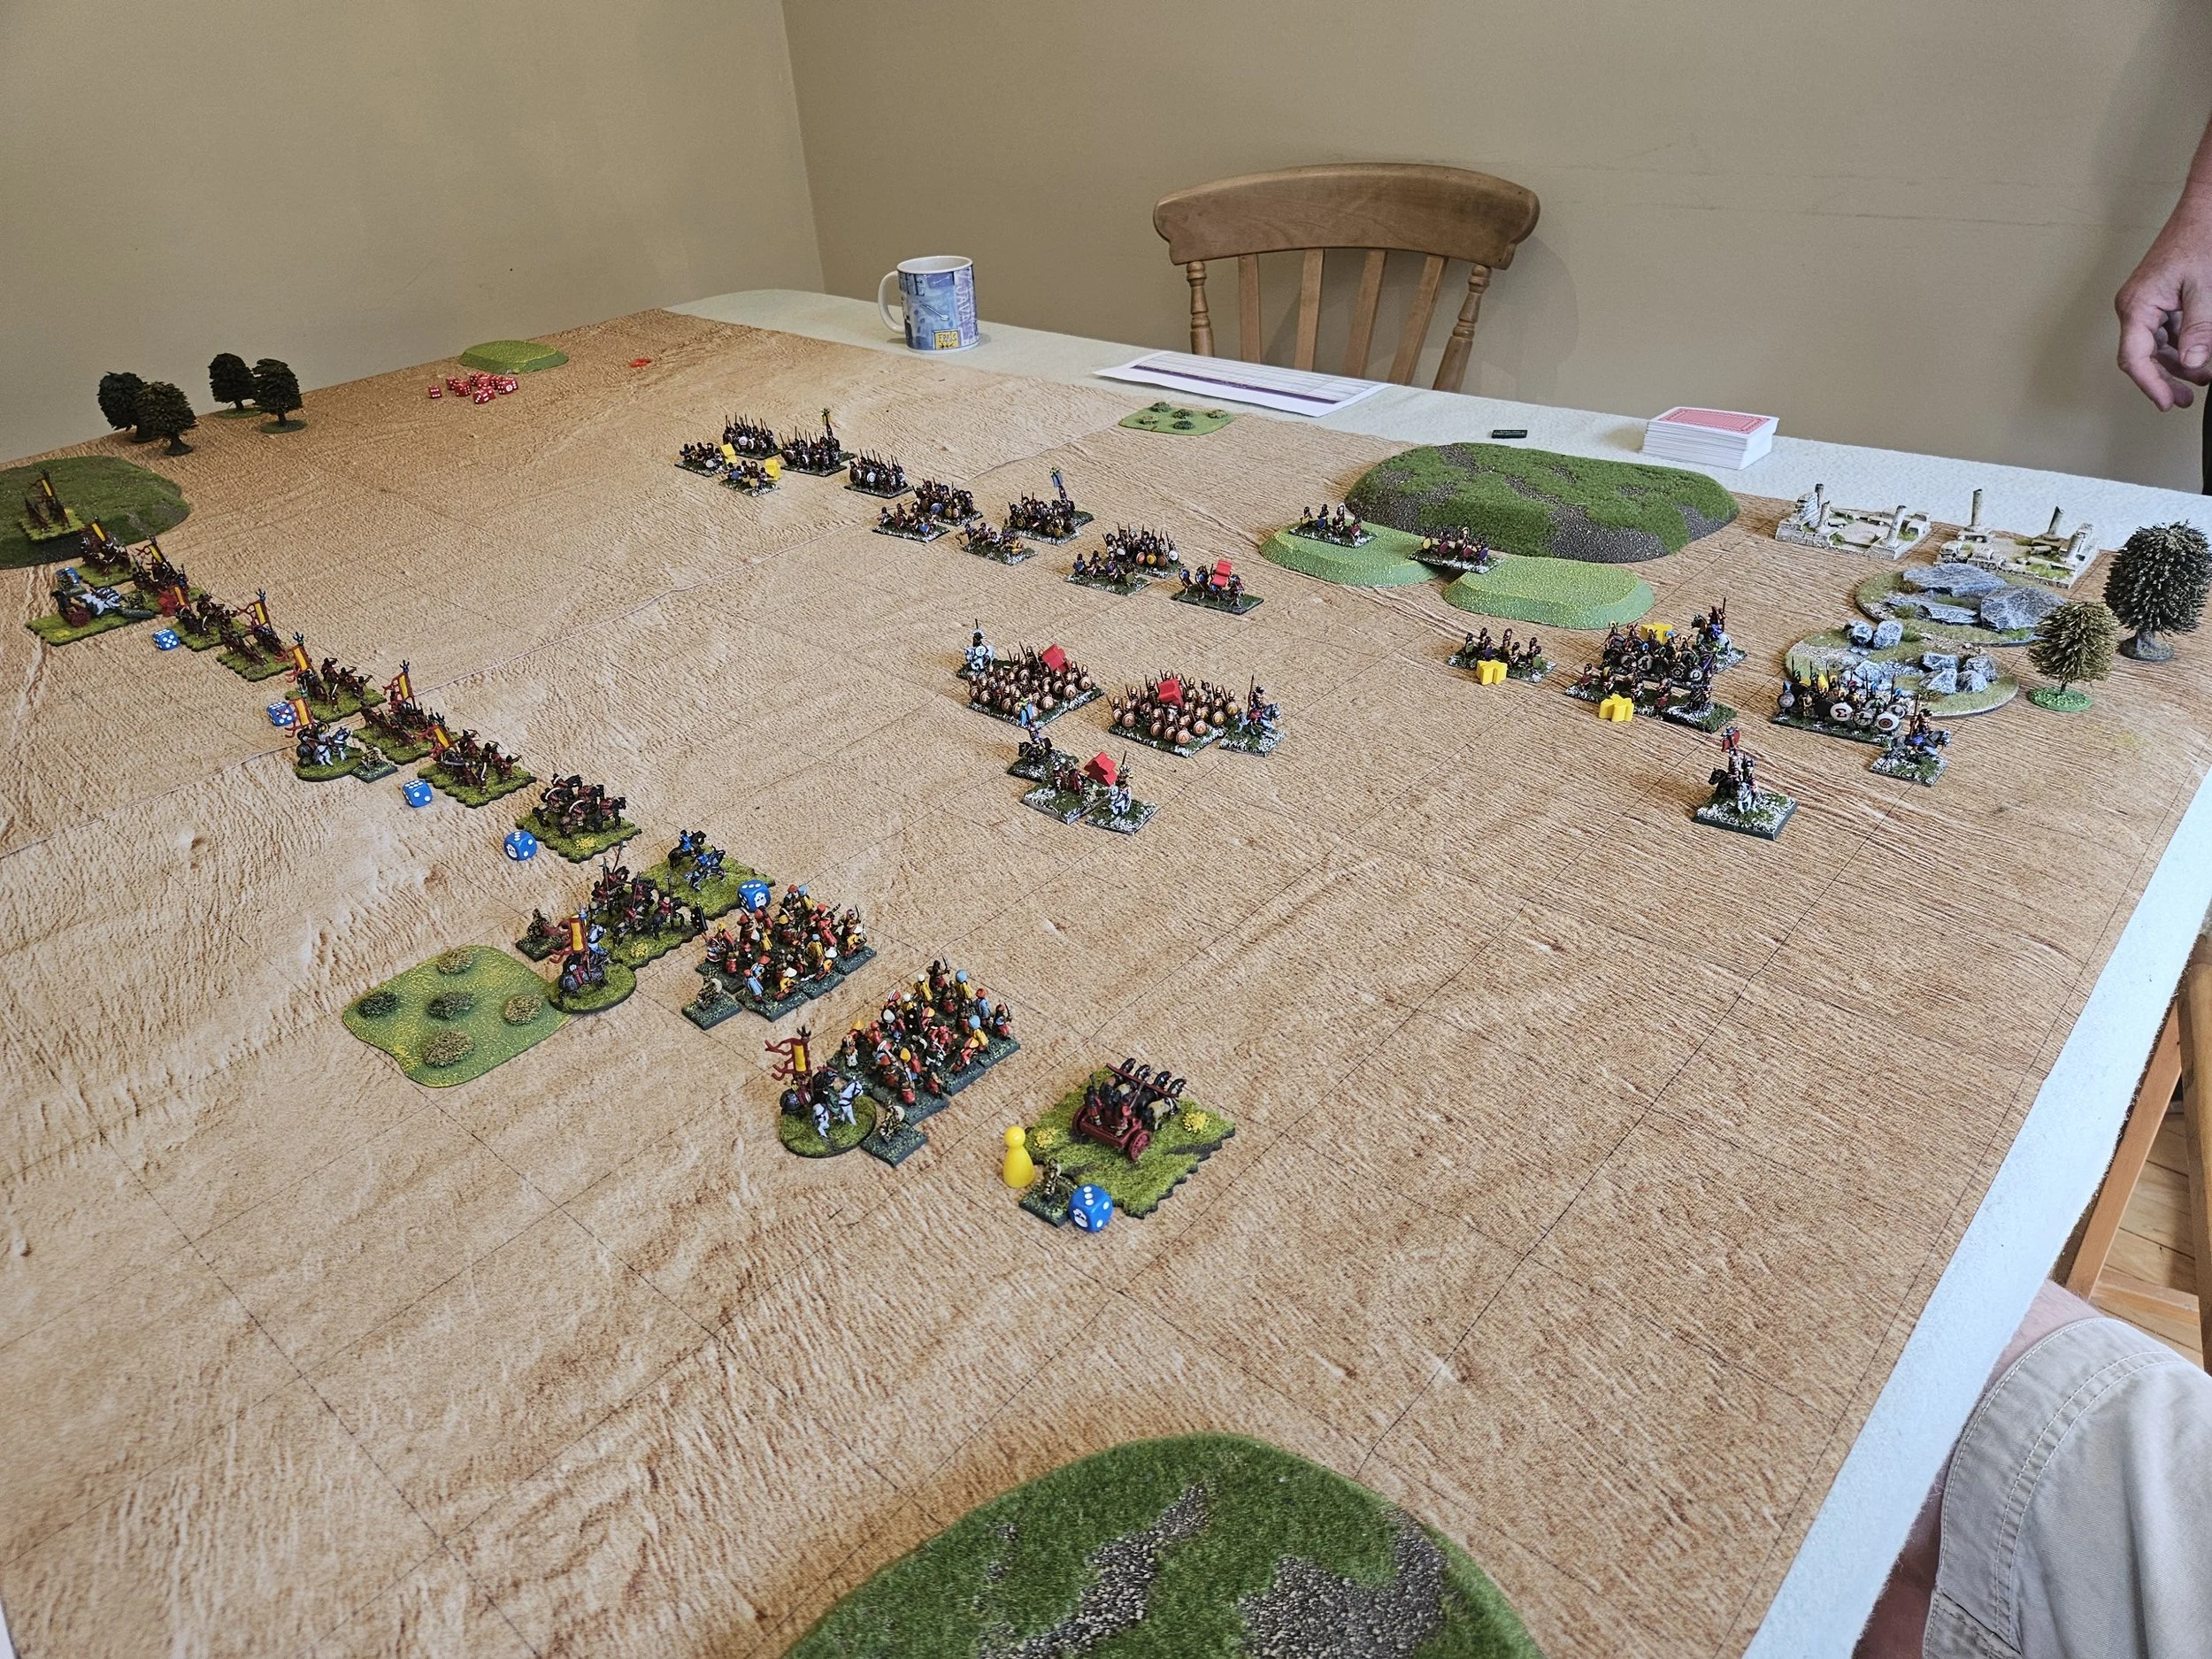
As you’ll see from the picture below, I chose to play on the “hill” side of the table, as I’d always rather fight down a hill than up even if my initial position would be “interesting”. As a key, the hills with the round bush markers on them are steep, the others are gentle…which meant that the only way for me to deploy was cavalry-infantry-cavalry-infantry, with the infantry command second from the left taking their positions on the crags!

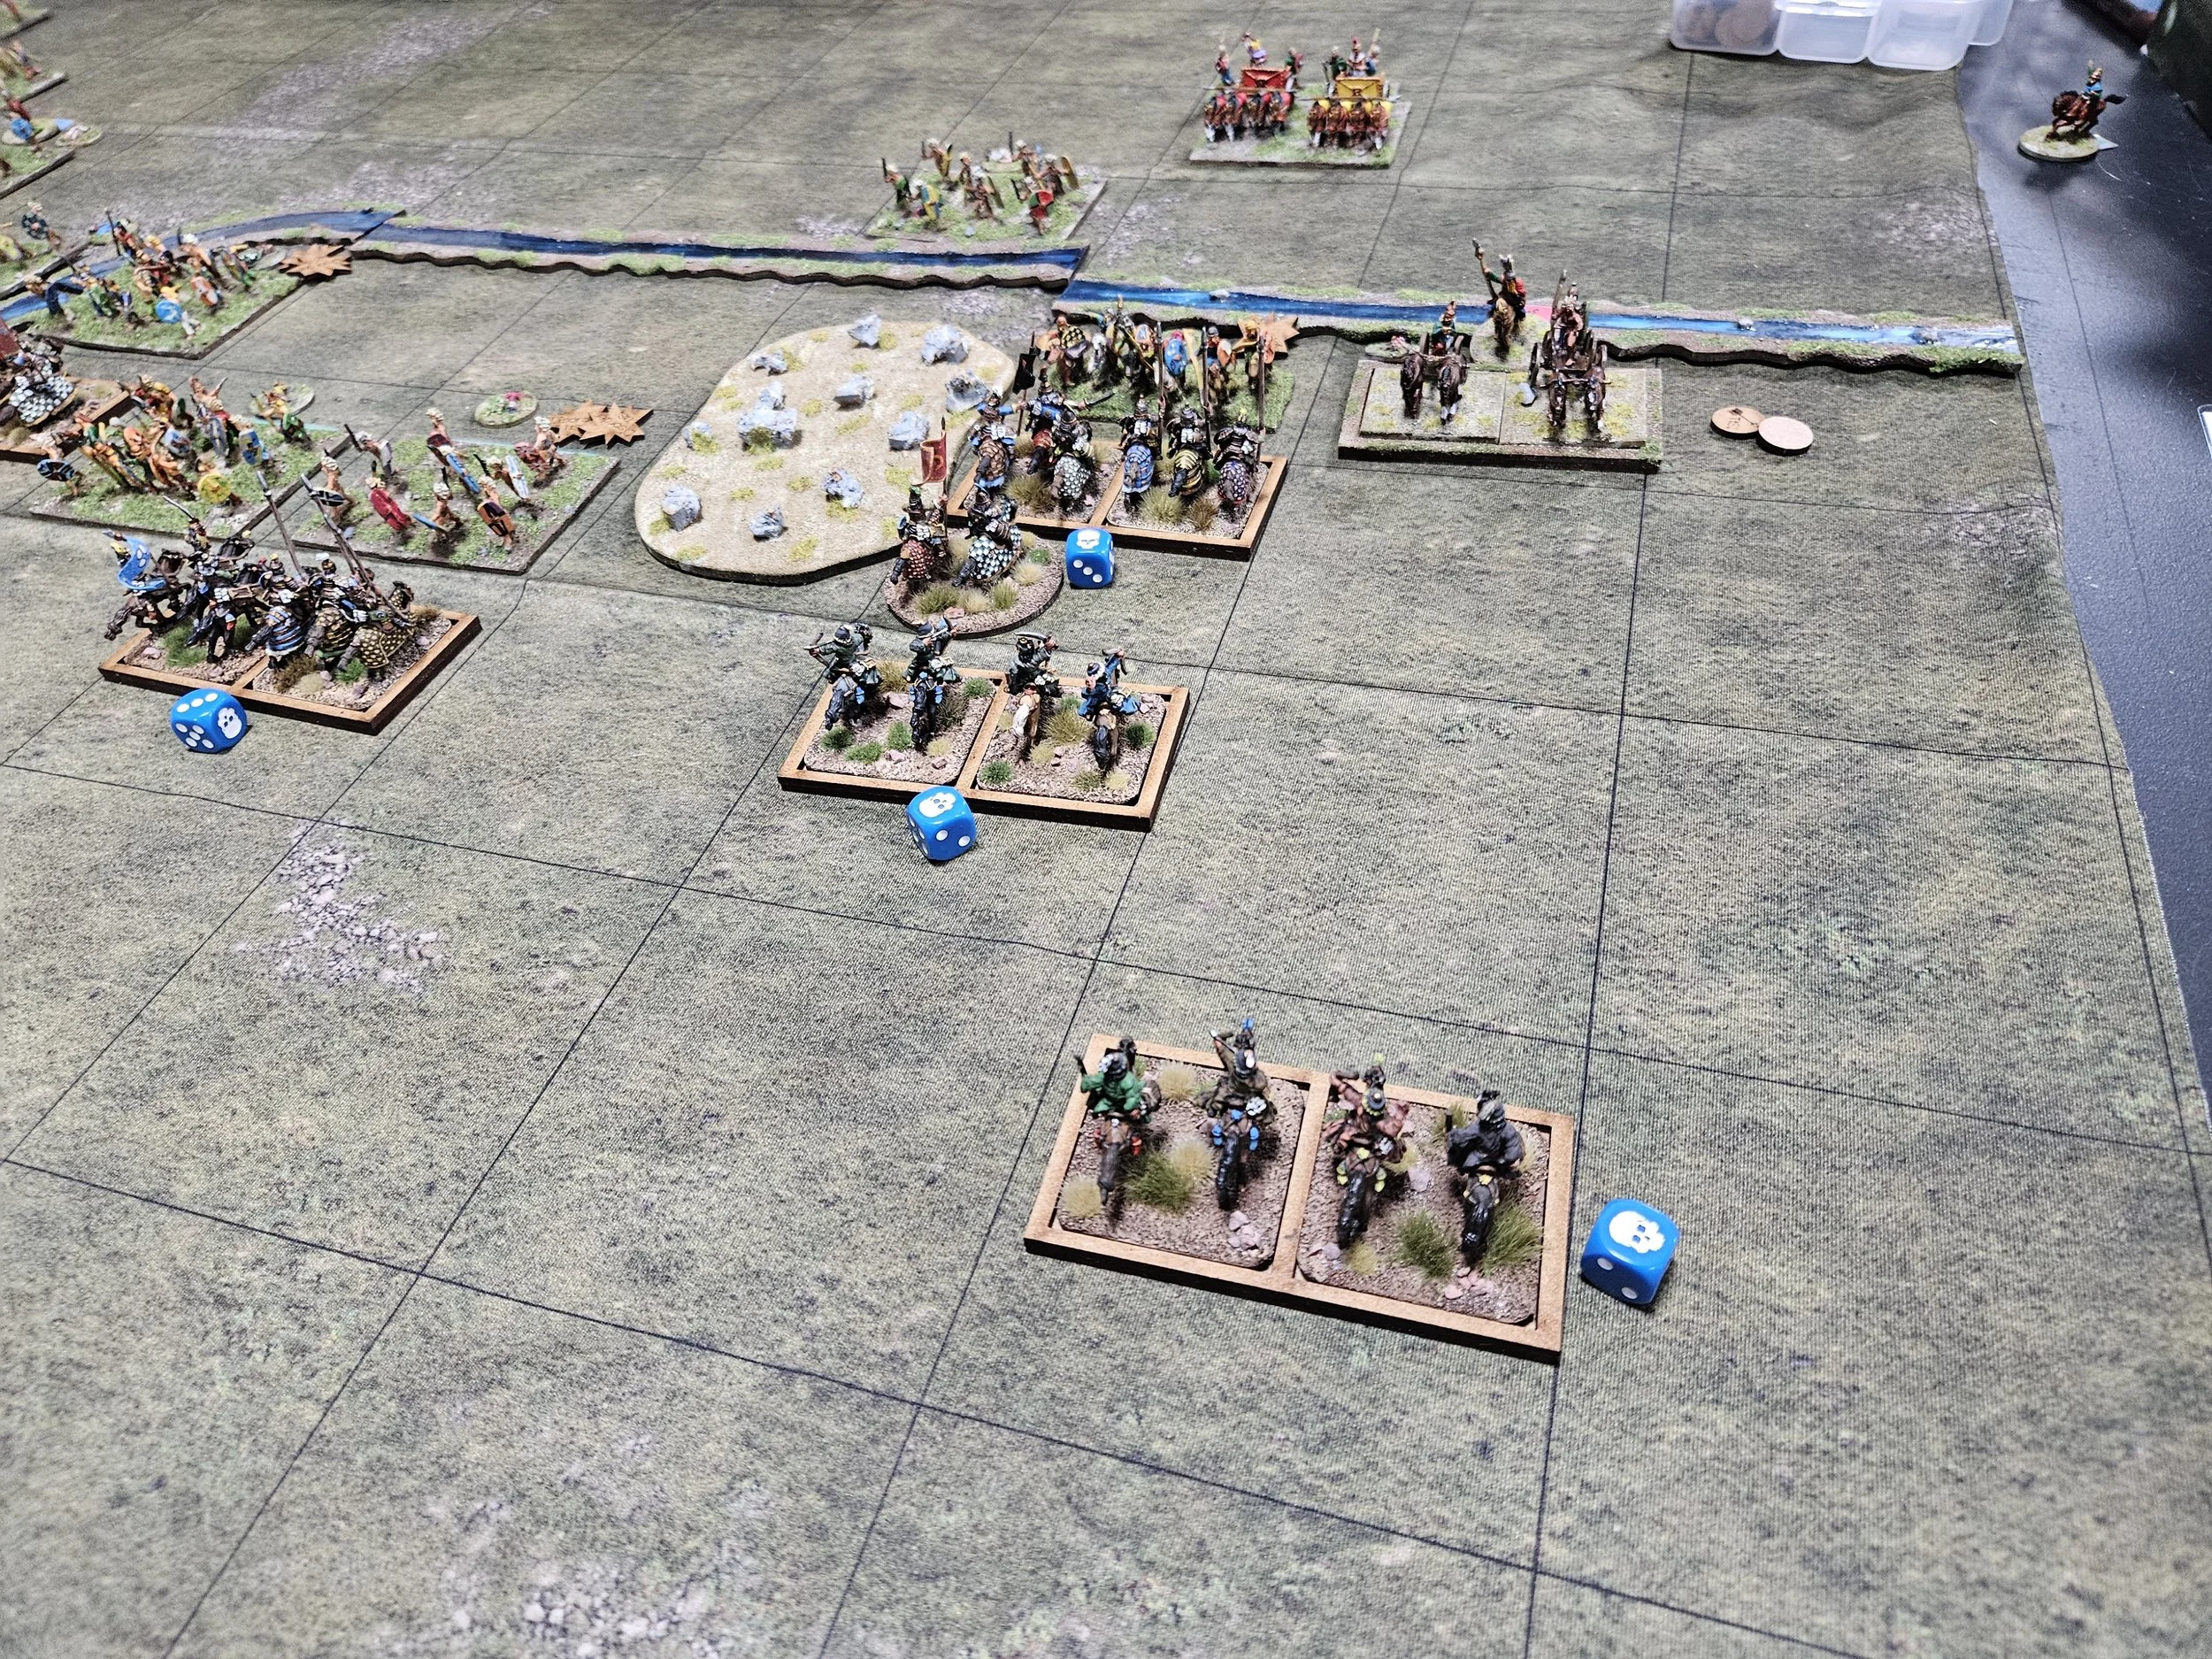
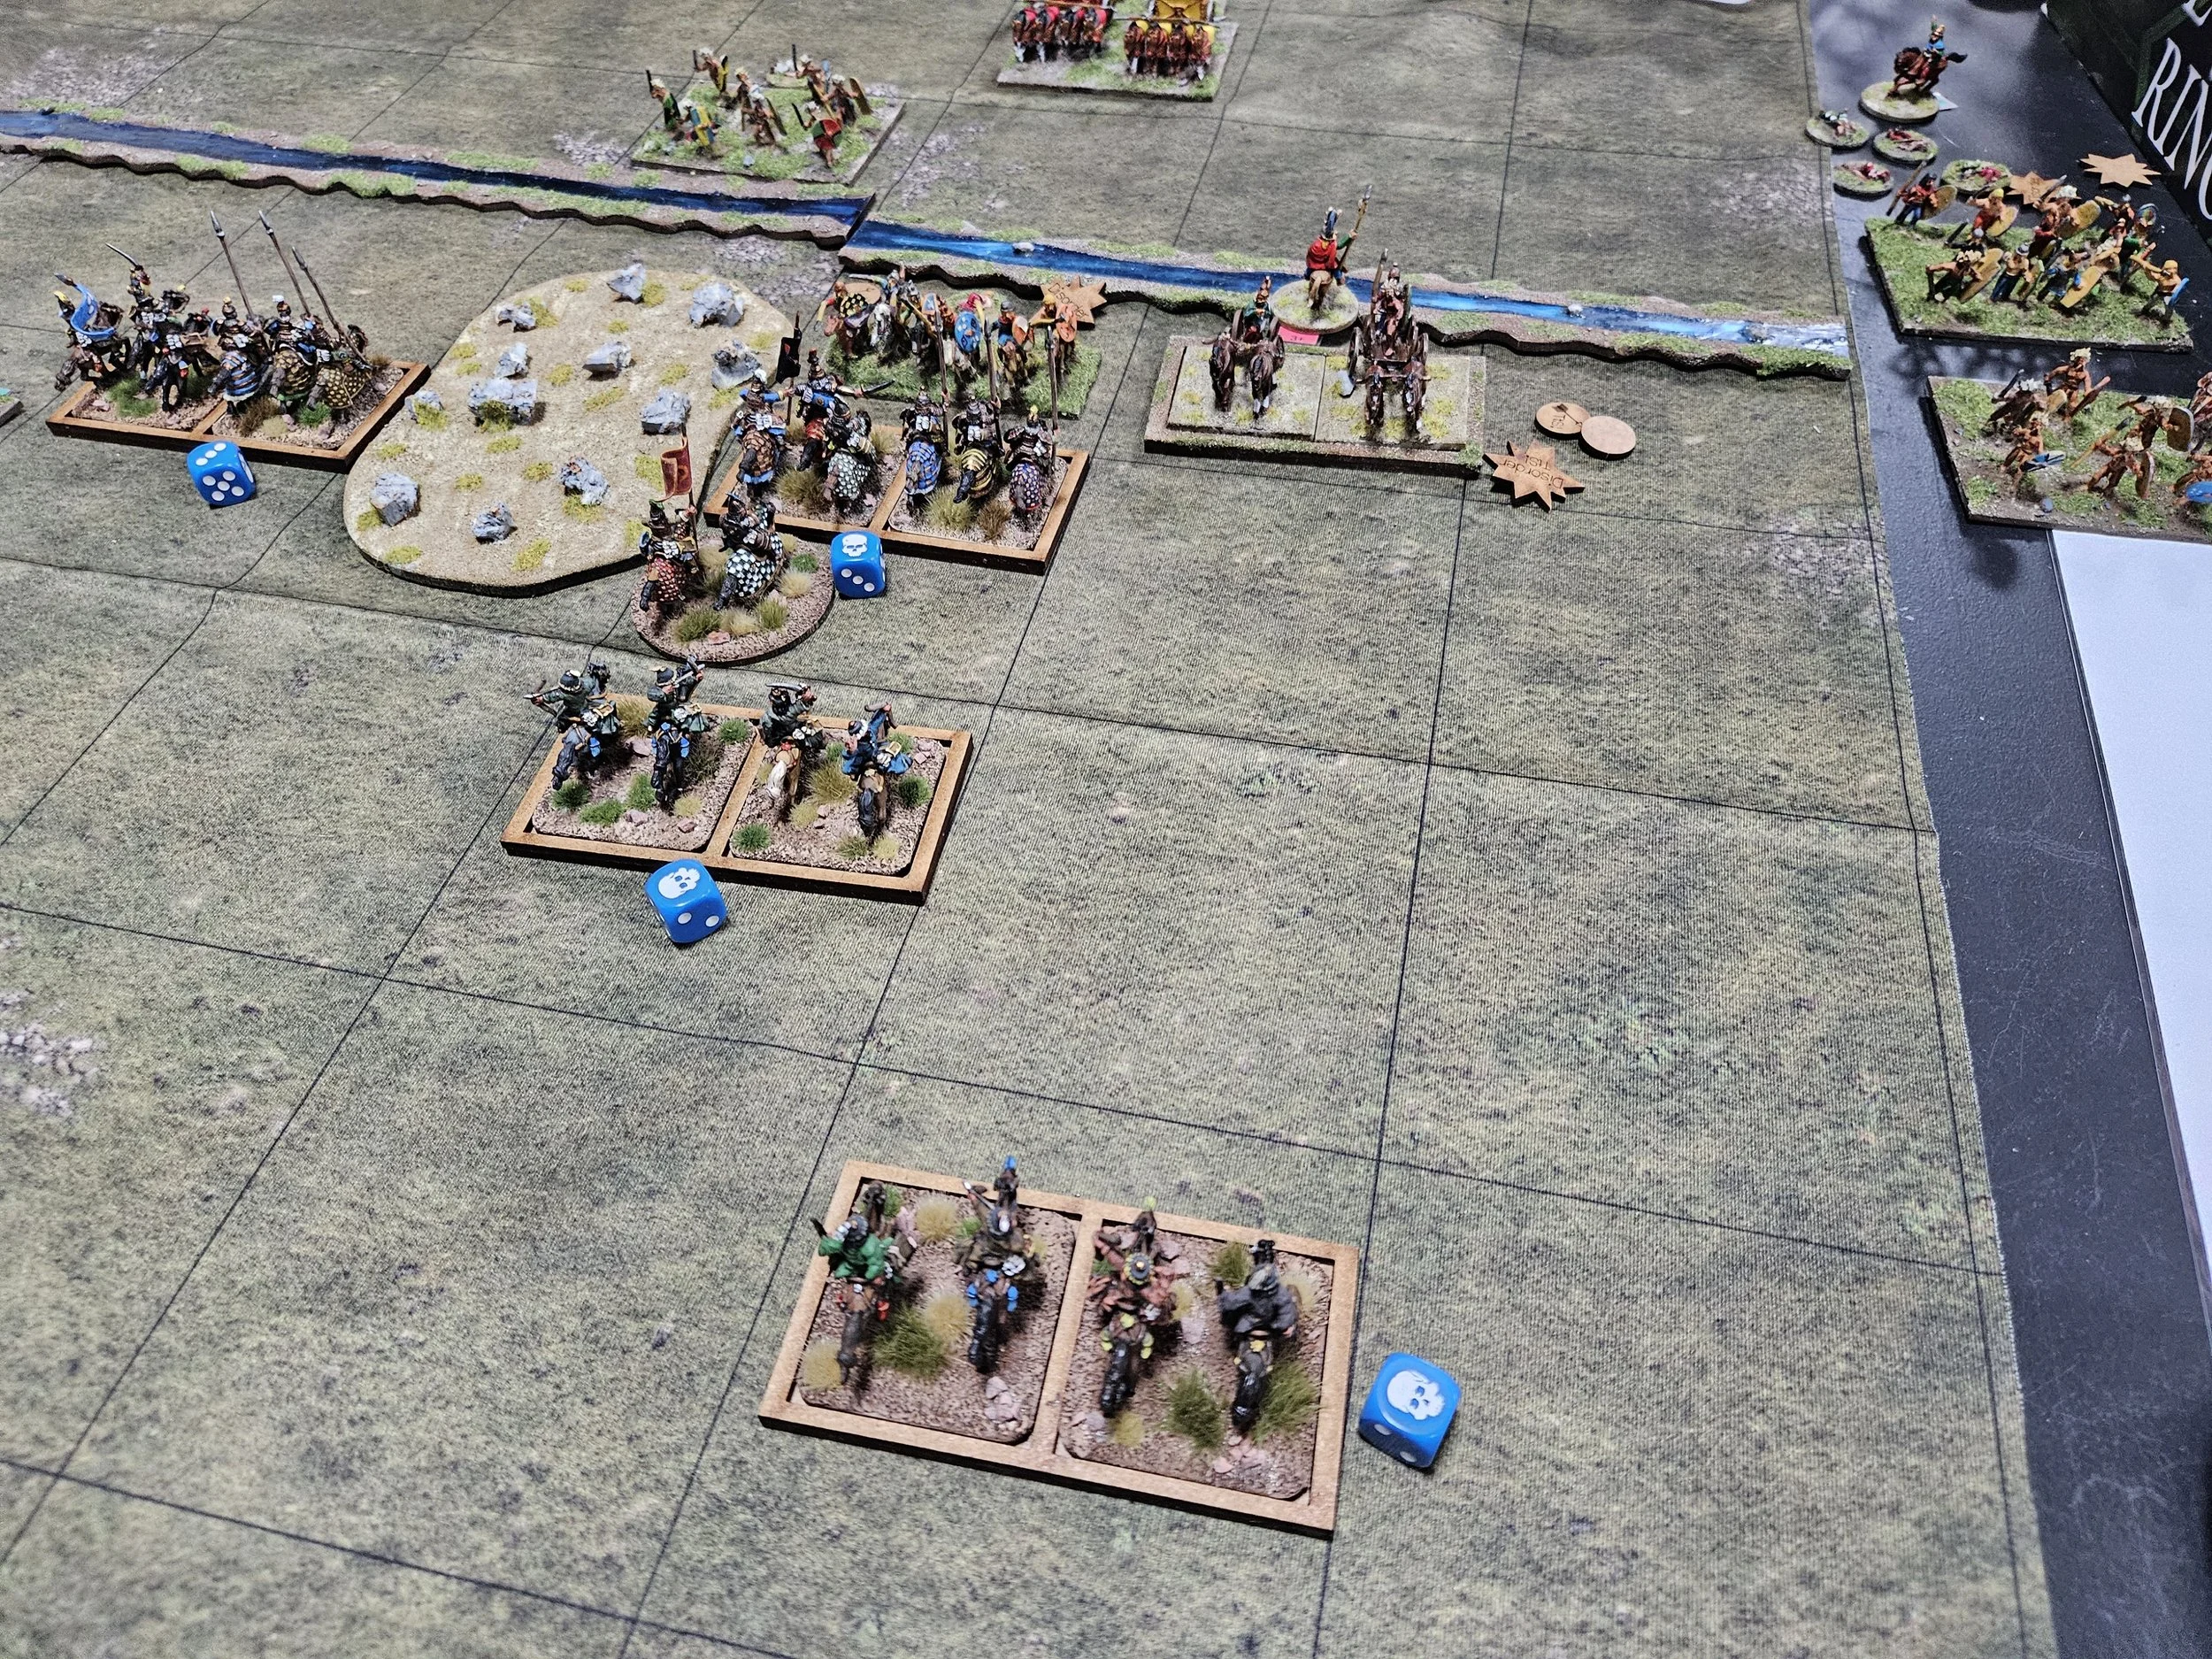
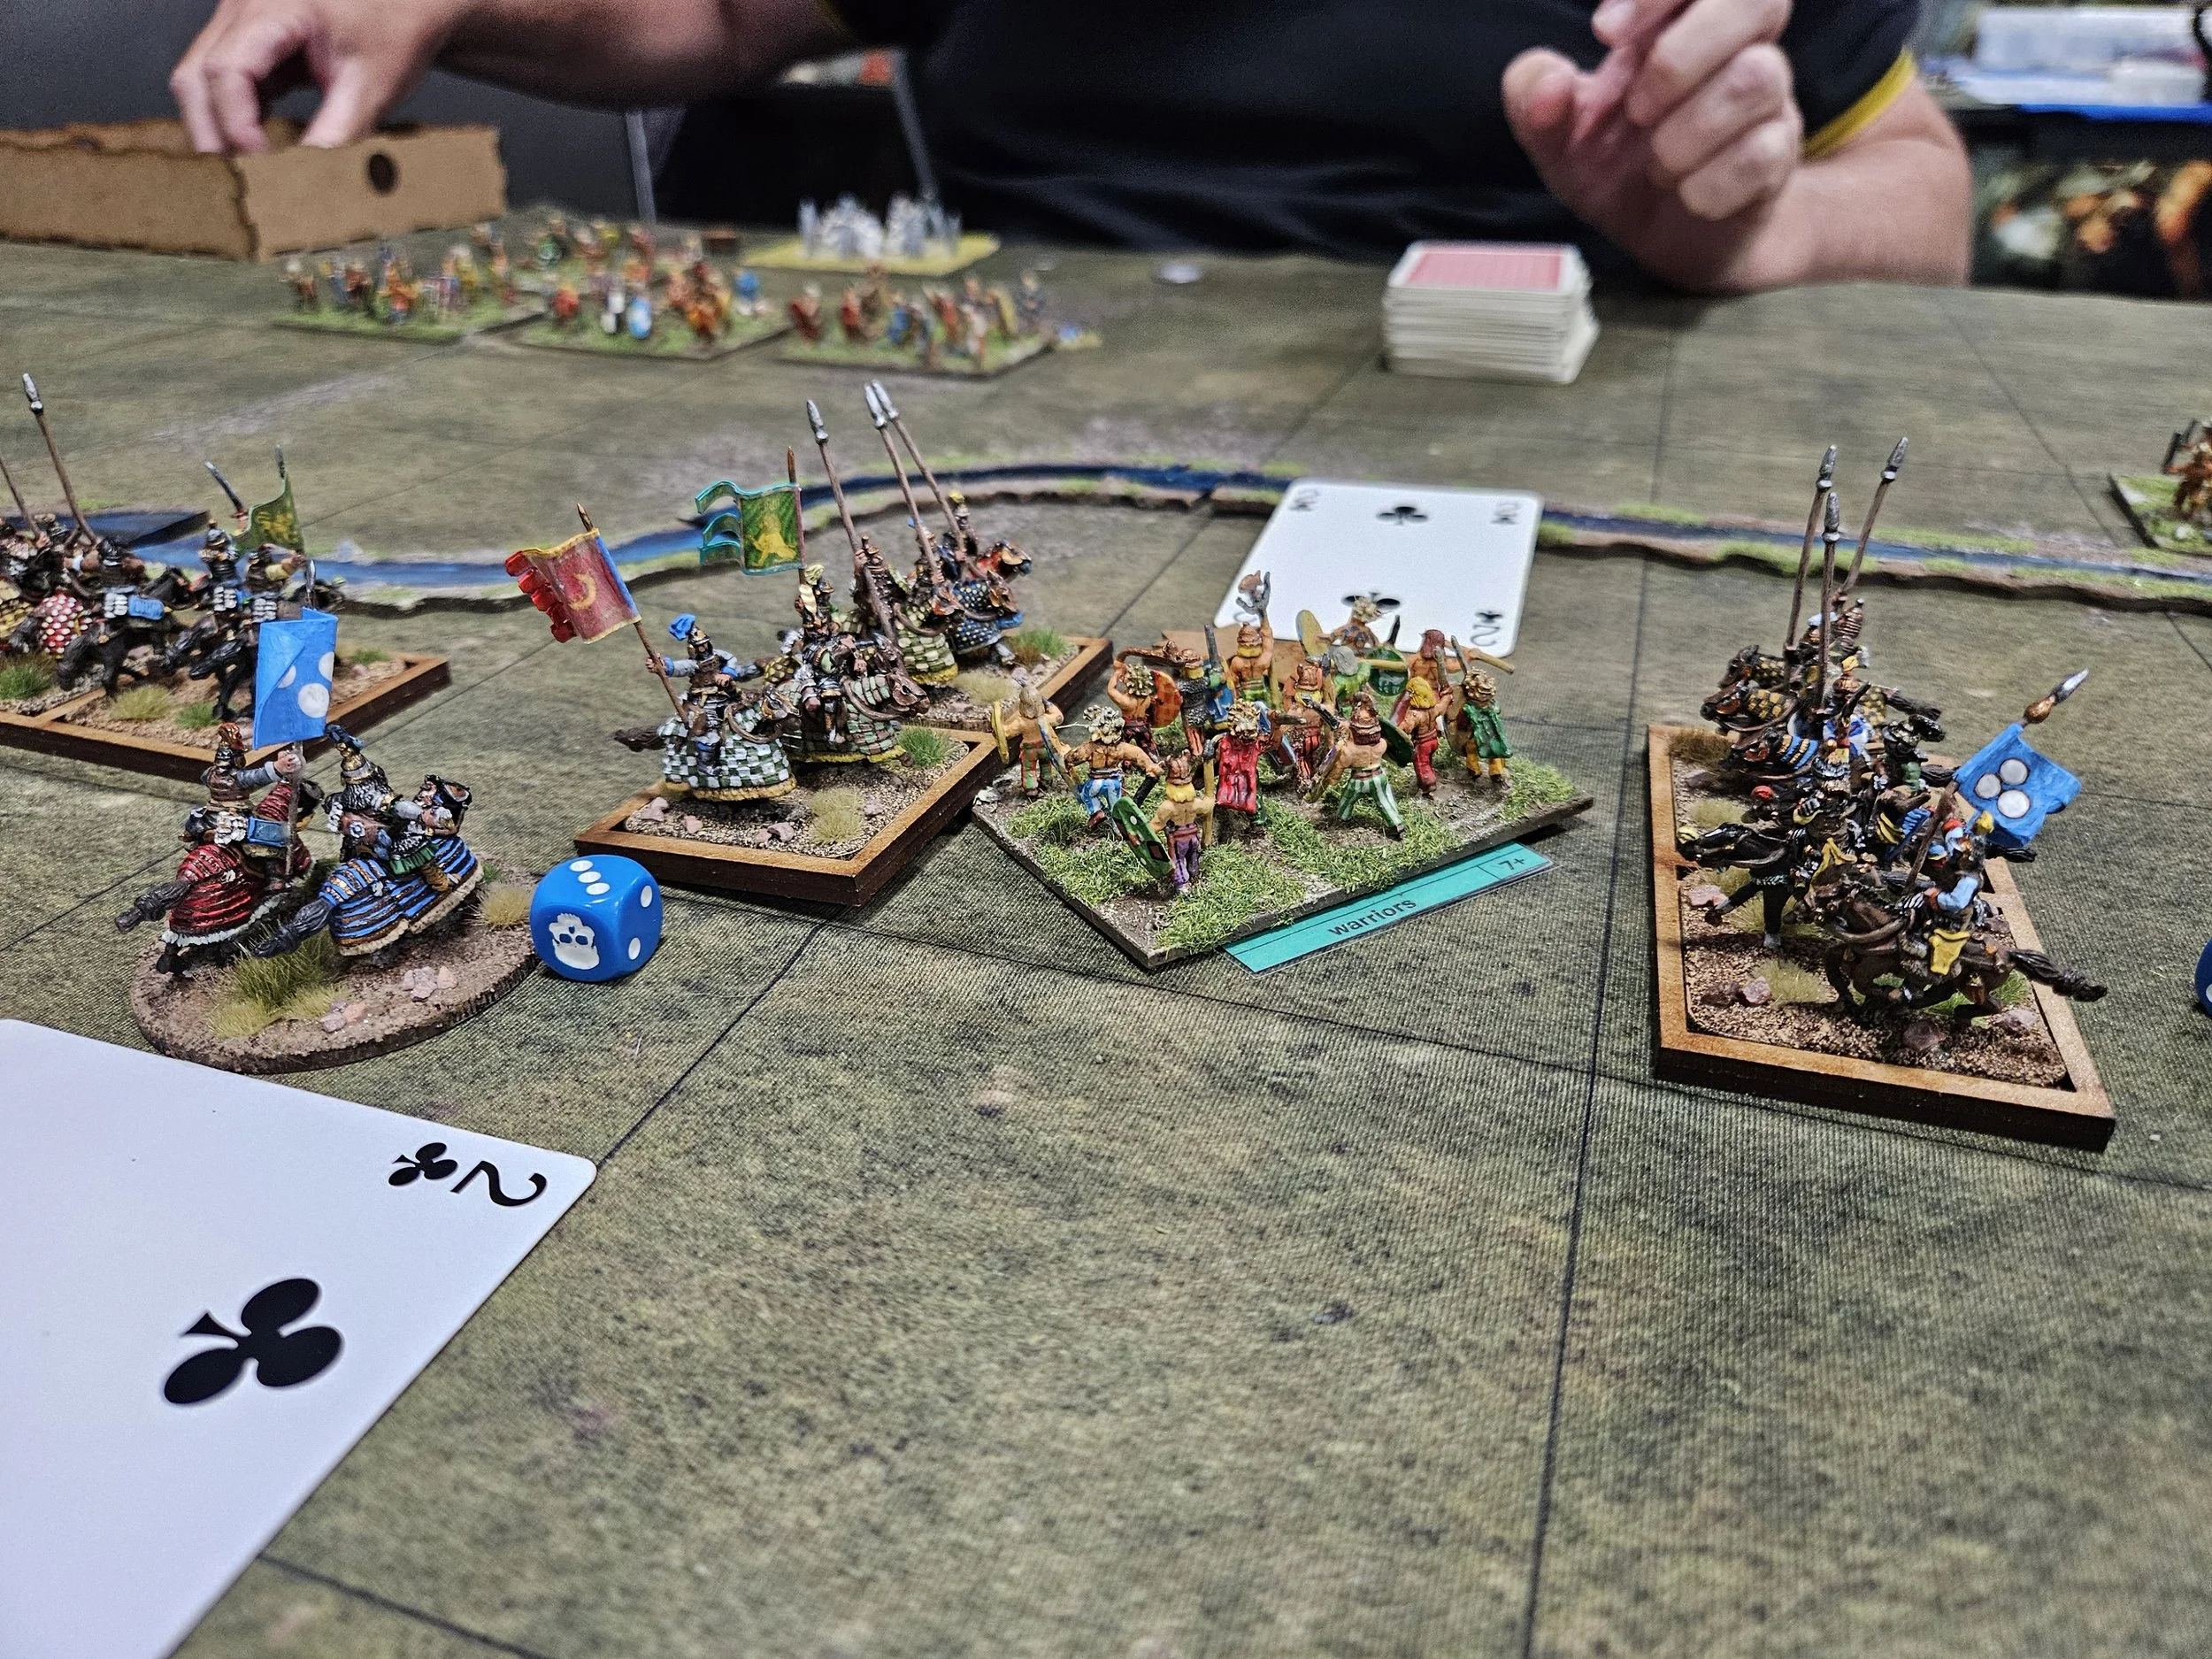
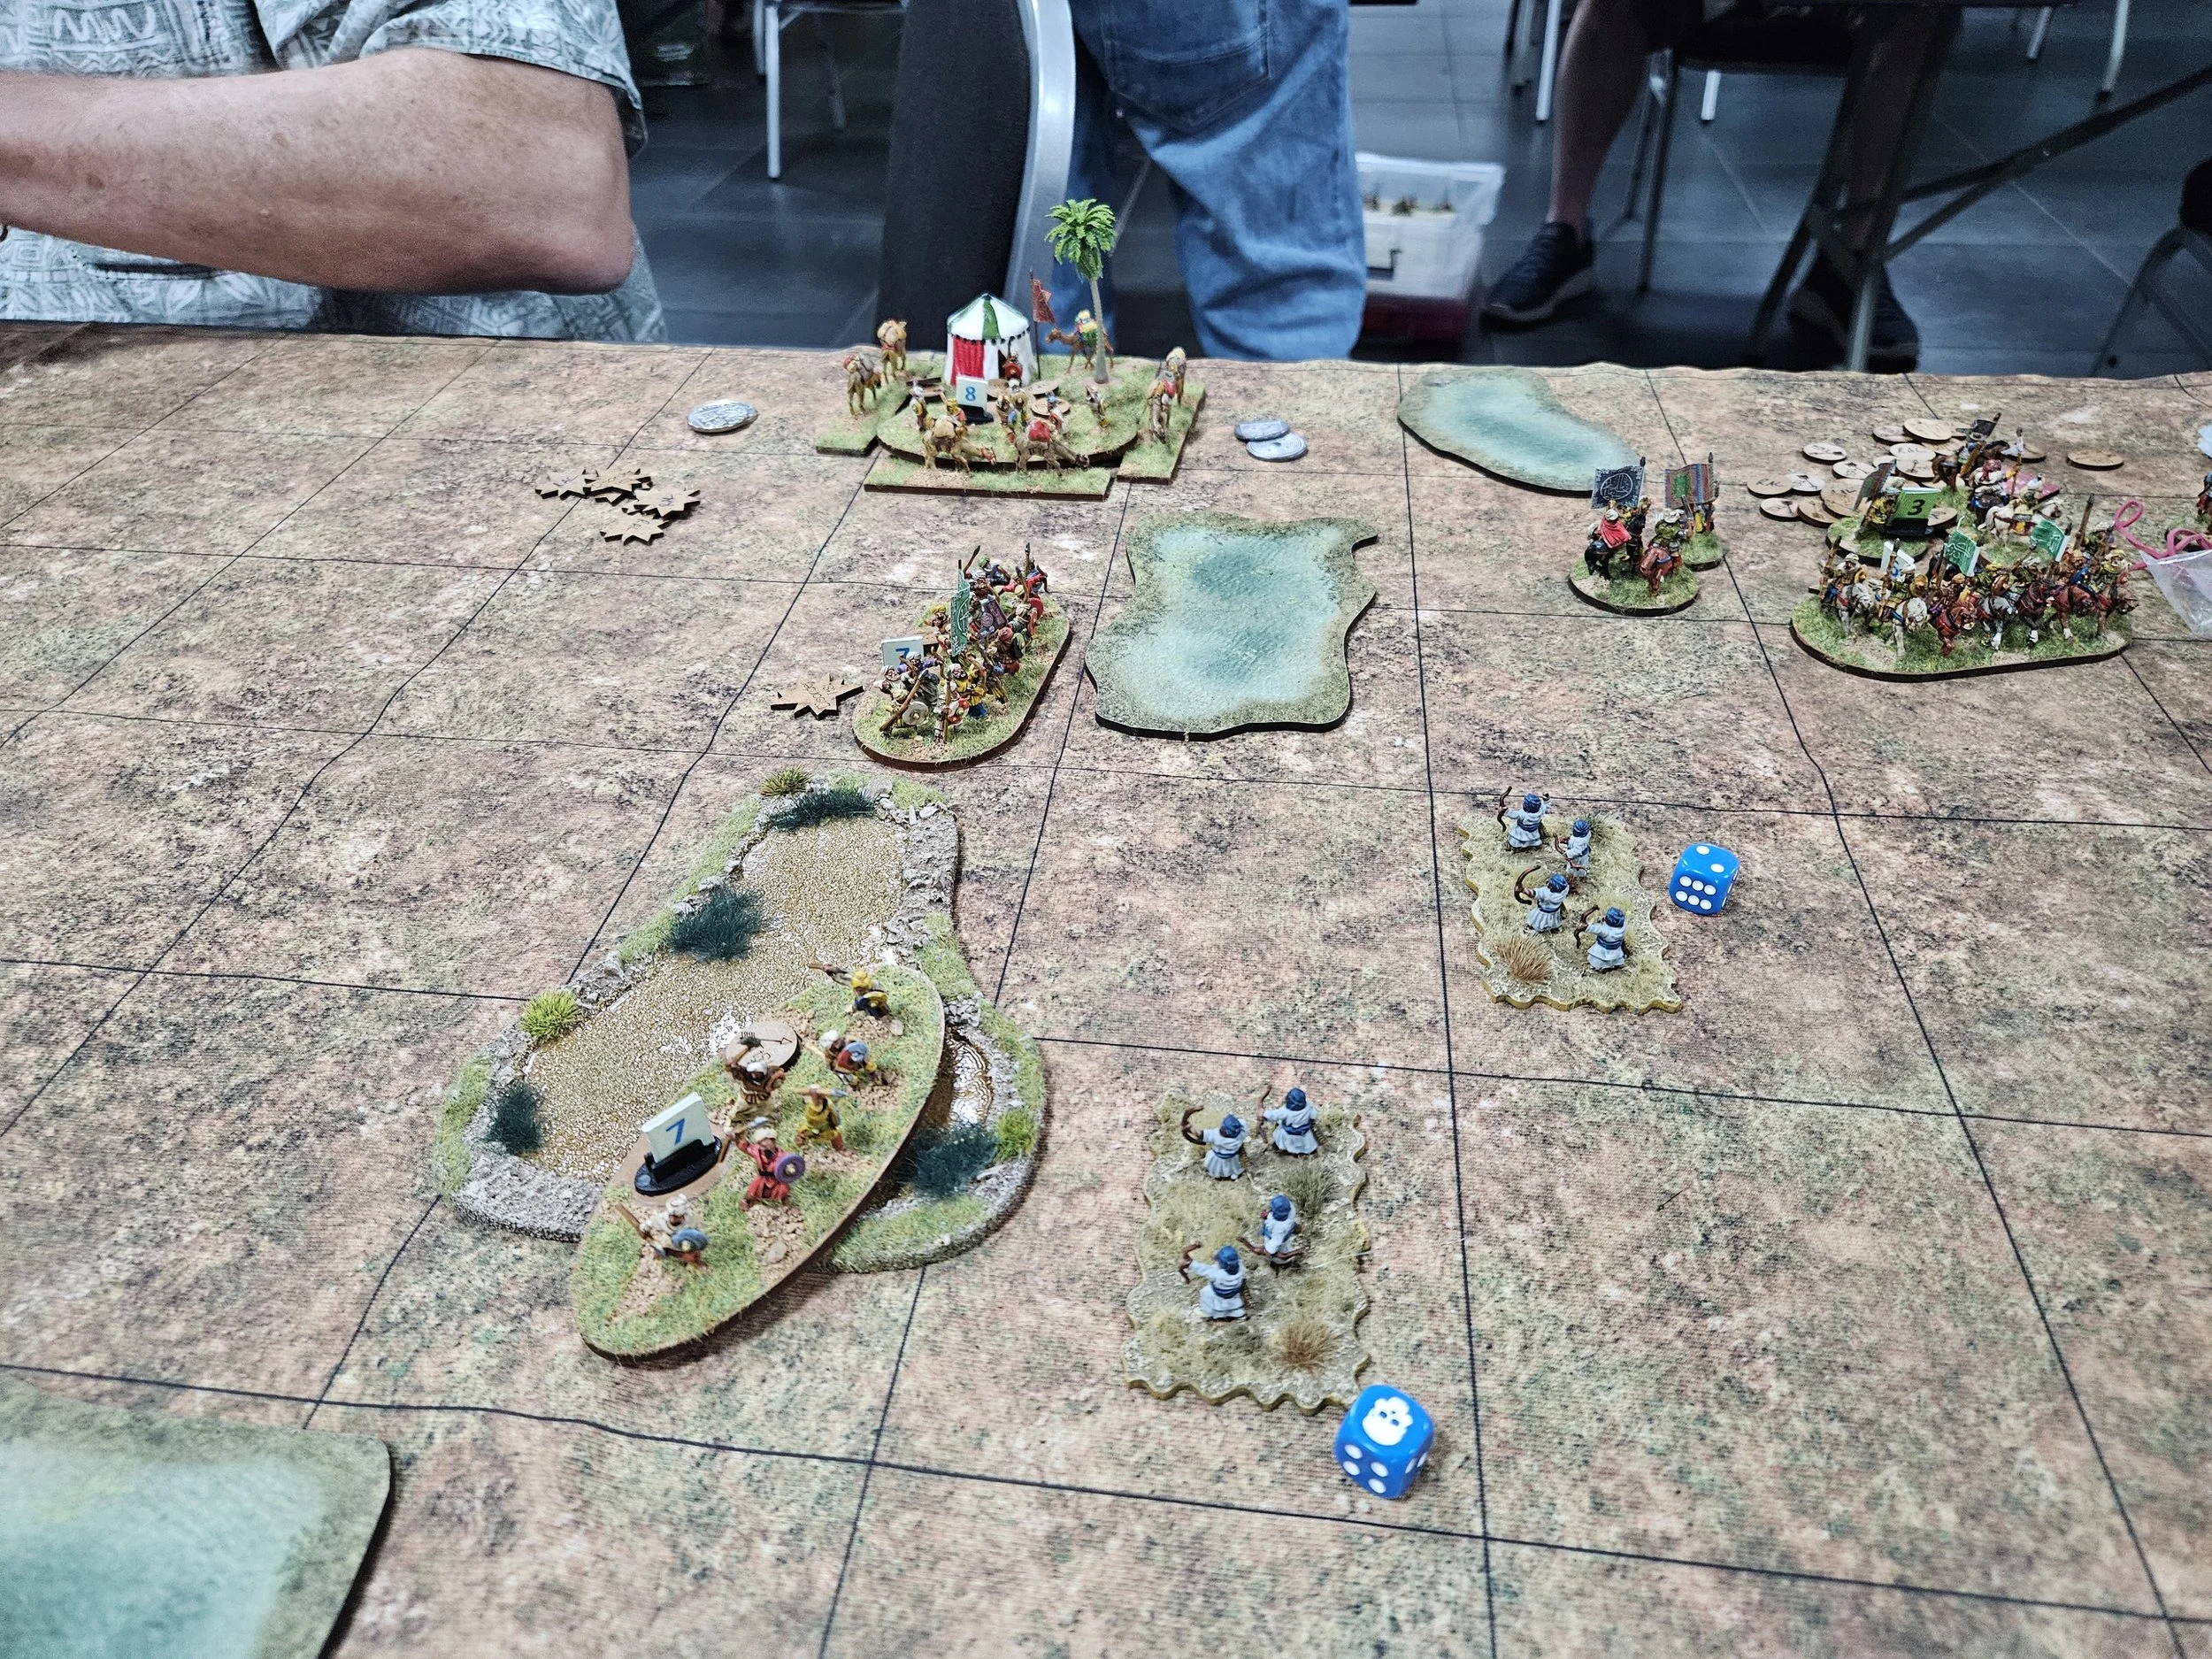
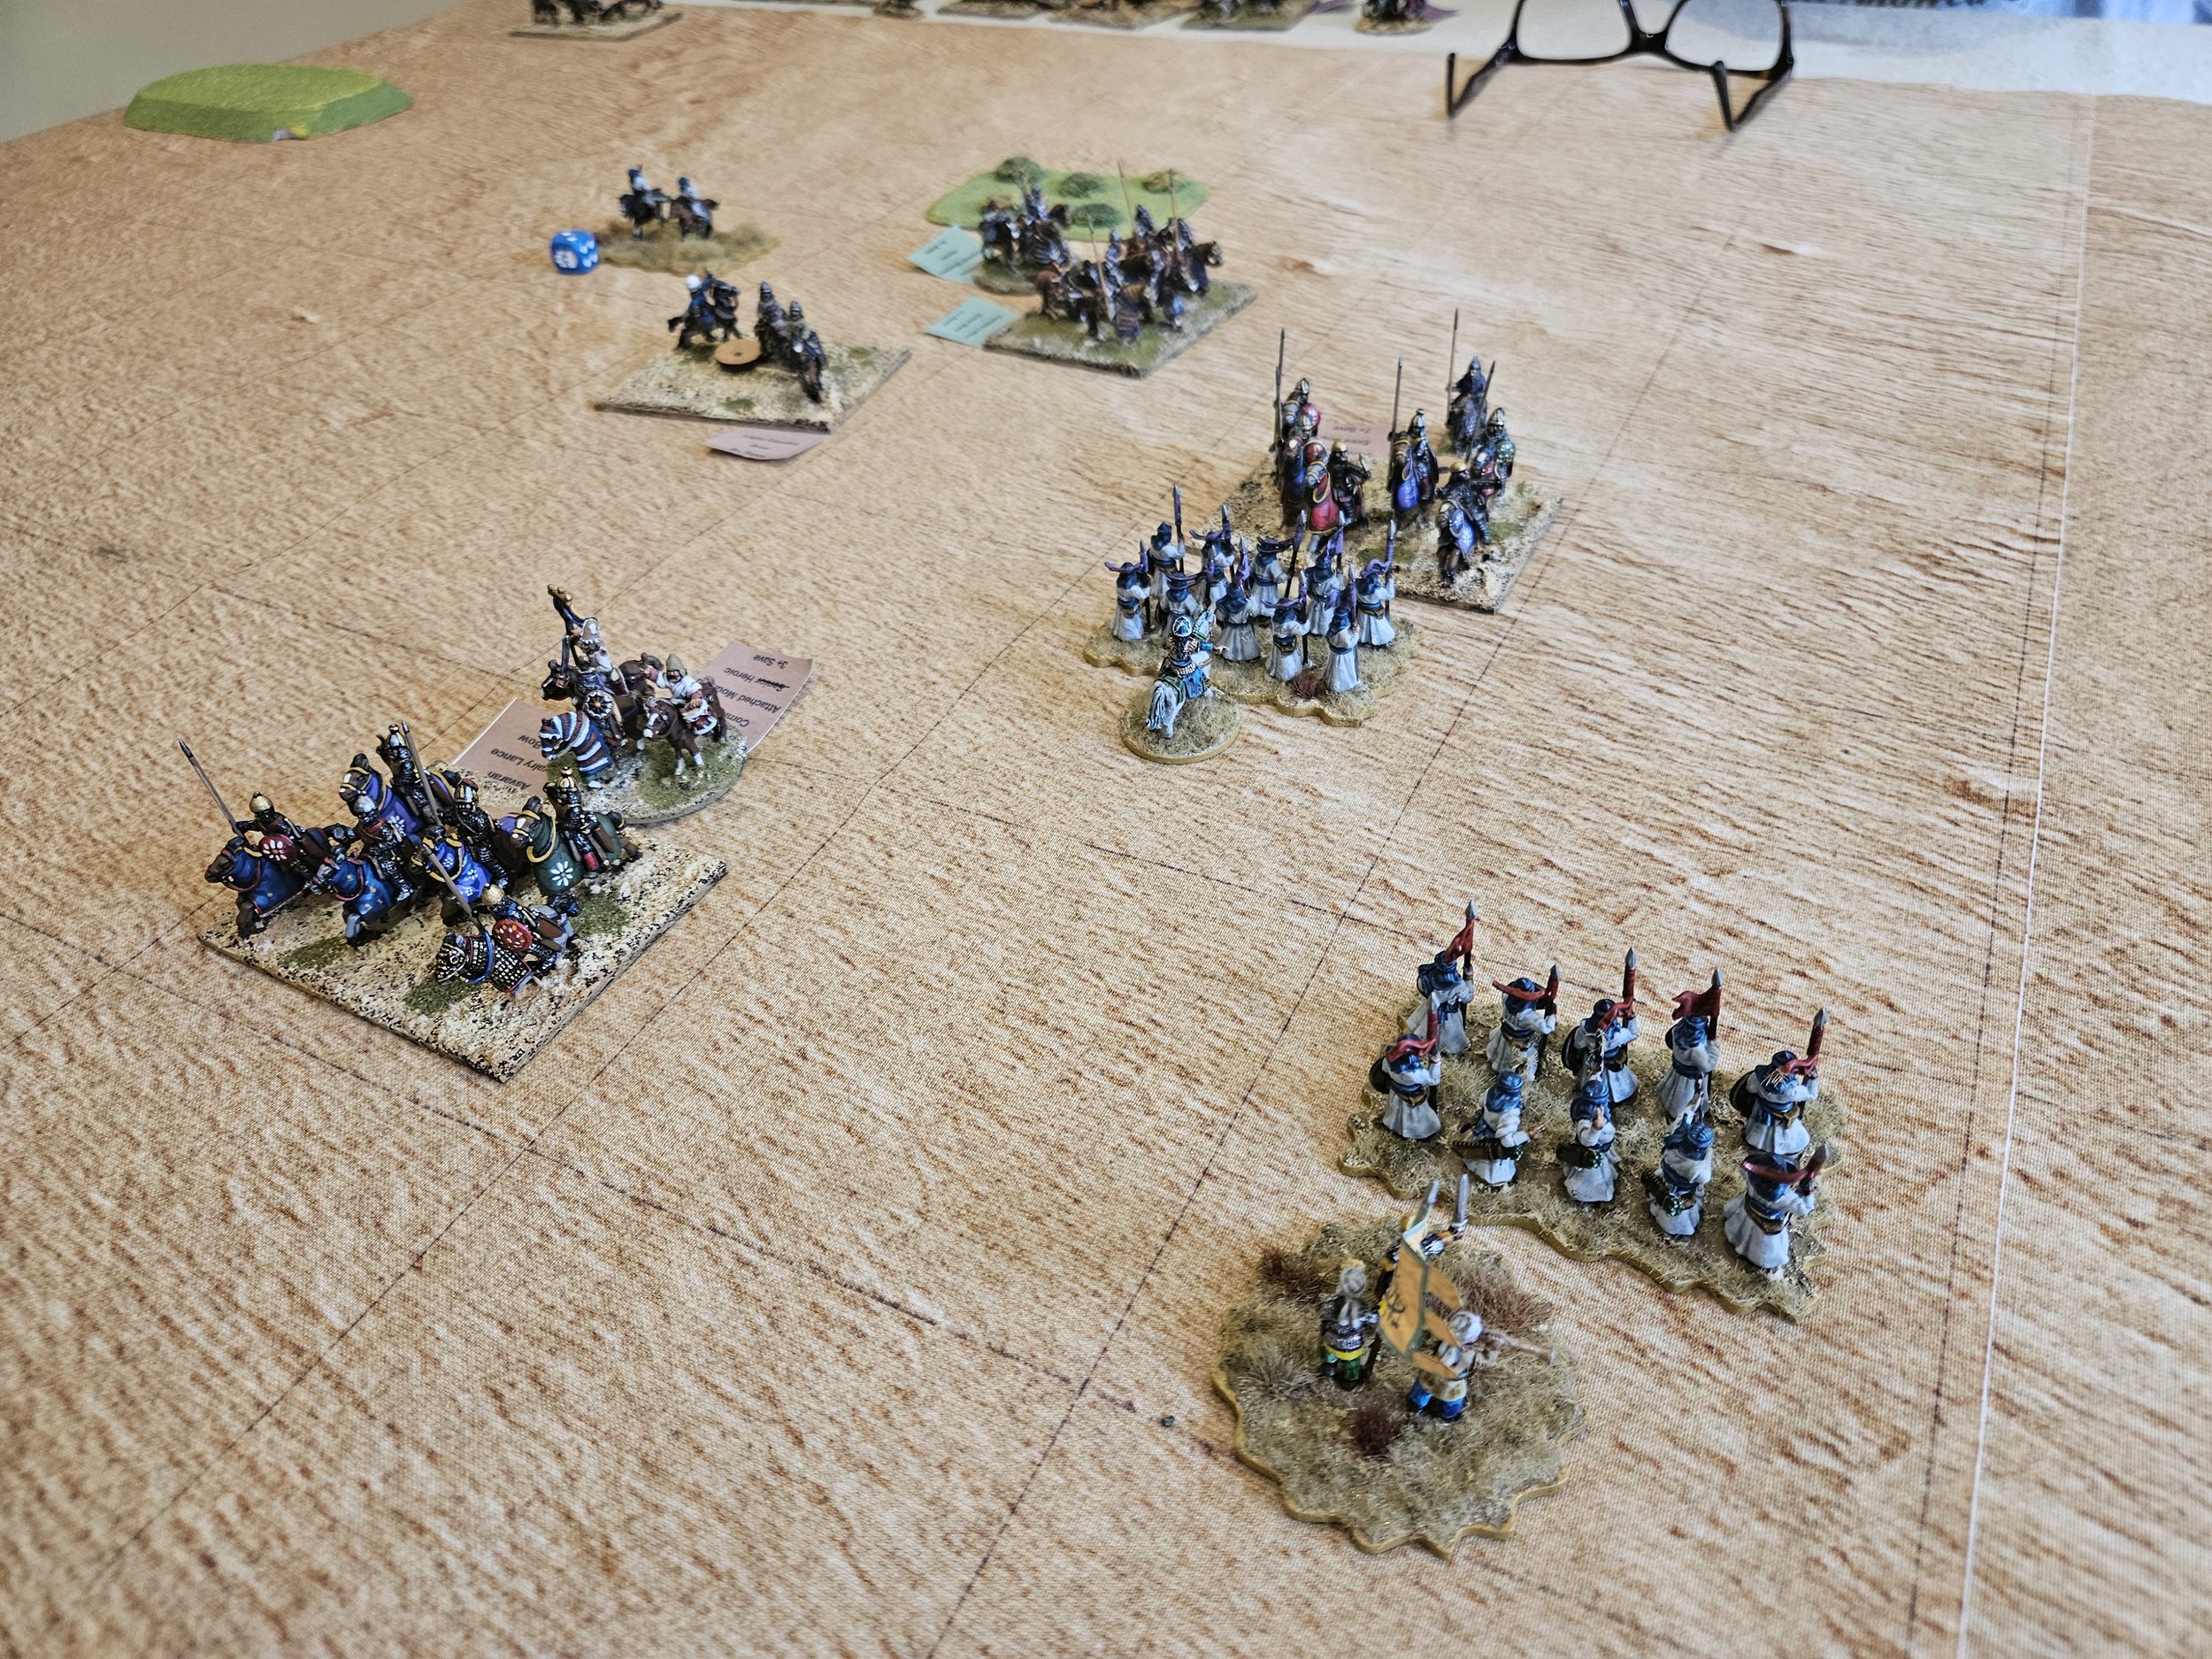
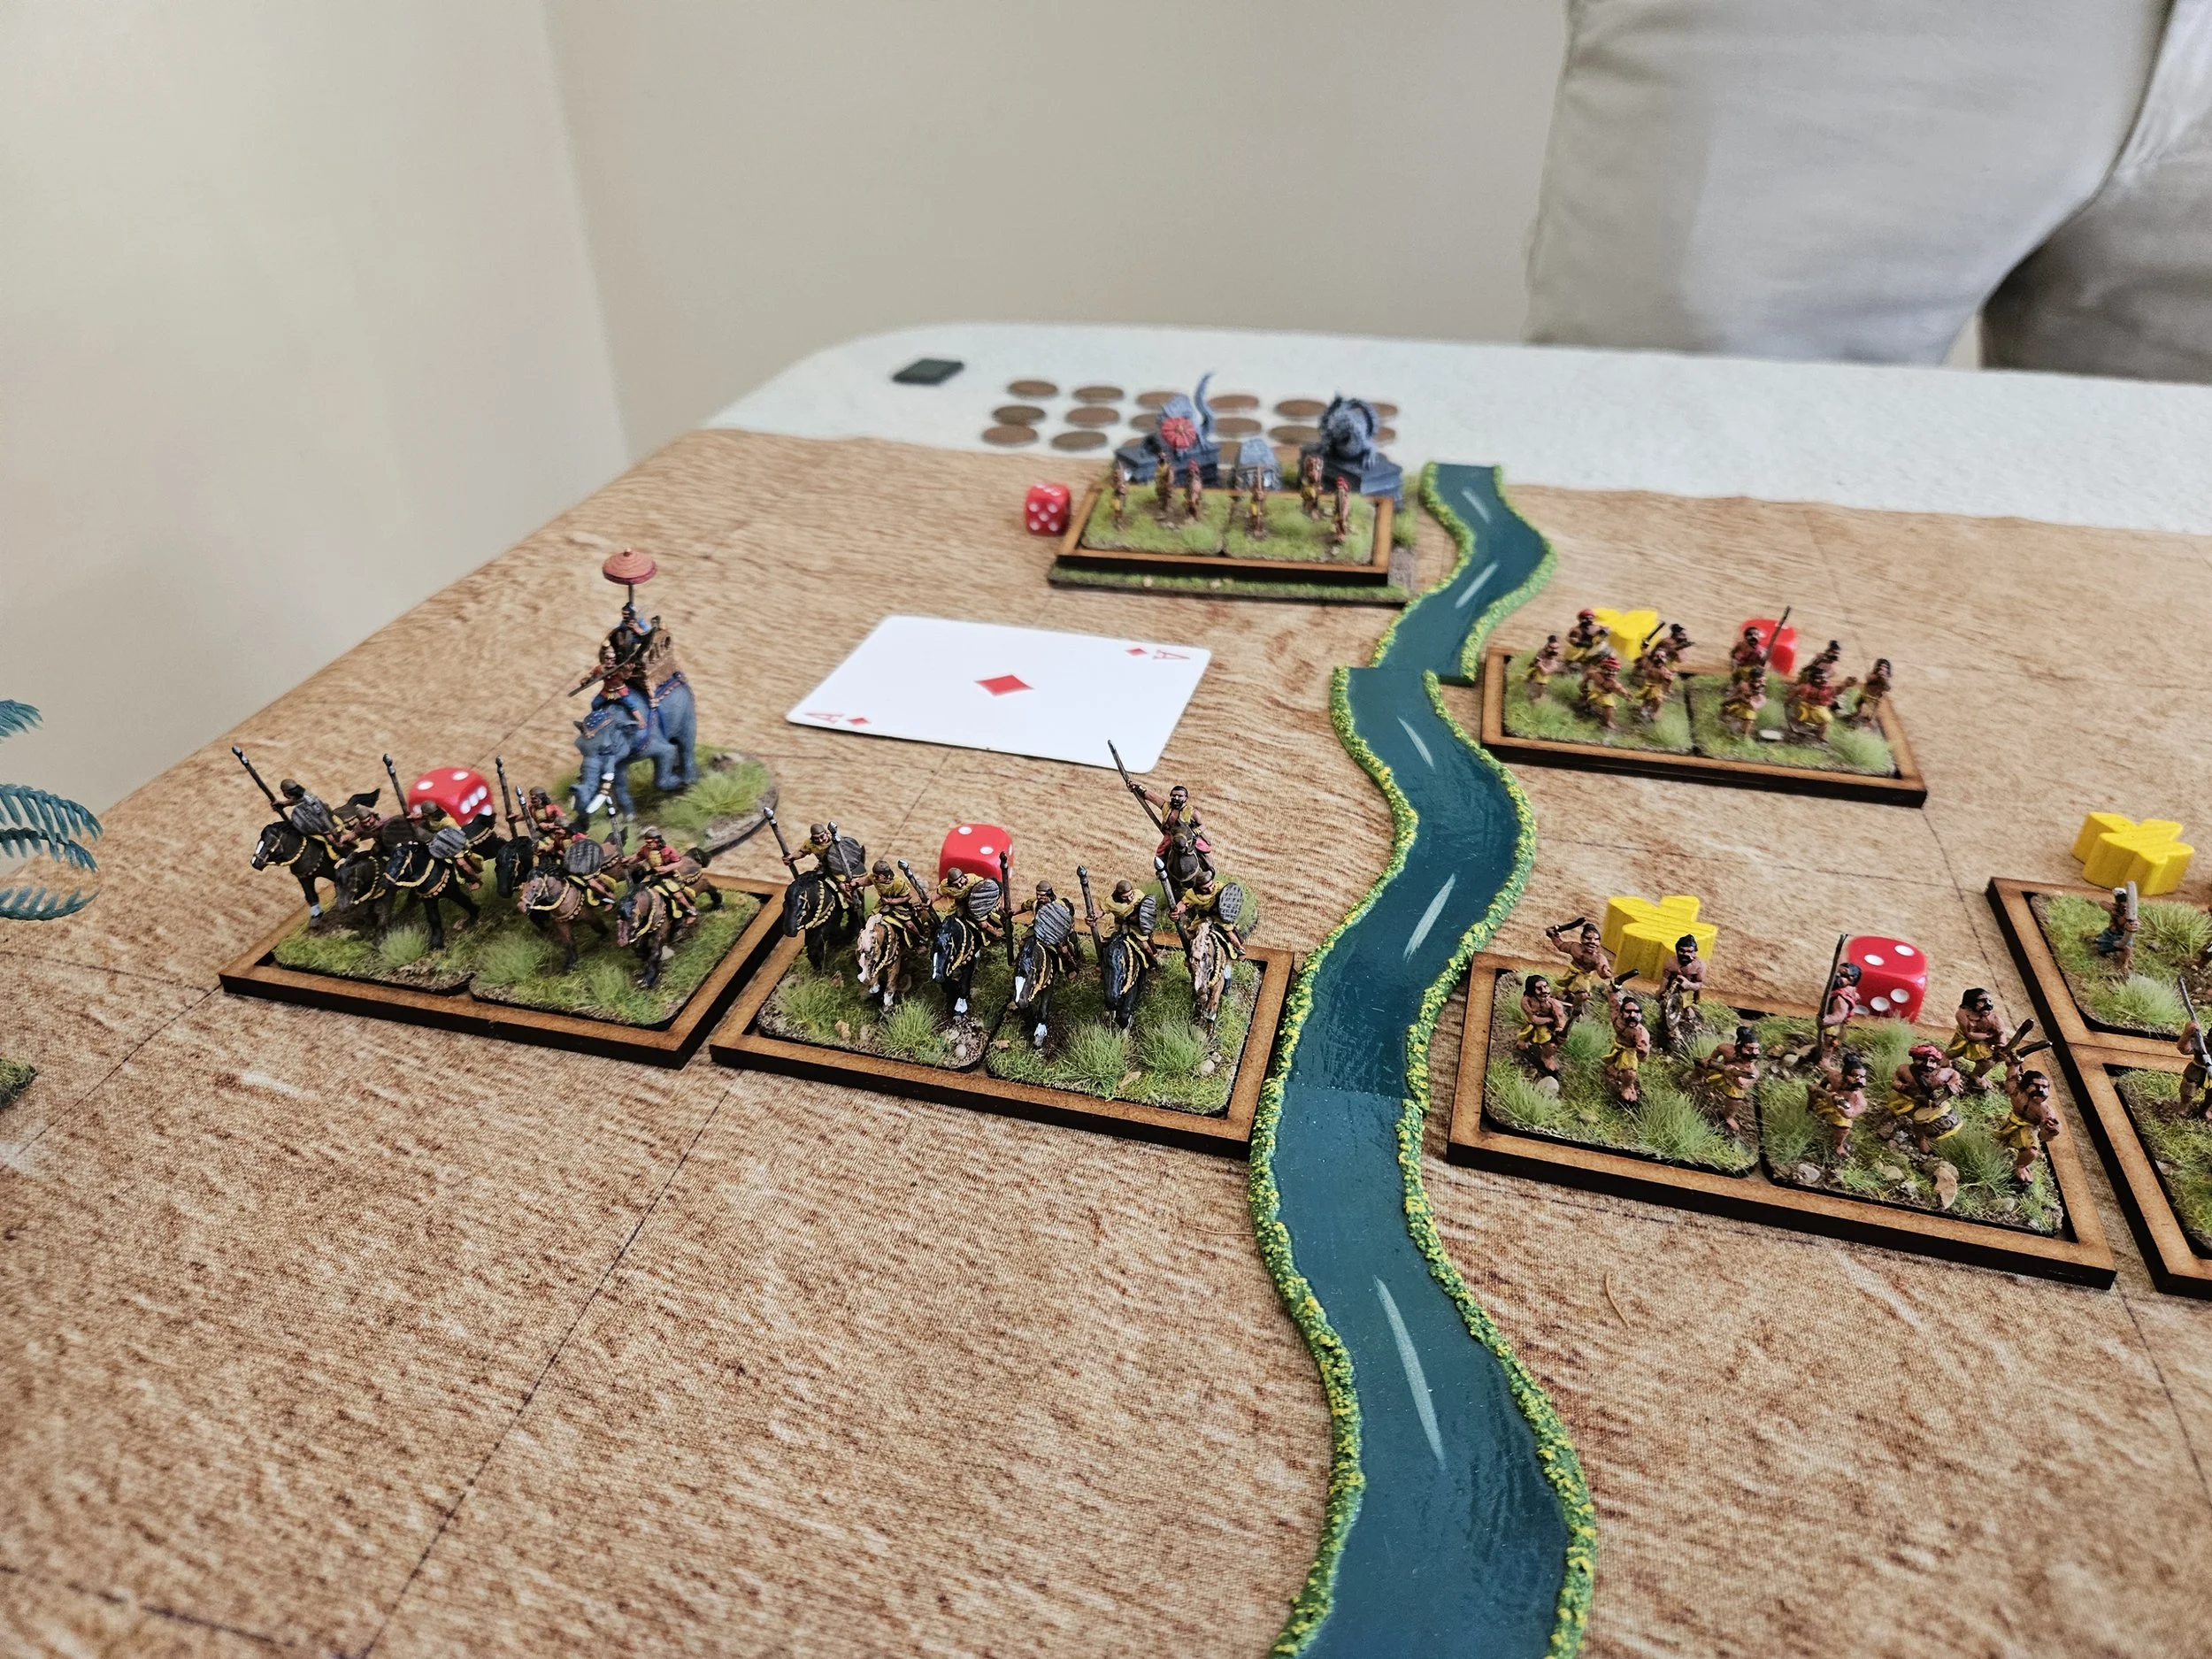
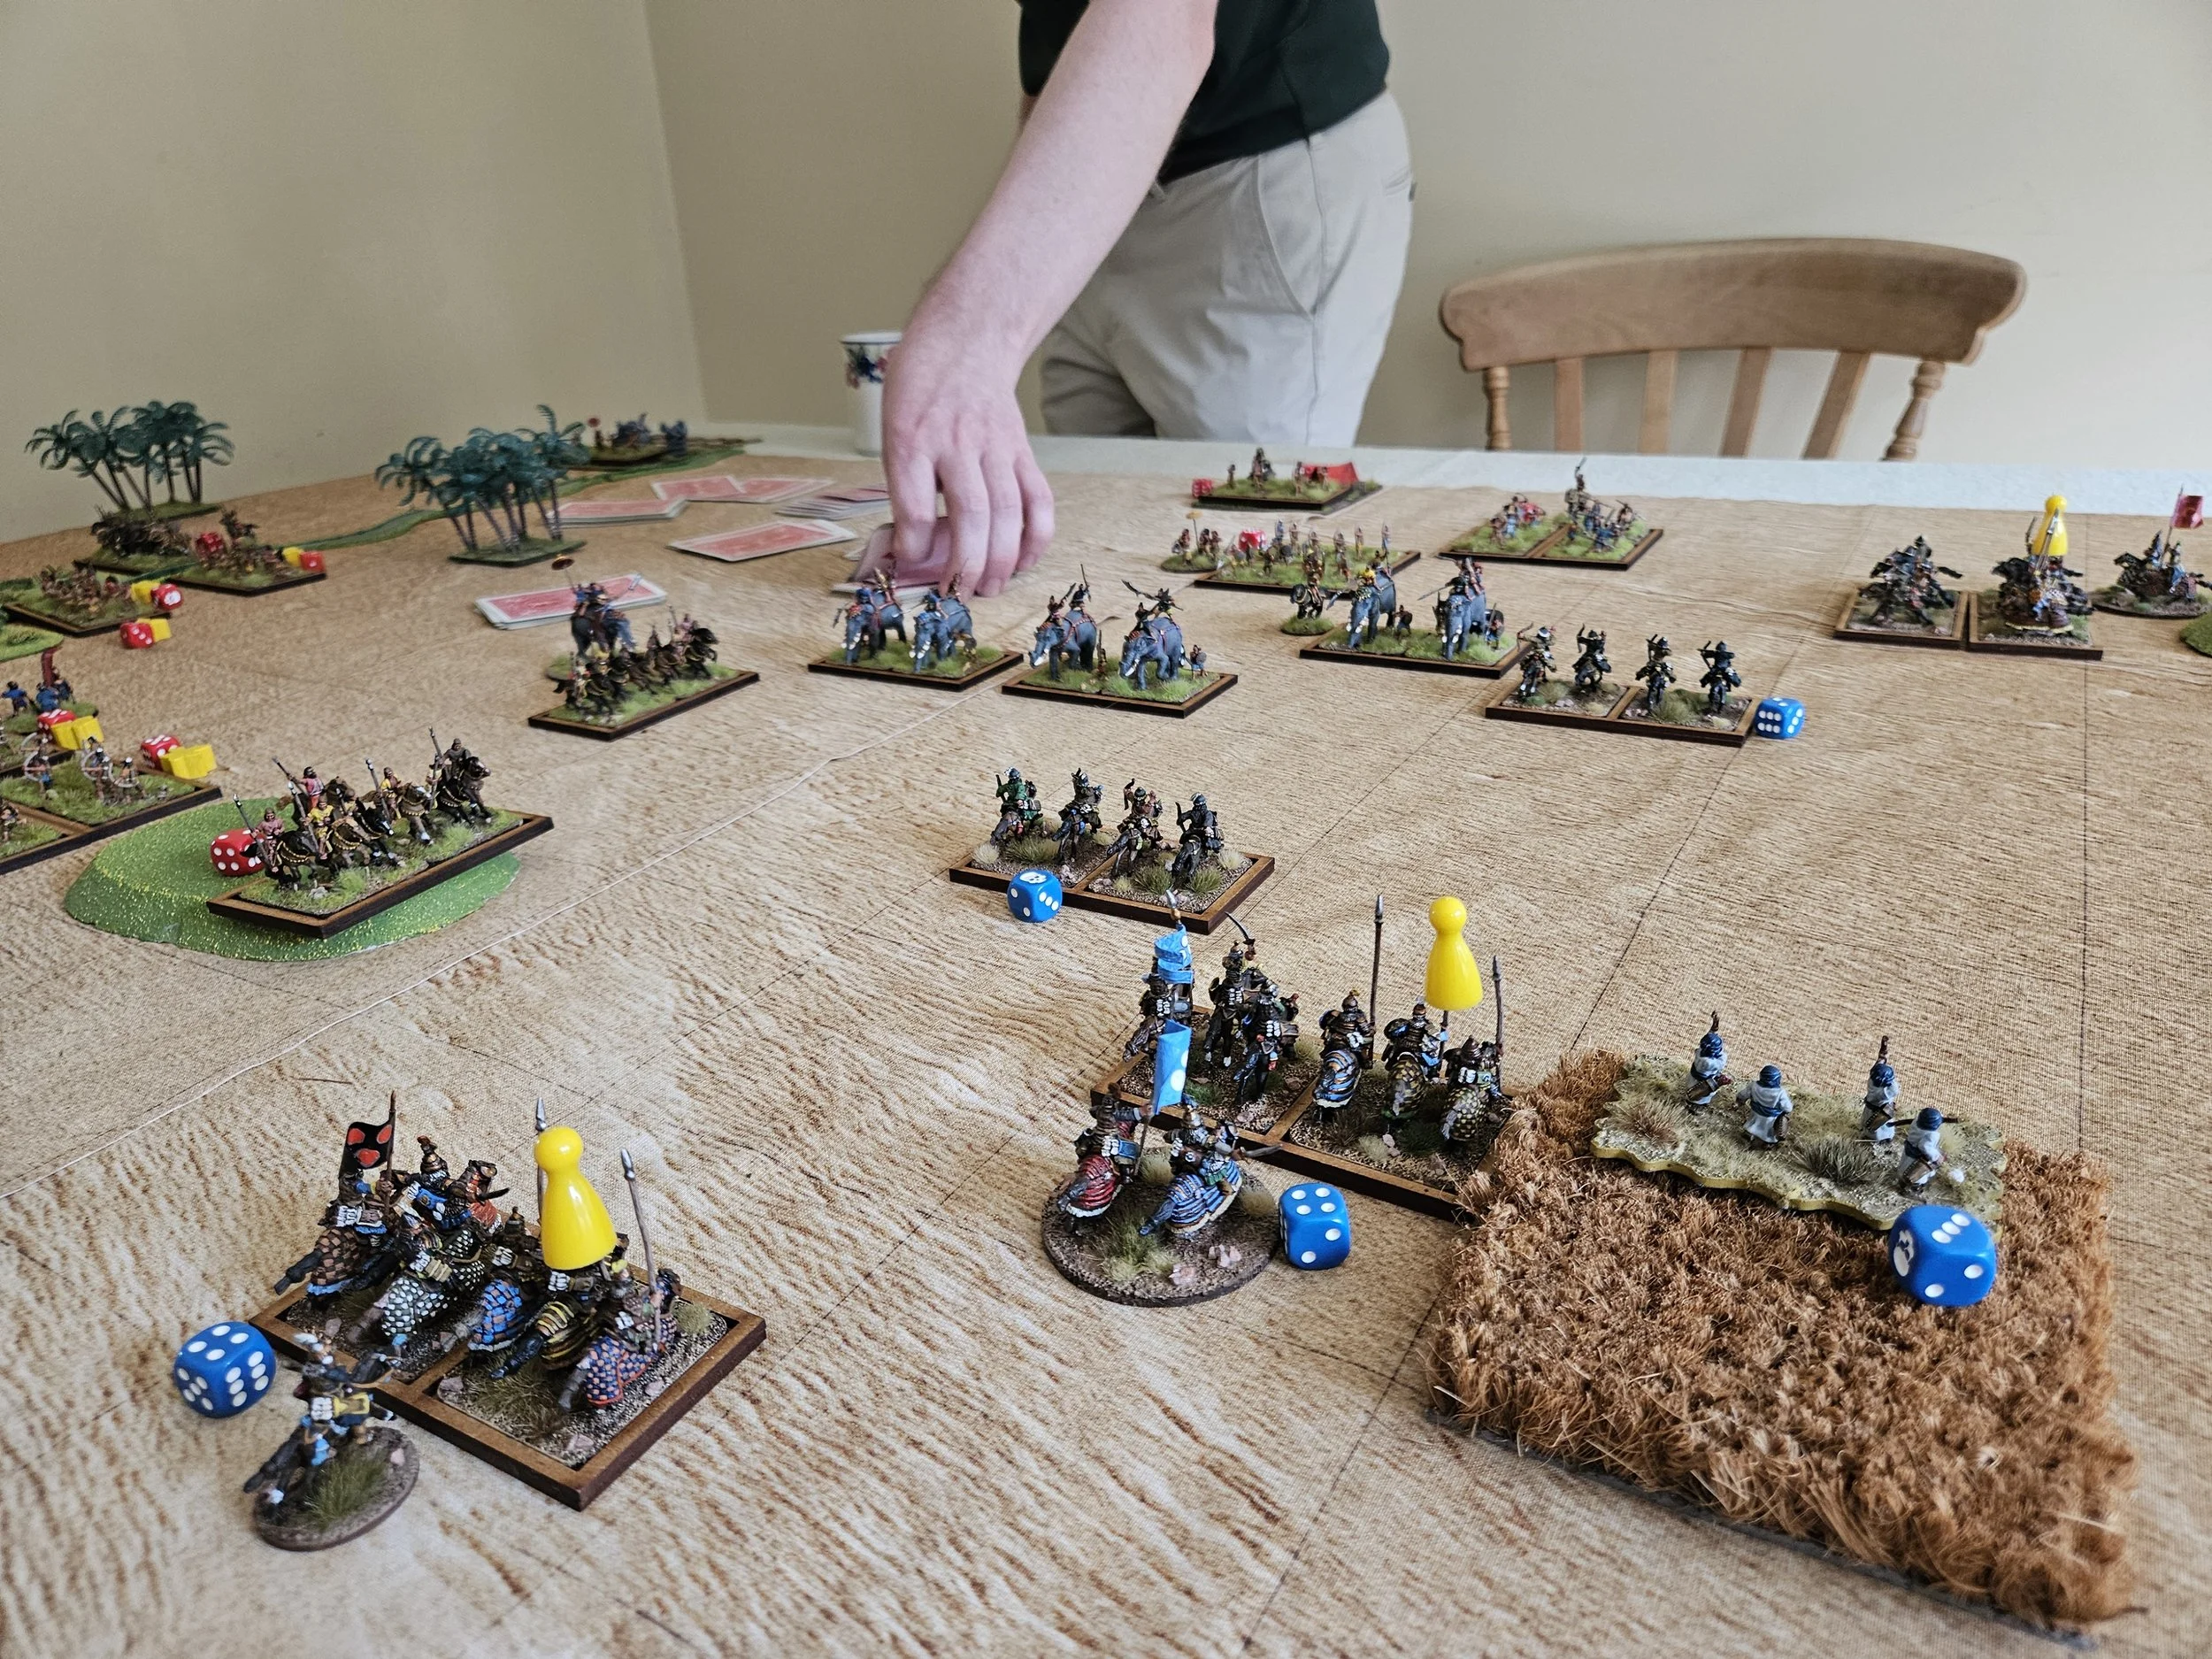
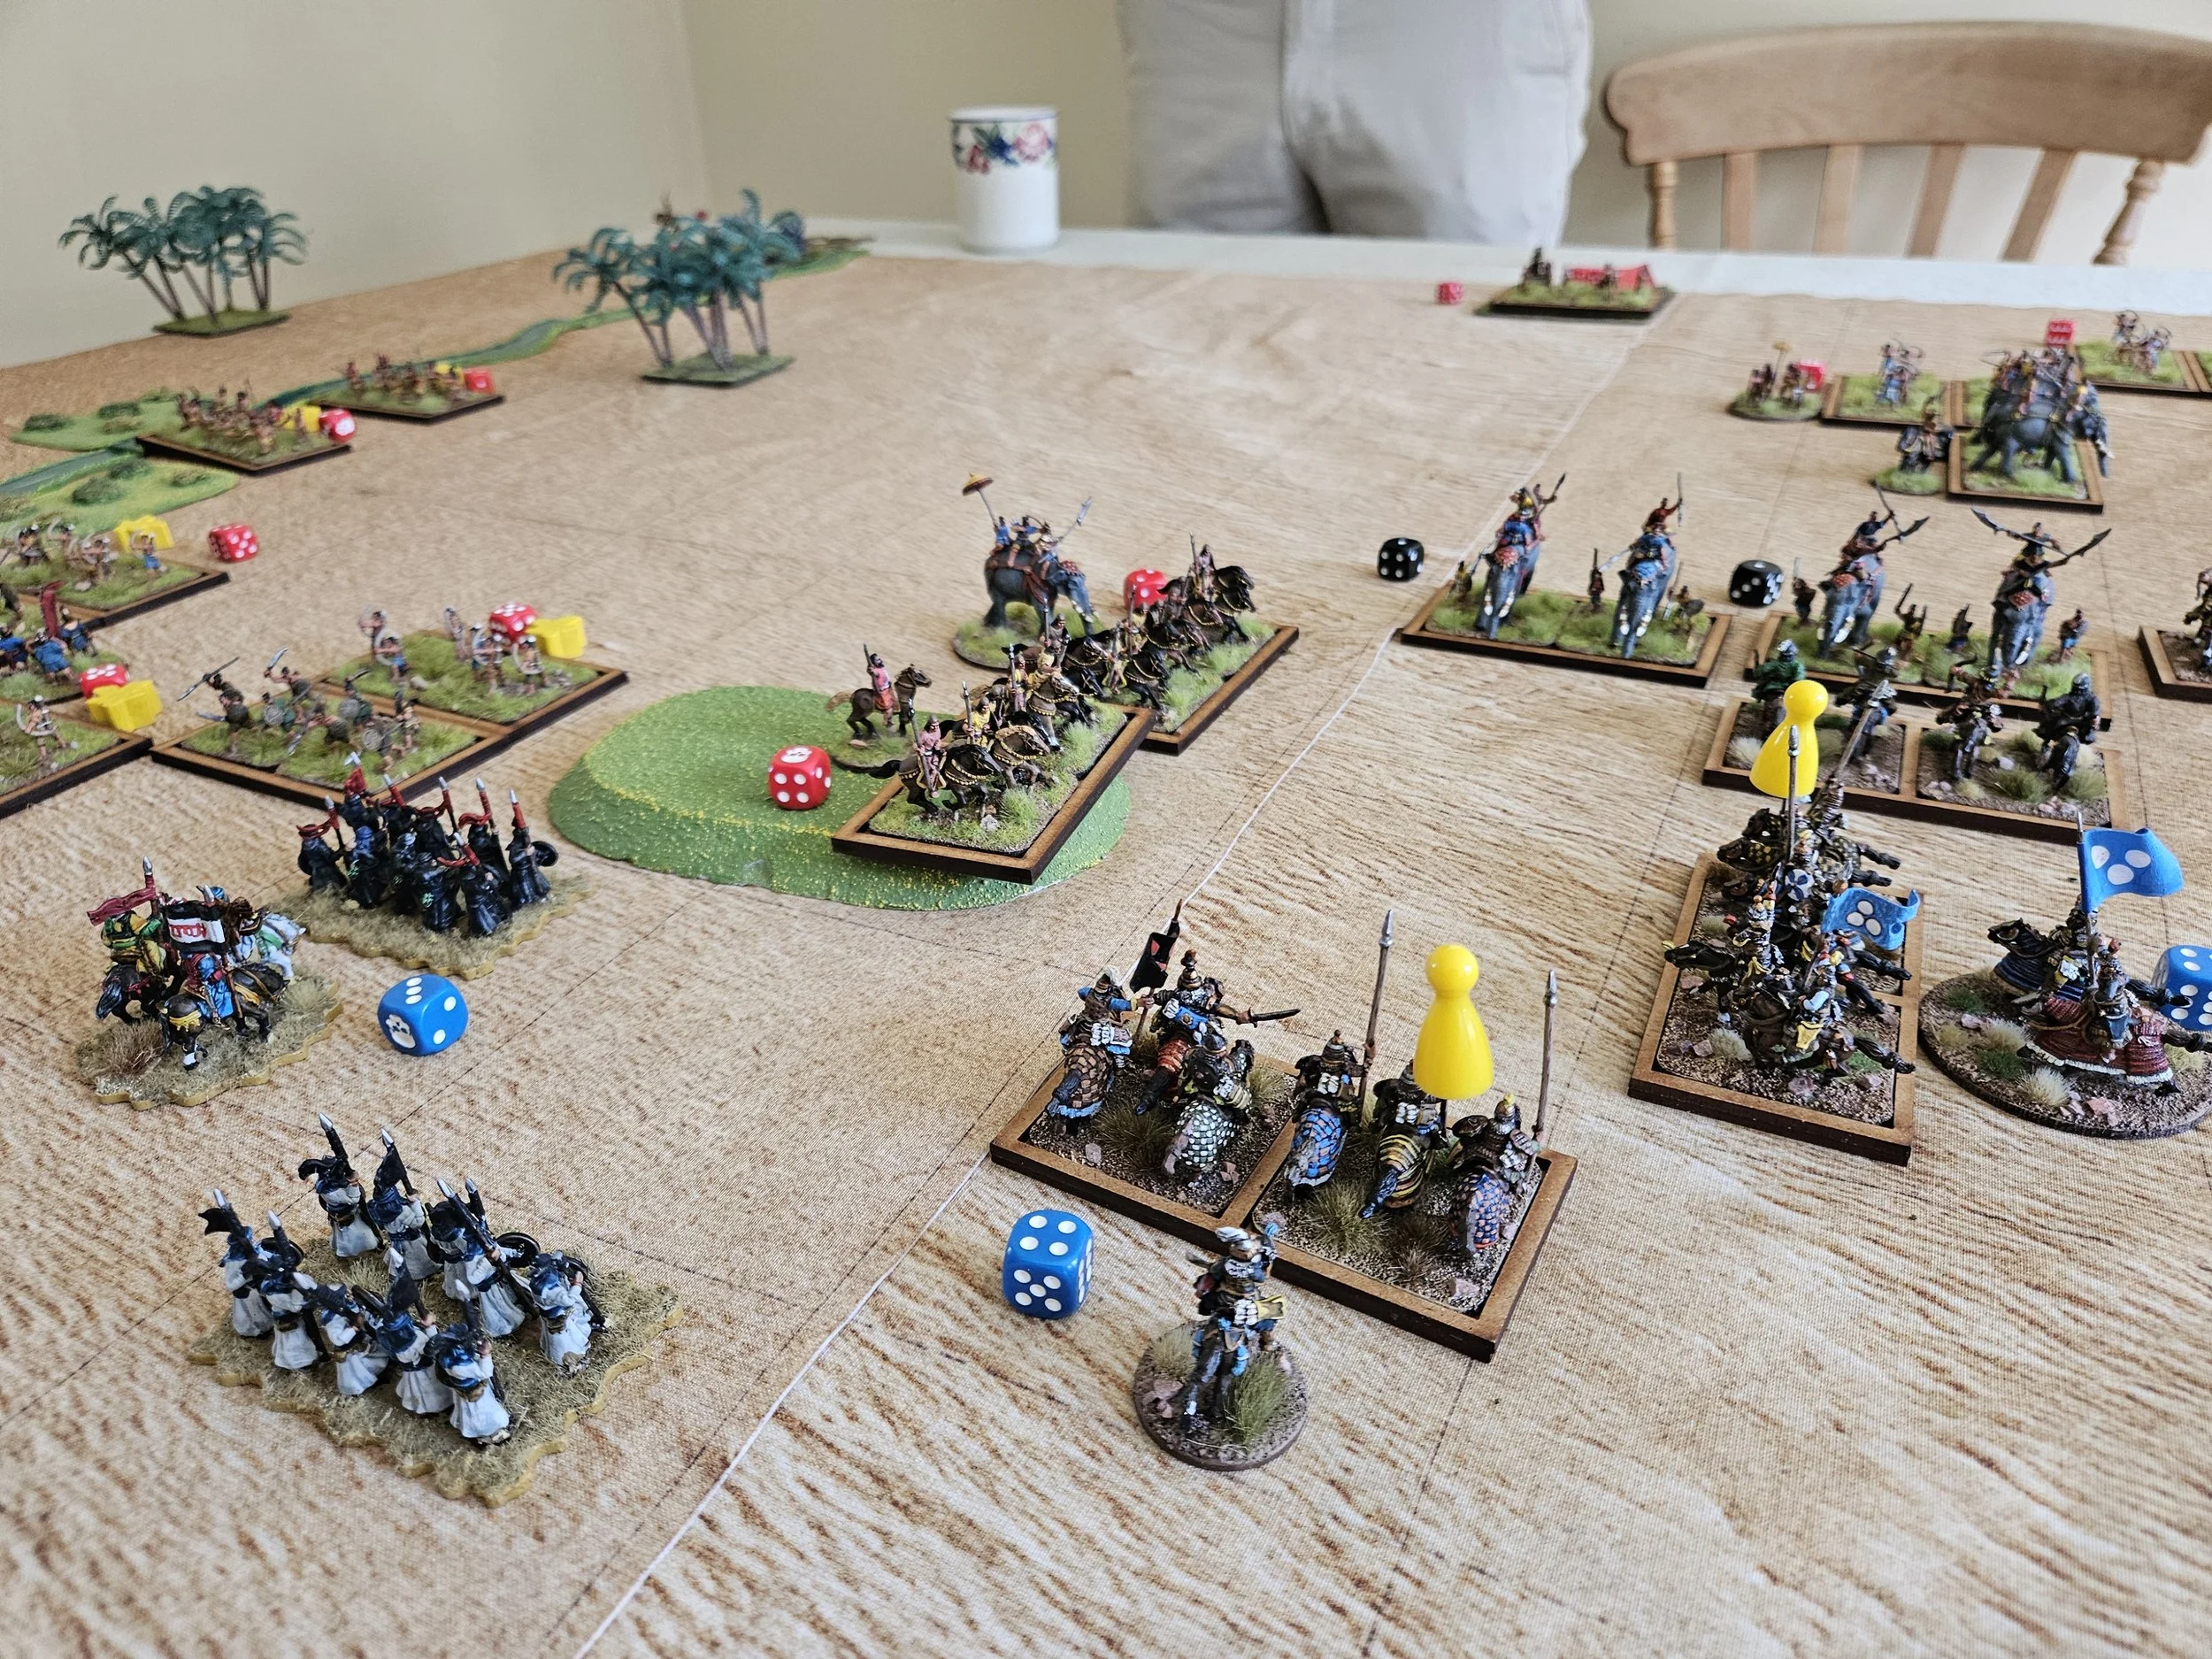
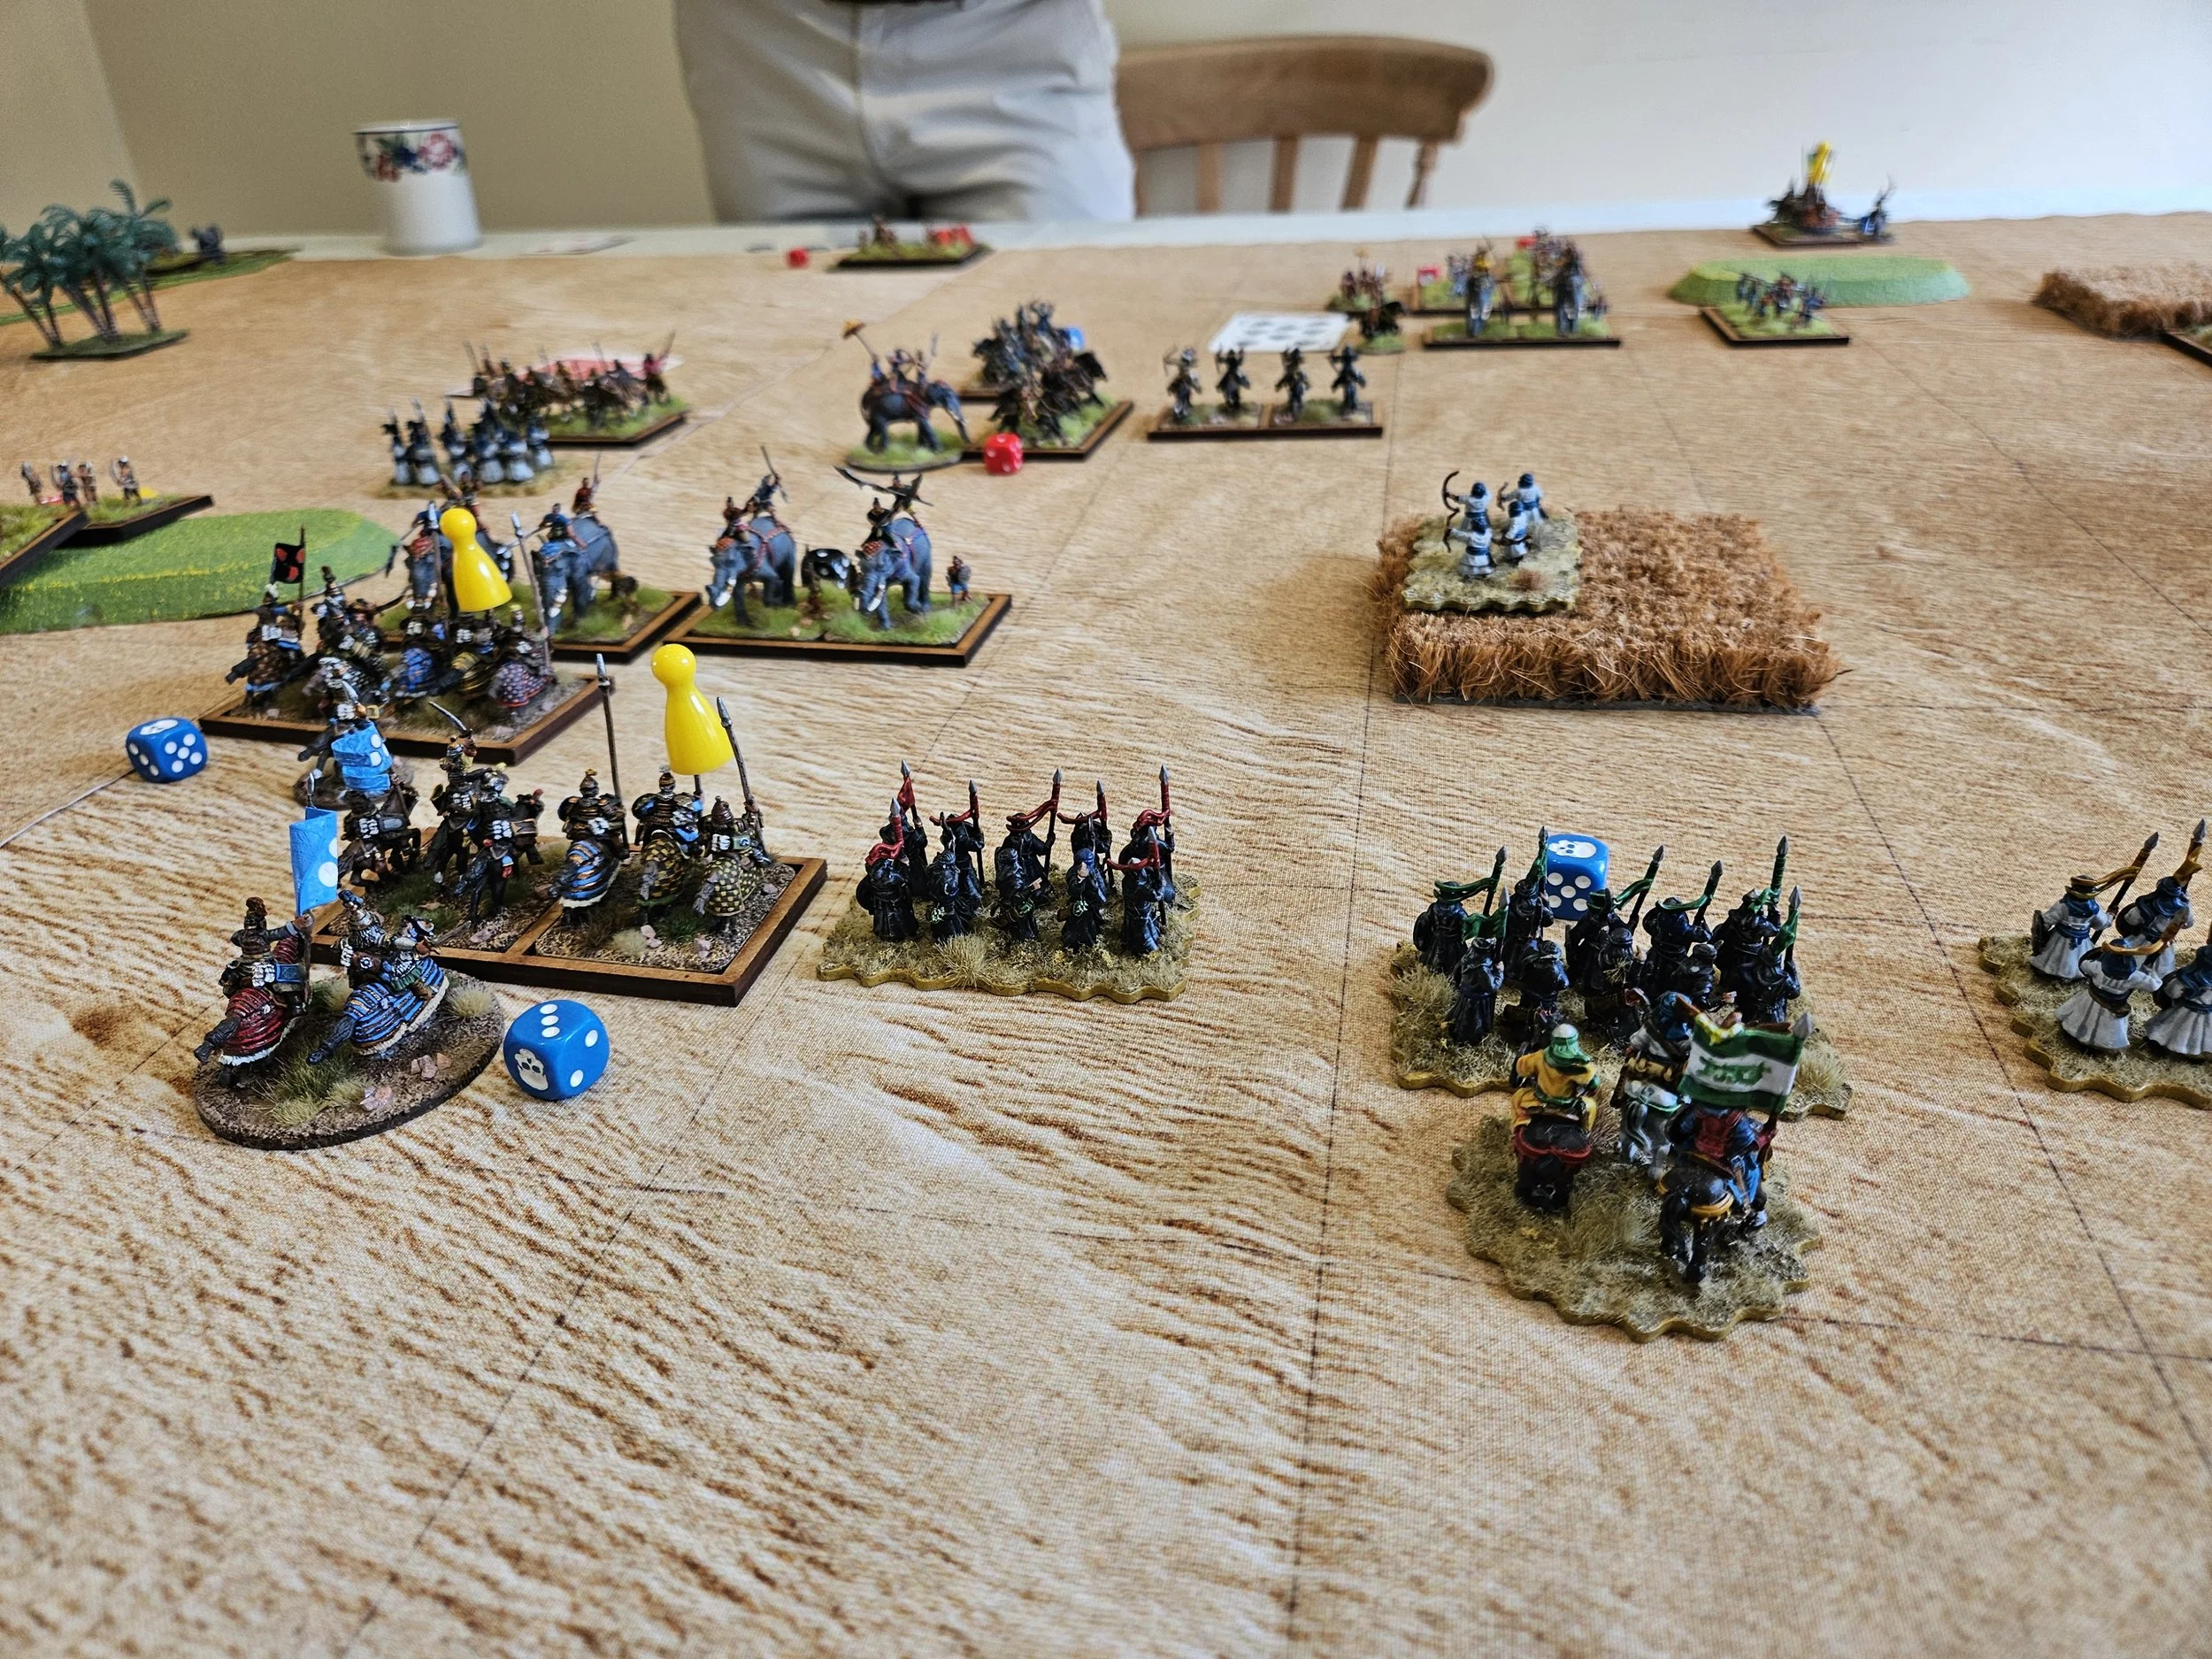
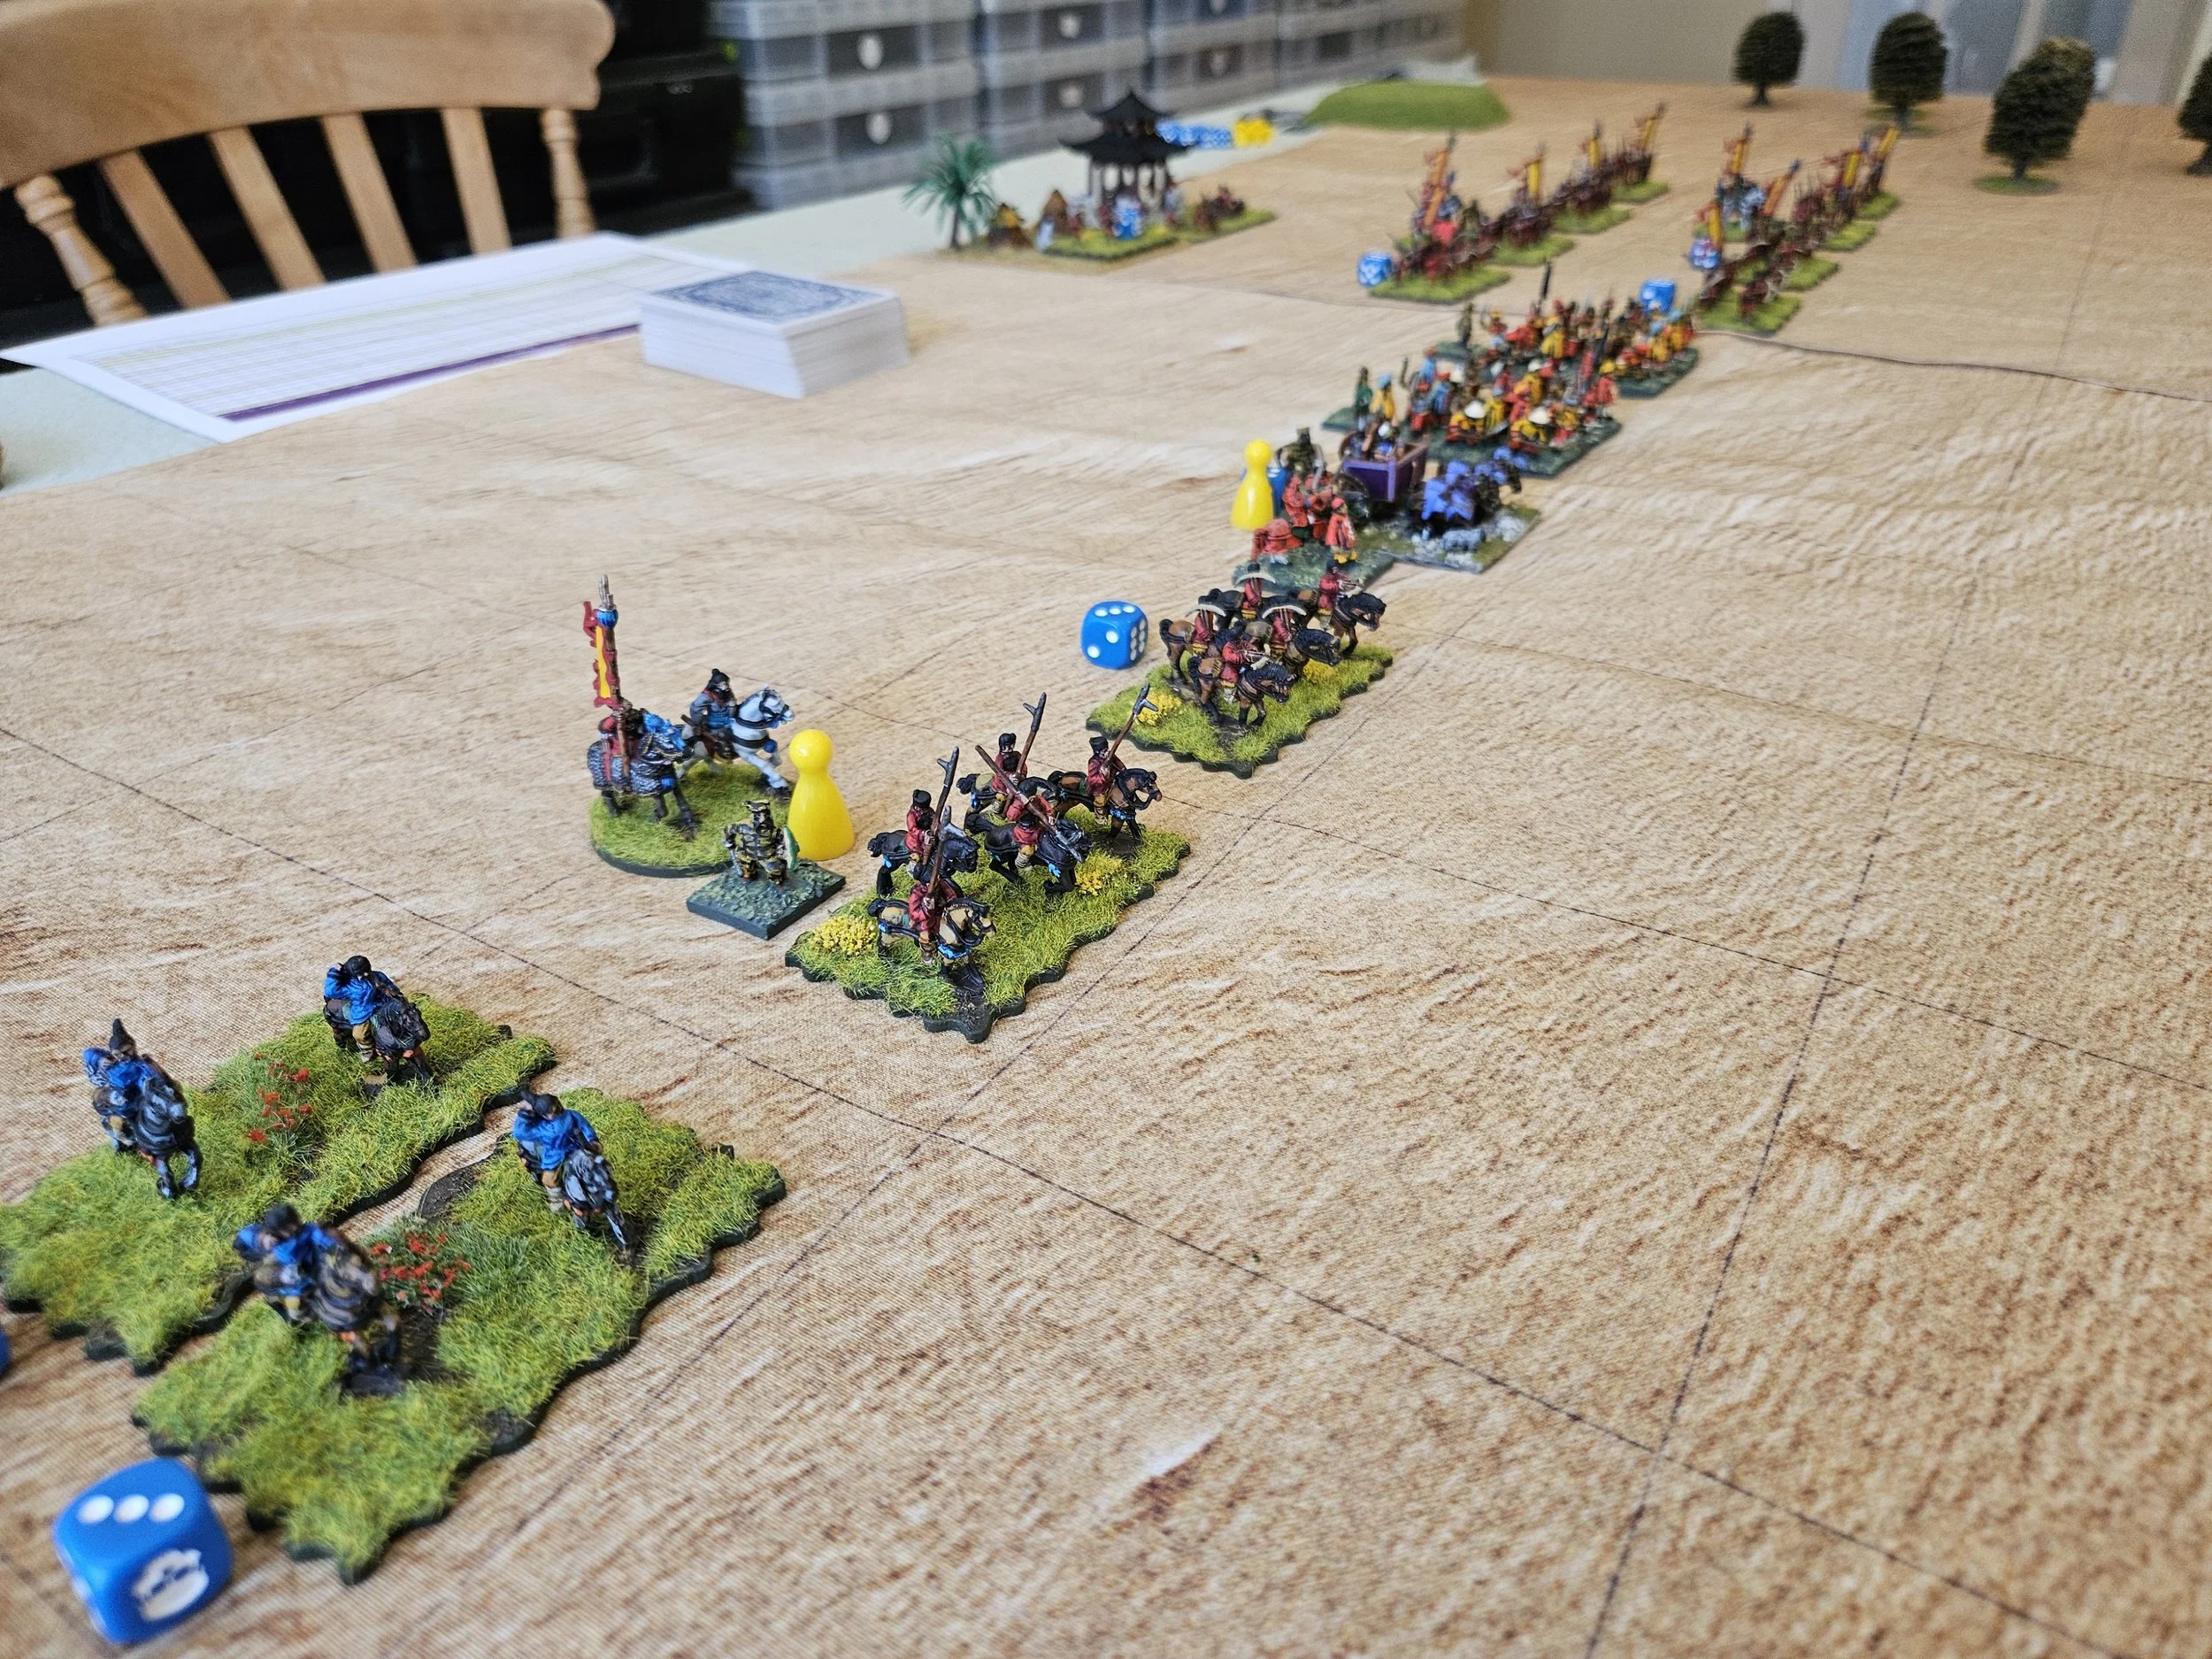
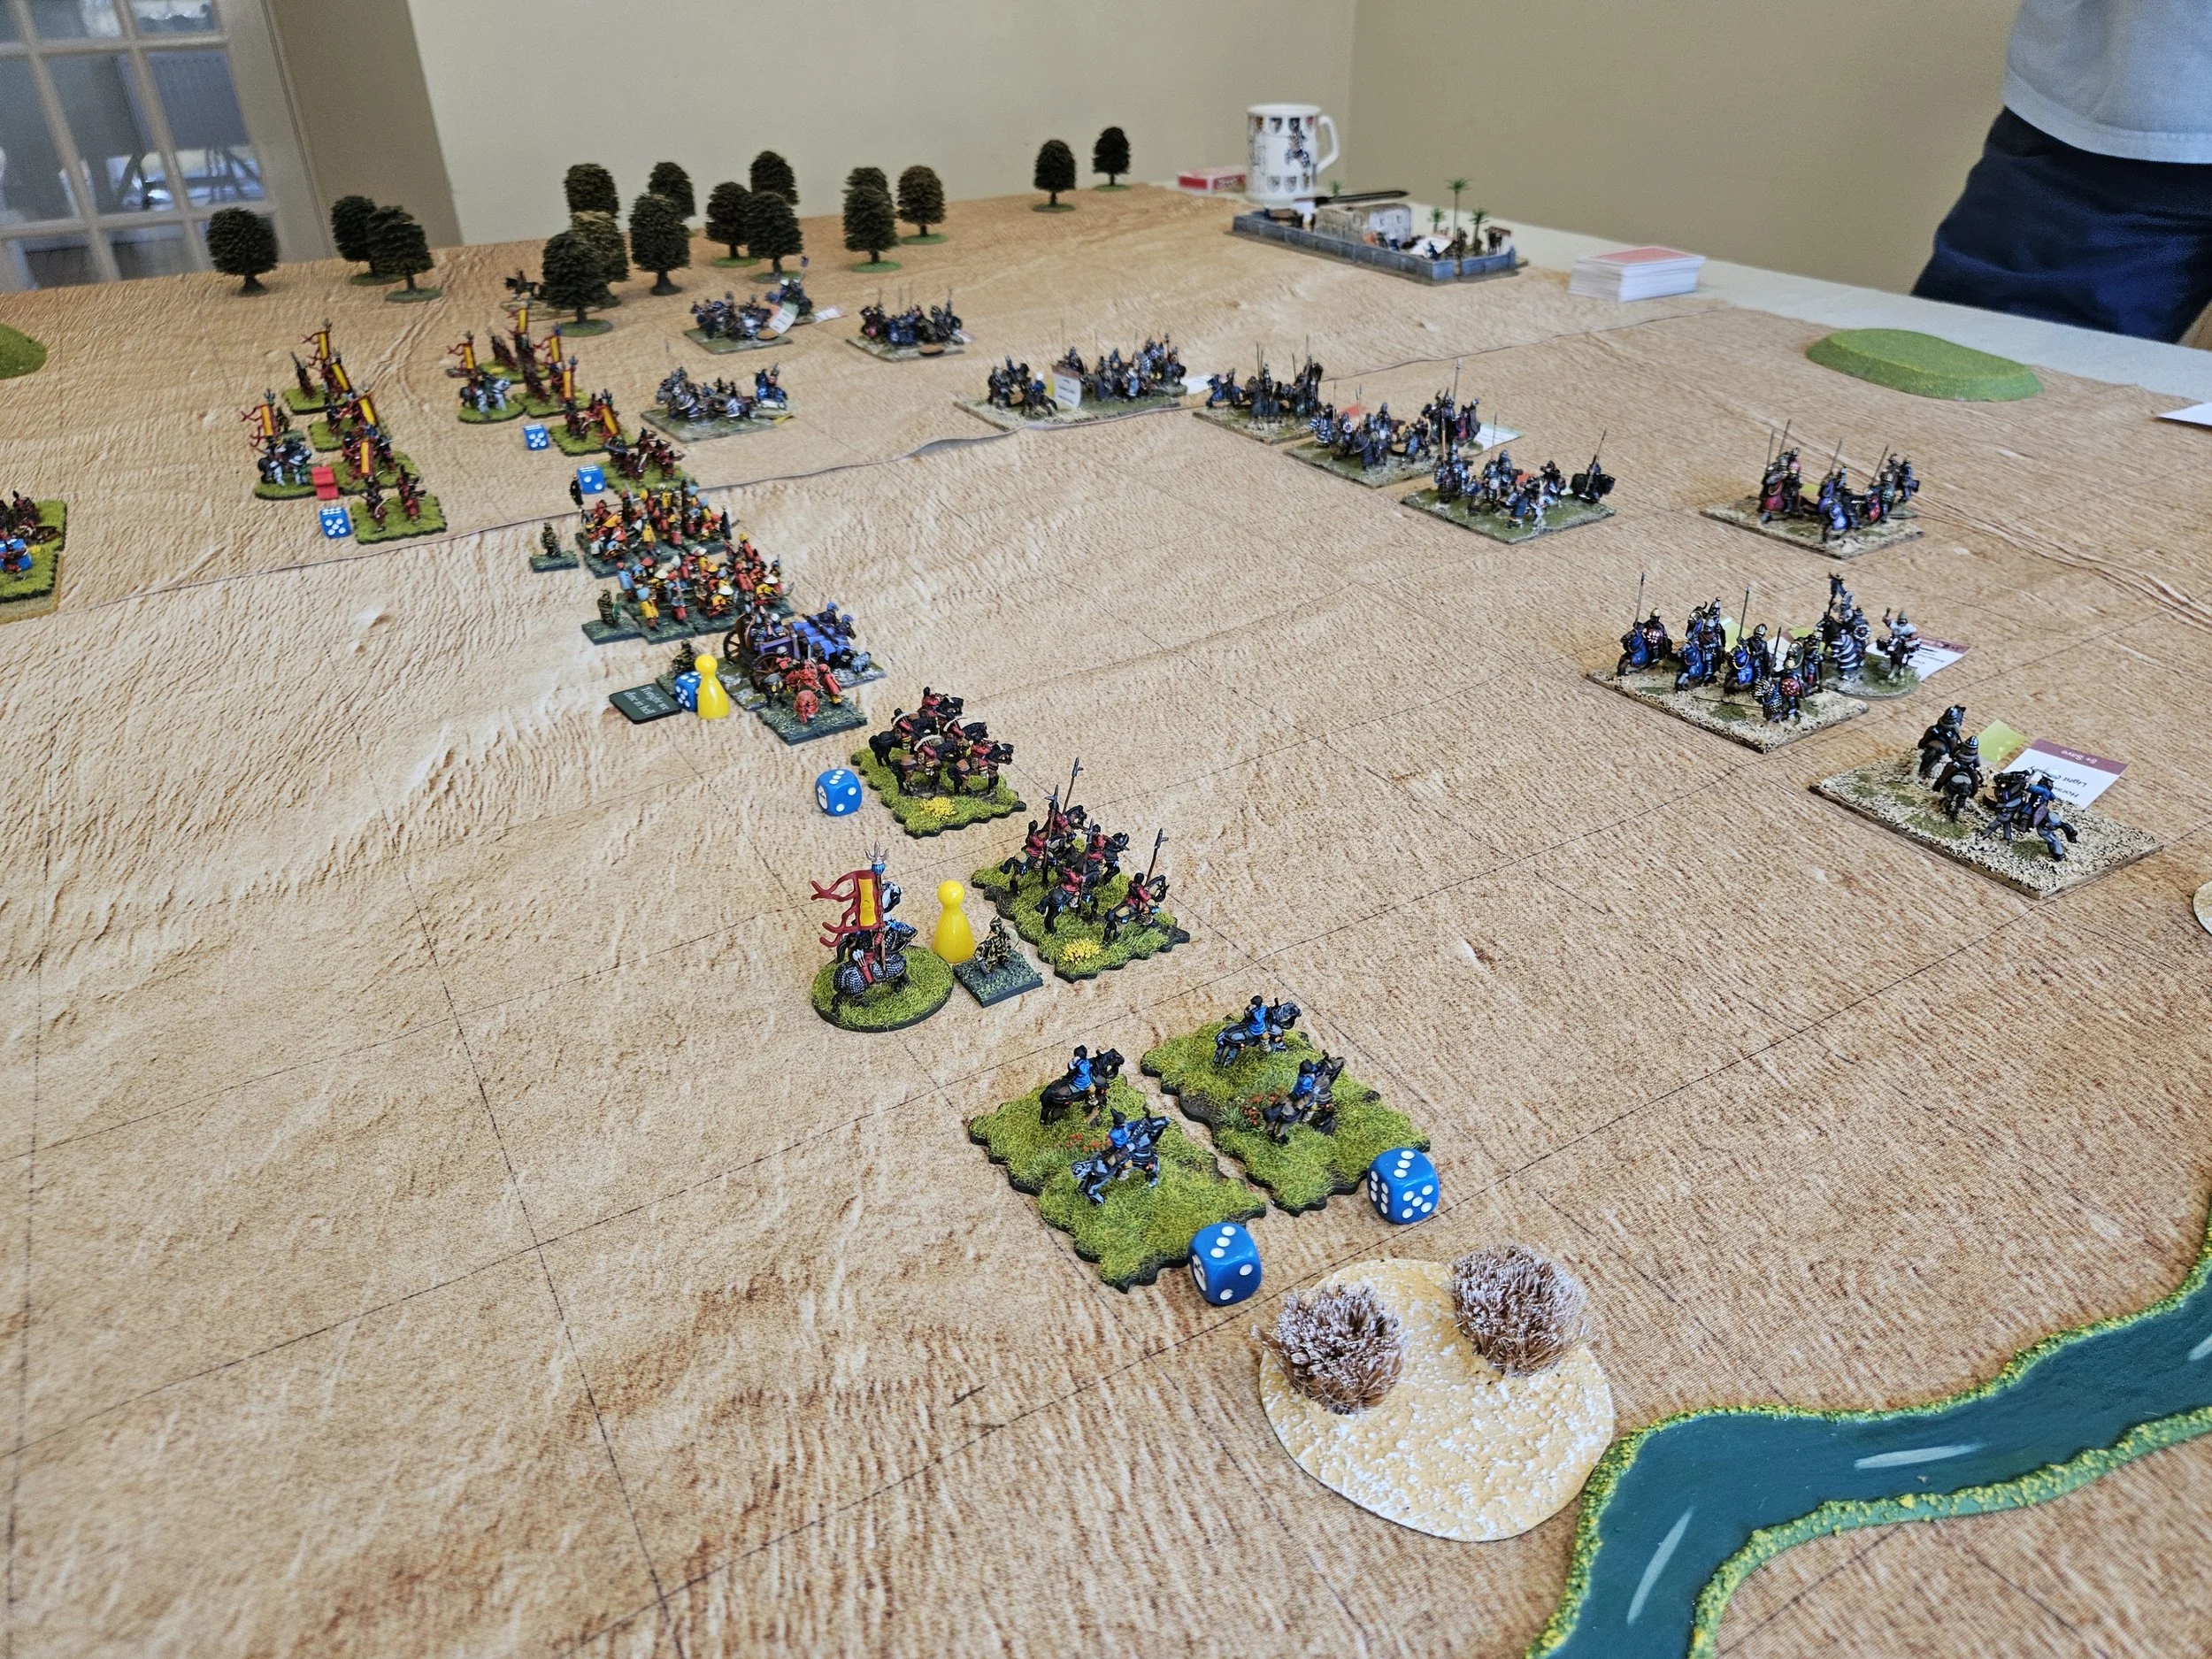
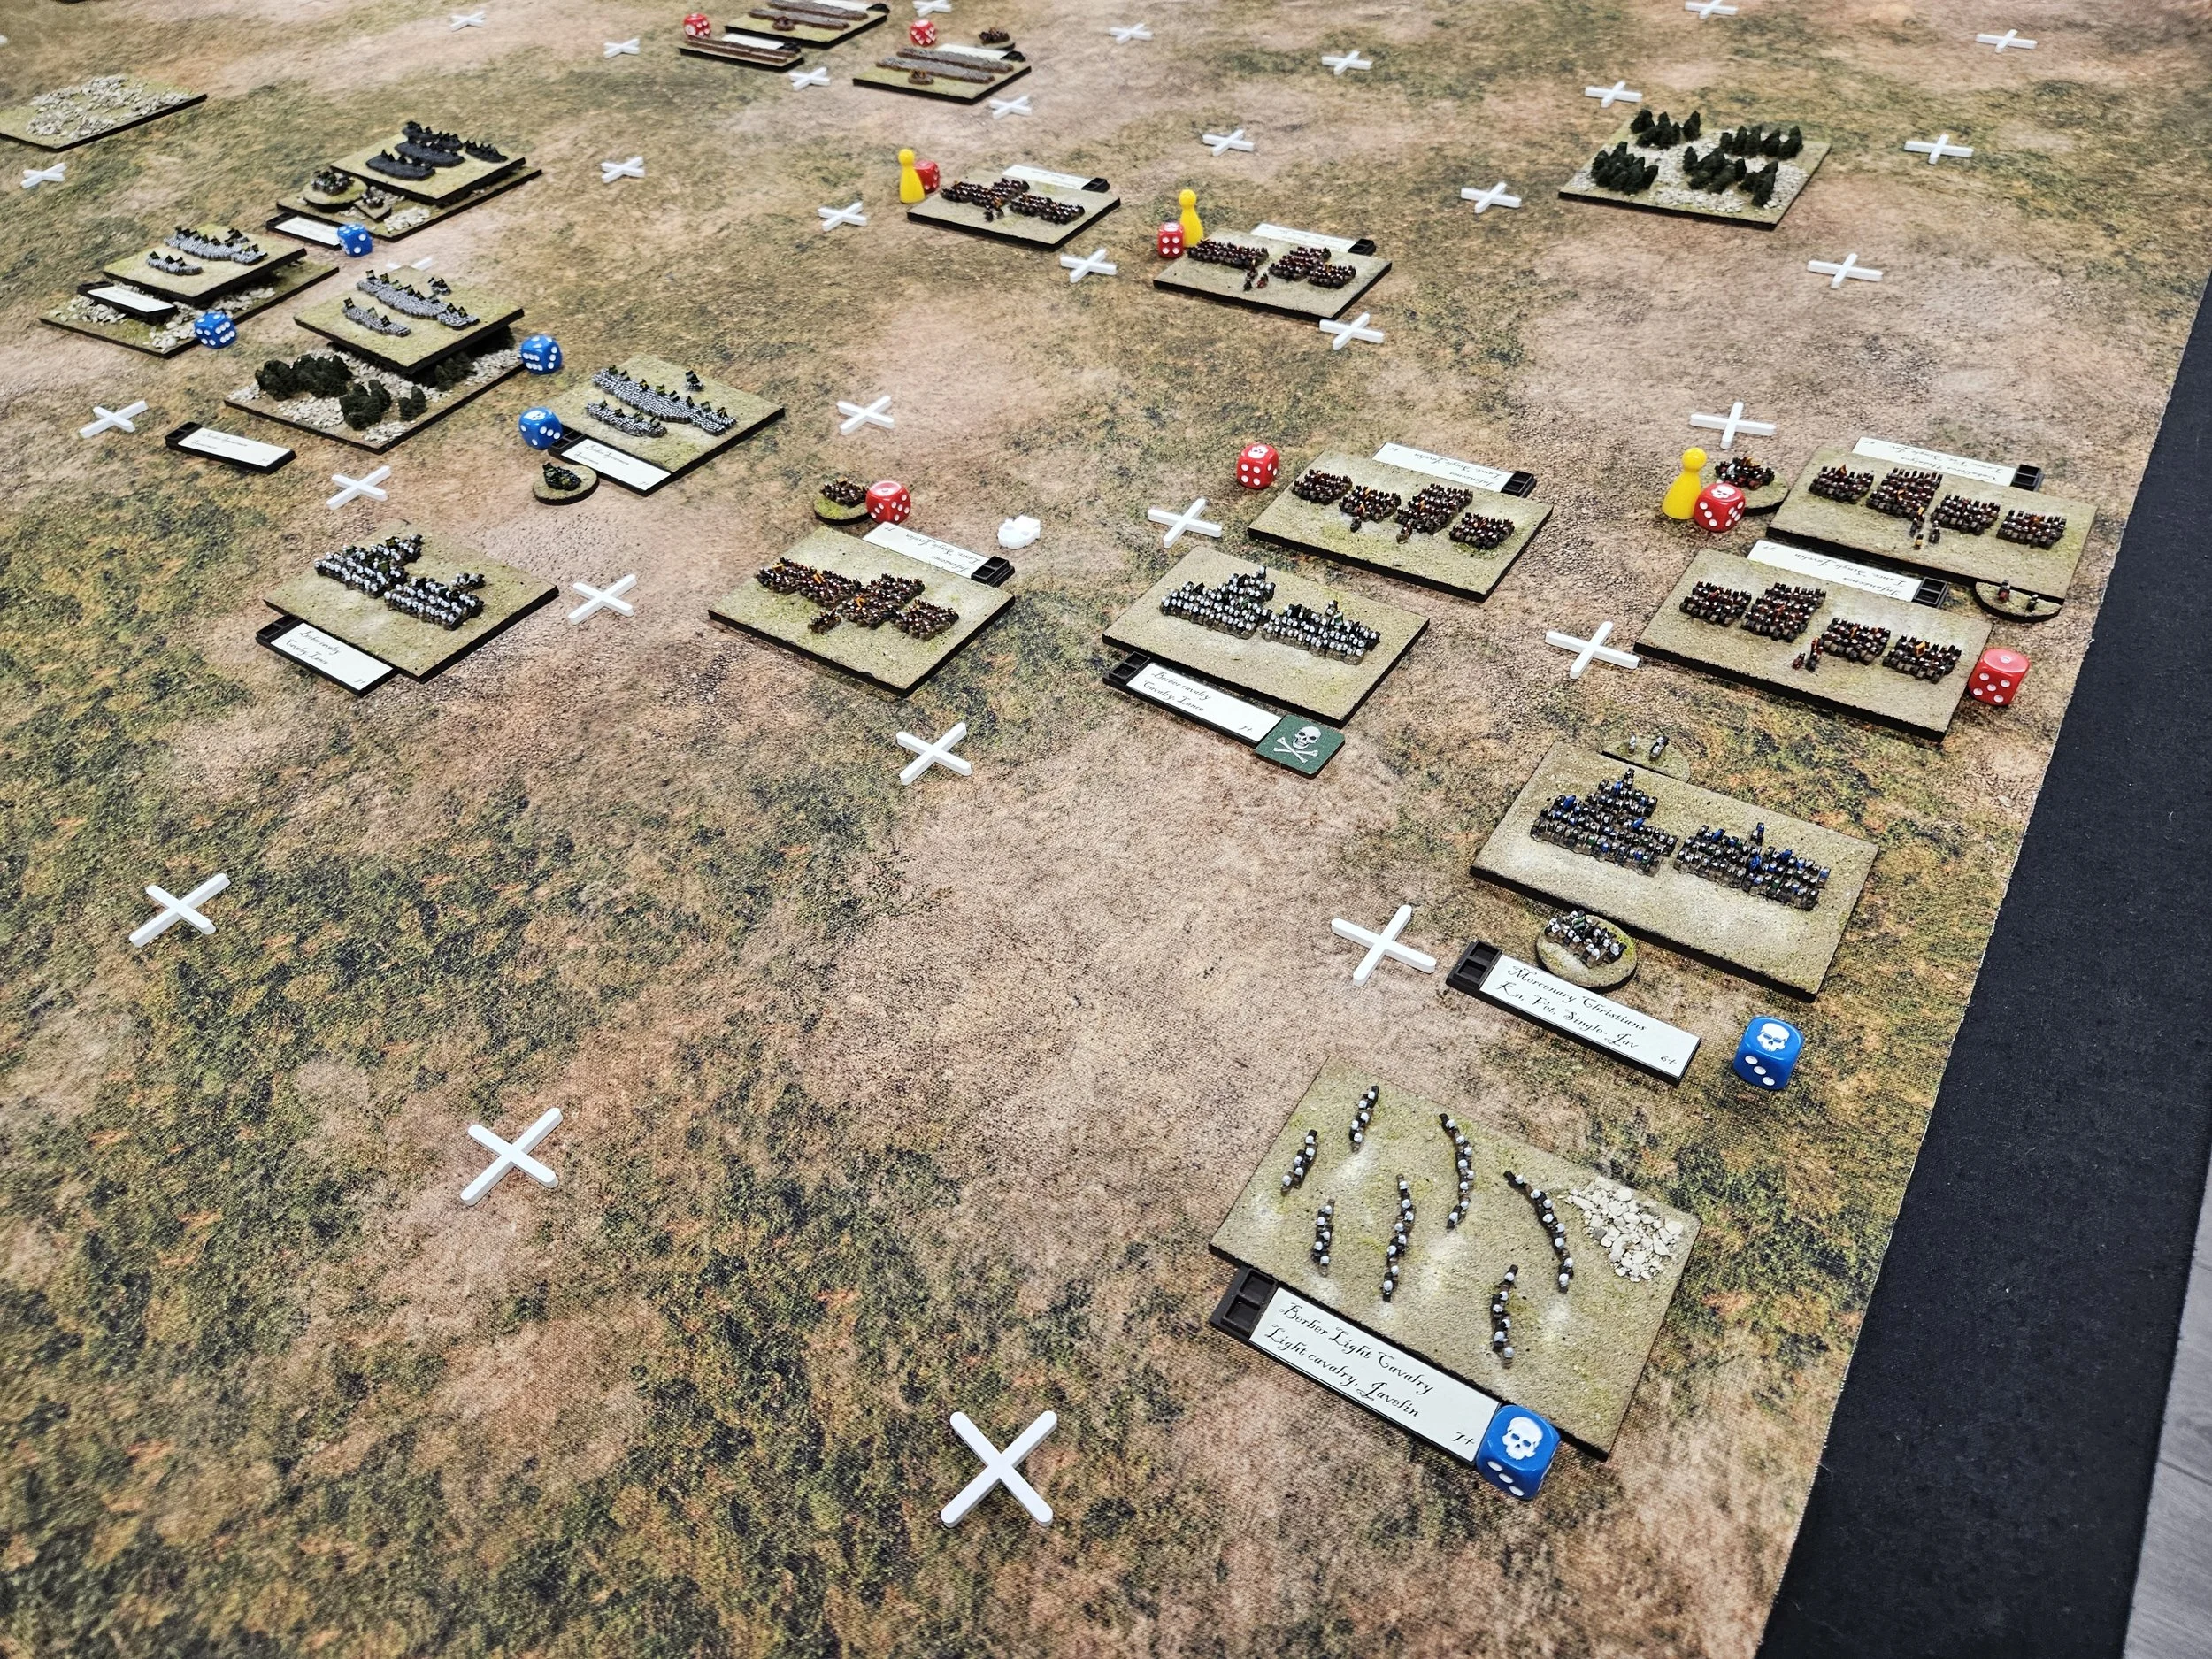
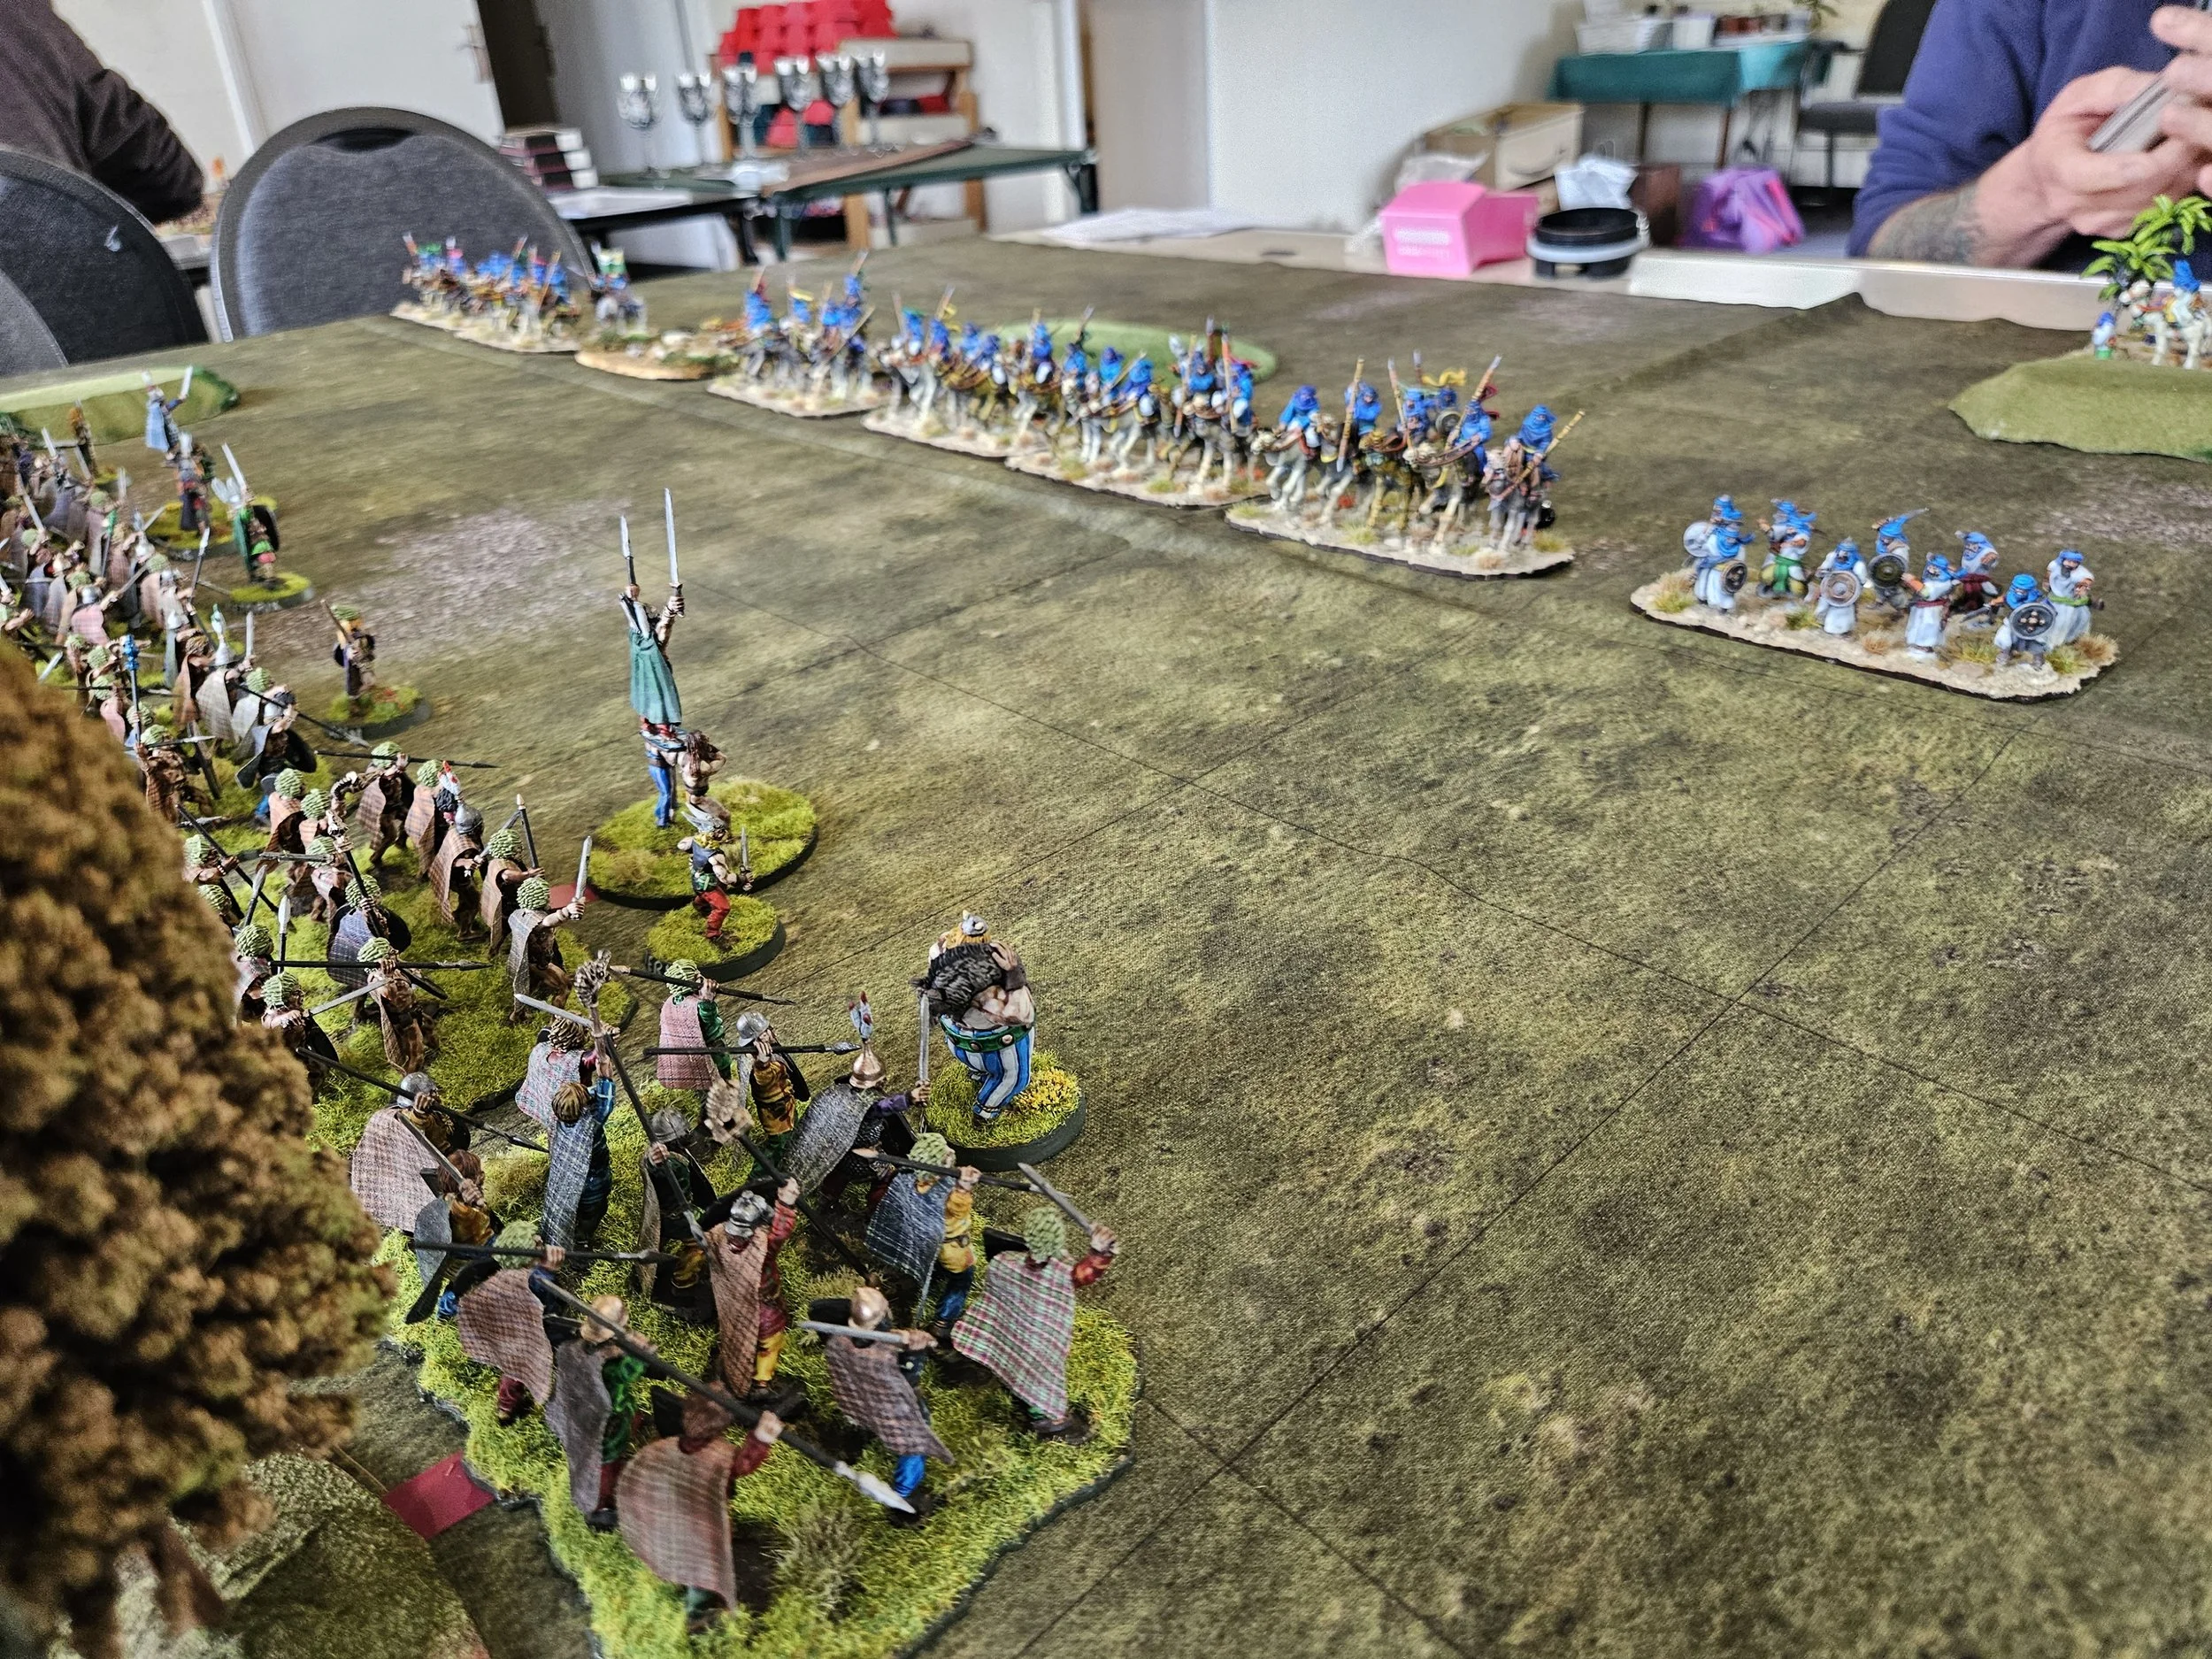
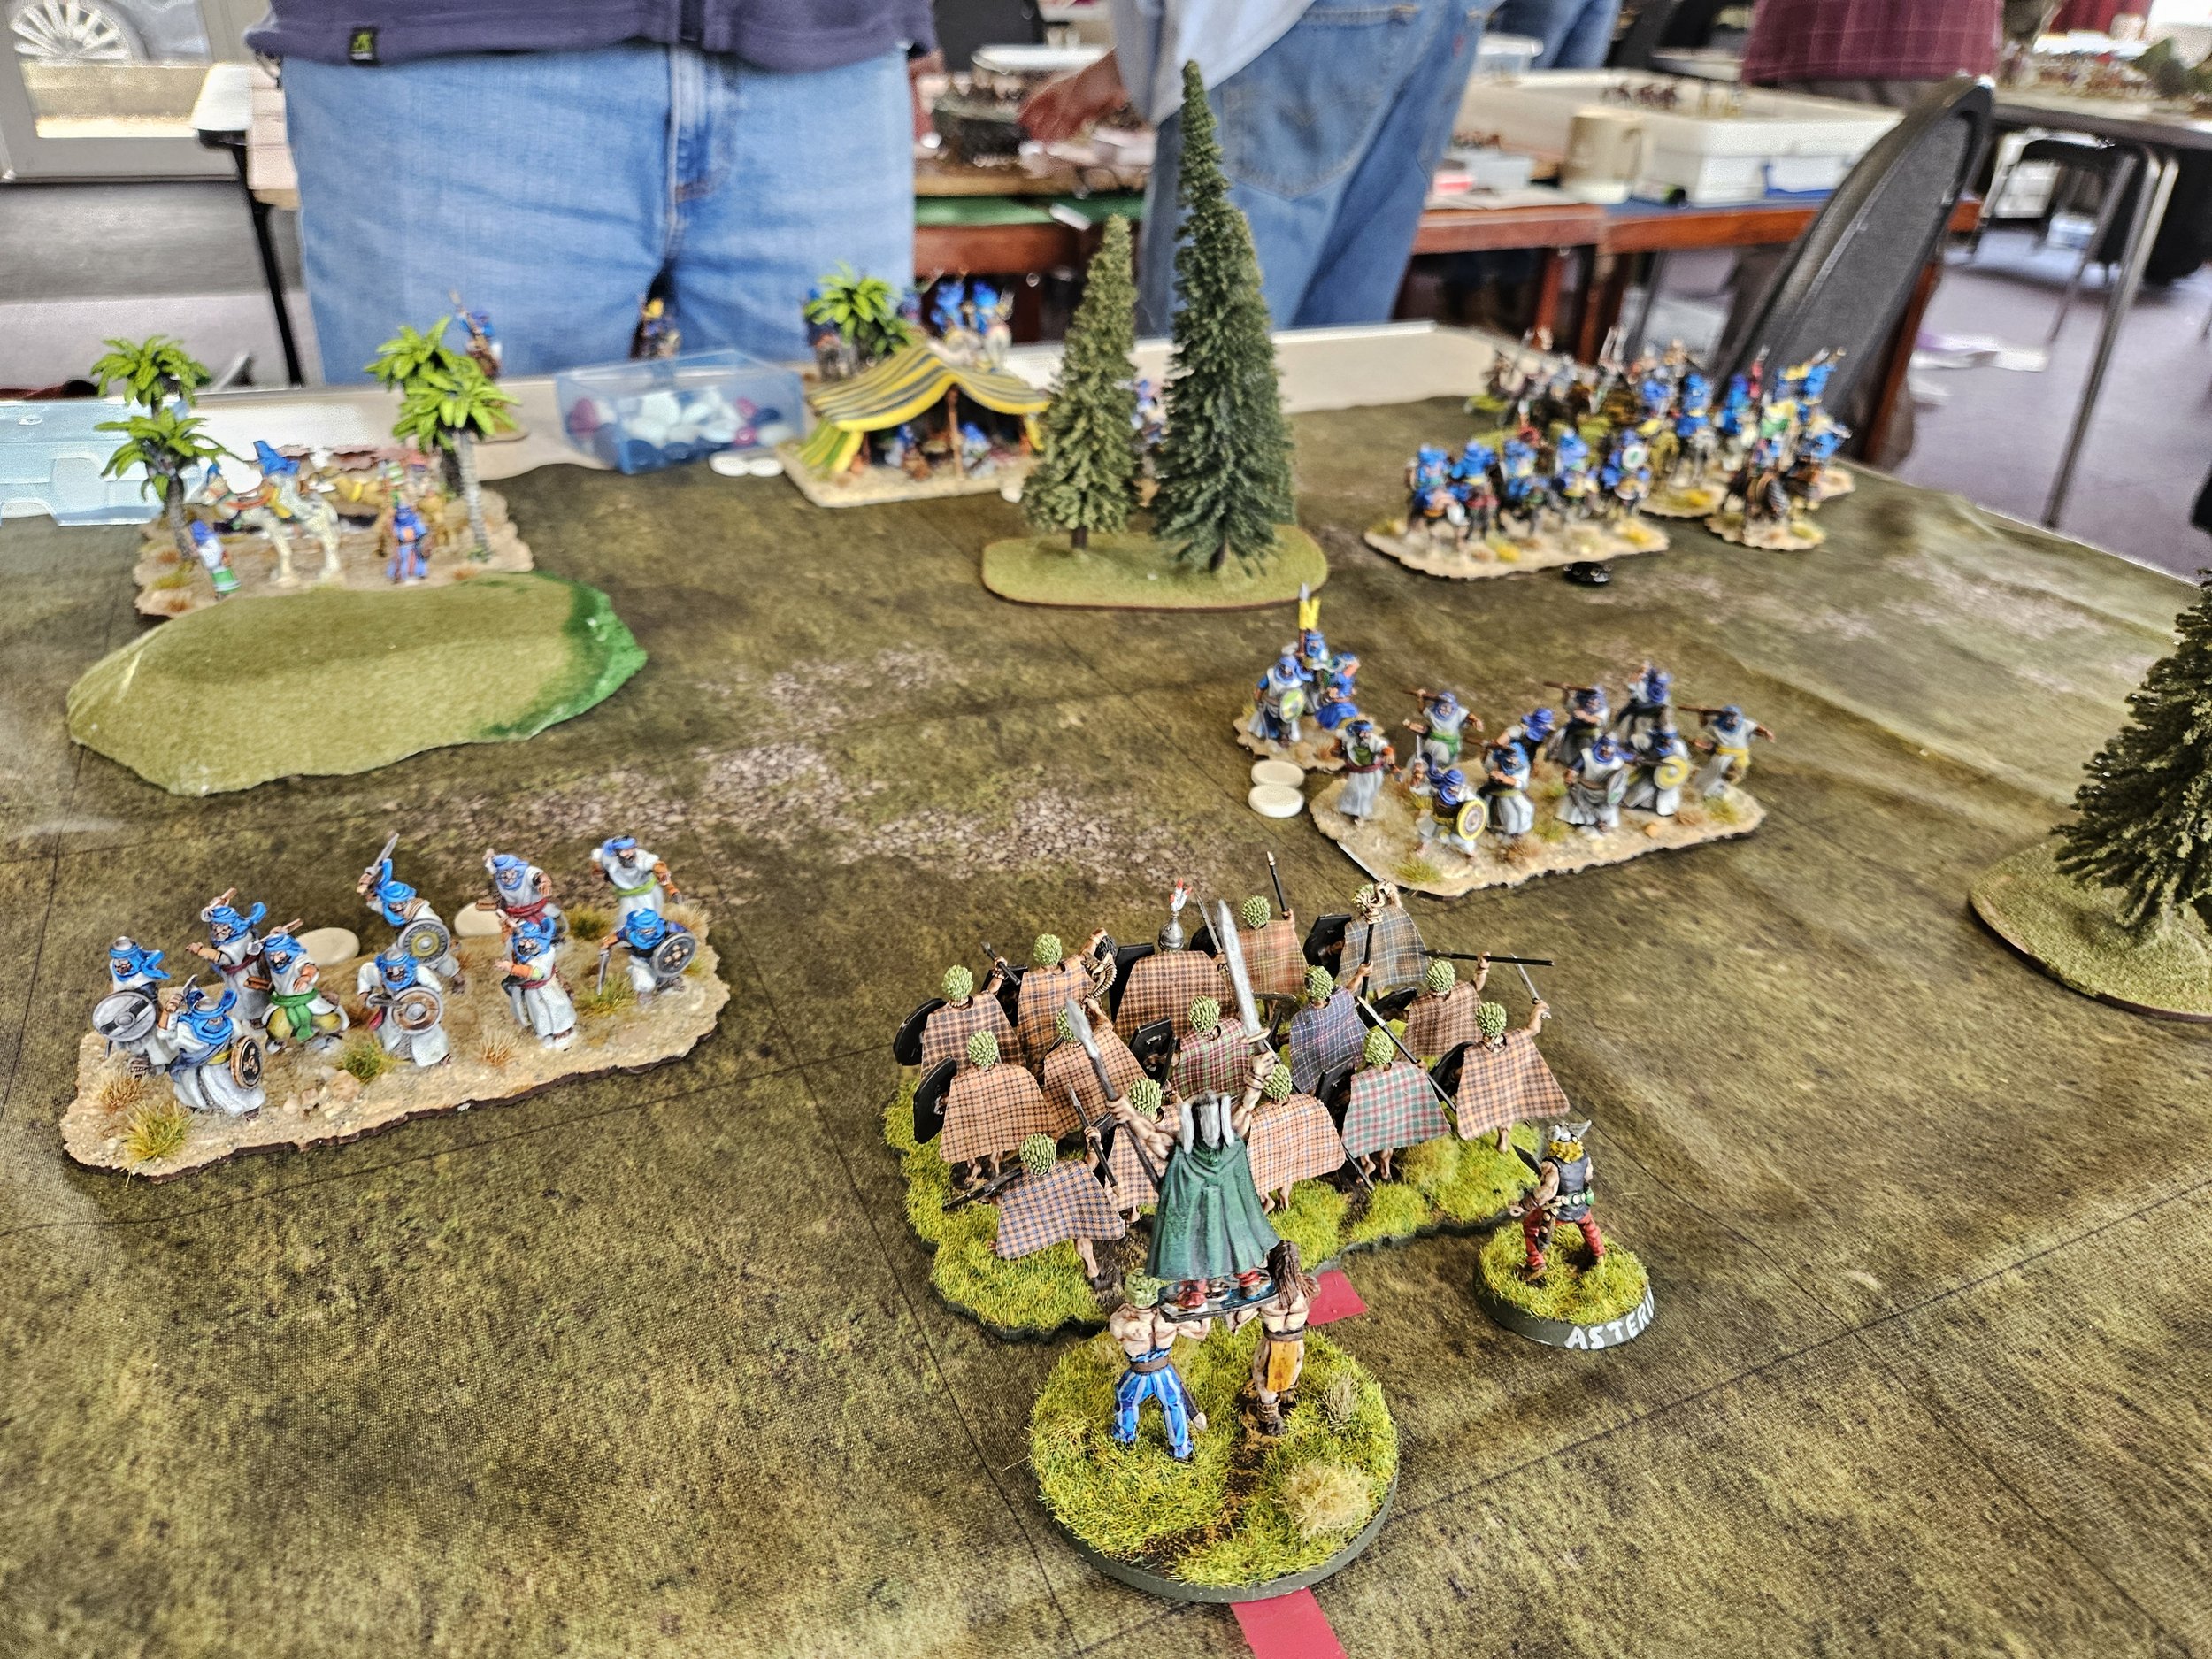
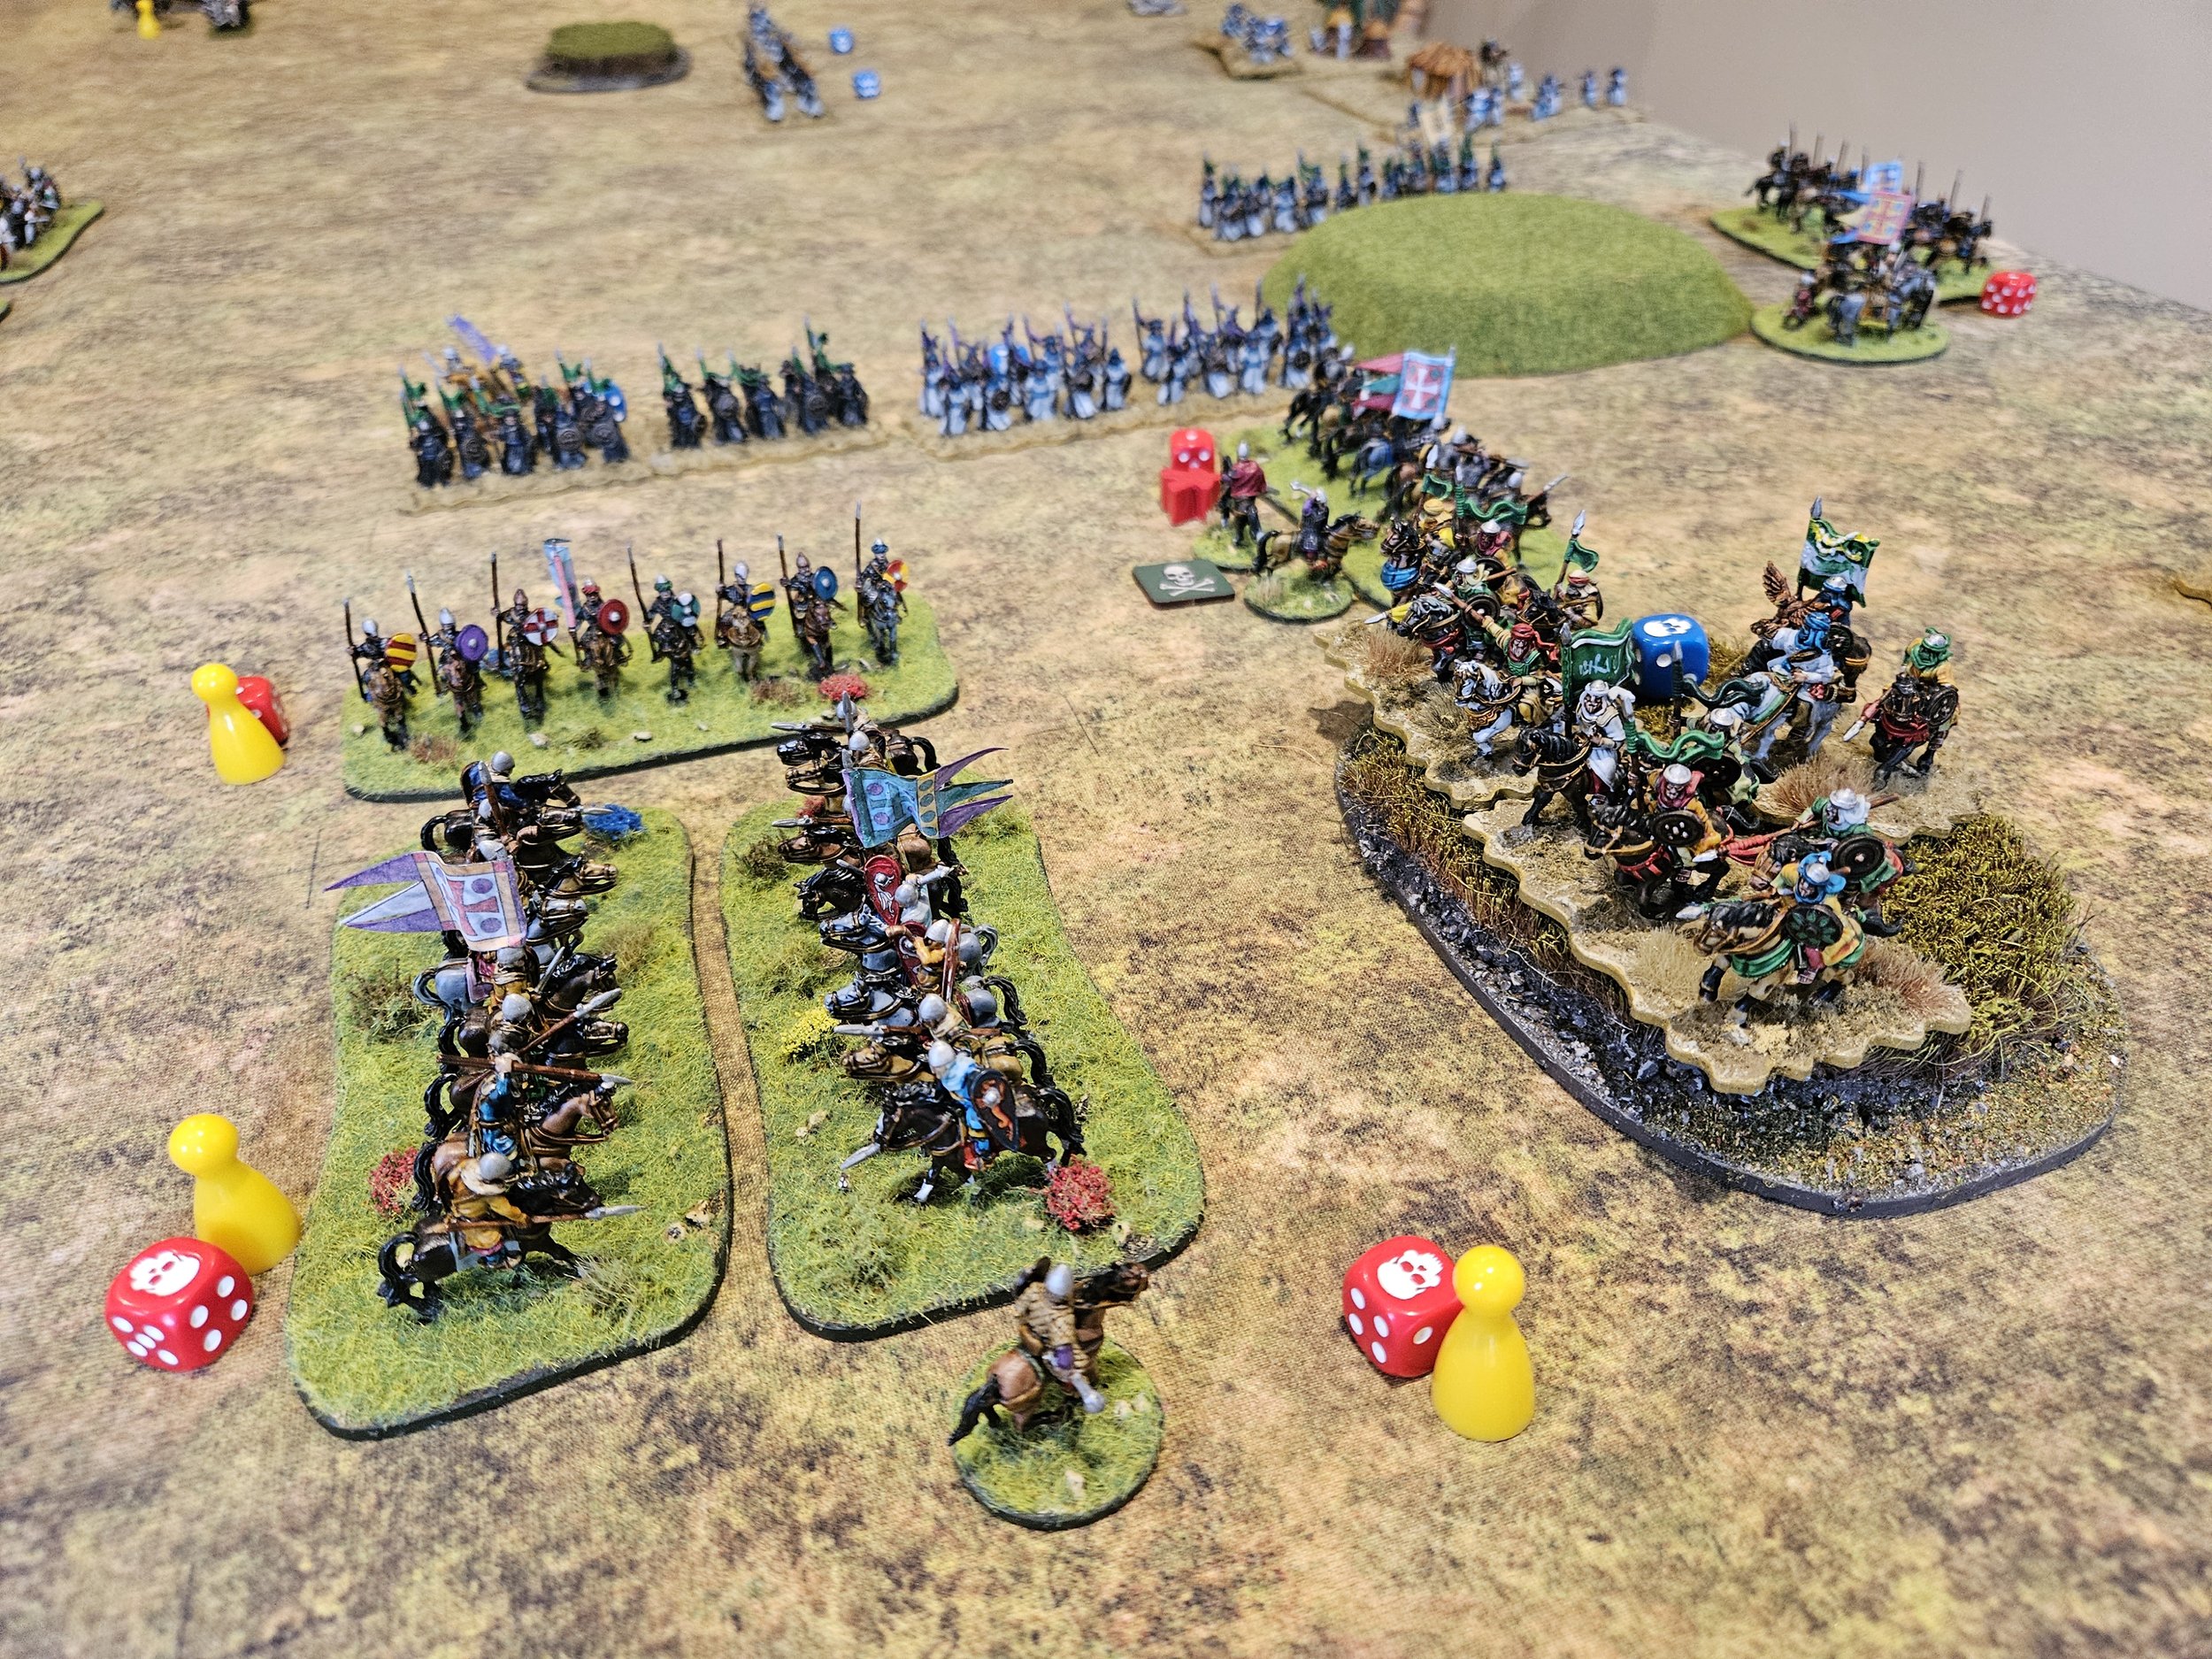
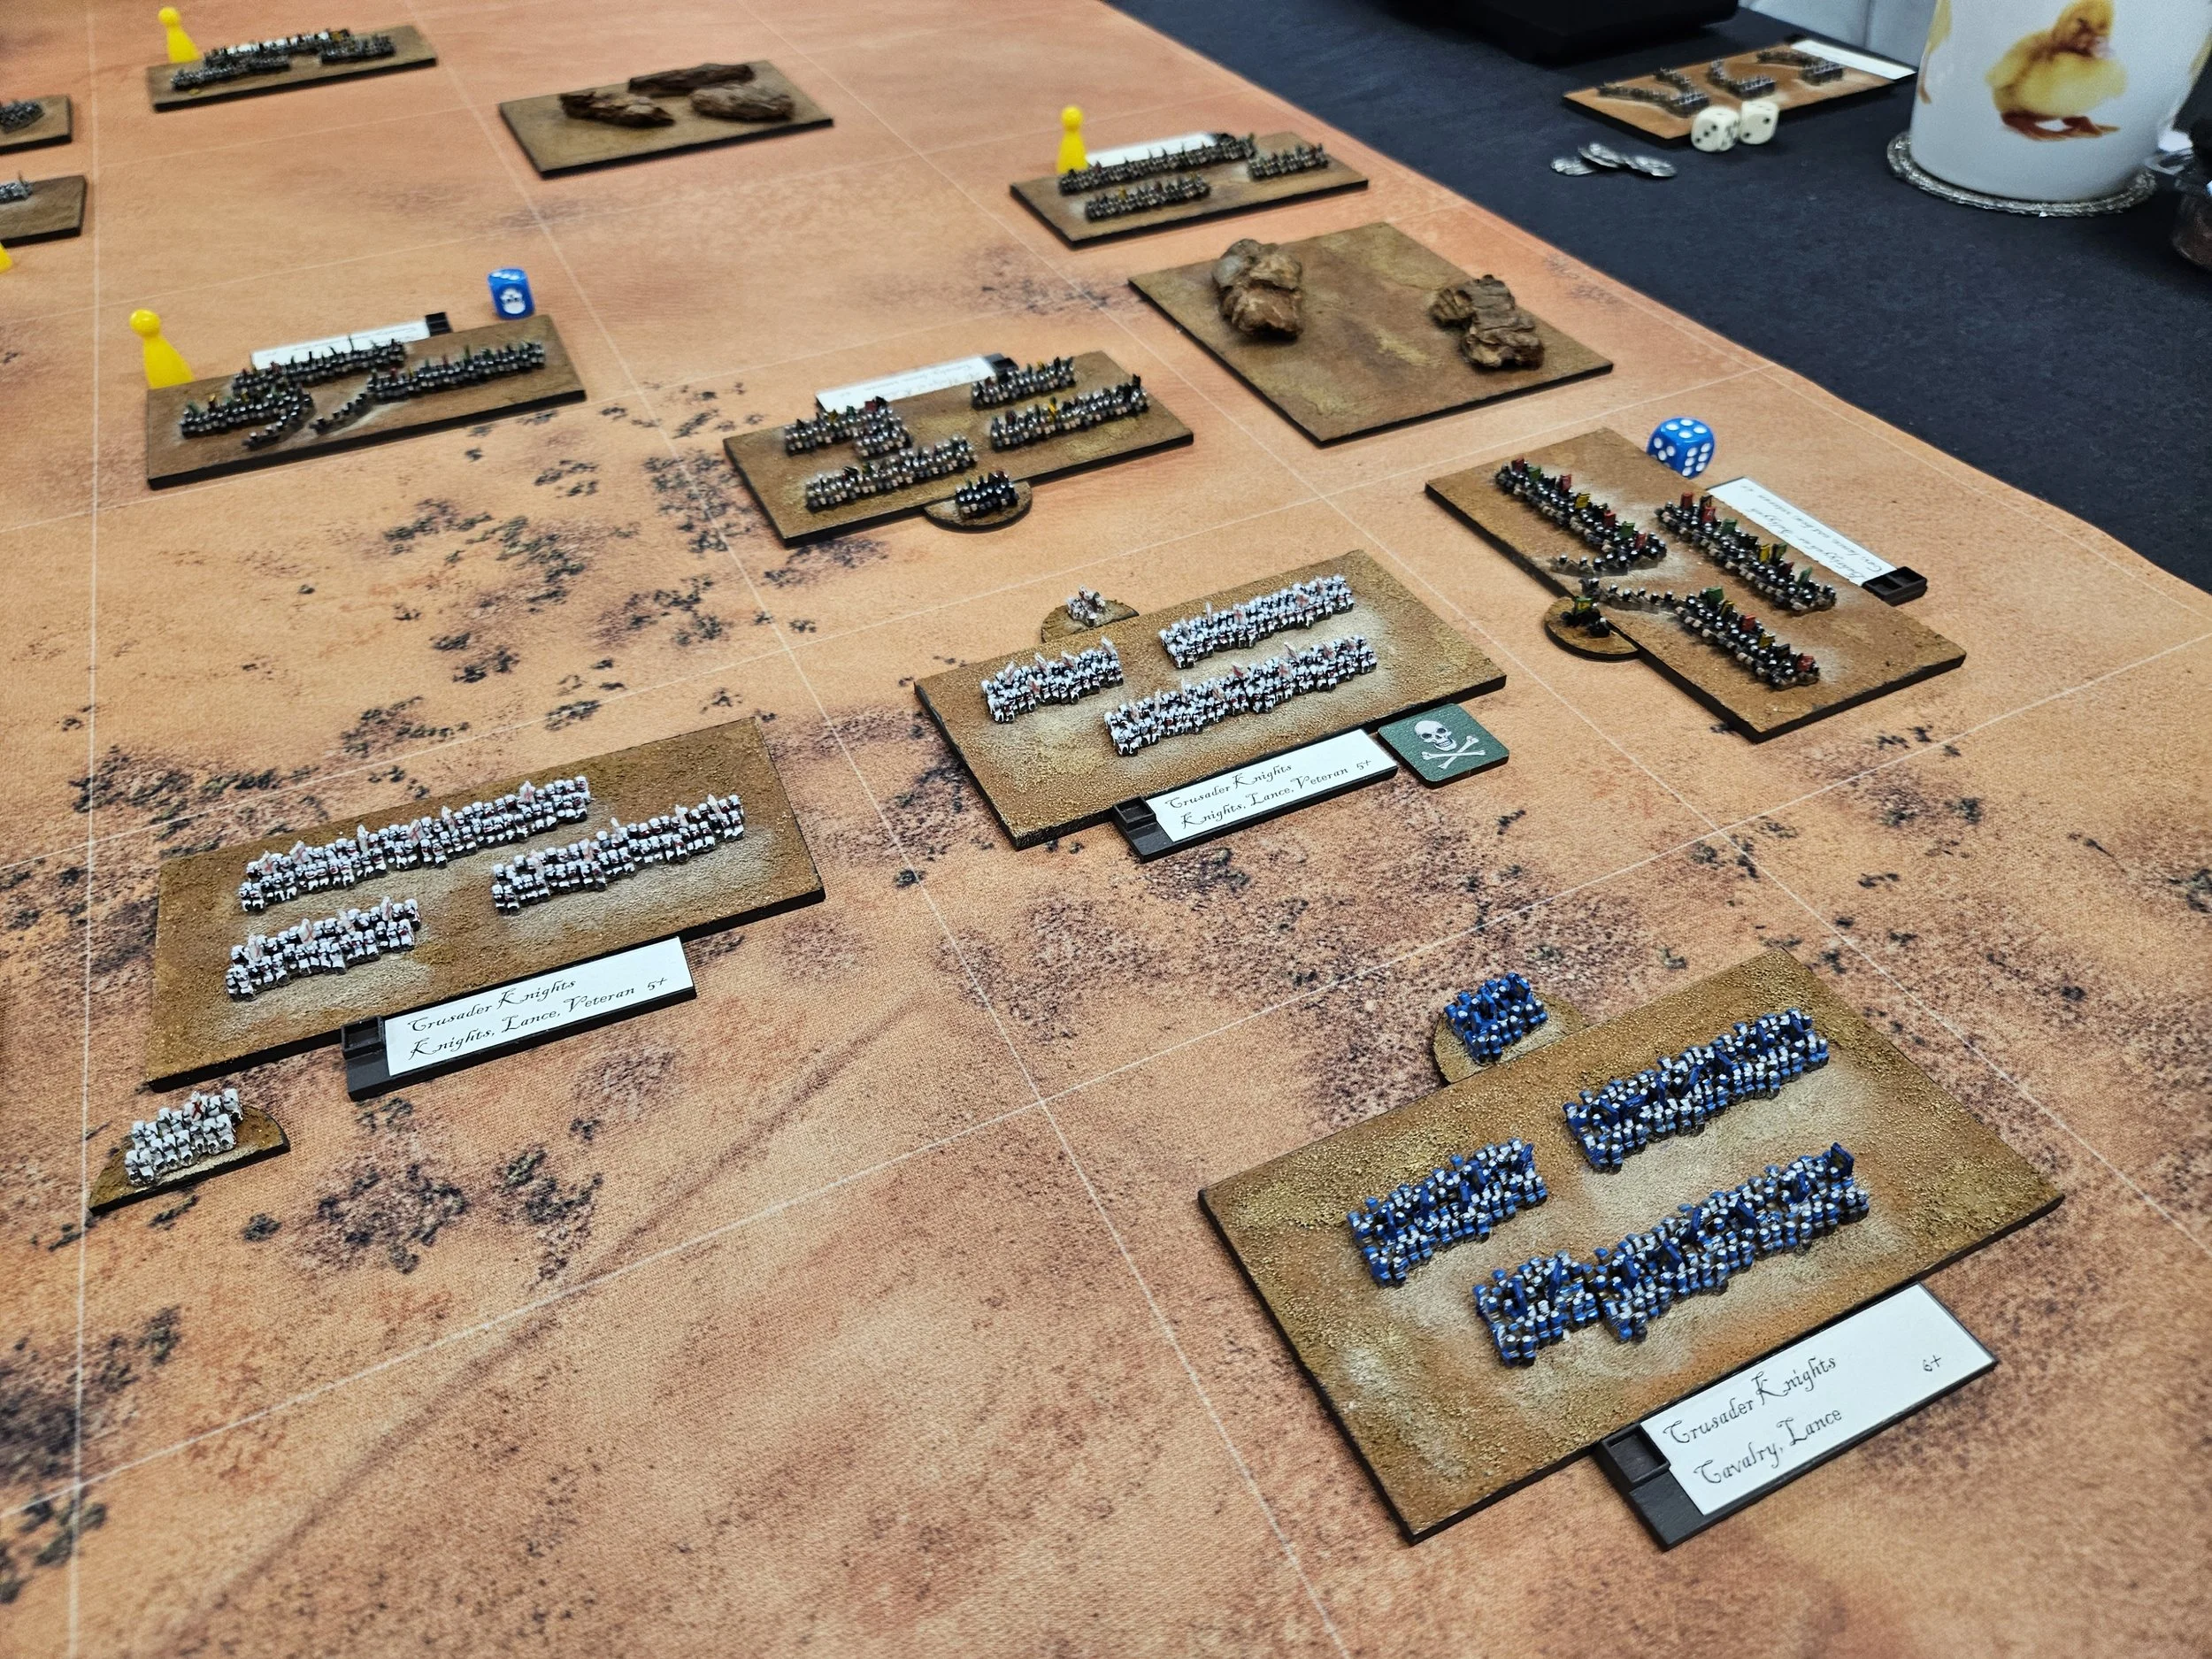
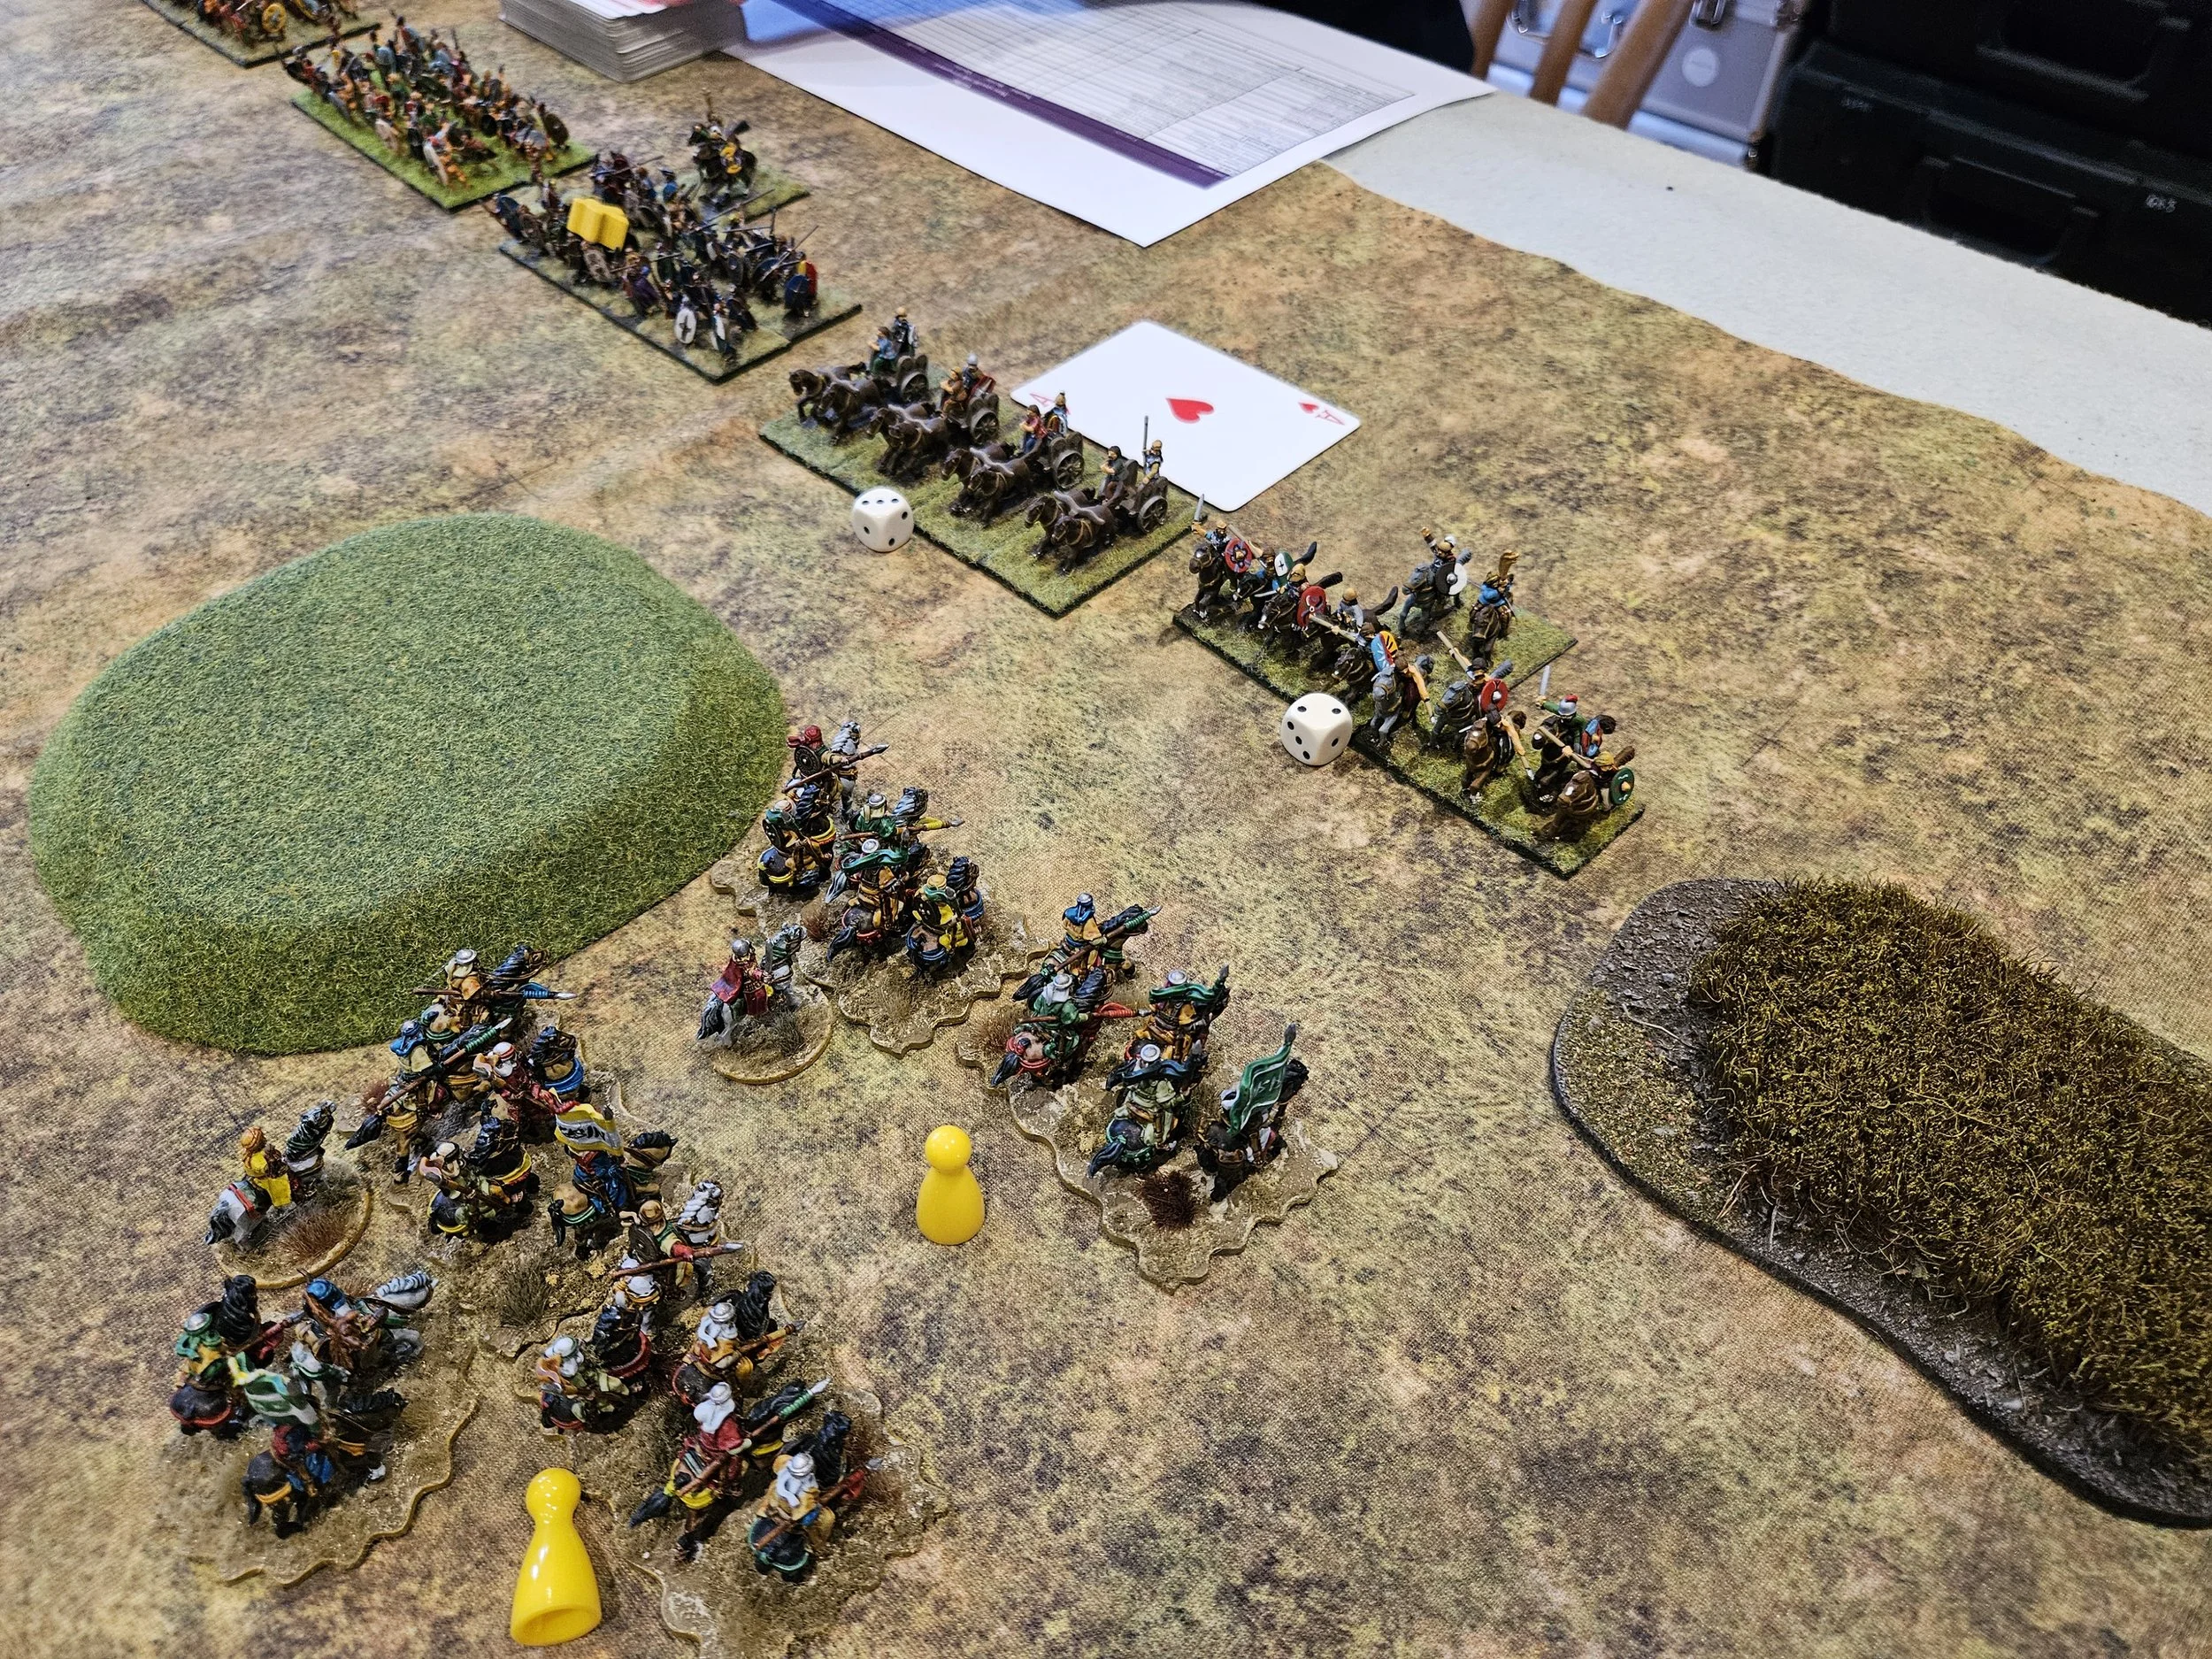
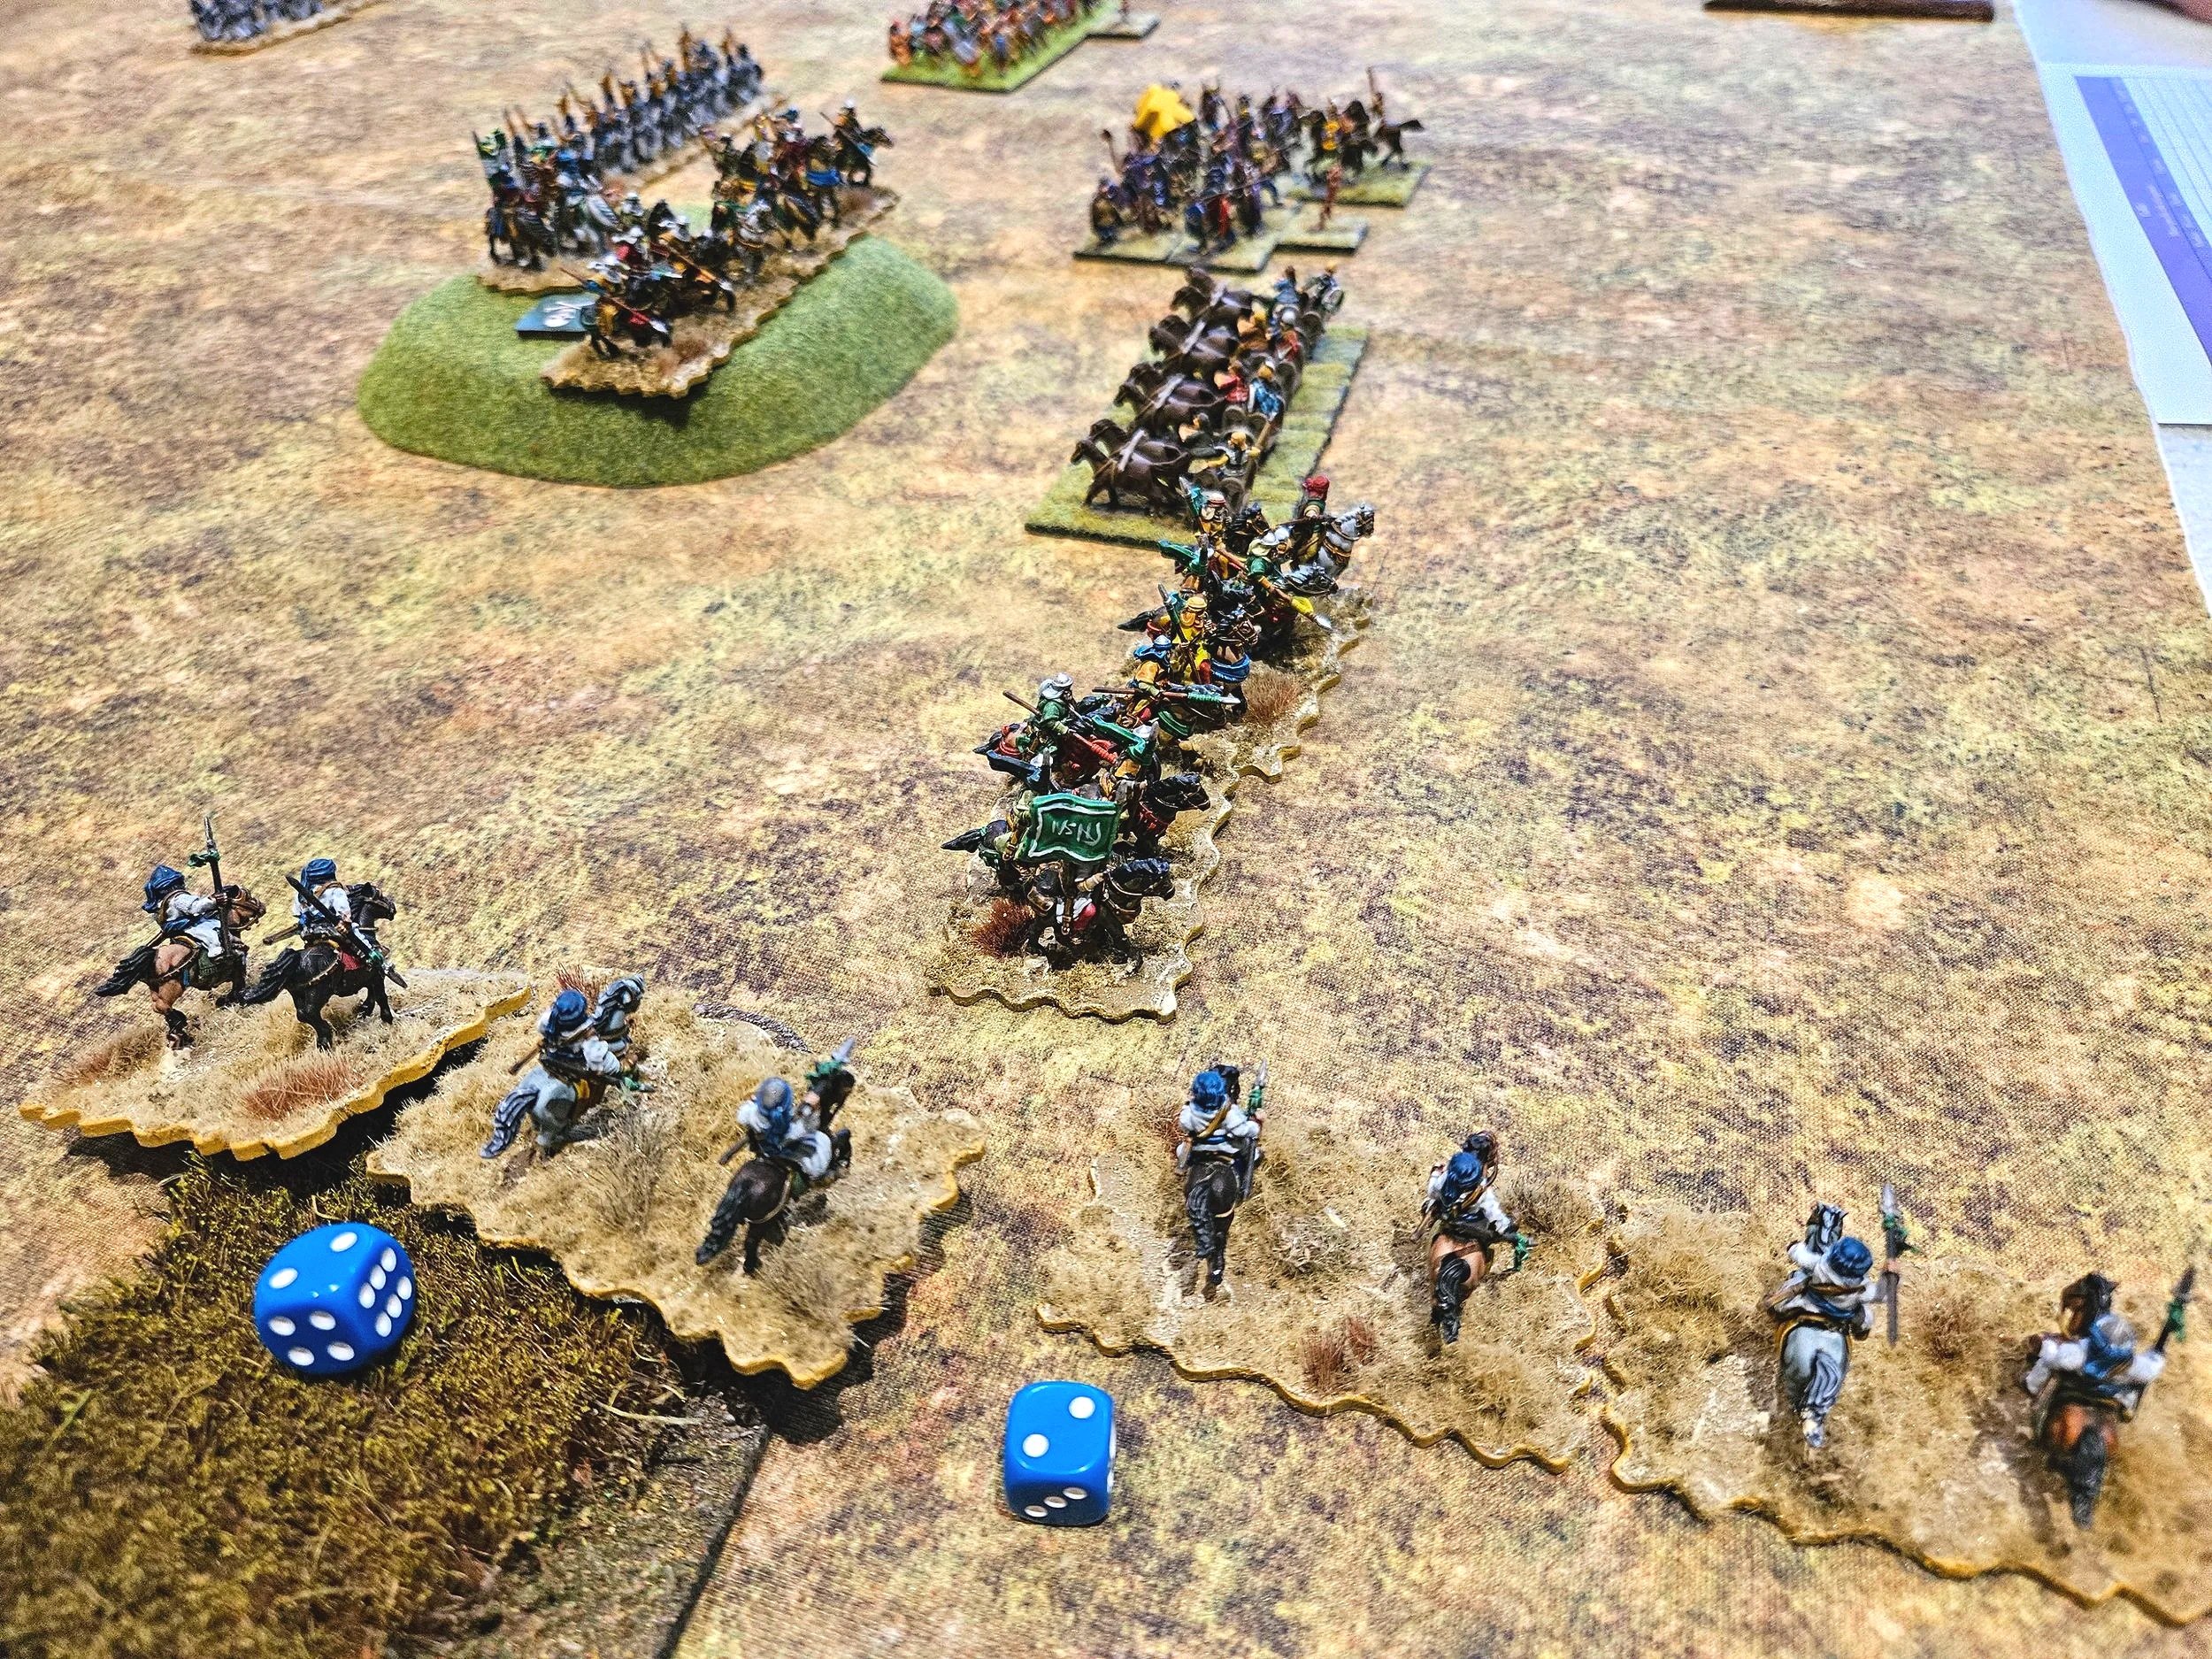
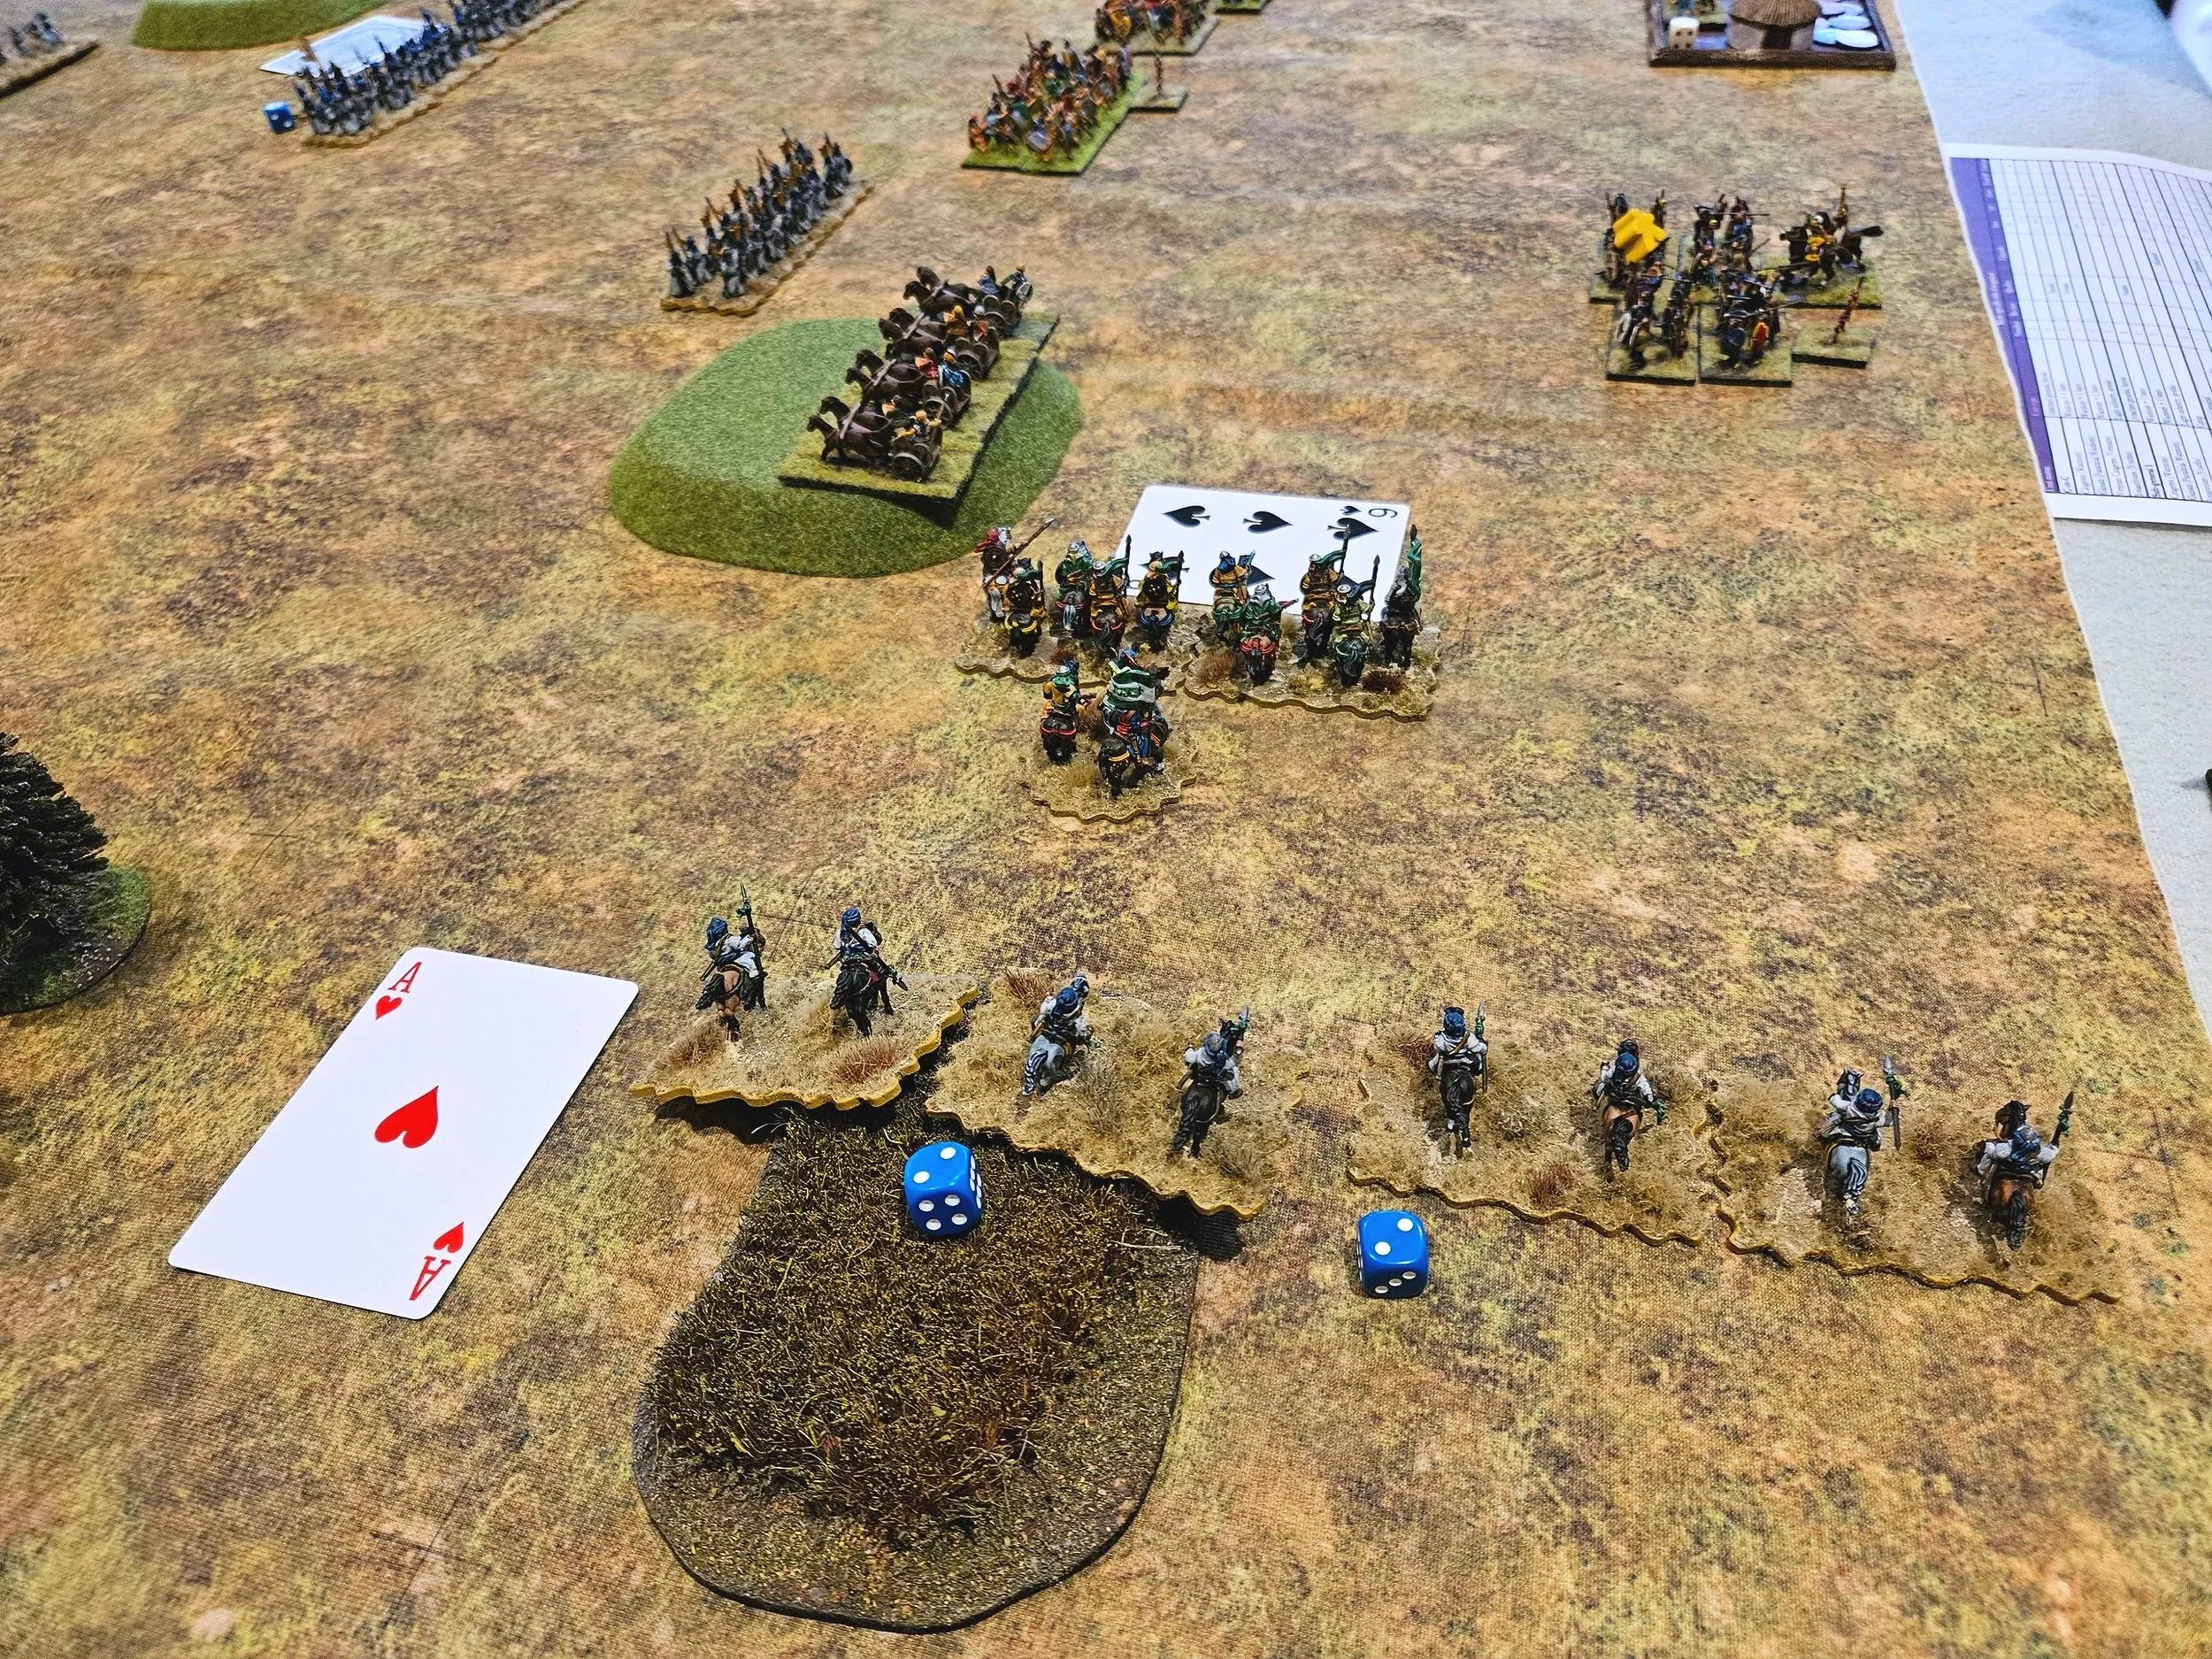
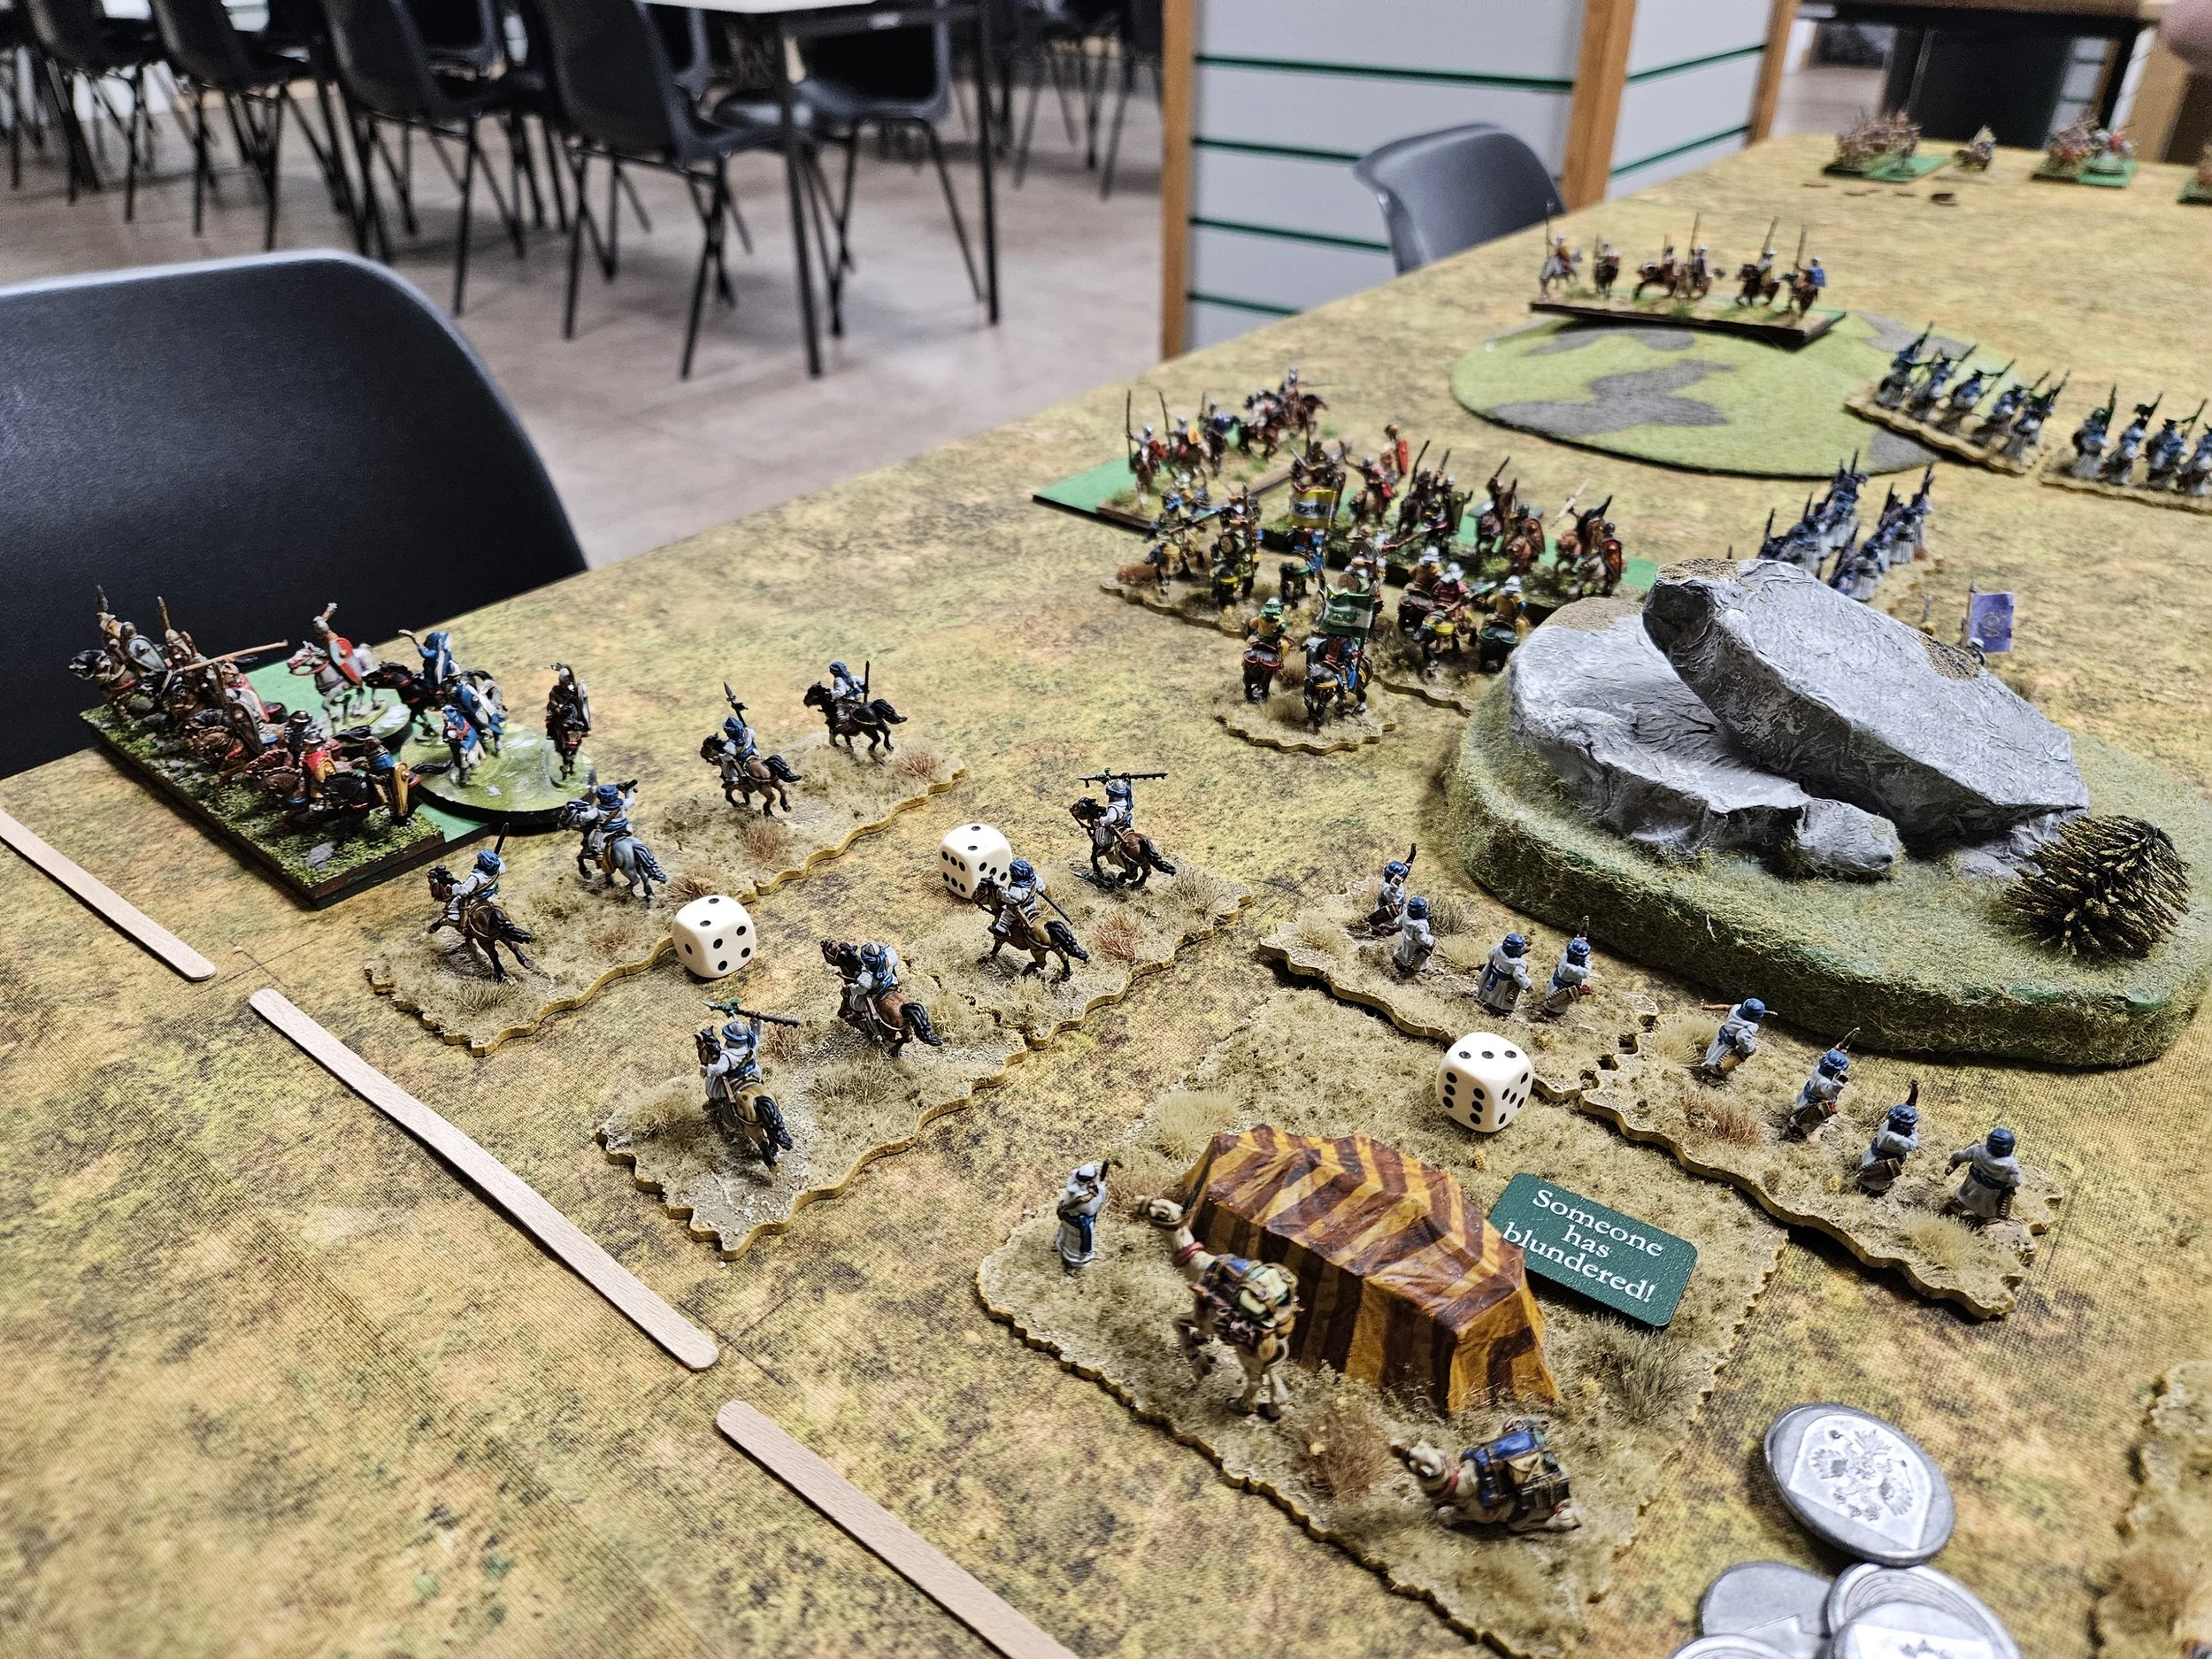
The Muslims had massed their cavalry on their right and,a s the game began, sent them forward in a massive wave determined to use sheer weight of numbers to bounce me backwards.

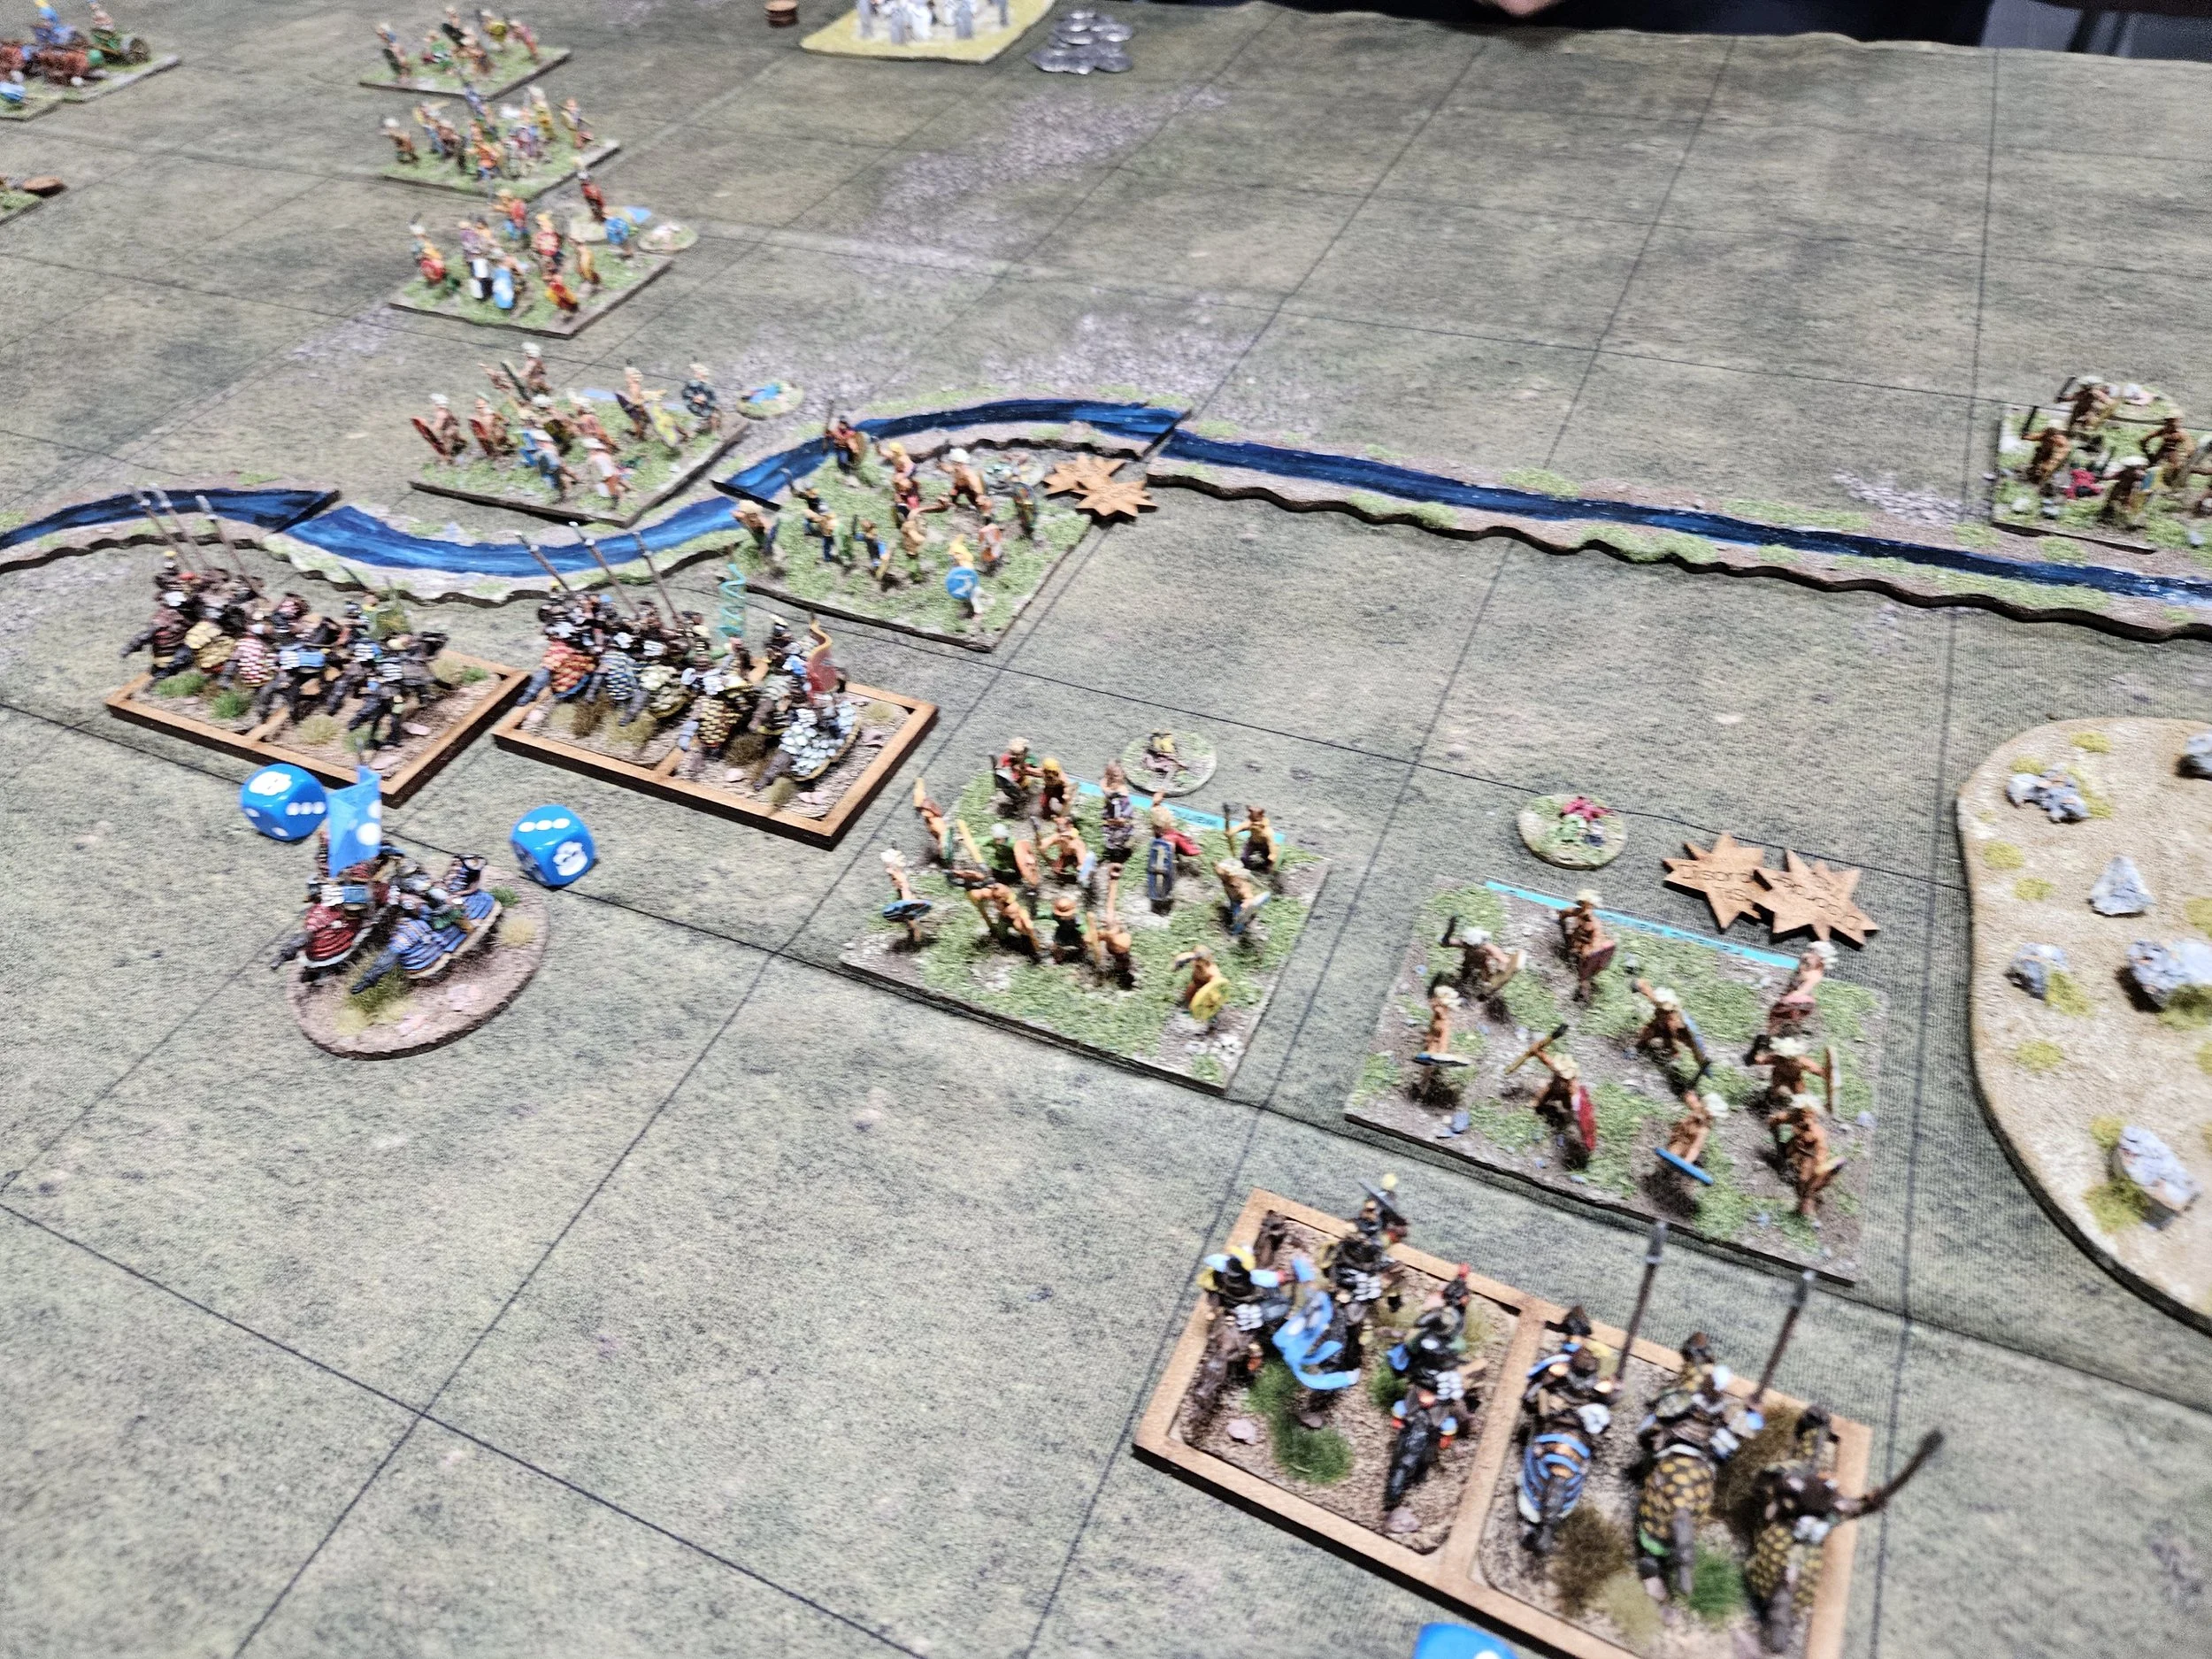
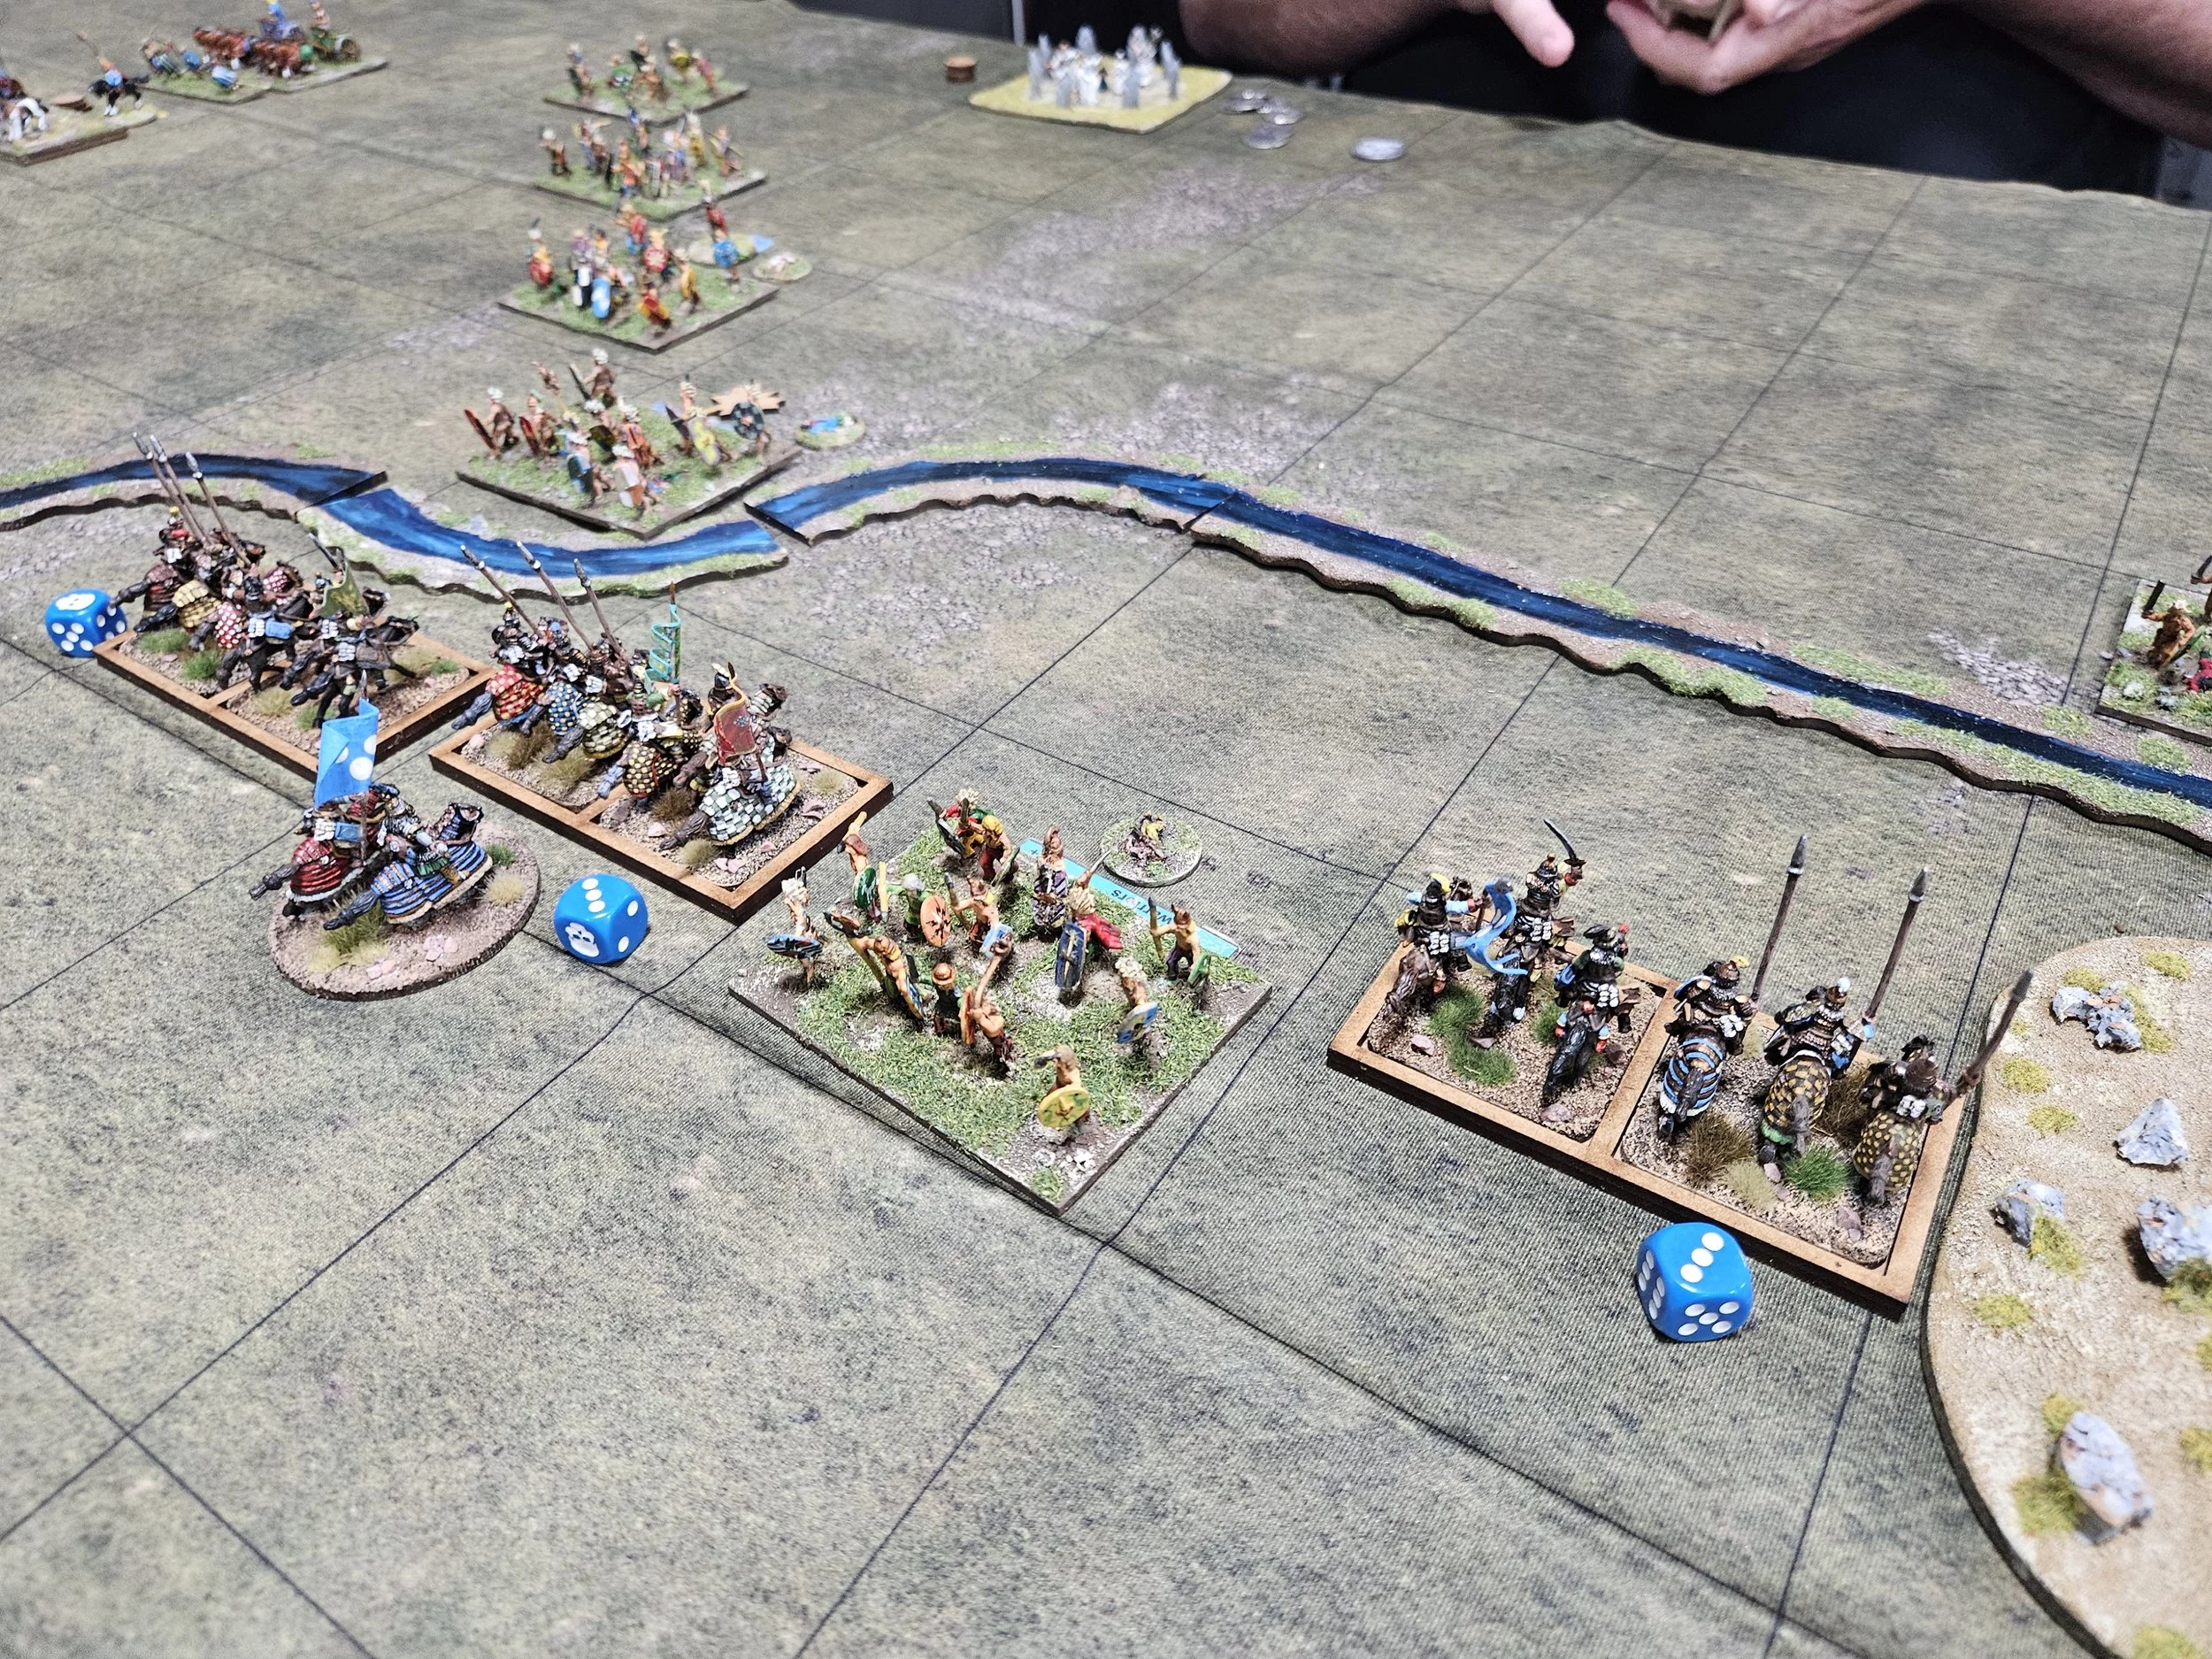
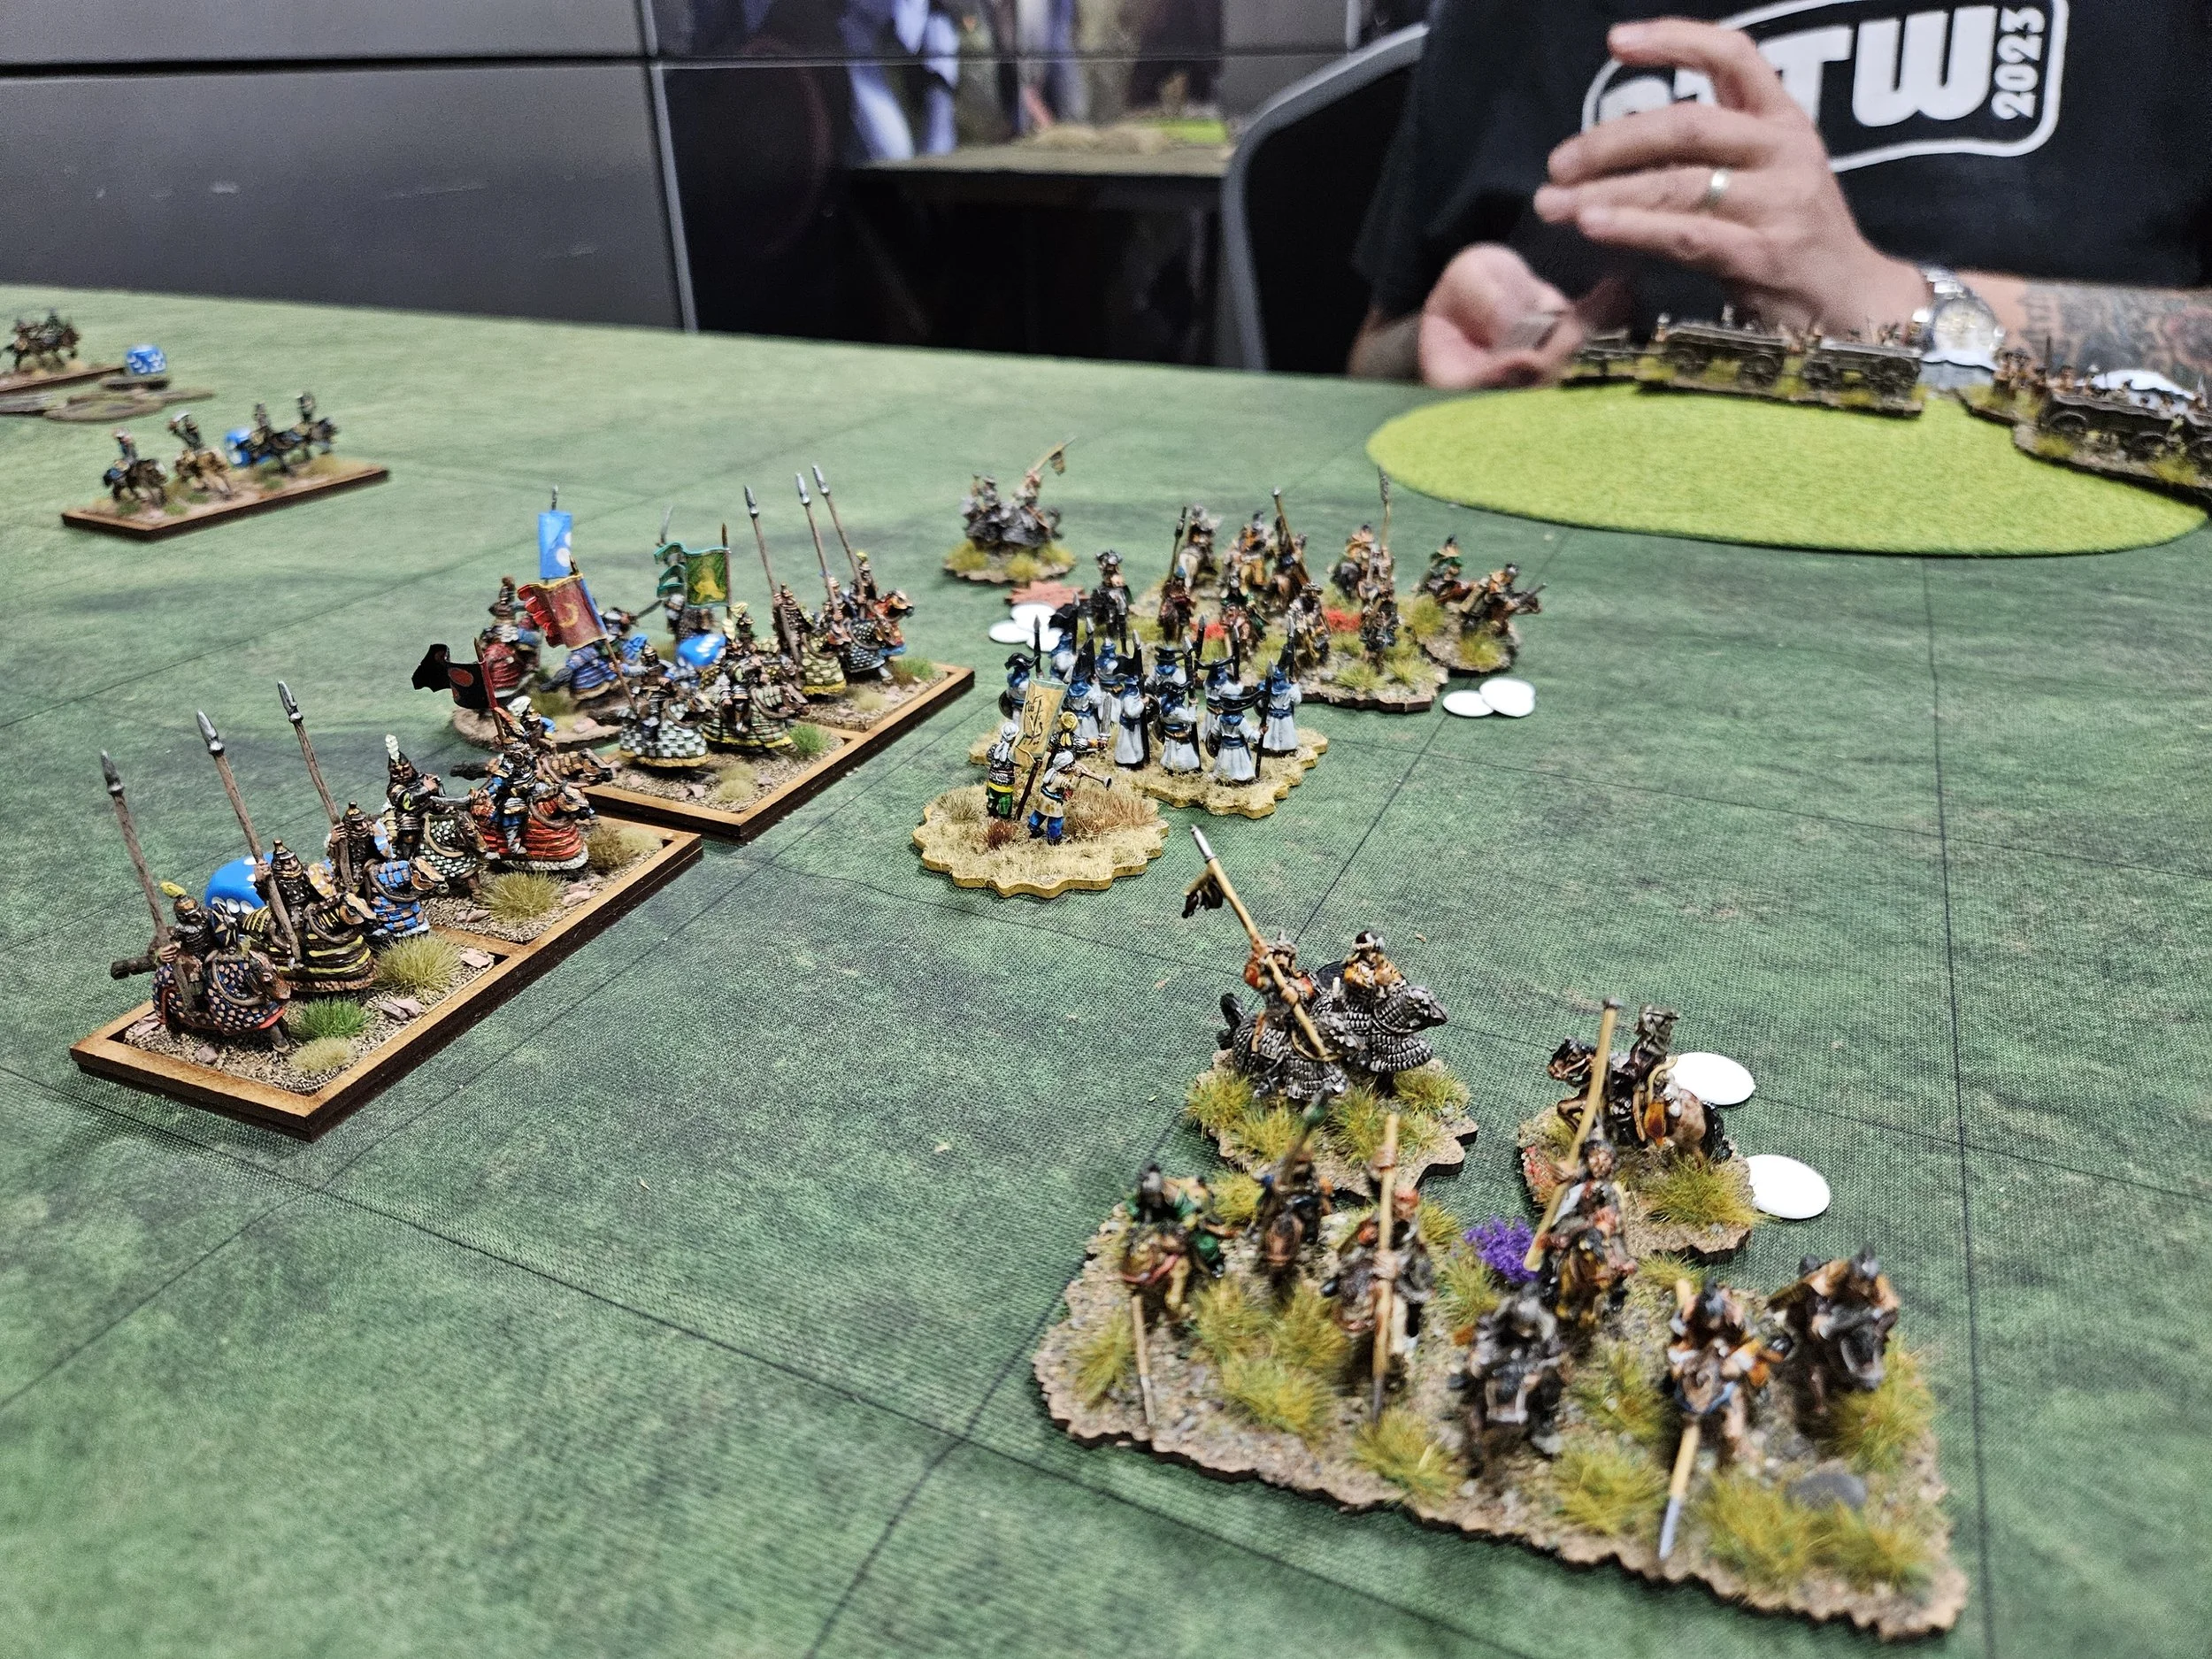
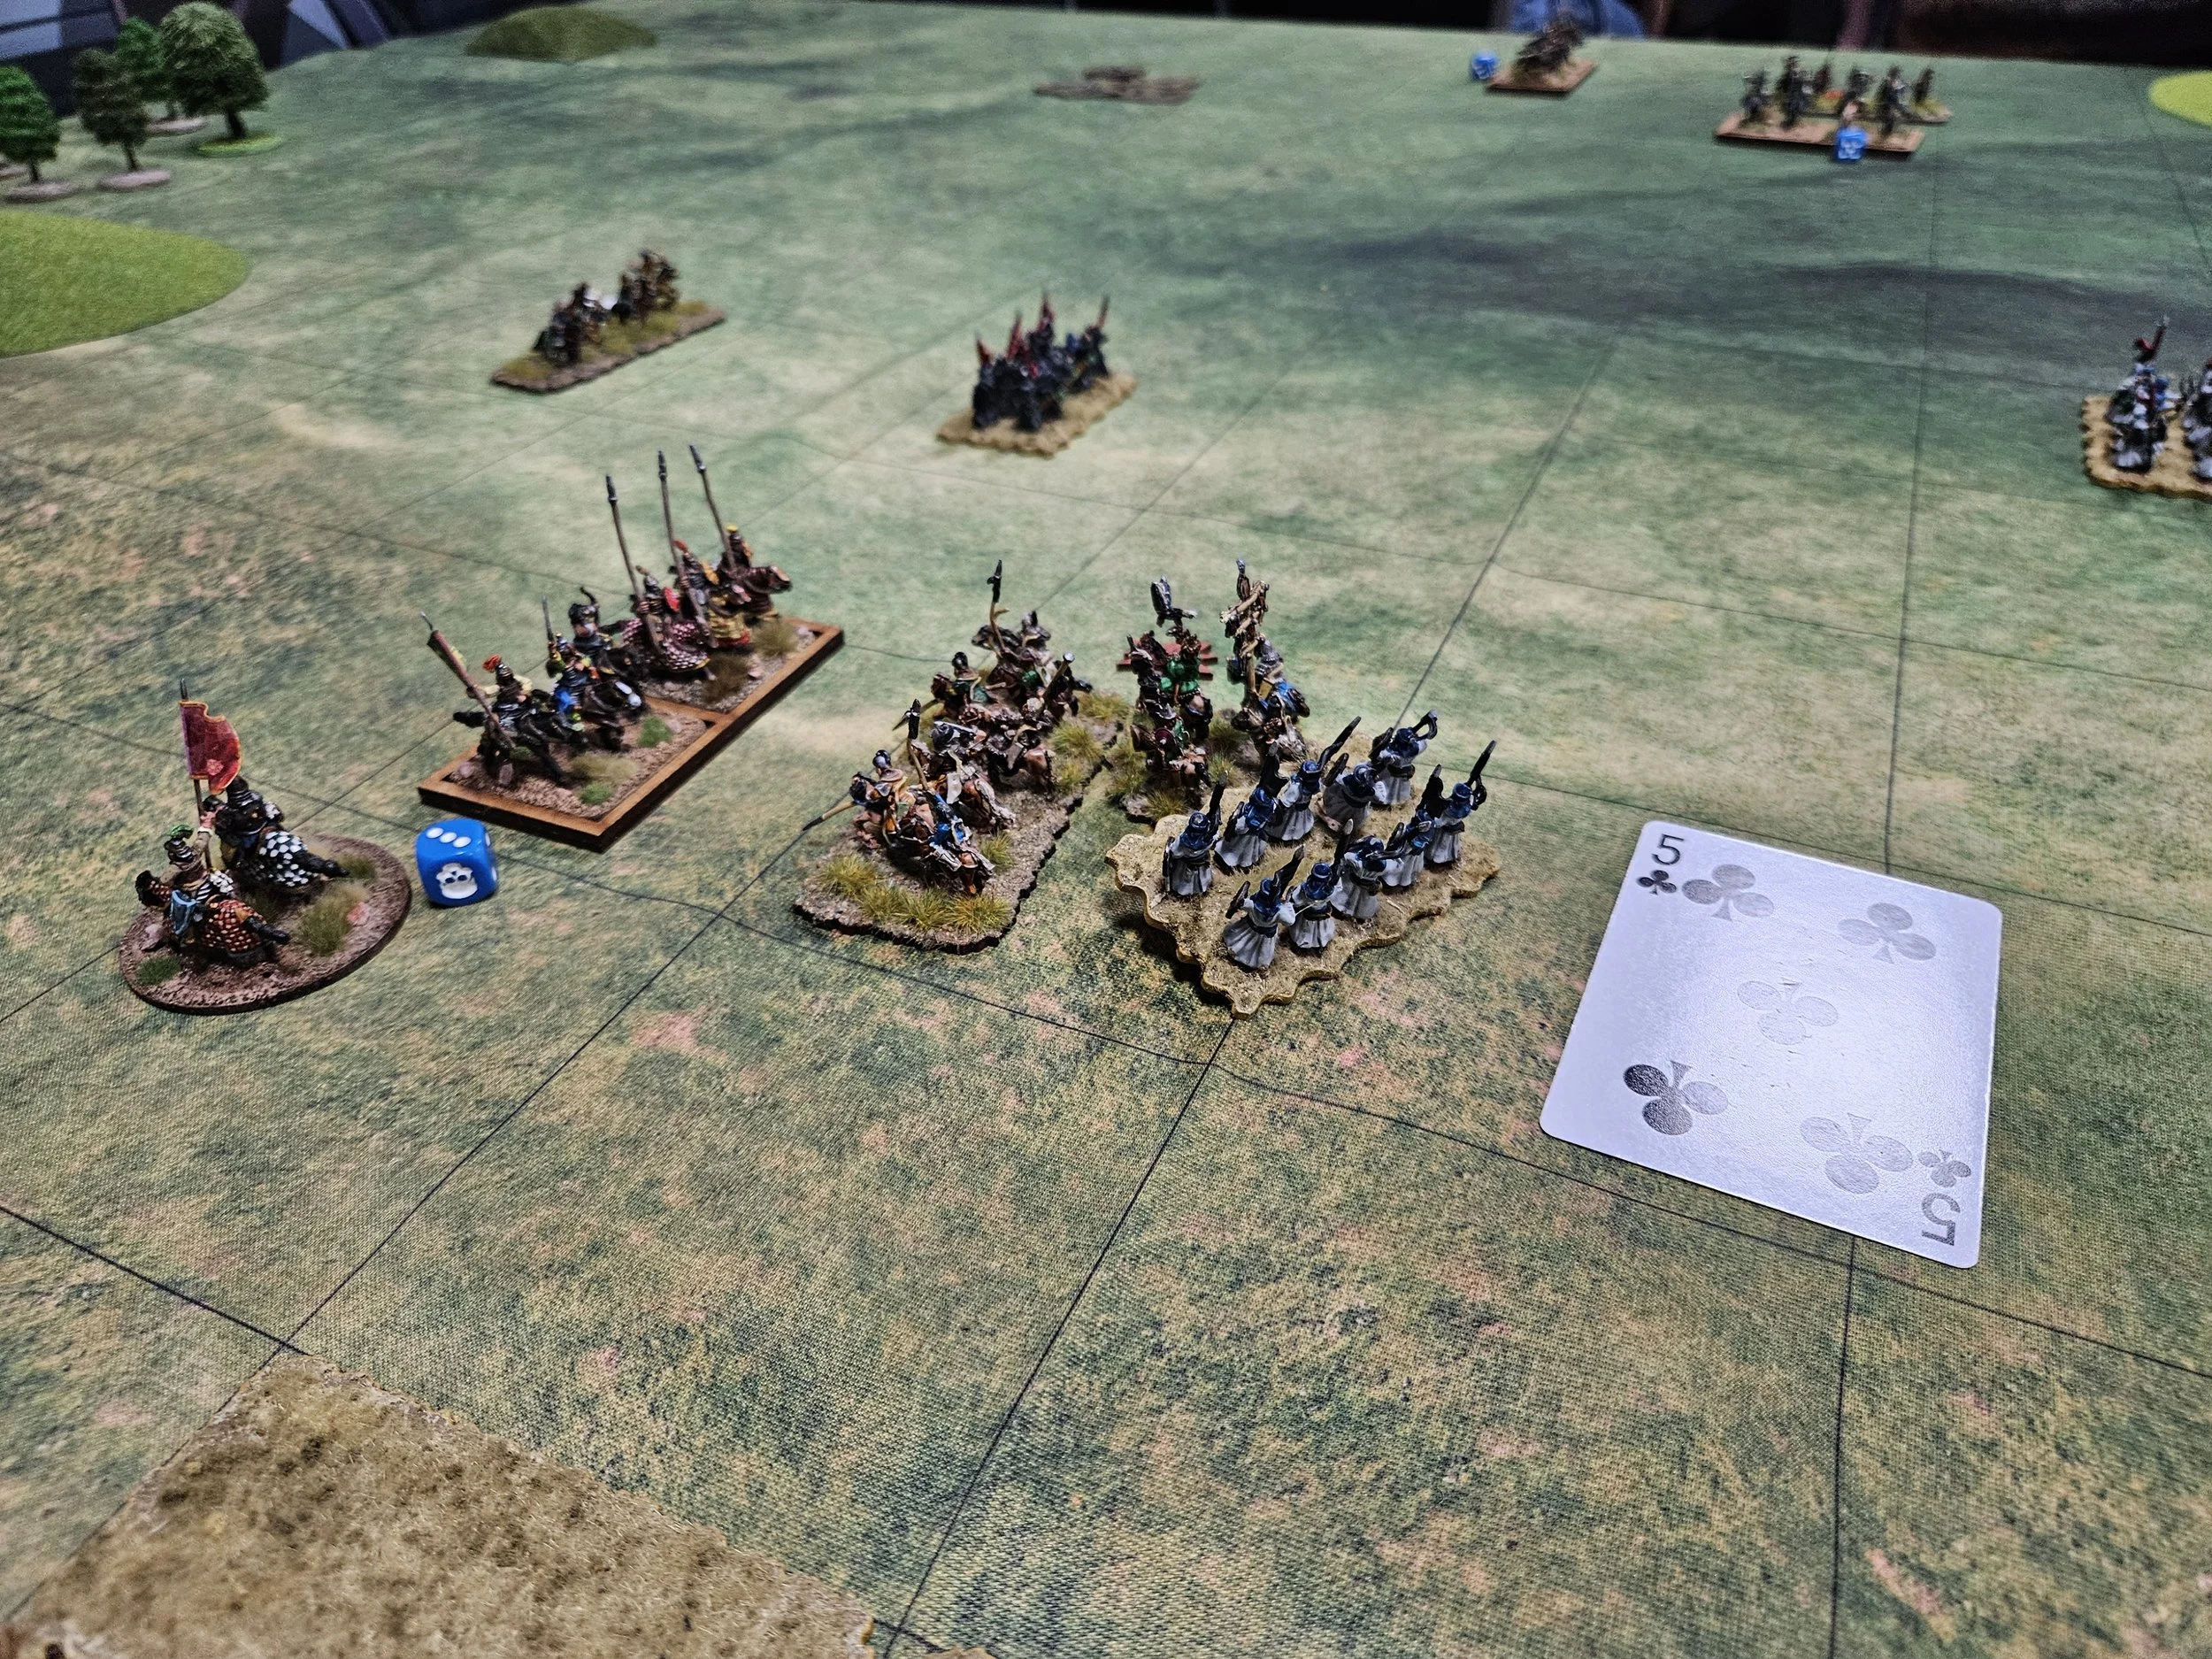
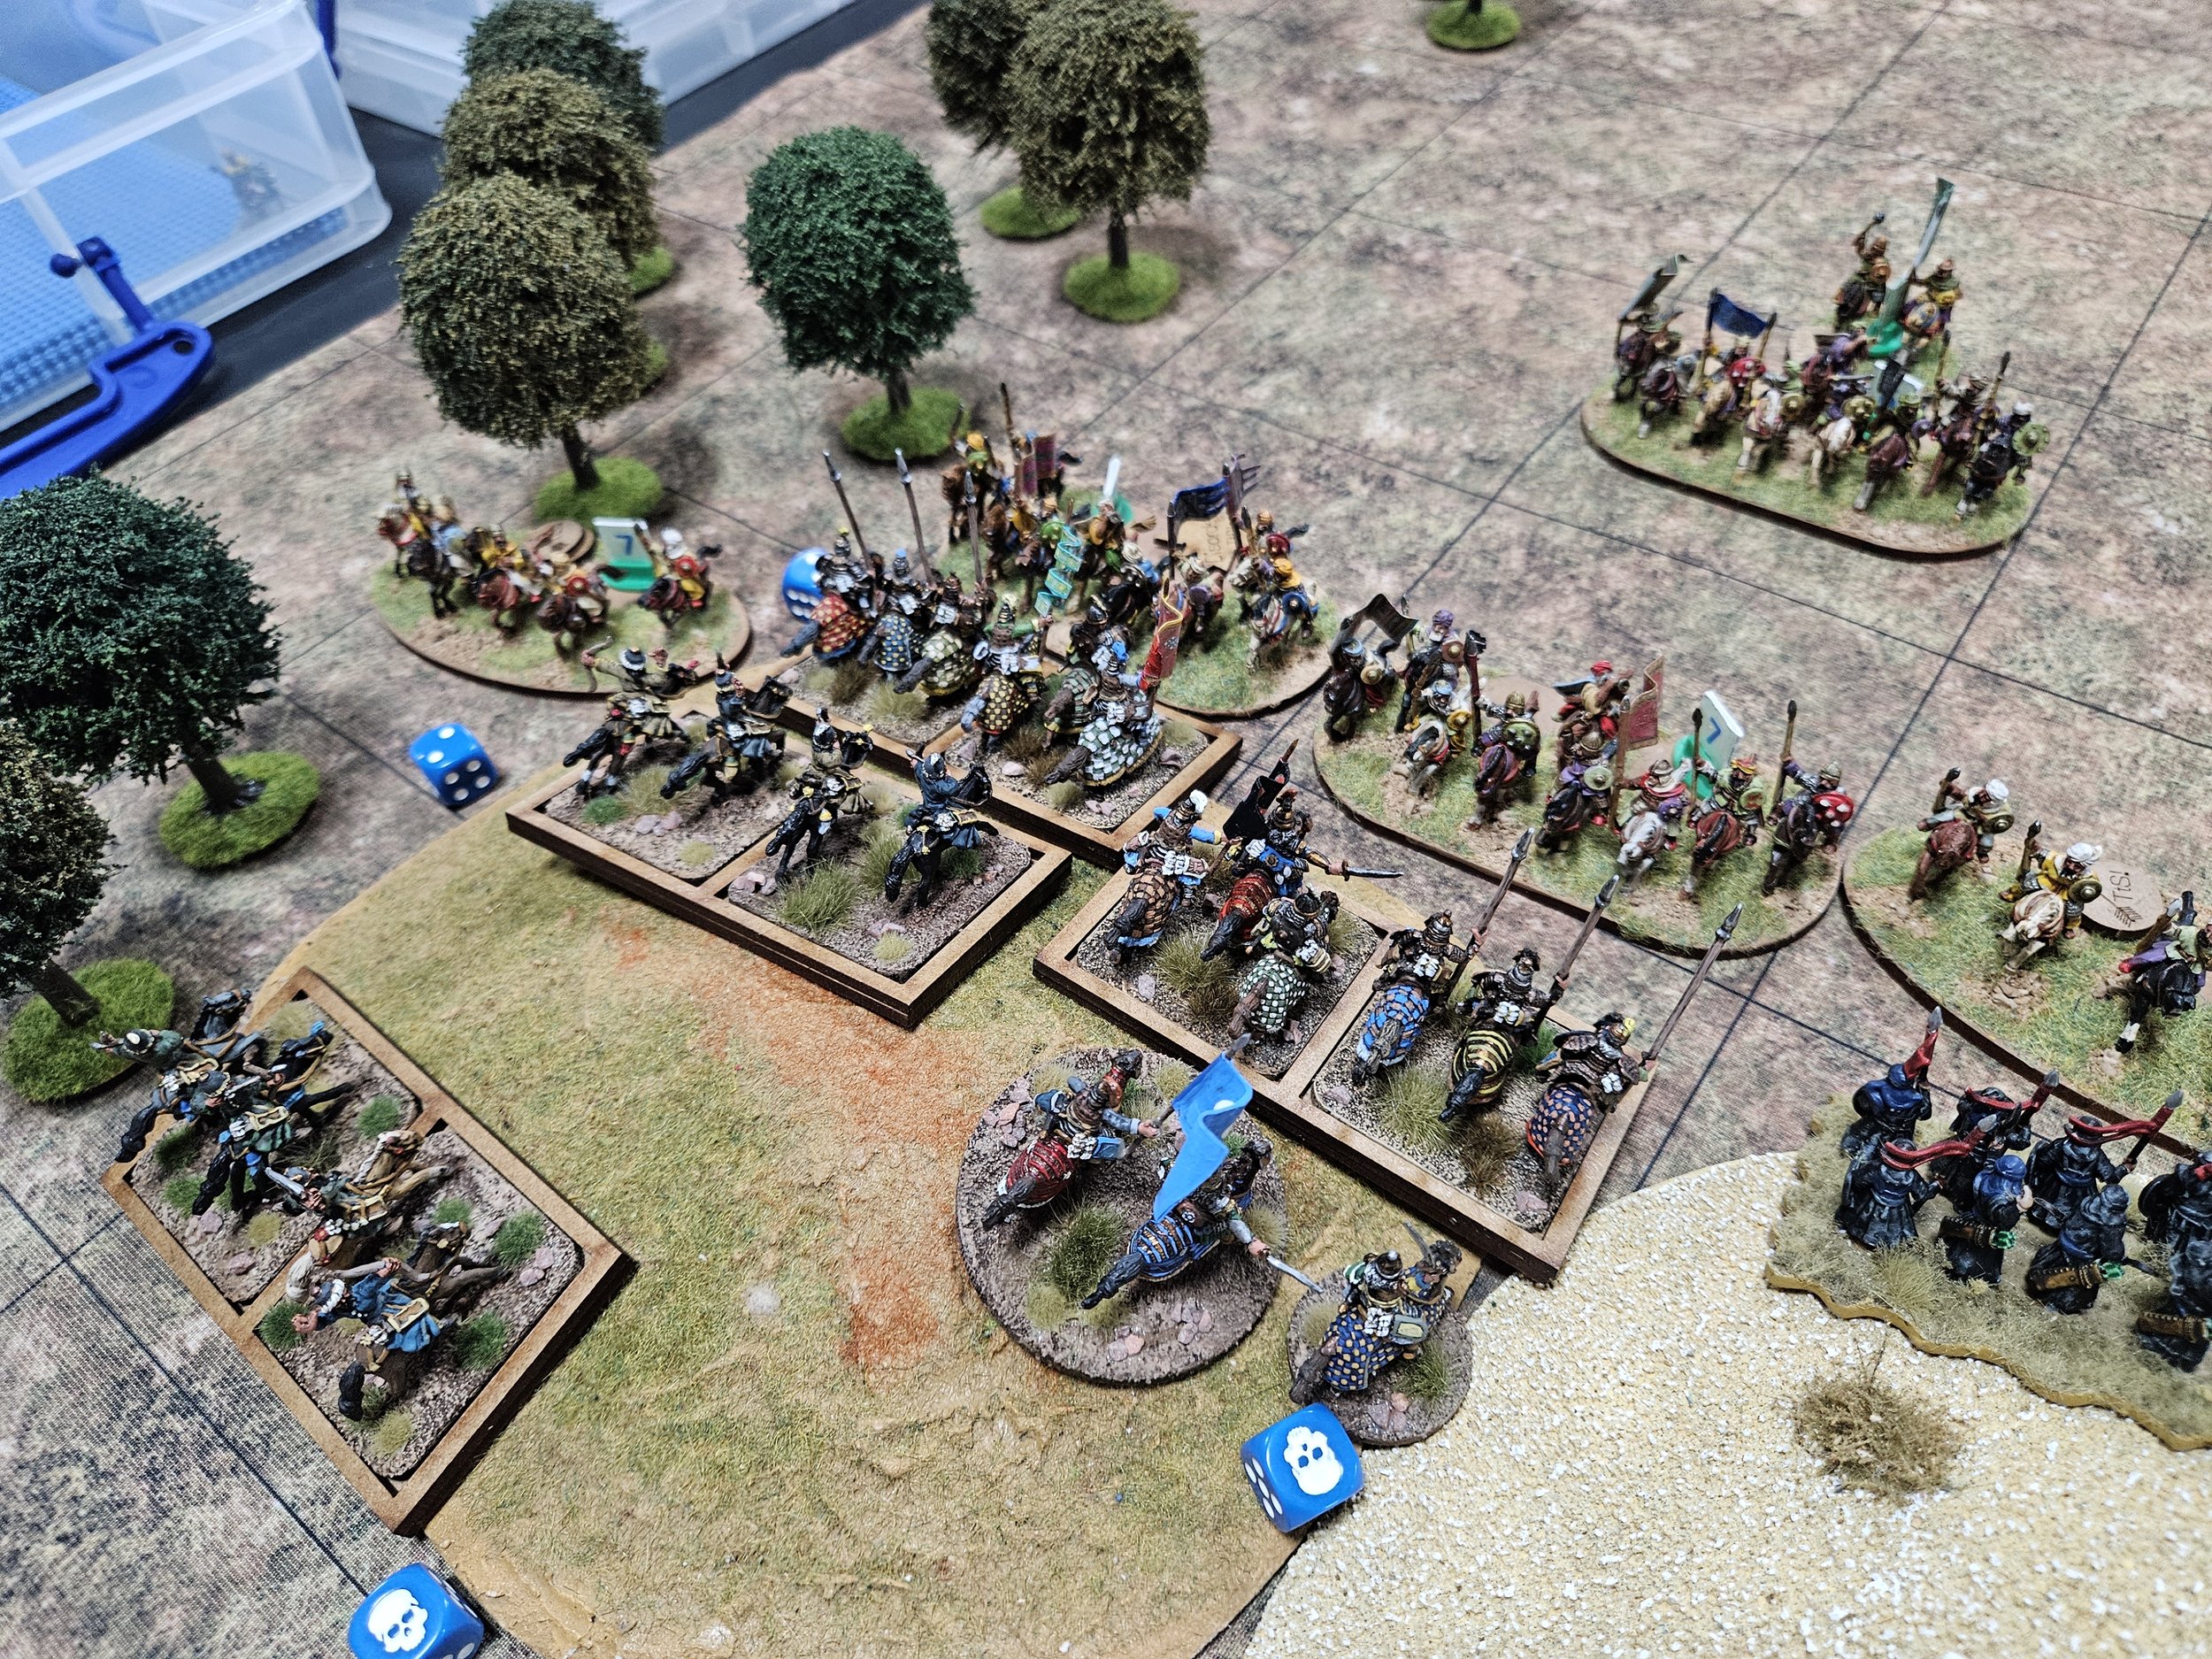
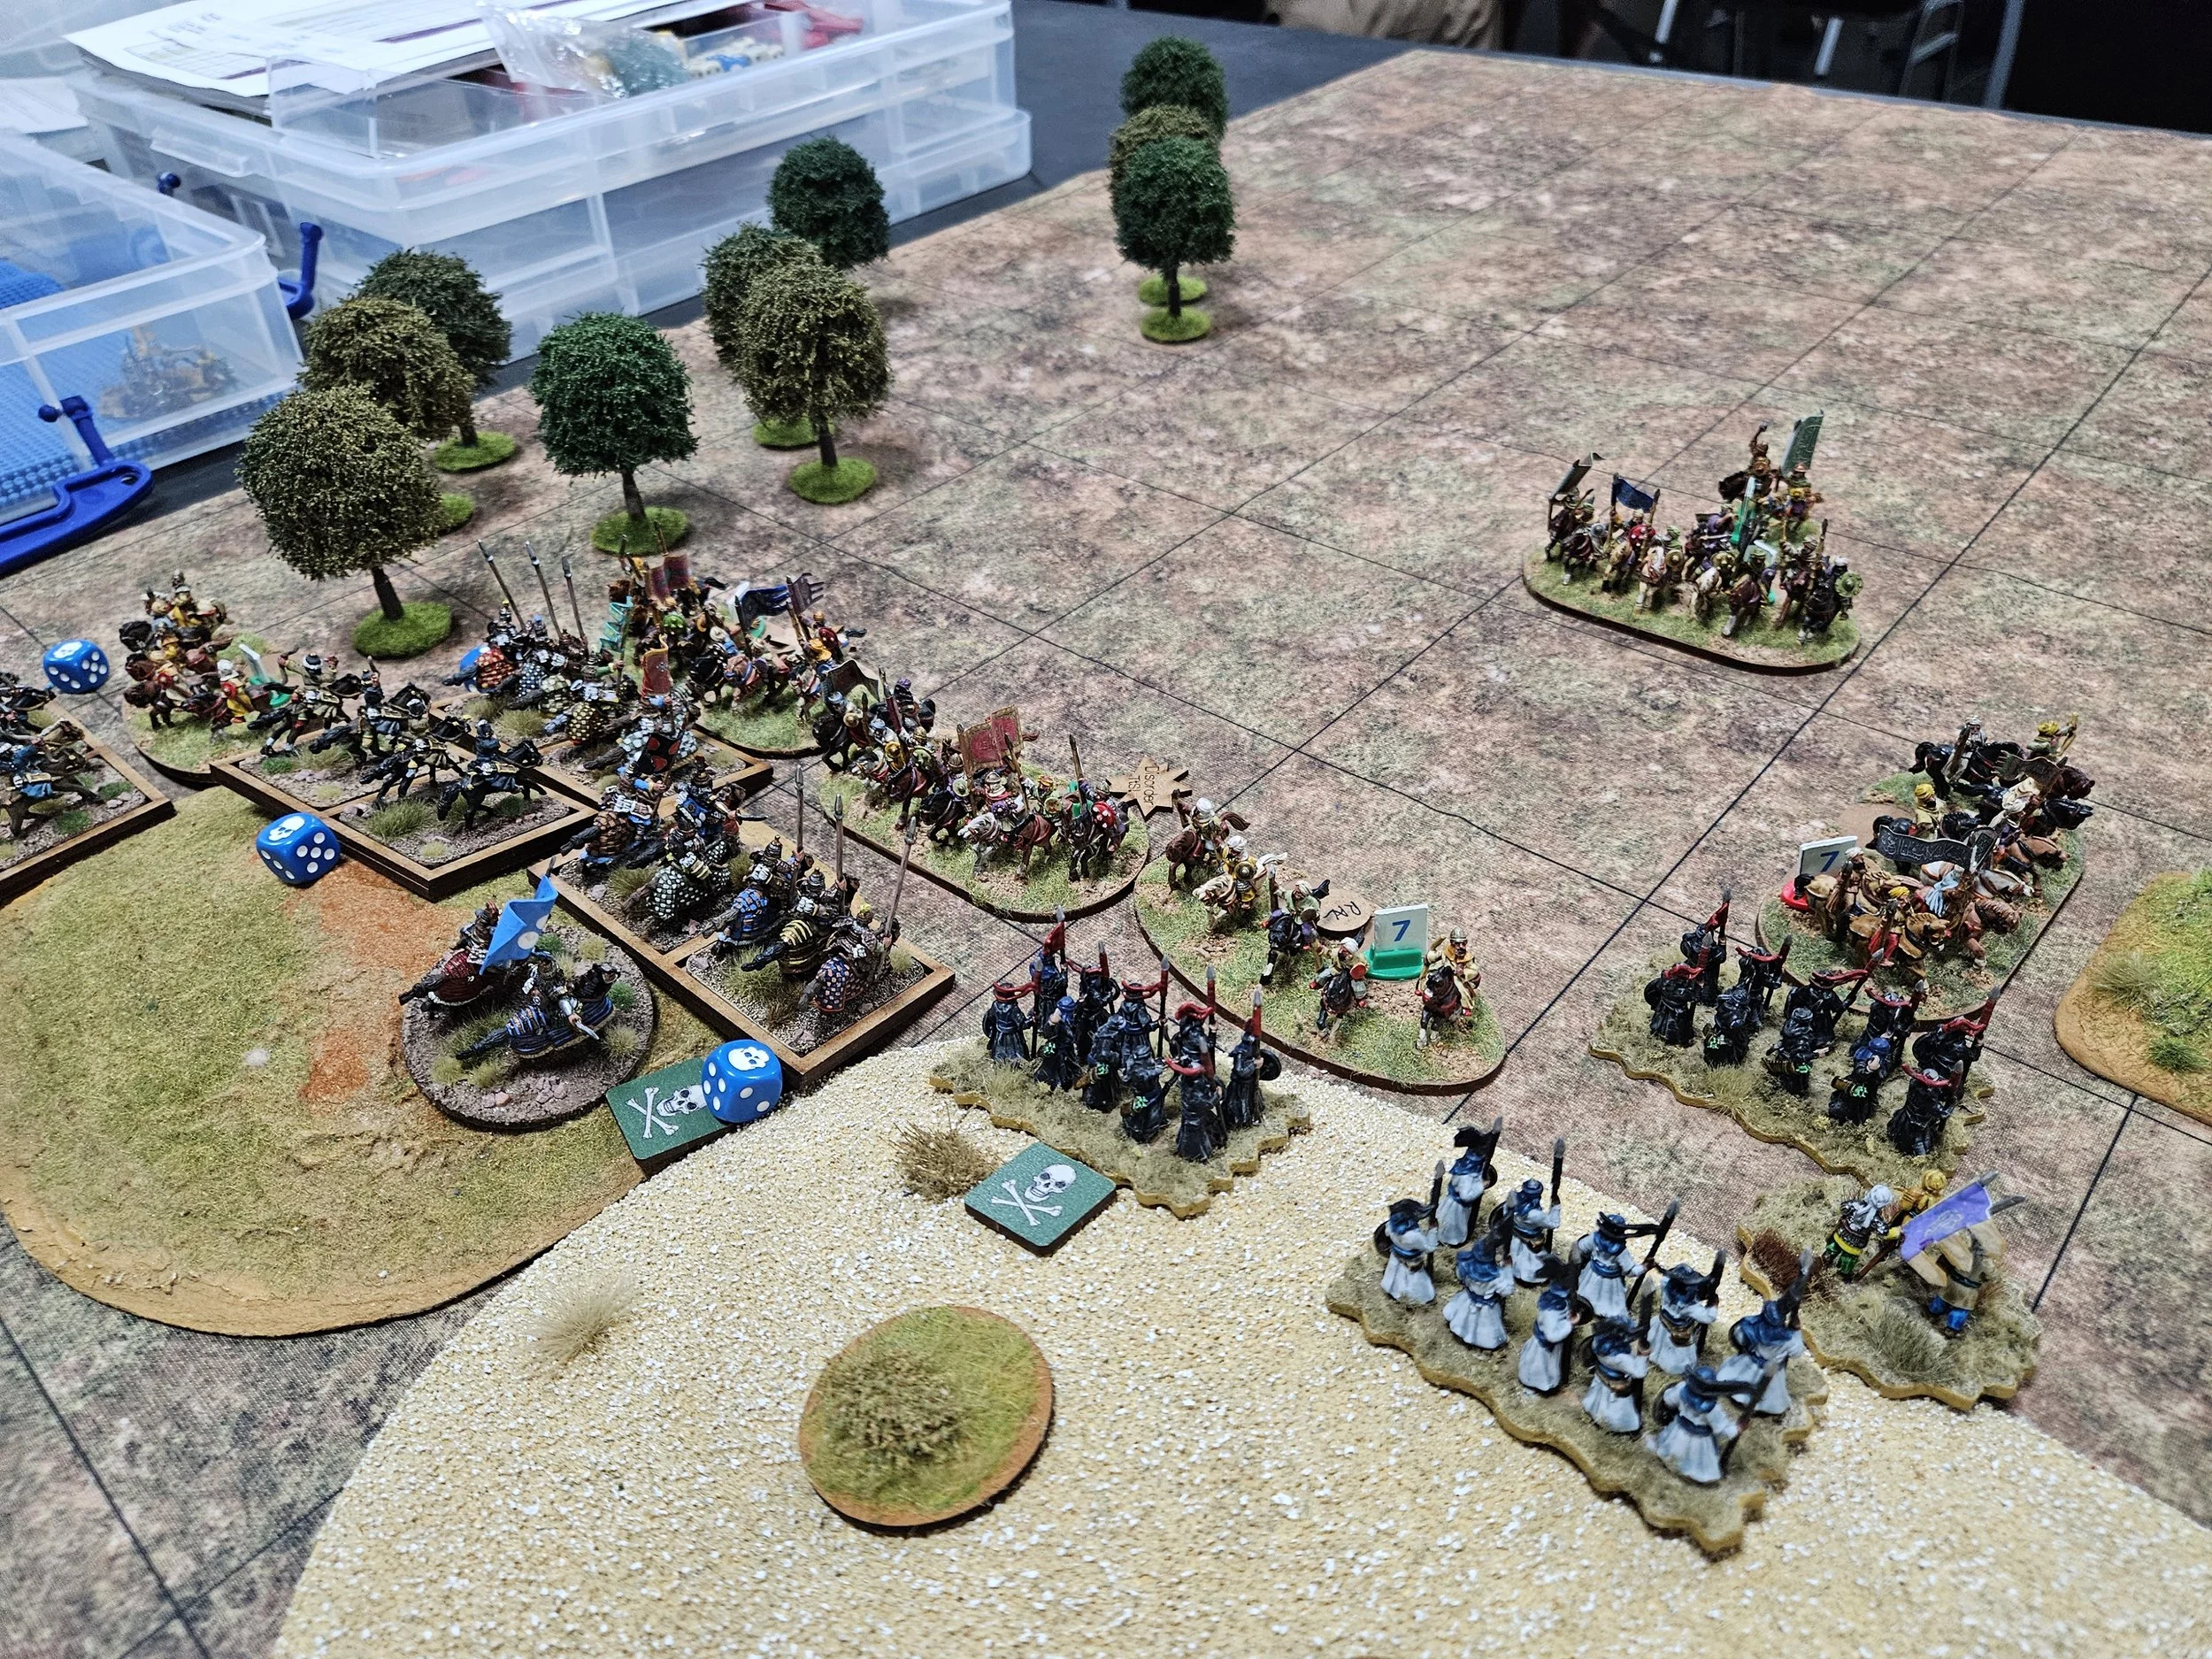
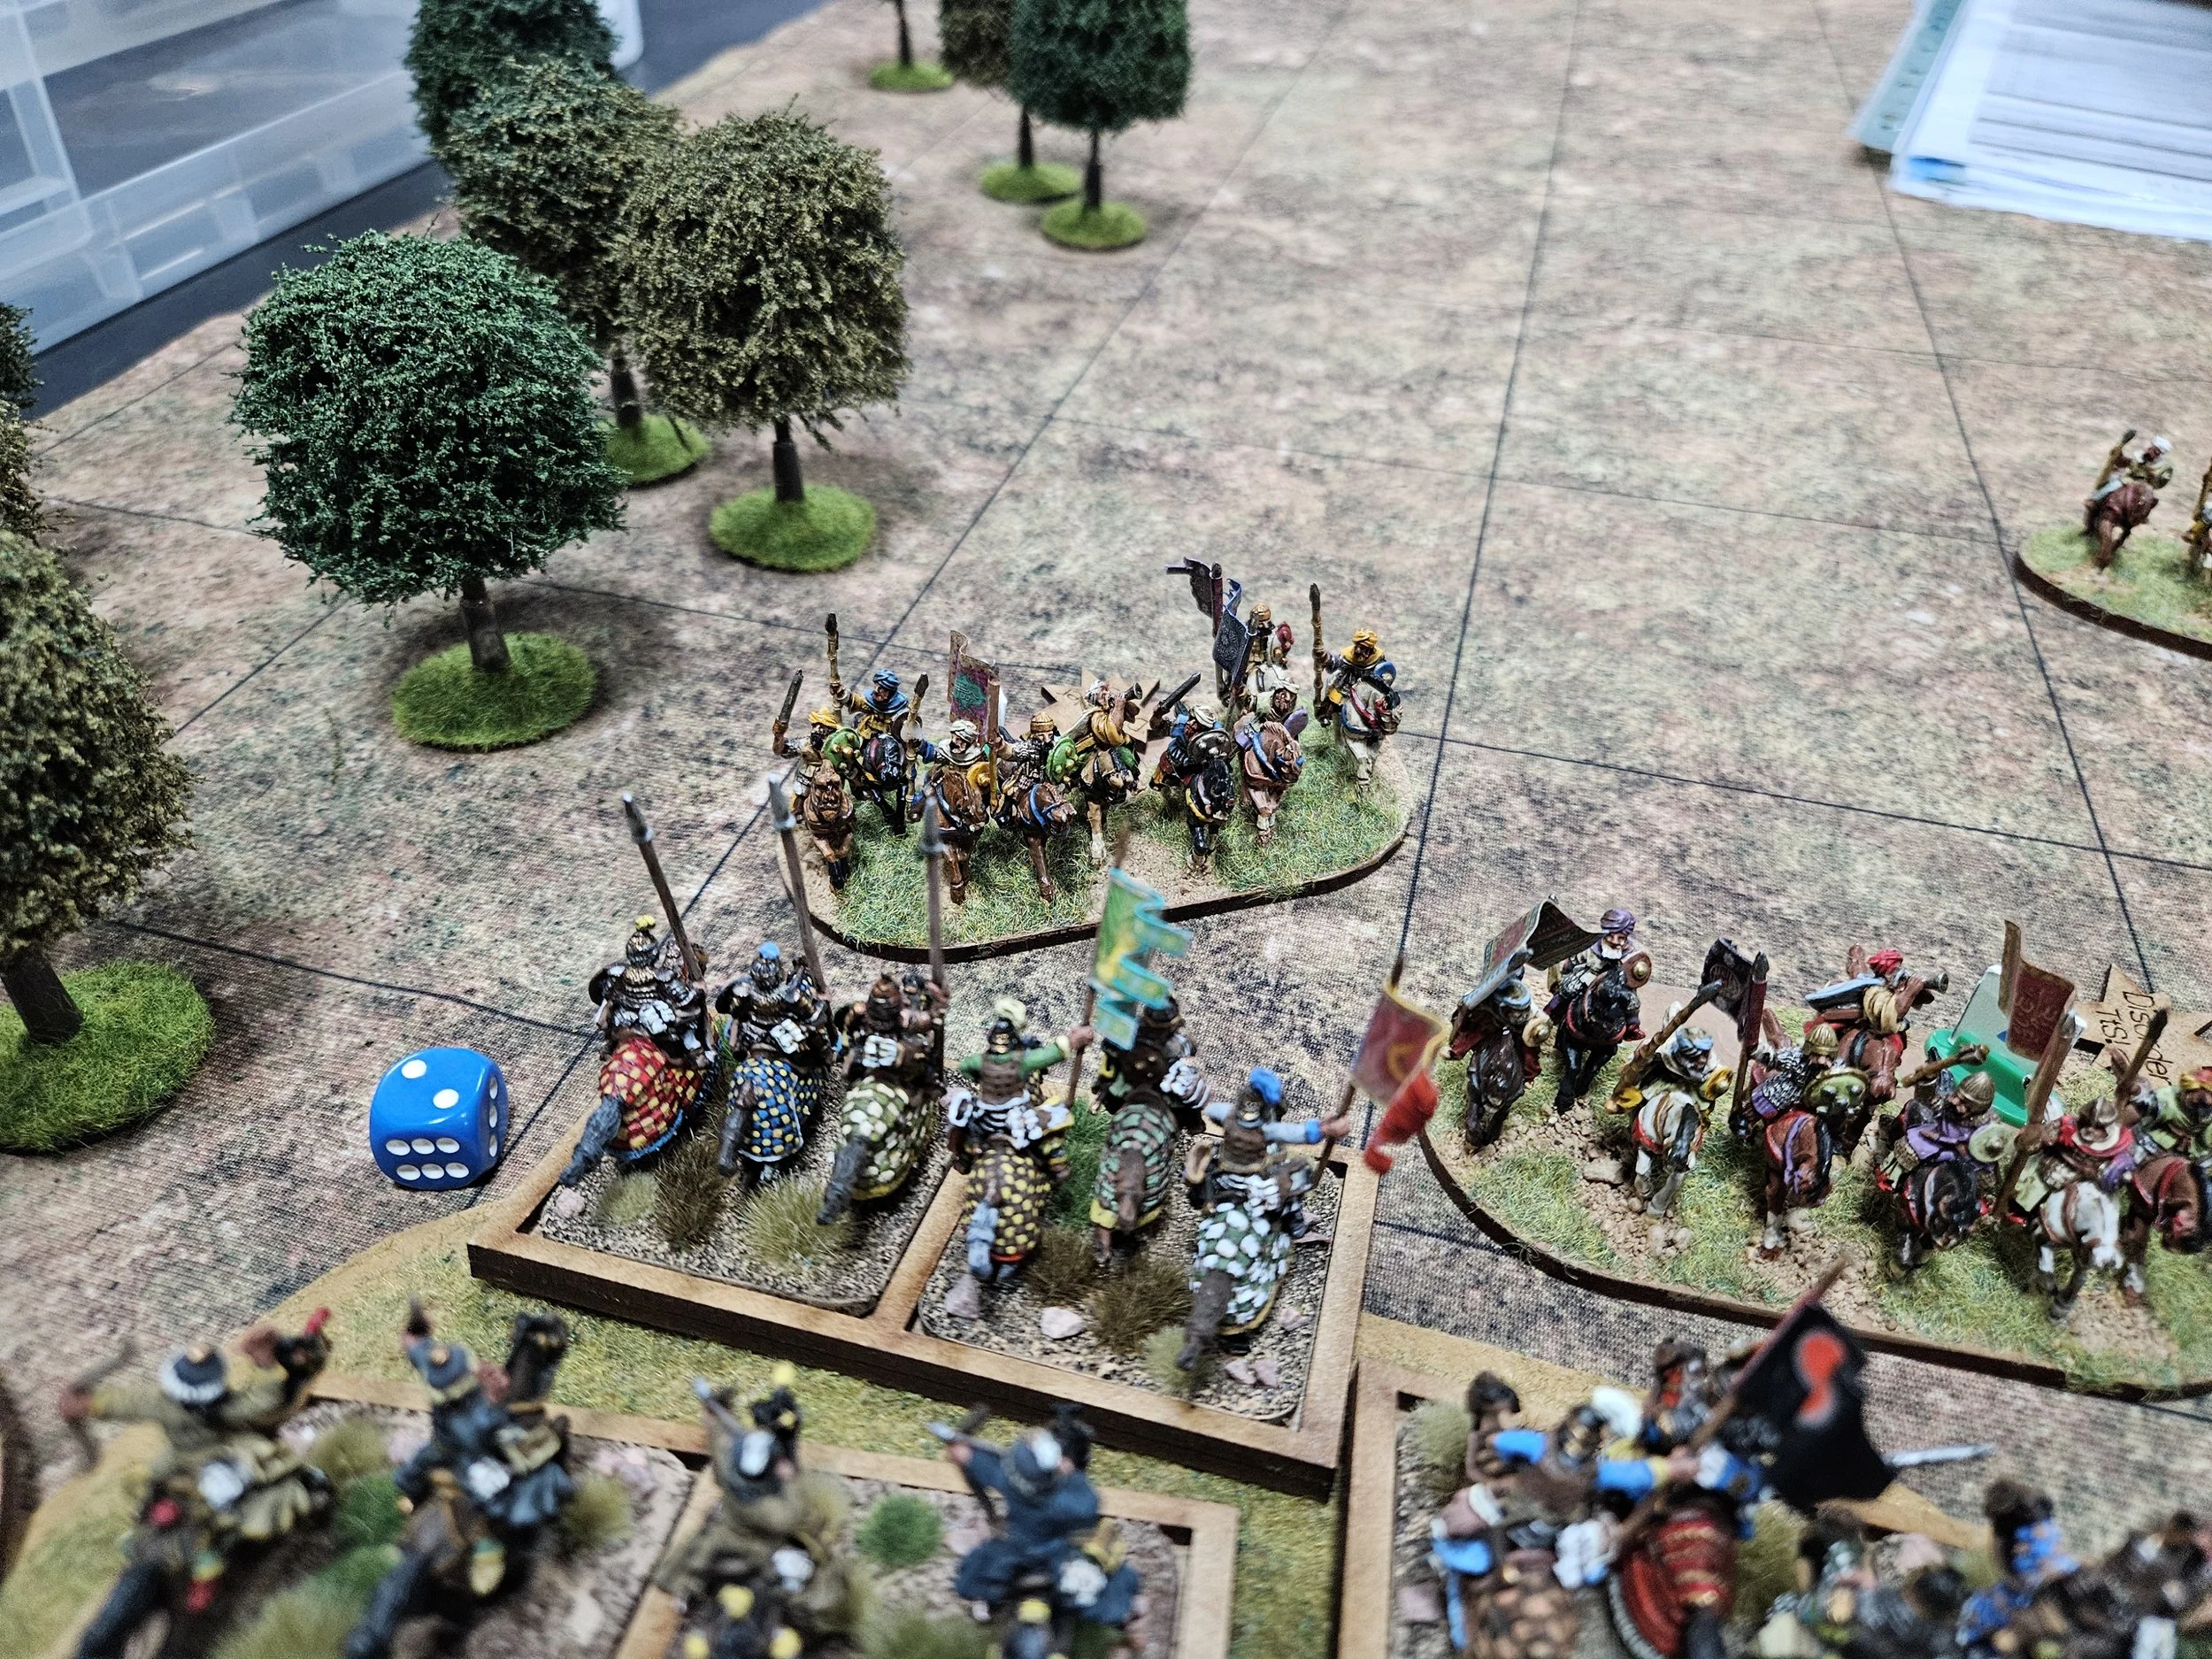
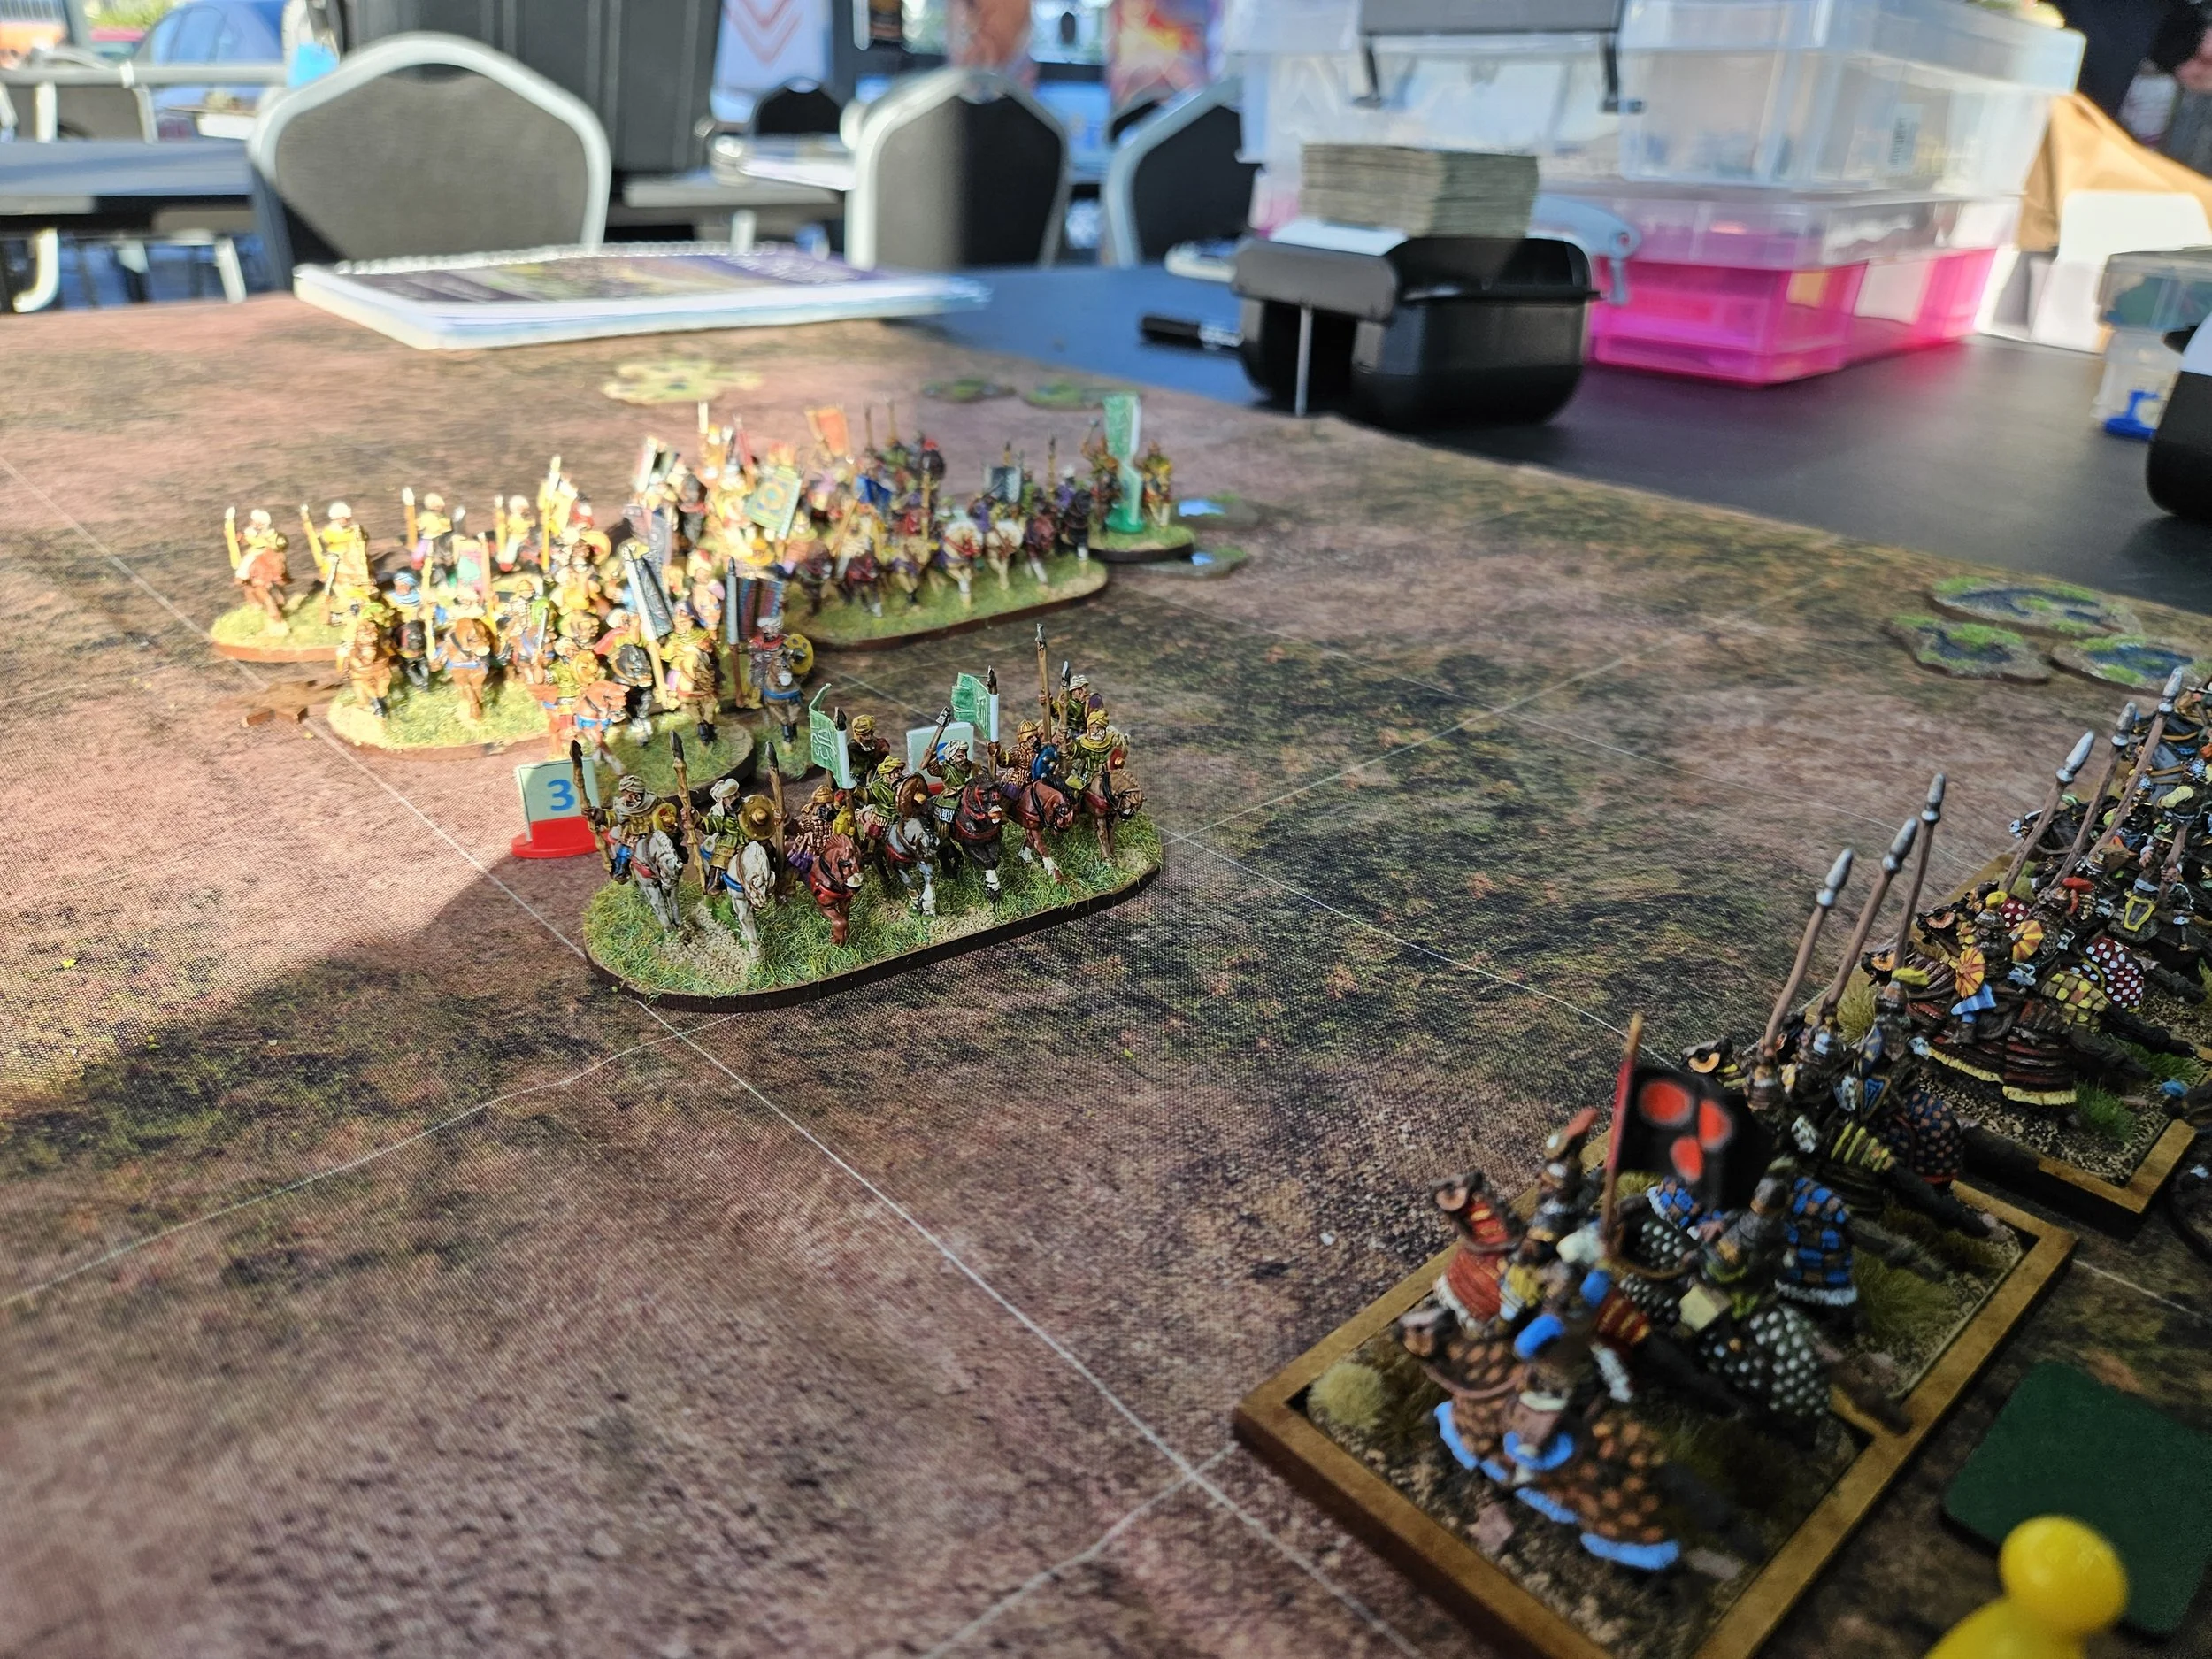
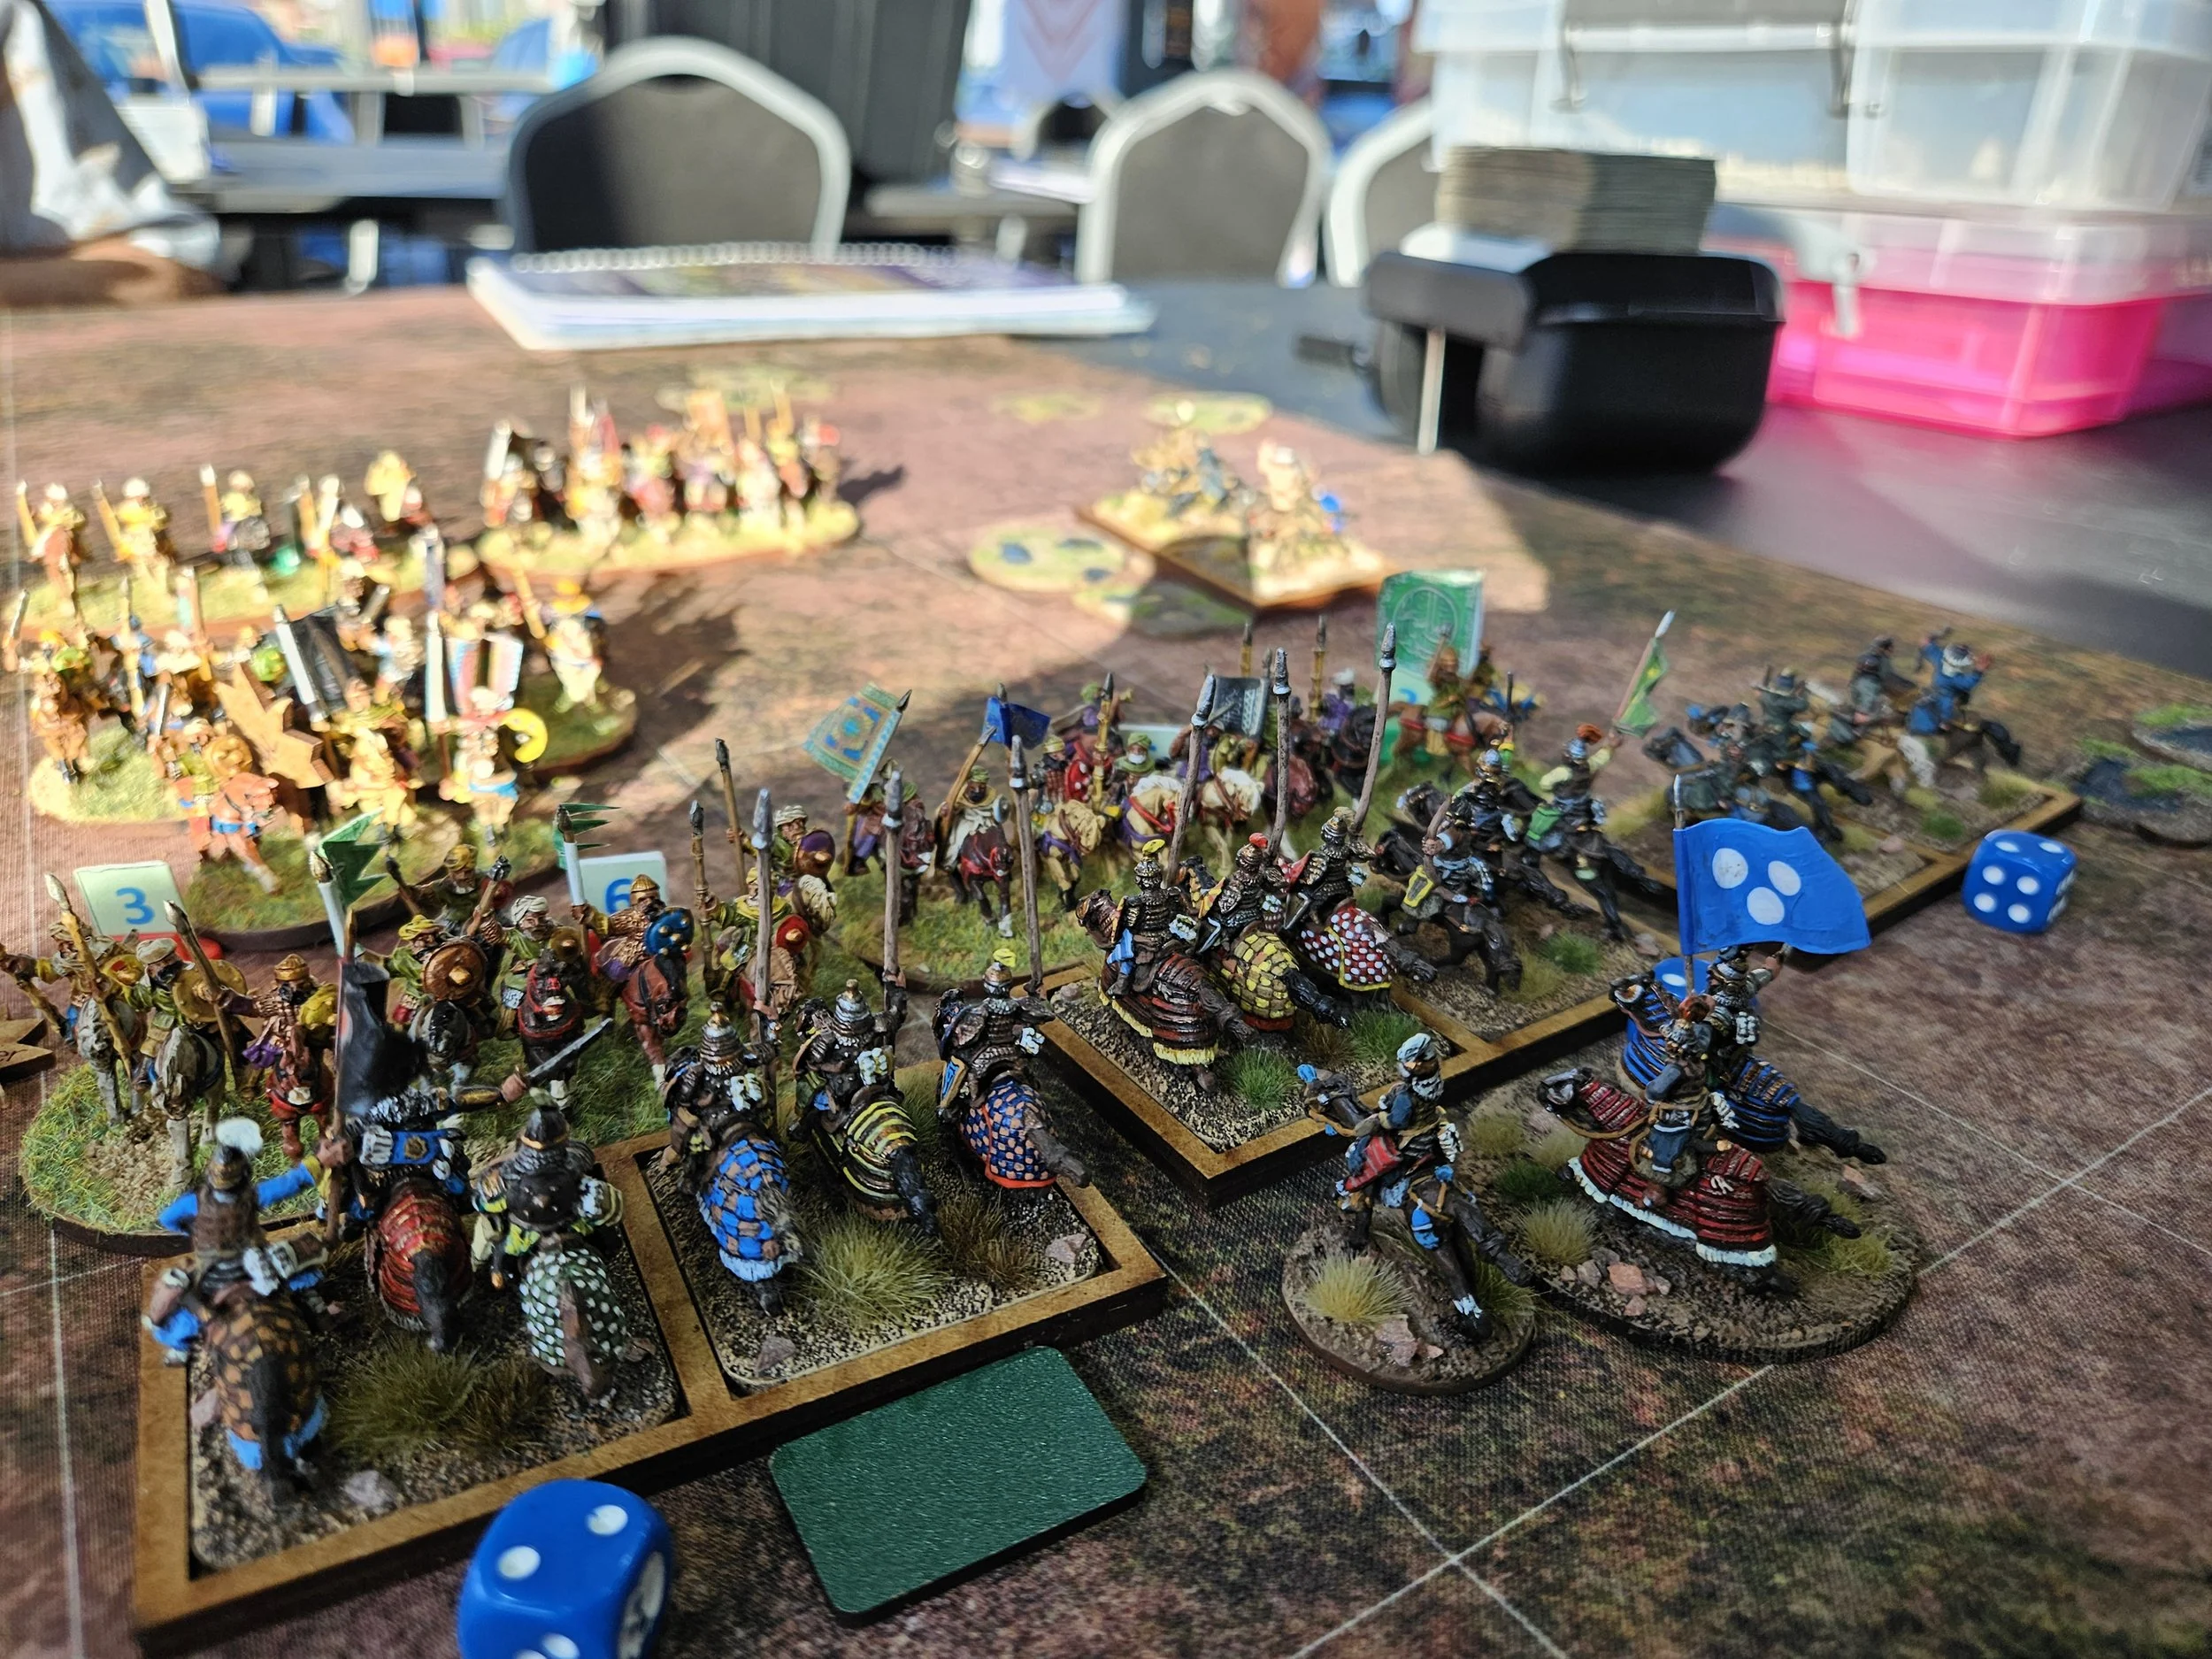
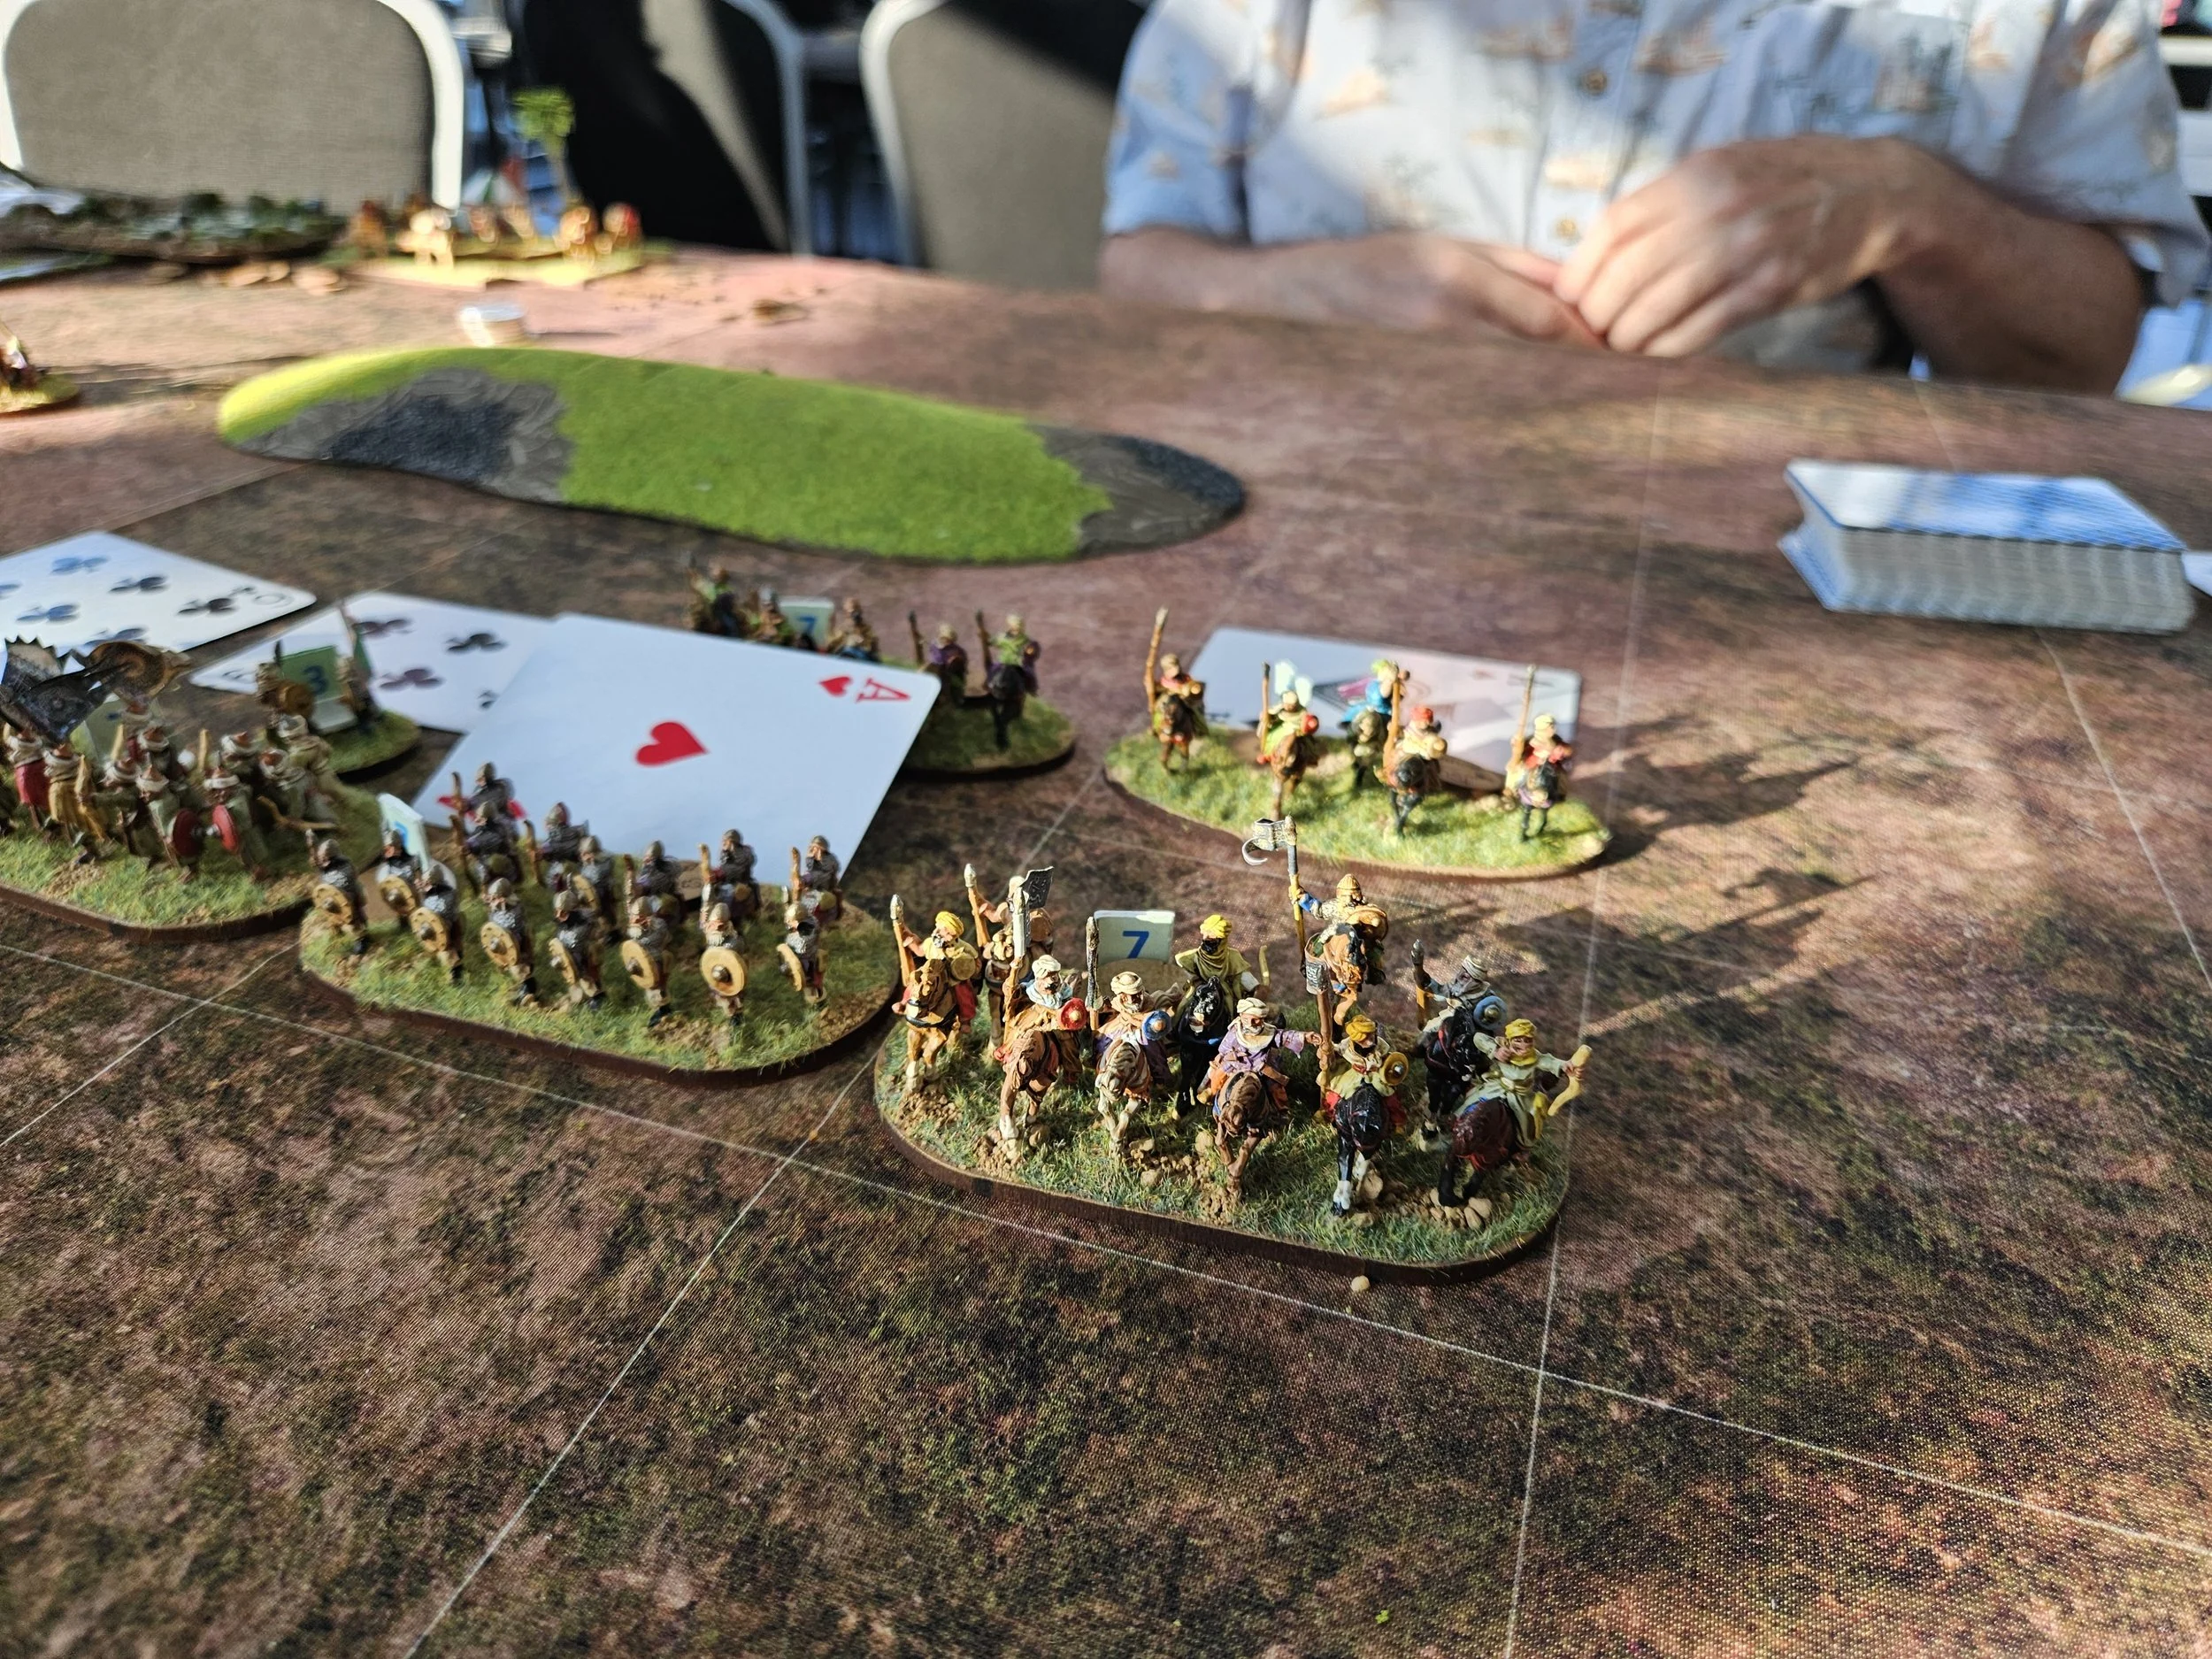
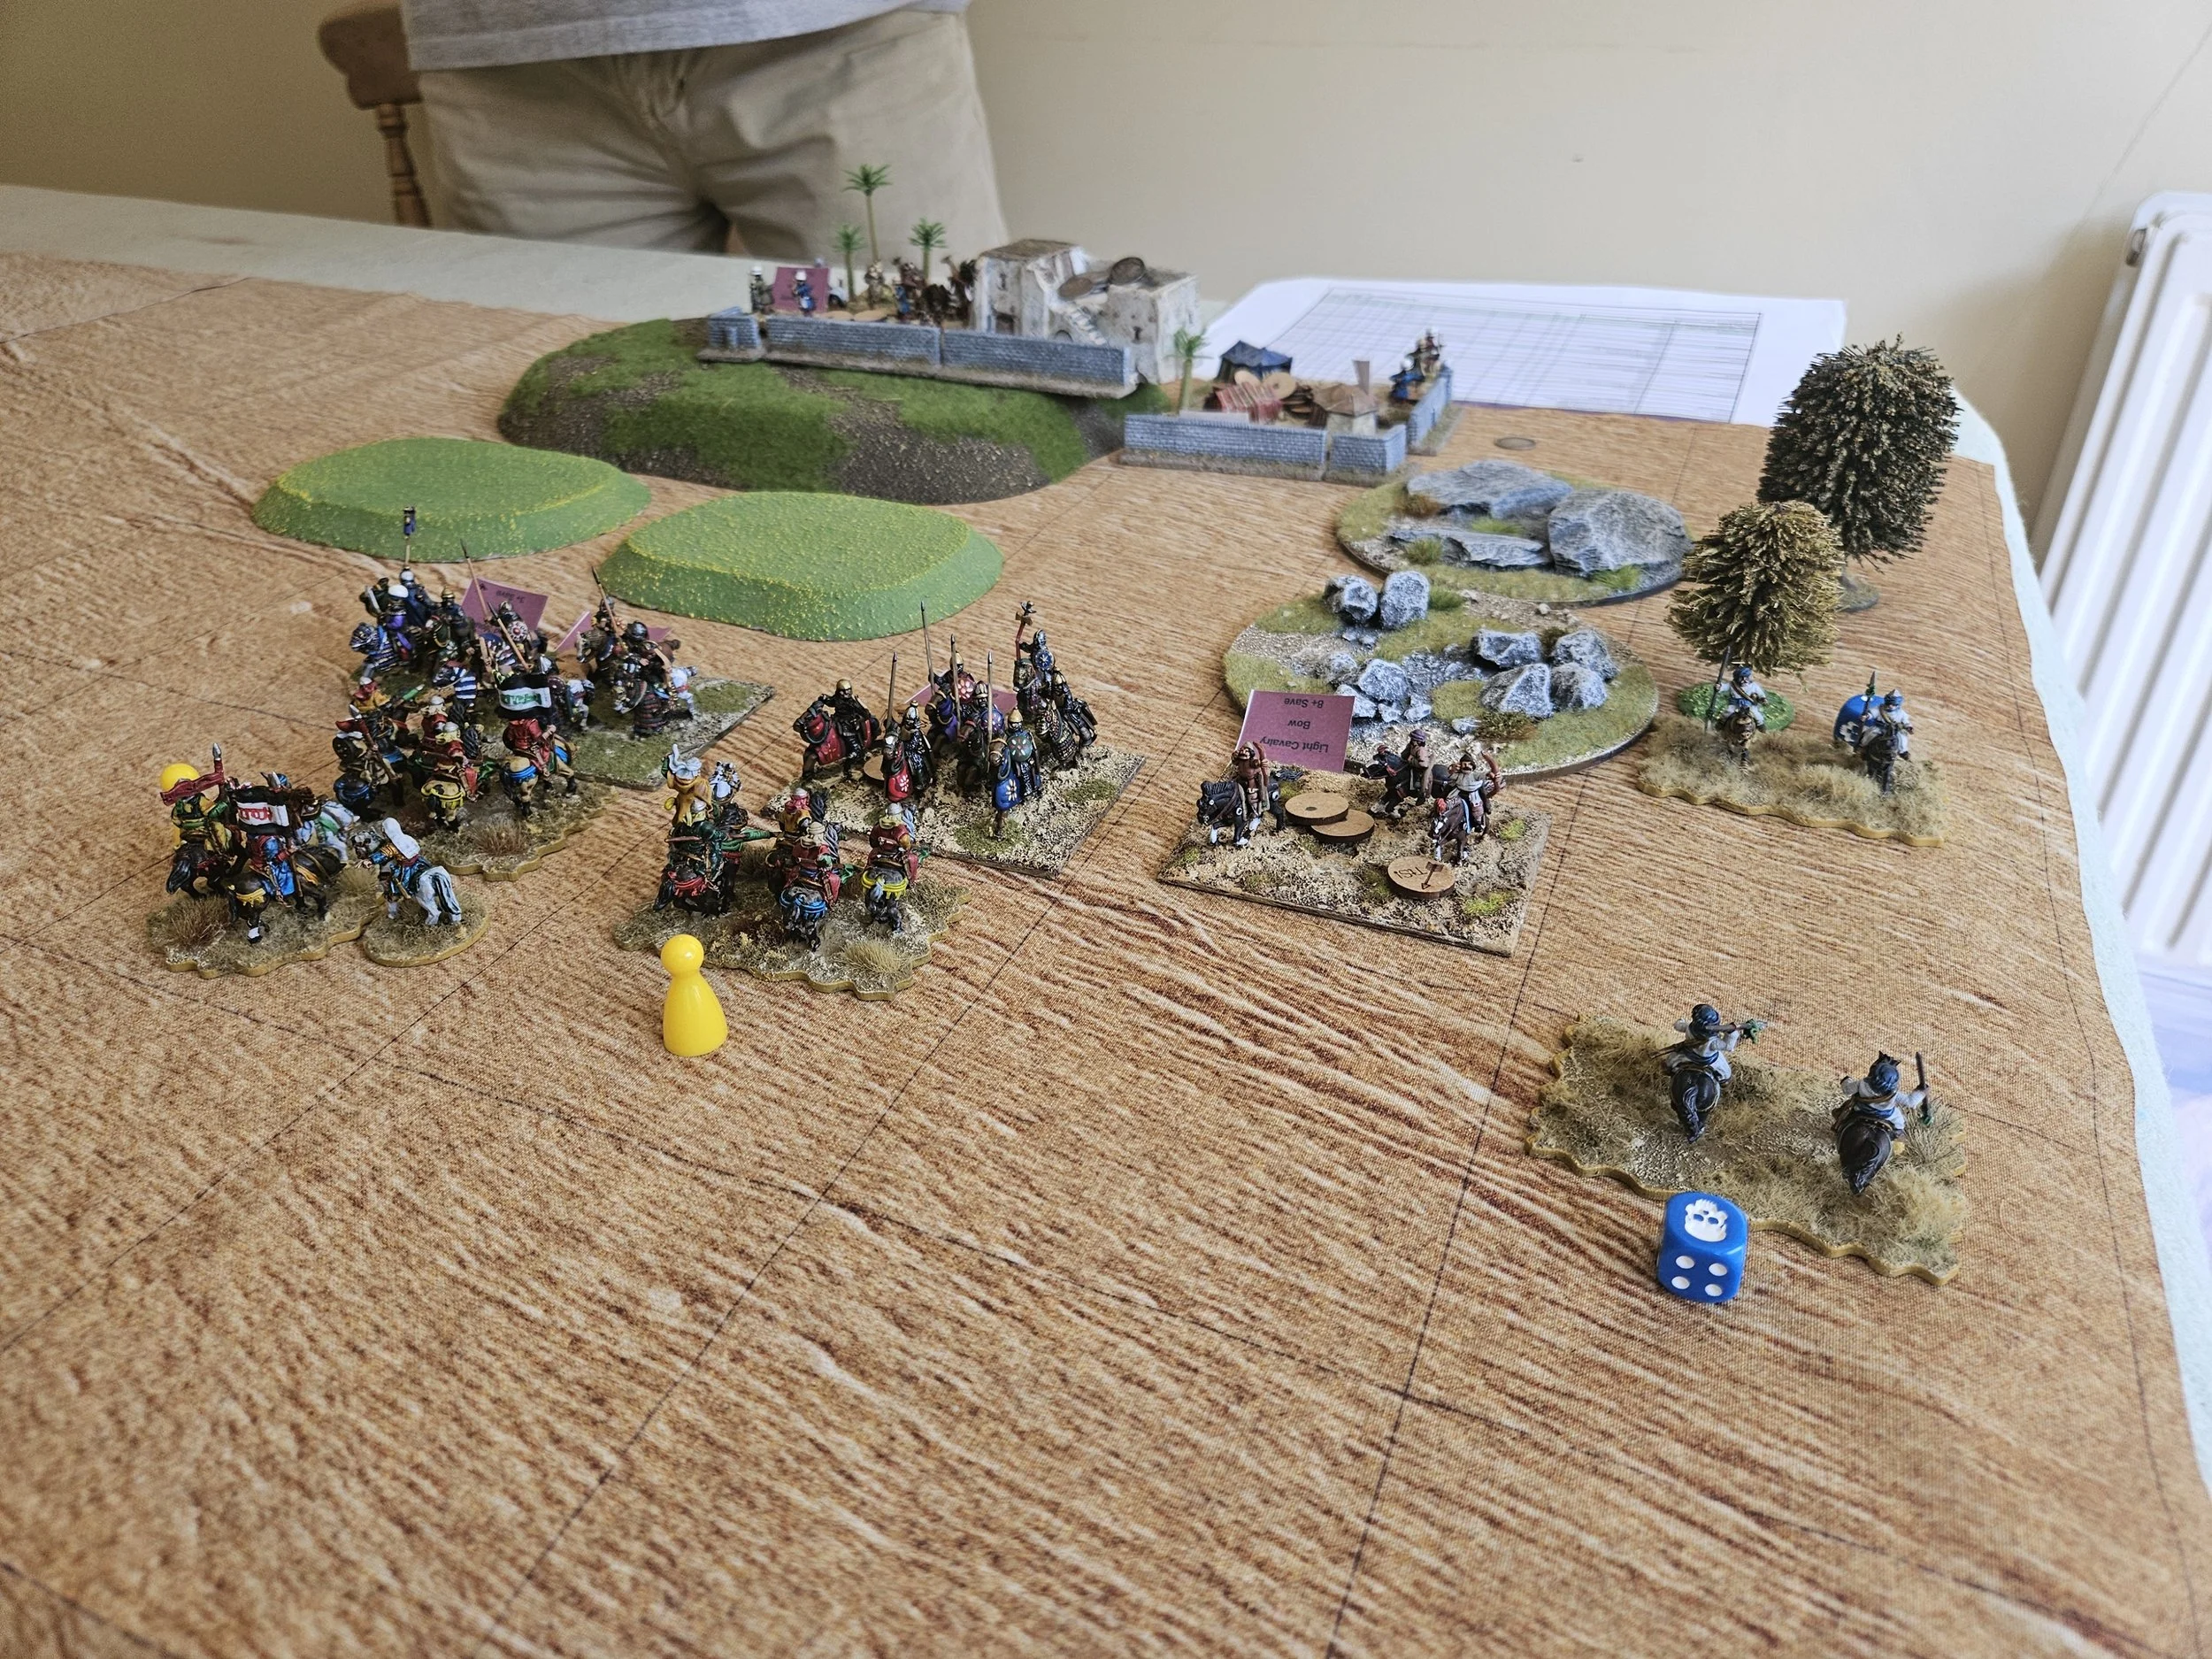
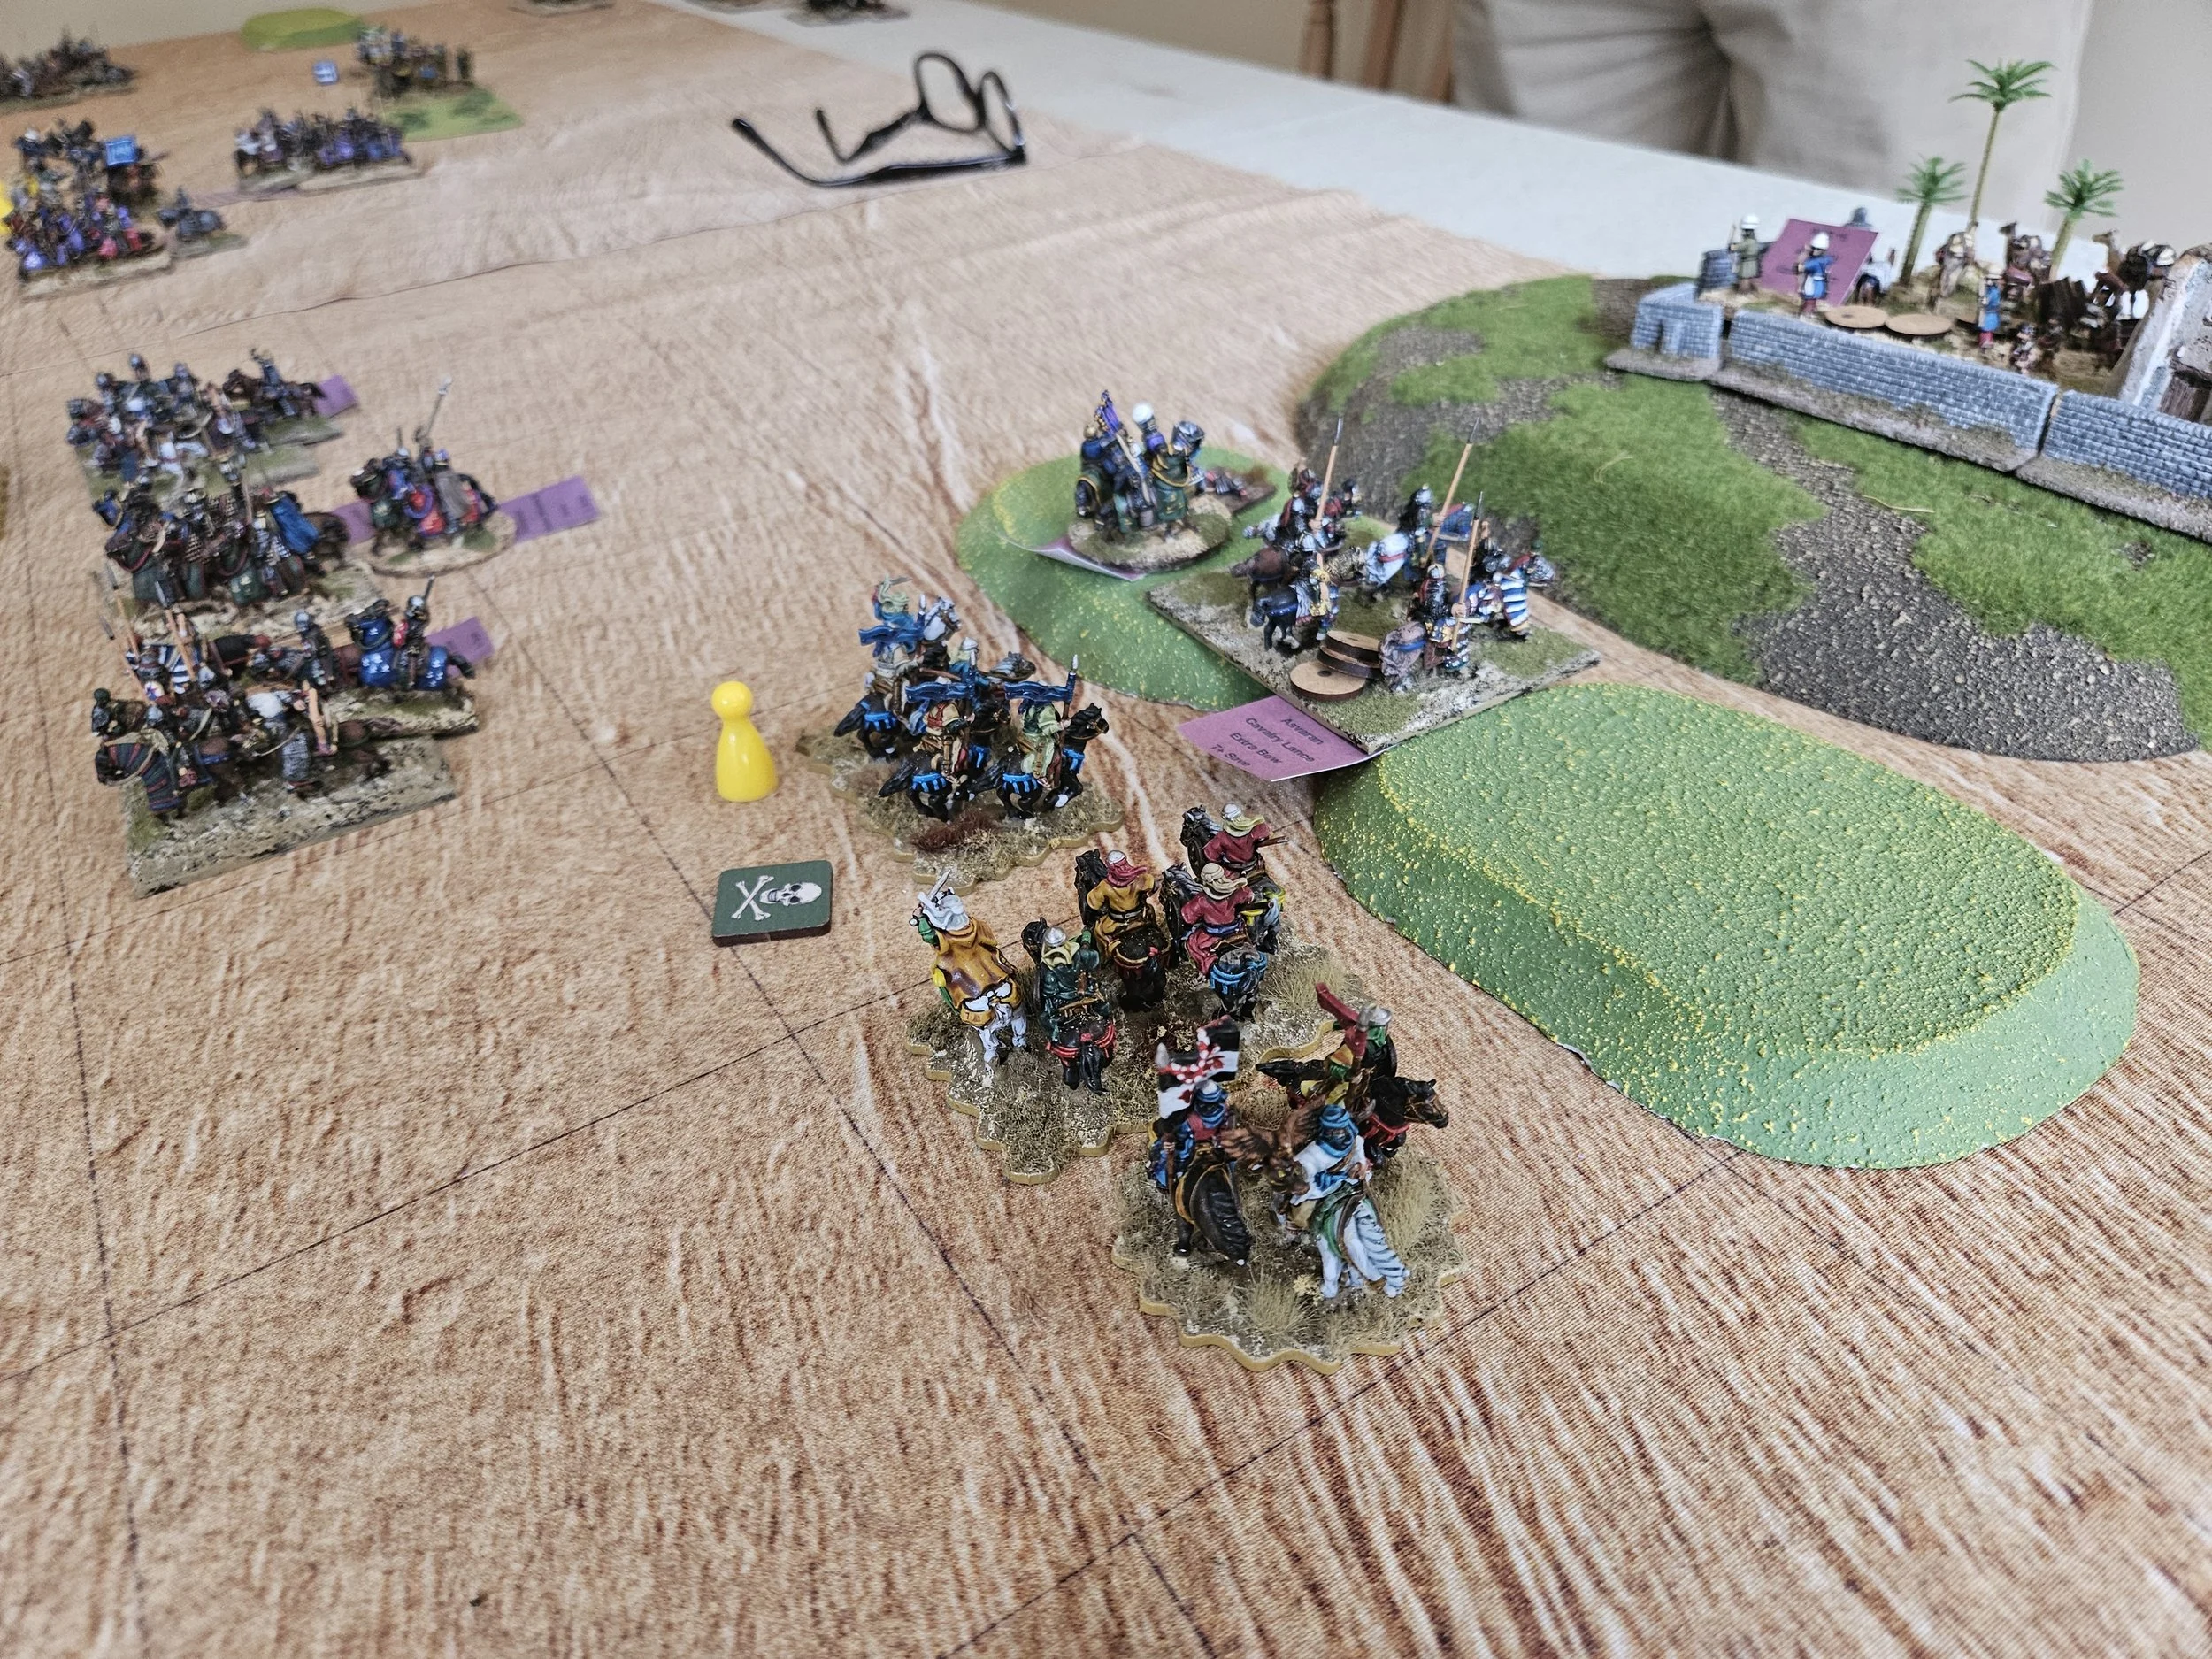
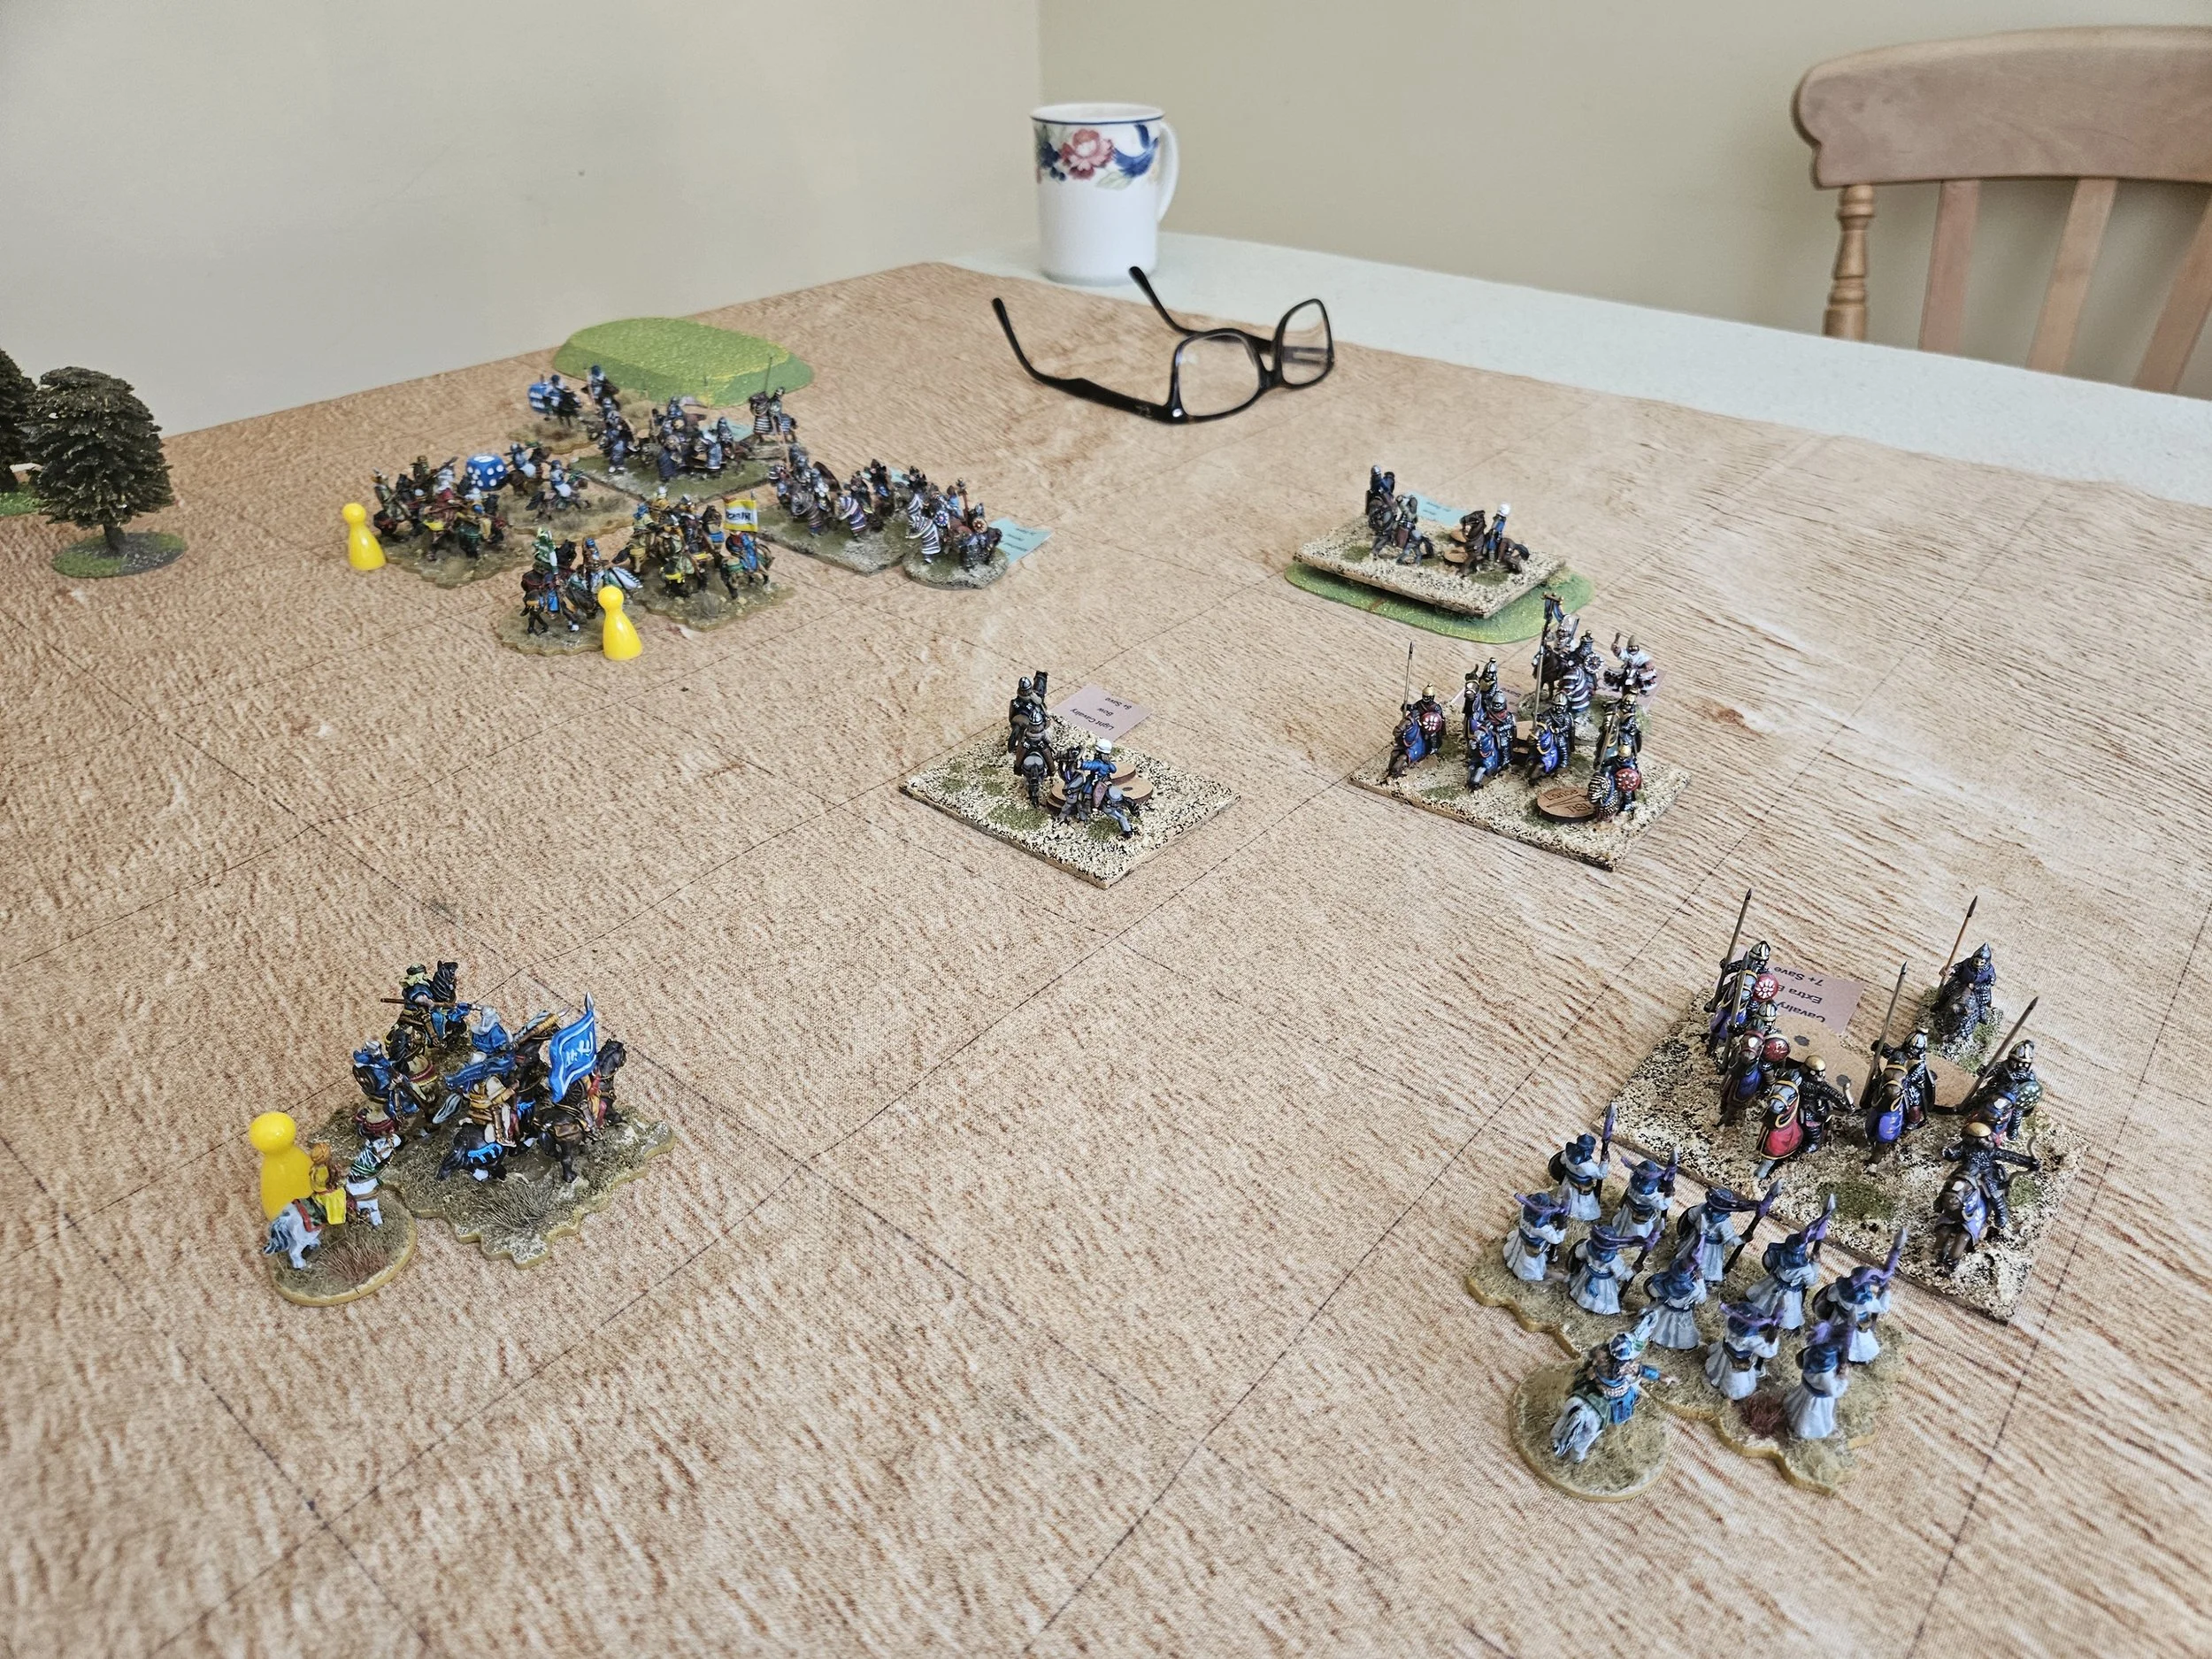
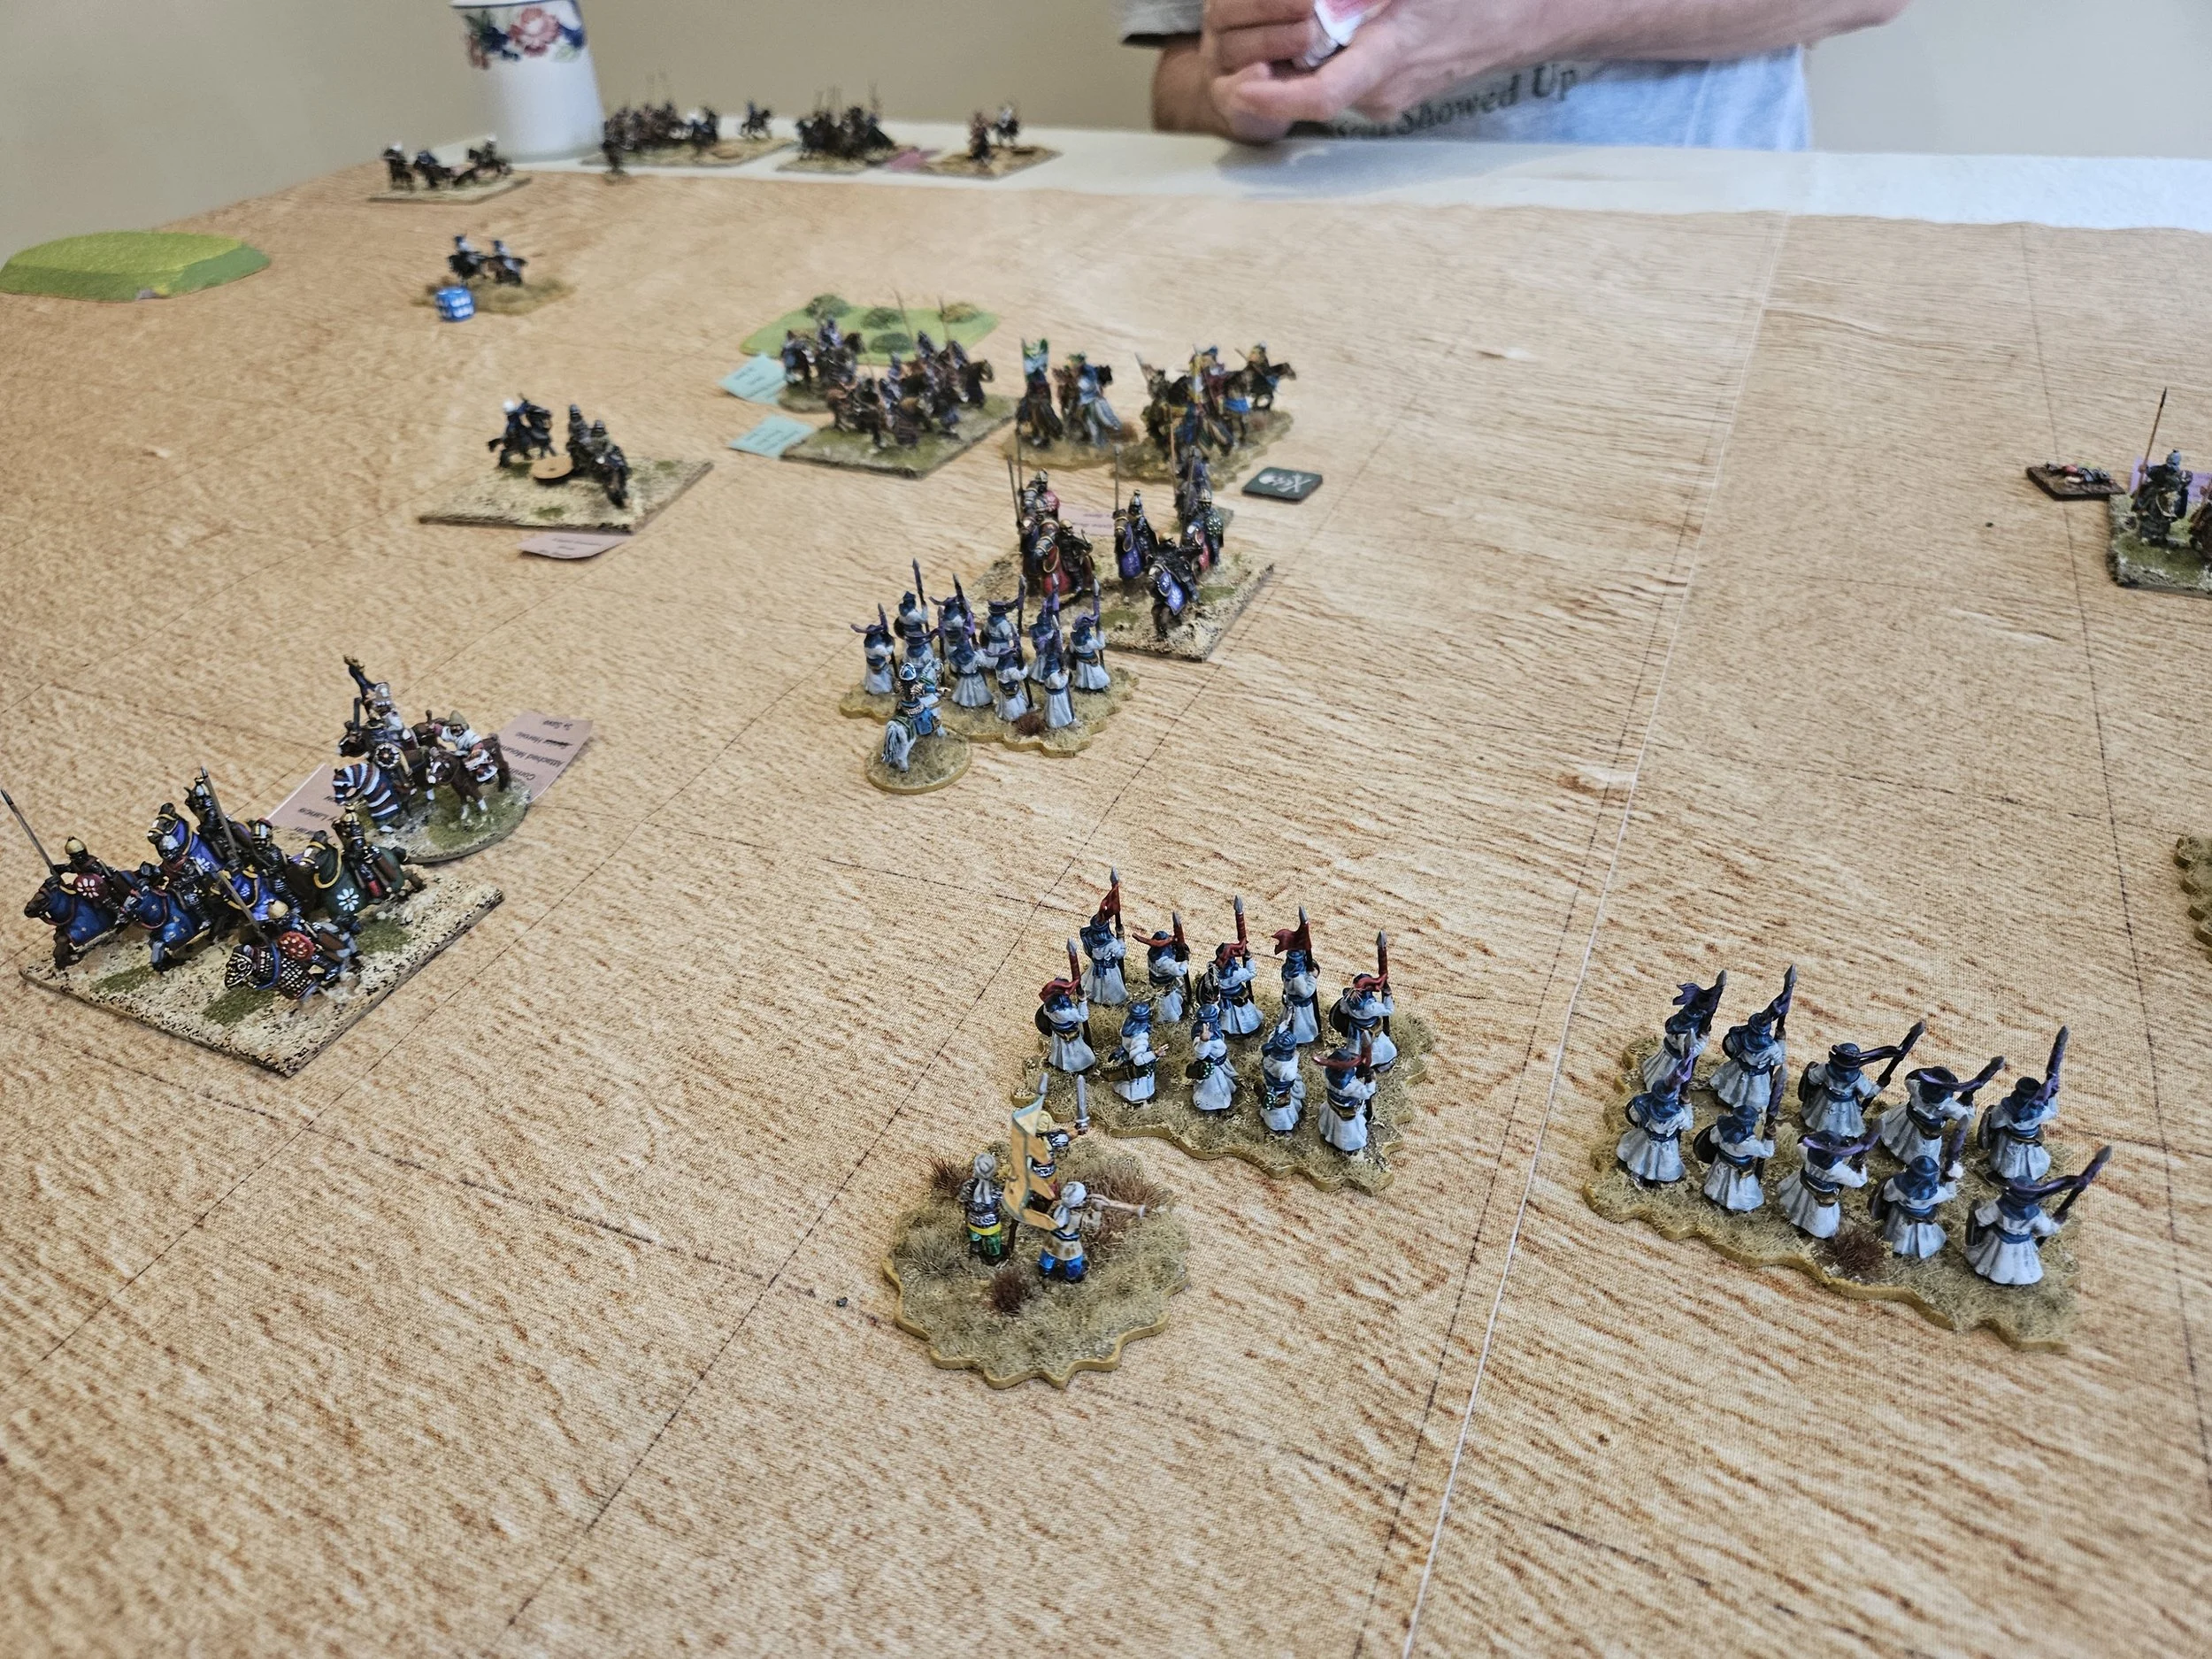
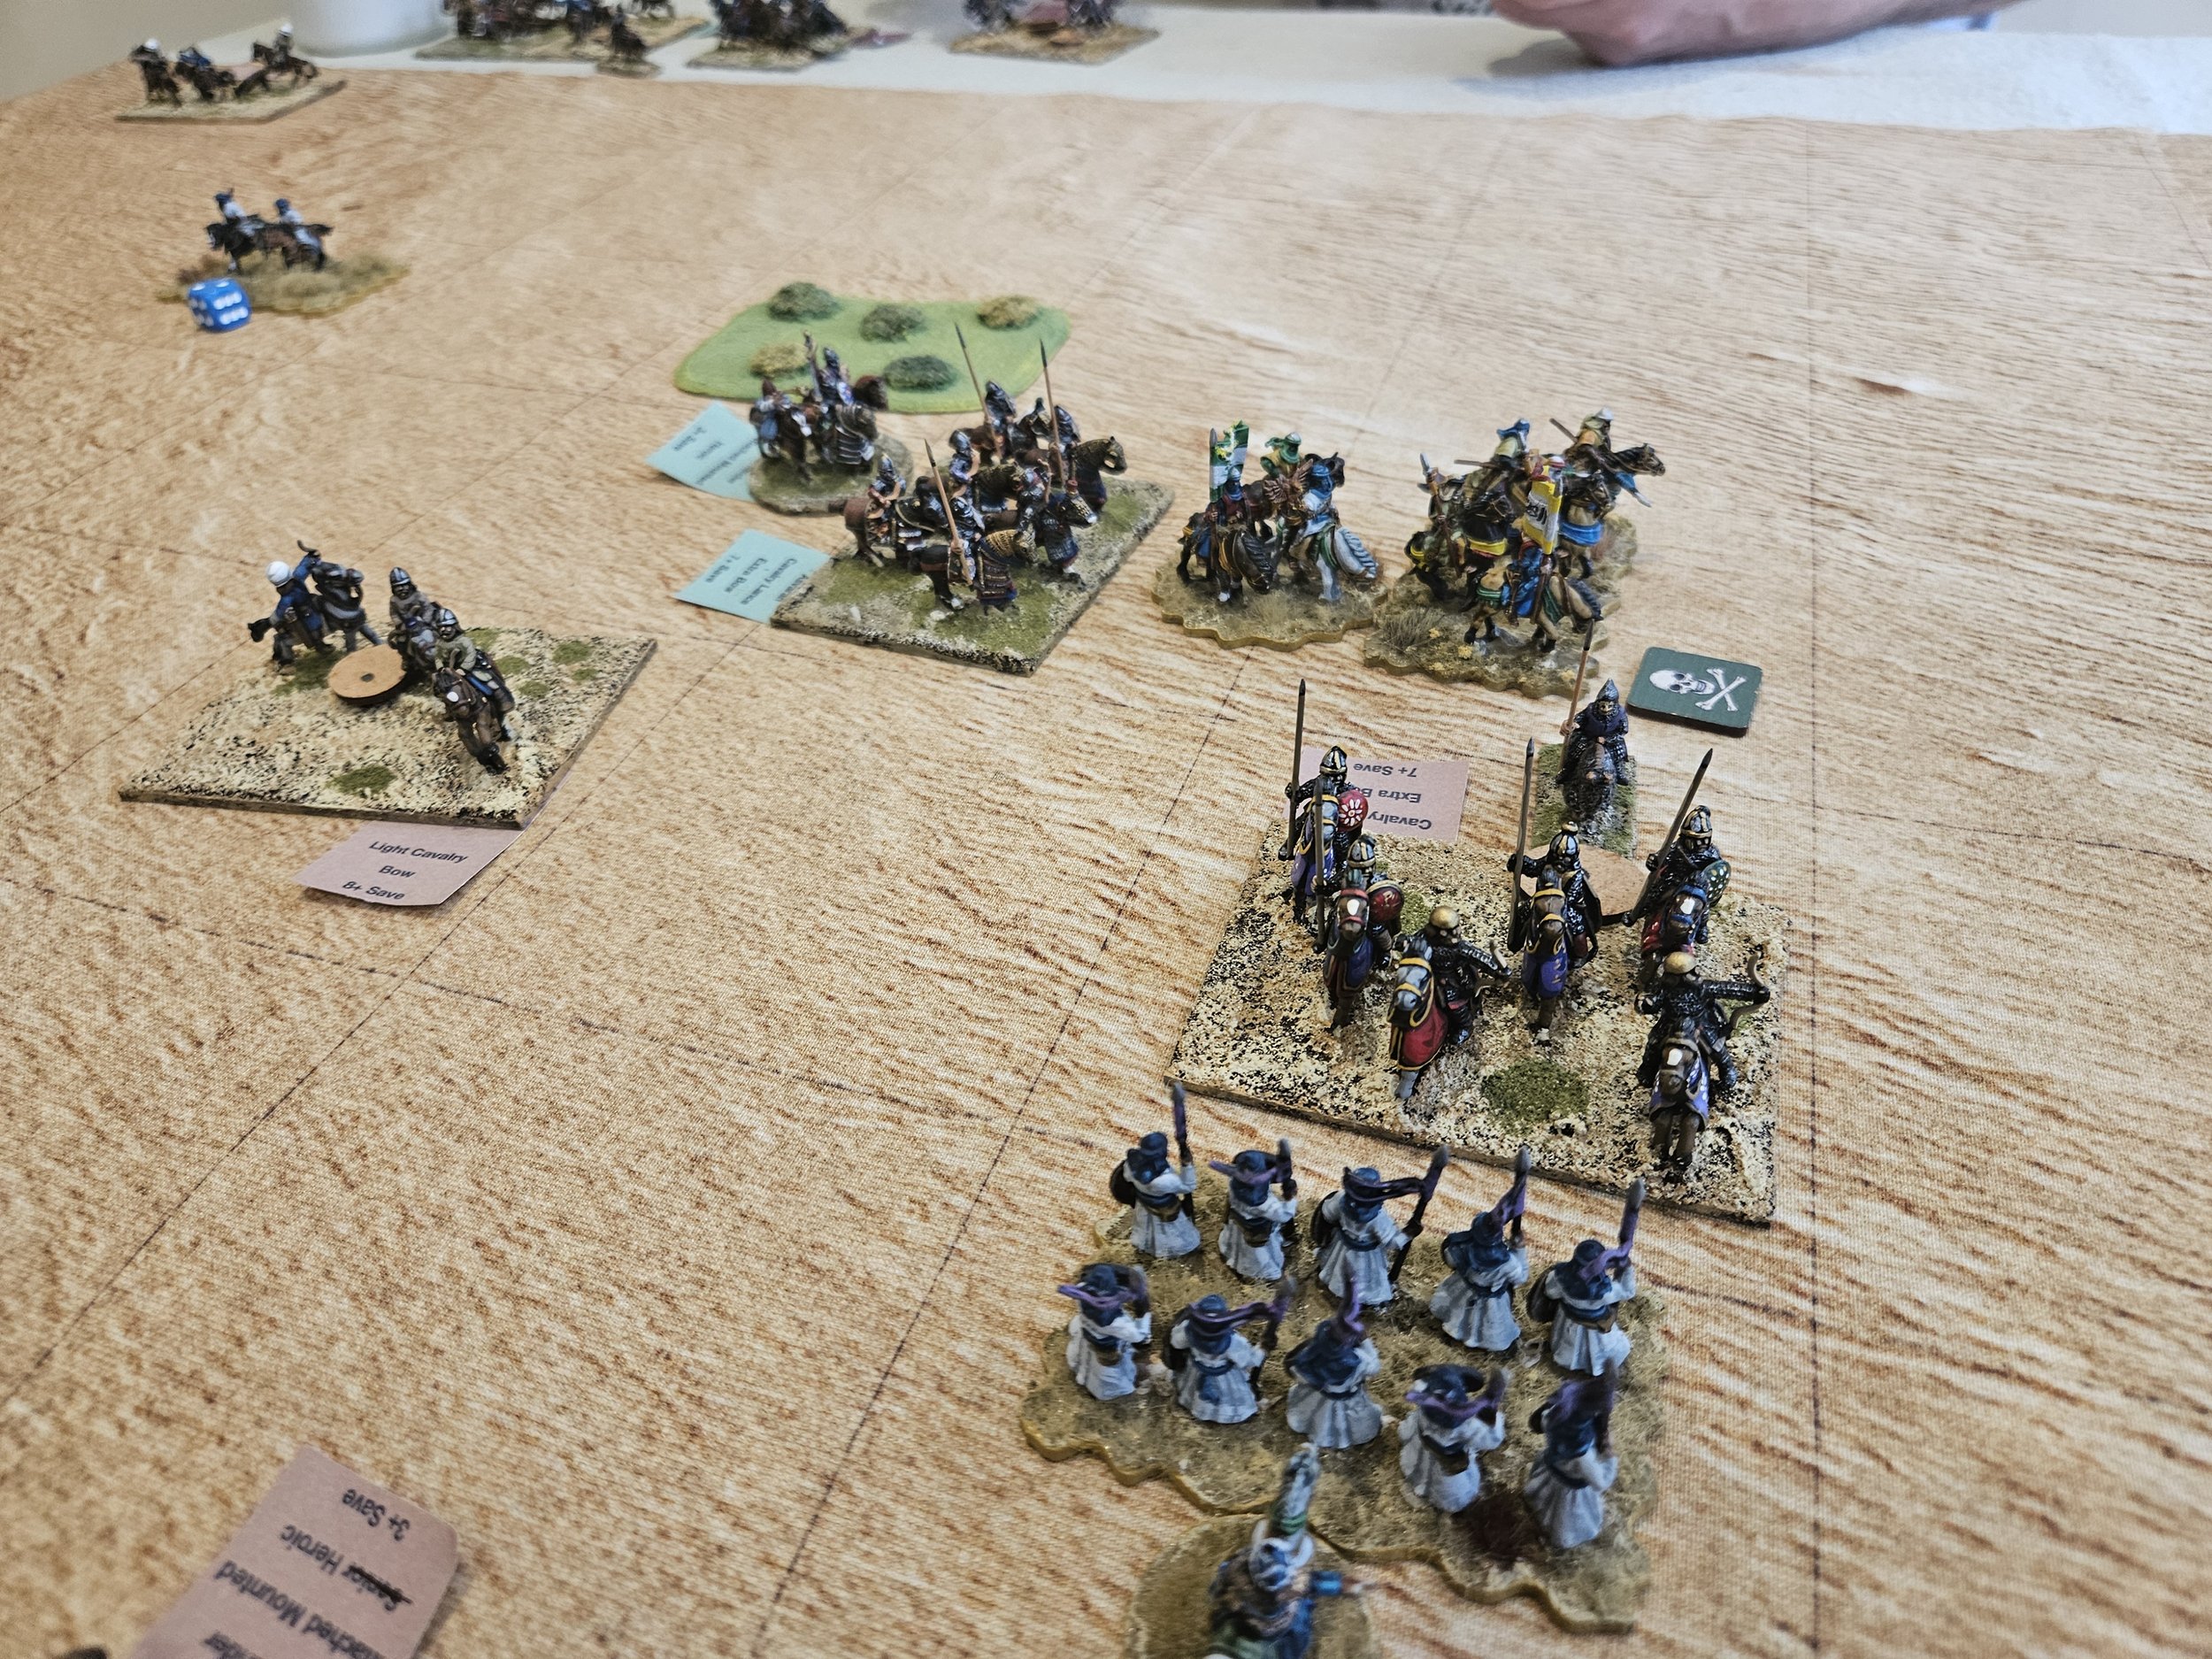
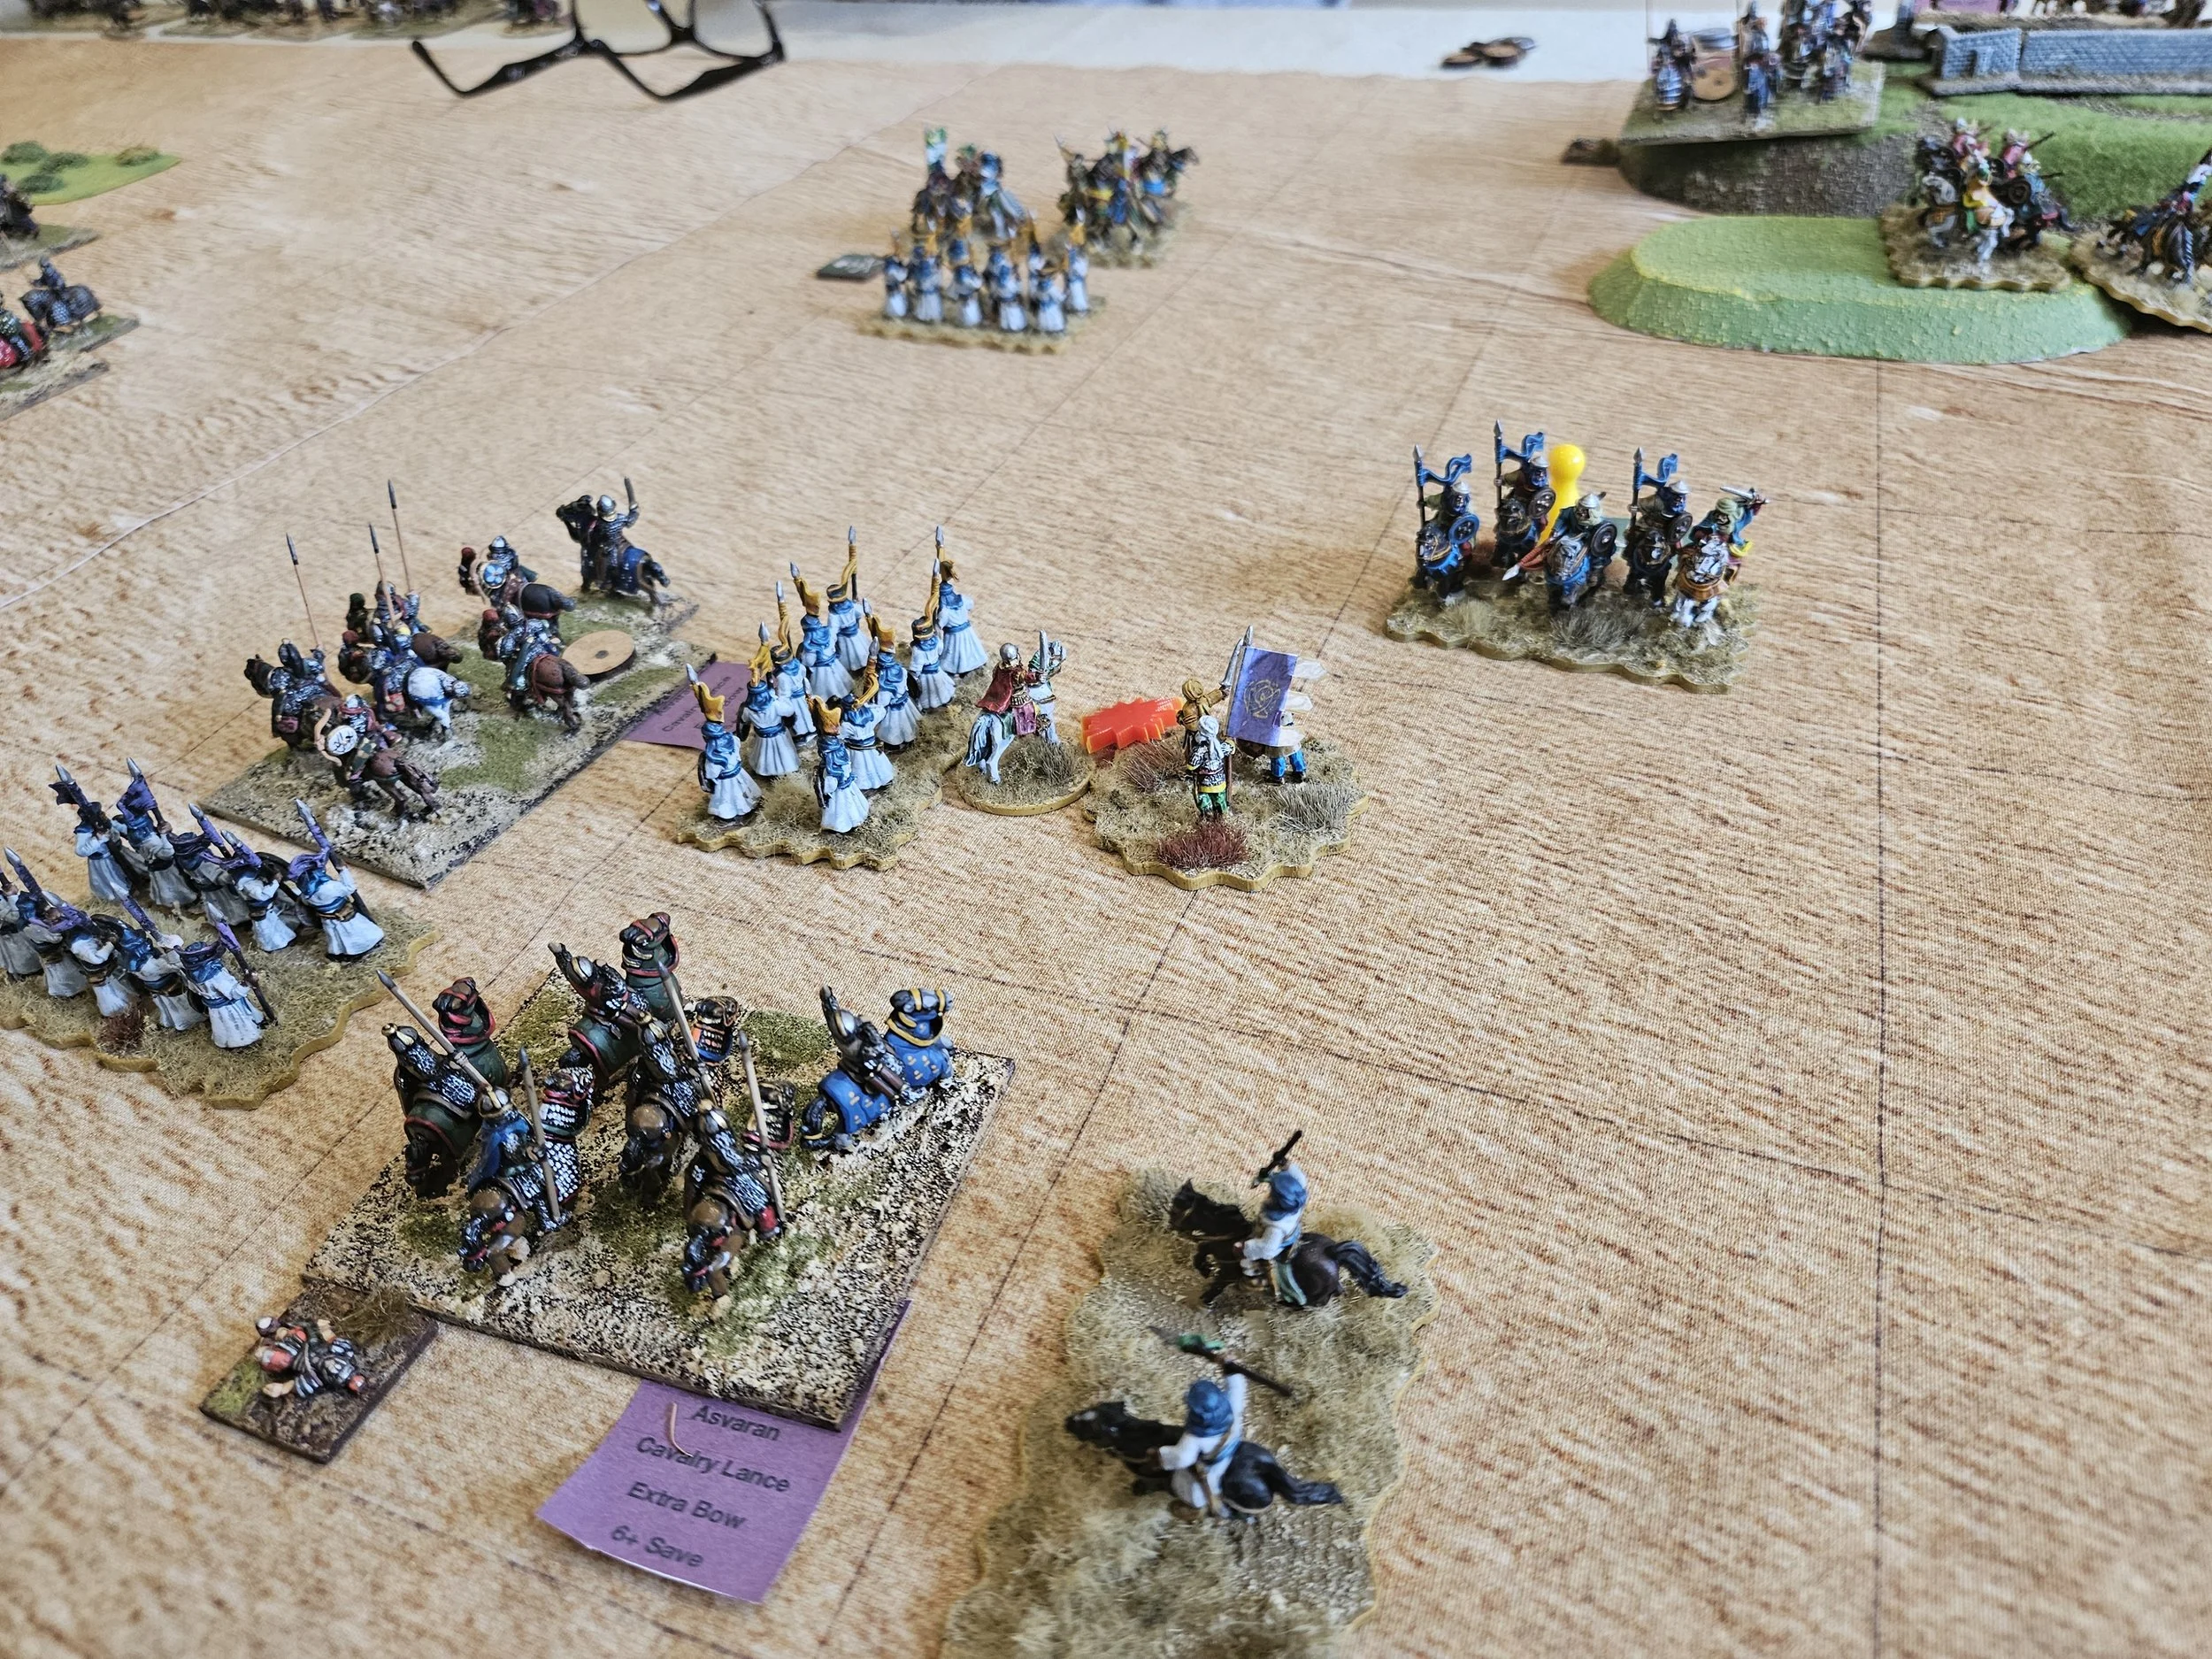
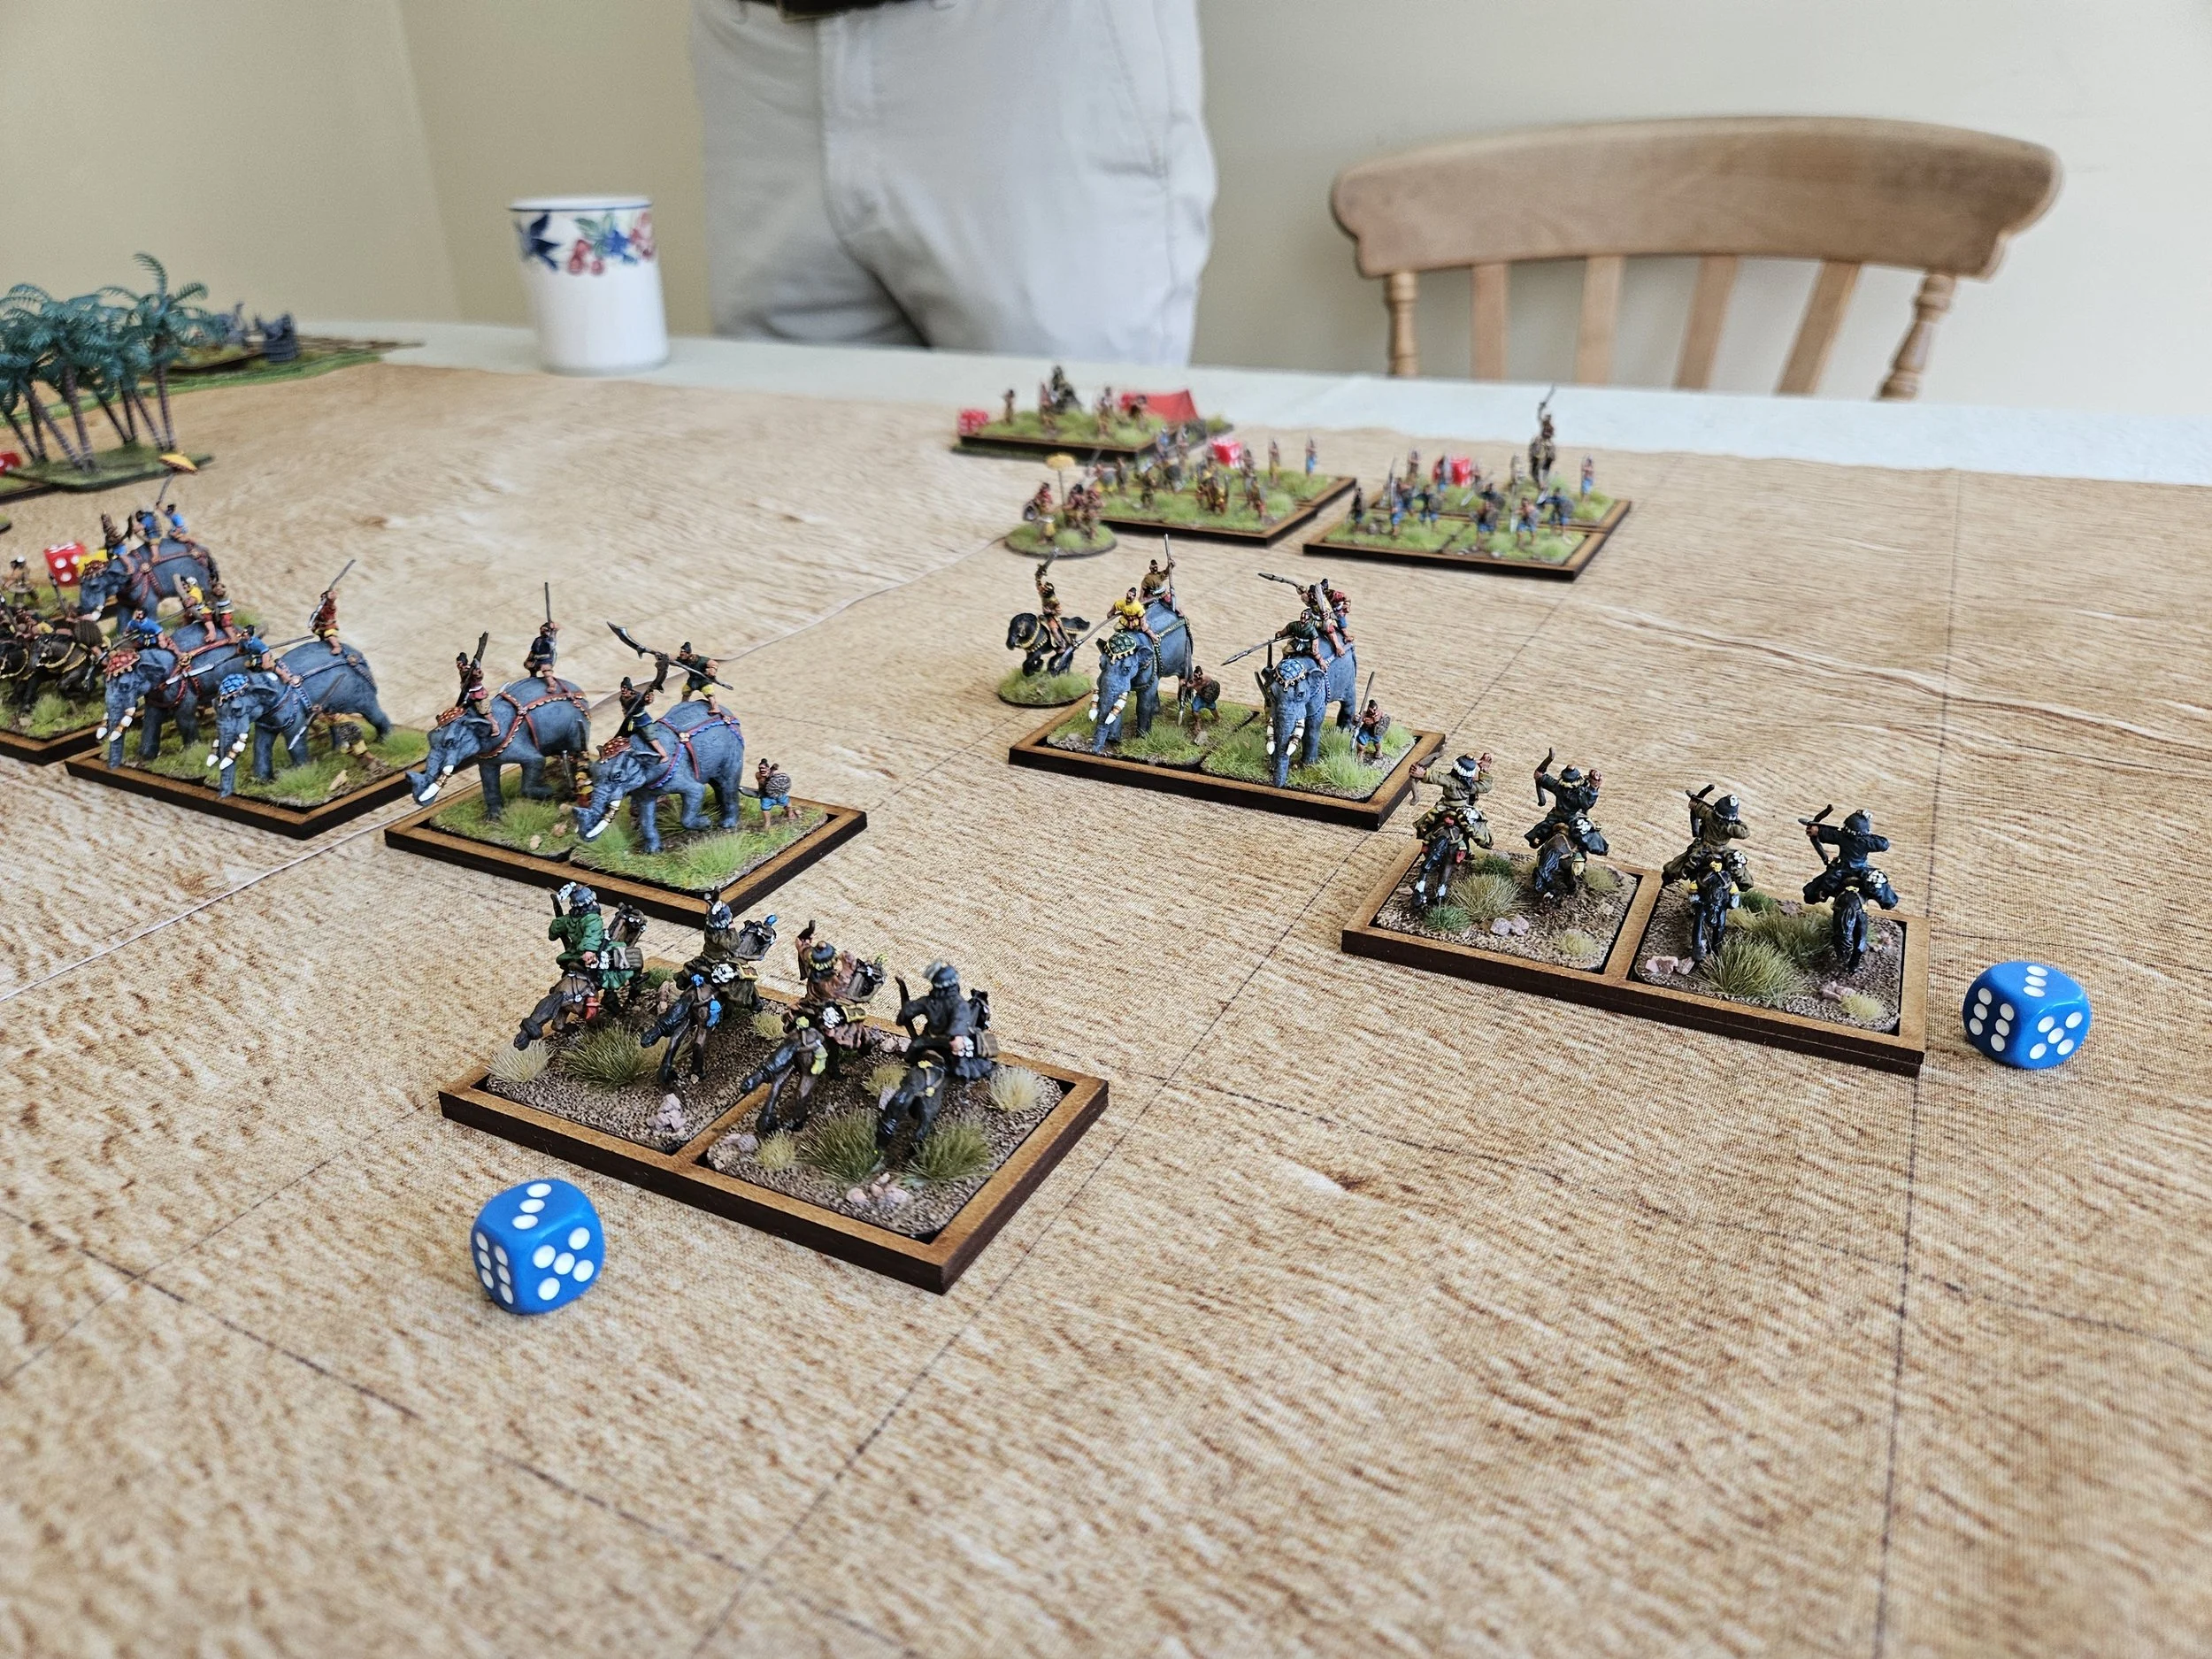
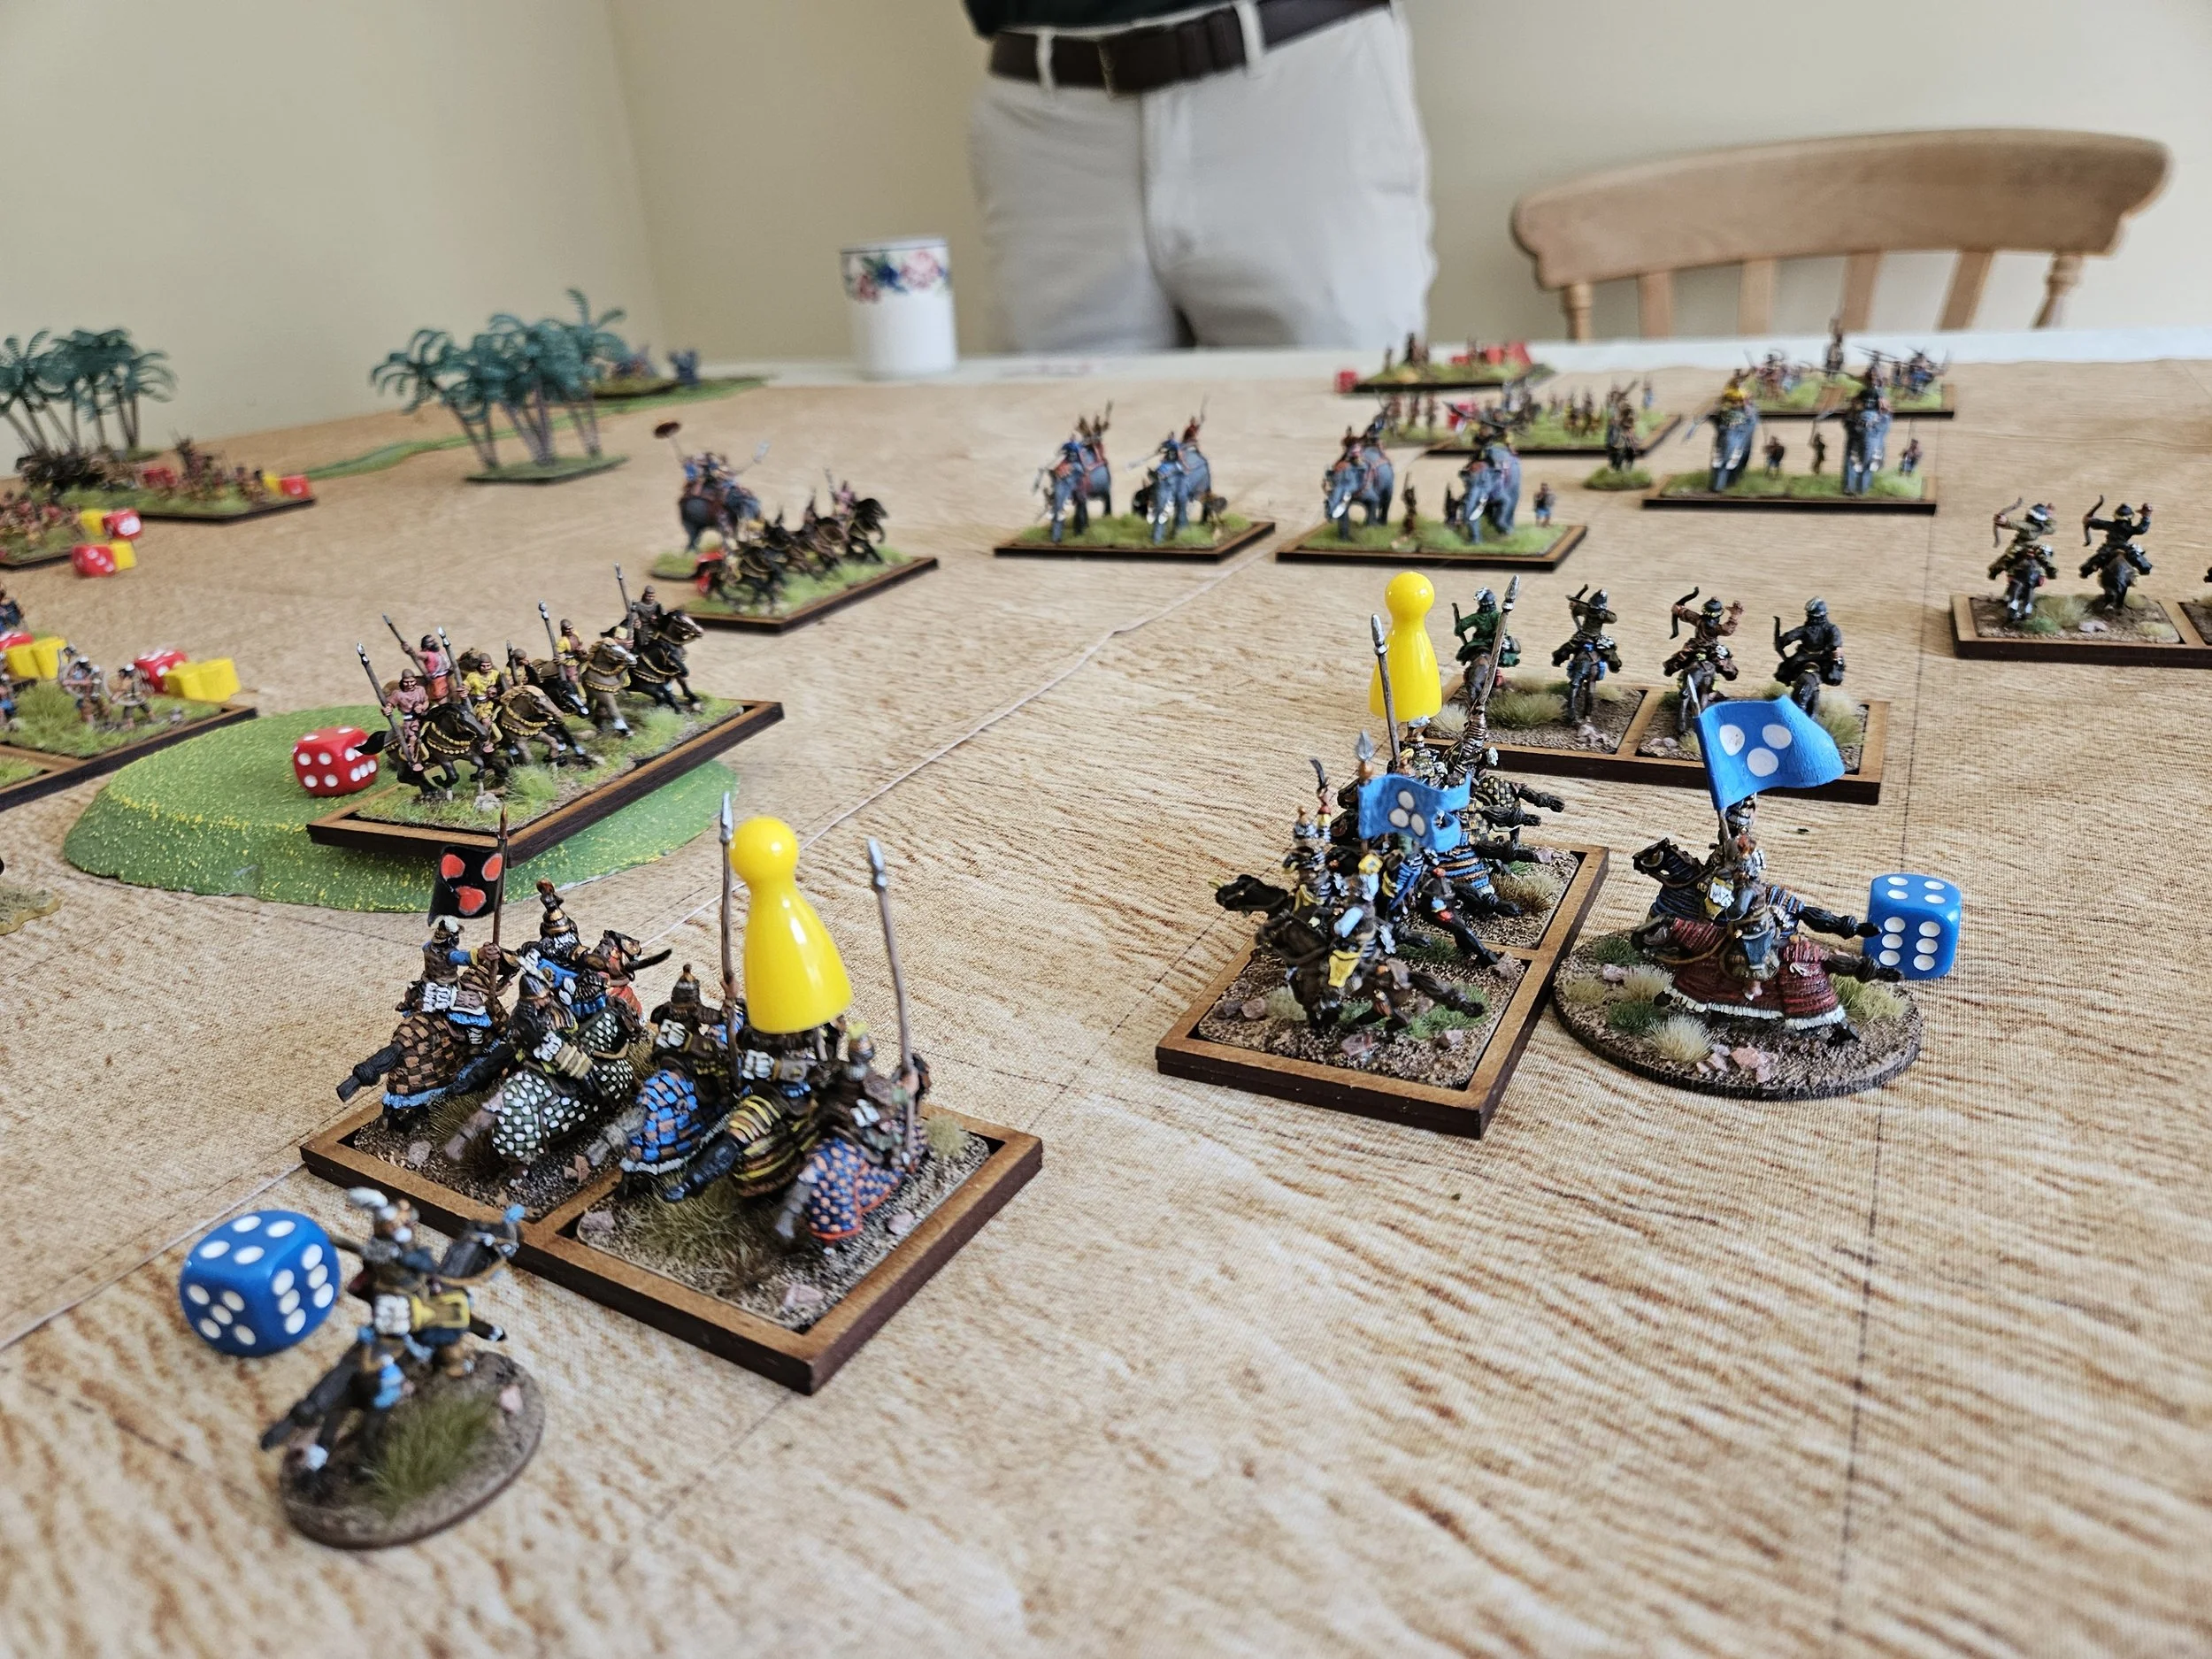
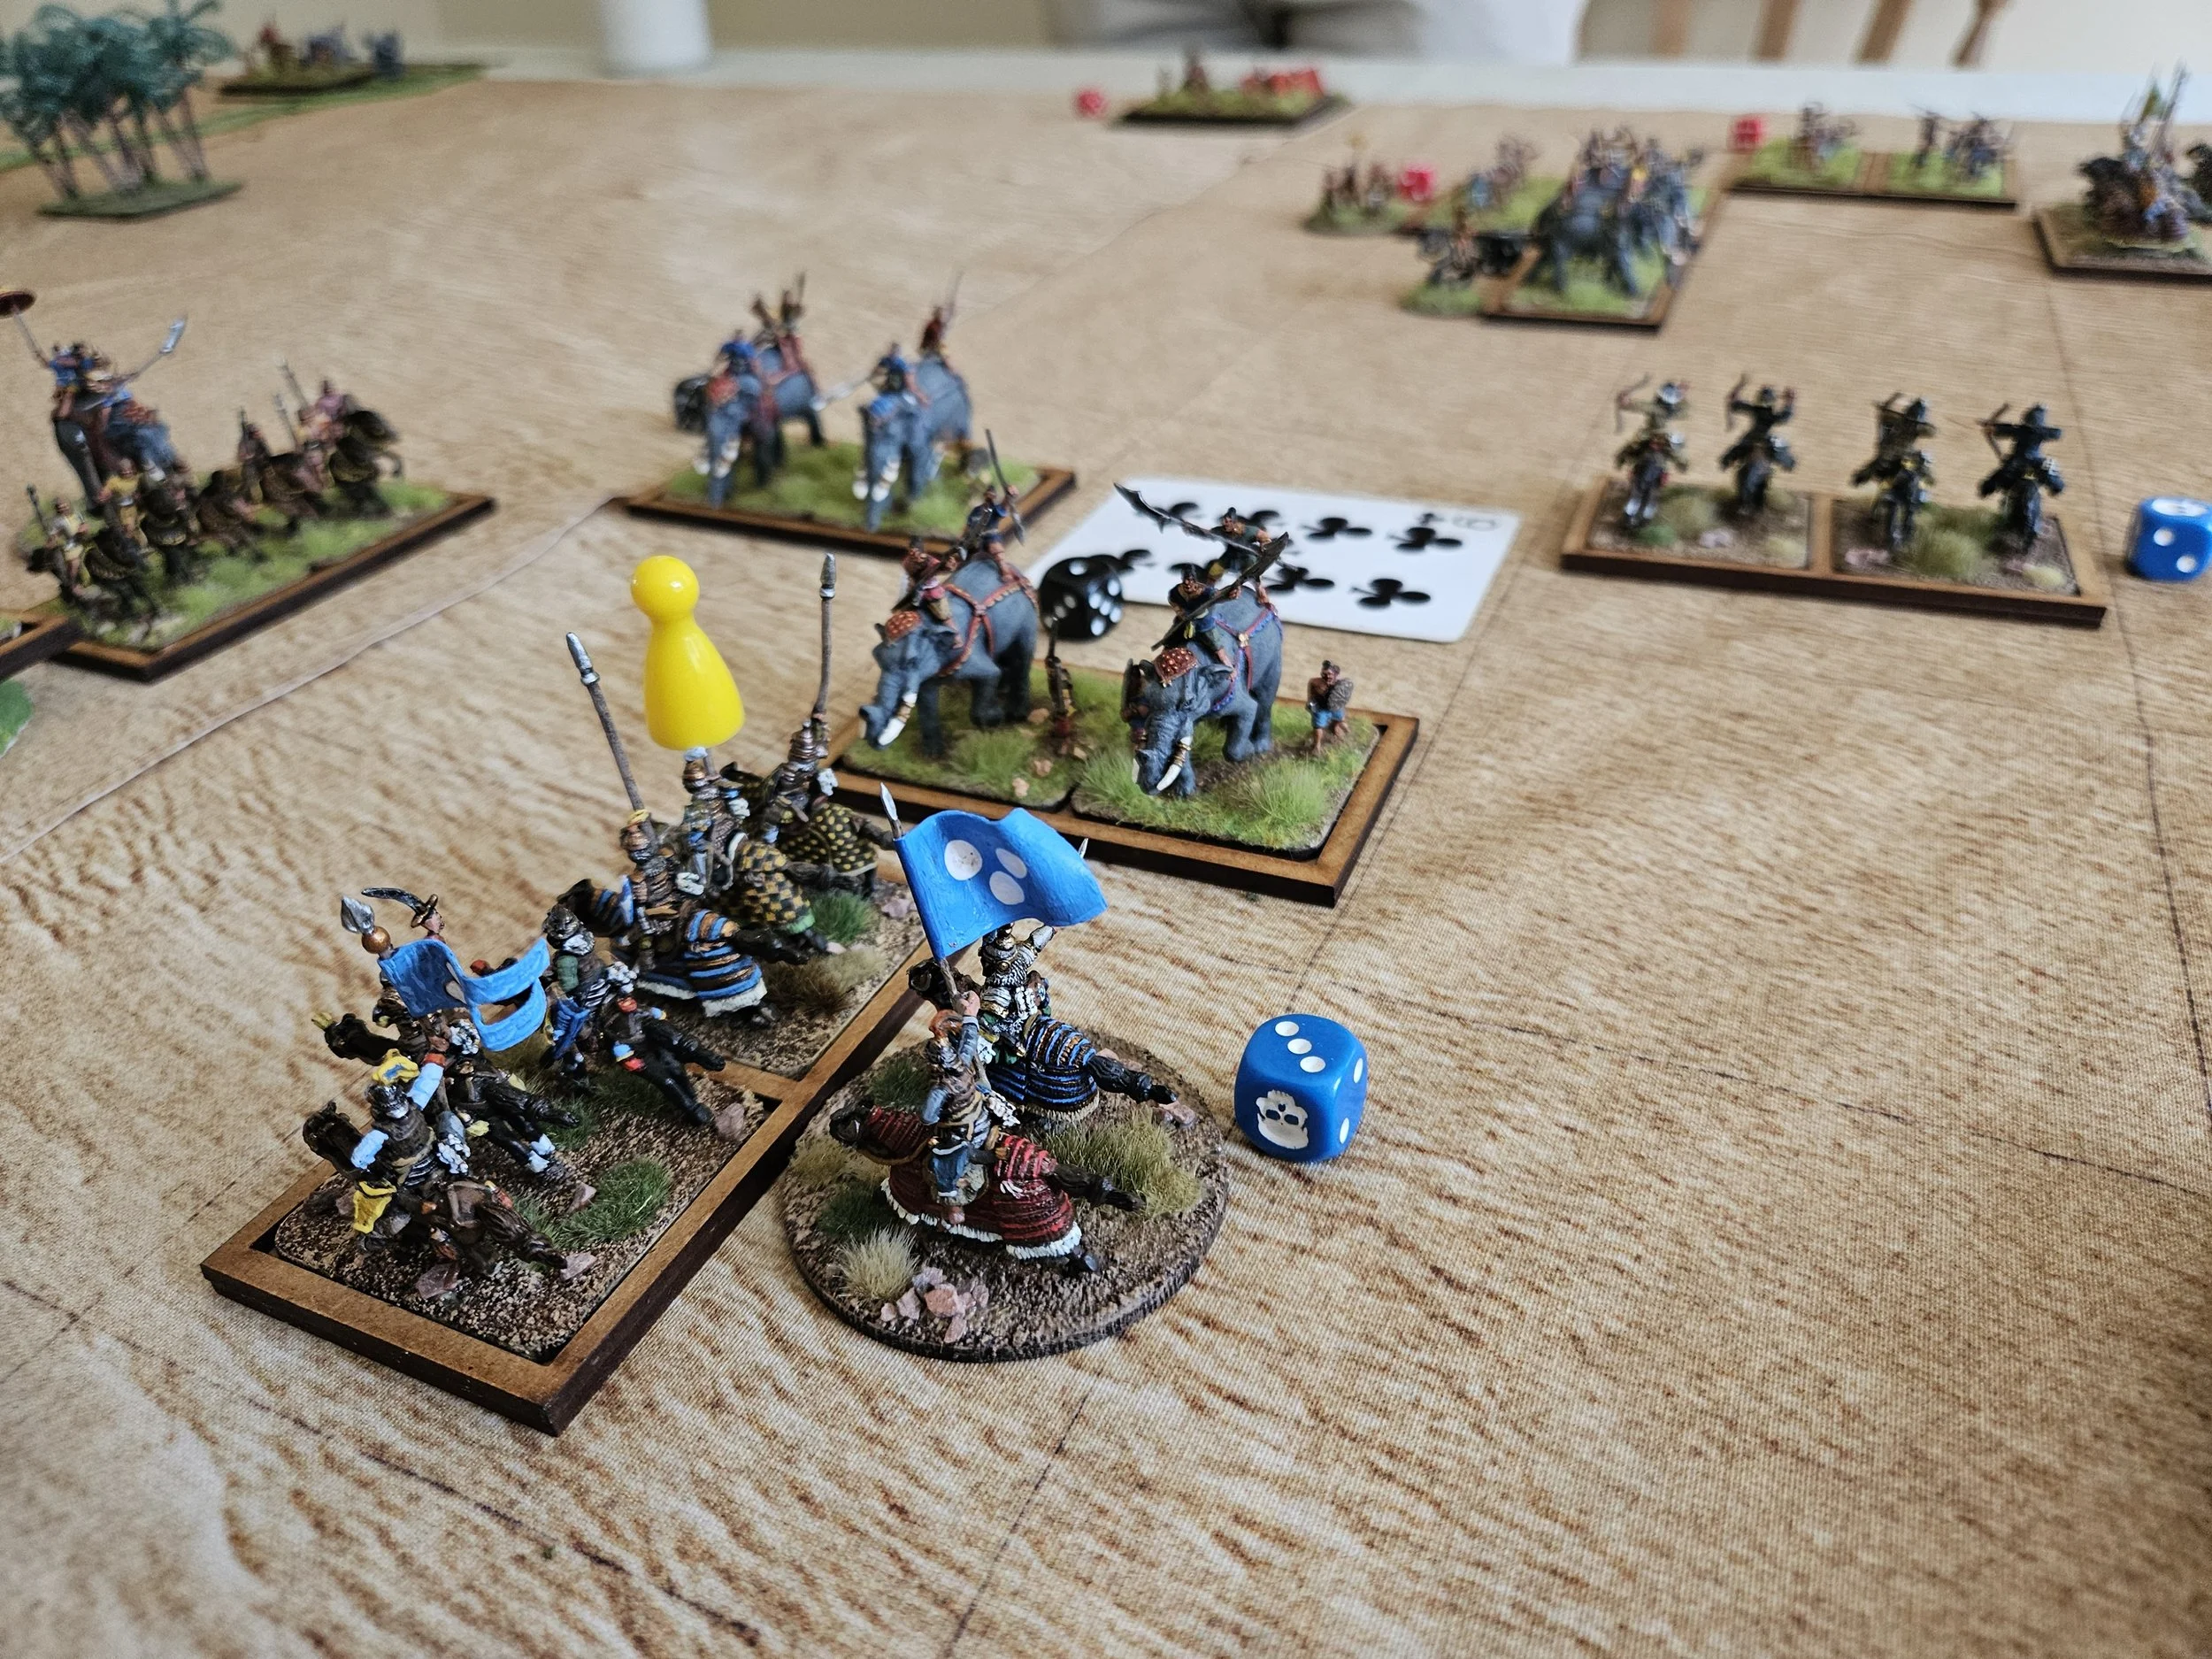
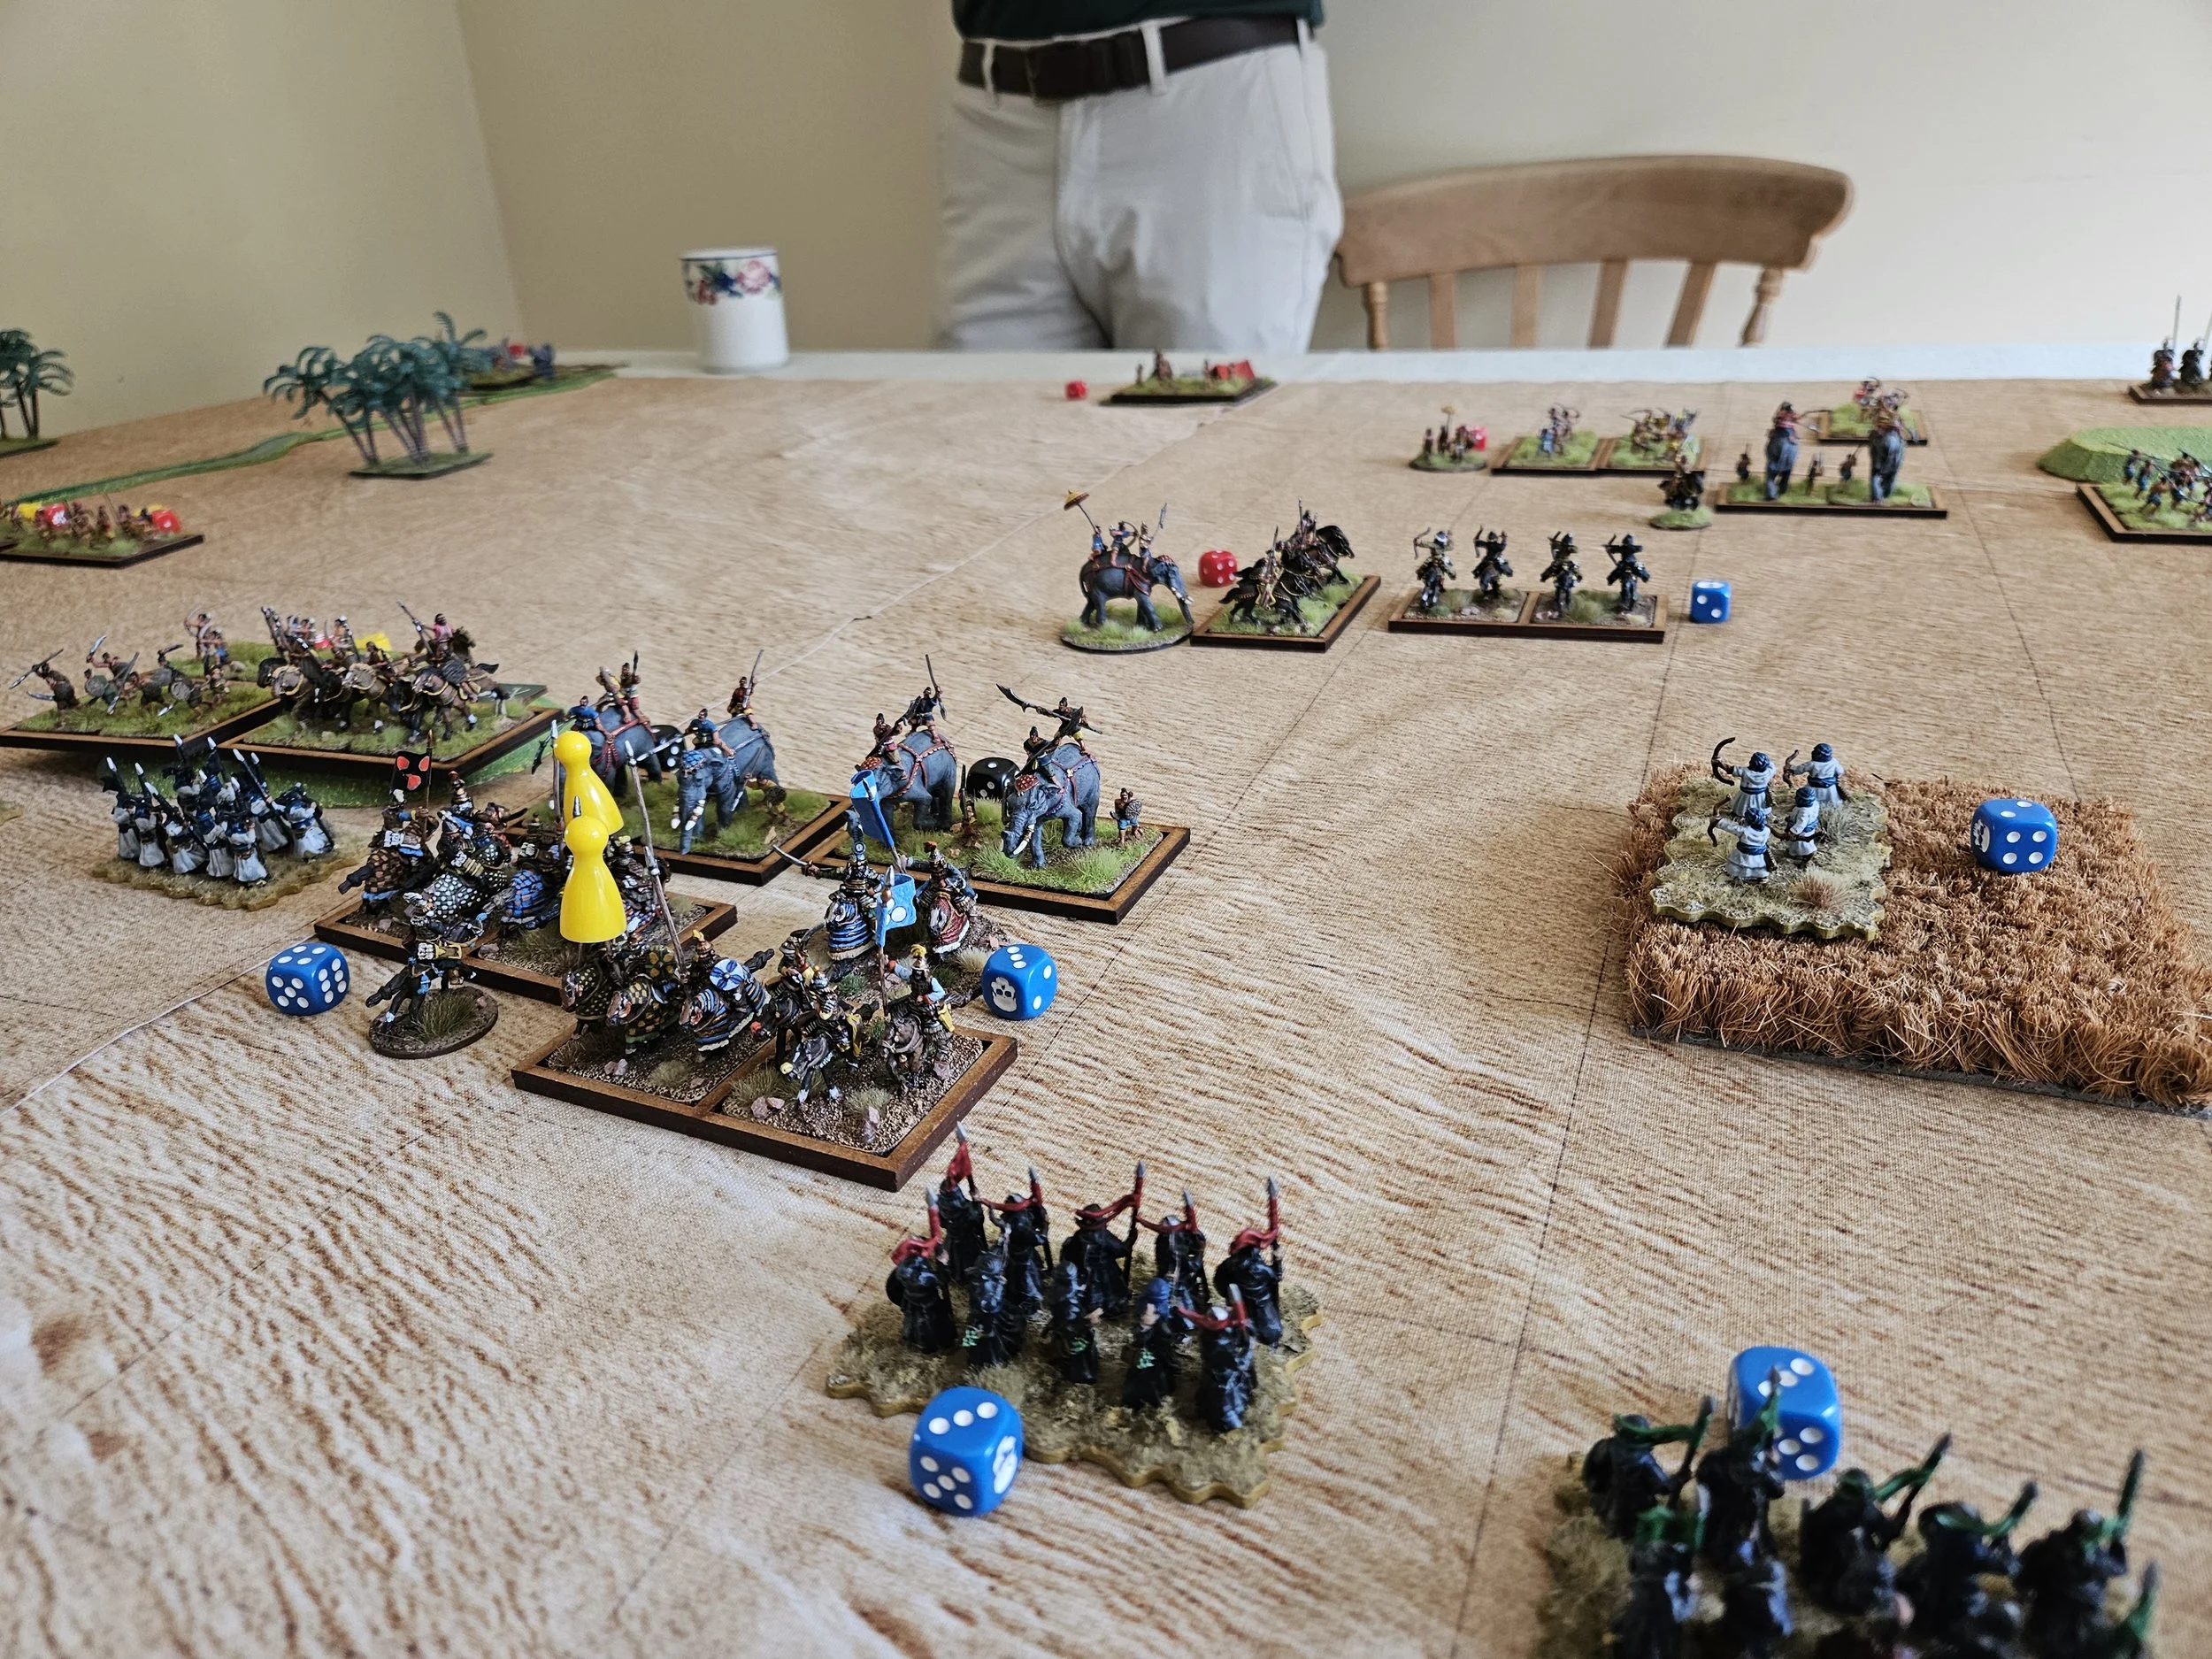
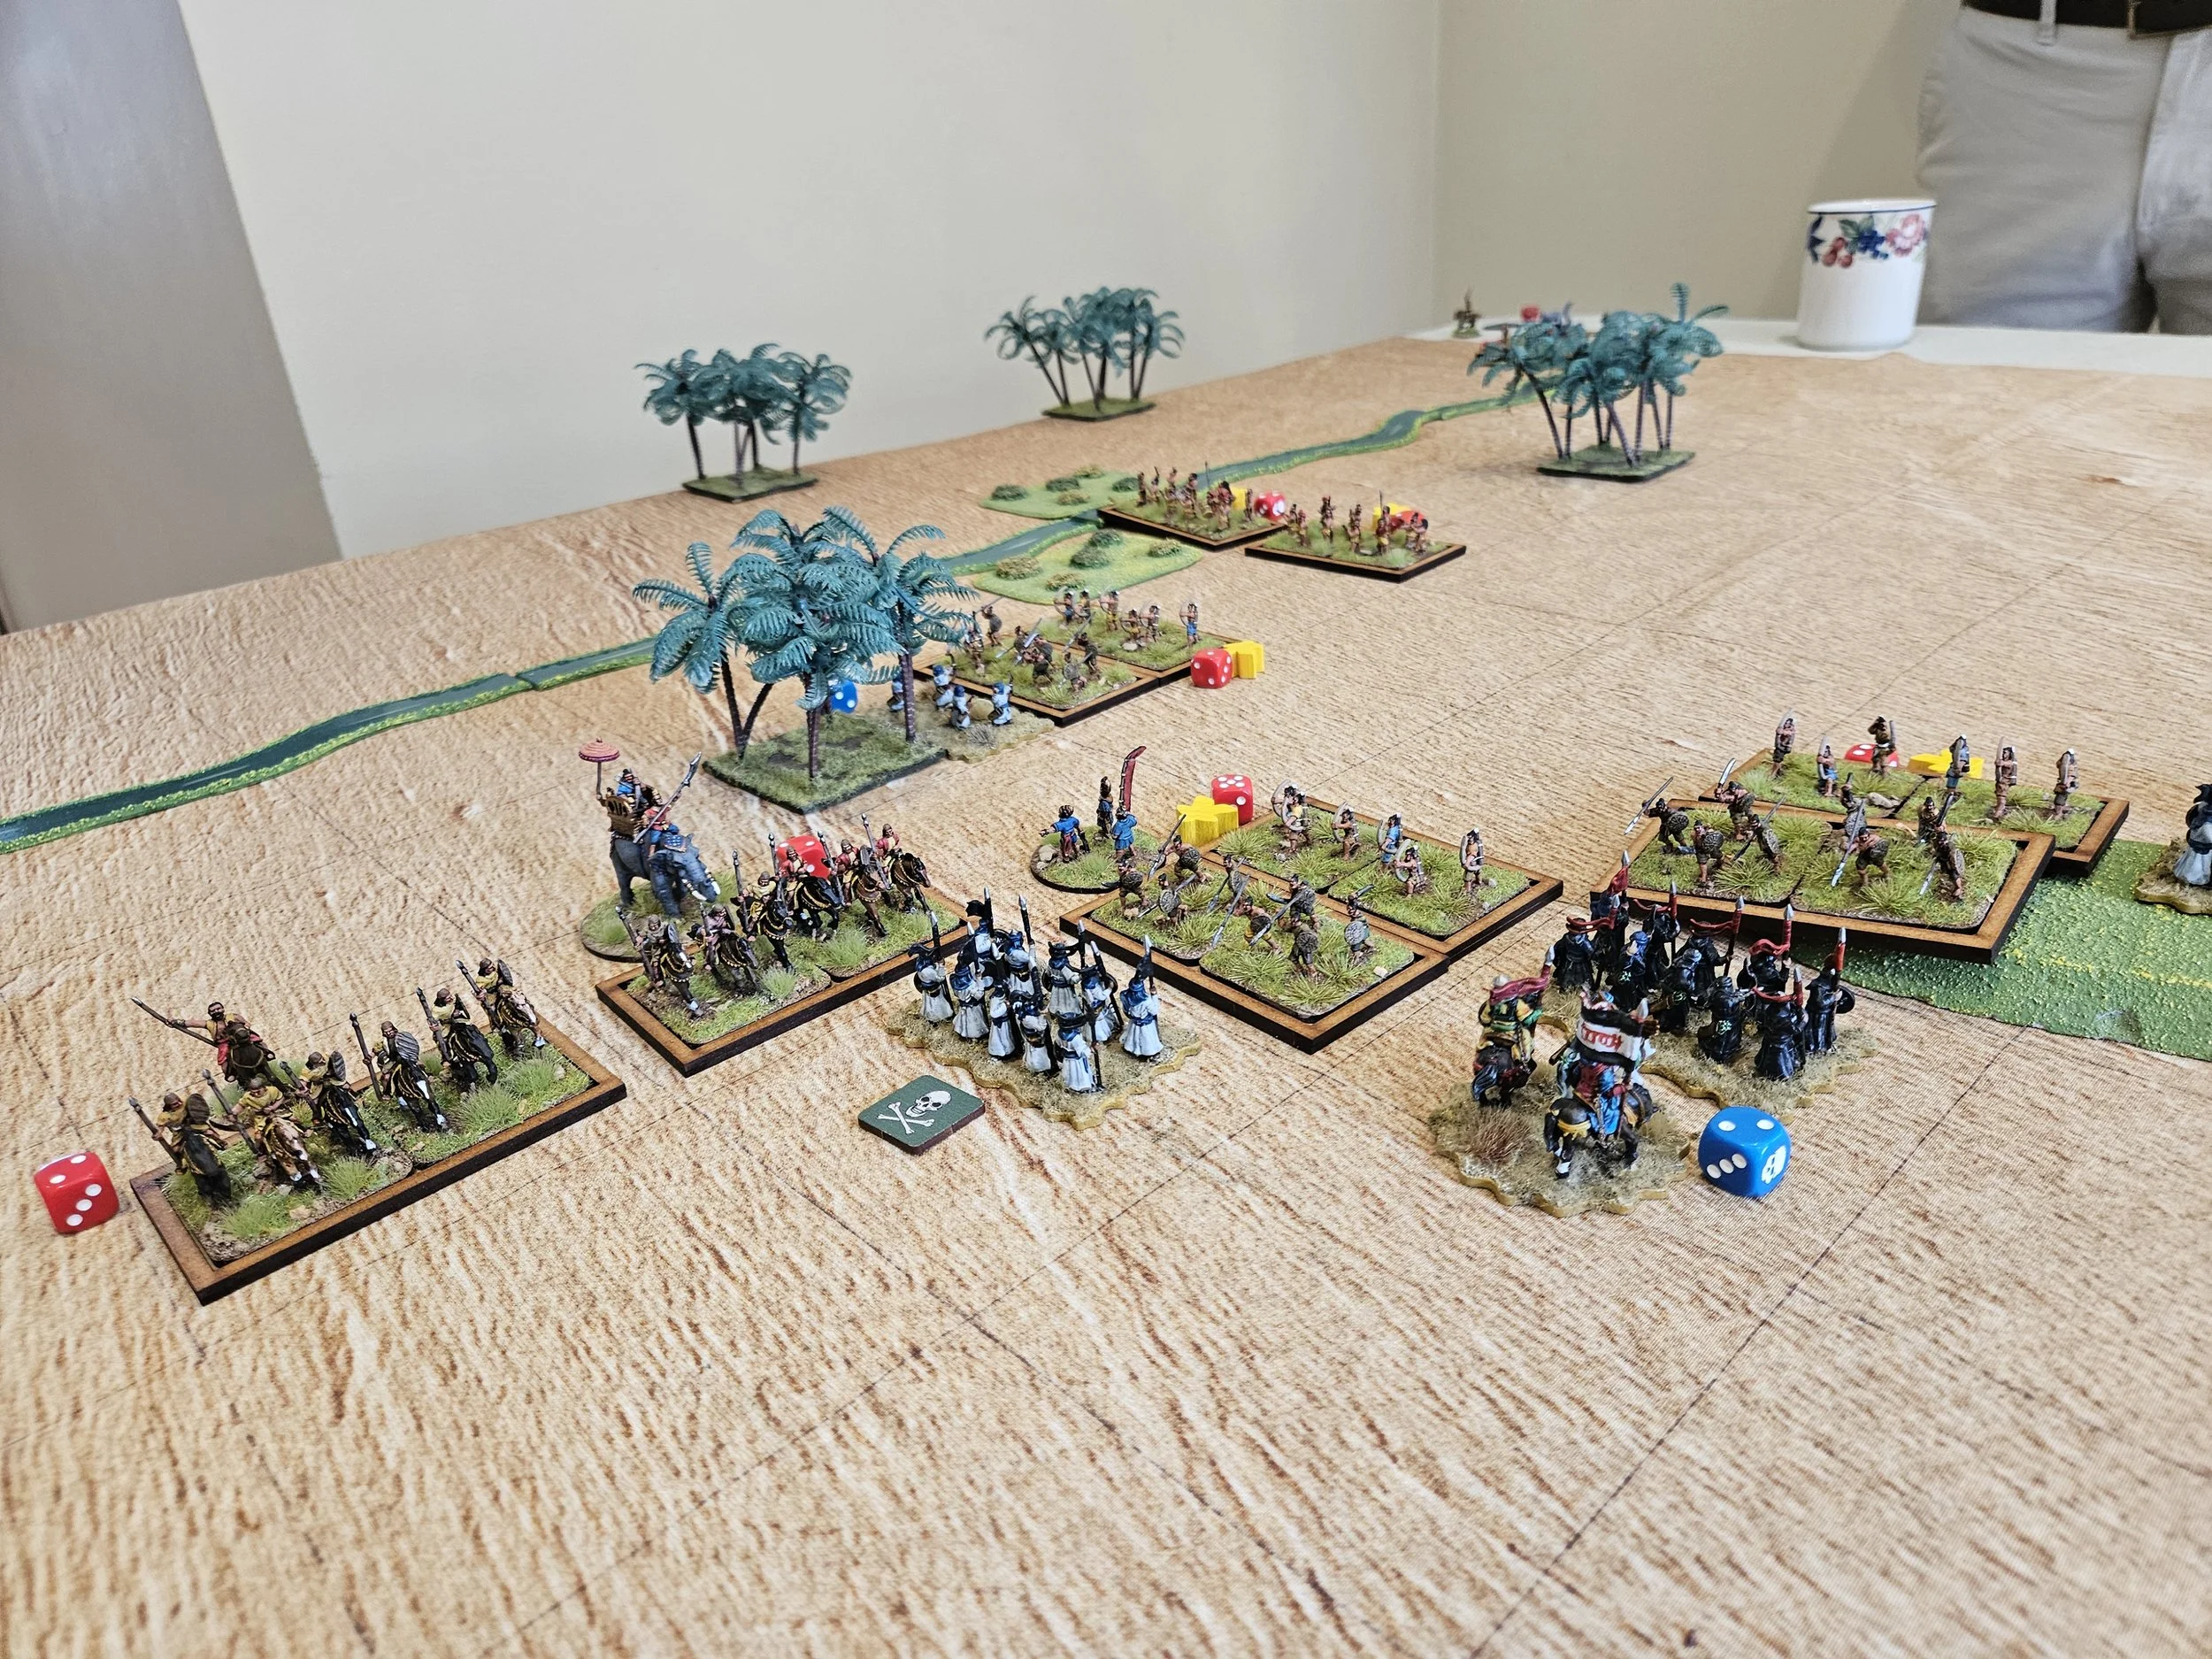
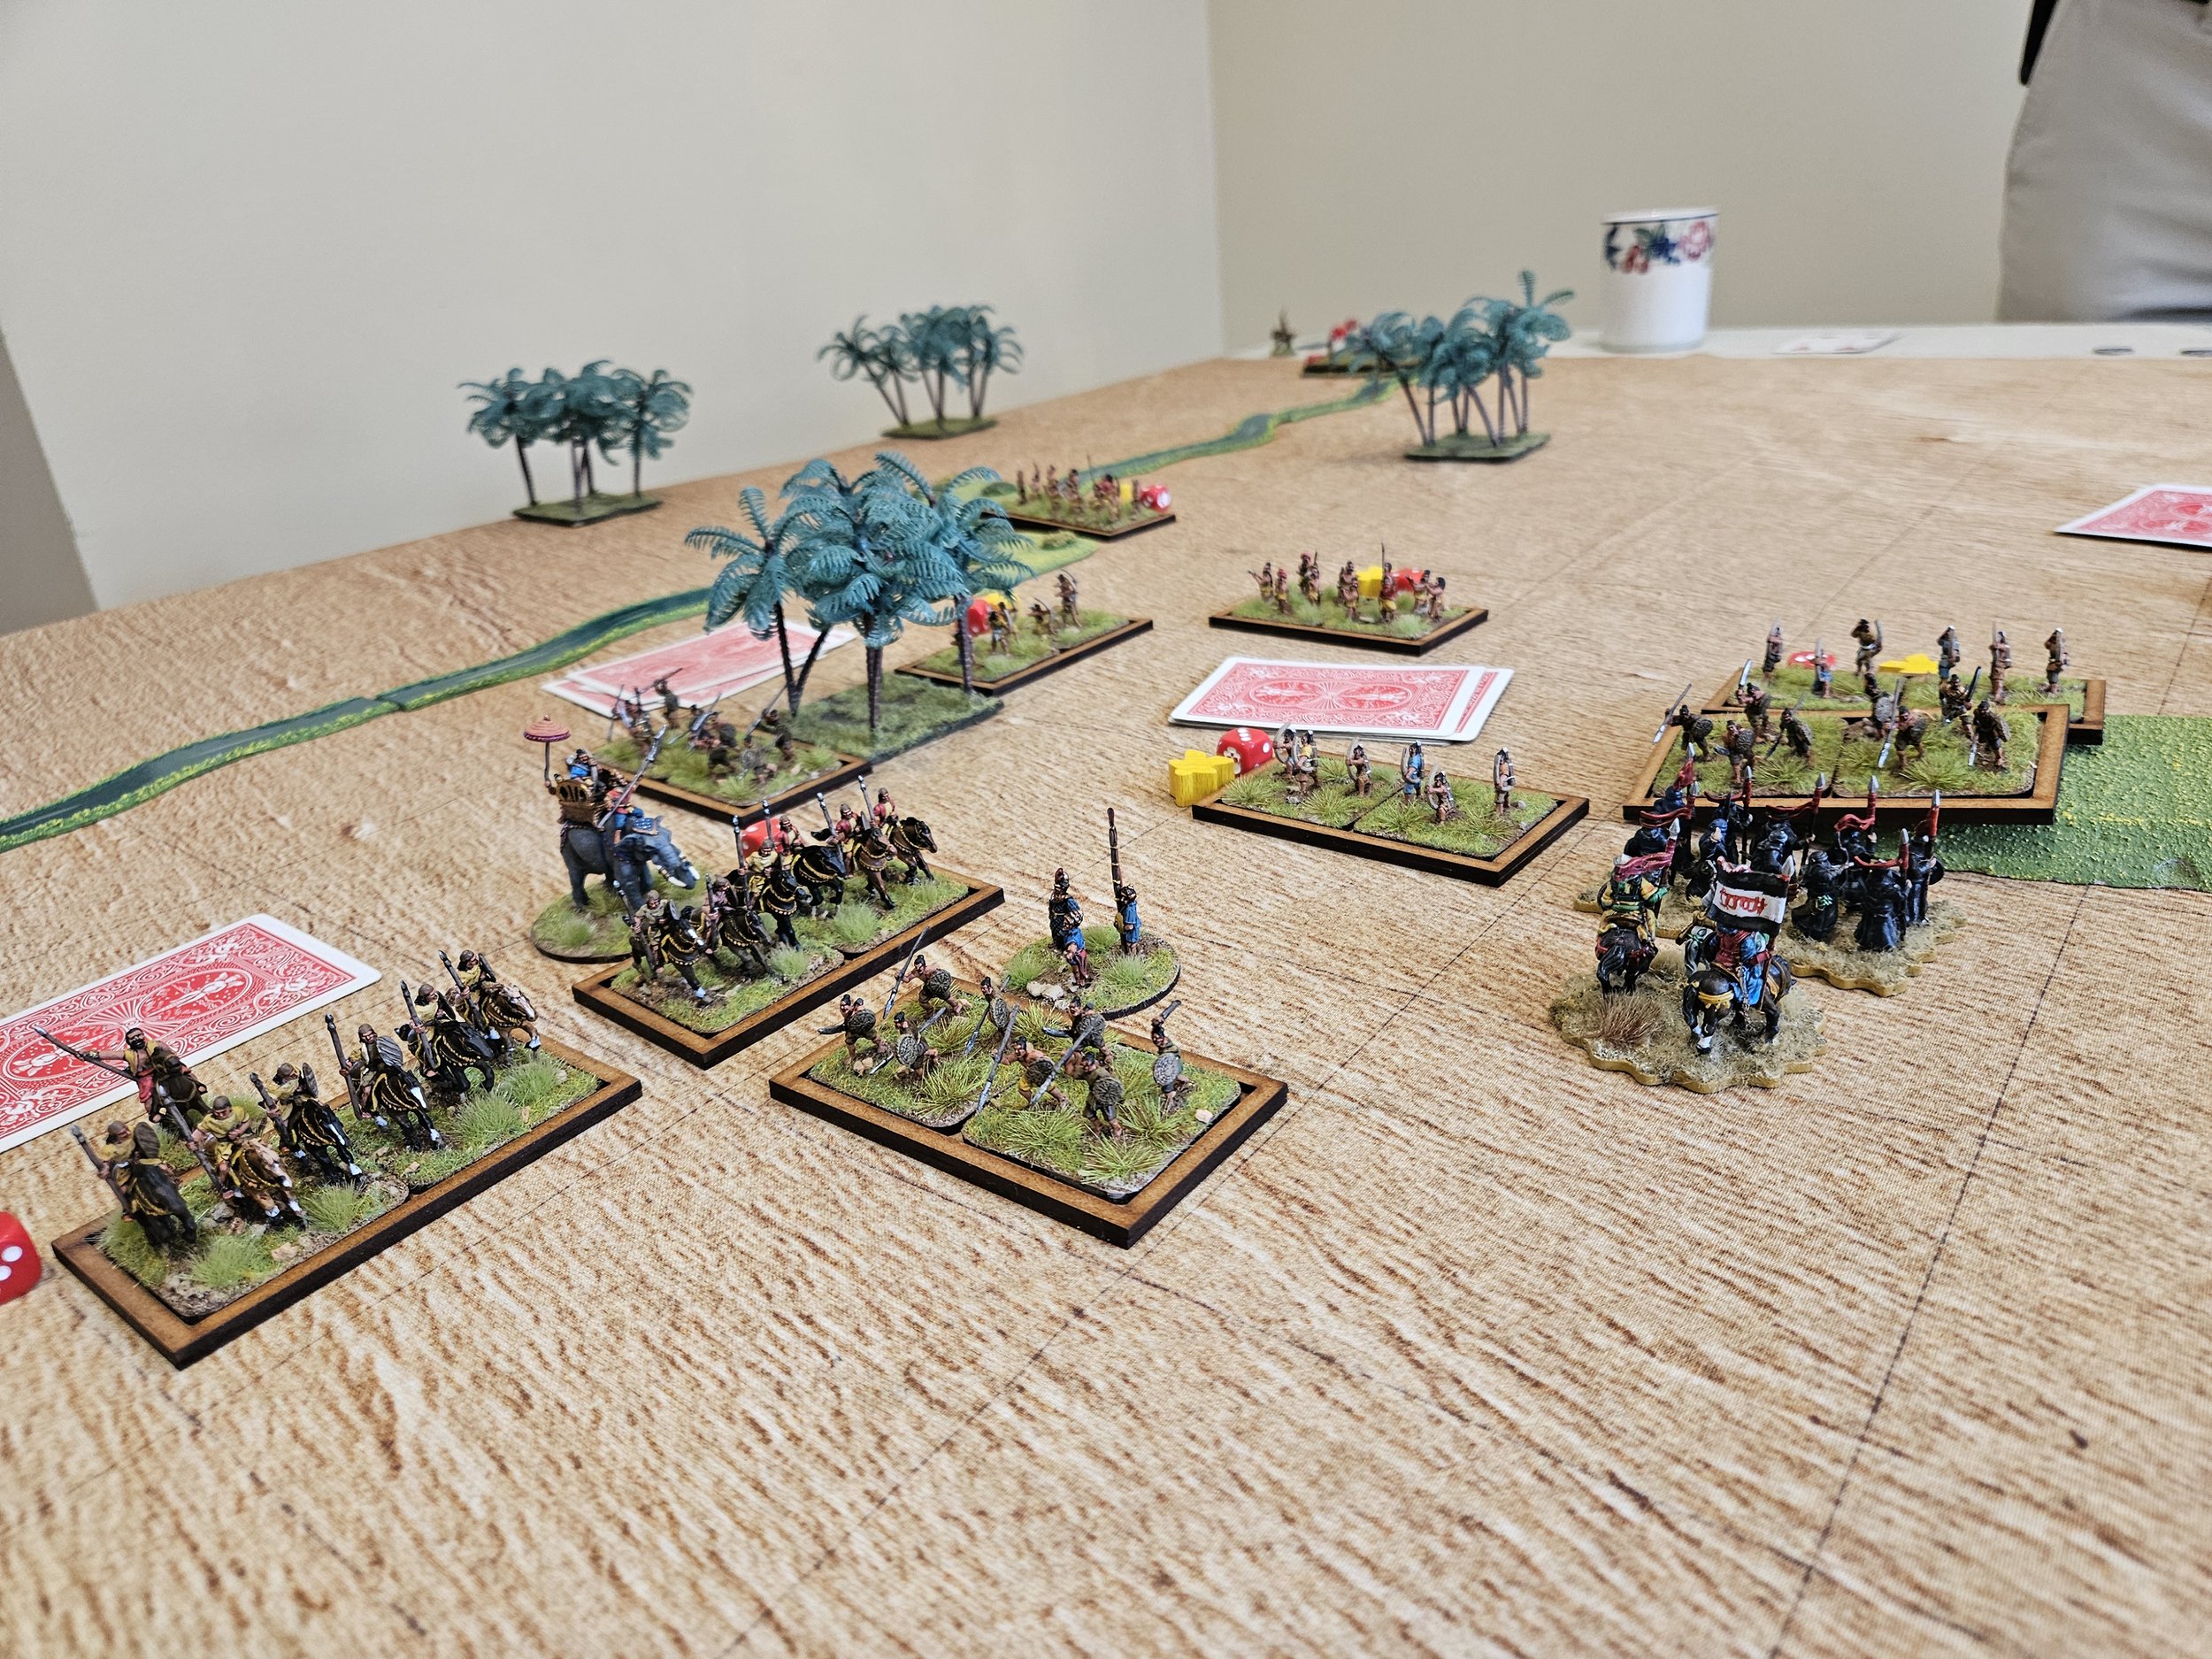
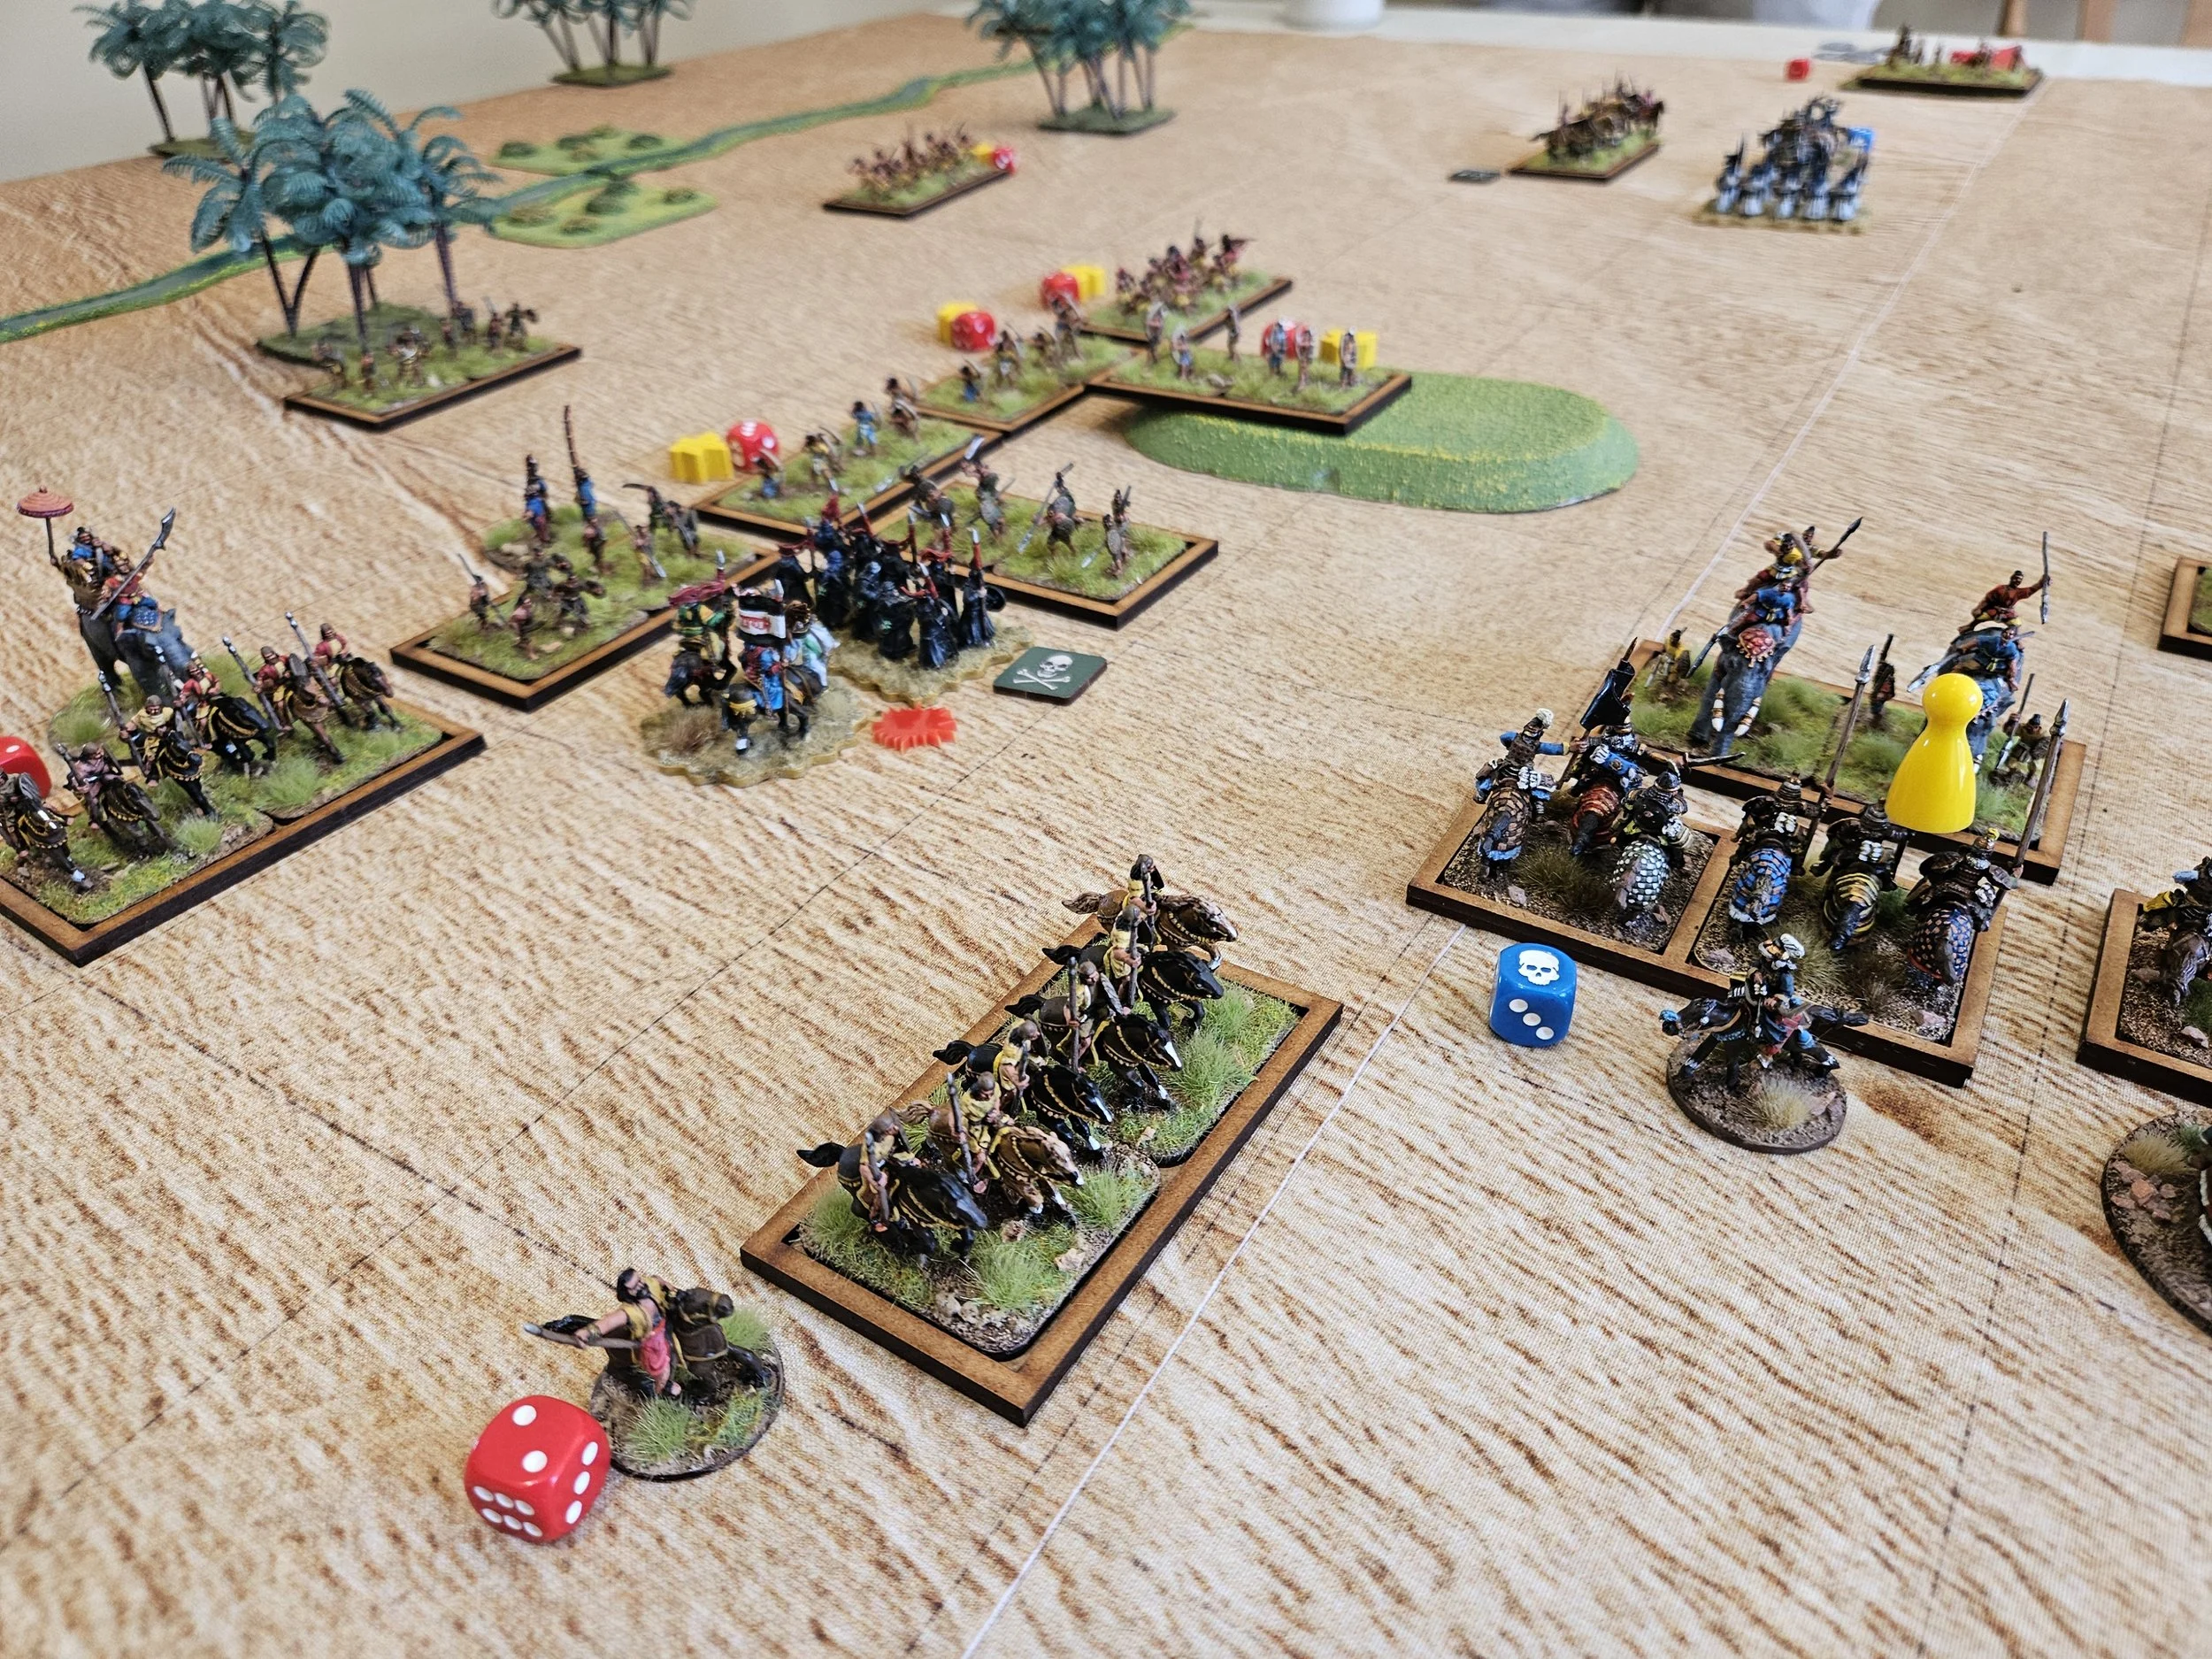
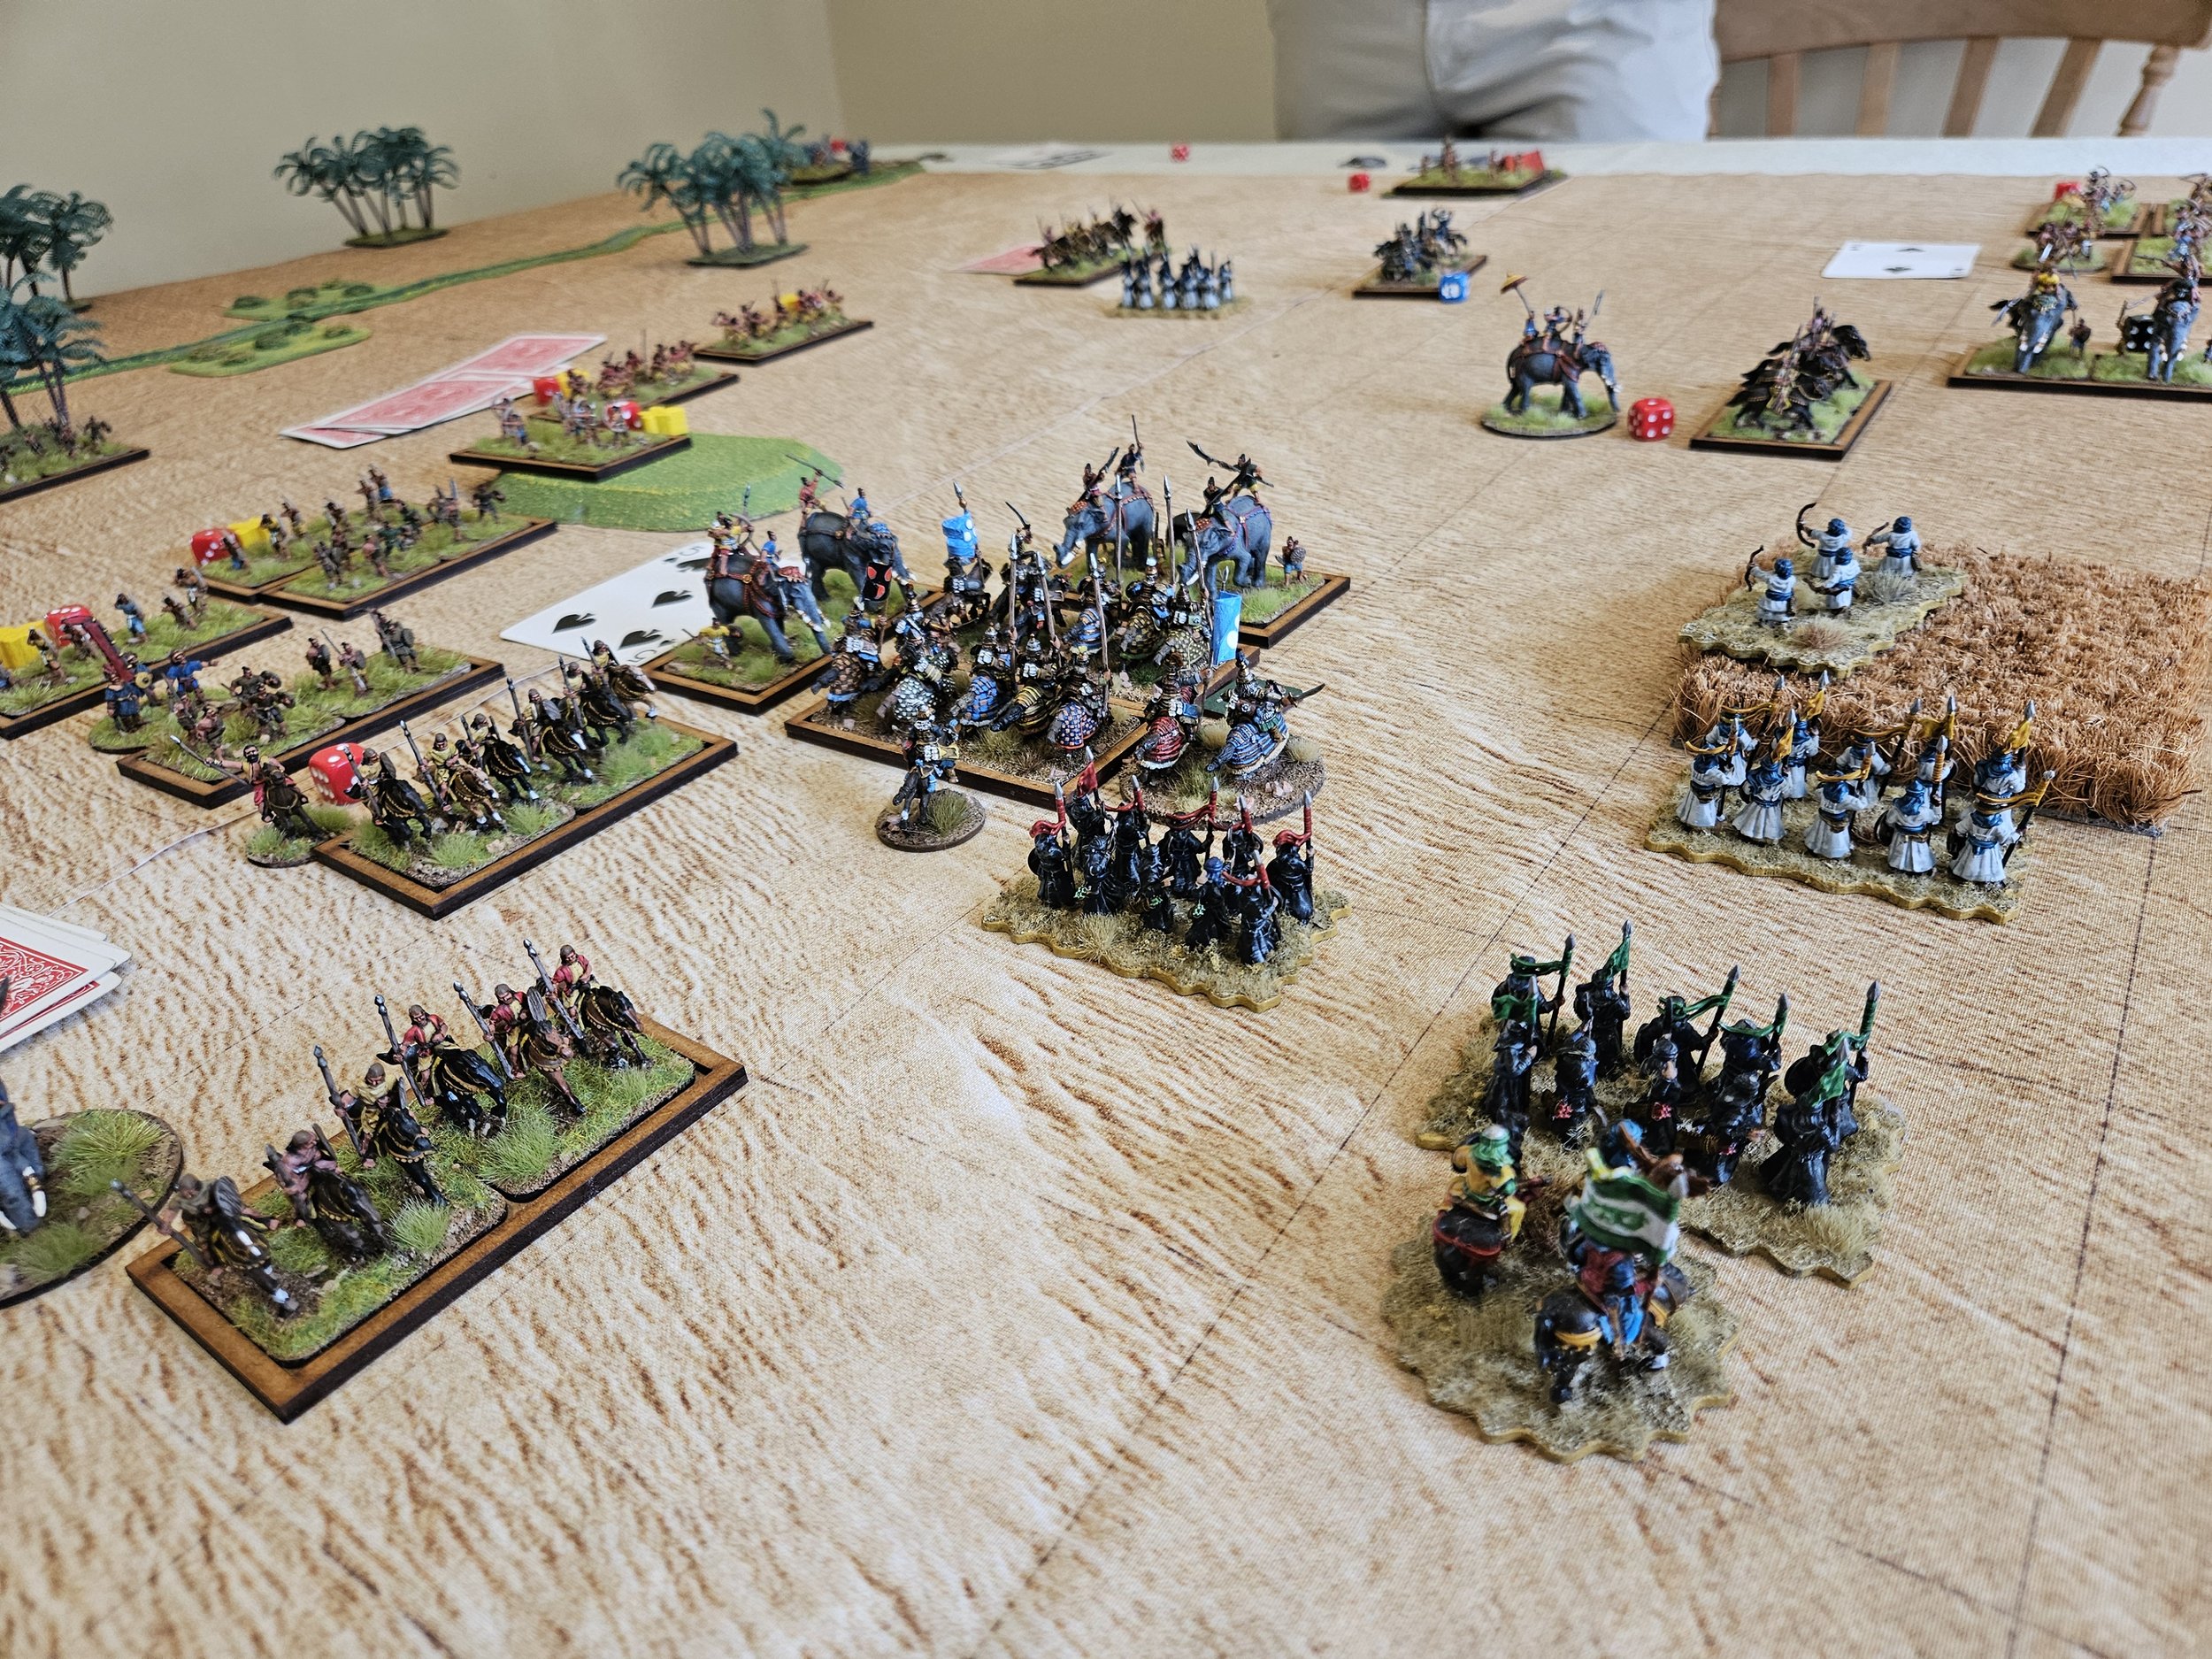
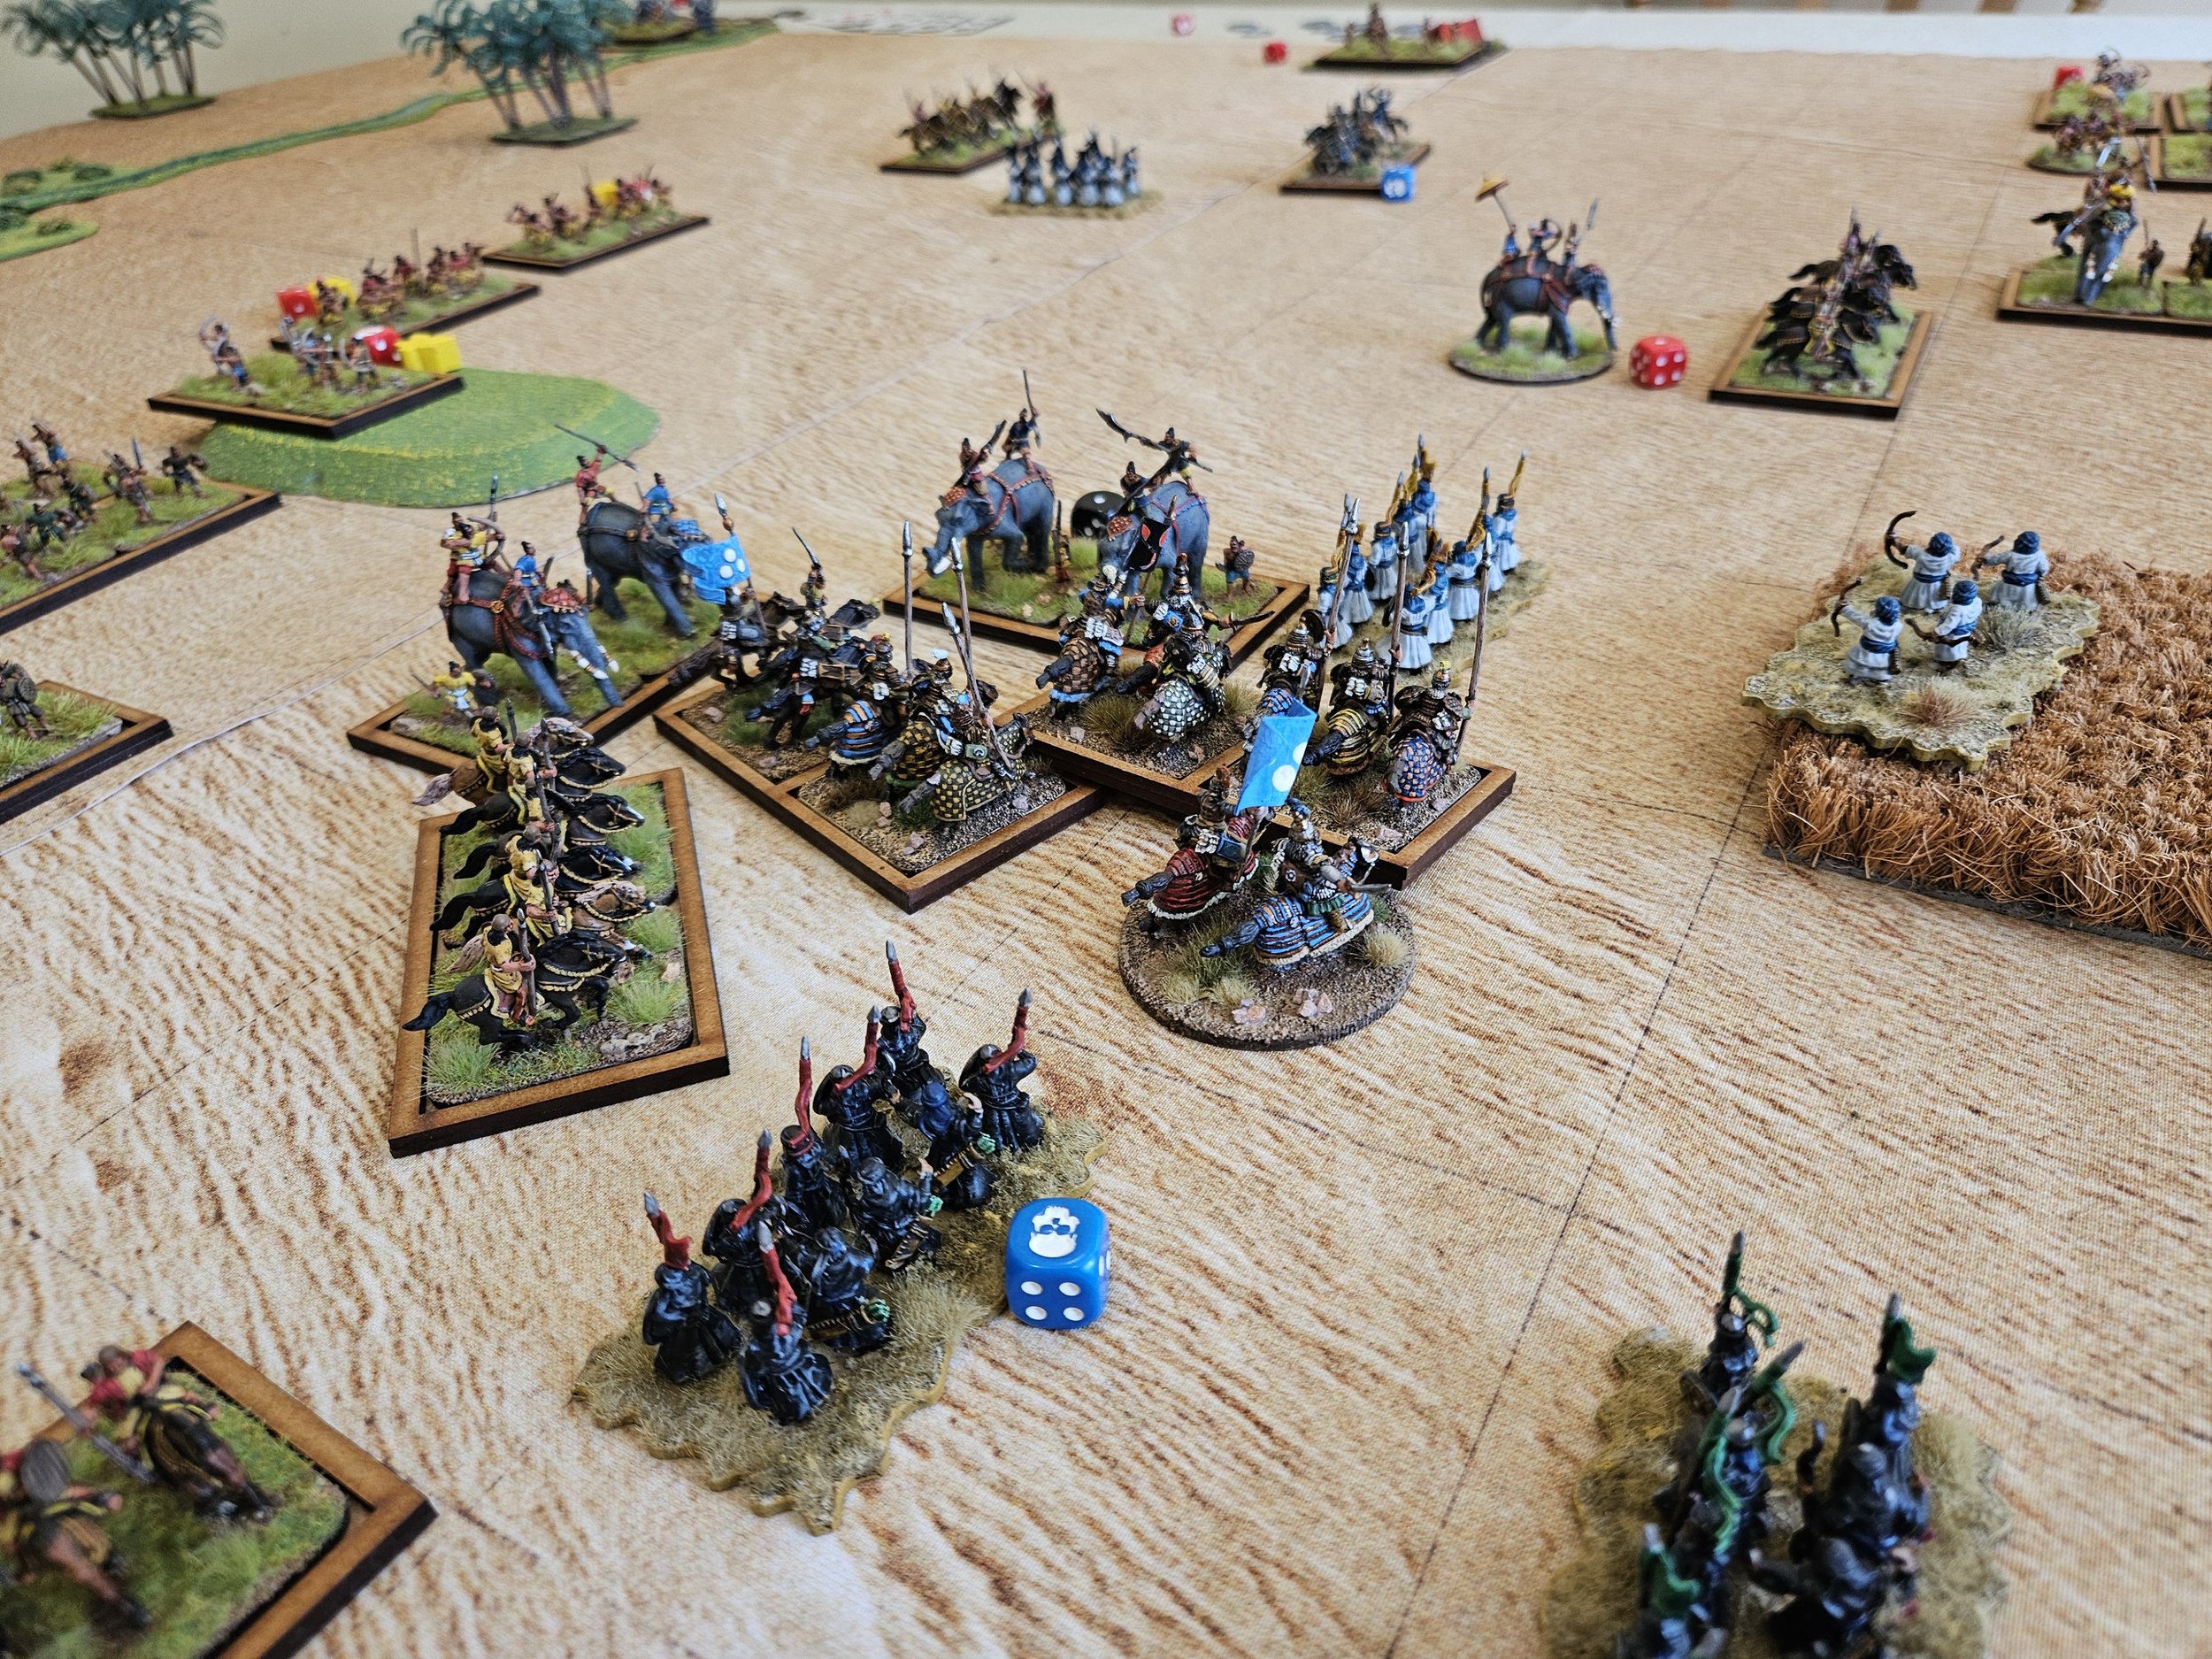
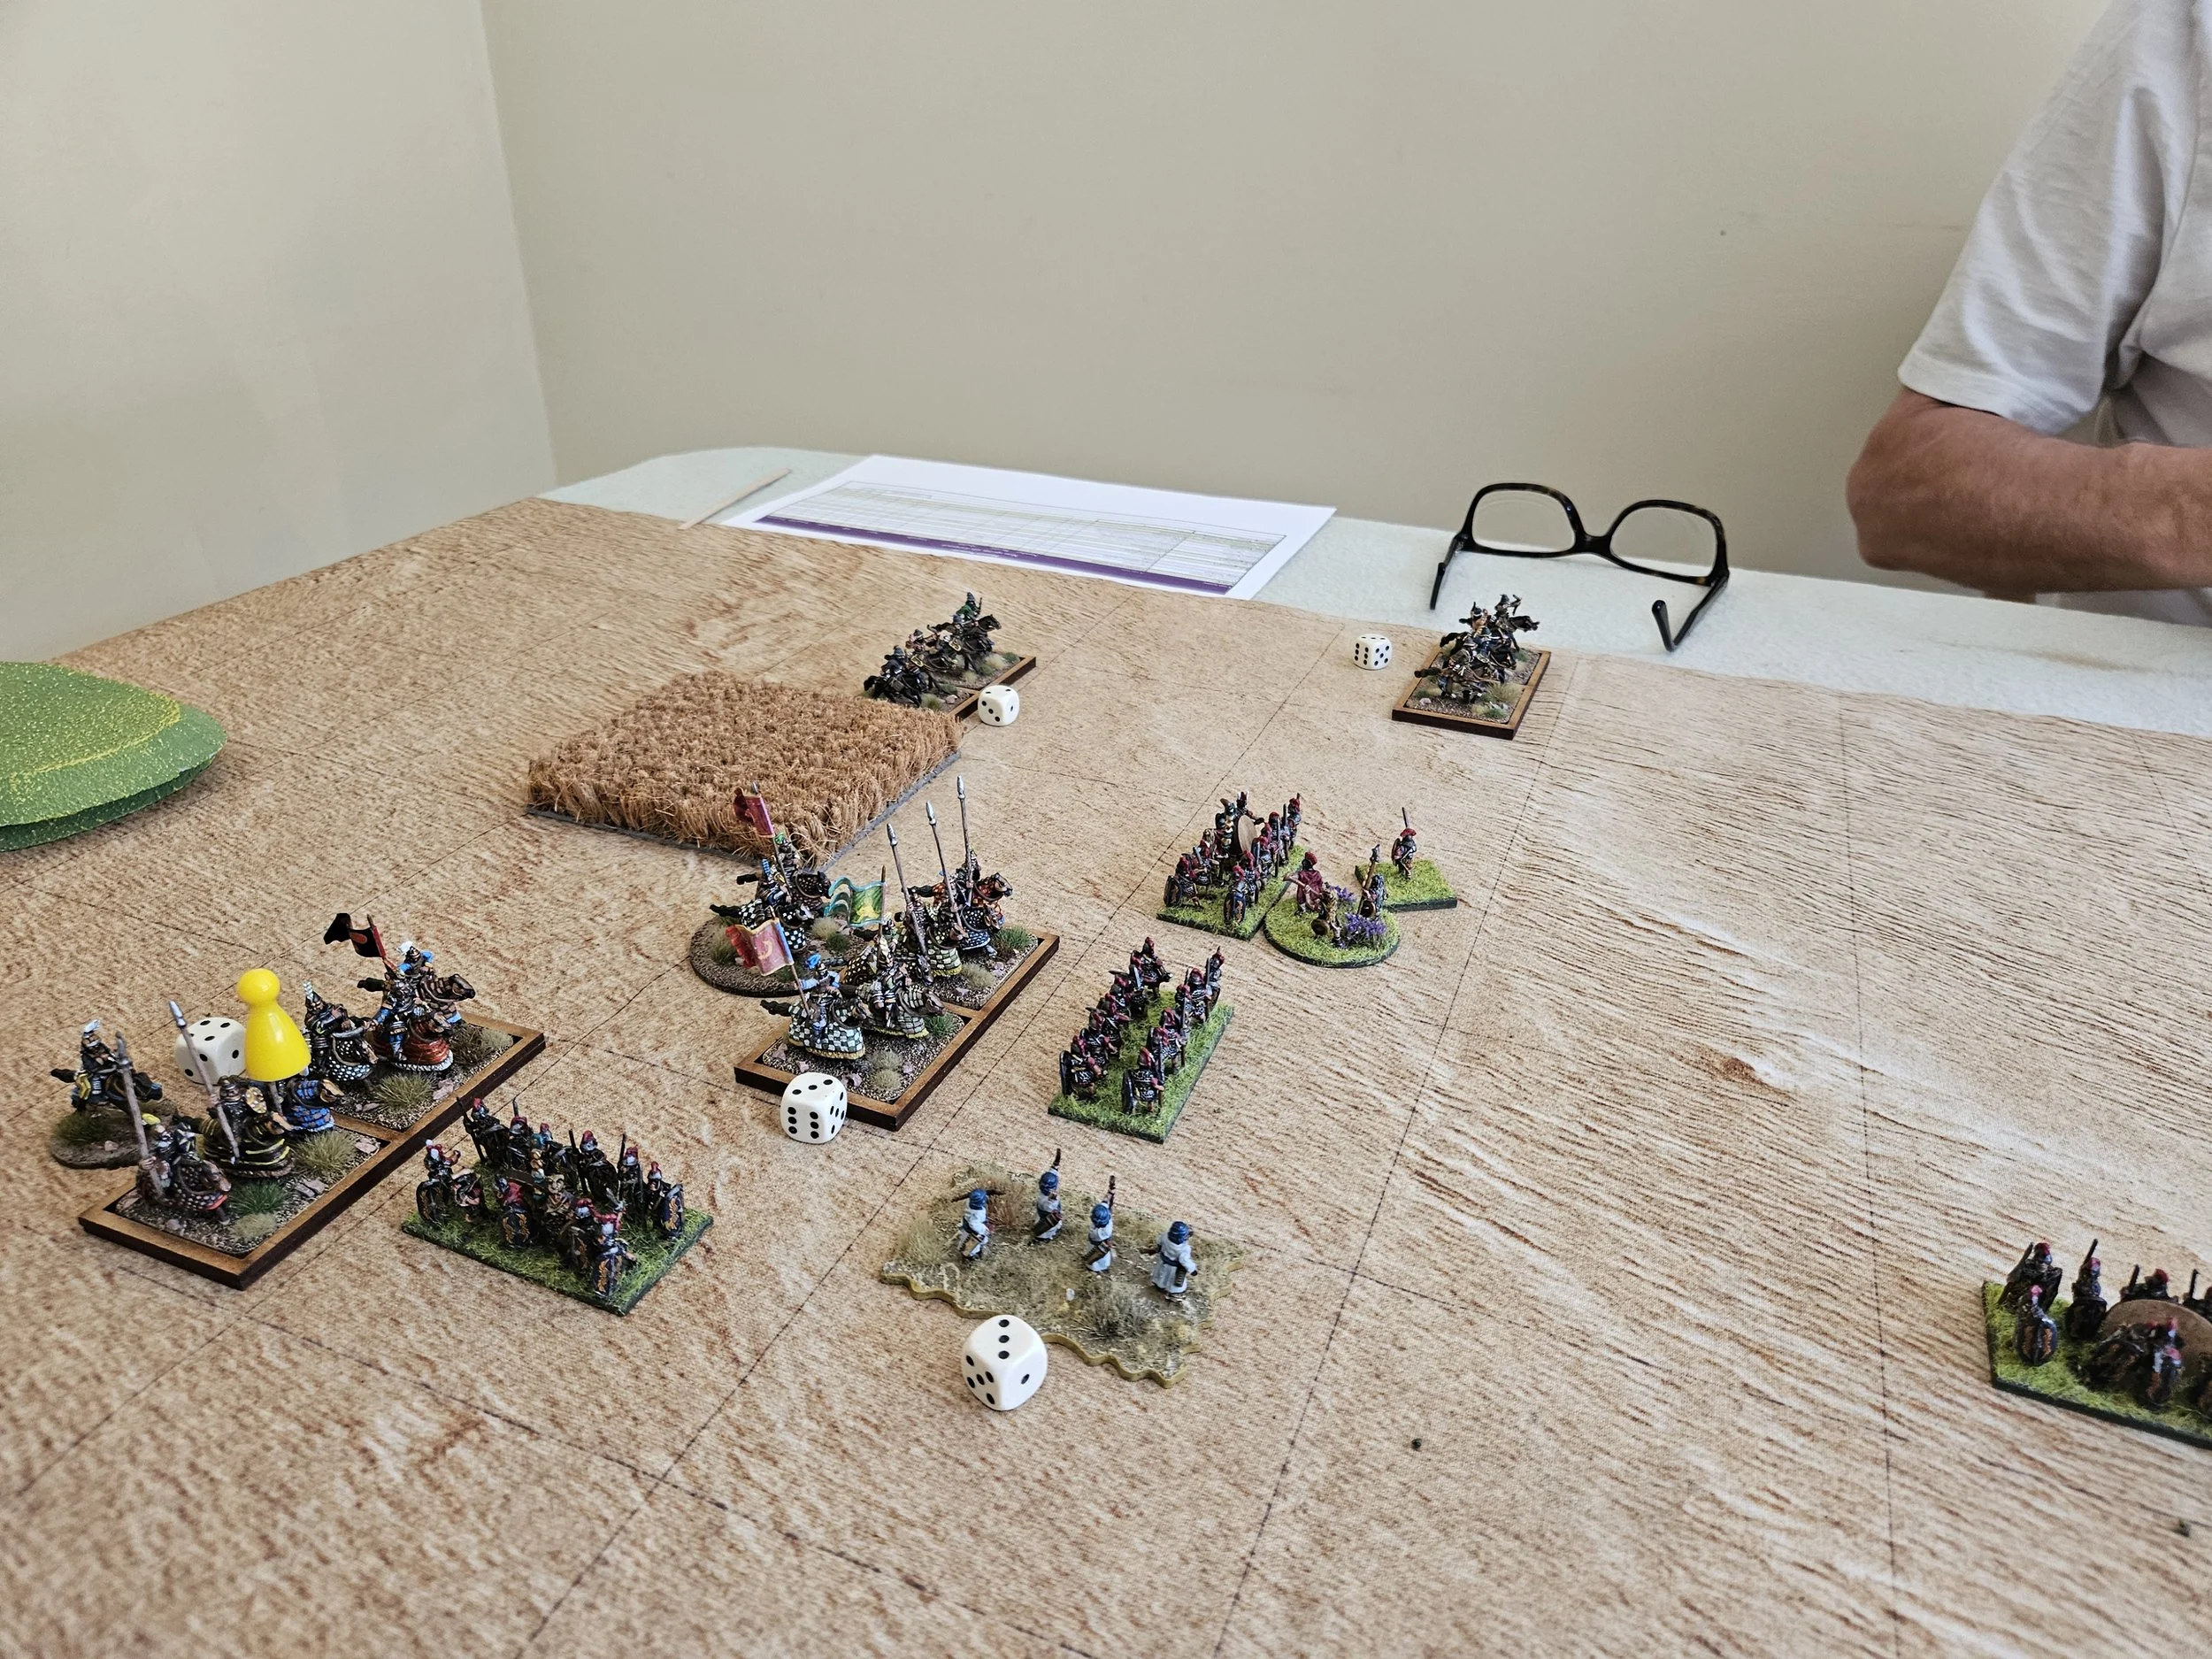
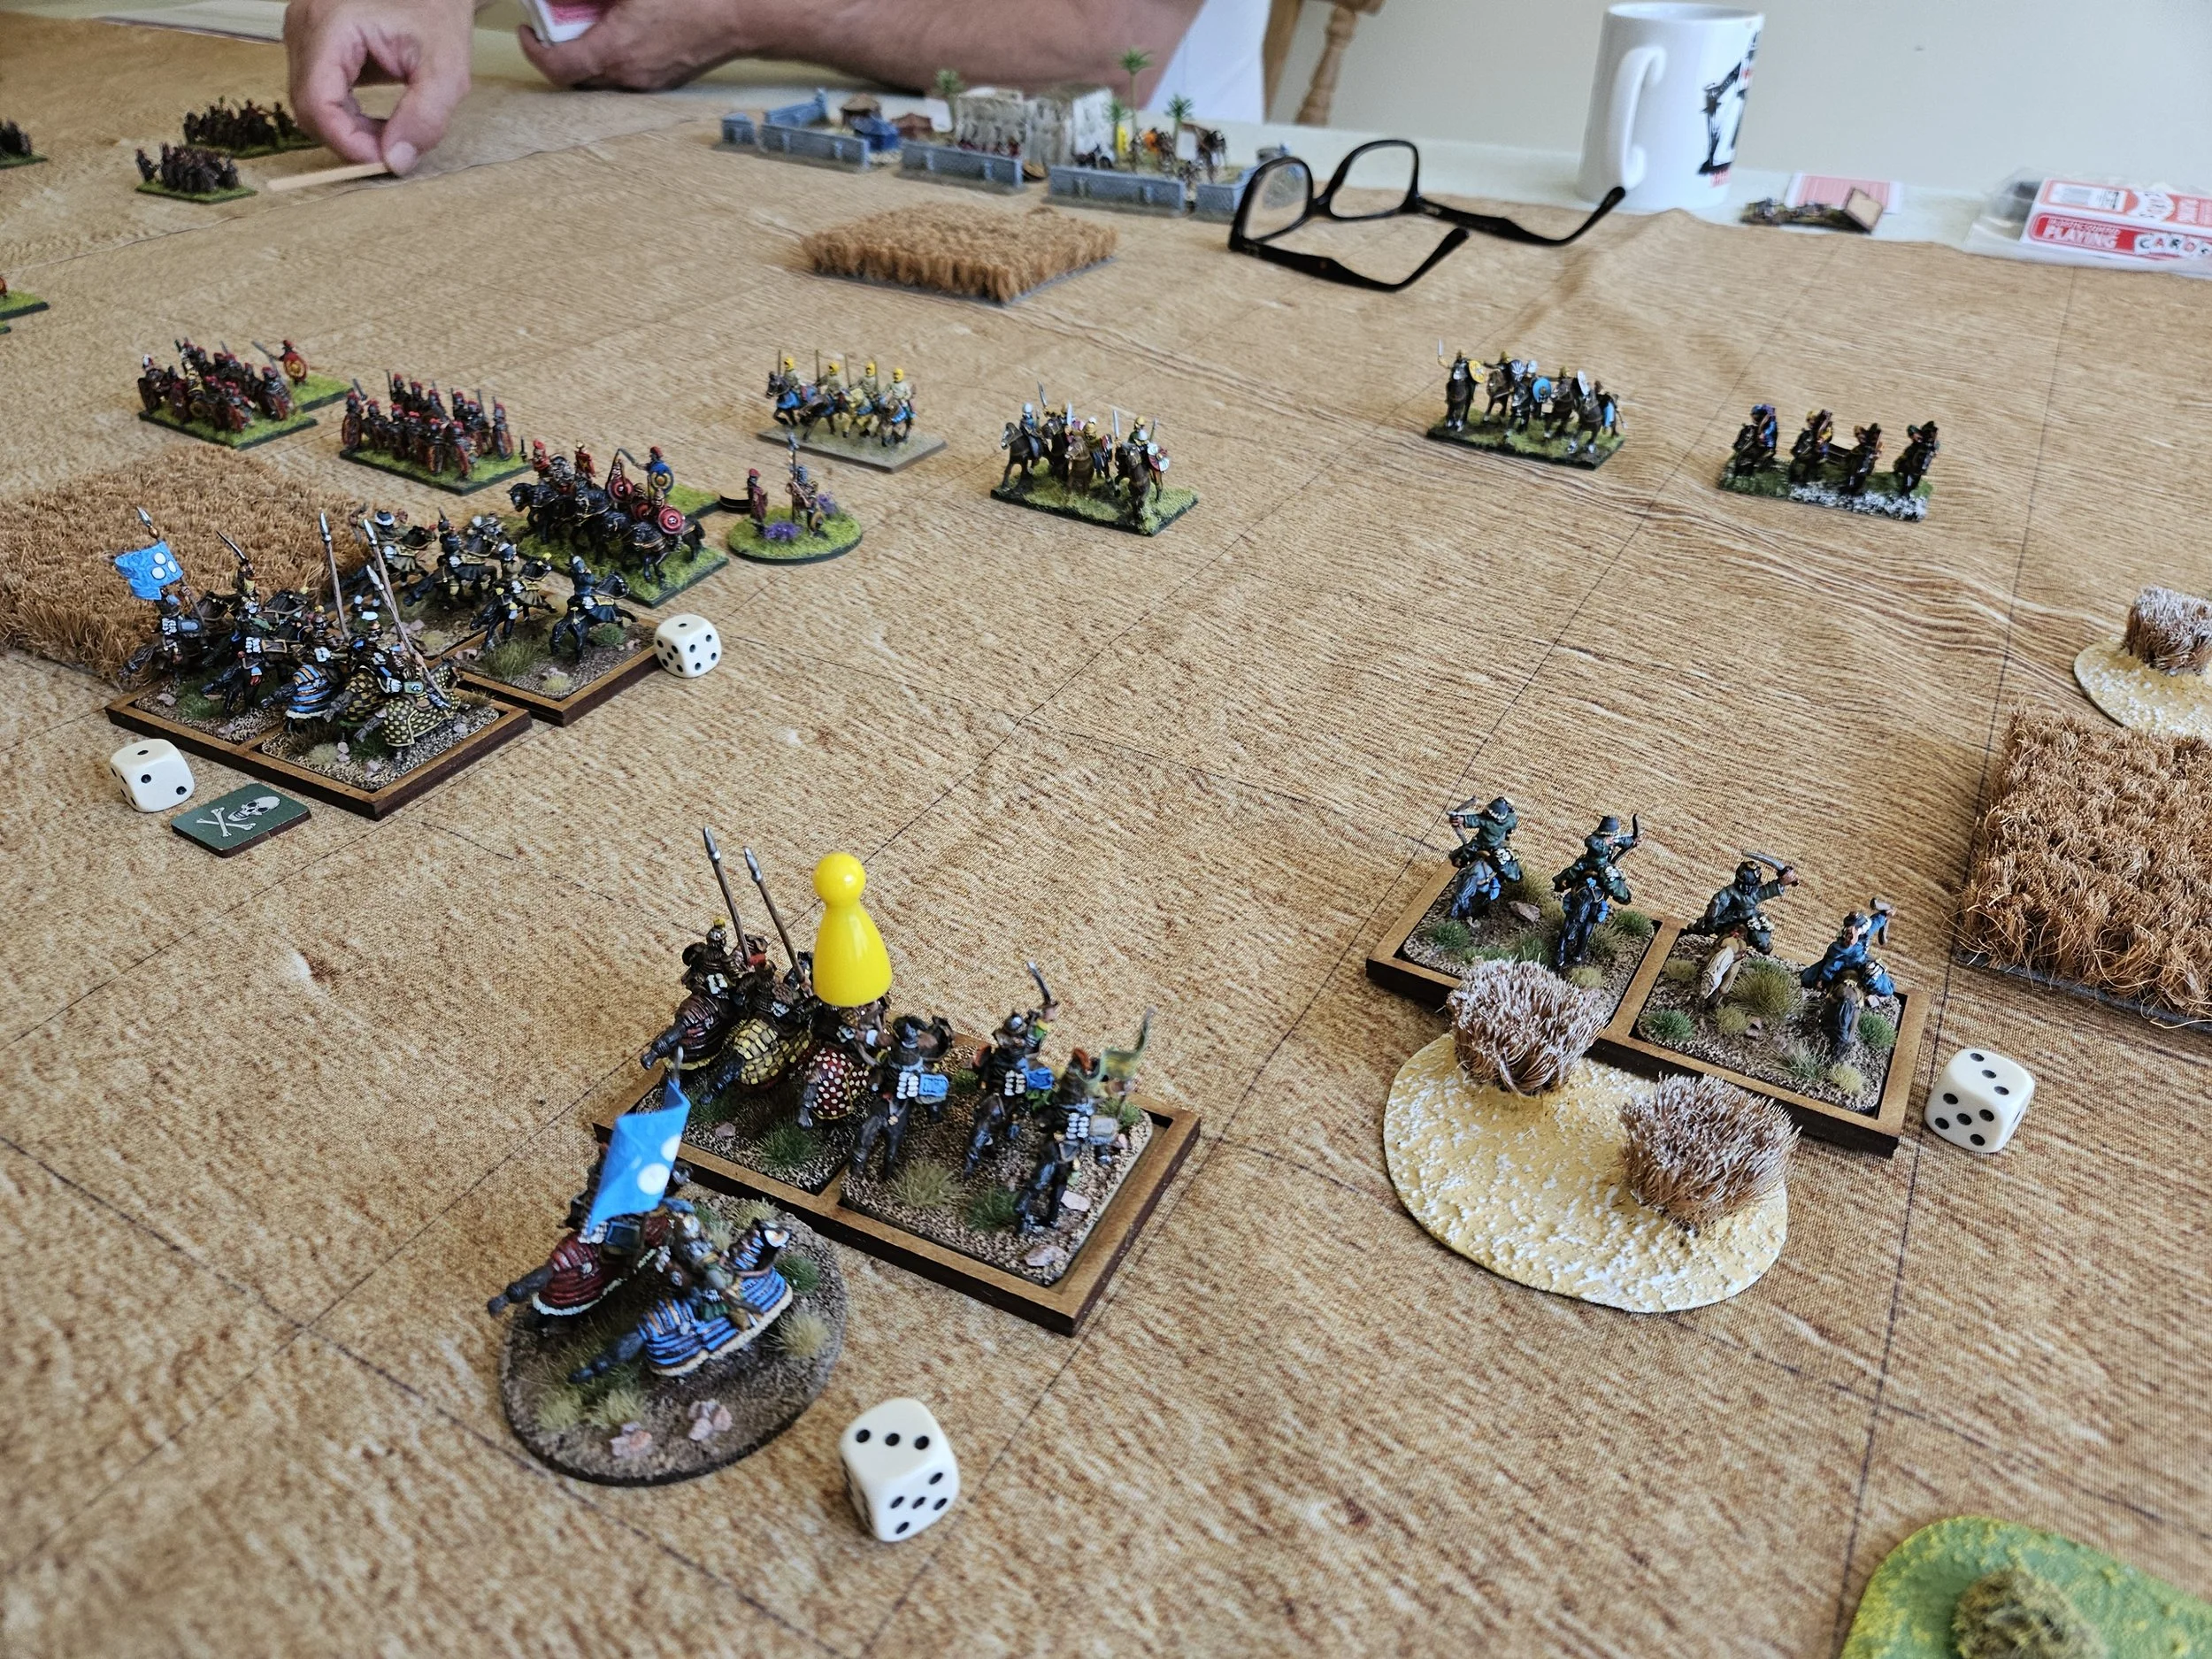
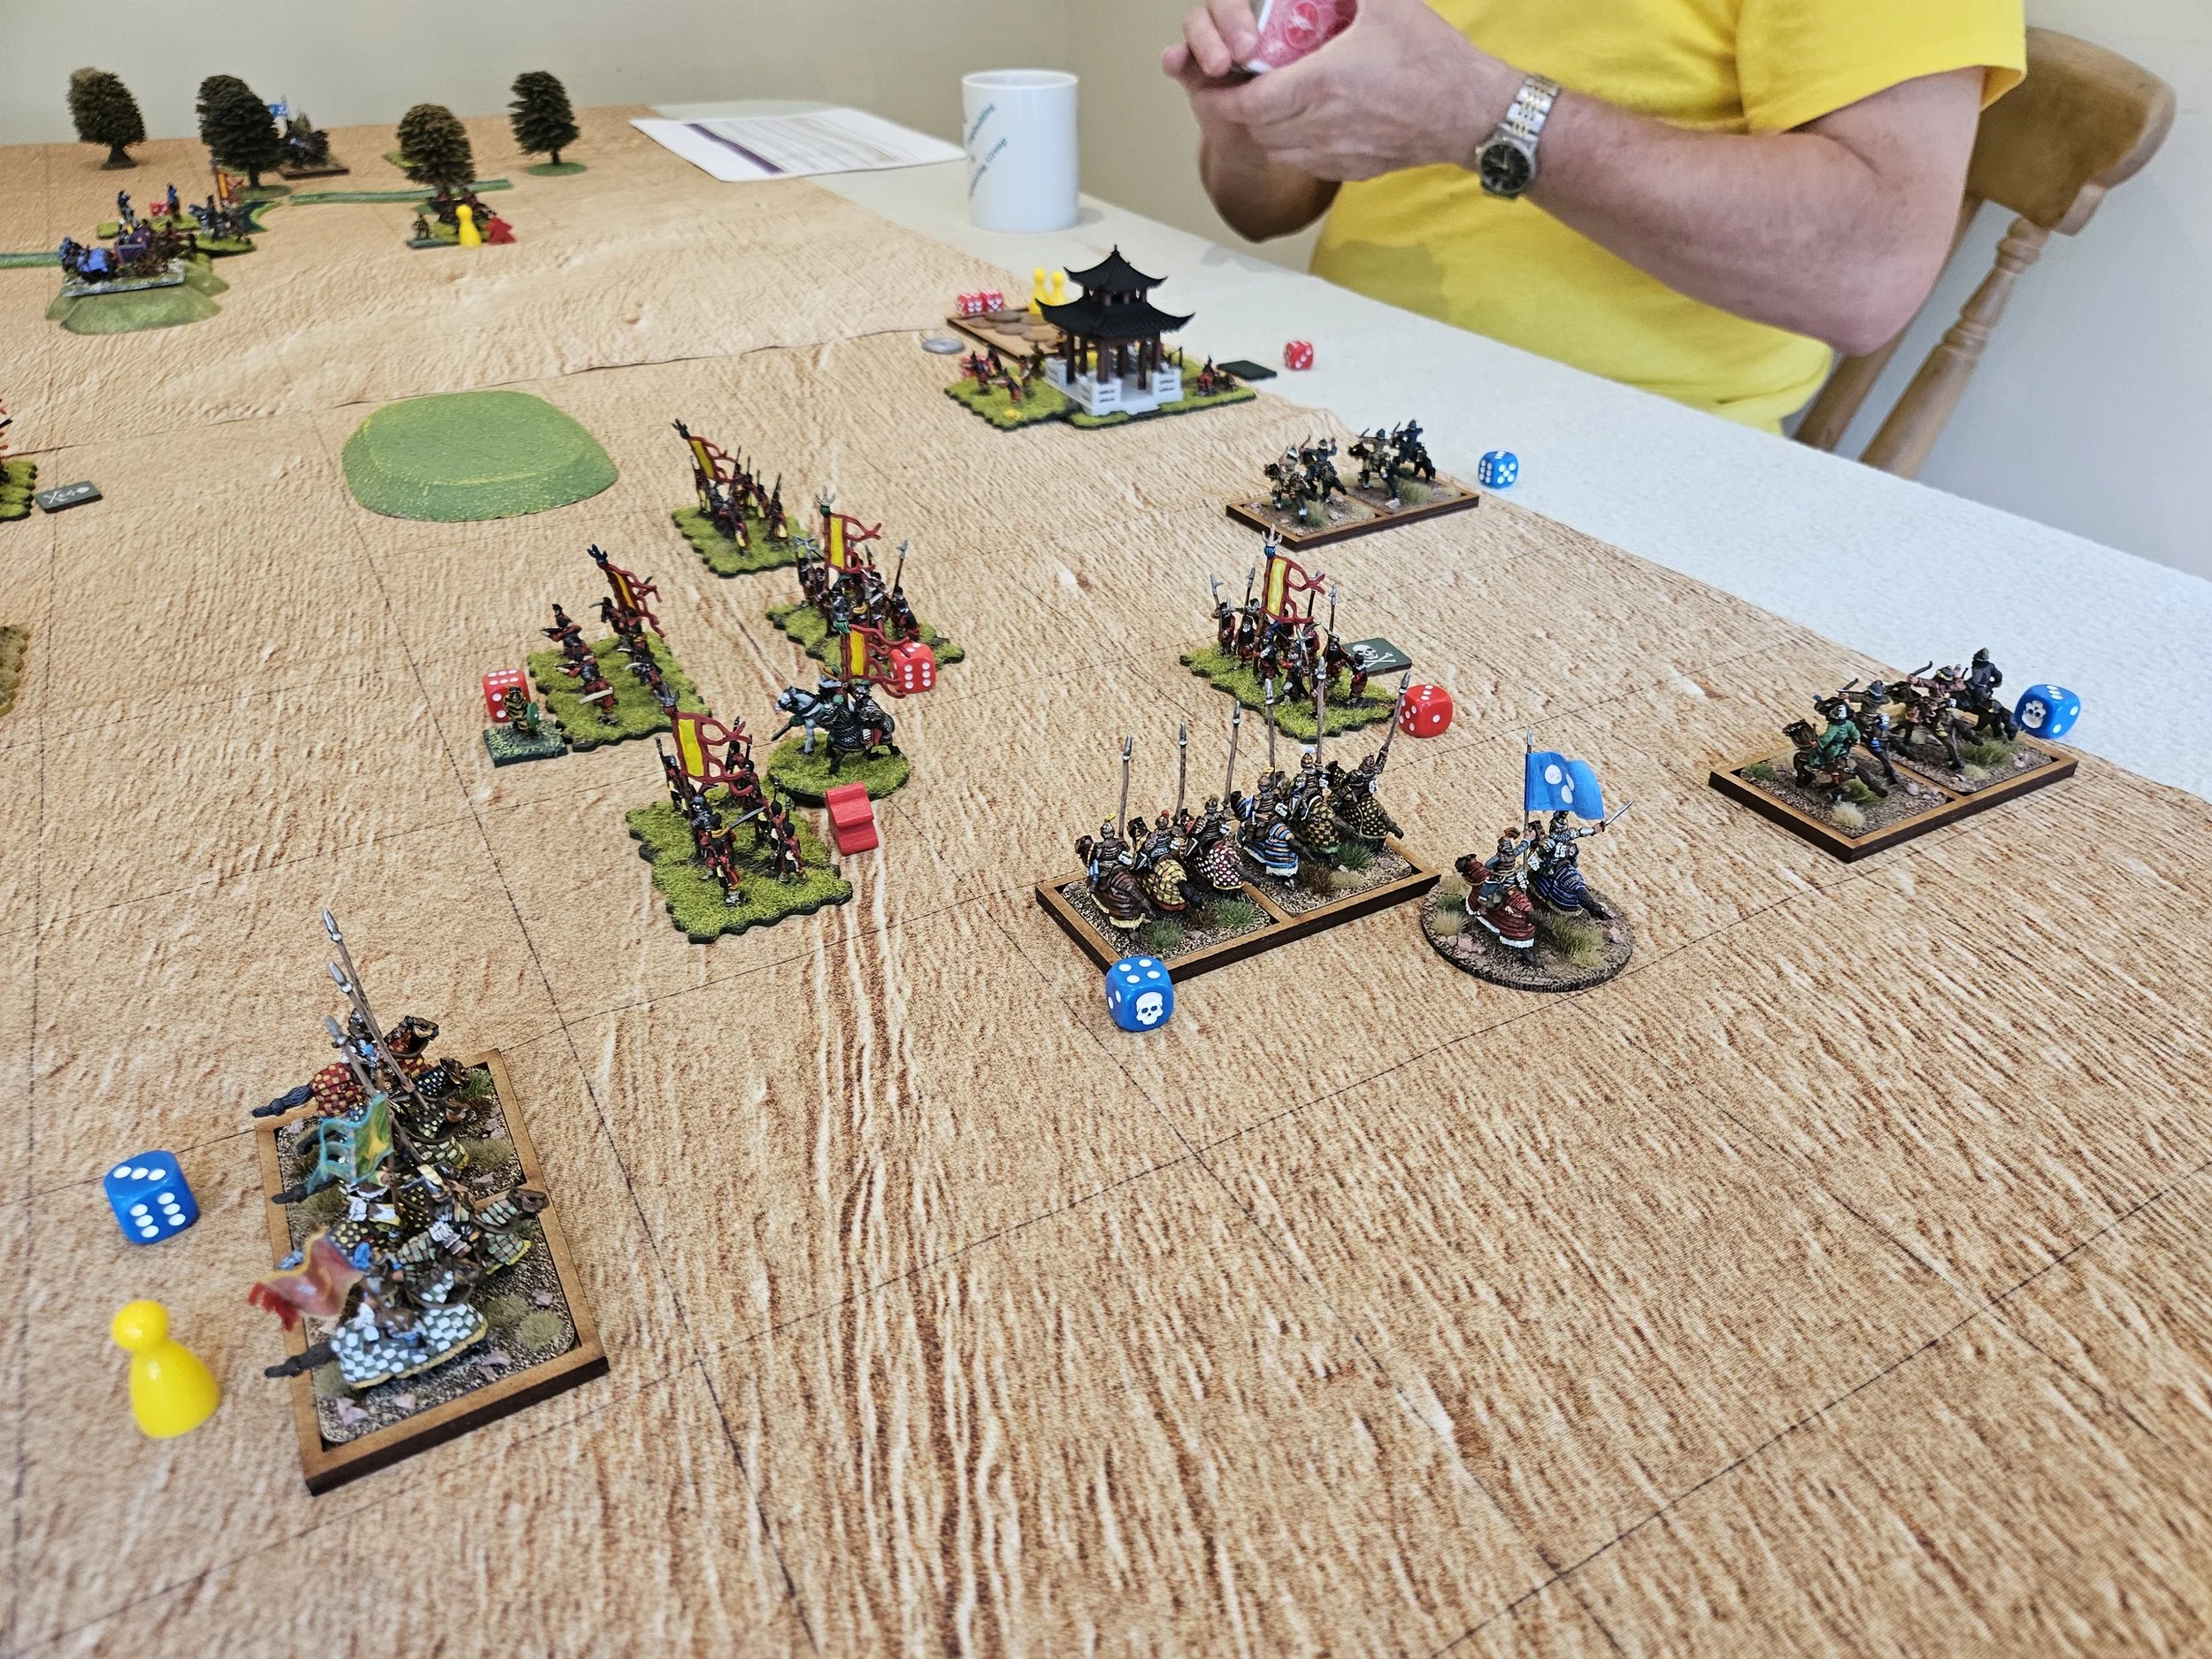
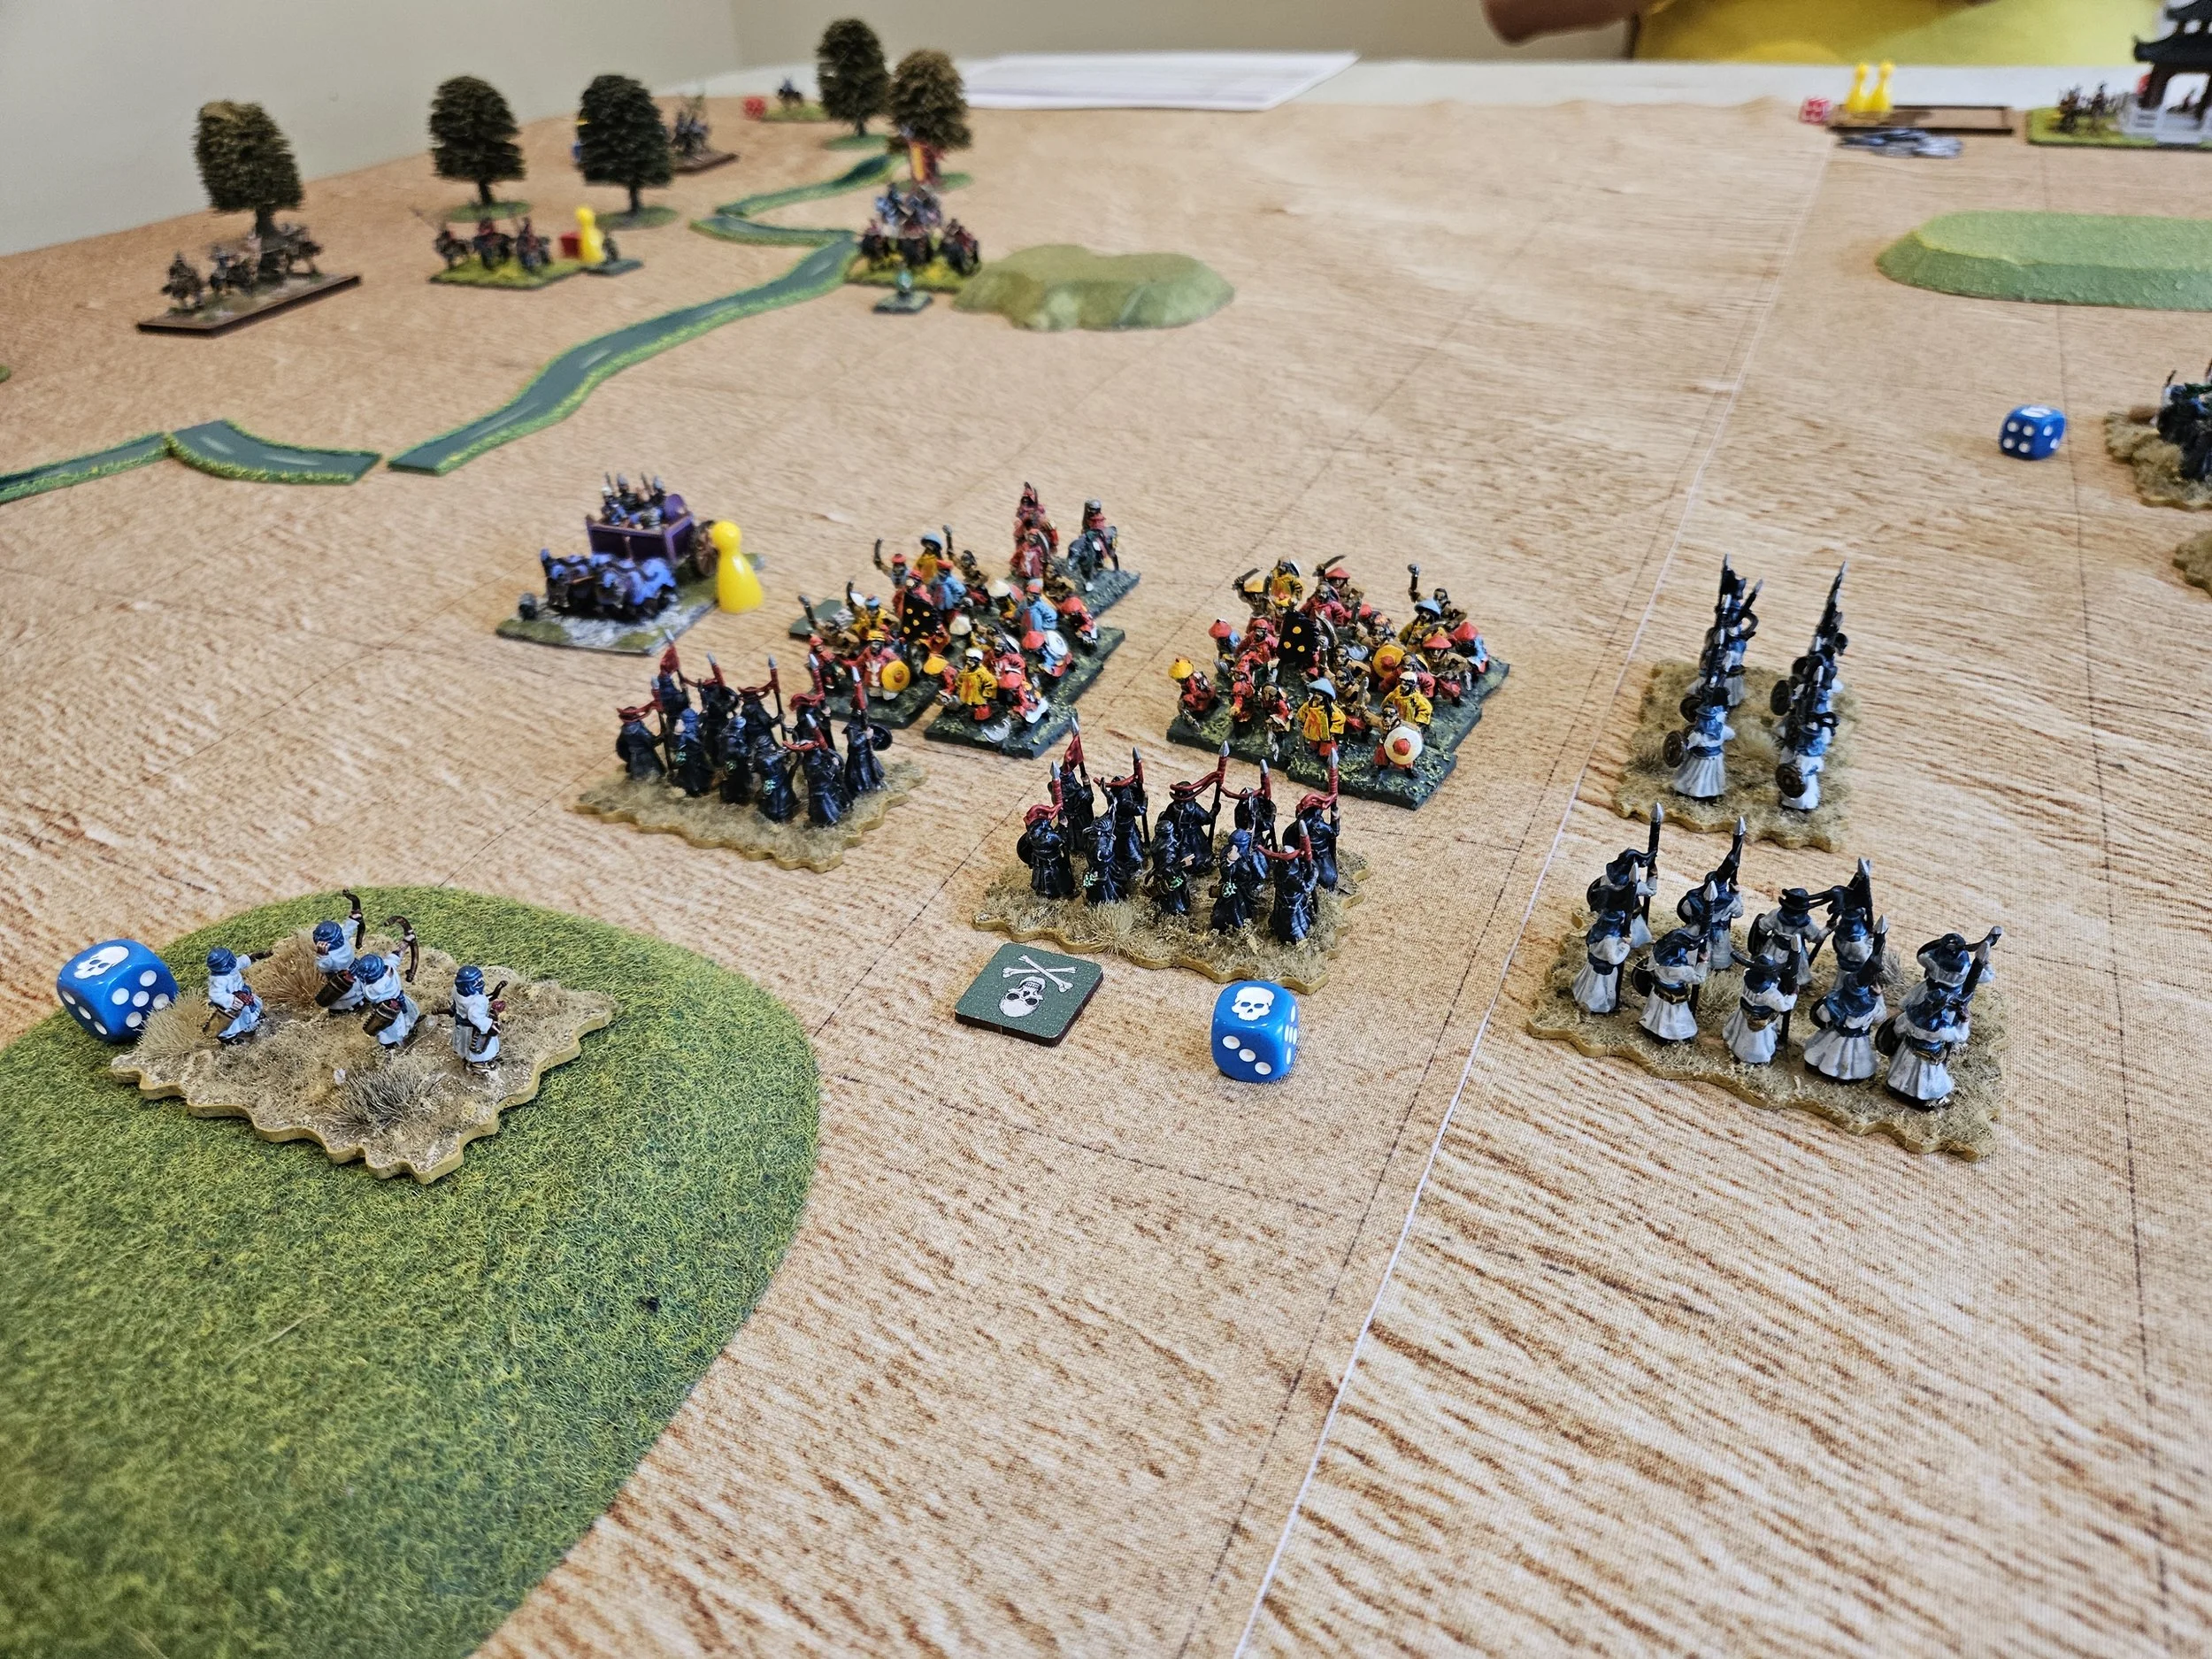
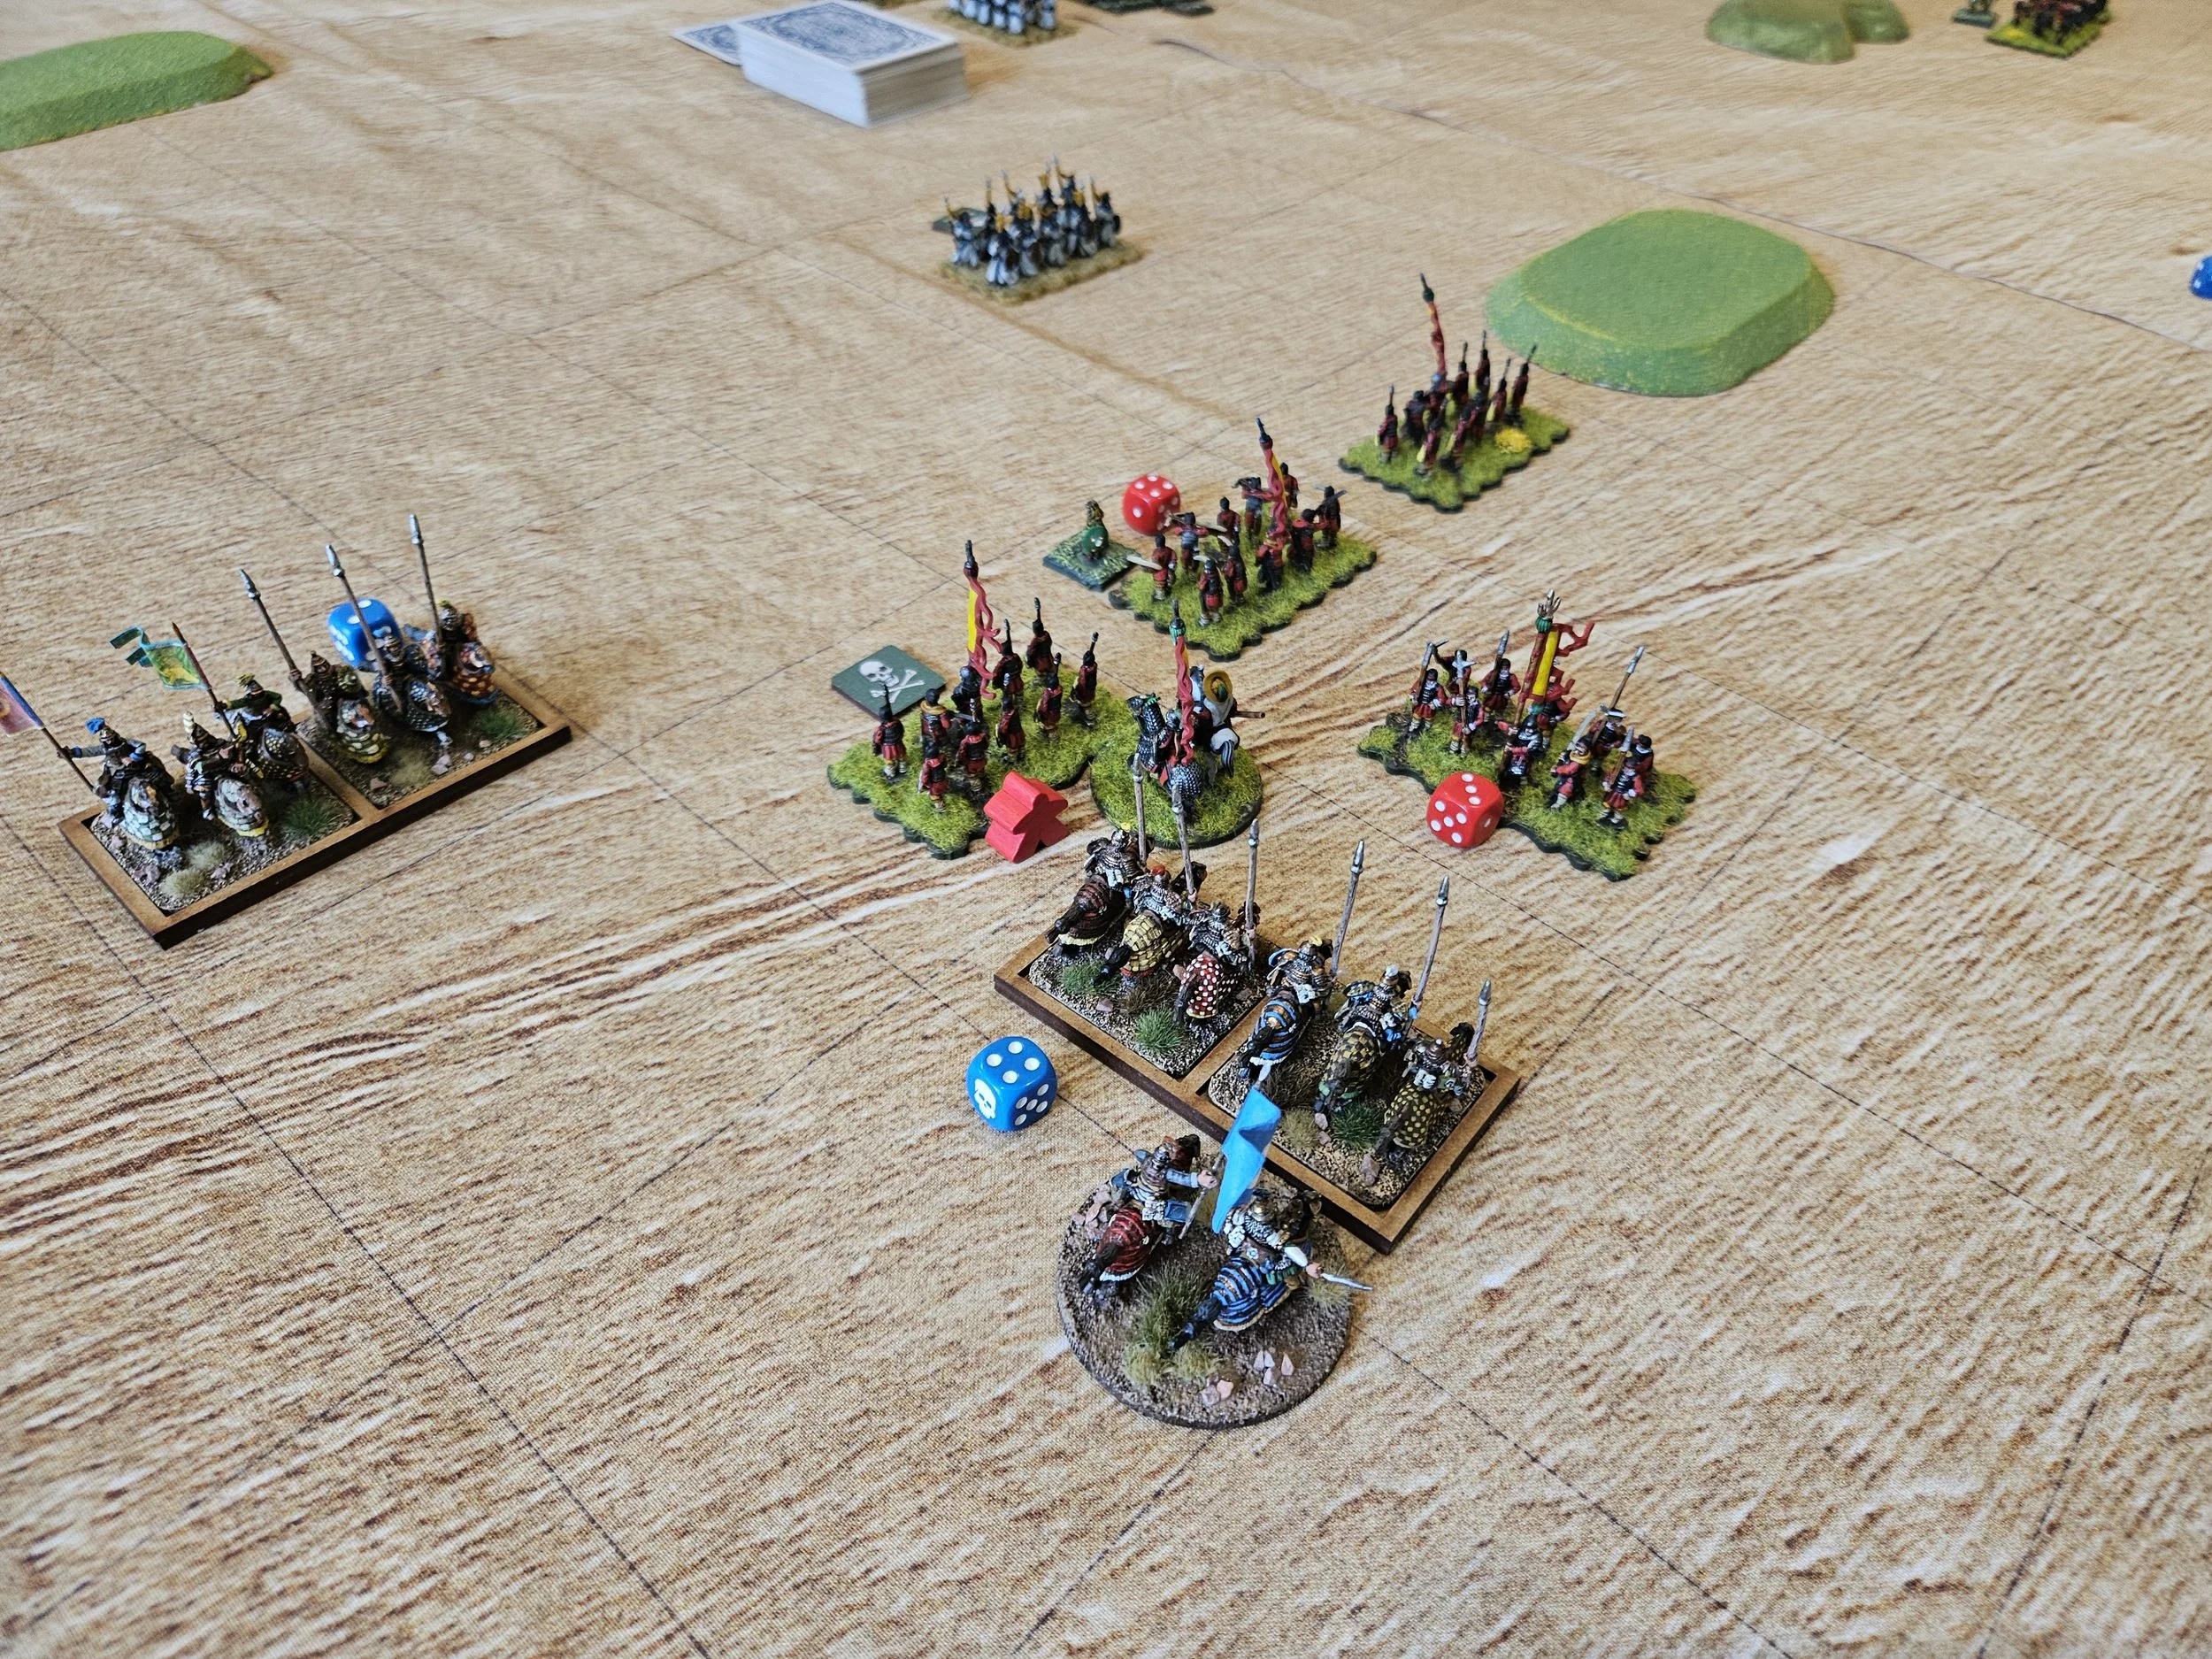
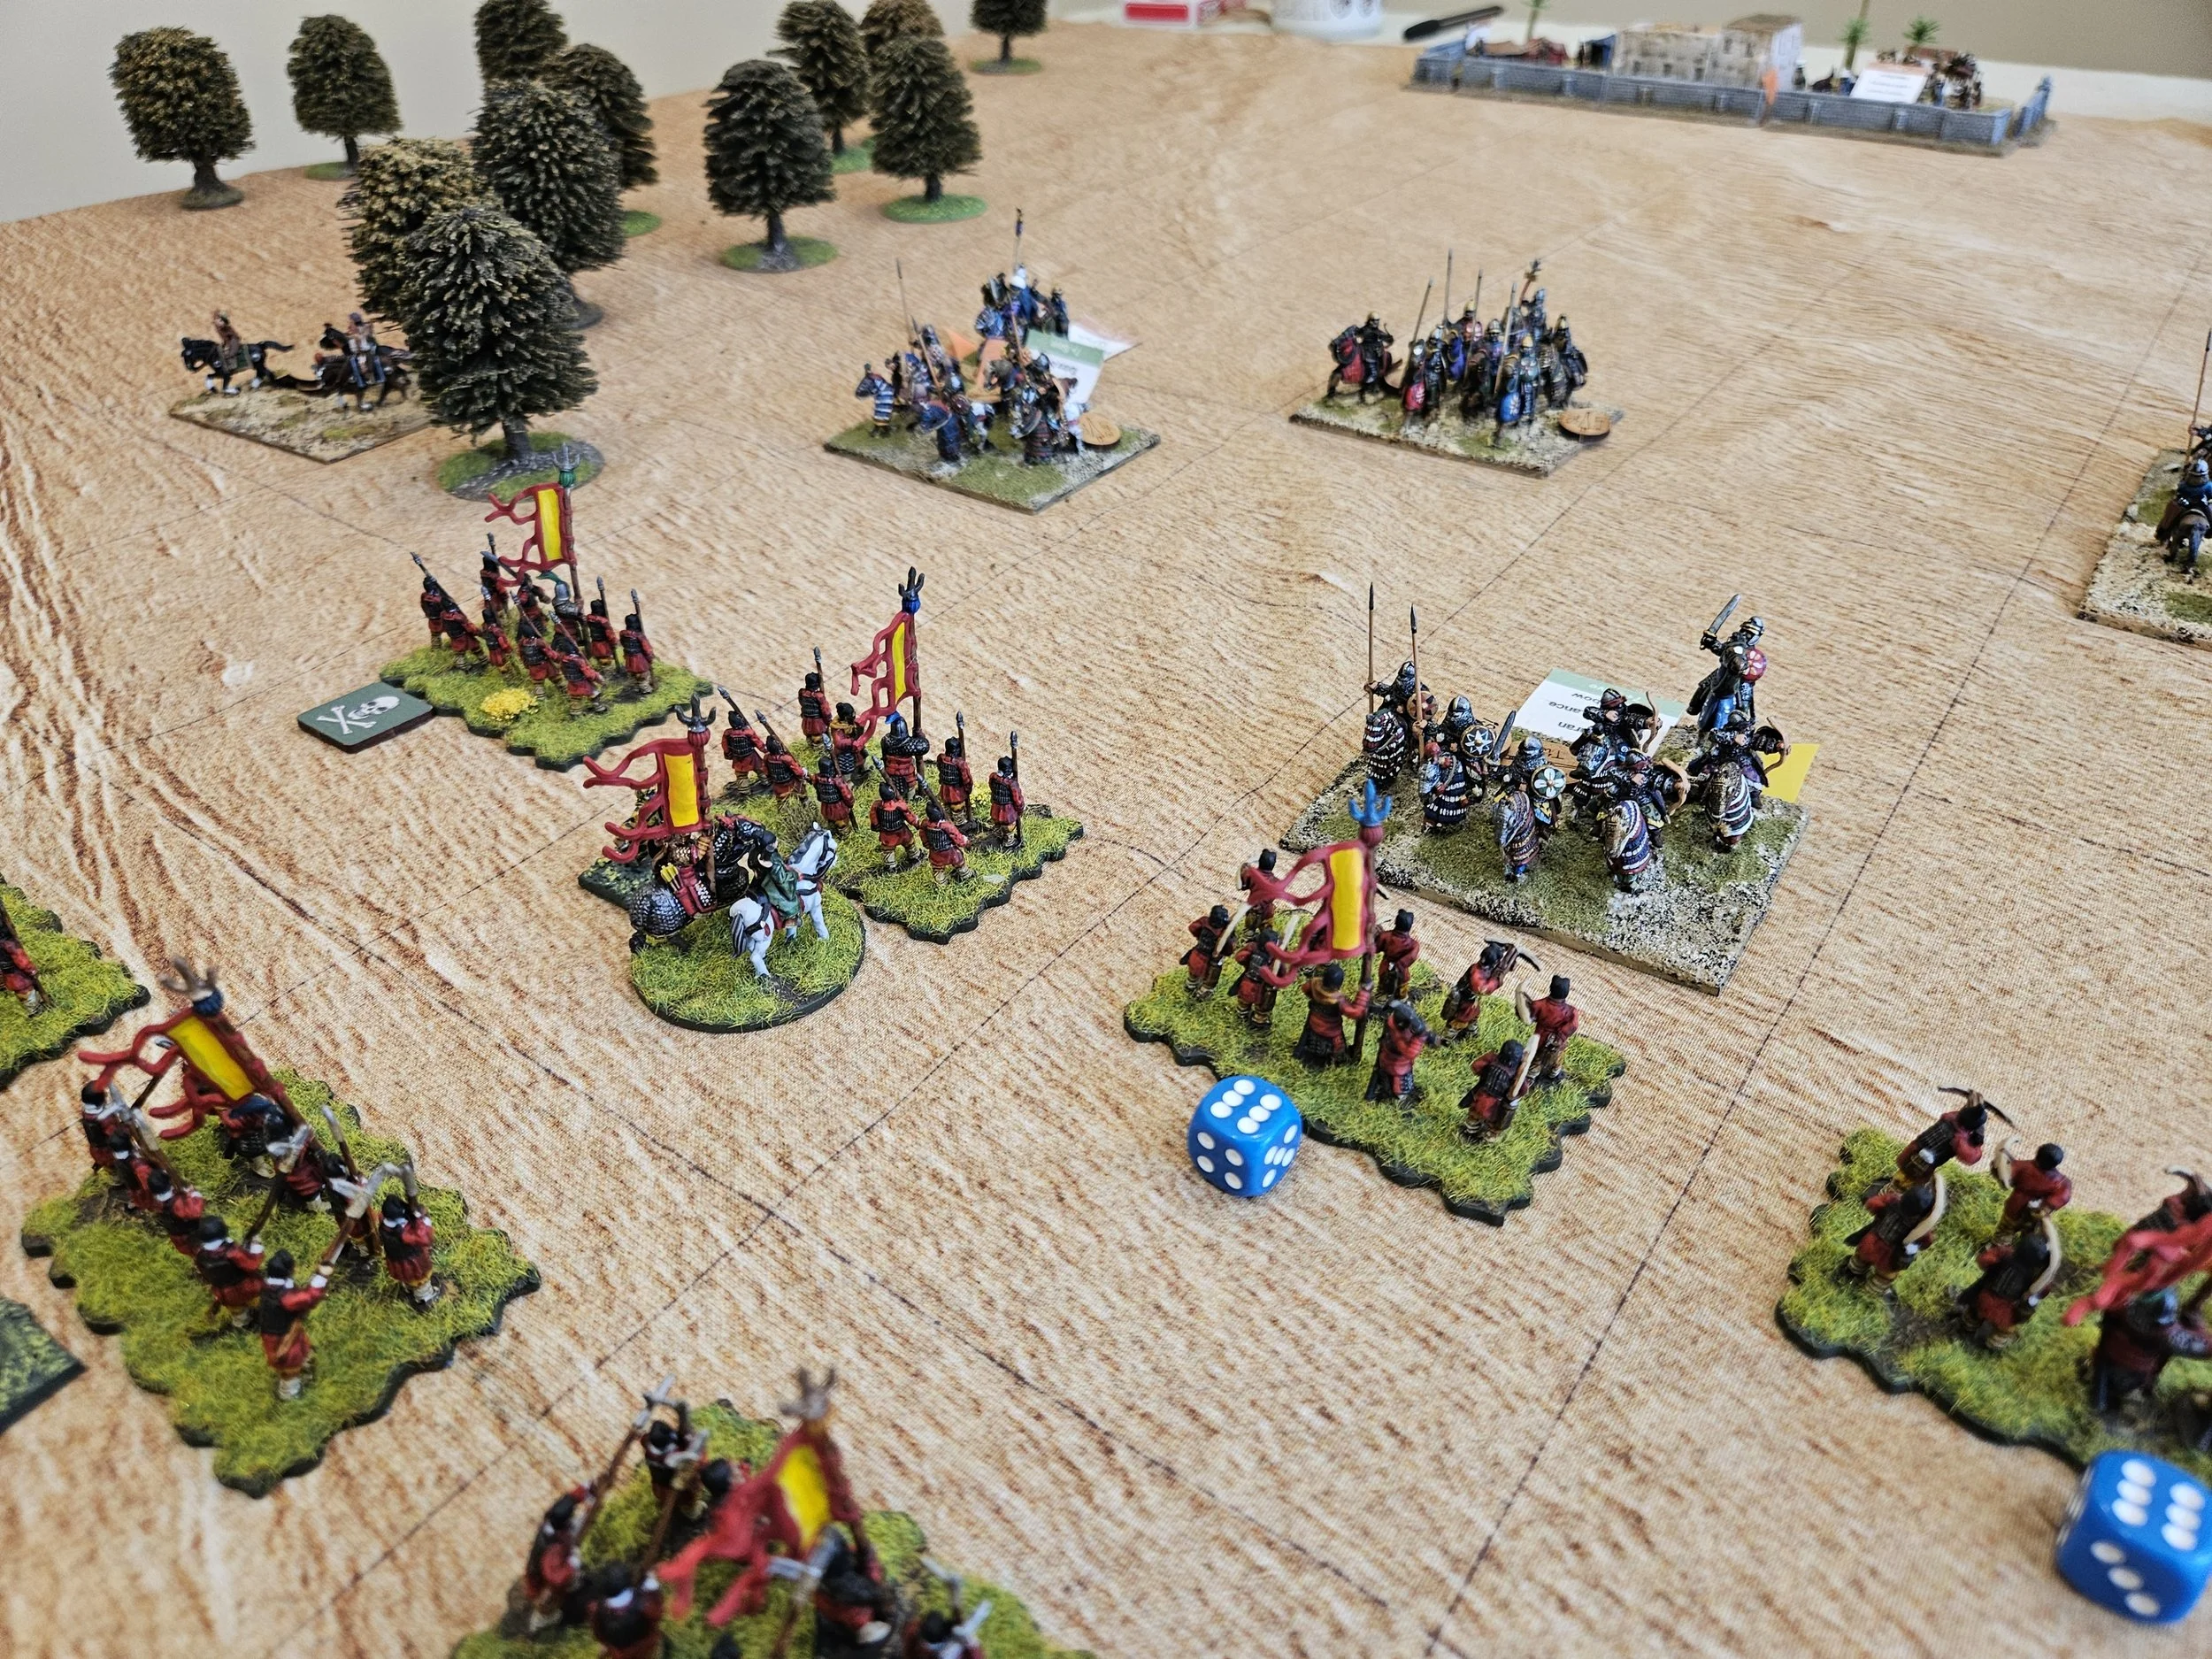
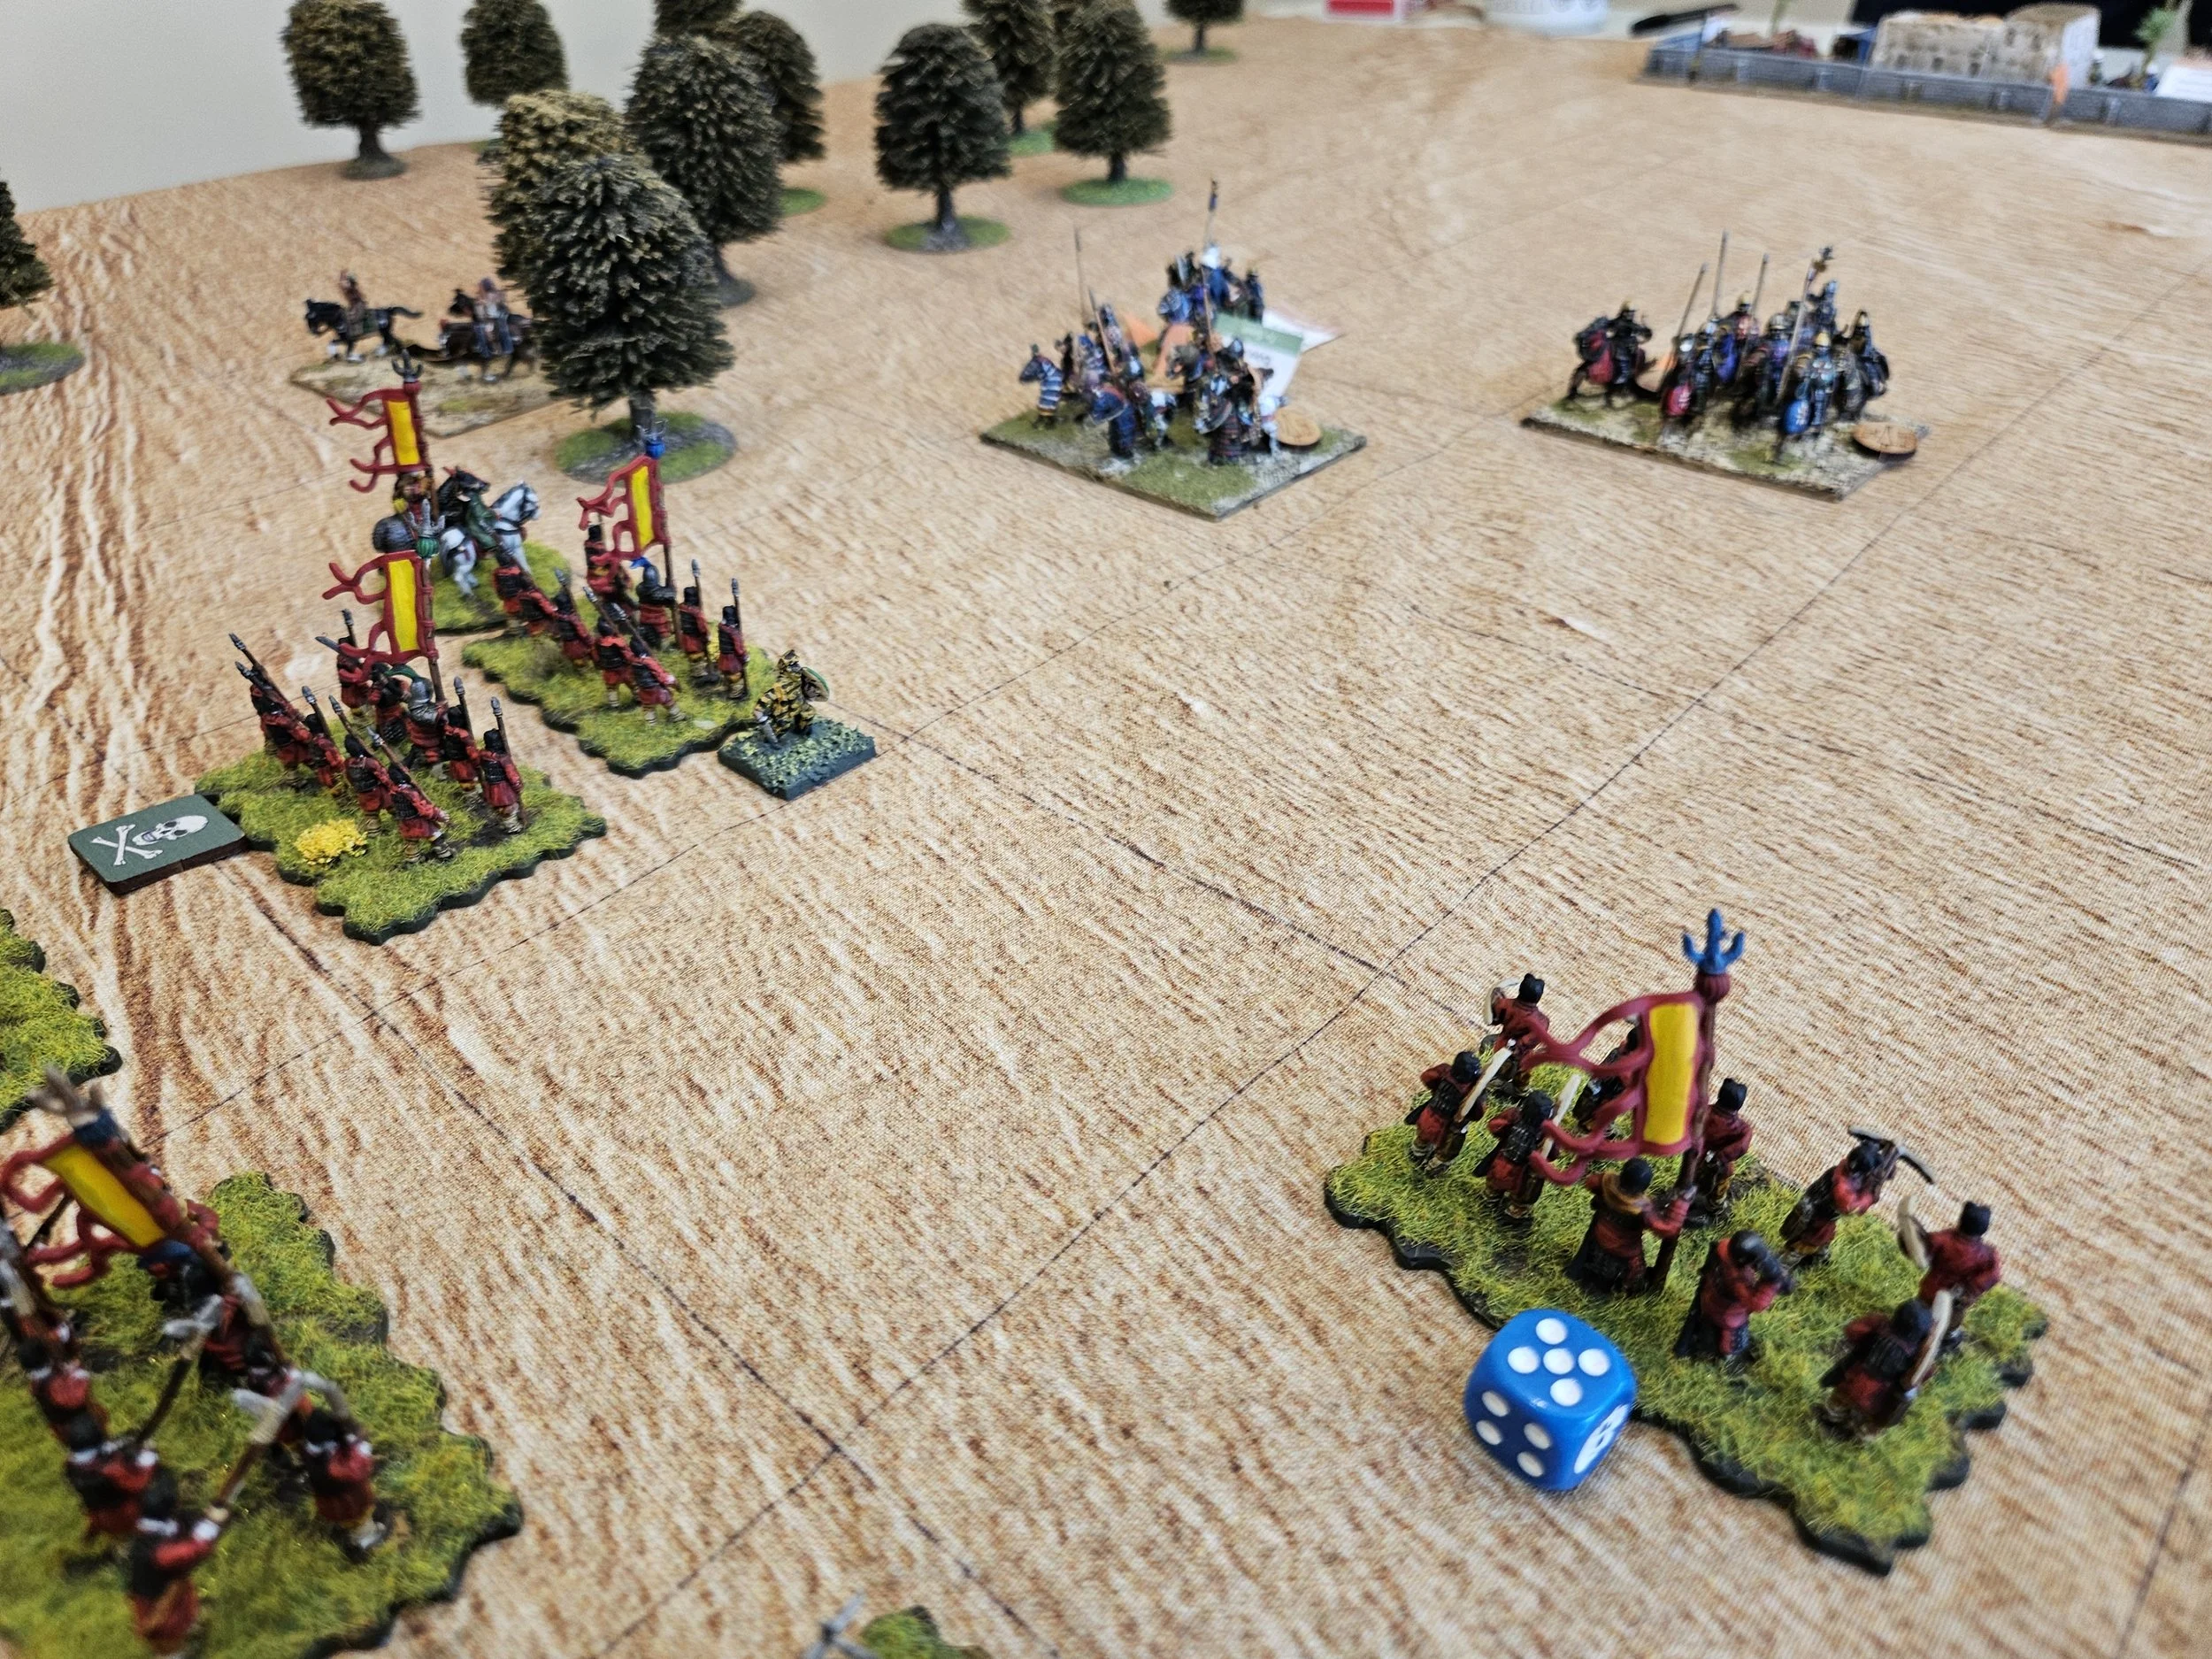
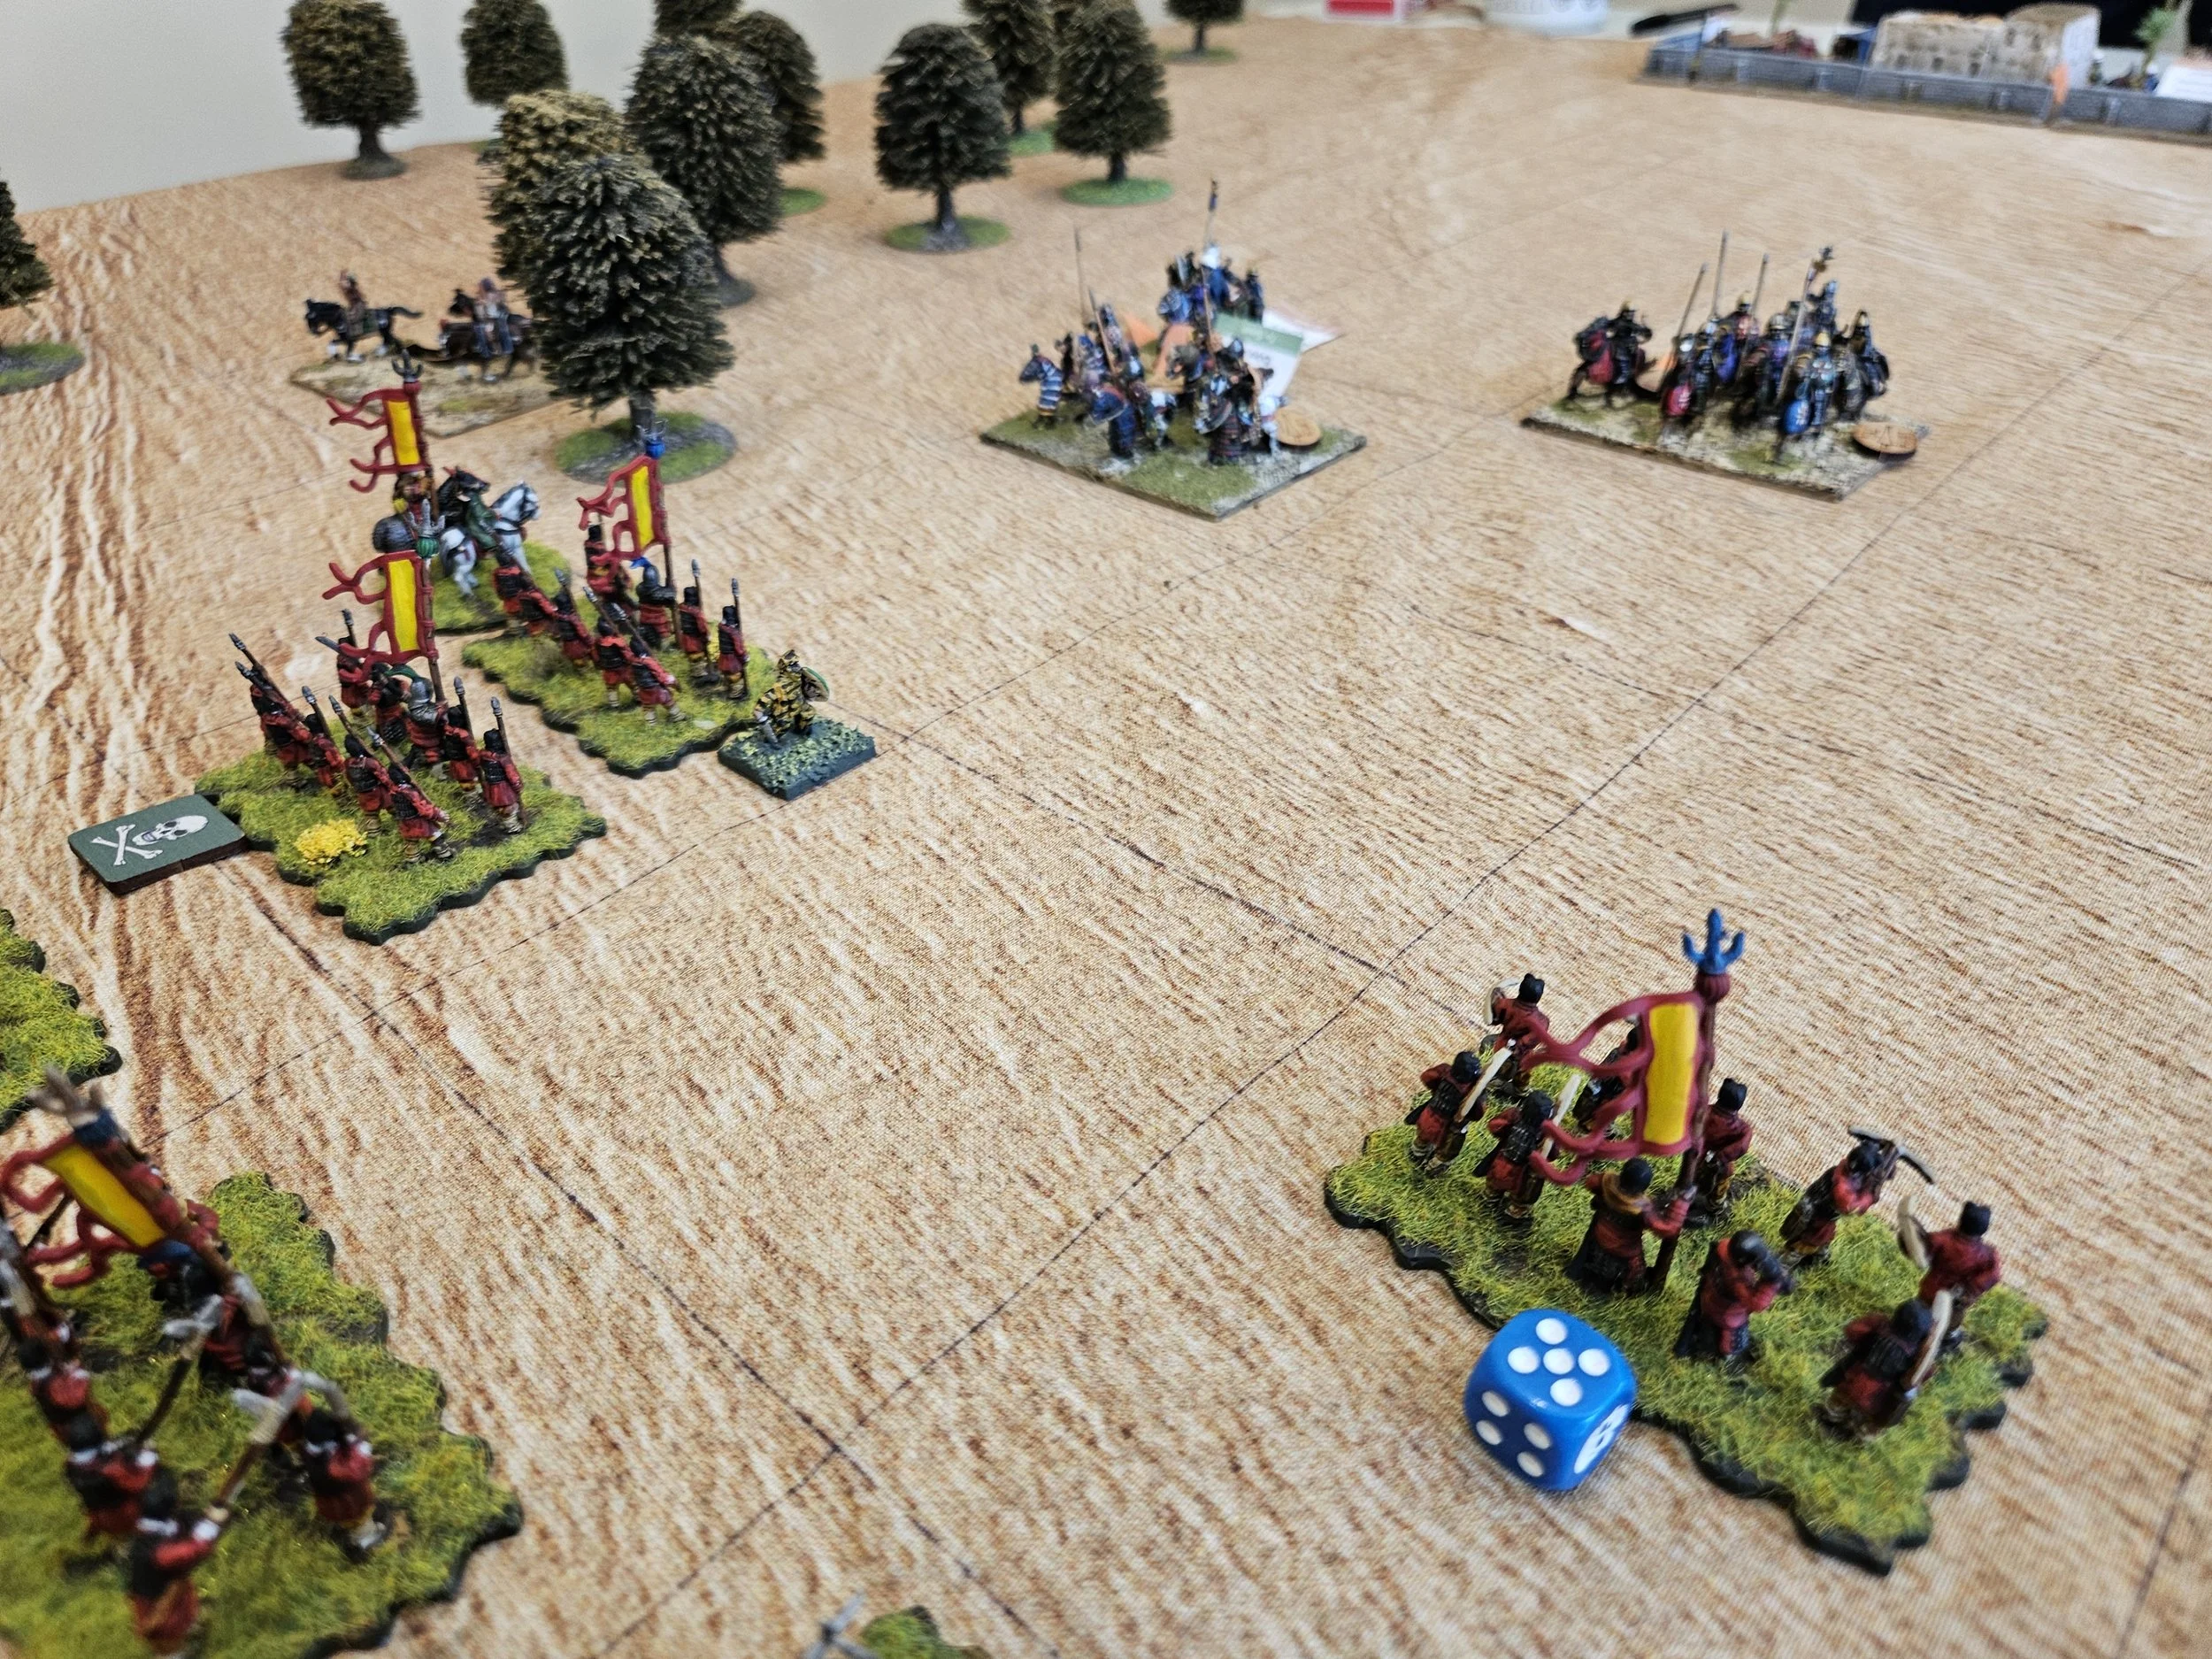
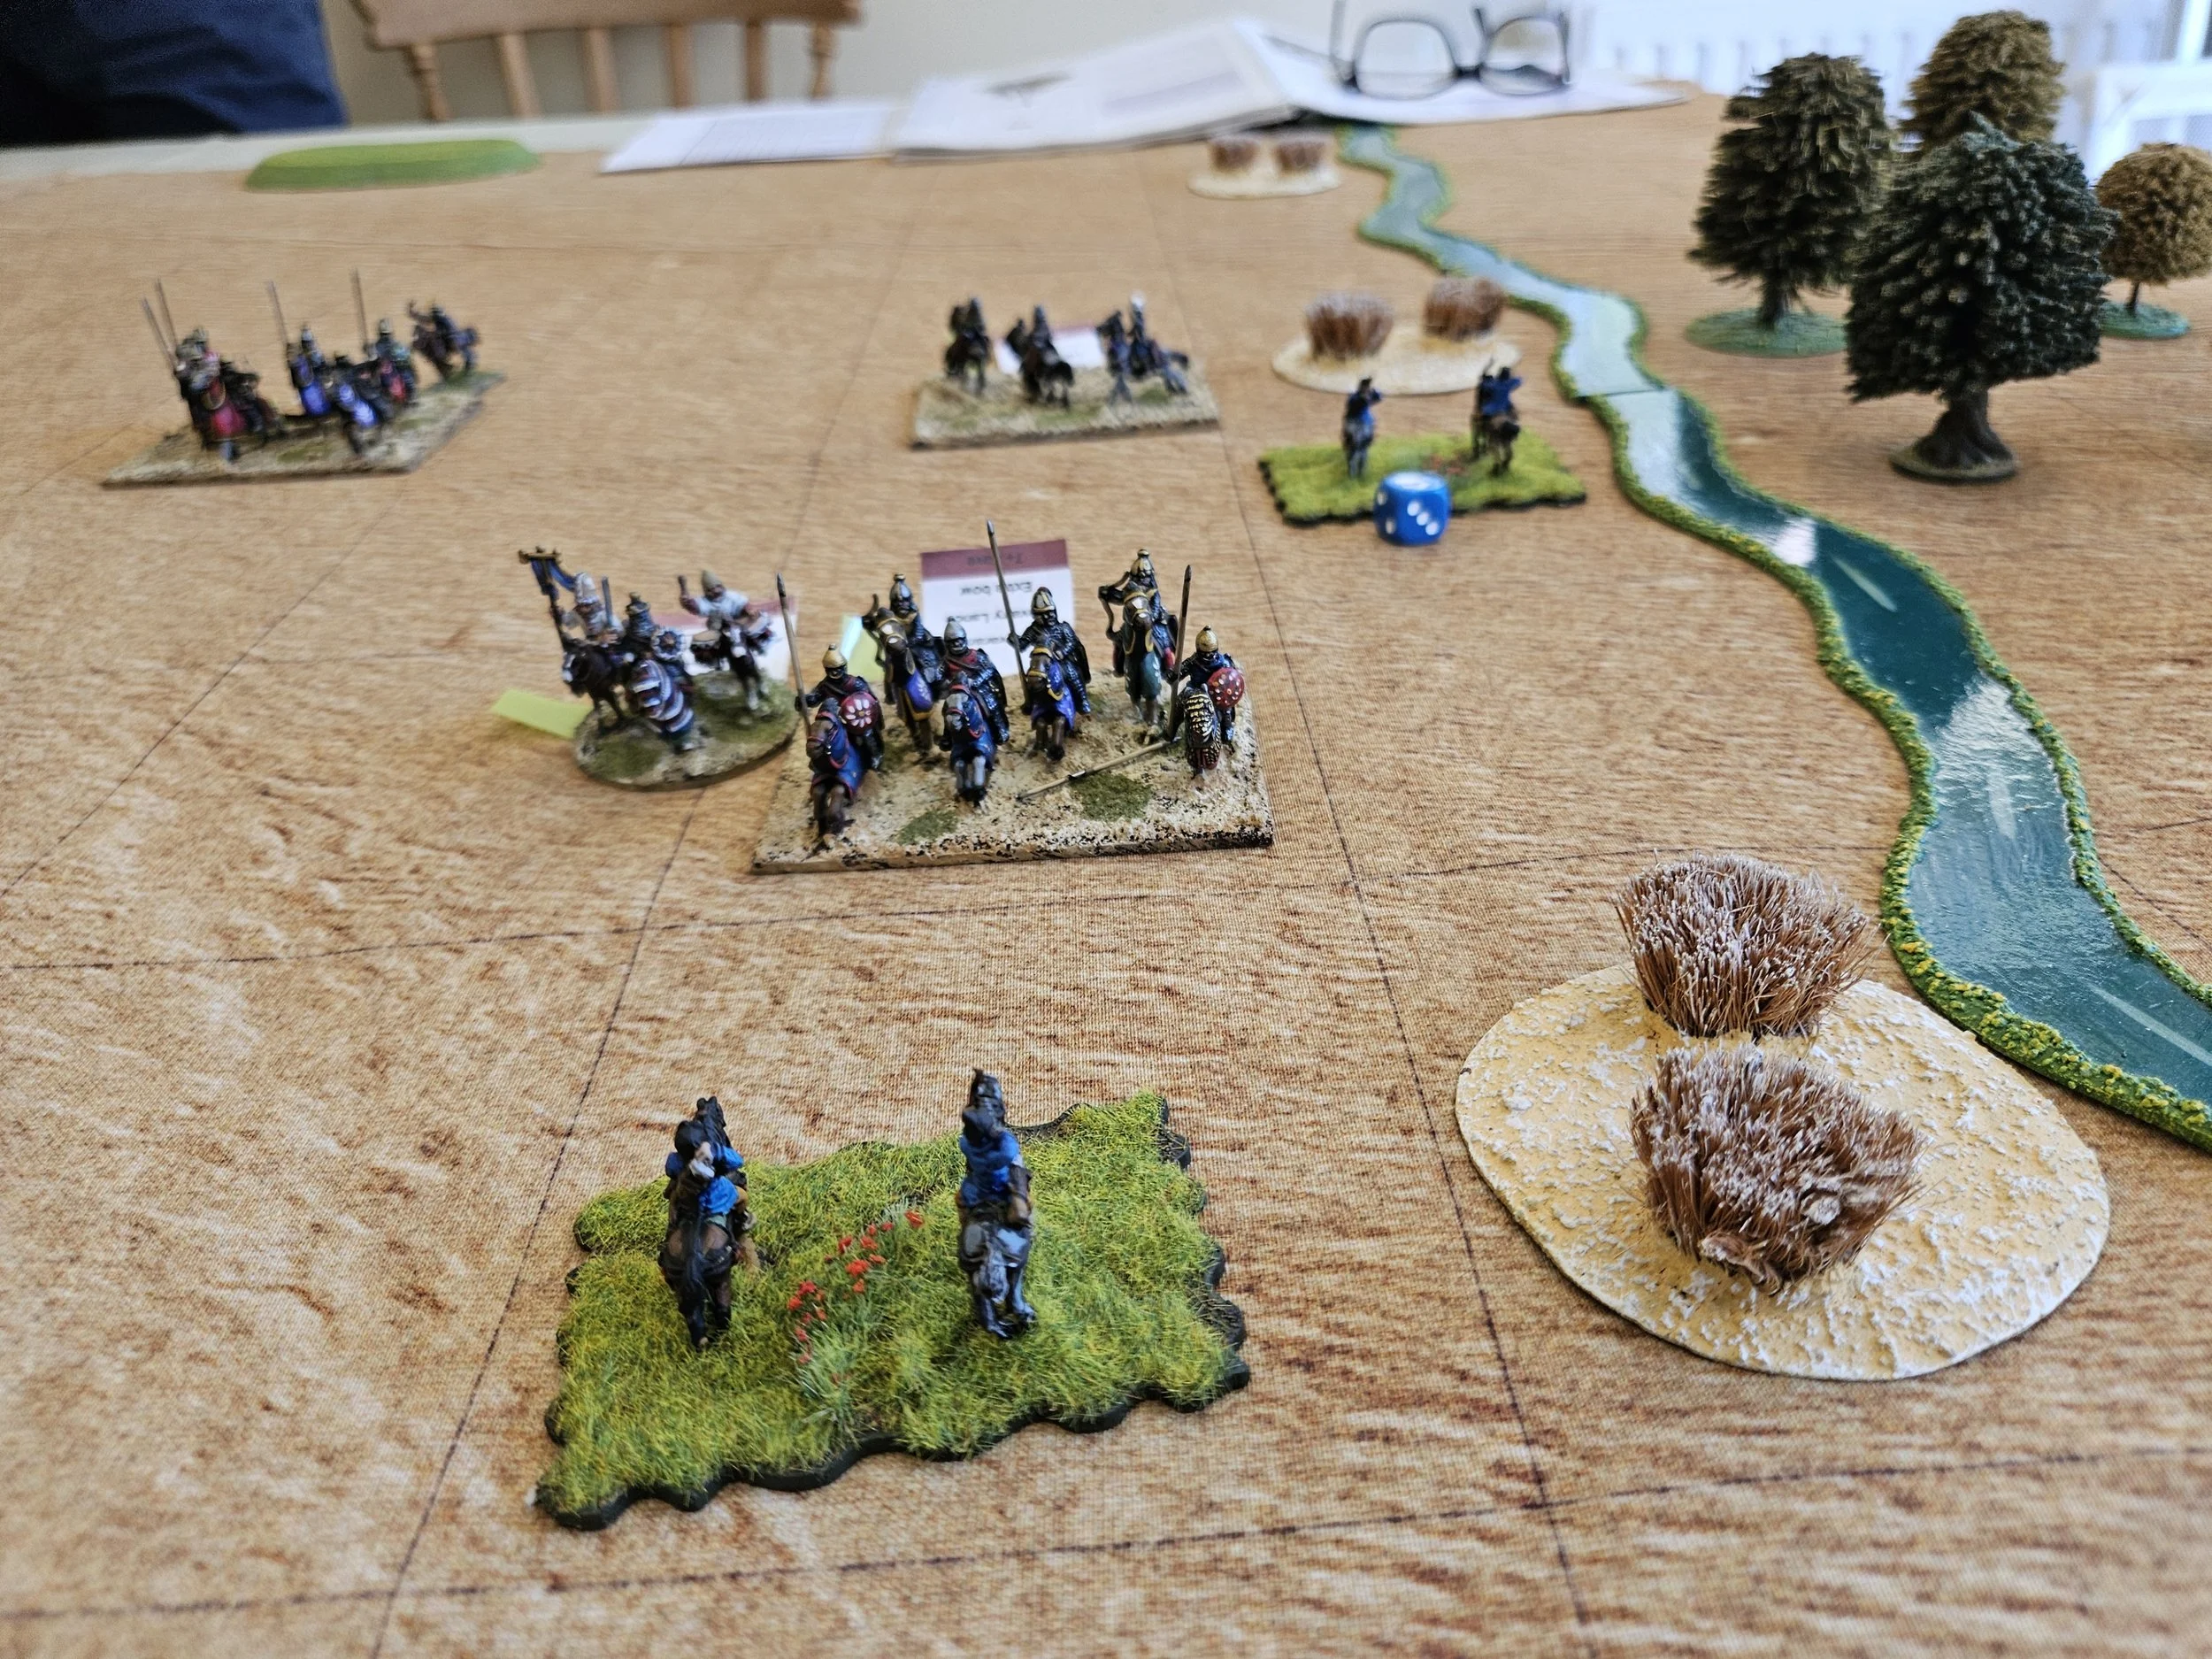
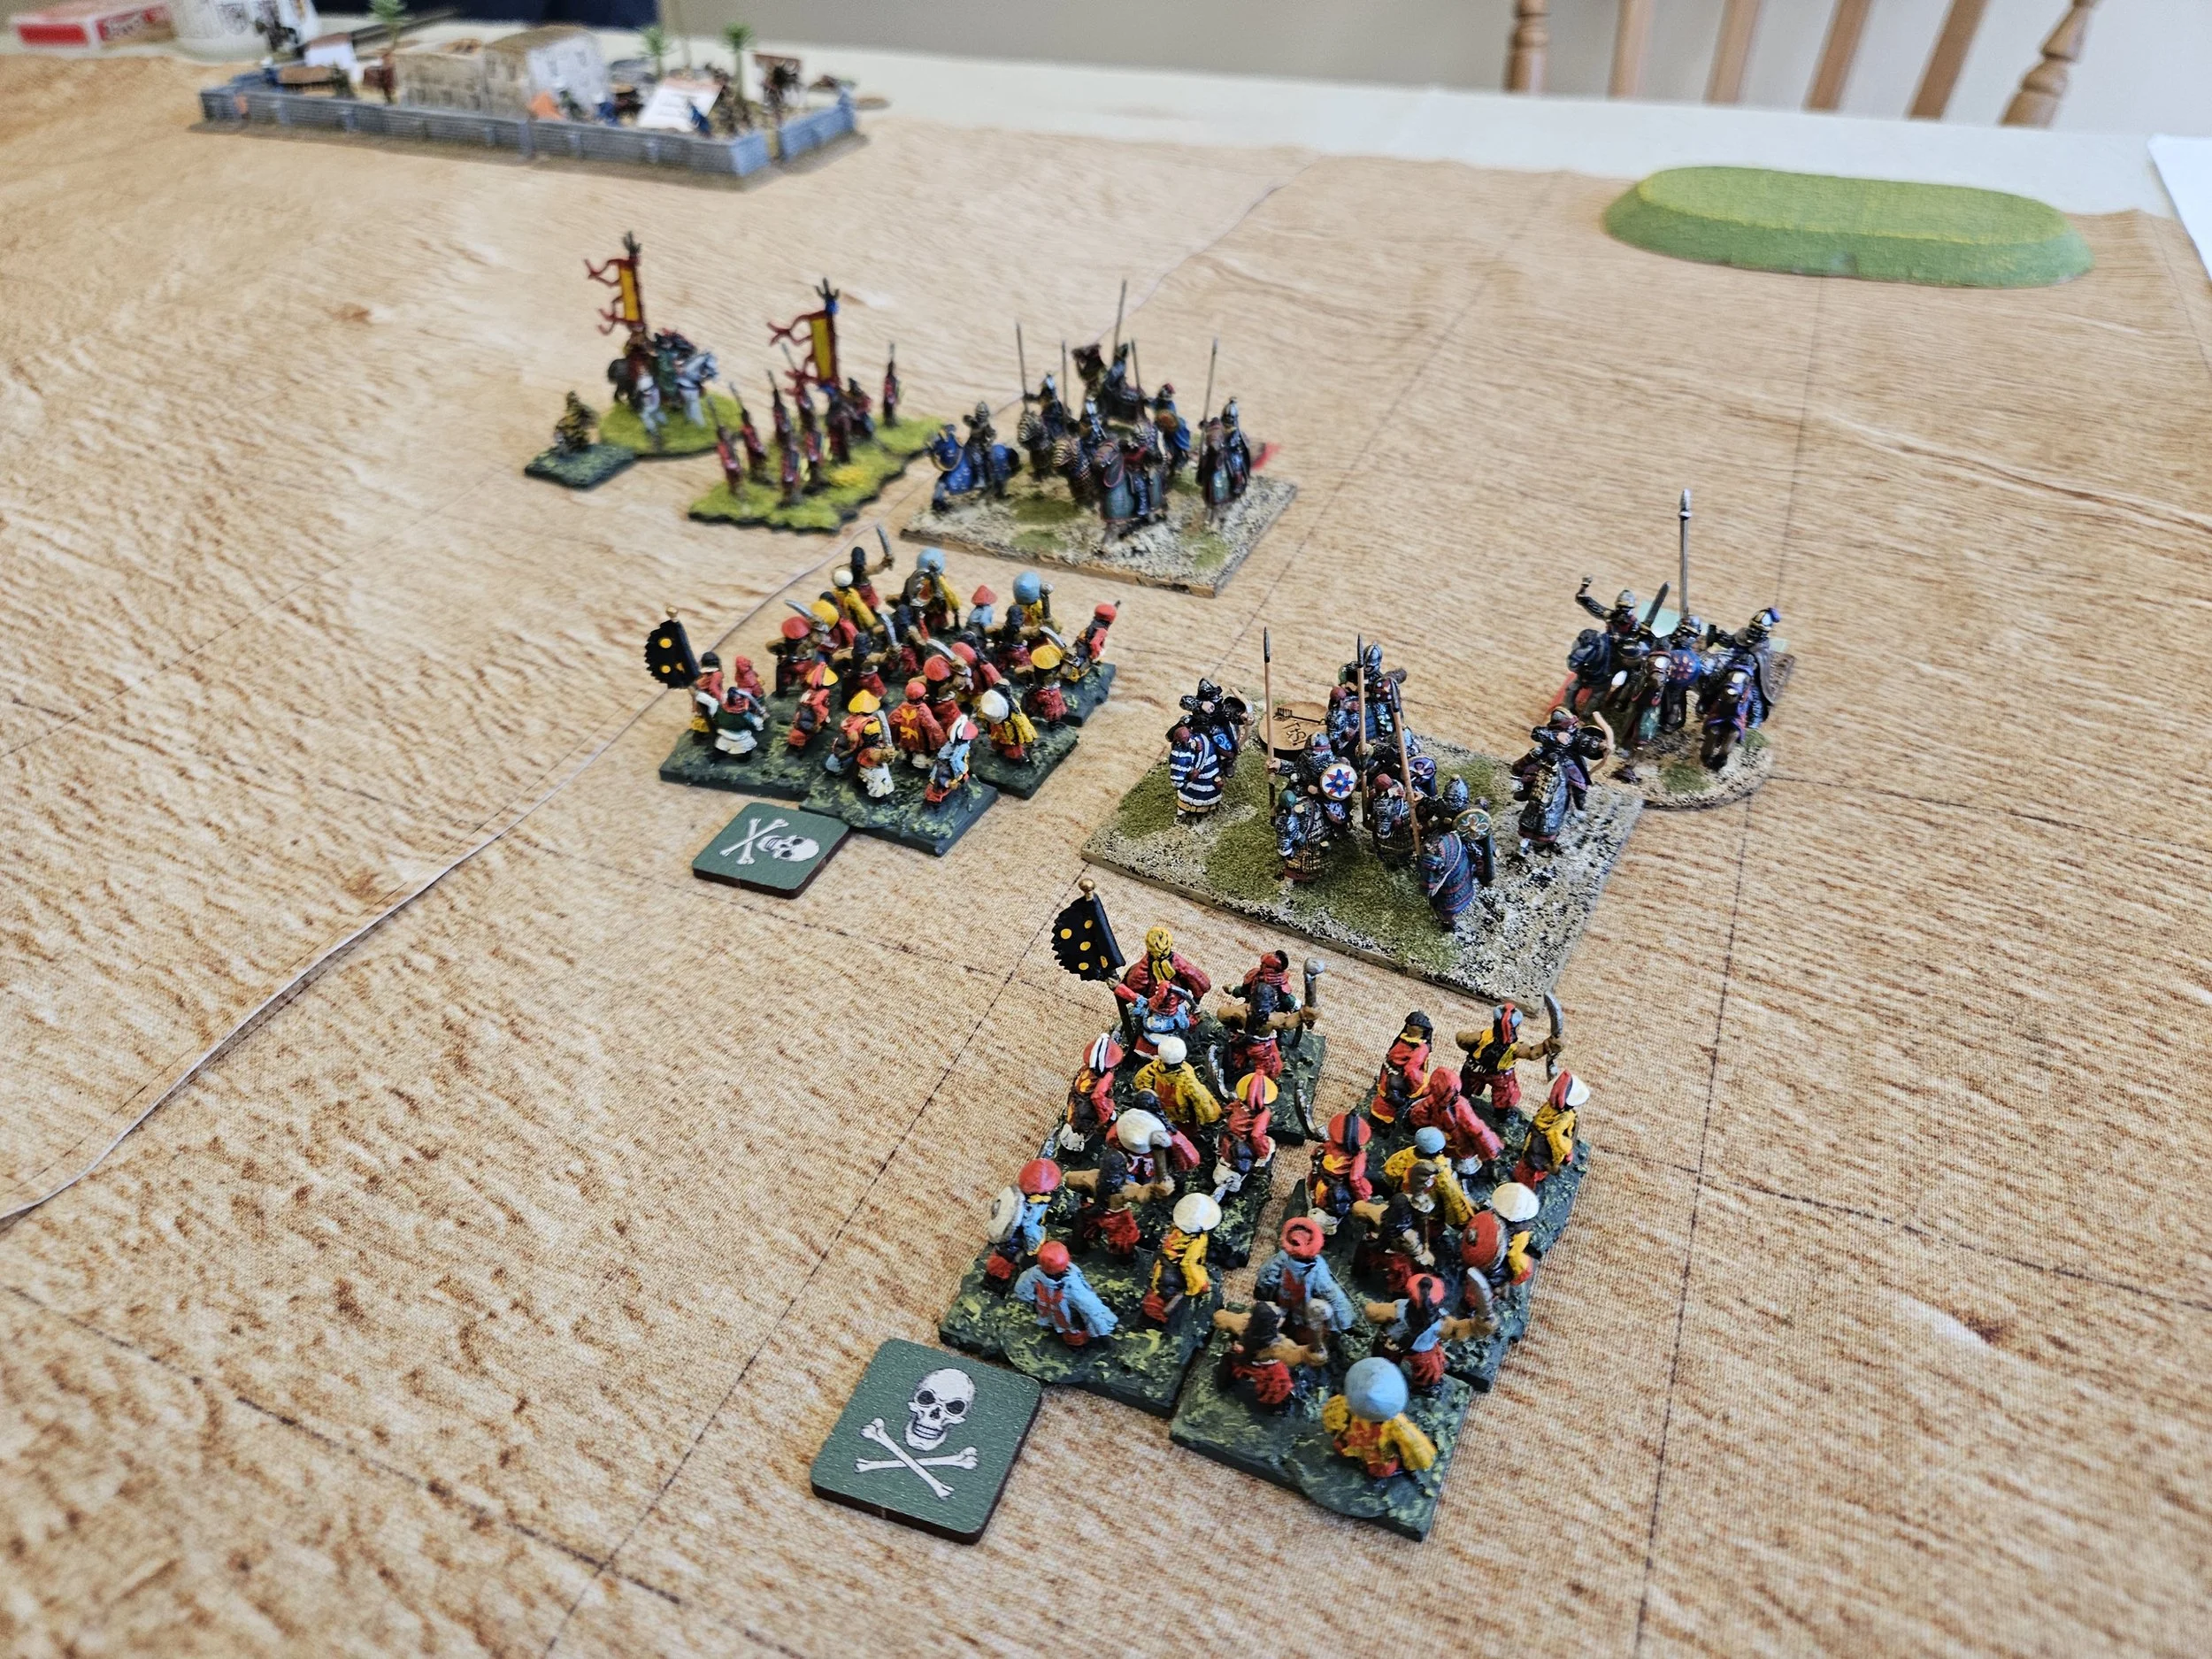
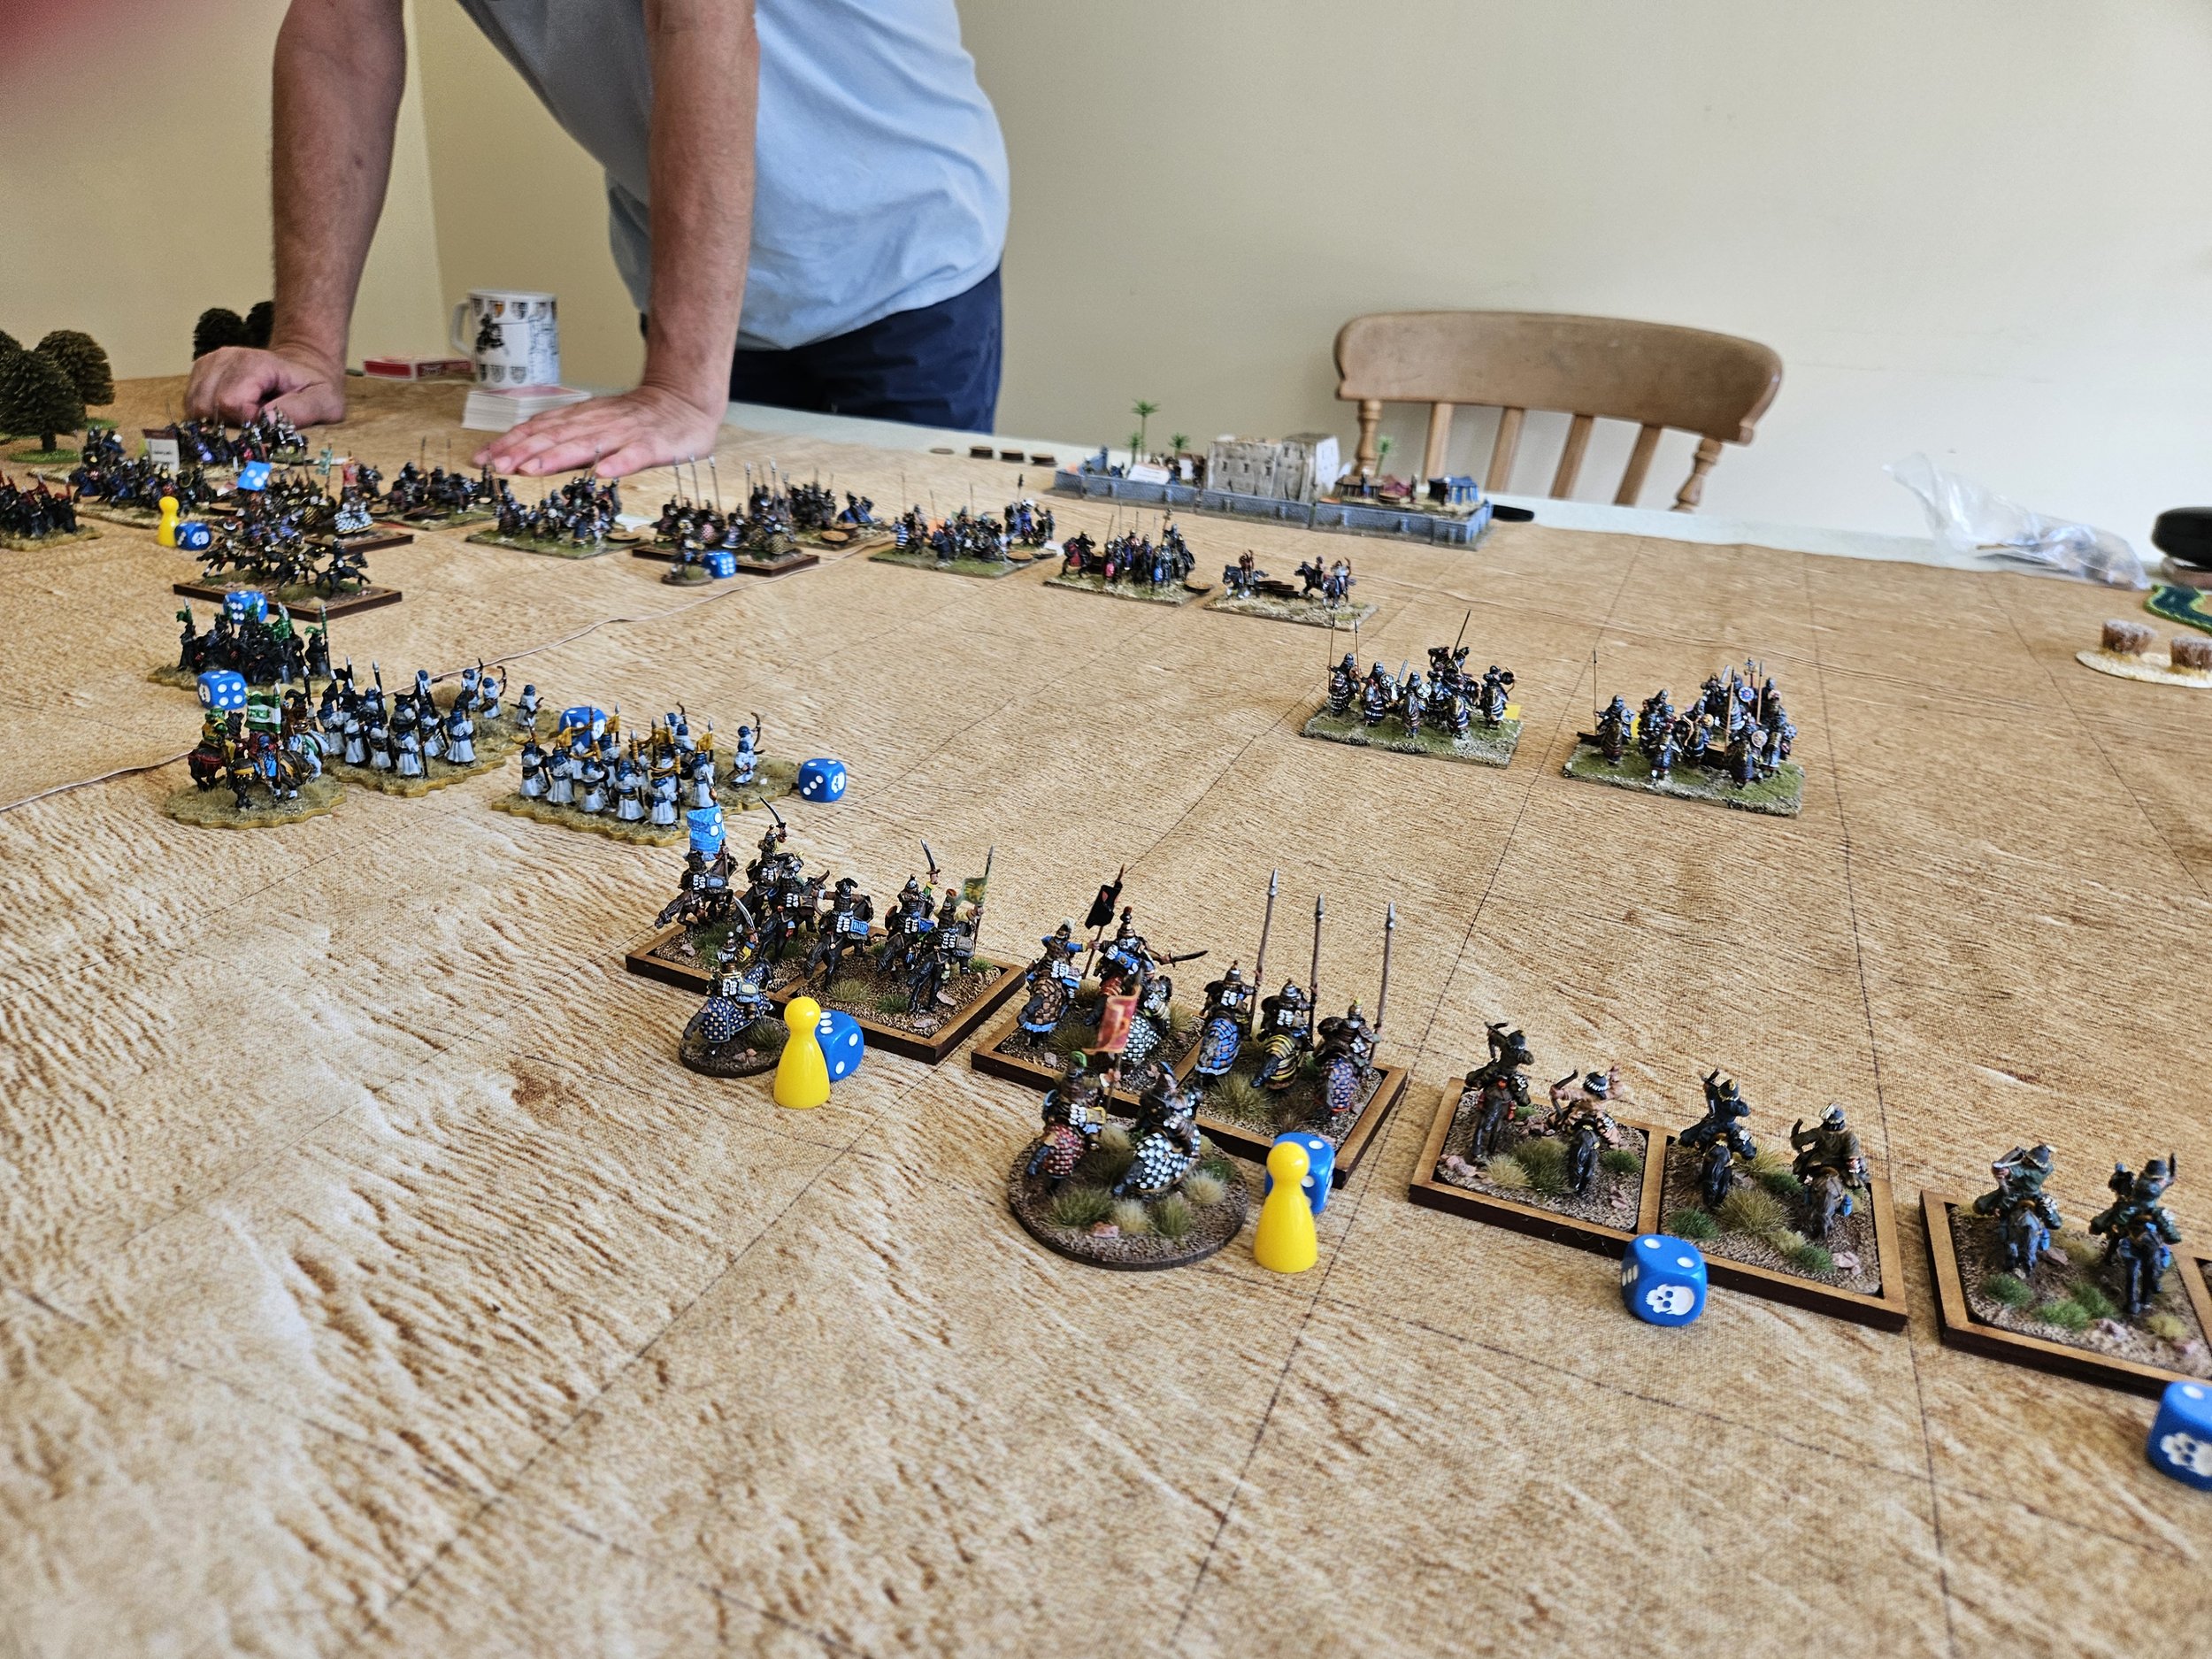
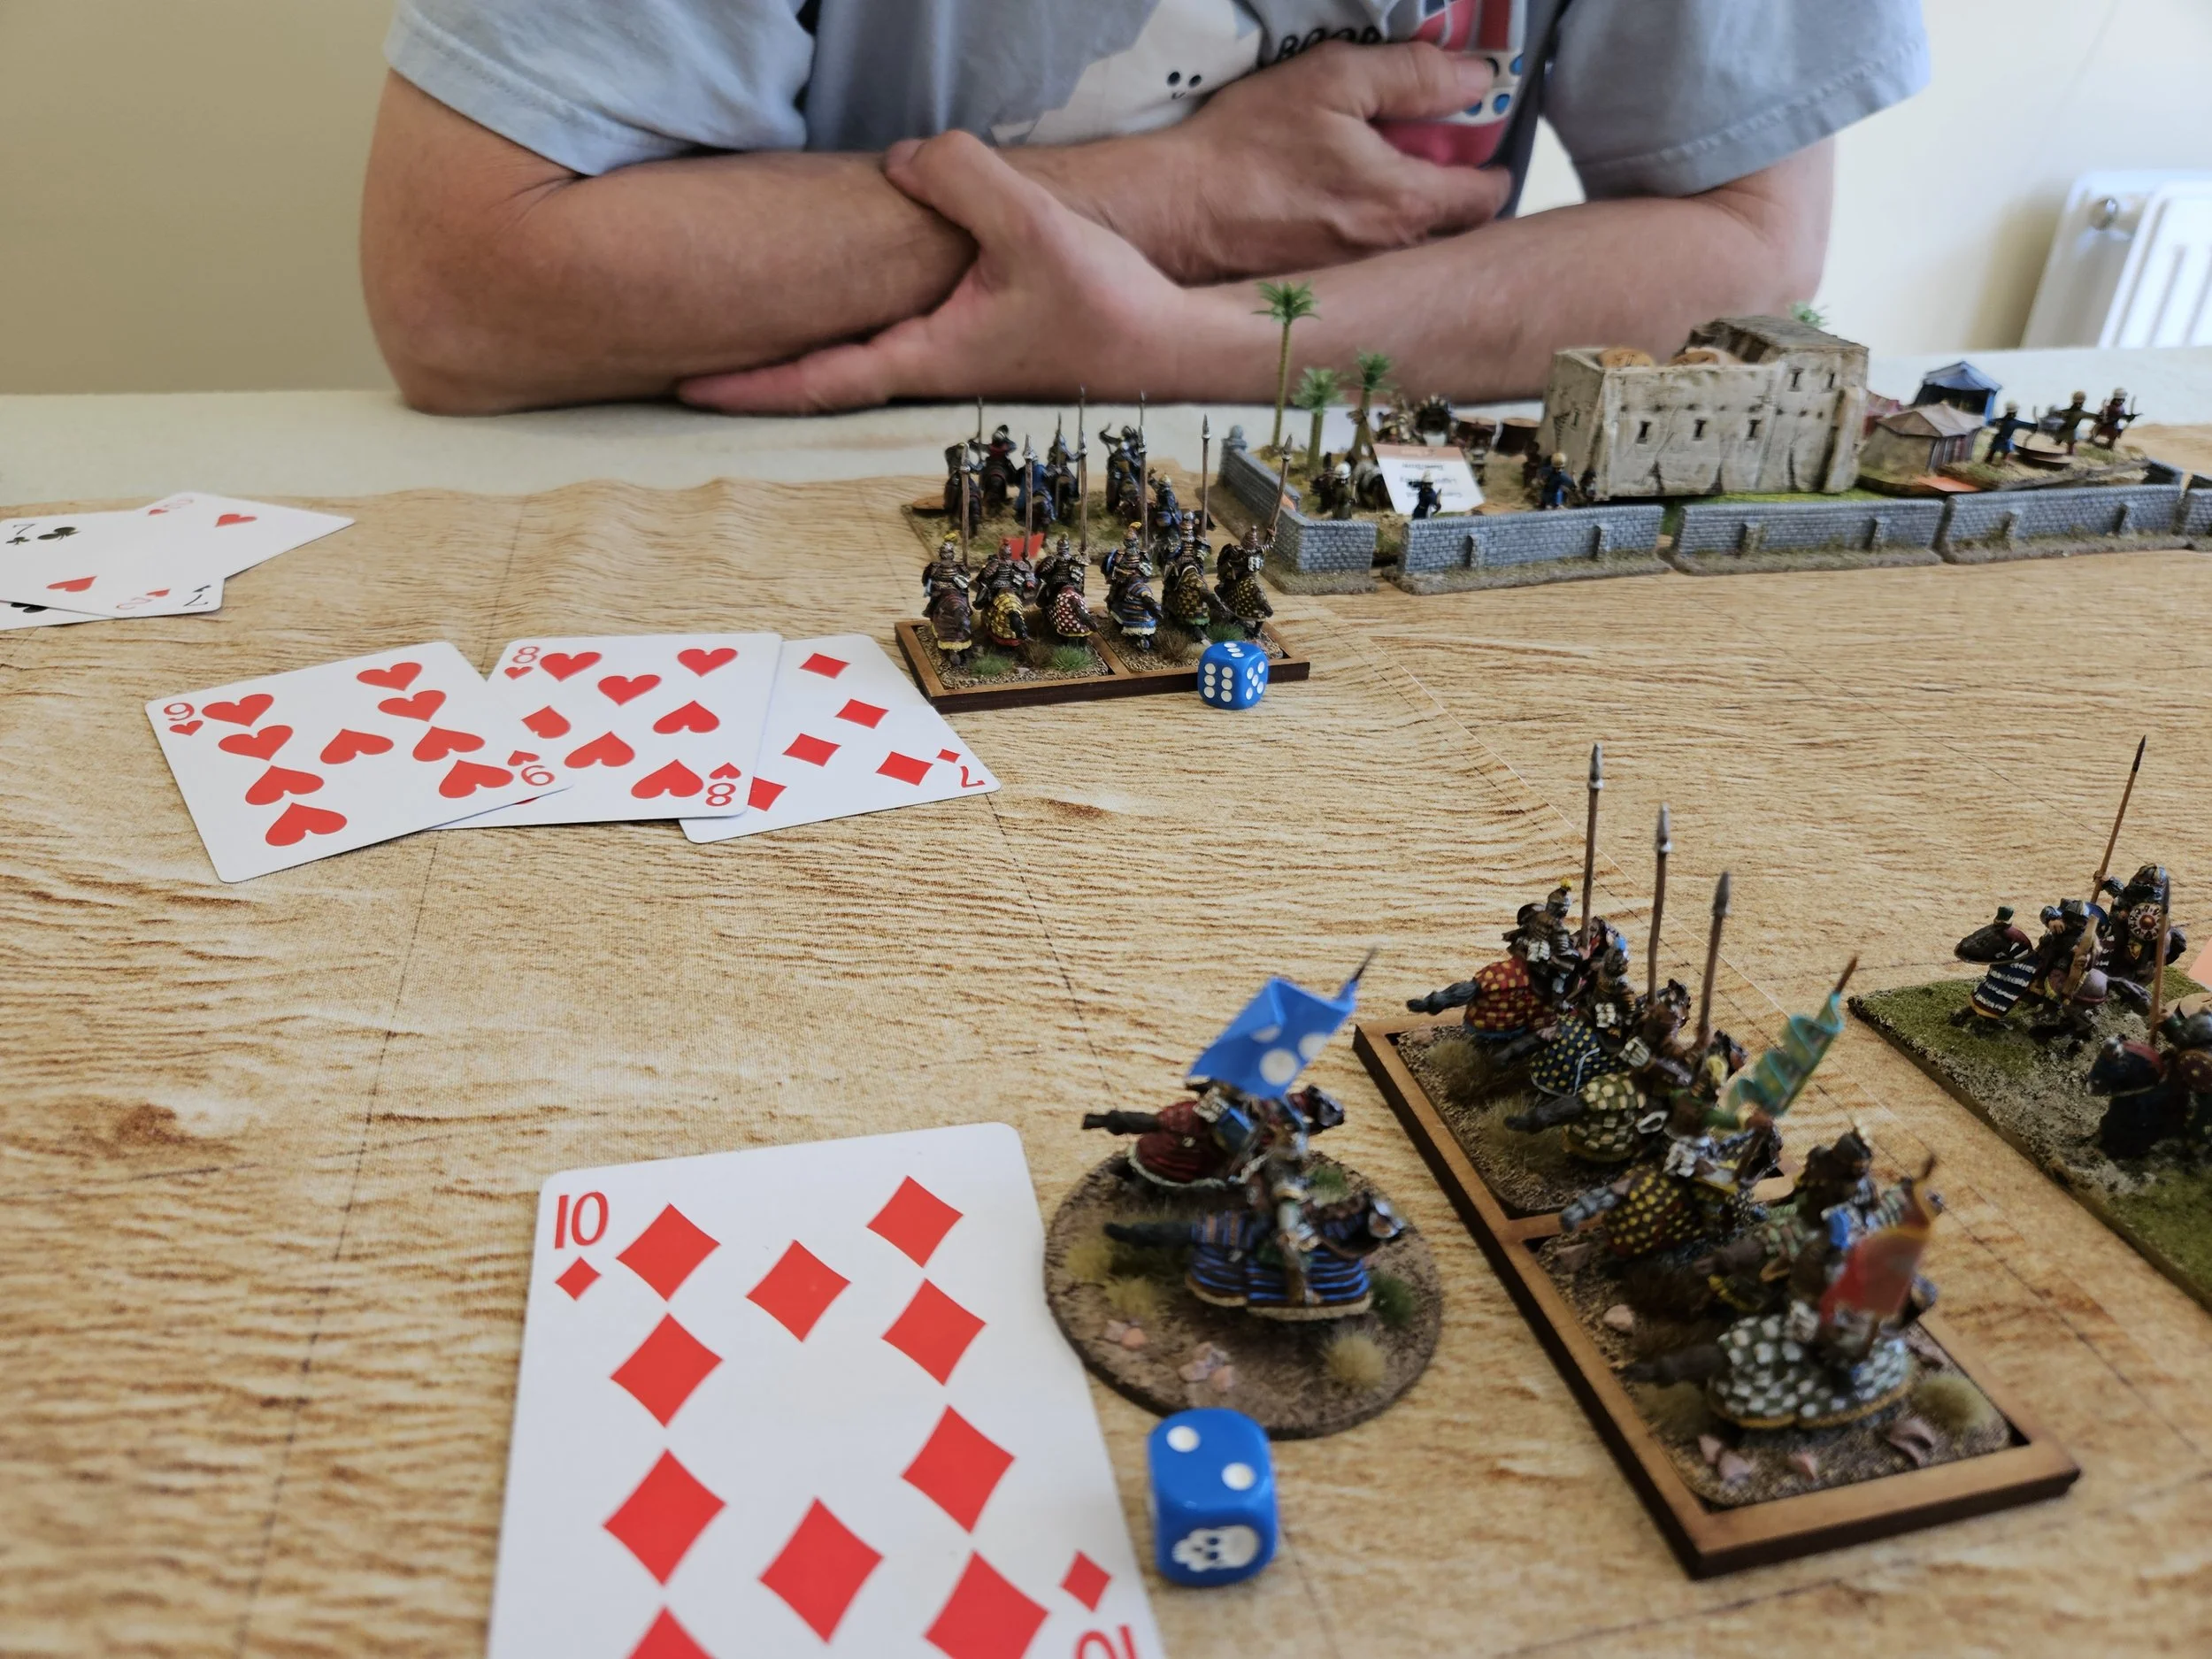
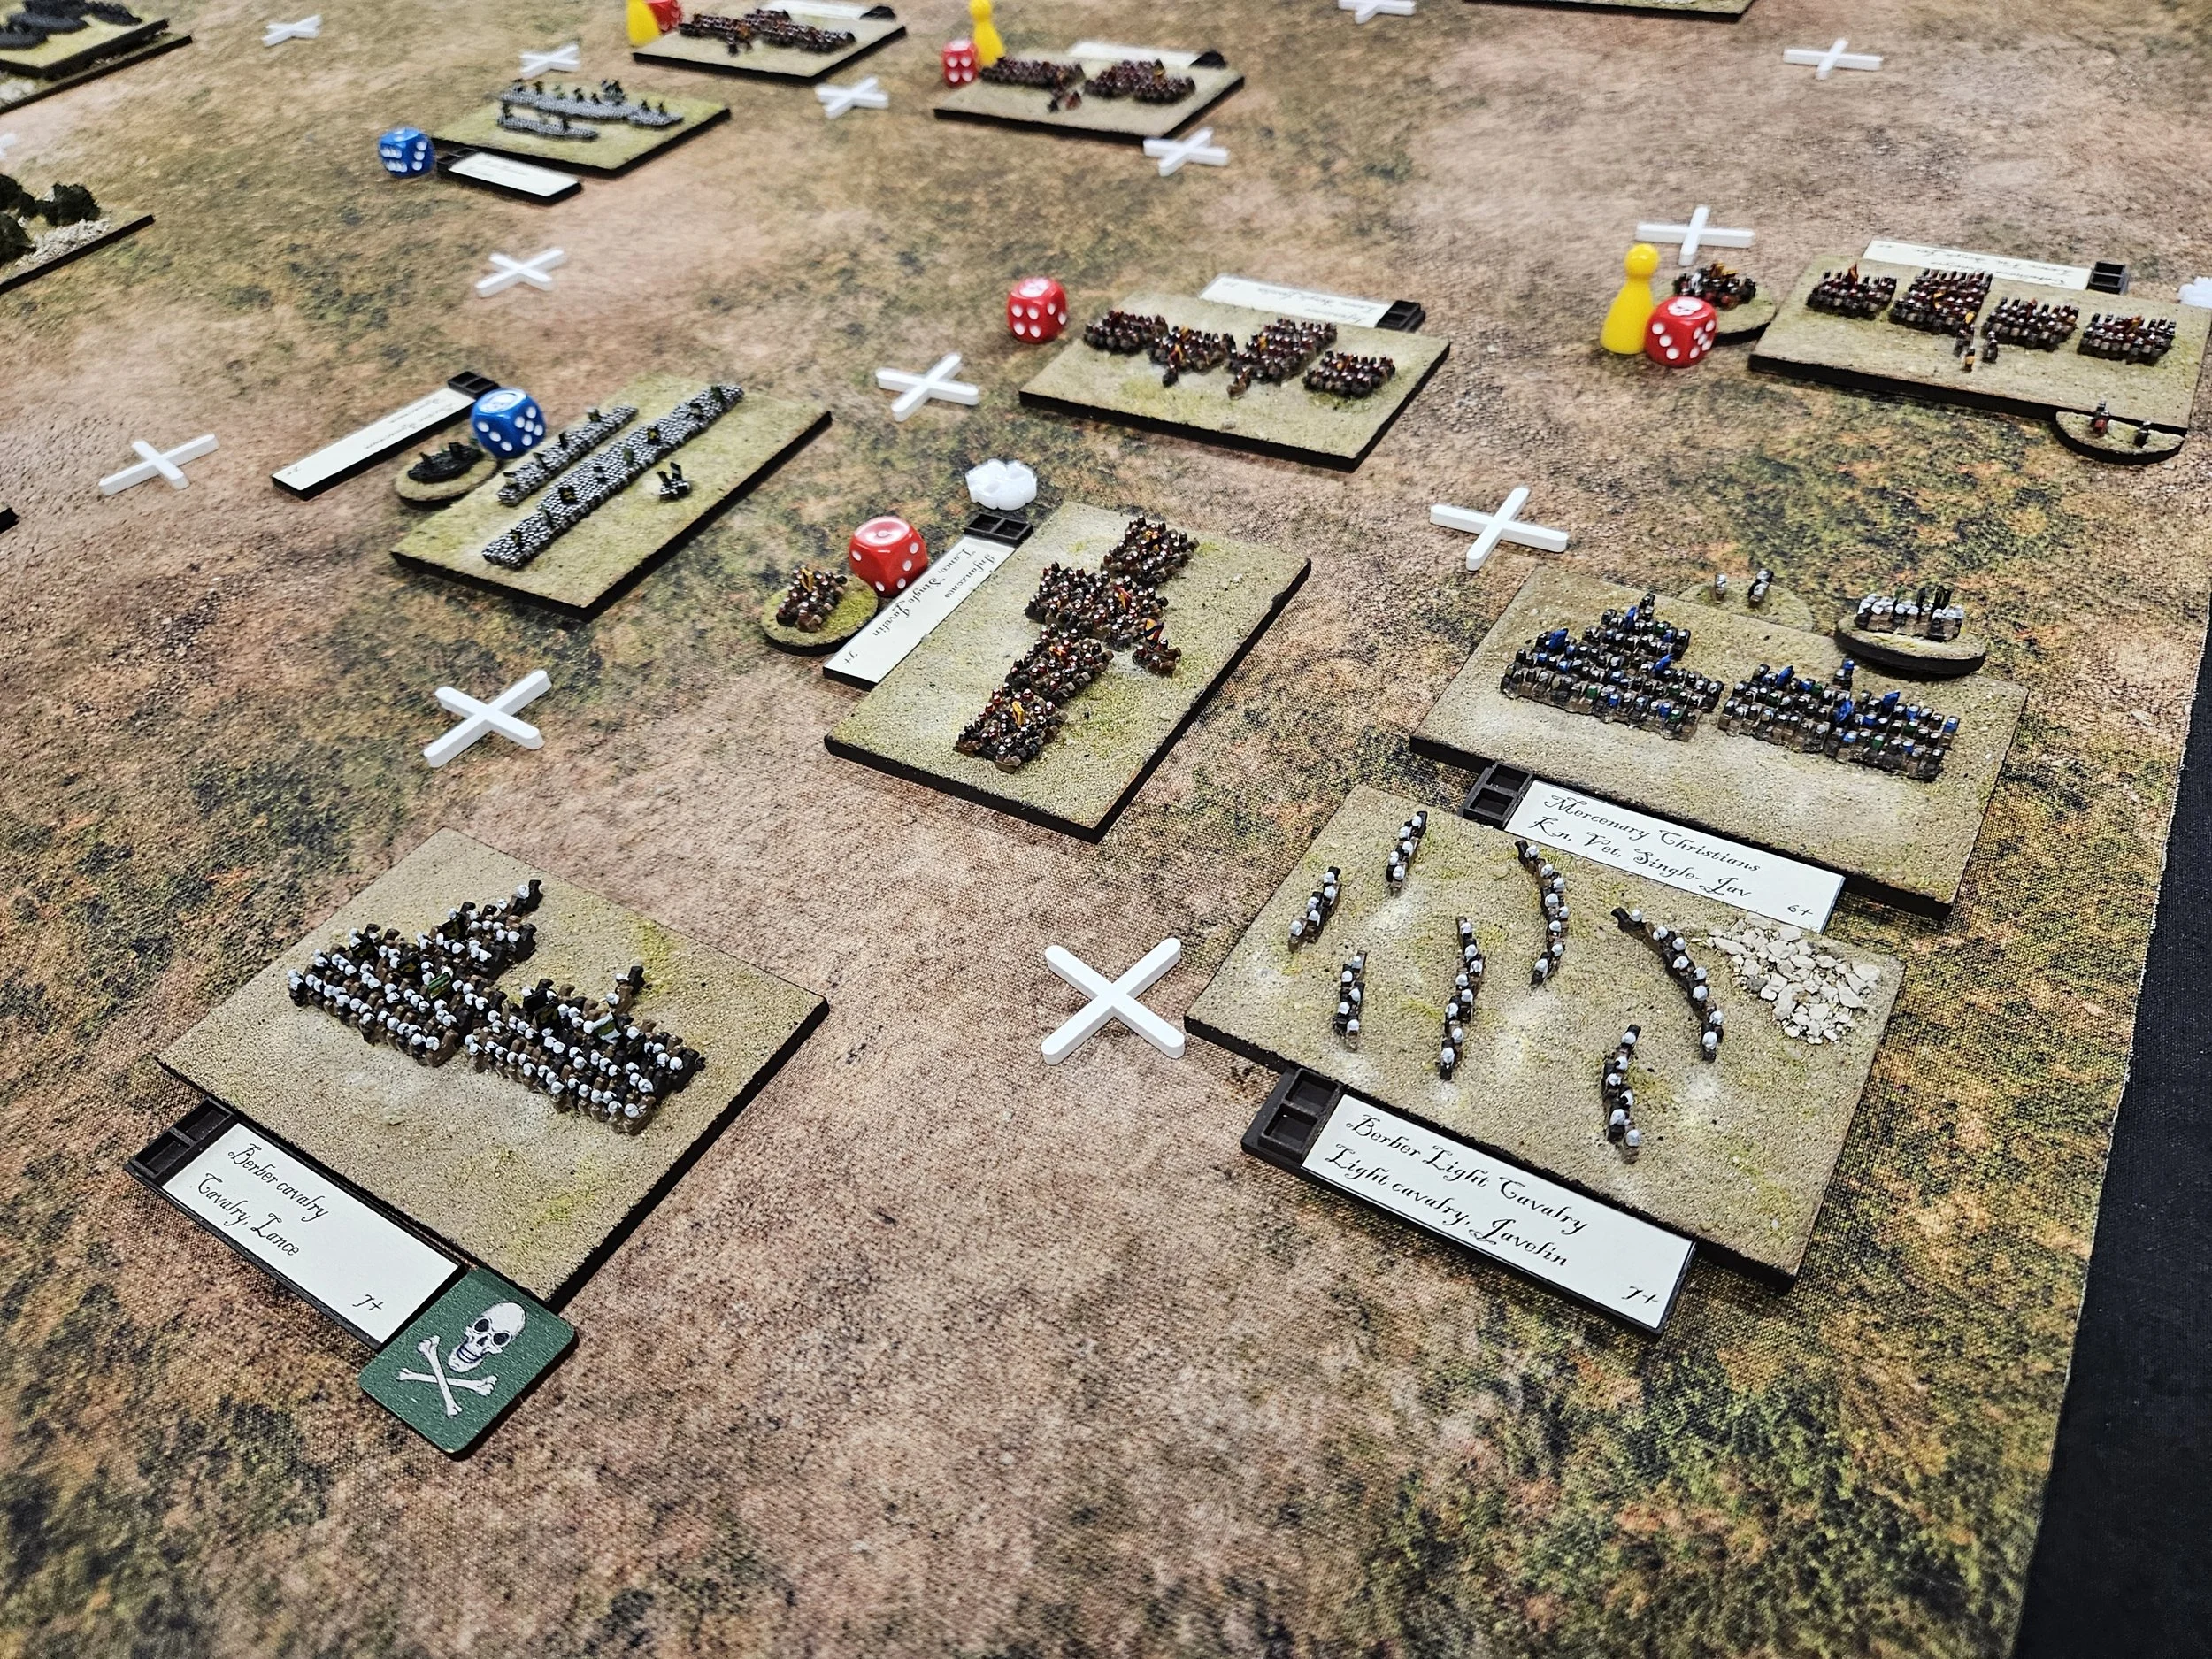
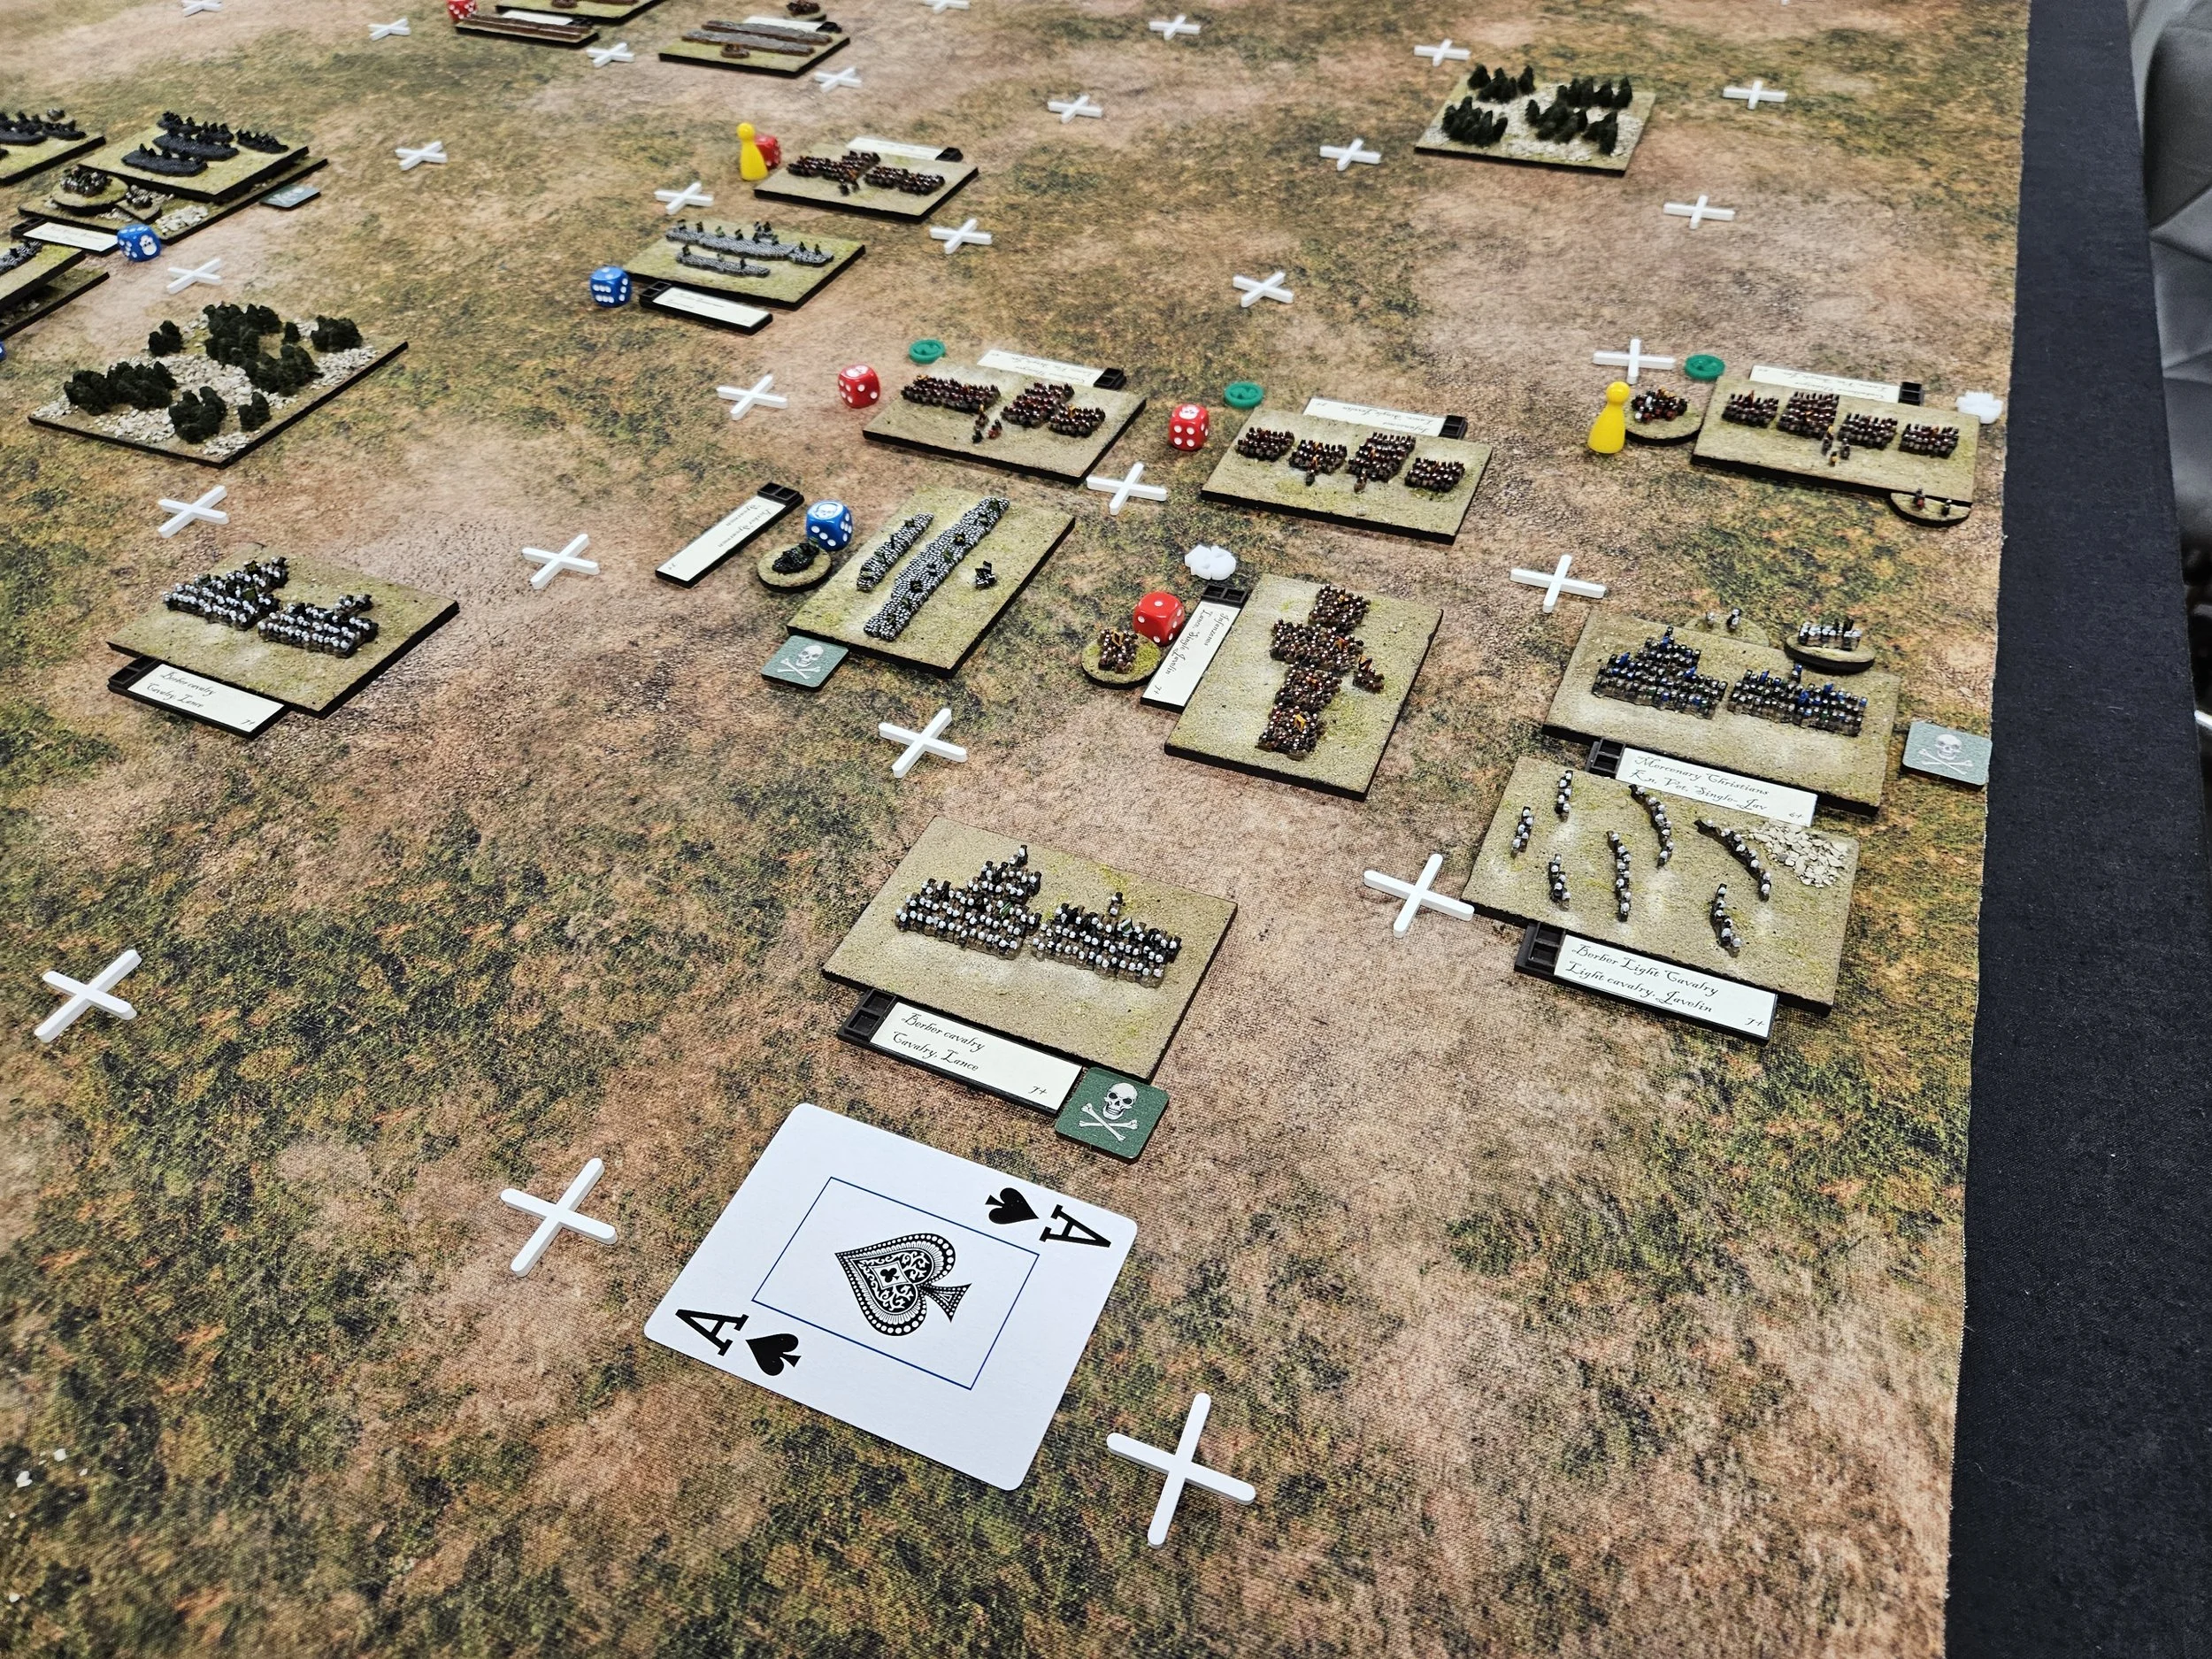
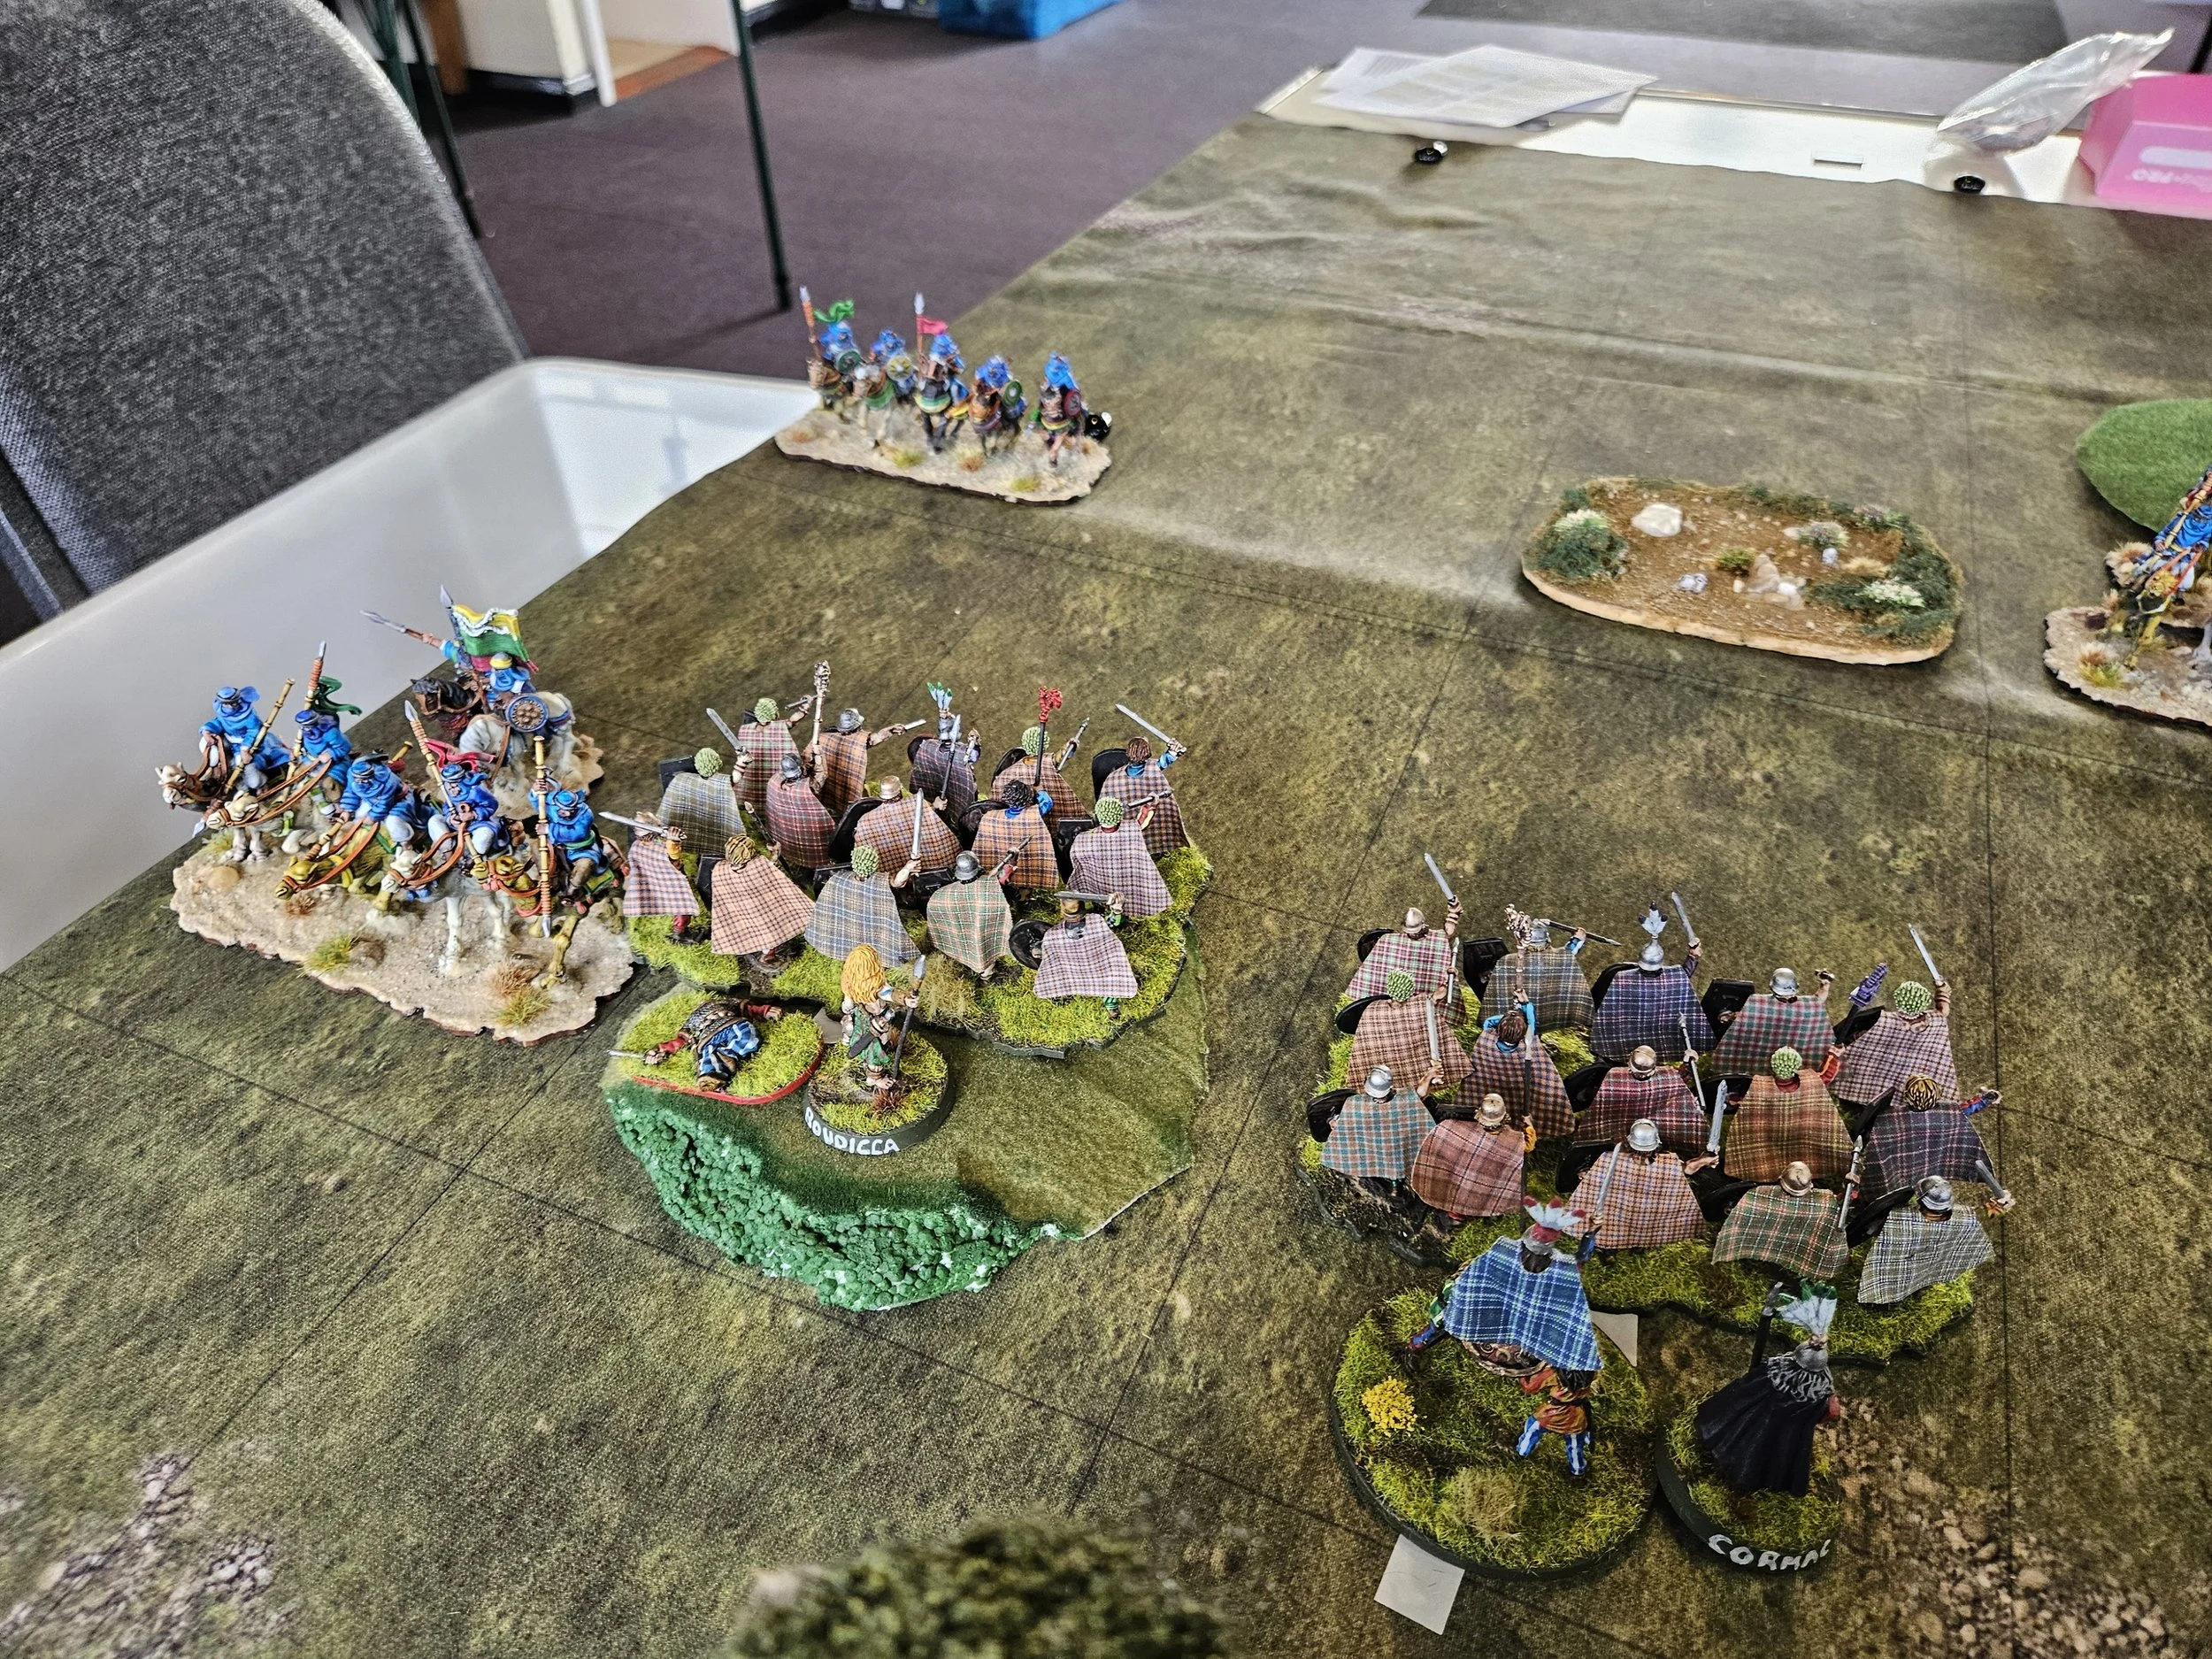
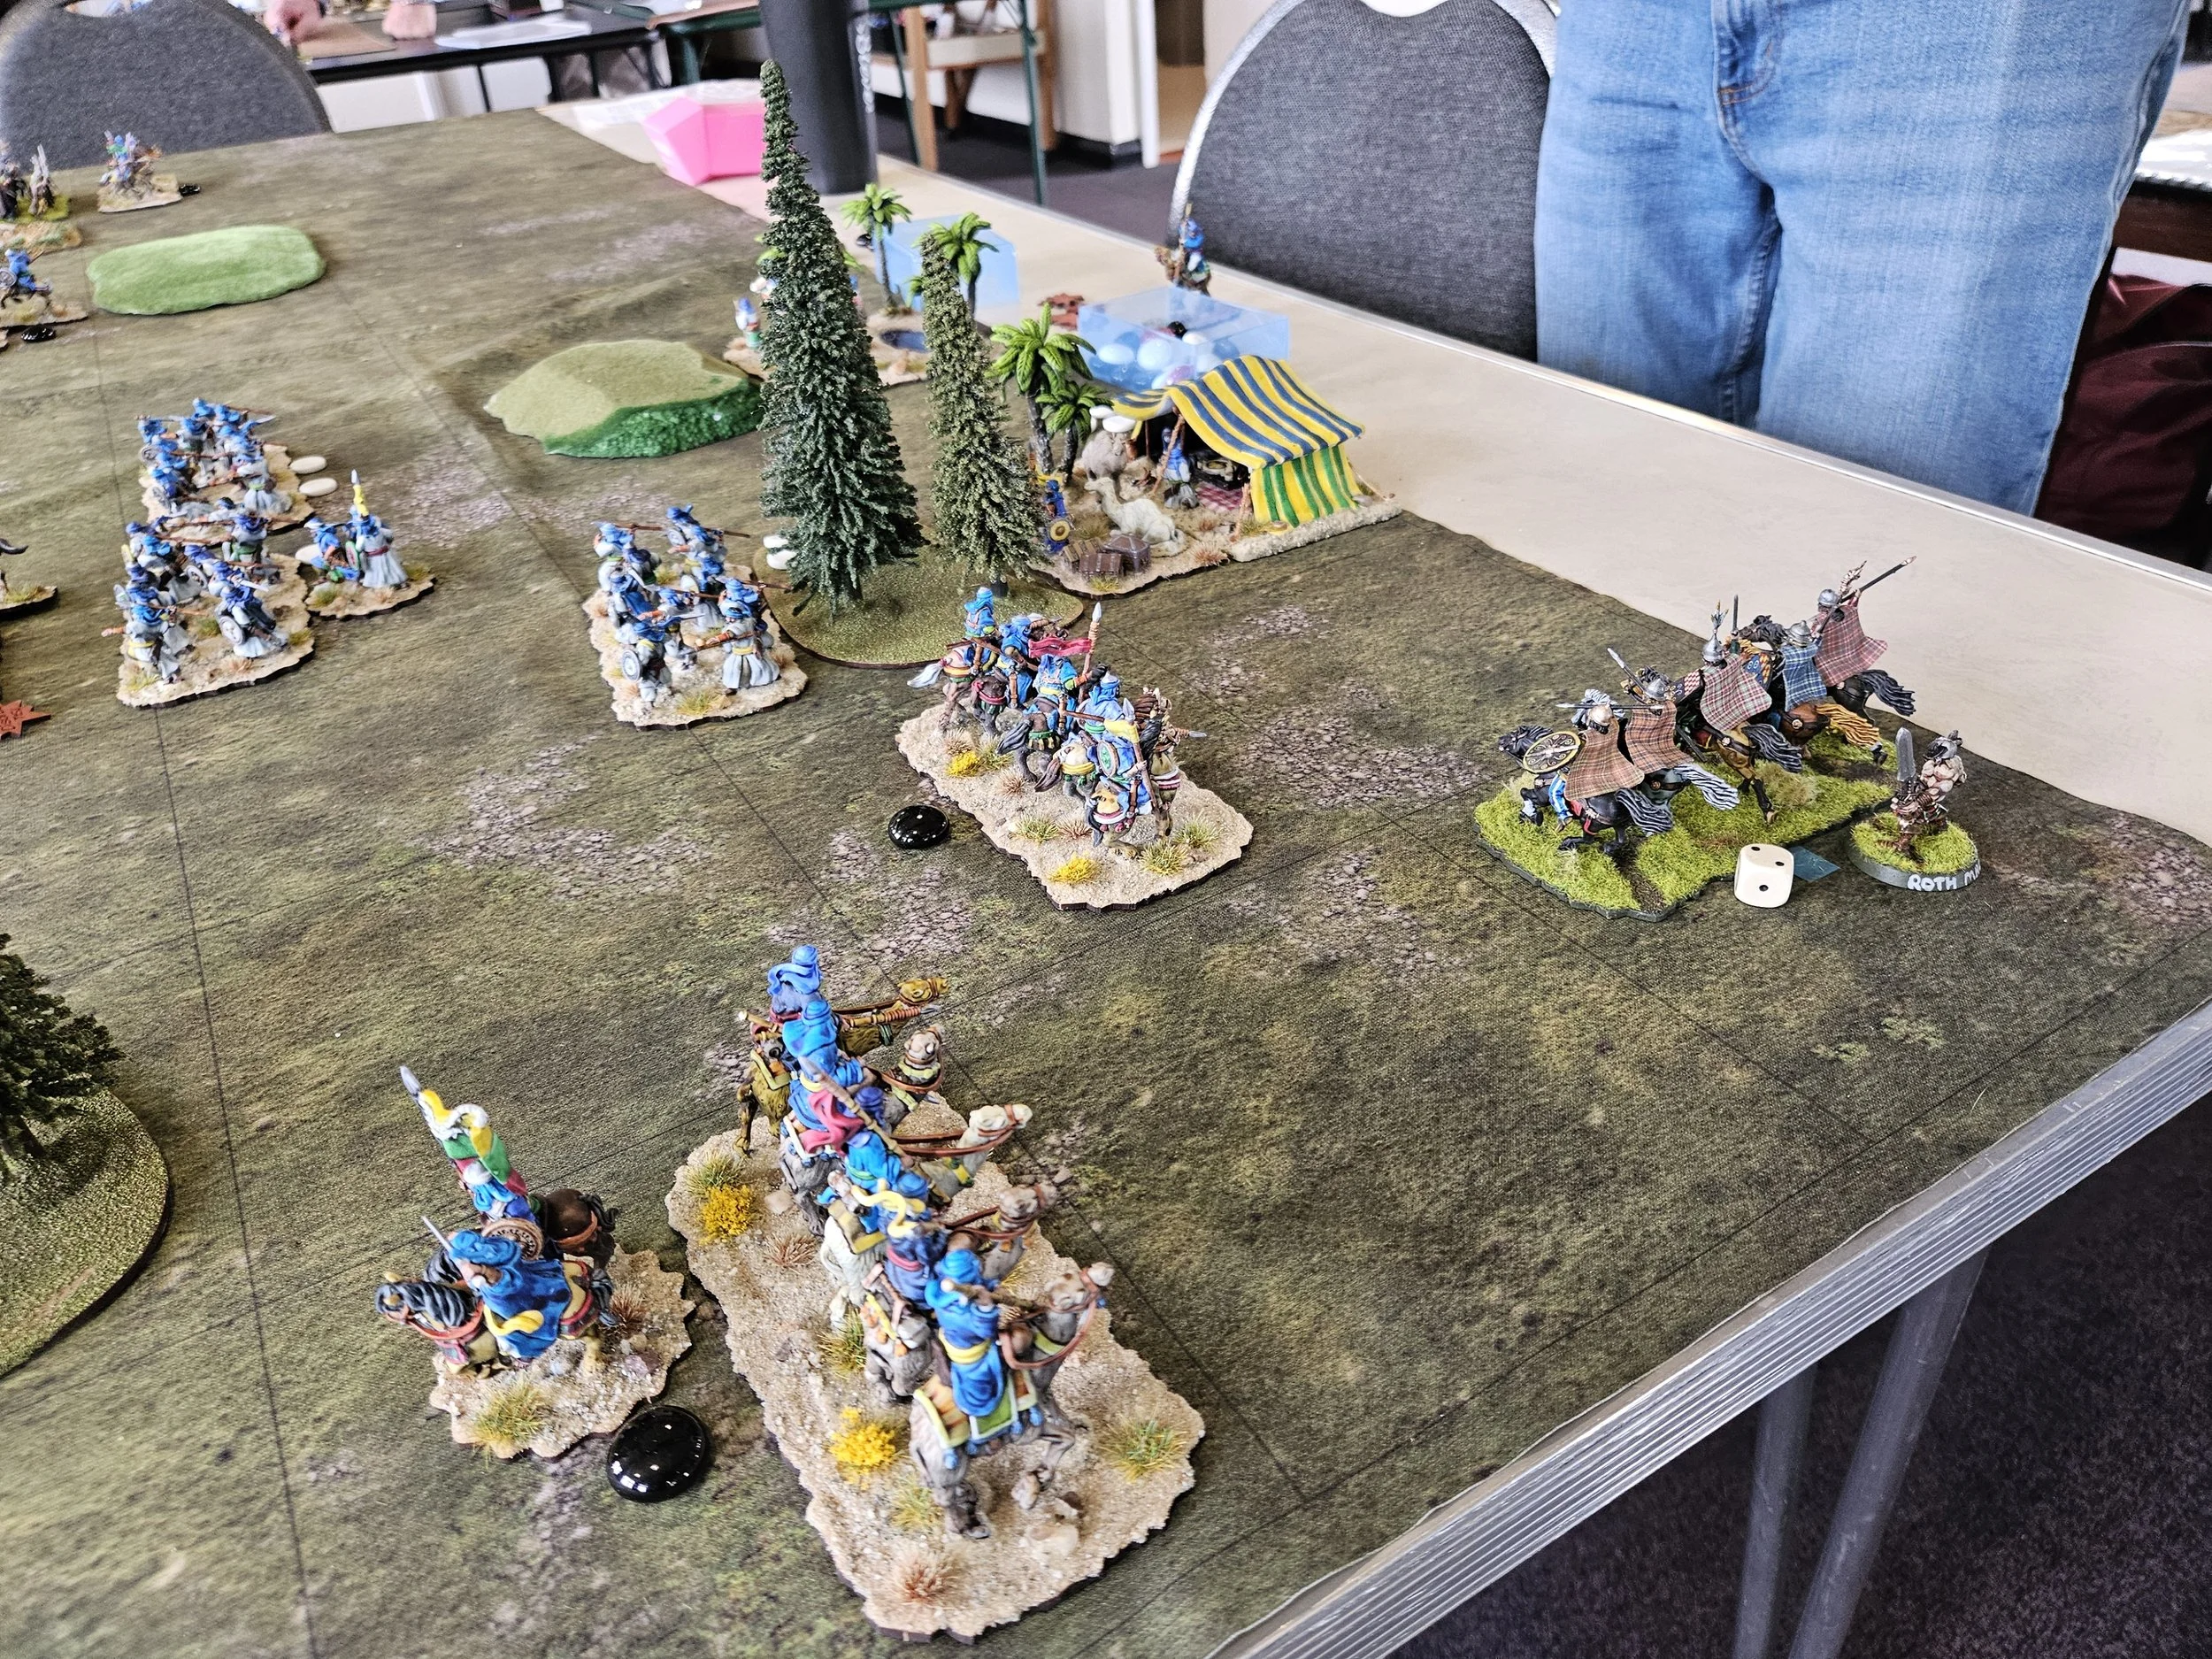
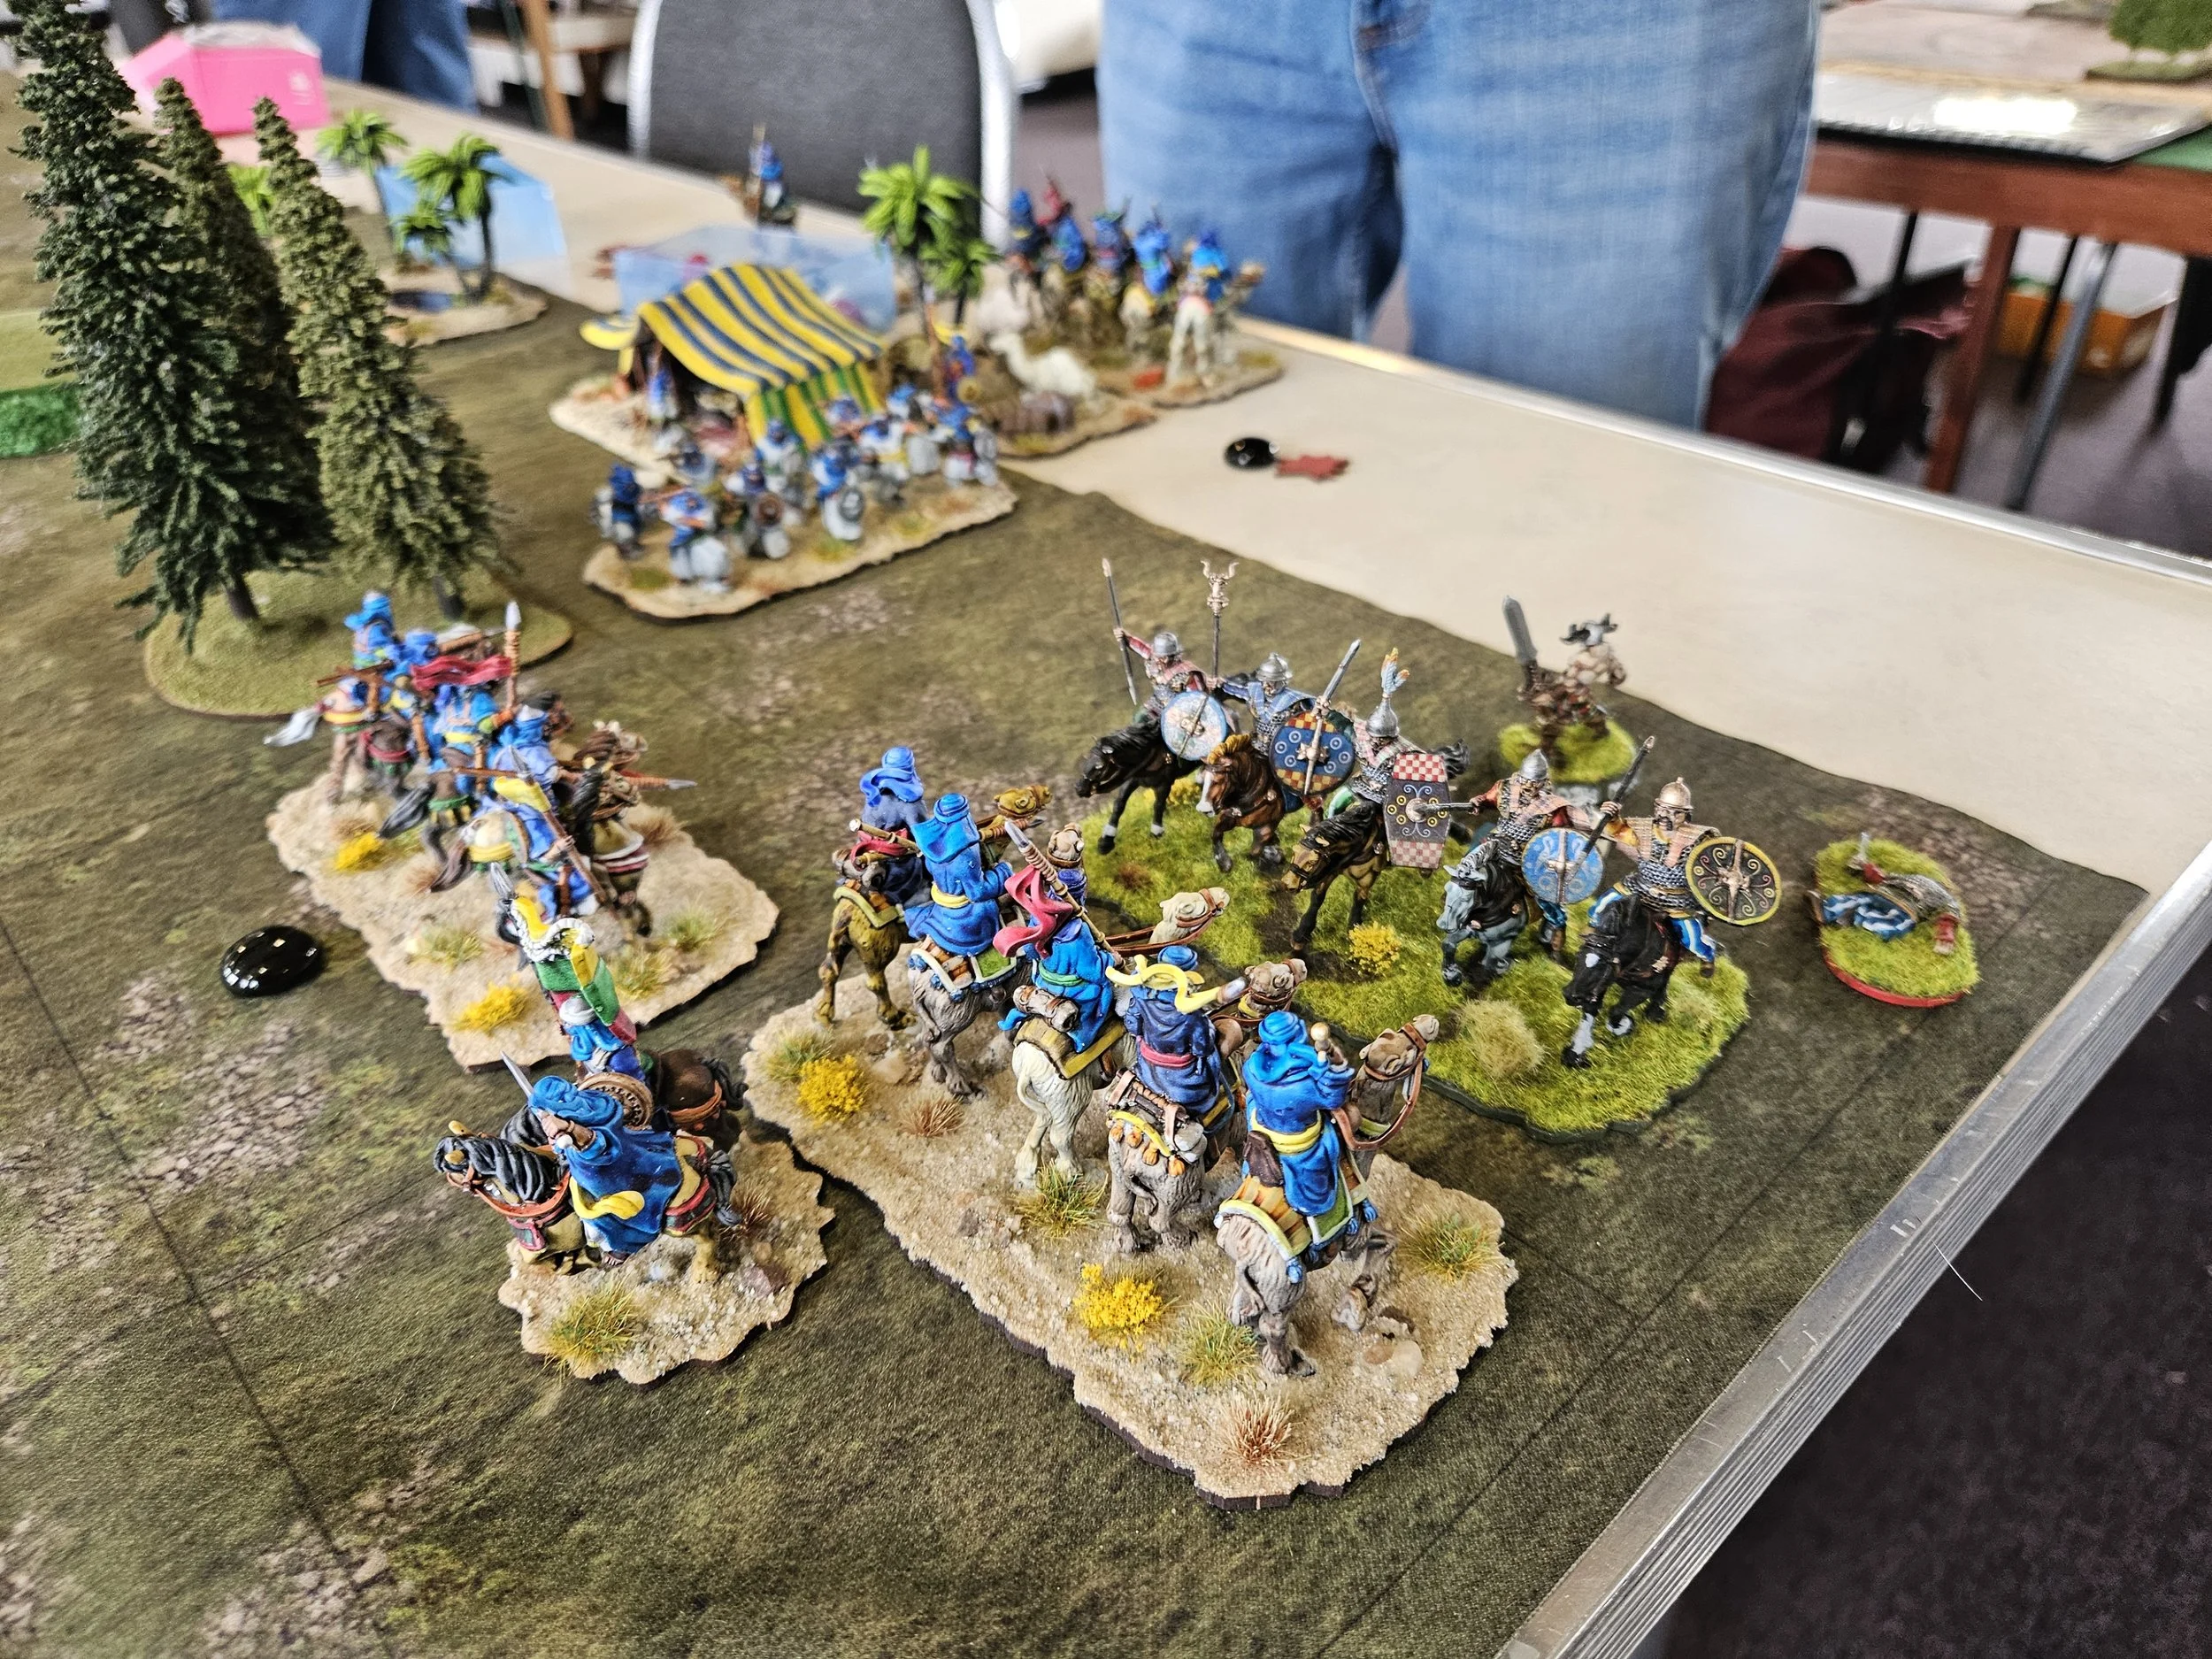
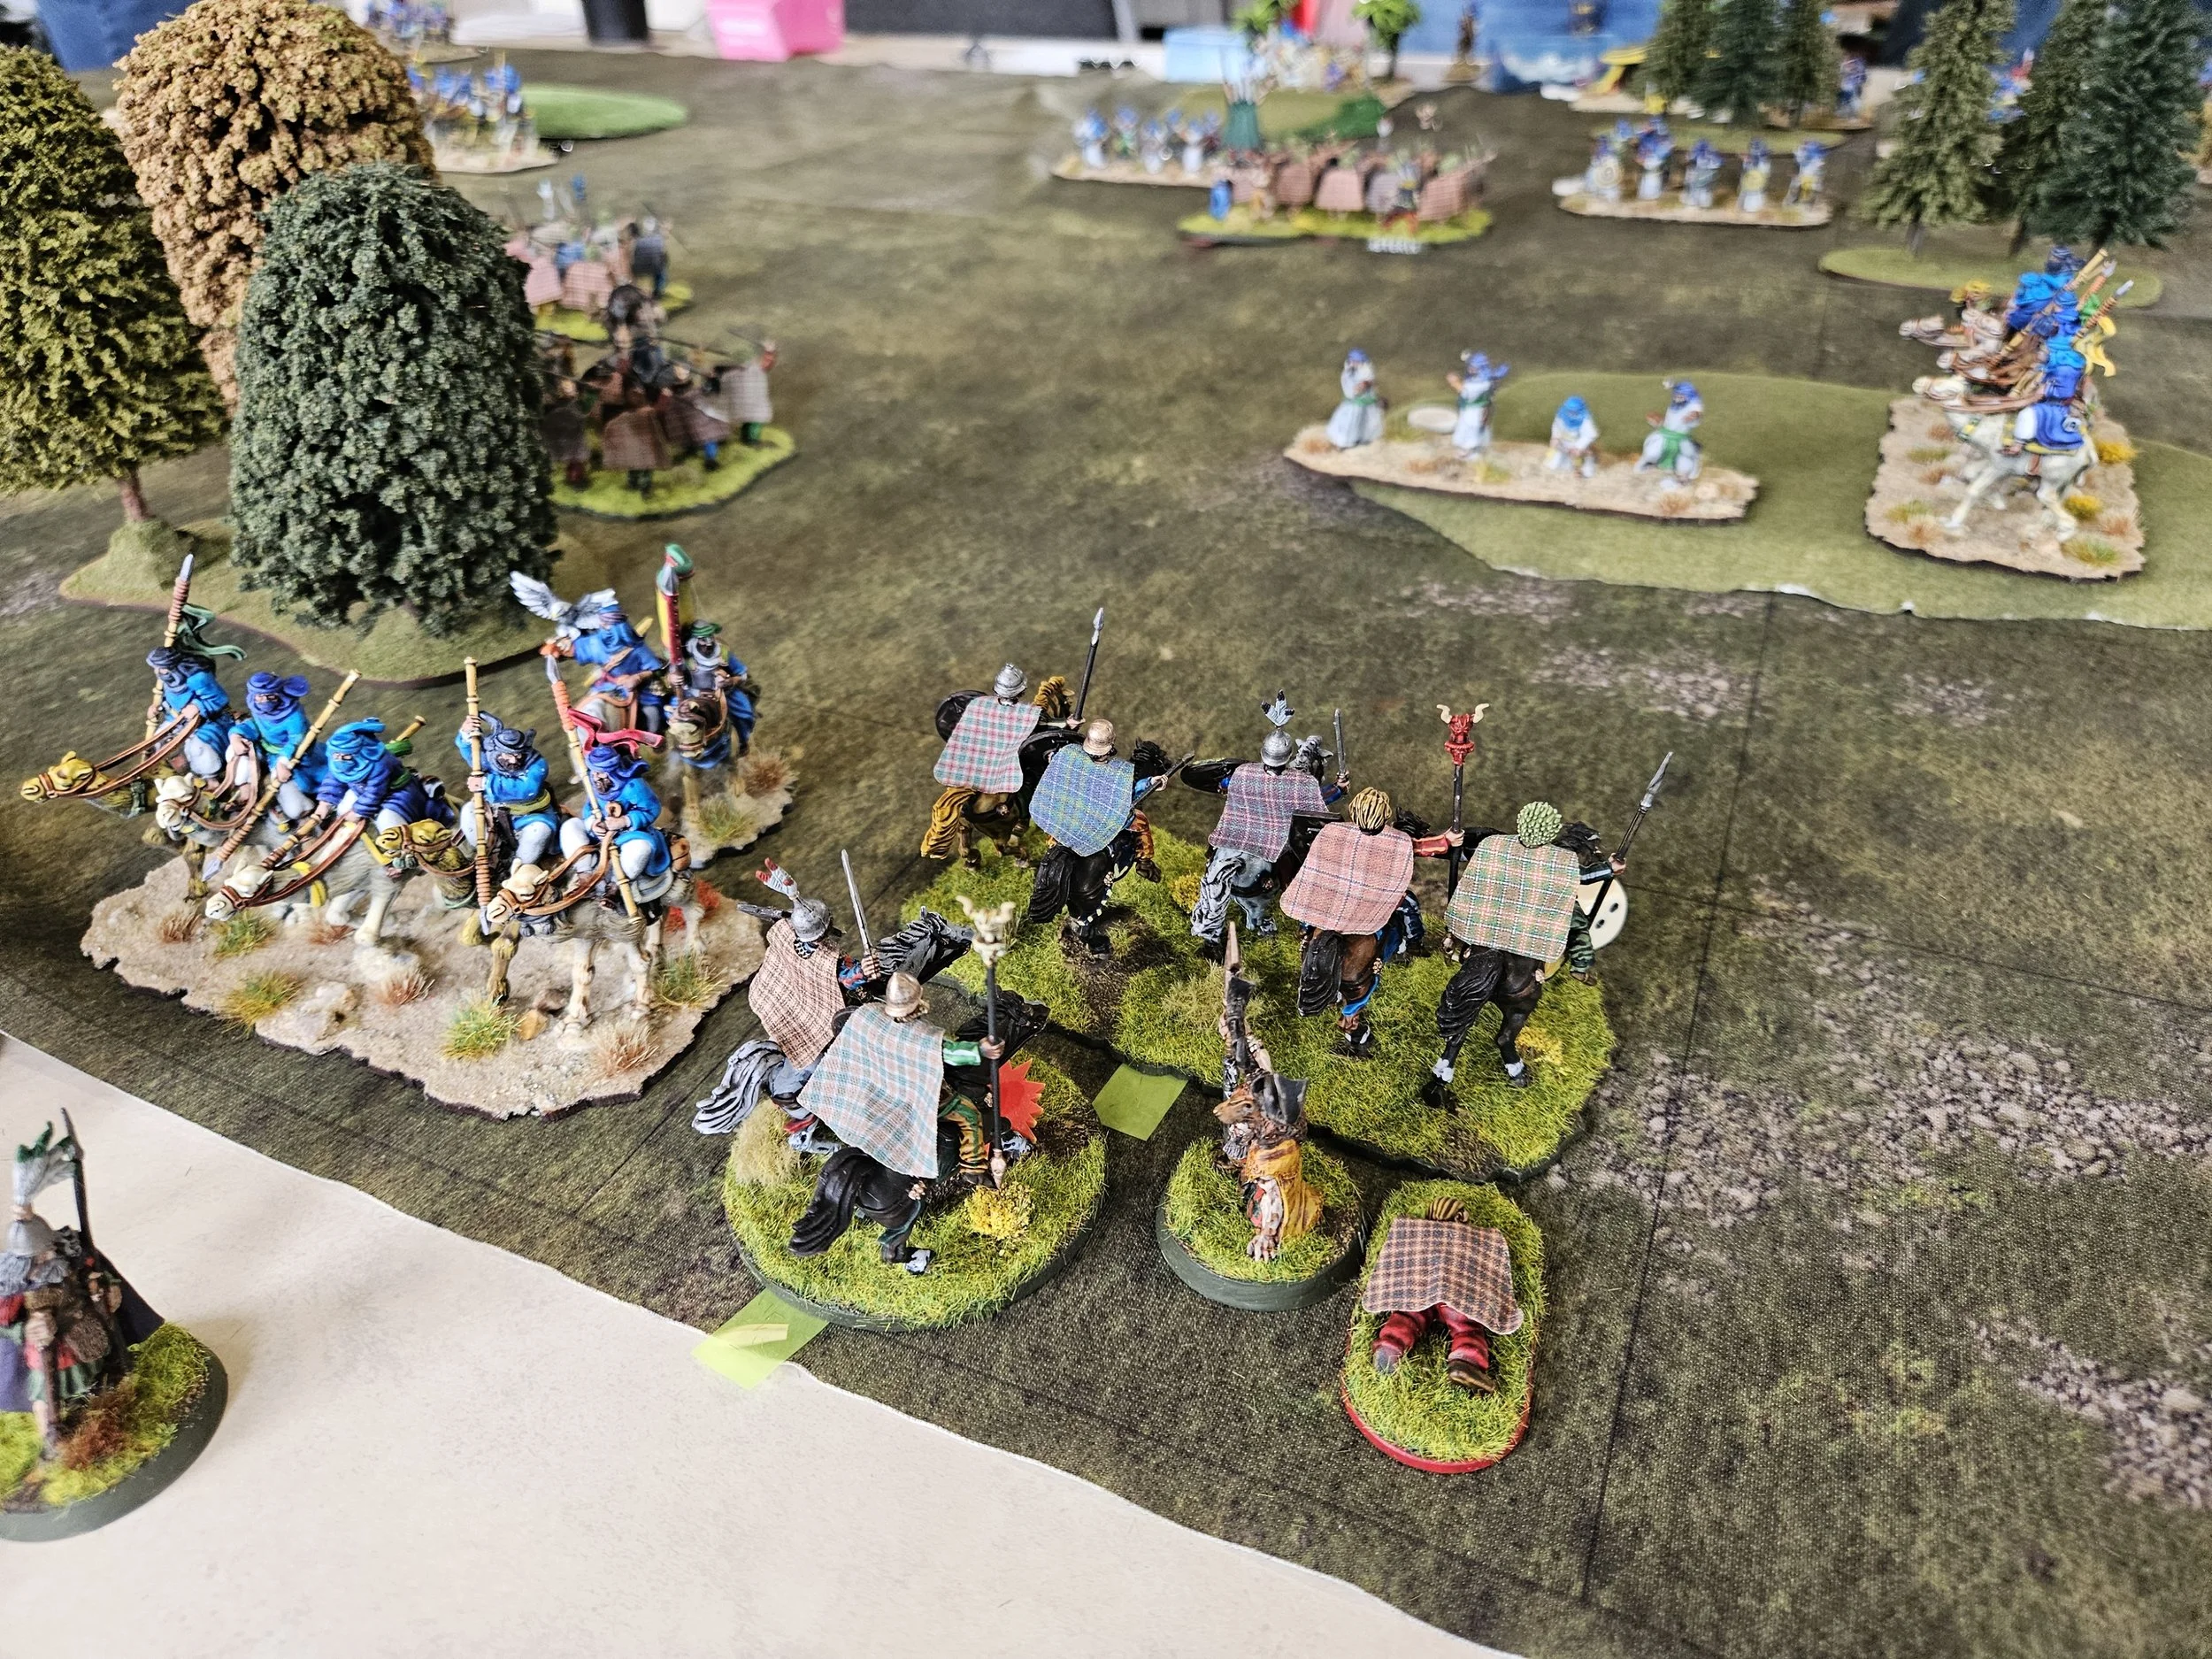
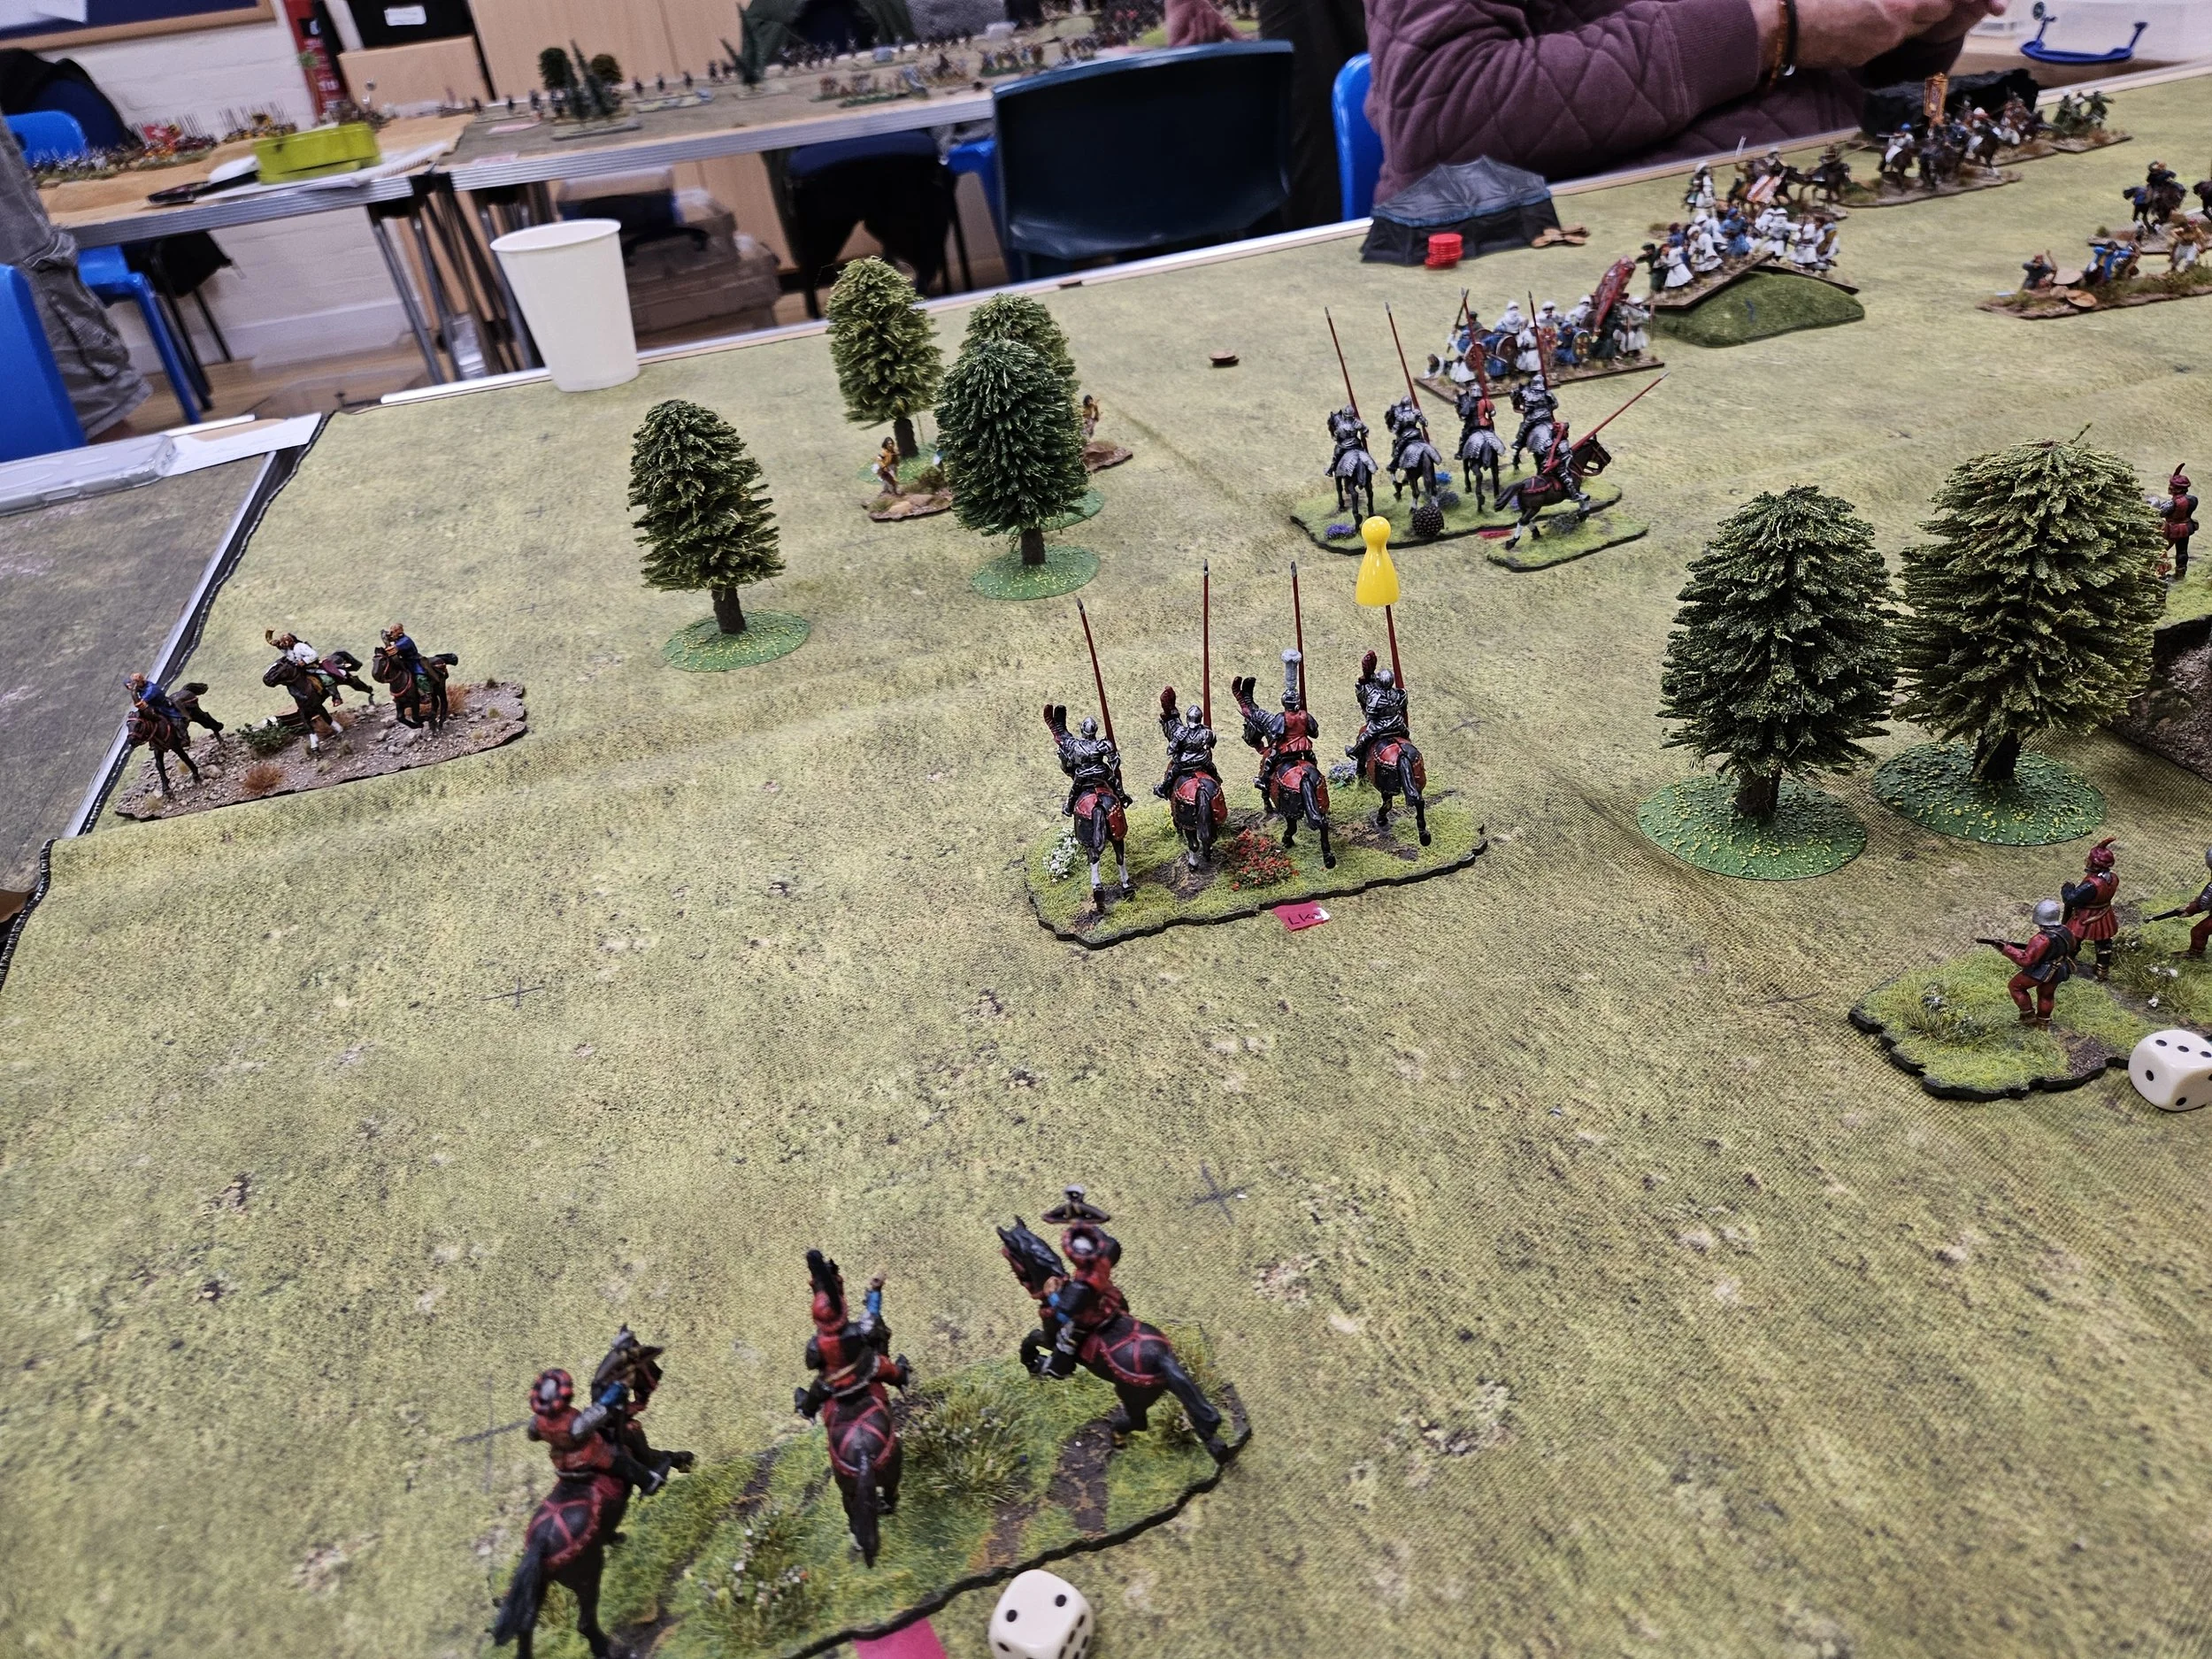
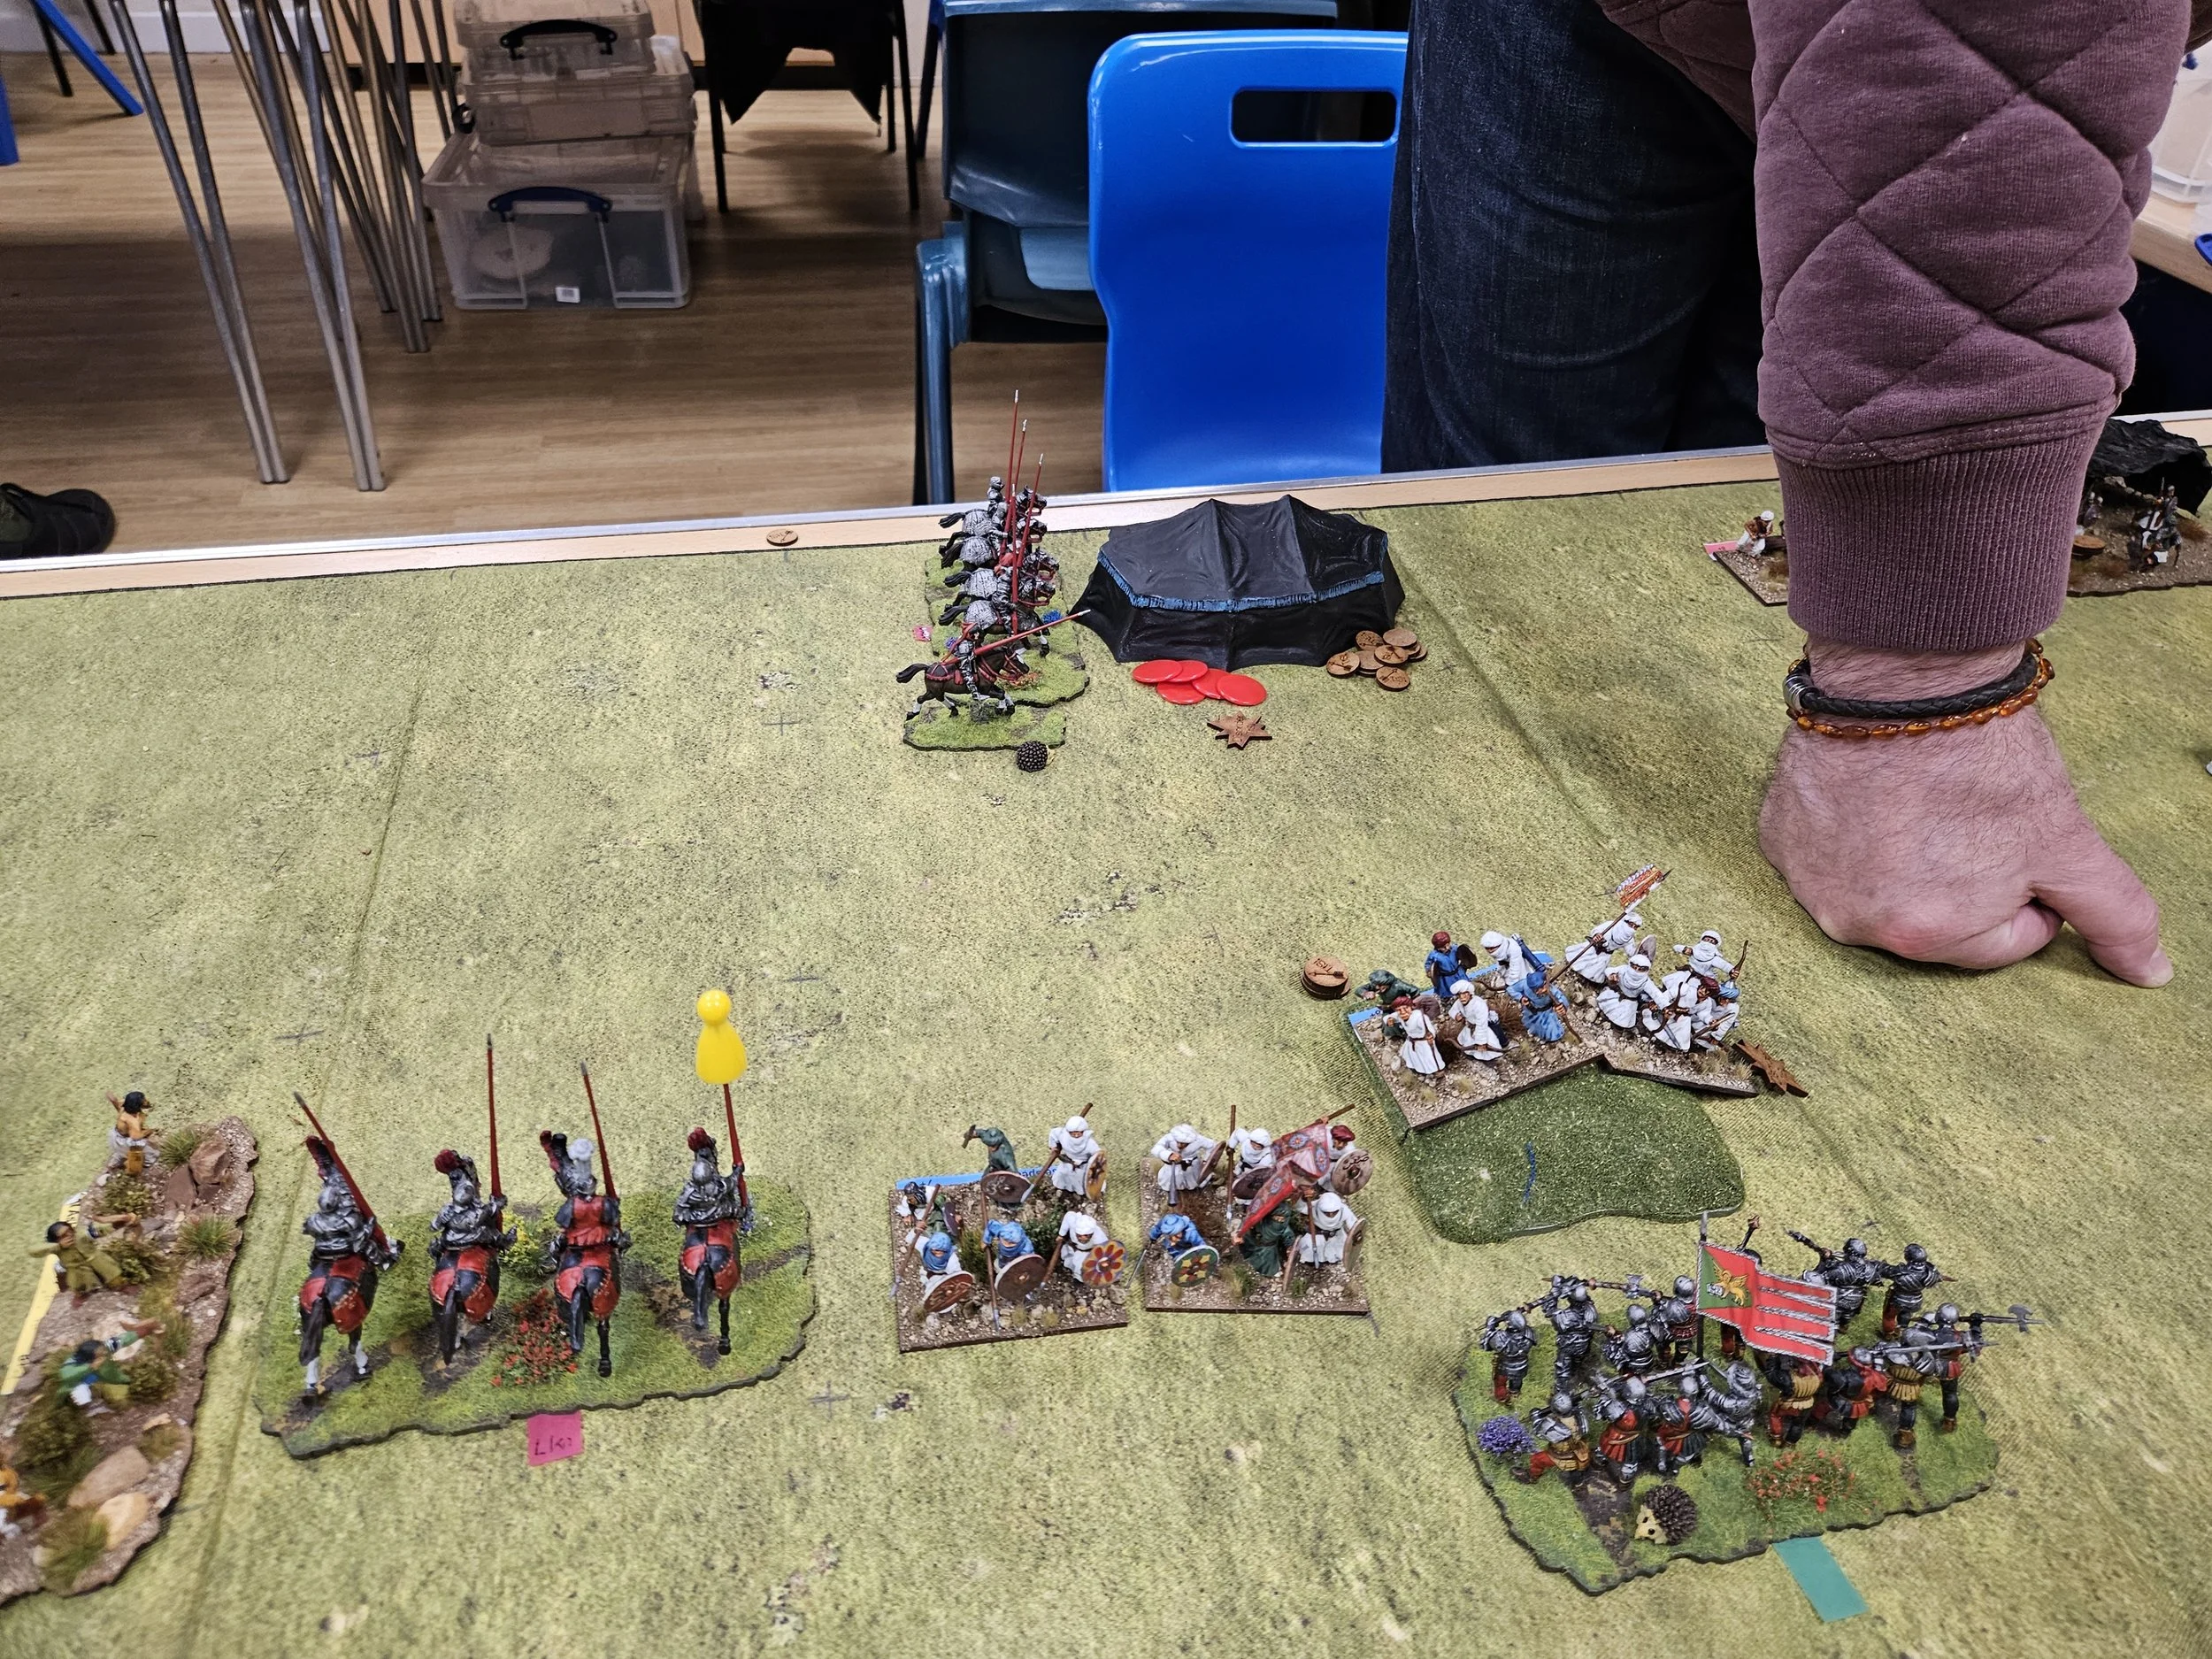
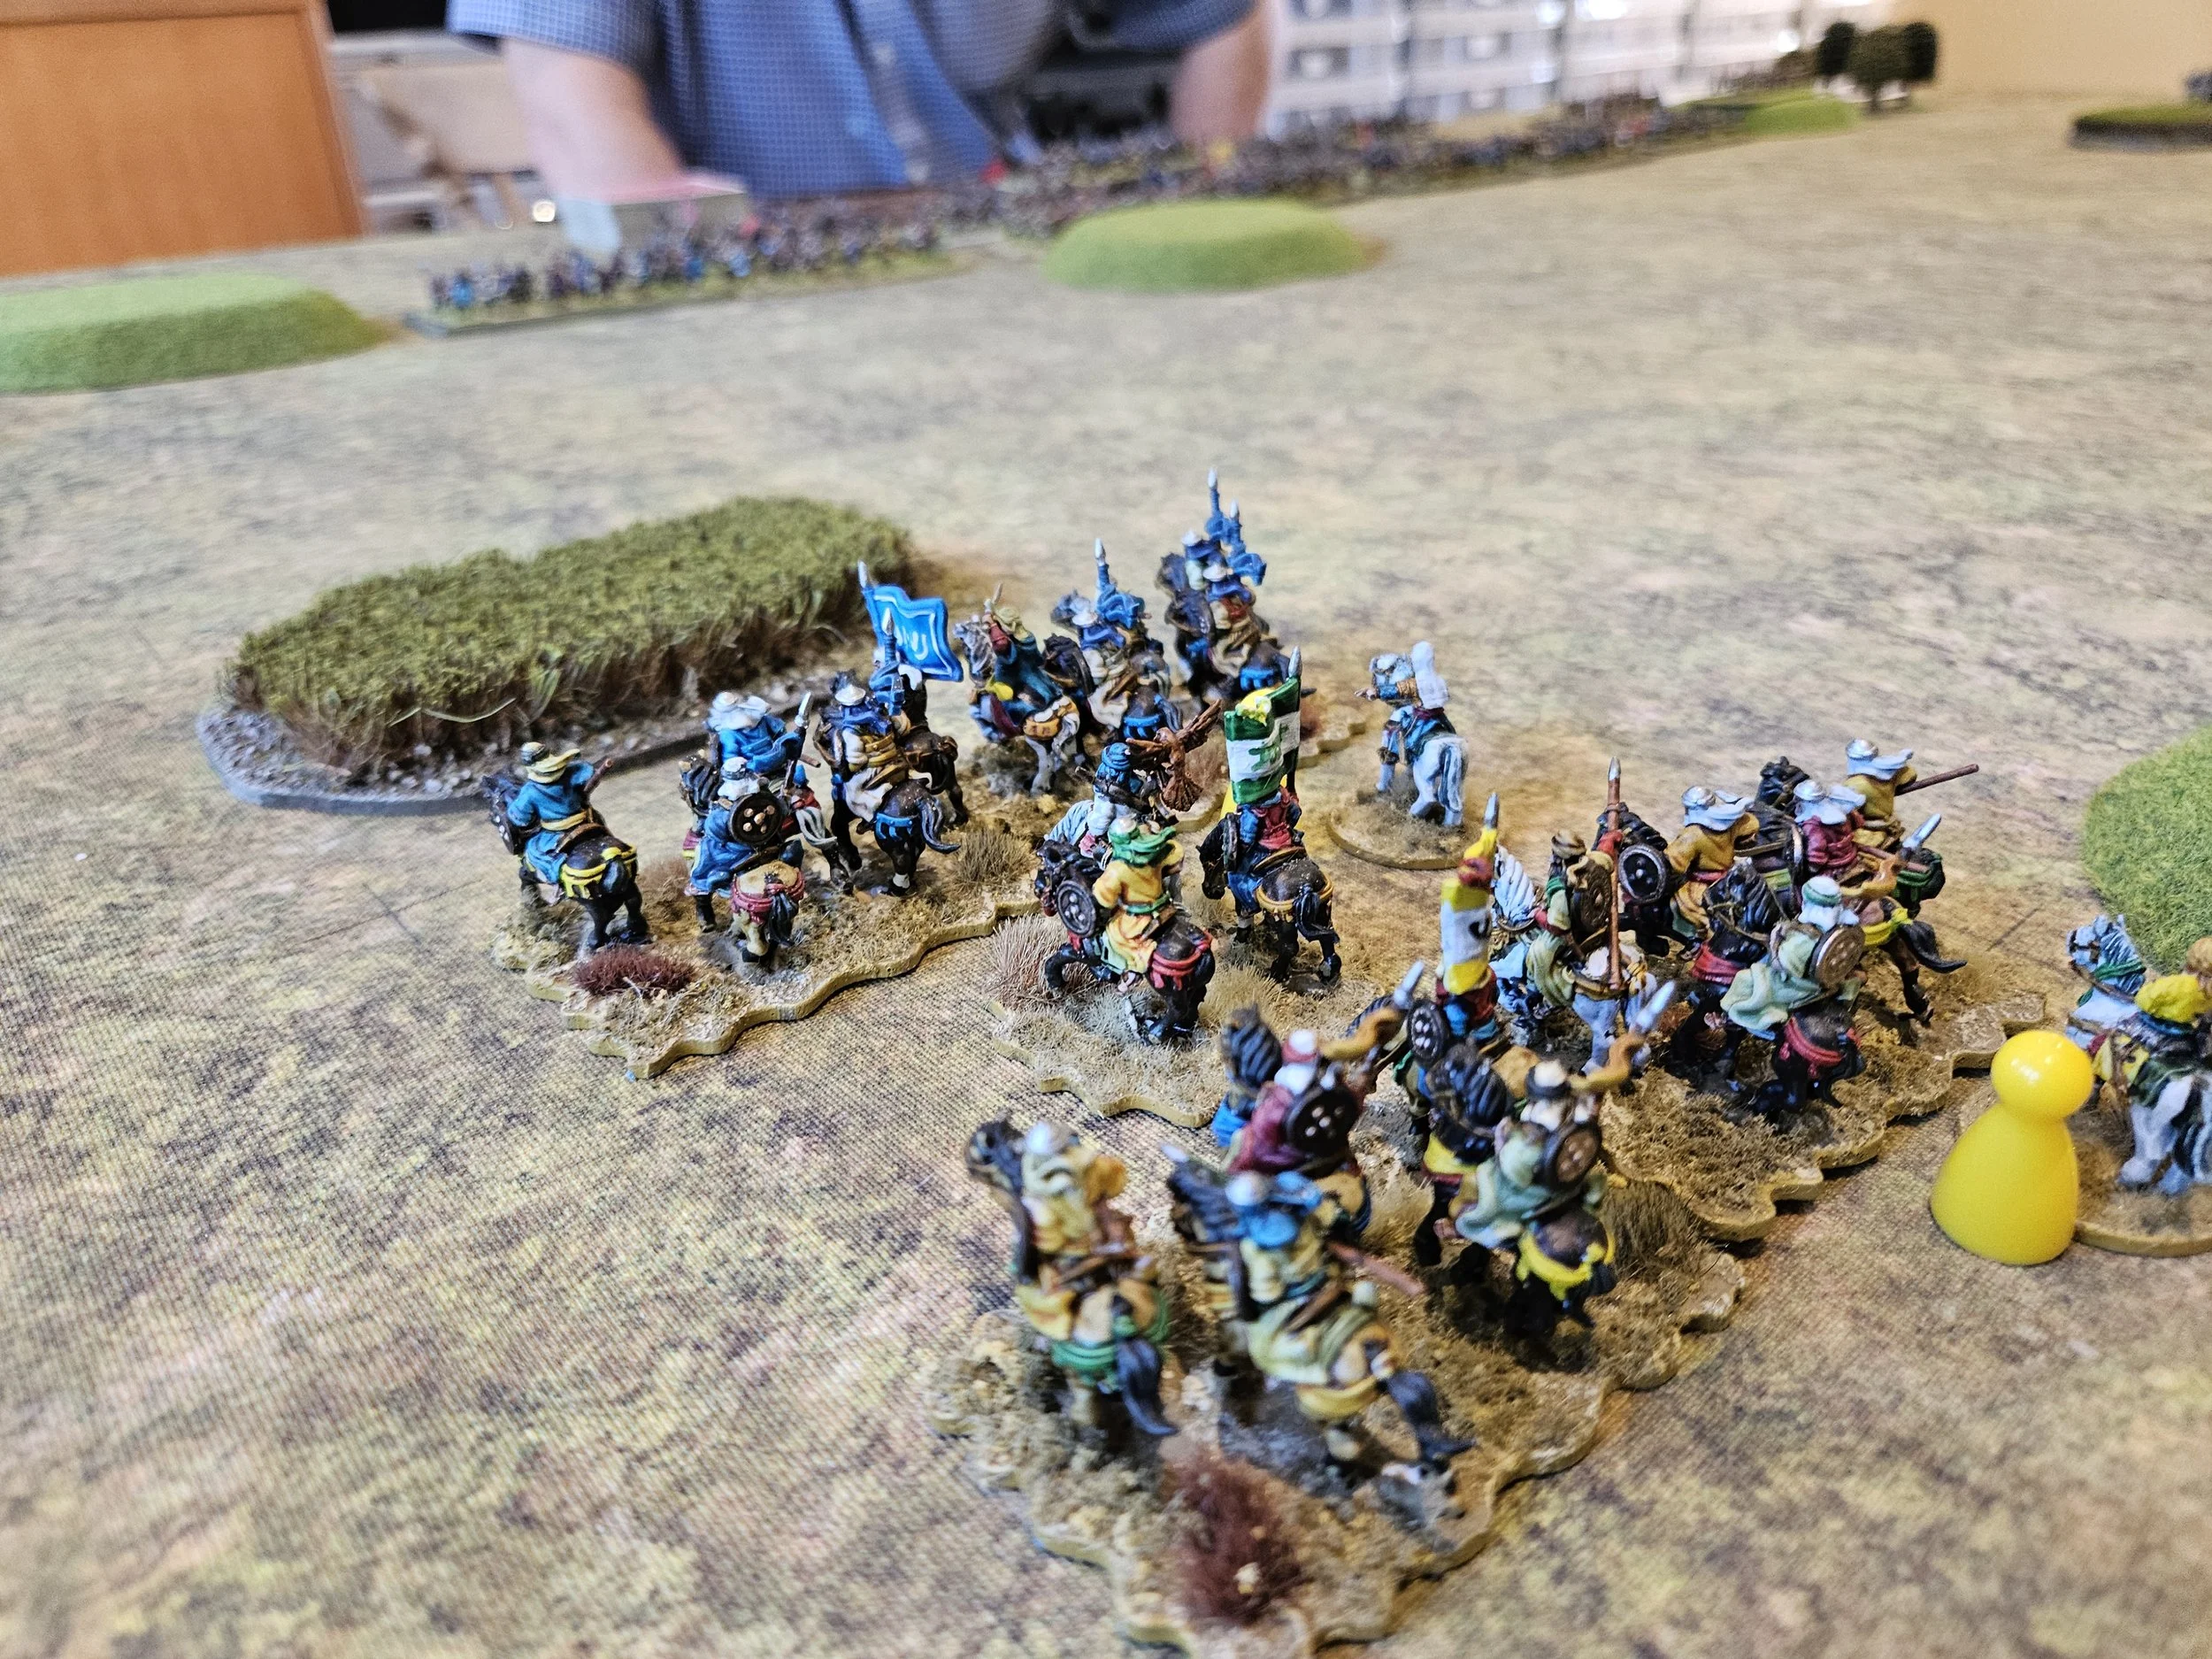
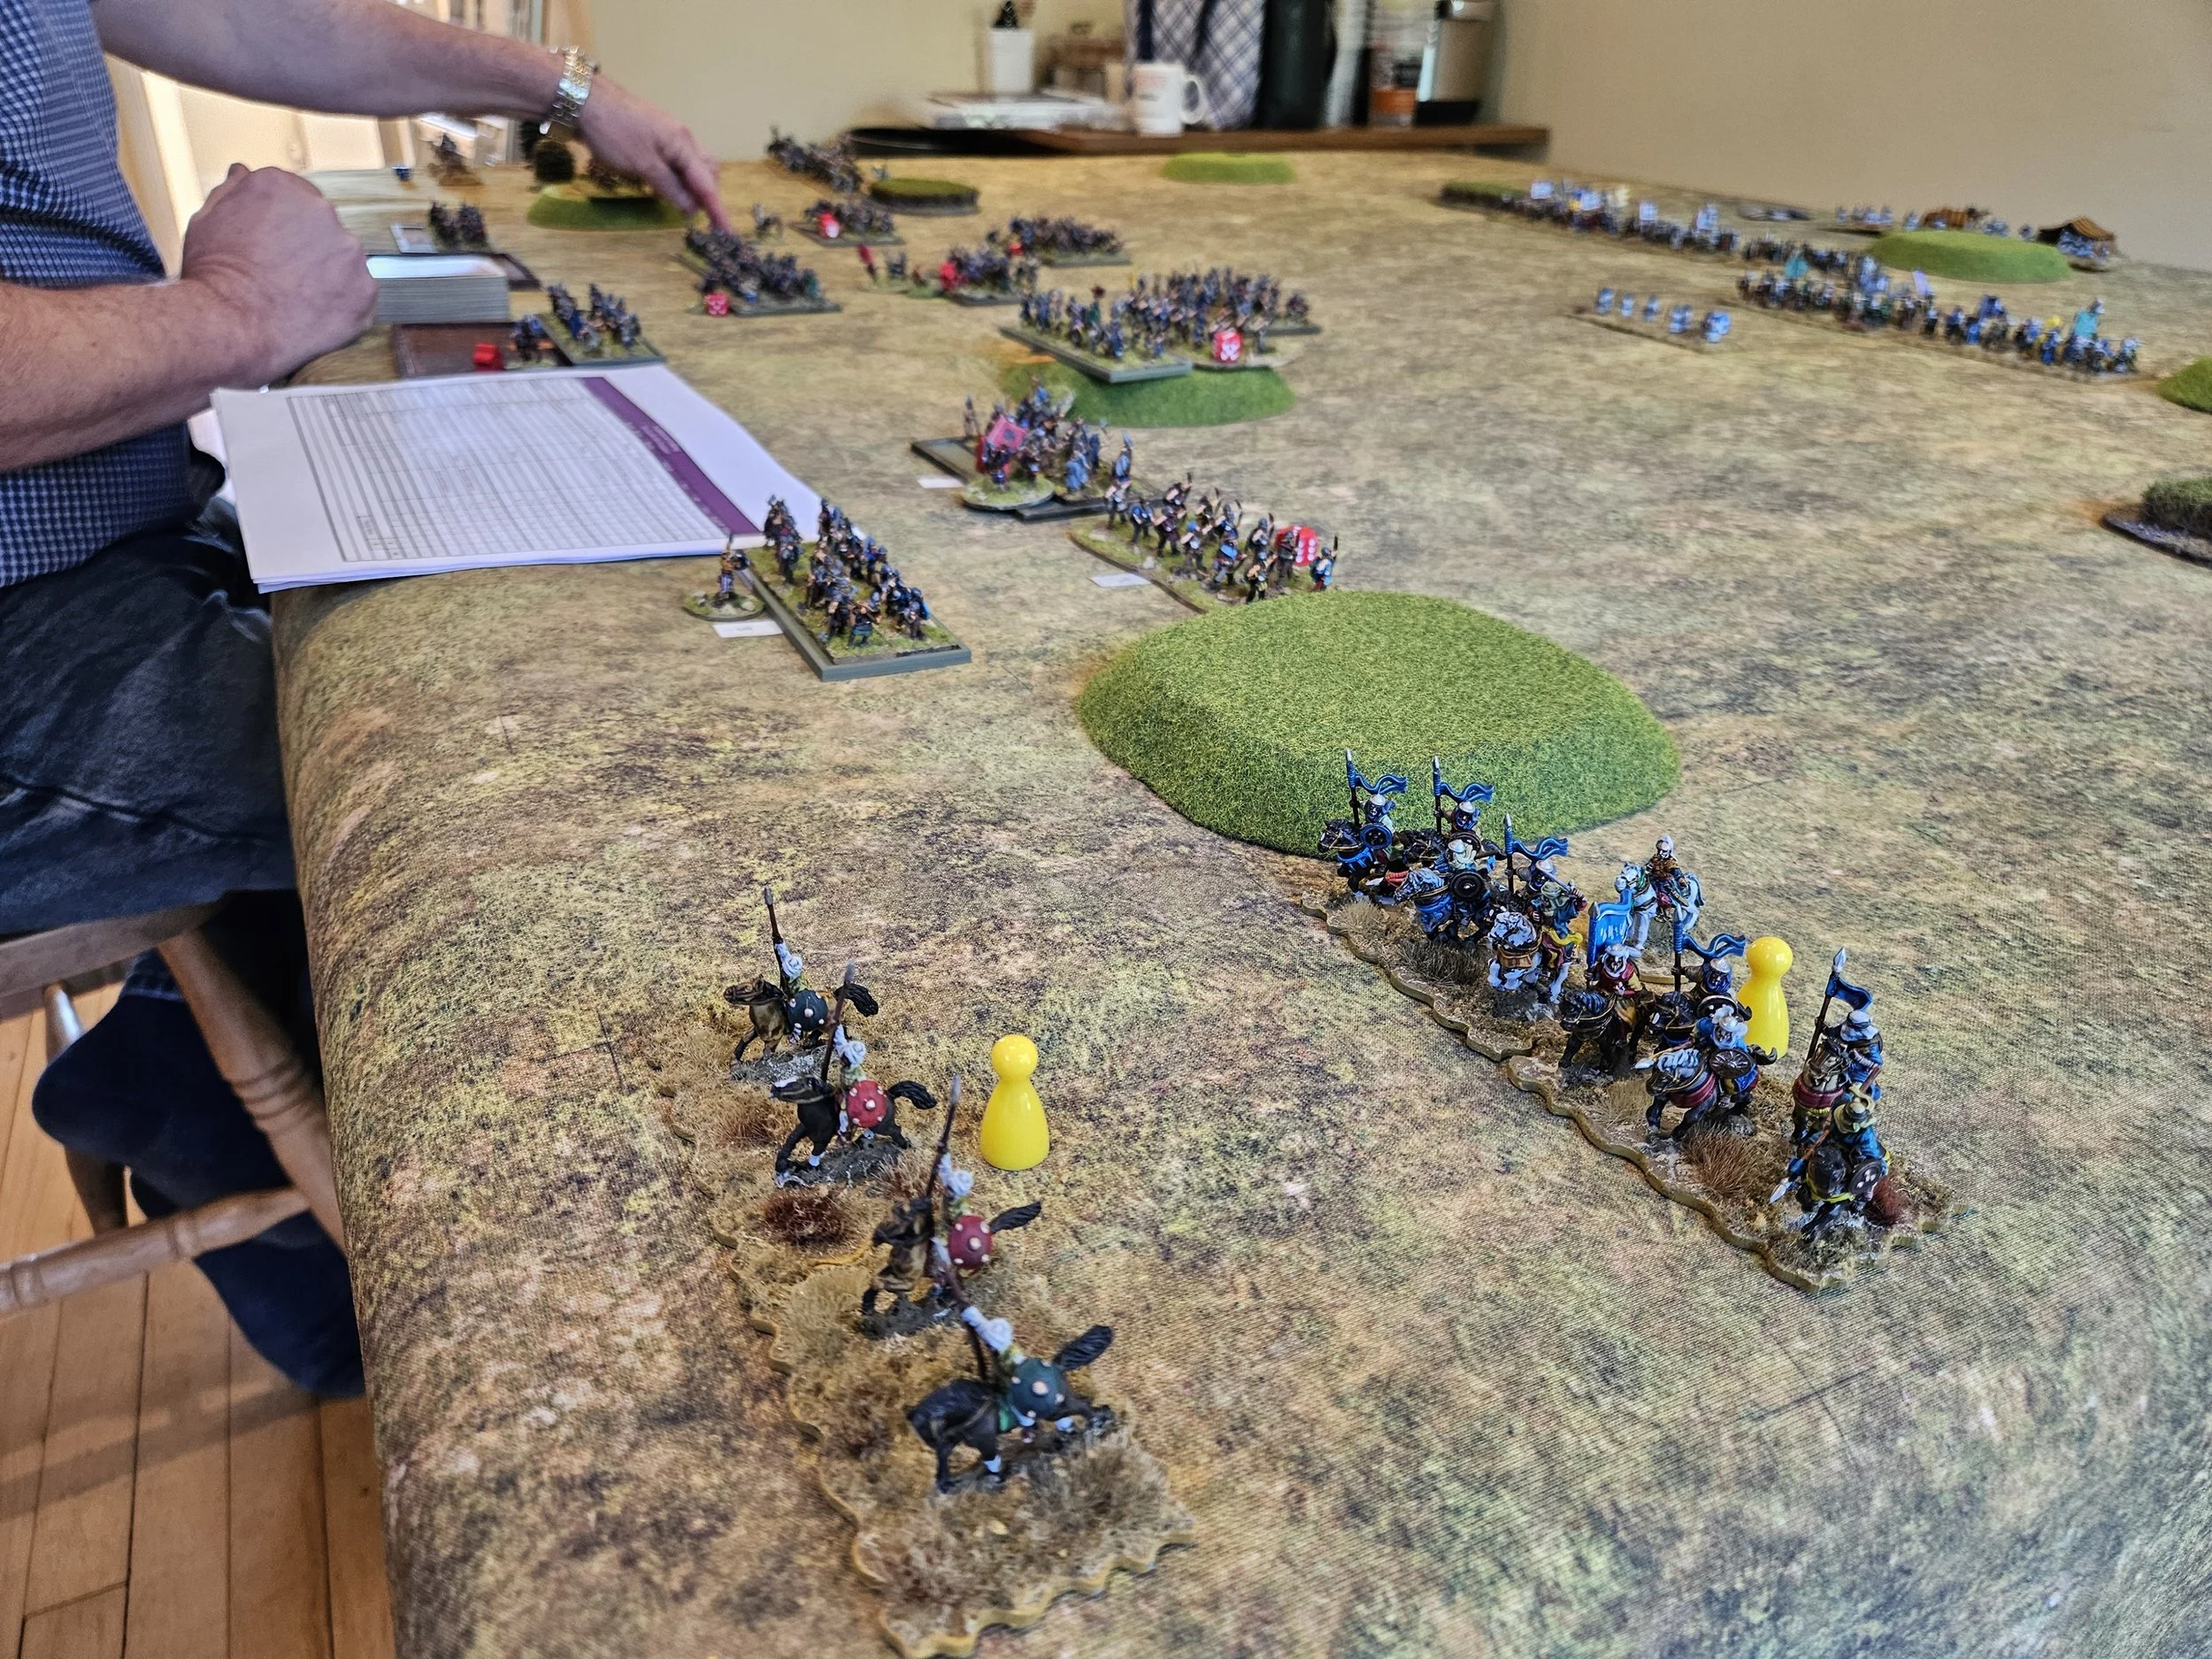
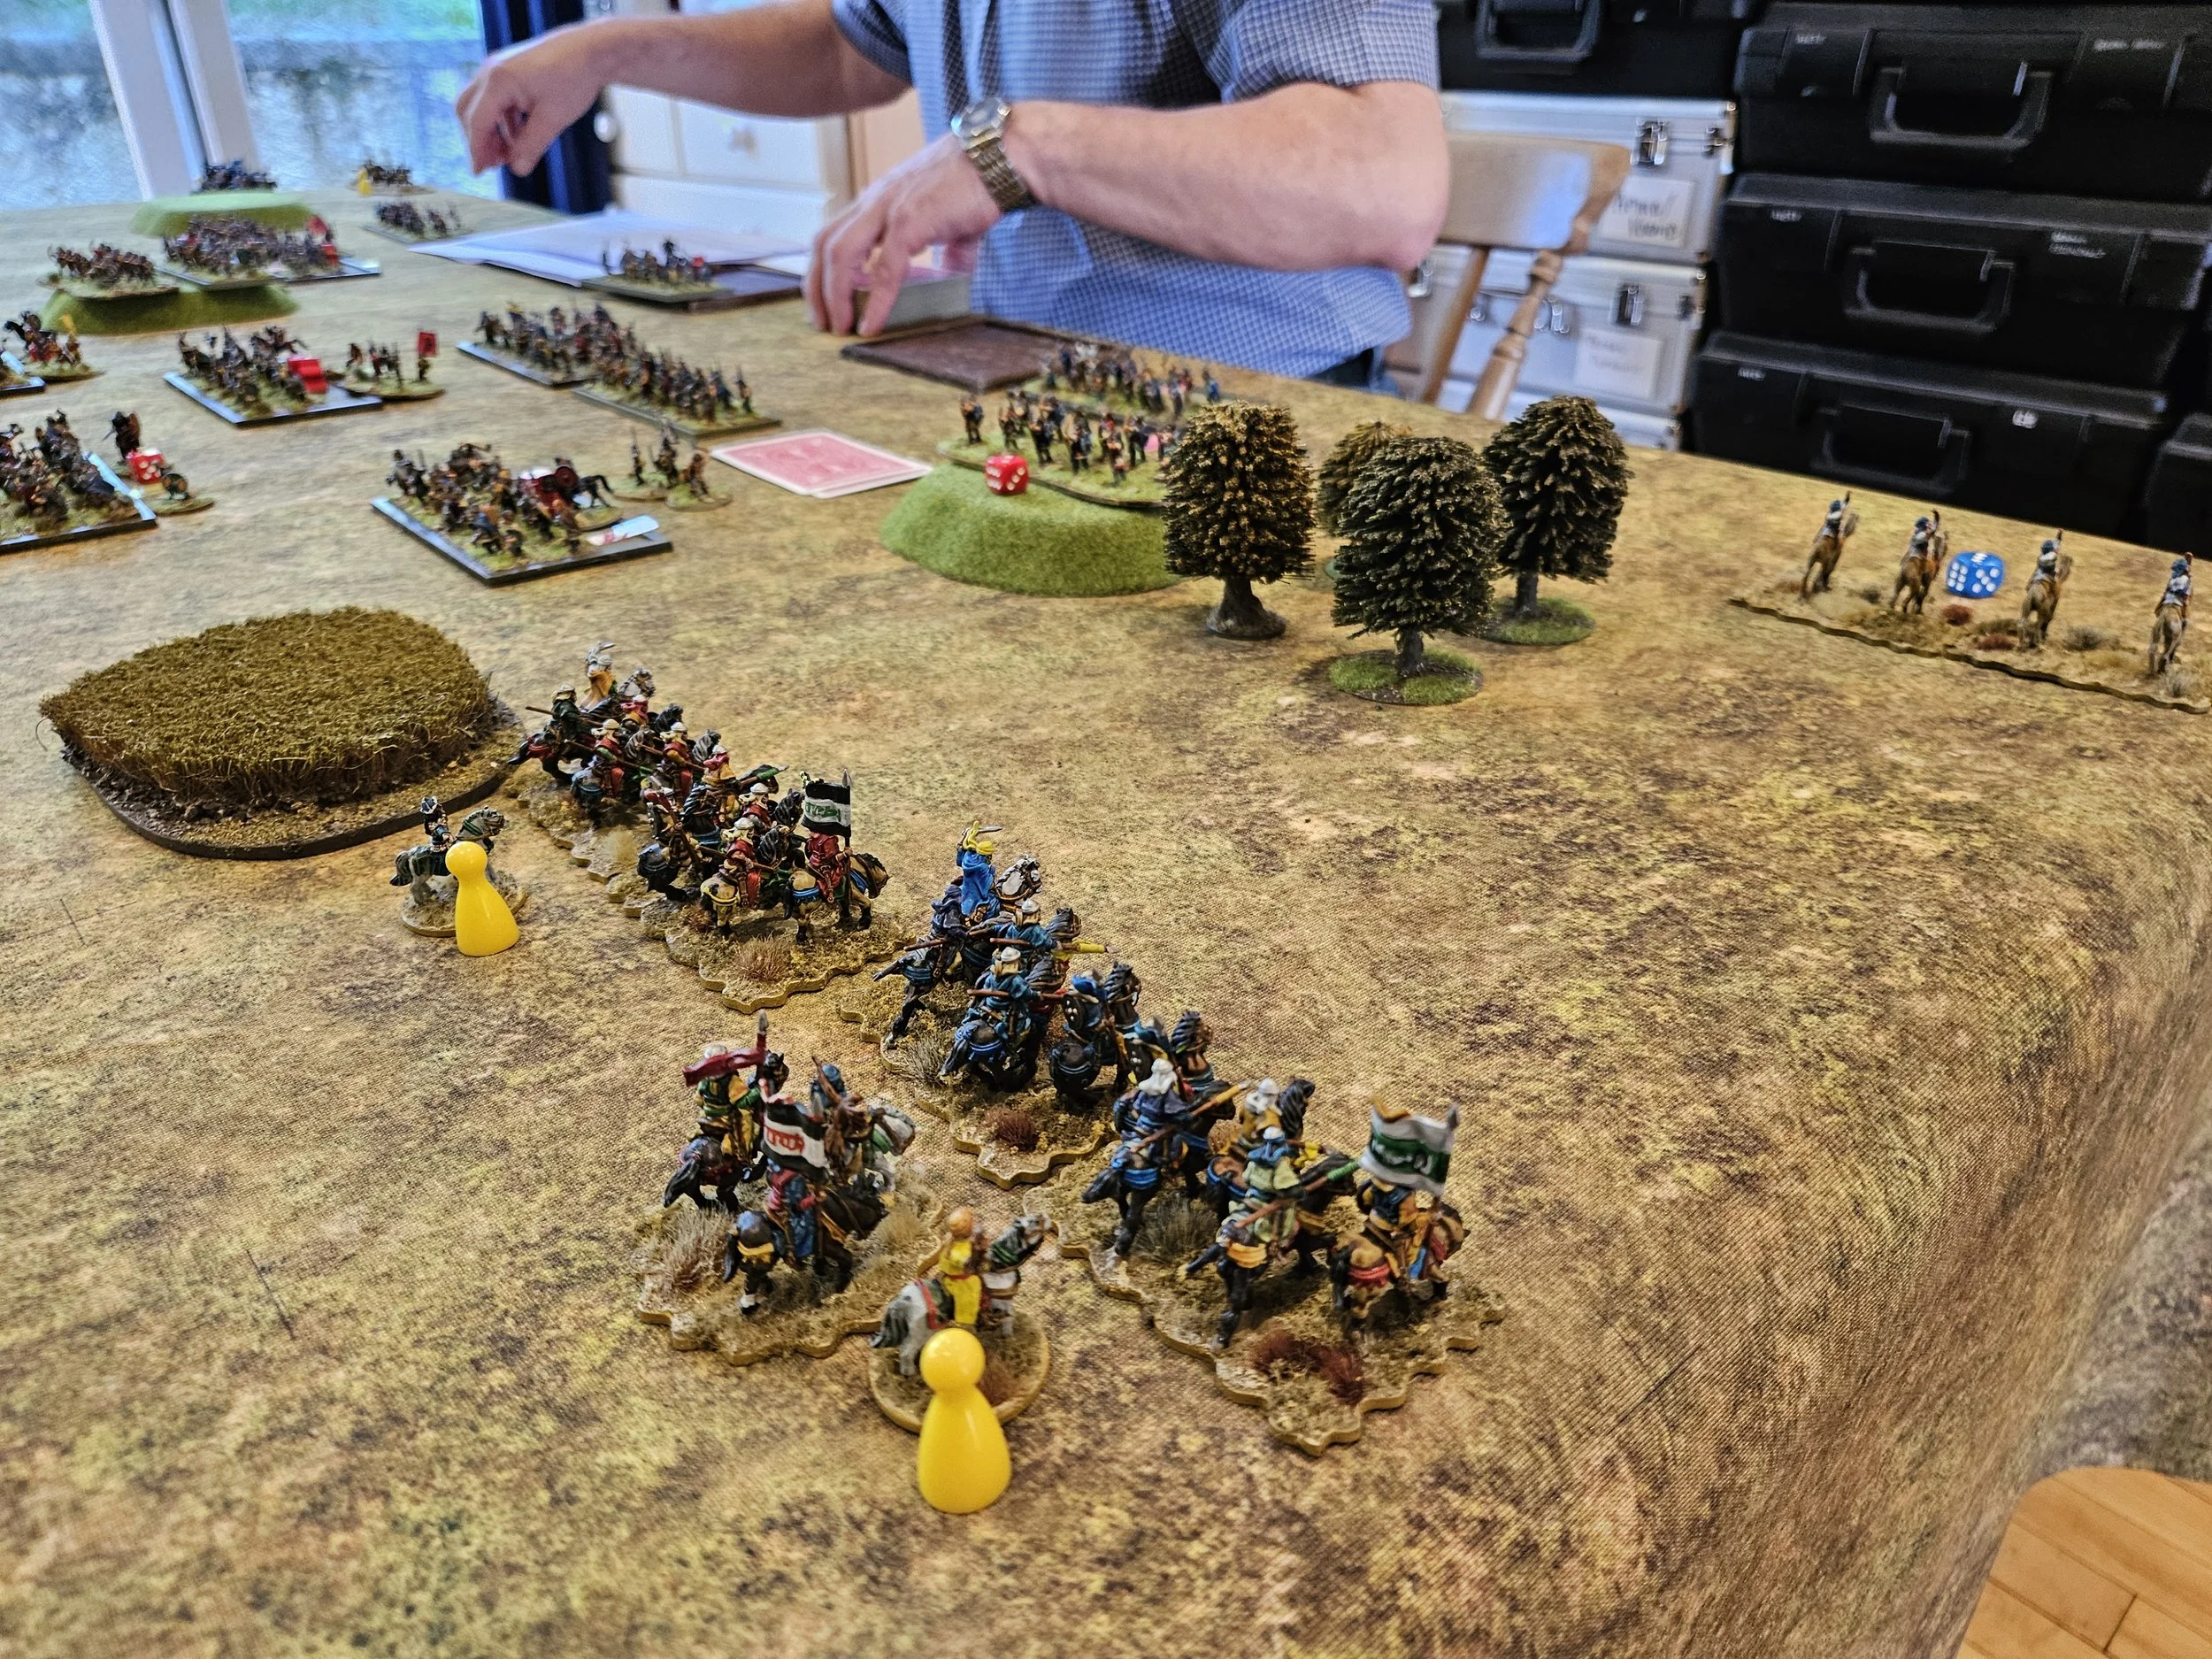
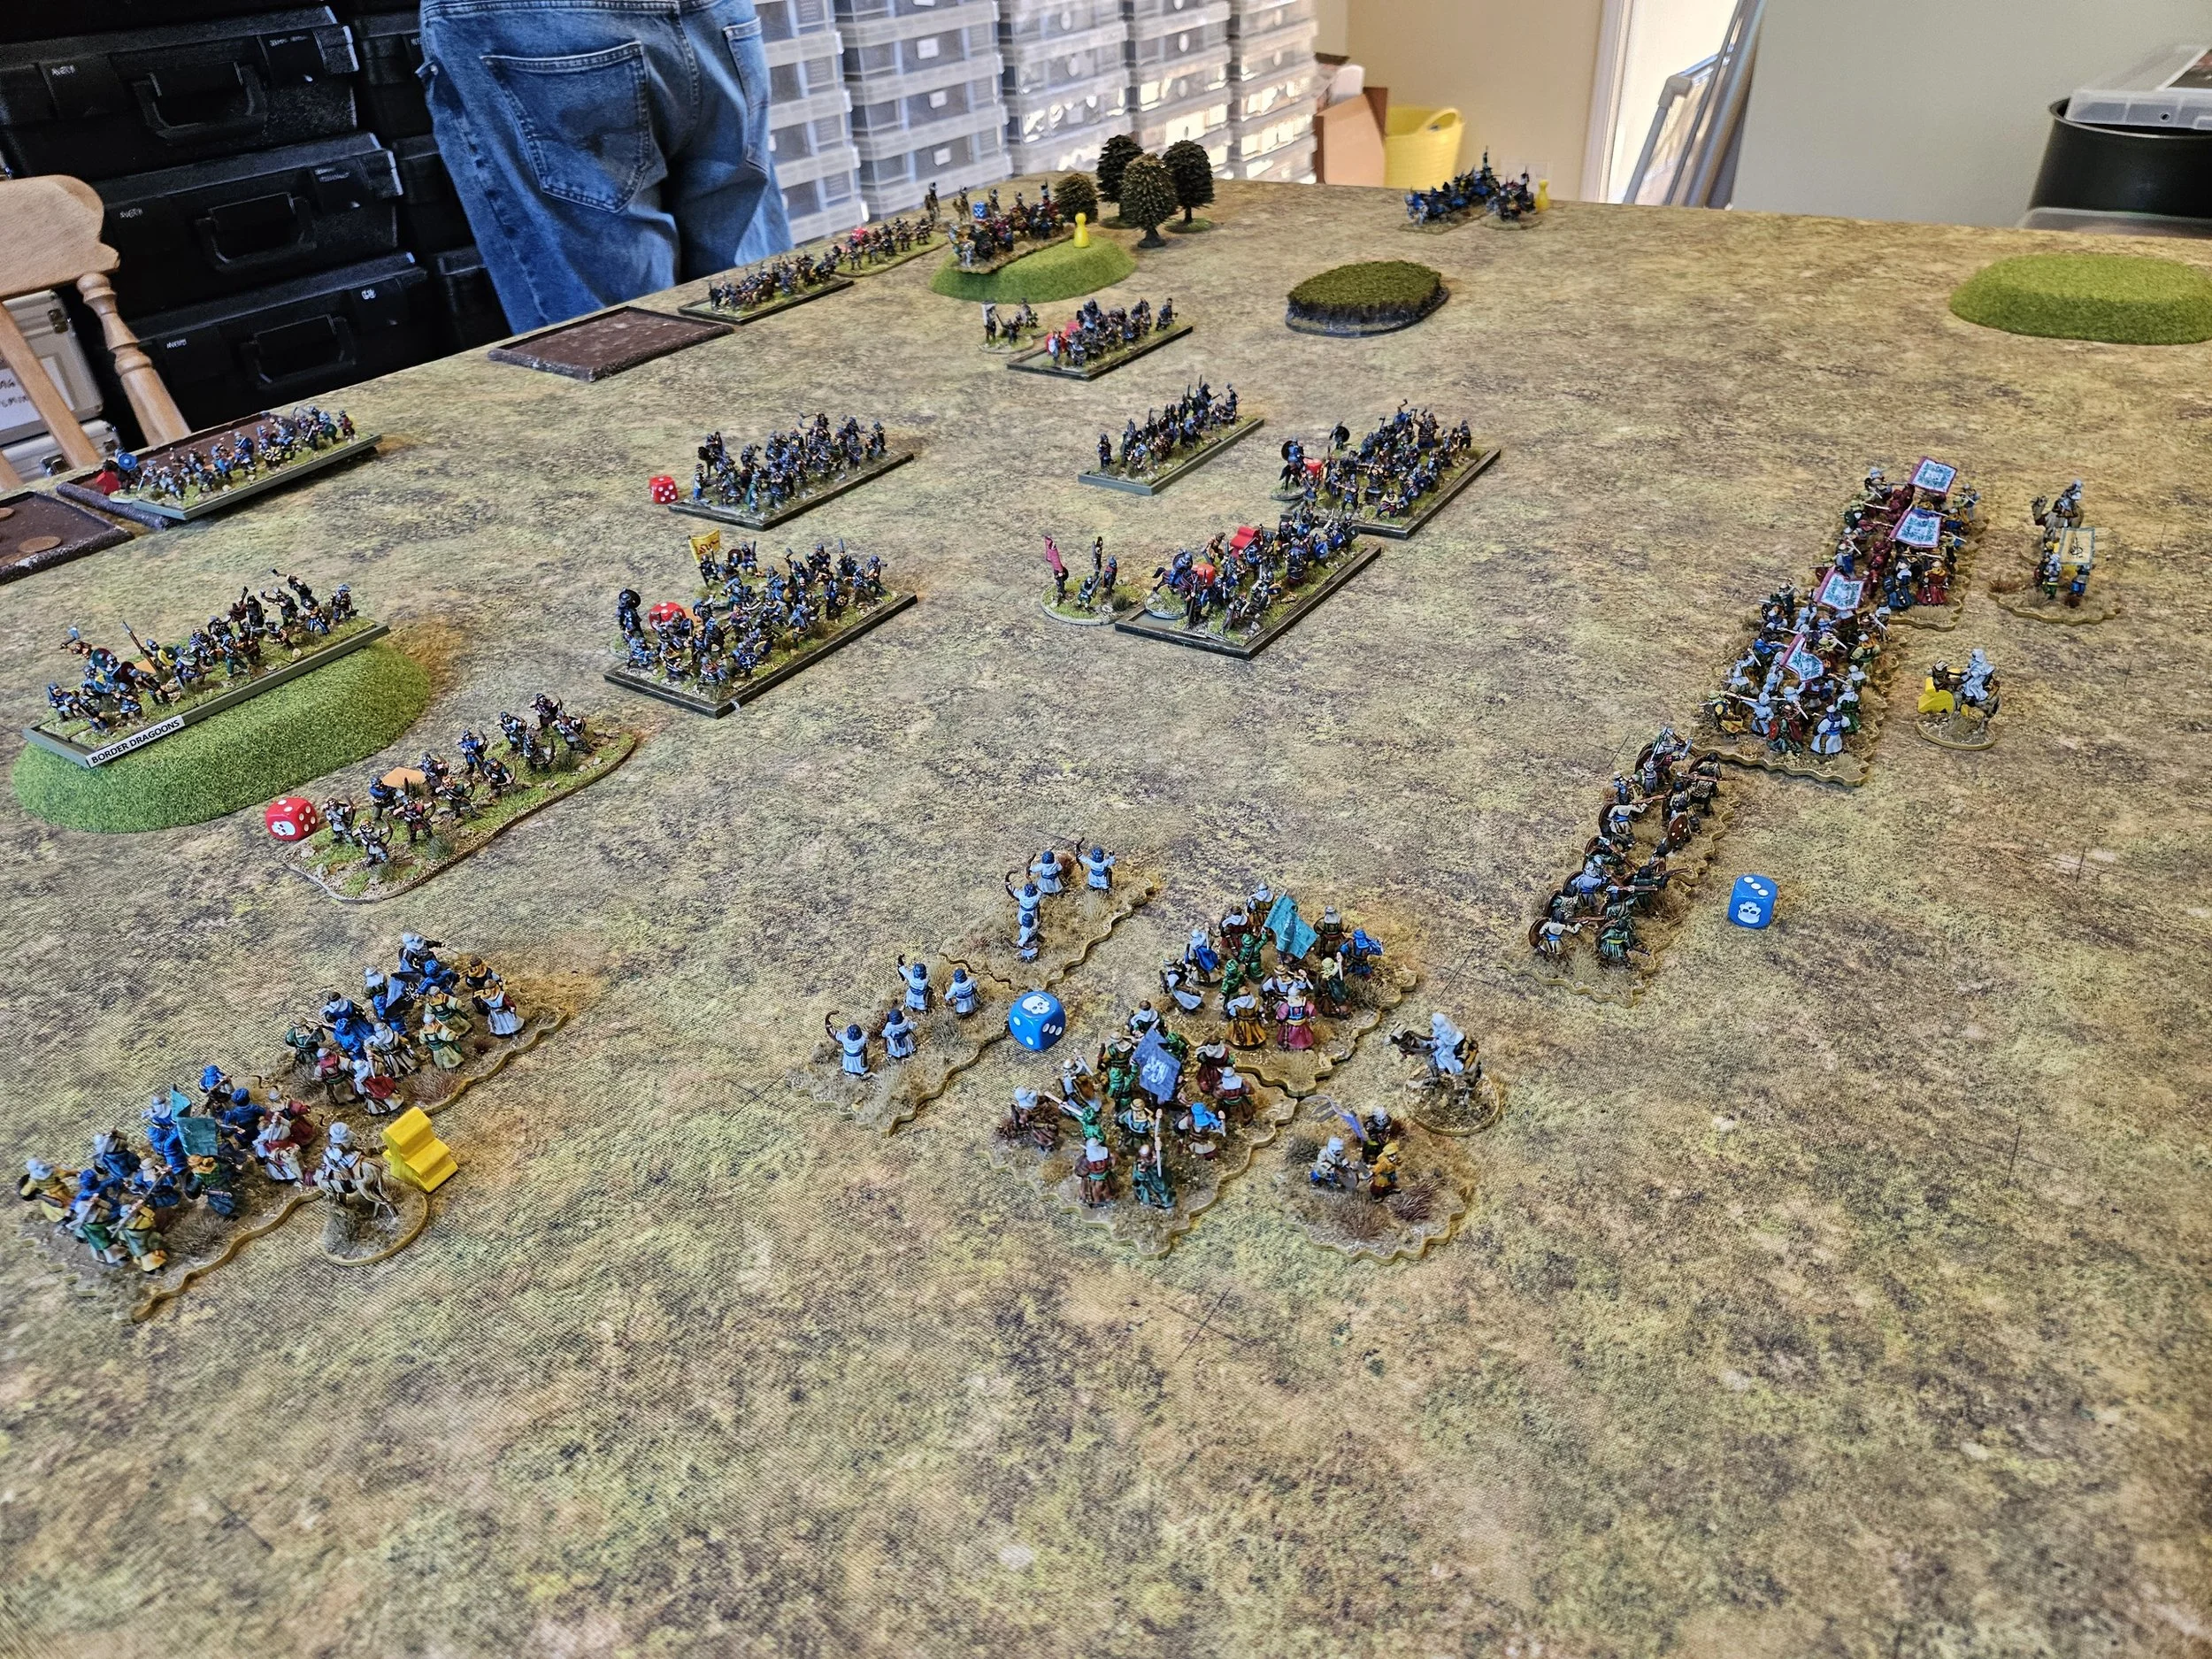
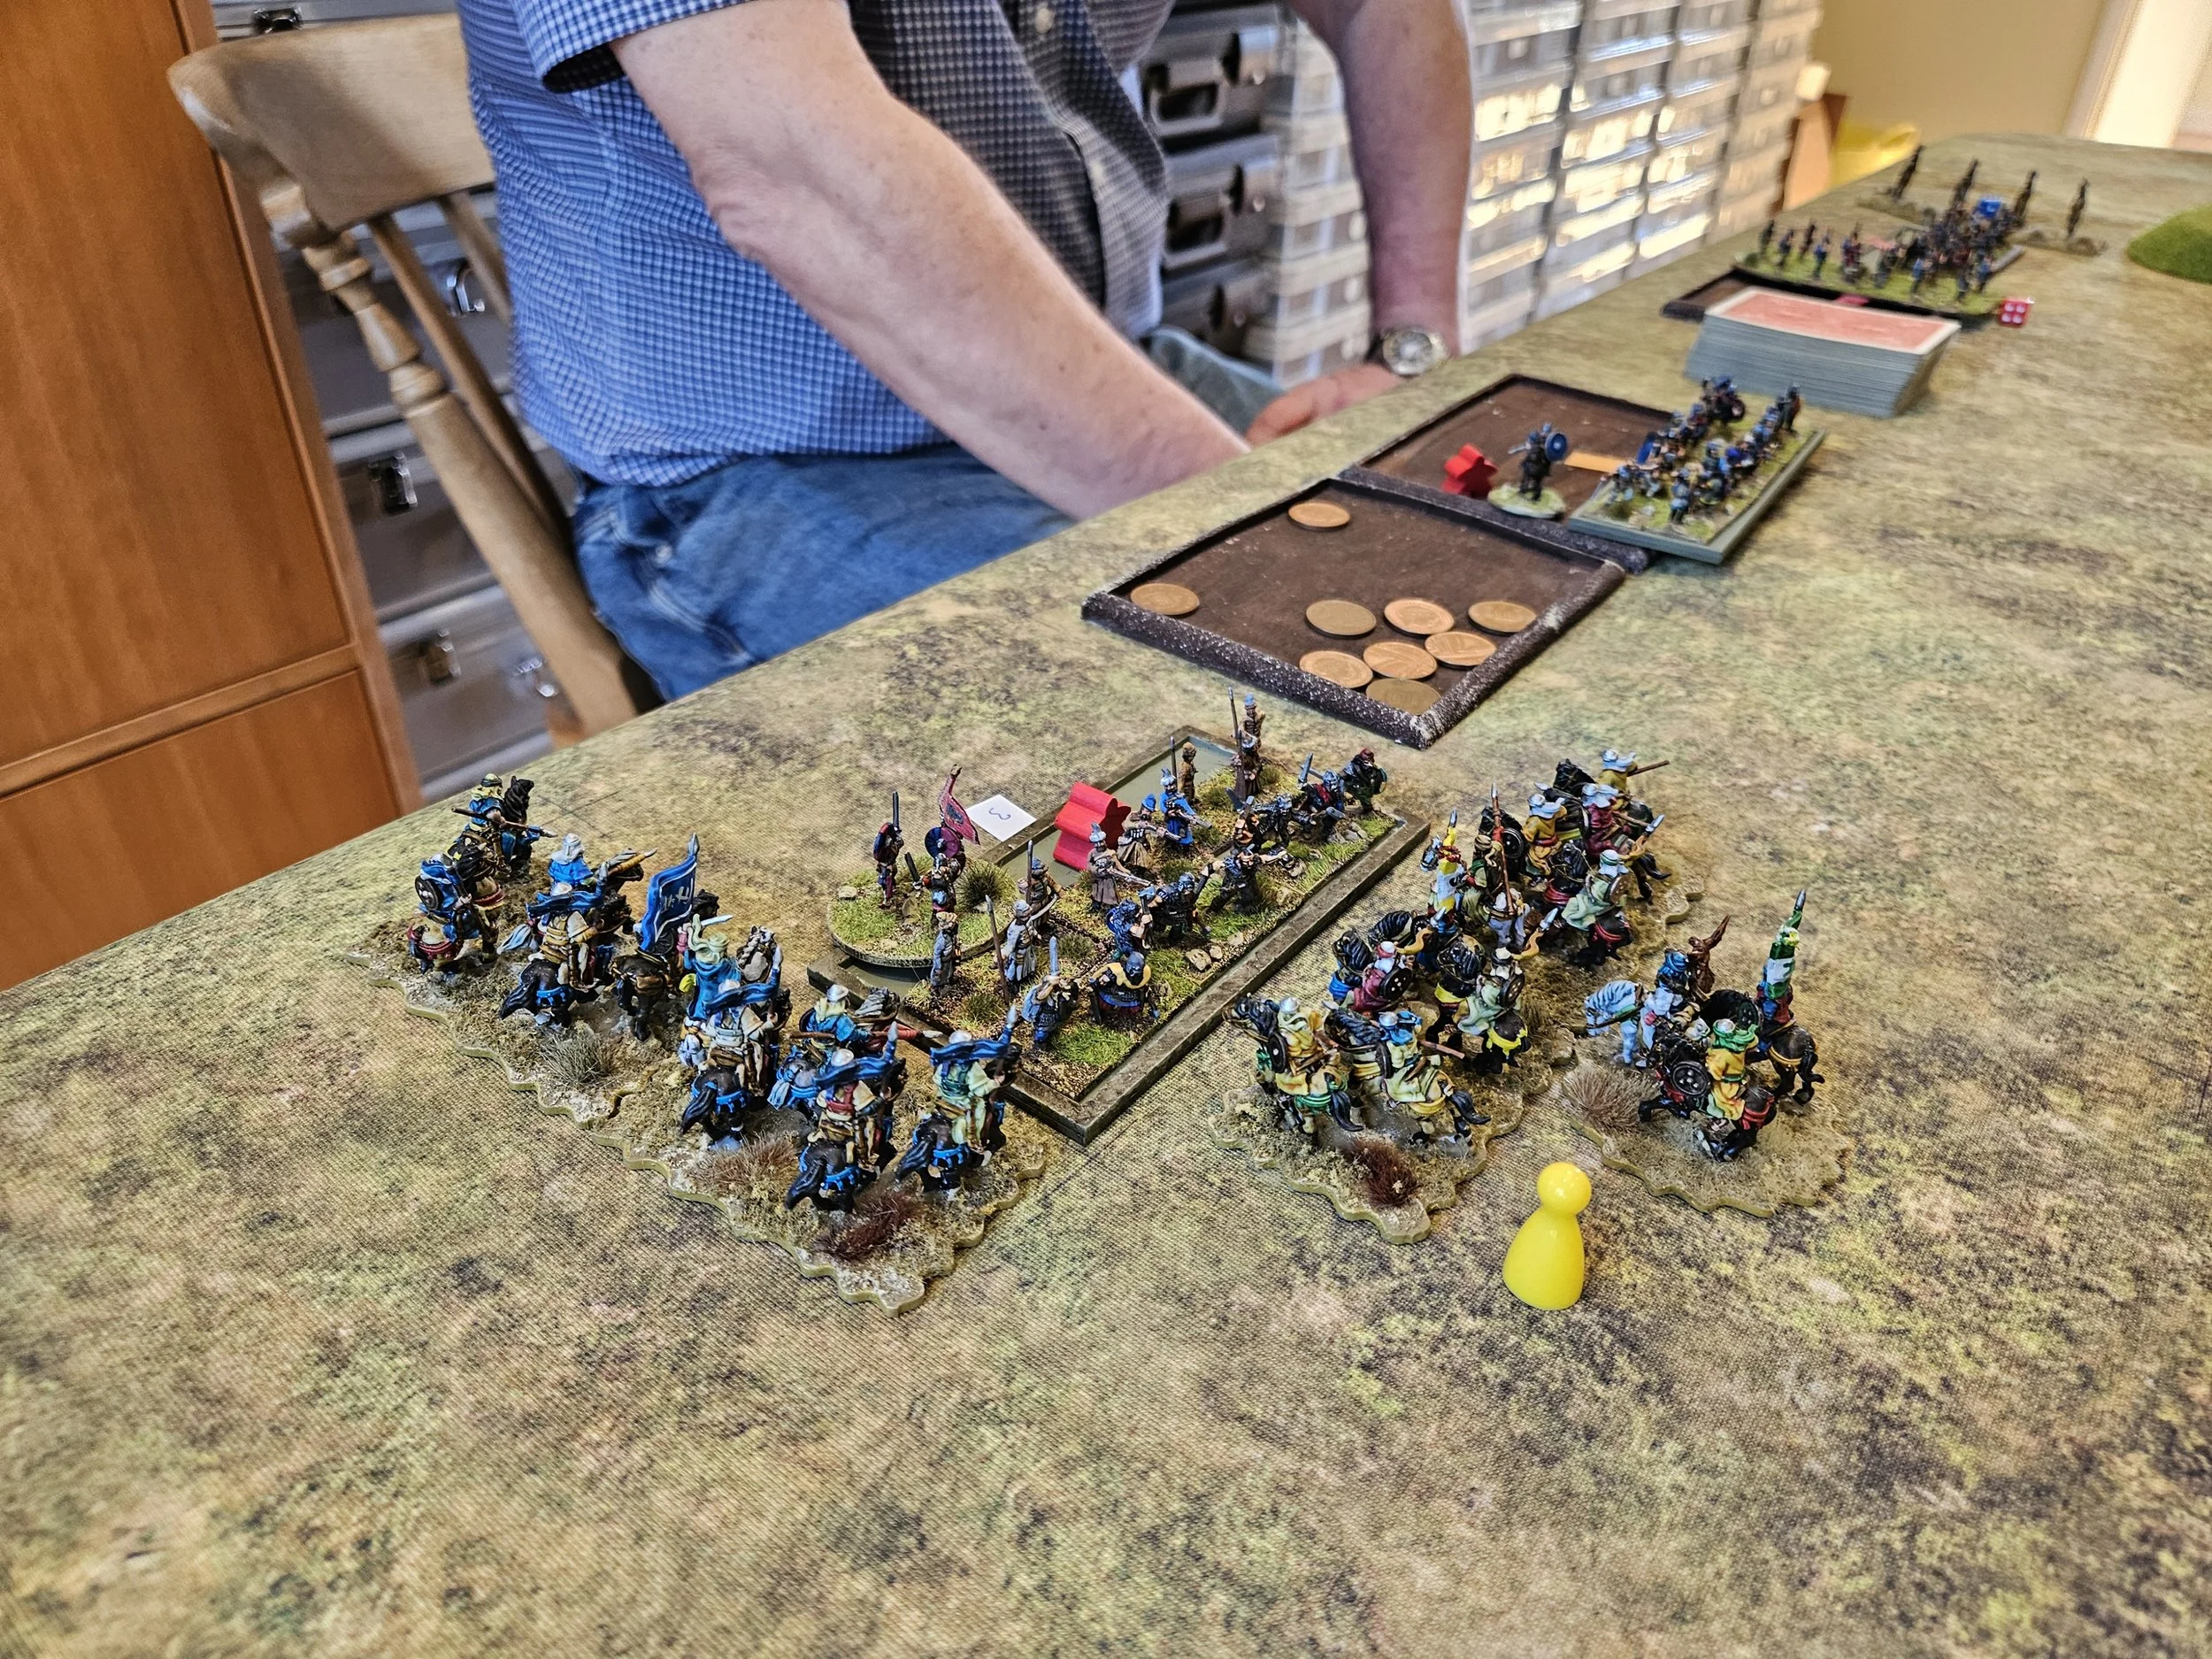
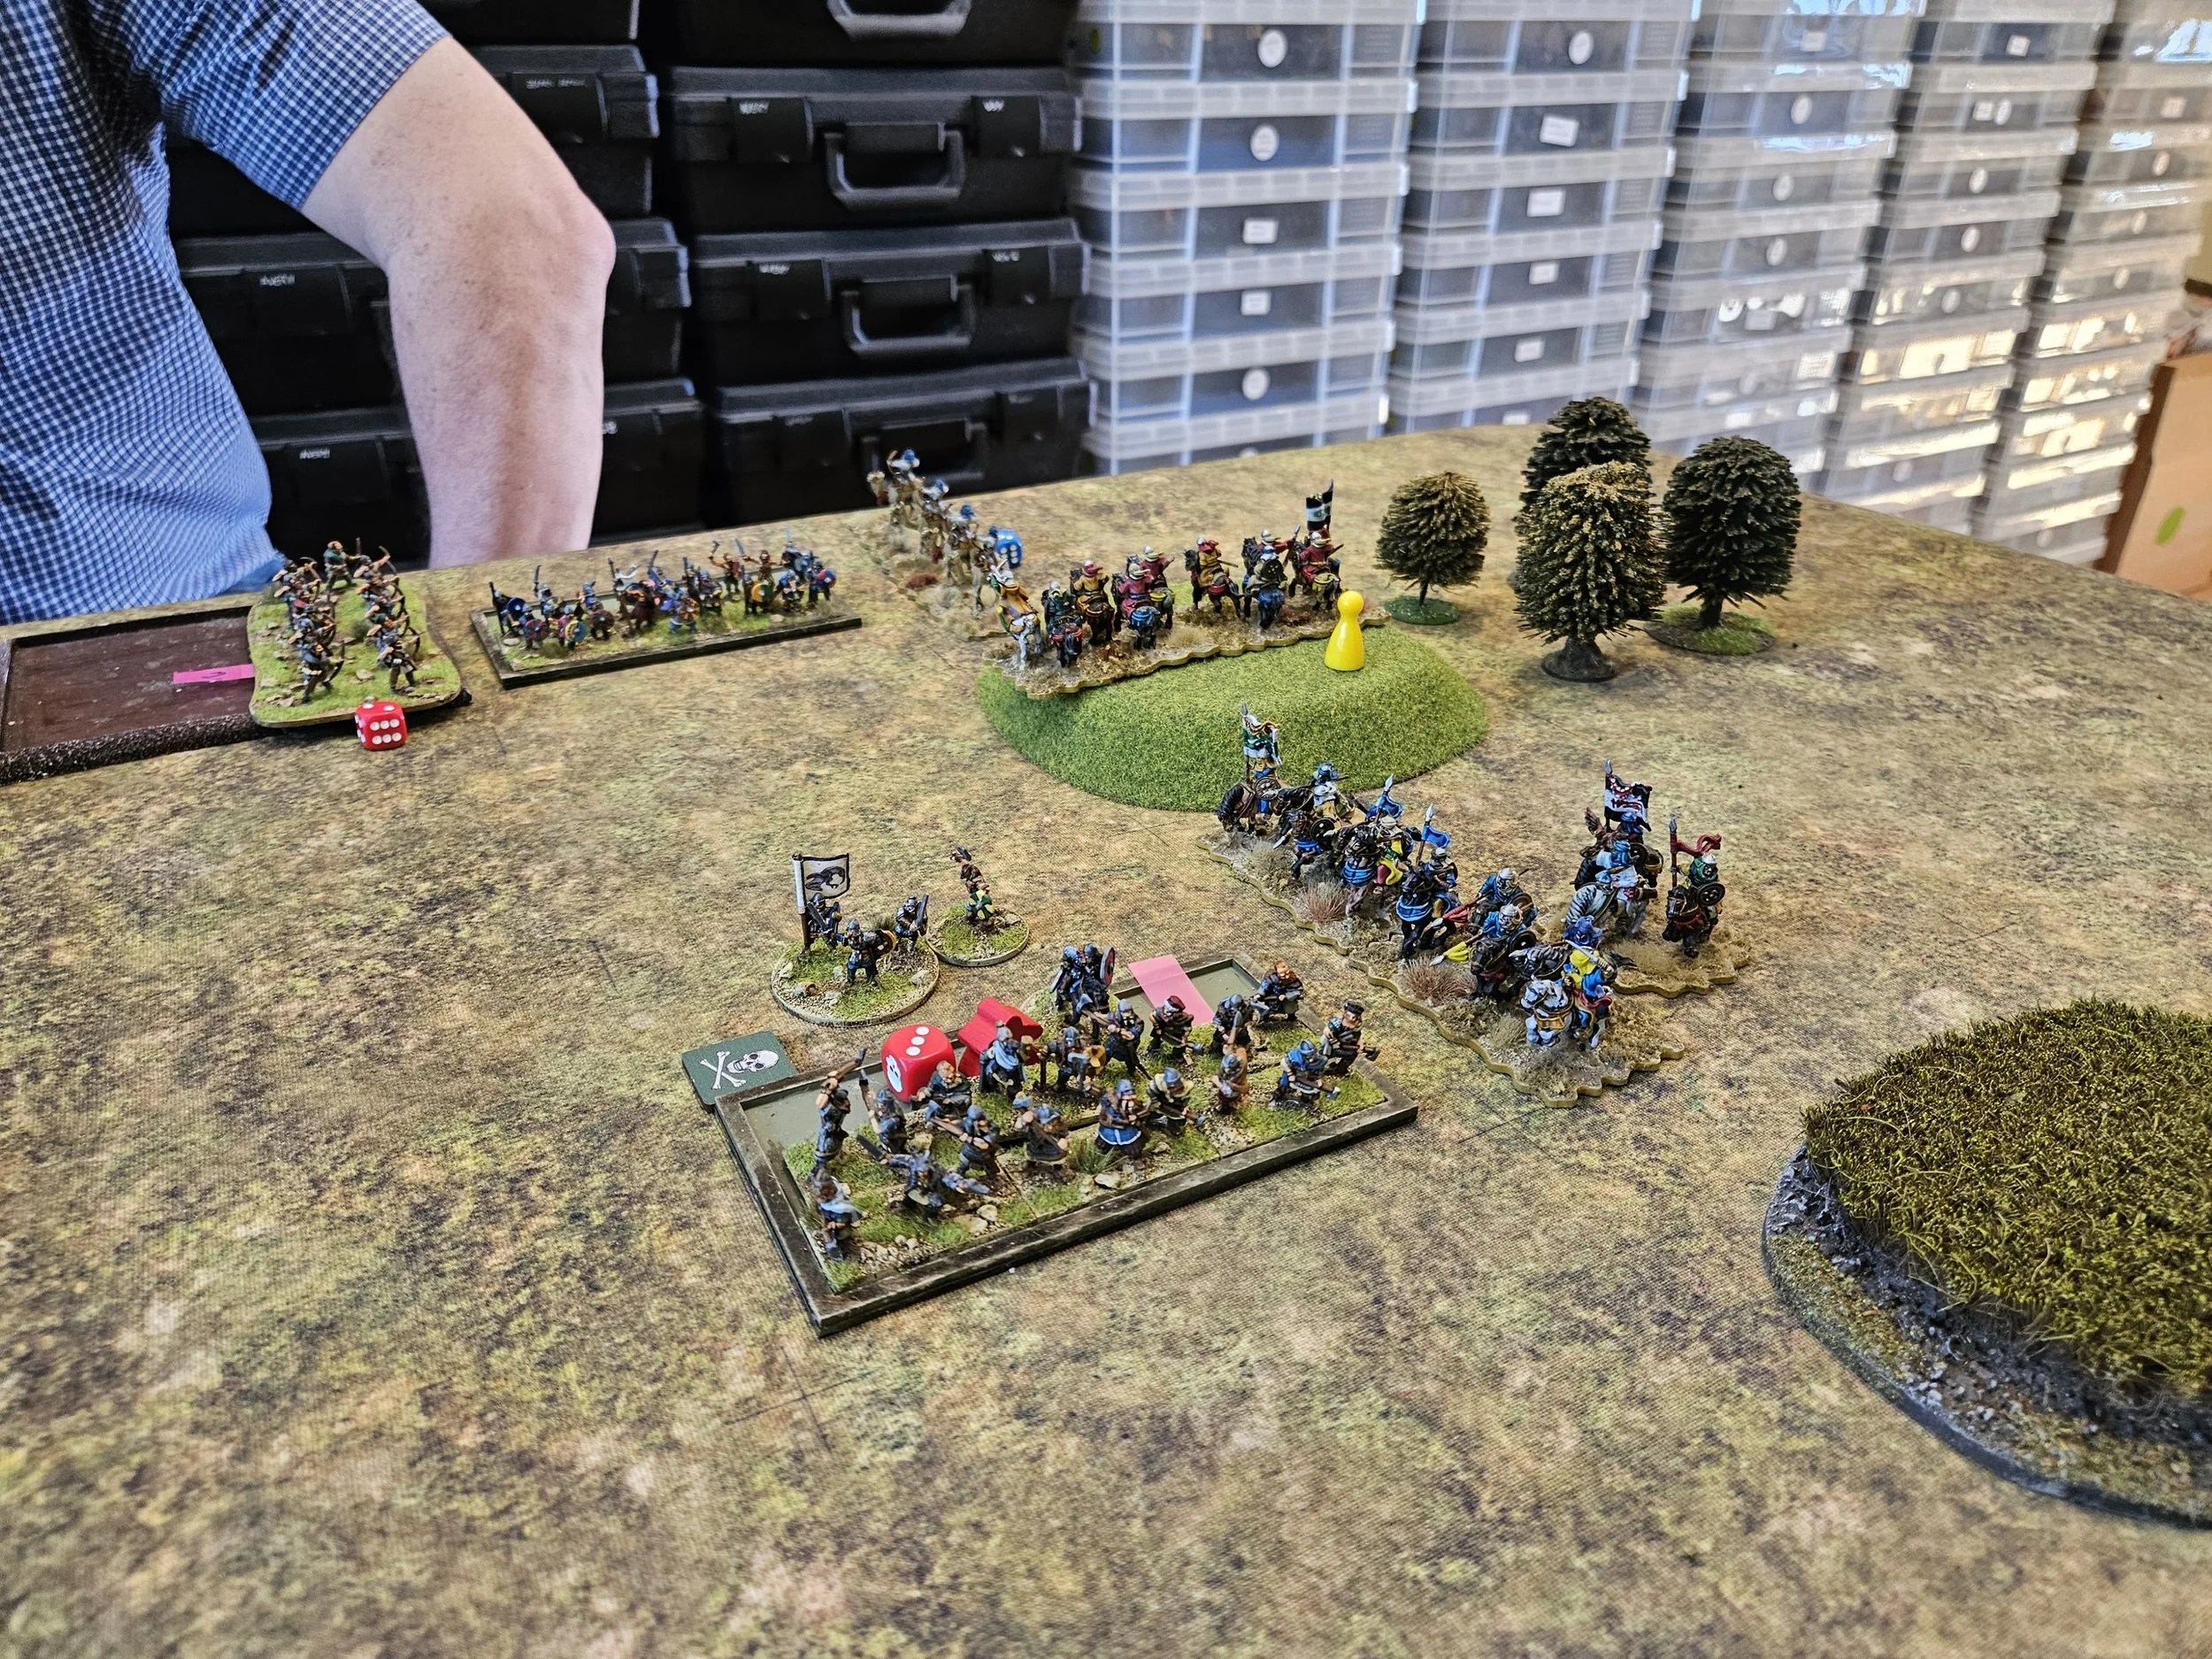
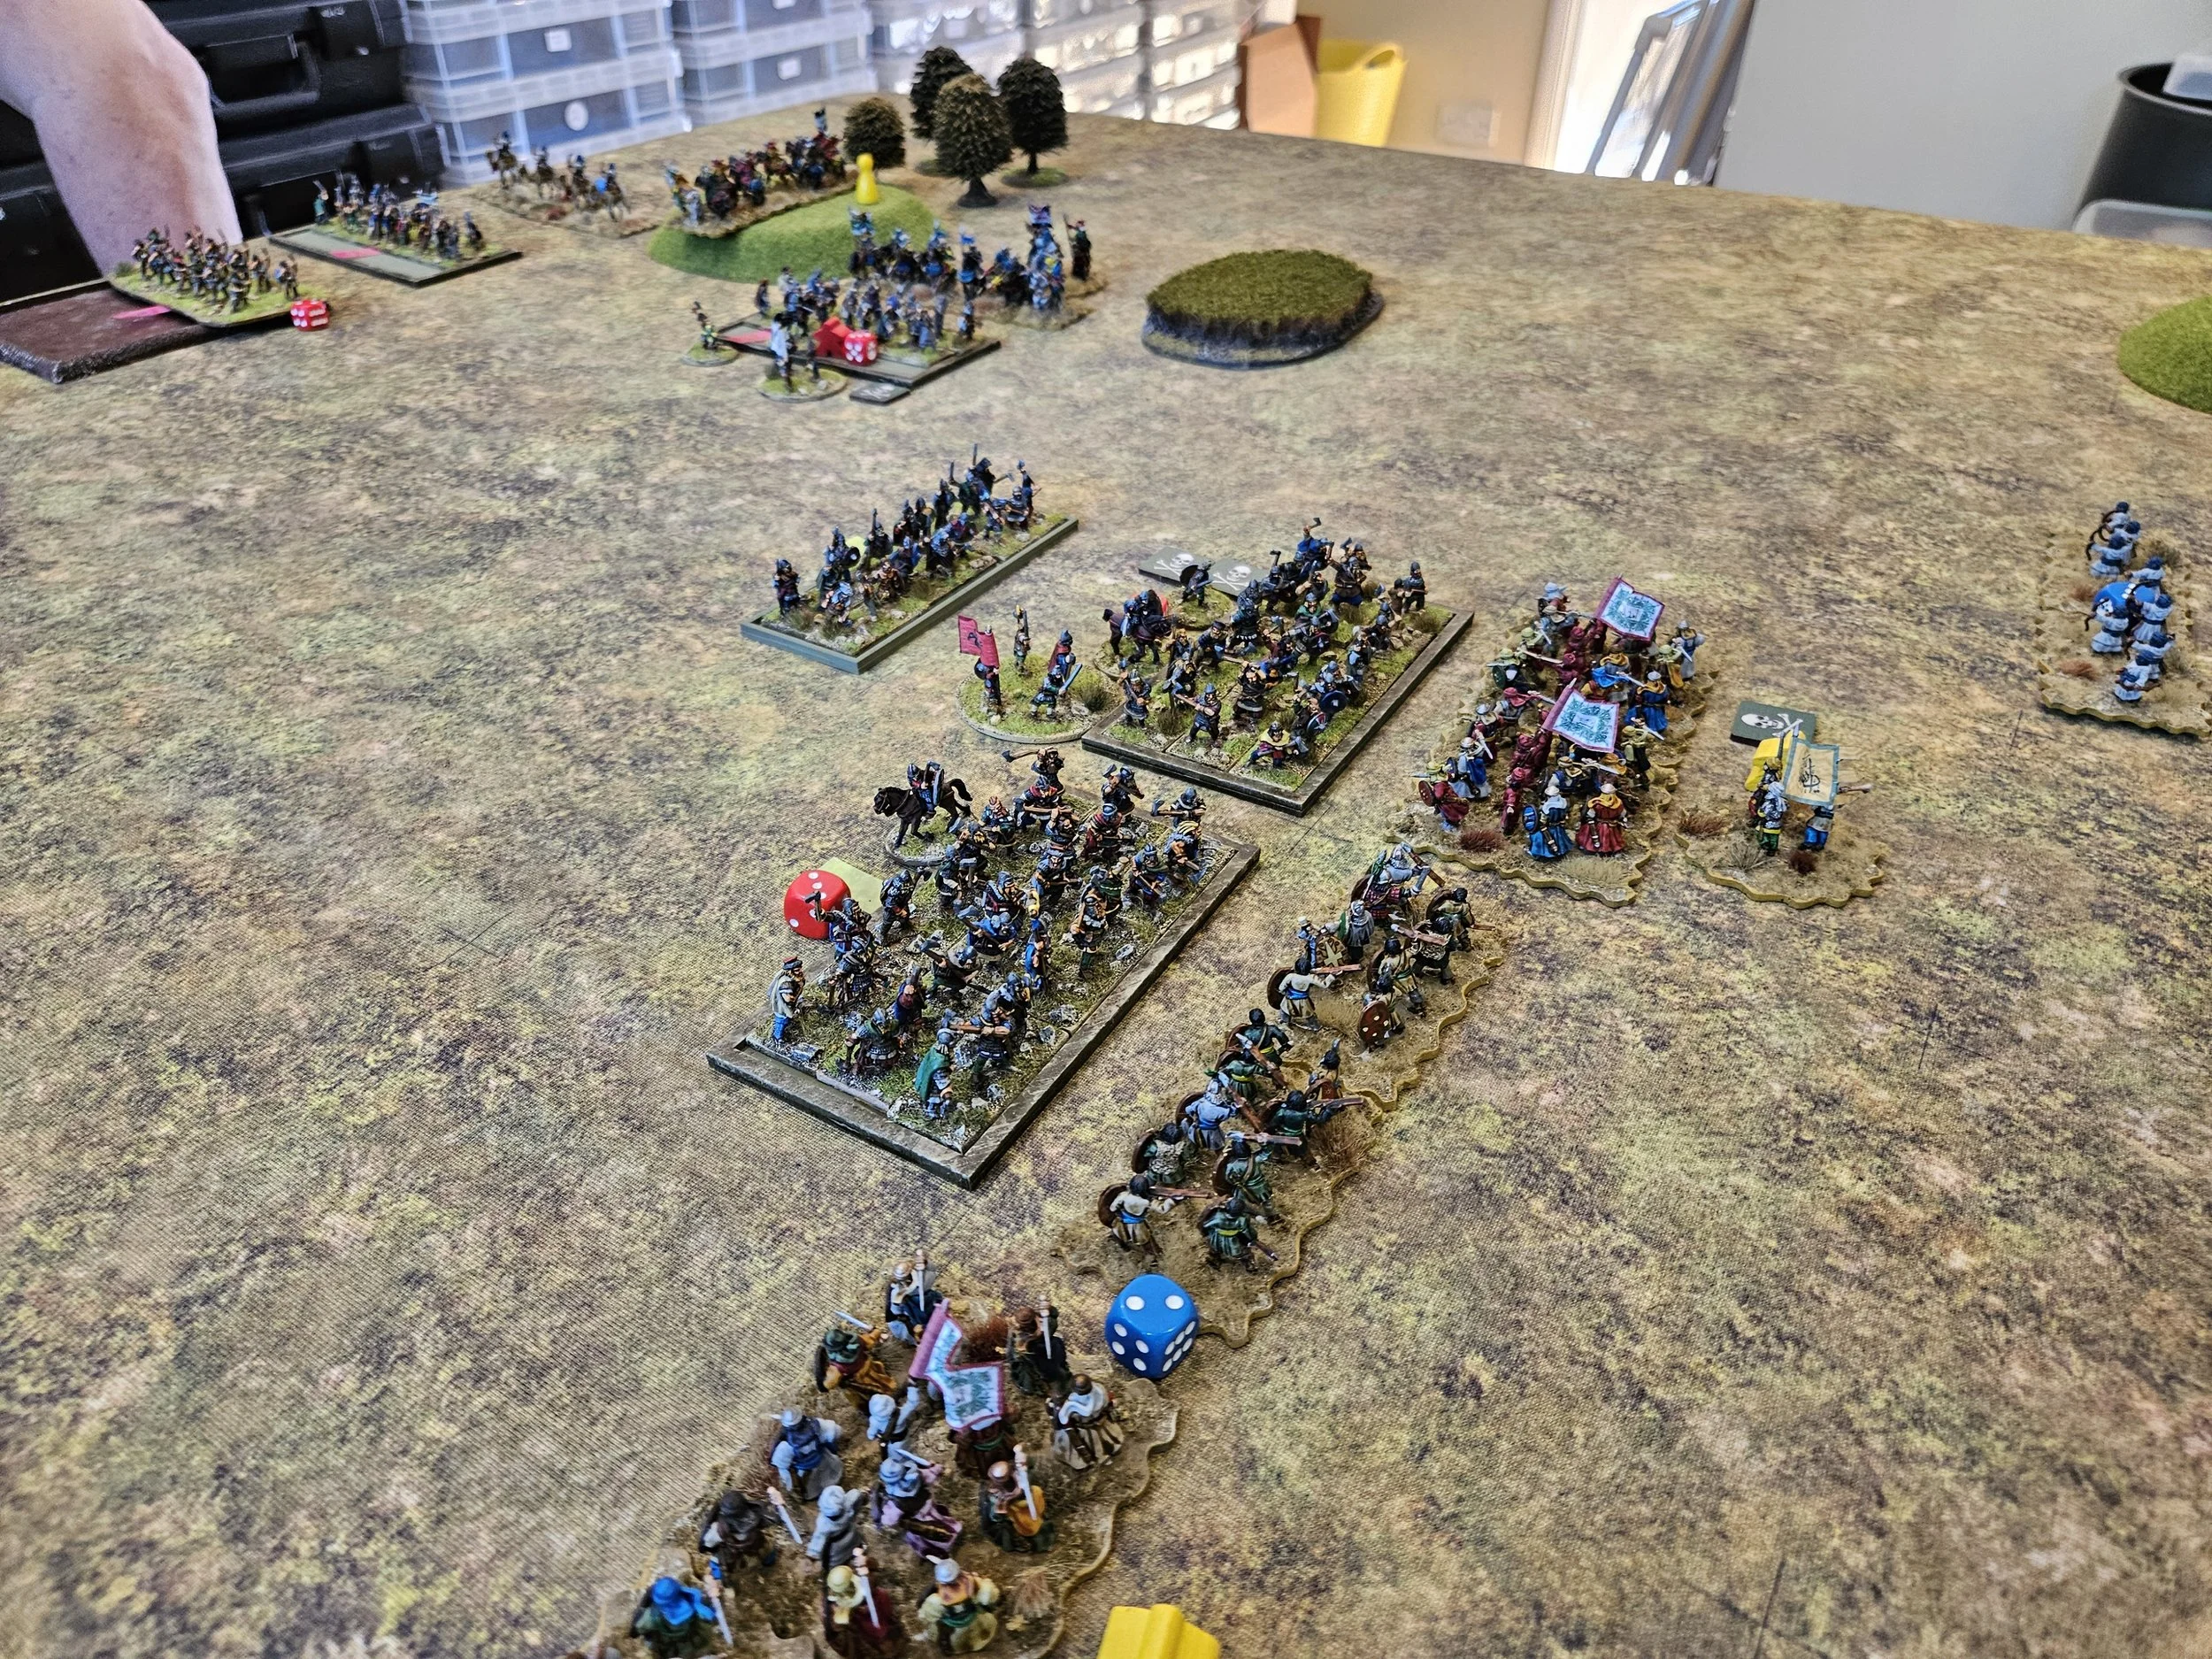
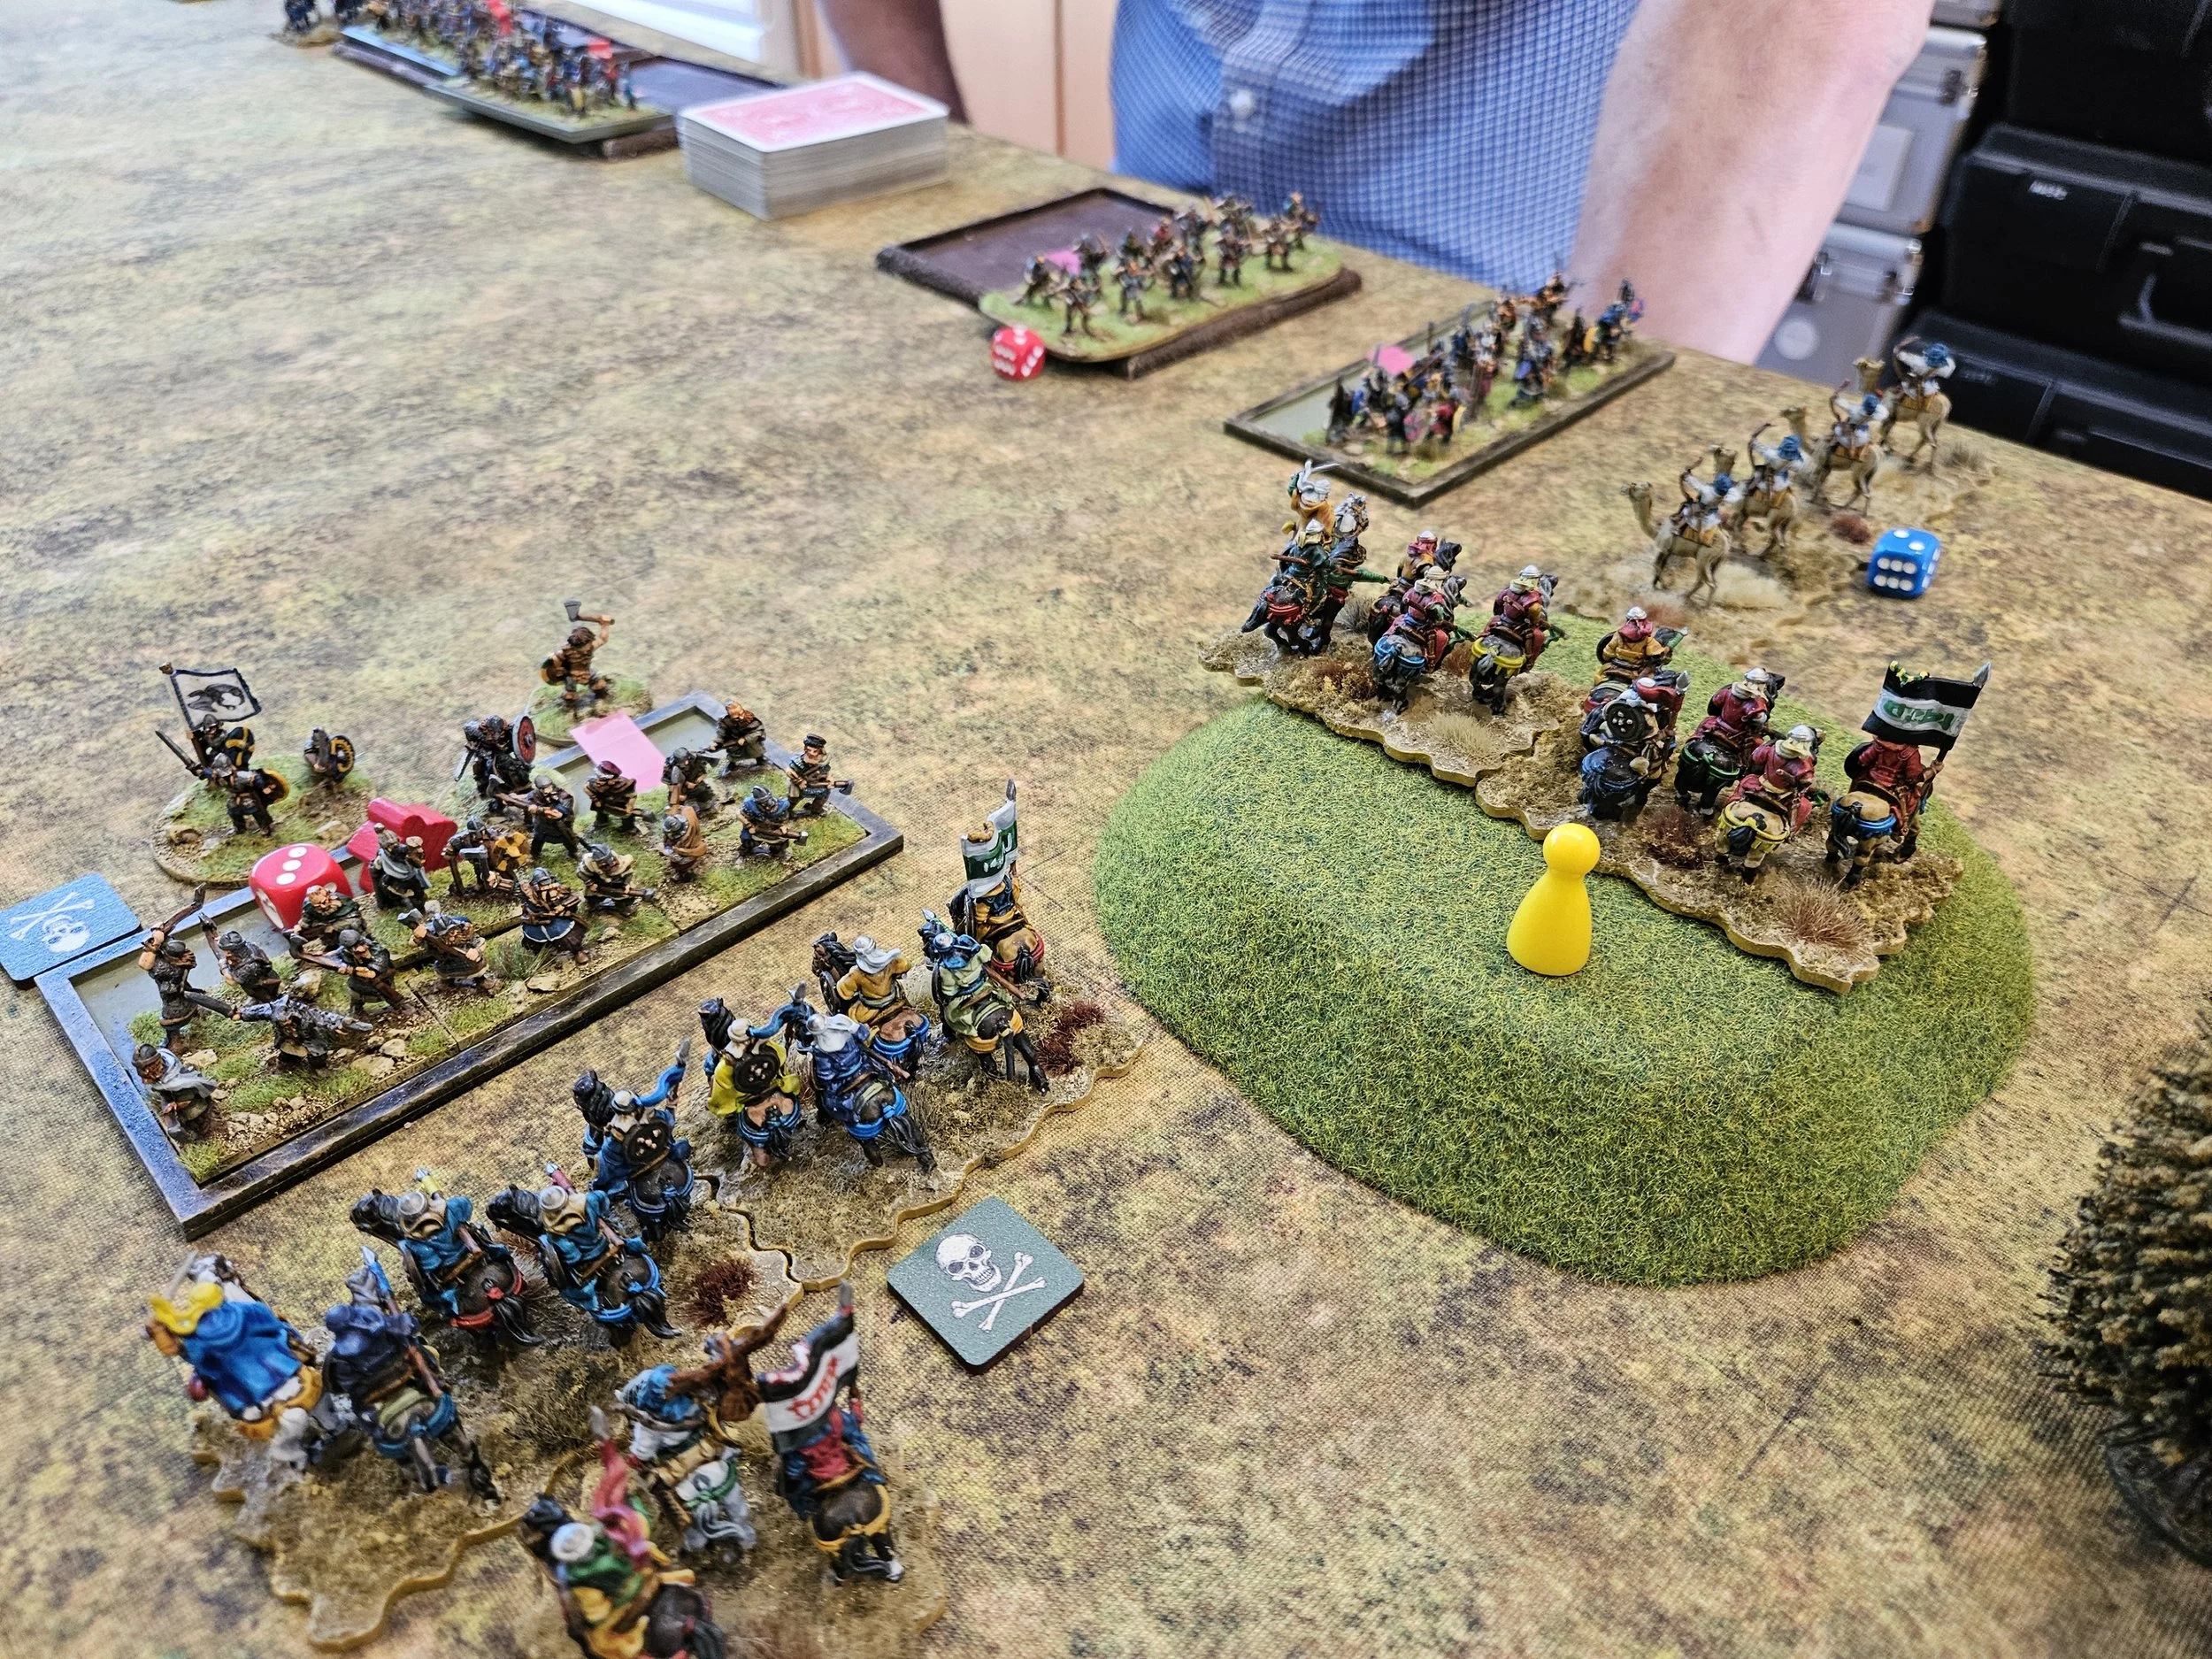
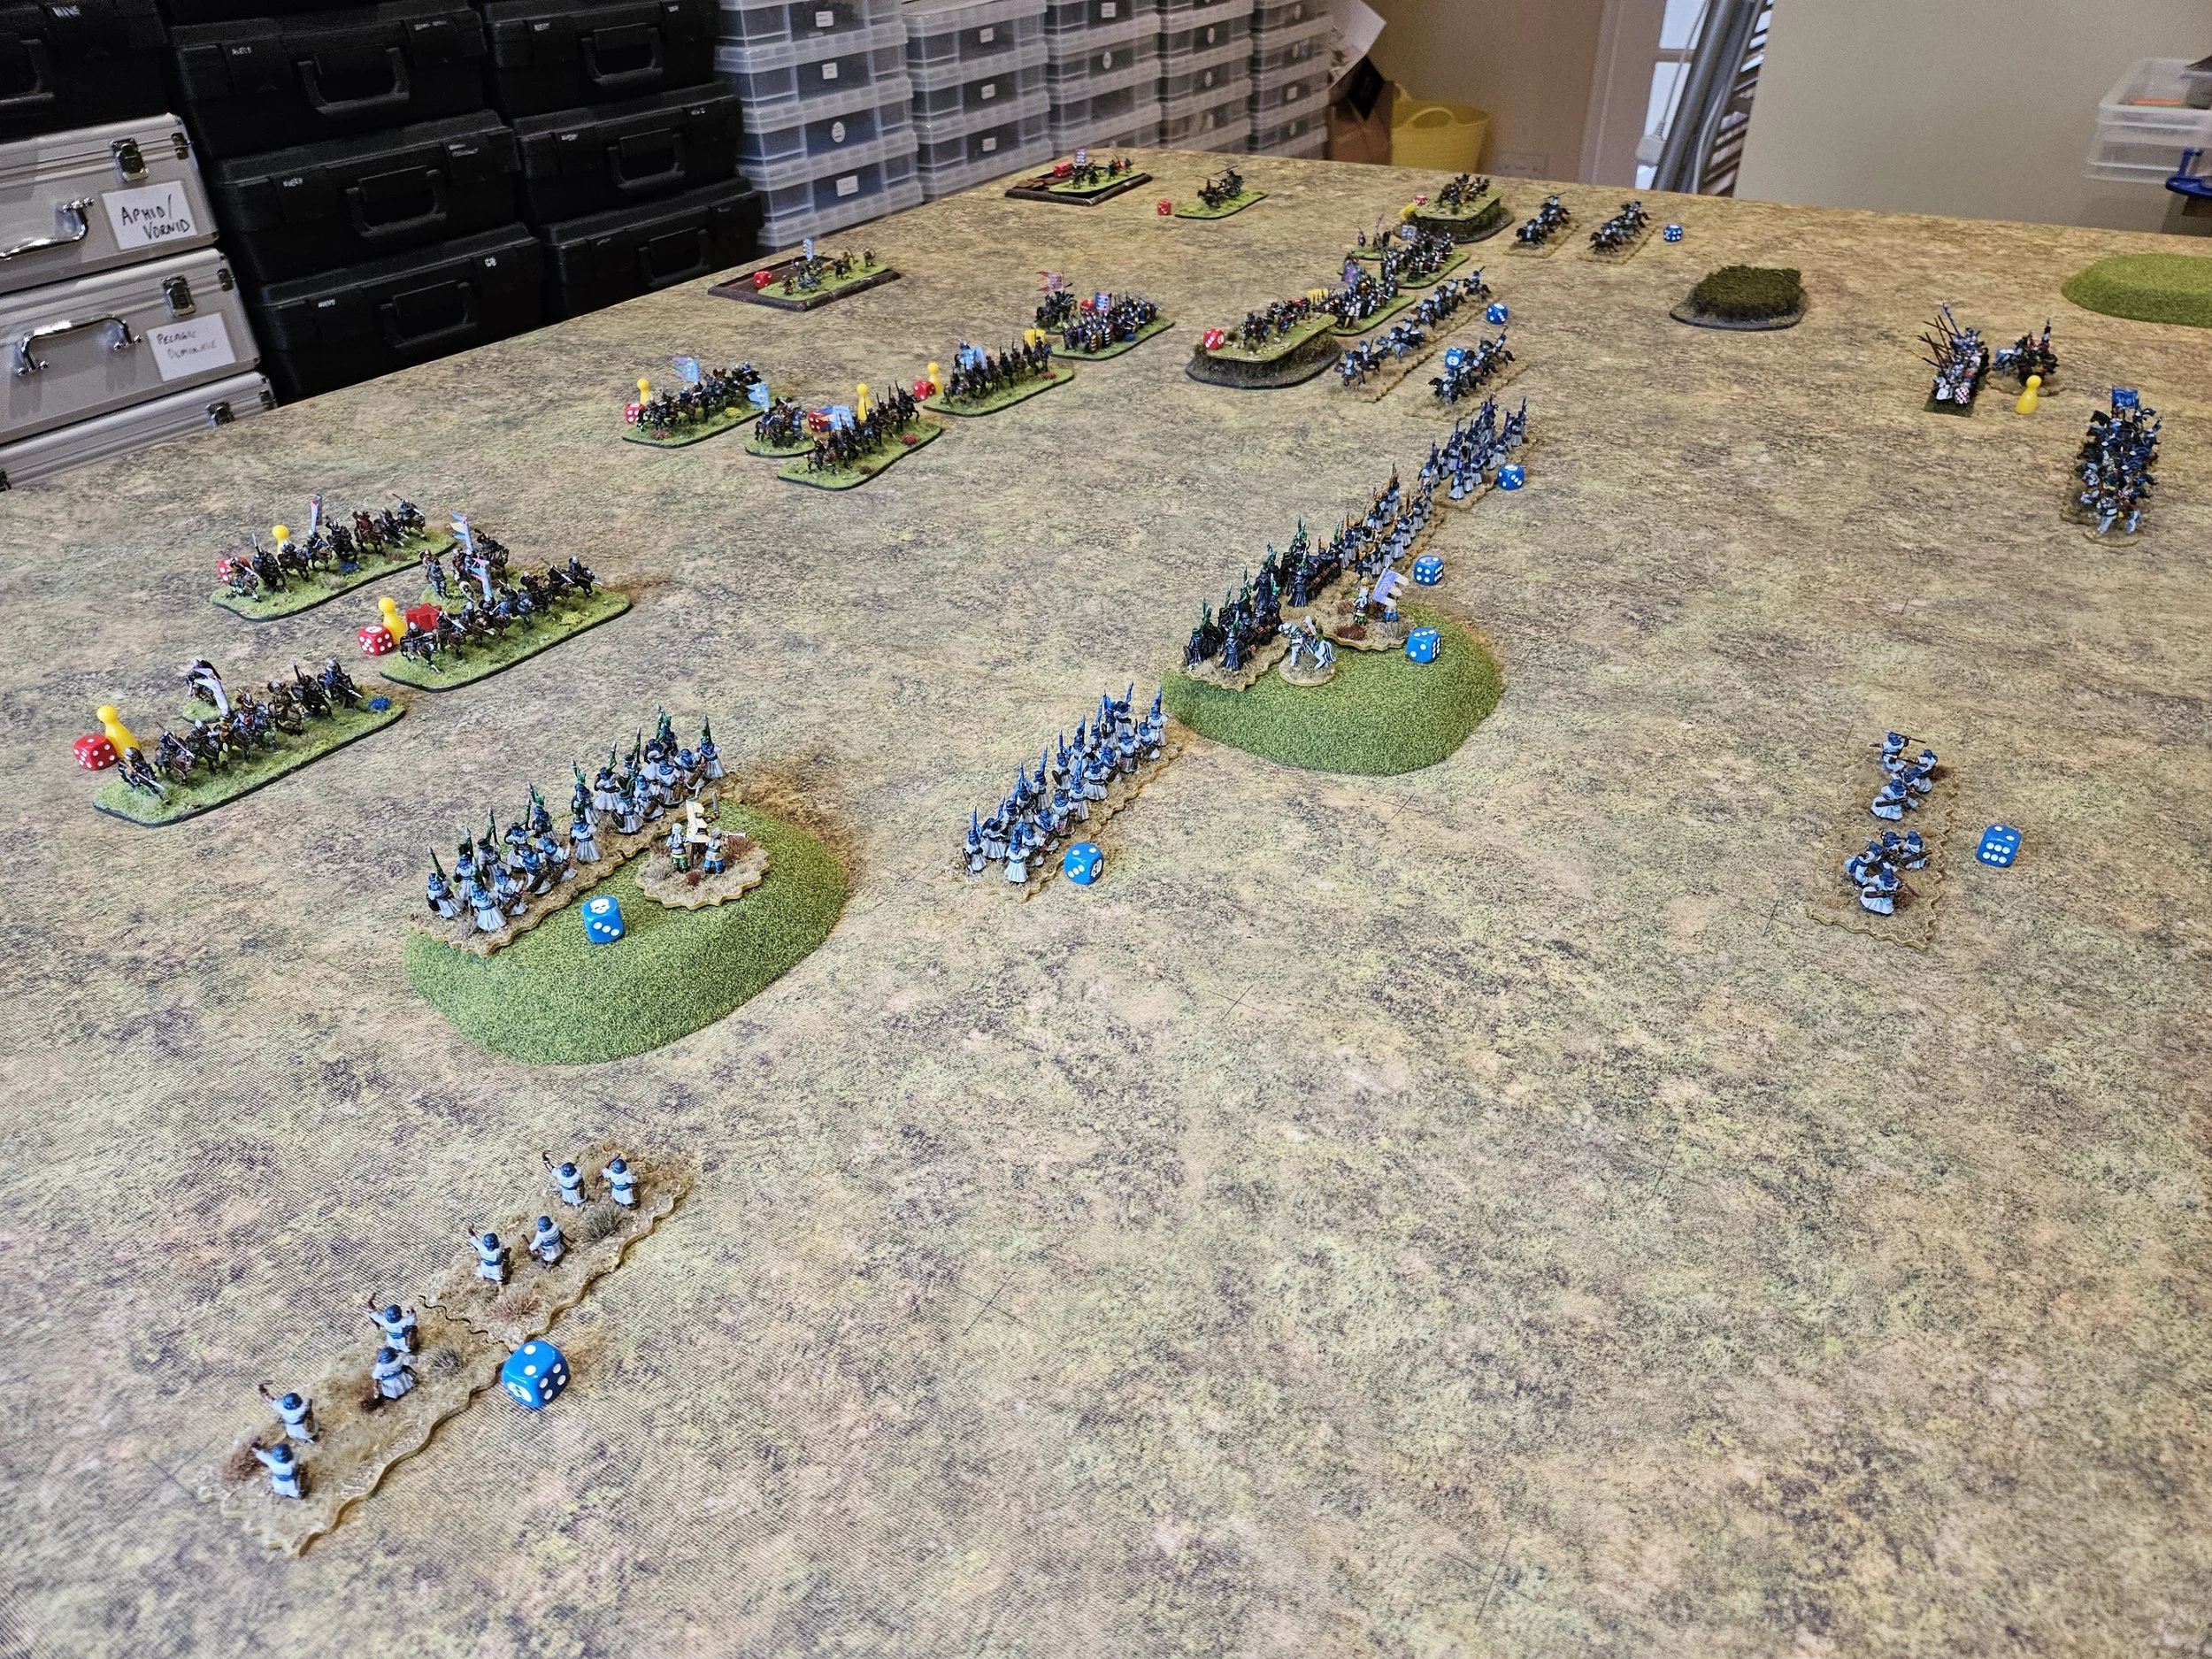
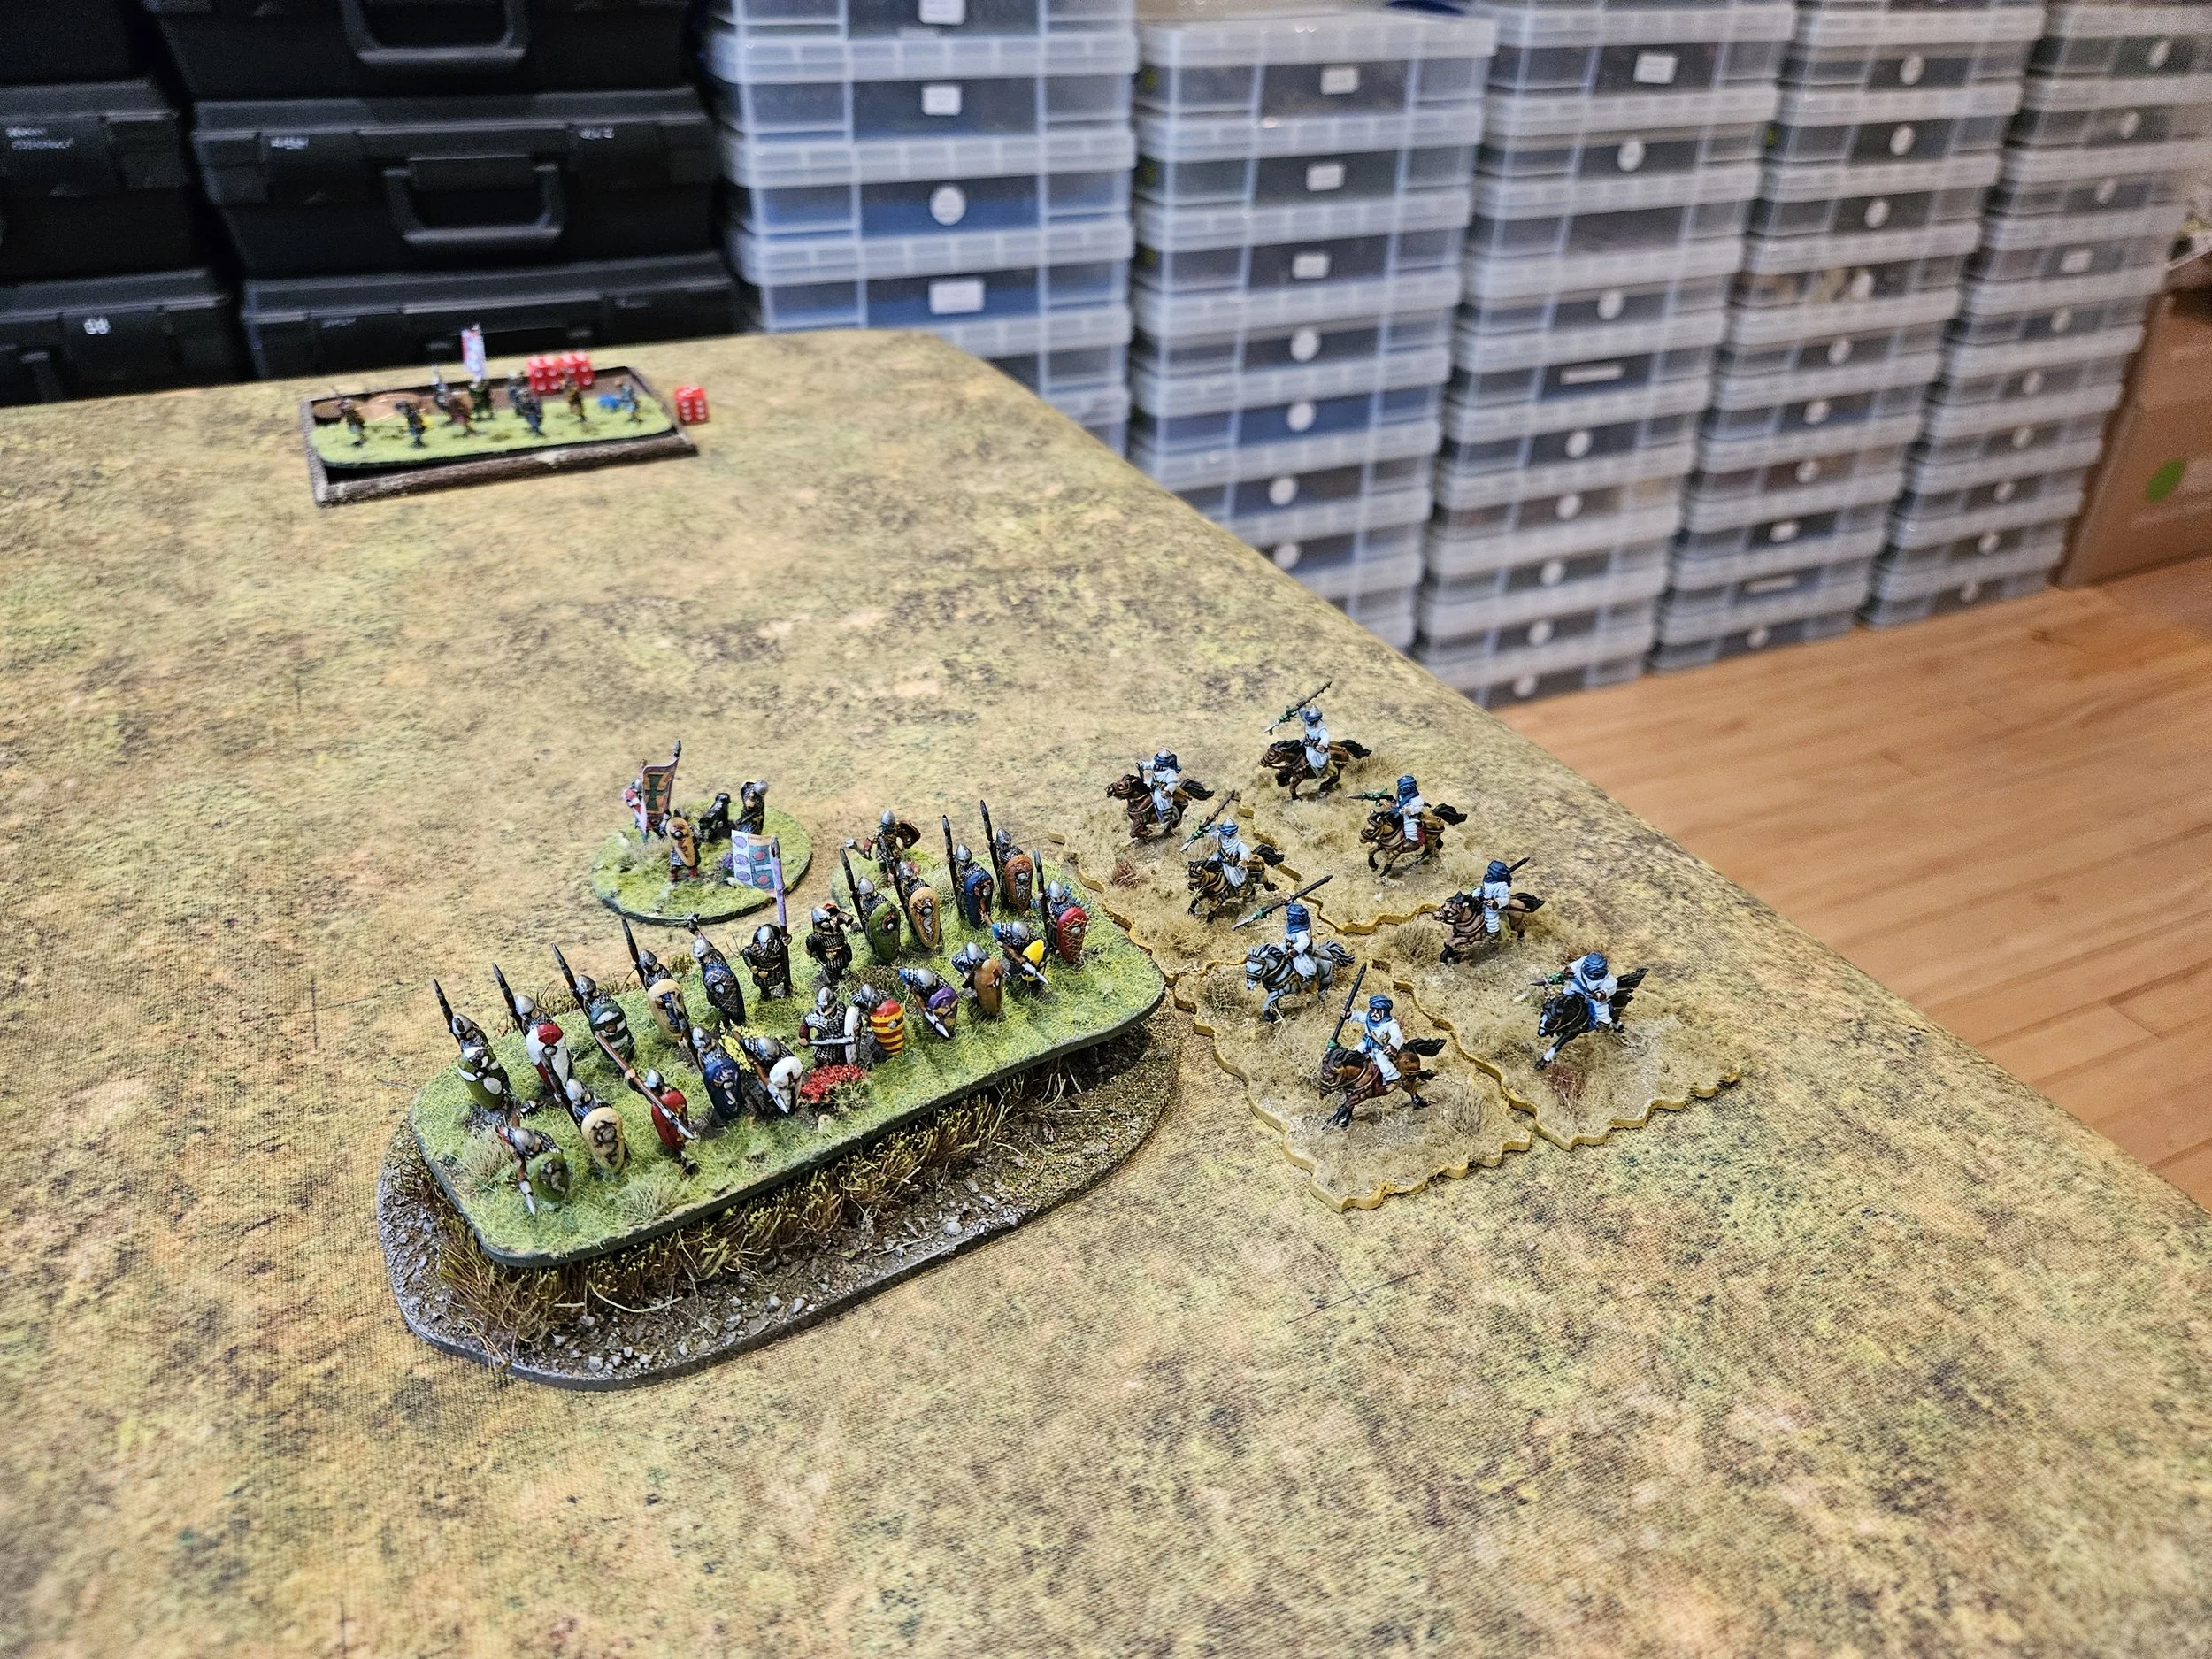
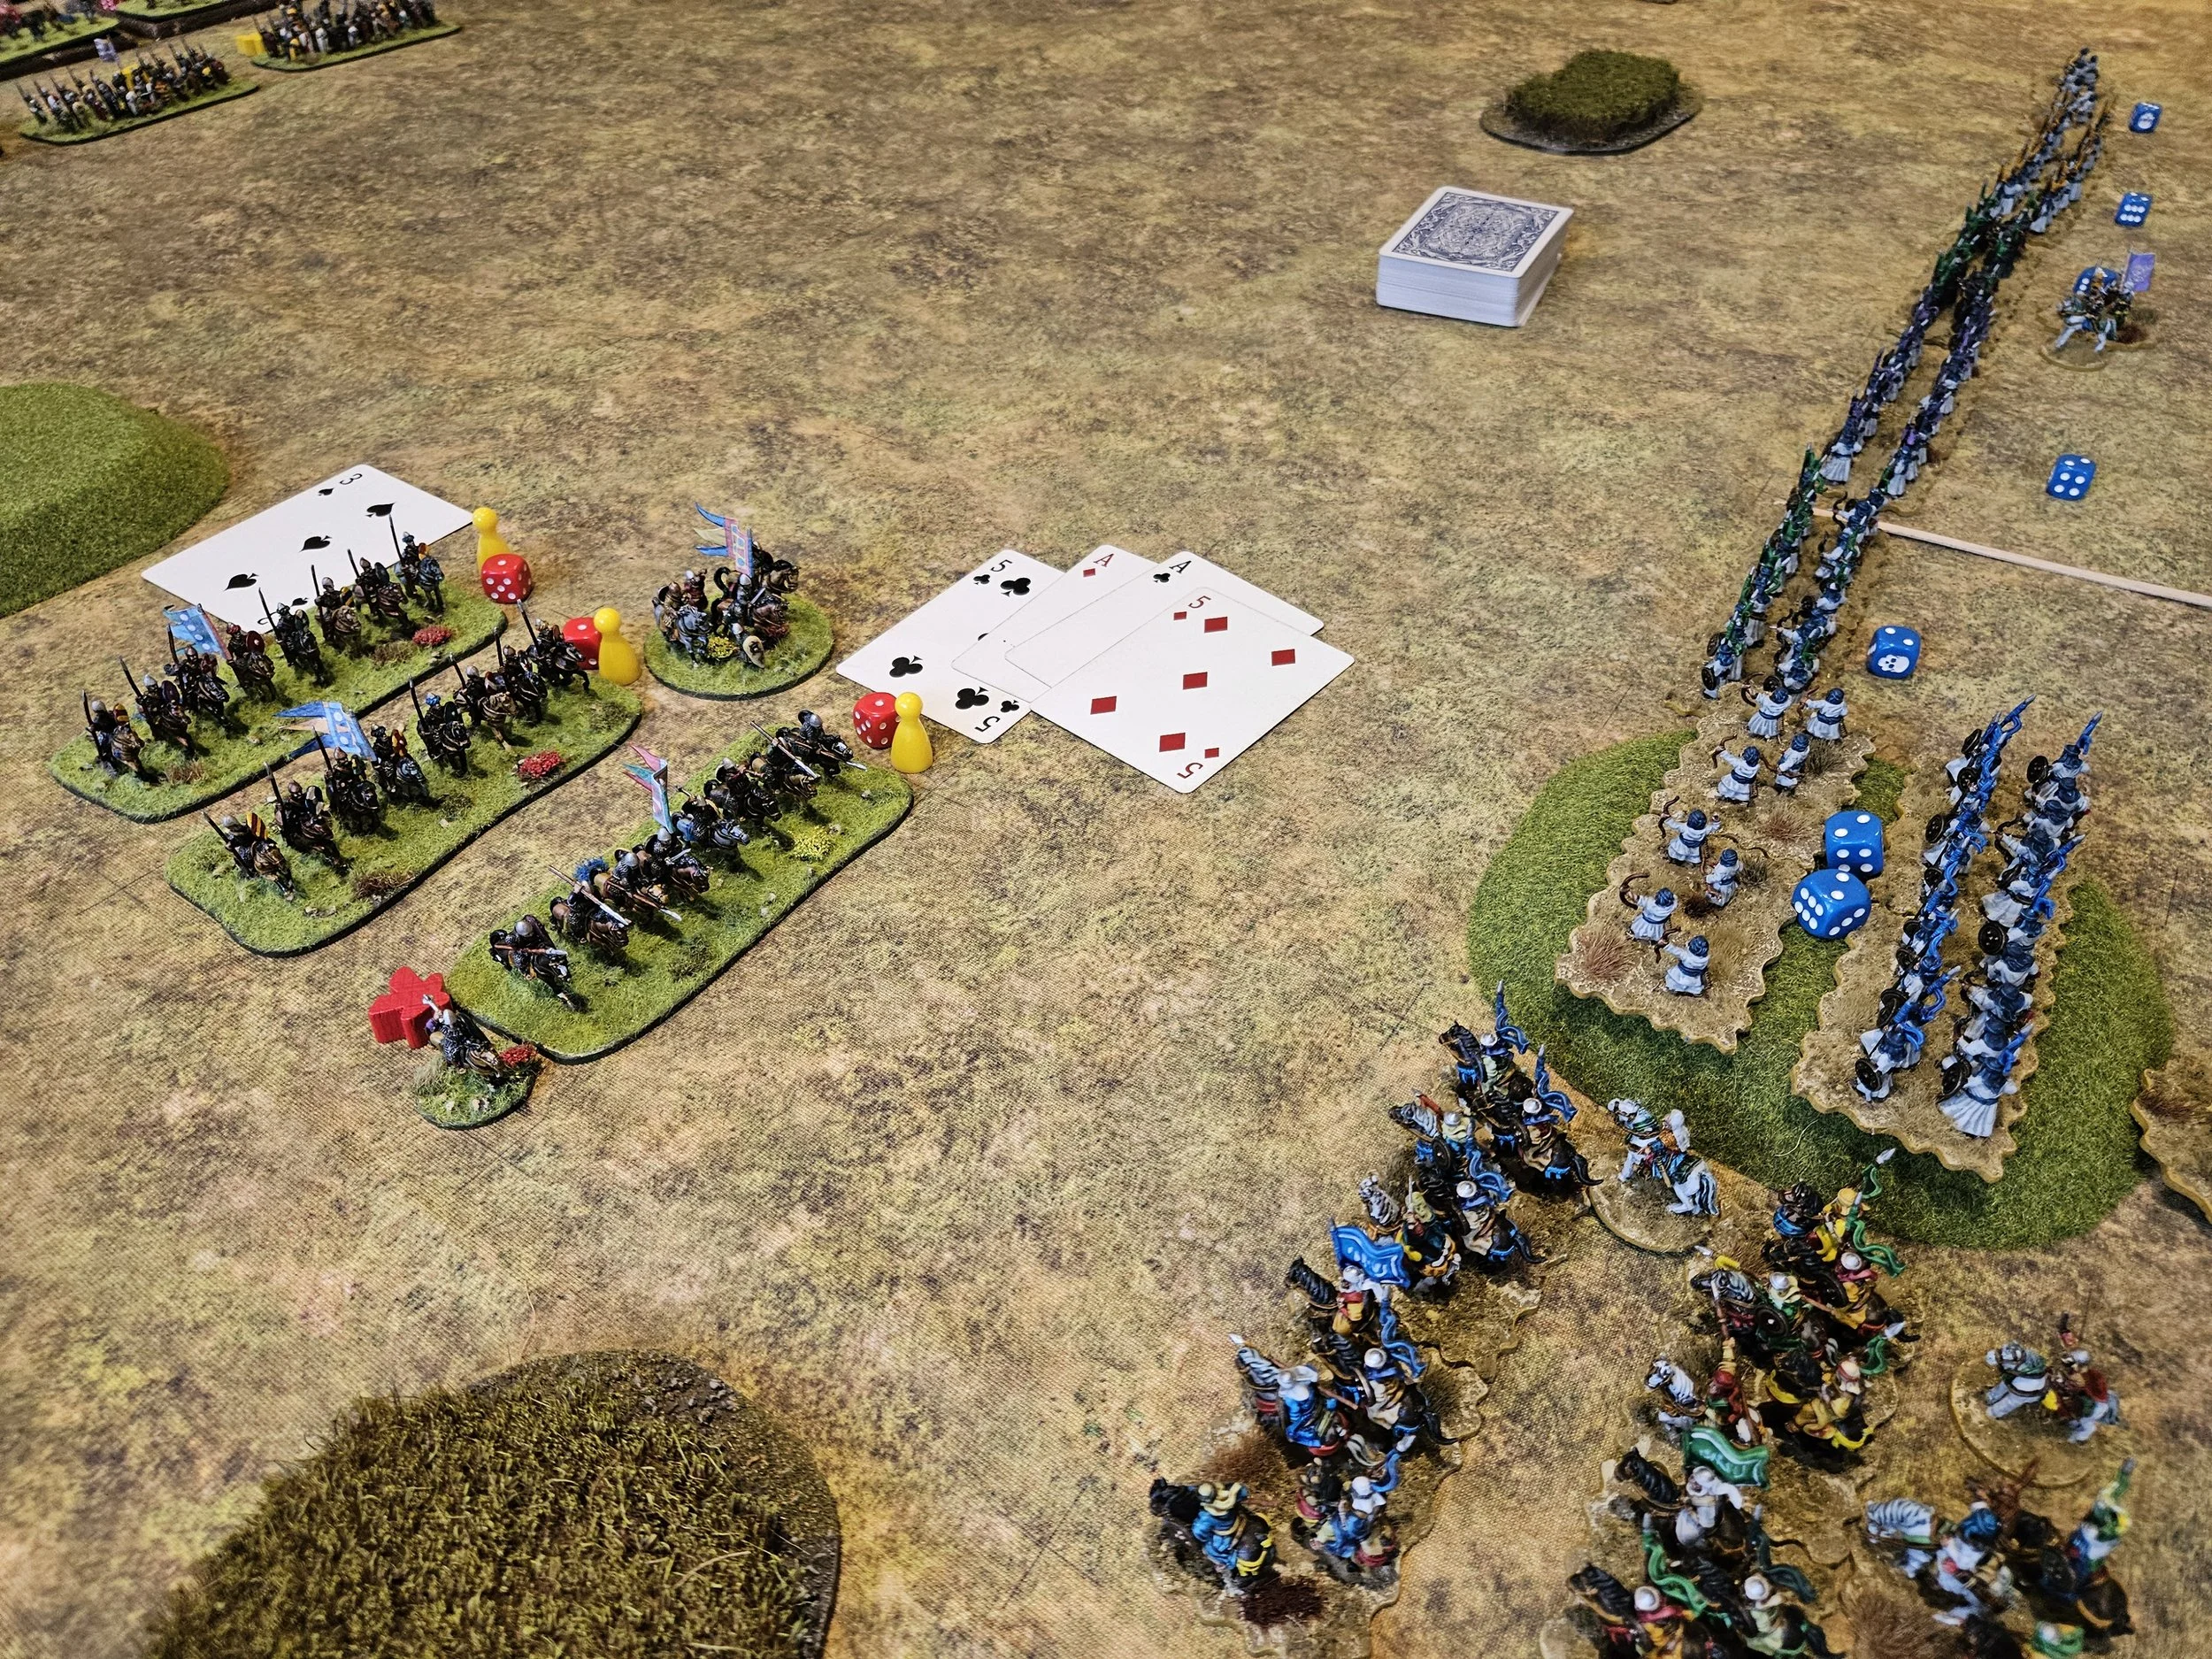
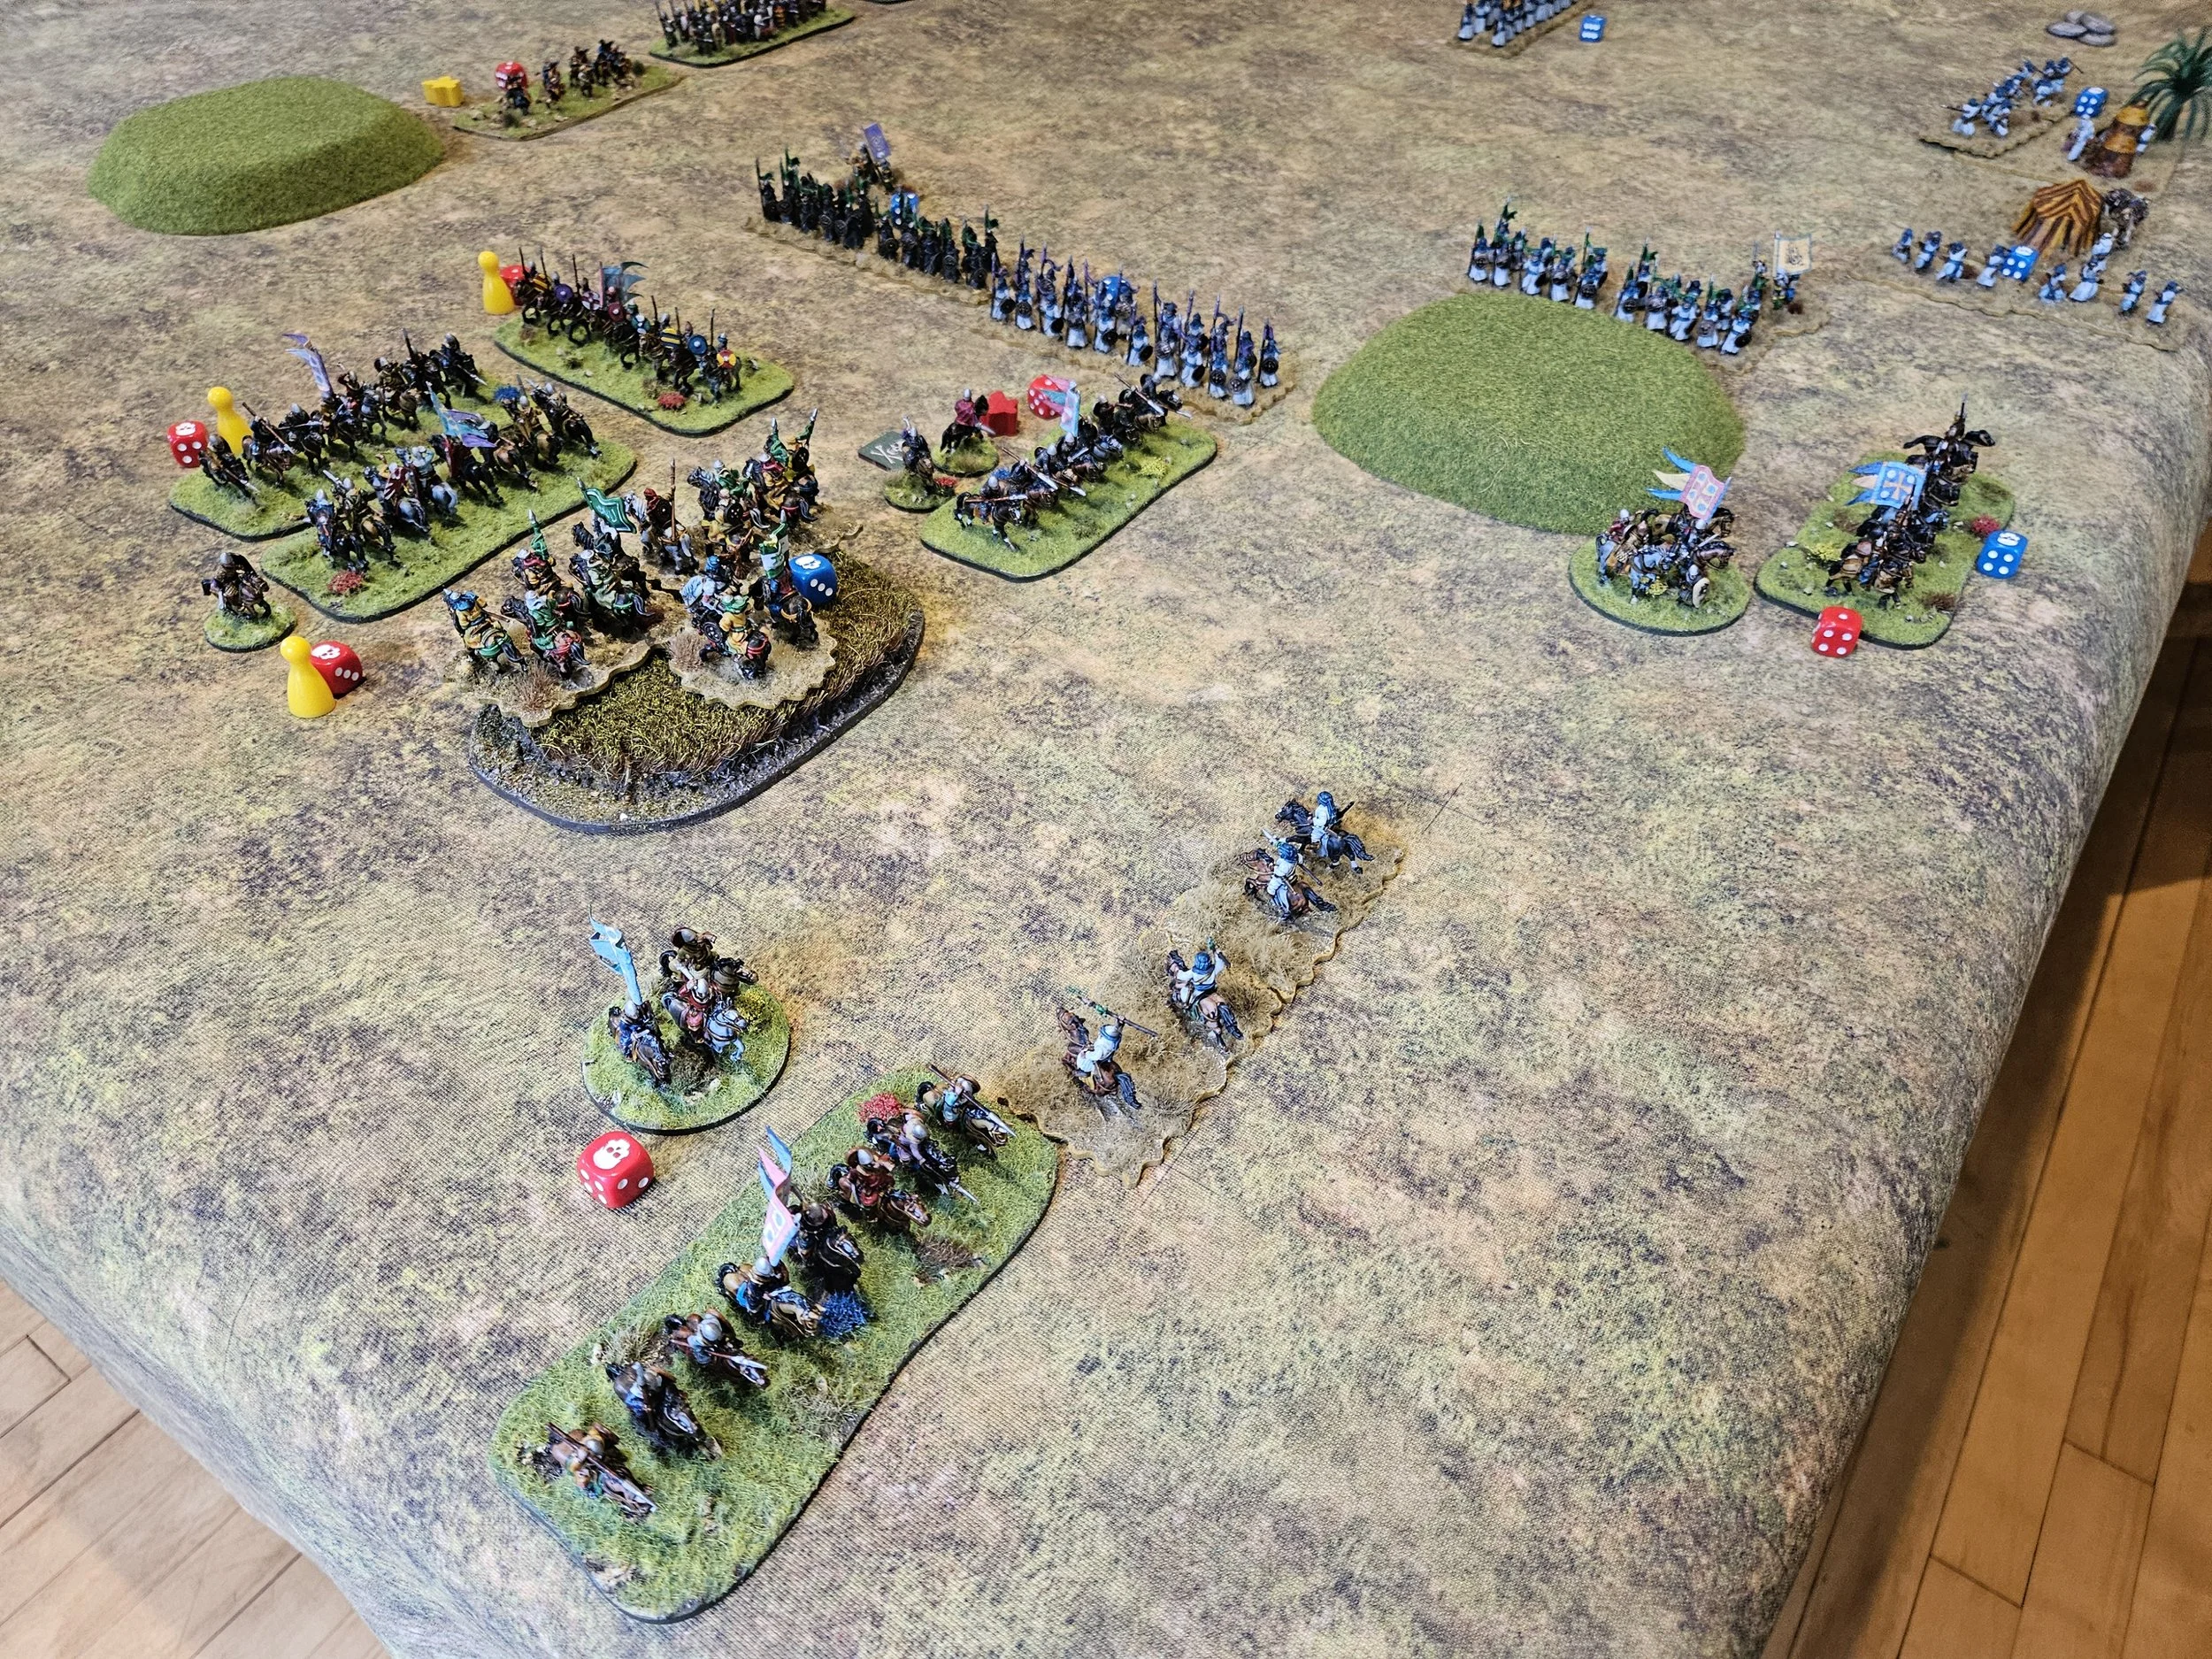
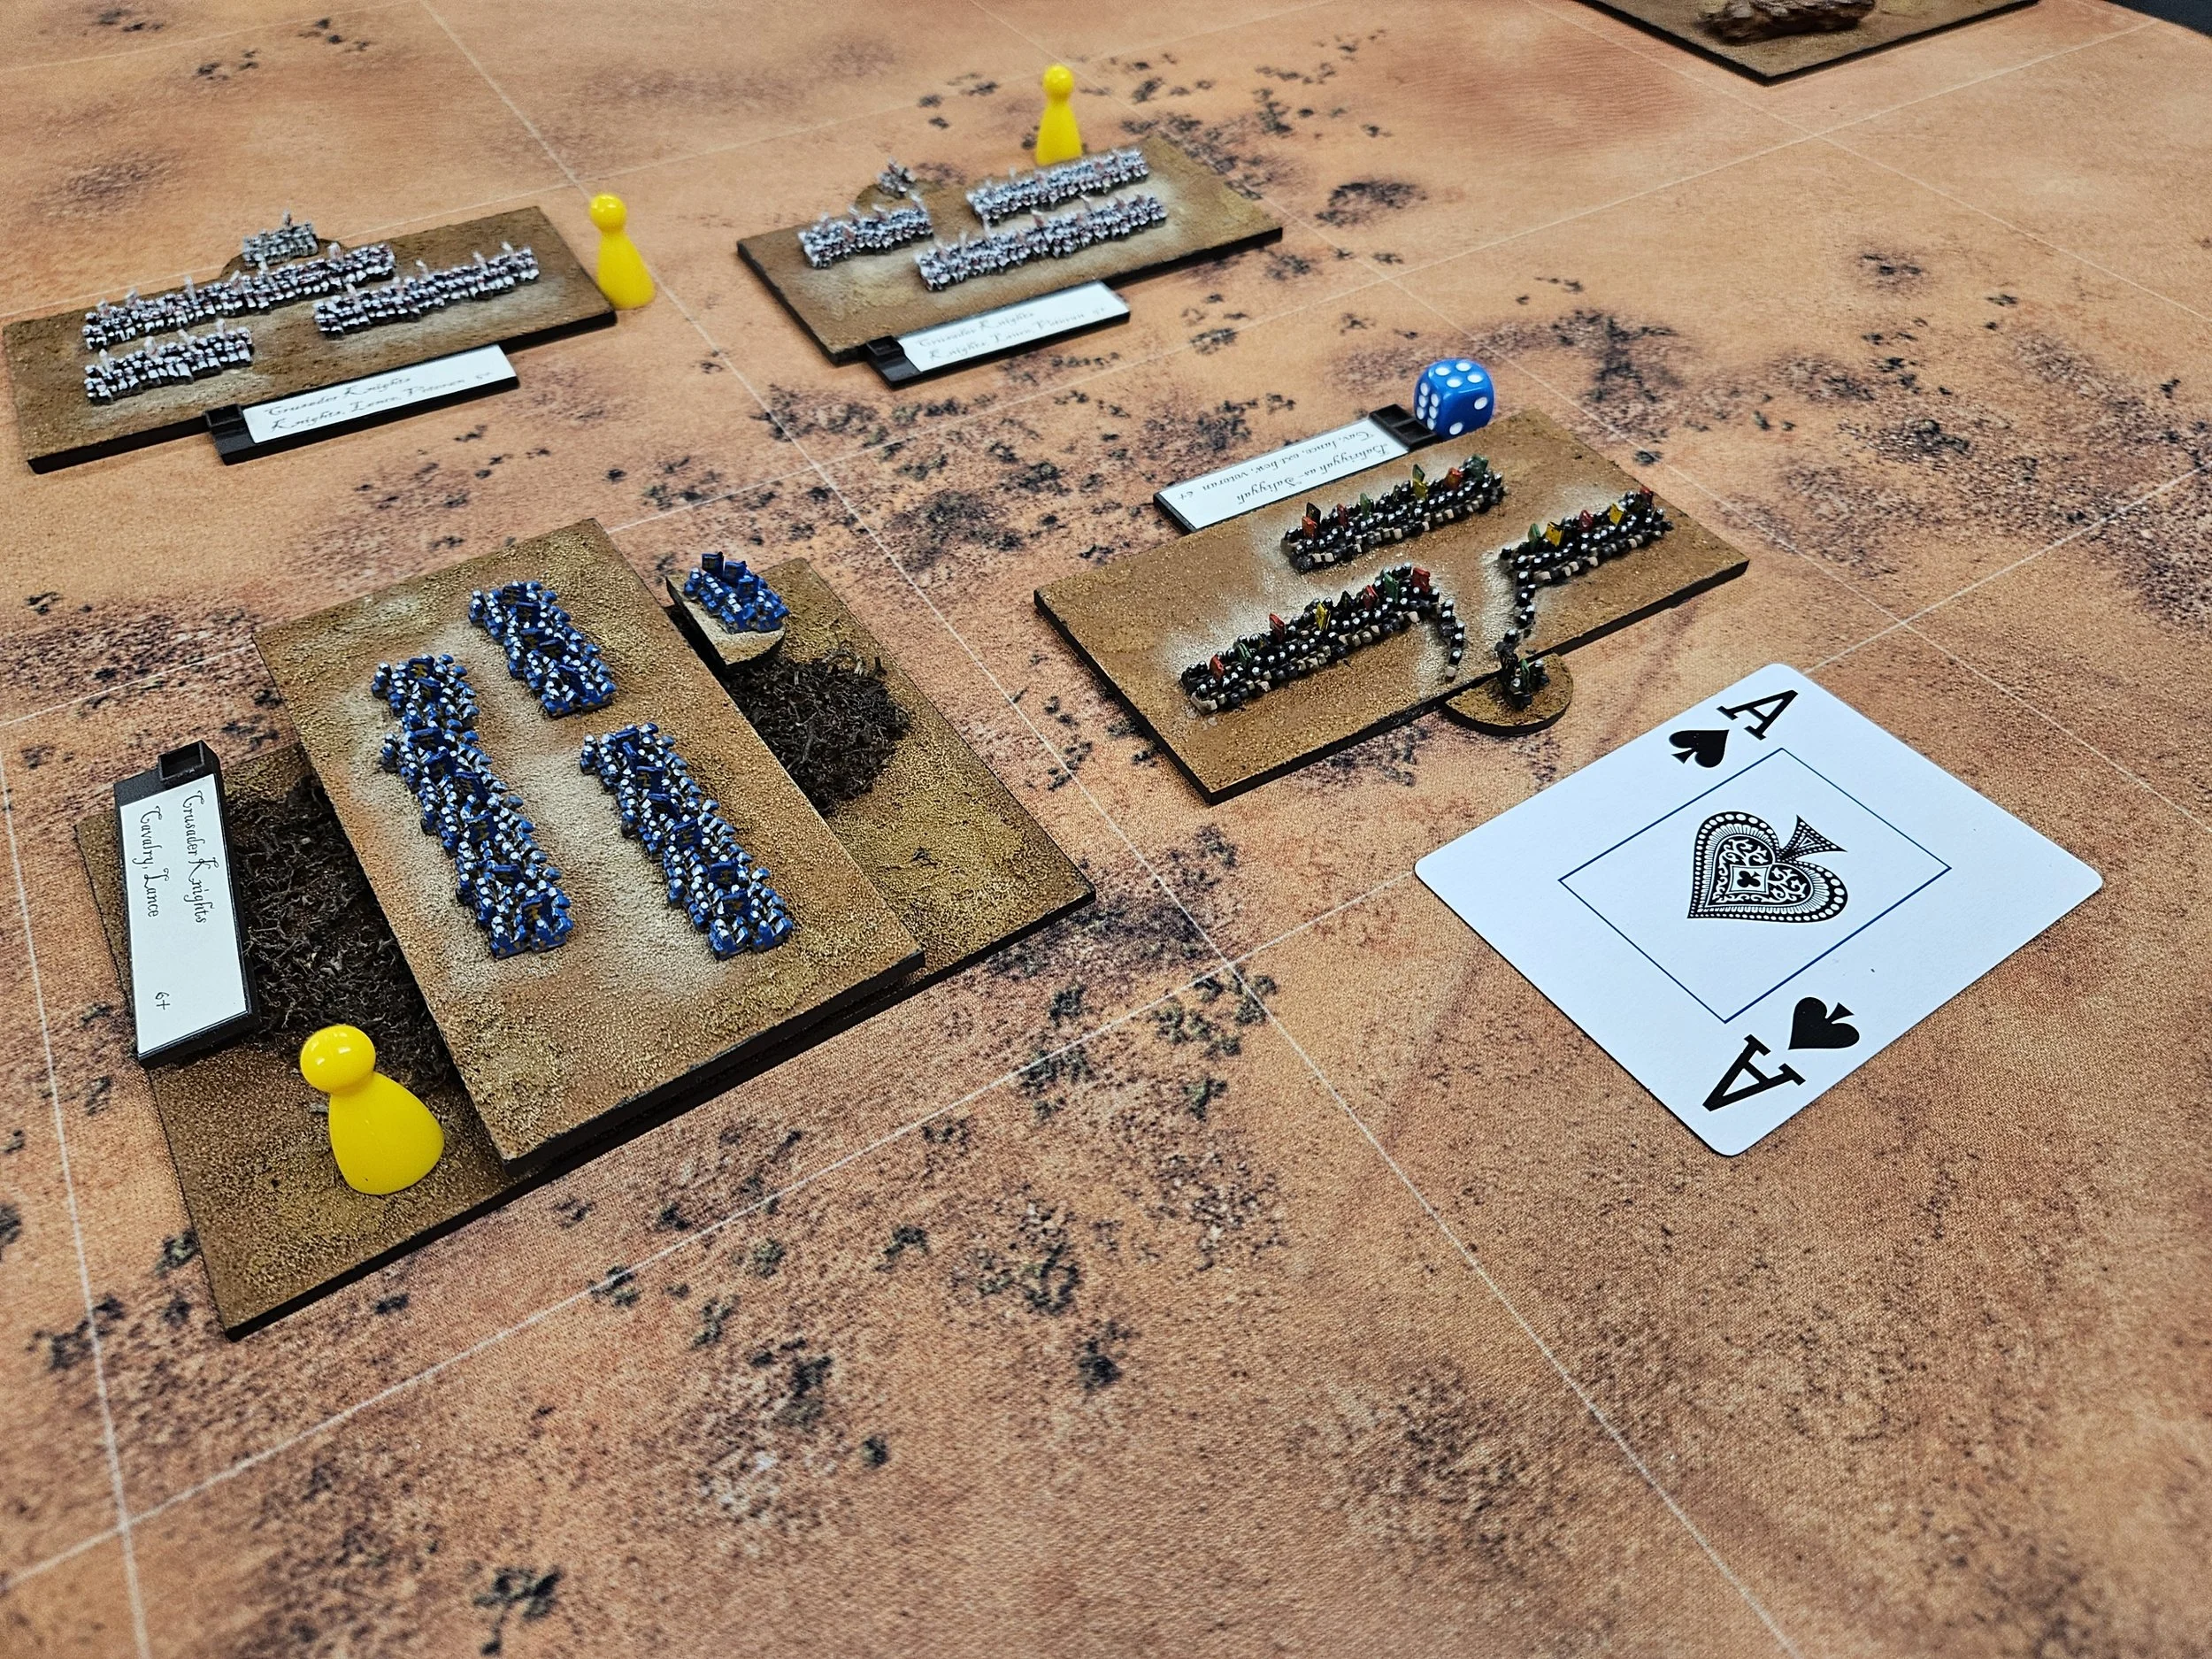
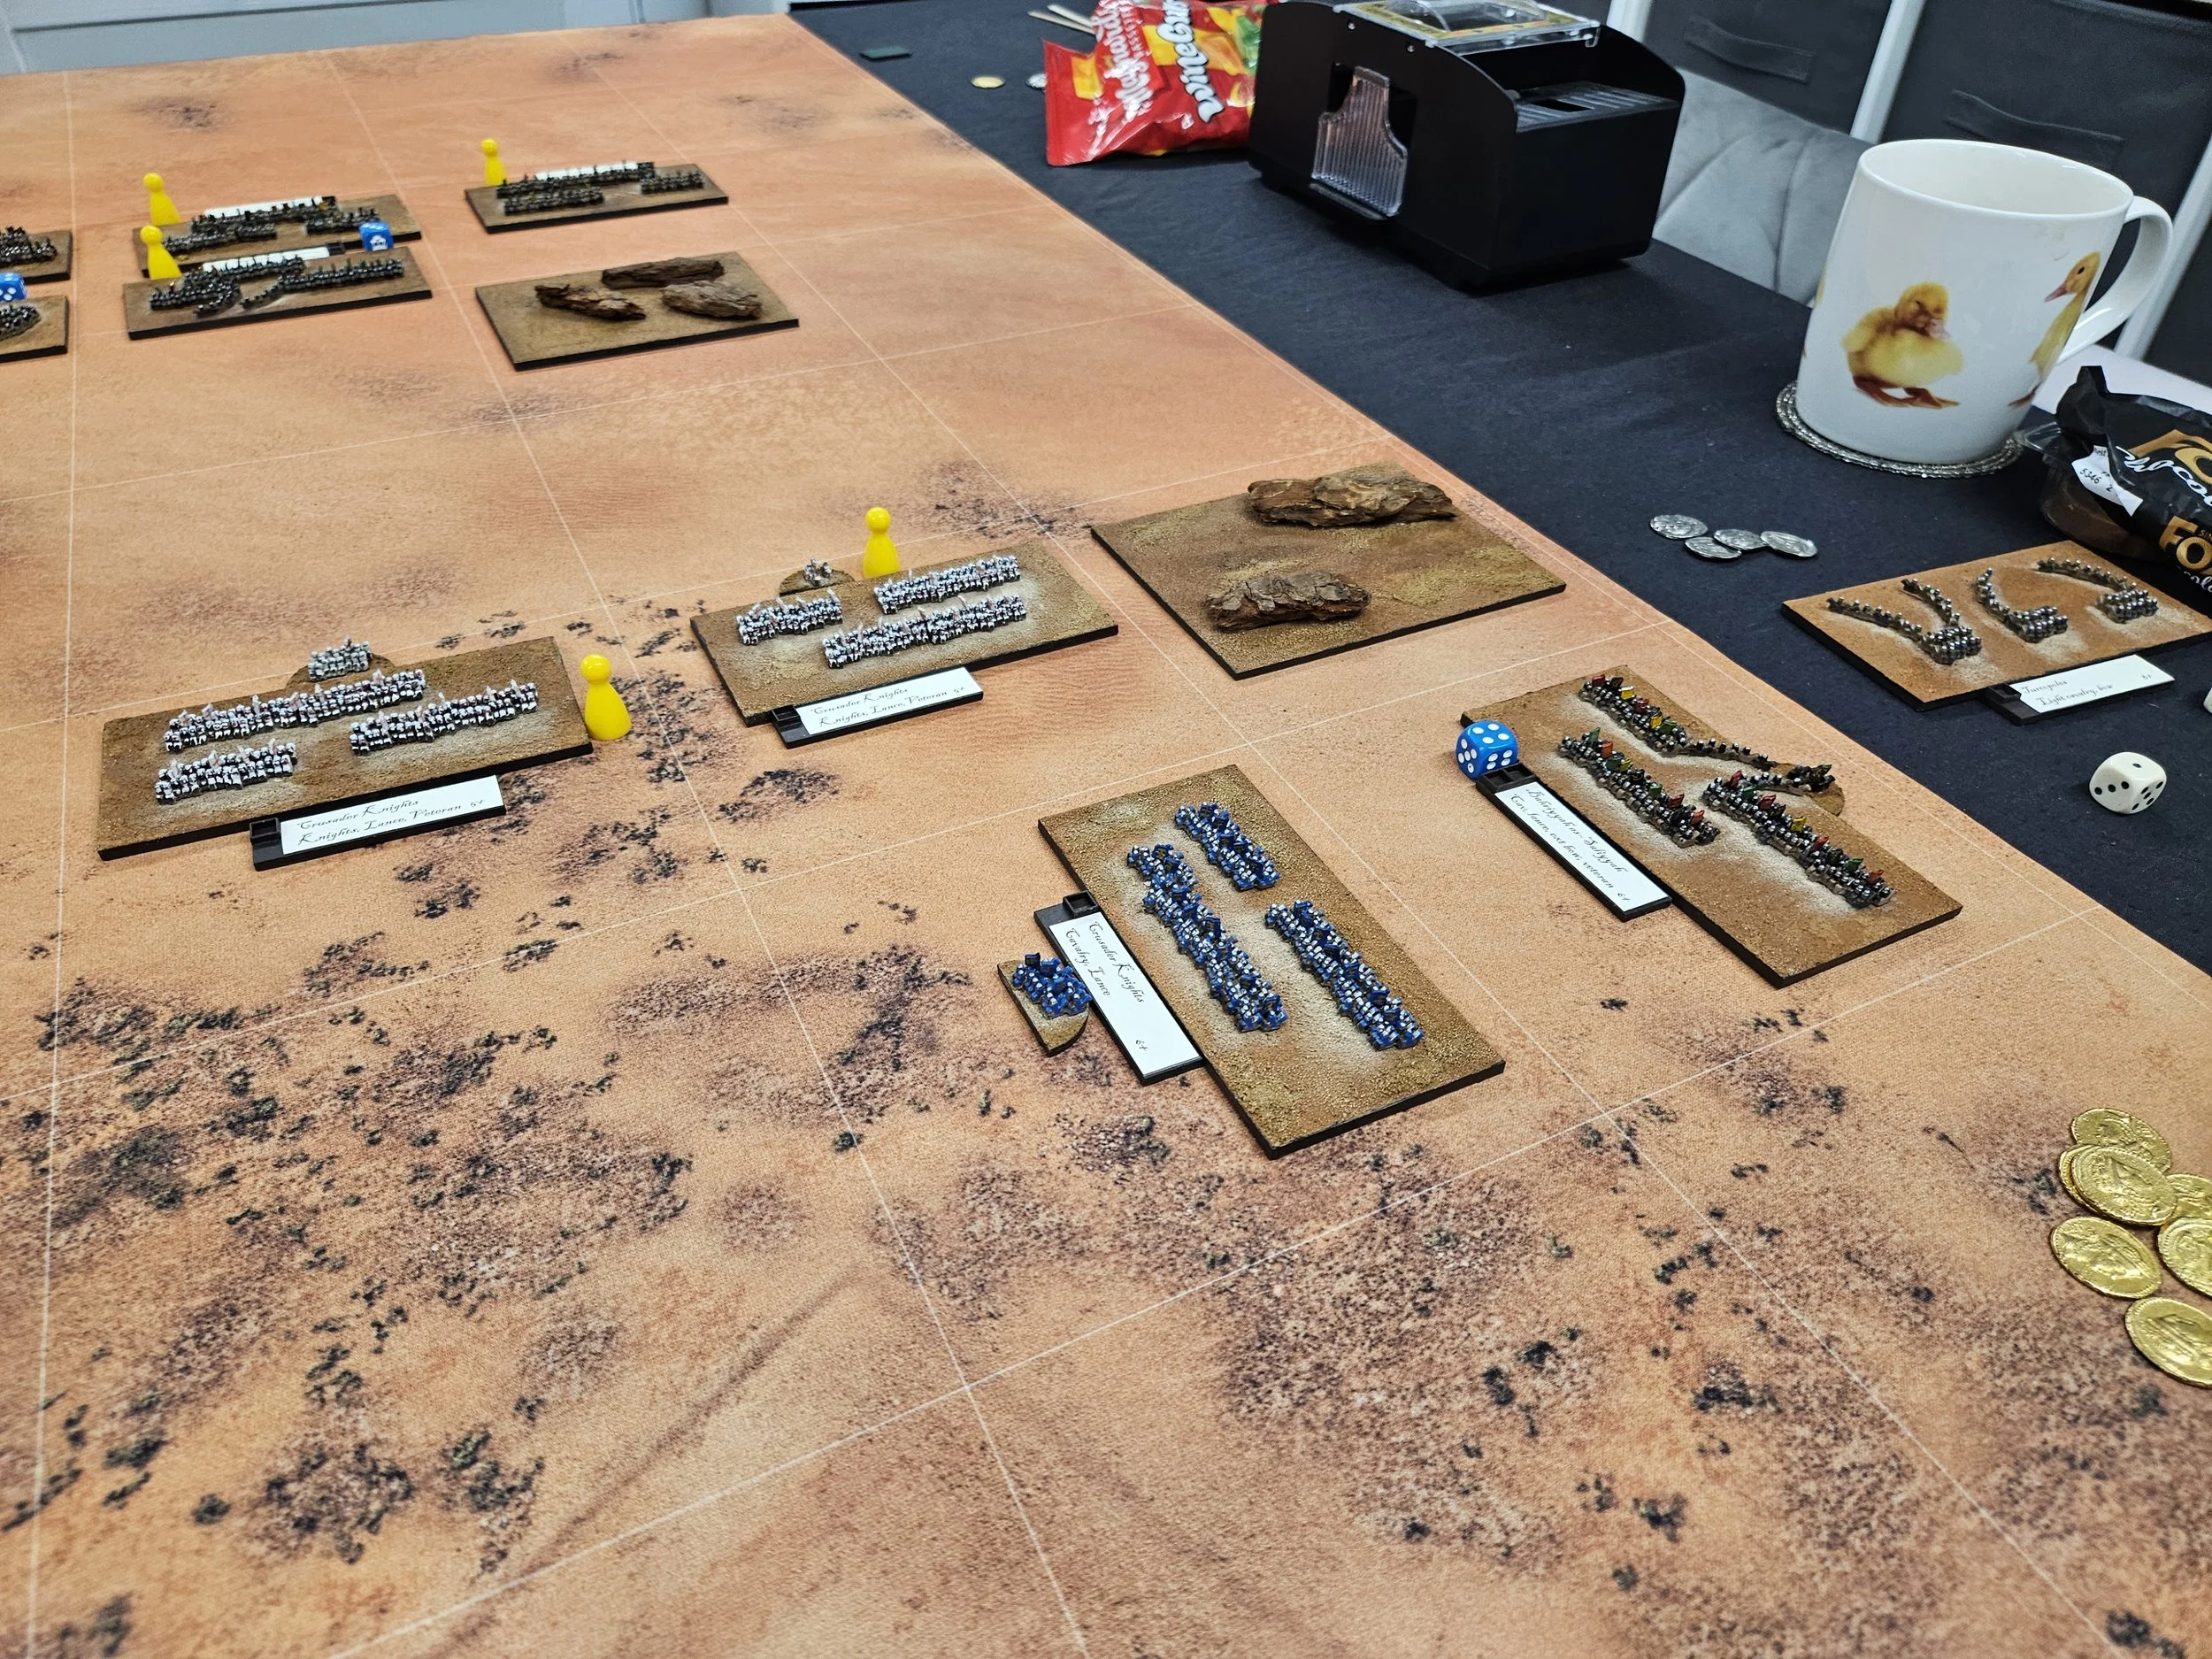
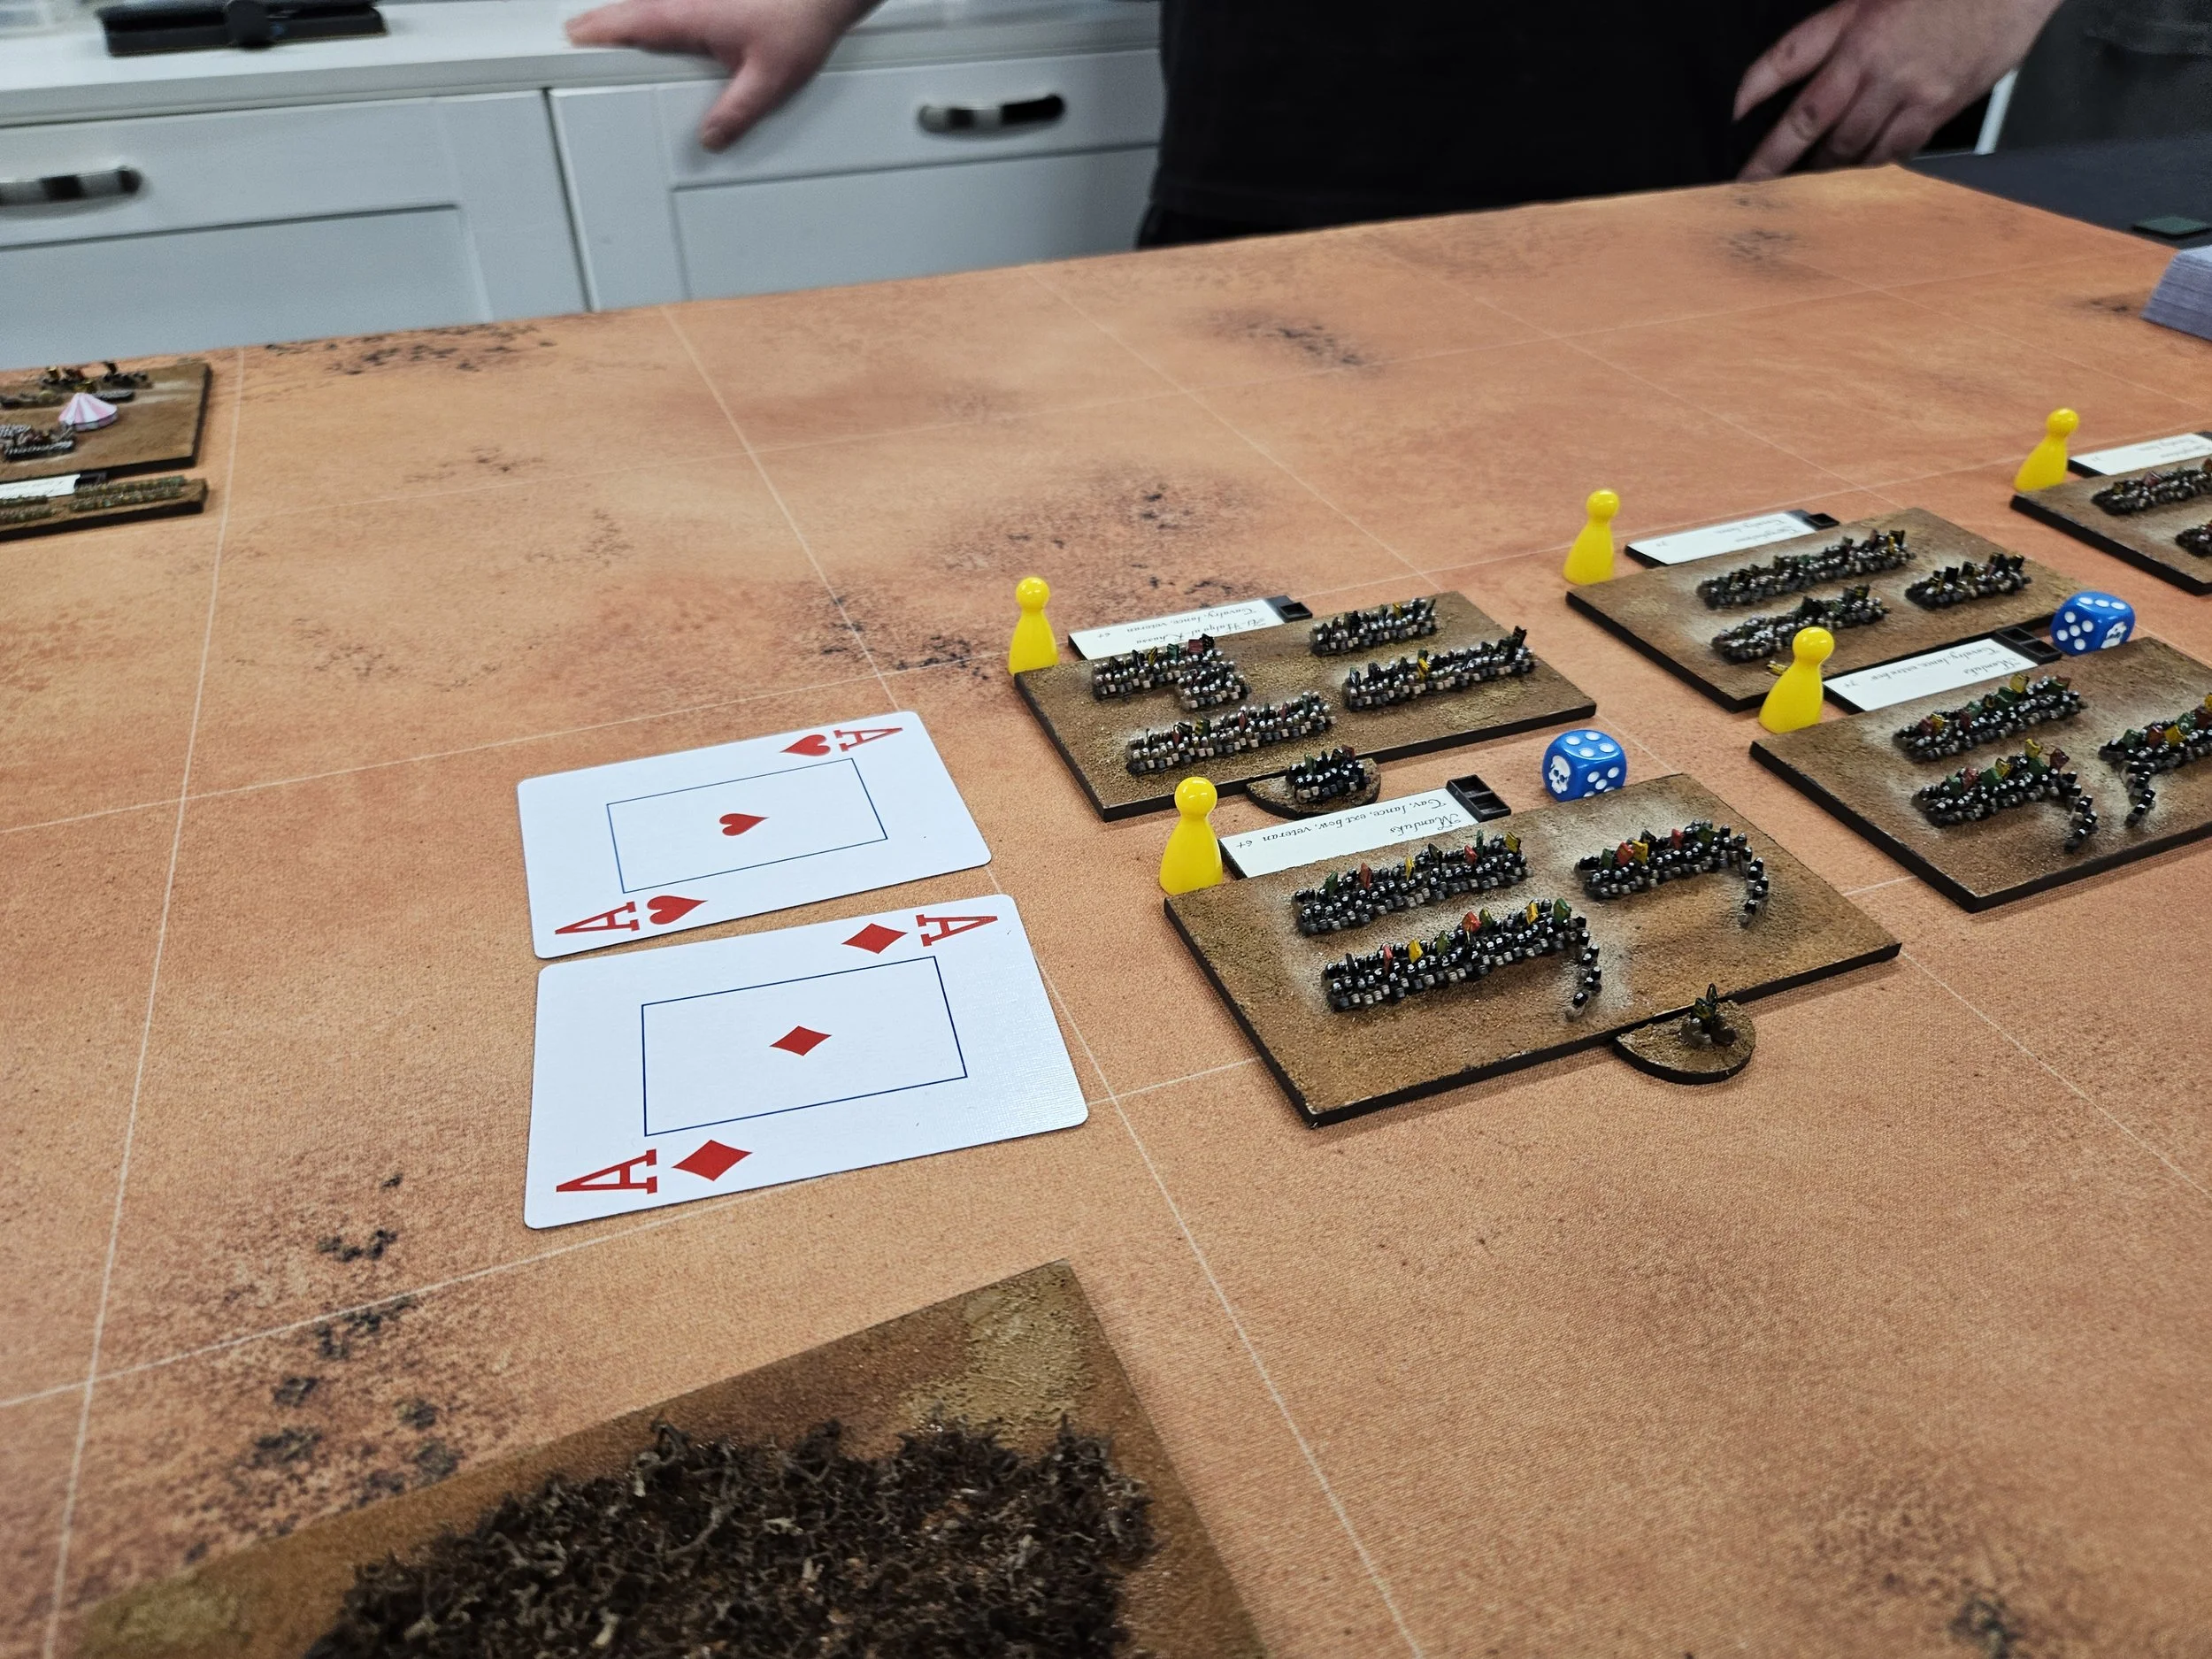
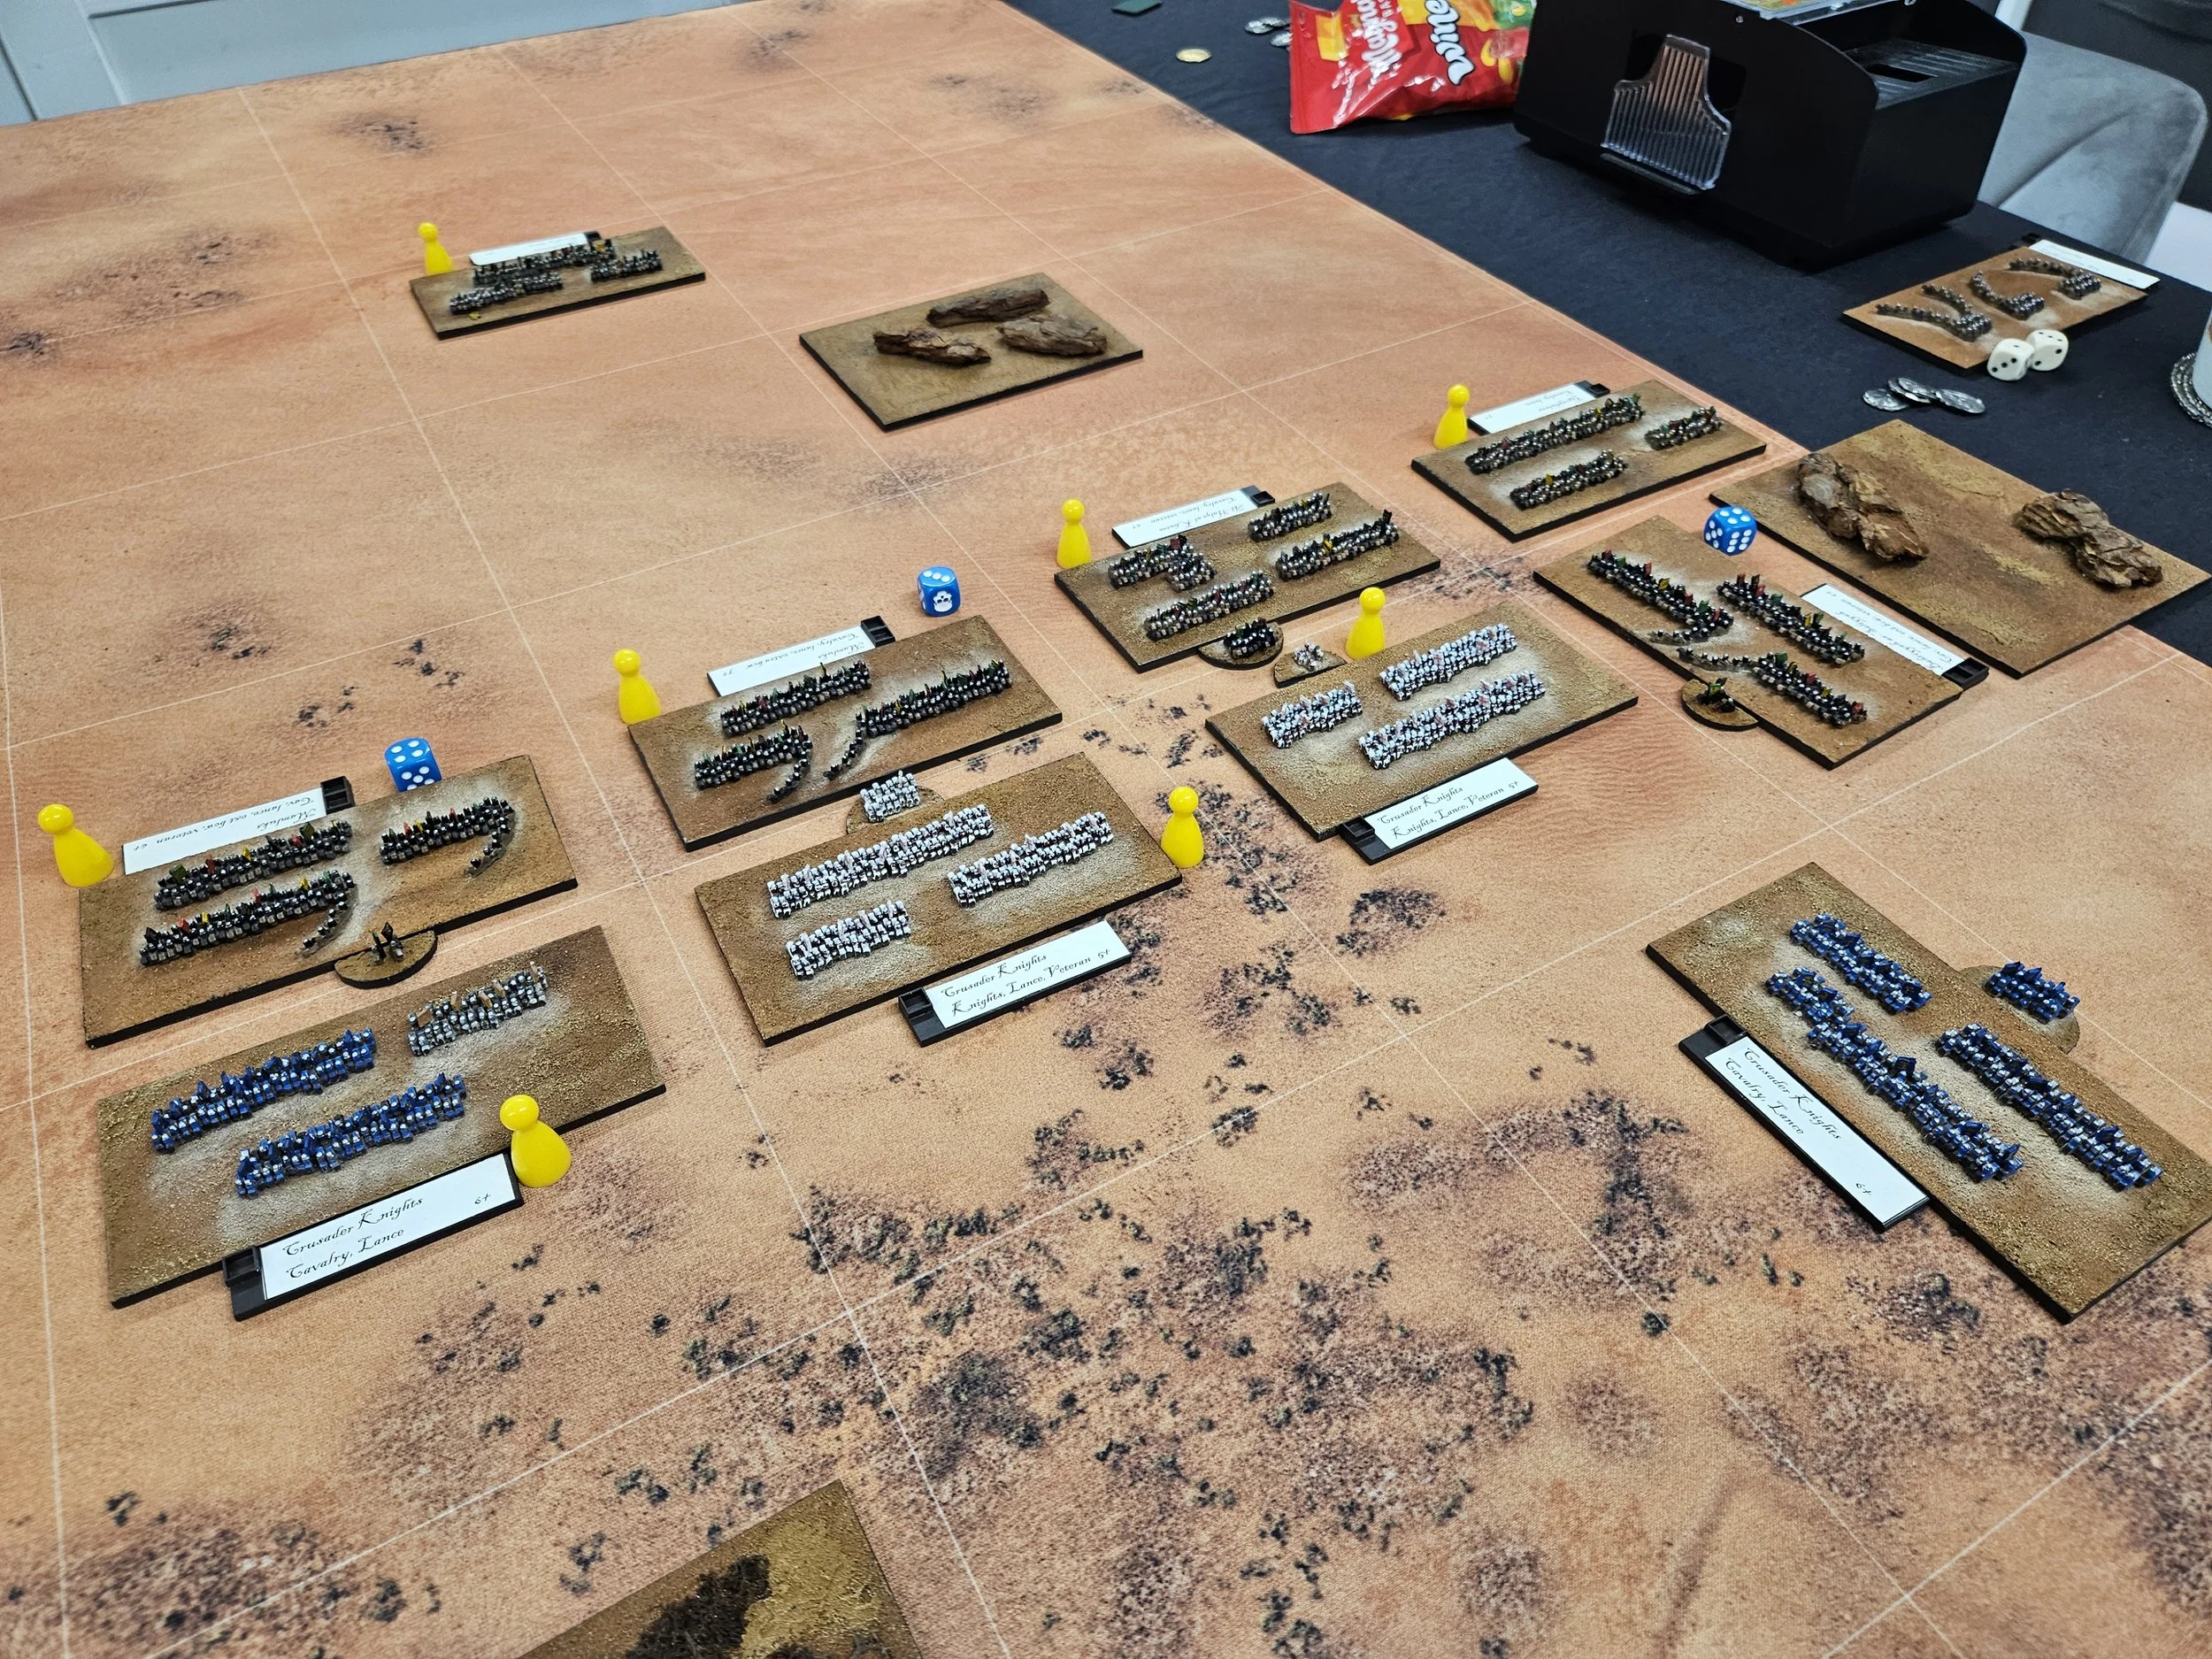
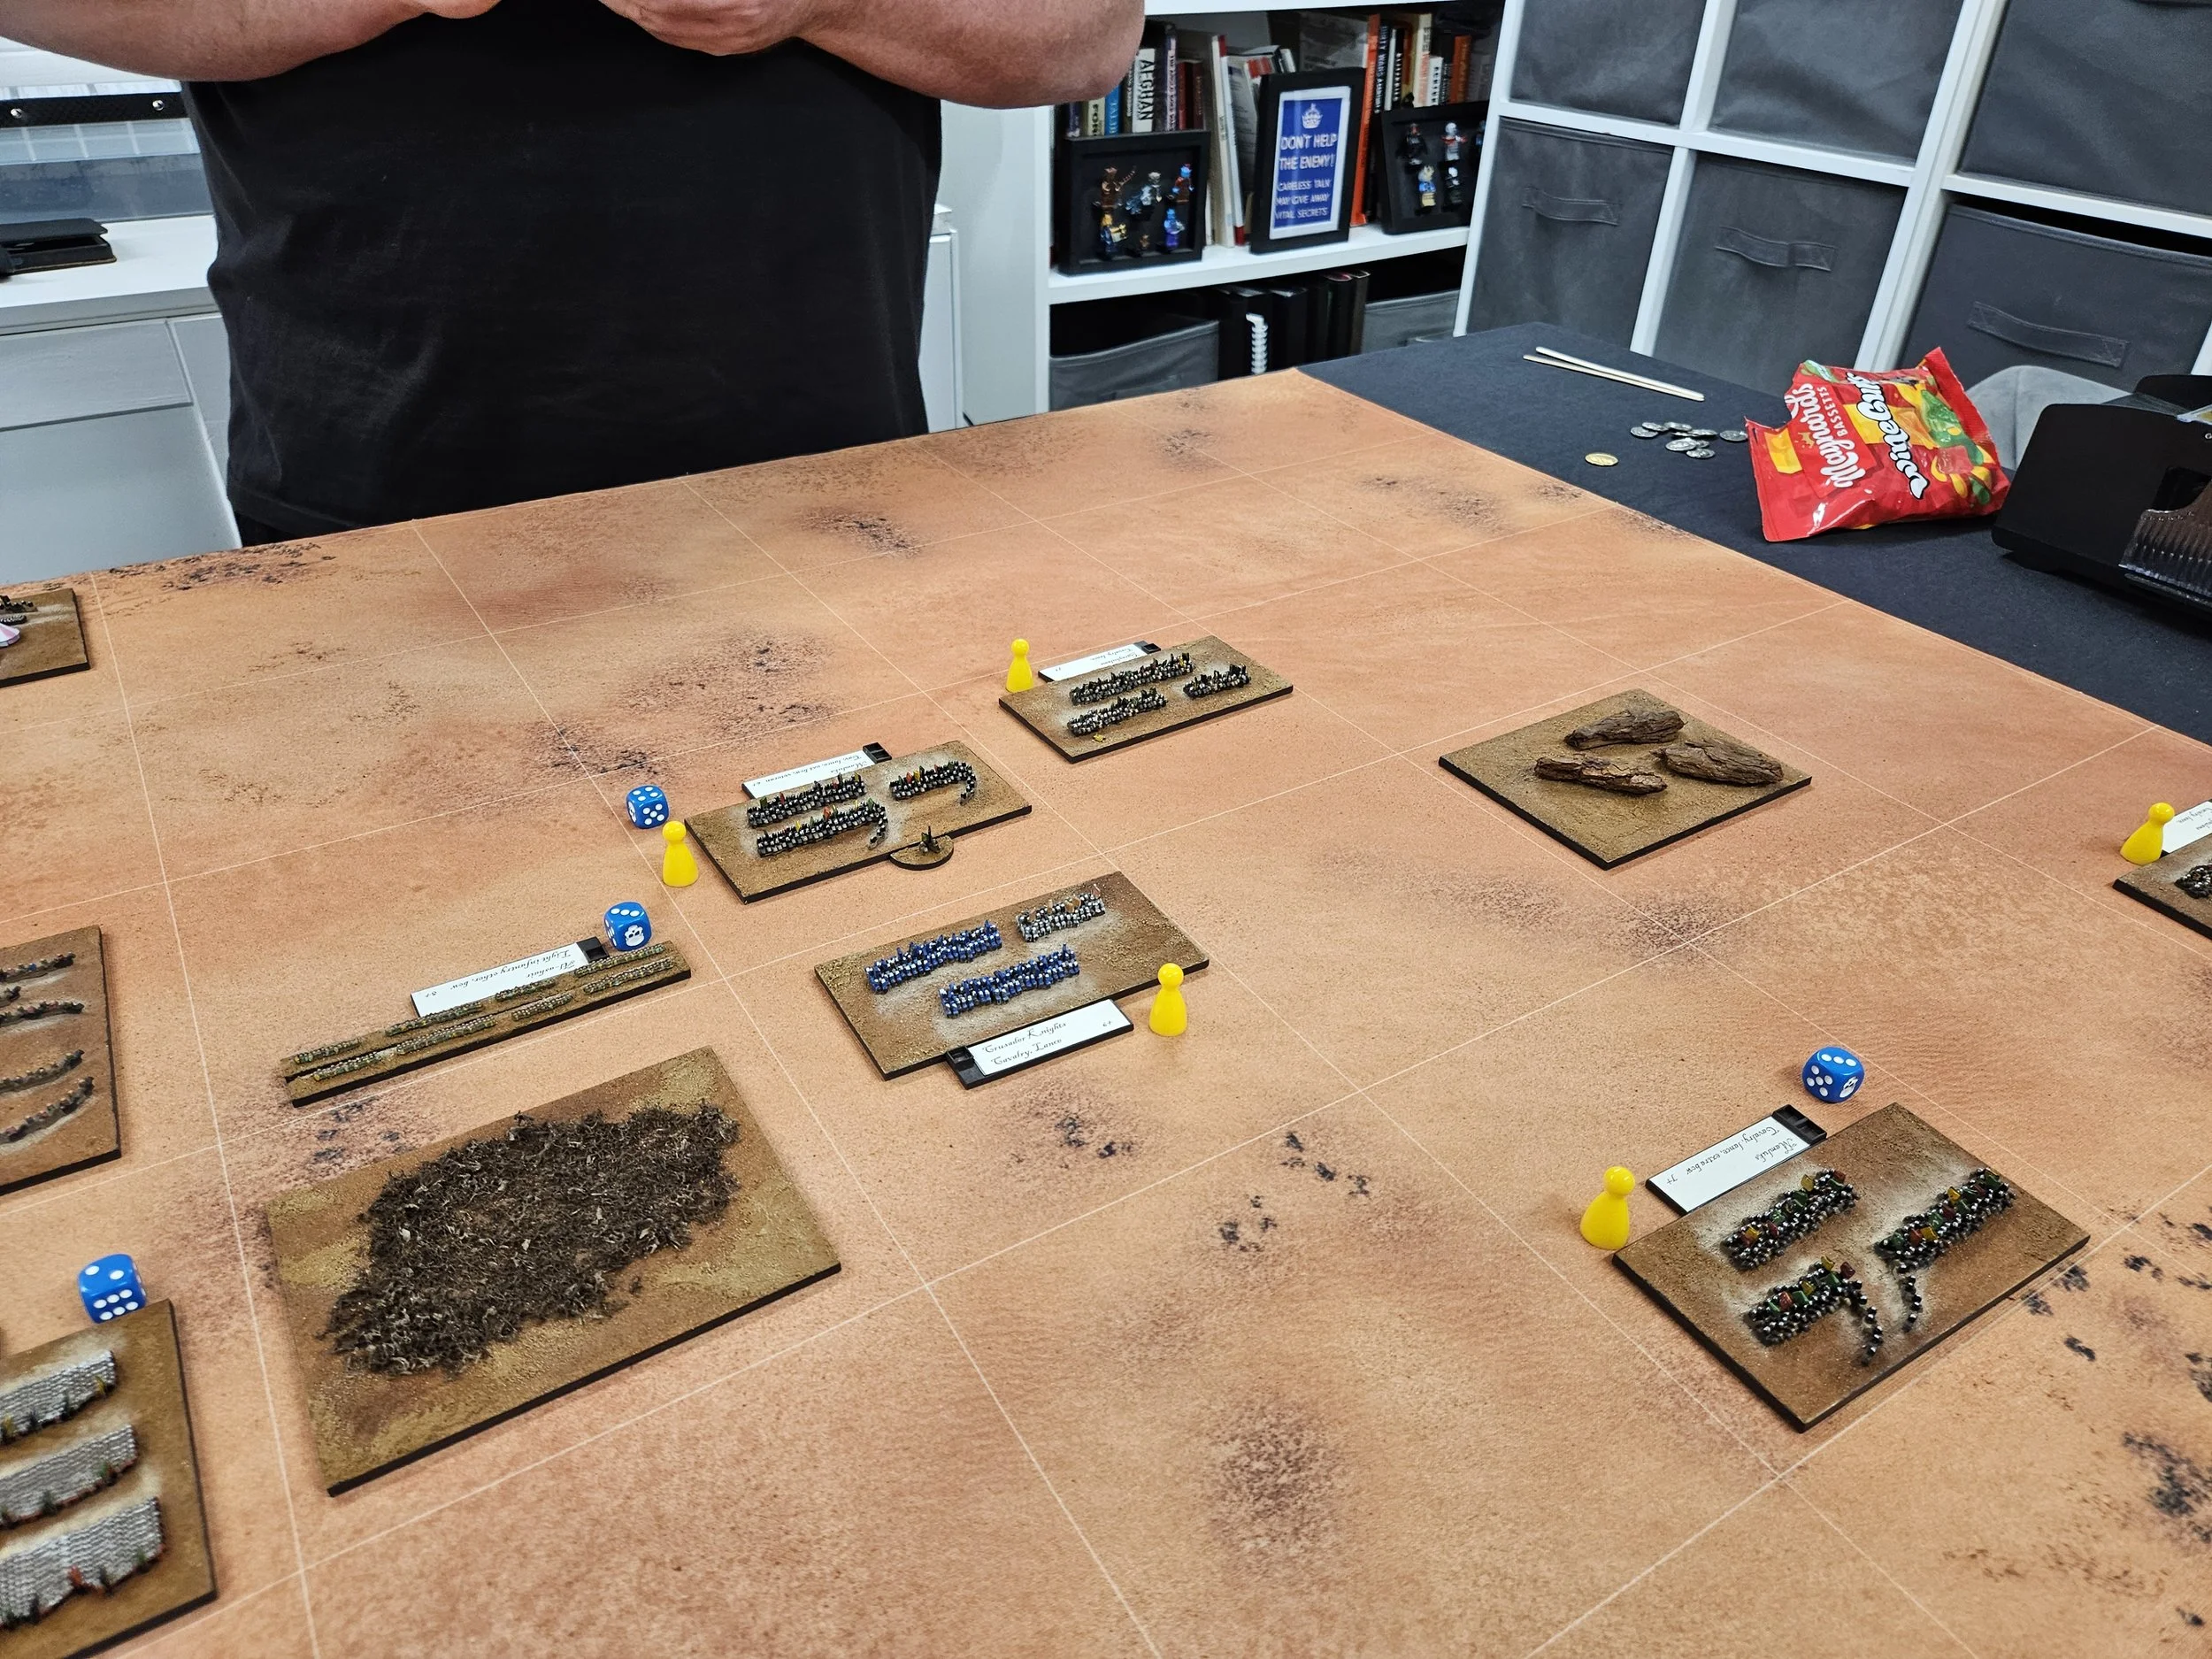
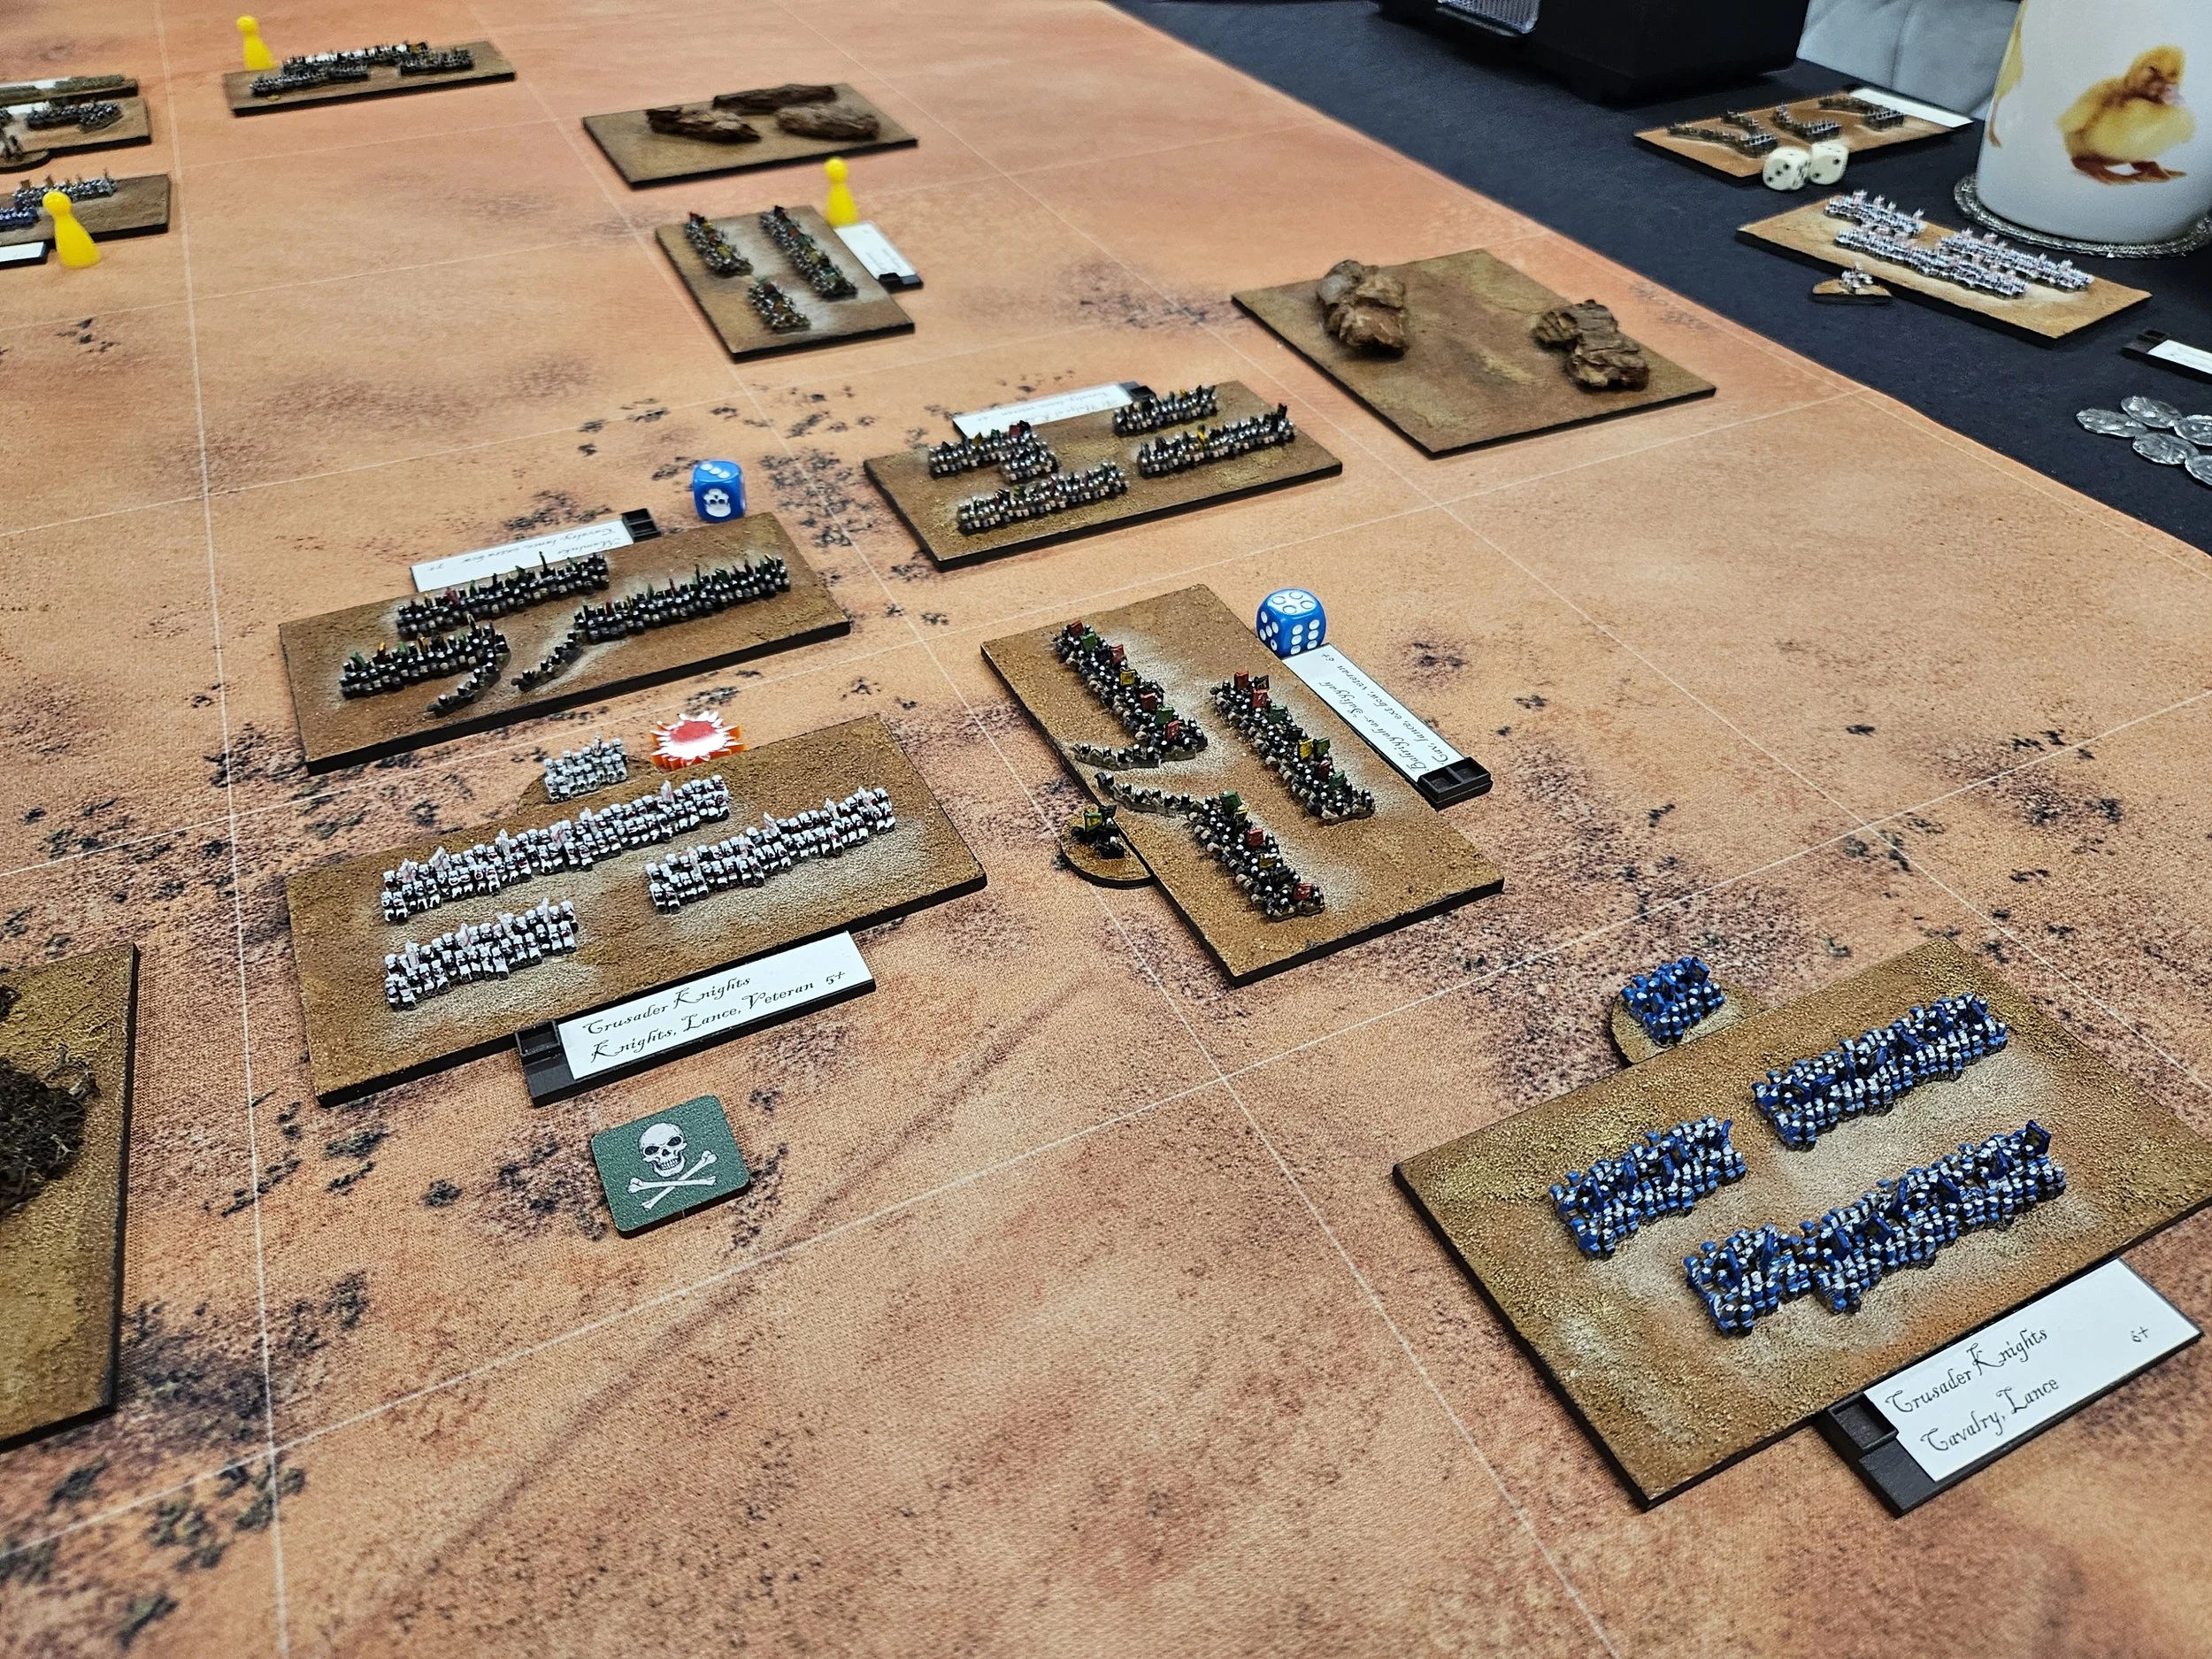
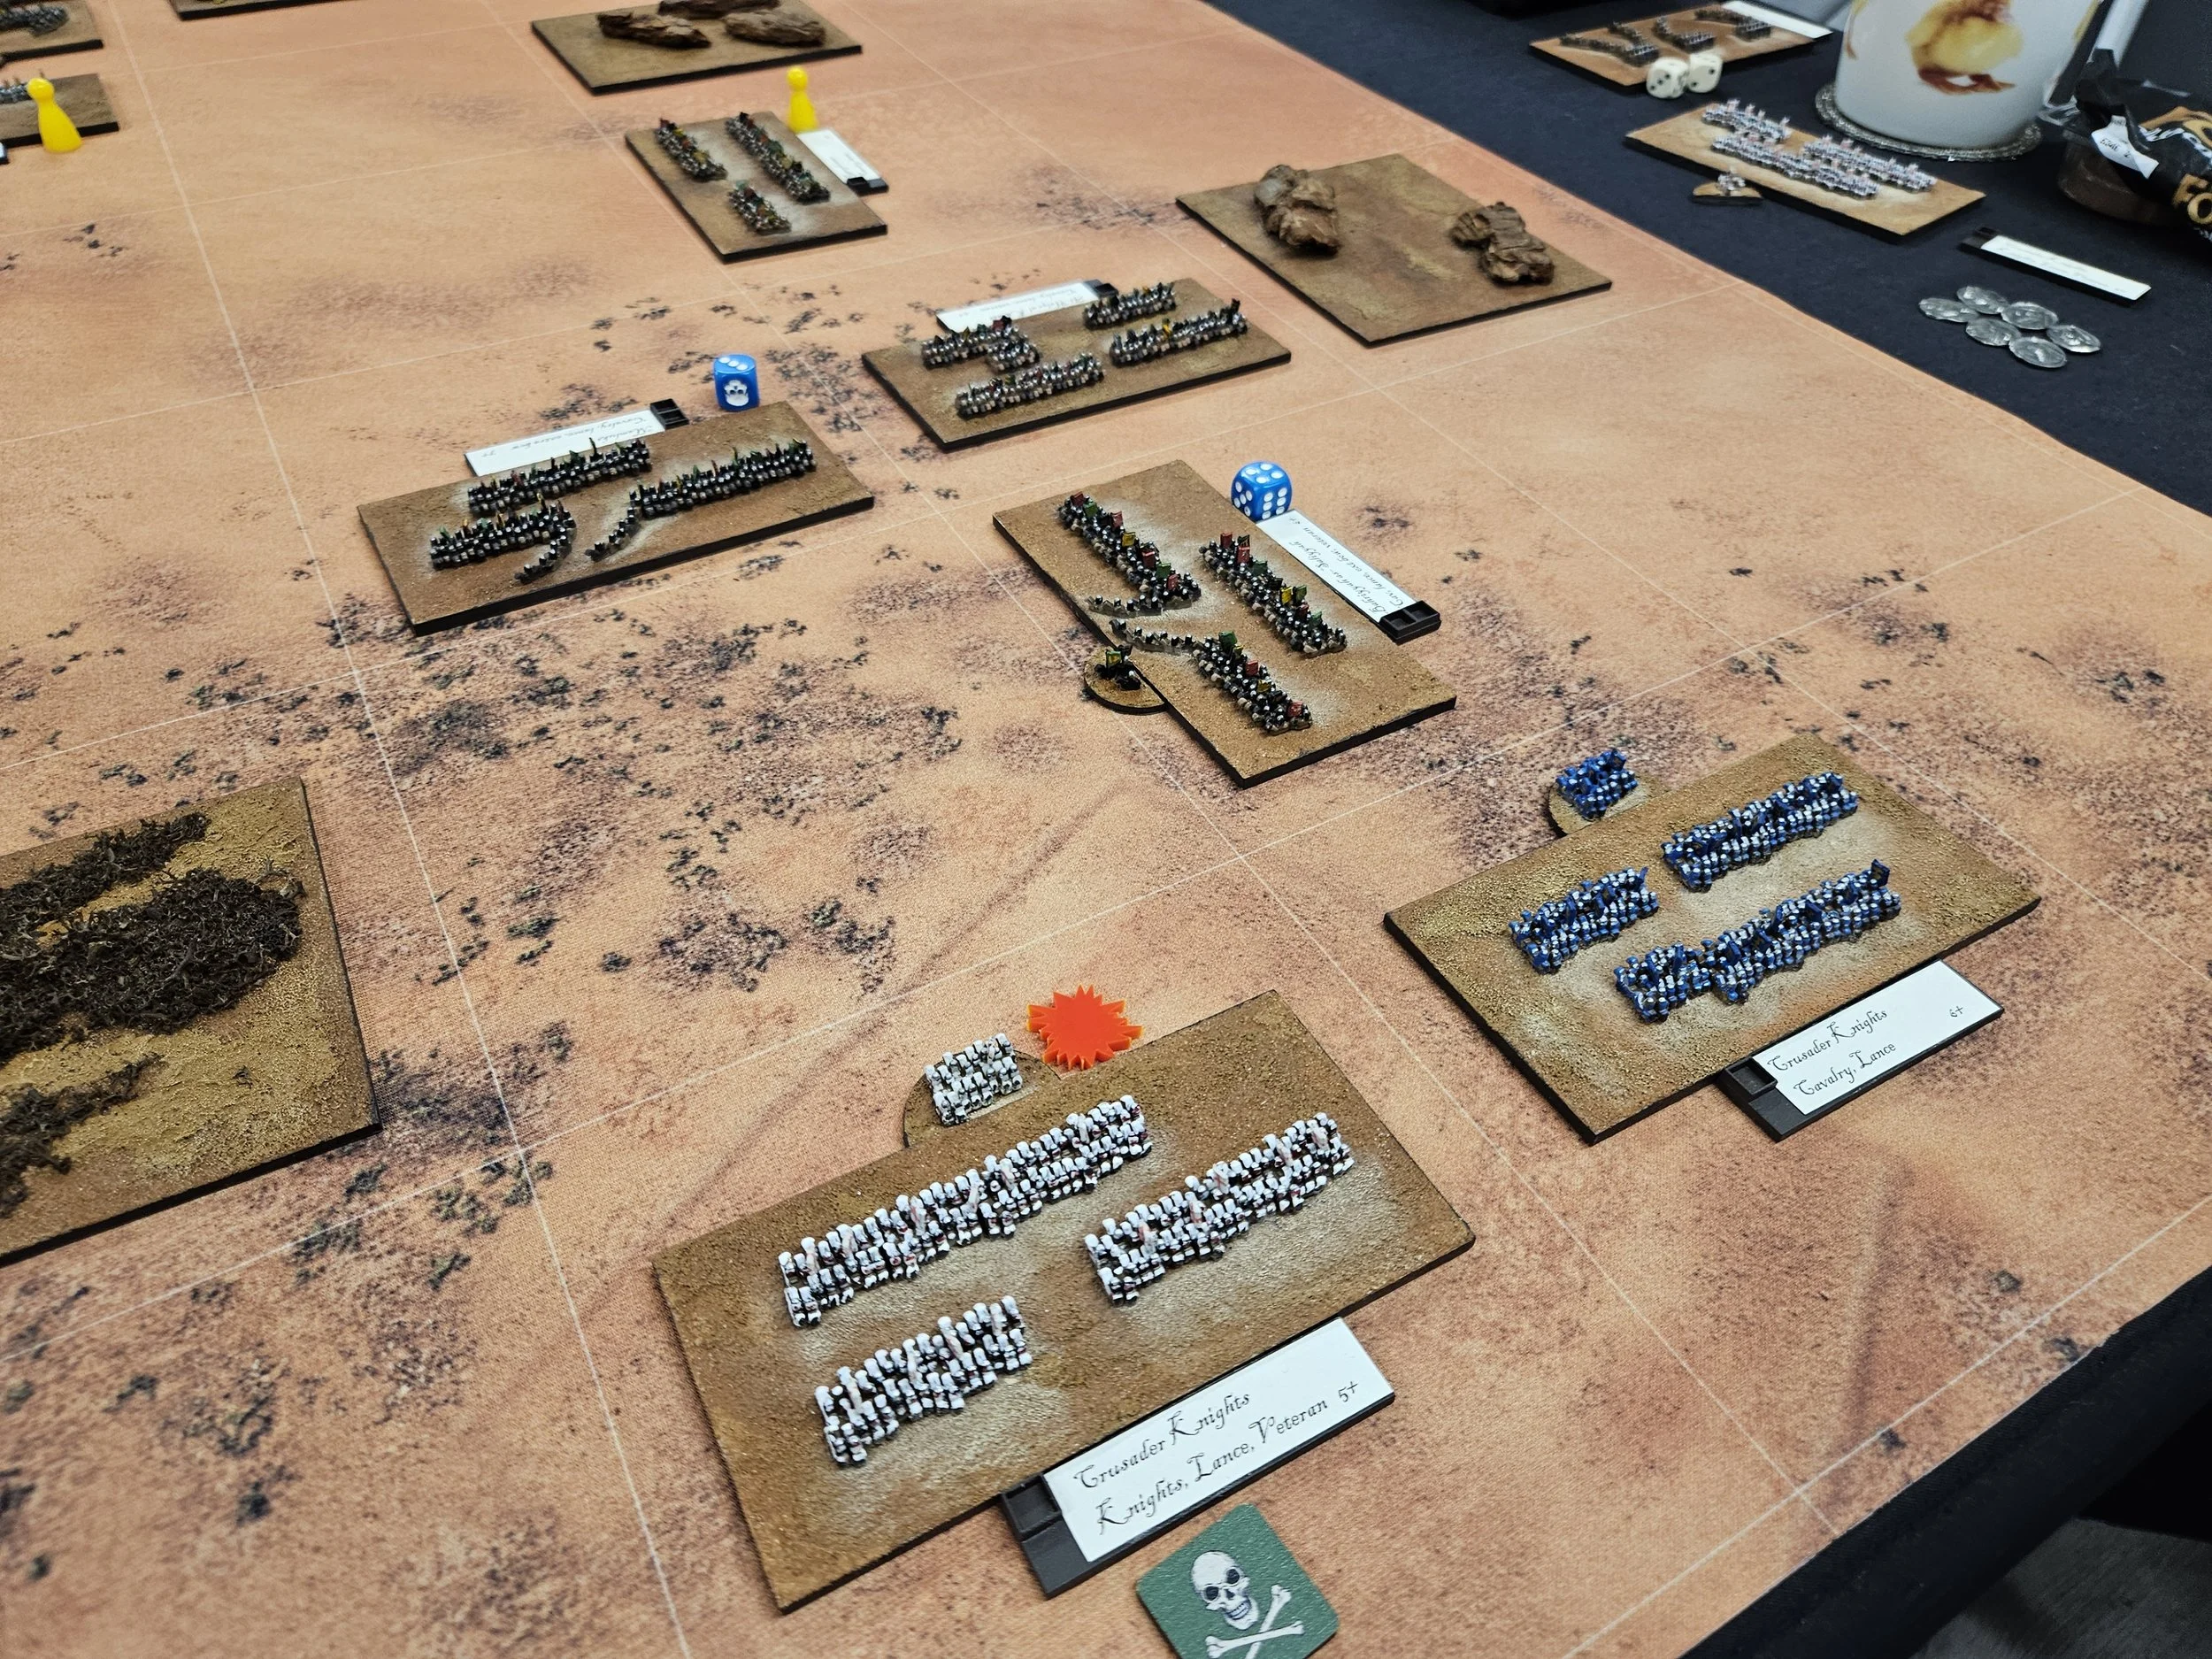
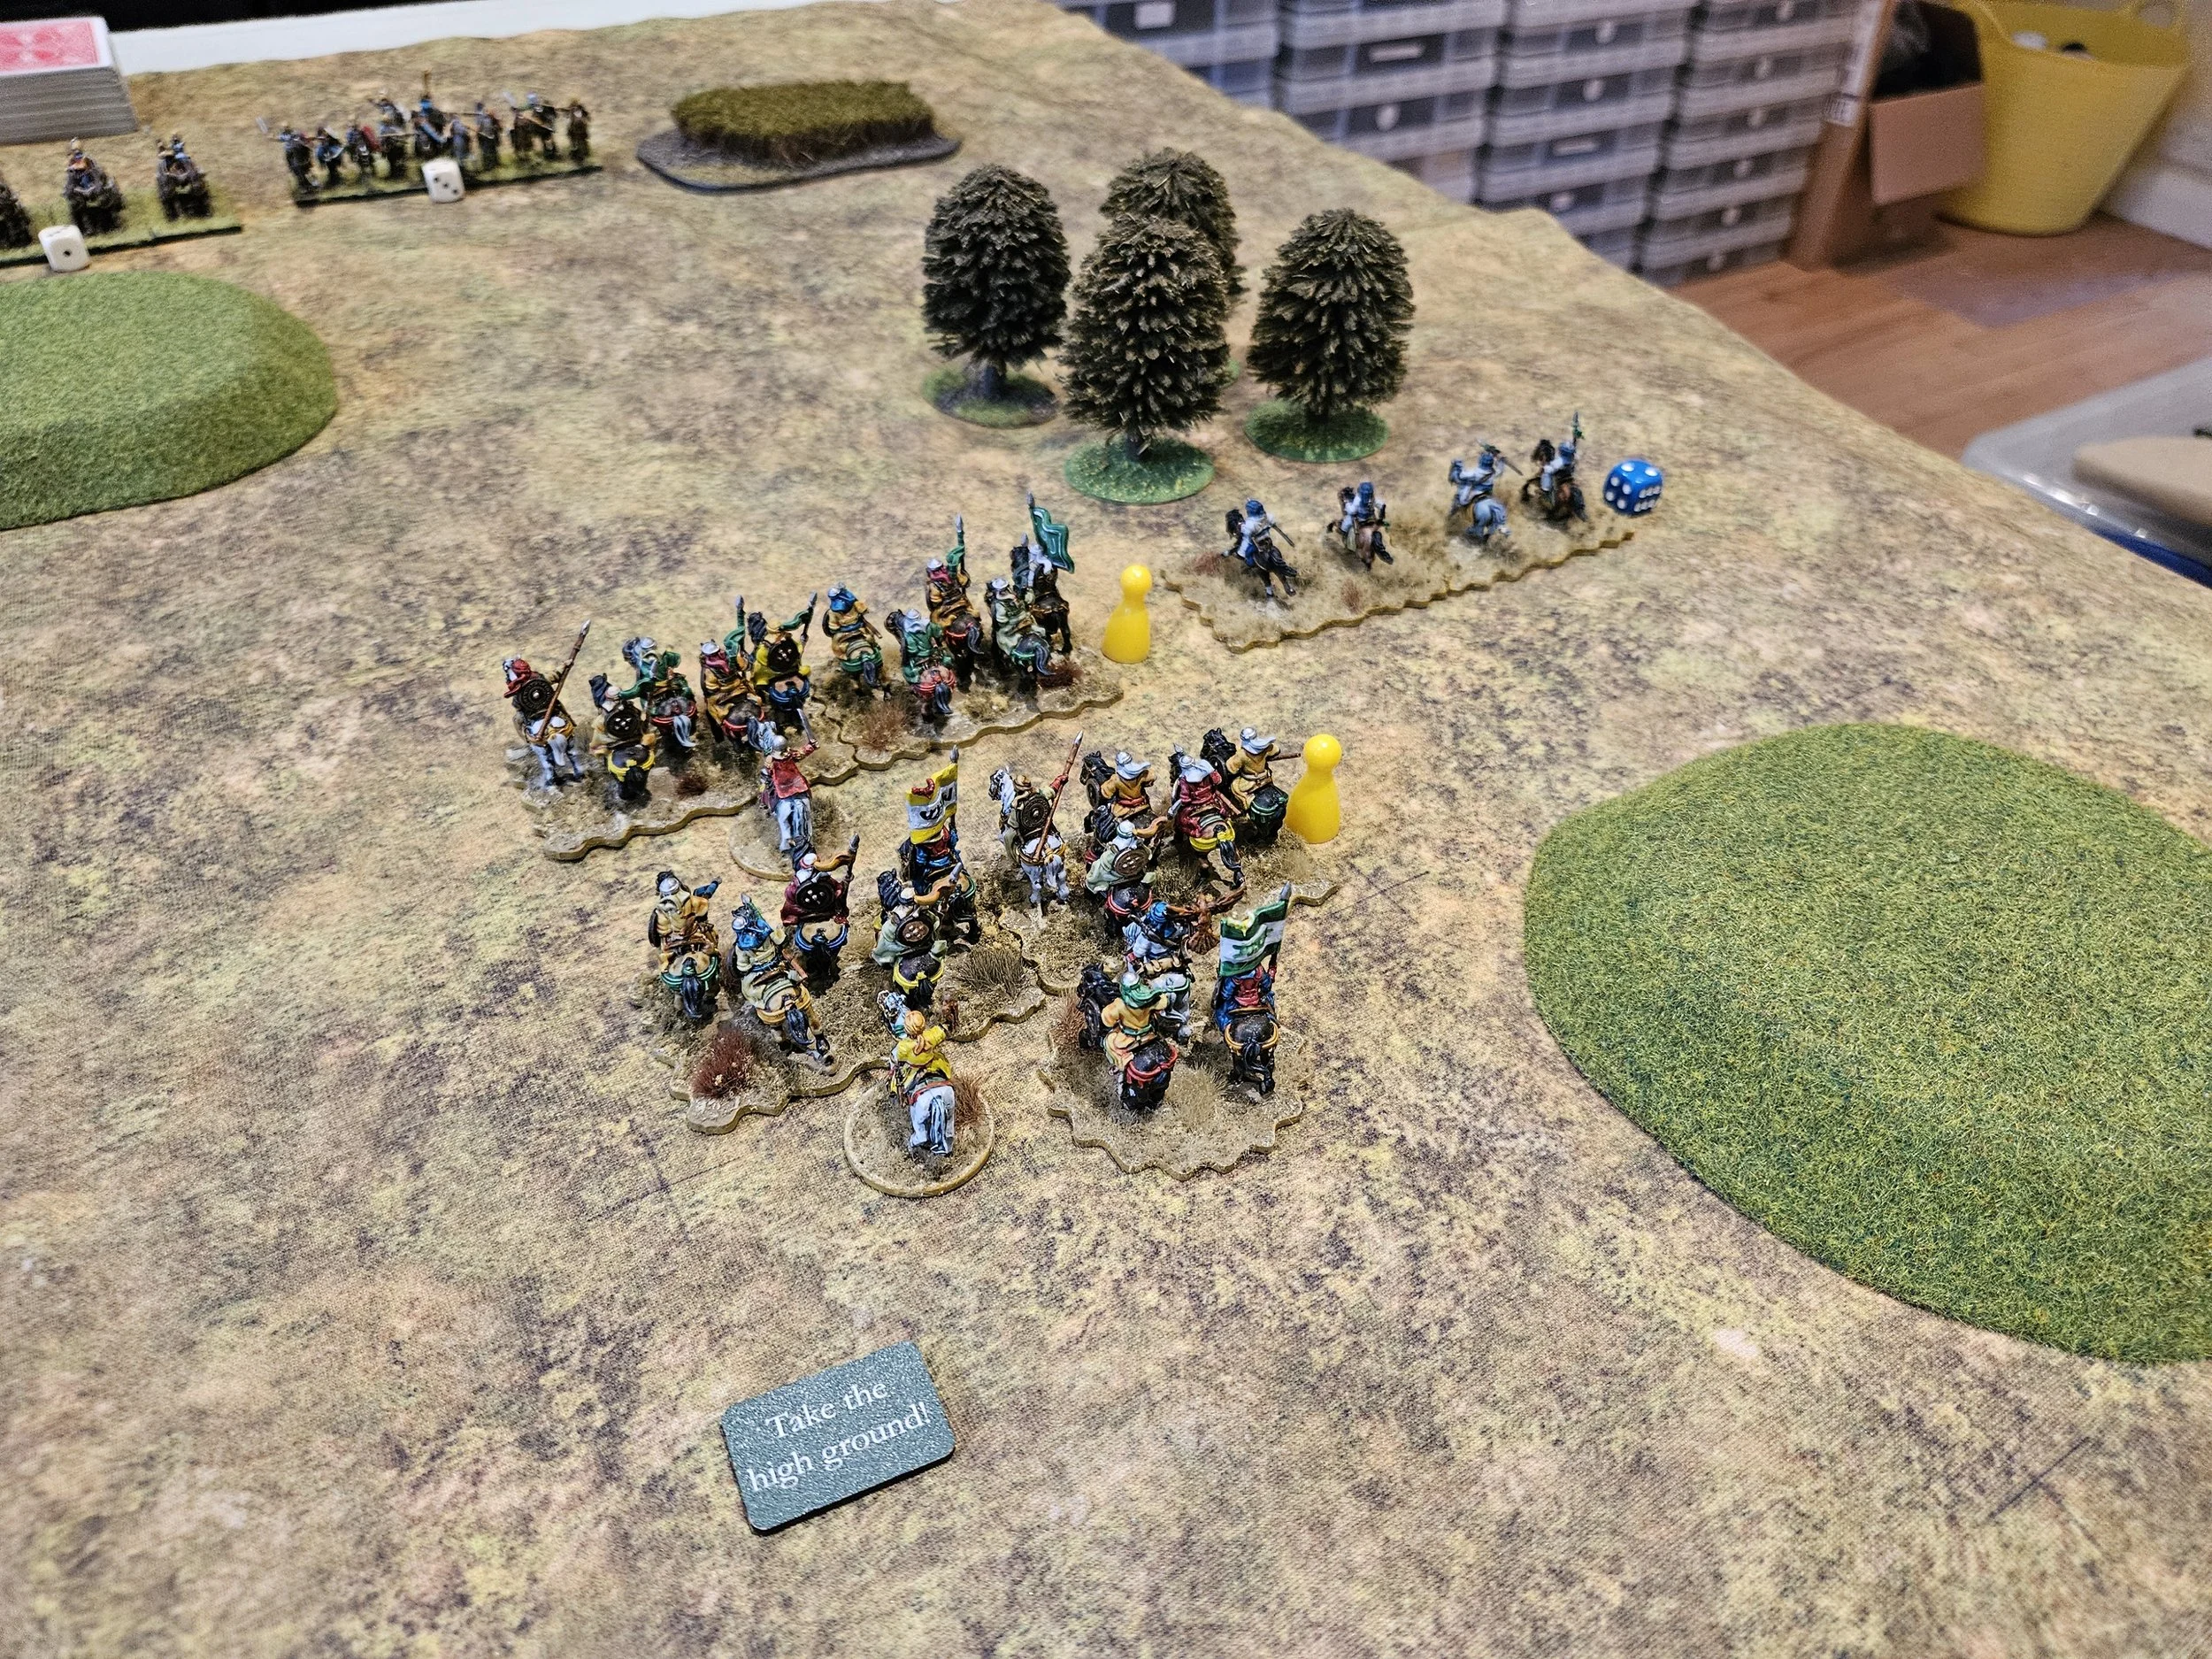
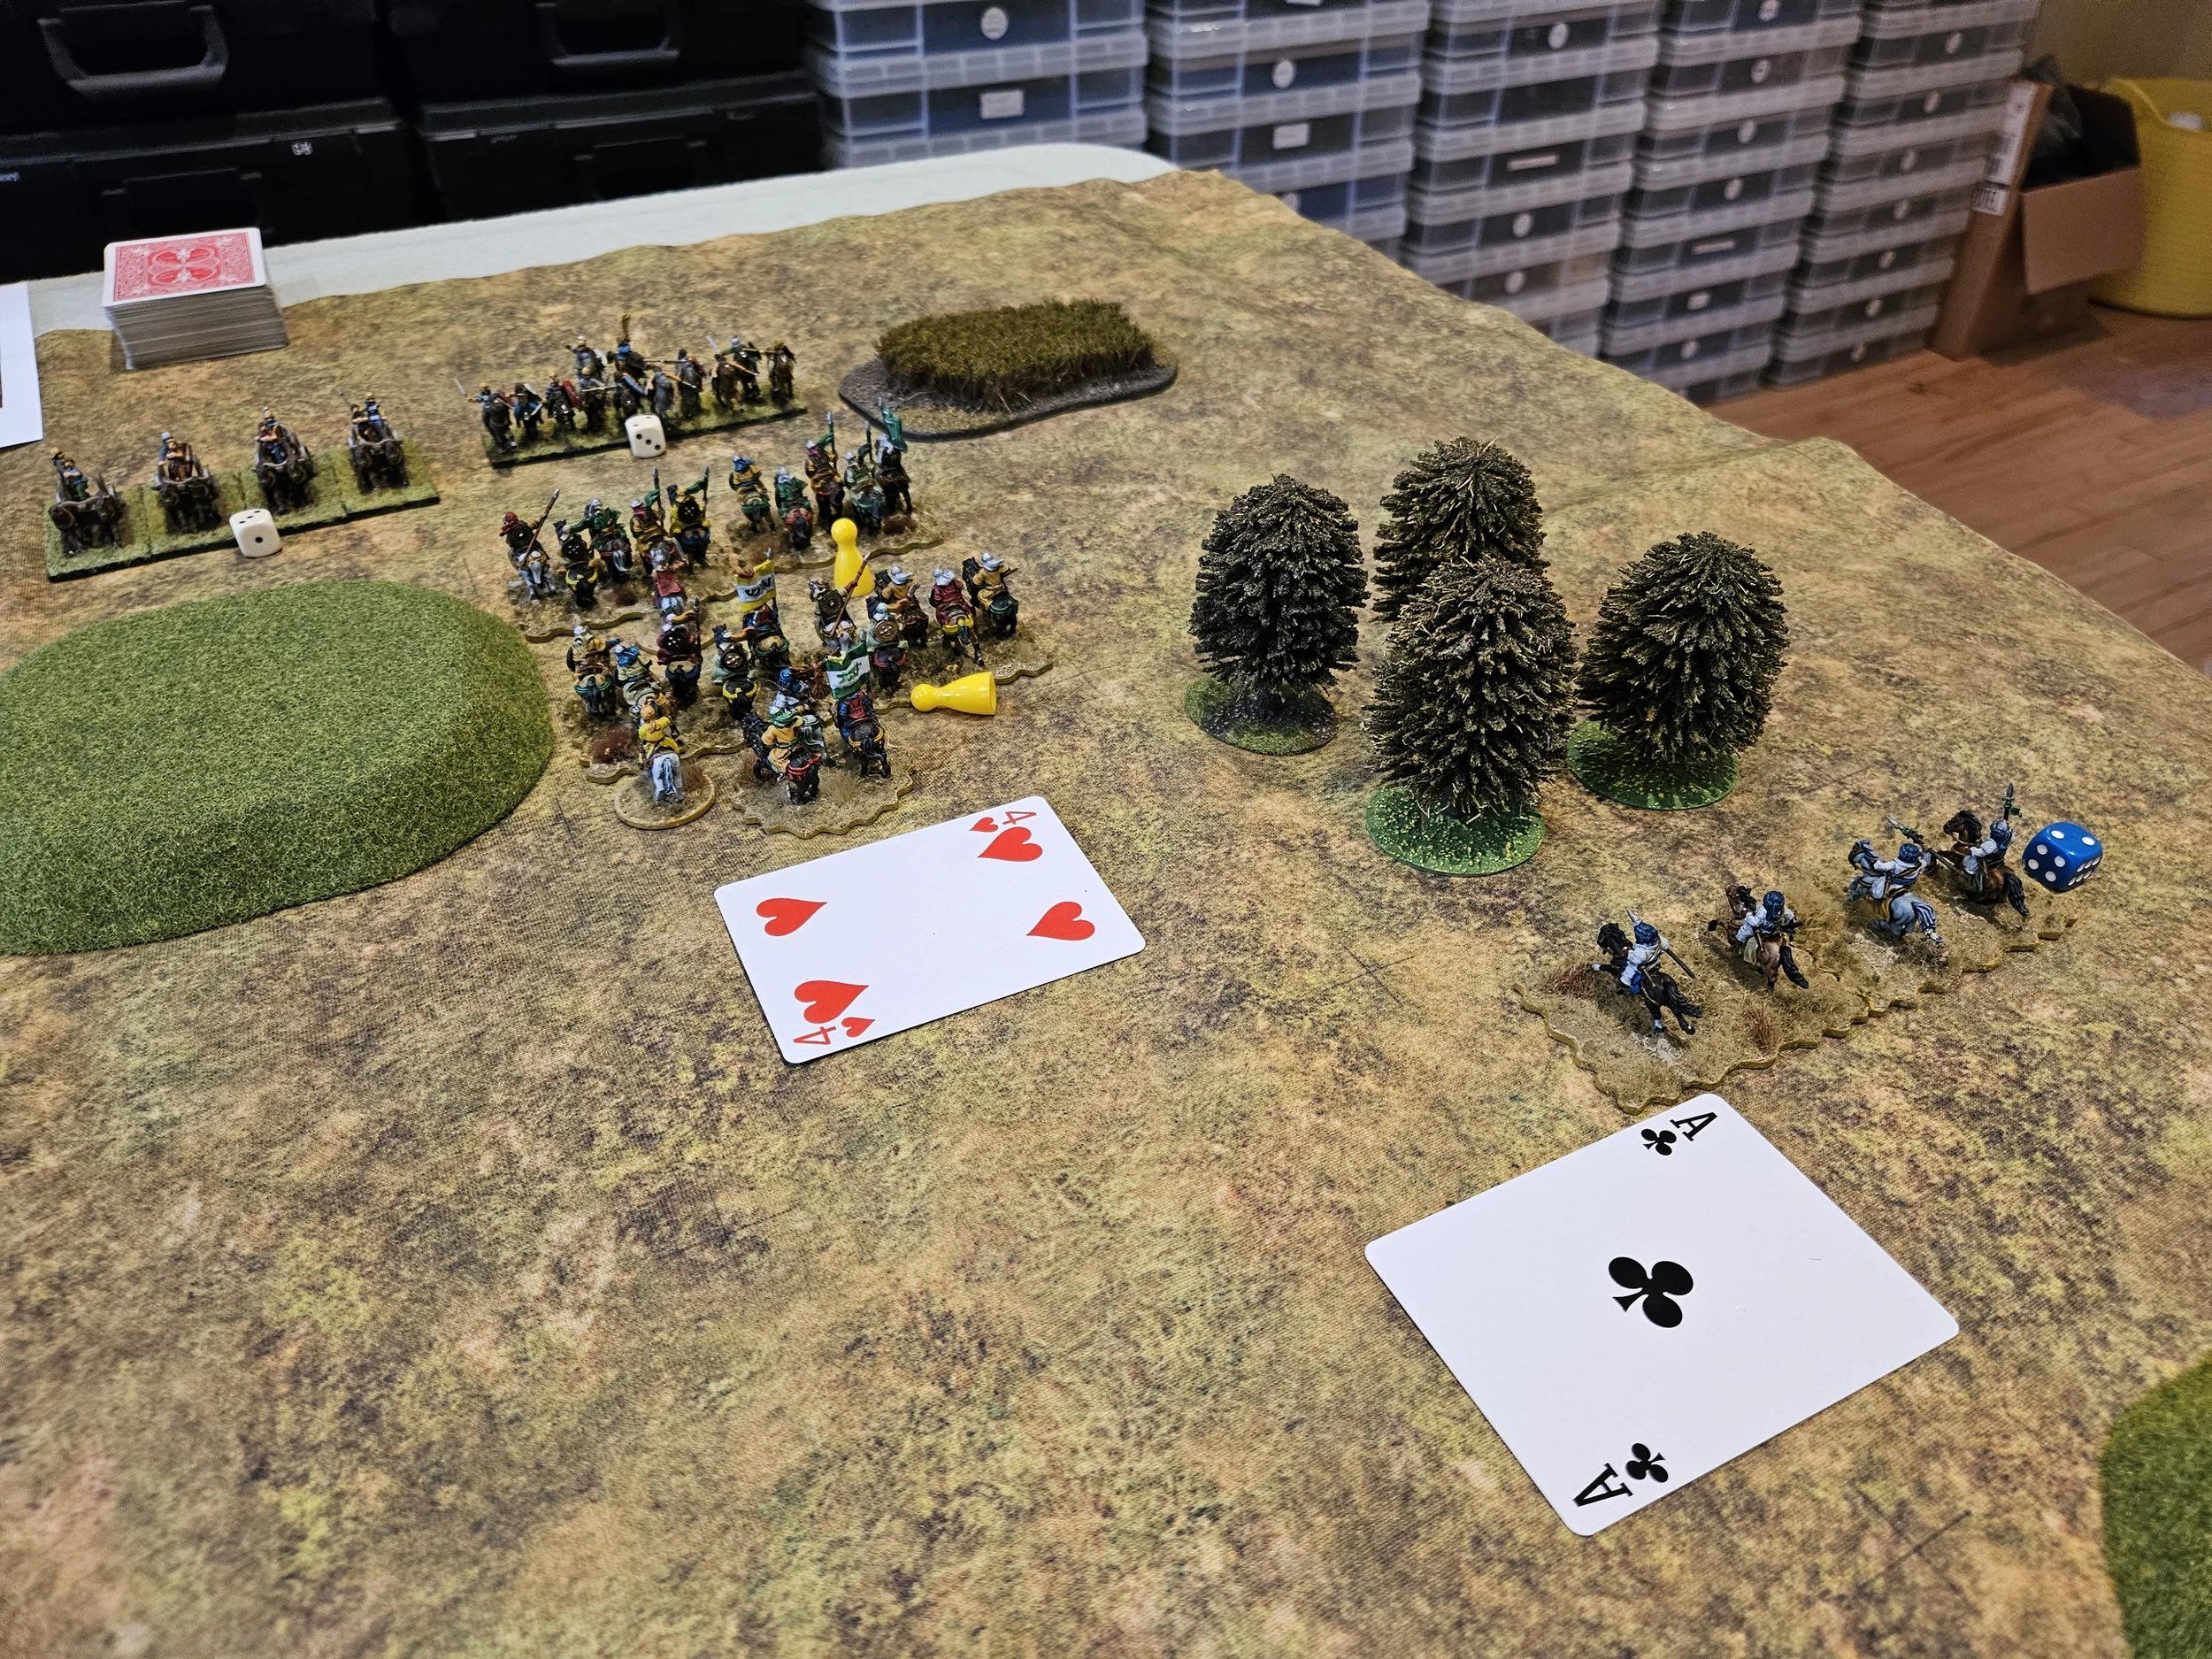
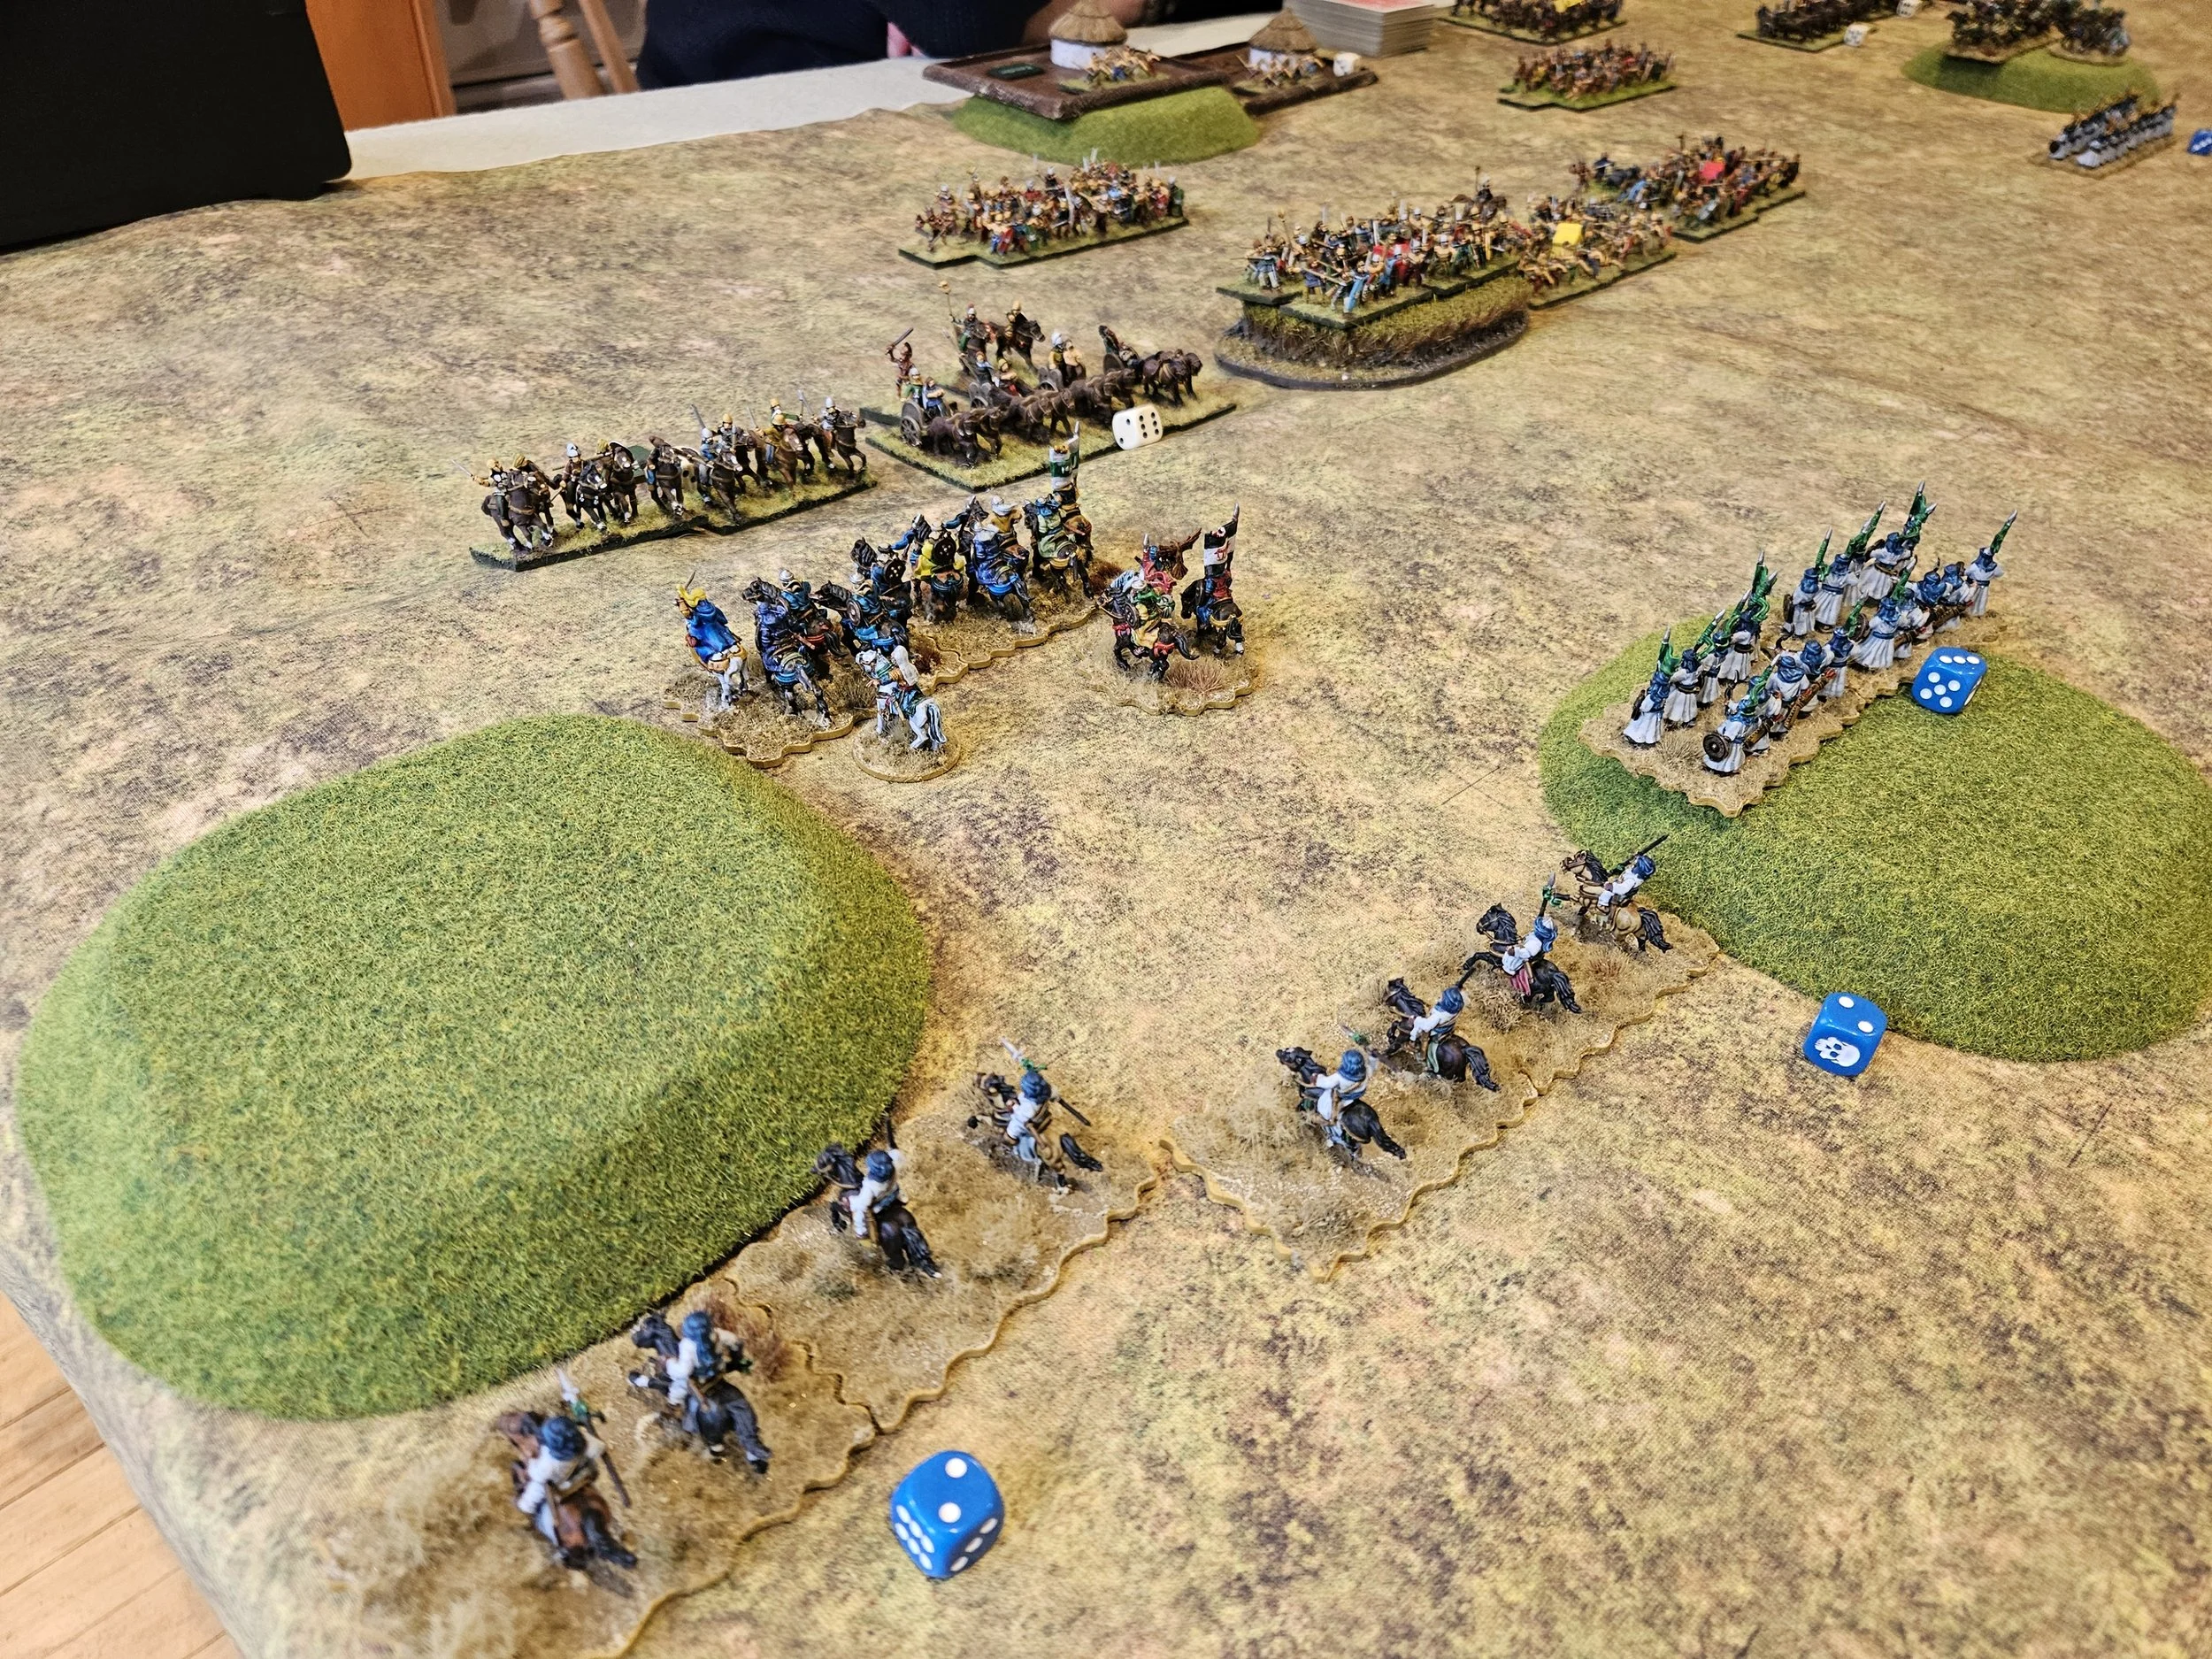
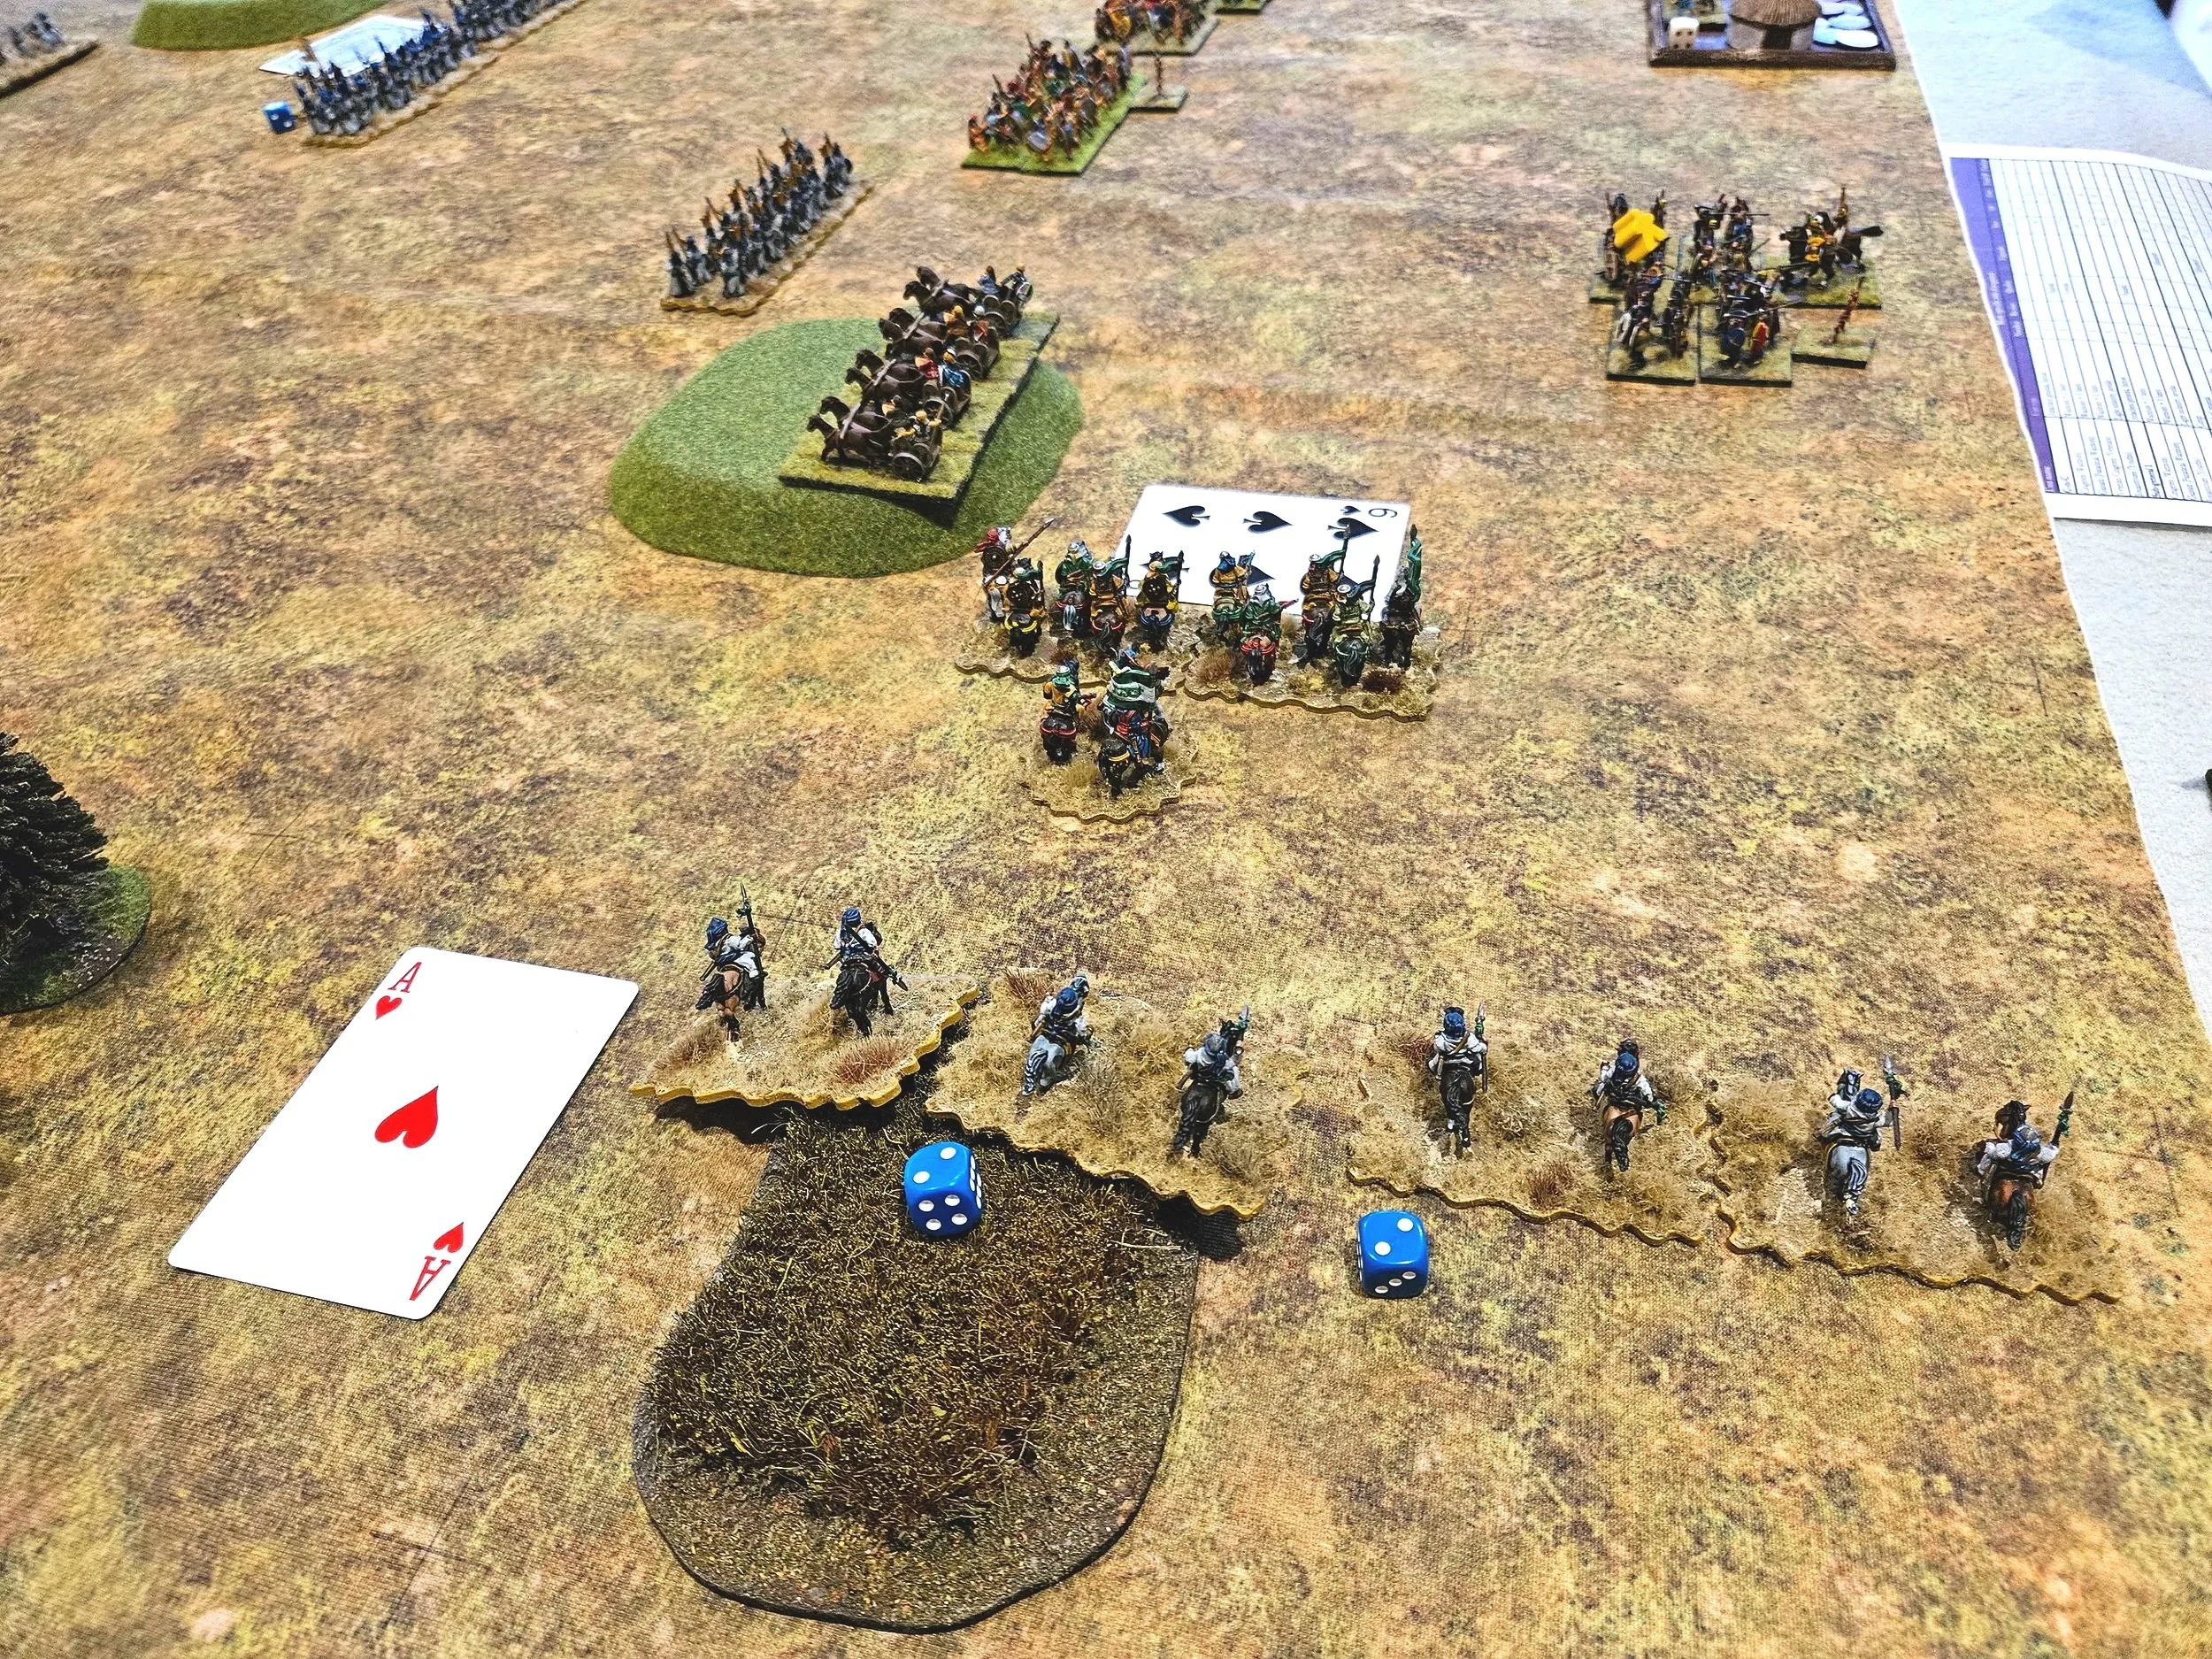
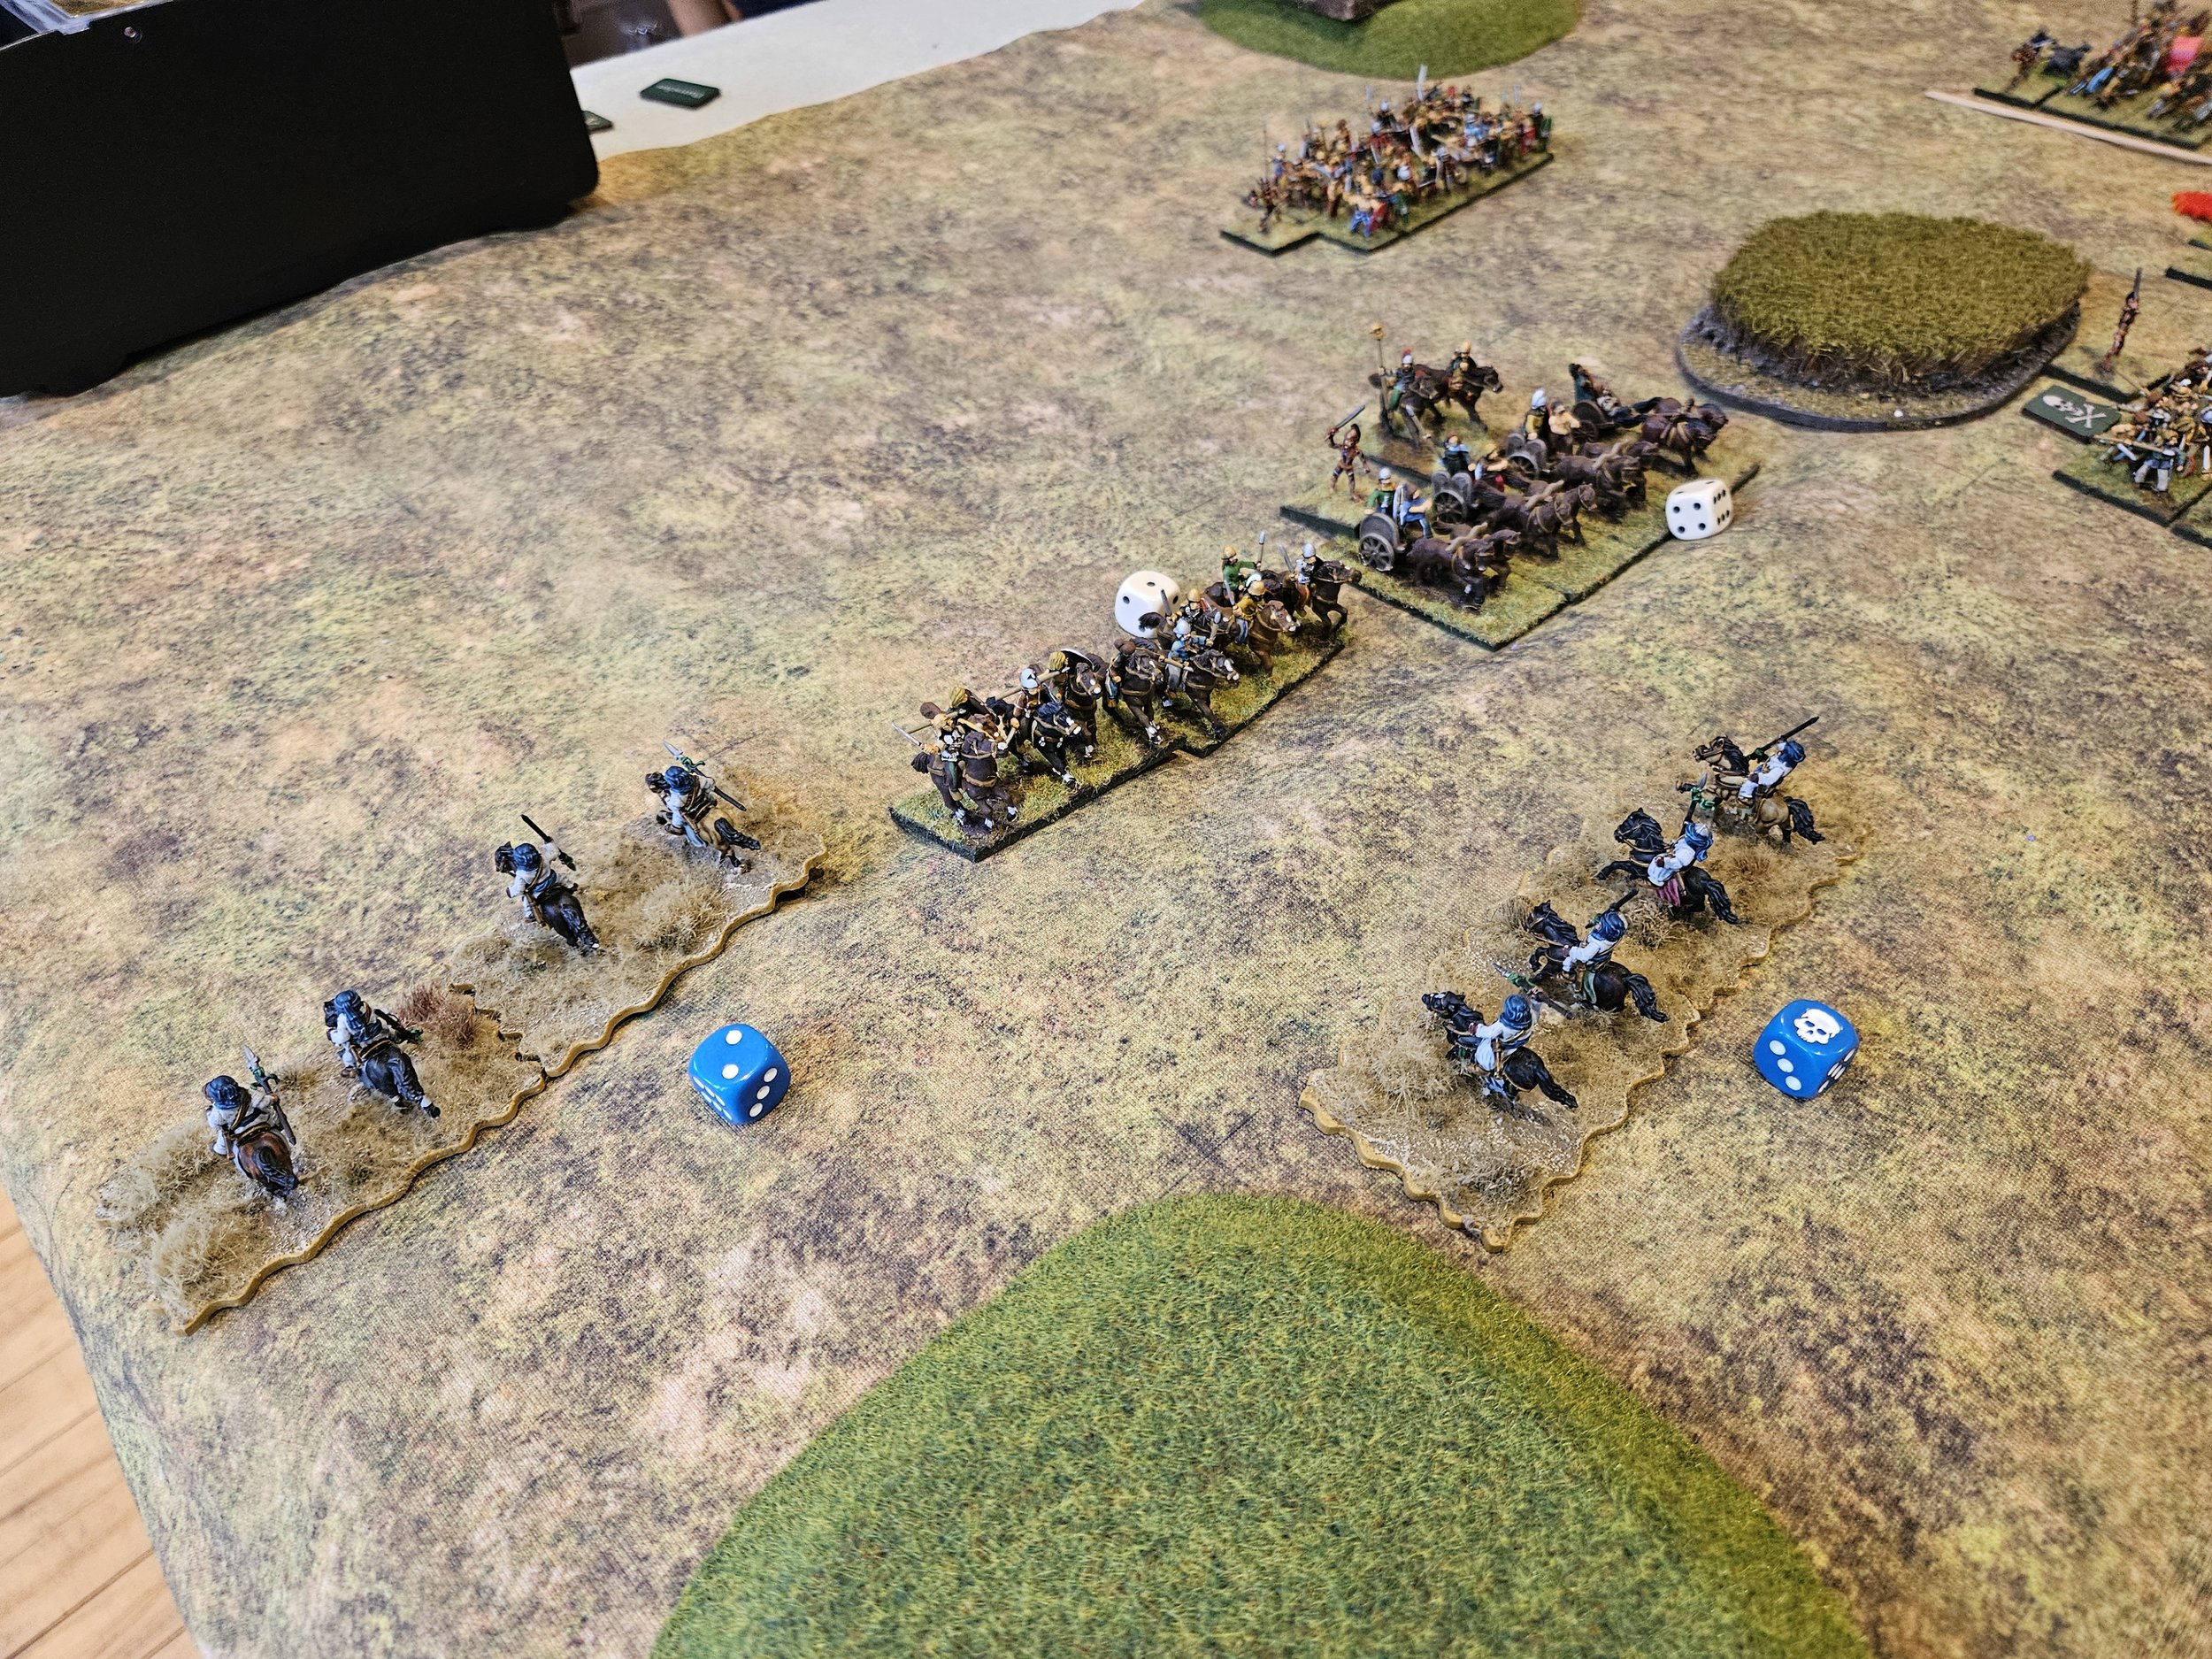
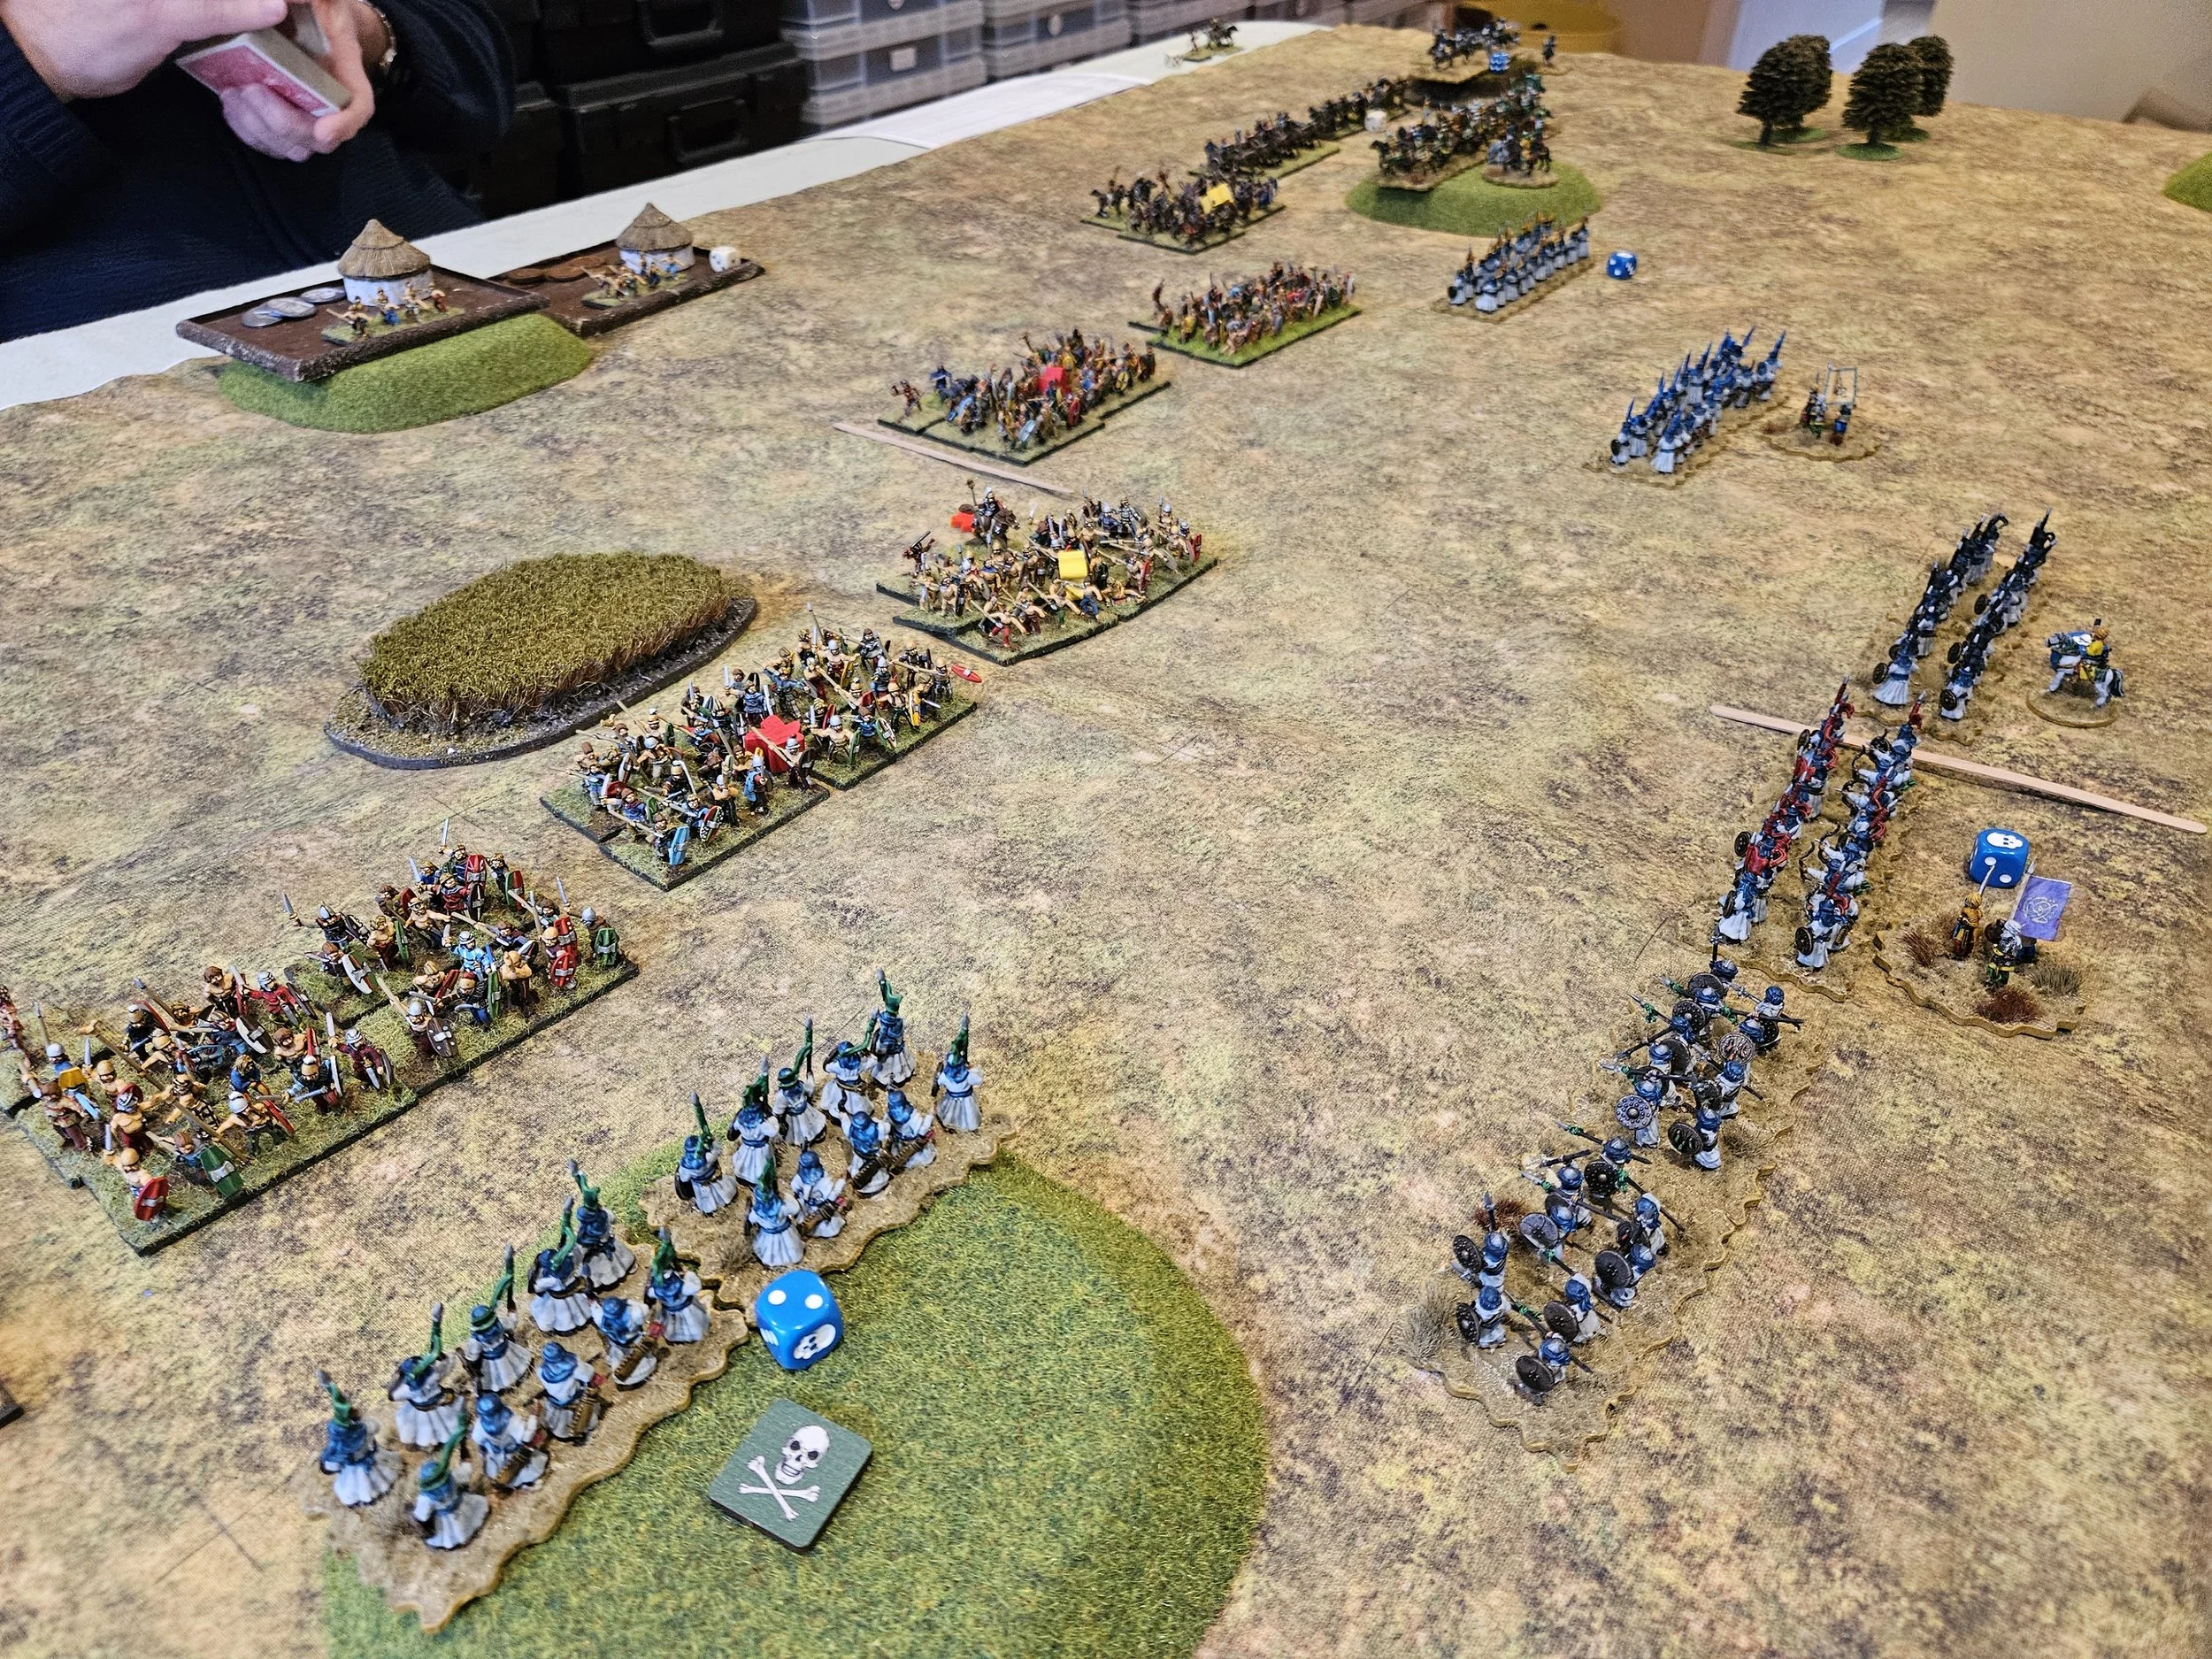
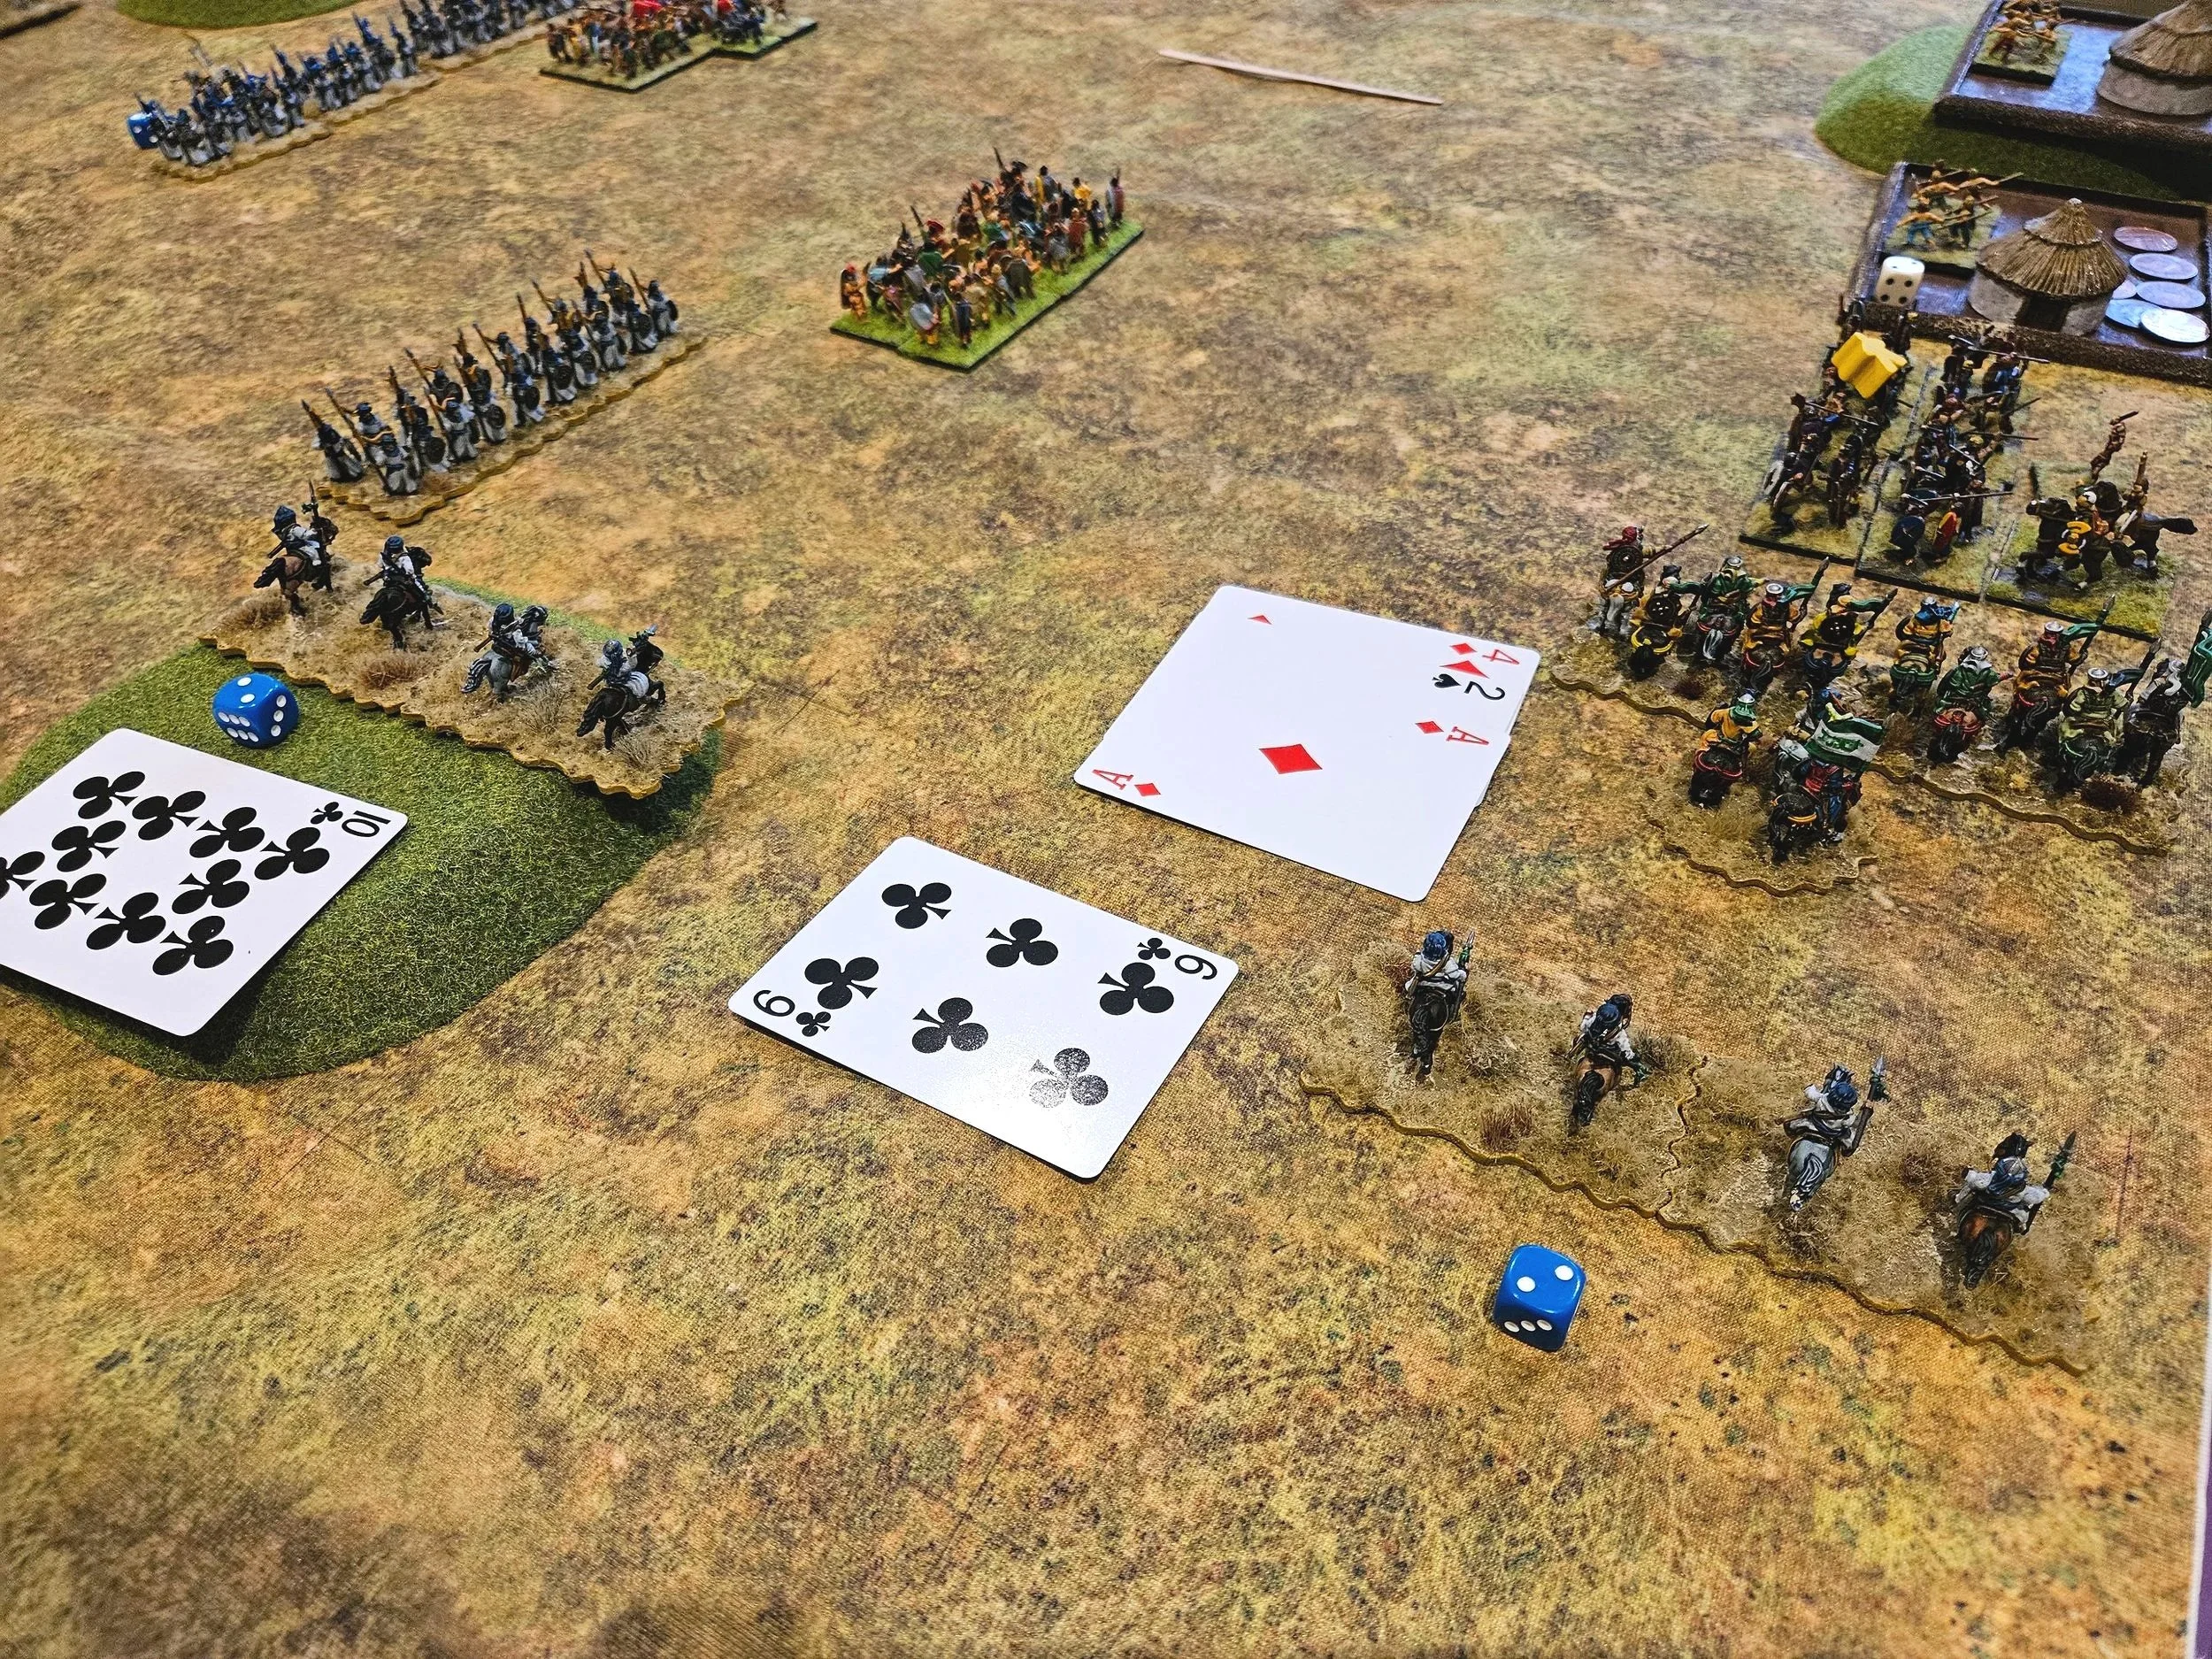
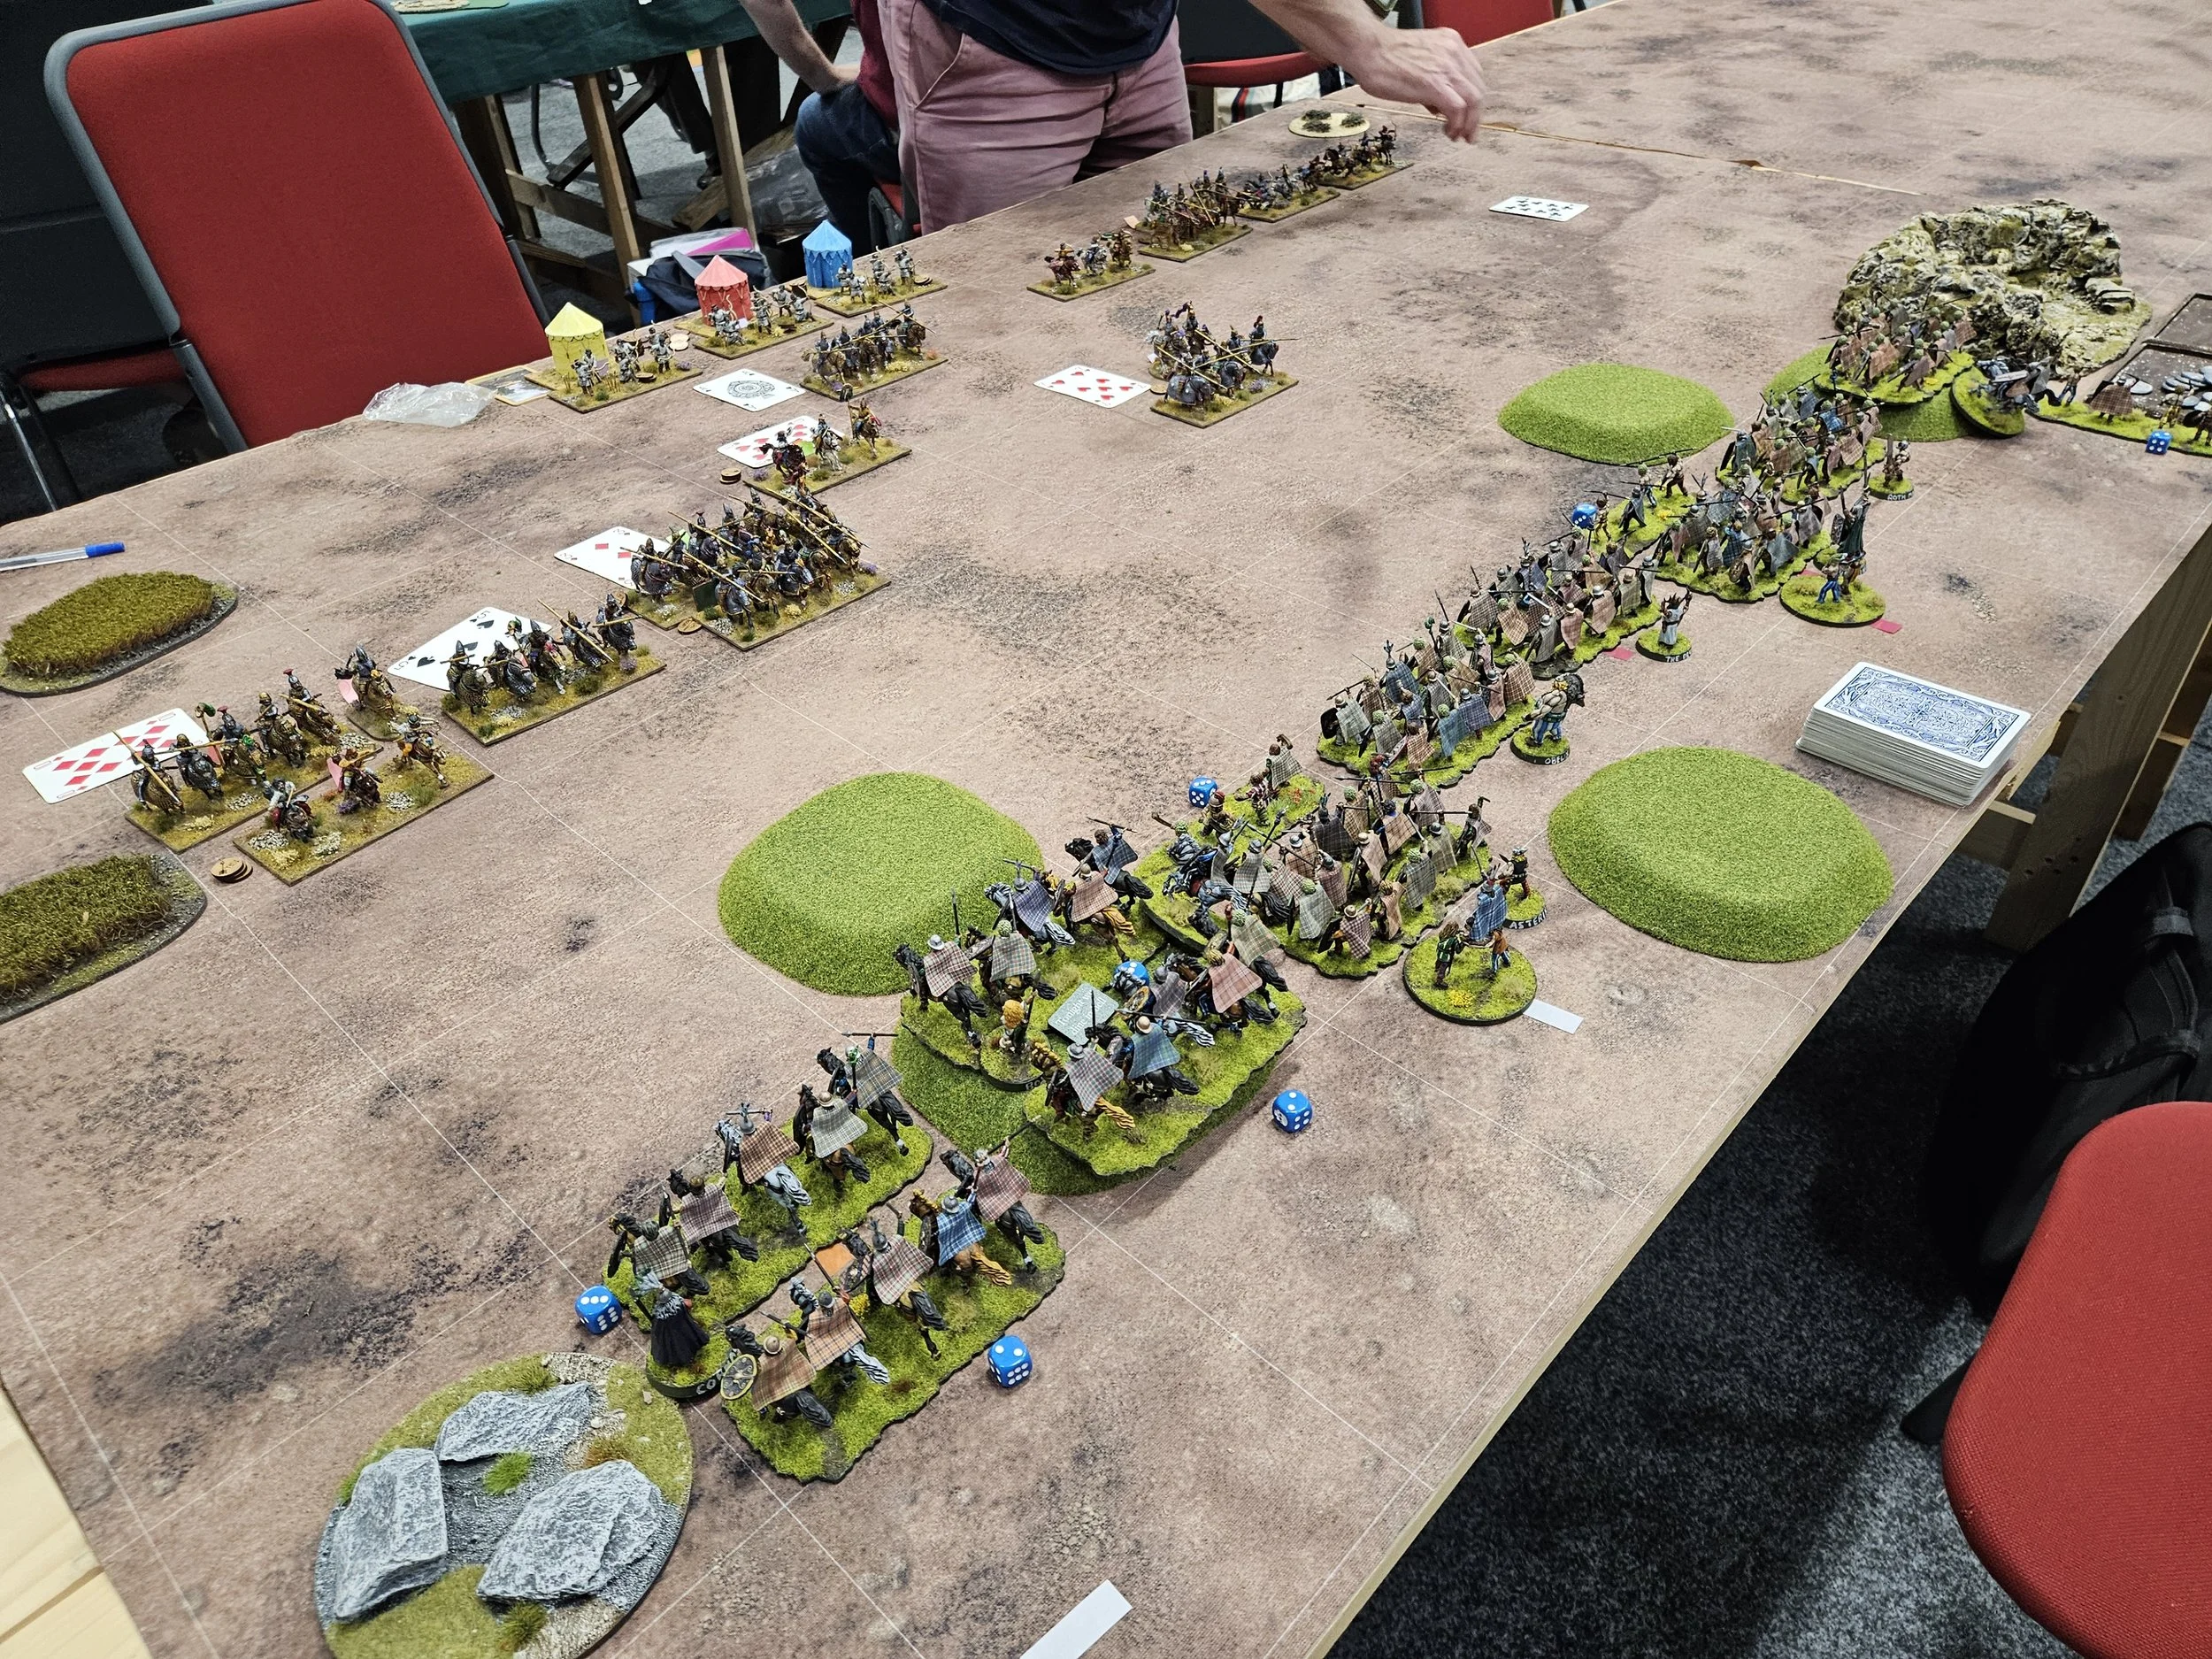
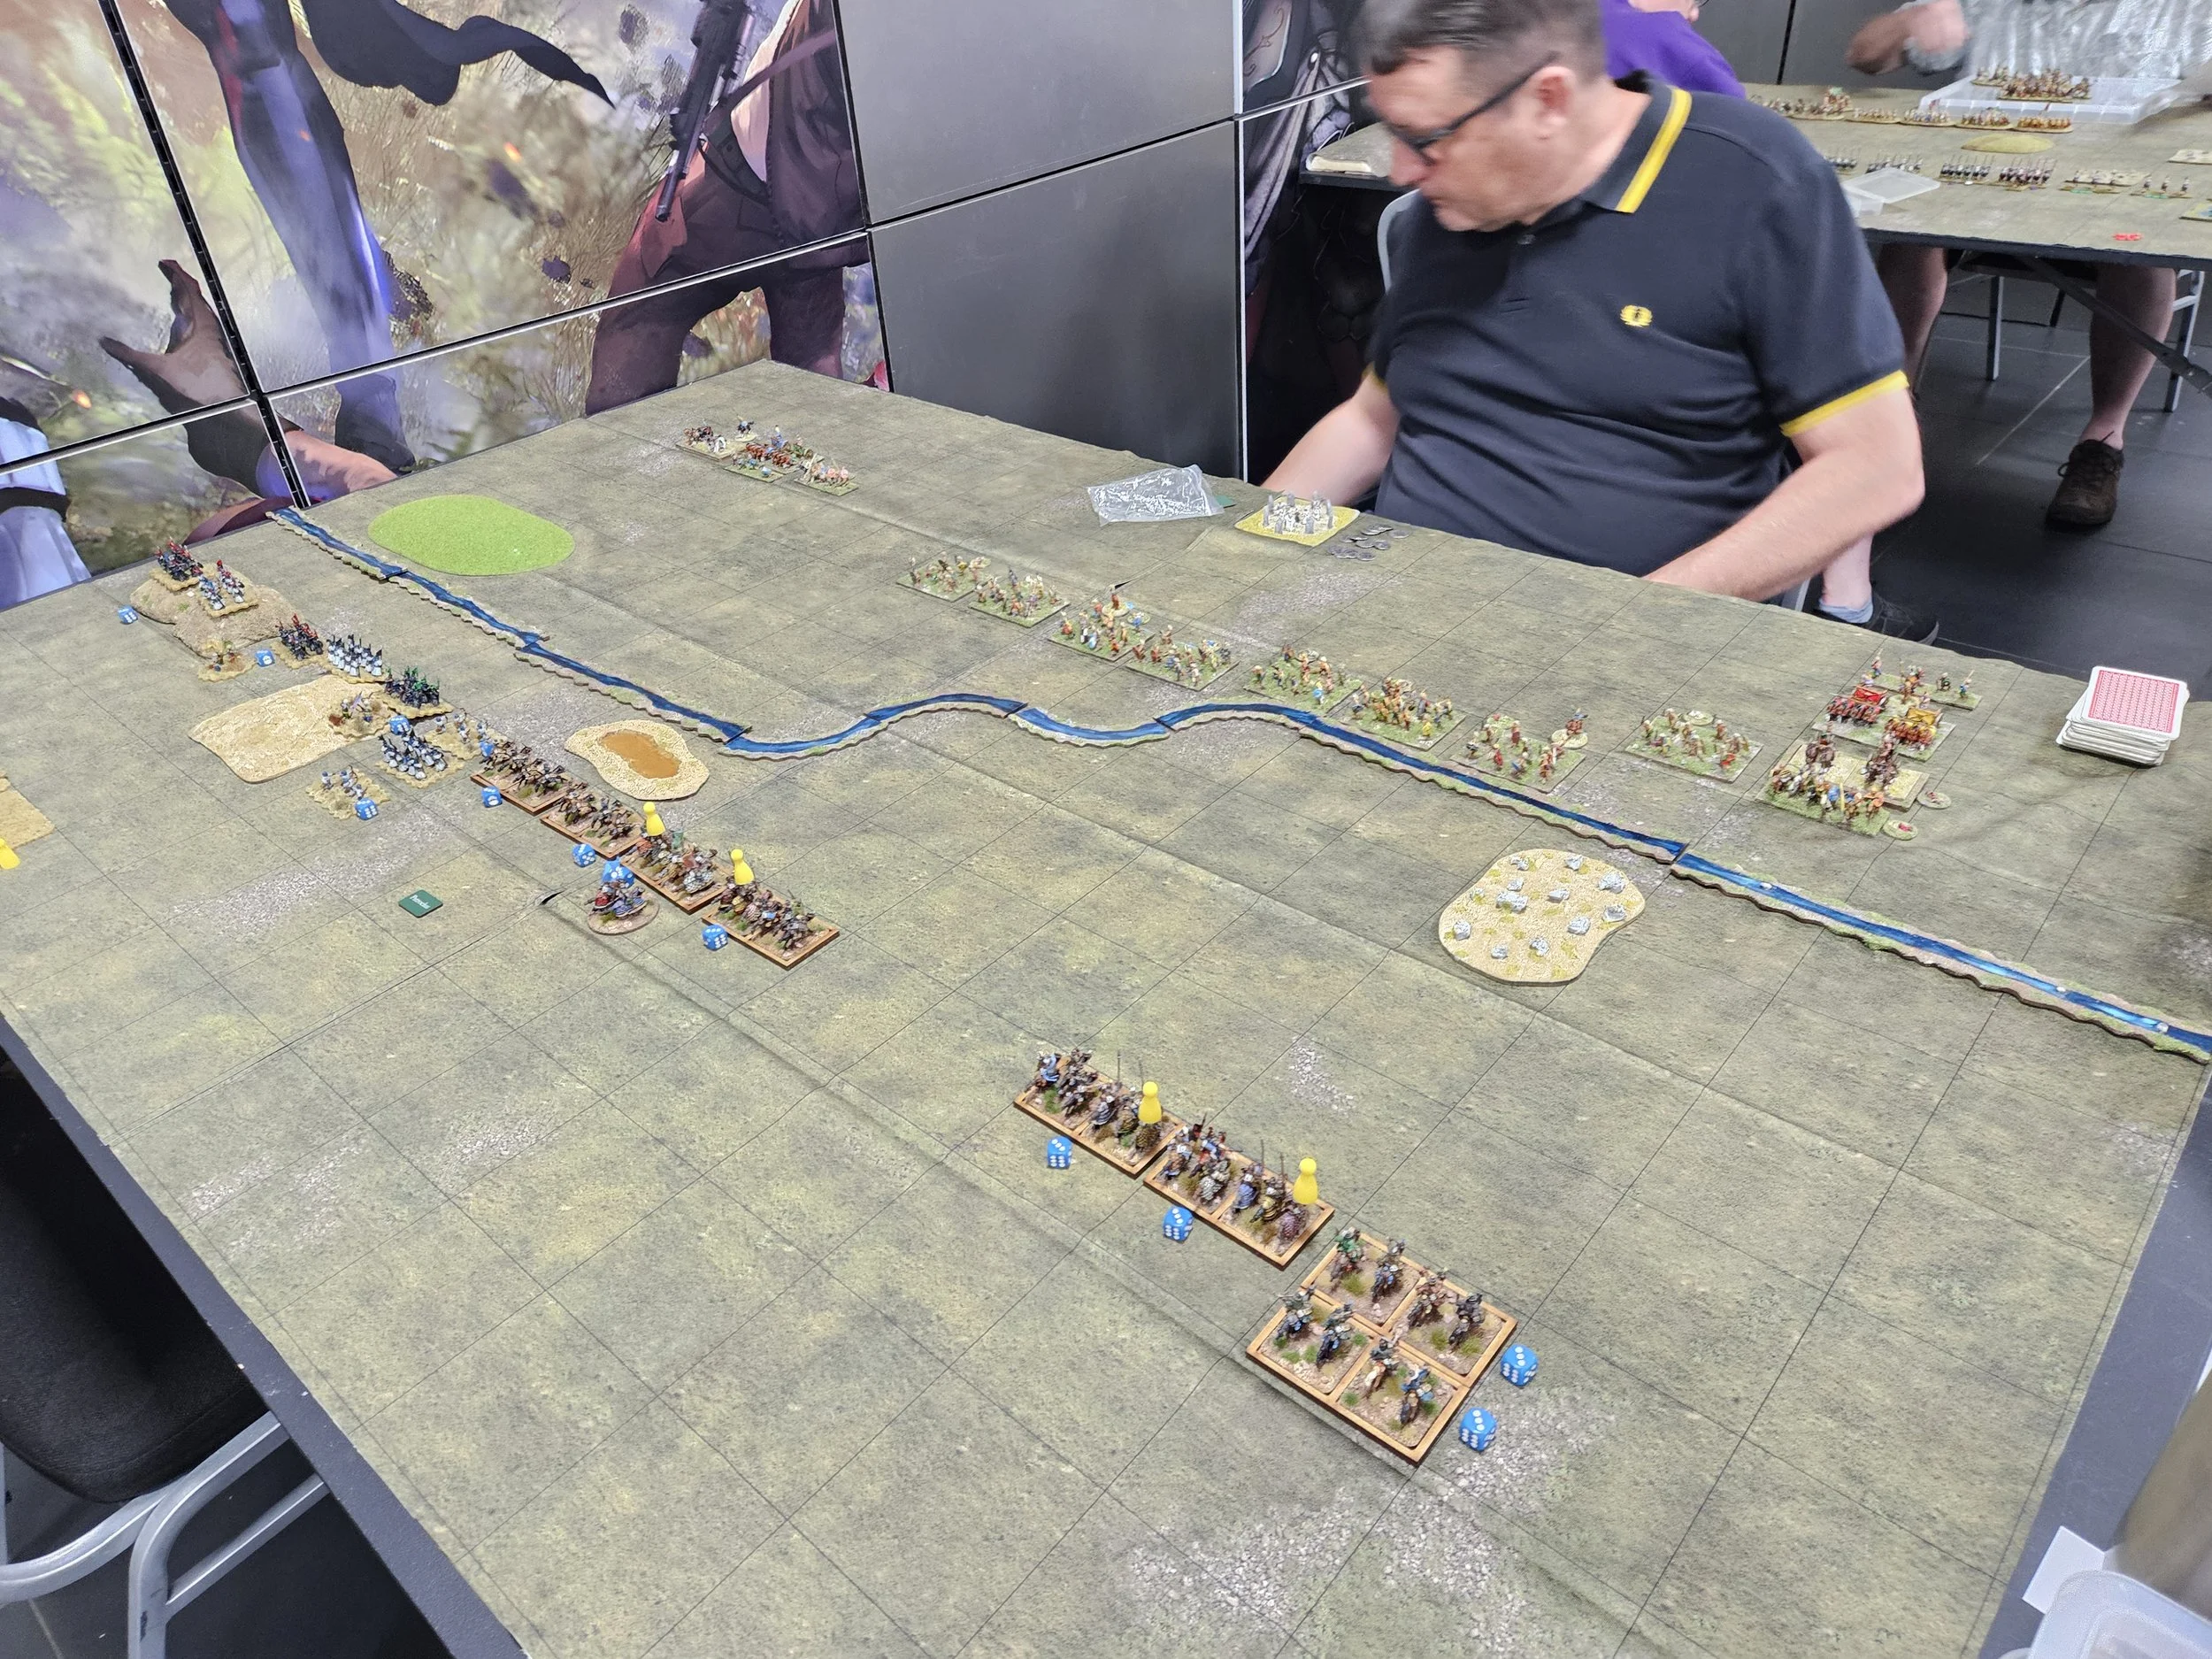
The two sides’ cavalry came together with a mighty and somewhat inconclusive crash. Looking at the pictures, it looks as if I managed to get more disorders on this first charge than Richard did, but that was mainly, I think, because those troops who were not receiving the frontal assault could pour bowfire into the flanks of the advancing Jund cavalry and their following infantry.

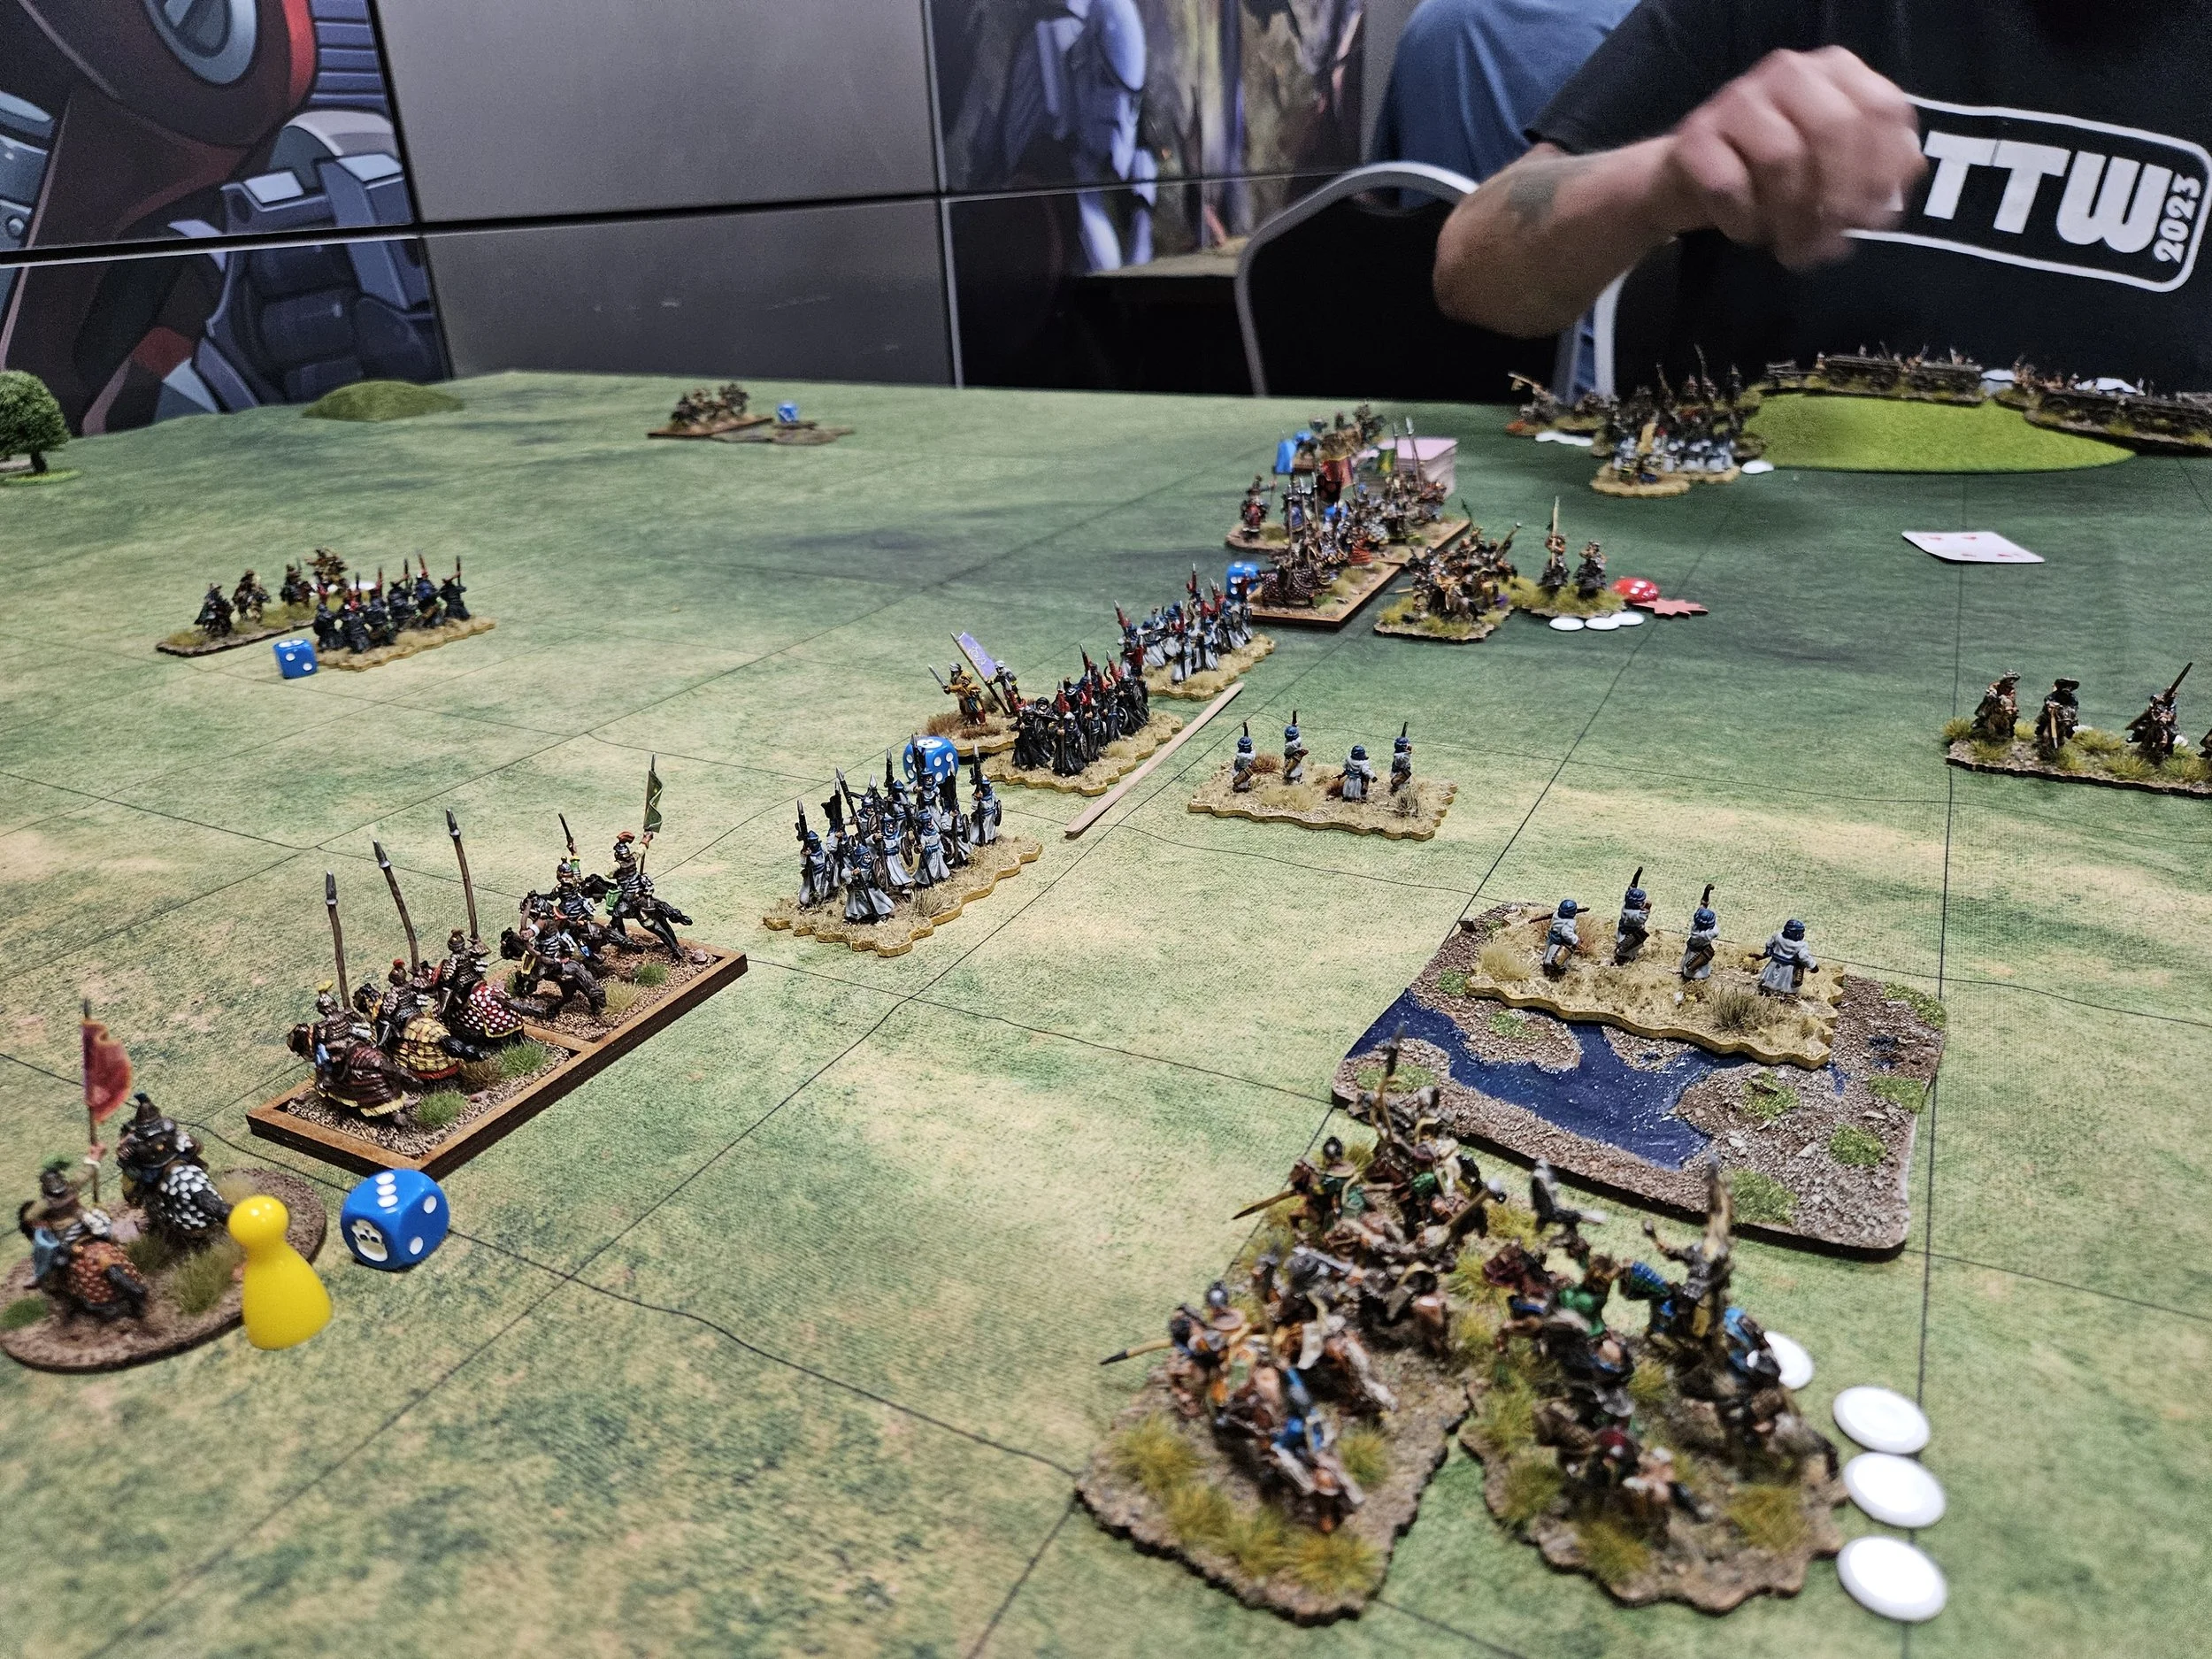
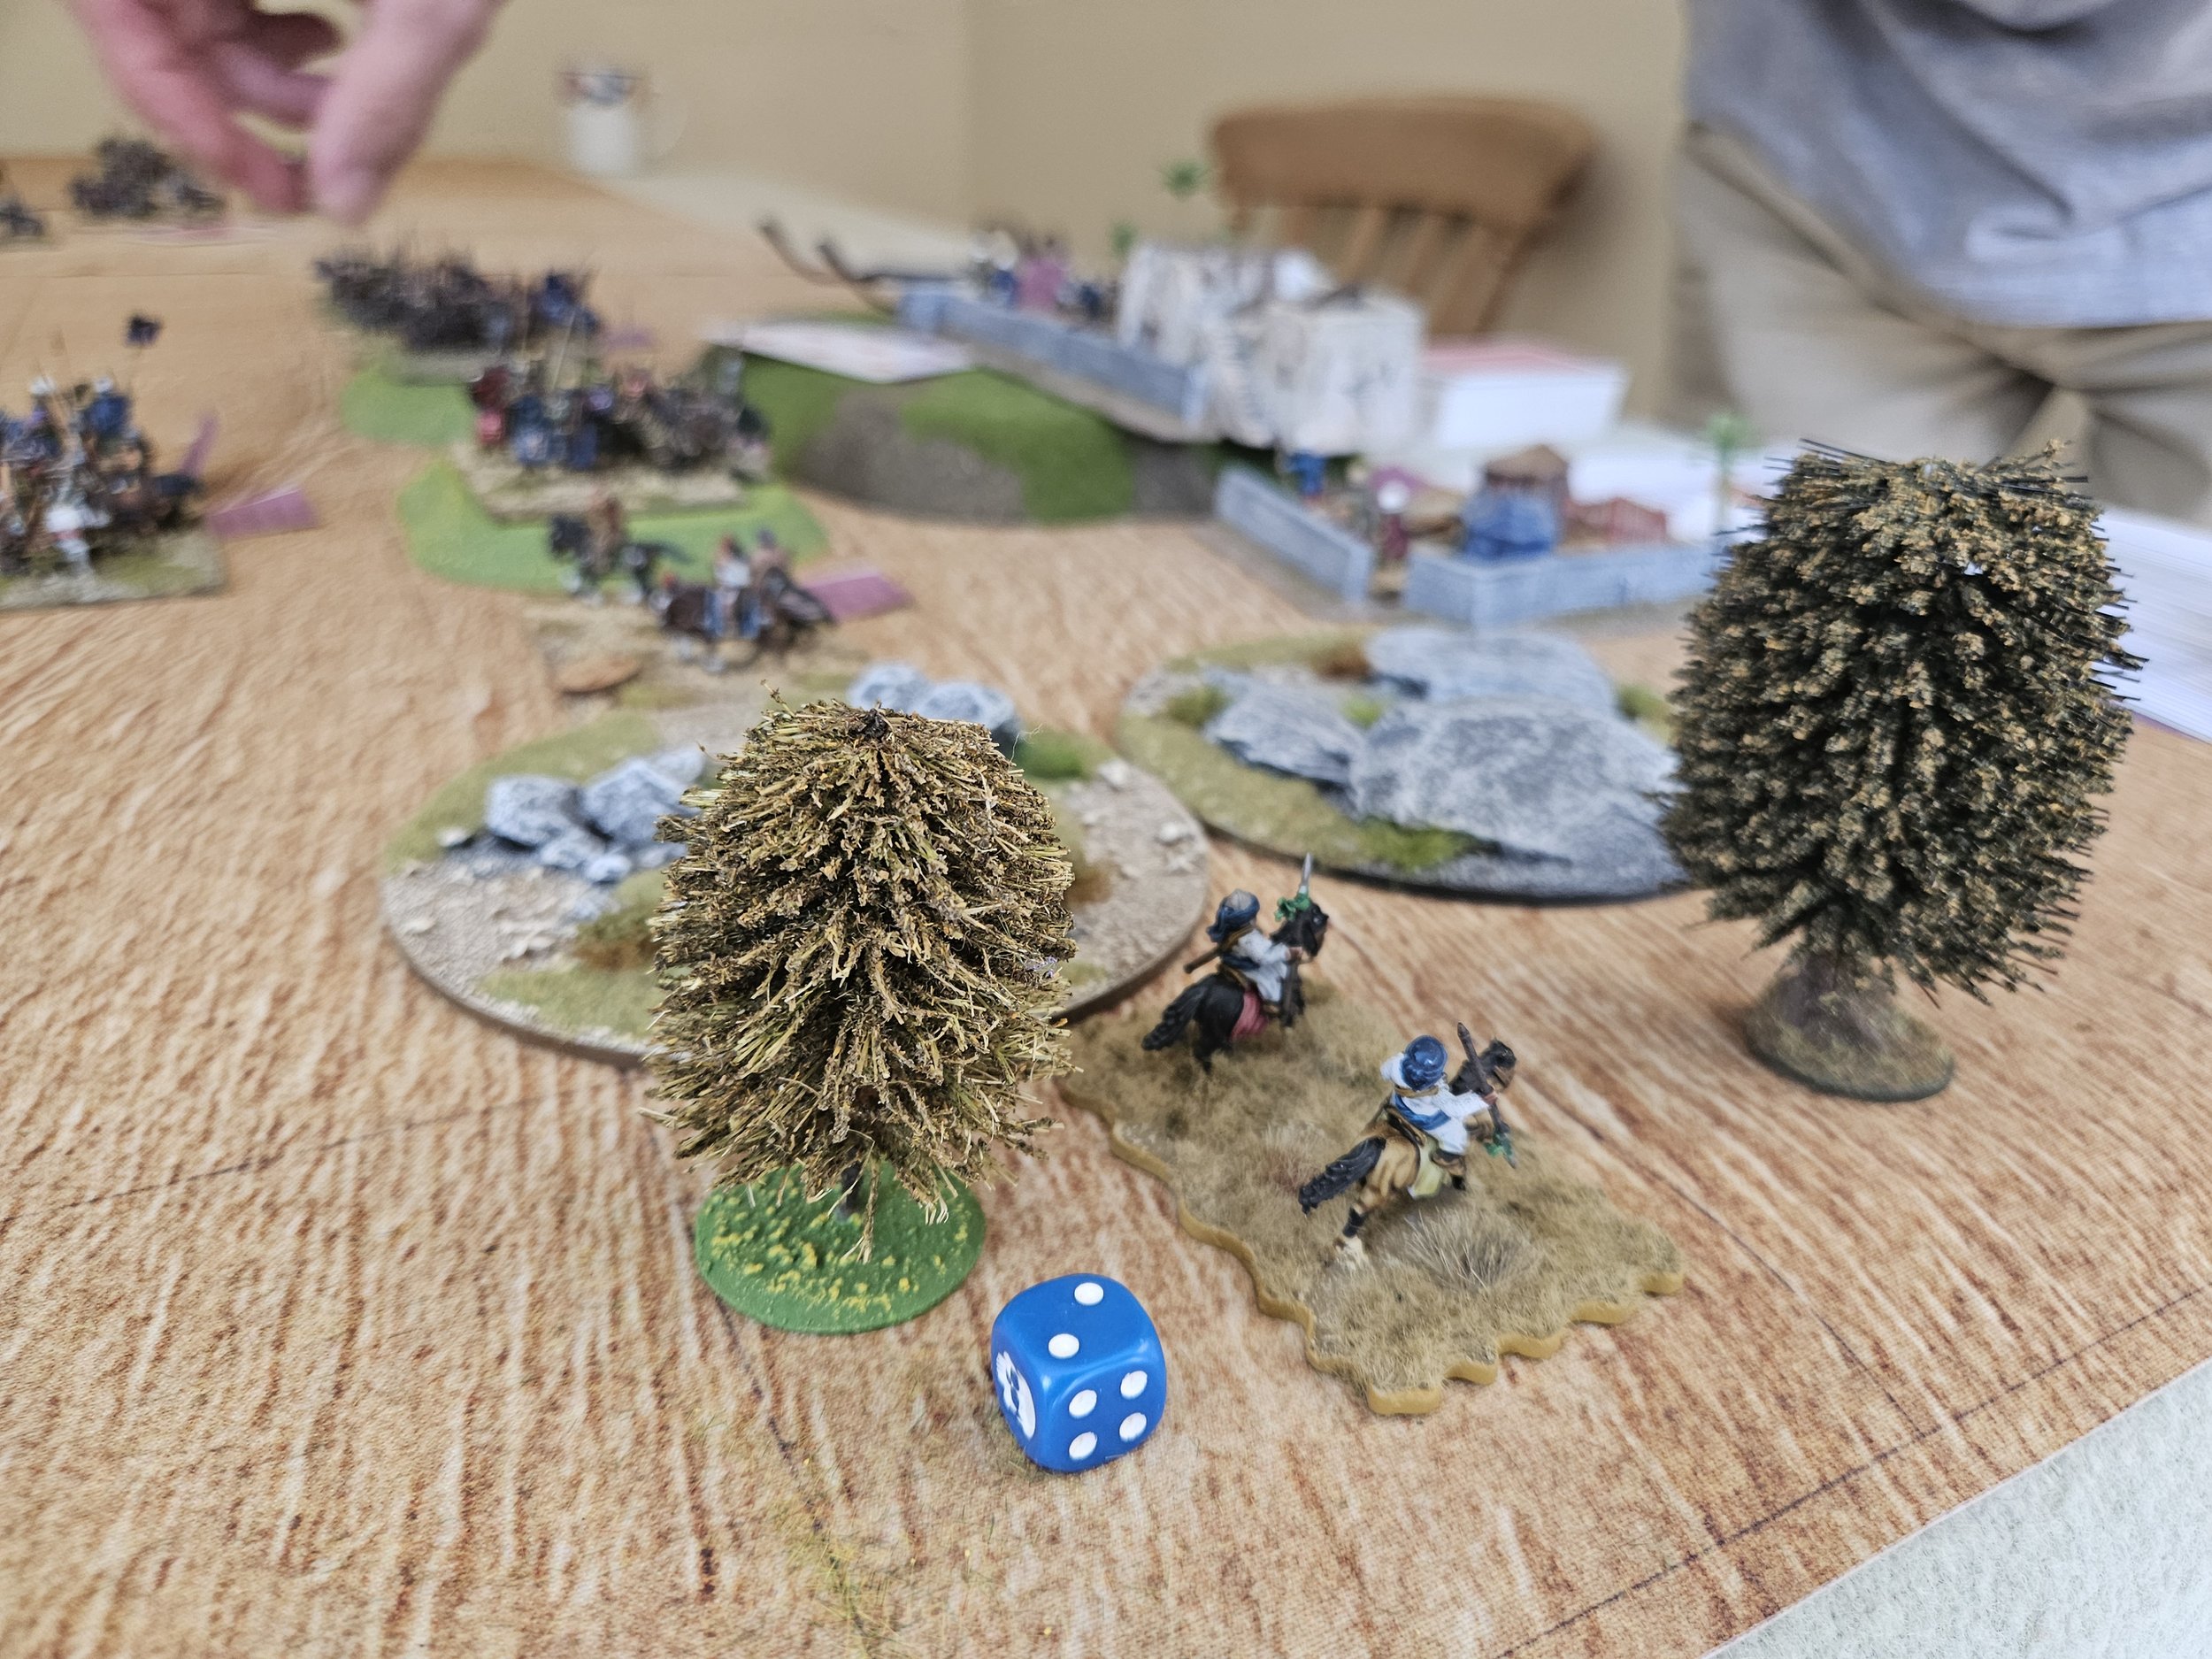
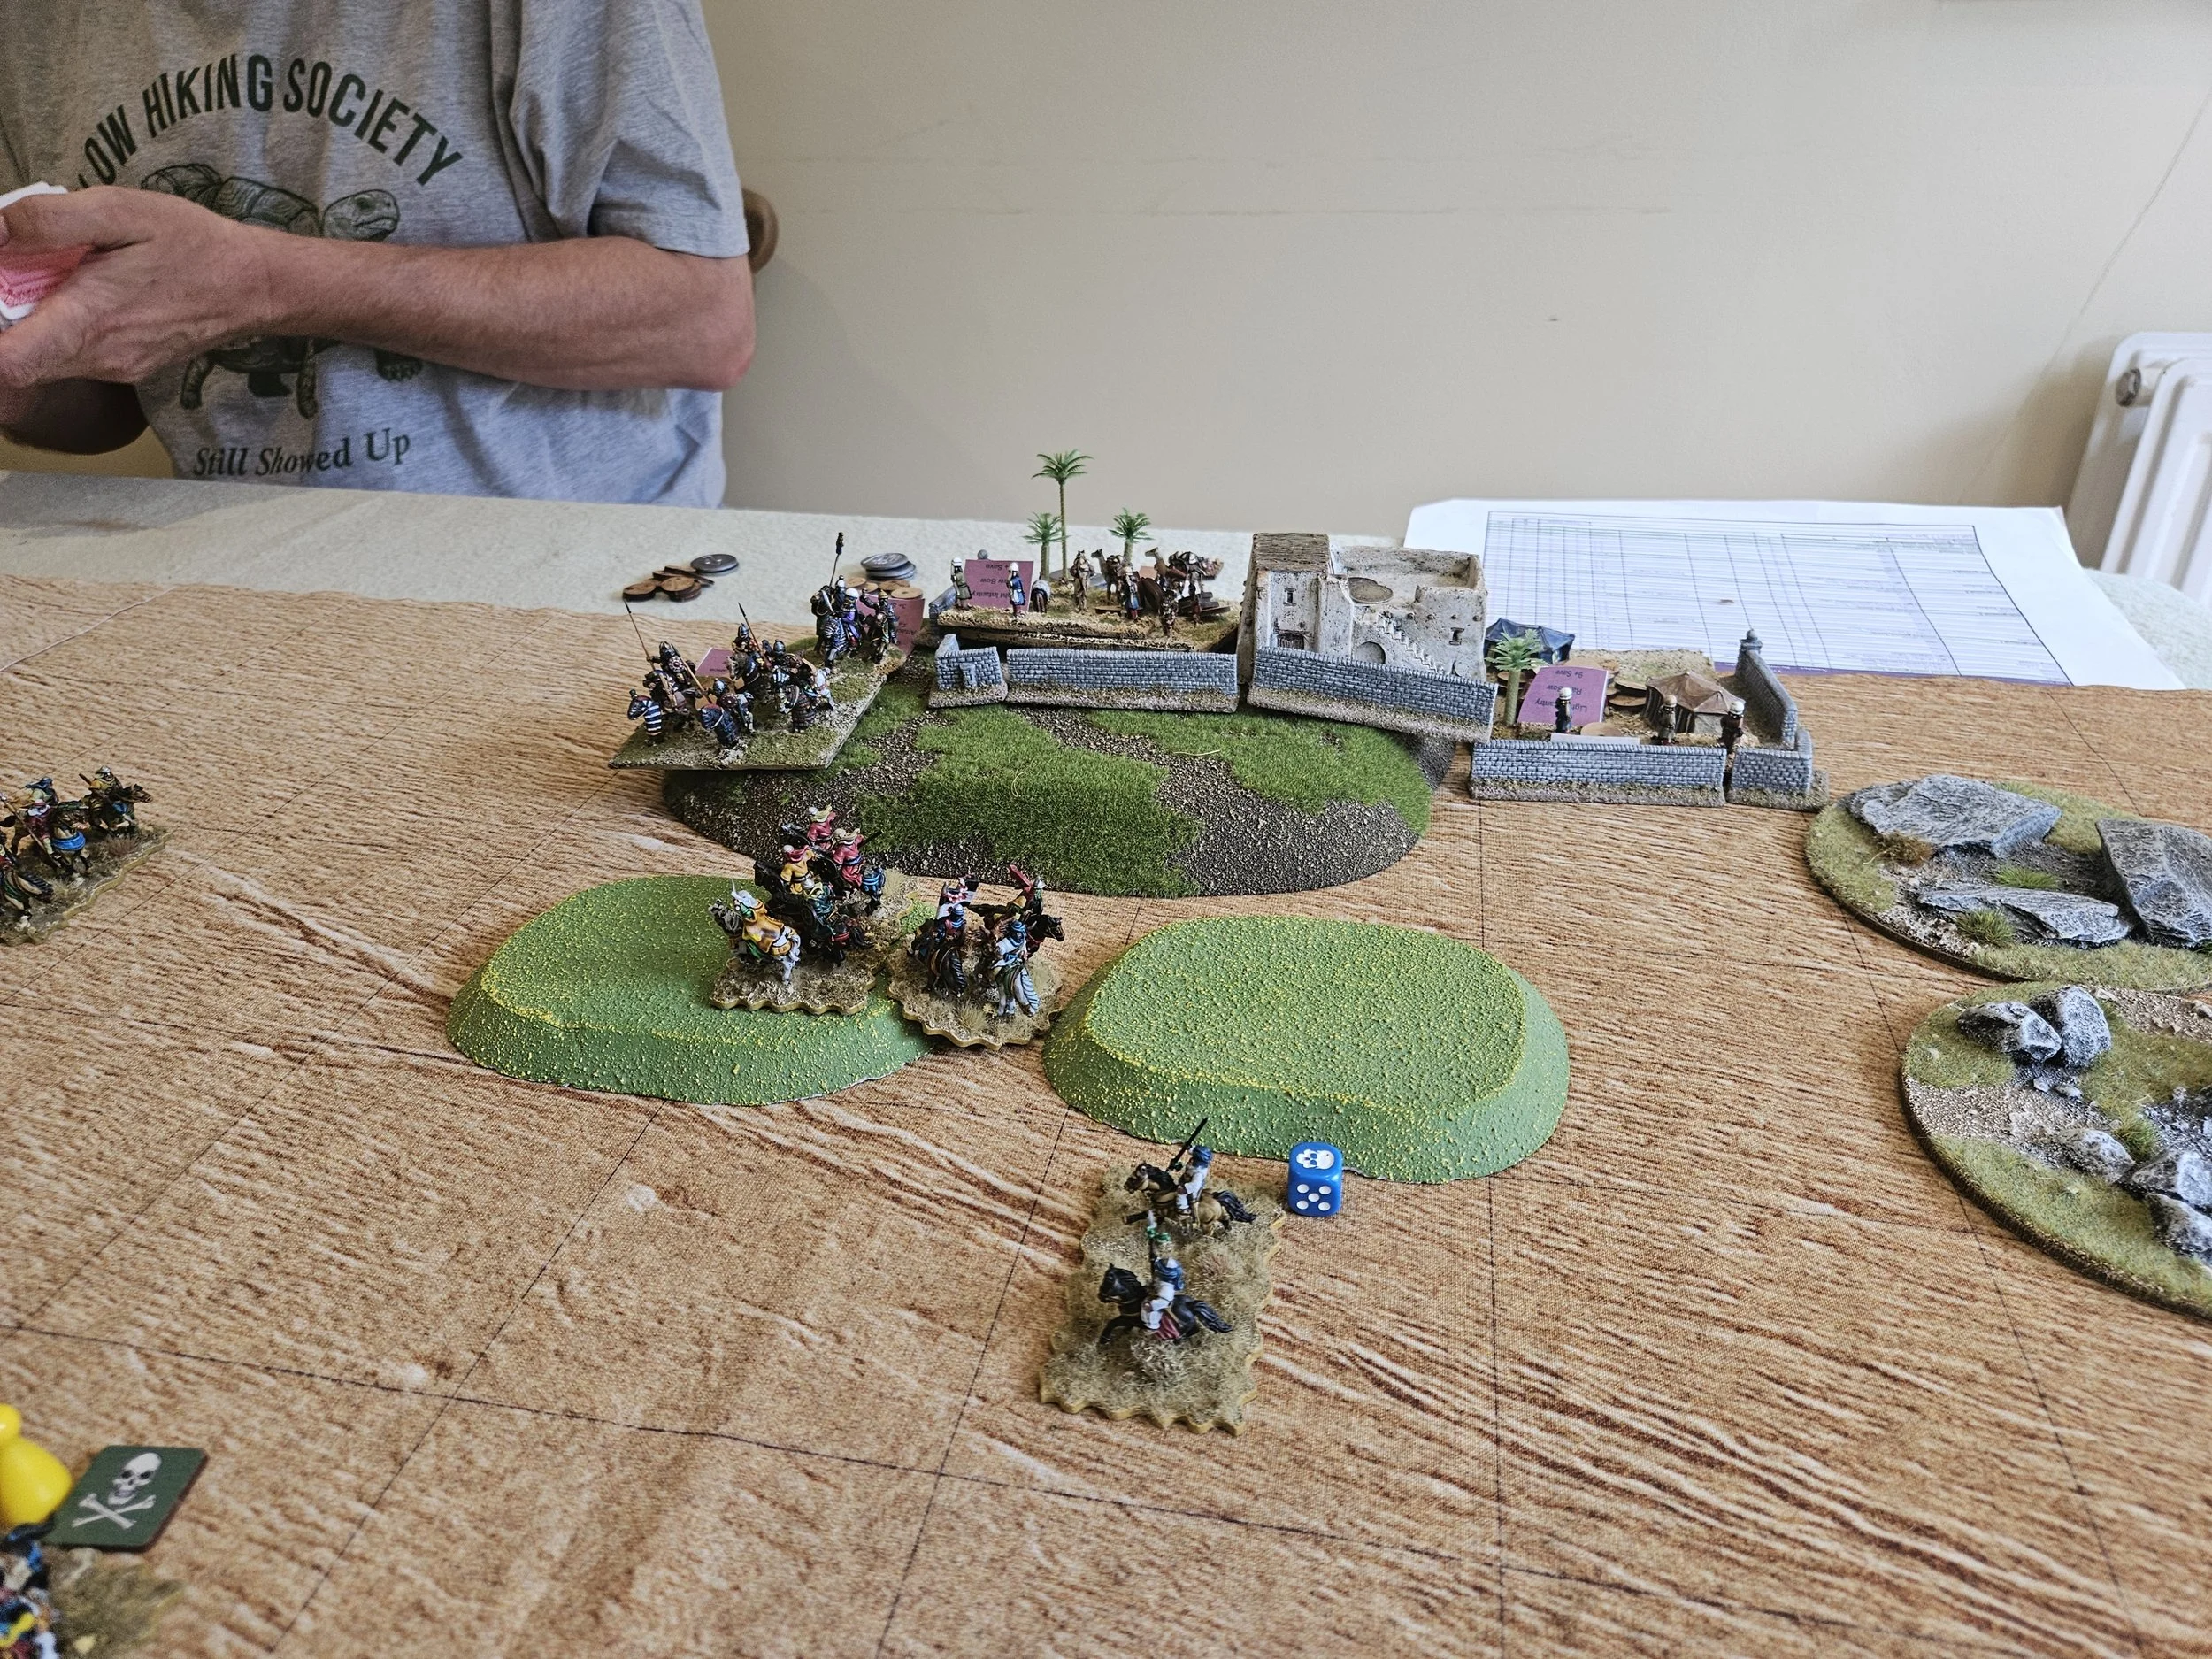
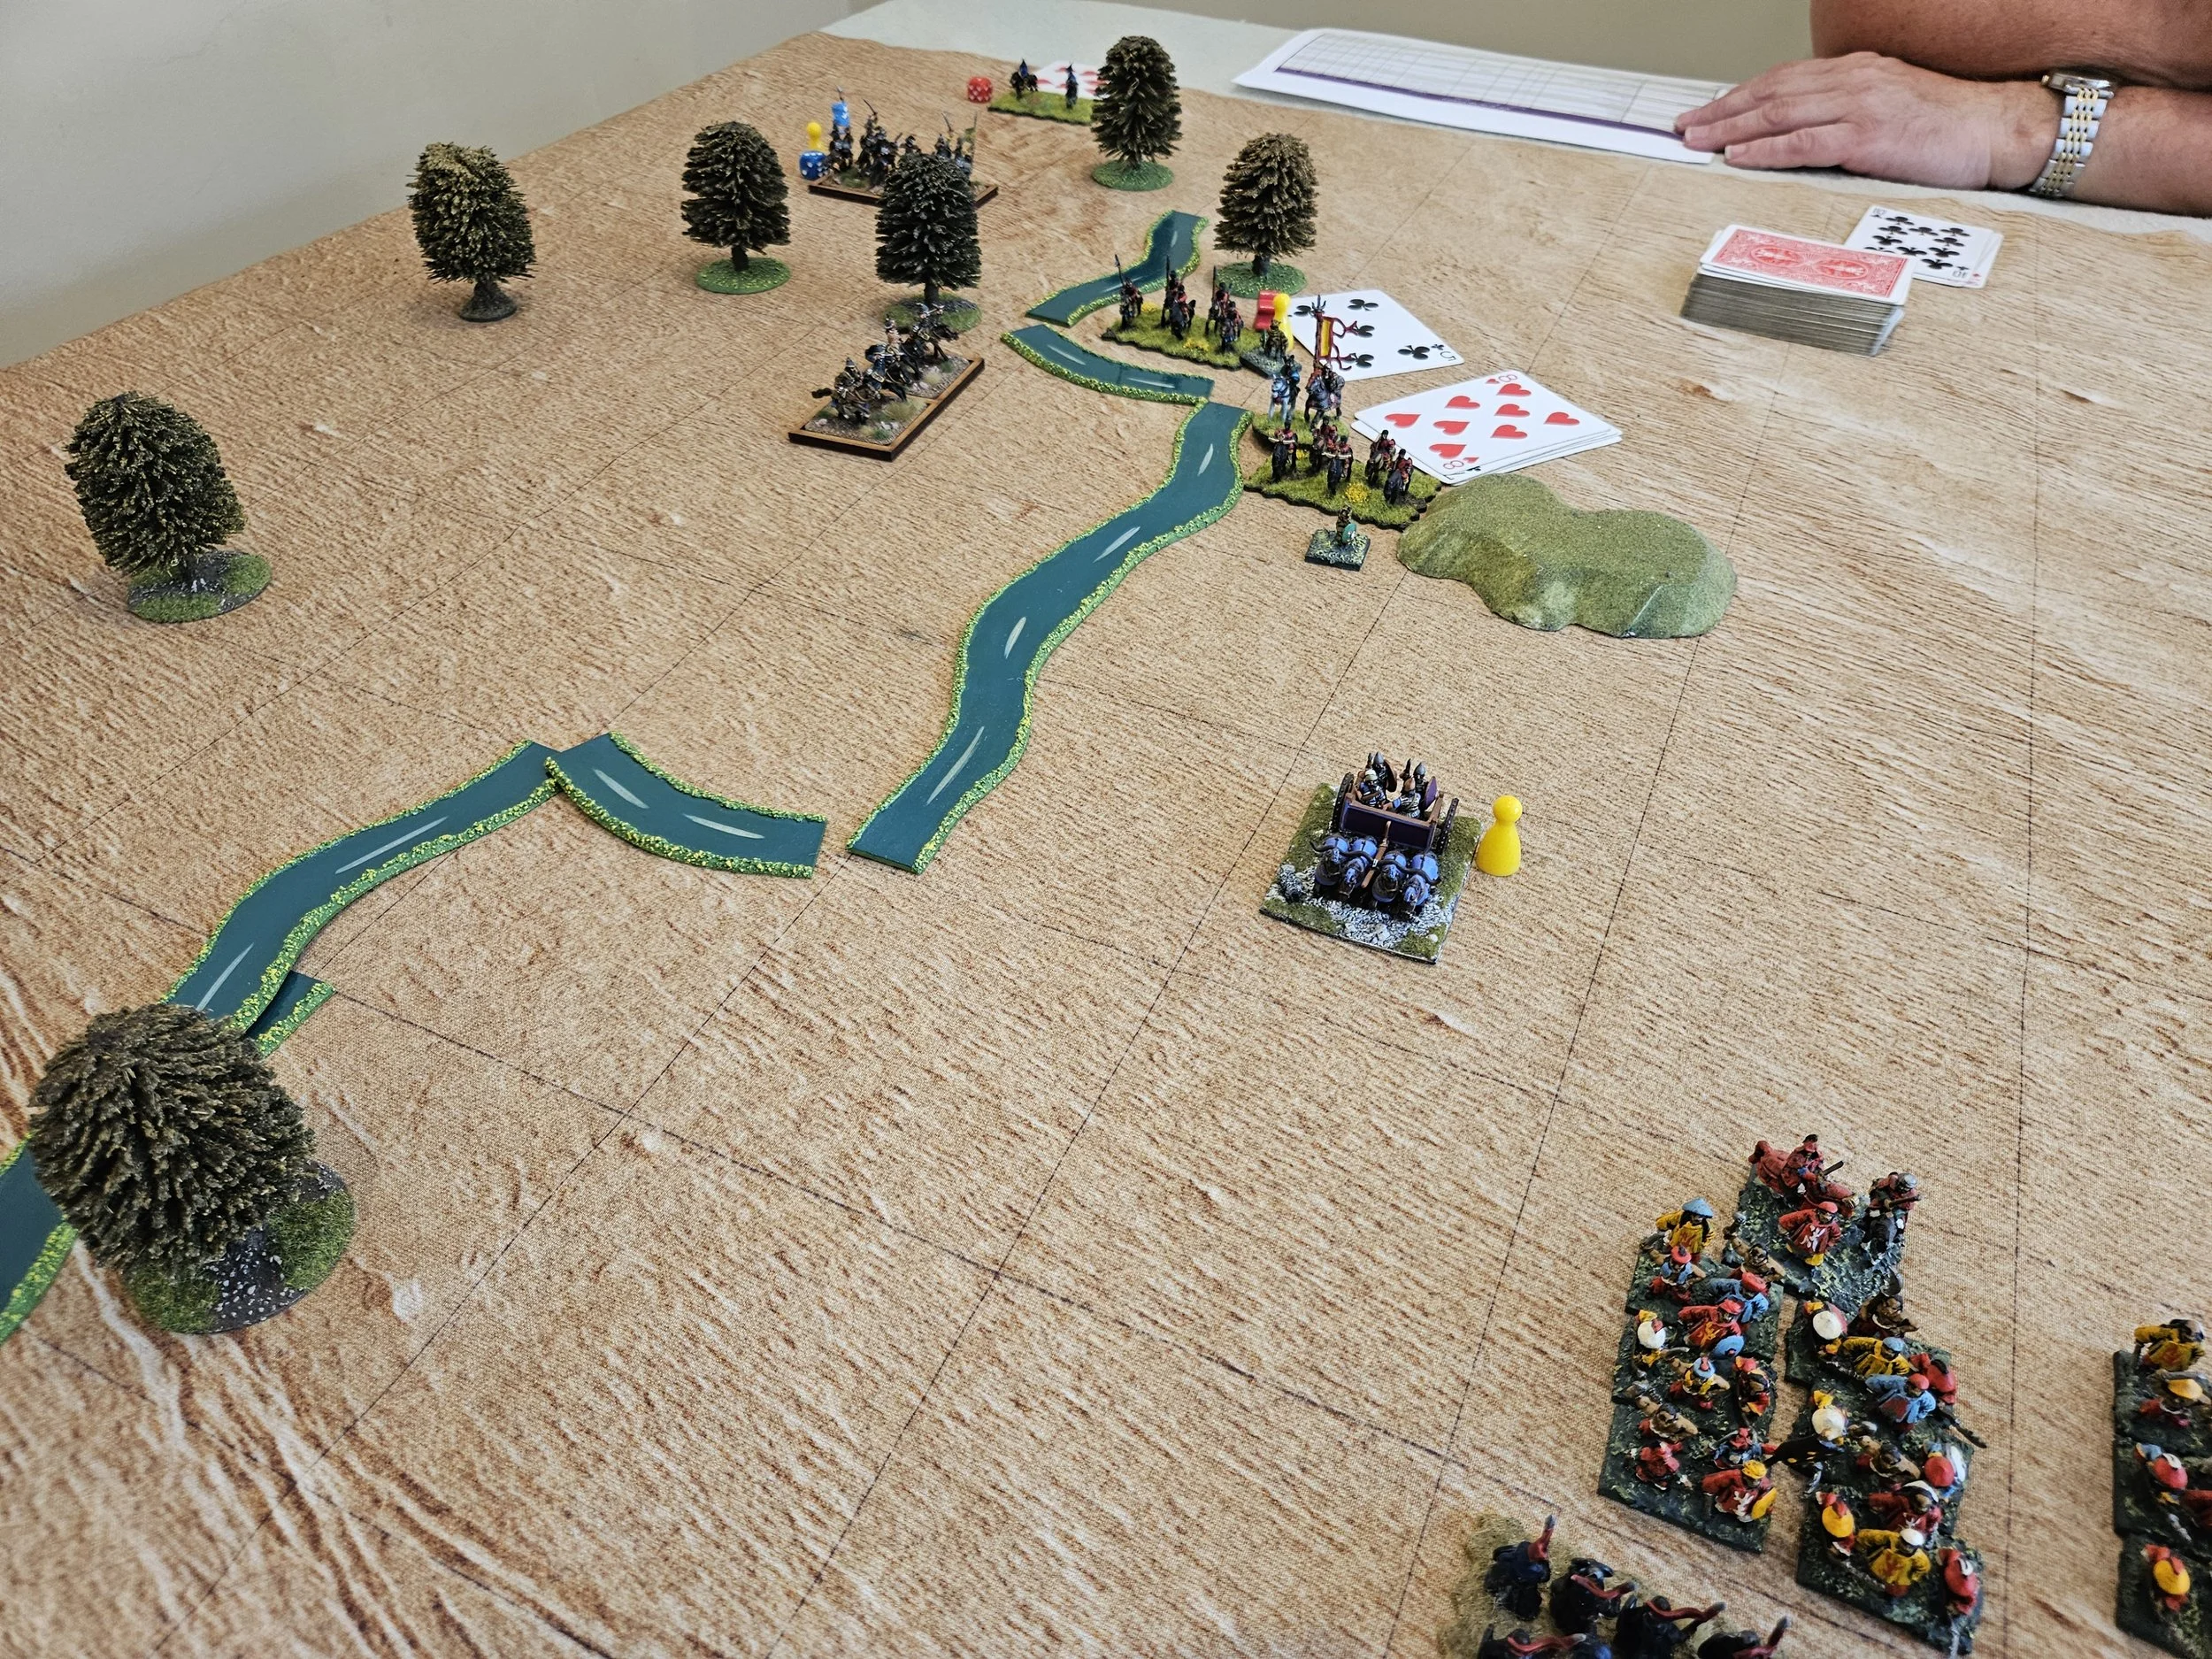
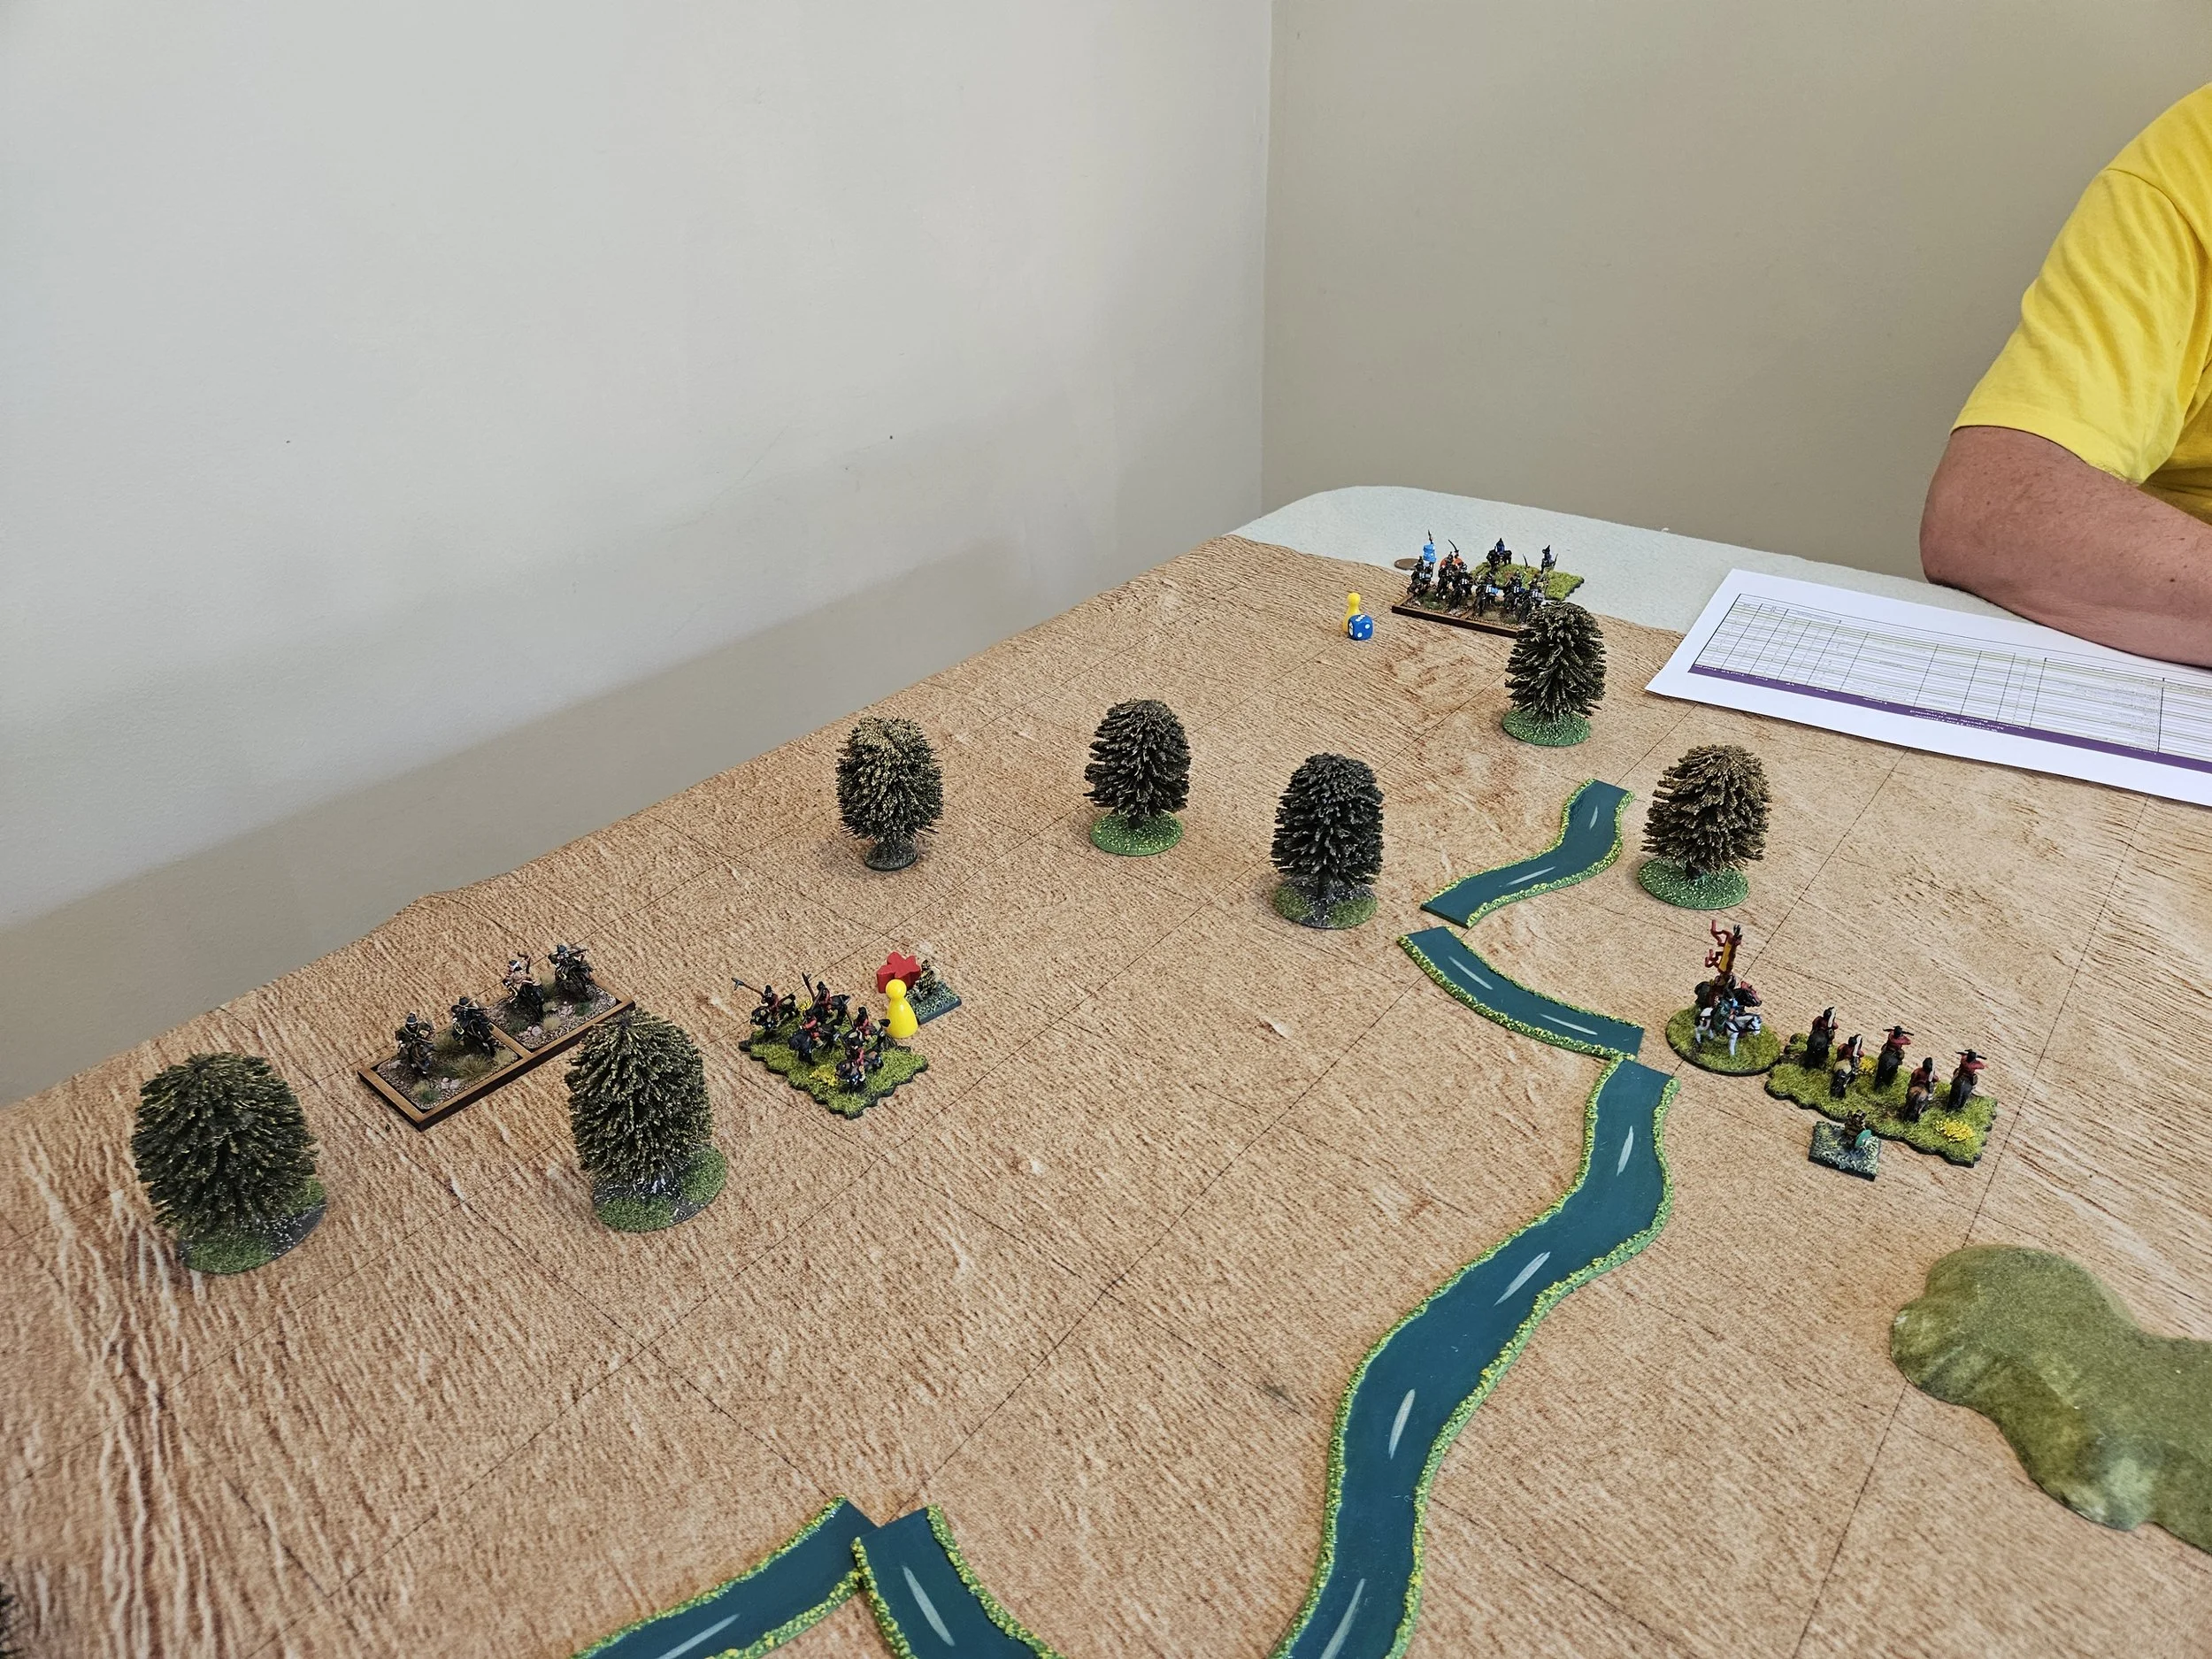
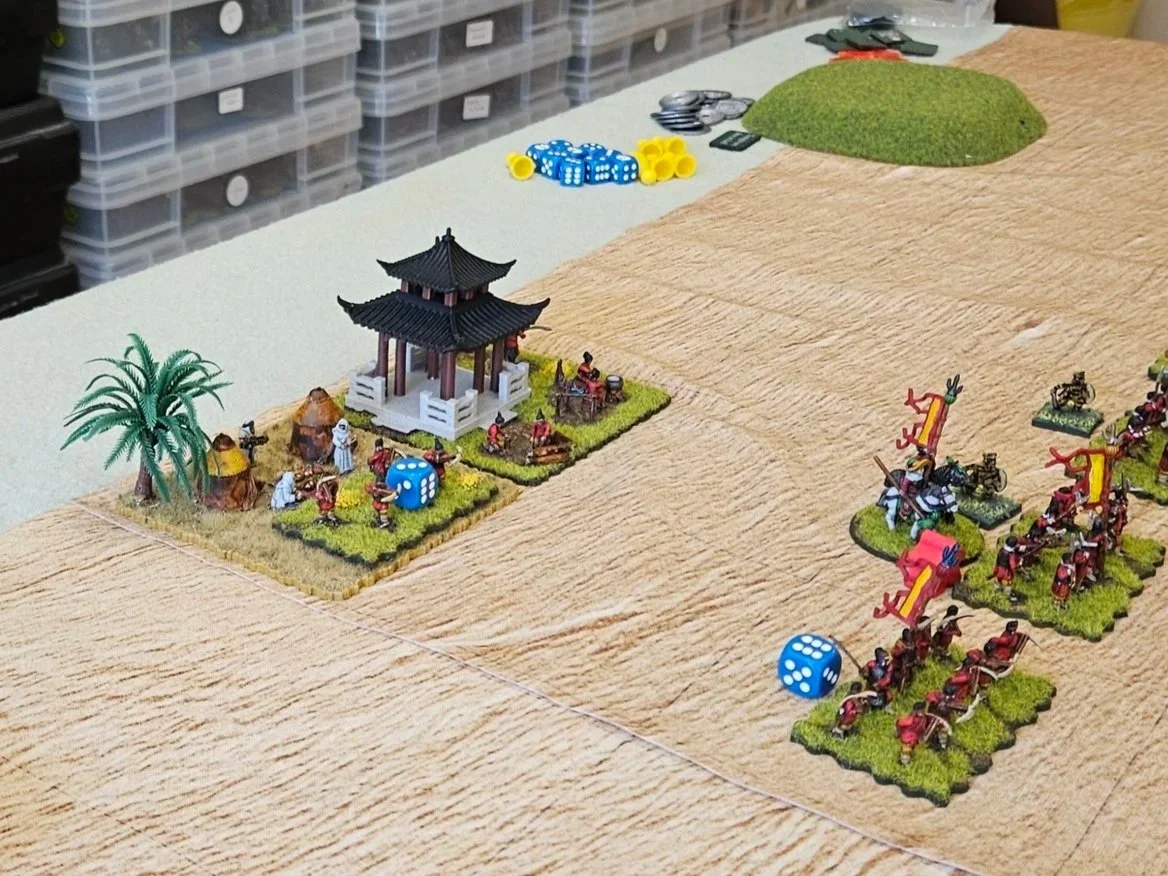
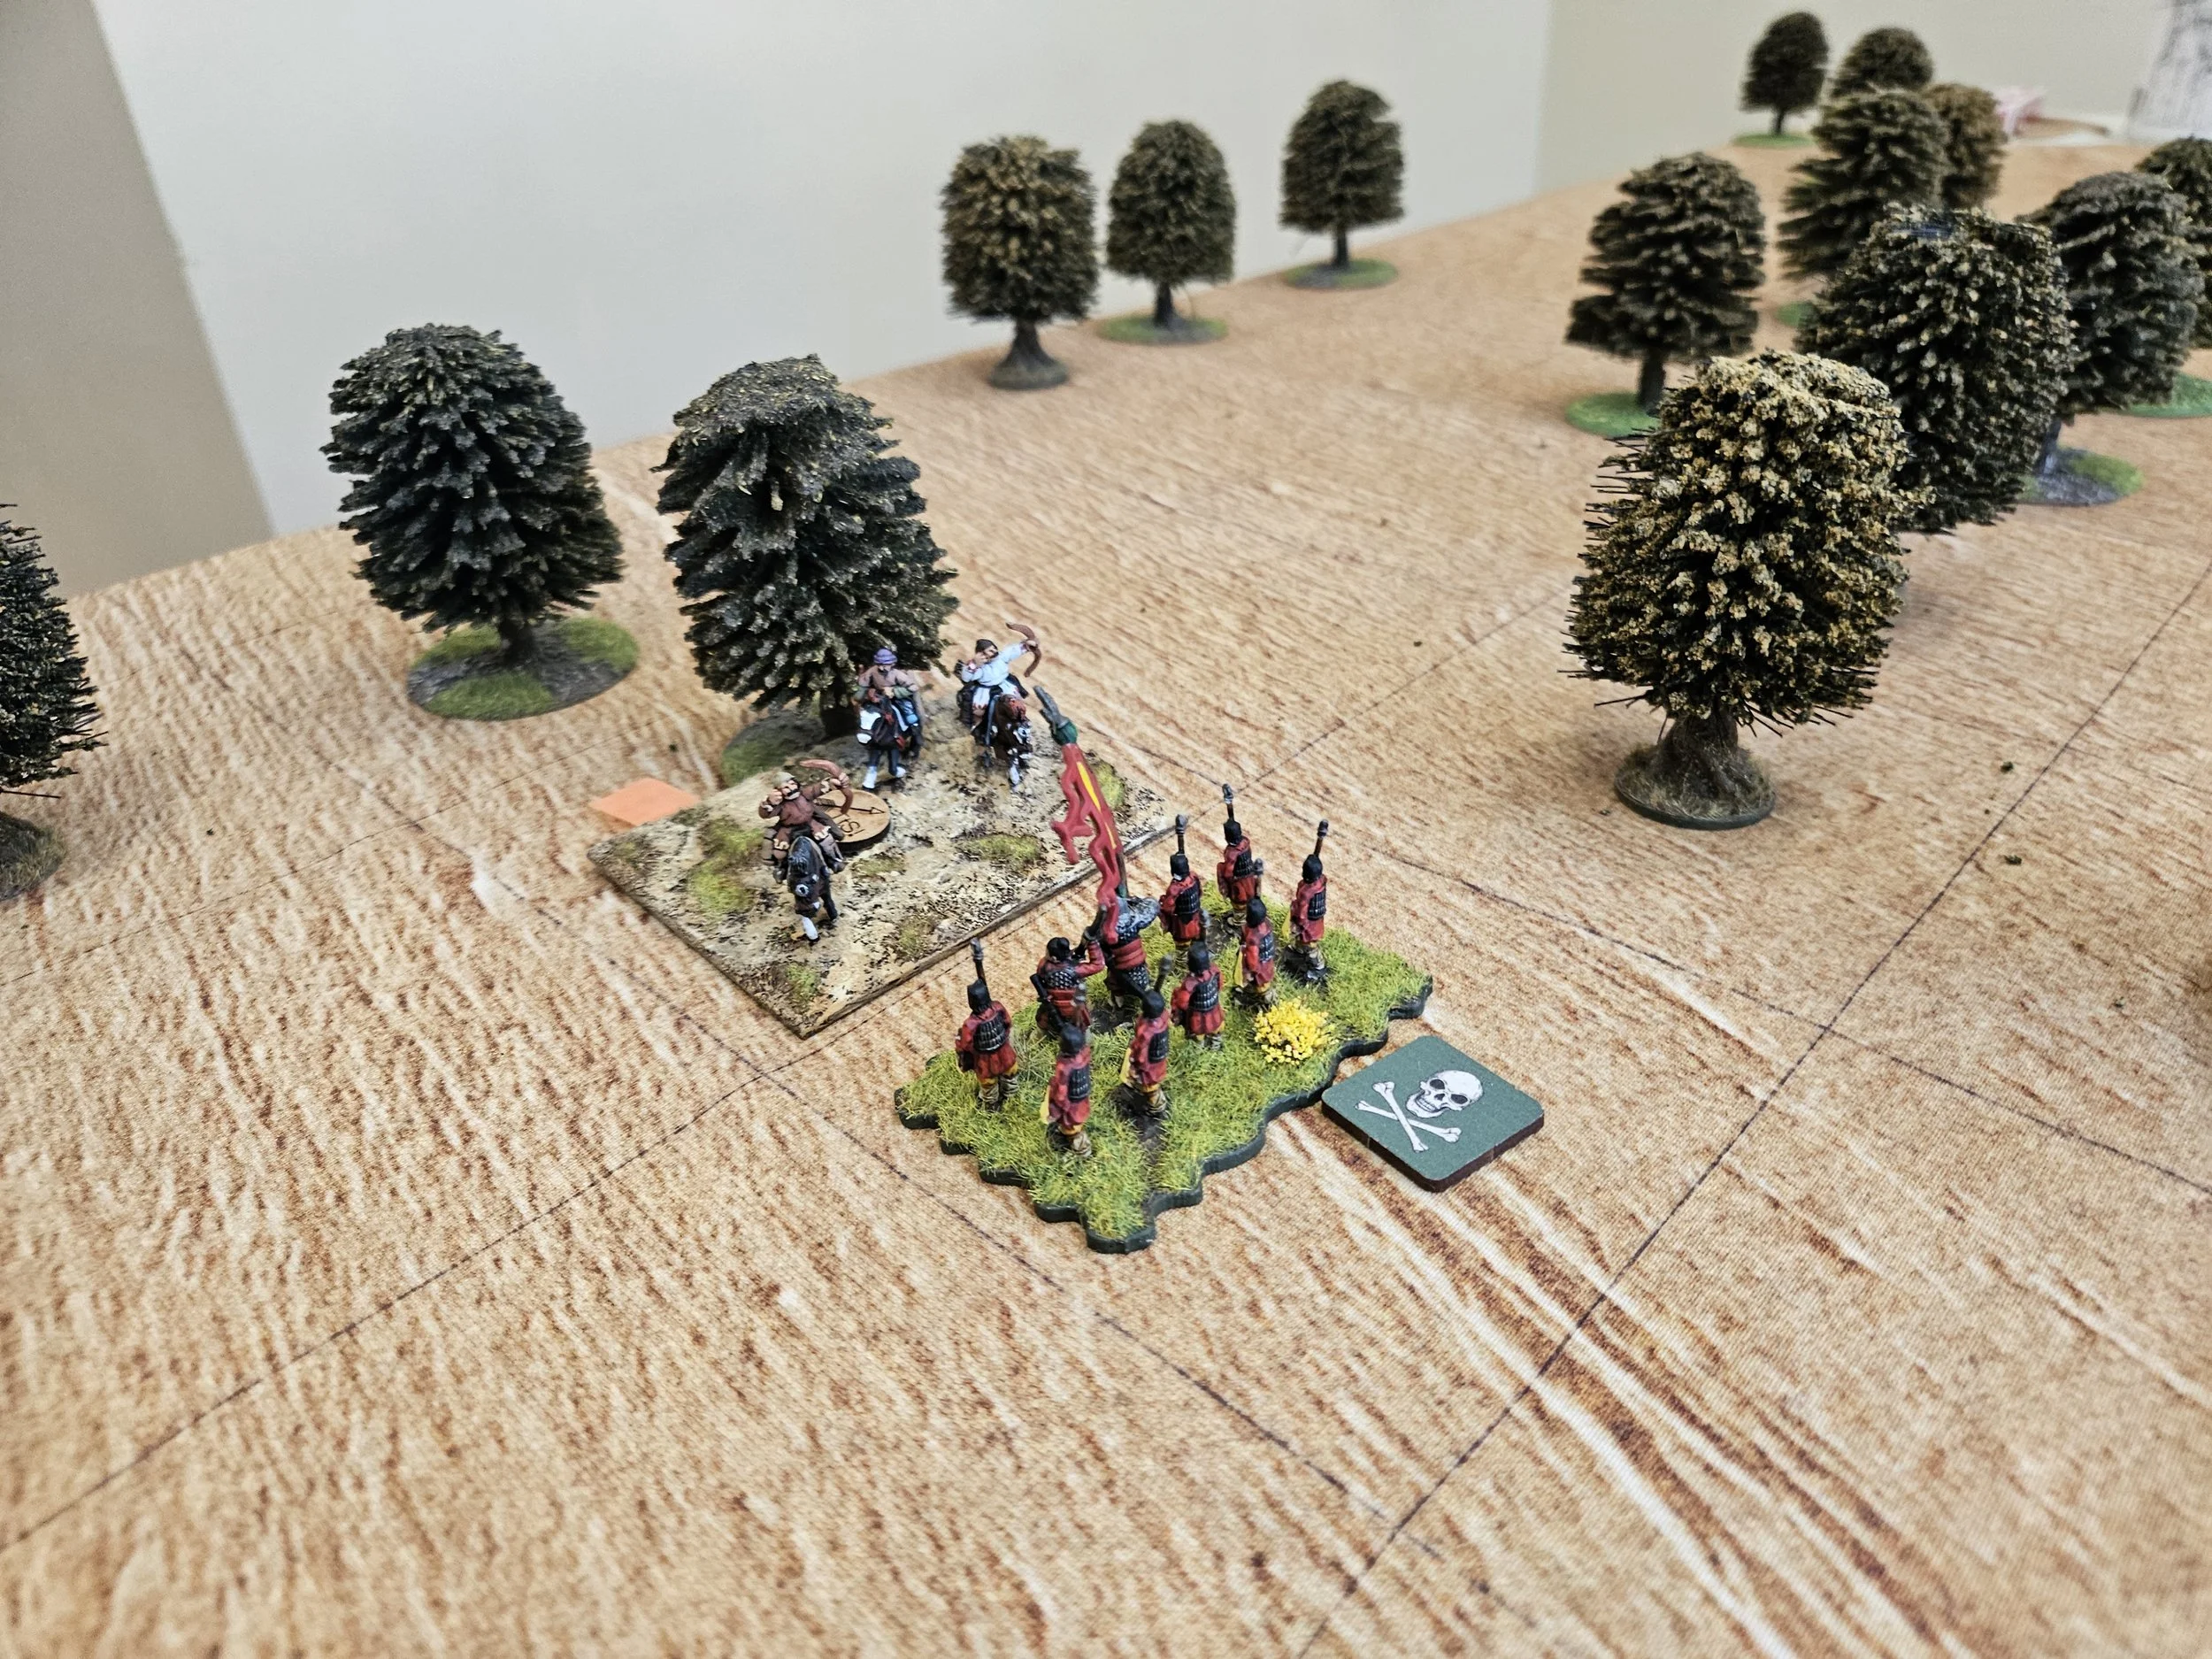
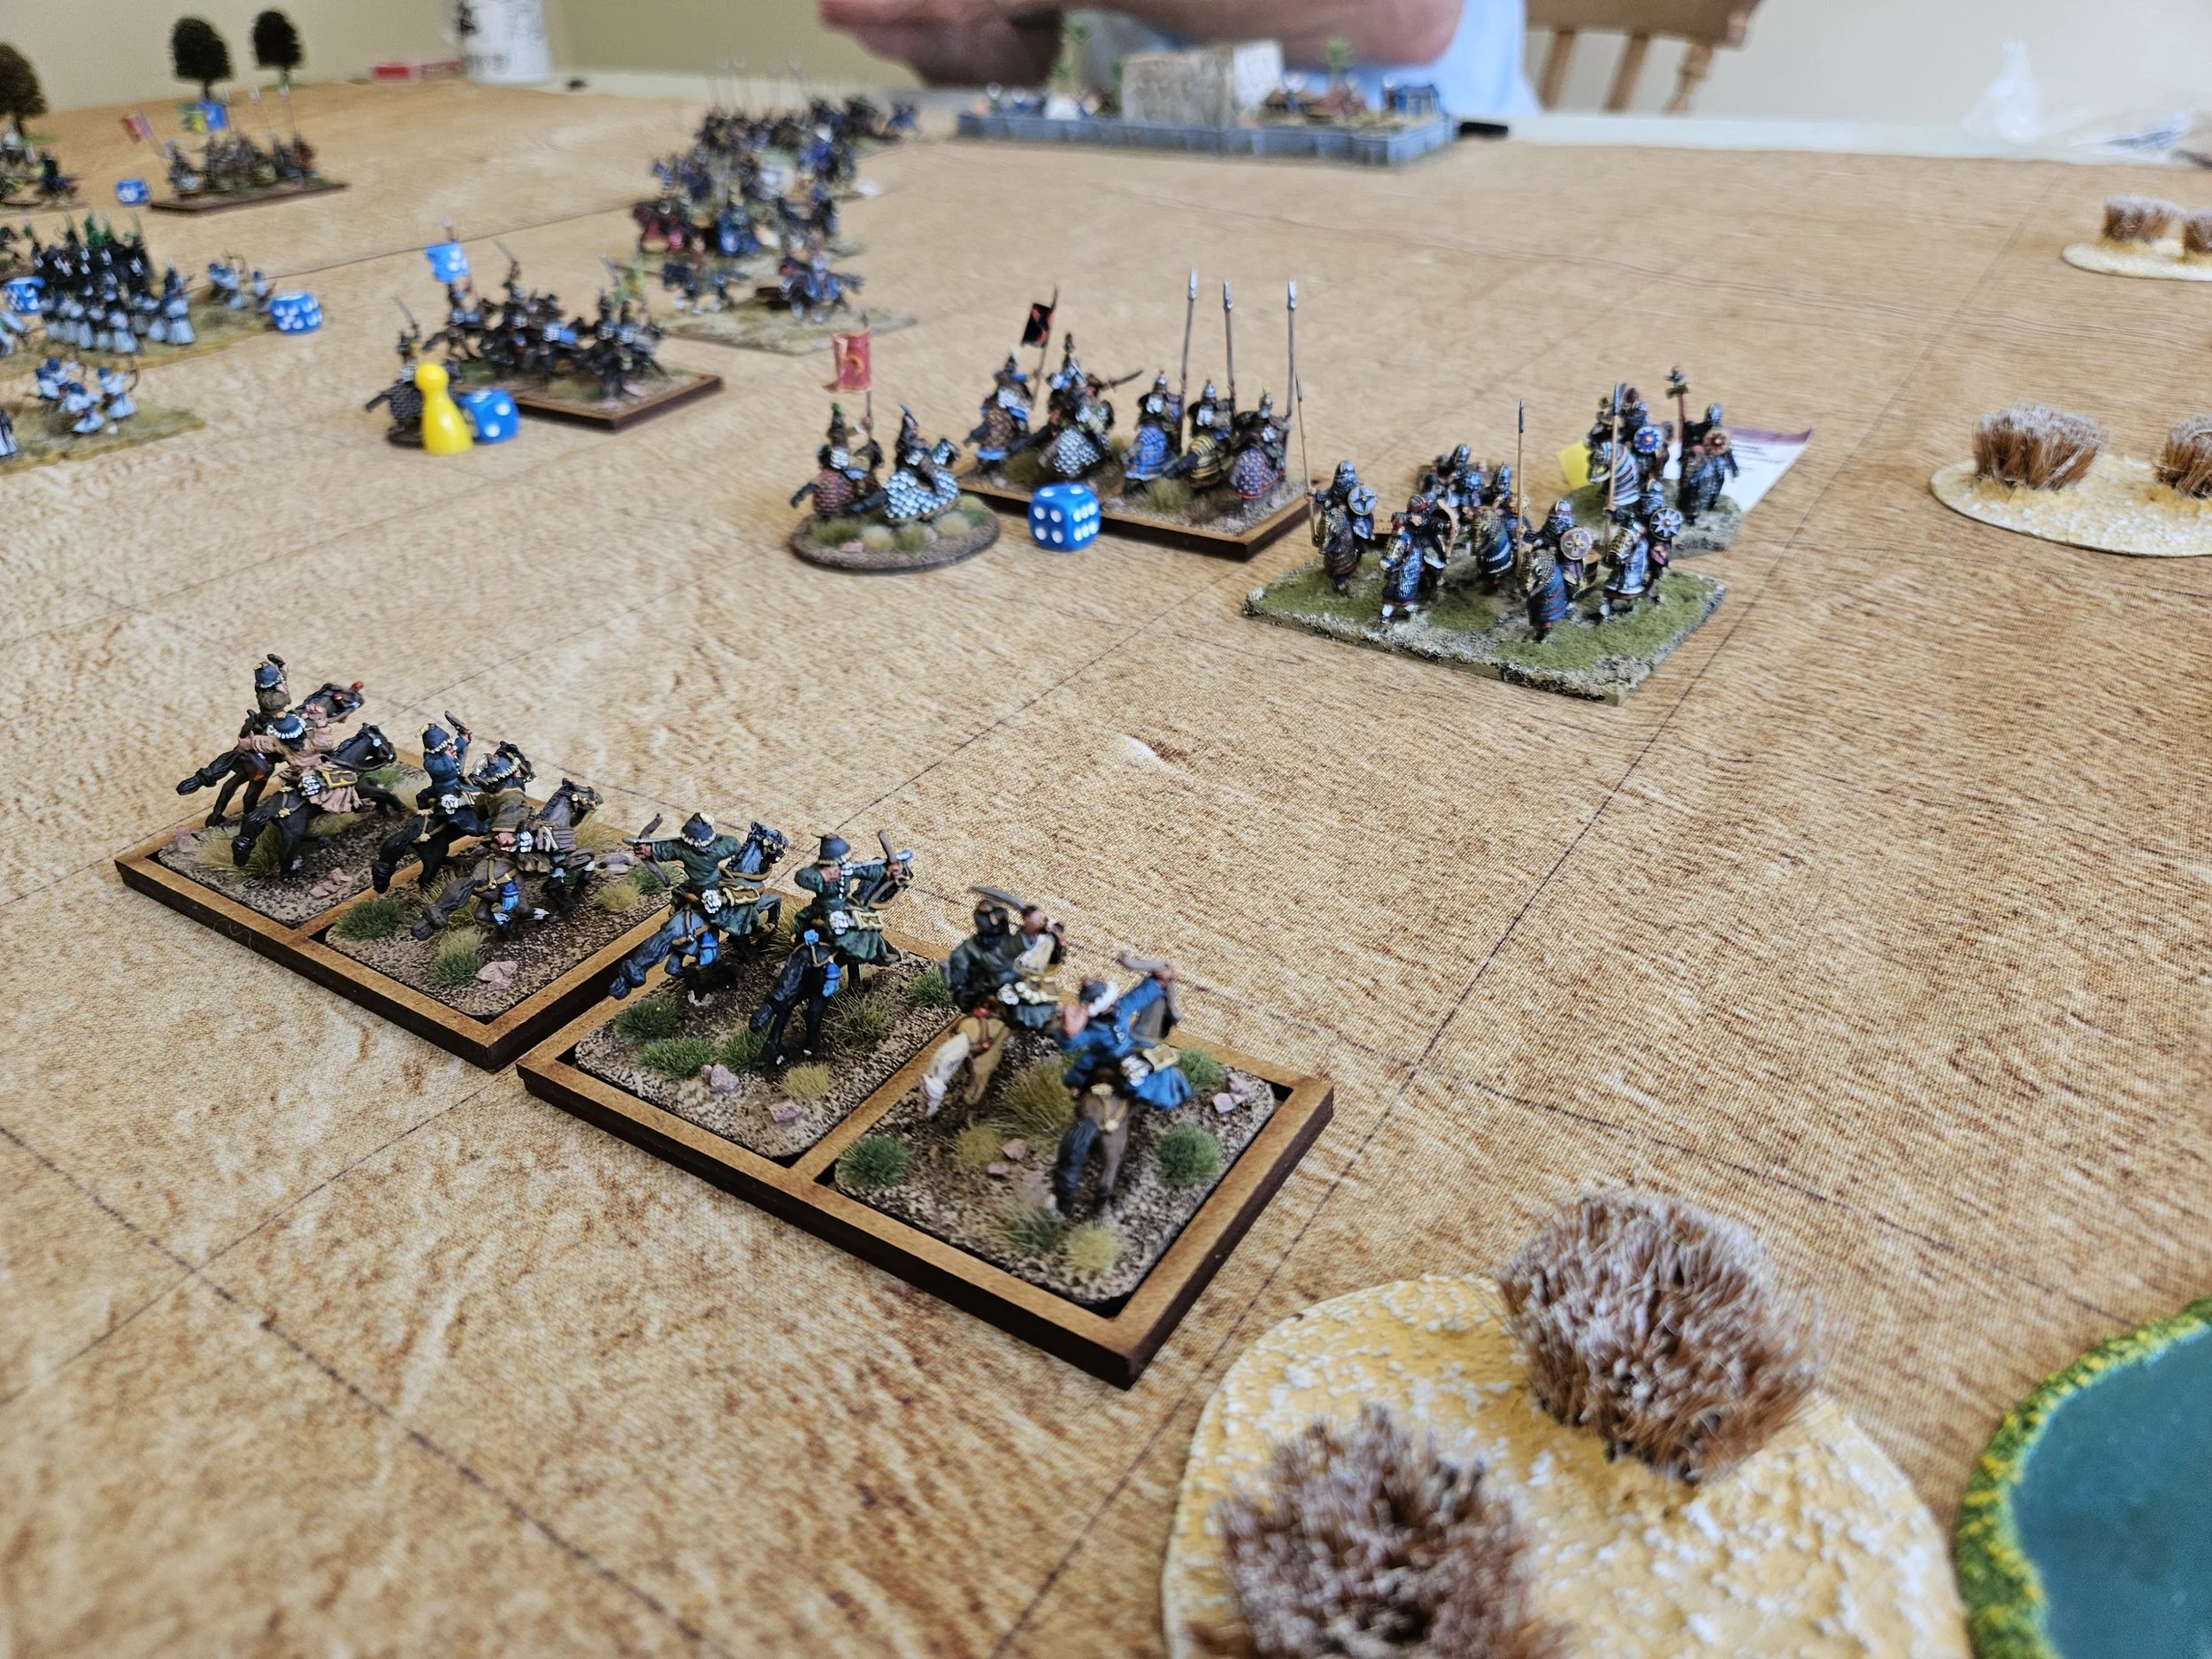
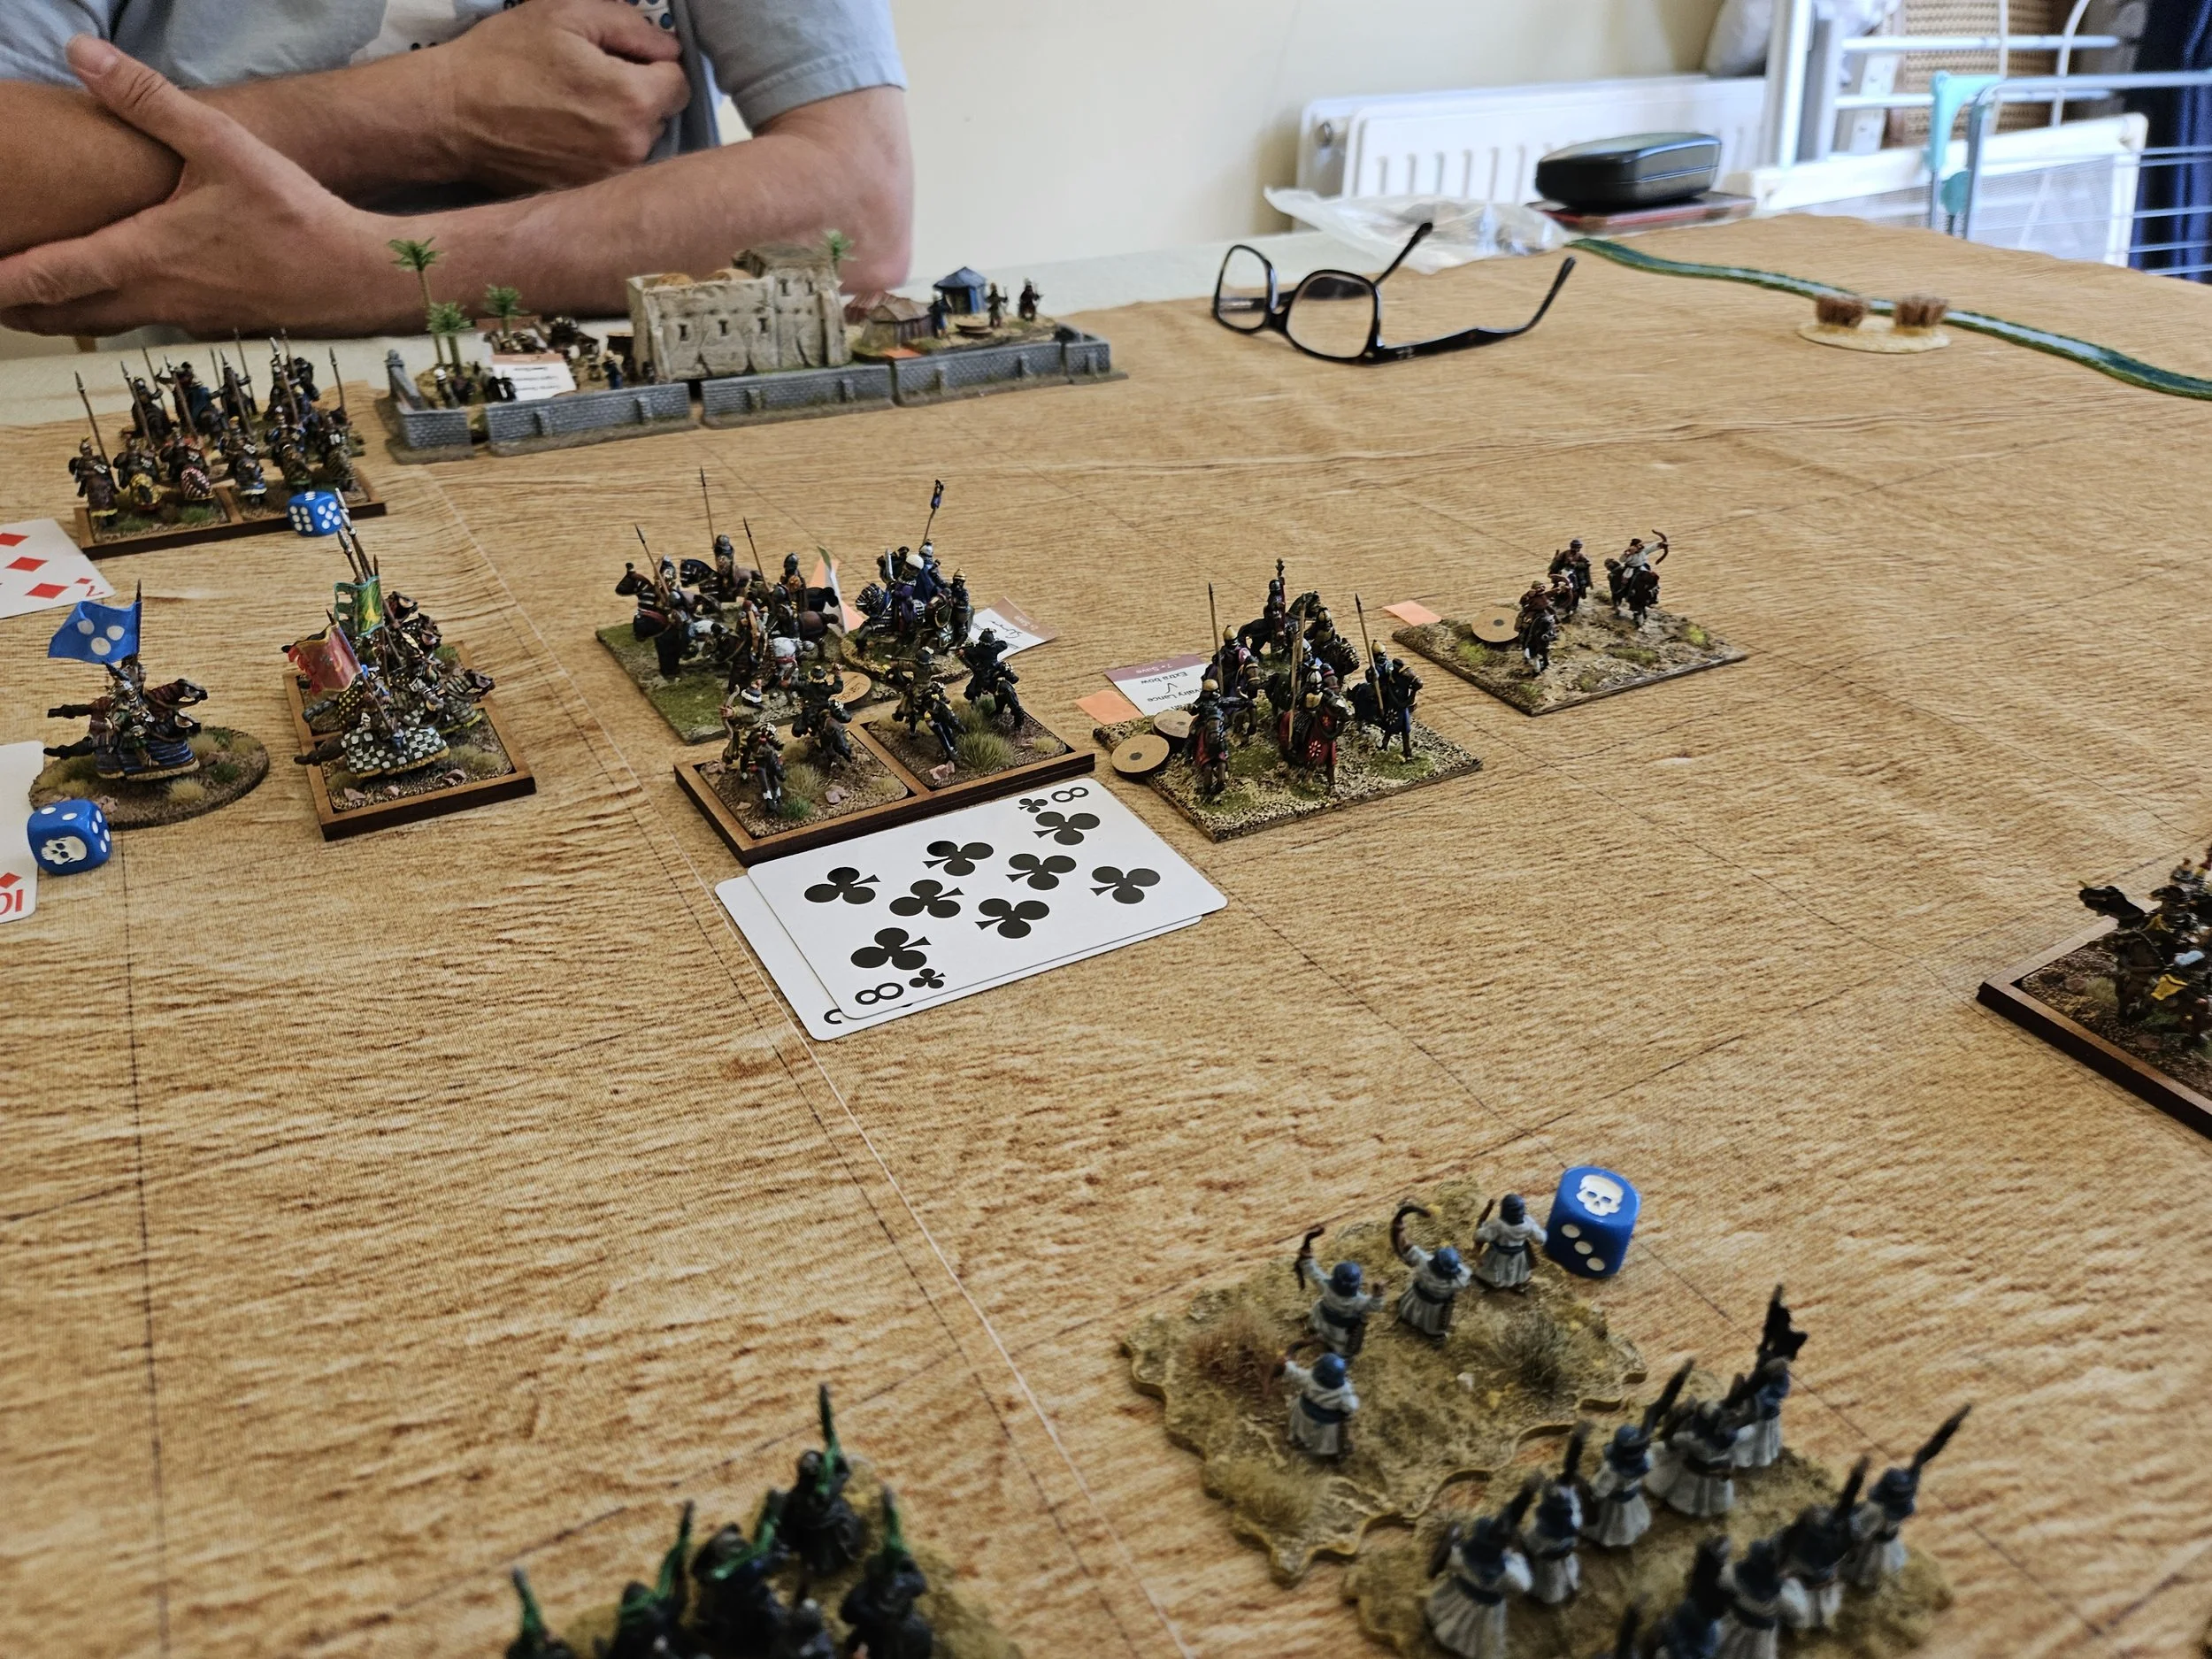
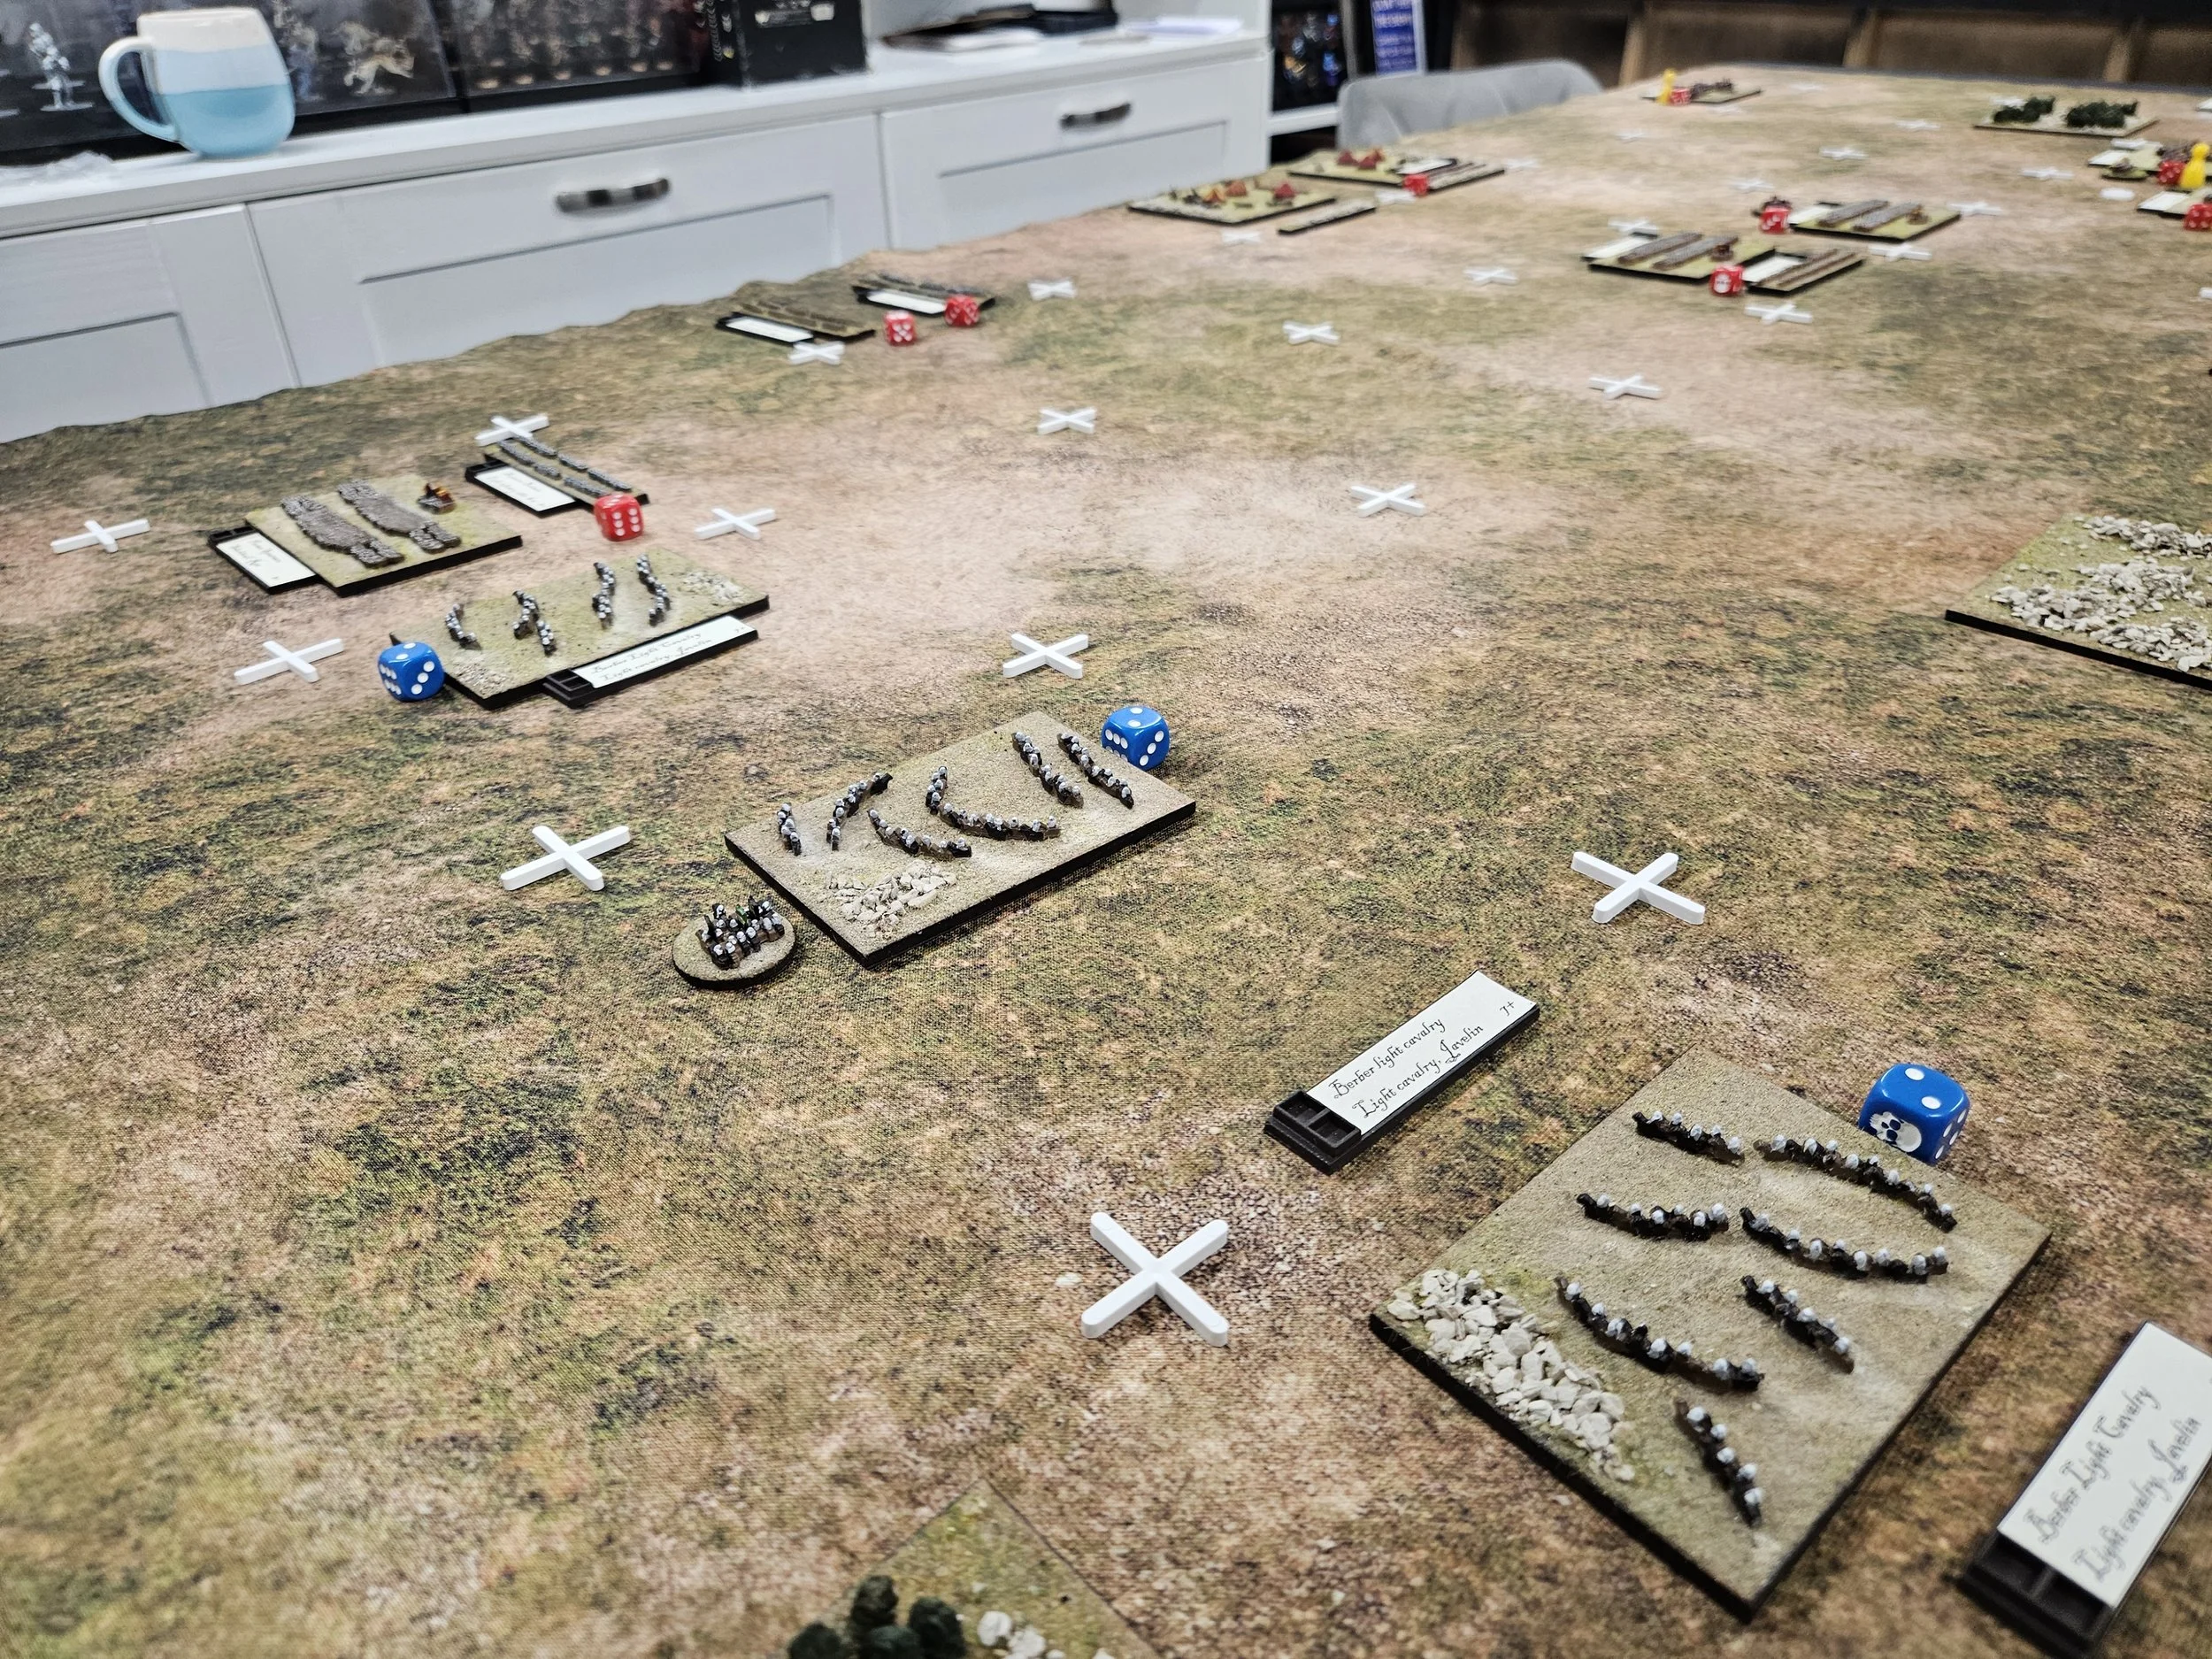
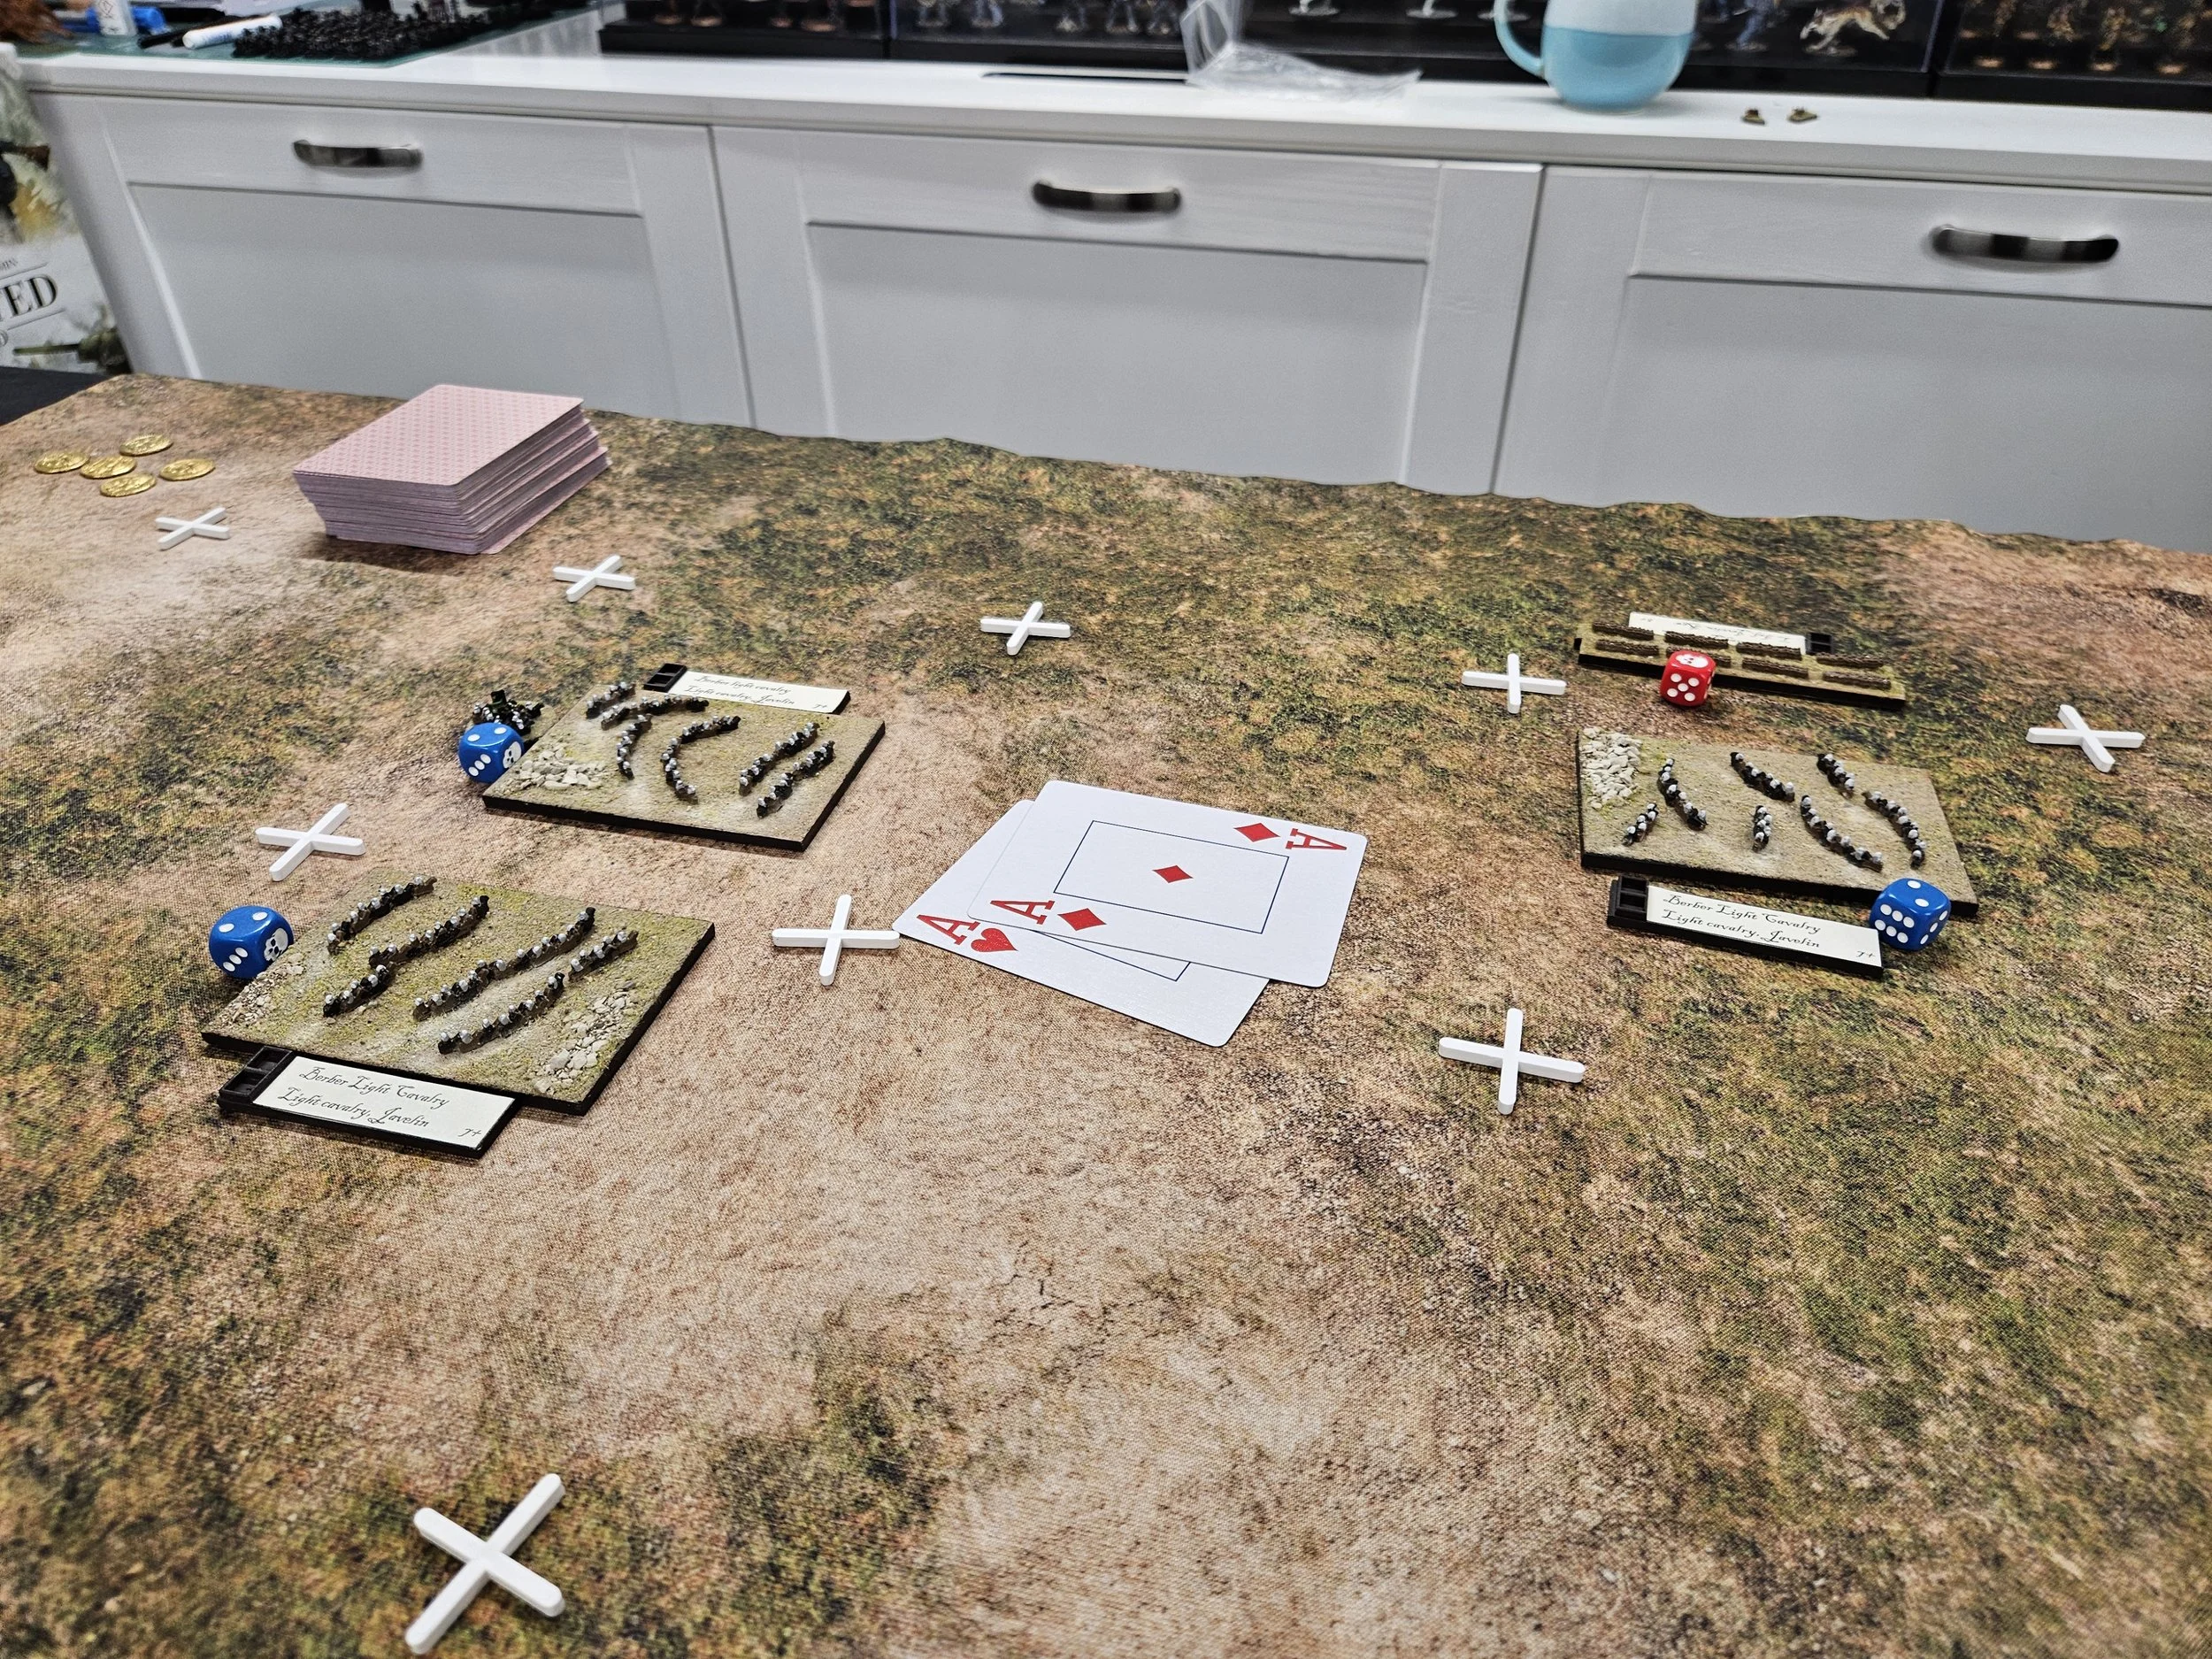
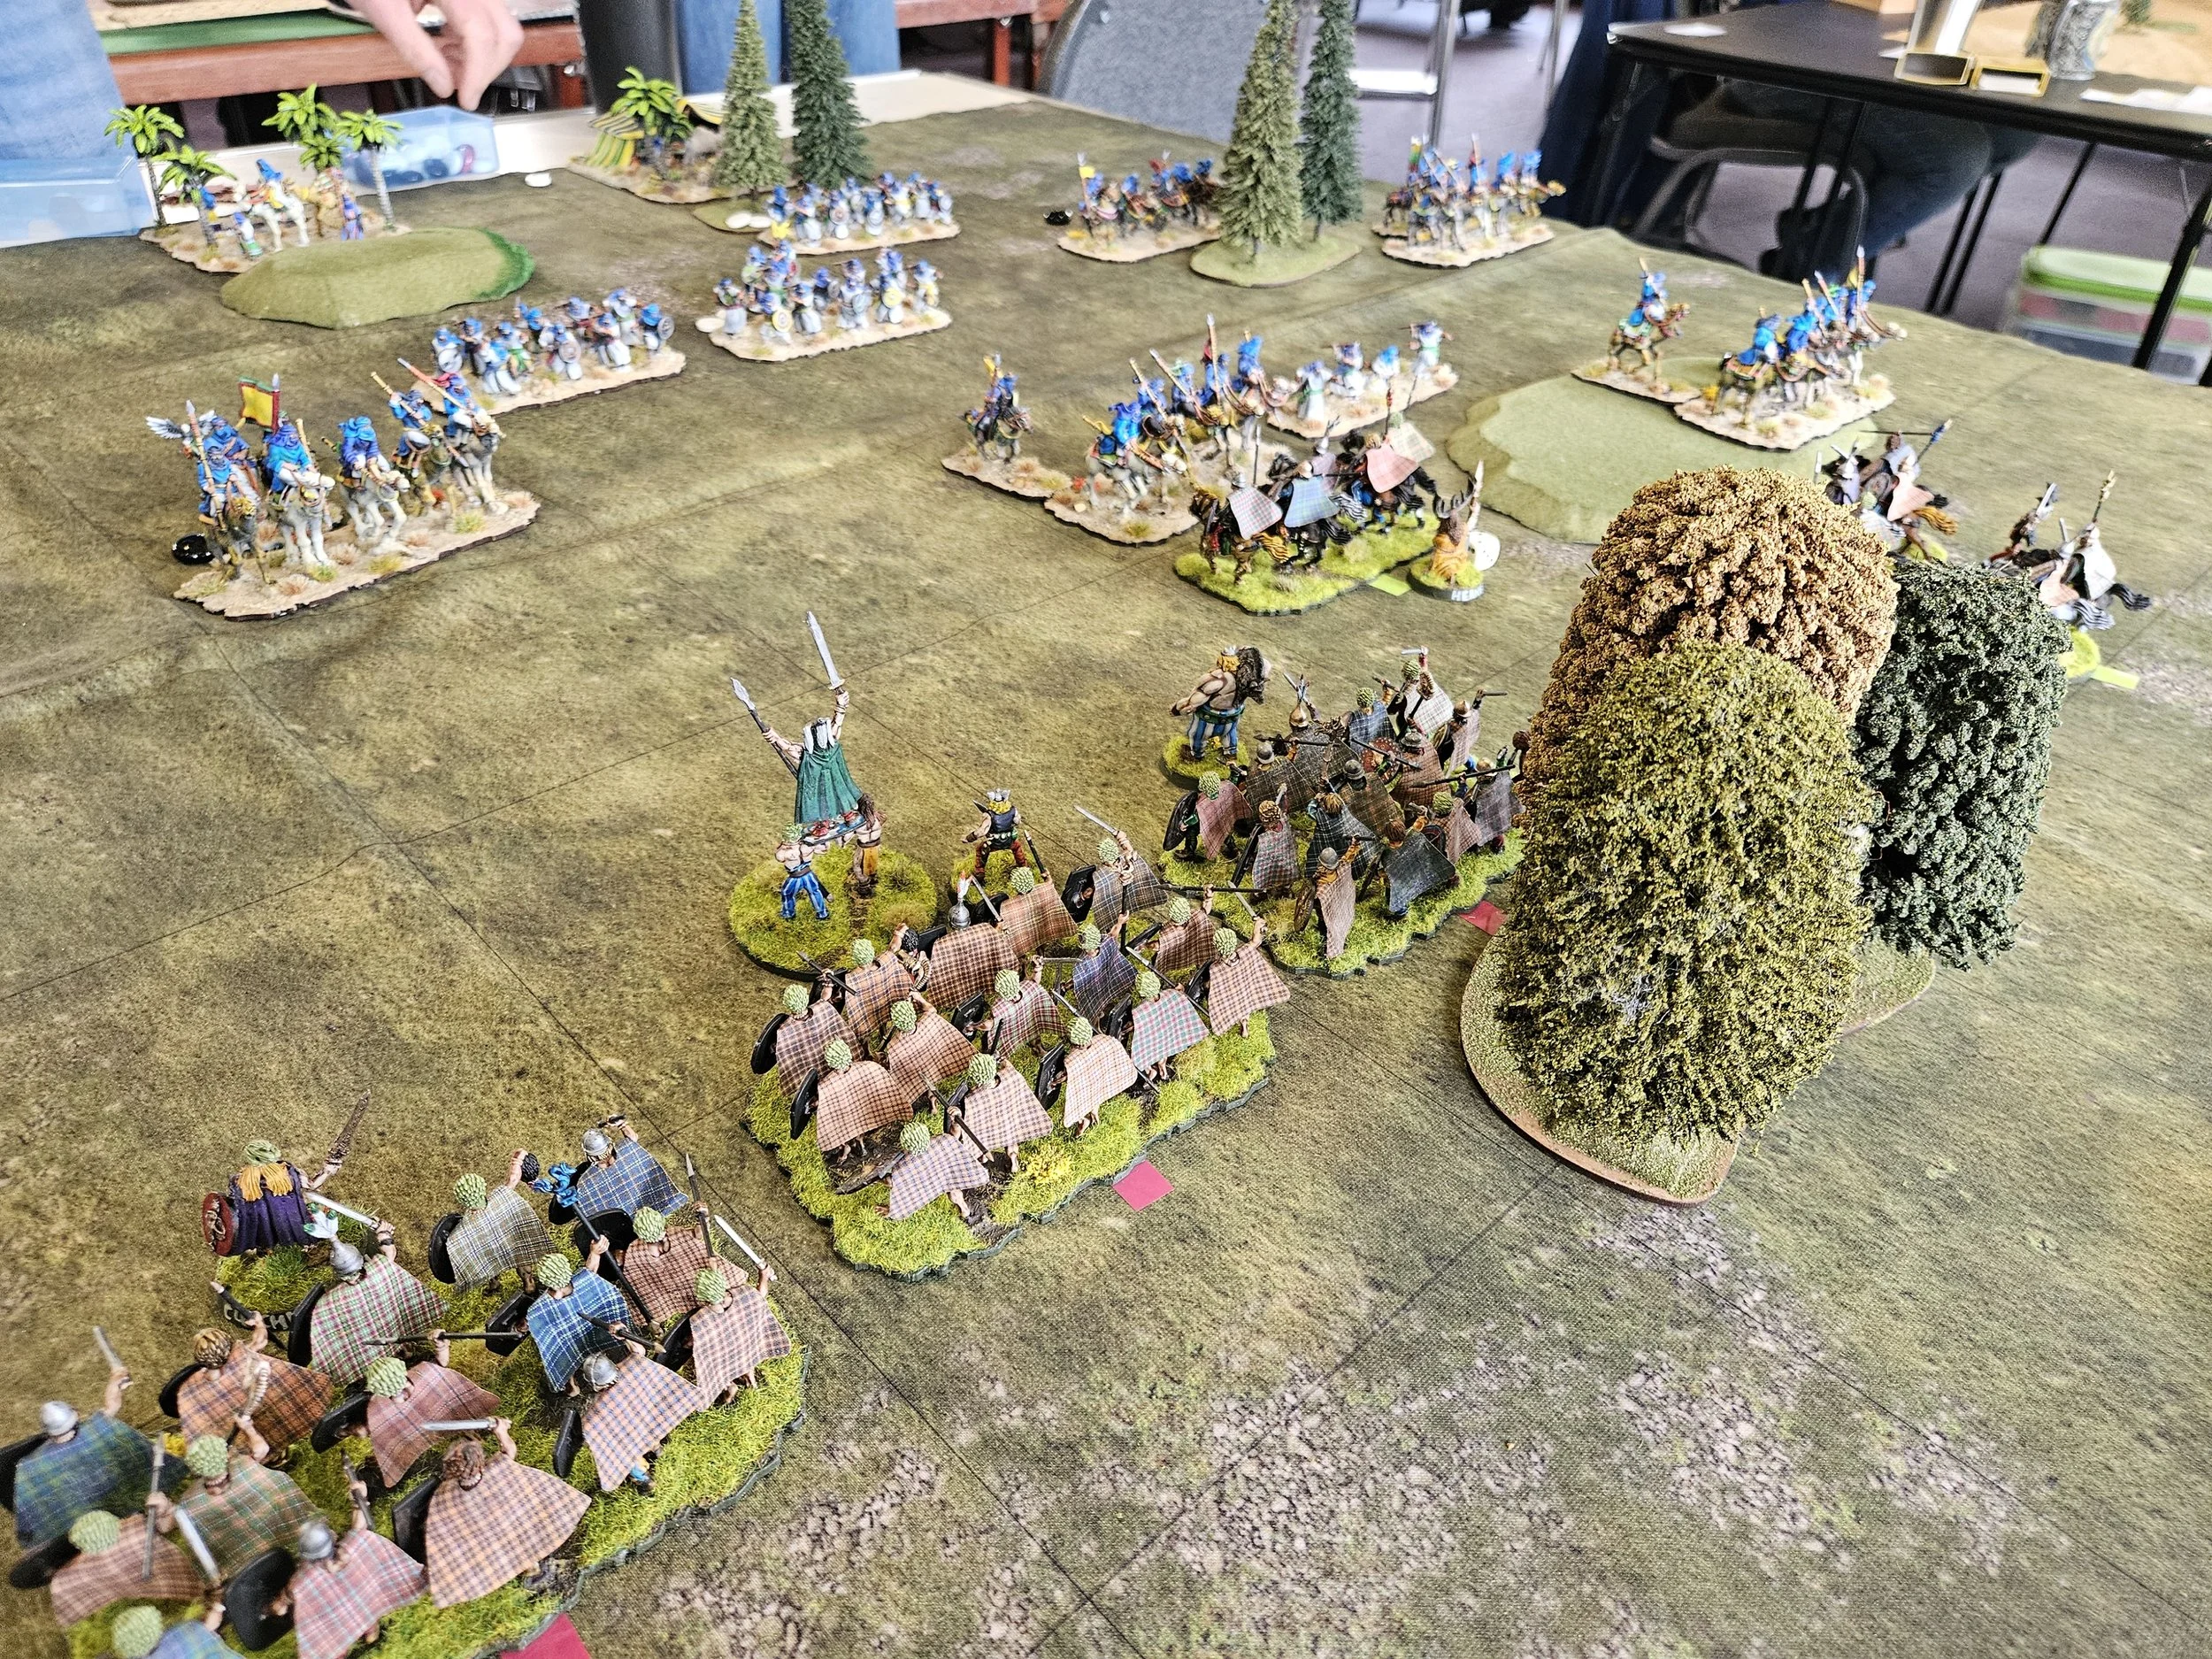
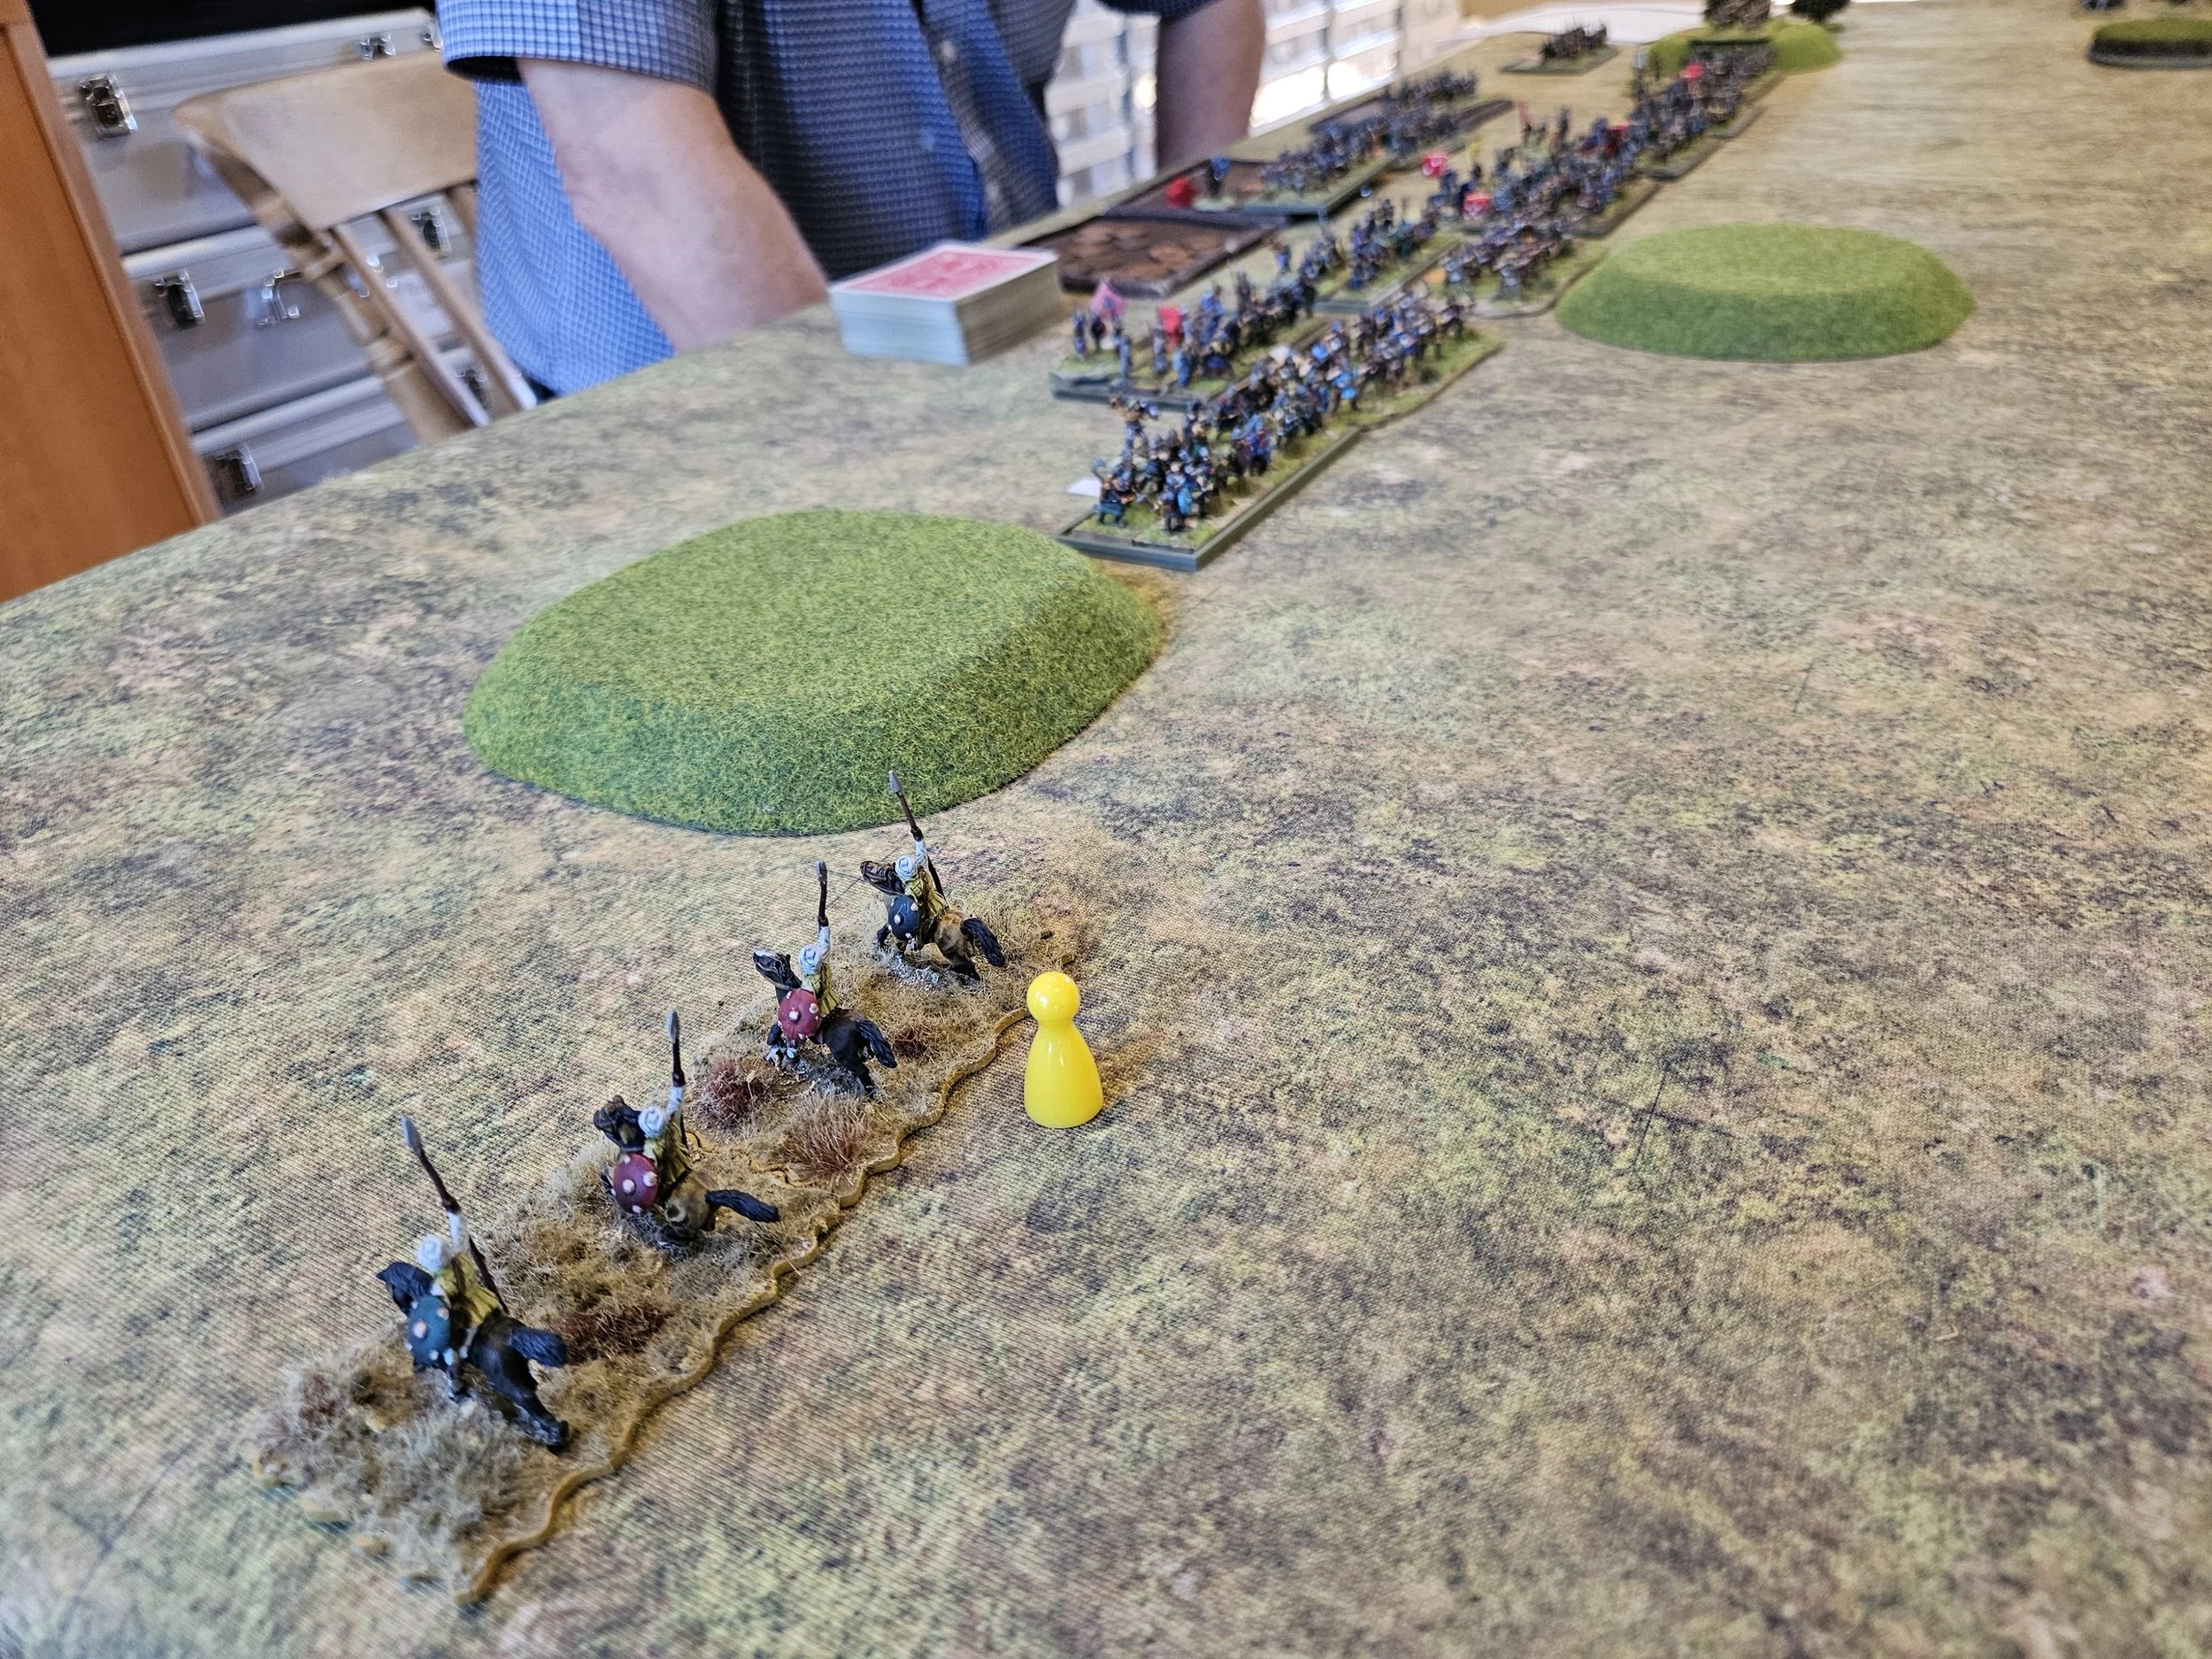
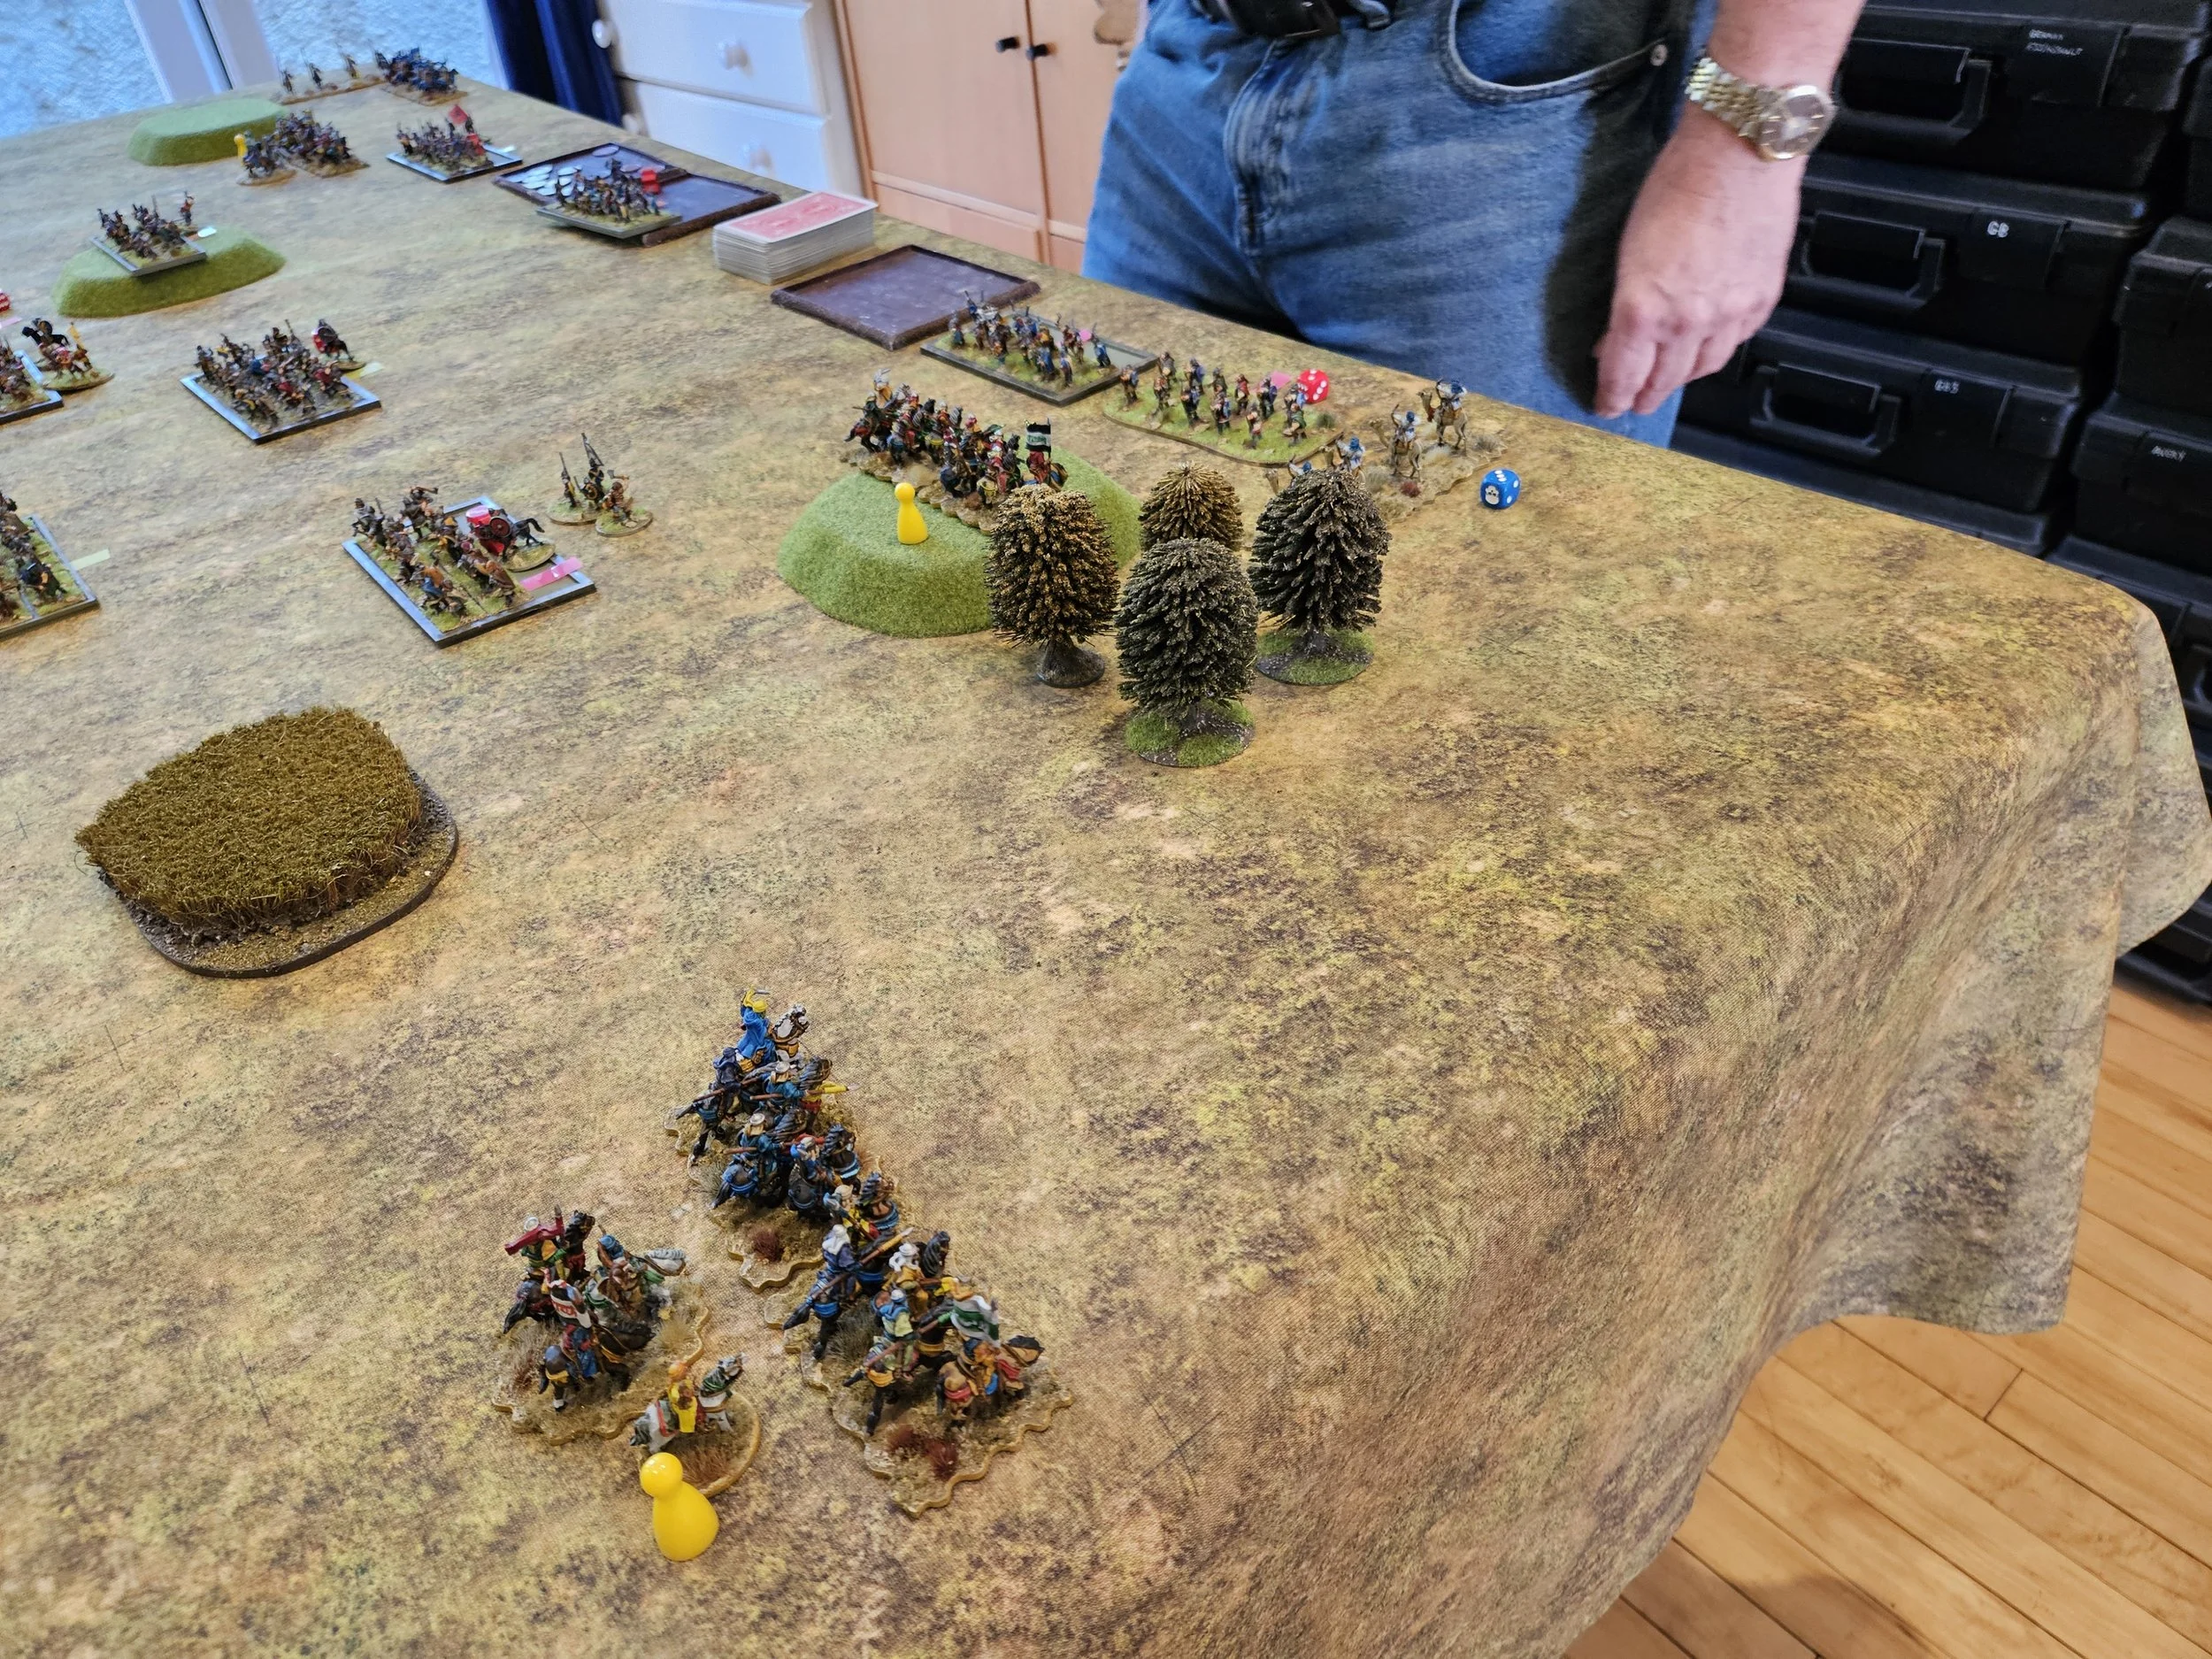
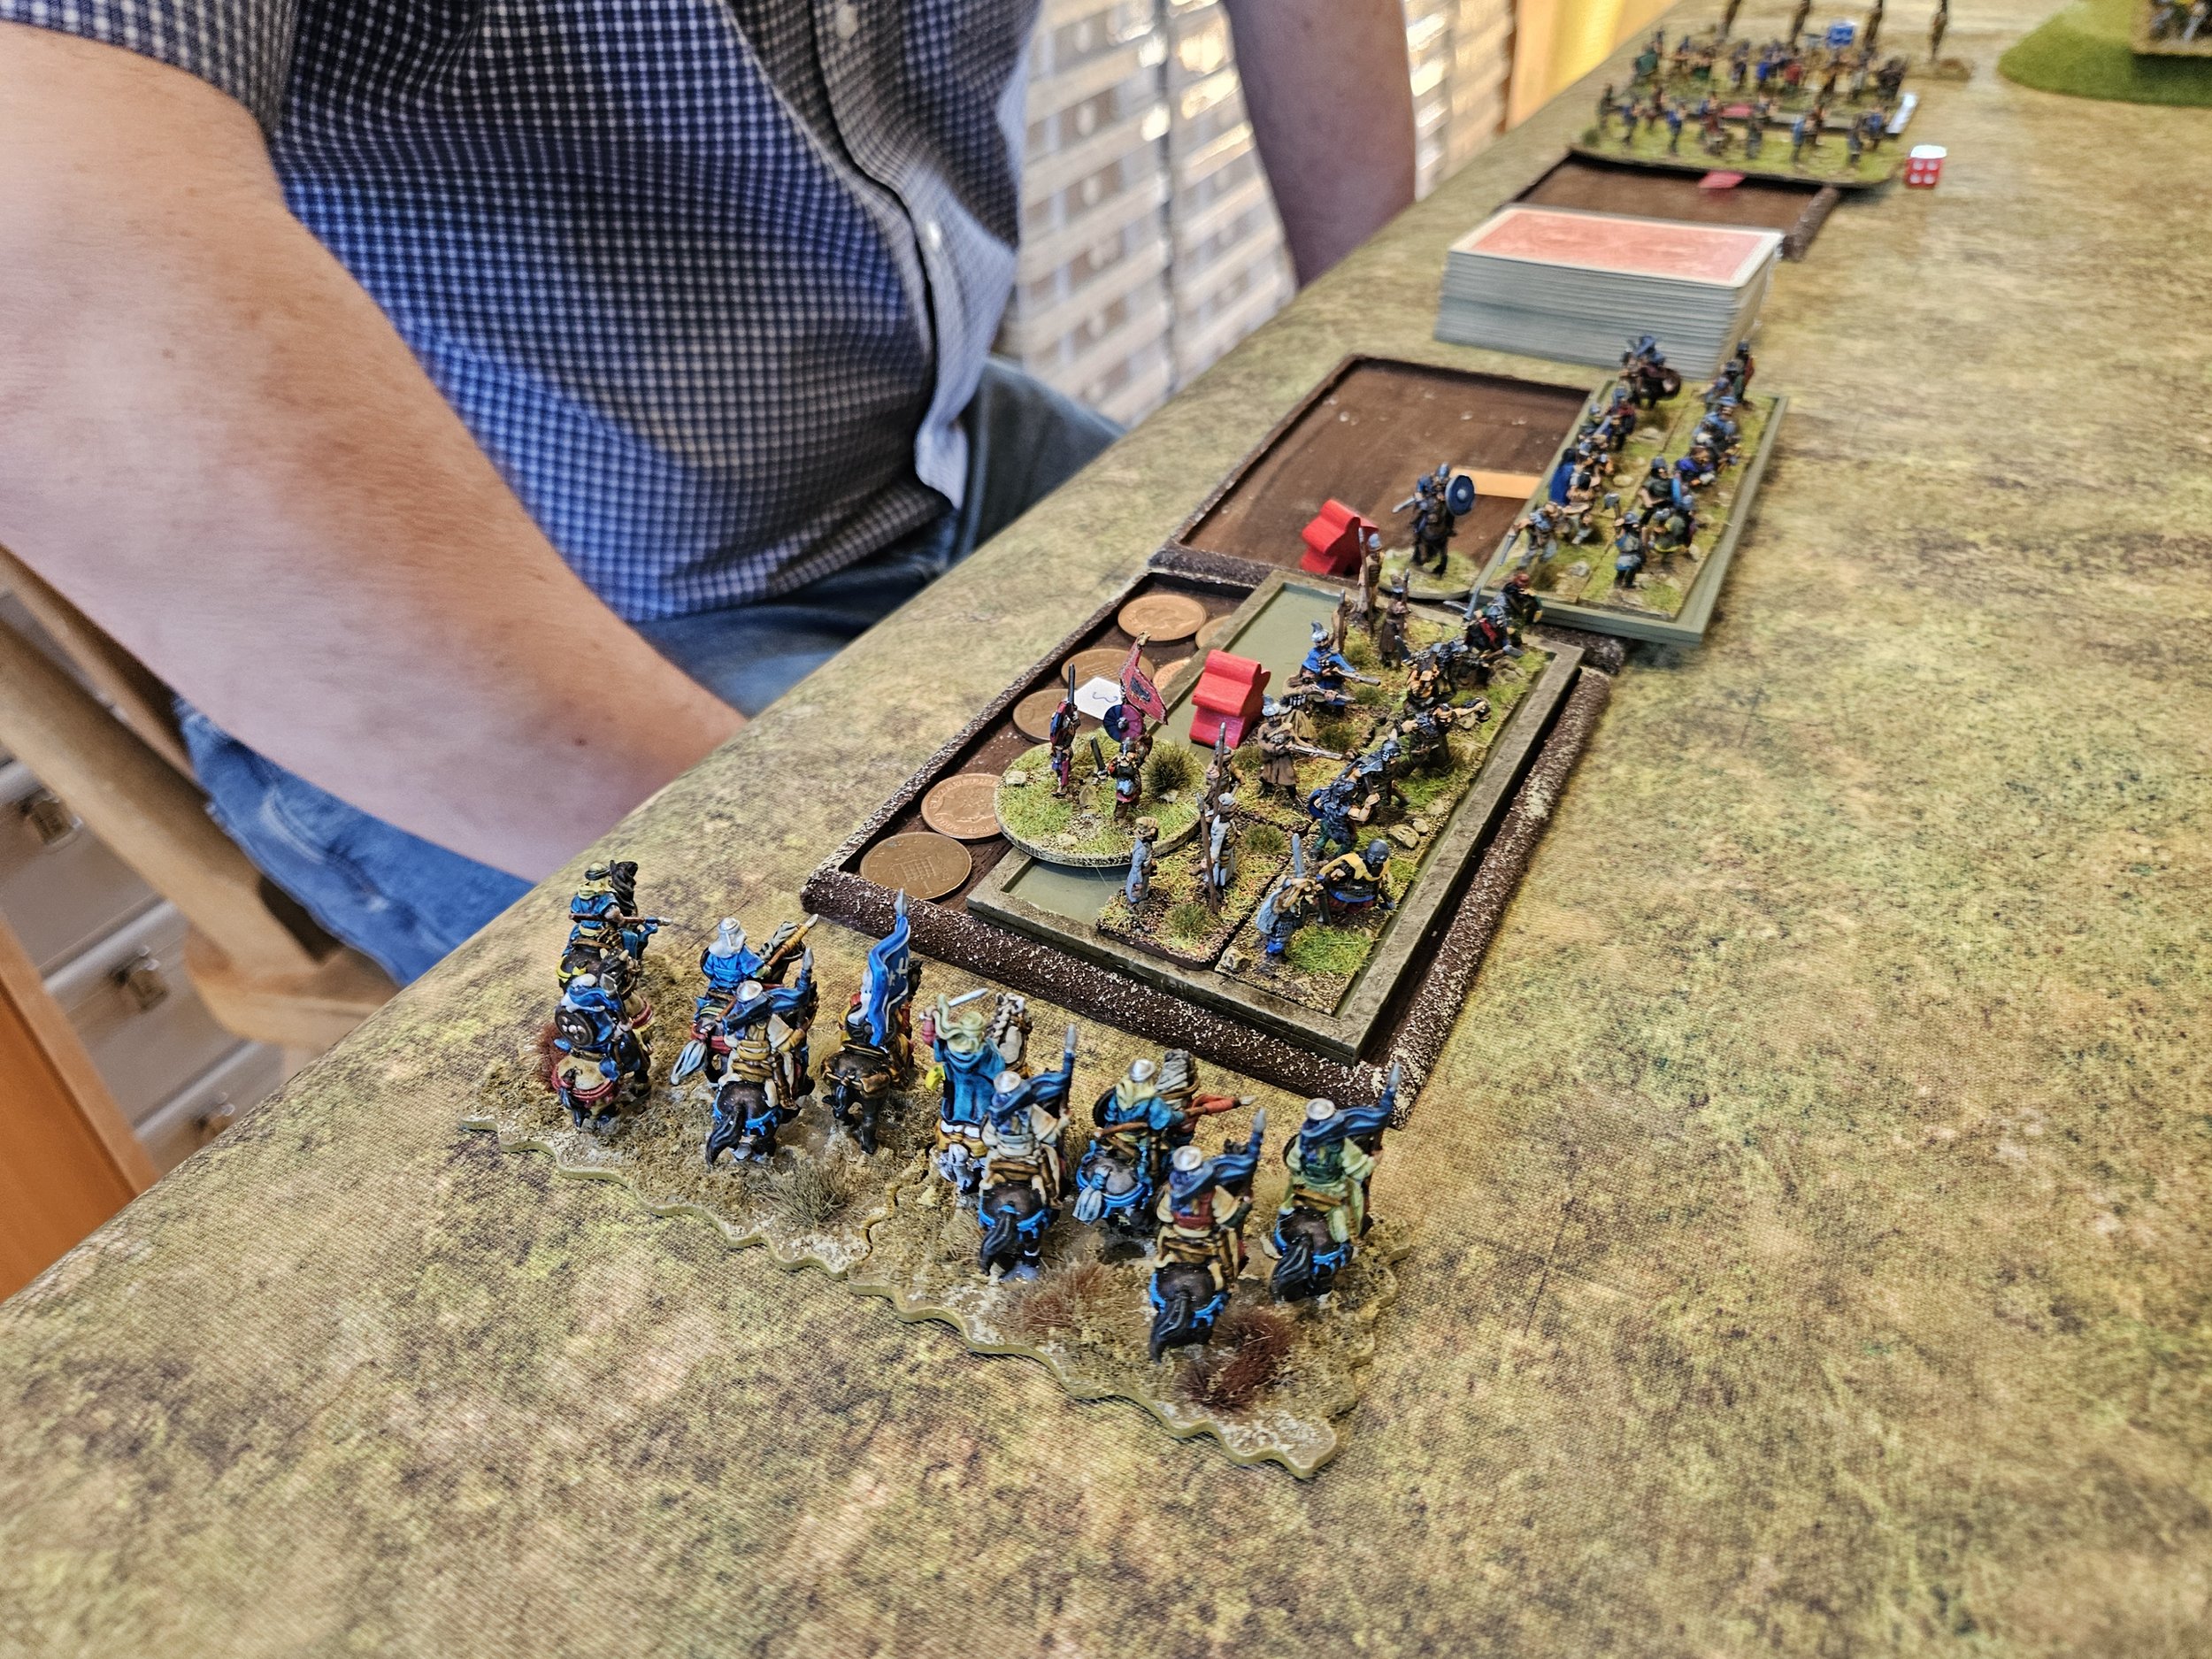
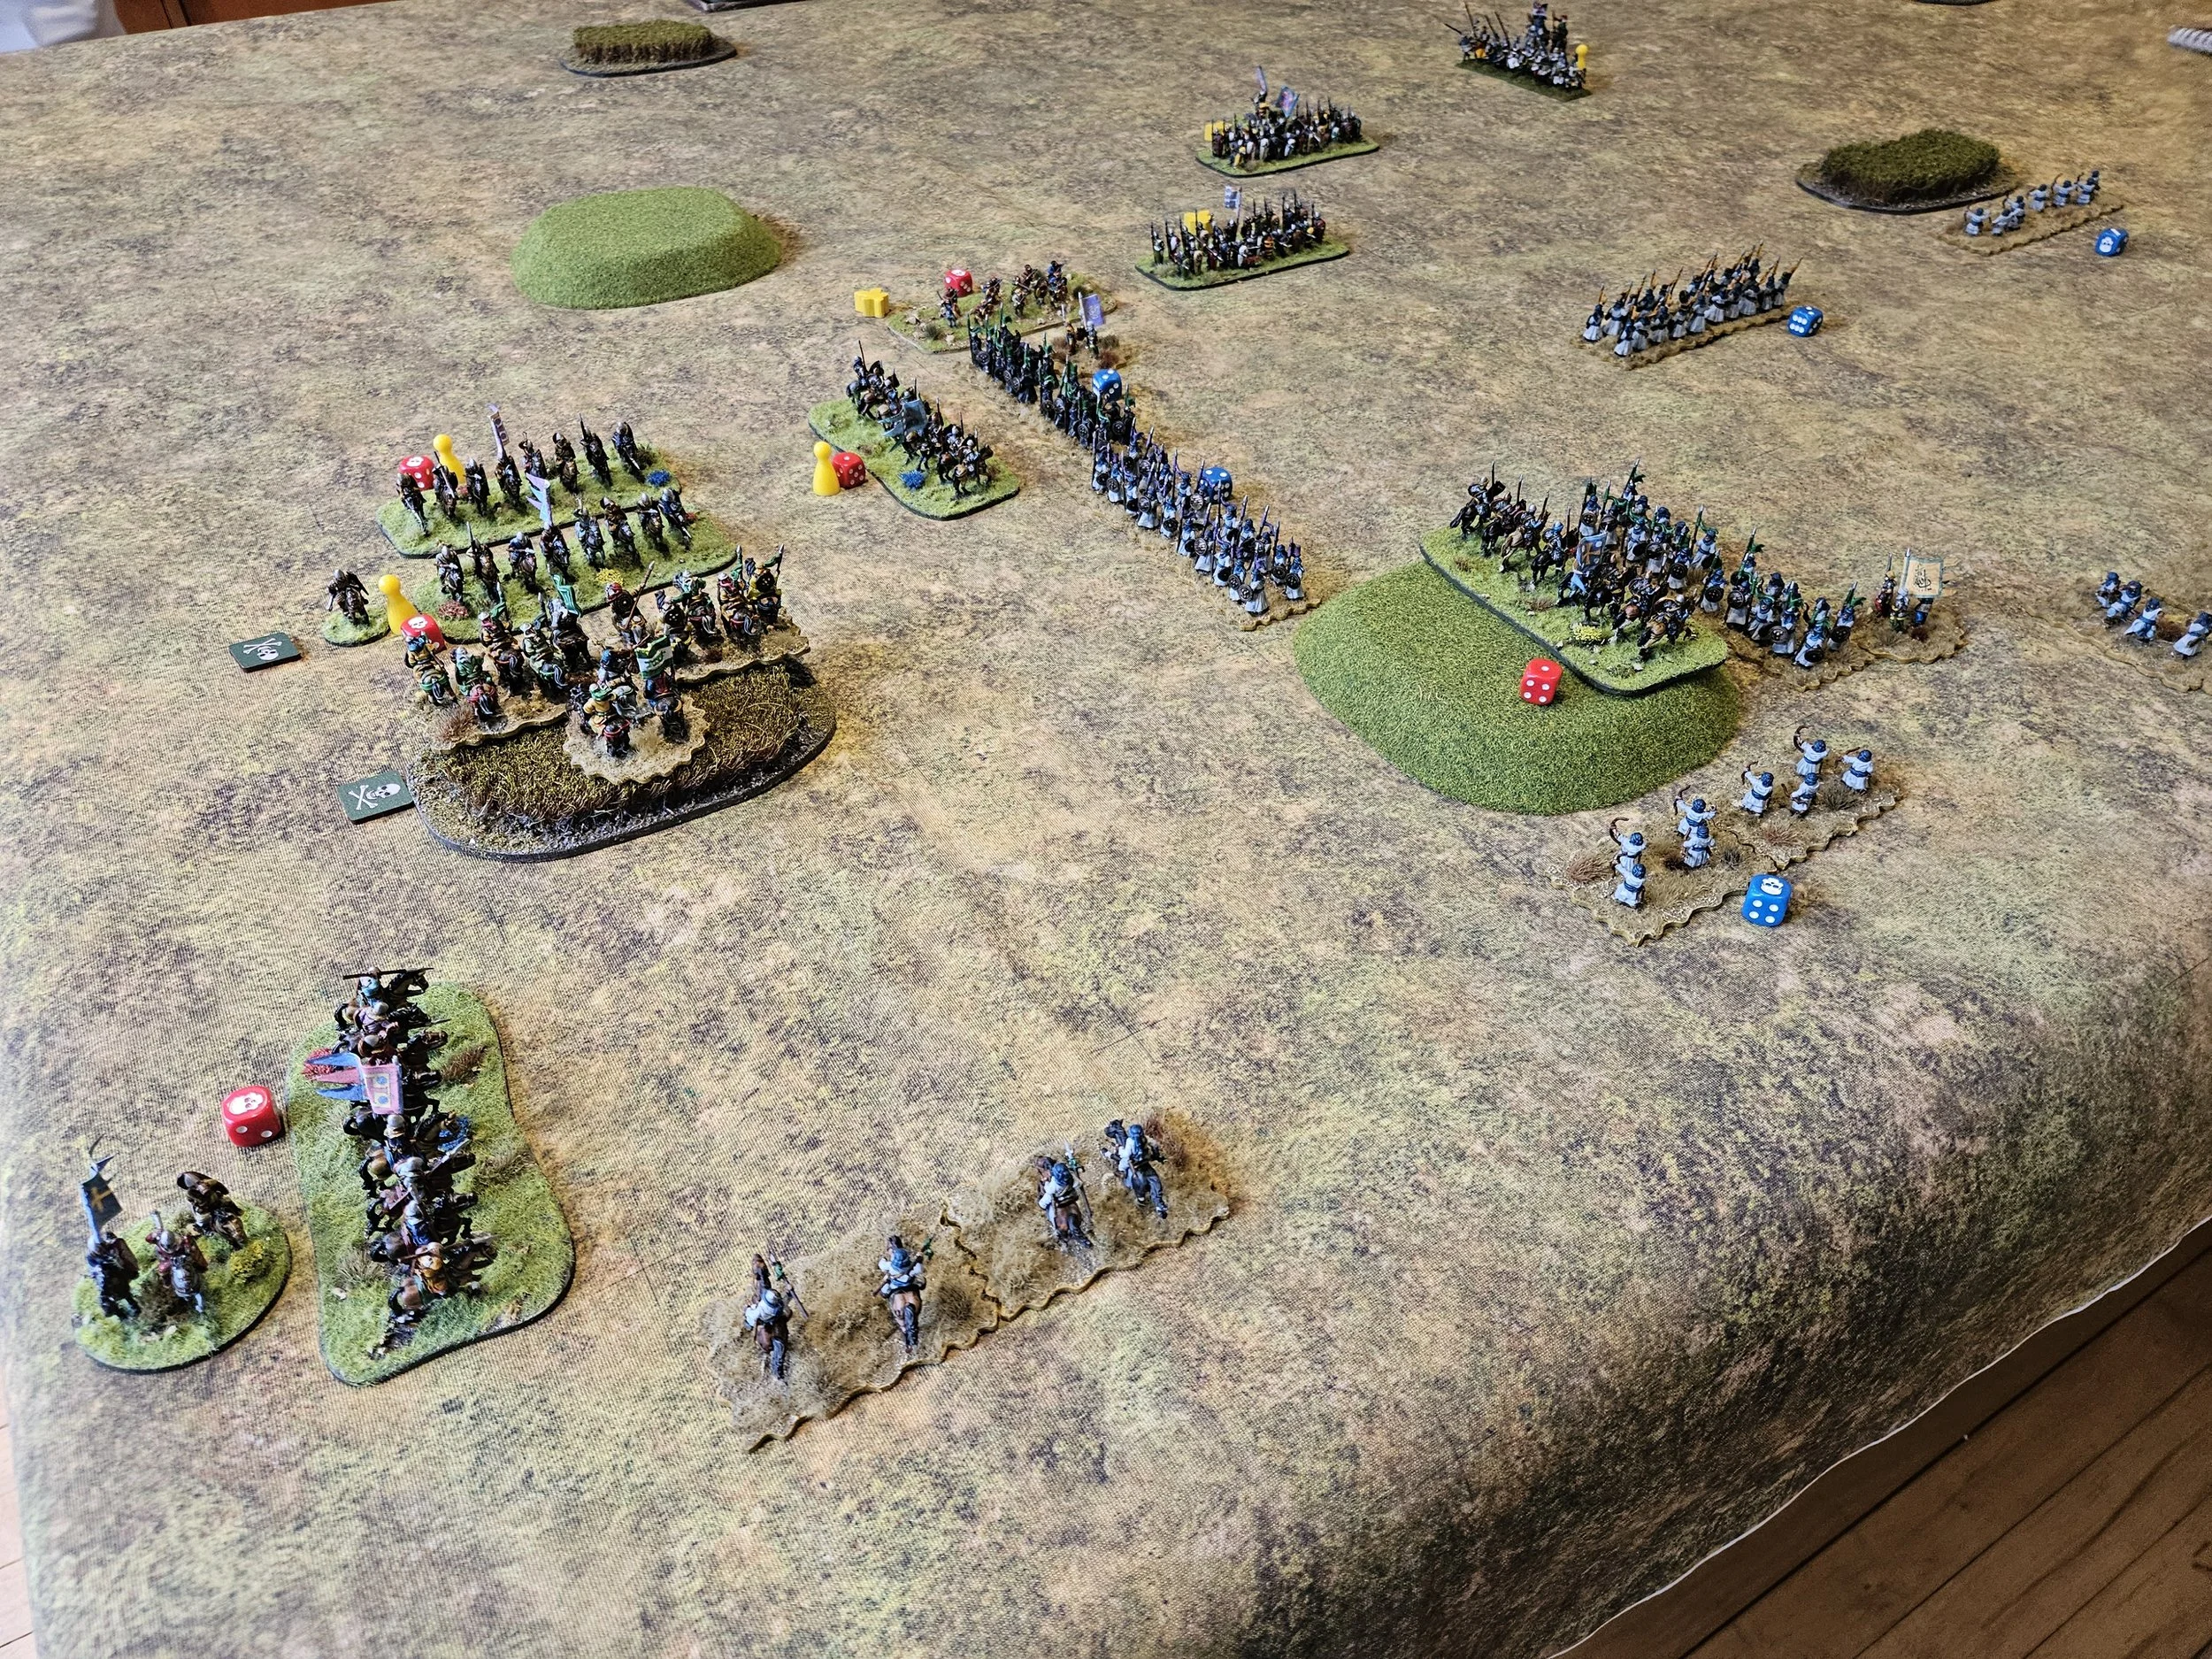
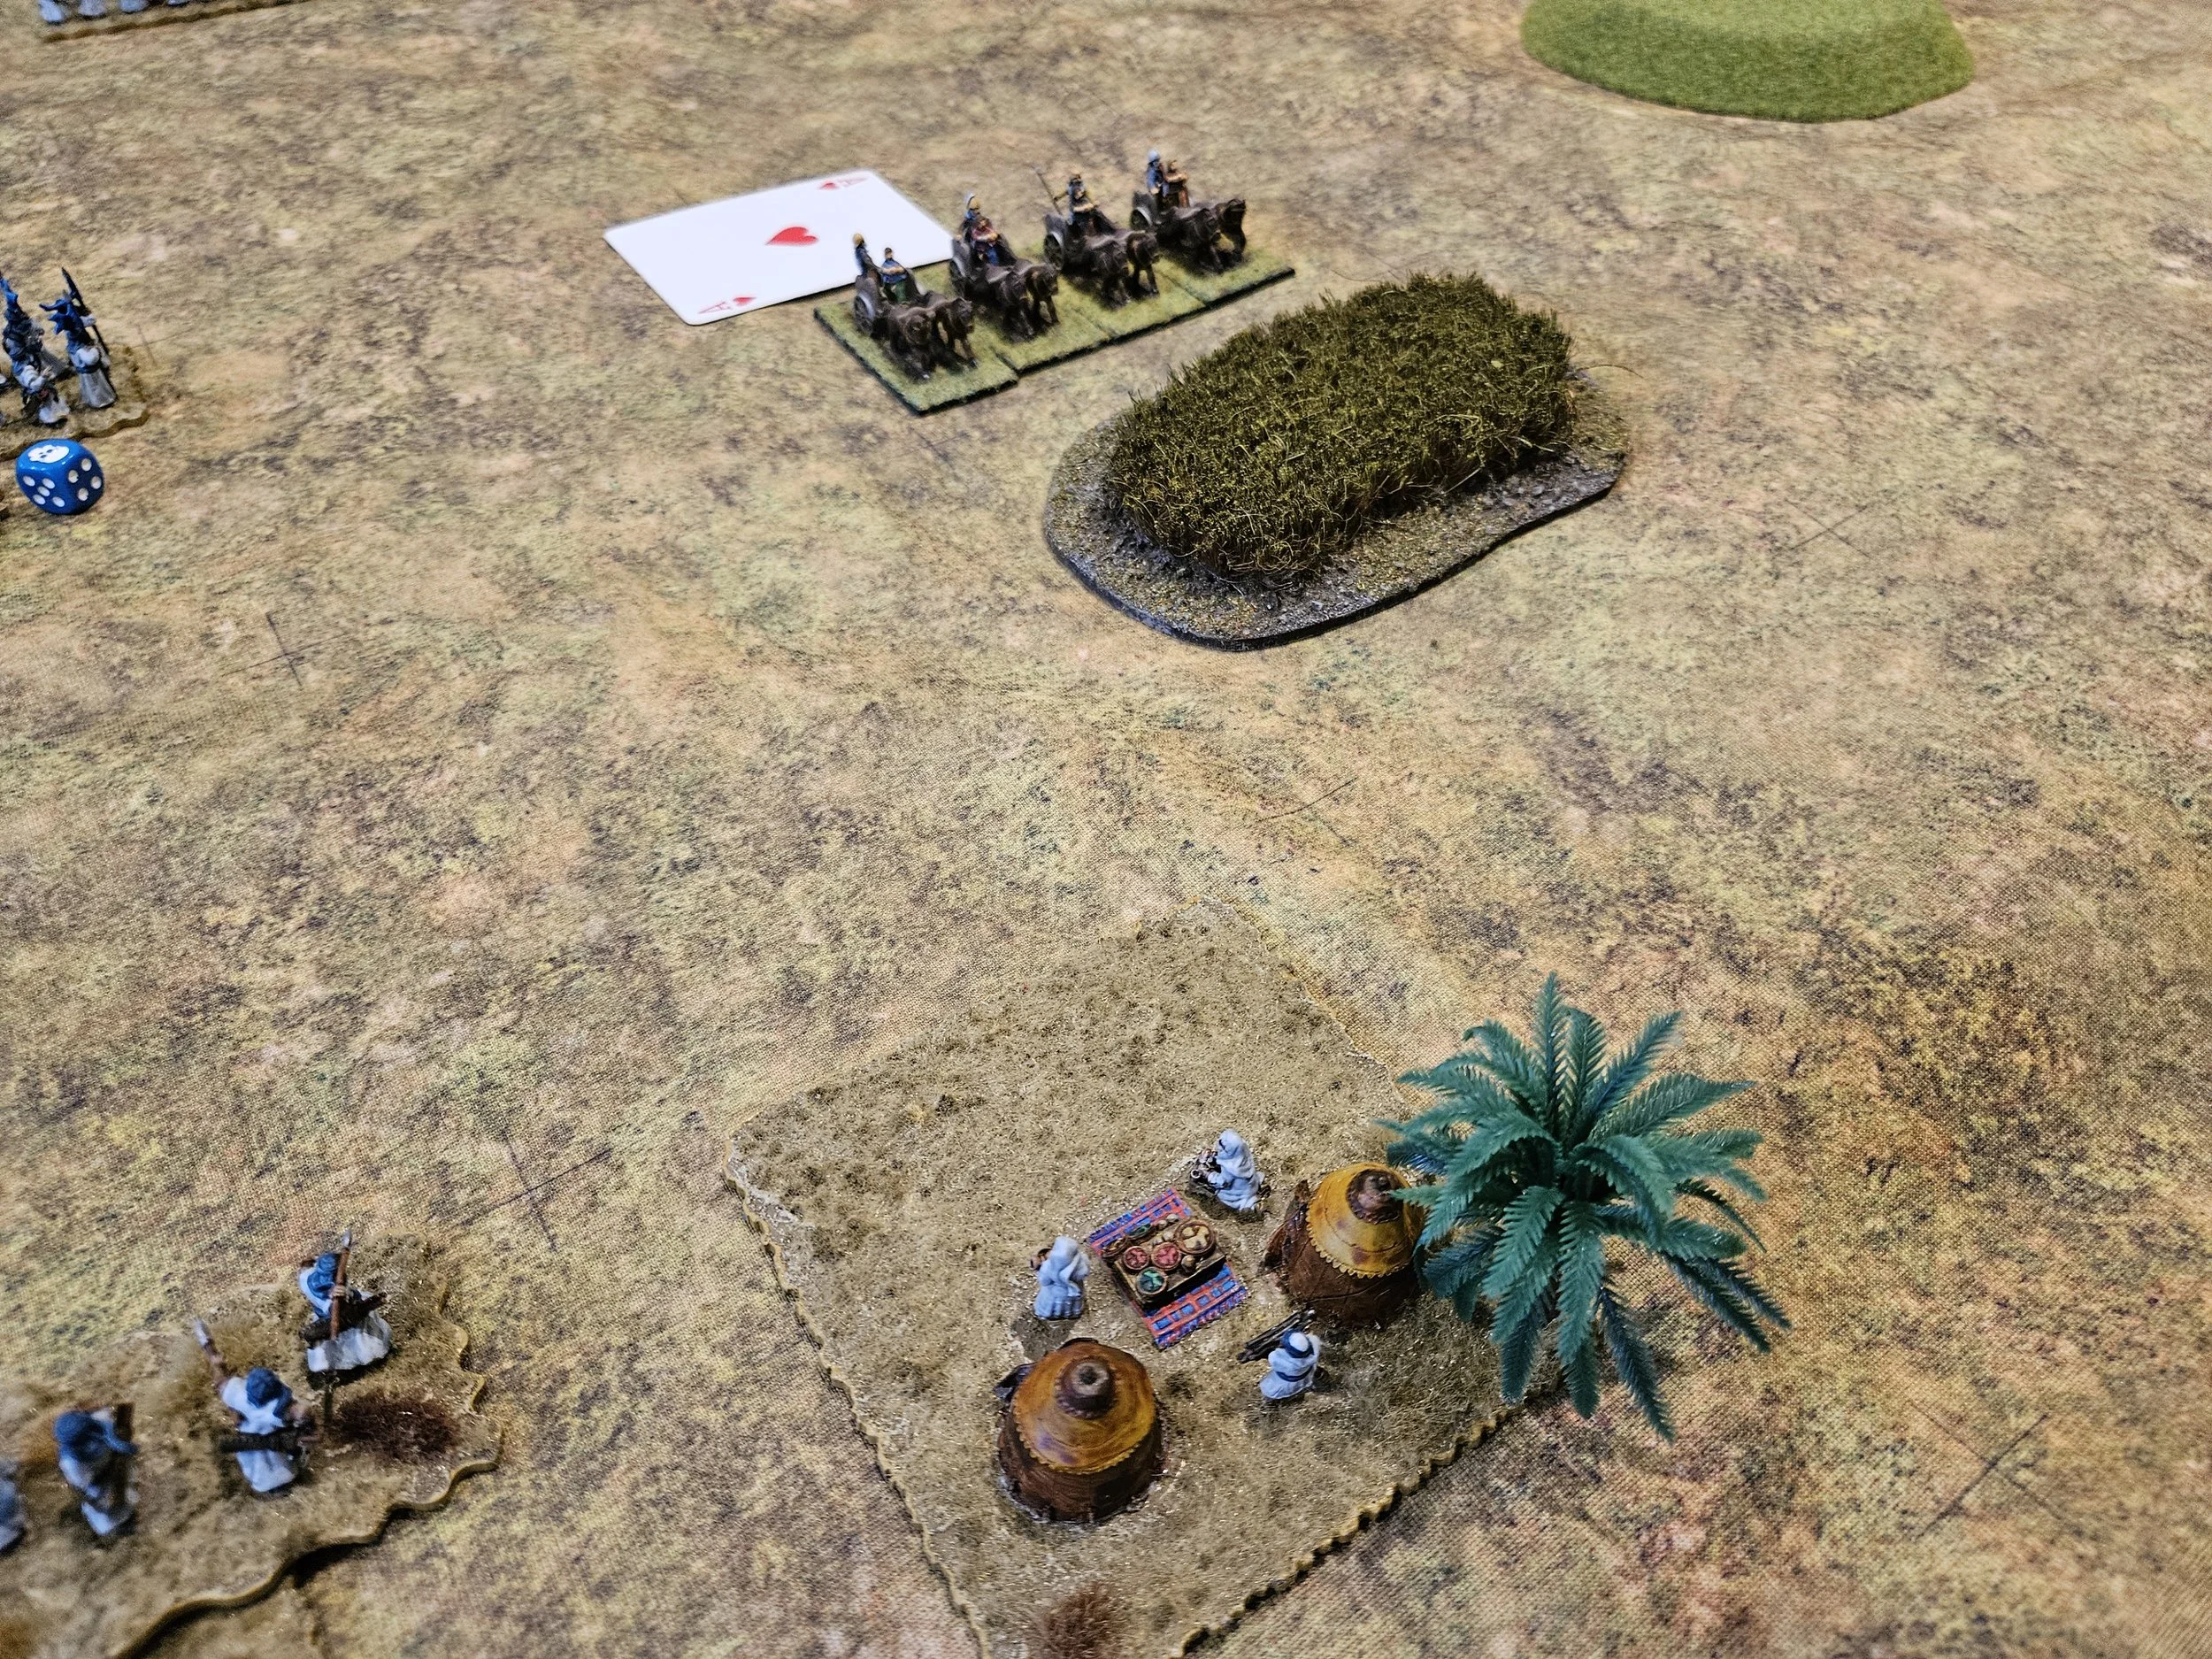
I’d also seen a bit of an opportunity on the right flank, where two of my light infantry archer units snuck forward to threaten (if light infantry can properly threaten) the enemy left.

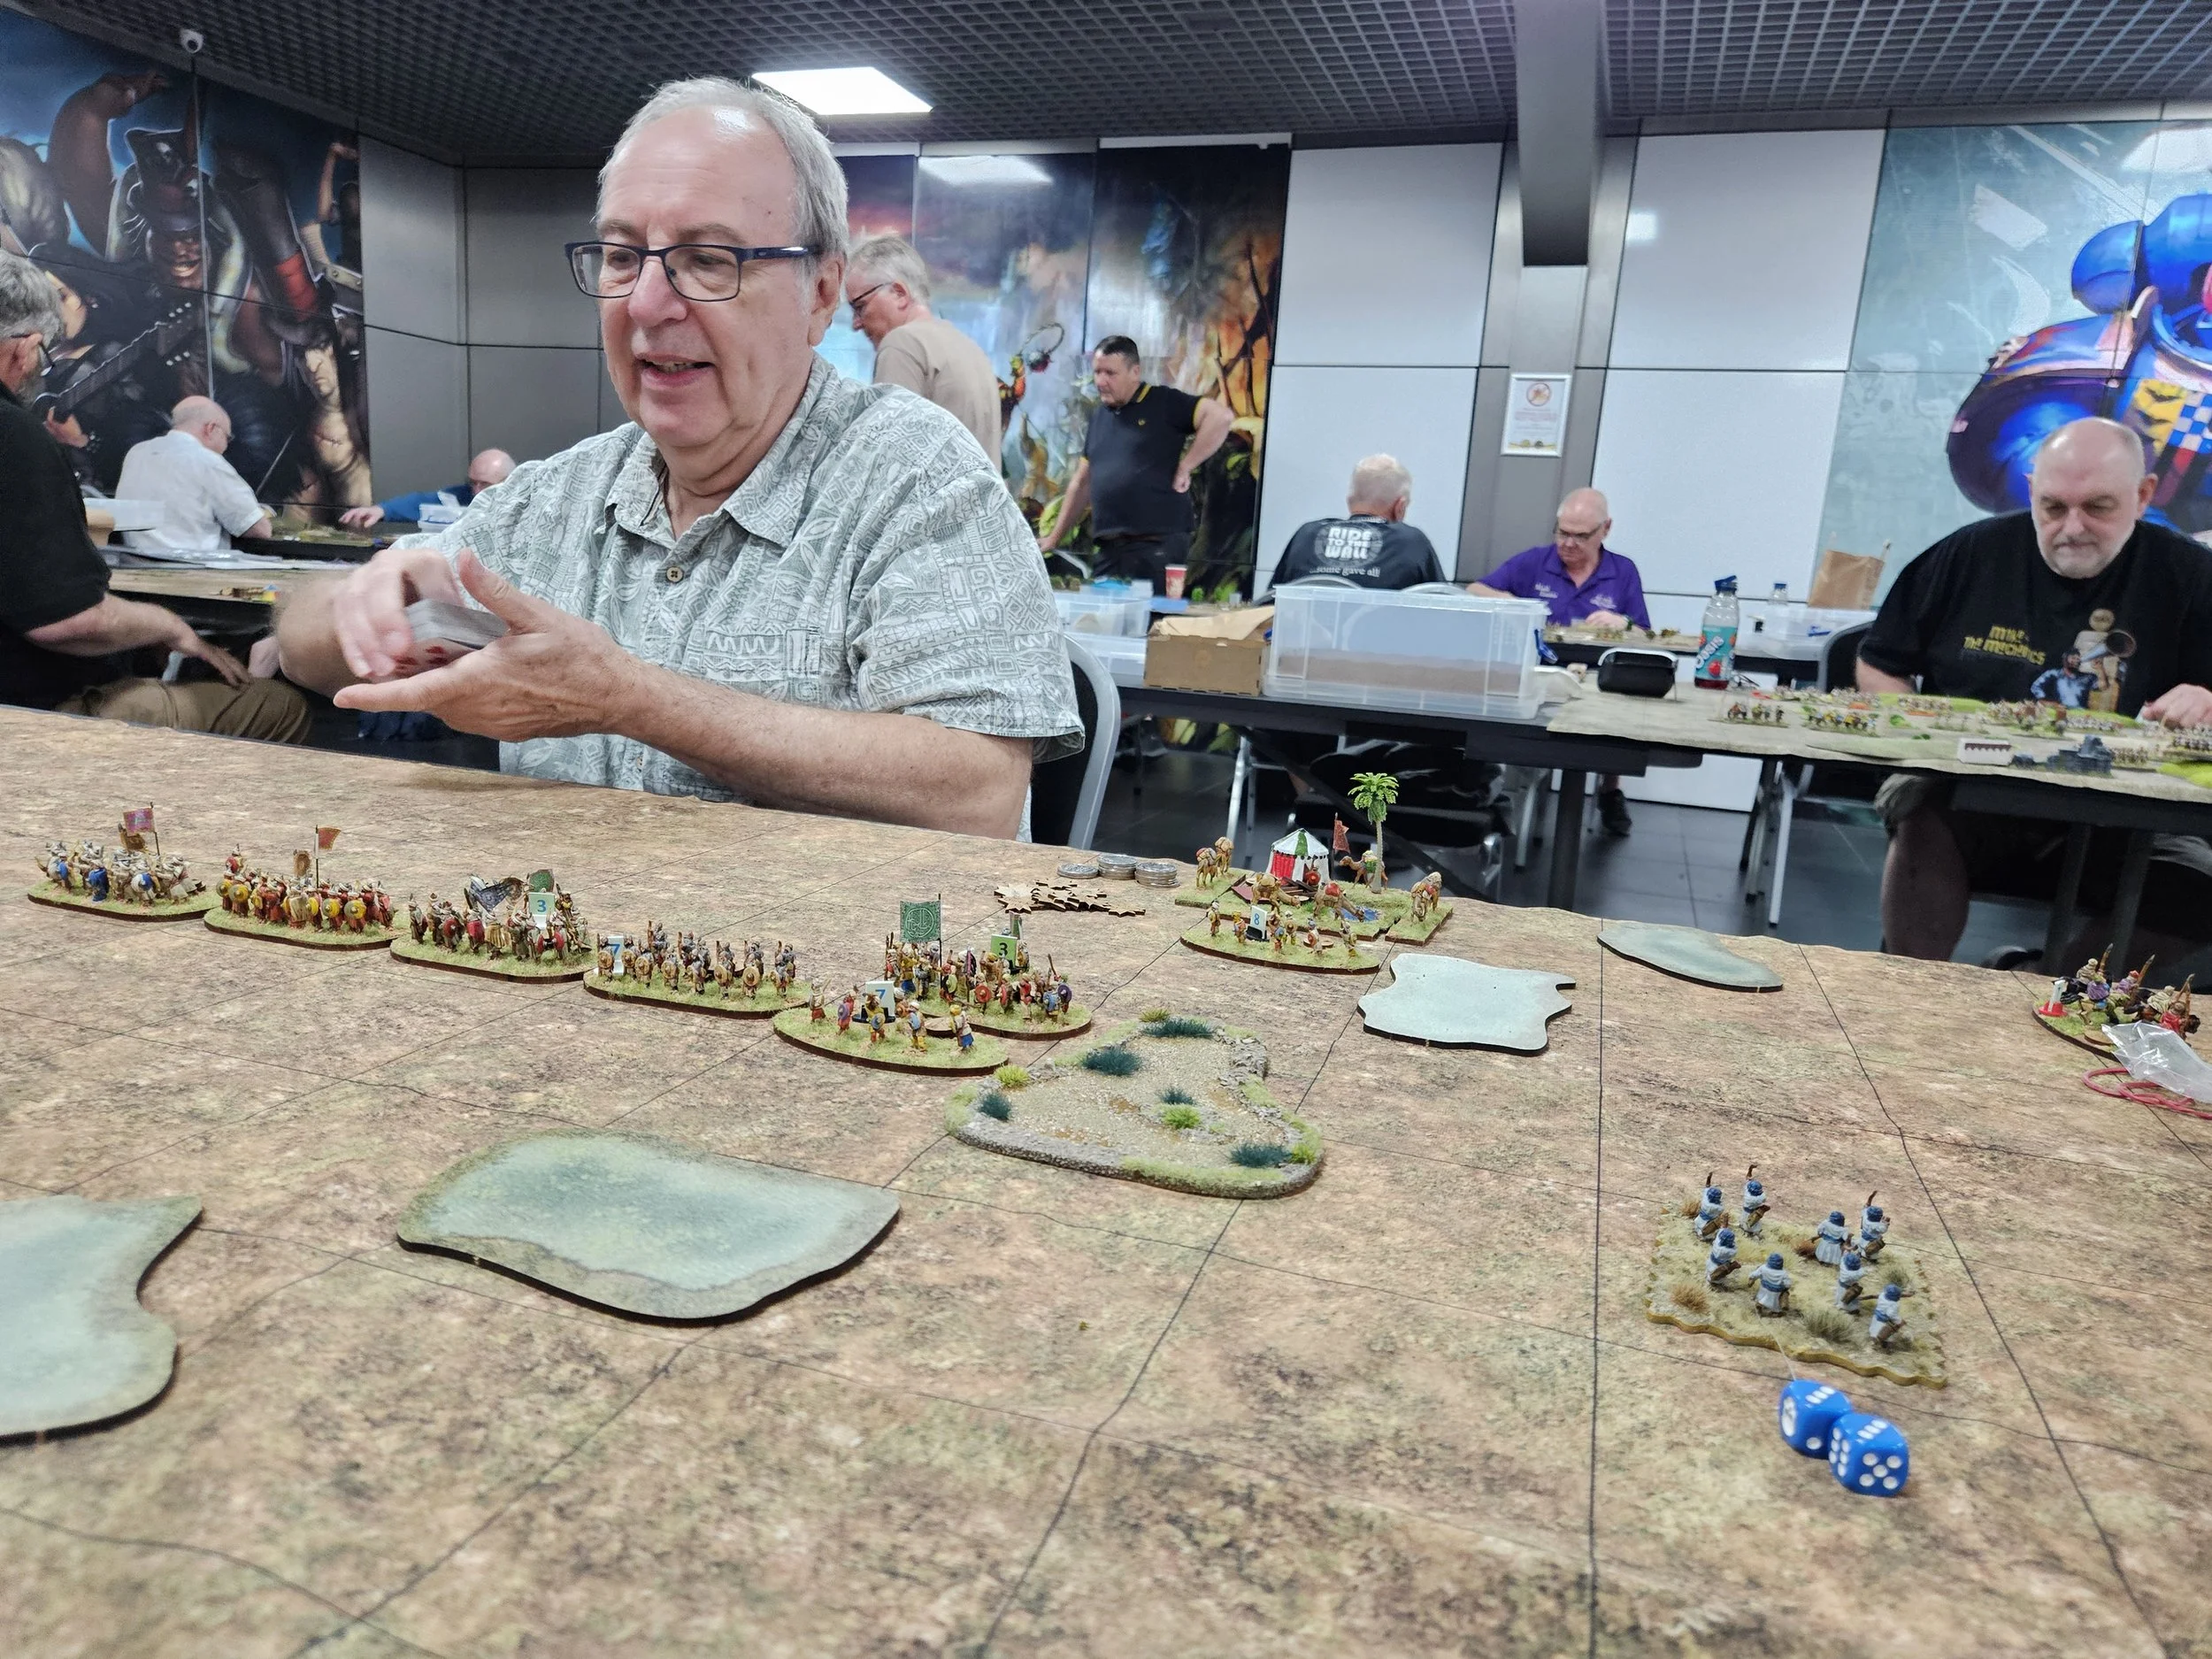
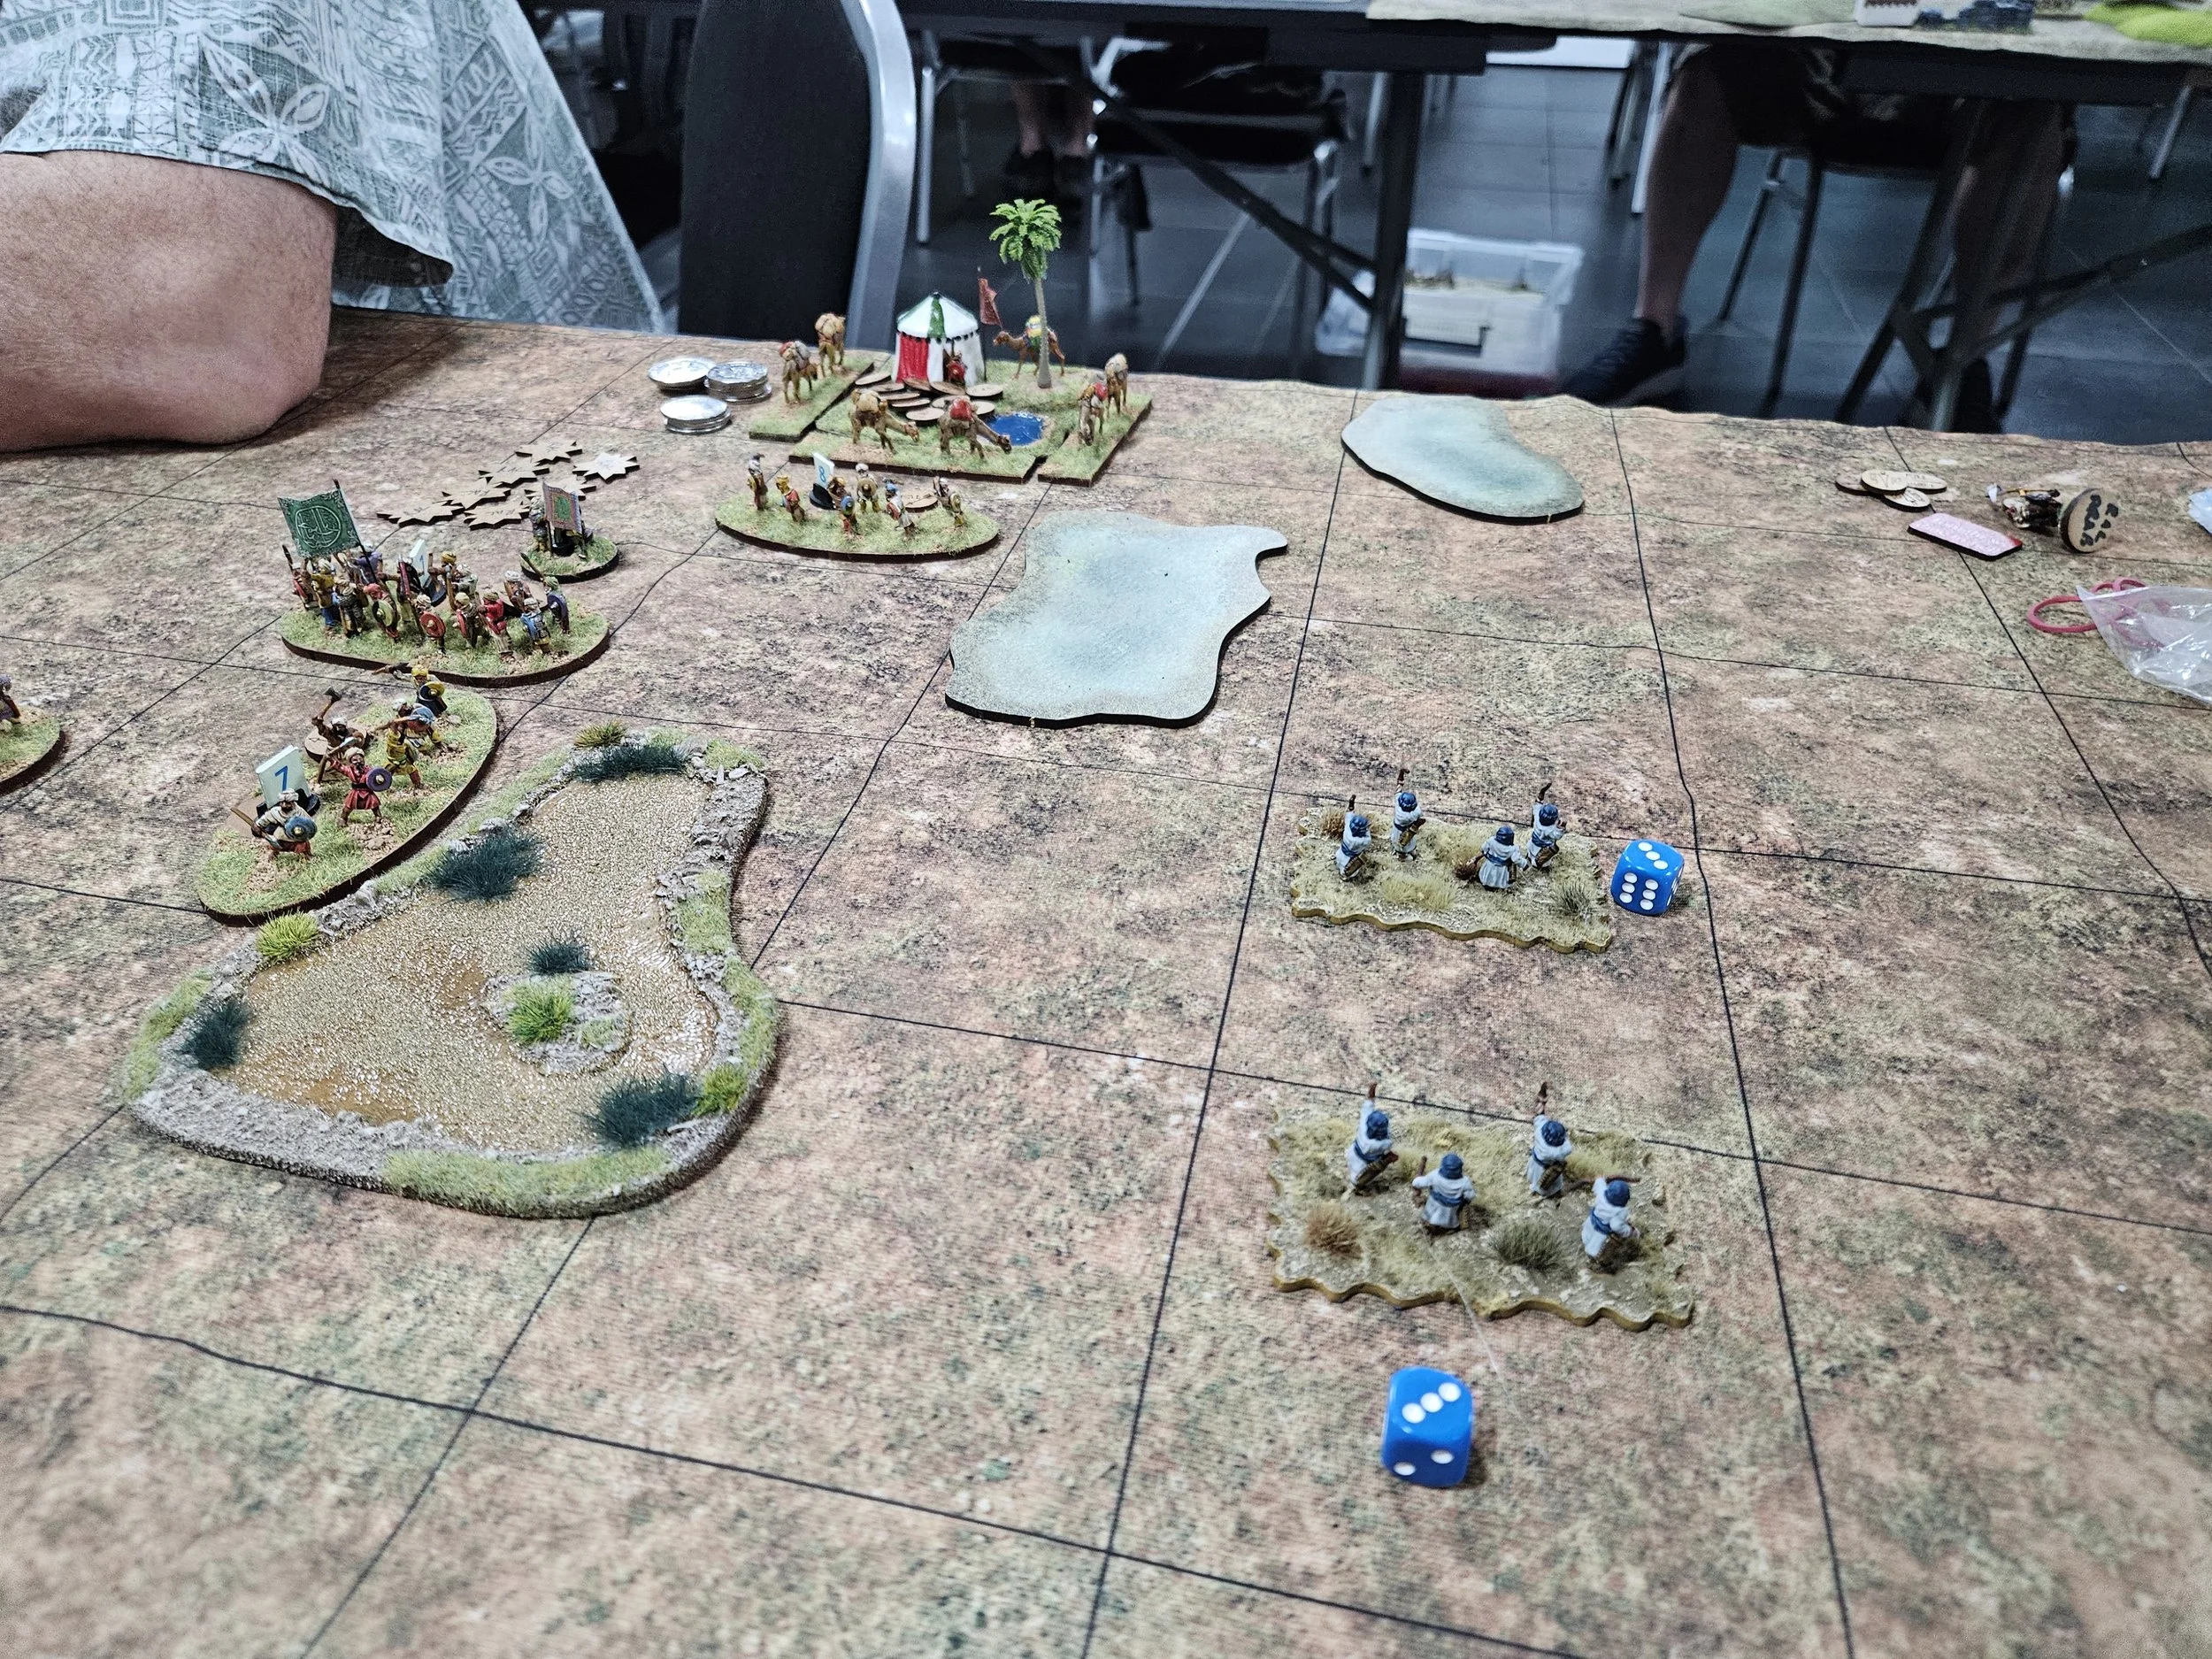
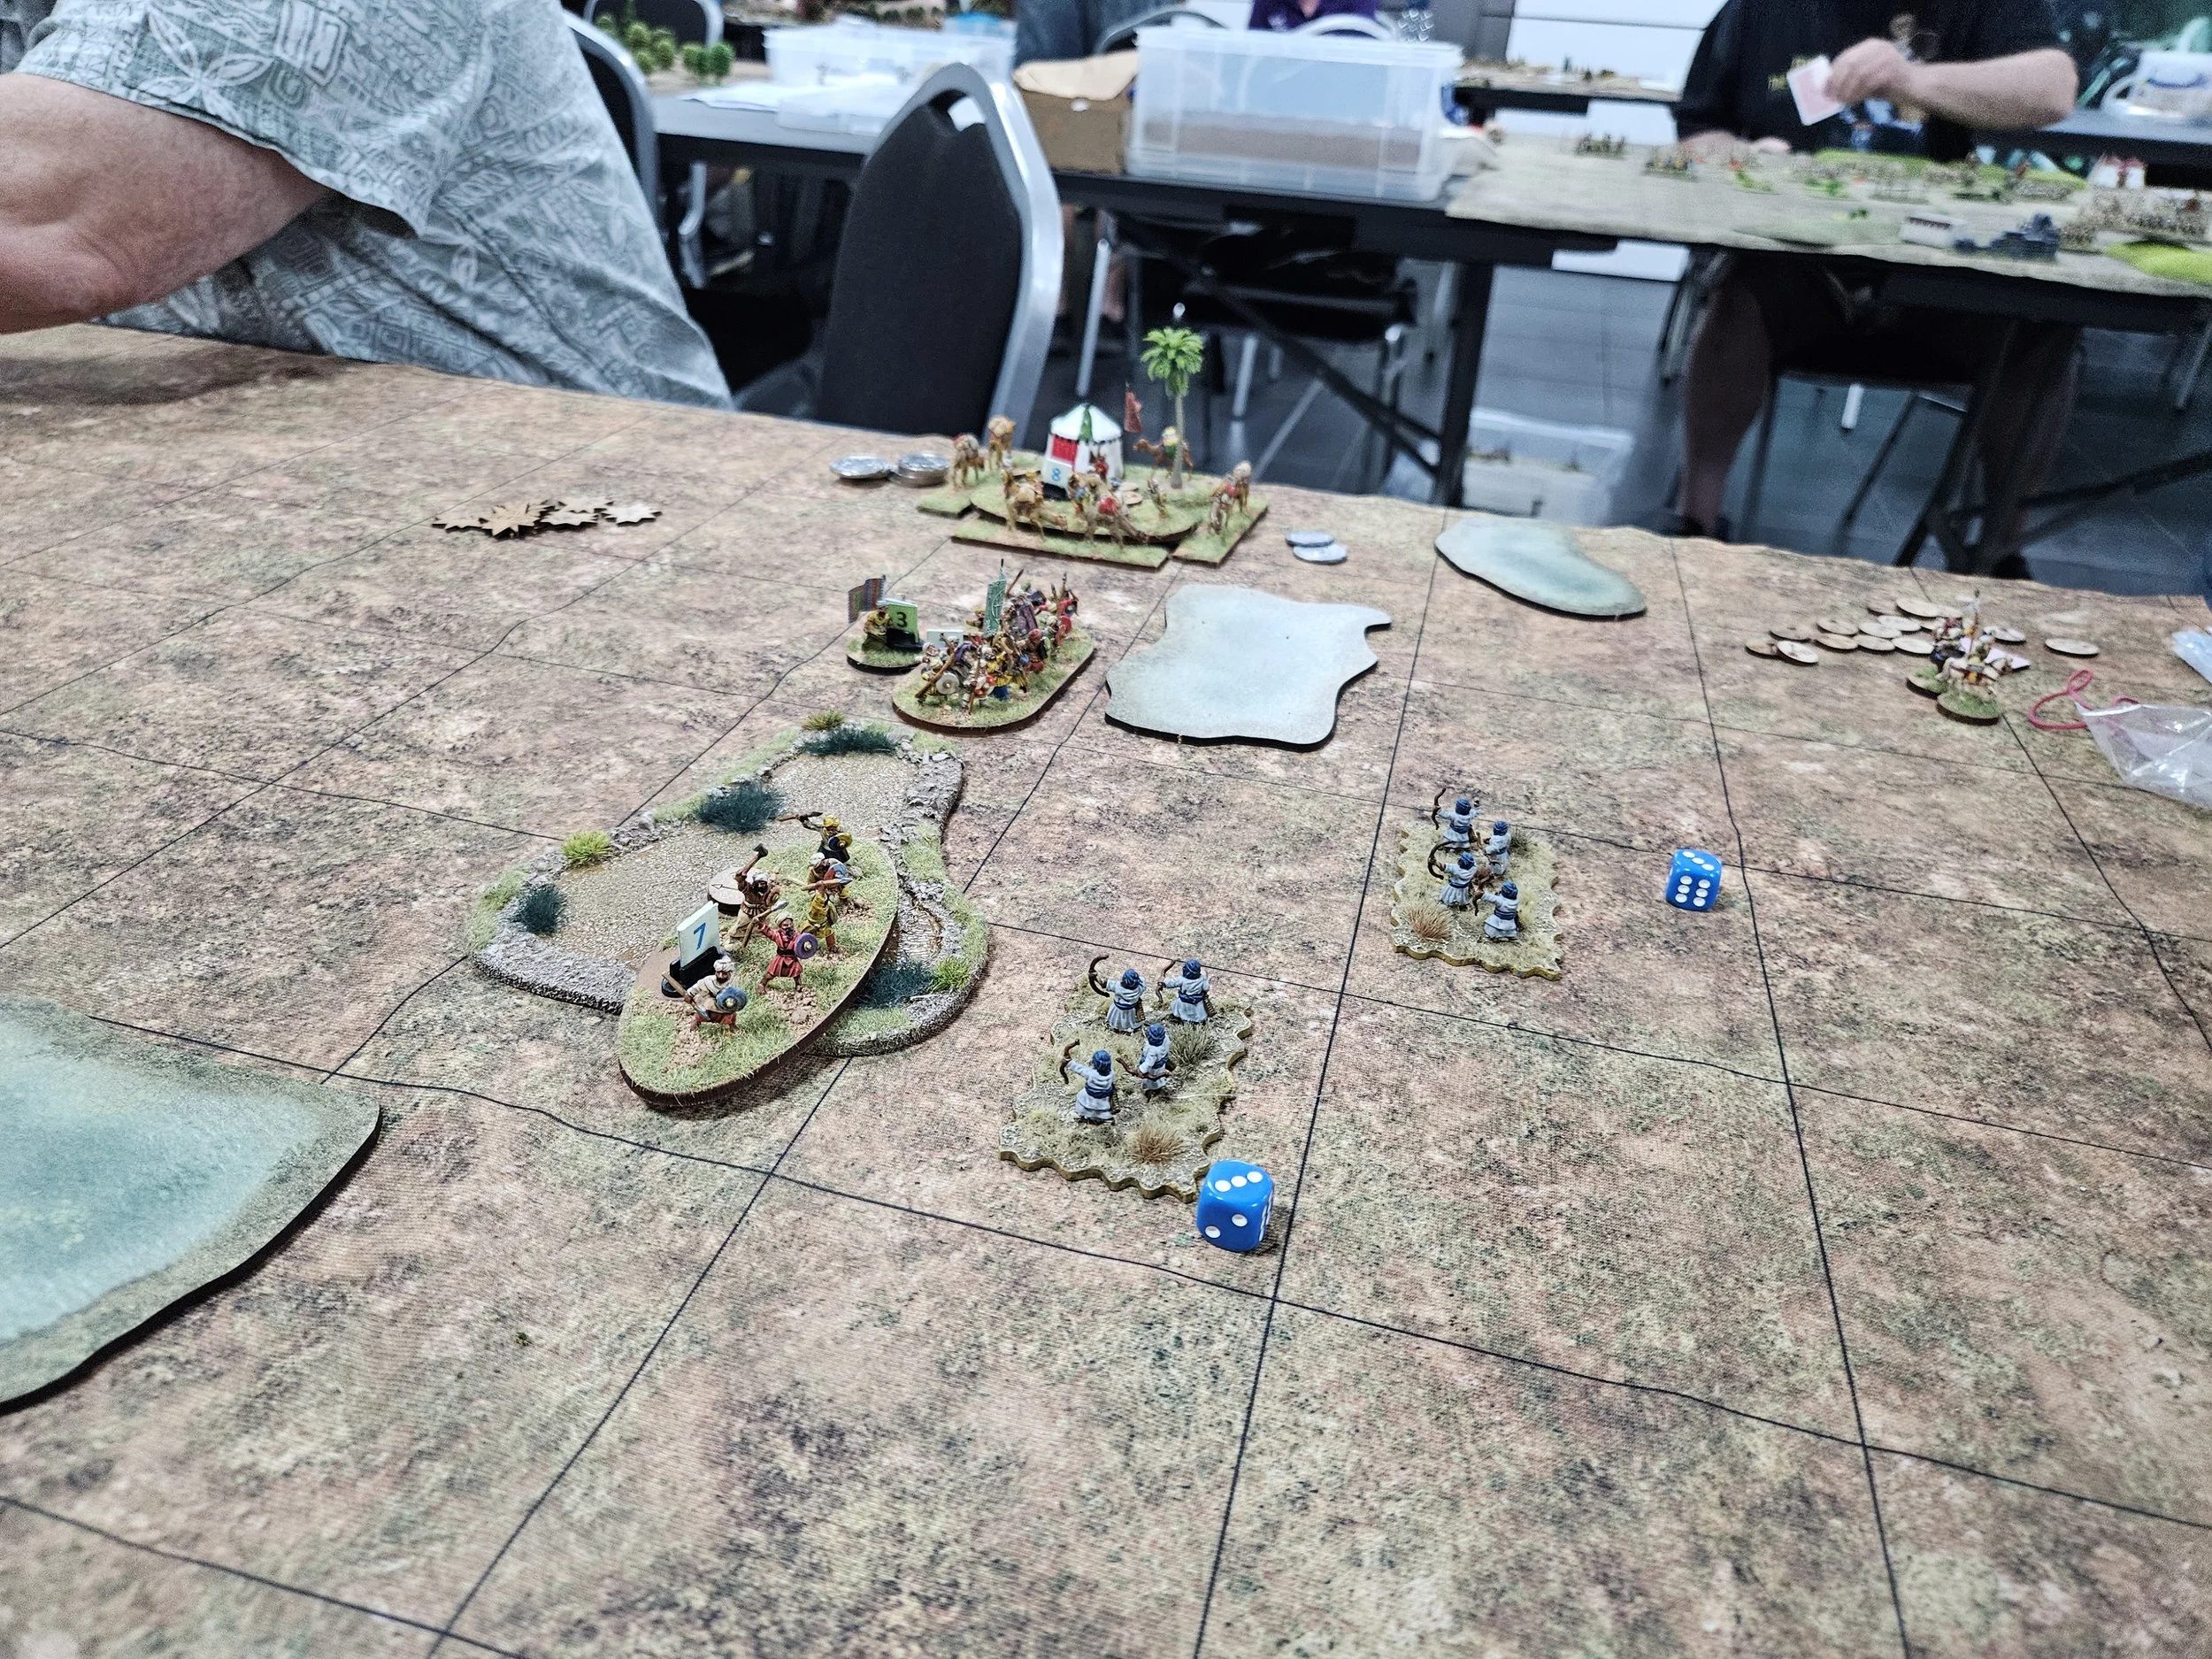
Although they only achieved one kill (a unit of enemy lights) what they did manage to do was to keep four coins-worth (as opposed to their two coins-worth) of enemy infantry occupied for the rest of the game: a sound investment if I say so myself!

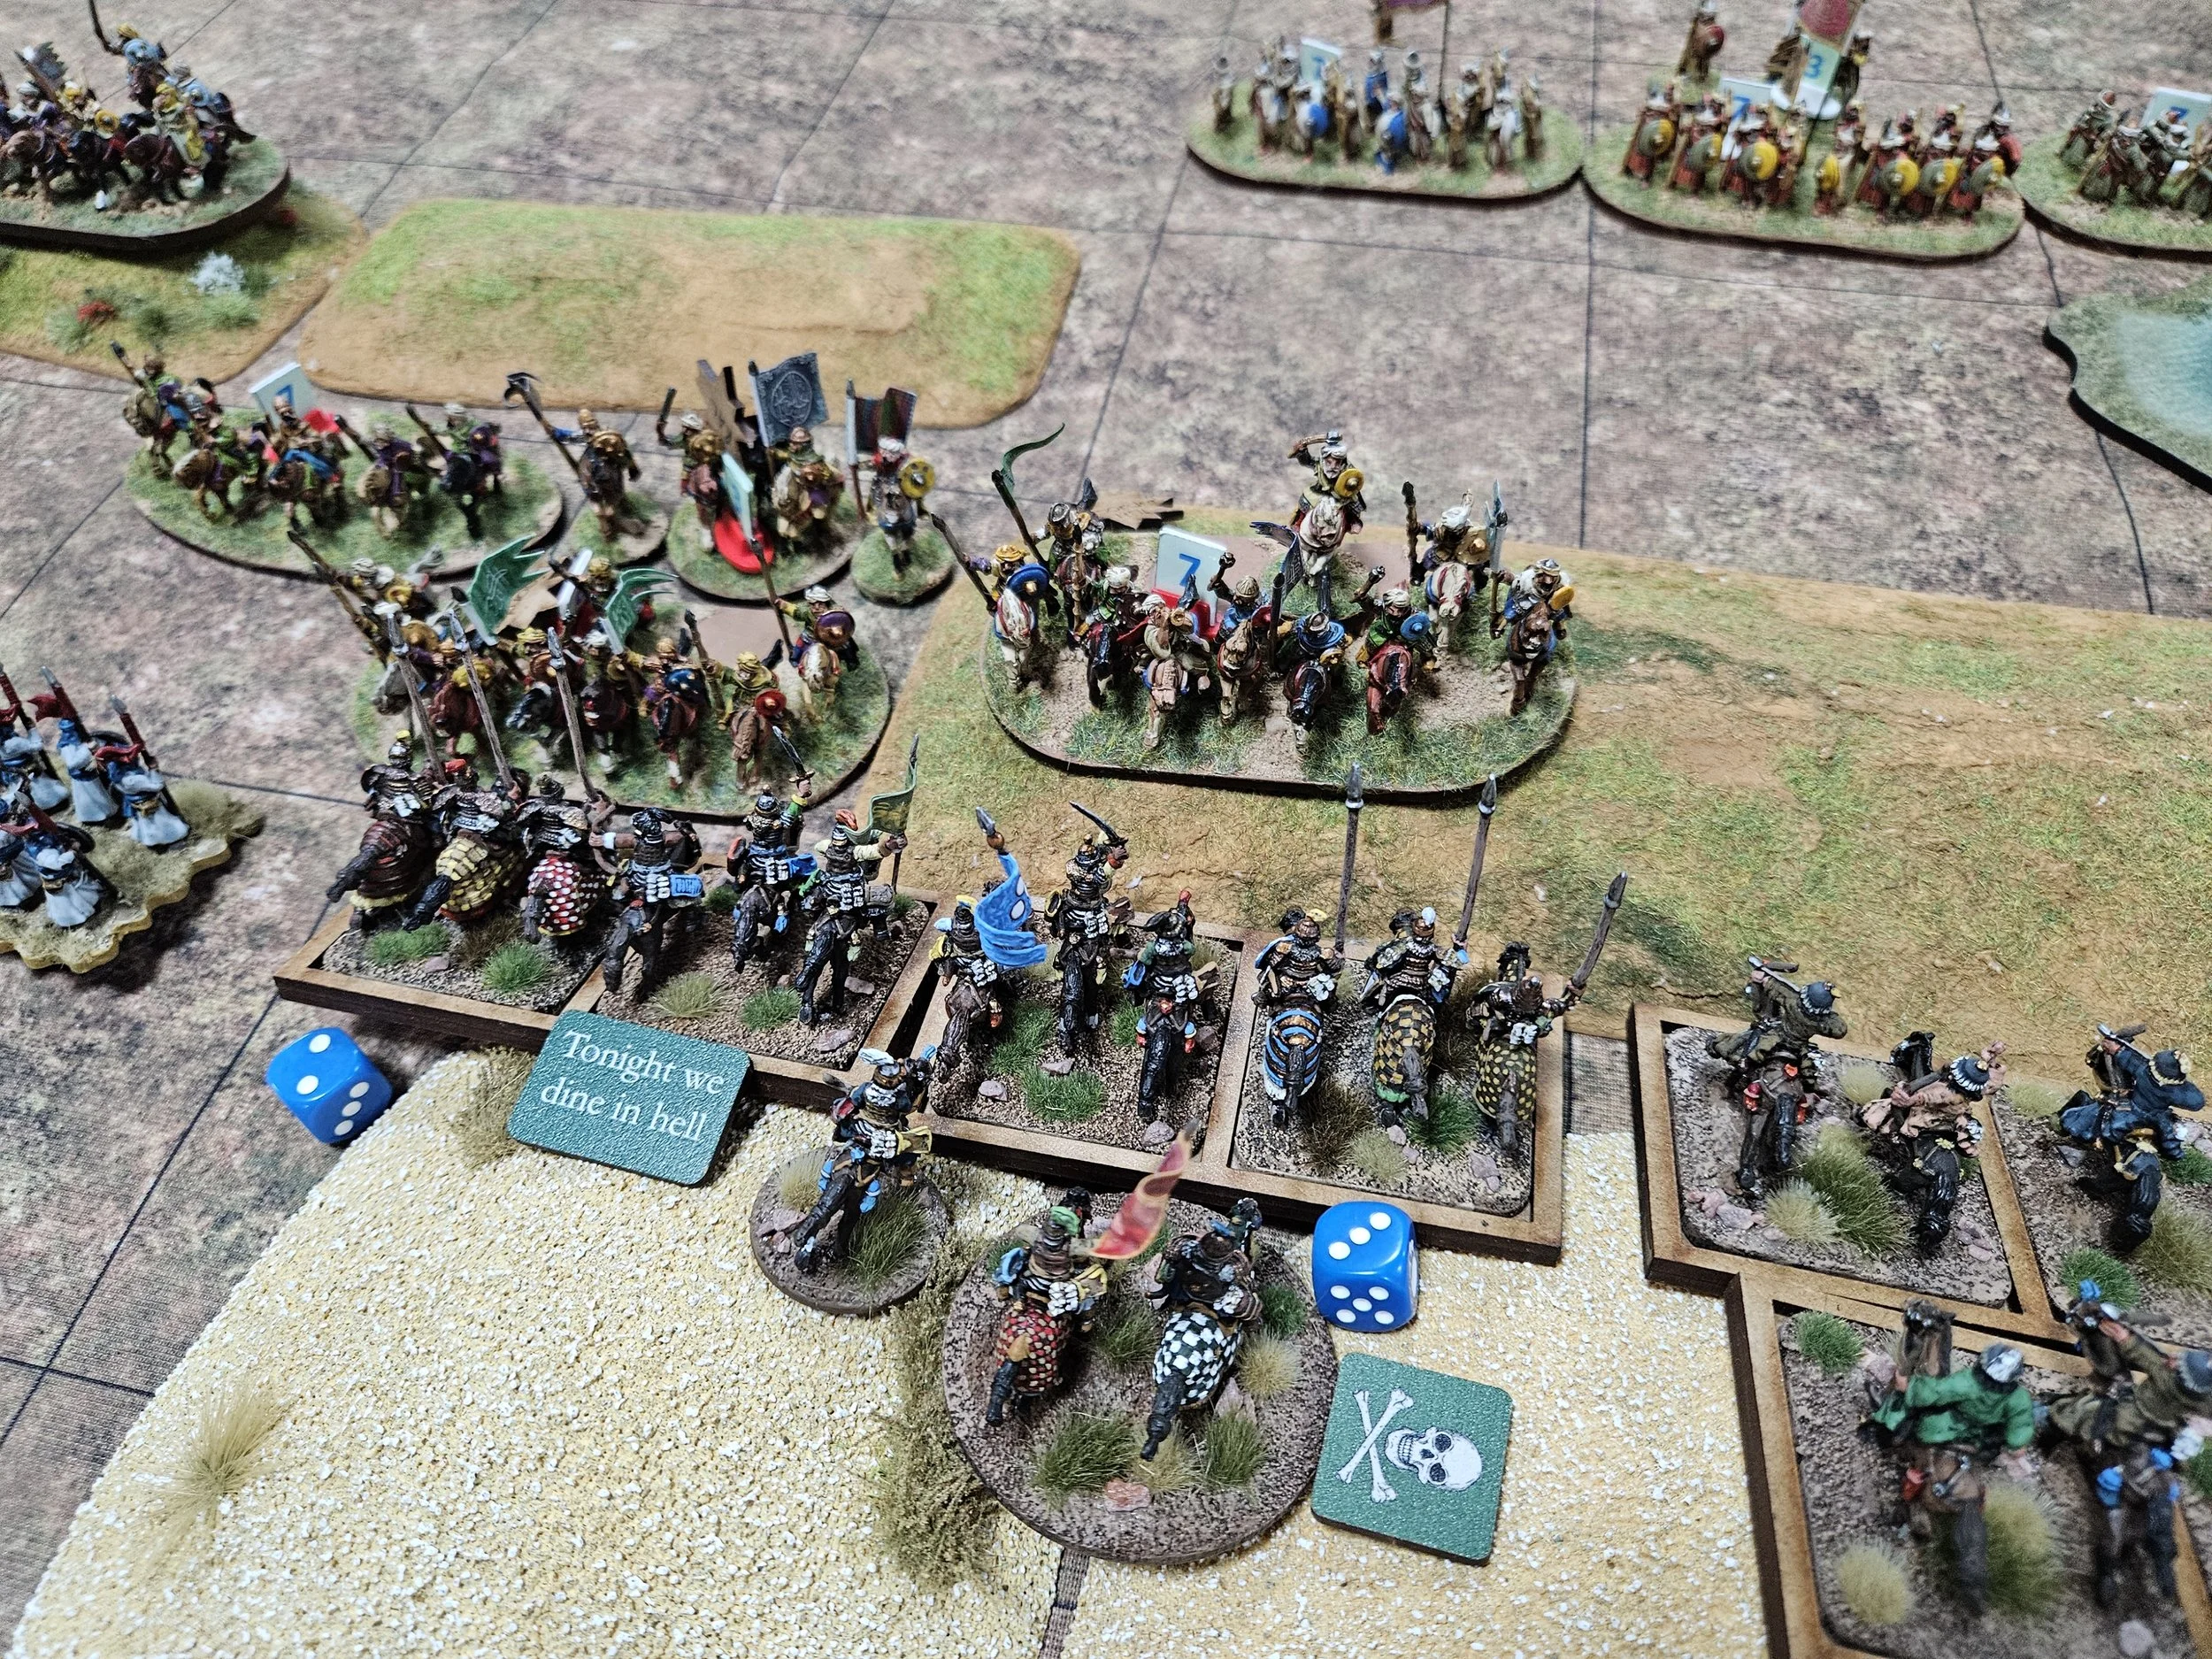
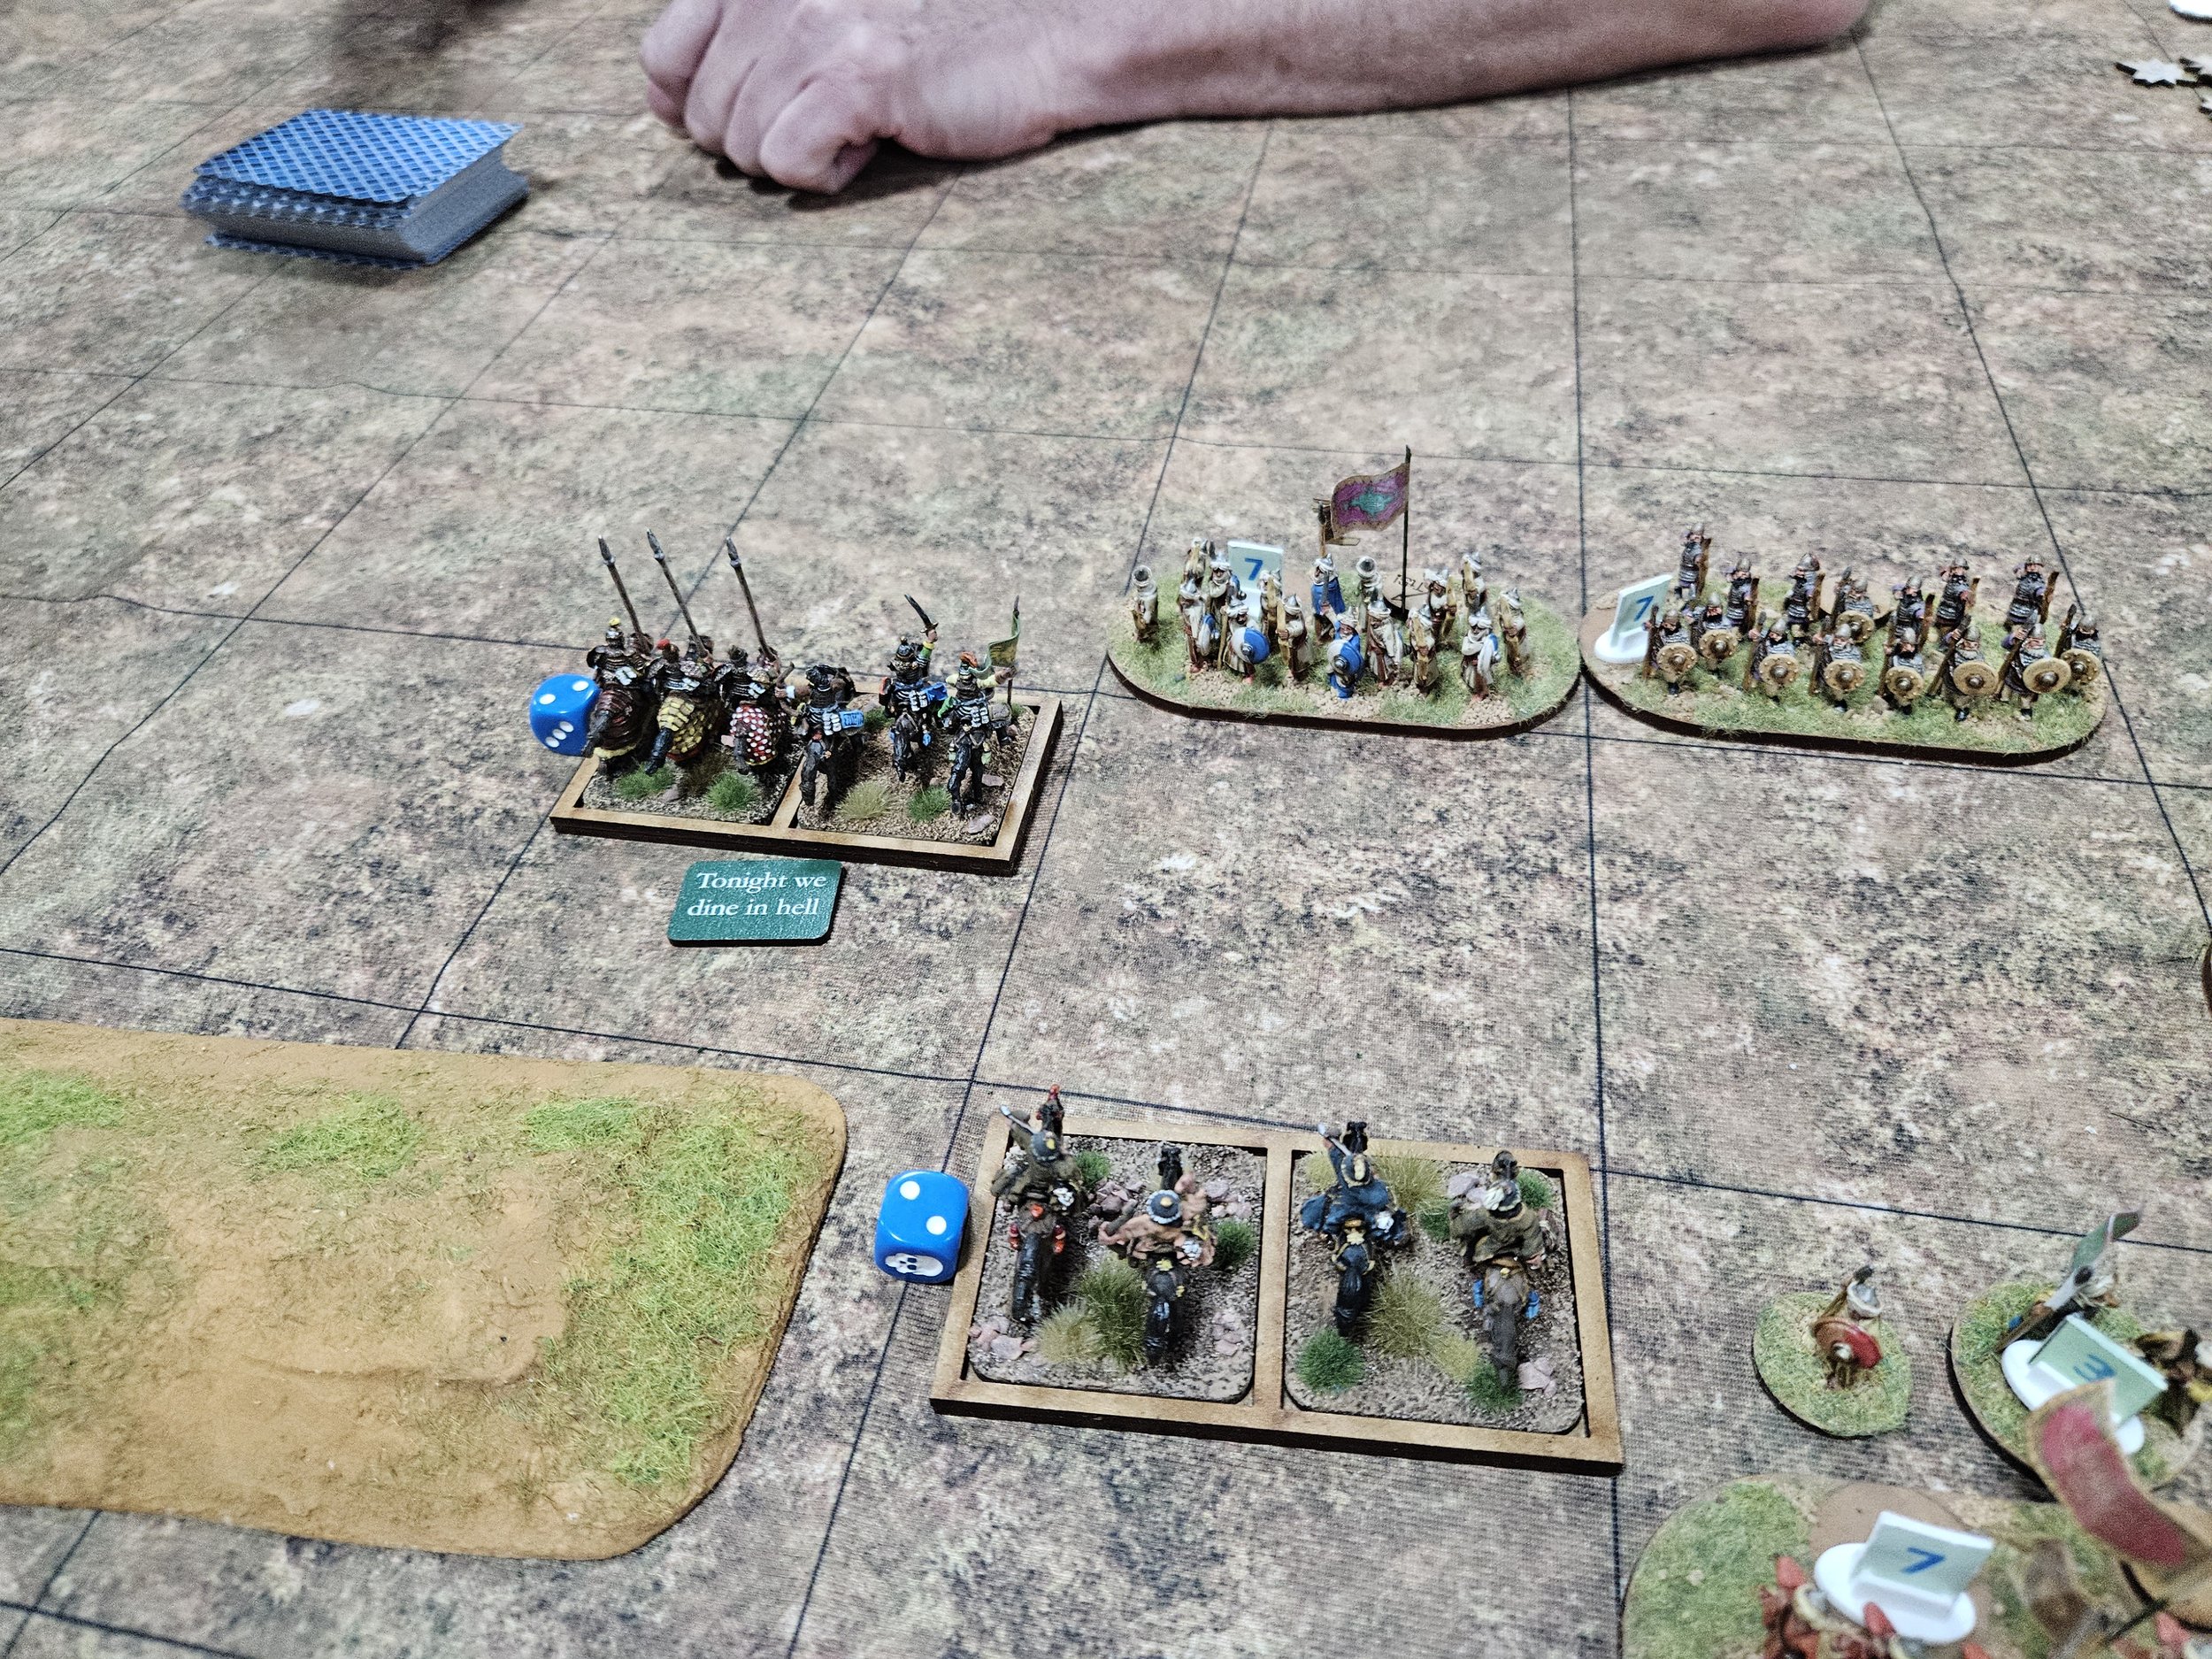
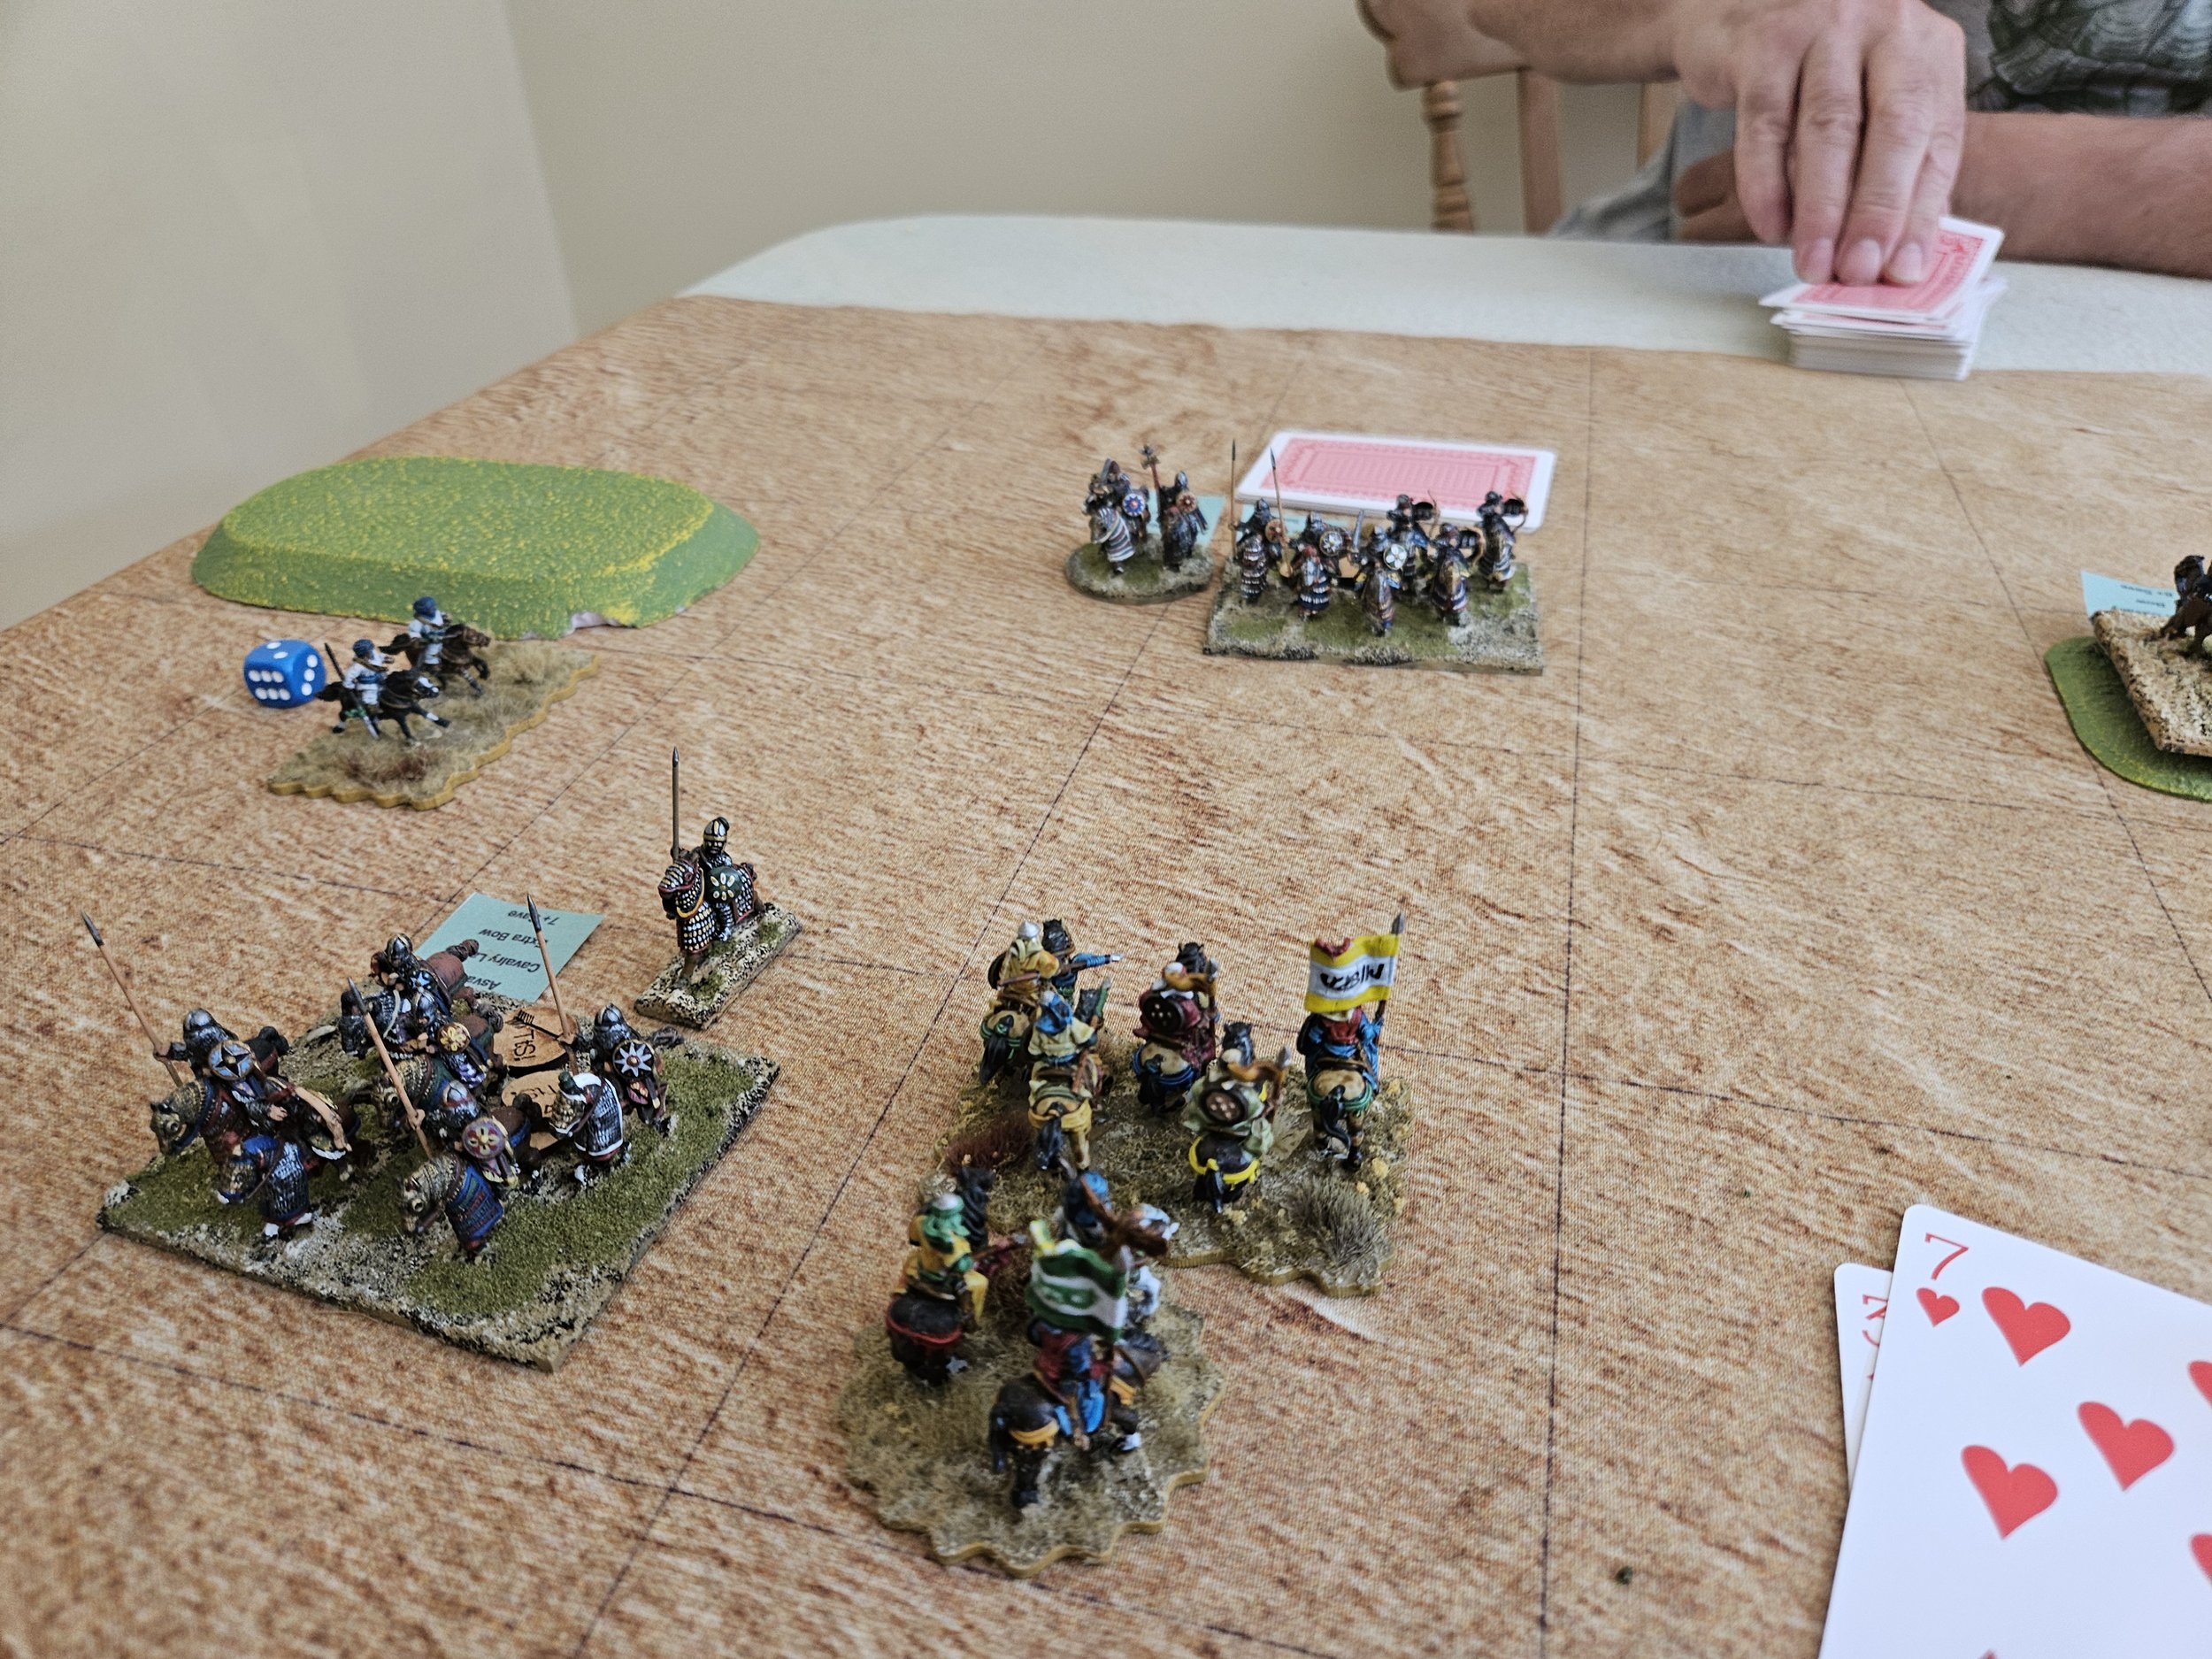
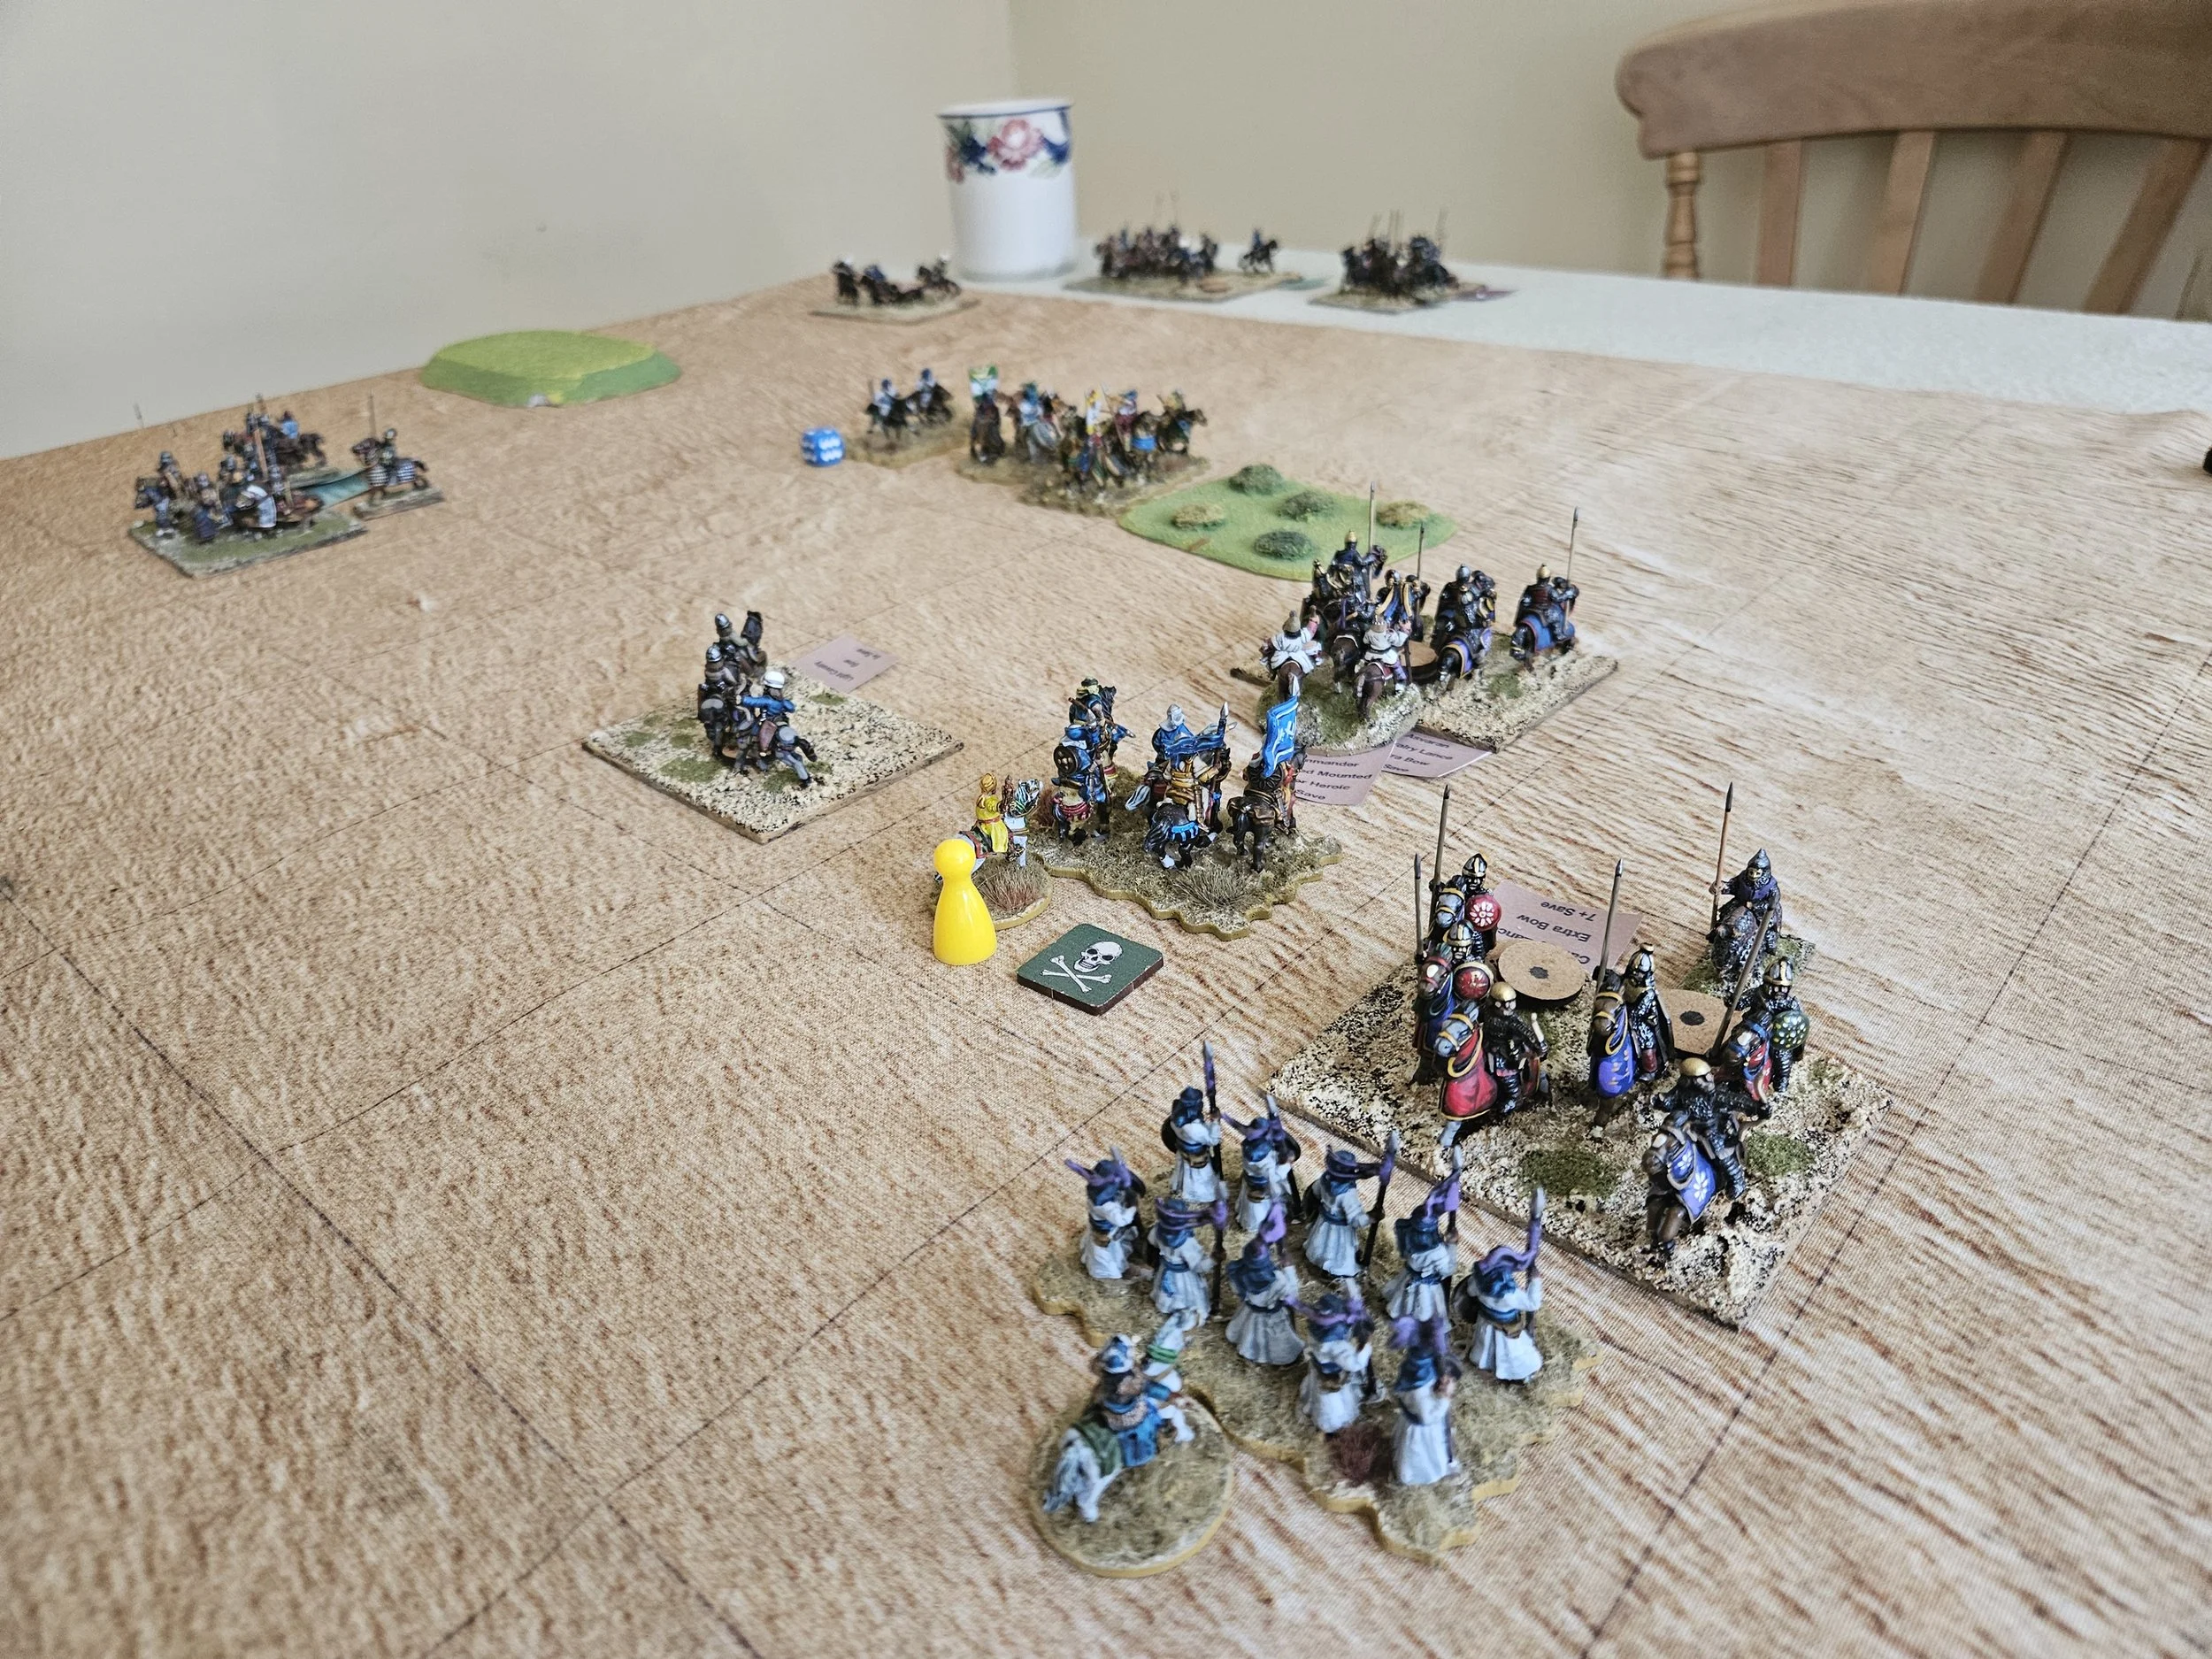
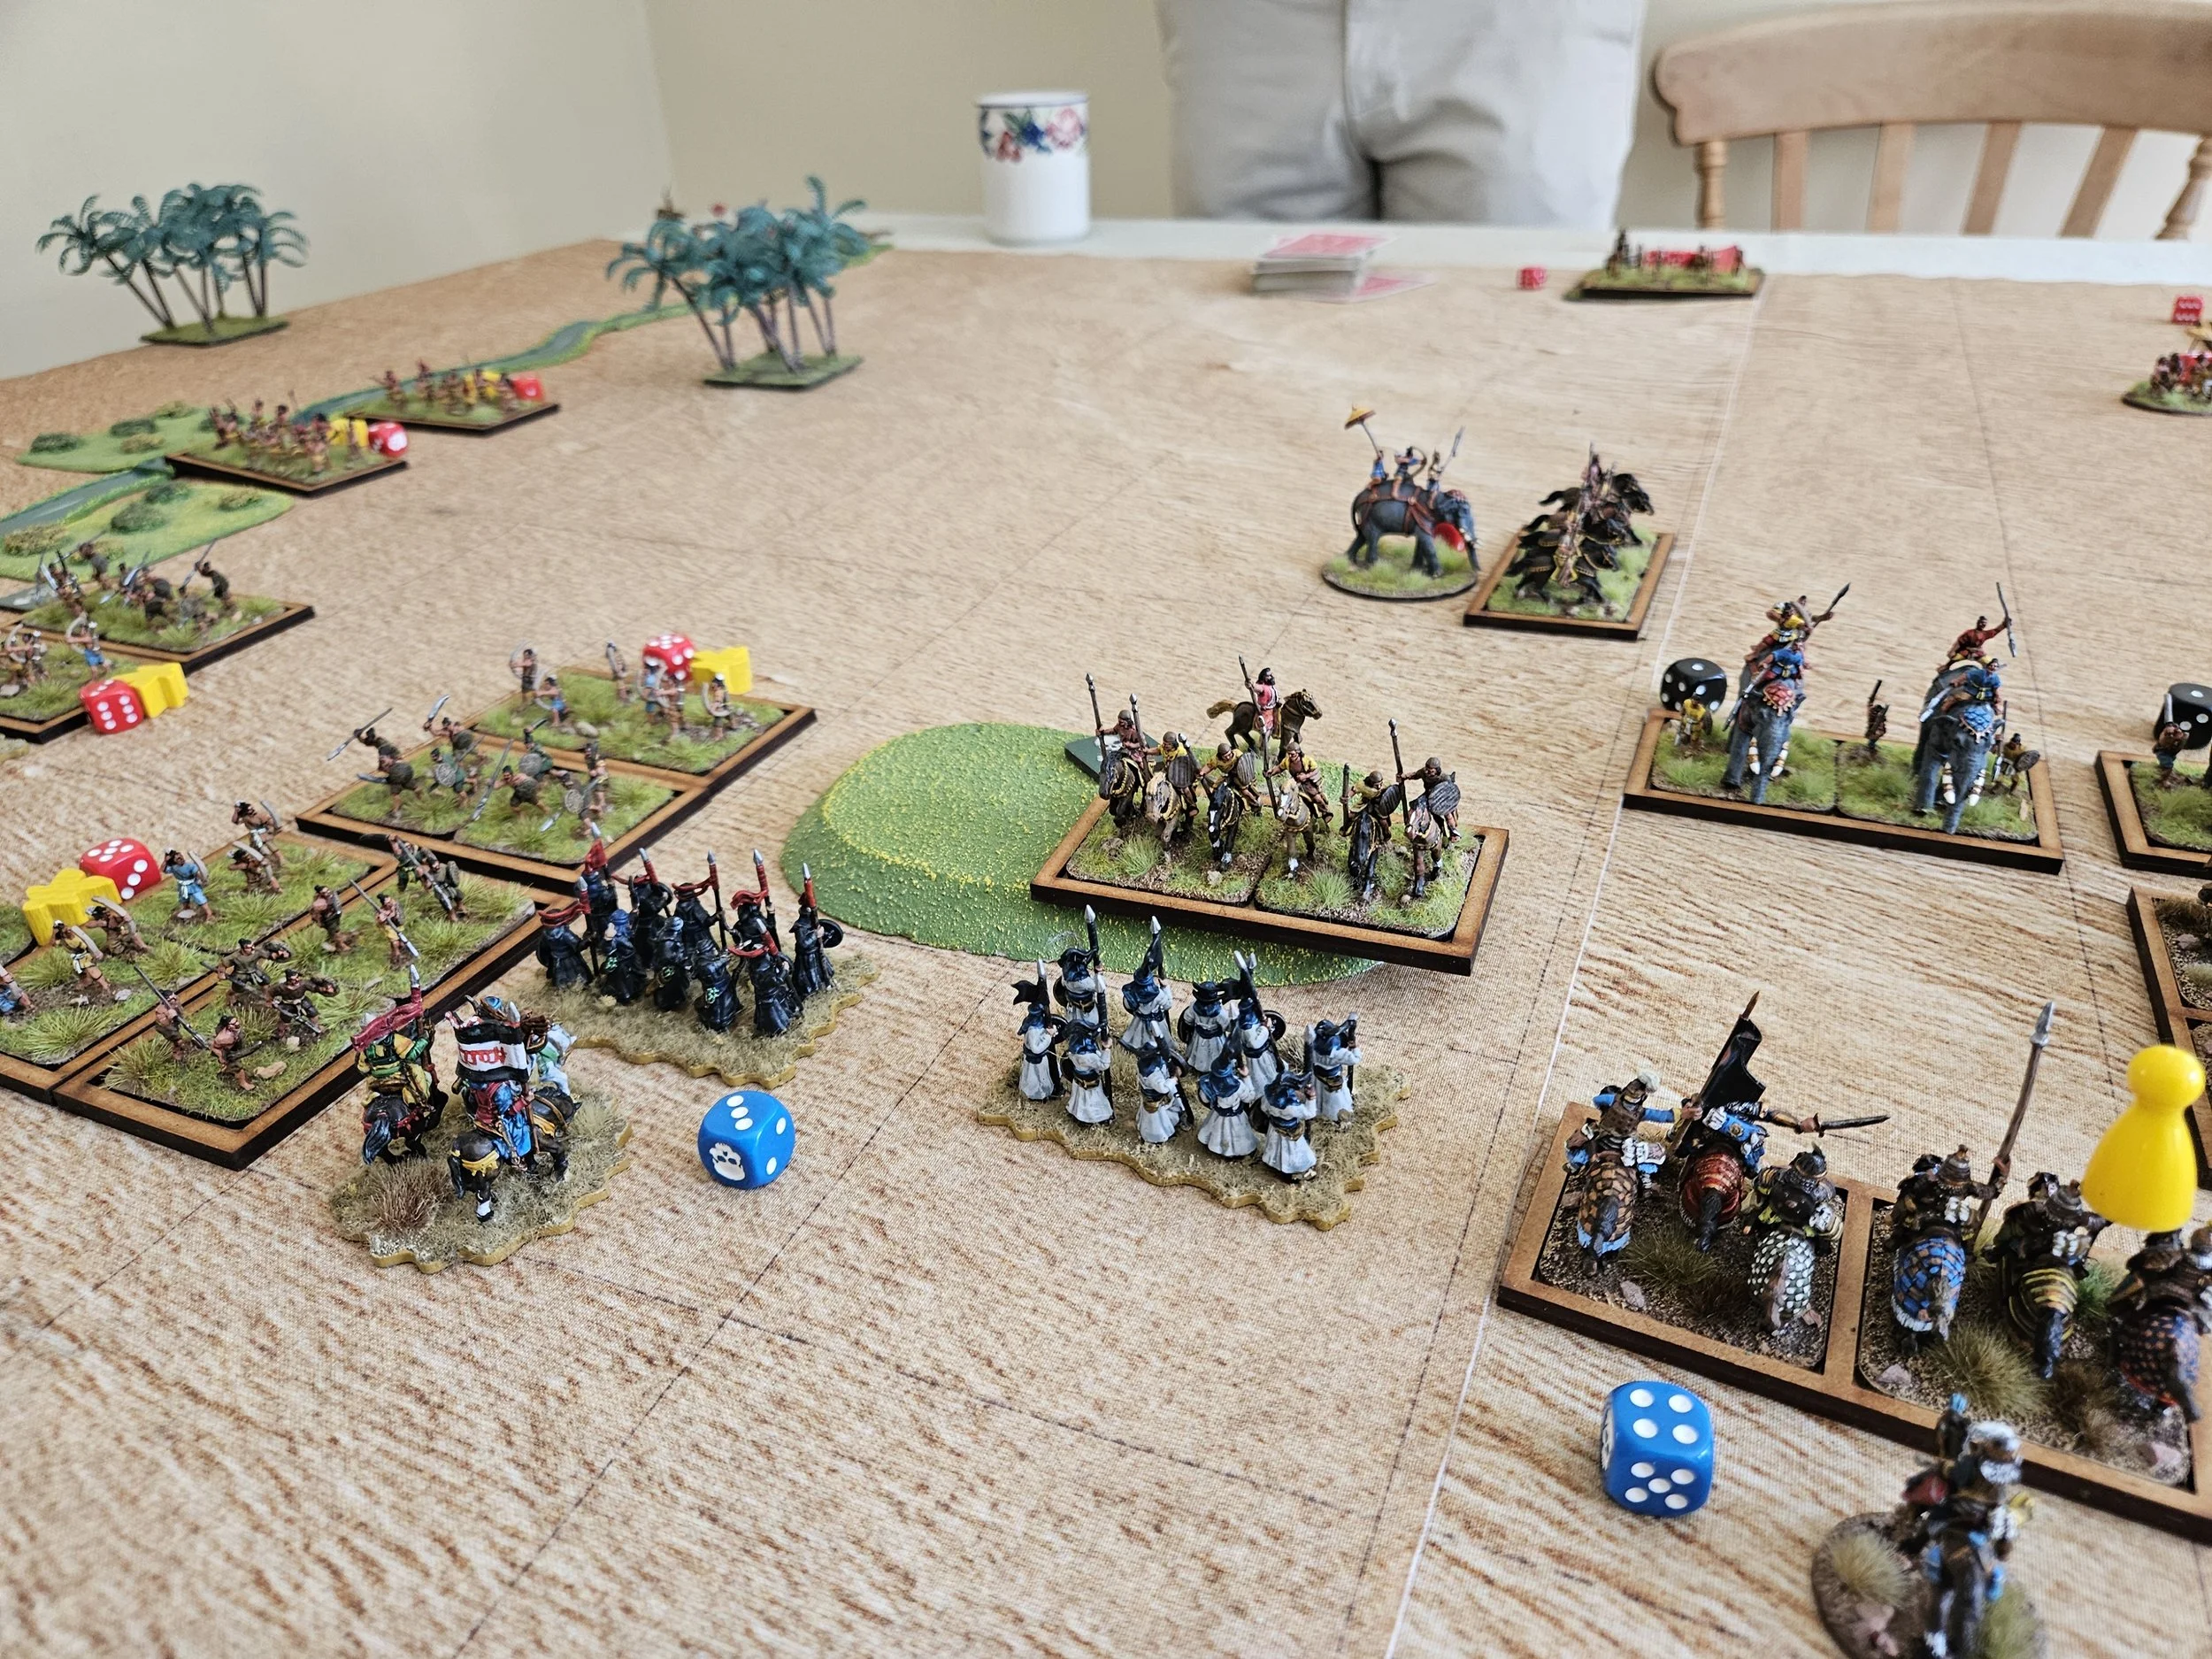
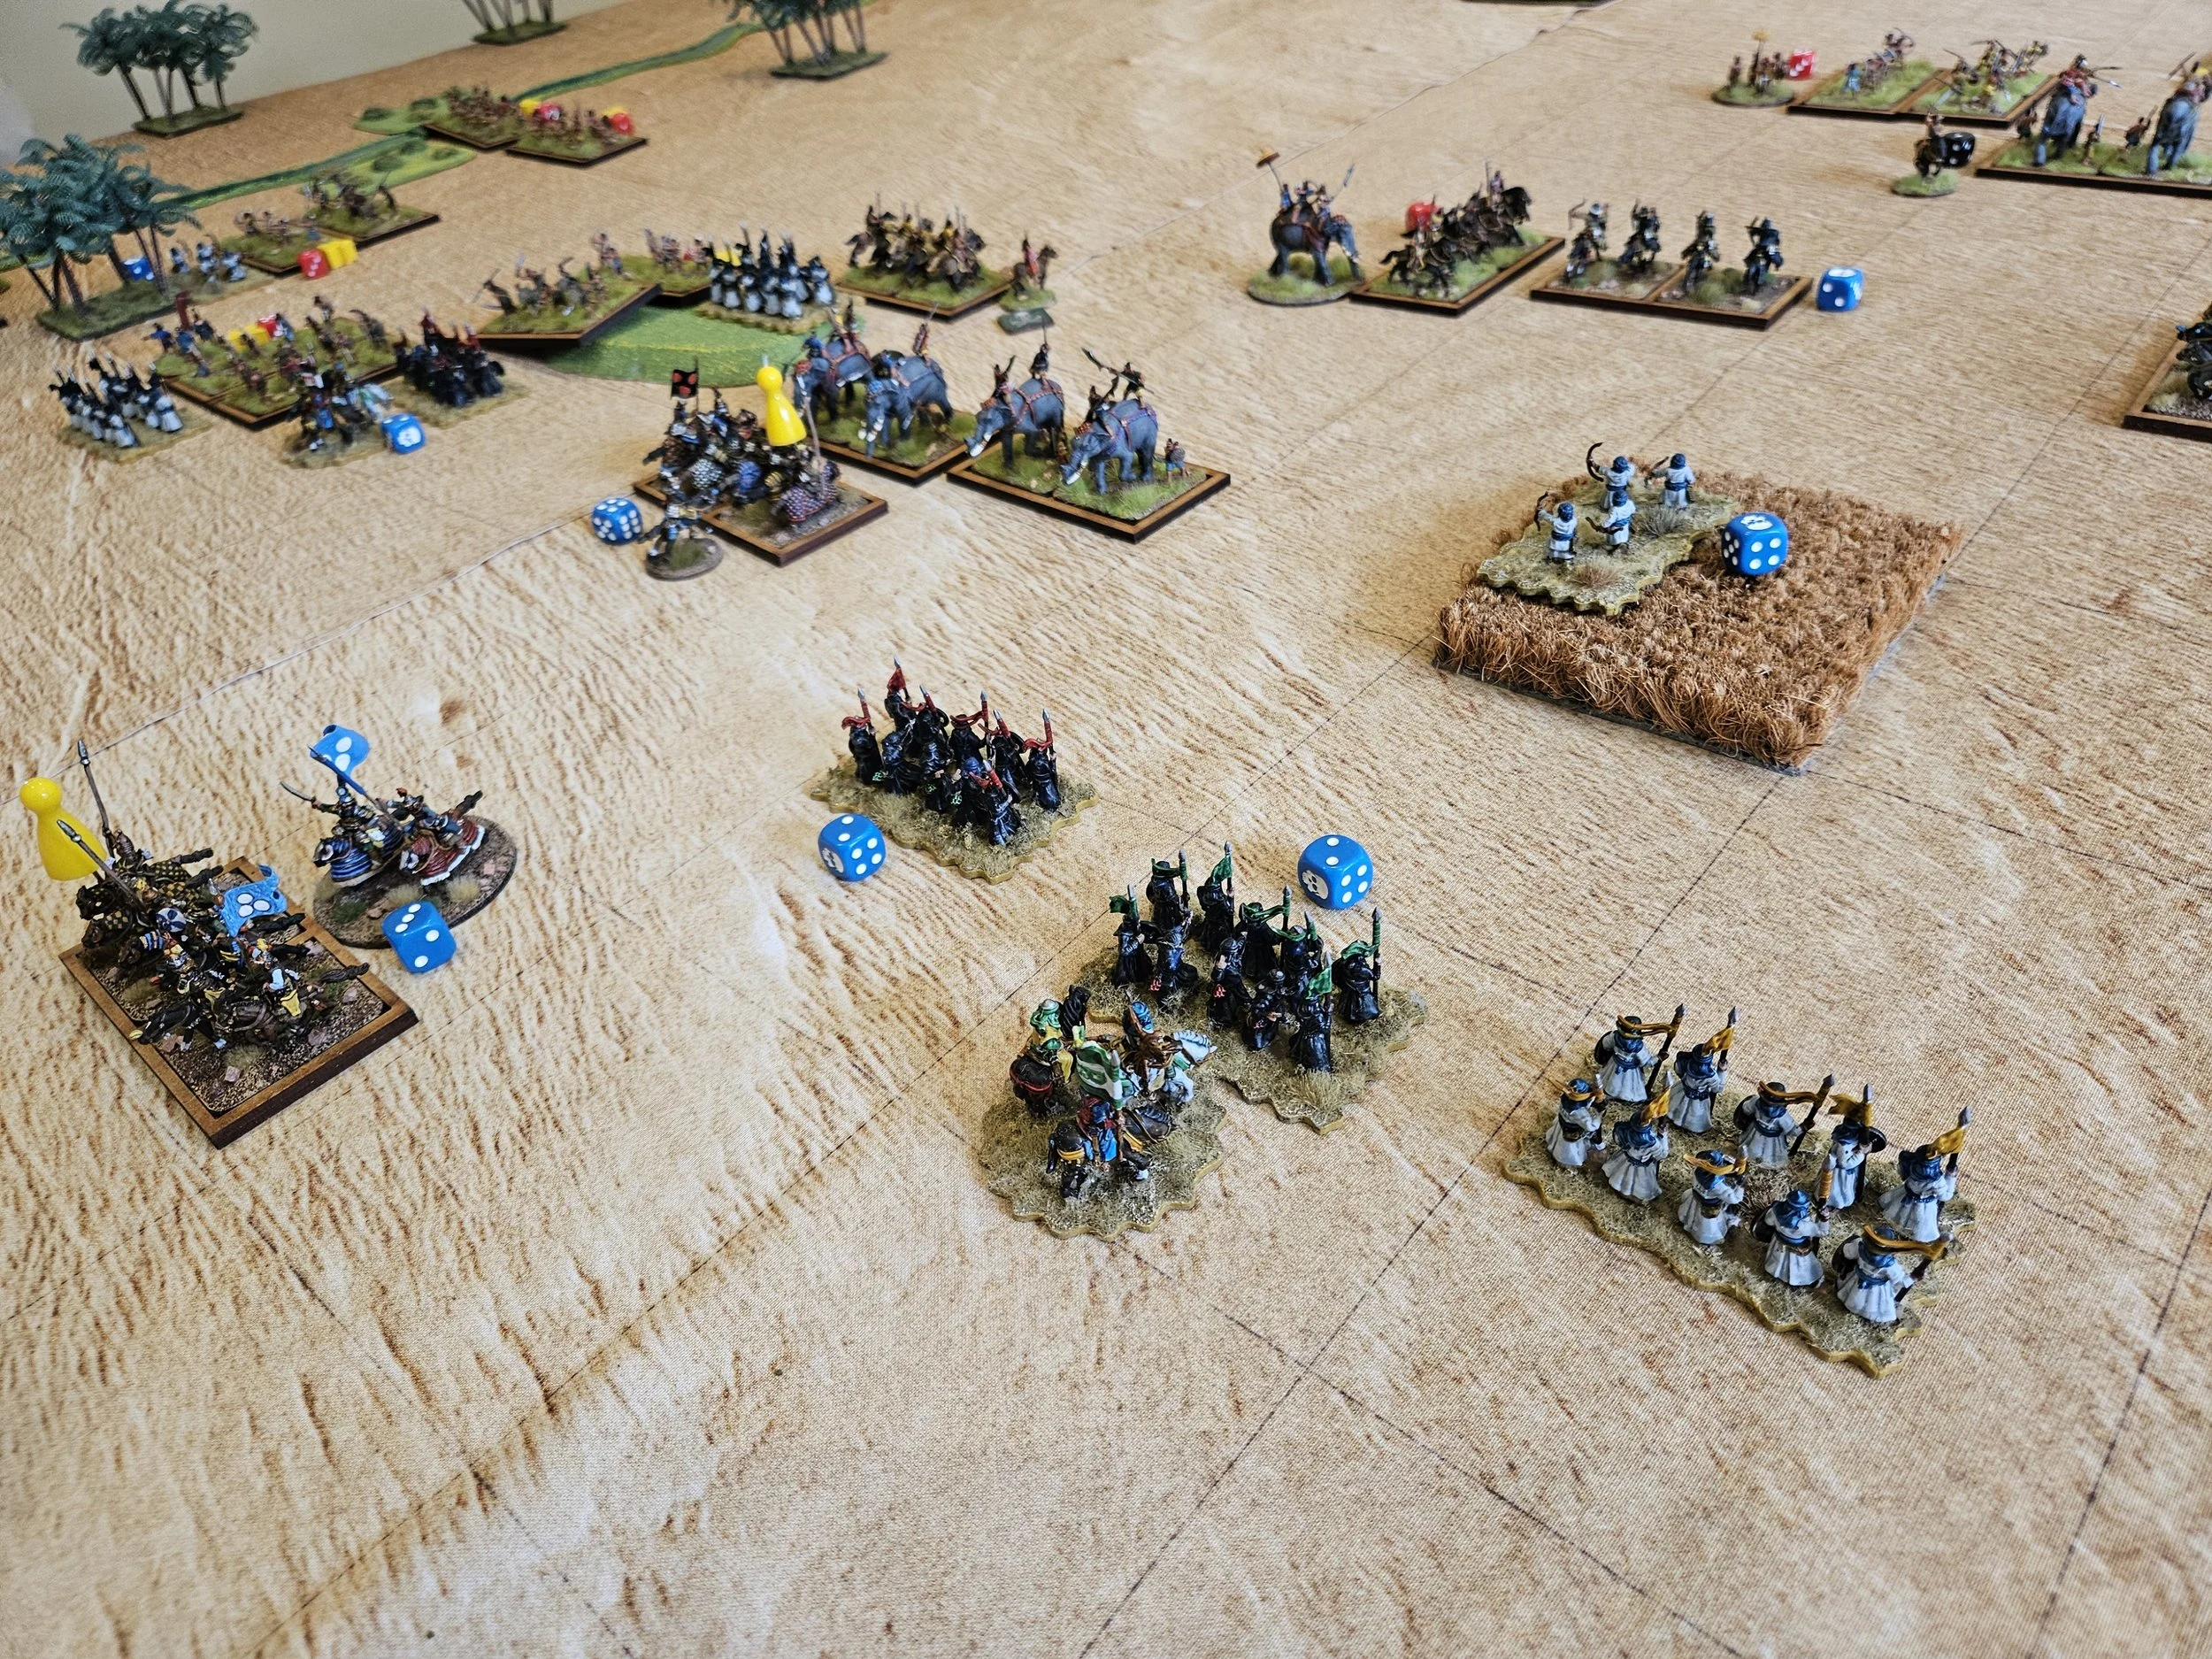
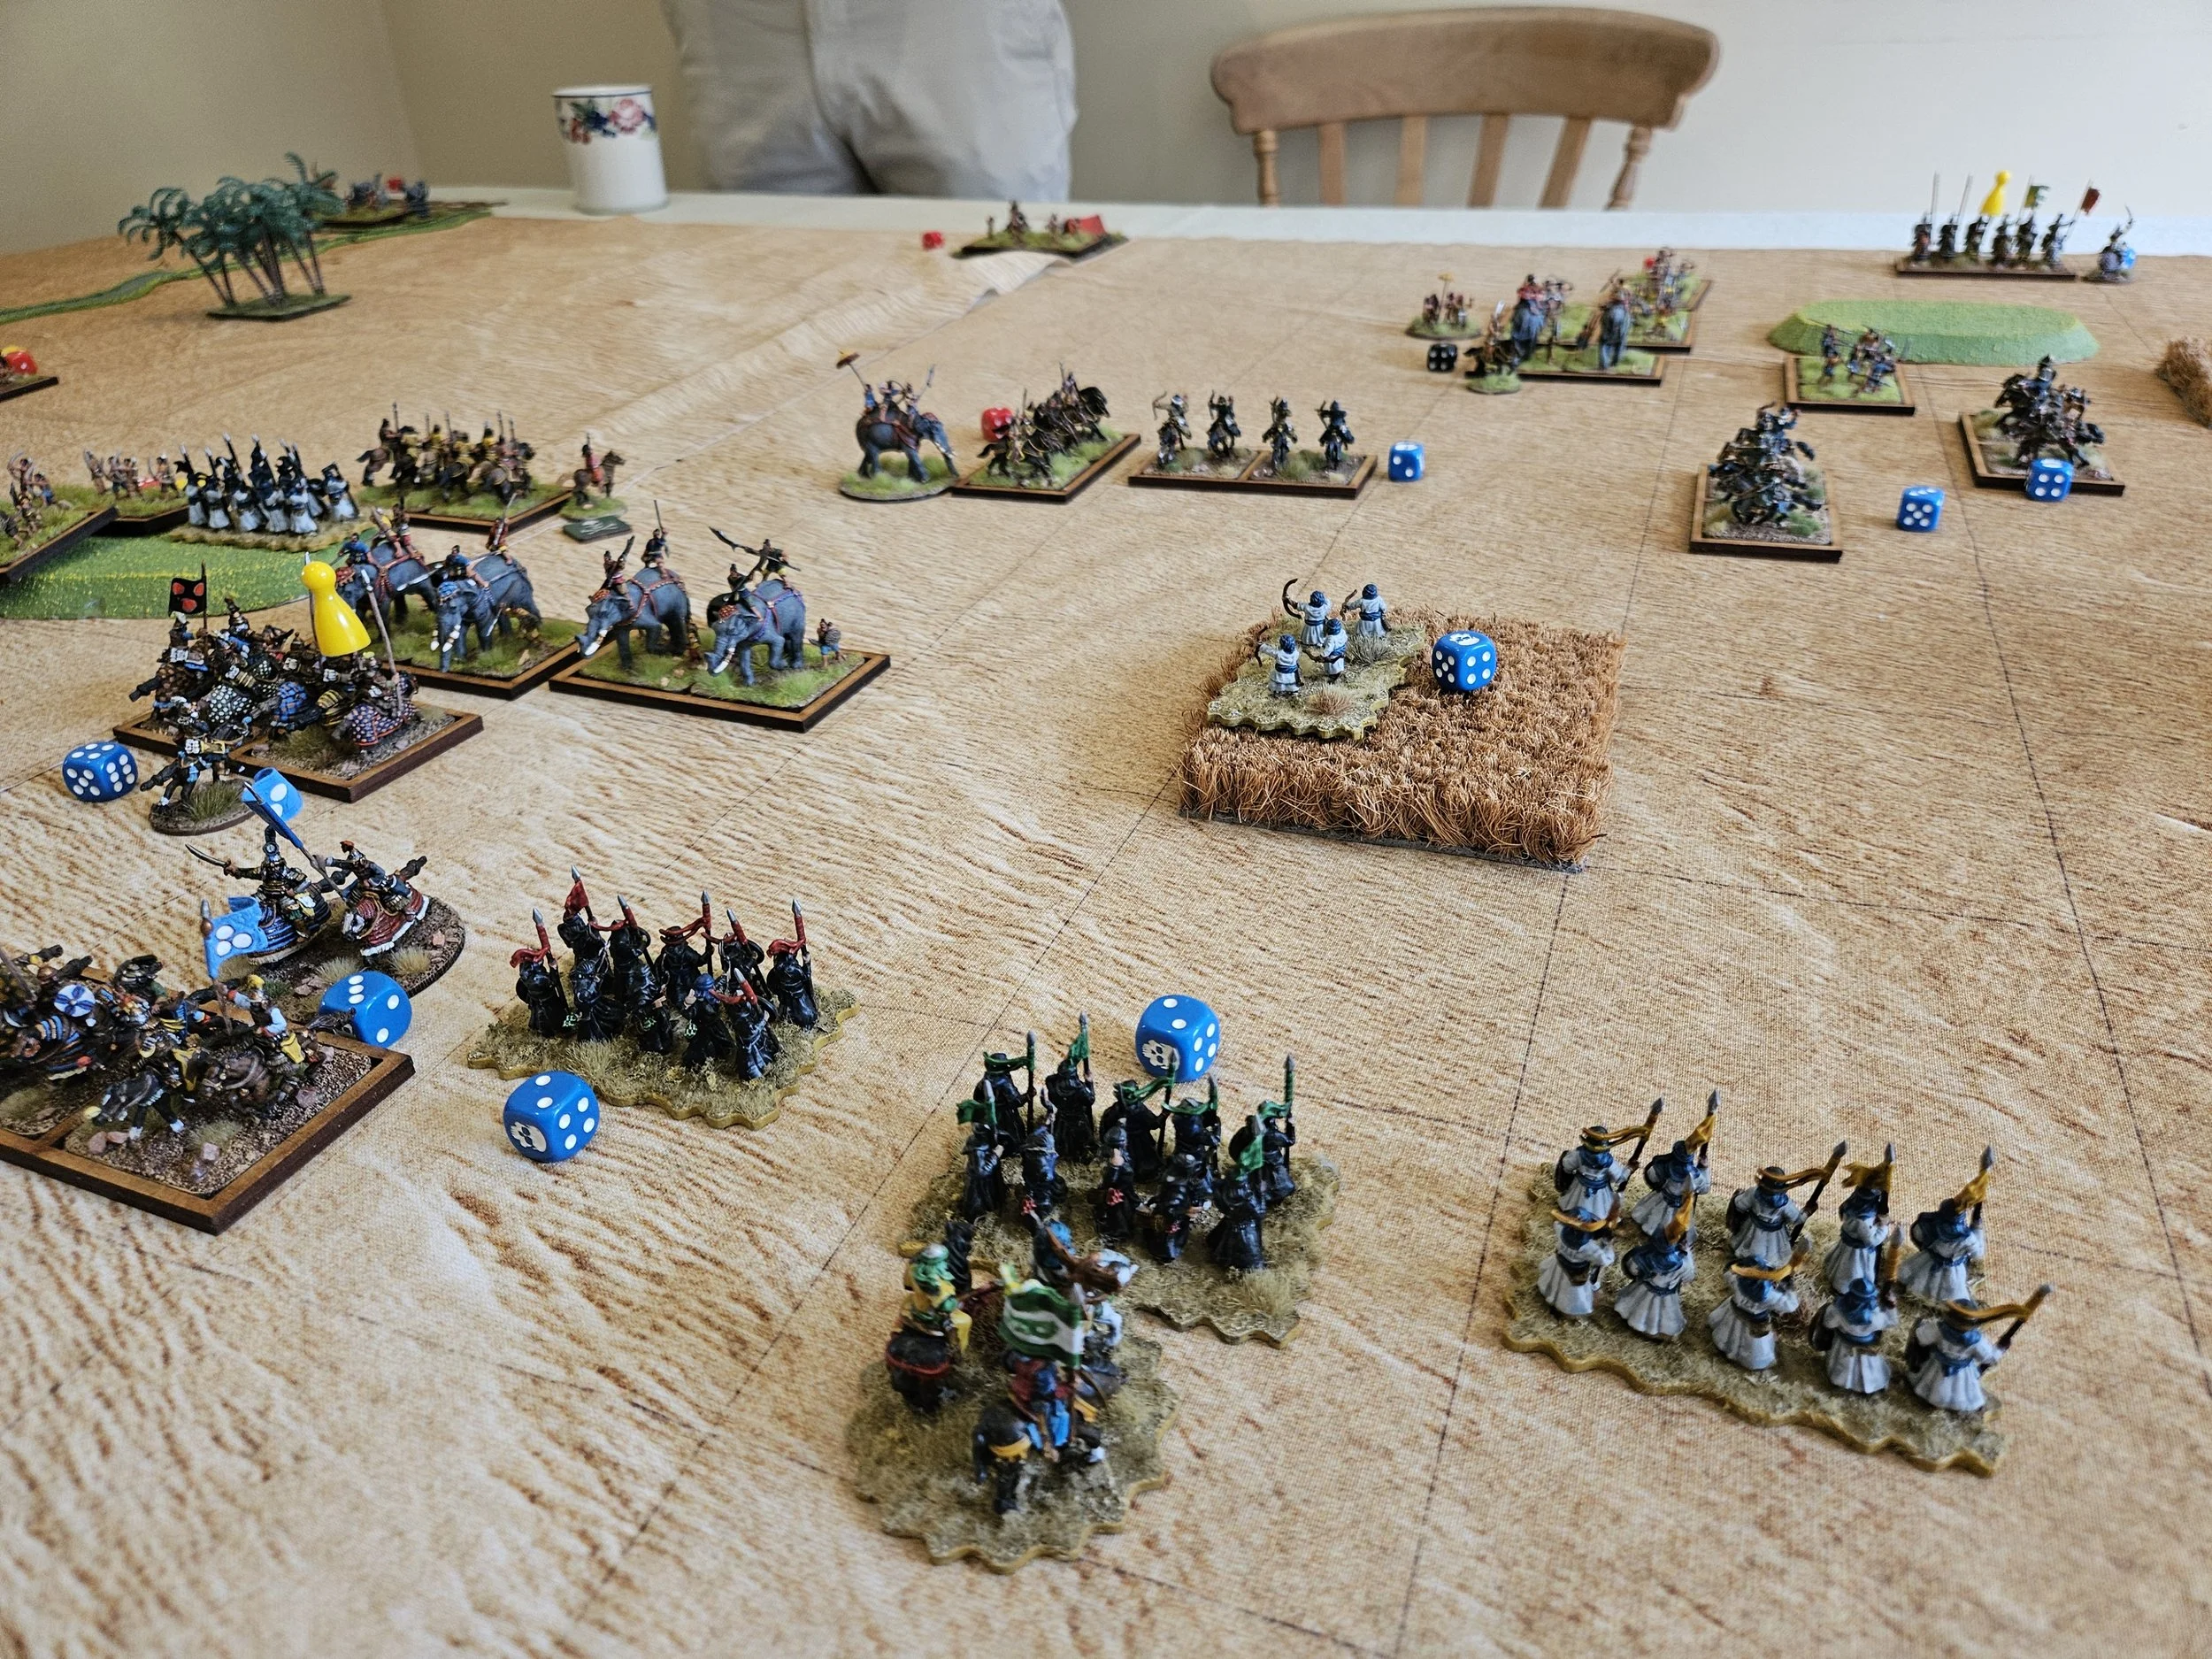
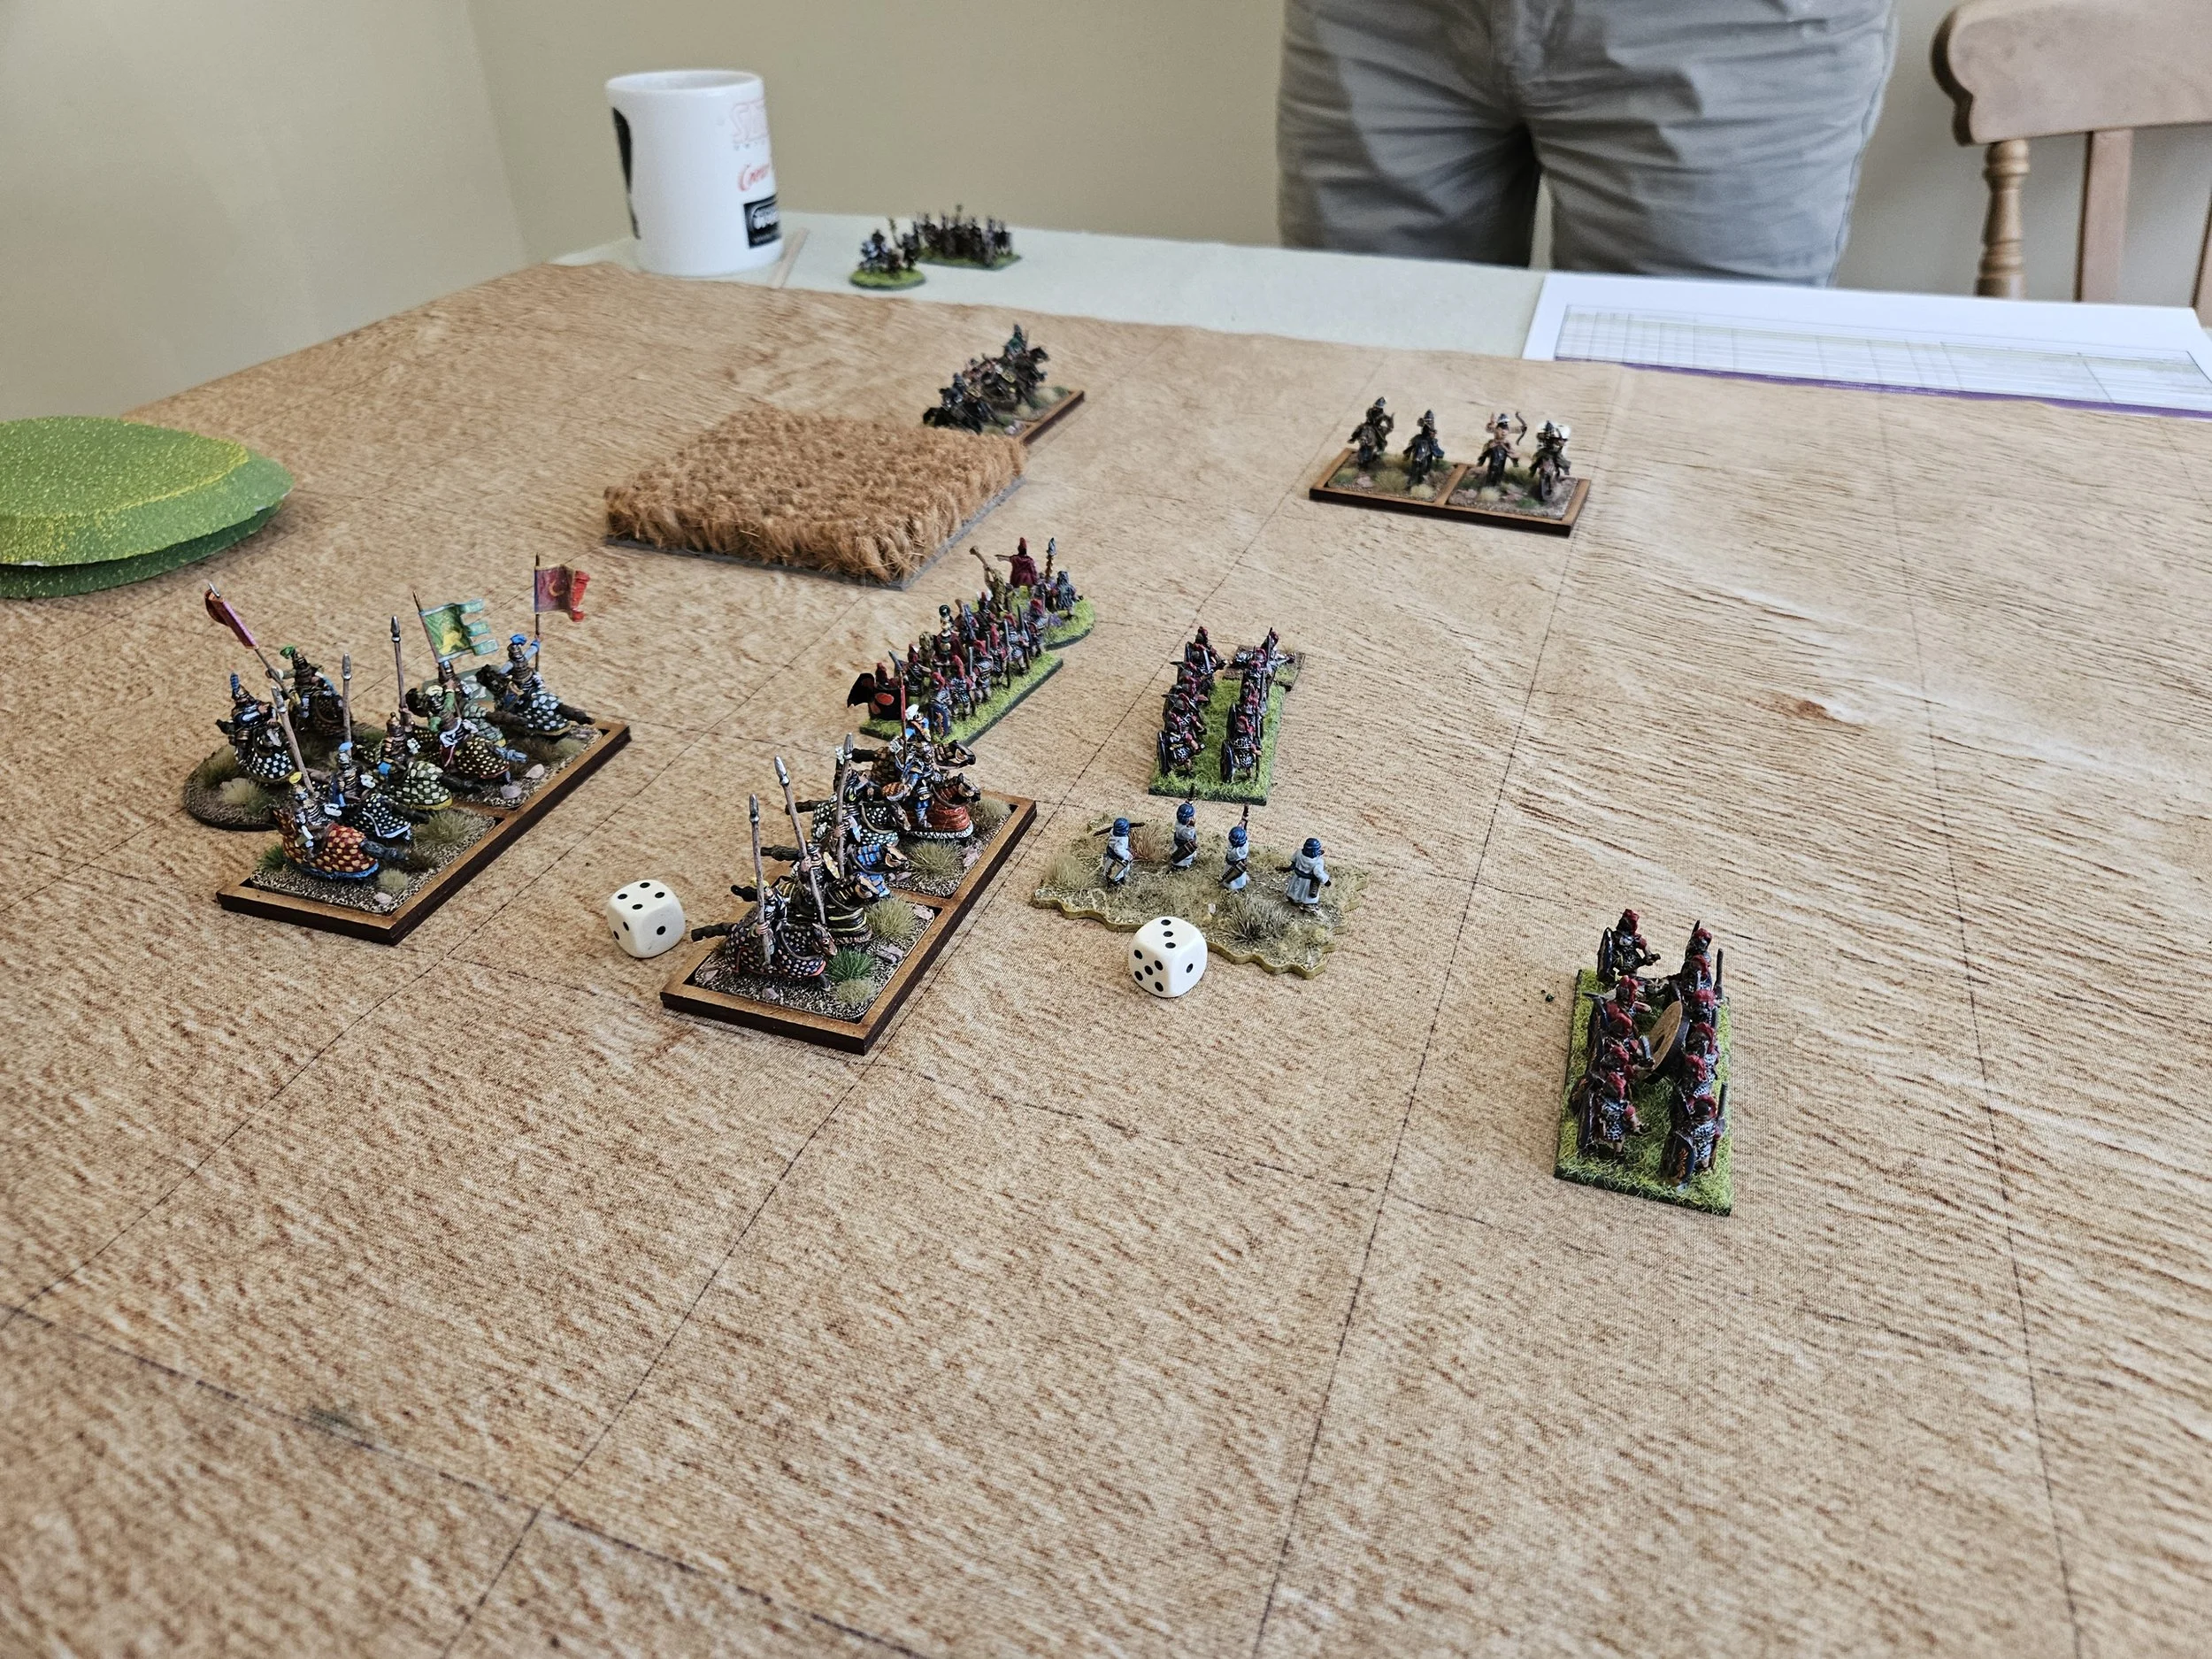
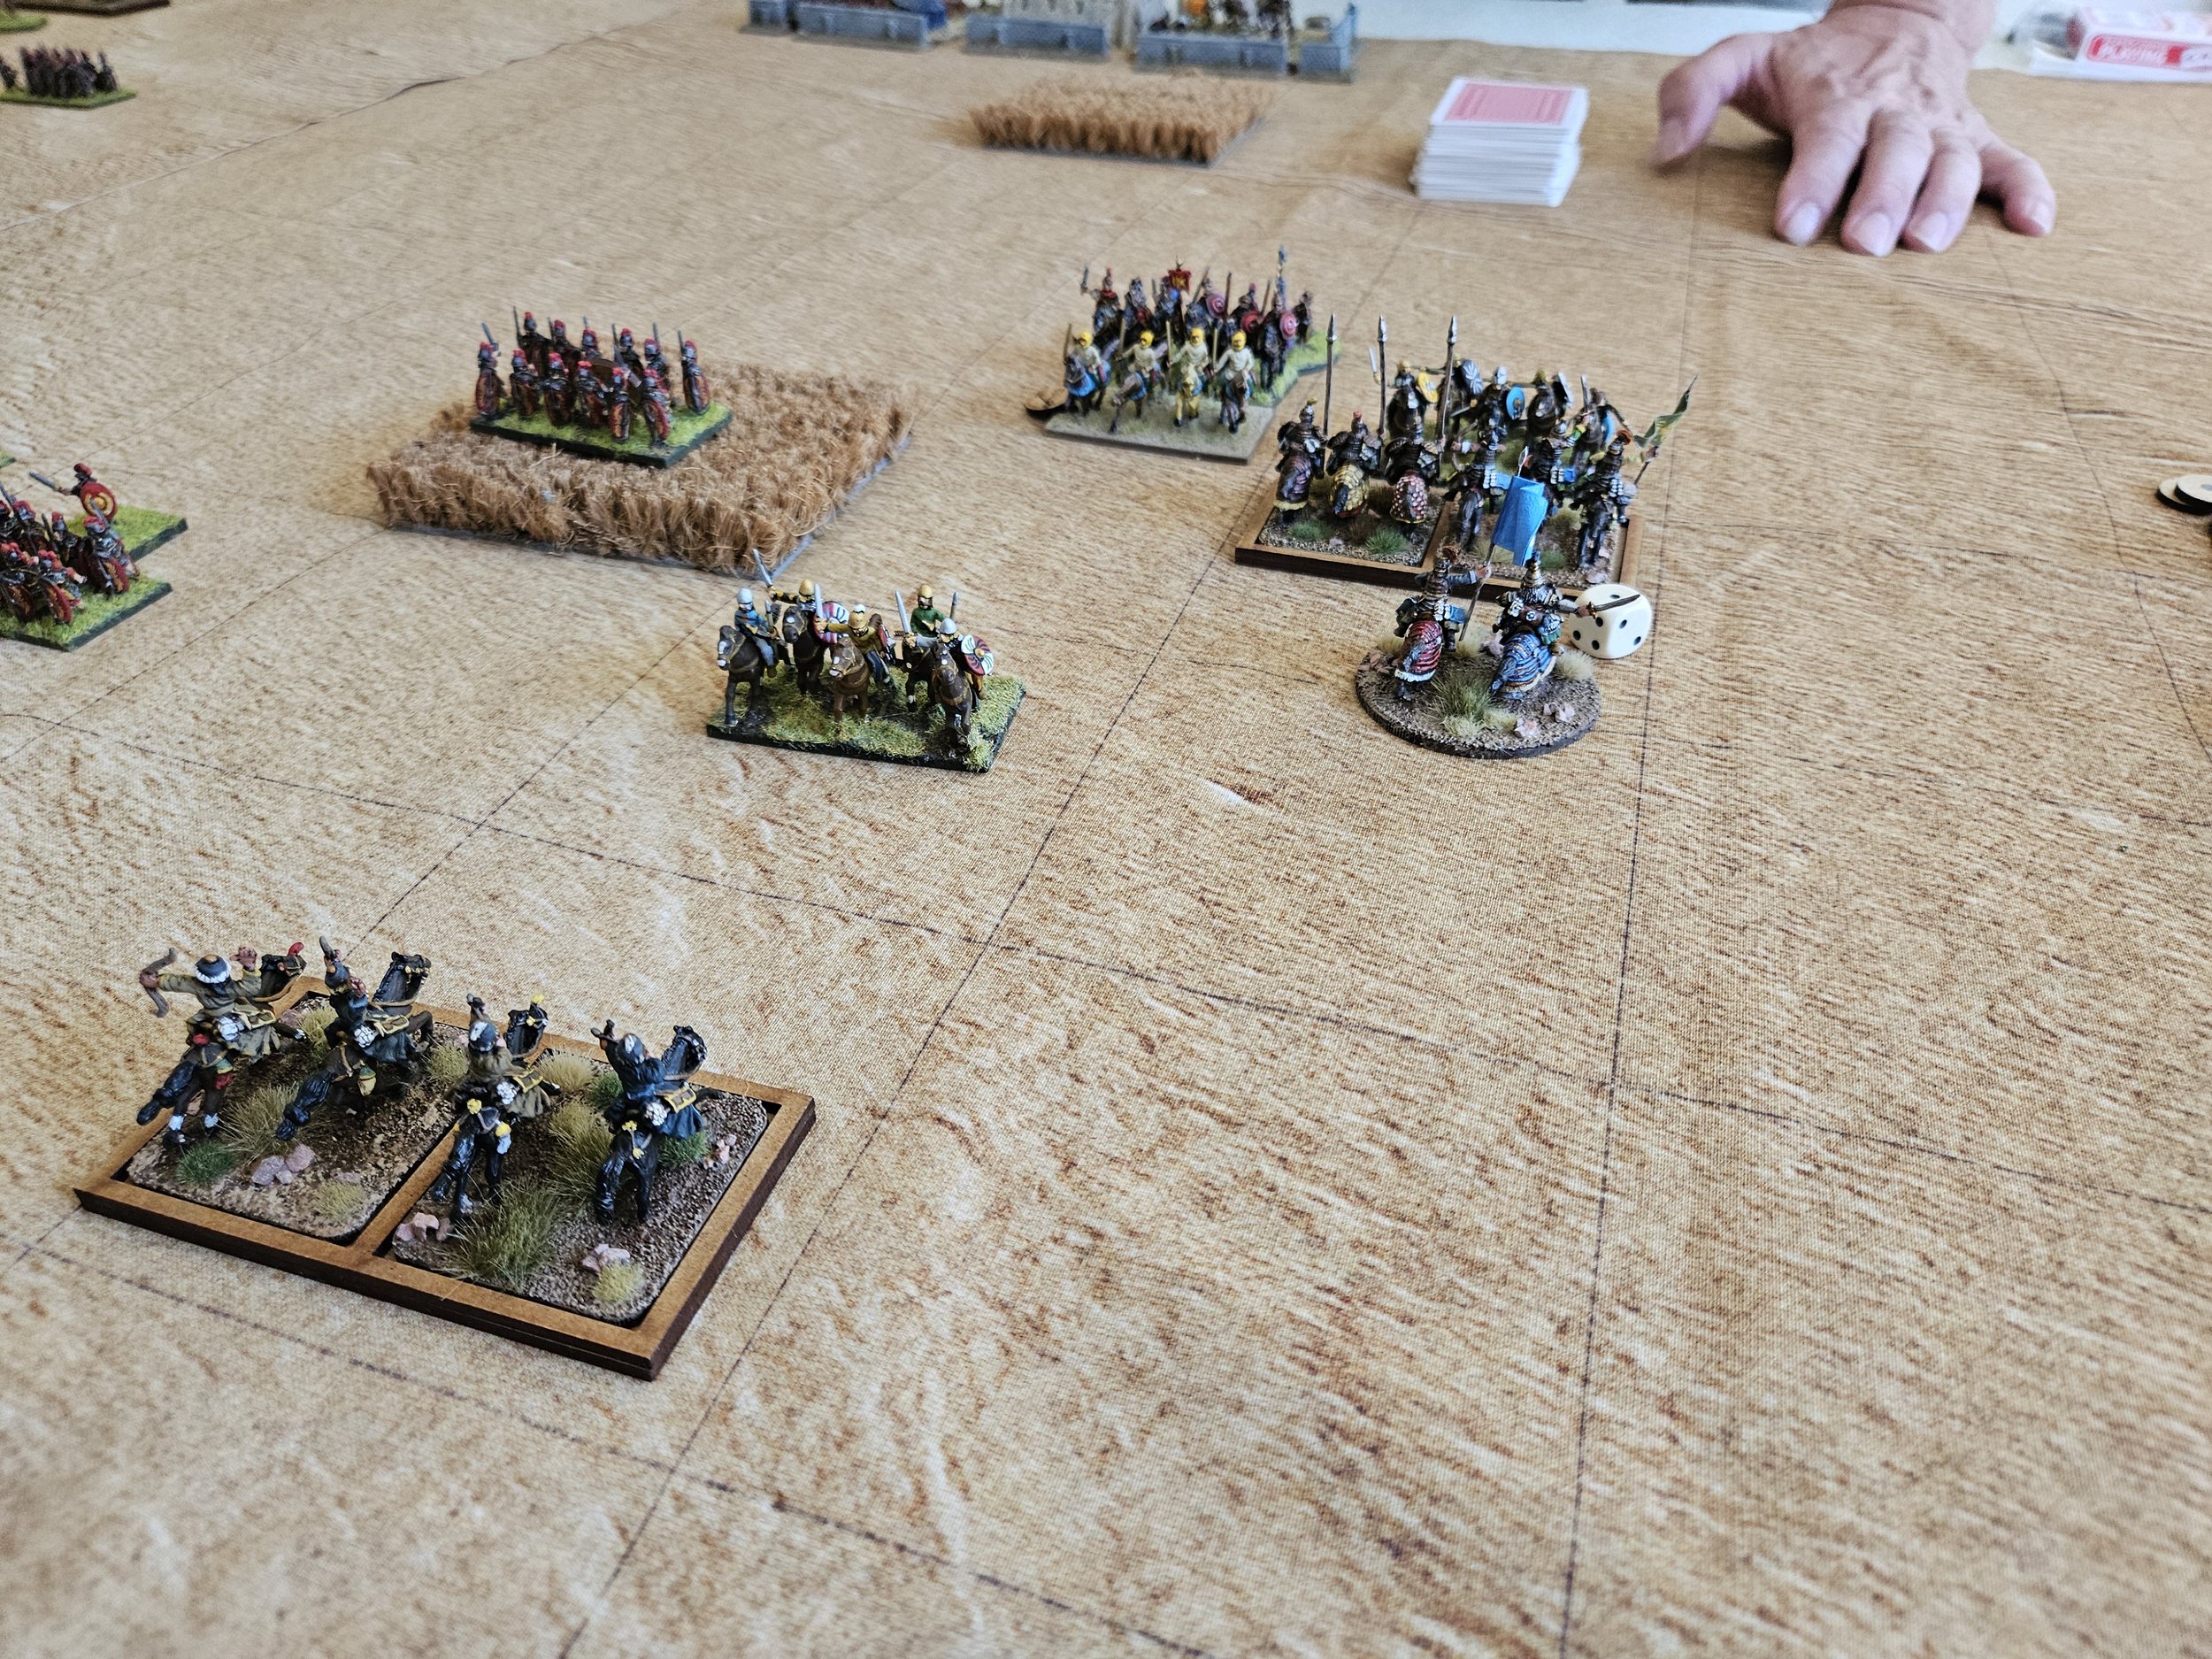
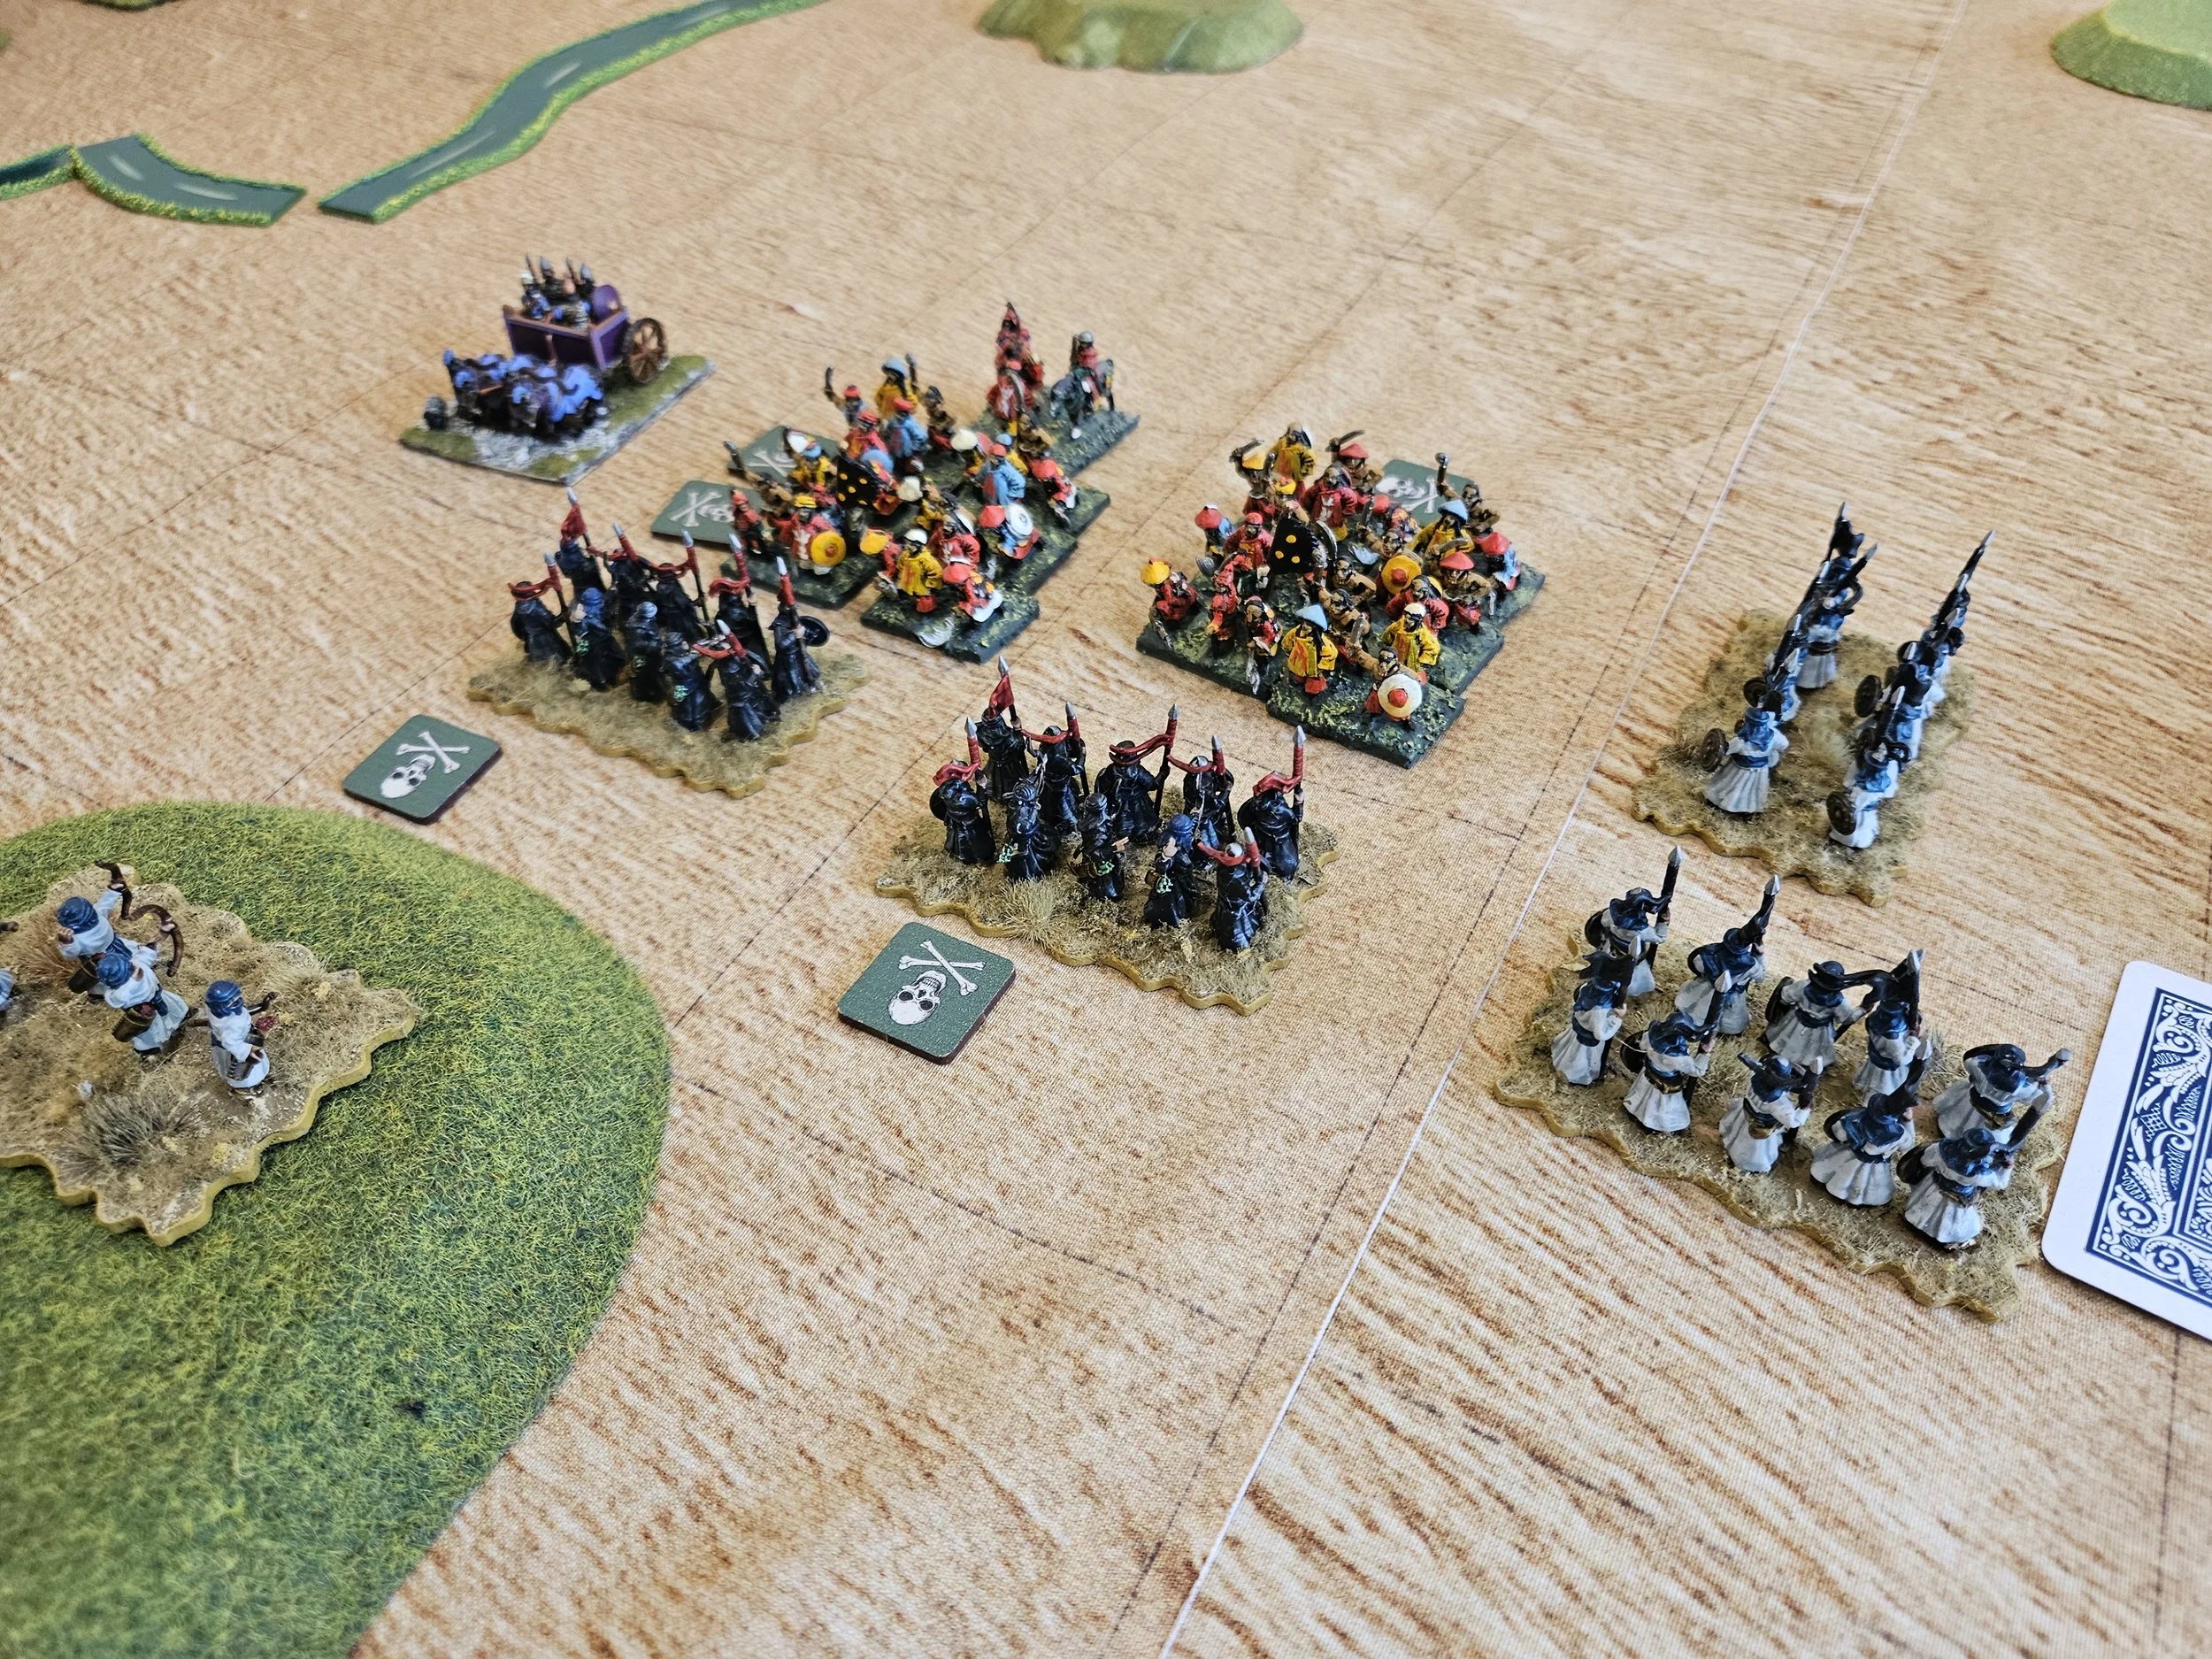
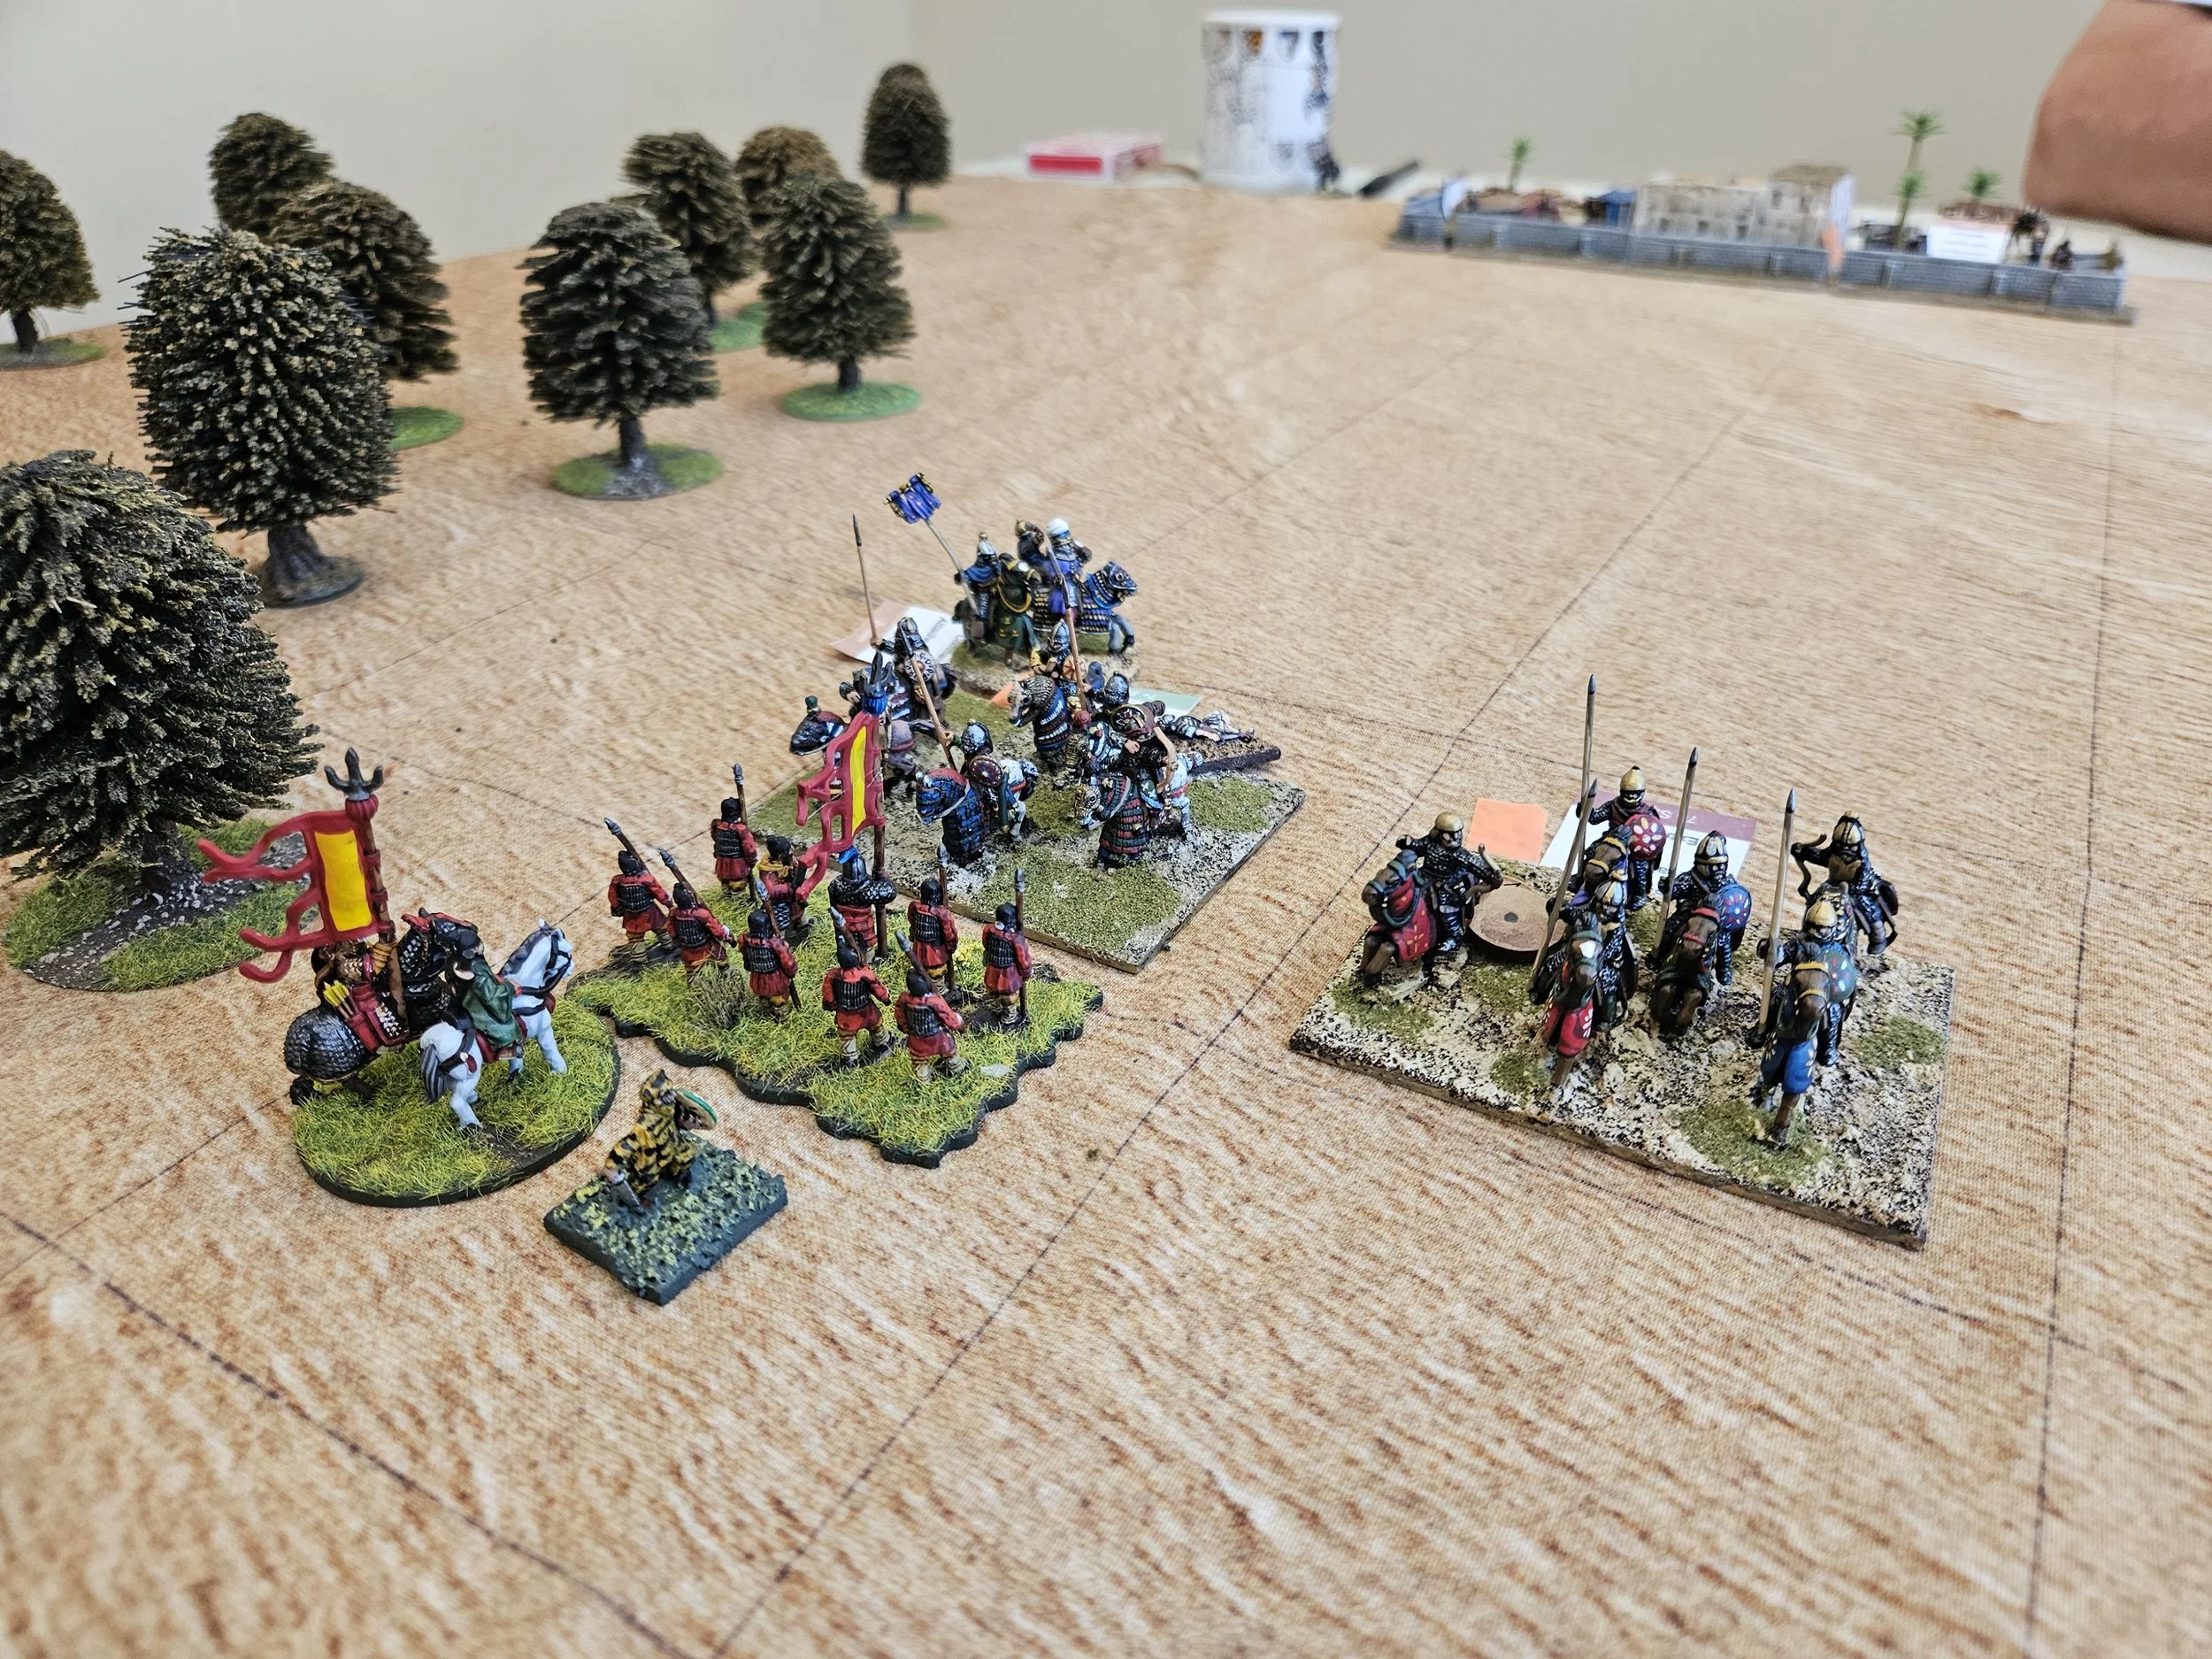
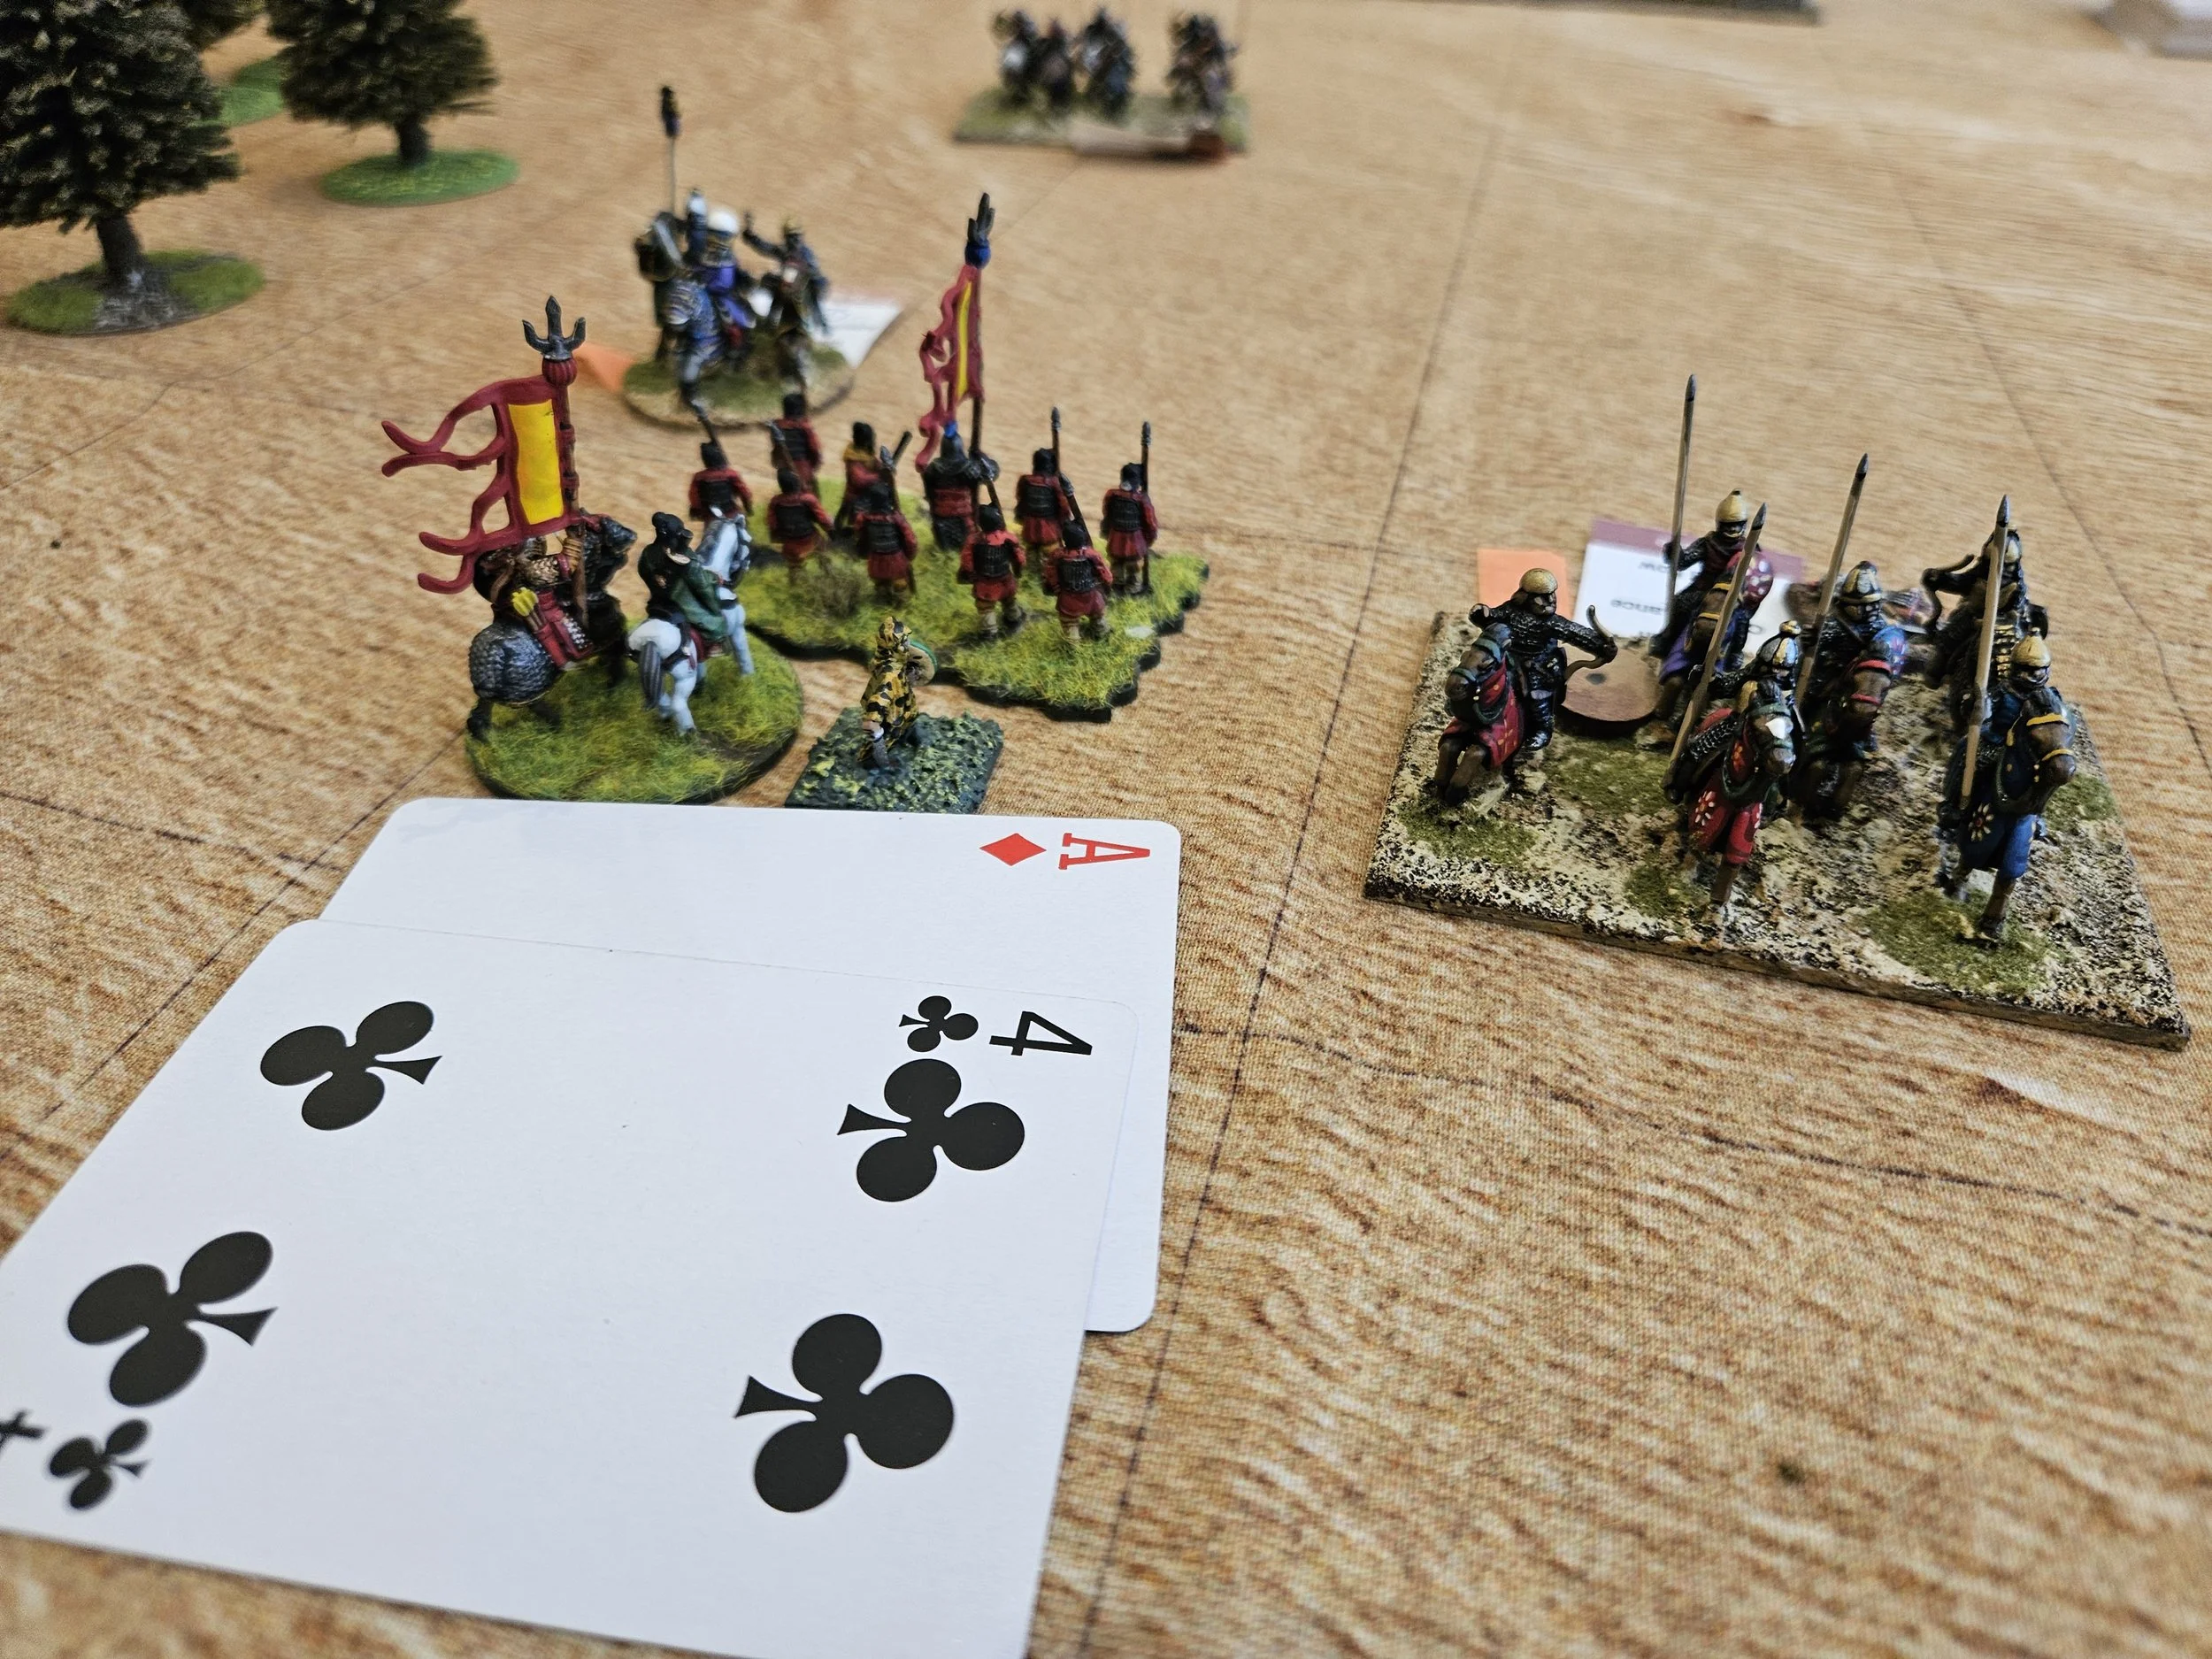
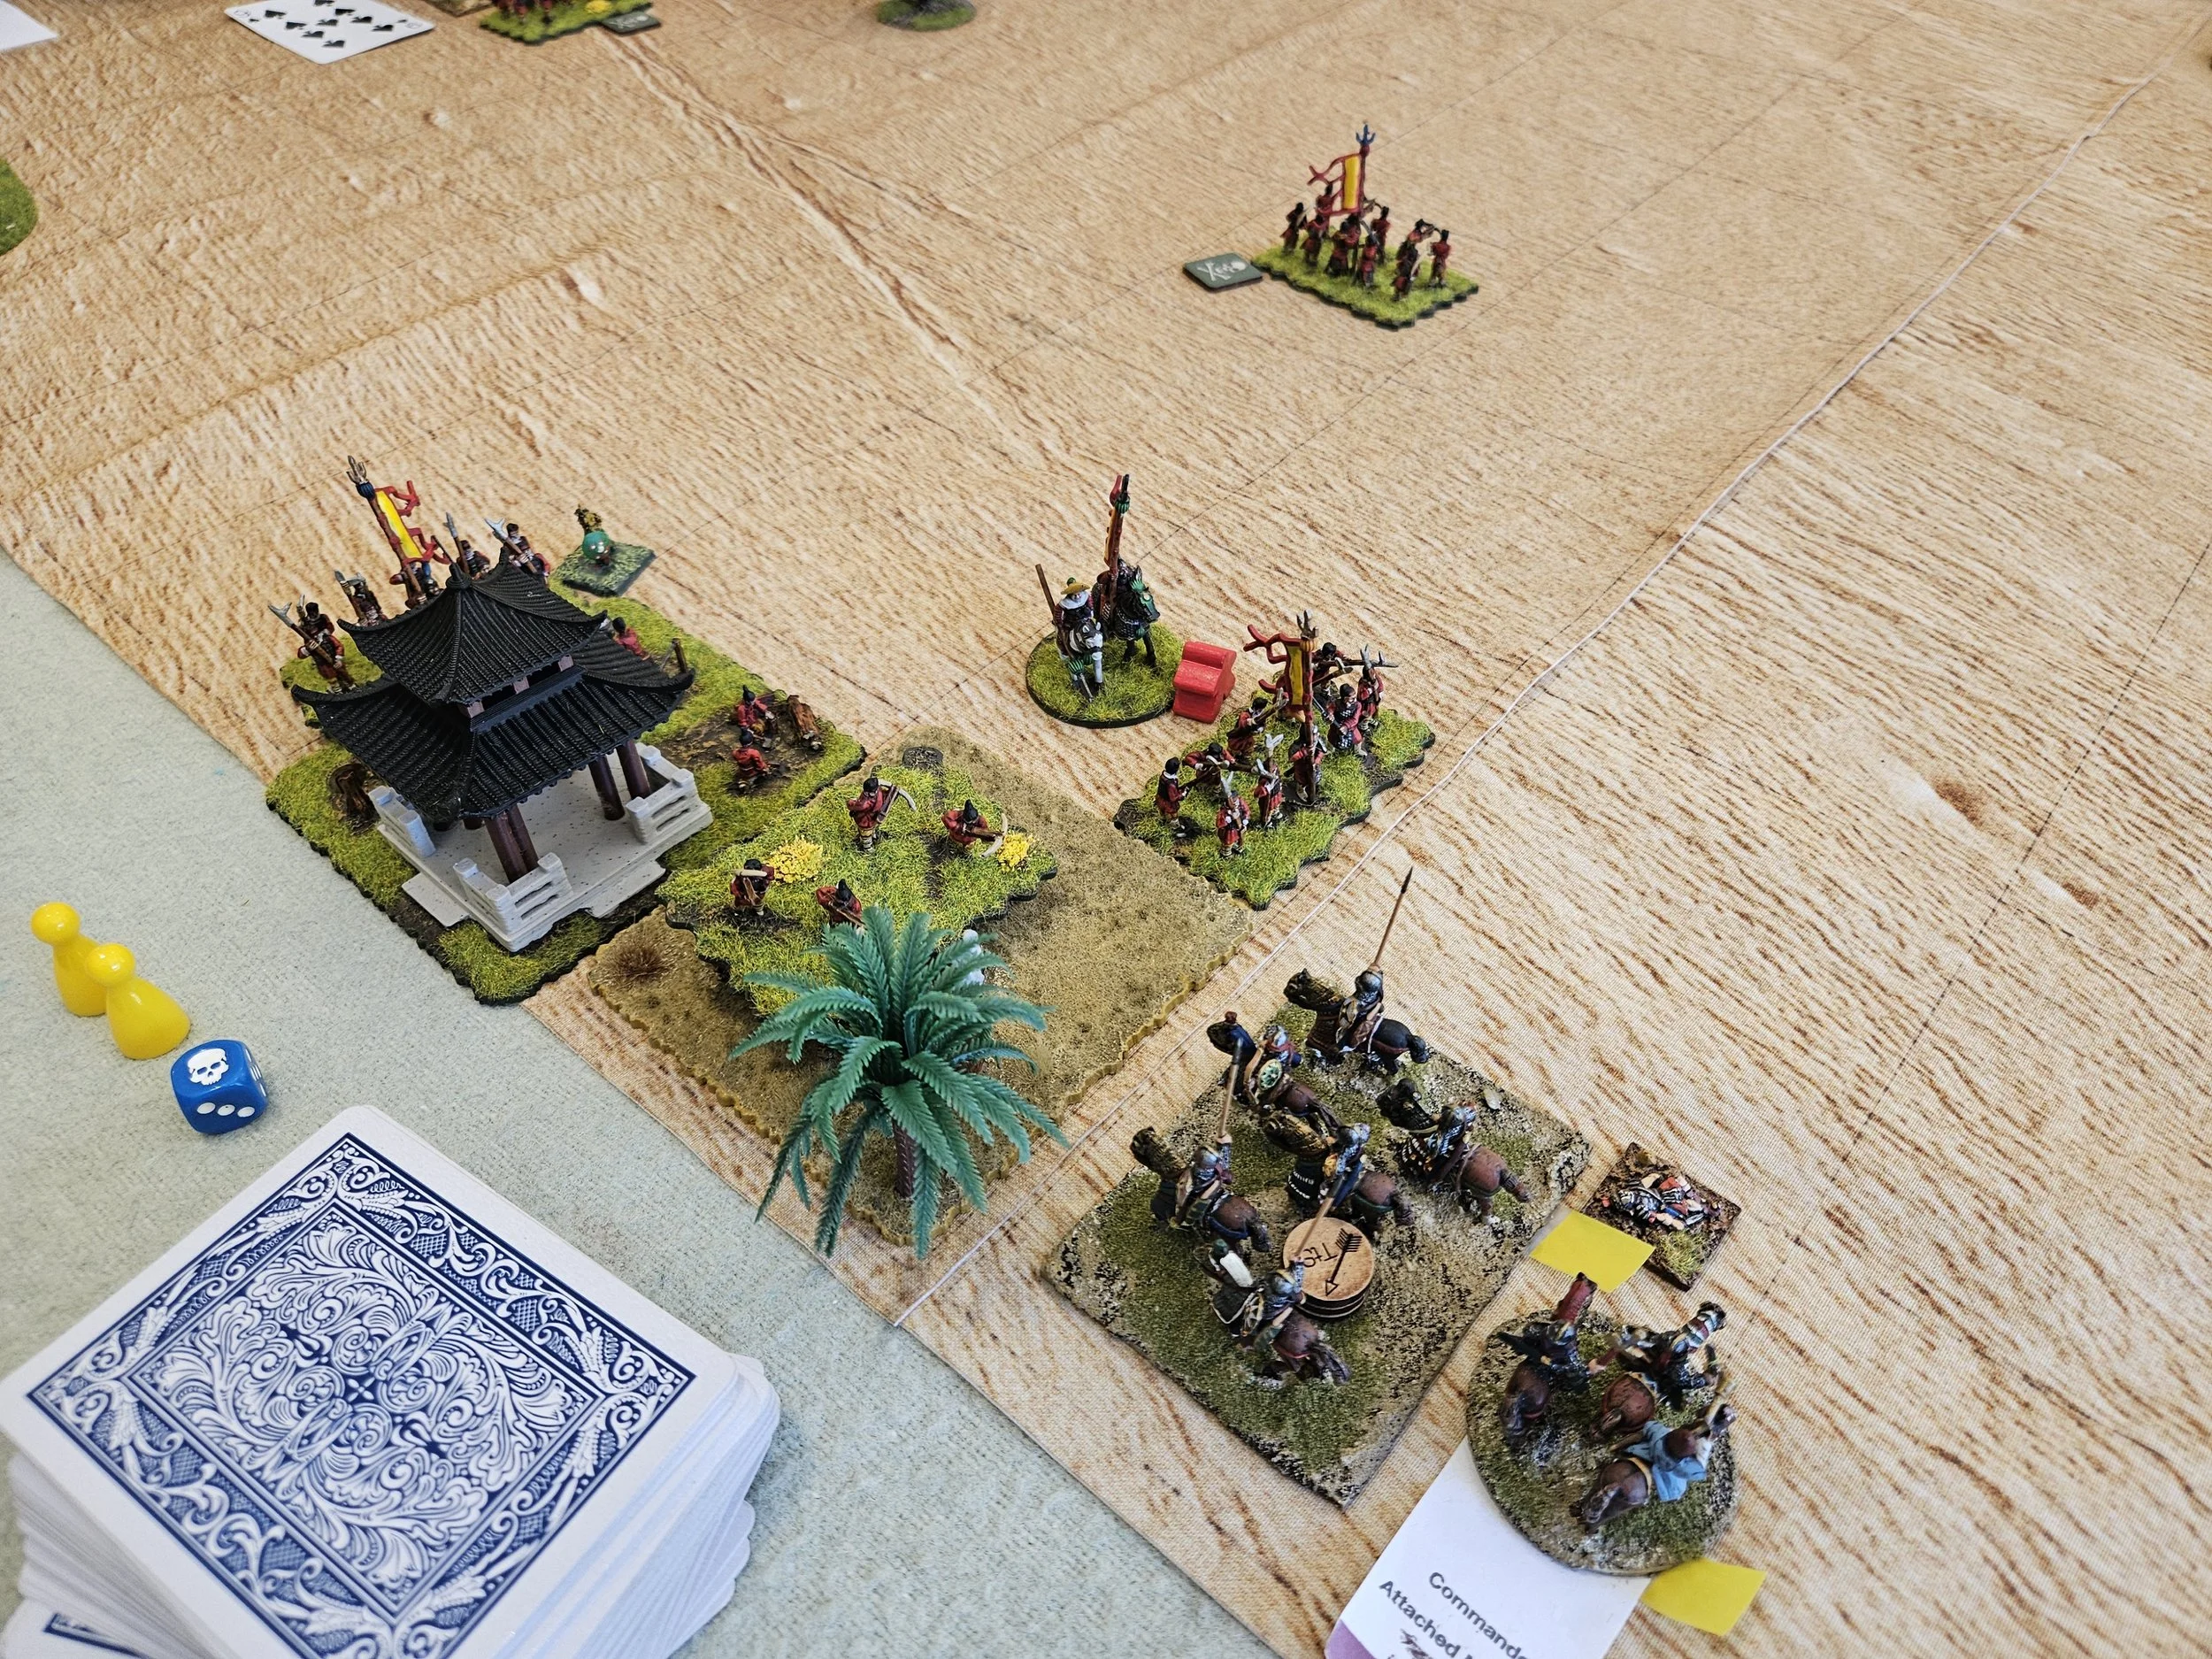
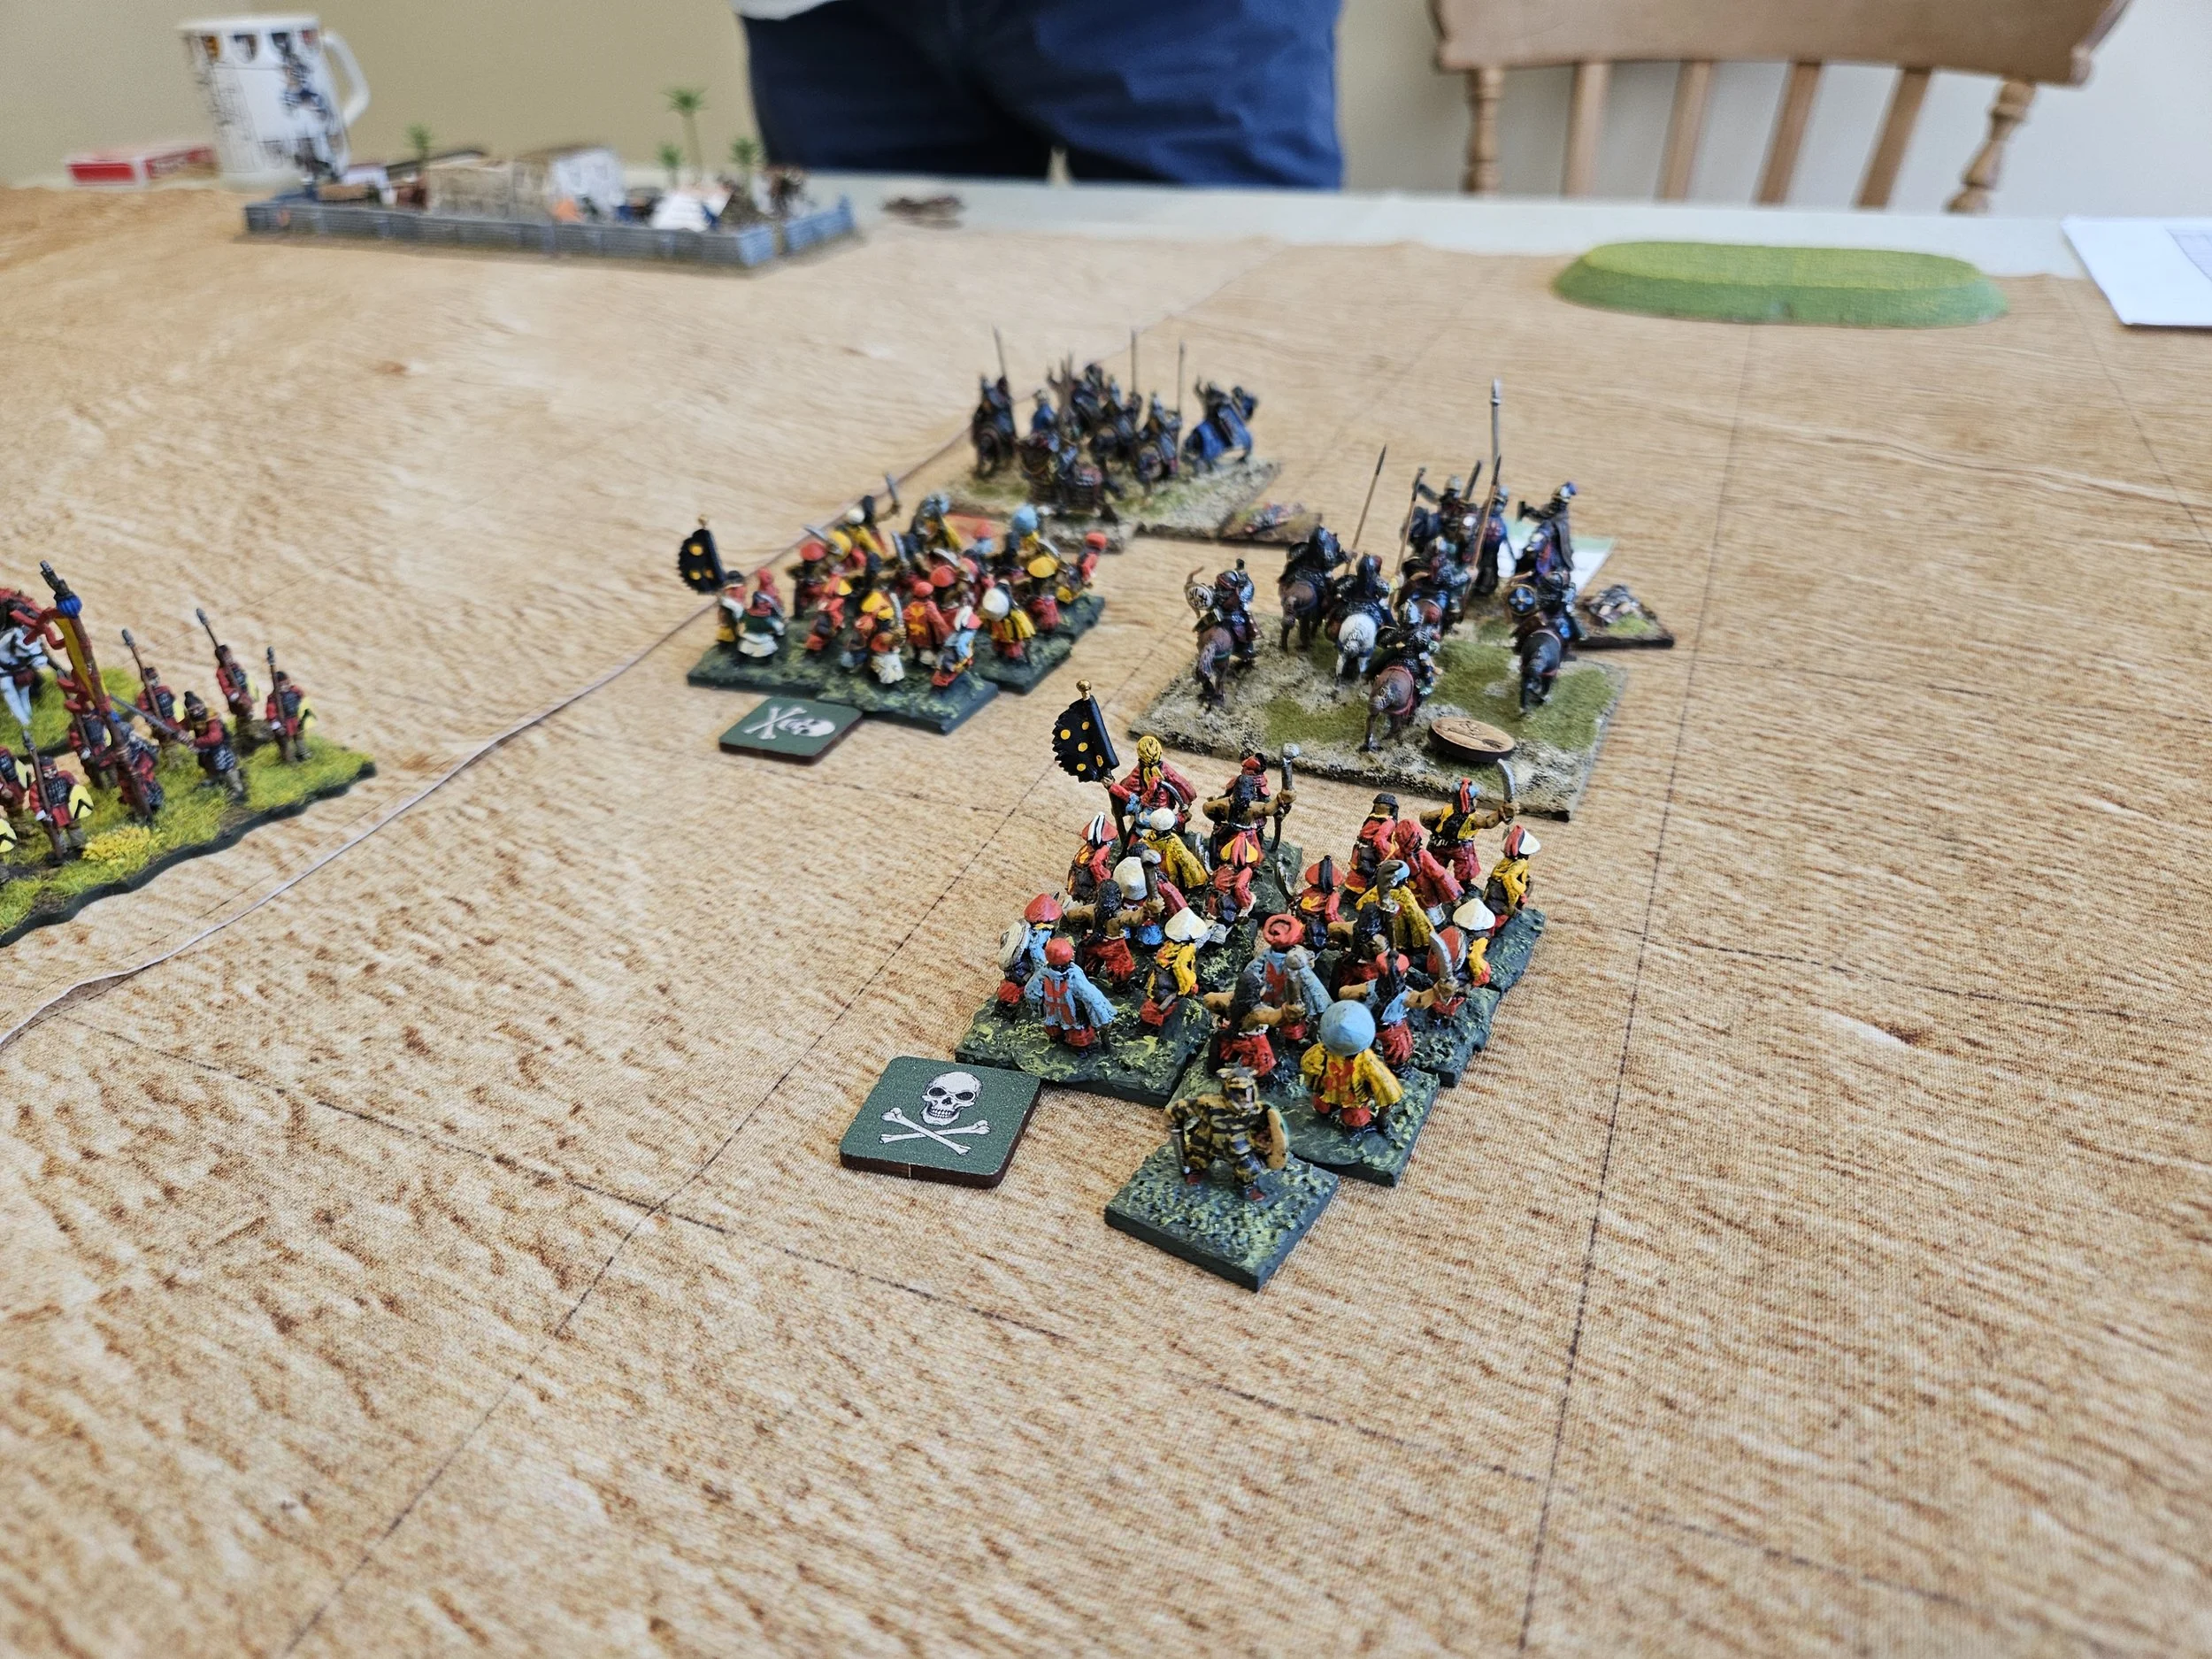
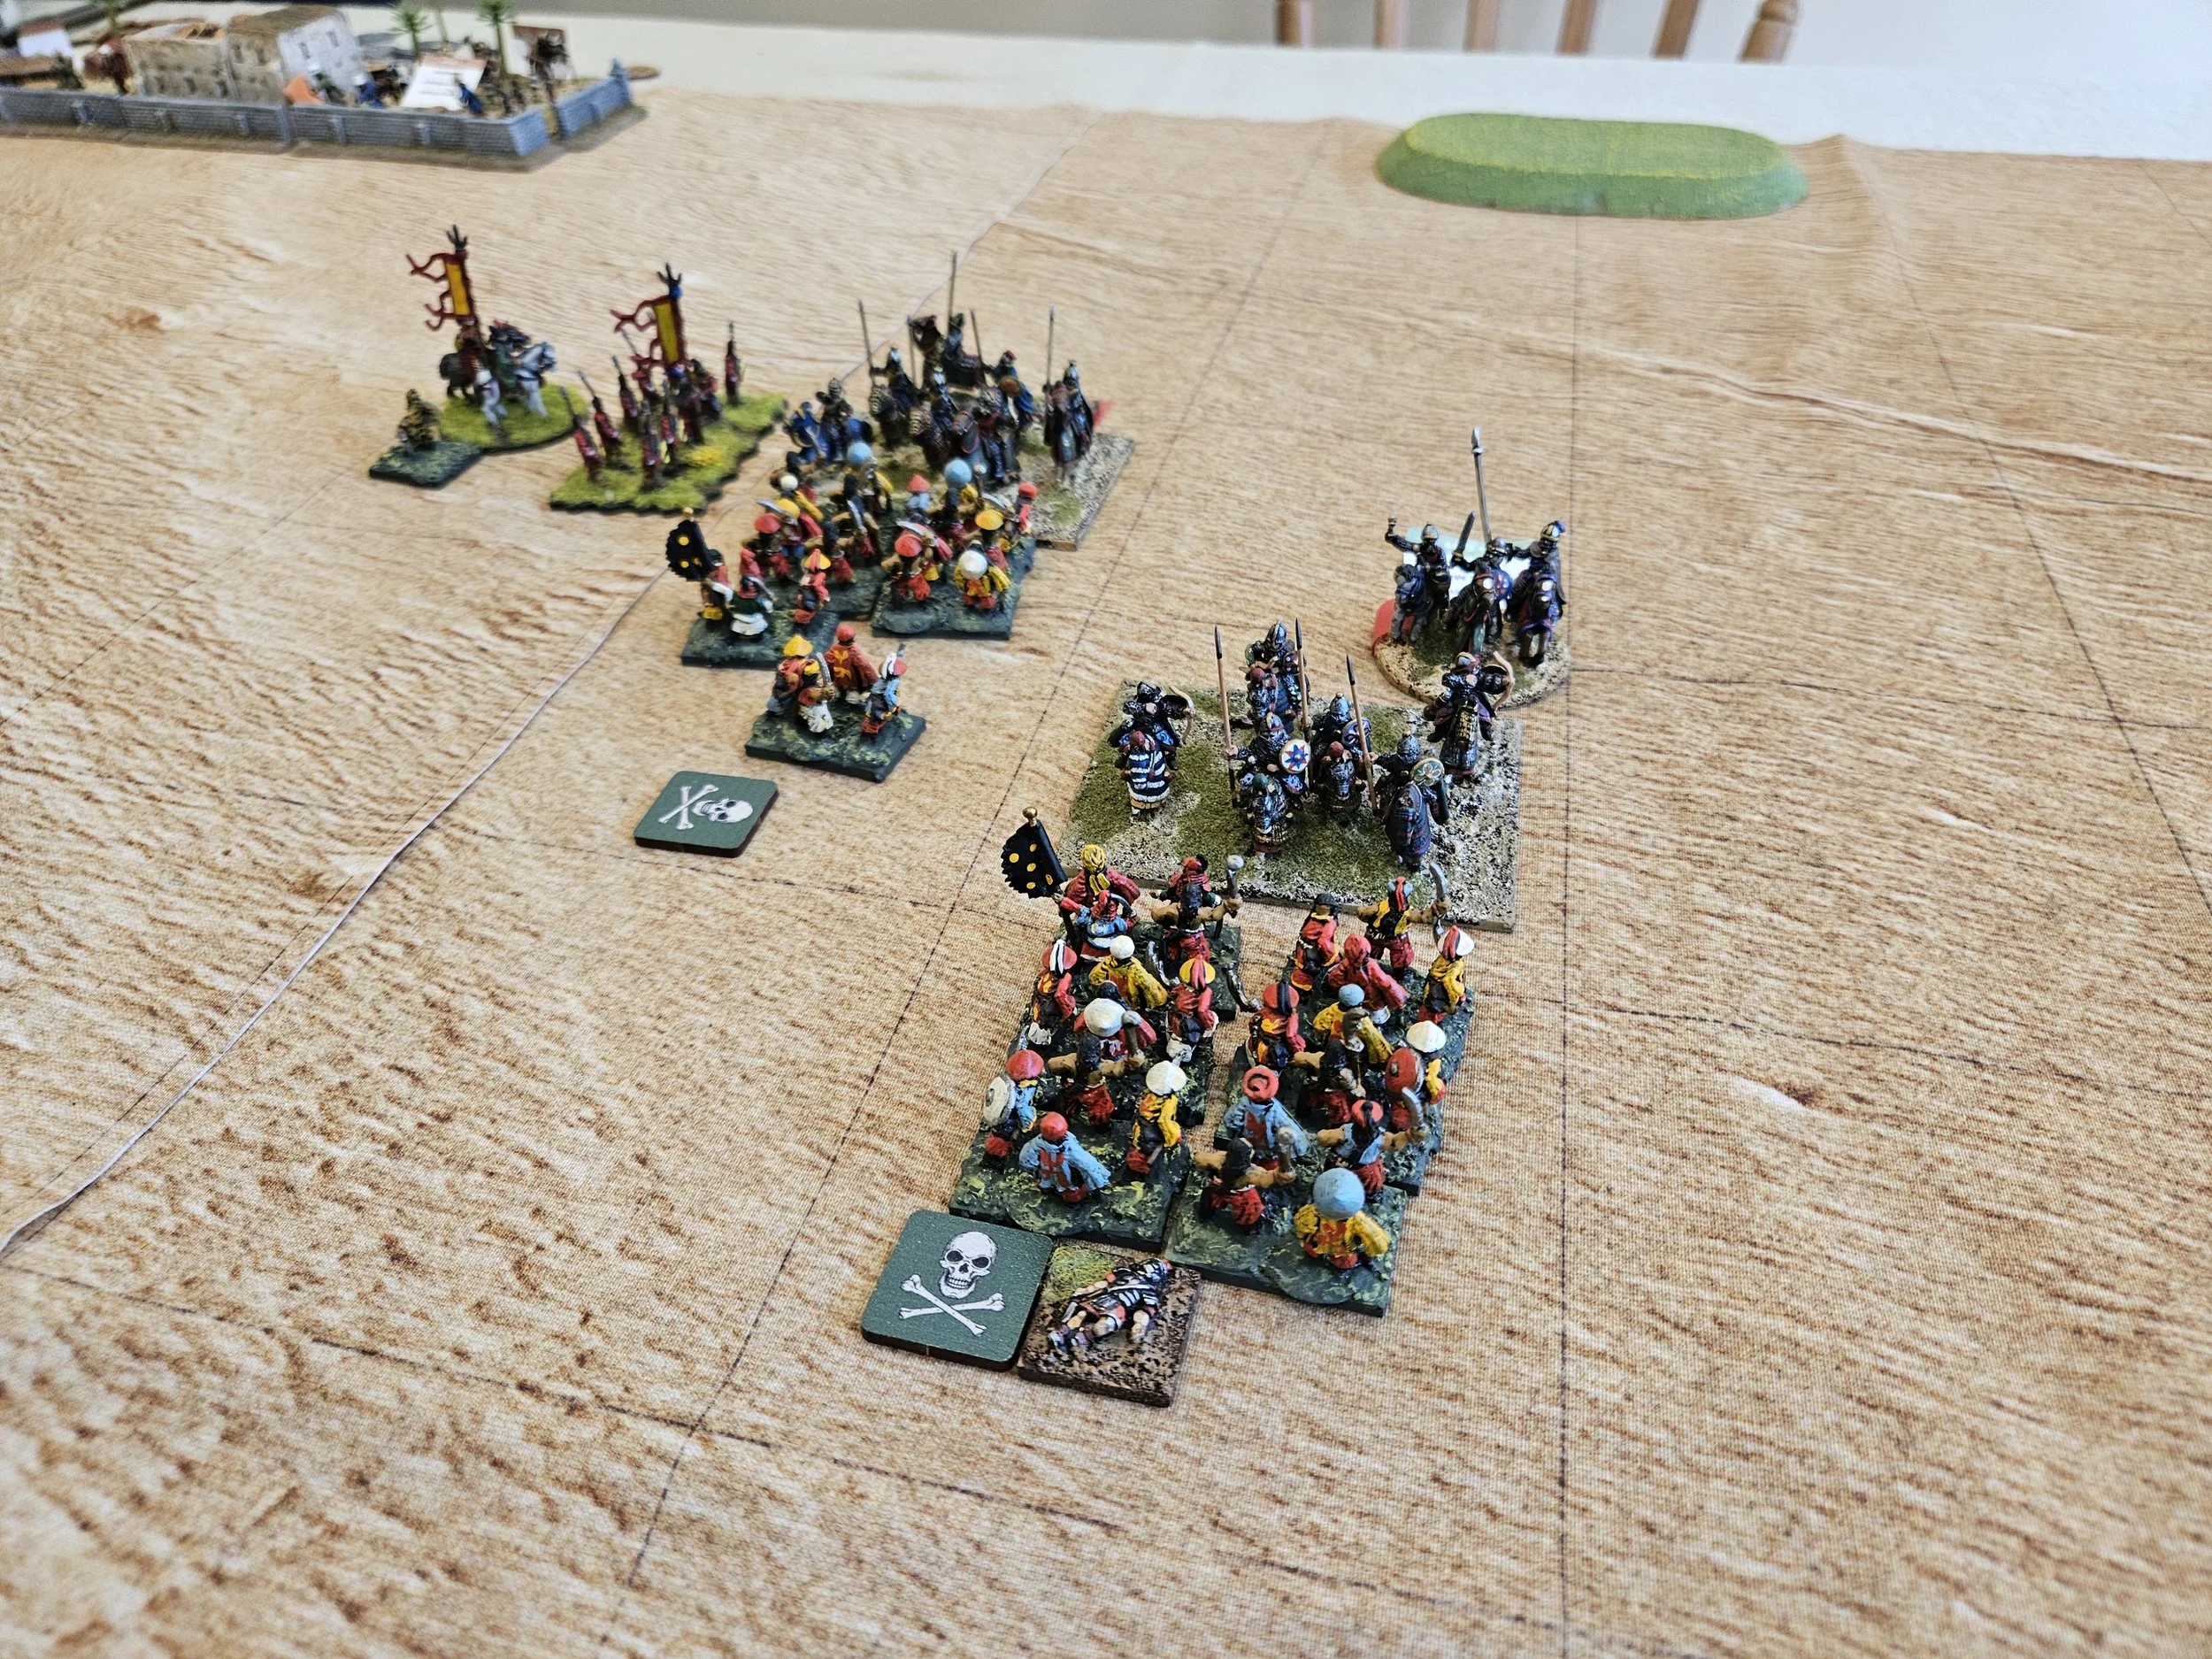
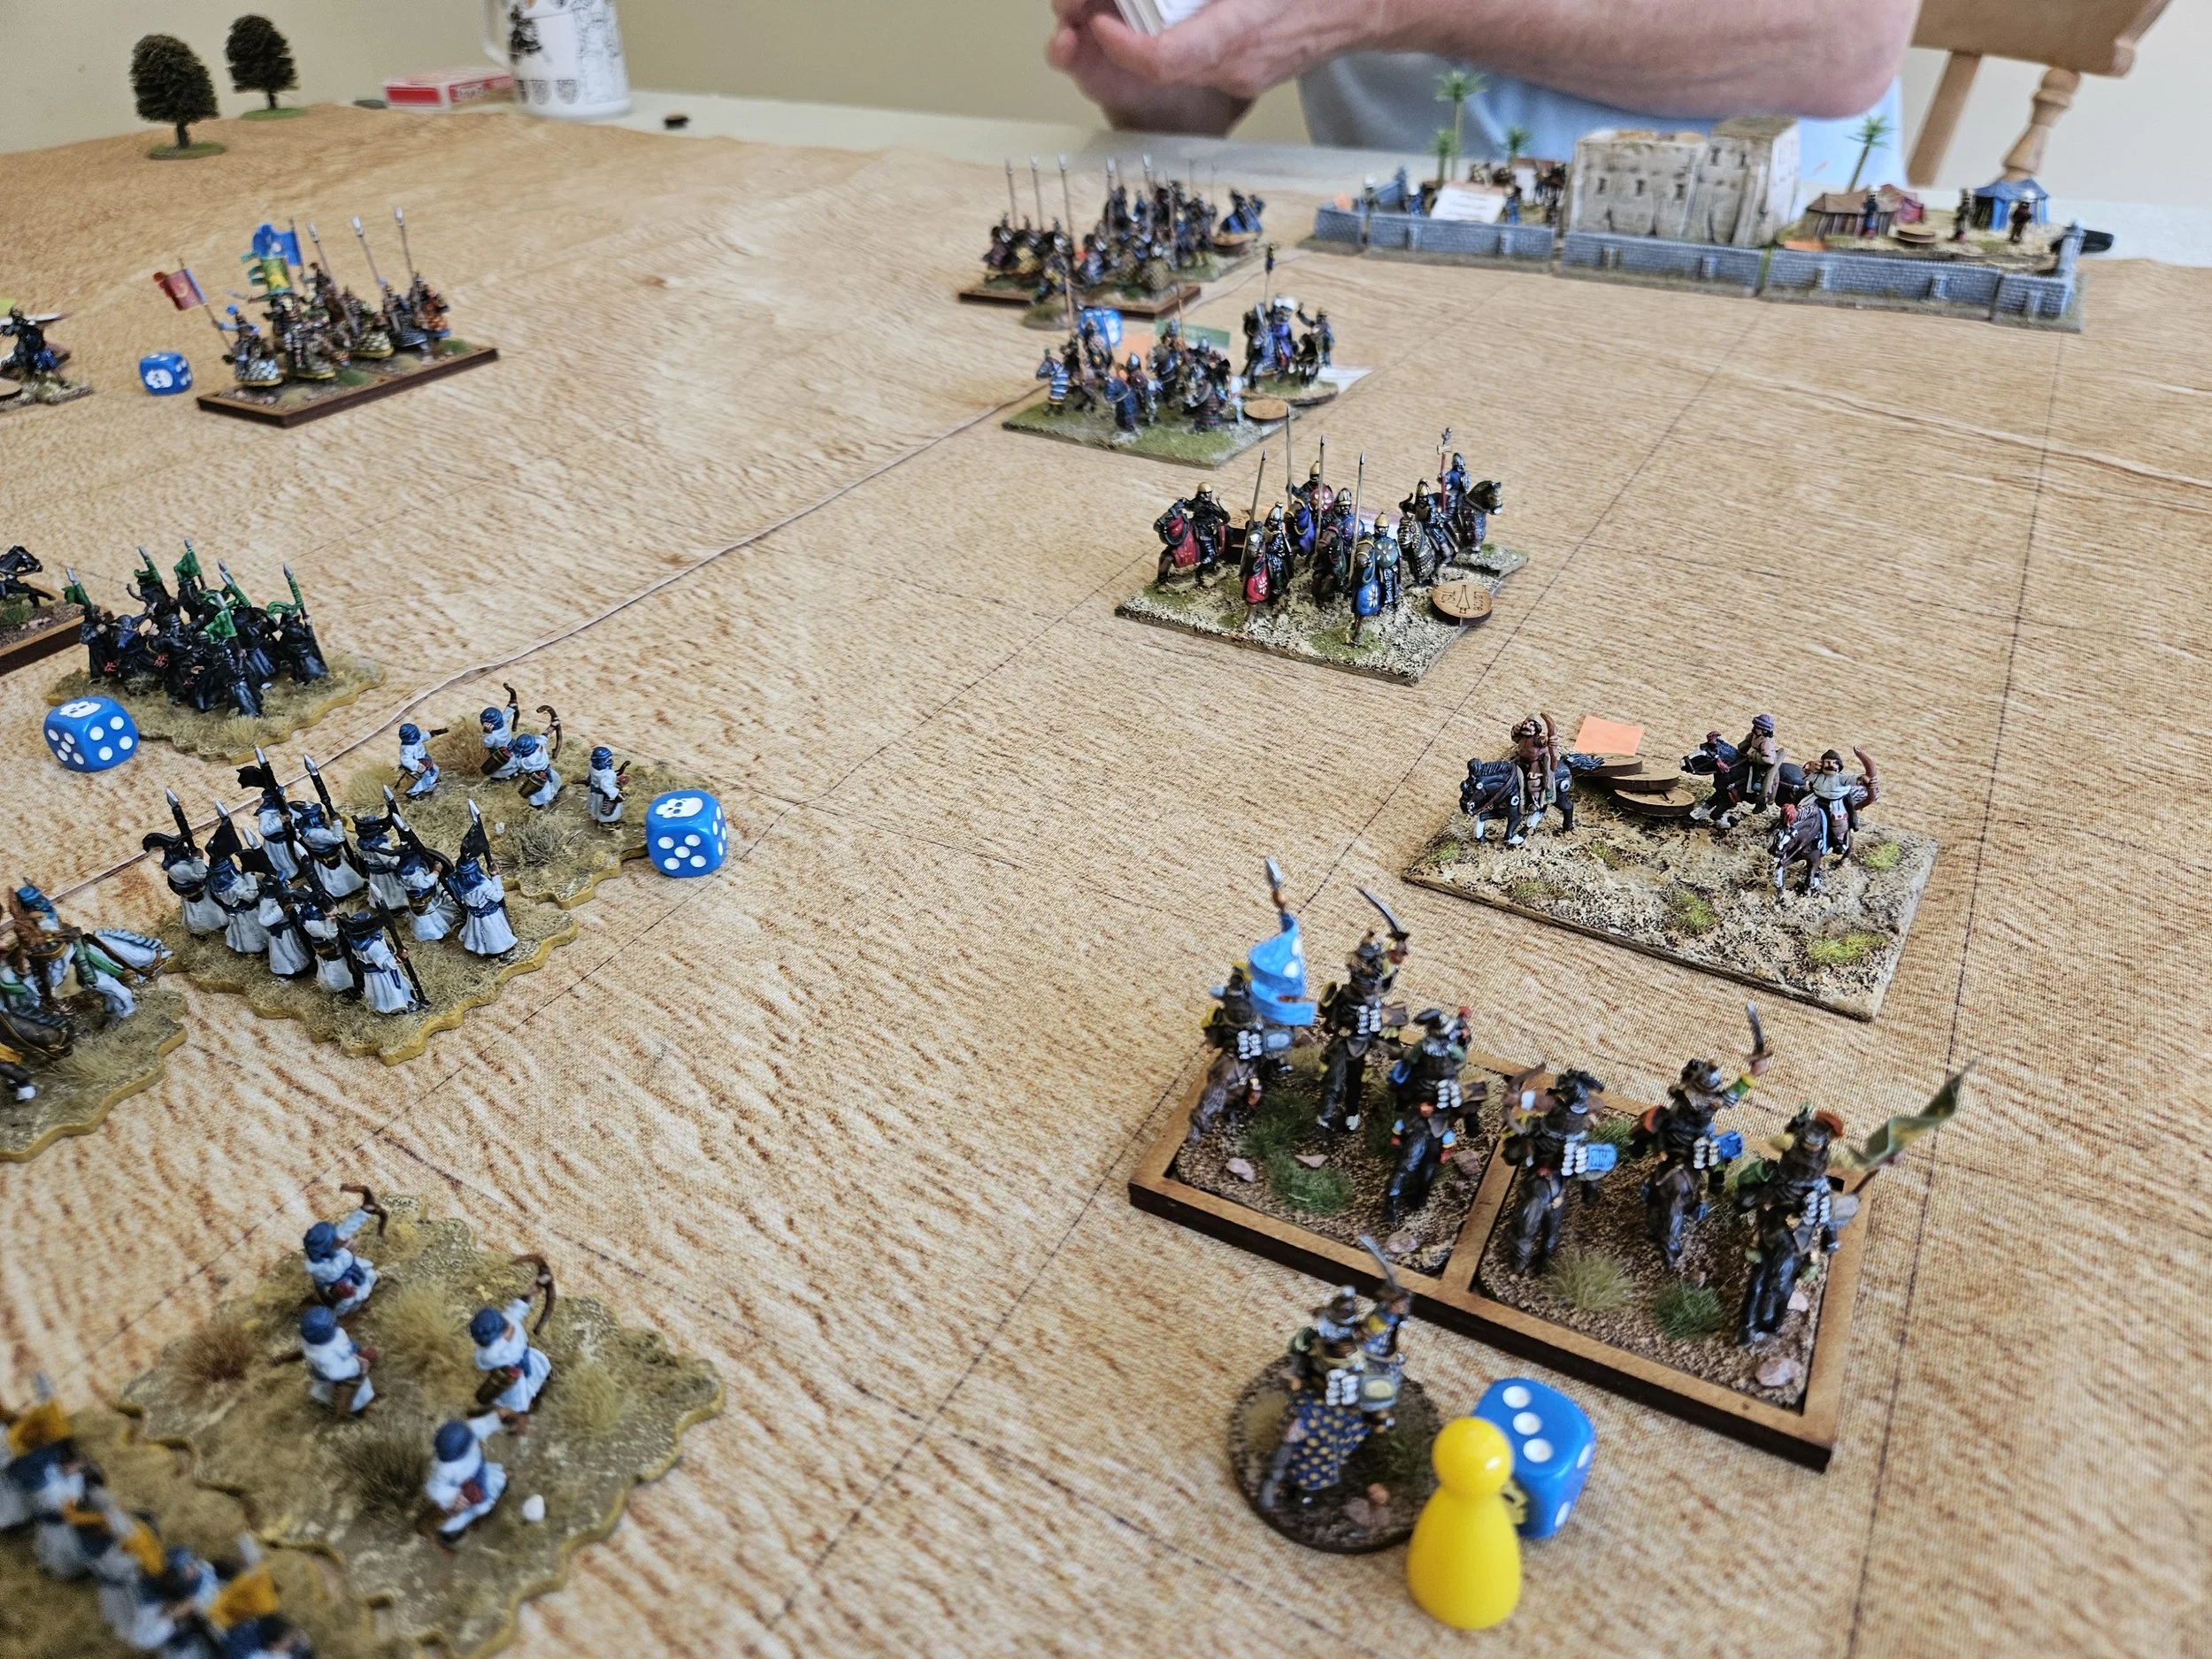
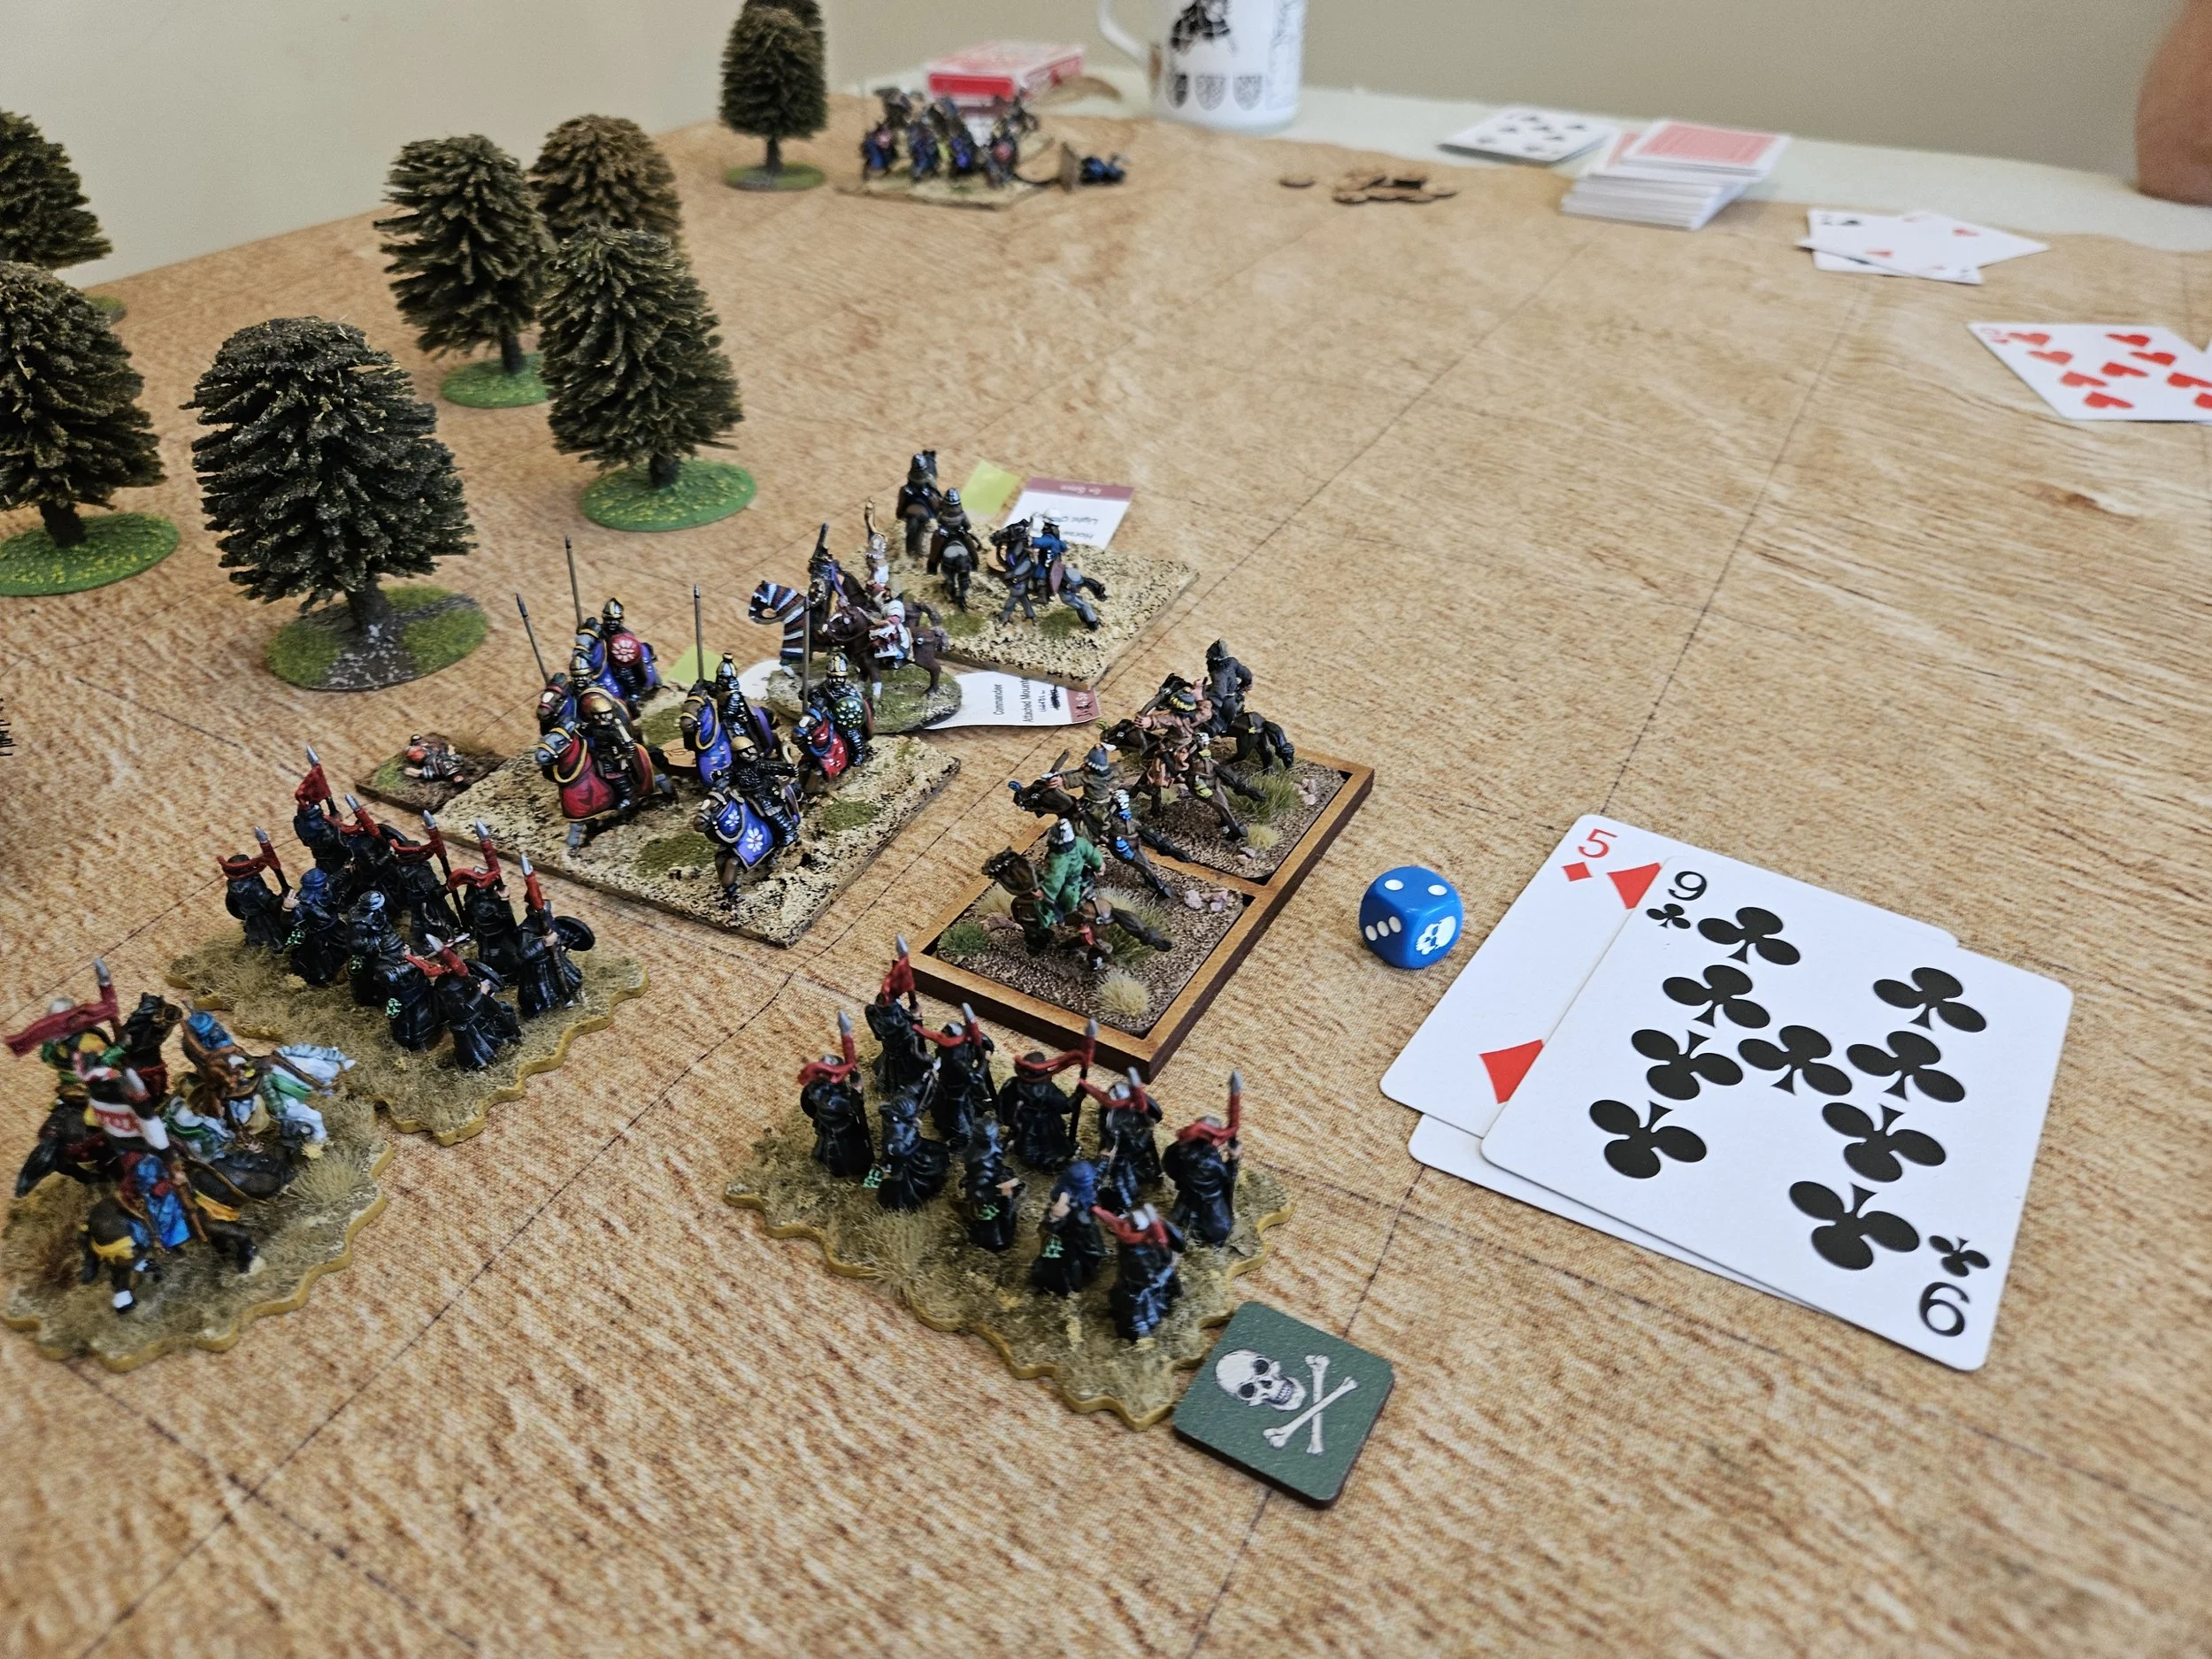
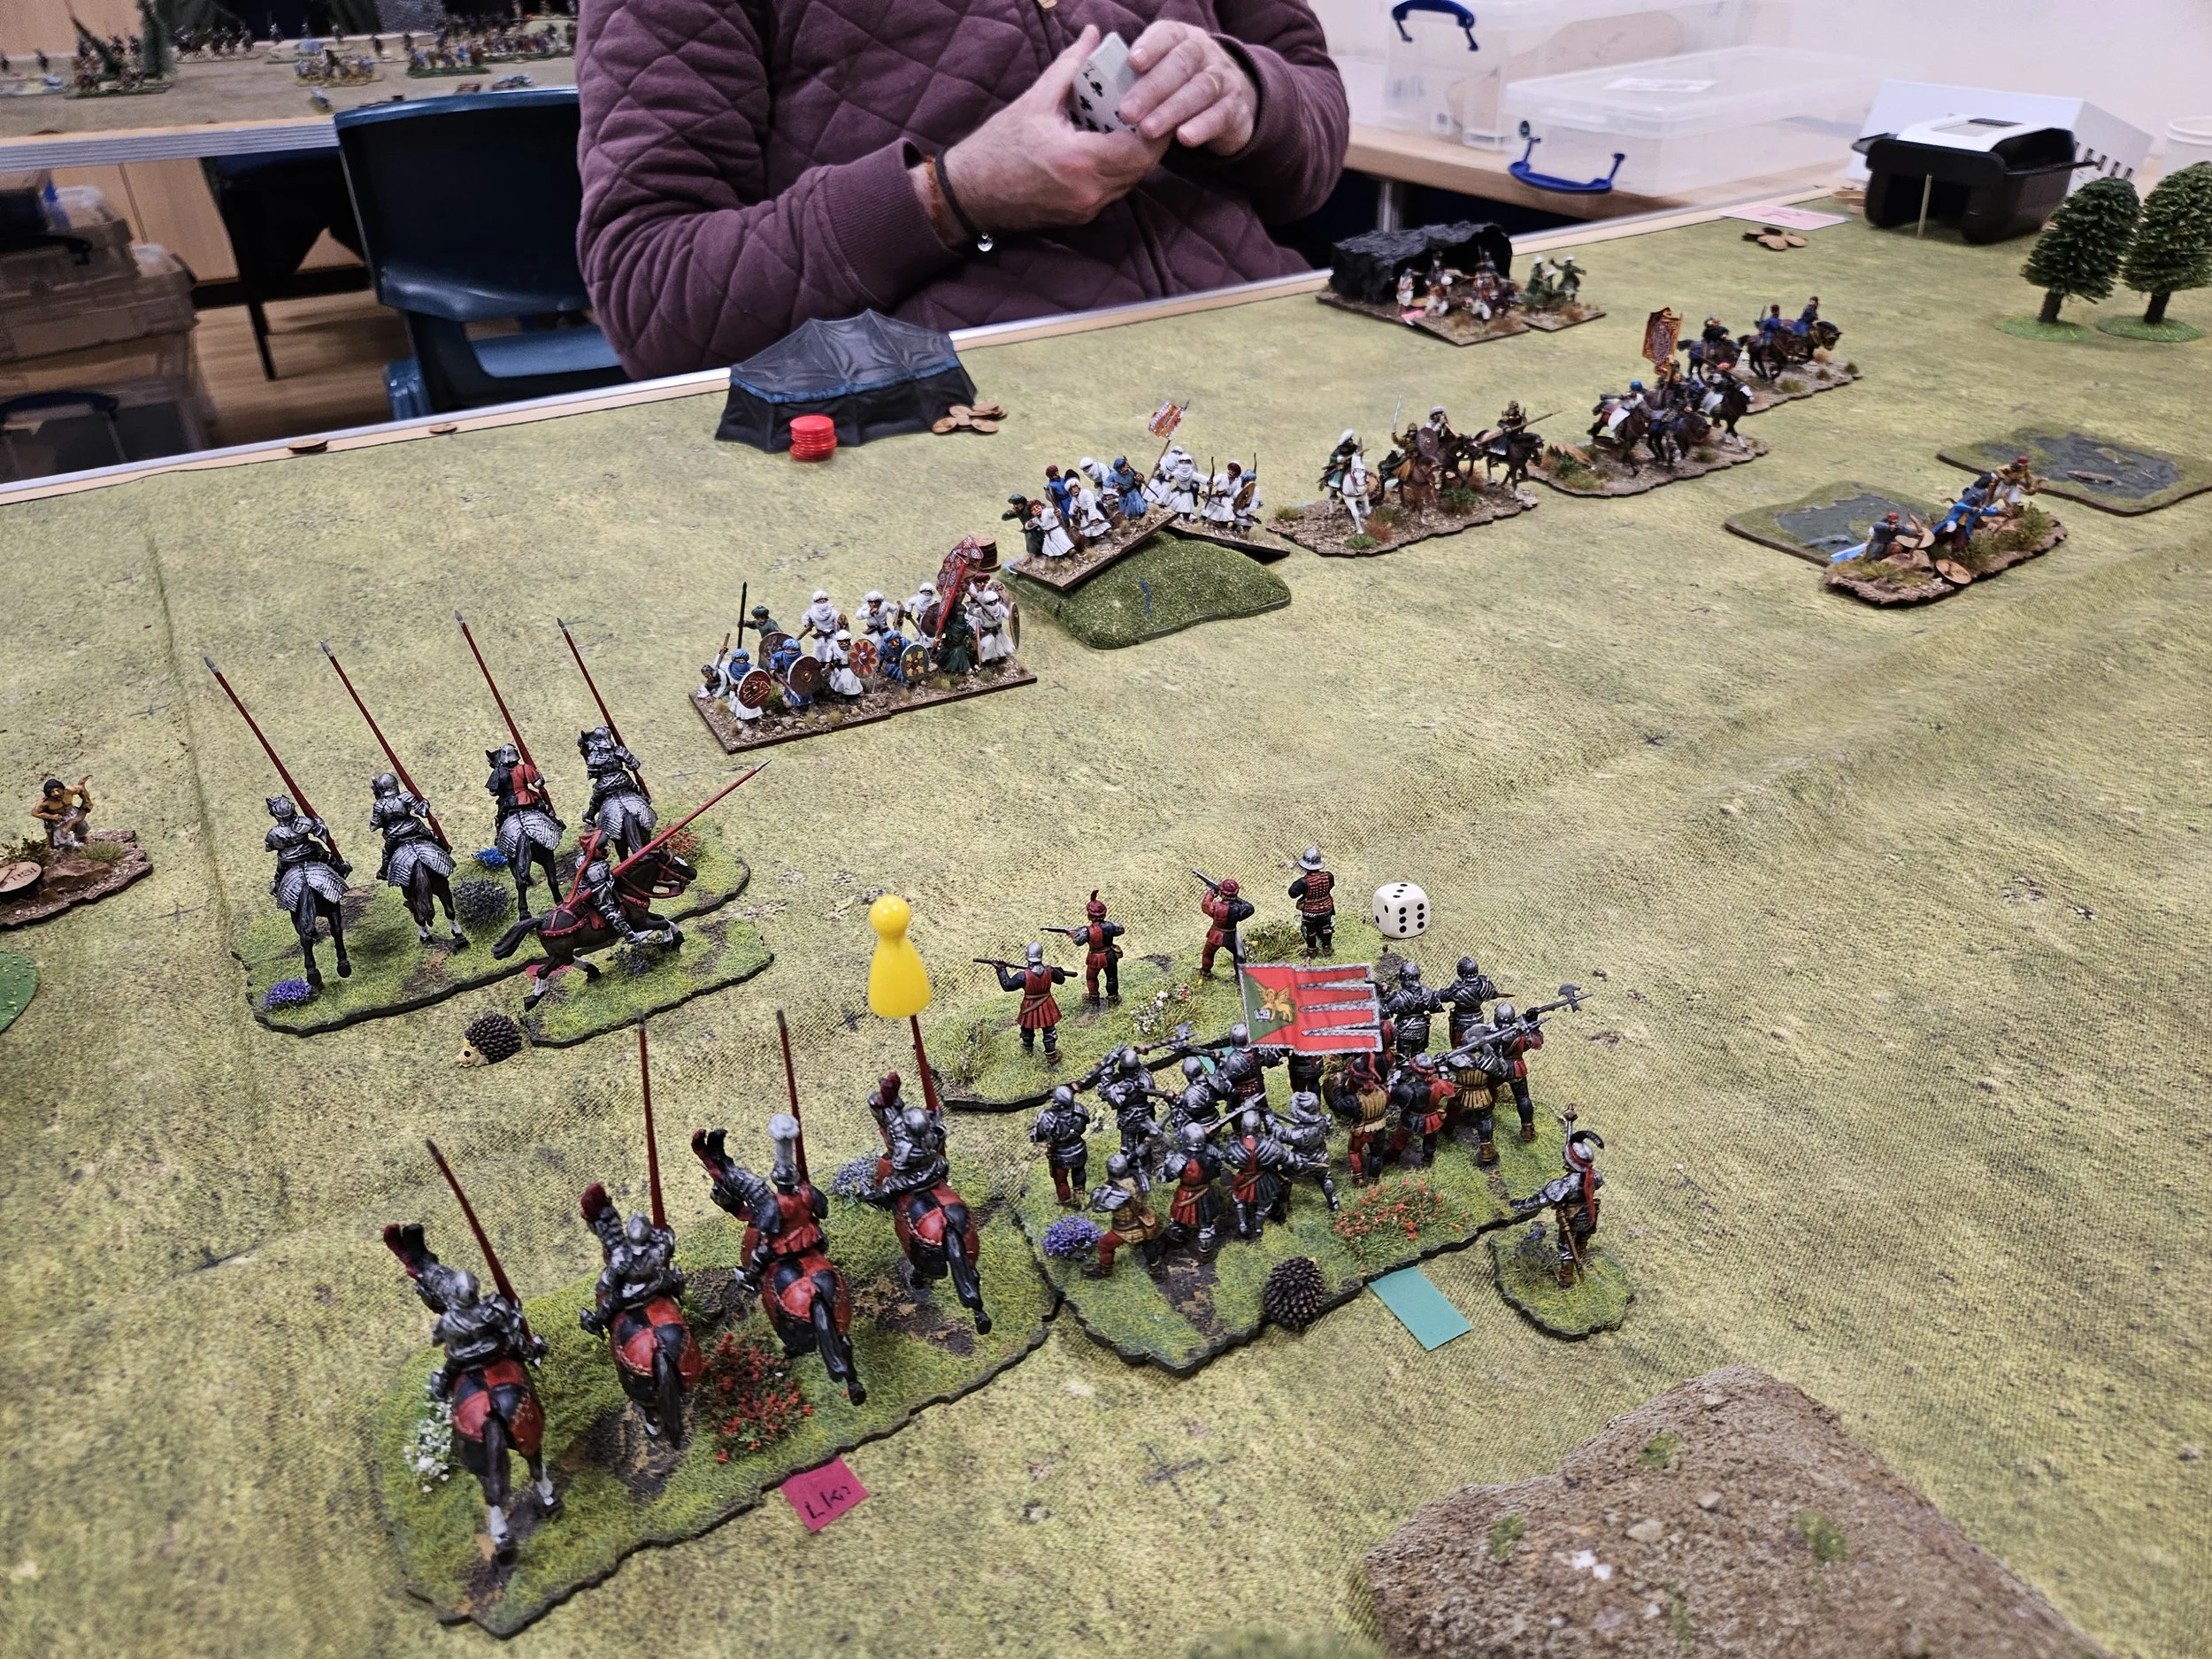
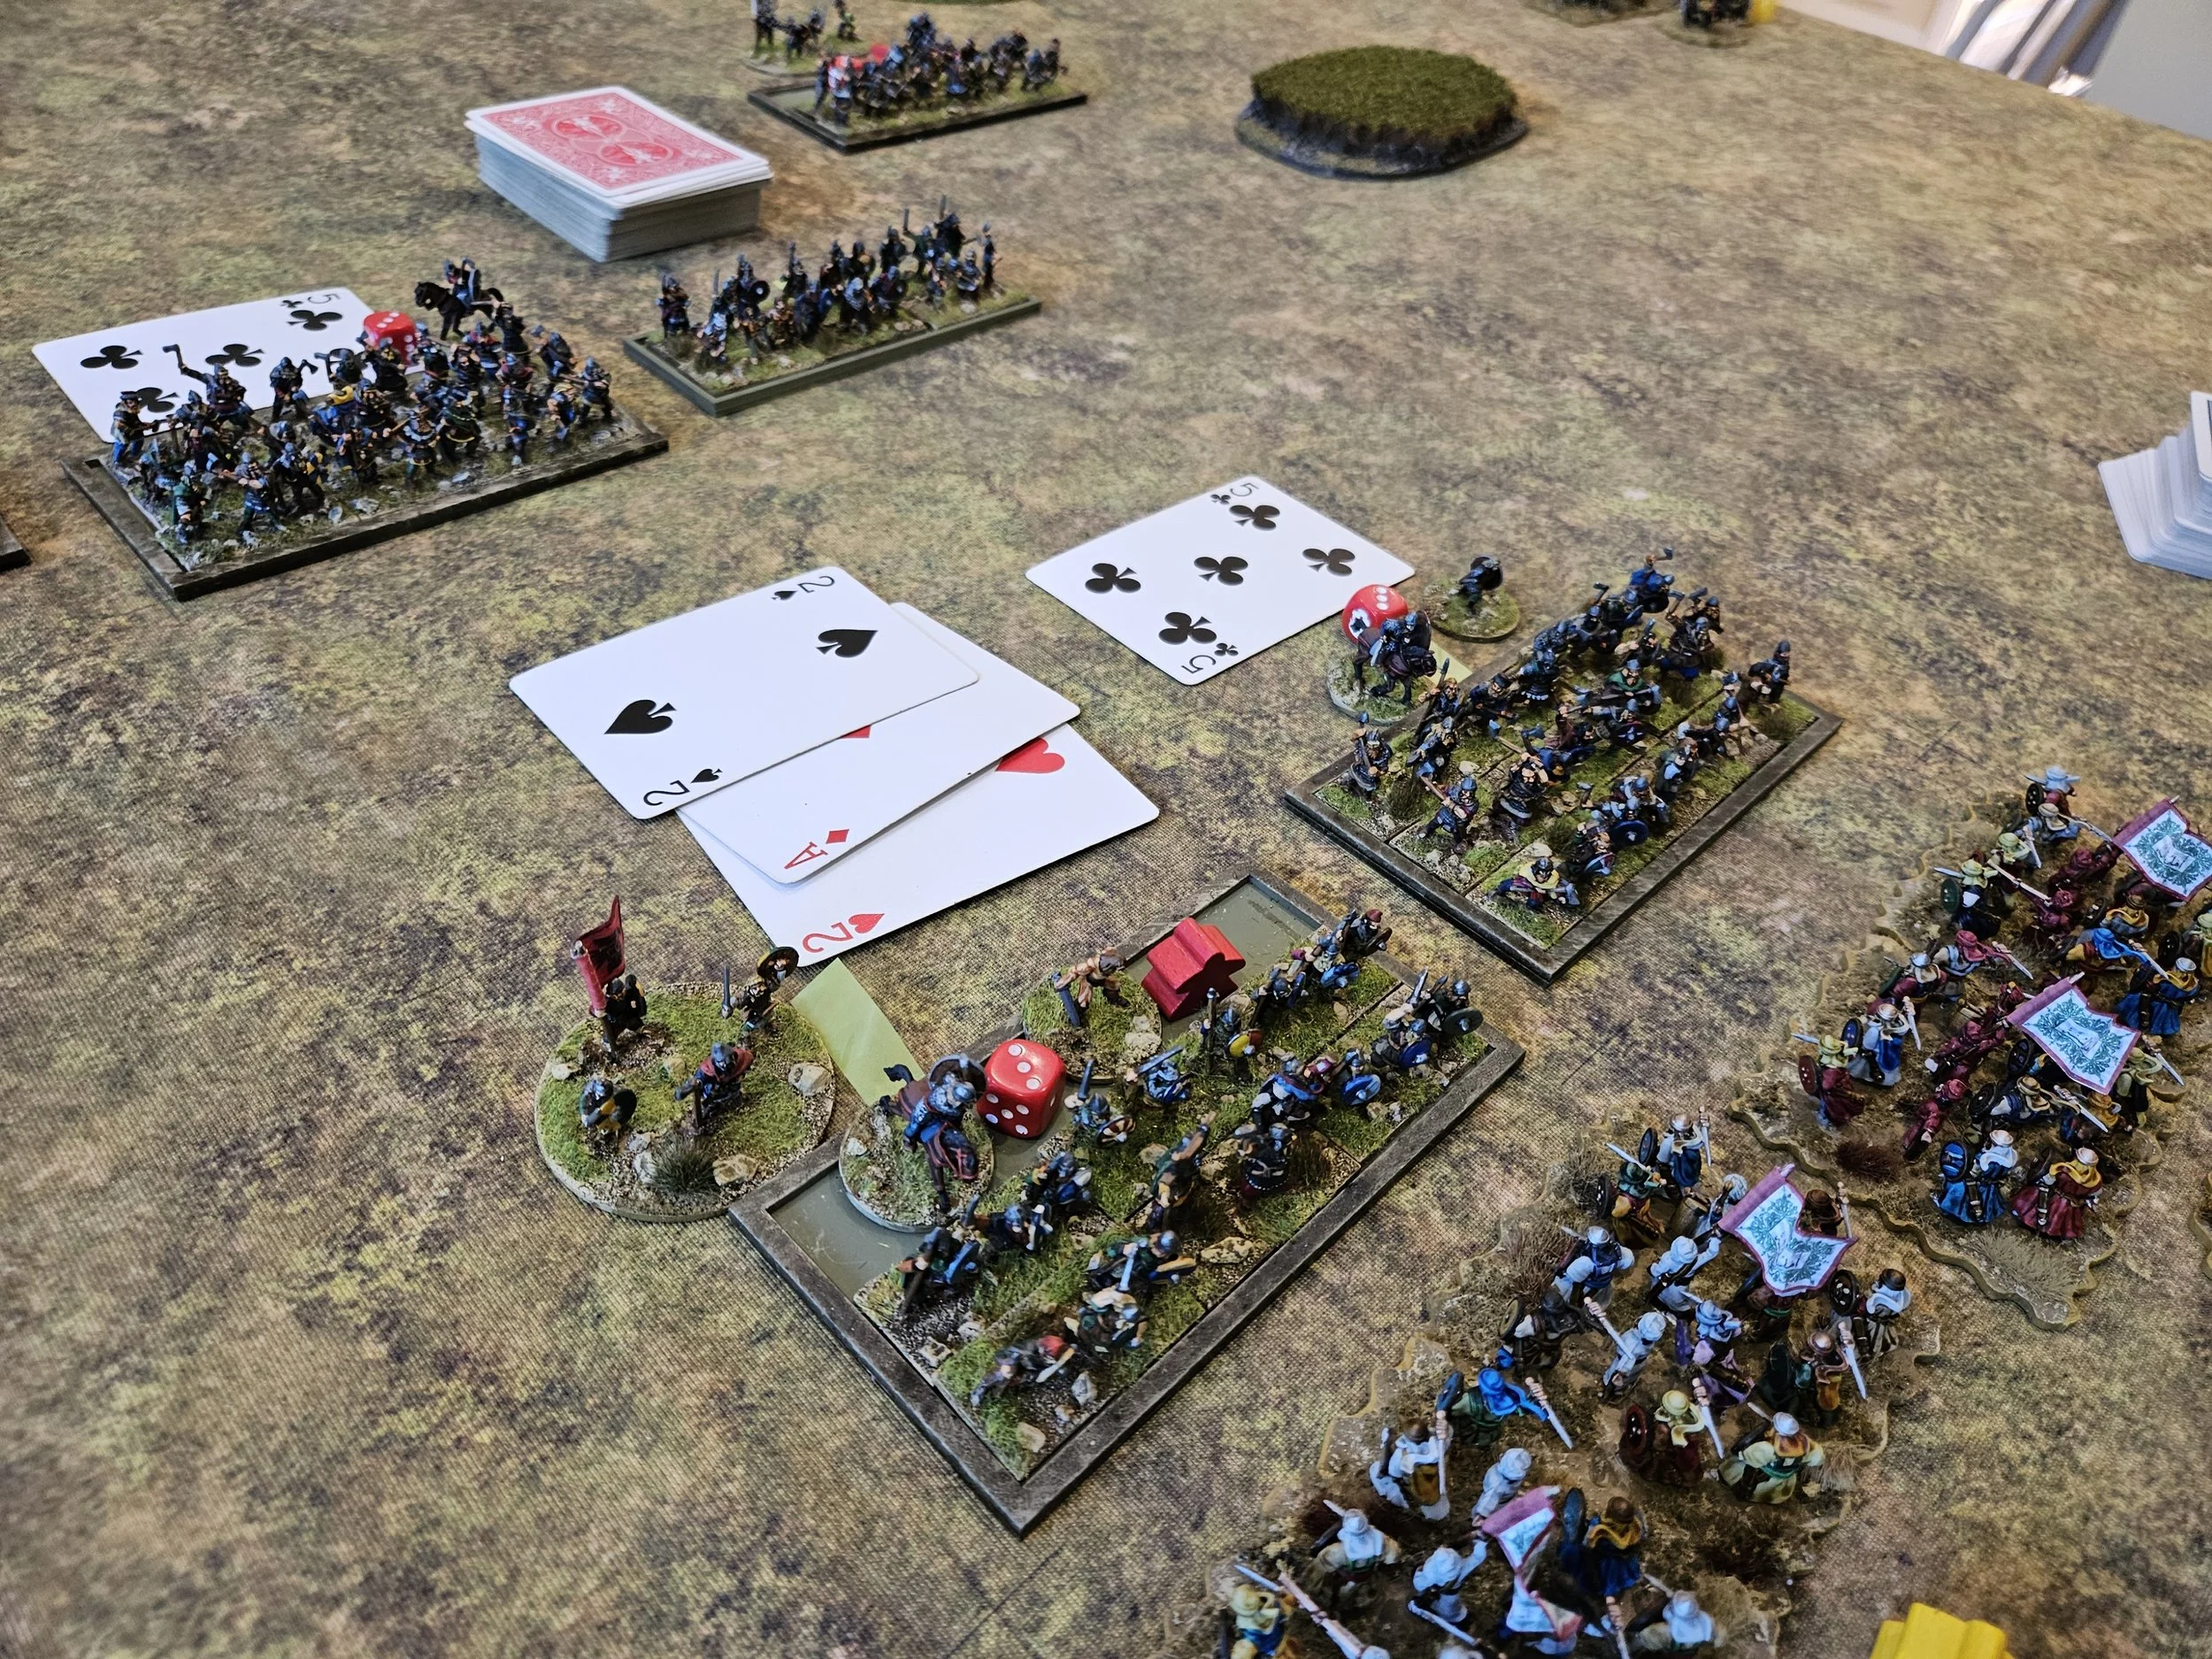
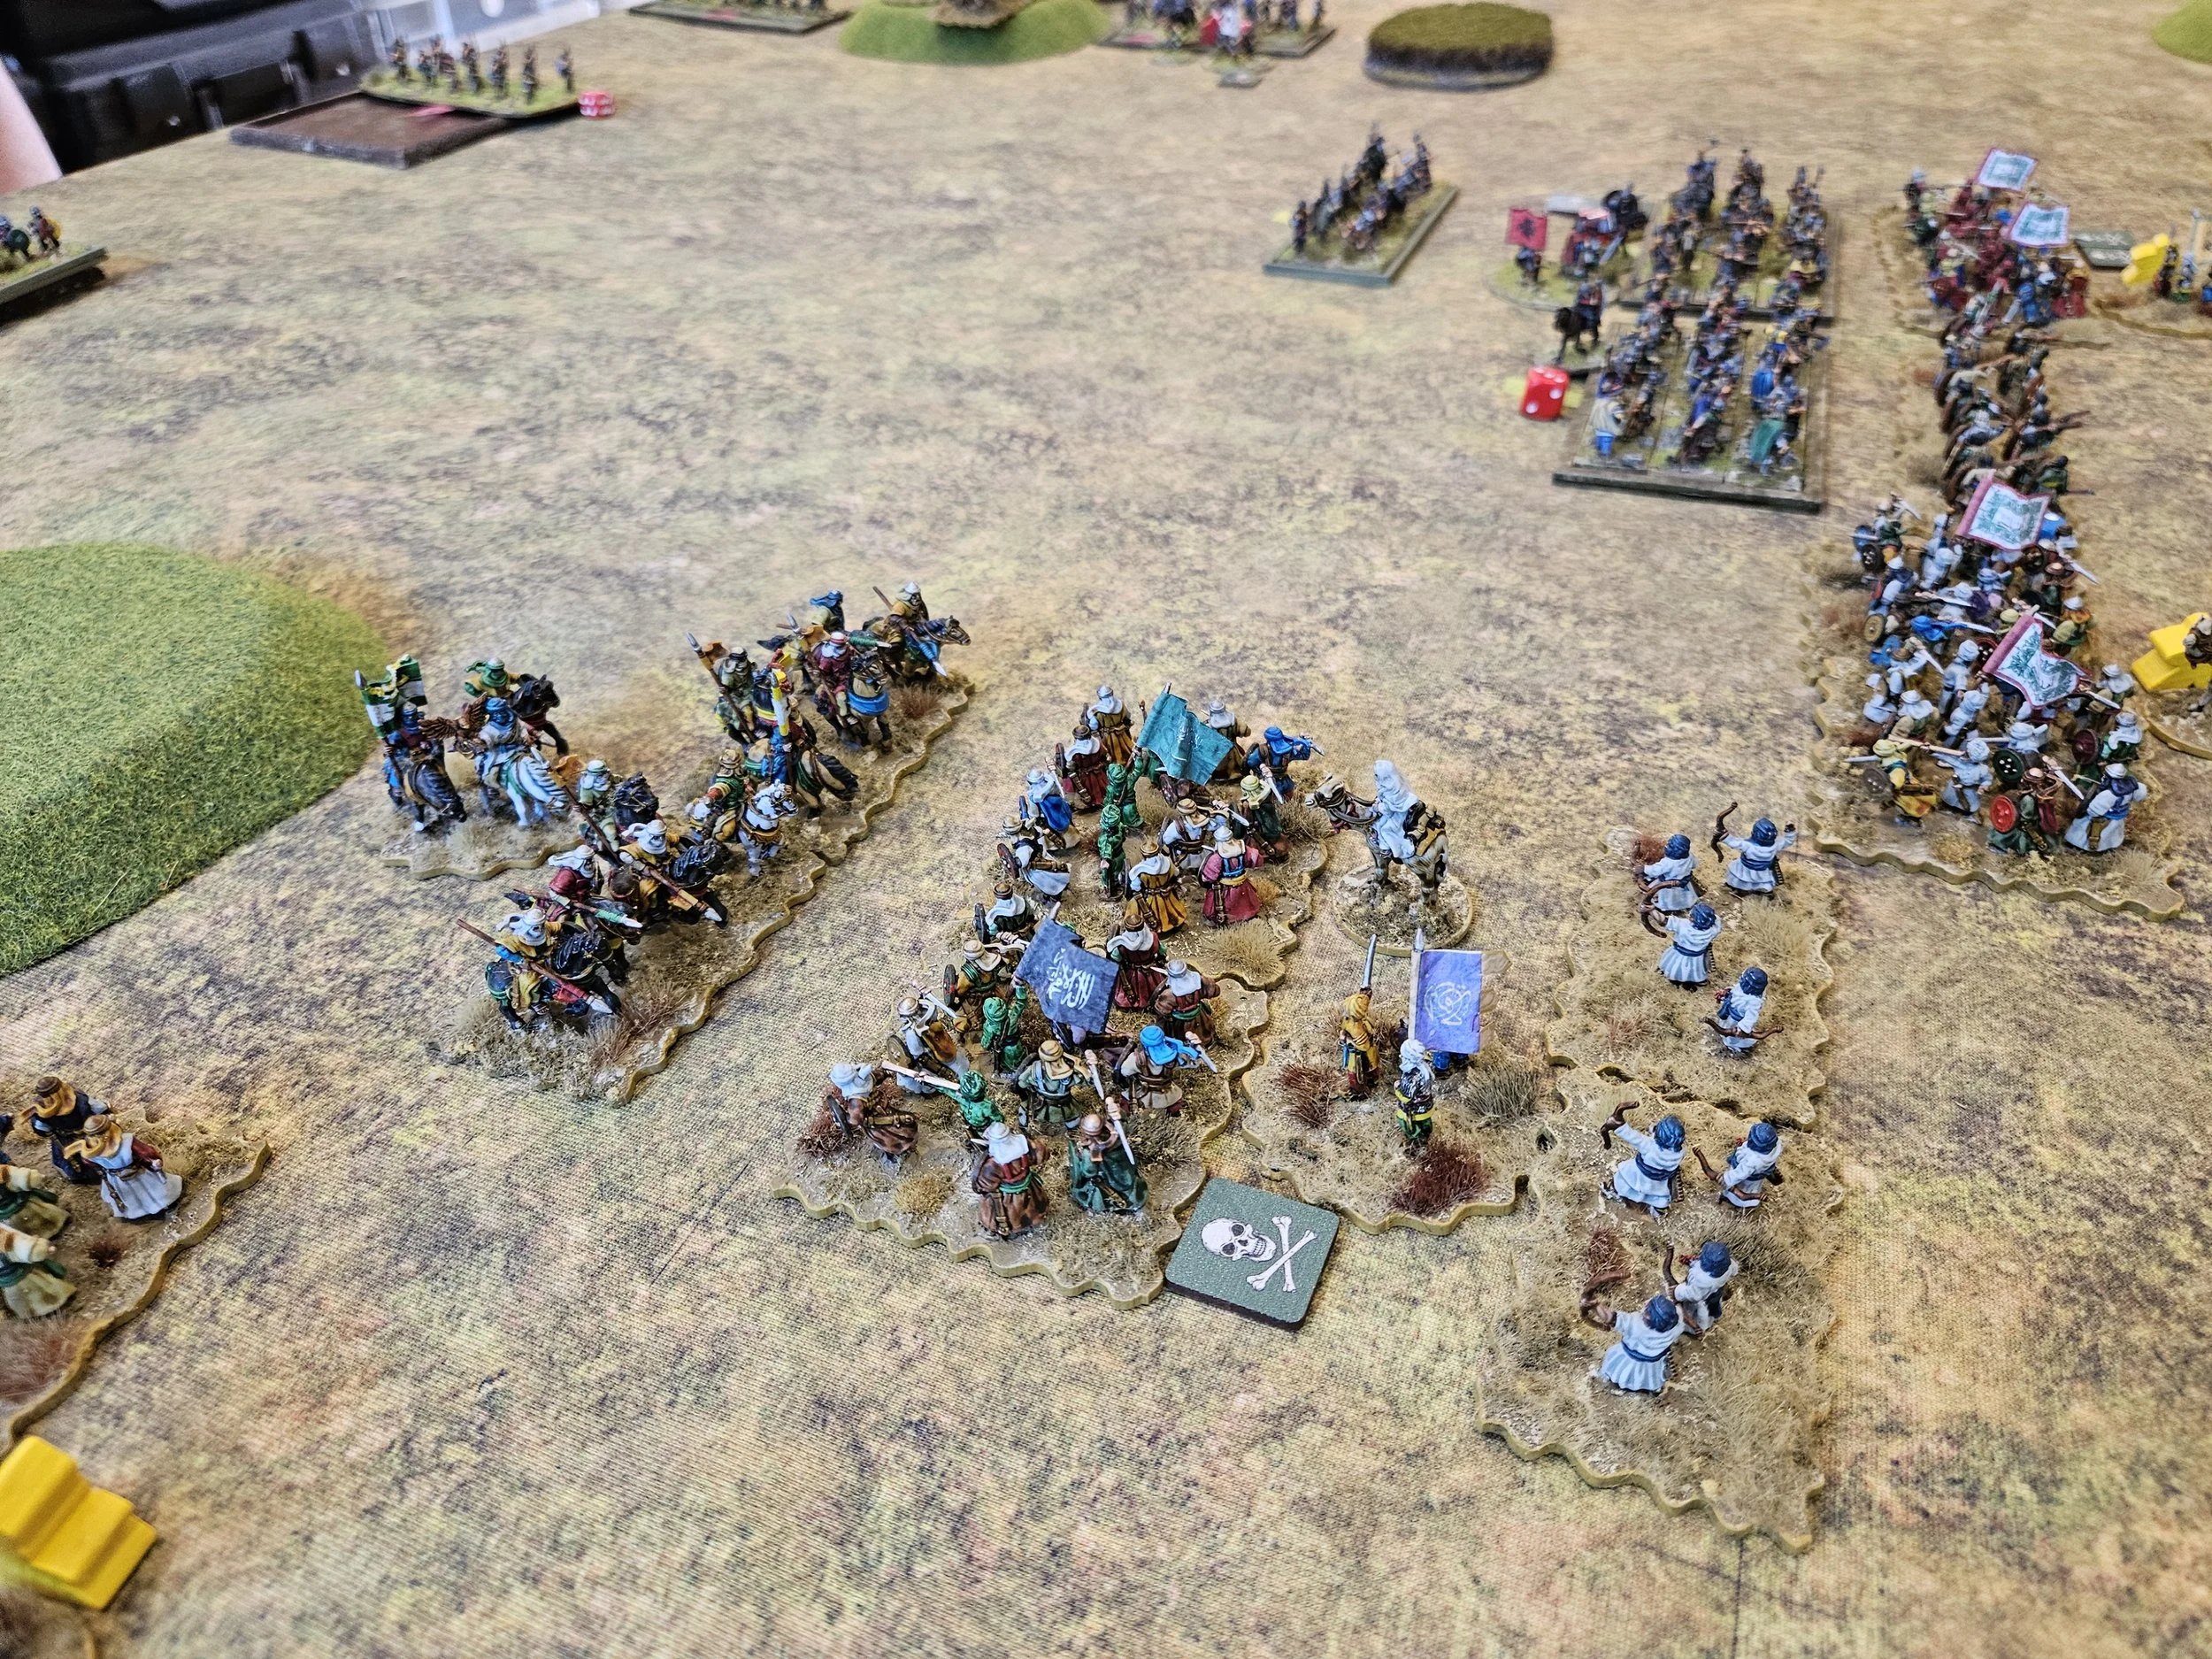
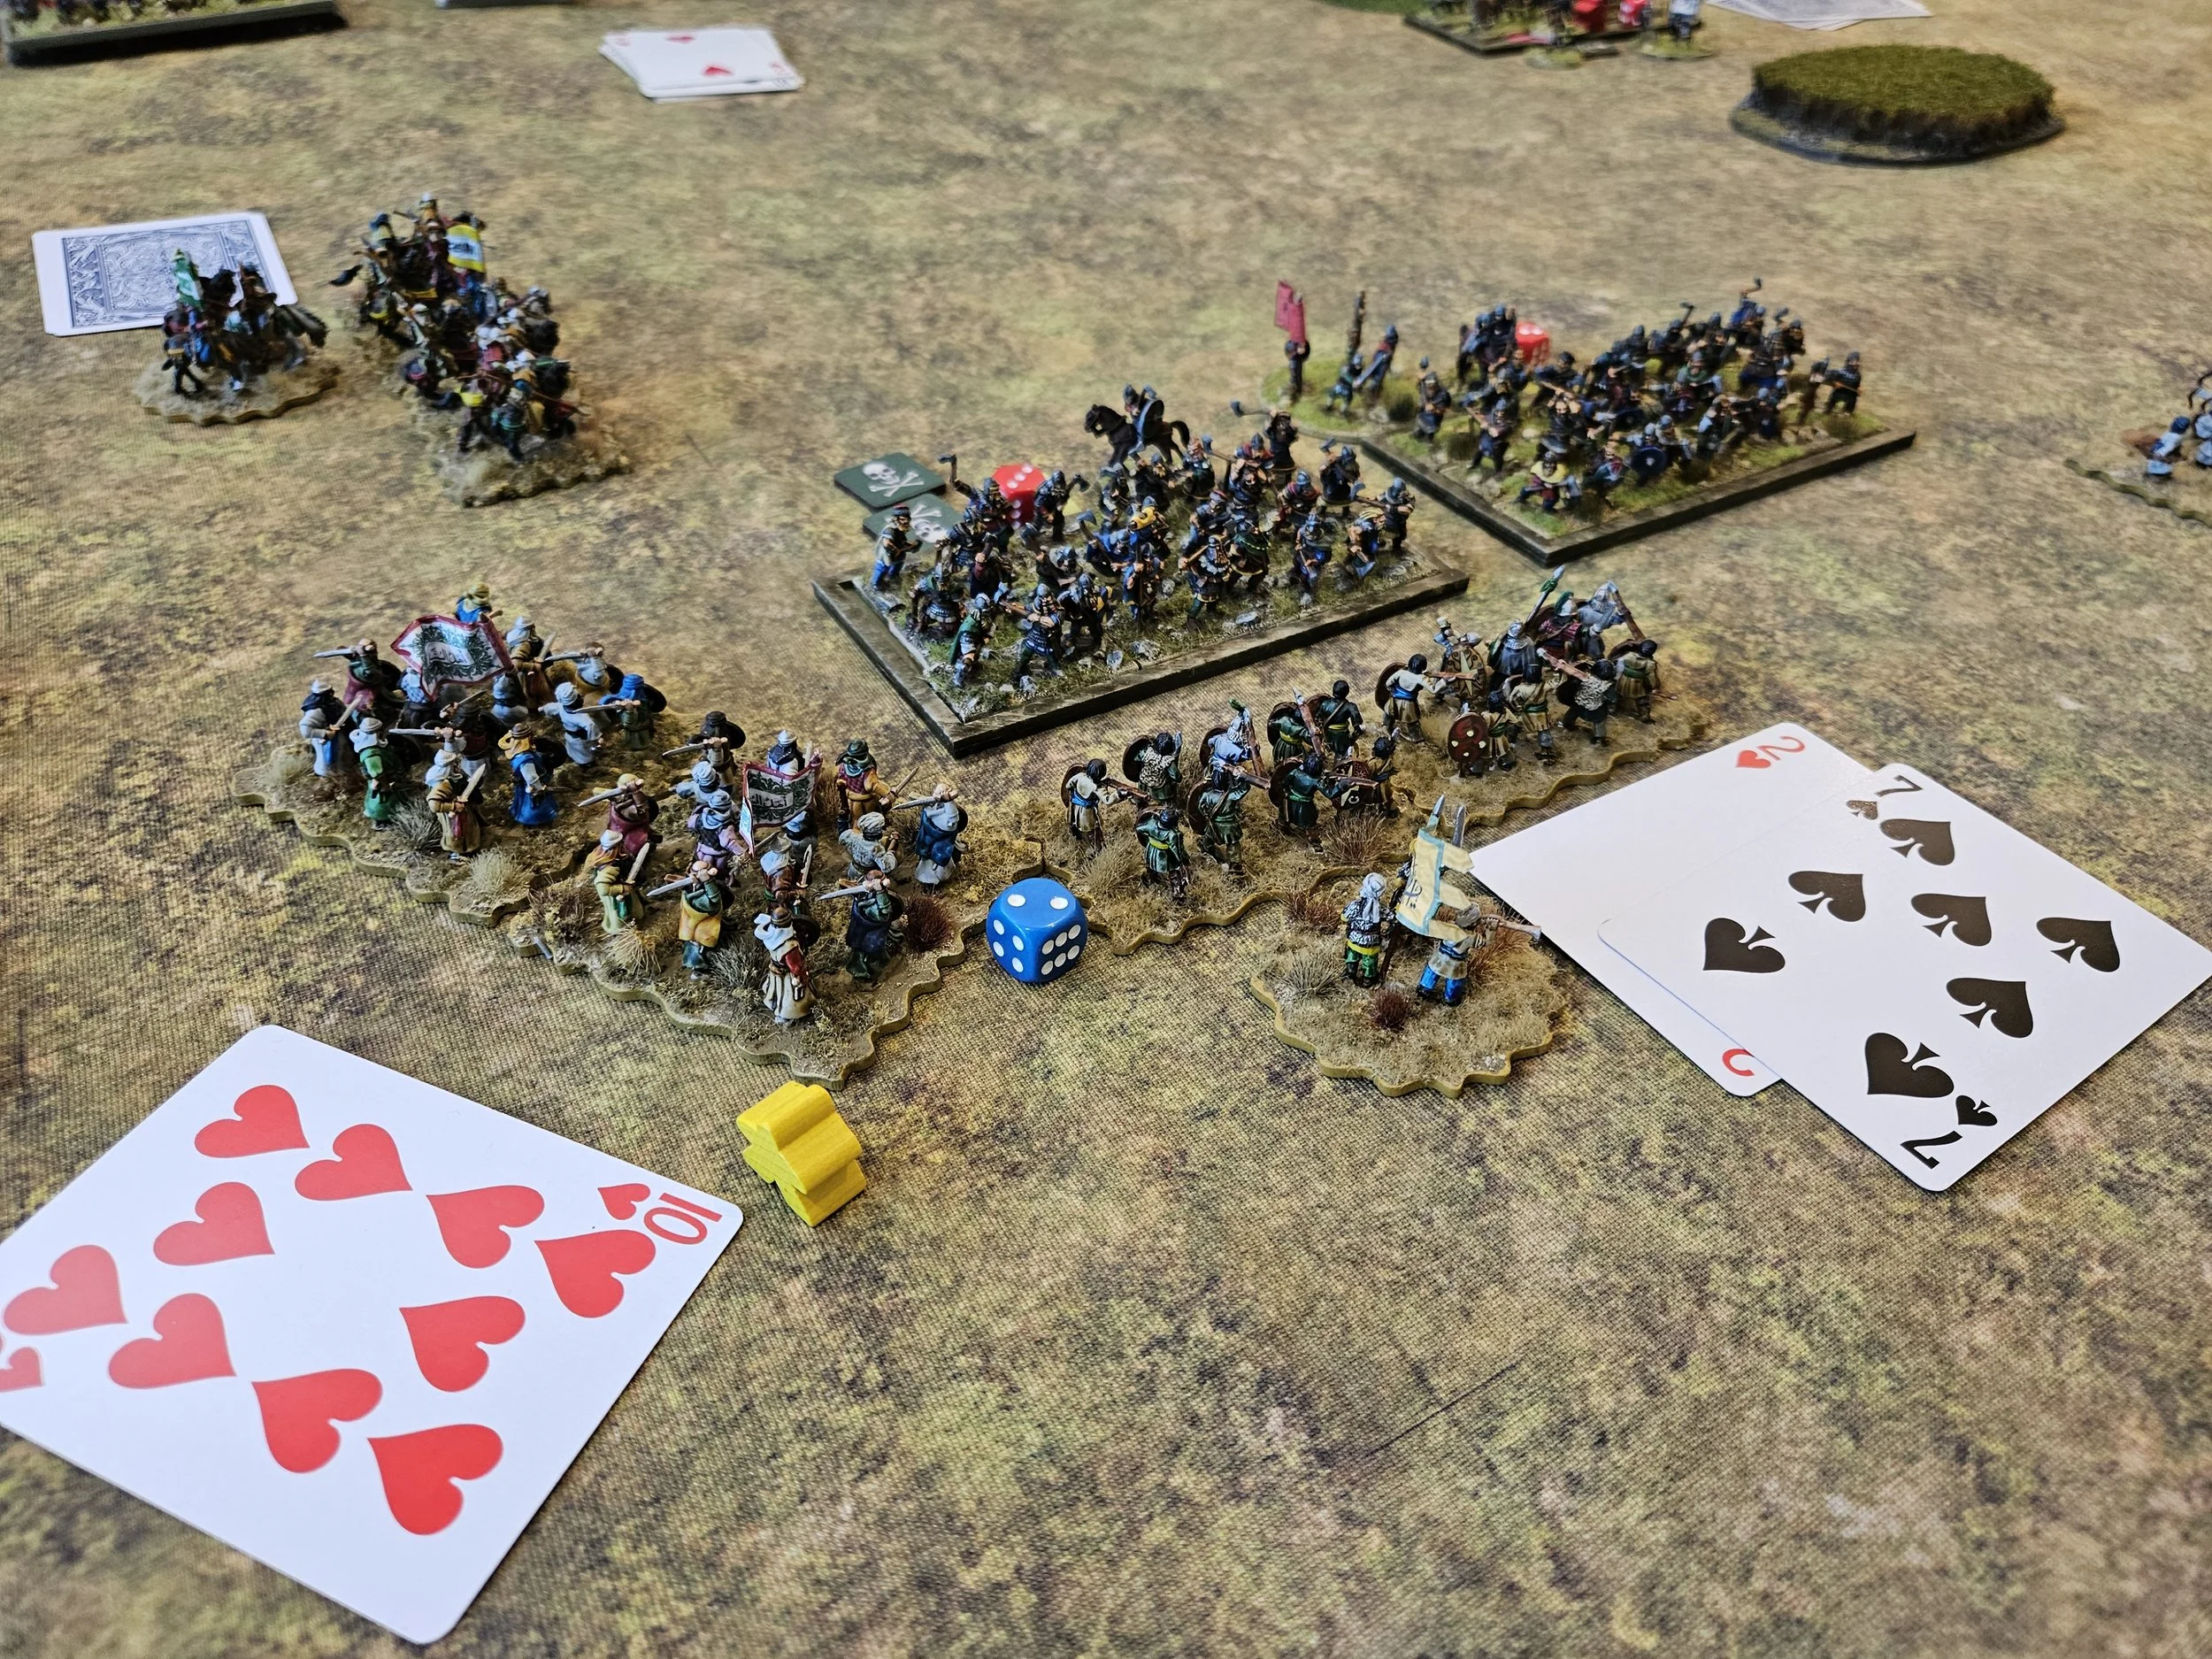
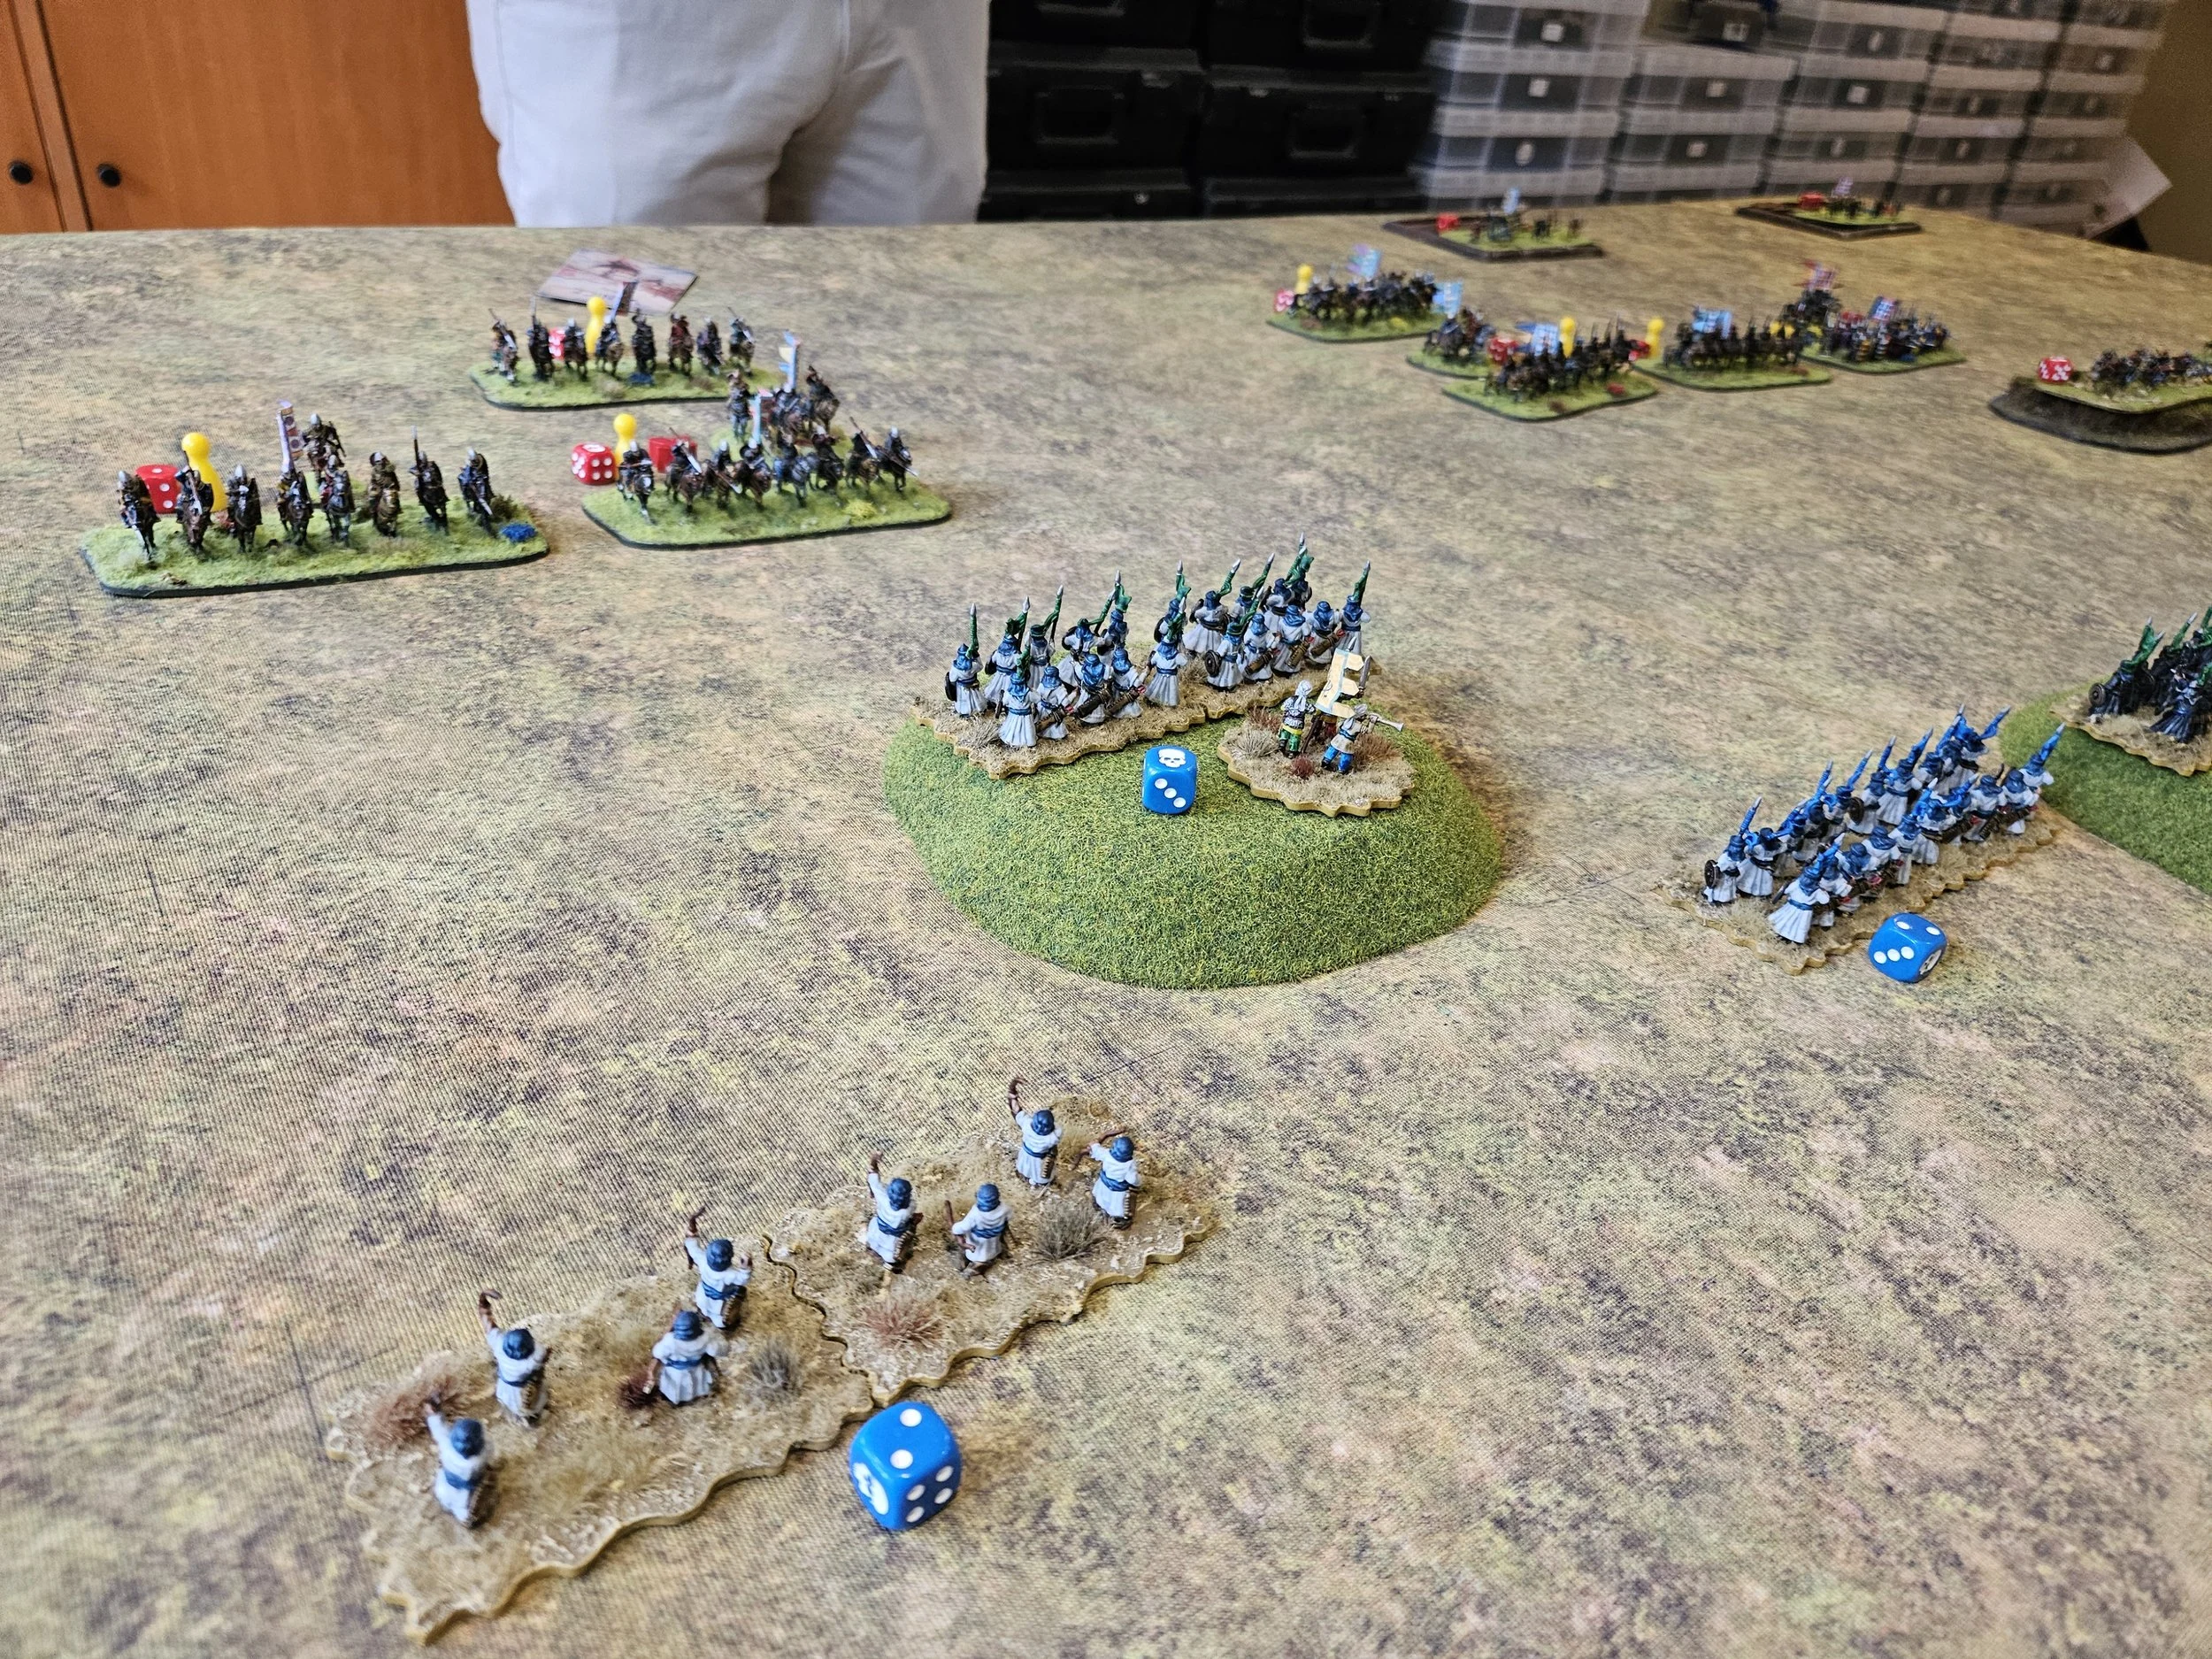
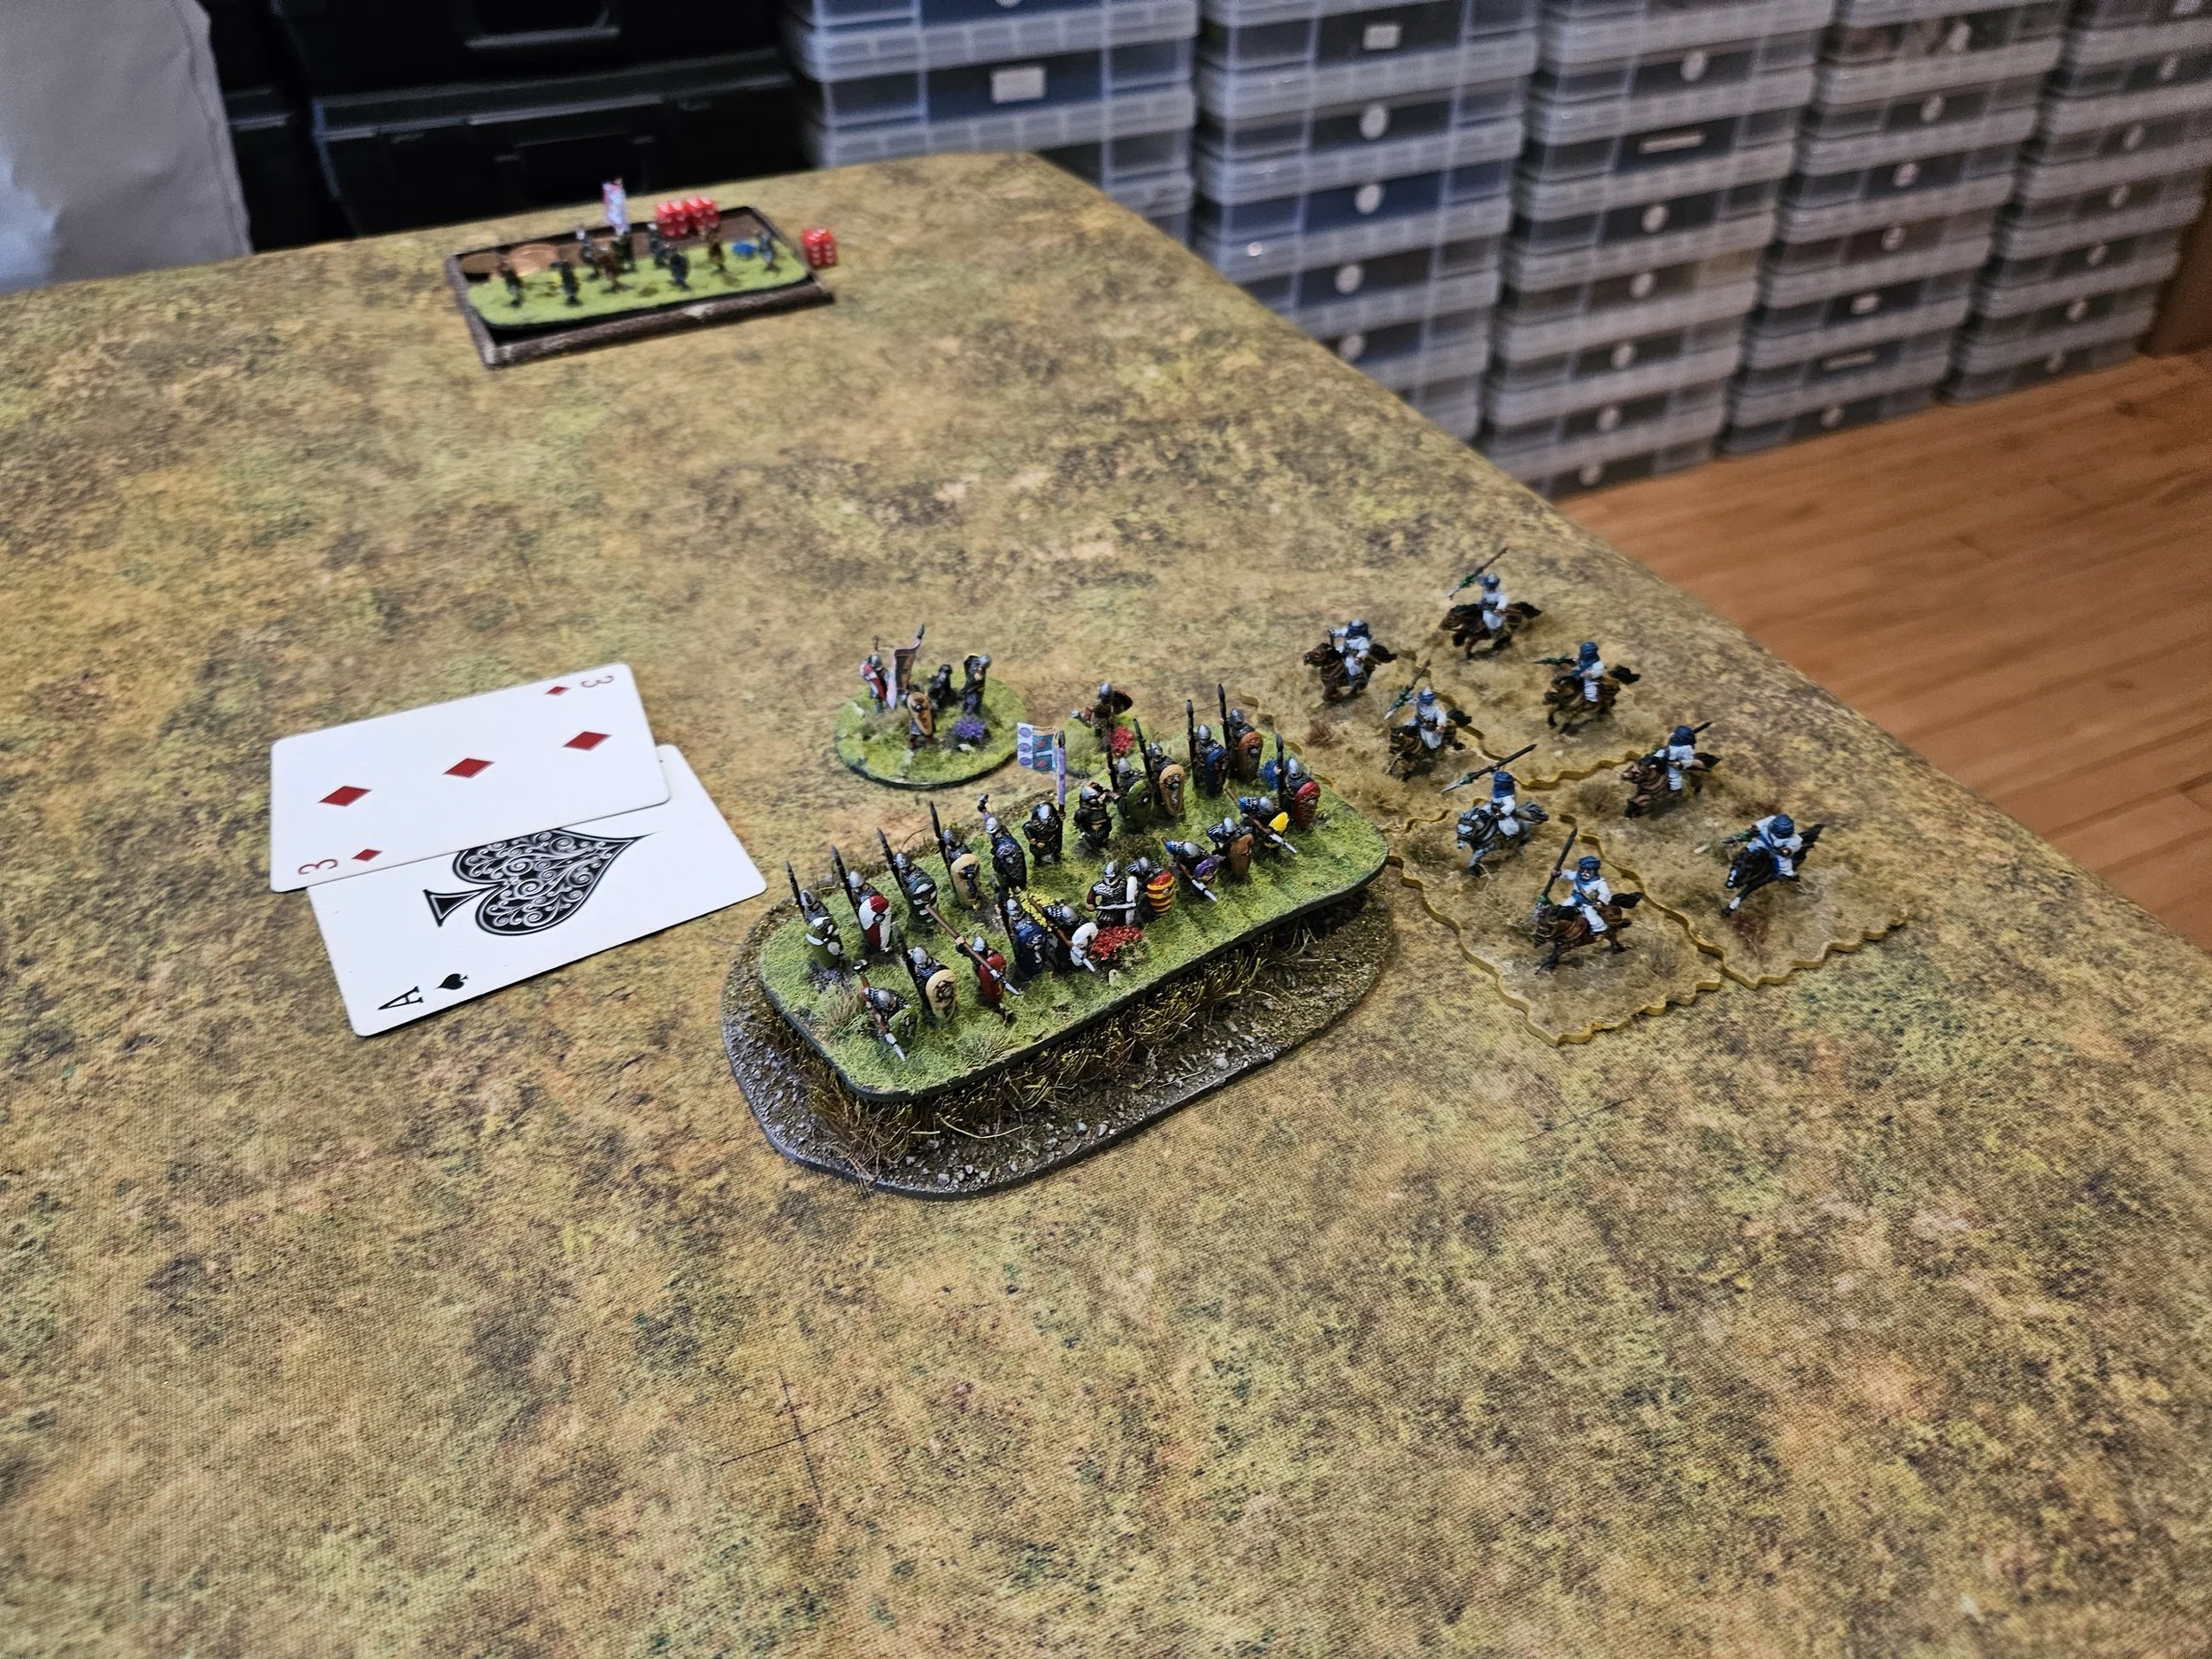
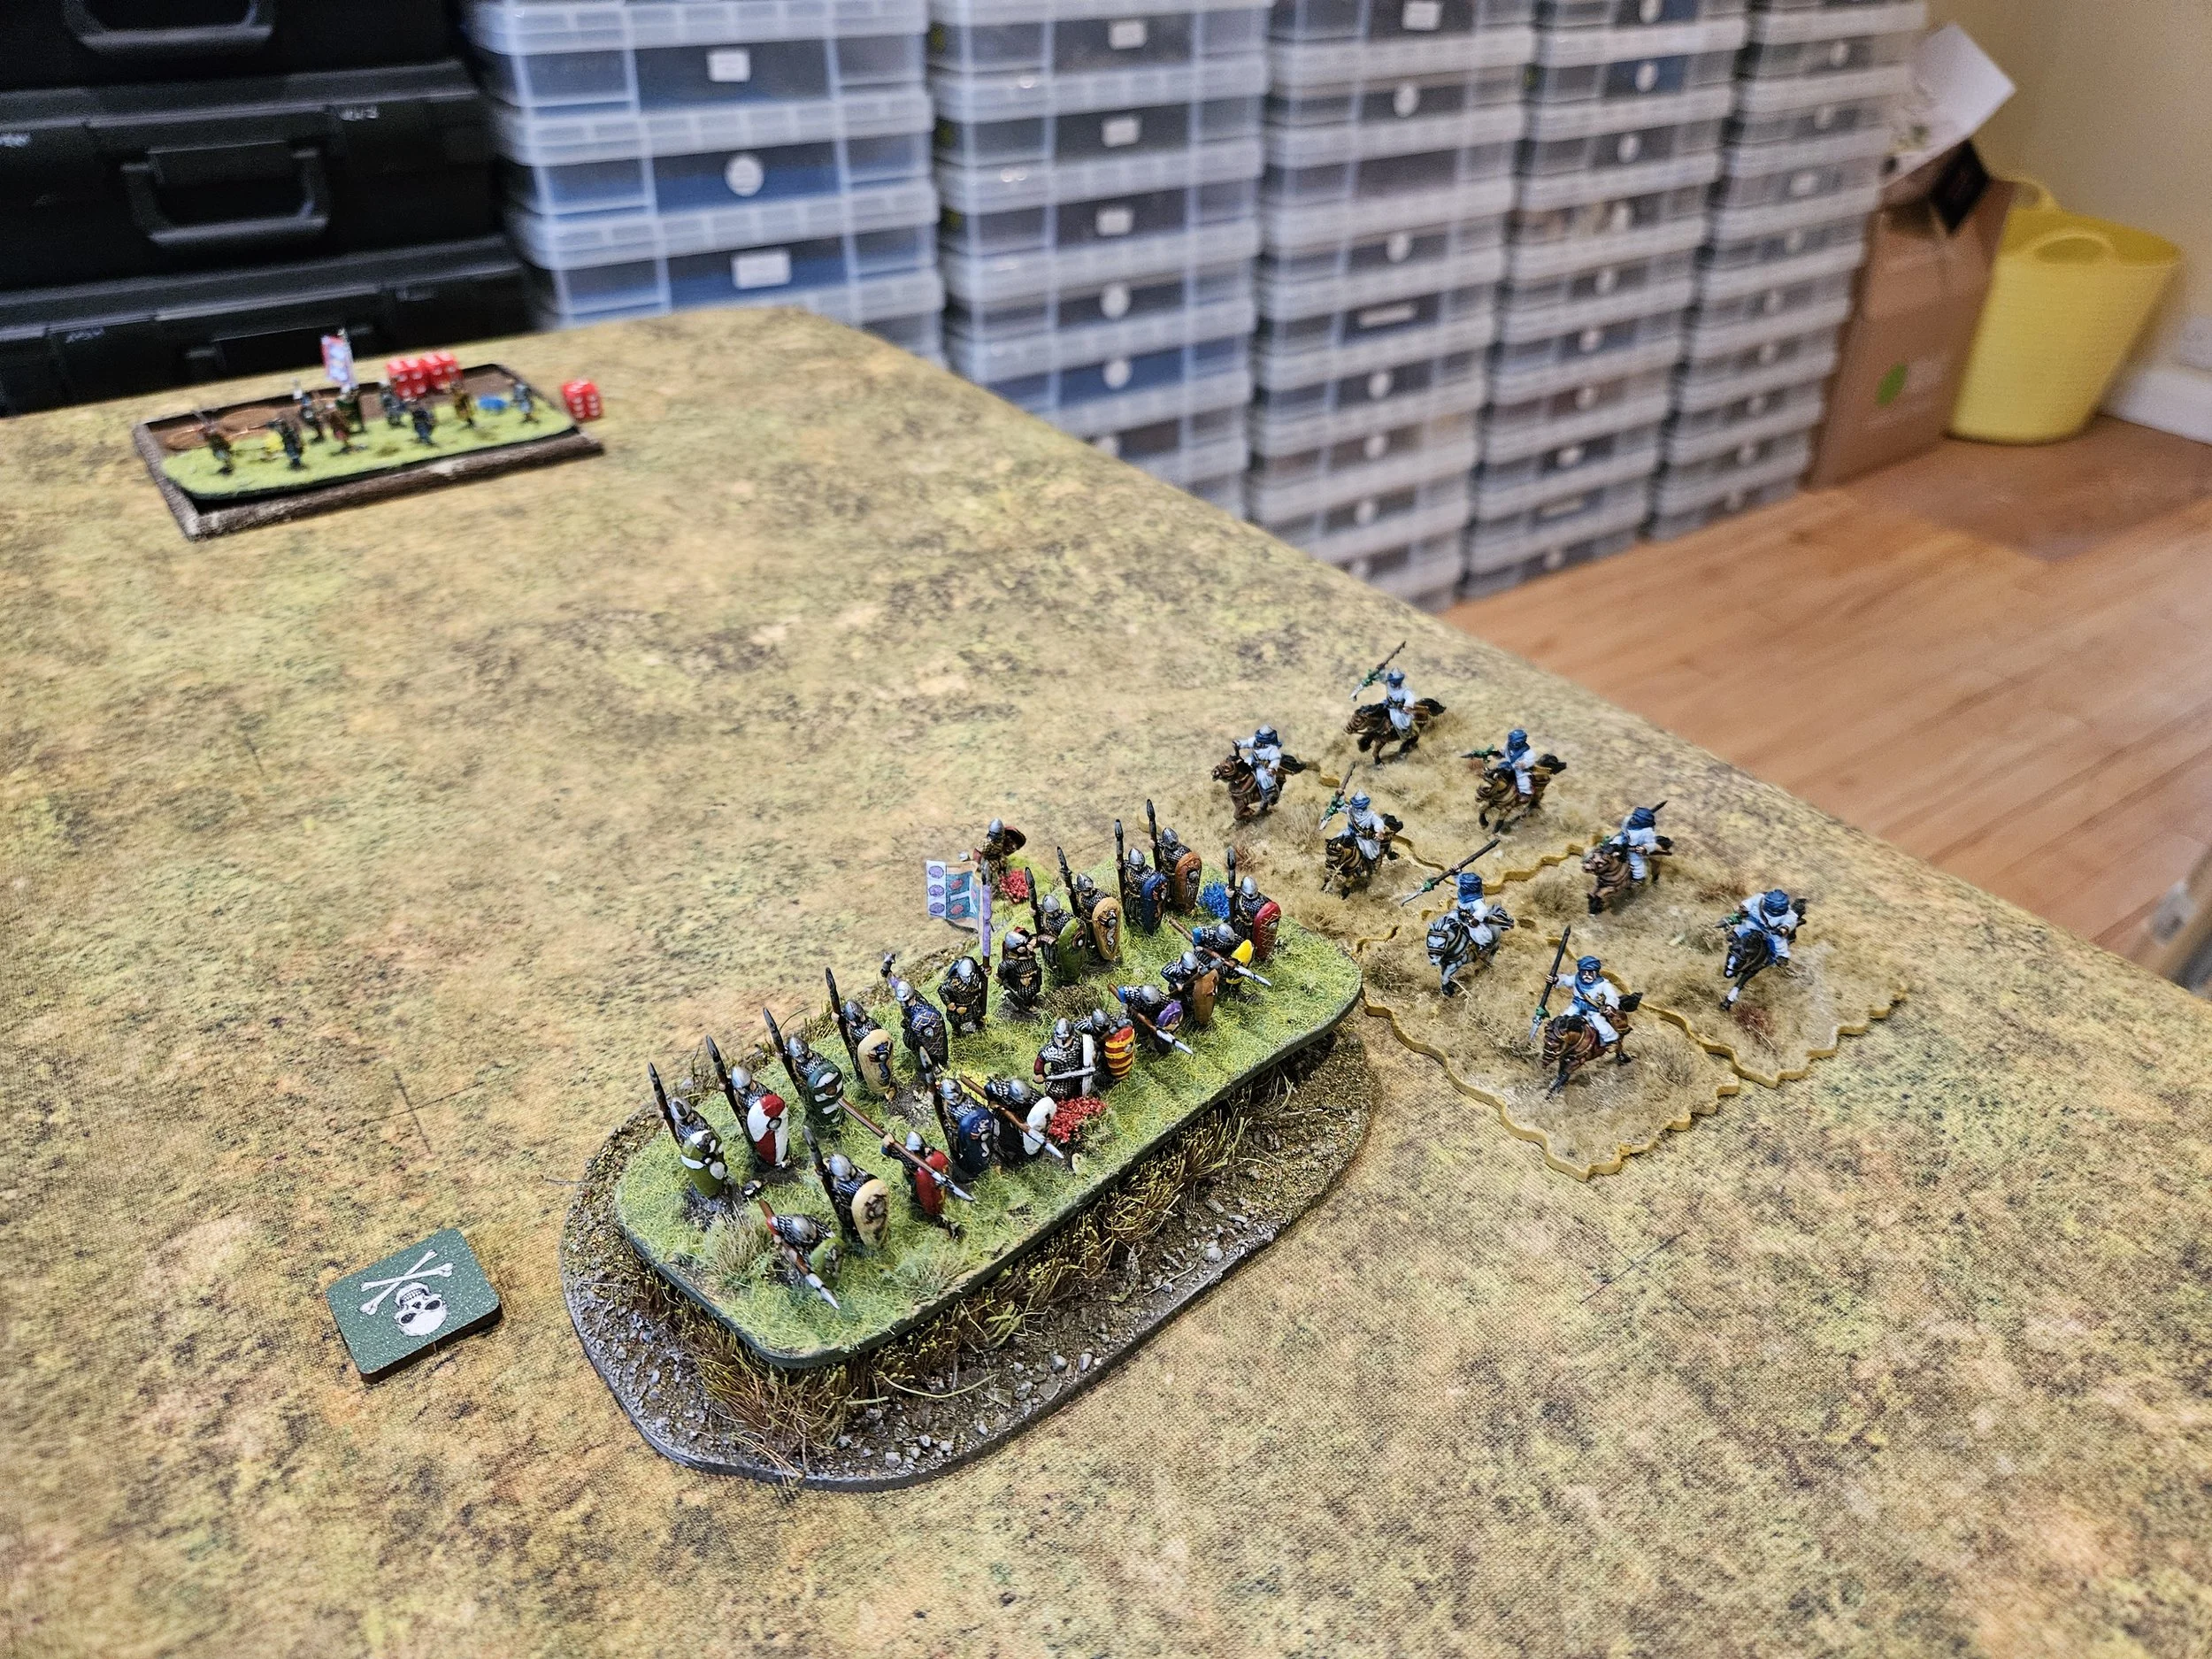
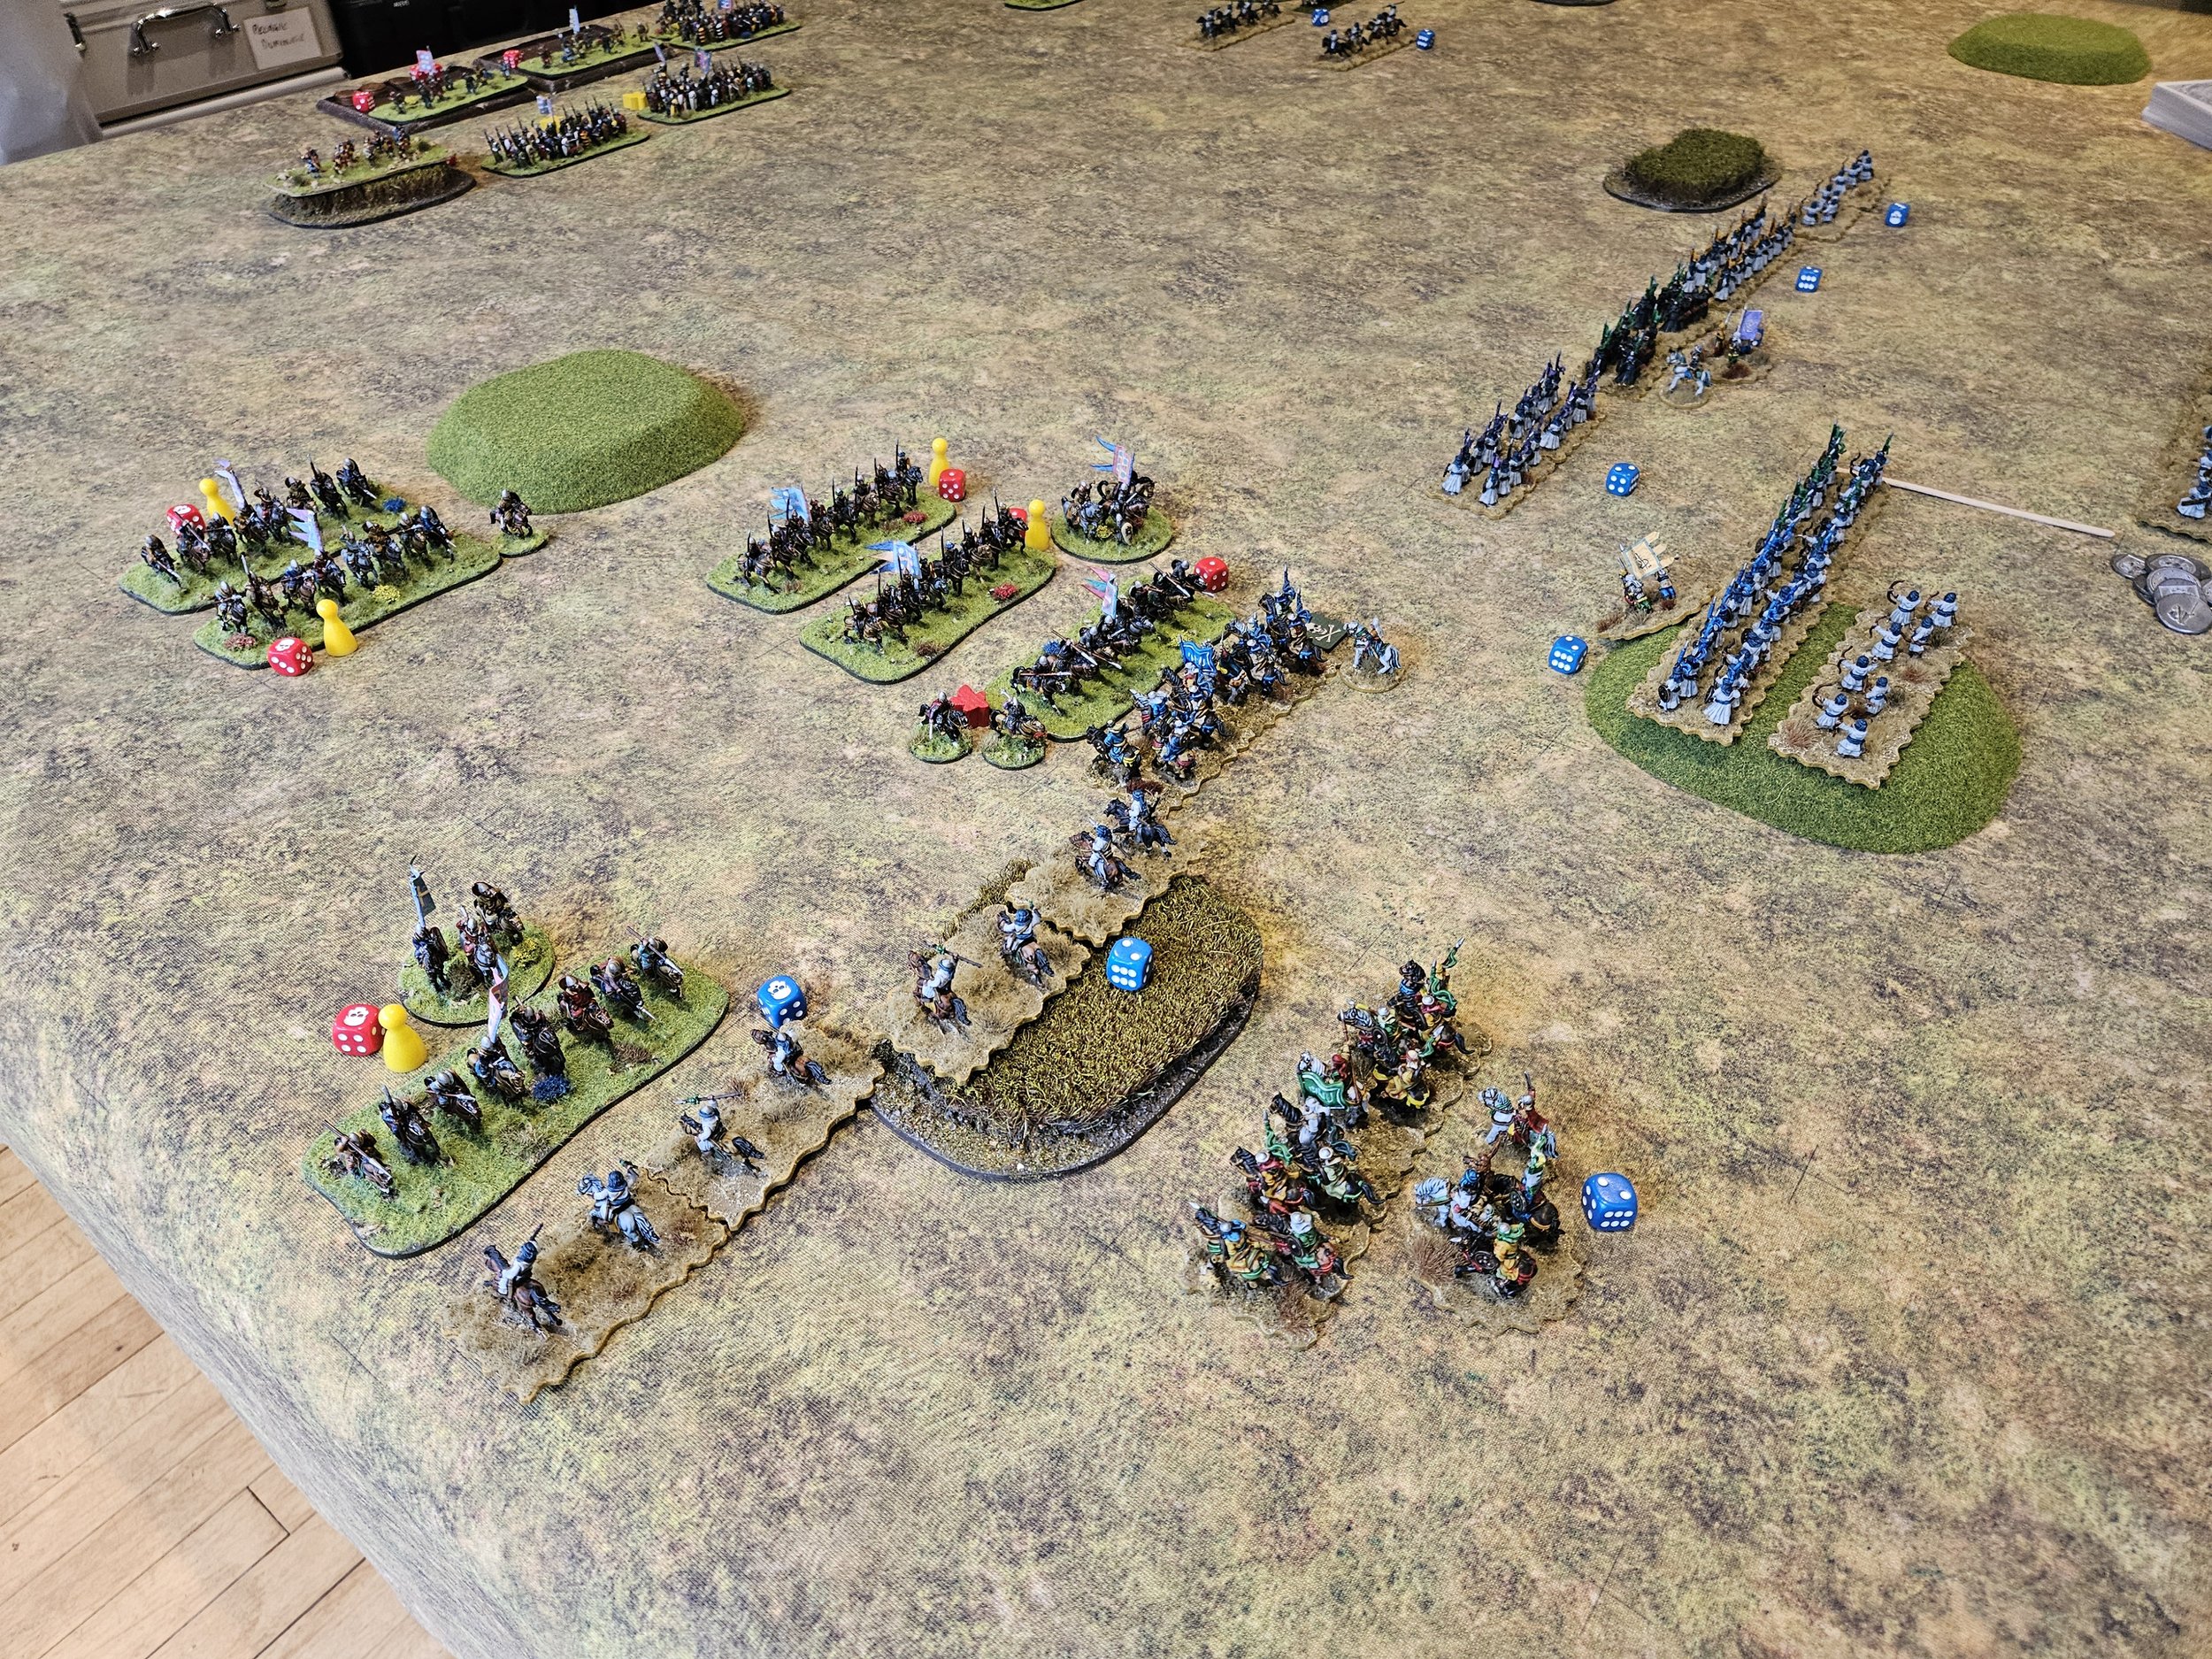
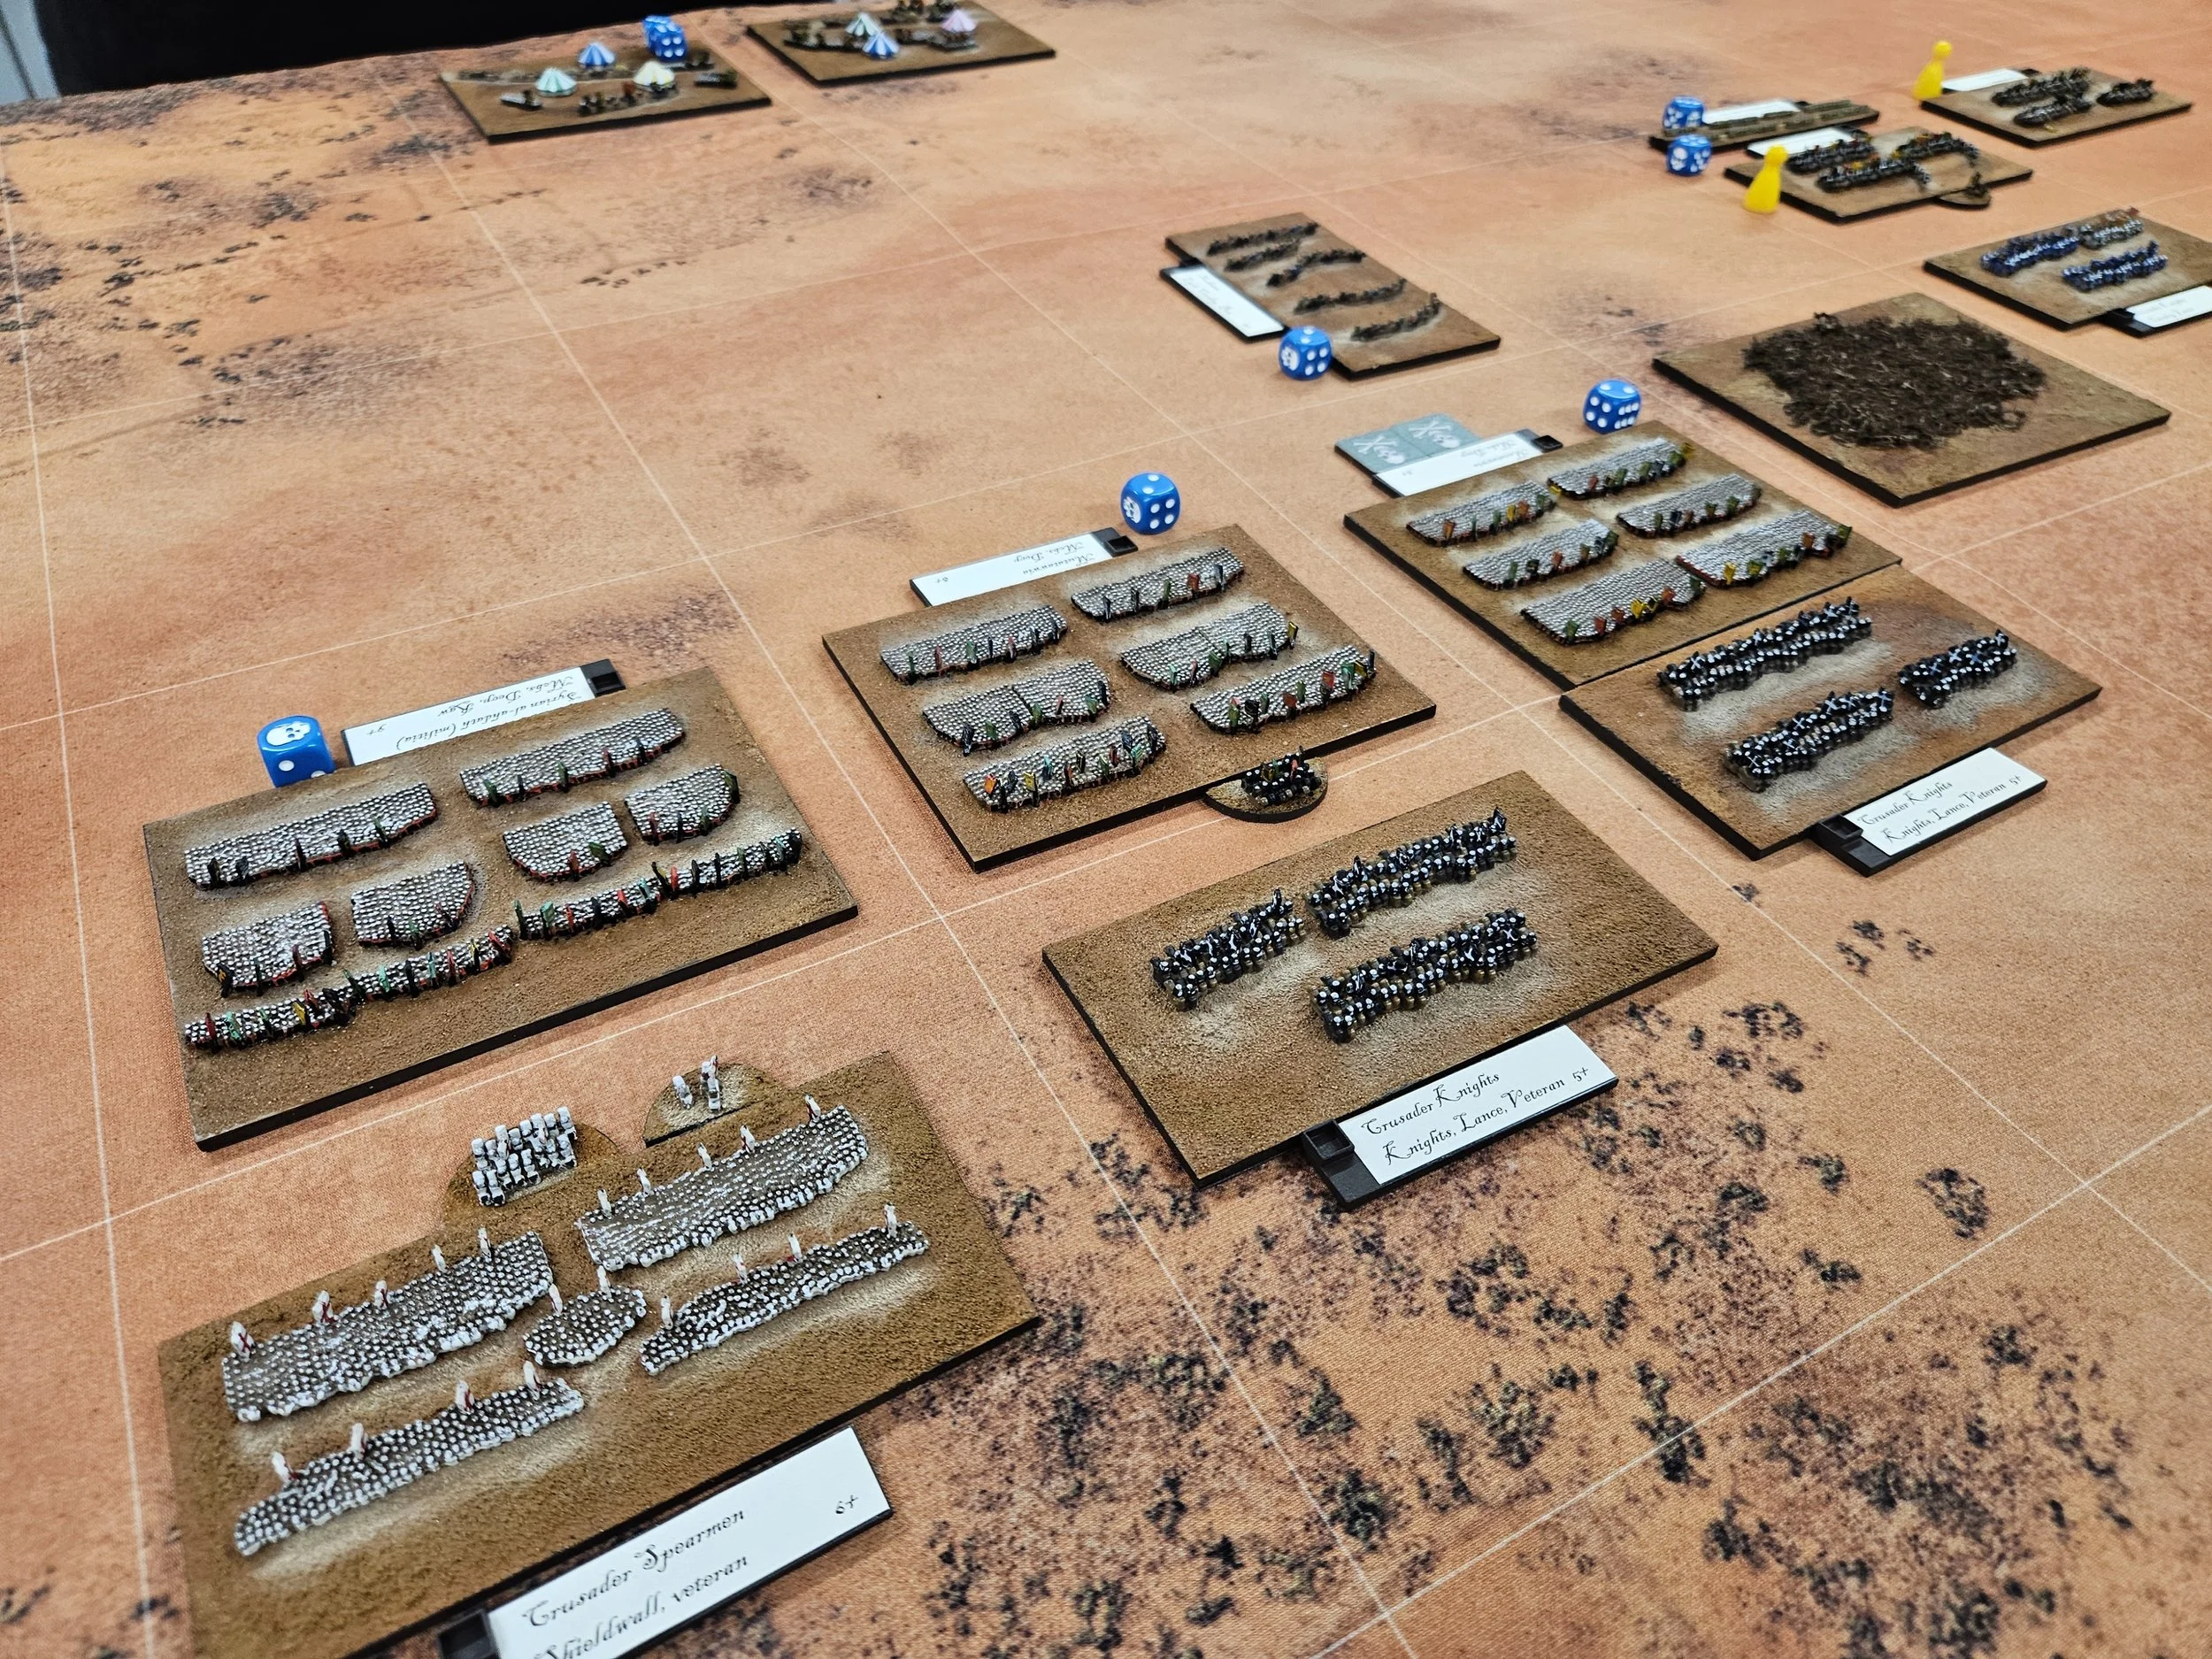
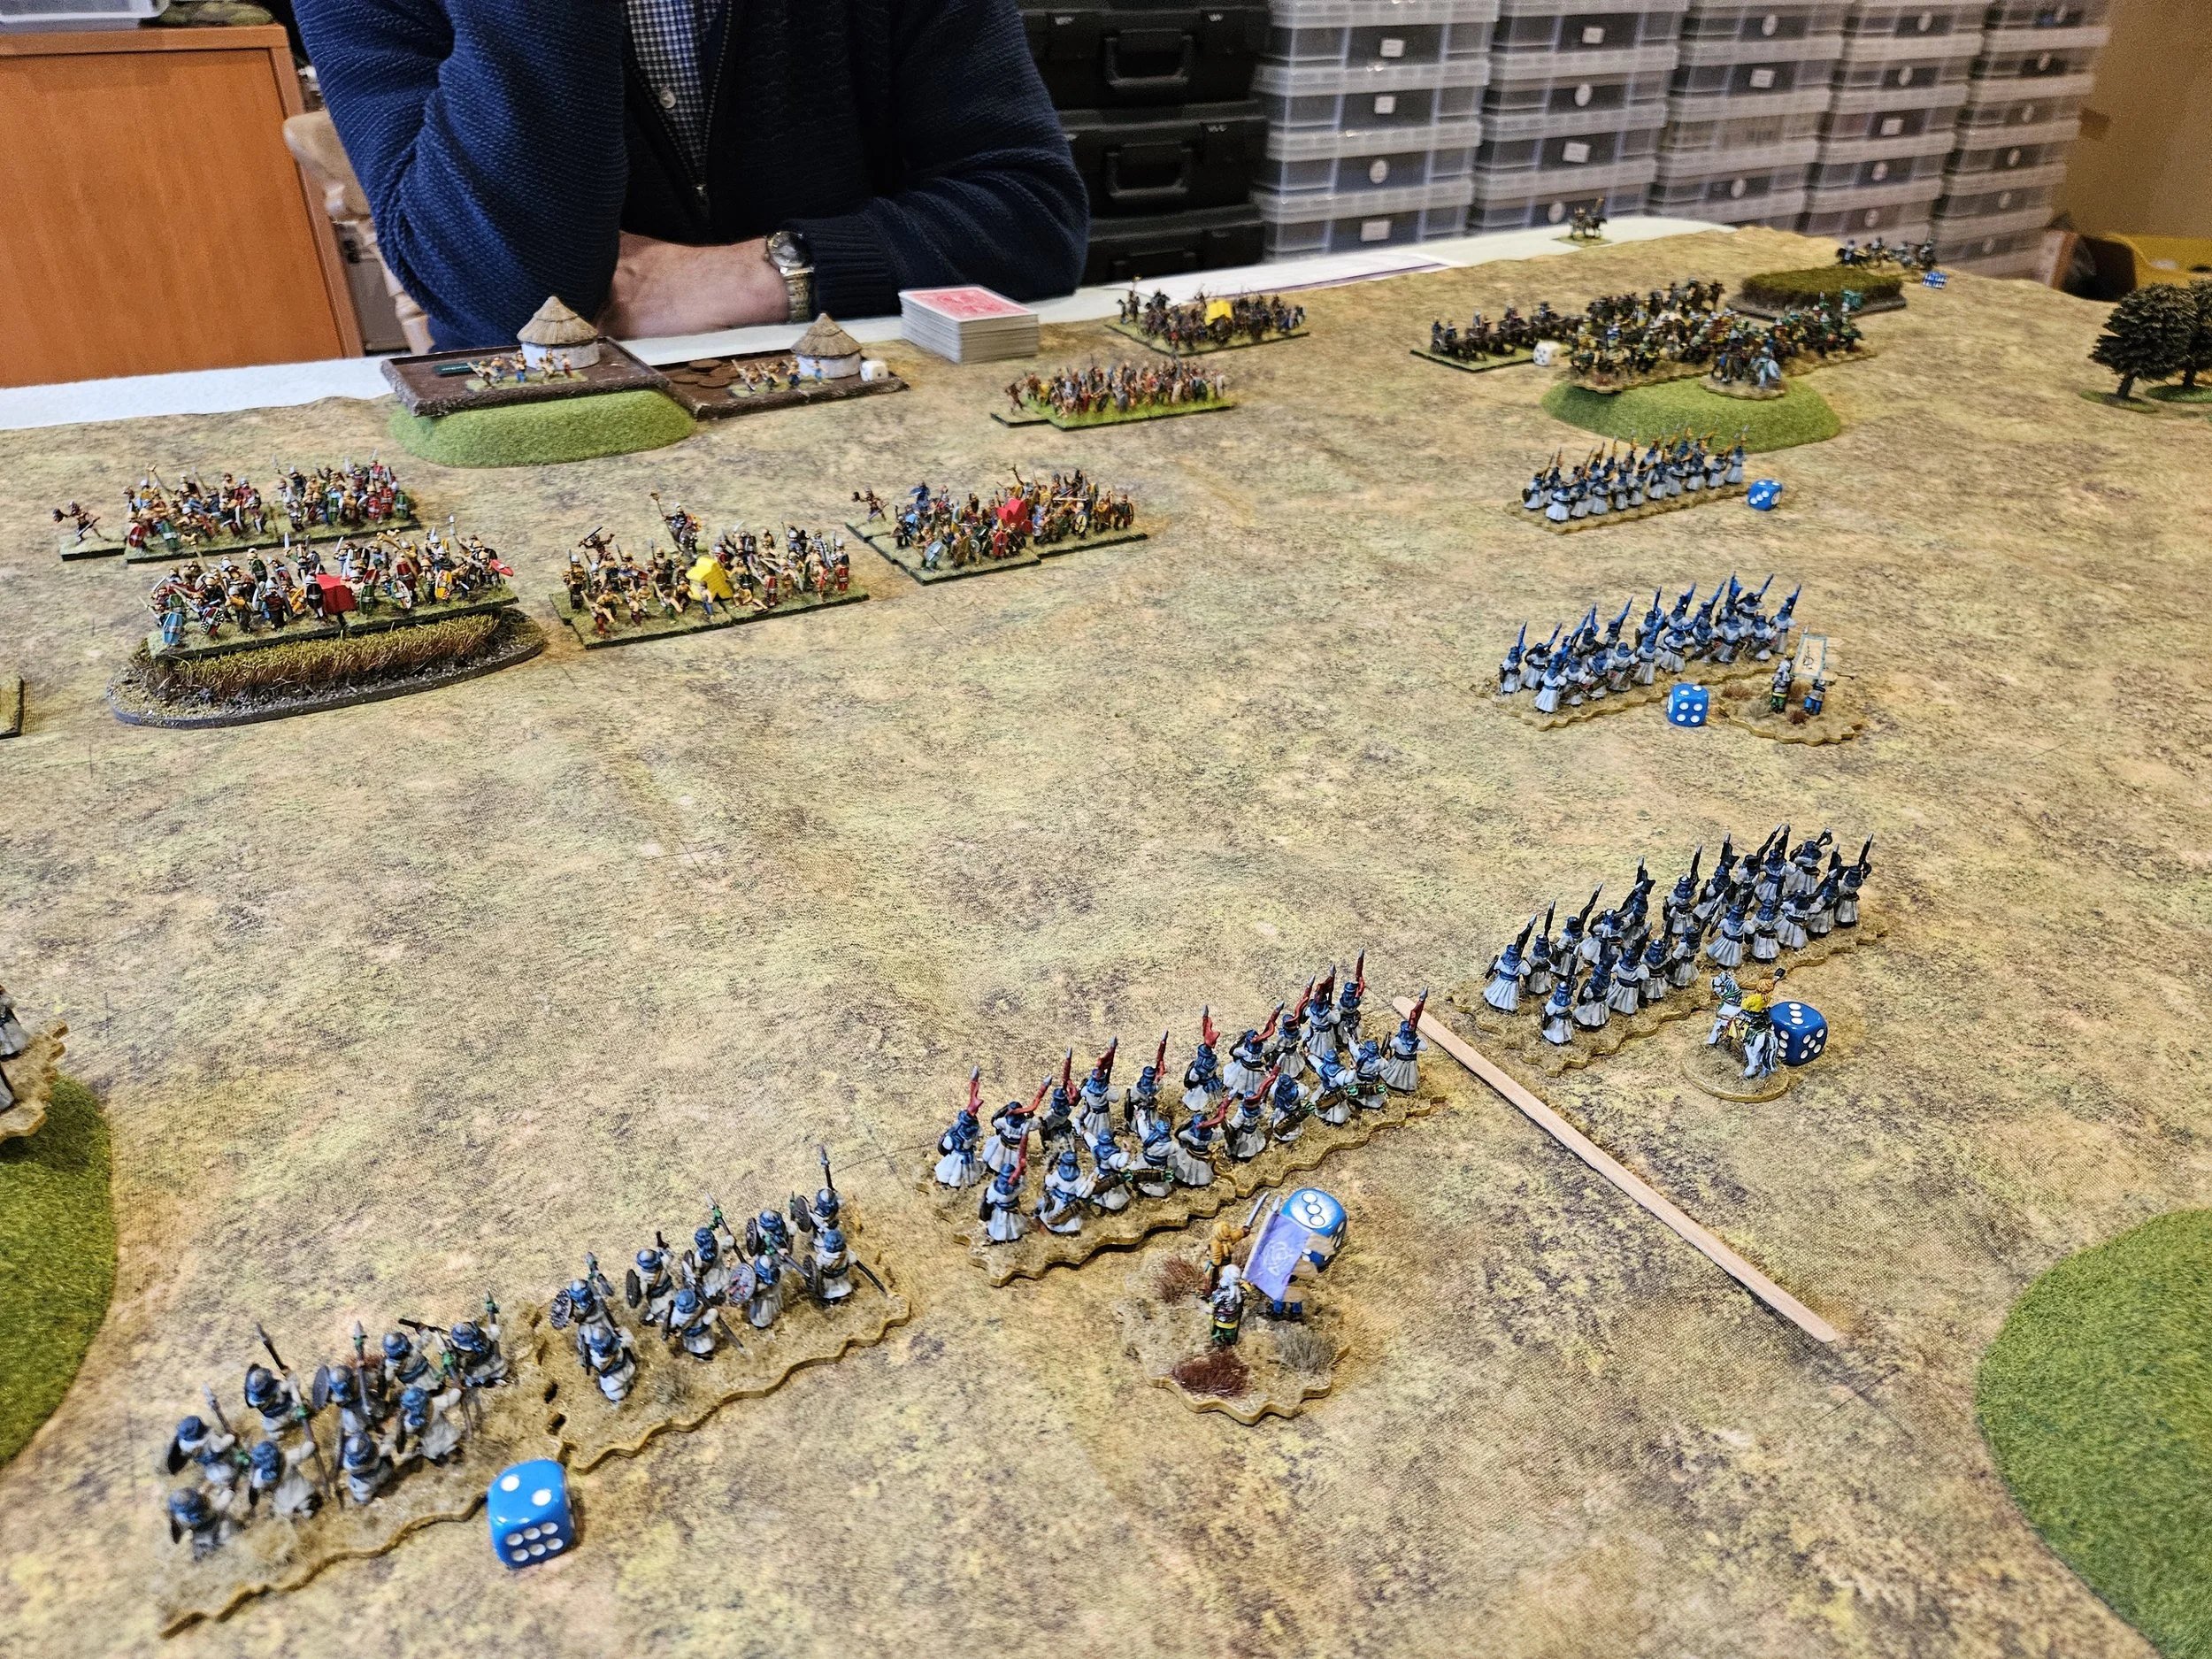
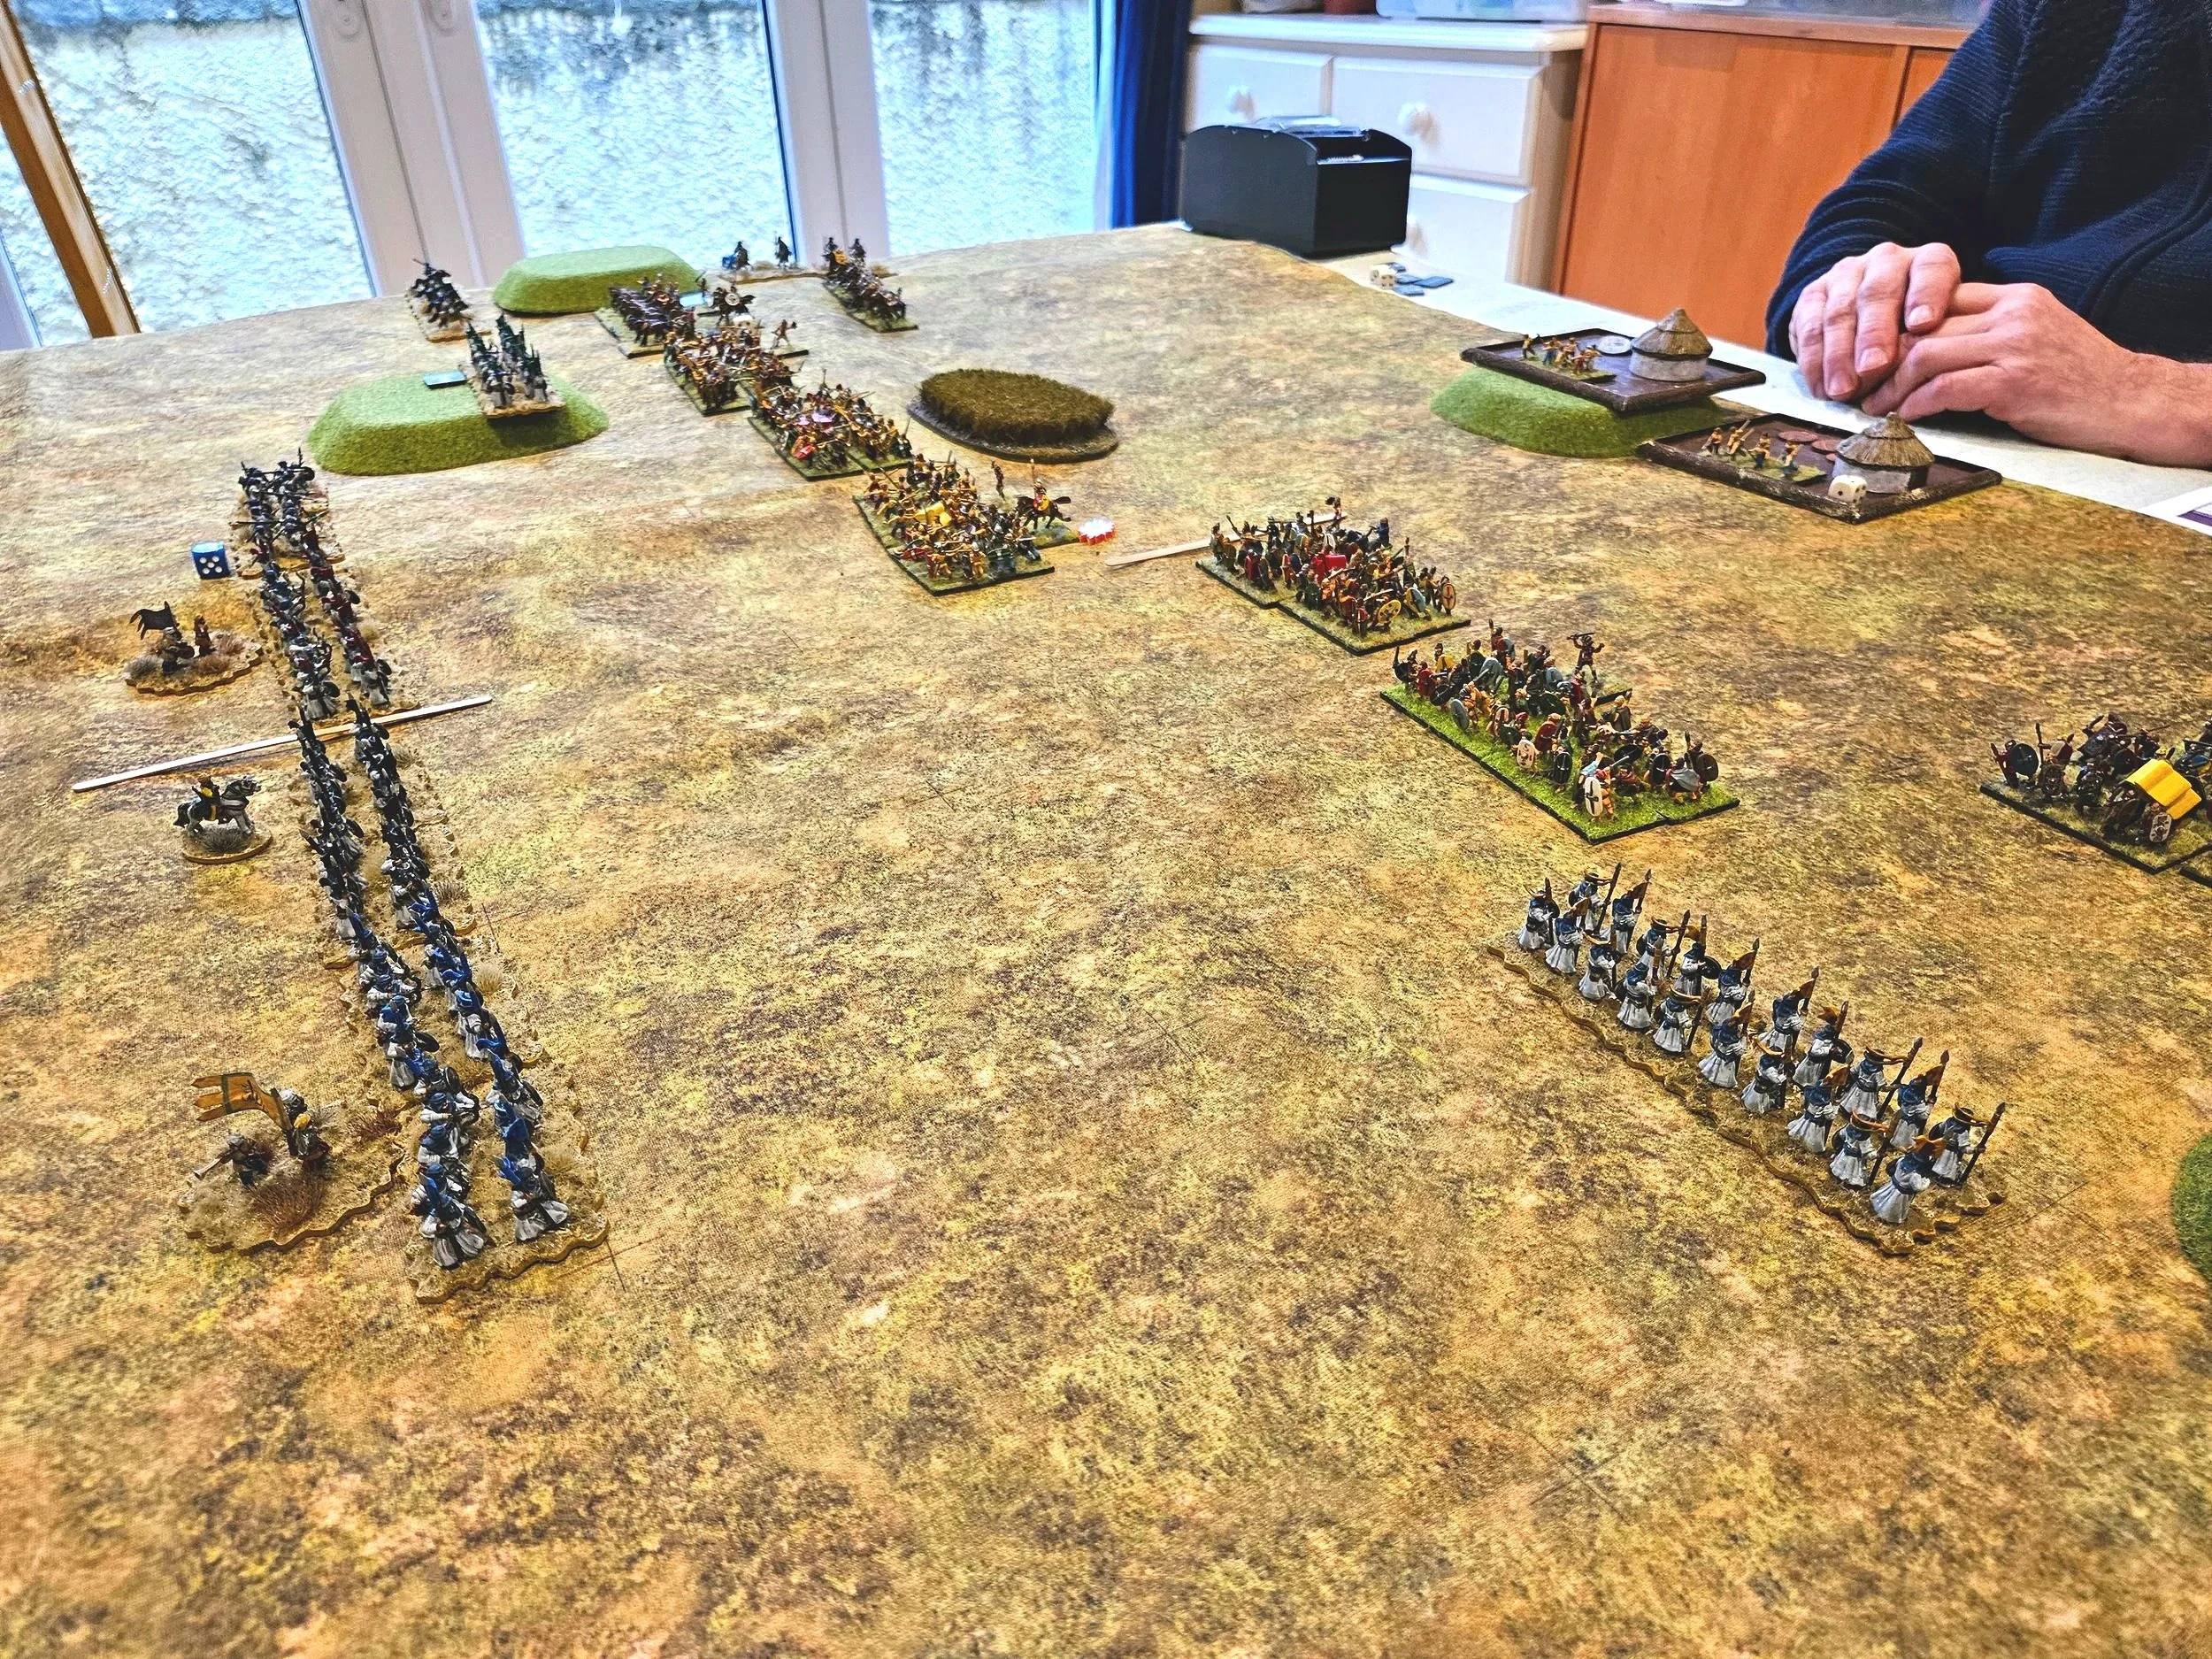
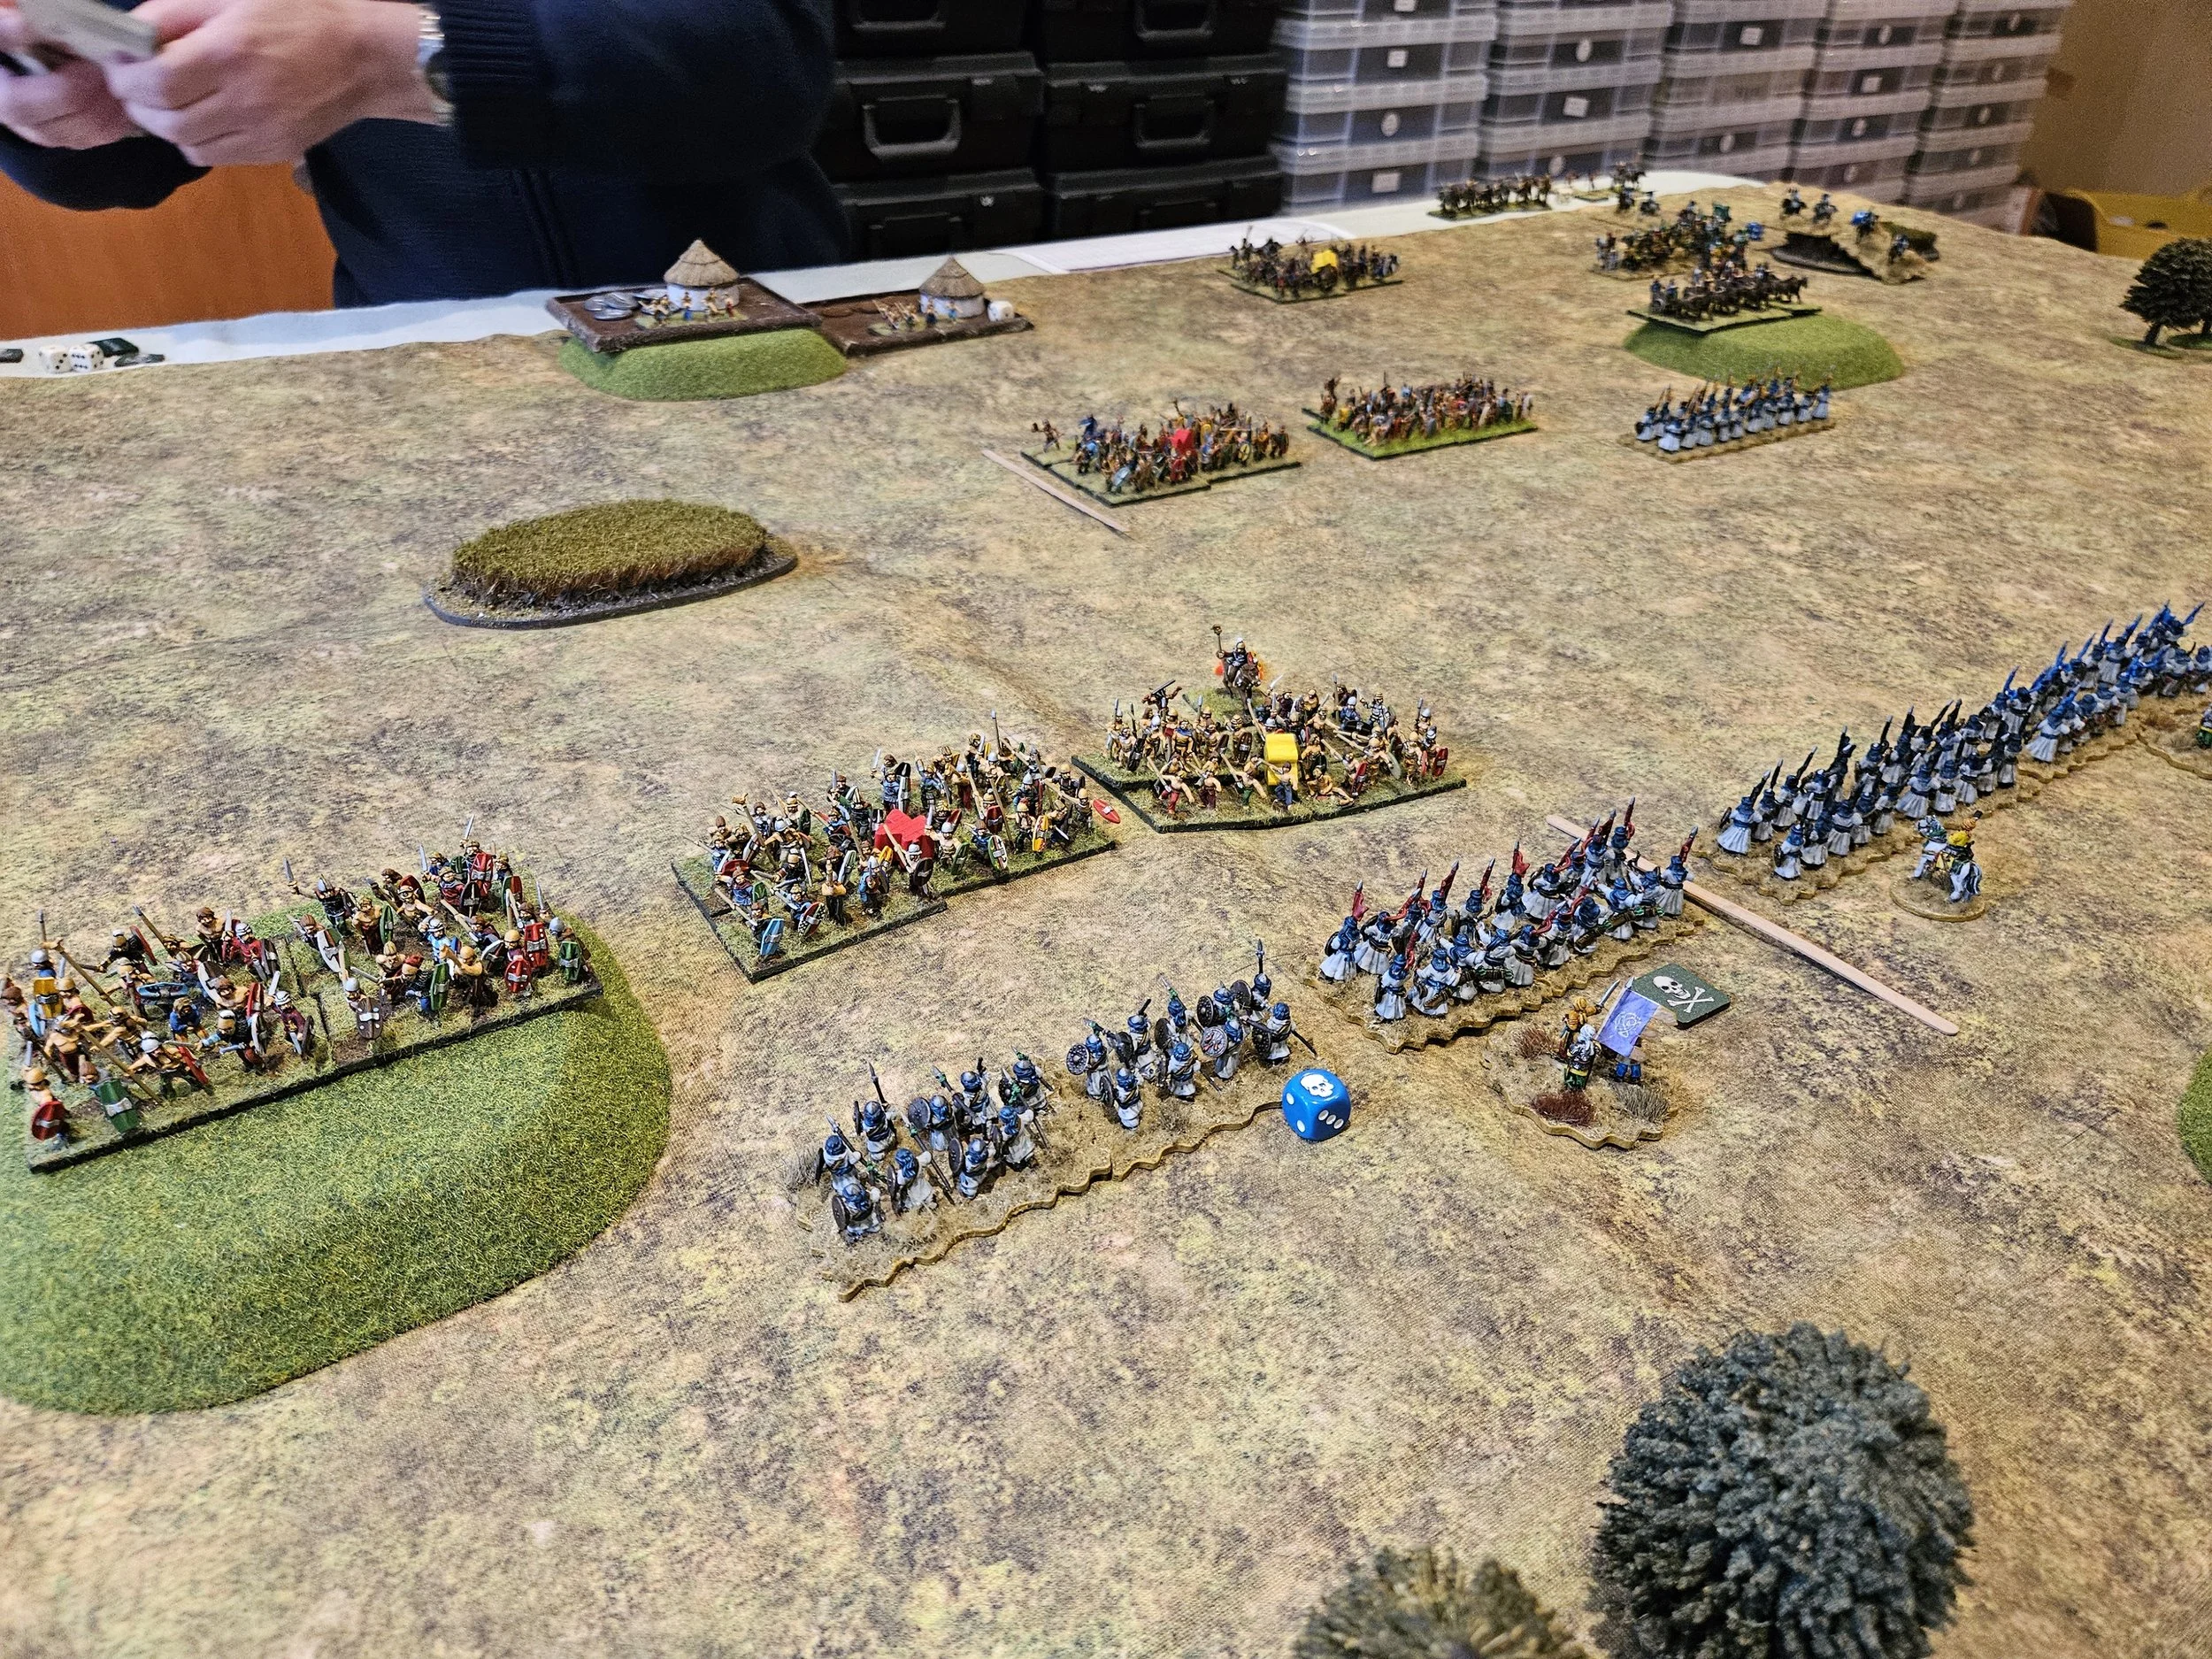
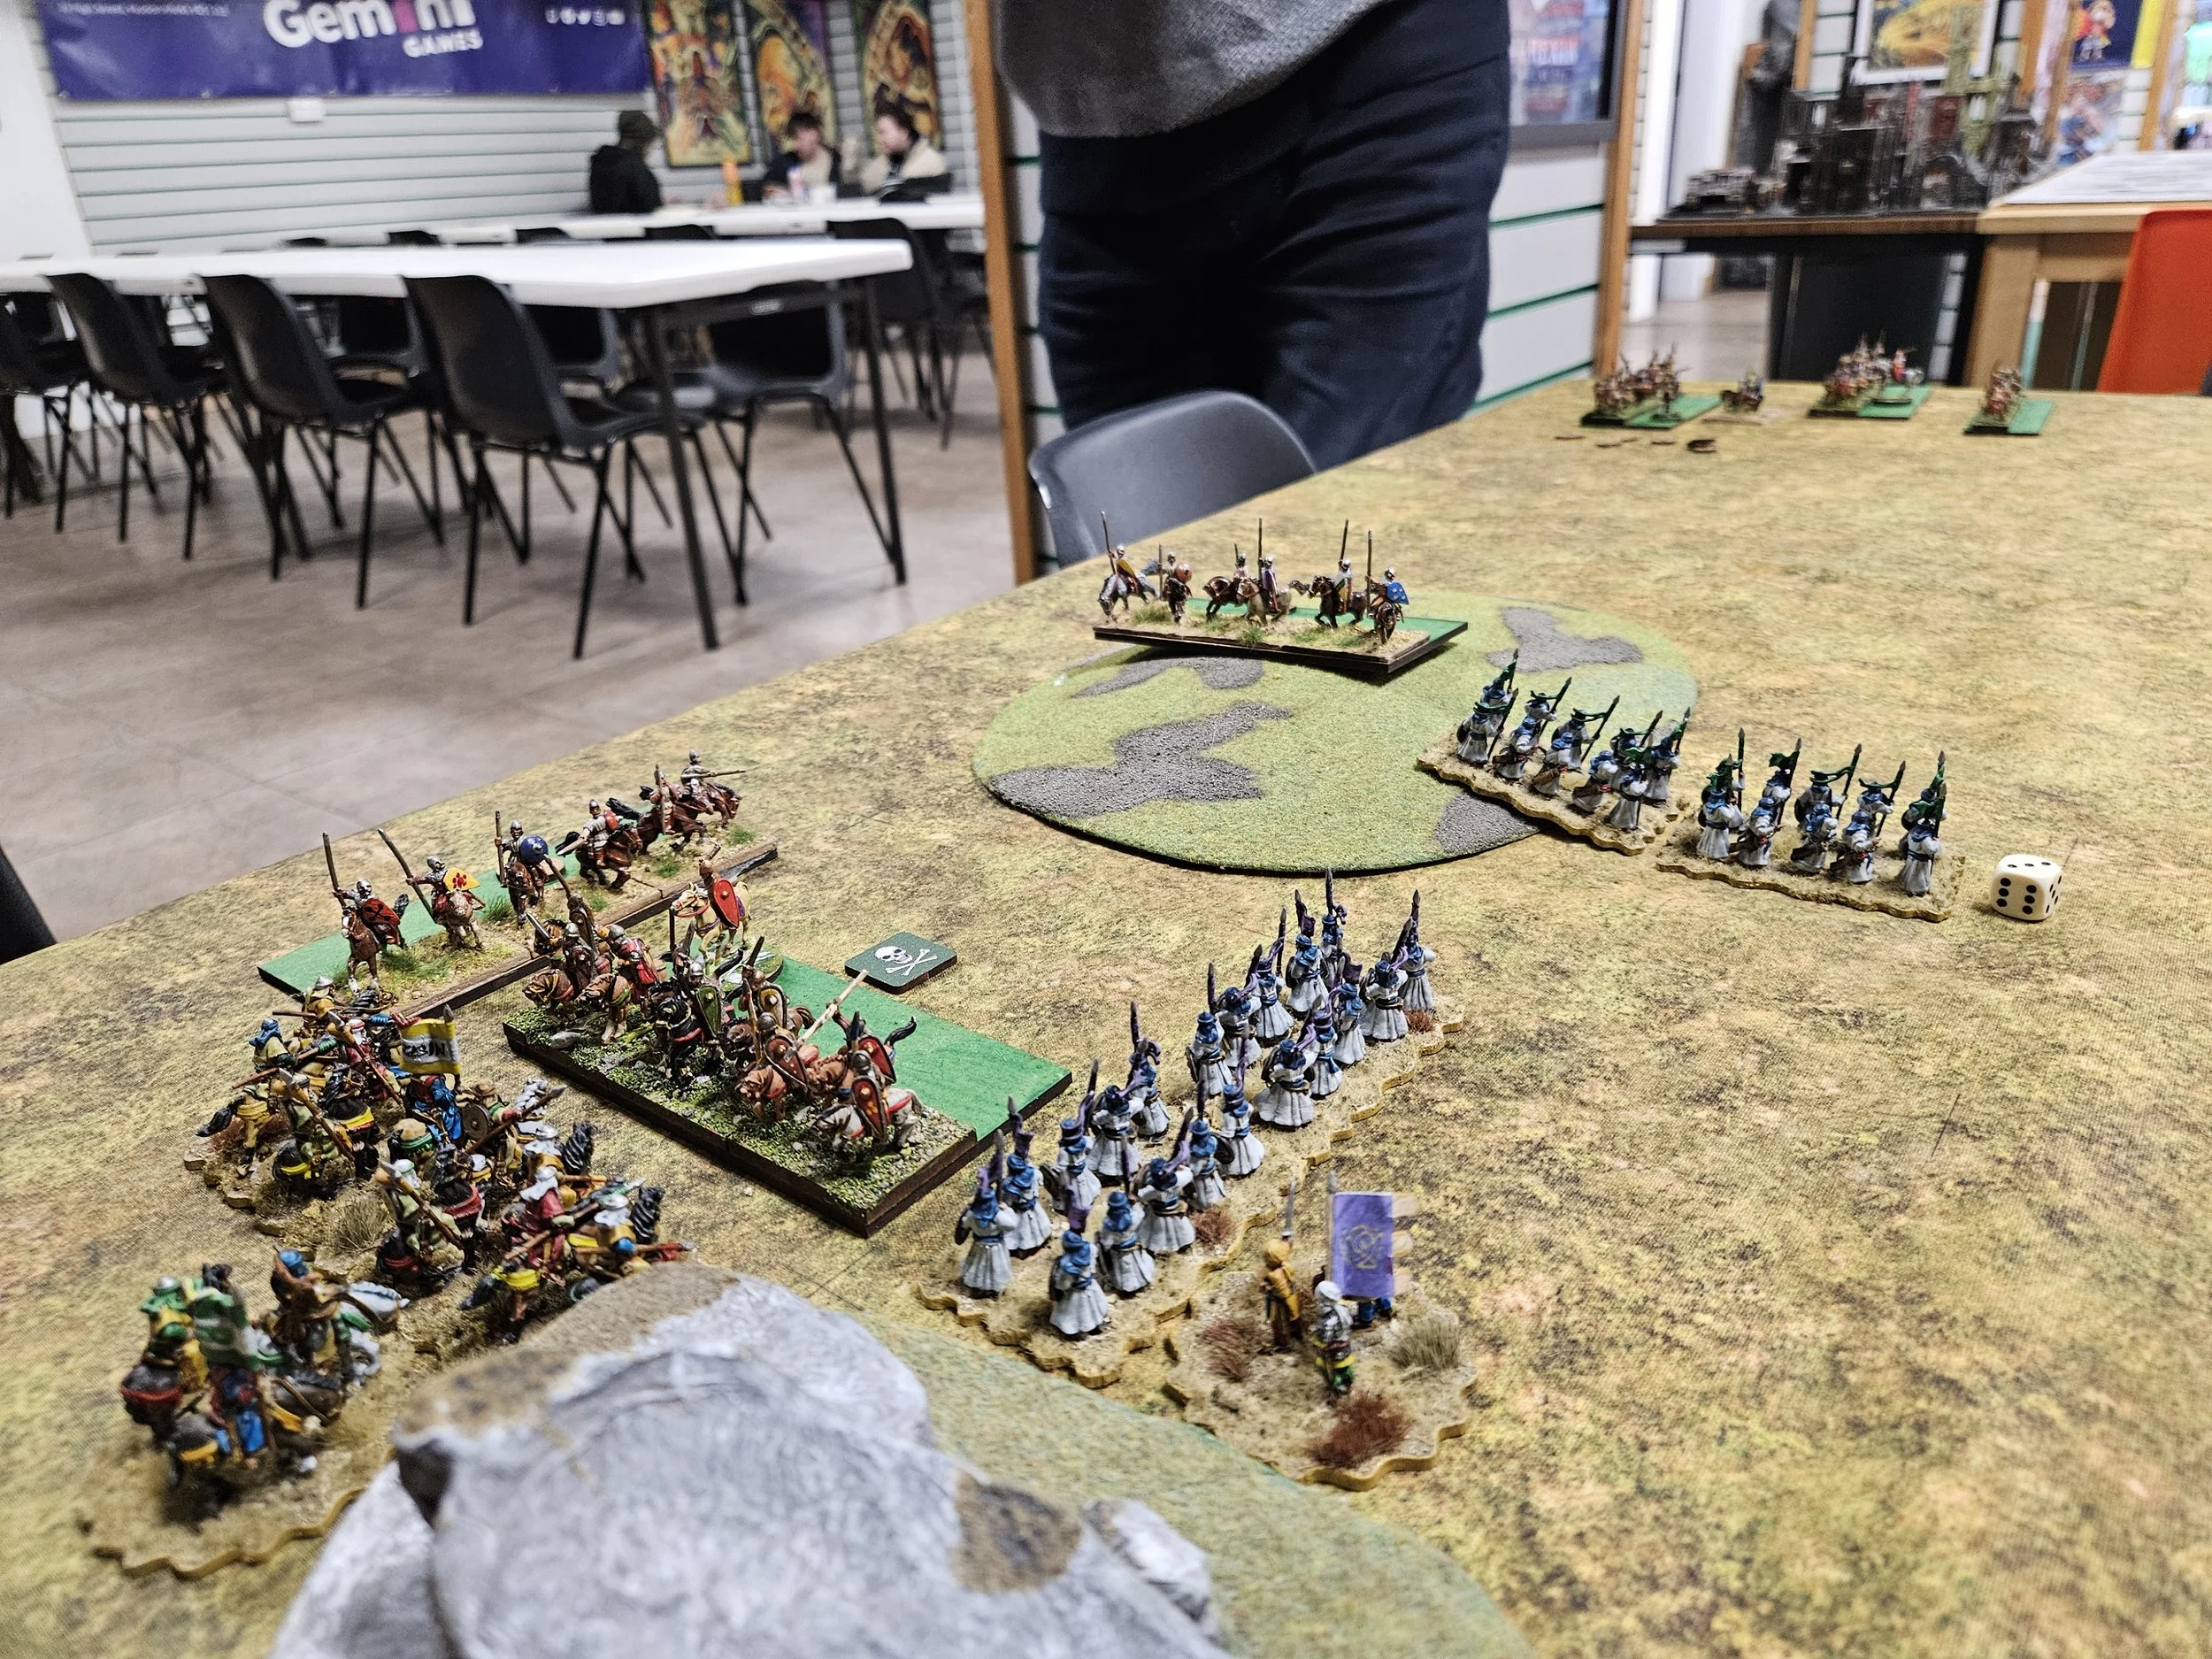
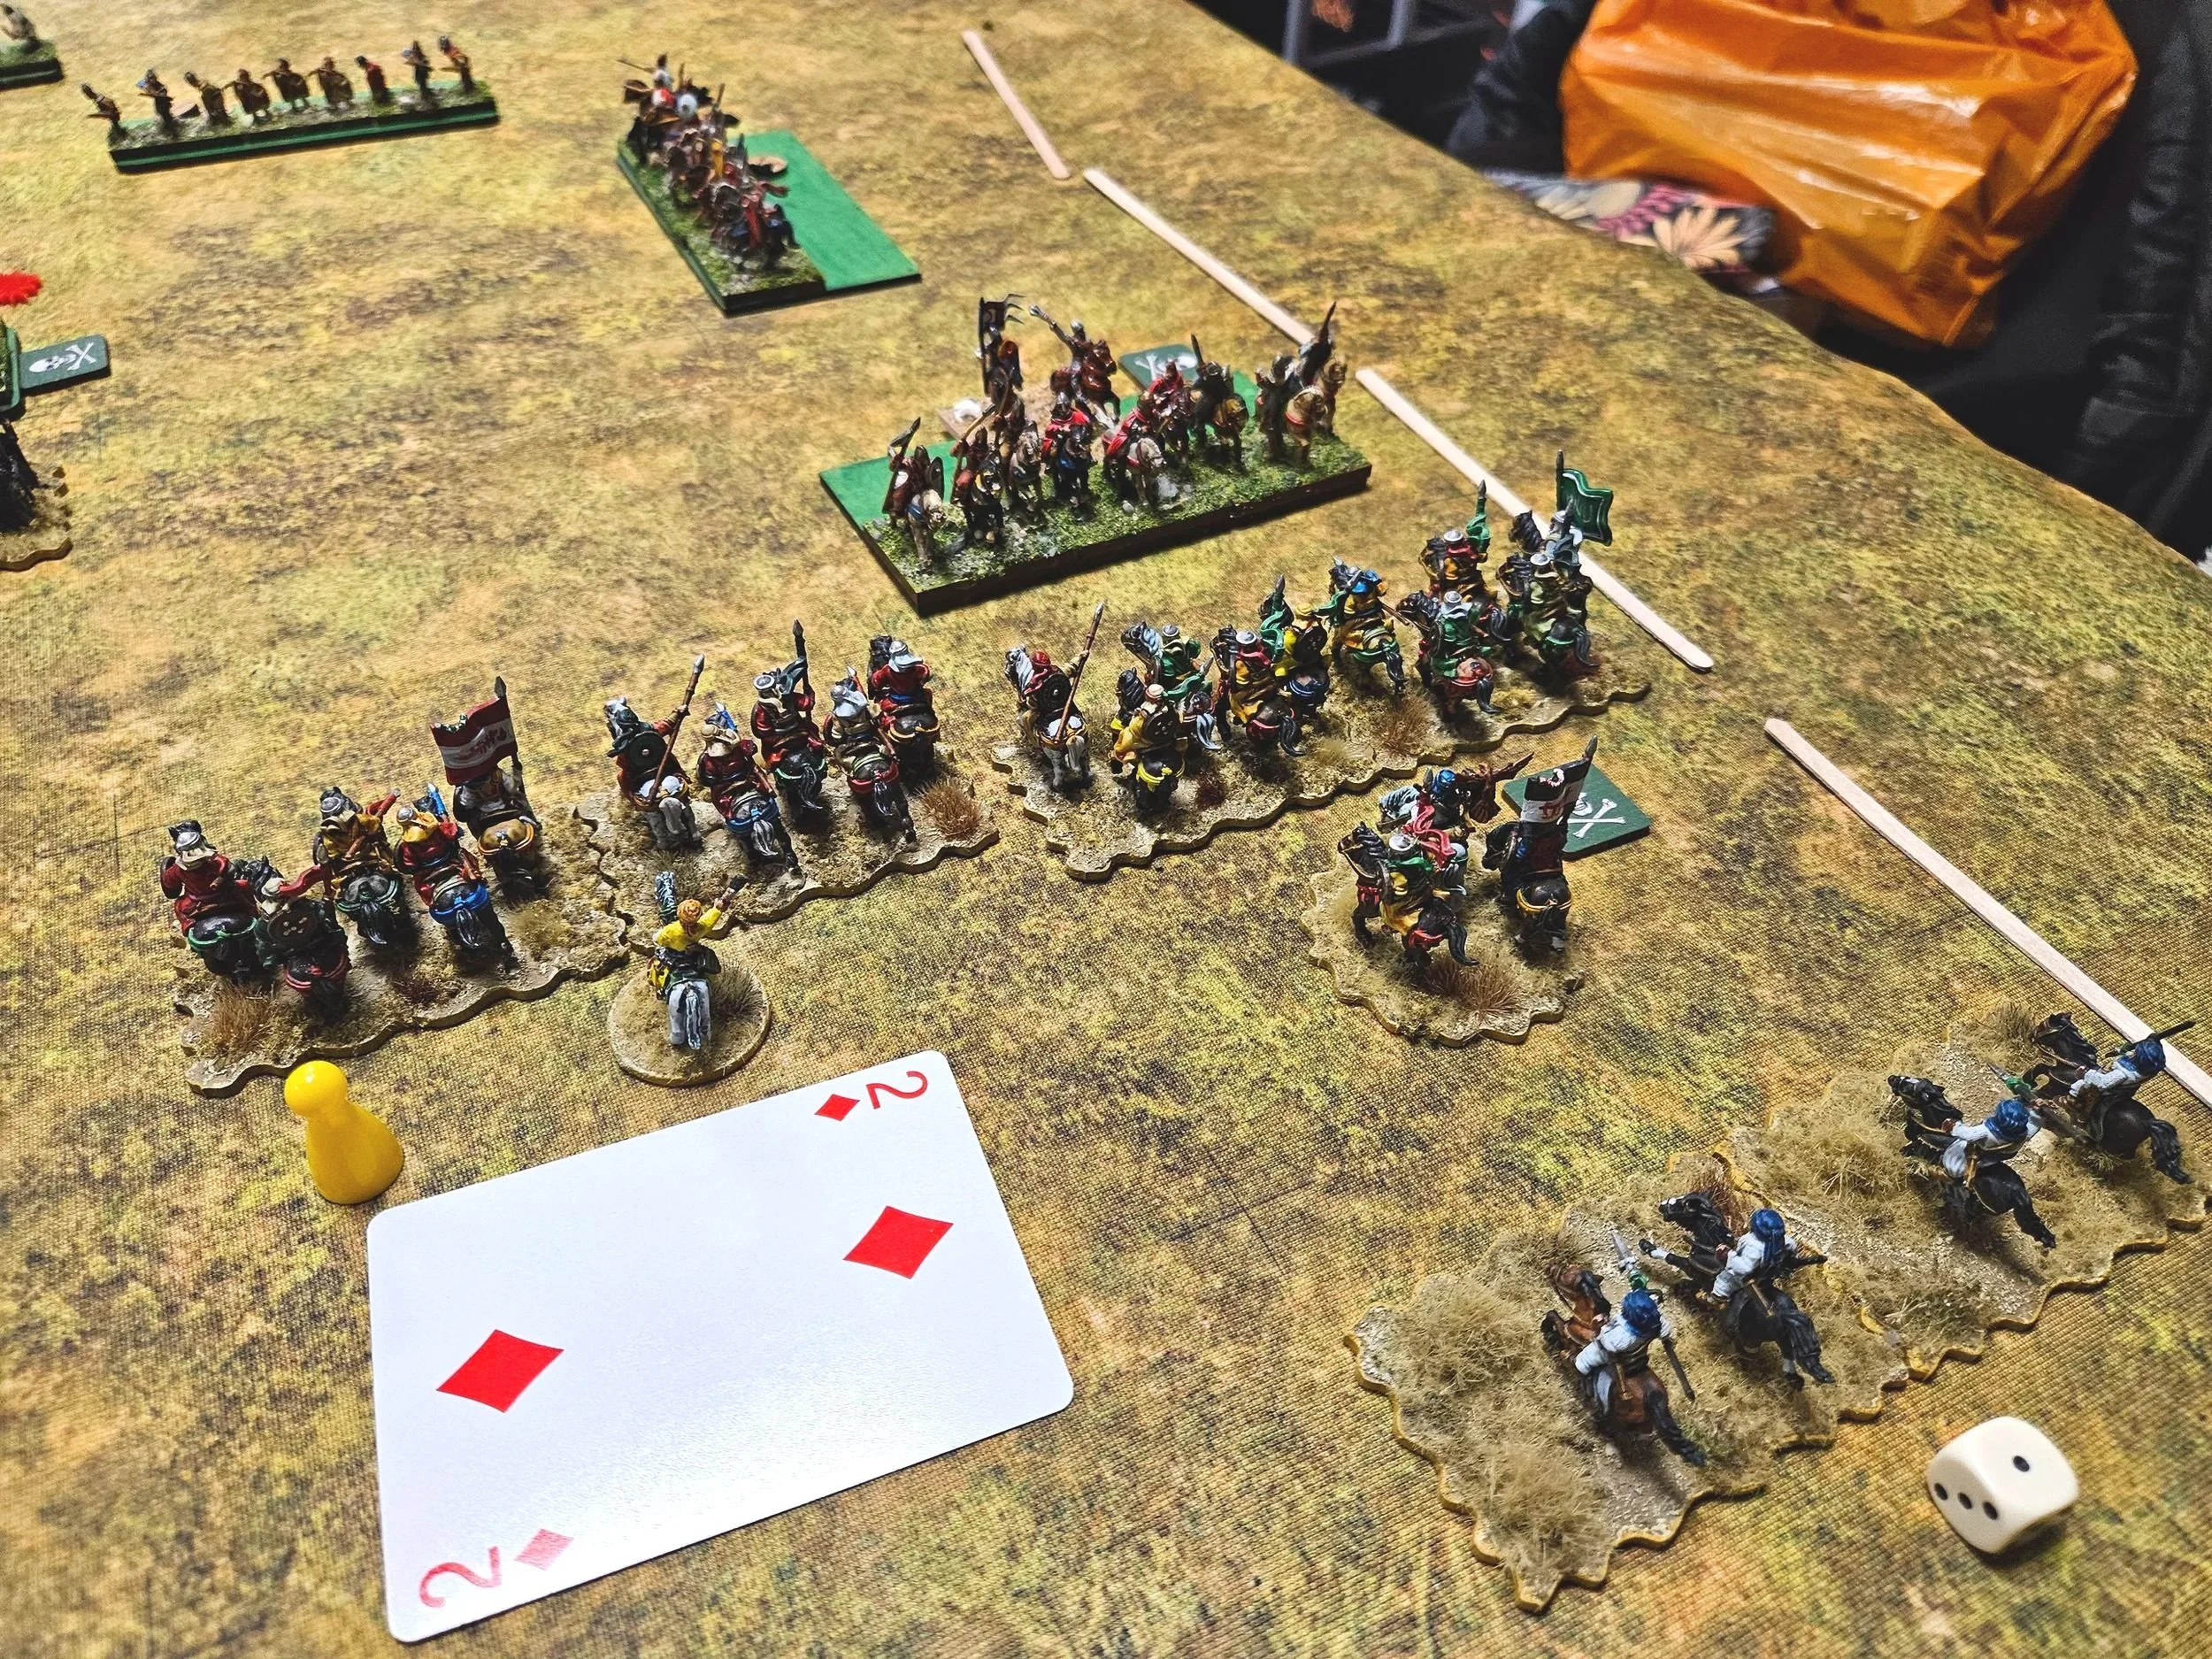
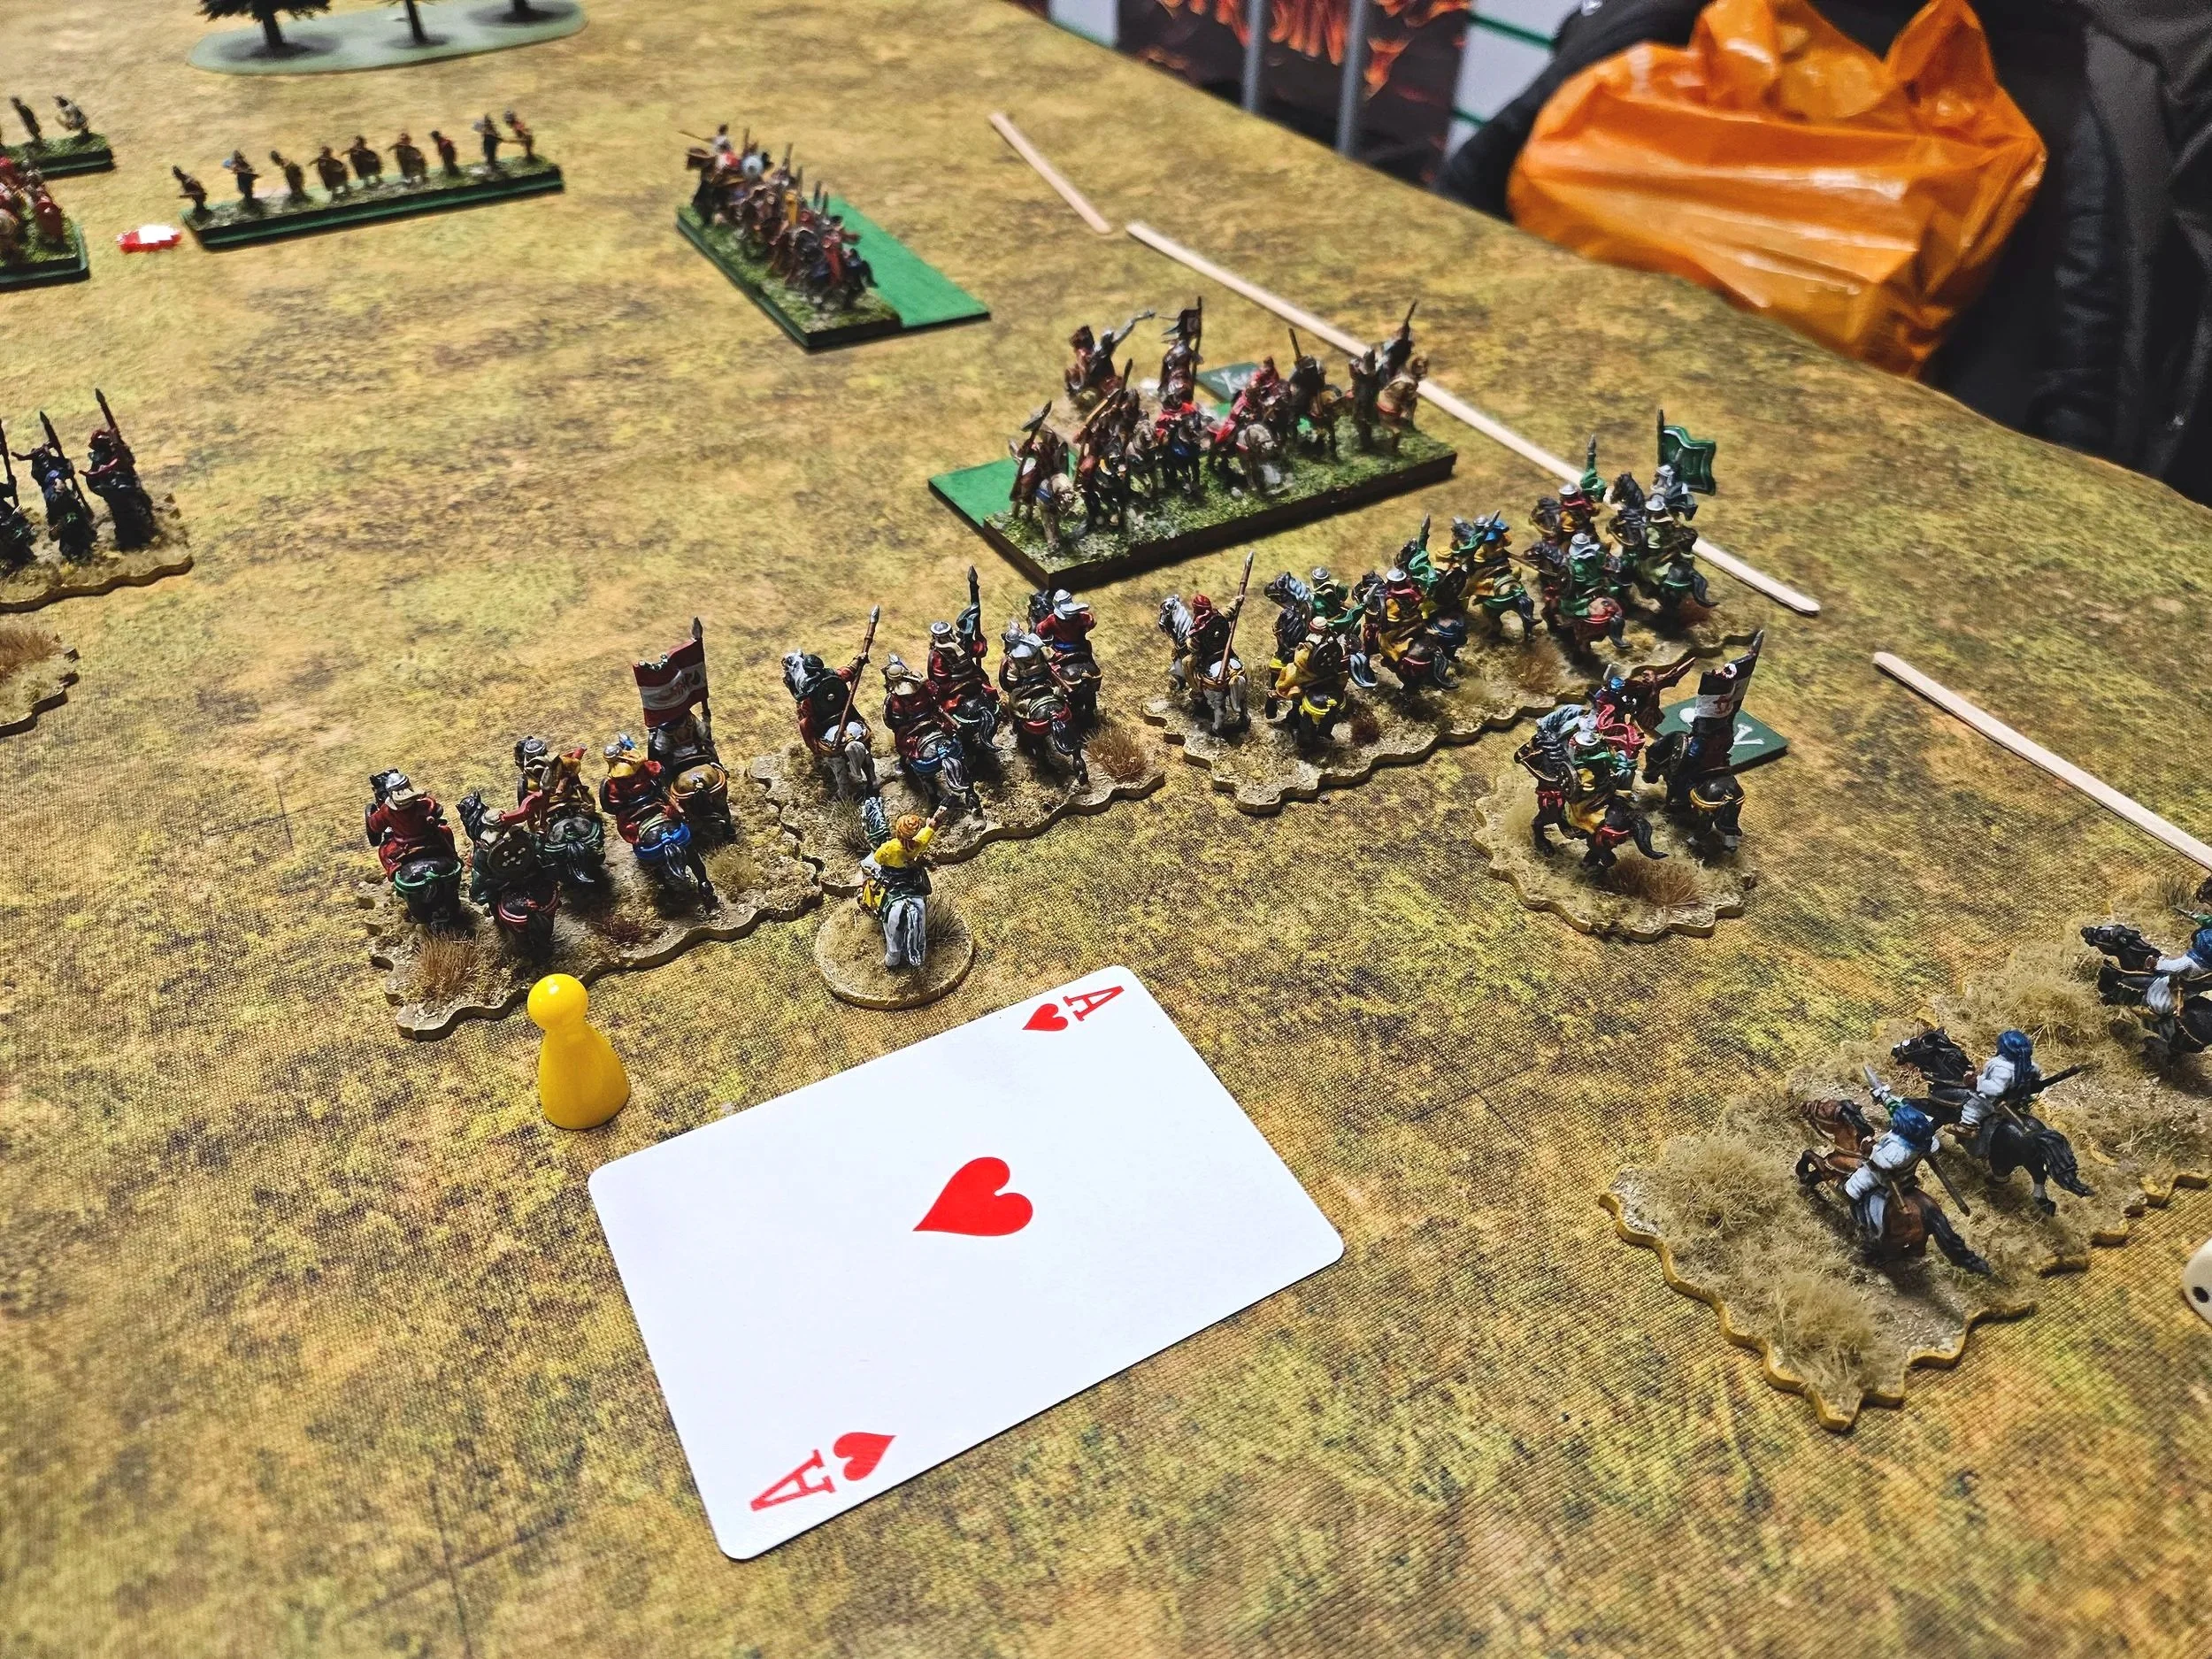
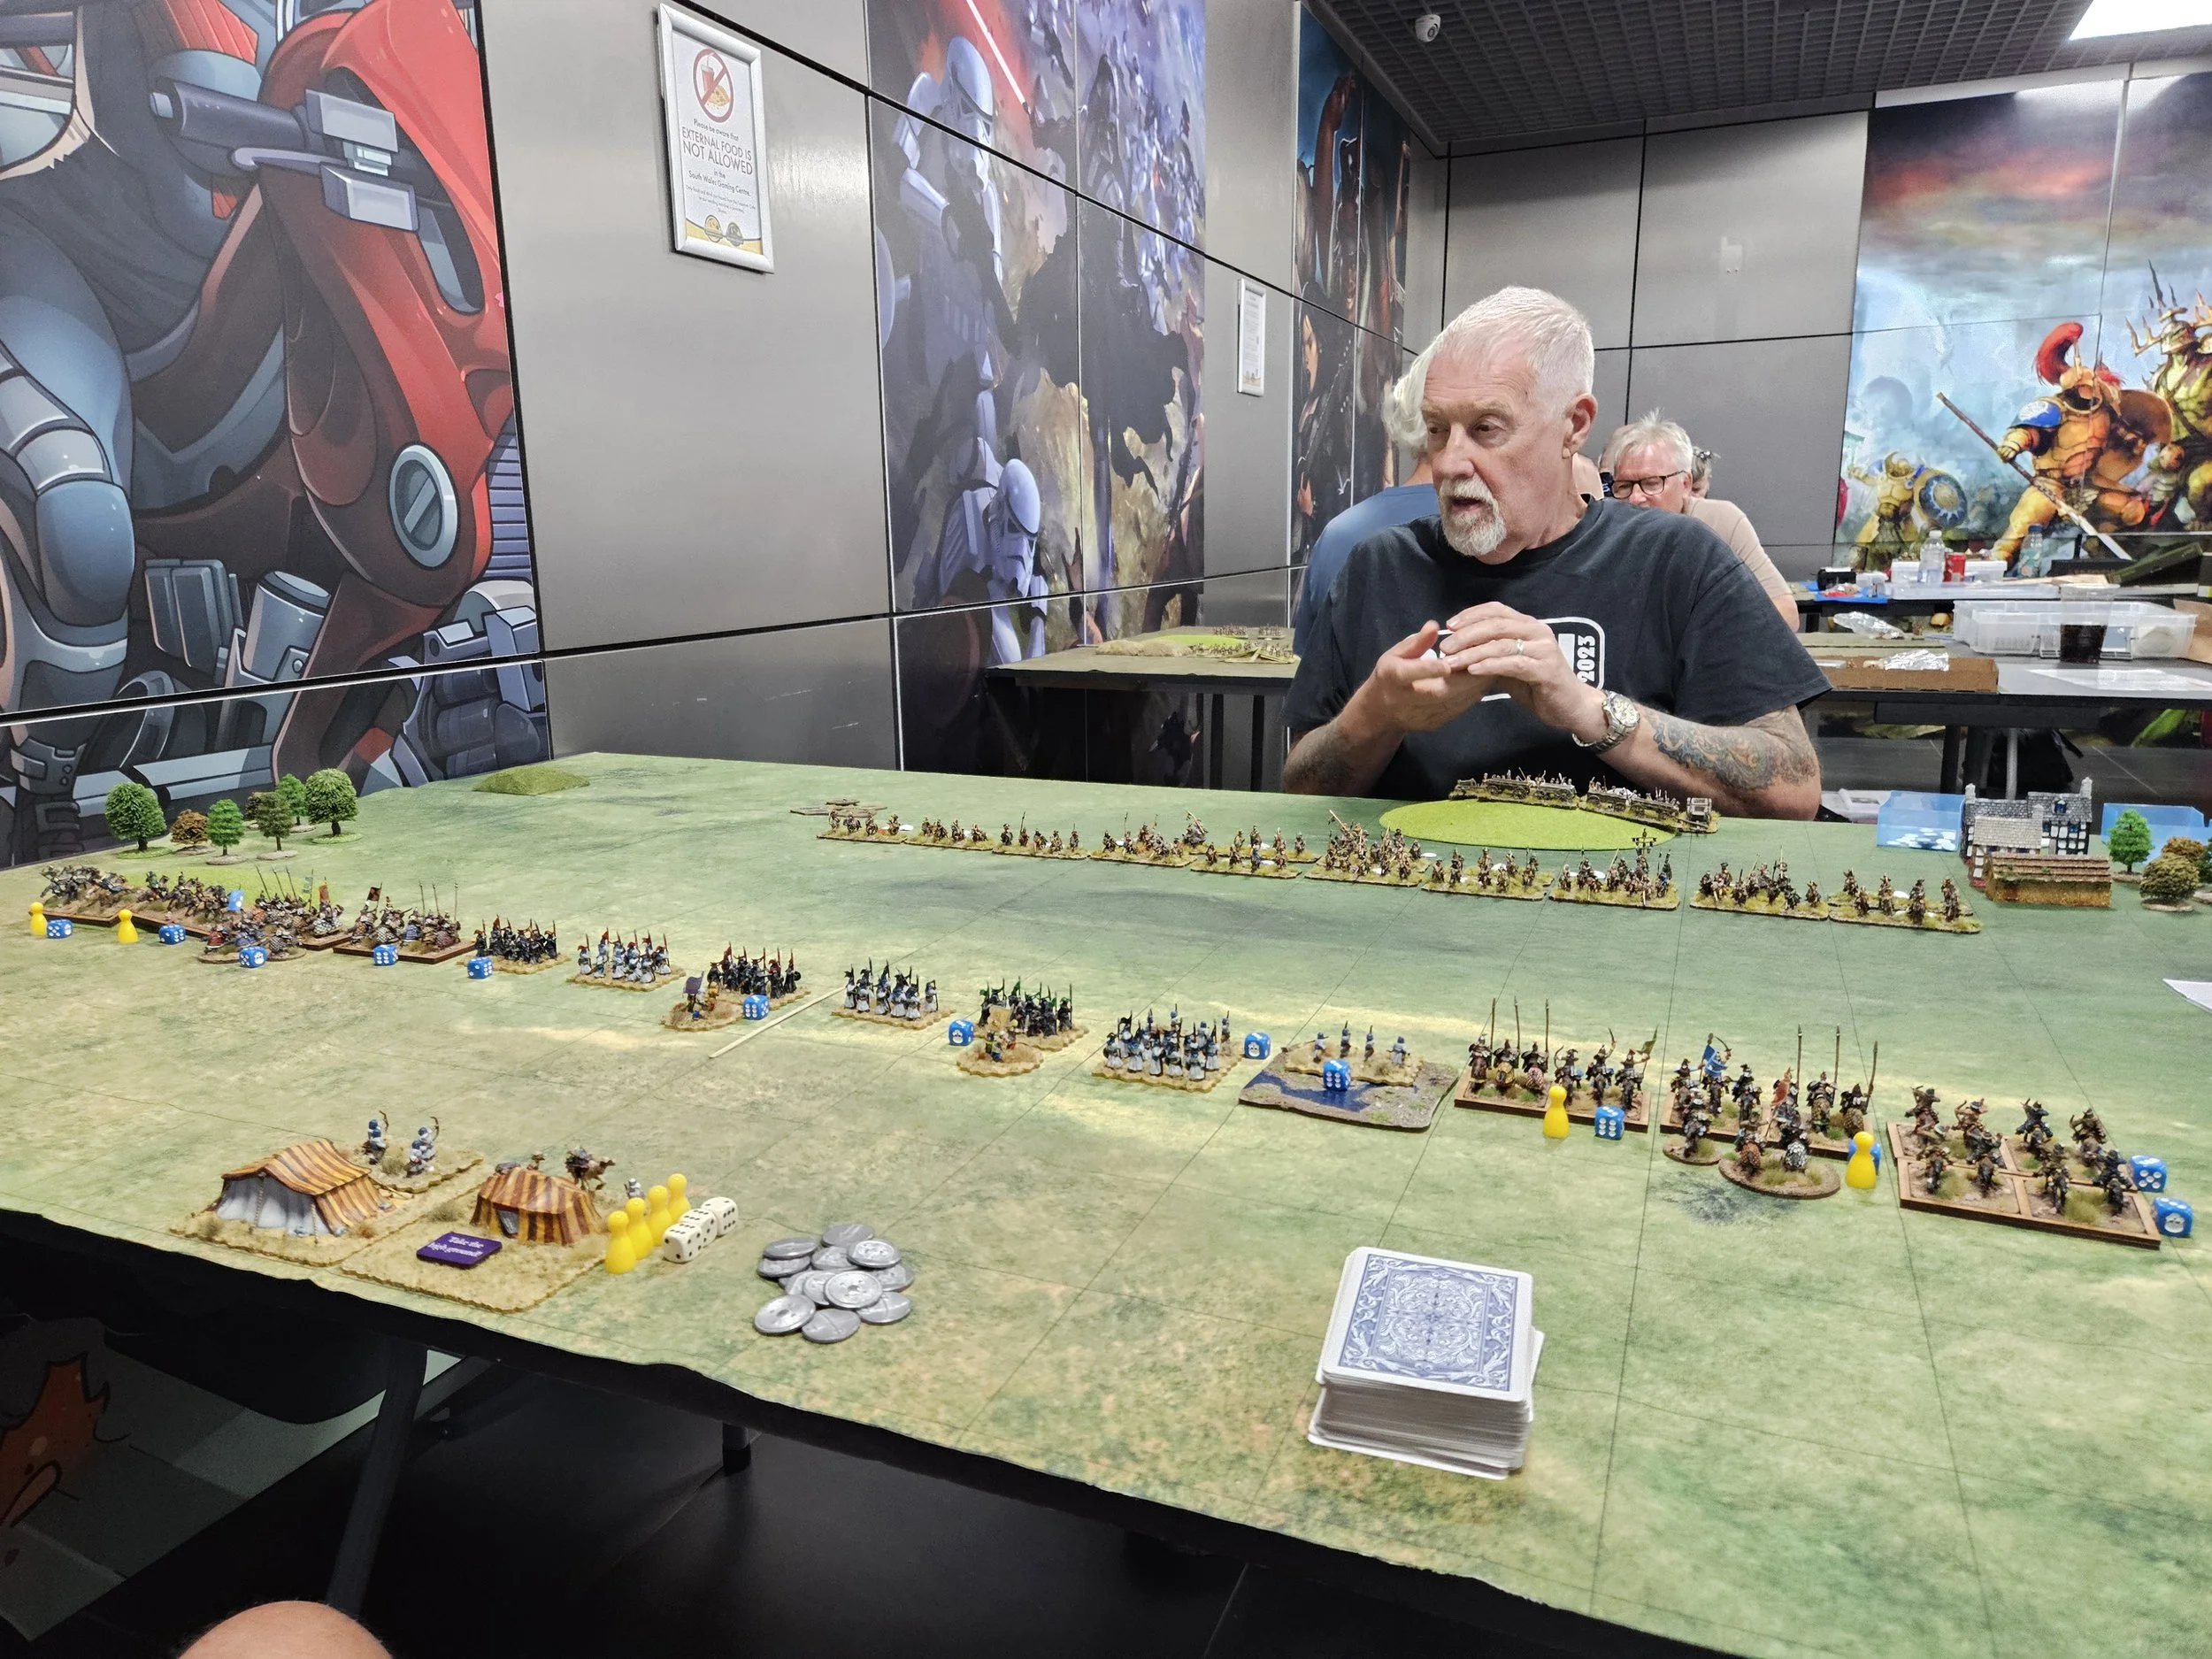
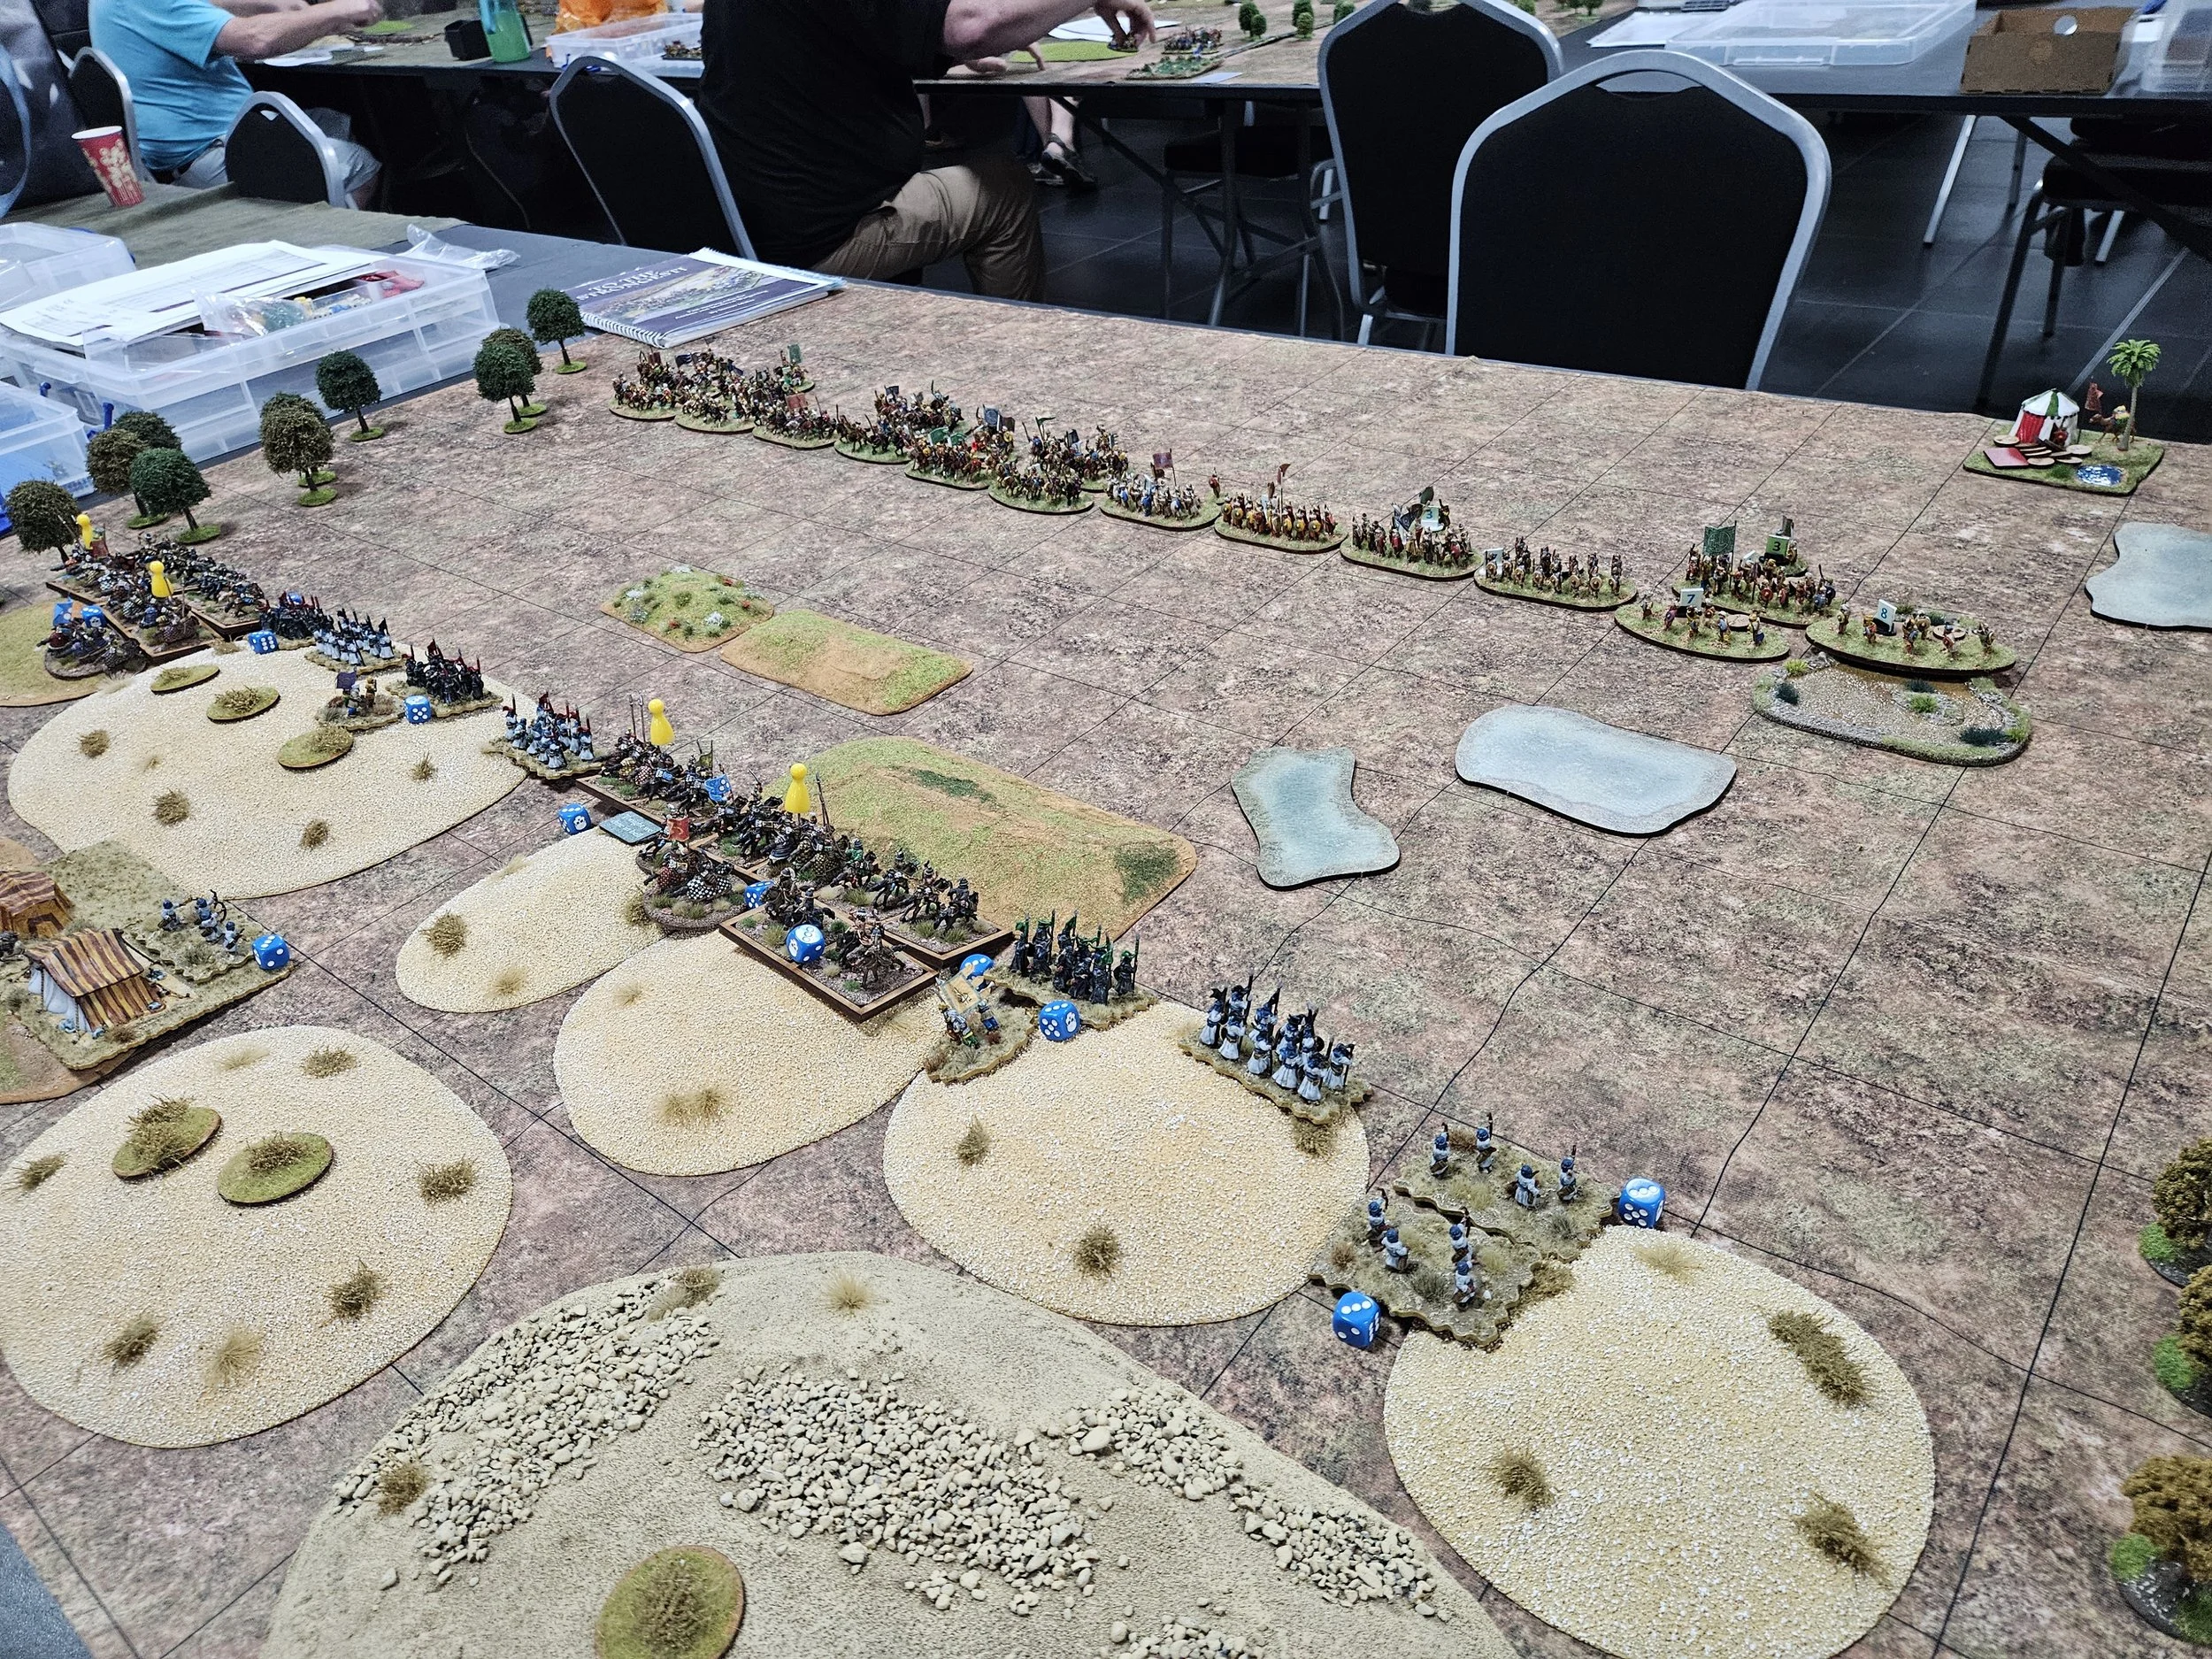
Back to the main action, where although I couldn’t break the Jund cavalry on the left, I was able to hold, pour bowfire into and then burst through the Muslim centre: the combination of veteran Ghilman lancers supported by solid, spear-armed Arab infantry (some with extra bows) proving very effective at keeping the enemy at bay and then counter-attacking.

I don’t usually play so defensively, but a starting position on Senlac hill lends itself to that strategy!

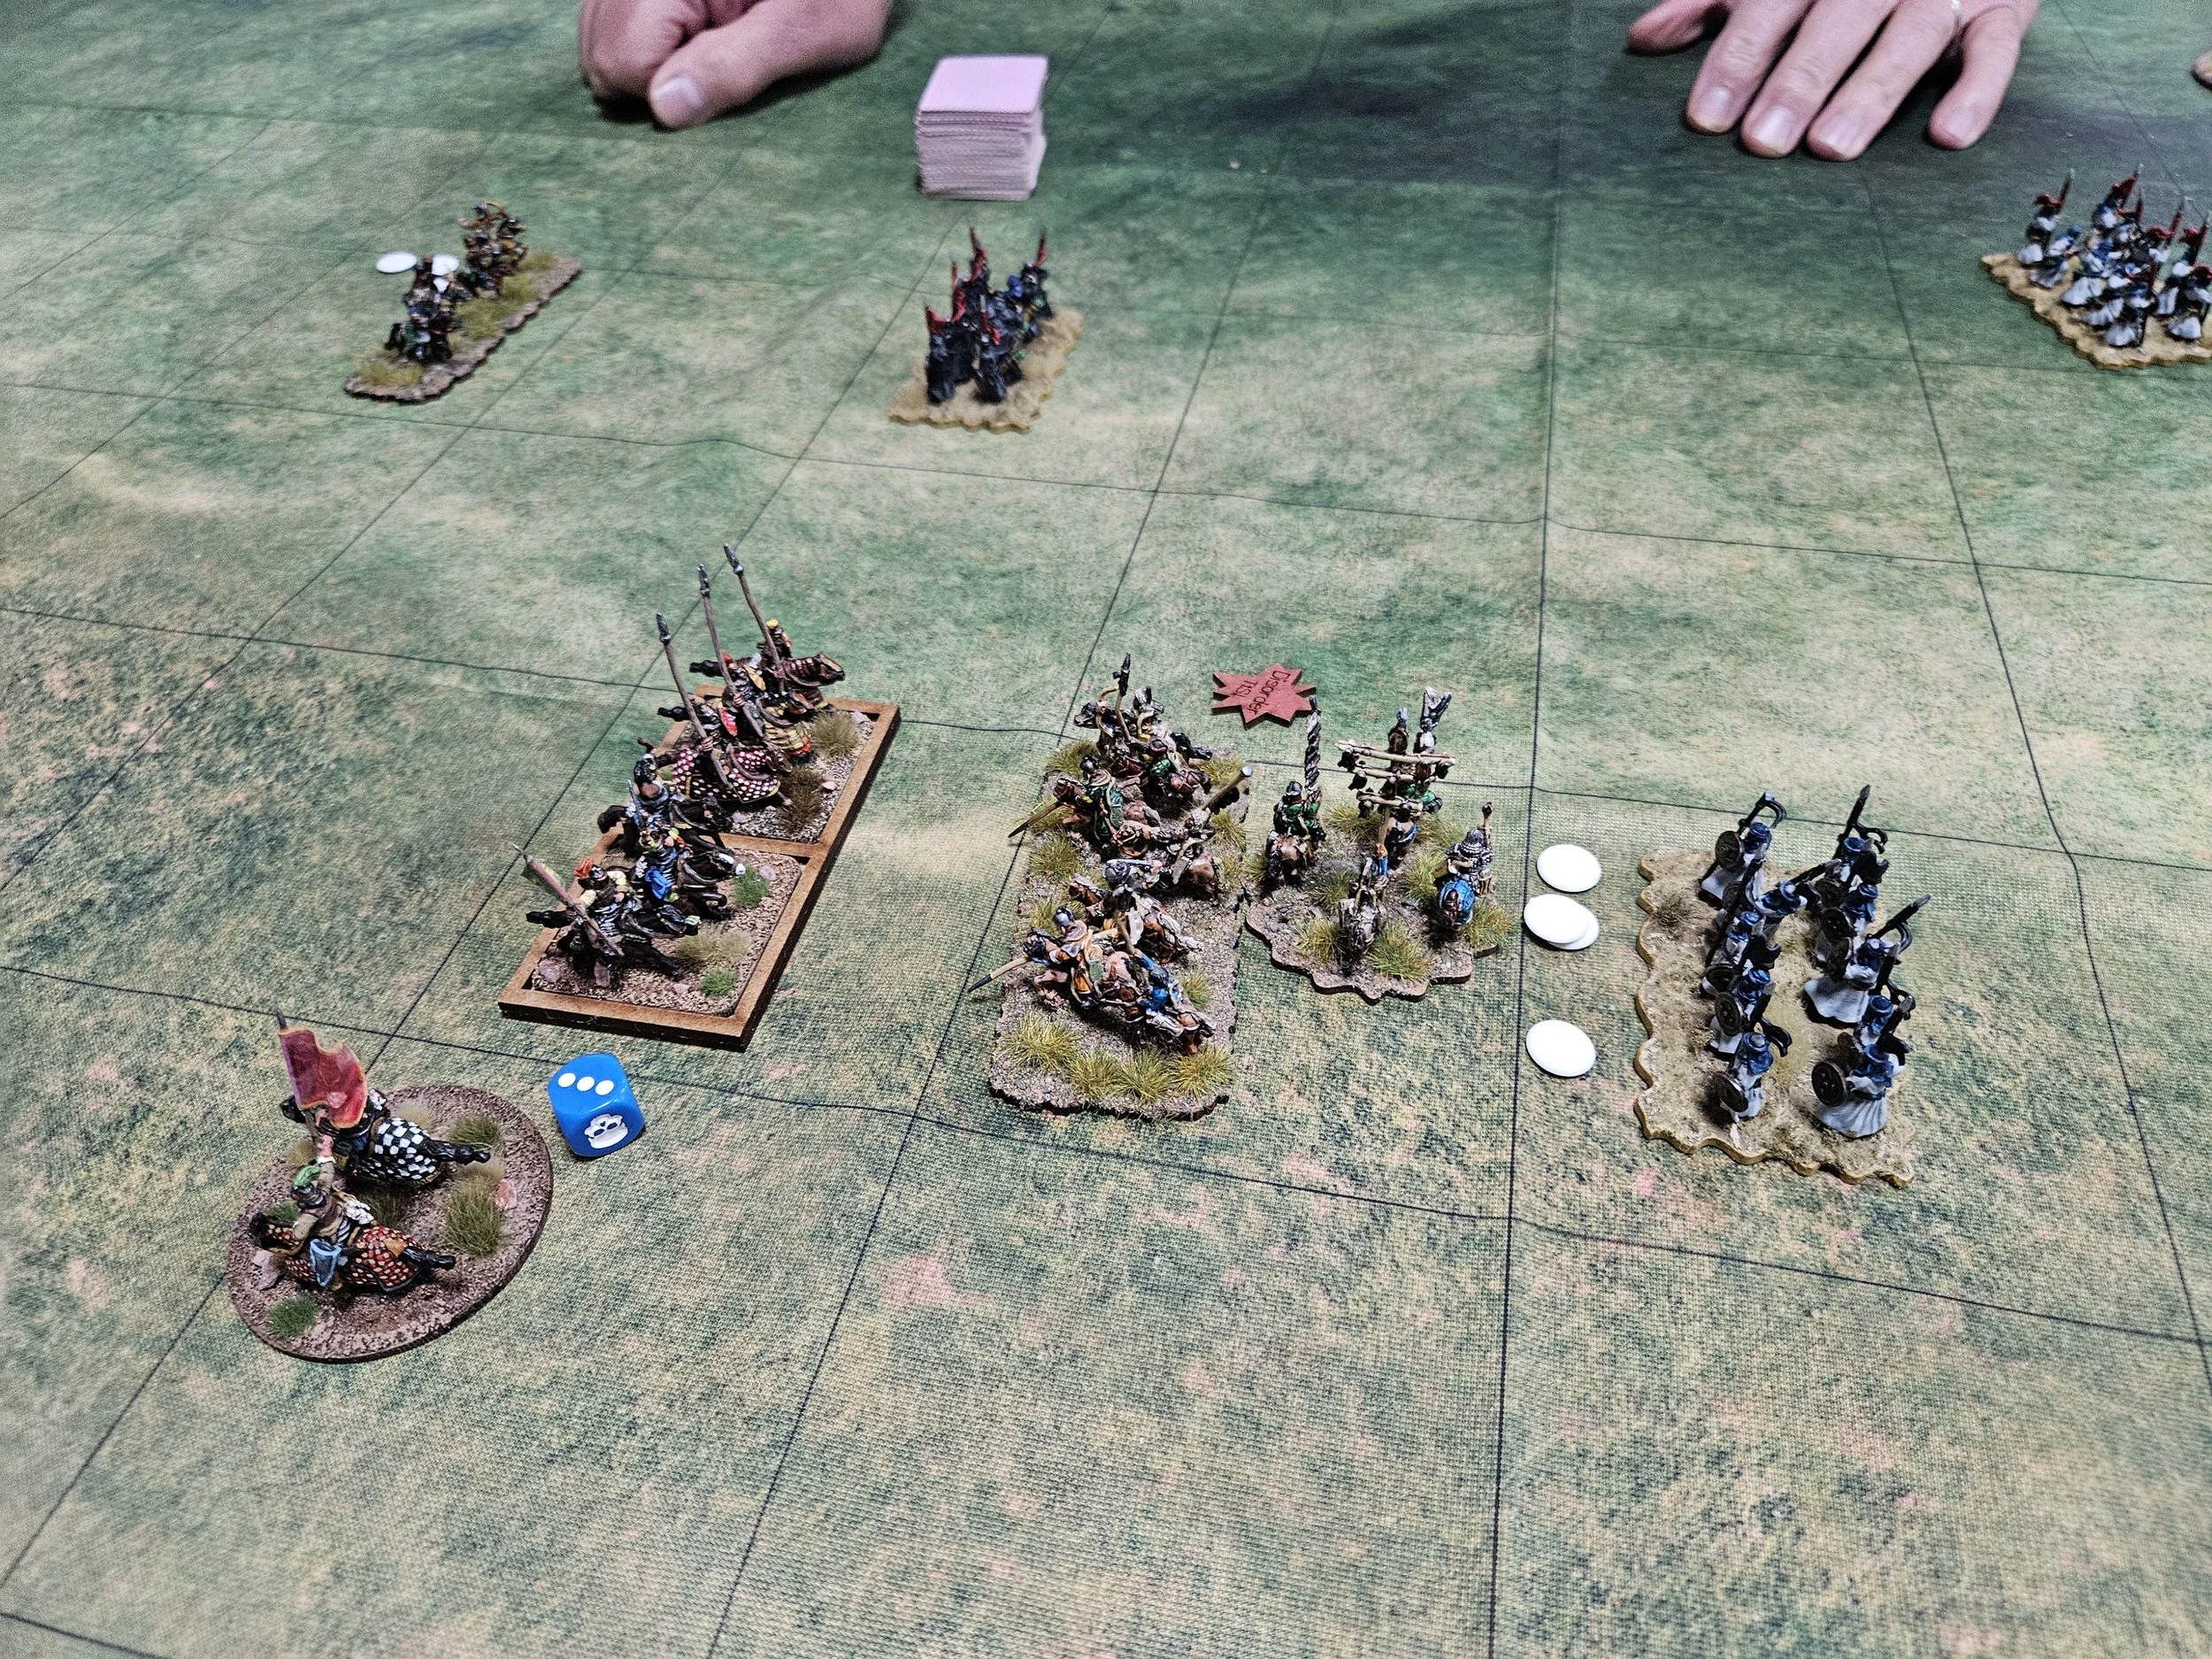
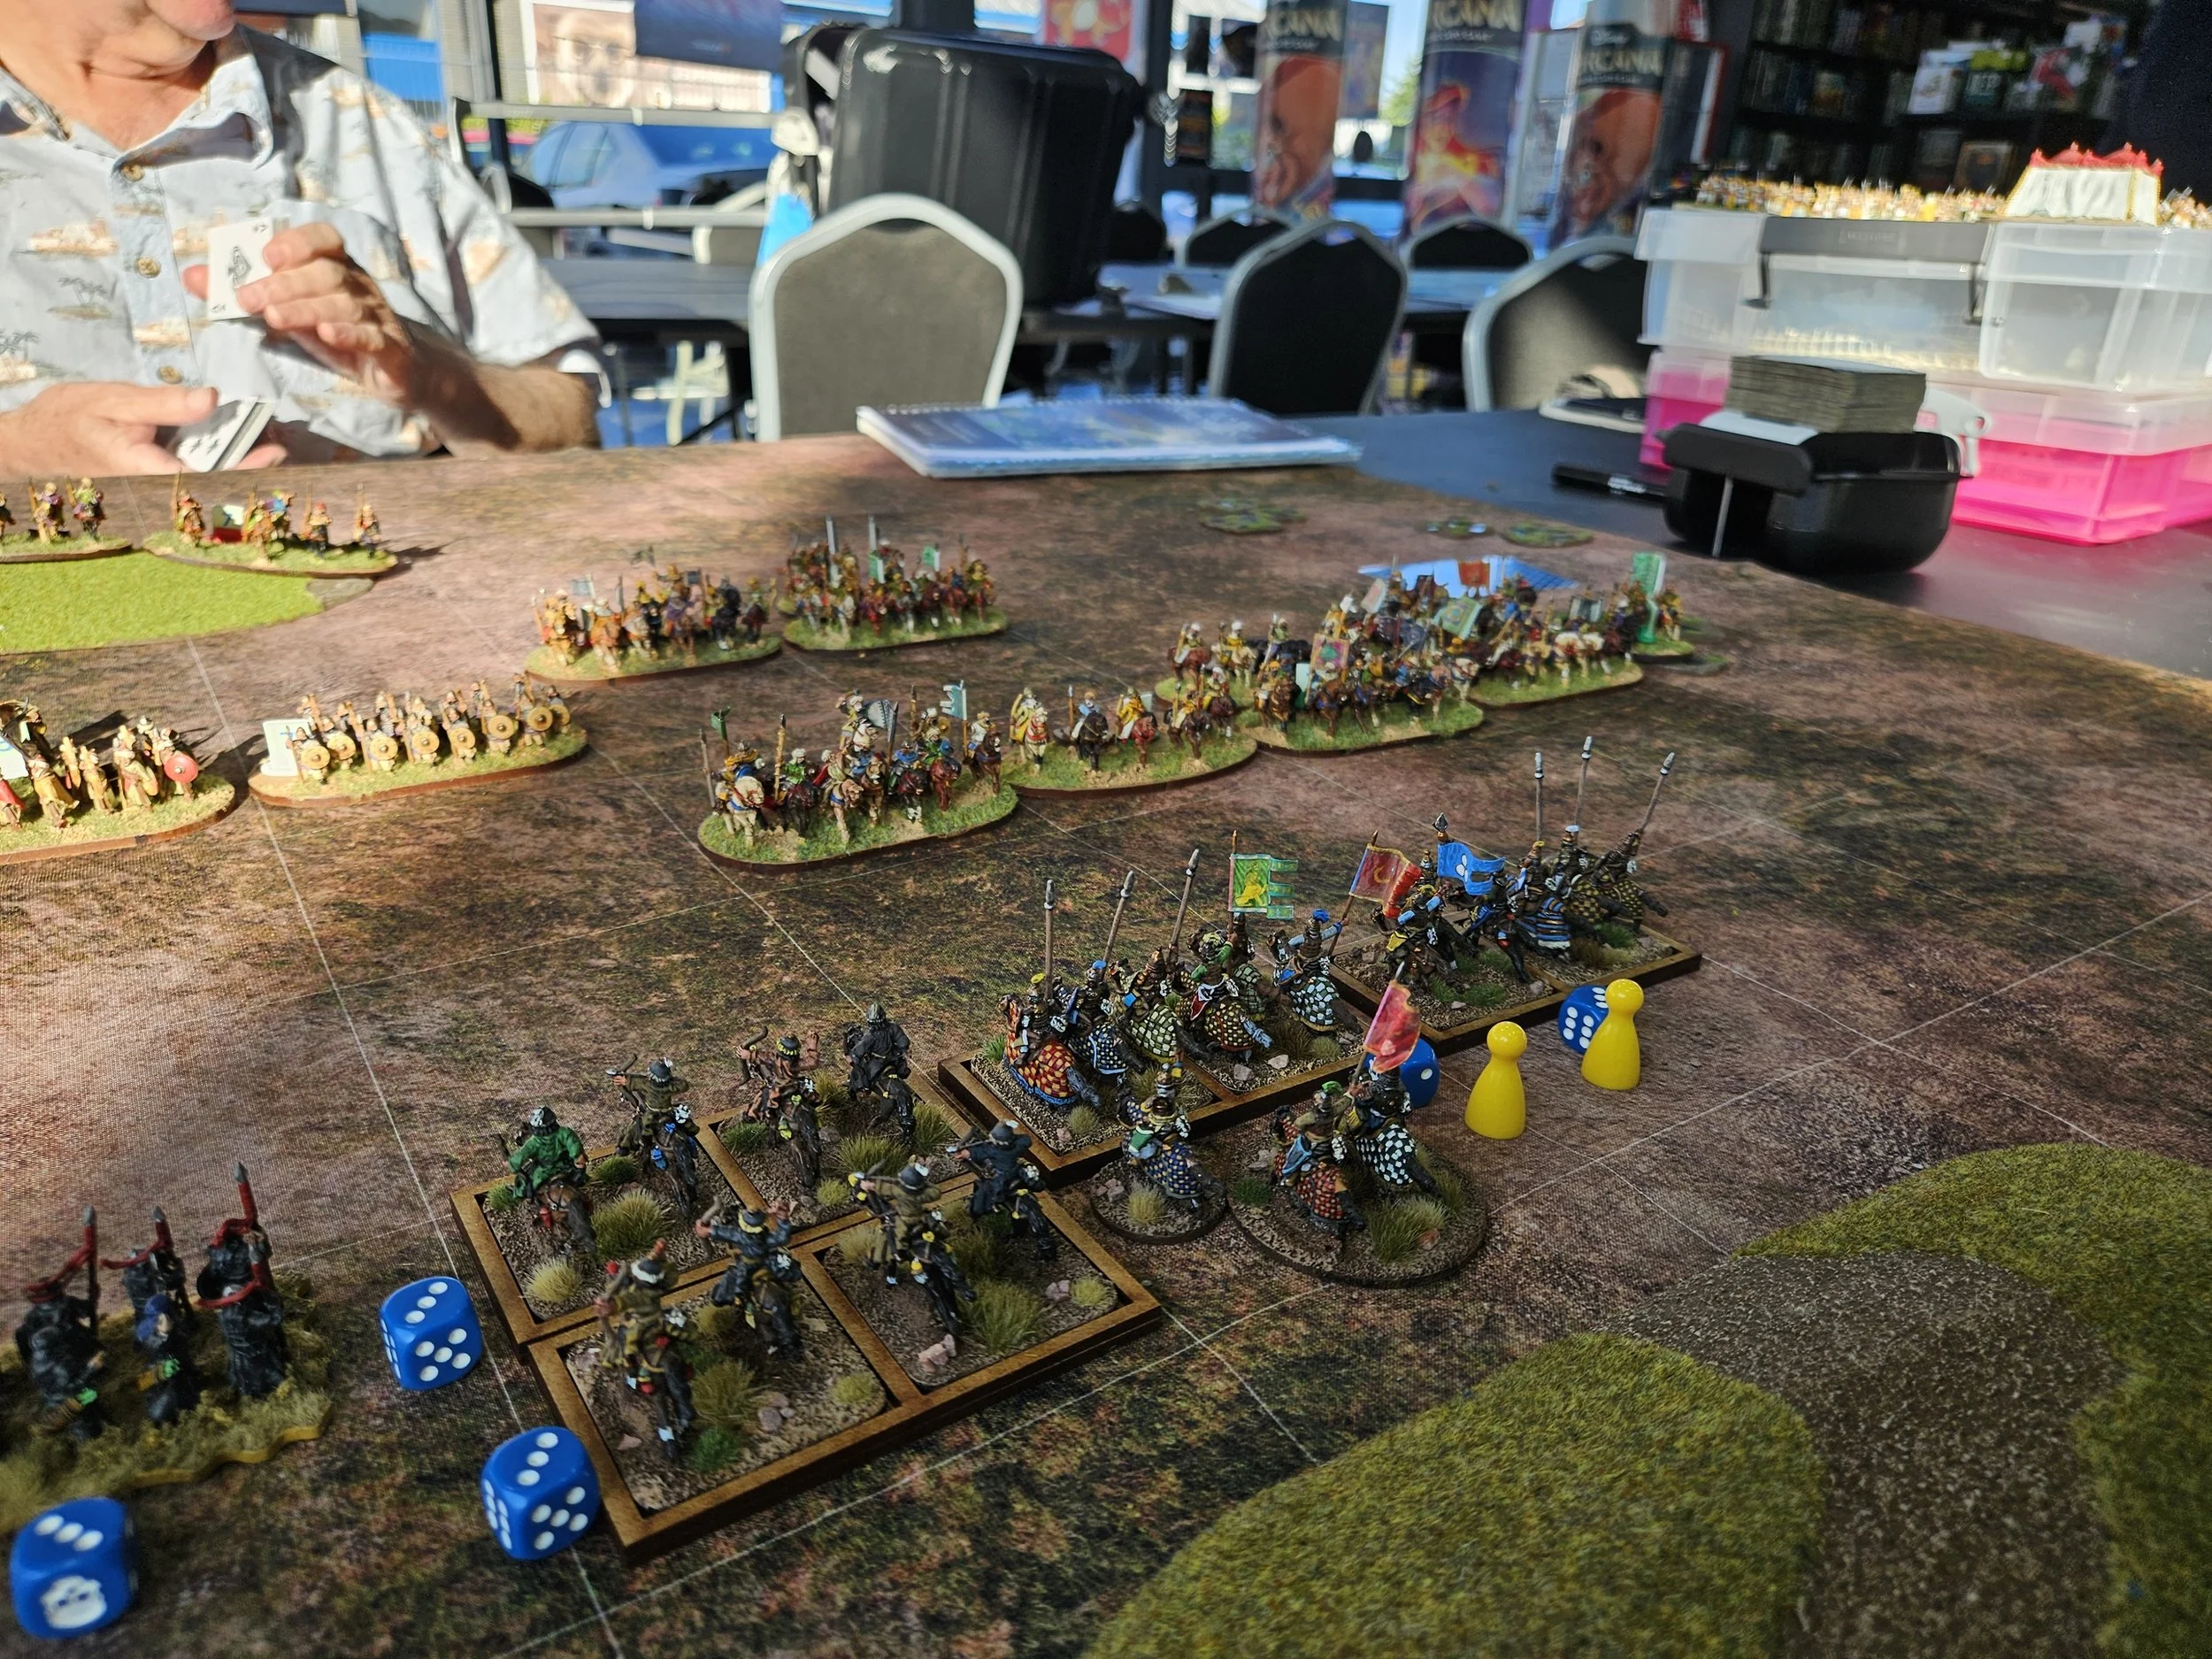
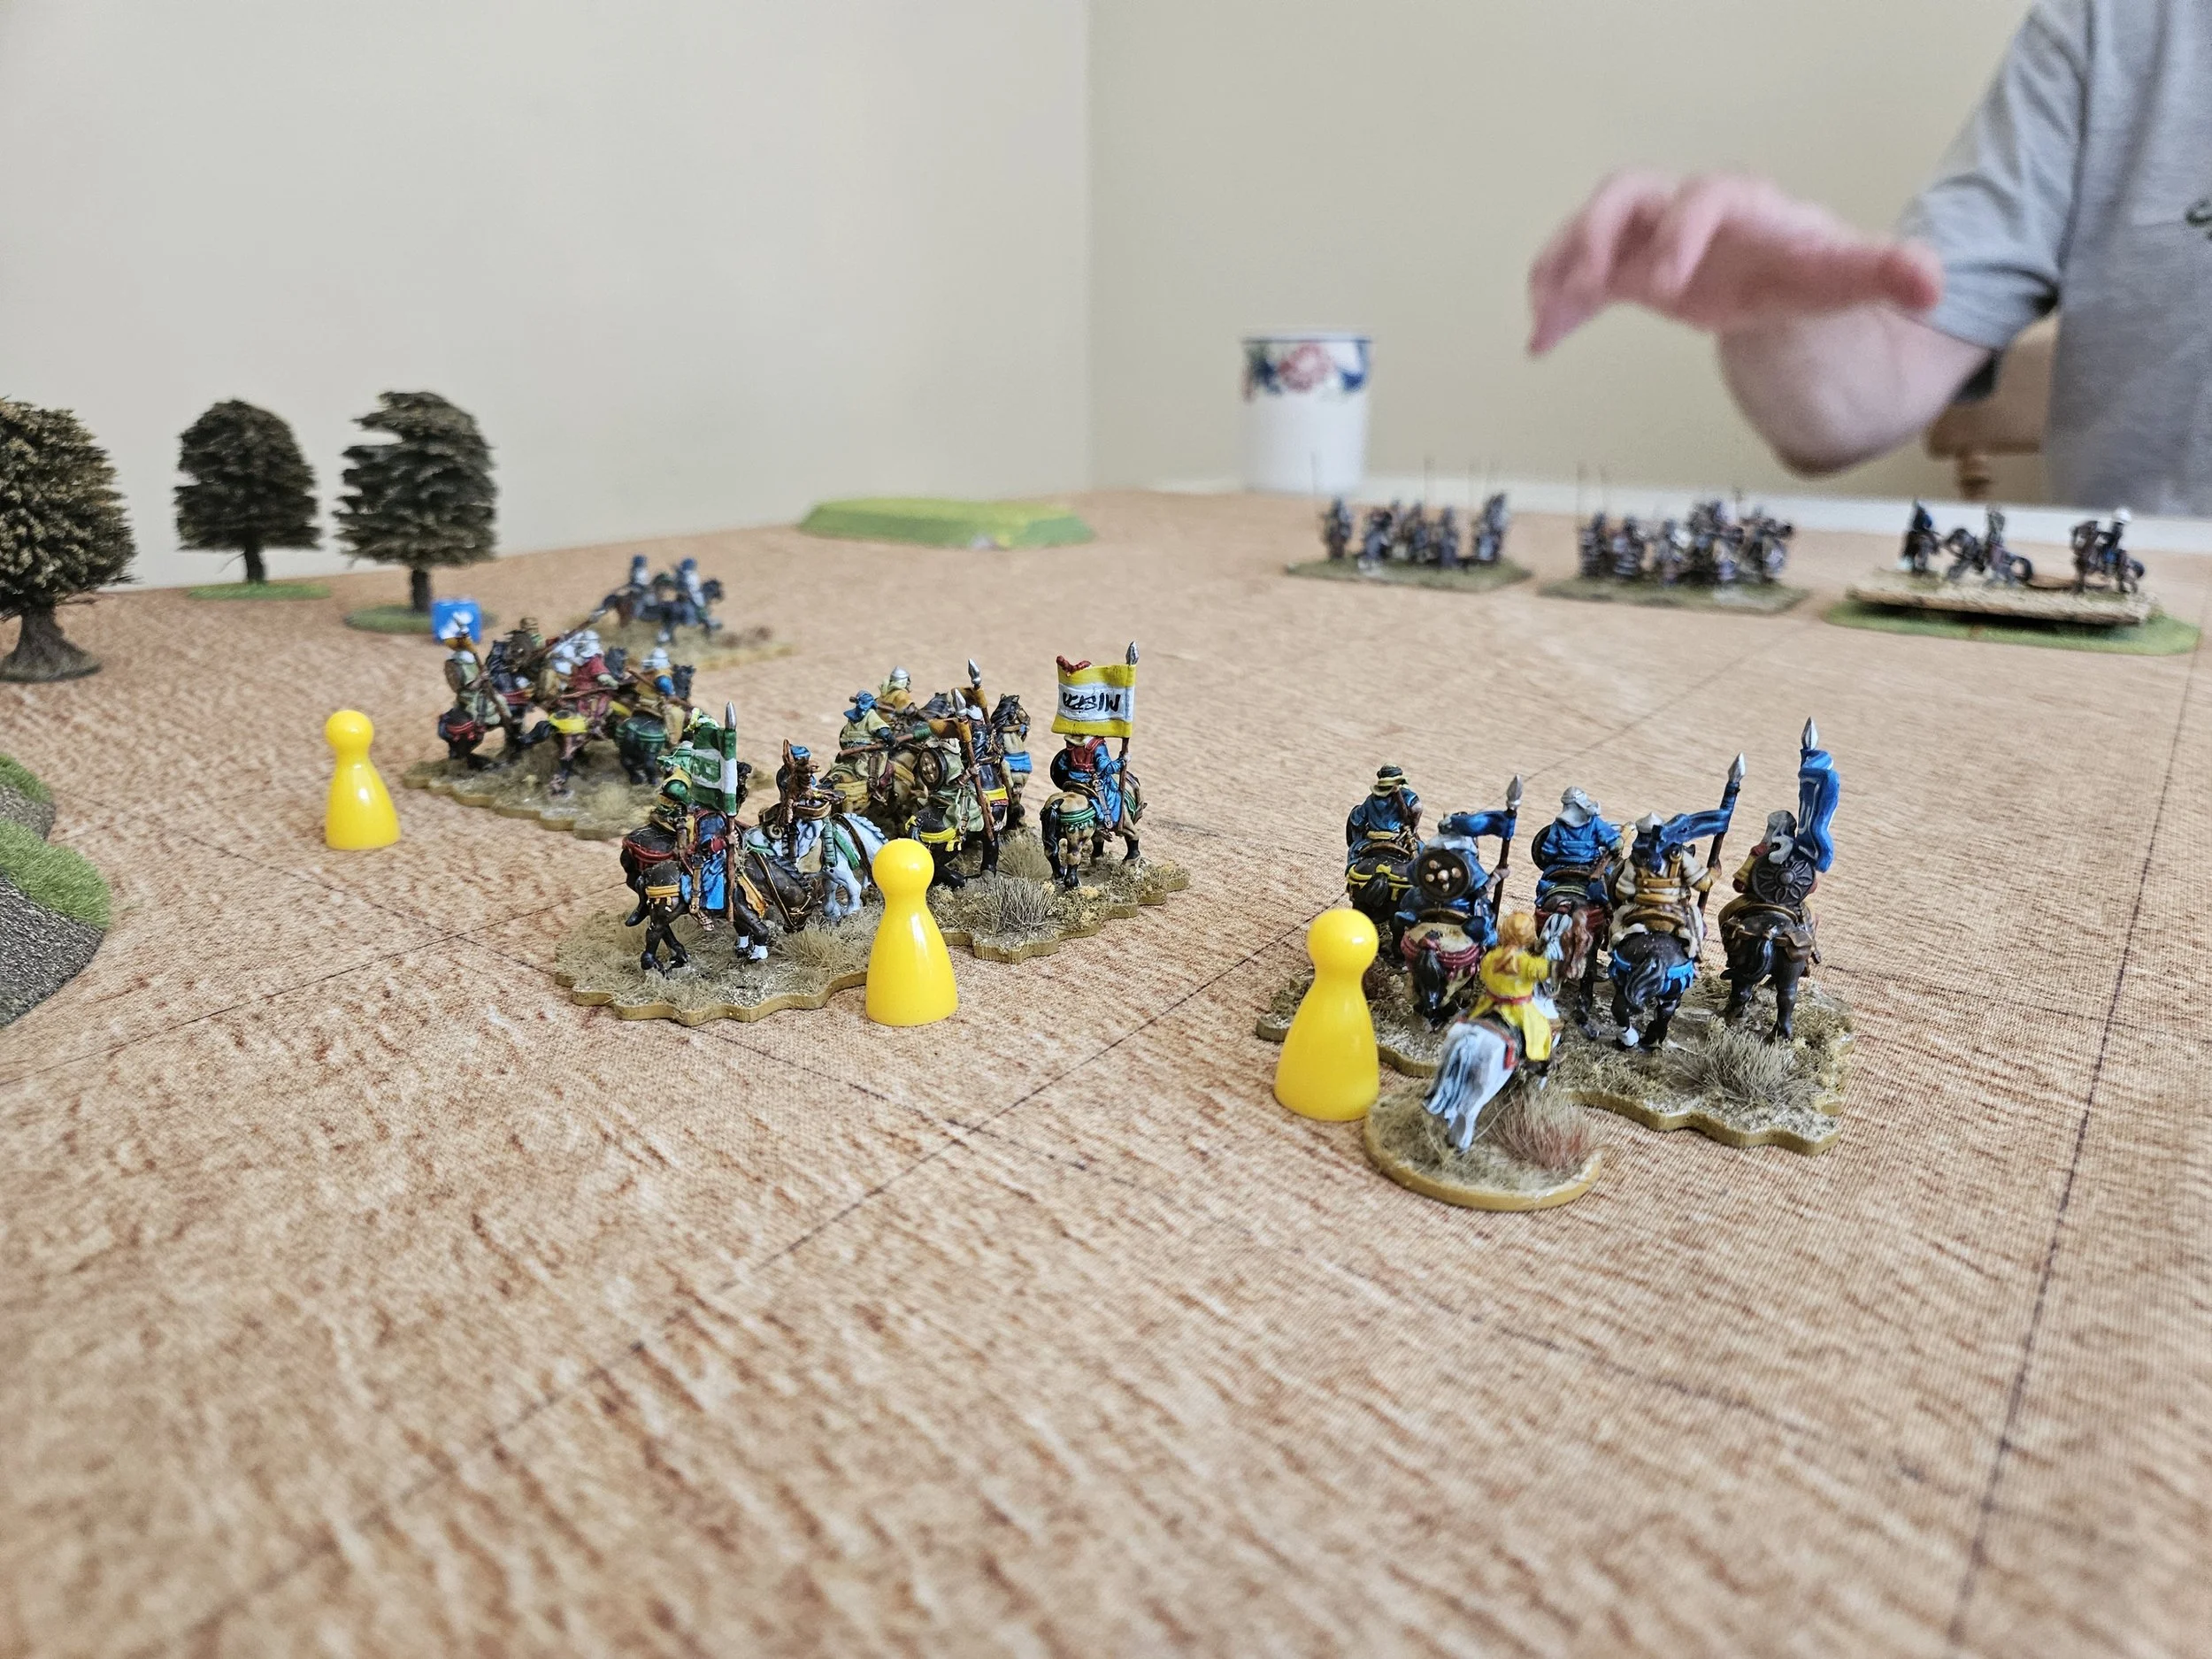
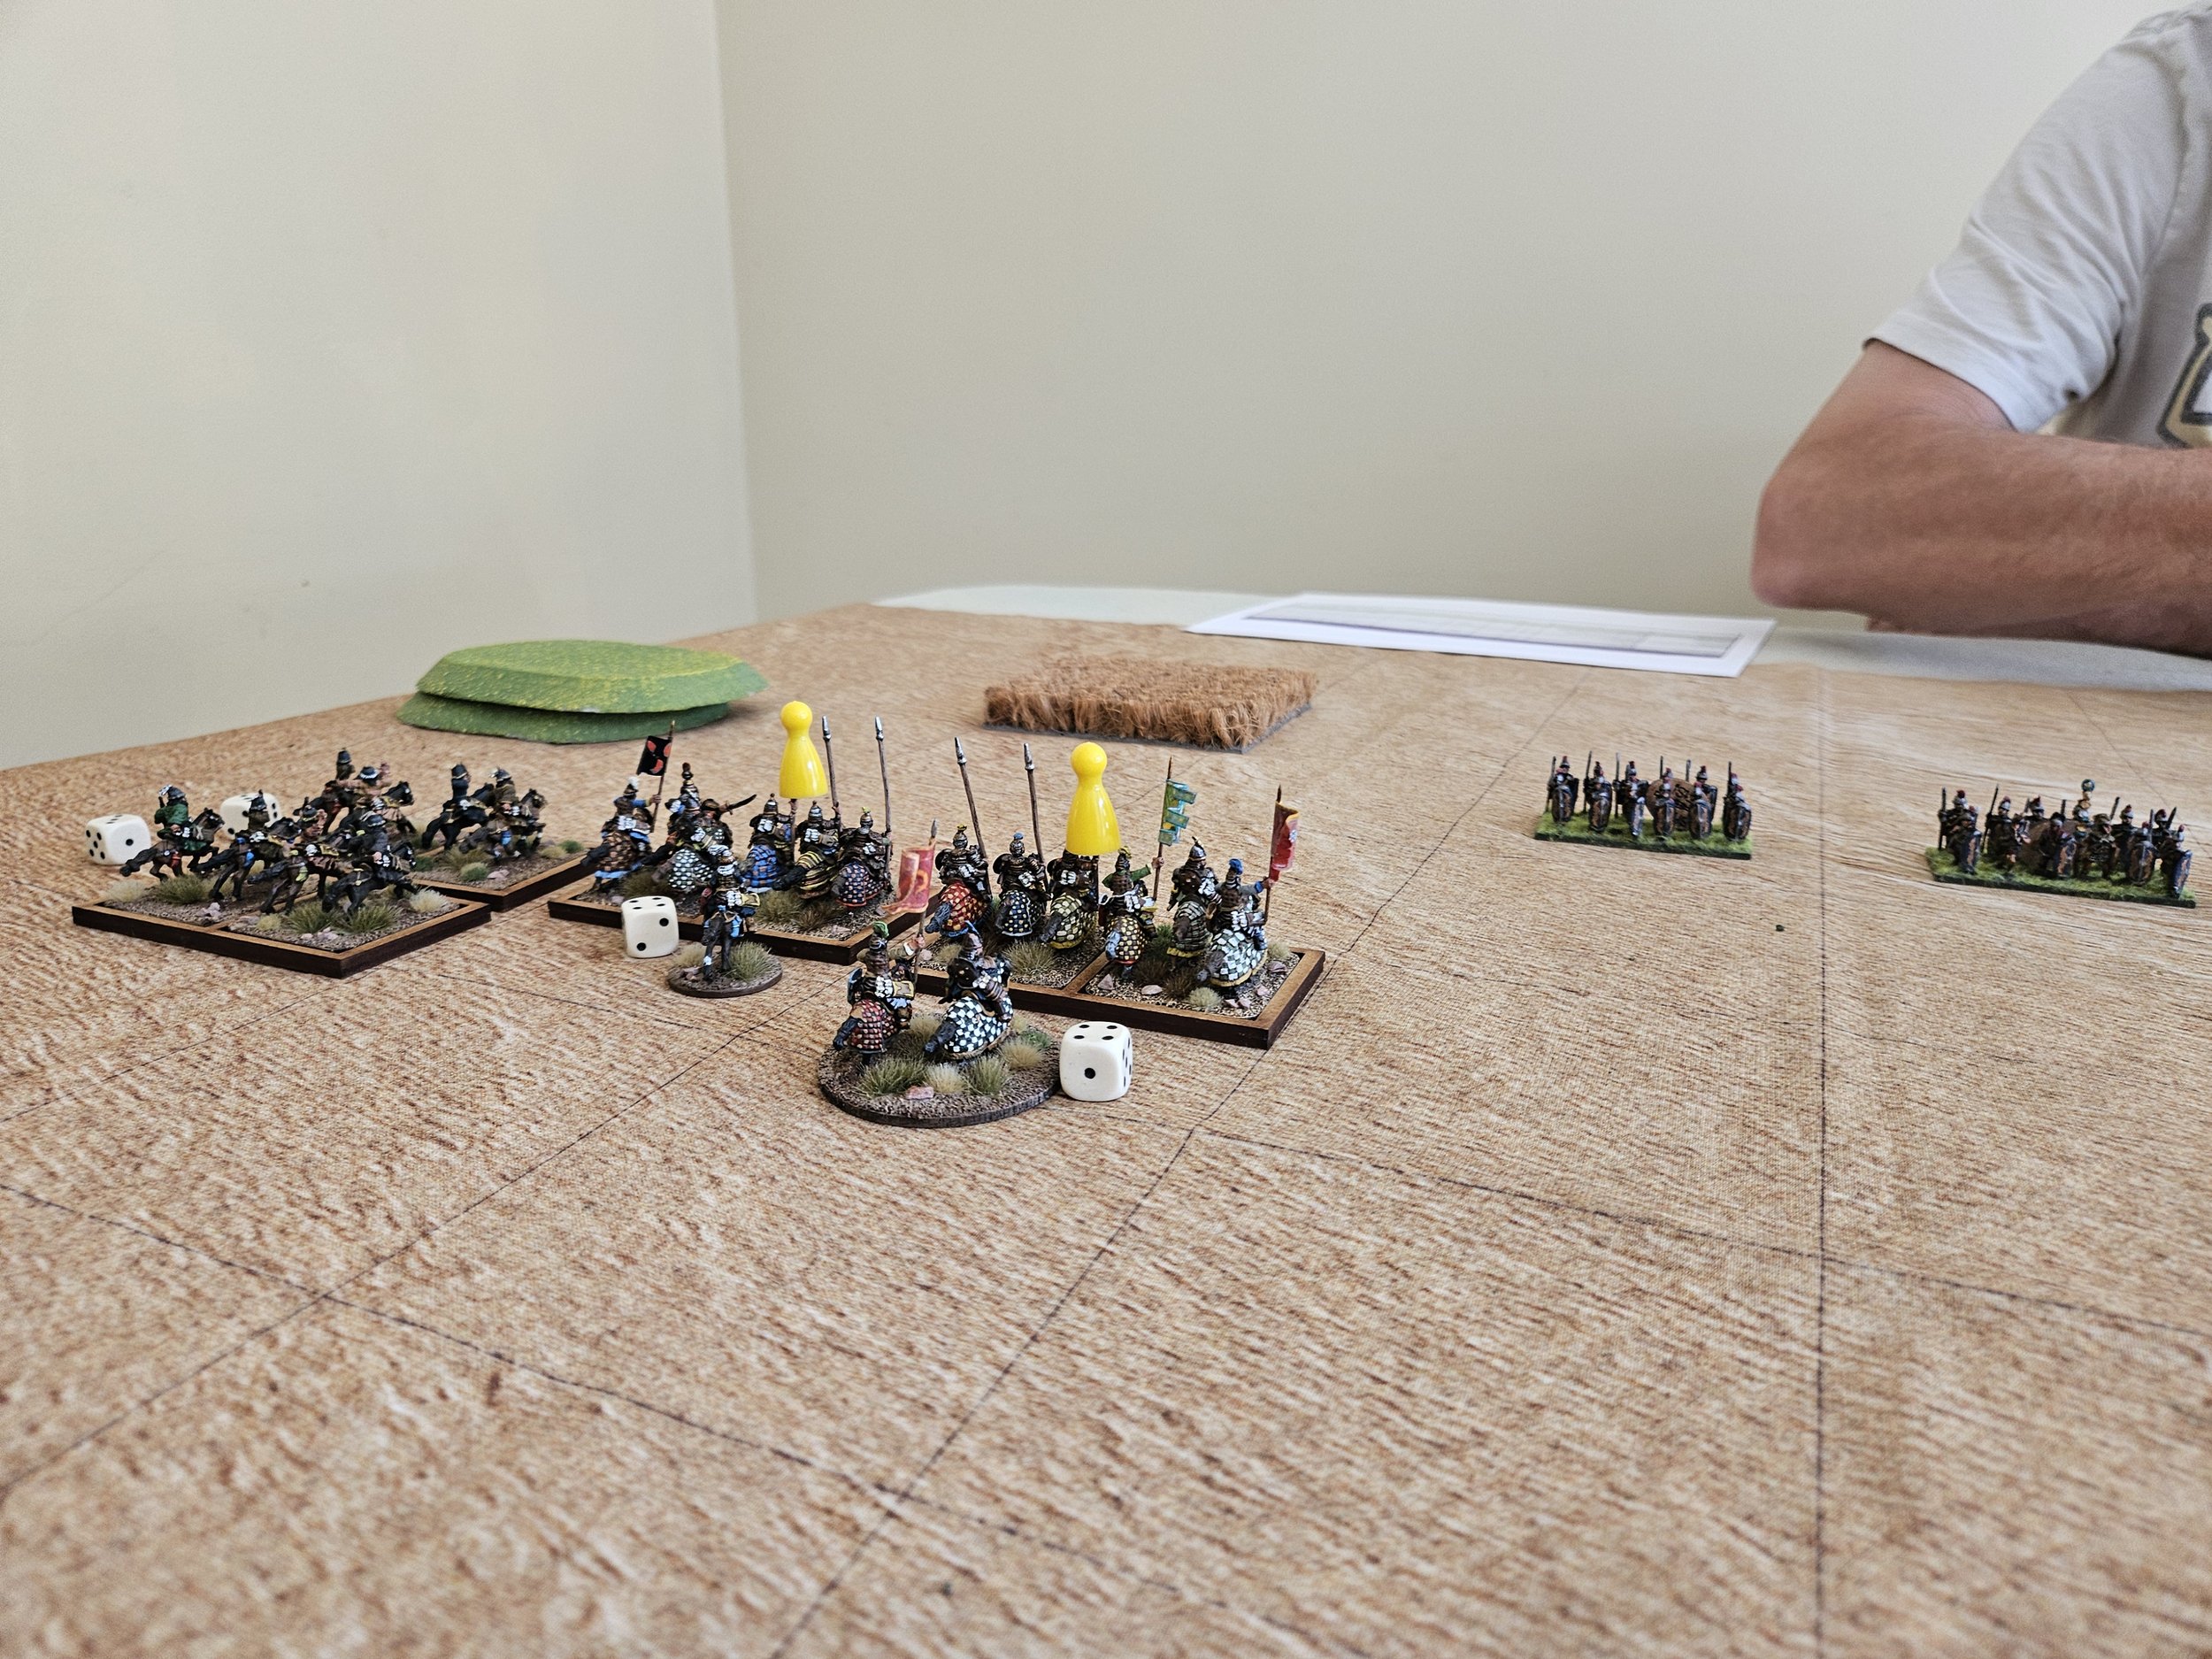
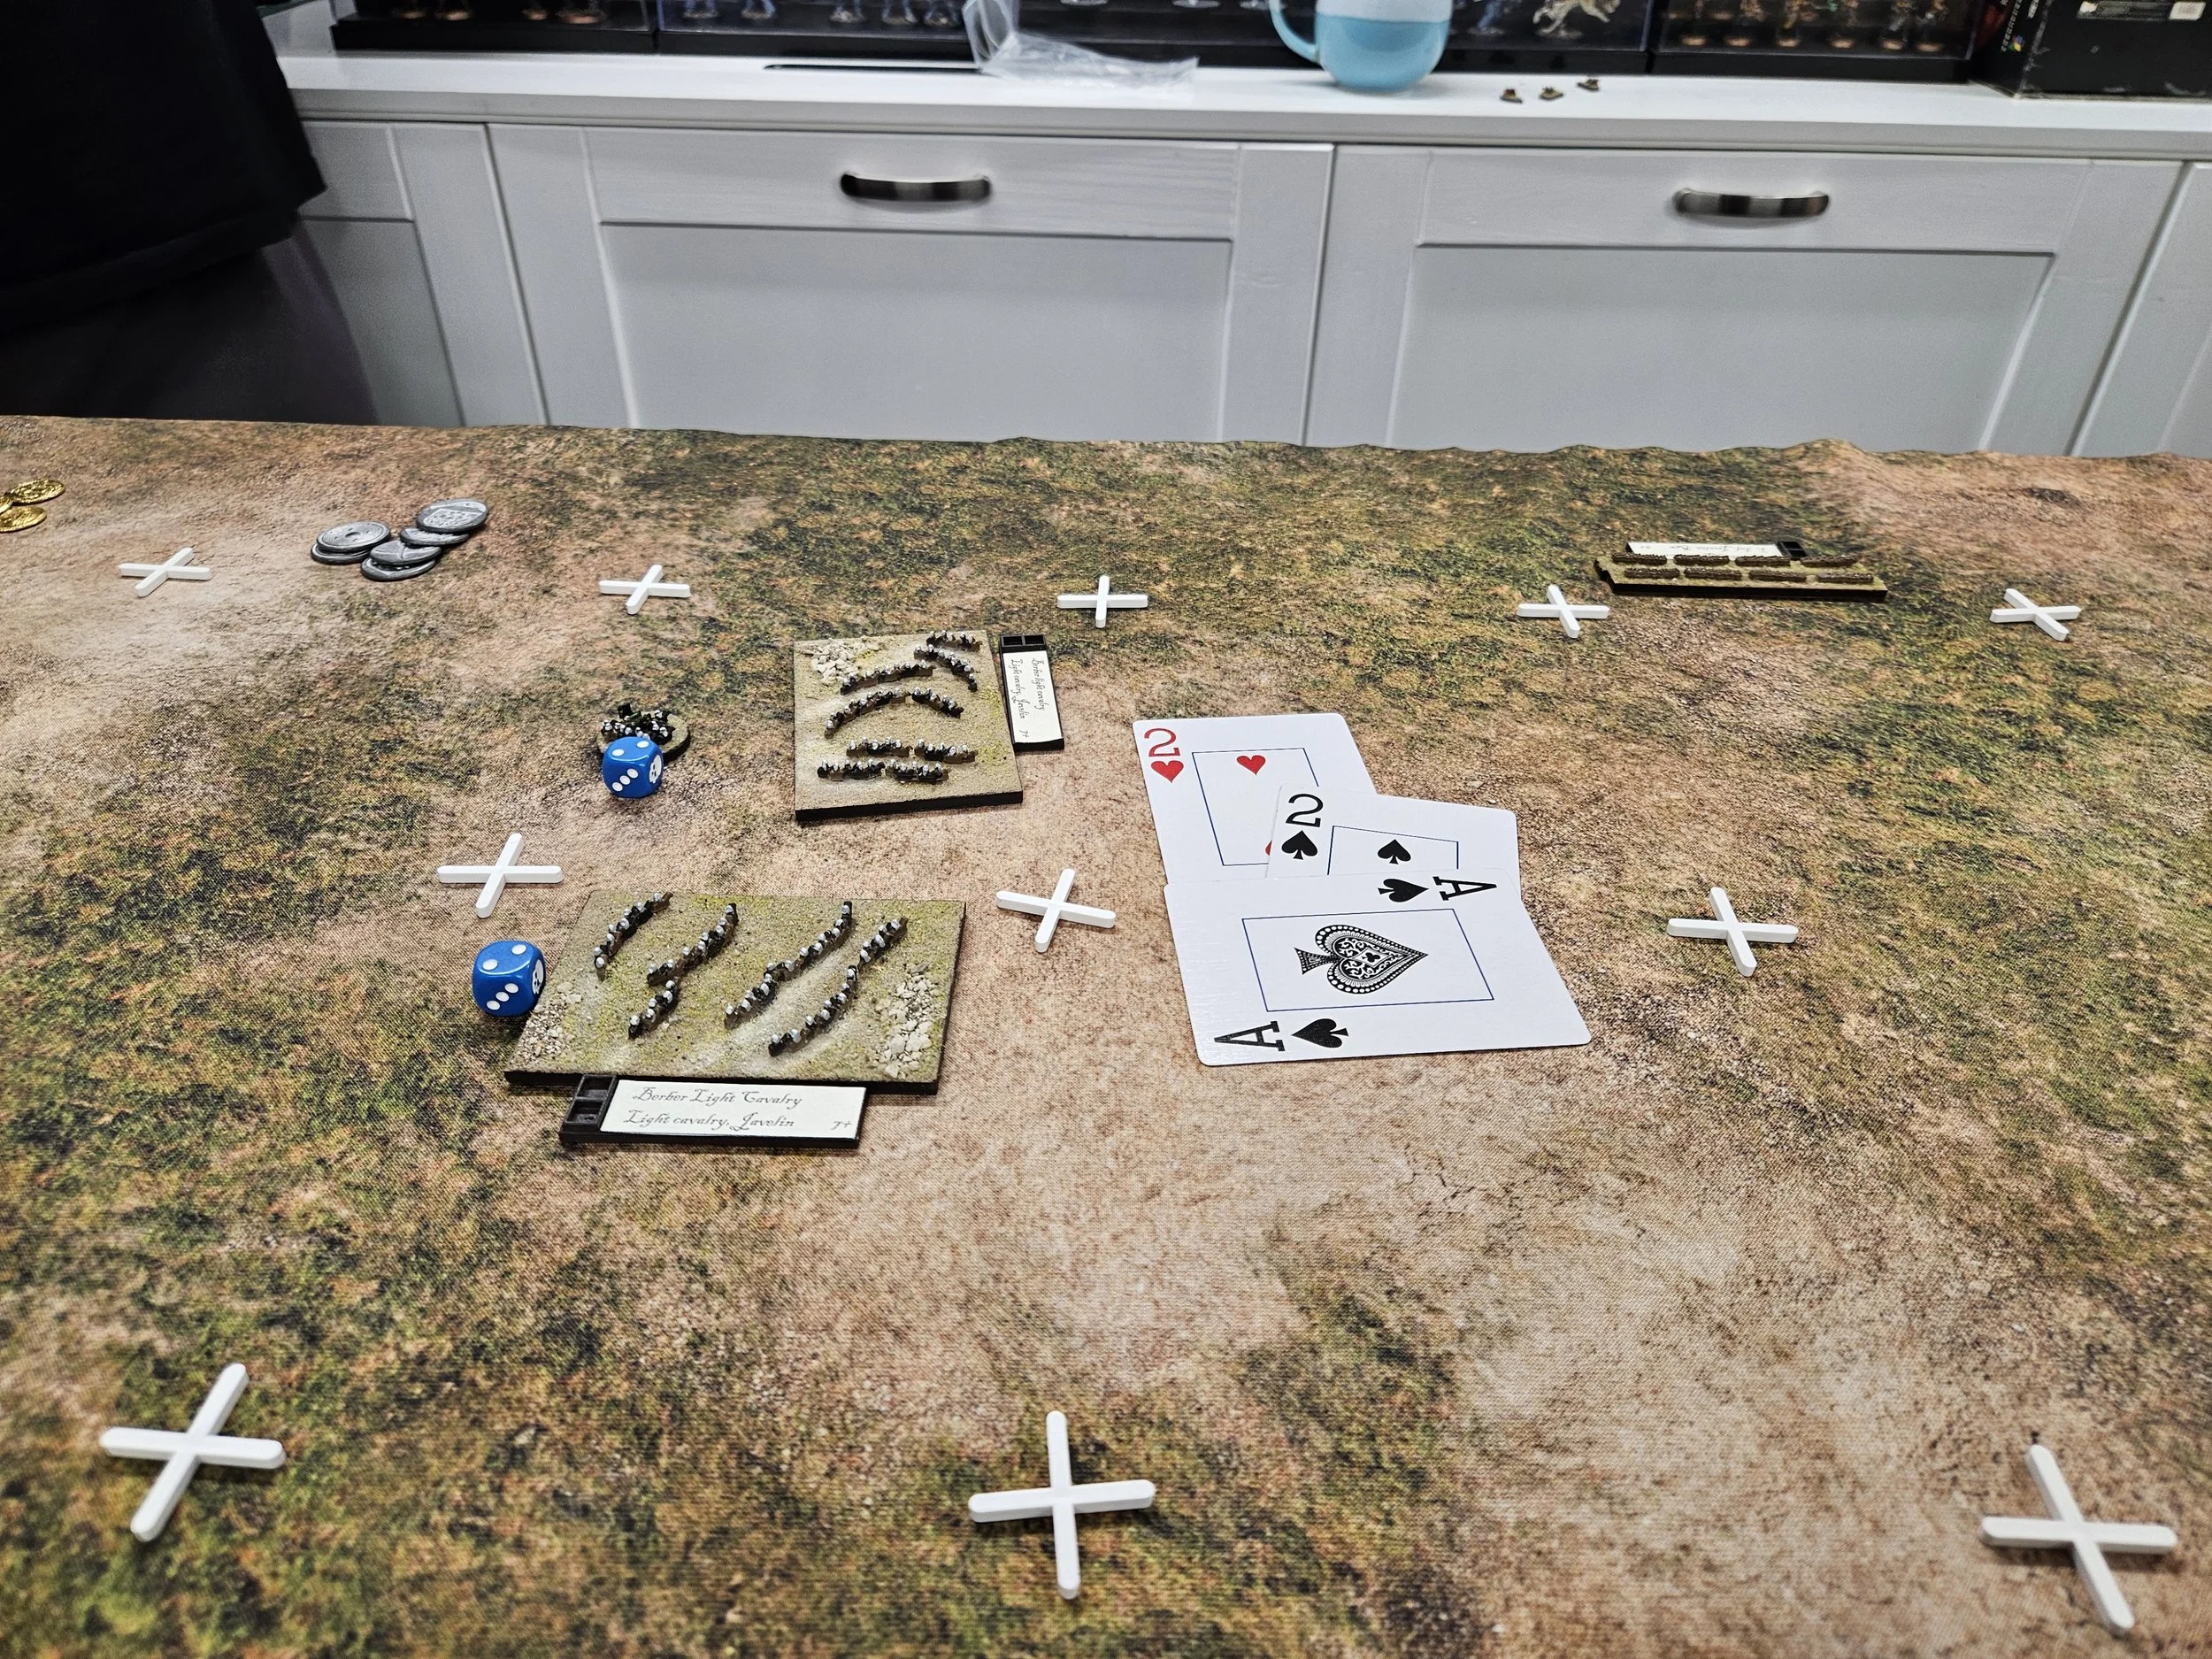
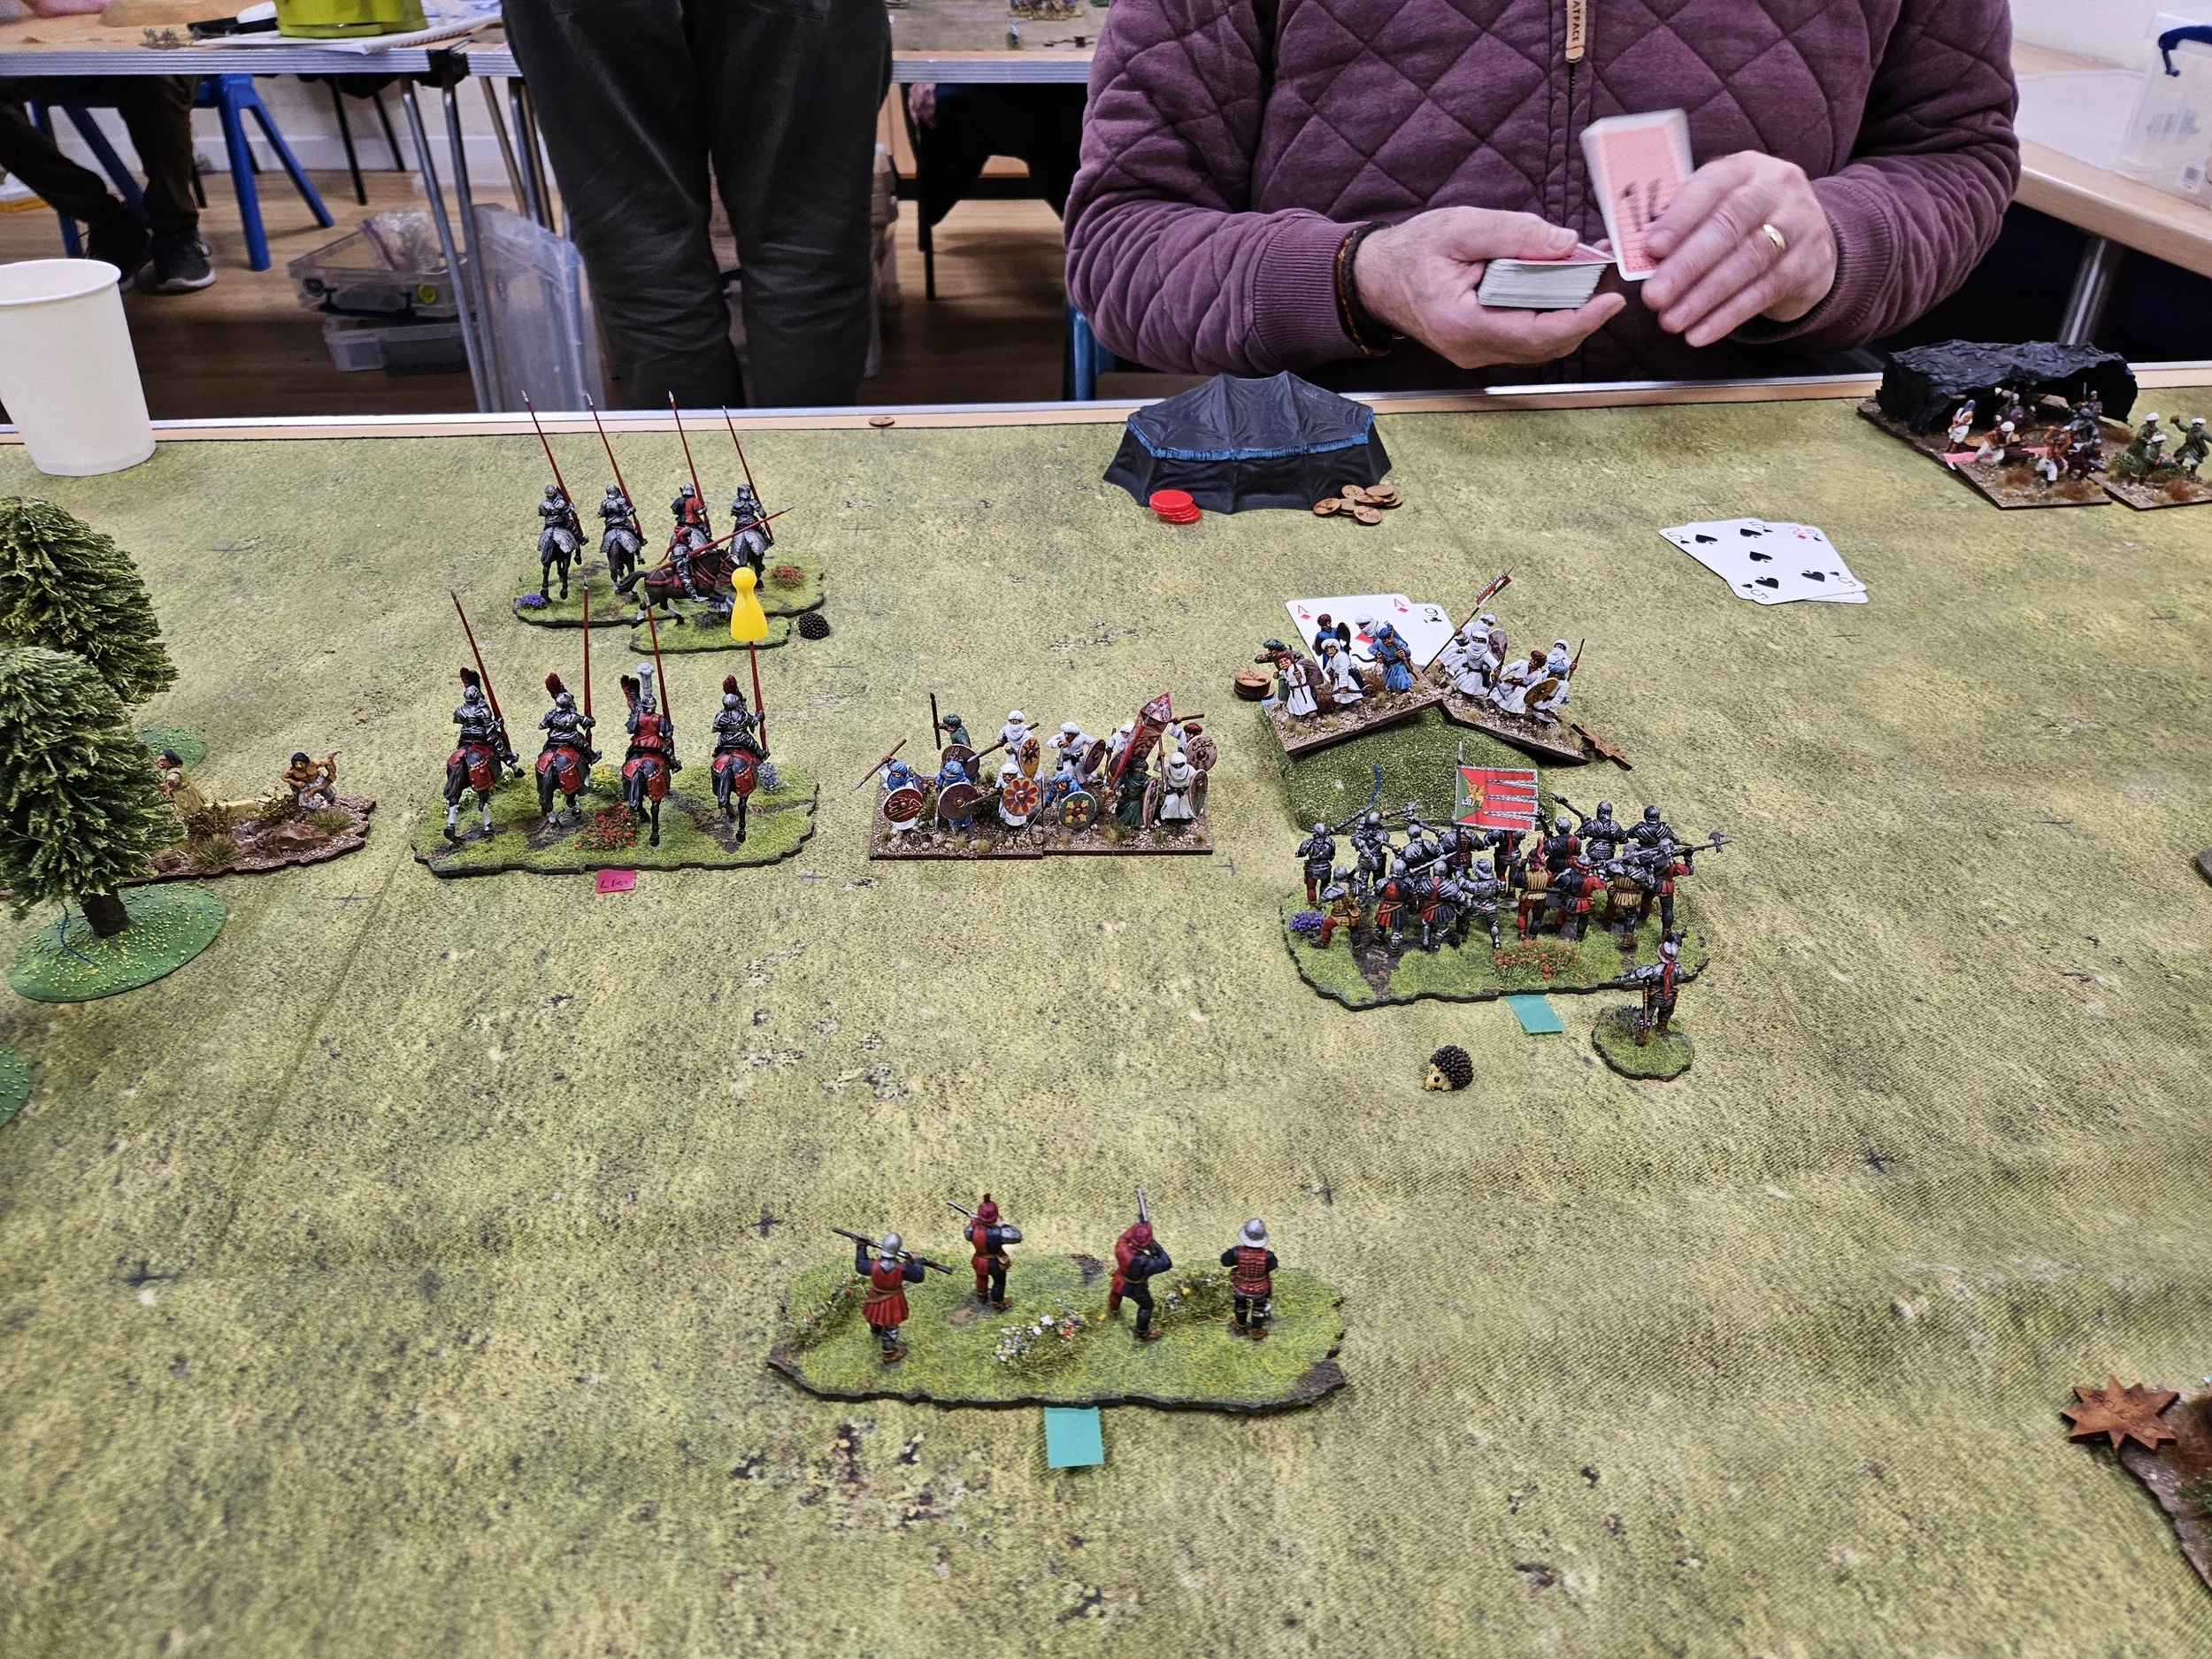
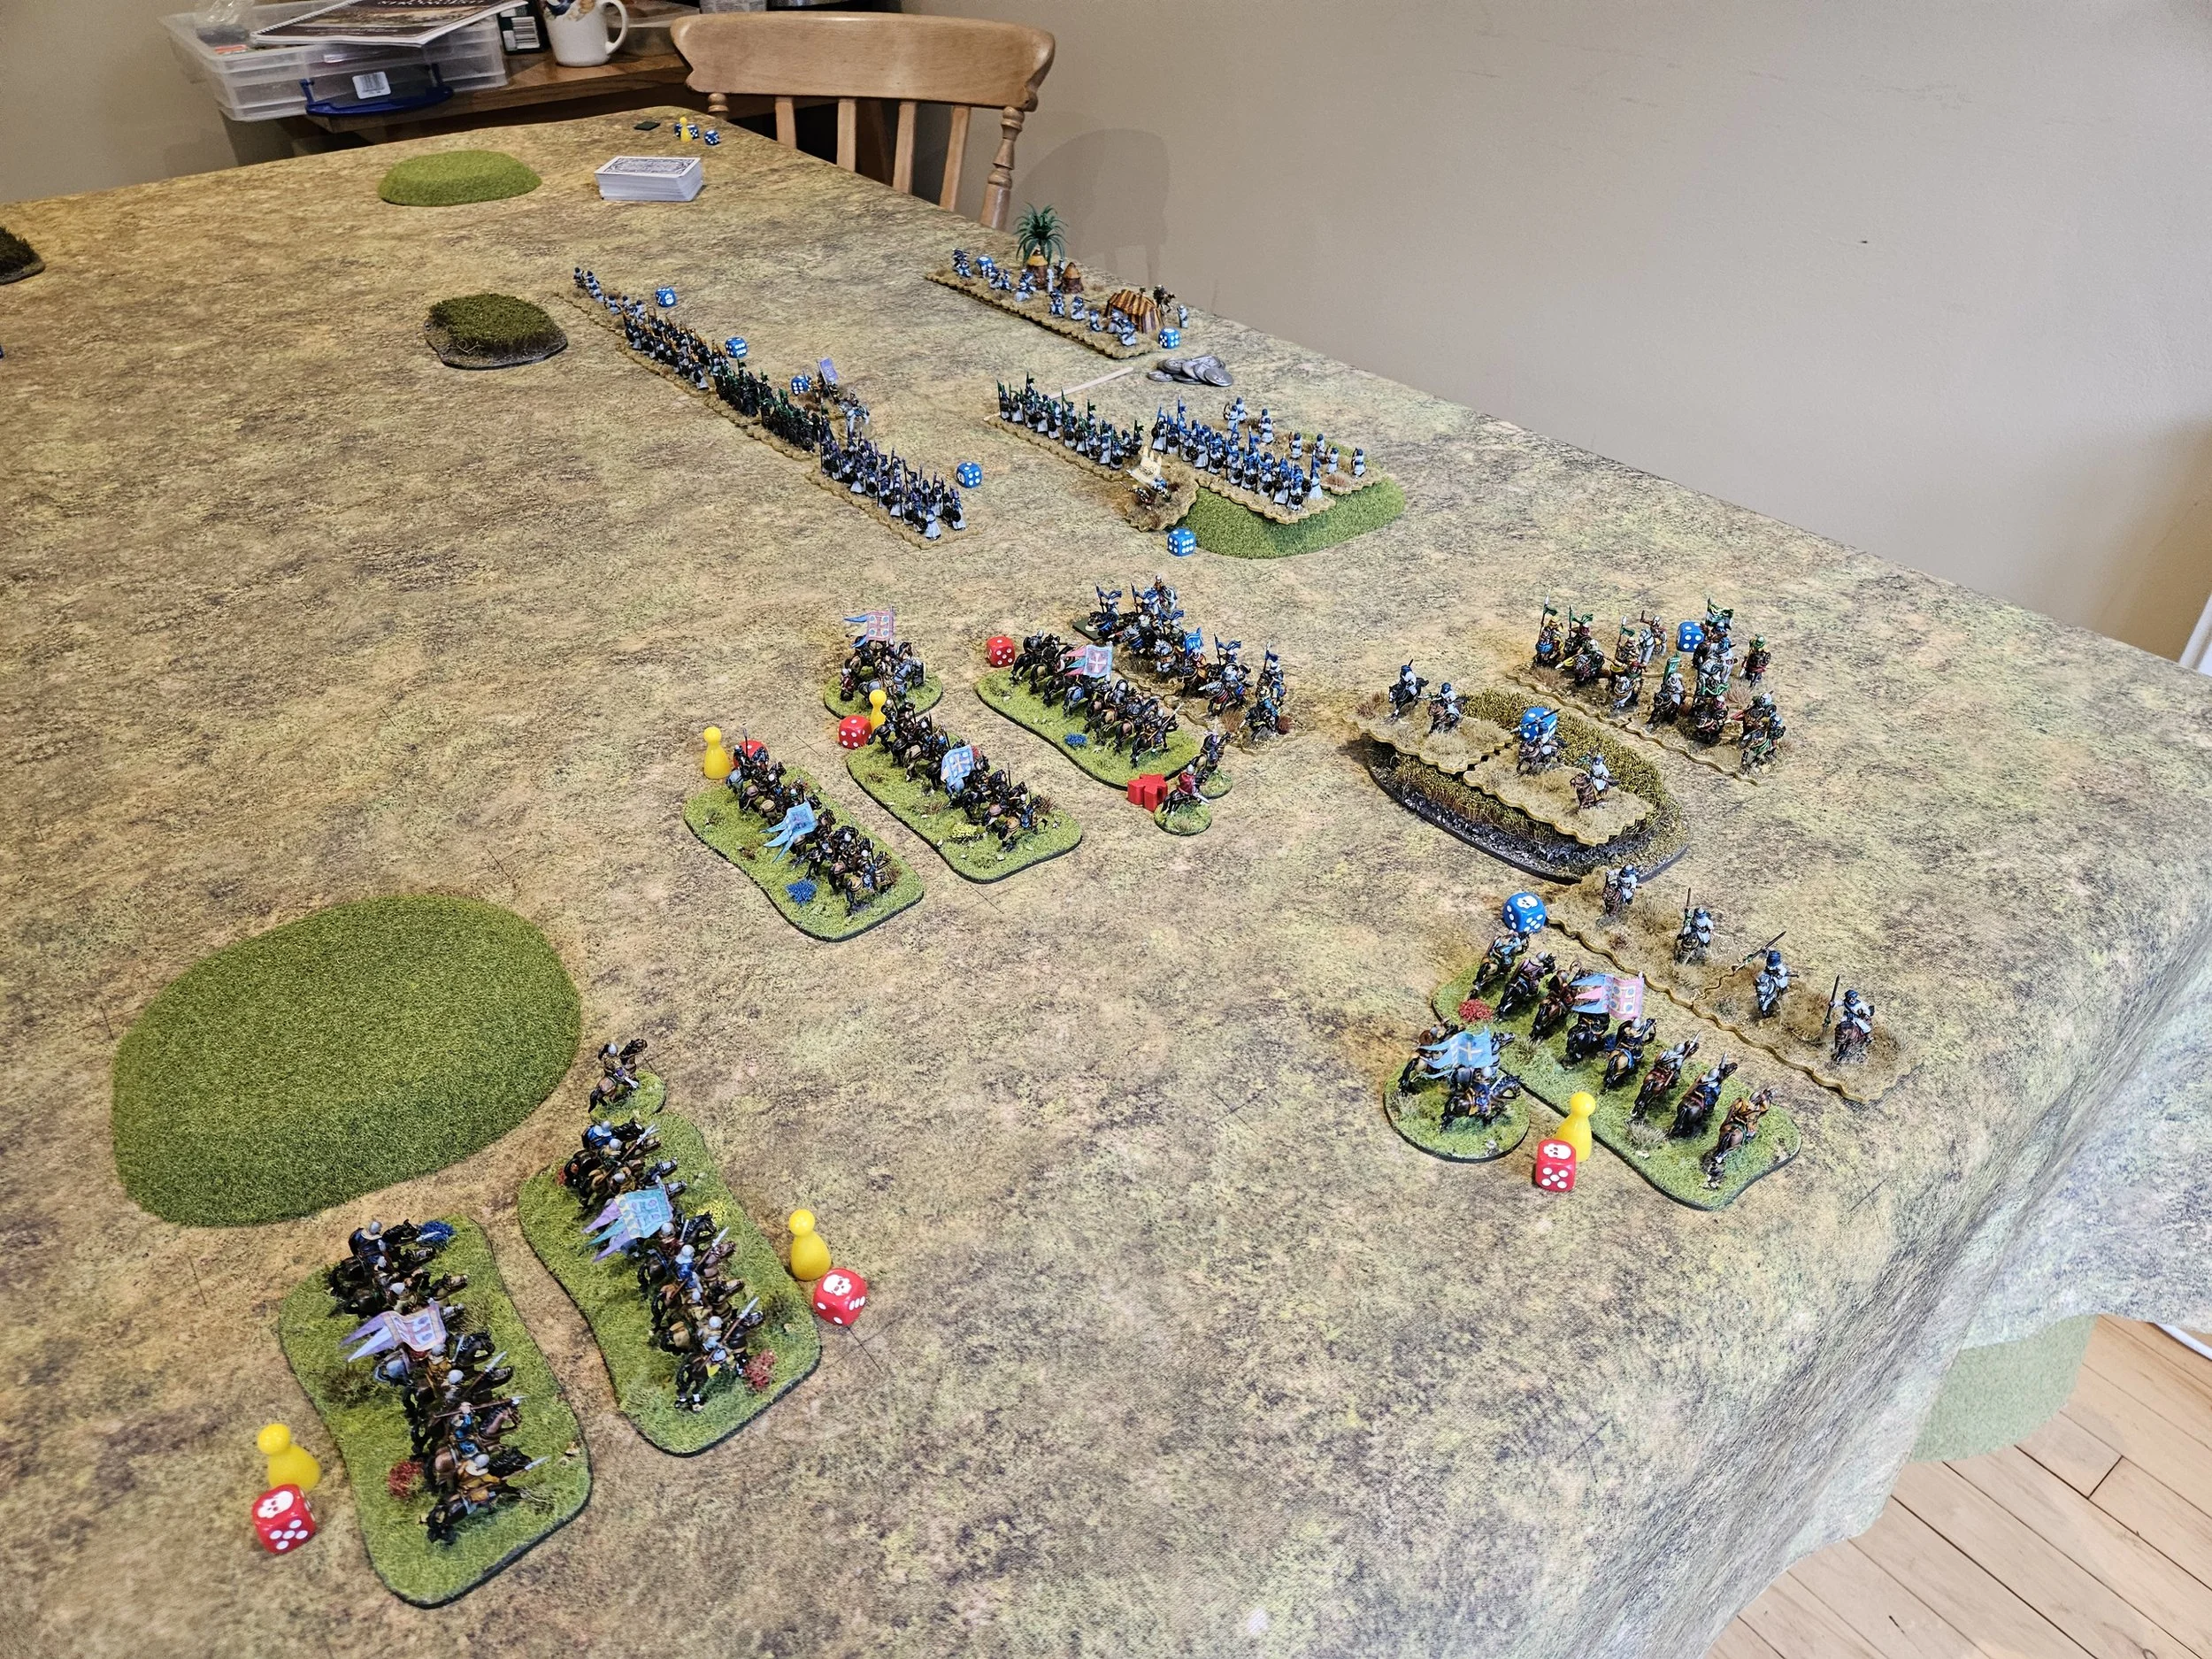
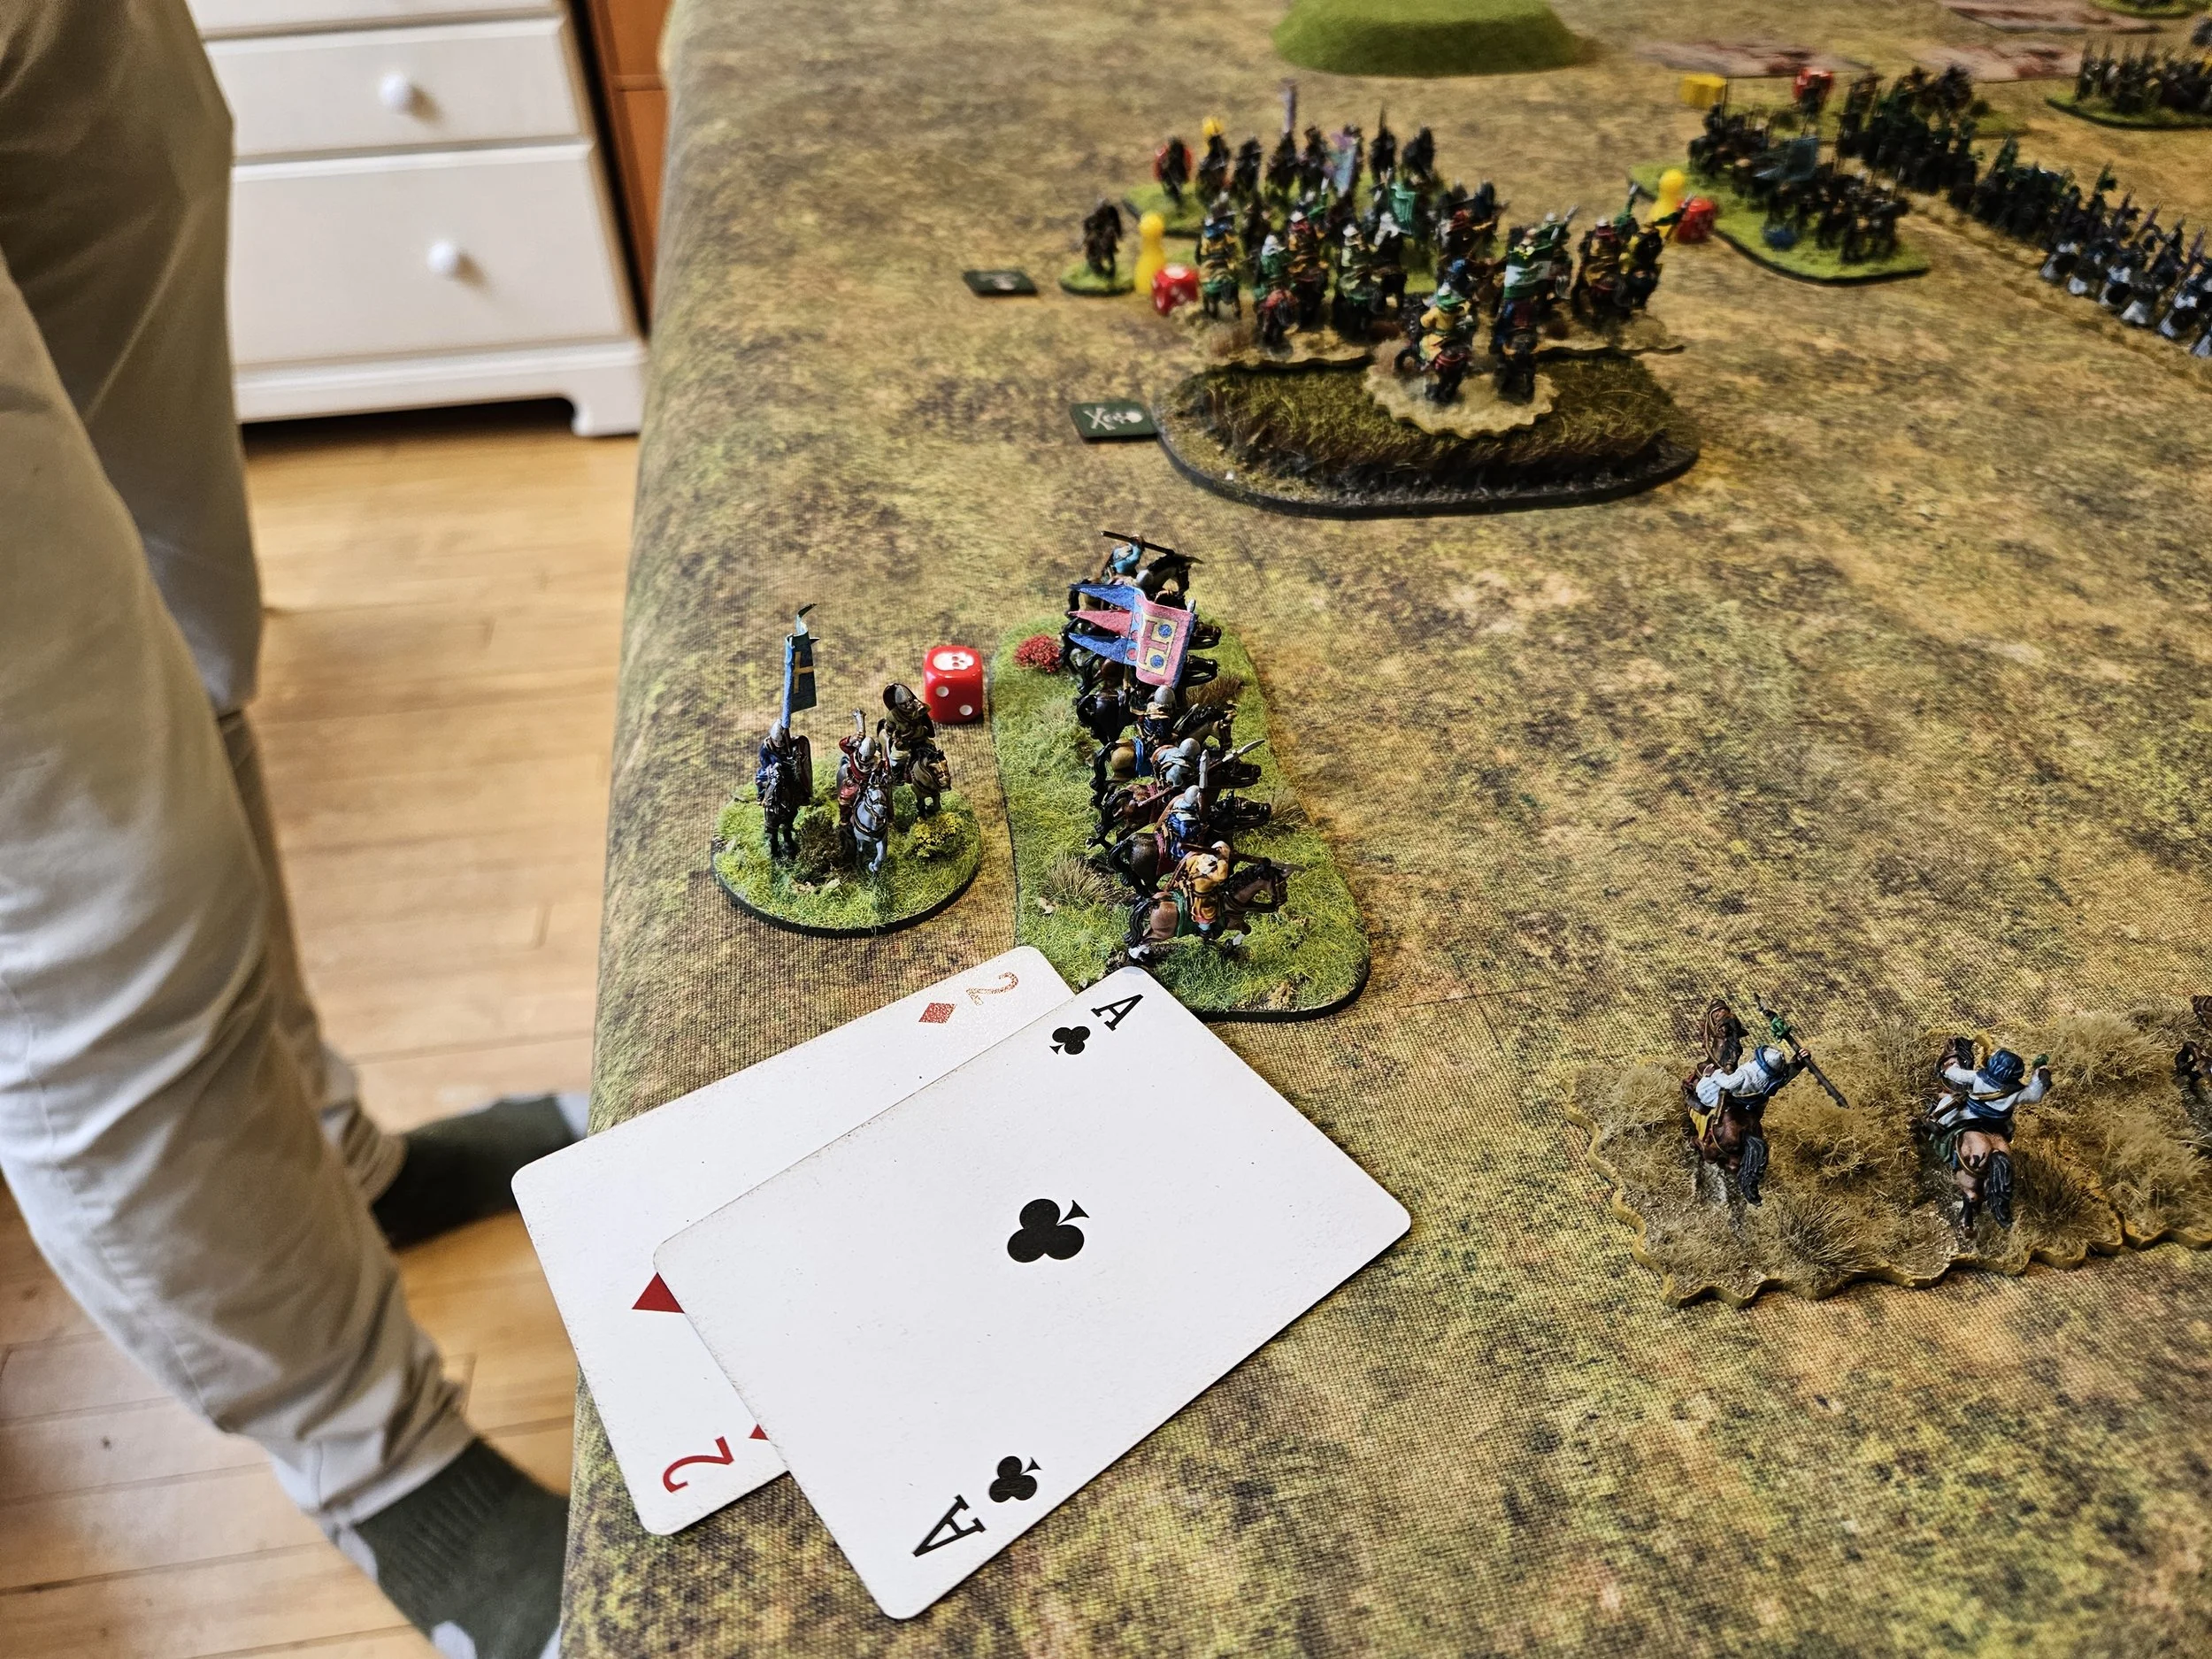
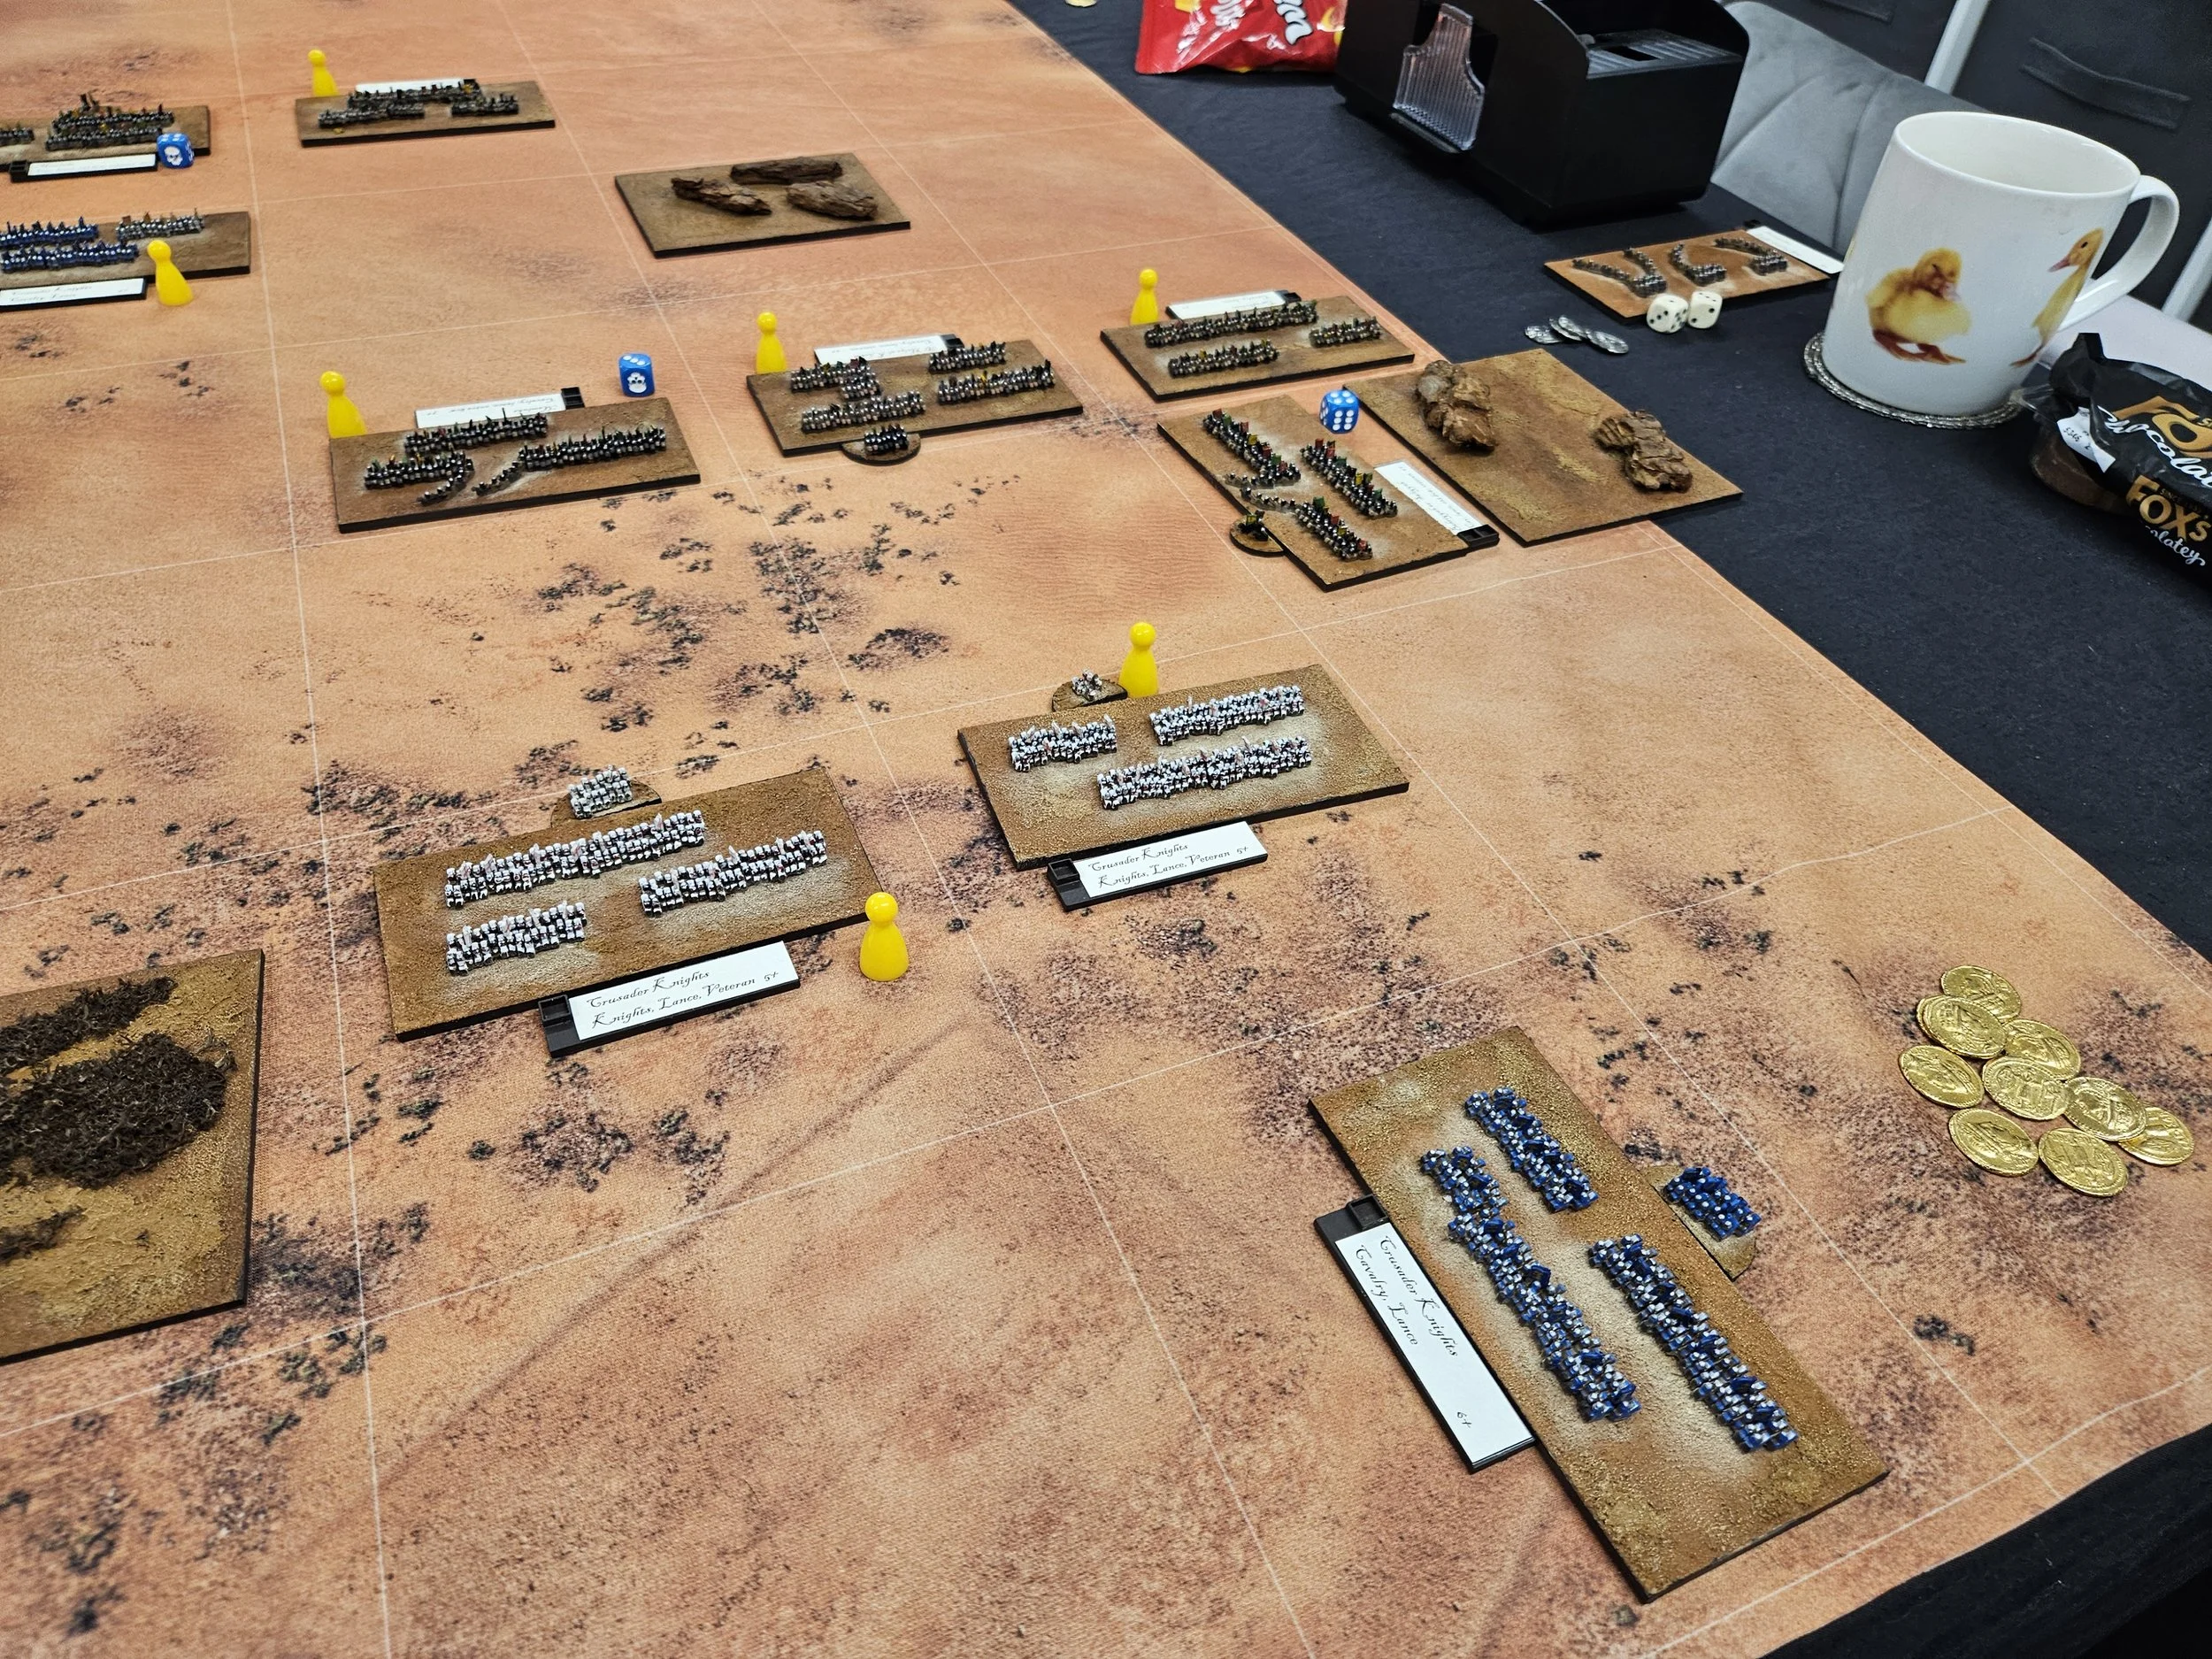
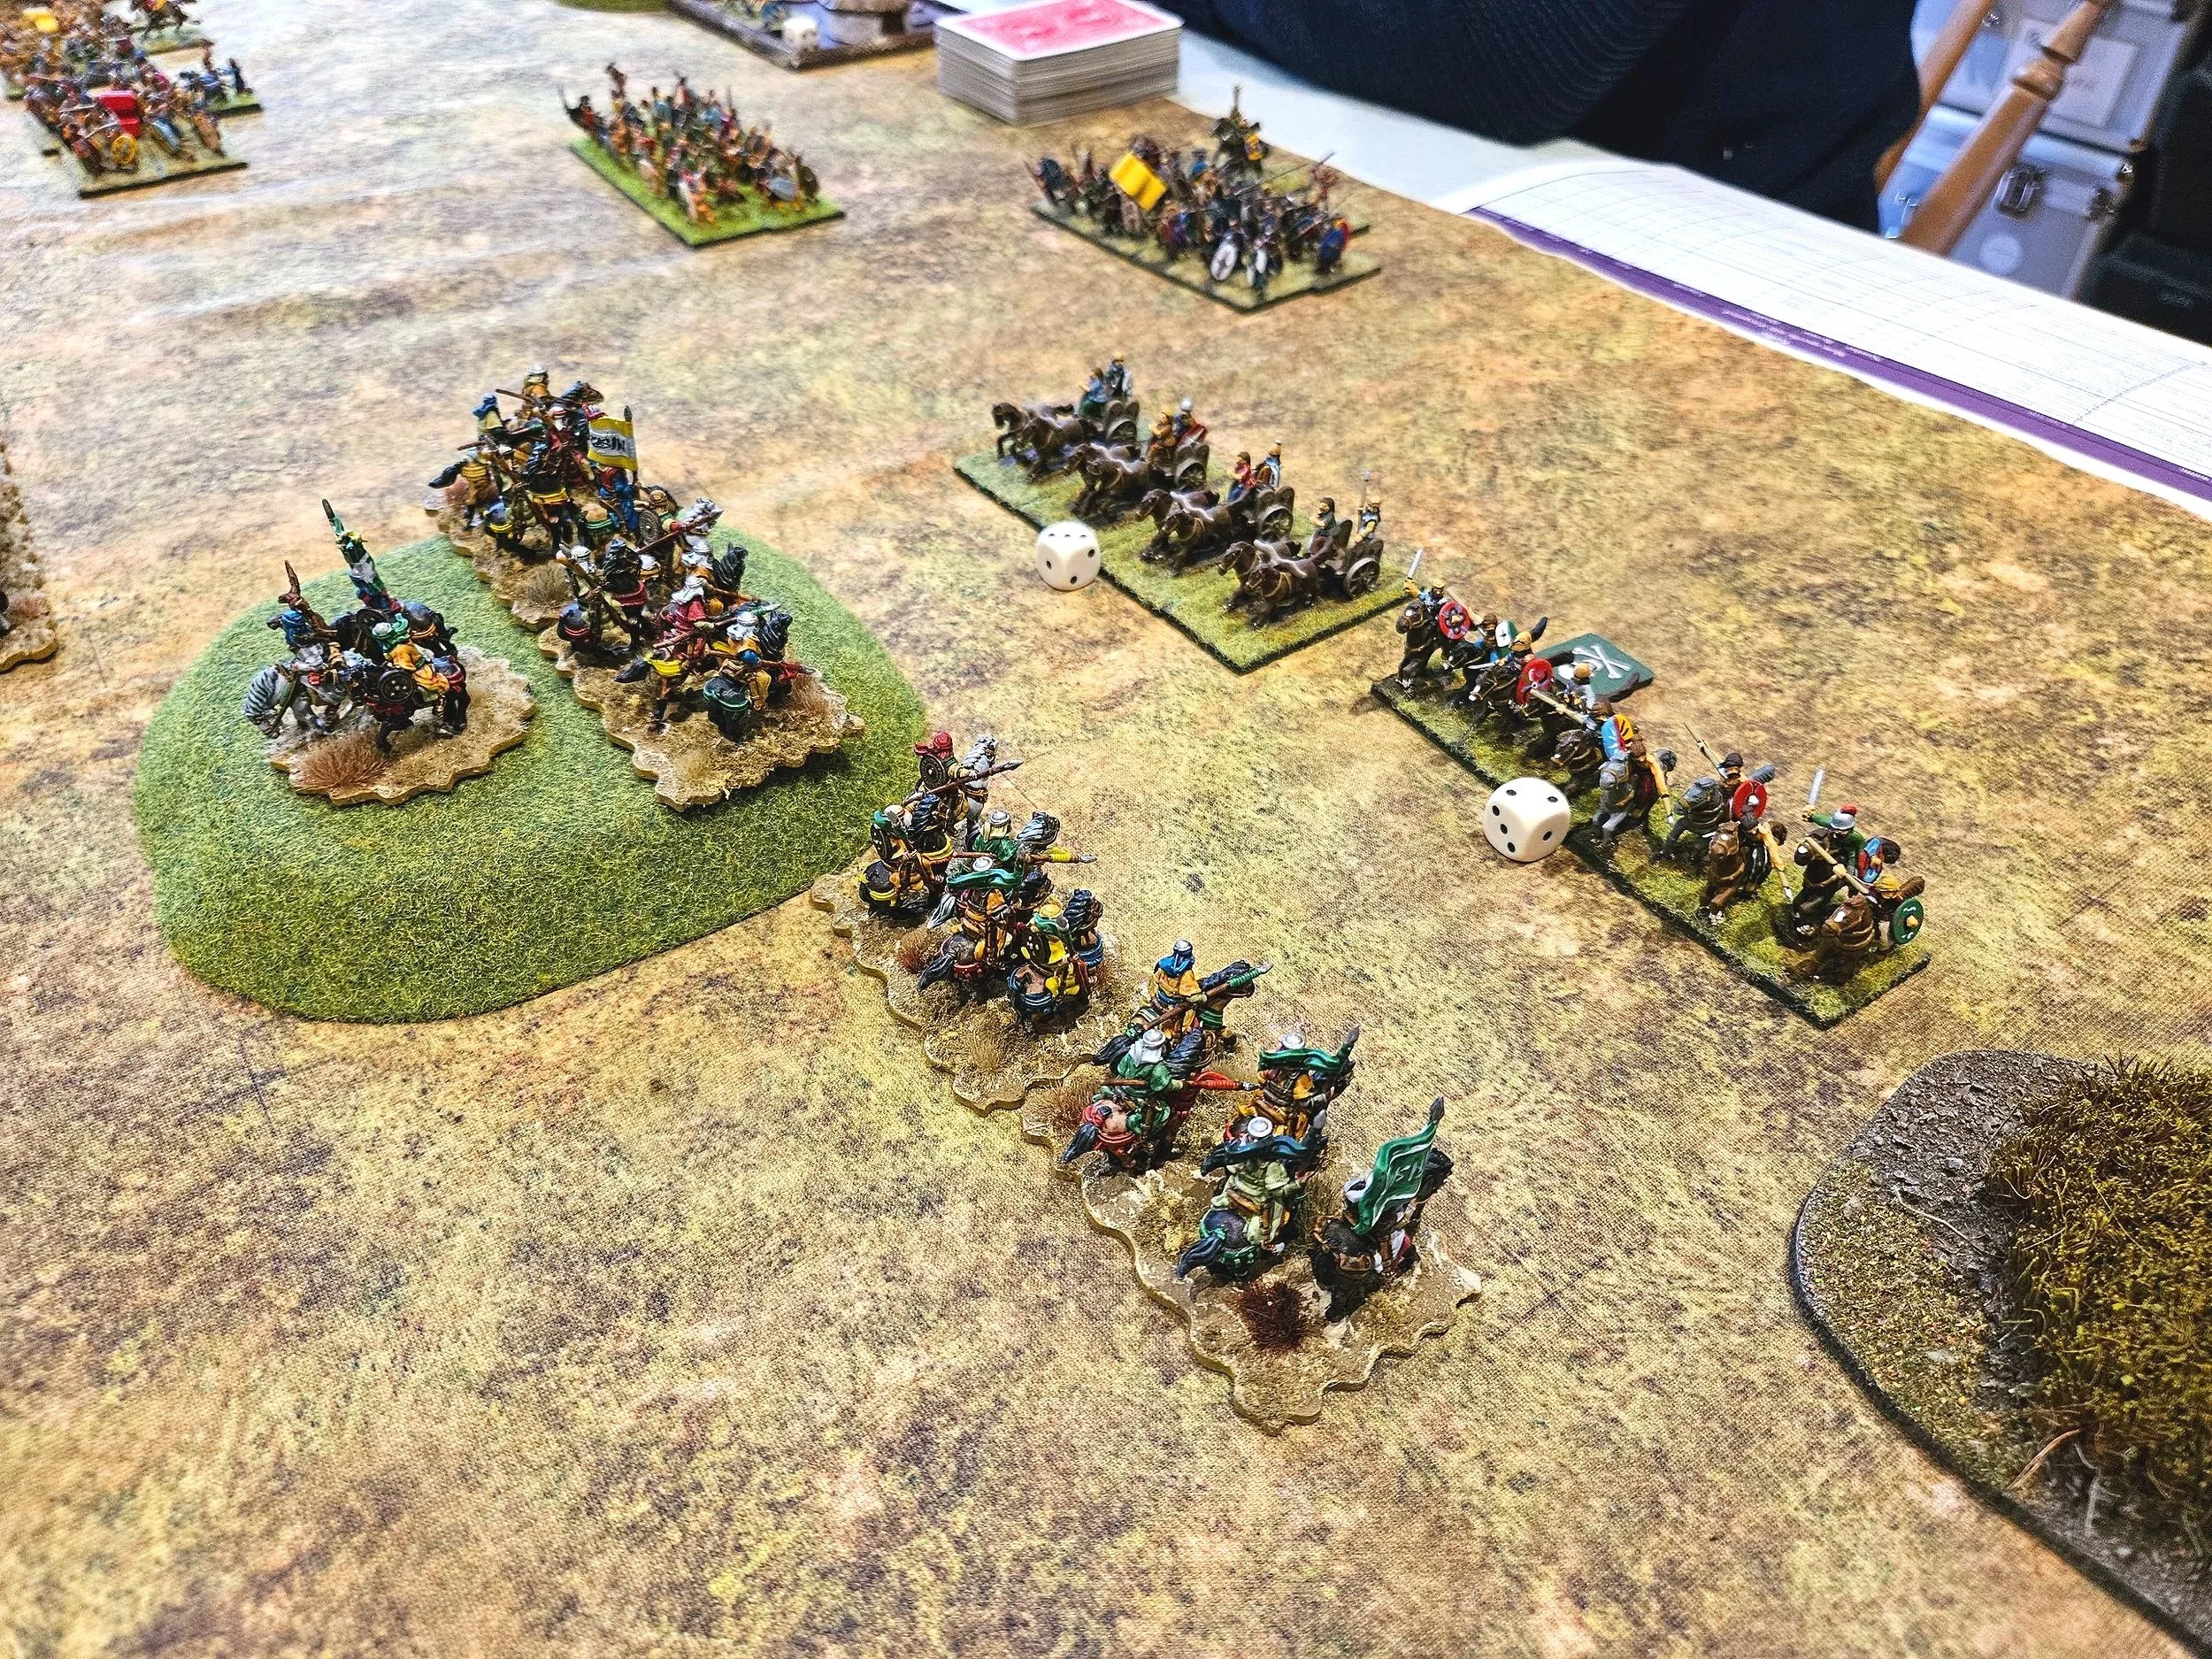
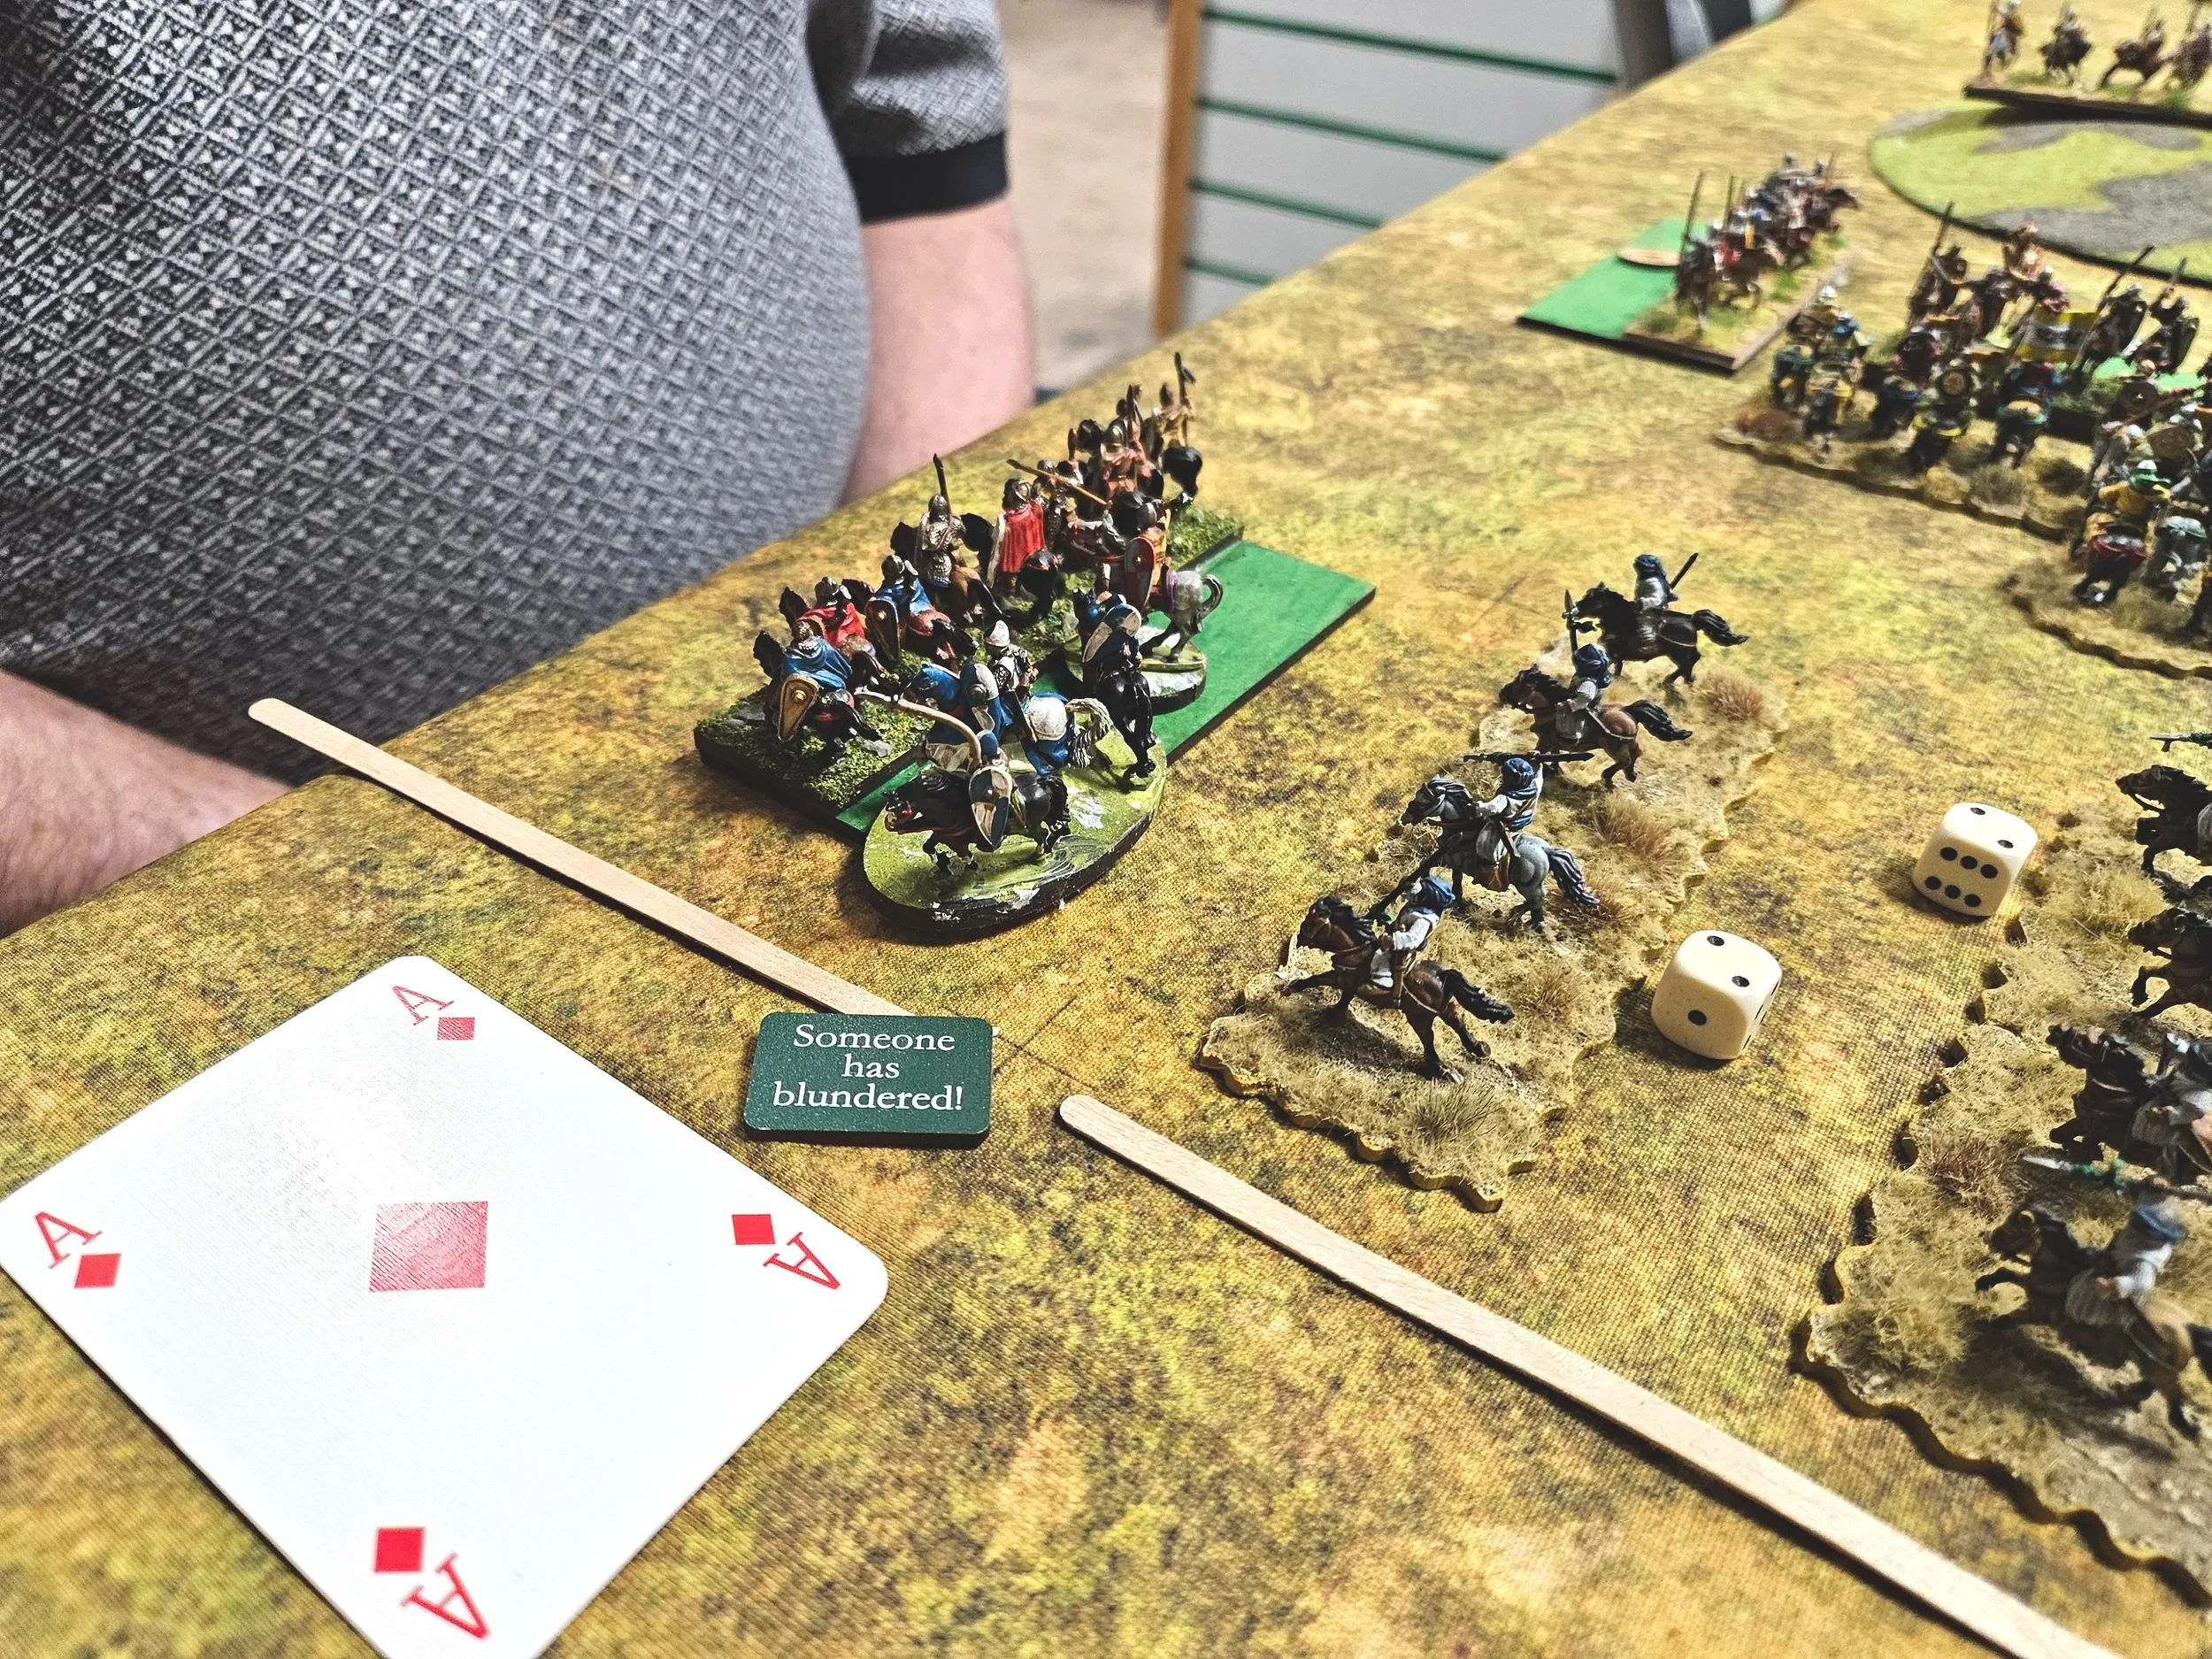
Richard had been steadily losing coins as his troops crashed against my defensive line, and the end came quickly: in fact, just as soon as my Ghilmen on the left got their act together and finally routed the disordered enemy cavalry in front of them for an excellent 154-21 point victory.

So two battles and two decent wins, but it was Steve’s Mongols up next…not a fight I was looking forward to!

To The Smallest: Game One: Khurasanians vs Nikephorian Byzantines

My first game proper at this year’s To The Smallest (15mm) tournament was against friend Geoff’s formidable Nikephorian Byzantines.

I lost the scouting and Geoff took full advantage: superbly deploying so that one third of my army was out on the left fighting “thin air”, my only consolation being that I had managed to stack all my veteran cavalry on the right facing off against the mass of Byzantine horse.

I could then only watch as Geoff took full advantage of the situation, sweeping a cavalry unit past the end of my line looking to curl it back in to take my troops in the rear.

This was not good but, fortunately, the initial clashes of the main line went very much my way: two units of his horsemen, including the veteran cataphracts, being disordered whilst mine remained unscathed.

Unfortunately for Geoff, that was to set the pattern for the battle as a whole: although I couldn’t hit anything with my bows (literally nothing all game!) it seemed my troops couldn’t miss in melee, carving through Byzantines like they were made of butter!

Back to the action. My right flank was still technically in all sorts of trouble, but Geoff was unwilling to risk his disordered unit there in another round of combat, so moved it past my main line and out of harm’s way.

Unfortunately for him, this then left my lancers on the far right free to about face and engage the Byzantine outflanking force, pulling the situation back from the brink.

The next crisis to deal with was also on the right flank, where more Byzantine horse (there was a lot of it!) had got into a position to charge the flank of my other lancers - the ones who had disordered the cataphracts - and it required a bit of fancy footwork (moving the lights then retreating the lancers) to get out of that one.

My other lancers had by now finished off the Byzantine cavalry that had been trying to outflank my line - as I said, I seemingly couldn’t miss in melee - and were now heading back into the centre to help.

Meanwhile, my Arab infantry had been unsuccessfully trying to get into the action. A somewhat amusing two-step developed, where the Byzantine foot would step to their left (i.e. moving towards their cavalry) followed by my infantry stepping to their right to conform, all the while trying to get into bow range. Finally I decided that enough was enough and just turned some of them to the right and marched them towards the action.

My infantry with bows (the lights and the ones in black) eventually got into range but, as previously mentioned, there was something wrong with their arrows and they couldn’t hit a thing!

Back to the centre, where the cavalry that had dealt with the outflanking force now arrived in the rear of the Byzantine horse that had threatened the flank of my more centrally placed lancers.

These crashed into the back of the enemy, knocking them and their general off the table for Geoff’s last four coins and victory was mine.

I felt very sorry for Geoff: his deployment and initial moves had been flawless and totally put me on the back foot, and it was only the fighting ability (luck with the cards in melee!) of the veteran Khurasanian lancers that saved the day.

My infantry did nothing except keep the Byzantine foot occupied (although there was a cheeky little sideshow of one of my light archer units going off on its own to “threaten” the flank of the enemy infantry) and I counted myself very fortunate to have achieved a 154-43 points victory.

Next up: it’s Richard and his Early Muslims again!
To The Smallest: The Warm Up Game (Khurasanians vs Early Muslim)

Off to Cardiff for the annual To The Strongest 15mm tournament, To The Smallest.

I arrived at the venue, the excellent Firestorm Games, already exhausted: I can usually do Cardiff in about 2½ hours, but the journey this time took me a good 4½ hours. I shot through until I reached the M5 interchange and then did the next 40 miles at 15mph. No accidents, no roadworks: just sheer weight of traffic. It was apparently bad all day: although I left home at about 1.30pm, someone else had left near me at 10.30am and someone else at 3pm and it was just as awful. Remind me never to travel to Wales on the first Friday of the school holidays!
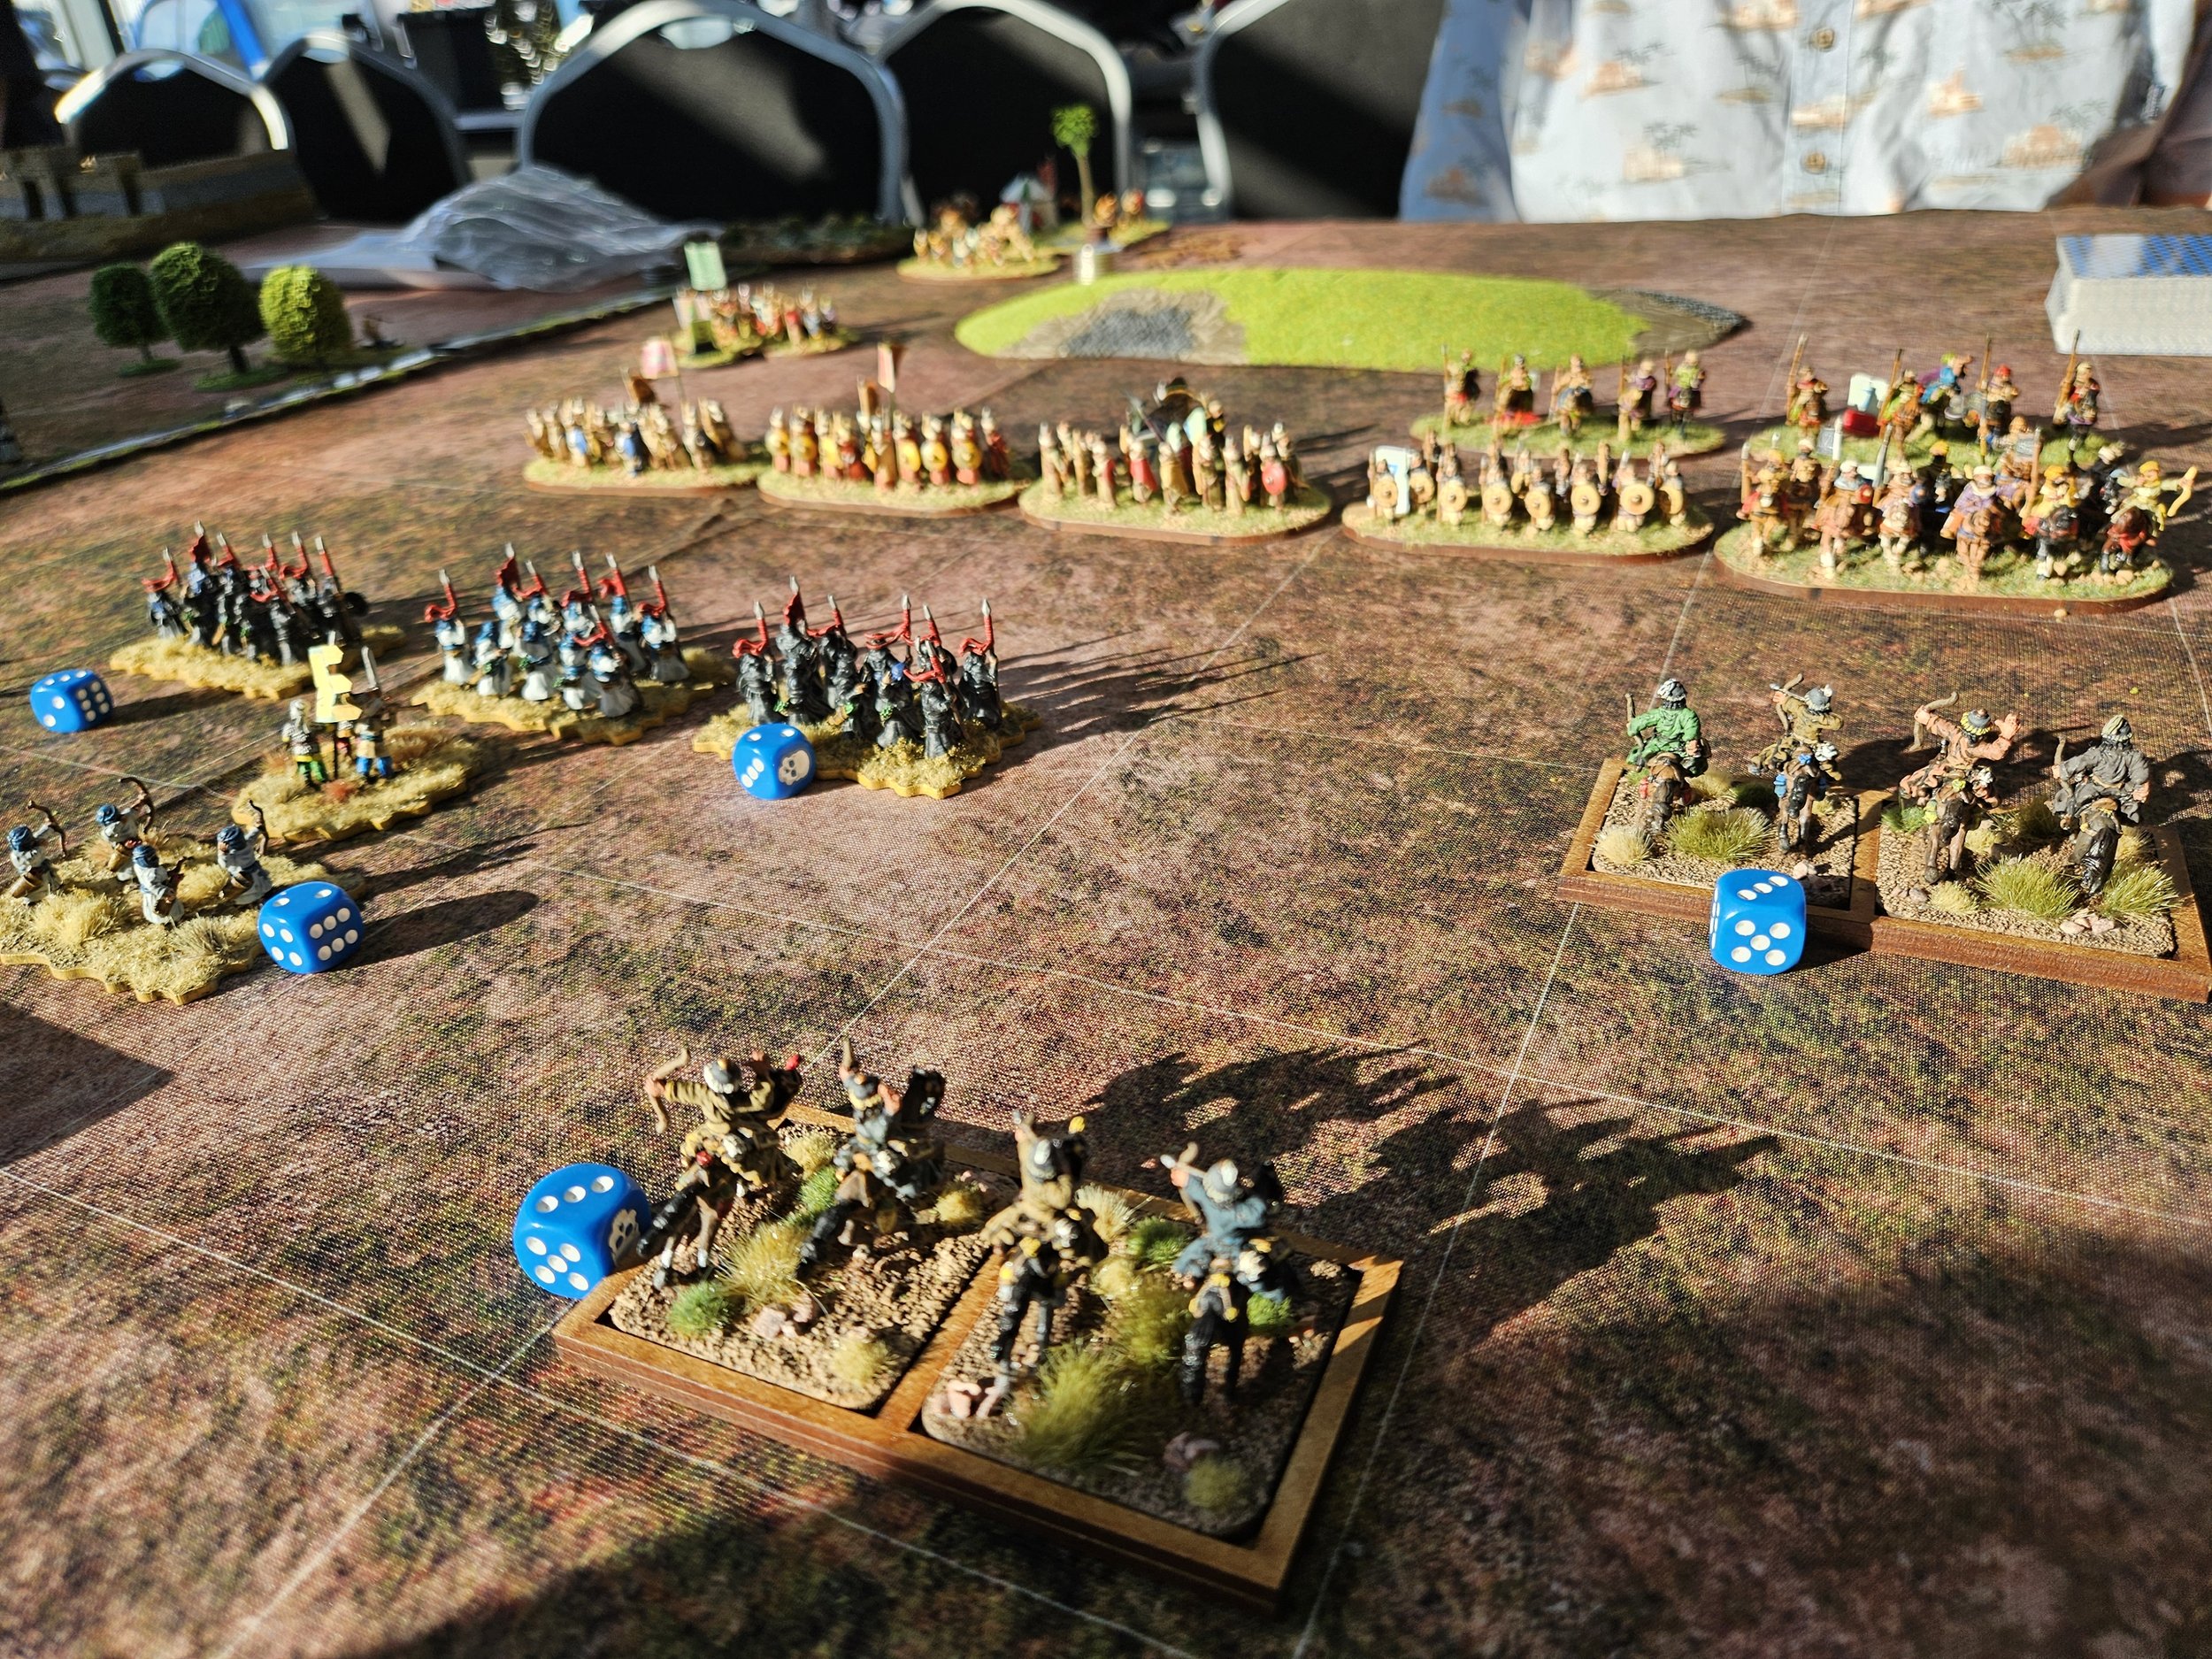
One consolation was that quite a few people had arrived before me, and I was greeted by a wonderfully warm welcome. The TTS competition crowd really are a lovely bunch, and it was great to catch up with everyone. Better still, Firestorm has an excellent café, and a restorative combination of coffee, ice cream and cake left me feeling ready to tackle a warm-up game ahead of the main event the following day.

My opponents were friend Richard’s Early Muslim army: very similar to the Khurasanians I was fielding, the only real difference being that my heavy cavalry carried lance and bow rather than just lance.

There was one table already set-up and available, so we used that even though it was a representation of the battlefield for Towton (29 March 1461: the largest and bloodiest battle of the Wars of the Roses, ending in a decisive Yorkist victory that secured the English throne for Edward IV over the Lancastrian forces of Henry VI - all the games at To The Smallest are played on representations of historical battlefields) which suited neither of us as no-one had enough light troops to risk a trip over Cock Beck on one side of the table. That meant we both had to squeeze our armies into two thirds of the usual available space, which didn’t leave a lot of room for manouevring!

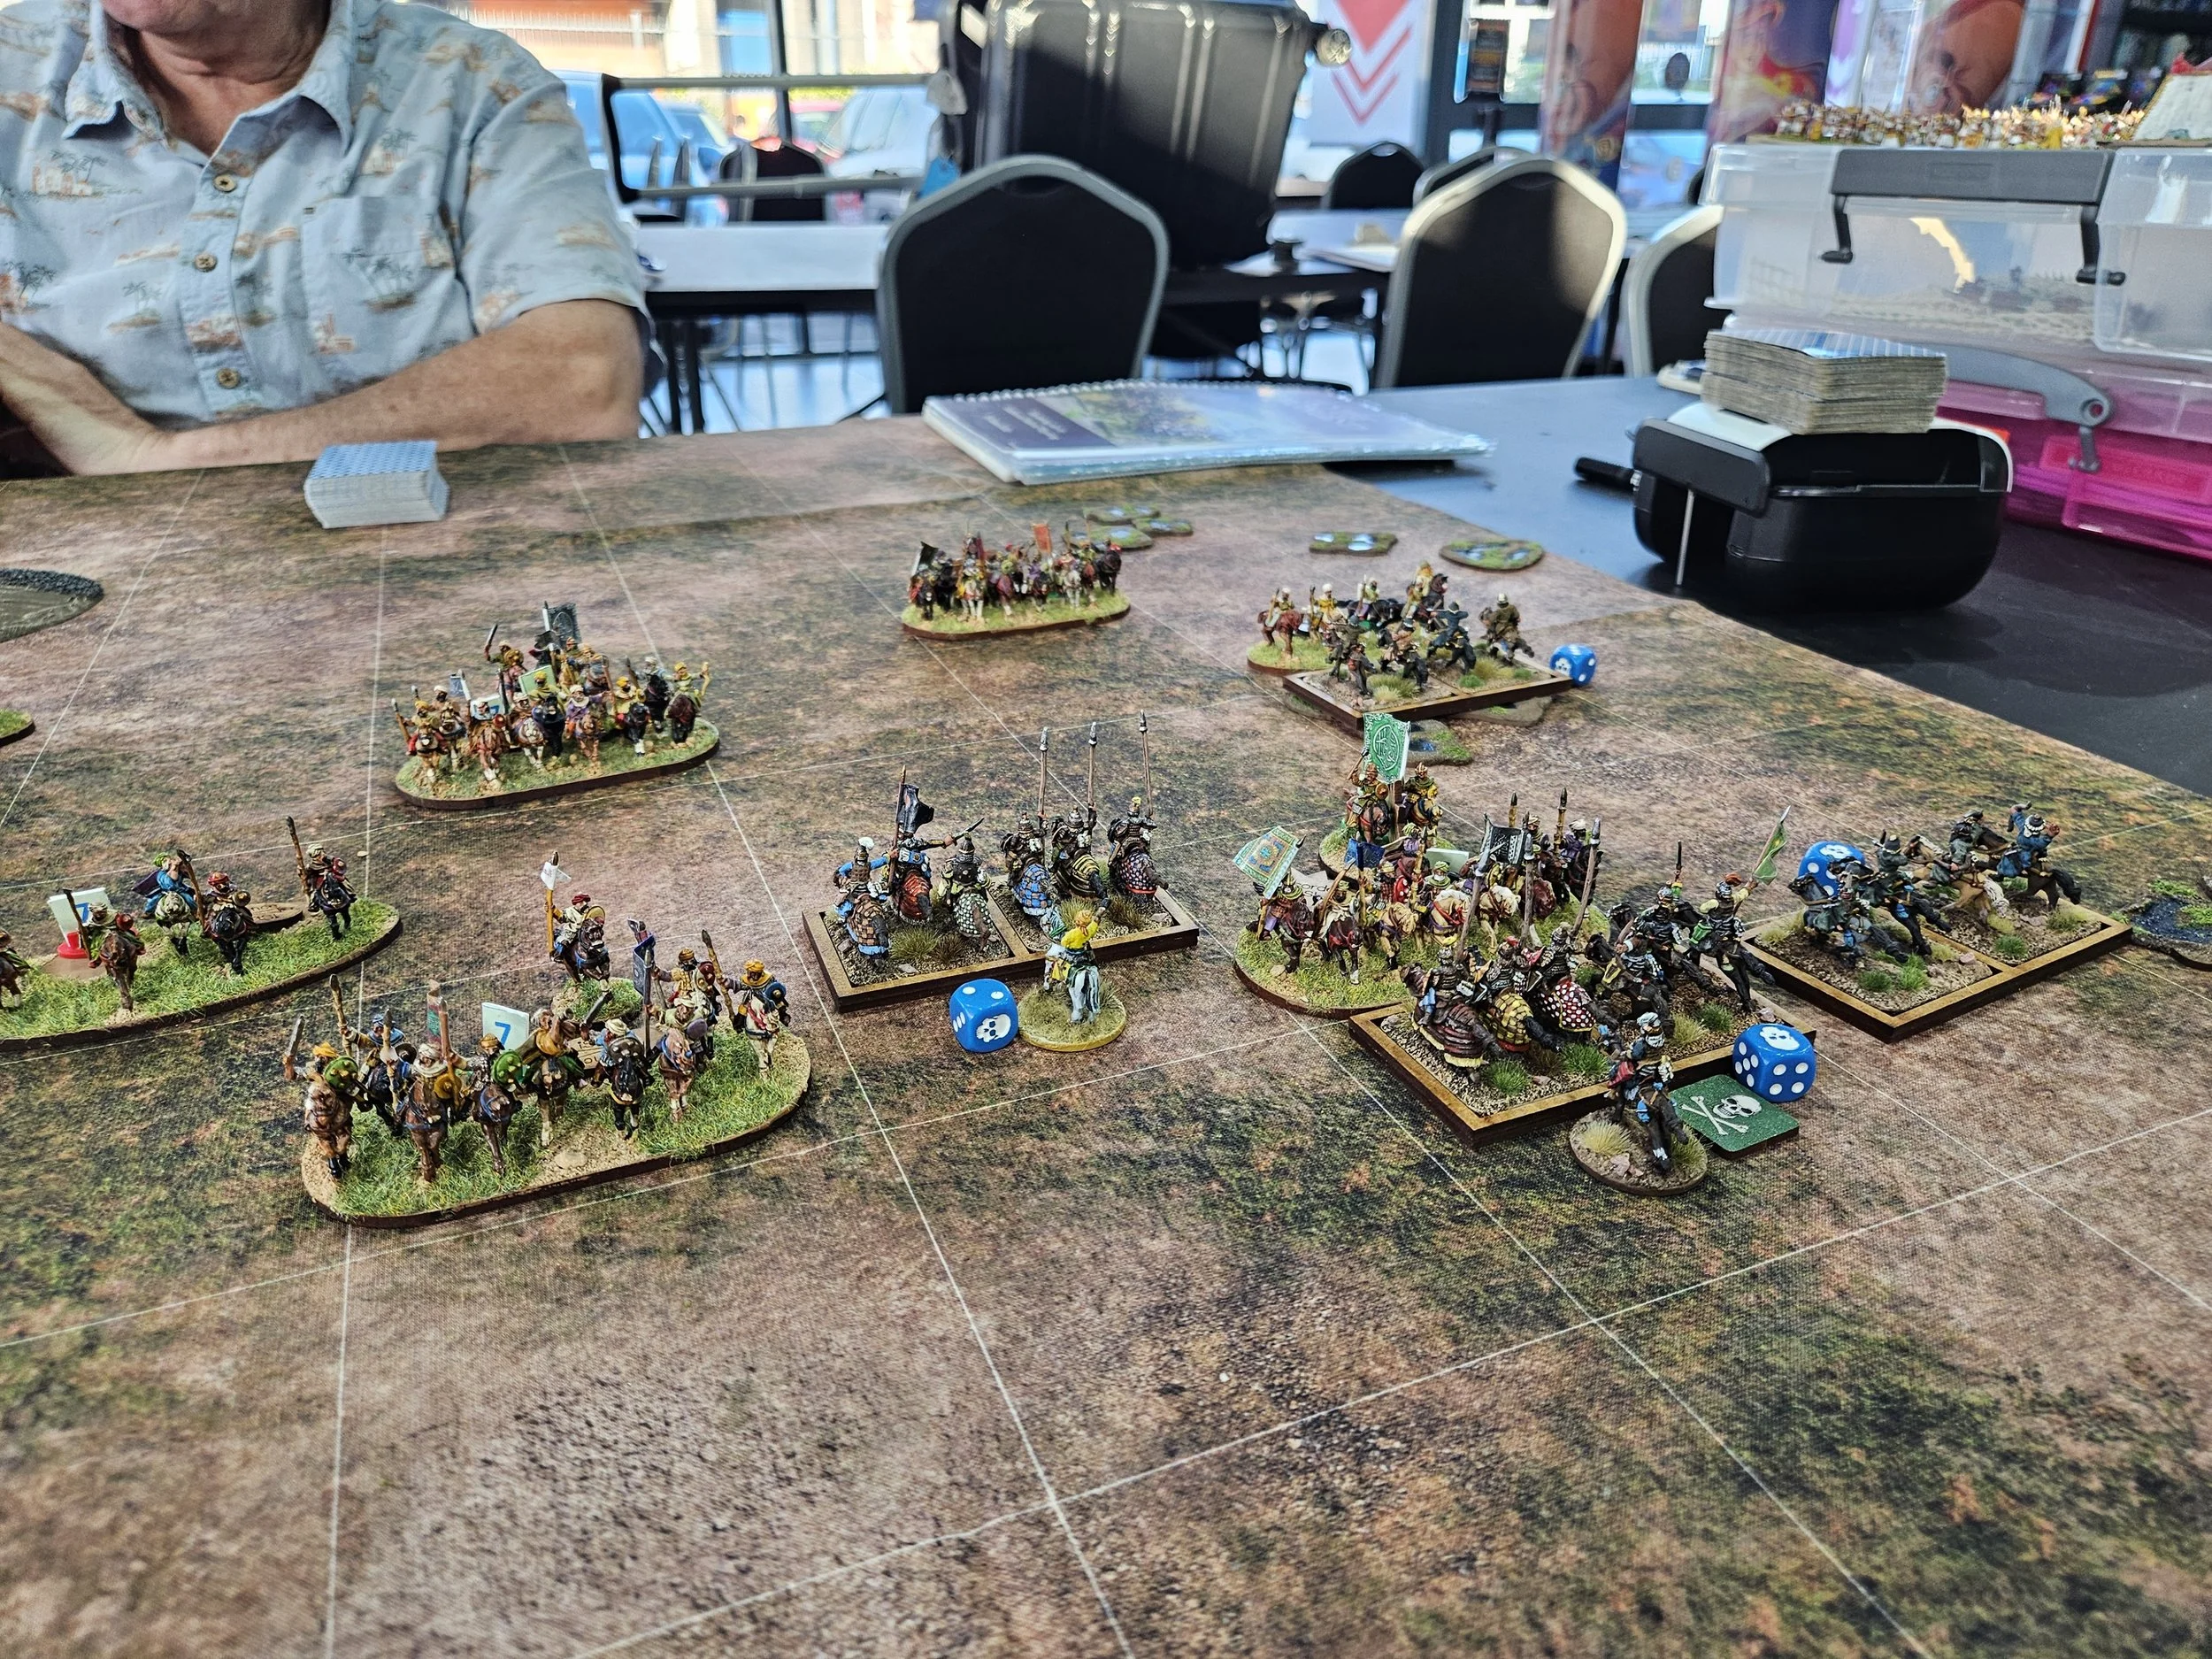
Richard also made the fatal mistake of letting me choose which side of the table to fight on, which meant he spent the whole game with the sun firmly in his eyes (even when the staff put down the shutters) and, in consequence, had to dress like Felix Leiter!

Apologies for the quality of the photographs: it was a very sunny day!

As the Muslims had more cavalry than I did, I stacked all my horsemen on the right in order to get as much parity as possible, and then got hit by the This Way Effendi stratagem which sent my furthermost Ghilman veterans almost off the table!

Fortunately I was able to recover the situation quickly, getting my horsemen back into a line of battle before a bit of luck with the cards enabled me to get the first charge advantage as the two mounted forces came within range. My Ghilmen thundered down the hill on the left, sweeping one enemy cavalry unit clean off the table and leaving another disordered, all for the cost of taking just a single disorder marker themselves.

I was, however, still outnumbered 5:4 in terms of heavy horse, and the enemy Jund cavalry struck back quickly, sending one of my units flying from the field. It was now 5:3.

This action on the right would continue for the rest of the game: the only thing saving my cavalry from being overwhelmed was the narrowness of the available space and my Turkomen horse archers, who both kept the enemy light horse at bay and distracted their heavies.

Meanwhile, on the other side of the field, I had decided to essay an outflanking manoeuvre with some of my infantry, but this was easily countered by some Muslim skirmishers firing from the cover of the trees, and my men were forced to retreat.

That left a big infantry on infantry battle in the centre of the field, and both sides marched into bow range and let fly. Fortunately my Khurasanians got the best of the initial volley and resultant melees, aided by more Turkoman horse archers and a couple of unfortunate (for Richard!) Aces.

Both sides were now down to their last coins, and it was very much a ‘sudden death’ situation. The battle could therefore have gone either way but, as luck would have it, the cards fell for the Khurasanians with a Muslim mounted unit routed by a cavalry charge and the day was mine…just!

How close was the game? I had one coin left myself, so won 14-13 for the very narrowest of victories! A great game fought in the very best of good humour on both sides, and a great way to warm-up for the next day’s tournament proper.

TTS AAR: Early Muslims versus Sassanid Persians

This was (yet) another practice game for To The Smallest, this time featuring my Early Muslims against Si’s Sassanid Persians.

As battle opened, both sides advanced towards the other: the Muslims charging forward rapidly, the Sassanids more cautiously.

On the Sassanid left there was a patch of impassable terrain bordered by a wood, right next to the Persian camp. It looked like the perfect opportunity to take a chance, so I decided it was worth risking a coin's worth of Light Cavalry to see if I could sneak them through the rough ground and cause some mischief.

As it turned out, it worked even better than I'd hoped. The light horse managed to get behind the left-hand end of the Persian line. The camp itself looked a bit too tough a nut to crack—a fortified camp on a hill defended by light bowmen—so instead I wheeled them round and sent them charging into the rear of the Persian cavalry.

That opened the door nicely. I brought up some of the Jund cavalry to pile into the melee and, before long, a couple of enemy units had routed.

The troops in the camp did then make life awkward for my cavalry, but by that stage the Sassanid battle plan was in tatters. What had started as a speculative gamble with a single light cavalry unit had ended up somewhat disrupting their left flank.

Meanwhile, elsewhere on the battlefield, the two sides had advanced towards each other, with the Muslims being much more aggressive following their success on the right.

Up in the top left hand corner of the battlefield, the two cavalry forces came together with a crash, with honours even the result.

The key difference was that after the initial clash, the Muslim cavalry were in a better position to turn and charge the rest of the Persian line, and although this attack from the flank didn’t achieve a great deal in terms of casualties, it did stop the more mobile Sassanid horse running rings around my infantry in the centre.

This was a good thing, and meant that the Muslims could bring their foot forward and force the Sassanids to charge straight onto their spears rather than having to sit there and wait to either be killed by archery or overwhelmed from the flanks.

The battle had now broken up into a whirling series of individual melees with units turning this way and that and charging anything they could see. As an example, although my attack on the right near the enemy camp had petered out (some skilful manoeuvring from Si to get out of that one!), one of my Jund horse units retiring disordered from that went almost straight into action against the flank of an enemy cavalry unit who, in turn, were threatening the flank of one of my infantry units who, in turn, were in a position to flank charge other Persian horse!

A combat of such intensity couldn’t last: someone had to give and, as luck would have it, it was the Sassanids who collapsed first, one of their cavalry units eventually failing to evade some Berber Spearmen and giving me the last two coins I needed for the win.

A hard-fought, narrow victory for the Muslims, and a great game of To The Strongest.

TTS AAR: Khurasanians versus Siamese (Thai)

Time to give the Khurasanians another test, this time against Rob’s Thai army with all its anti-cavalry elephants.

The Khurasanians won the scouting, and set up in a position to sweep down and around the Thai’s left flank. There were a lot of those elephants in the centre of the battlefield, but as just about every Khurasanian carries a bow, I was confident that I could shoot them all down before we got into contact.

As soon as the battle began, I therefore shot forward along the right hand side of the battlefield, hanging back on the left where I was aided by some extreme hesitation by the Thai infantry there.

My Turkomen horse-archers were soon within range, and a volley of arrows towards the lumbering Nellies, but all to no effect.

I had got around the Thai left flank with one command of cavalry, but their infantry there had turned to face my lancers to force a stalemate that I would usually have broken by hitting their other flank from the centre…but unfortunately my horse-archers were still trying to deal with the elephants there, who remained impervious to arrow-fire.

Worse, the rest of the Thai infantry had got moving and, although mostly not very good troops, quantity has its own quality and there were an awful lot of them!

By using the elephants to hold the centre, Rob had now managed to carry out his plan, which was to swing the battlefield around so we were fighting lengthways up and down the table rather than across.

His troops on his right executed a neat 90° turn and suddenly it was me fighting to protect my flanks not him…and his elephants in the centre were still shrugging off arrows like they were made of rubber!

Although my infantry were holding up the flank attack coming in from the left, there seemed to be nothing I could do to stop the Nellies advancing forward. More arrows headed their way: still no kills. Incidentally, after the battle ended, we calculated that the elephants had been shot at 24 times and just kept on advancing like big, grey, wrinkly space invaders, rather than the 3.6 kills (i.e. all of them) probability would suggest would happen.

The elephants got in amongst my heavy cavalry, and suddenly my centre began to collapse! Worse, my left flank also gave way under sheer weight of numbers, and Rob was even able to drop an elephant unit back to help defeat my flanking attack, which rapidly ran out of steam as even more arrows bounced off the Nellies.

Unbelievably, I was still only down six of my fourteen coins: it was the situation on the battlefield not casualties that was the problem.

The end can come very quickly in some games of To The Strongest, and it did so here. Rob took full advantage of his positional superiority and moved in quickly for the kill. Fittingly, it was the elphants that delivered the coup de grace: taking out two units of Ghilman veteran cavalry and their officer for a loss of six coins in one melee.

So a catastrophic 14-0 loss for the Khurasanians that I am firmly blaming on those pooping elephants!

How three one-hit units saving on 6+ can survive so many attempts to cut them down with bowfire I do not know. It was up to Rob to celebrate his victory by providing a fitting image to finish off this battle report…

TTS AAR: Khurasanians versus Marian Romans

More practice for To The Smallest: this time my Khurasanians would take on Si’s Marian Romans

Unsurprisingly, the Khurasanians won the scouting, so I deployed in order to hold the Roman legionaries in the centre of the field whilst my much superior cavalry smashed their hodge podge of Gallic, Roman and Persian cavalry from the field on the right, and swept round to outflank them on the left.

As the battle began, my horsemen swept forward as planned, and soon the game was split into three distinct sectors: the left, the centre and the right.

On the left hand side, my cavalry shot past the Roman right flank and then turned to do battle. Unfortunately, the Marians have very manoeuvrable infantry, and rather than face the rear of the Roman line, they faced some fierce-looking legionaries determined to protect their comrades’ open side.

Si then conducted a textbook demonstration of how to counter cavalry with infantry as, for the rest of the battle, the forces on my left fought each other to a standstill, with neither side gaining the upper hand. My only consolation was that this action tied up half the Roman legionaries (the bits of his army I was afraid of) for half of my cavalry, leaving all my infantry and half my cavalry to deal with half his infantry (the veteran half, unfortunately) and his hodge-podge cavalry.

On the right flank, my cavalry swept forward confident of victory.

This, of course, proved to mean “over-confident of victory” and, for a moment, it looked as if I was going to be beaten back on this flank.

Fortunately my Ghilman lancers proved why I pay so many points for them, and although I was definitely losing this flank, the position at the end of the battle was an 'honours-even draw.

That left the centre to decide things, where five units of veteran Roman legionaries faced six units of Arab spearmen, half of them with extra bows.

Fortunately for me, the initial Roman attack was piecemeal, as some of his infantry had turned to help his cavalry out in their battle on the right flank against my horsemen. This allowed me to pepper his line with arrows, killing two enemy cohorts (one base’s worth) and increasing my advantage from 6:5 to 6:4.

This numerical advantage allowed me to get some of my infantry onto the flank of the Roman line, and from there it was just a matter of time before the legionaries gave way. I was helped by the cards a little bit, especially when the Roman eagle-bearer was killed, and victory was mine with the demise of three of the five veteran legionary units.

Somewhat wierdly, the infantry fight in the centre of the table that would eventually decide the game seemed very much as sideshow, as both Si and I spent most of our time concentrating on the action on the flanks. It took a bit of time for the veteran legionaries to get moving in the centre: something that definitely played out to my foot-archers’ advantage.

A great game of TTS.

TTS AAR: Khurasanians versus Western Han Chinese

Another practice game for To The Smallest: I would use the Khurasanians I’m using for the competition, John would use my newly painted Han Chinese army, and had even chosen a t-shirt to match their colour scheme!

As the Chinese had no cavalry on their open left, my first move was to send a command of Ghilman cavalry down that side of the table in an attempt to outflank the enemy’s main line. Despite having the right cards and manoeuvring into the perfect position, the attack itself was underwhelming, inflicting only a single disorder. Still, I had turned the Chinese flank and was well placed to build on the position.

On the opposite flank, I had managed to get my other cavalry command tangled up in the woods bordering the stream. Although they outmatched the Chinese in both numbers and quality, the rough terrain kept them tied down for the rest of the battle. The enemy units they eliminated were welcome additions to my coin tally, but the price was that my cavalry never made it back to the centre to influence the decisive fighting there.

Meanwhile, in the centre, John had sent the rest of his infantry, both regular and his tribal levies, forward to try and break my main line.

With some of his troops still having to react to my flank manouevre, I was able to contain the Chinese foot soldiers…but only just, especially after their heavy chariots (Assyrian proxies!) joined in the fun.

But it was back to the flanking attack to finish John off, despite an unfortunate encounter with the Someone has Blundered stratagem, especially as some success in the centre had freed up a couple of infantry units to help.

The coup de grace came from these infantry units: the Chinese camp falling to their advance:

A workmanlike win for the Khurasanians but, more importantly, lessons learnt in preparation for To The Smallest.

TTS AAR: First Outing for the Han Chinese

More practice for the To The Smallest competition: this time my newly painted Han Chinese (so newly painted that I still had a couple of proxies in there: half an Arab camp, an Assyrian four-horse chariot, and some 19th Century Boxers) versus Si’s Sassanid Persians.

As the battle opened, the Sassanids advanced rapidly, particularly on my left flank. I wasn't overly concerned, as I had deployed my infantry two ranks deep in that sector, both to protect my camp and because I simply had too many foot units to fit into a single line. My greater concern was the right flank, where my relatively weak cavalry was positioned. Fortunately for me, the cards worked in my favour, and the Persian forces on that side were slow to press their attack.

Massed mounted bowfire against my left did cause me some initial problems, particularly as Persian lancers then targeted my melee-weak crossbowmen, but the hail of quarrels that I sent back evened things out.

On my right, my mounted crossbowmen were quickly dispatched, but the Sassanid horsemen still hung back a bit, hopefully giving me enough breathing room to break his army elsewhere before they brurst through and curled in towards the flank of my main line.

Up until this point, my attention had been firmly on my flanks, but then disaster struck in the centre!

A “Lost” (via a stratagem) Persian unit of horse archers burst into the rear of my Pagoda camp, costing me three coins immediately, and more Persian lancers got through my first infantry line to threaten the crossbowmen of the second line right in front of my other camp.

Fortunately my infantry on the far left had now managed to beat the Sassanids in front of them, so whilst some of my troops kept pressing forwards, I was able to bring others back to help re-take one camp and help defnd the other.

A fierce battle for the camps developed, and although I eventually managed to shoot the enemy horse archers in the left hand camp down, it was only the heroic defence put up by the crossbowmen in front of the right hand camp that allowed me to stabilise the situation.

There were more Chinese heroics on the right flank, where the horse archers kept a command of Sassanids occupied rather than letting them turn and attack my right flank.

To summarise the situation: the left flank was won, but I had nothing left there that could contribute to the rest of the battle. The right was lost, but the enemy there were tied up pursuing my slowly retreating horse archers. The camps in the centre were retaken/held, but the forces I had there were busy mopping up the last of the Sassanid central attackers. The coin count to date was in my favour, but I only had three or four coins left, so couldn’t really afford to lose more. The only place where I could properly win the game was in the centre, where my command of tribal foot and a single heavy chariot (the Assyrians!) faced more bow-armed Persian lancers.

There was nothing for it but to send the Tribesmen and Chariot forward and see what they could do!

The Sassanid lancers were just as keen to engage. They needed to kill one of my units there to win the game before the rest of my troops killed anything else of theirs elsewhere on the table: something that was quite likely in the areas off to the left and around my camps.

It was an epic clash: thousands of tribal warriors and some heavy chariots charging and being charged by Sassanid lance-armed cavalry. The advantage swayed backwards and forwards but eventually the tribal warriots prevailed (admittedly helped by some regular infantry coming in from the left!) and the last Persian coin was mine!

Victory for the Han Chinese…but there was barely anything left on the table that could celebrate. An epic battle that came right down to the wire!

TTS AAR: Khurasanians versus Sassanid Persians

With the annual To The Smallest 15mm tournament only a couple of weeks away, it was time to get in some practice games, especially as ‘Smallest uses a 10cm grid rather than the more usual 15cm one, meaning a larger playing area, bigger armies (160 vs 130-140 points) and some specific rule changes.

Sid, the tournament organiser, had already published diagrams of the intended table set ups (each representing a different historical battlefield) so for this game we elected to fight over Beneventum in southern Italy, the last battle of the Pyrrhic War fought between the forces of Pyrrhus, king of Epirus in Greece, and the Romans, led by consul Manius Curius Dentatus (the result was a strategic Roman victory and Pyrrhus was forced to return to Tarentum, and later to Epirus).

I was going to use a Khurasanian army (a mix of two commands of Arabic infantry and two commands of Turkic cavalry) and would, for this first practice game, face Si’s Sassanid Persians.

I didn’t want to risk my cavalry getting entangled in the woods to my left, so controversially deployed (L to R) a command of infantry, a command of cavalry, a command of infantry, and a command of cavalry. All my plans were then promptly kicked into touch as Si played the This Way Effendi strategum on me, meaning my troops on the left were pushed back three boxes leaving a hole at that end of the line!

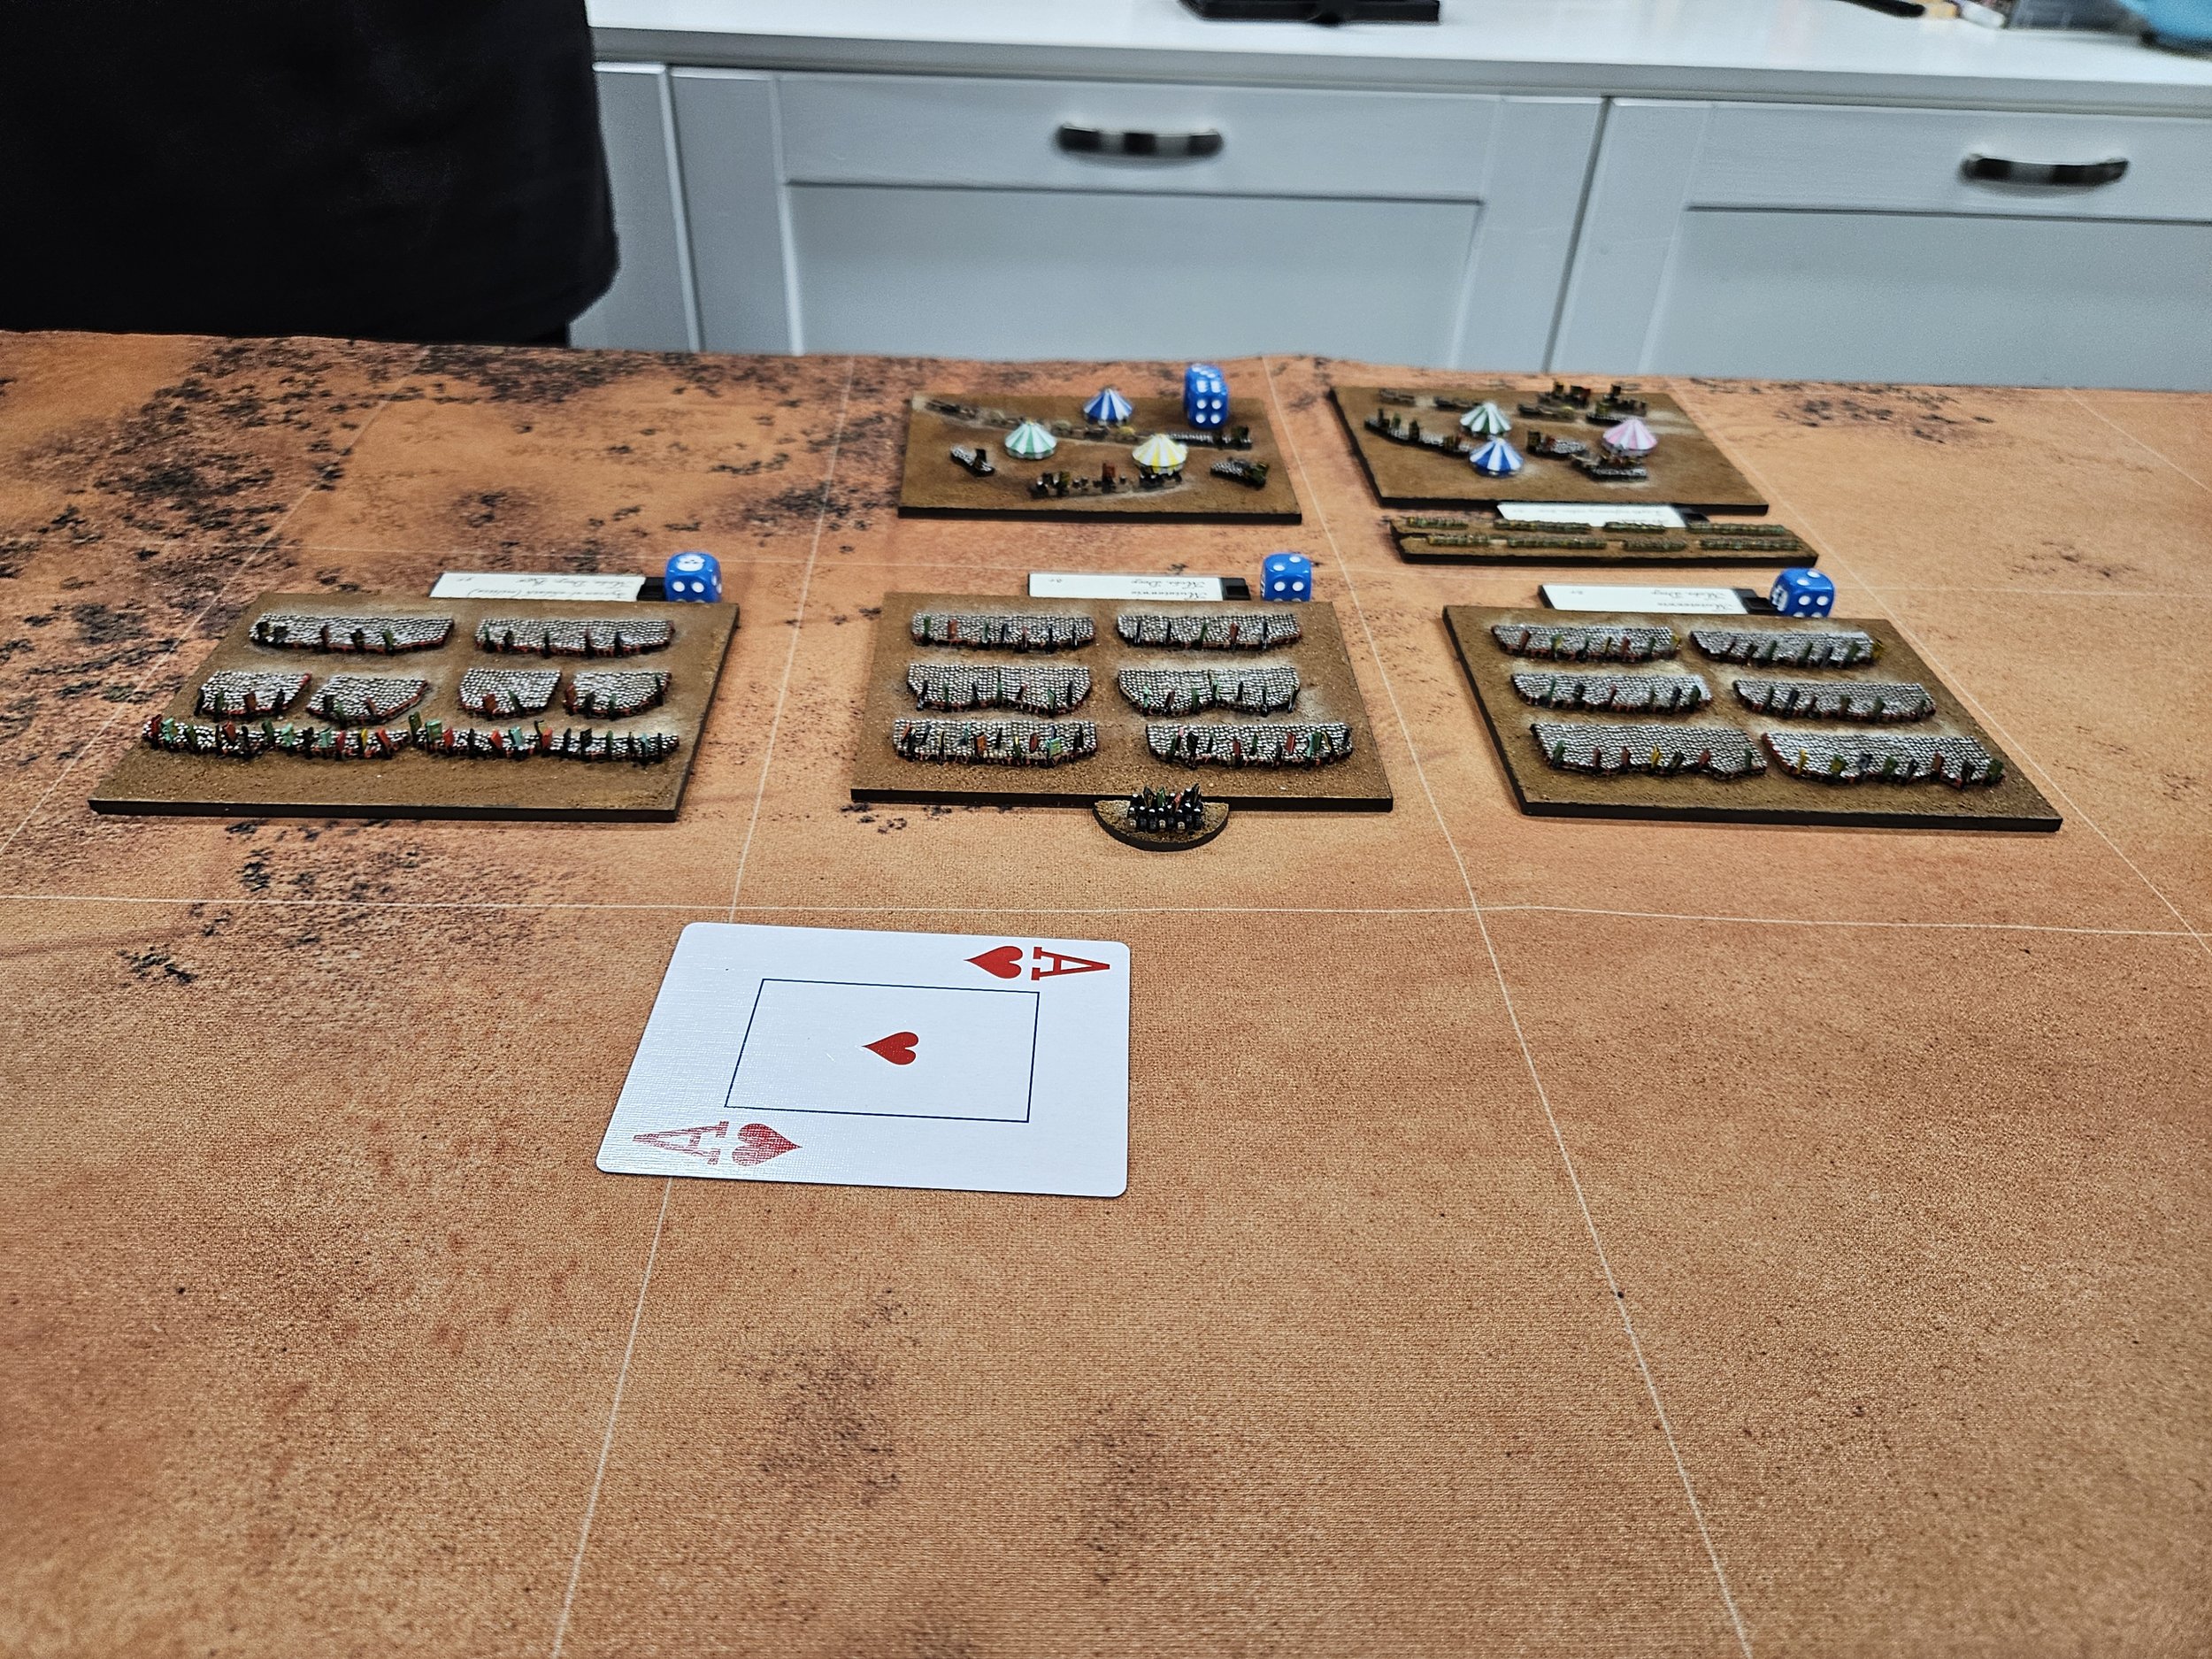
Initial deployment seen from behind the Persian lines

“Don’t listen to him, with his effendis and all that: the battlefield is this way!”

Fortunately I had won the scouting, so I was able to restablish my line before the Sassanids could take advantage, but the delay meant that I could only watch as the Persian horsemen thundered towards me.

Unfortunately for Si, the luck was really with me and had seriously deserted him for this game: I couldn’t fail an activation, miss with a bow, or flunk a melee hit and the Sassanids couldn’t save a thing.

My initial volley of arrows disordered three of four of his units, and when my Ghilman horsemen followed up, they cut through the enemy like a lance through butter! Things were so good that I even sent my infantry forward on the attack, not something you often see when spearmen face heavy cavalry!

The Persian right flank was forced to withdraw, my lancers burst through the Persian centre, and the Sassanid left was reduced to a couple of units of horse archers trying to hold up the Khurasanian high tide!

The climax came quickly: all the holes in the Sassanid line meant that my light Turkoman light cavalry could find the flanks of the heavier Persian horse, and it was soon all over for an emphatic 14-0 victory for the Khurasanians.

Much as I would love to chalk this up to my brilliant strategy and tactics, it was one of those games where everything went my way. On to the next one…

TTS AAR: Fanatical Berbers versus Early Feudal Spanish

Time for another game of To The Strongest in 2mm: I would play the Fanatical Berbers against Neil’s Early Feudal Spanish.

I lost the scouting and could only watch in horror as Neil deployed the vast majority of his army in a schwerepunkt against my right flank.

Not only that but, as the action began, the command he had left behind on my left turned and headed right to join their comrades…who were advancing rapidly towards me as fast as their horses could carry them.

Fortunately for me, Neil’s attempt to consolidate his commands on my right meant that the light cavalry I had deployed on my left could sweep forward and flank charge the Spanish troops moving sideways.

Although the latest Even Stronger now prevents light cavalry charging through other light cavalry, I was fortunate enough to have the time and space to hit the unfortunate sideways-movers from flank and rear, rapidly wiping out one formed unit, one light unit and a general for an immediate five coin advantage, and even threaten the final unit of lights as well.

Meanwhile, on the right, my counter-advance had brought the two sides within easy charge distance and a messy and extremely savage series of melees broke out with neither side particularly gaining the advantage.

If it helps when looking at the photos below, I’m using green disordered markers and Neil is using white skulls. It’s also worth noting that all the luck in the cards seemed to be with me: I was saving hits like there was no tomorrow and Neil, er, wasn’t!

Given that we each lost at least one unit in the kesselschlacht shown above, I was now feeling fairly confident of victory. I mean I was something like seven or eight coins to three ahead with thirteen getting the win, and my lights on the left were in a perfect position to sweep down onto the largely undefended Spanish camps.

My hubris was, of course, immediately punished by Lady Luck: my next two turns neatly preventing my lights from doing anything remotely ressembling sweeping, and the tide turning against me on the right, with even the elite Black Guard suffering the effects of my current run of misfortune.

Neil, meanwhile, had been battling away, refusing to give up. His cavalry on the right had taken full advantage of my troops’ card-enforced pause in doing anything and had effectively won the fight there, and the ‘scores on the doors’ were now showing that the coin count was just about even.

I now had two coins left, Neil had one, so whoever broke the next unit would win the game, and it looked as if I was about to snatch defeat from the jaws of victory!

The rest of that turn was very frustrating: all my possibilties being nerfed by the cards again.

In Neil’s next turn, he managed to drive my light cavalry (bottom-right in the picture, above) off the table, meaning that we were now even on coins and into what was effectively a sudden death match!

Fortunately, lights from the left came to my rescue: their general ordering them to throw their javelins at the enemy lights in the nearest camp. I scored a hit, and Neil (despite the advantages of being in a fortified camp) pulled just one pip lower than he needed: the lights were routed and I had won the game - just!

An absolutely cracking game of TTS that played out in only just over 90 minutes. It was the sit-down I needed afterwards that took the time!

Ewelme '26 Game One: Galatians versus Tuareg

The theme for this year’s Ewelme tournament was Africa and the Middle-East. I could have fielded my usual Venetians Abroad, but as I now had just enough of my new Celts to make up a Galatian army, that was what I decided to field. I even finished them in time to have three practice games prior to the event, but as I lost all three battles (and two of them badly!) I wasn’t feeling too confident of success.

My first game was against Steve’s Tuaregs: an army comprised mostly of lance-armed camelry. I lost the scouting, deployed, and watched as the Arabs came forward.

It’s always bad to surrender the initiative to the enemy, and so it proved here as Steve’s first action of the game was to neatly pick off the Galatian cavalry on the far left of my line with a unit of his camels: their bonus in defence against my horsemen being irrelevant as my chaps were immediately blasted off the table without any chance to fight back.

This set an unfortunate pattern for the game as, certainly for the first few turns, Steve couldn’t miss a hit and I couldn’t save a thing!

The Tuaregs also came forward on my other wing, where my other cavalry there were also soon under huge pressure.

There was a glimmer of hope when my flank march arrived shortly after this, but the Tuareg had so many units that they could spare a couple to bottle up my horsemen, and all that happened was that I eventually lost a few more coins, although we were both quite surprised at how long the Galatian horse ended up lasting!

Steve’s tactics were now obvious: avoid my fanatical warbands and win the game by destroying my vulnerable-to-camels cavalry. This worked very well for the Tuareg, especially given the cards we were pulling, and with both commands of Galatian horse defeated and off the table, I was soon down twelve of my fourteen victory medals.

I did have a little success with my infantry, but nothing to write home about, and it wasn’t long before I was handing over my last two medals for a heavy 31-150 defeat!

Well I have to say that that was a brilliantly executed, textbook victory for Steve, with my only consolation being that I had plenty of time to look at the other games being played!

One game down and three to go, and it looked like being dark clouds over Ewelme for the Galatians!

Roll Call '26 Game Four: Venetians Abroad versus Ayyubids

So it was on to the final game at this year’s Medieval Madness competition at Roll Call.

At least six of us were in contention for the title: Peter, Dene, Mark, Tim, Si and Yours Truly…with Mark and I, and Peter and Dene, playing each other in this final match up. Not difficult to see that in order to secure overall victory, I needed to beat Mark and see Dene beat Peter. Exciting stuff!

The Ayyubids set up mostly in the middle of the battlefield with, I was told, a force off-table as well. I adopted my usual ‘cavalry on the wings, infantry in the middle’ formation, planning to smash his cavalry on the right with my knights, and use my other knights to curl around the Ayyubid right wing. My infantry would advance to assist where possible.

My knights on the right duly advanced into range, charged in with their lances and, much to my consternation/annoyance, were disordered and forced to retire. This was very much not part of the plan!
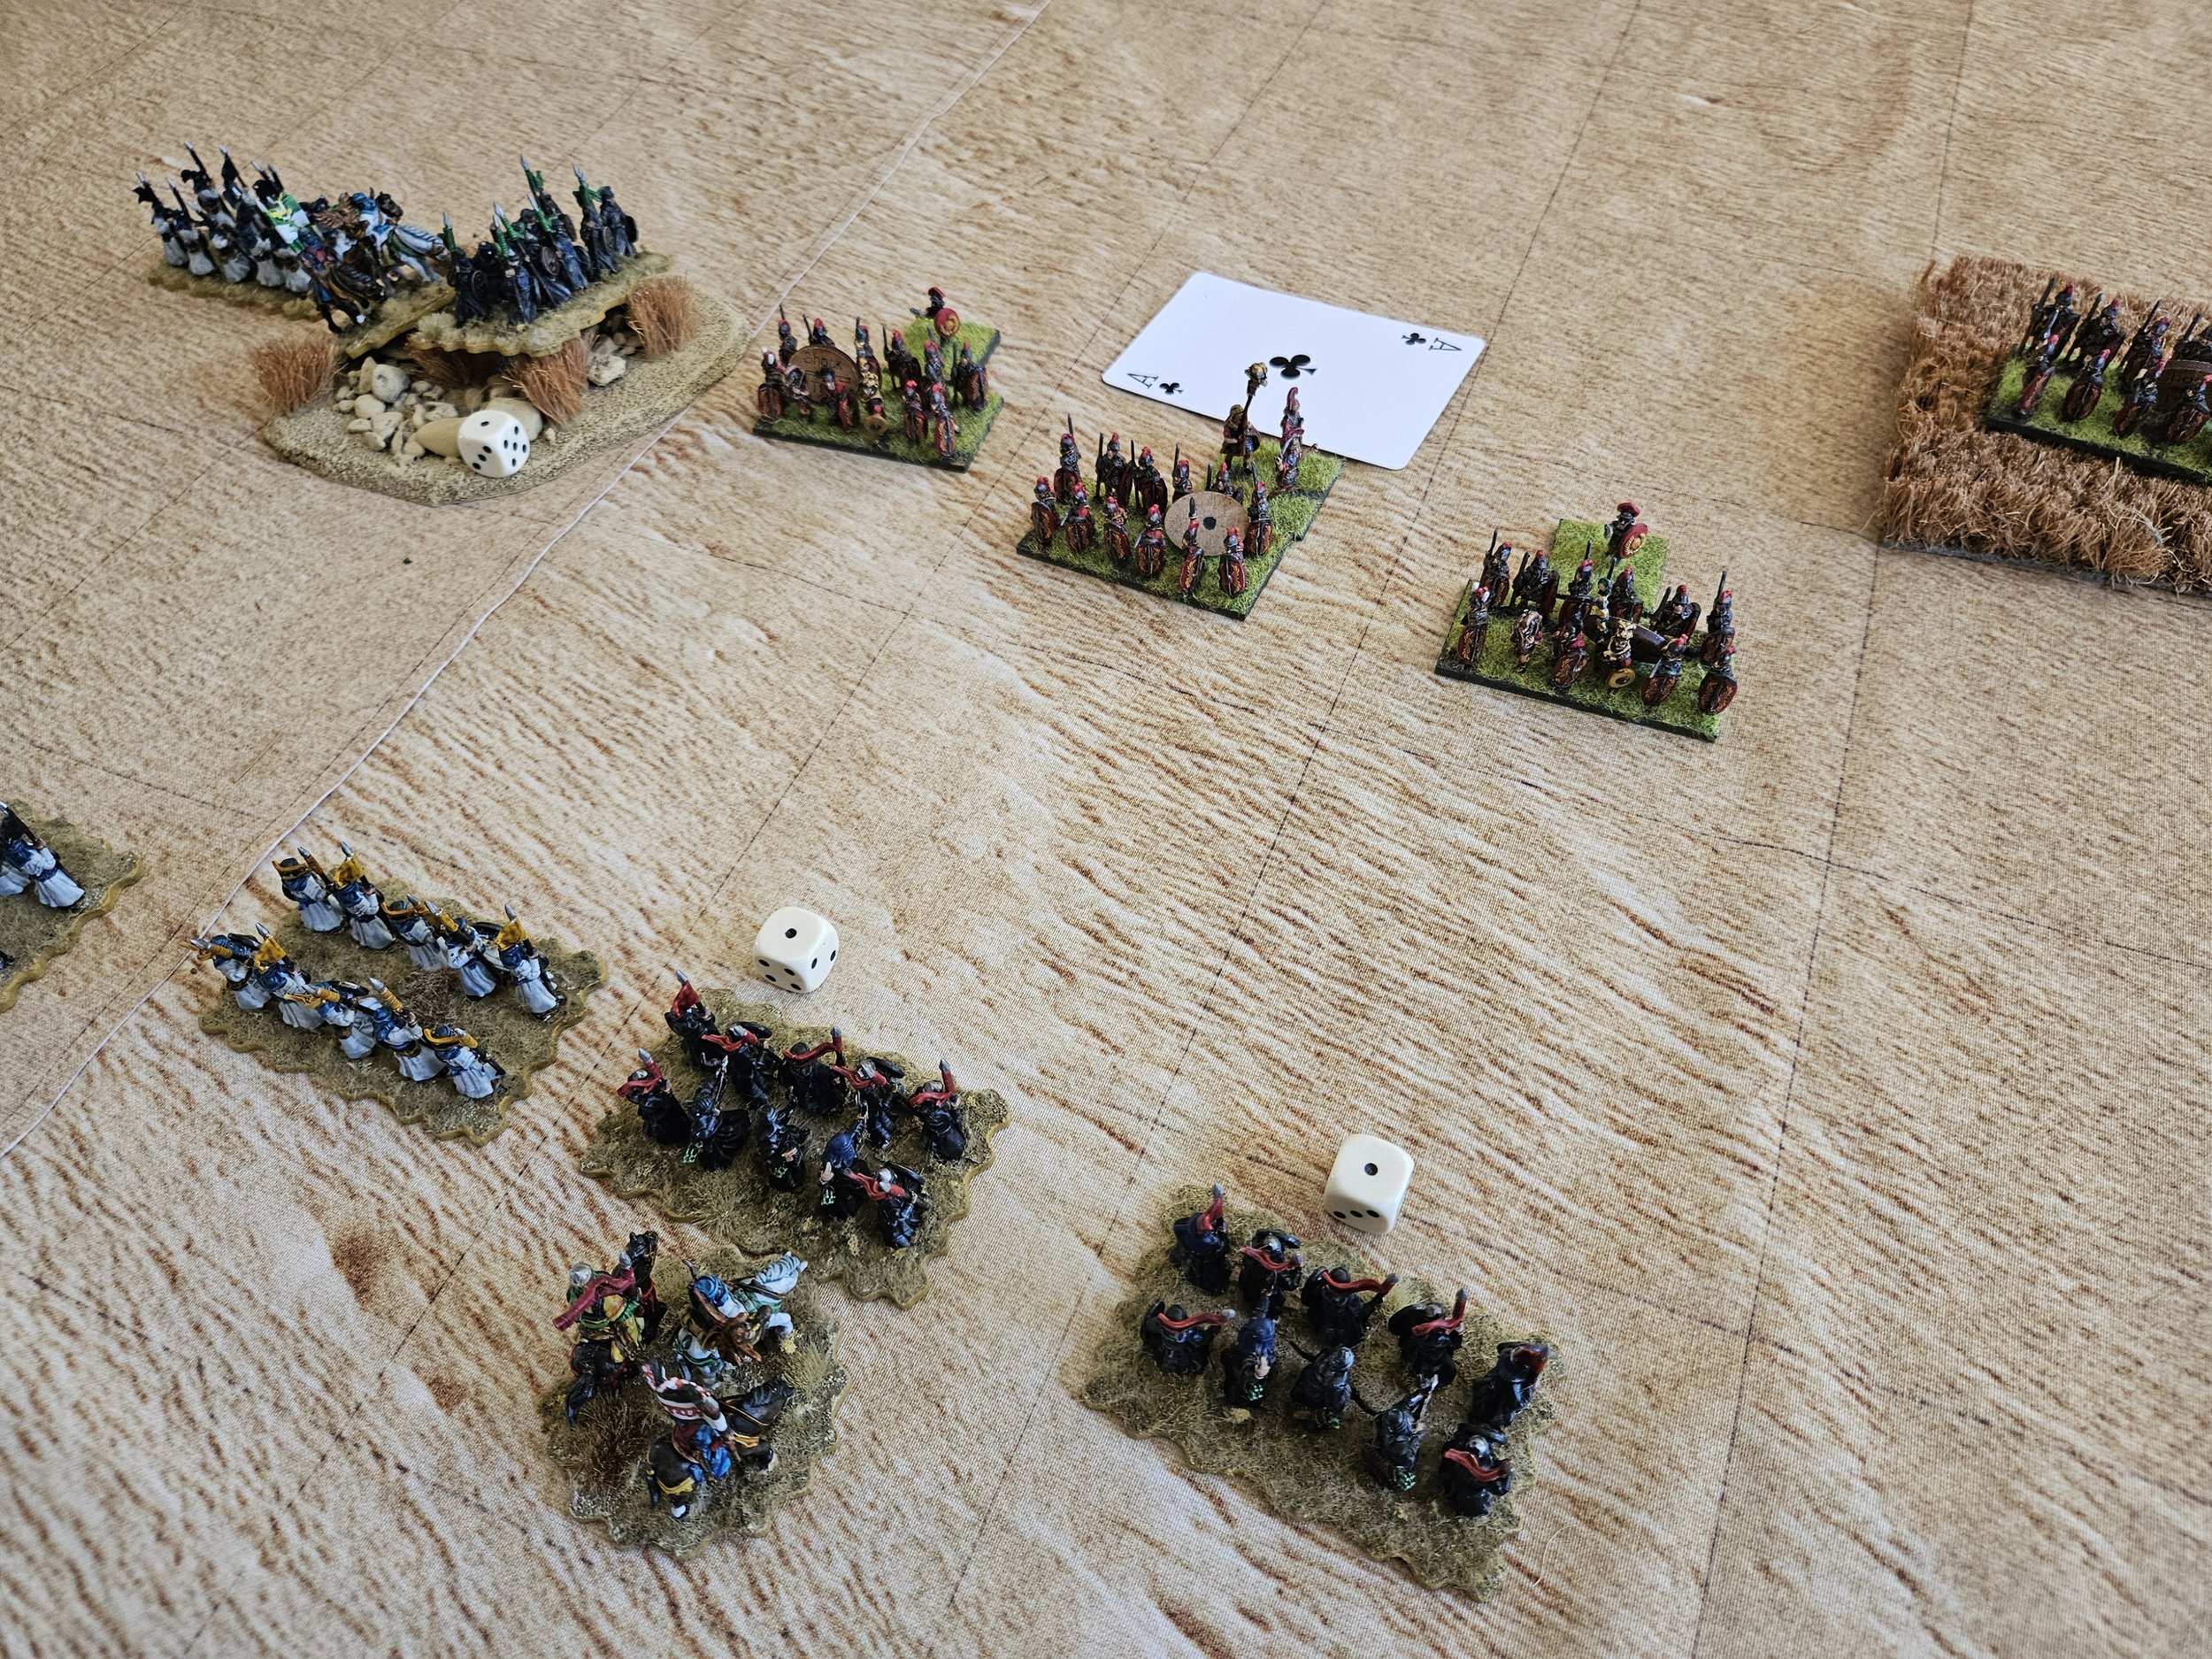
Fortunately, my knights survived the Arab follow-up and, with the help of reinforcements from the centre, held and then overwhelmed the advancing enemy cavalry. All well and good, but I’m using double the number of units to deal with the incursion, leaving me light elsewhere on the field!
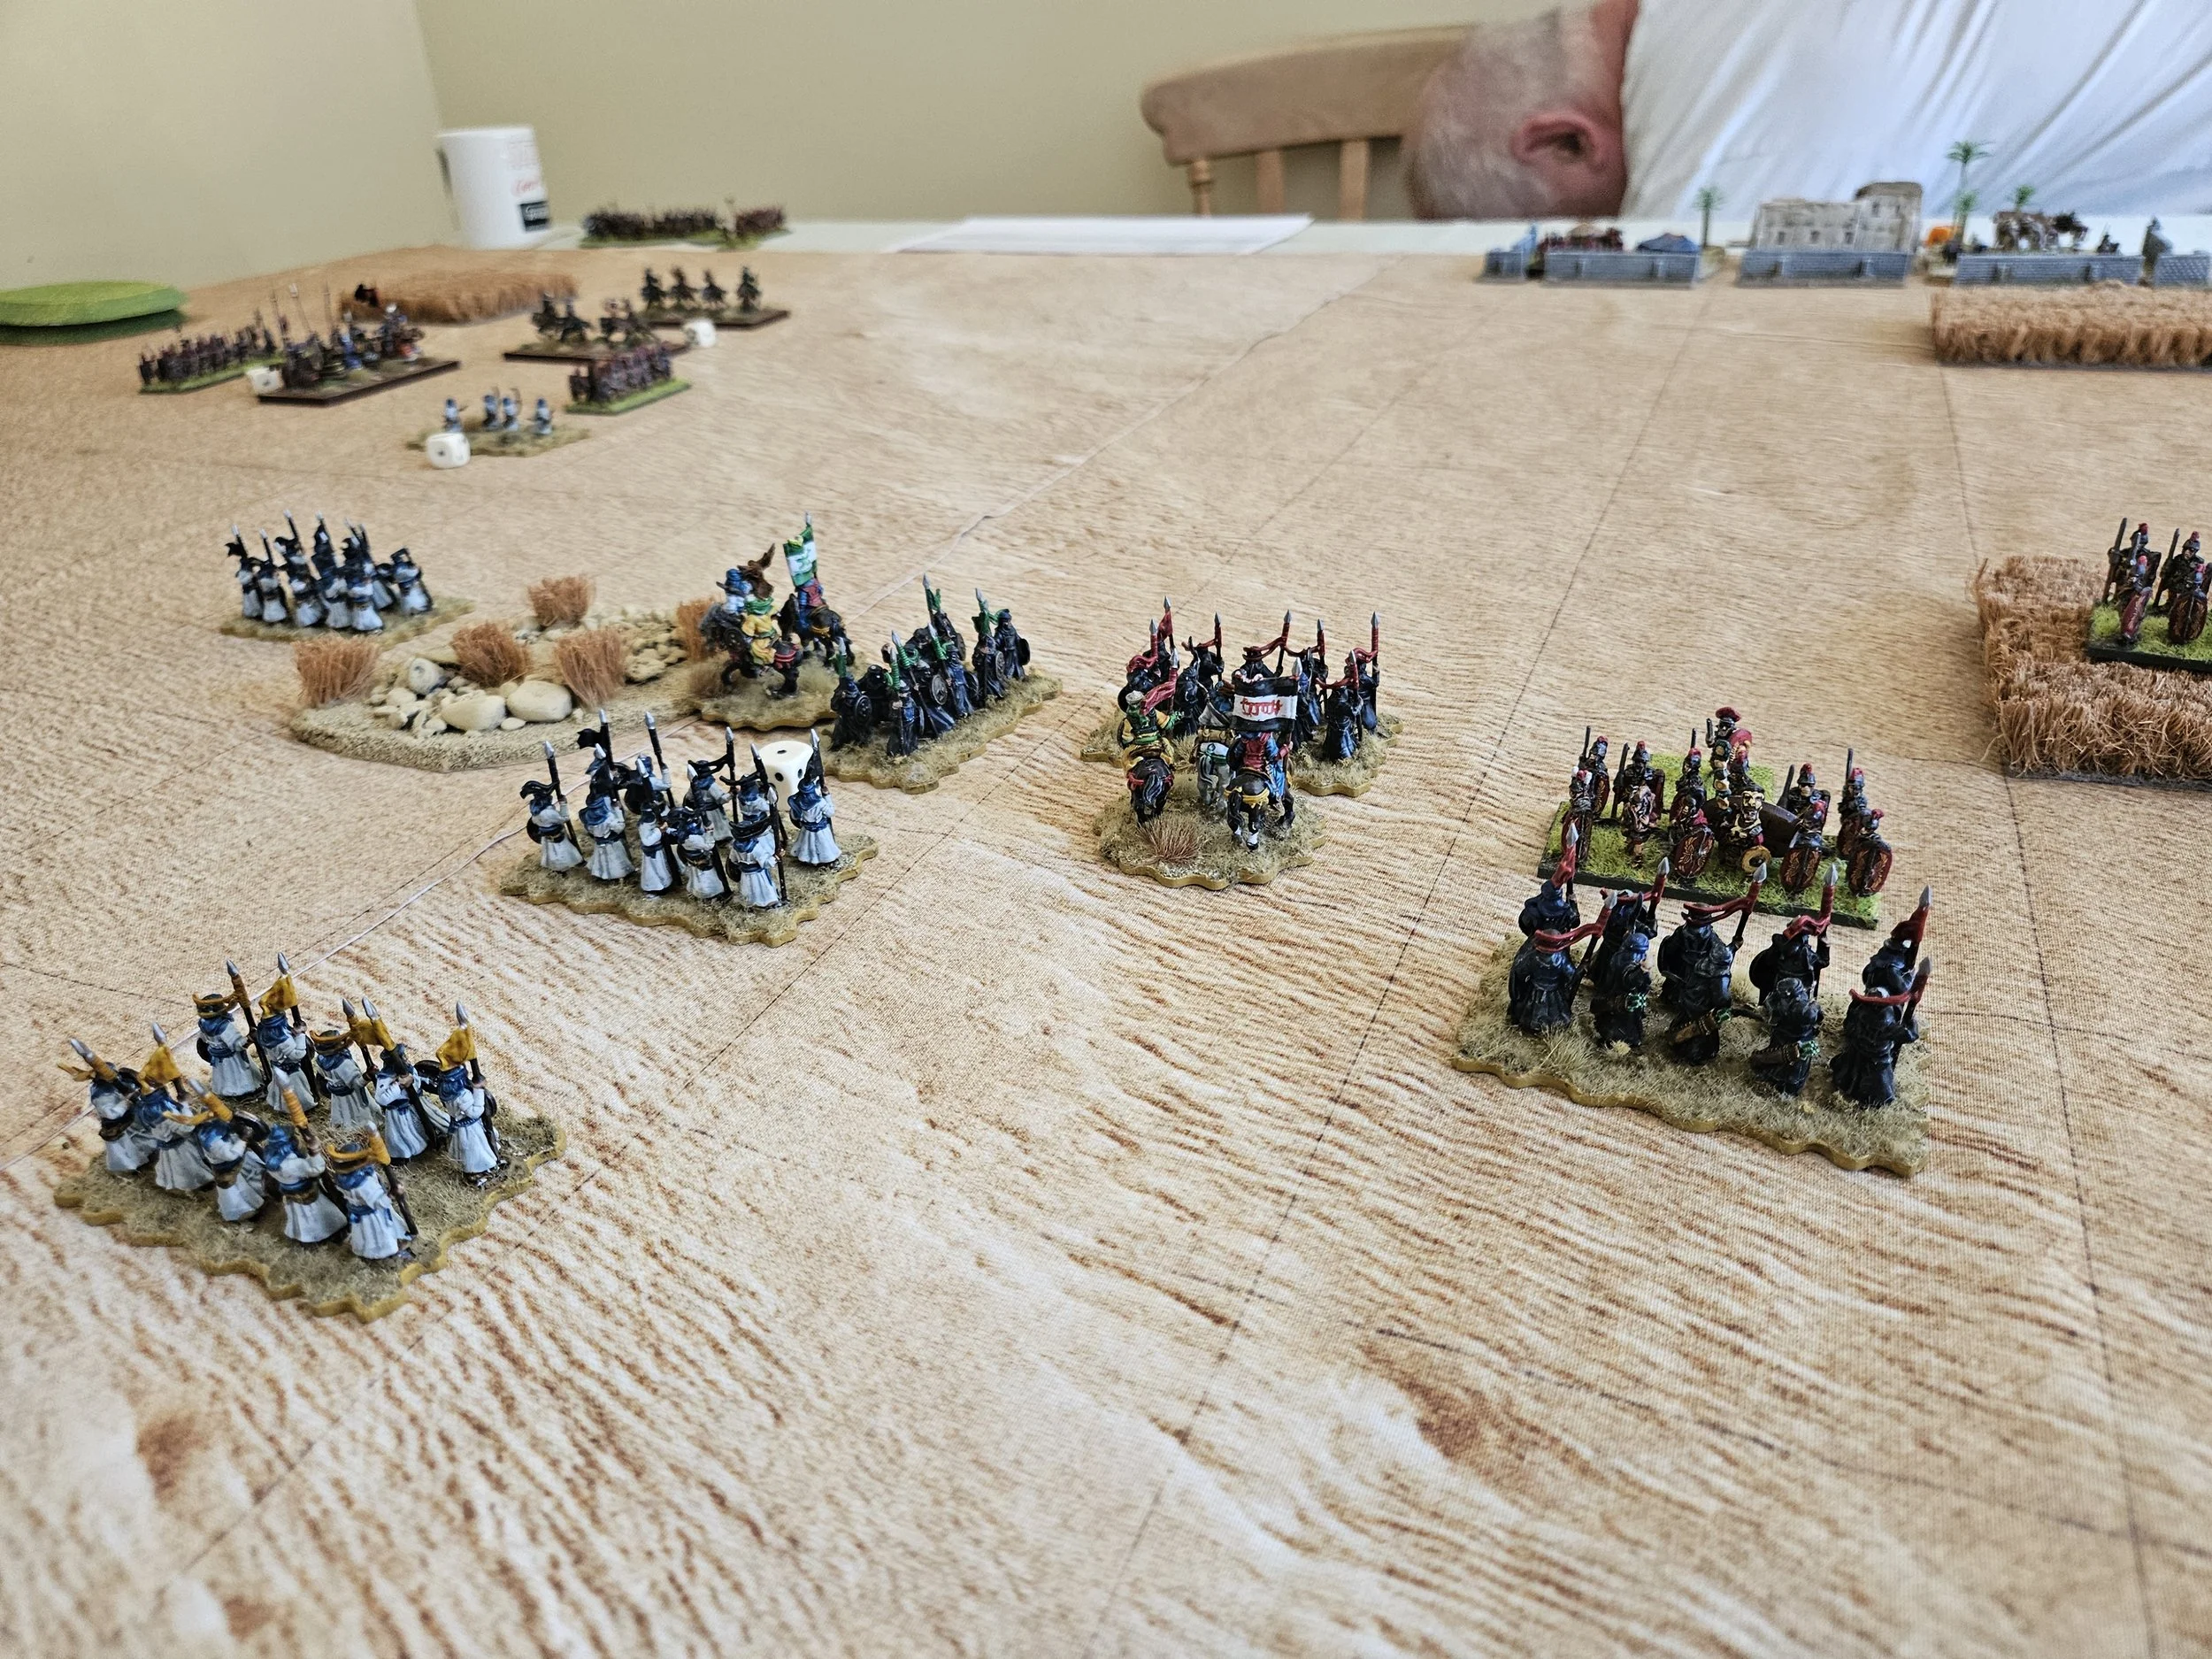
Meanwhile, on the left, my other knights punched a hole in the end of the Arab line and, supported by the Alabardiers, managed to get into a position to first threaten, then take the one of the enemy camps

With the general I had killed on the right, I was now on nine coins taken, so within a couple more units of winning, but now faced two new threats.

Firstly, on the left, the Ayyubid off-table force arrived: a ‘massed lights’ double unit of light cavalry which, combined with the light’s Mark had had floating around there since the beginning of the game, meant three light cavalry units roaming around in my rear.

I manged to move some infantry across to contain the threat, but lost the first of my coins as the Arabs picked me off from the flank.

Secondly, the Ayyubids advanced strongly in the centre, which I had needed to weaken in order to reinforce the right to contain the Arab breakthrough there.

Attacked from two directions, and with only lights and crossbowmen to hold off elite heavy cavalry, I was punished badly: suddenly finding that Mark had drawn just about level on coins, and needed only three more to finish me off. The Alabardiers had also been unlucky with their cards and were now disordered and in danger of breaking. Time was ticking on, as well, which meant I had to do something fast.

Fortunately my second unit of knights on the left had so far sailed through the battle unscathed, and were in the perfect position to assault the already-disordered Arab infantry in front of them. In went the knights, the Arabs broke, and Mark’s last two coins were mine.

So I had won the outright victory I needed, but a tight one: 12 coins to 10…but what of Peter and Dene? A big victory for either could see them take the tournament overall, with my money being on Peter managing to do just that!

Fortunately, Dene had managed to hold Peter to a draw…which meant that I had won the tournament: the first that I have won outright (i.e. not as part of a doubles team) or had organised myself (the last two Britcon events). Thanks for pointing that out, btw, you know who your are!

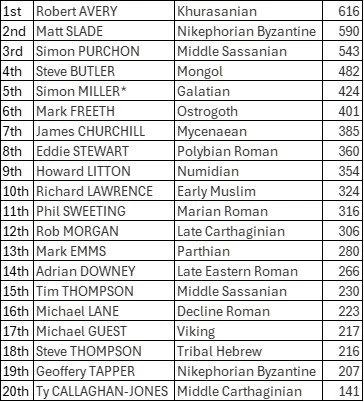
Here are the final results:


A great tournament and a great day’s gaming, and not just because I won!

TTS AAR: Arab Conquest vs Scandanavian Leidang

I’ve been trying to get friend John to try his Vikings using the new non-deep options in the lists, and finally managed to get him to test them out using my 15mm figures. At the same time, I wanted to get my early Arabs onto the table again…as I didn’t spend all that time painting deep units just to let gather dust in storage! The result: a To The Strongest spectacular featuring an Aran Conquest army versus the Scandanavian Leidang (effectively Vikings on their home territory).

The Arab cavalry won the scouting and immediately set off on a quest to outscout the hairies on both flanks.

This worked well on the left, but the Scandies quickly moved a couple of units over to block the Arab advance on the right. Meanwhile, the main body of Vikings thundered forward, axes at the ready!

The Vikings managed to get the initiative in the centre, but suddenly found that they couldn’t fight their way out of a wet paper bag!

The Arabs, however, were not…and one Scandie warband was soon sent fleeing from the field by a combination of fanatical infantry and their Daylami mountain-men allies.

Meanwhile, both Viking flanks were now suffering at the hands of the Arab cavalry…

Back to the centre, where the second line of Viking warriors were proving much harder to break for the Arabs, and it was only the intervention of the Jund cavalry that had been harrassing the Scandie left that made the difference.

This was a much-needed intervention, as the Viking wings had rallied and were proving impossible for the Arabs to crack!

The by-n0w-much-reduced Vikings continued their success by breaking the right of the Arab line…

…but it was too little too late as the last Scandie coins disappeared as the rest of their centre collapsed. The victorious Vikings heading for the Arab camp, along with the rest of the surviving invaders, slunk off the table, leaving the Arabs to claim the win!

A great game which I hope, despite the result, has given John a renewed enthusiasm for his own Vikings hordes. As a final note, it has to be said that he had the worst luck possible throughout the game, but especially at those critical moments that can decide who wins!

TTS AAR: Dead Cid Rides Again!

Time for the re-match, with the Al Andalus forces smarting from their defeat last game and the Early Feudal Spanish busy tying dead El Cid’s body* to his horse!

As Arab commander, having learnt my lesson last time, I deployed my men in a much tighter line: stacking my cavalry on one side rather than splitting them between the flanks.

*he’d been killed in the last game!

Advancing forward strongly, I thought I saw the chance for an overlap on the left, but the Spanish moved quickly to counter and, in a decidedly unsporting move, manoeuvred to actually outflank me there themselves!

Meanwhile, in the centre, I had sent the light horse forward to generally harrass the advancing Spanish infantry, hoping to soften them up a bit before the main melee began.

Back to the left, where the Spanish had now managed to turn my flank, forcing me to try and pull back my infantry to avoid my line being rolled up.

Despite my best efforts, I had to leave a unit of the Black Guard vulnerable to a flank charge, and could only watch with horror as the Spanish cabelleros, led by El Cid himself, took the corks off the tips of their lances and charged in.

Unfortunately for the Spanish, they had forgotten that El Cid was actually now dead, merely a corpse tied to his horse, and the move into charge distance and then the charge itself didn’t make contact with the very relieved Guard!

This enabled me to stabilise the situation, my spearmen ready to hold the Spanish horse at bay.

One weak point, however, was the green-pennant unit of Arab infantry, who had been disordered previously. In went another unit of Spanish cavalry, again led by Dead Cid. This time they actually made contact, but gloriously failed to do any damage even with Dead Cid’s extra replays.

Do the Spanish still not realise he’s dead? Leave the man to rest in peace!

Meanwhile, on the other side of the table, some of my light cavalry had a narrow escape after failing to do any damage to some Spanish shieldwall.

At risk of being pushed off table, they watched with glee as the hapless Spaniards foundered around in the rough ground: eventually even managing to kill the Spanish general and disorder the unit.

As the flanks weren’t working for them, the Spanish then sent everything they had left forward in the centre.

This was another decidely worrying development for the Al Andalus, as there were far too many lights holding my line, with my formed cavalry (including the mercenary christian knights that you can see bottom-centre in the pic below) not really in that much of a position to help.

Fortunately, it turned out that the money I’d invested in the mercenary unbelievers was money very well spent.

In an extraordinary series of events, they charged over the hill in front of them to smash the end unit of cabelleros from the table…

They then turned and did the same thing to the next lot of enemy horse: hitting them in the flank to devastating effect!

With Rob’s men pinned in place by my infantry line, it was Rob’s turn to look on in horror as a flank charge went in…but fortune smiled on him as the mercenaries paused to renegotiate their fee:

Fee safely doubled, however, they went in again…this time securing the Al Andalus the last two coins they needed for victory!

So a glorious victory for Al Andalusia helped, it must be said, by cards that were decidely in my favour for once: the poor Spanish learning that you can’t rely on a dead body for inspiration and that gold sometimes means more than faith!

TTS AAR: Reconquista Action!

Rob and I really fancied some Reconquista action, so played a game featuring Rob leading the Early Feudal Spanish (with El Cid in command) and me playing an Al Andalus army.

Losing the scouting, I formed my men into one long line: confident that my superior numbers would overwhelm the upstart Spaniards!

My cavalry on the left could see the Christian knights stacked against them and were therefore not quite so sure of the outcome and initially refused to advance. Opposite me, El Cid found he had the same problem, even with his superior Great Leader command ability!

Despite these teething troubles, battle was soon well and truly joined on the left, with superior numbers of Christian horse generally mullering the Arabs until almost half my coins had gone and I was forced to bring infantry over from the centre to help.

Meanwhile, on the right, I was hoping that the gold I had spent hiring some mercenary Christian knights would prove a wise investment, but they got stuck dealing with some pesky light infantry and would take no significant part in the battle!

Back to the mass Christian assault on the left, where my troops were fighting on bravely…even if the writing was now firmly on the wall!

I had a moment of hope when El Cid himself was killed (just like the film!) but, in the end and despite a card-induced temporary reprieve (the photo, bottom left, above), my last coin went and the Christians were victorious!

A great game which, I think, I lost in the deployment phase: Rob stacking his knights against one end of my line was a genius strategy that paid off in Spades!

Now on to the re-match…presumably with Dead El Cid now tied to his horse!

TTS AAR: Early Crusader versus Arab Conquest

More To The Strongest action in 2mm: this time I would play an Early Crusader army against Neil’s Arab Conquest force.

I lost scouting so, wary of being outflanked, I set up my camps in one corner of the battlefield, put my infantry in front of them, and then placed my two commands of Crusader Knights on the right. The Arabs responded by placing all their light cavalry opposite my camp, their large contingent of mobs in the centre, and all their cavalry opposite my right.

A plan emerged: my infantry would cover the left flank, with my crossbowmen aiming to shoot down any enemy lights that came within range. My religeous-order knights on right would attempt to contain the enemy cavalry, using the patches of rough ground to try and fight one line at a time rather than being swamped by Arab horse. Finally, my other knights would wait until the Arab army was sufficiently battered, and then attempt to win the game by targeting the raw Arab mobs, looking to take batches of three coins of poor quality troops off the table at a time.

As the game began, the enemy lights swept forward towards my camp, the Arab cavalry on the right cantered towards the gap in the rough ground and, excellently, the Arab mobs resolutely stayed where they were: consecutive Aces for a group move pinning them in place. Phew! My plan might just work!

On the right, the Arab horse came forward and, misere de misere, smashed one of my religeous-order knight units right off the table! This was definitely not in the plan but, as the mobs had remained pinned to the Arab baseline, I was able to redeploy some of my normal knights to plug the gap.

The cards then helped me out again, refusing to let Neil’s Arab cavalry turn to face my knights…but although I charged in successfully, the nimble Arab horse evaded and would eventually leave the table.

That Ace also stopped the rest of the Arab horse coming forward, which was a bit lucky as the mobs had now finally got moving…

Meanwhile, on the left, my foot had done an excellent job in containing the Arab light horse, killing half of them and their general for no loss.

This meant that I could move some Crusader spearmen over to the centre to help the knights face the mobs, hopefully preventing them from getting overwhelmed by sheer numbers as the raggedy crowd closed for combat.

What was really worring me was all the Arab horse on the right. Yes, I’d knocked one unit off the table, but if the rest got moving before I could kill some mobs, it was actually here that the overwhelming might actually happen as I was effectively outnumbered five to three.

Fortunately, the cards came to my aid again, keeping the enemy from moving forward. Once they did get moving, however, my Crusaders were soon under huge pressure as, having retreated to avoid being outflanked, they just couldn’t seem to win a melee once contact had been made.

One unit did push forward but, again, soon found itself a bit isolated and at risk of being overwhelmed.

By now I’d taken a tidy pile of Arab coins, so it was time to see if I could break some mobs and take the rest. If I didn’t, I hasten to add, I could see my knights being beaten on the right and then waves of Arab horse sweeping round to roll me up!

Fortunately raw mobs don’t save for toffee, and soon my knights had sent one lot screaming for their baseline!

This was good, but my religeous order knights on the right were now in some trouble: another unit being destroyed and the third disordered.

To their rescue came some normal Crusader knights: the same ones who had dealt with the Arab cavalry that had initially smashed through my line.

This unit (the blue ones) were definitely the men of the match as they quickly polished off two units of Arabs - one with a flank charge, one just head on! - giving me four more coins and the game!

Exciting stuff and a glorious victory…but it has to be said that Neil didn’t have much luck throughout the game, particularly in terms of movement at key points in the battle. My religeous-order knights might not have been able to fight their way out of a wet paper bag (and it’s hard to find one of those in the desert!) but too often Arab units just stood there doing nothing when they desperately needed to move forward.

Another great game of TTS!

TTS AAR: Aghlabids versus Gauls

Time for some more To The Strongest, and a clash between my Aghlabids and friend John’s Gauls: not exactly an historical match-up, but would hopefully give a good game!

As the Gallic horde was quite infantry heavy, my plan was to use my superior numbers of mounted troops on the right to smash the enemy horse from the table before turning and rolling the Celts up from that flank. This was helped by the Take the High Ground stratagem that I had drawn.

A good opening card saw my troops get into the perfect position to charge, but then the Card Gods punished me for hubris and my attack stopped dead. This gave the initiative to the Gauls, but it seemed that John had earned the CG’s wrath as well, as he forgot Trevor’s Law - “Always start with the General” - and also failed to charge home.

With my move on the right stymied, I tried the same thing on the left, with almost exactly the same result!

With the flanks getting nowhere, I move my infantry up to try and weaken the Gallic warbands with bowfire.

Back to the right flank, where my Arab cavalry finally charged home. An initial success was followed by multiple turns of frustration as the disordered Gallic horse in front of me just wouldn’t break, John saving time and time again.

Here’s an overview of the position so far:

Things continued to go wrong for me on the flanks. On the right, the Gallic chariots managed to send my other unit of Arab cavalry flying from the field…leaving me with a tactical advantage but not the crushingly dominant position I had hoped for!

And on the left I lost my Arab lancers and would spend the rest of the game with my two units of lights dancing around trying not to be killed as they harried the flanks of more Gallic cavalry and chariots!

The Gallic infantry warbands now started to move forward in the centre. I sent volley after volley of bowfire into them from my infantry, but John was saving and/or rallying like a demon, and although I did earn four coins from the Gauls drawing even cards for the latter, the writing was now firmly on the wall for the Arabs.

A last attempt on the right to save the day failed to deliver:

And although the Gallic chariots failed to take my camp, left unguarded courtesy of another Ace…

…the relentless wave of Gallic warriors (half veterans, half fanatics, all big and scary!) eventually smashed enough of my infantry from the field to capture my last few coins.

Despite the loss, this was a brilliant game of To The Strongest, full of action and Aces!

John played the Gauls masterfully: absorbing my early cavalry attacks and then advancing his warbands inexorably up the field to drive my infantry back and then off. Good fun and, hopefully, this will have used up all my Aces prior to the Worlds next weekend!

TTS AAR: Aghlabids versus Italo-Normans - The Return Match

With the Italo-Normans victorious in our first game, there was still plenty of time for the Aghlabids to have a go at evening up the score before I had to collect Mother from her event and start the four-hour return leg of my trip to Huddersfield.

Deployment was similar to the last game, but the Italo-Normans put even more of their cavalry facing my left flank.

The Italo-Normans moved first, and almost immediately I was in big trouble again as the enemy heavy cavalry shot down towards my flank and forced my light horse back into the camp.

Fortunately, my heavy cavalry were able to partially recover the position, but it was all looking rather cramped in that corner!

Sticking with the action here in the corner, things got worse again when the Italo-Norman horse broke the rear unit of Arab lancers and, further up the table, managed to get a two-to-one advantage on my other cavalry unit. The situation was only partially rescued by deploying my reserve infantry (purple flag, behind the rock) to support my beleaguered troops.

My light horse, in prime position to charge the corner unit’s flank managed to fail to do any damage whatsoever, and I watched with huge misgivings as Geoff pulled a card to turn his cavalry to face my lights. Fortunately, luck was with me, and I was able to use Someone has Blundered to force the enemy heavies into facing the wrong direction.

My lights then remembered which end of the javelin goes in the enemy, and sent the Italo-Normans flying from the table with a hail of javelin-fire (they can’t evade that!) including, again, killing the enemy general.

Elsewhere on the table, my infantry had formed two lines, hoping to shoot the deep enemy spearman units to pieces before contact was made. There was also some action on the far right, where more of my Arab lancers had squared off against more Italo-Norman heavy cavalry.

Geoff also had a unit off-table carrying out a flank march. He now drew a card to get it onto the table and succeeded. I checked the diagram in the rulebook and confidently told him that he could bring it on anywhere in the central sector of my right flank.

This was wrong: it could come on anywhere on the right hand table edge…and my only pitiful excuse is that a quick glance at the diagram does seem to have just the central sector highlighted…but if you look properly, it’s the central sector and the single strip along the right hand edge of the tabletop. Mea culpa and all that, and we’ll count the Arabs as having lost again as a heavy cavalry unit in my right rear could have been very unpleasant indeed.

As it happens, I did get it wrong, and his cavalry entered the table just behind the melee that was already going on (it’s the unit with the Nine of Spades next to it).

This, of course, left the newly-arrived Italo-Norman horse in a prime position to be charged by my black-flag lancers, provided my lancers could get through the other Italo-Norman cavalry (the disordered unit)…needing only a 3+ to get their charge in.

Well, I had two turns to try and make the charge, and failed both times: the cards obviously aware that I had made a mistake with the table-entering position!

Which meant that it was on the other side of the table that the battle would be decided, as the two infantry lines had still not made contact.

In the end, the Italo-Normans lost their last couple of coins when their last remaining cavalry on the left was overwhelmed by numbers: the use of my reserve infantry meaning that I had three units versus one. Hit in the rear after evading, that was that!

So another closely fought battle, with the Arabs coming away with a victory overturned on a you-got-the-rules-wrong technicality. I also think Geoff captured more medals over the two battles combined than I did.

My thanks to Geoff for being such a great opponent, and to Gemini Games for their hospitality. I look forward to hitting Huddersfield again some time in the future.

TTS AAR: Aghlabids versus Italo-Normans

I had to take Mother to Huddersfield (well, she’d managed to find her way back from Nottingham…) and faced the prospect of a long day with nothing to do whilst I waited for her event to finish. Luckily, in a post-match chat after the recent Doubles, fellow TTS-player, Geoff, mentioned that Huddersfield was his neck of the woods and, moments later, a game was arranged.

I liked Huddersfield: from Greggs on the main drag at six-thirty in the morning for a ‘sausage and bacon bap with red’ right through to Travelodge late at night, everyone was very pleasant. Lots of places to charge your car as well. Geoff and I met at Cafe Valencia, just around the corner from Gemini Games, the venue for our battle, where they bring you a proper pot of tea, with an egg-timer to make sure you let it mash for long enough.

Geoff wanted to get his Anglo-Normans onto the tabletop, which suited me just fine as I could then field the Aghlabid version of the Early Muslim, North Africa and Sicily army list, meaning that what I would transport to Huddersfield was a 15mm 3D printed resin army rather than a ton-weighing metal one. This proved to be a good decision, as the nearest carpark to Gemini Games was closed for repairs, which meant parking on the other side of town and using the Roman Baggage Train (my camping trolley) to wheel the Aghlabids to where the action was.

Gemini Games were very accomodating: providing a large table at the back of the shop’s gaming area free of charge, even though their main business seemed to be collectable/strategy card games such as Magic: the Gathering.

I won the scouting, and weighted my army on the left, intending to quickly wipe out the three units of horse in front of me using a four-formed-plus-two-lights verses three-formed advantage in numbers, with a couple more infantry units in reserve if needed. The rest of the army sat back and waited for the Anglo-Normans to advance, confident that they could bow them to death as they did so.

Unfortunately, that plan didn’t quite work out as I had intended.

On the left, Geoff’s three cavalry units made mincemeat of my more numerous Arabs, and I soon found myself down half my coins and very much unable to contemplate any kind of outflanking manoeuvre there.

Worse, on the right, the Anglo-Norman horse managed to burst through the end of my line, and proceed to do to me exactly what I had been hoping to do to them!

Some of the Italo-Norman cavalry that had broken through then kept pursuing my light horse, curling around towards my camp in another threatening manouevre.

I needed to stabilise my line, but only had a unit of disordered Bowmen to do so. They did have a good position on the flank of enemy cavalry, but their attack failed, with the Italo-Norman horse then turning to face them.

This was not good, but I did have a moment of hope when the enemy horse faltered for a second and I used my Someone Has Blundered stratagem, but unfortunately the enemy cavalry didn’t succumb to this attack either - very unsporting of them - and they soon turned back again and disposed of the unfortunate archers.

The death of the bowmen let the enemy cavalry through onto my flank and, despite the fact that the Black Guard had some success to their front, it was only a matter of time before I lost my last few coins and the battle…helped by the cards letting Geoff’s final attack go in.

It had been an excellent game, full of successes and reverses for both sides (I had killed one of Geoff’s generals on the left flank in just about the first combat). A significant victory for the Italo-Norman cavalry, with their infantry hardly involved at all!

TTS AAR: Anglo-Normans vs Fanatical Berber

It was now my turn to play the Anglo-Normans versus the Fanatical Berbers.

My plan was simple: load all my veteran Knights onto the right flank, opposite his heavier cavalry unit, and utterly refuse my left flank. The Knights would then go in and crush all opposition before swinging in behind the enemy line in time to win the day before I was overwhelmed from the left. Simples!

As the game began, my Knights thundered forward, with their Spearmen following, with the Anglo-Saxons hanging back as much as possible.

The right hand unit of Knights forced some Berber light horse back, but the left hand command was temprarily halted as the opposing Jund cavalry proved tougher than expected.

Meanwhile, the Berbers had sent more light cavalry forward on the left at the gallop. This developed into a standoff between a single unit of Fyrd supported bt light archers and two units of enemy light cavalry.

More Berber light cavalry ignored the Fyrd and headed into the centre, threatening the flanks of my advancing line (left hand photo below) but the good news was that the left hand Knights had finally managed to disperse the Knights in front of them, leaving them clear to turn towards the enemy centre (right hand photo below).

The Berber light cavalry were too mobile to be pinned by the Fyrd/lights for long: one unit sneaking through the gap on the Anglo-Norman left.

This pesky unit then made its way down to the flank of the Anglo-Norman camp and (with a bit of help from the cards) charged in, dispersing the defenders and costing me three coins. What had looked a promising situation was now back in the balance!

Worse, the Berber infantry that had been so far excluded from the action out on their left flank had by now managed to move sideways and began to engage the rest of the now-outnumbered Fyrd (left hand picture below).

The Norman Knights needed to win the battle soon, or the left would be overwhelmed by sheer weight of numbers. Fortunately, they were now in a position to turn sideways onto the left flank of the Berbers, and quickly advanced forward to charge position whilst the Norman infantry pinned the oppositino from the front (right hand picture below).

Things quickly became a bit critical on the left: even the Fyrd suffer when faced with over two-to-one odds.

Fortunately the Normans on the right were now in the perfect position to hammer the rest of the Berber infantry.

Although the Berbers turned to face the Knights coming in from the flank - and even Knights don’t like charging formed Spearmen - this allowed the Norman Sergeants to attack their flank, disorder them and make them vulnerable to a charge from the front: the perfect combined arms attack (the top two photos below).

The Knights thundered forward and smashed the disordered Berber Spearmen from the field. So horrible was the carnage that the Berber lights guarding their camp routed from sheer fright!

This obviously left the berber camp unguarded, allowing the other unit of Knights to calmly take possession, taking John’s last three victory medals!

A great game in which my cunning plan to weight the right and refuse the left worked…but only just!

If my final attacks coming in from the right hadn’t succeeded when they did, then I was in real danger of losing the game due to losses on my left, including the fall of my camp. I was very glad of the resilience of the Fyrd even if a lot of Saxons perished whilst the Normans won the battle!