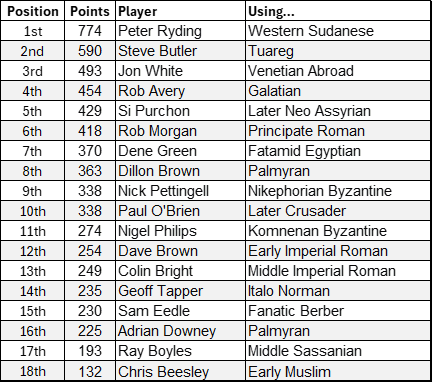
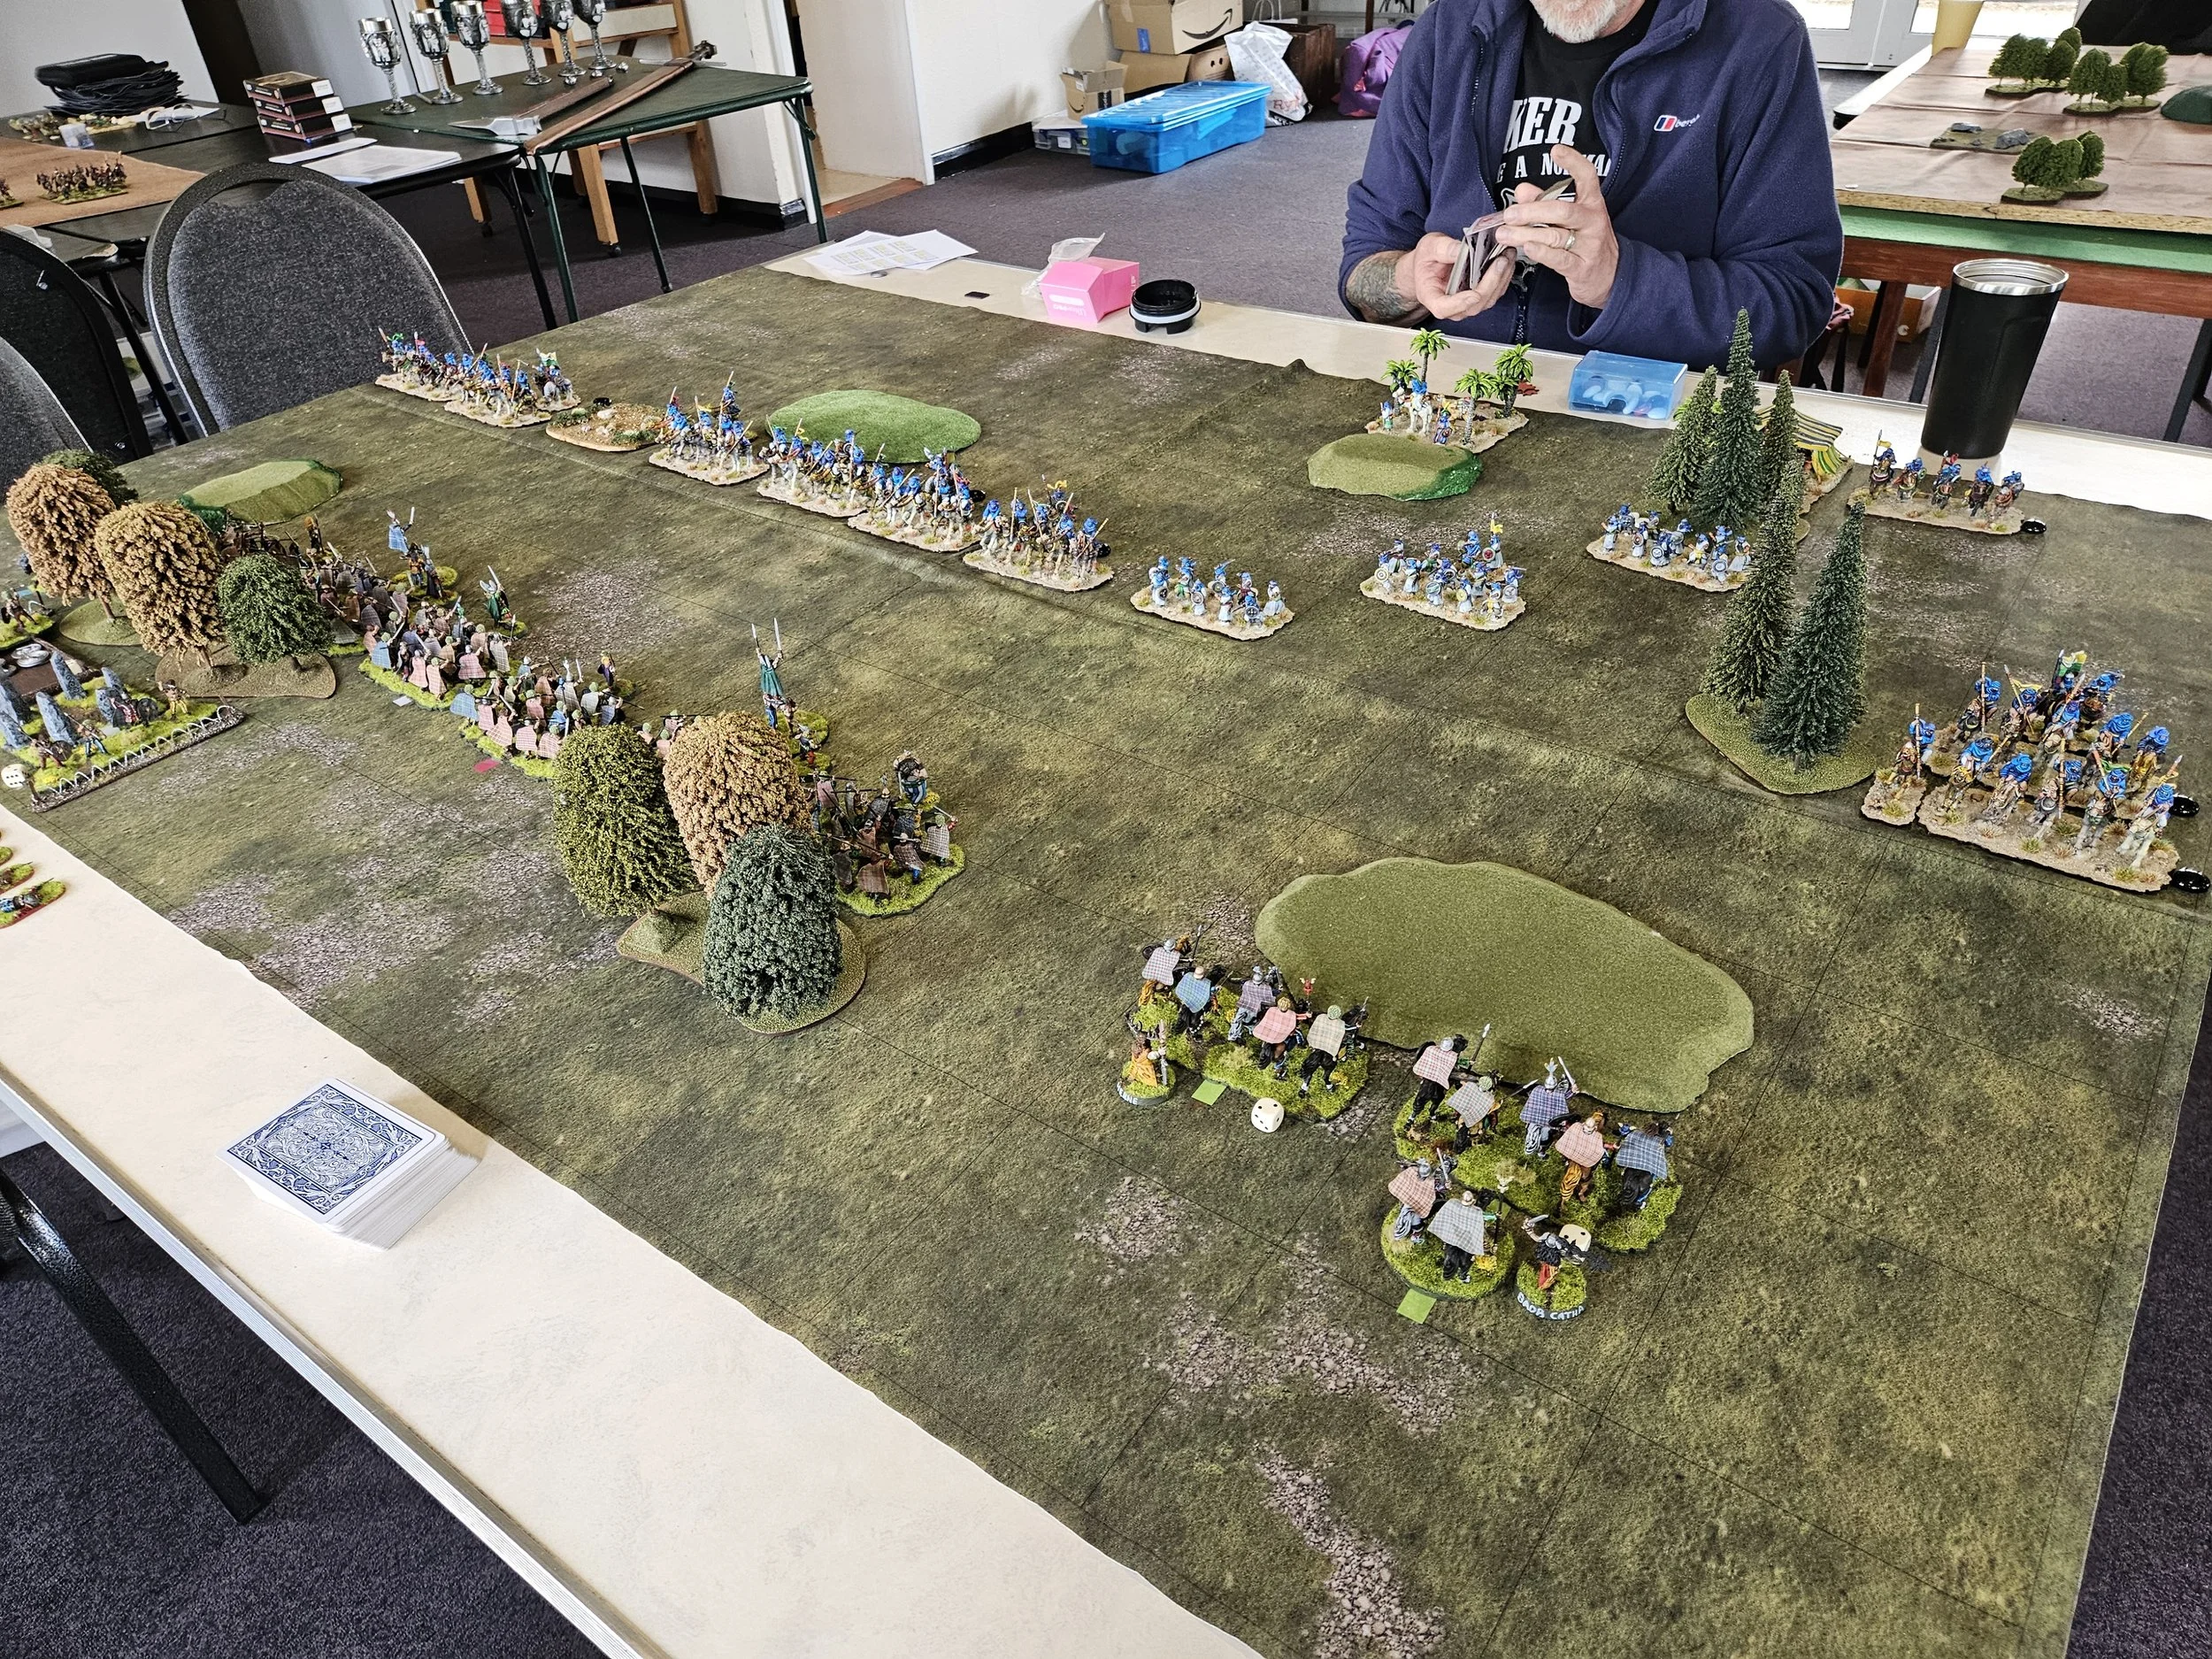
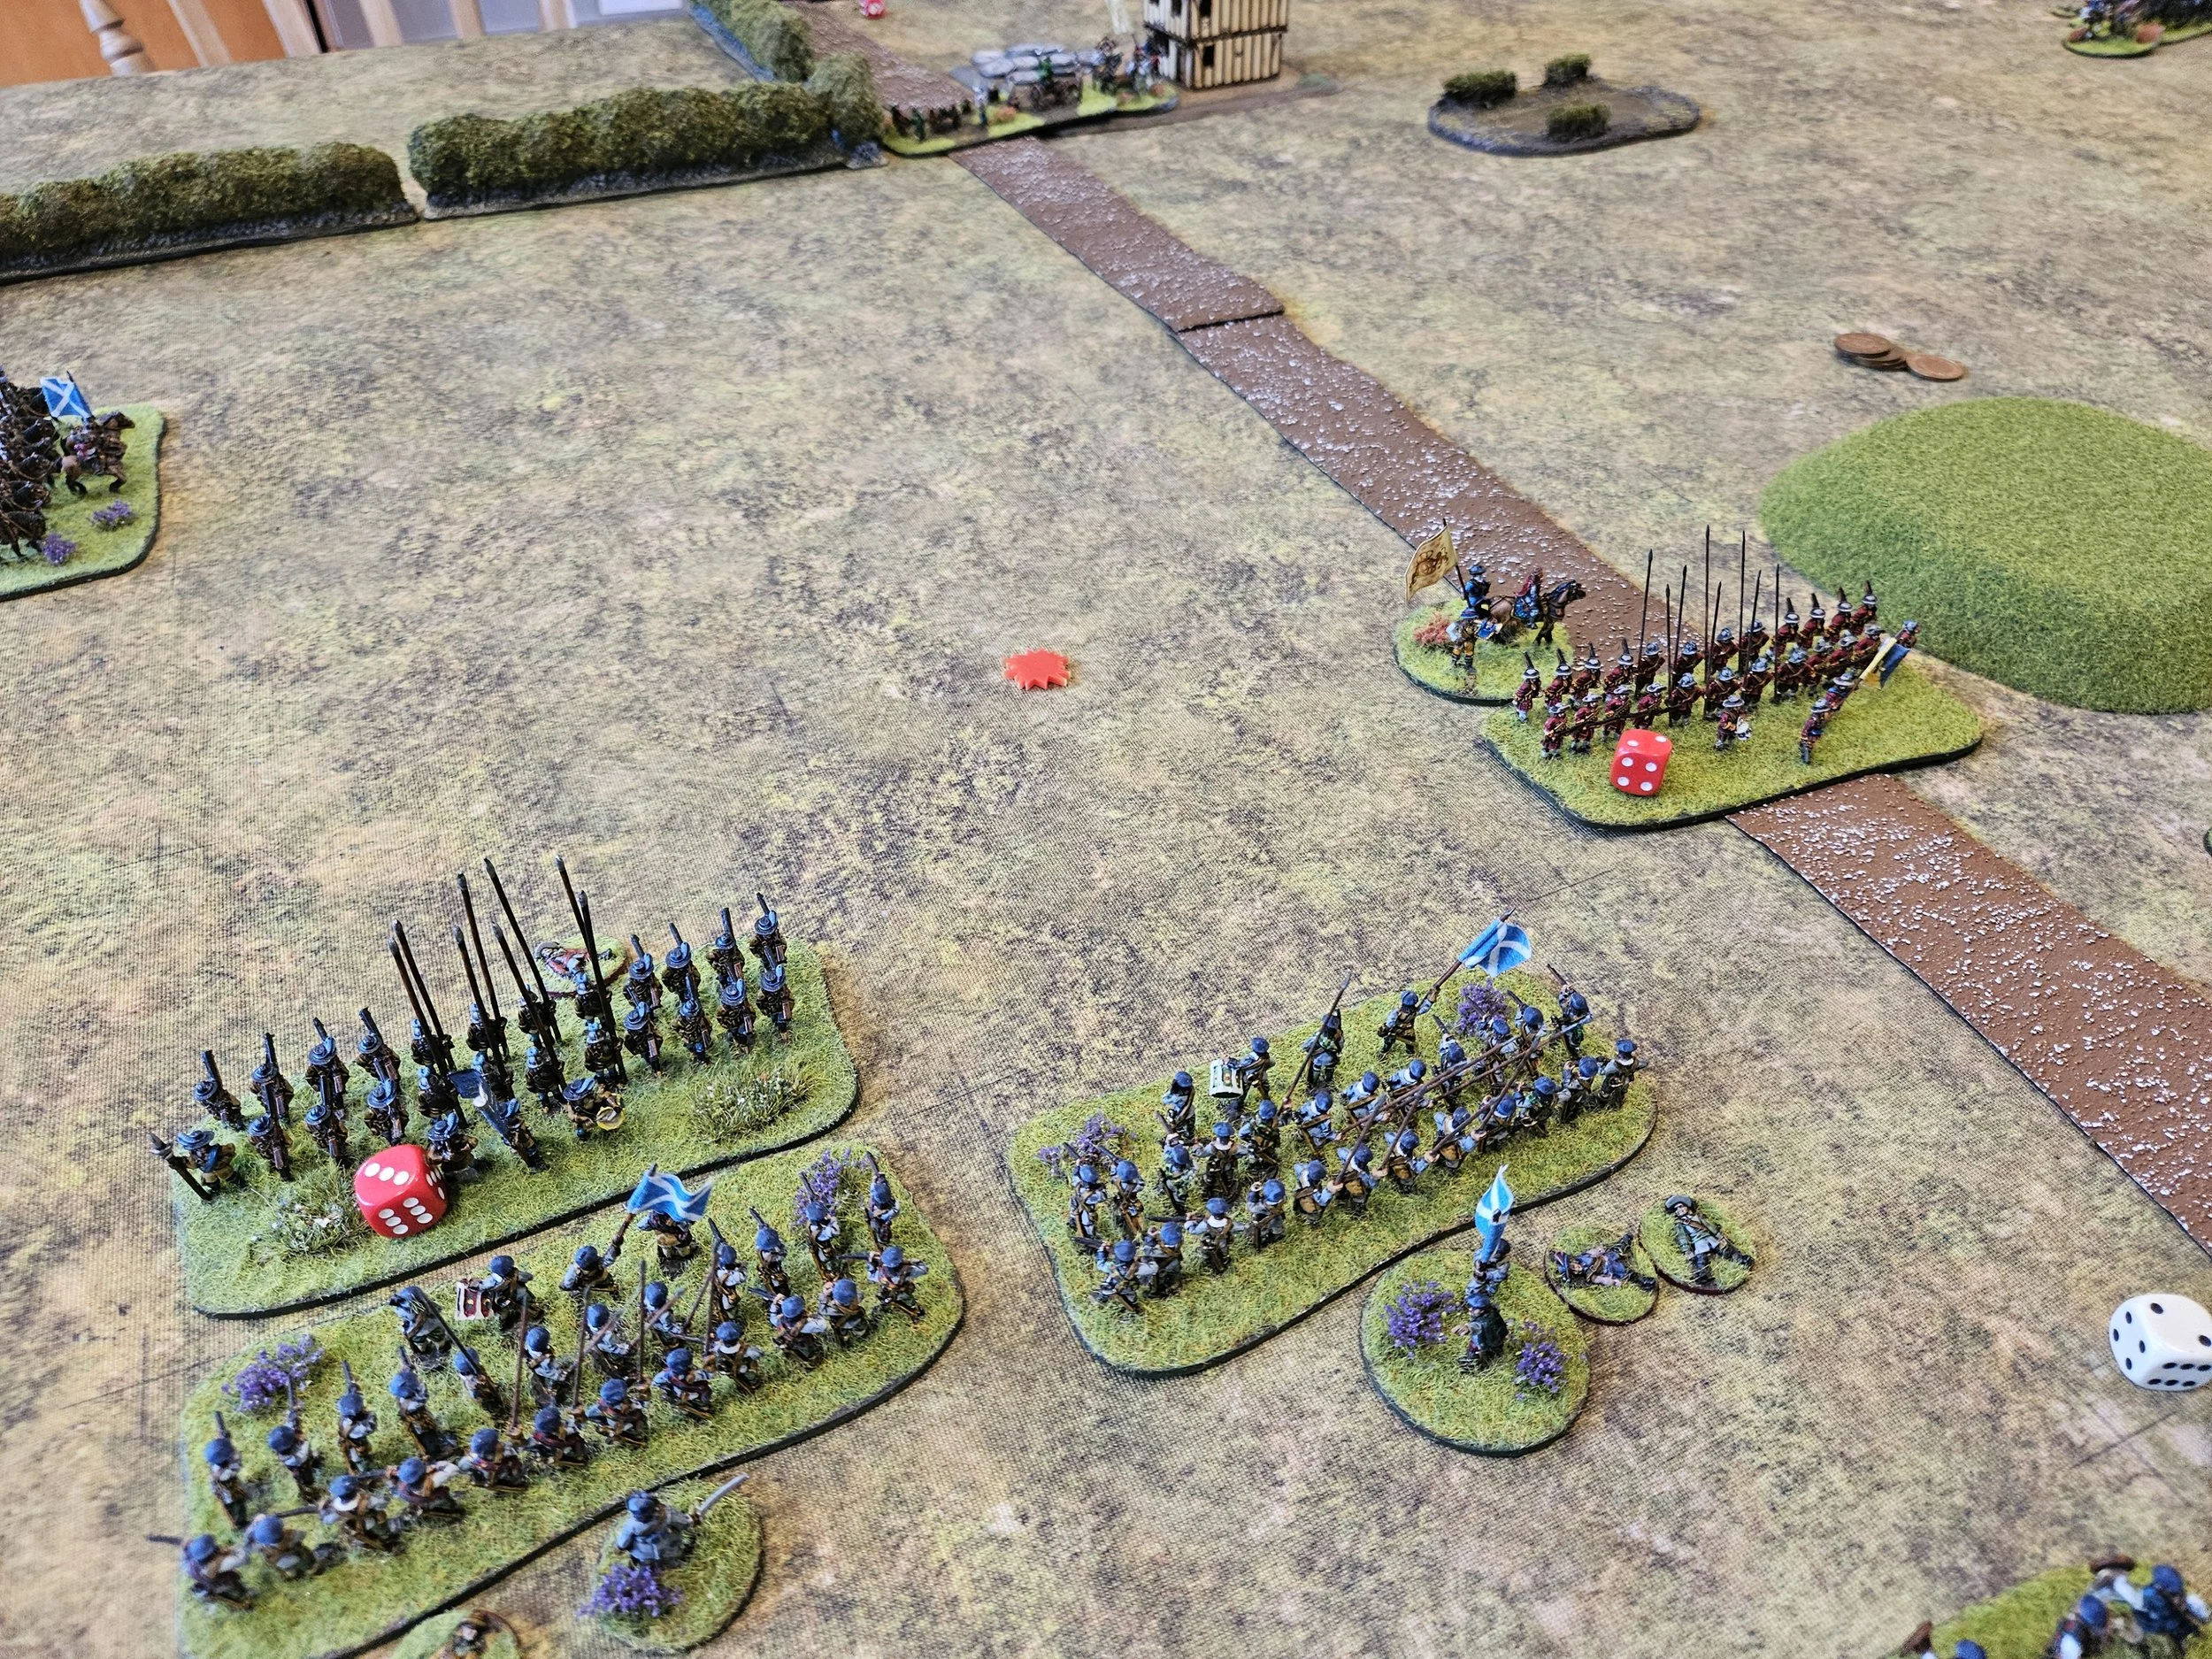
Peter writes…
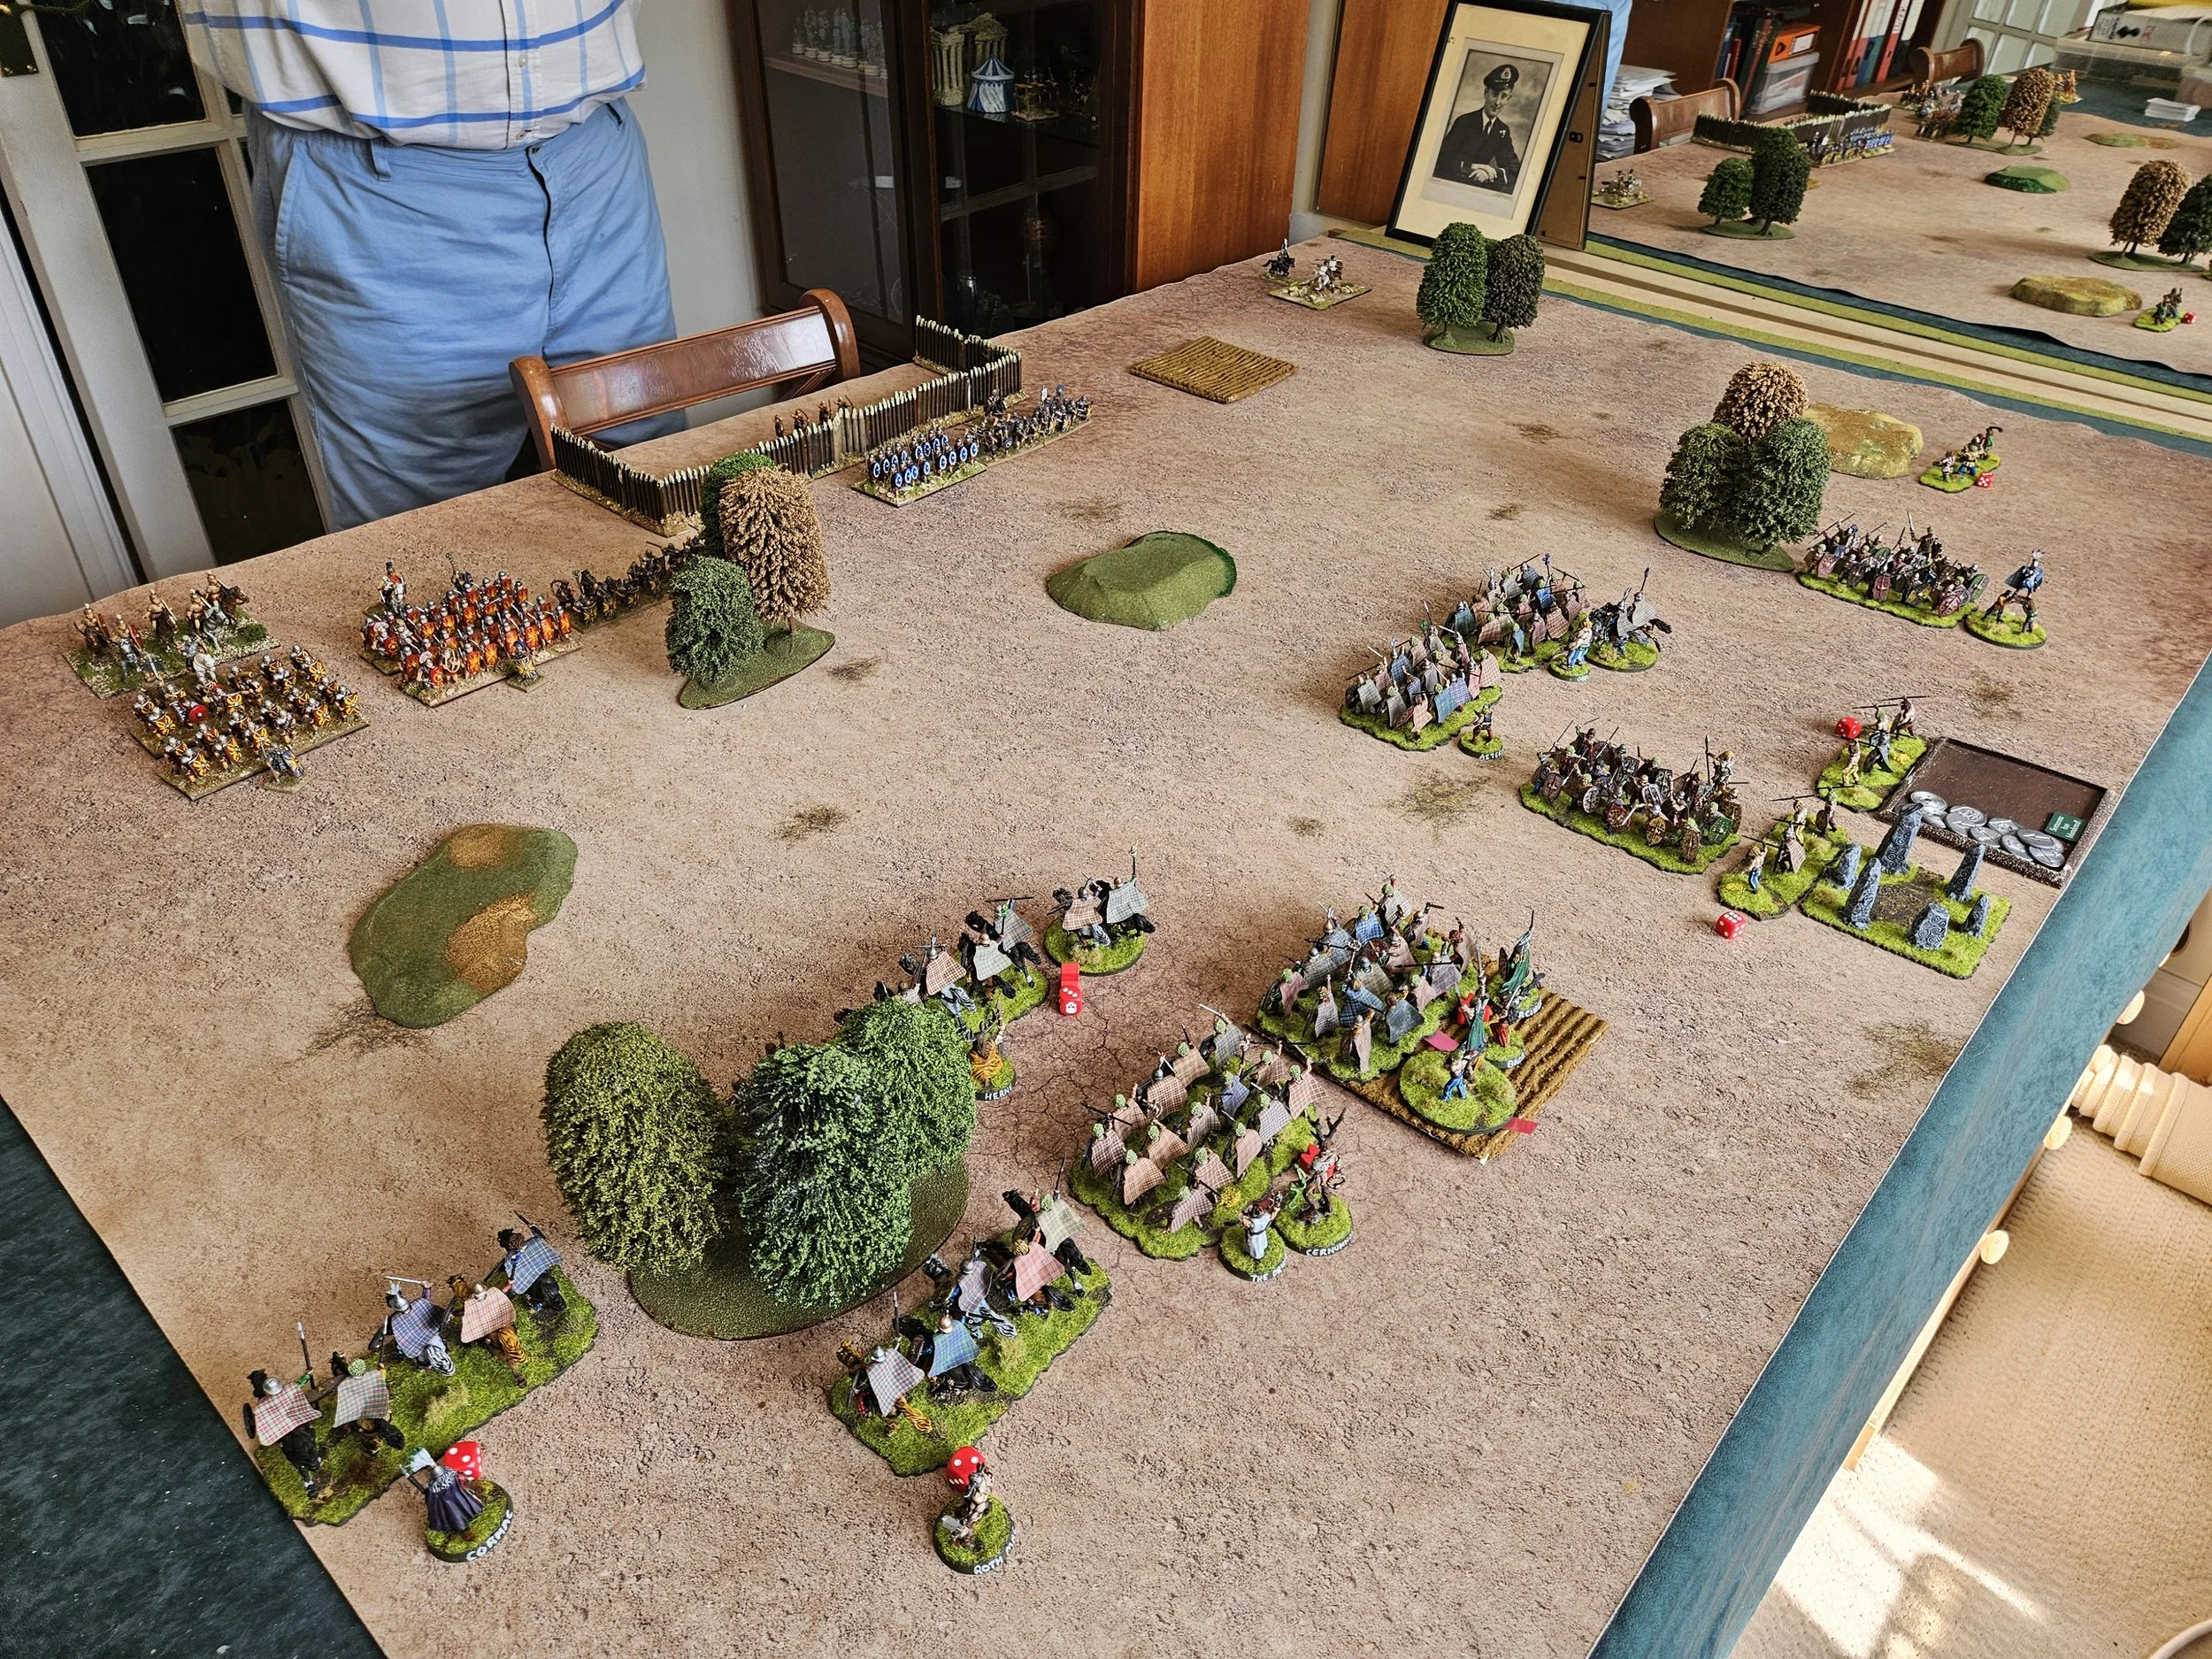
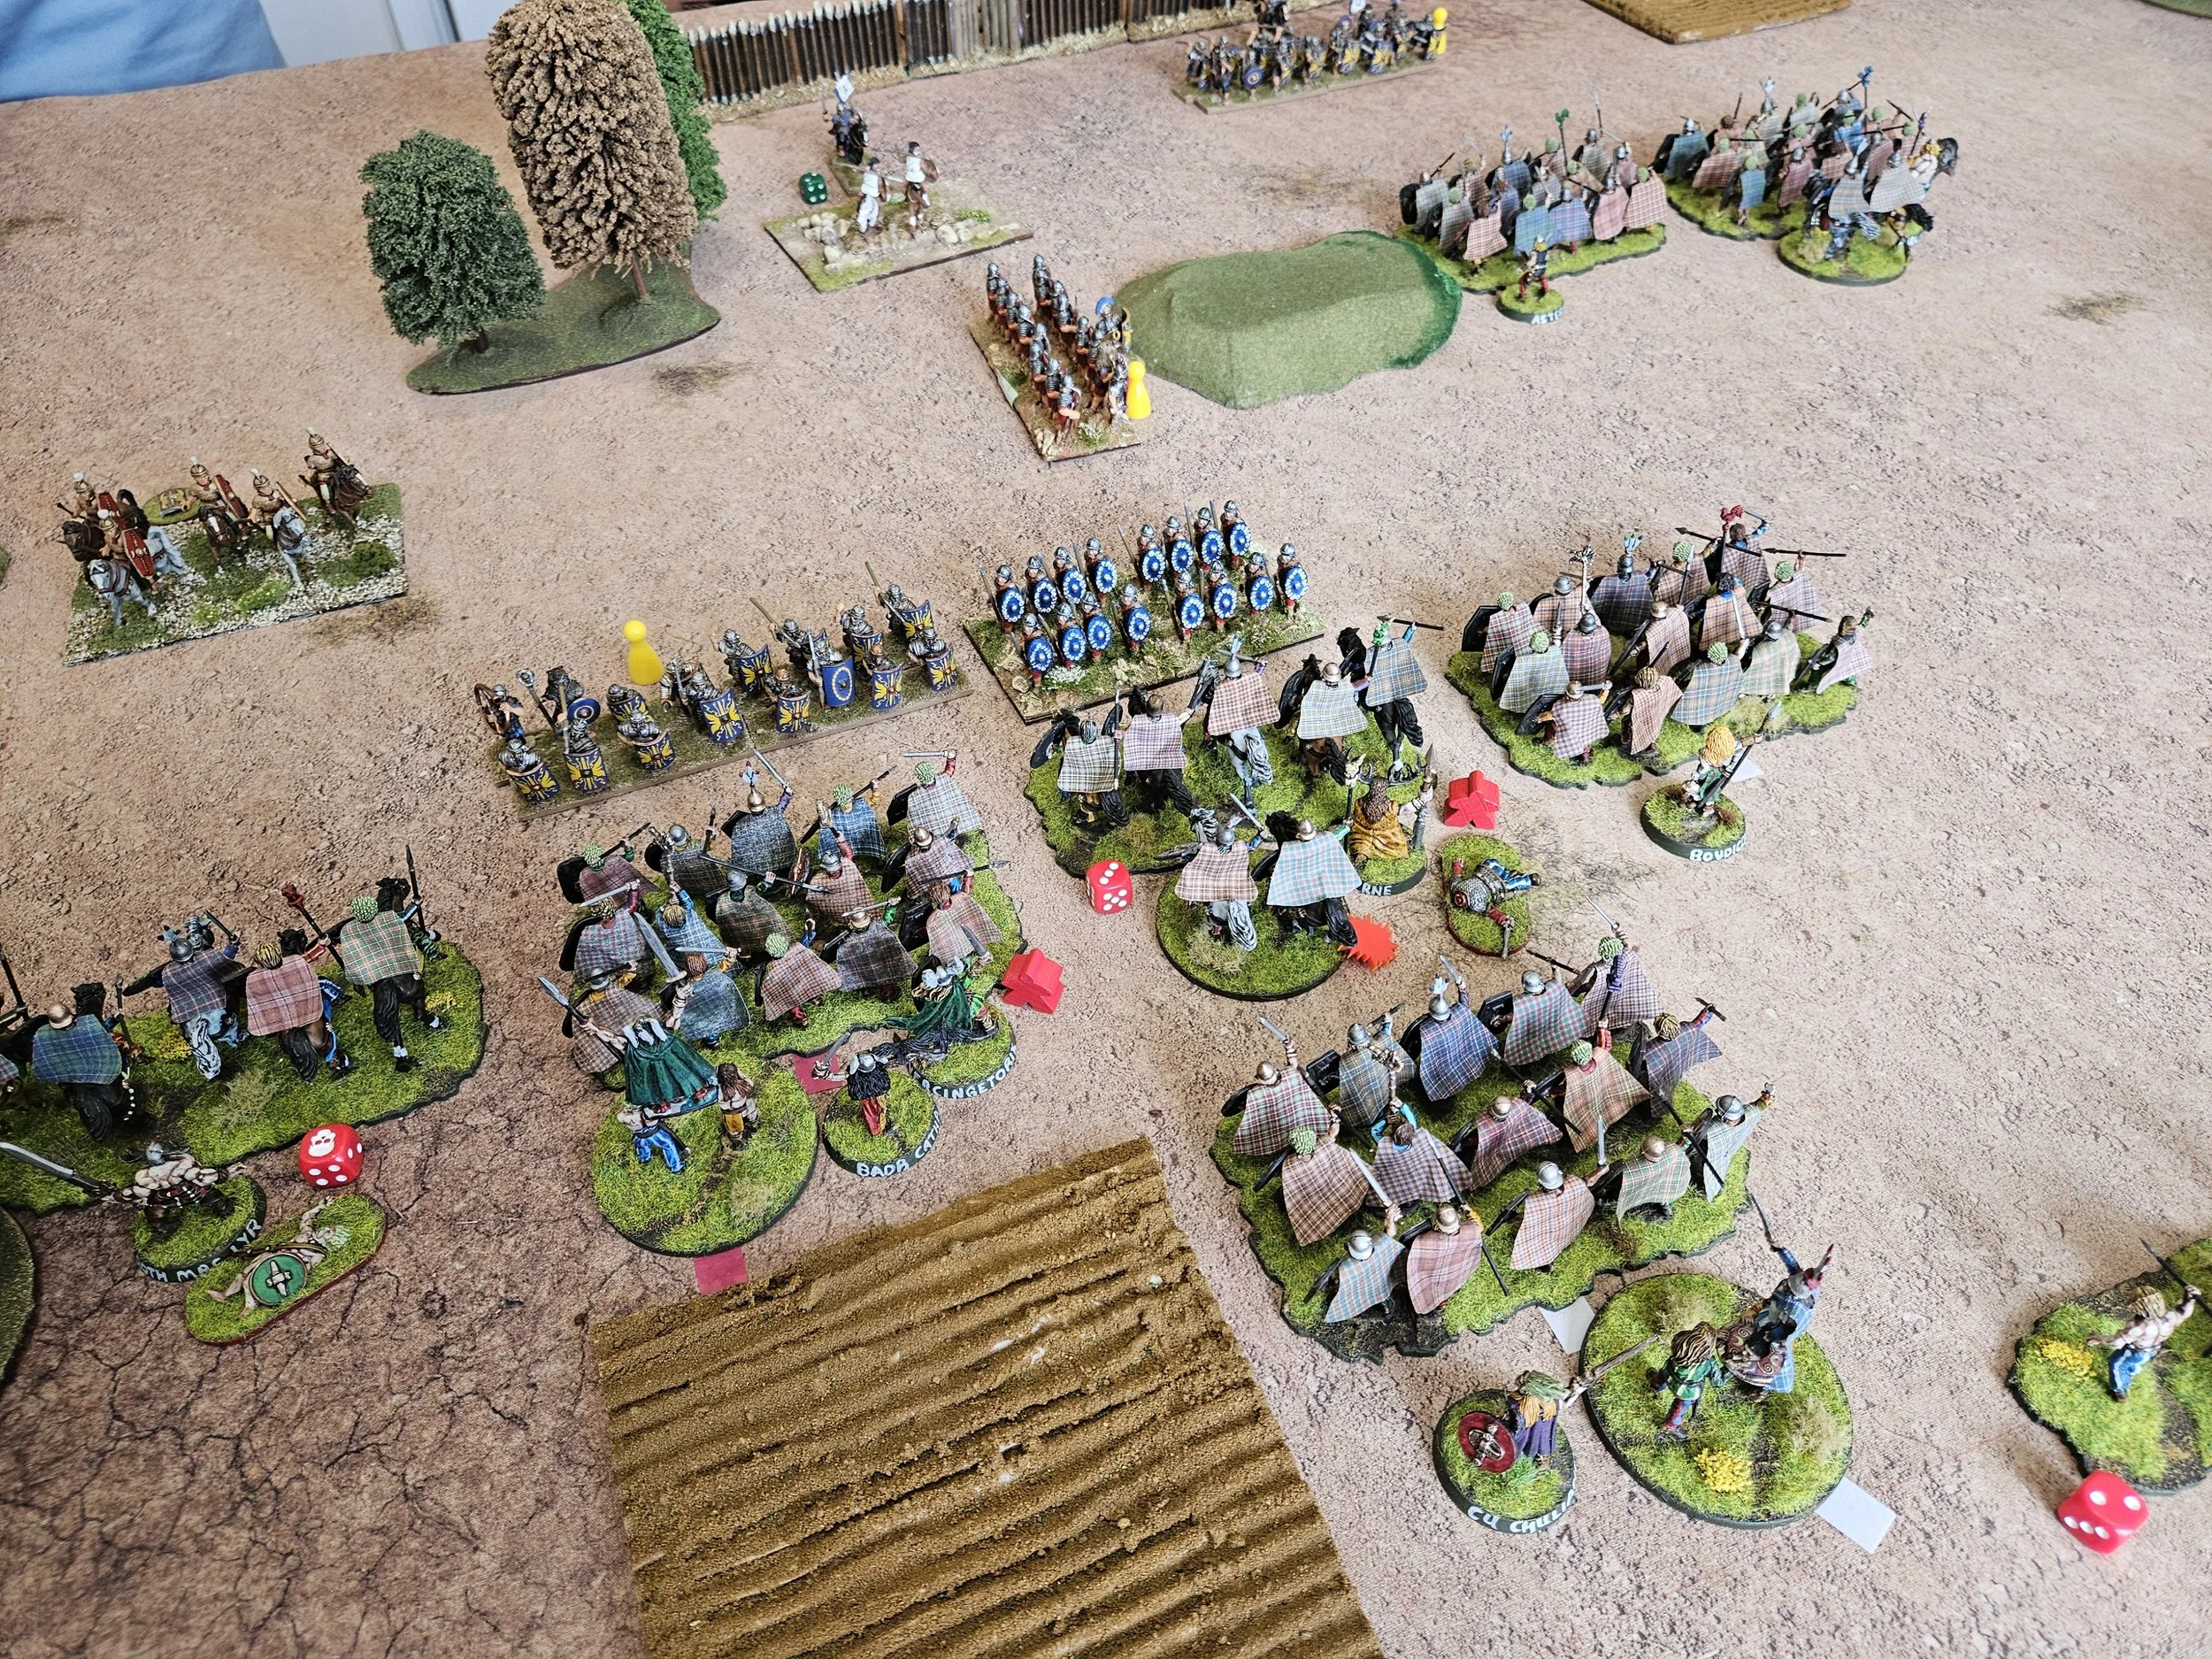
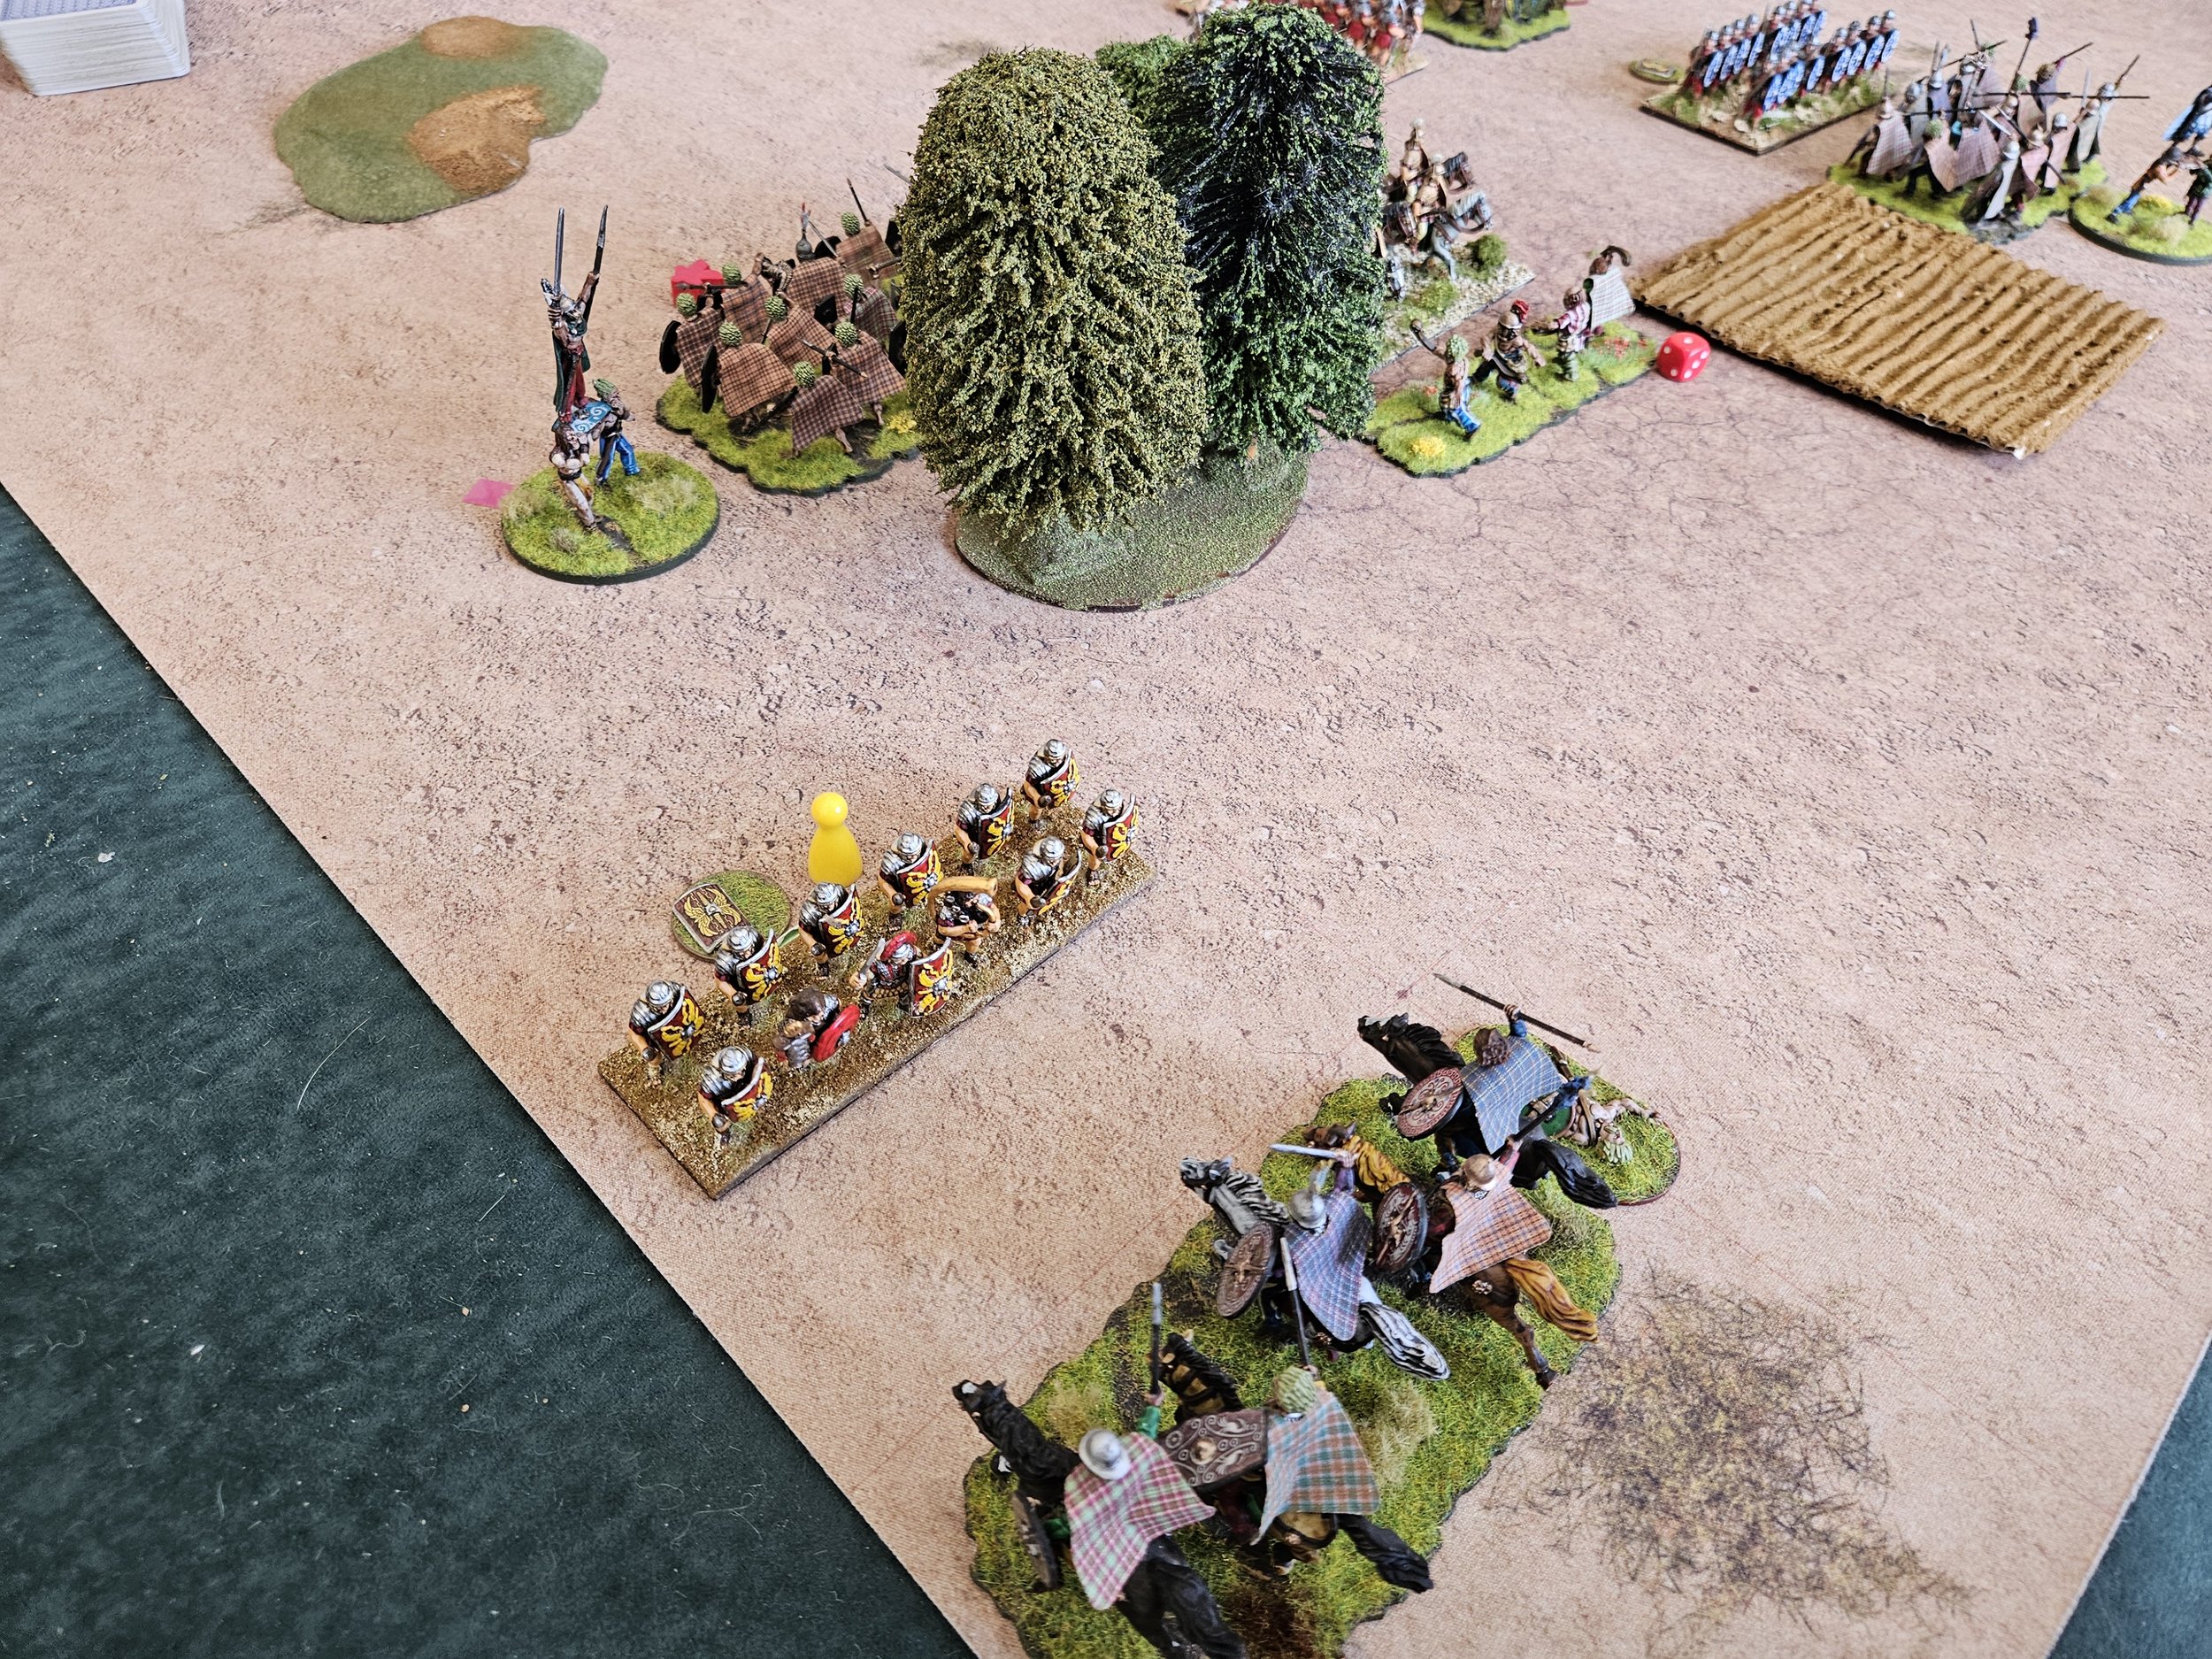
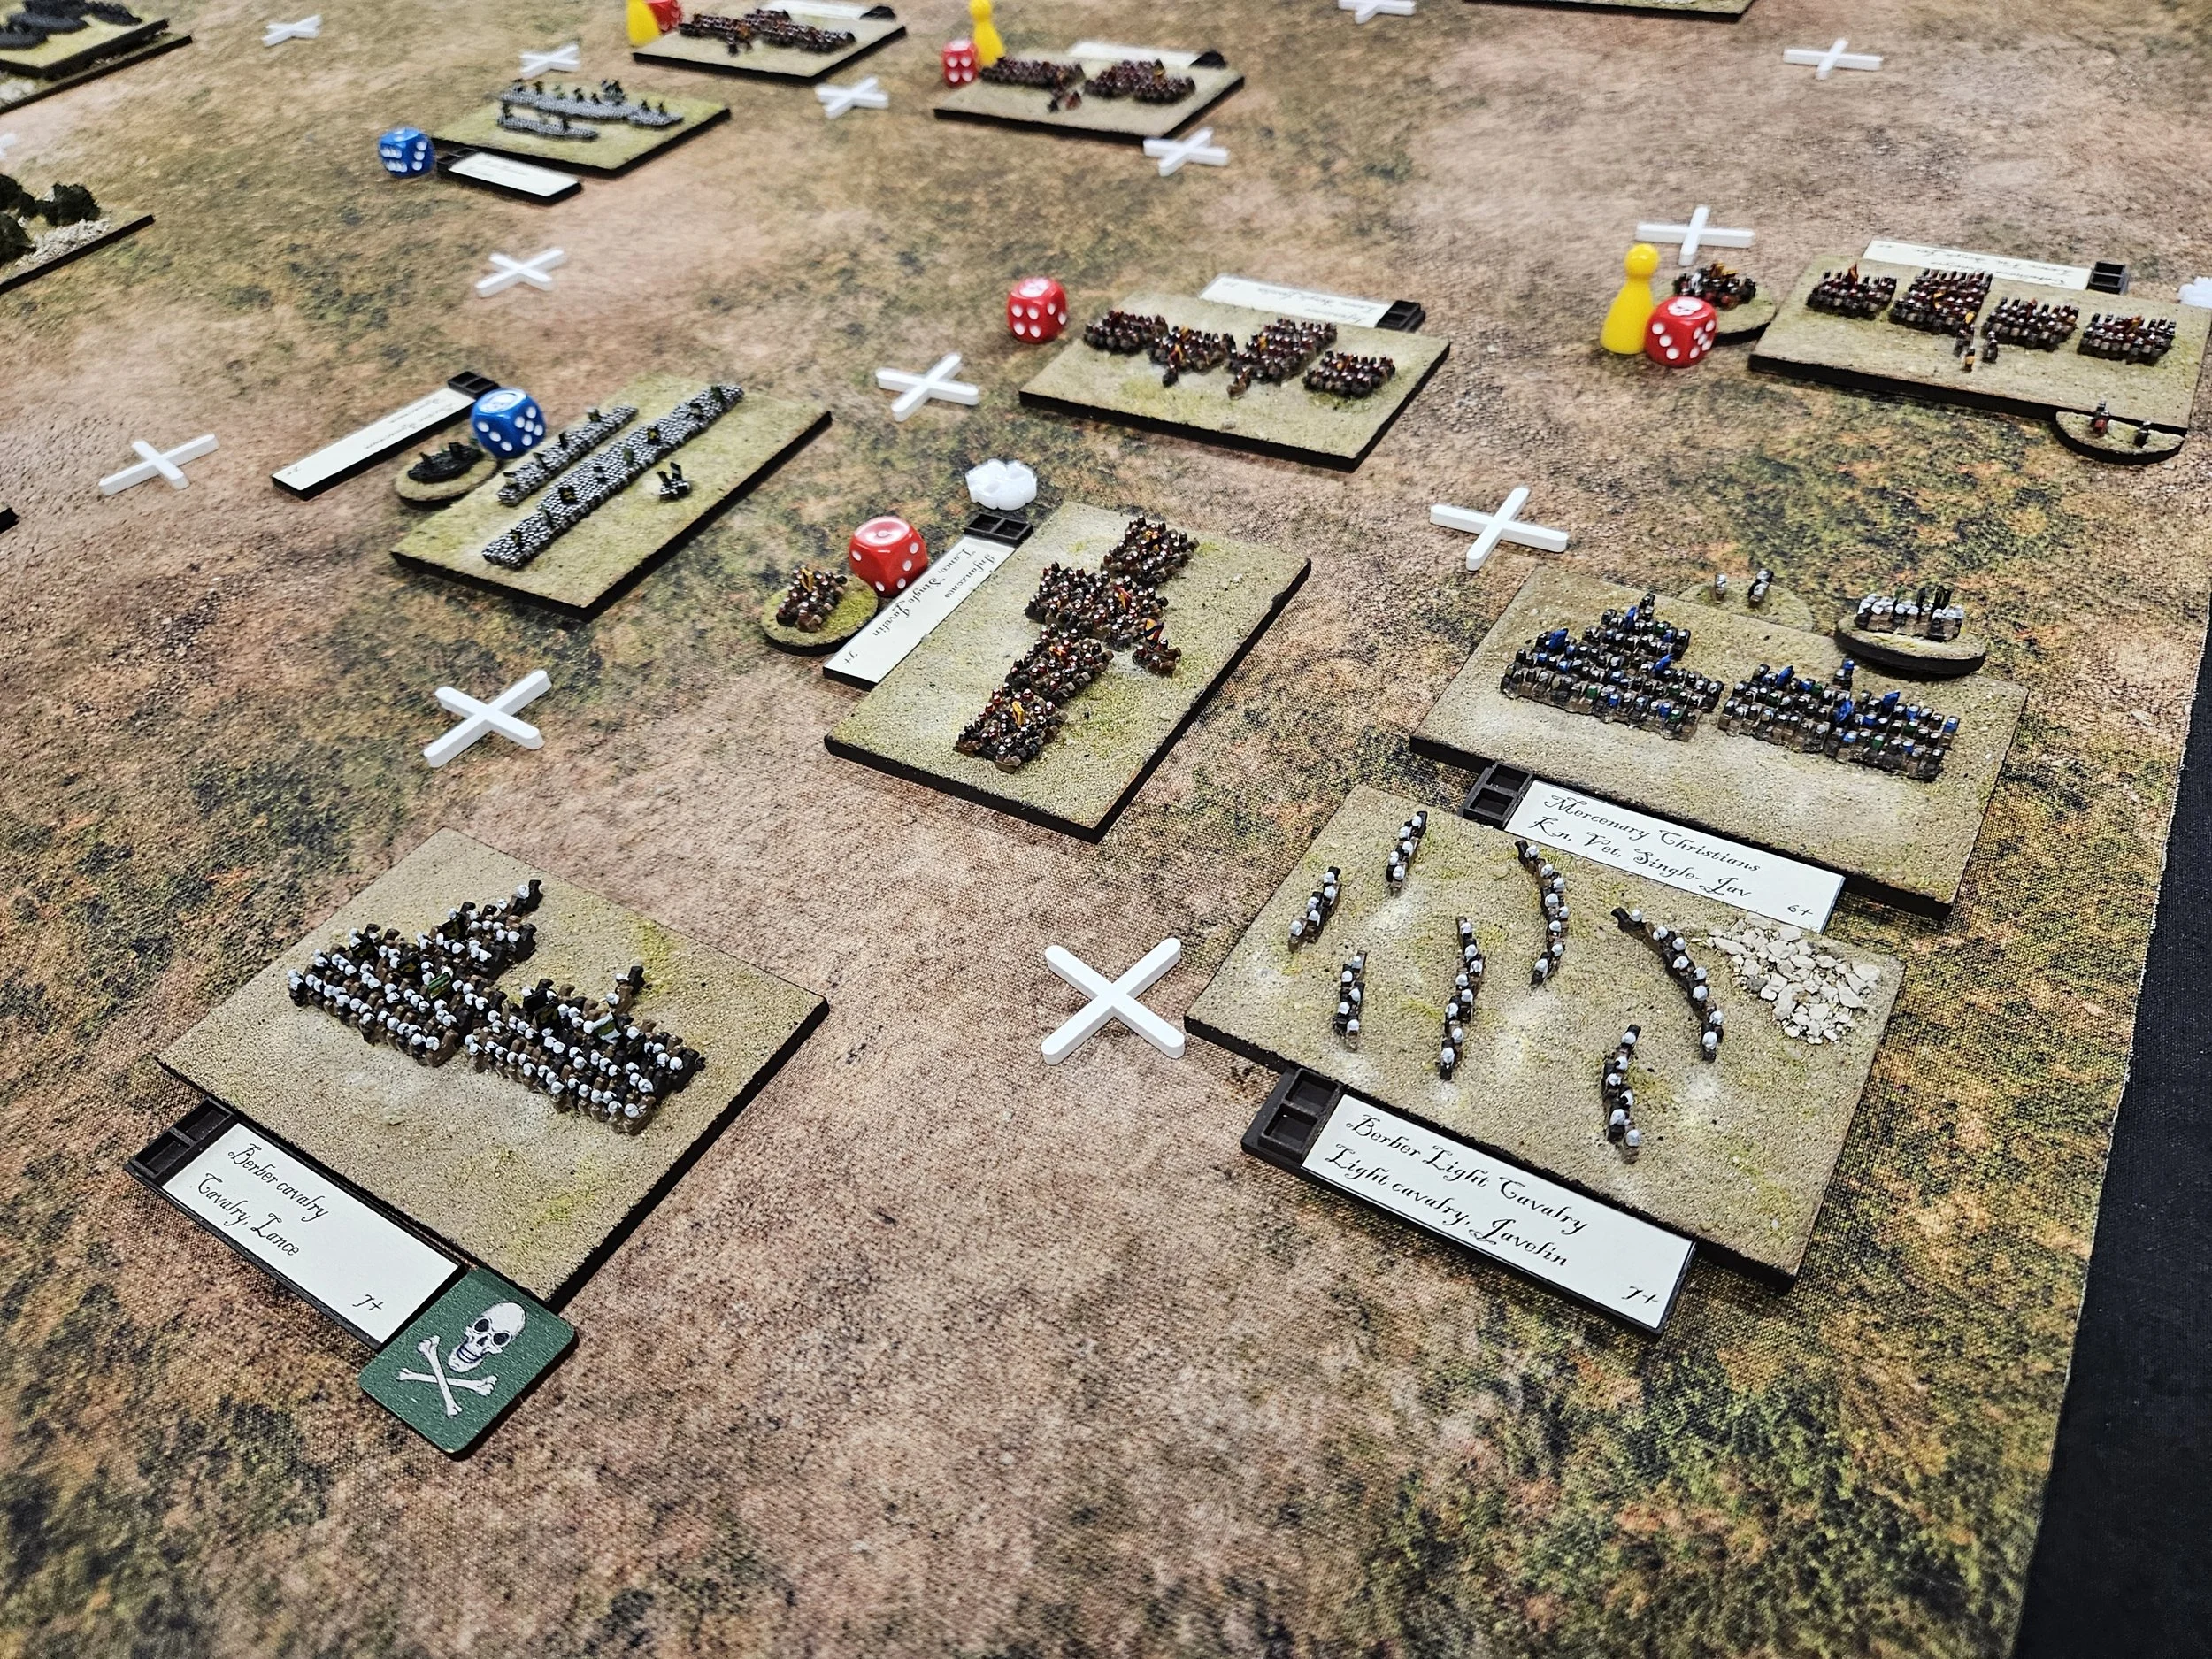
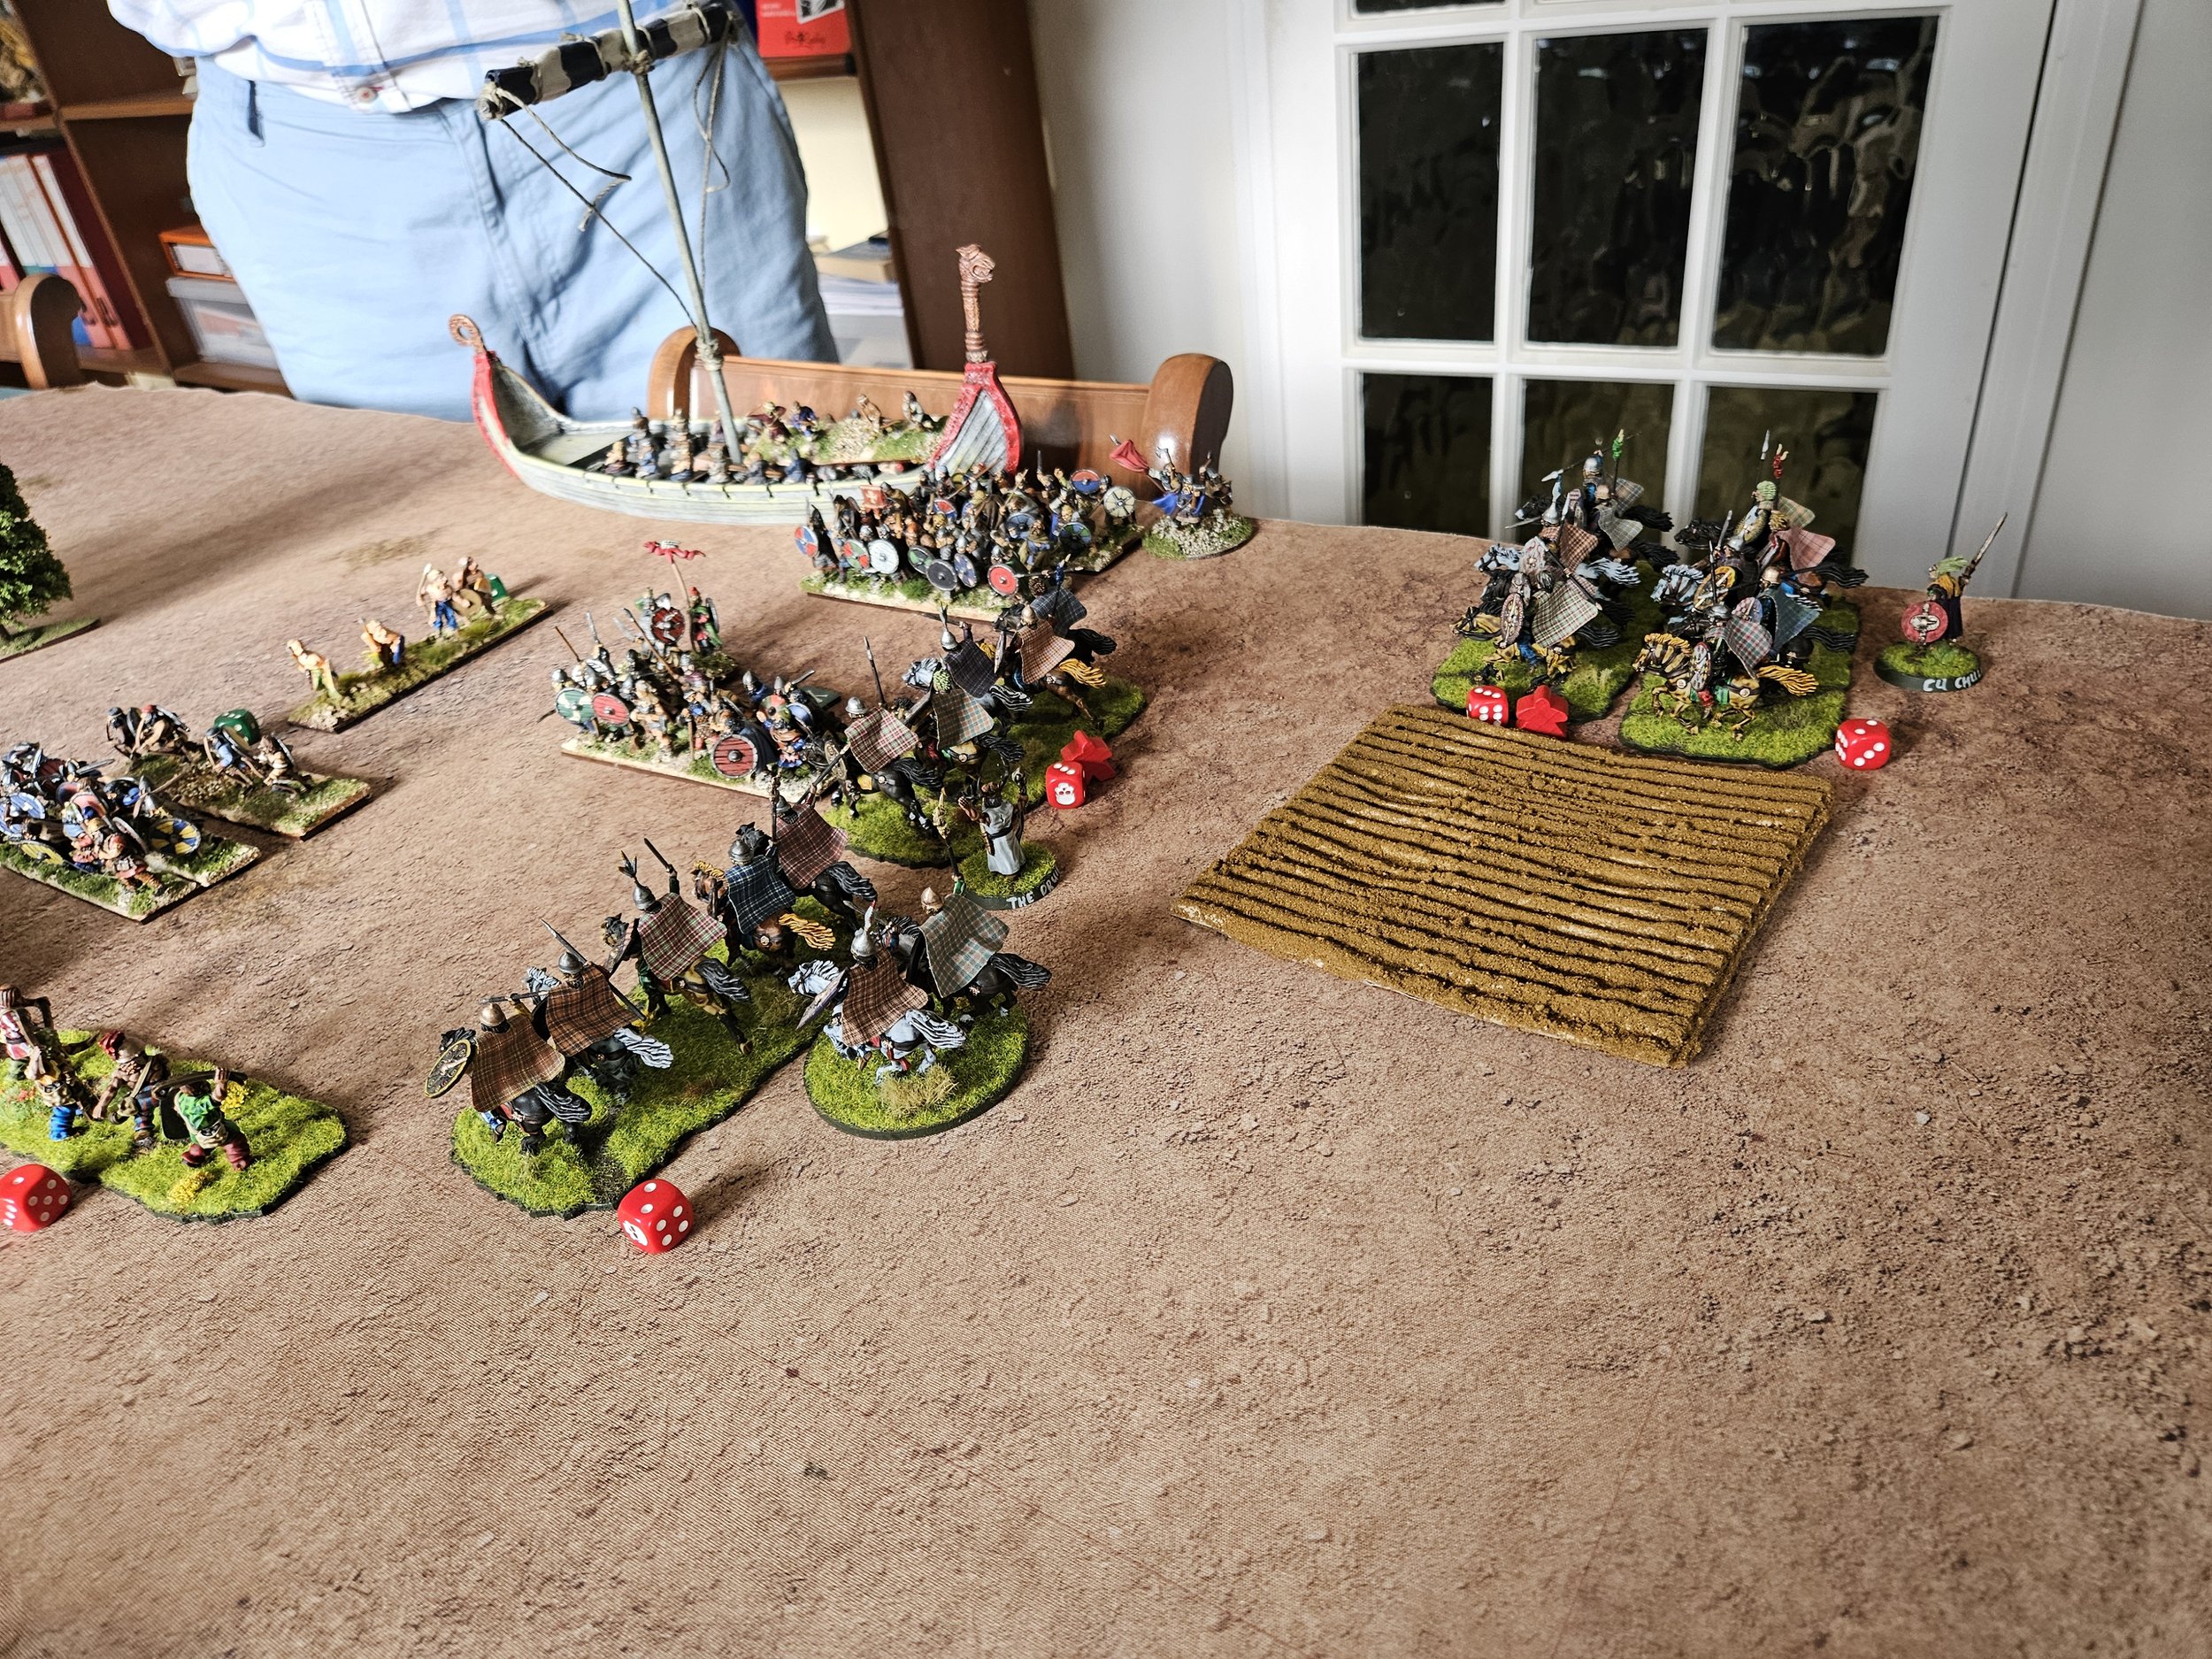
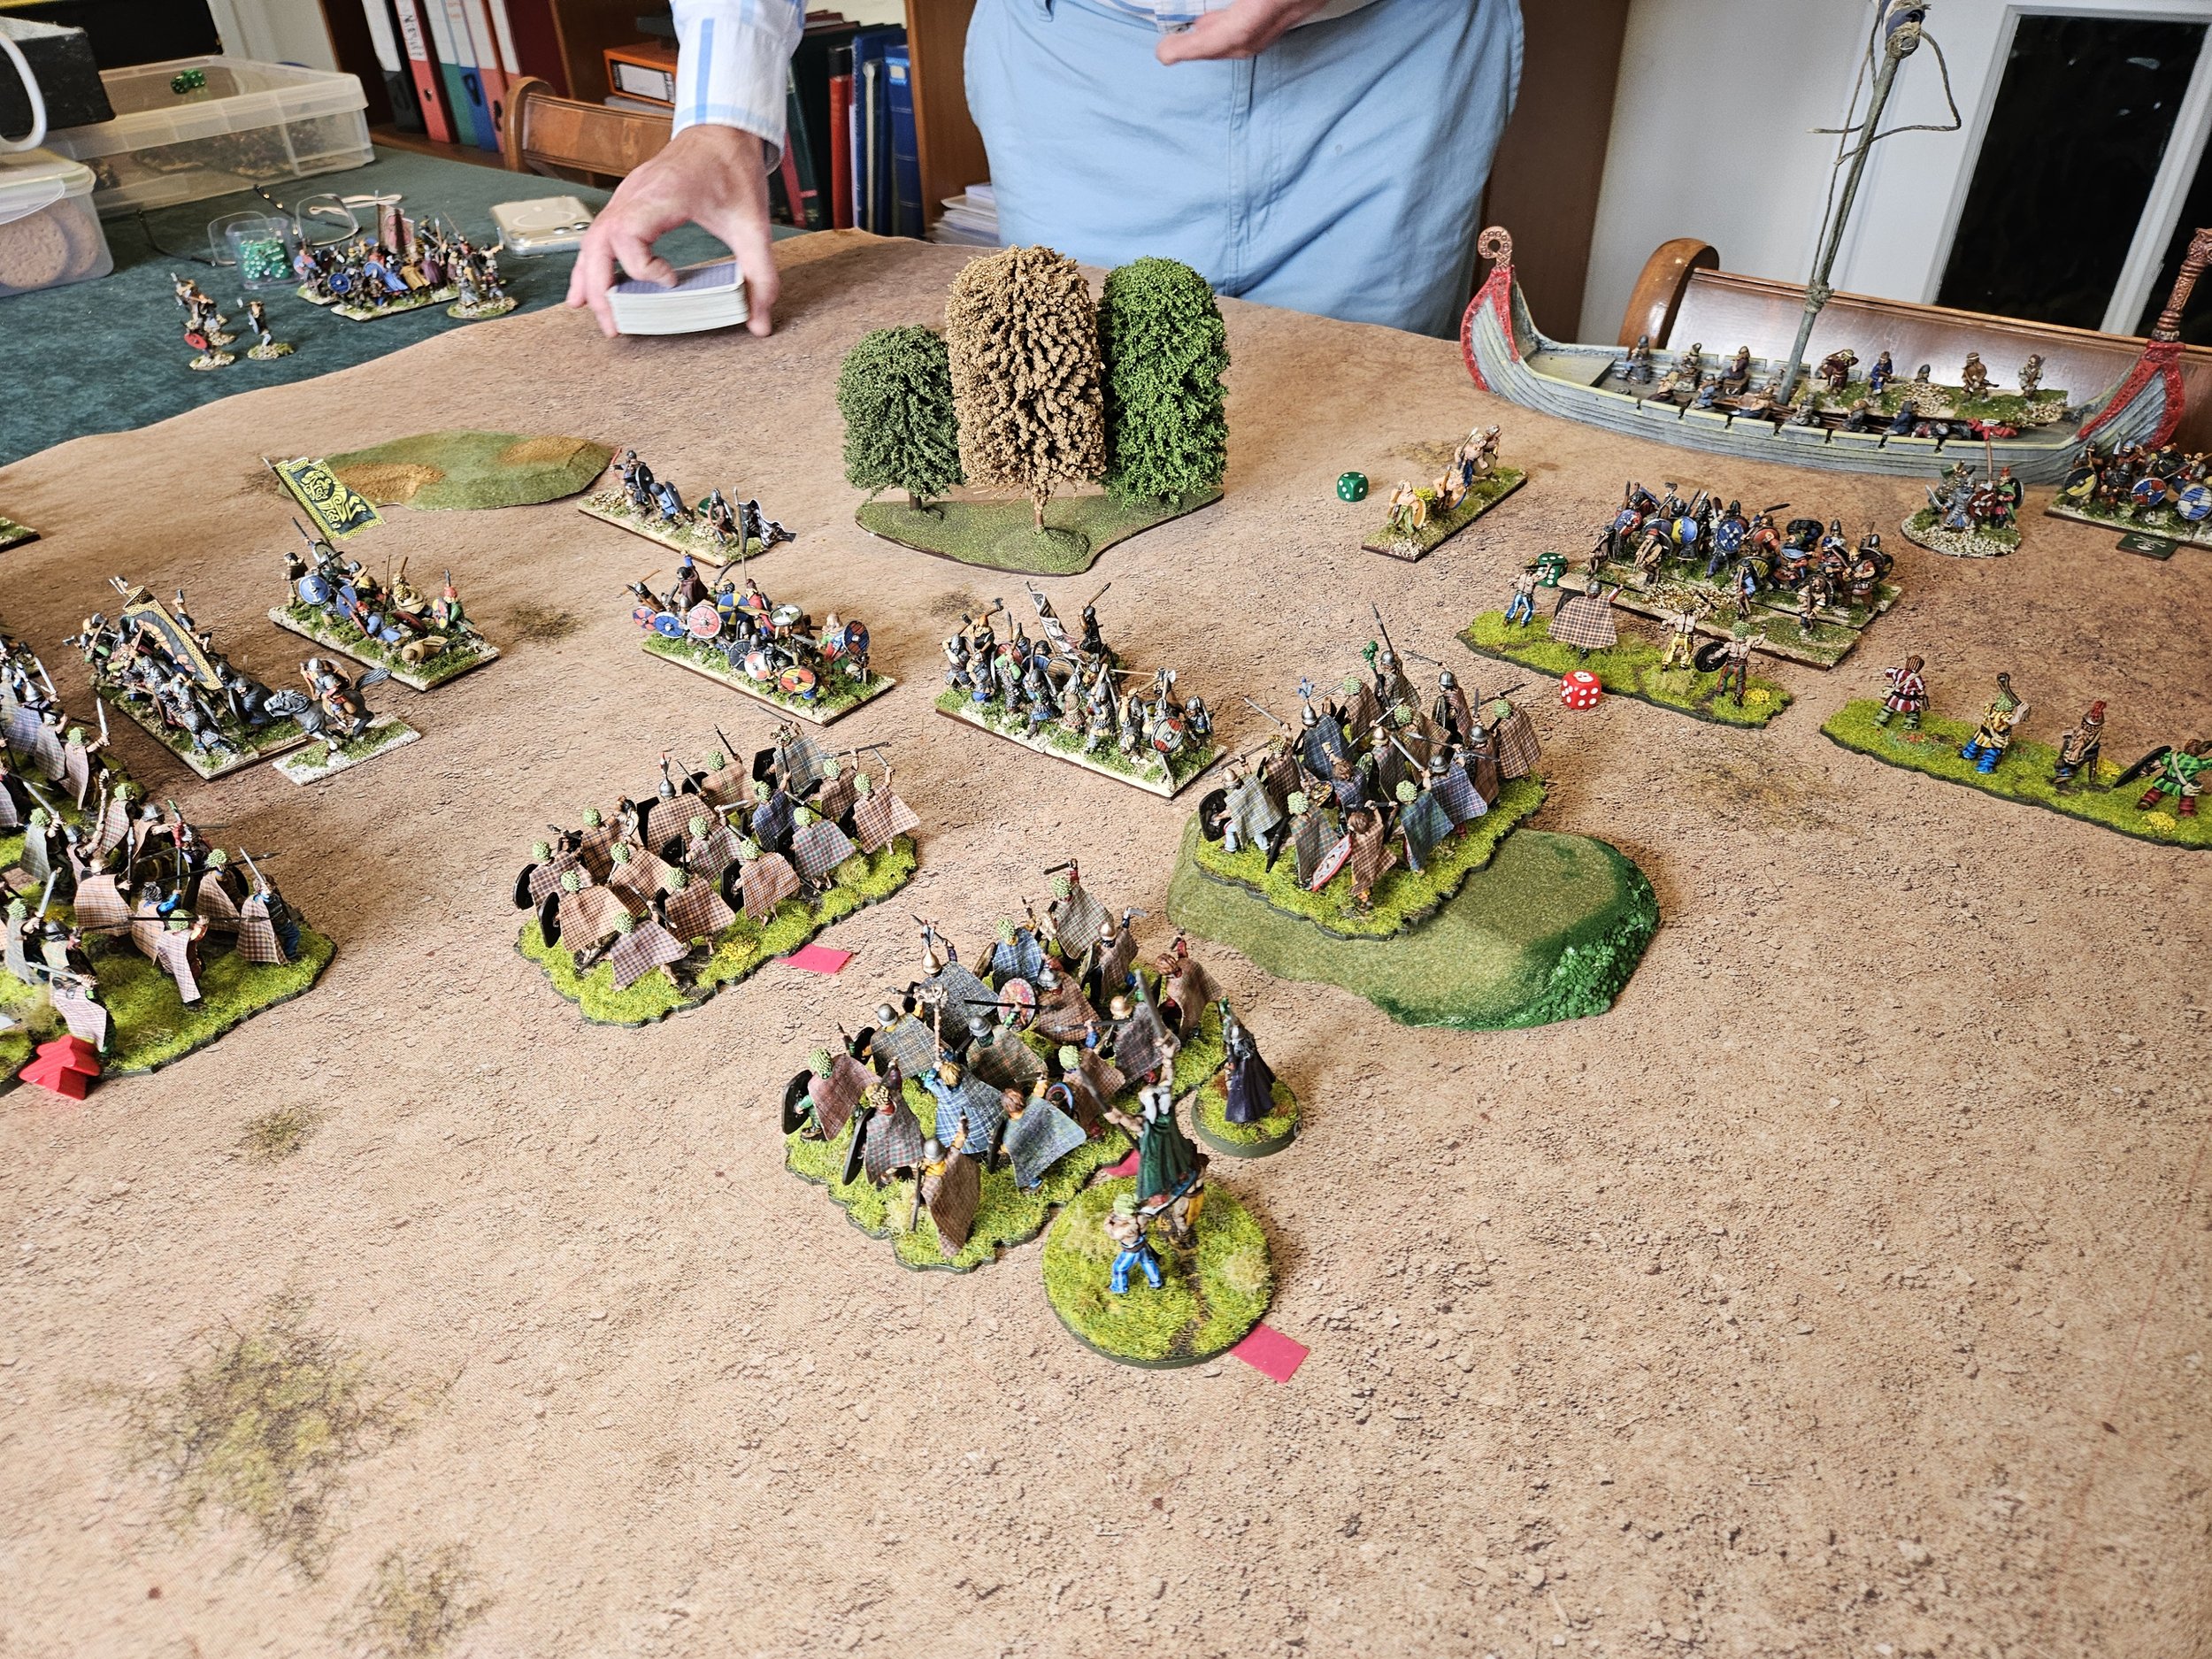
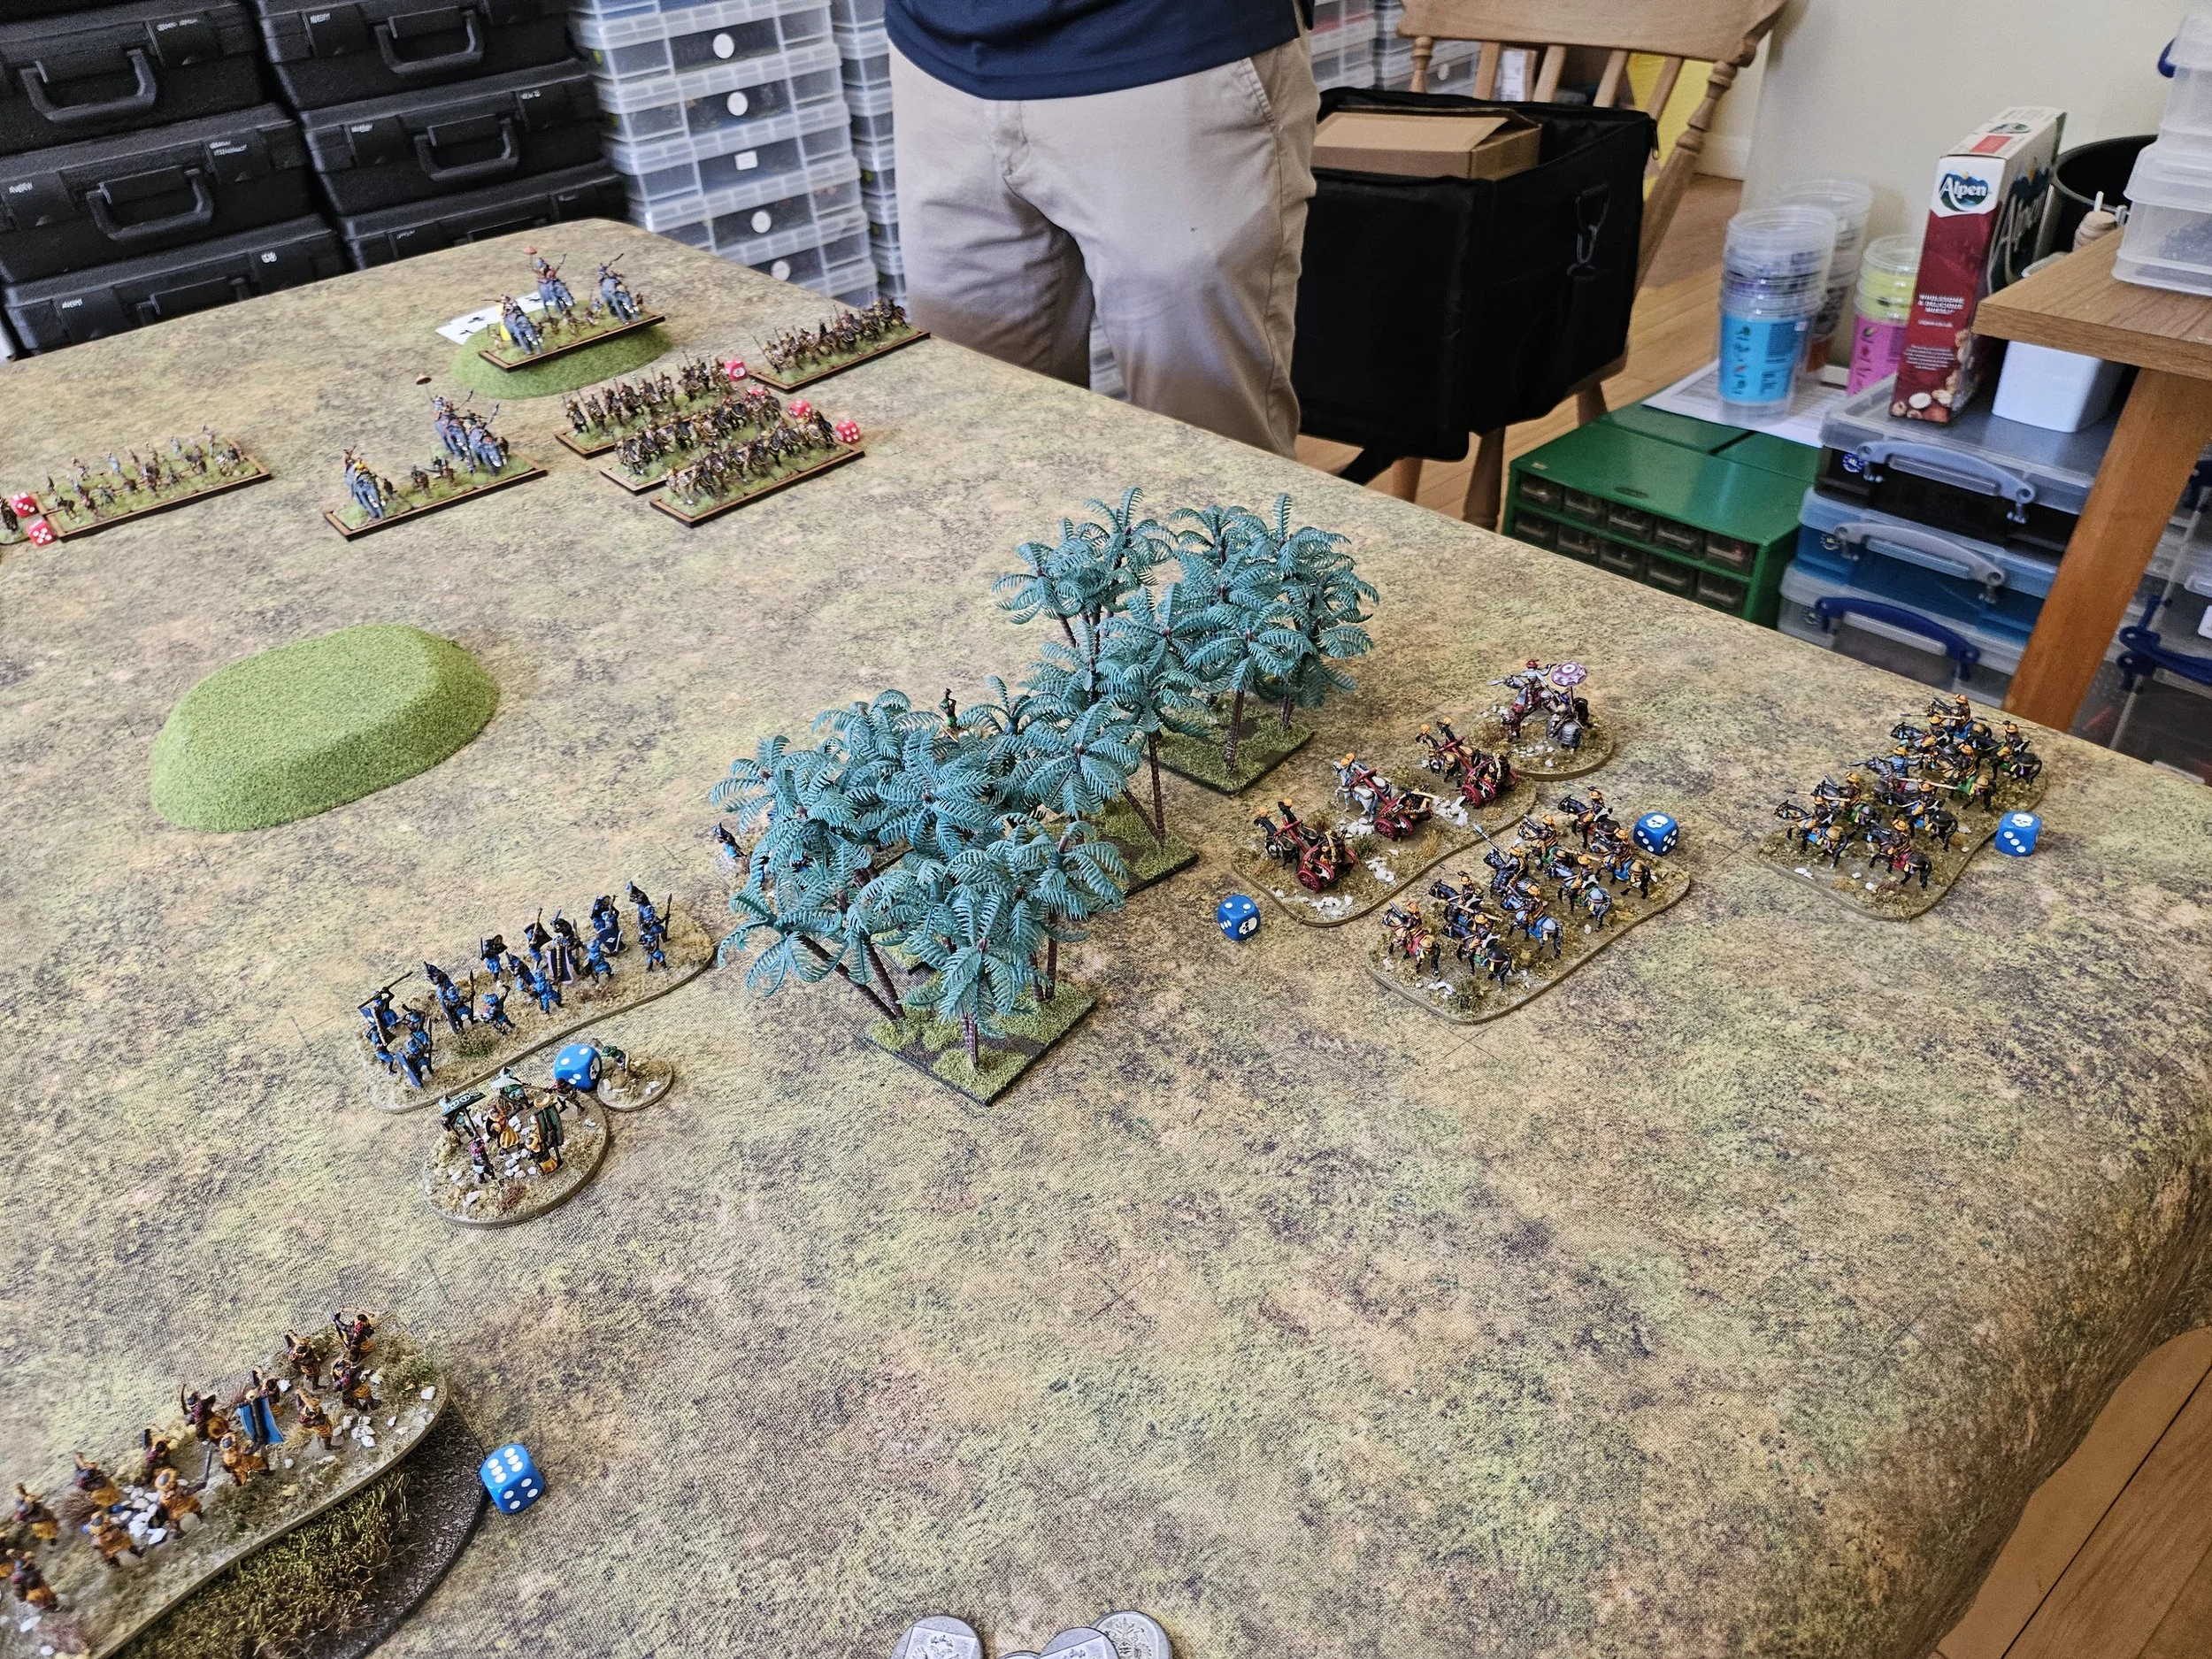
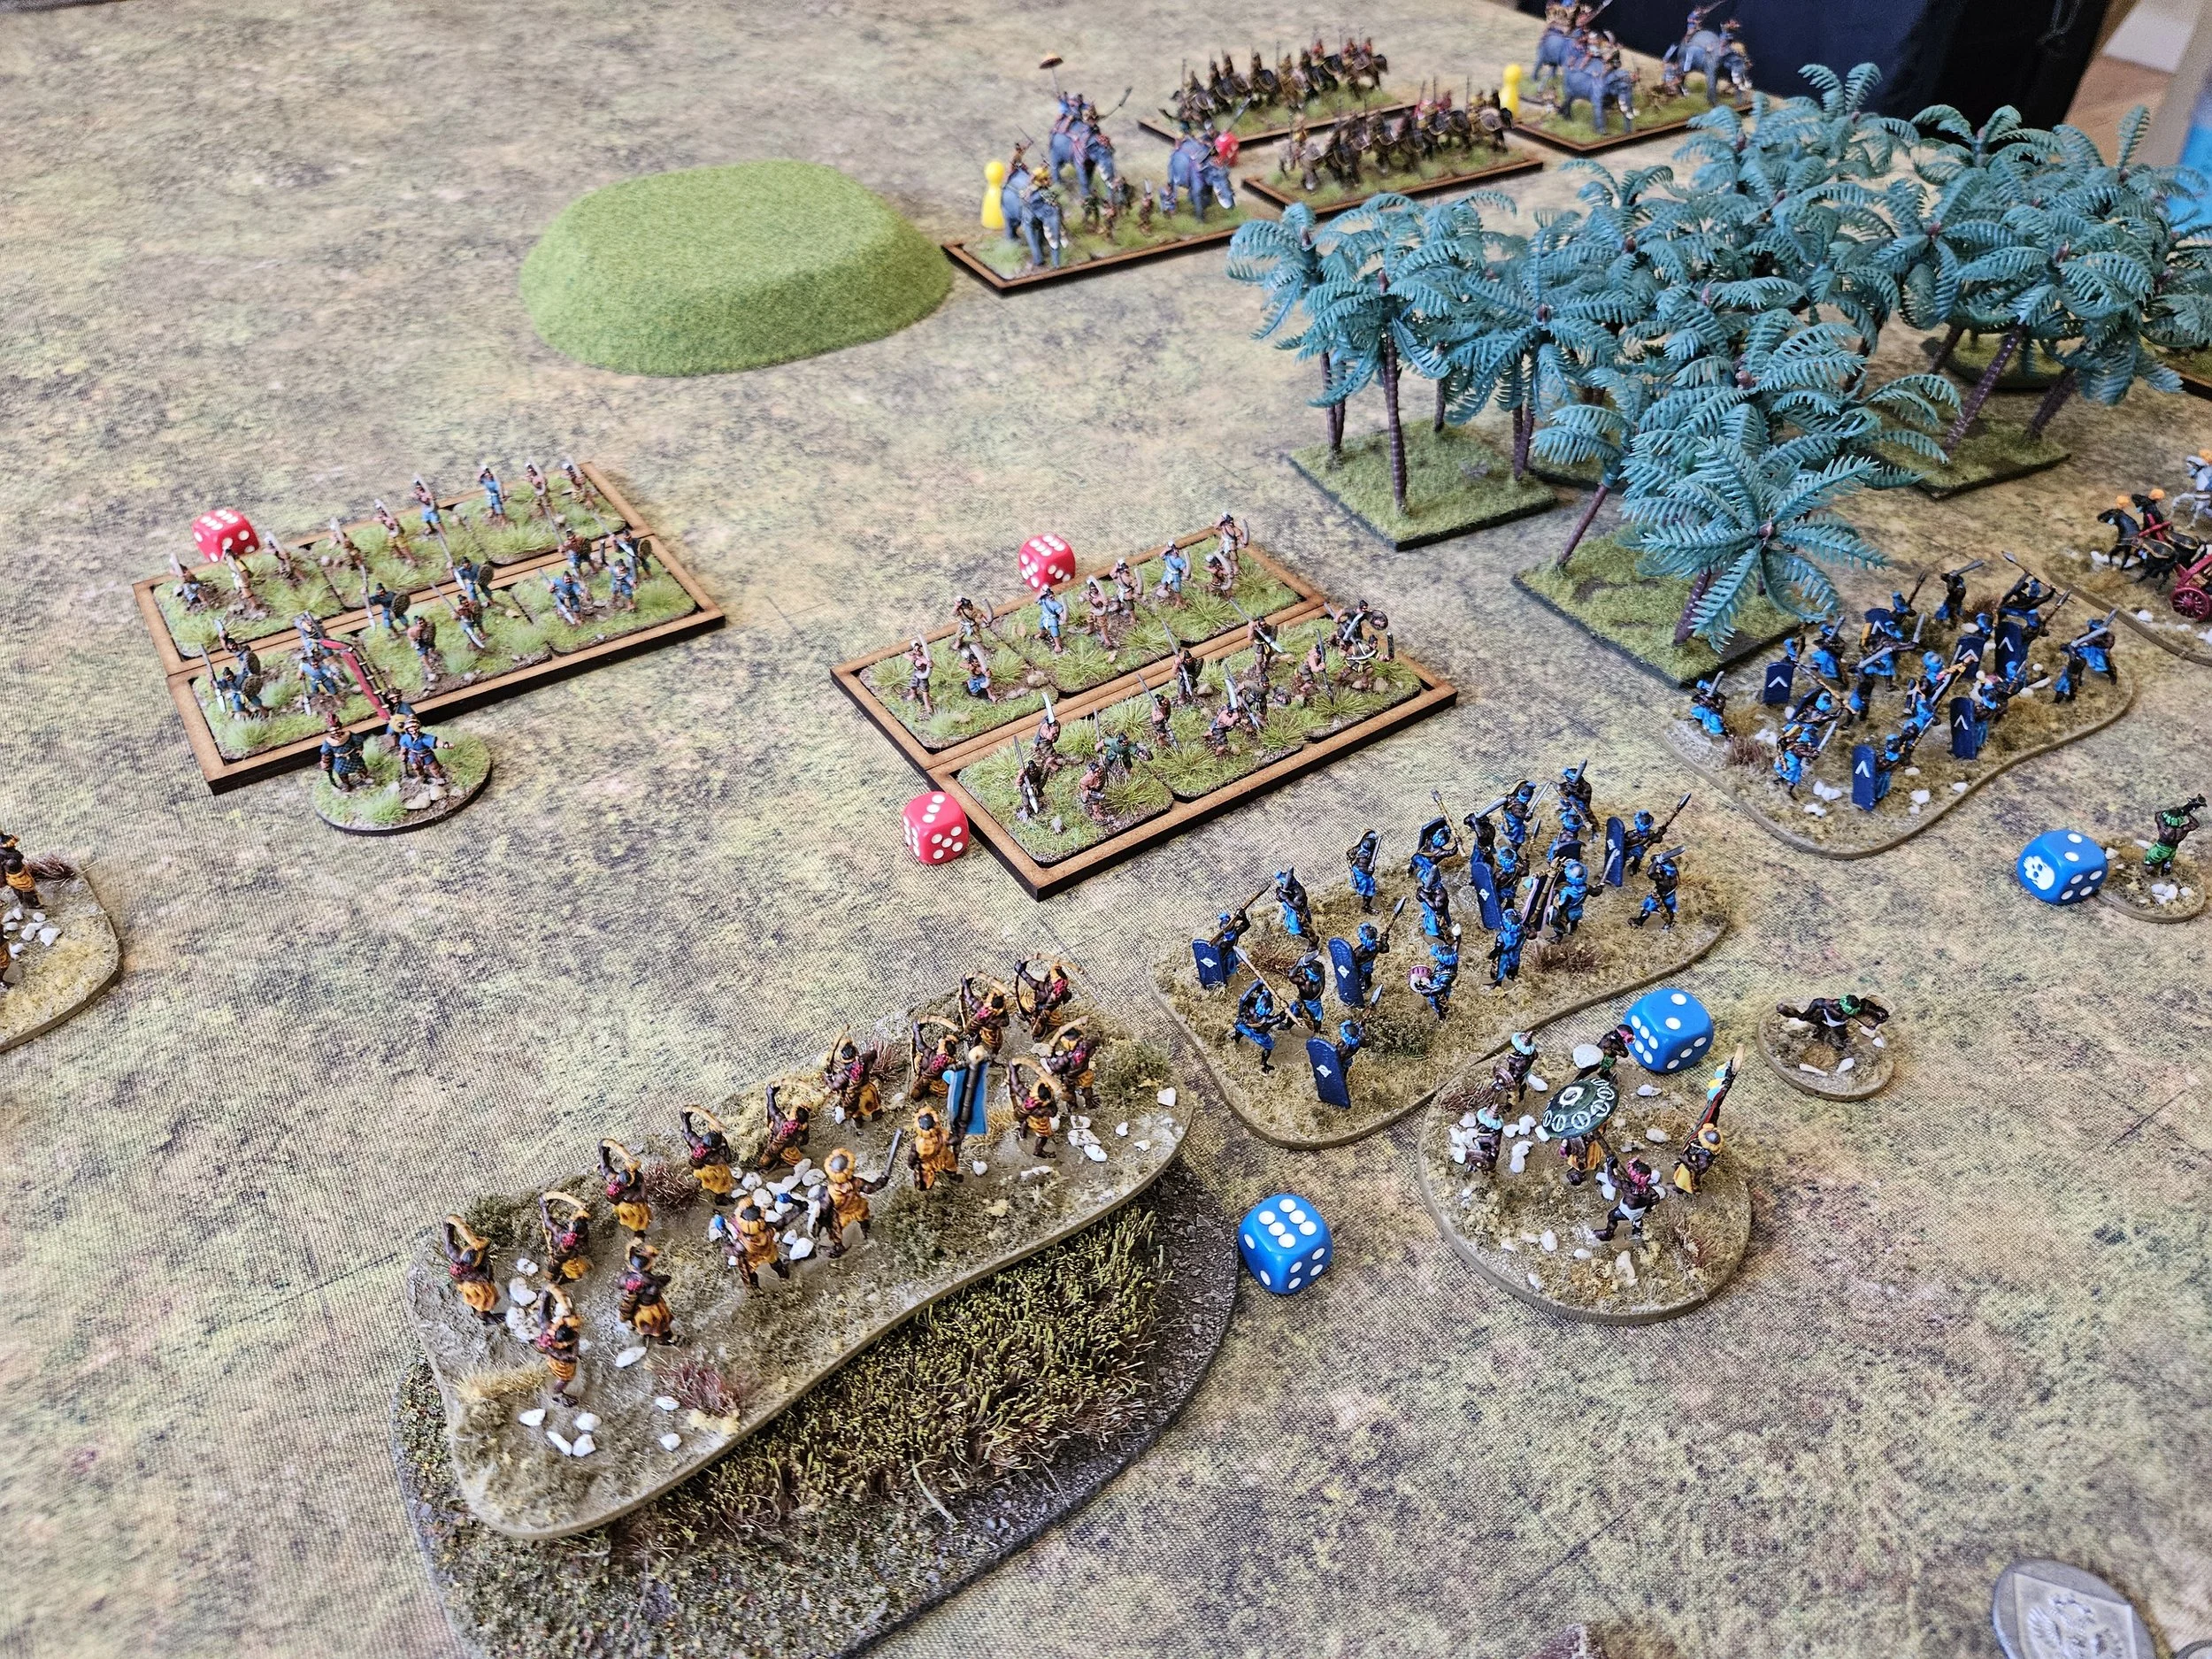
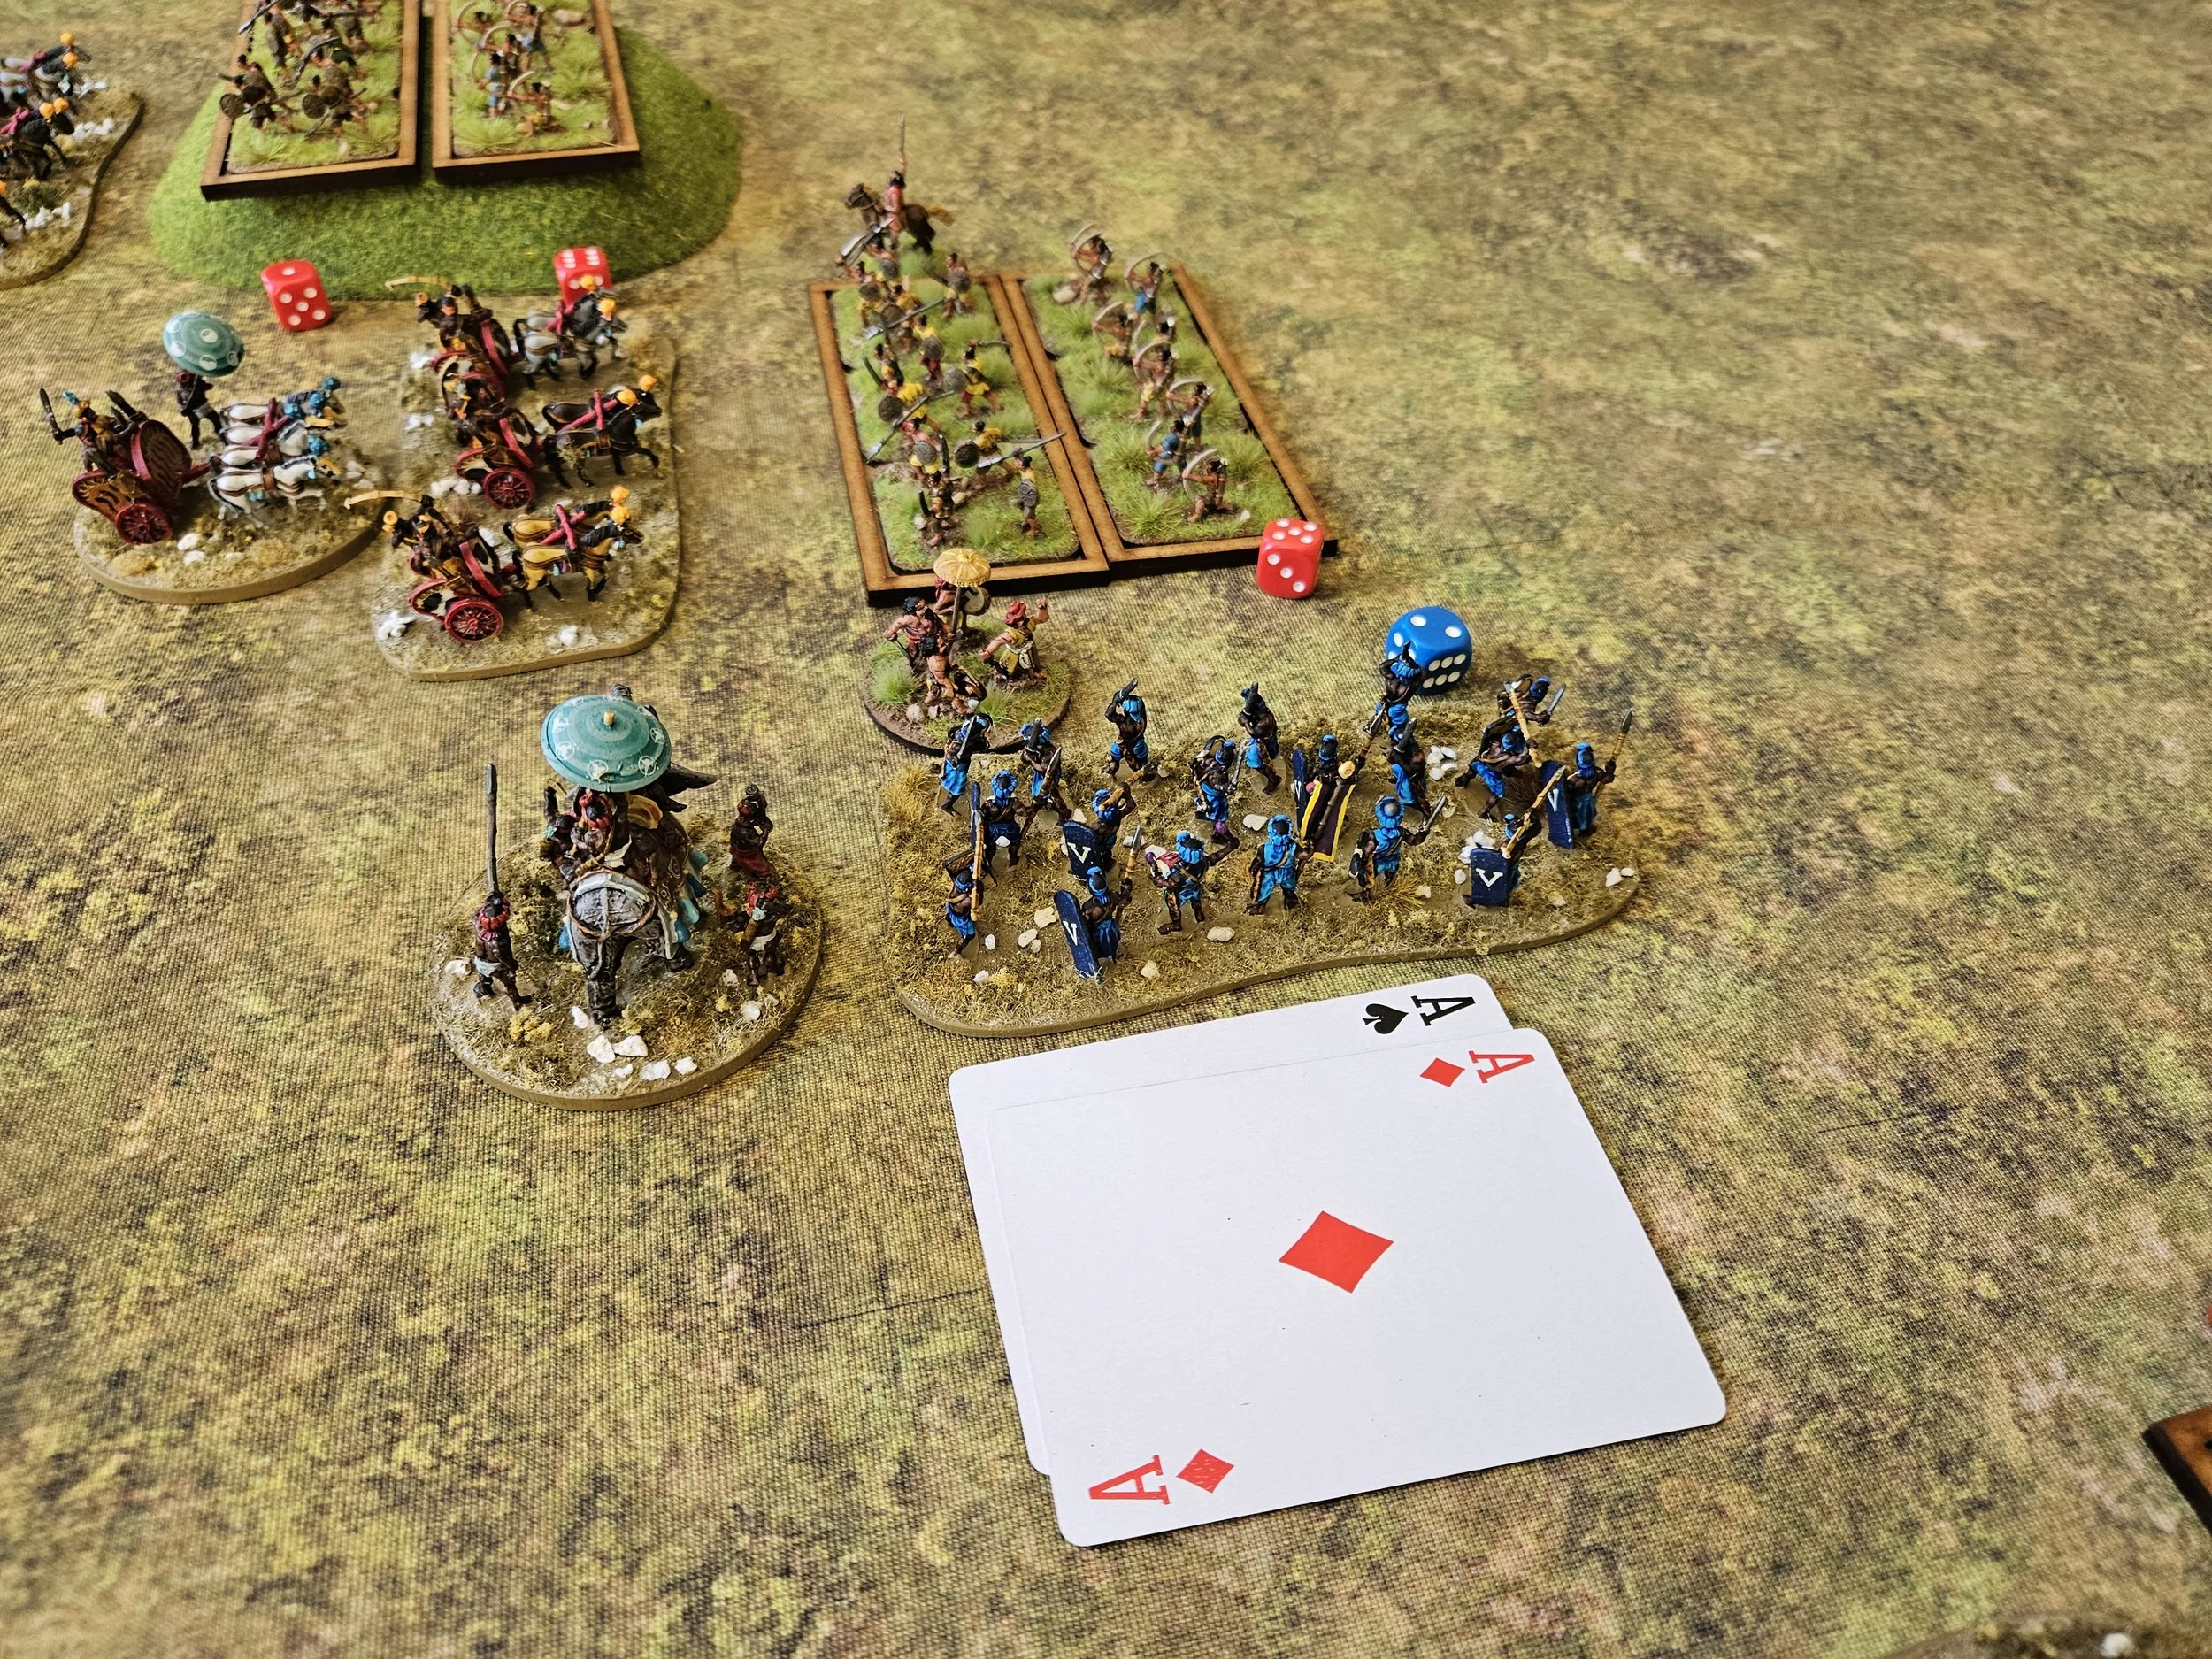
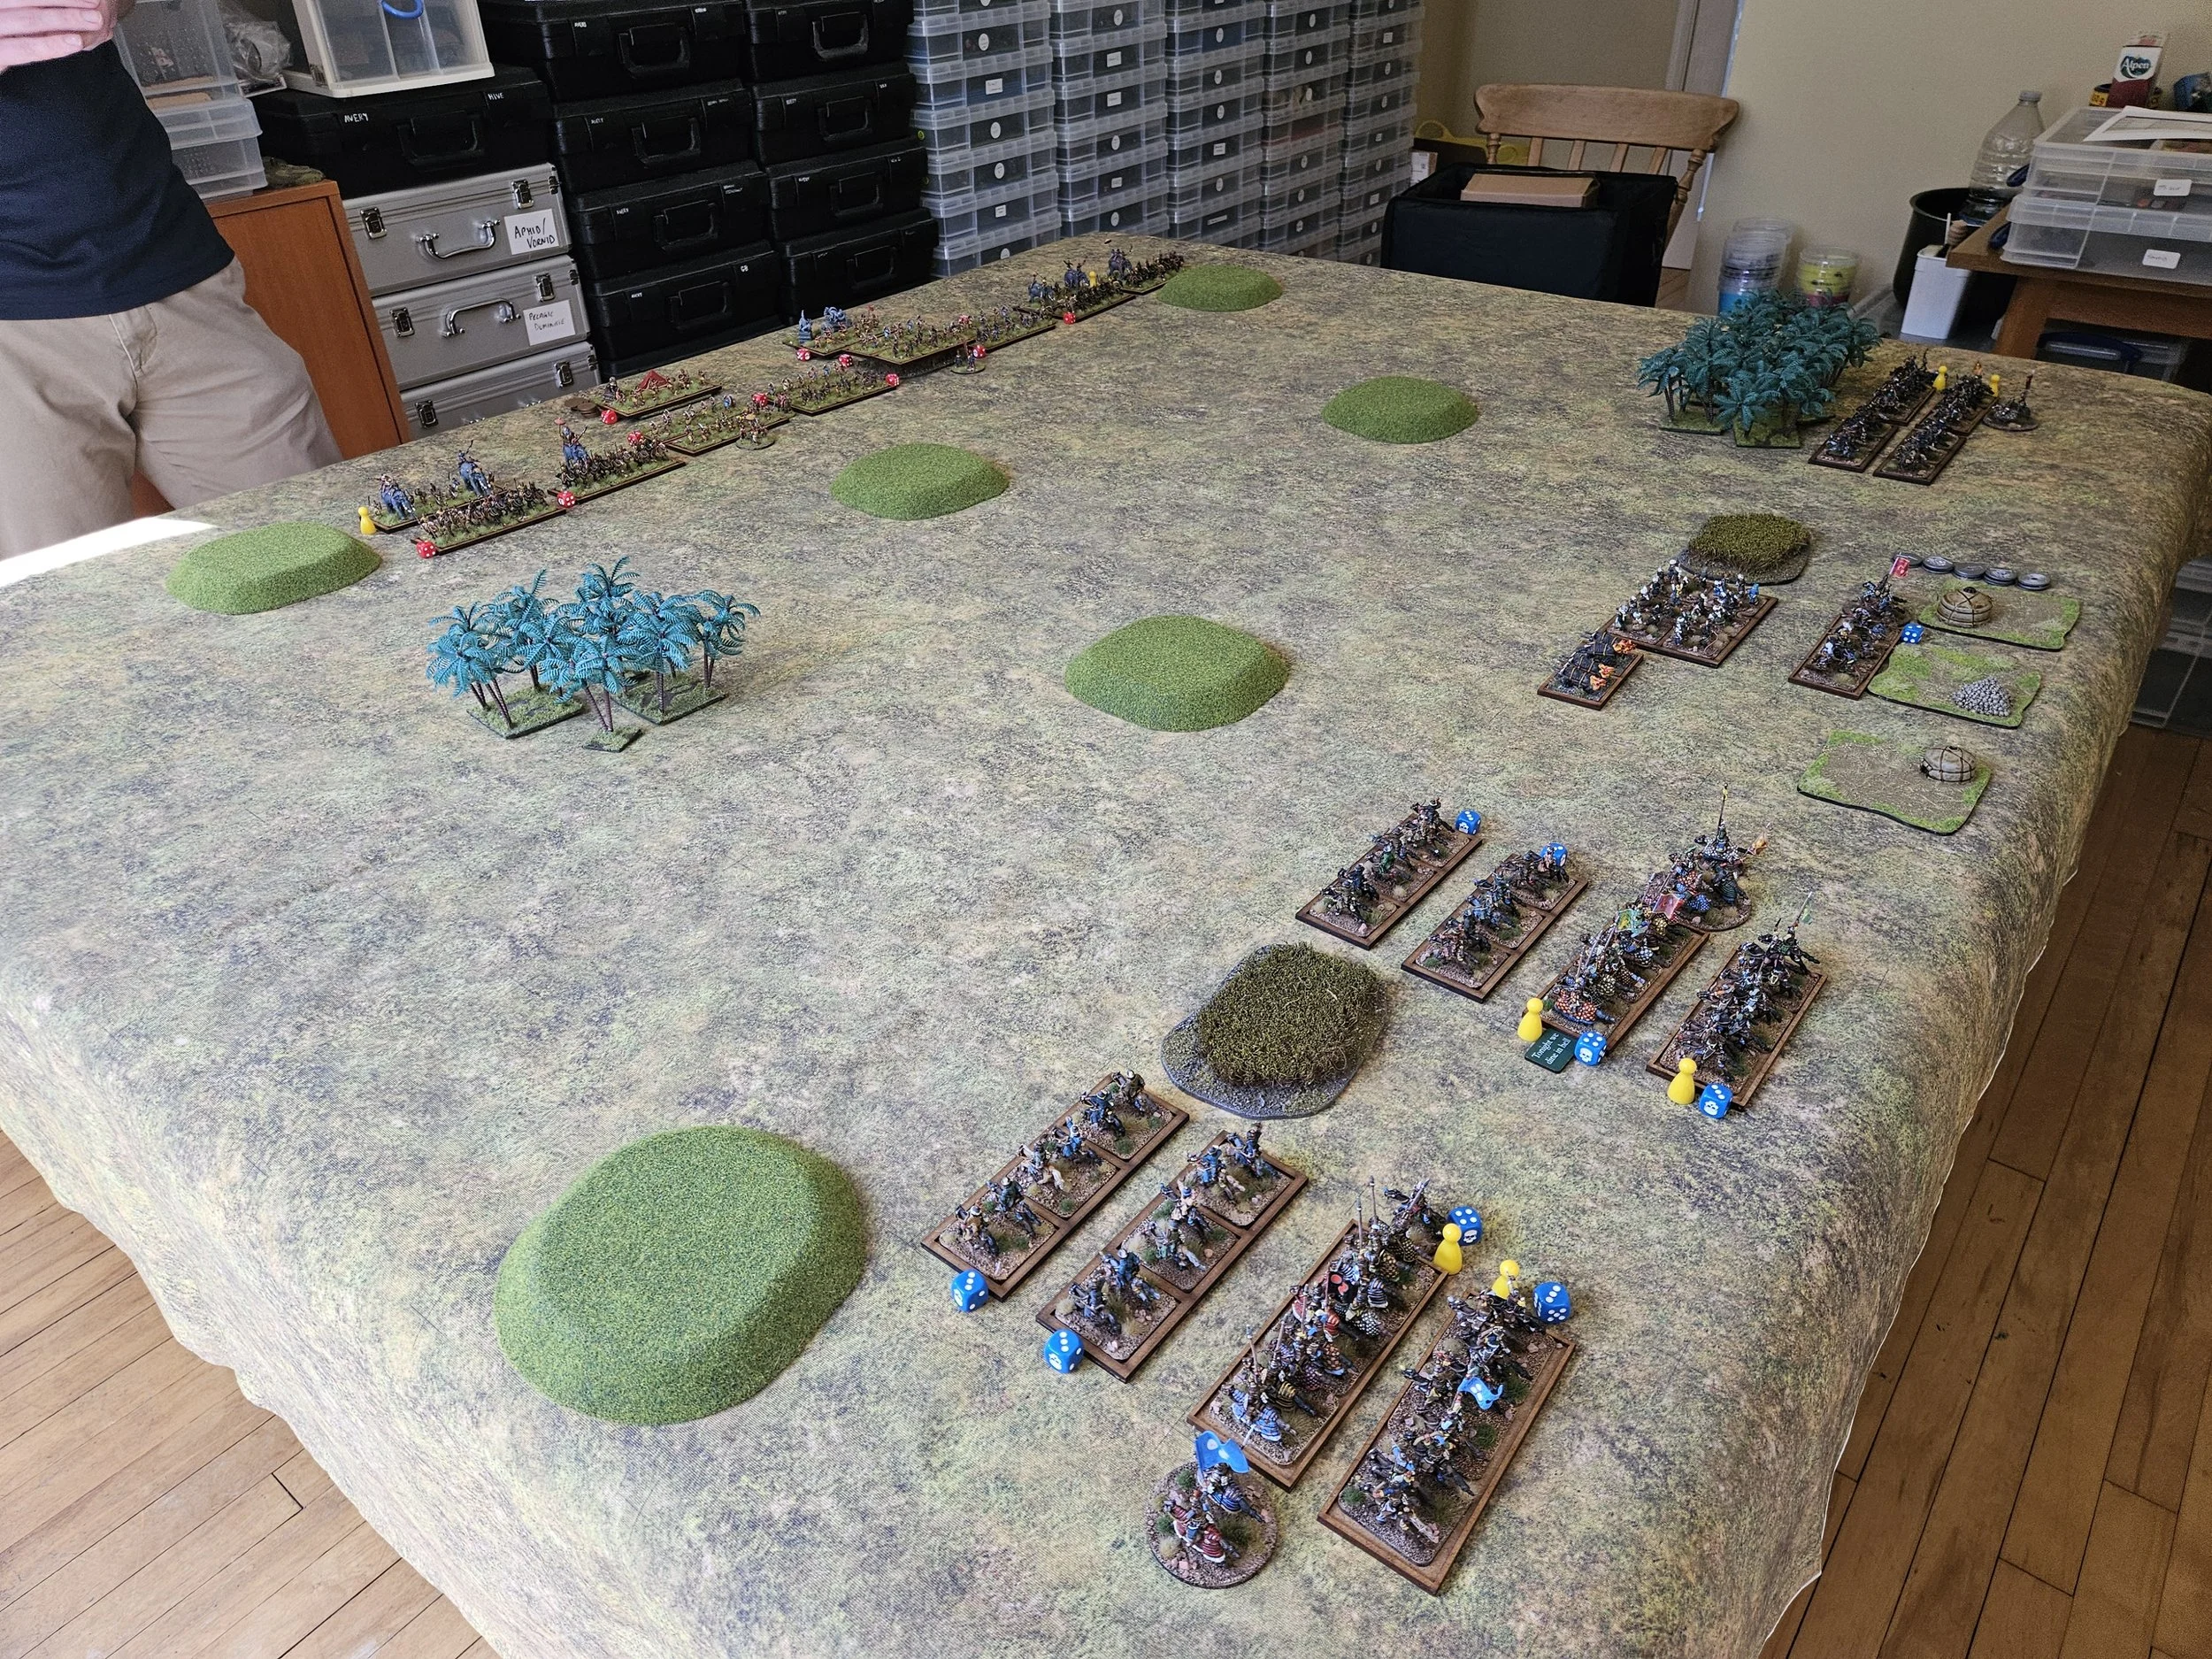
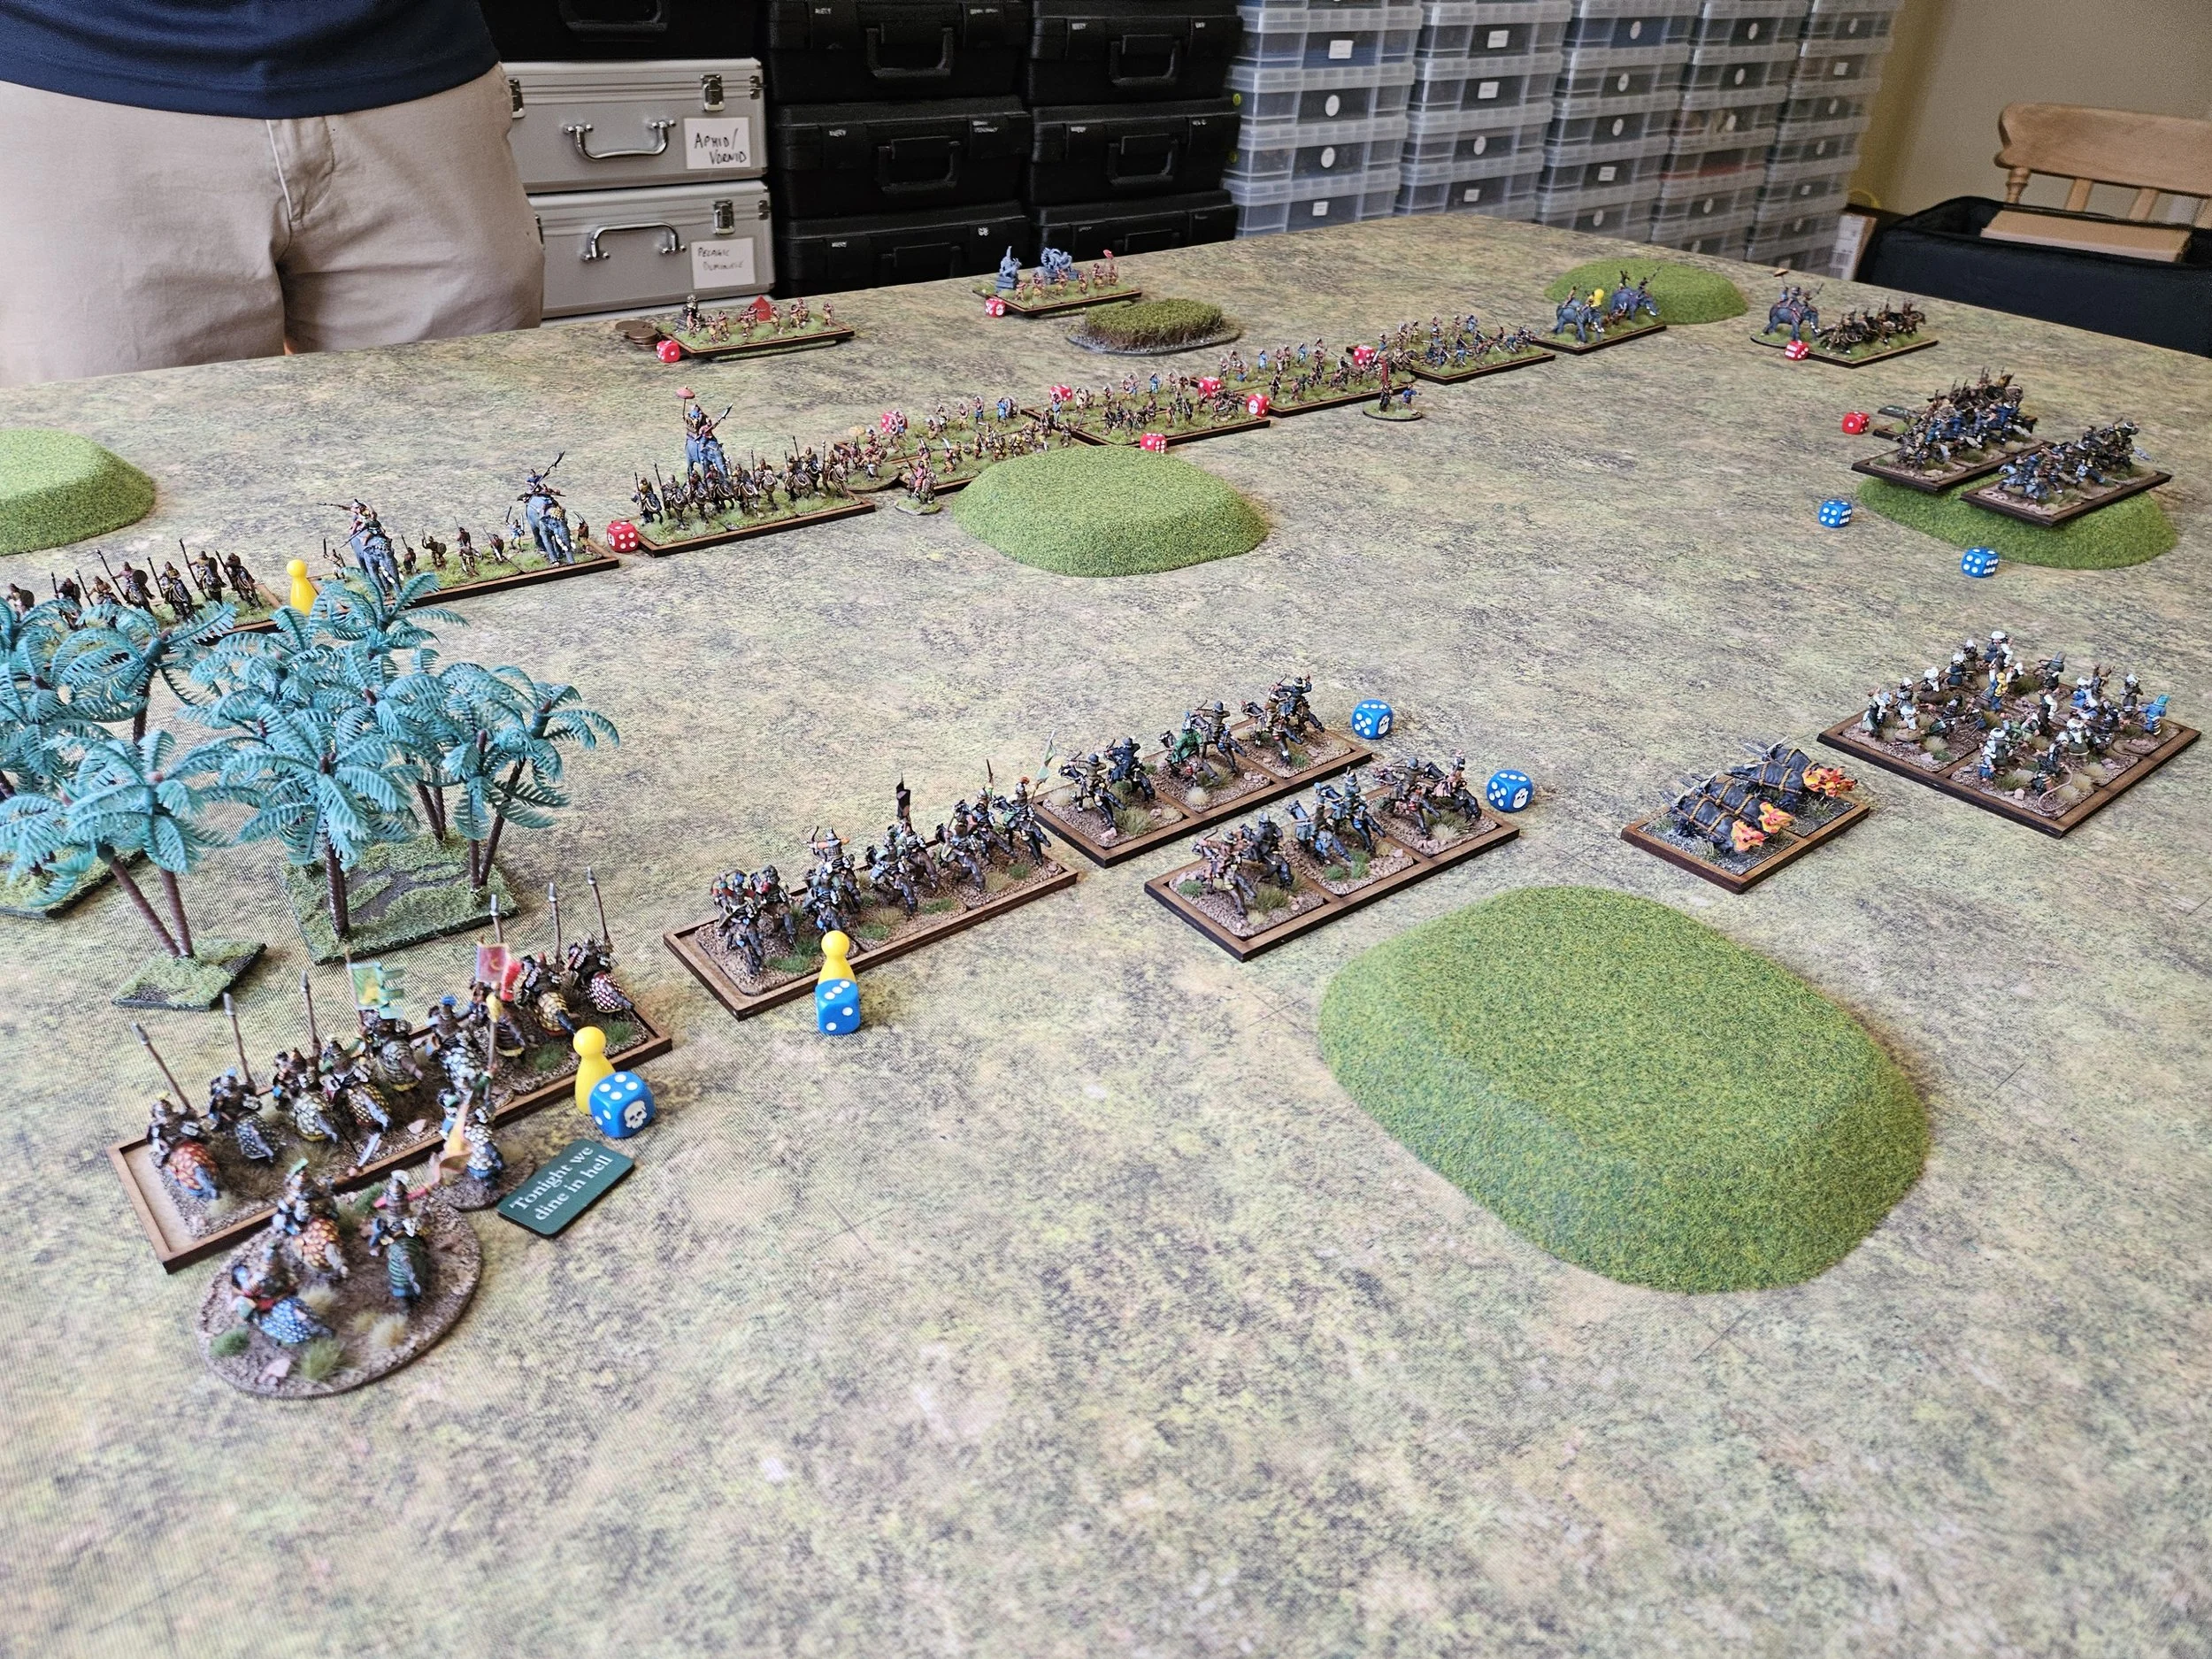
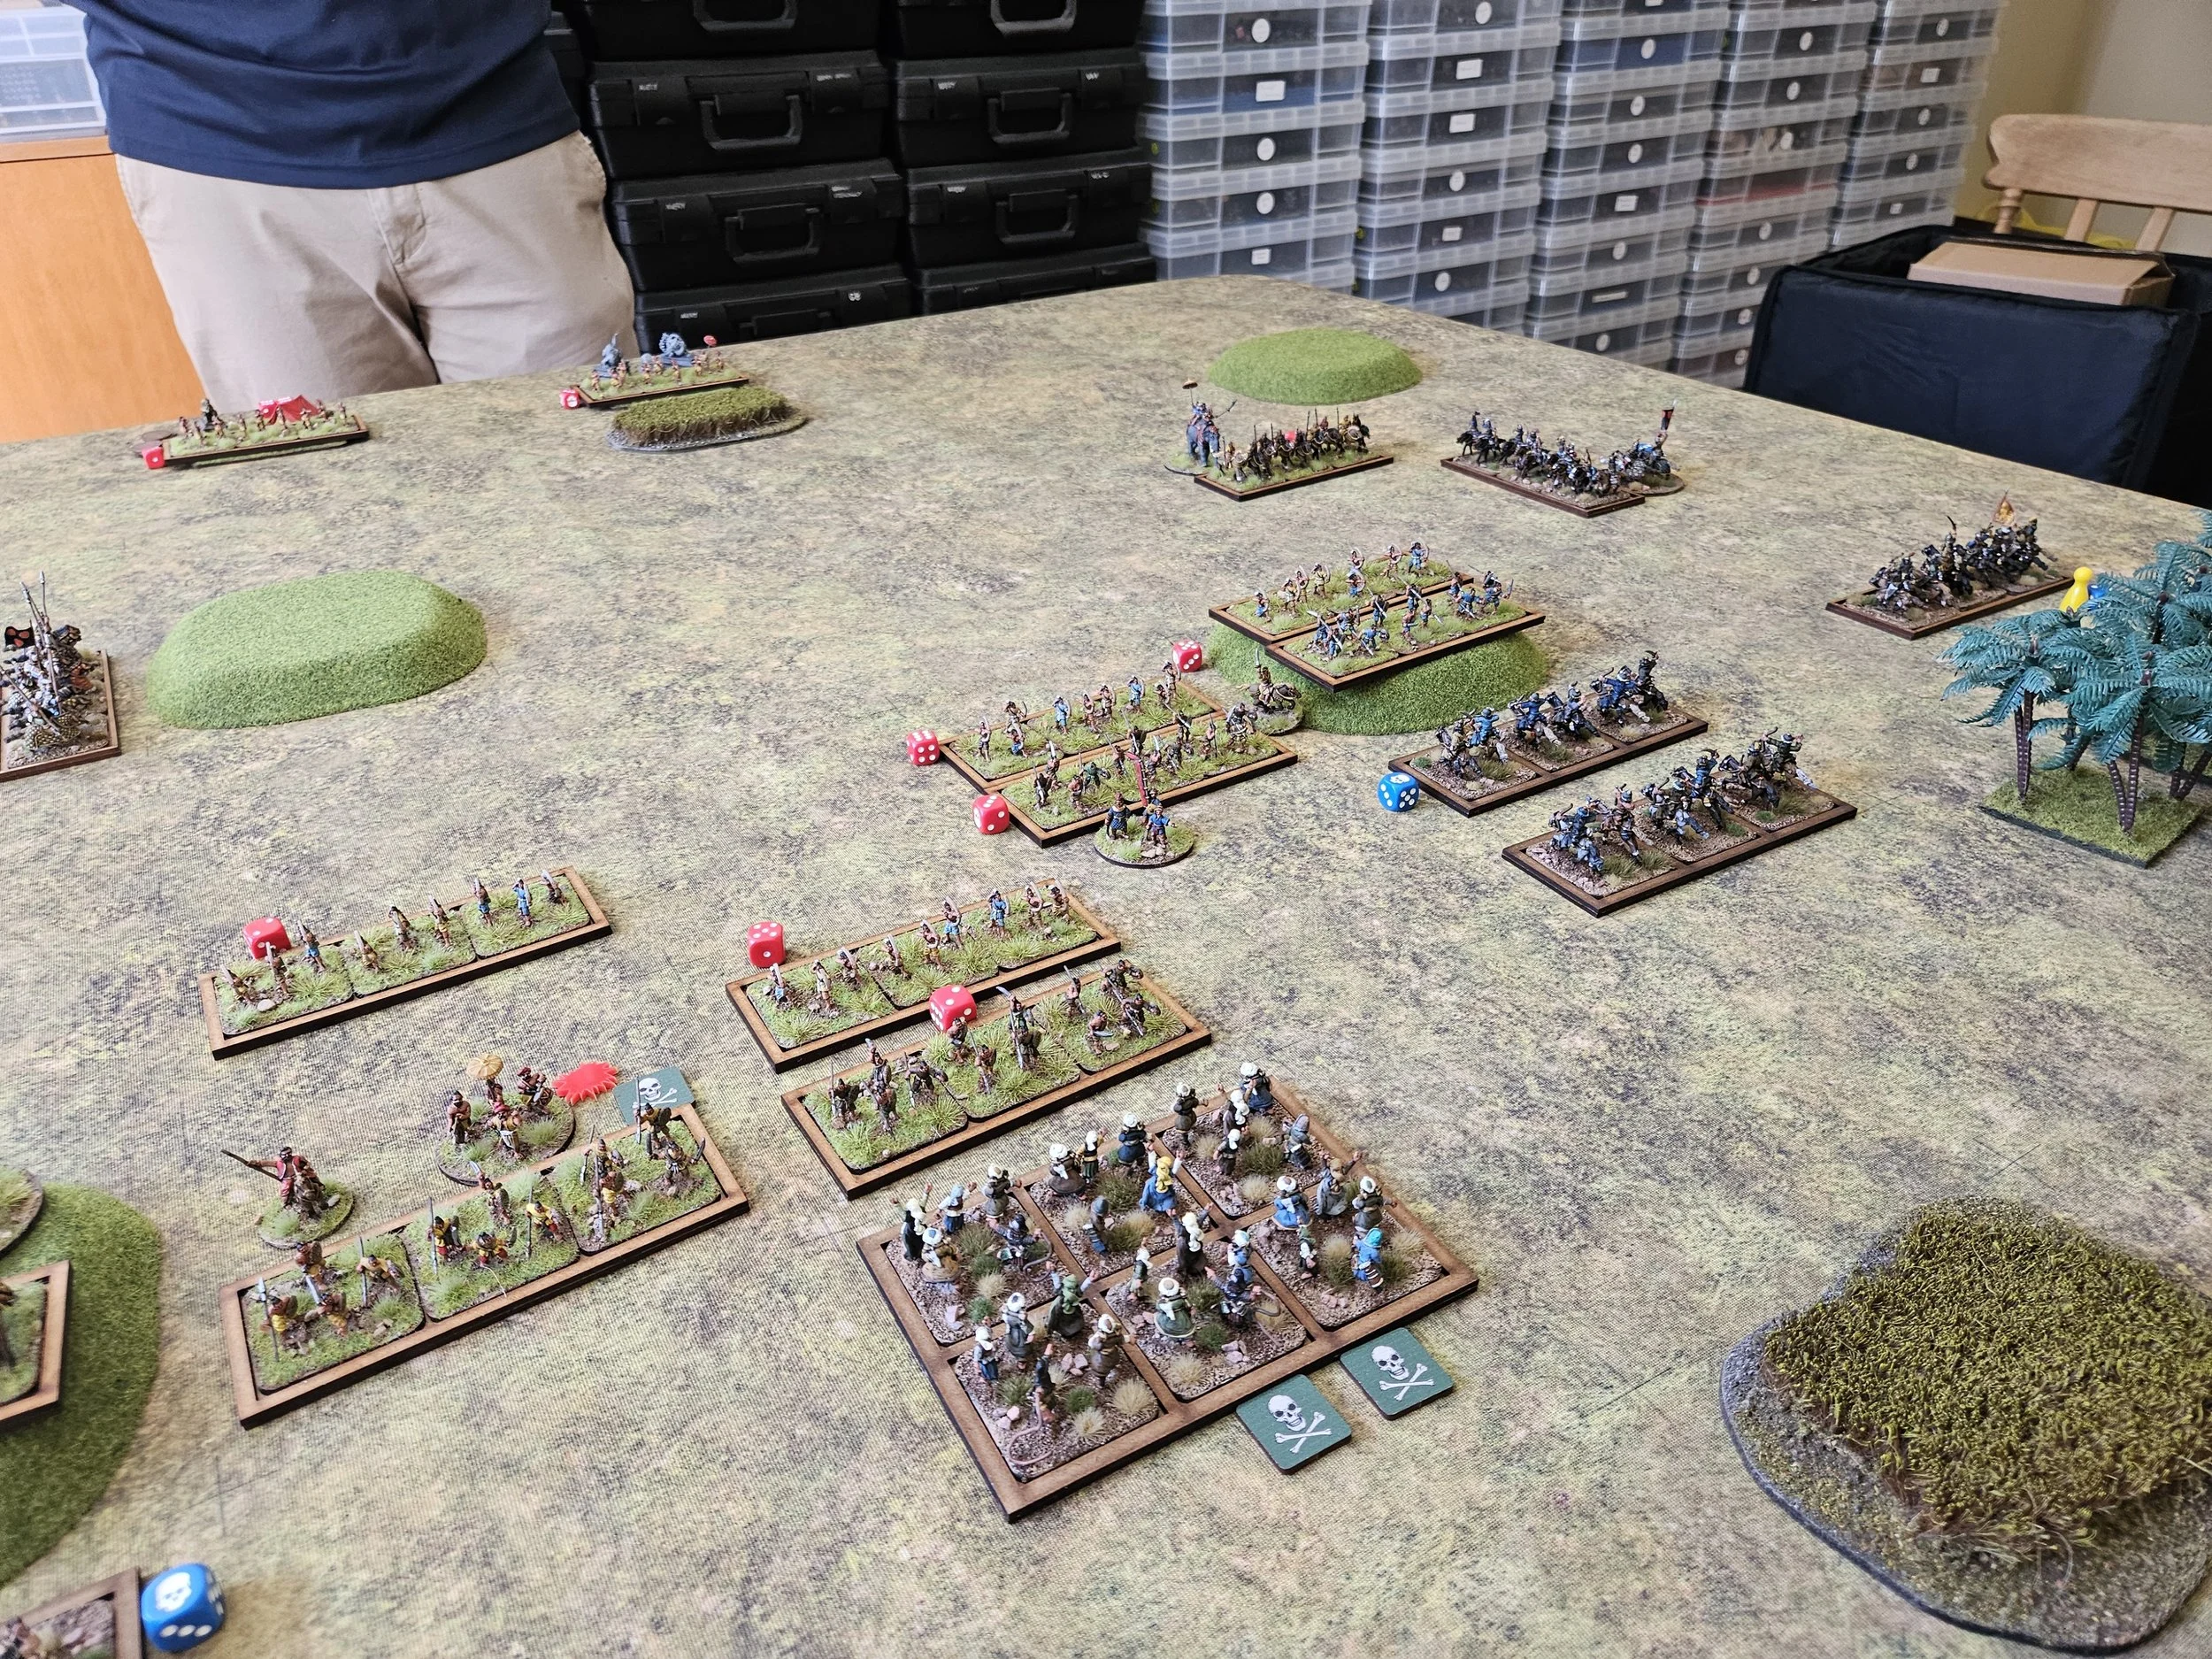
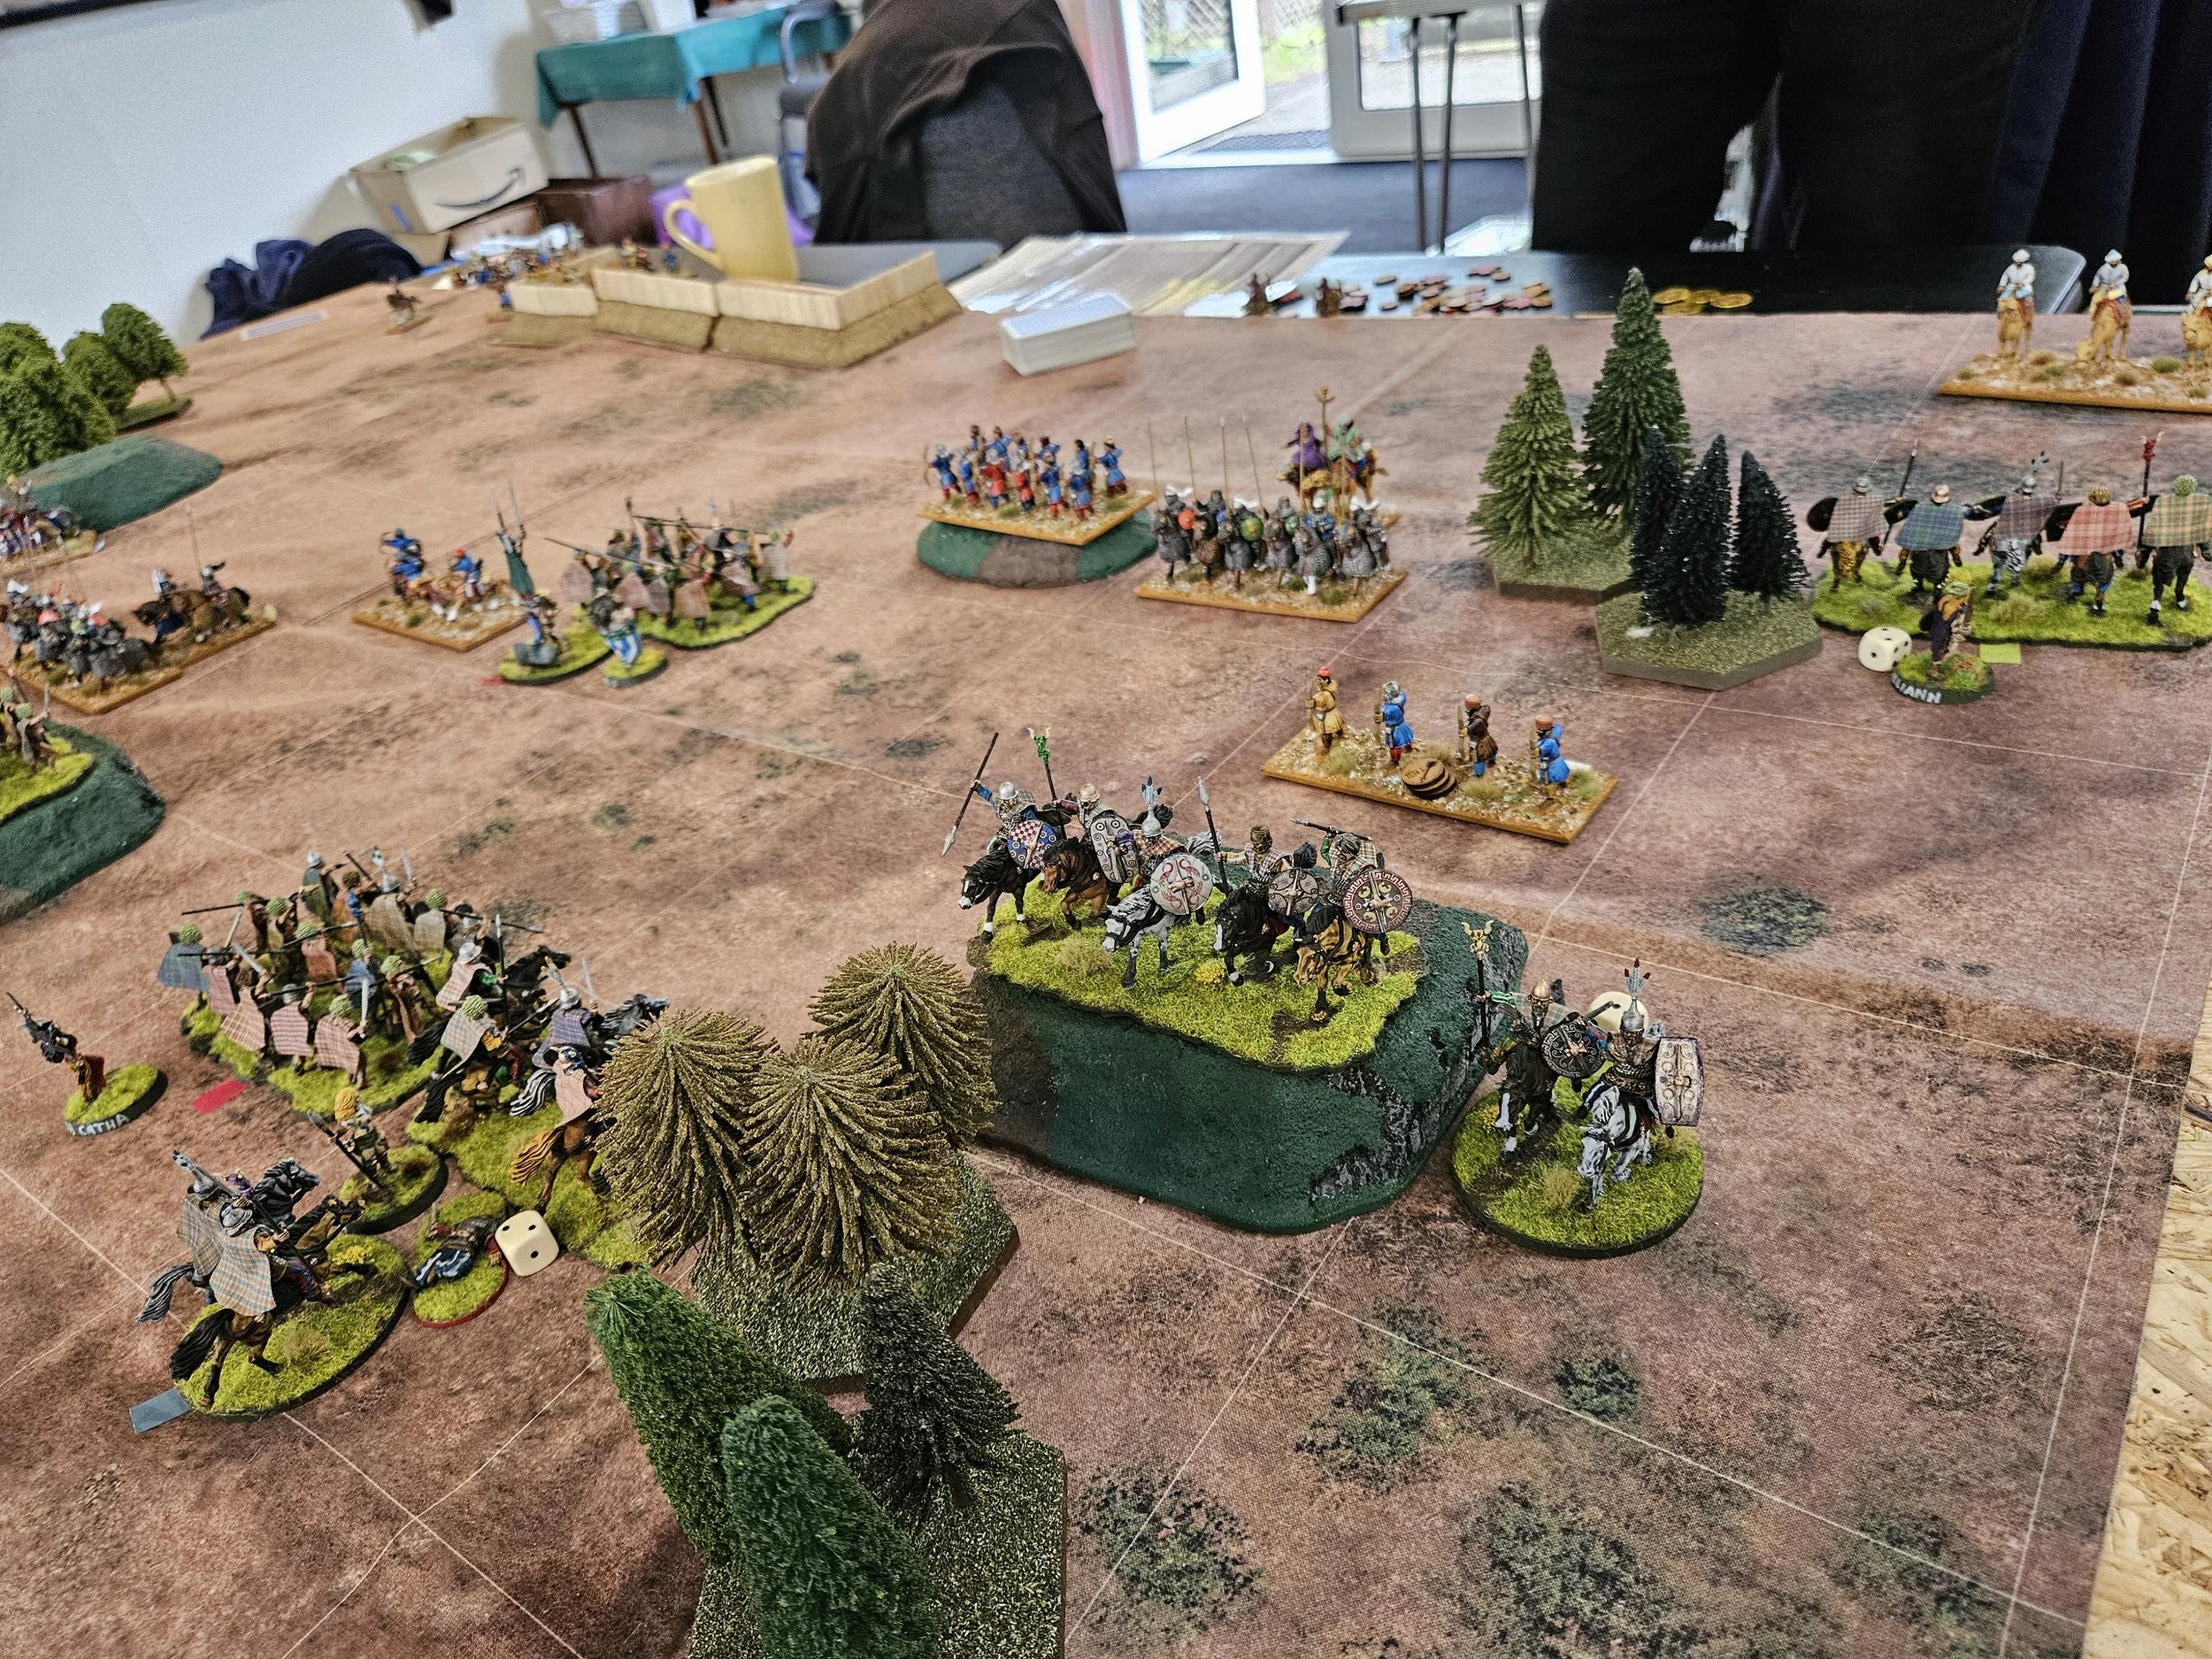
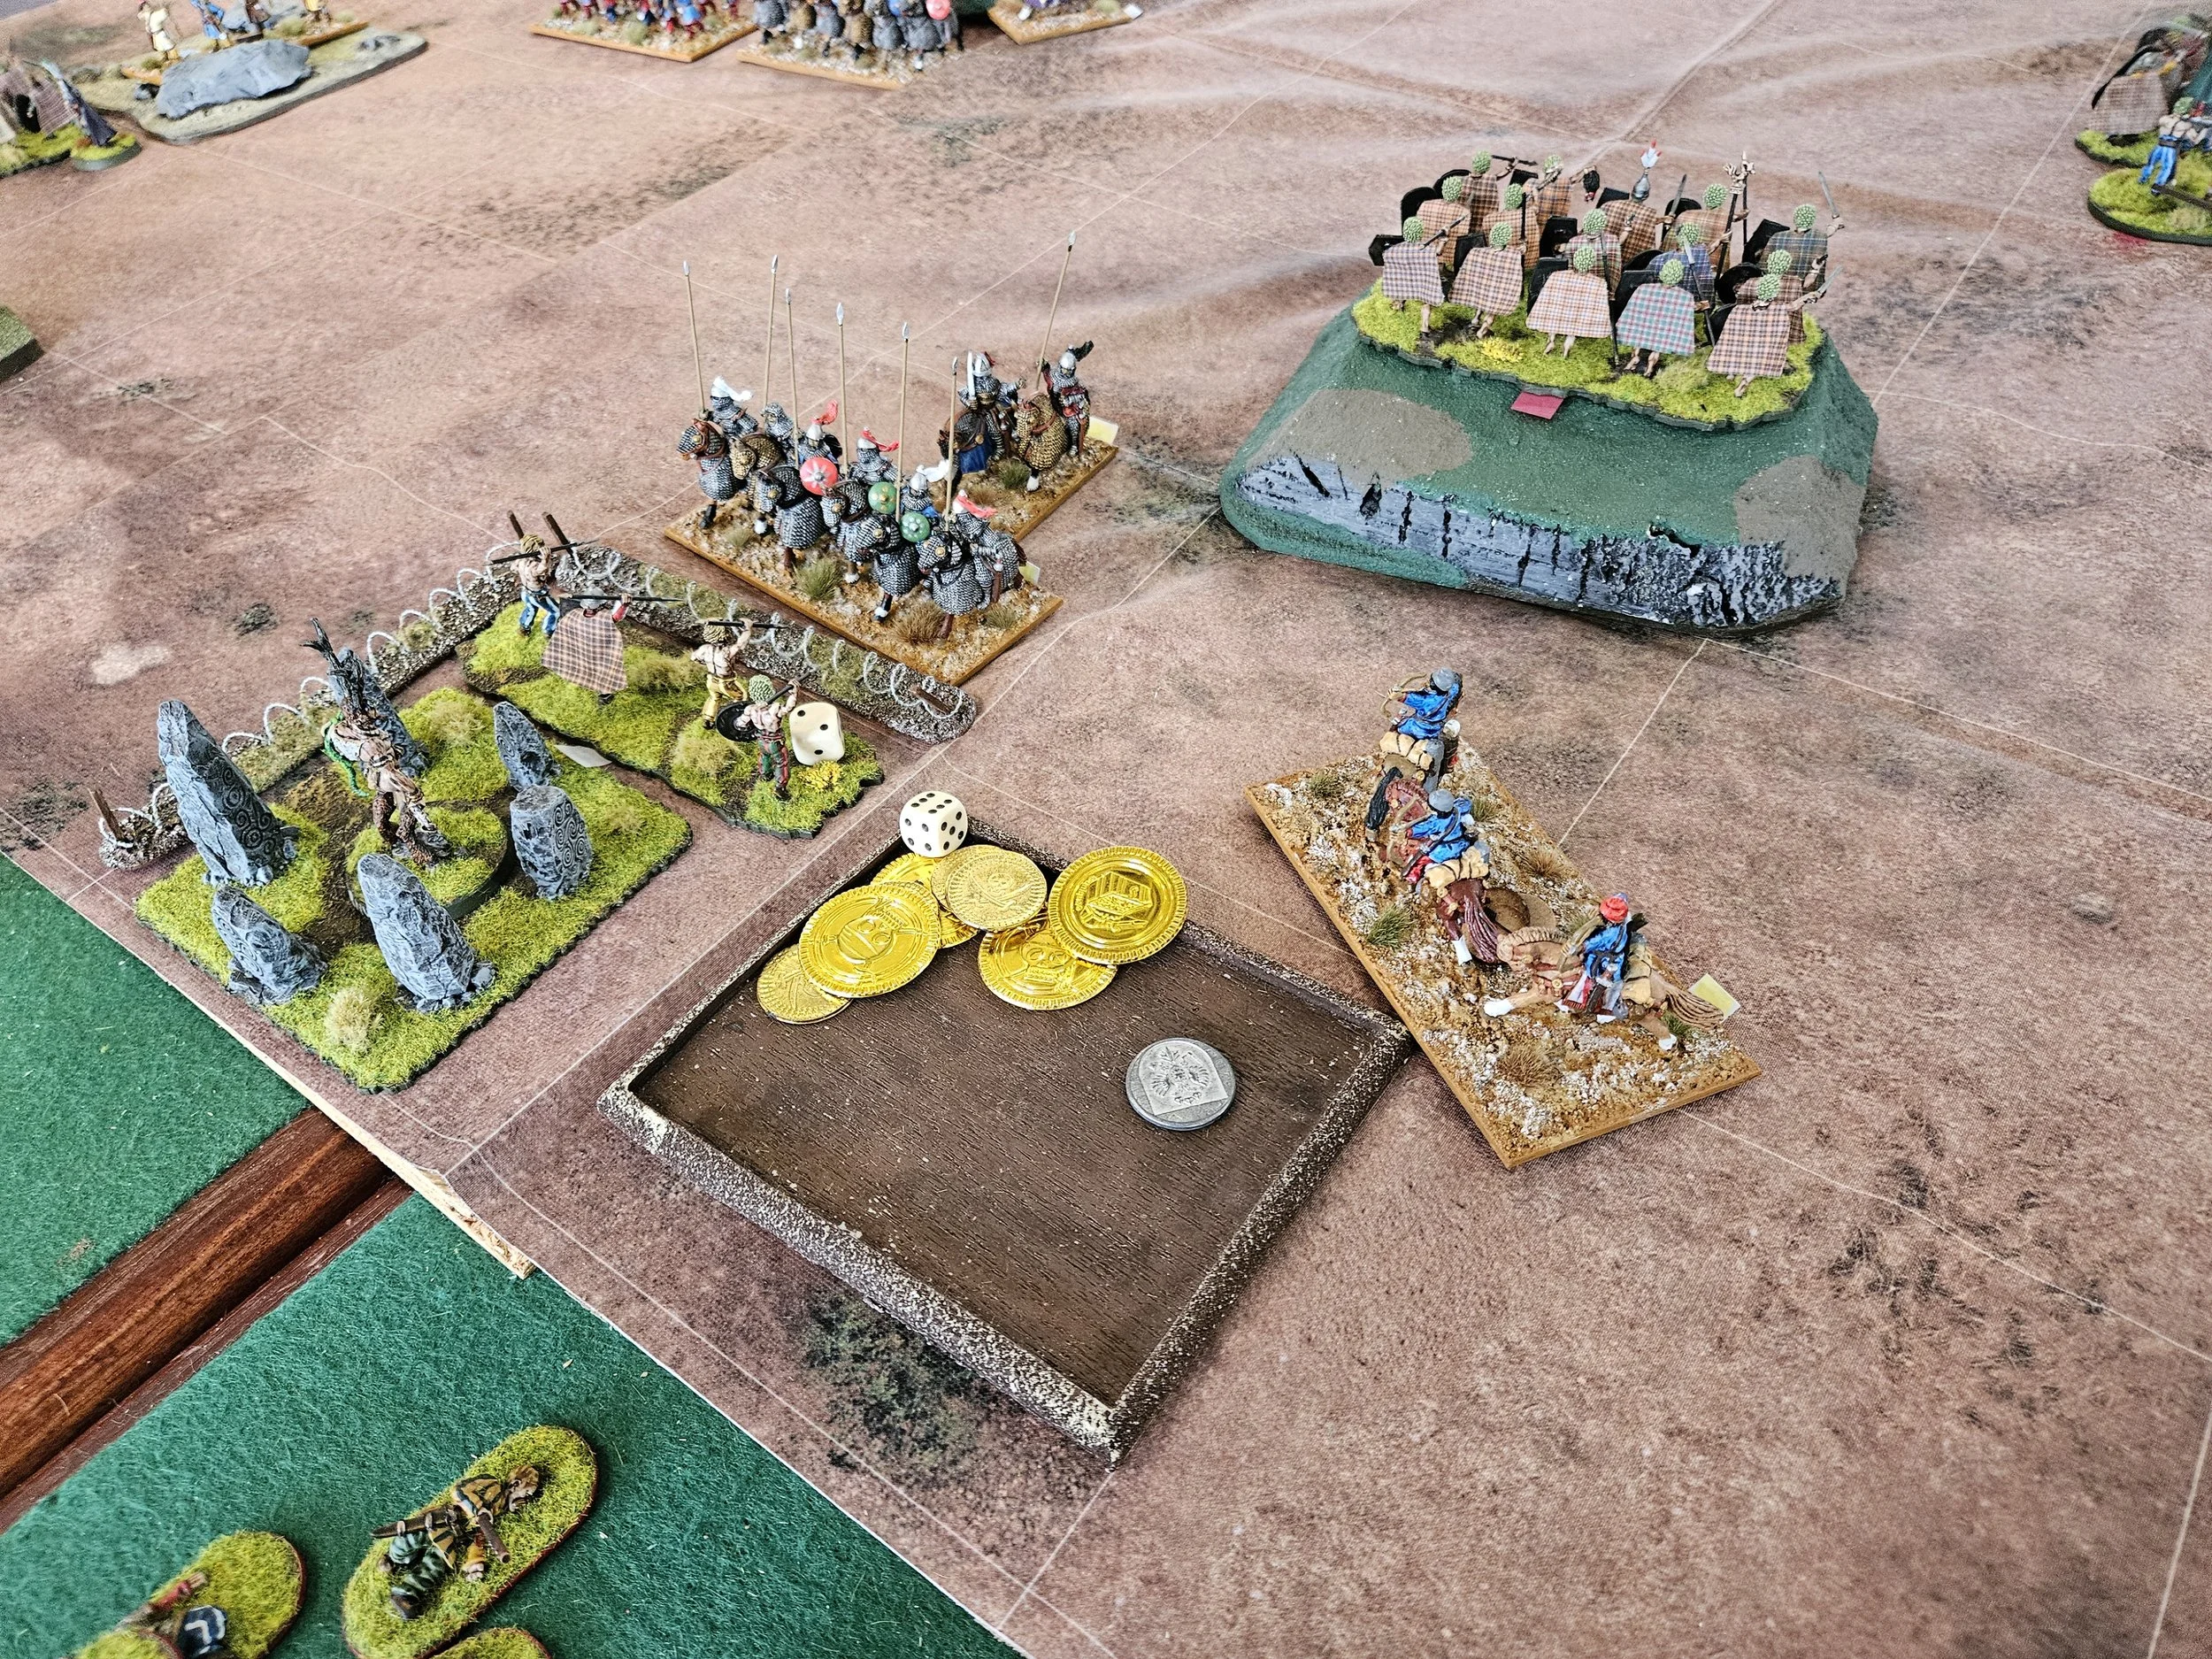
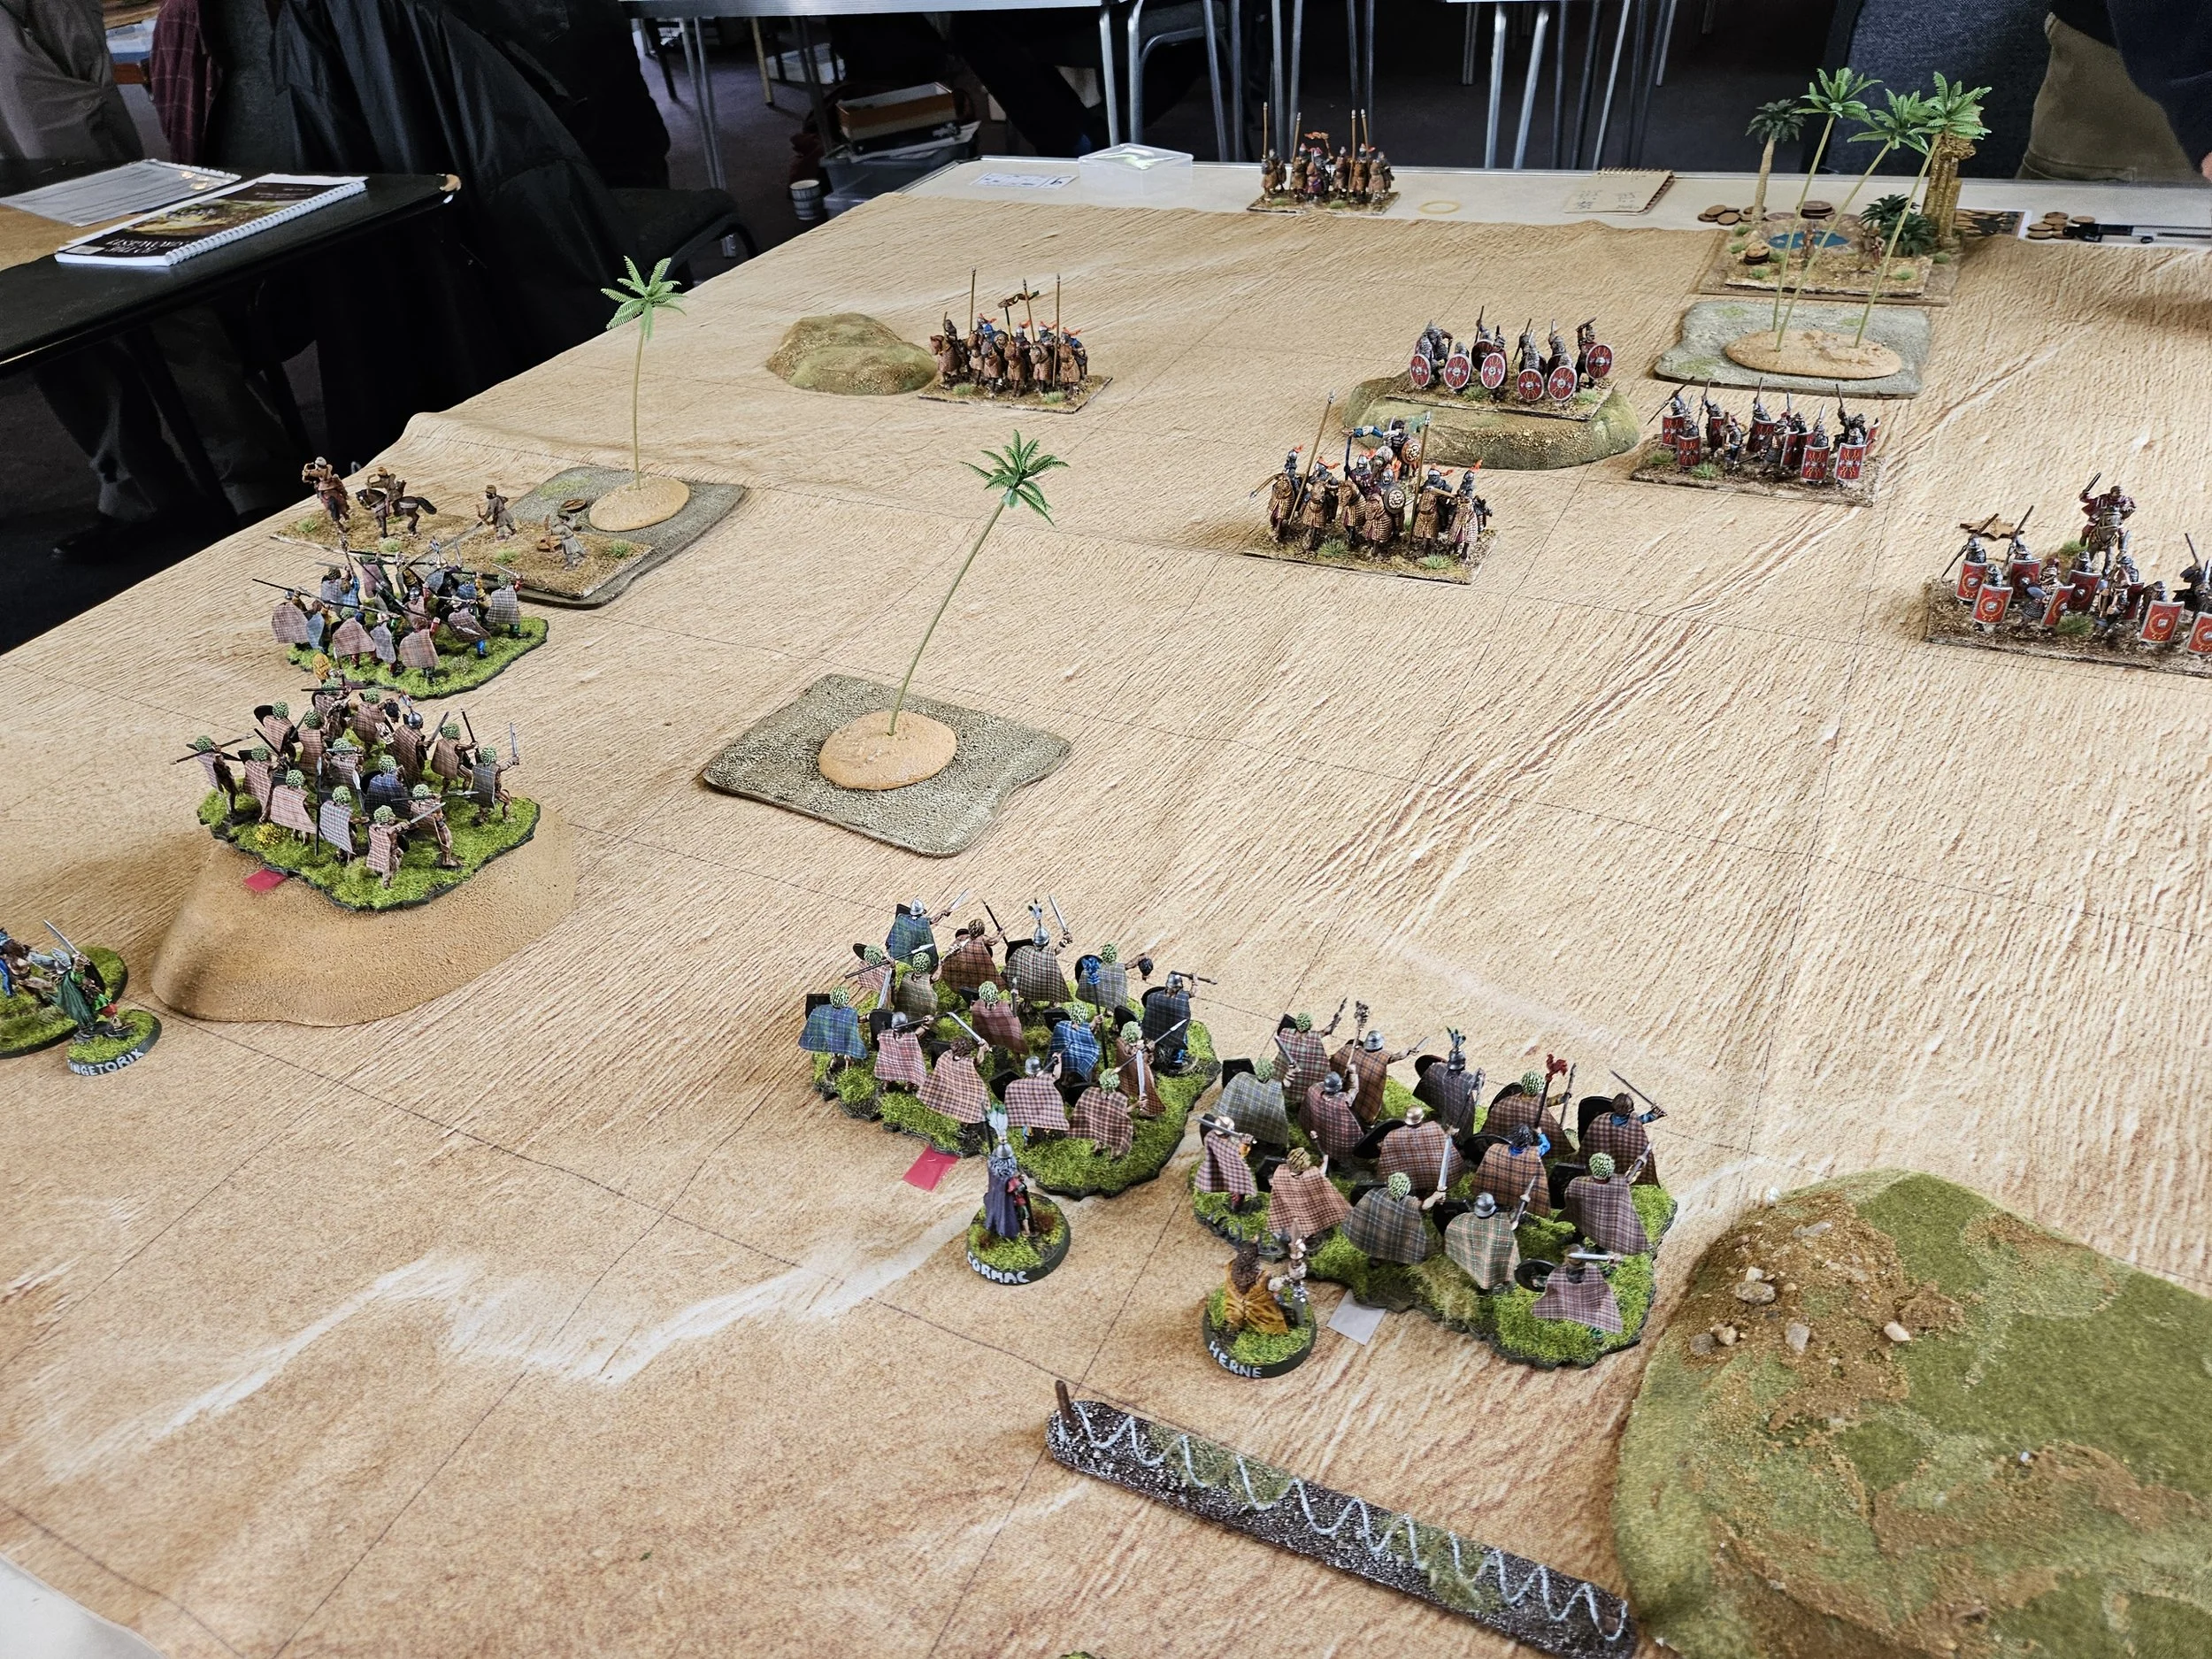
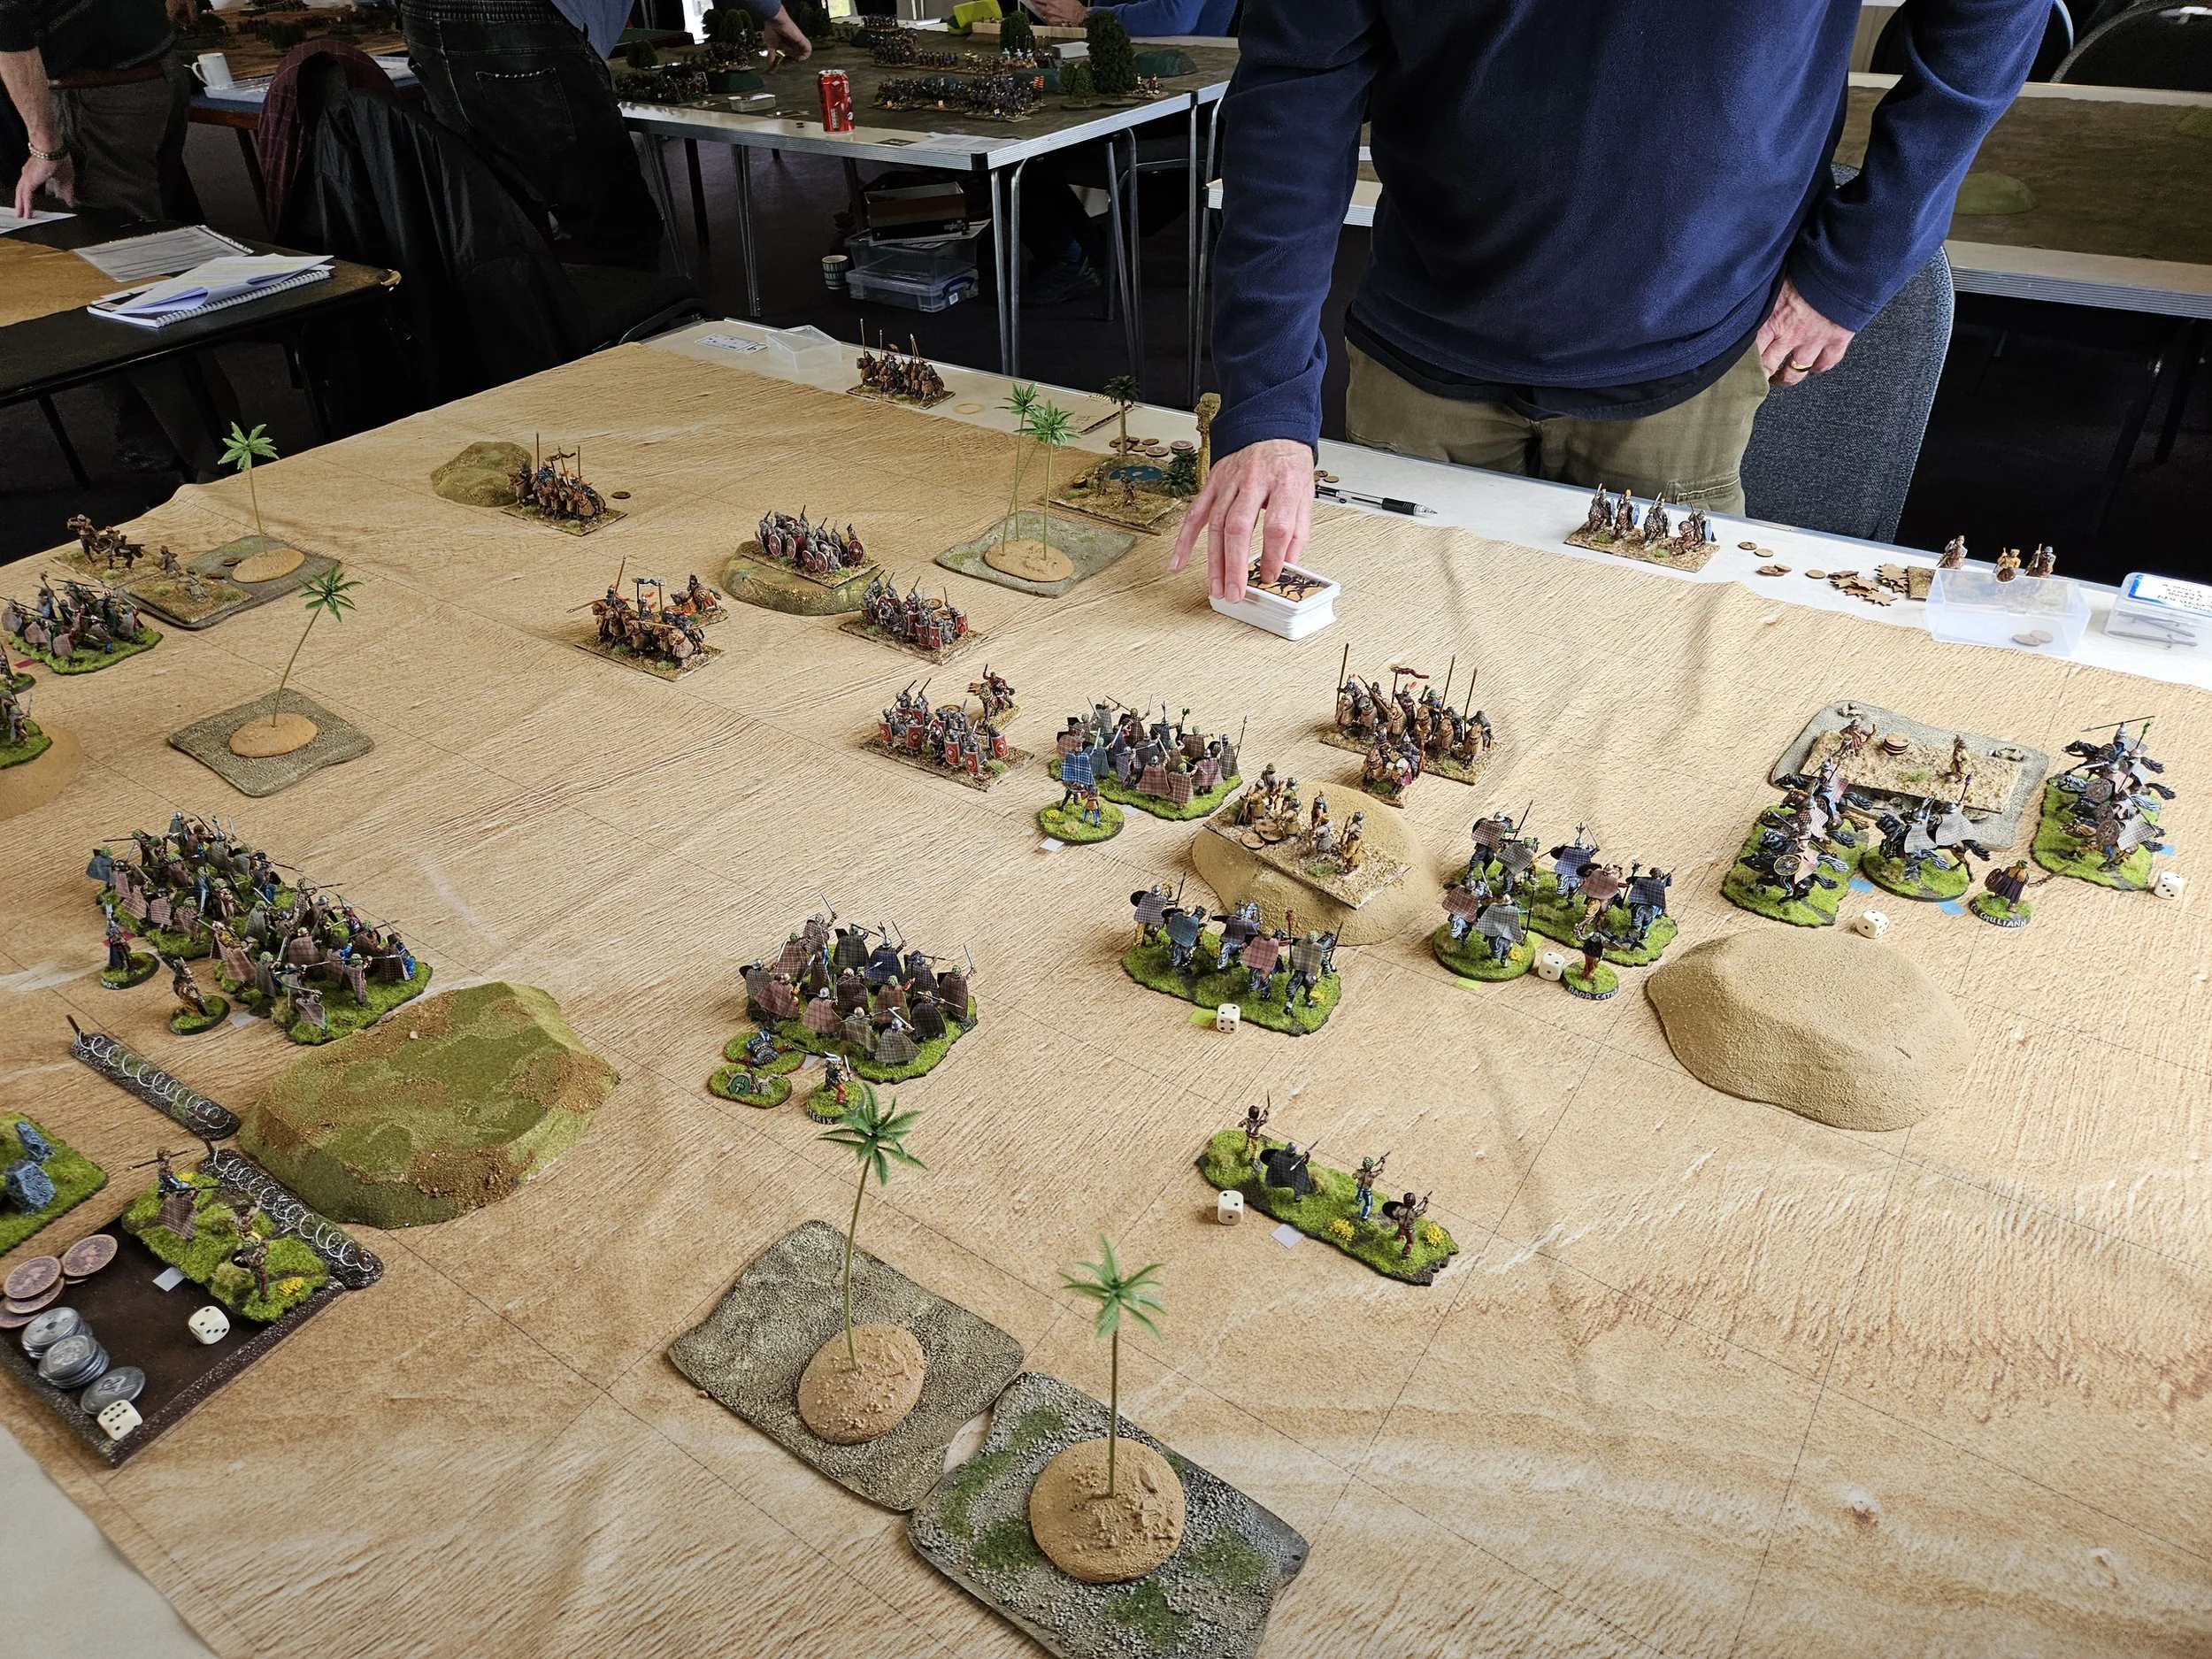
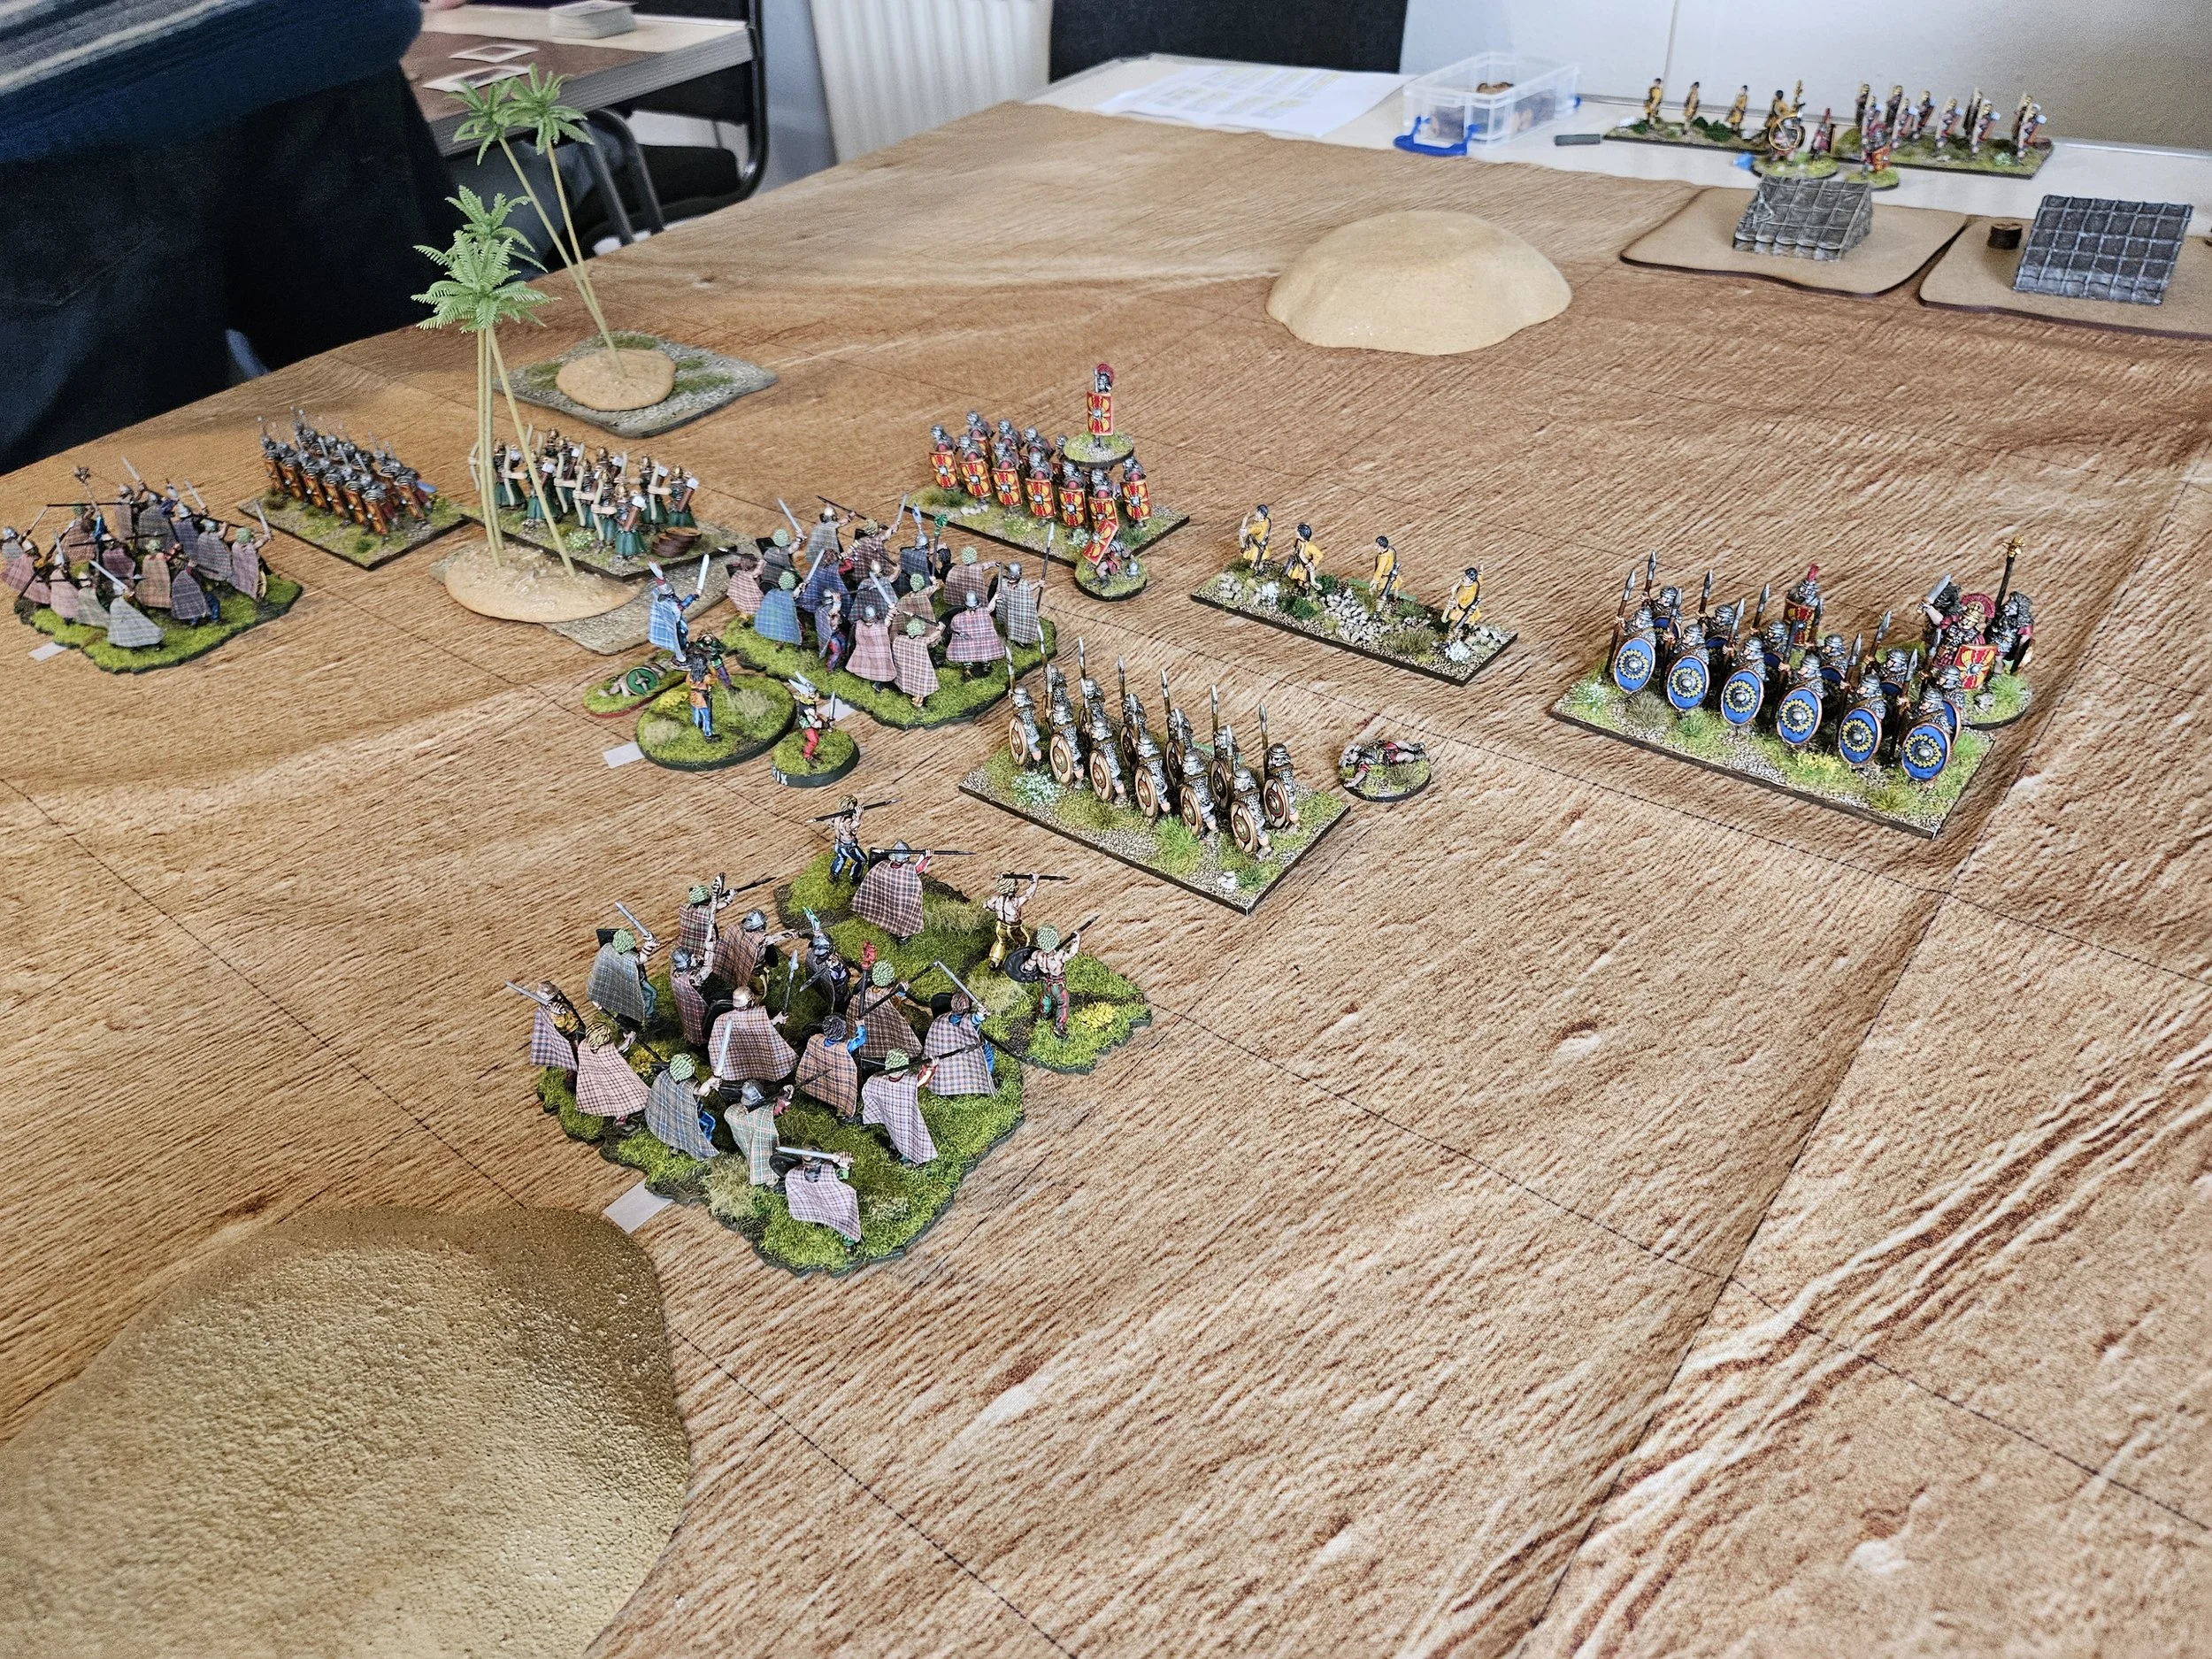
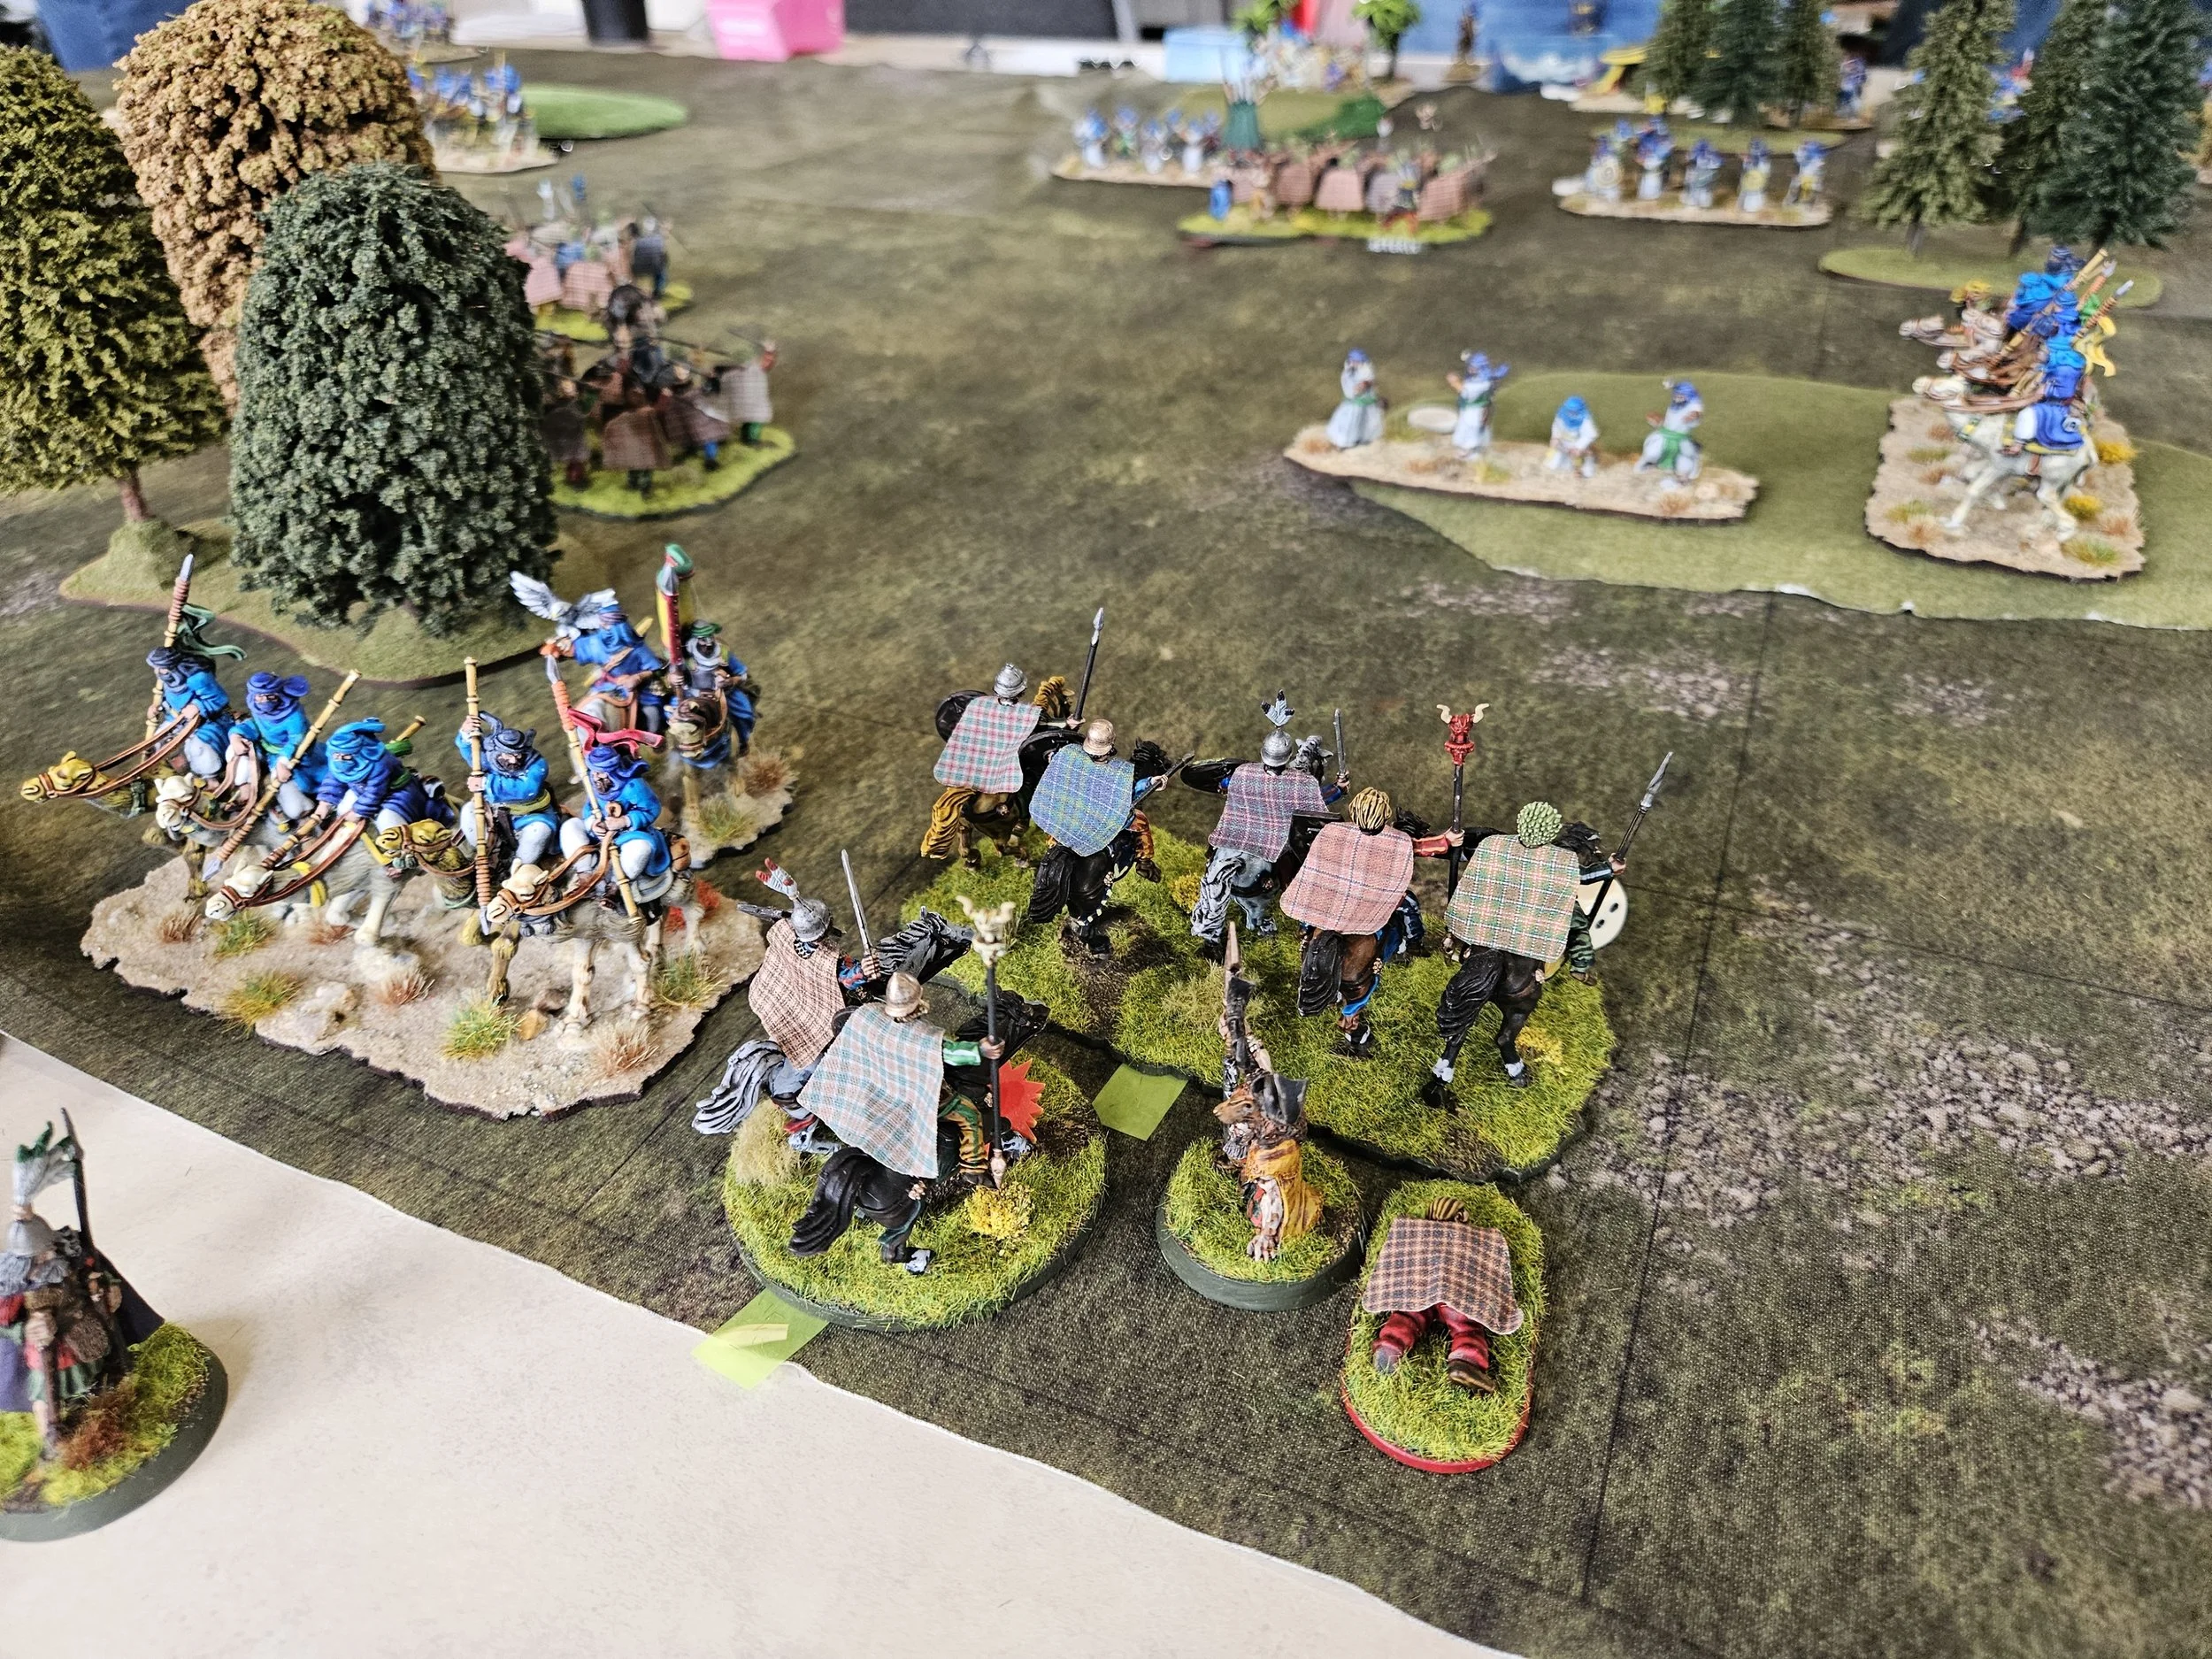
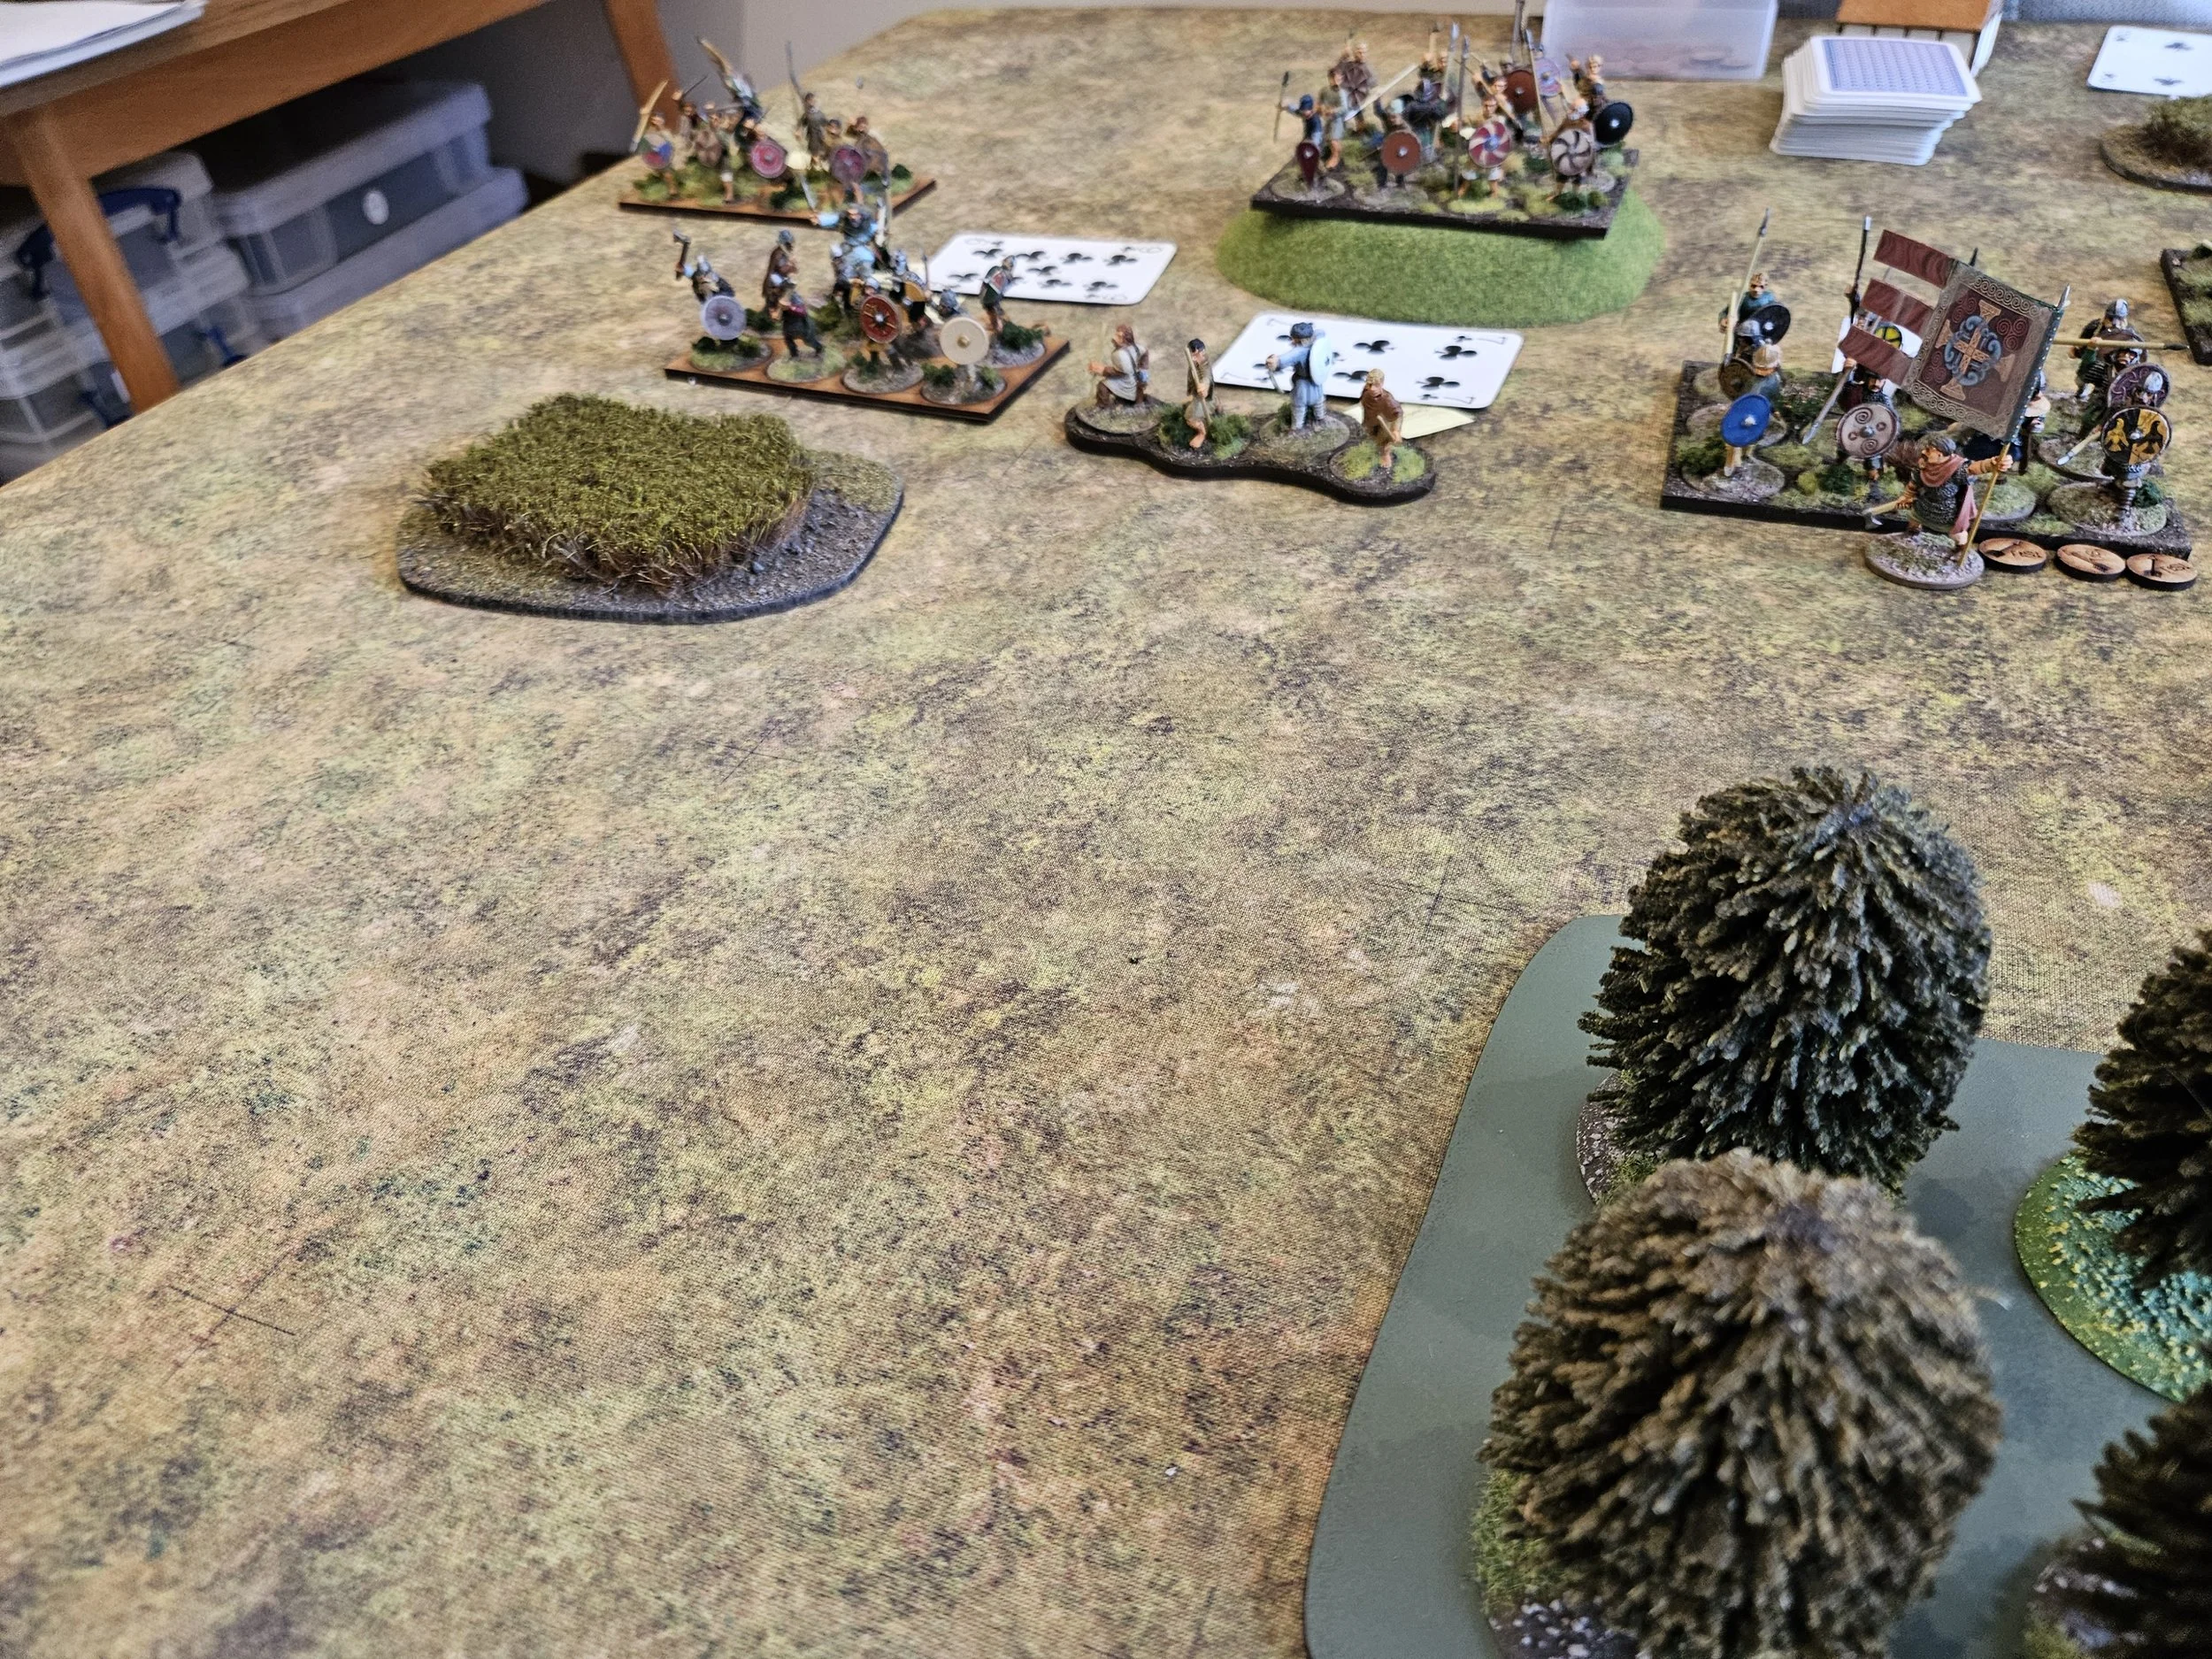
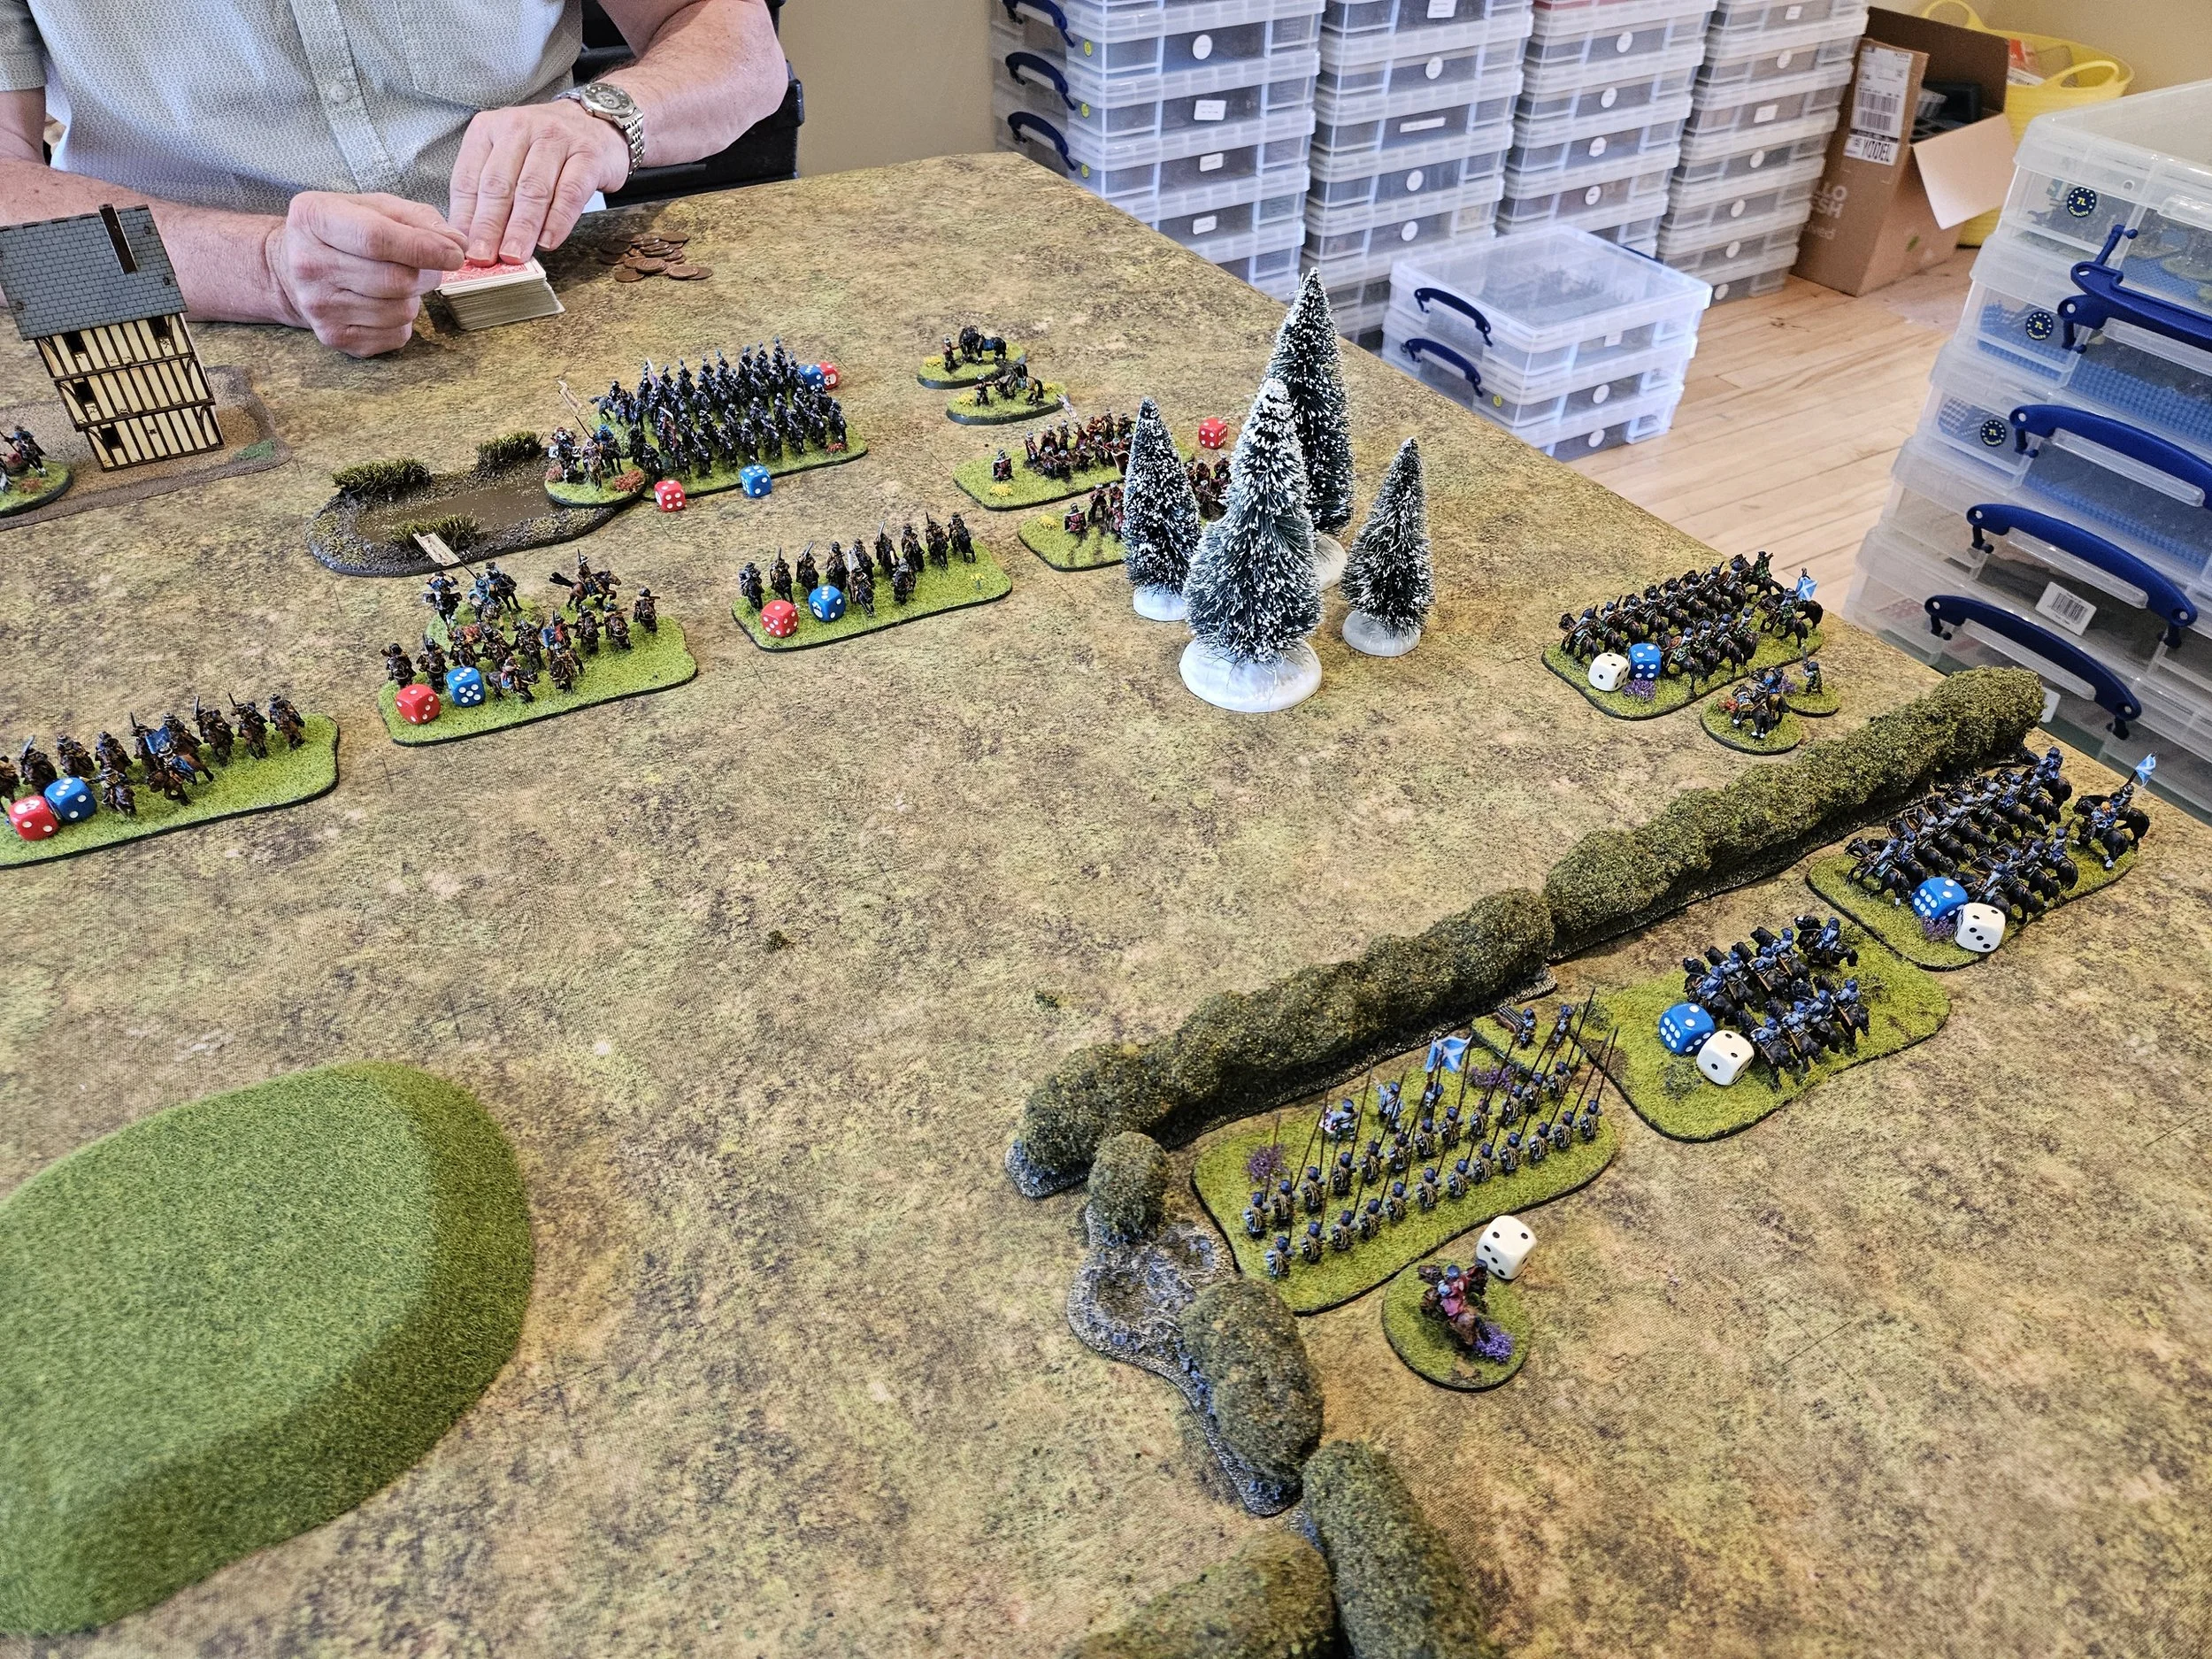
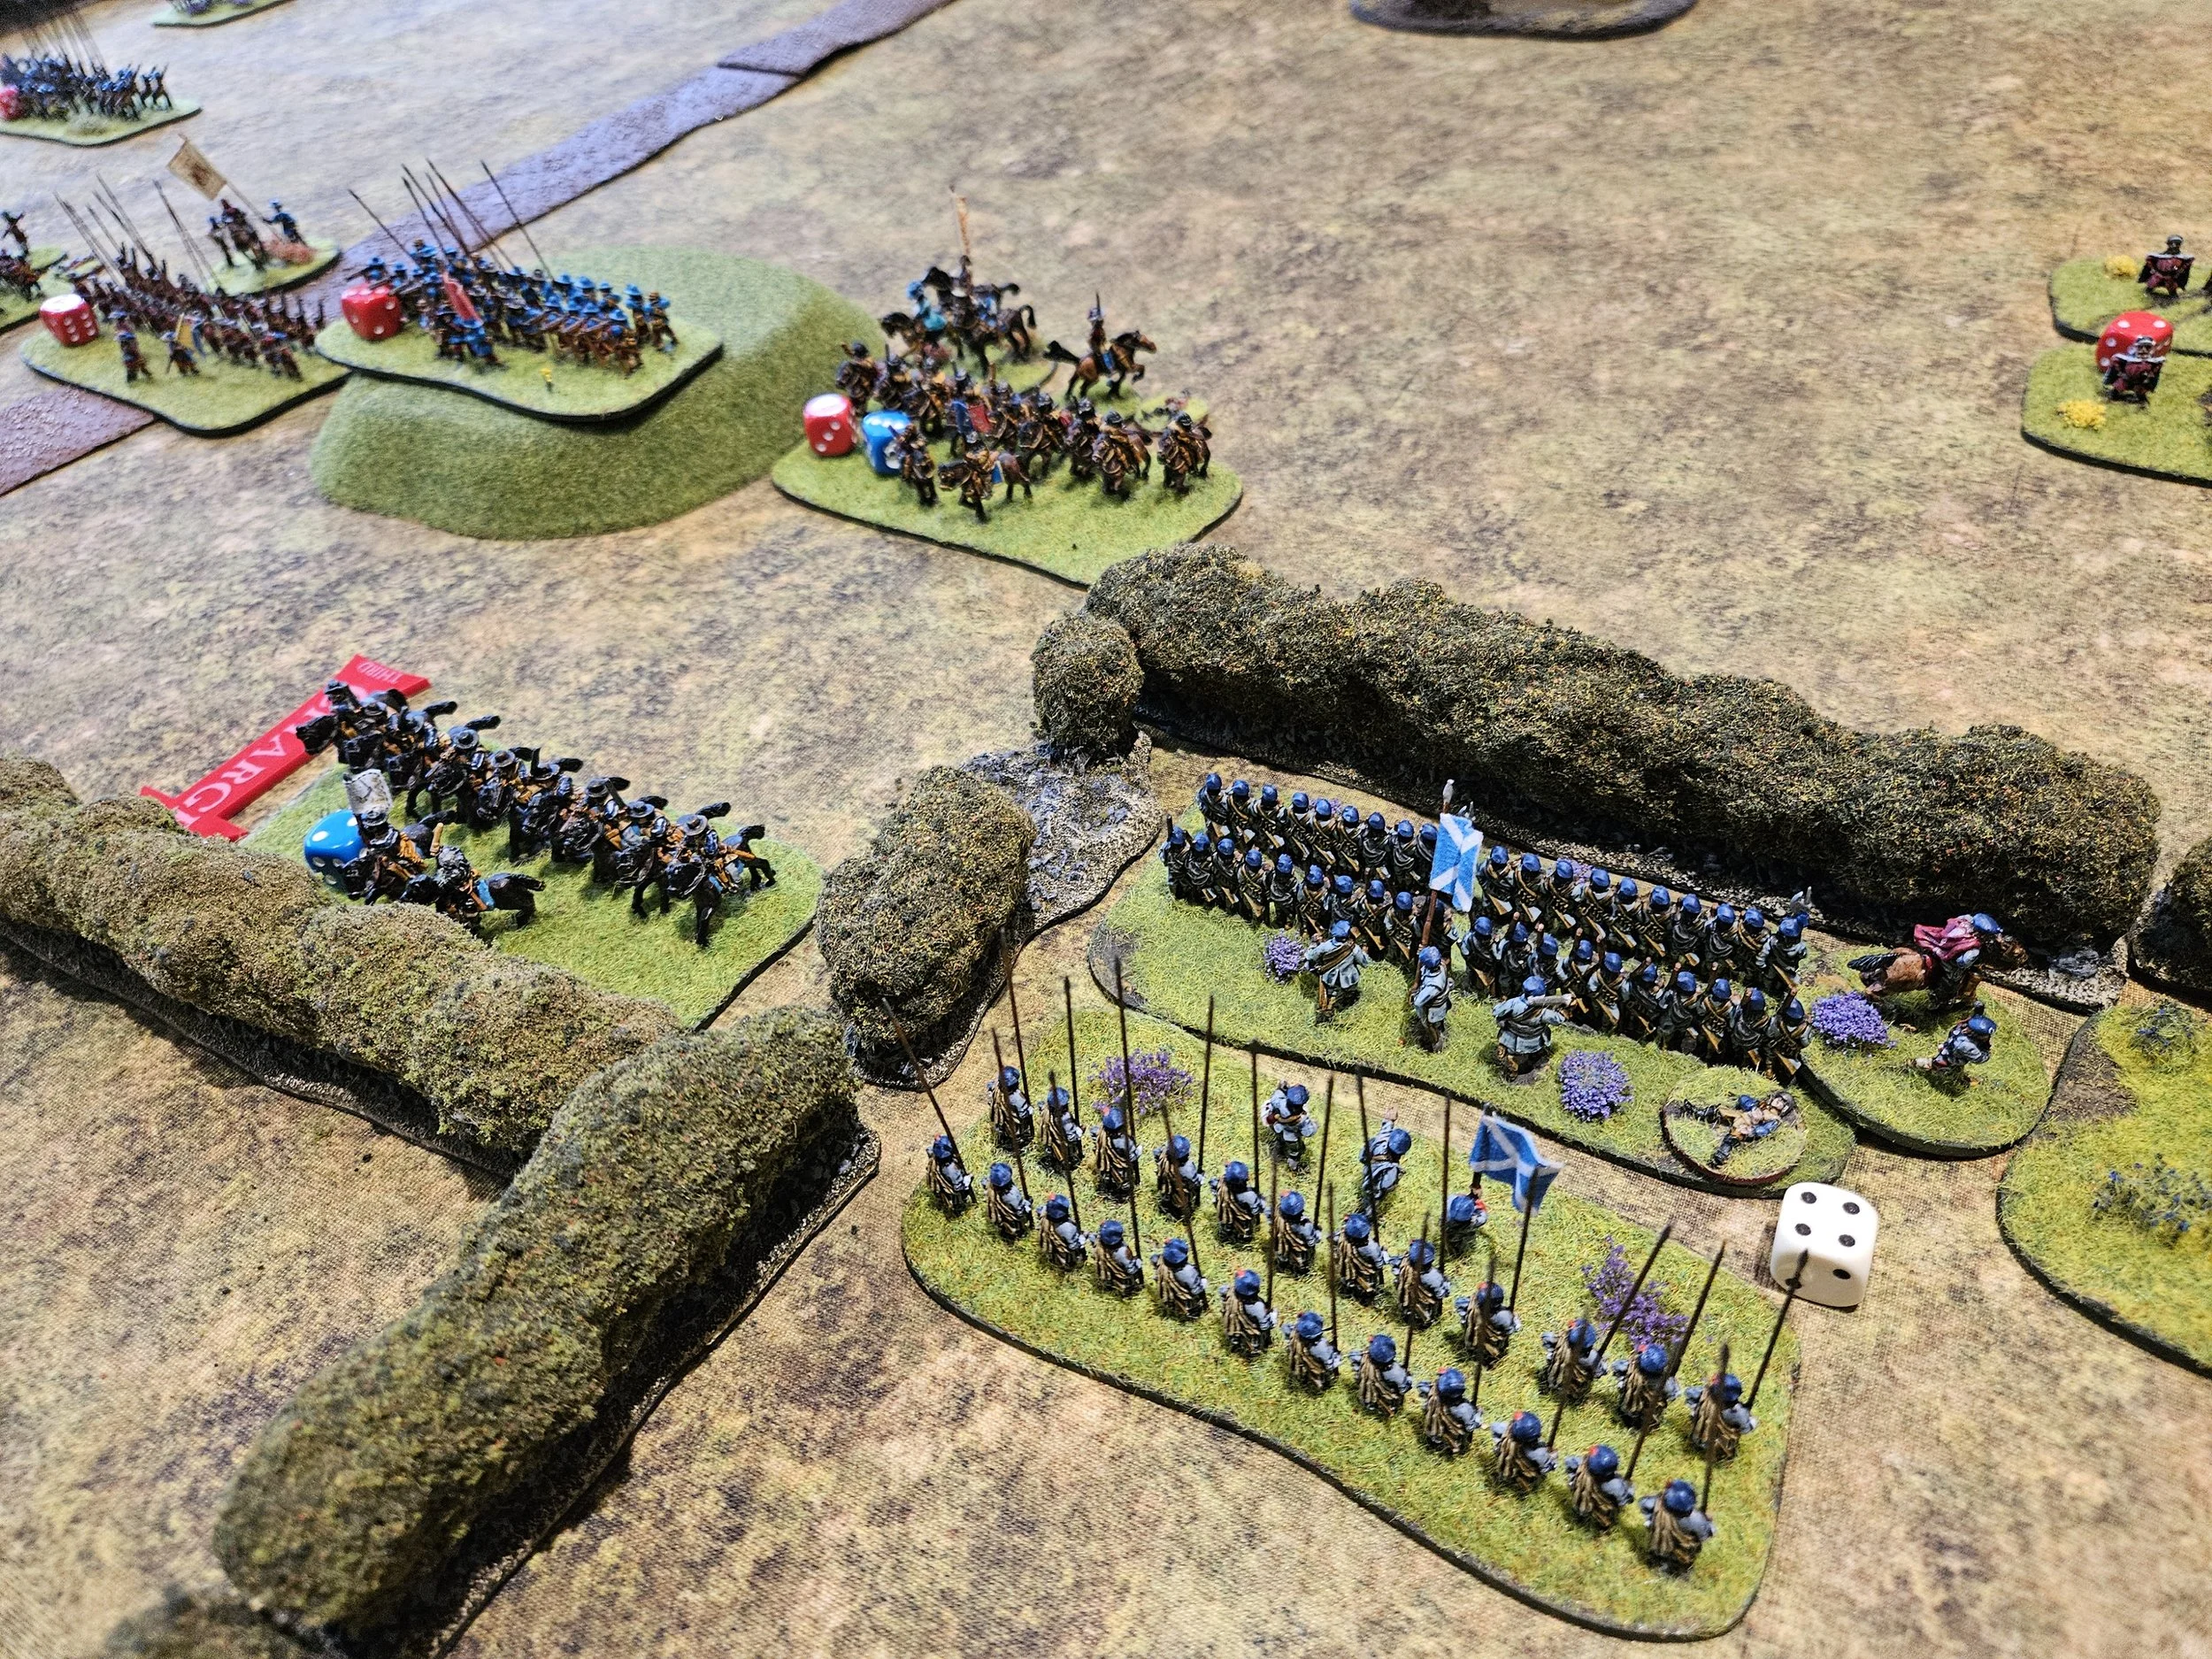
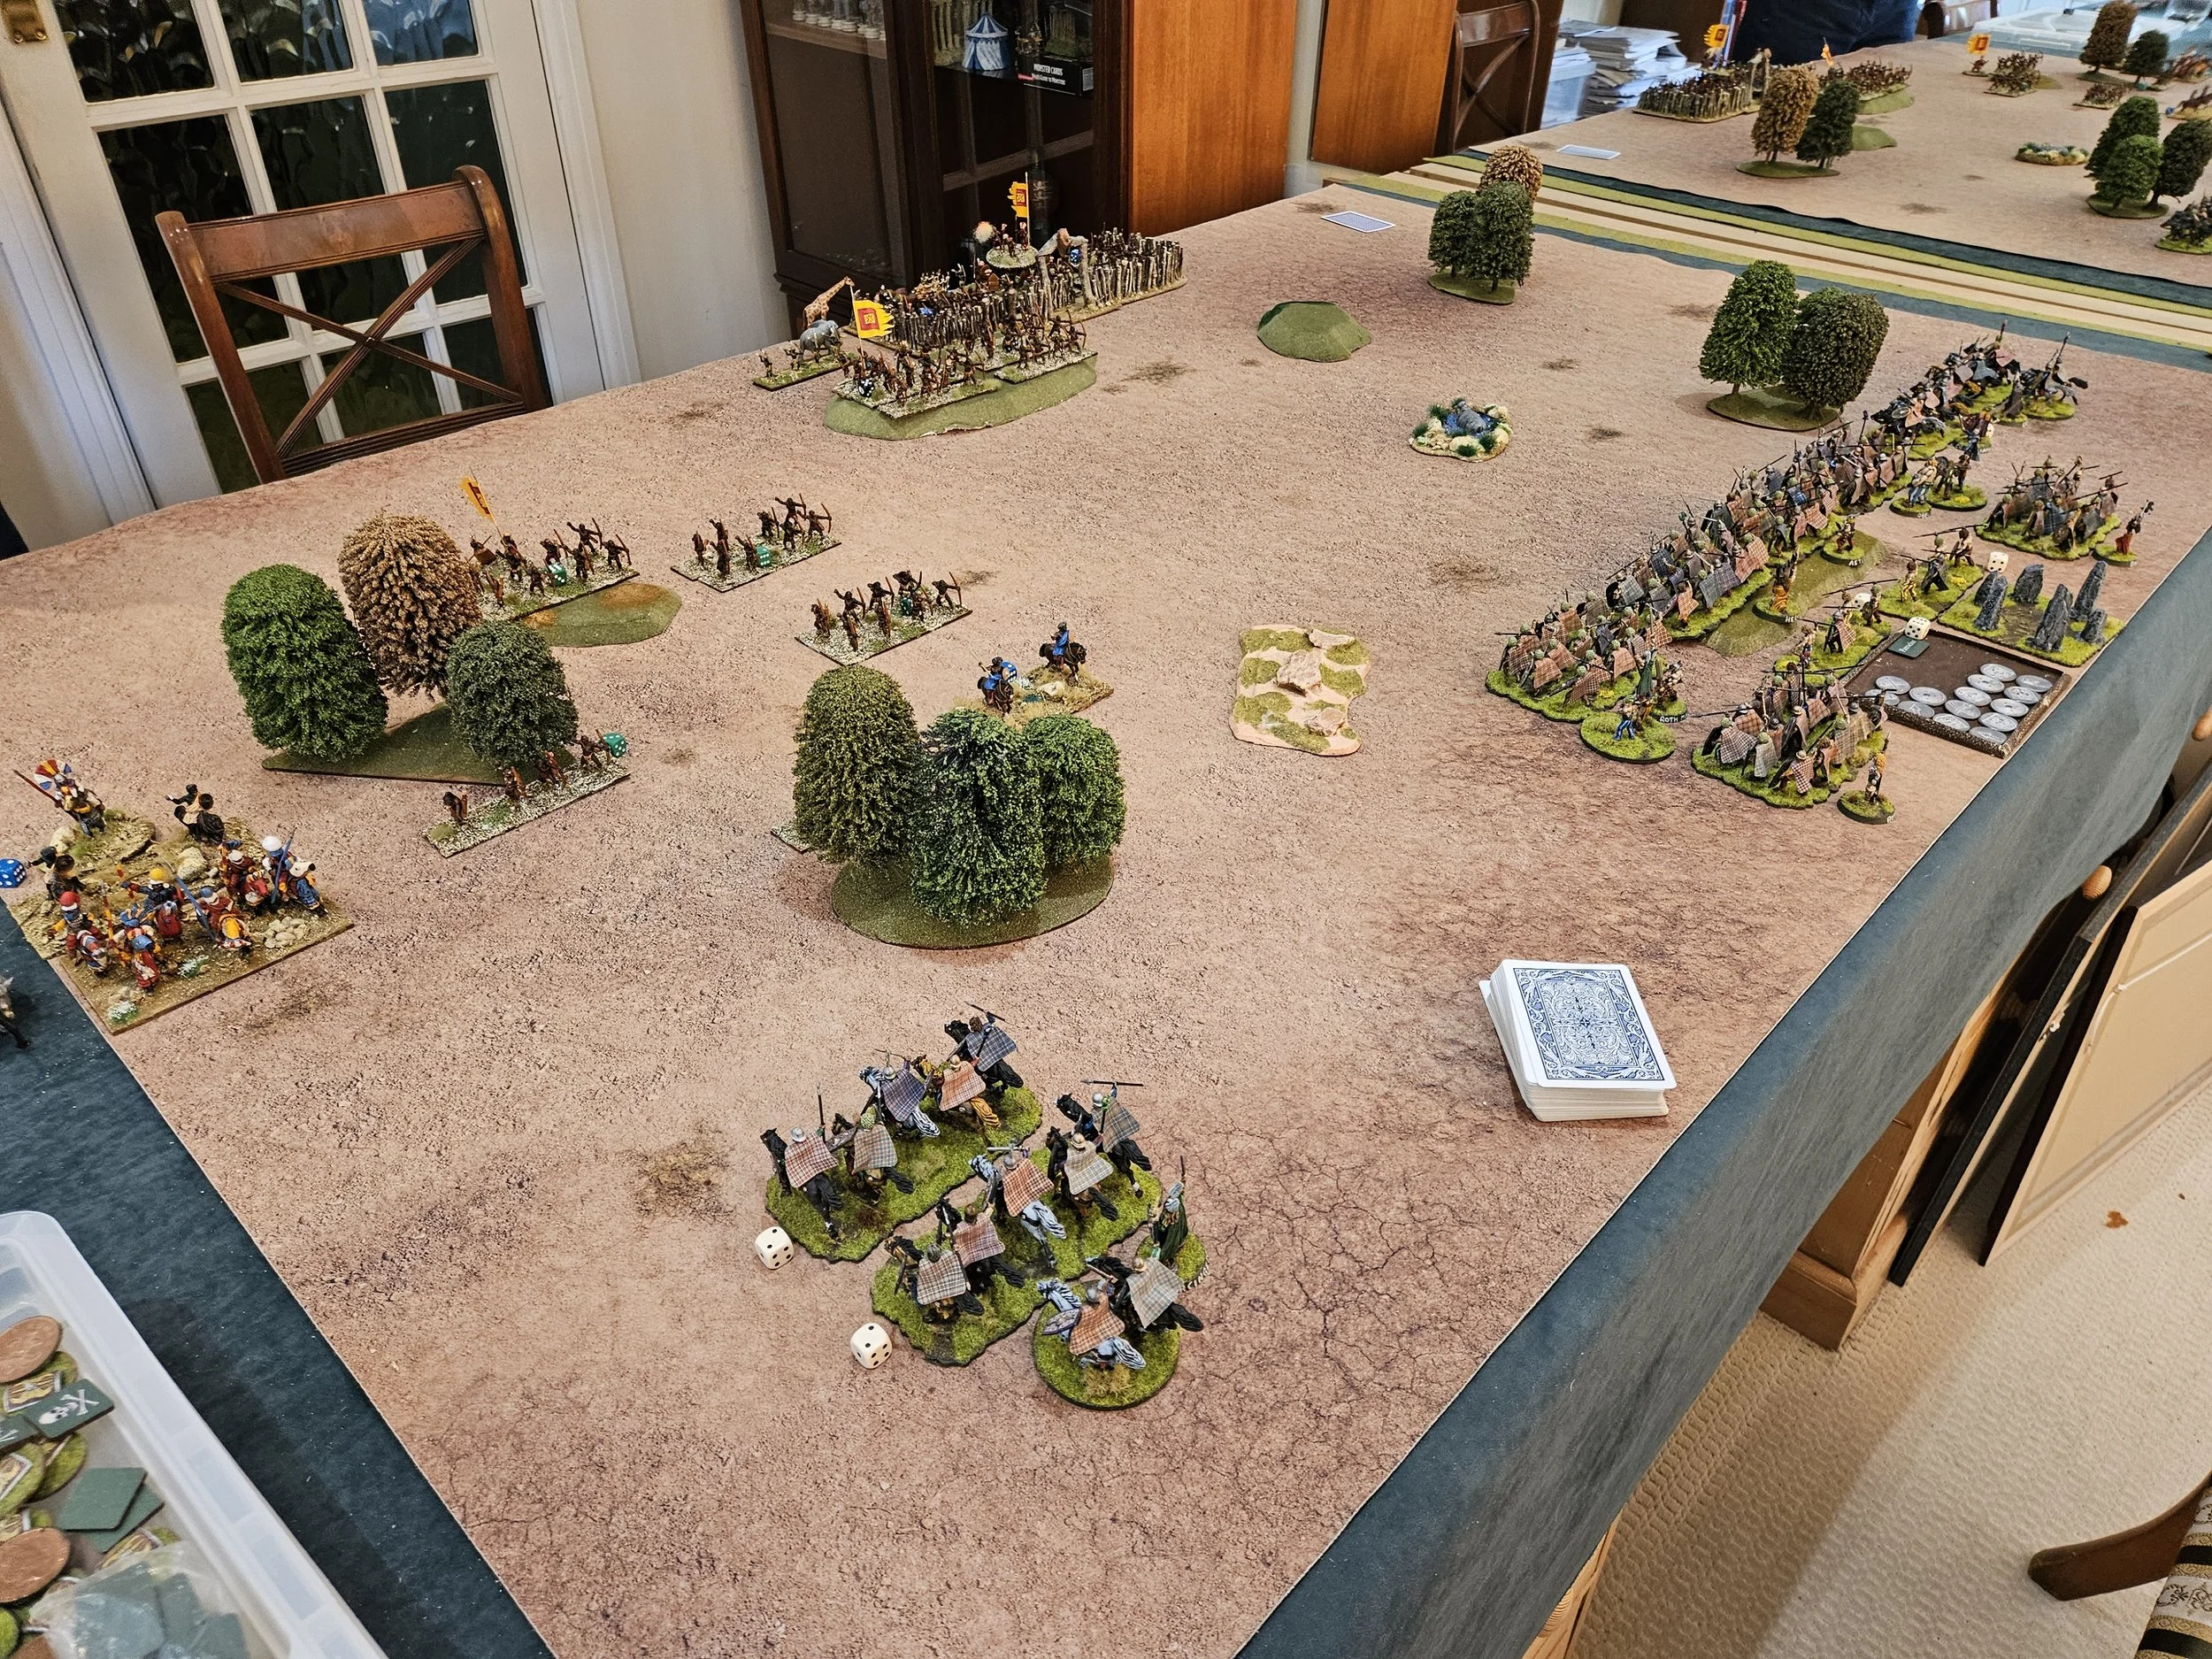
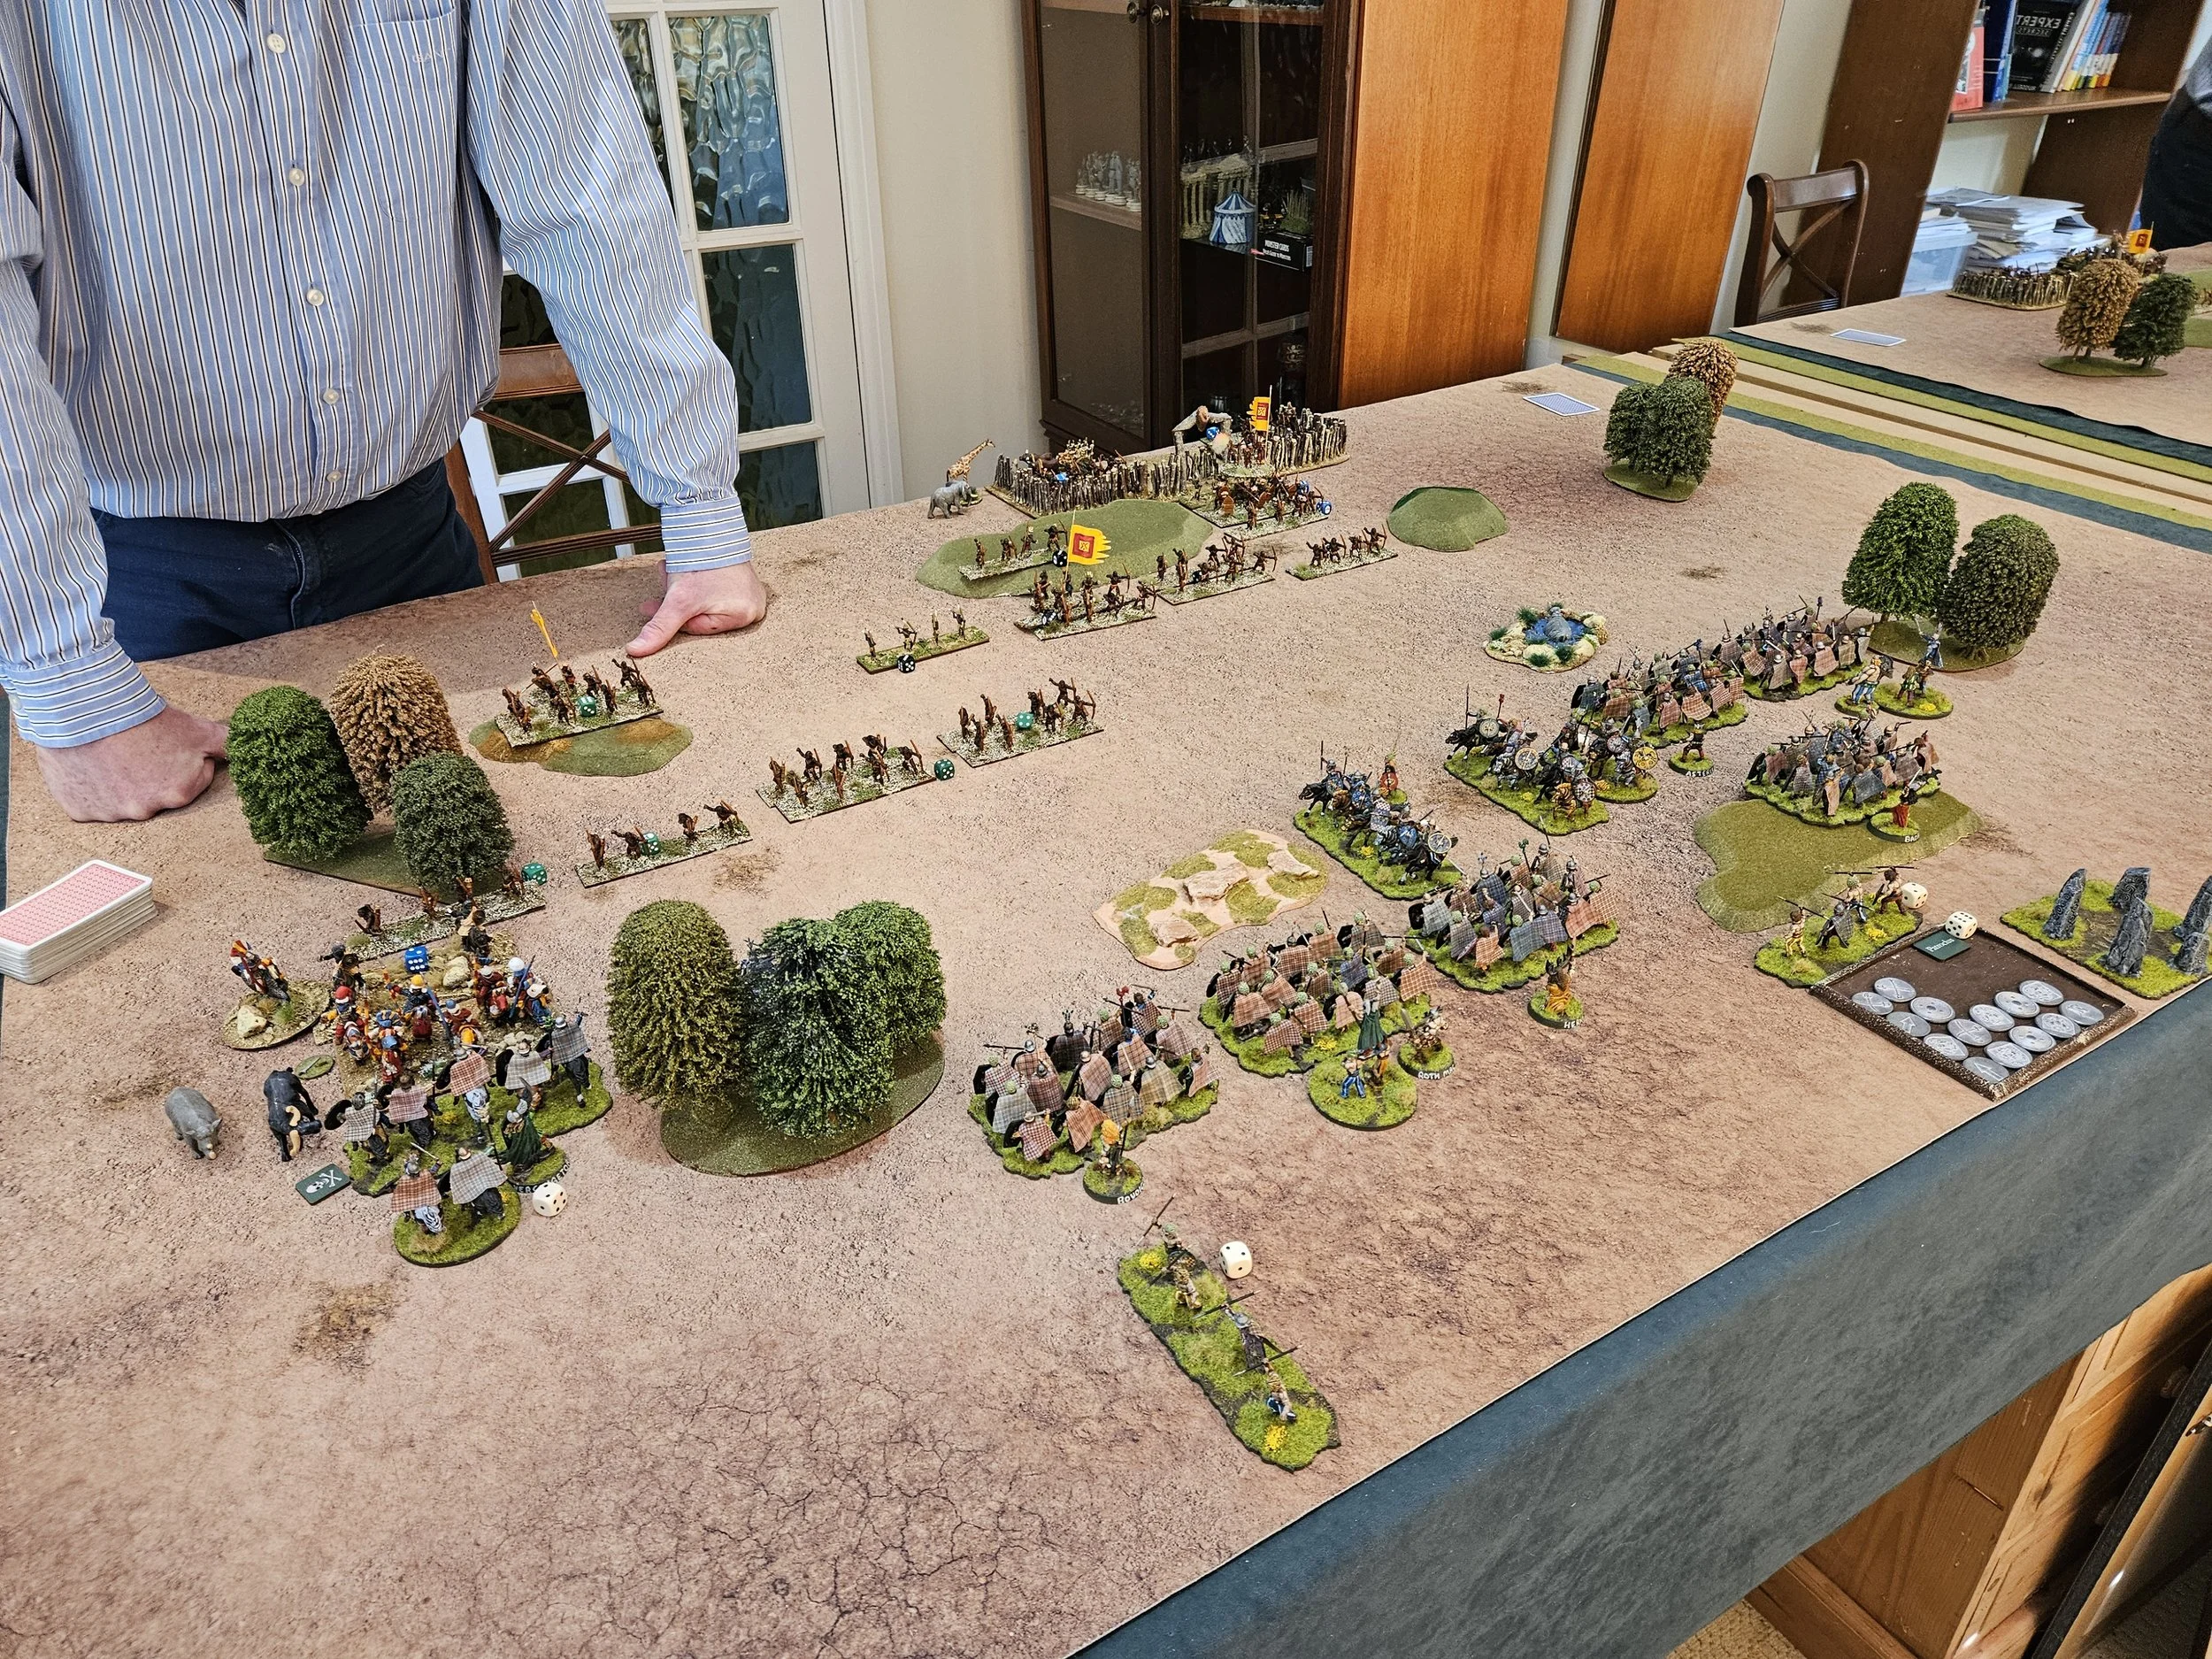
In our second Galatian vs Western Sudanese battle, Rob deployed his camp slightly off centre to my left and surrounded it with his scary hairy warbands. He then deployed one cavalry command to my left of that and the other way off on my right.
So I again used my camp as a hardpoint on my left flank garrisoned by an entire command of archers to counter any possible attack by his cavalry on that flank.
I then deployed another command of archers centrally to create an interlocking field of fire in the middle. On my right I deployed my only cavalry command supported by a full infantry command to face his single cavalry command.
The Battle Begins
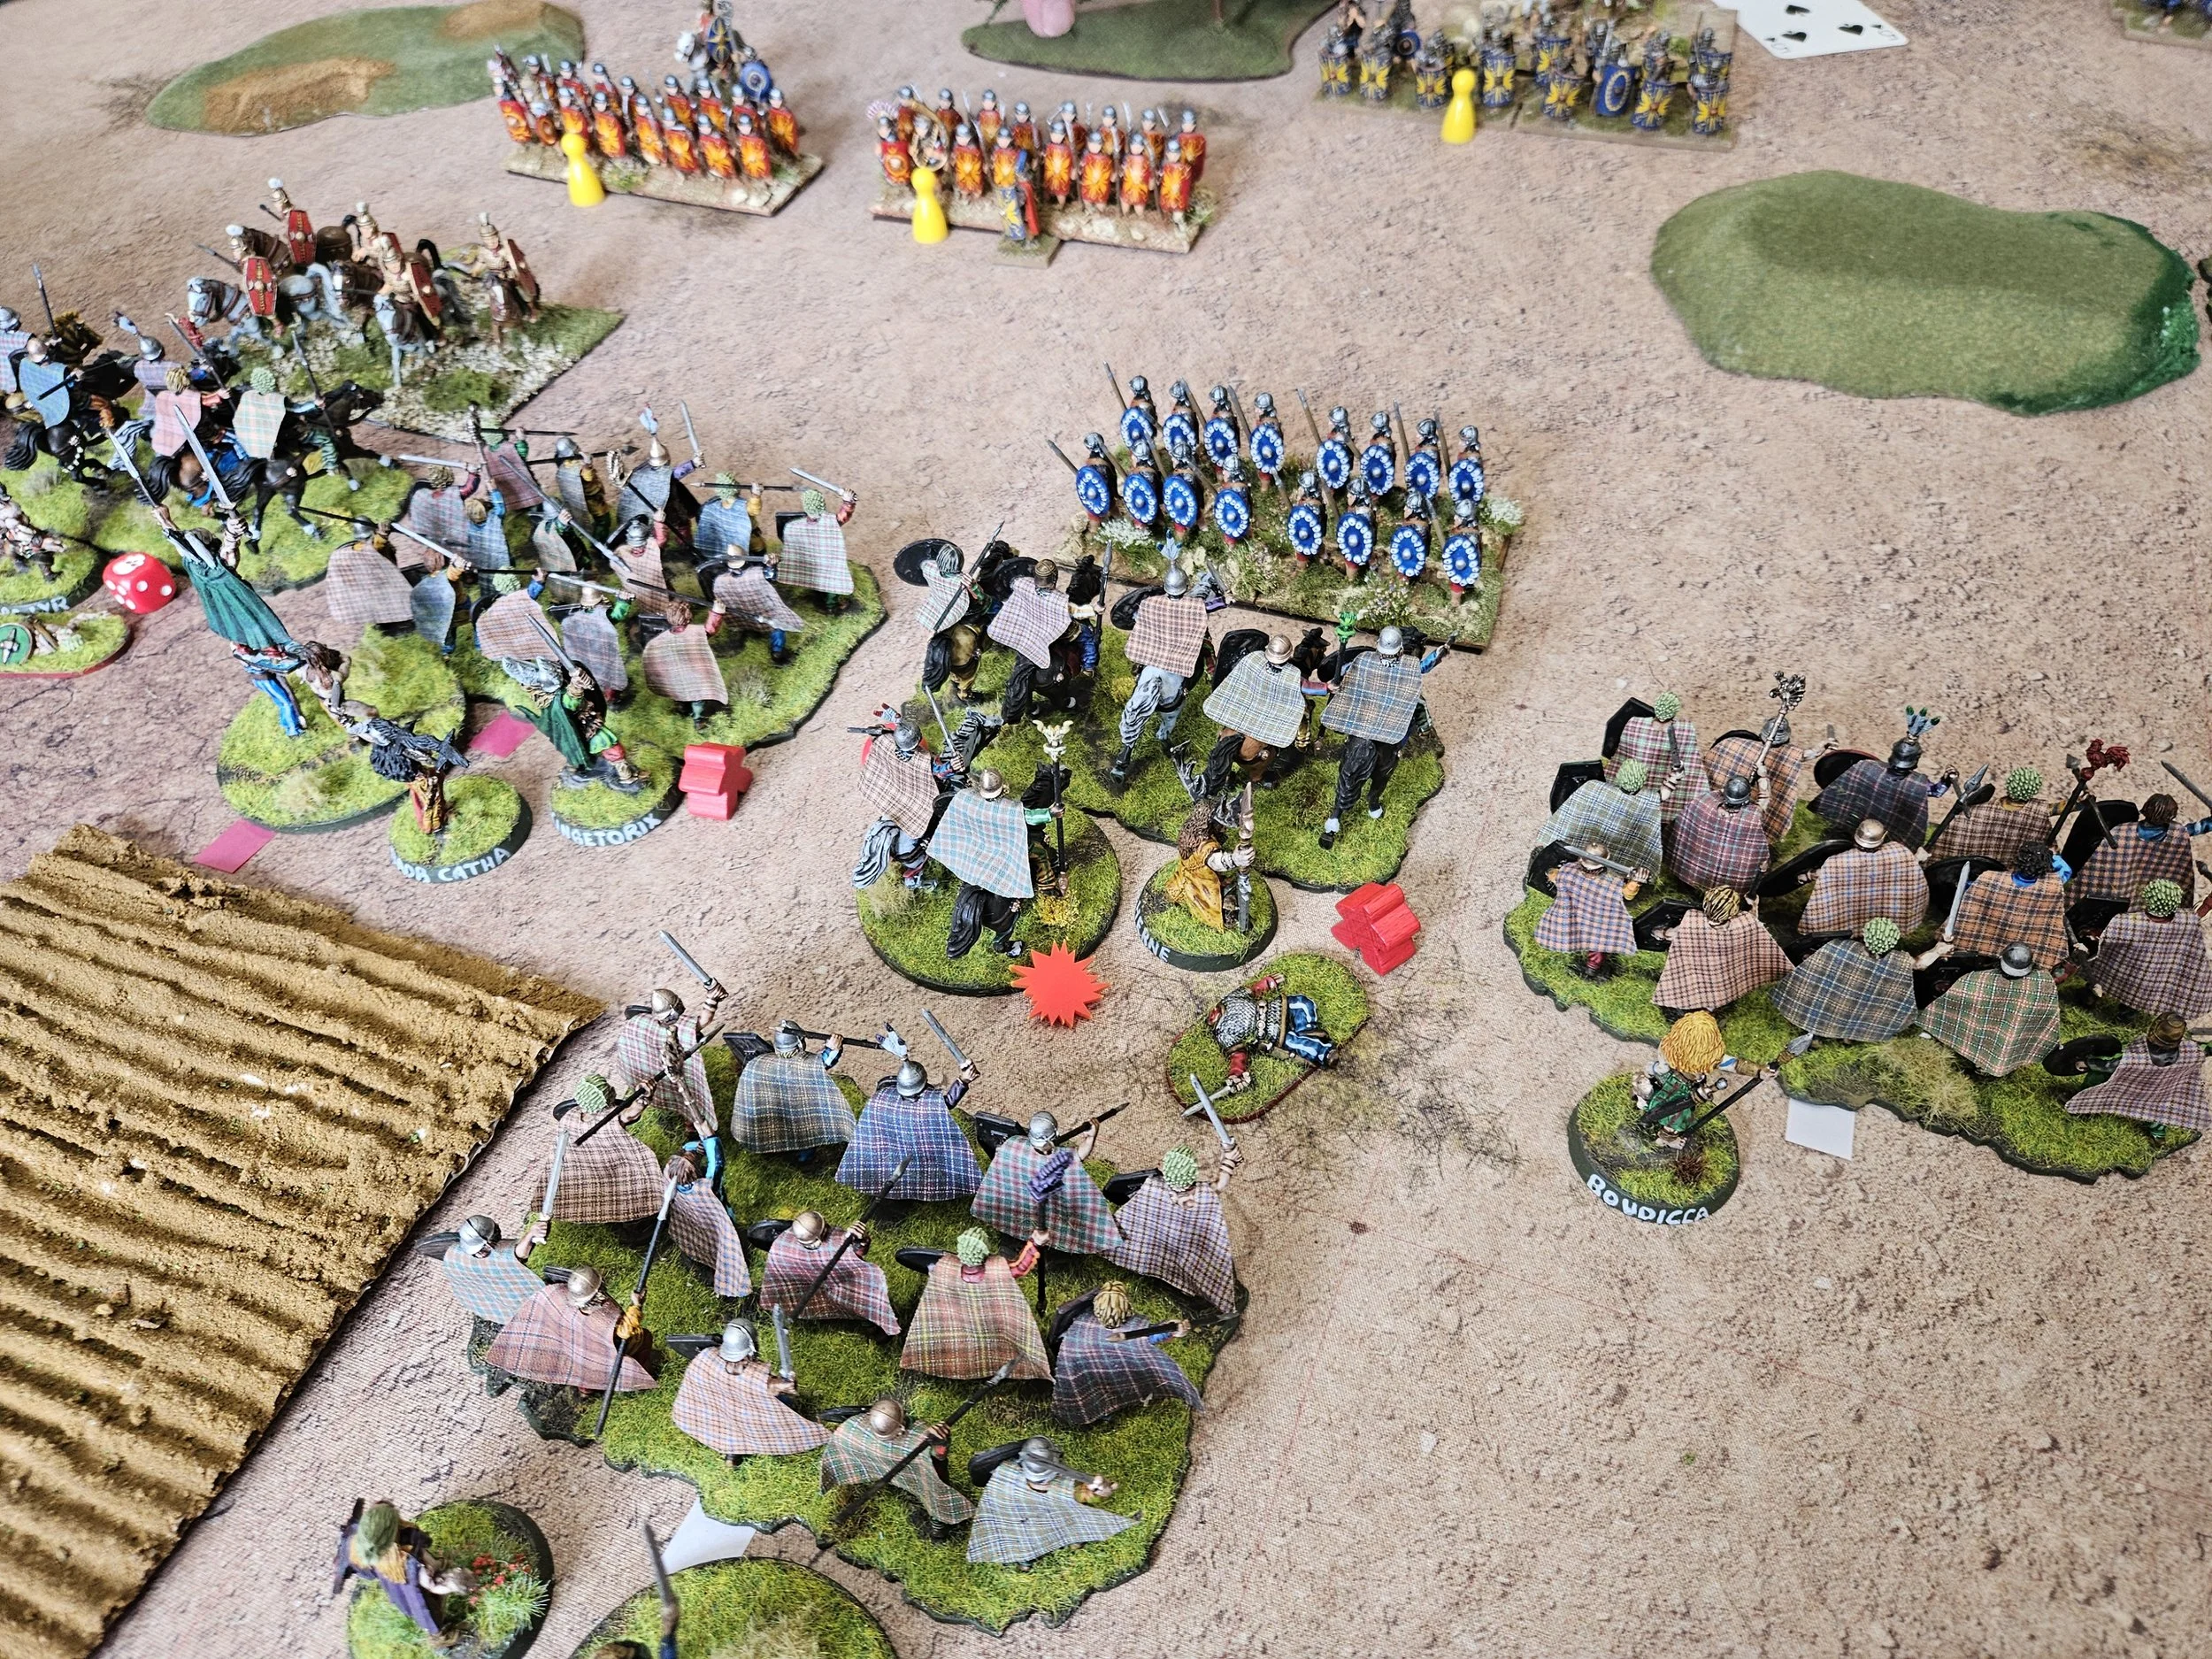
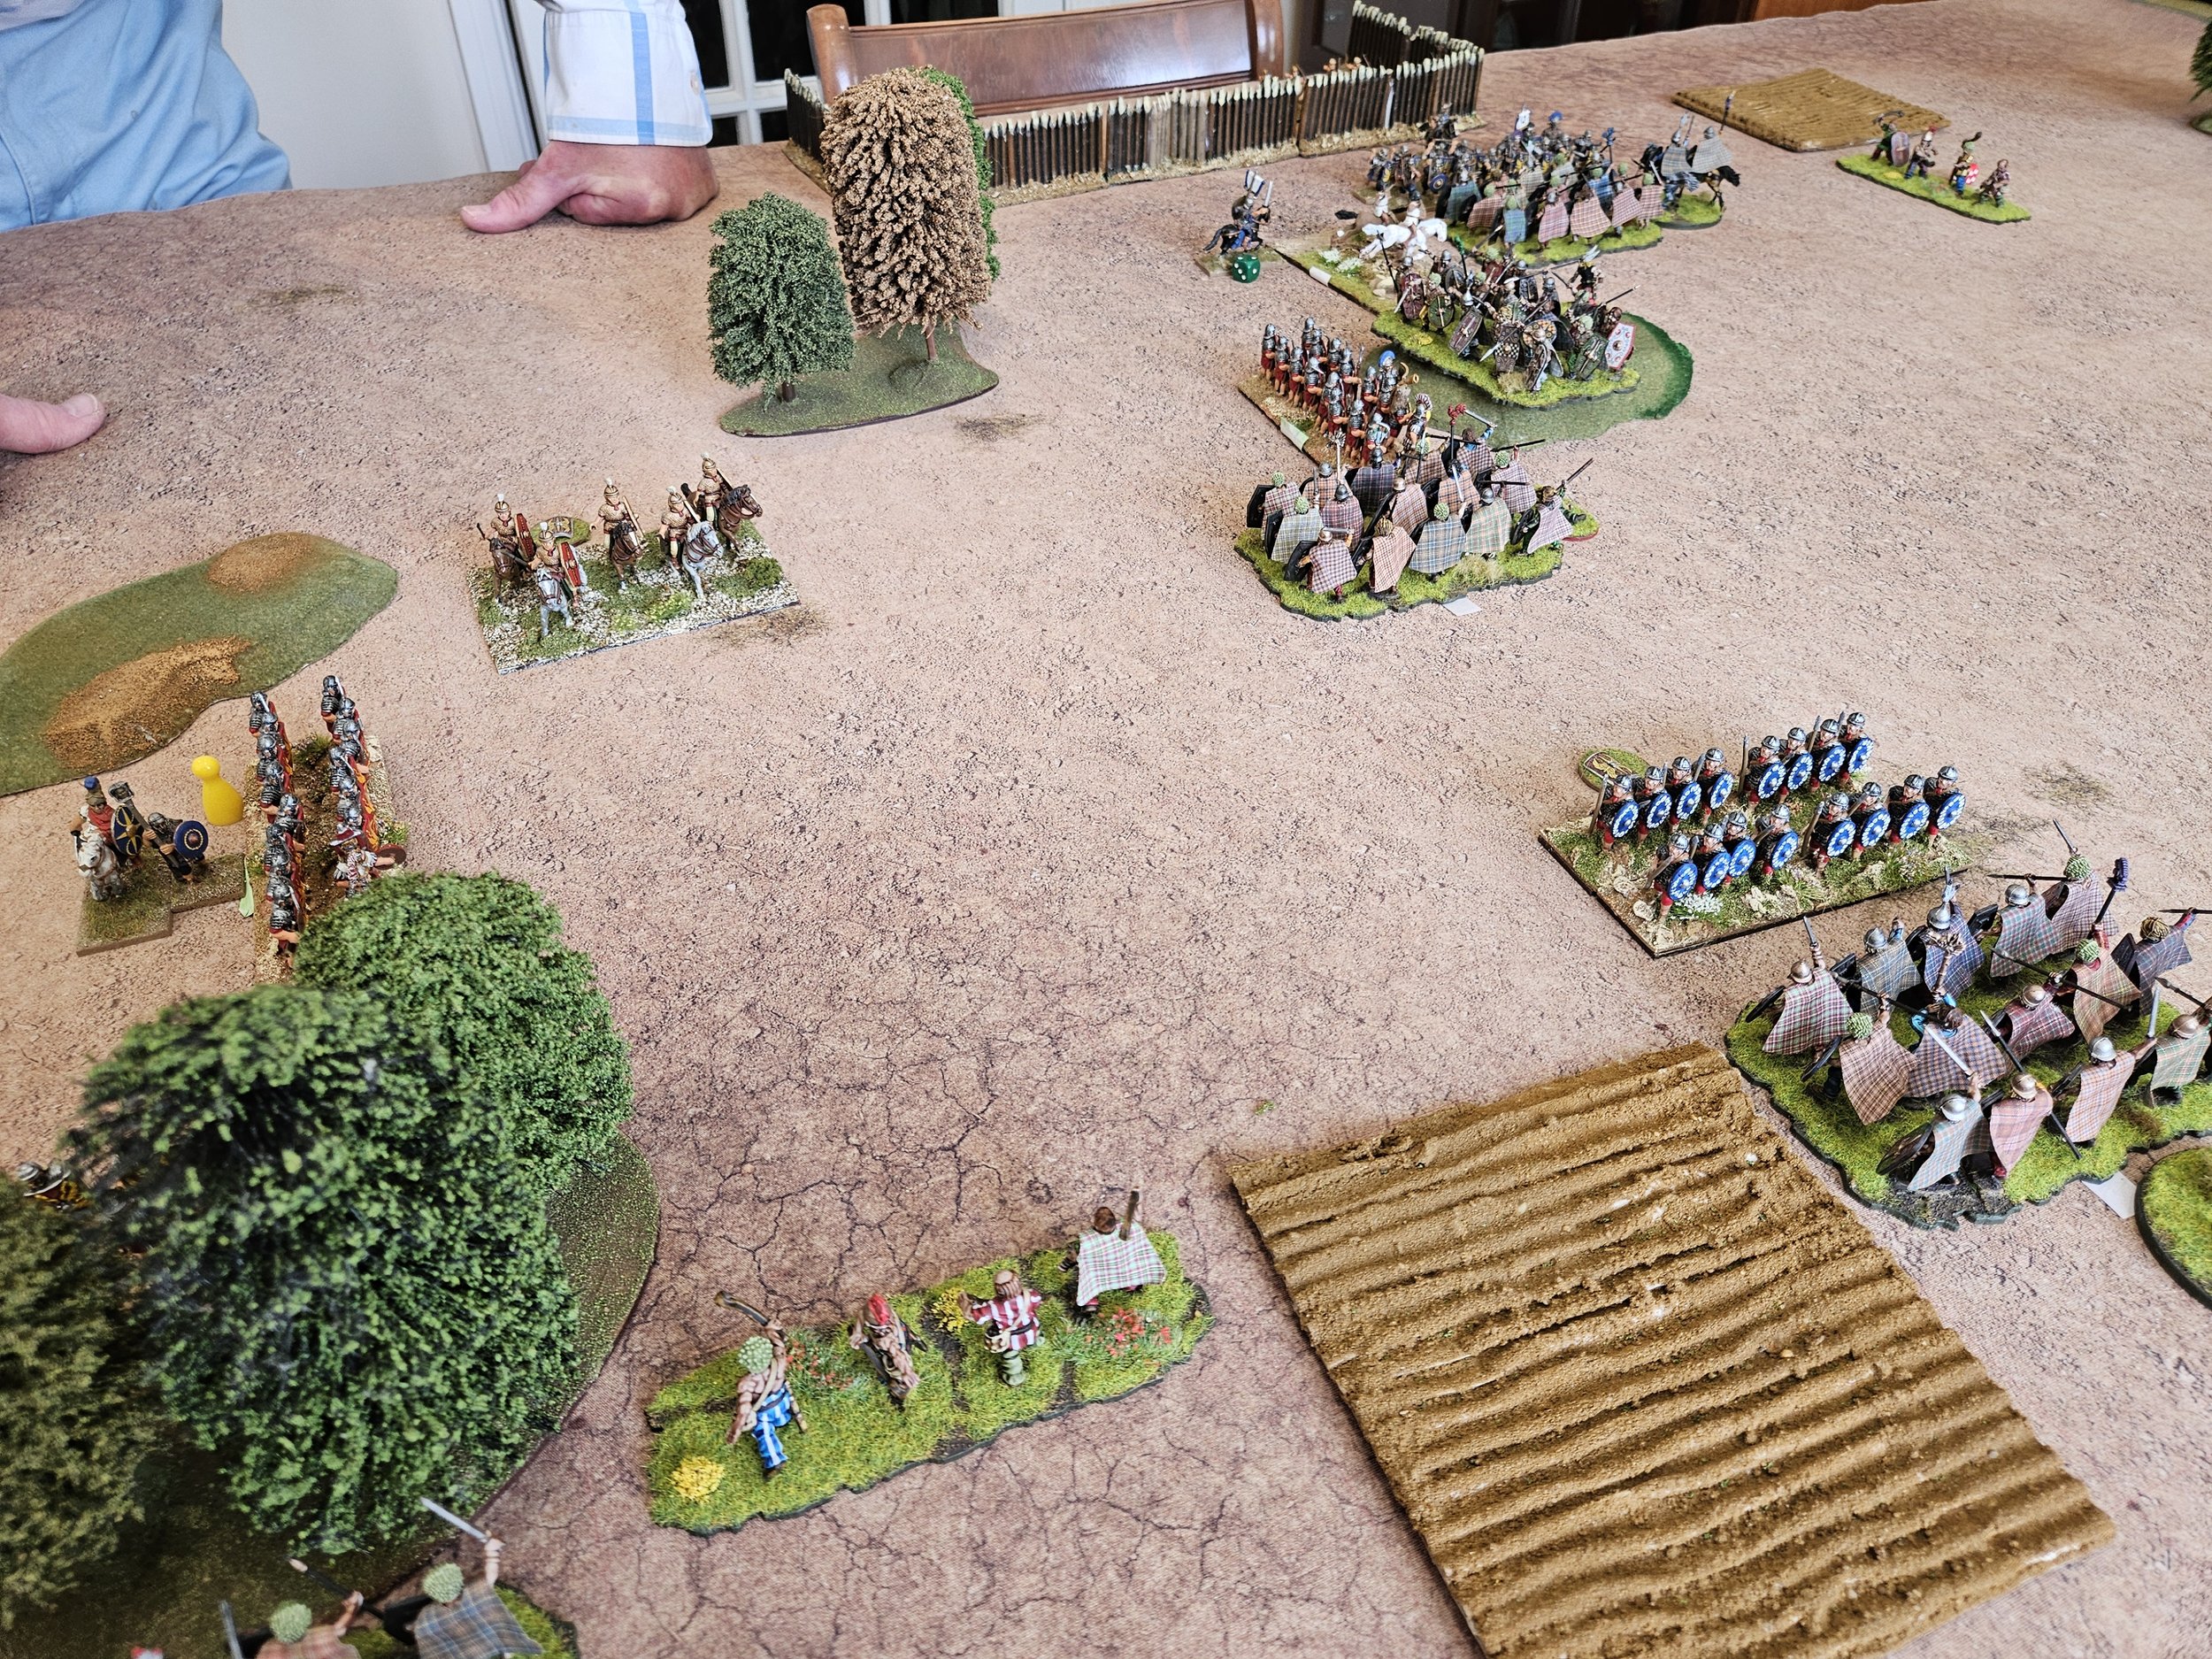
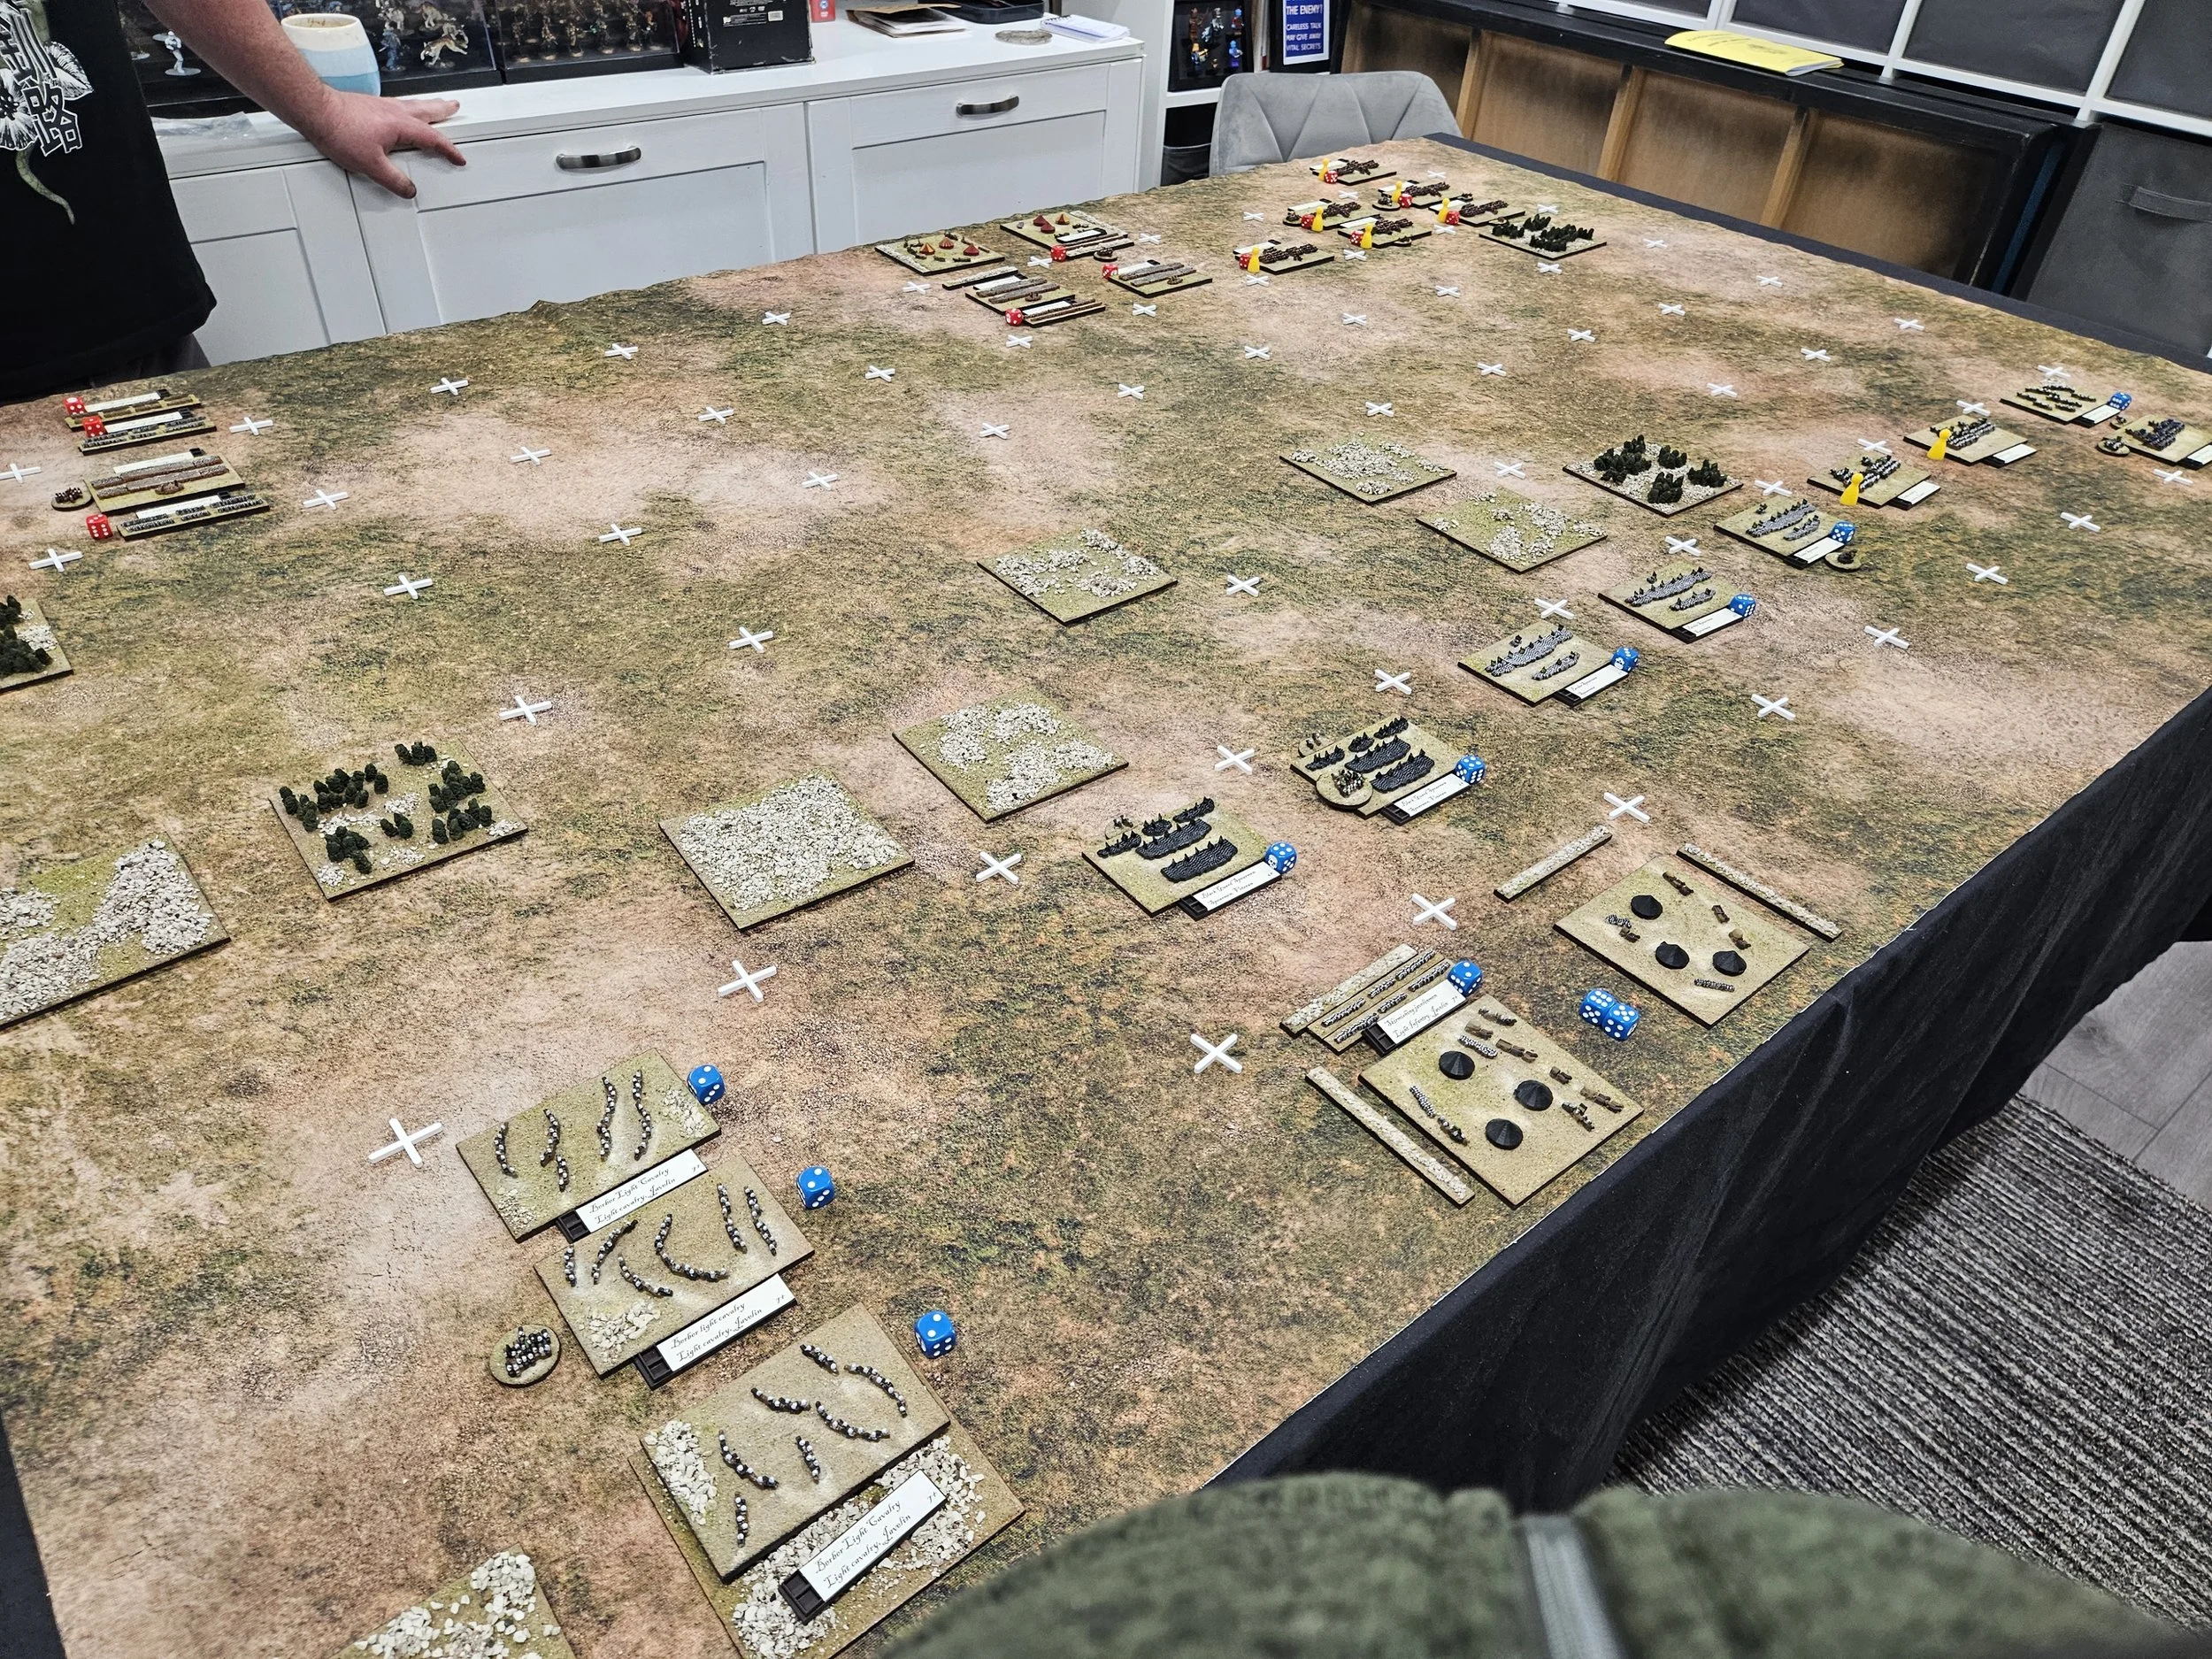
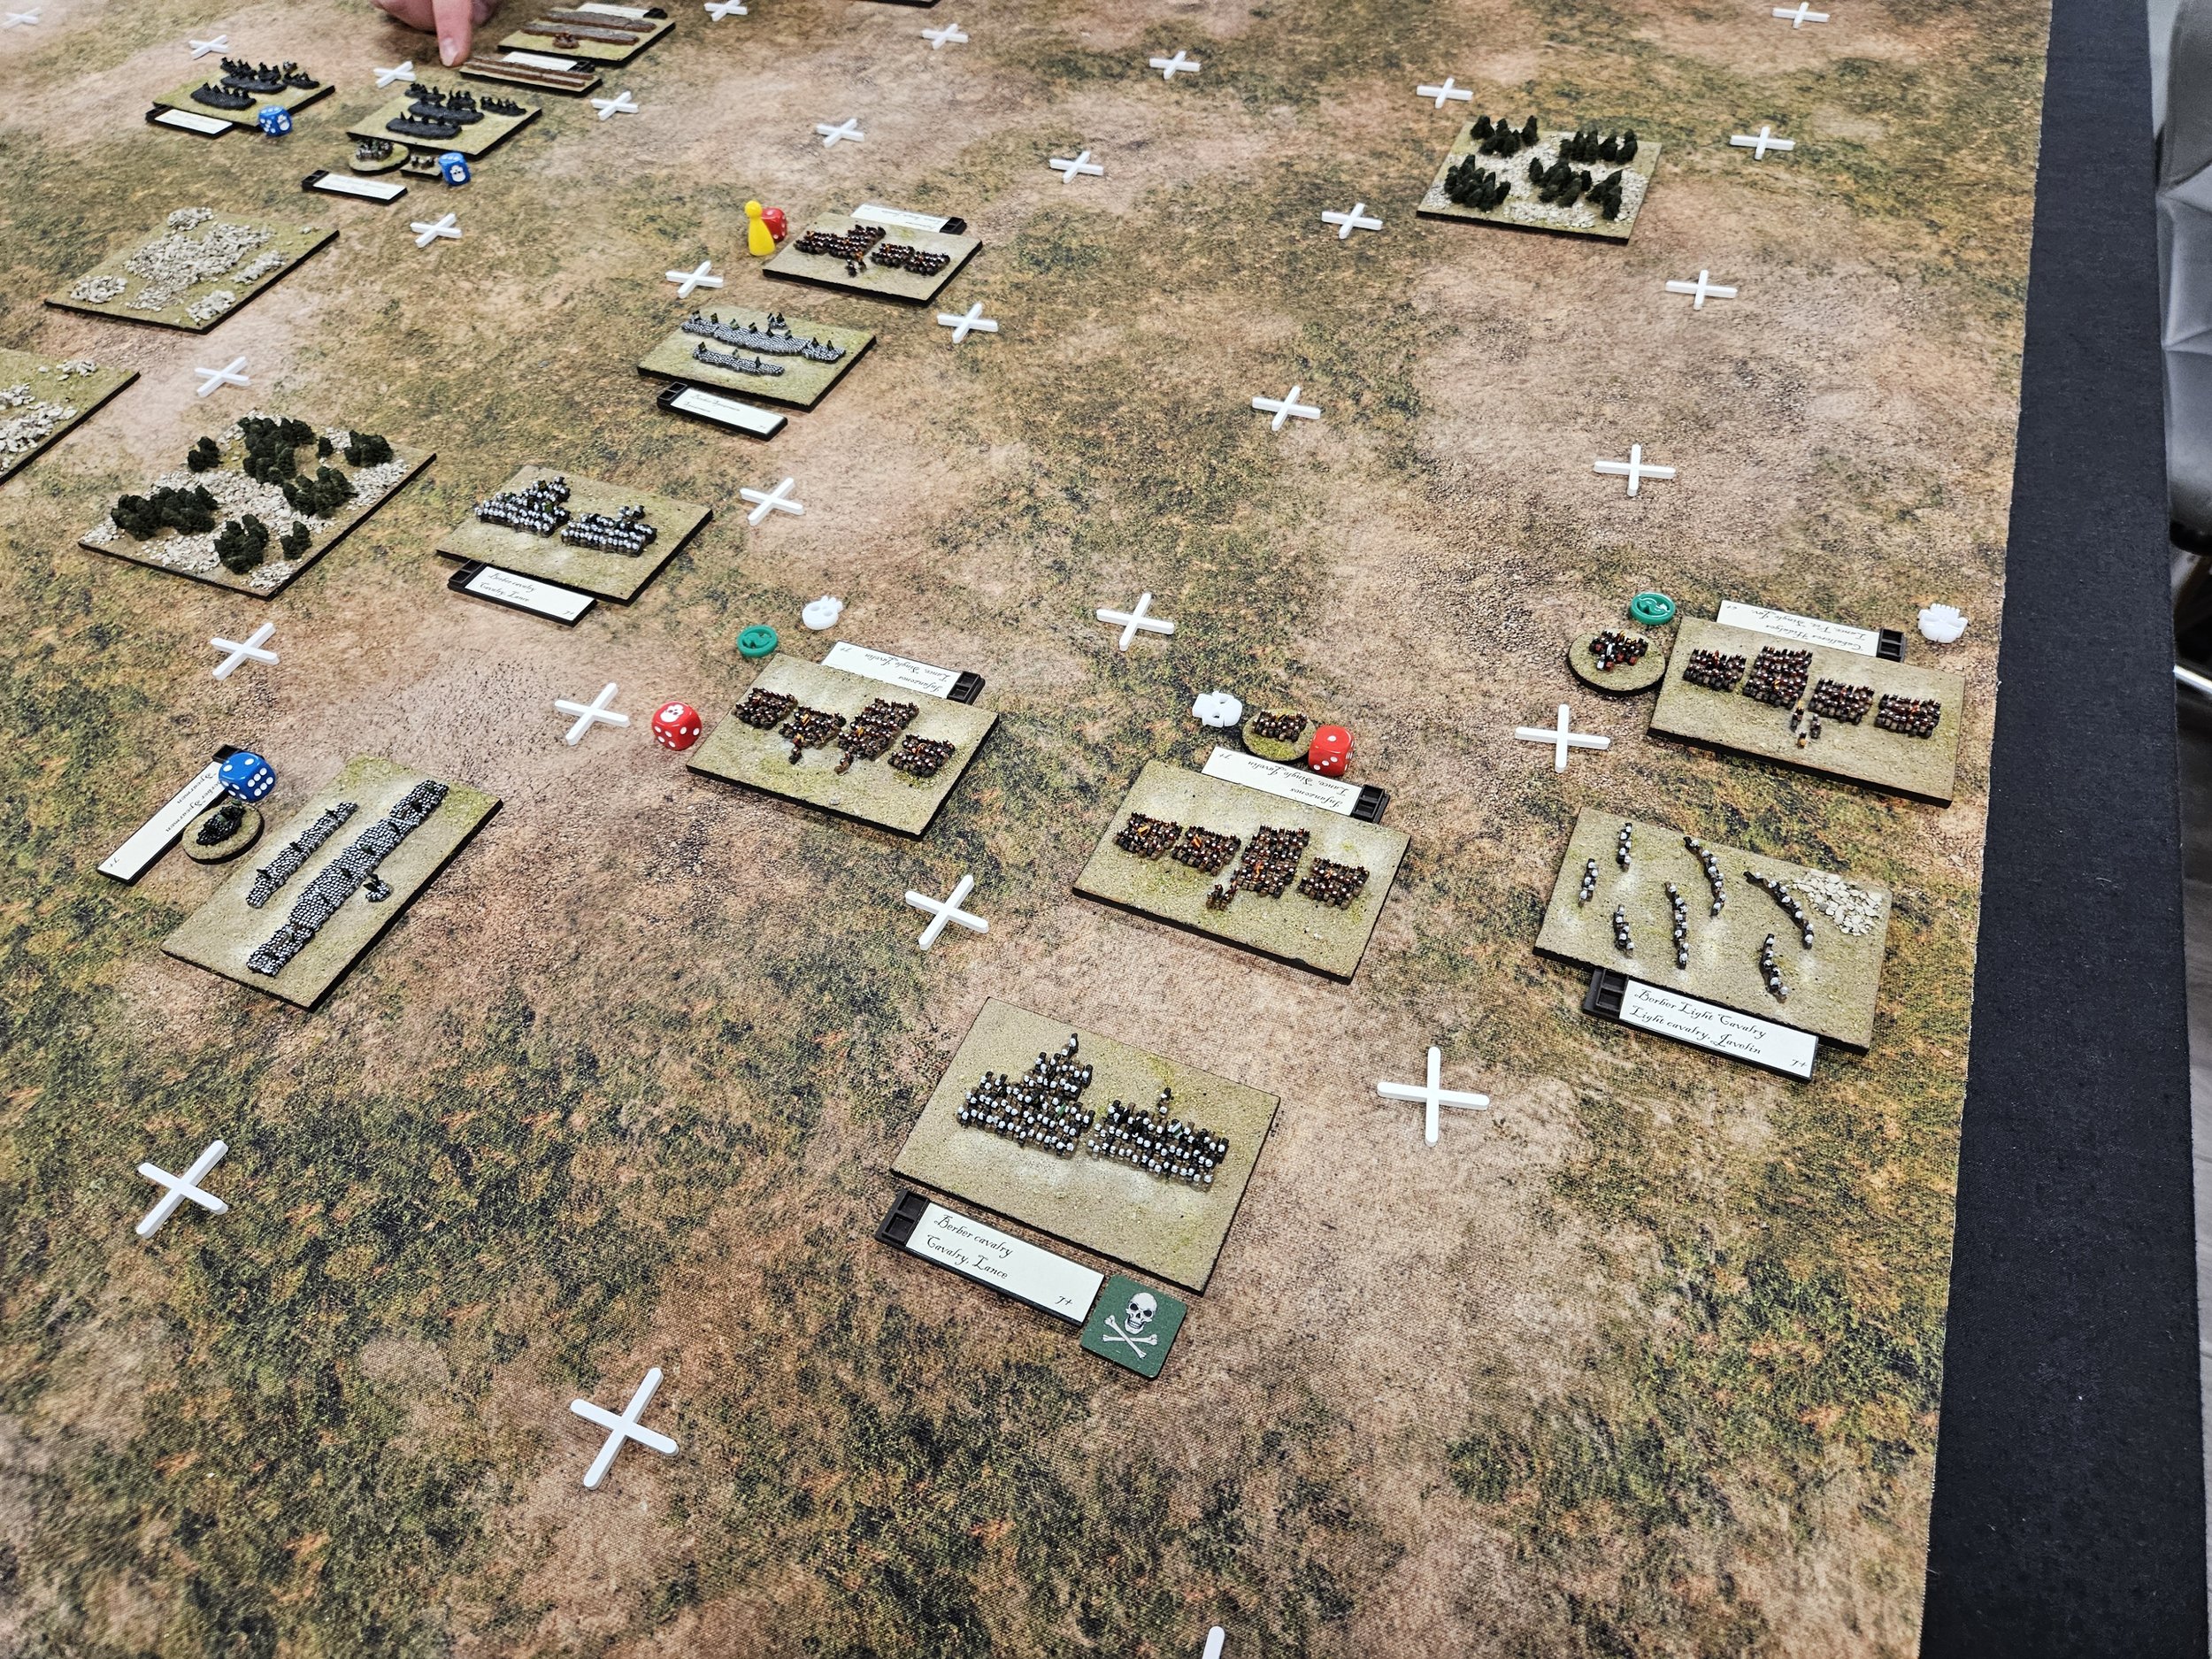
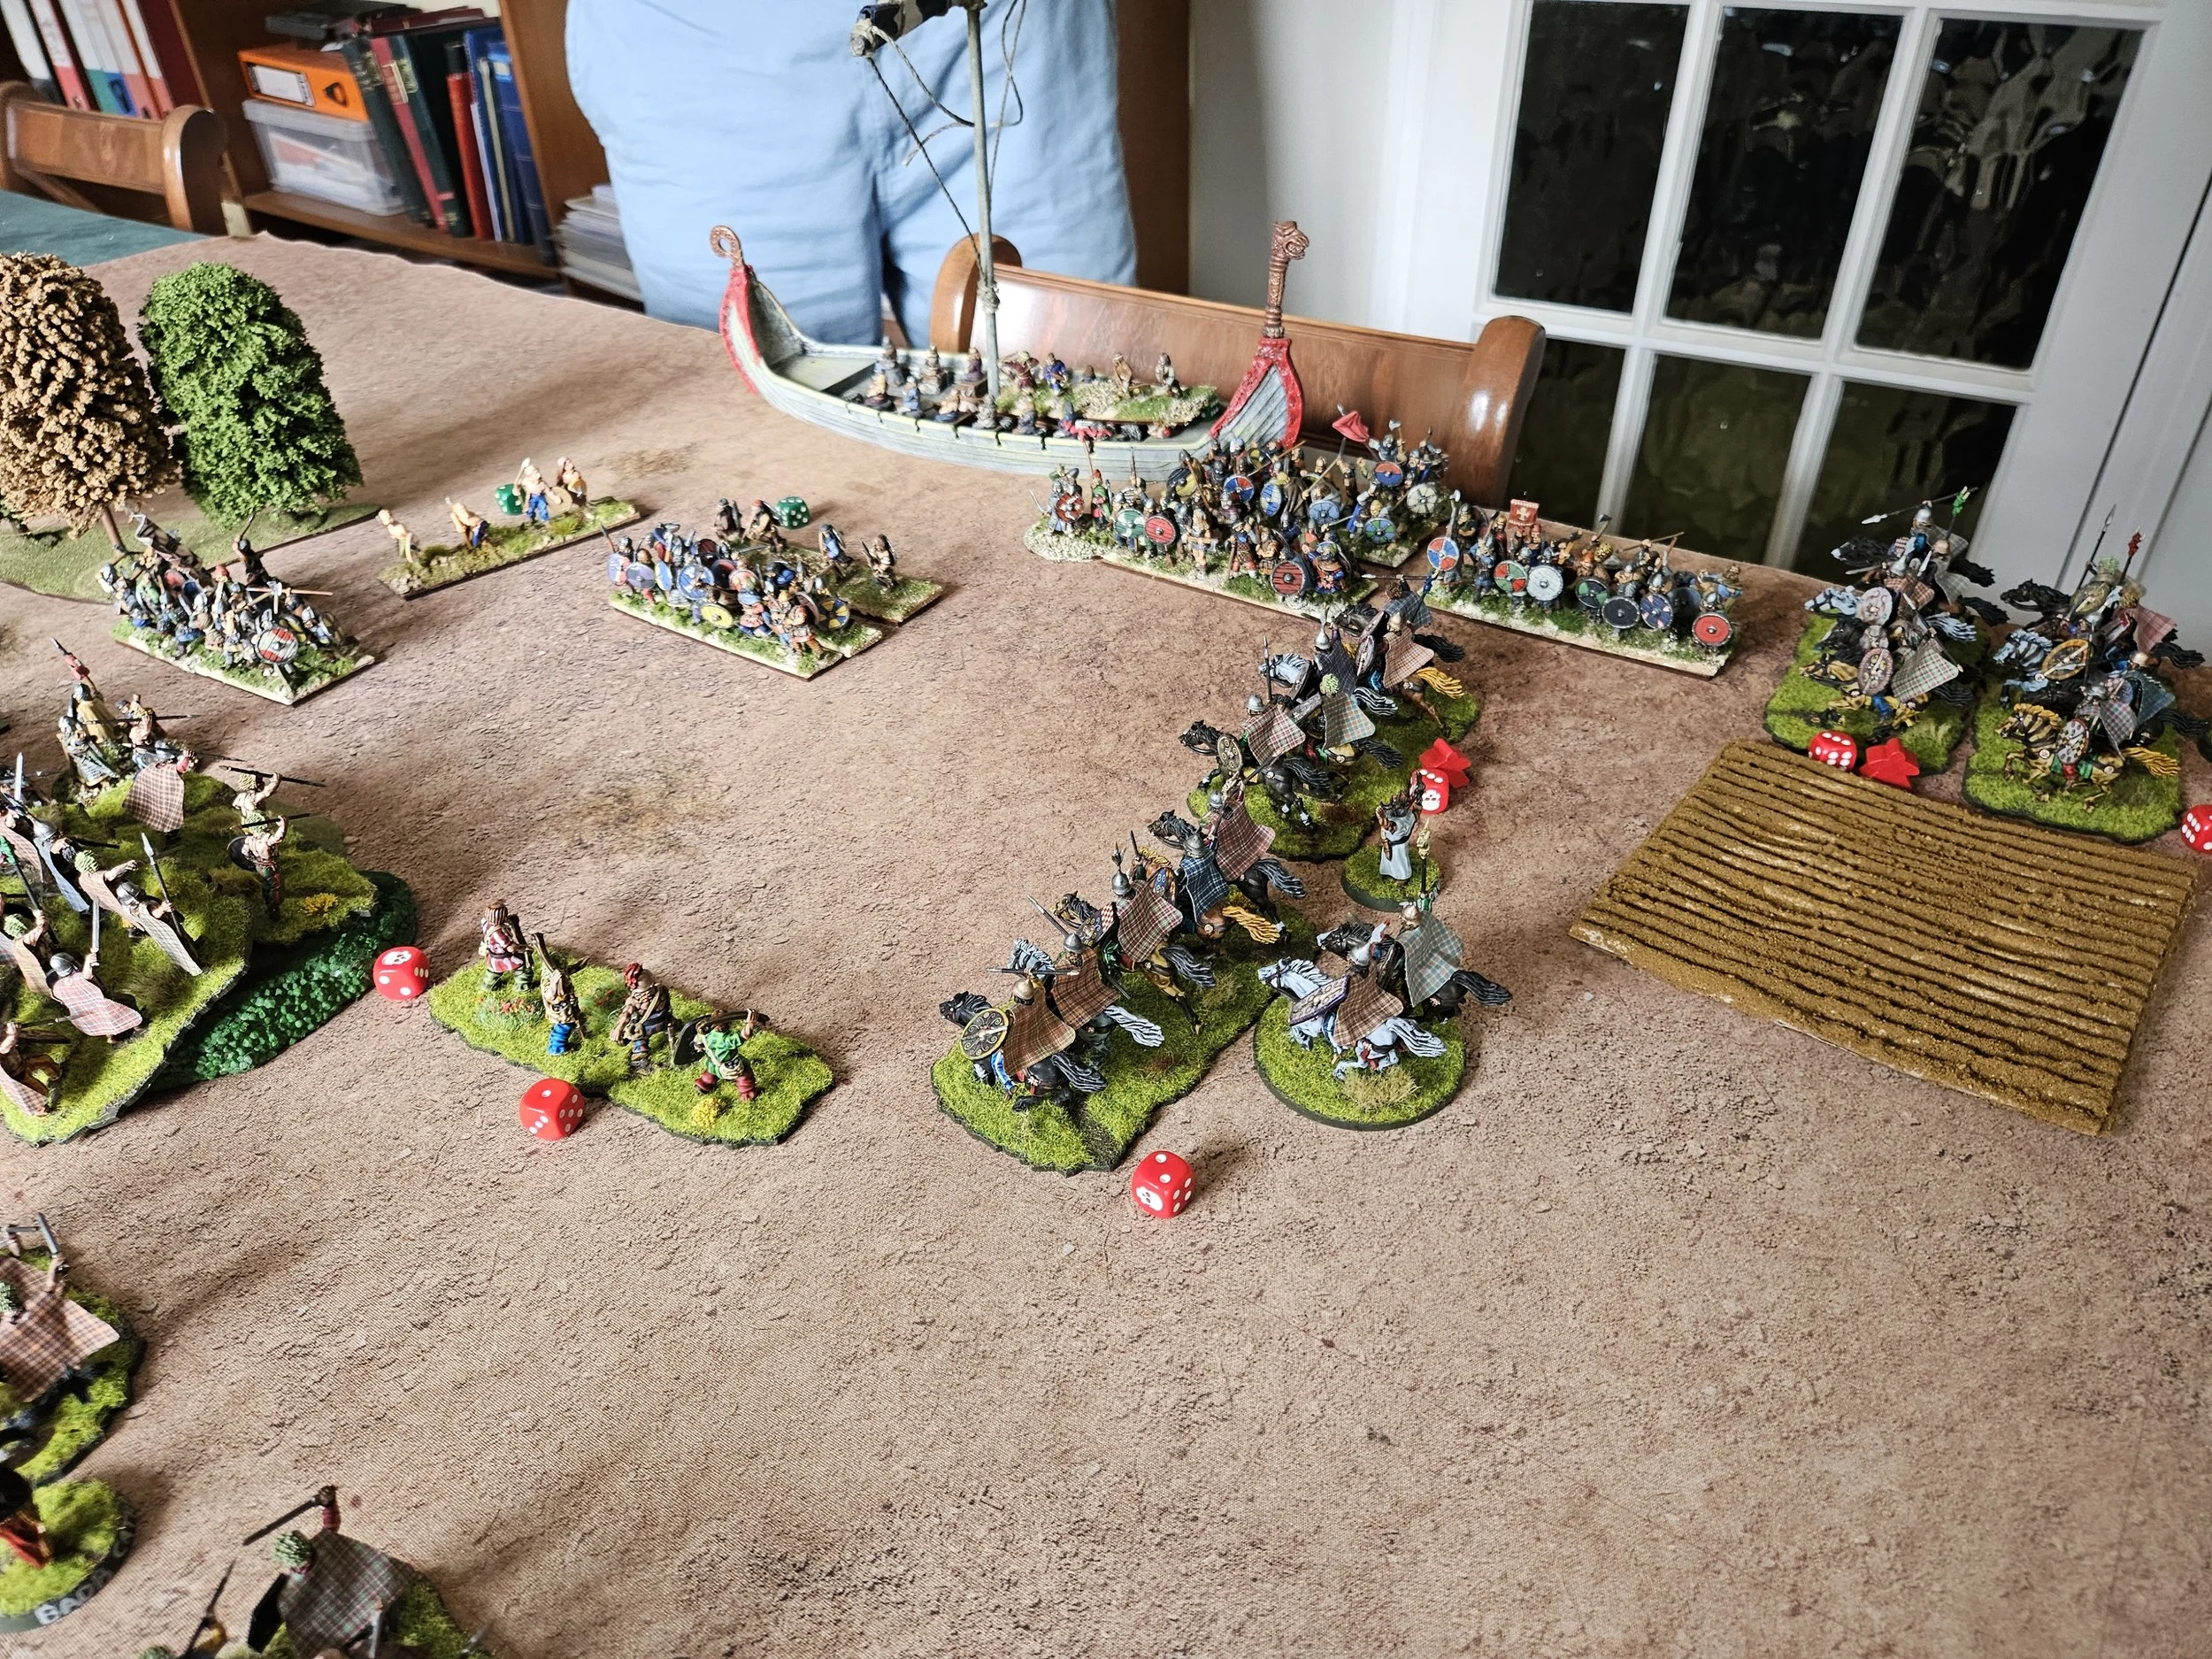
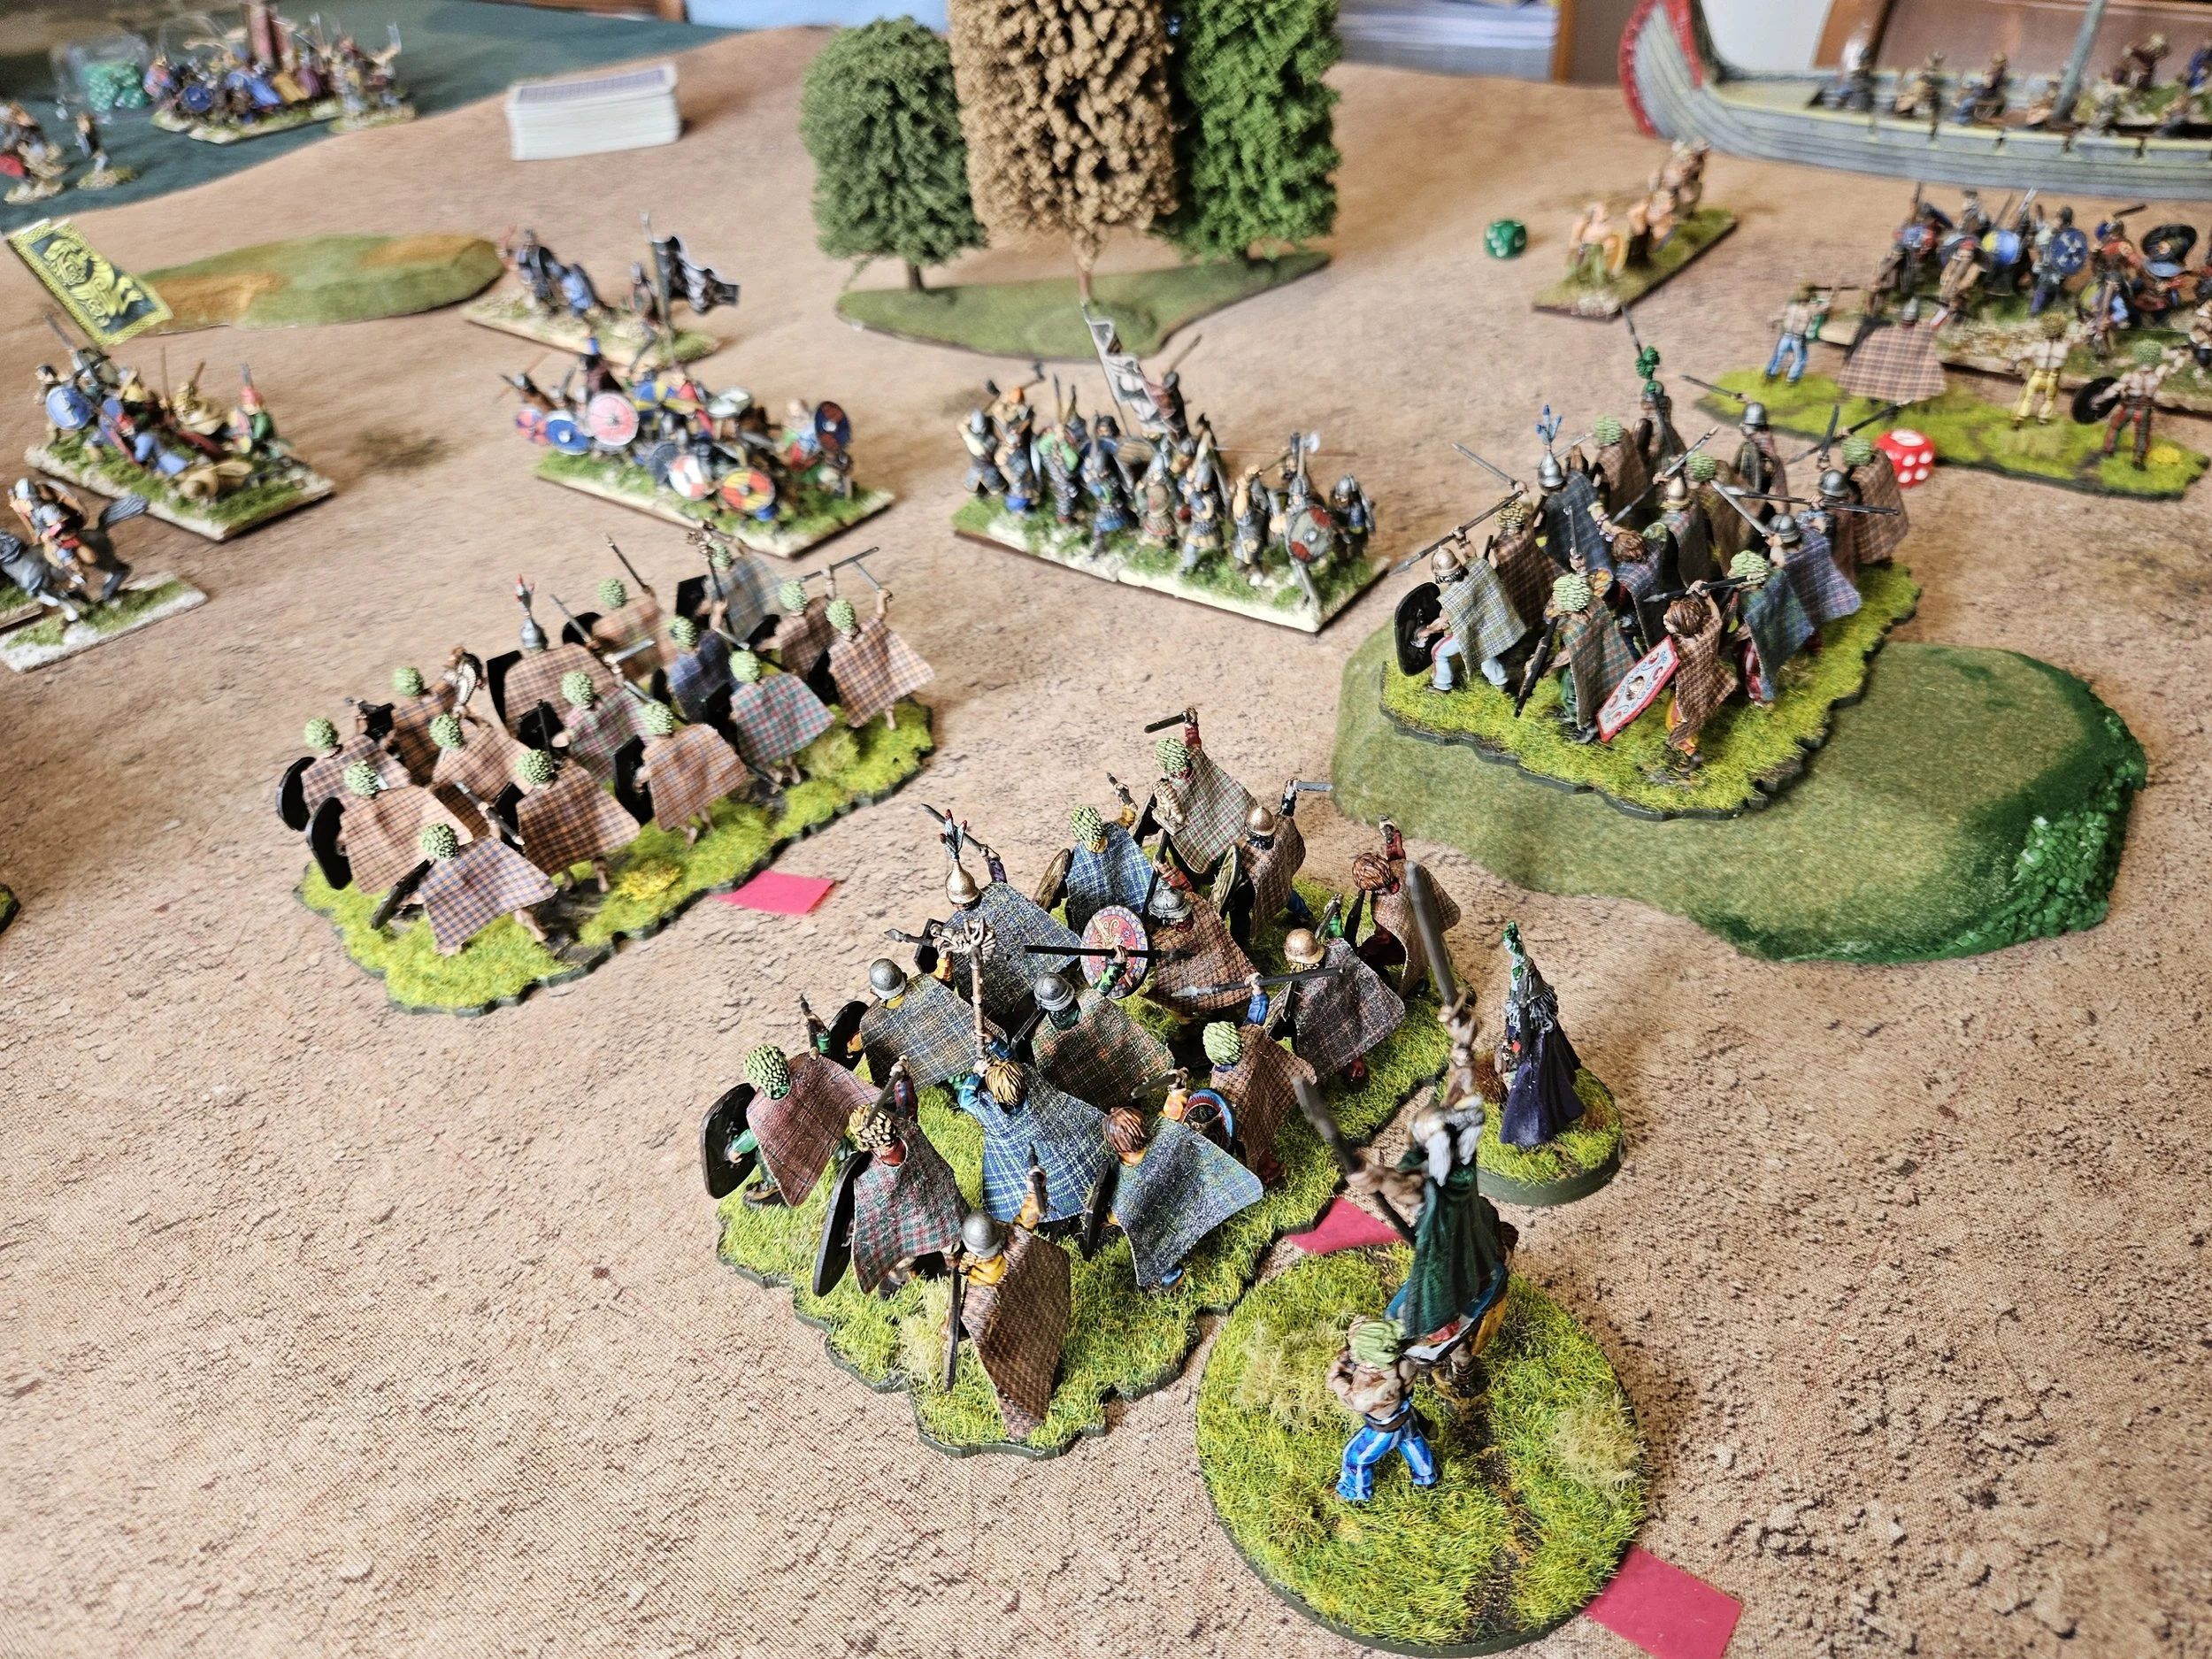
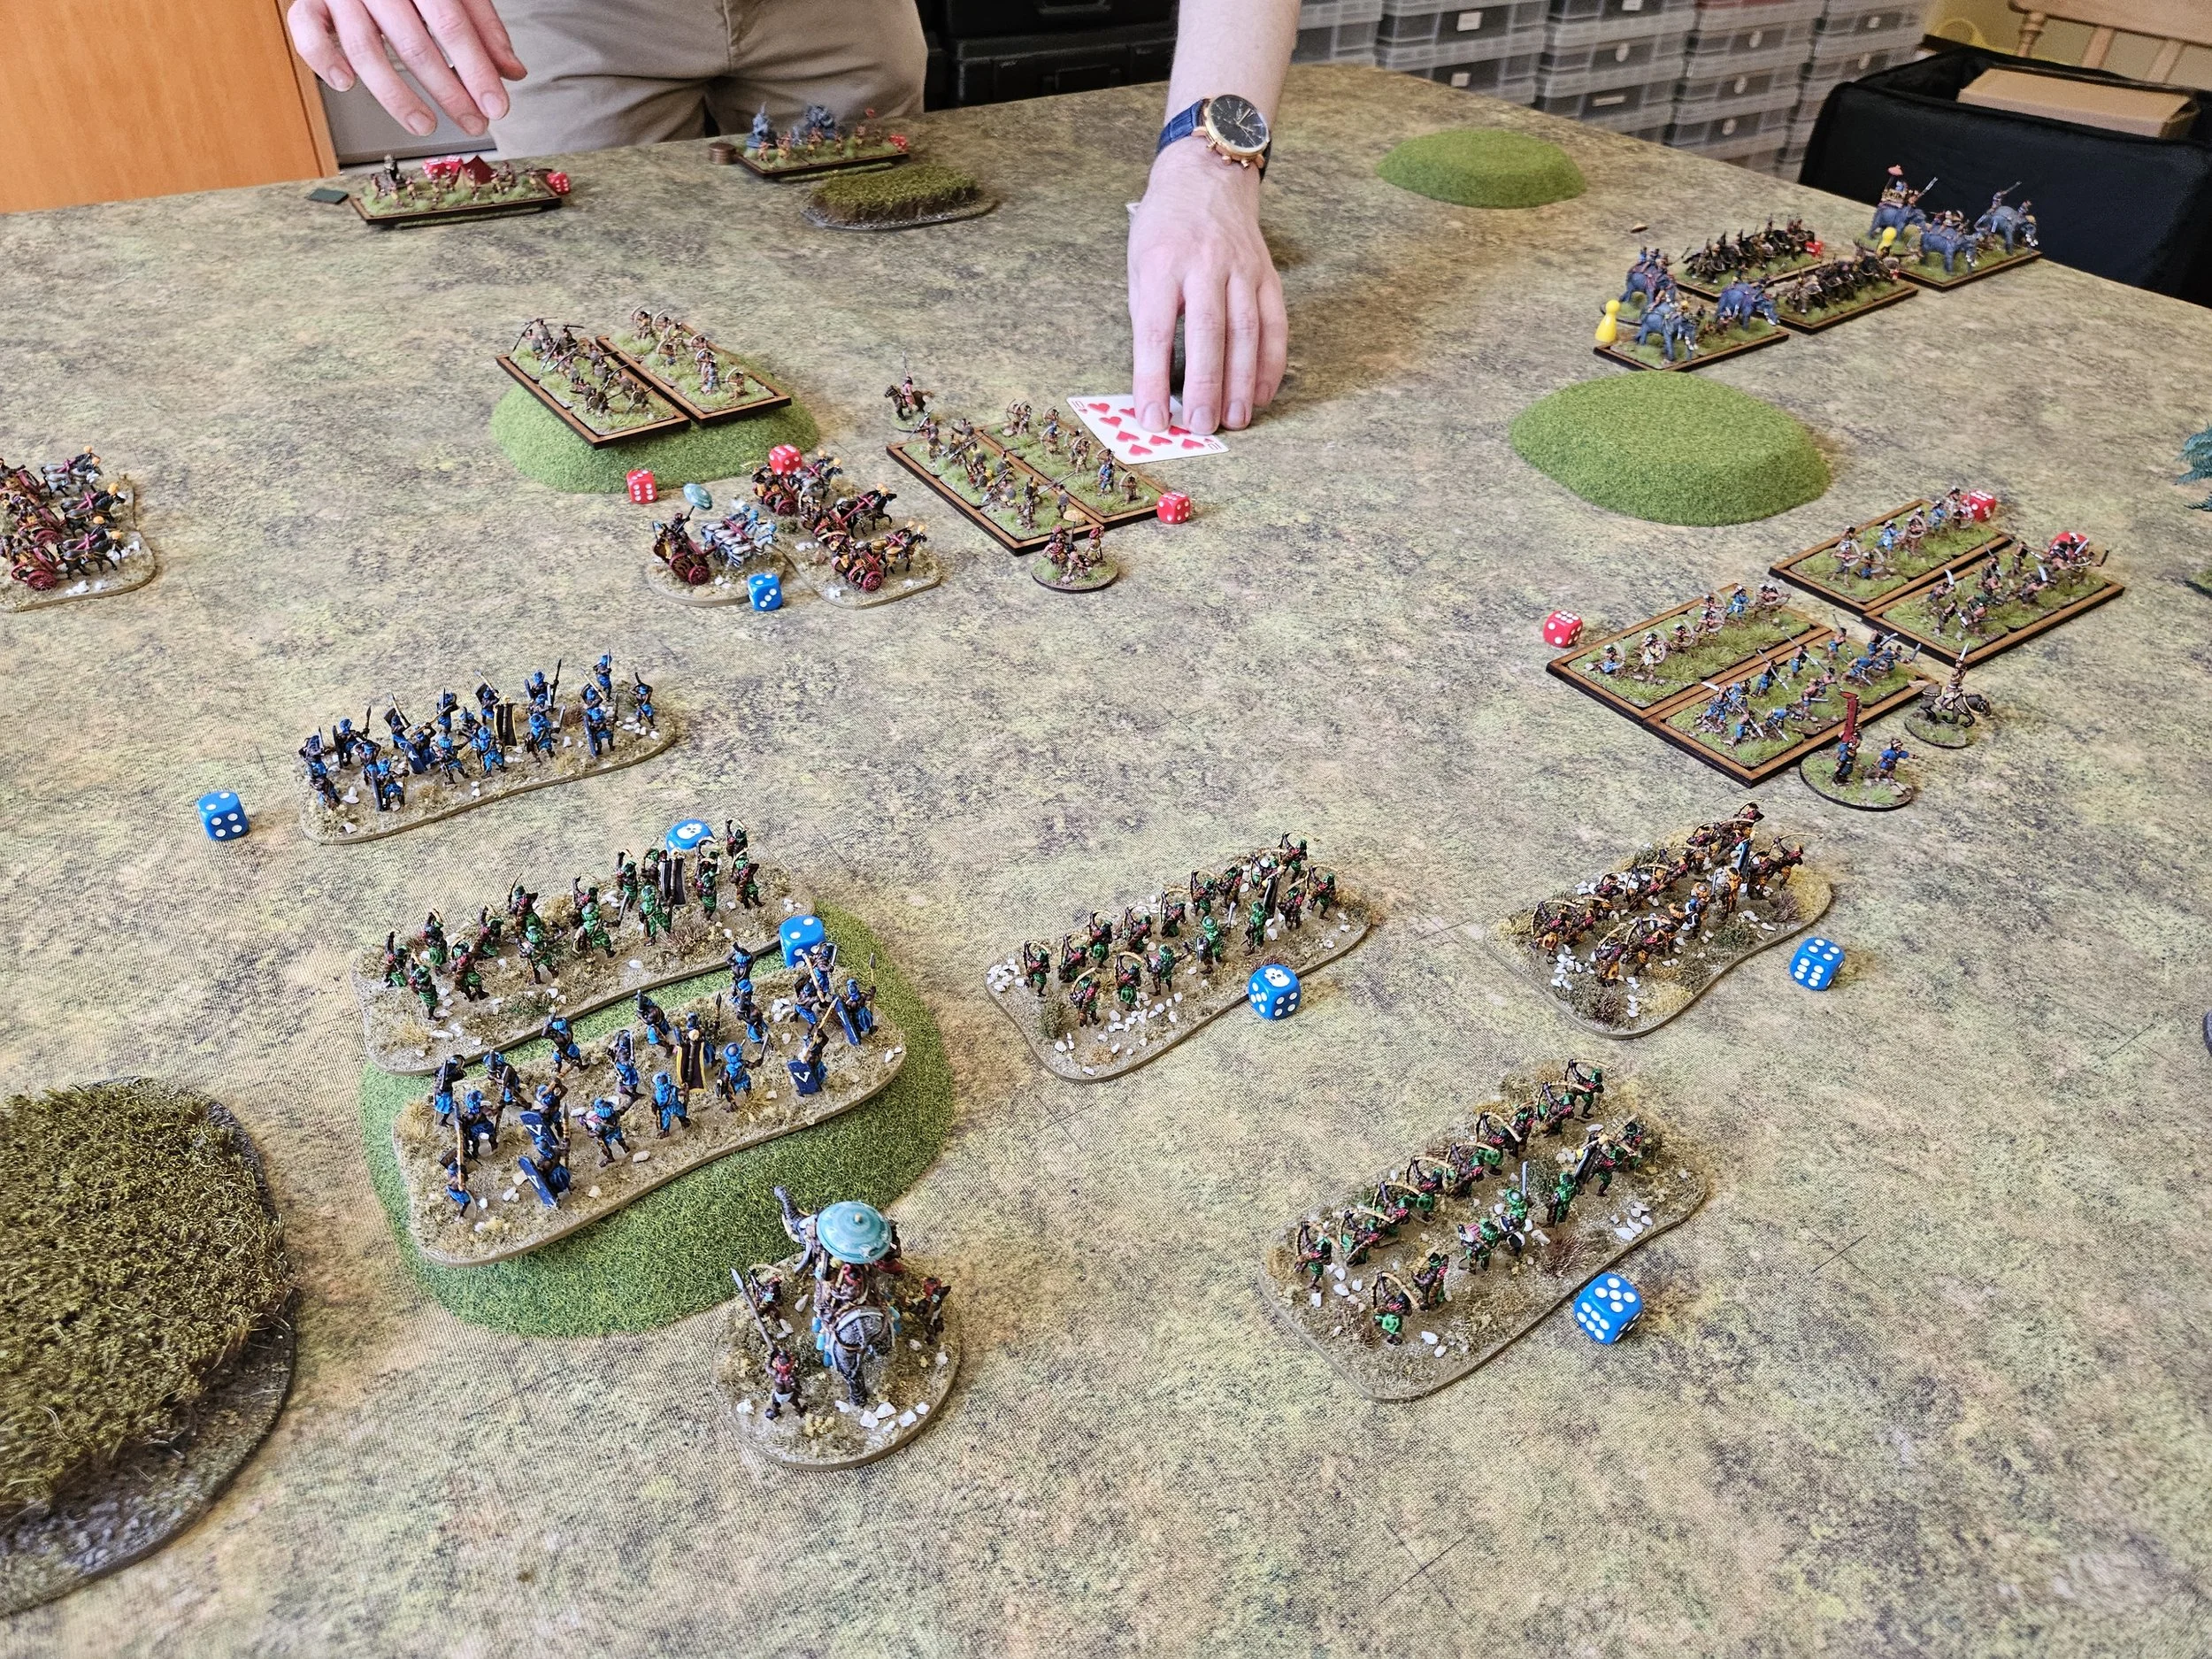
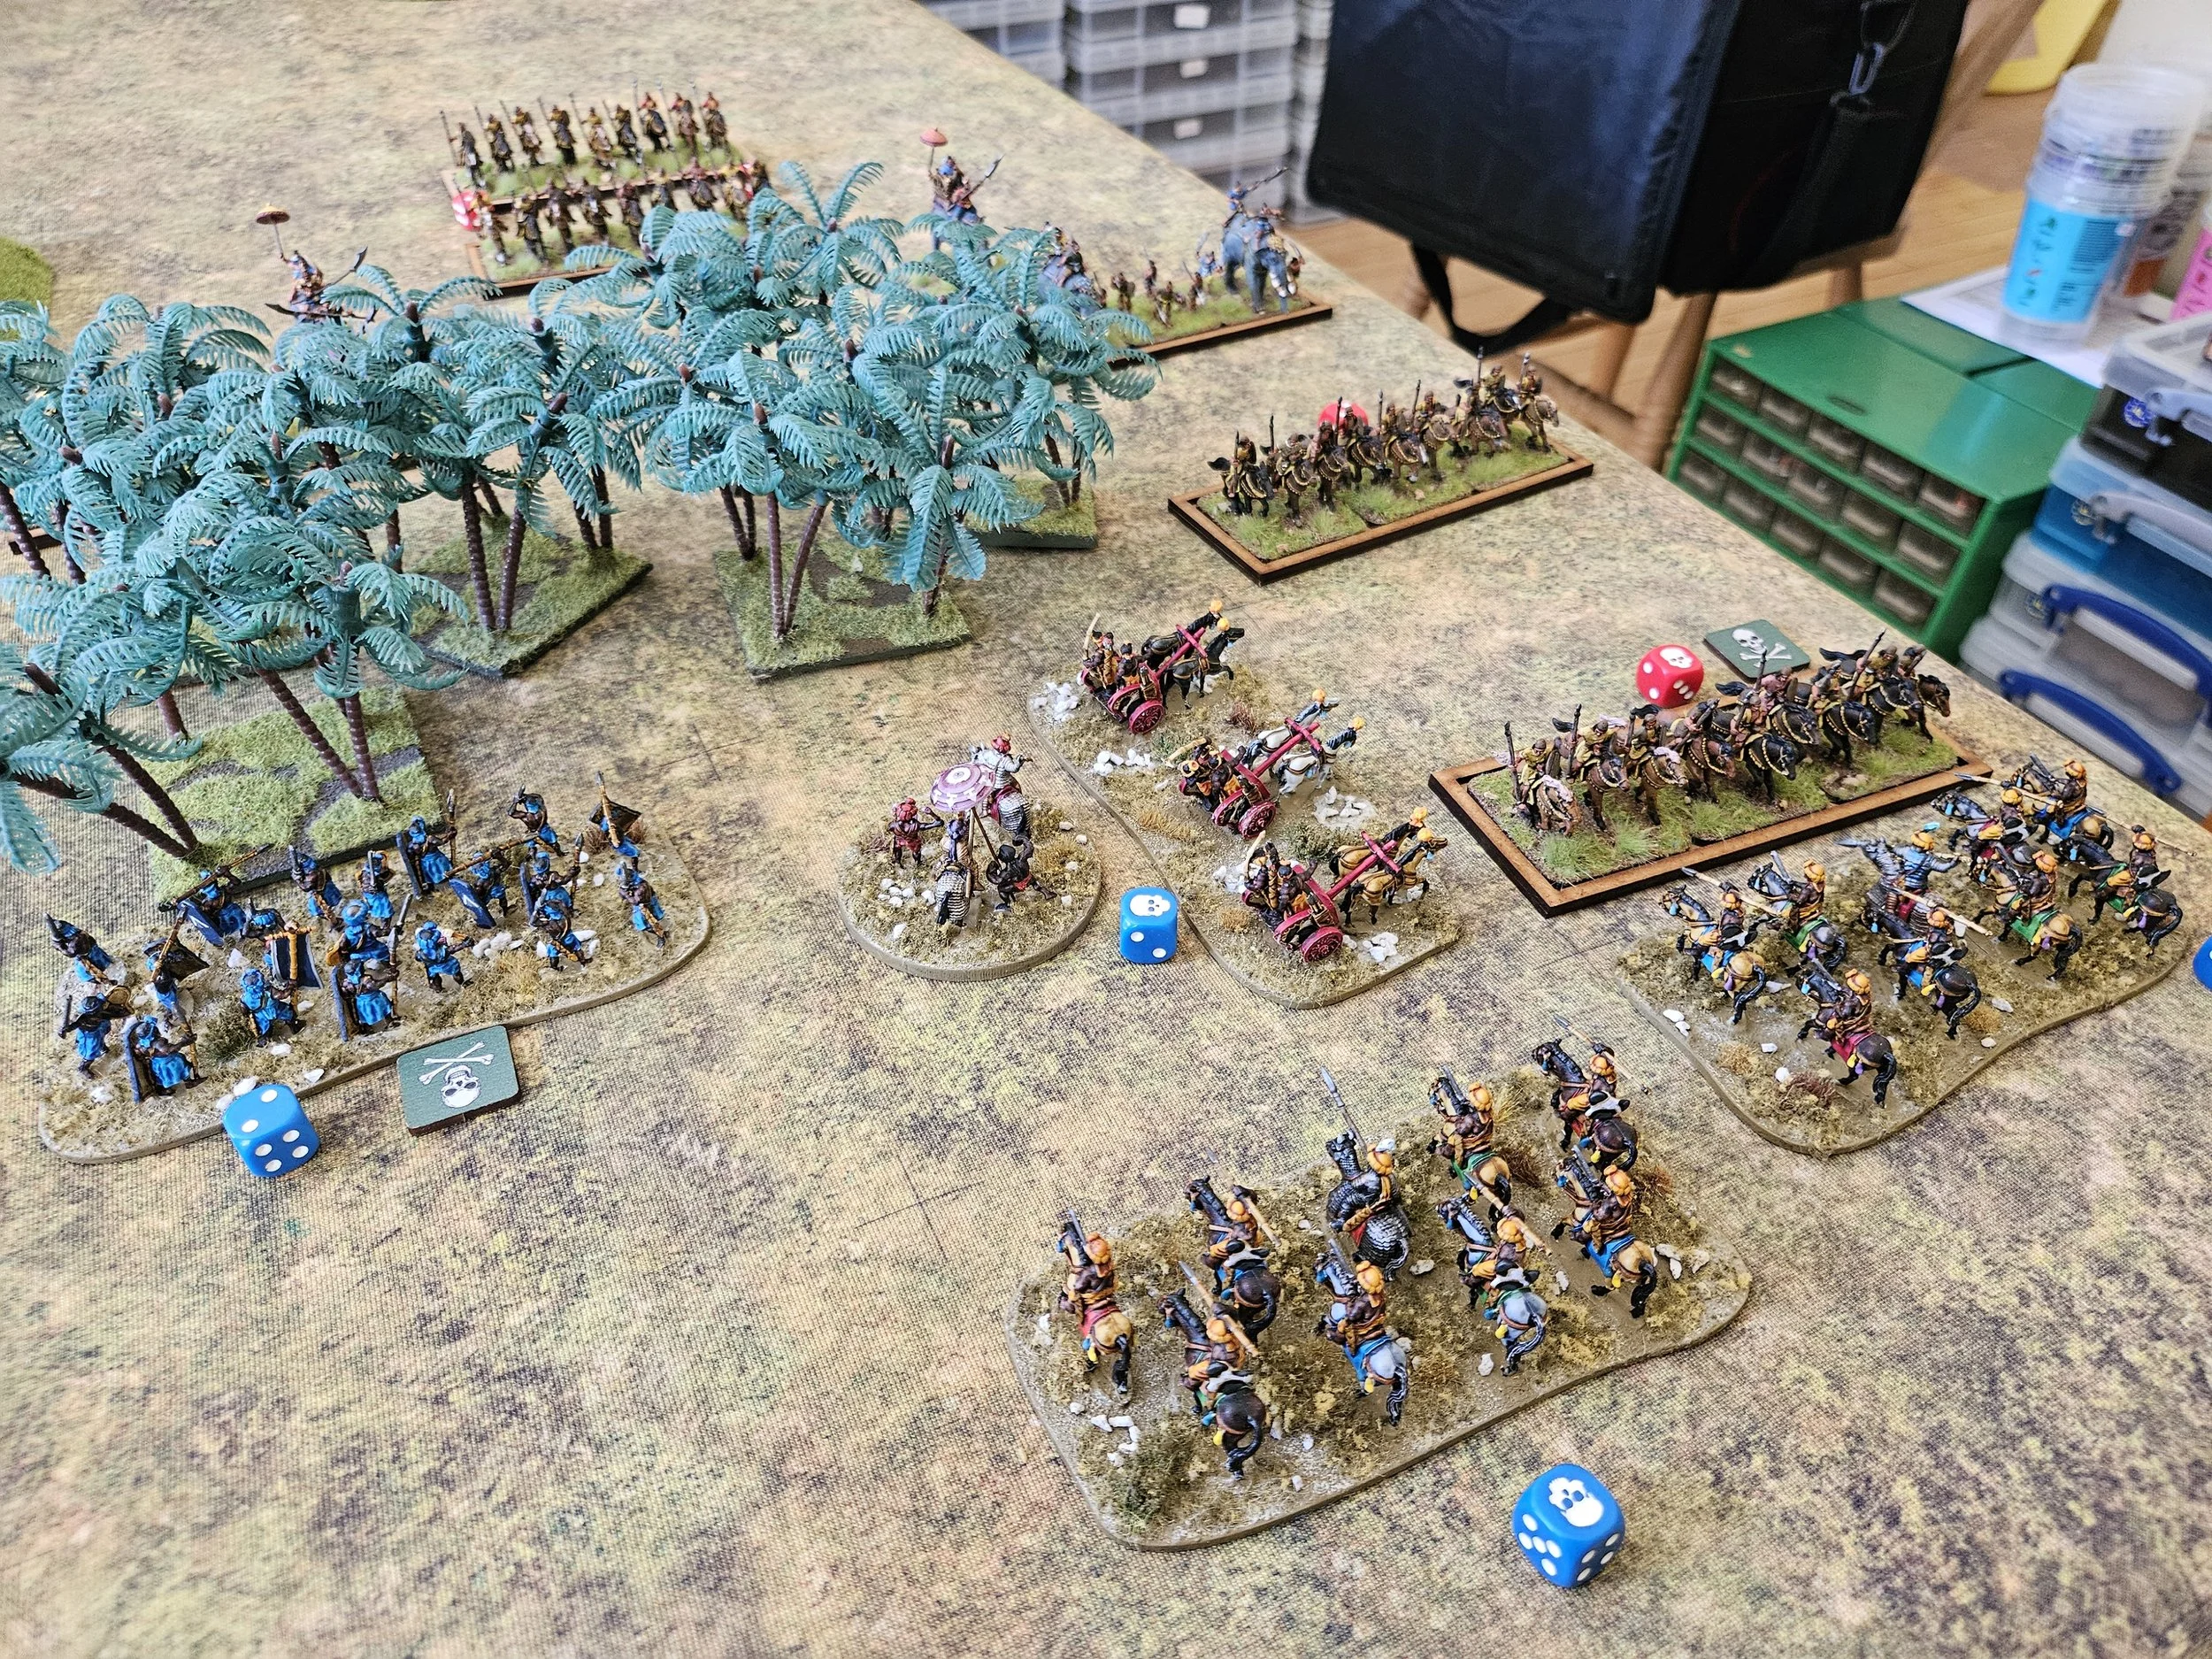
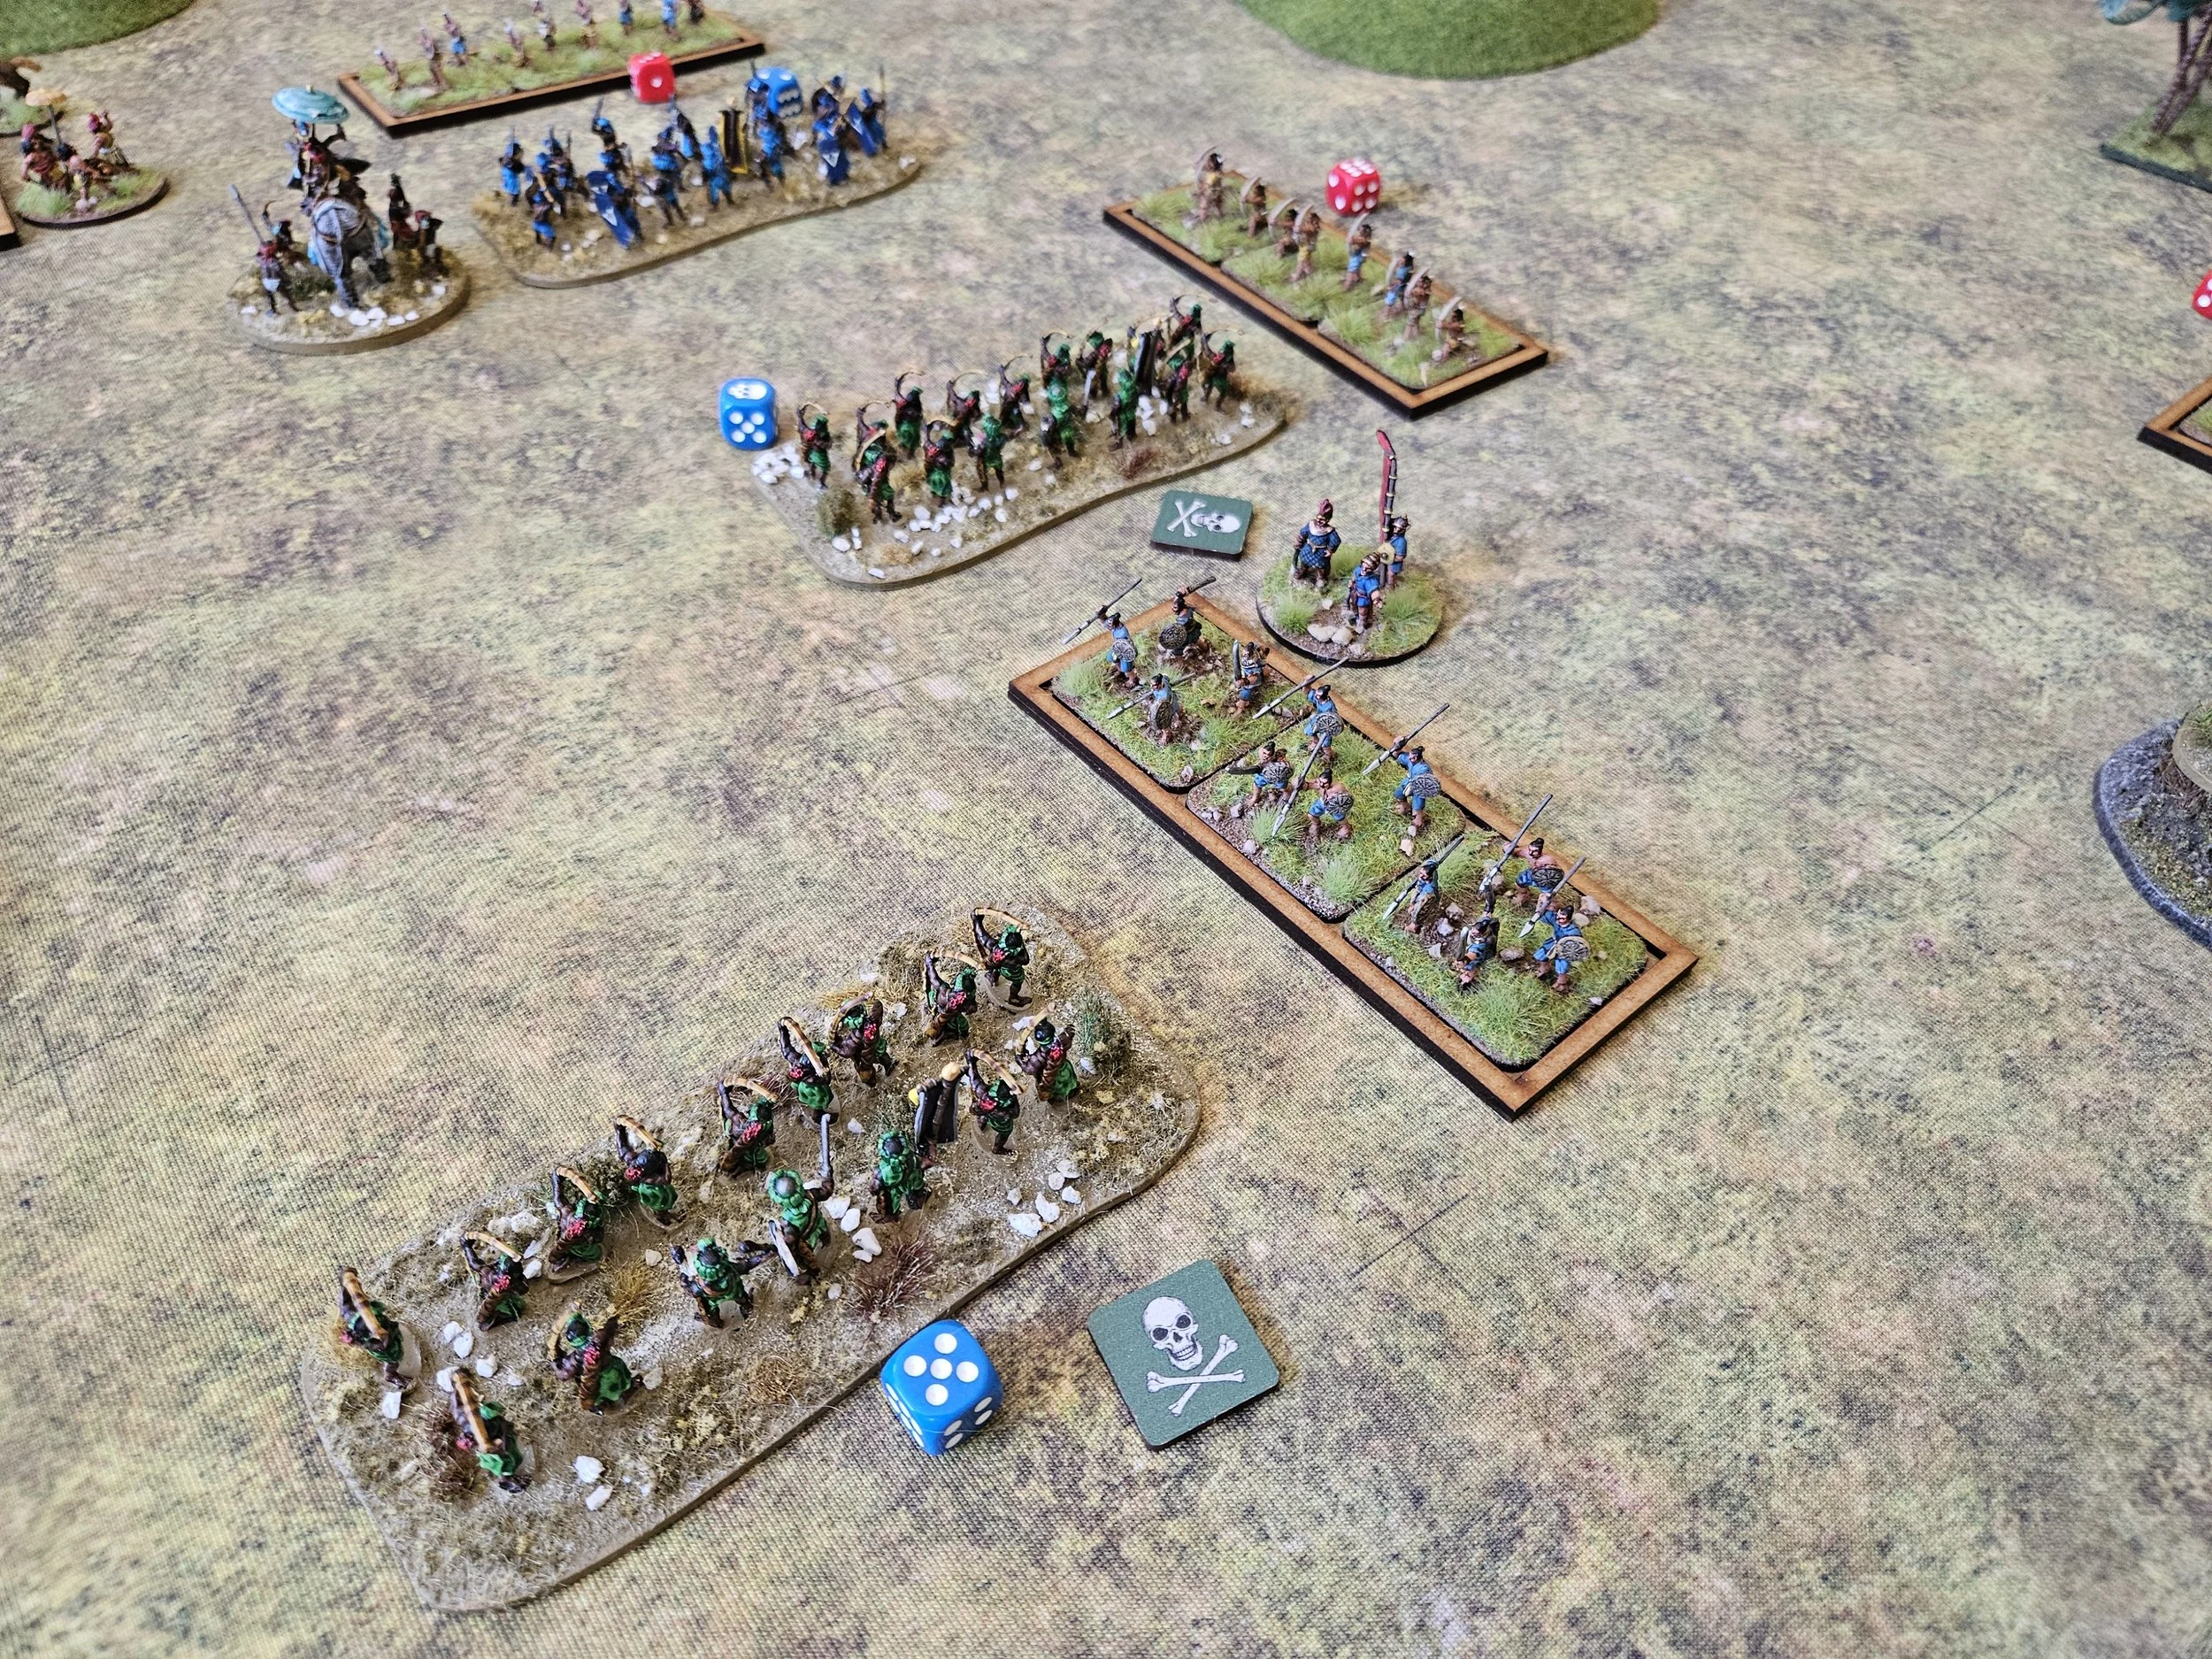
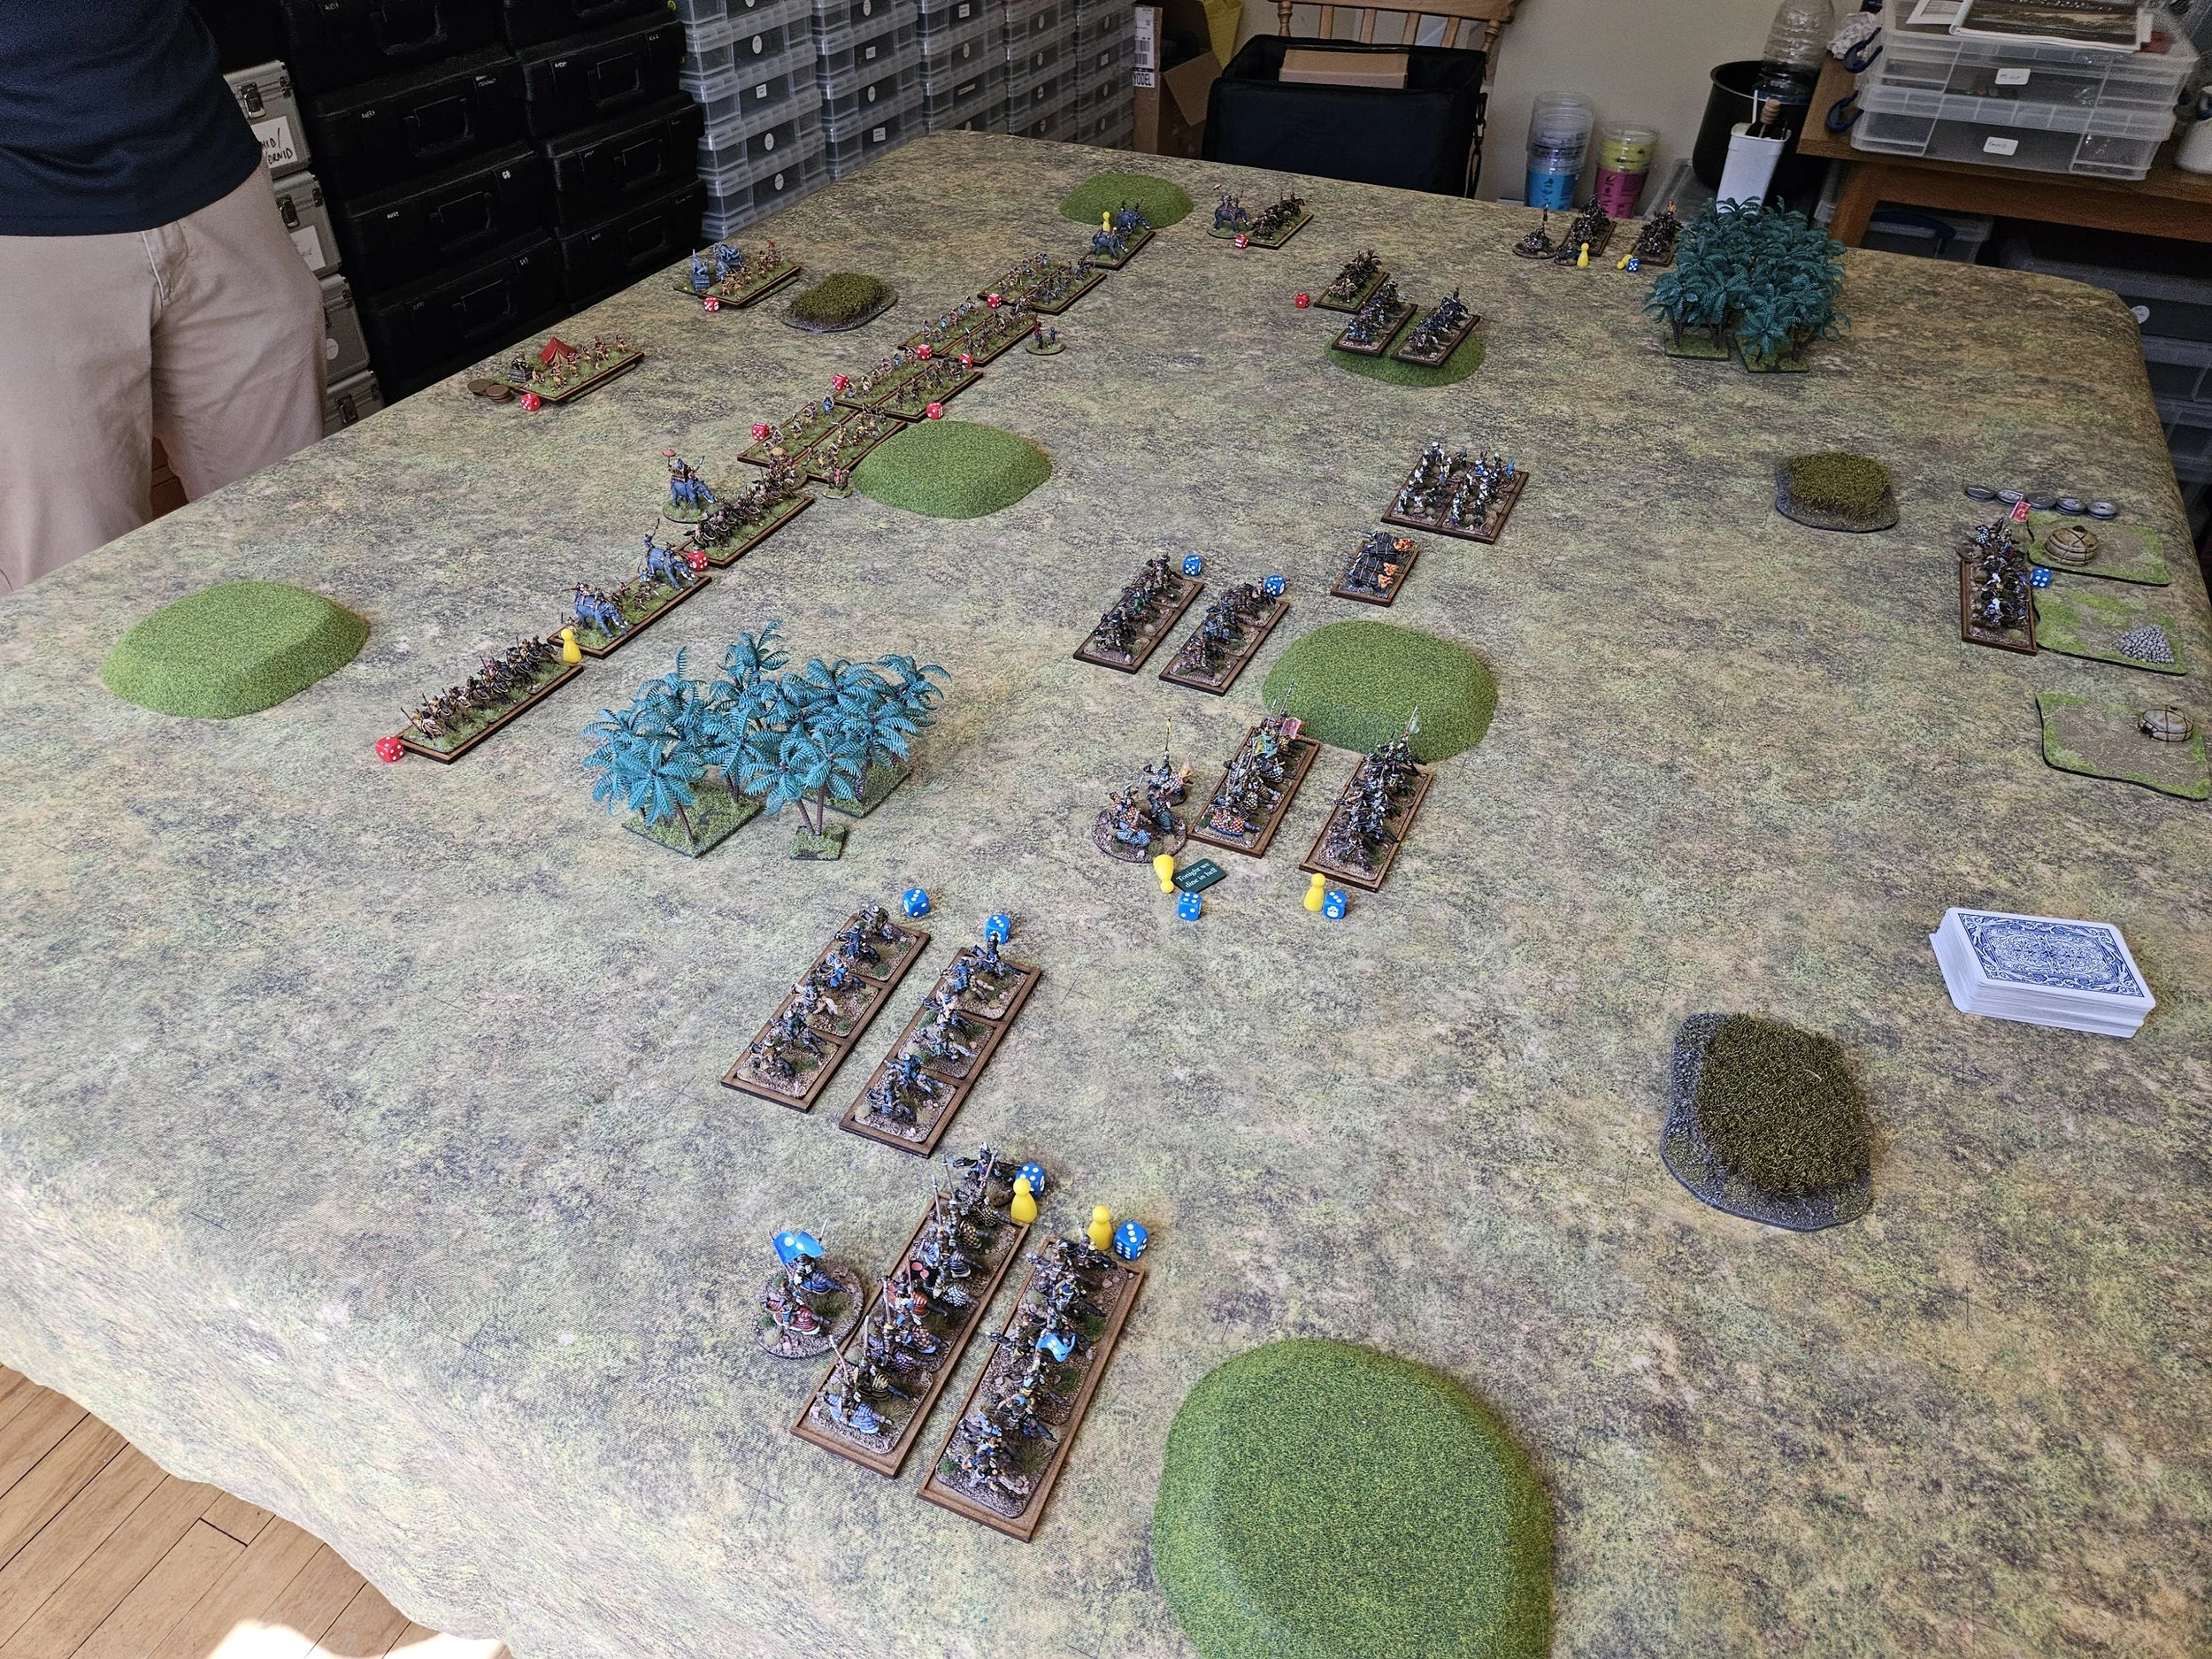
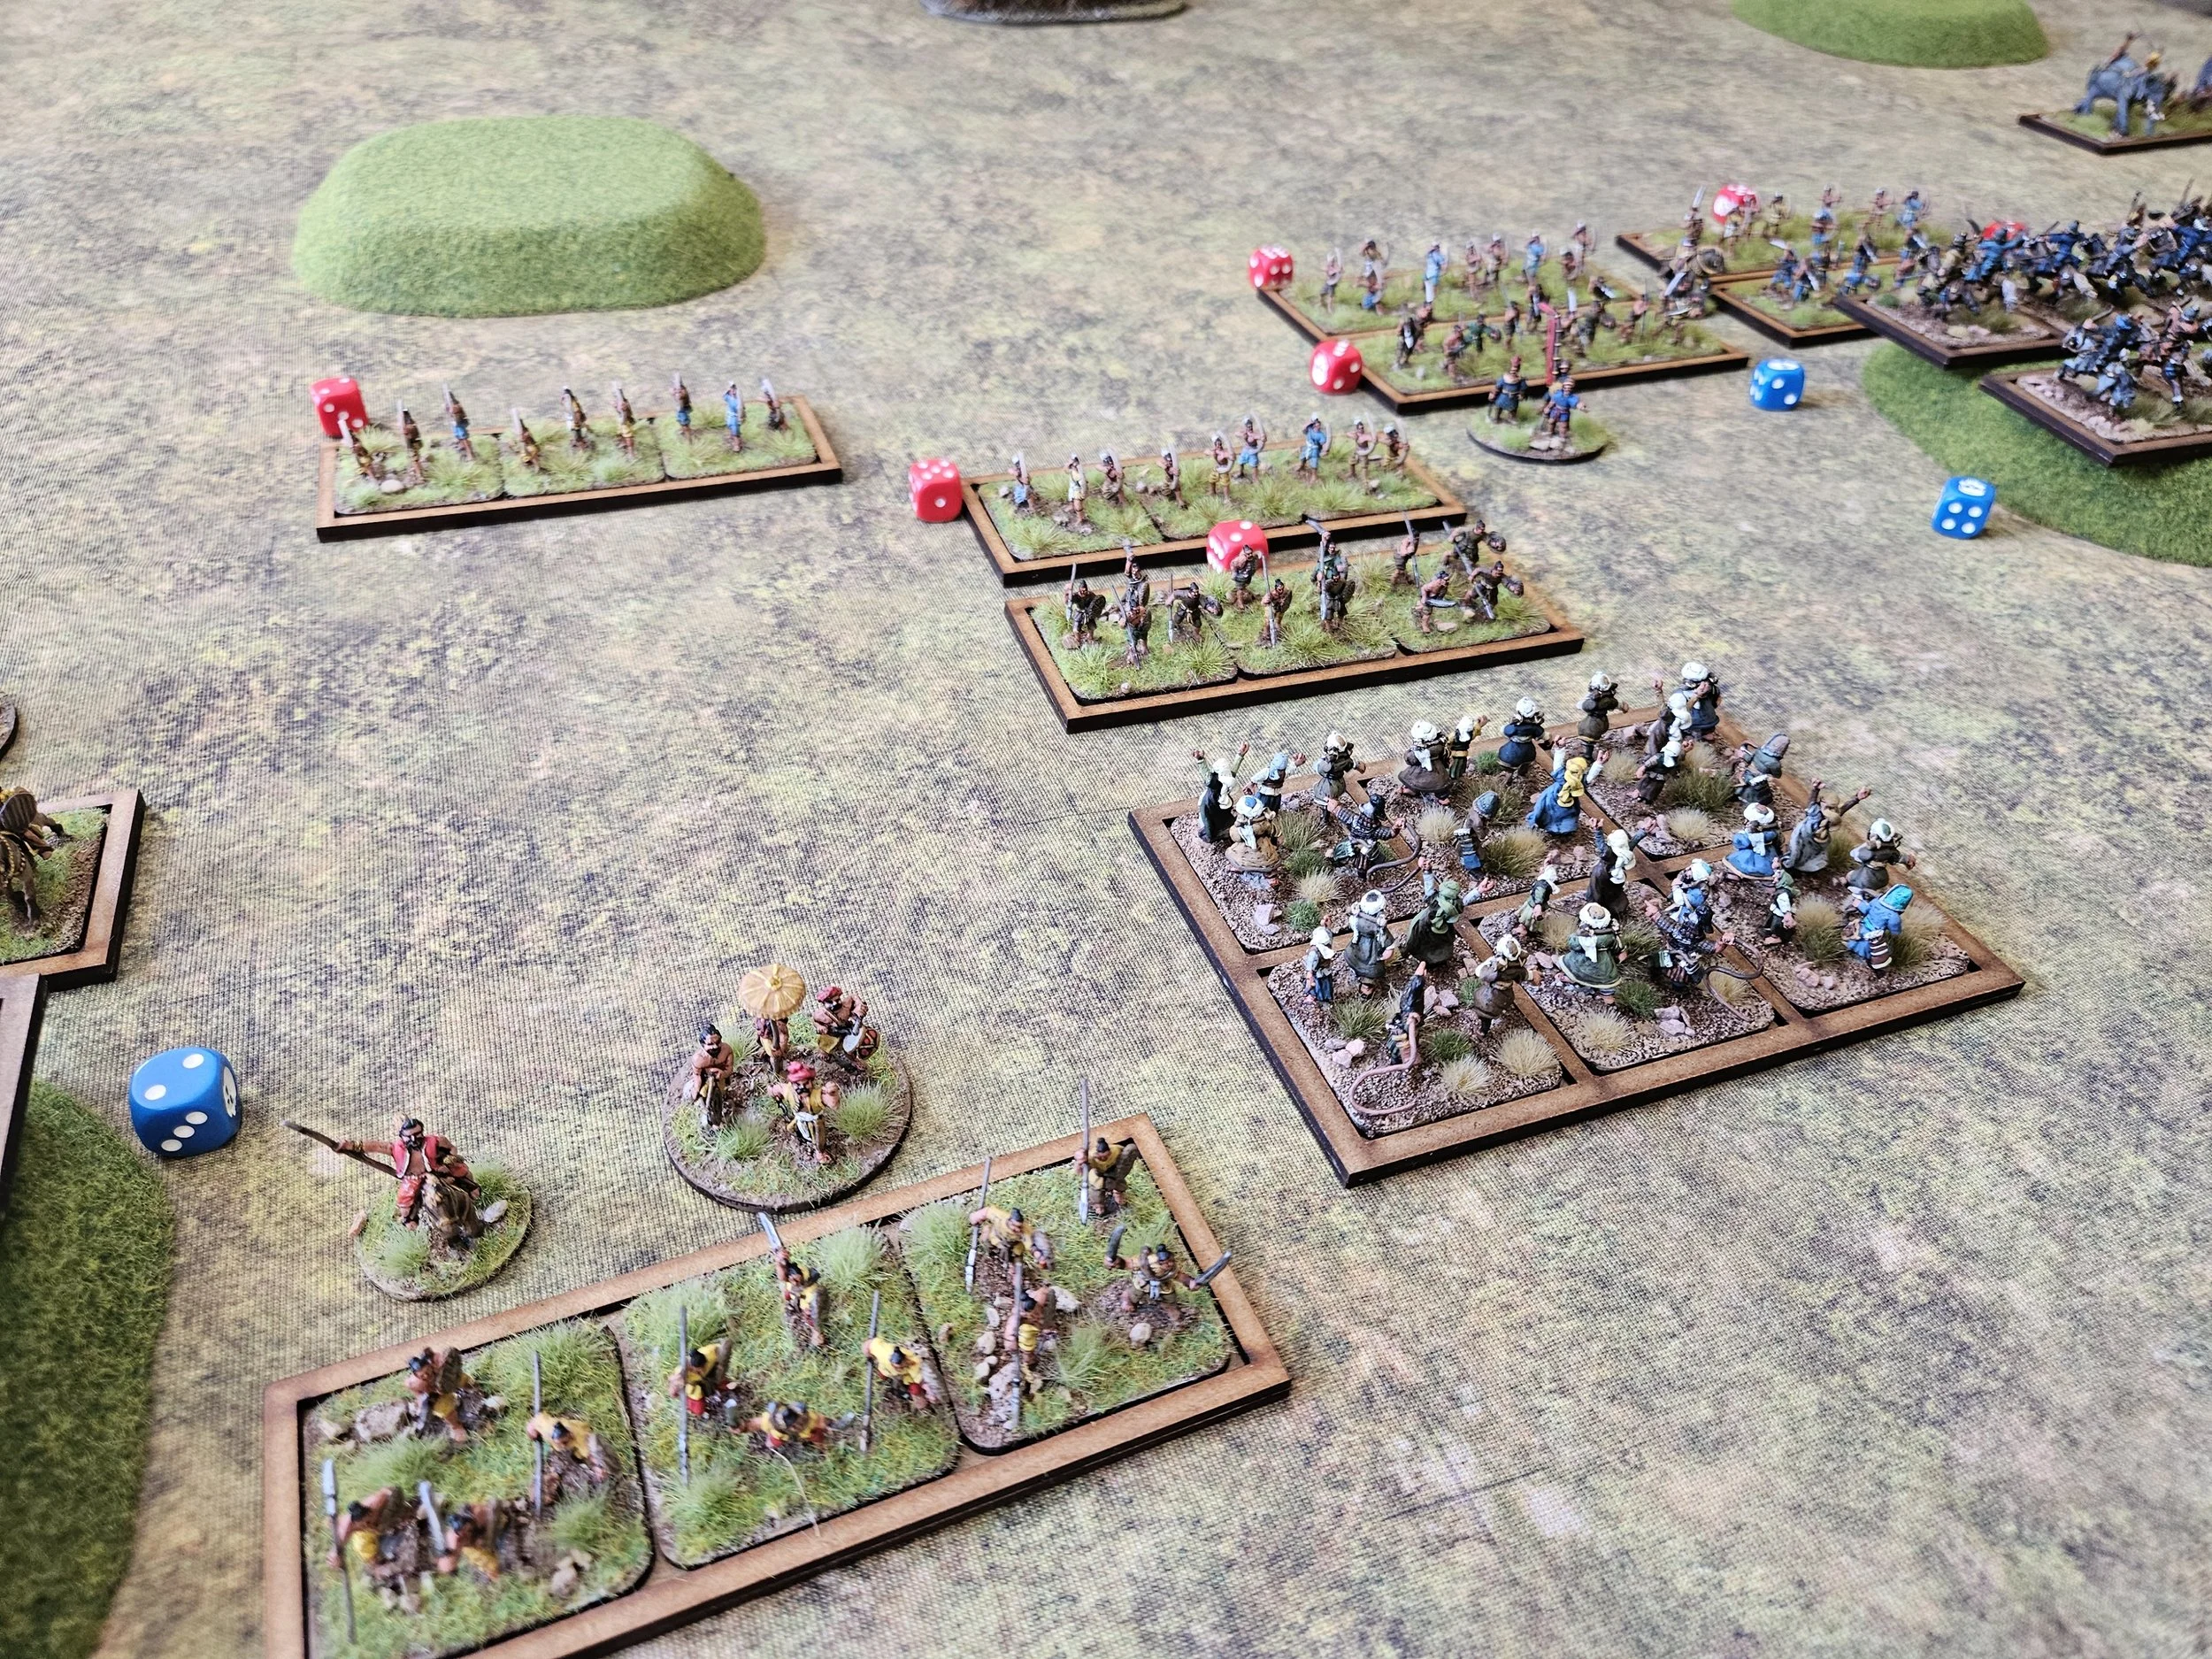
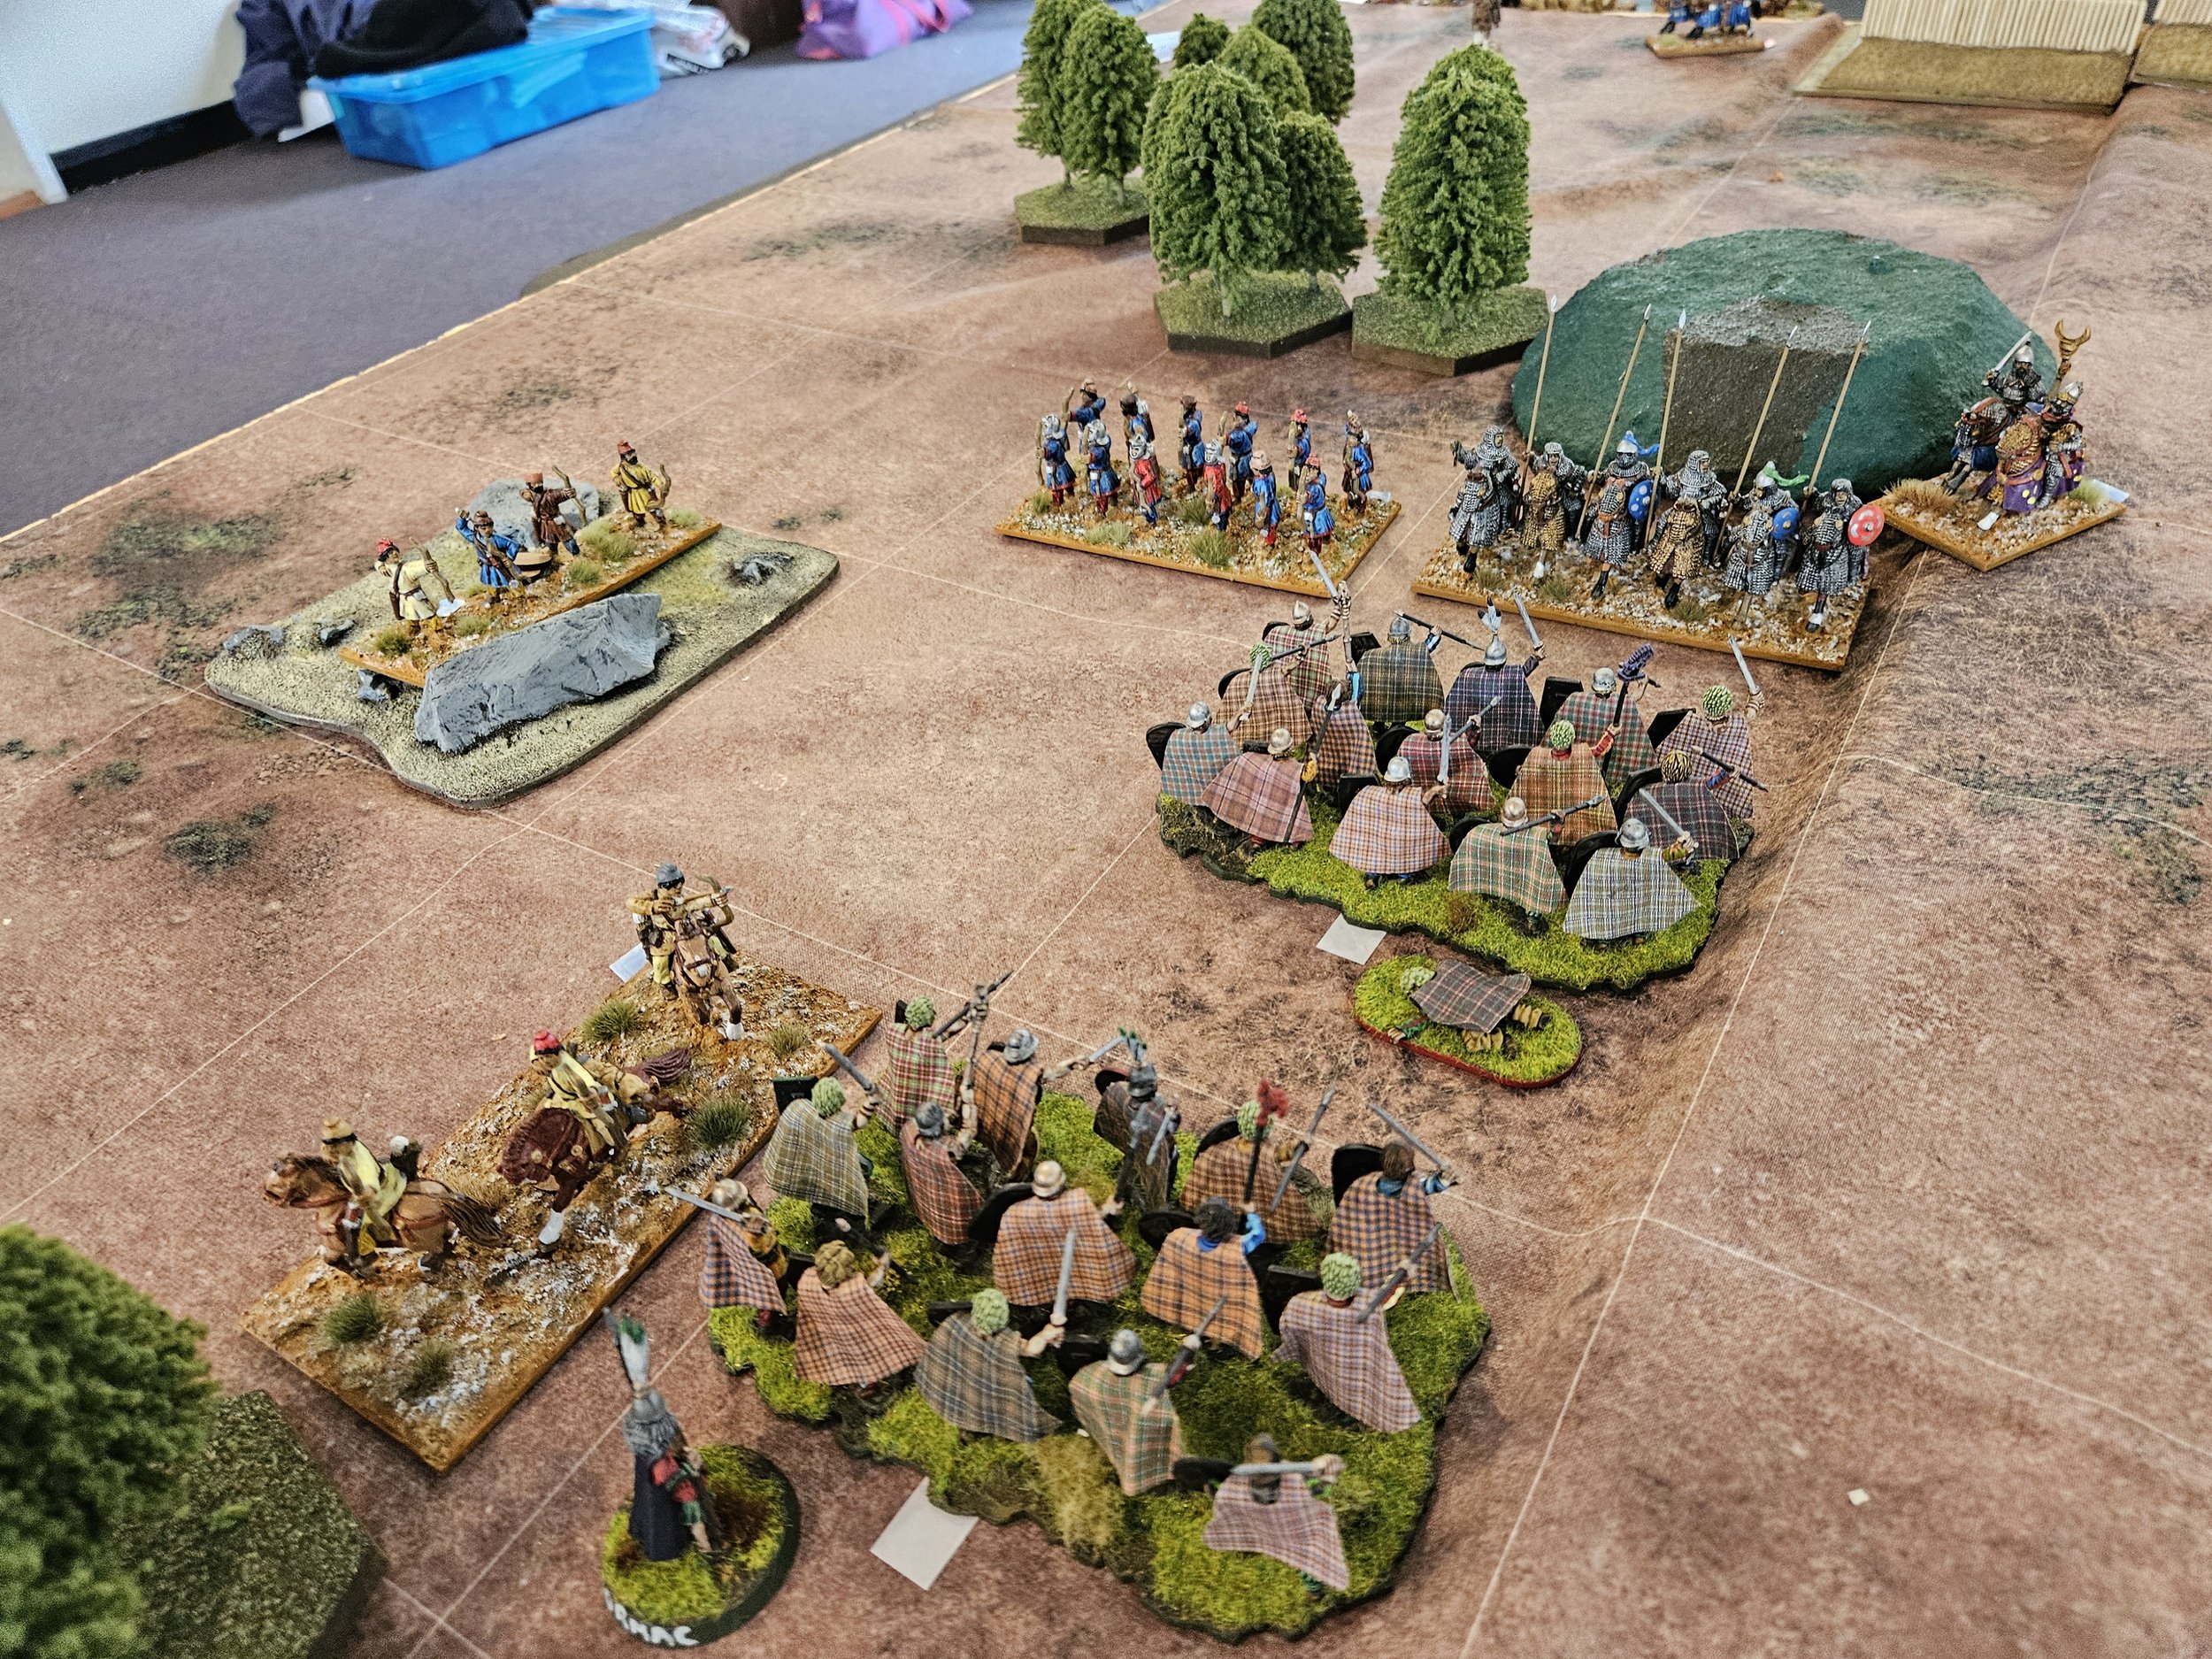
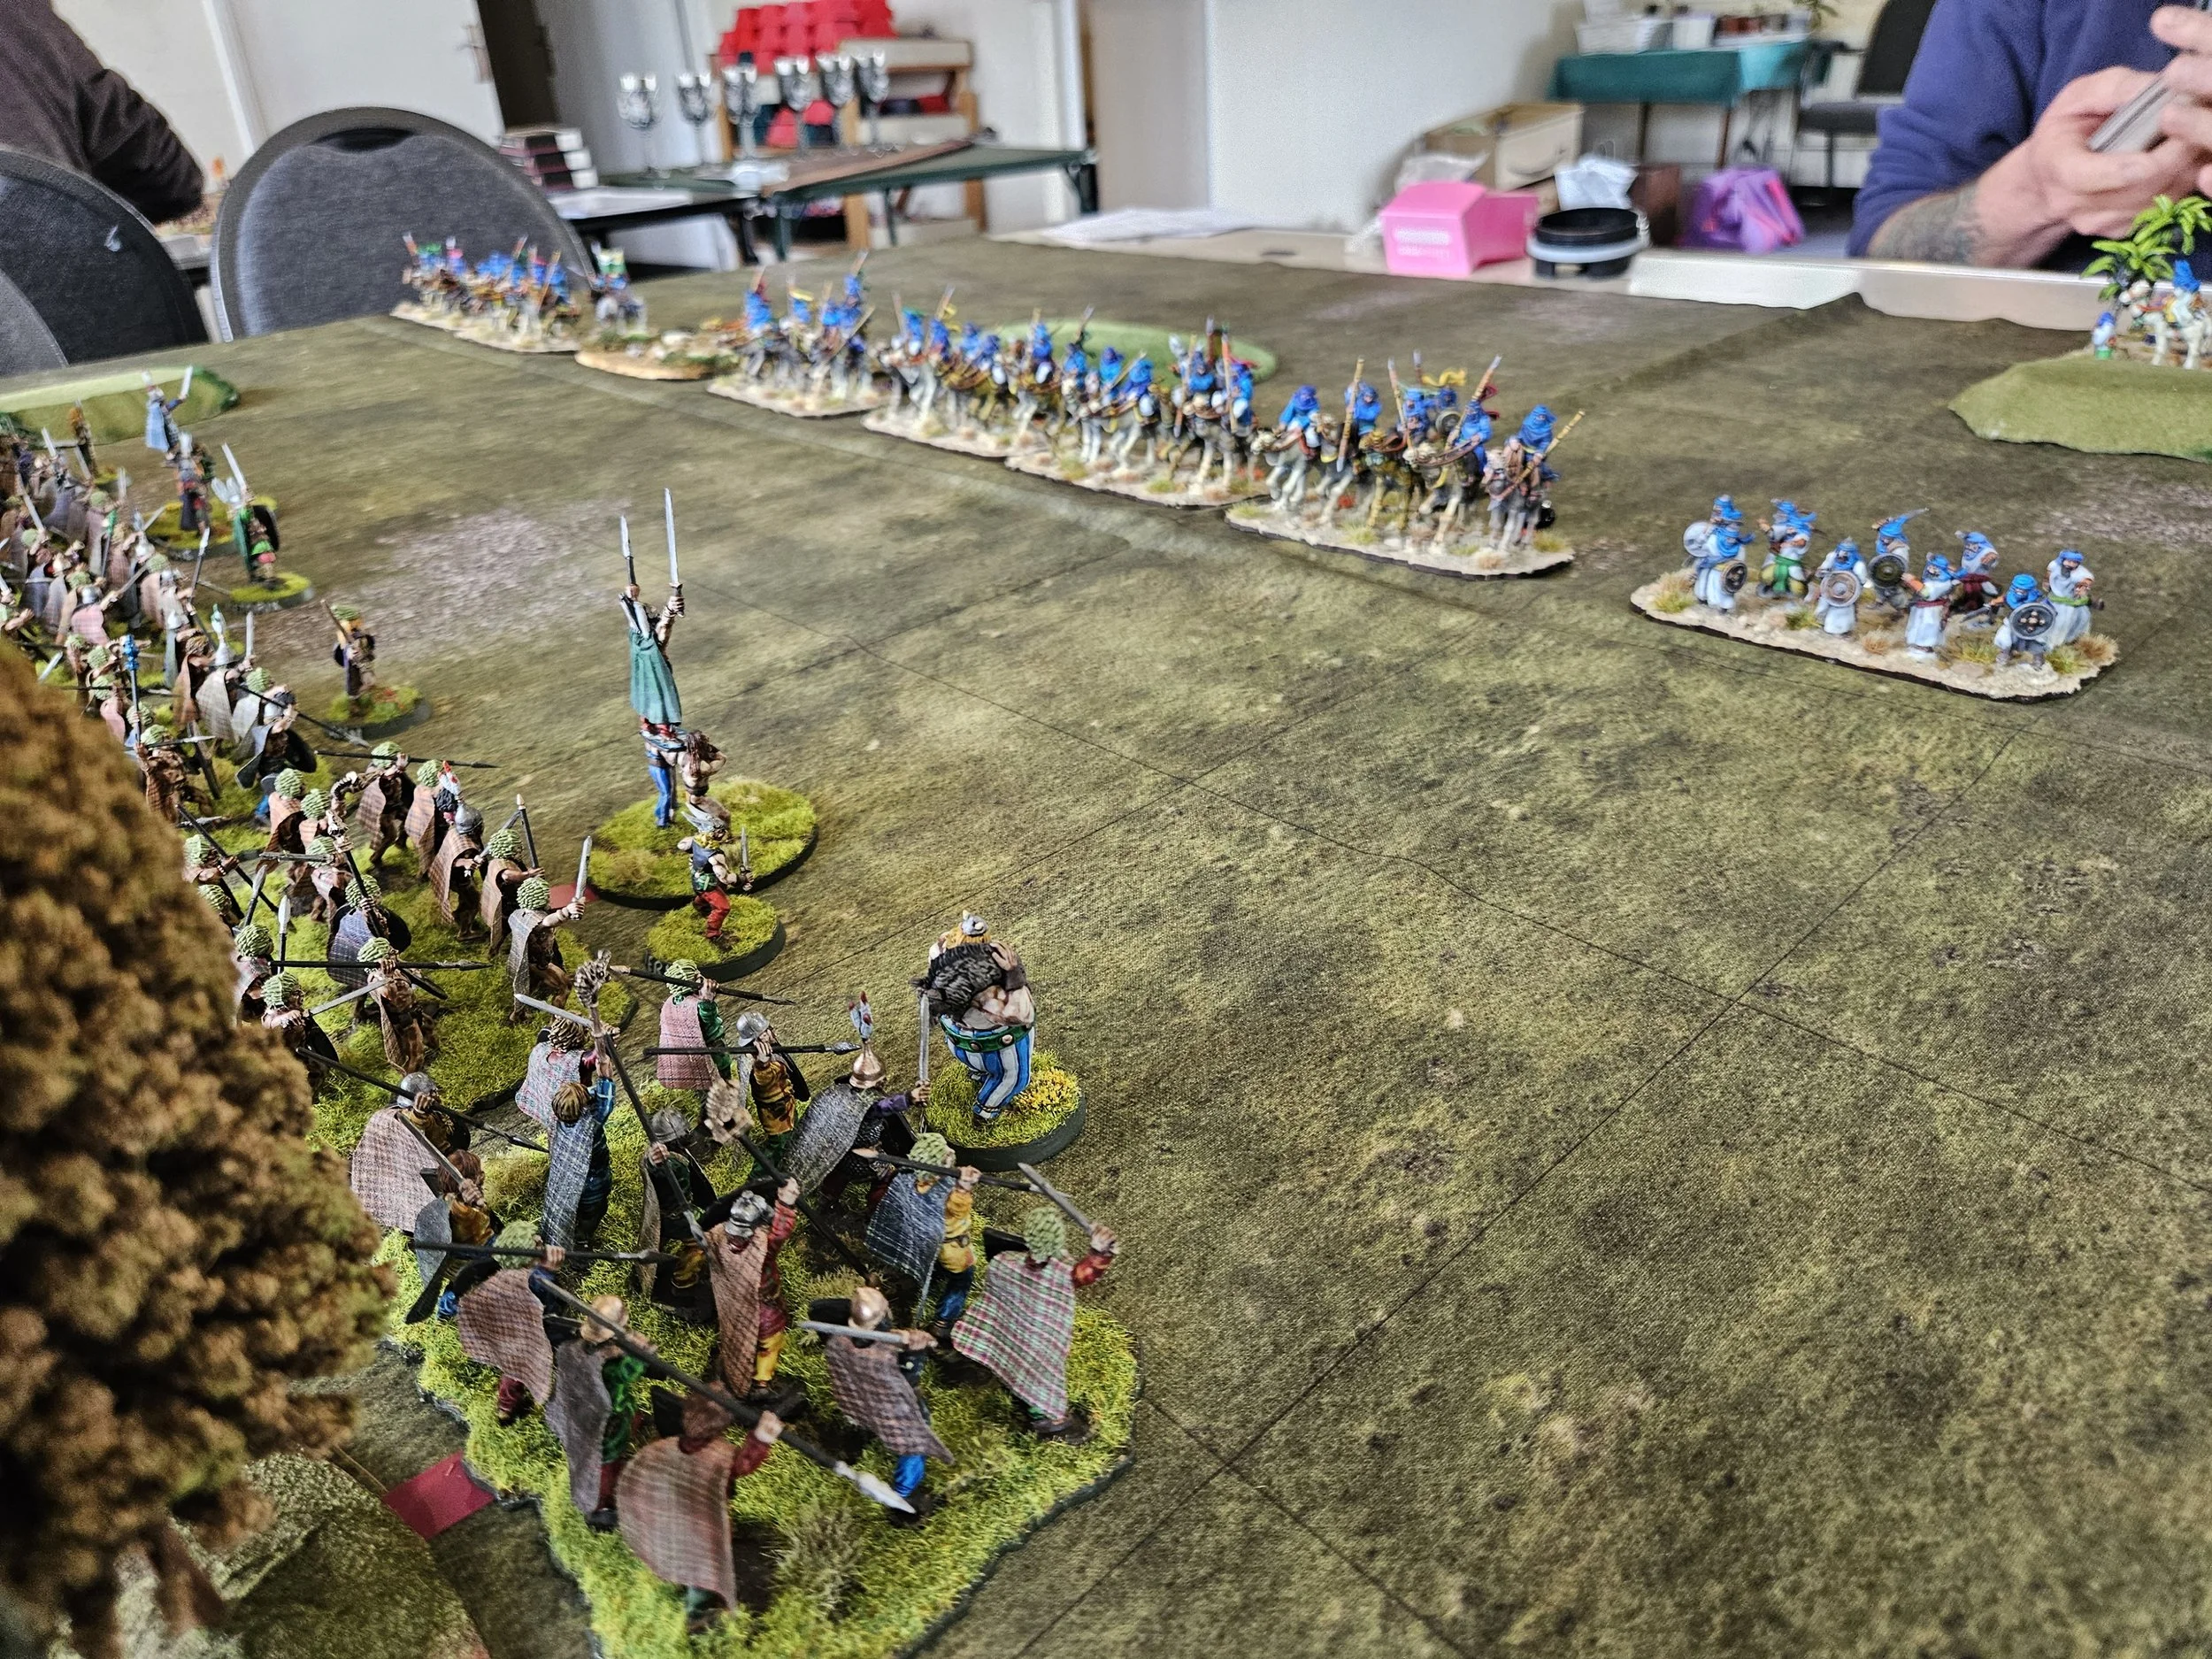
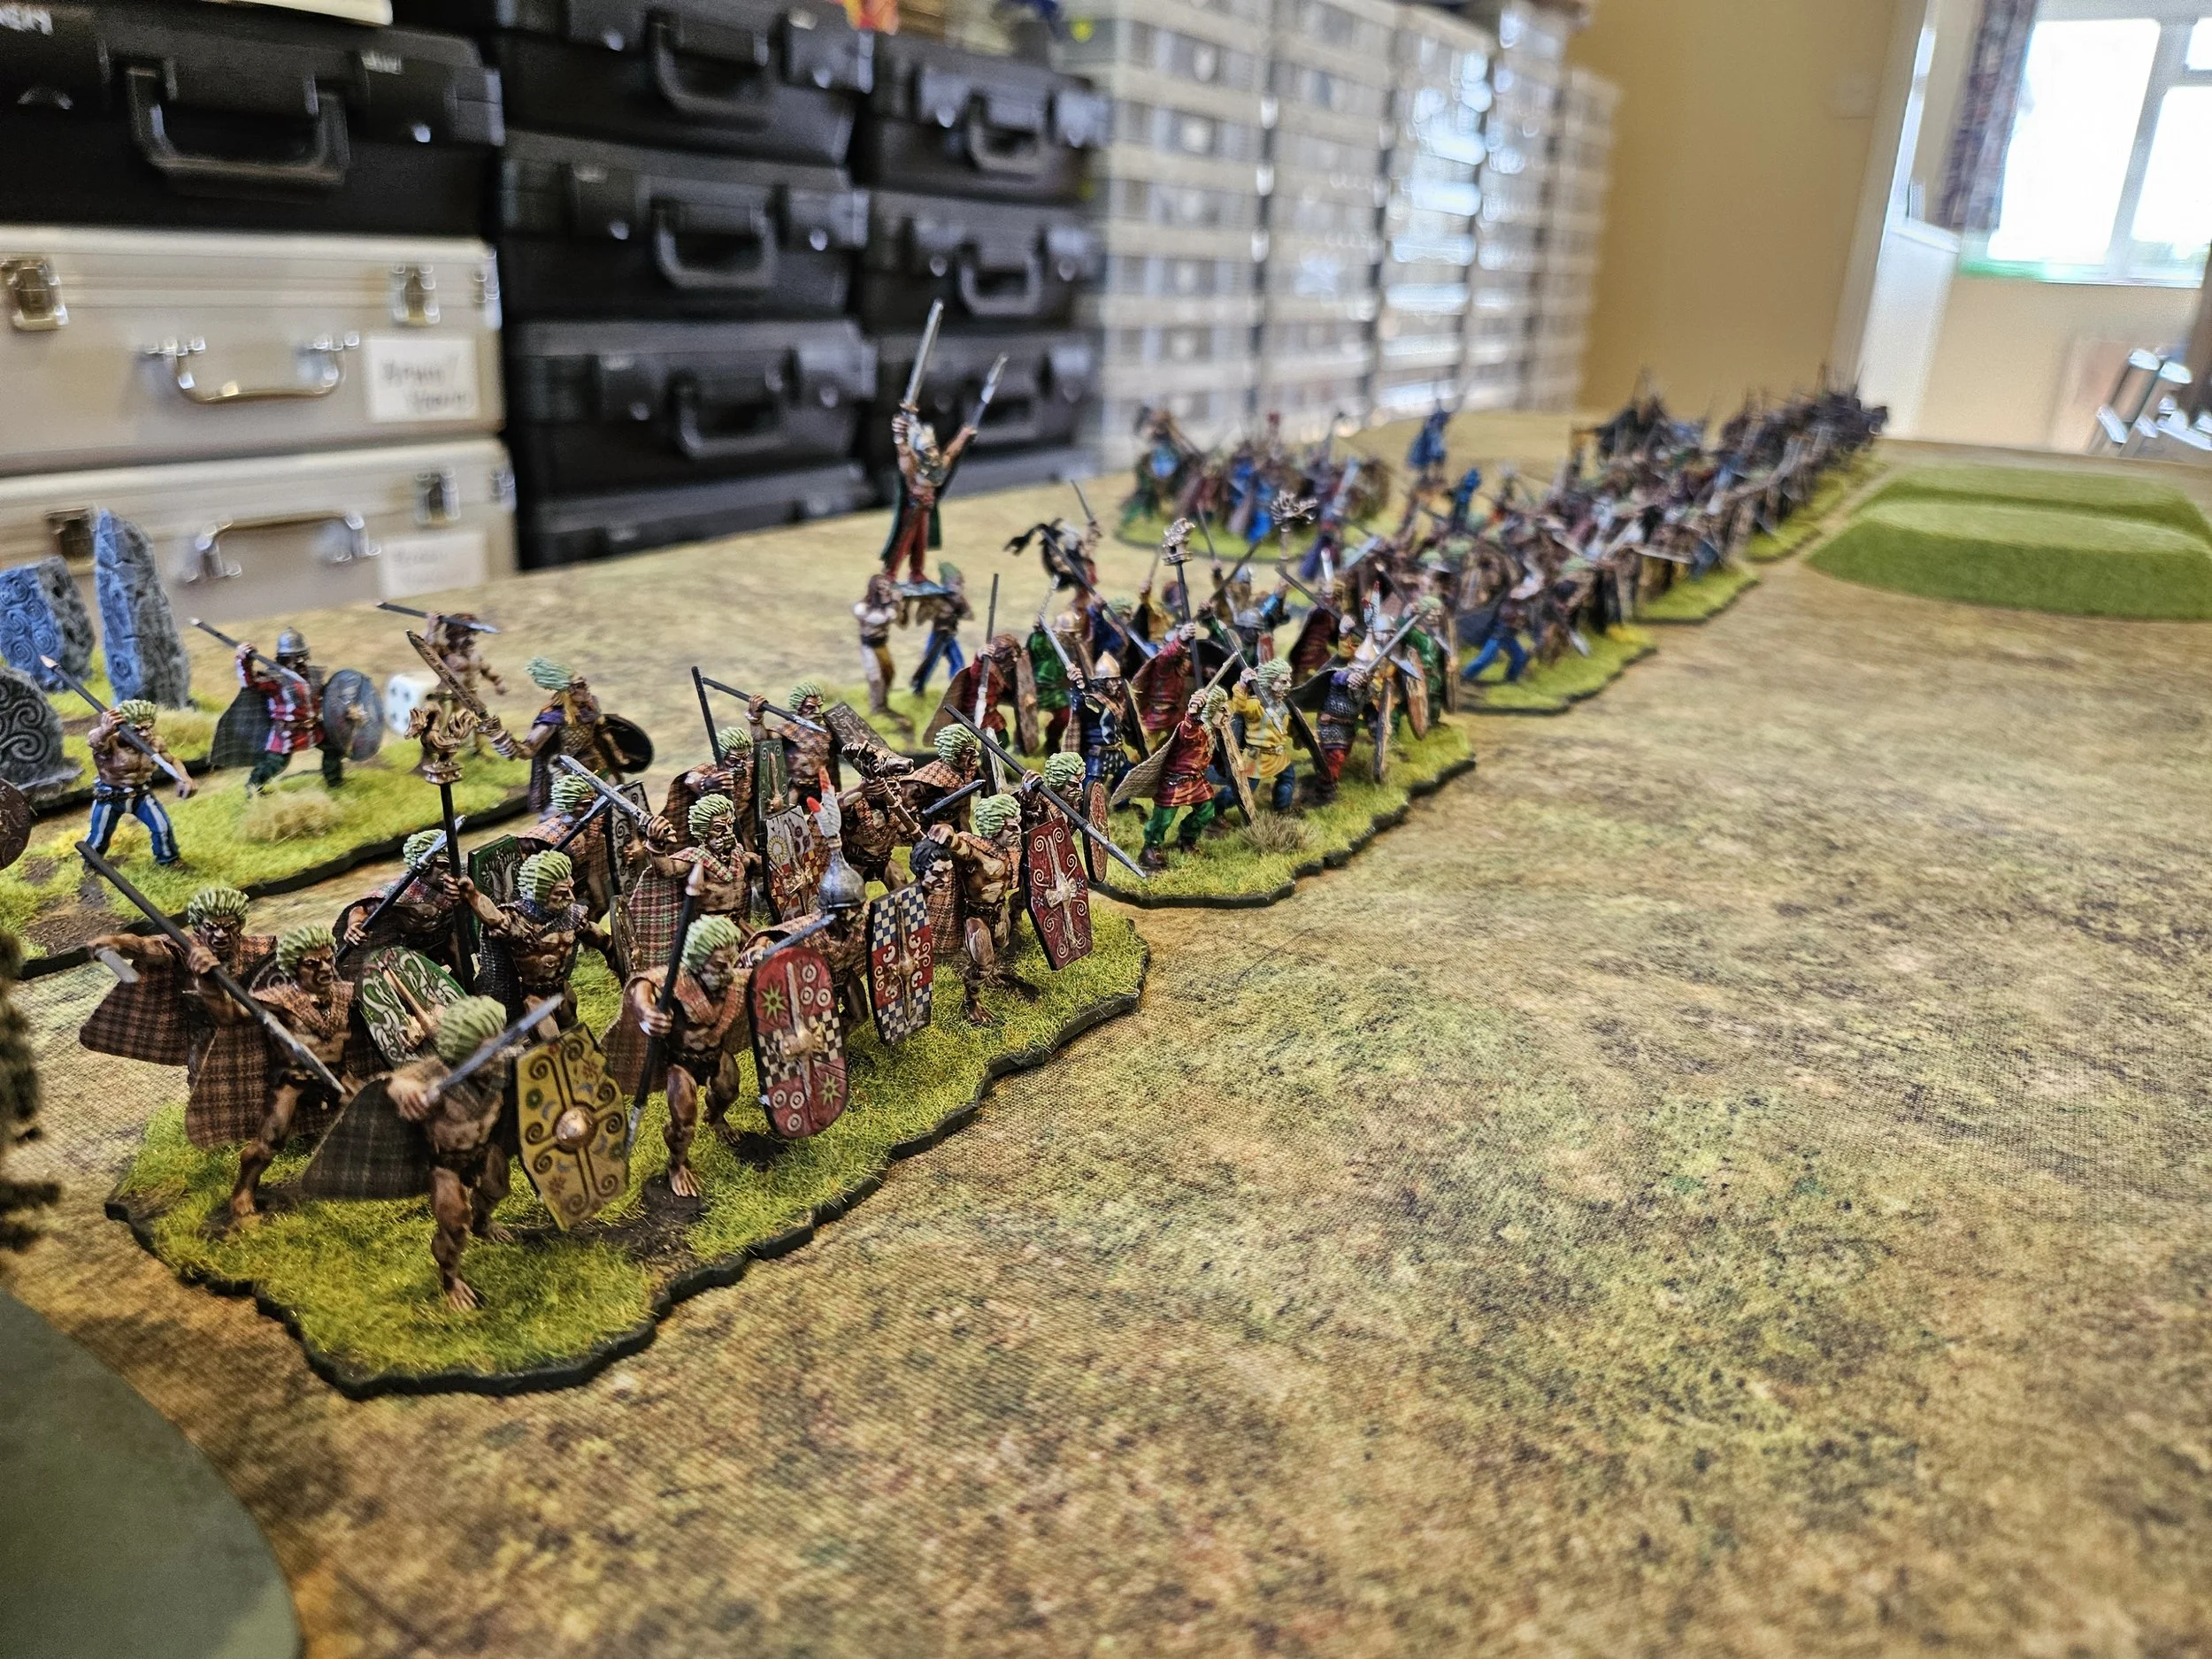
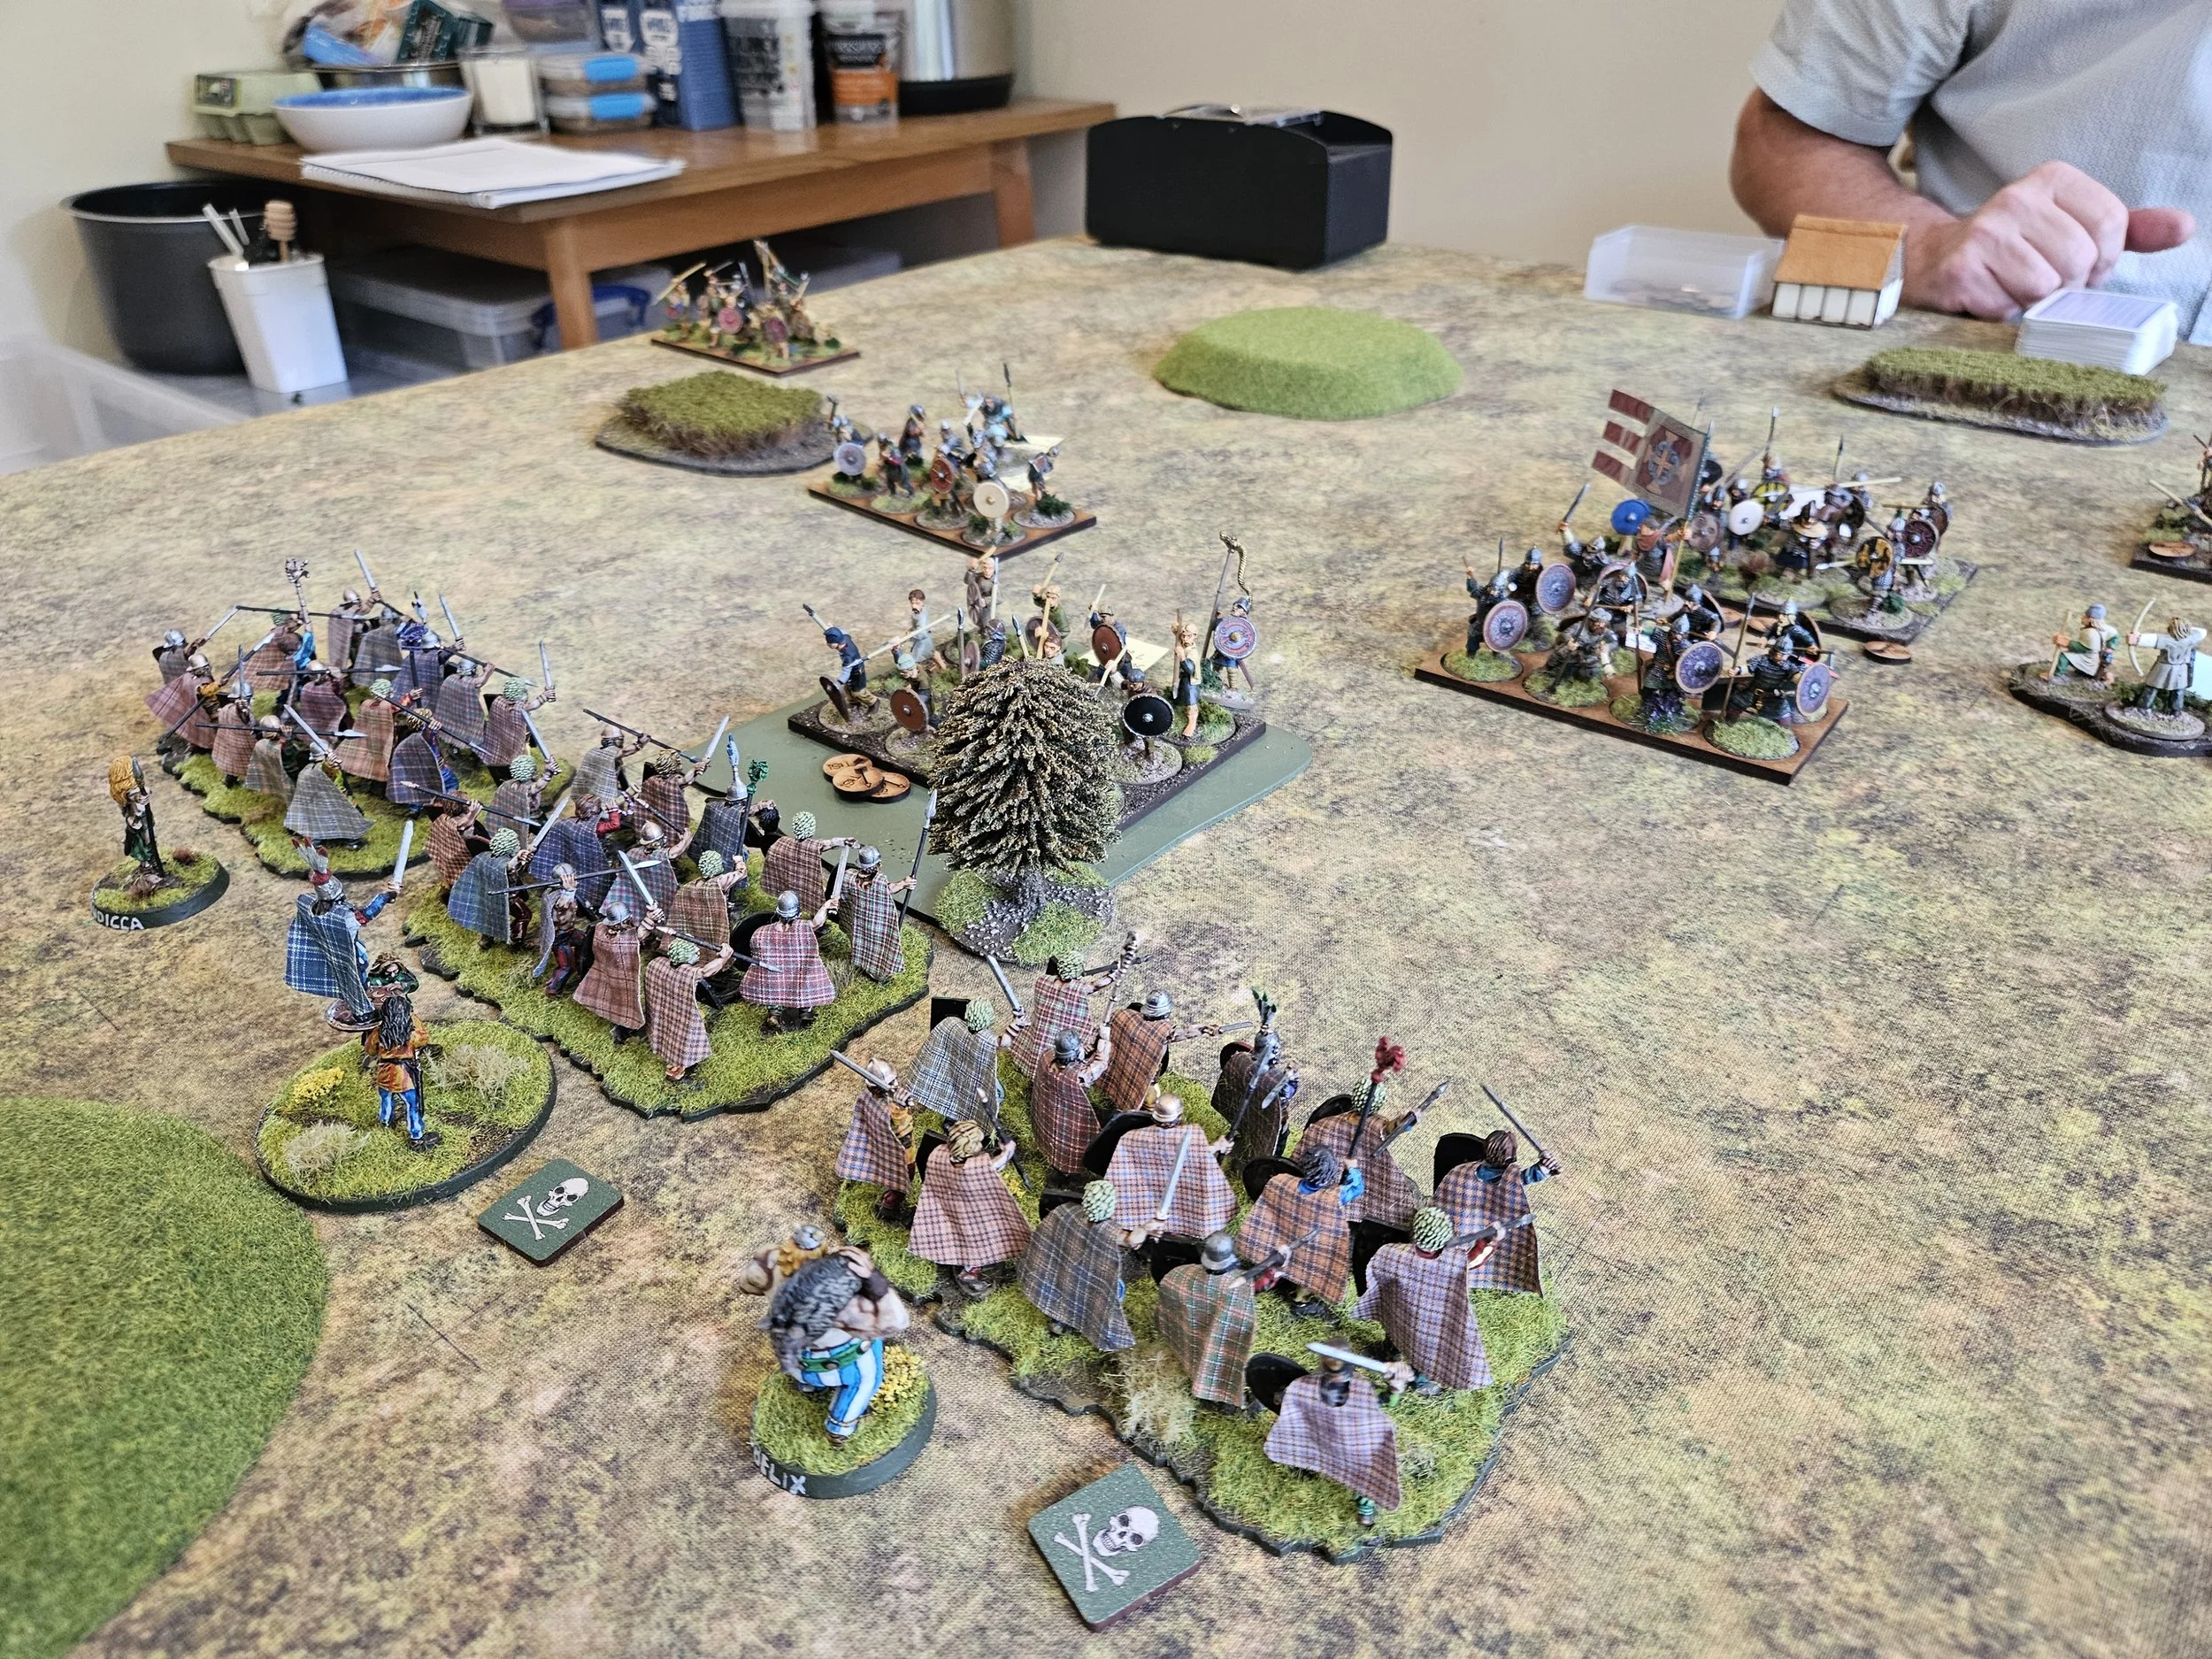
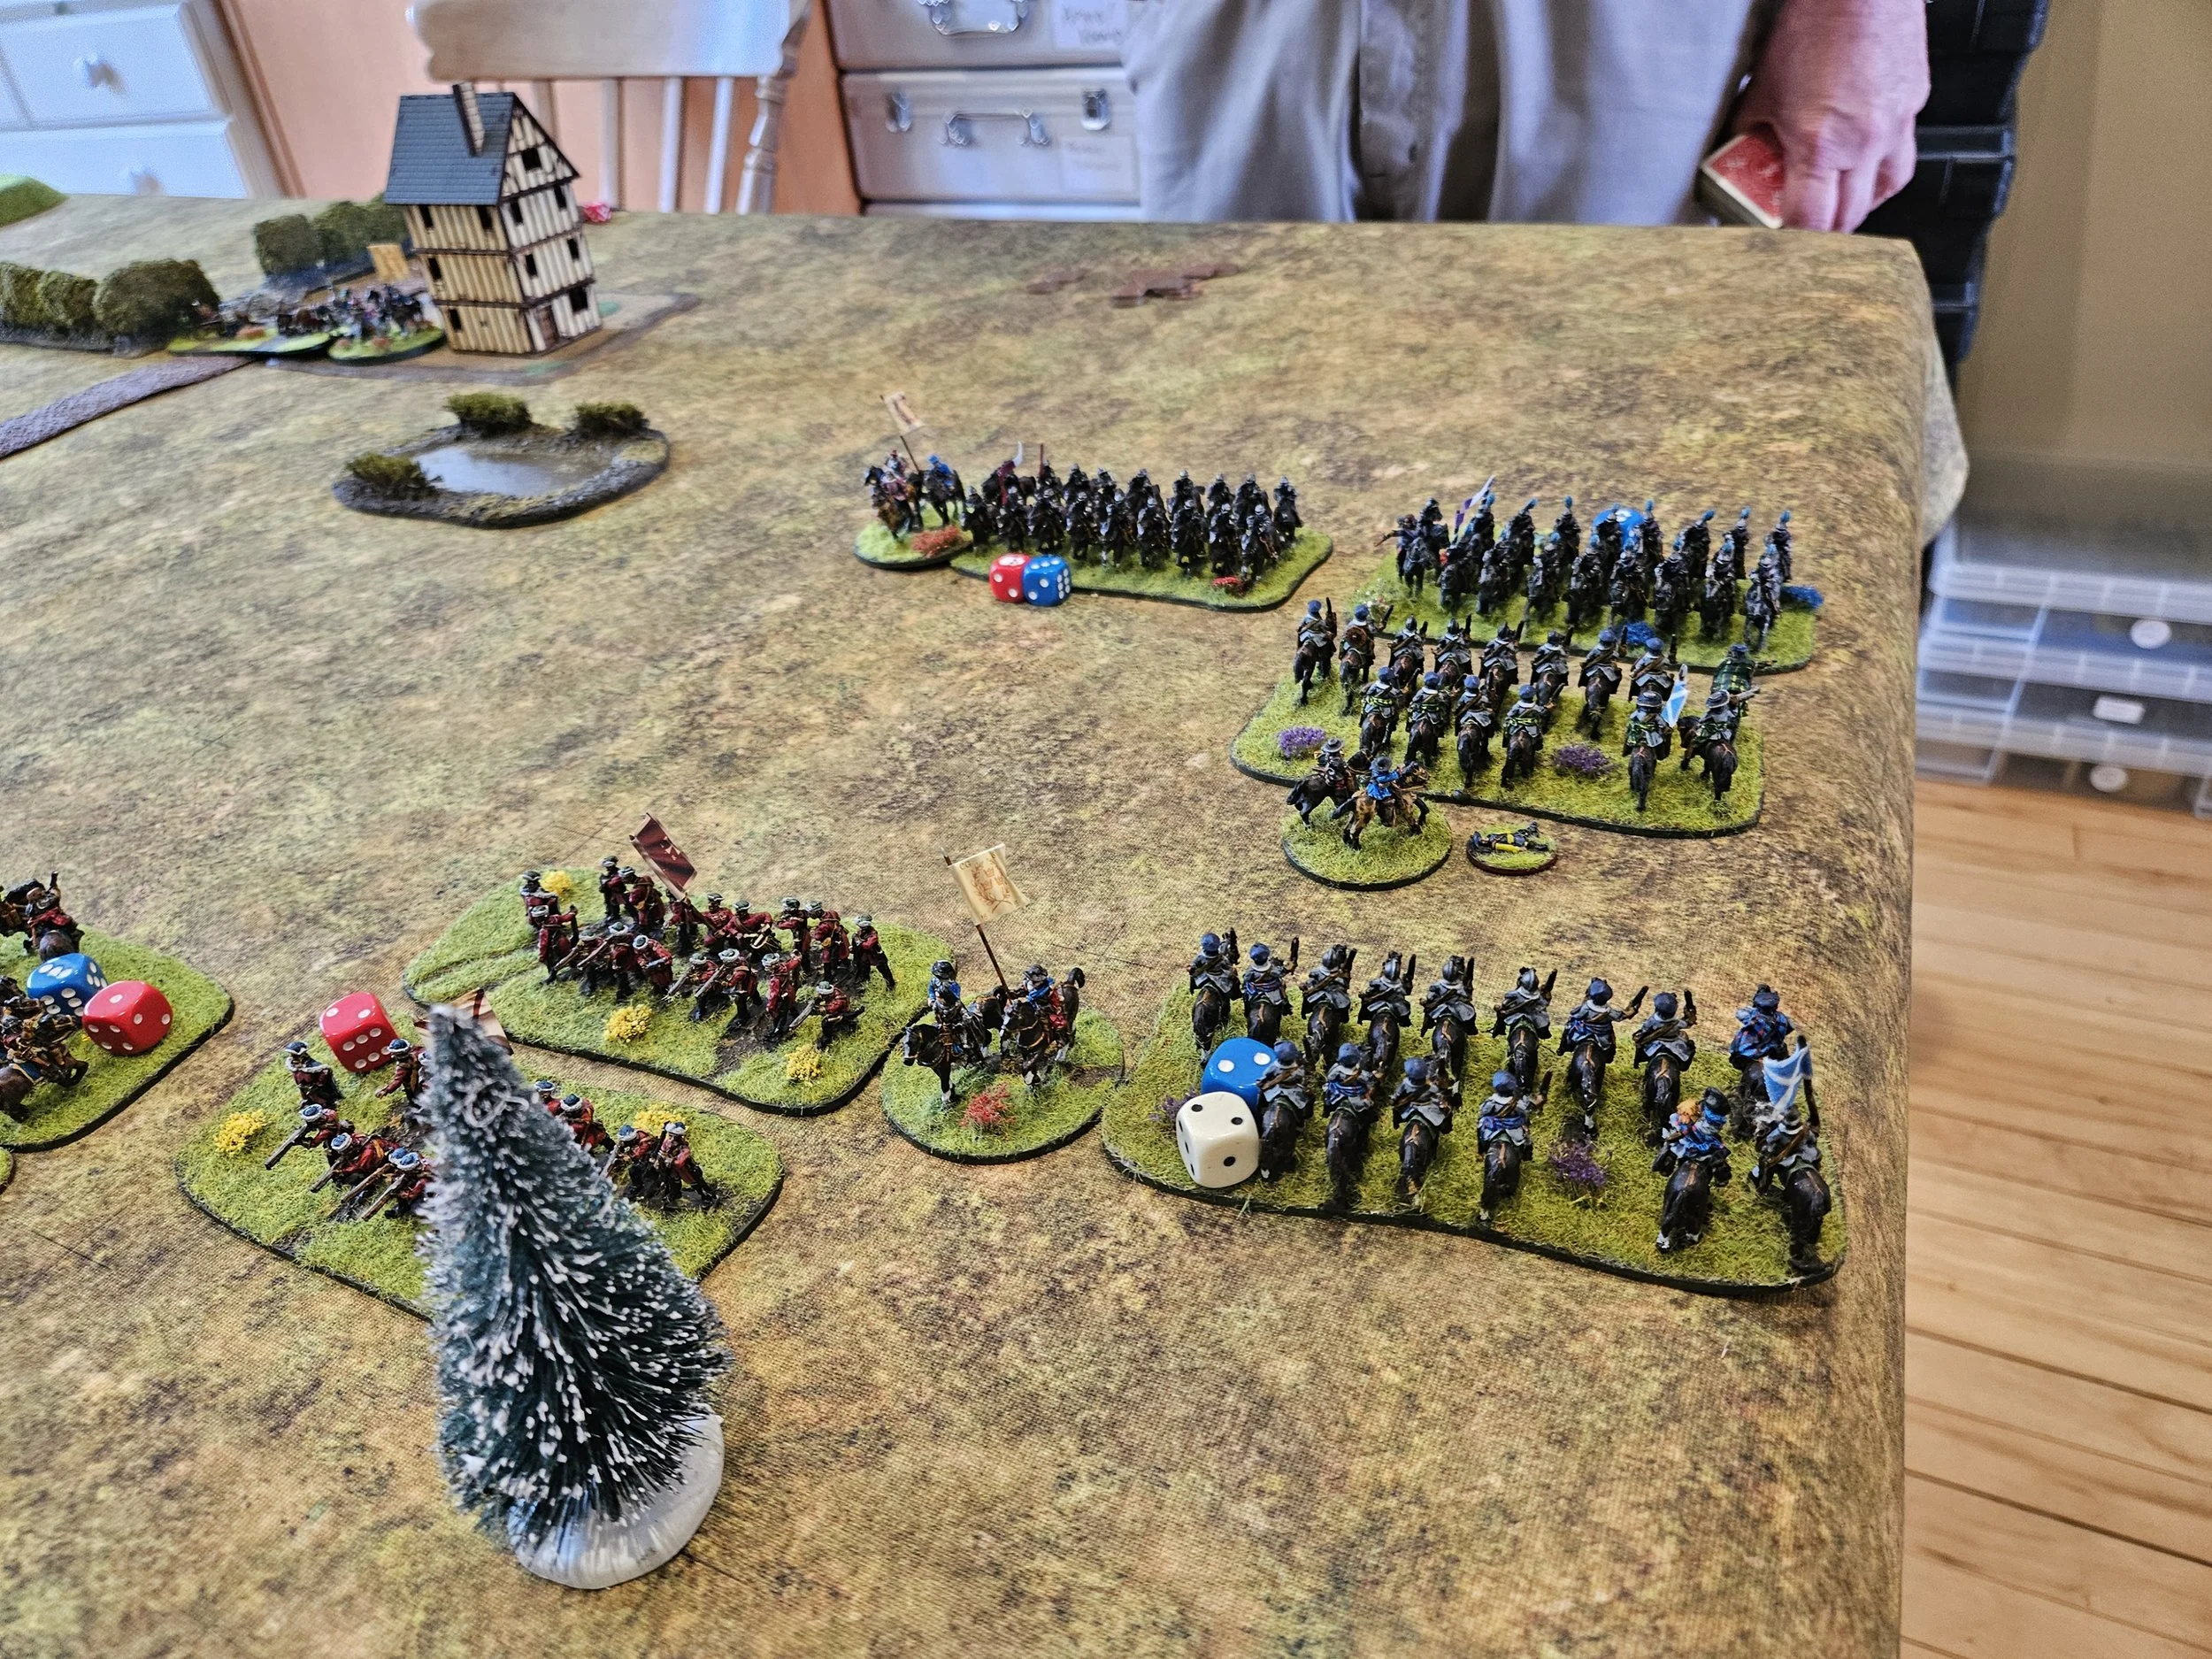
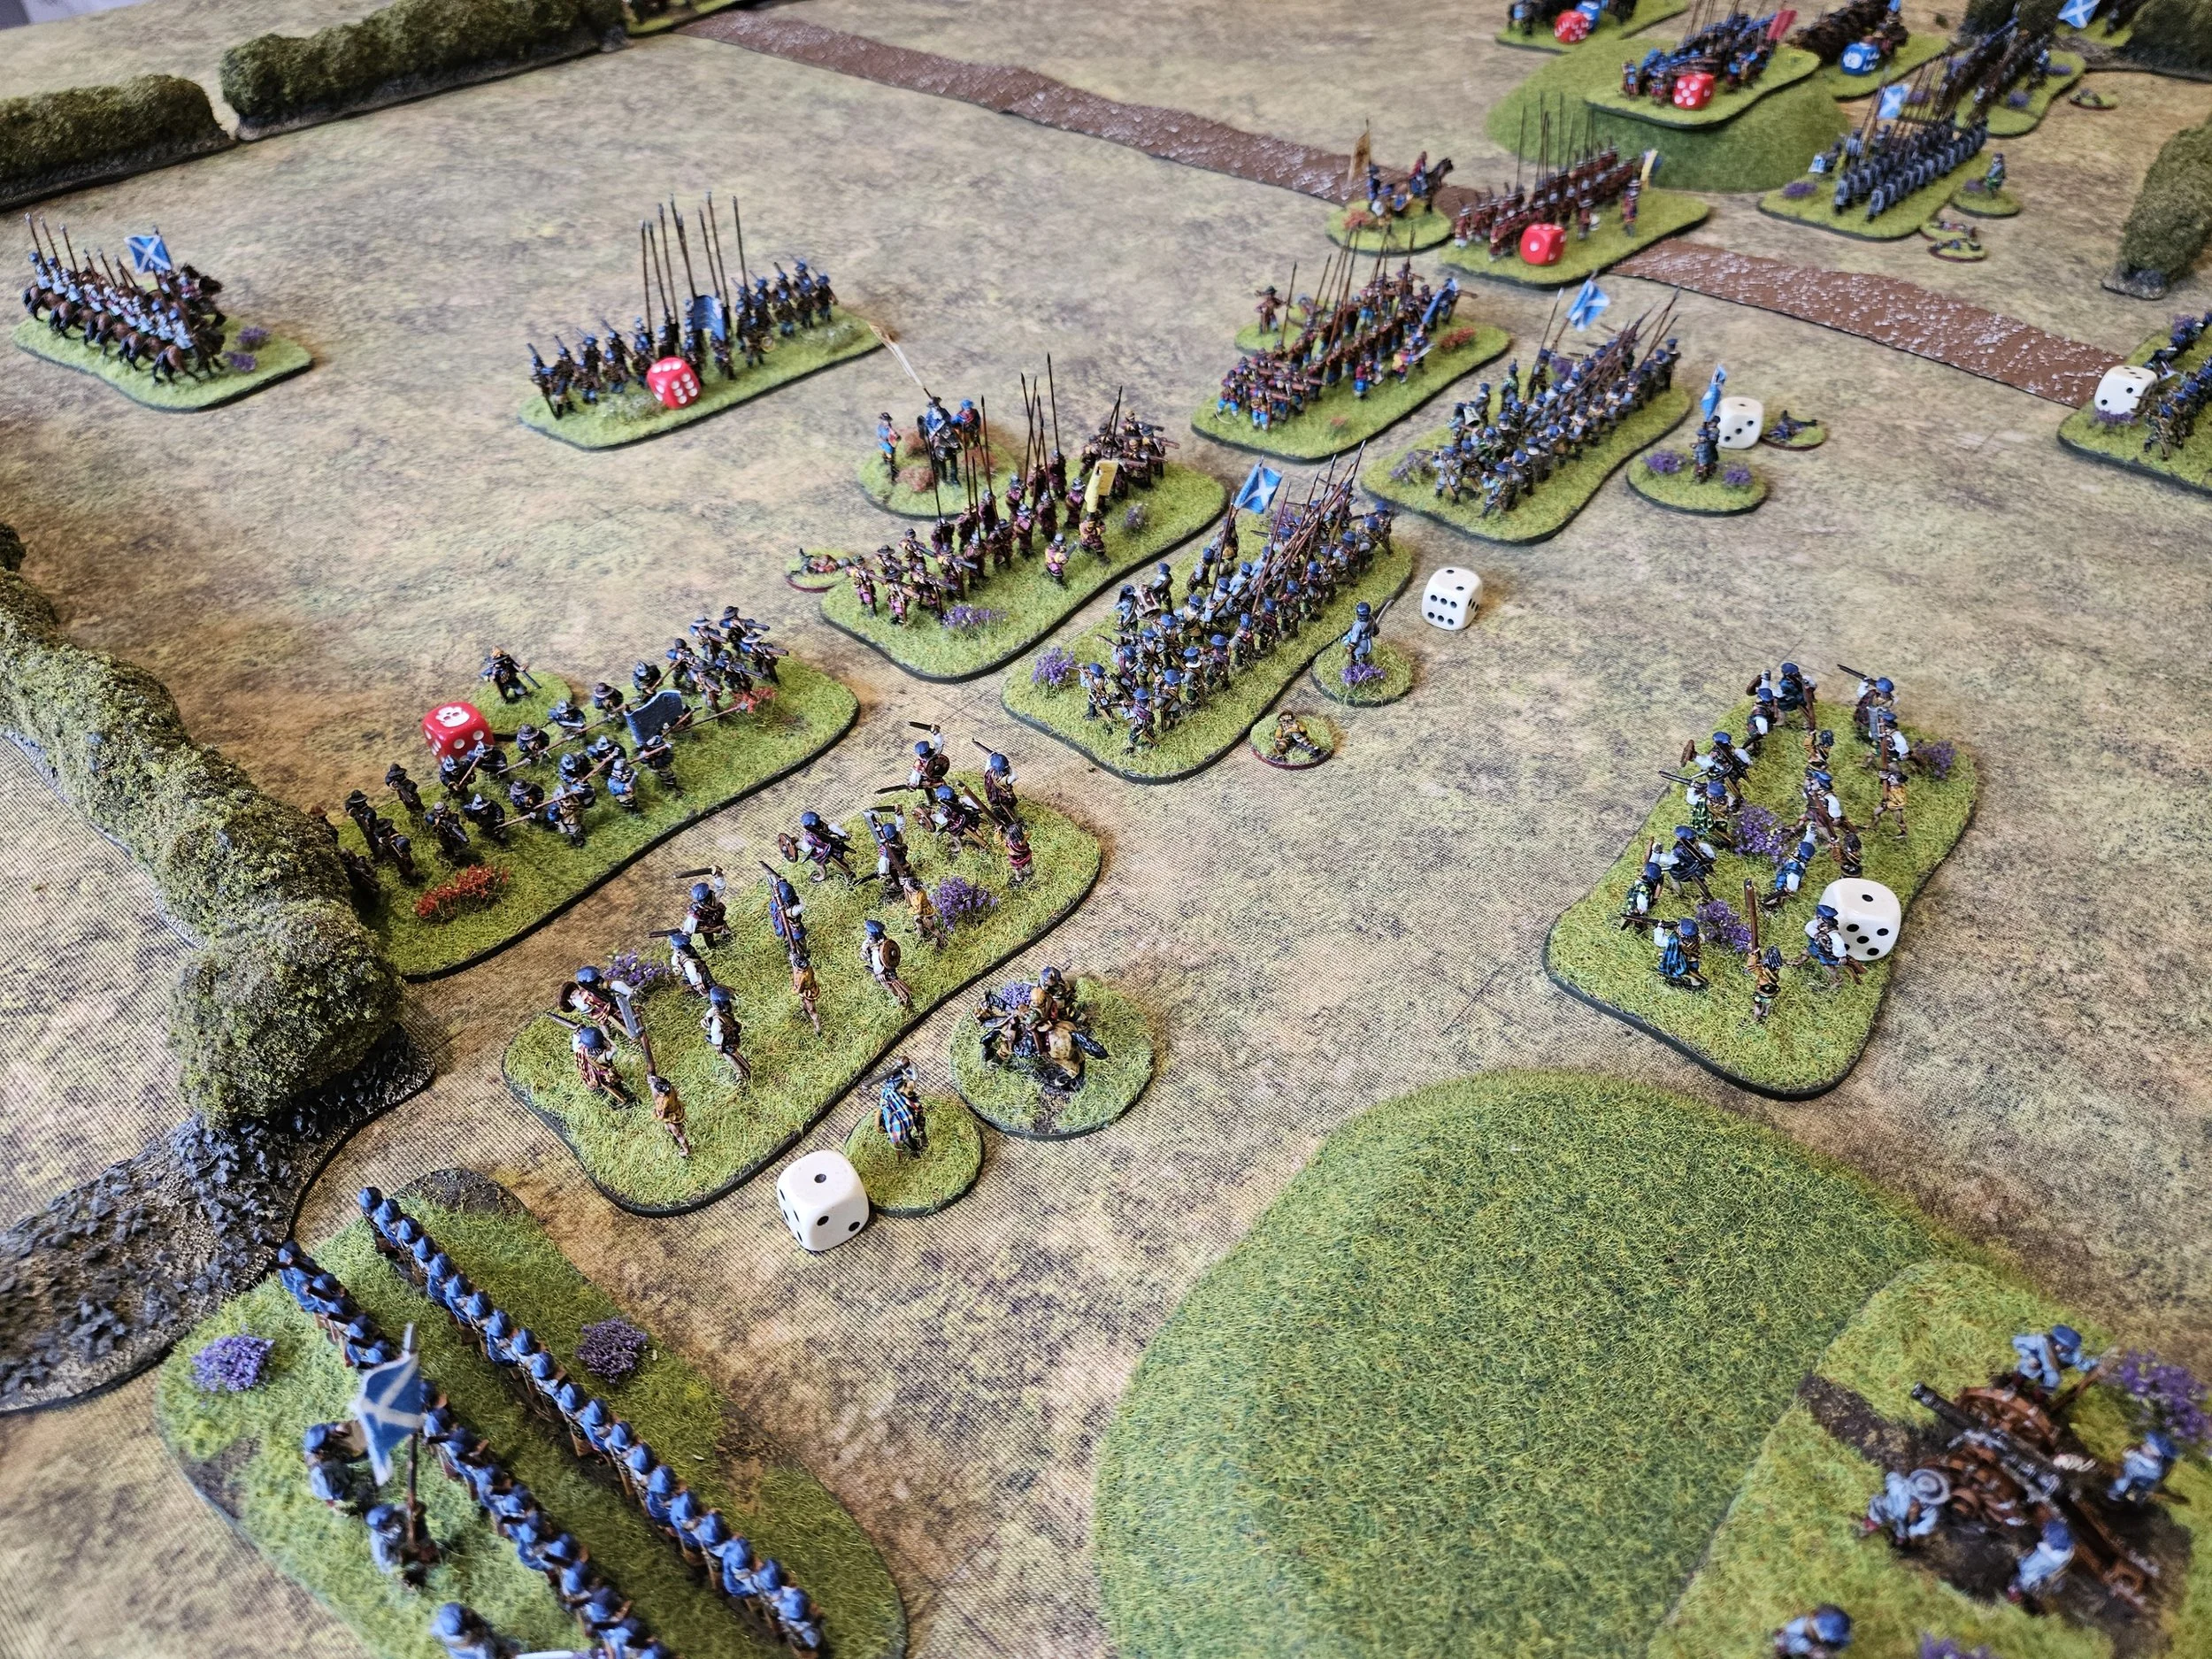
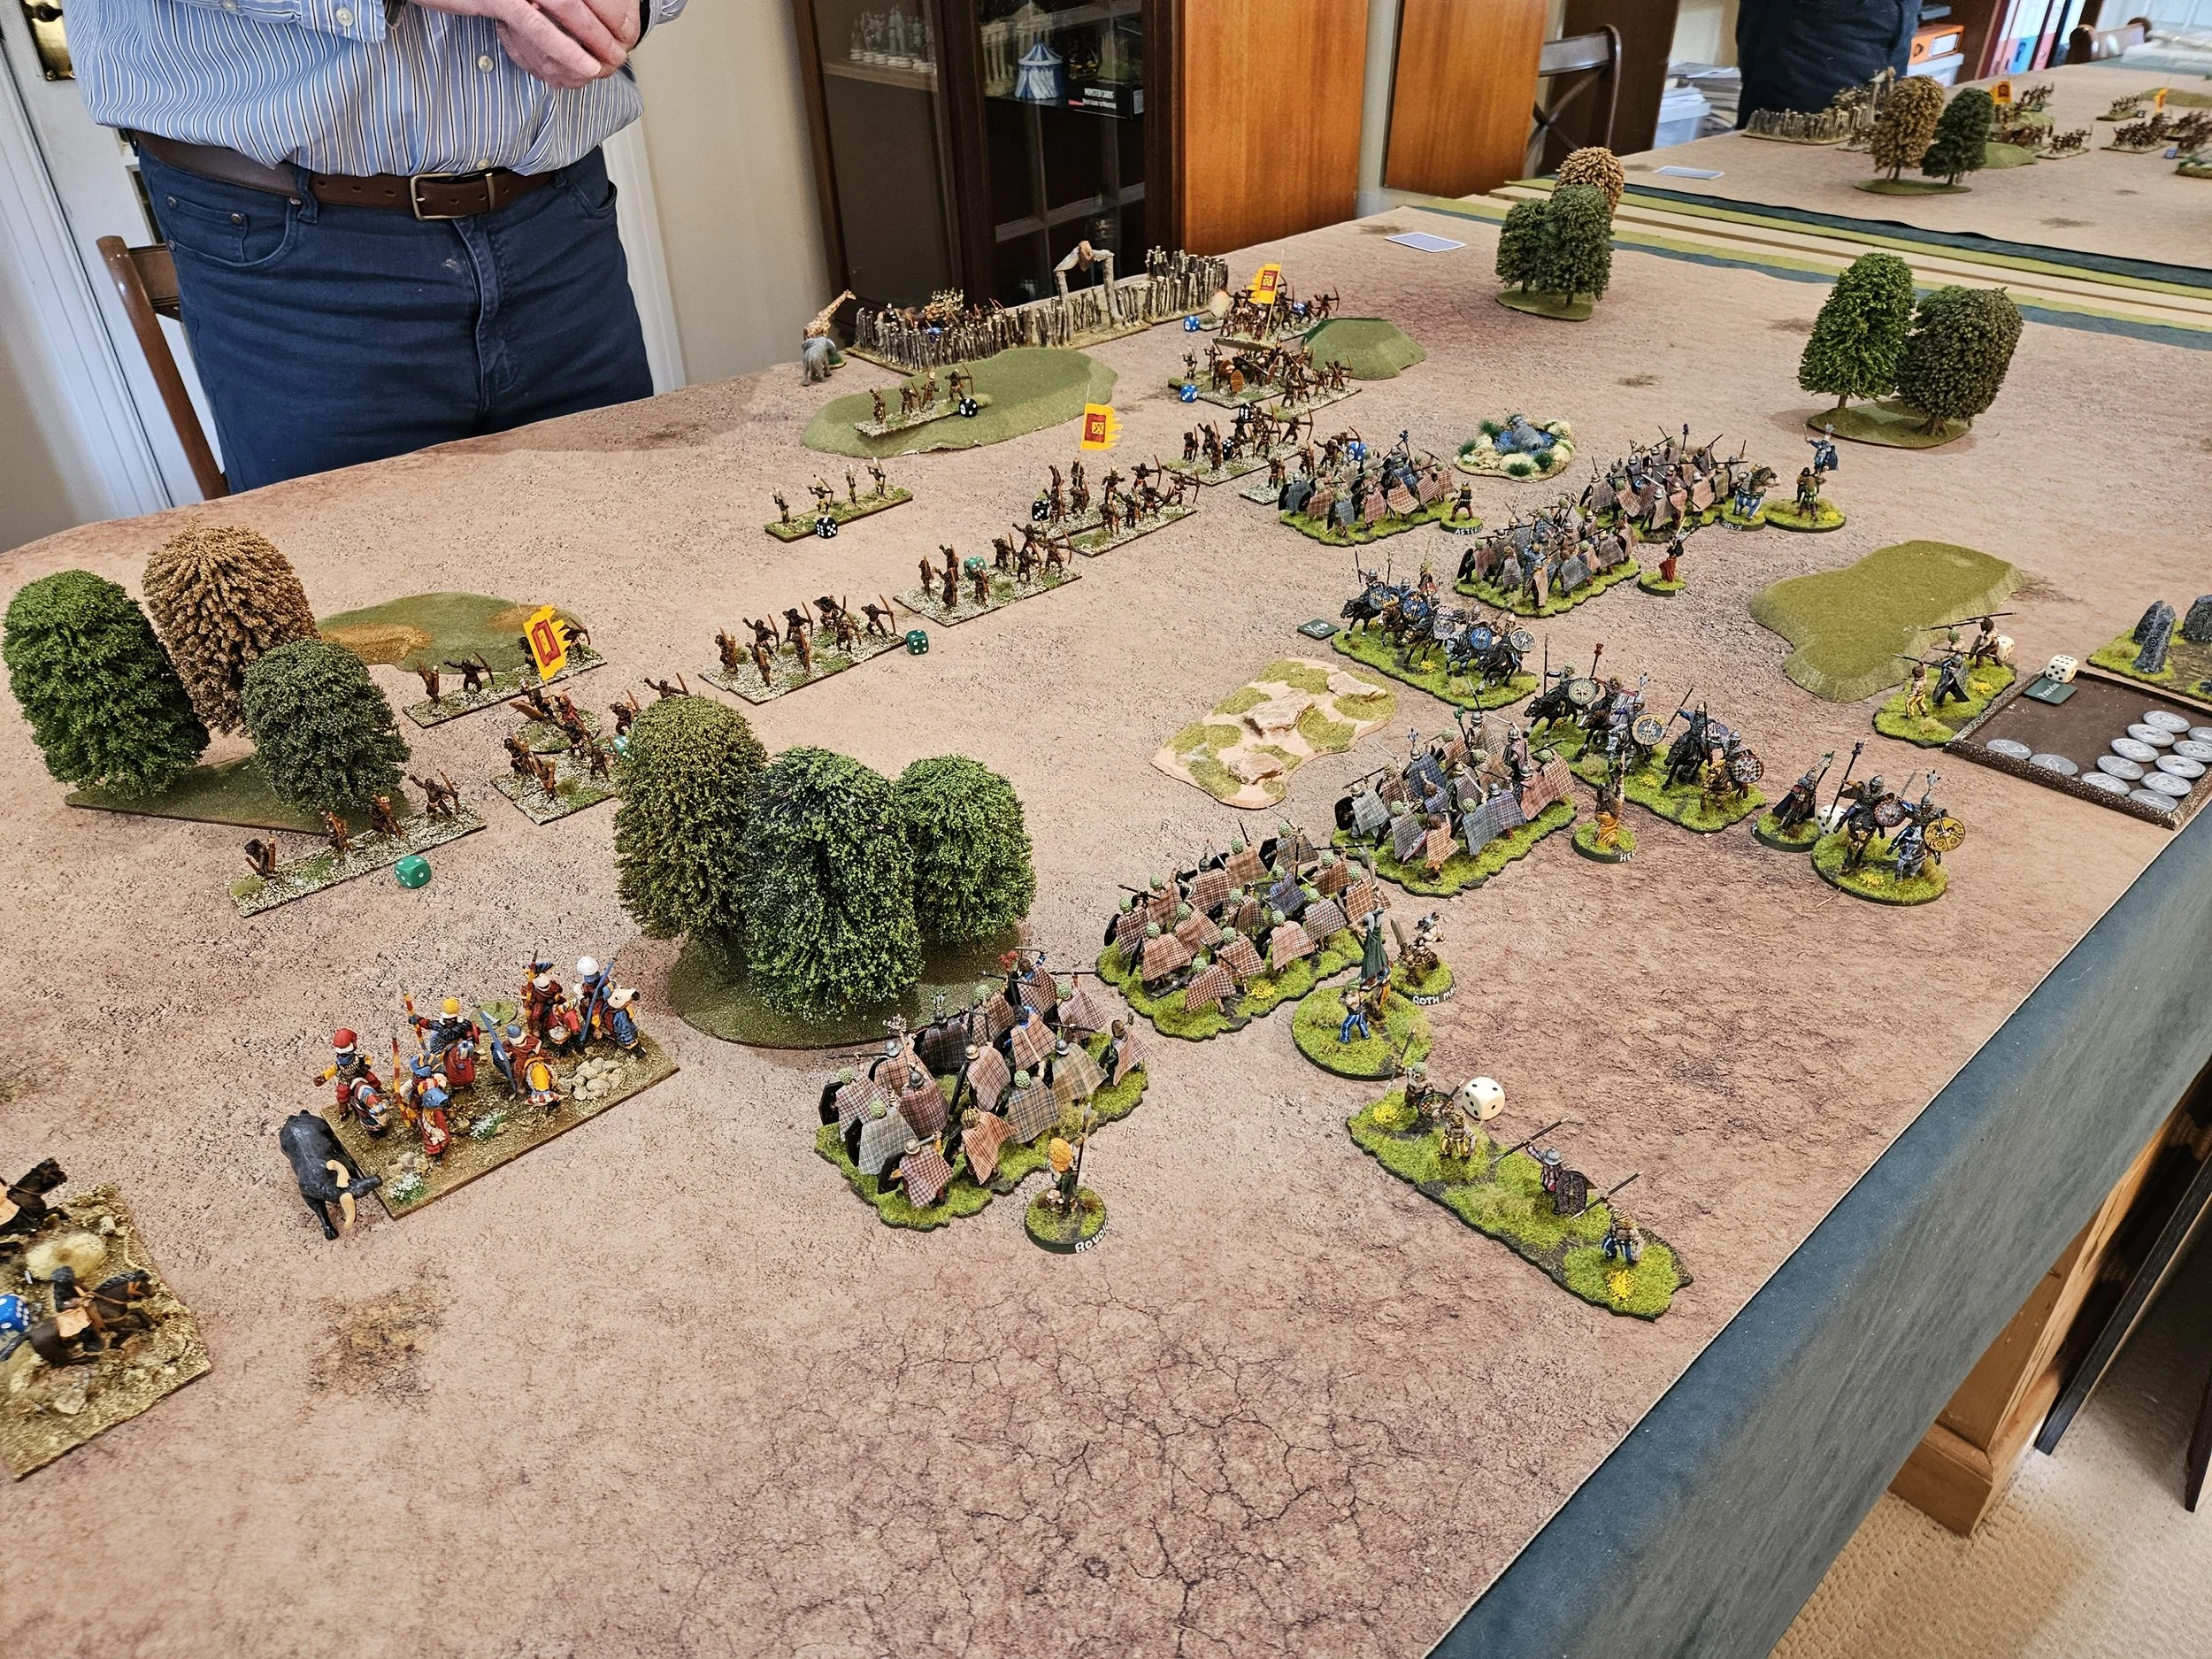
On that right flank I quickly marched forward with my 8 units and 22 arrows facing 2 units and 4 javelins. The numbers quickly showed and Rob’s command was quickly disordered and surrounded.
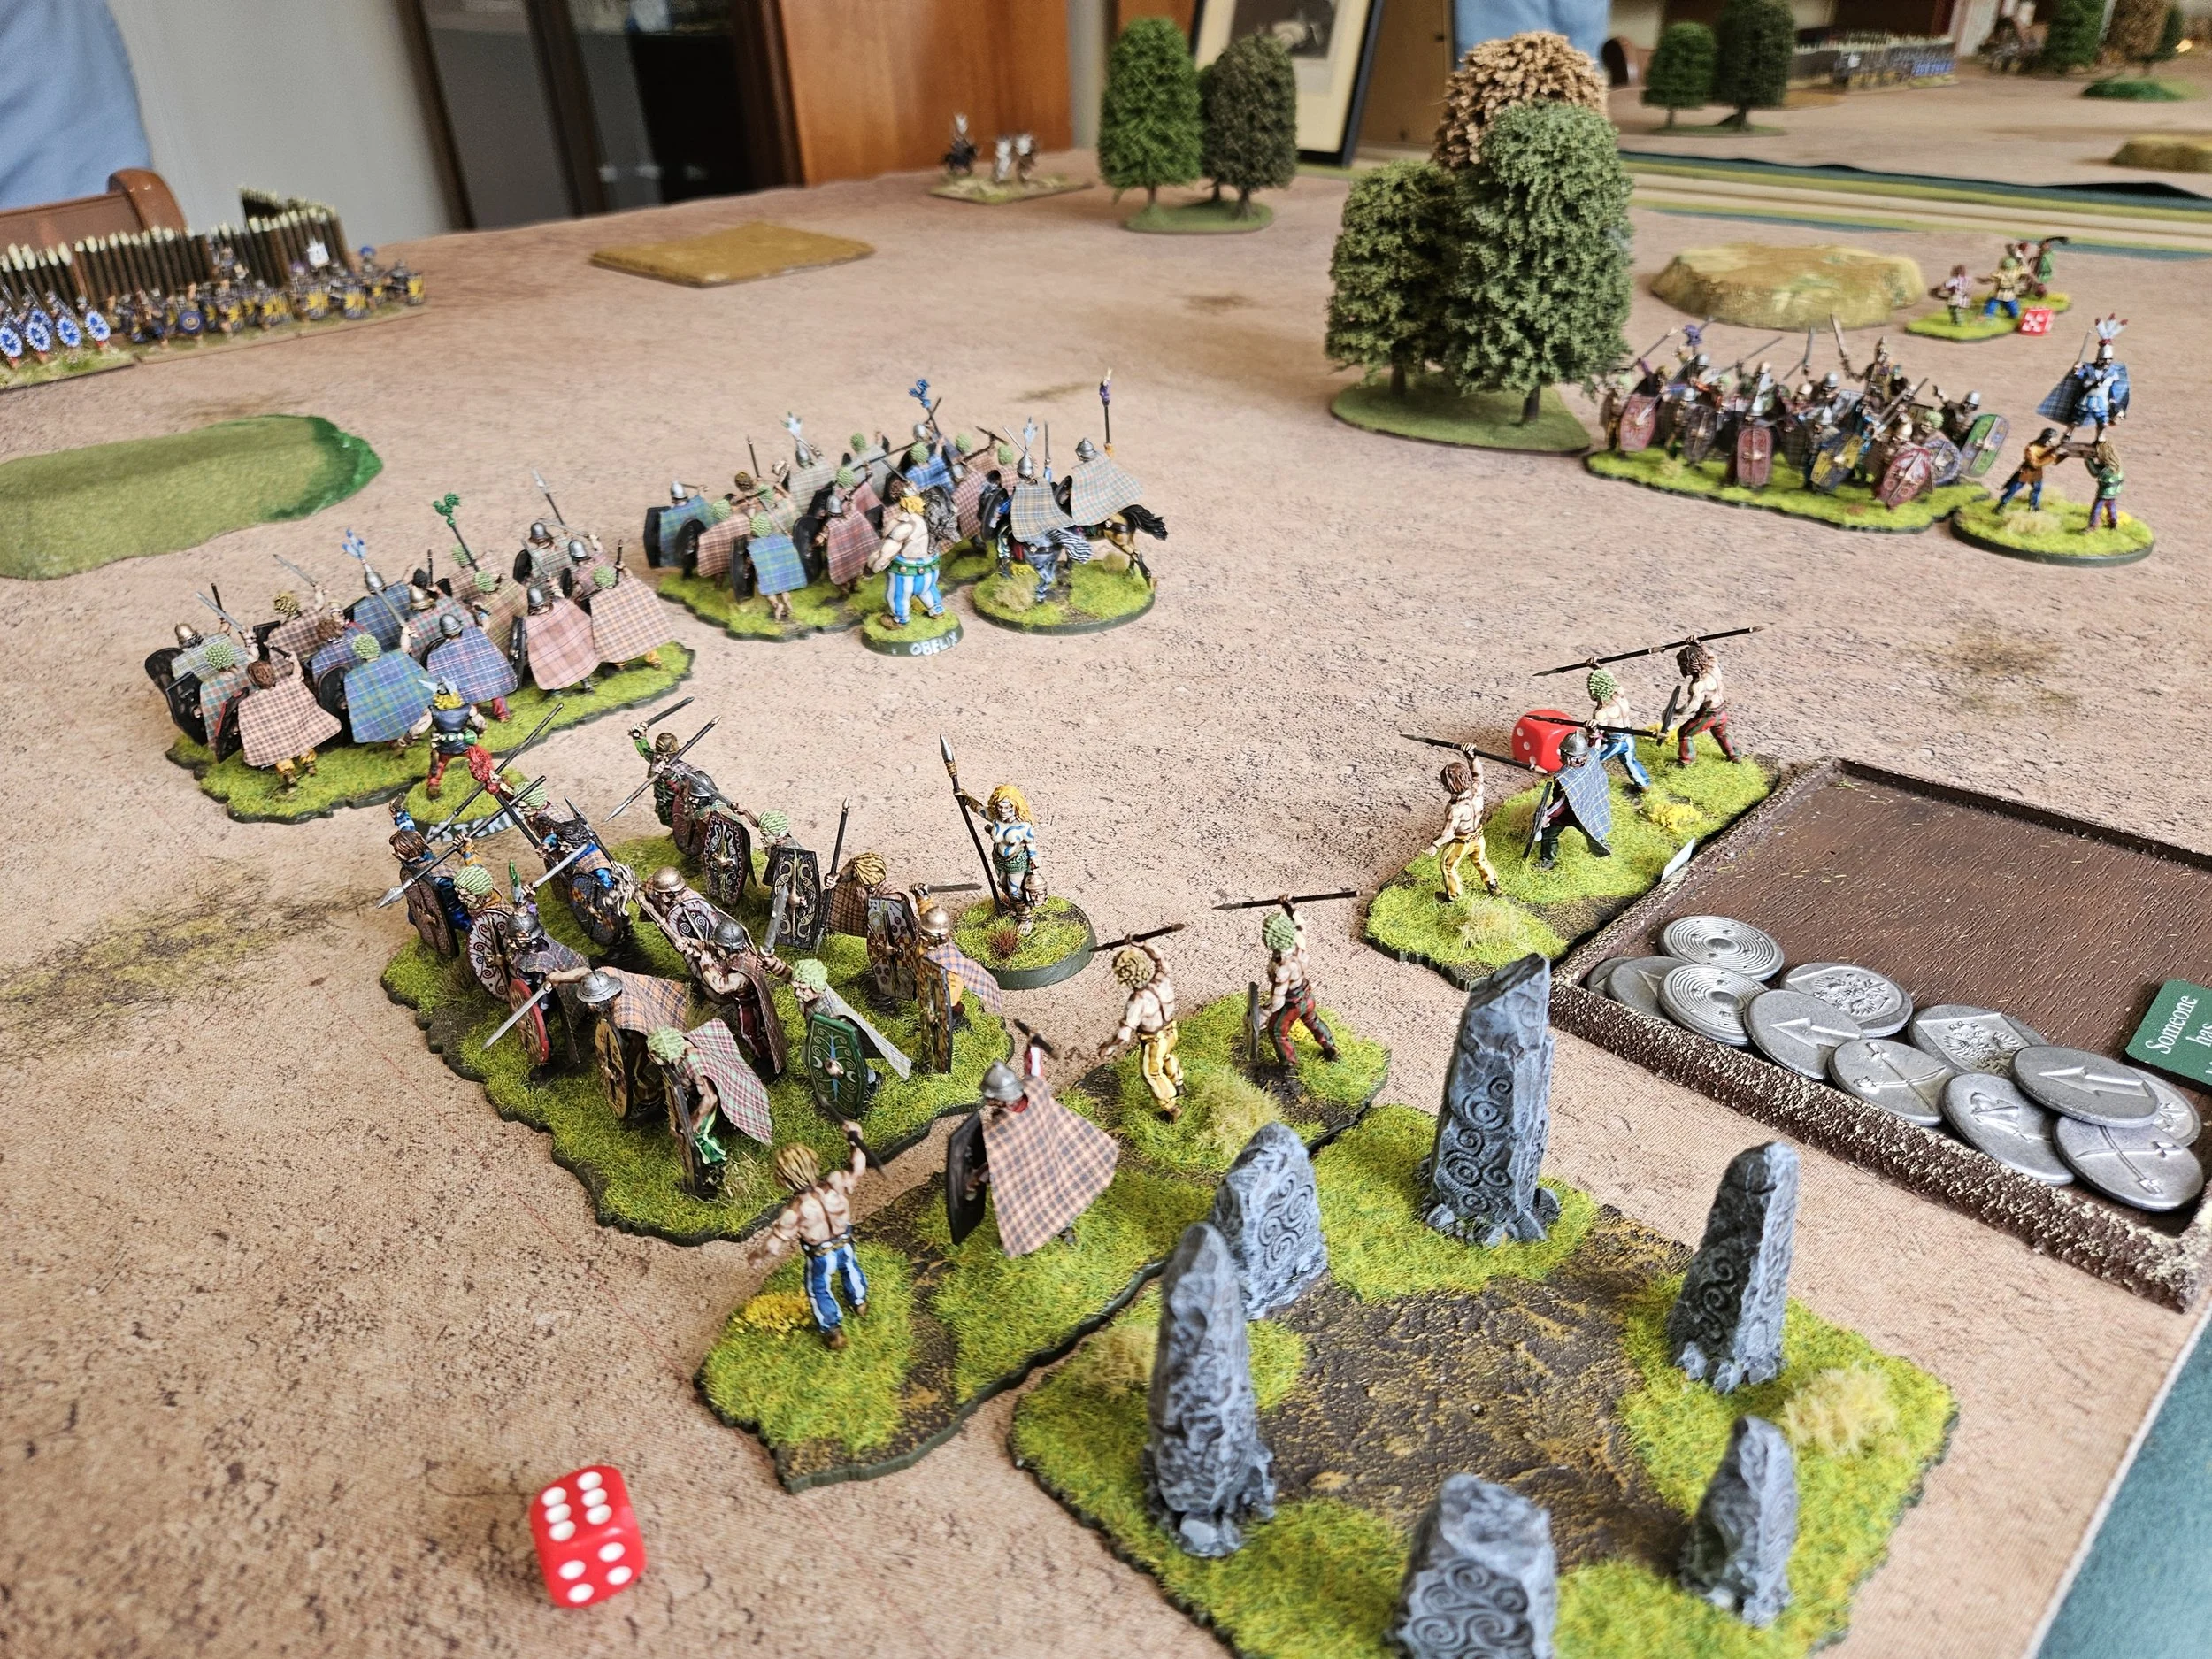
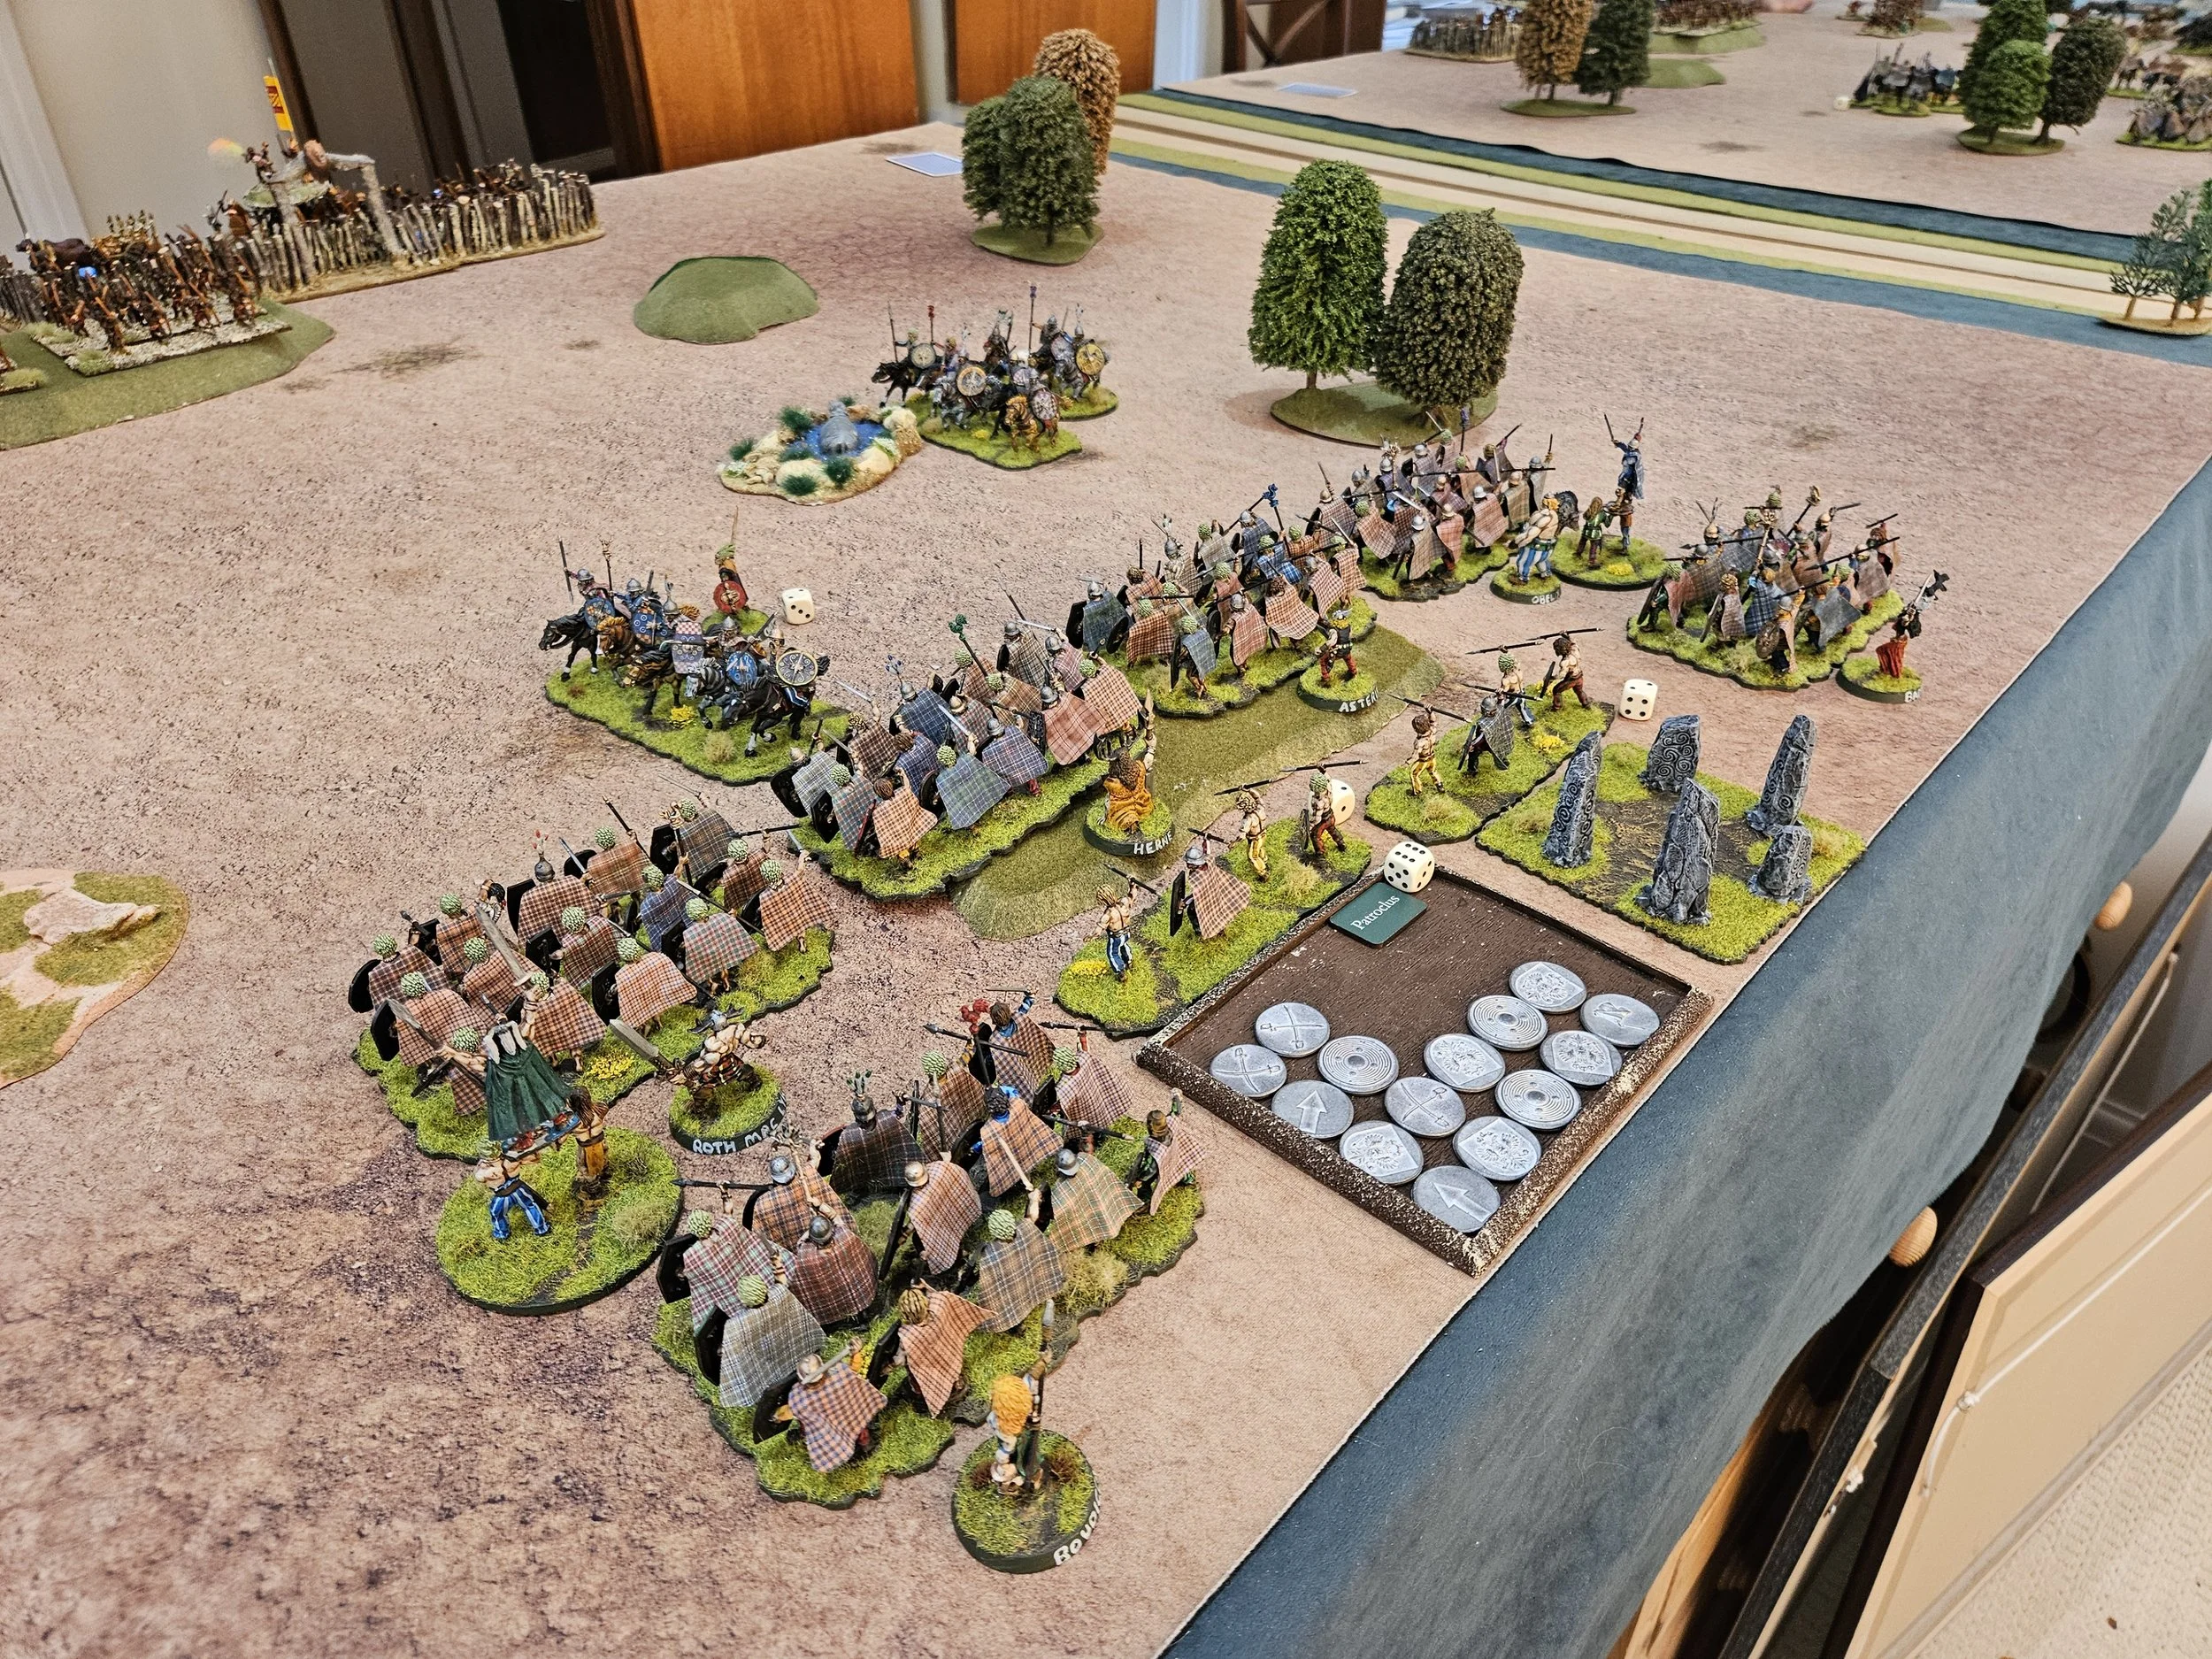
In the centre I advanced my massed bows to create interlocking fields of fire directly in front of his warbands. This deterred them from advancing.
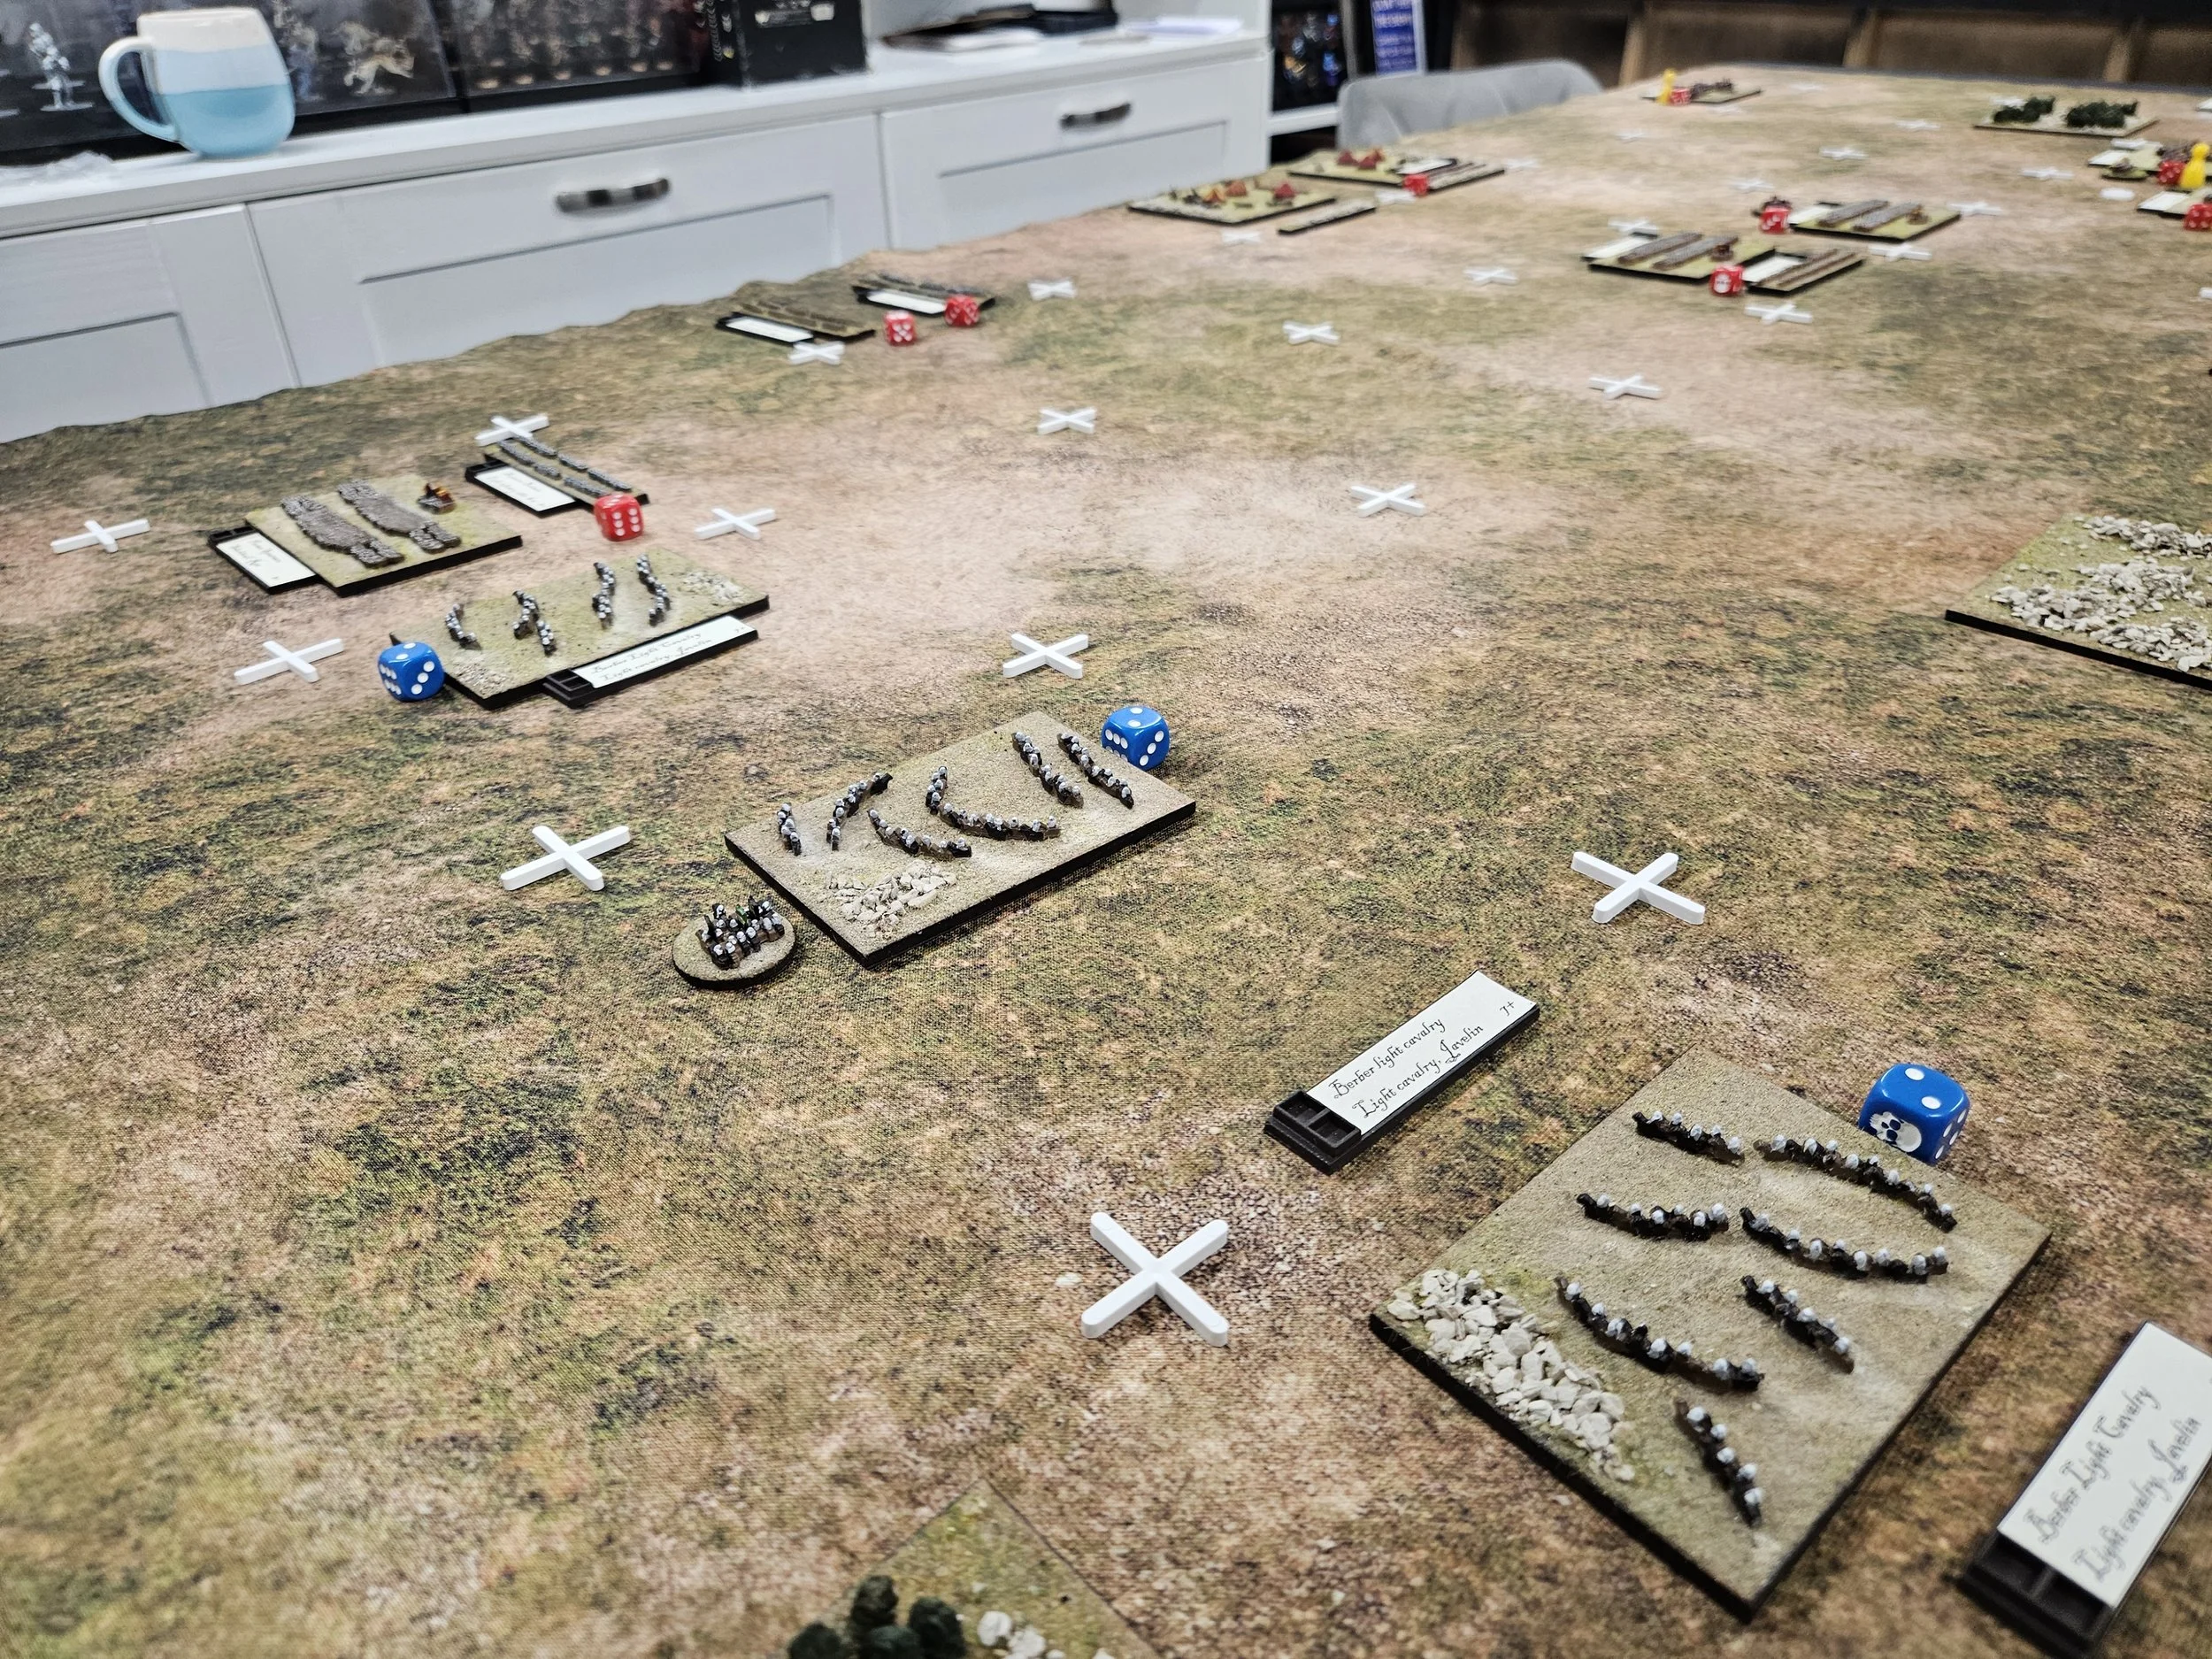
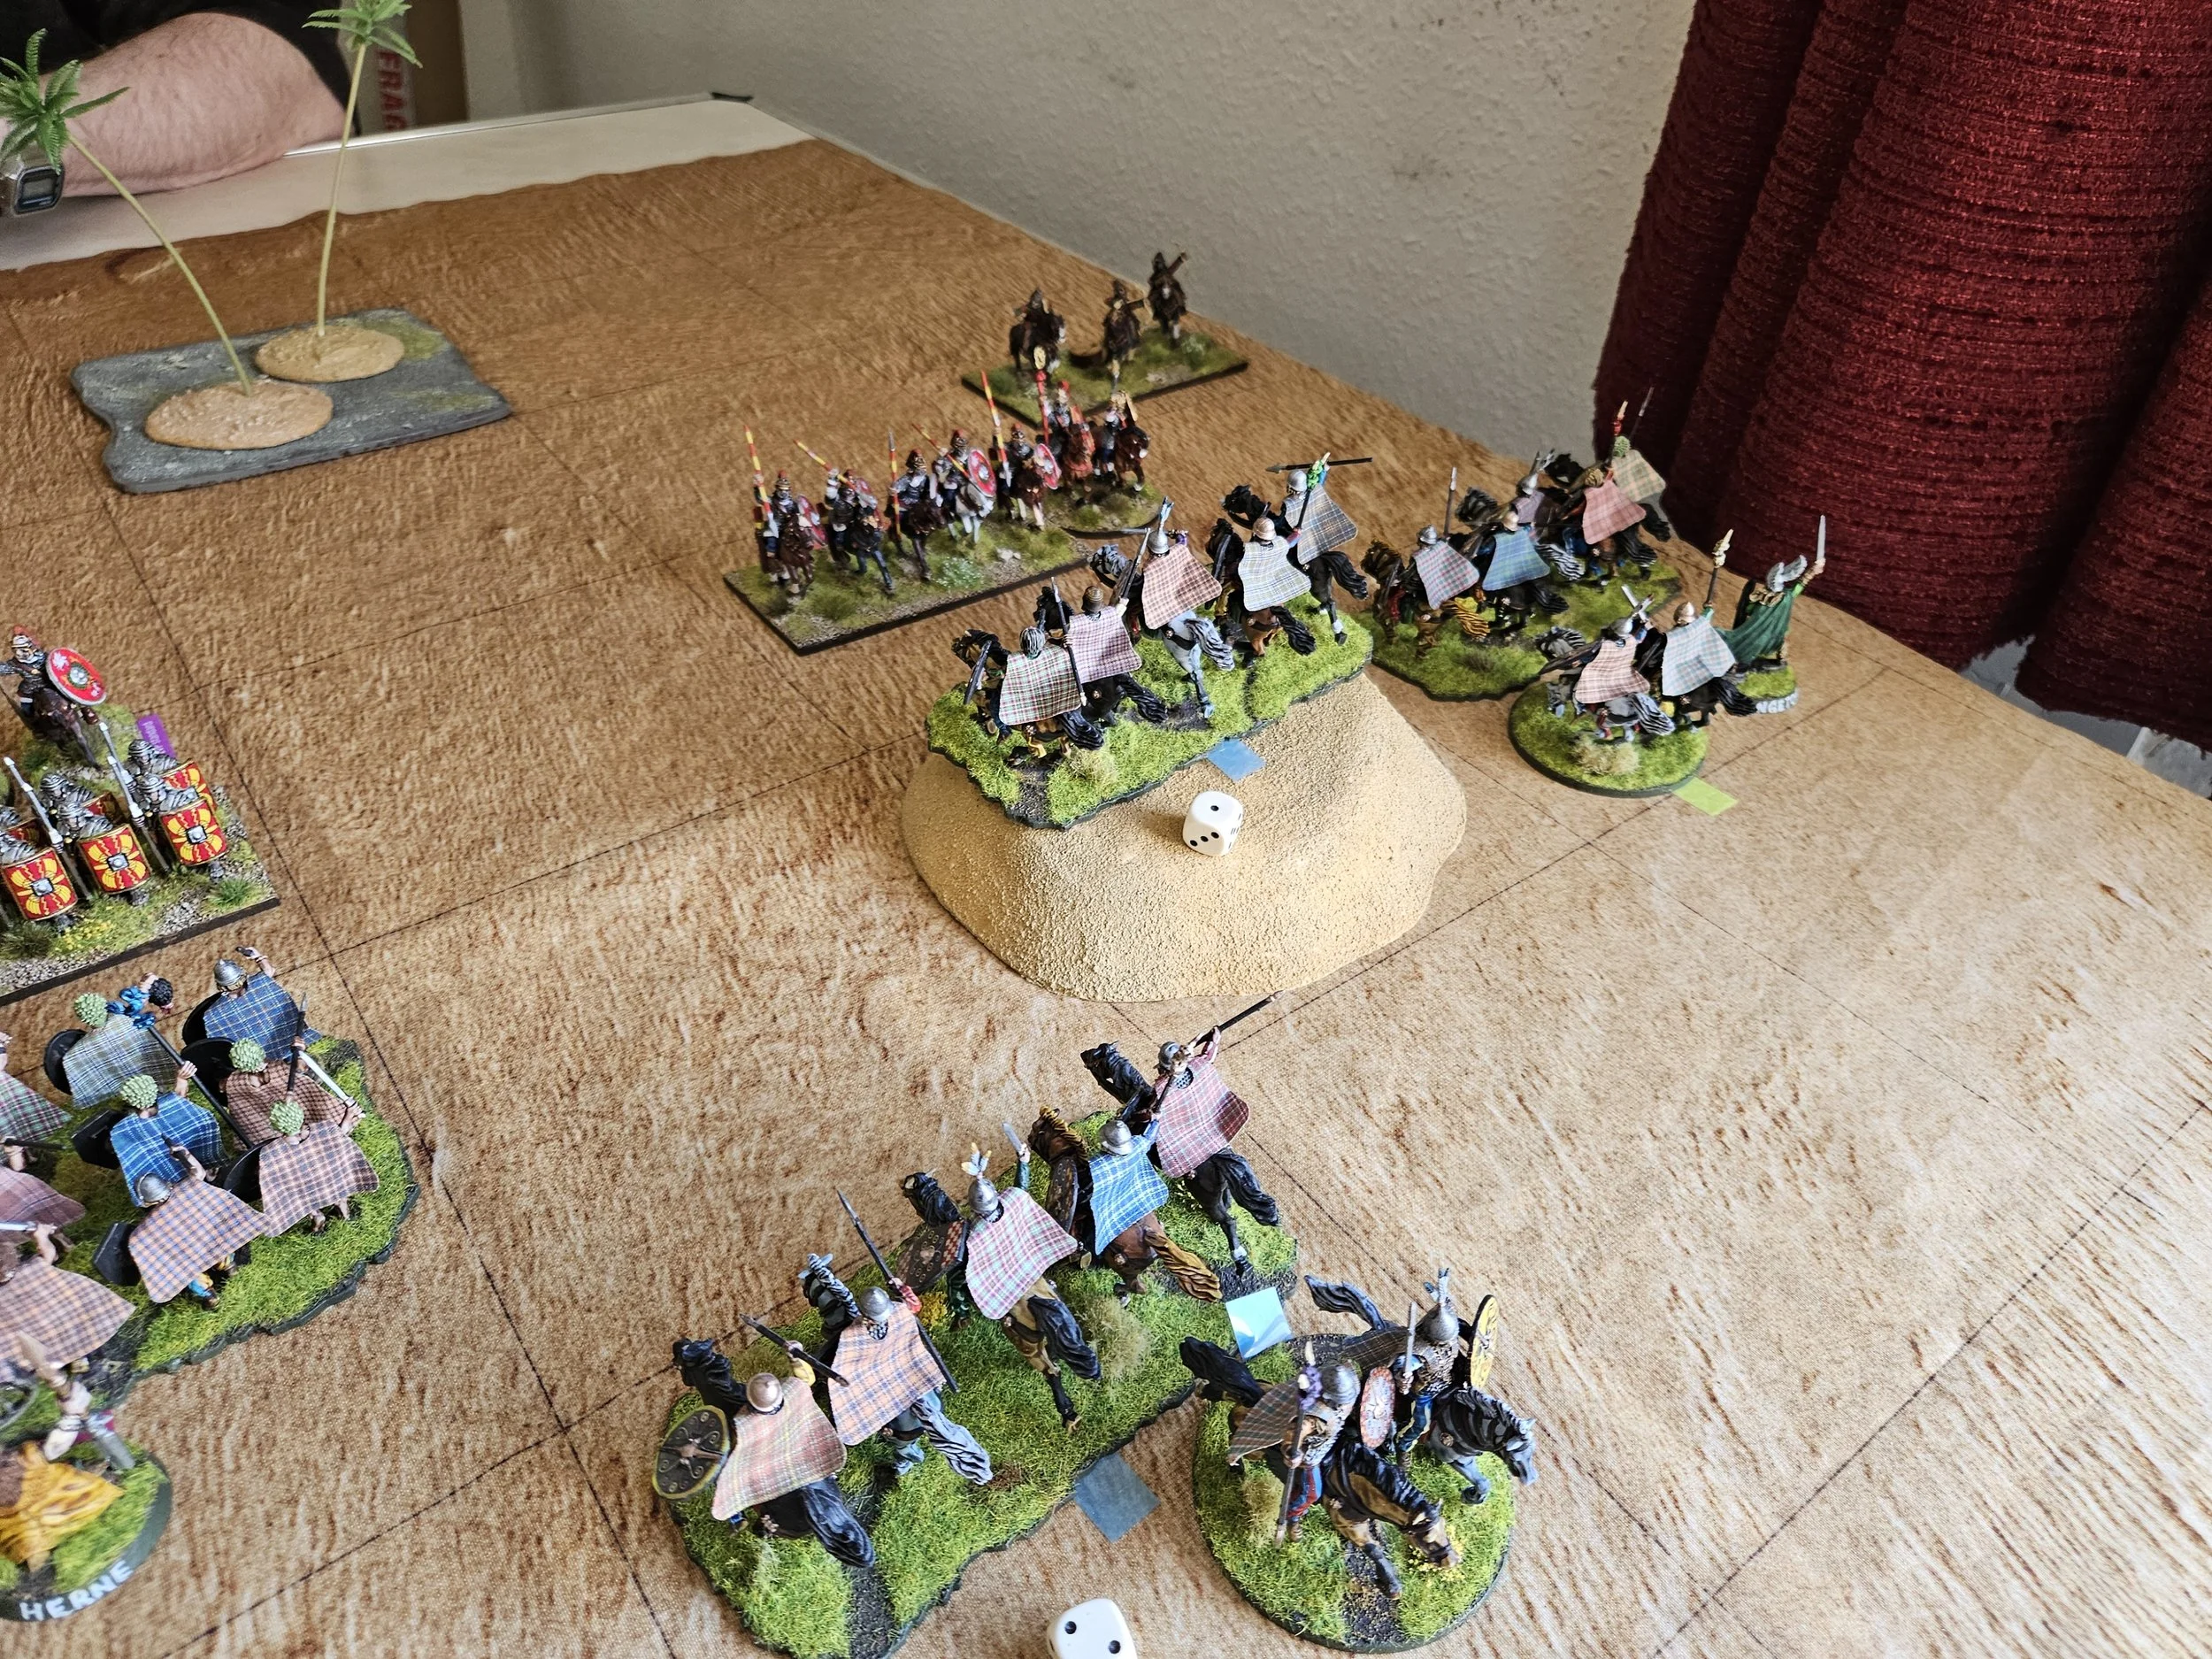
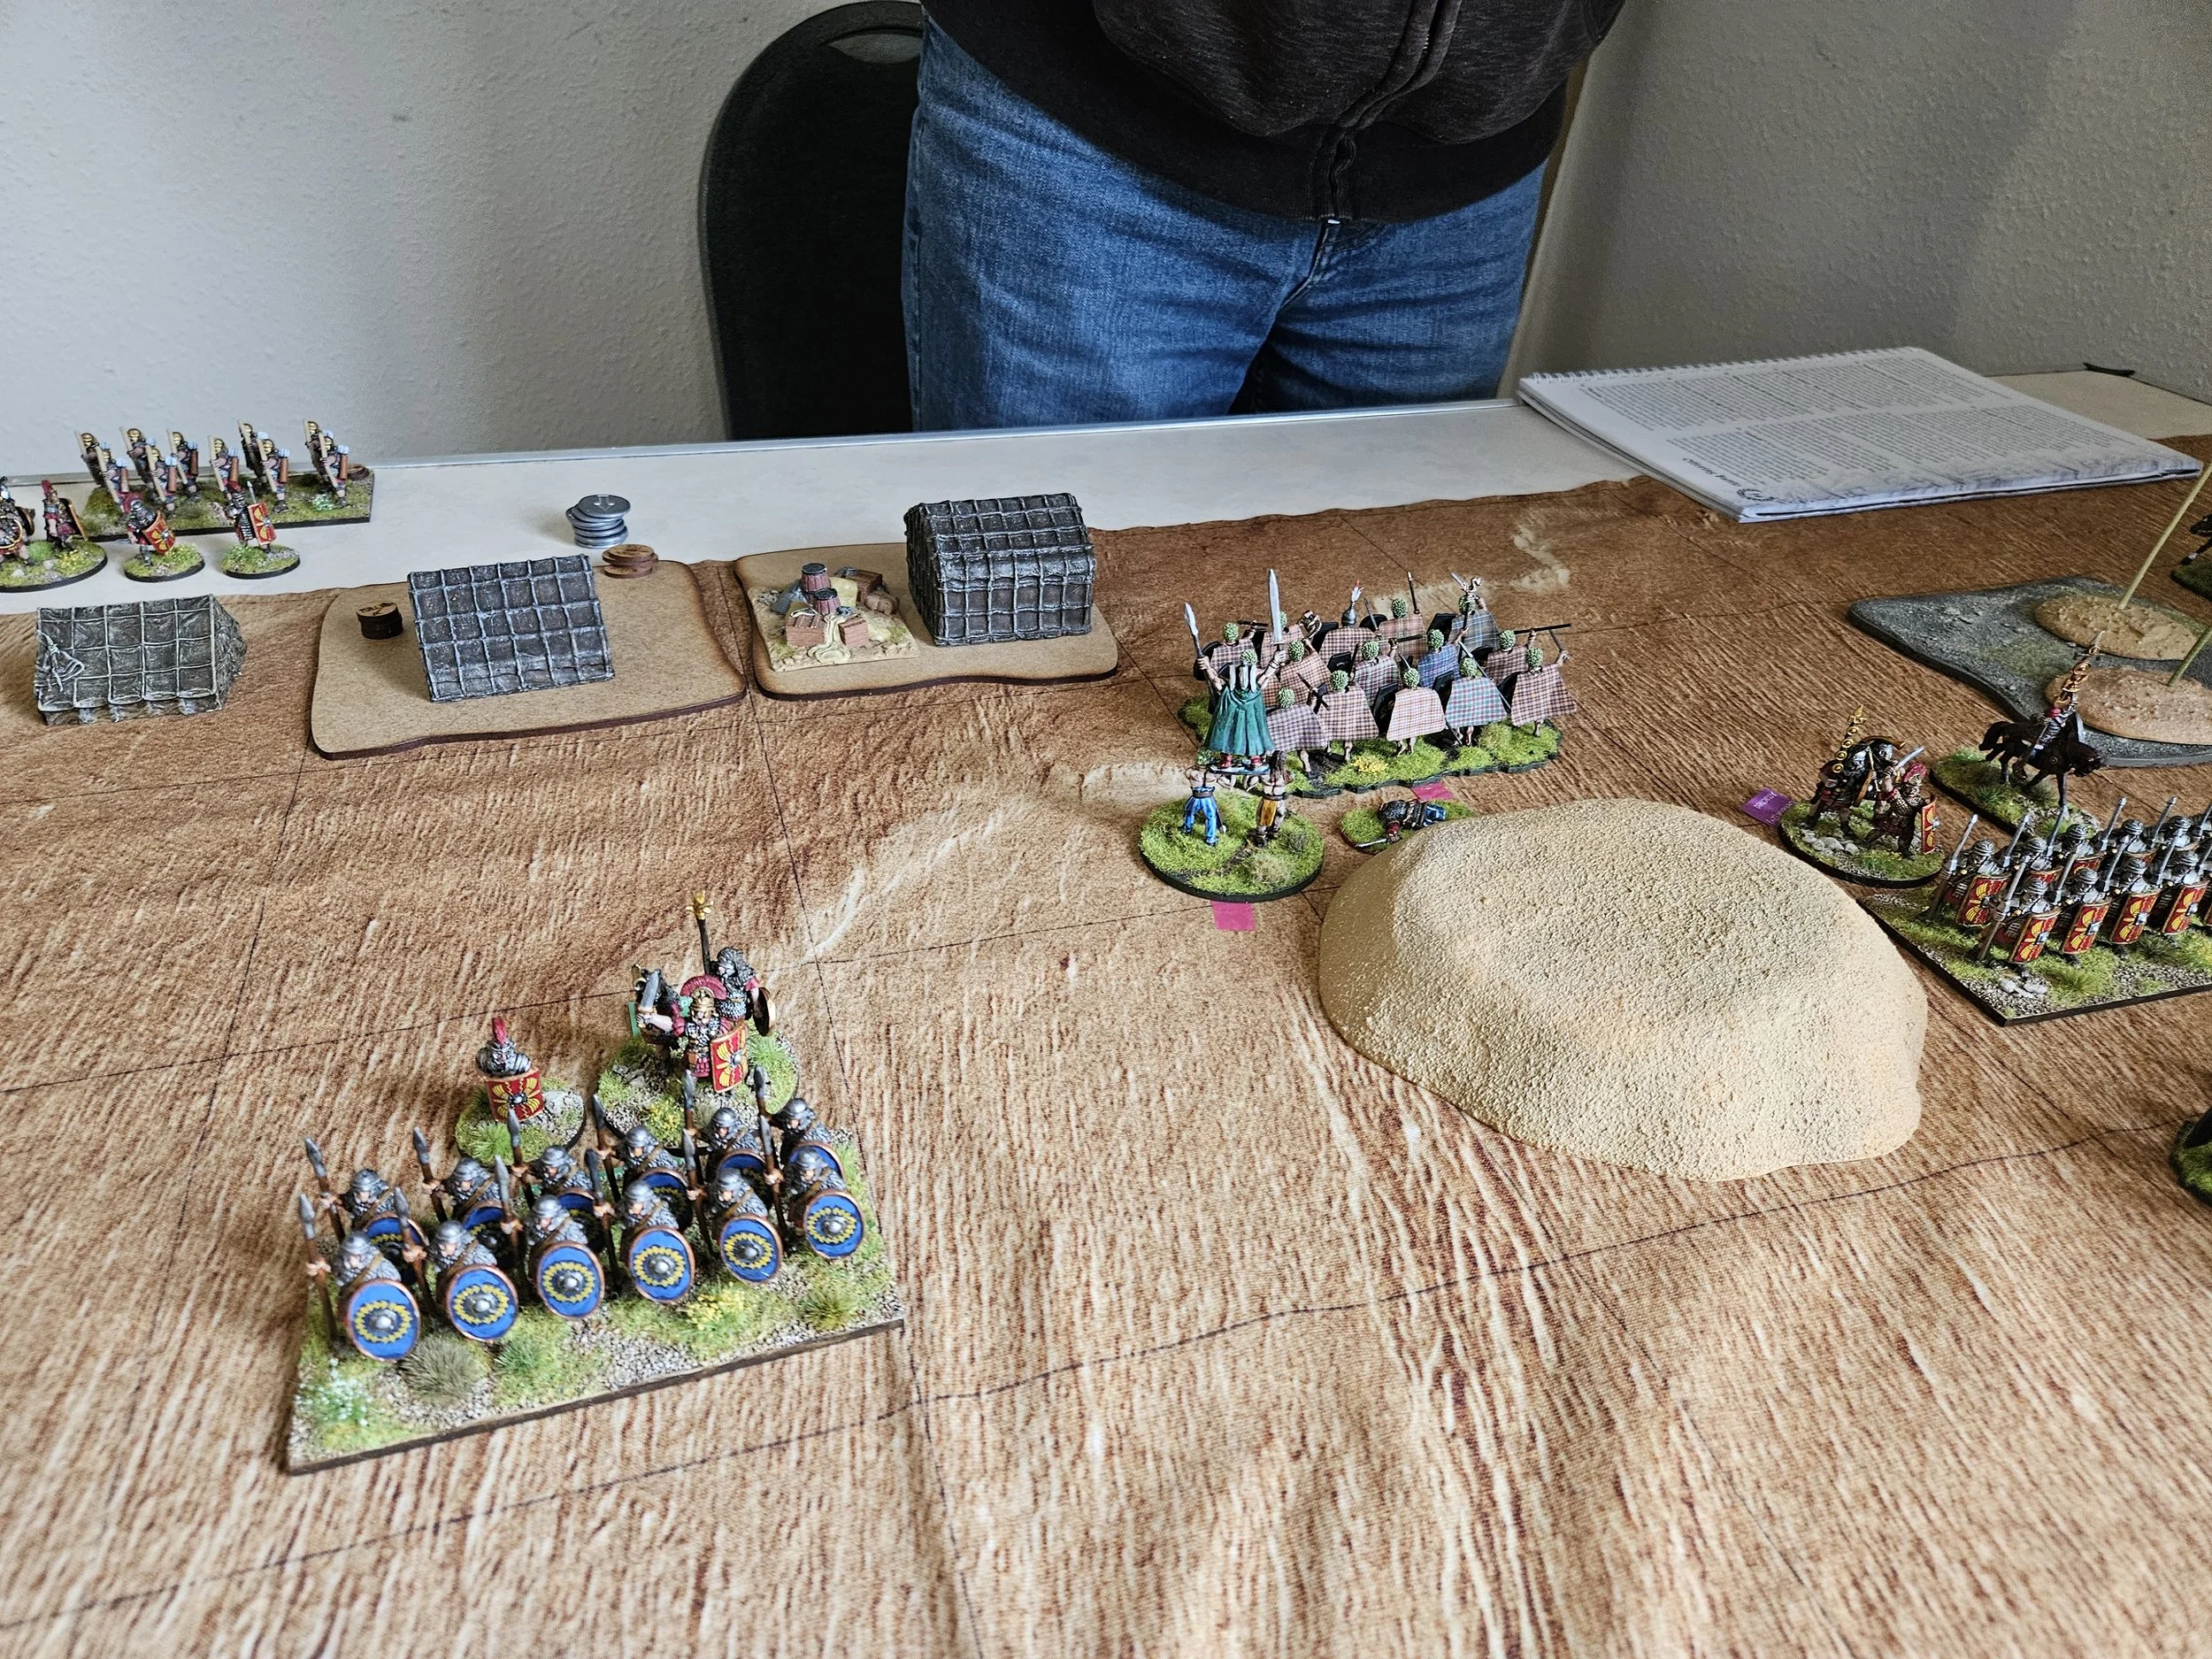
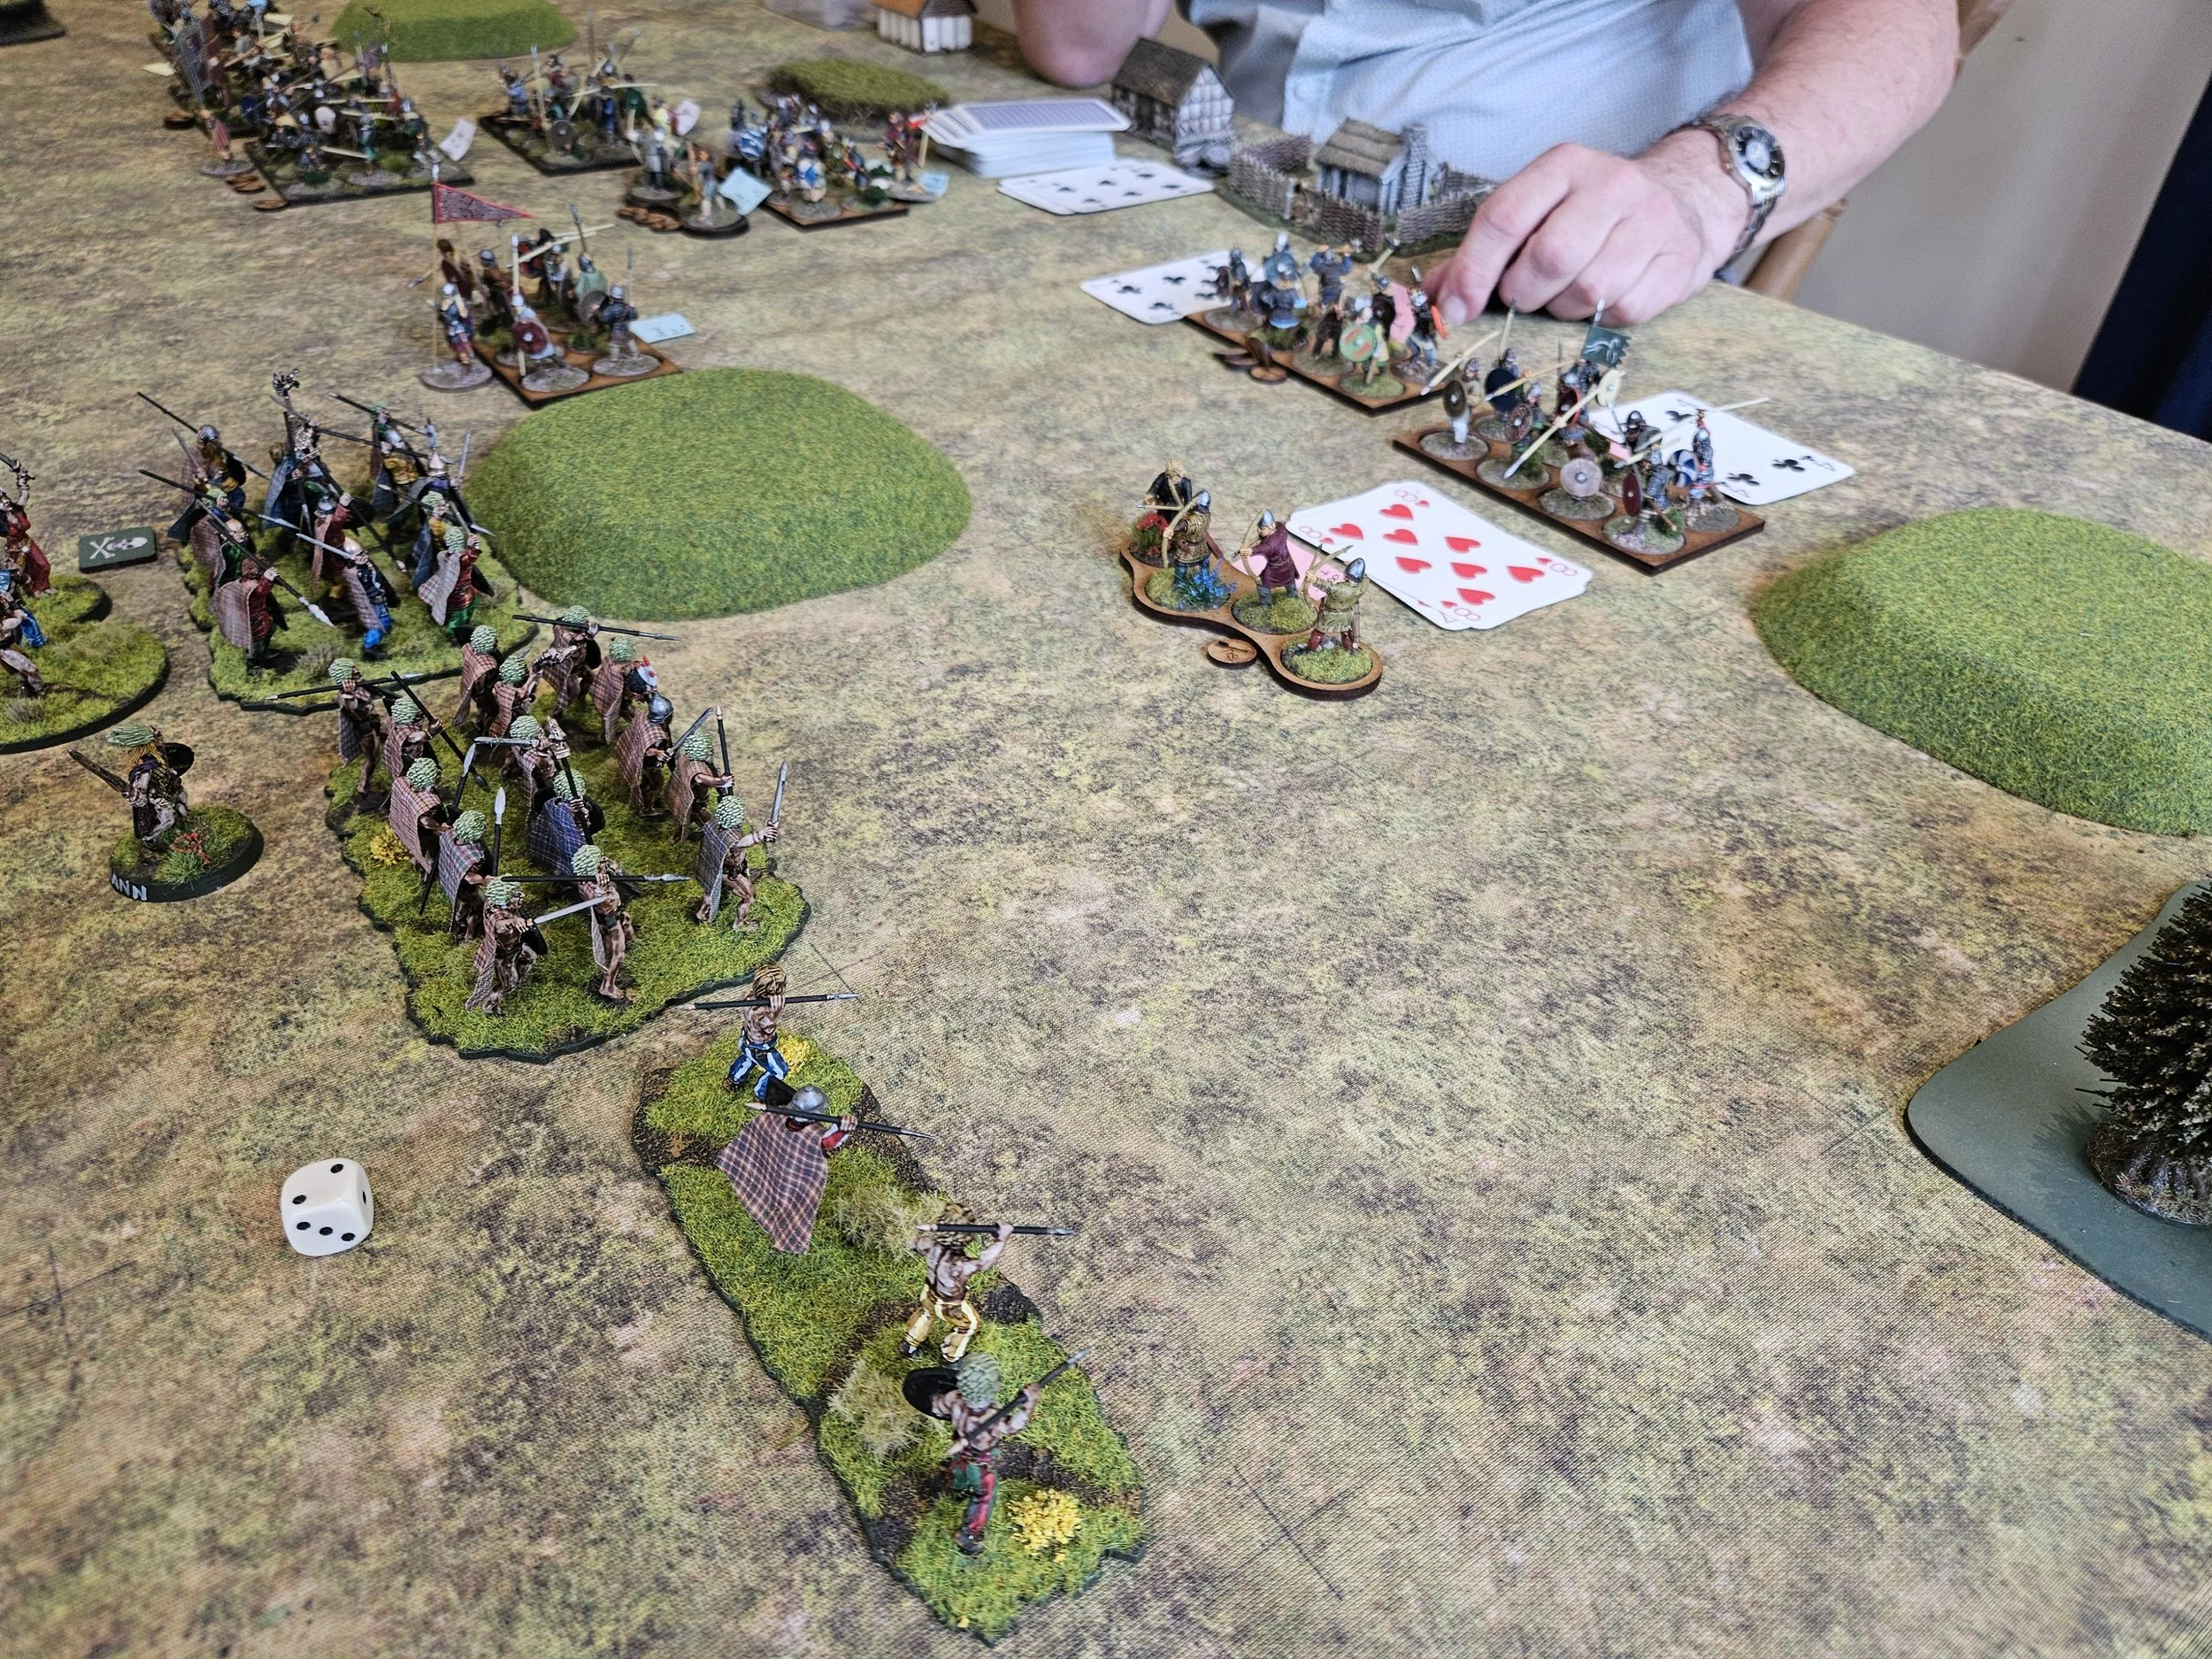
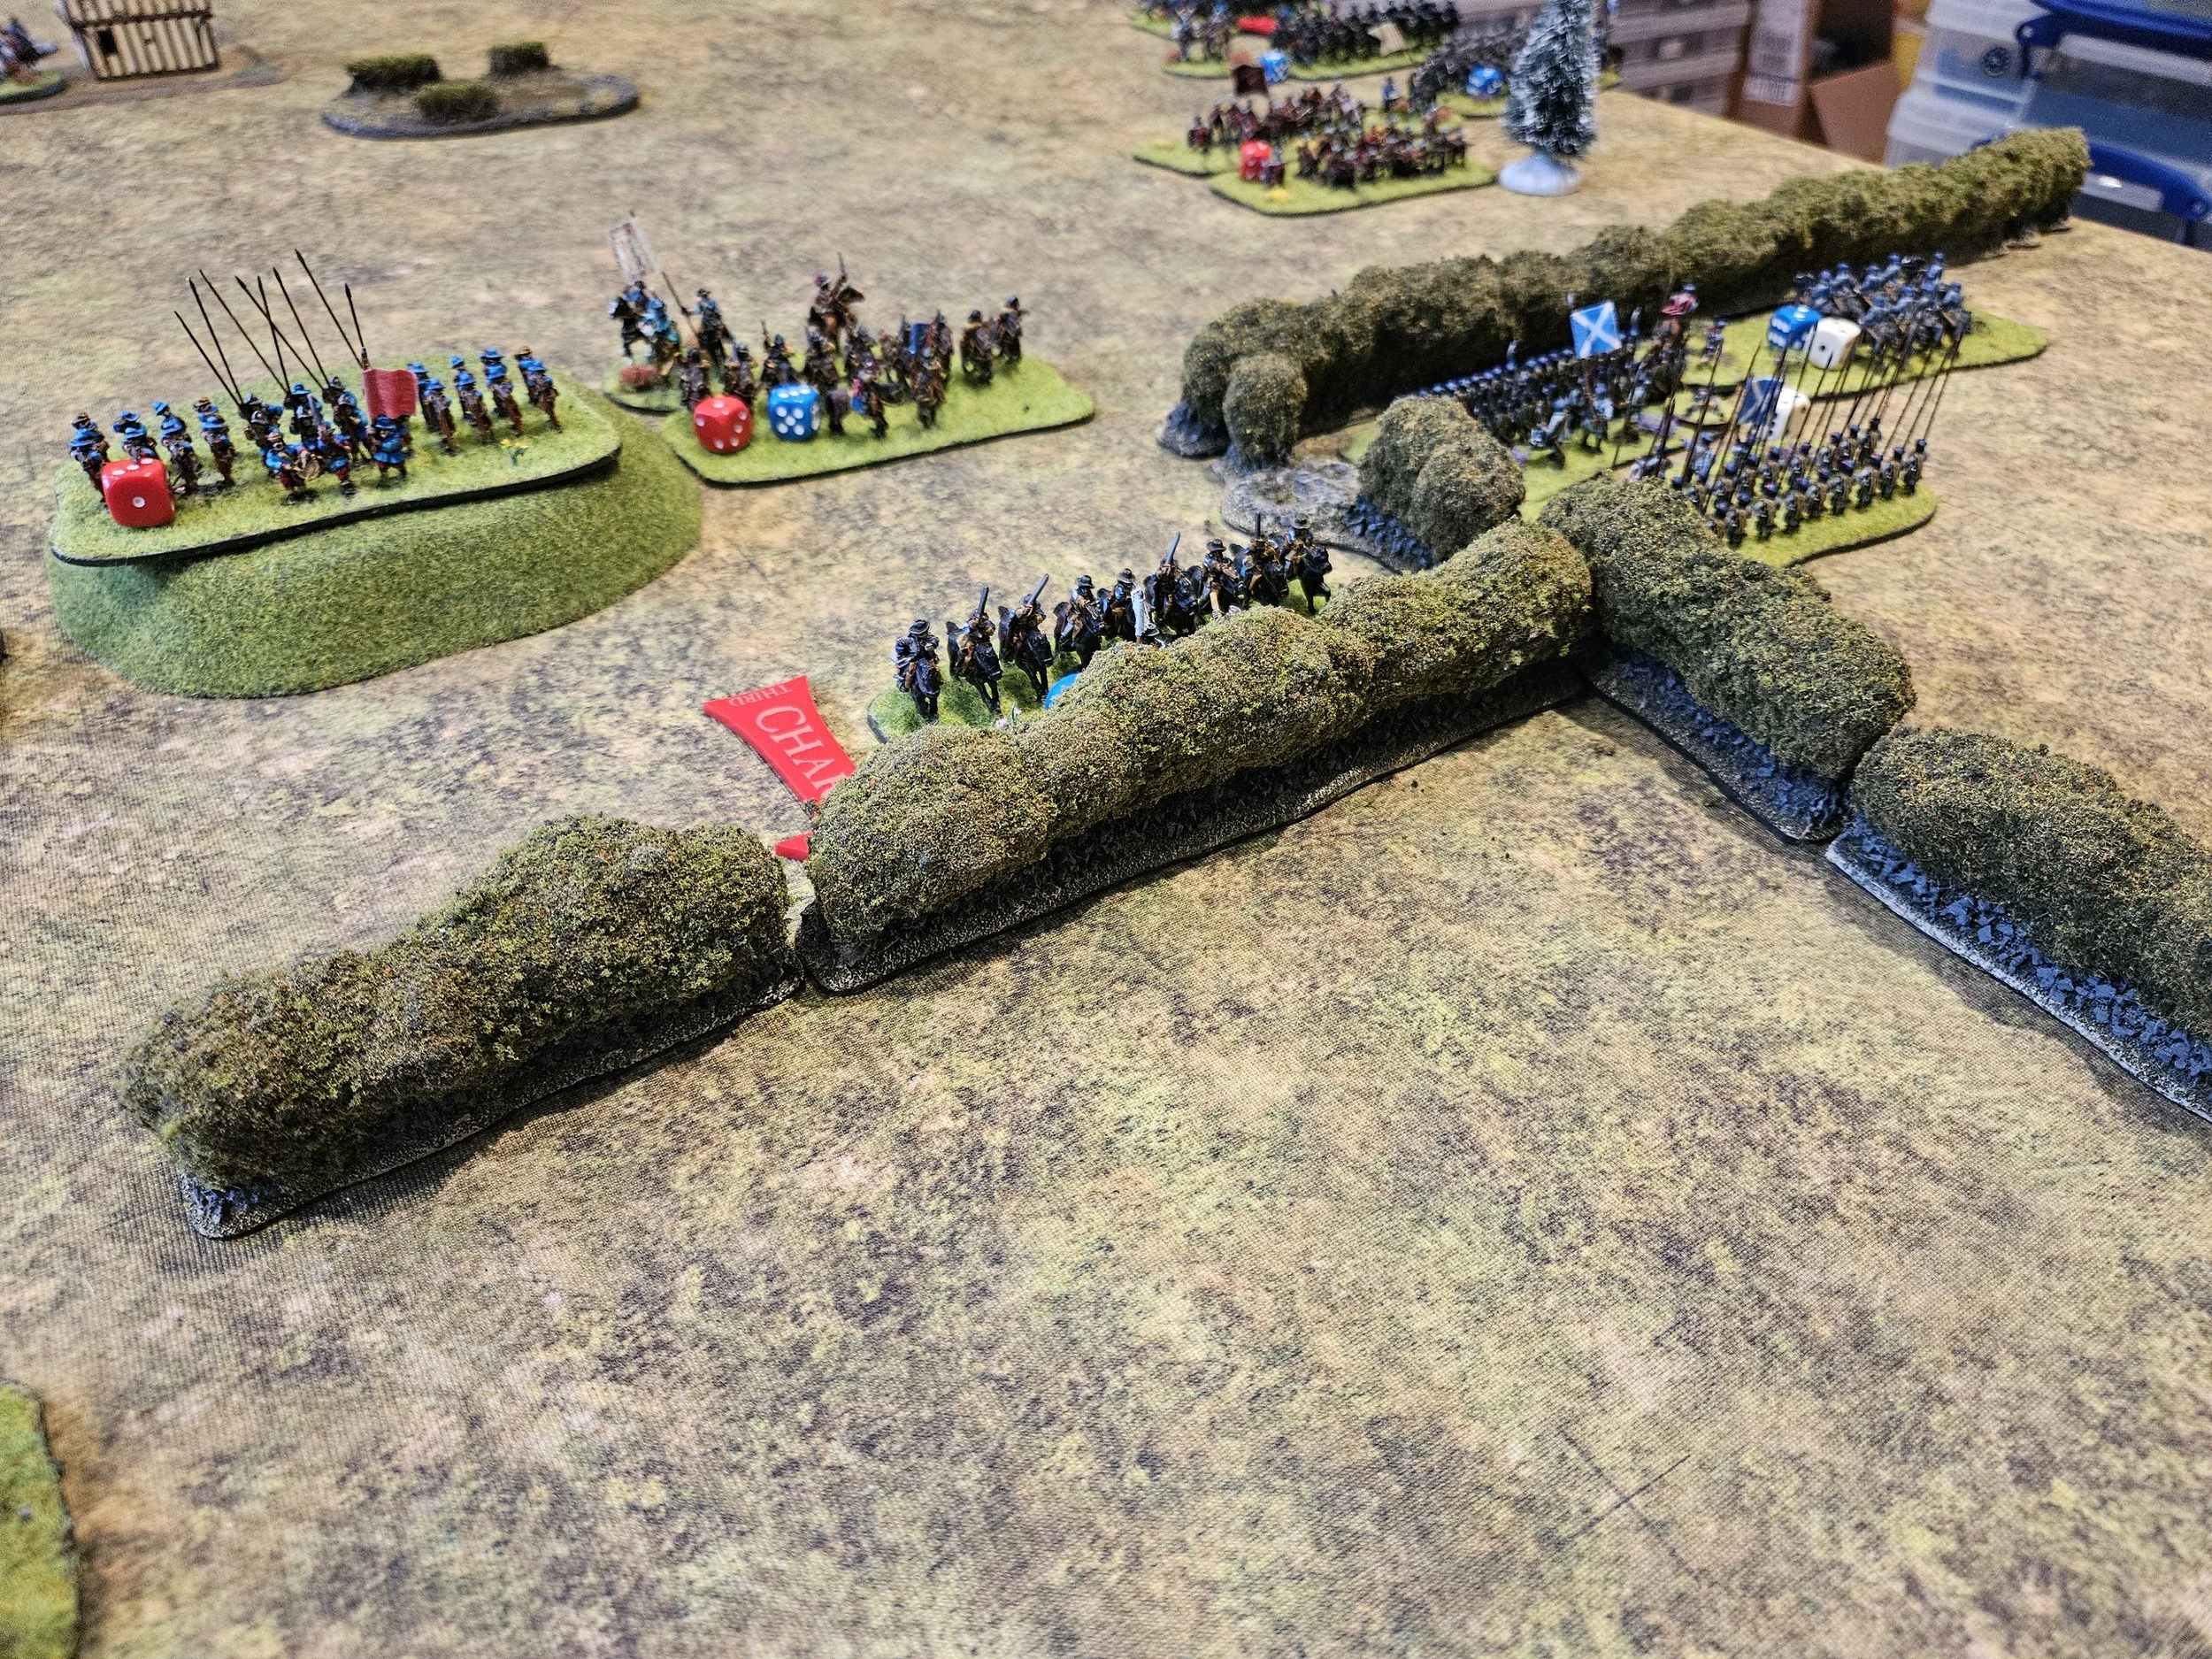
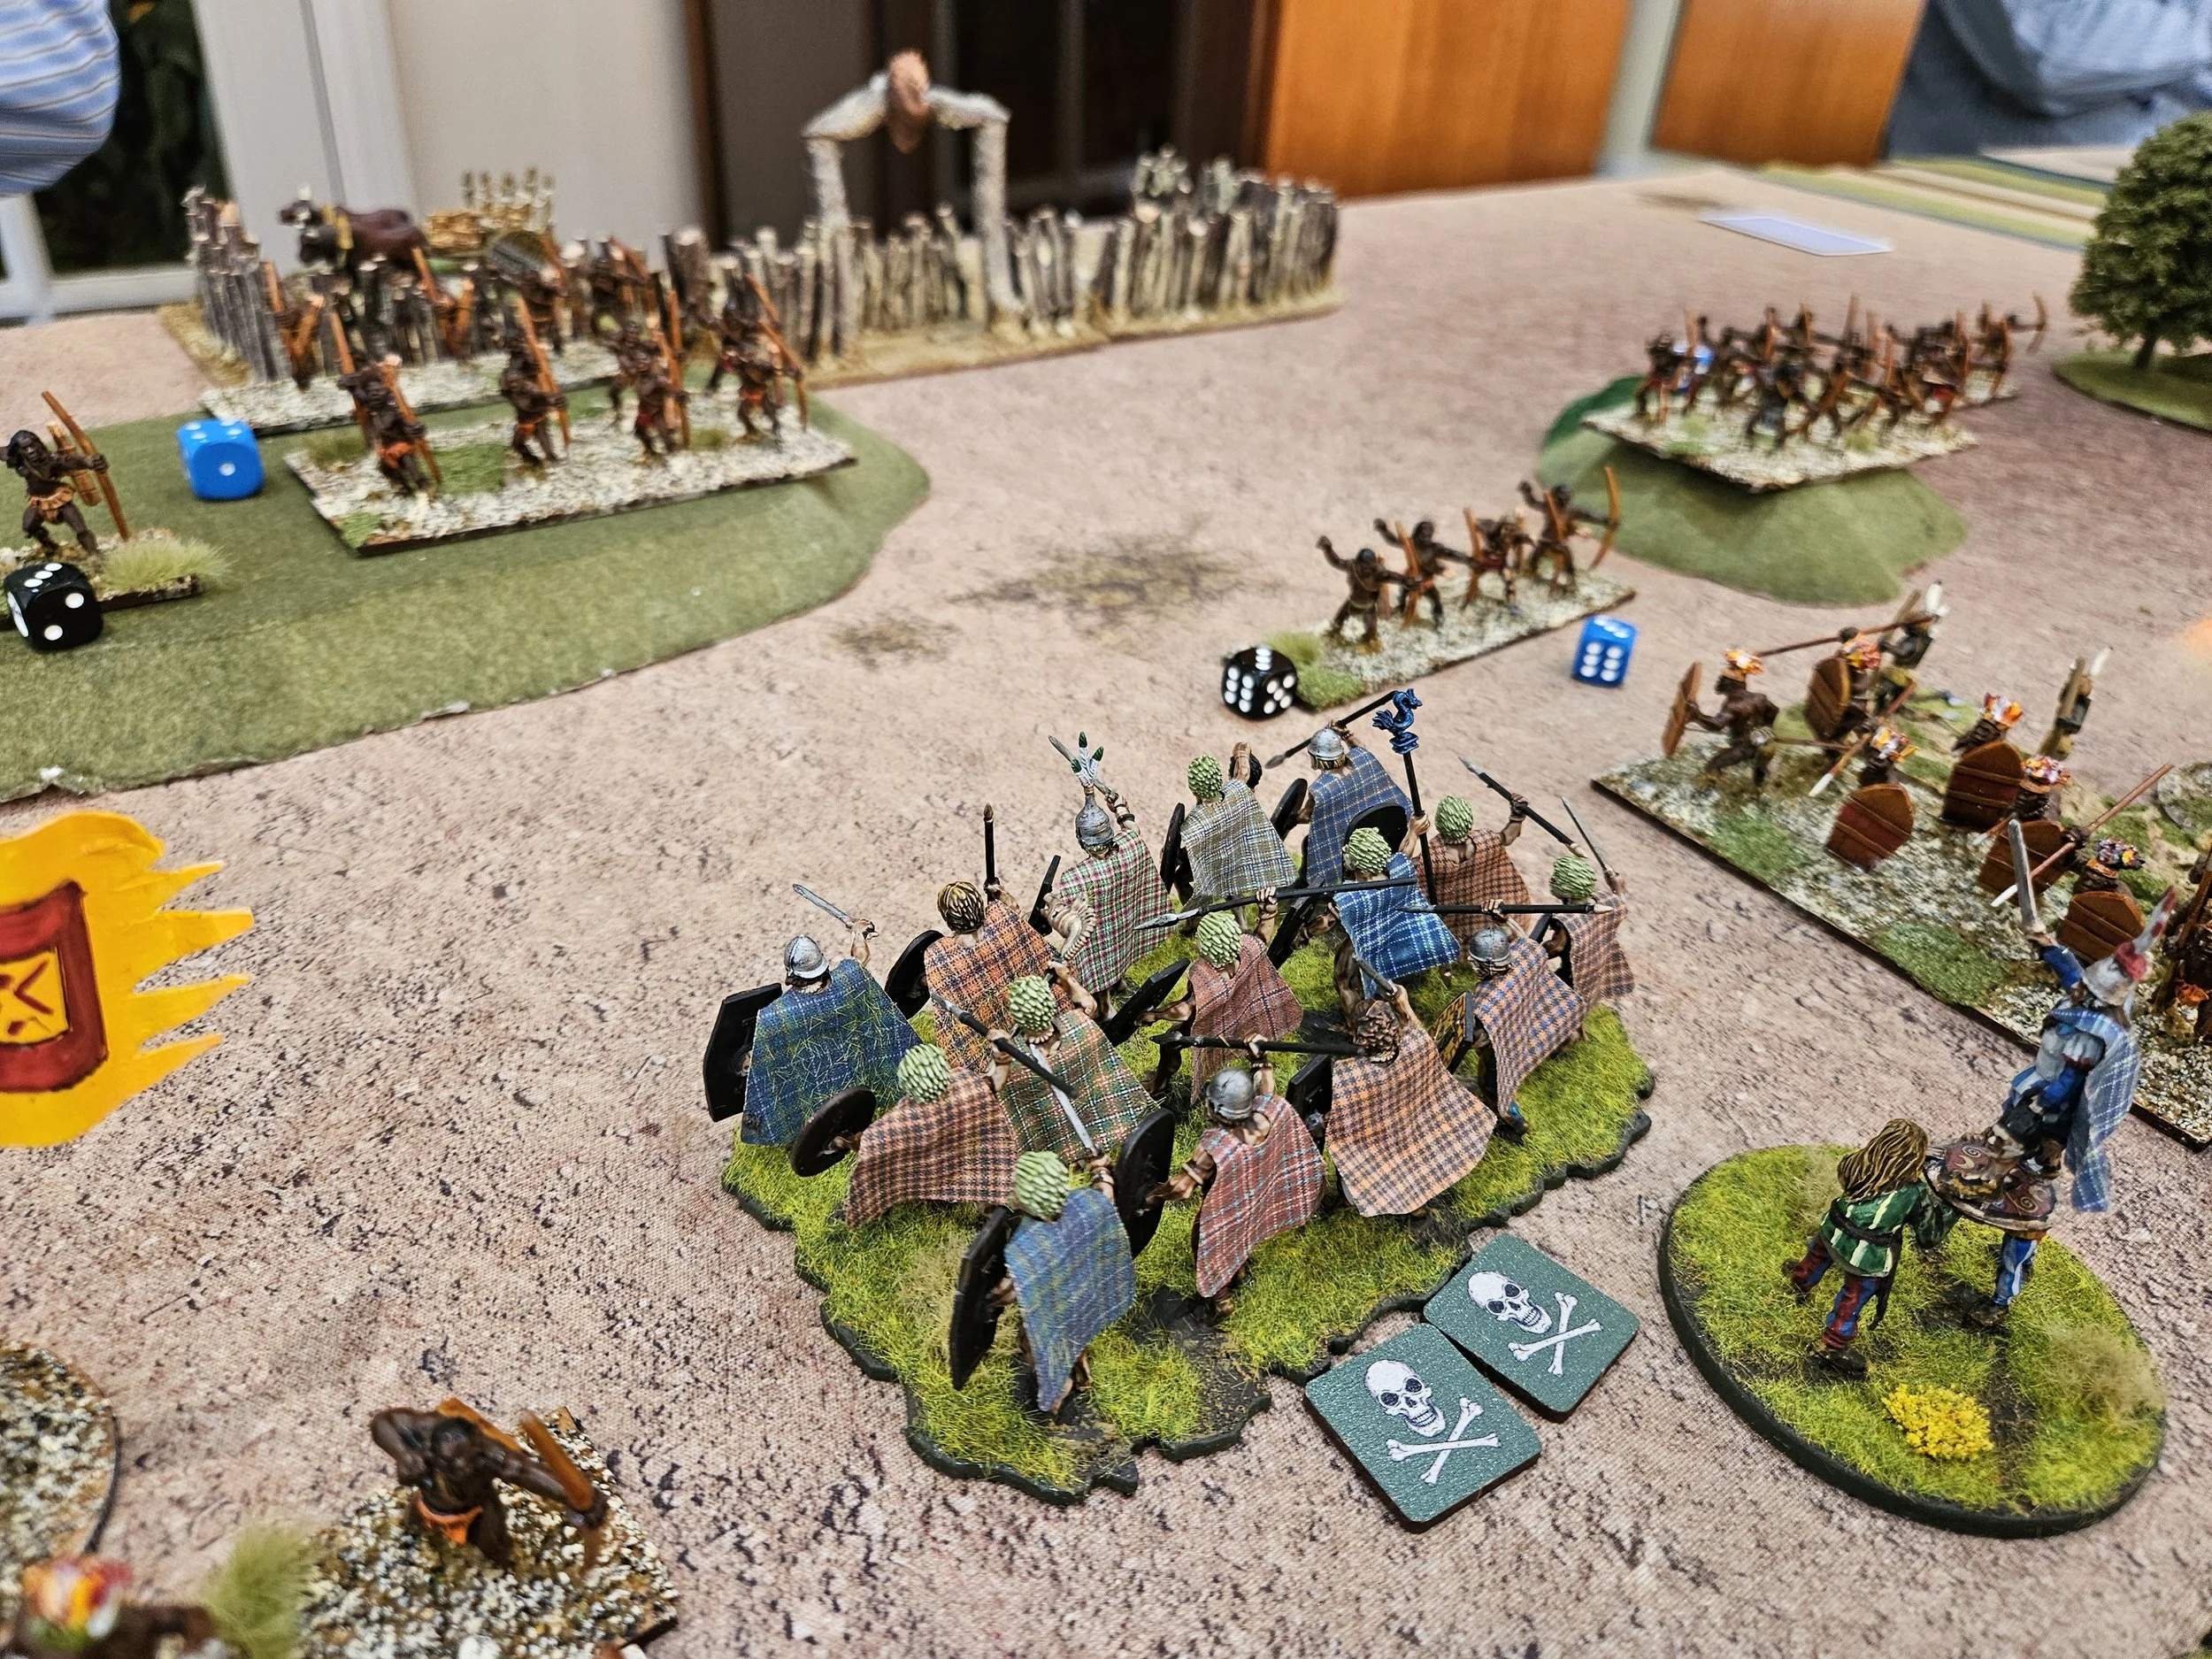
Just as they were deciding they were fanatical enough to charge forward, Rob attempted to drag his cavalry on my left, that were facing my well garrisoned camp, into the centre enroute to supporting his outnumbered cavalry command on my right.
However this blocked the advance if his warbands and the combination of rough terrain, hesitant unwieldy warbands and intimidating fields of fire quickly turned into a log-jam with the cavalry baulking at entering rough terrain, and his unwieldy warbands both getting in the way and still reluctant to advance into the interlocking fields of fire.
The Battle Continues
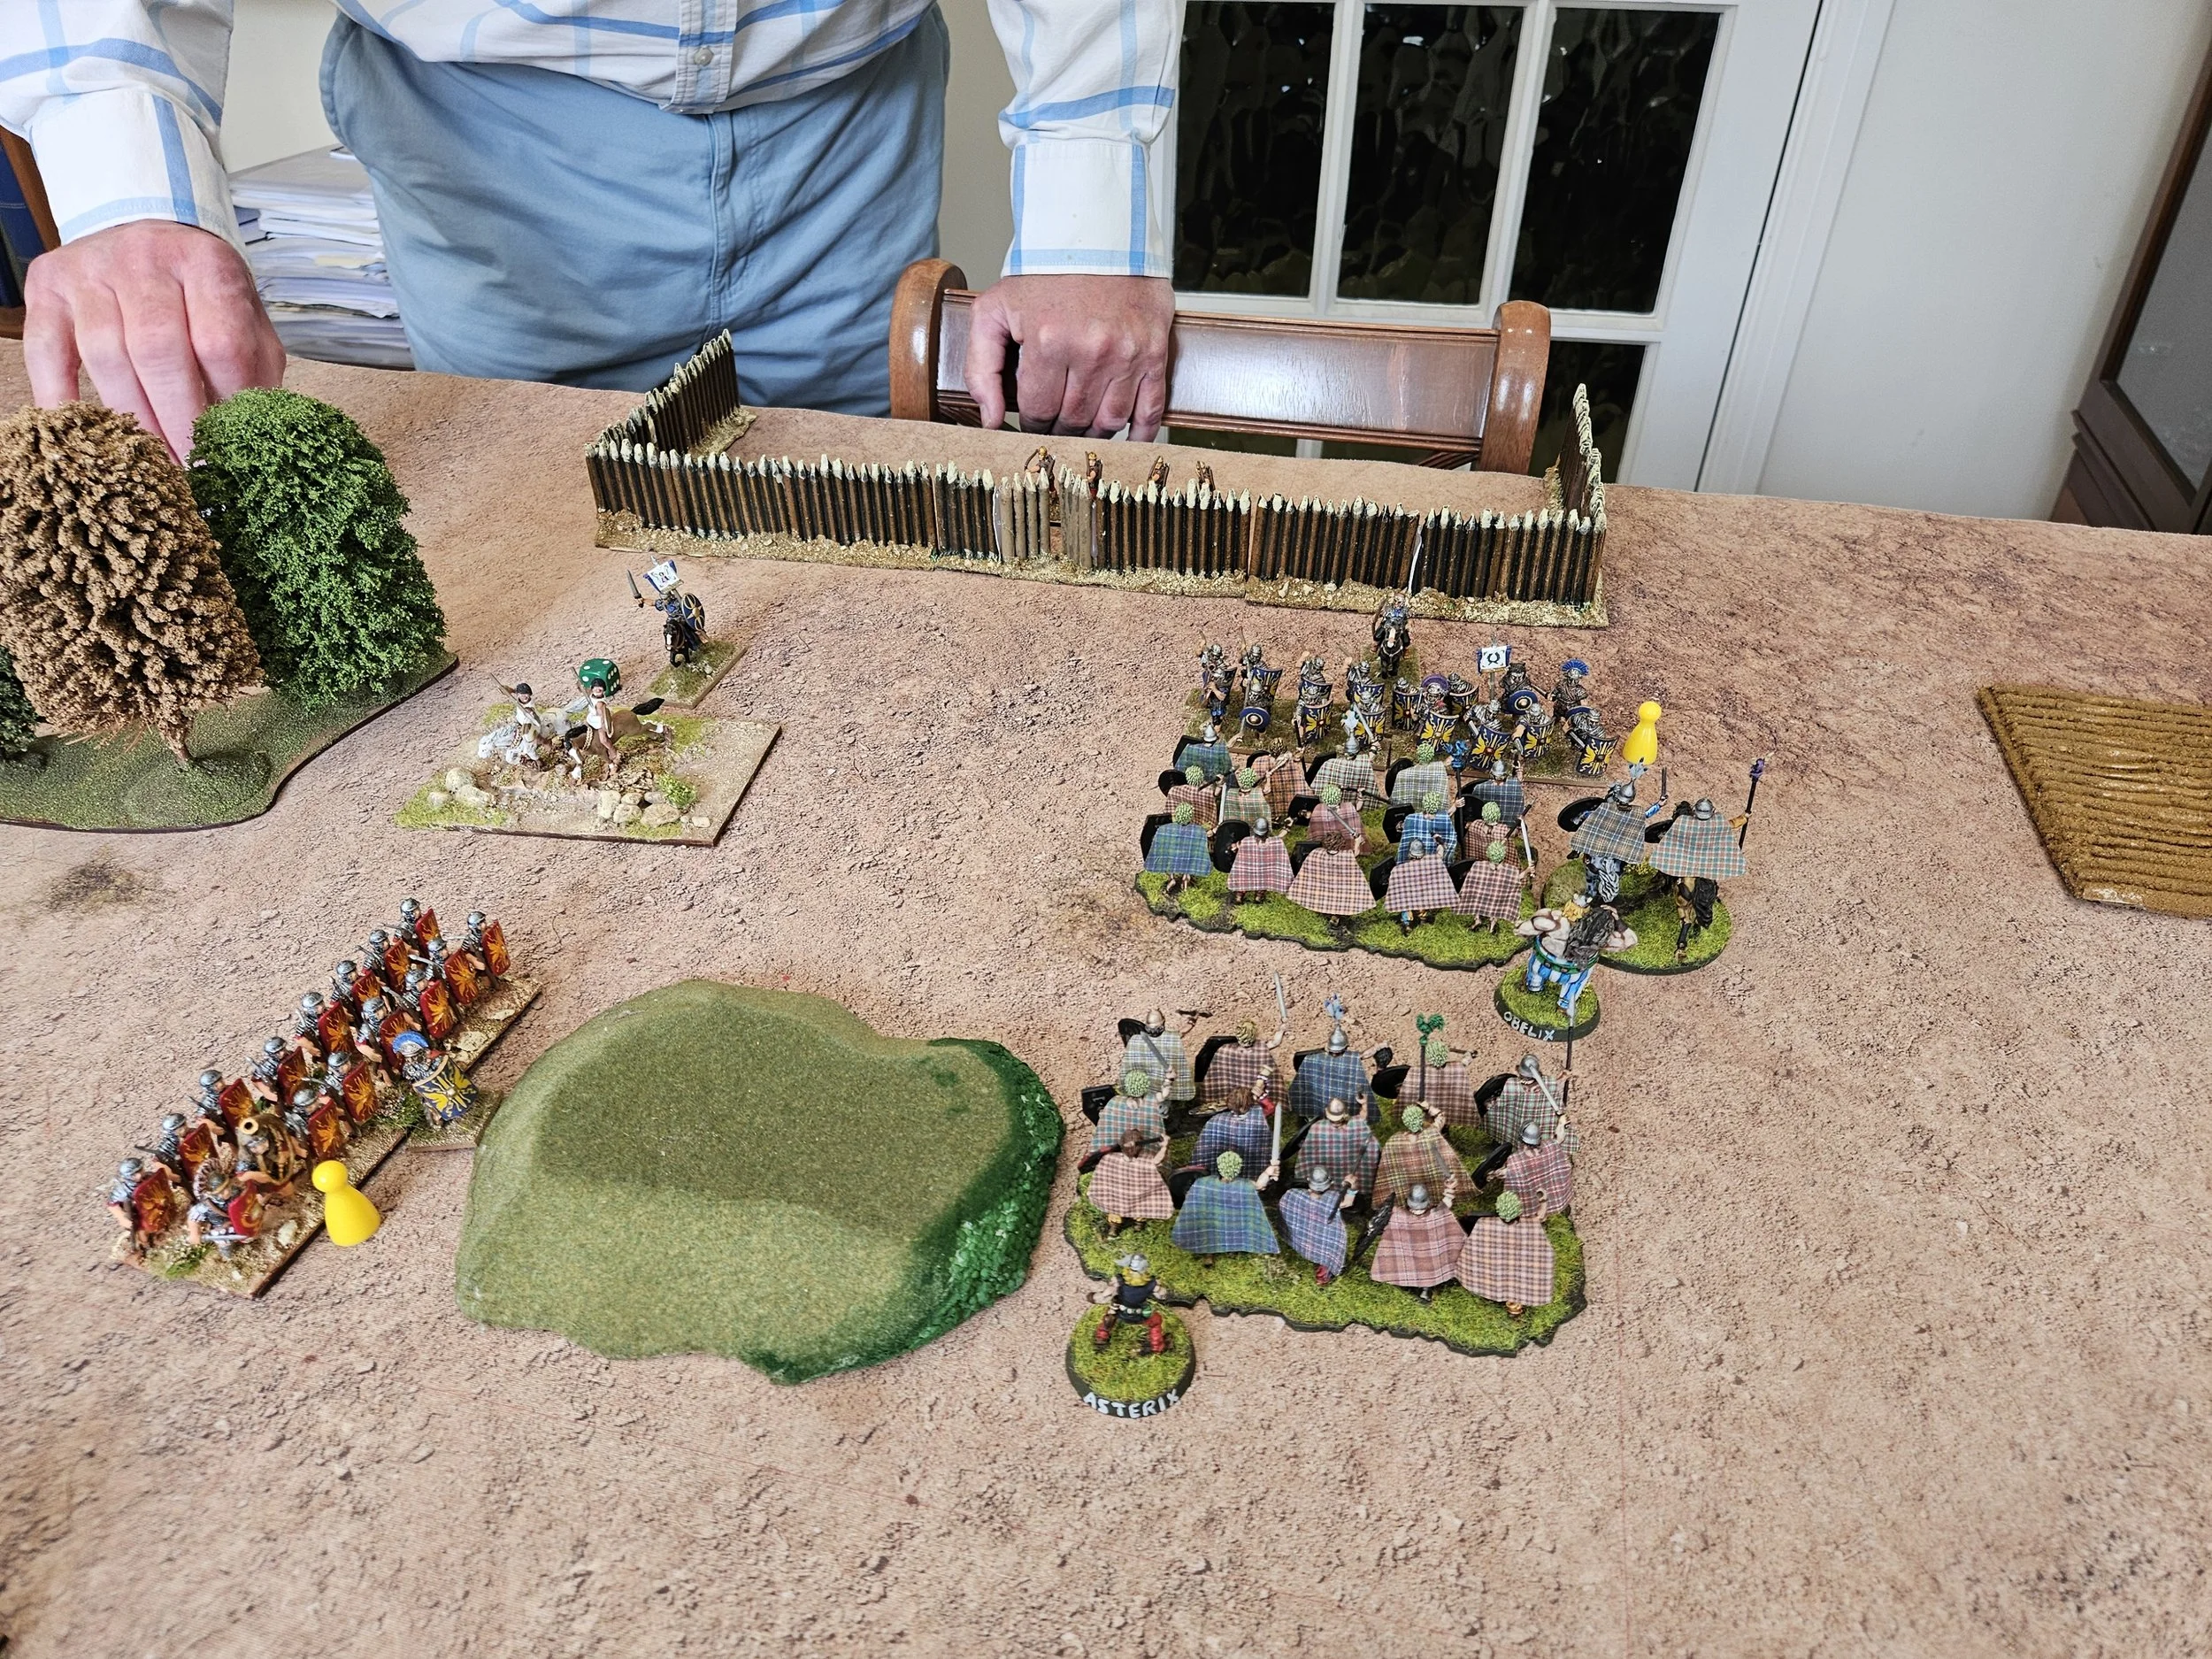
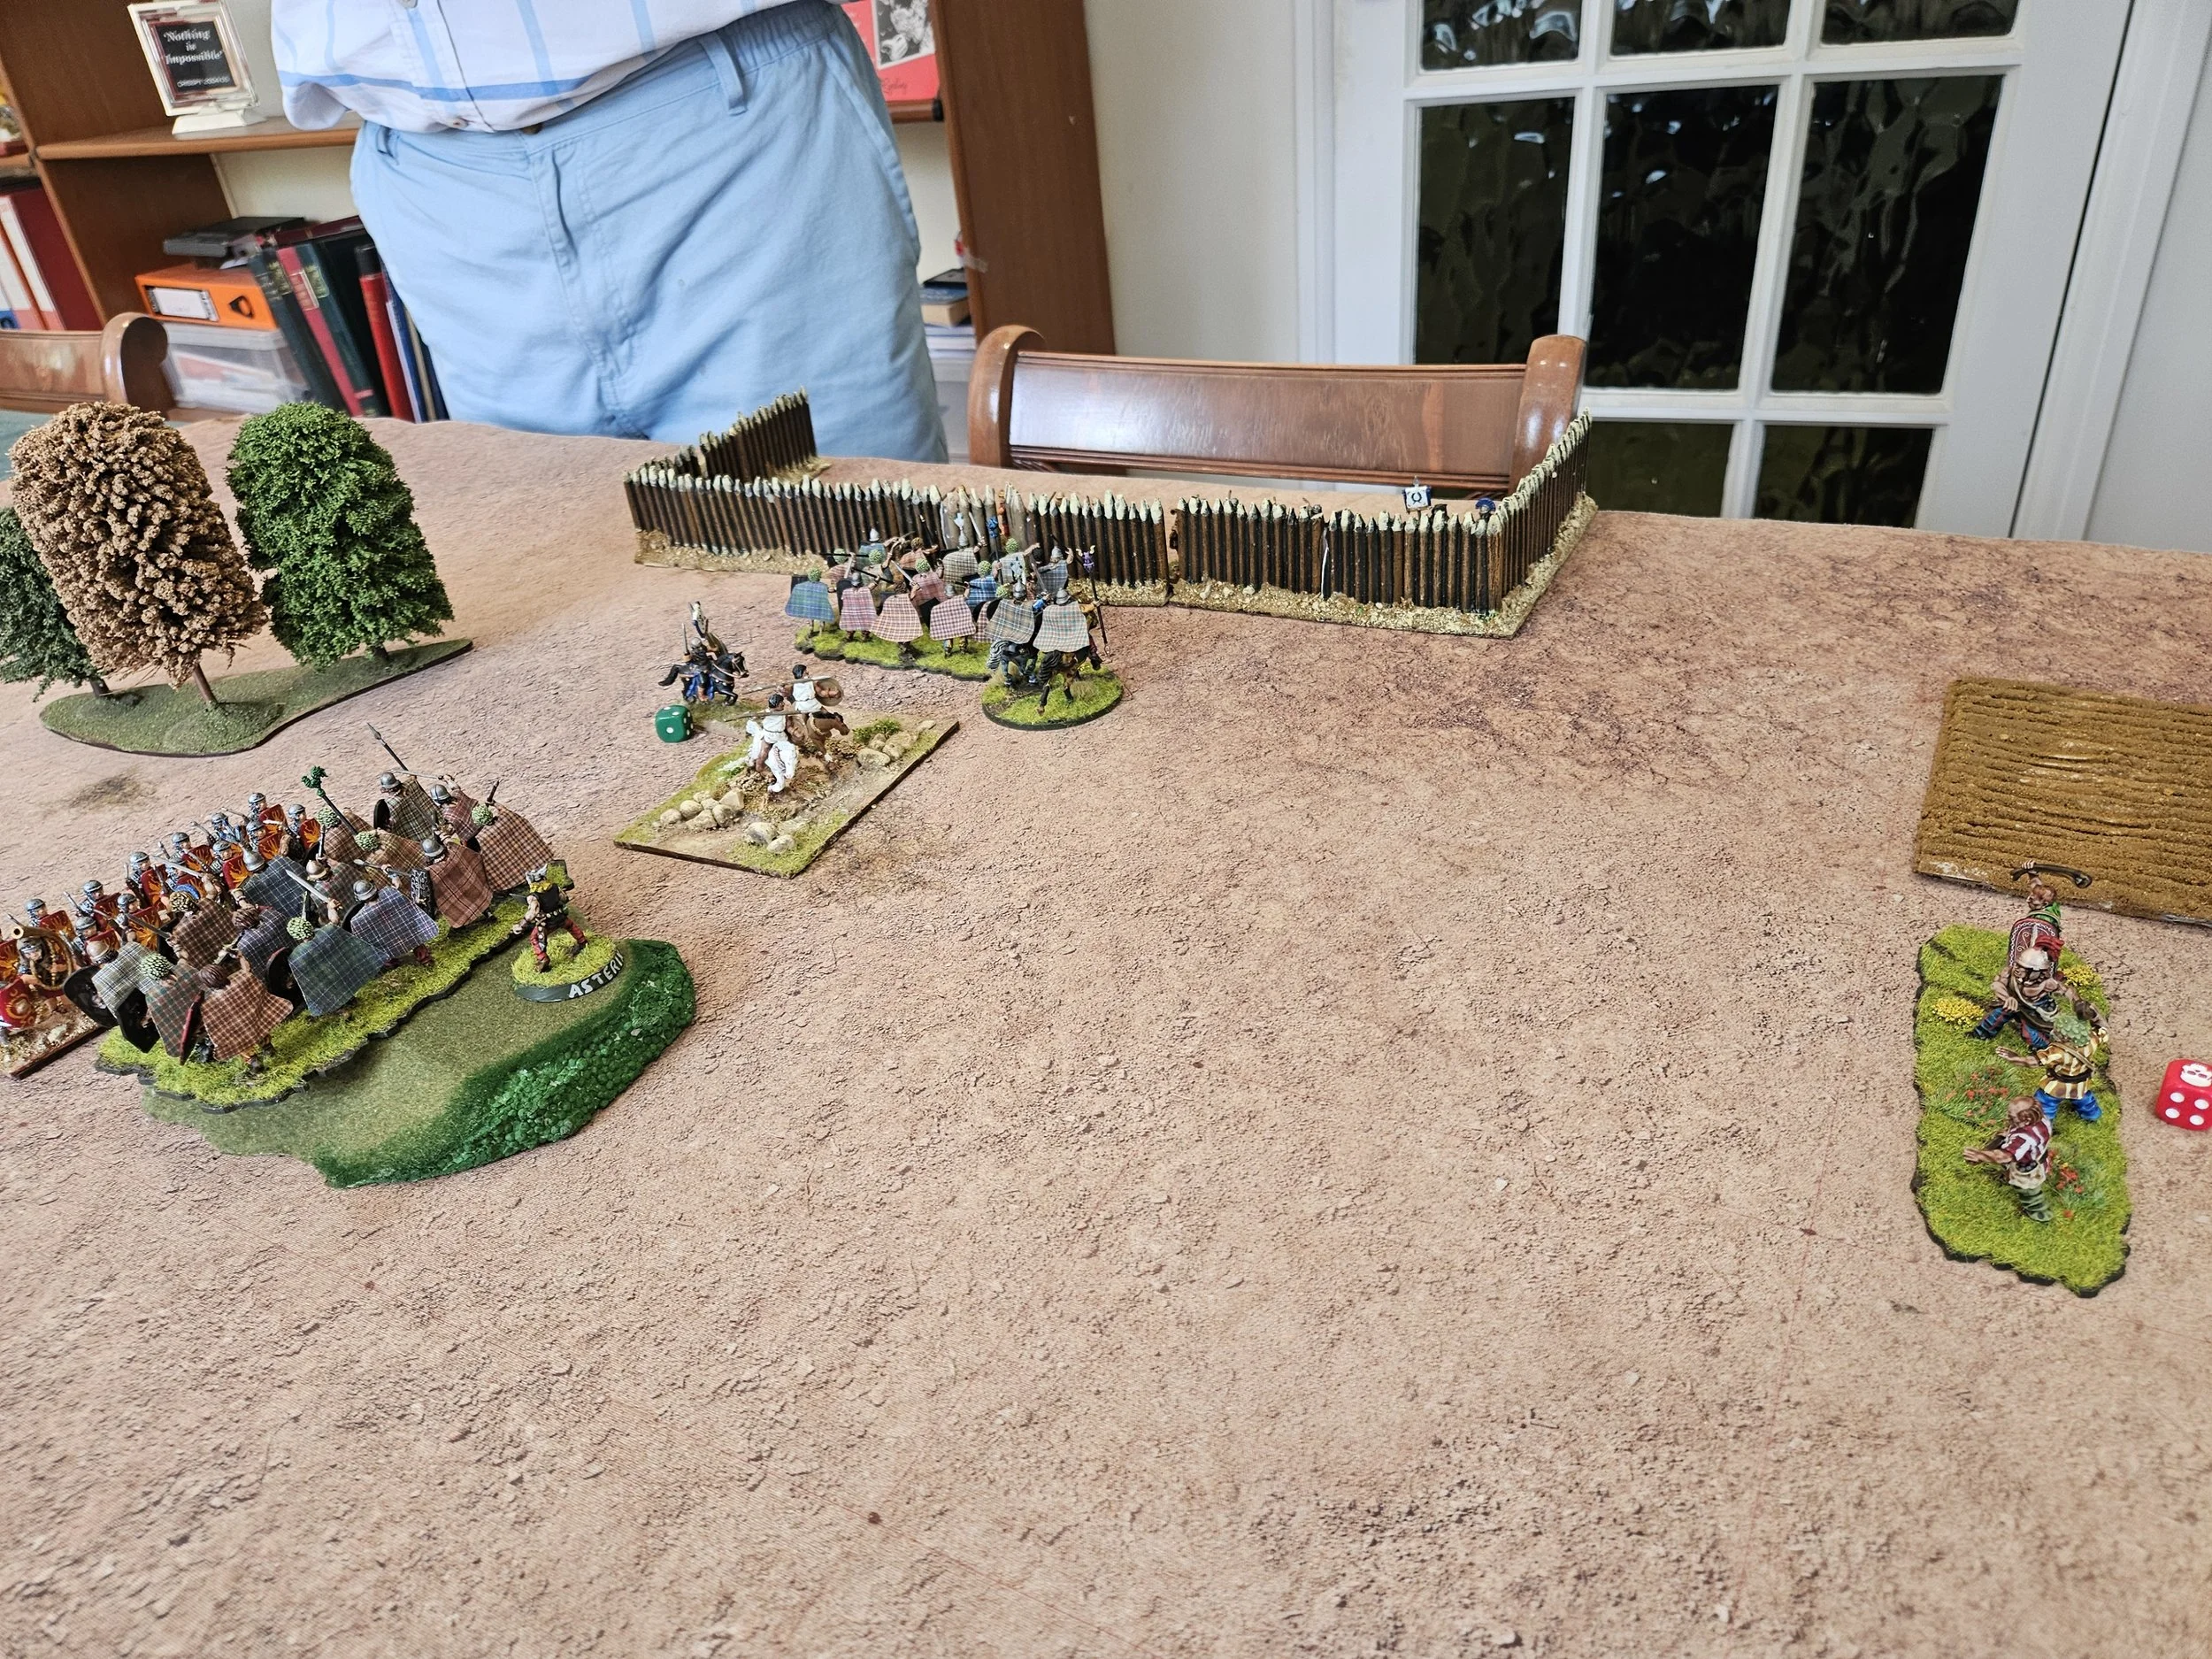
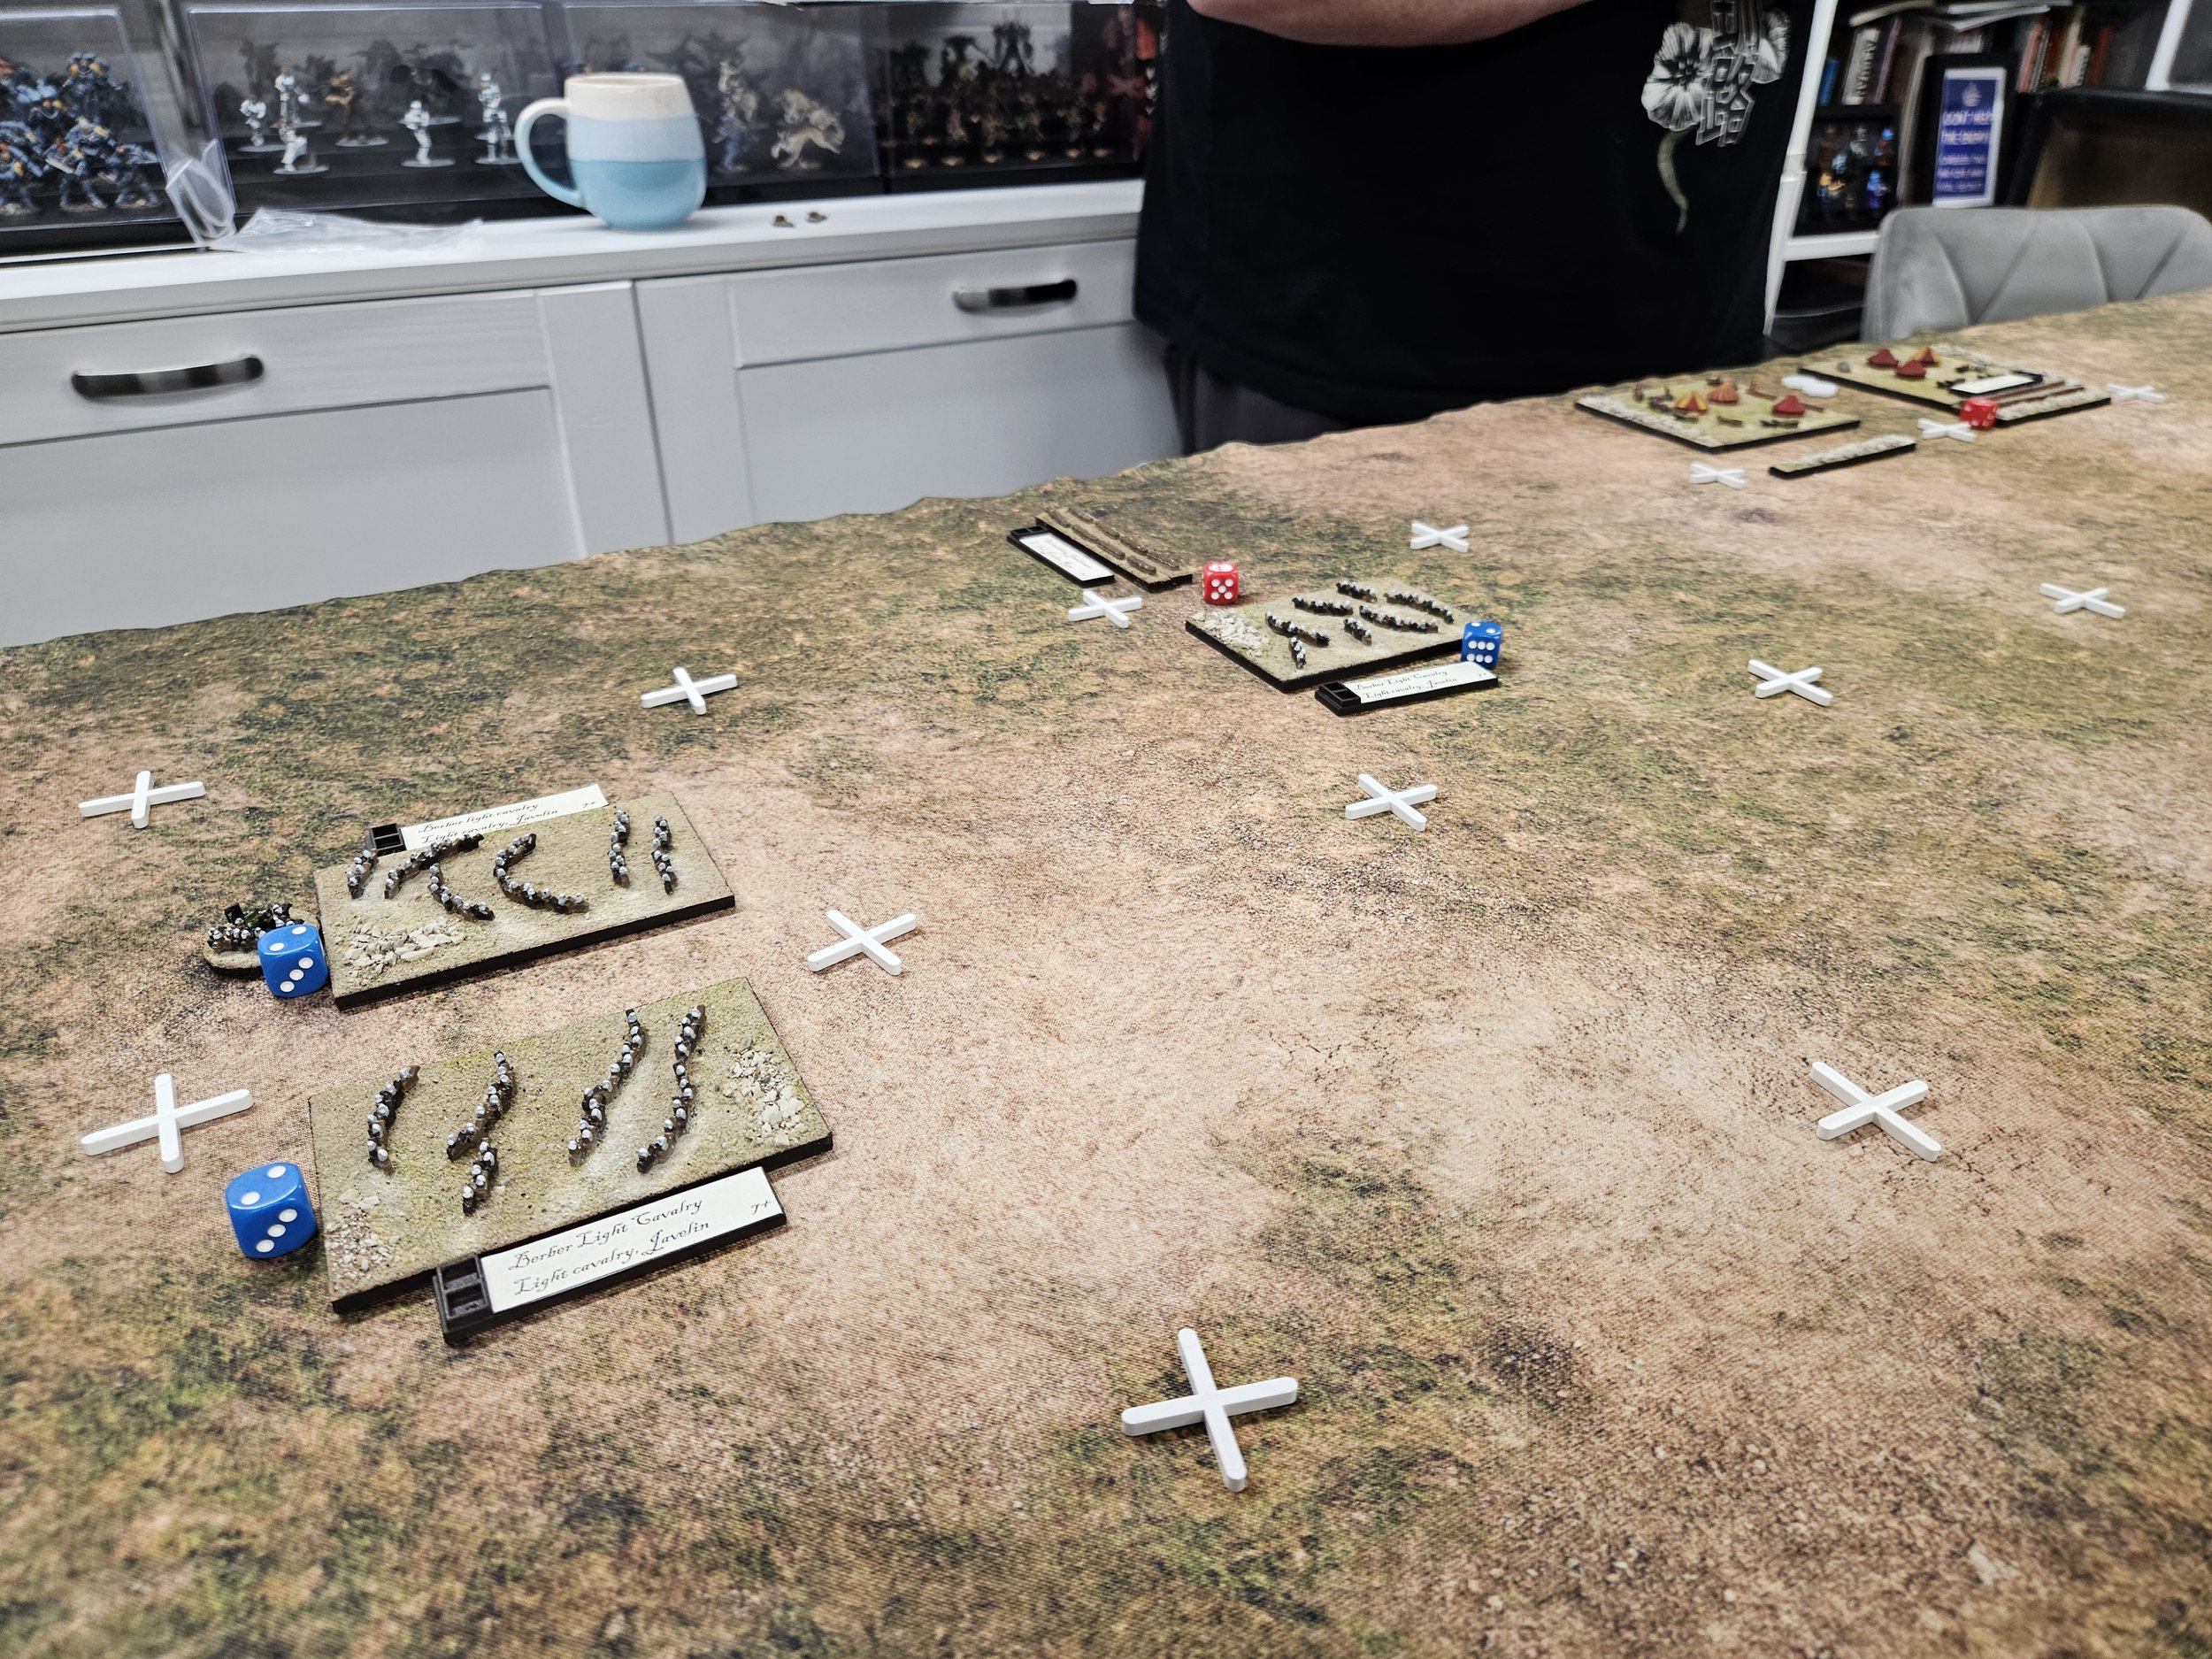
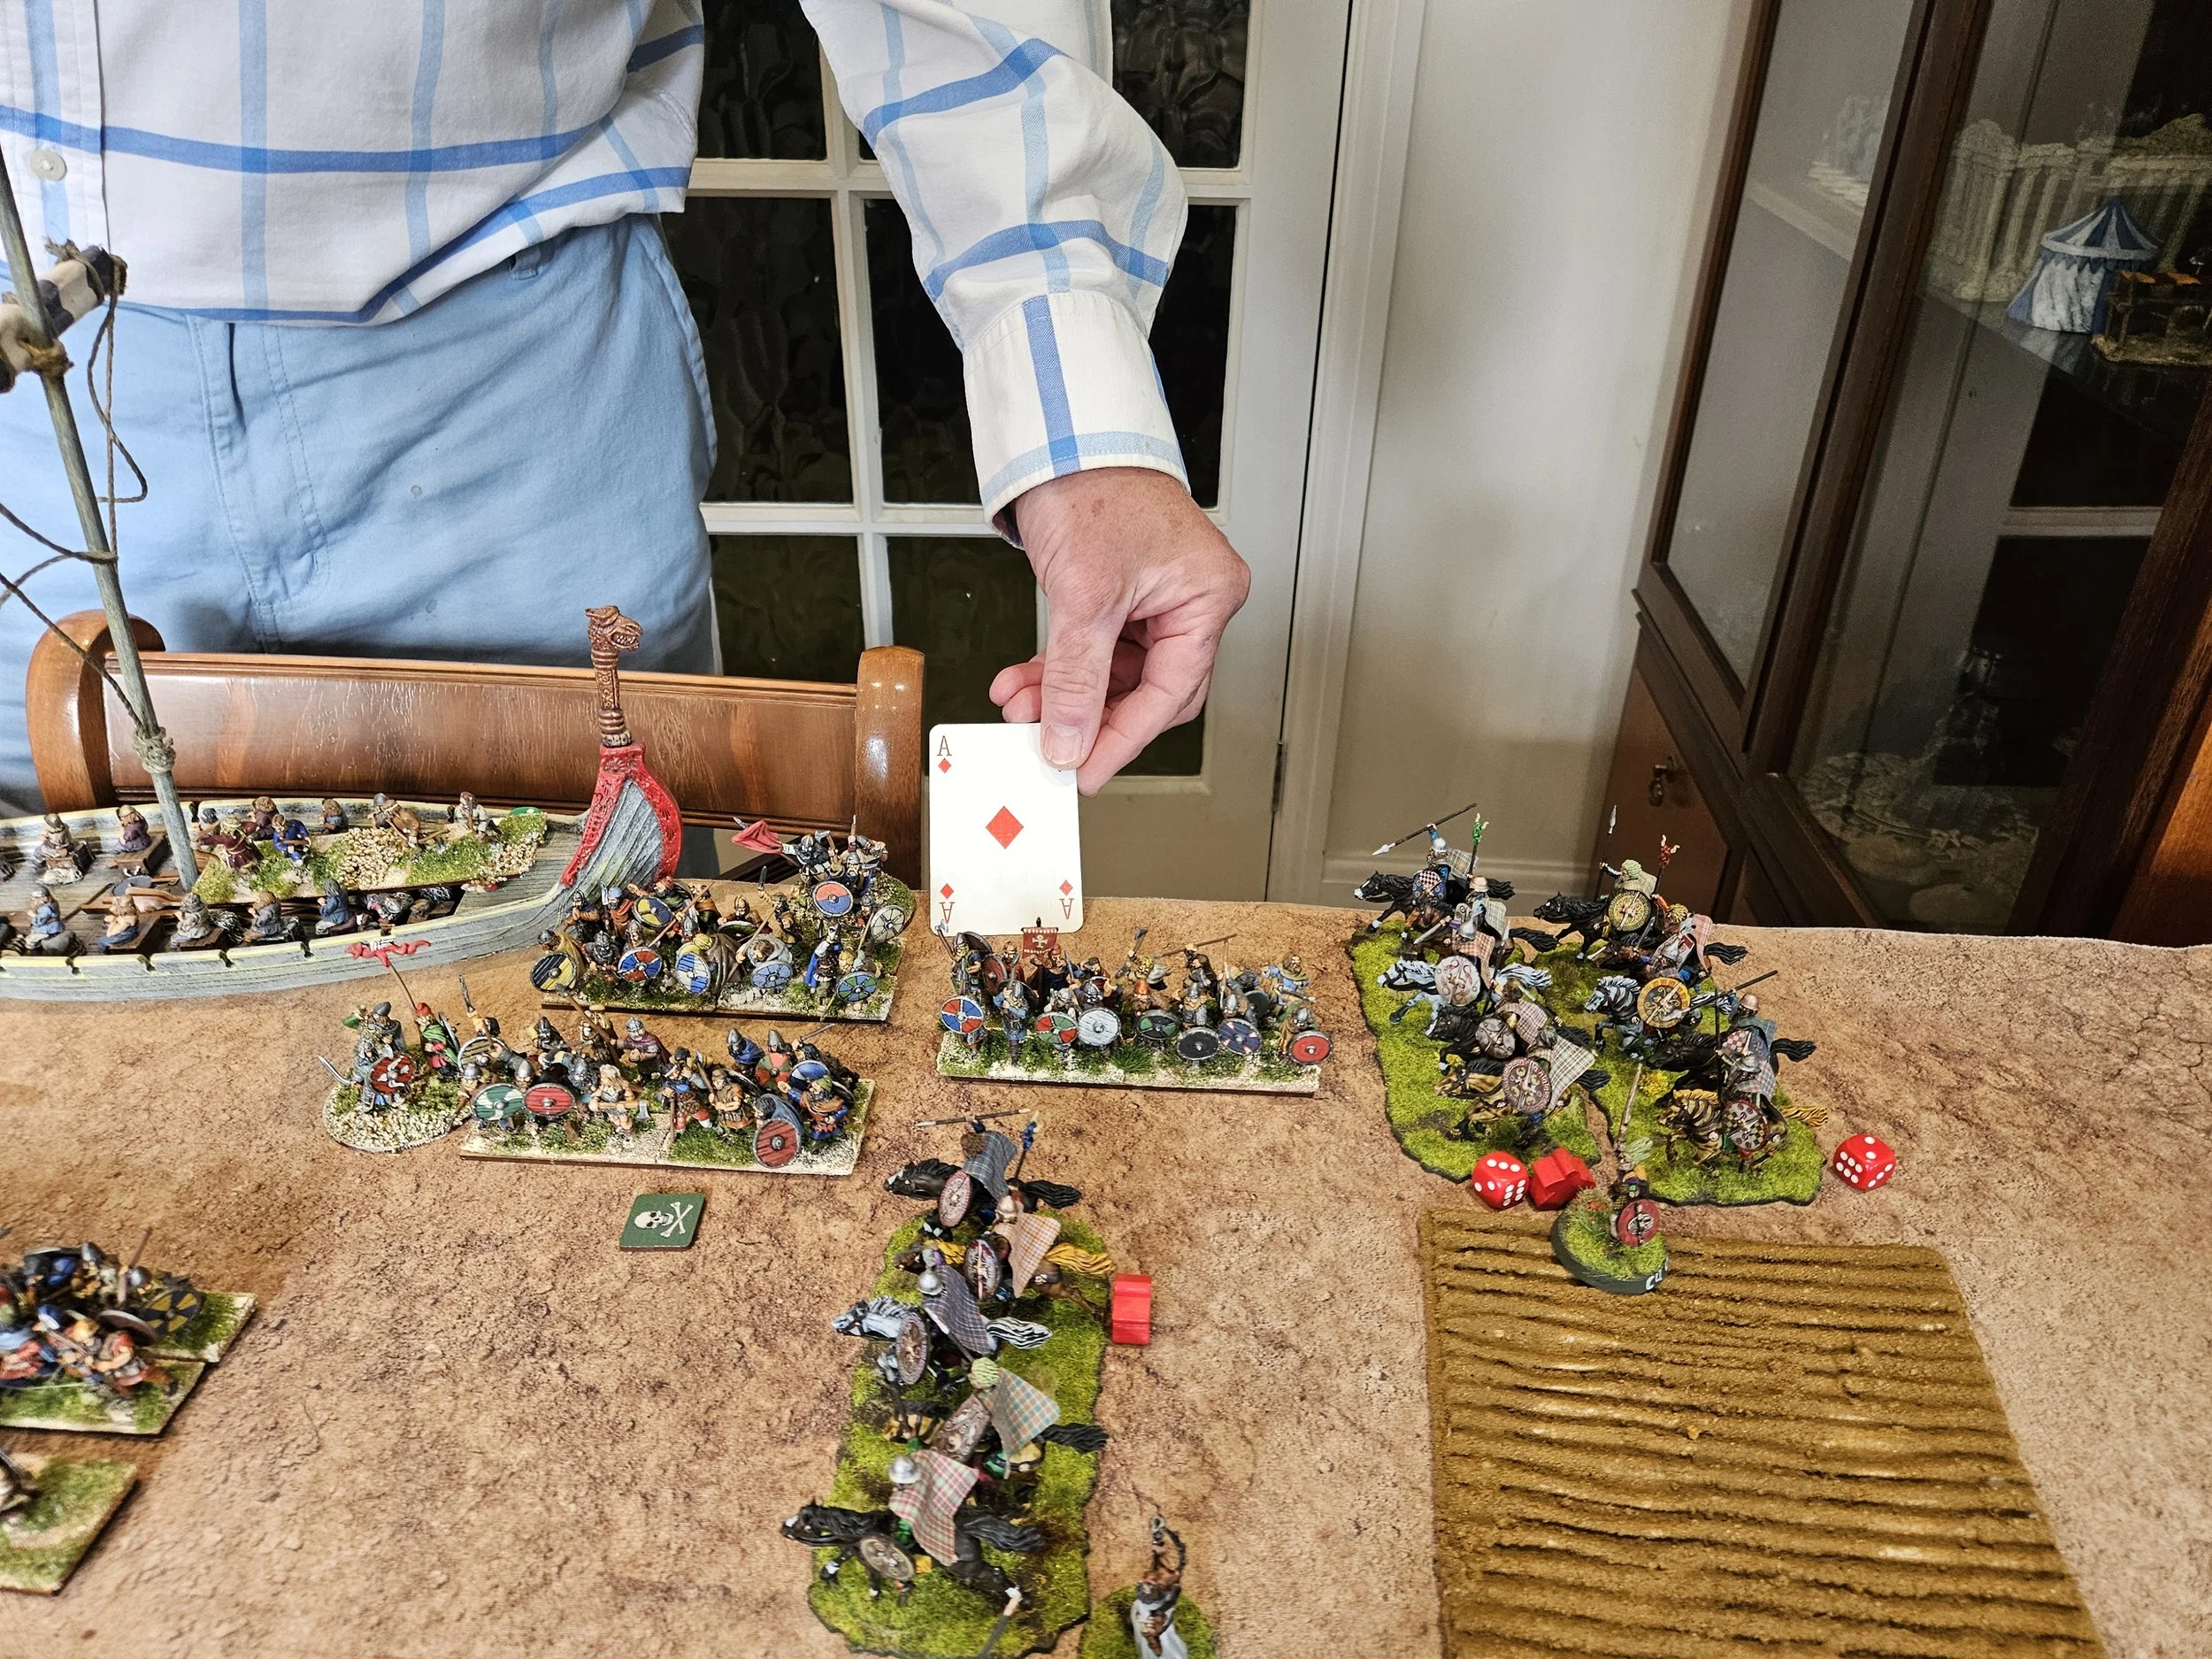
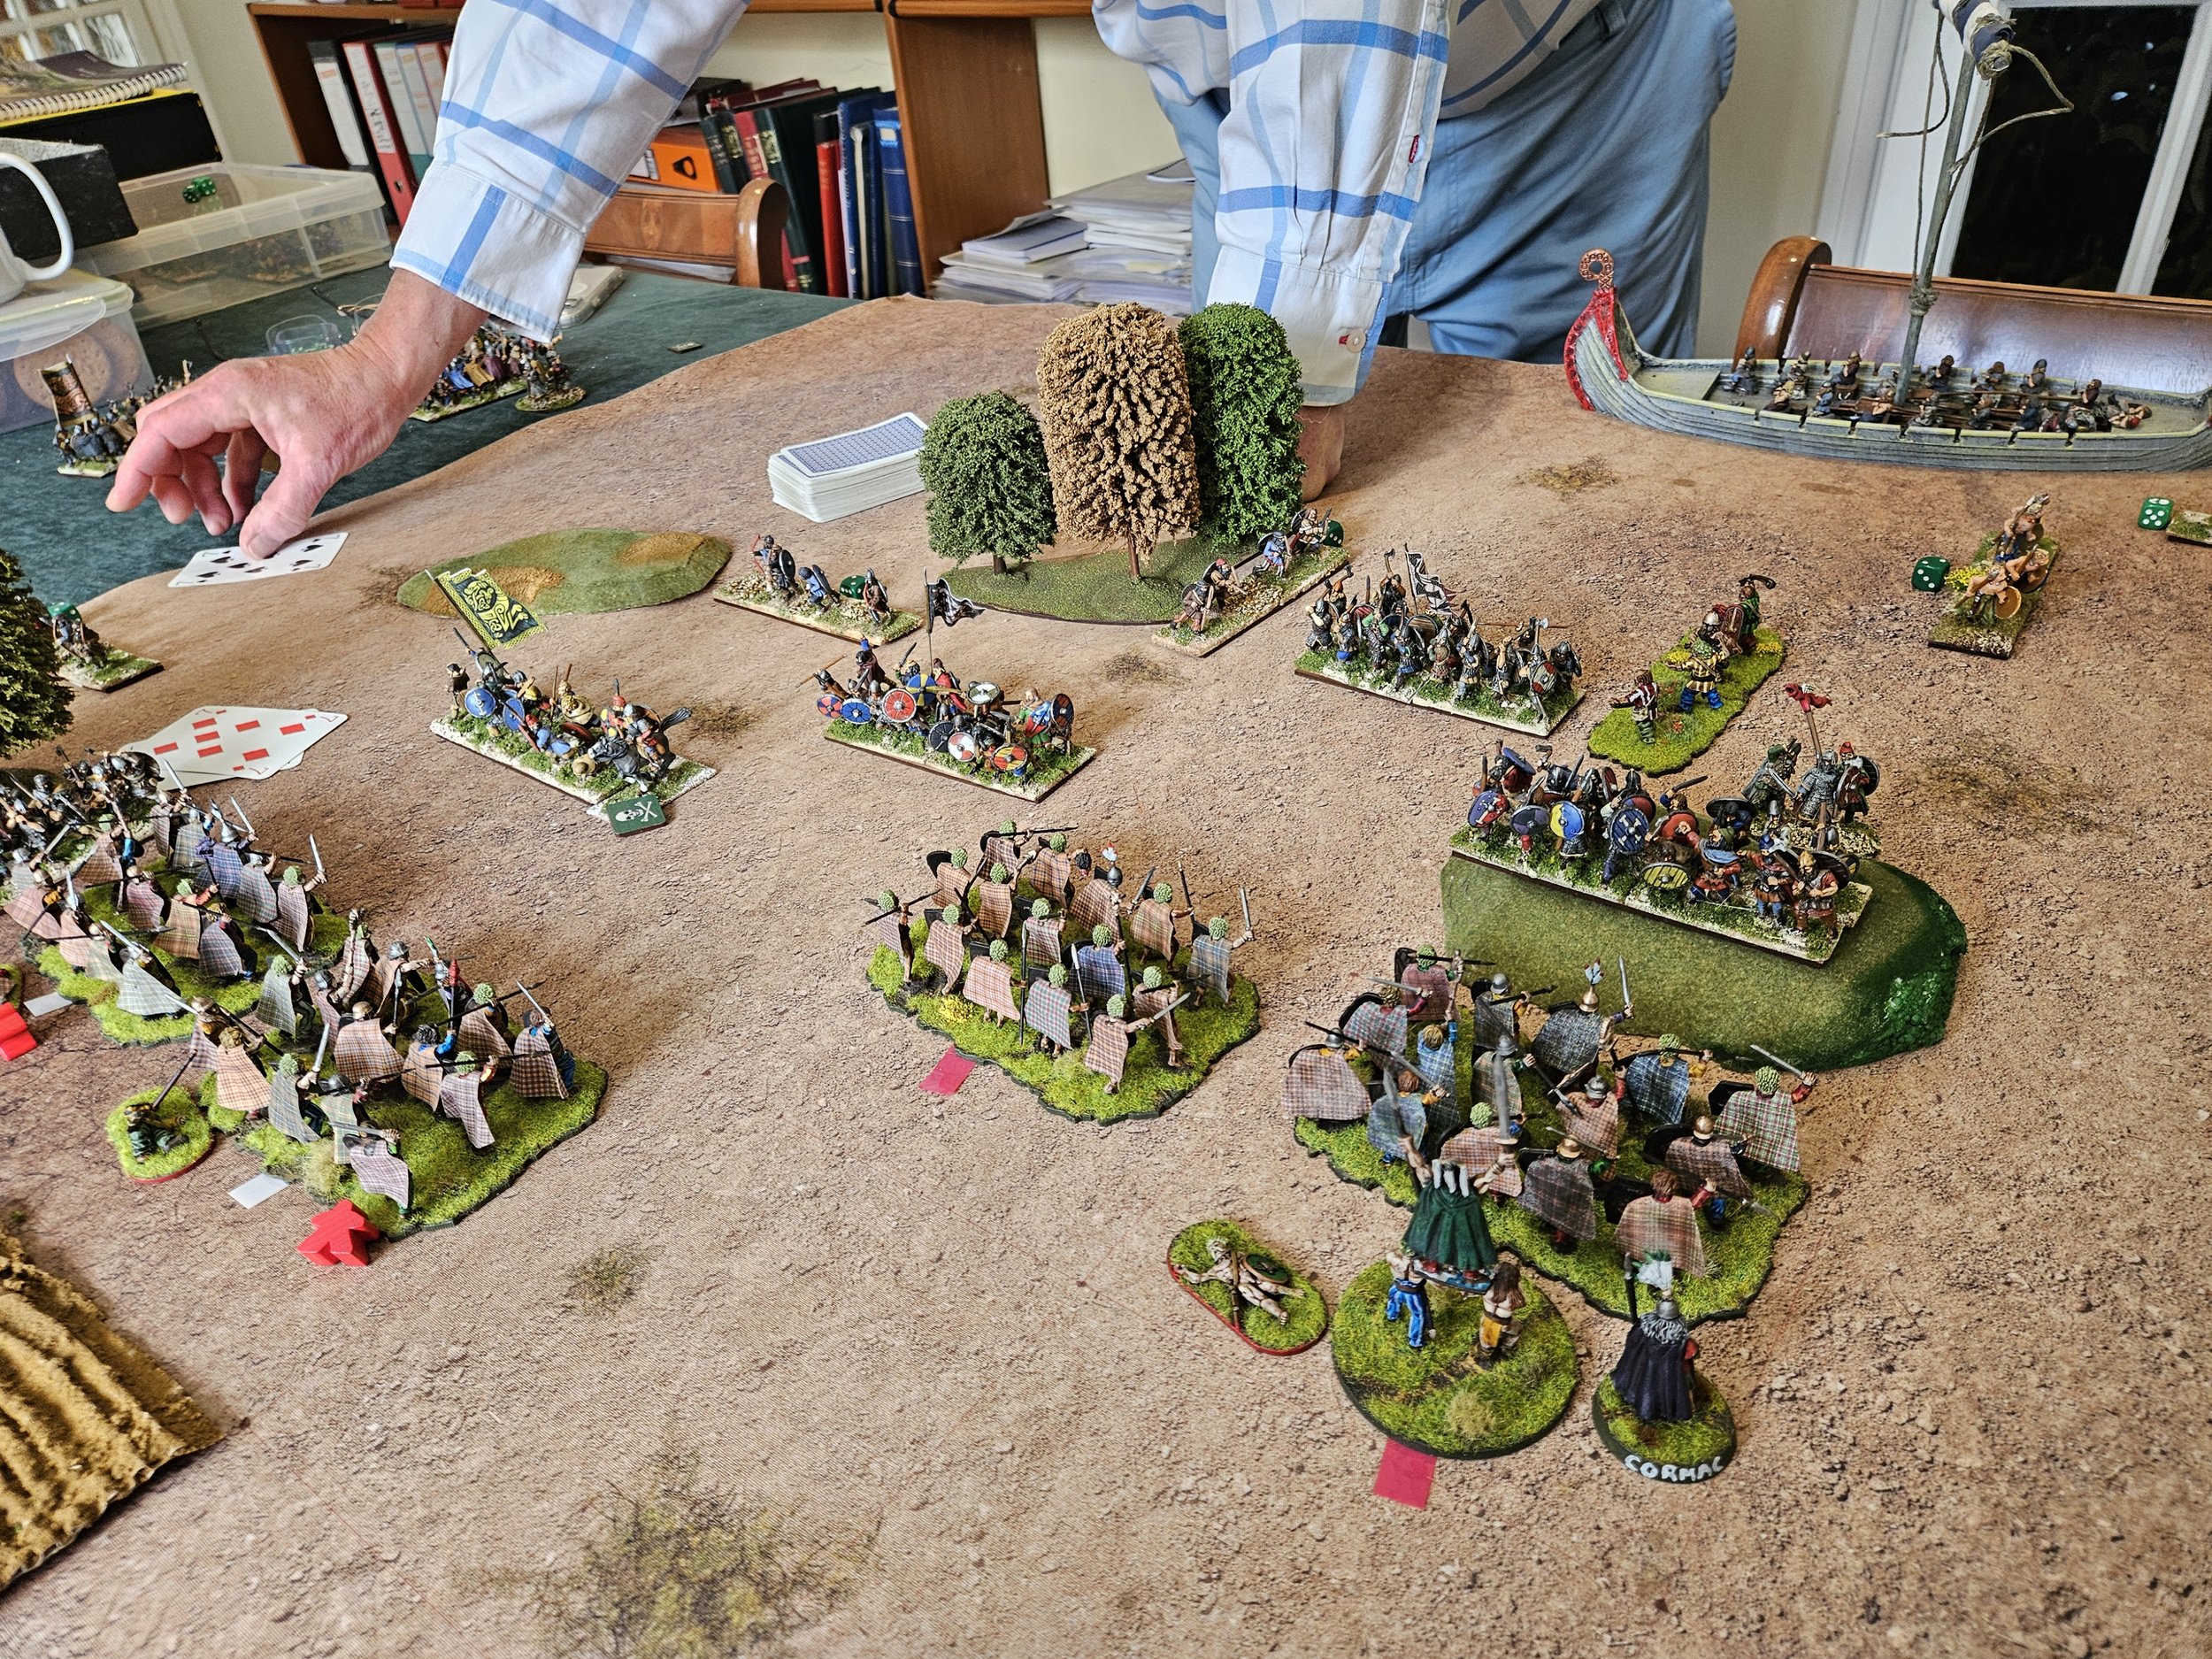
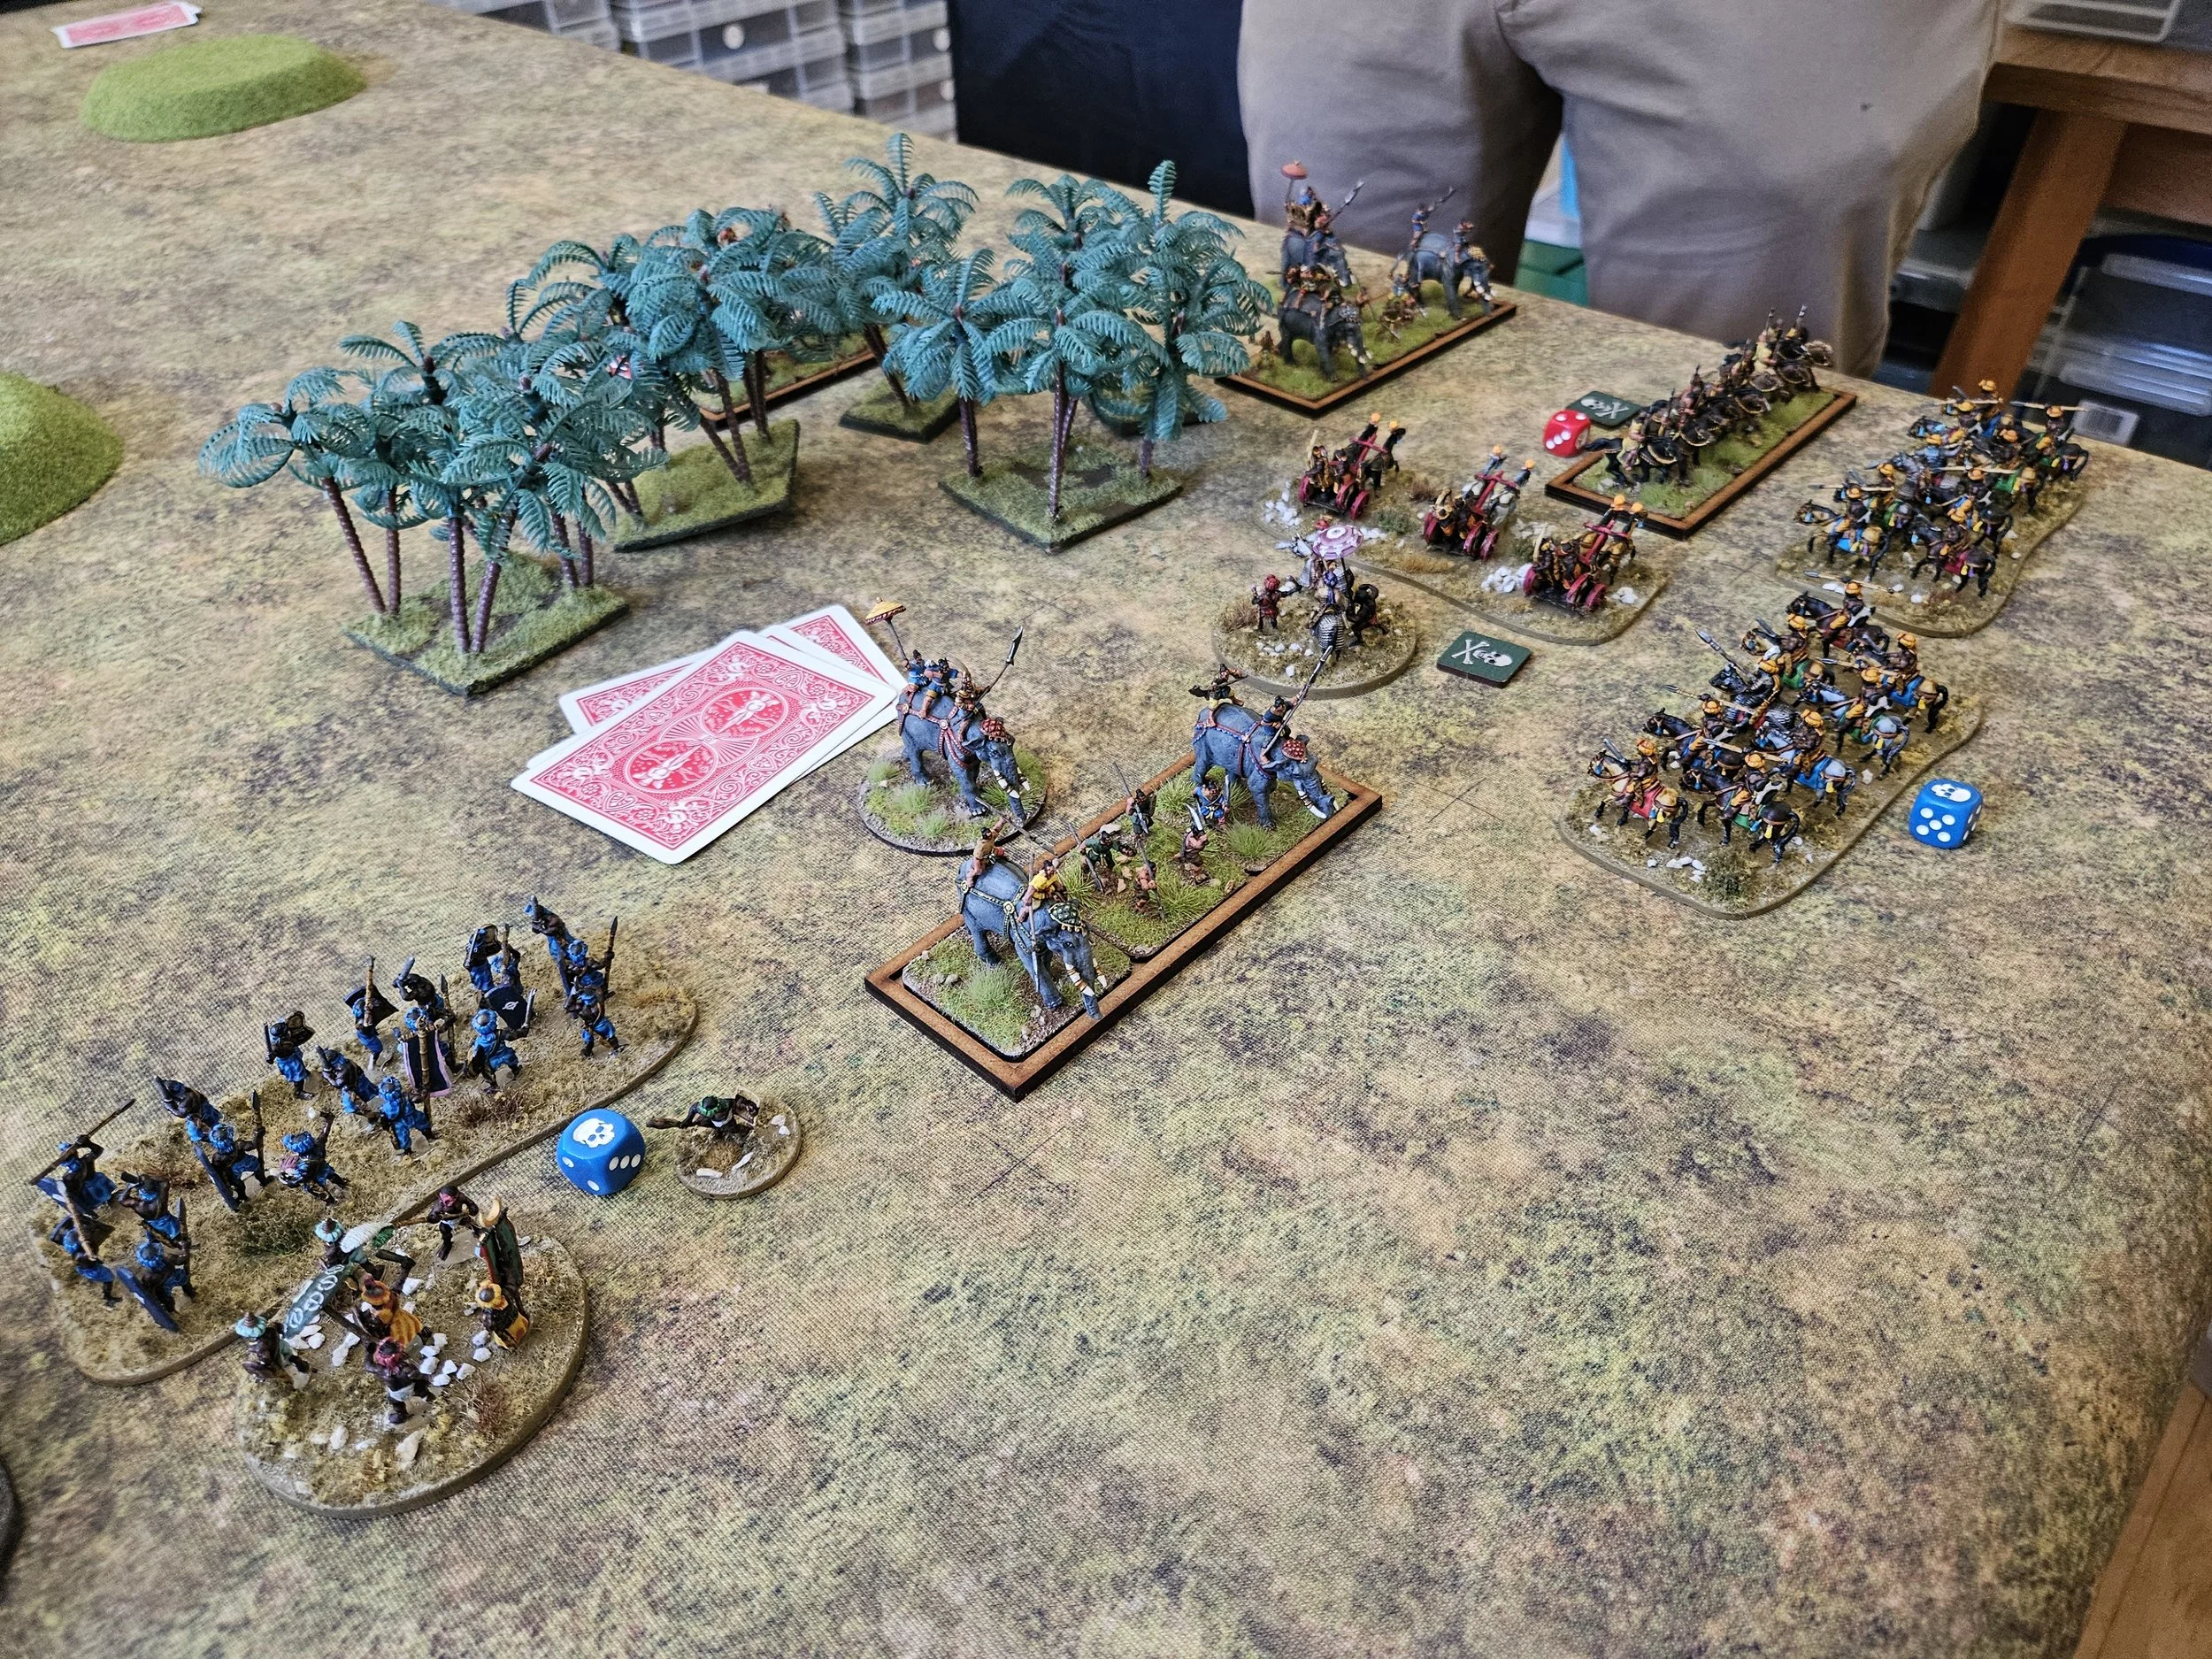
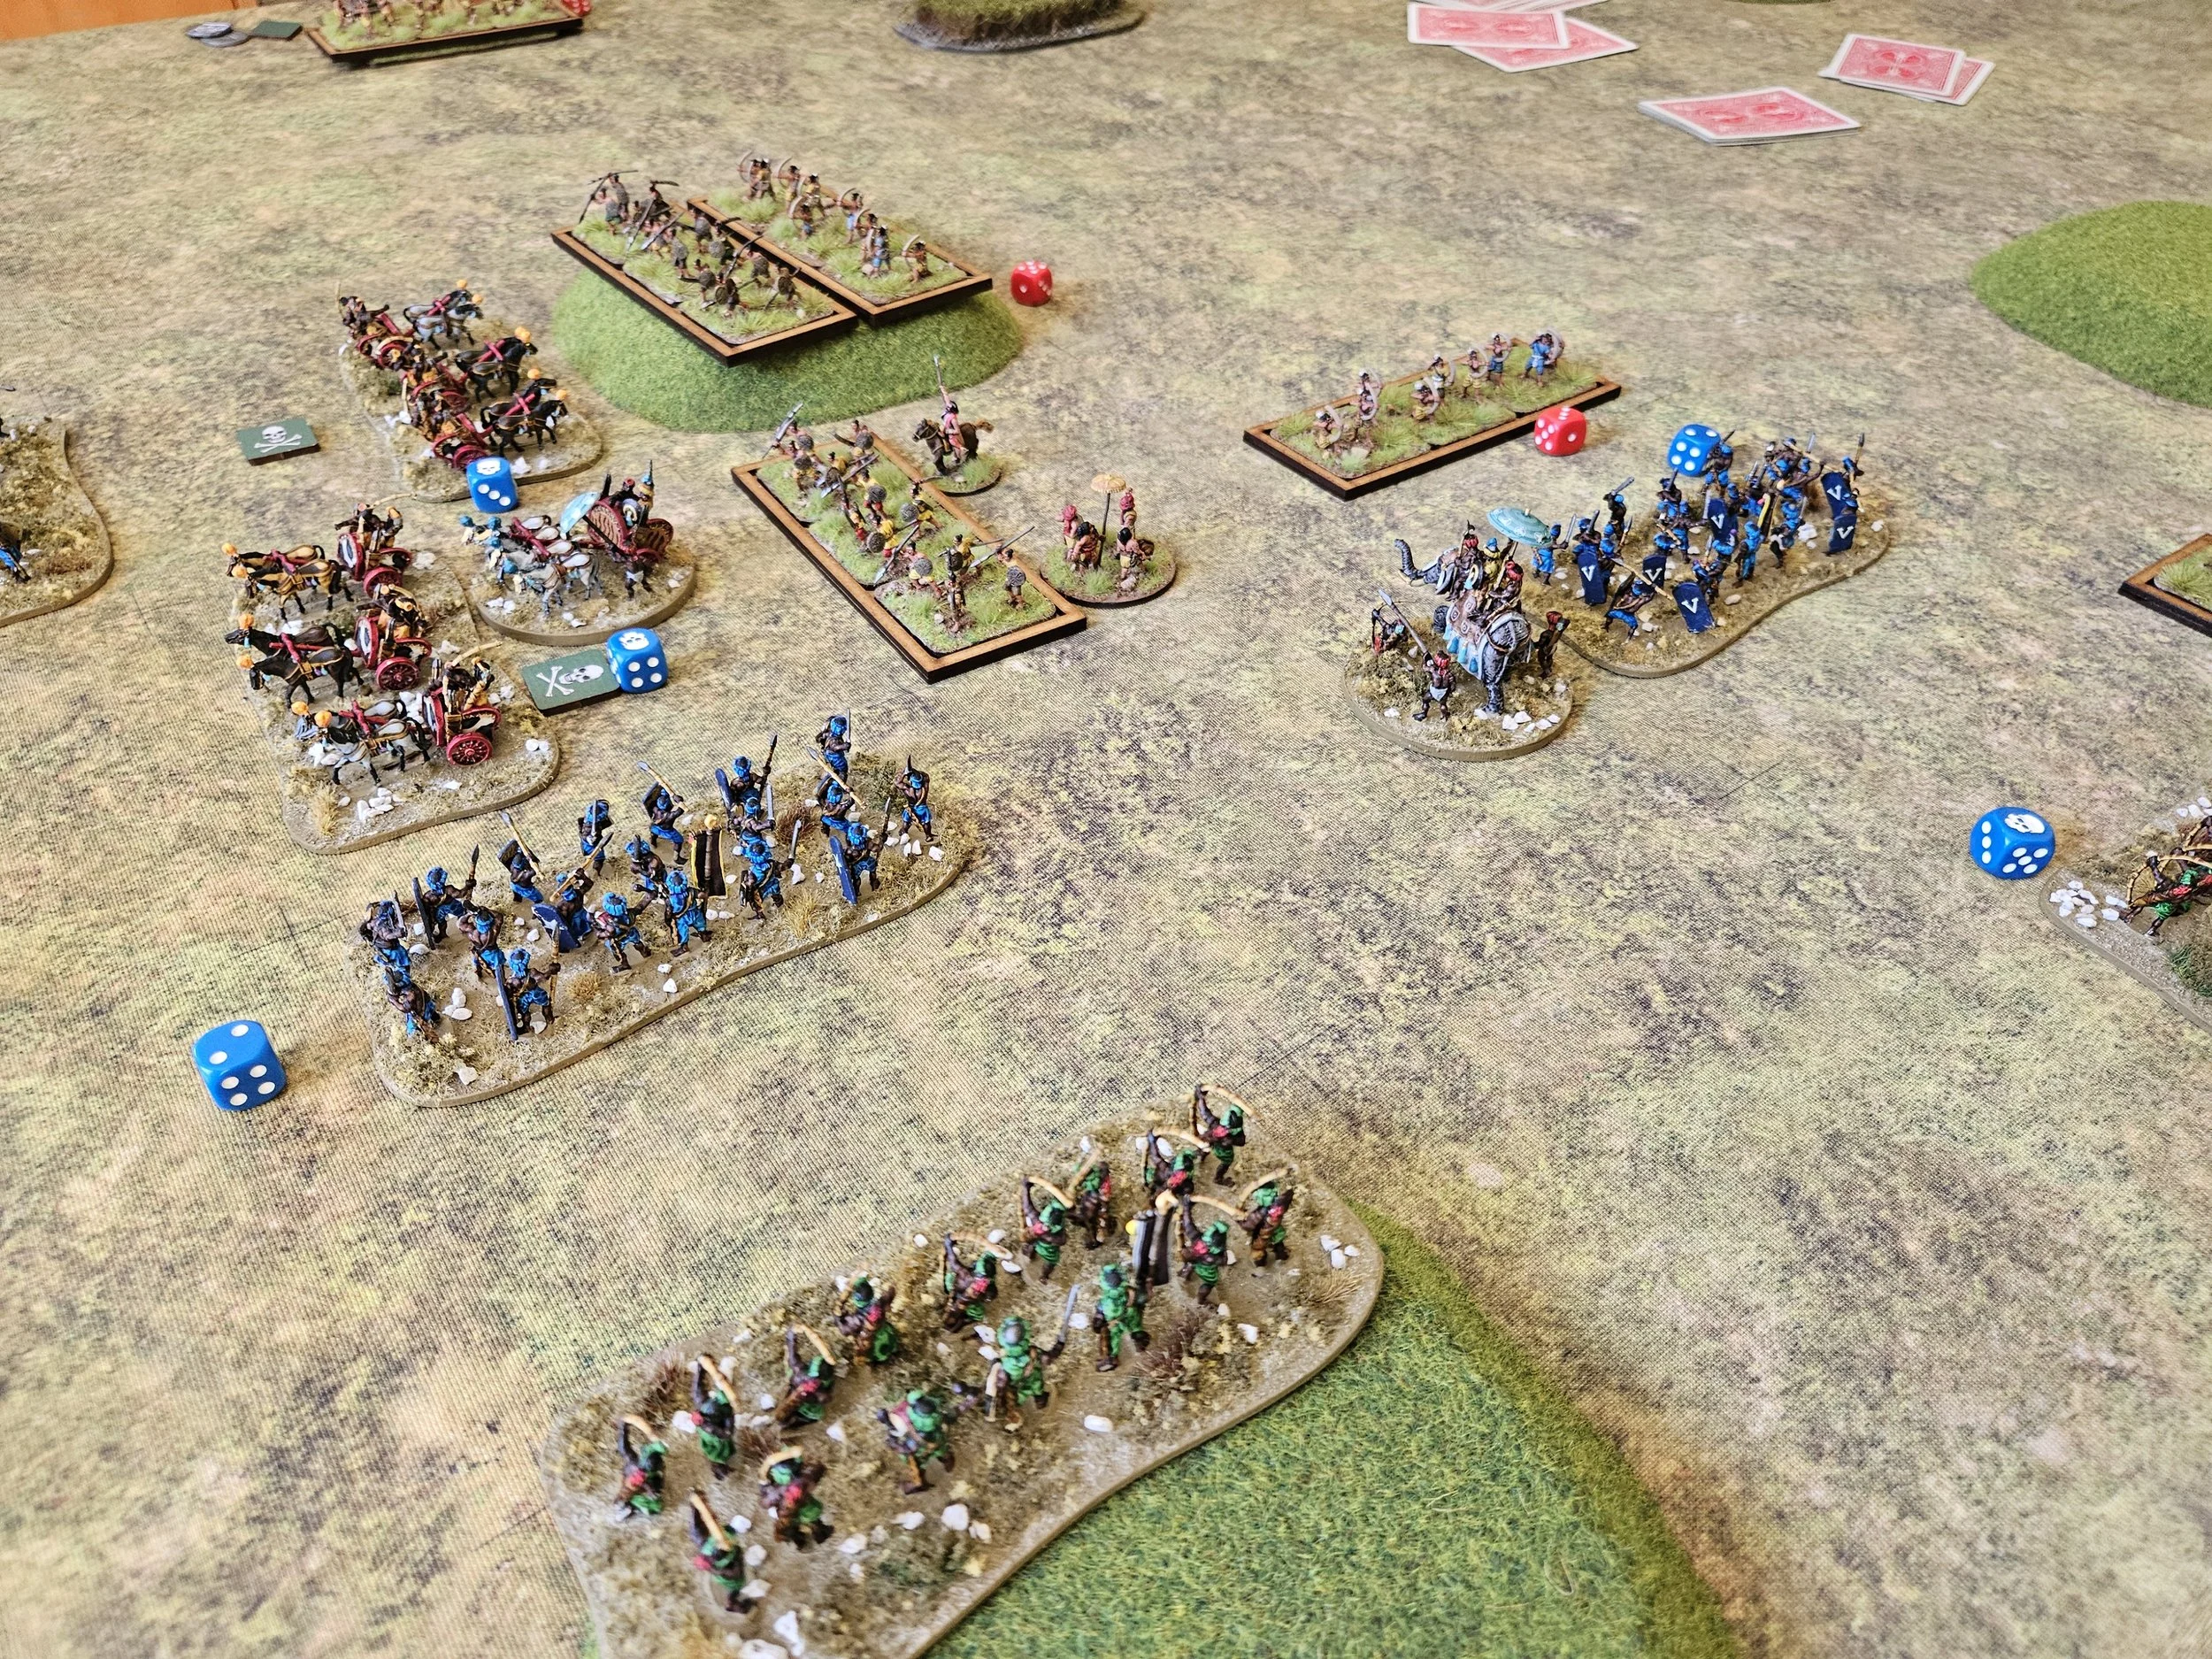
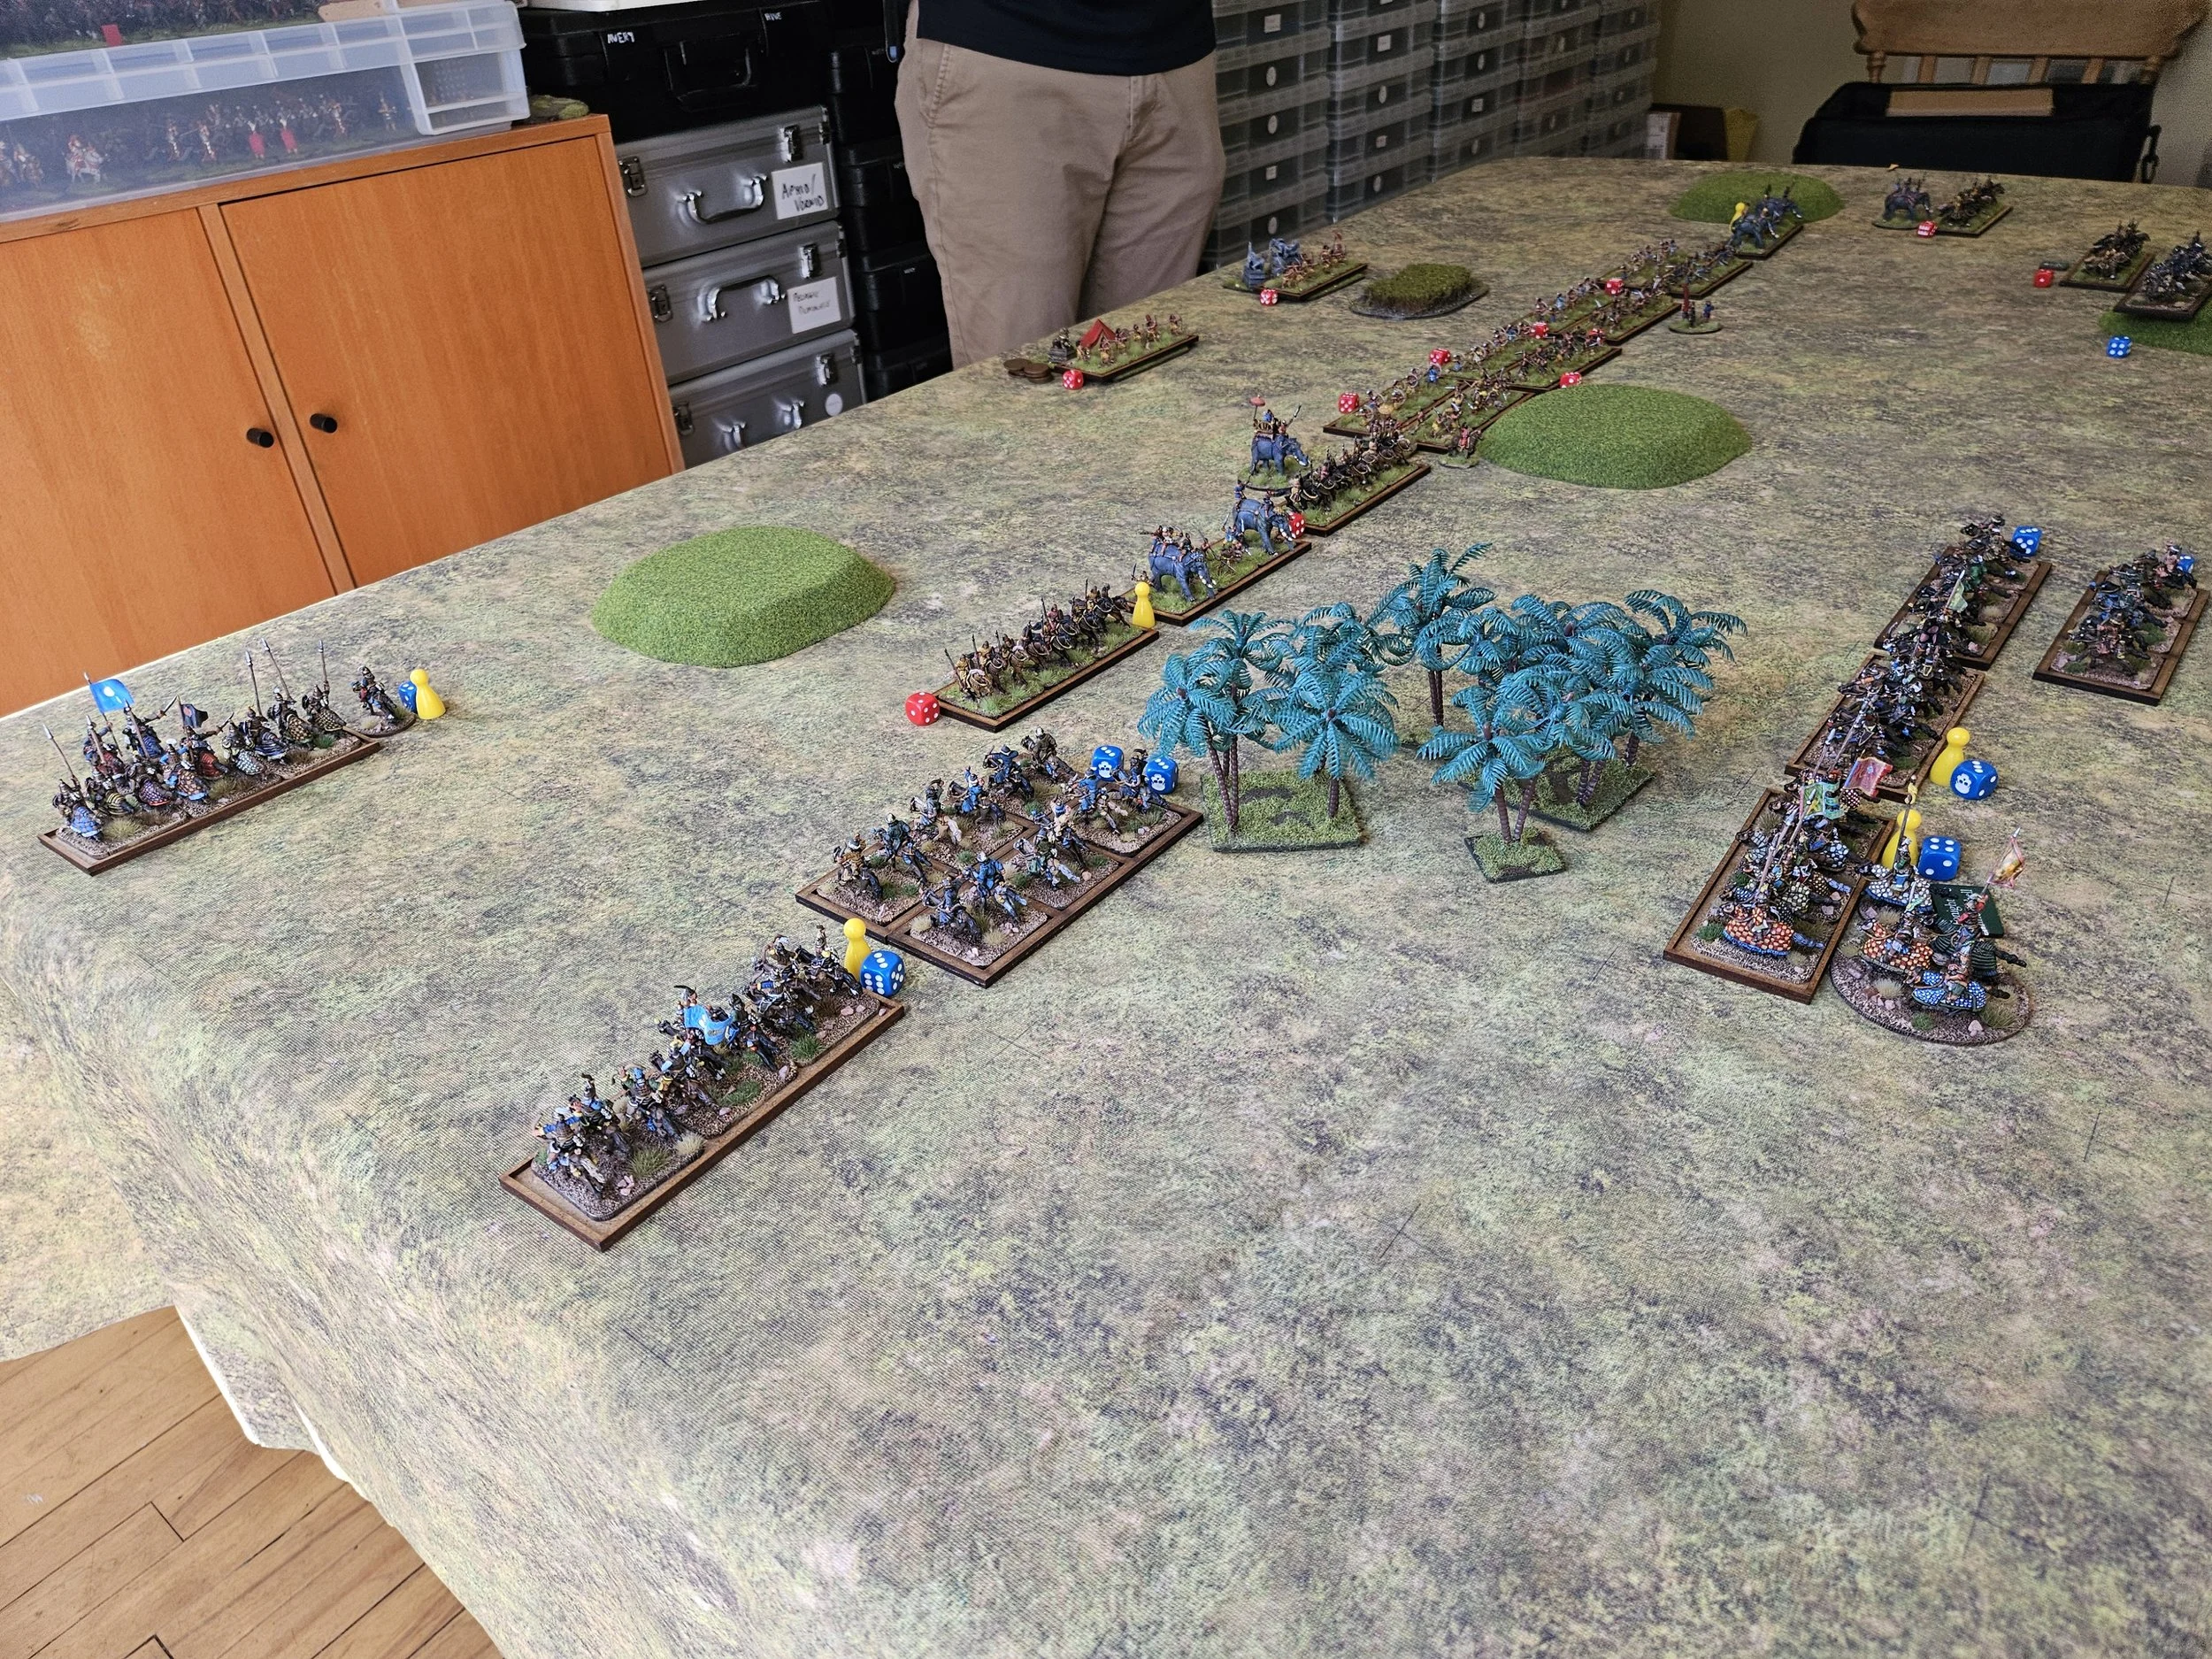
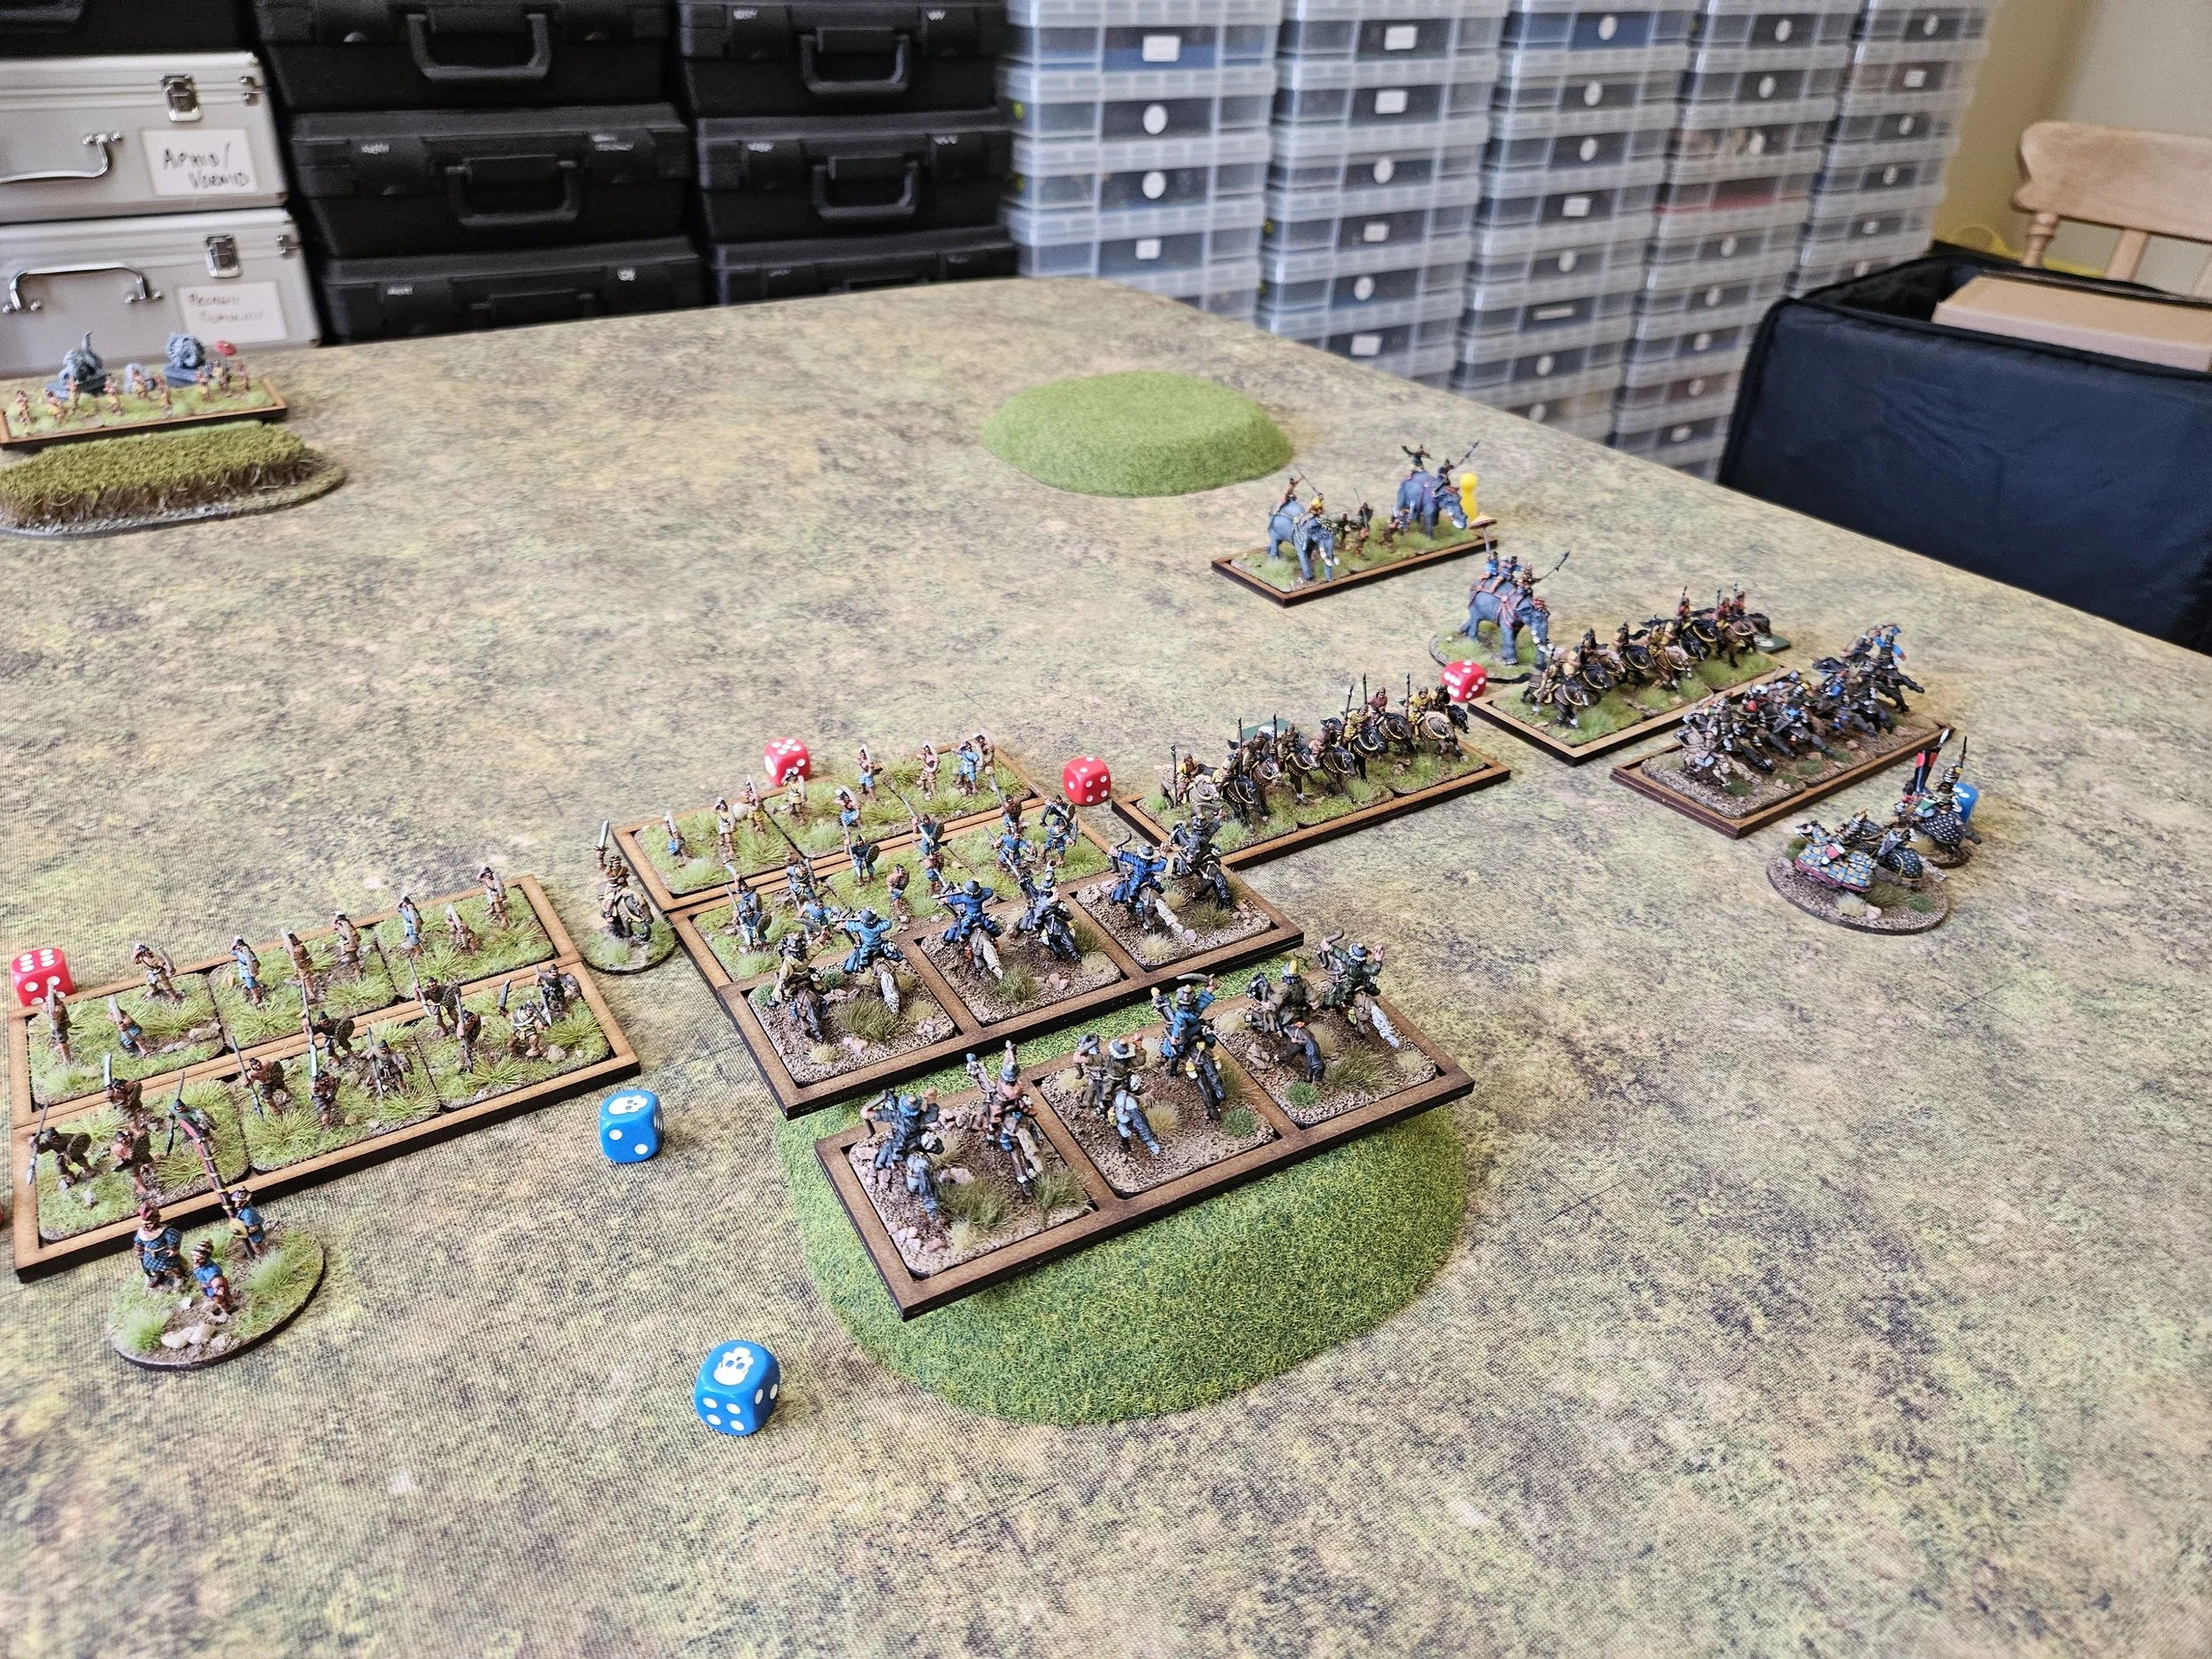
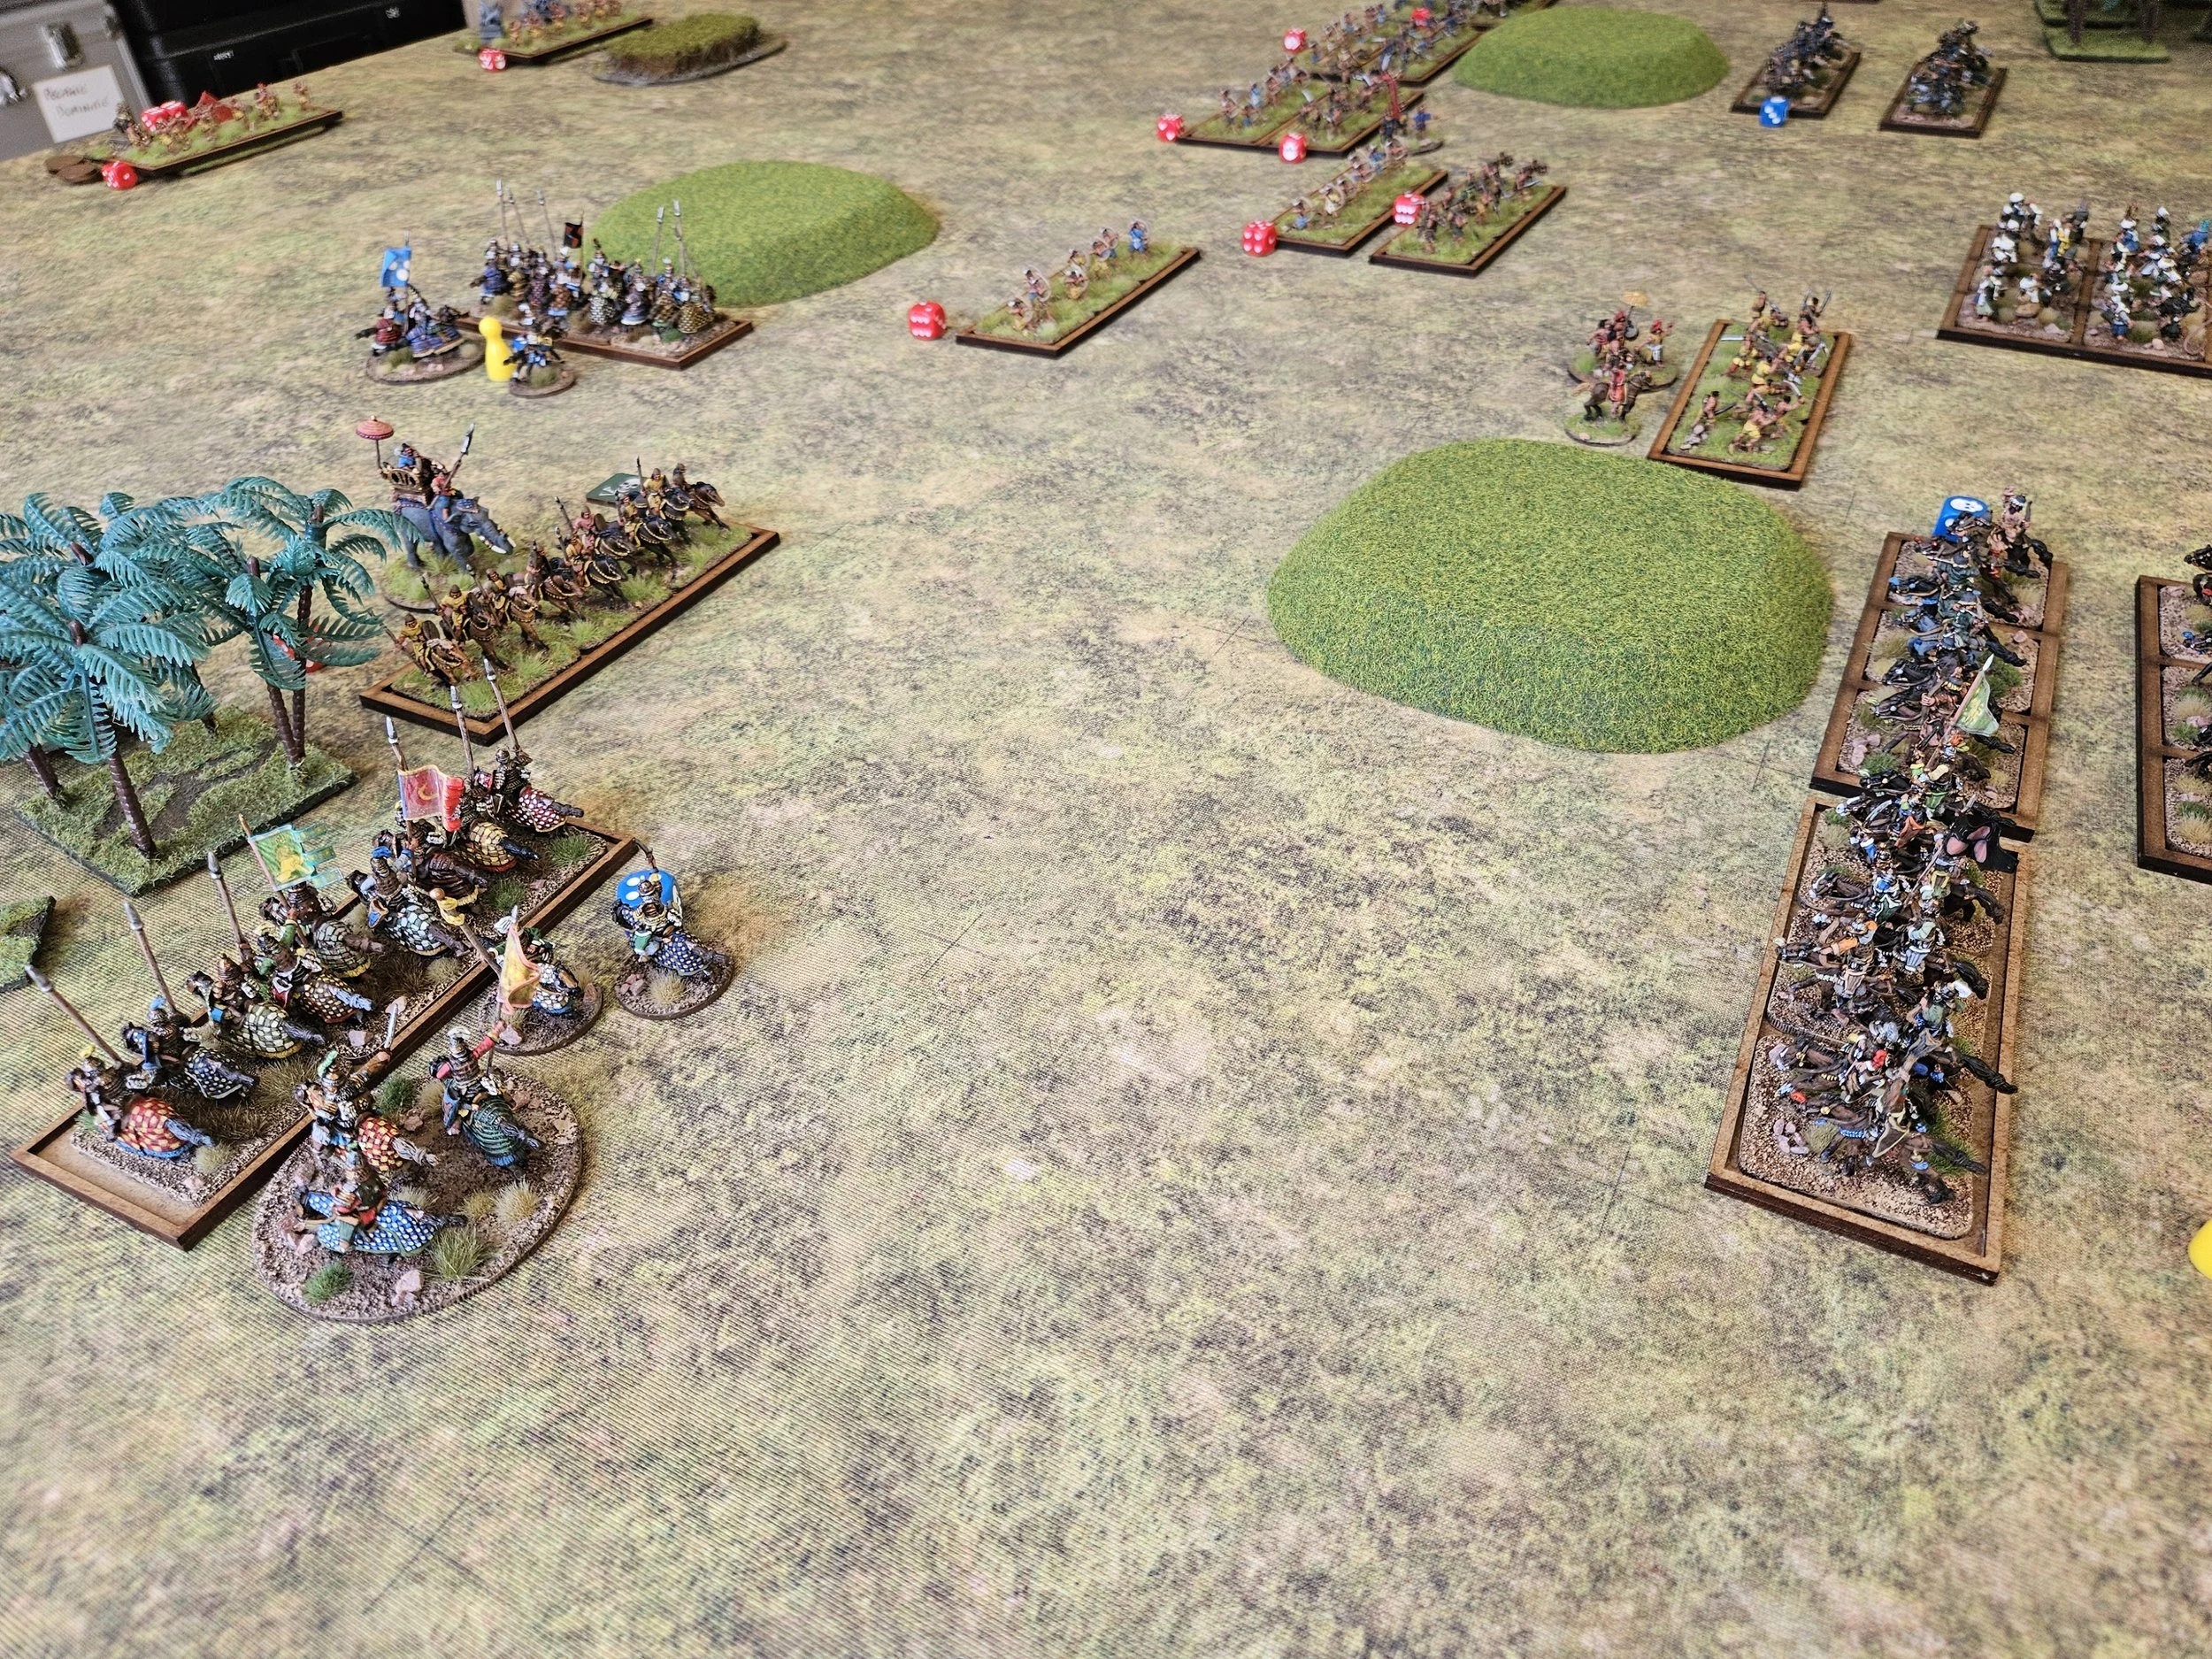
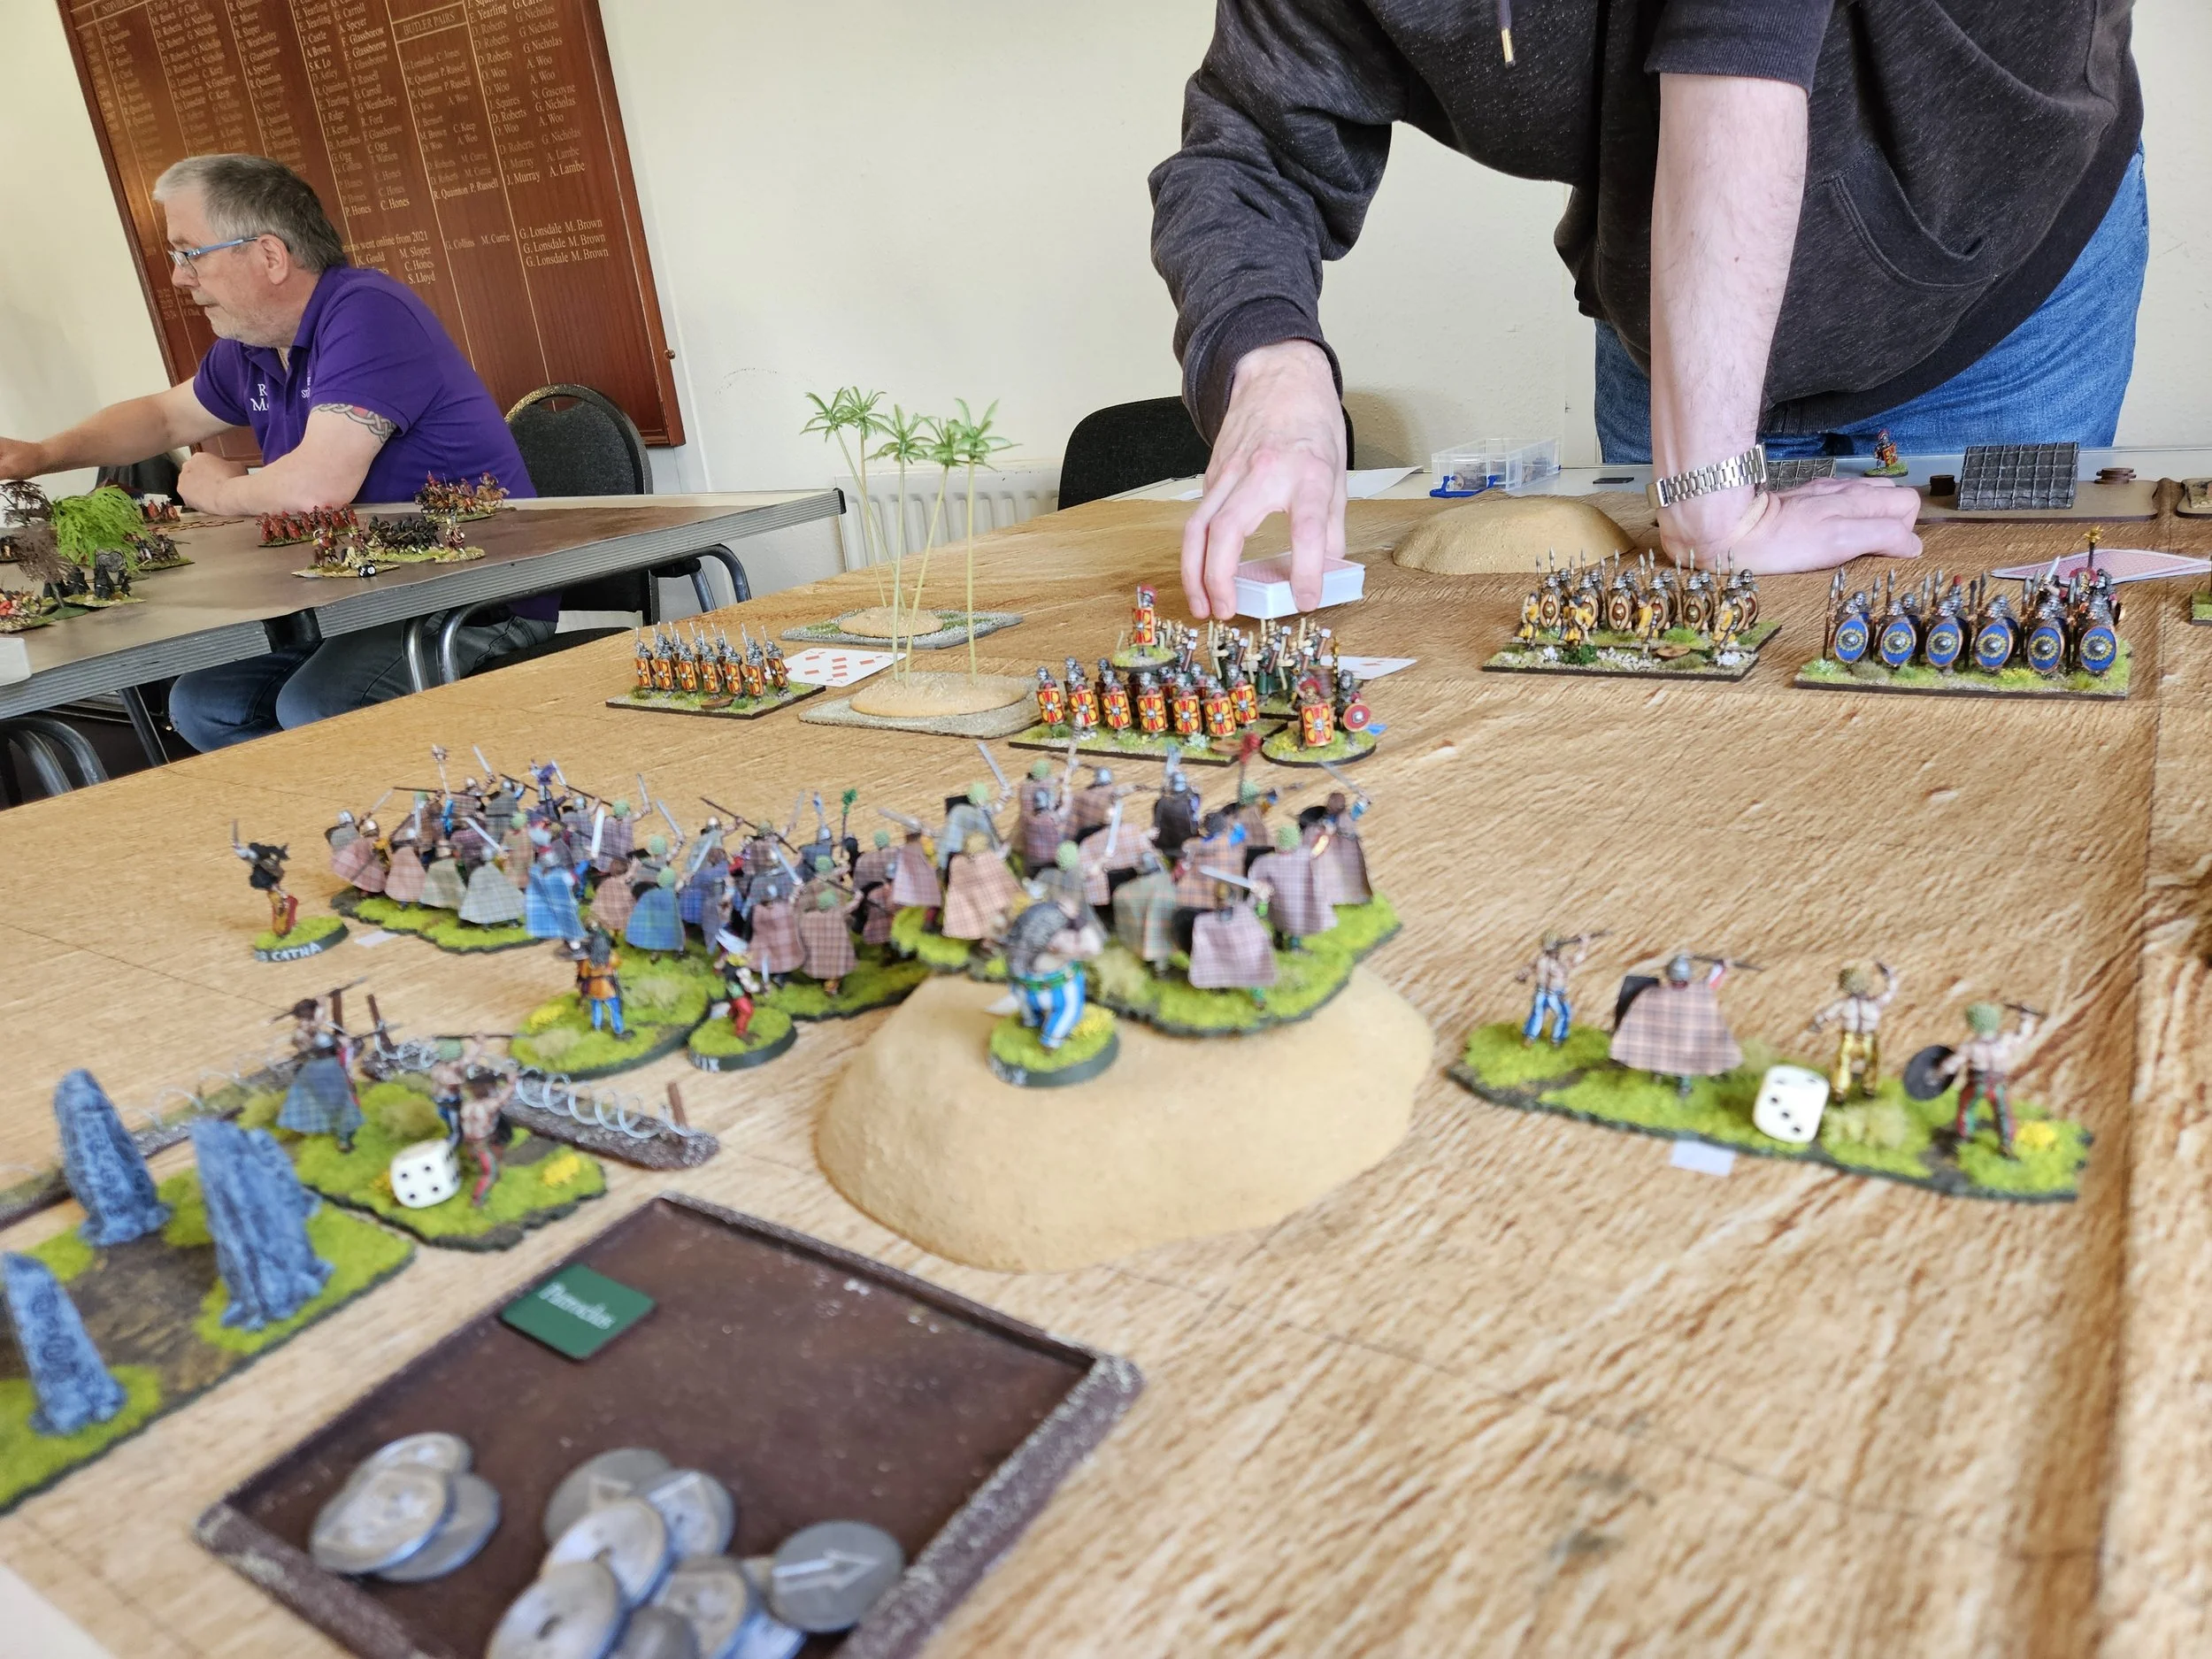
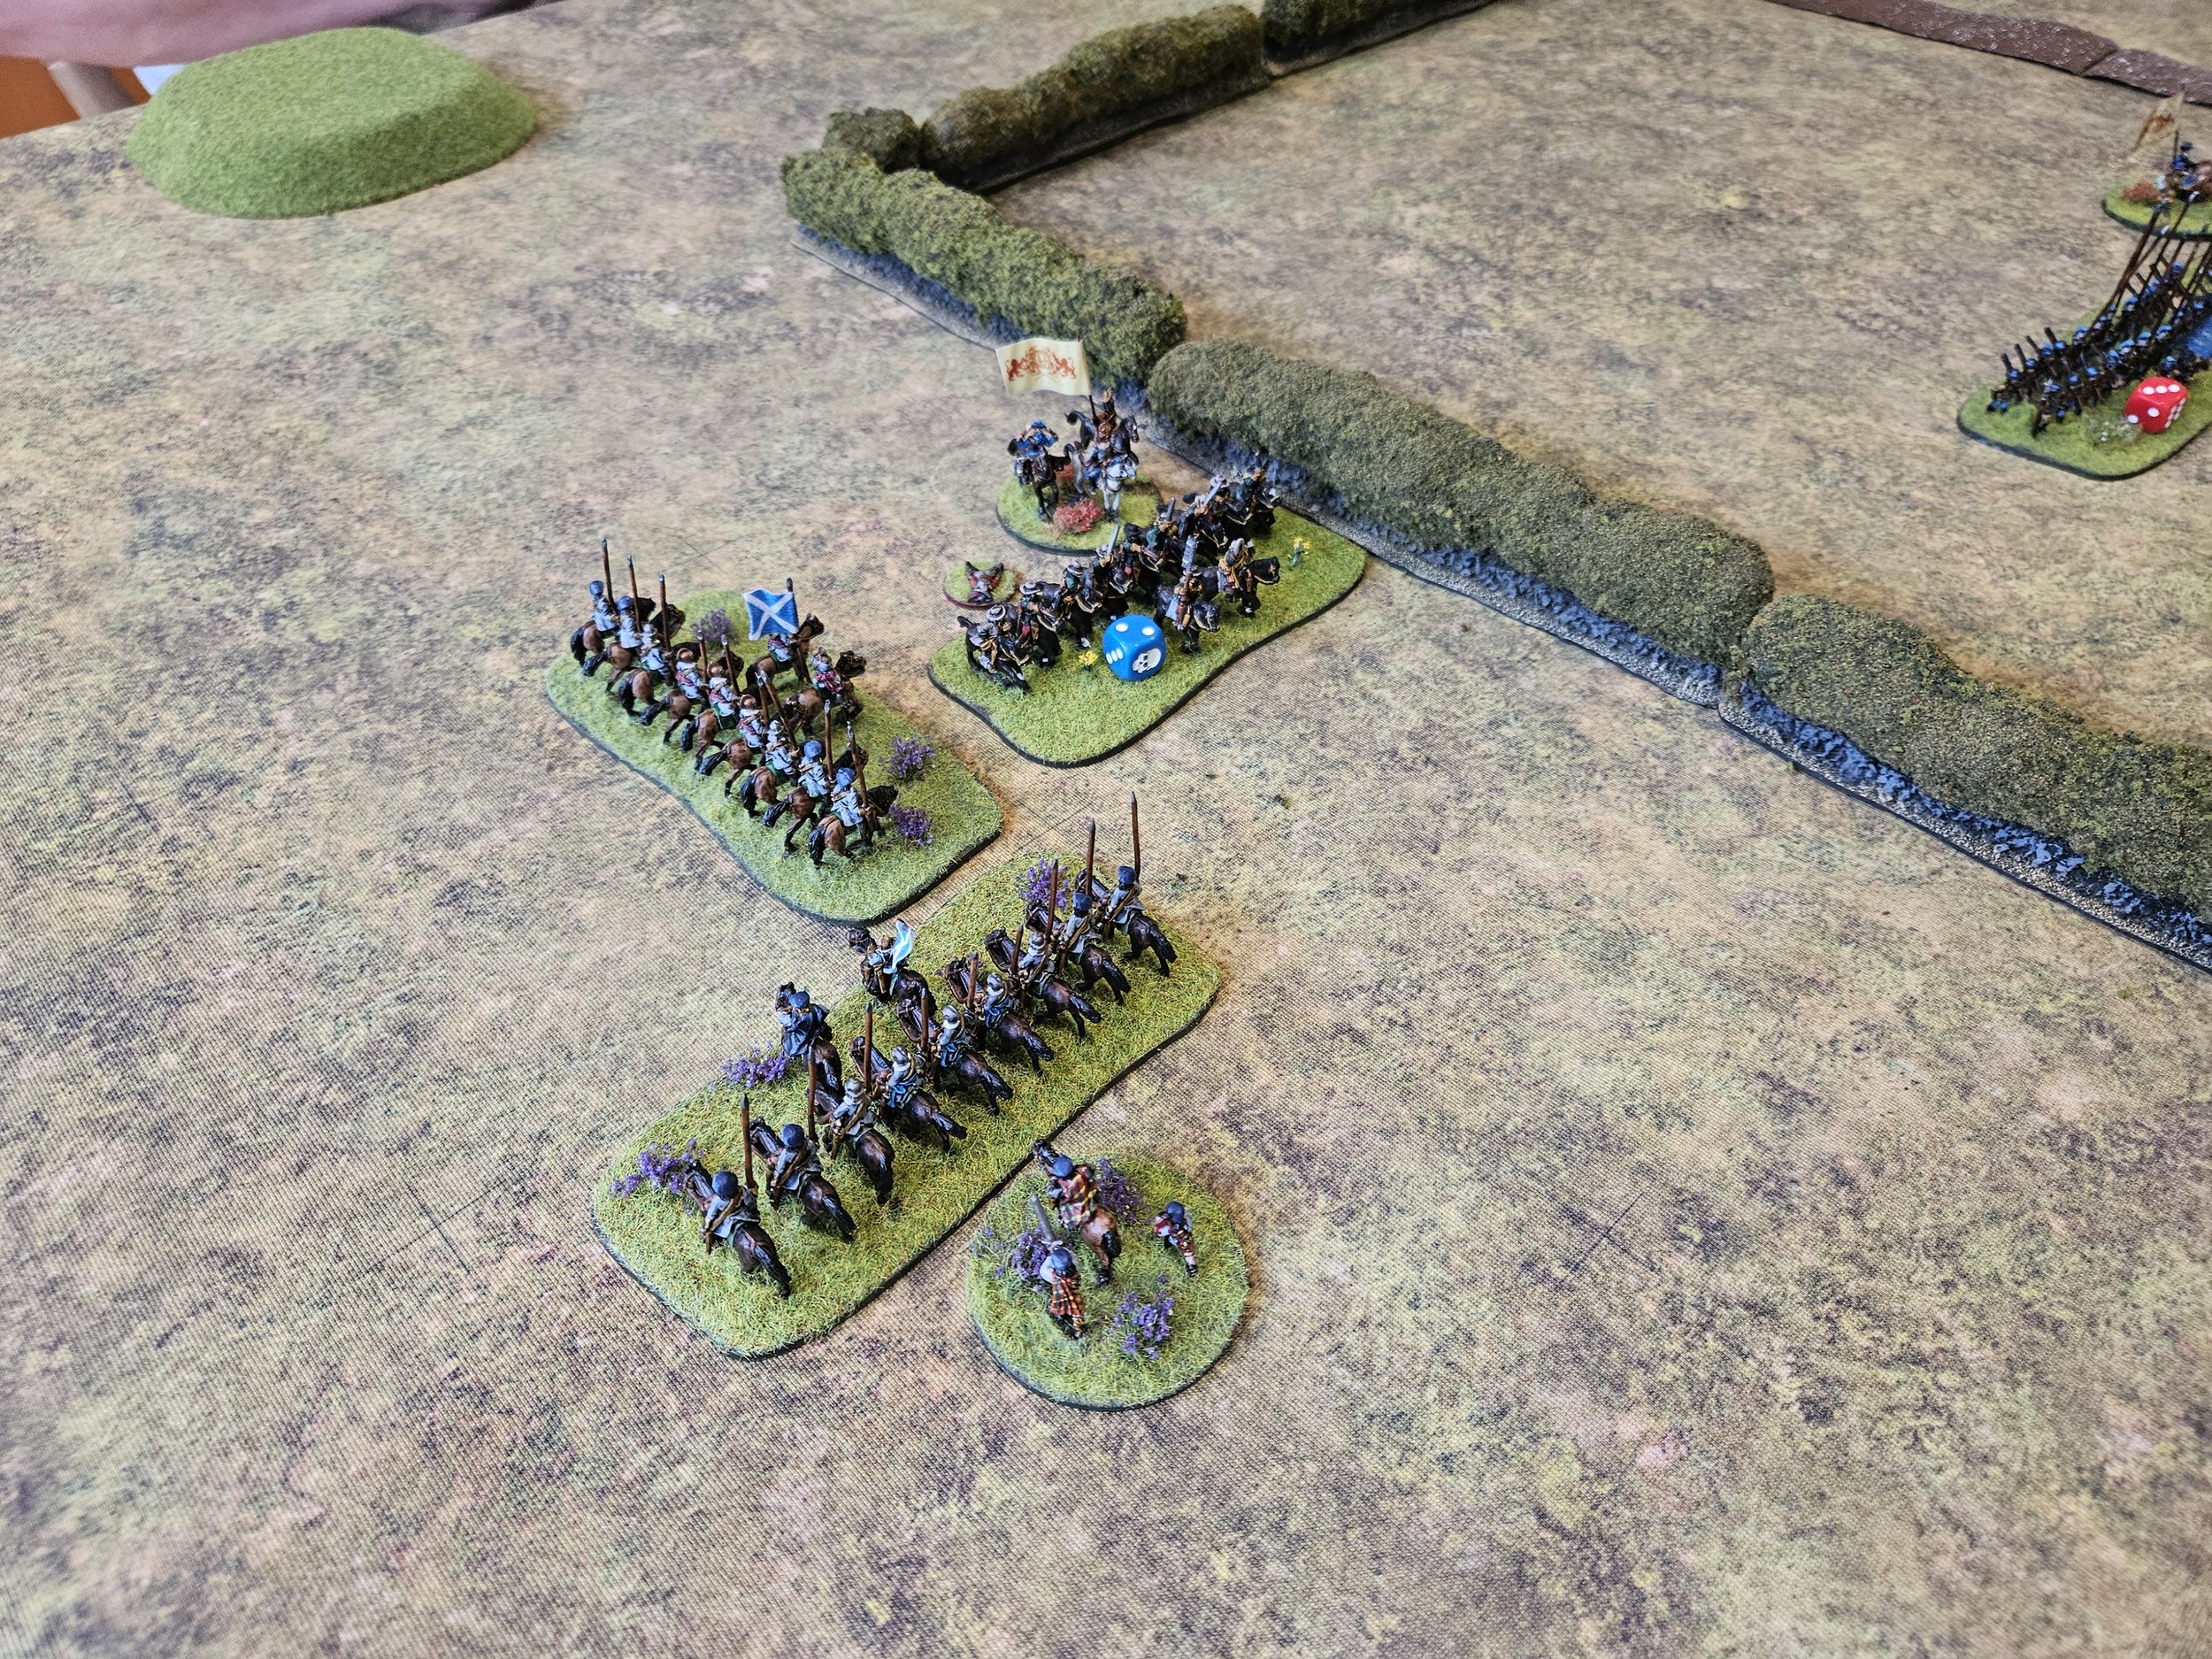
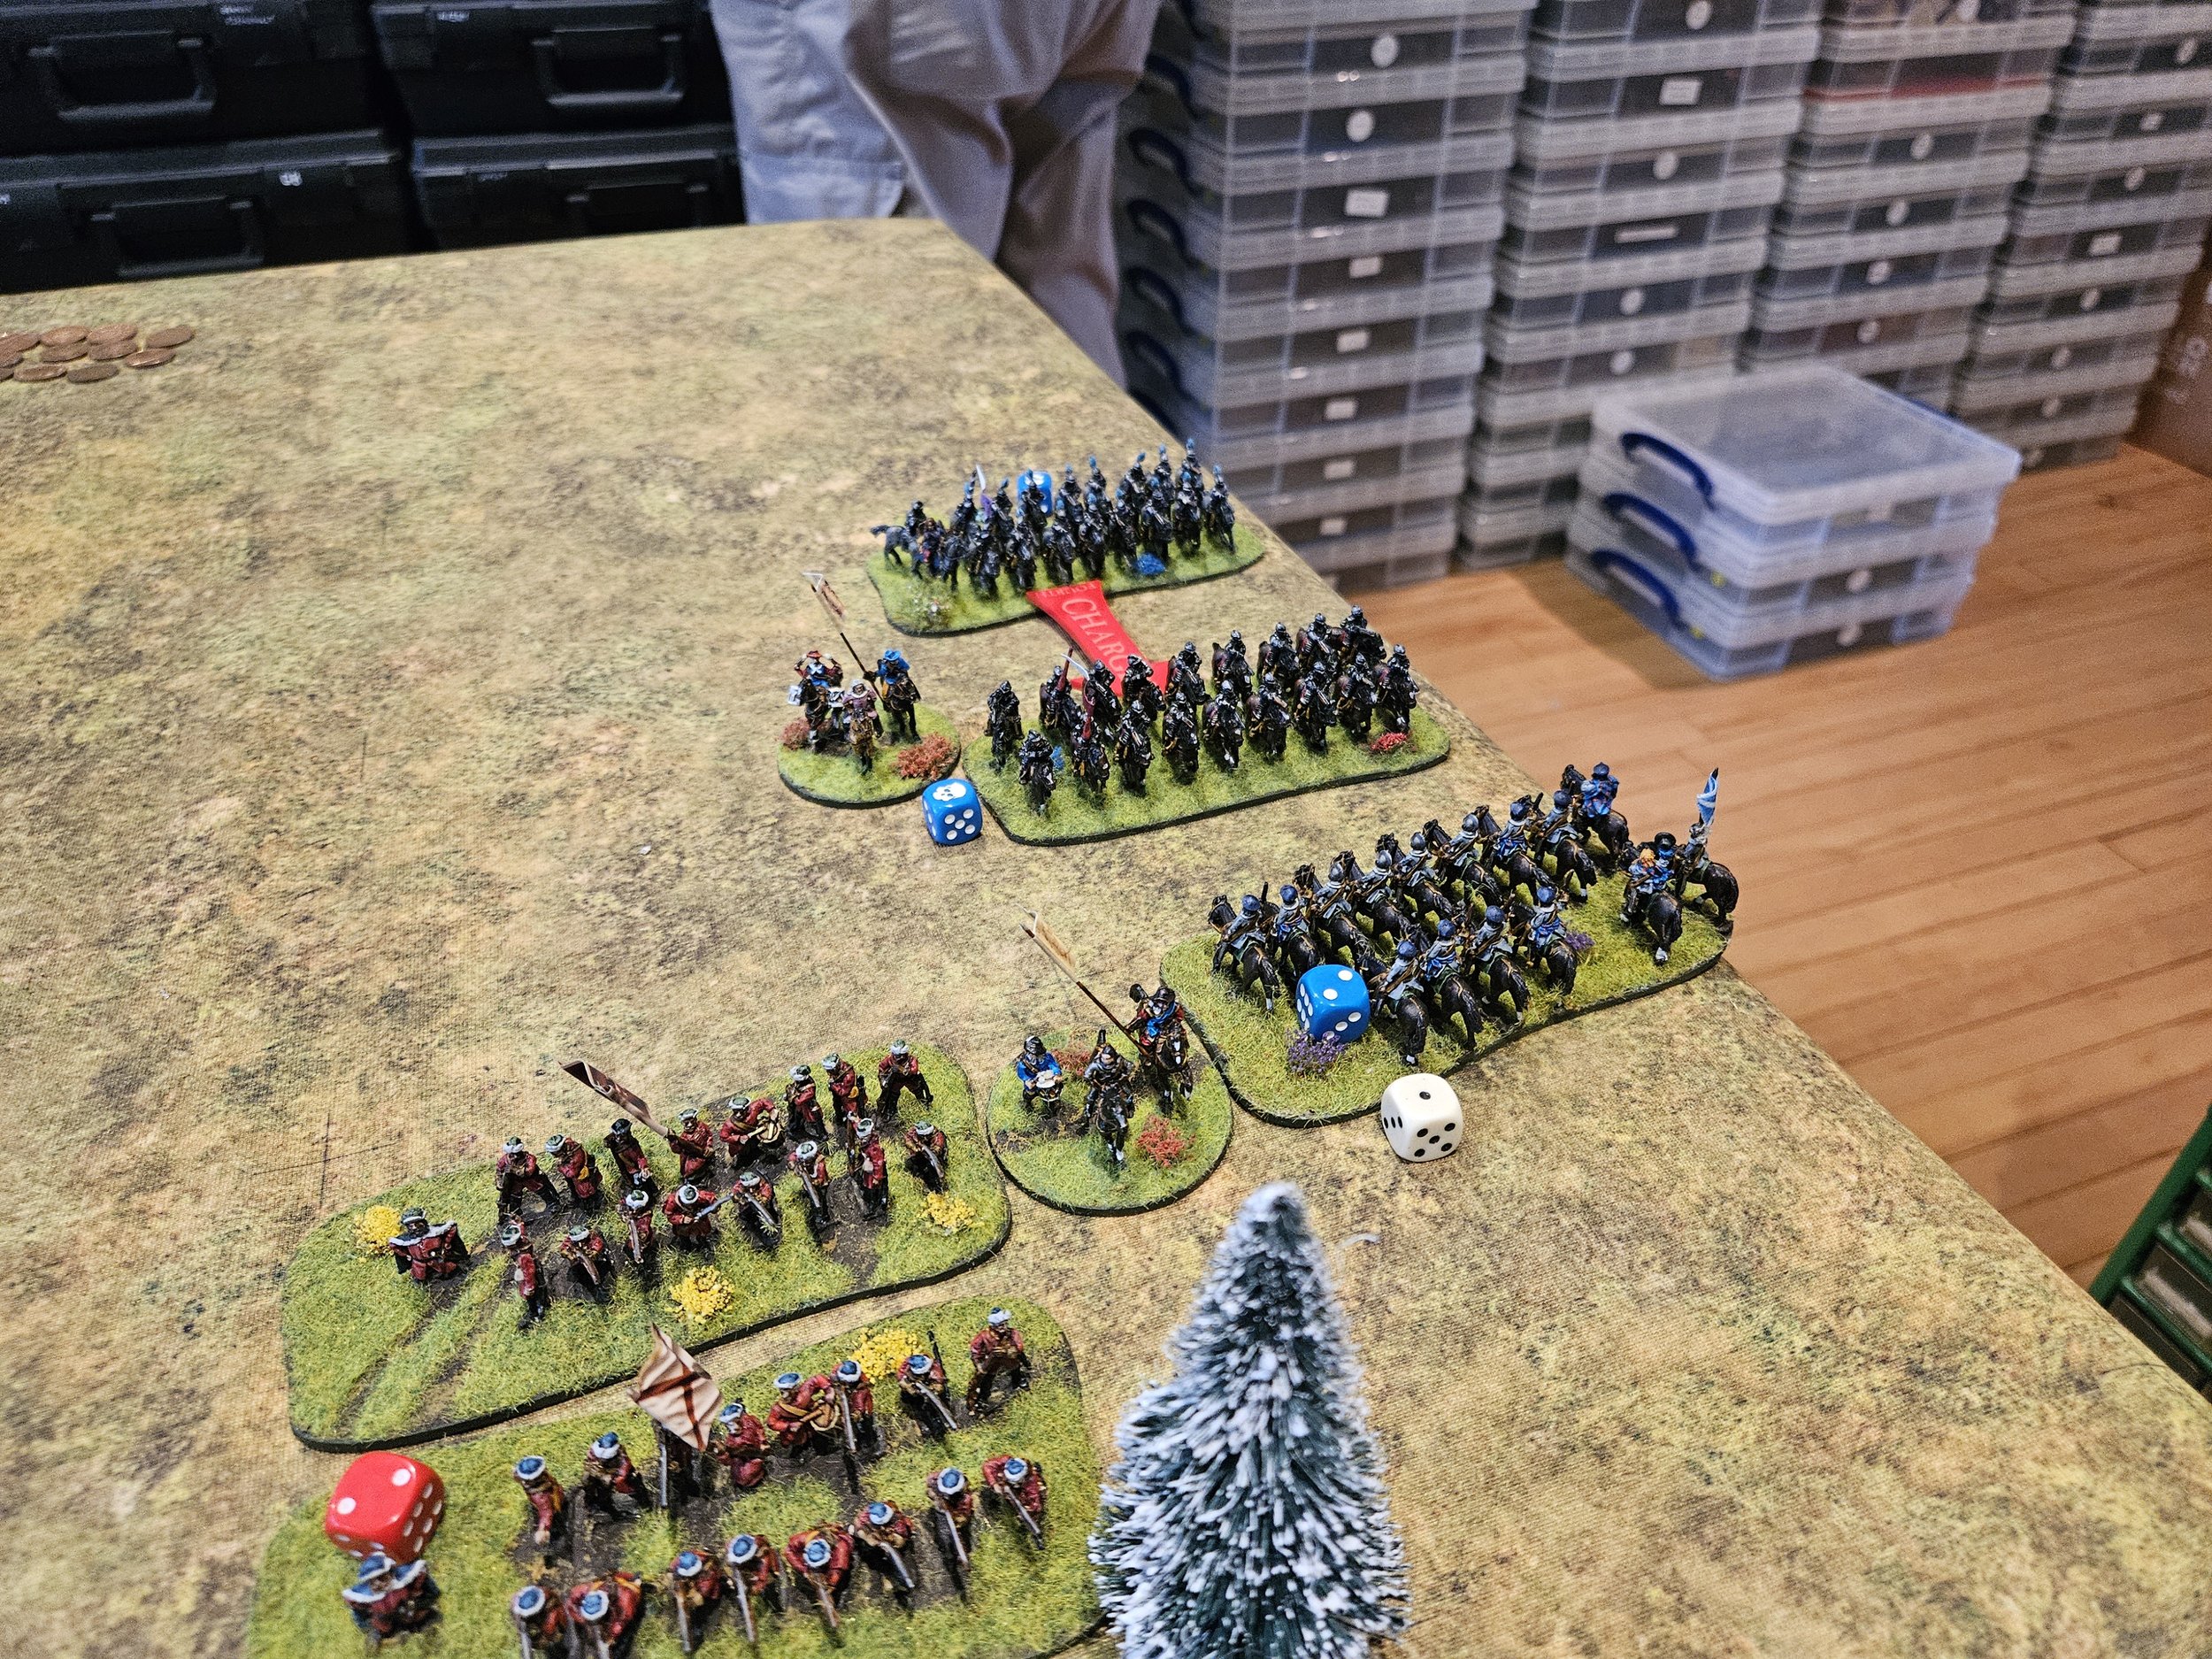
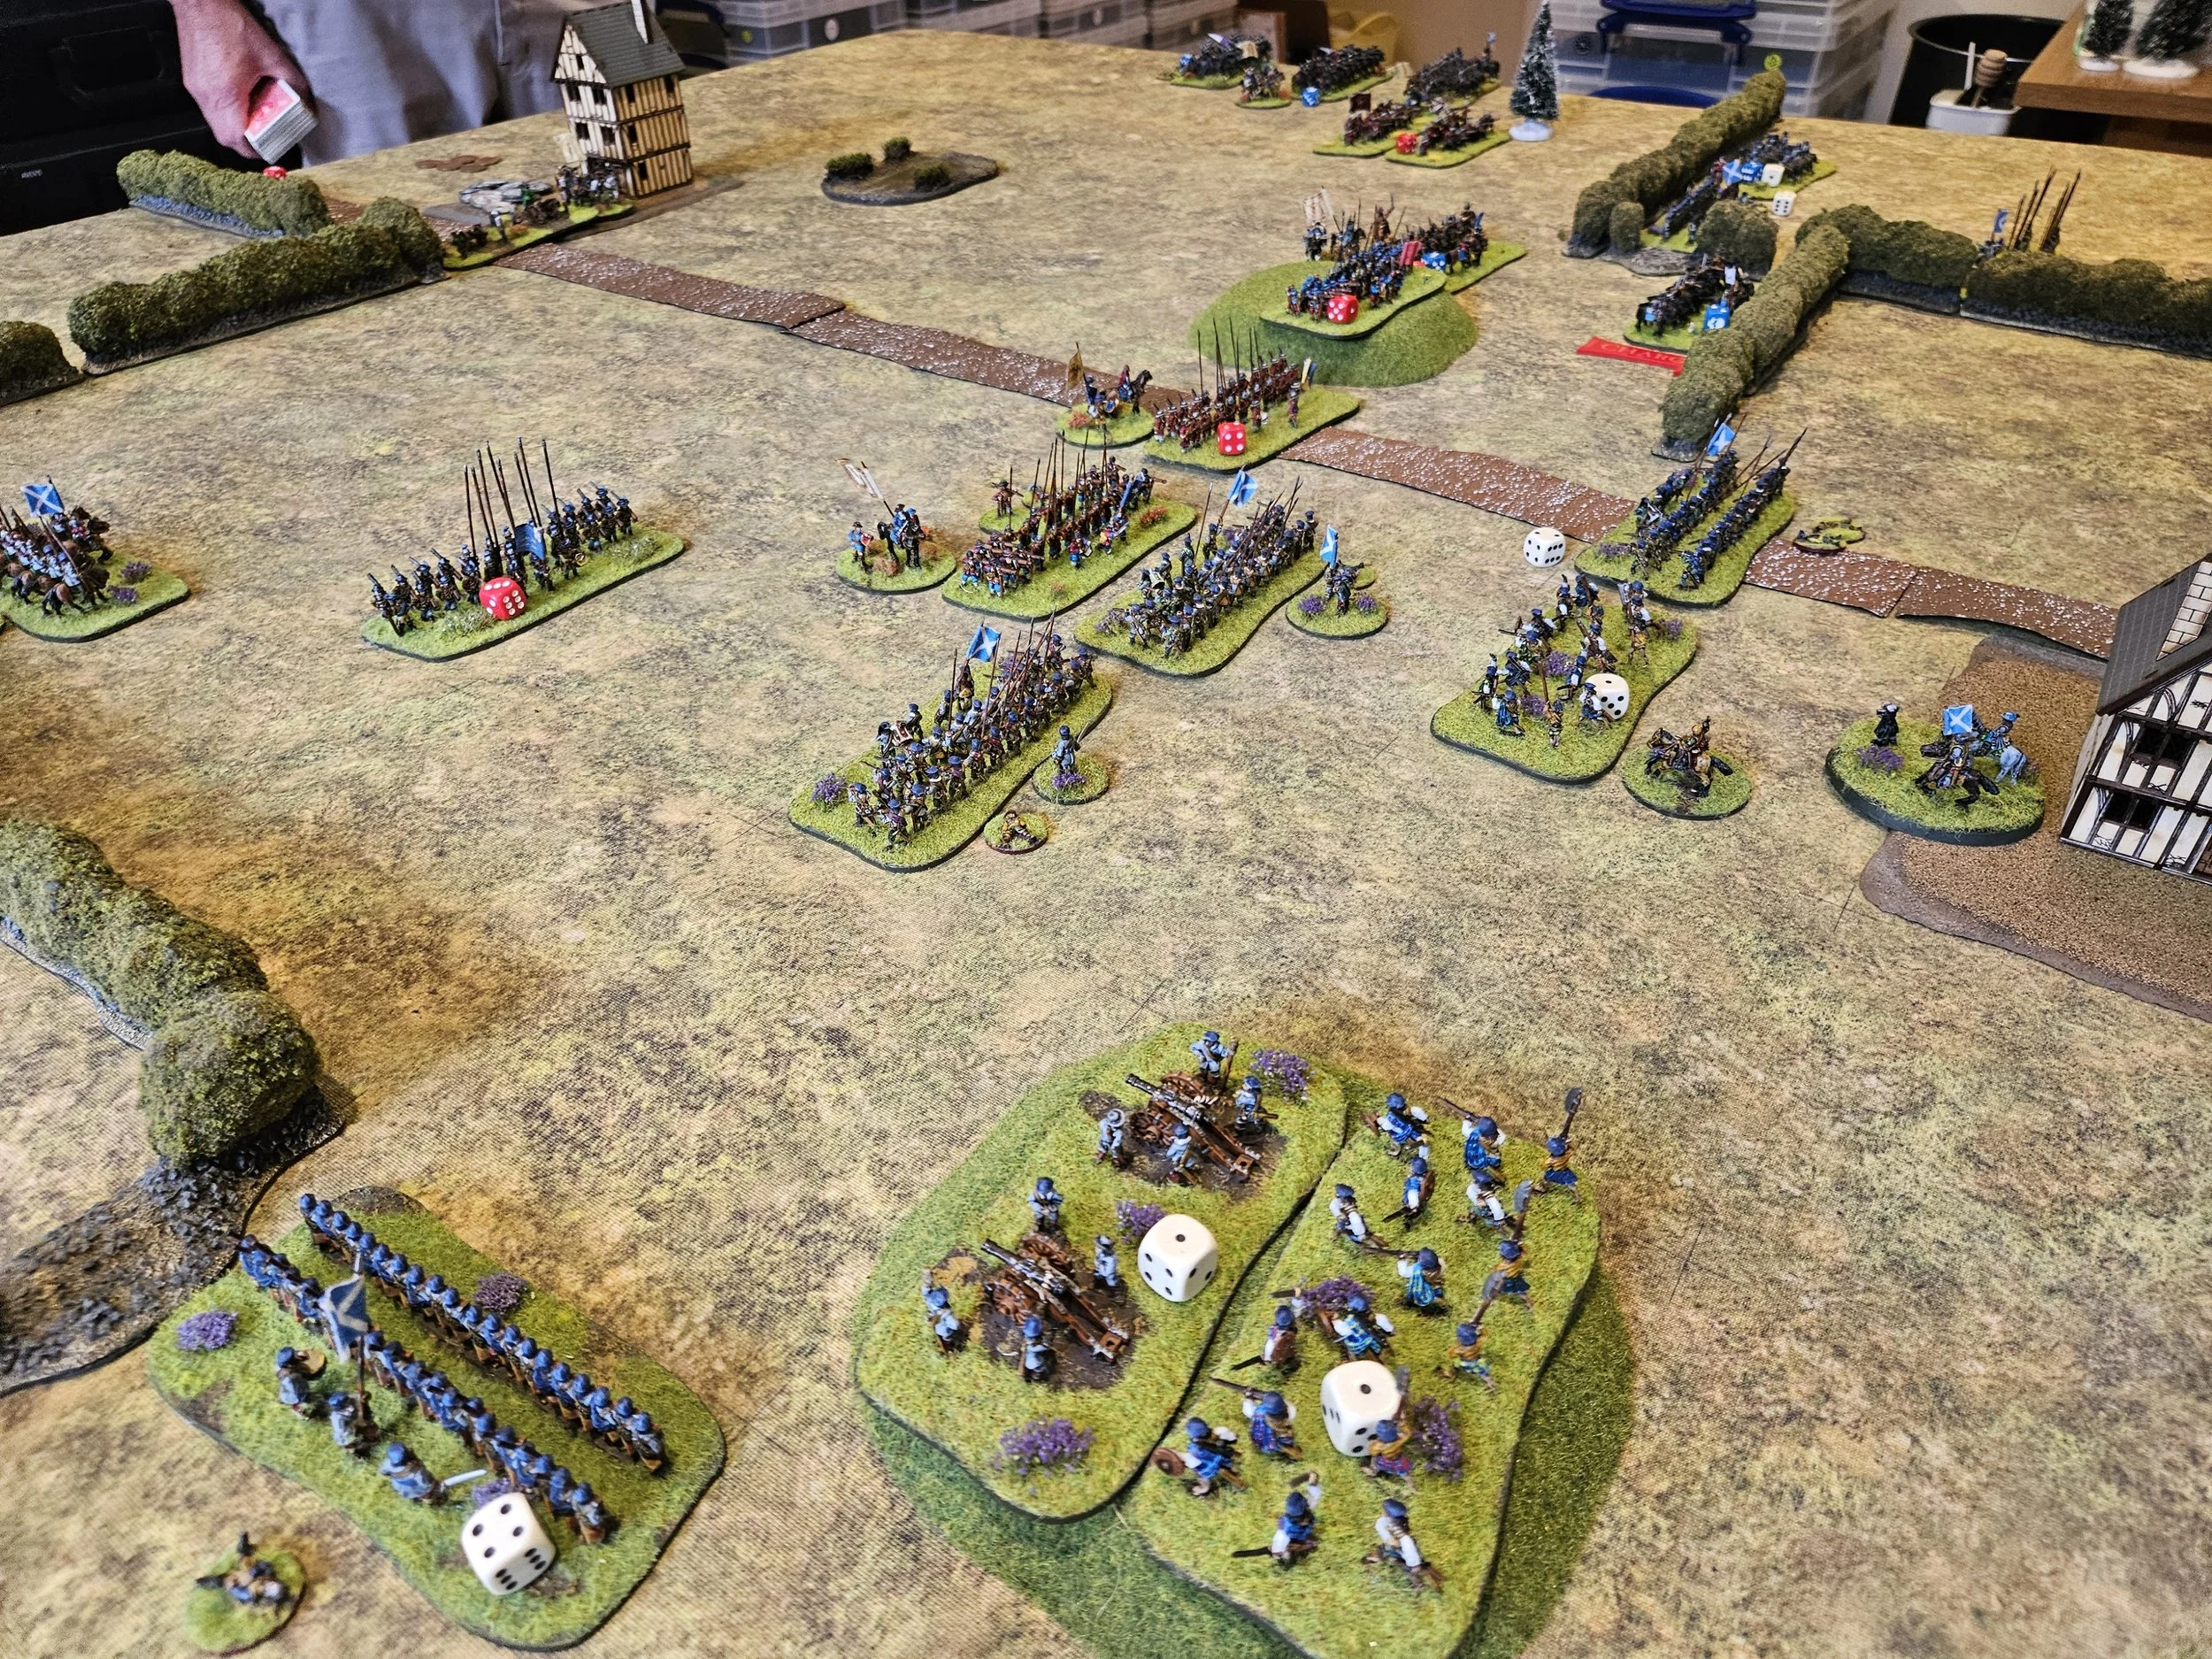
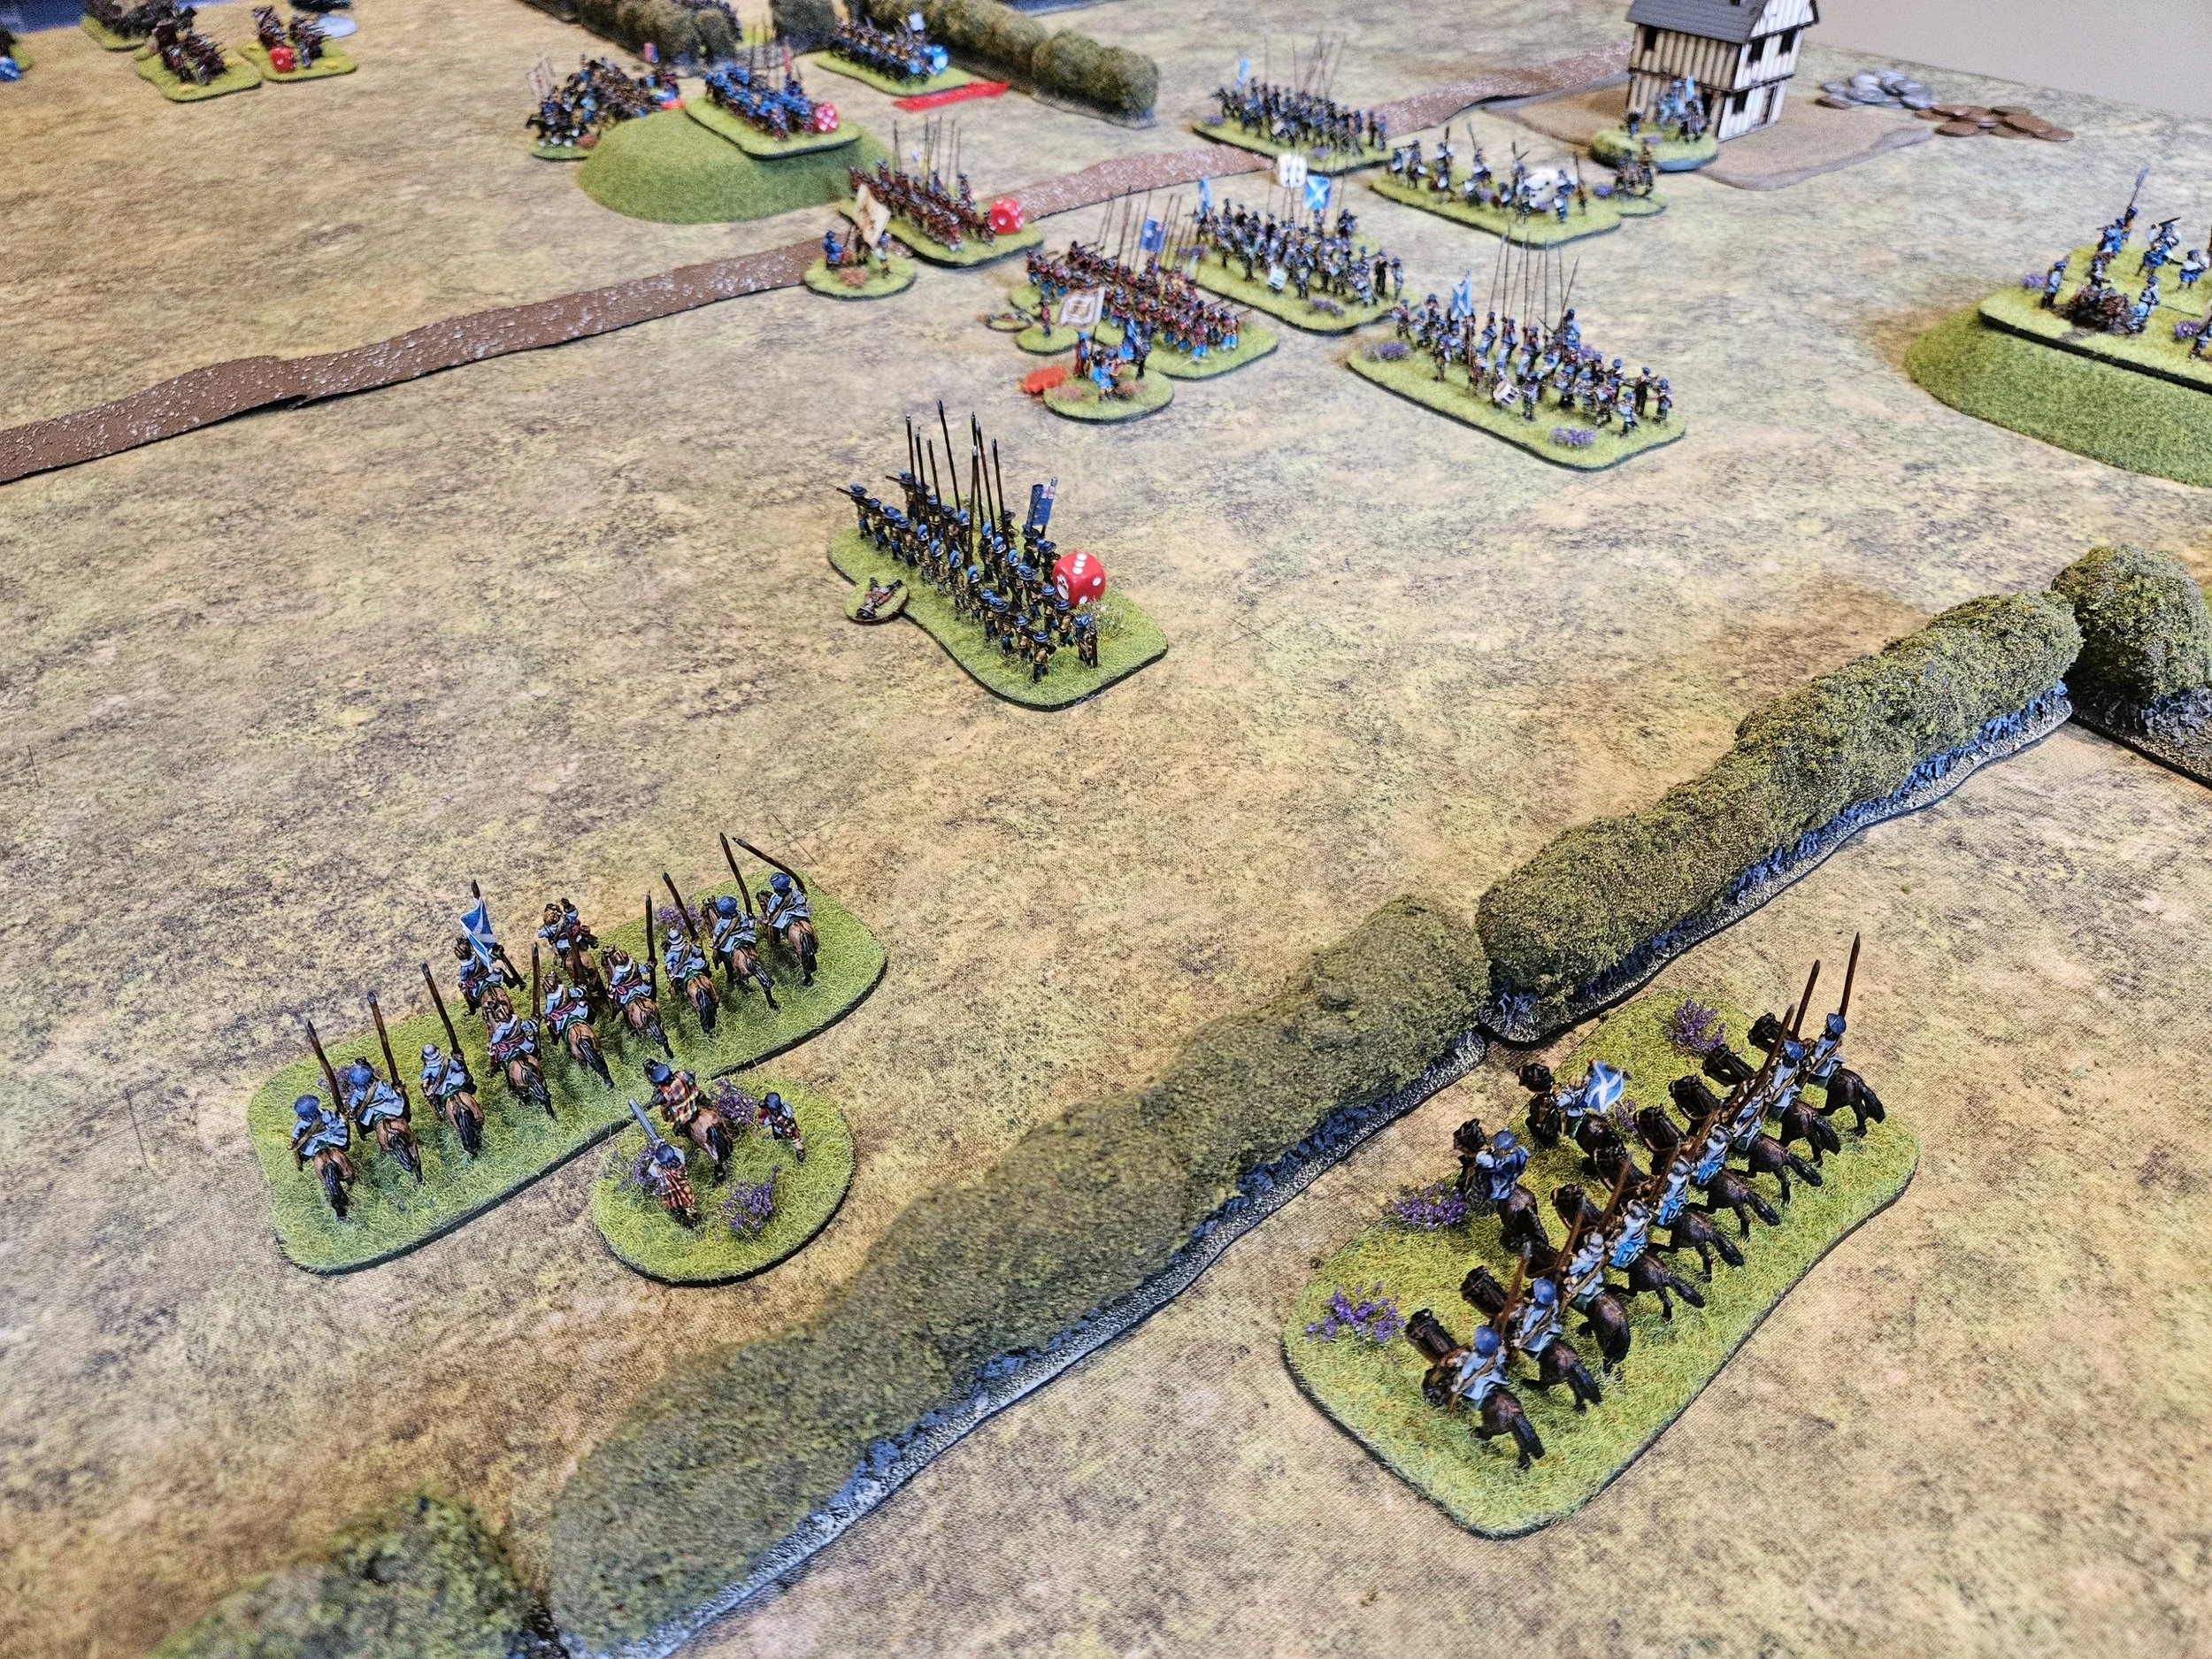
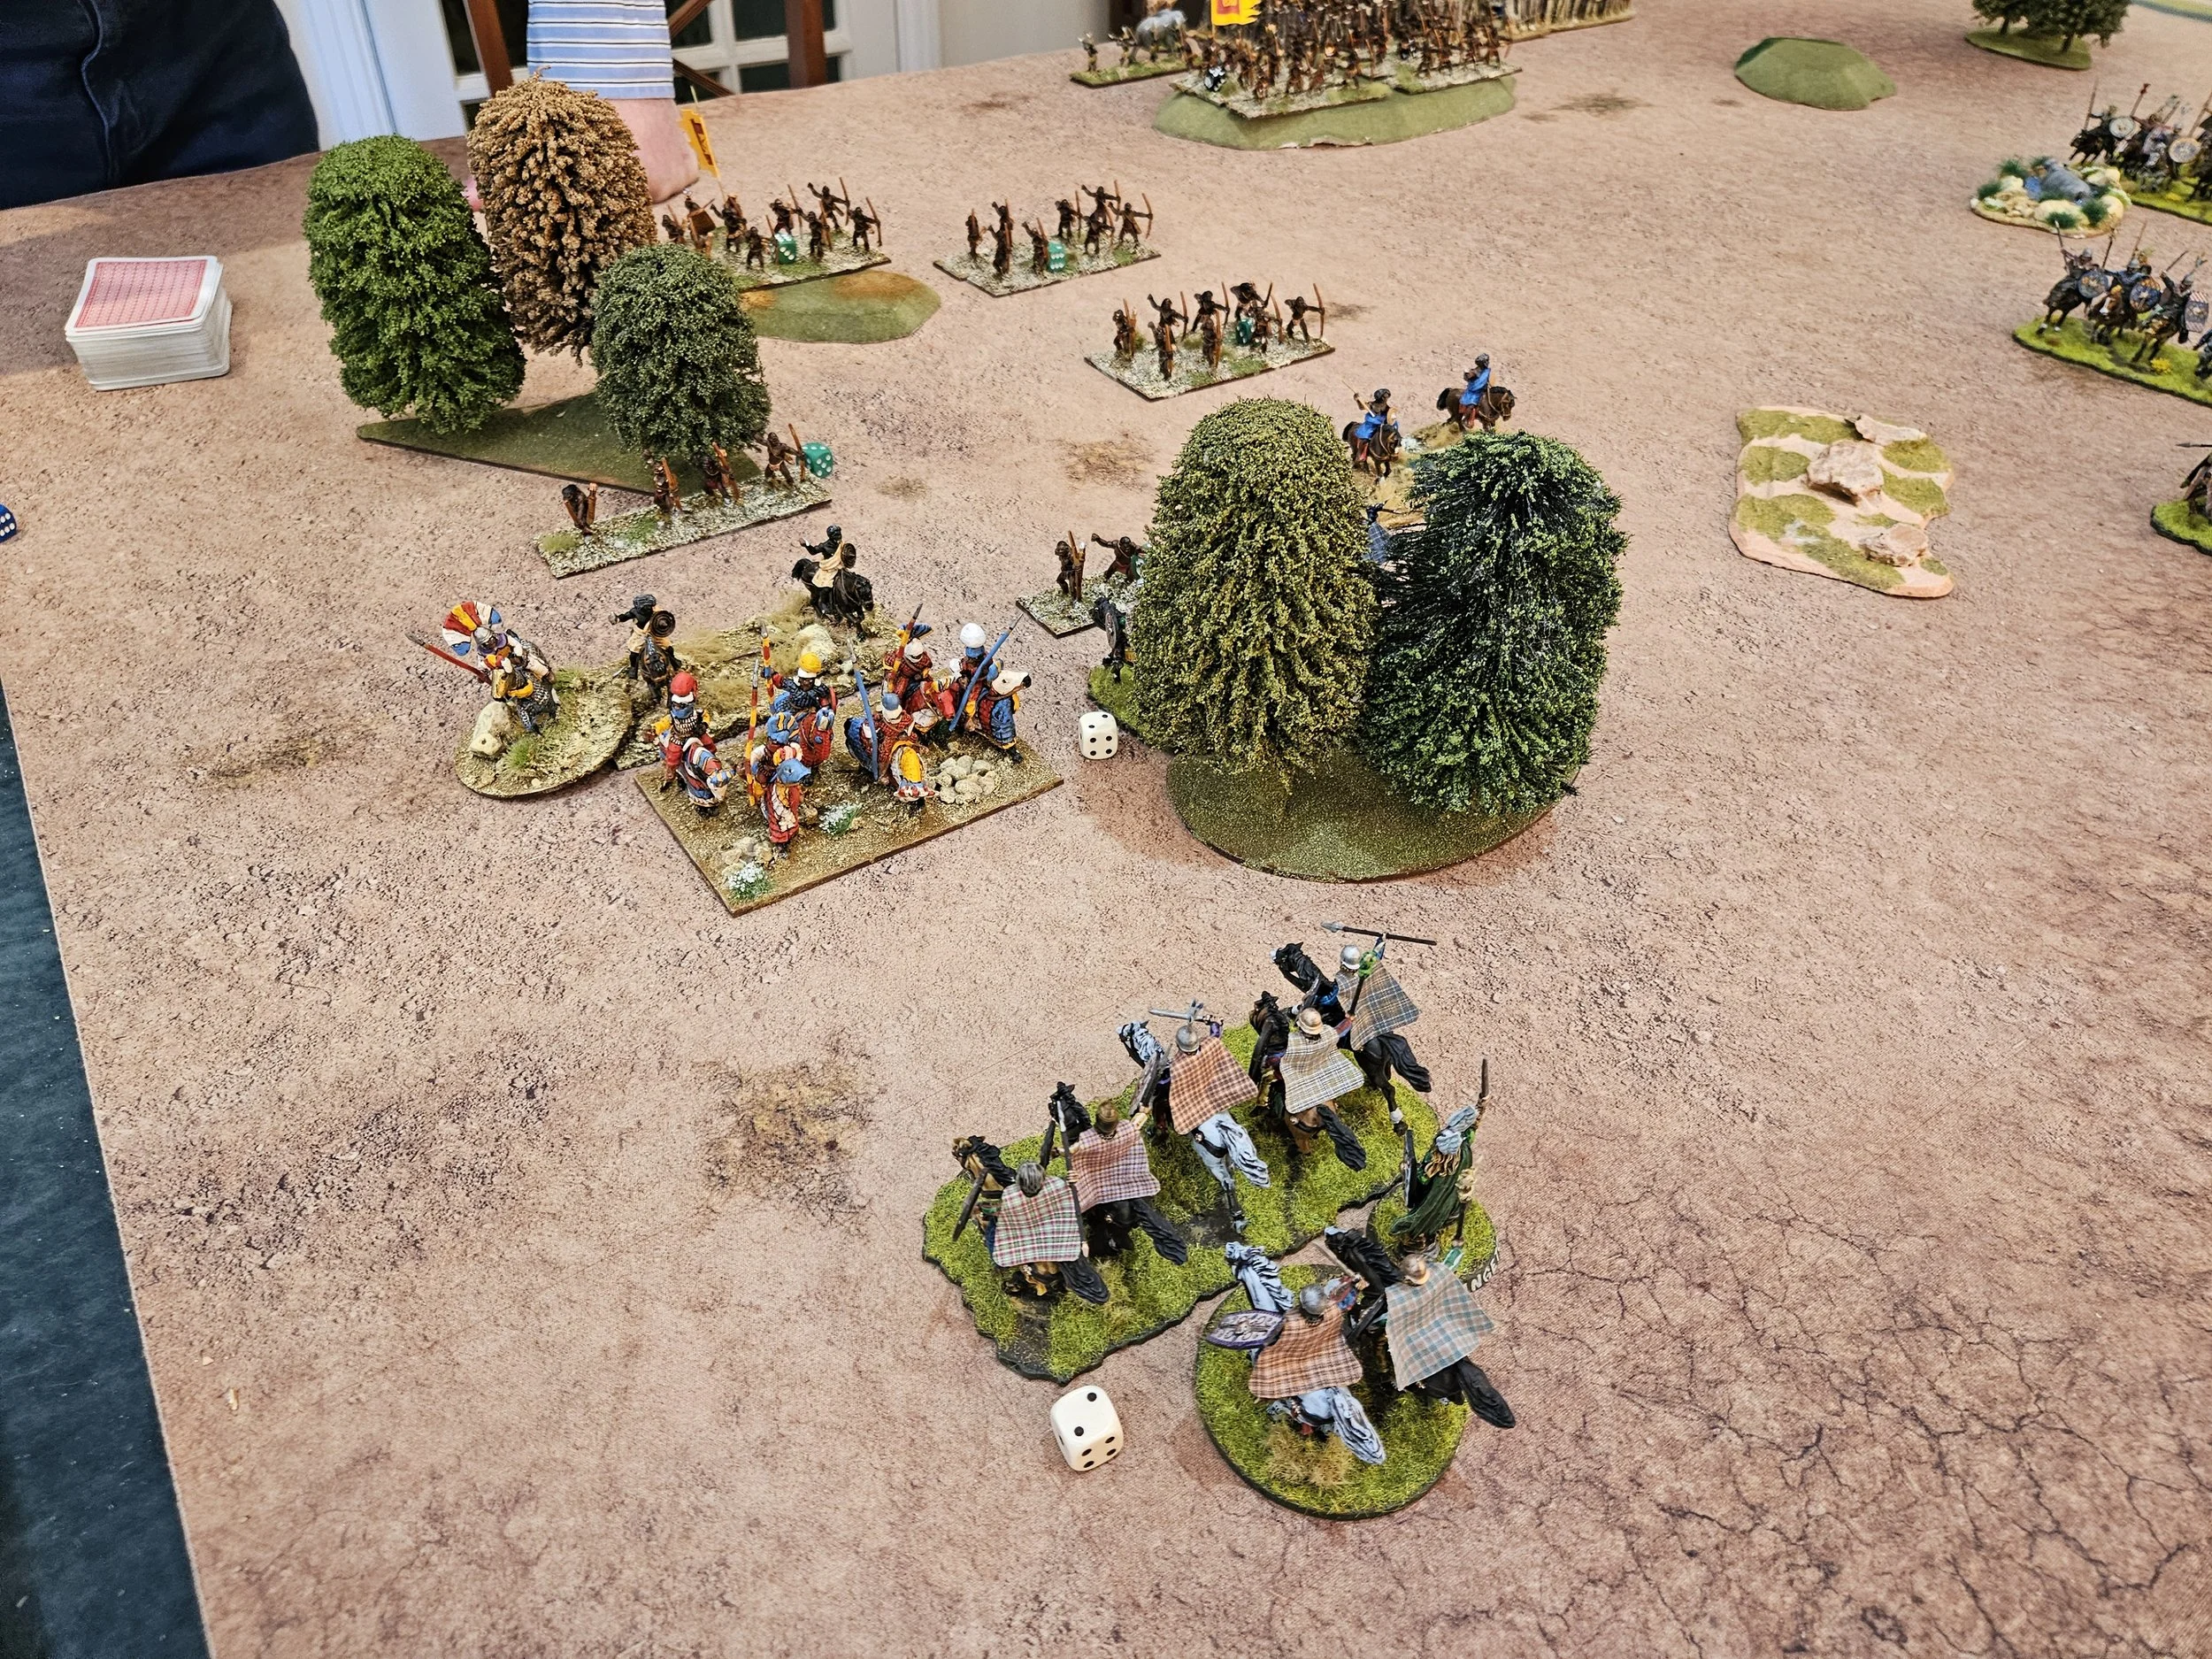
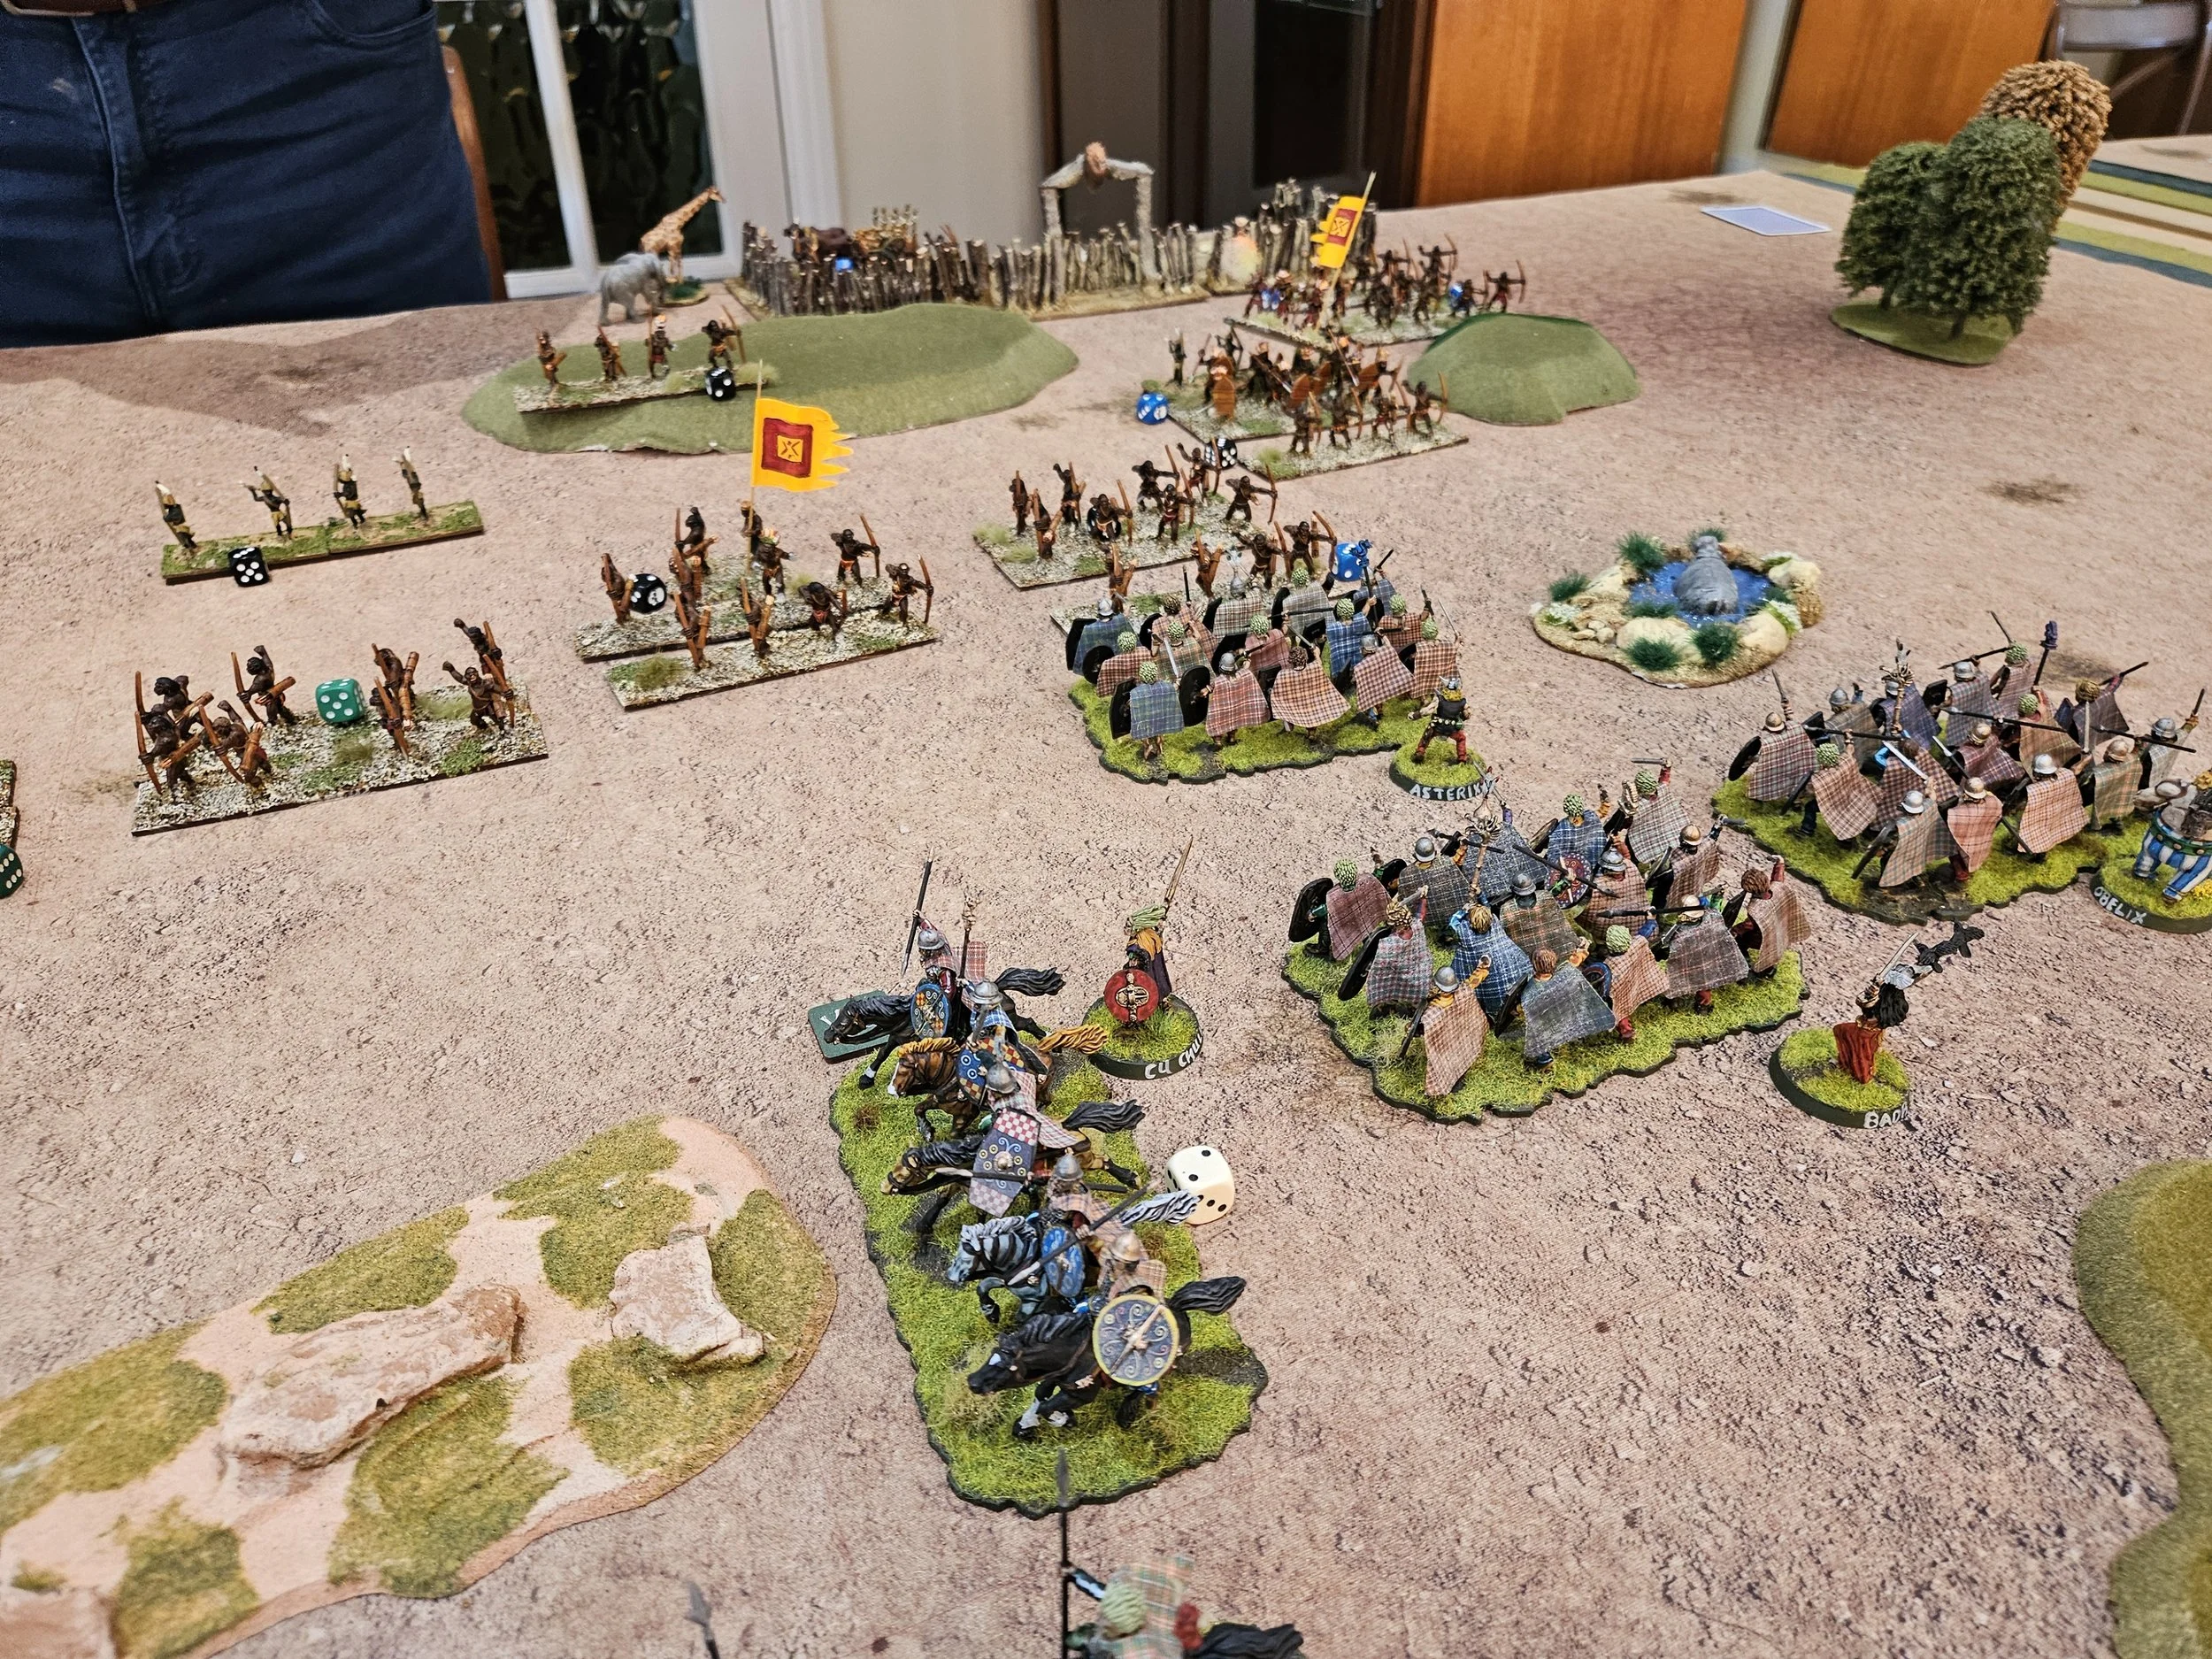
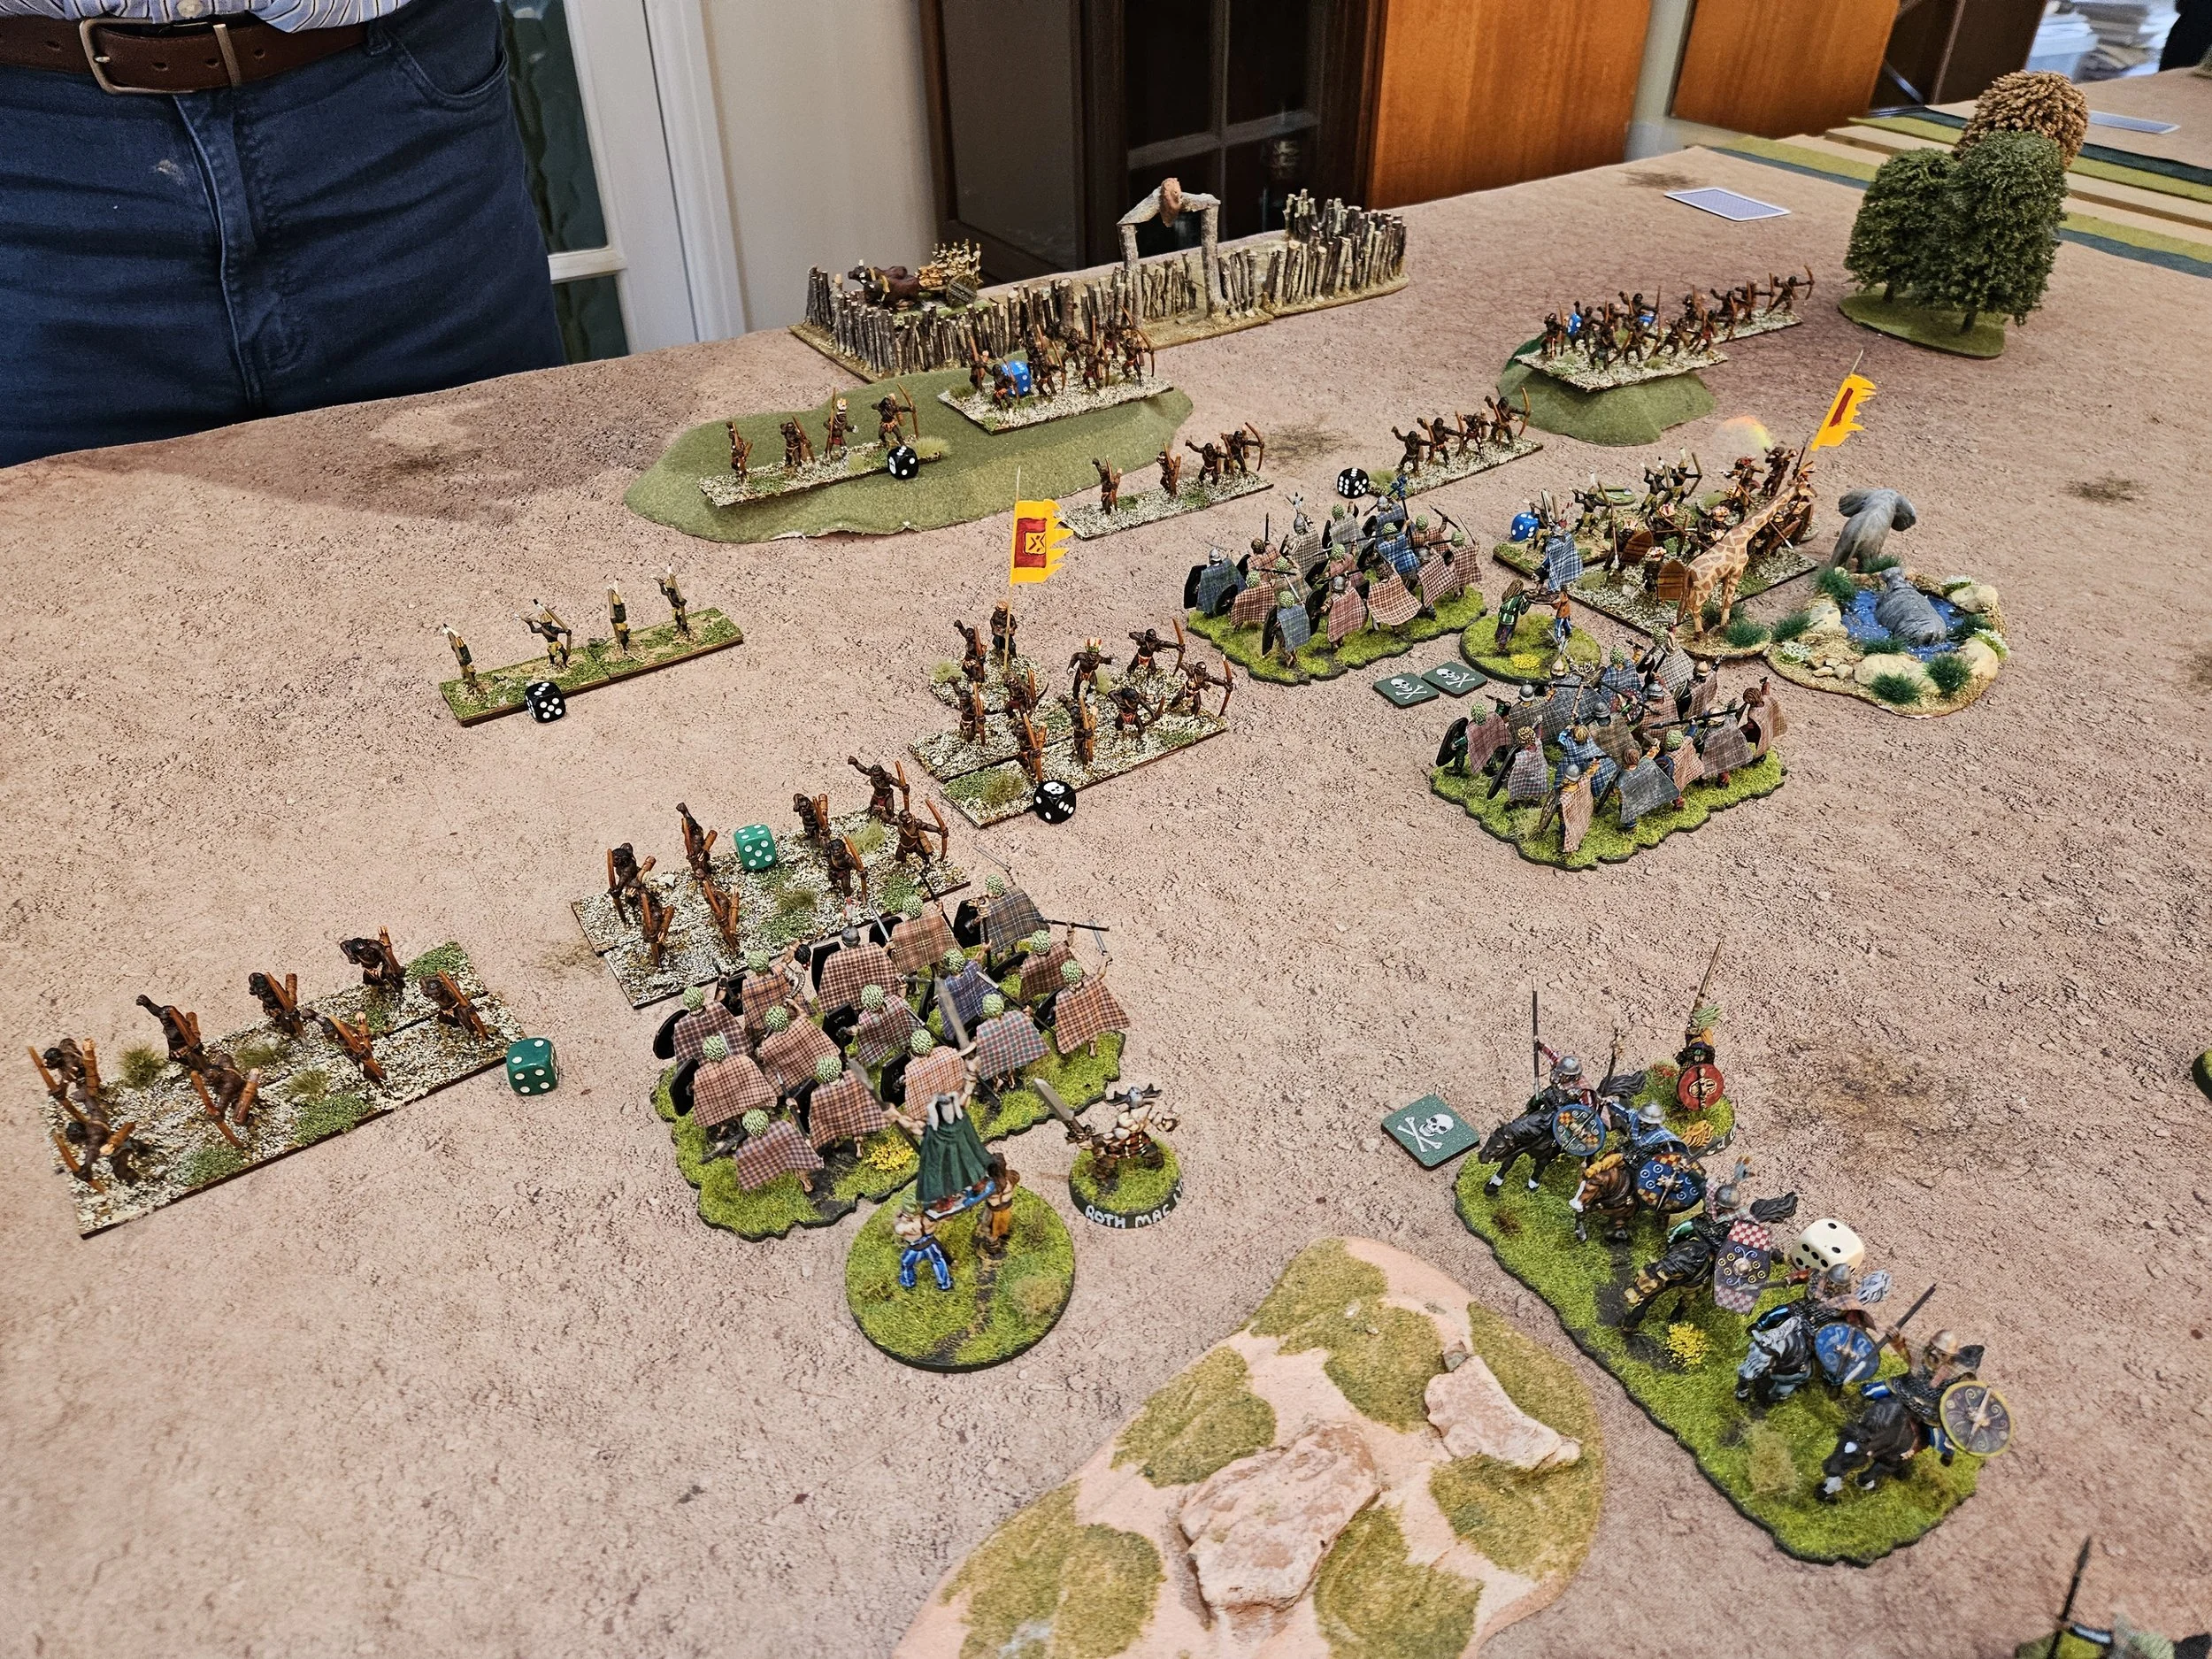
On my right, Robs outnumbered, outflanked and unsupported cavalry quickly caved in allowing me to threaten the flanks of his central warbands.
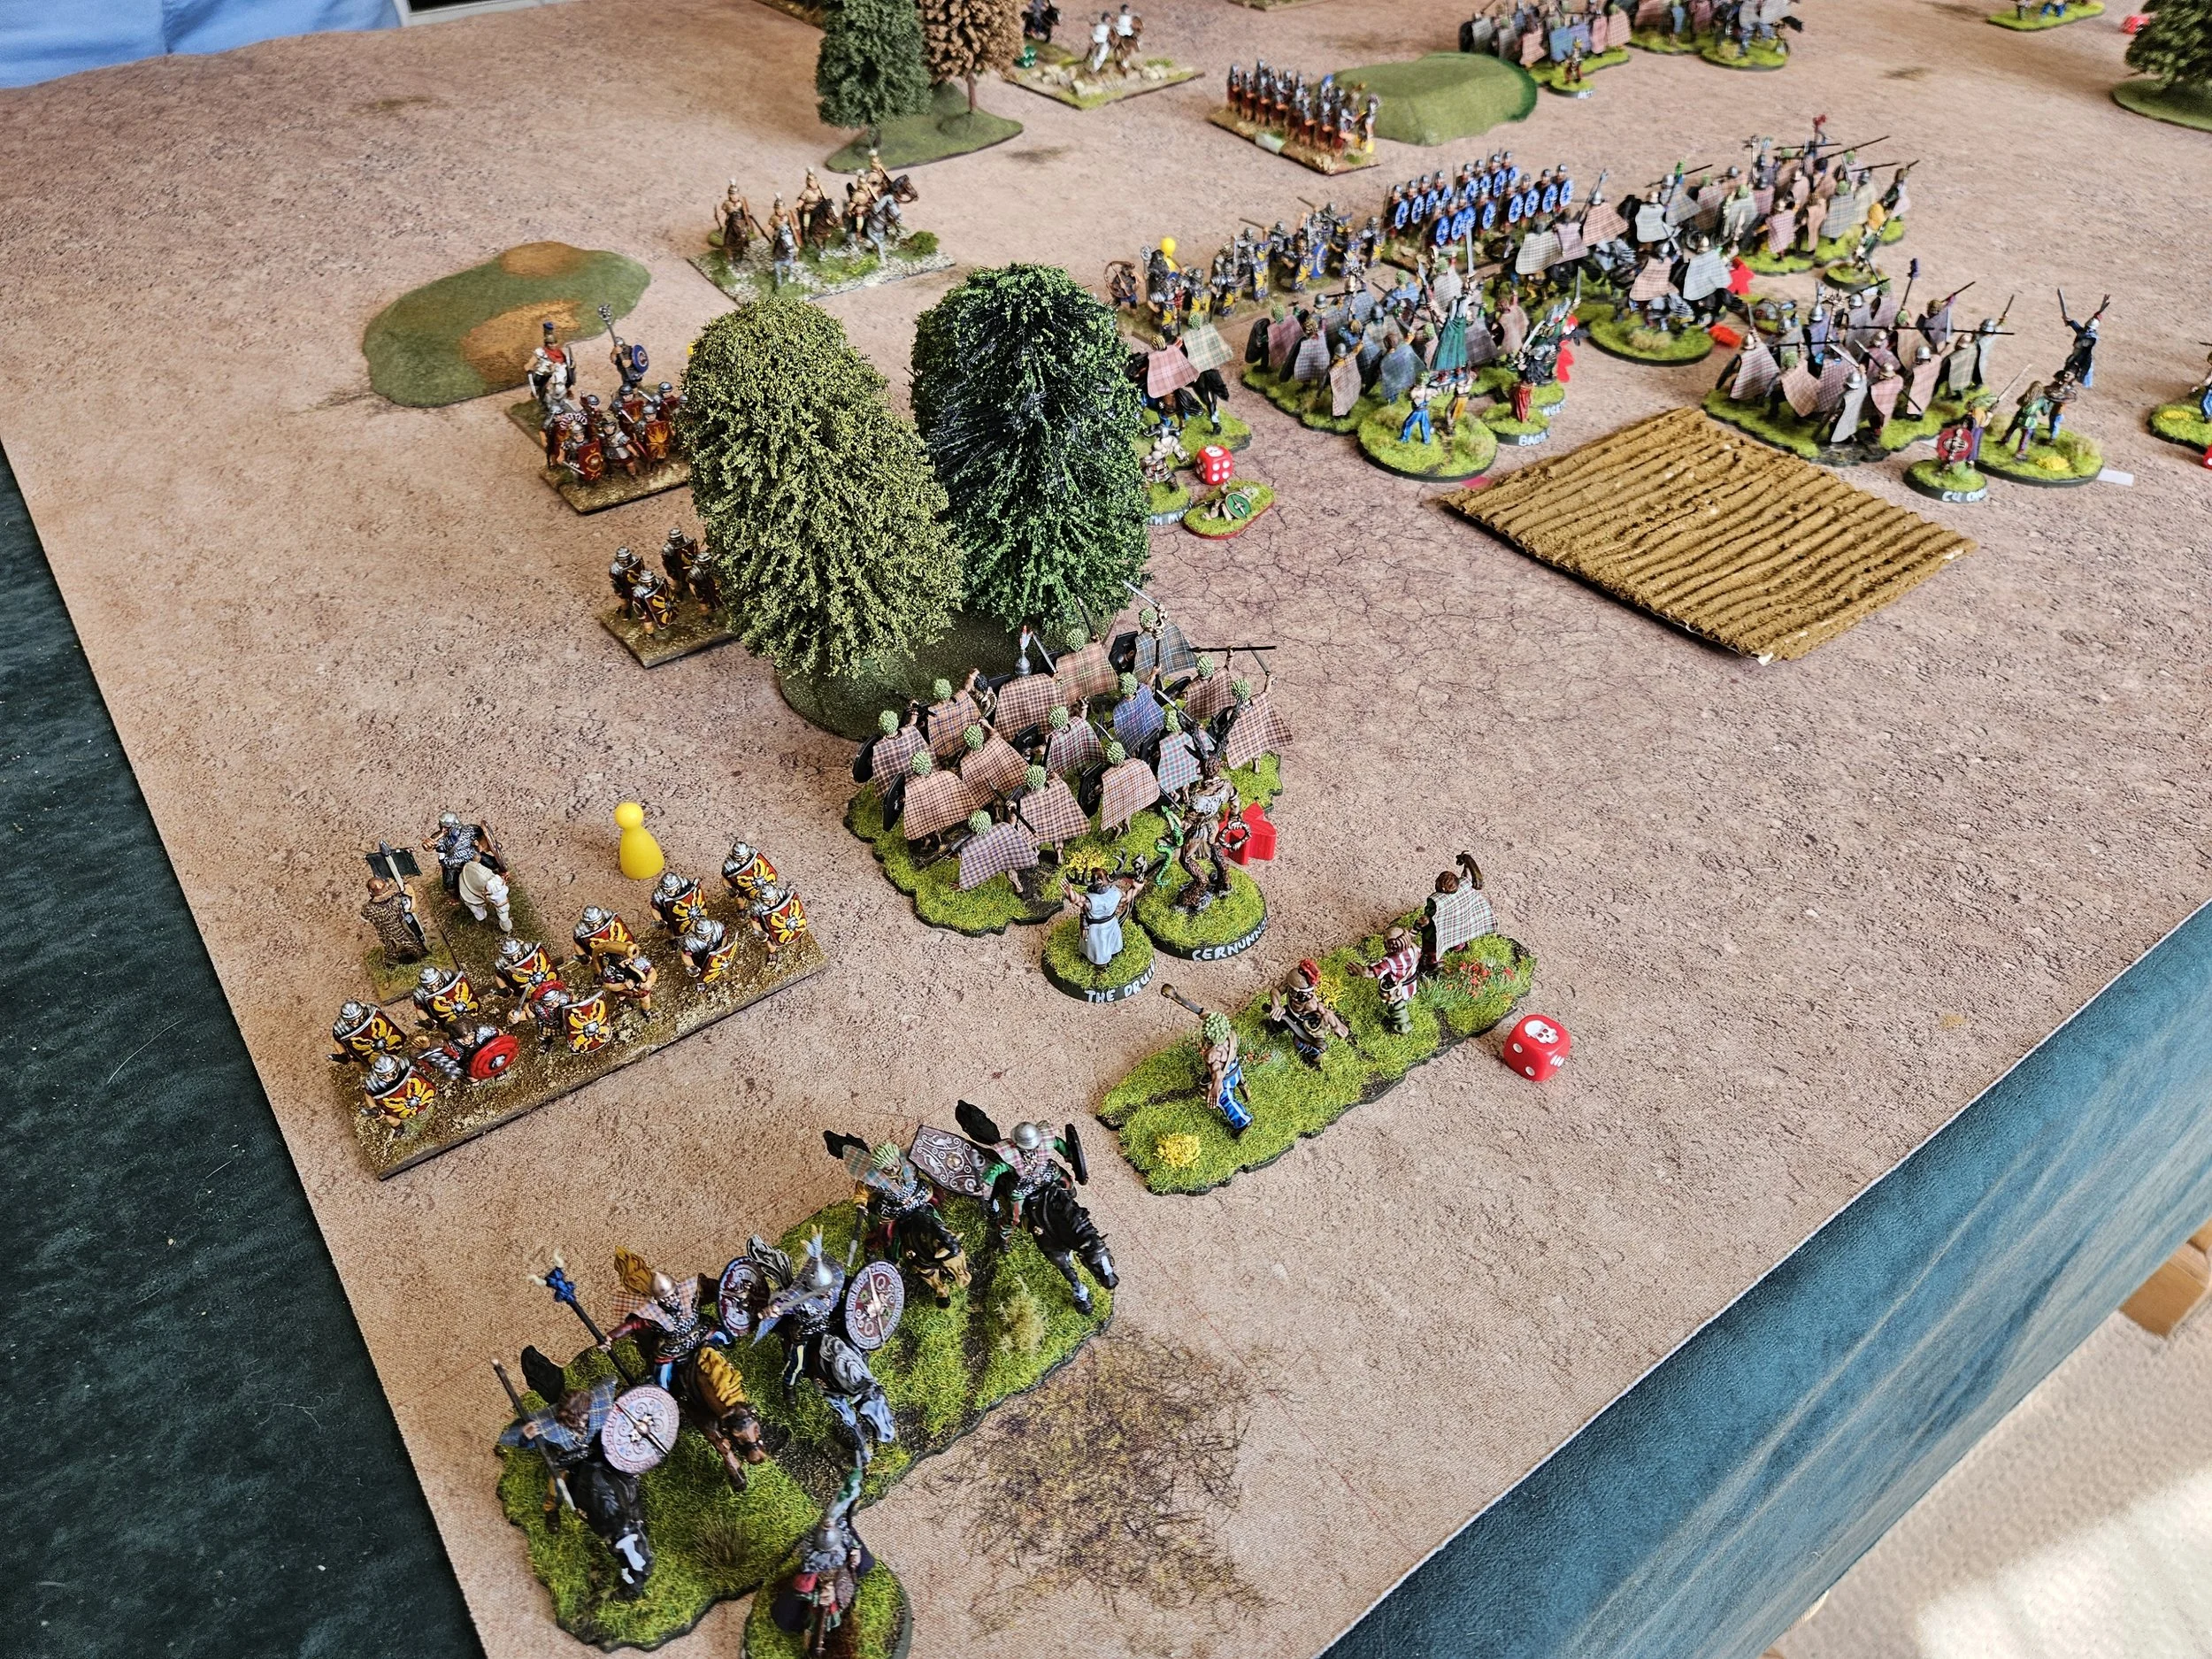
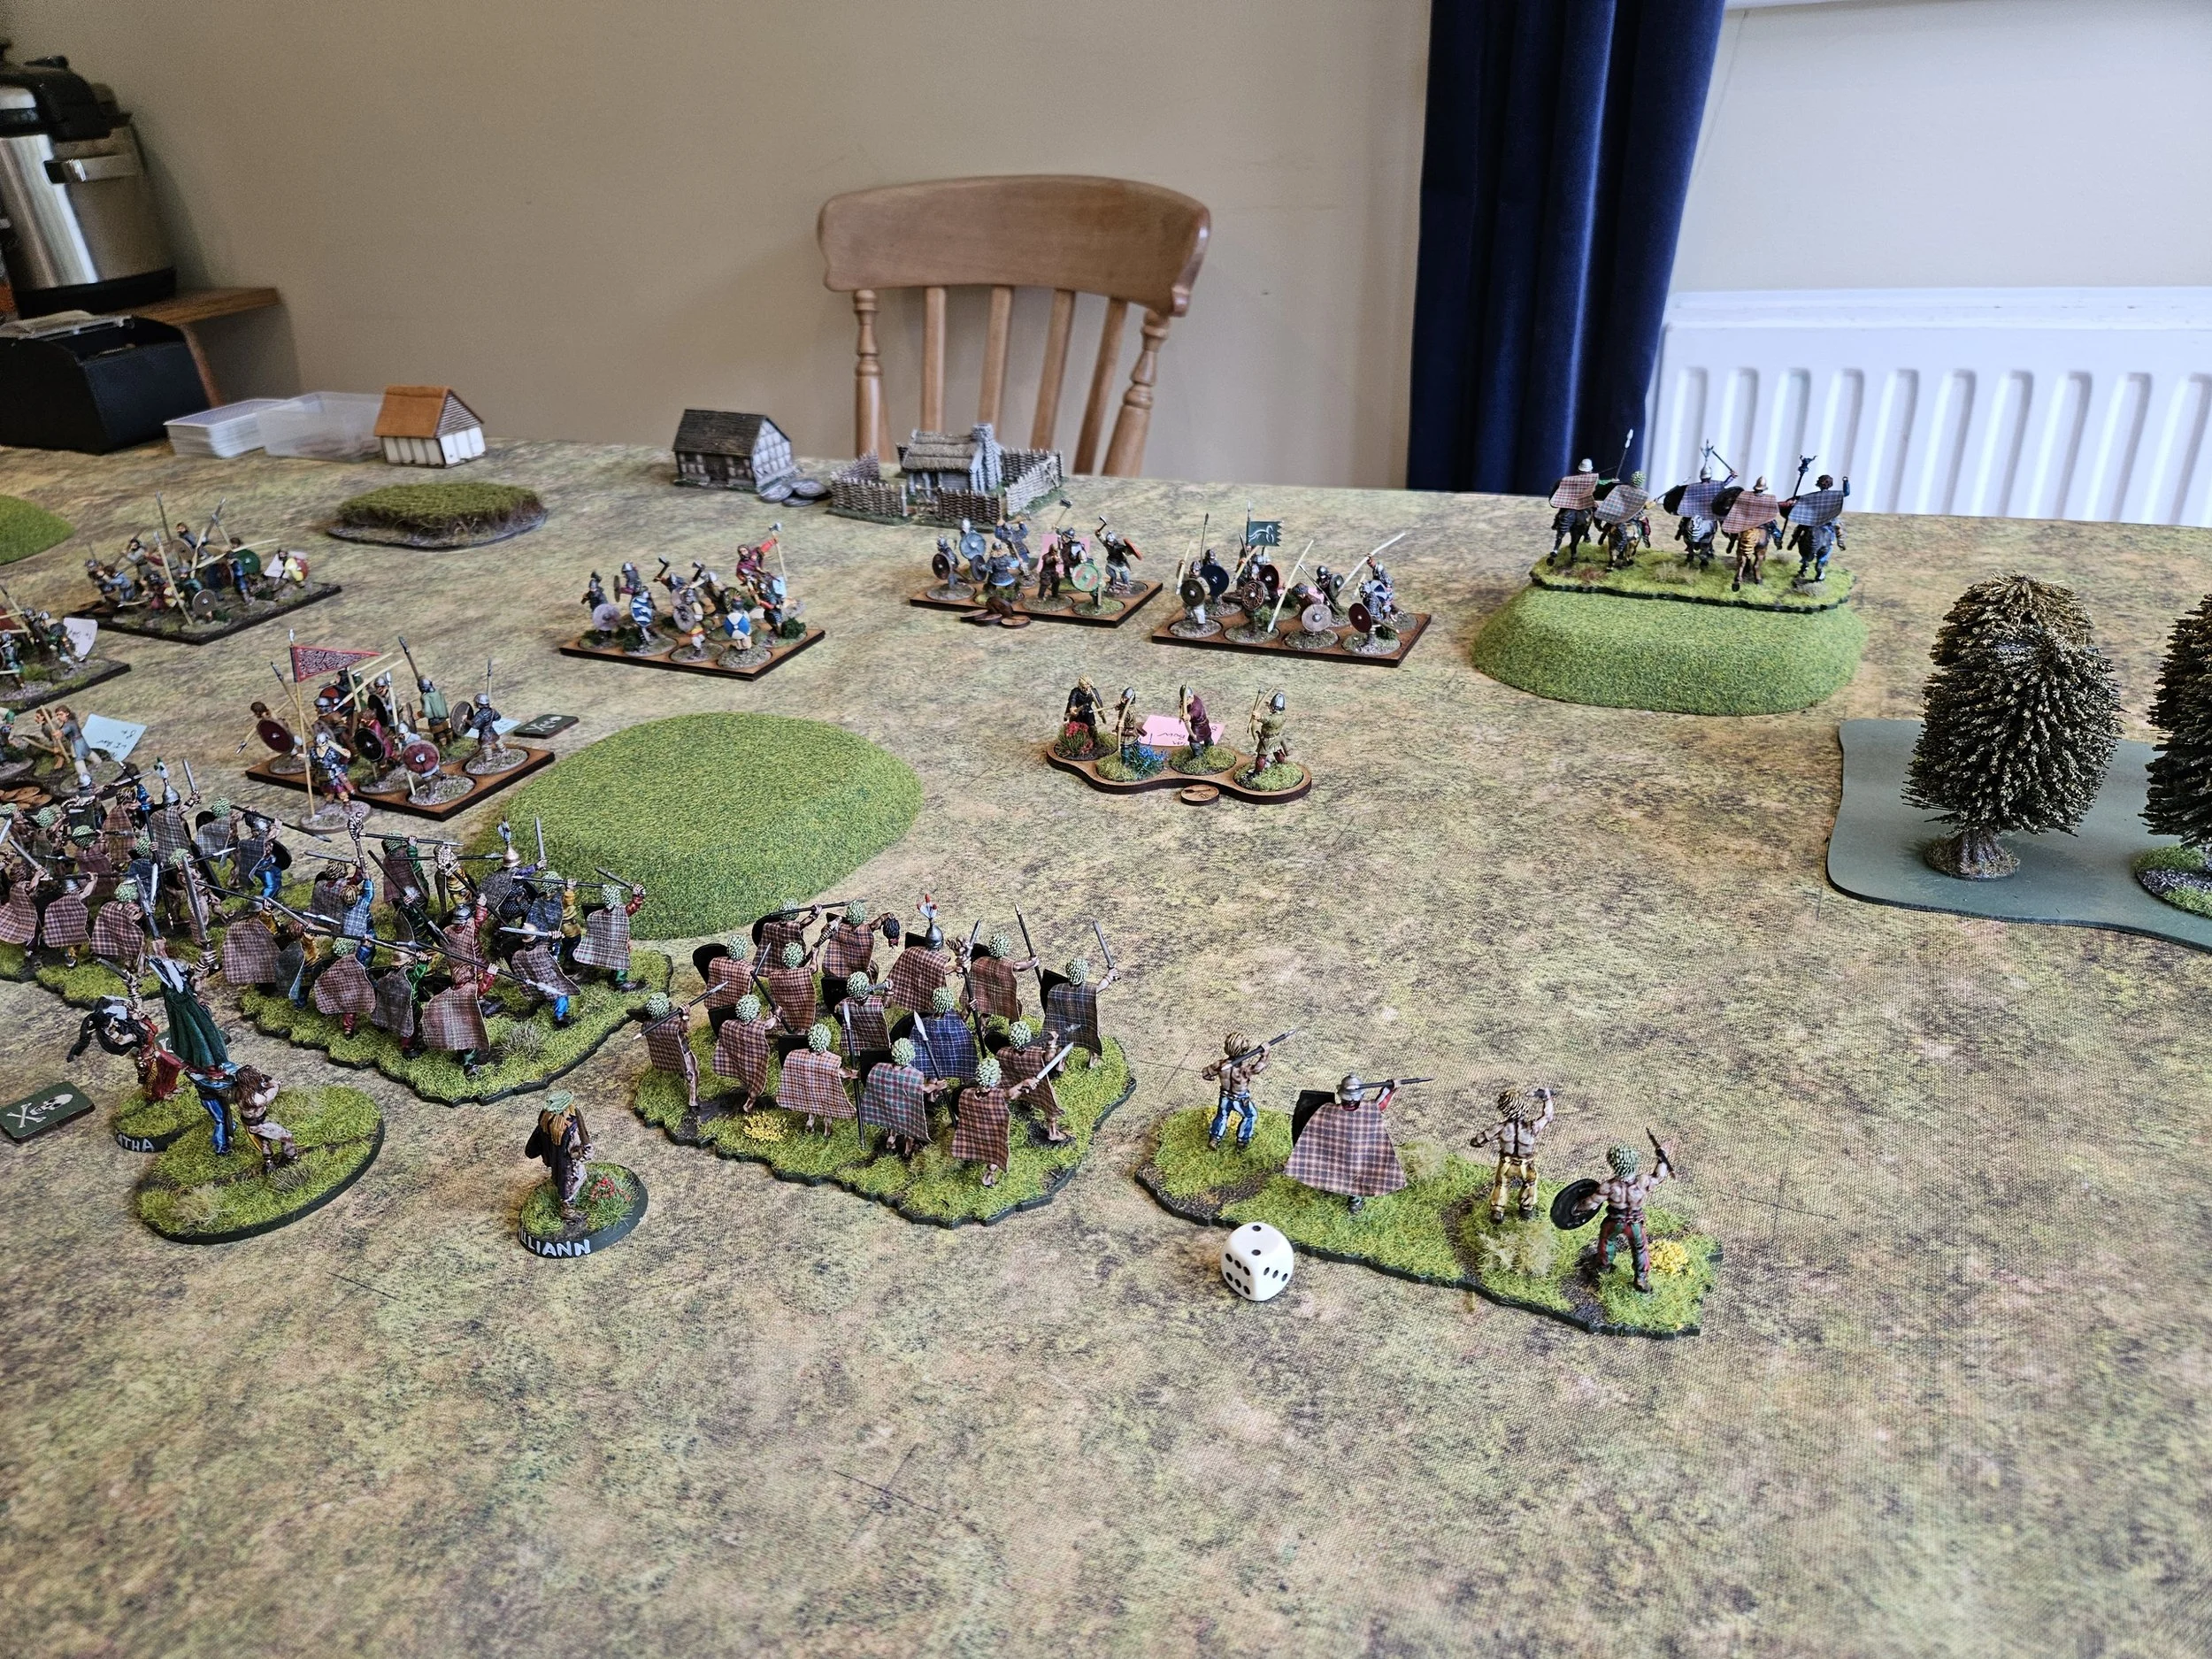
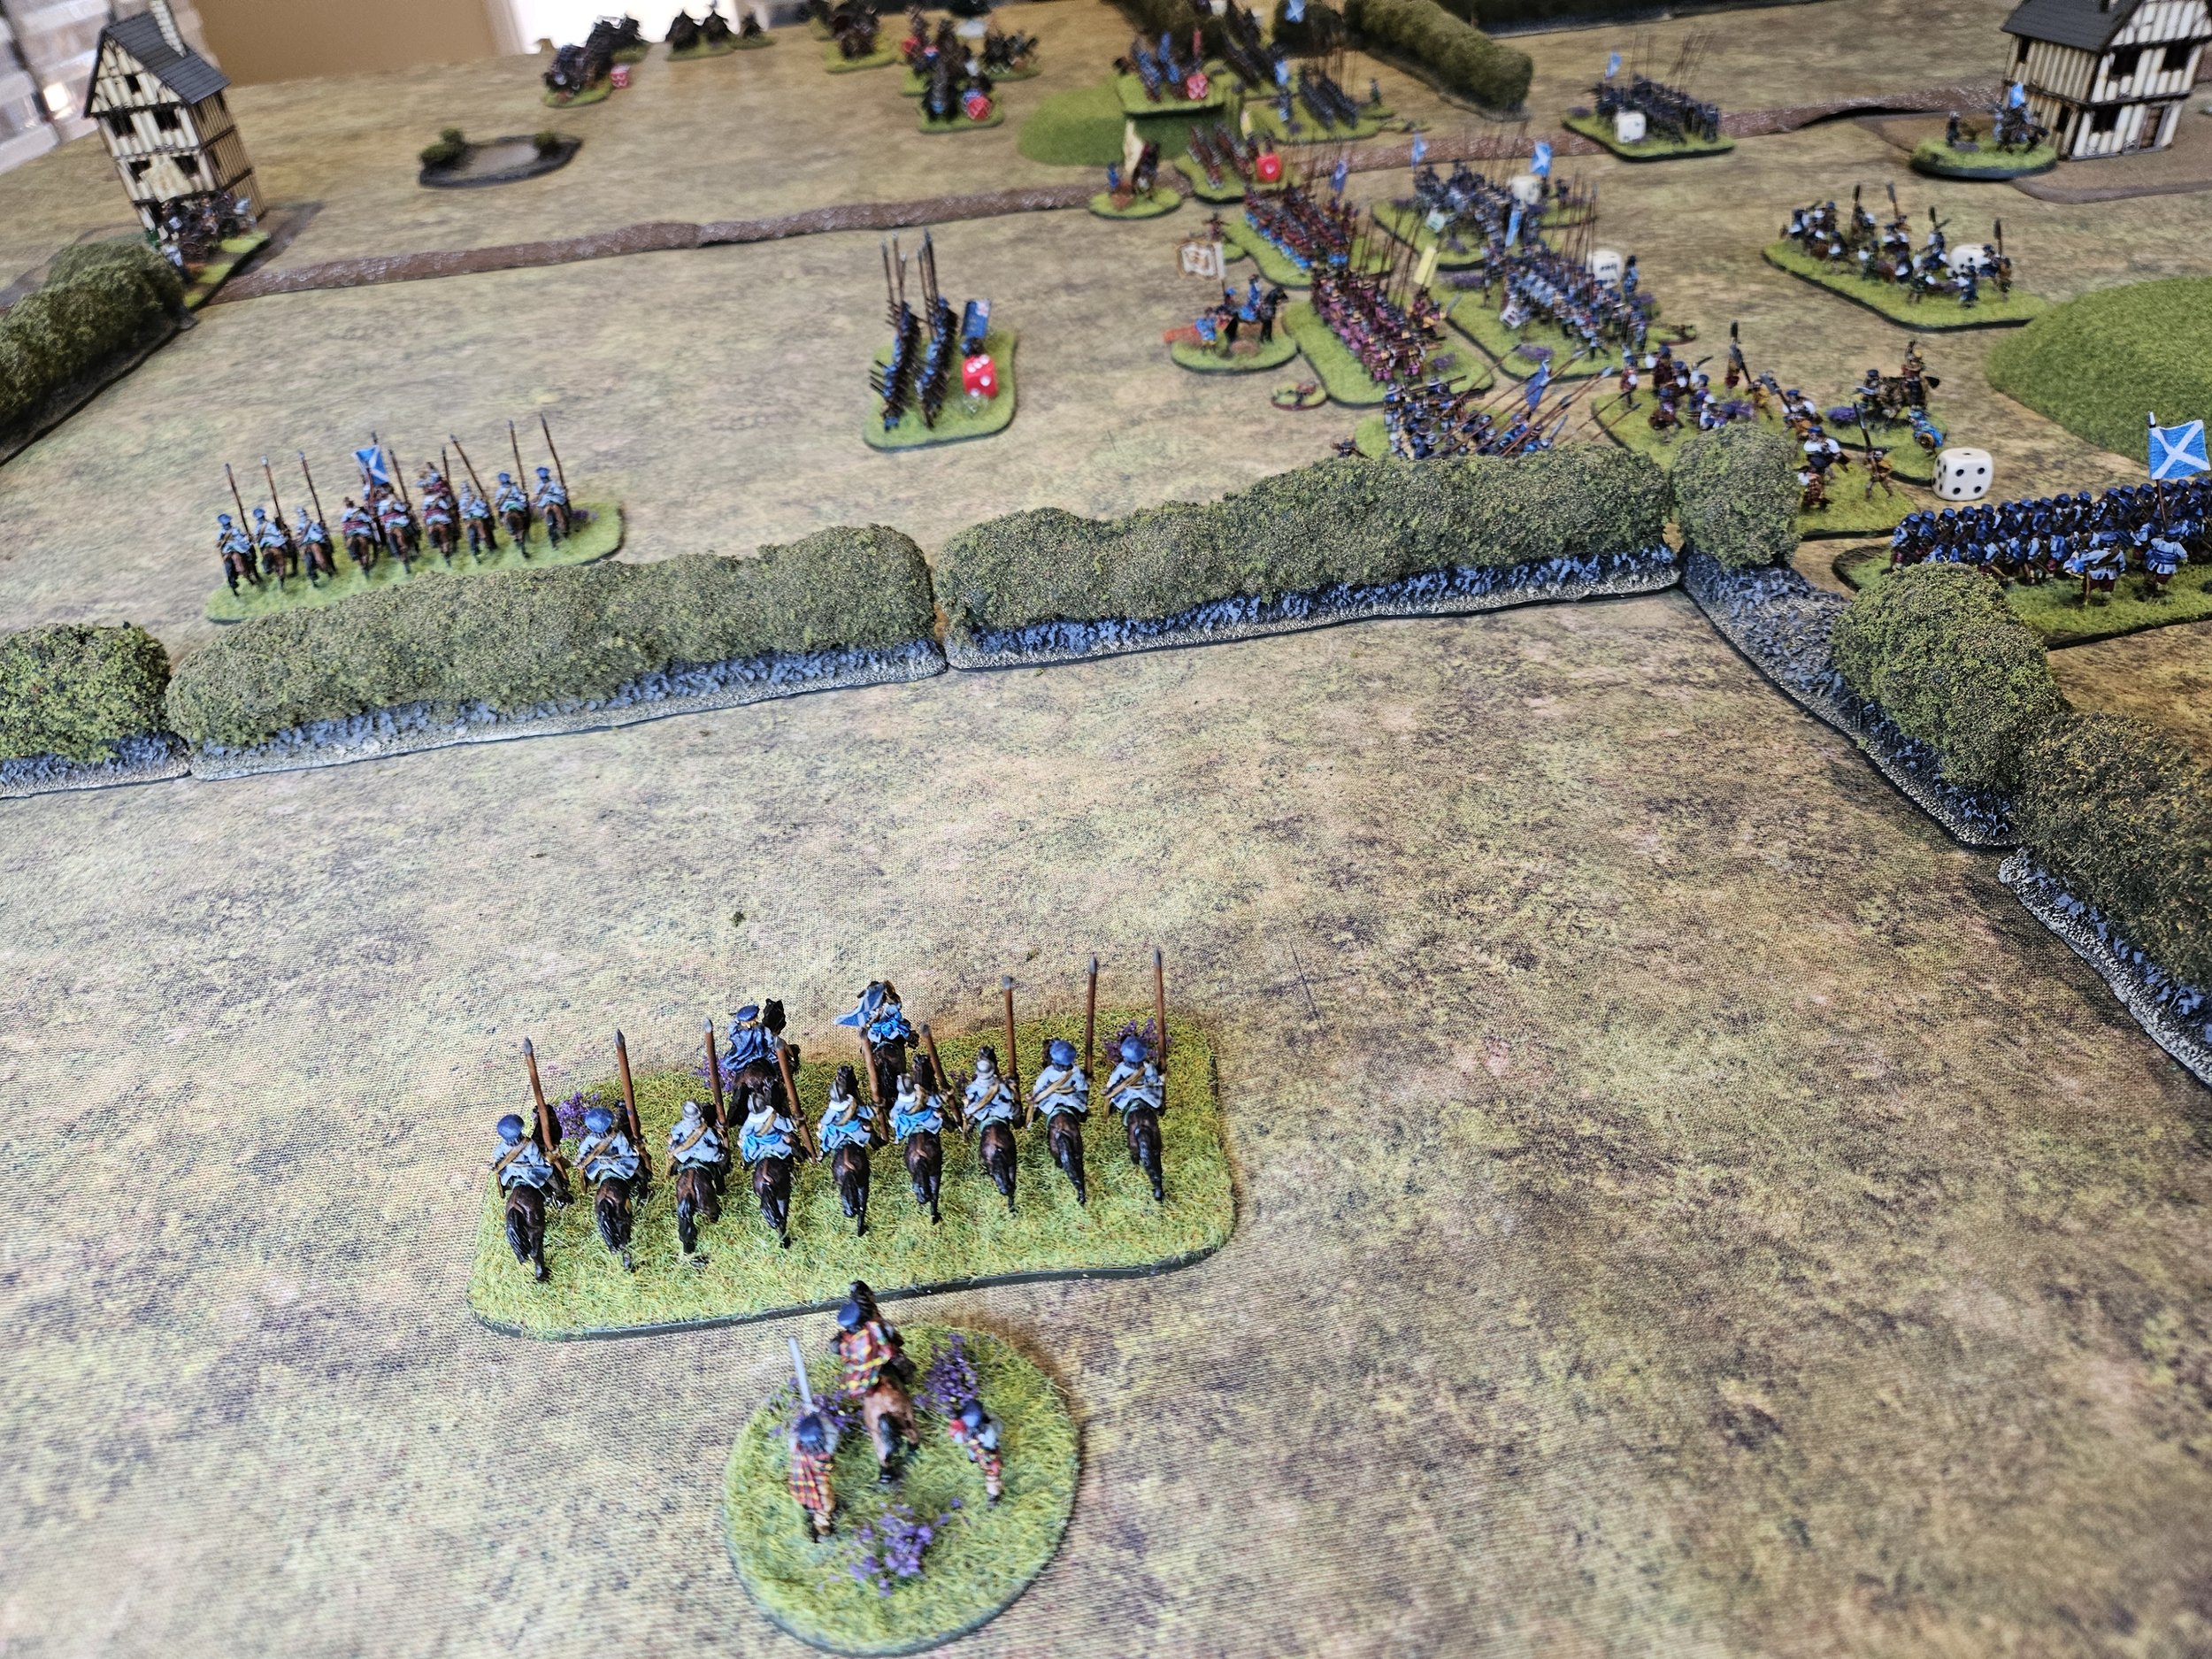
At this stage I advanced my camp garrison out into the main battle area and started to shoot into the flanks of his bogged down cavalry and the still reluctant warbands.
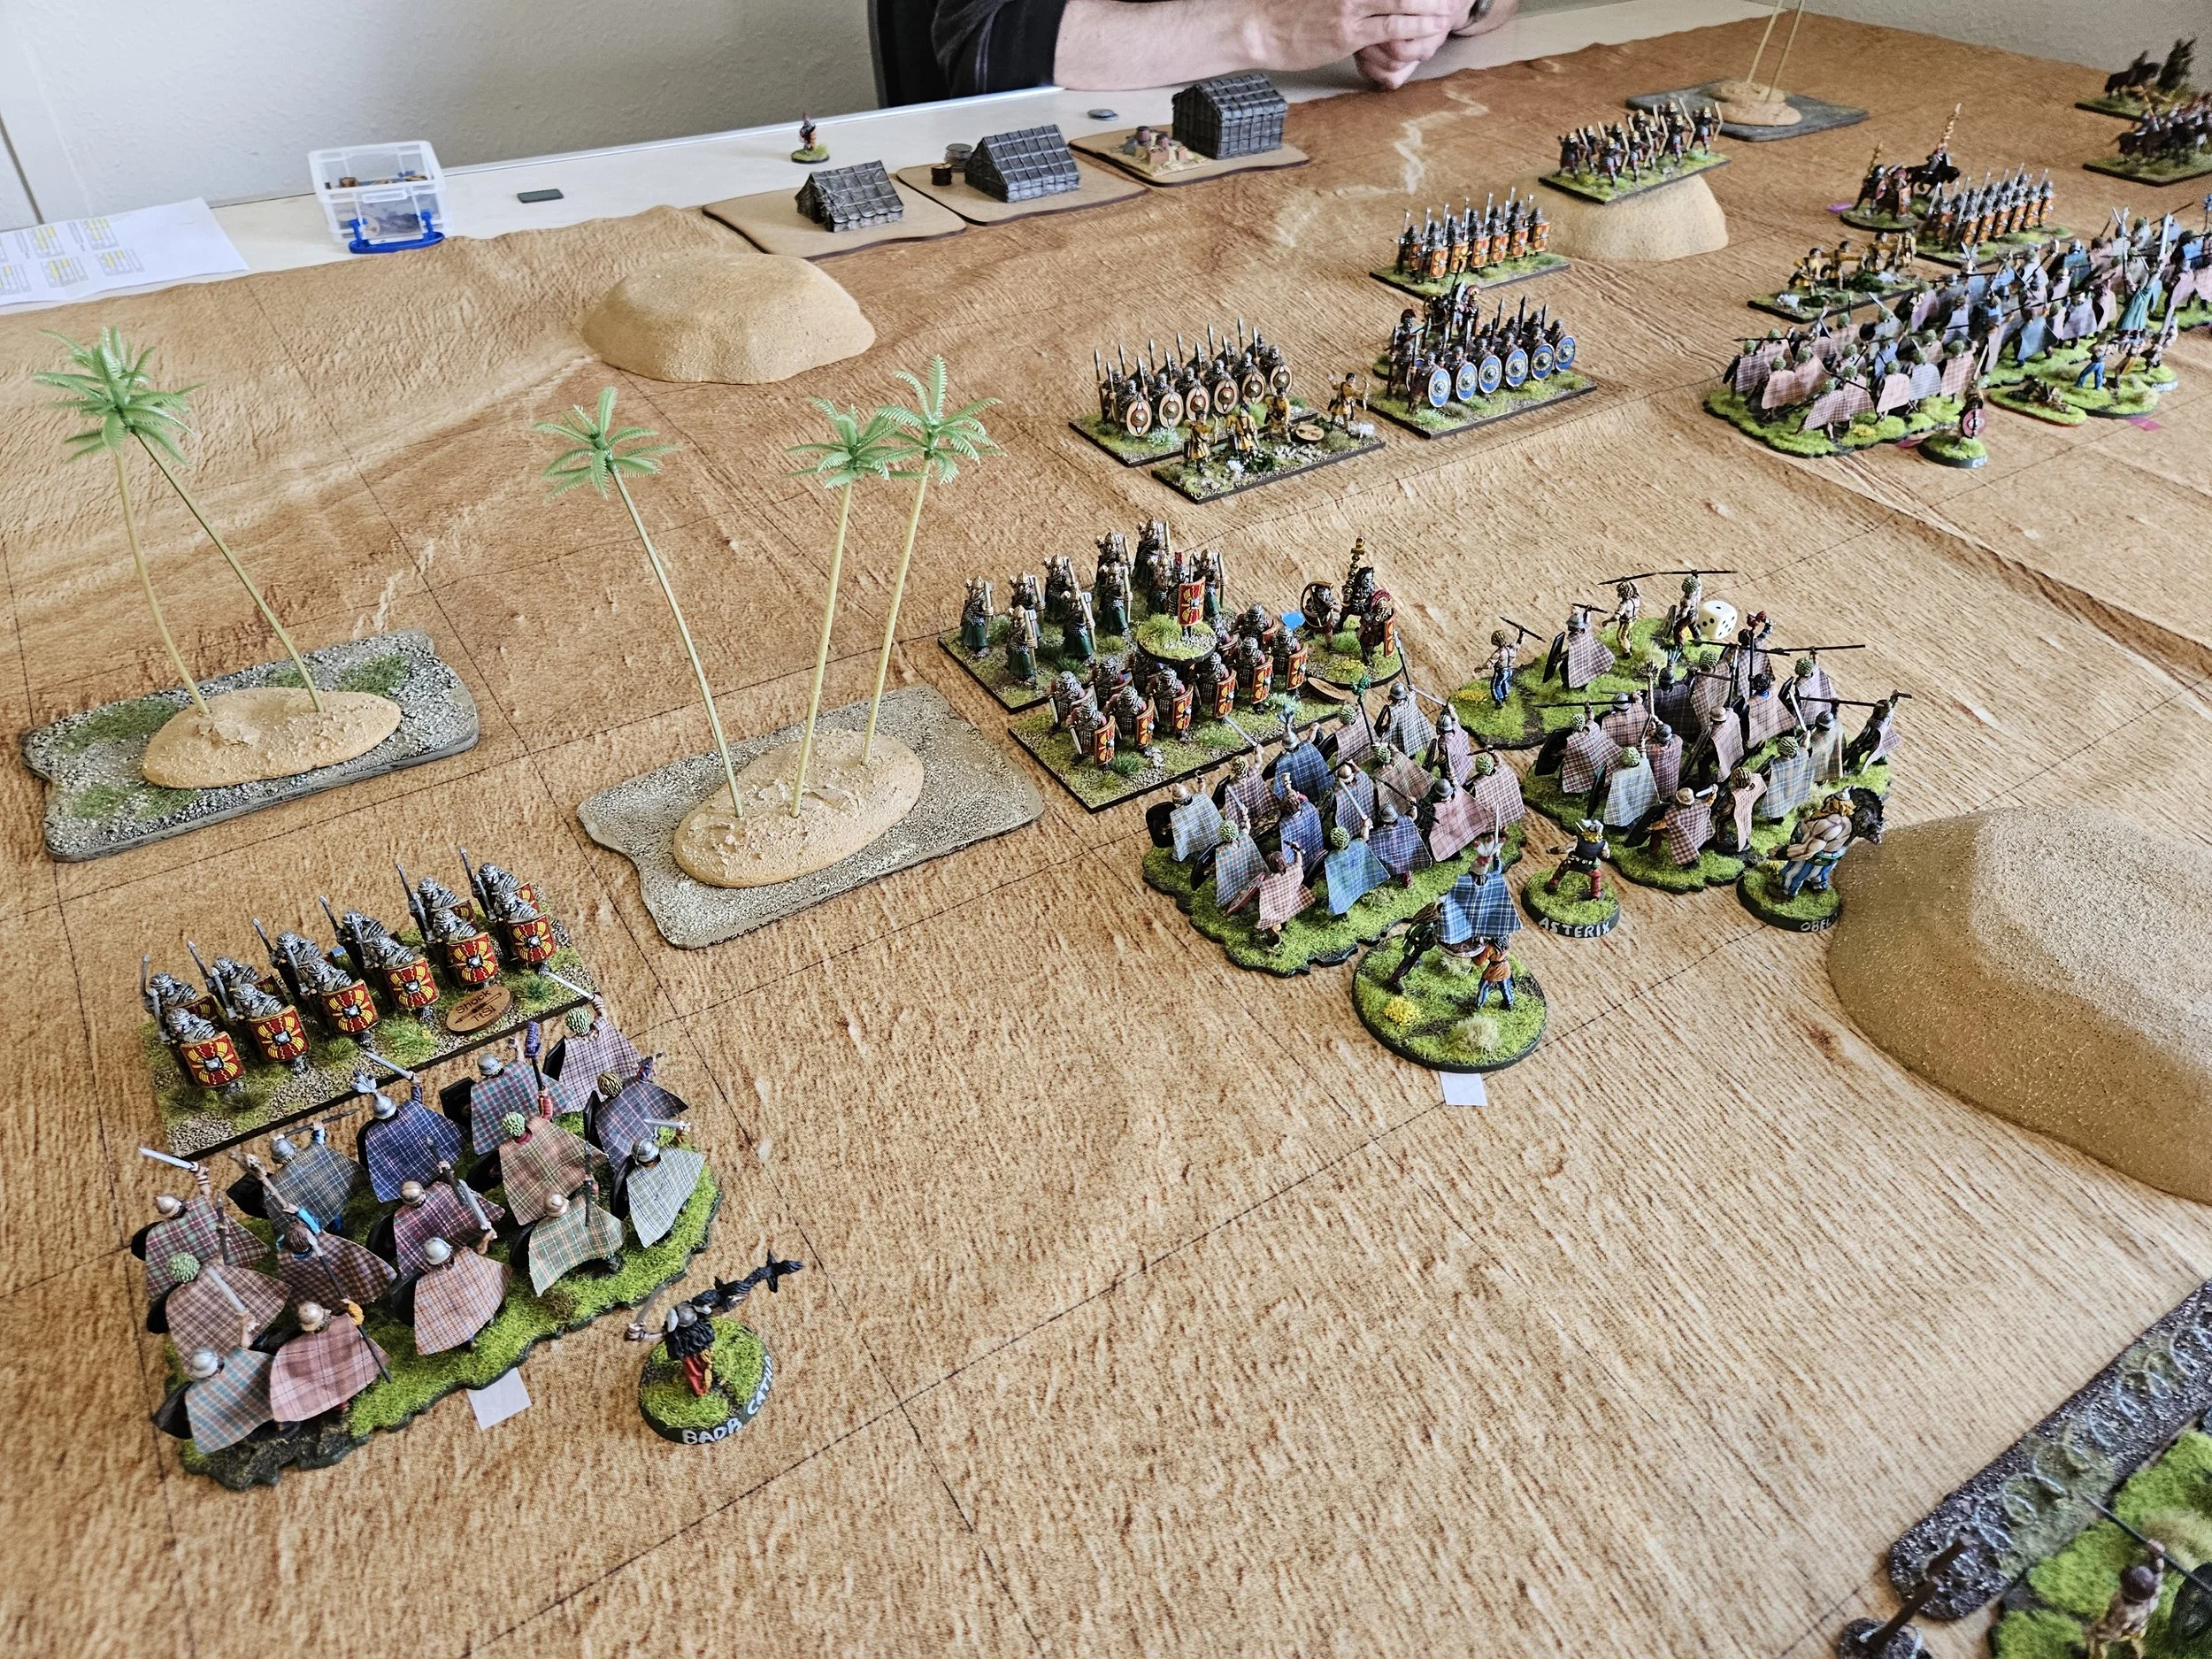
Before long the constant rain of arrows in the middle and the cavalry attacks into his flank was enough to conclude the battle.
Conclusion
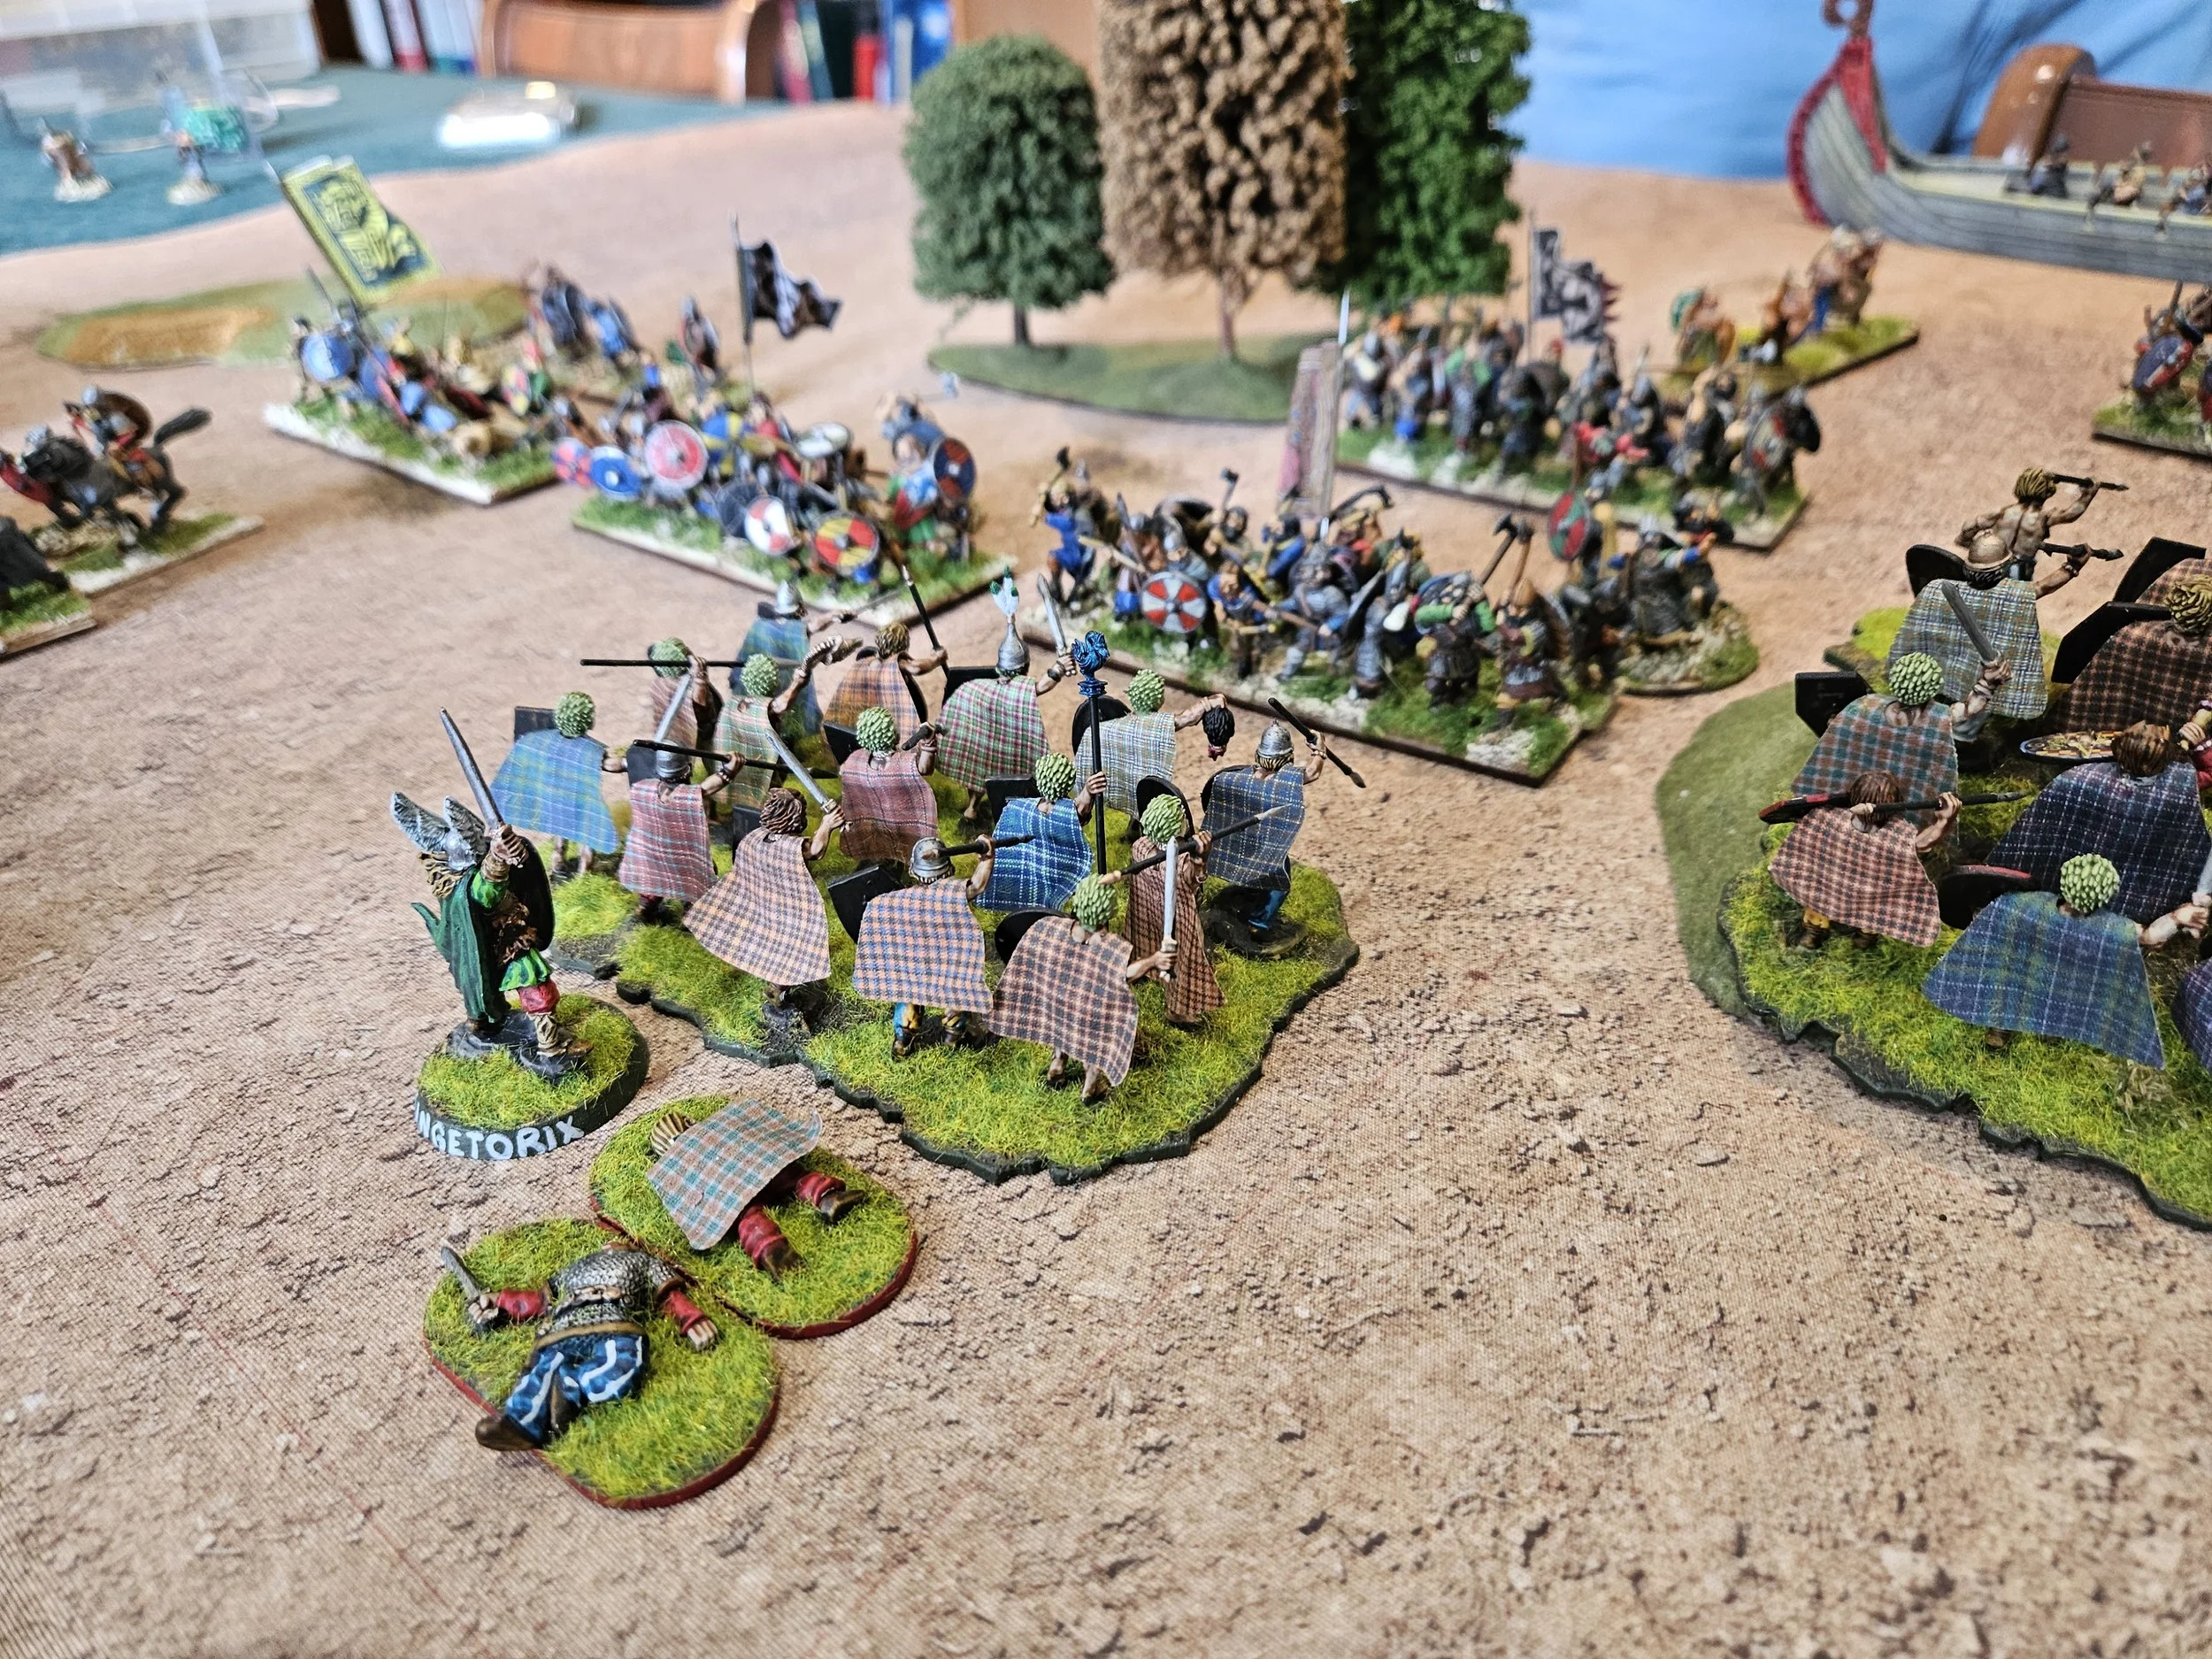
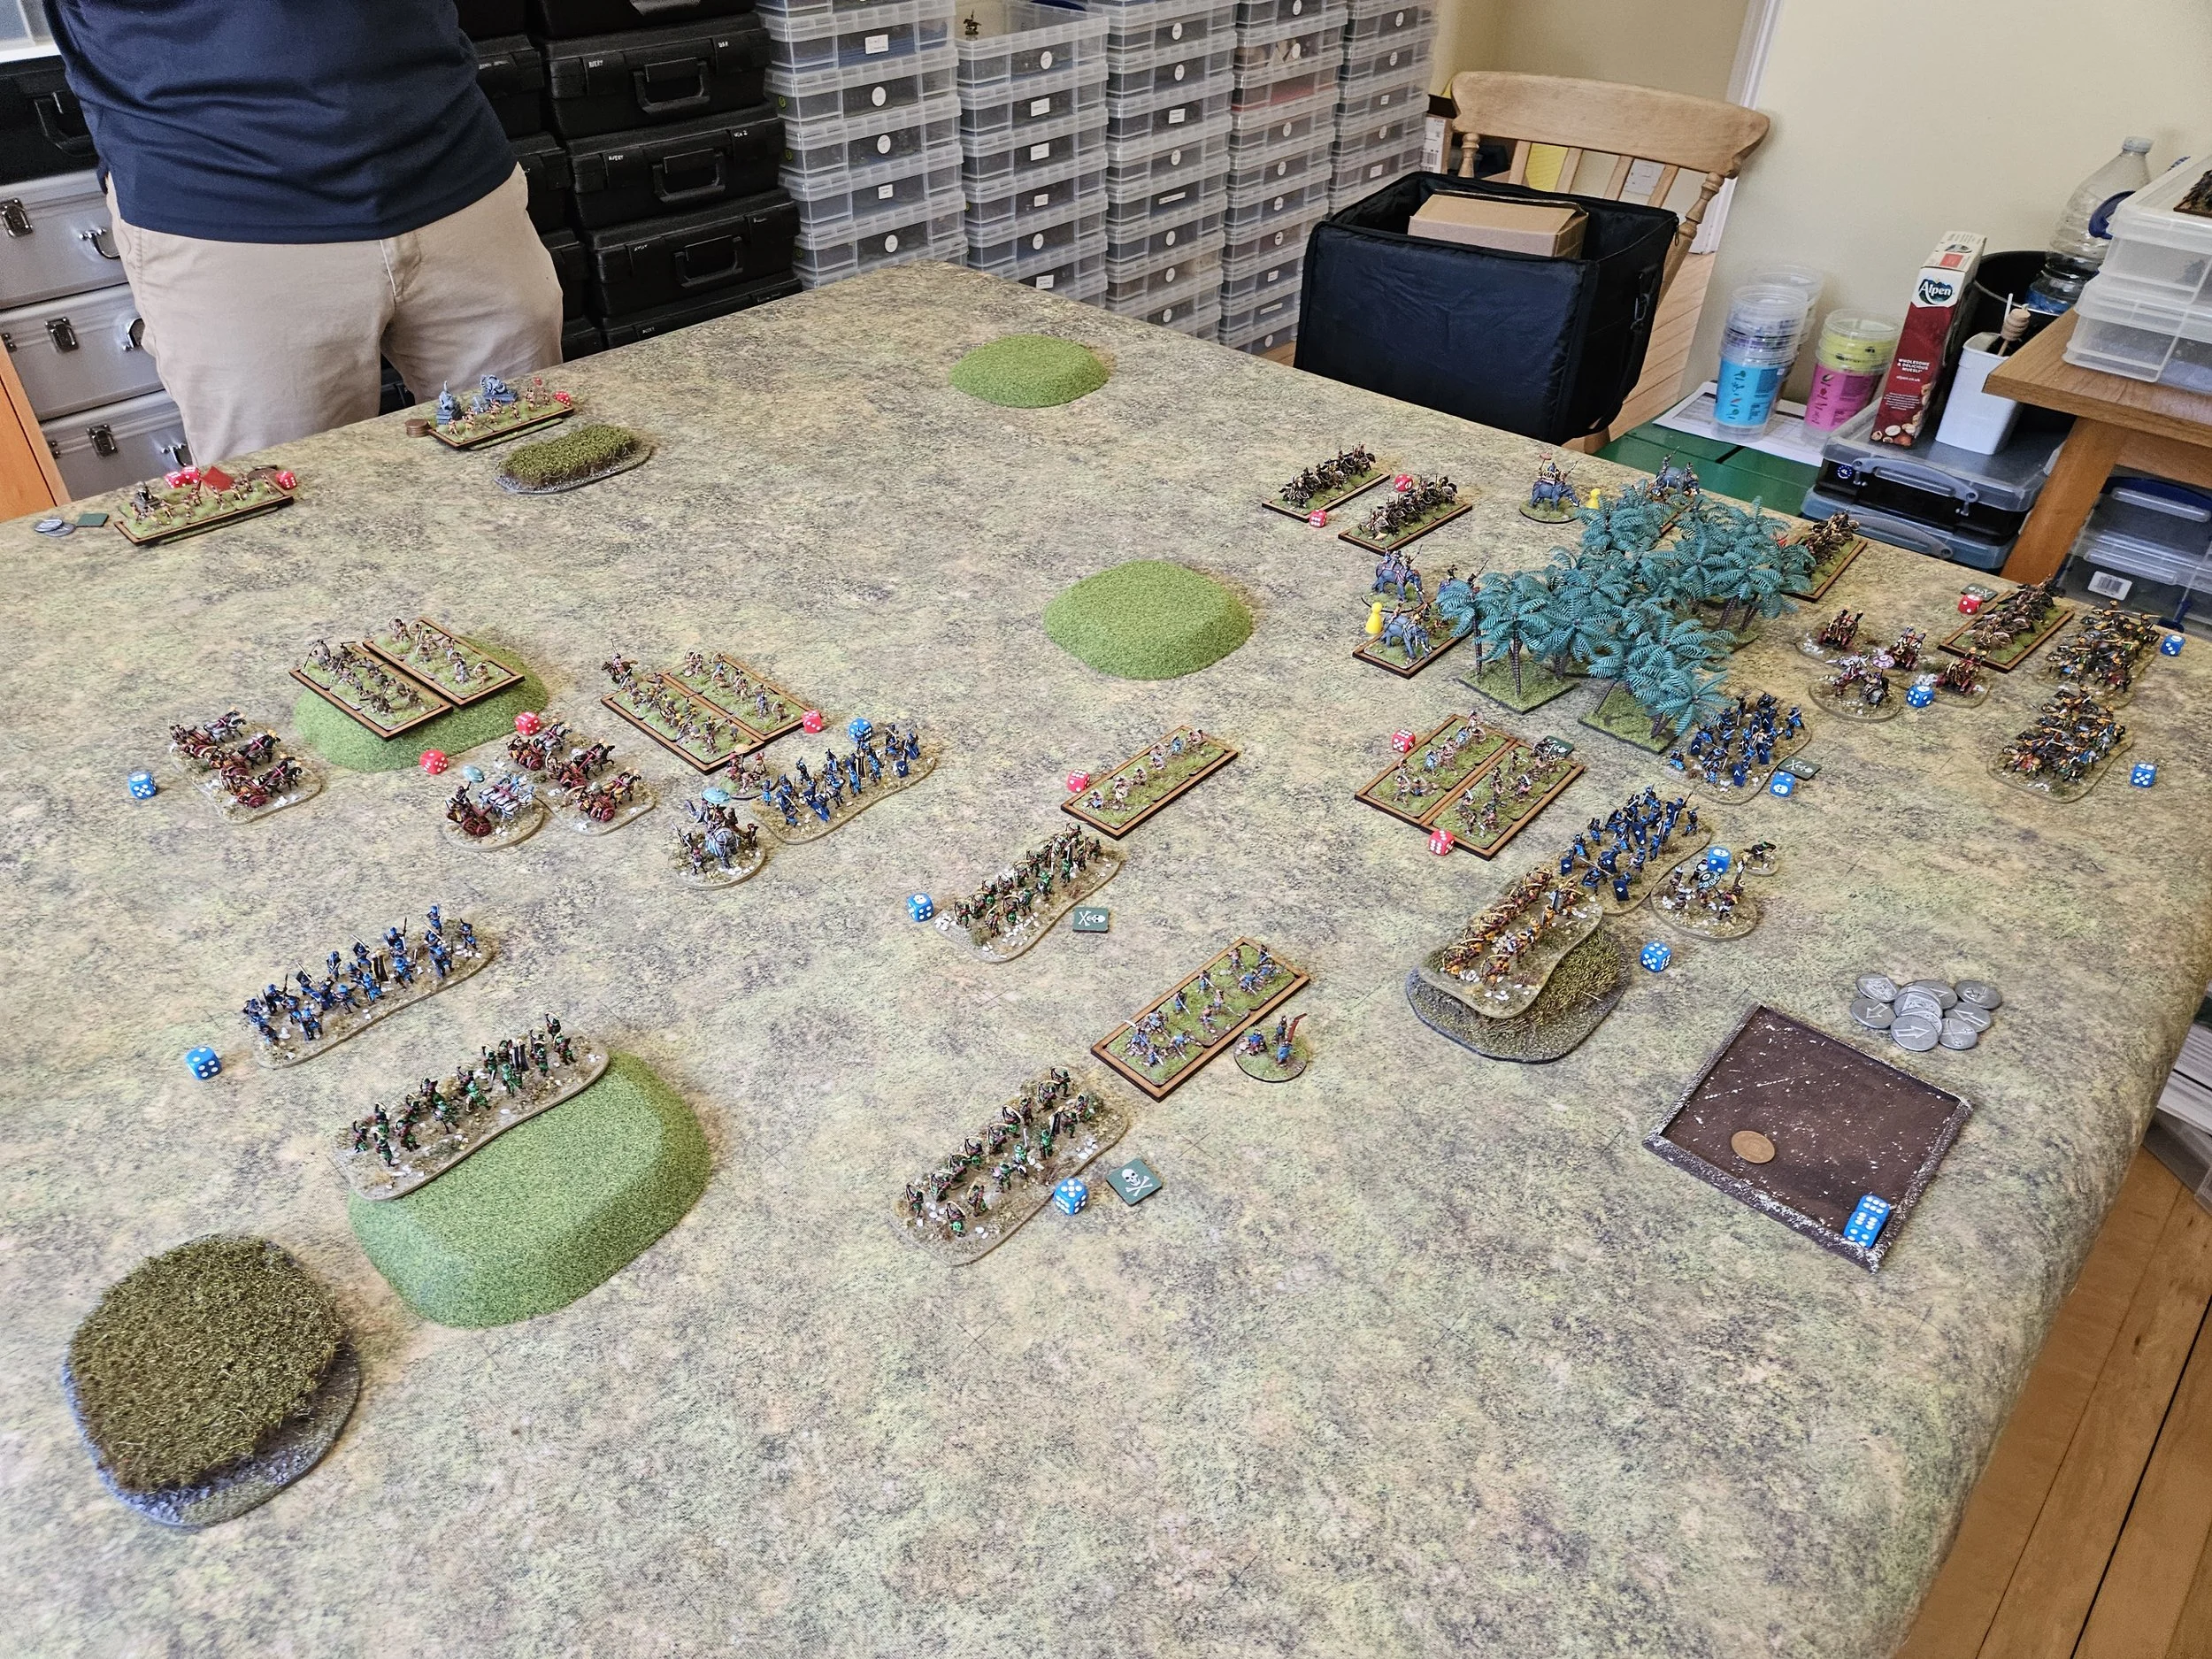
Every battle with Rob is always enjoyable and good fun, especially when we are both trying out new armies. In this case Rob’s conclusion was that Galatians don't like being shot at and so my Nigerian army almost exclusively of archers was his worst nightmare.
It does show that sometimes massed archery can work although like me, most TtS players have experienced disappointing and unreliable volleys from massed bowmen. And I know from my personal experience at the World’s that sometimes it's the enemy’s raw LI/javelin that throws its one javelin and kills off both your wounded verteran cataphract and its heroic senior general!
That’s all part of the joy of TtS and means that whatever situation you are ever in, never give up, because your opponent might just fail the save and give you a last minute victory!
My Comments
Well that didn’t work out very well, did it!
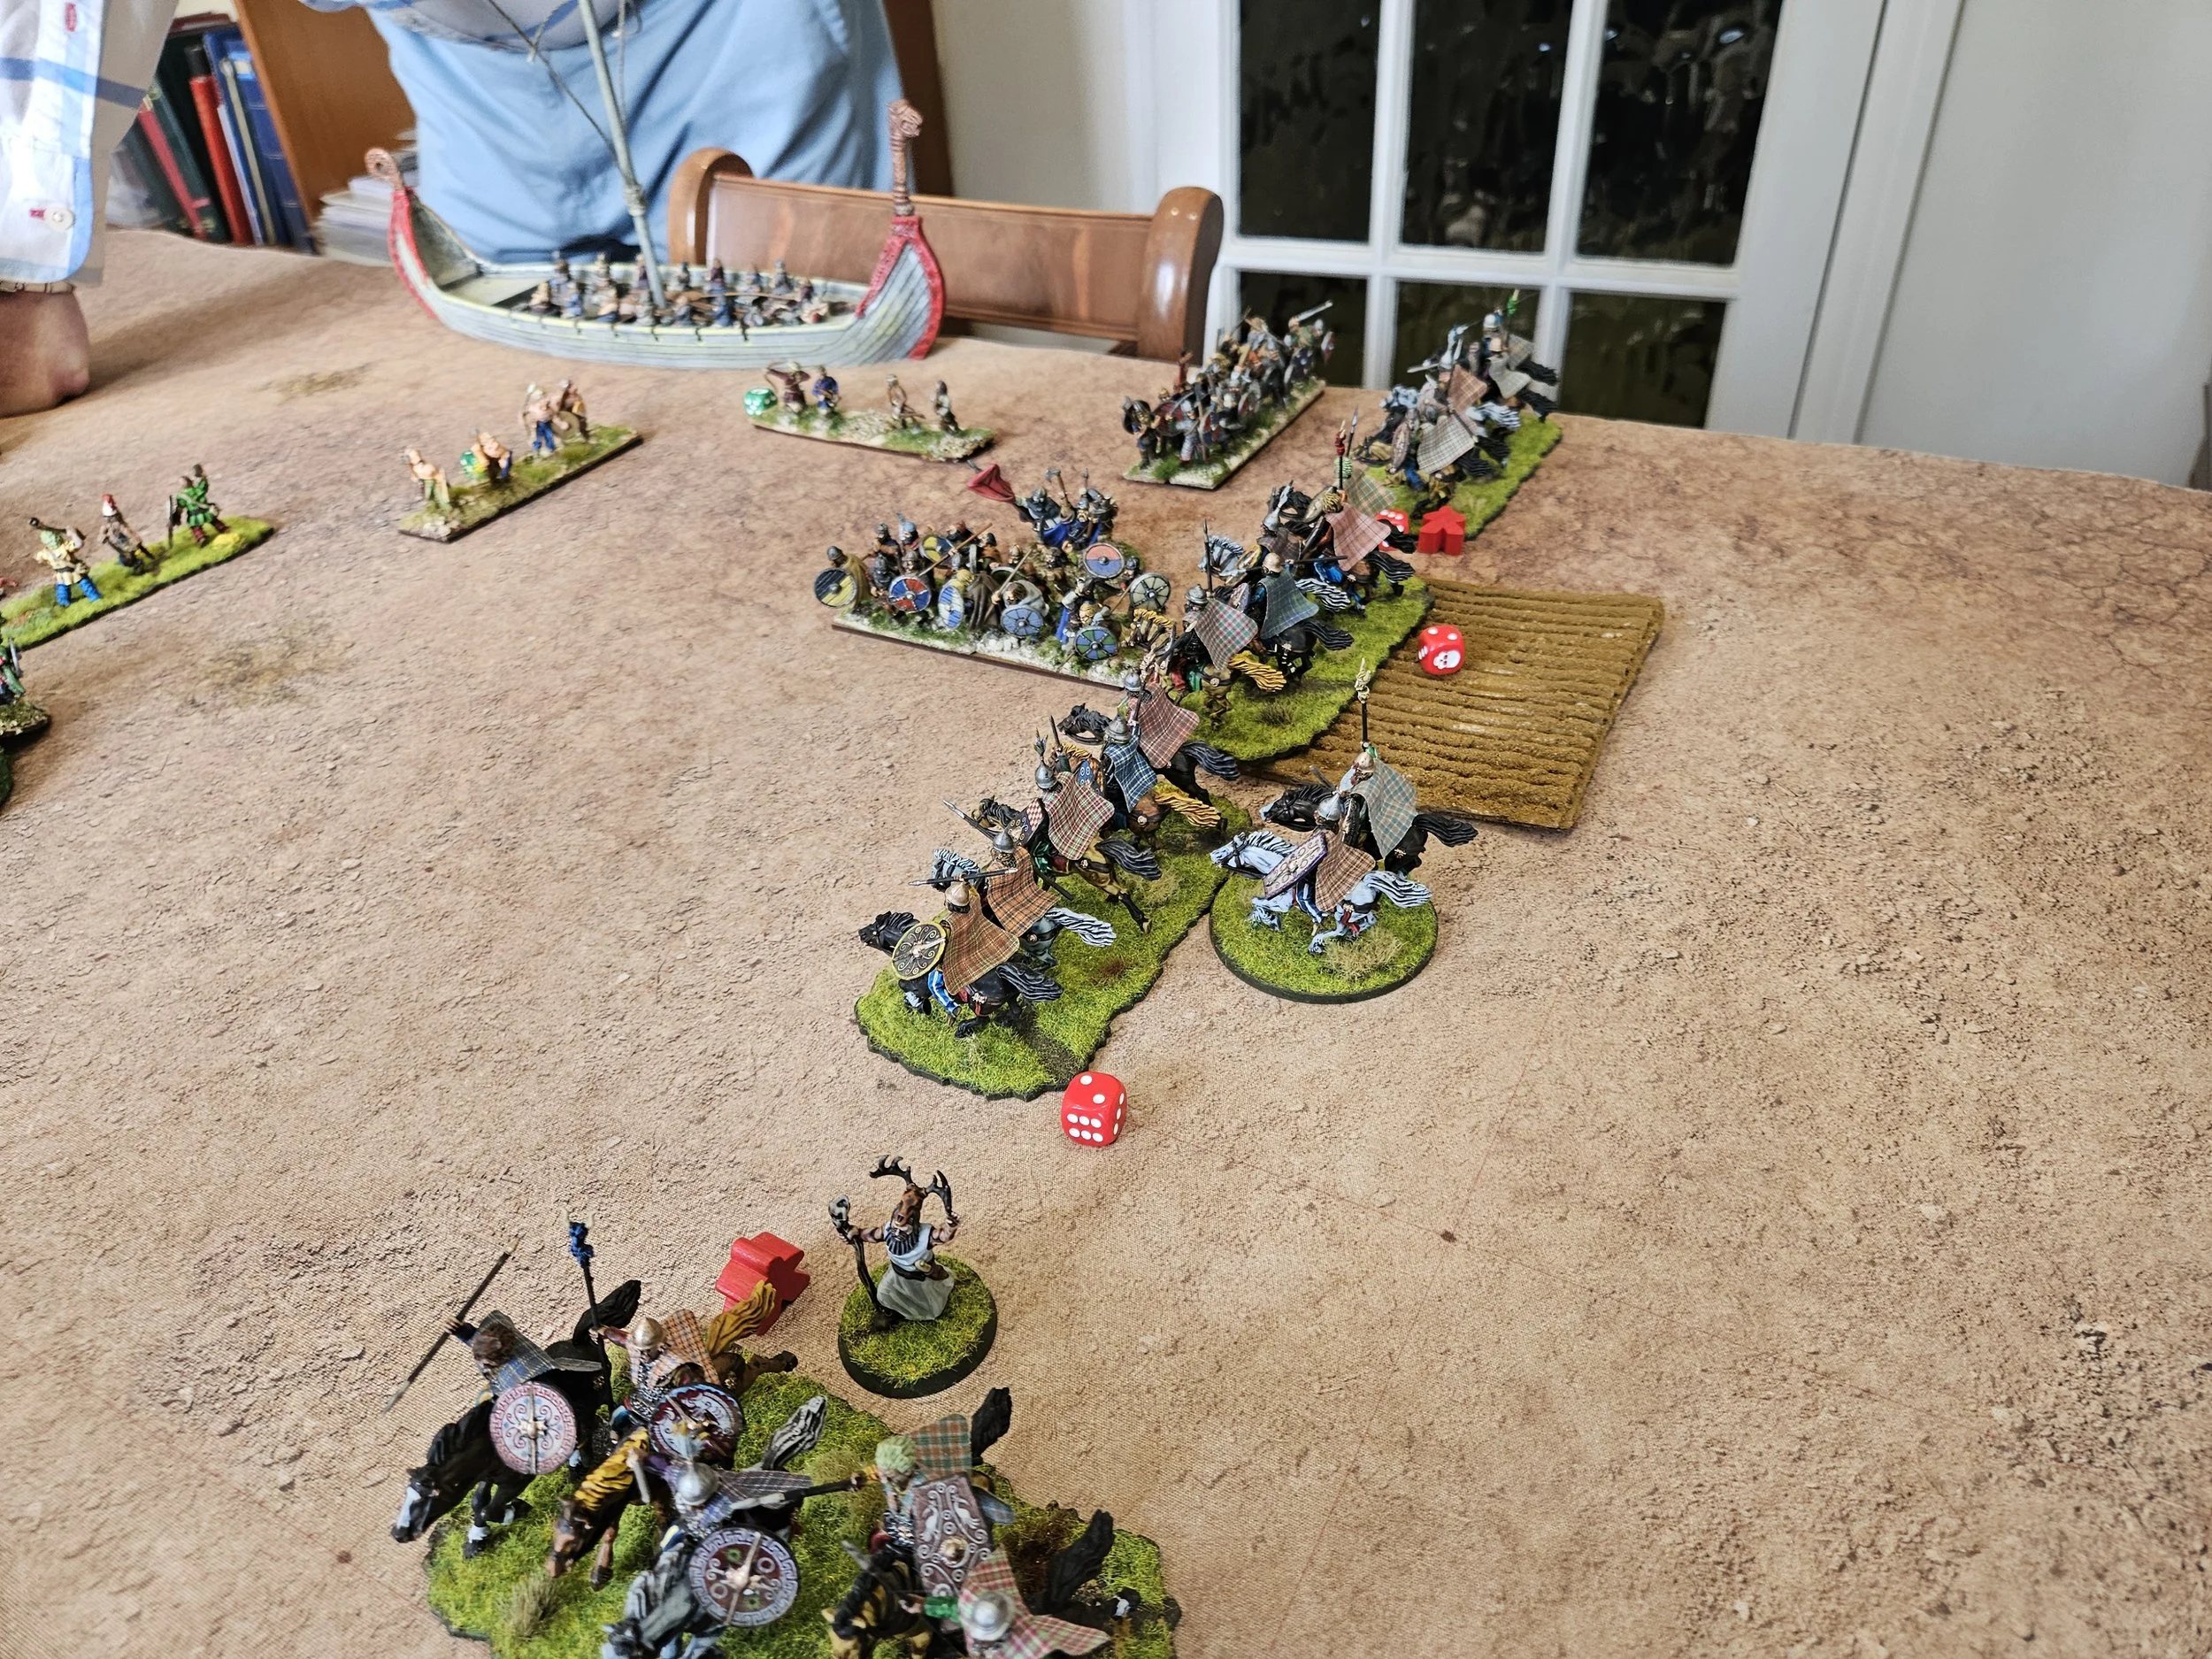
I still need to find a way to get my fanatics into combat without being shot to pieces by massed archers; and need to remember how difficult it is (on a competition-size table) to switch a command from one side of the field to the other: the table-size is designed to get a result not allow for anything other than micro-tactical manoeuvers.
That’s two games in a row without a win for my Galatians!