Celtic Chariots from Victrix

With enough figures painted and based to make a 28mm Galatian or Gallic army, it was time for the final conversion work to begin: adding an Ancient British option. This entailed adding chariots and light cavalry to my existing collection. First up were the chariots.

I went for the Victrix plastic chariots firstly as the style would match what I already had, and secondly for cost reasons: although three 3D printed chariots will cost you about the same as the Victrix three-chariot pack (around £30), metal chariots can cost you £18 each!

The Victrix pack also comes with a host of options: yes, you can only build three chariots, but they provide enough parts for 20 individual figures (well, more accurately 6 x Drivers; 8 x Armoured fighting crew; 3 x Boudiceas and 3 x Druids) and all sorts of extra bits you can customise with (severed heads, ribbons etc). You can also buy a set of transfers that give you colourful side panels on the chariots, patterns for the crew shields, horse-chest-straps, main axle and wheel rims. All in all an excellent offering from Victrix.

I was, however, warned (by friends - and Victrix themselves in the instructions) that the chariots were a bit tricky to put together…but let me dispel that myth immediately. Yes, the chariots were more difficult to do than, say, standard Victrix infantry, but they weren’t that hard and I reckon the average modeller, if they follow the instructions carefully, won’t have a problem. Put it this way: if I can make them, then anyone can!

Construction Hints from Me

  1. Follow the instructions exactly except where I say don’t, below.

  2. Before gluing, re-drill all the holes with a pin drill. Not strictly necessary, but makes live easier.

  3. I painted everything before assembly i.e. I painted the following separately: the chariot body with yoke attached, each wheel, the driver, the warrior, the driver’s hands/reins and the mini front reins. Don’t attach the wheels before painting, as it makes it hard to paint the chariot body properly, and hard to use the transfers on the side-of-chariot-panels. Finally, and this is perhaps crucial: paint the mini front reins on the sprue…as you will need to be able to identify them individually (they are numbered on the sprue) in order to fit them properly.

  4. Once everything was painted, and the chariot panel transfers applied, I then stuck the wheels on and stuck the now-wheeled chariot onto a base with the horses. Note that the horses go long horse one side, short horse the other. You now have horses and chariot painted and mounted on a base and are ready for the more difficult bit: the driver and the reins.

  5. For steps 5-7 in the instructions, I found it (much) easier to do it this way. Once you have painted the driver and the driver’s hands/reins, stick the driver’s hands/reins to the driver (before you glue the driver in place) and let dry. Then put a blob of glue into each of the holes for the reins on the yoke, and onto the feet of the driver. The model is so accurately designed that you can now slot all four reins into the holes on the yokes and then put the driver into the chariot wherever he fits best. Much to my surprise, as it looks hard, I had no difficulty with this bit at all on any of the three I built.

  6. For step 11, you need to make sure that the mini front reins go on the correct horse in the correct place. The horses are different lengths (one is at a stretch, one is gathered) and therefore the distance between the yoke and the bit is different lengths, and each mini front rein is made to fit each side of each horse’s head individually. Just look at the diagram given in step 11 and build the chariot to match.

Basing the Chariots

I had to have a bit of a think about how to base the chariots. My 15mm chariots are on bases with a 30mm frontage and 60mm depth i.e. the horses are running straight at the enemy. That works in 15mm and for the models I have, but I really need 3-4 chariots per unit to match the 15cm grid I use for To The Strongest. Even on a 10cm competition grid, I’d need 2-3 chariots per unit…all of which adds up to needing an awful lot of chariots.

In 28mm however, I use a standard TTS base which is about 15cm frontage but, and it’s a crucial but, isn’t deep enough to take a Victrix chariot running straight at the enemy. I could put the chariots at a very slight angle, but that didn’t look right. I therefore took the decision to base my chariots running across the base i.e. with their sides towards the enemy. I justify this by saying that (a) it looks much better and (b) it represents the fast-moving chariots sweeping backwards and forwards across the battlefield as described by Caesar himself.

I also made the decision that the warrior would be in the chariot if he was carrying a javelin and dismounted if carrying a sword…which follows my belief that:

  1. It would be very hard to throw a javelin past the driver if you’re driving straight at the enemy, so you’re more likely to throw your javelin forwards at an angle as you are driven by the enemy. It’s the same principle as battleships fighting better in line abreast!

  2. Using a sword from a chariot, whilst carrying a large shield, would also be difficult. You need to swipe to the sides anyway as you have the driver in the way in front, you can’t grip your mount like a cavalryman so balance is a problem, and you’ve got the wheels to watch out for as well. Far easier to be brought into melee in your chariot, leap down and hack into the individual you’ve fastened your attention on foot, and then either charge the next chap or remount. Great if you’re fighting other Celts, not so good if you’re facing serried ranks of legionaries…which is presumably (along with the rise of the size/strength of horses) why use of the chariot died out: the usual Roman bad practice of refusing to fight man-to-man like a proper warrior!

The chariots do look good based like that but, just as a quick word of caution, in the first game of TTS I played with them, my opponent did say that at one stage he was confused as to which way they were pointing…but it was only a brief confusion early in the game so not enough to make me regret what I’d done.

Painting the Chariots

Everything was painted using Contrast paints, with shield transfers and chariot panels from Little Big Man Studios (available via Victrix) and all with cloaks from Weave of War.

I used Aggaros Dunes for the wickerwork on the chariots, then Gore Grunta Fur for the wood on the chariot body and yoke. The wheels were done using Wyldwood. The reins and other horse furniture were painted in Cygor Brown then highlighted using acyrlic Mournfang Brown. Finally I used an acrylic Bronze to highlight where bronze would have been used.

A Quick Summary

I am loving the three Victrix chariots I now have in my Ancient British army. They are mildly challenging to build, but that challenge is all focused around the reins, so if you follow my suggestions, it should be very much lessened.

There are so many options available in how you build, base and paint your chariots. I’ve chosen a lengthways mounting with dismounted swordsmen, but how you field them is really up to you.

In all, highly recommended.

Bulk of the Han Chinese now finished

With the Celts now converted from Galatians to Gauls, it was time to settle down and finish off my nascent Han Chinese.

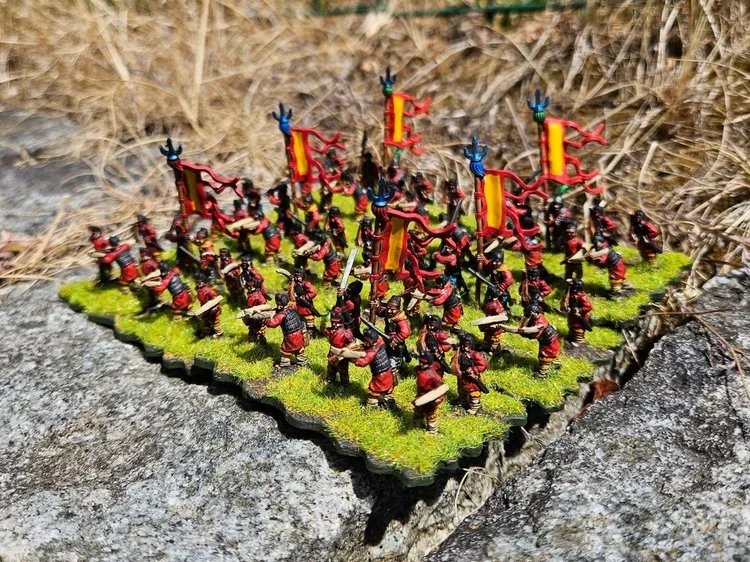
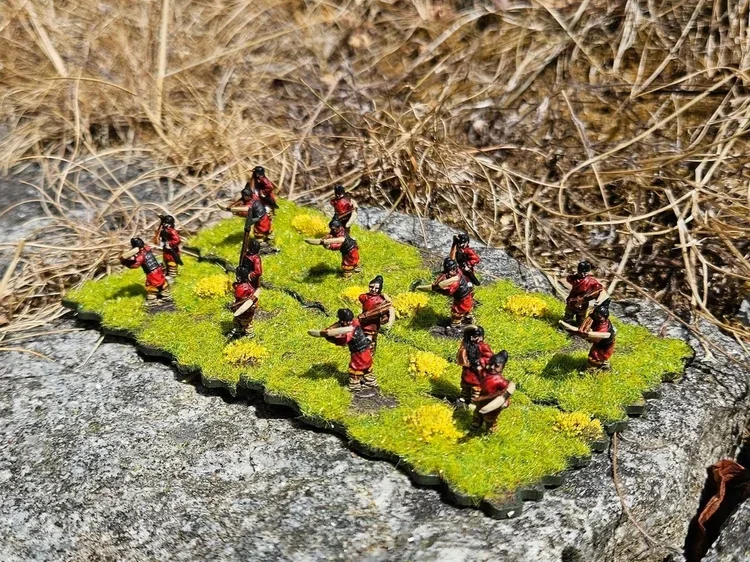
I’d already completed the dagger-axe men and the spearmen, so first on the painting table were the other mainstay of the army: the foot crossbowmen. These are again Lurkio cast metal figures with 3D printed Song Chinese command figures from Ten Kingdoms via MicksBits on Etsy: three units of formed crossbowmen and two units of lights (which can convert to six and four for a 10cm grid).

As with all the Lurkio figures, I found half the poses were absolutely cracking and half were shop window mannequins: the one with the crossbow at their shoulder about to fire or slung over one arm for transport being the worst examples of the latter.

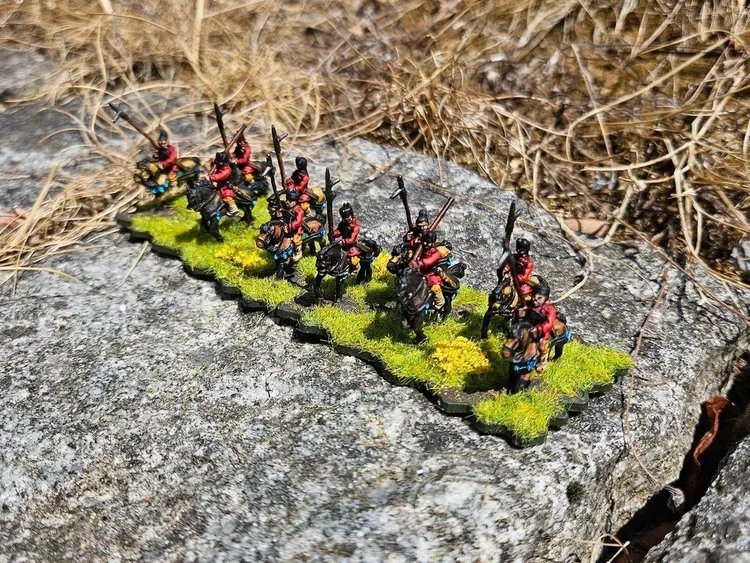
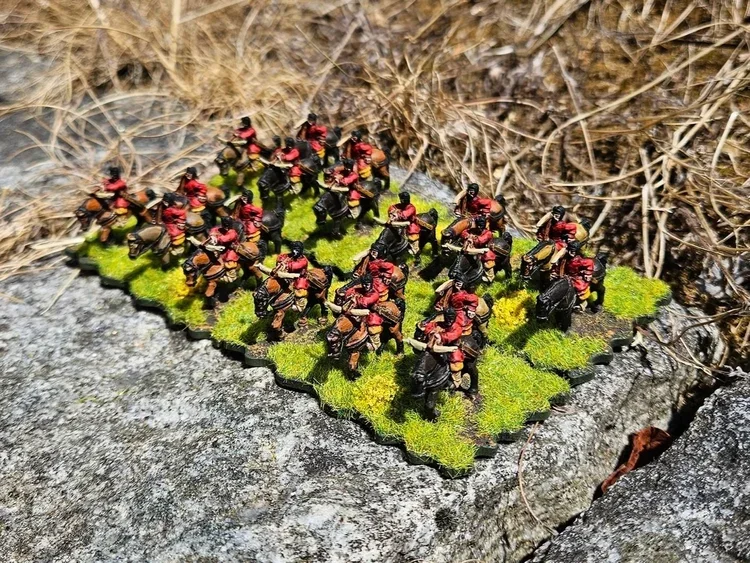
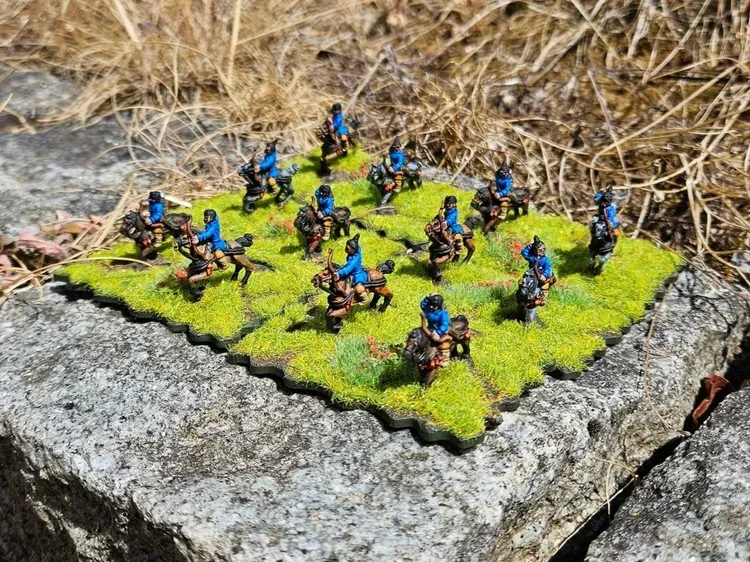
I now needed a rest from painting infantry, so switched to the Han Chinese’s rather limited cavalry contingent. Here I used only Lurkio figures (available from Gripping Beast) and completed one unit of “lancers” (cavalry with dagger-axe), two units of mounted crossbowmen, and three units of horse archers that I painted in blue rather than red to represent the fact they are Xiongnu tribesmen recruited from the Chinese’s main opposition to the north.

Now onto some fun: the officers and a camp.

The officers are all from Ten Kingdoms’ Song Chinese range sourced, as always, from the excellent MicksBits on Etsy: fast service, great prints, and Mick will willingly print “off menu” for any specials you need.

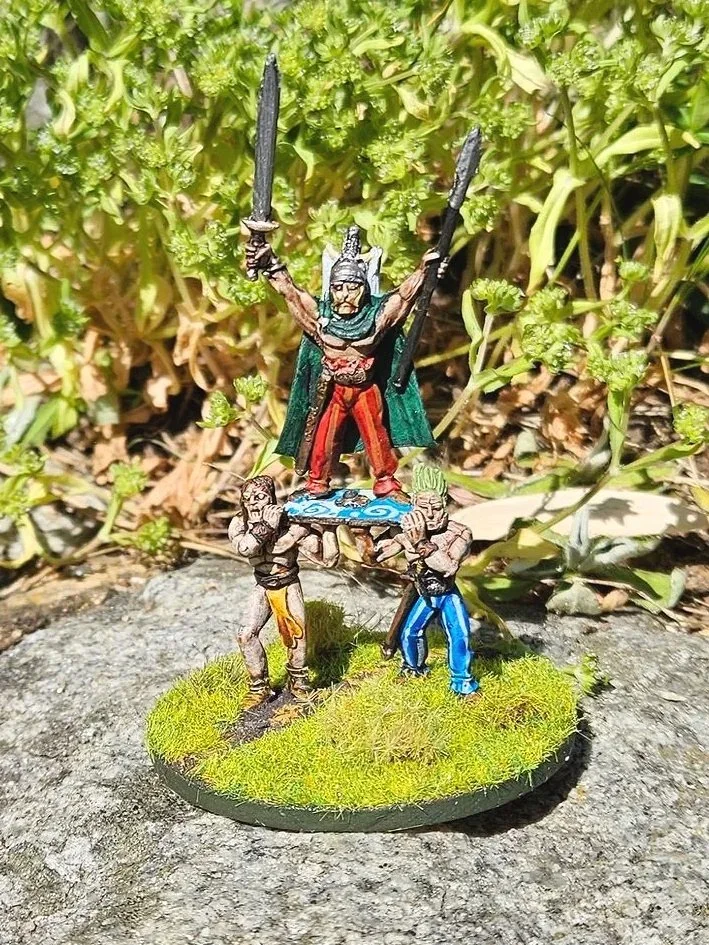
These figures specifically represent three characters from the Water Margin stories that I first encountered in the 70’s through the Japanese TV series shown on BBC2 with the narration by Burt Kwok (“Do not despise the snake for having no horns, for who is to say it will not become a dragon?”) and dubbing by Mariam Margolyes and a host of others. Not historically accurate for my Han Chinese, but a must-have none-the-less!

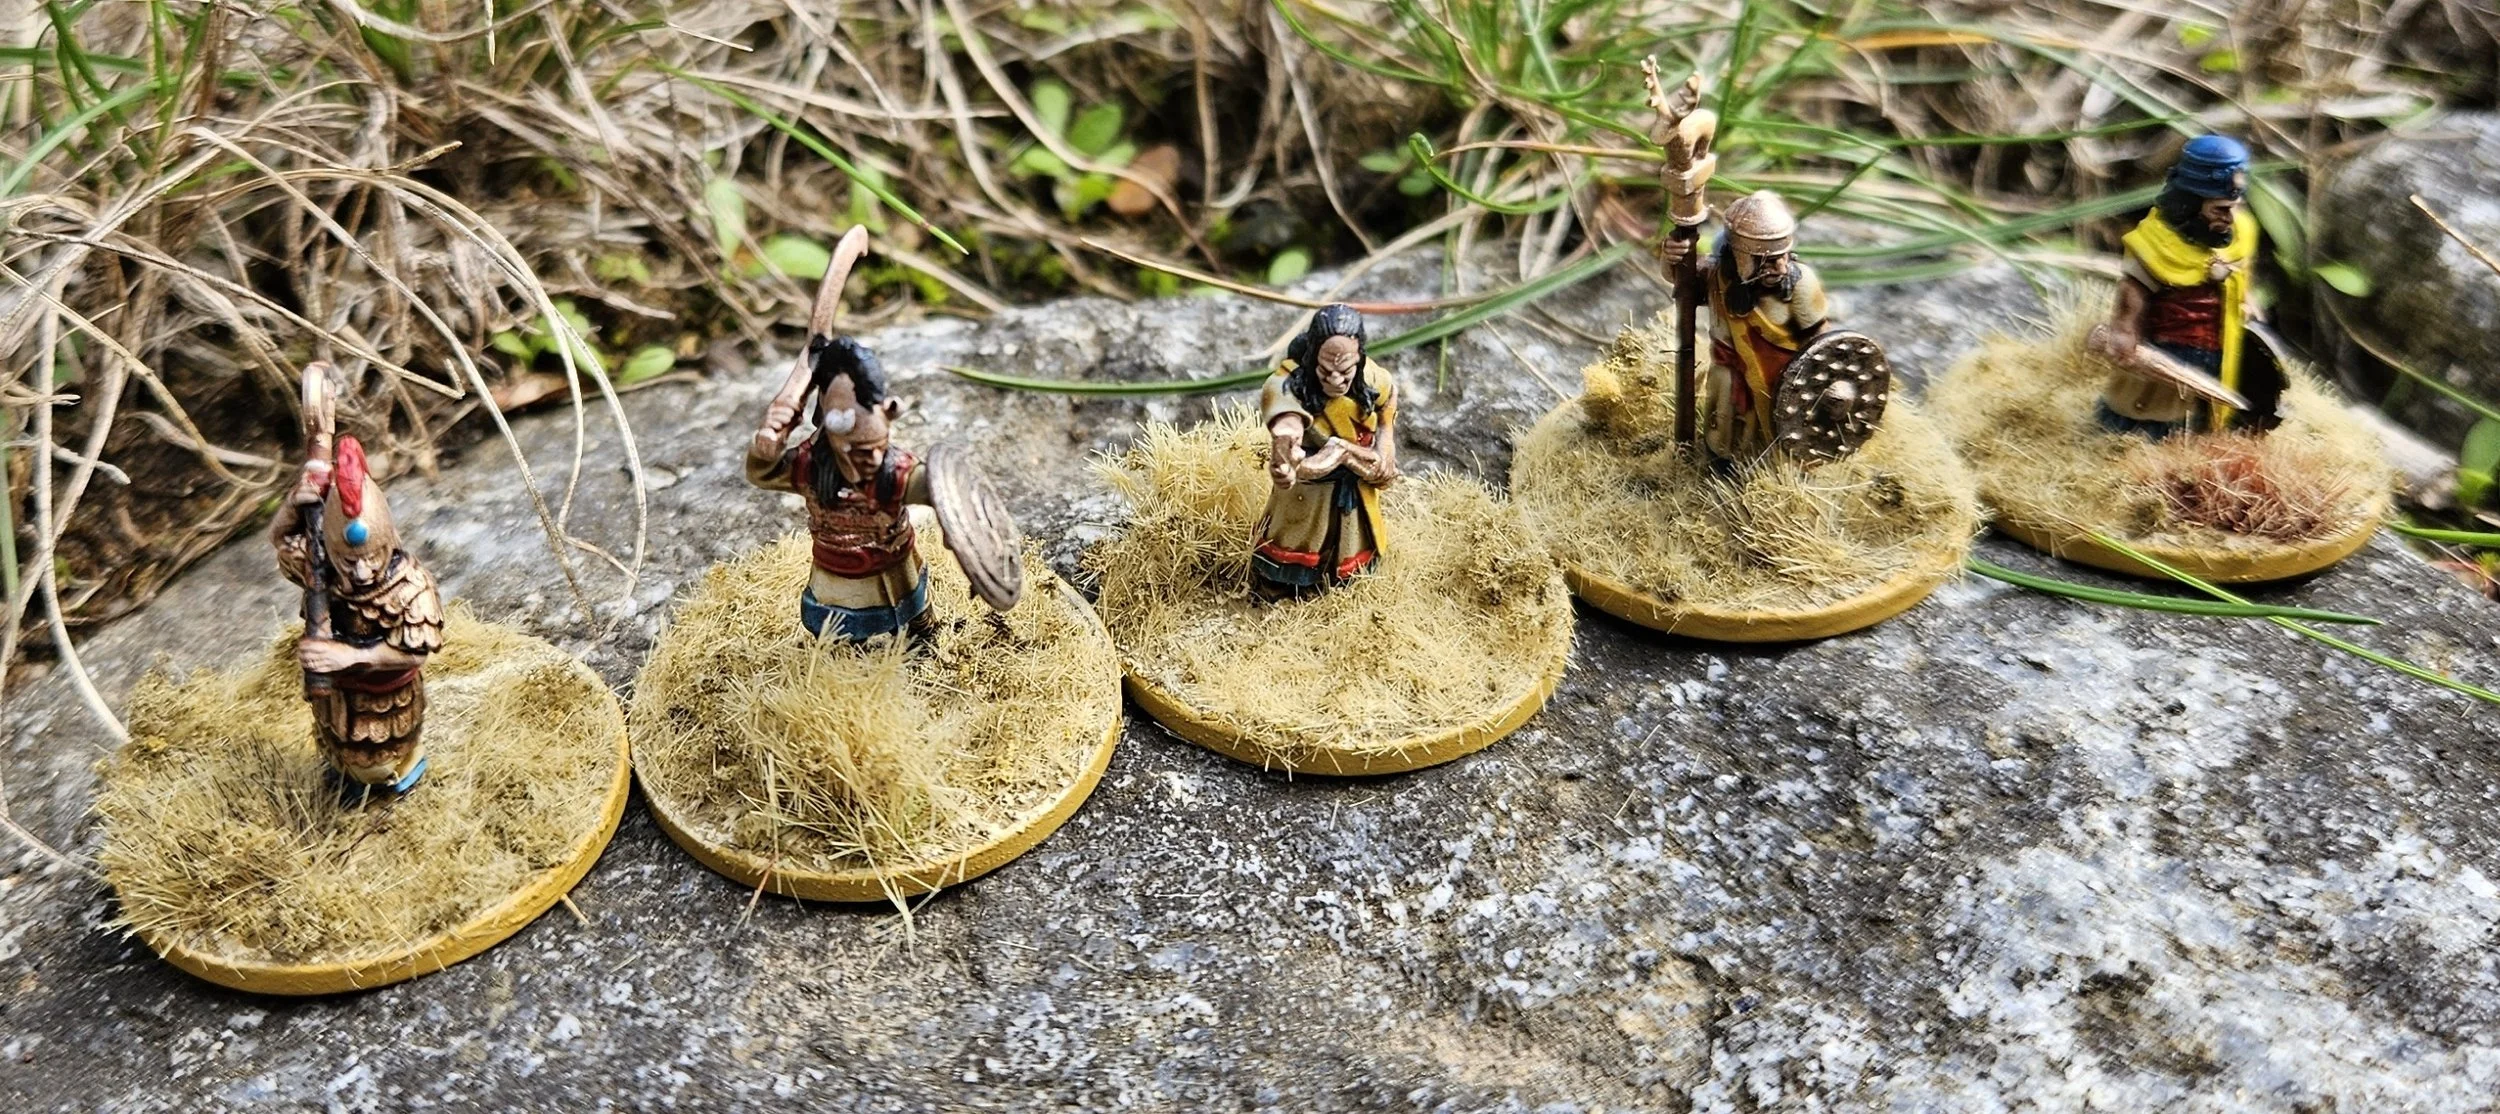
From left to right:

  • Gongsun Sheng: a Taoist priest turned grand strategist

  • Lin Chong "Panther Head": sought redemption by helping the Song dynasty fight the Khitan-Liao but betrayed (by the evil Gao Qiu) after the war had finished

  • Li Kui: trusted bodyguard of bandit leader Song Jiang, the story’s archetypal reckless but loyal brute.

These are lovely models that print and paint up really well. Highly recommended.

Finally for today’s post, a camp:

This might look as if I have learnt to build model pagodas, but the building is a one-piece object from Aliexpress, appropriately produced and delivered from China itself. It’s part of a large range of similar products that would allow you to build the whole of the Forbidden City if you so wished! It only cost about a fiver including postage so is highly, highly recommended.

The figures outside the pagoda are from Lurkio: the “camp” pack. As you can see, you get two chaps chopping wood, two chaps cooking (includes pot, fireplace and the two racks), a straw Jong for practicing sword work and an archery target. I added the wood to be chopped (matches cut to size) and the swordsman (a Ten Kingdoms Song Chinese swordsman). I love this sort of thing, and I hope you agree that, combined with the pagoda, it makes a fine camp scene.

Just the chariots, more command and the heroes to go now…

More Celts and the first Chinese

I needed a few bits and pieces to finish off my Celts.

First up were the casualty figures: unfortunately important the way I play! These are 3D prints from 3D Breed’s March or Die range printed by Bunker Miniatures.

These are great figures. I especially like the chaps with the spear sticking up out of them, and the mailed warrior with a sword but without his head! I even managed to use up the last few cloaks I had lying around and, yes, the figure underneath is fully painted.

Next up are some light infantry with slings: a troop type I will need when I field the Celts as Ancient British. I very much like the way the 3D Breed designs have translated into 28mm: very chunky figures, almost cubist in nature. They paint up very easily and are nicely posed. One slight issue: I always thought of the Celtic slingers as Iouantoues (youths) and these are definitely not that…I mean, check out the balding figure in the red and white stripes!

These size reasonably well with the Victrix figures that make up most of my army: only very slightly shorter even if they are quite a bit chunkier.

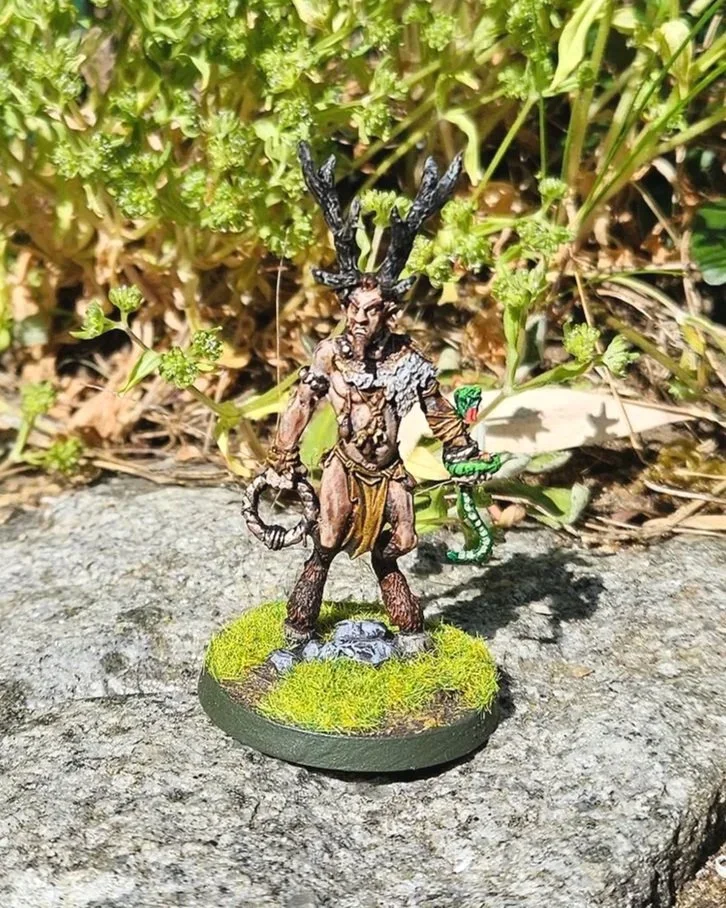
Finally we have one of the 3D Breed’s specials: one of the two druids that they offer. The other is more of a generic holy man with knife figure, so I’ve saved him for another use. The chap below is another antler-wearing ‘Herne the Hatstand’ so fits well with the general theme of my Celts. Lovely figure: paints up easily.

All the above are painted with Contrast paints on a Grey Seer undercoat, with any highlights etc done using standard acrylics. The cloaks are highly recommended and are from Weave of War.


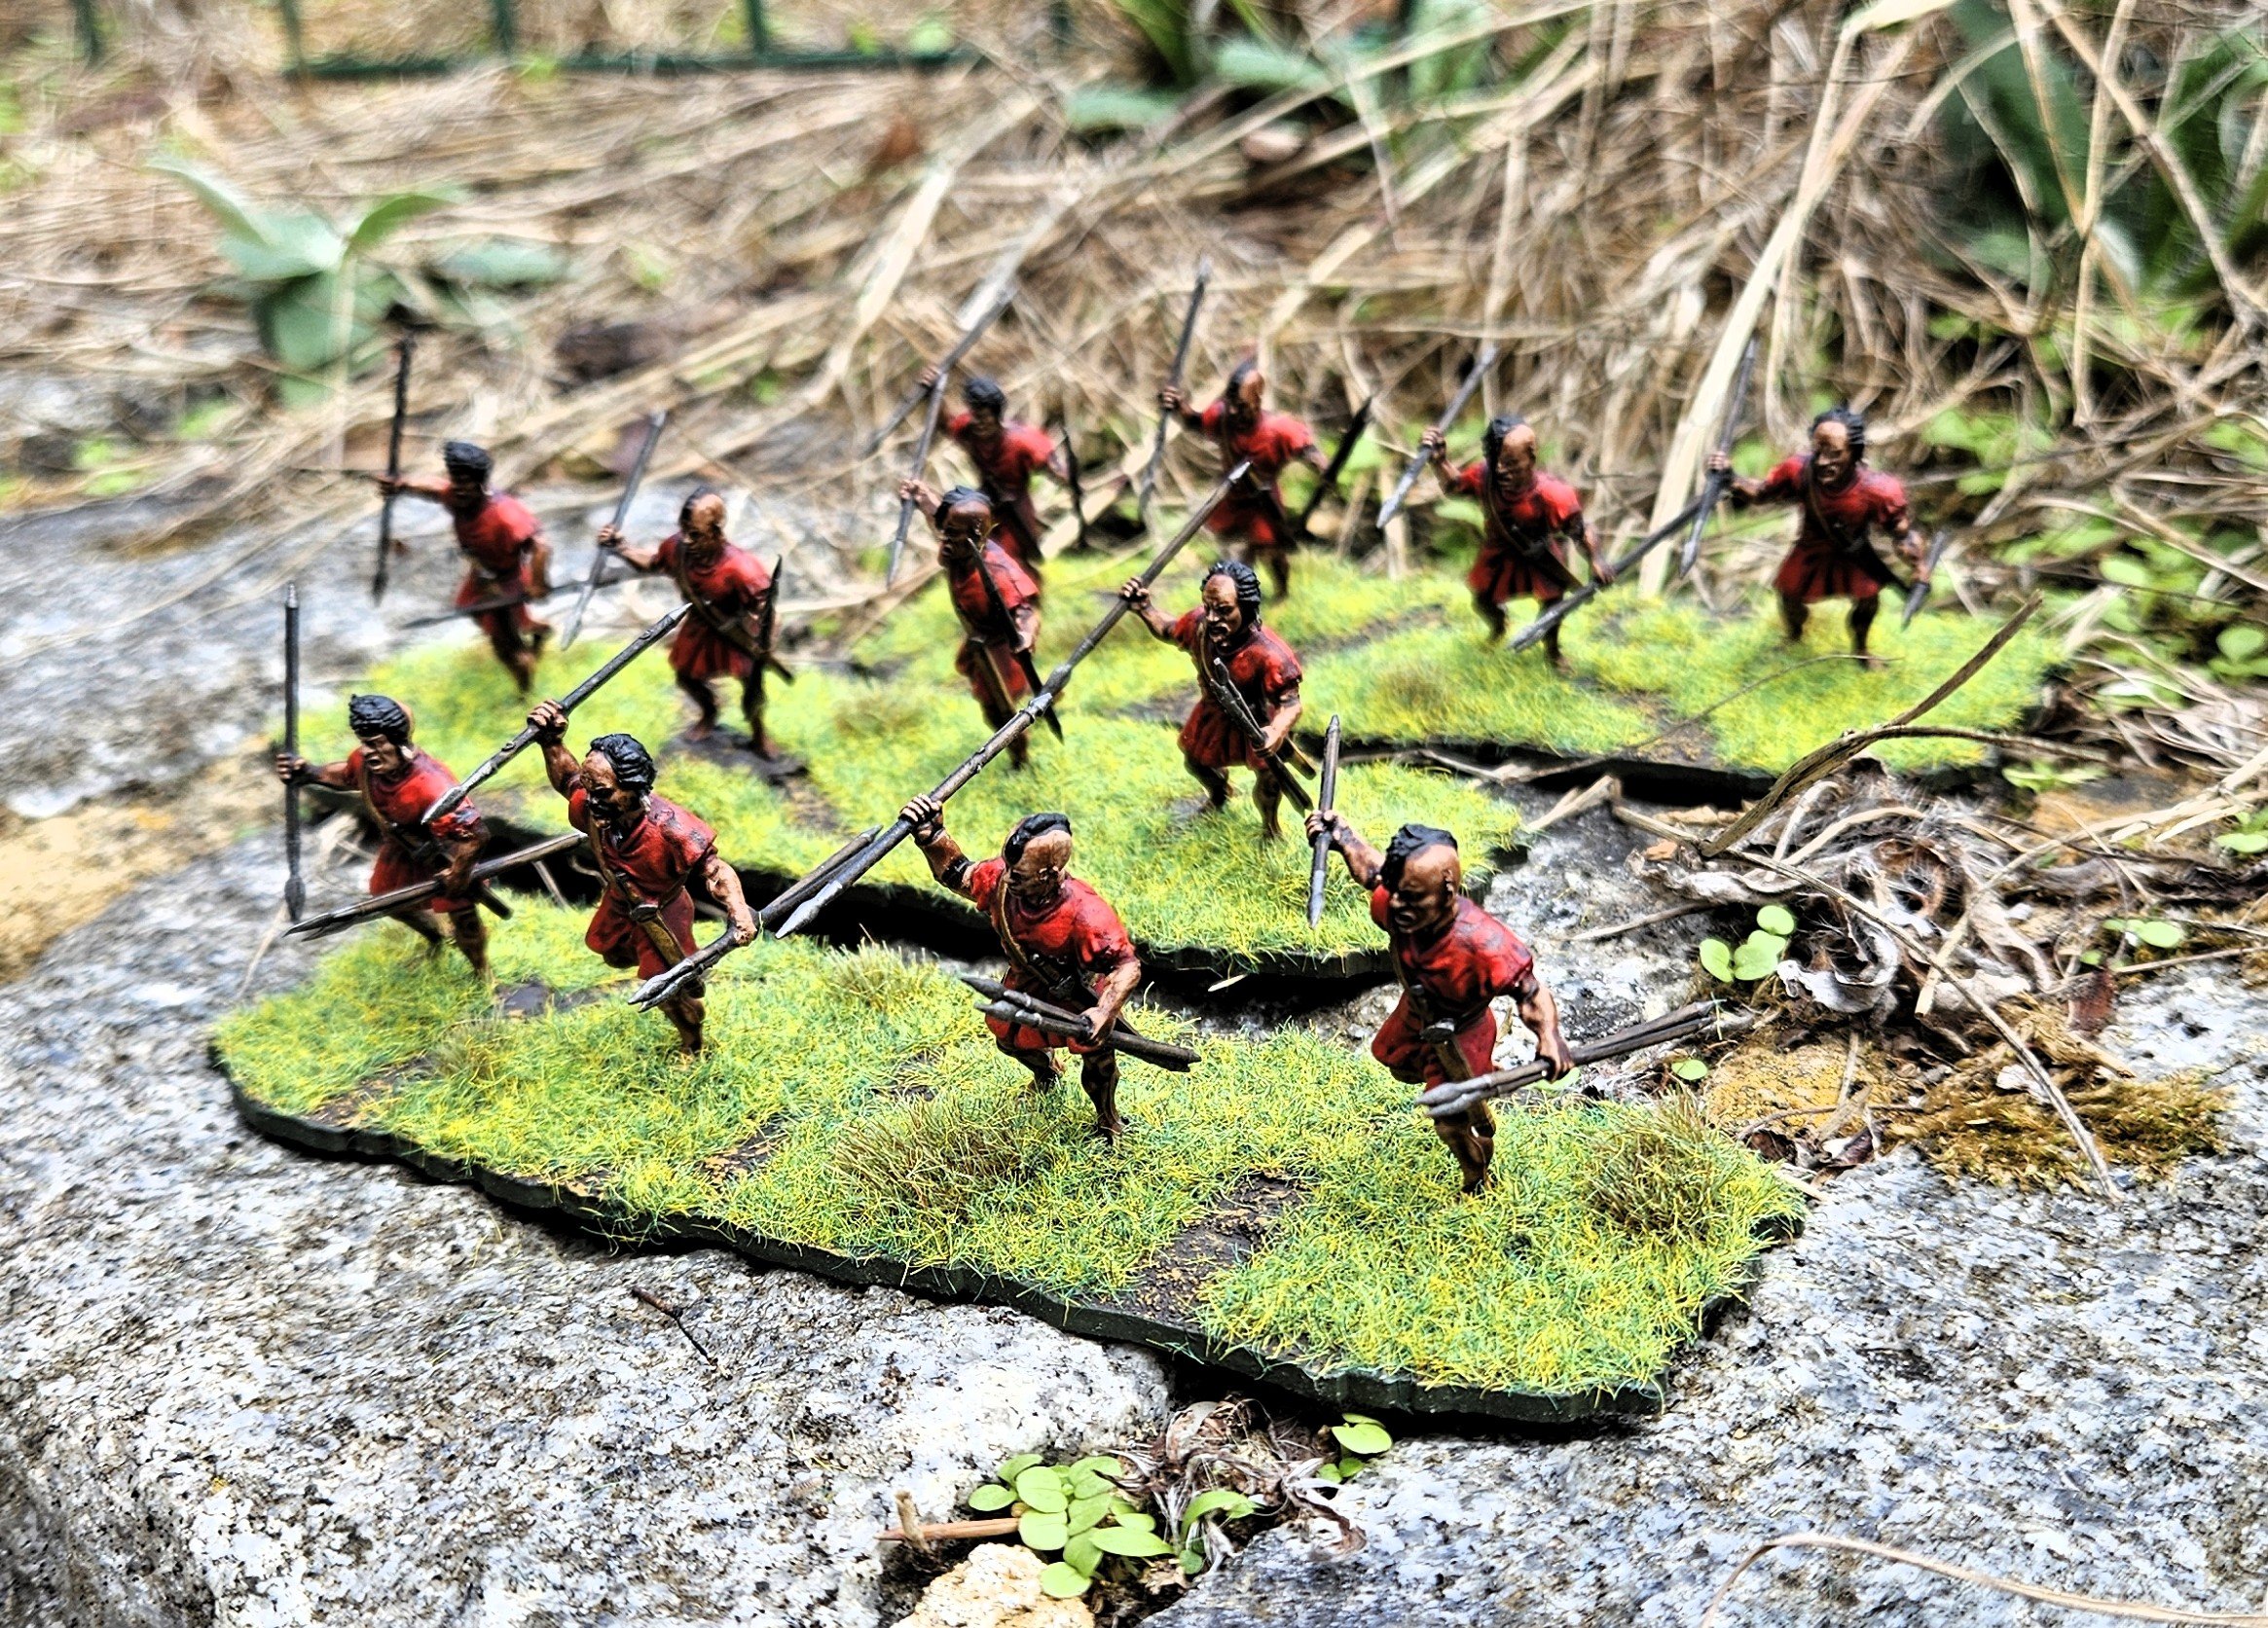
Finally in today’s bulletin, we have the first bits of a 15mm Han Chinese army: three units of Billmen armed with the dagger-axe, and four units of Spearmen armed with, er, spears. These are Lurkio figures from the range now being made available again from Gripping Beast, with the command and standard anachronistically coming from Ten Kingdom’s Song Chinese range via Micks Bits on Etsy.

It was a bit odd painting relatively old school 15mm metal figures again after spending so much time on plastic and 3D printed 28mm figures, but I think they have turned out okay.

I will say that this project very much demonstrated the difference between metal casts and 3D prints: the 3D prints have much more animation in them, looking better overall even if the extra detail sometimes makes them more difficult to paint. I would have gone 3D printed Song all the way, but wanted an earlier Chinese army that can pass for Spring, Warring States, Han, Three Kingdoms etc. Once the Han are finished, I’ll probably eventually end up doing enough Song units to convert the army into a later Chinese army anyway!

Note that these are based ten to a 75mm frontage base (FK&P2 from Big Red Bat), which means I can now field three units of Billmen/Spearmen on a 15cms grid (two bases together) or six units of Billmen/Spearmen on a 10cm grid (one base). The standards are coloured in pairs (green, yellow, blue, red) to make pairing them easy.

Next up are three units of Crossbowmen, so another 60 figures in total. I think I might need some more red paint!

Final Batch of Celts

Here is the final batch of figures that I need to actually field either a Galatian or a Gallic army (the Ancient Brits will have to wait for chariots, slingers and light cavalry).

First up are the command figures:

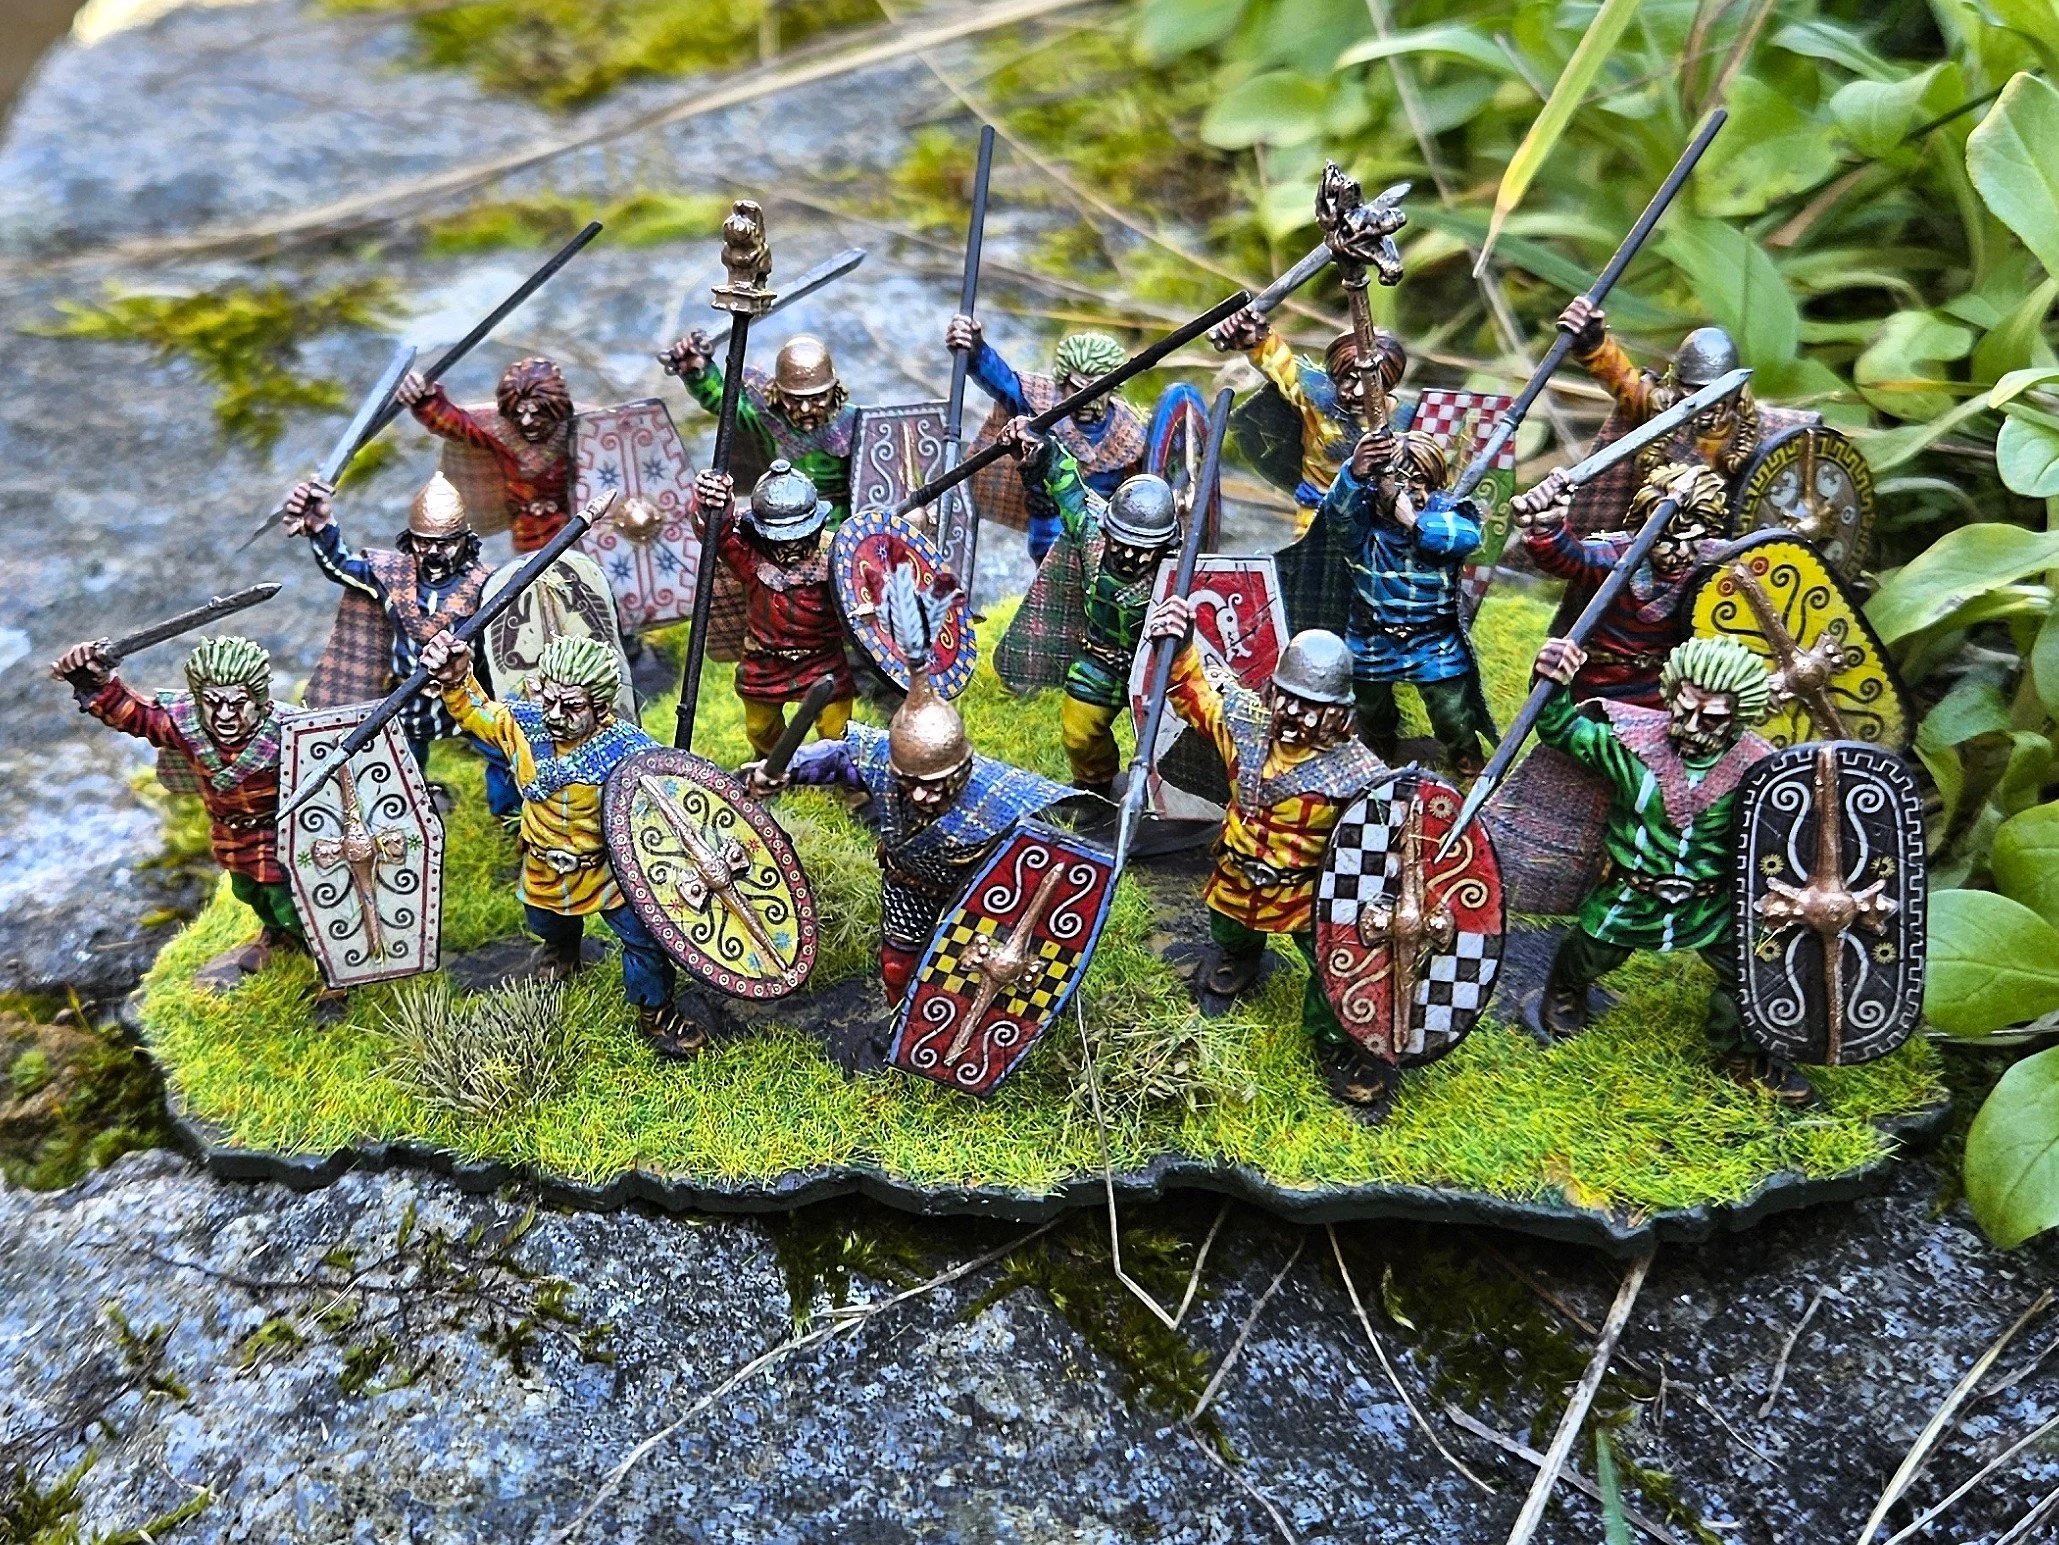
Then there are three more bases of warriors. These are all Victrix figures:

Always important, here are two bases of light infantry with javelins:

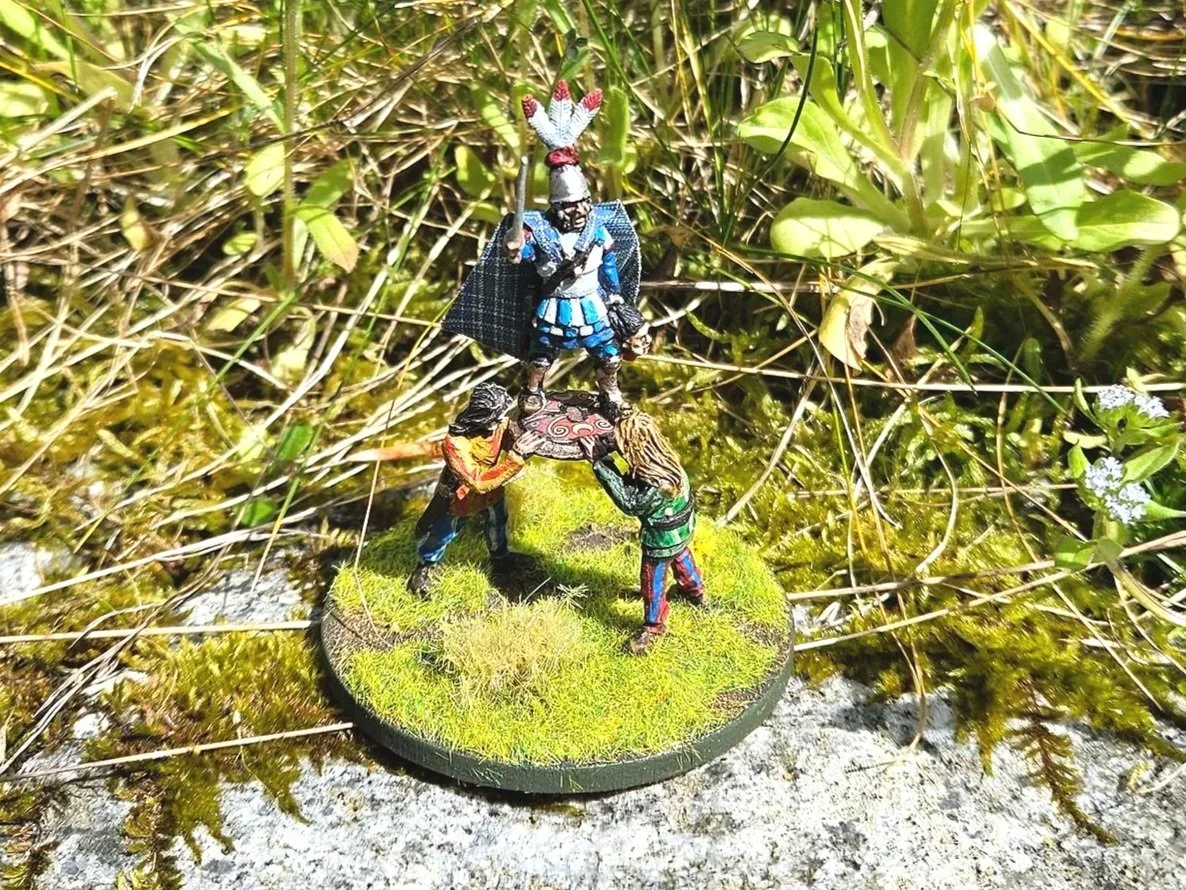
For a warband-bases army, you need a lot of heroes. I decided early on to use Celtic character figures for my heroes, collected from a variety of ranges:

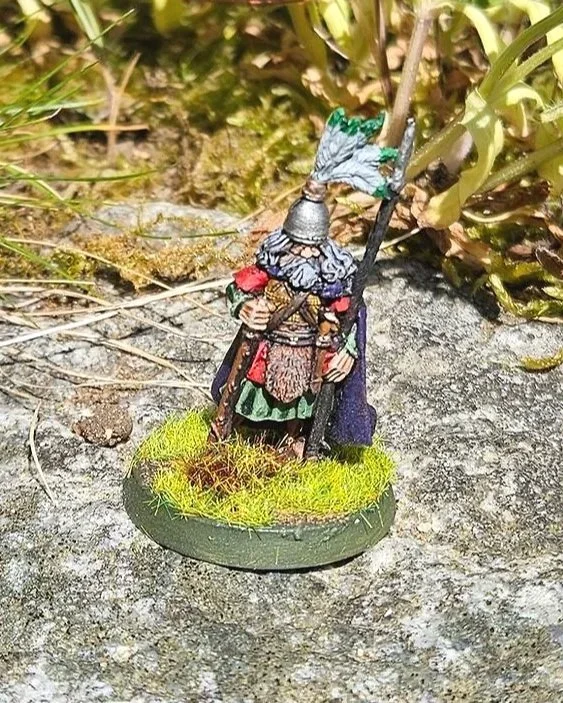
I’ll actually use Cernunnos, who stands about 9cms high, as the army standard!

Finally, I built a nice camp of standing stones using Alternative Armies’ new Standing Stones.

Even More Celts

My Celtic army is coming along nicely: I’ve now finished three more units of heavy horse, and started to add some heroes as well.

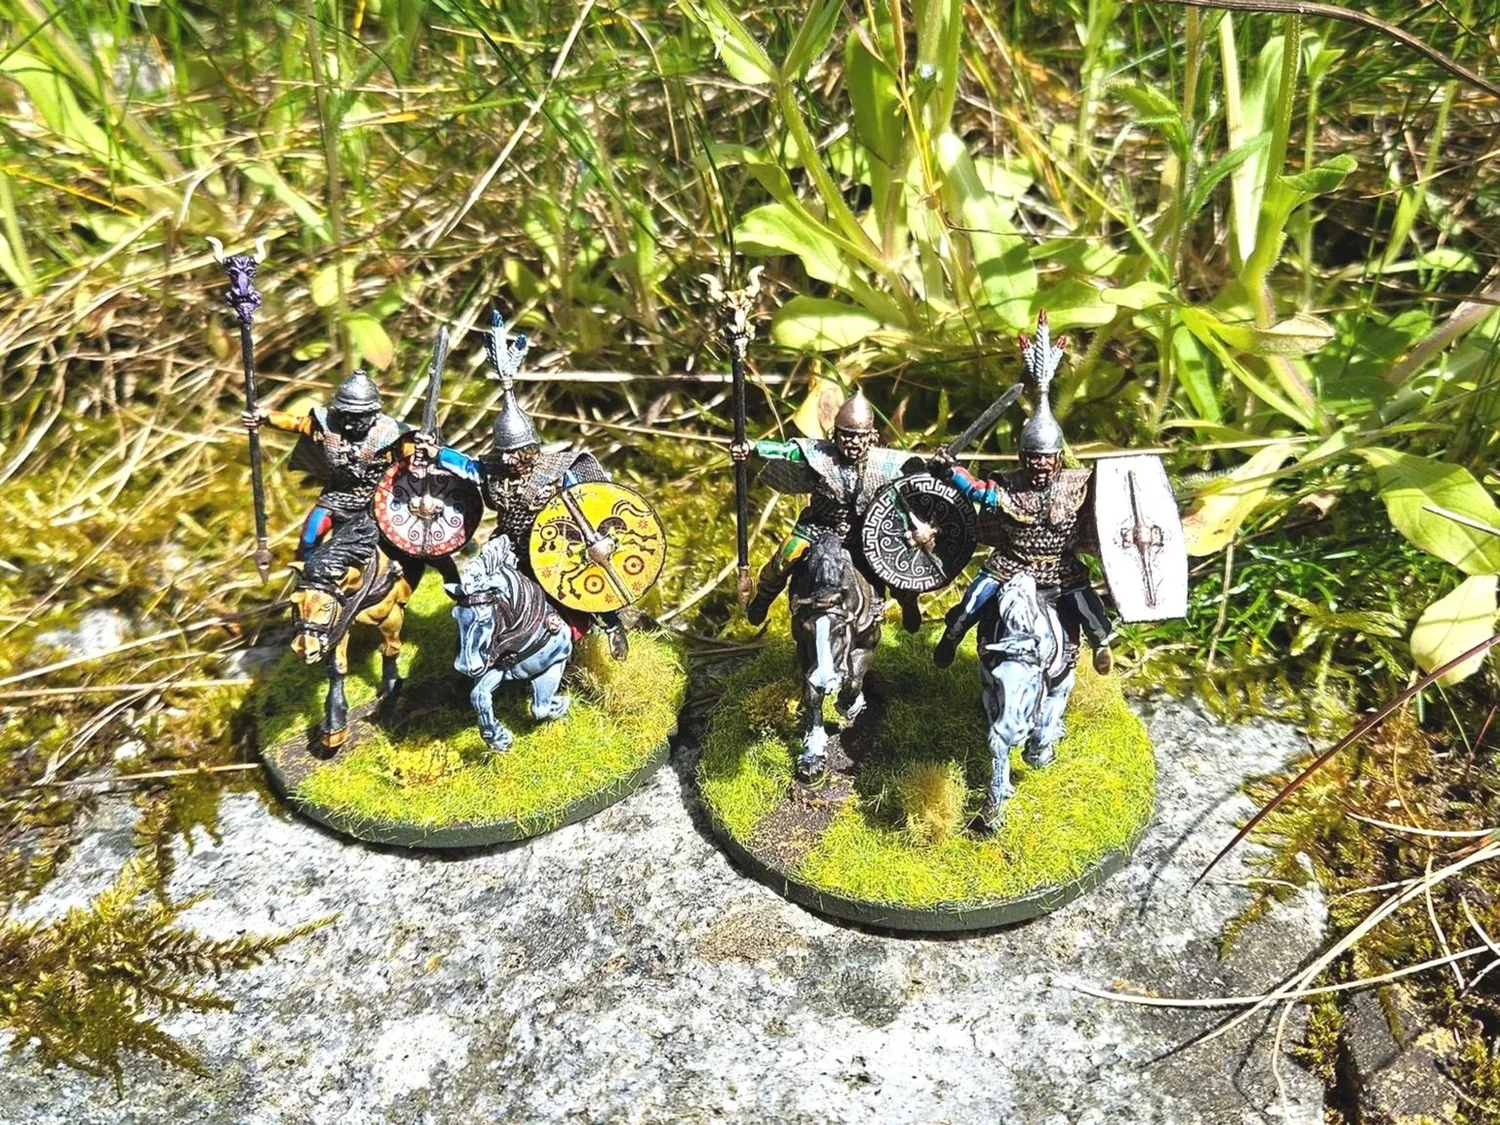
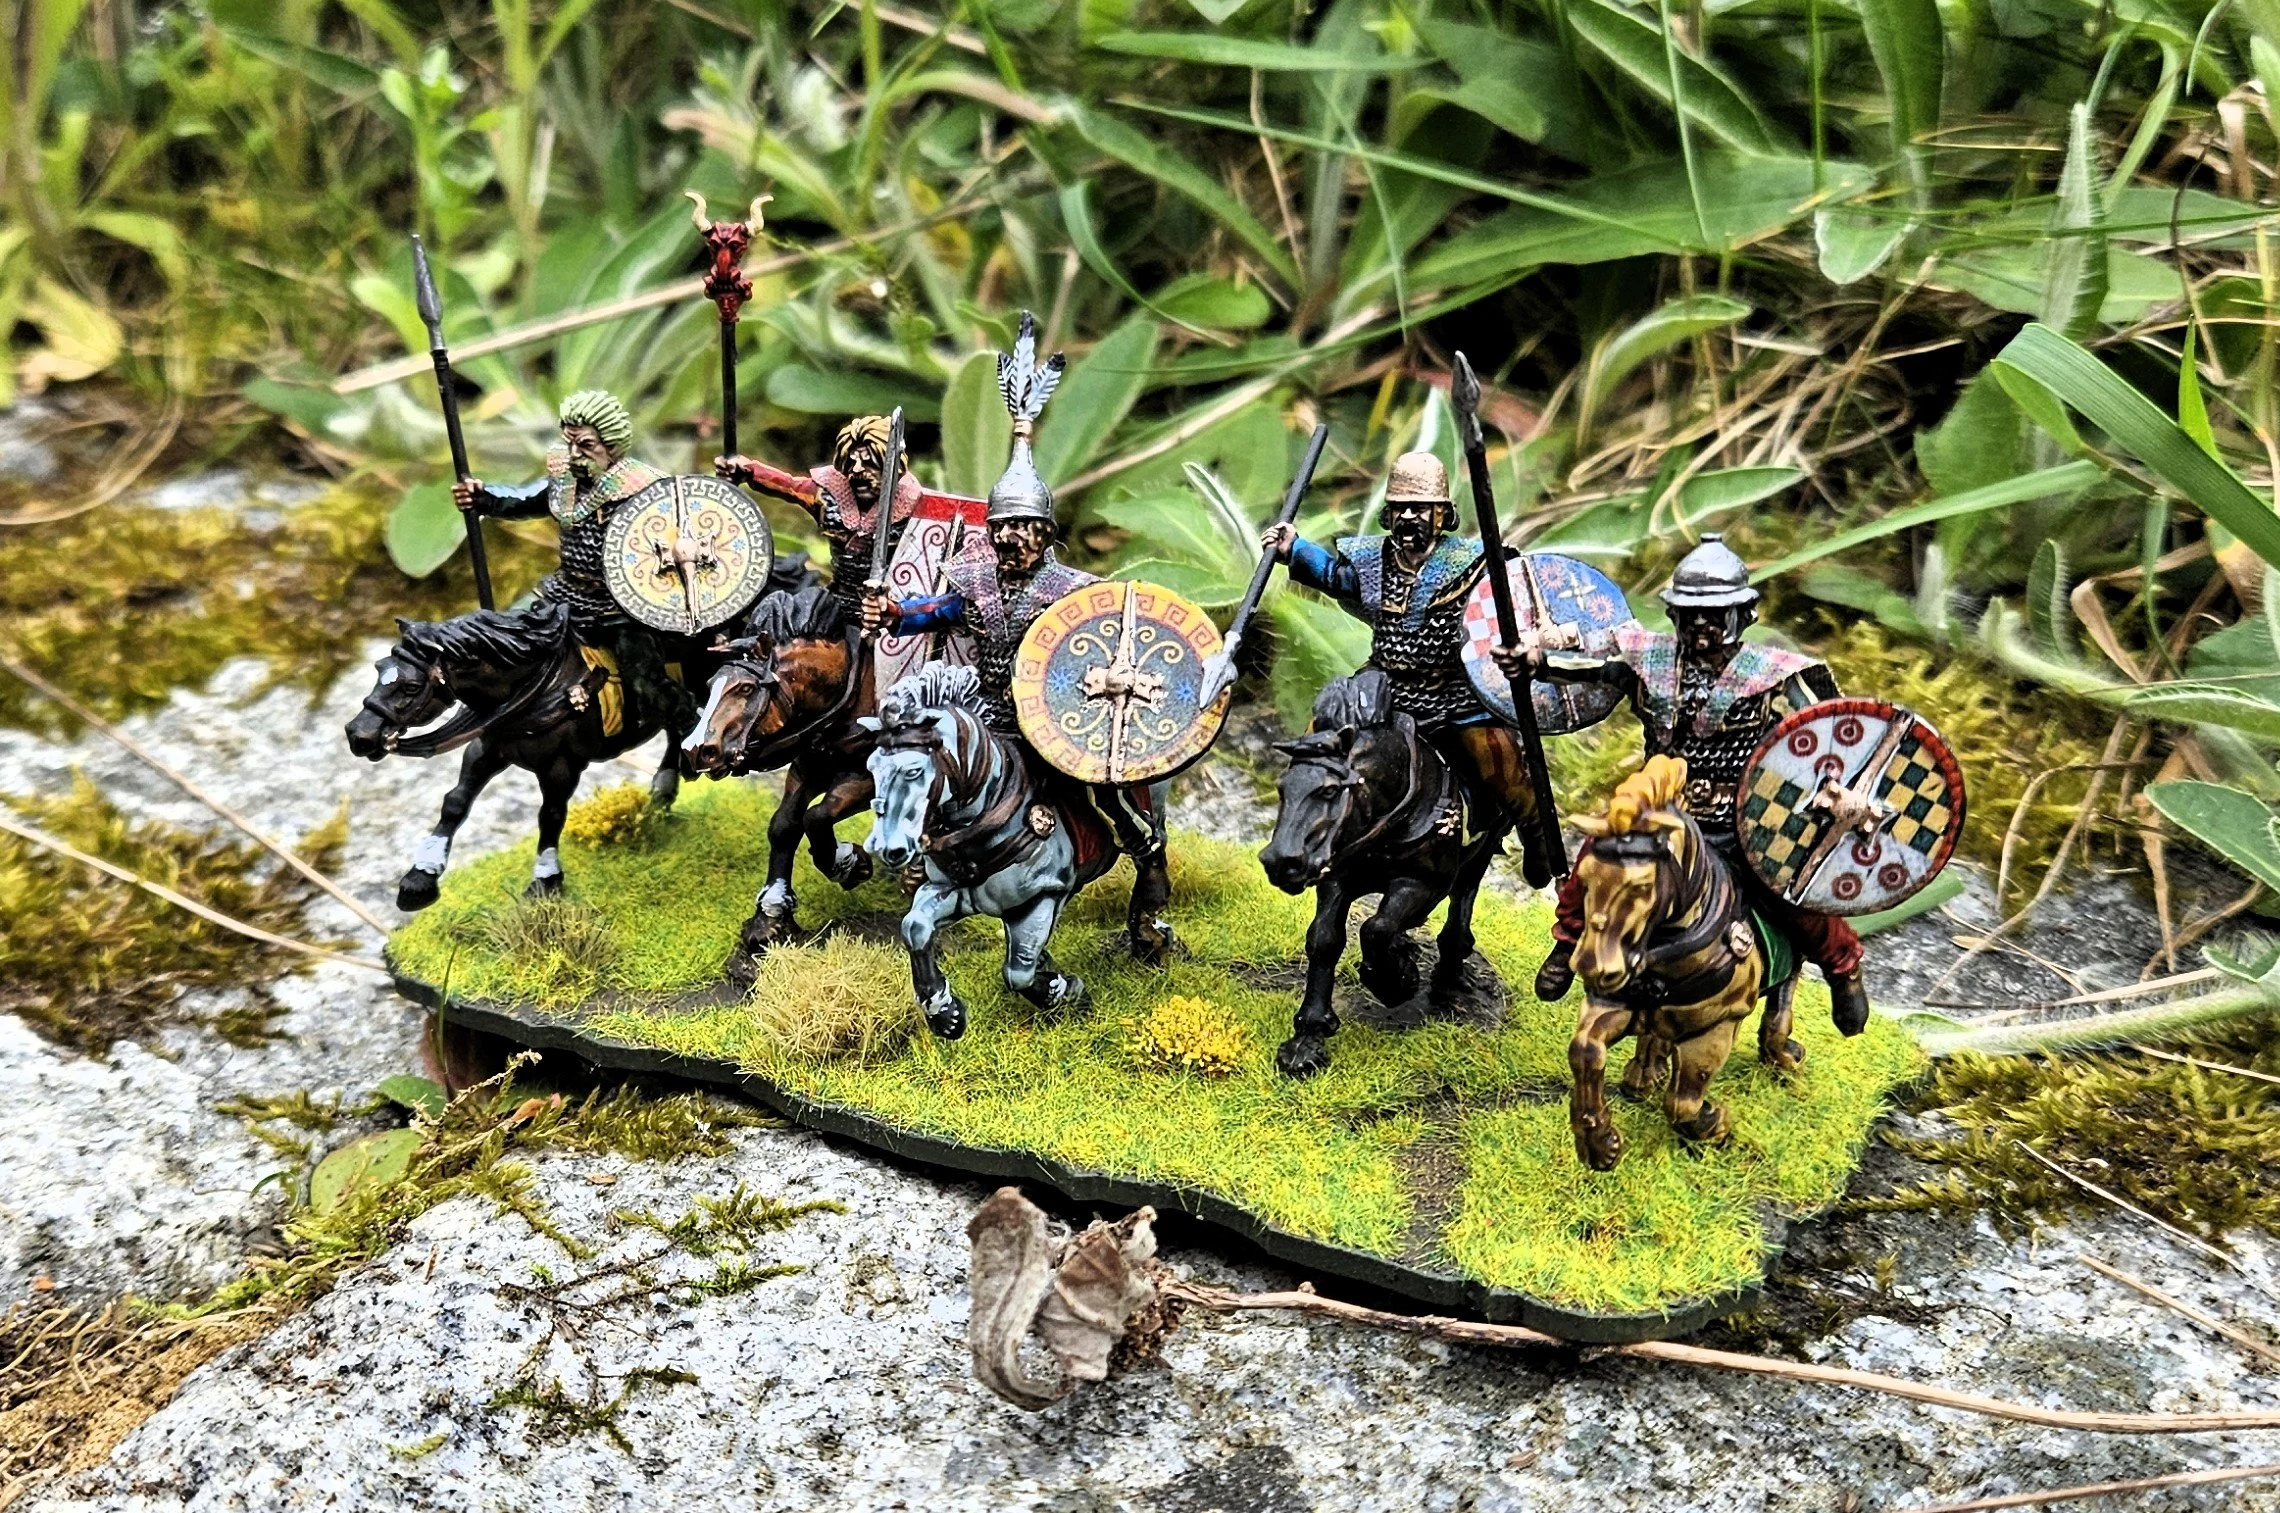
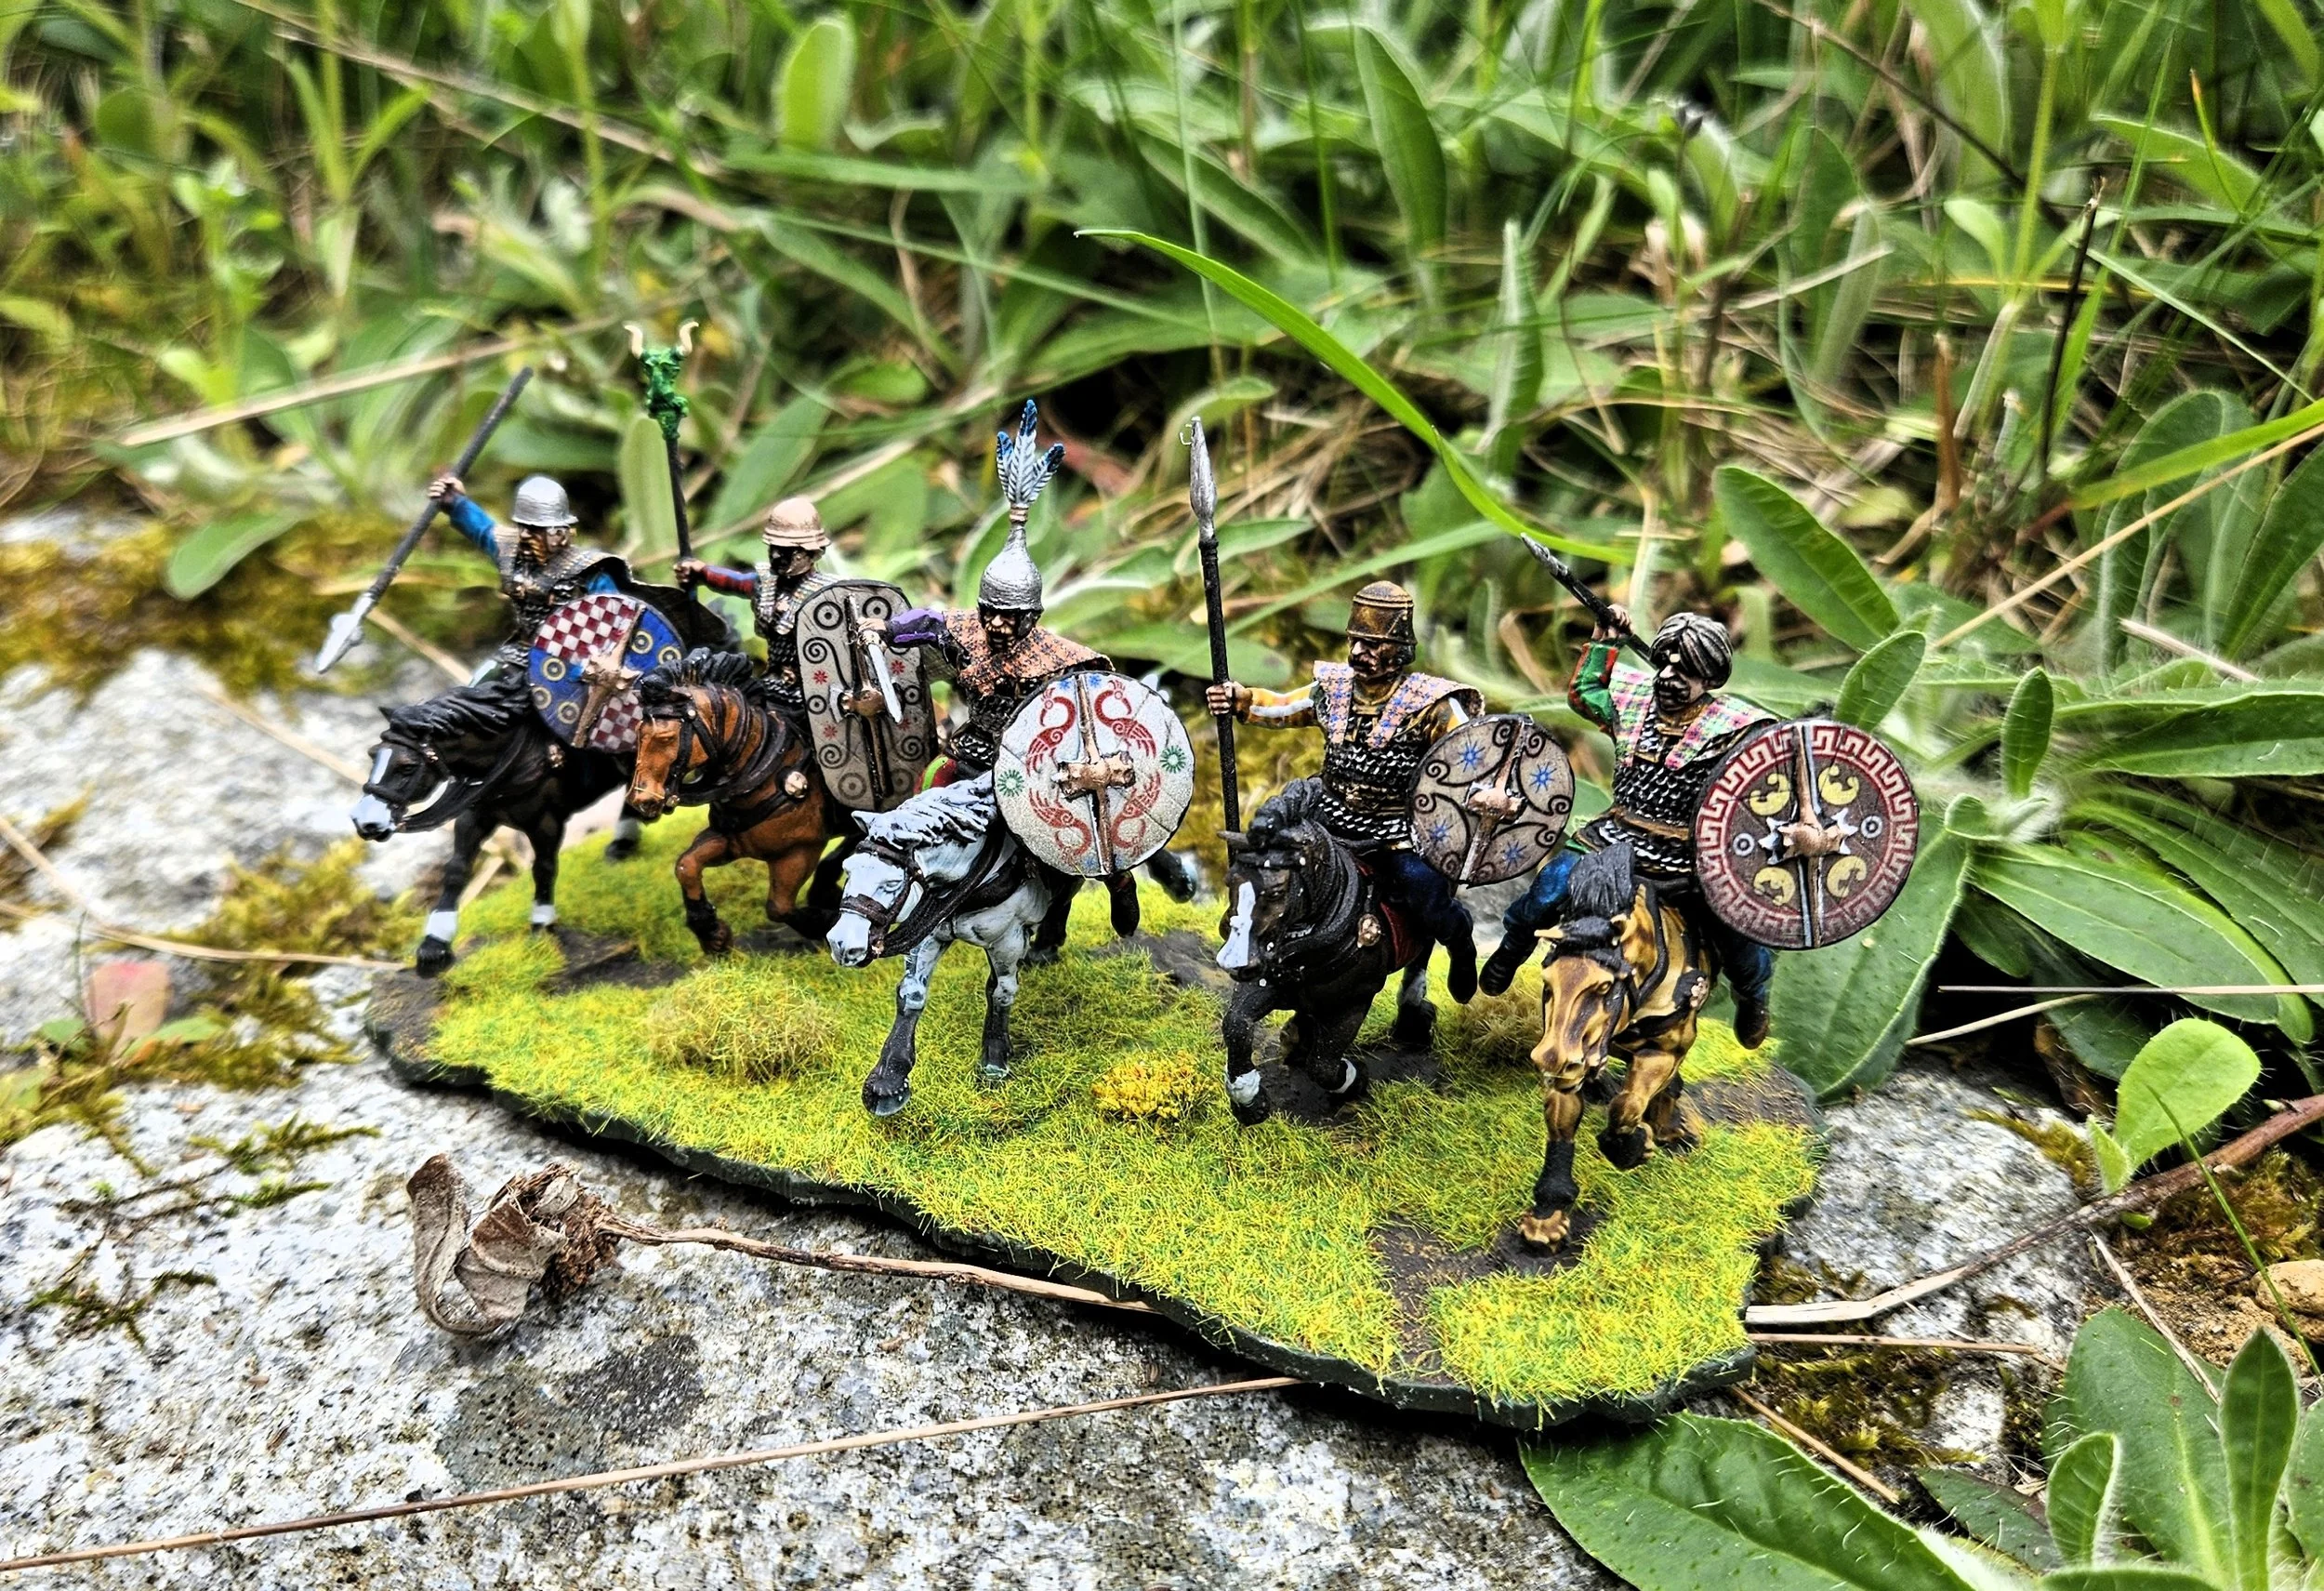
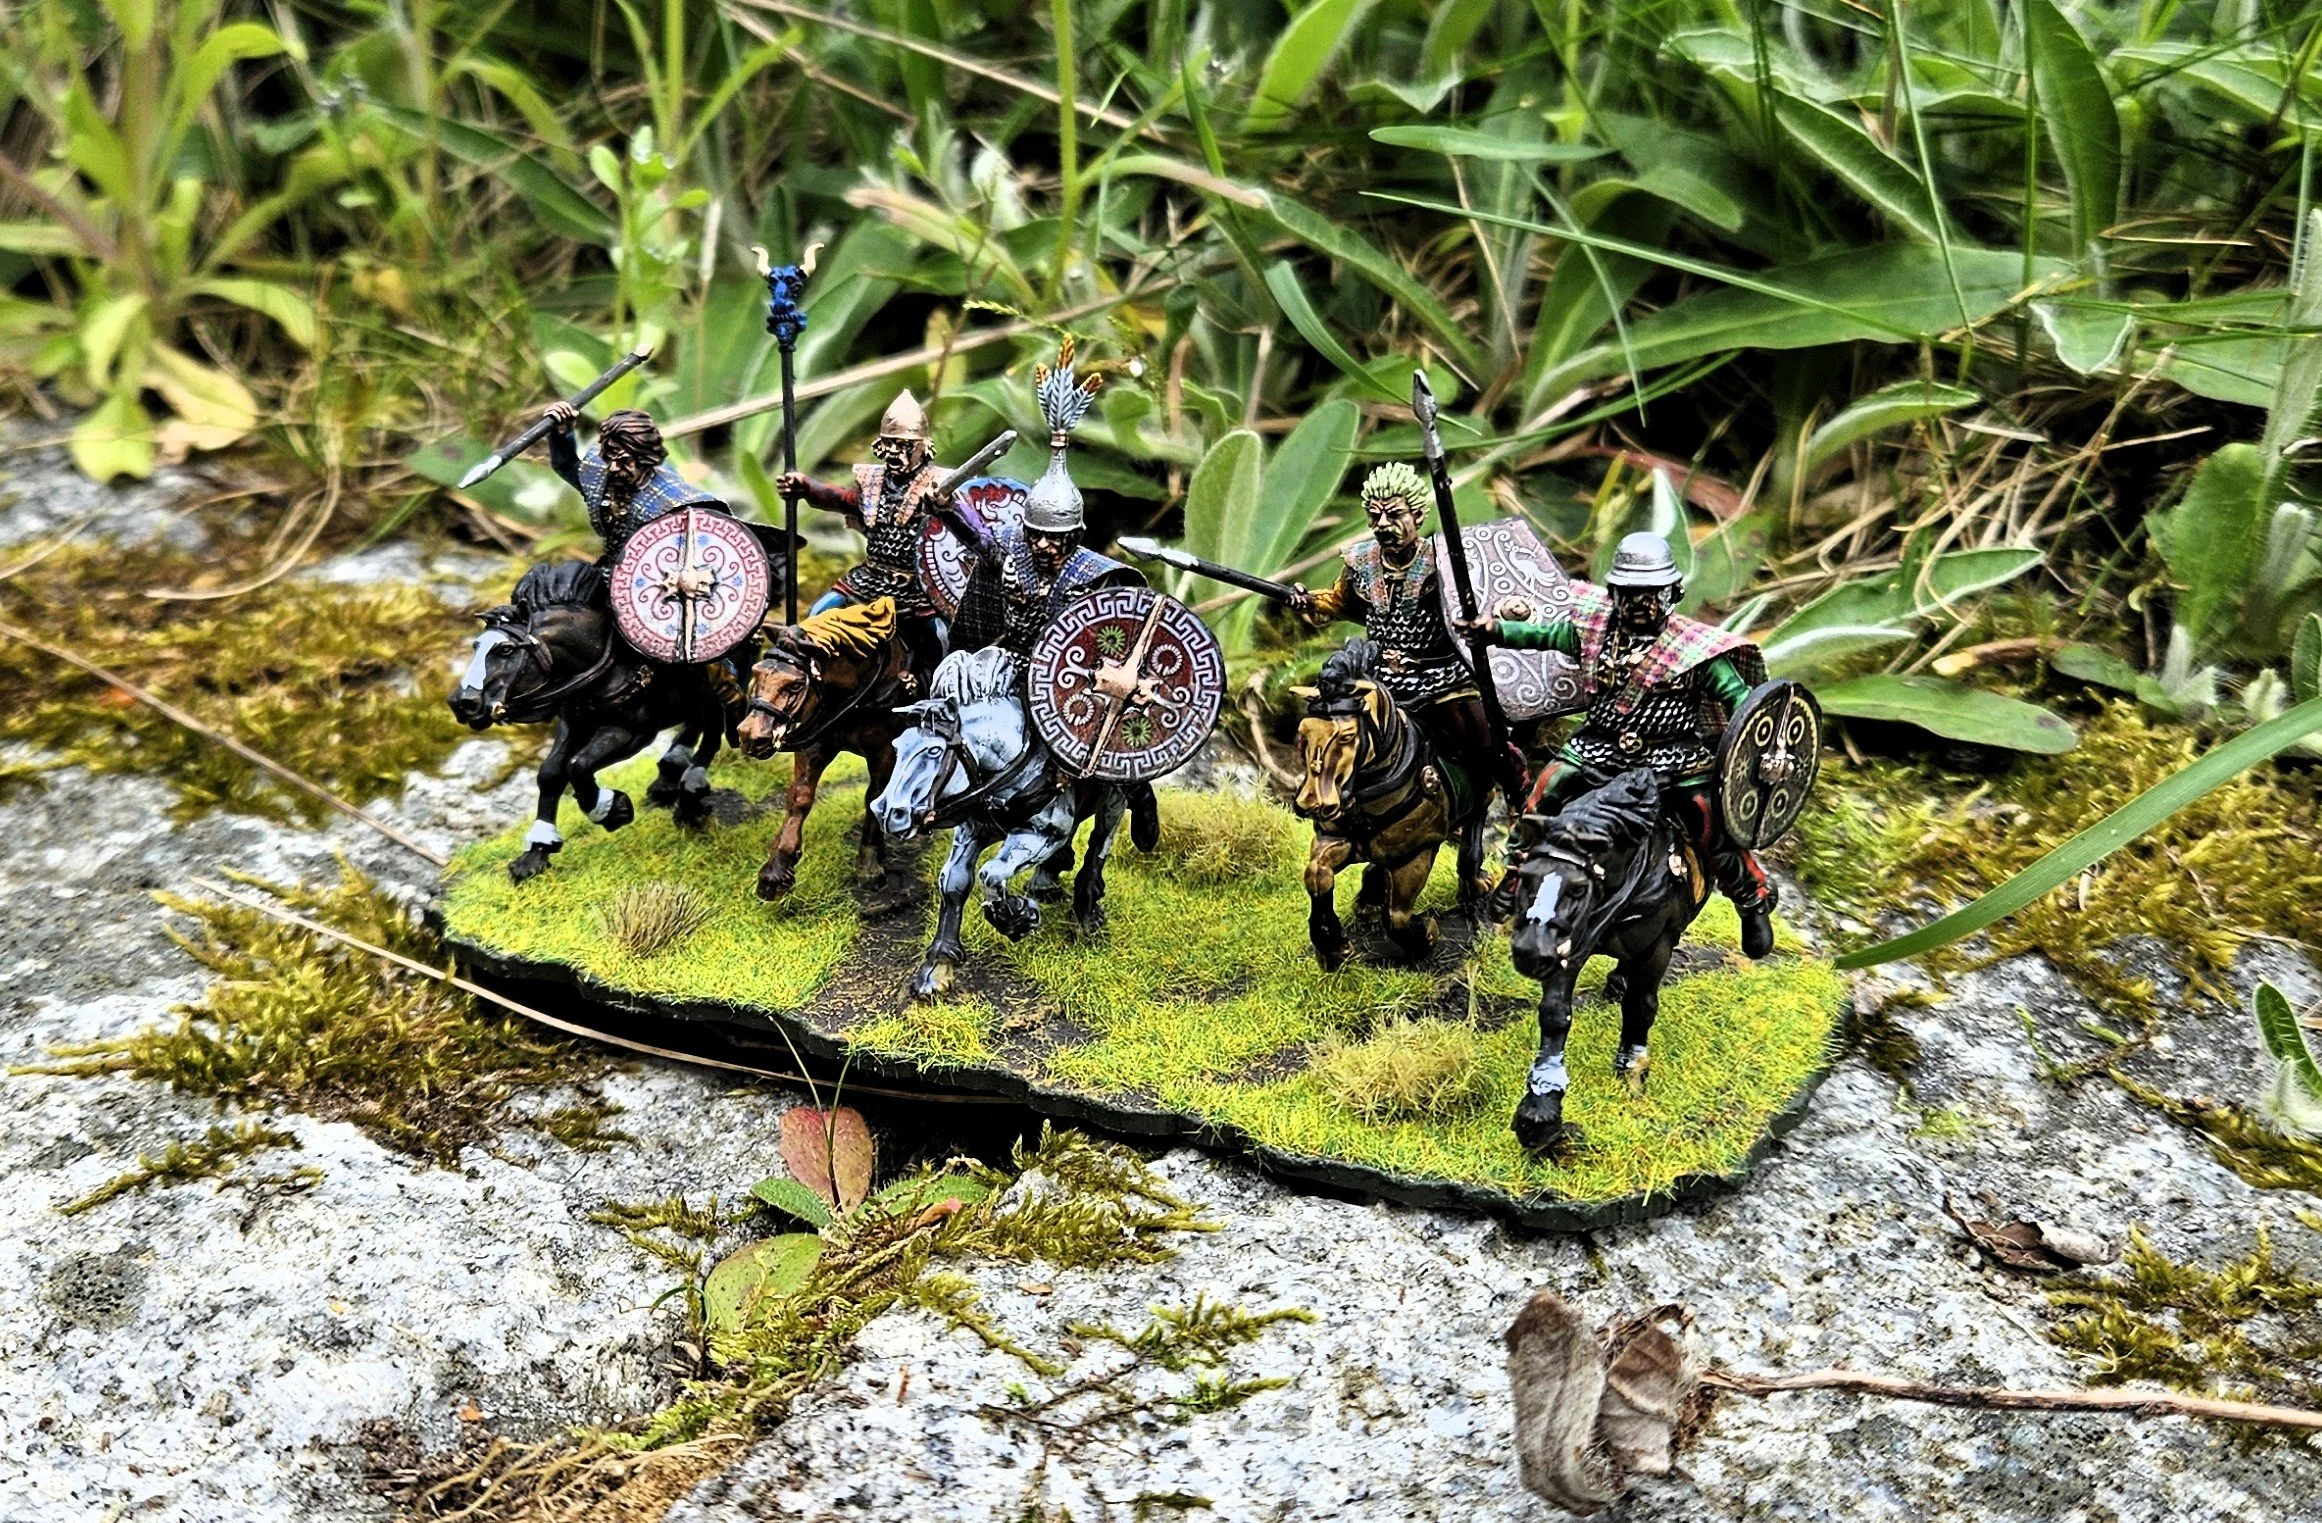
Here are the three new units of horse. All are Victrix figures painted using Contrast paints, and with shield transfers from Little Big Man Studios (available via Victrix) and all with cloaks from Weave of War.

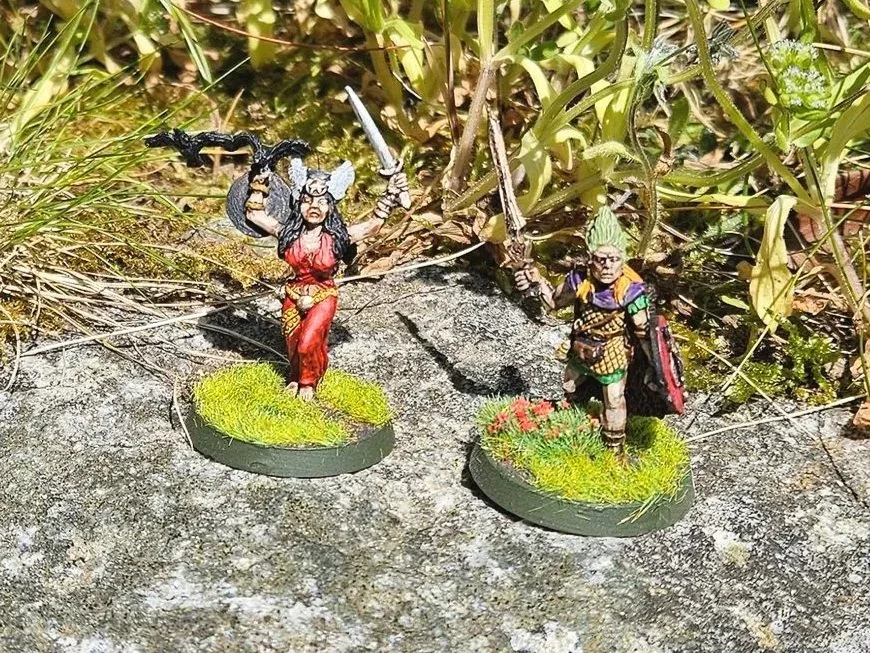
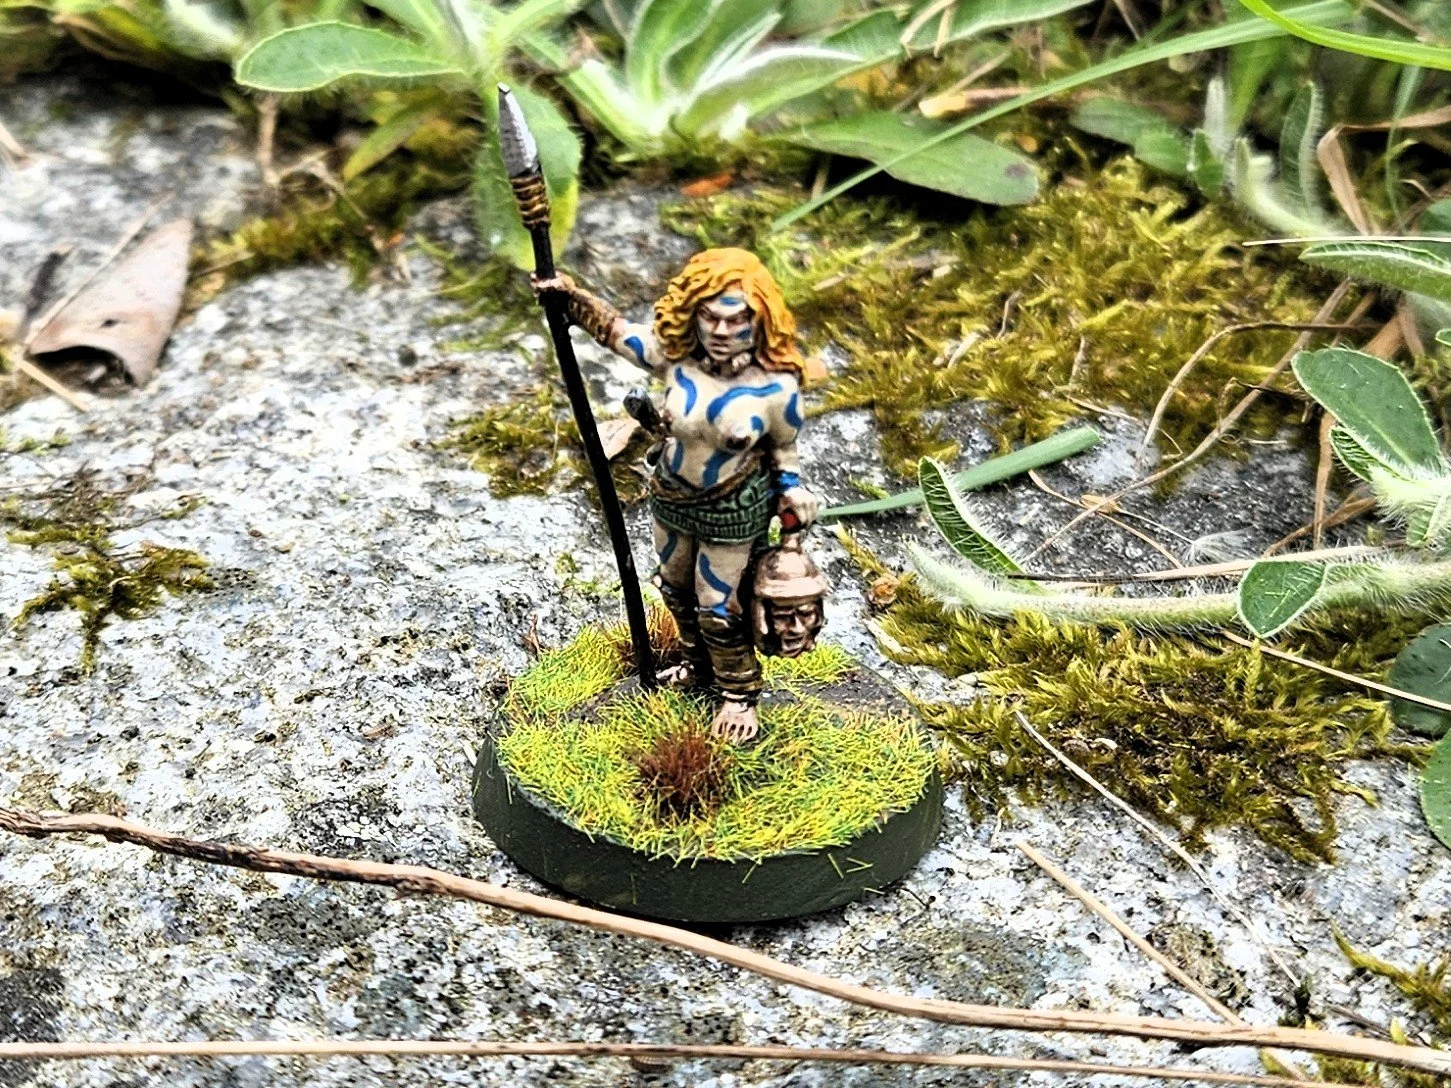
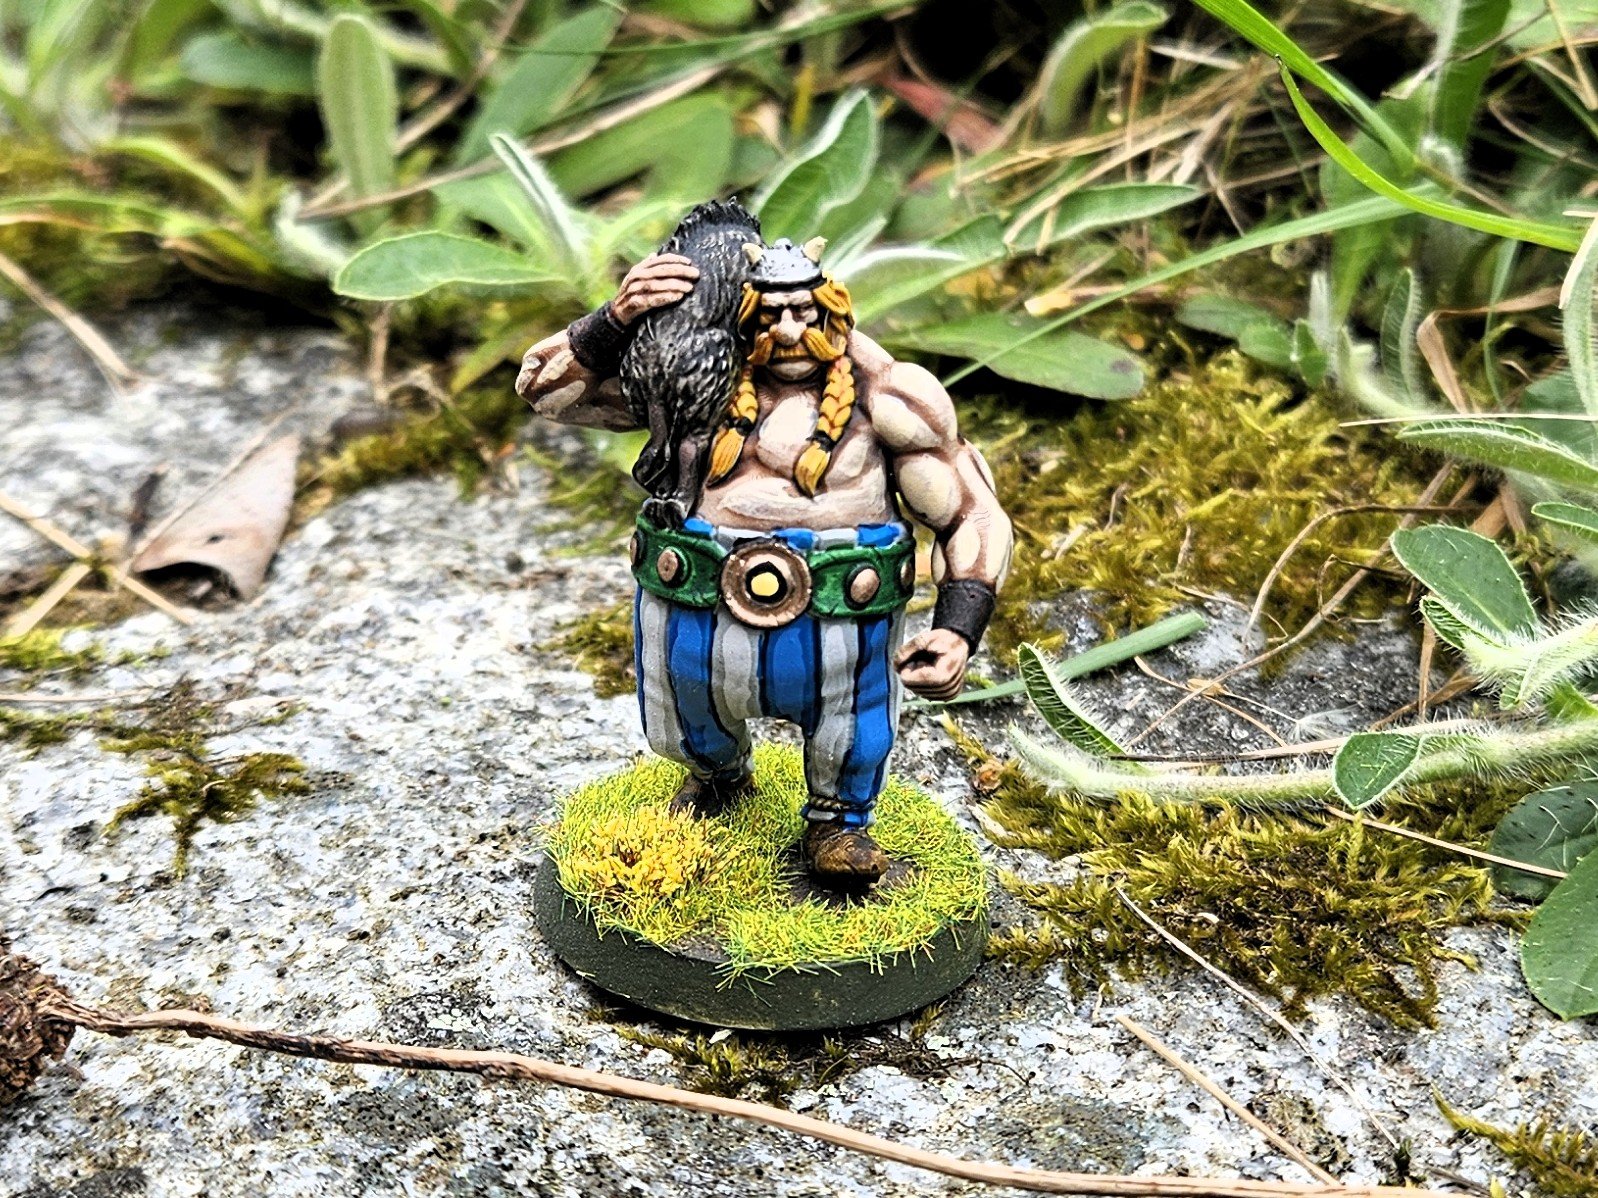
I’m going to need a lot of heroes for any Celtic army: six for the warbands and then another three to five as standard. I’ve decided to try andget as many Celtic personaities into the heroes mix as possible, which means trawling the Internet for interesting one-off figures. Here’s the first two I’ve completed: Boudicca and Obelix.

Boudicca is a metal casting from Belt Fed Gaming available from the Colonel Bills website. She is also painted with Contrast paints, but I have attempted to glaze her skin tone.

Obelix is, quite rightly, a giant of a figure. He is one of the Aquila Empire: Gaul Heroes set of two resin prints from Anima Games UK available via Etsy. The other is Asterix, who will appear in due course.

First of the Celts

I’m a 15mm gamer who plays To The Strongest competitions in 28mm…so although I have some 17 different Ancients/Medieval armies in 15mm, I only have two in 28mm: my 40-year-old, Minifigs Early Imperial Romans, and my two-year-old, Perry-medieval-plastic Venetians.

I’ve used the Romans a lot, and the Venetians even more, so have been thinking for some time that it’s now the moment to add another army to the roster…but which one?

It’s a big investment of both time and money, so it’s got to be an army that means something. There’s a tale behind the Romans (I won’t repeat it now as many of you know it already) and the Venetians began from a box-set I won at the Doubles a couple of years ago…so what was going to spark my interest for number three.

Well, my very first army ever was an Airfix Ancient Briton army that I used at school and university (when the lessons were taught in the original Latin!), and a couple of units of Celtic foot could be the starting point for any number of Gallic-style armies (Galatian, Gallic, Ancient British) or form a command for even more (e.g. Carthaginian or any other army in which the Celts served as mercenaries).

One problem: I didn’t fancy painting six deep units of warriors wearing checks, tartans or stripes, and whose shields were too intricate to be hand-painted and would thus require a whole load of transfers to have the bit for the bosses cut out with a ‘sharp craft knife’. Fortunately, Victrix have come to the rescue on that last one - now producing pre-punched transfers that make using them so much easier - and Weave of War, my new favourite wargames supplier, sell miniature, real-cloth cloaks that can be glued to the back of a figure and obviate the need for 360° painting: it’s always the join between the back and front of a stripey or chequered figure that cause the issues.

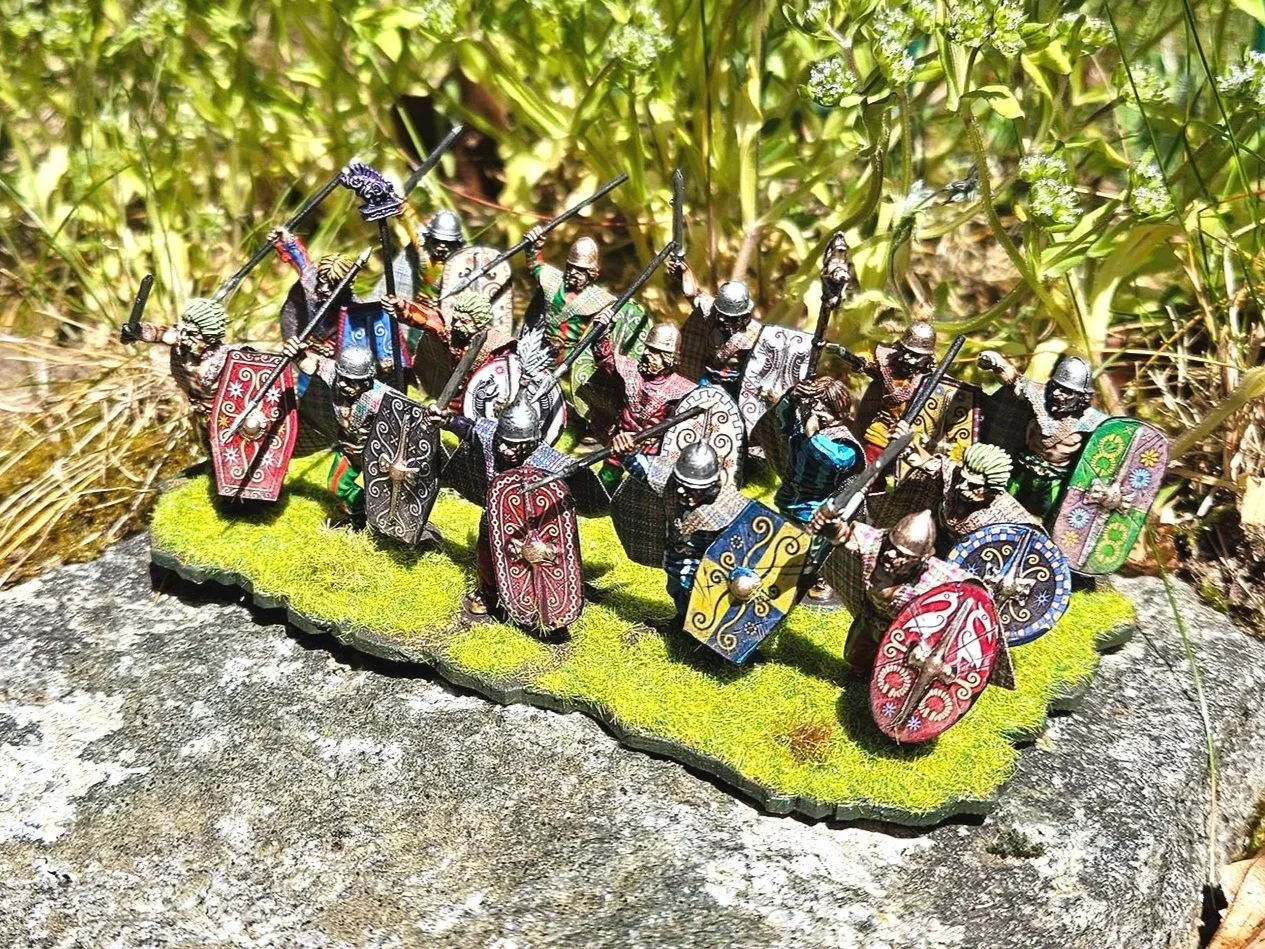
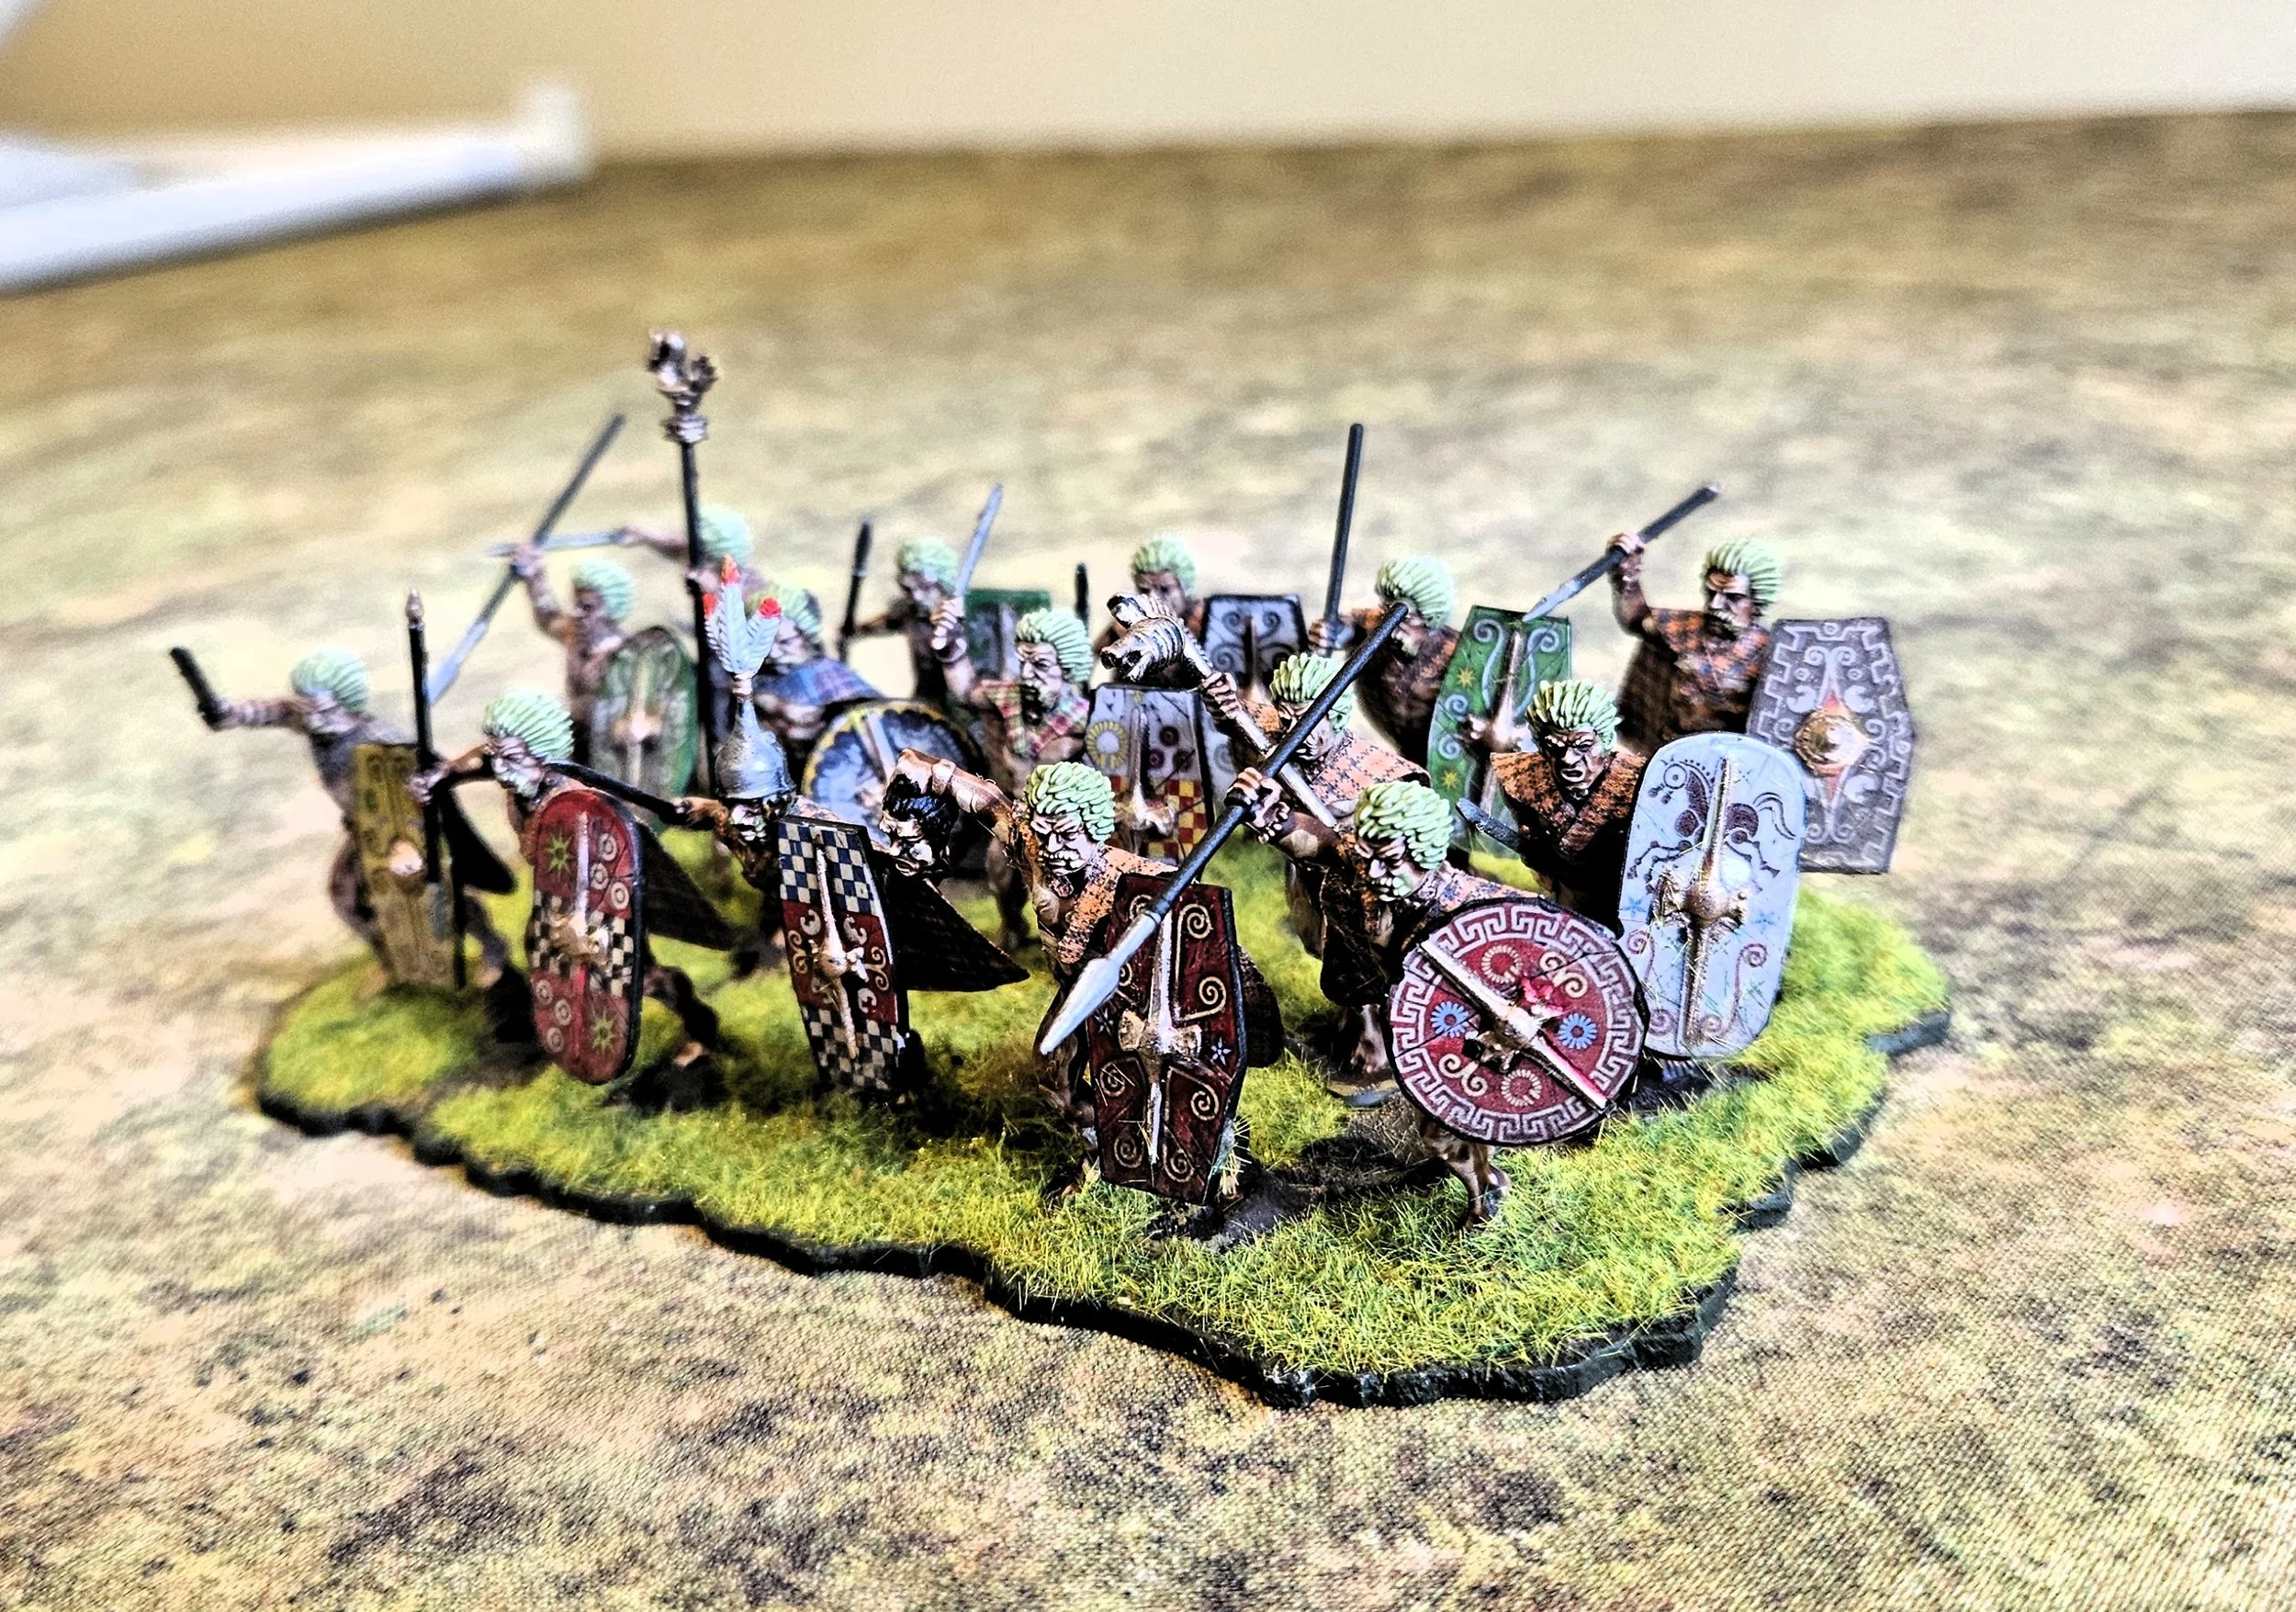
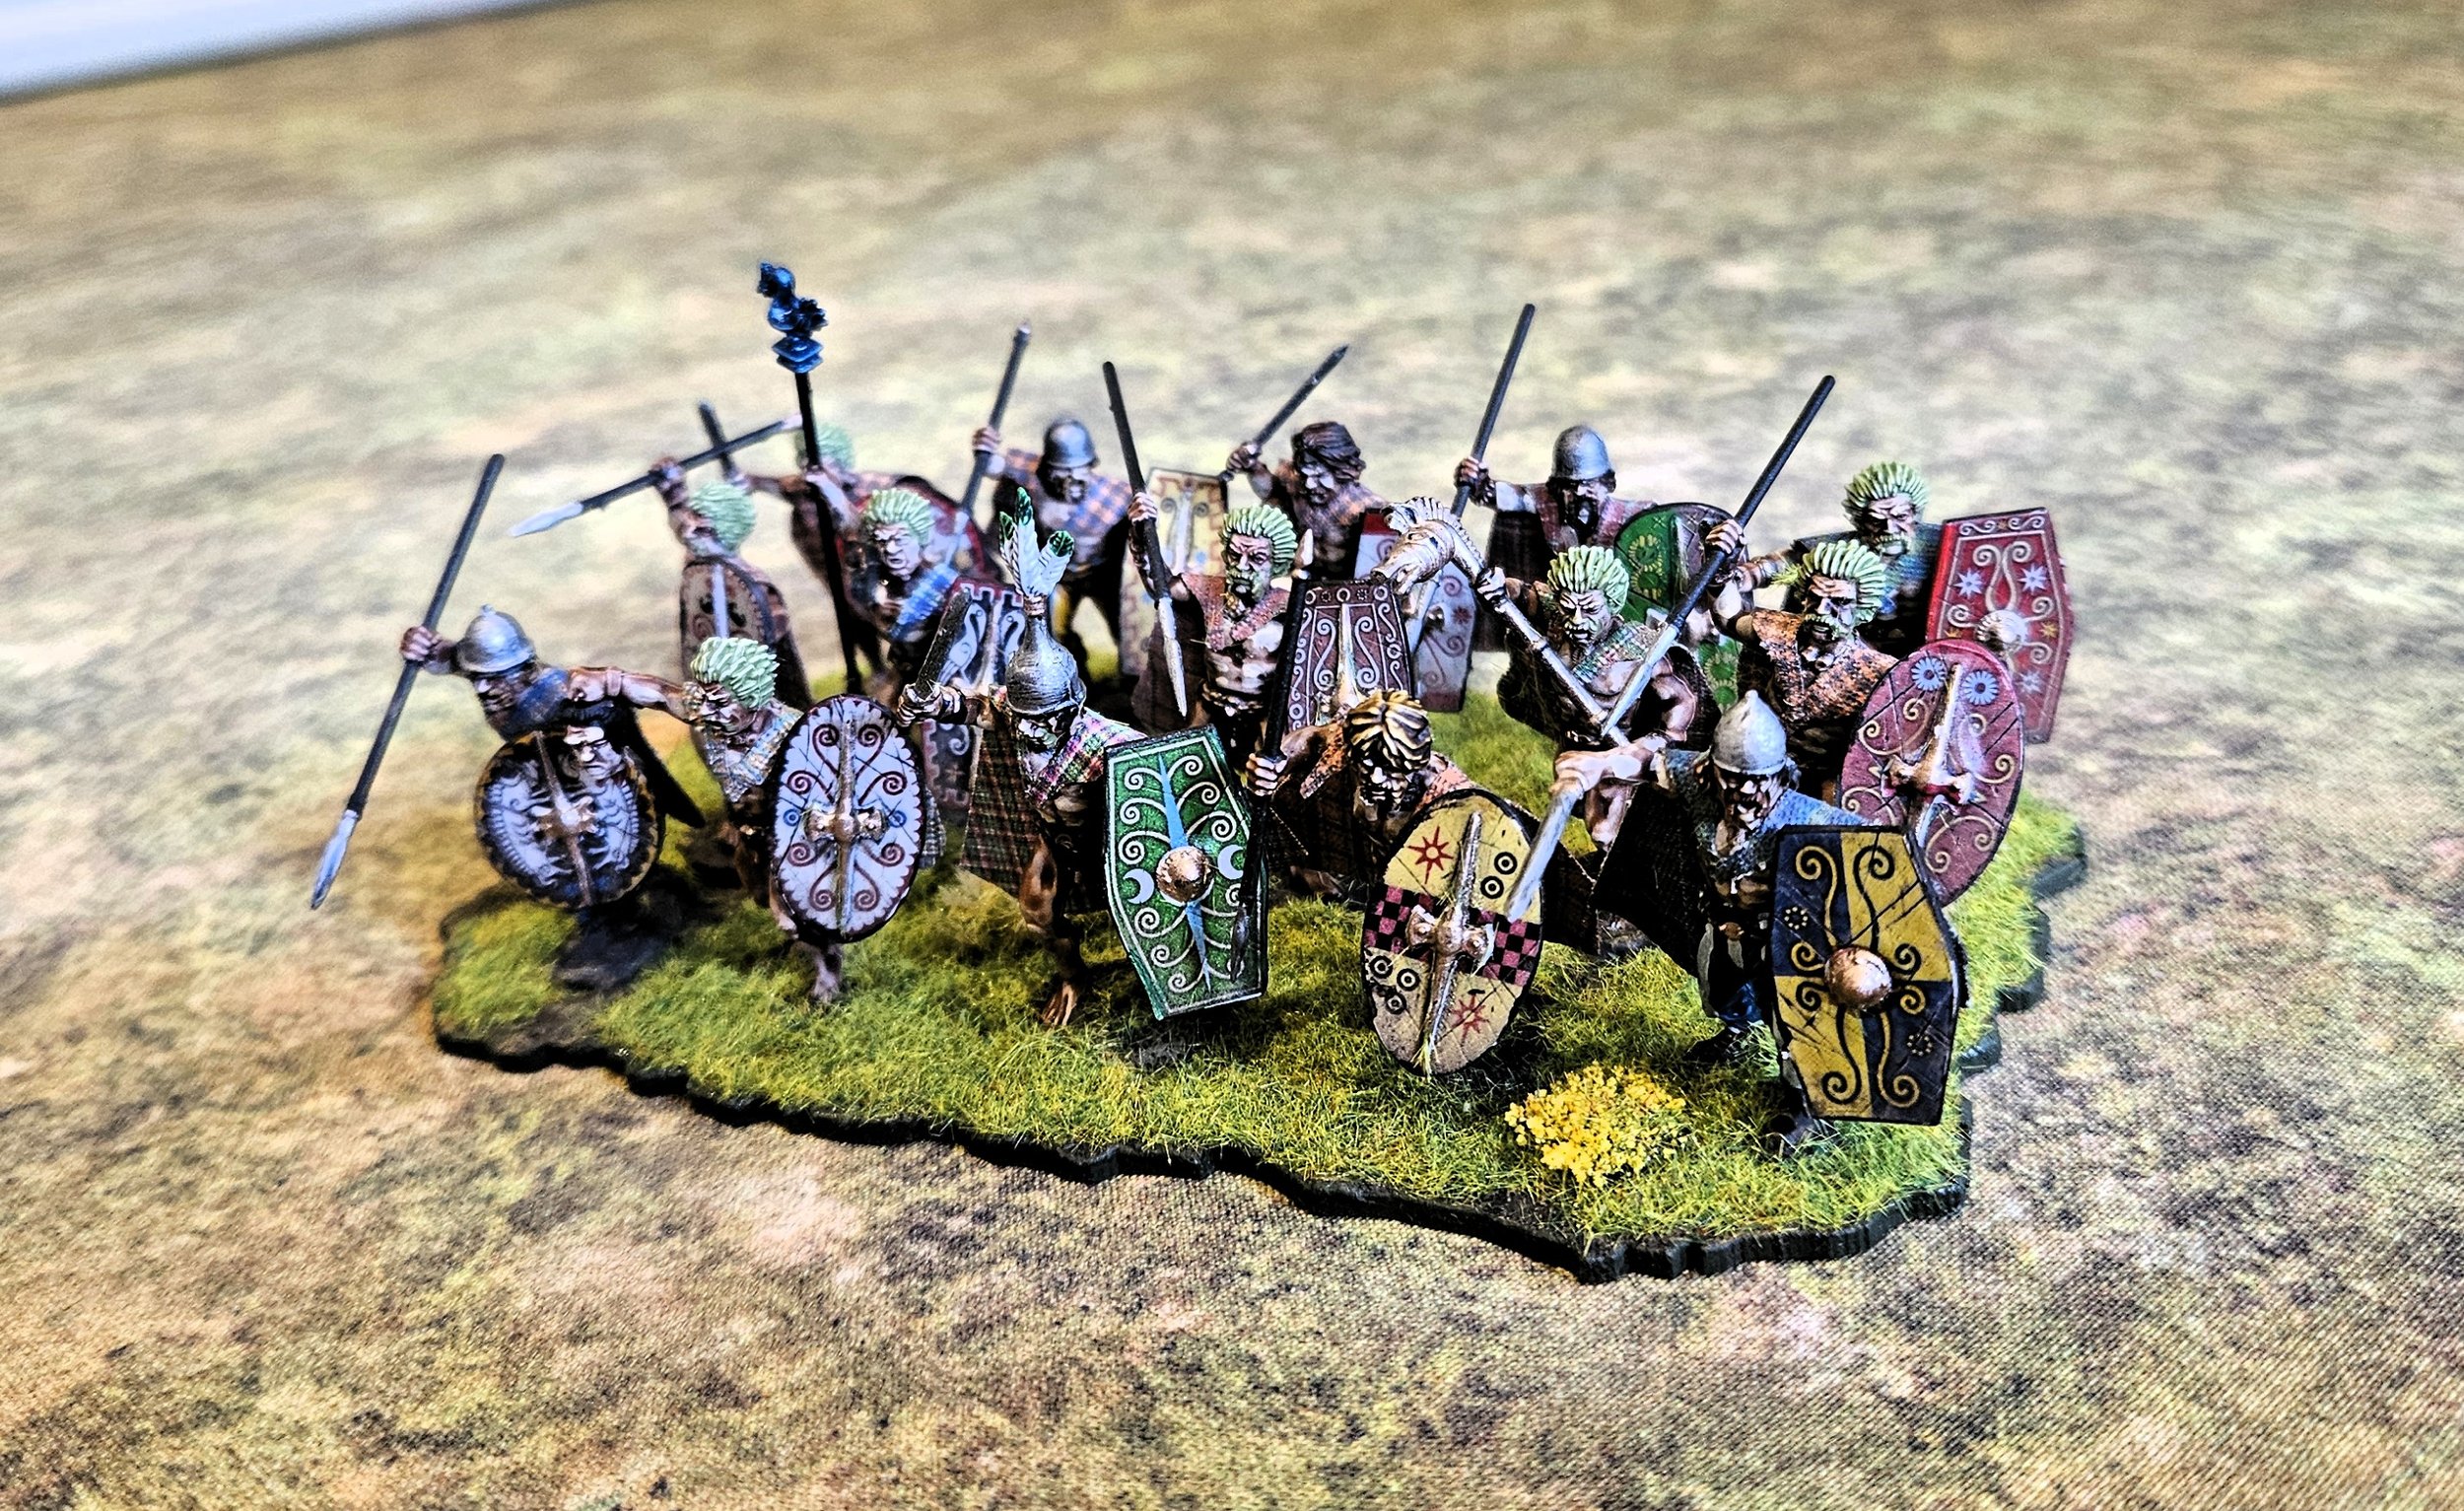
So Ancient British/generic Celts it was. Here’s the first unit, both a front and back view:

Victrix

The Victrix figures are absolutely lovely: highly, highly recommended. Yes, you have to build them, and that can be a bit fiddly, but once you get the knack of it, they go together very easily. I am a heathen and use superglue to fix, with either water or PVA applied just before pressing the two surfaces together to activate the glue (when I say water, I dip the surface to be glued into a small dish of the stuff; ditto with PVA).

Note that I didn’t bother to add any additional paraphernalia to the figures - no scabbards for example (confess, you didn’t notice, did you!) - as that’s just extra work for things that will be totally overshadowed by the shields and cloaks. I also made the decision to build the first unit from fully-clothed figures: I’ll save the topless and naked versions for veteran and fanatic units respectively.

They paint up beautifully, with the sculpts doing all the work of bringing out my rudimentary skills. I used Contrast paints for the base coats, and standard GQ acrylics for the highlights. I block painted the figures, then carefully drew stripes on their fronts and sides with a thin brush (with the cloaks, there was no need to do the stripes etc on the sides).

No need for too much accuracy on the stripes etc: there is so much going on with the figures in the unit (figure, cloak, shield) that just the impression of the stripes etc is enough. I didn’t both with stripes etc on the trousers for the same reason, although I will stripe the trousers on the topless lot when I come to do them.

LittleBigMan/Victrix Transfers

Shields ready for the transfers to be applied

The shields were painted and had the transfers attached before being attached to the figures. The method used was to cut the plastic sprues they came on so you can prepare the shields on the sprue; spray them white; paint the boss black and then bronze; touch up with white; apply the transfer; paint any non-transfer areas (the rim, the back) a wood colour. Very simple.

As for the transfers themselves, just follow the instructions that come in the packet. Now that they are pre-punched, the only annoying bit is having to carefully cut out each transfer…but this is ten thousand million times easier than doing the boss hole!

Weave of War Cloaks

Now available from Deadanddread Miniatures, the Weave of War cloaks are fantastic. They literally are little cut-out fabric cloaks that come all ready for attaching to your painted figures.

The cloaks come in three different sizes - in order, smallest to largest: battle, campaign, command - and there’s also a rolled up version as well. Loads of different colours, and can bought either in packets of eight in single designs (for that one-clan look) or mixed designs (what I used).

There are videos demonstrating how to attach the cloaks but, really, all you do is put a bit of glue on the straps that go over the shoulders, a blob of glue on the inside back just under the collar; leave to get tacky (do this: I found life a lot easier once I’d curbed my impatience and let the glue get properly tacky); and then pop the cloak on the figure, fold the straps over and done!

Once the glue is dry, you can then scrunch the cloak to get a bit of shaping, knowing that when you varnish the figure (I used a matt spray) the cloak will harden to being pleasingly stiff: like paper or cloth flags that have been covered in PVA, shaped and then left to dry.

One thing to note: when varnishing the unit, above, I got very careless and over-varnished the rear view. Nothing to do with the cloaks themselves, it was all me getting the spray can too close and for too long. It was dark, I was tired, Officer!

This left a clouded residue on the cloaks that I thought had ruined them, but then I remembered the advice I’d been given when a can of GW varnish (never buying GW varnish again: never) did the same thing even though I’d used it correctly: vinegar.

“Vinegar? Are you George Bernard?” you might exclaim but, yes, the cloaks in back rank of the picture above were cloudy to the point of being opaque until brushed with vinegar from the kitchen cupboard (expensive Apple Cider Vinegar, according to the wife, rather than the cheap stuff for chips but, I mean, “because you’re worth it” and all that!) which neatly brought the colours back out again. Phew!

In Conclusion…

I’m very happy with this unit and am actually looking forward to painting more. The products detailed above (the Victrix figures, Contract paints, LBMS transfers, the Weave of War cloaks) really do all the heavy lifting. I am not an artist, only an average painter, but can follow a set of instructions!

All highly recommended.

Practice for 2TS: Game Two

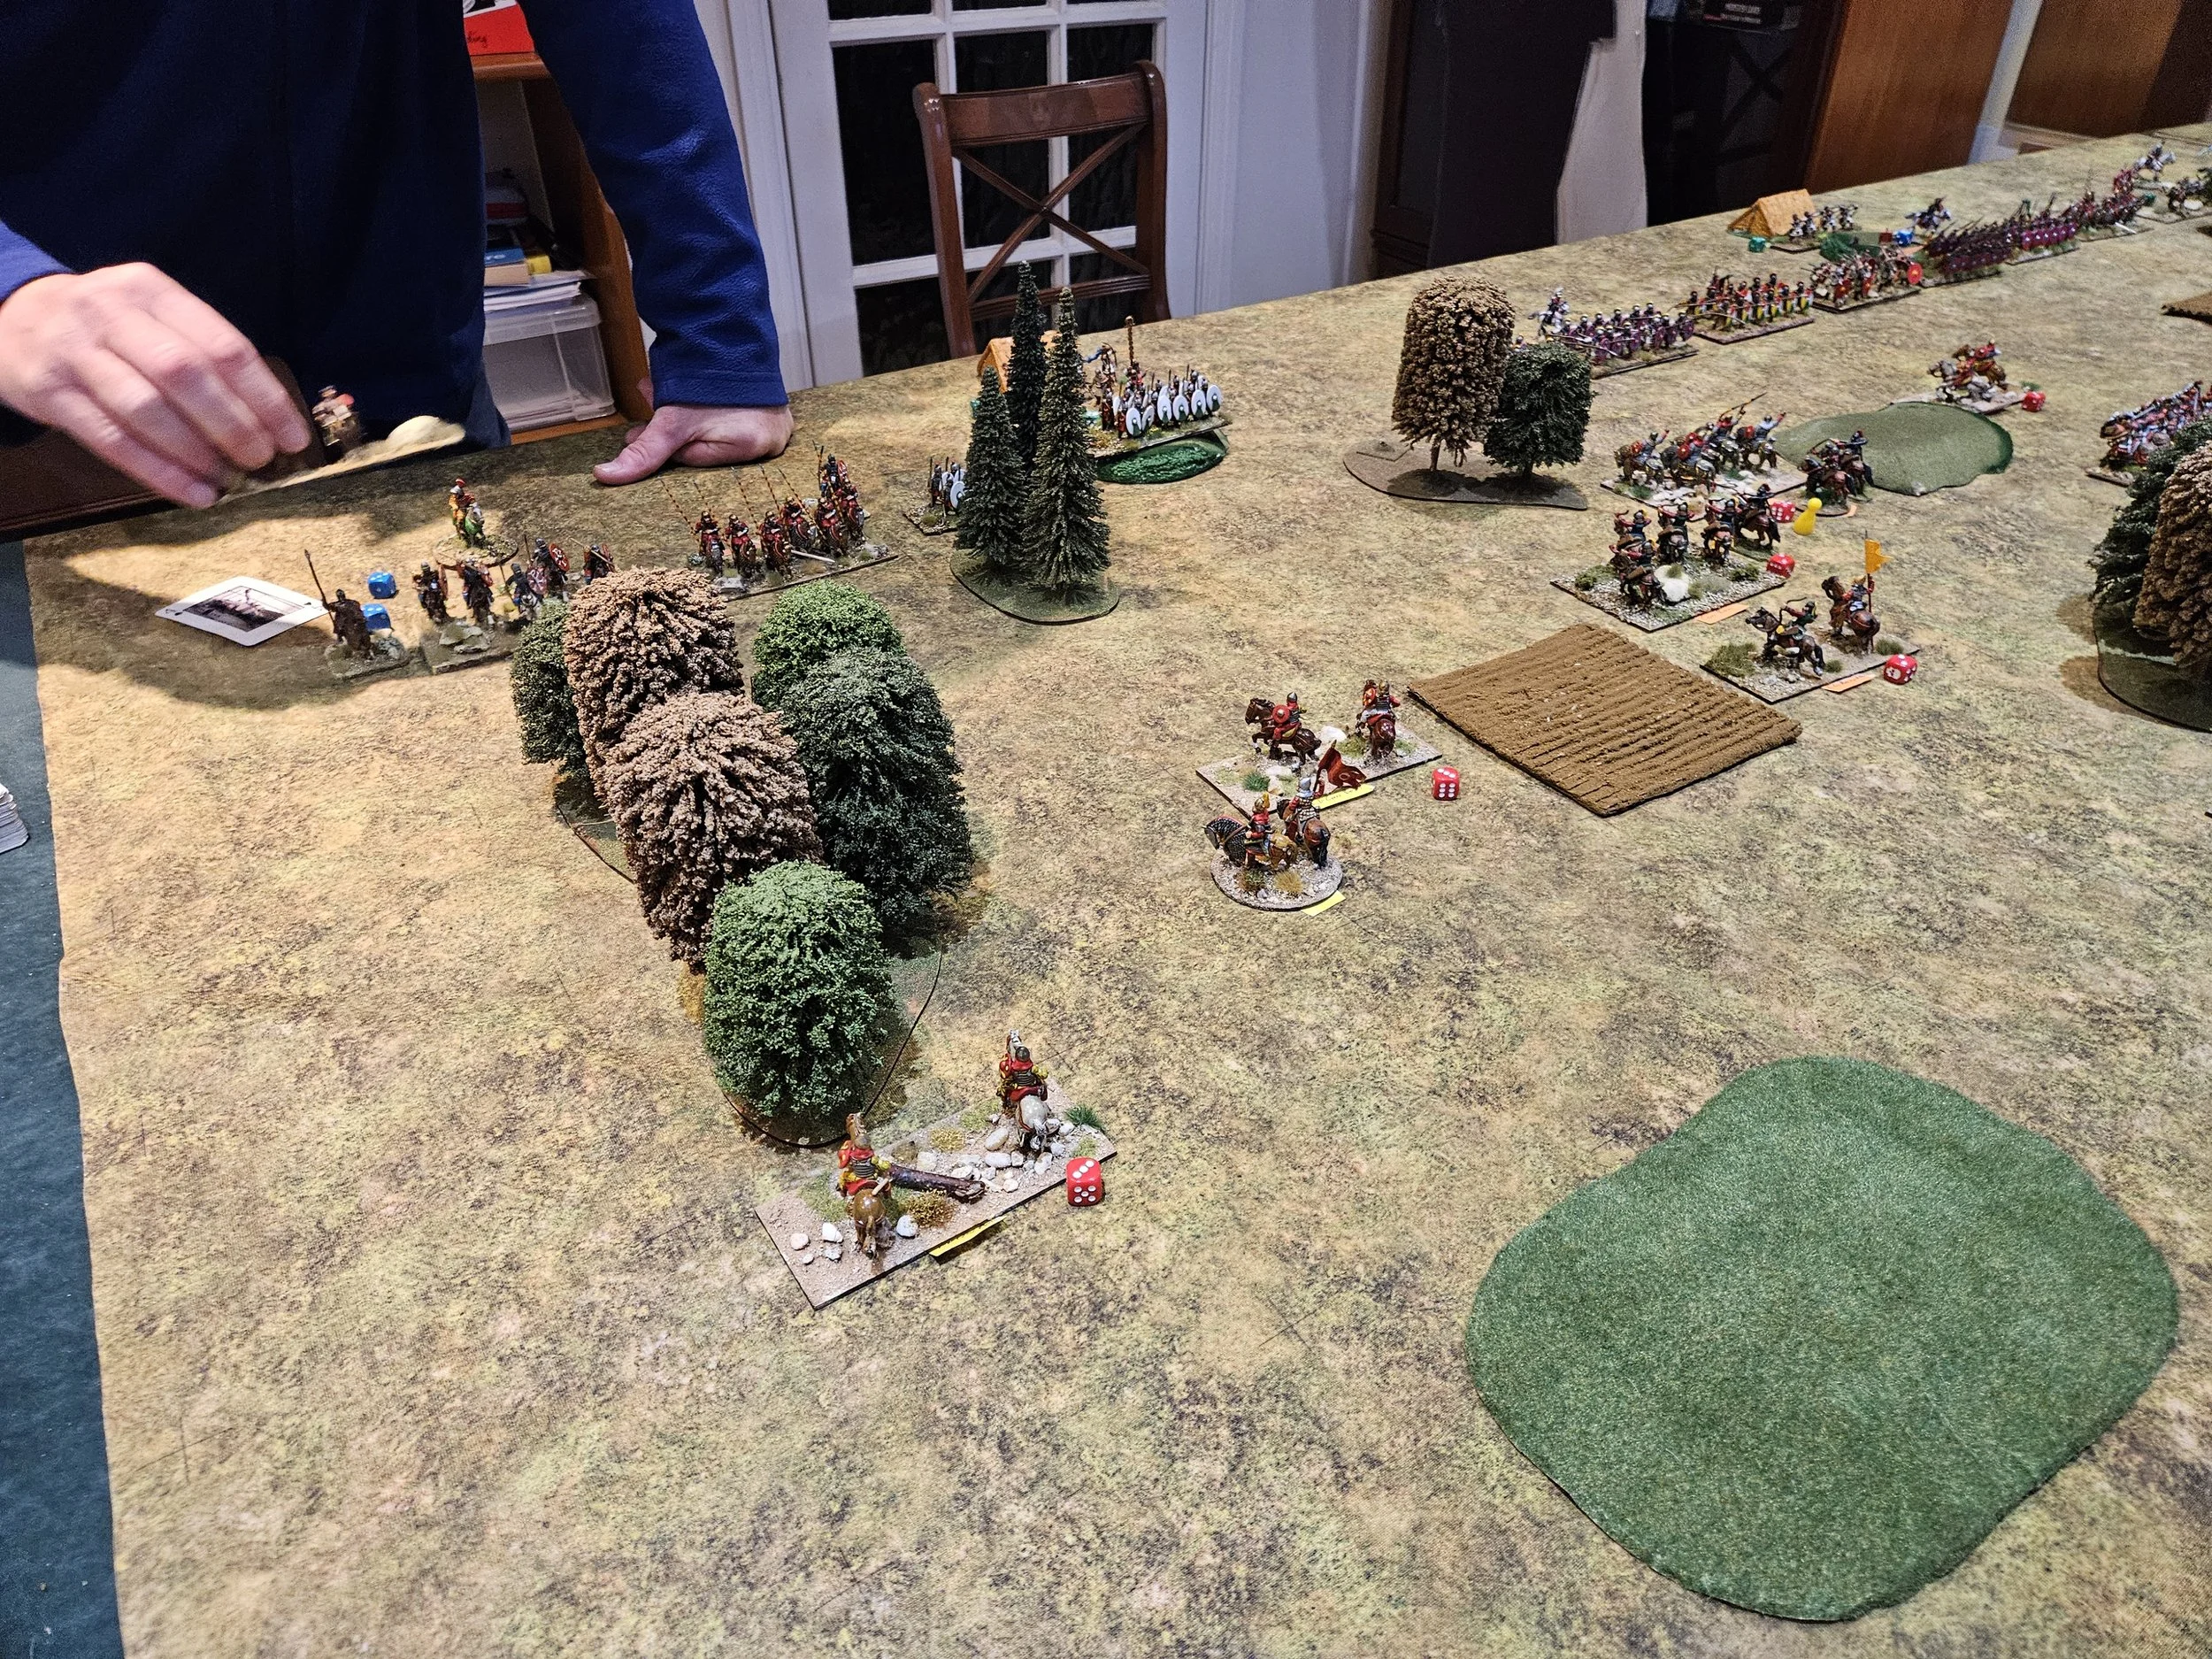
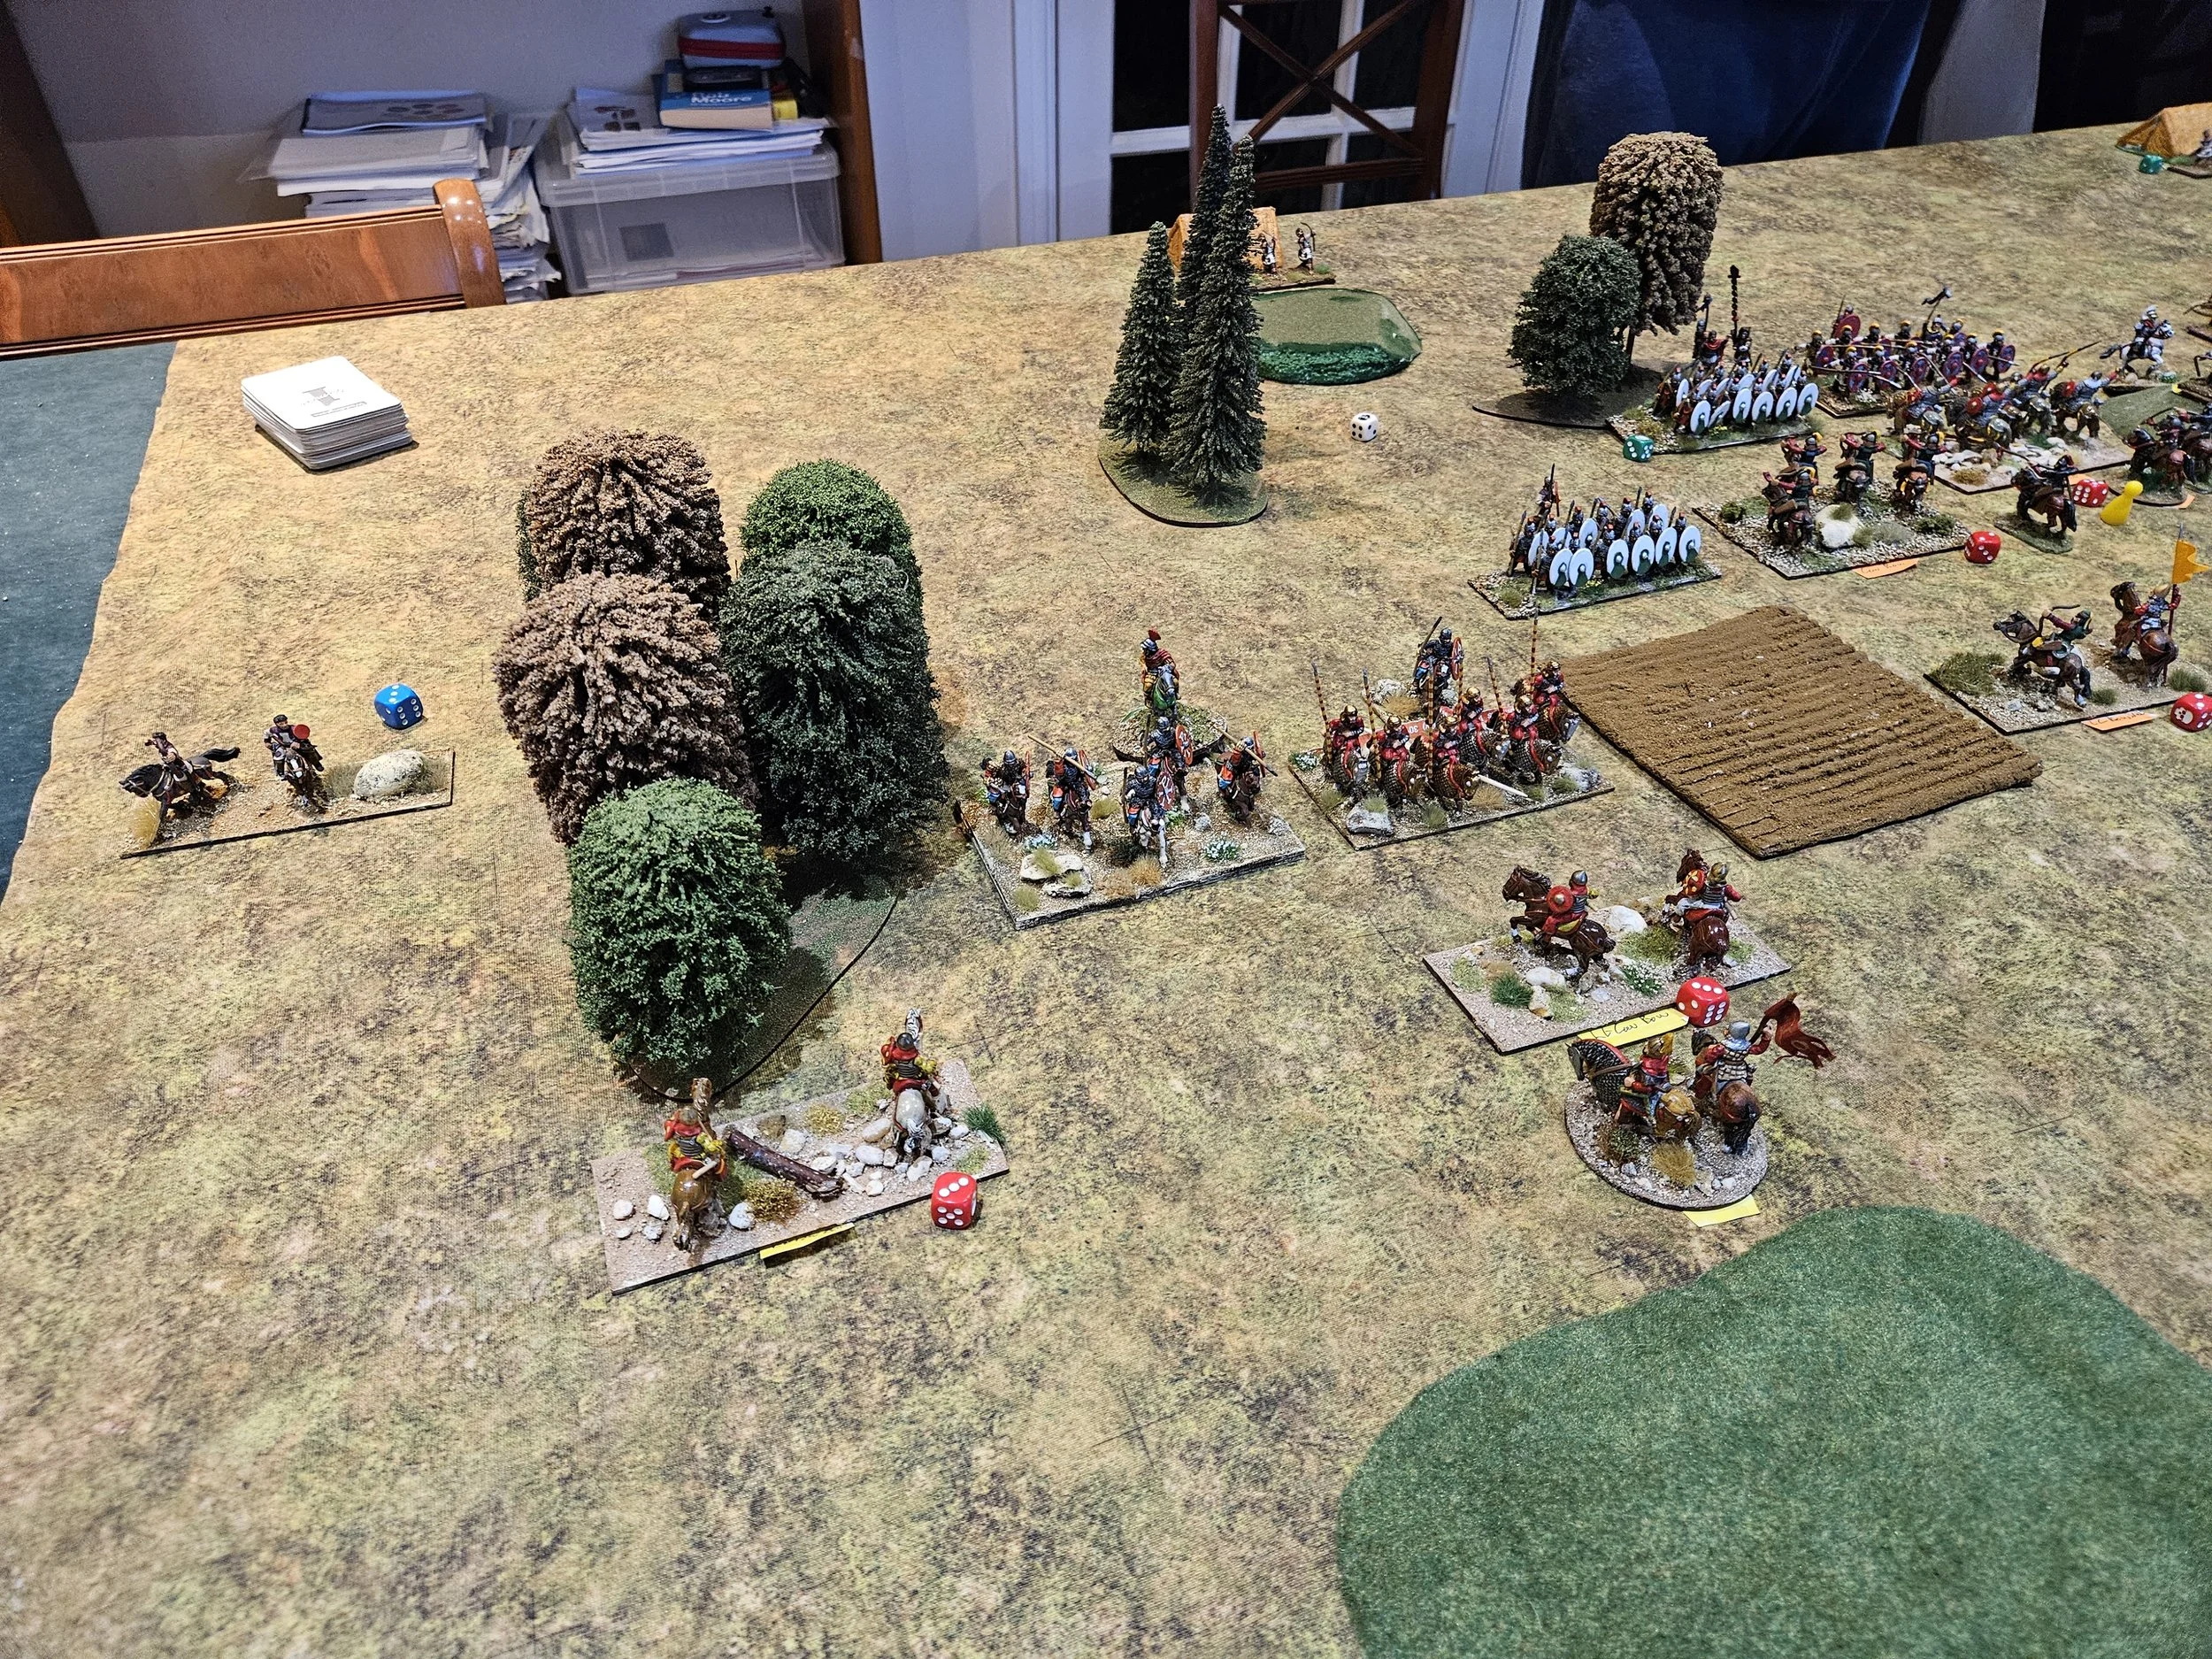
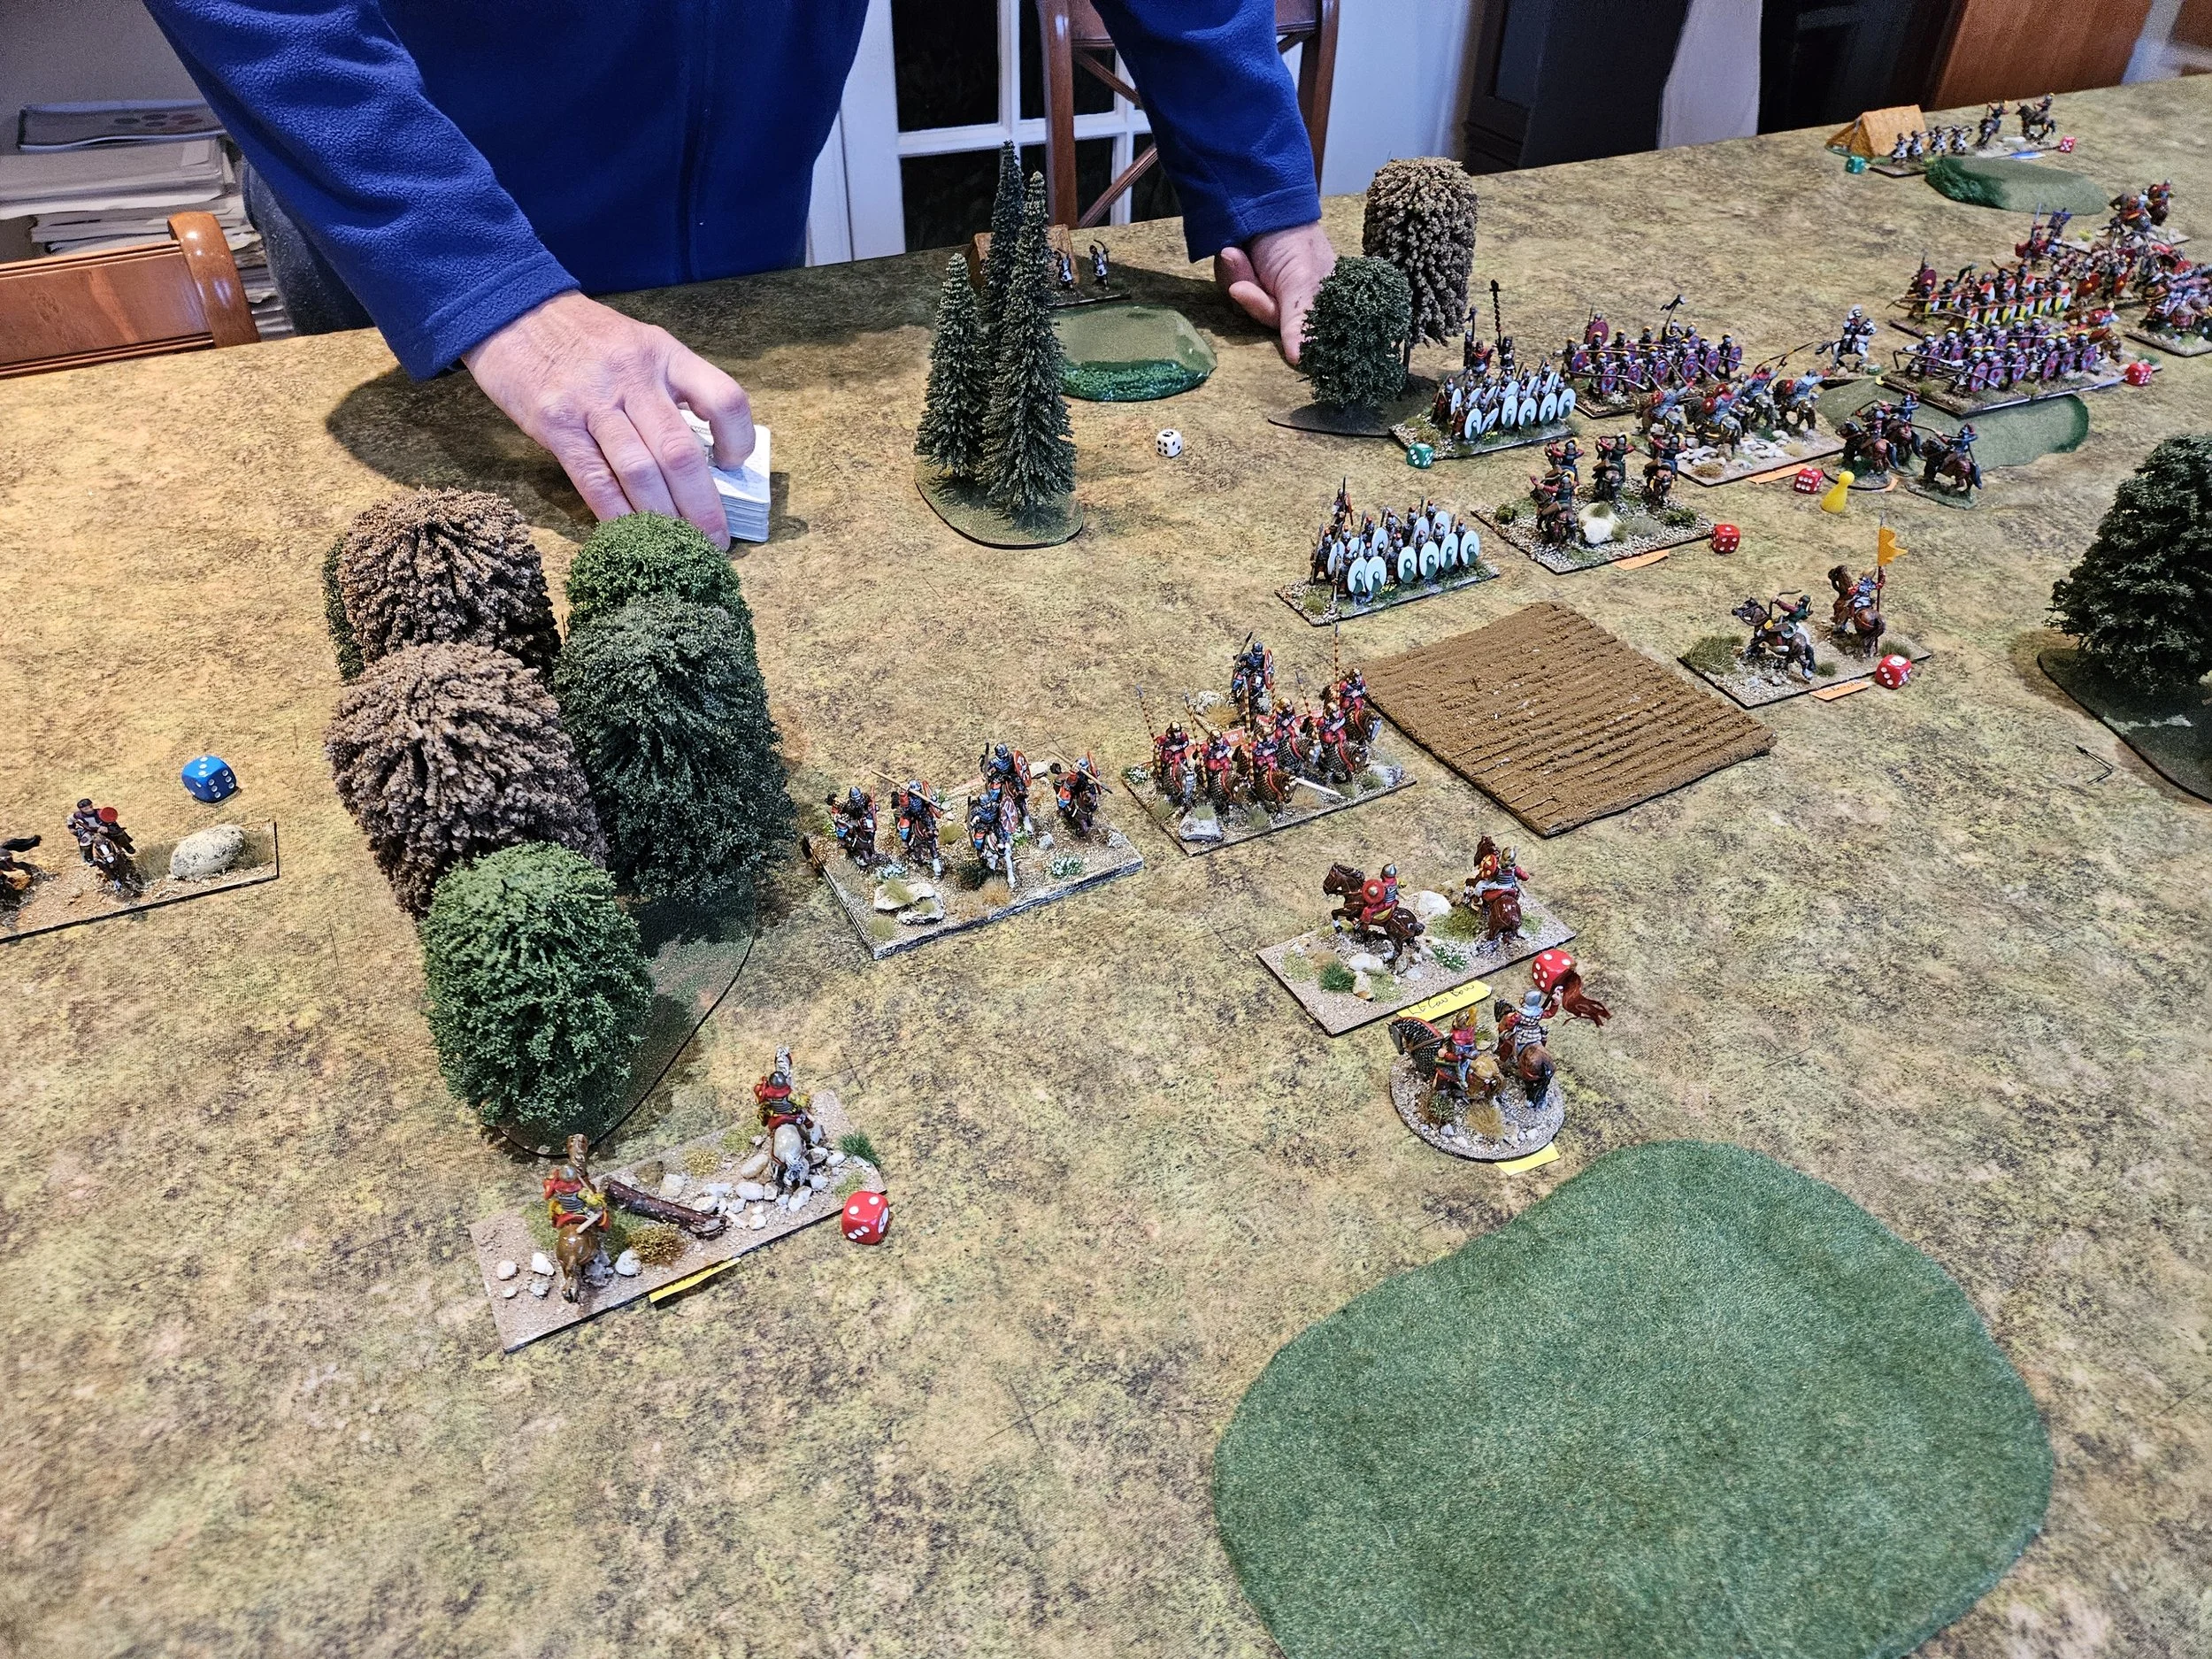
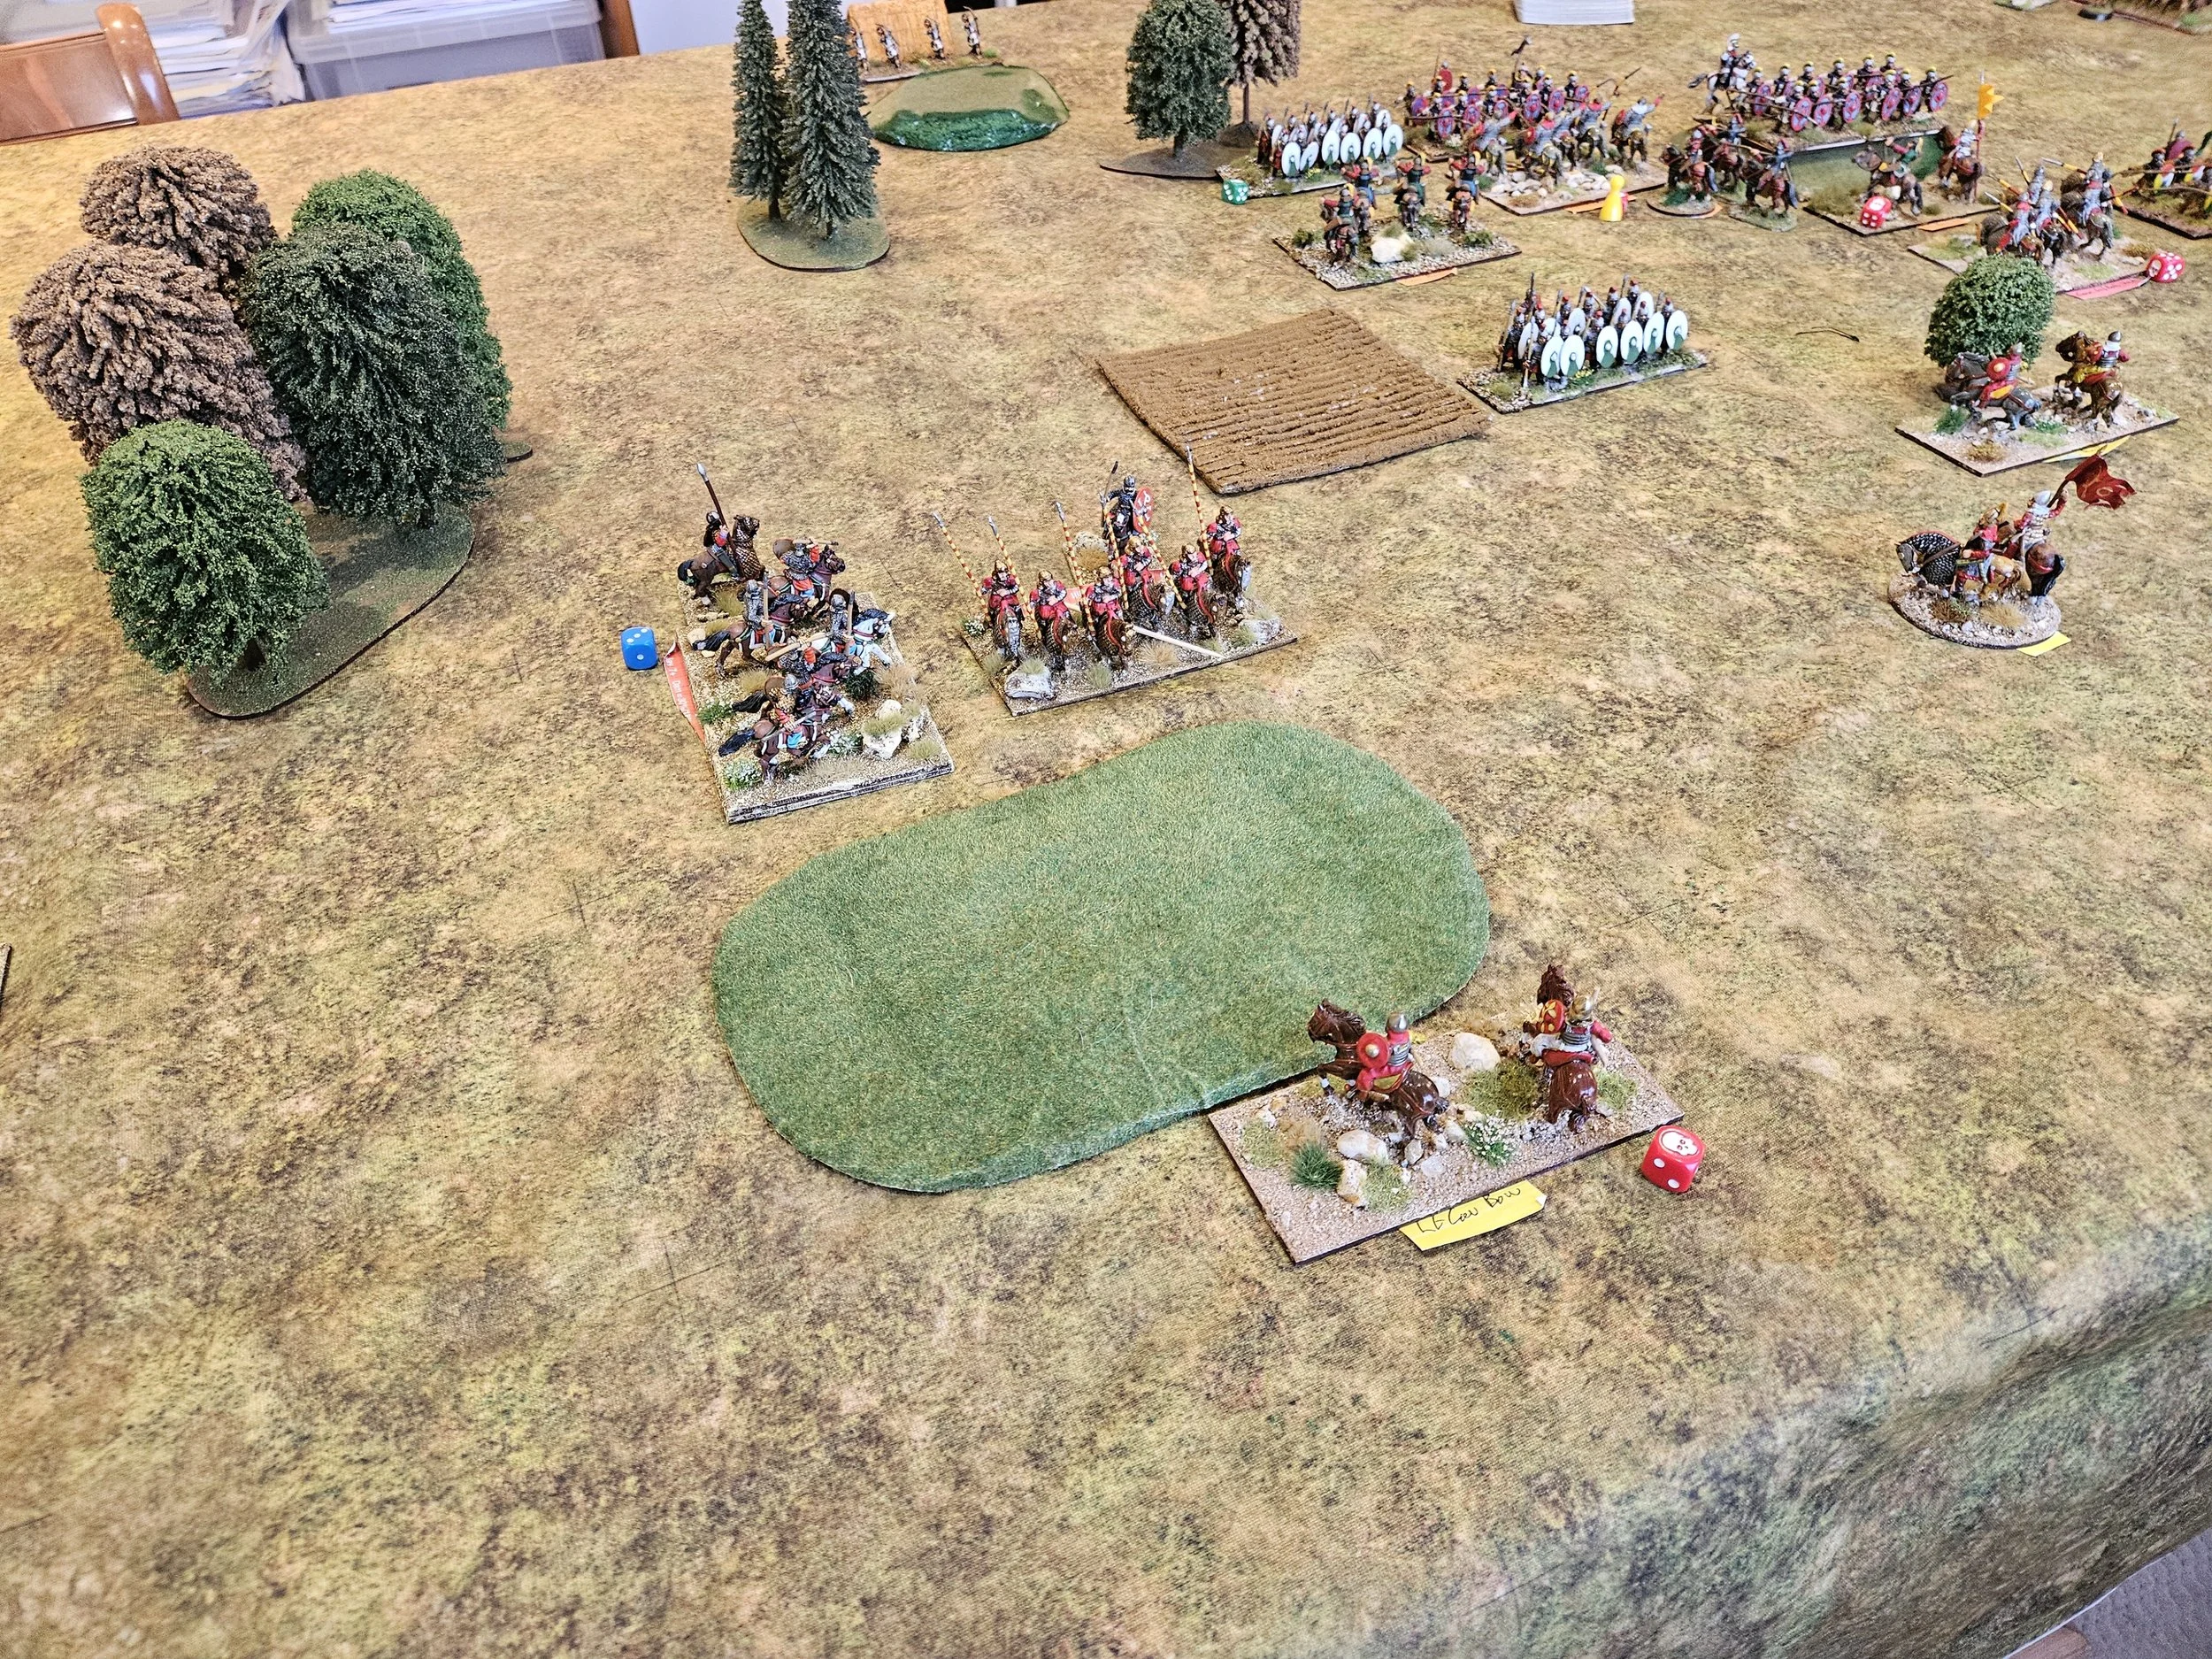
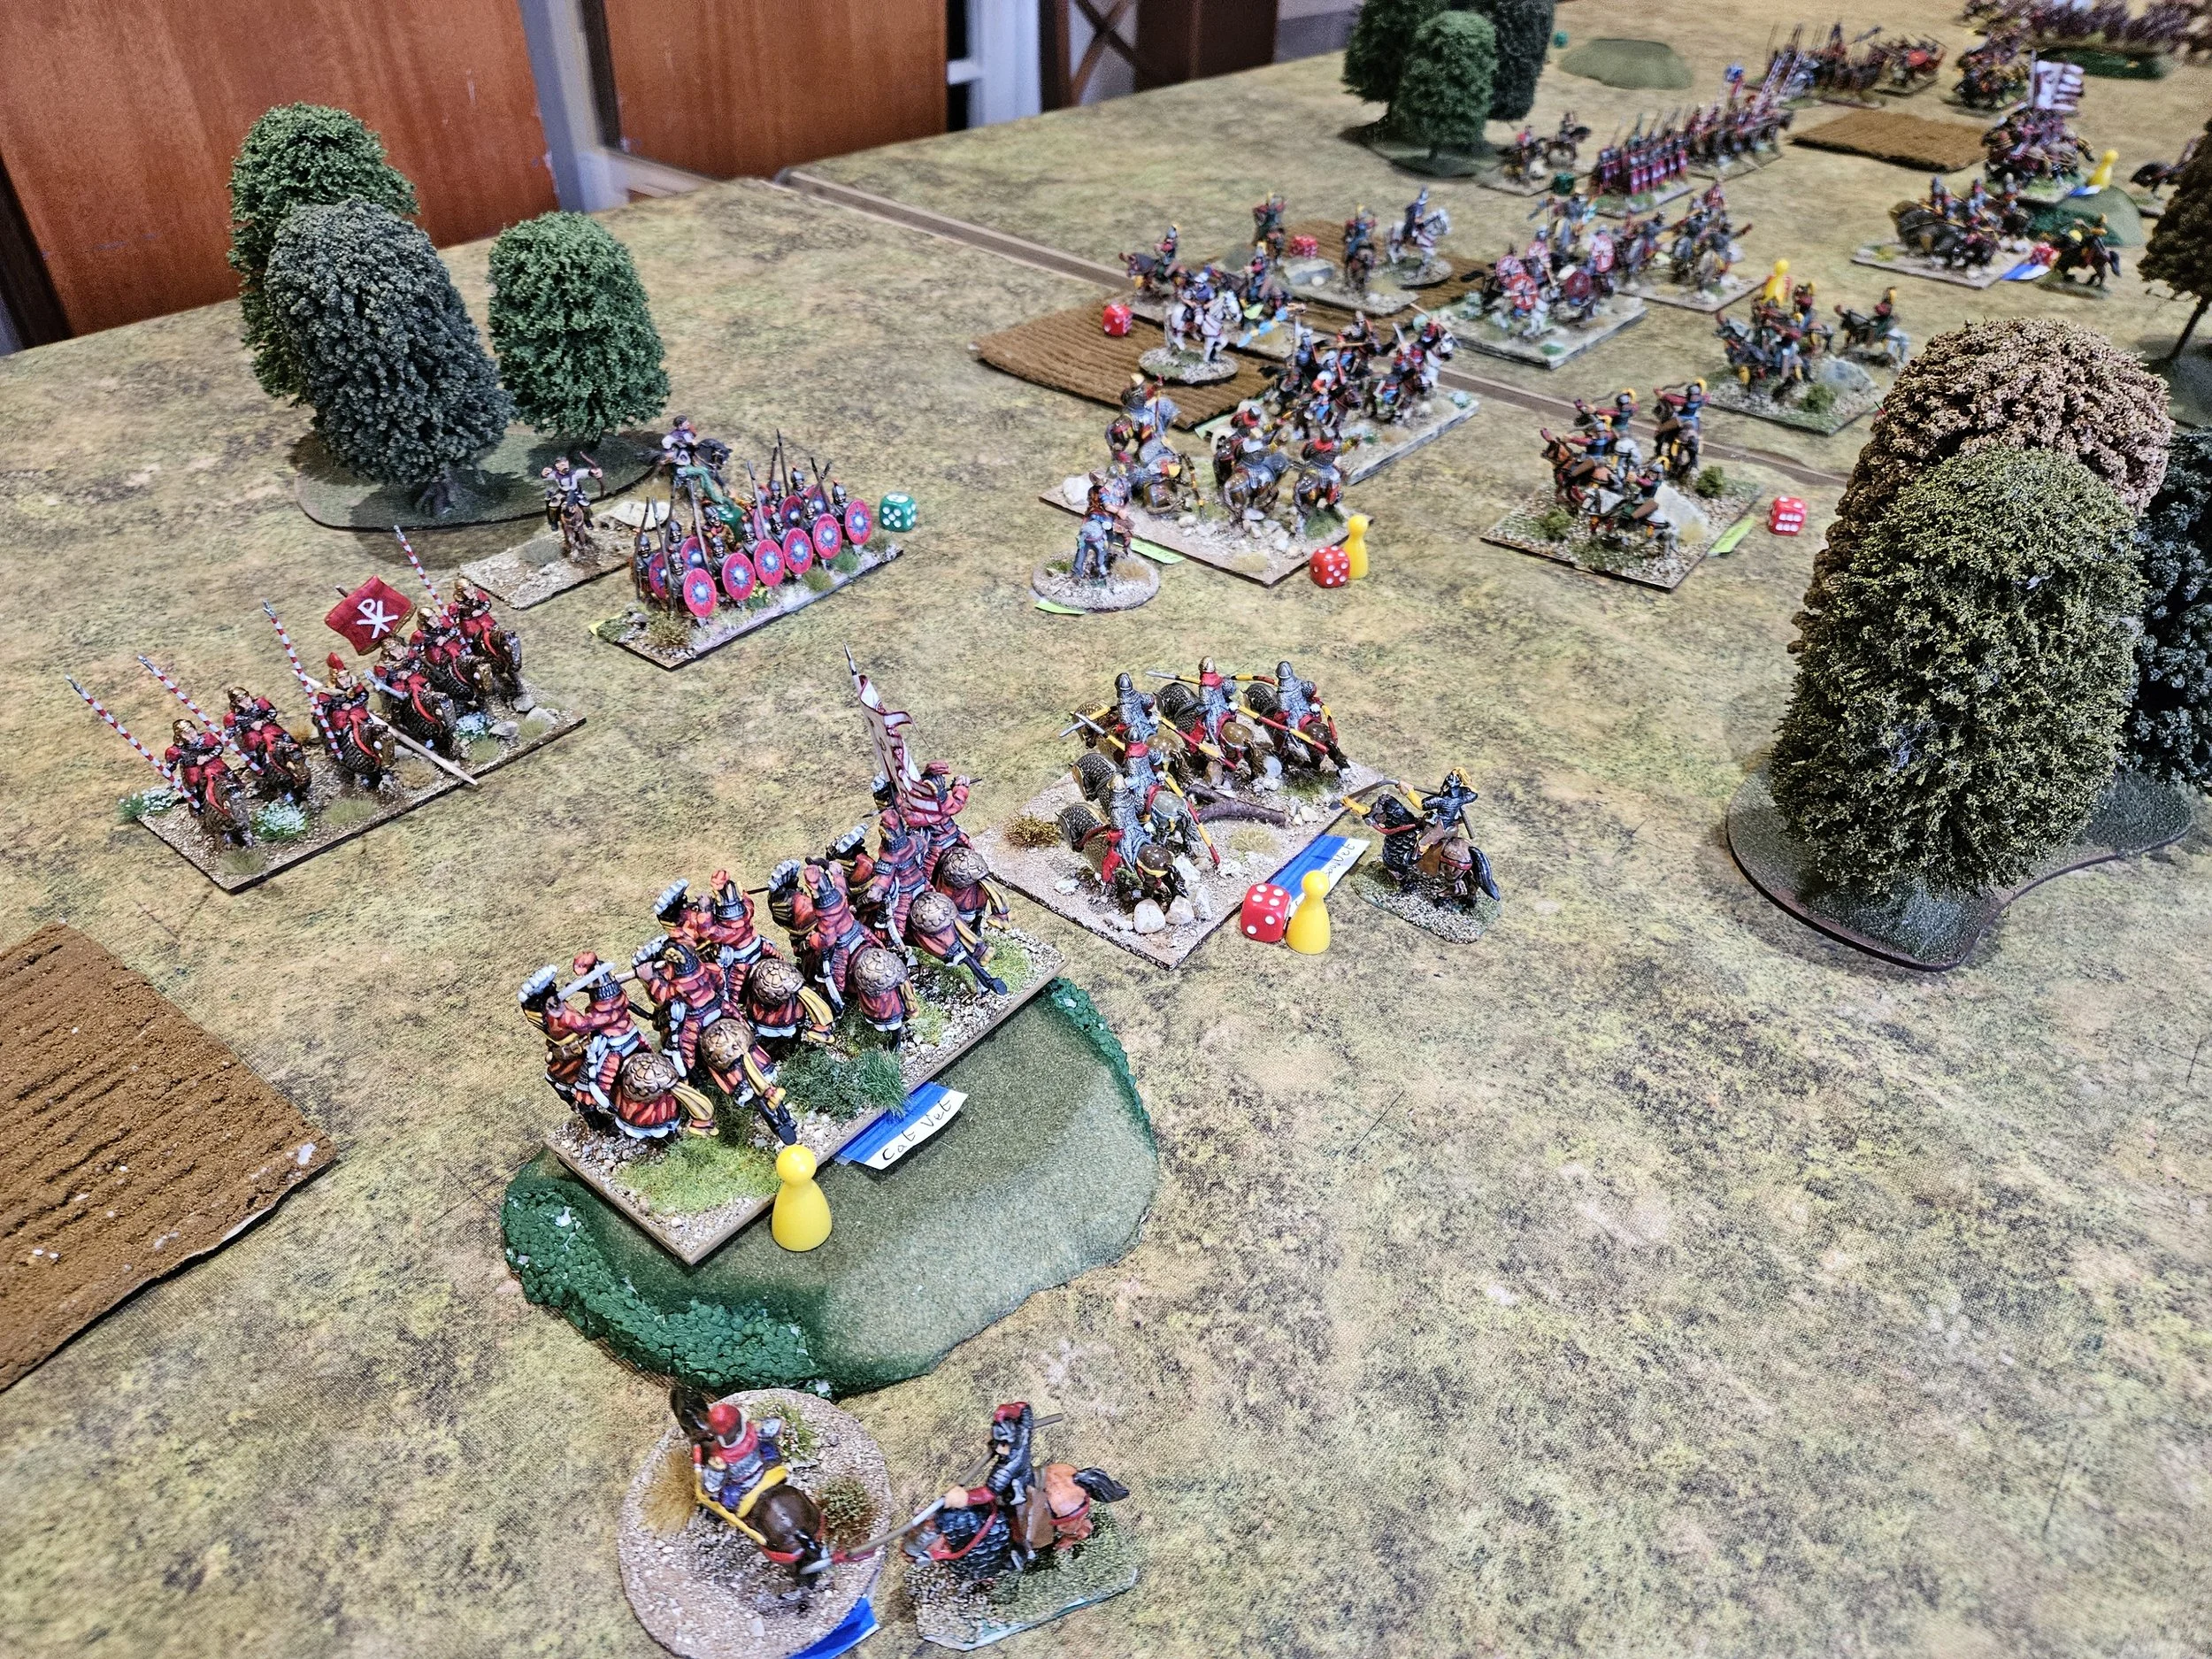
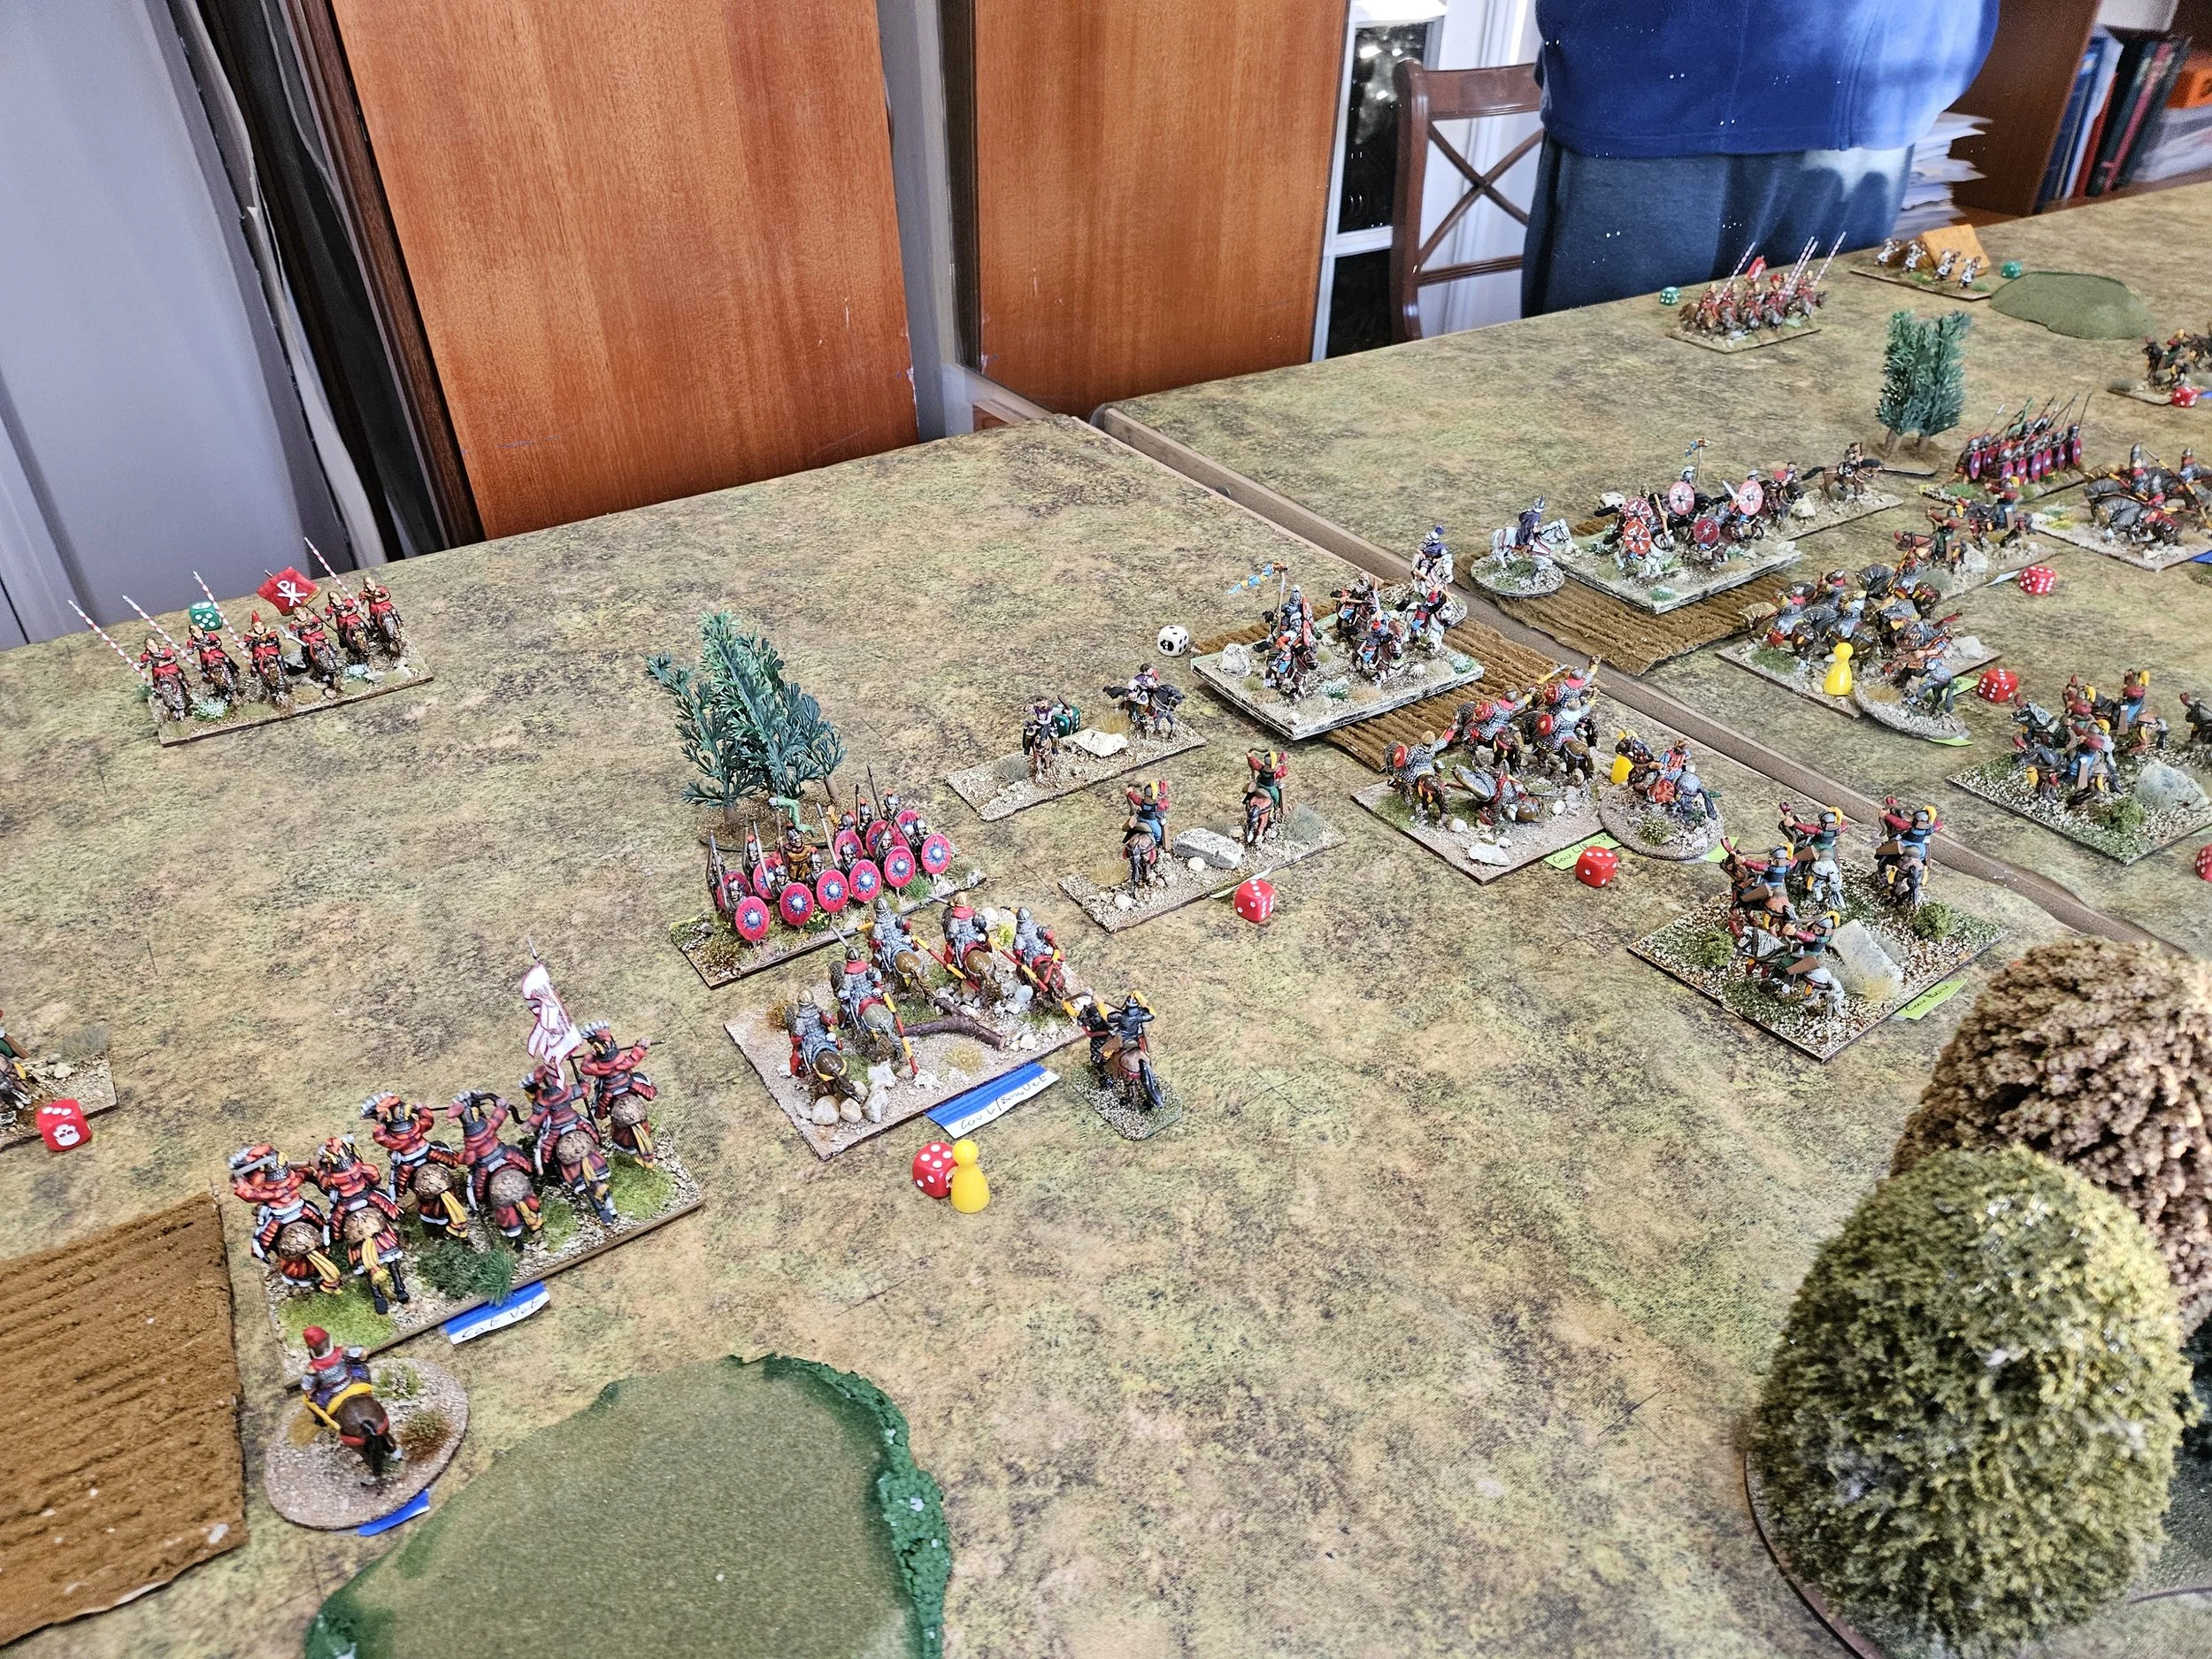
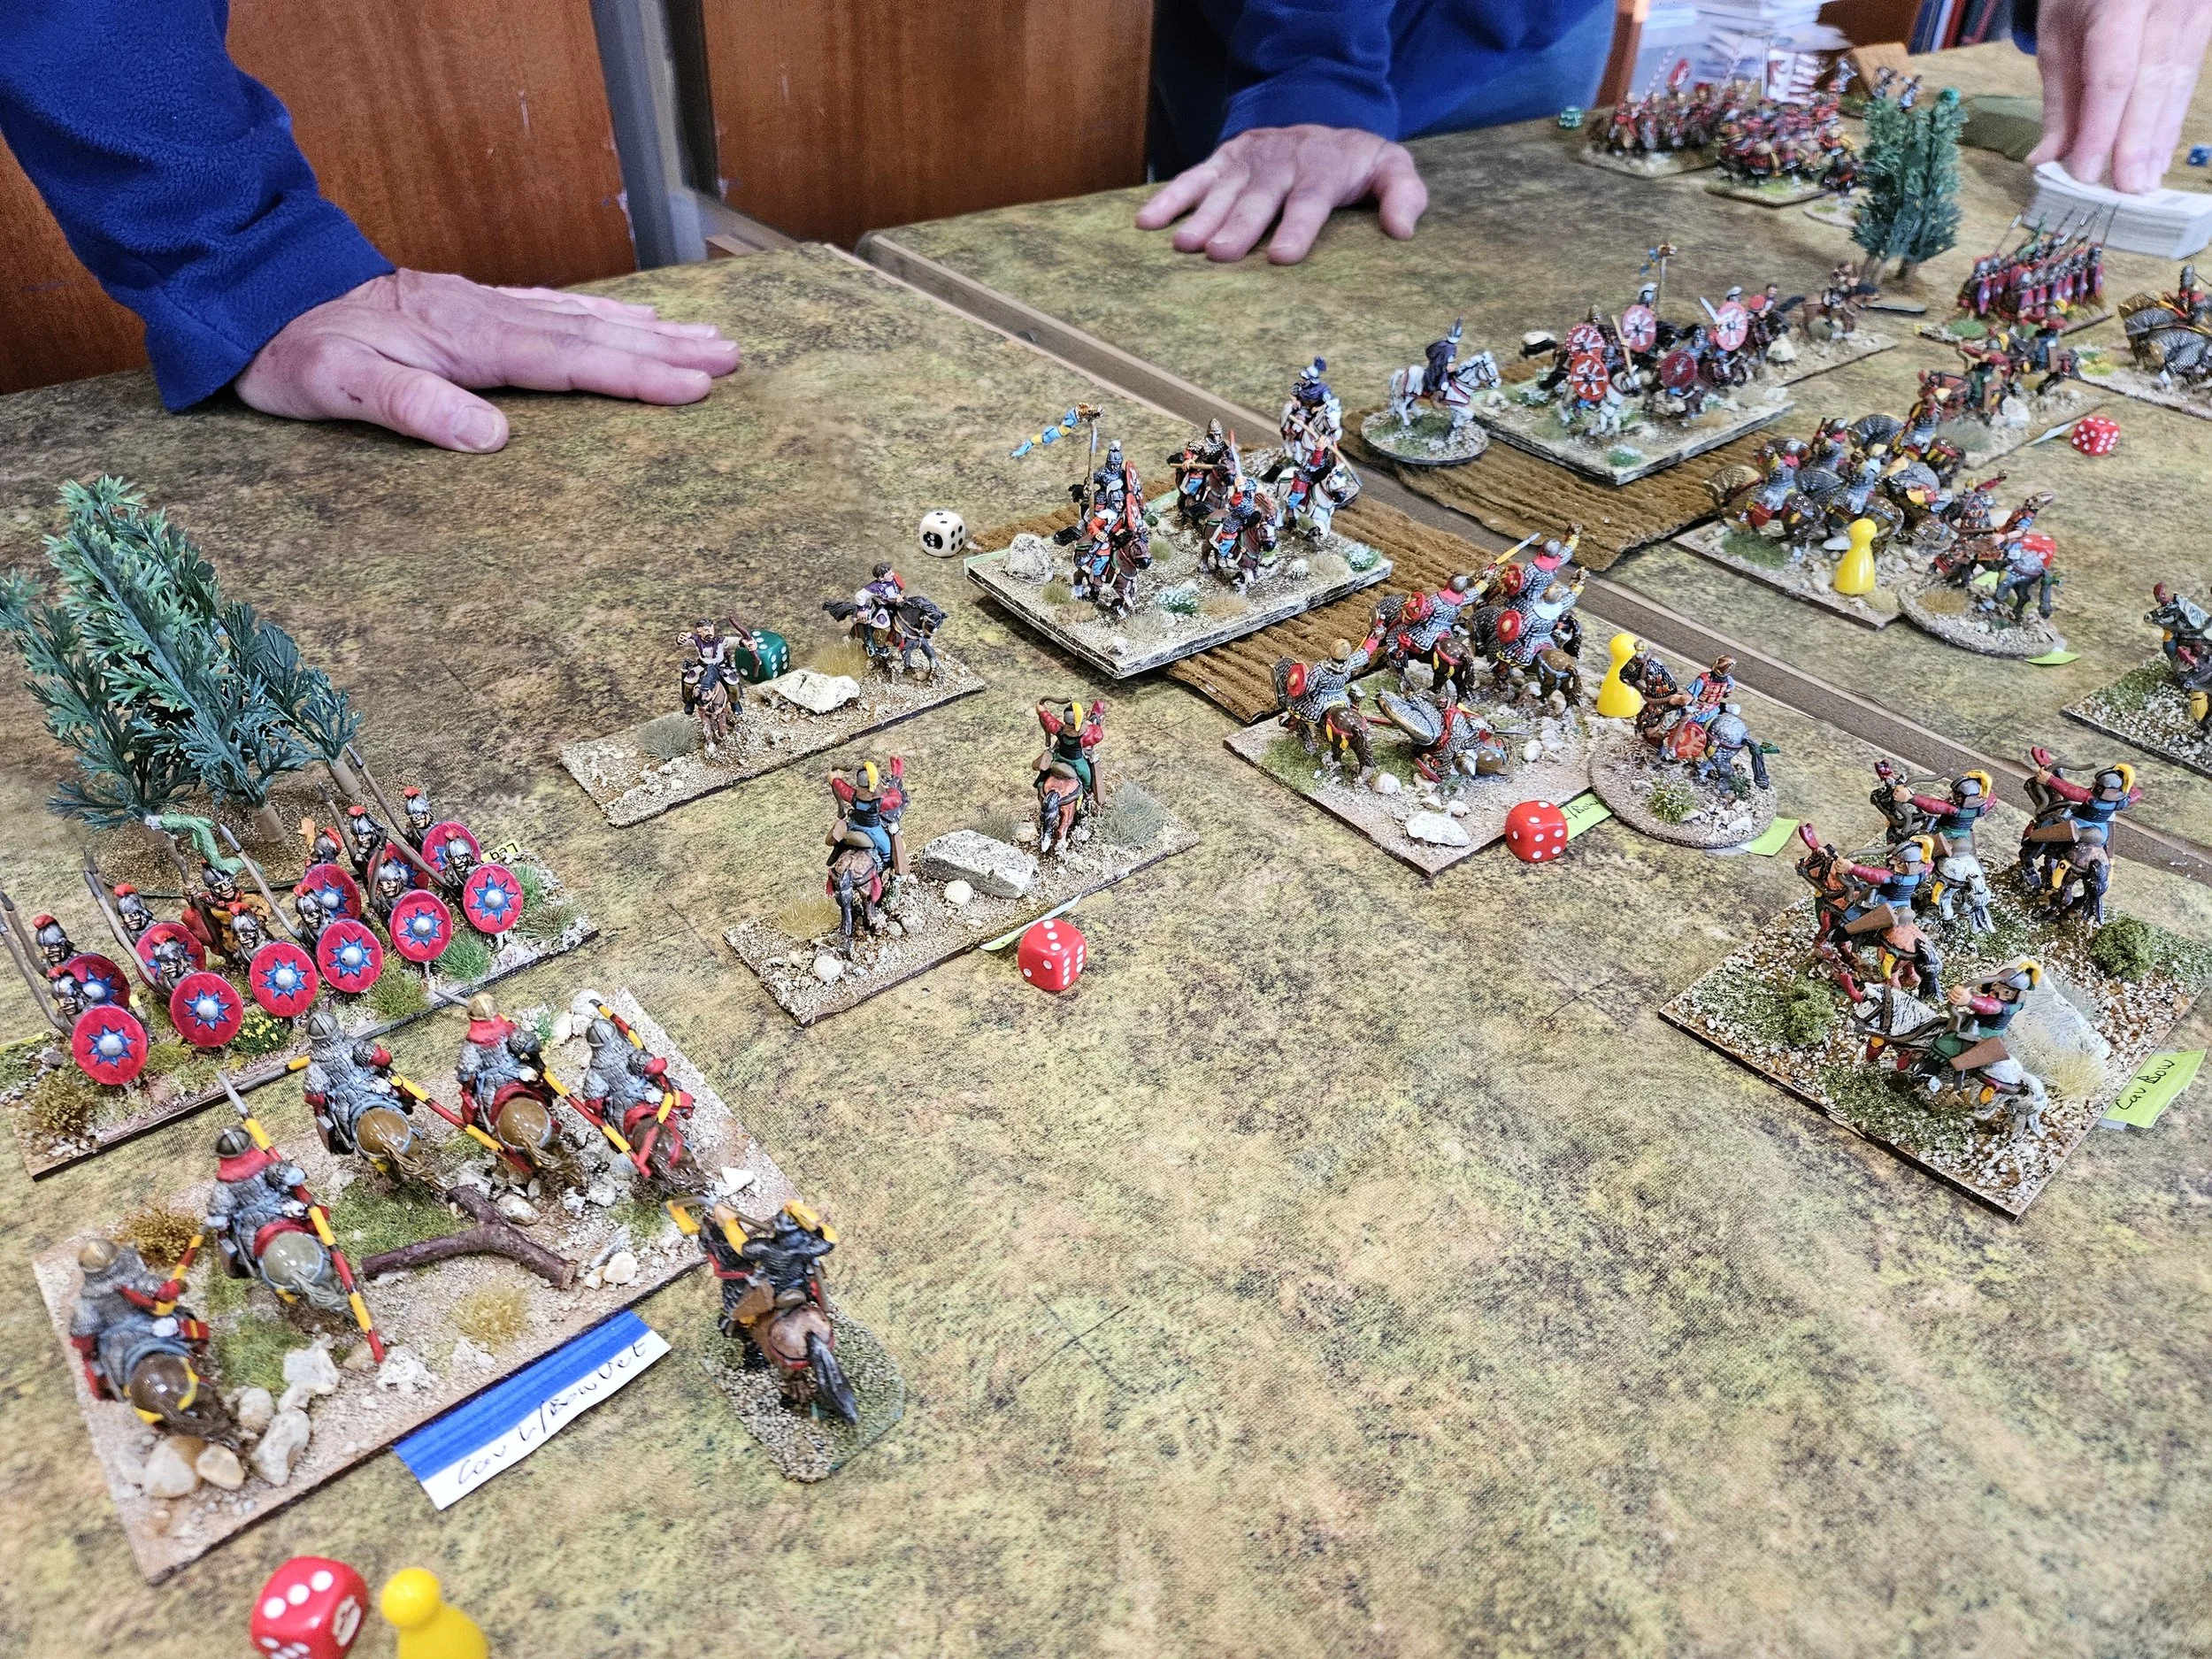
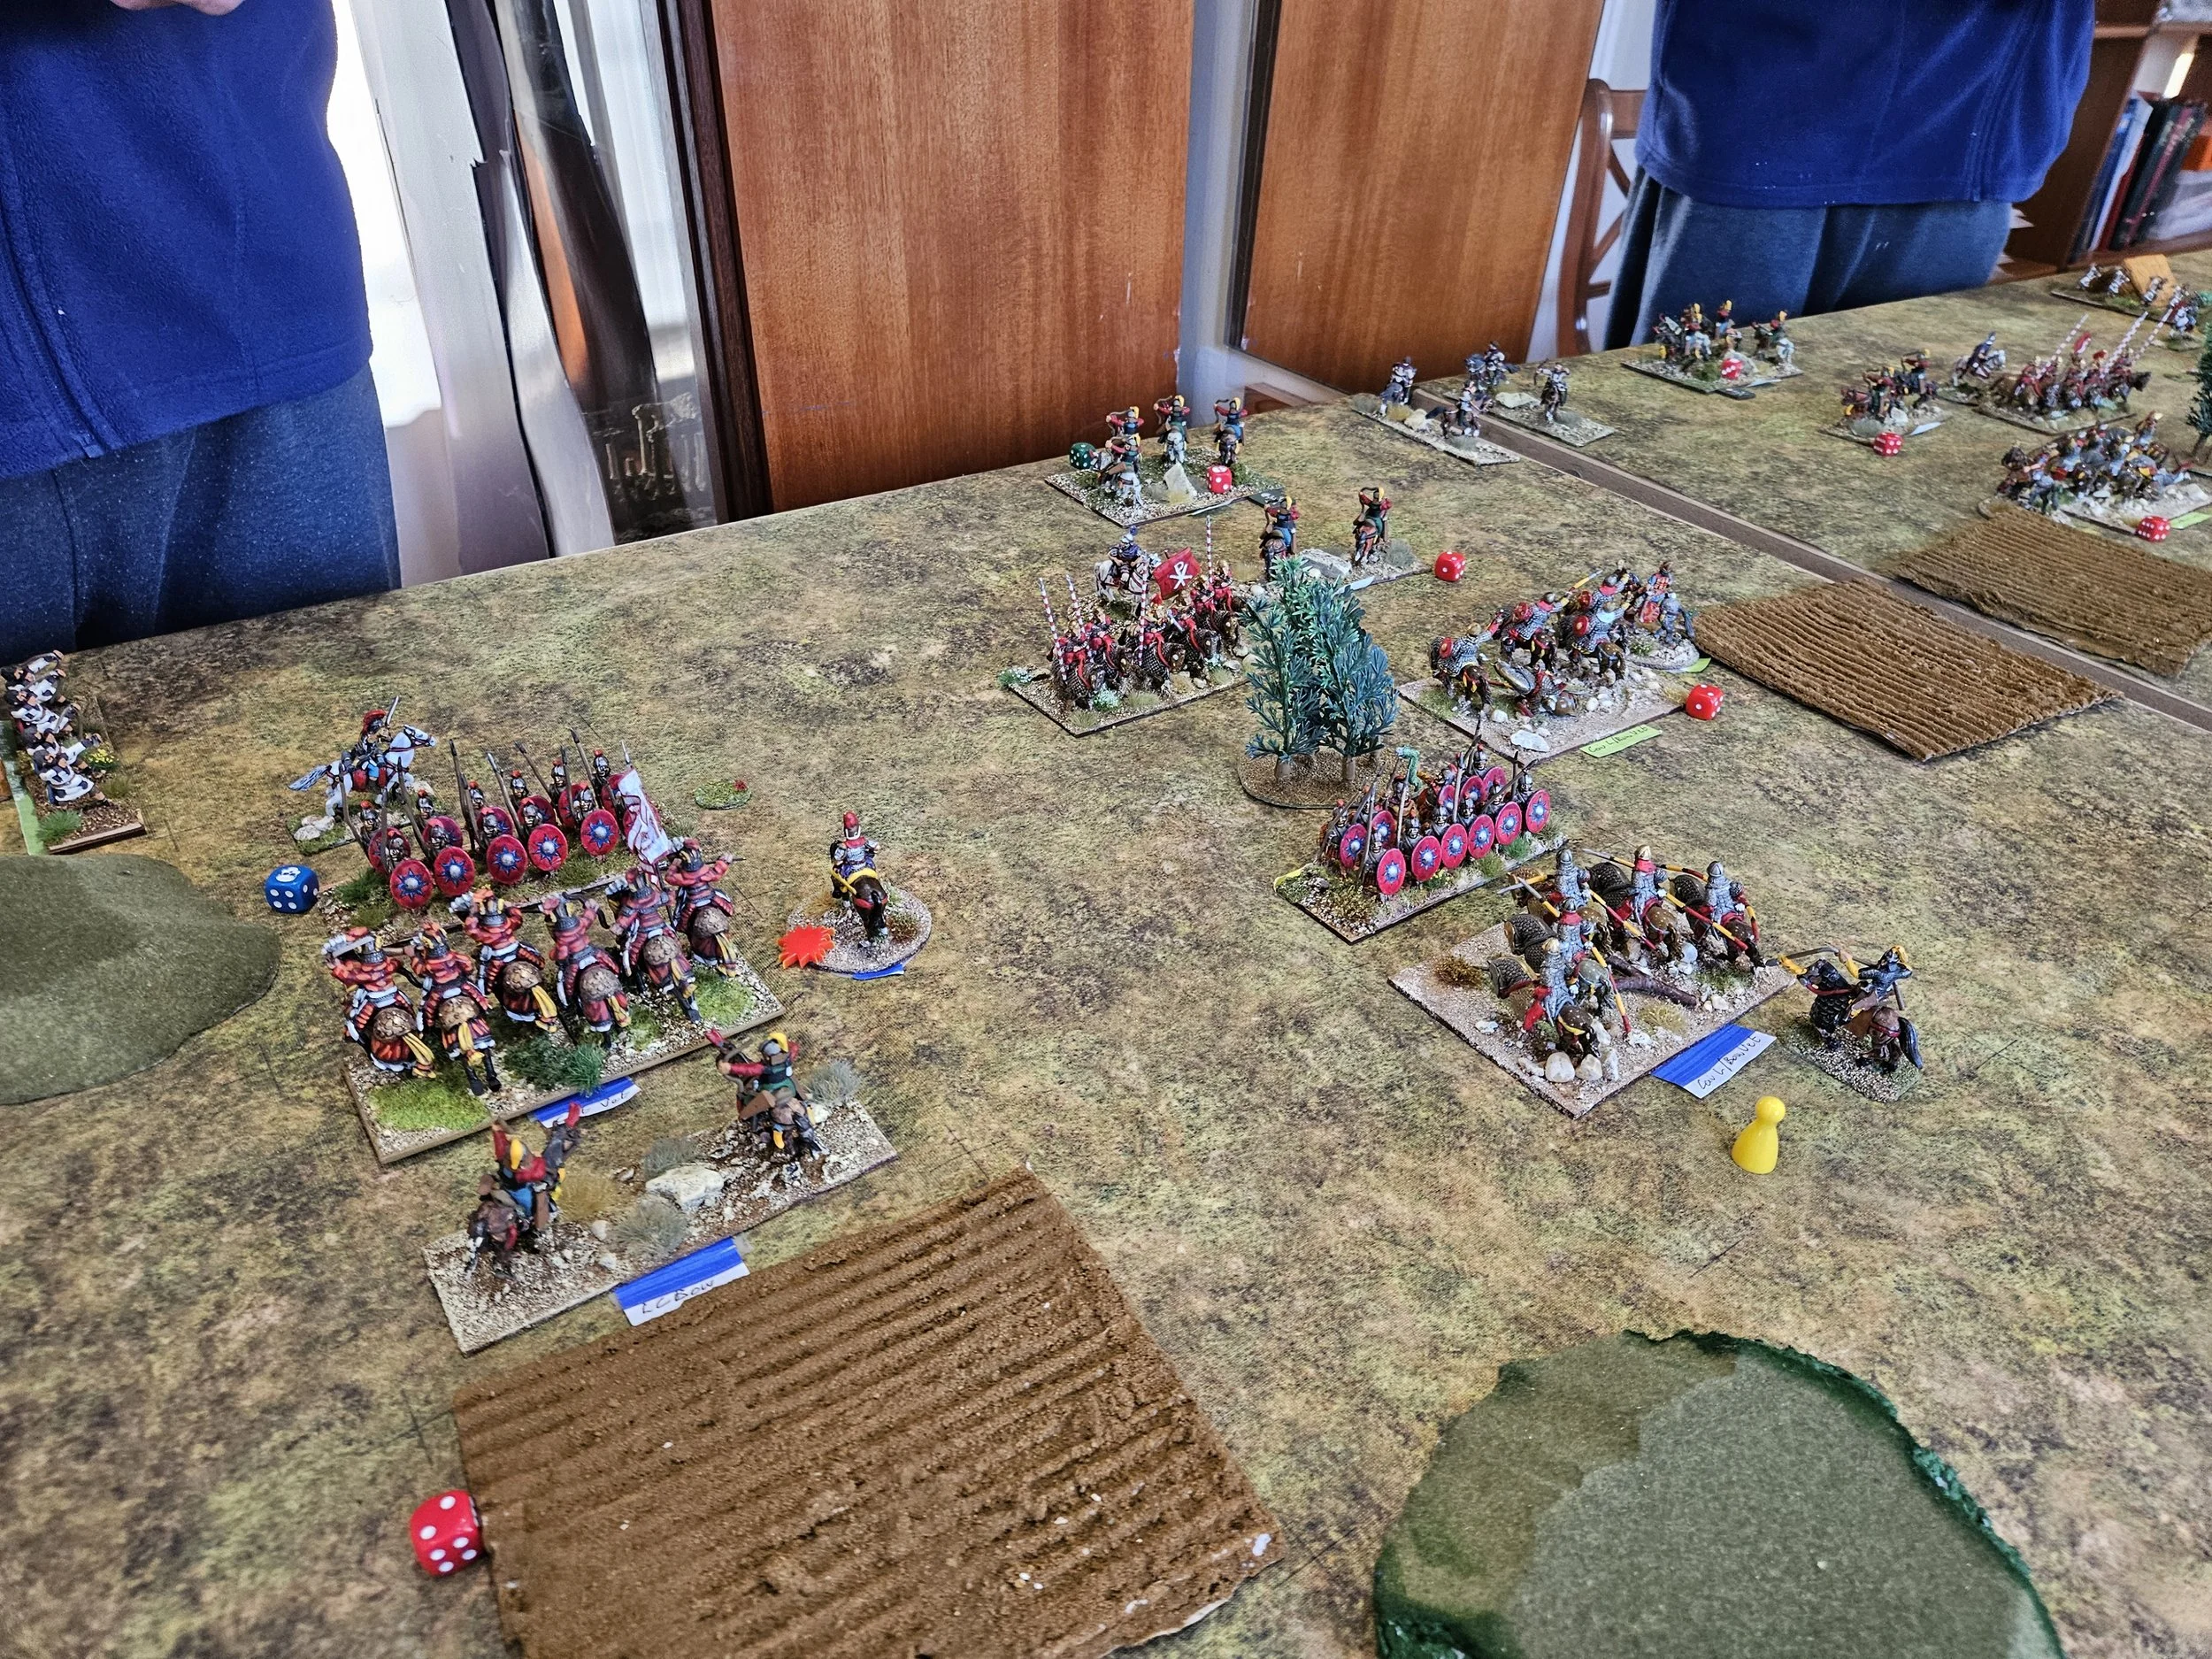
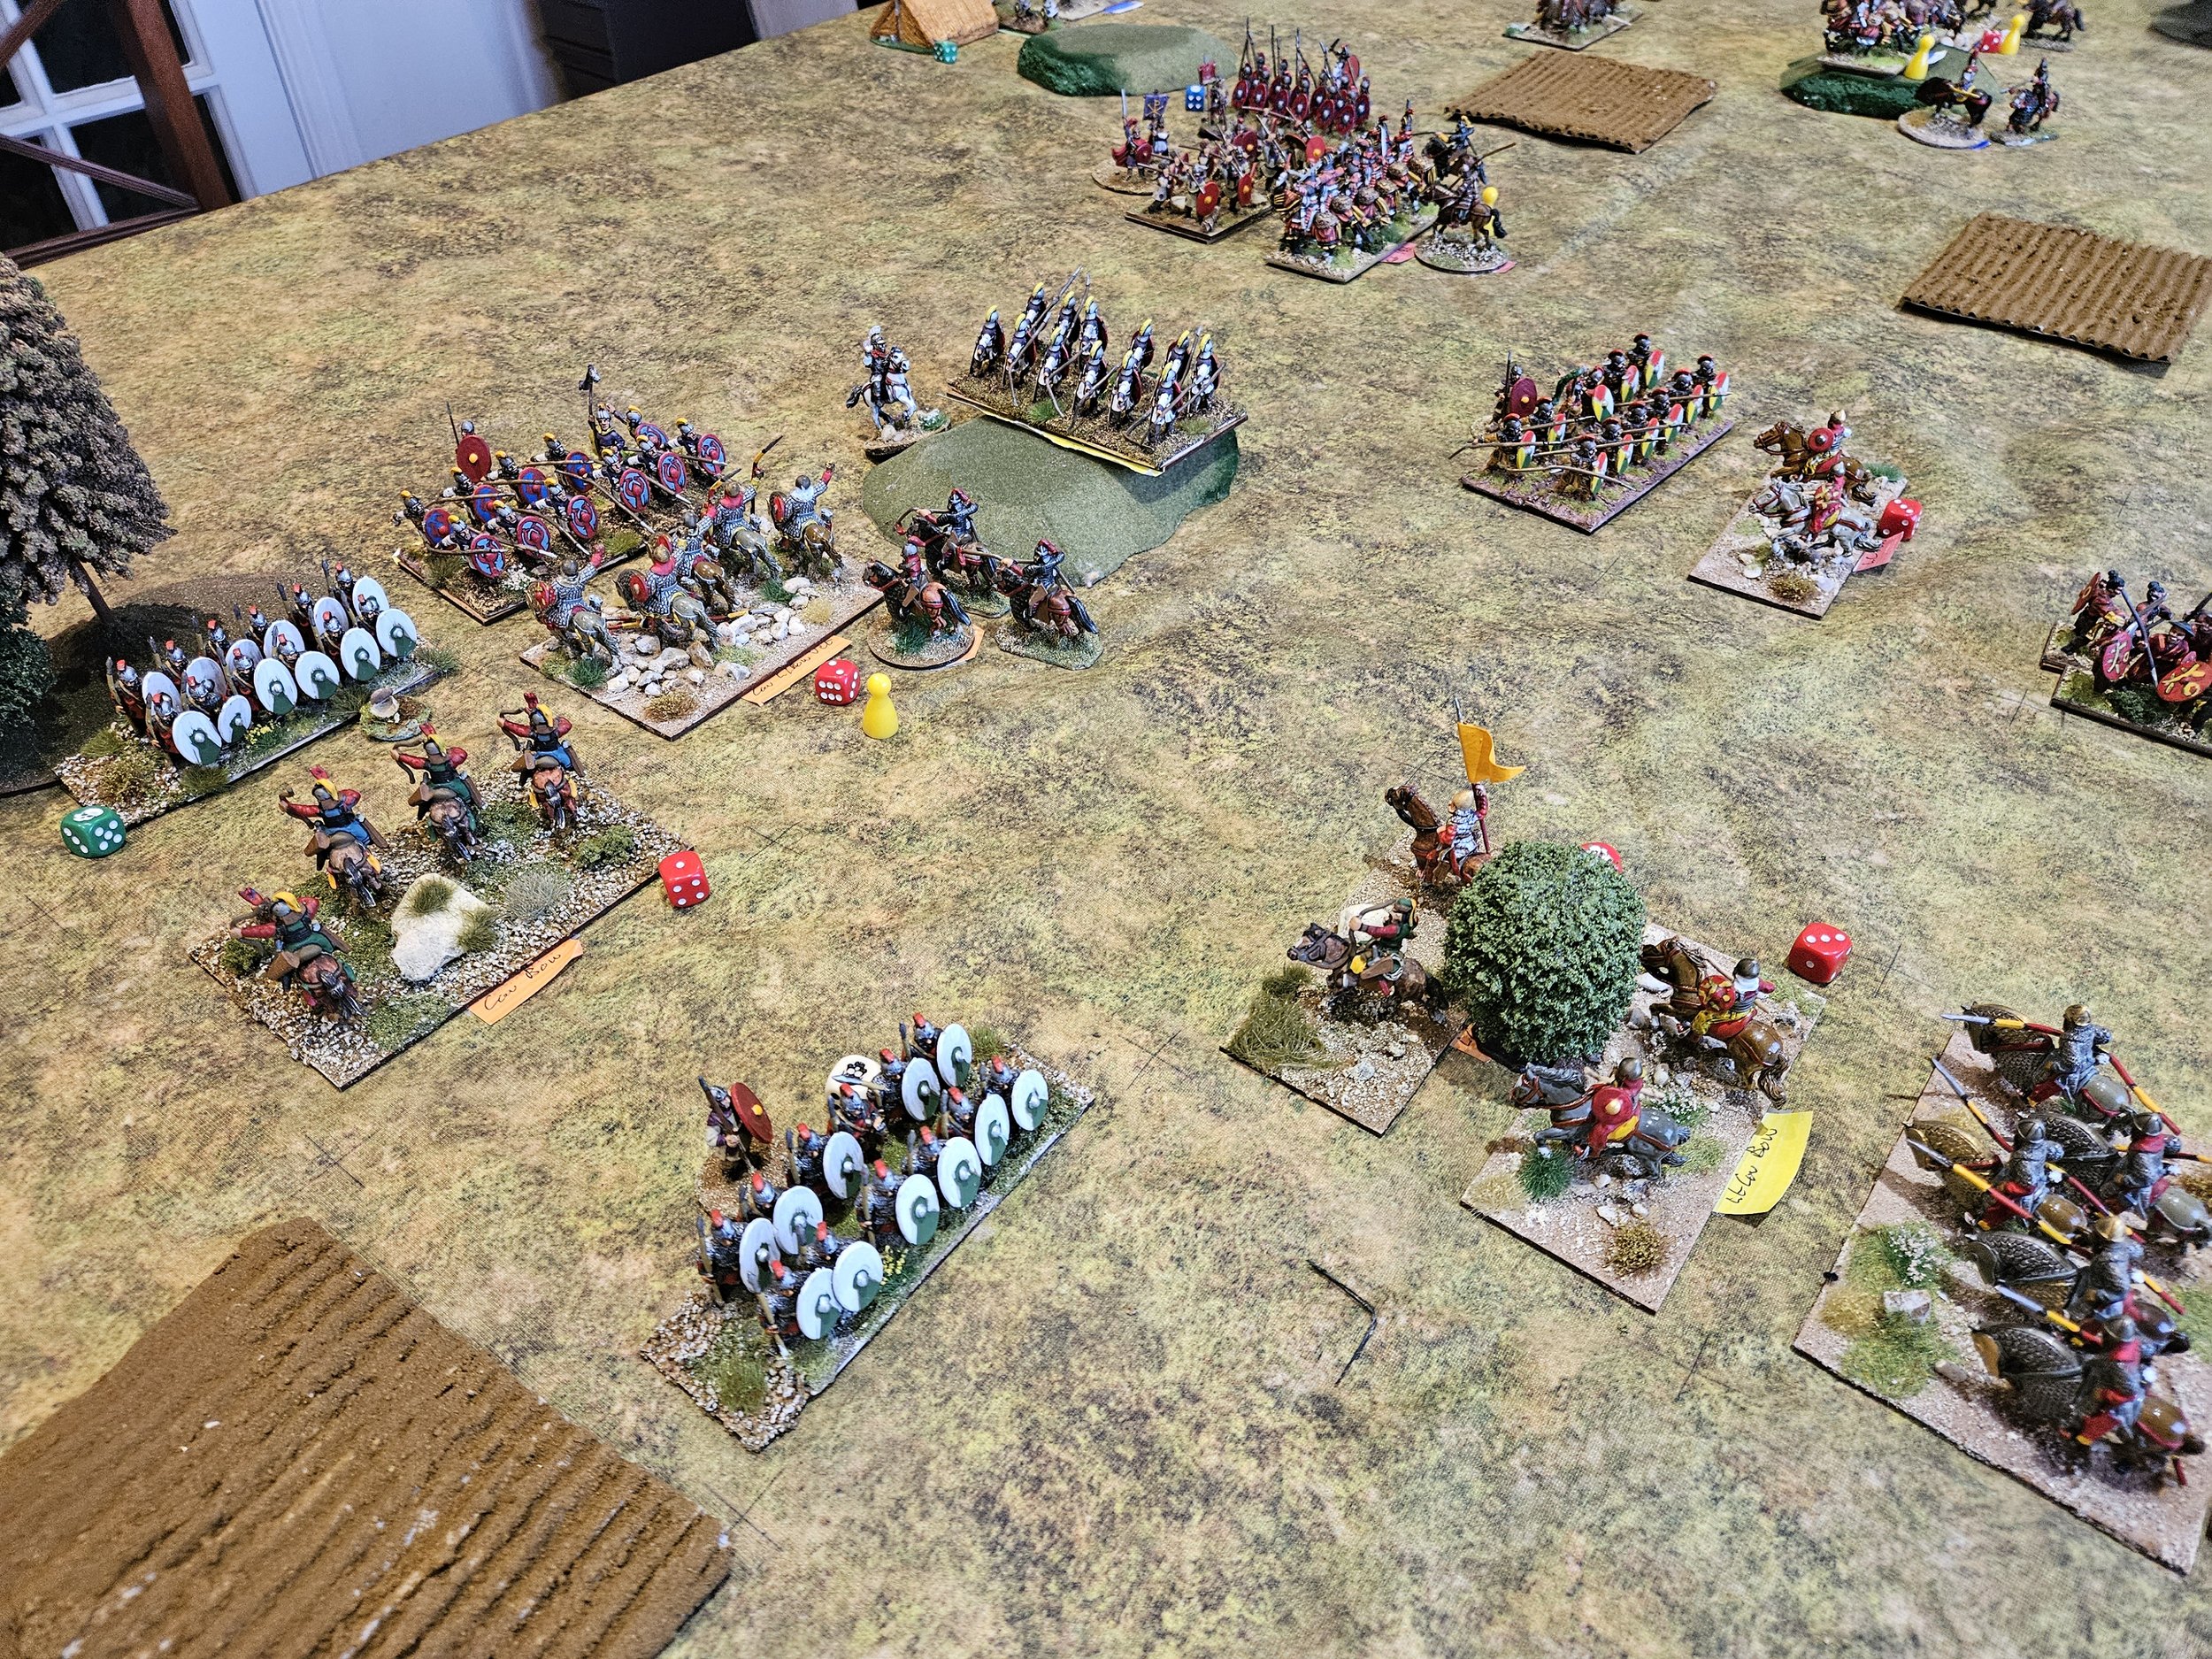
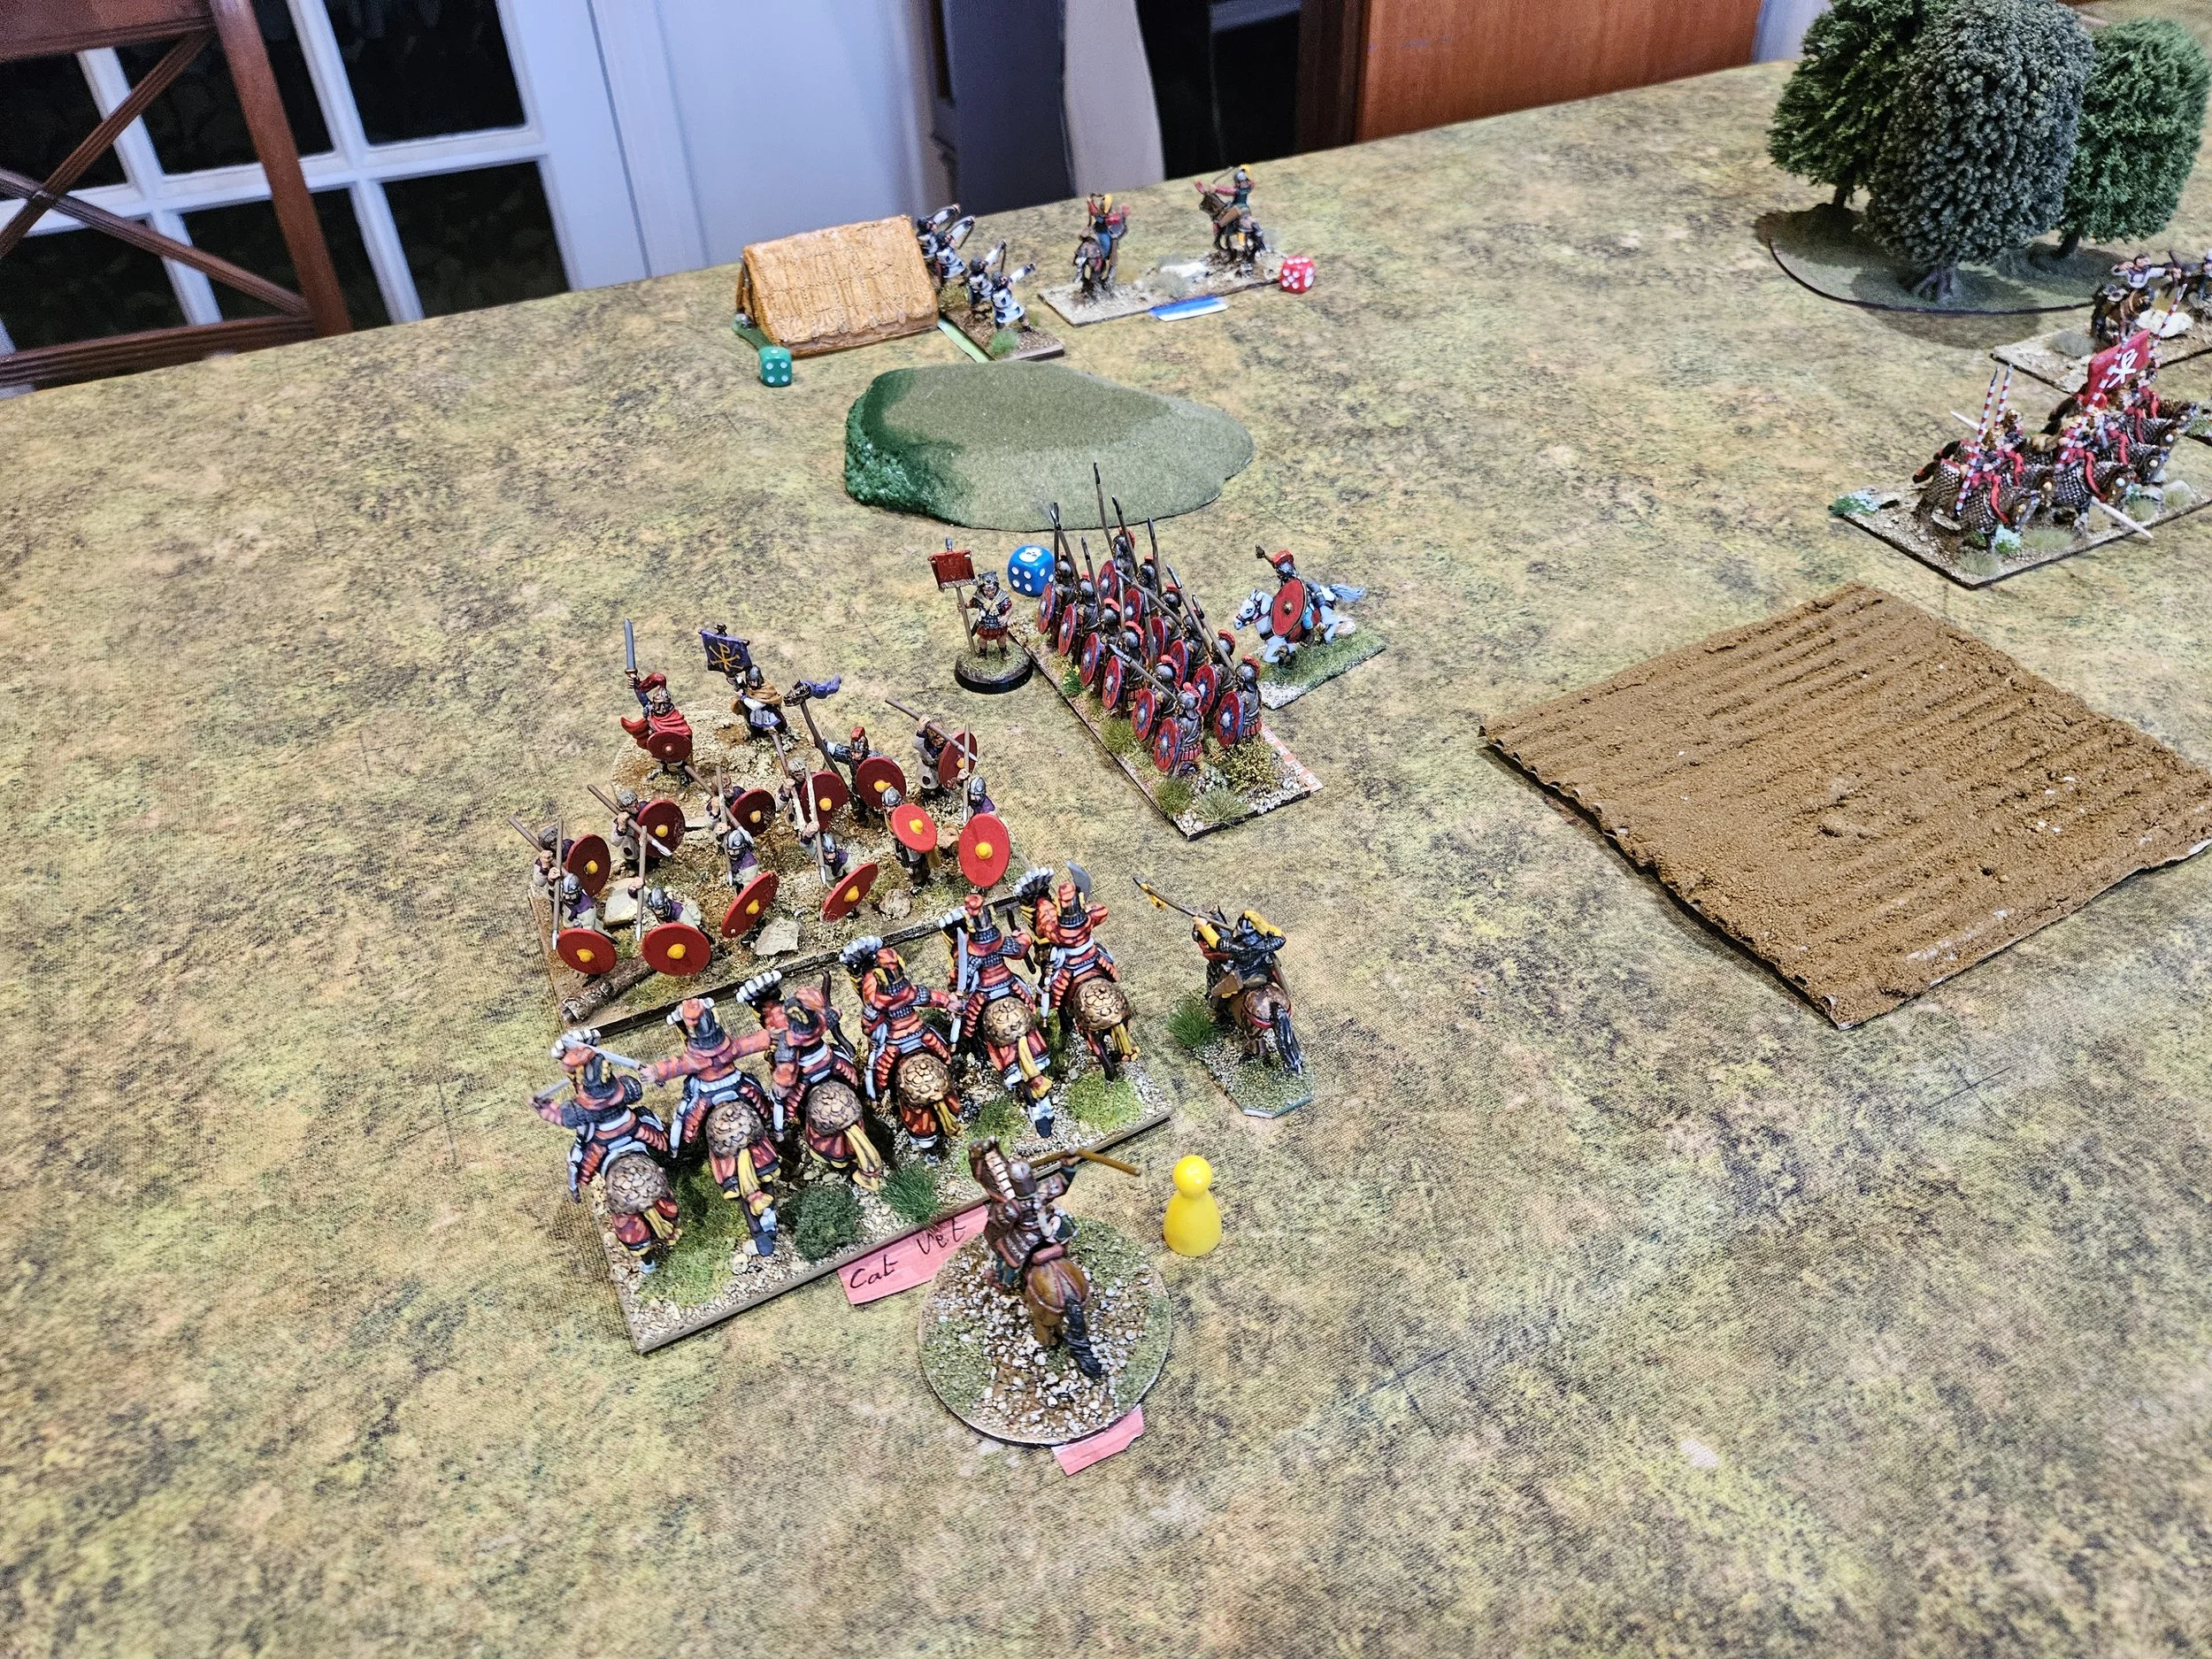
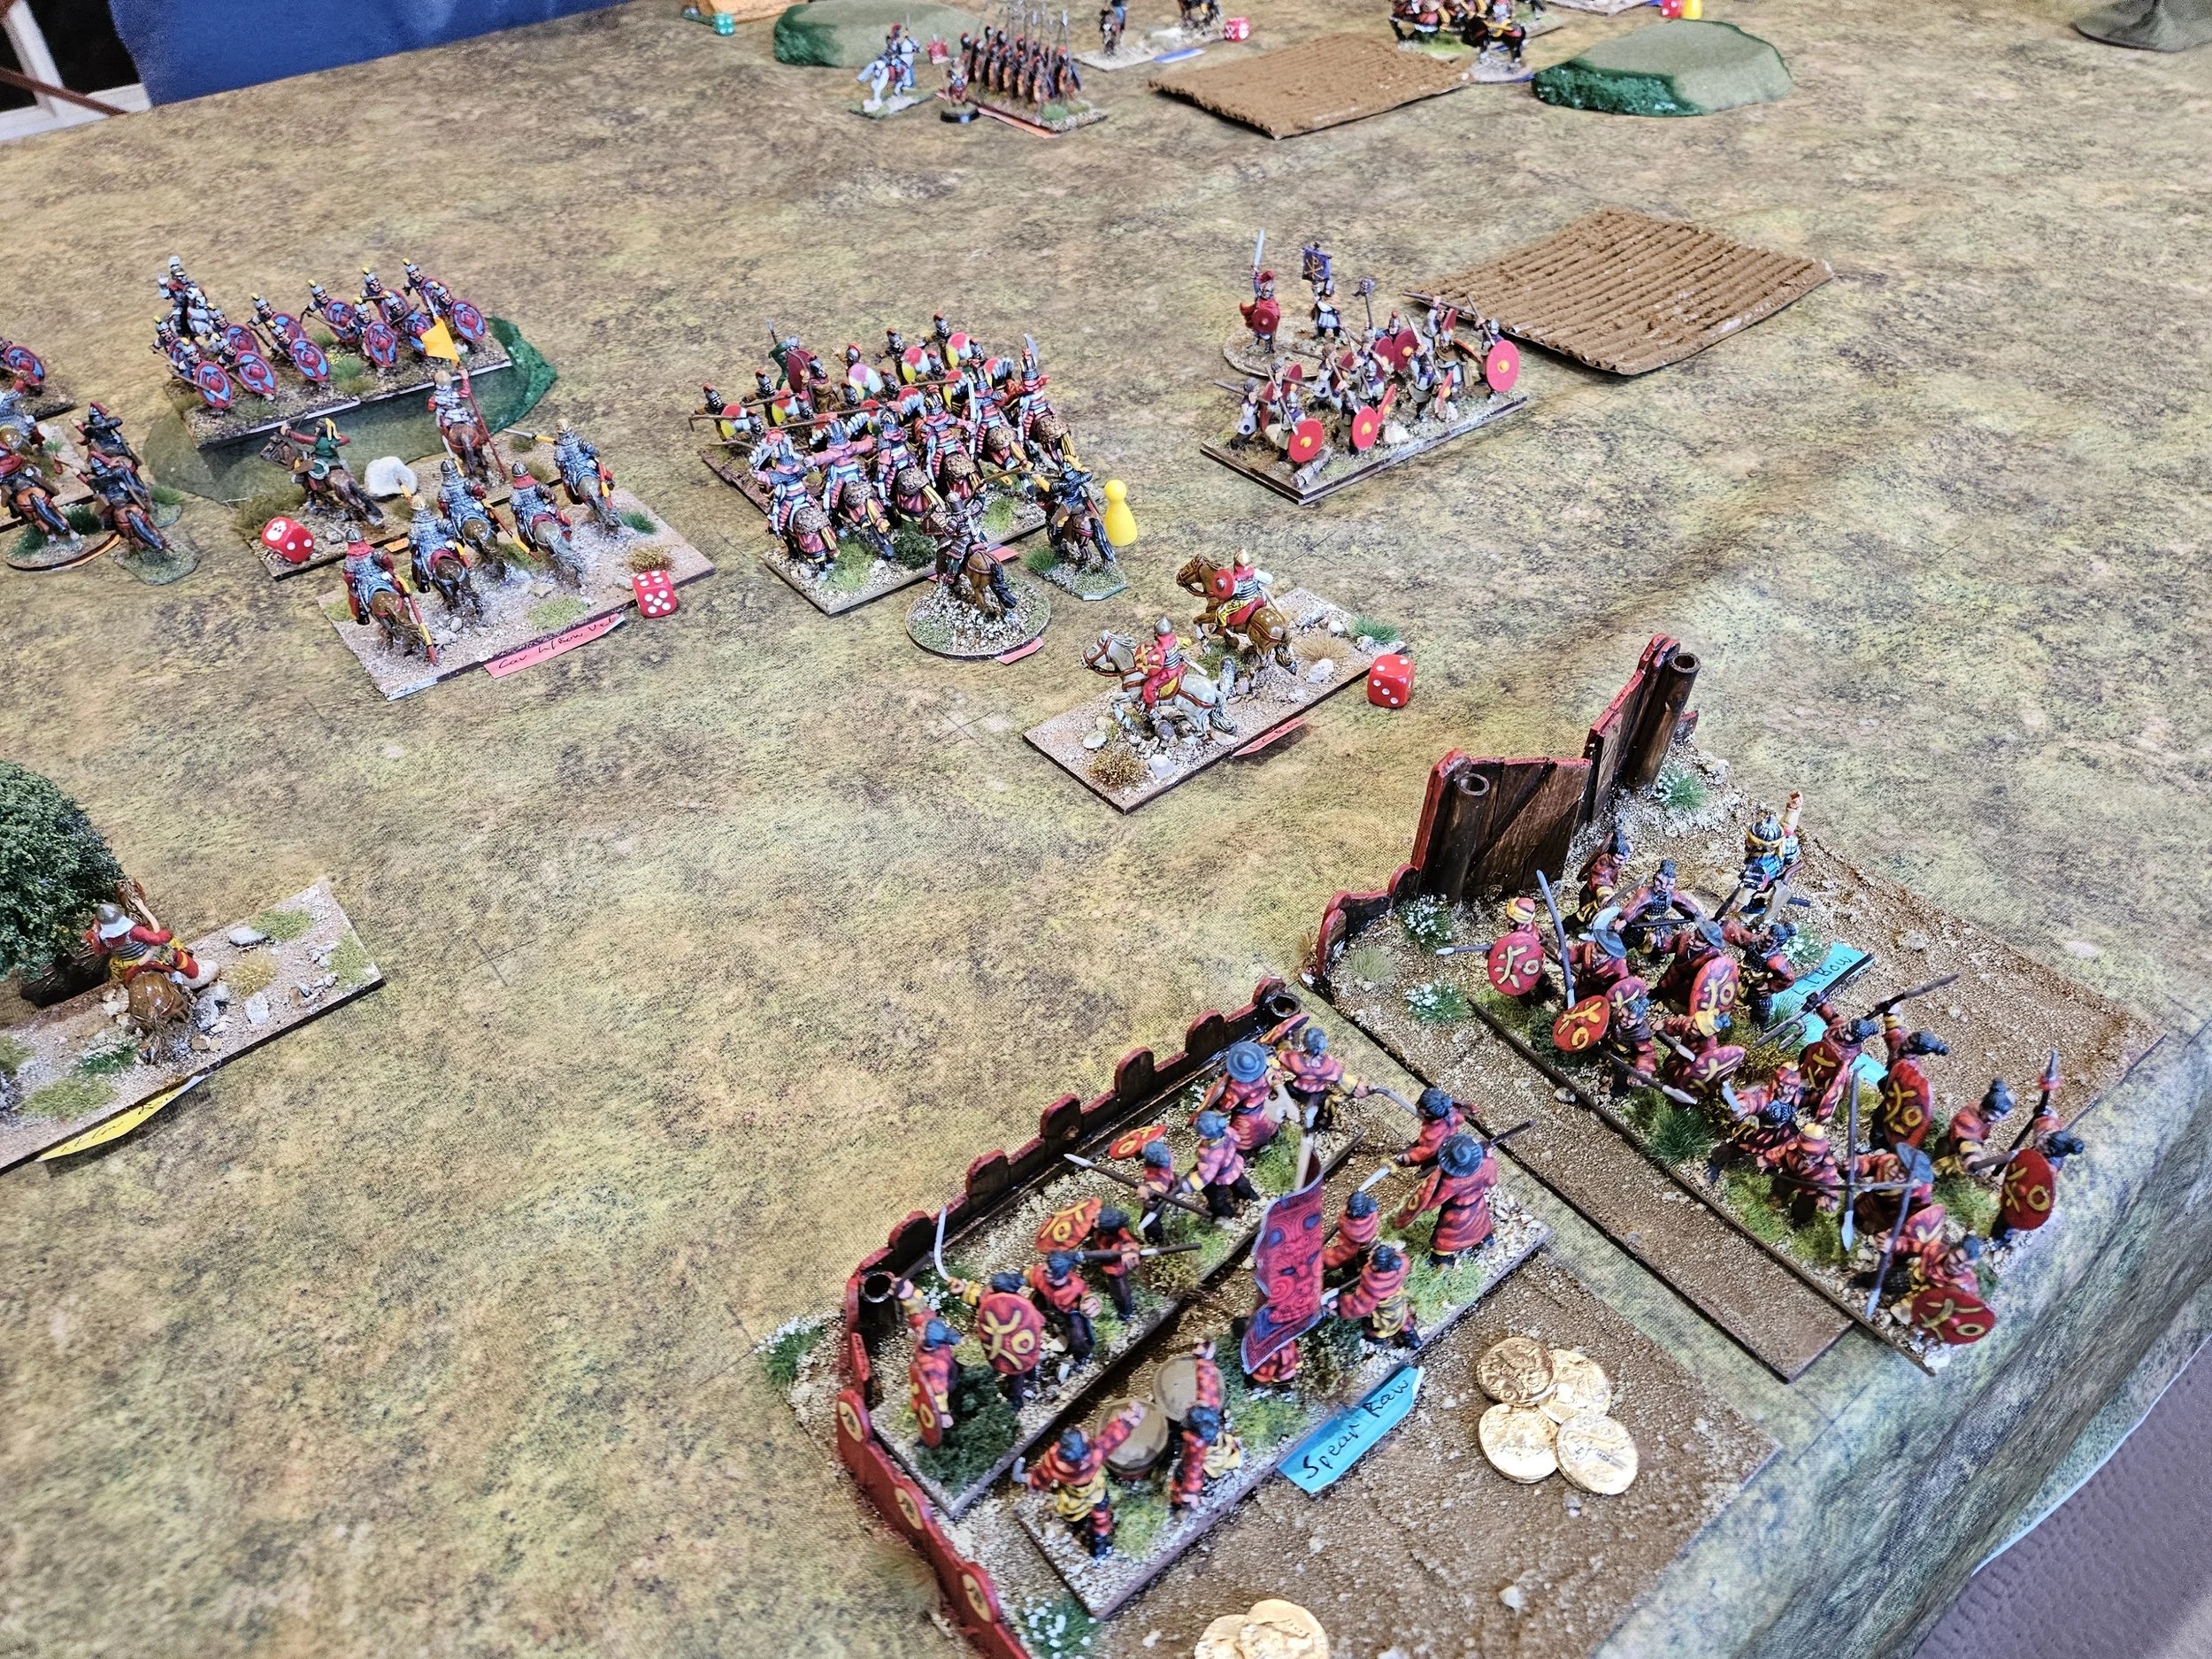
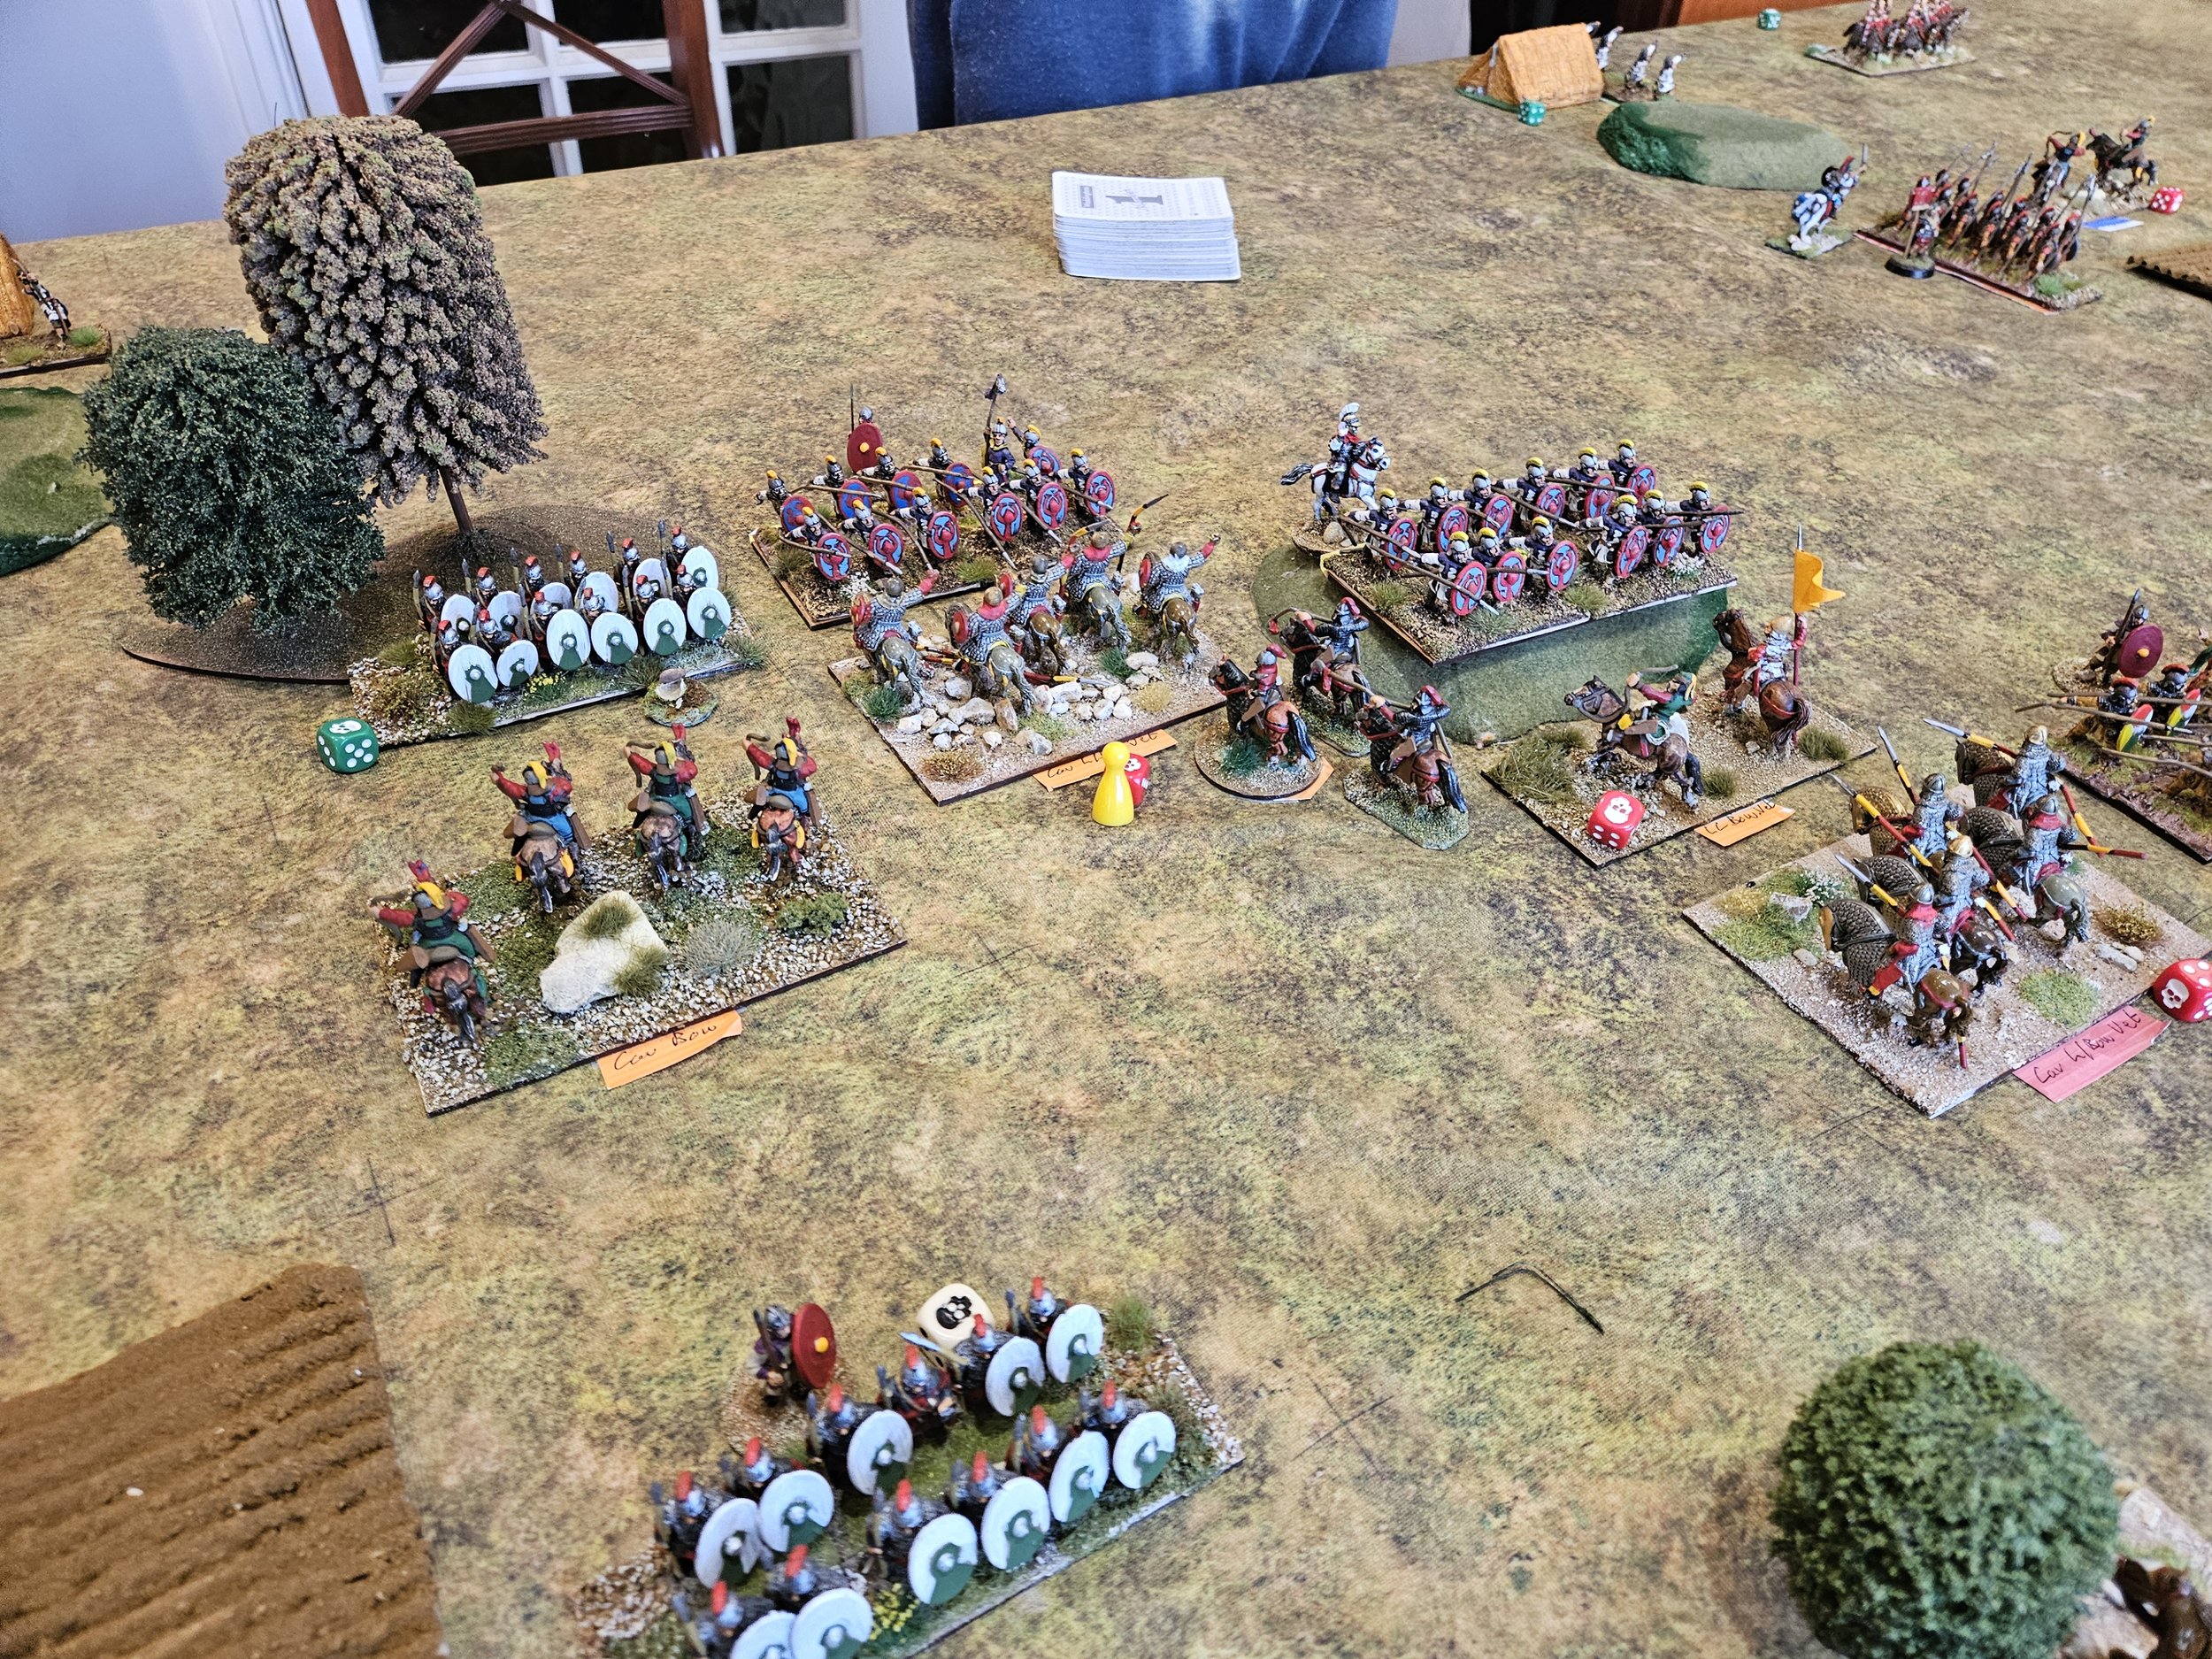
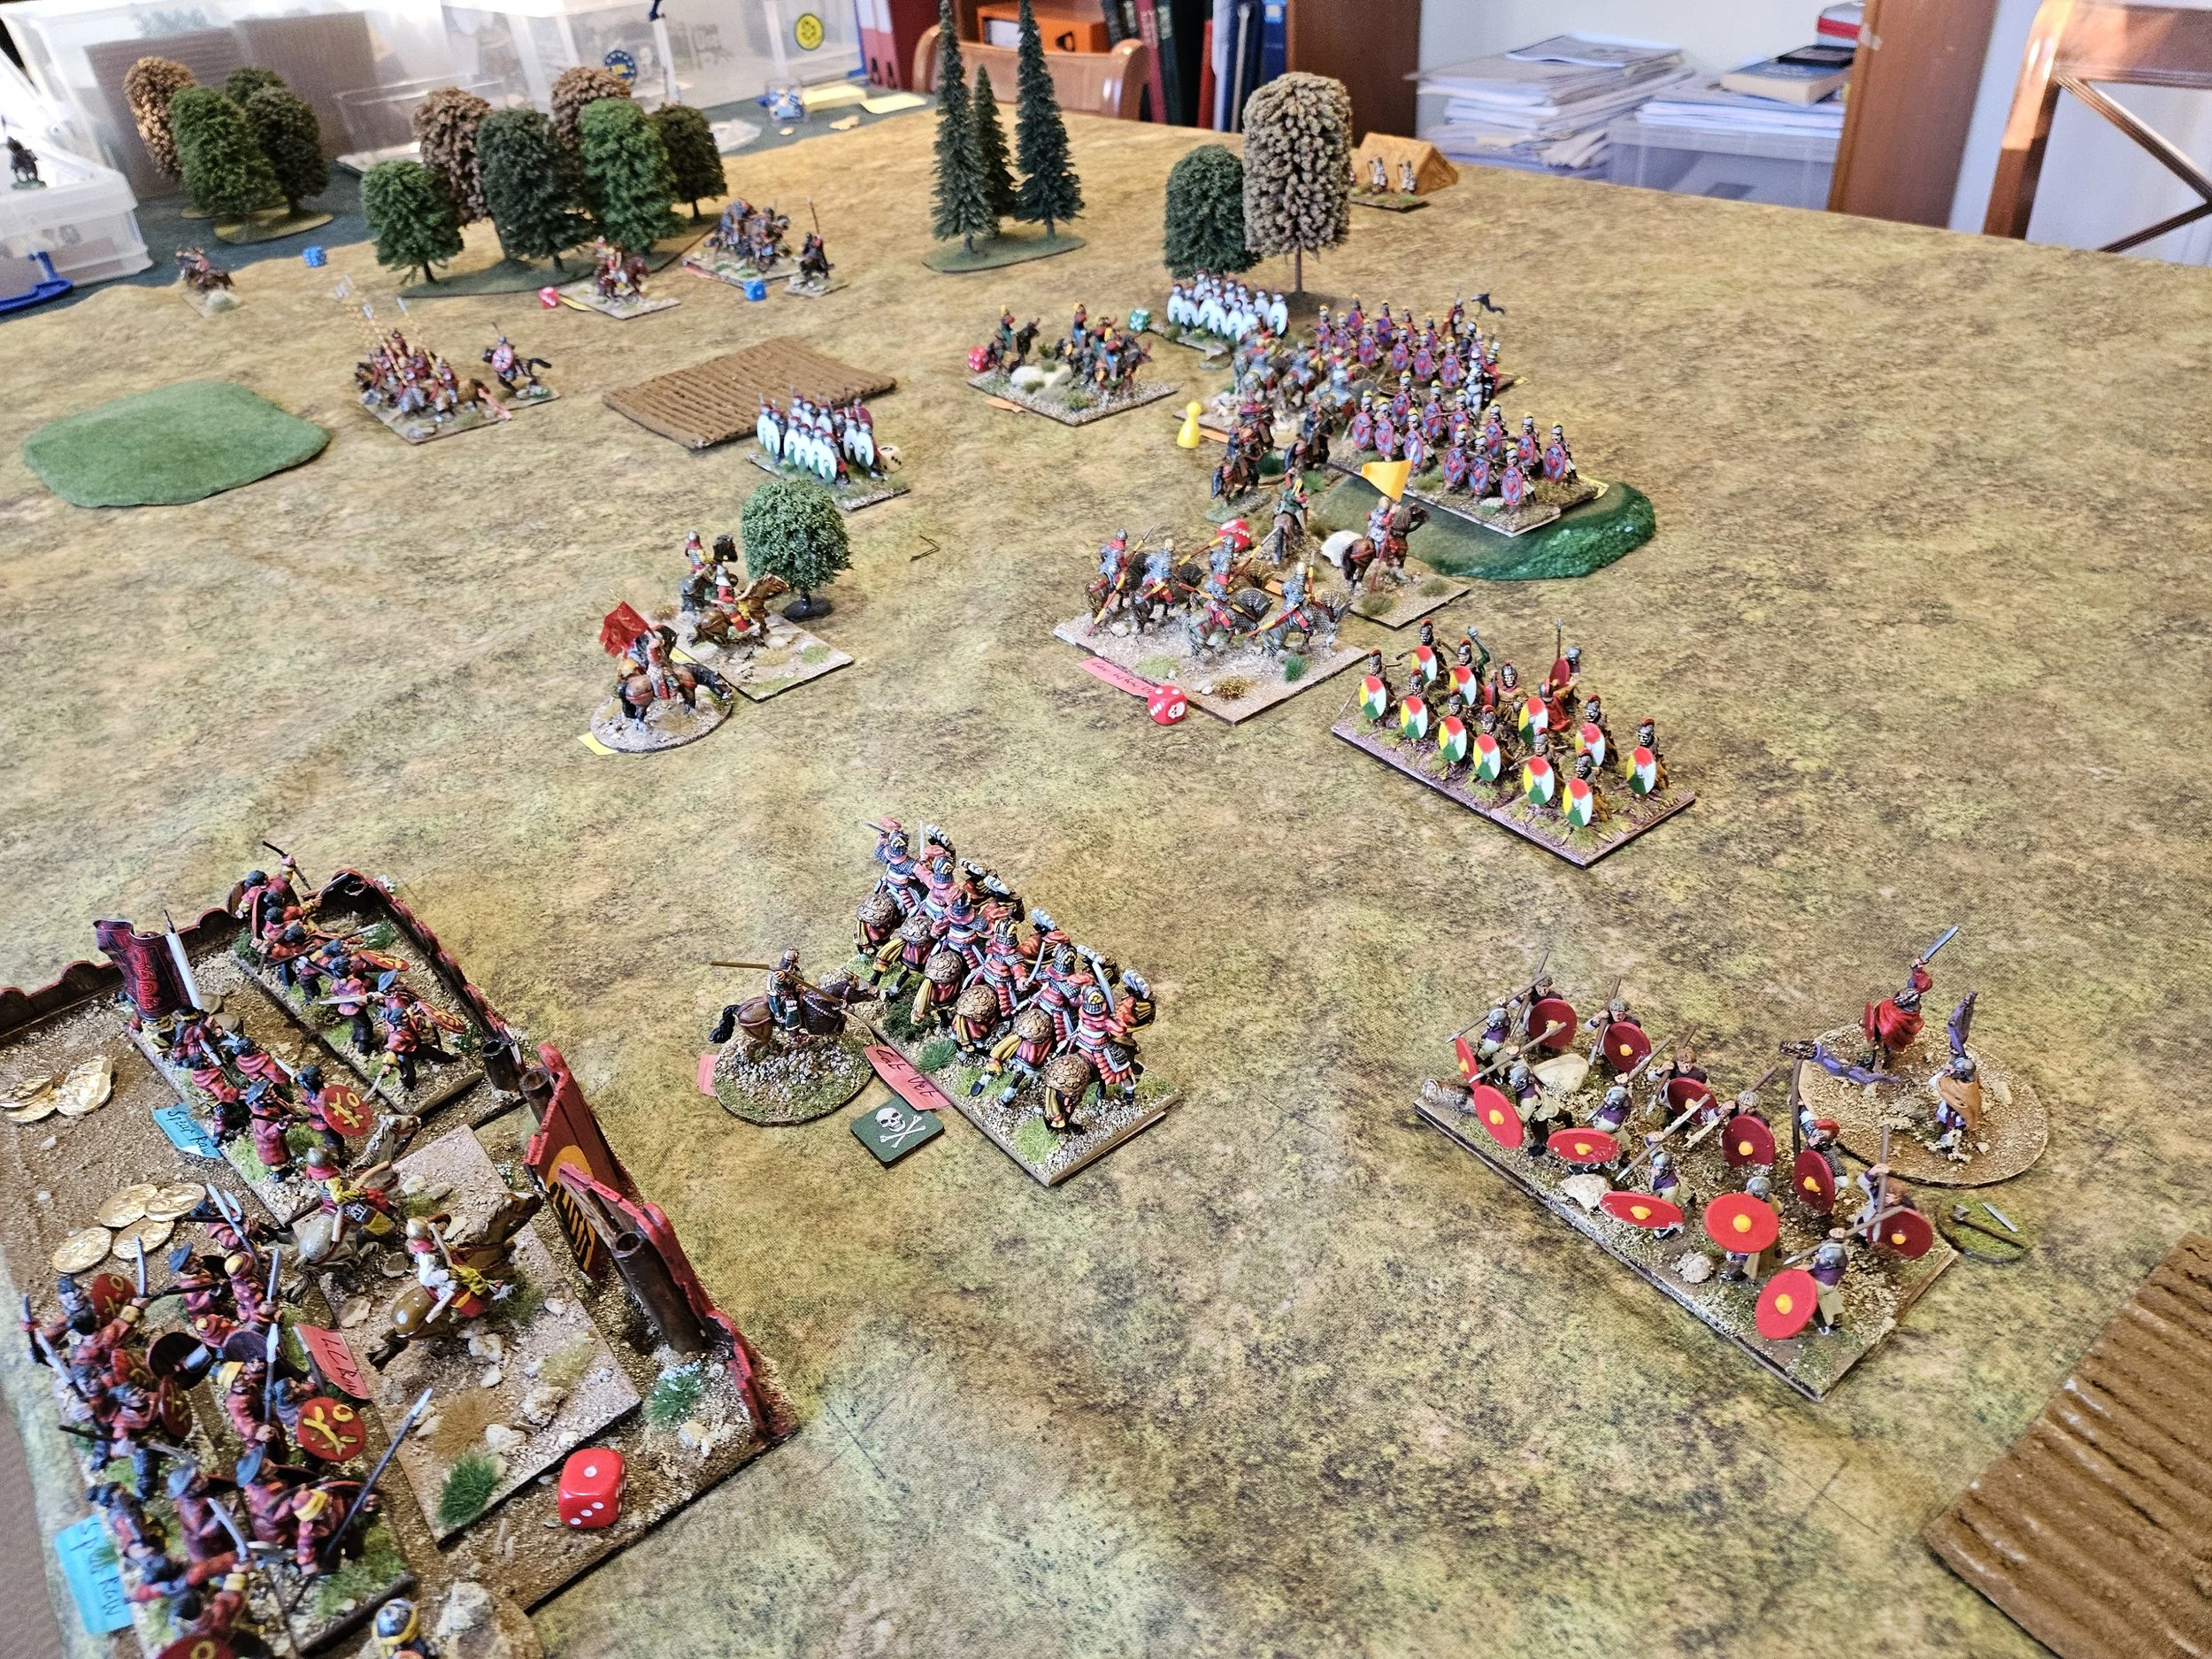
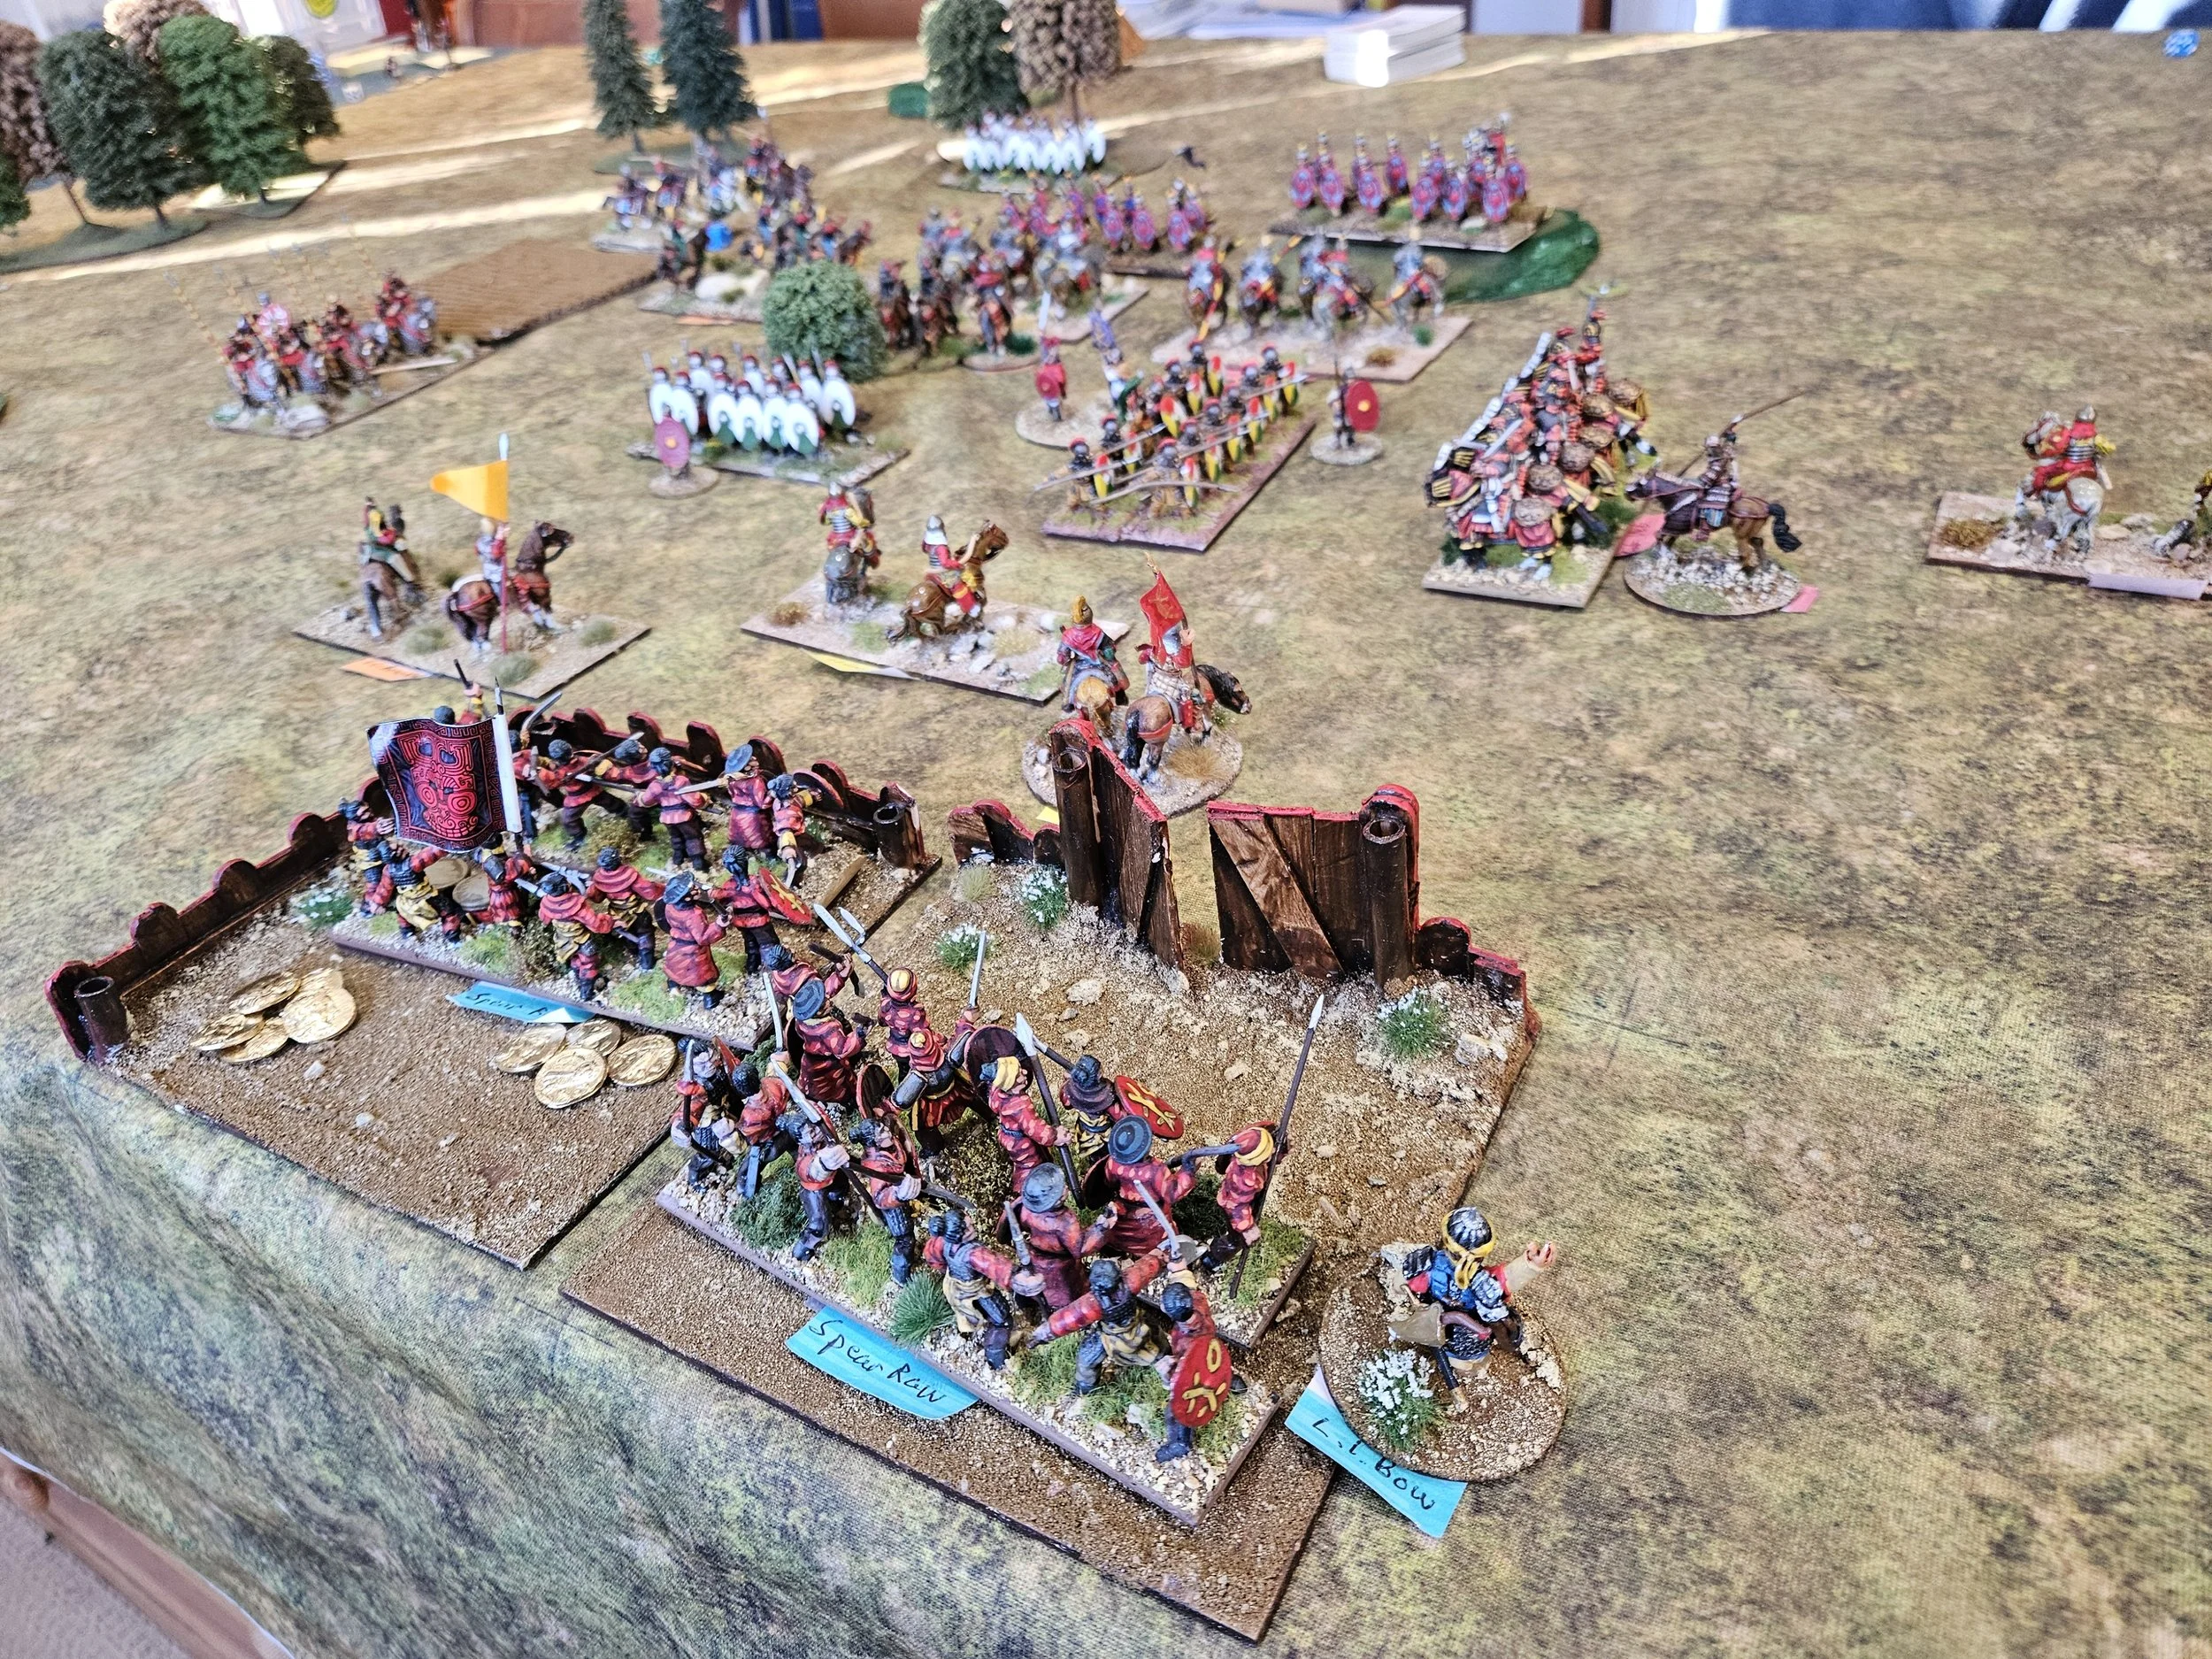
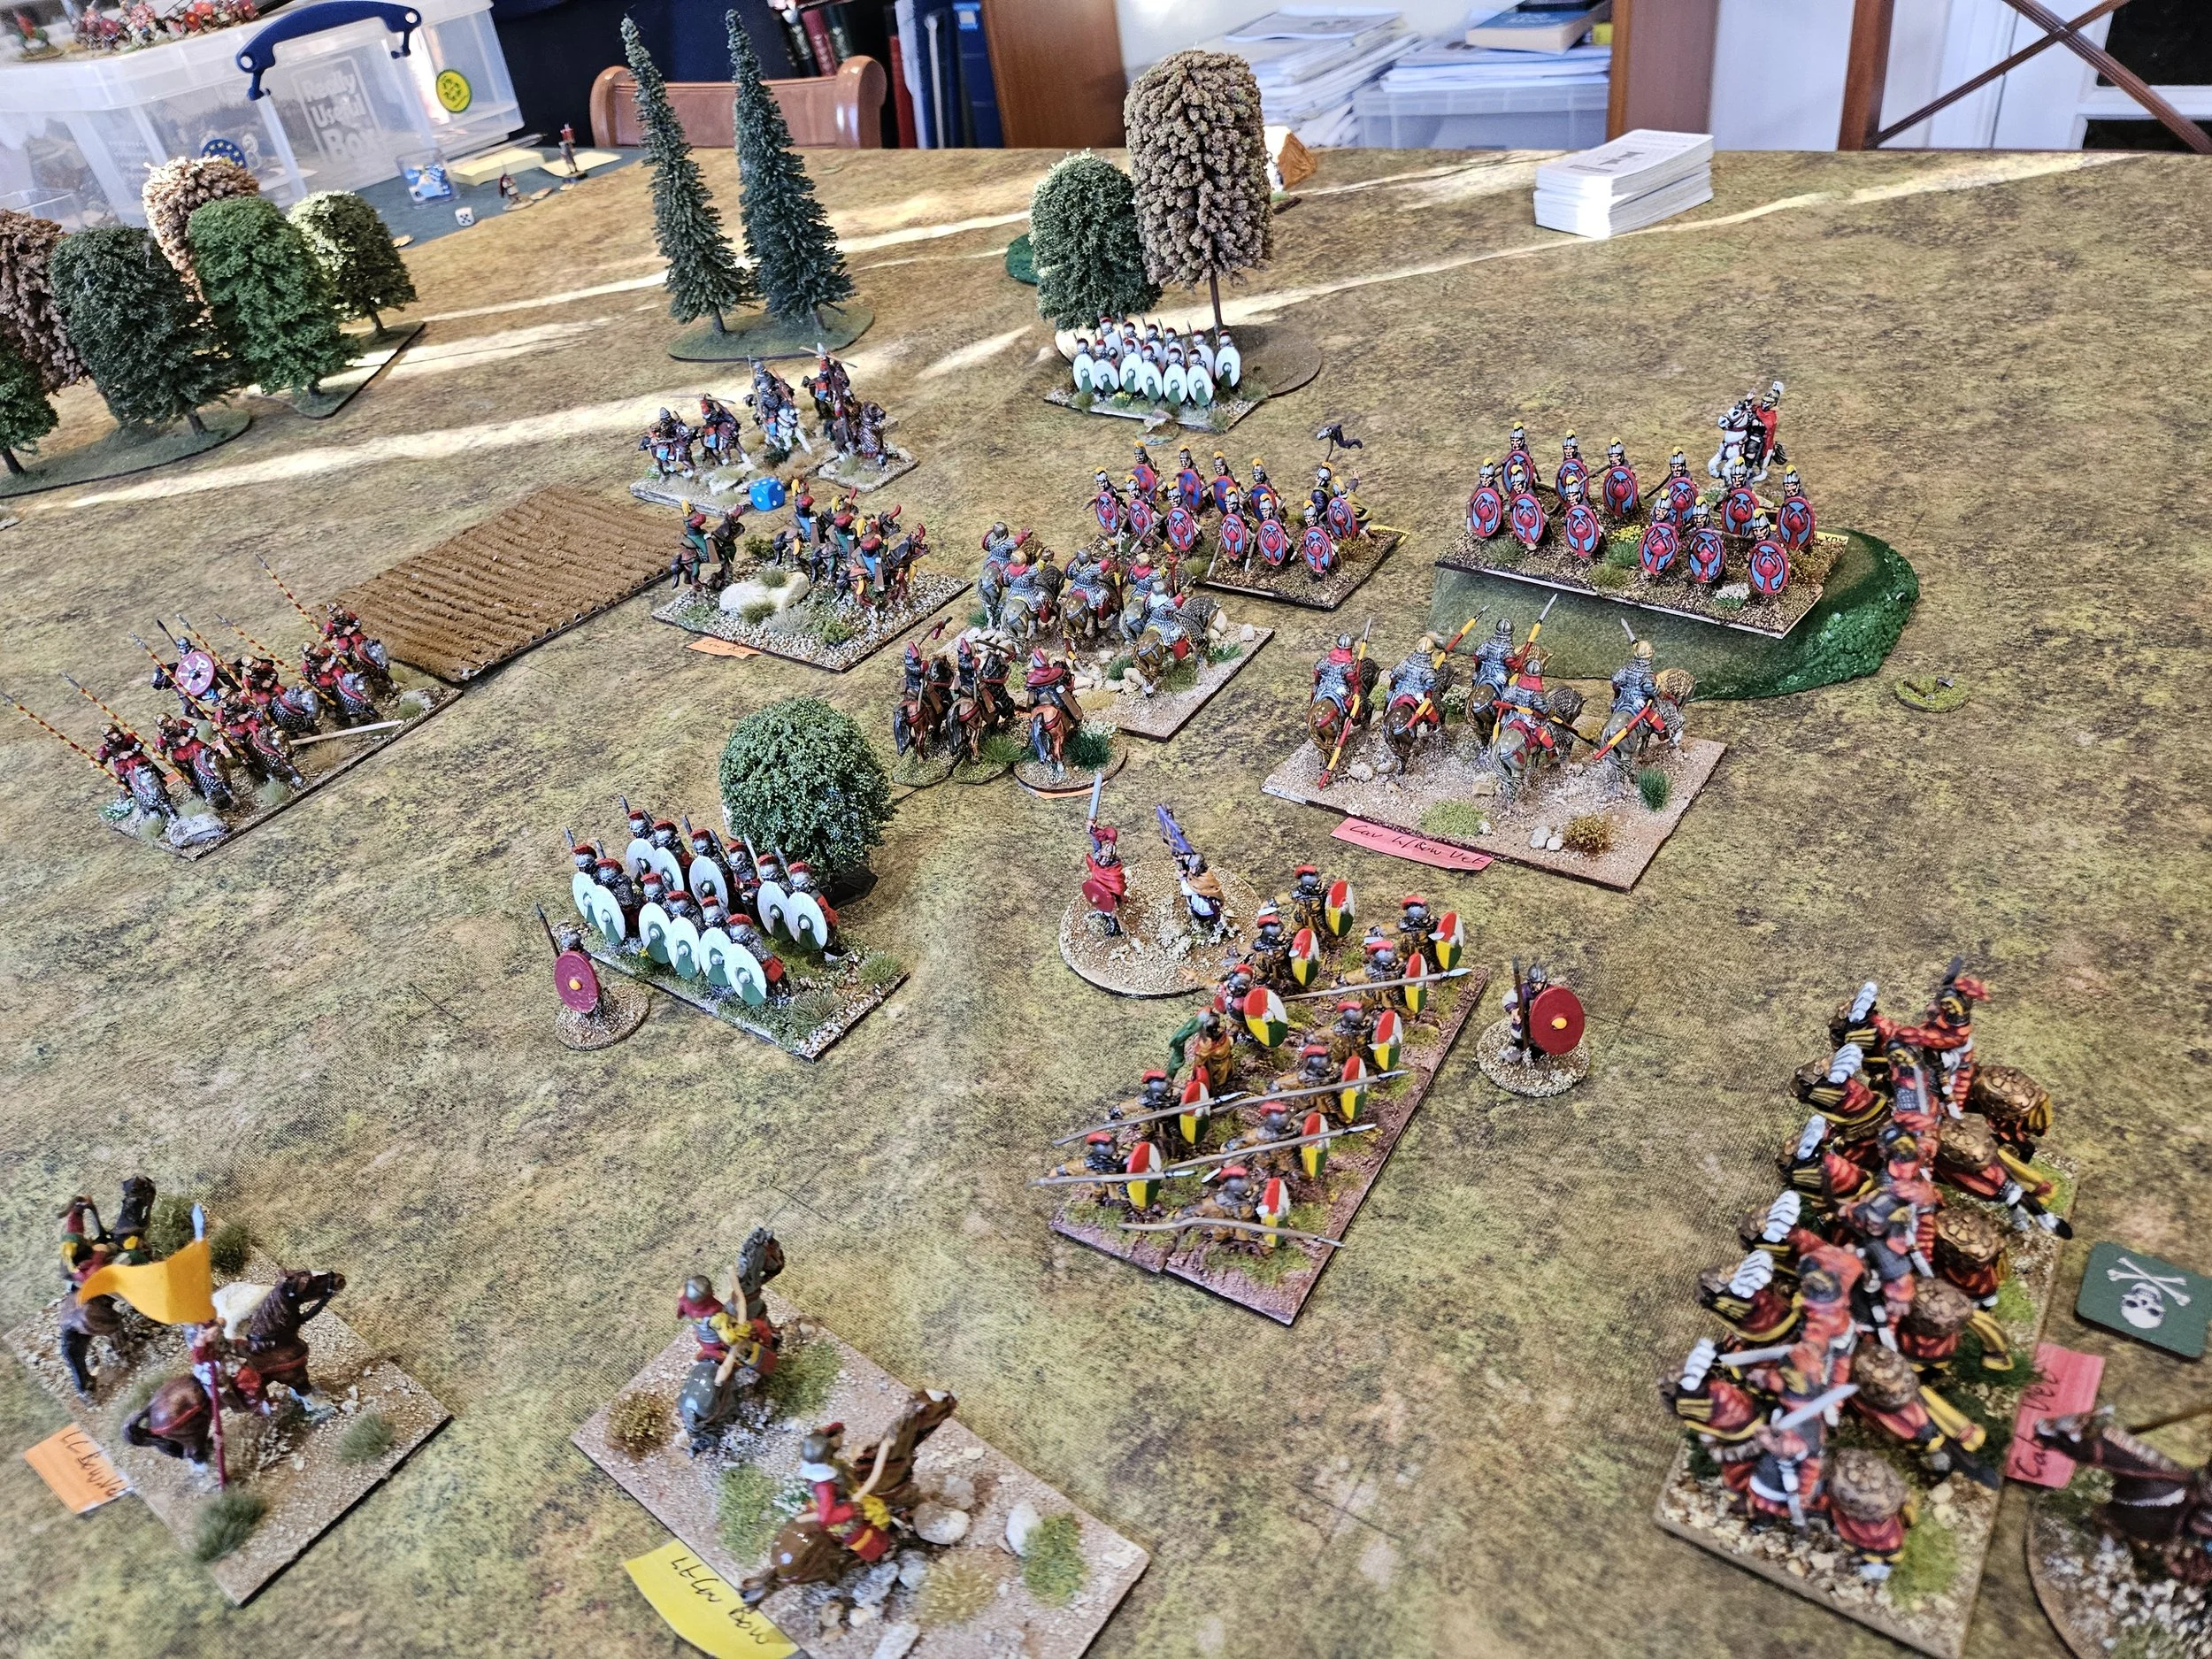
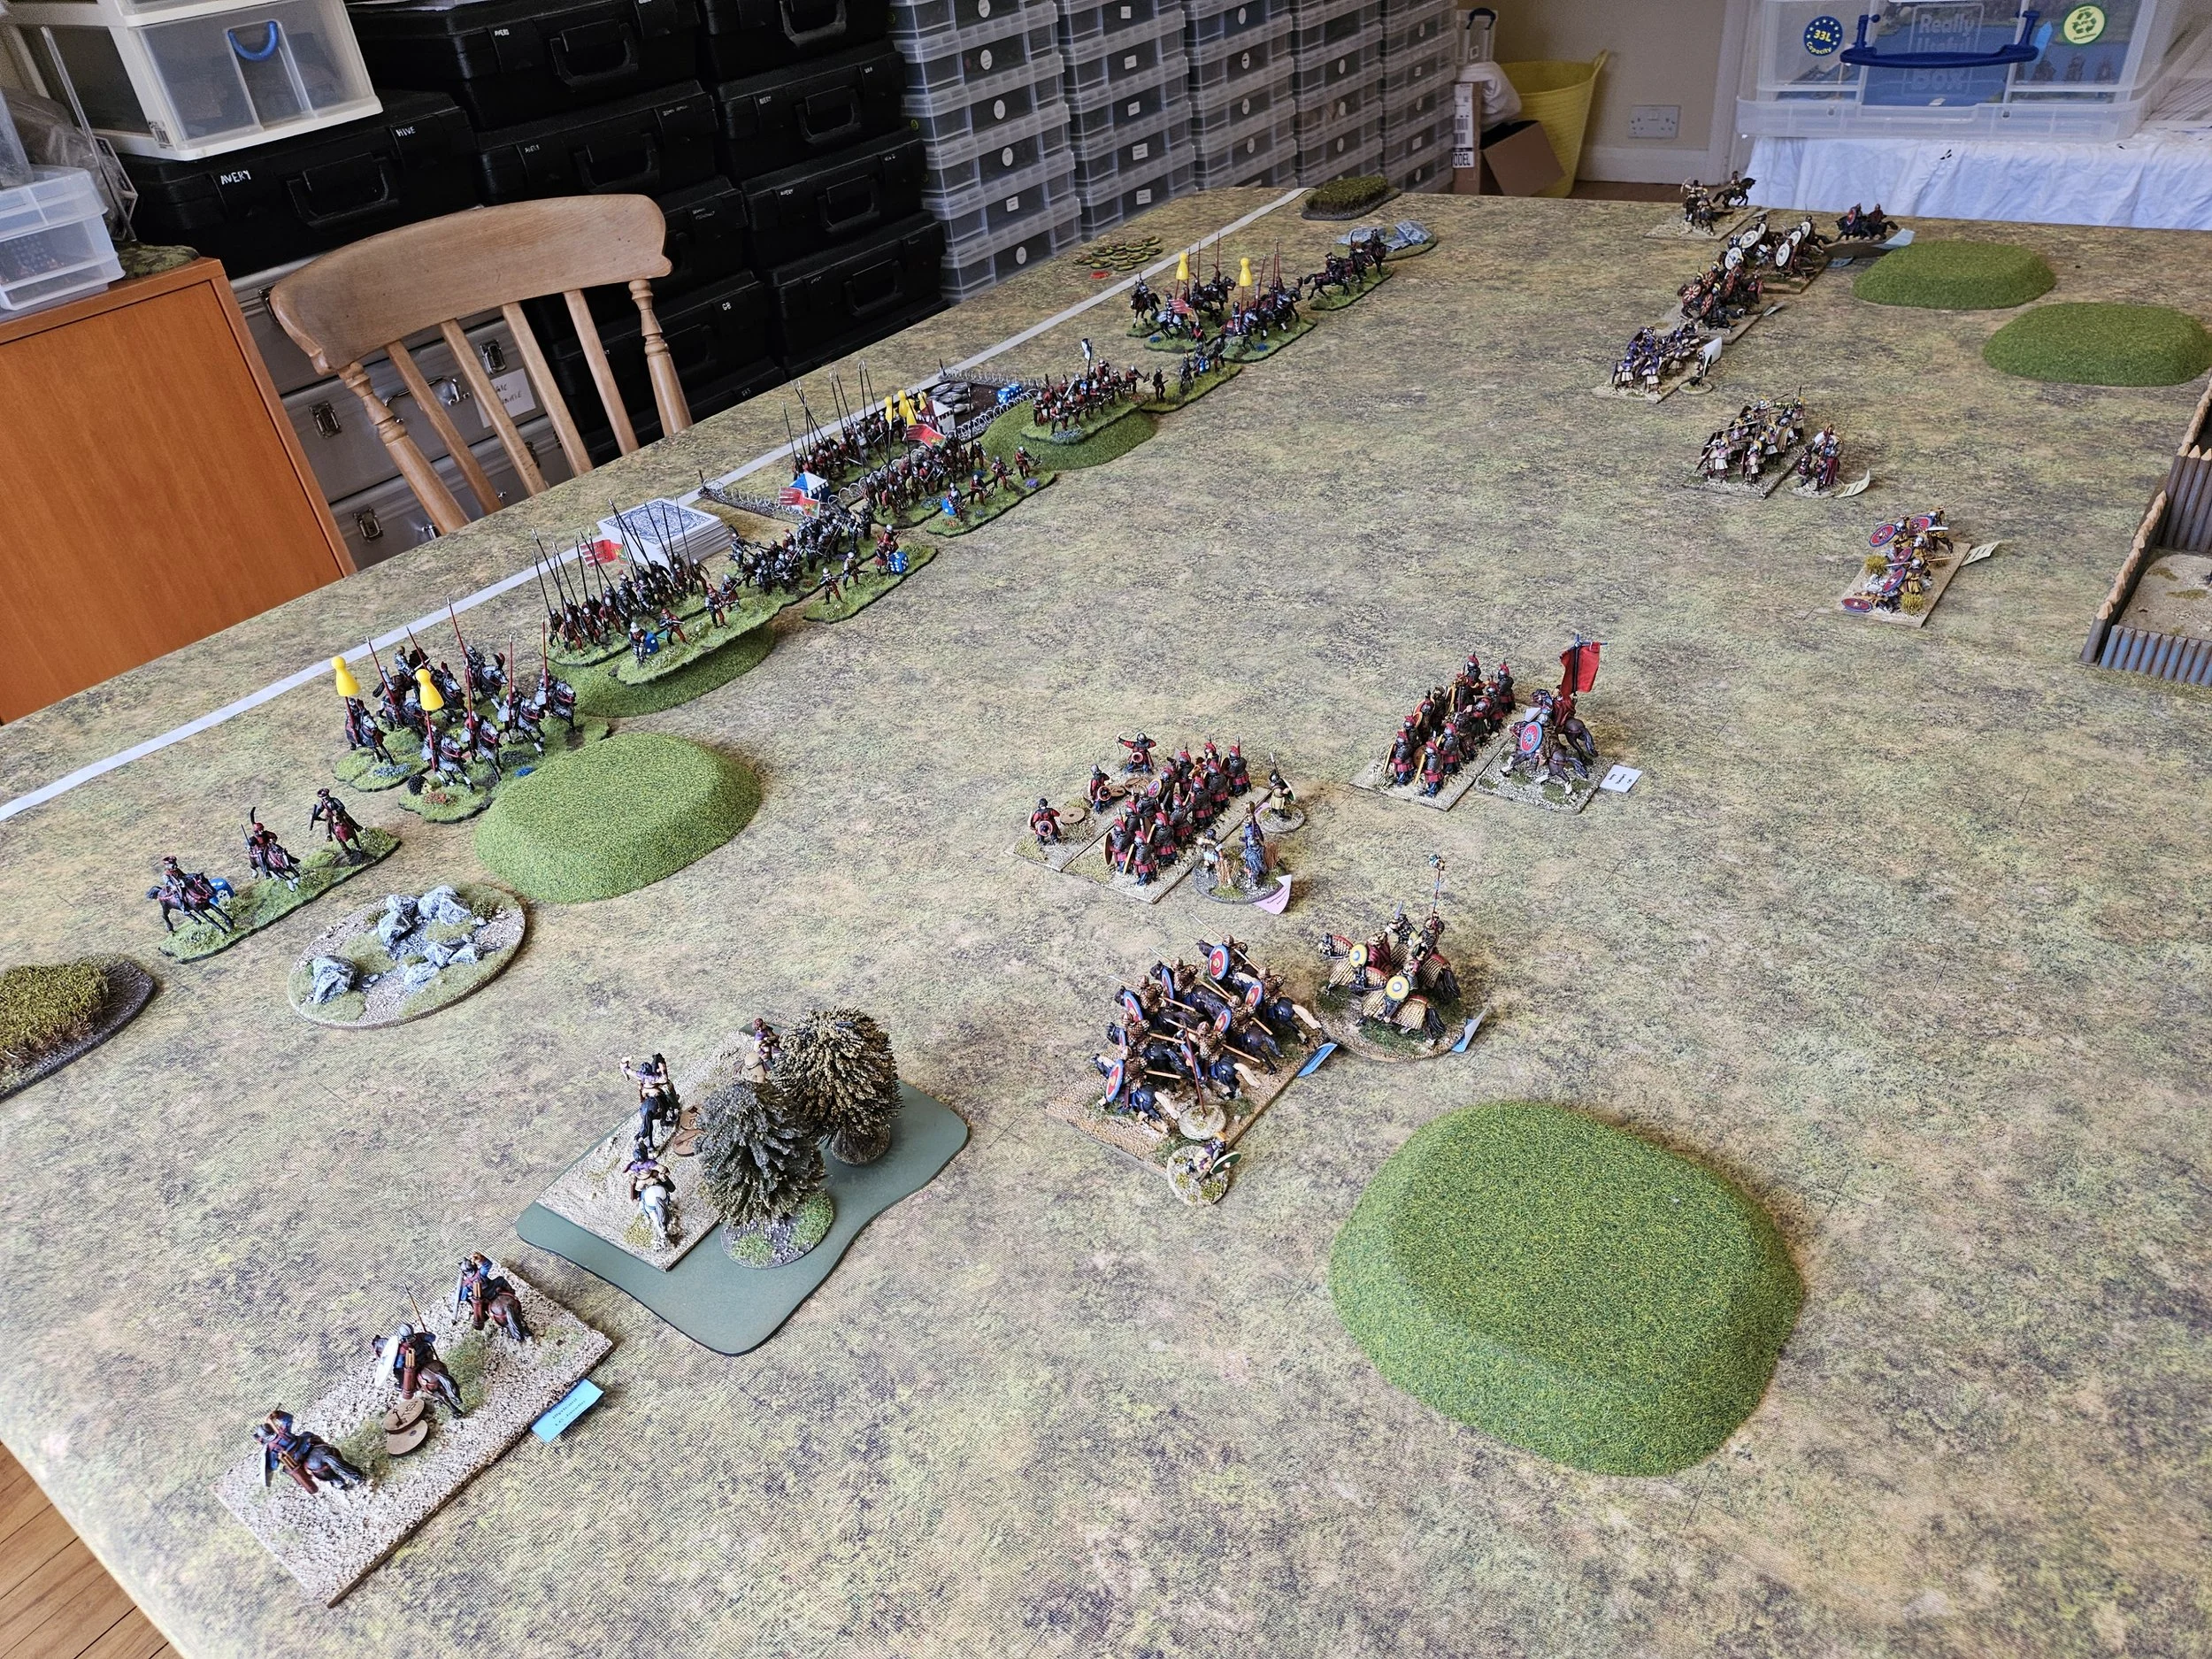
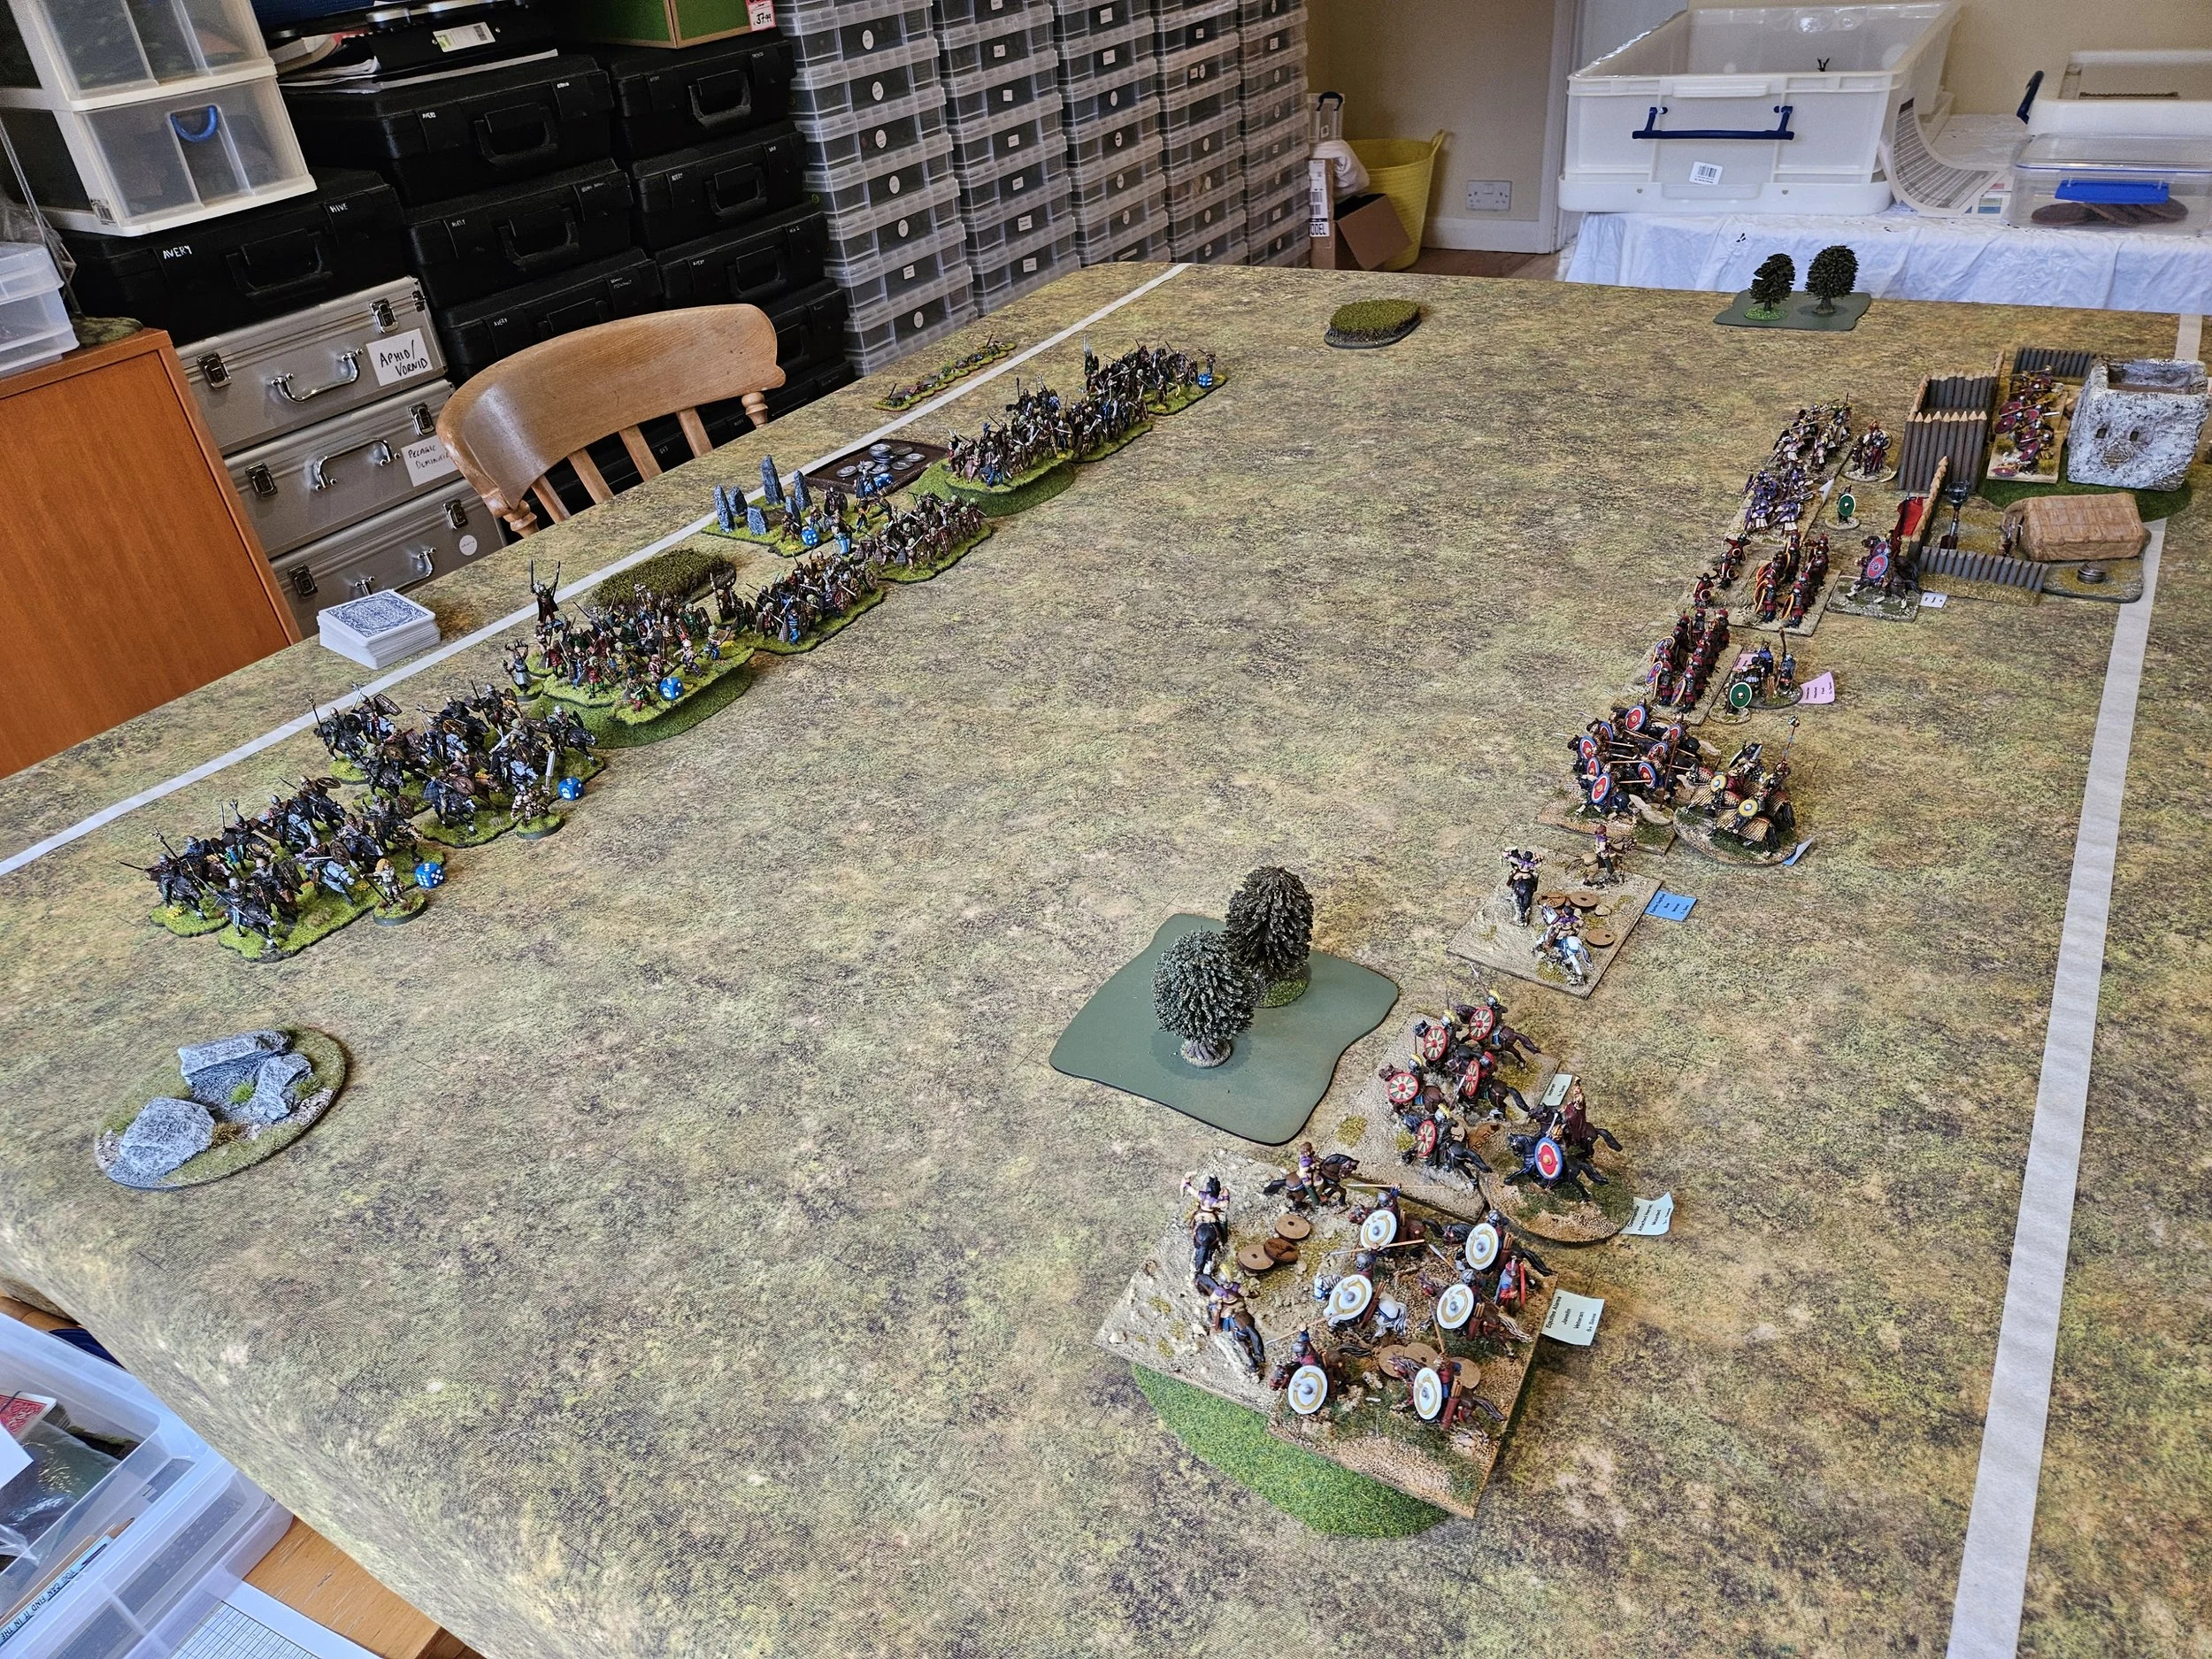
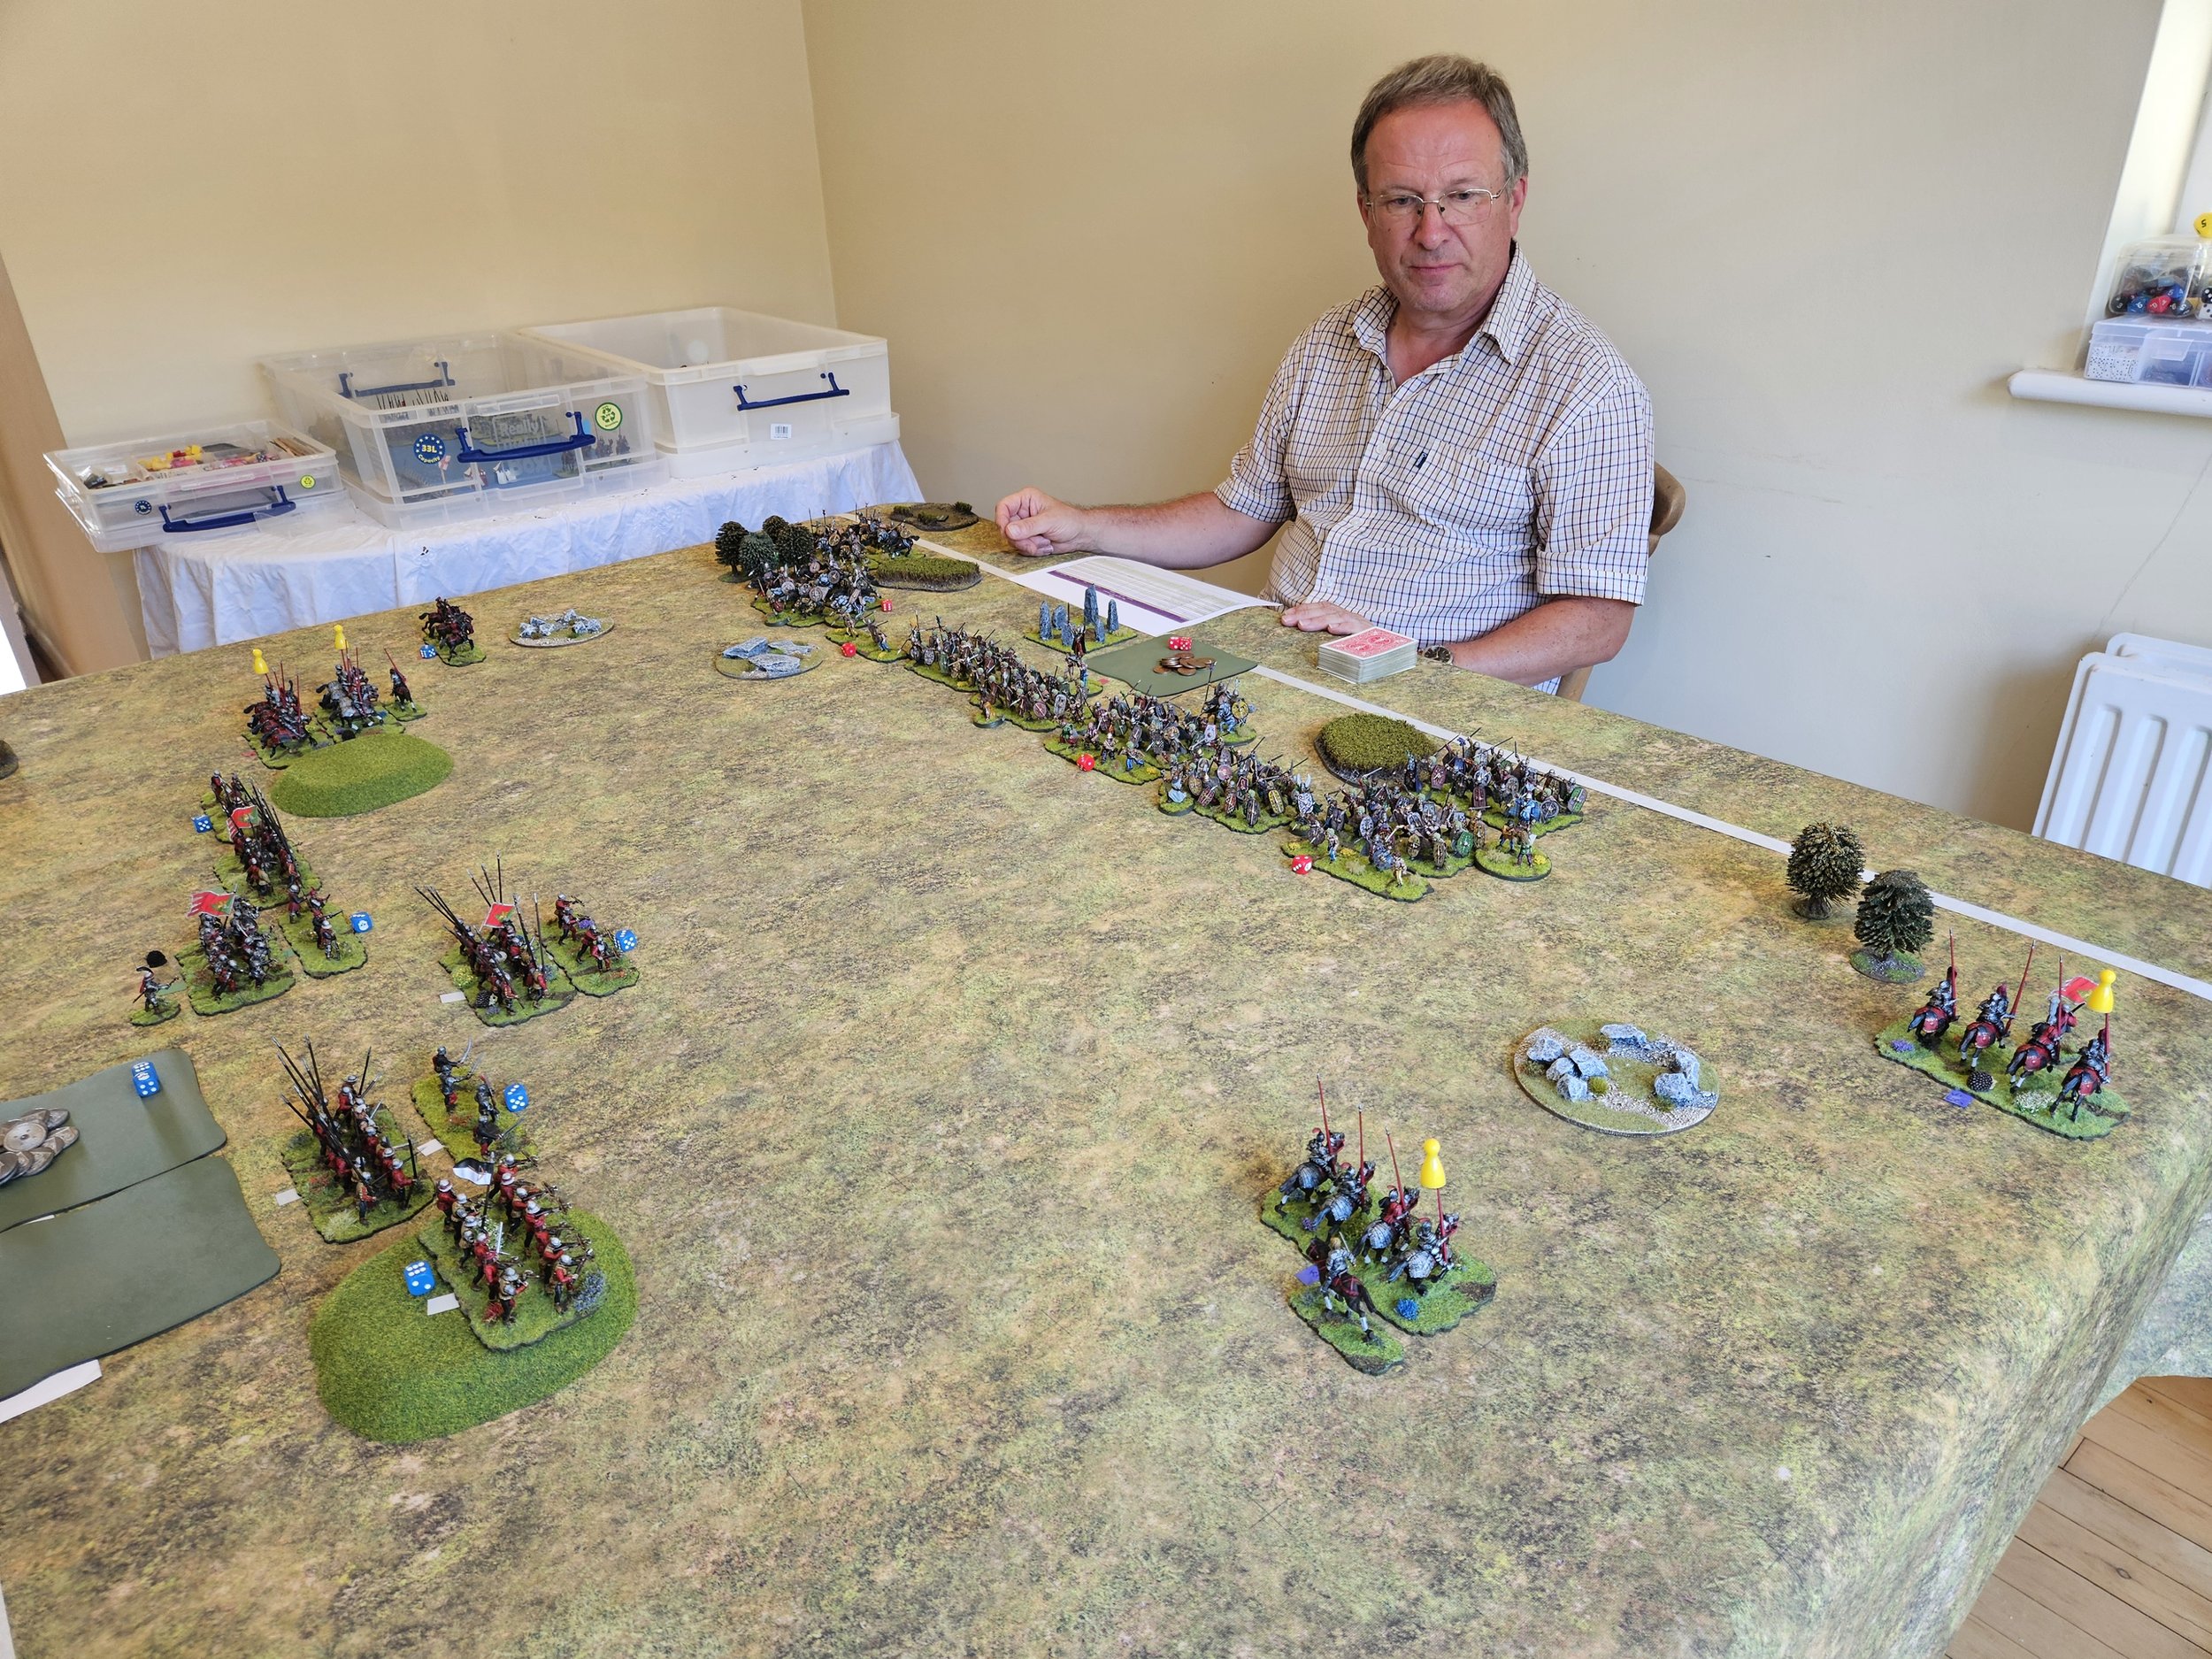
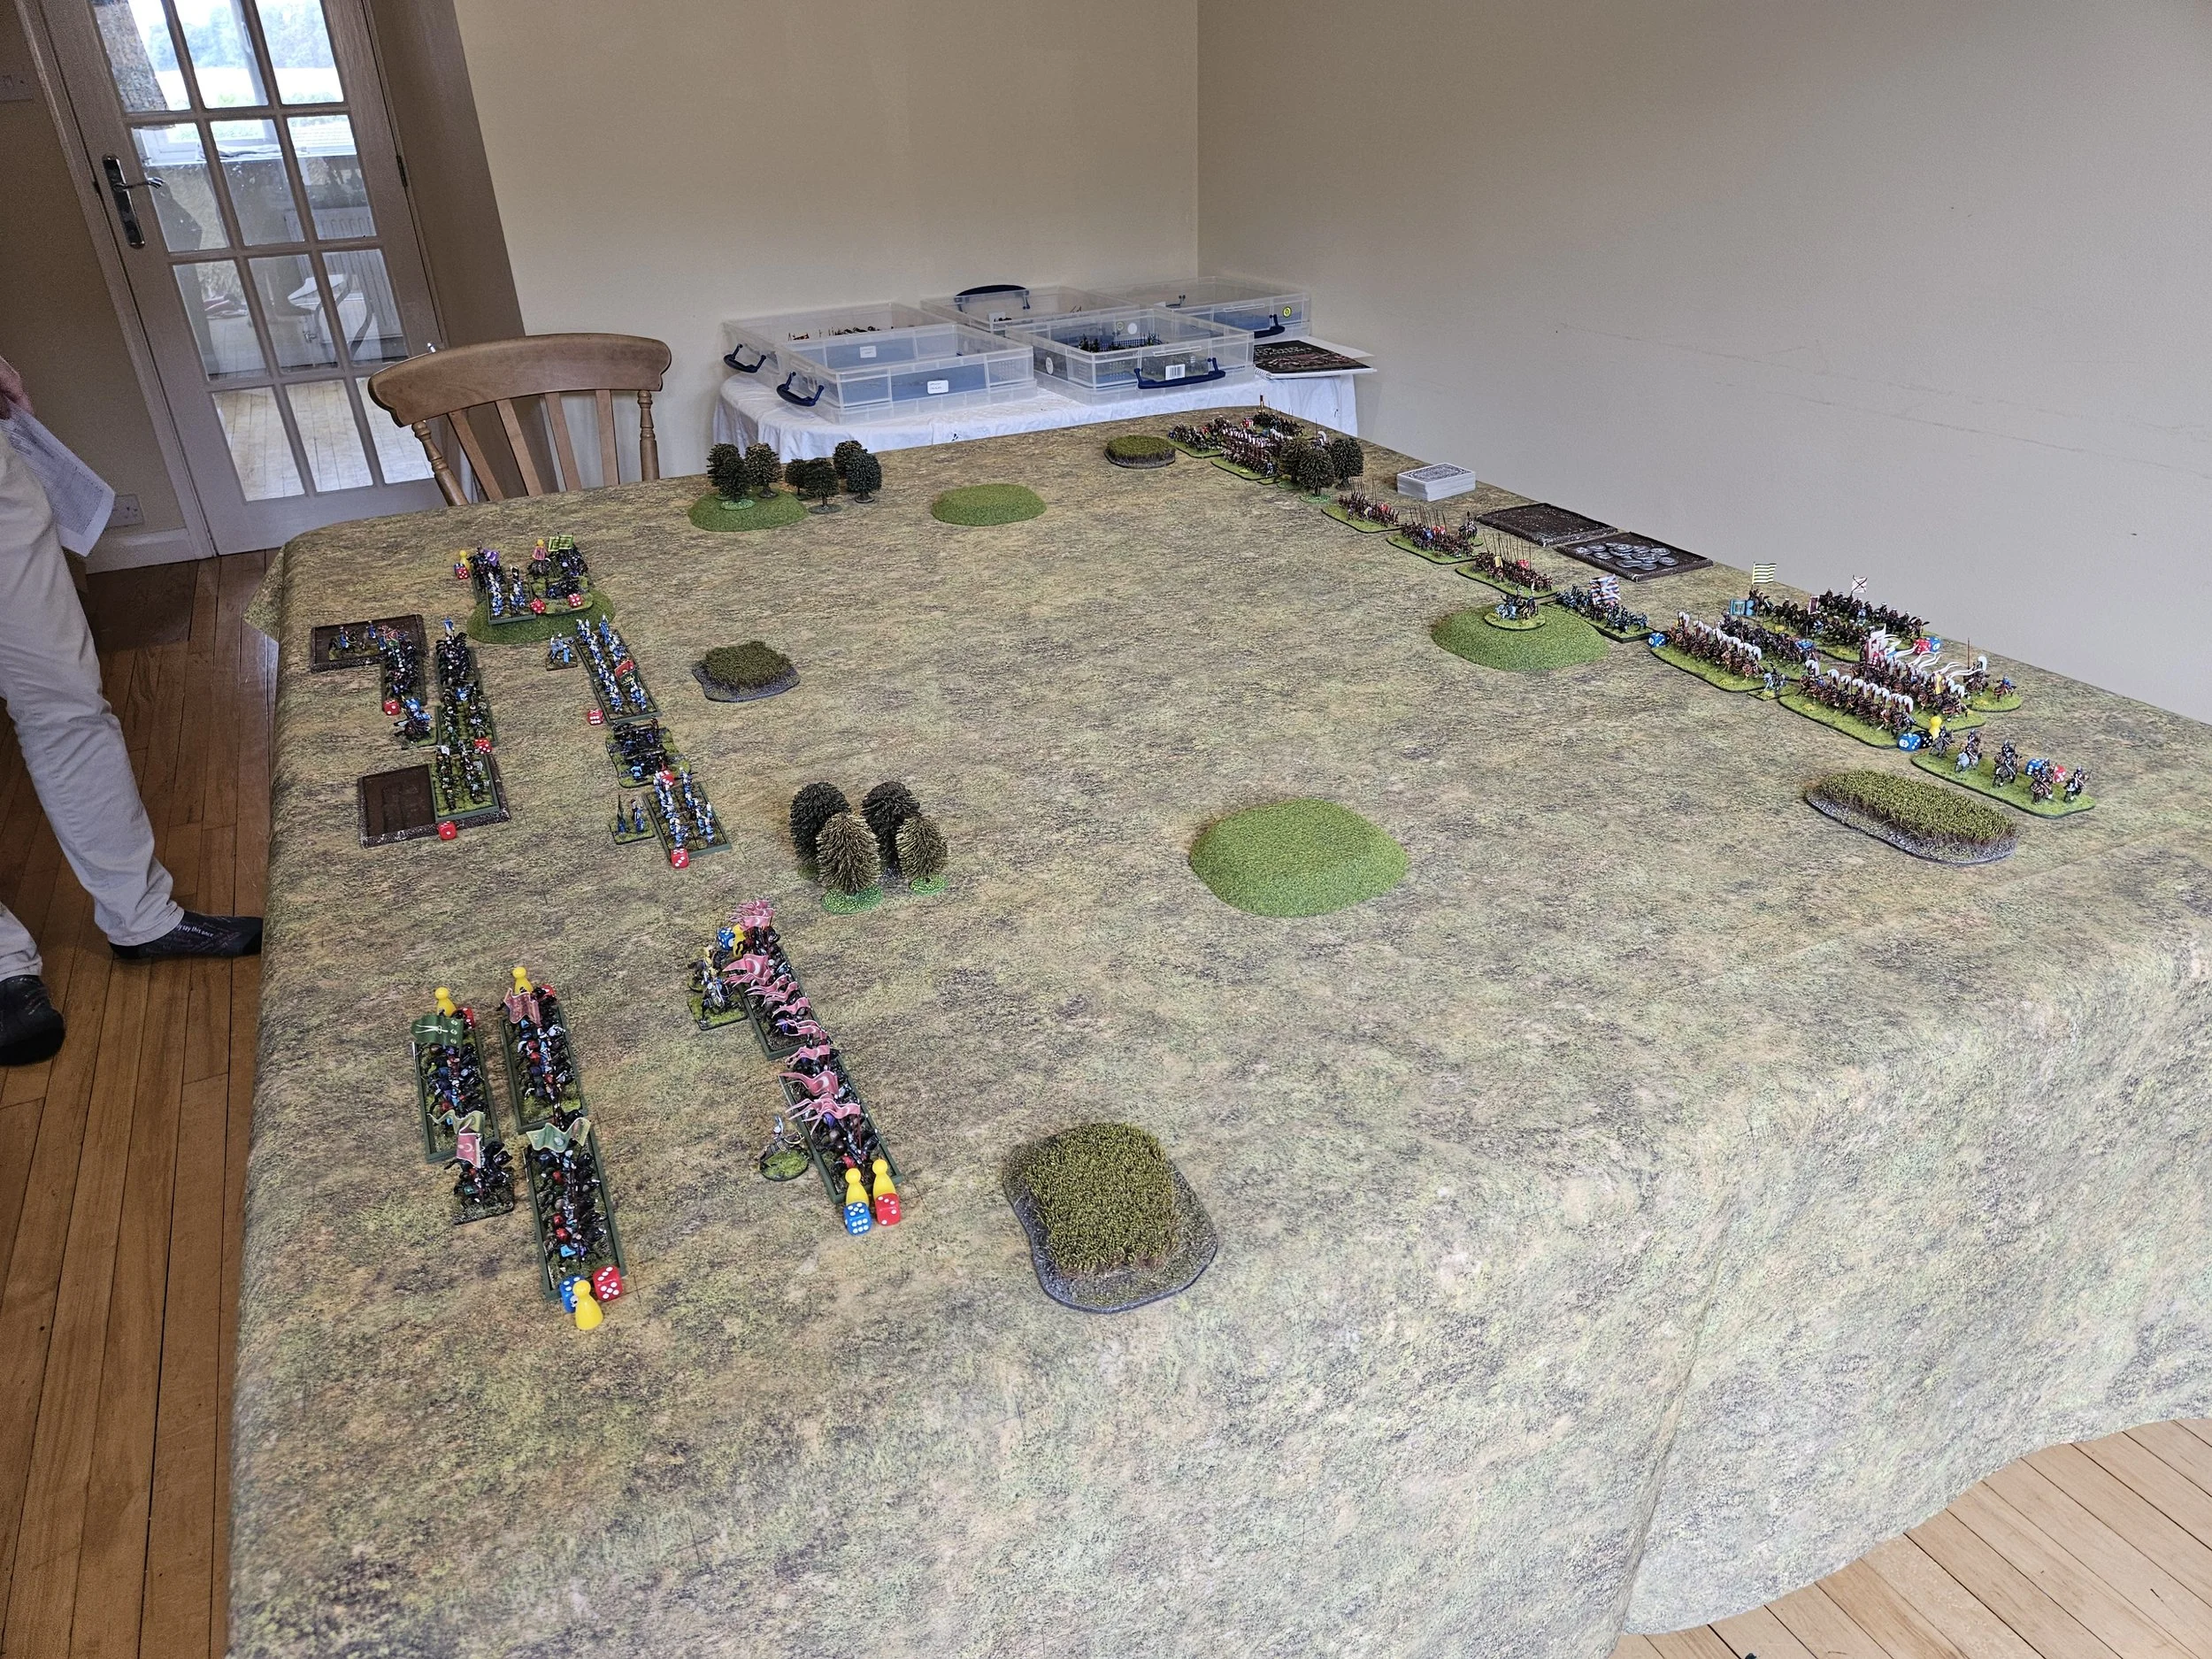
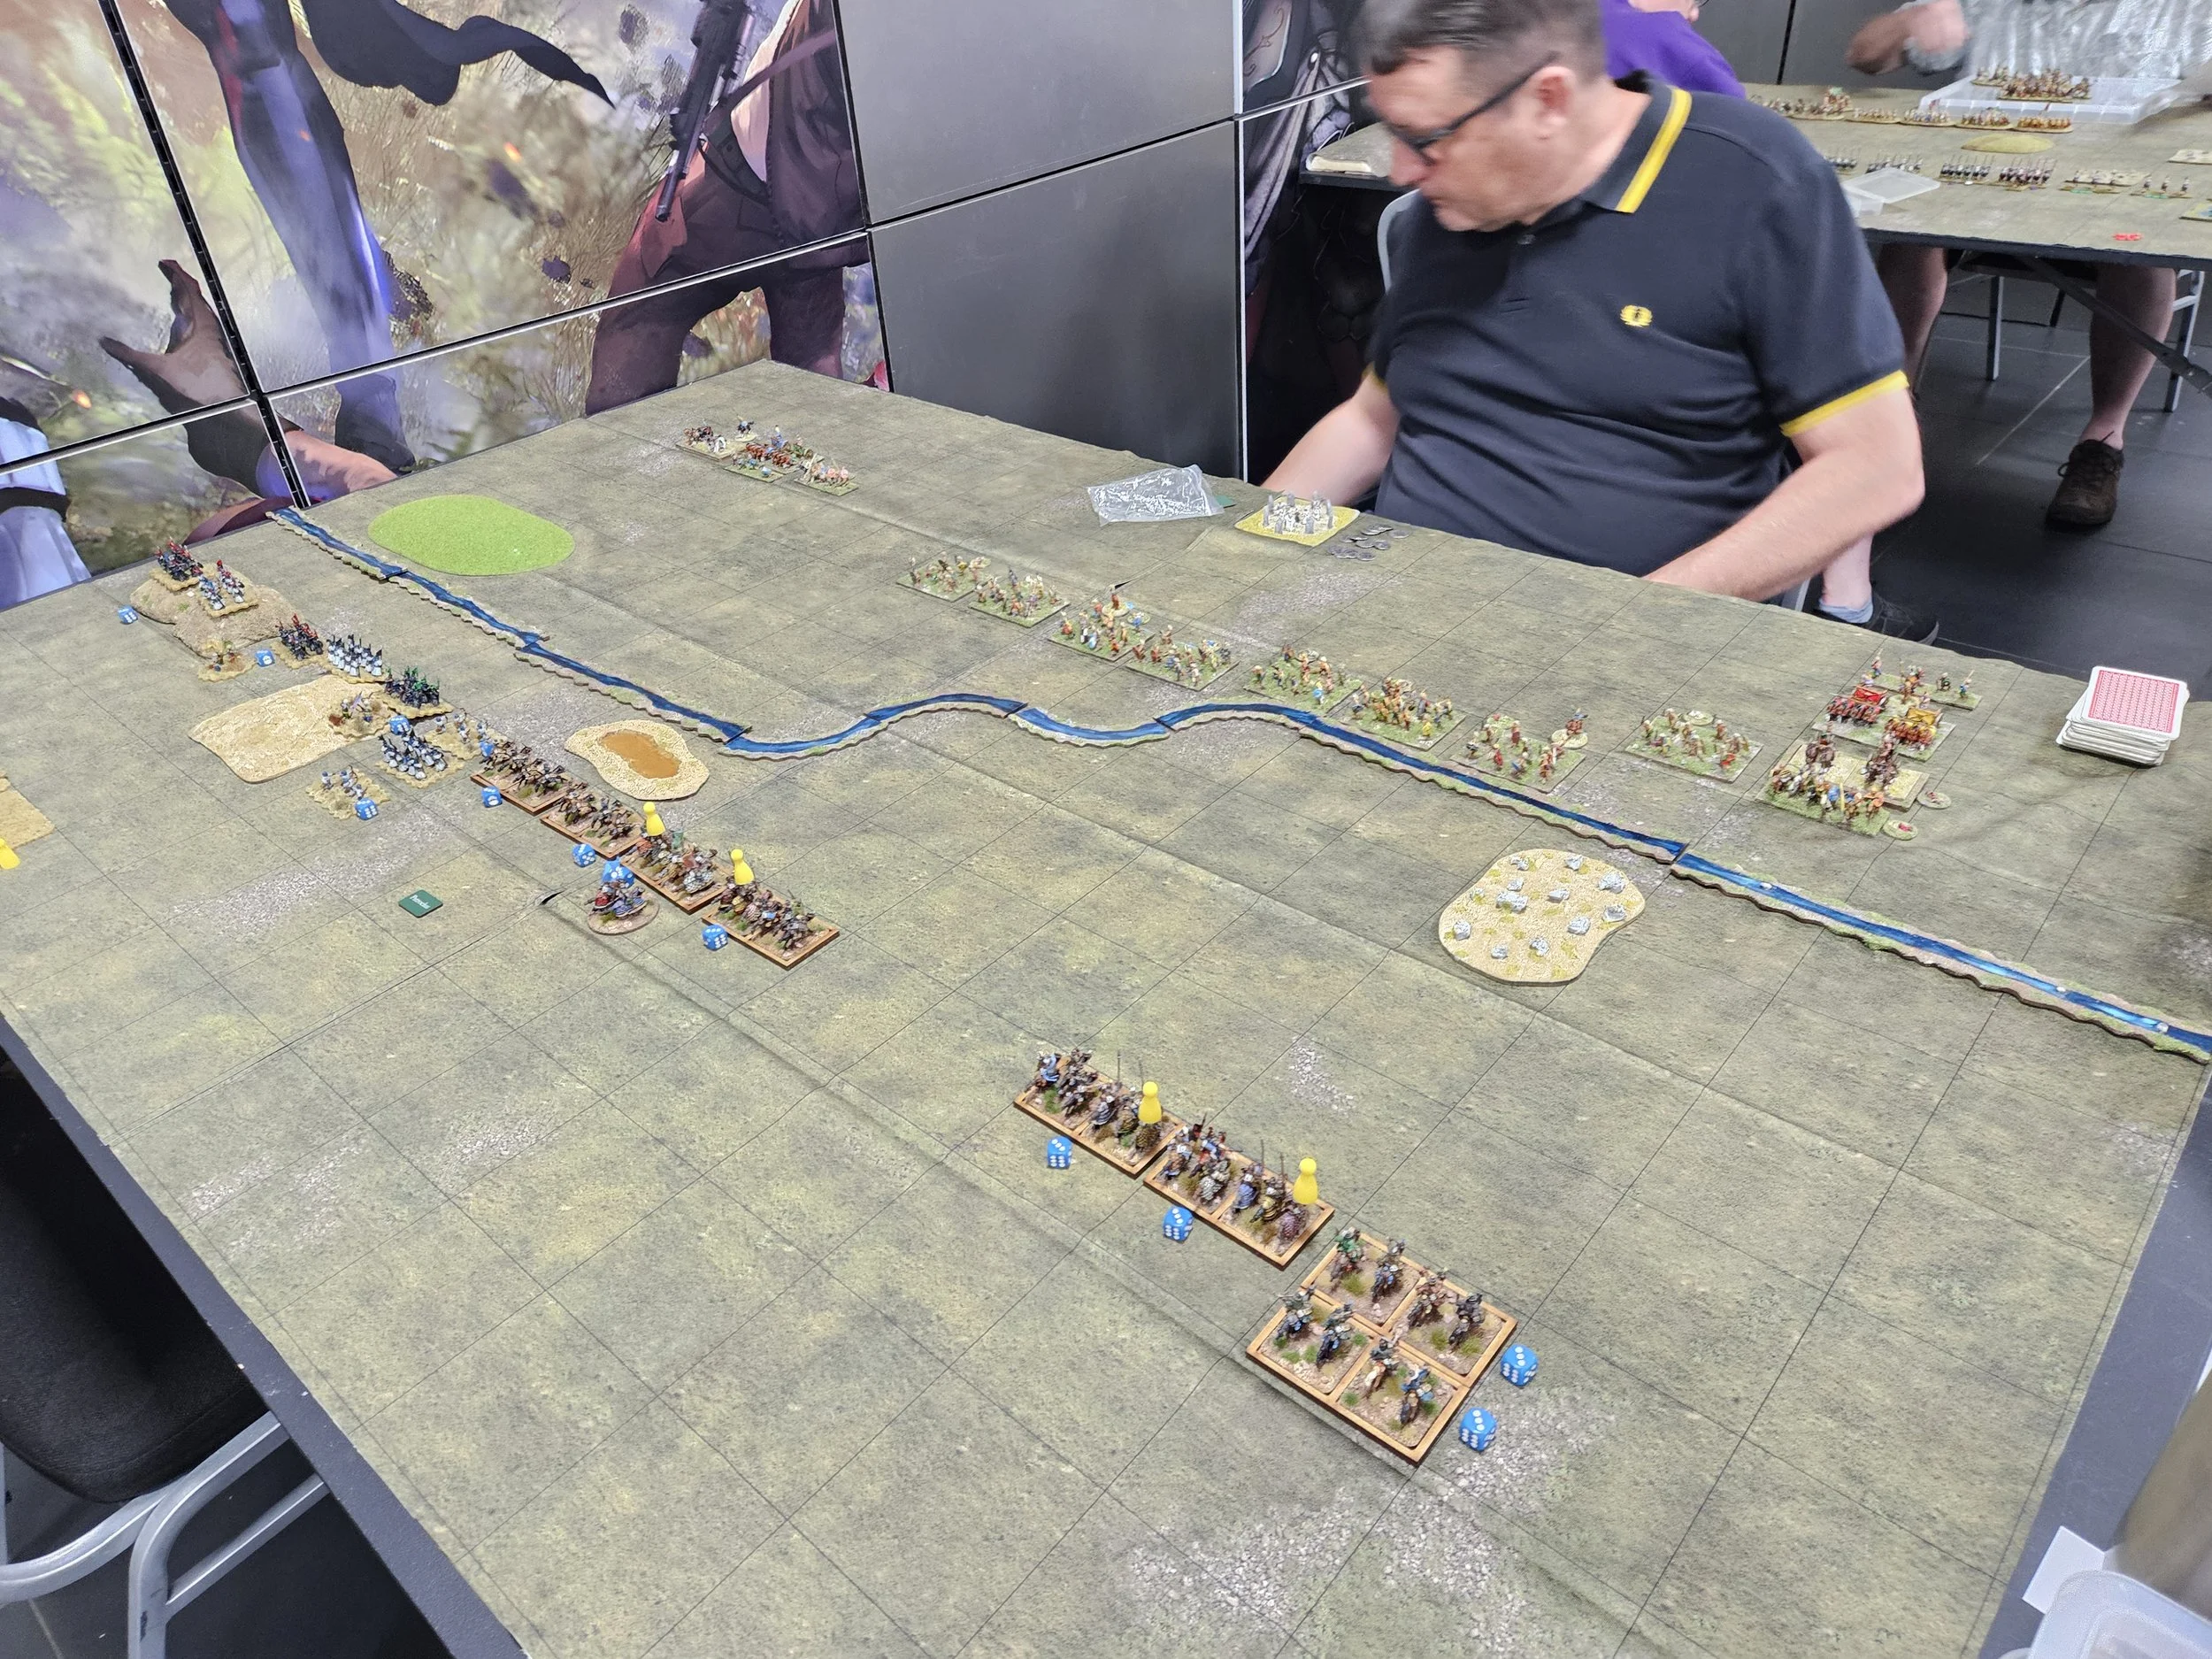
With the TwoTheStrongest (2TS) competition fast approaching, Peter and I have been practicing with our new army: the Northern Dynasties Chinese. For this game, I would field the Chinese and Peter would command a late Roman force.

The Chinese won the scouting and, after deployment, my plan evolved as follows:

  • on the left flank, a command of light cavalry would keep the expensive Roman right hand cavalry force occupied

  • on the right flank, I would overwhelm the Roman cavalry there then sweep in to take the rest of the enemy army from the side

  • I would move my centre gradually towards the right, seeking to beat the enemy infantry by bowfire and sheer weight of numbers

Well, that was the plan, but how did things actually work out?

The left flank plan worked exactly as it should have done: my three light cavalry units kept the whole Roman cavalry command occupied for just about the whole battle, tying up double their number in points terms thus giving me a points-advantage in the clashes in the centre.

On the right hand side, a slow start by my heavy cavalry meant that the Roman troops managed to get forward in time to prevent me lapping around their left flank.

My heavy cavalry, however, pinned the Roman infantry in place in a Mexican standoff as superior numbers of cavalry and lights dealt with the enemy horse on the far right, but effectively this flank was a stand-off until the end of the battle when my cavalry and lights finally managed to win their fight and start to lap around the Roman flank.

It was therefore in the centre that the battle was decided, with my plan working well as the advantage I had given myself by tying up his cavalry on the right with lights proved successful.

To summarise the action, we went head to head, unit by unit, but I had more decent fighting units that I could deploy and the extra numbers eventually overwhelmed the Romans in the centre.

There were obviously a few dicey moments, but the combination of my heavy cavalry with lance and bow and light horse archers worked very well: shoot with the bow until the enemy becomes disordered, then charge in with the lance to finish them off.

The coup de grace actually happened on the right flank, when some heavy cavalry charged into the rear of some retreating Roman horse, taking Peter’s last victory medals and giving me the victory!

So this victory gave me my second against Peter in as many games: cue checking the news for other signs of the coming apocalypse!

More 15mm Hittites

Last year I put together a 15mm Hittite army using the excellent Red Copper Miniatures sculpts printed by Baueda in Italy i.e. before it was sold to the UK.

They are lovely figures, full of animation, that take the paint really well. Only two problems: one, Baueda was sold to the UK so no more sculpts easily available; and two, no figures suitable to use as Heroes (give you a combat bonus in To The Strongest, my favoured ruleset for Ancients).

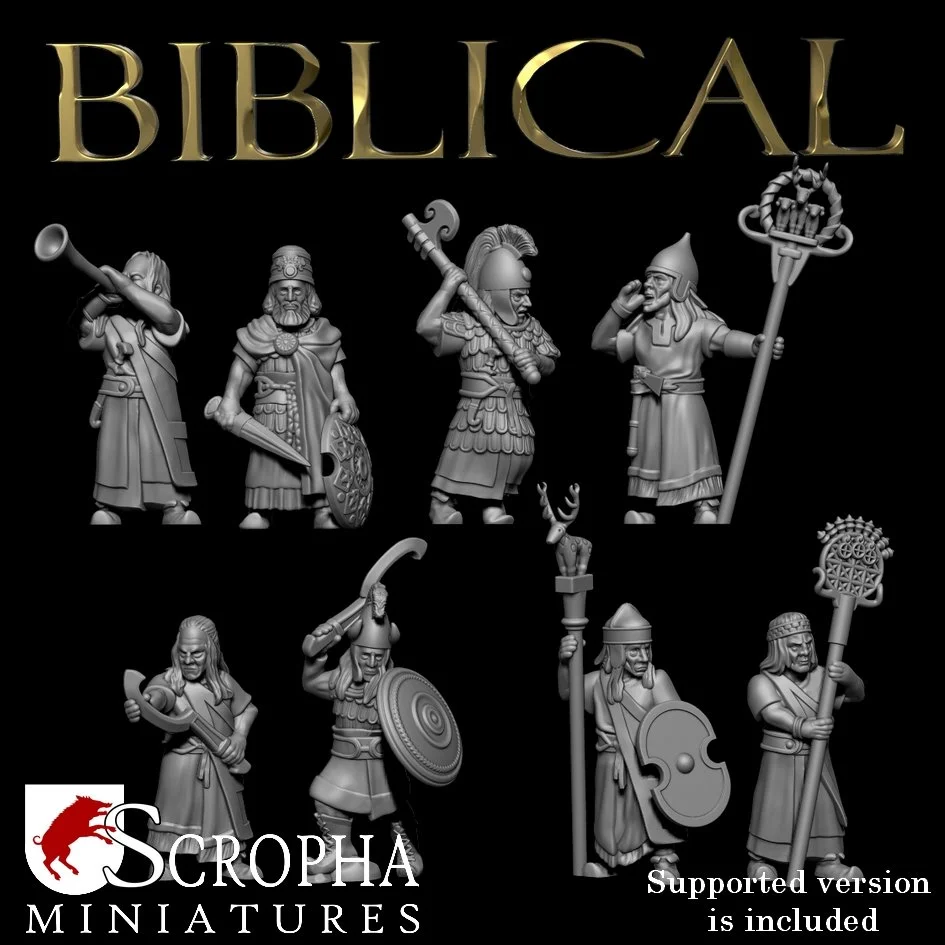
Time to try out a new 3D print sculptor: Scropha Miniatures. These looked to be beautiful figures on a par with Red Copper, and with a slightly different emphasis to their ranges:

  • Mycenaeans

  • Hittites

  • Mitanni

  • Indians / Classical Indians (incl. elephants, cavalry, infantry)

  • Hebrews

  • Ancient Persians

  • Assyrians

The Hittite command group looked to be ideal for what I wanted (see pic, right) but I couldn’t find anyone in the UK who offered them for sale. Step forward Studio Historica in Greece: who have a very wide range of 3D prints for sale.

Unfortunately, the Hittite Command Group in 15mm wasn’t listed, only the 28mm version, but a quick email later confirmed that they could scale them down for me…and they even sent me a picture of a test print that they had done. Price and P&P was not bad, so I ordered the heroes and a mix of Syrian and Hittite archers as I also didn’t have any Hittite bowmen bases.

The figures arrived a couple of weeks later, and did indeed look as good as the pictures:

My favourite is the chap testing the edge on his khopesh sickle-sword, but the two warriors on the left are nice poses as well.

Onto the archers and here, as I said, I used a mixture of Hittite and Syrian bowmen:

Again, some lovely sculpts that really take the paint well.

So Scropha Miniatures are a big “recommended” from me, and Studio Historica proved themselves an excellent supplier.

Reinforcements for the Venetians

Friend Nigel often fields some kind of Condotta army at the tournaments we both attend, and one troop type that usually causes his opponents all sorts of annoyance are the Rotularii or “sword & buckler men”.

I’ve faced these a couple of times, and can attest to their effectiveness, so I thought it was about time I reinforced my 28mm Venetians with some Rotularii of my own.

Now I finished the Venetians as a project some time ago so, aside from wanting to make a couple of coolio camps (canals, piazzas, gondoliers or something like that!), up to now I’ve had no intention of adding more units…which meant that if I wanted to field some more infantry, they were going to have to come from the bits box as I wasn’t going to buy any new figures just to get four light infantry types onto the table.

Not sure how historically accurate they are, and they are a real Frankinstein collection of odd bits and pieces (knights, foot soldiers, even light cavalry) but they look suitably ferocious to me!

And talking of finishing projects, here’s the last of the Arabs that I’m planning to add to the collection: a couple of units of Javelinmen just in case the ground is very rough!

These are 3D Breed sculpts of 15mm Moorish Warriors printed by Geek Villain. They are very nicely detailed figures that take the paint very well.

Again, however, there were some problems in getting the models to stand up without support: not as bad as the Moorish cavalry from the same source, but not as good as the Red Copper prints I’ve been using previously.

I particularly like the way the shields have turned out.

So that’s hopefully the last of the Arabs I’ll need to paint: a quick look at the my Painting Challenge gallery for 2025 shows that Arabs are almost all that I’ve painted this year. Not sure what’s next, but they won’t be wearing mostly white!

More Caliphate Arabs

…or rather Berbers!

The main difference between the early “Arabic” armies and those from Caliphate times is the composition of the main body of troops, with North African Berbers becoming the dominant constituents.

Havign painted 160 Arab infantry, then 160 Berber spearmen, it was time to add the other troops I’d need for a fully rounded force.

First up were the mainstay of many Berber armies: the javelin-armed light cavalry:

These are actually Moorish medium cavalry from 3D Breed, printed for me by Geek Villain. I couldn’t find any 3D printed Berber light cavalry, and the 3D Breed Moorish archers had proxied very well for Berber light infantry, so I thought I’d give these guys a go.

They are very nice figures that take the paint very well. The only problem is that they come without bases and, unlike every other 3D printed models I’ve bought (including the Moorish light infantry from the same range) I couldn’t get these b*ggers to stand up unaided.

This meant that I had to use Superglue to attach them to their permanent bases and paint them in two’s like that rather than use the lolly-stick temporary mounts that I would usually use. Not a catastrophe, but certainly a pain in the backside as, obviously, lolly-stick pounted figures are based to make them easy to paint and permanently based troops are not!

This was very disappointing as I have loved the other 3D Breed miniatures that I have bought without reservation. Still, they are done now, and look very good.

Next were some Berber archers:

These were Red Copper 3D prints: the last of those printed for me by Baueda Italy before they were sold to the UK. Nice figures with plenty of animation and very easy to paint.

All the above were painted in the same way as the other Berbers: undercoat in Grey Seer, then splash on a base coat on Contrast White paint. Leave to dry. Then dry brush a bright acrylic White over the Contrast White to give you the folds in the robes. Then paint the faces, eye slits and hands in a dark flesh Contrast paint. After that, the sash and headdress in a Contrast colour of your choice: here I used Stormfiend Blue.

Then it’s just a matter of finishing the figures. The Spear shafts are in Wyldwood, the pennants in a variety of Contrast colours. The shields are Wyldwood (painted at the same time as the spears) then drybrushed in bronze then washed with Agrax Earthshade.

Just some javelinmen to go now and then the Arabs/Berbers are finished…or as finished as any army can be!!

Adding to the Caliphate

With my 15mm Arab Conquest army now veterans of several tabletop encounters, I am now in the process of adding units in order to expand it into one of the later caliphate armies such as the Umayyads who invaded the Iberian peninsular.

First up are the infantry, who transitioned from largely Arabic warbands to units of Berber spearmen sometimes incorporating archers. This was actually a real pain: having painted 160 Arab warriors, I now had to paint another 160 Berber spearmen!

The Black Guard veterans and a couple of the units had already been done (see post from 20th May) so it was now just a question of slogging through the rest. These are all Red Copper sculpts printed by Baueda in Italy before they were sold back to the UK.

Luckily the Berbers are easy to paint: or at least they are the way that I paint them!

Undercoat in Grey Seer, then splash on a base coat on Contrast White paint. Leave to dry. Then dry brush a bright acrylic White over the Contrast White to give you the folds in the robes. Then paint the faces, eye slits and hands in a dark flesh Contrast paint. After that, the sash and headdress in a Contrast colour of your choice: here I have used Stormfiend Blue.

After that, it’s just a matter of finishing the figures. The Spear shafts are in Wyldwood, the pennants in a variety of Contrast colours. The shields are Wyldwood (painted at the same time as the spears) then drybrushed in bronze then washed with Agrax Earthshade.

Easy and quick to do: about three hours per unit.

TTS AAR: To The Smallest Game 2: Arab Conquest vs Later Achaemenid Persian

My second game at this year’s To The Smallest was a repeat of the warm-up game I’d had on Friday evening: my Arab Conquest army versus Adrian’s Later Achaemenid Persians. I’d won that game, so that had to be a good omen for this one…didn’t it?

Looking at the Persian deployment, they seemed very strong on my left, so I determined to hold back that flank and sent the rest of my army forward as soon as possible, helped by the fact that my infantry was all mounted.

The idea was that I used most of my army - all except a covering force on the left - to beat half of his army, then turned to fight the rest of his troops from a position of being in the lead coins-wise and having a attacking-the-front-and-flank advantage.

Things started reasonably well. My green flag Jund cavalry began pushing his horsemen back, the Daylami veteran javelinmen managed to disorder the mercenary Greek Hoplites and kill their general, and Adrian still hadn’t committed his troops on the right, meaning I was tying up more points than I had committed there.

Unfortunately, disaster then struck!

If you are pushing forward hard on one side of the battlefield, you need to make sure that you watch out for enemy troops from the flank turning through 90 degrees and then hitting your advancing units in the flank.

My two non-fanatic units of Warriors had got a square forward of the main battle line, showing Darius’ veteran lancers (plus army standard) a little too much of their flank. I had my covering force on the left ready to intervene should the lancers turn, but really needed to pull the left hand Warrior unit back one square to be safe.

Two goes (I had a general present) to get 4+ on the cards and I failed both. There’s only a 9% chance of that happening!

Adrian took full advantage, and smashed his veteran cavalry into the flank of the stuck-in-the-mud Warriors, smashing them from the field. Their General died too, meaning that I gave up five of my sixteen coins in one loss!

Worse, there was the second unit of Warriors also with their flank exposed. Adrian hit that too, doubly disordering it with other enemy troops sending it from the field shortly afterwards. For those keeping count, that’s eight or half my coins gone!

But I wasn’t giving up yet. As planned, I’d smashed Adrian’s left flank (i.e. on my right) and was within Ames Ace of taking his camp there too. I had taken seven of his coins so far, so although I was losing, it was not by a huge margin, especially as Adrian’s right flank, now committed as he could see victory in front of him, hadn’t achieved very much.

Unfortunately, again, Darius and his pooping veteran cavalry weren’t finished yet!

They carried on their rampage across the field and hit one of my Fanatical Warrior units in the flank. They rapidly lost their devotion to the cause and fled the field, taking another General with them along with my lst few coins!

Although a disappointing result, it had been a great game of To The Strongest.

I must confess that the early manoeuvres had left me thinking that, after a grind, I could probably win the game…but Adrian spotting the slightly too advanced warband, me failing to move it backwards, and then Adrian superbly taking full advantage not once, not twice but three times in a row rightfully gave the win to the Persians.

It just goes to show how one event can decide the course of a battle, and it’s perhaps fitting that the unit that won Adrian the game (and then some!) was the one I had destroyed to win the warm-up game, Darius getting his revenge!

Enter the Caliphate Arabs

With my 15mm Arab Conquest army now complete, it was time to start looking at ways I could add units in order to run it into one of the later caliphate armies such as the Umayyads who invaded the Iberian peninsular.

First up was to look at the infantry, who transitioned from largely Arabic warbands to units of Berber spearmen sometimes incorporating archers. Some of these could be veteran, so I decided to paint up a couple of units as “Black Guard”.

Painting an entirely black-clothed figure is always quite hard so, if it helps, here’s how I do it. Undercoat in Grey Seer then Contrast black over the entire figure except for the spear, shield and any flesh. Leave to dry. Lightly dry brush a medium grey. Very, very, very lightly dry brush a white. Paint the odd bit of clothing a dark blue or dark purple to add a bit of variety. Then finish the spear, shield and flesh as normal (the shields are painted Contrast Wyldwood then dry brushed in bronze then given an Agrax Earthshade wash).

These I followed with a couple of “standard” units, one of which contained archers and one of which didn’t:

All the infantry are Red Copper sculpts printed for me by Baueda.

Having seen a couple of fantastic-looking Arabic armies at the recent Ewelme competition, I’m a bit disappointed I haven’t got any big flags with the units, but I do like the way these have turned out…which is lucky, as I have another four units to complete!

Arab Camps and Extras

Now that the infantry and cavalry for the Arabs are done, it was time to fill in all the extras you need to actually get the army onto the table: primarily camps, a vital component of your To The Strongest force.

In the past I have tended to just use a generic square base for my camps - requires no effort and is practical in terms of a place to store coins, spare ammo etc - but seeing all the beautiful camp dioramas at competitions has inspired me to try and create the same for my troops. I’m sure they will fight better with nicer camps!

First up was the camp that comes with the Red Copper Arabs, here printed for me by Baueda and, as with all the camps you’ll see today, mounted on a 10cm x 10cm base.

The inside of the tent is detailed right to the back wall: laid out as if for a banquest, with sofas, cushions, rugs, a low table etc.The roof comes separate, so you can paint the inside without any difficulty and then glue the top on afterwards.

This is a really nice piece that is actually very easy to paint as the roof and walls have subtle markings for where the stripes go. The inside is easy too: everything is clearly defined and not difficult to get a brush to. Highly recommended.

The second camp is also from Baueda, and consists of a large tent. No markings for where the stripes go, but as it’s a big piece it’s pretty easy to get a decent stripe effect anyway. The model comes complete with relief folds and creases, so the base colour Contrast paint works well to show them off.

The camels and handler are from the Red Copper Arab civilians set and, as you can see, paint up very nicely.

The large space in front of the tent, by the way, is space for a defending unit or for keeping coins, ammo markers etc. I wanted to make sure the camps were practical as well as good looking!

I do sometimes field three camps, so here is a third comprising of two round tents and a tree!

I can’t remember where the tents came from (I think Khurasan) but they are metal and really make the base heavy! The tree came with the Baueda tent, above, but worked better here.

The three figures and the ‘shop’ also came from Red Copper’s Arab Civilians pack, and are lovely figures full of character and animation. I think I could have made a better job of the tents (maybe trying vertical stripes) but they look okay done like this.

Here’s a look at all three camps together:

Finally for this post I also needed some foot commanders and mounted heroes (for the Jund cavalry). These I sourced from Blue Moon Manufacturing via Old Glory as the Red Copper range is limited in terms of command figures, and the 3D Breed Moorish commander is £4.50 for one foot and one mounted figure!

I must go back and take another look at the rest of the Blue Moon range, as these paint up beutifully. The Heroes are from their Arab Personality pack, and I particularly like the chap with the hawk on the left as you look at the picture. I am, however, not sure about the chap second from the right: I have painted what he has in his hand as a stick grenade, as that was what it looked like, but it’s probably a torch or a mace of something…although I think the stick grenade would be more useful!

So that’s the Arab Conquest force done: on to converting it into some of the more ‘organised’ Arab forces by substituting Spearmen for Warriors.

Arab Light Infantry and Command

I’m still working my way through all the peripheral troops required to field my Arab Conquest army.

First up are the light infantry archers, who I have painted as Berber types using Contrast Apothecary White highlighted with white acrylic, all over a Grey Seer undercoat. Sashes and turbans painted with Contrast Stormfiend Blue.

The models are 3D Breed Moorish archers printed by Geek Villain. I like their slightly squat, cartoonish look, reminiscent of some of the FoW ranges.

Painted the same way, but with the addition of a light blue wash on their trousers and cloaks, here are a couple of units of light infantry javelinmen.

These models are Red Copper sculpts printed for me by Baueda Italy i.e. before they were sold. They are beautiful sculpts with brilliant animation and detail. The best of their Arab Conquest range in my opinion.

An army needs its commanders, so here are two mounted commanders with some more ‘mounted infantry marker’ camel riders in the background.

The coammanders follow the paint scheme I’ve used for the rest of the Jund cavalry and Arab infantry i.e. a mix of bright colours specifically designed to contrast with the Berbers and Bedouin.

The figures are also Red Copper sculpts. Note the chaps holding the hawks on their wrists: really nice figures that Claudio at Baueda specially printed for me as a pack of five rather than as one of the models in a mixed pack of commanders.

The camel riders in the background are Forged in Battle.

Speaking of which, an Arab army sometimes needs some Daylami infantry: fierce tribesmen with javelins and big, multi-coloured shields. Neither 3D Breed, Red Copper nor anyone else I could find do them as a resin 3D print, so I had to go with a metal version from Forged in Battle.

After painting over 200 3D printed figures in a row, it was a bit of a shock to the system going from resin 3D sculpts to metal casts and not in a good way. Don’t get me wrong: the FoB figures are lovely, it’s just that the quality of characterisation and animation that are now being achieved with 3D prints is just incredible, and these just felt, well, bland in comparison.

I had checked what Daylami shields looked like, and they promised to be a real pain to do…so I cheated.

The front ranks have my attempts at Daylami shield patterns: hand painted in what I’d call a cell-like pattern. The back ranks use Celtic transfers from Little Big Man Studios over a variety of backgrounds. As the FoB Daylami shields are flat, and the LBS transfers have a hole in them for a shield hub, the shields have a bare patch in the centre sort of in the shape of a cross. This actually works quite well, as it makes the shields look unusual and different, something that is definitely the case with the Daylami. I know my shield patterns aren’t tip top, but they look okat at wargaming distance!

So just the foot commanders, heroes and camps to do now, and that will be my basic Arab Conquest army done. Then to start moving into the later “caliphate” versions: with Berber spearmen instead of Arab warriors as their main infantry contingent.

Designed by committee...

Now that the bulk of my Arab Conquest army is complete (six units each of Jund cavalry and warrior warbands) it’s time to start filling in the rest of what’s needed.

First up are the camels, and the first of them are the two units of light camelry with lances. These are Red Copper sculpts printed for me by Baueda before they were sold.

These are lovely sculpts, and whilst I’m not sure how useful they are going to be on the battlefield, they will at least look good whilst doing so!

I then needed some bow-armed camel-riding arabs as Scouts. Red Copper unfortunately don’t do any of them, so I fell back on the Forged in Battle War & Empire range for these beauties.

For those interested, the camels are painted with a single coat of Contrast Skeleton Horde over a Grey Seer undercoat, which gives the perfect camel colour.

The riders are painted mainly in Contrast Apothecary White, again over the Grey Seer undercoat, but in order to make the colour ‘pop’ I then highlight the Apothecary with a standard acrylic white.

The final camel-mounted element consists more of markers than actual army-contingent figures.

A lot of the Arab Conquest infantry are mounted, and I wanted a representative marker that I could place with a mounted unit at deployment. Red Copper do a great army commander figure mounted on a camel that would do the trick and, as I had had to use plenty of packets of army commanders to produce the Jund cavalry, I had enough for my needs. Here are the front and back views:

So that’s all my camels painted. They were a lot more fun to do than the Jund cavalry: less furniture and something different, as I haven’t painted a camel since I built some late 19th Century Camel Corps for the sudan.

Arab Conquest: the Jund Cavalry

Regualr visitors will know that my project for the new year is a 15mm Arab Conquest army based for To The Strongest.

I’m using the excellent Red Copper Miniatures 3D sculpts printed for me by Baueda, who I have found to be excellent quality, fairly priced, and with a single fee for postage and packing that works out to be very cost-effective provided you order in bulk).

Already painted were the Warriors that form the bulk of the army, the next task was the next big chunk of figures: the Jund cavalry.

Again I wanted to be able to use the figures for both a 15mm grid (what I usually play on) and a 10mm grid (the size used for the one 15mm TTS competition), so settled on using the 7.5mm bases for For King & Parliament available from the BigRedBat shop and designed to slot together to allow different combinations of pike and shot battalia to be put together.

I painted the Red Copper figures in individual colour schemes: which took a long time and was very annoying: no ‘paint the same uniform 100 times’ fugue state possible!

This gave the impression of random figures, but I then tried to group them by colour to make the individual bases easier to identify. This didn’t work as well for the cavalry as for the infantry, but I was happy enough with the result.

Here are the individual units:

Overall, I’m very happy with these. The sculpts are gorgeous, they seem pretty hard-wearing, and I think the paint jobs and bases that I’ve managed are definitely a little above basic wargames standard.

Now on to all the other bits and pieces you need to get an army actually onto the tabletop!

The Start of the Arab Conquest

My project for the new year is a 15mm Arab Conquest army based for To The Strongest.

I’m using the excellent Red Copper Miniatures 3D sculpts printed for me by Baueda, who I have found to be excellent quality, fairly priced, and with a single fee for postage and packing that works out to be very cost-effective provided you order in bulk).

First up are the Wariors that form the bulk of the army.

Here I wanted to be able to use the figures for both a 15mm grid (what I usually play on) and a 10mm grid (the size used for the one 15mm TTS competition), so settled on using the 7.5mm bases for For King & Parliament available from the BigRedBat shop and designed to slot together to allow different combinations of pike and shot battalia to be put together (FK&P6)

I painted the Red Copper figures in individual colour schemes, and then painted the Essex command figures (leader, standard, musician on each base) in the same single colour for each 15cm grid double unit, basing the command figures all together in the second of four rows of models on each base.

This gave the impression of random figures, but with a predominance of one colour on each base, making them easily identifiable. The right hand base of each double-unit had the trumpeter, the left hand base had a drummer.

Here are the individual units:

The flags are all from Wargames Designs, who have an extensive range of “Saracen” flags. Each design comes printed on good quality paper that you then cut out, fold into flag shapes, and then use PVA glue to fix in place. The flgas come with instructions for those who are still baffled!

I’ve used the flags to allow identification of different commands. Four of the double-base-units come with the left base having a green flag and the right base having black flag; two of the double-base-units come with both bases with a flashy red and white banner. This allows me, at double-base level, to field six units in two commands: perhaps two standard units and a veteran “flashy flag” unit per command; or, at base level, to field a black flag command, a green flag command and a flashy-flag command, each with four individual bases.

Overall, I’m very happy with these. The sculpts are gorgeous, they seem pretty hard-wearing, and I think the paint jobs and bases that I’ve managed are definitely a little above basic wargames standard.

Now on to the cavalry!

Hittite City Gates from Red Copper/Baueda

I needed a camp for my Hittites so thought I would follow what I’ve been doing so far and use the Red Copper STL of a Hittite City Gate that looked pretty good to me.

The only problm is that I wanted the camp to fit on a 10cm x 10cm base and the size of the full tower-gate-tower of the original was just over 15cm in width. No problem: those nice people at Baueda scaled and printed the components for me so that they fit beautifully onto one of my camp bases.

The individual pieces linked together well, with only a very slight bit of shaving to get a tight fit. Note that I left the rear end open to facilitate using the camp to store tokens etc during a game.

I painted the main towers and walls with a sponge (one of the sponges that protects figures in a blister pack will do the trick), then re-painted the stonework at the base of the walls in grey, washed with a Contrast grey, then highlighted with a lighter colour.

I did try drybrushing the walls in a light colour, but just couldn’t get the effect I wanted, so had to re-paint the test area again. On reflection, the un-drybrushed walls are a good contrast to the heavily drybrushed base.

I then painted the roofs and beams in a warm brown, and the window frames in what I would call a biblical blue.

All in all, I’m very happy with this kit: highly recommended.

Ottoman Command from Khurasan

Friend Rob was kind enough to paint some Ottoman command figures for me.

These are the Khurasan specials from their Ottoman range that I will use as officers and heroes.

Exquisite paint jobs!

Gasgans join the Hittites

Battling Rob’s Siamese at 160 points made me realise that I needed a few more units for my Hittite army.

Not wanting to just get more of the same, I determined to get a couple of units of Khurasan Miniatures’ Gasgans to join them: the Gasgans were highlanders living in the mountains of Northwestern Anatolia at the time of the Hittite kingdom and empire who were both enemies of, and drafted into, the Hittite army.

The deciding factor was the snake priestess pictured on the right: a suitable Hero for my Hittites and available as part of the Gasgan chariot package!

Snake priestess aside, I now have a unit of Gasgan infantry and a unit of Gasgan chariots.

The infantry are nice sculpts. They are a little smaller than the Red Copper prints and the metal of the spears that some of them are carrying is quite thin, so bends very easily if accidentally bashed. They paint up very easily: only four colours of Contrast Paints (flesh, bone, wood, black) with bronze and a colour for the kilt edges to finish.

The chariots are okay sculpts: in that there was quite a lot of roughly finished areas on the chariot body sides.

As a positive, however, the main strut out from the body ends in the head of a snake, making them (if nothing else) very distinctive!

So a distinctive addition to the Hittites, making them all ready for the planned re-match with the Thais!