Ewelme '26 Game Four: Galatians versus (a different lot of) Palmyrans
/With one loss and two wins already under my belt, it was on to the final game at this year’s Ewelme tournament. I’d be fighting Palmyrans again, but this time under Dillon’s able generalship.
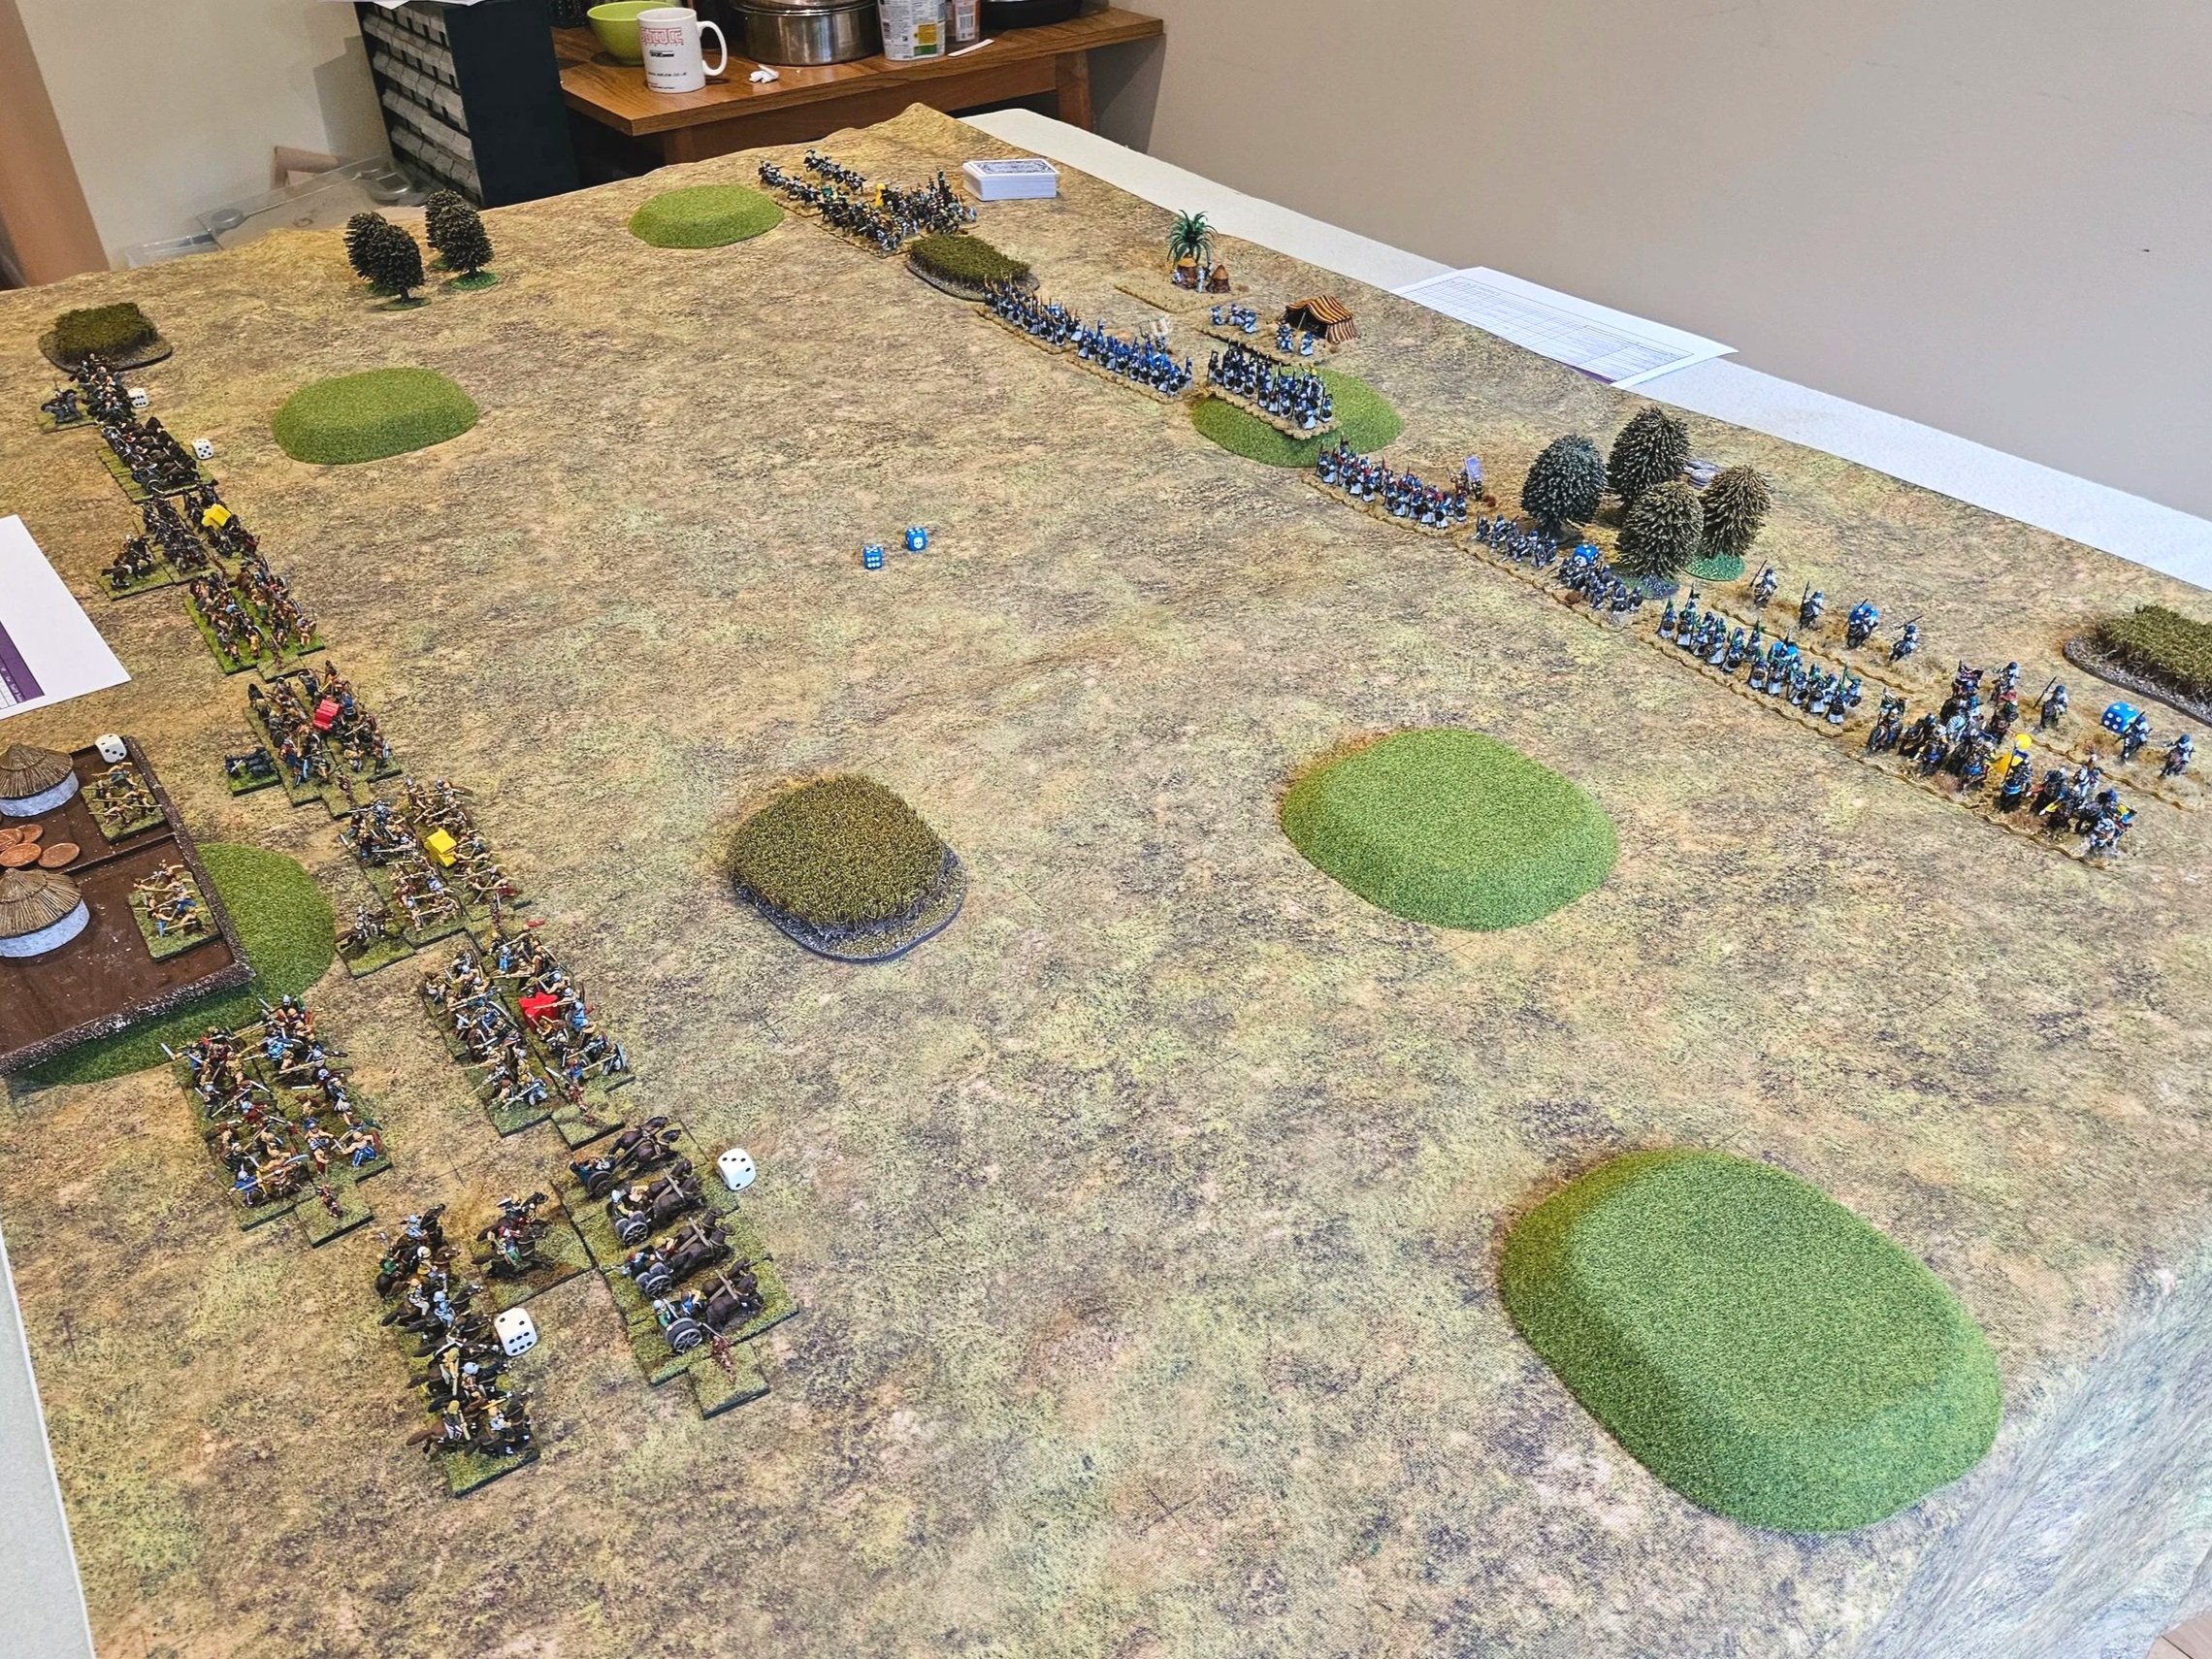
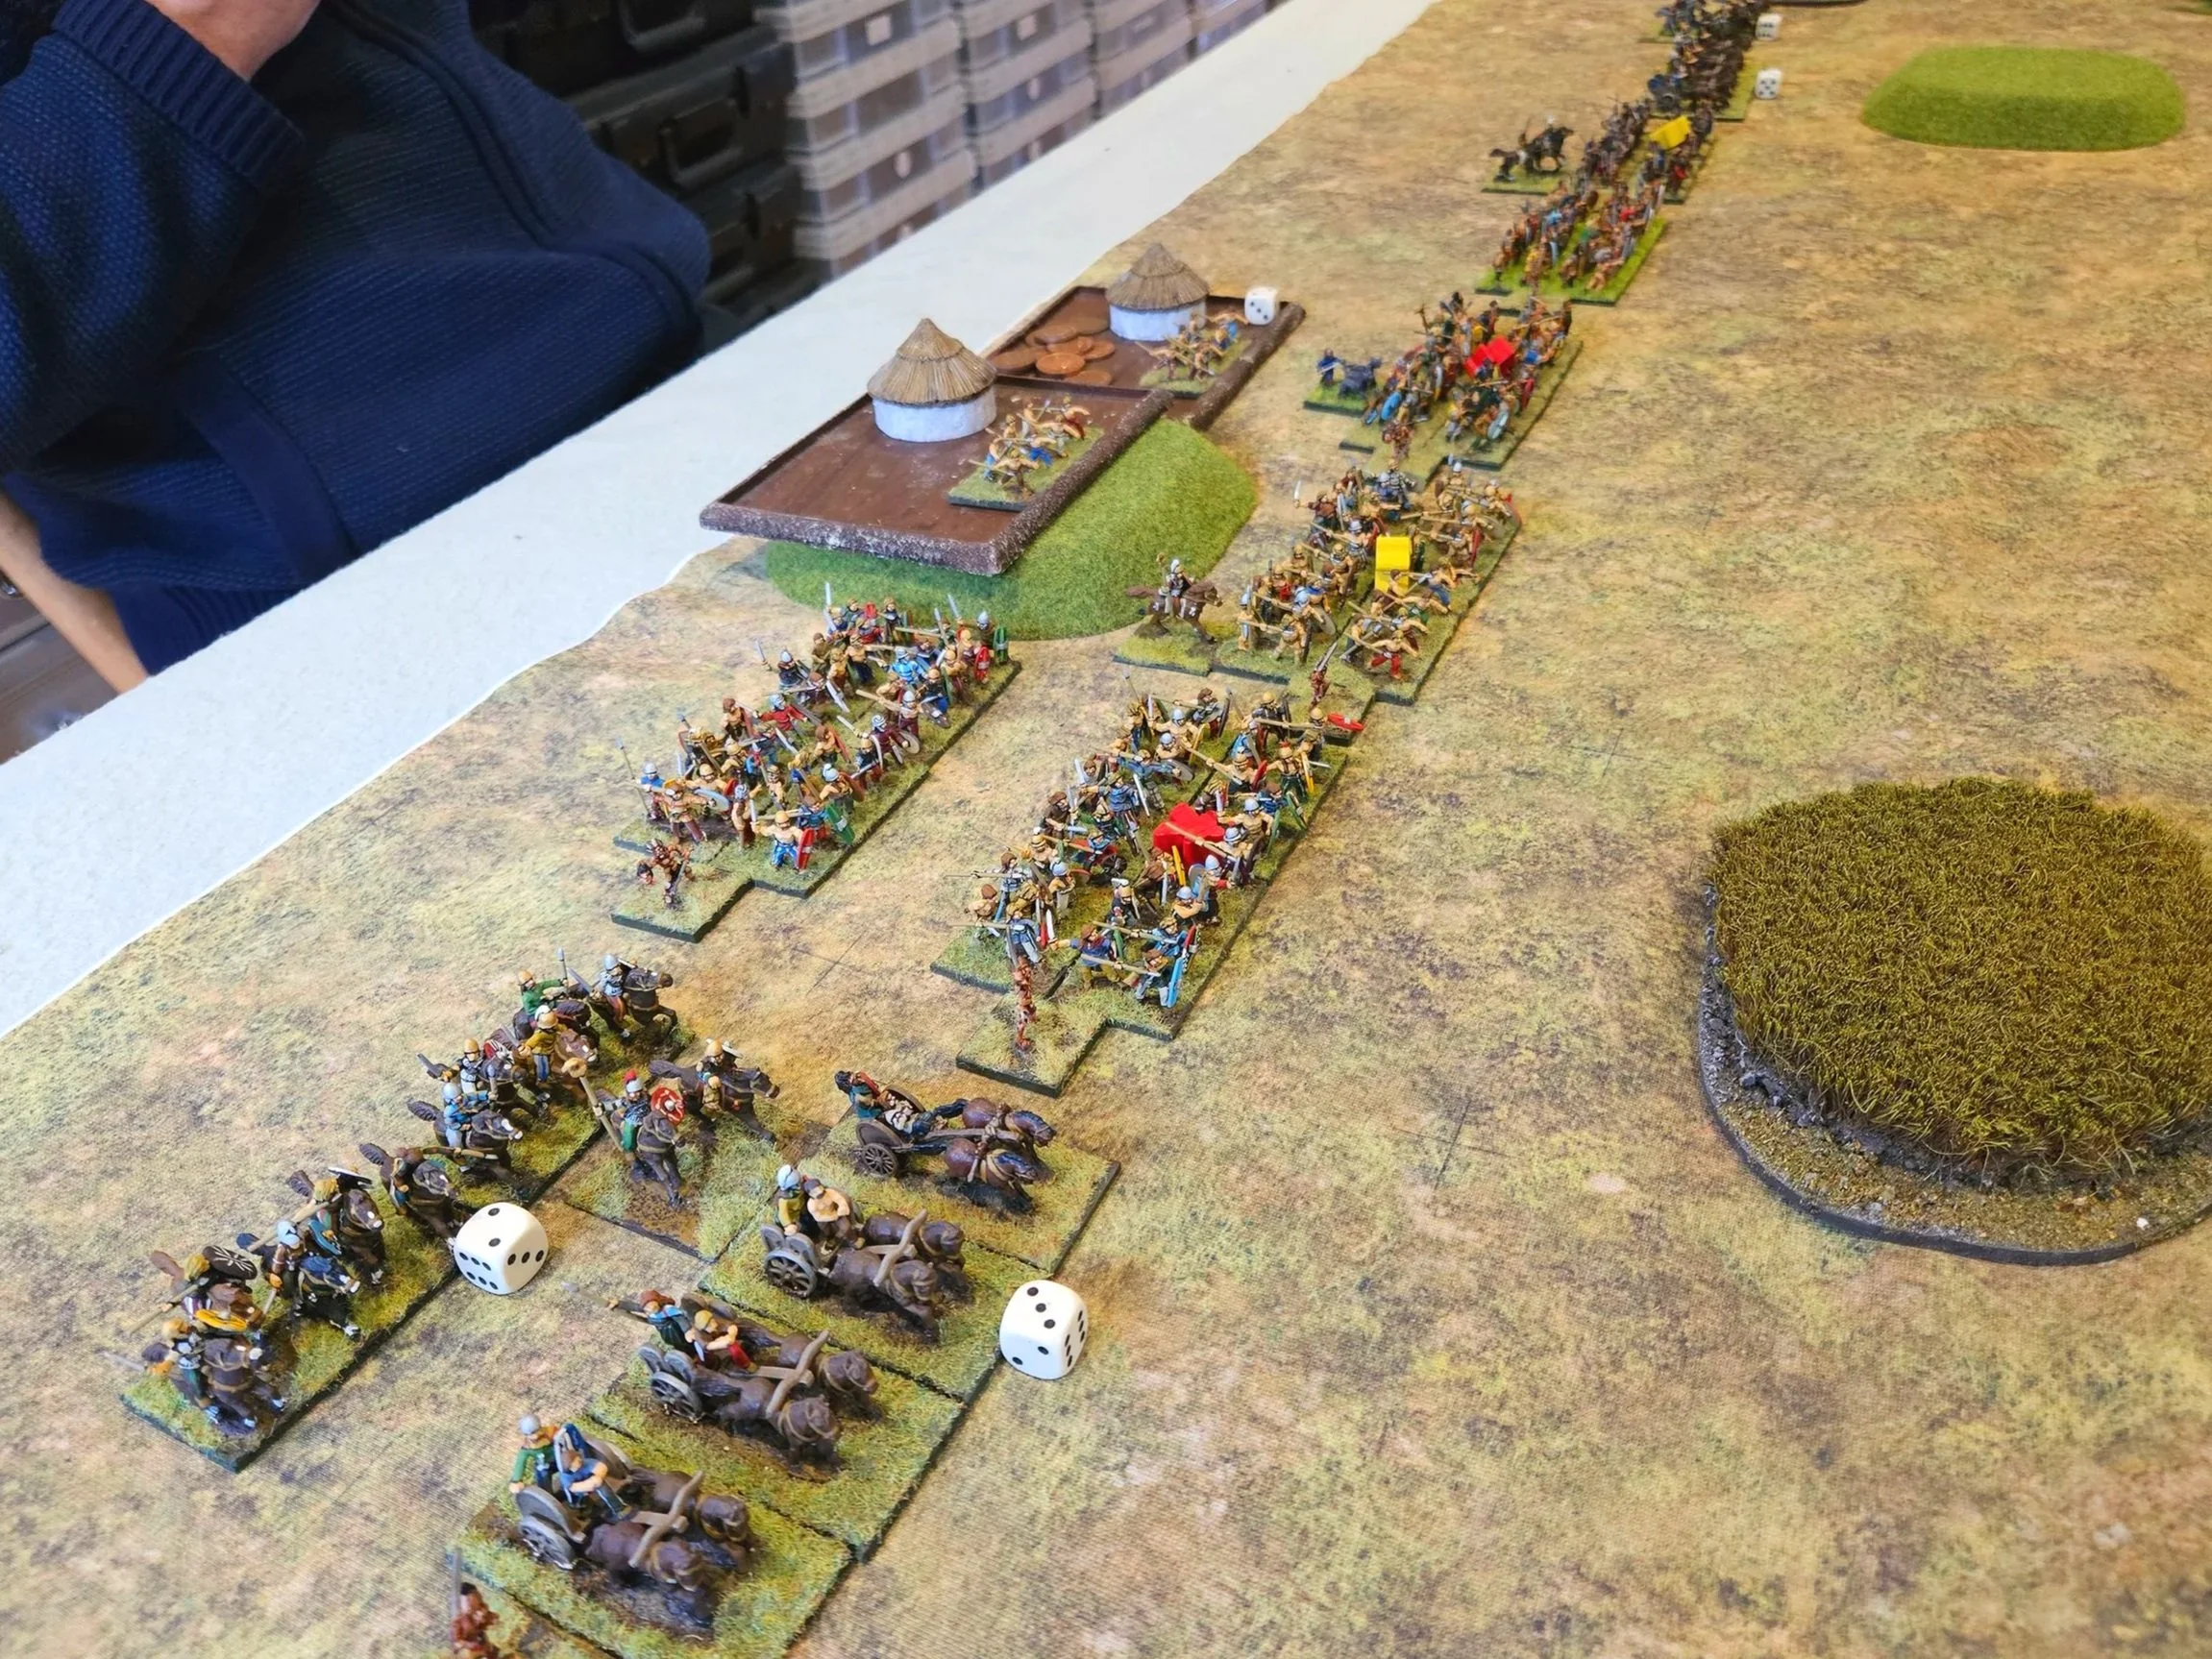
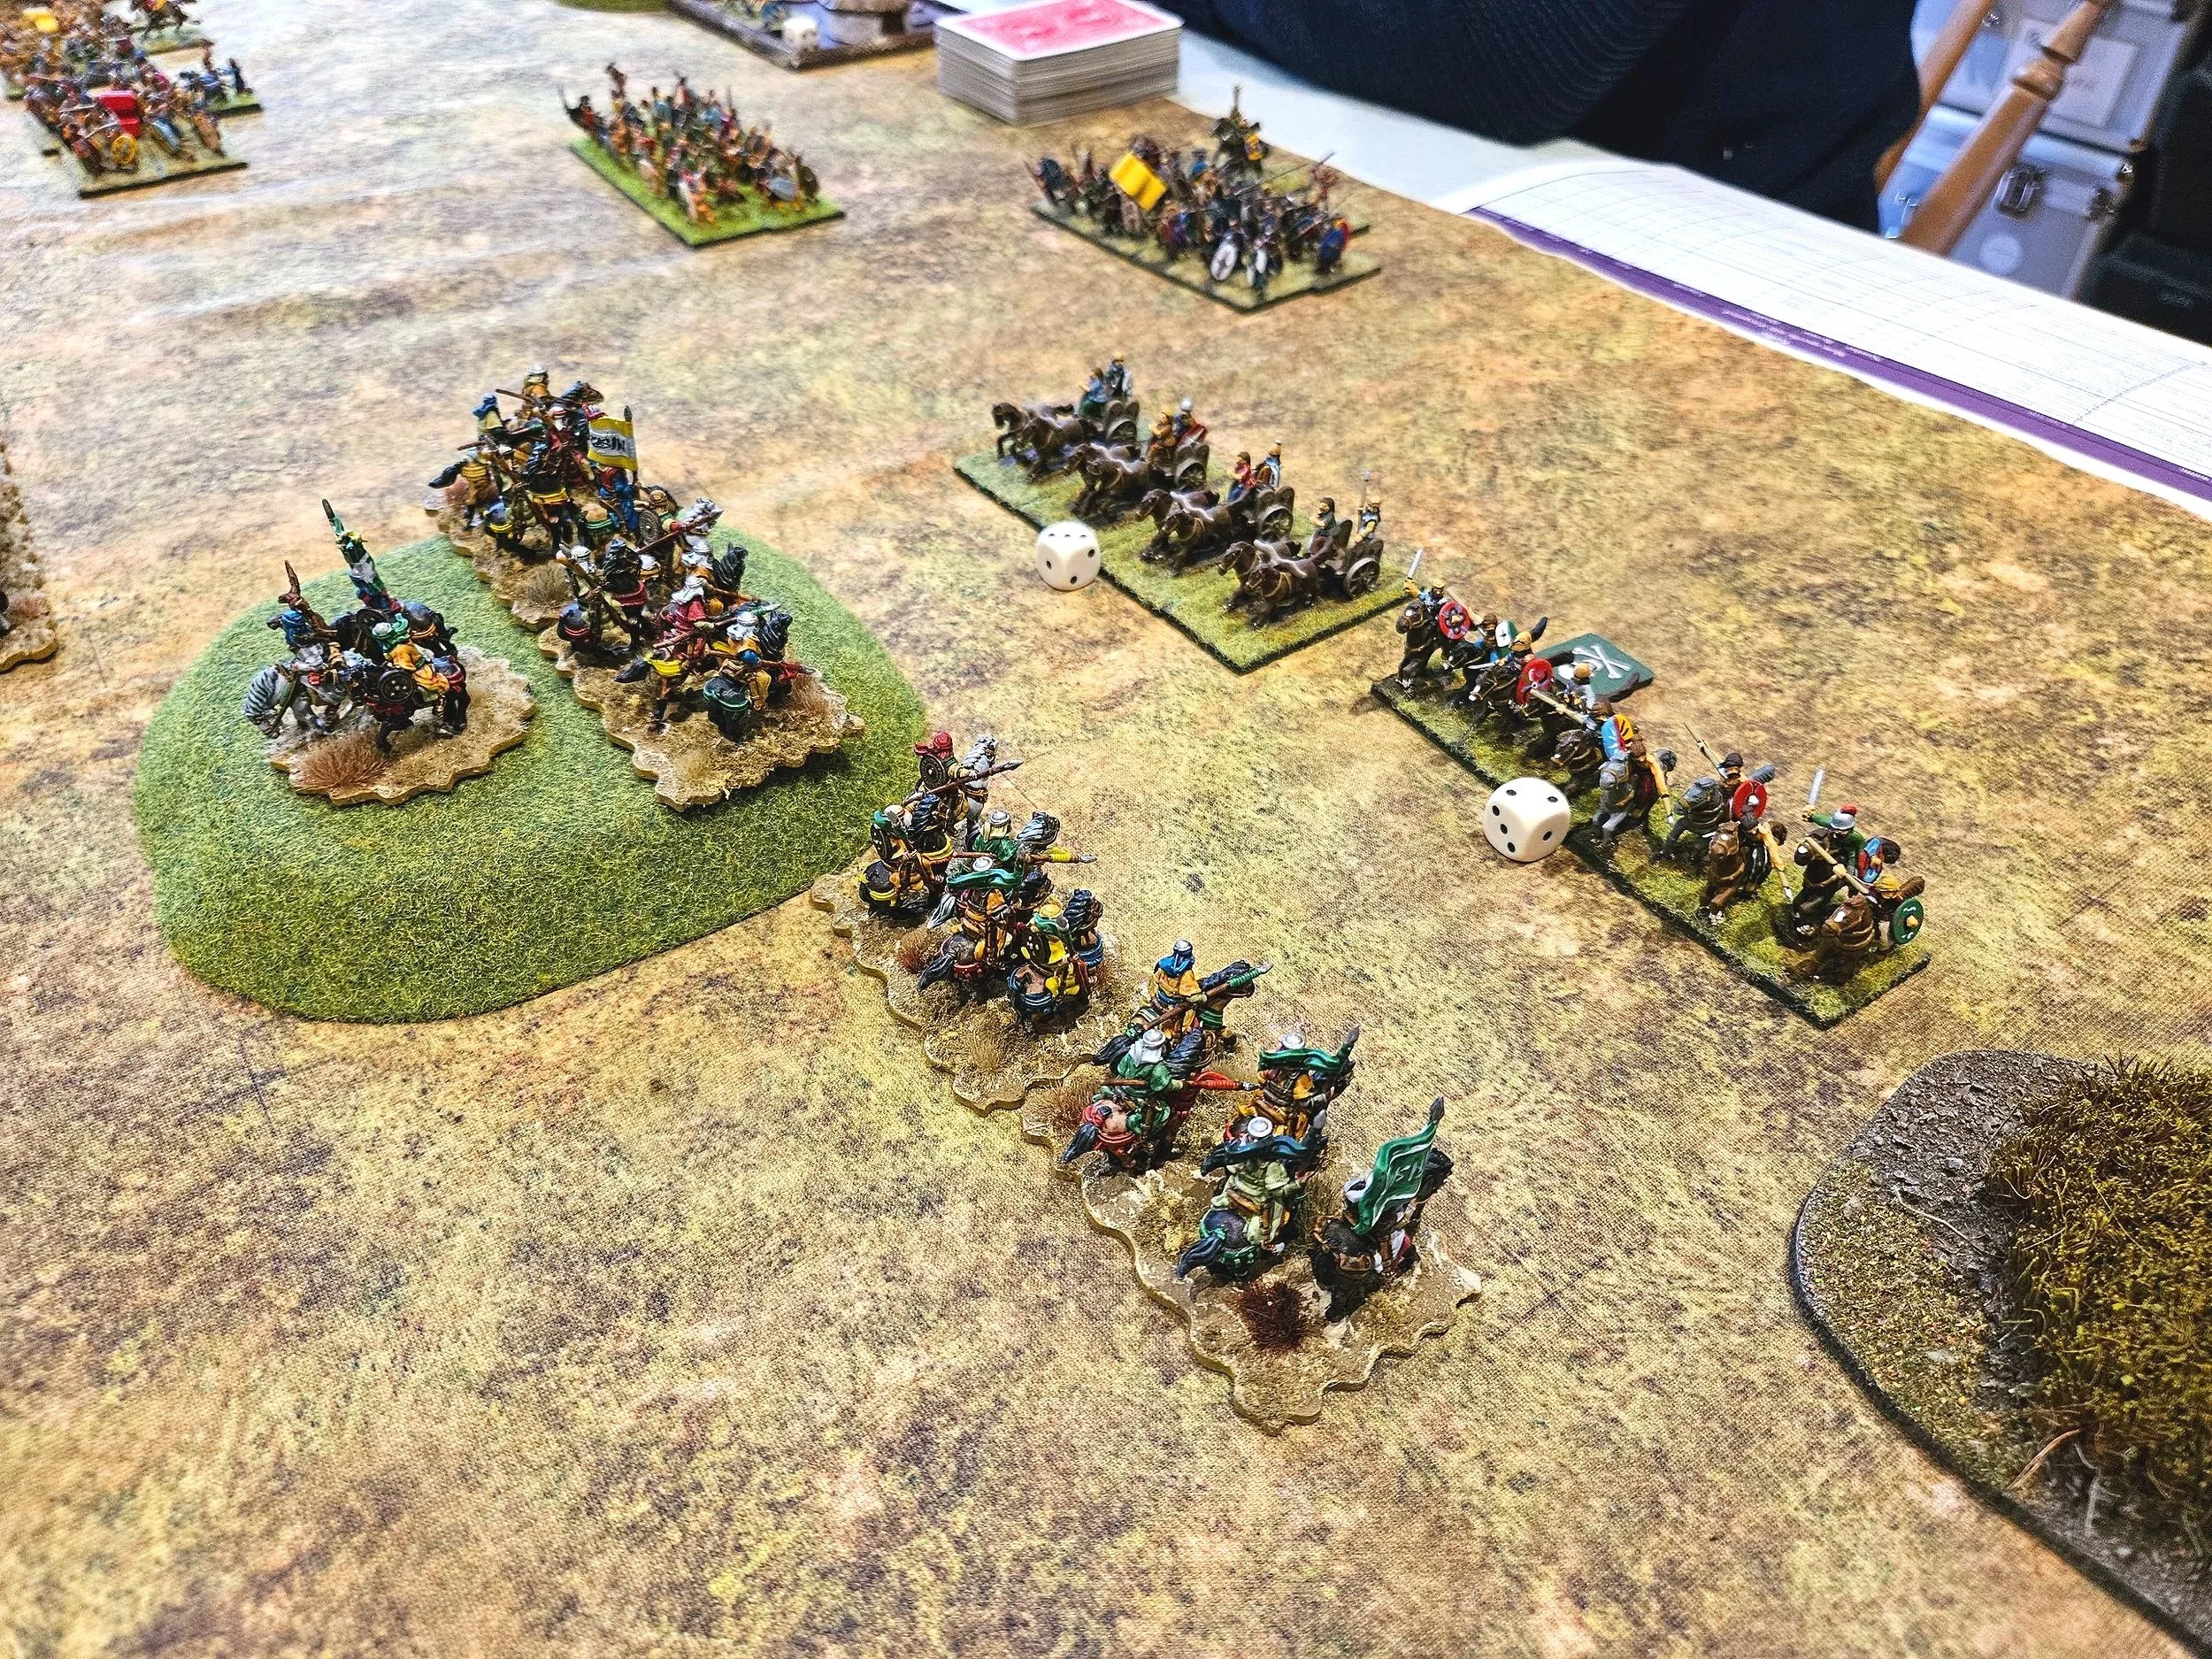
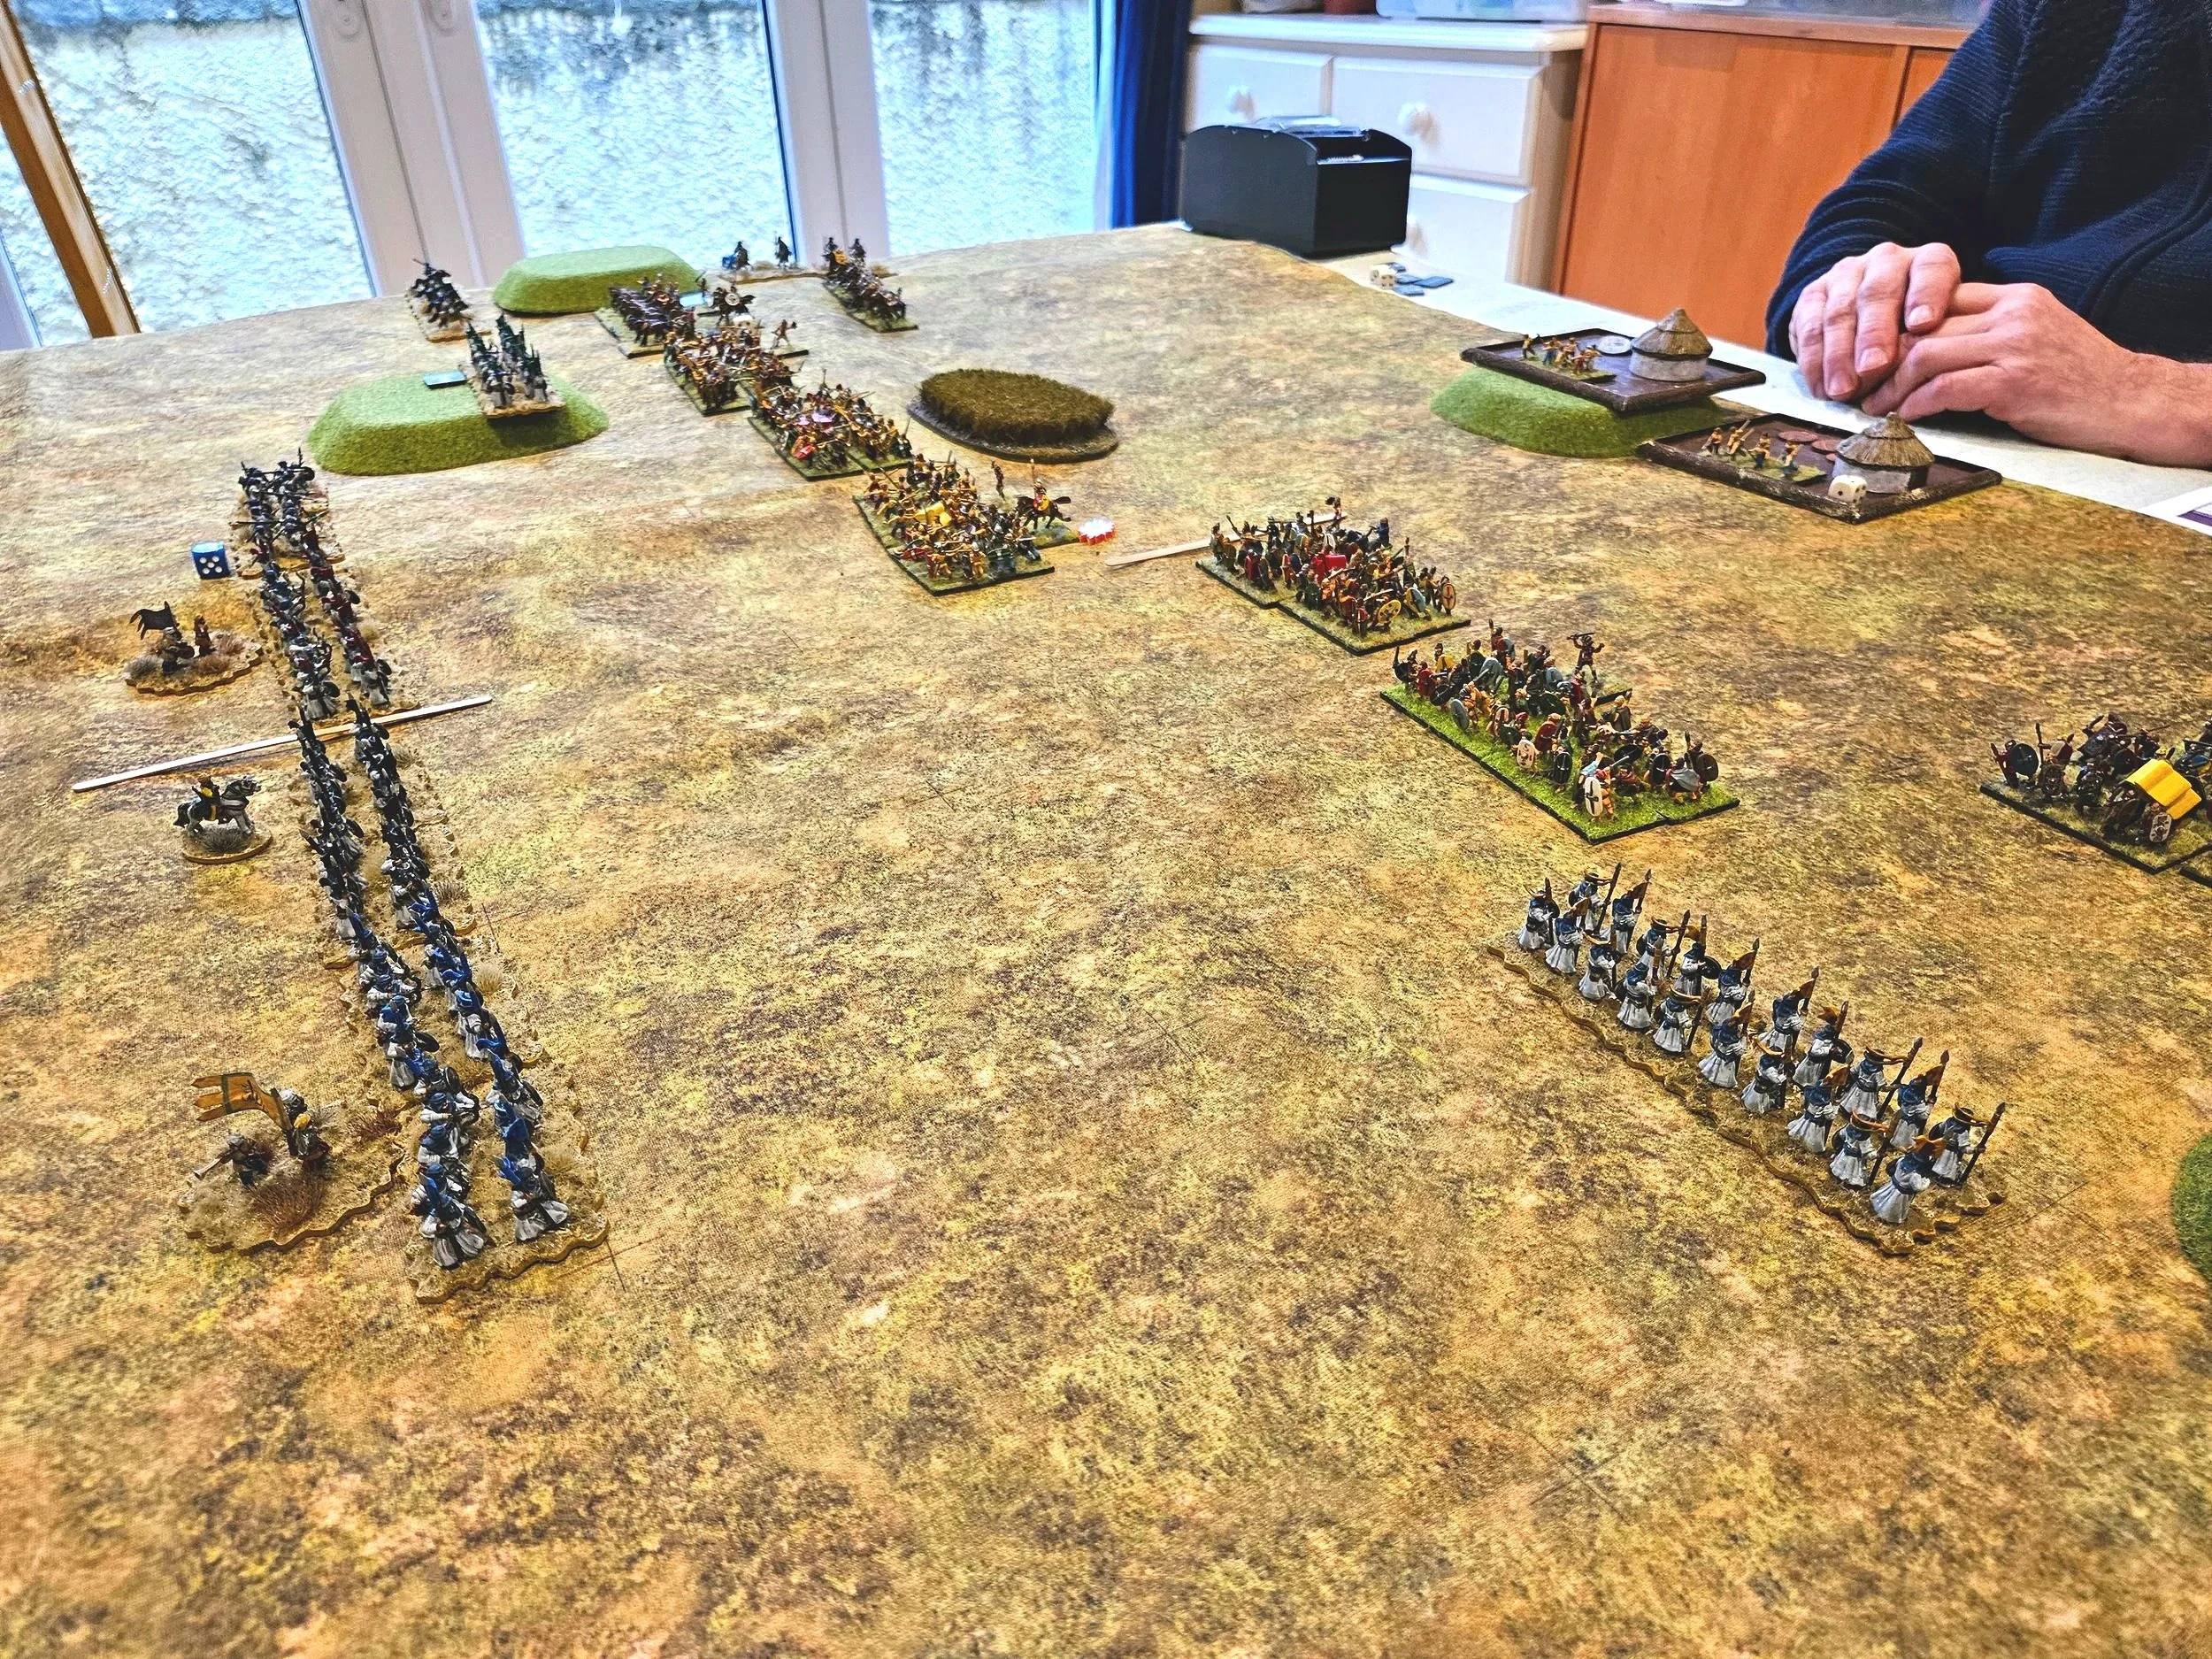
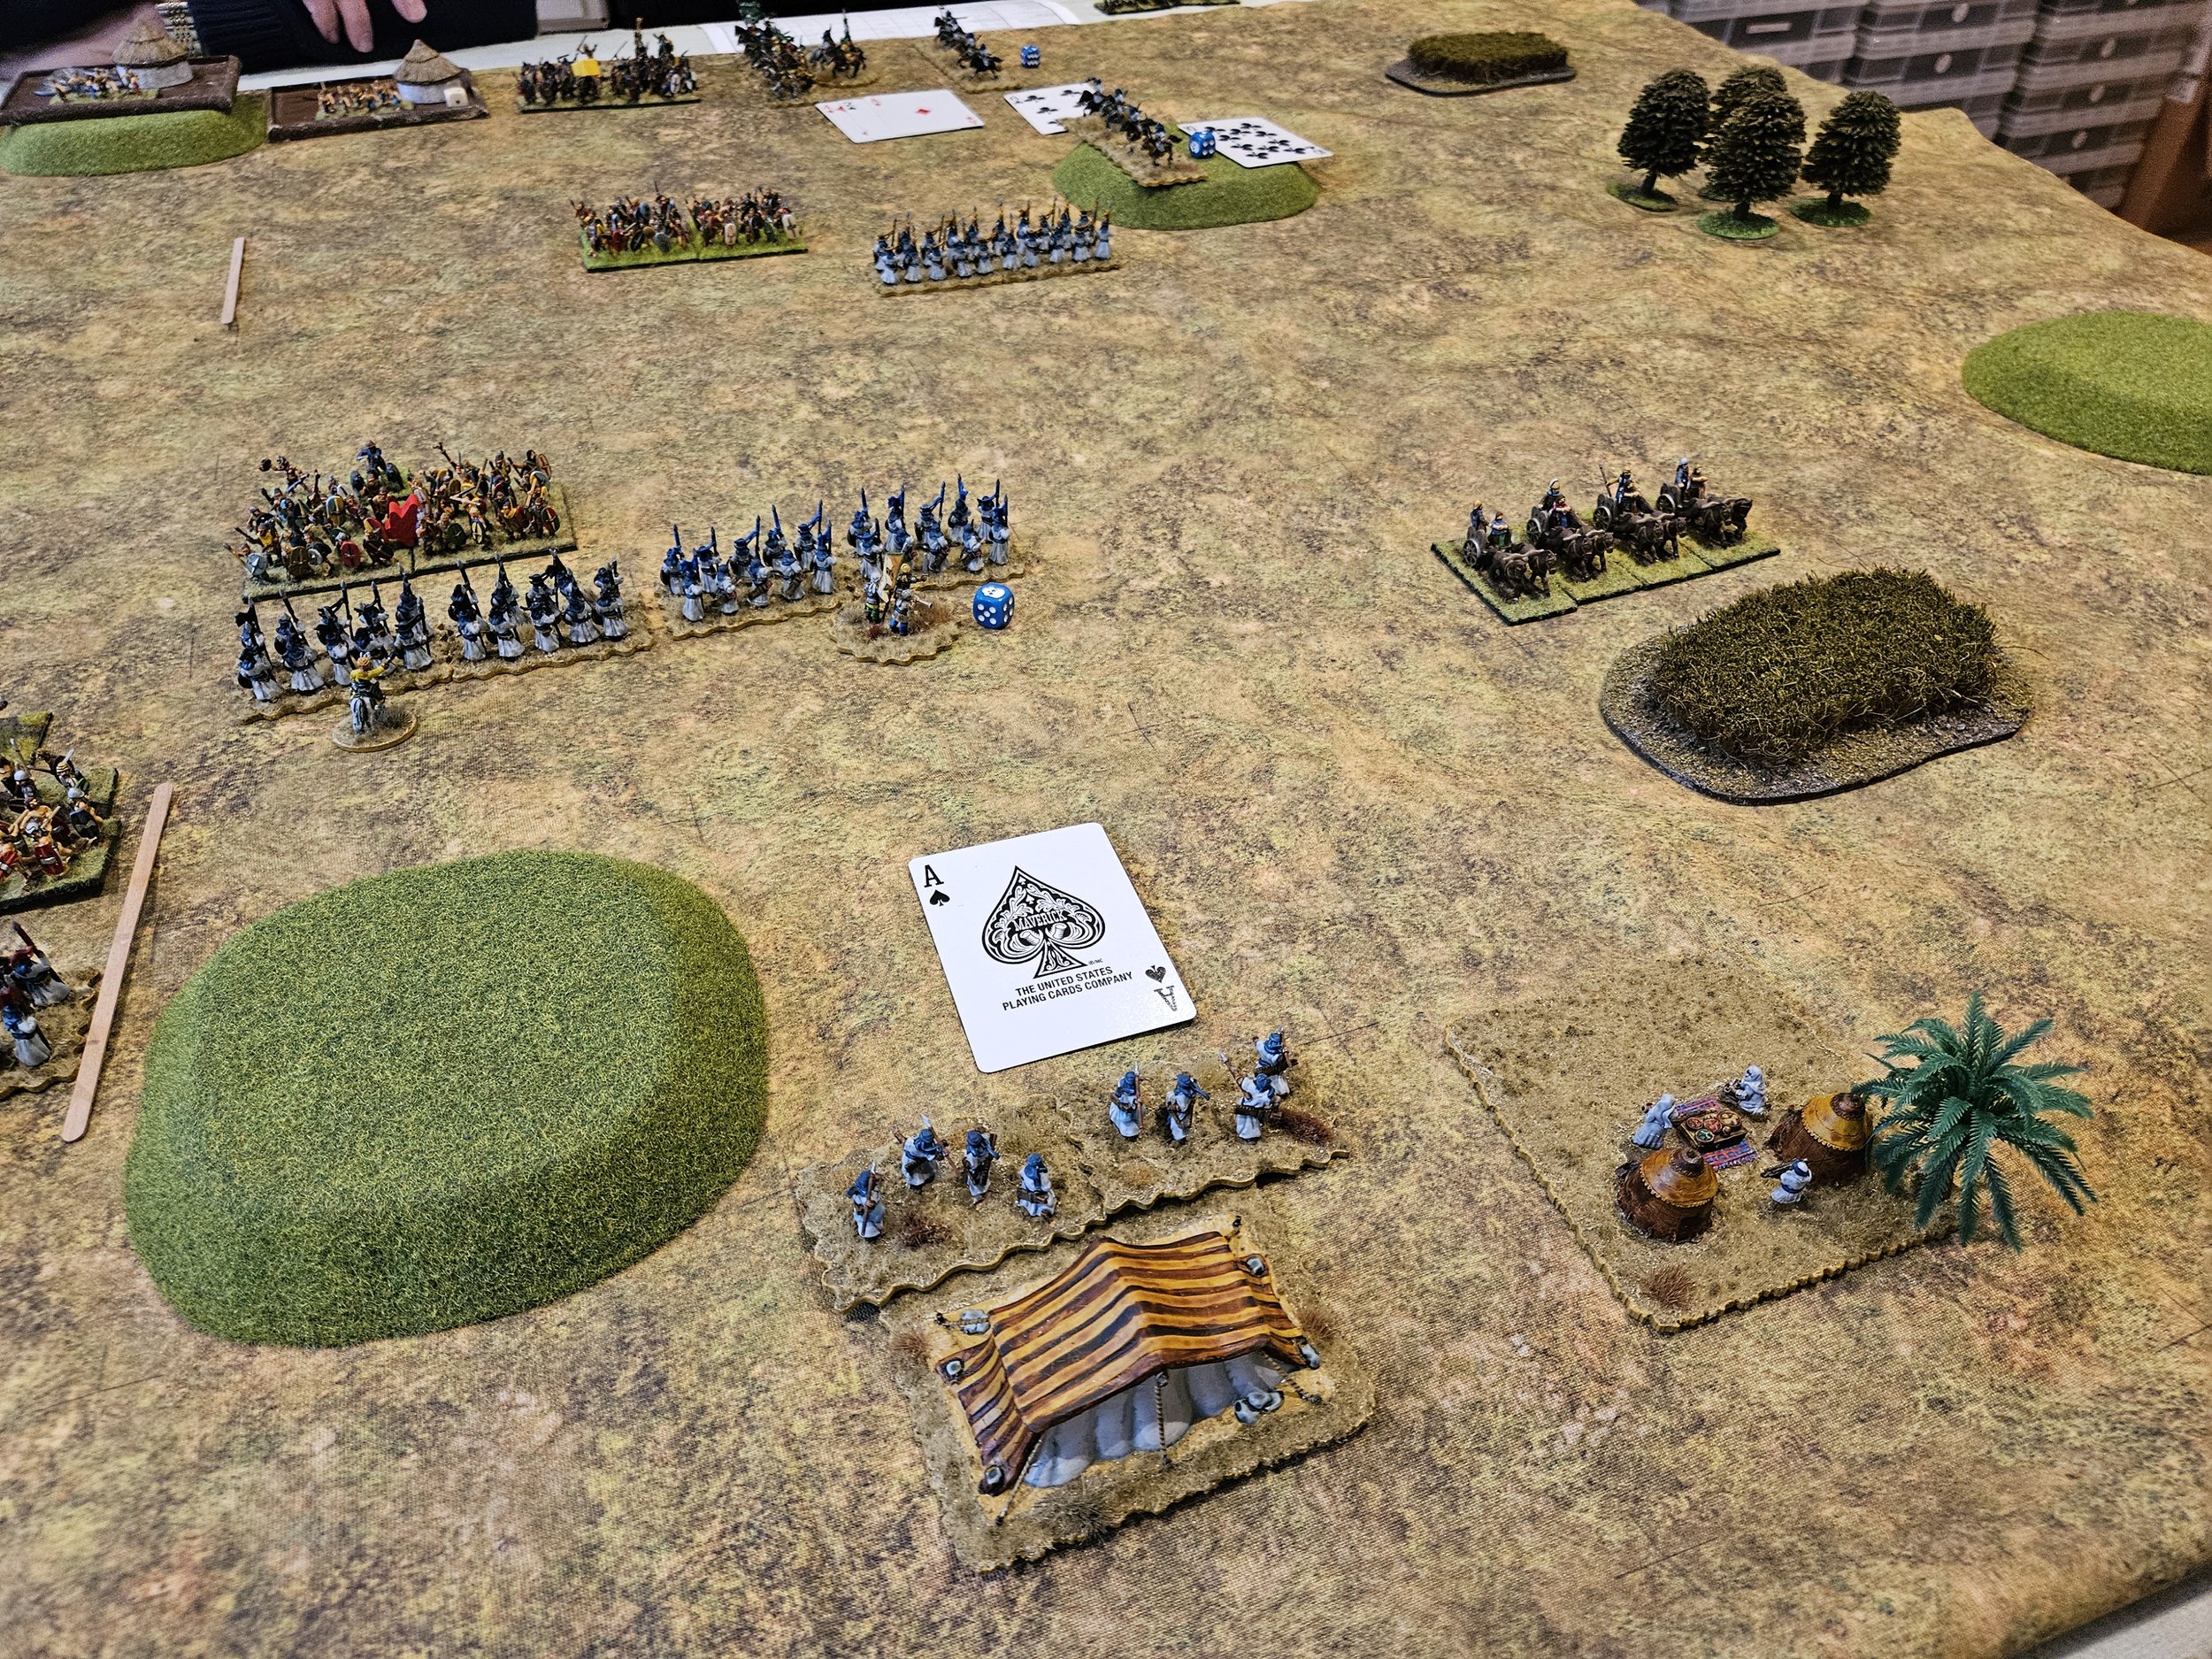
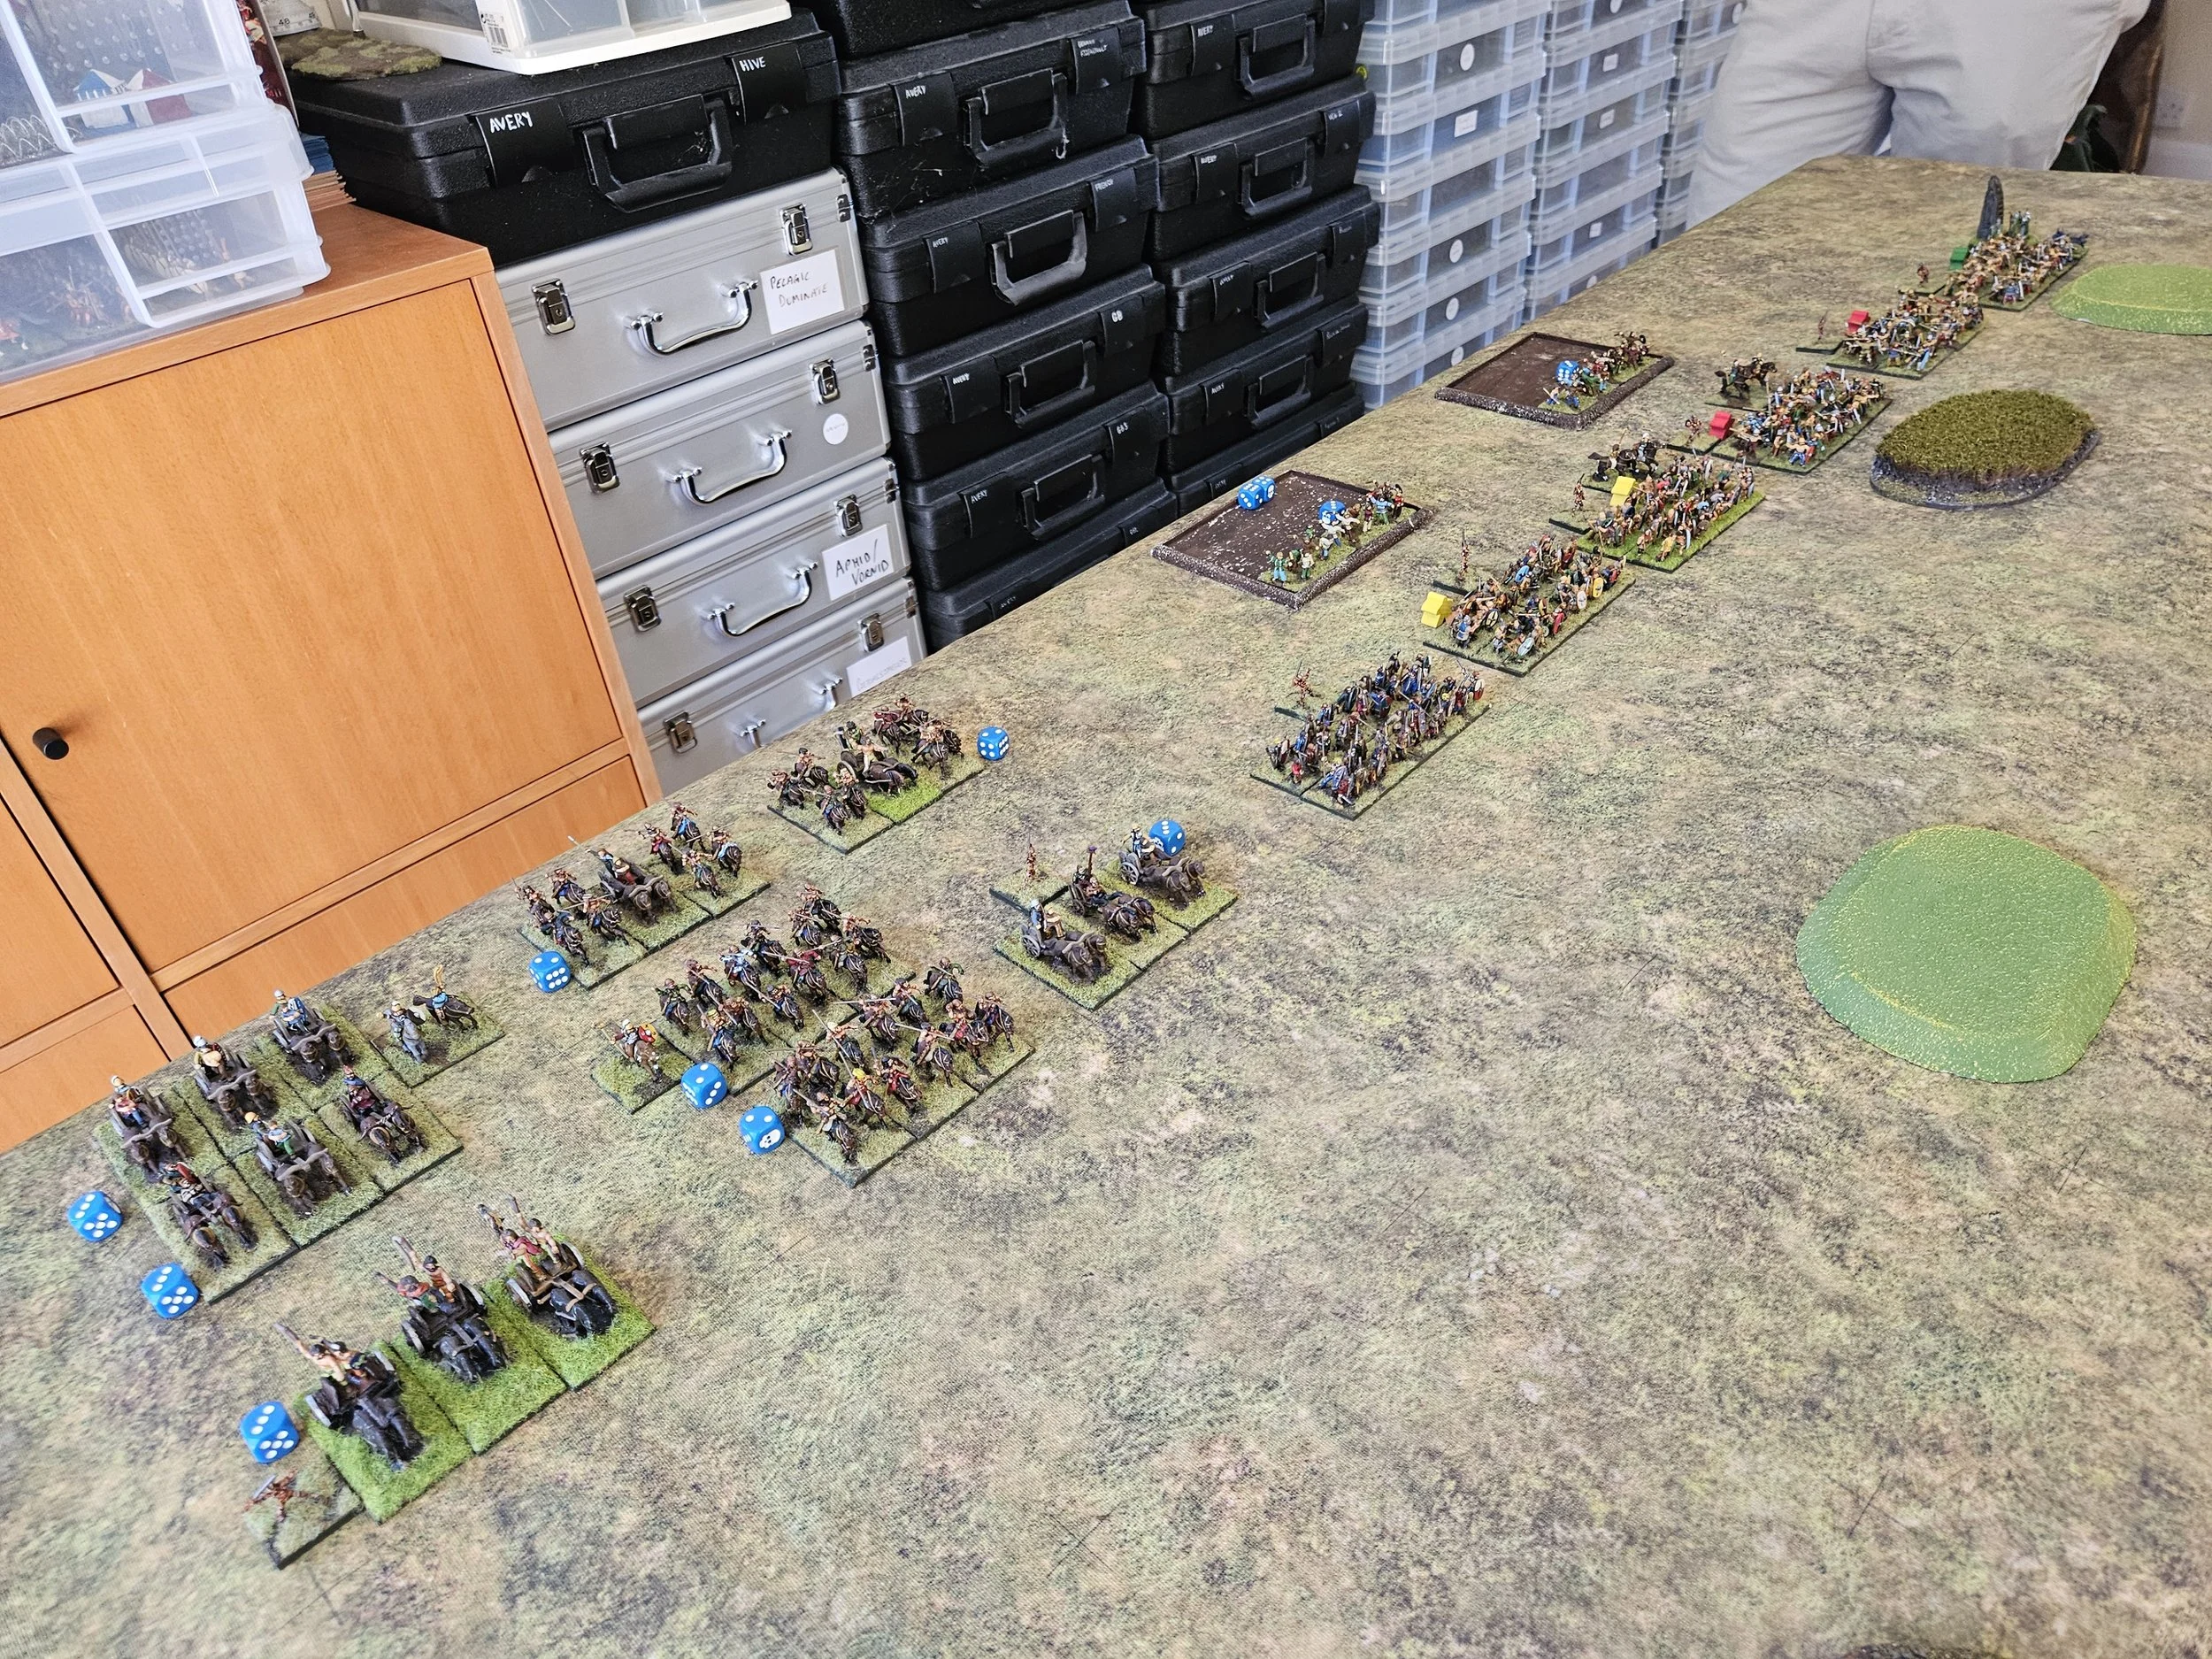
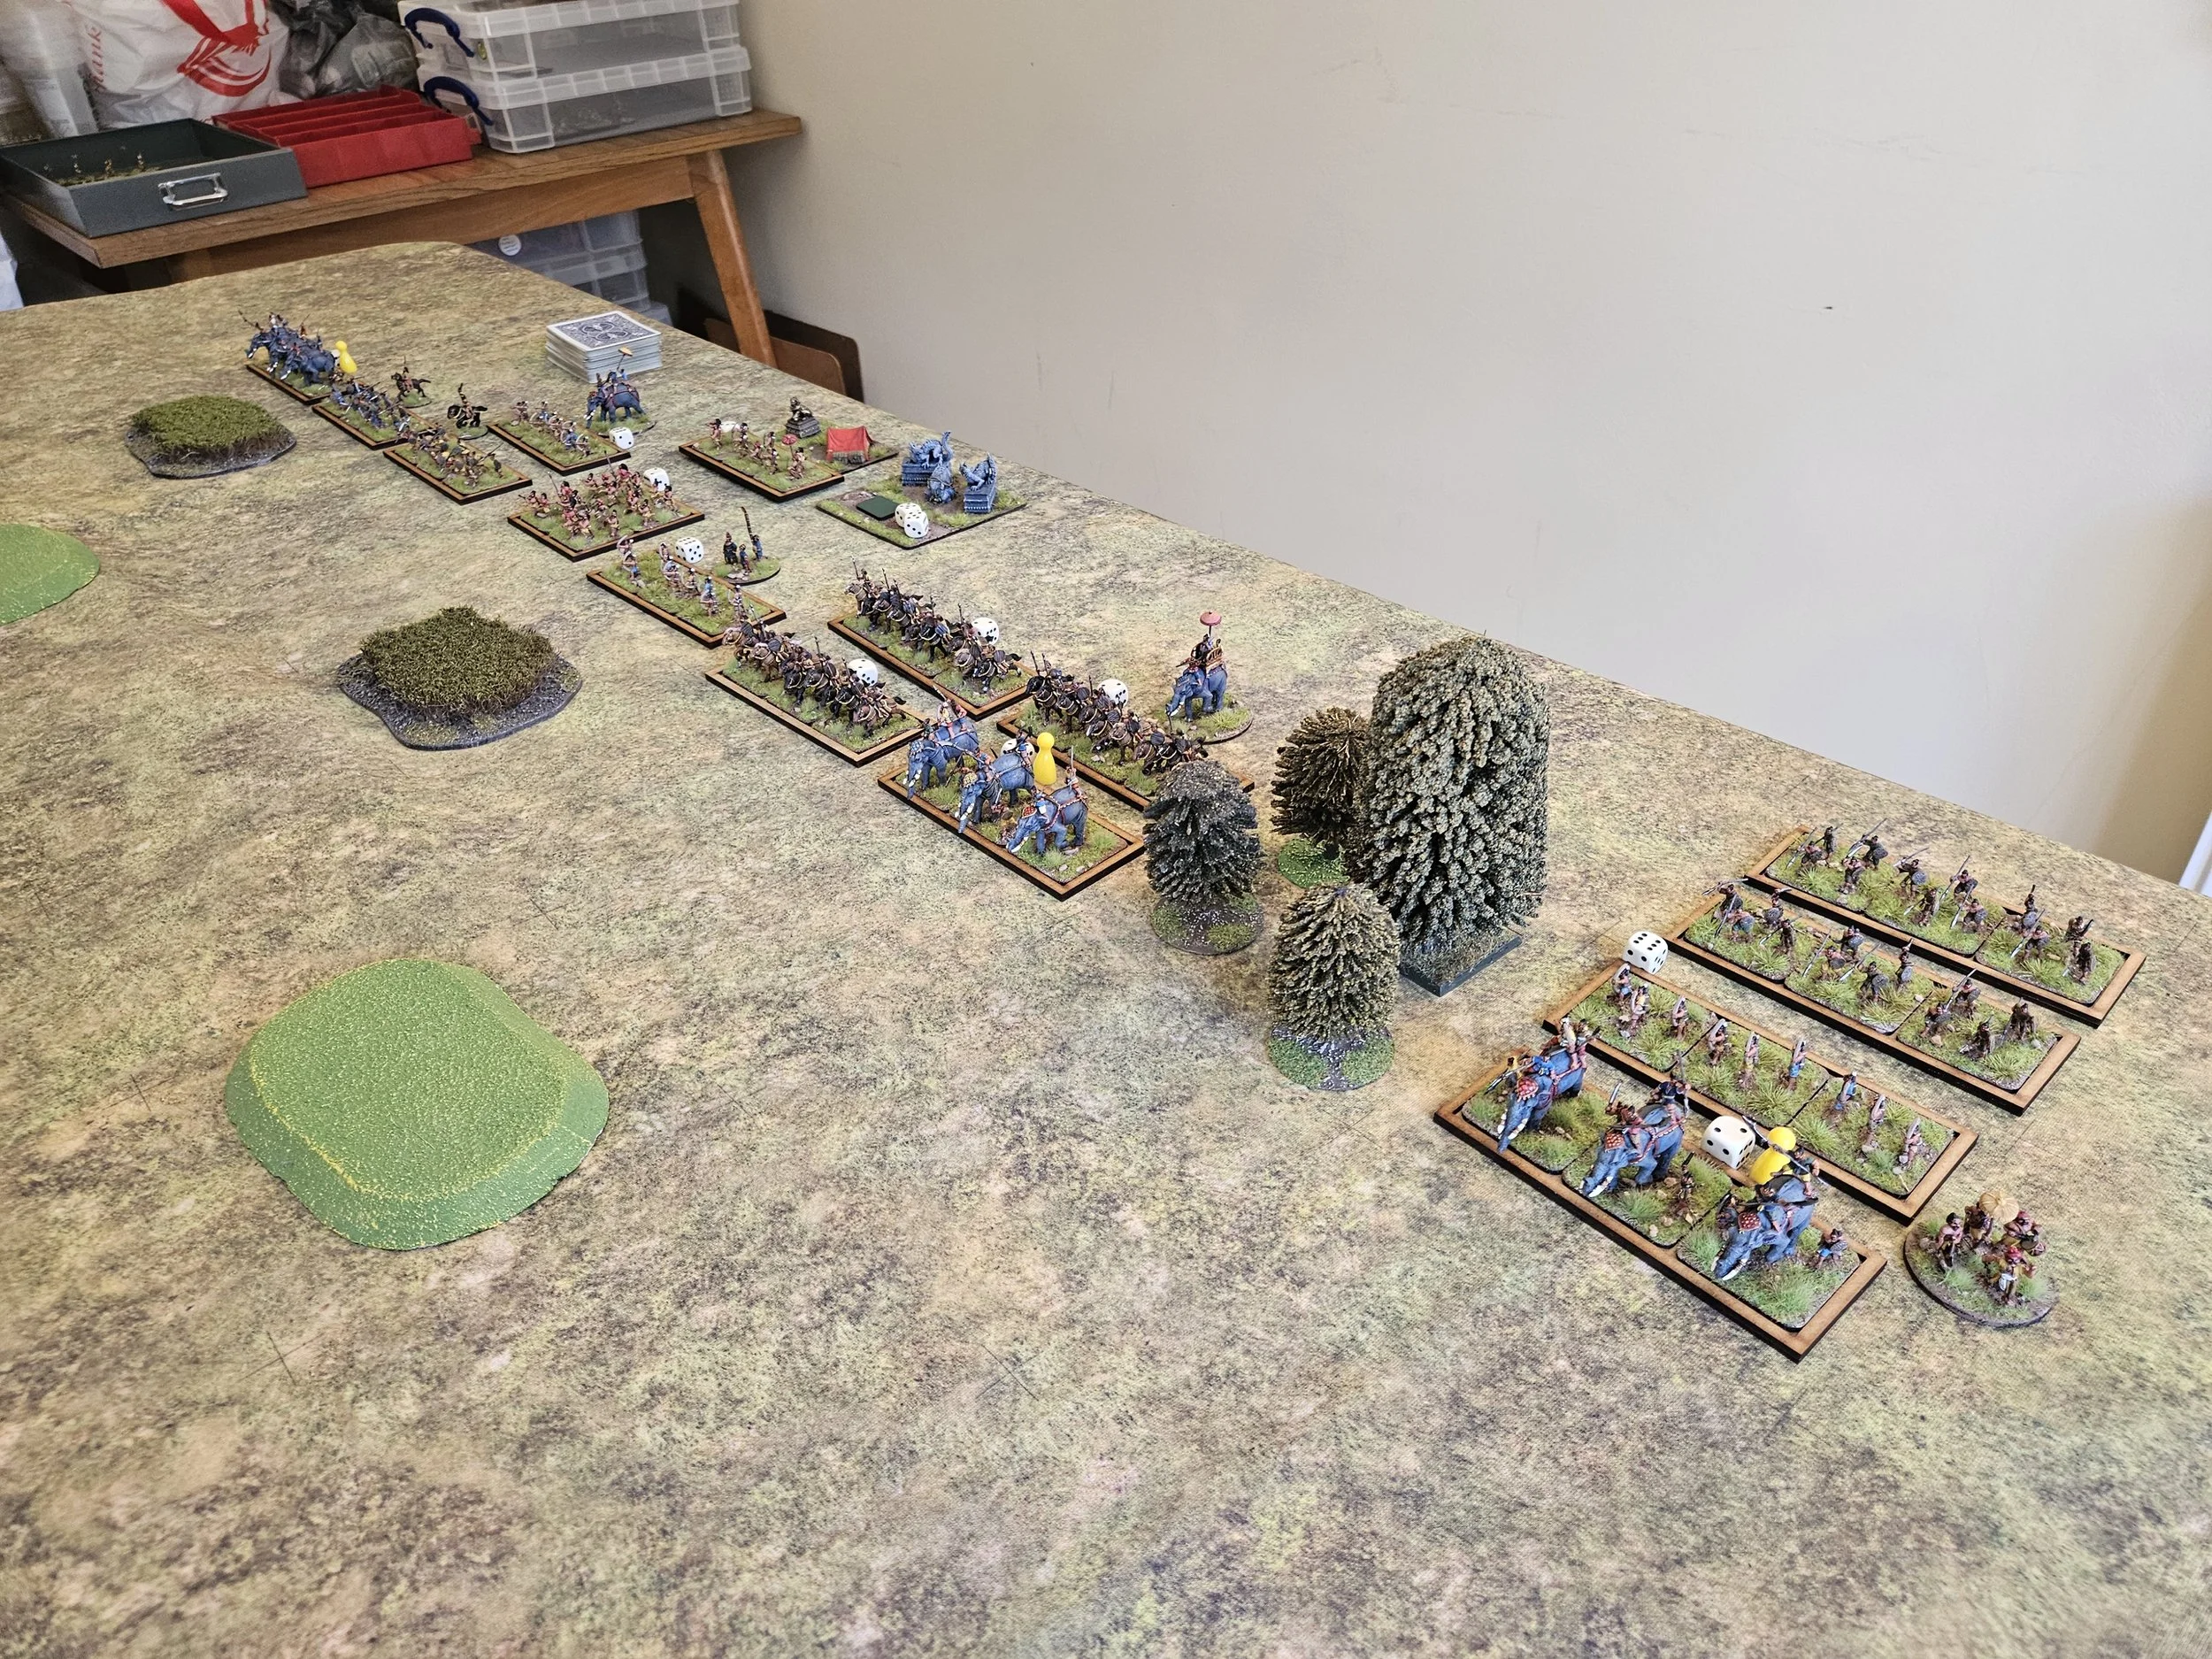
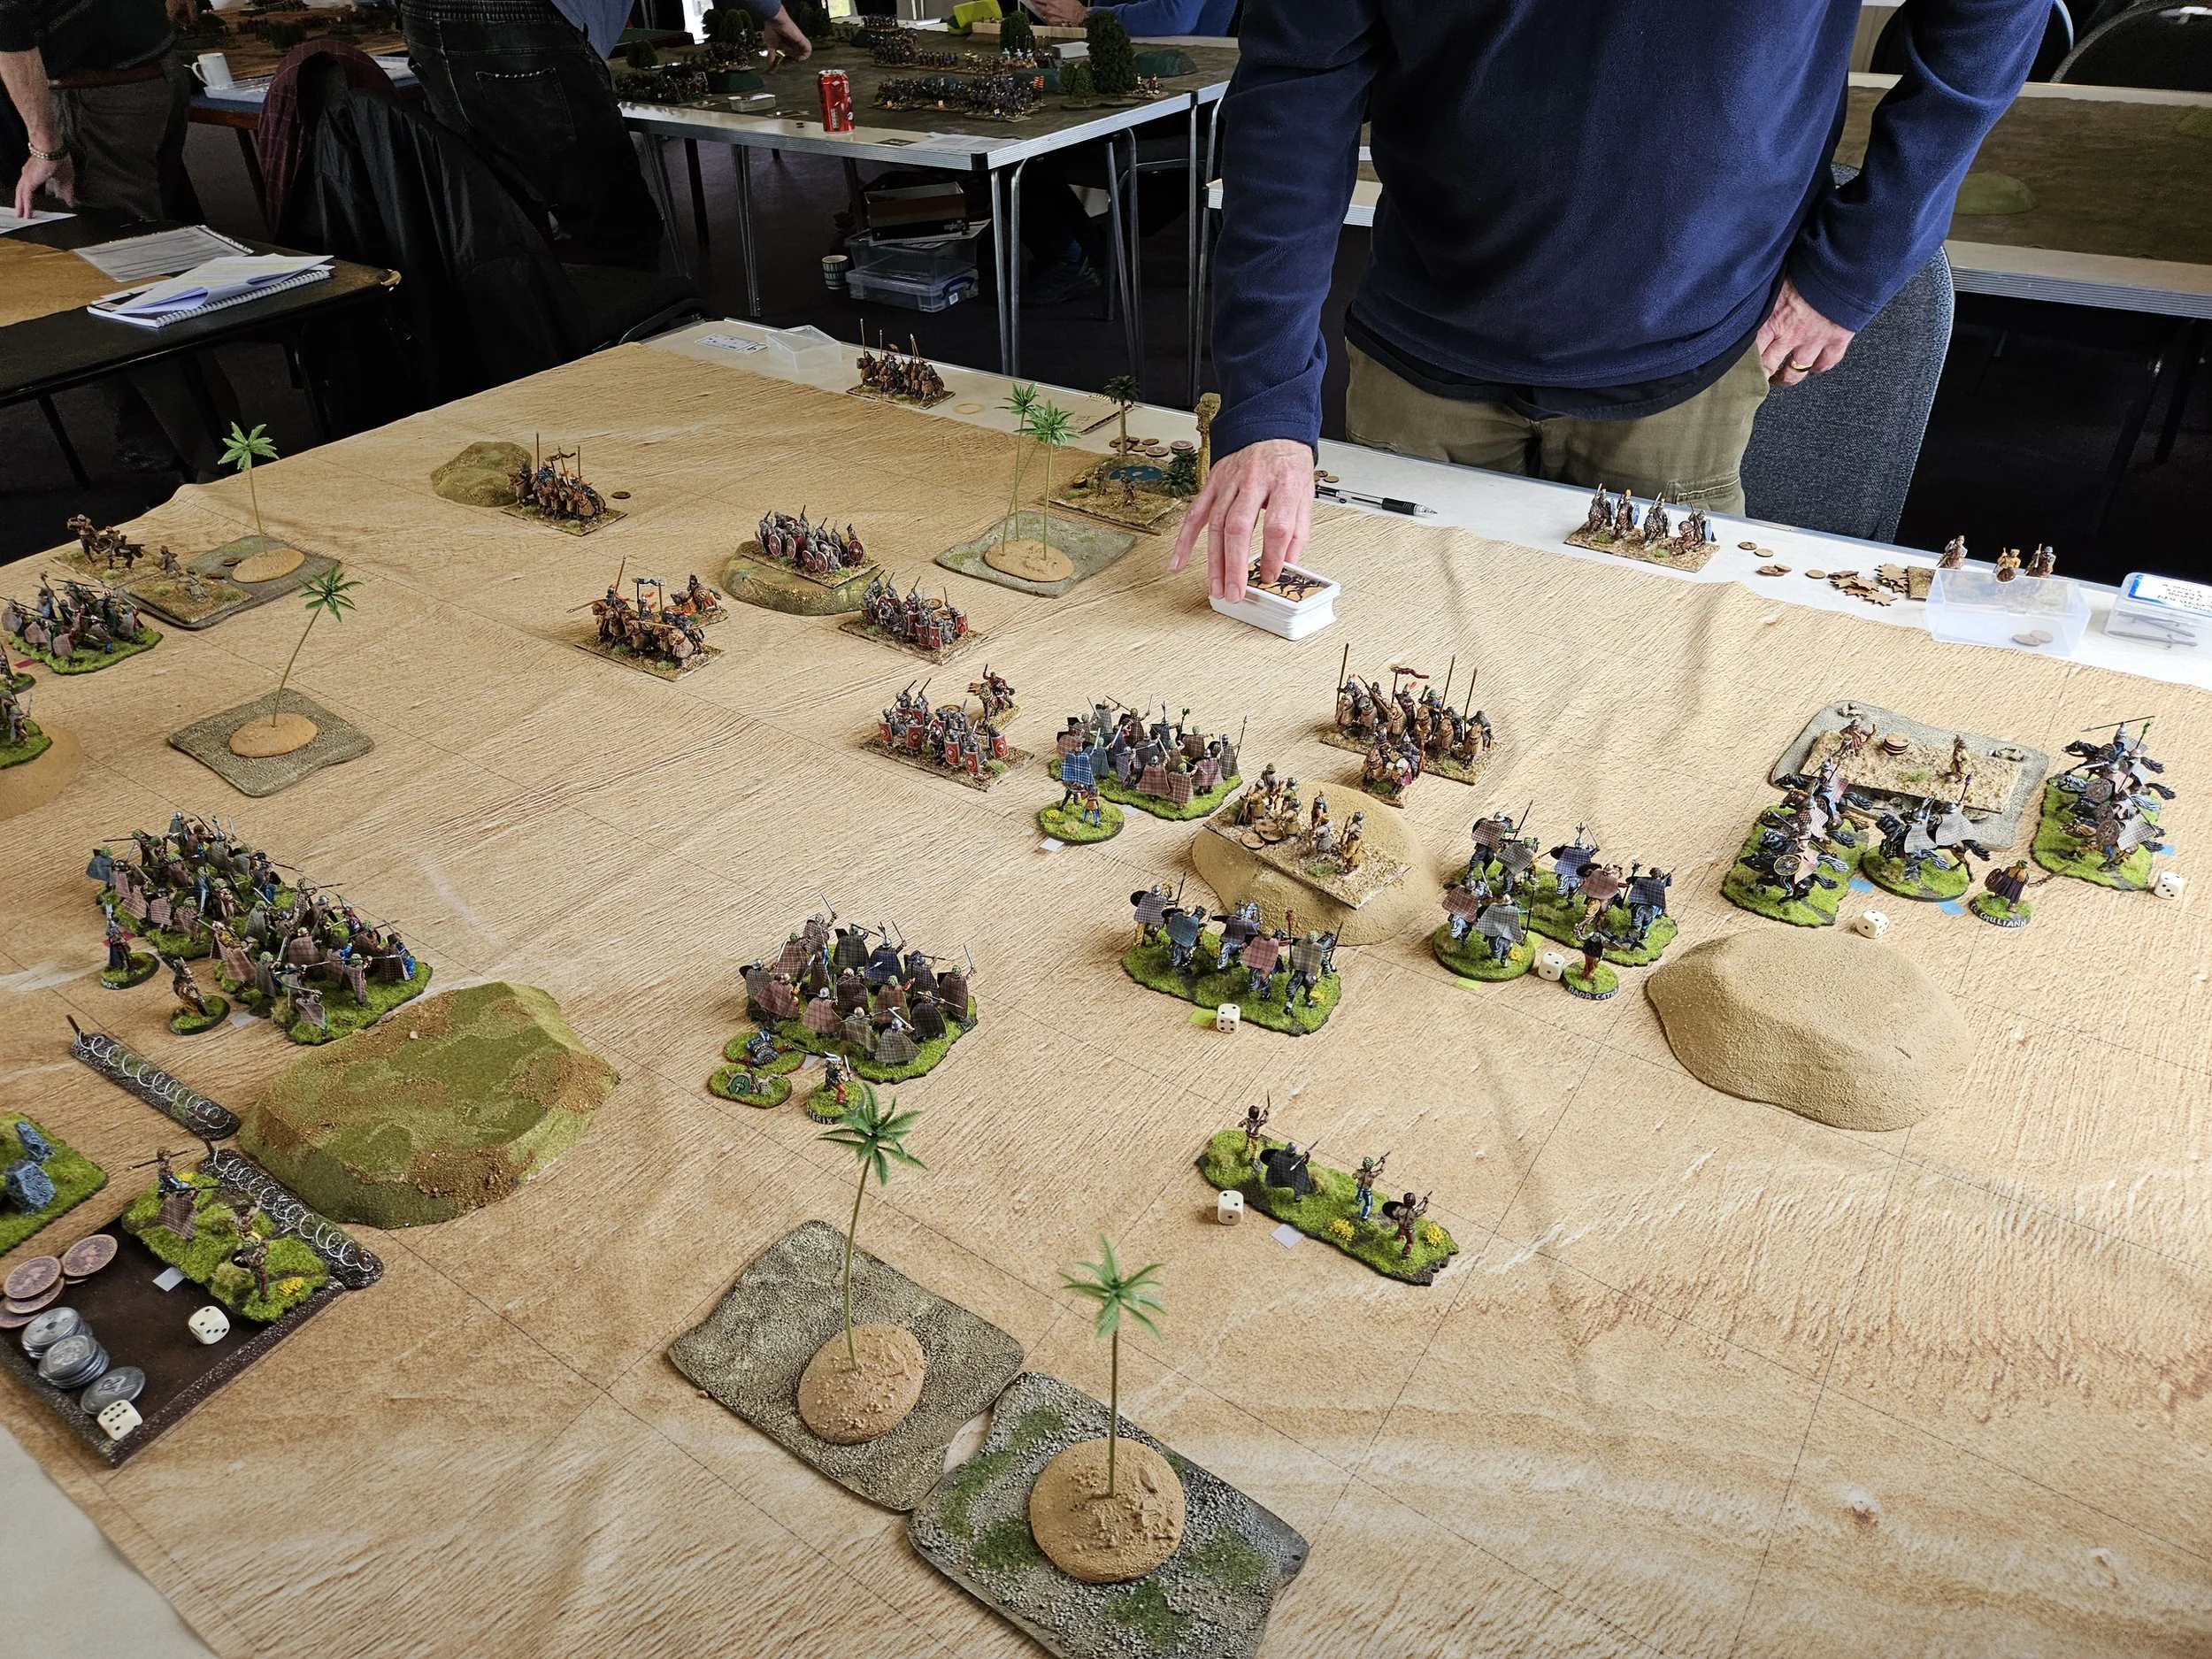
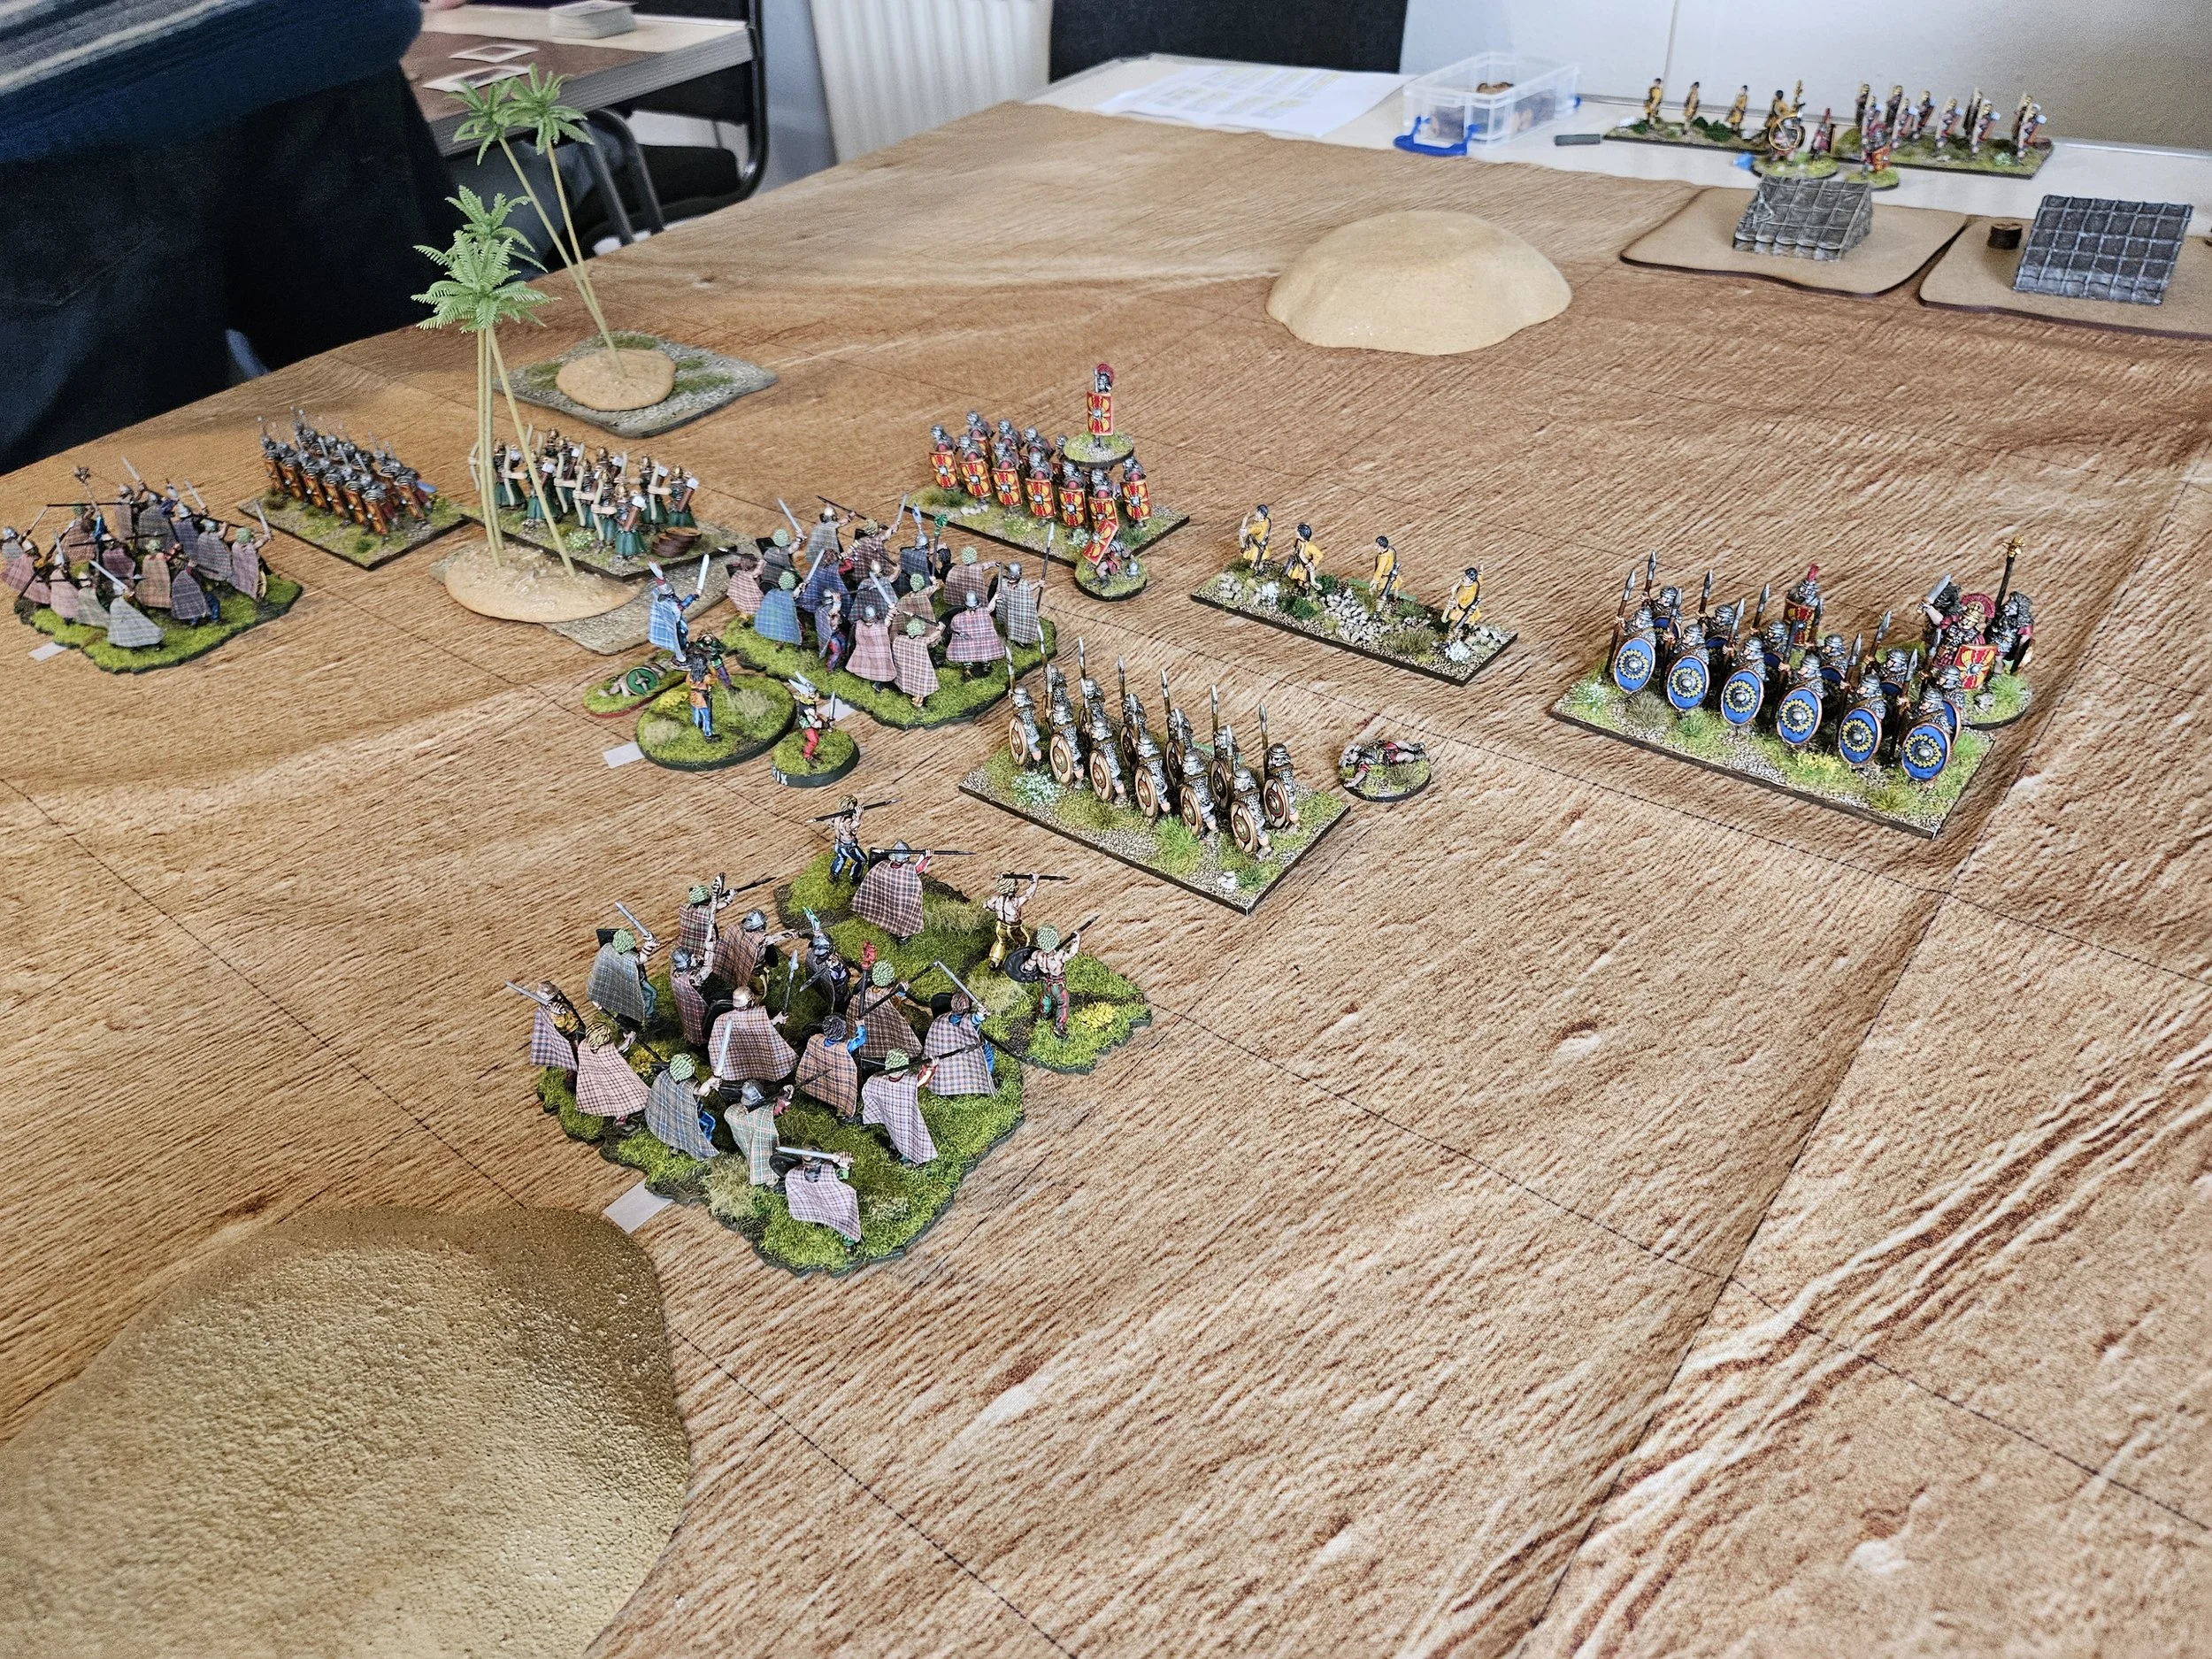
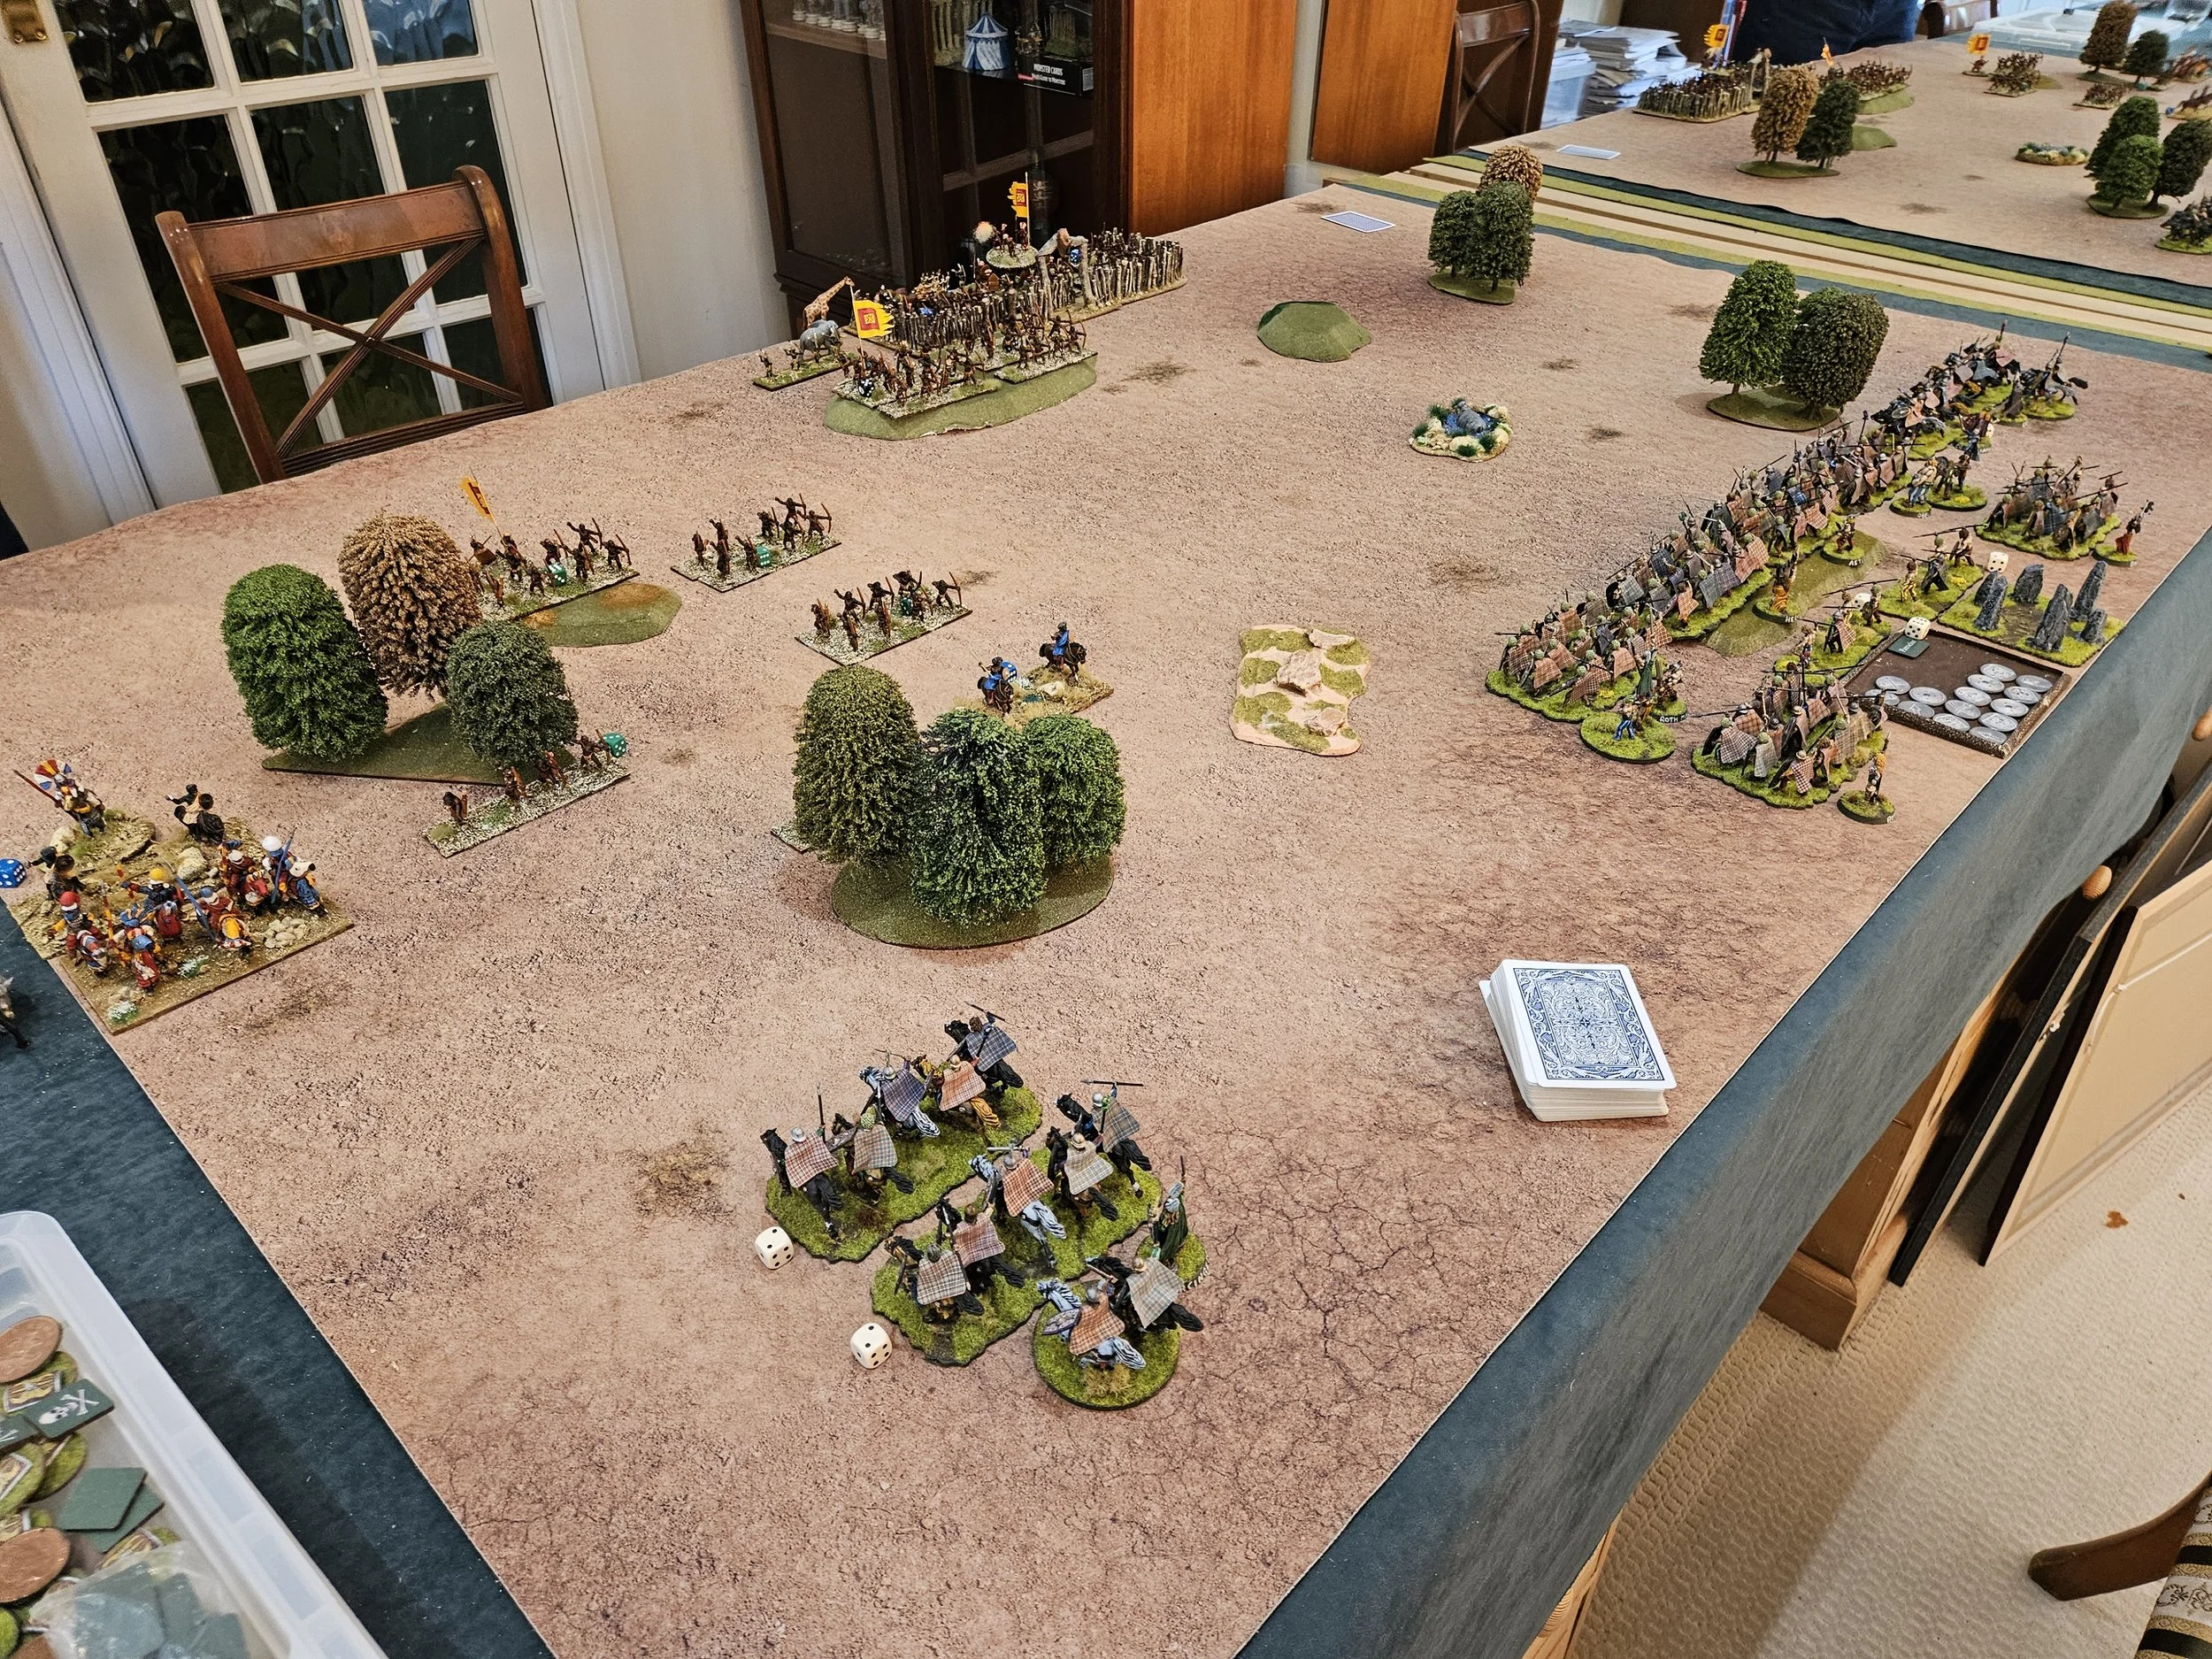
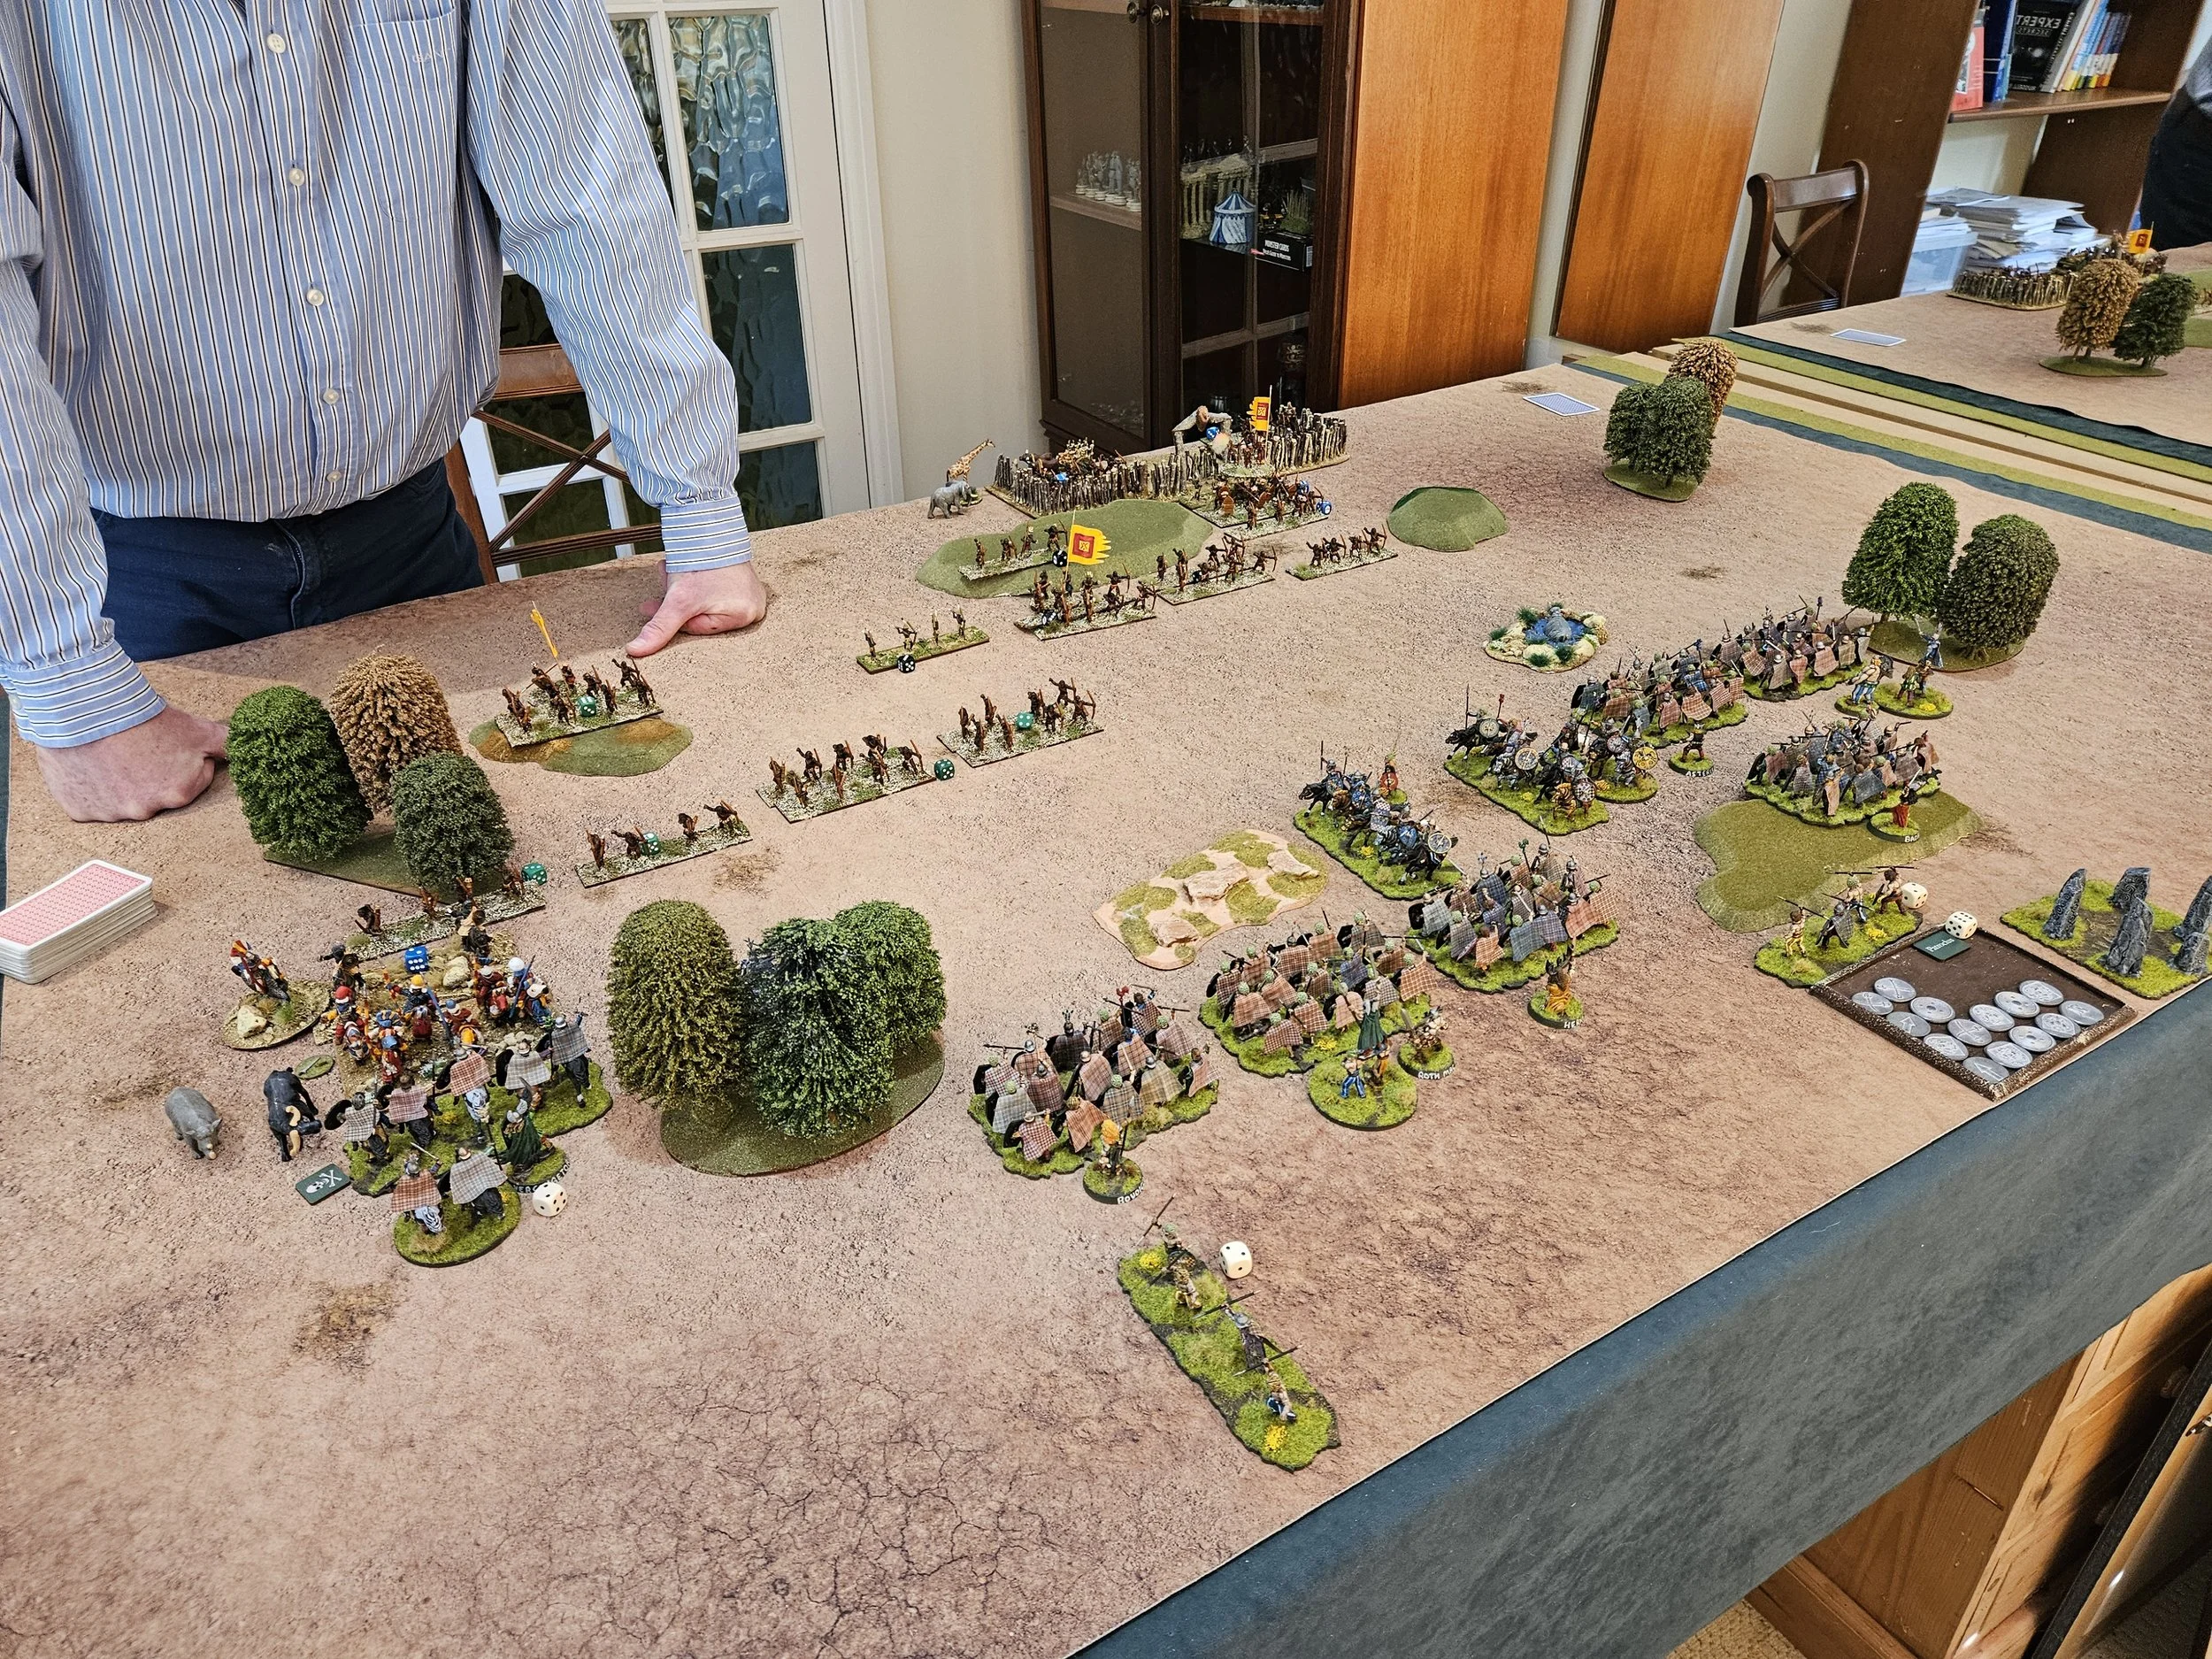
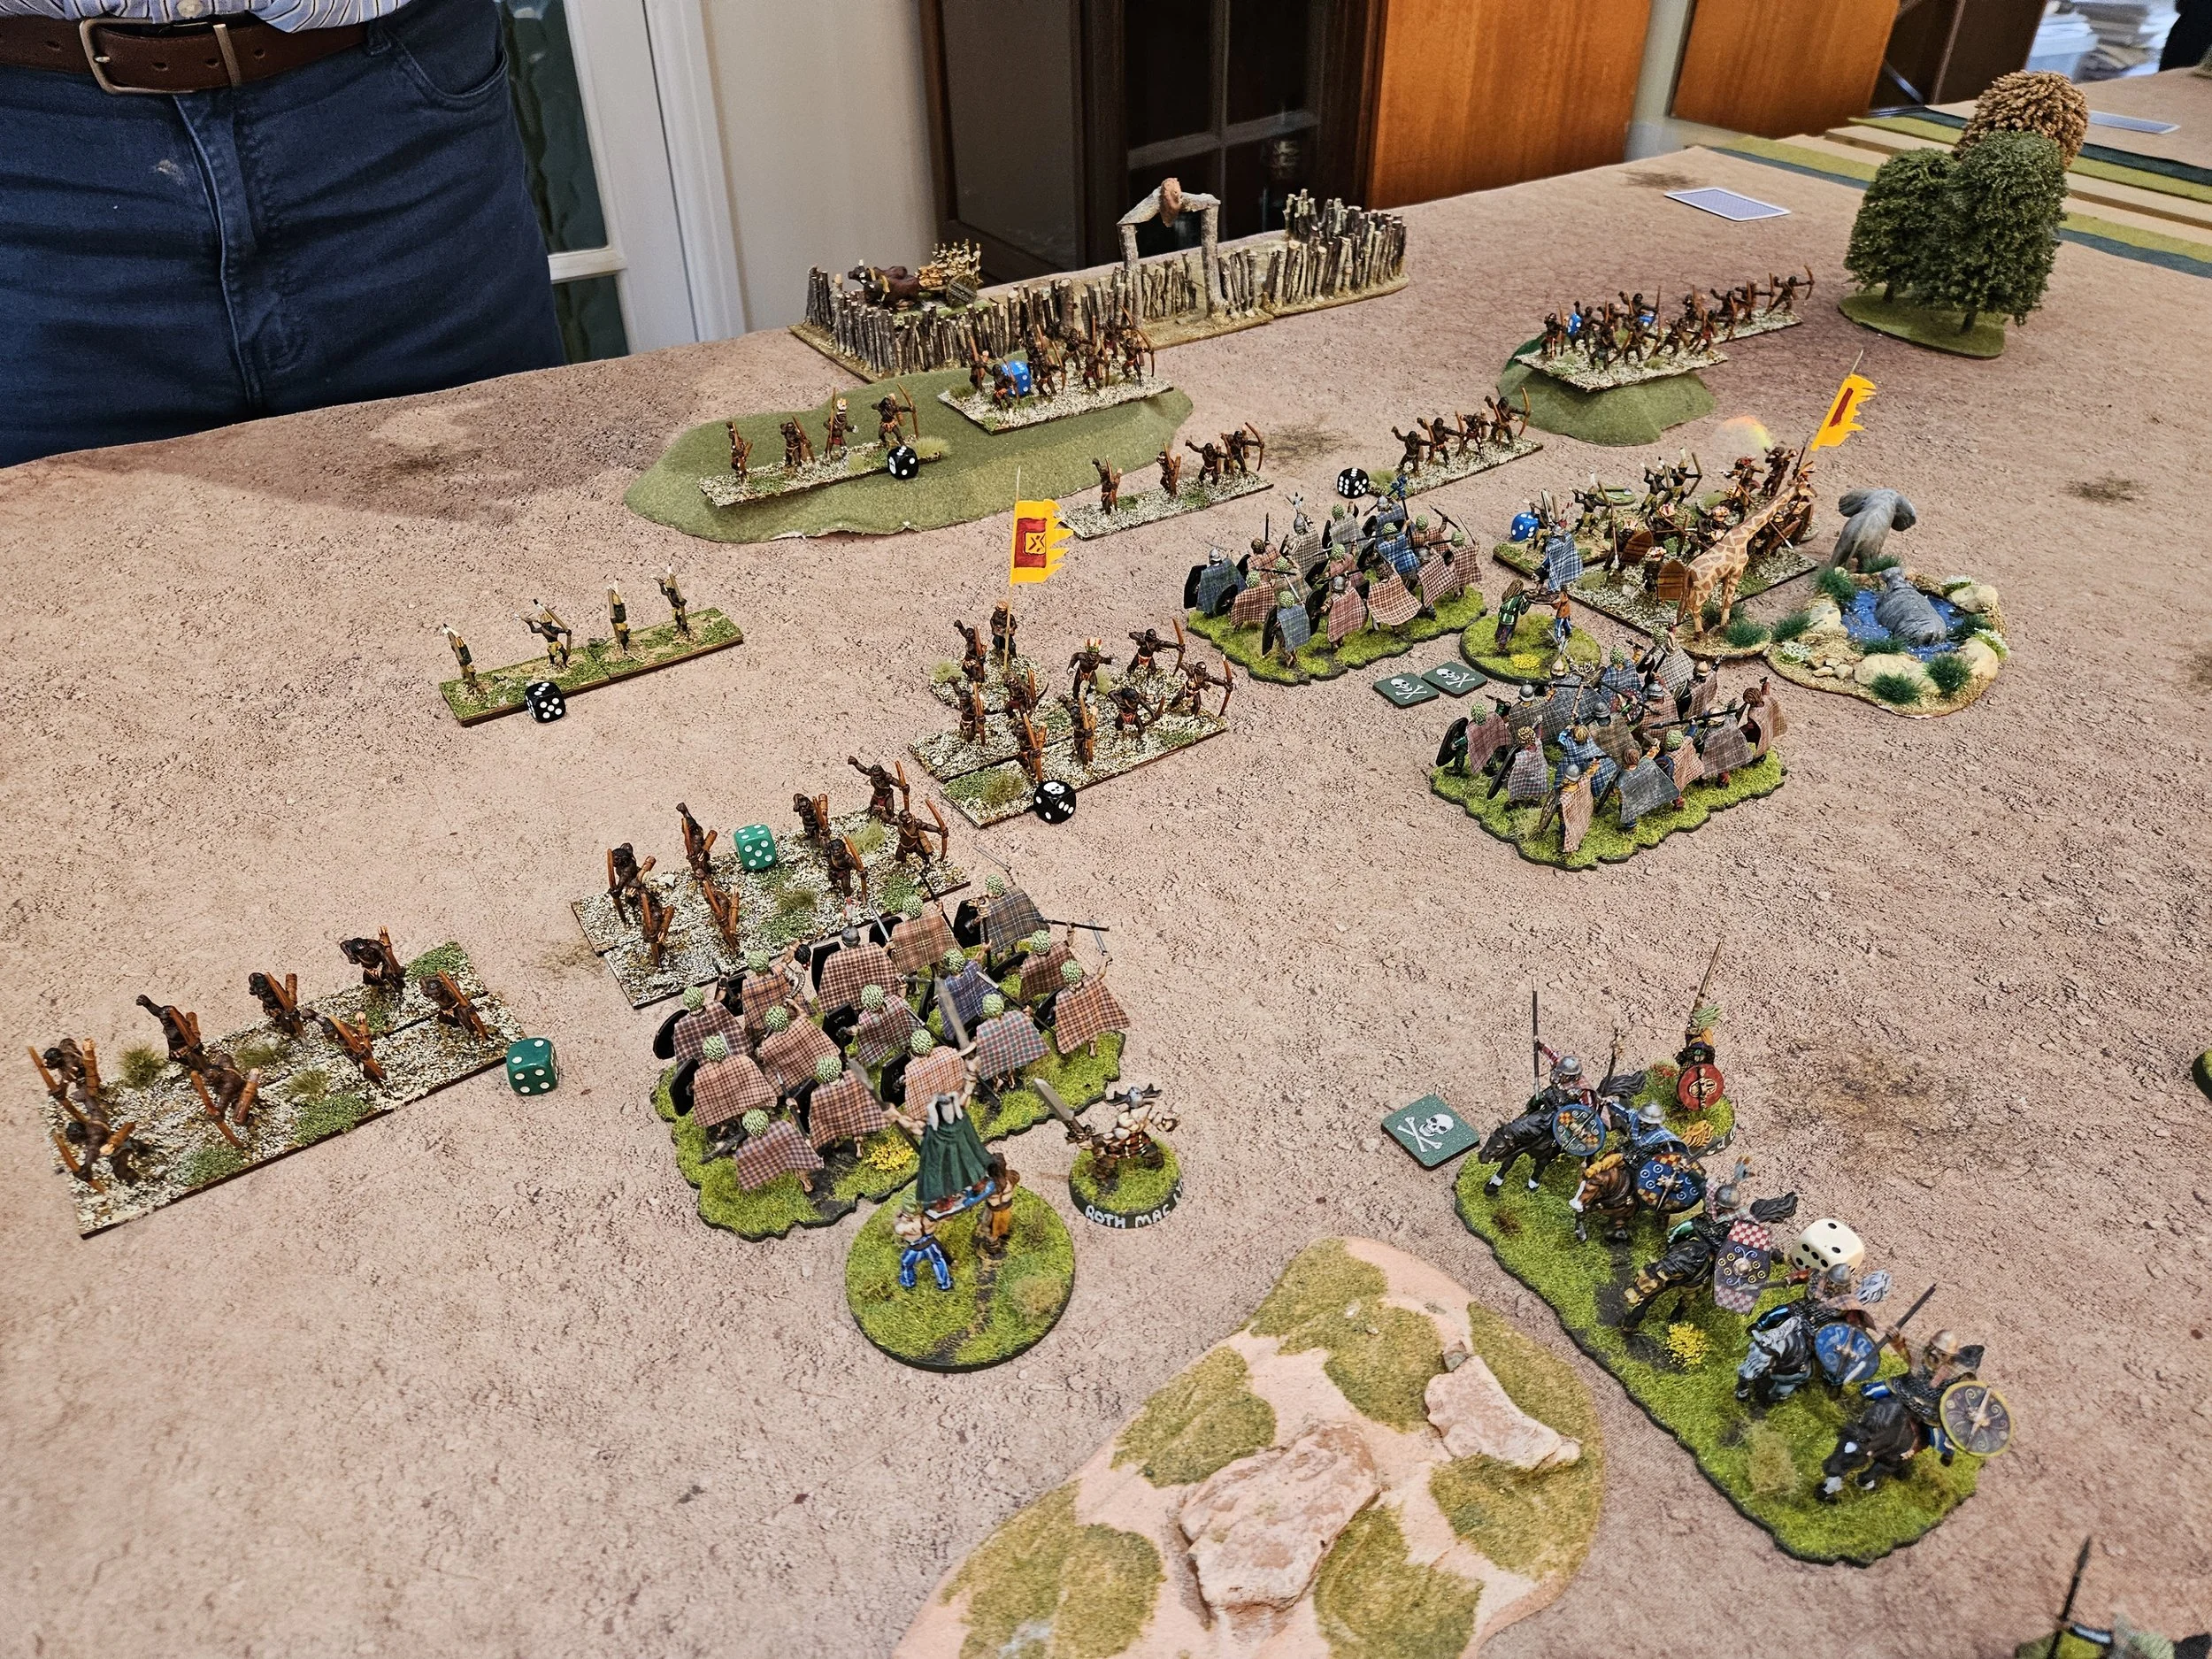
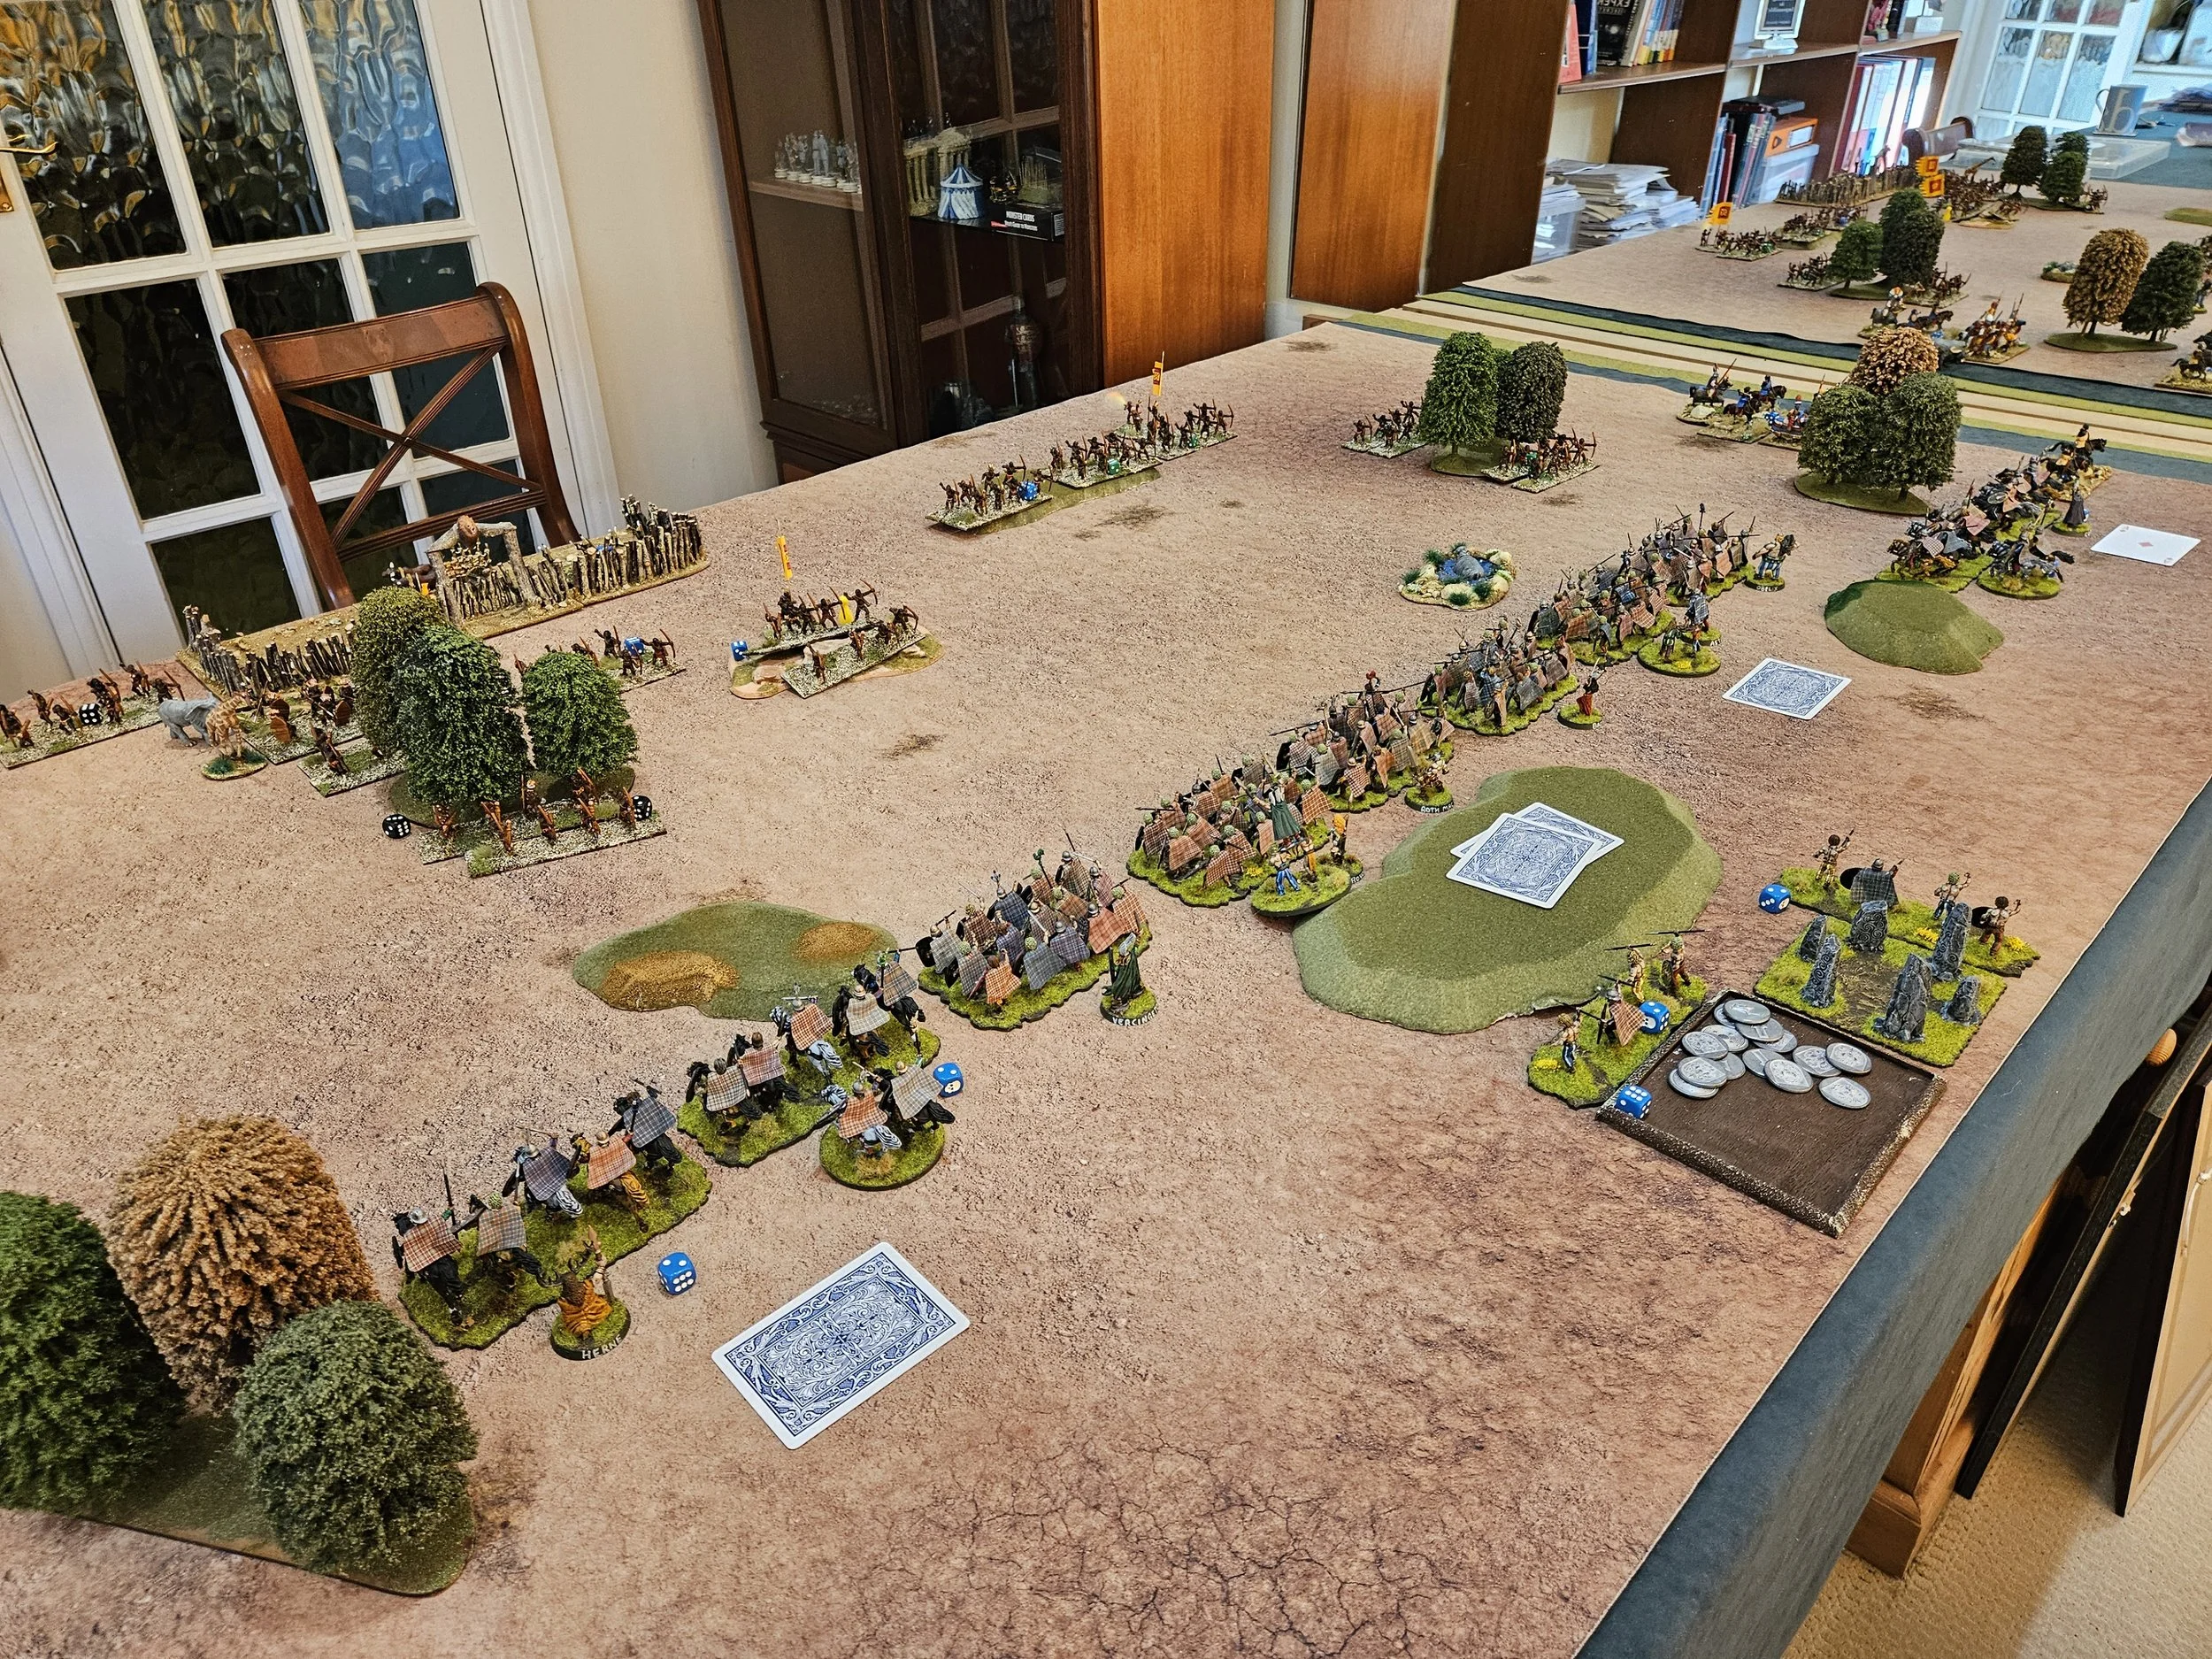
As I’d beaten them in the last game by putting all my cavalry on one flank and refusing the other, I decided that that’s what I’d try again. I mean, it had worked last time, so what could possibly go wrong?
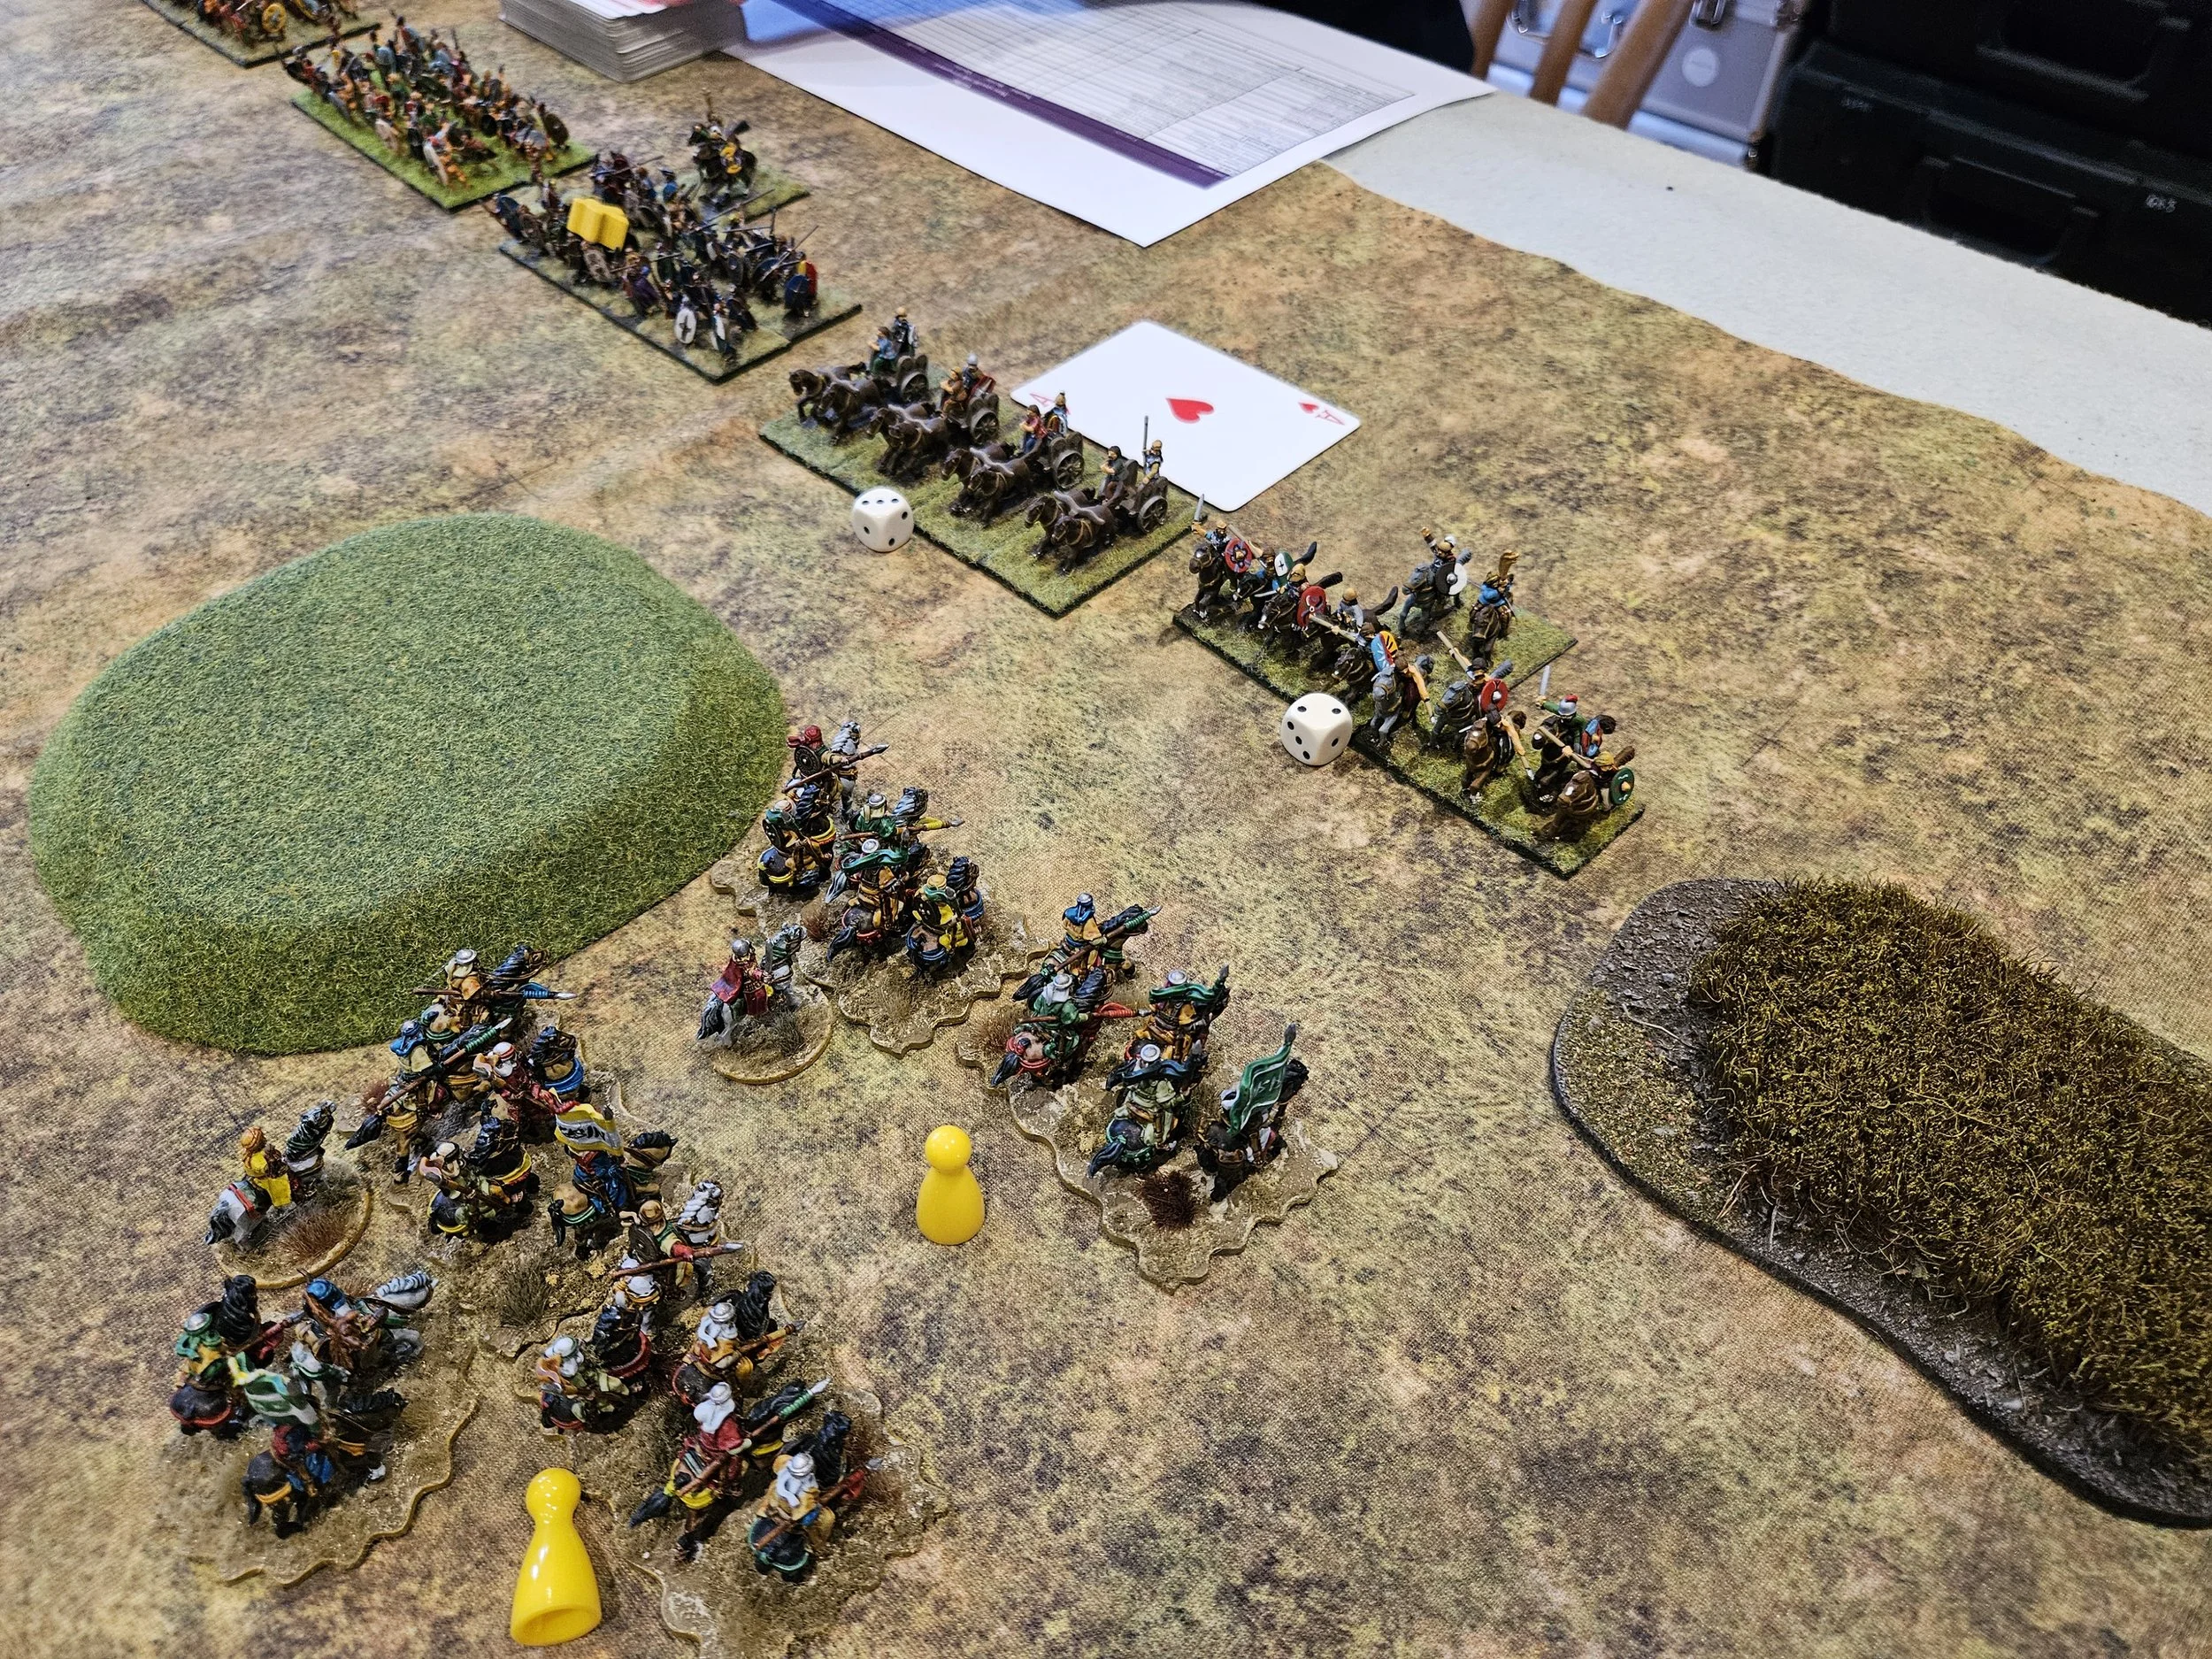
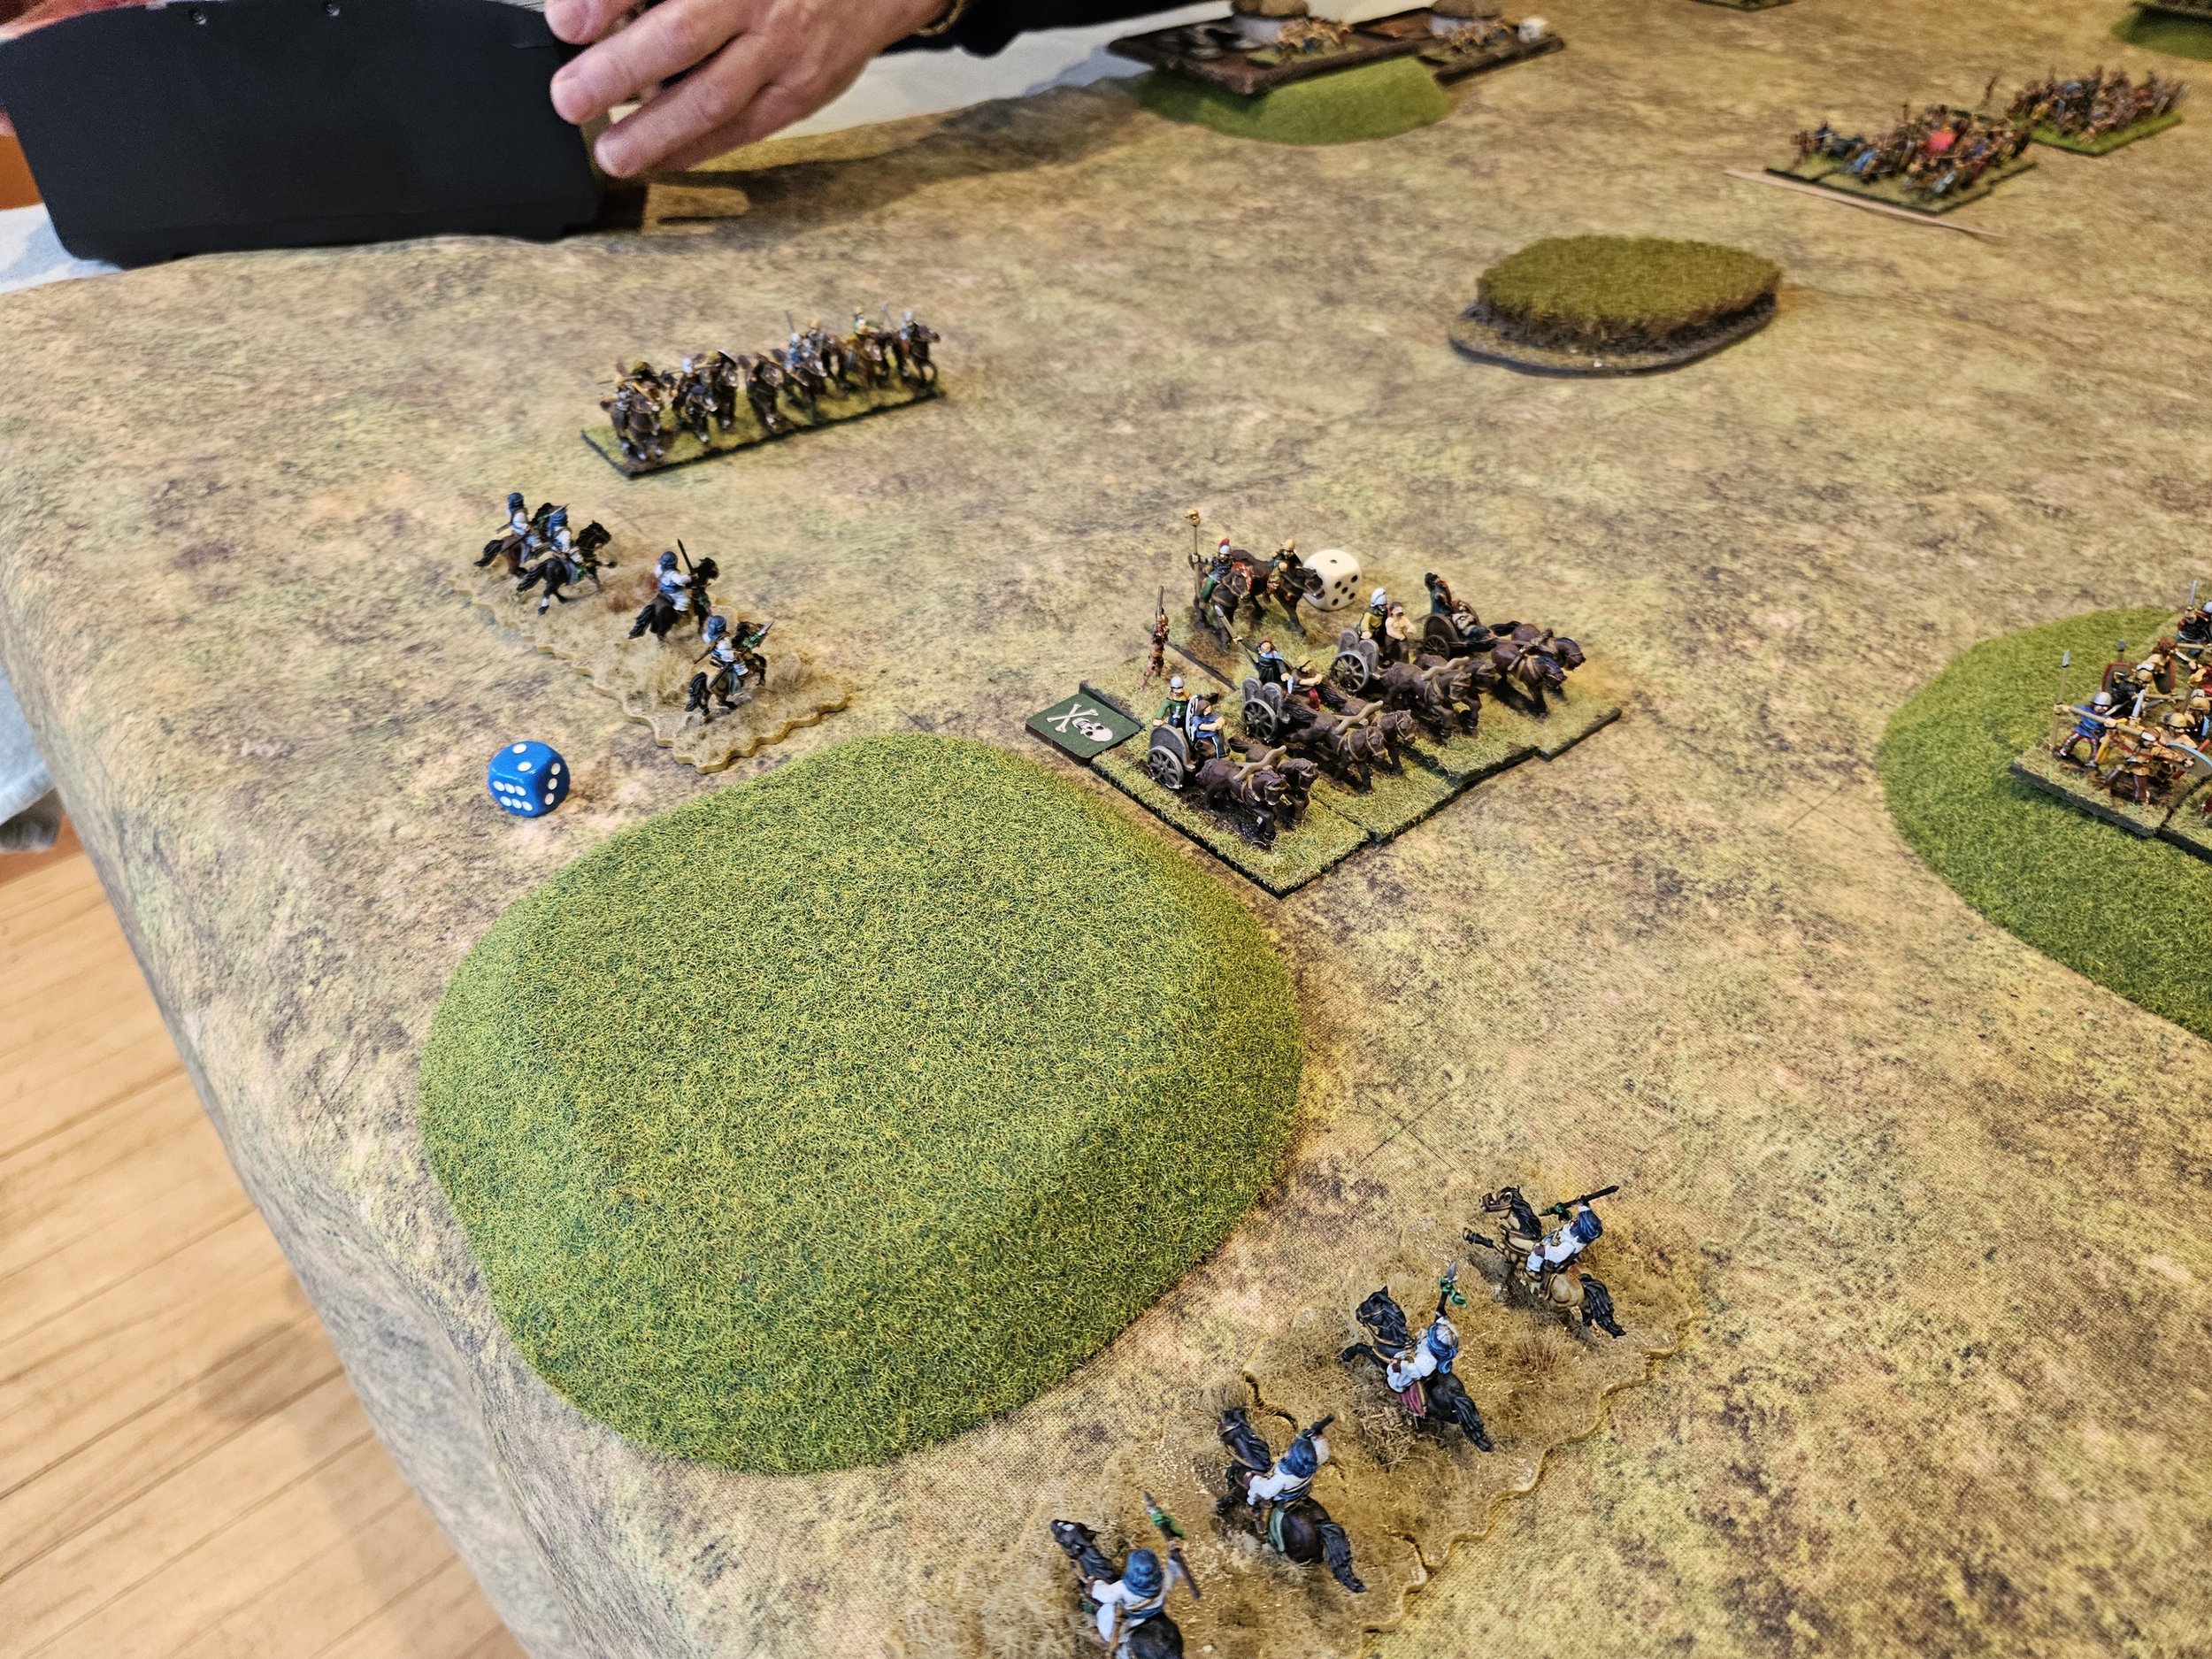
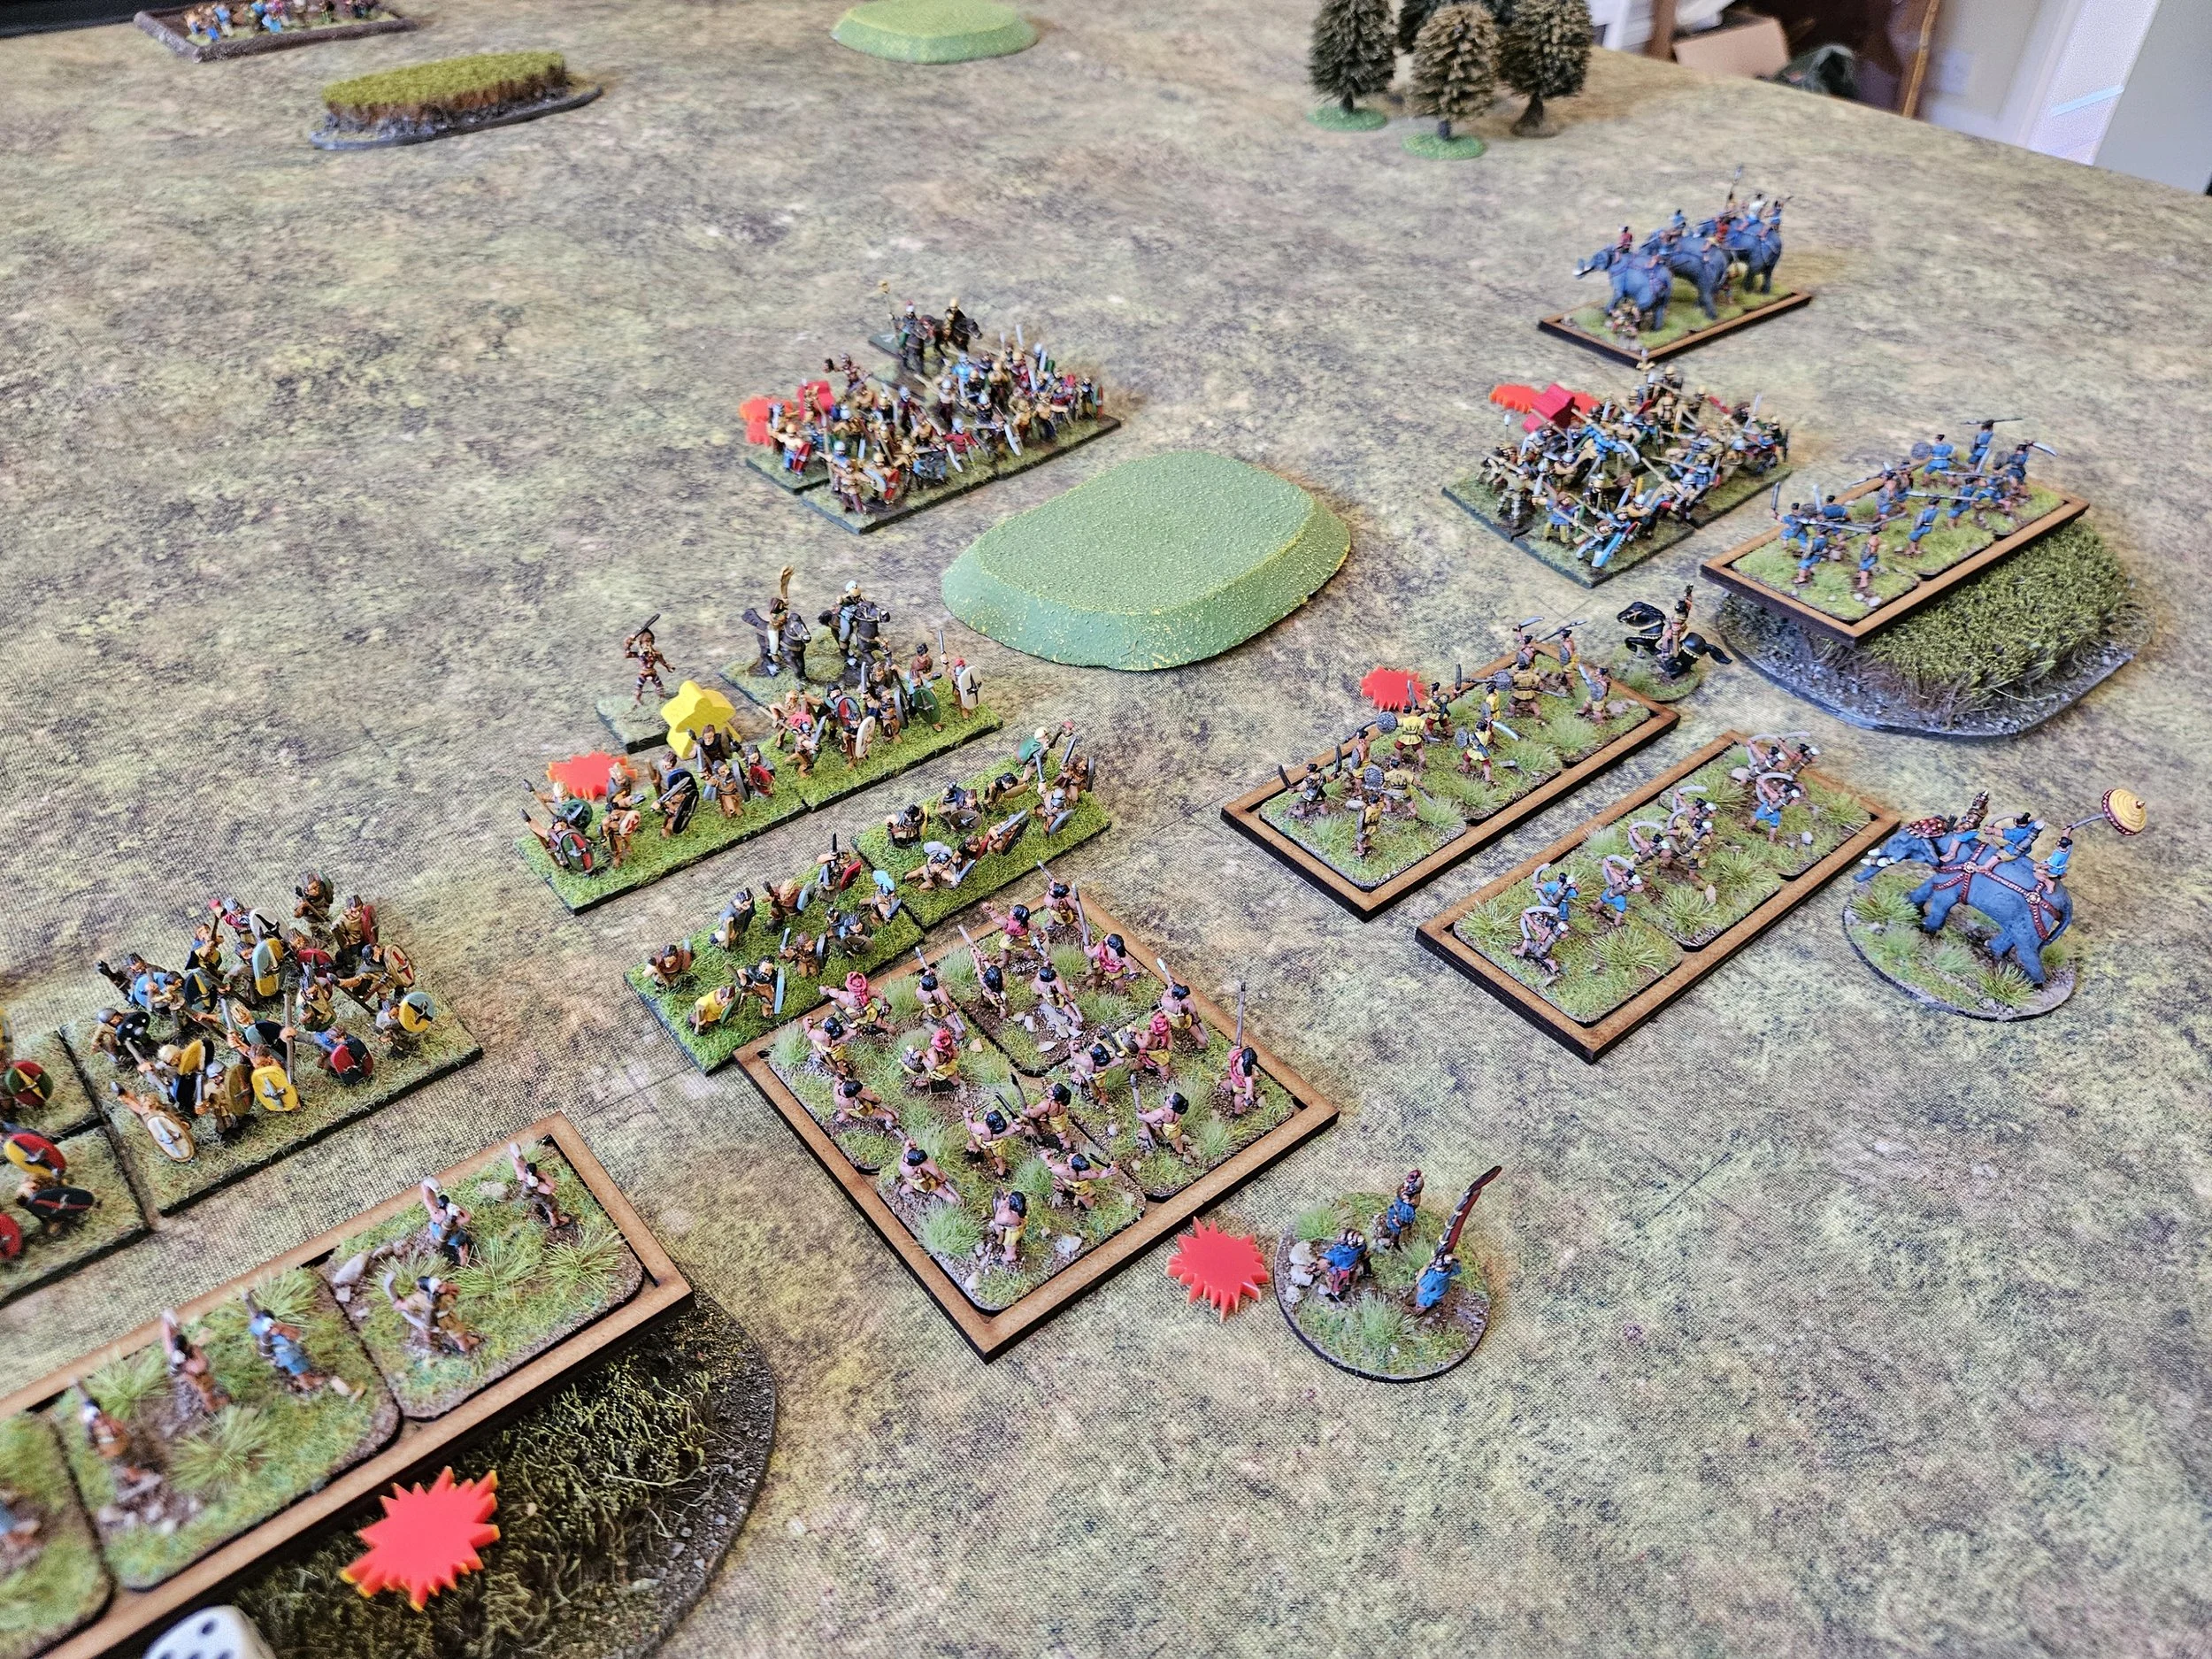
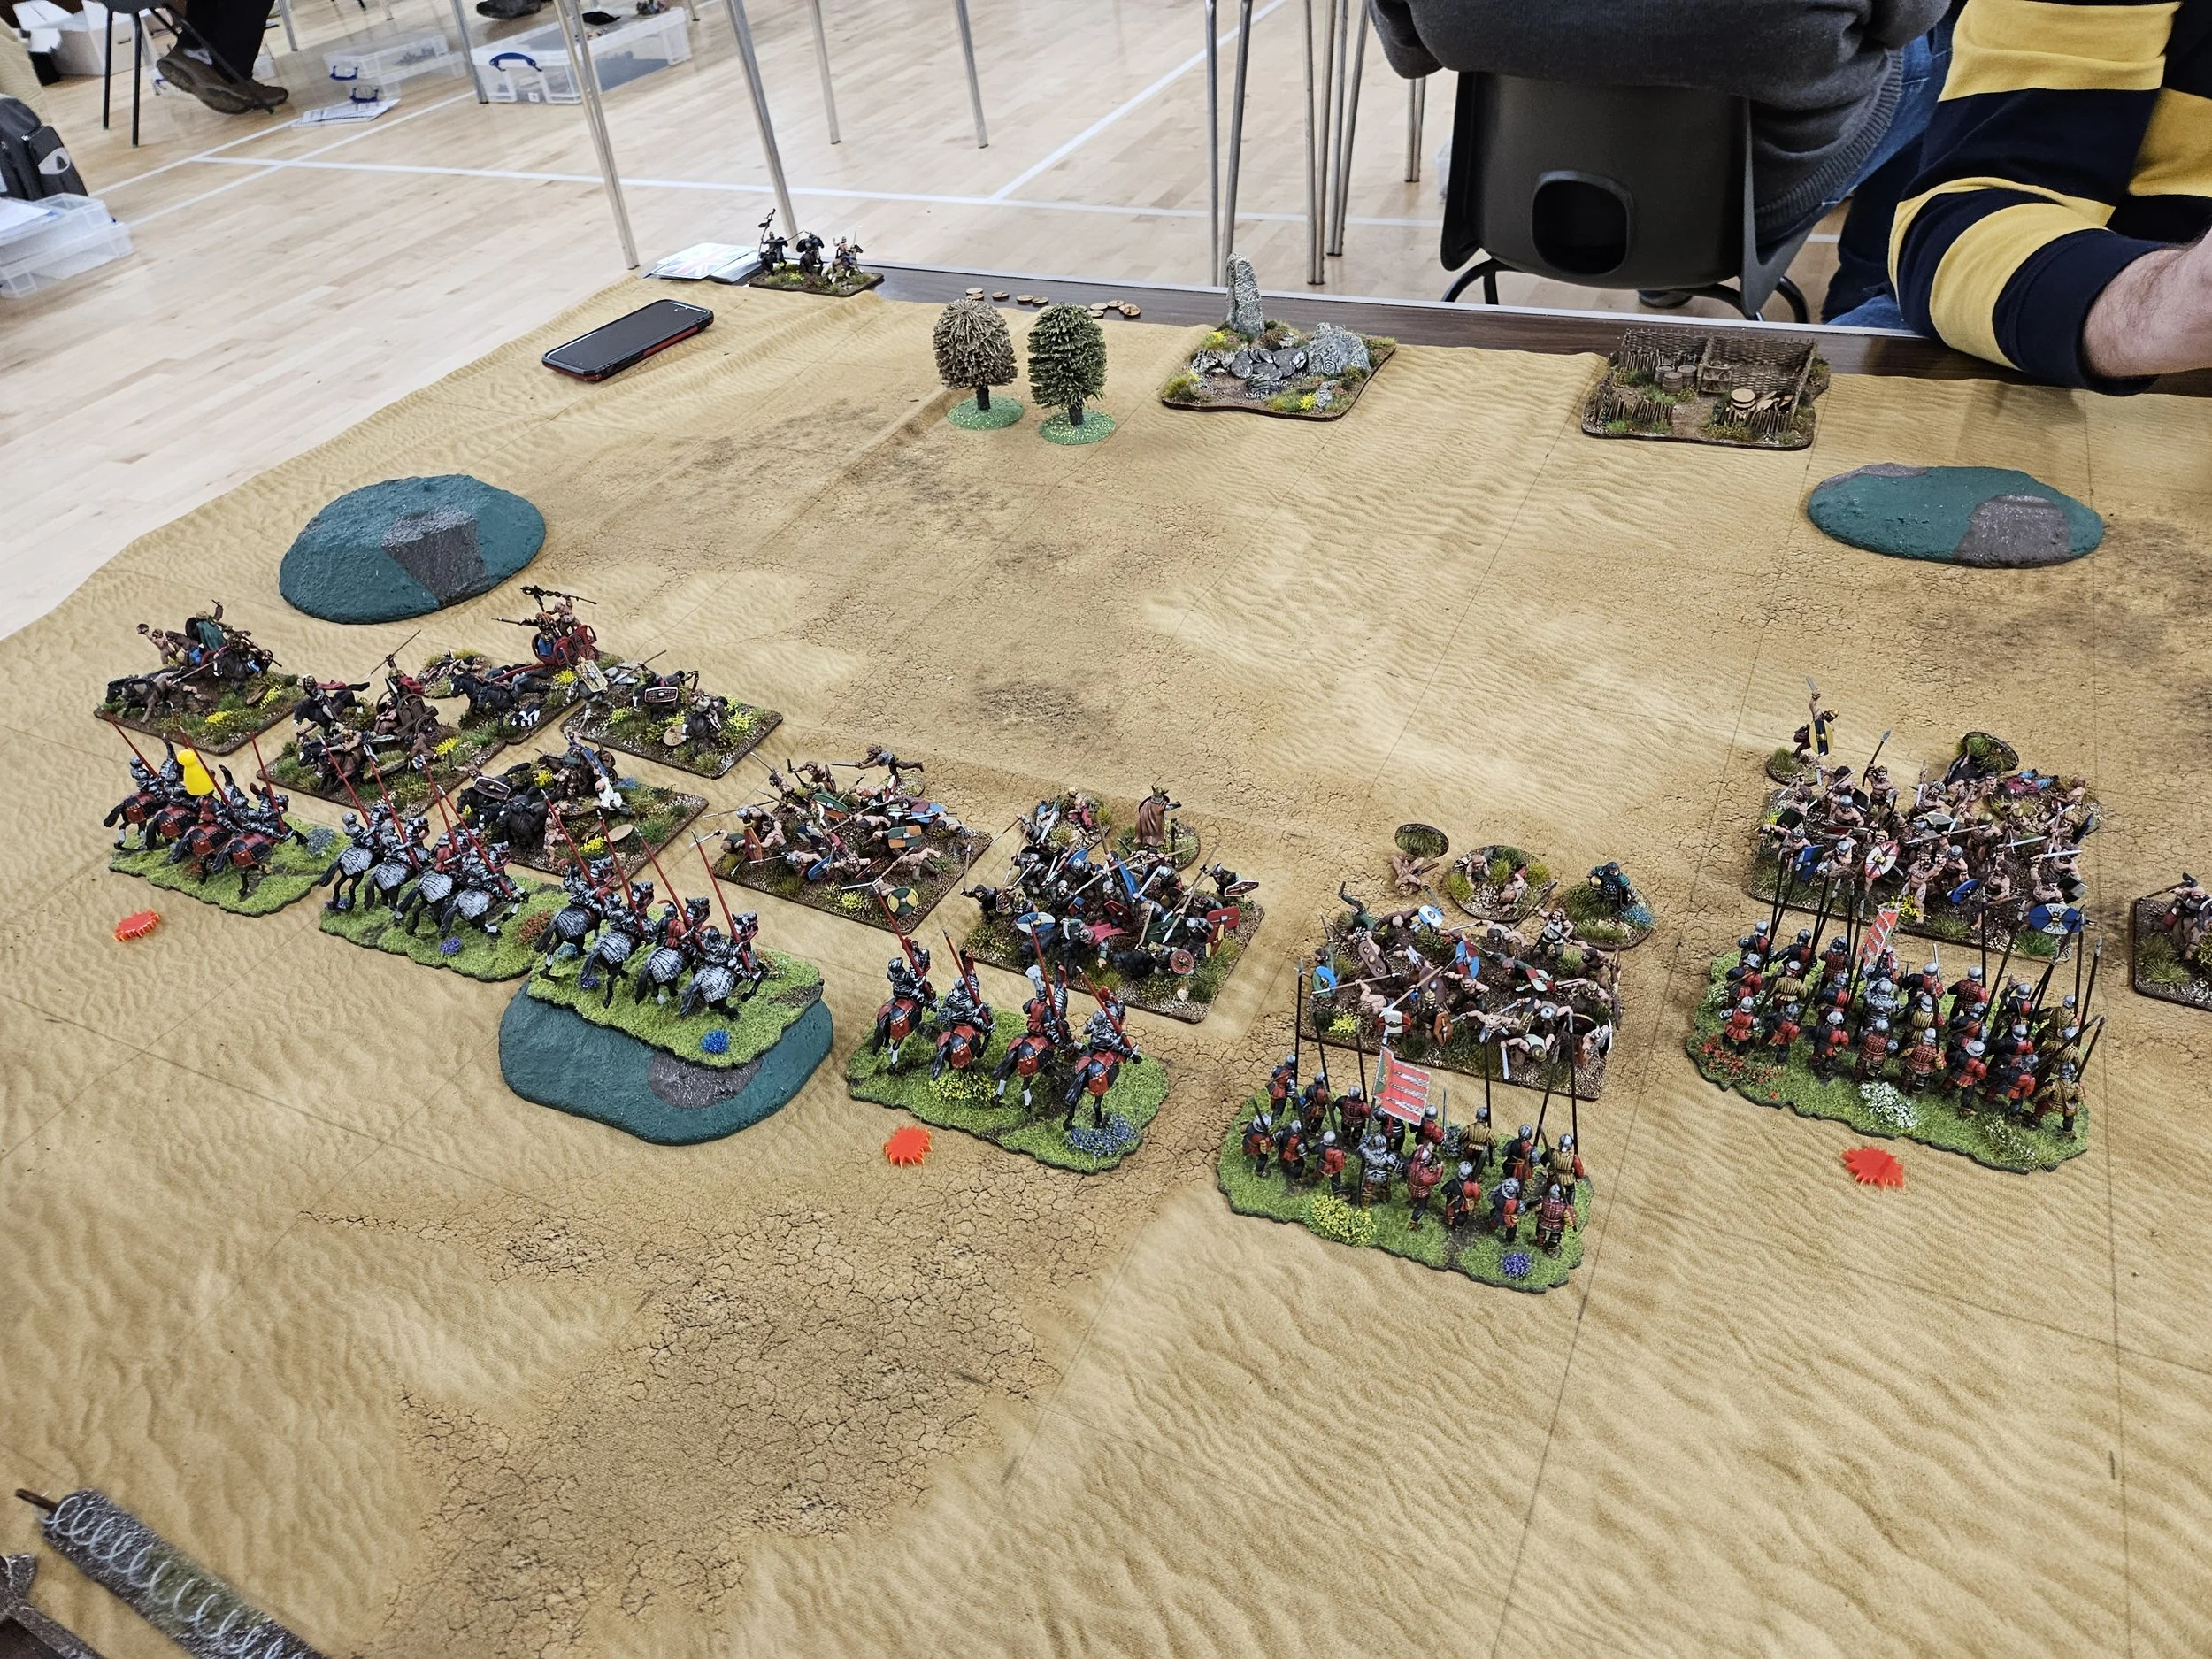
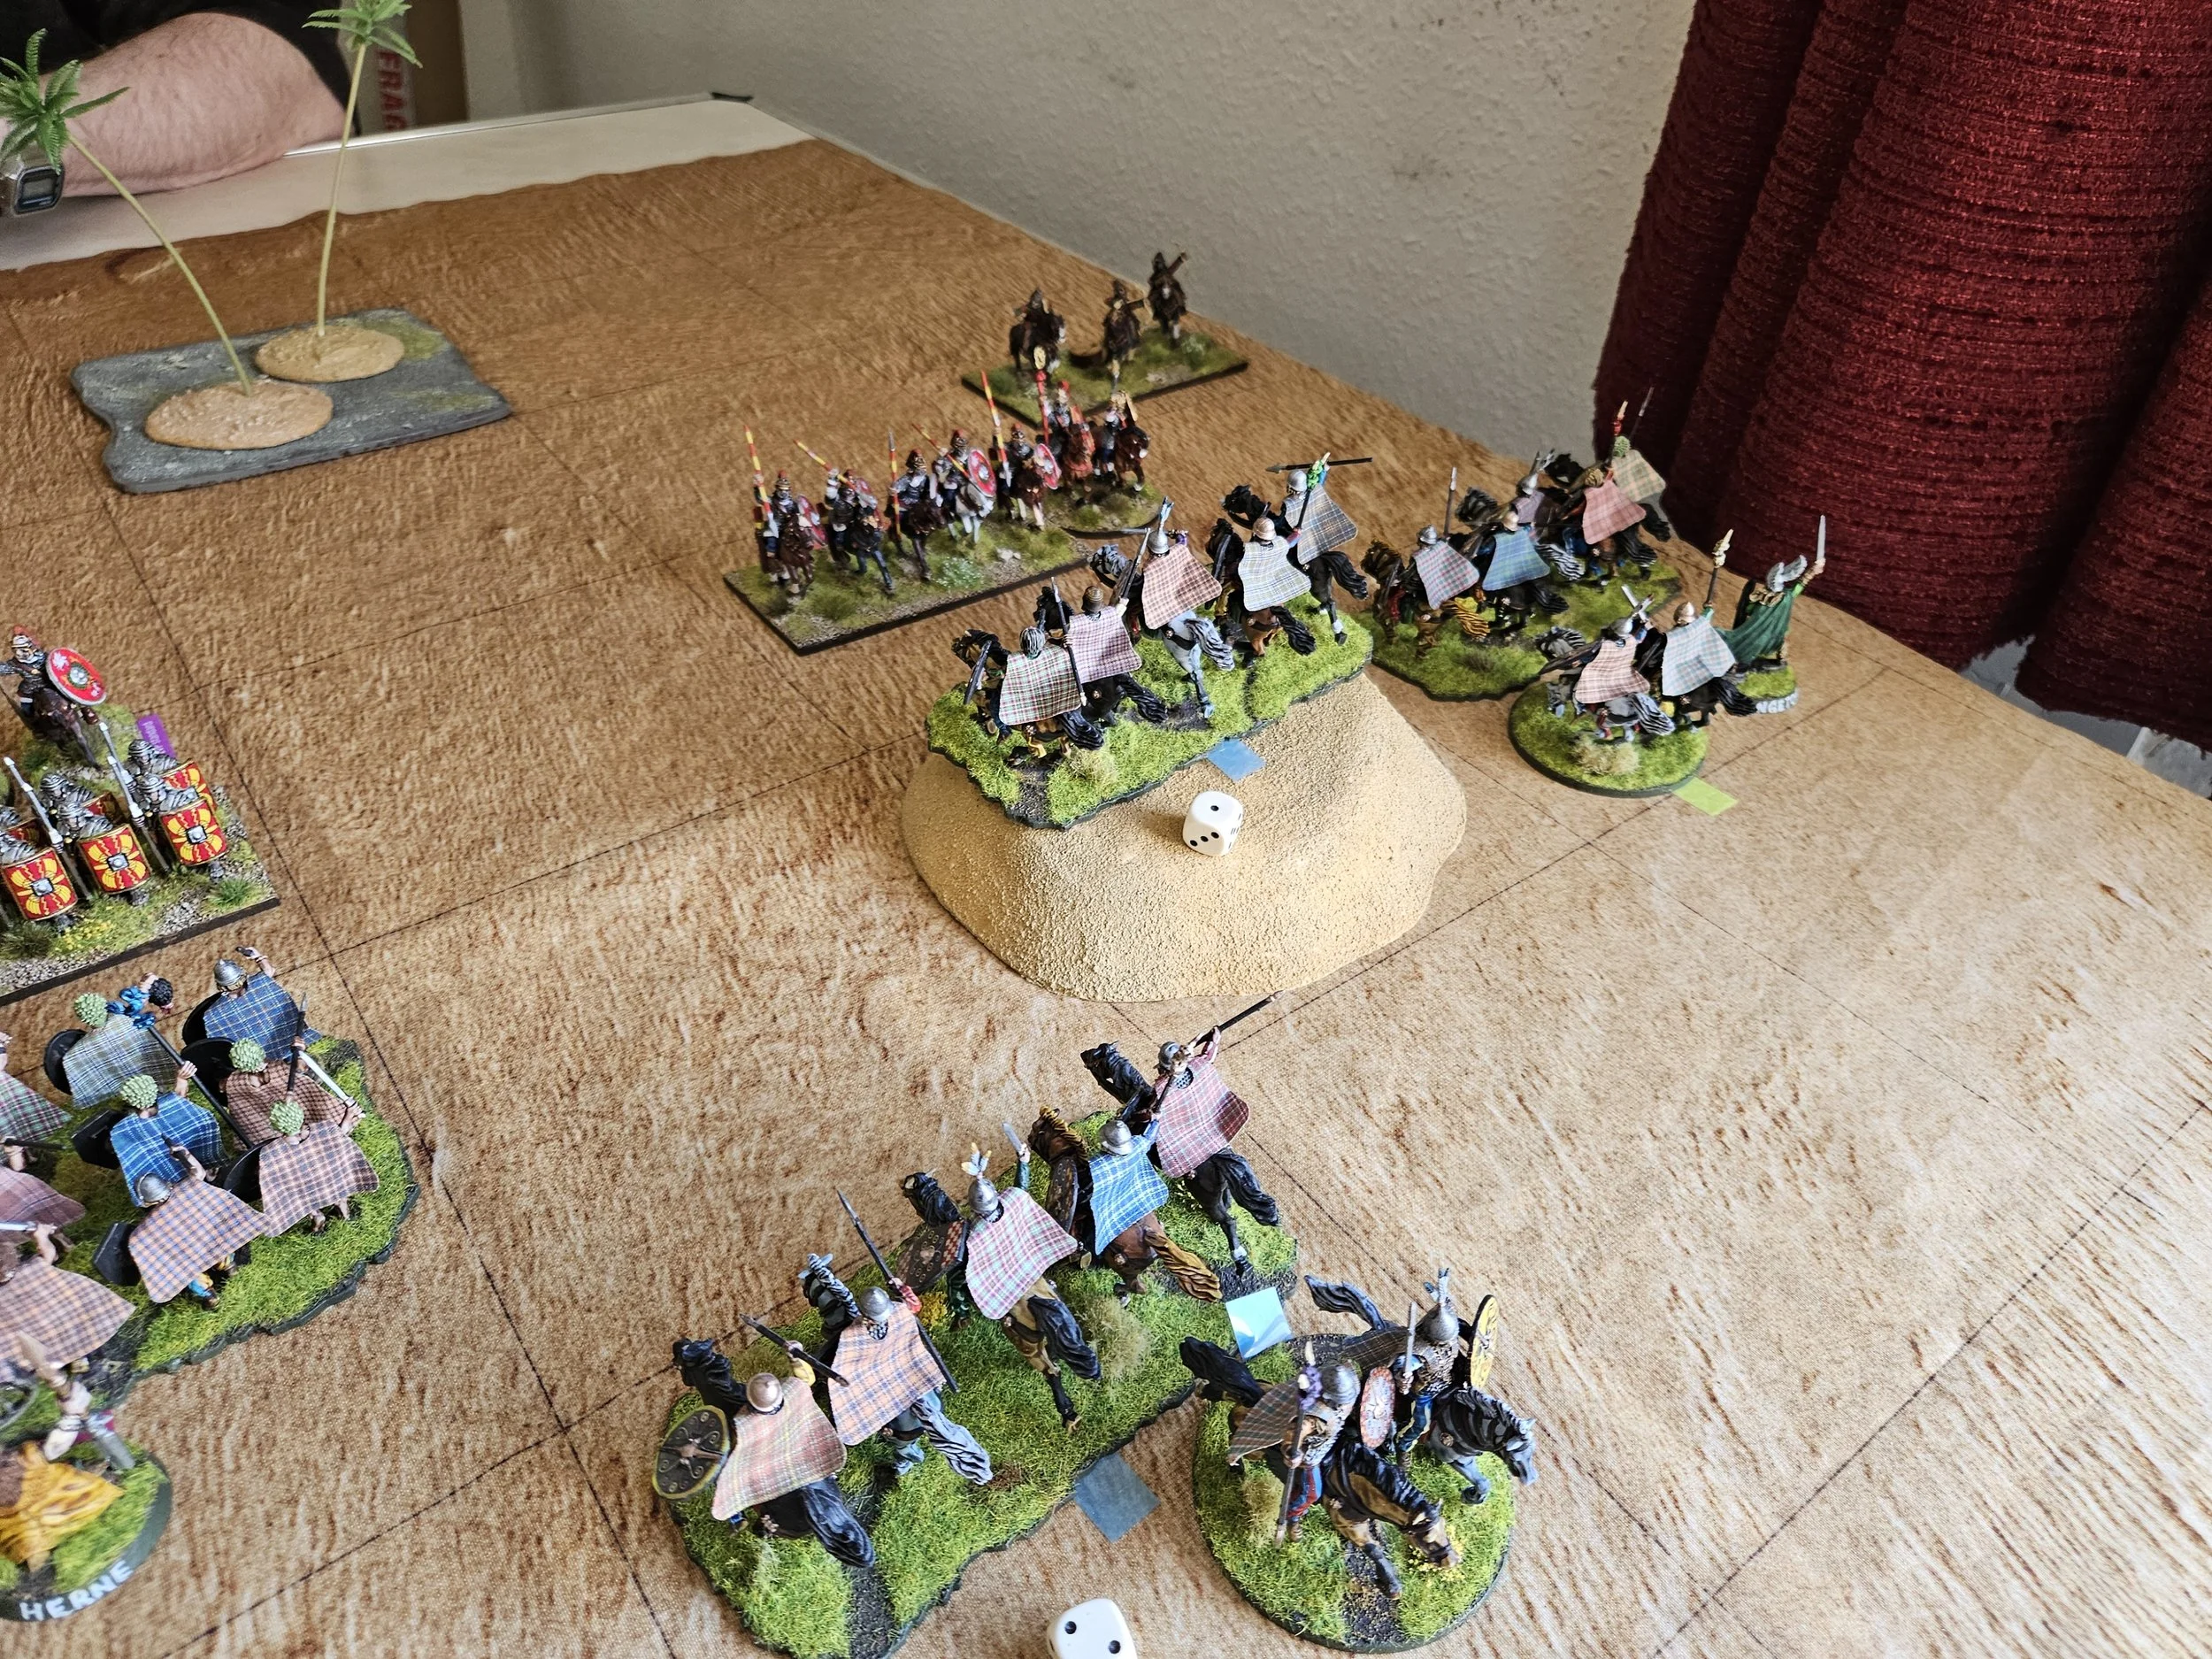
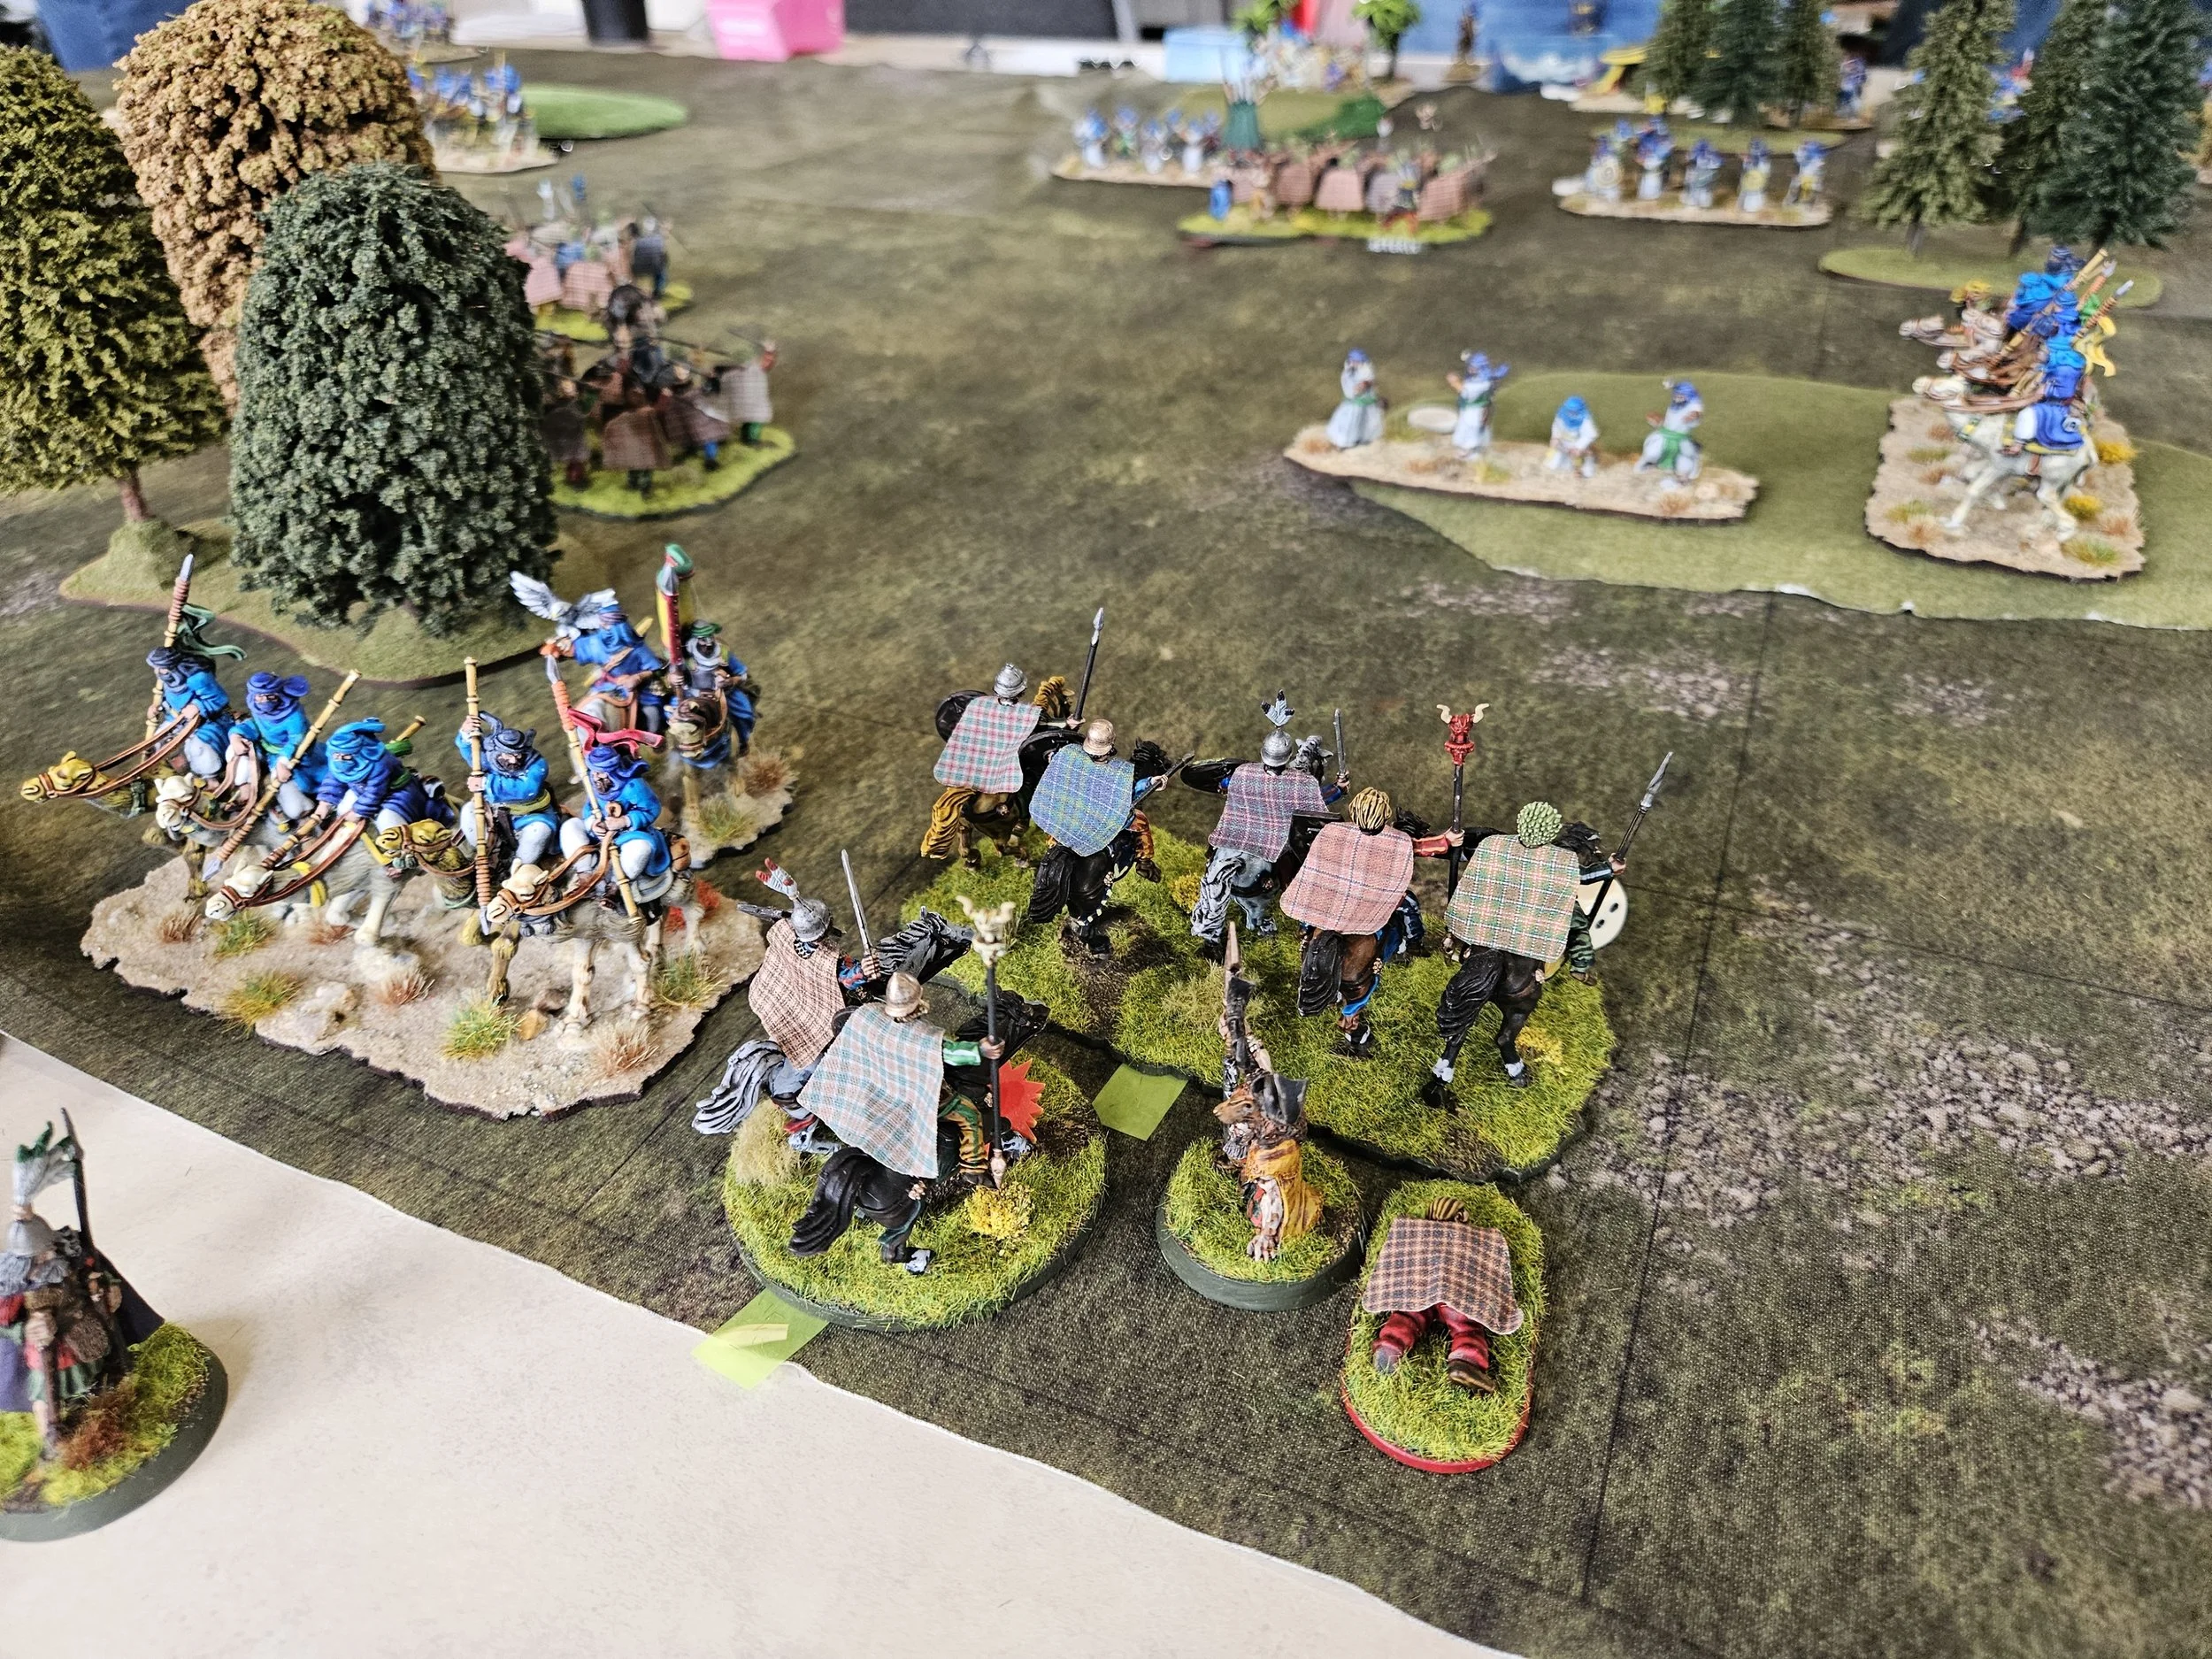
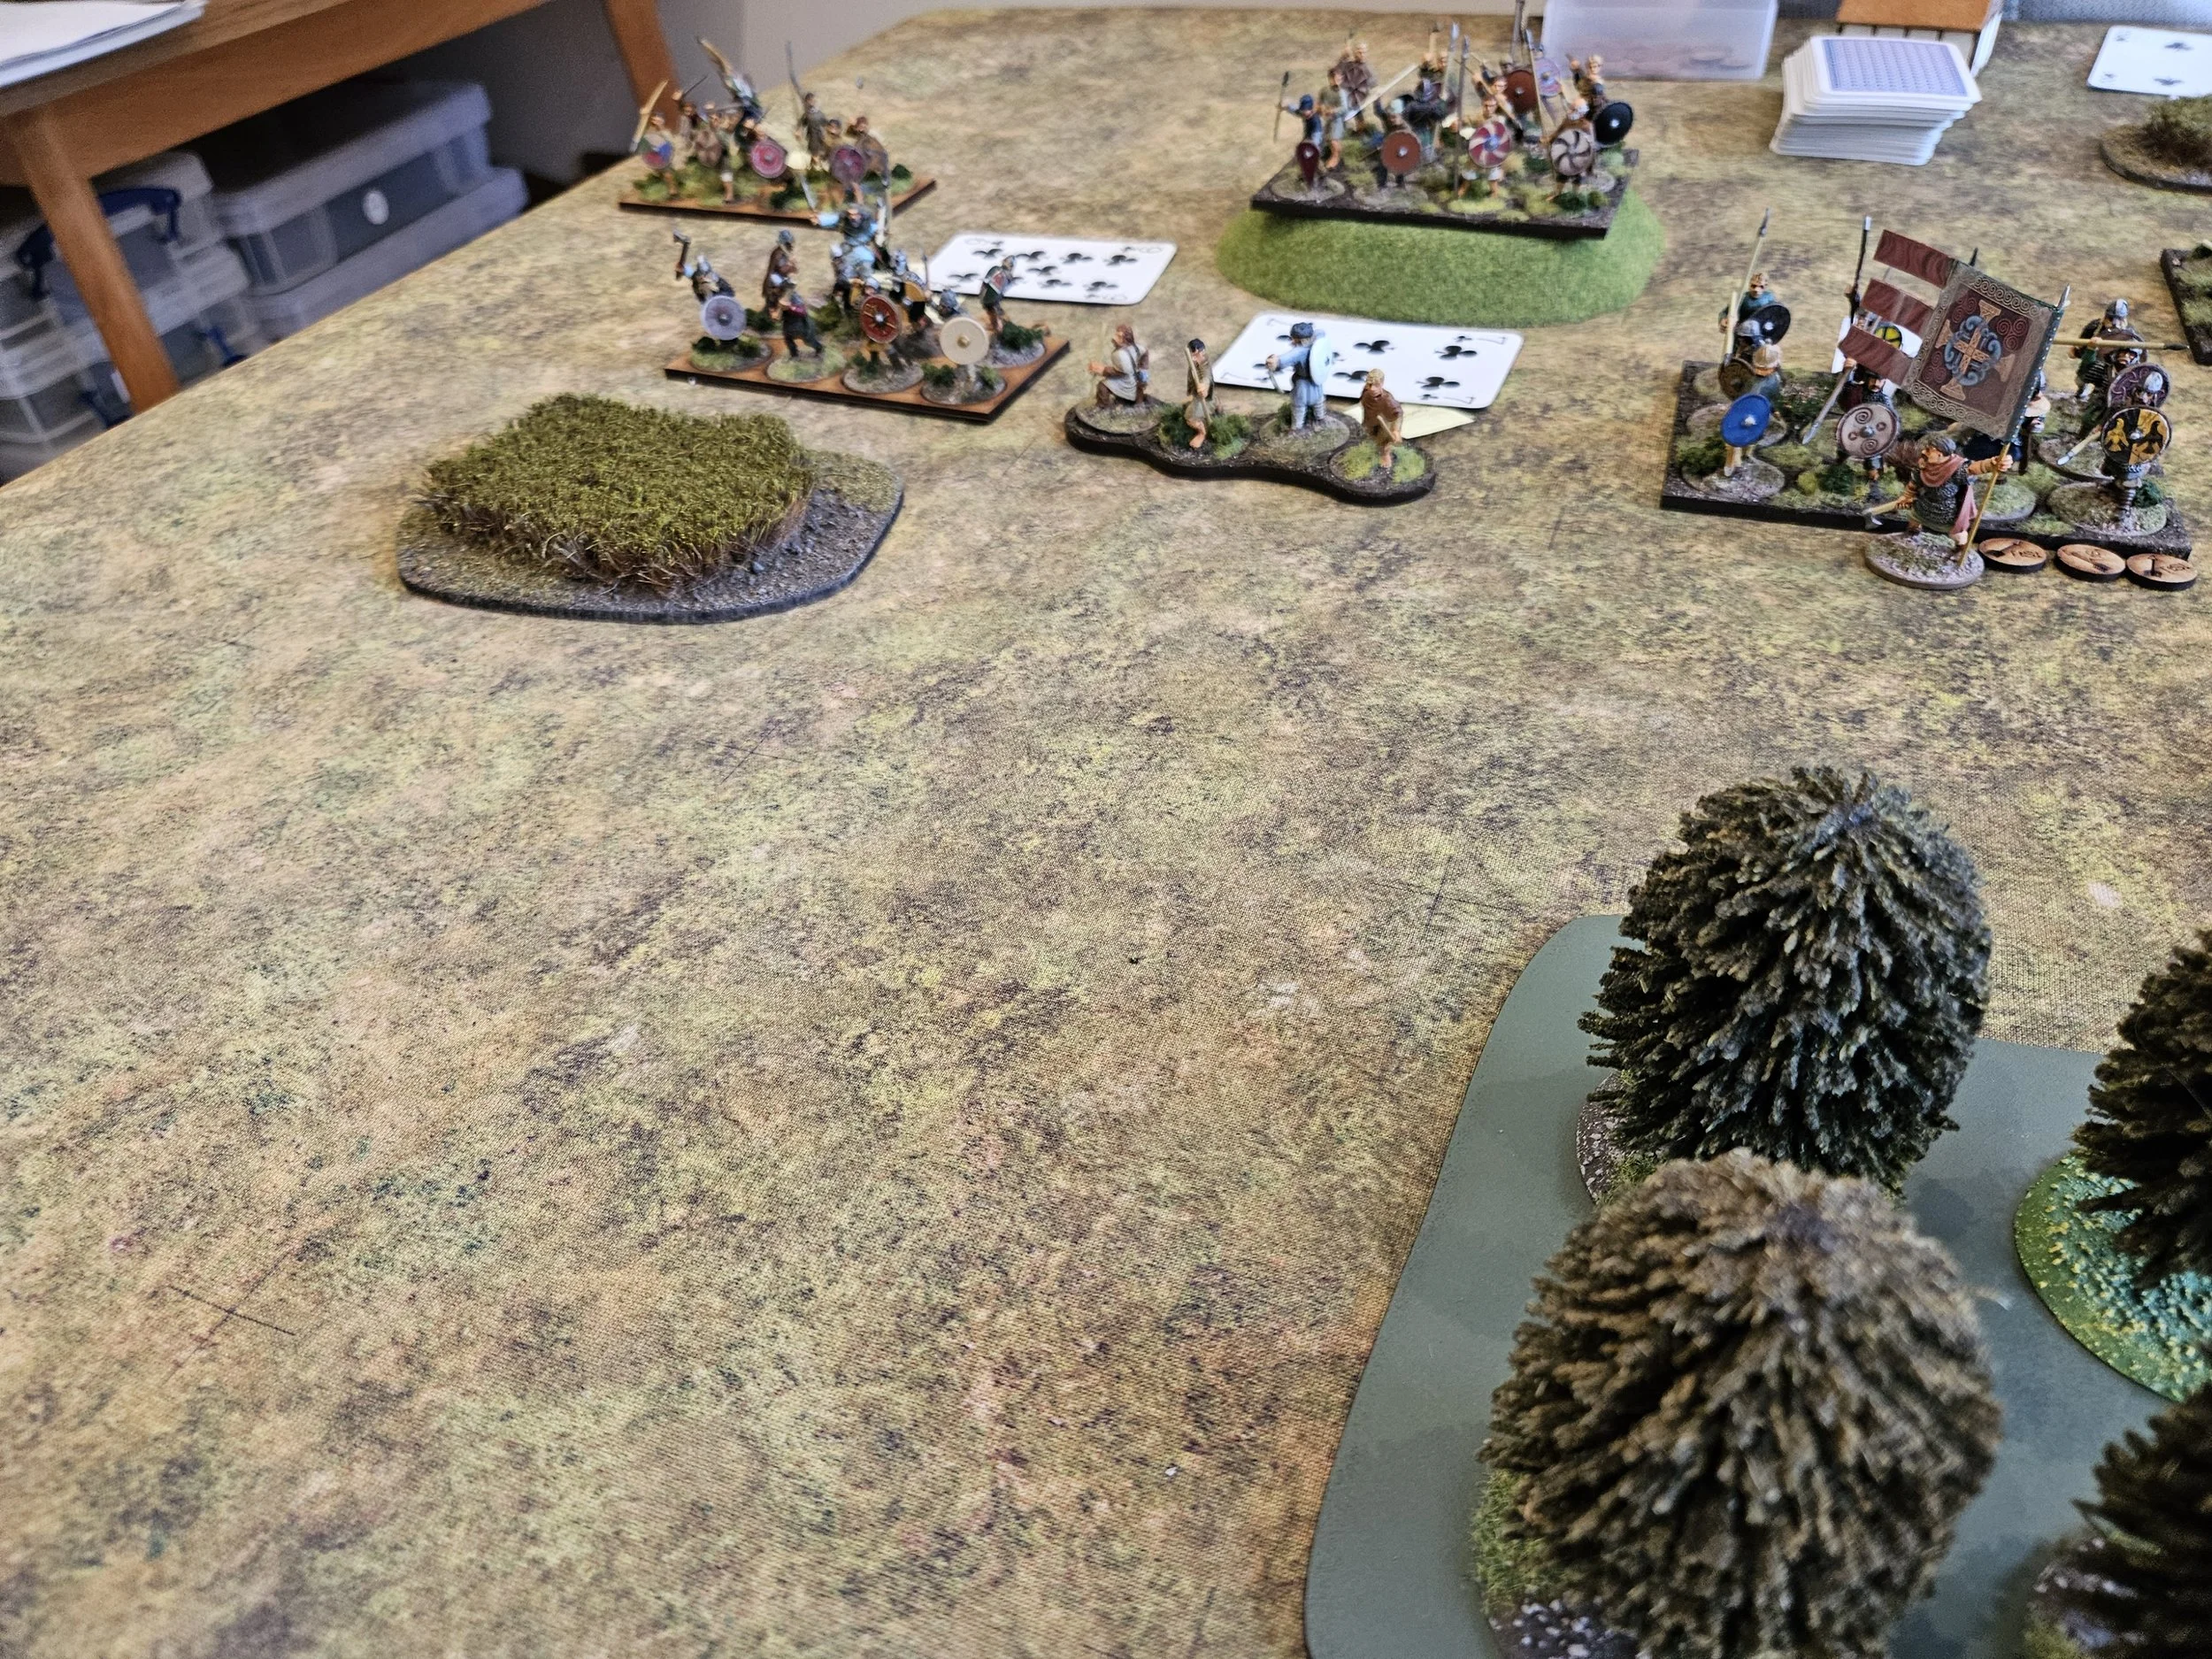
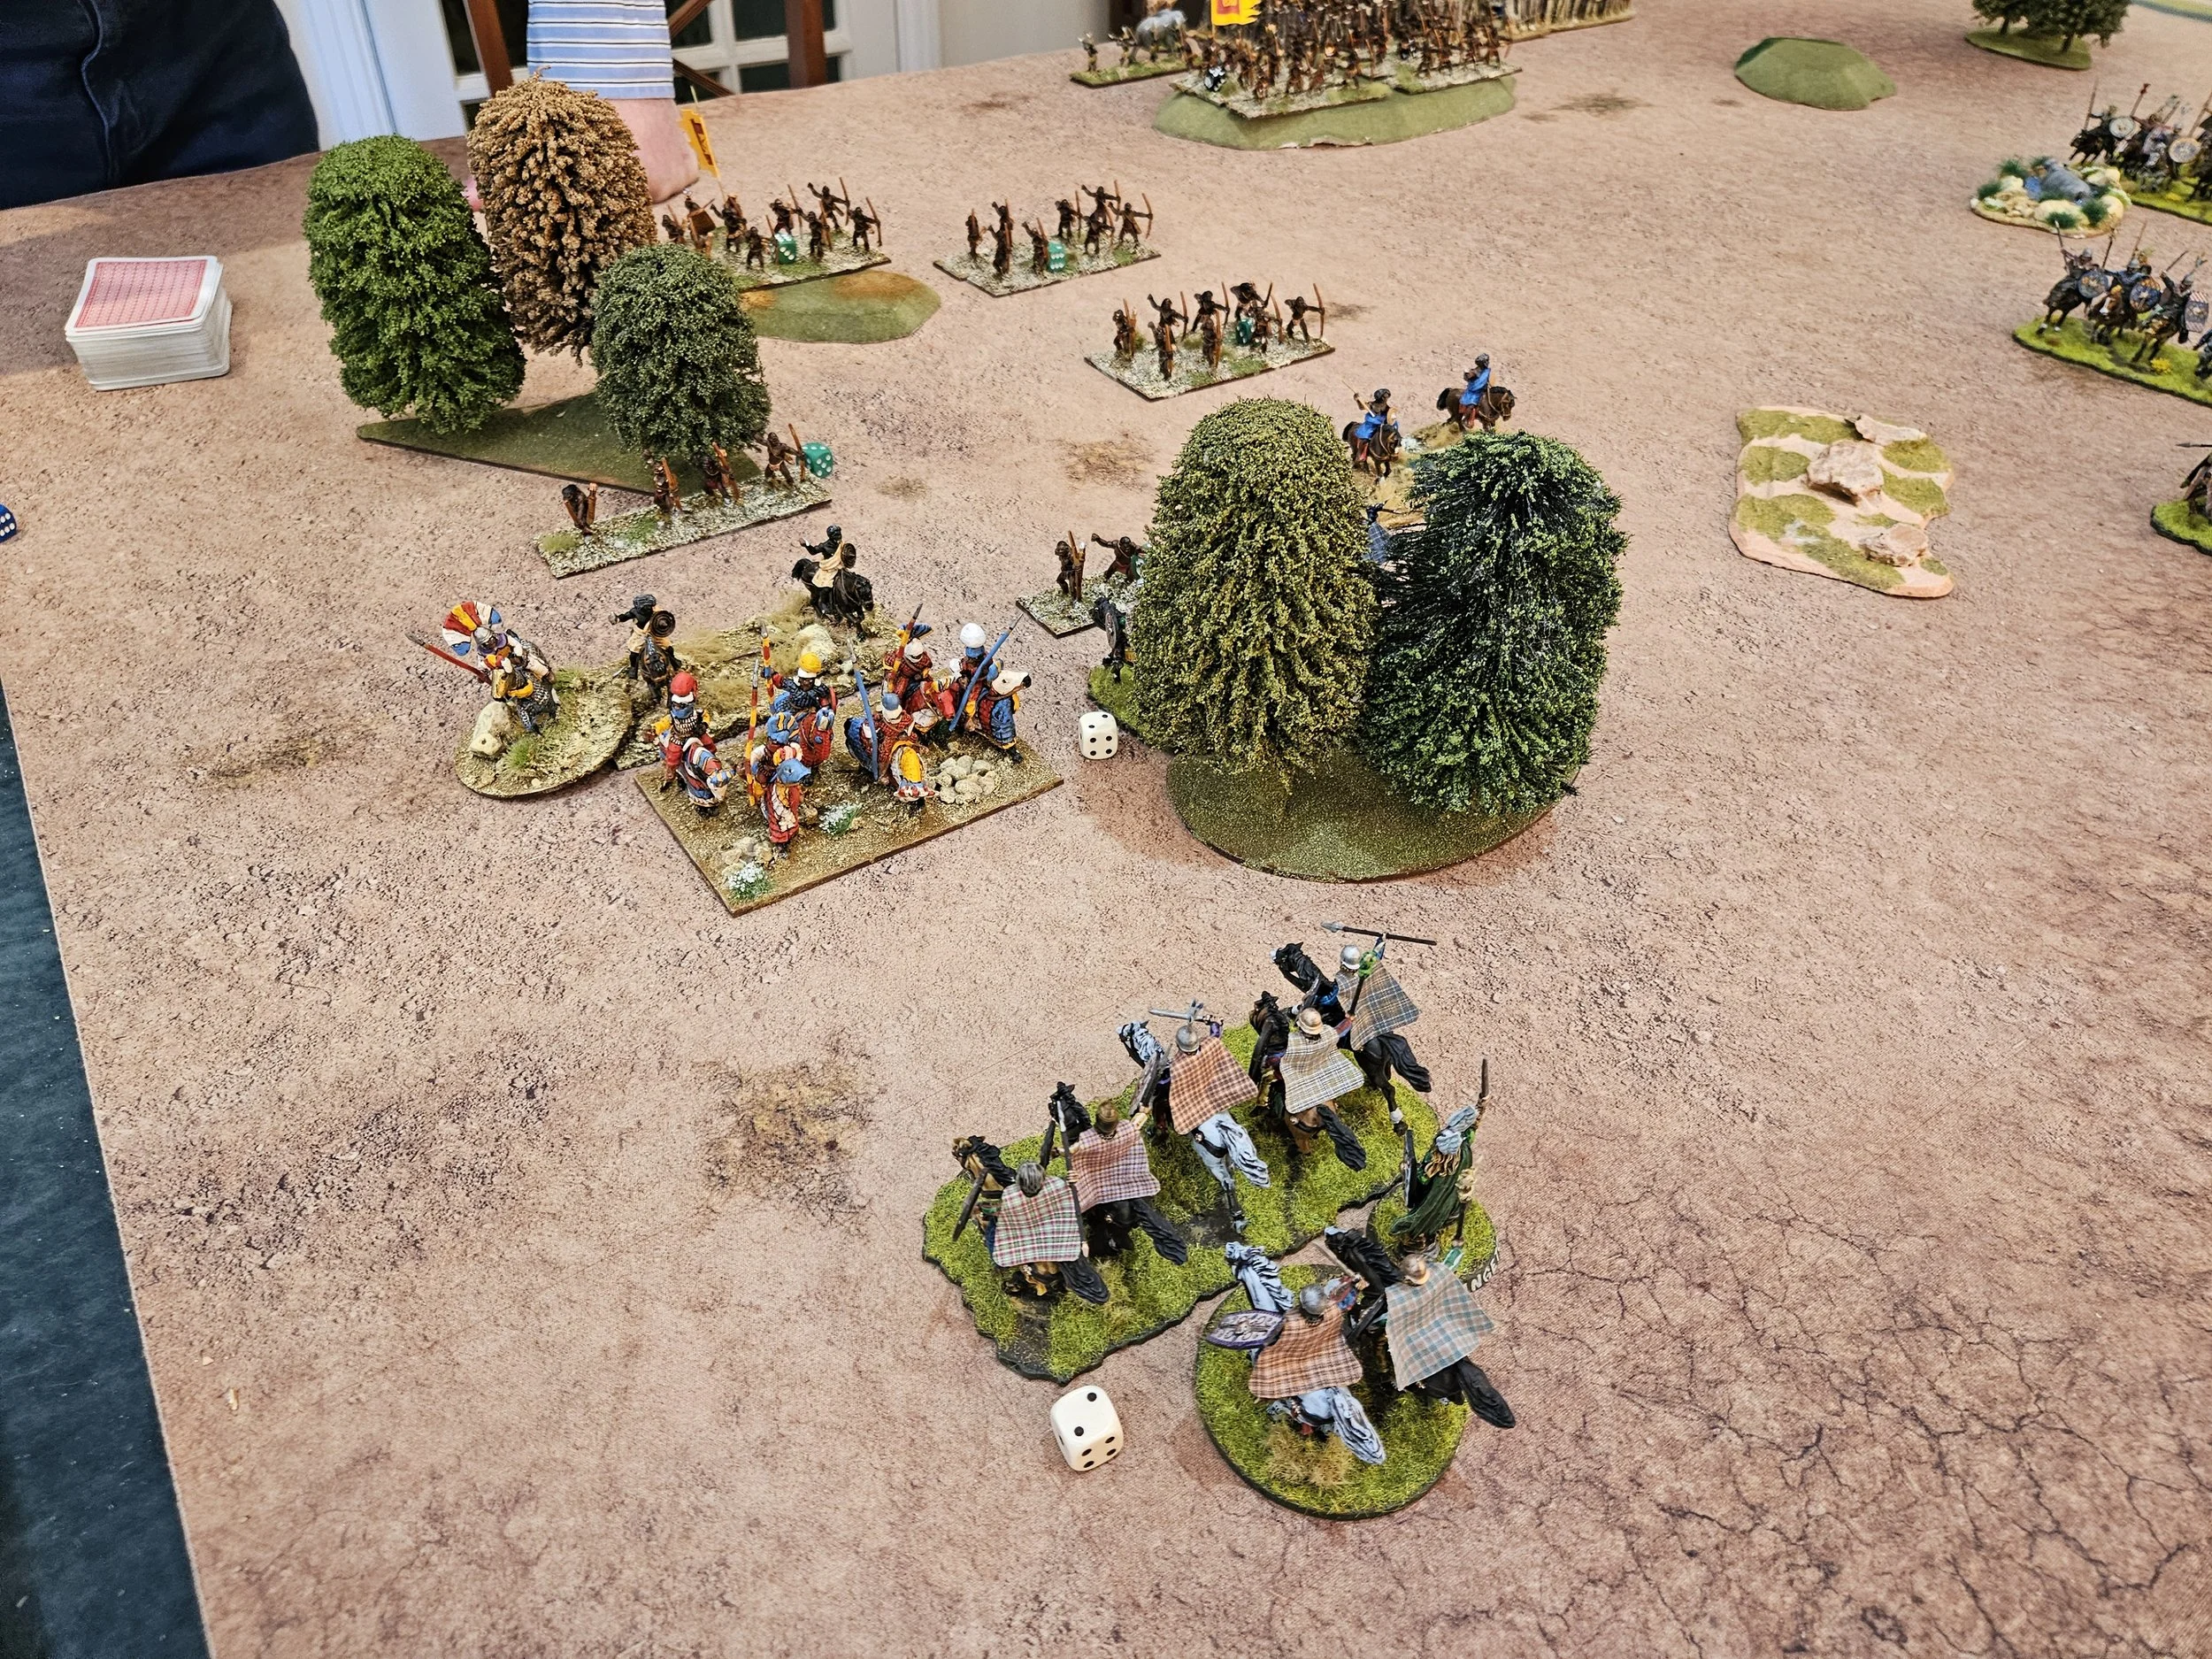
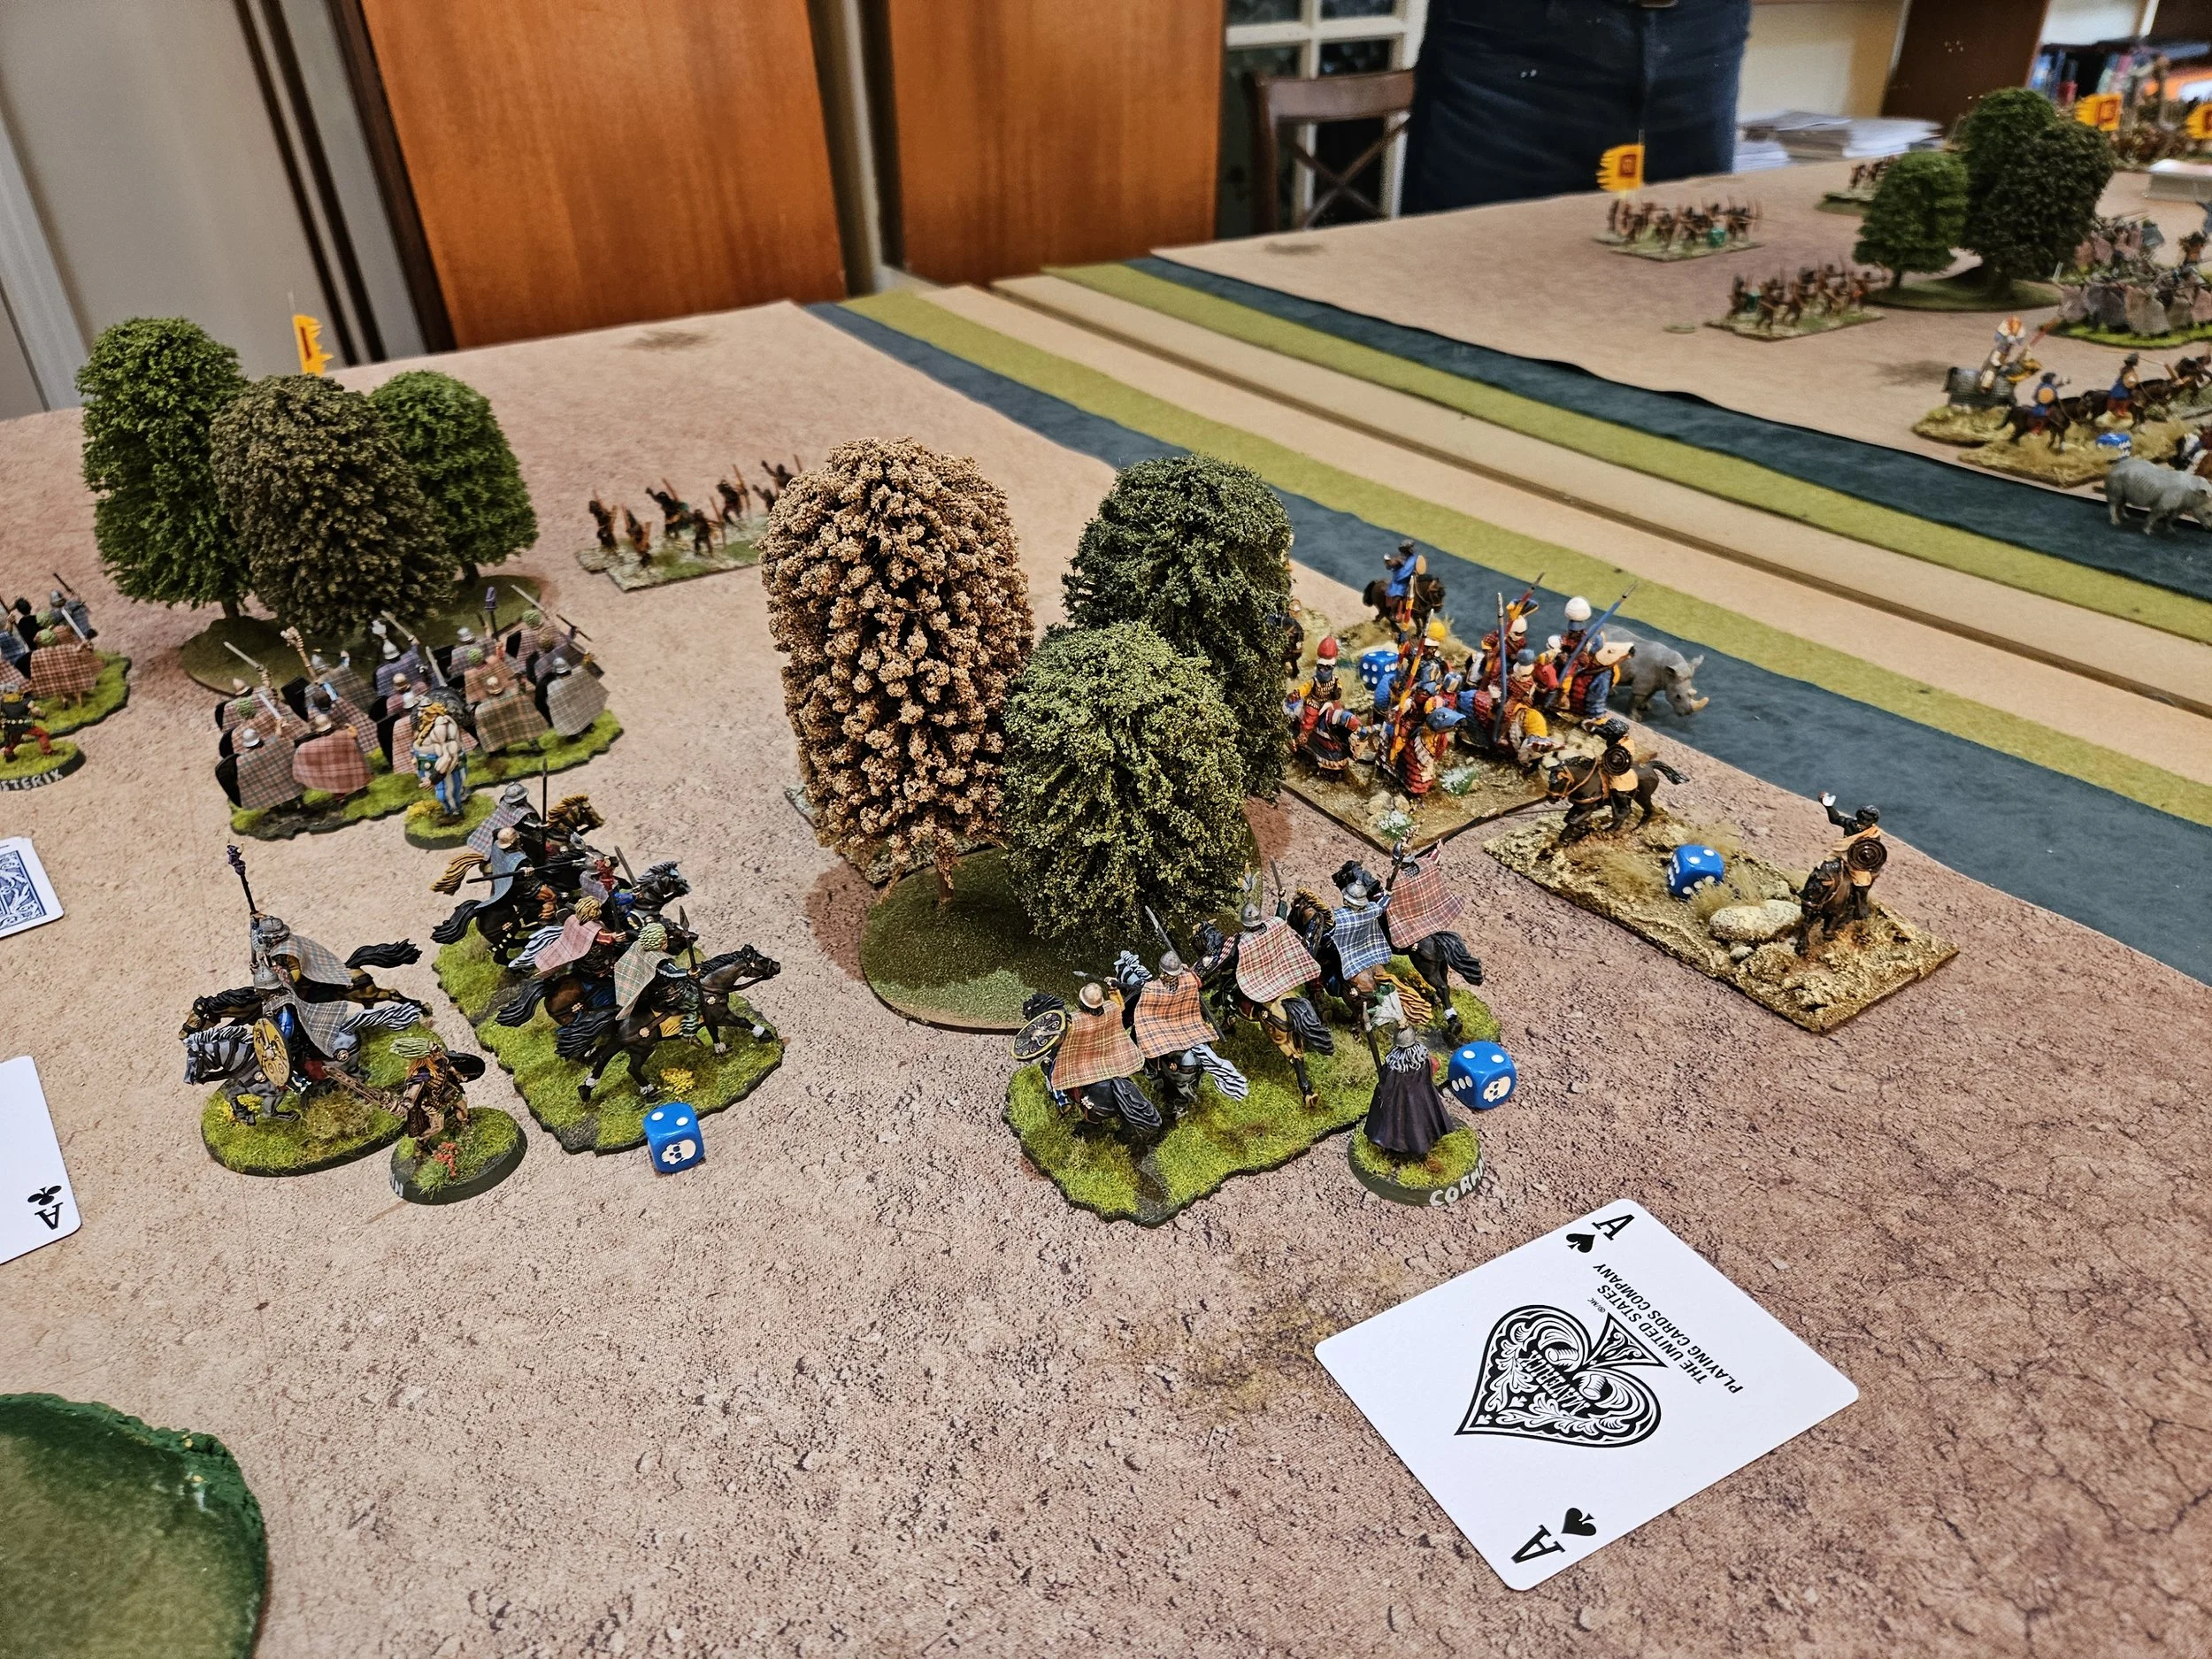
As the game began, my horsemen shot forward and immediately engaged the enemy. This worked well, as I routed one unit of Palmyran cataphracts and my cavalry penetrated deep up the right flank, preparing to turn and roll up the enemy line.

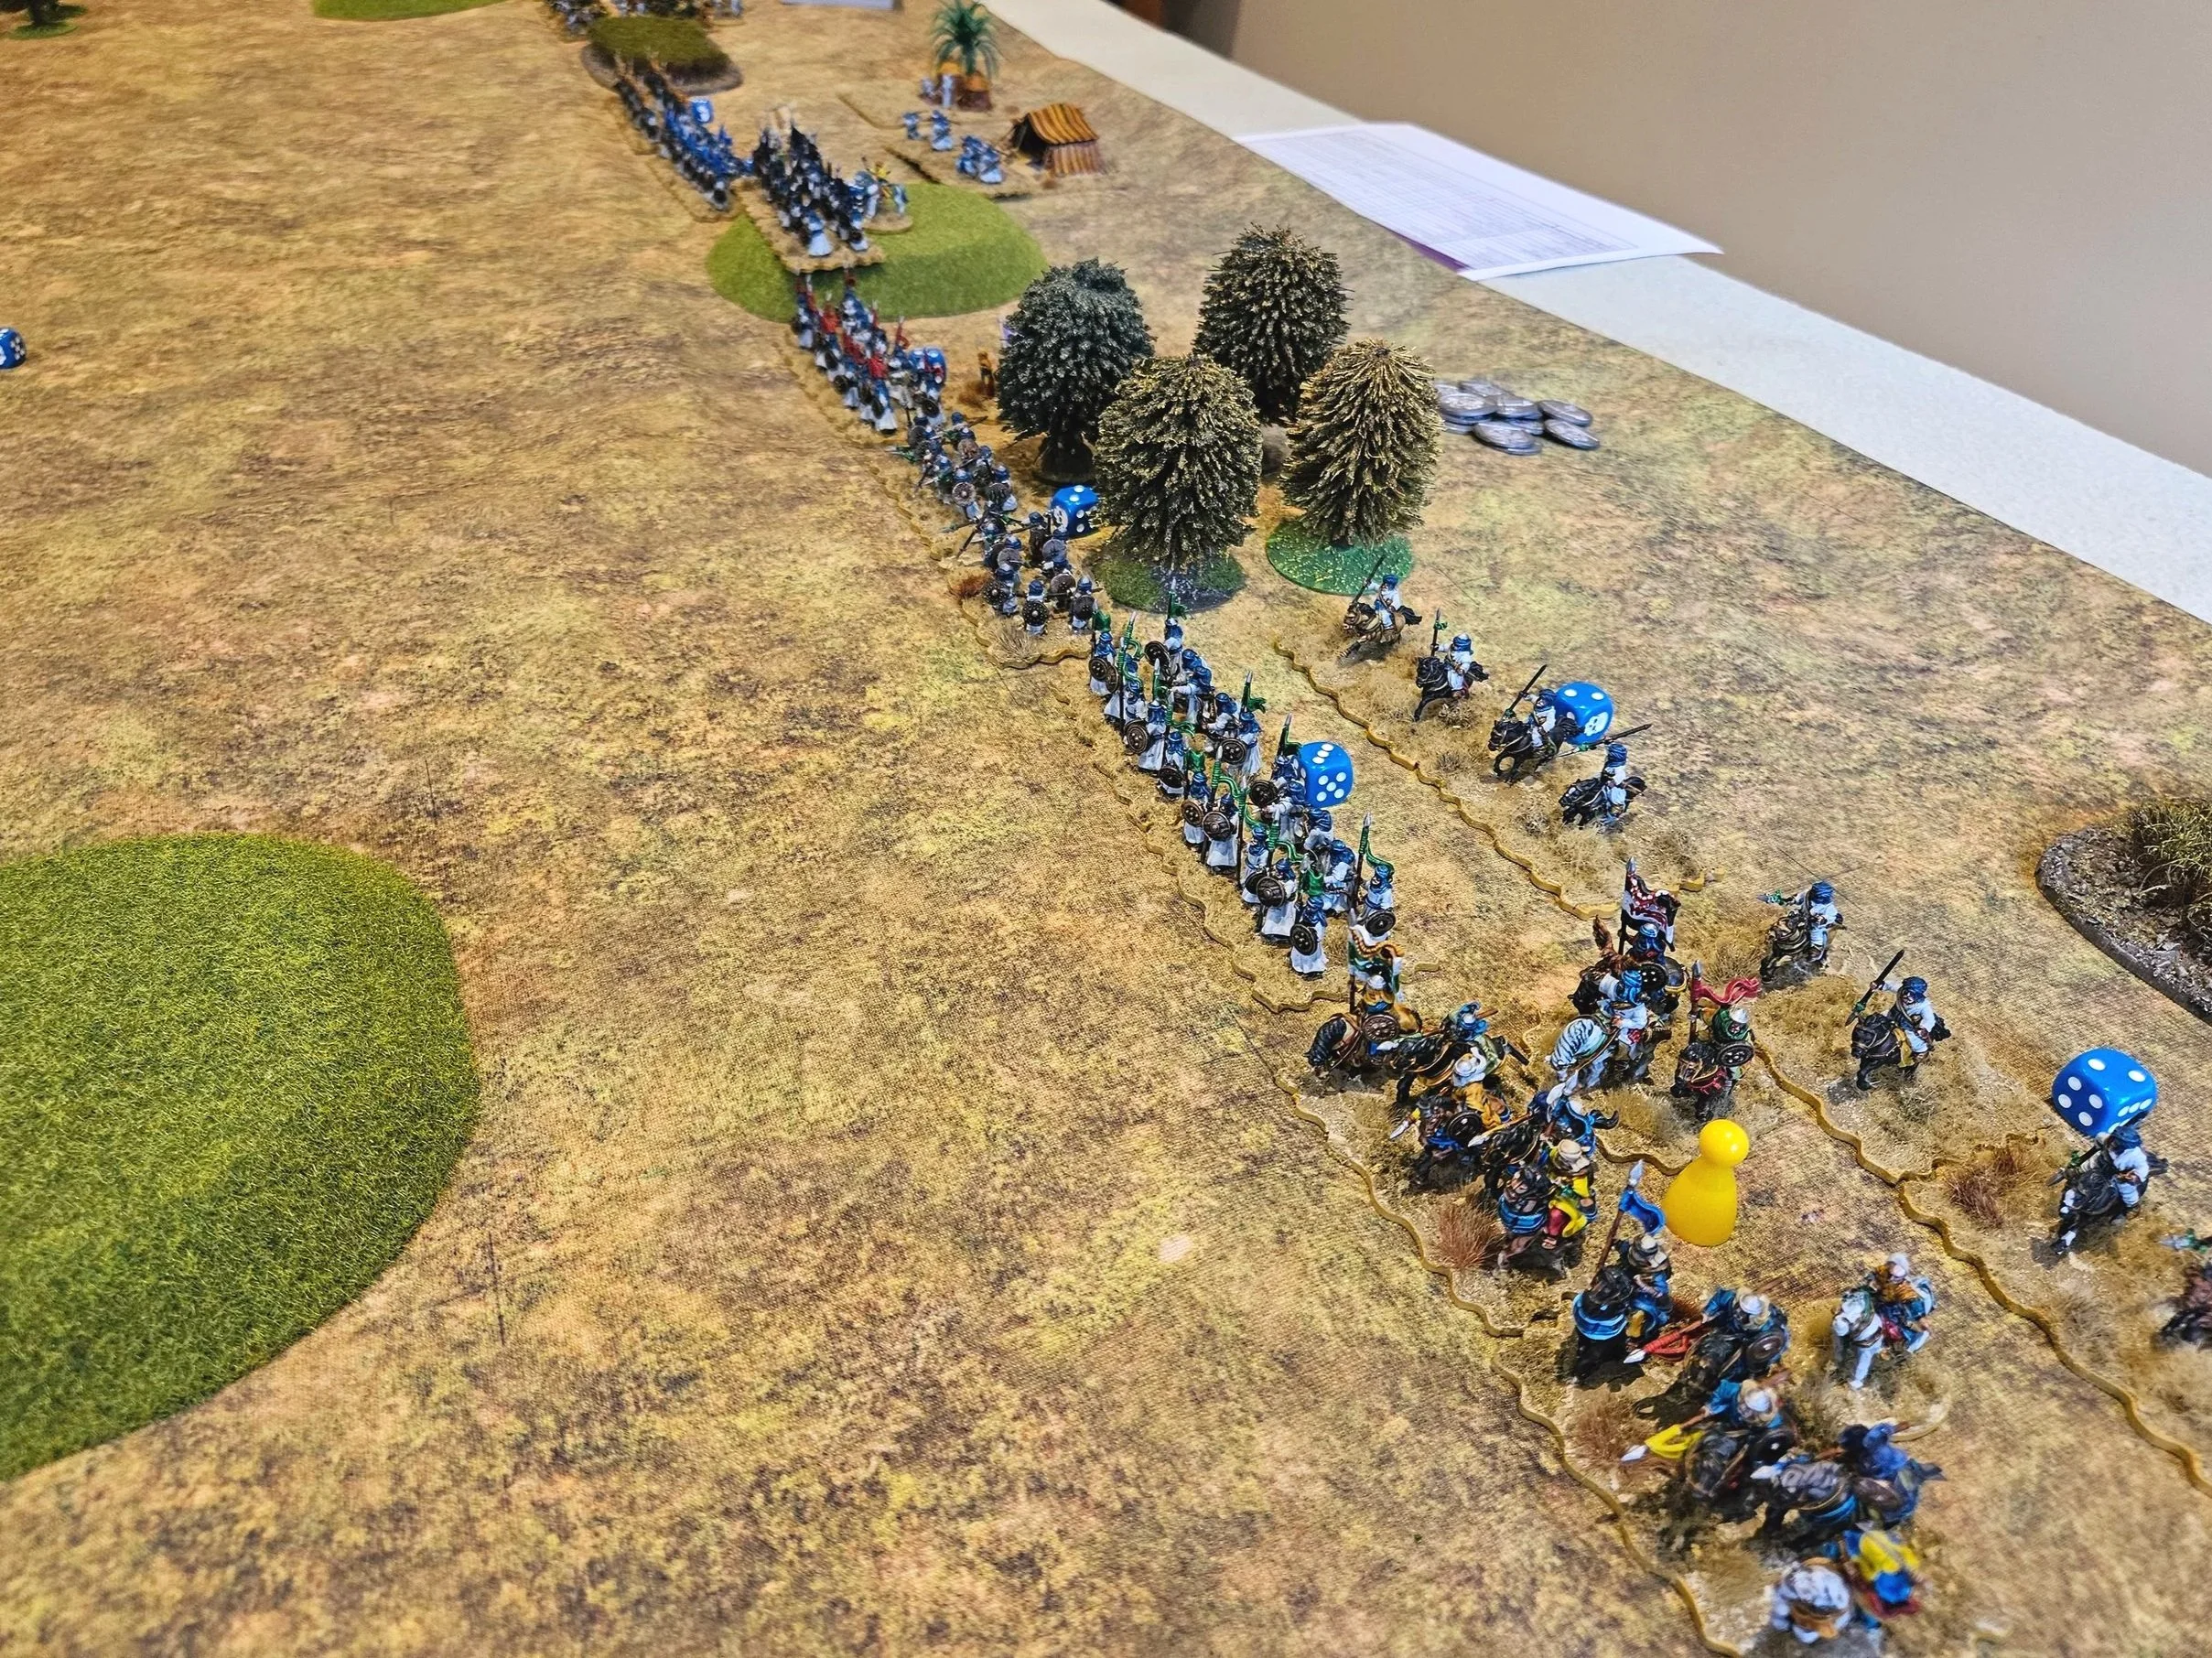
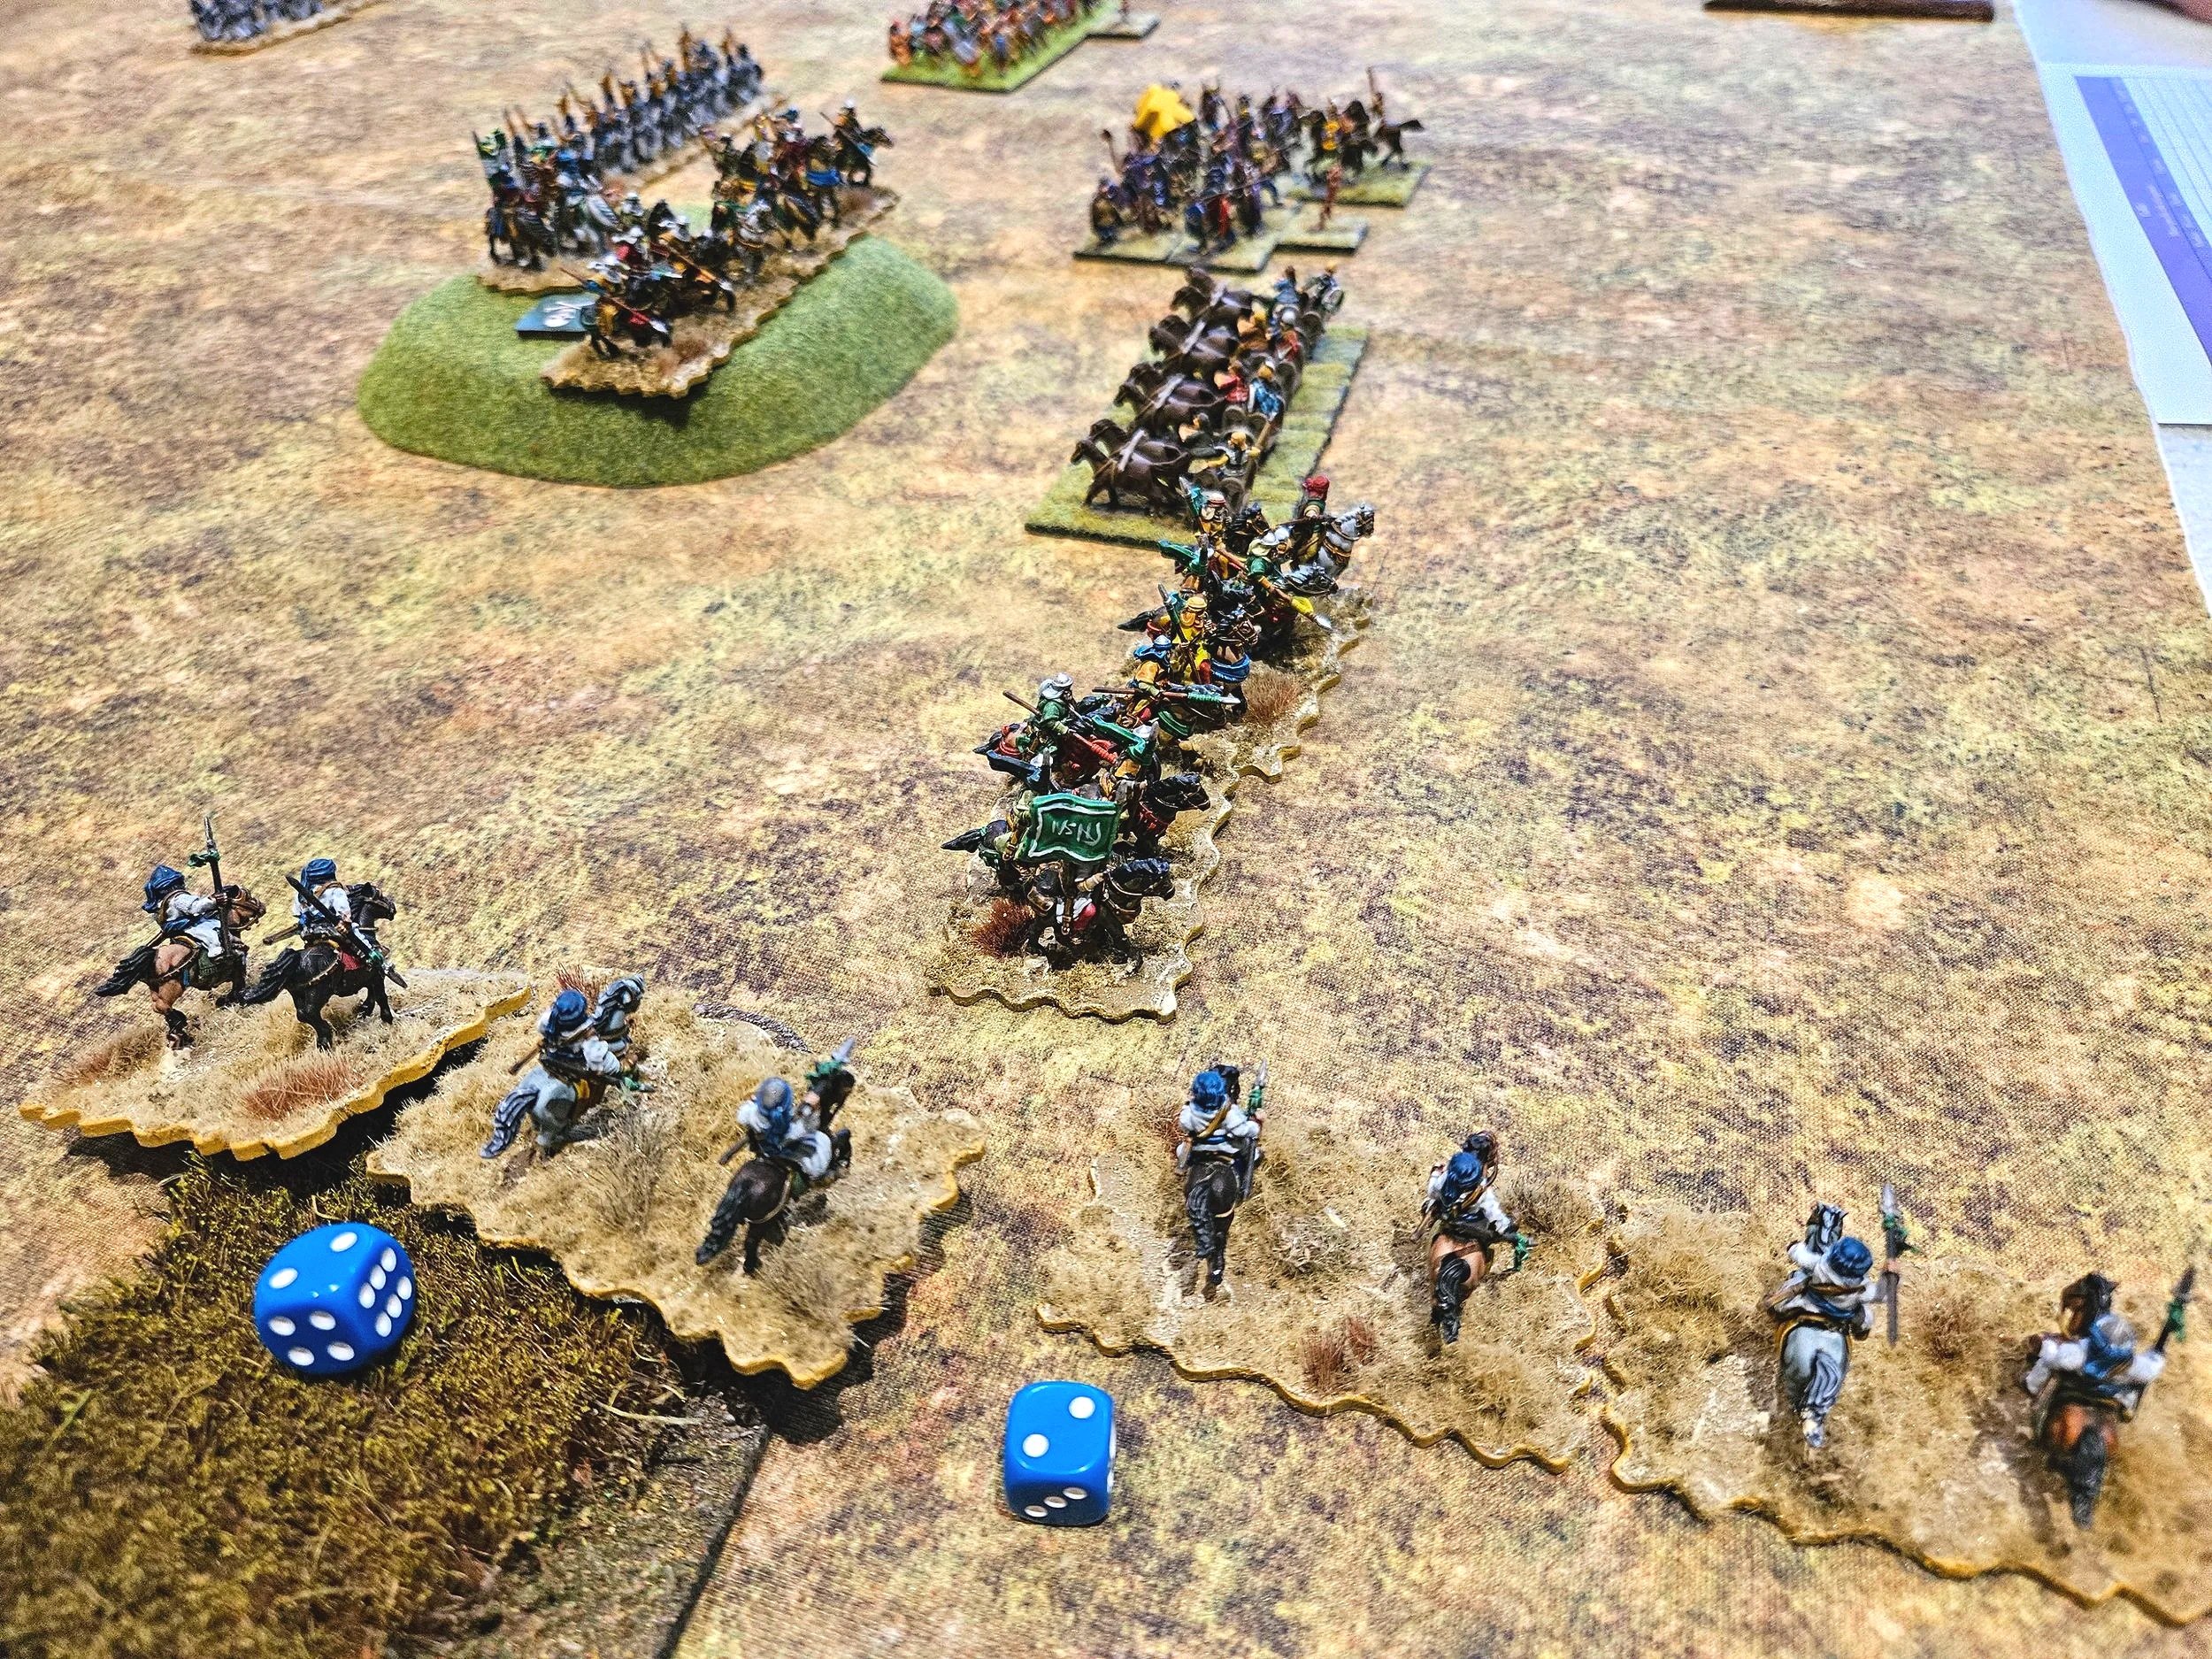
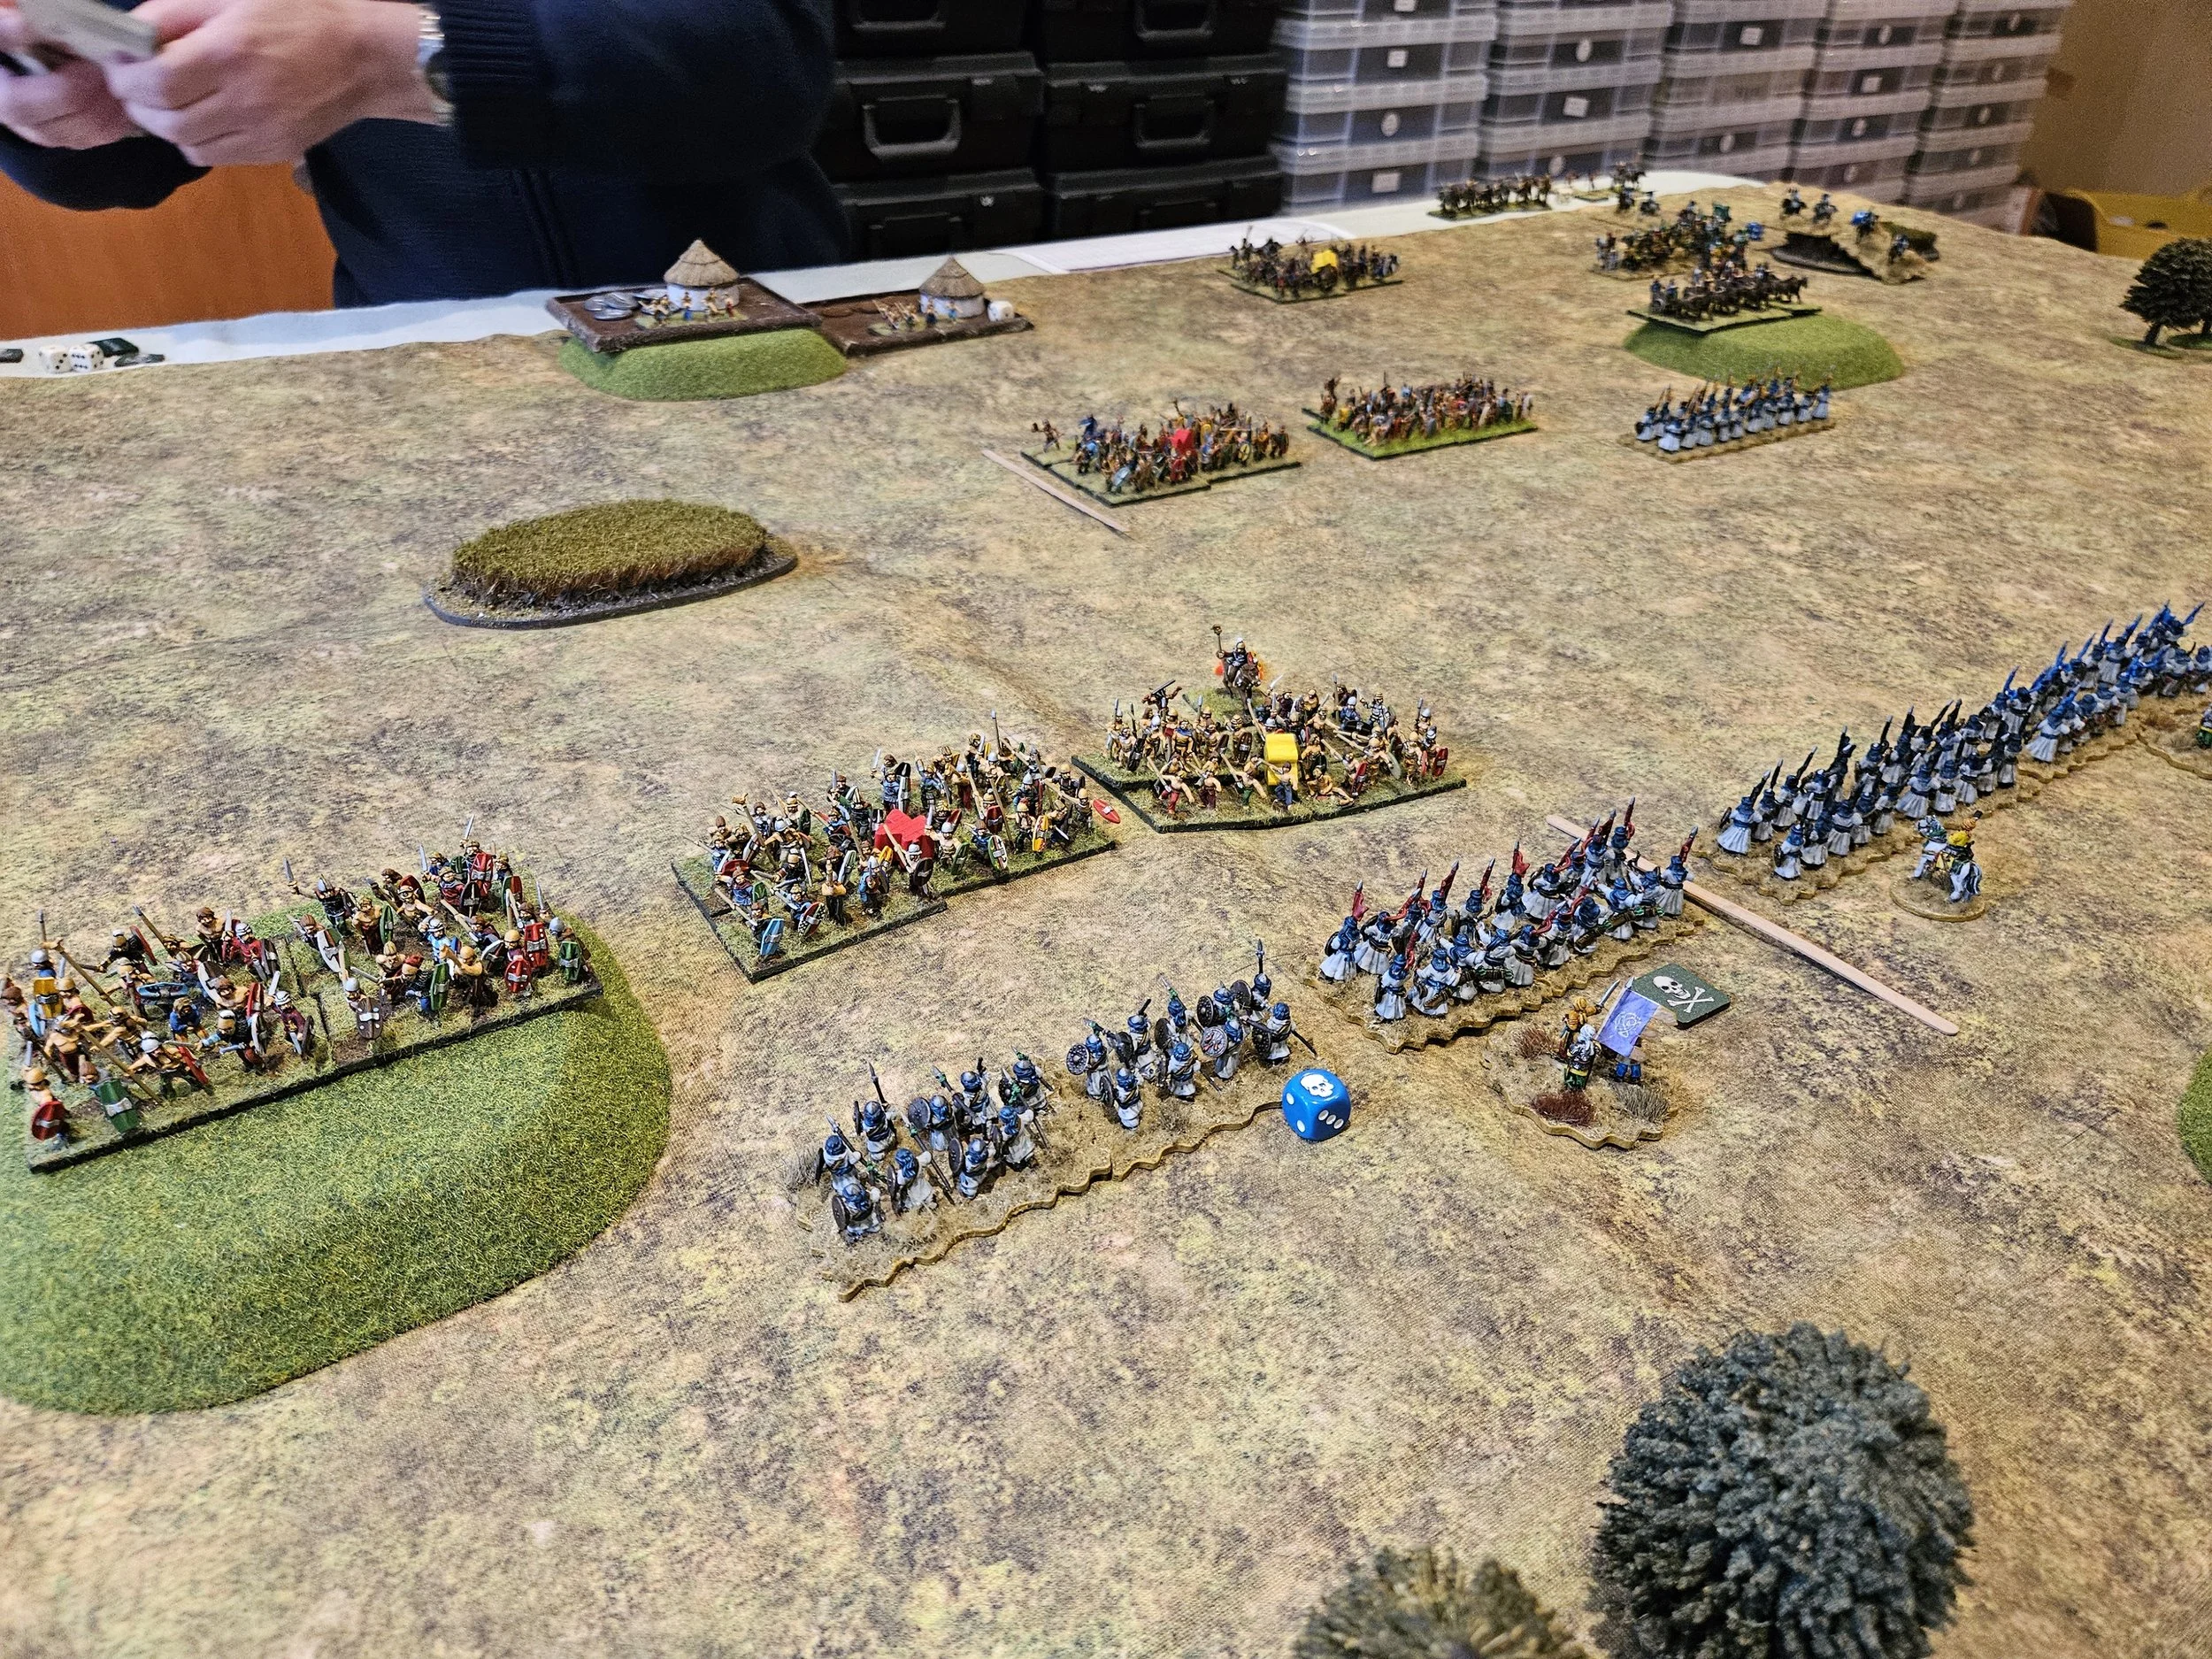
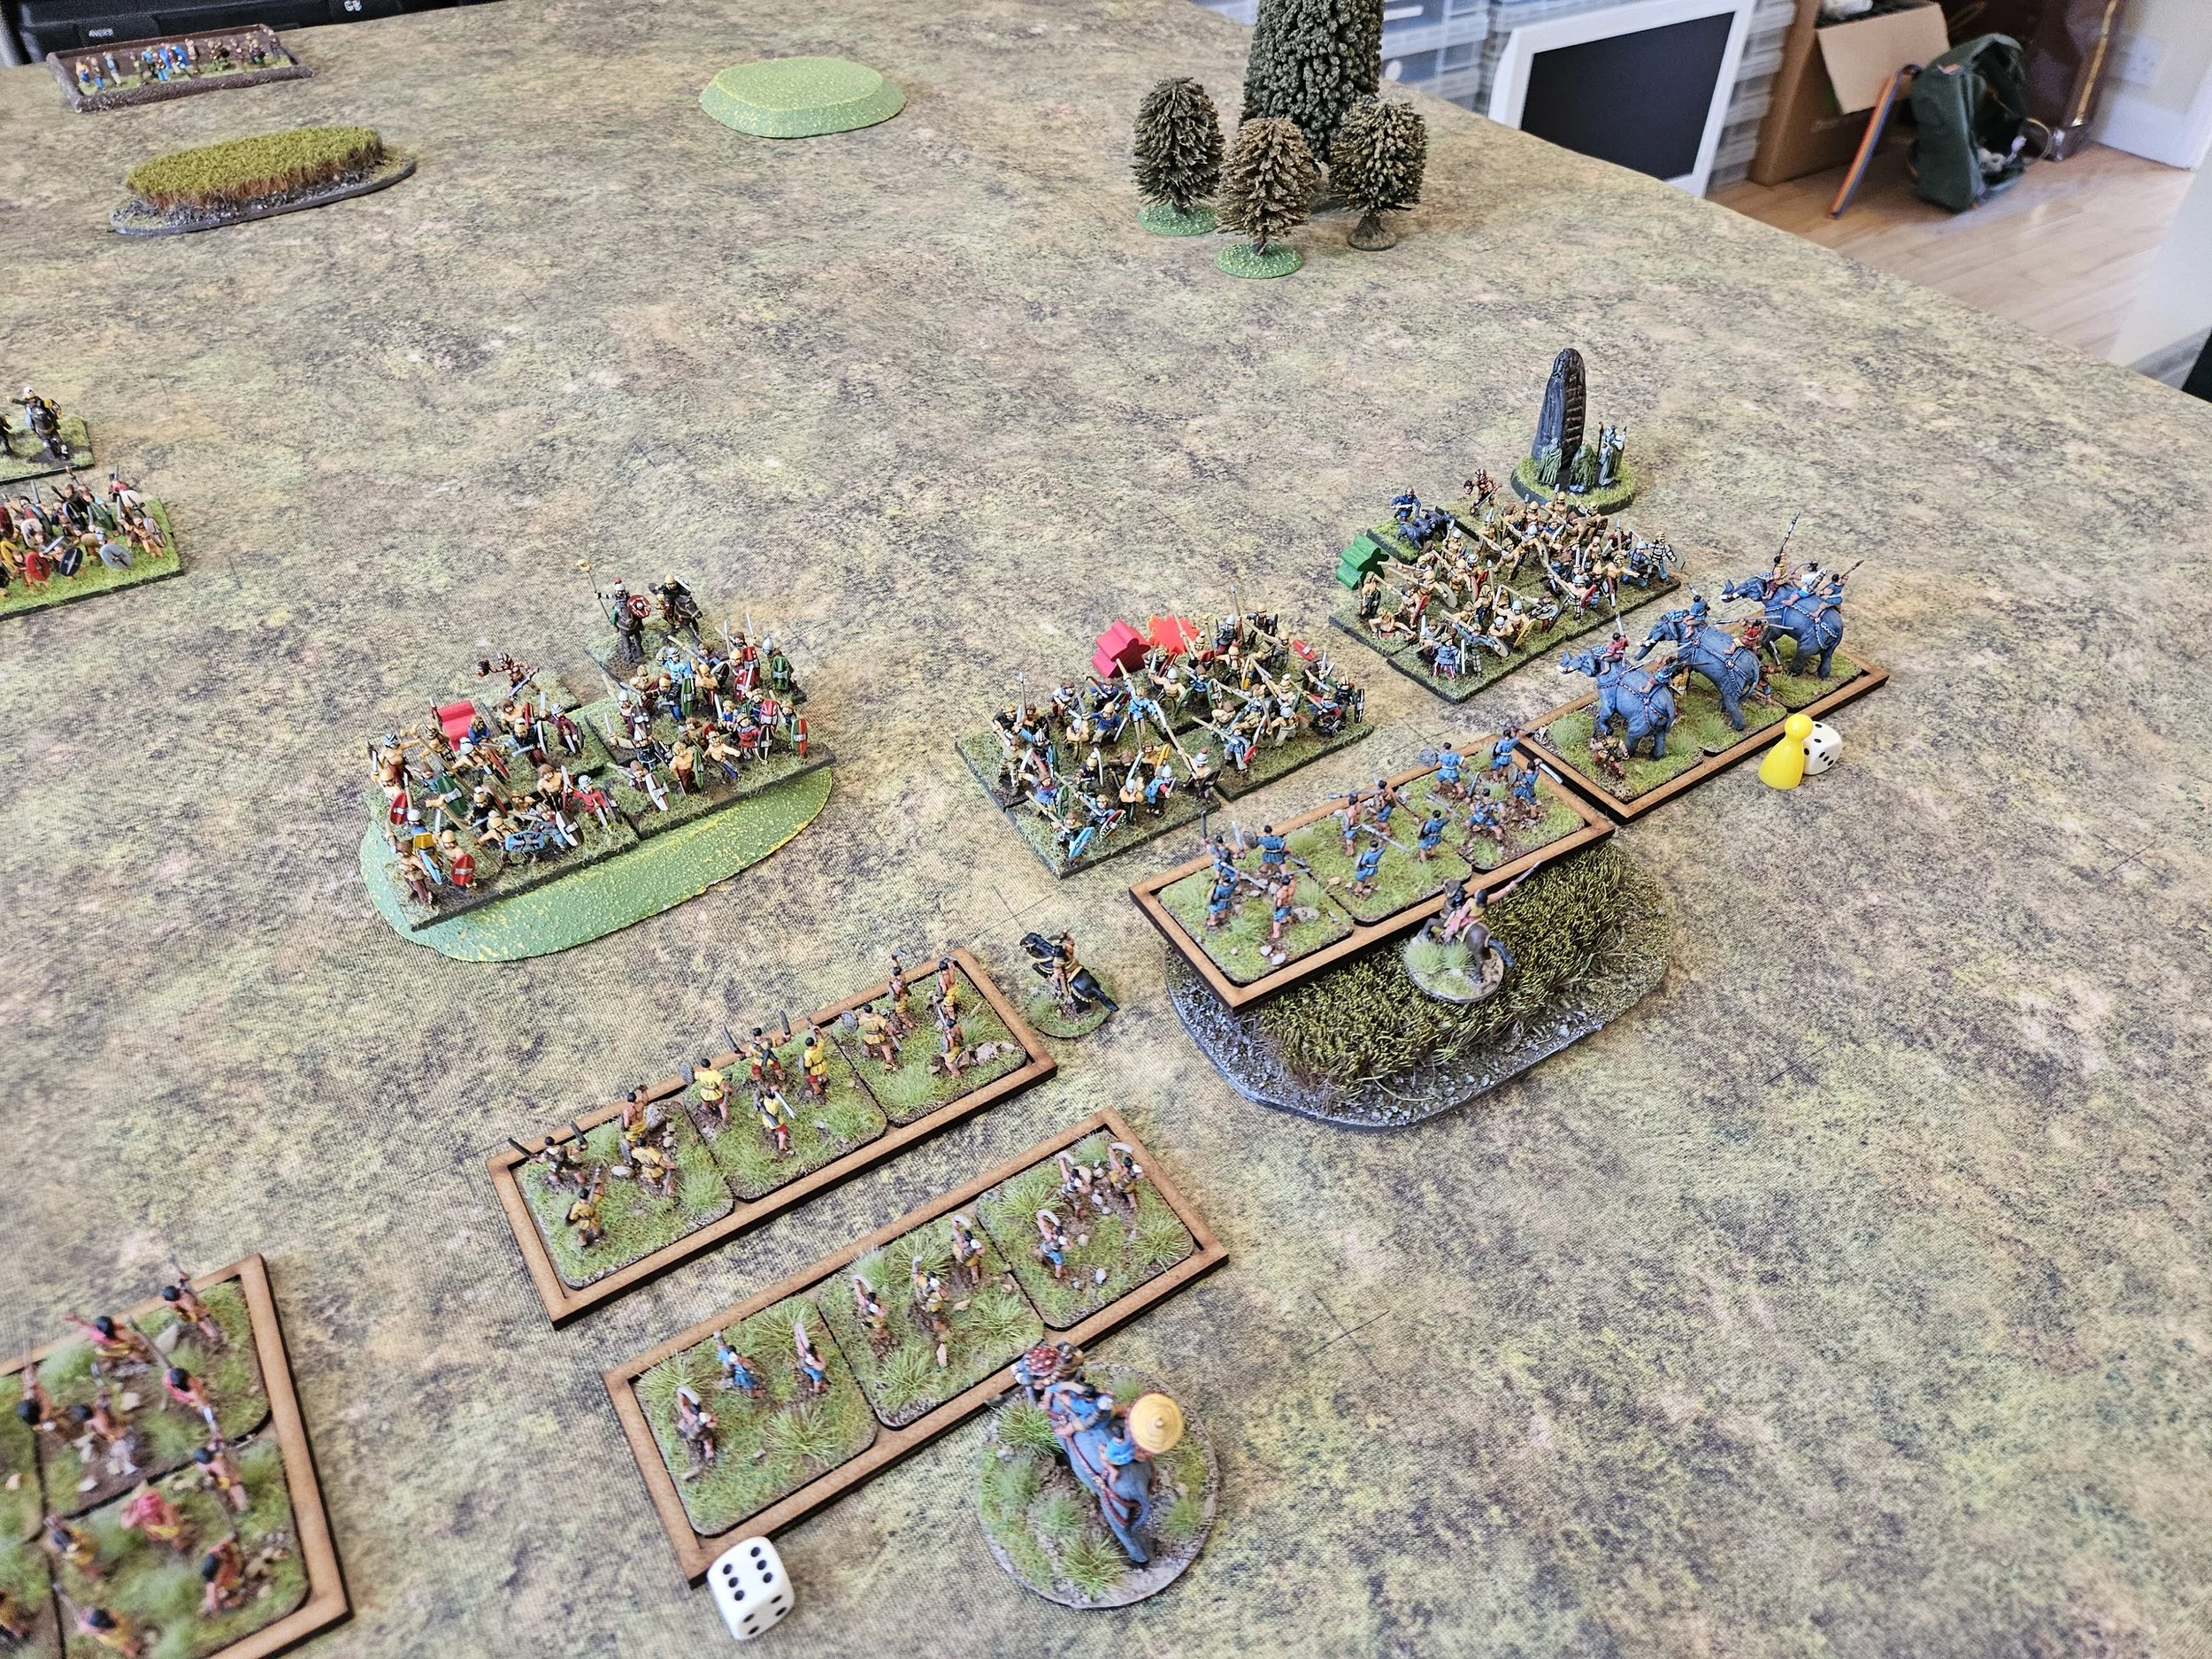
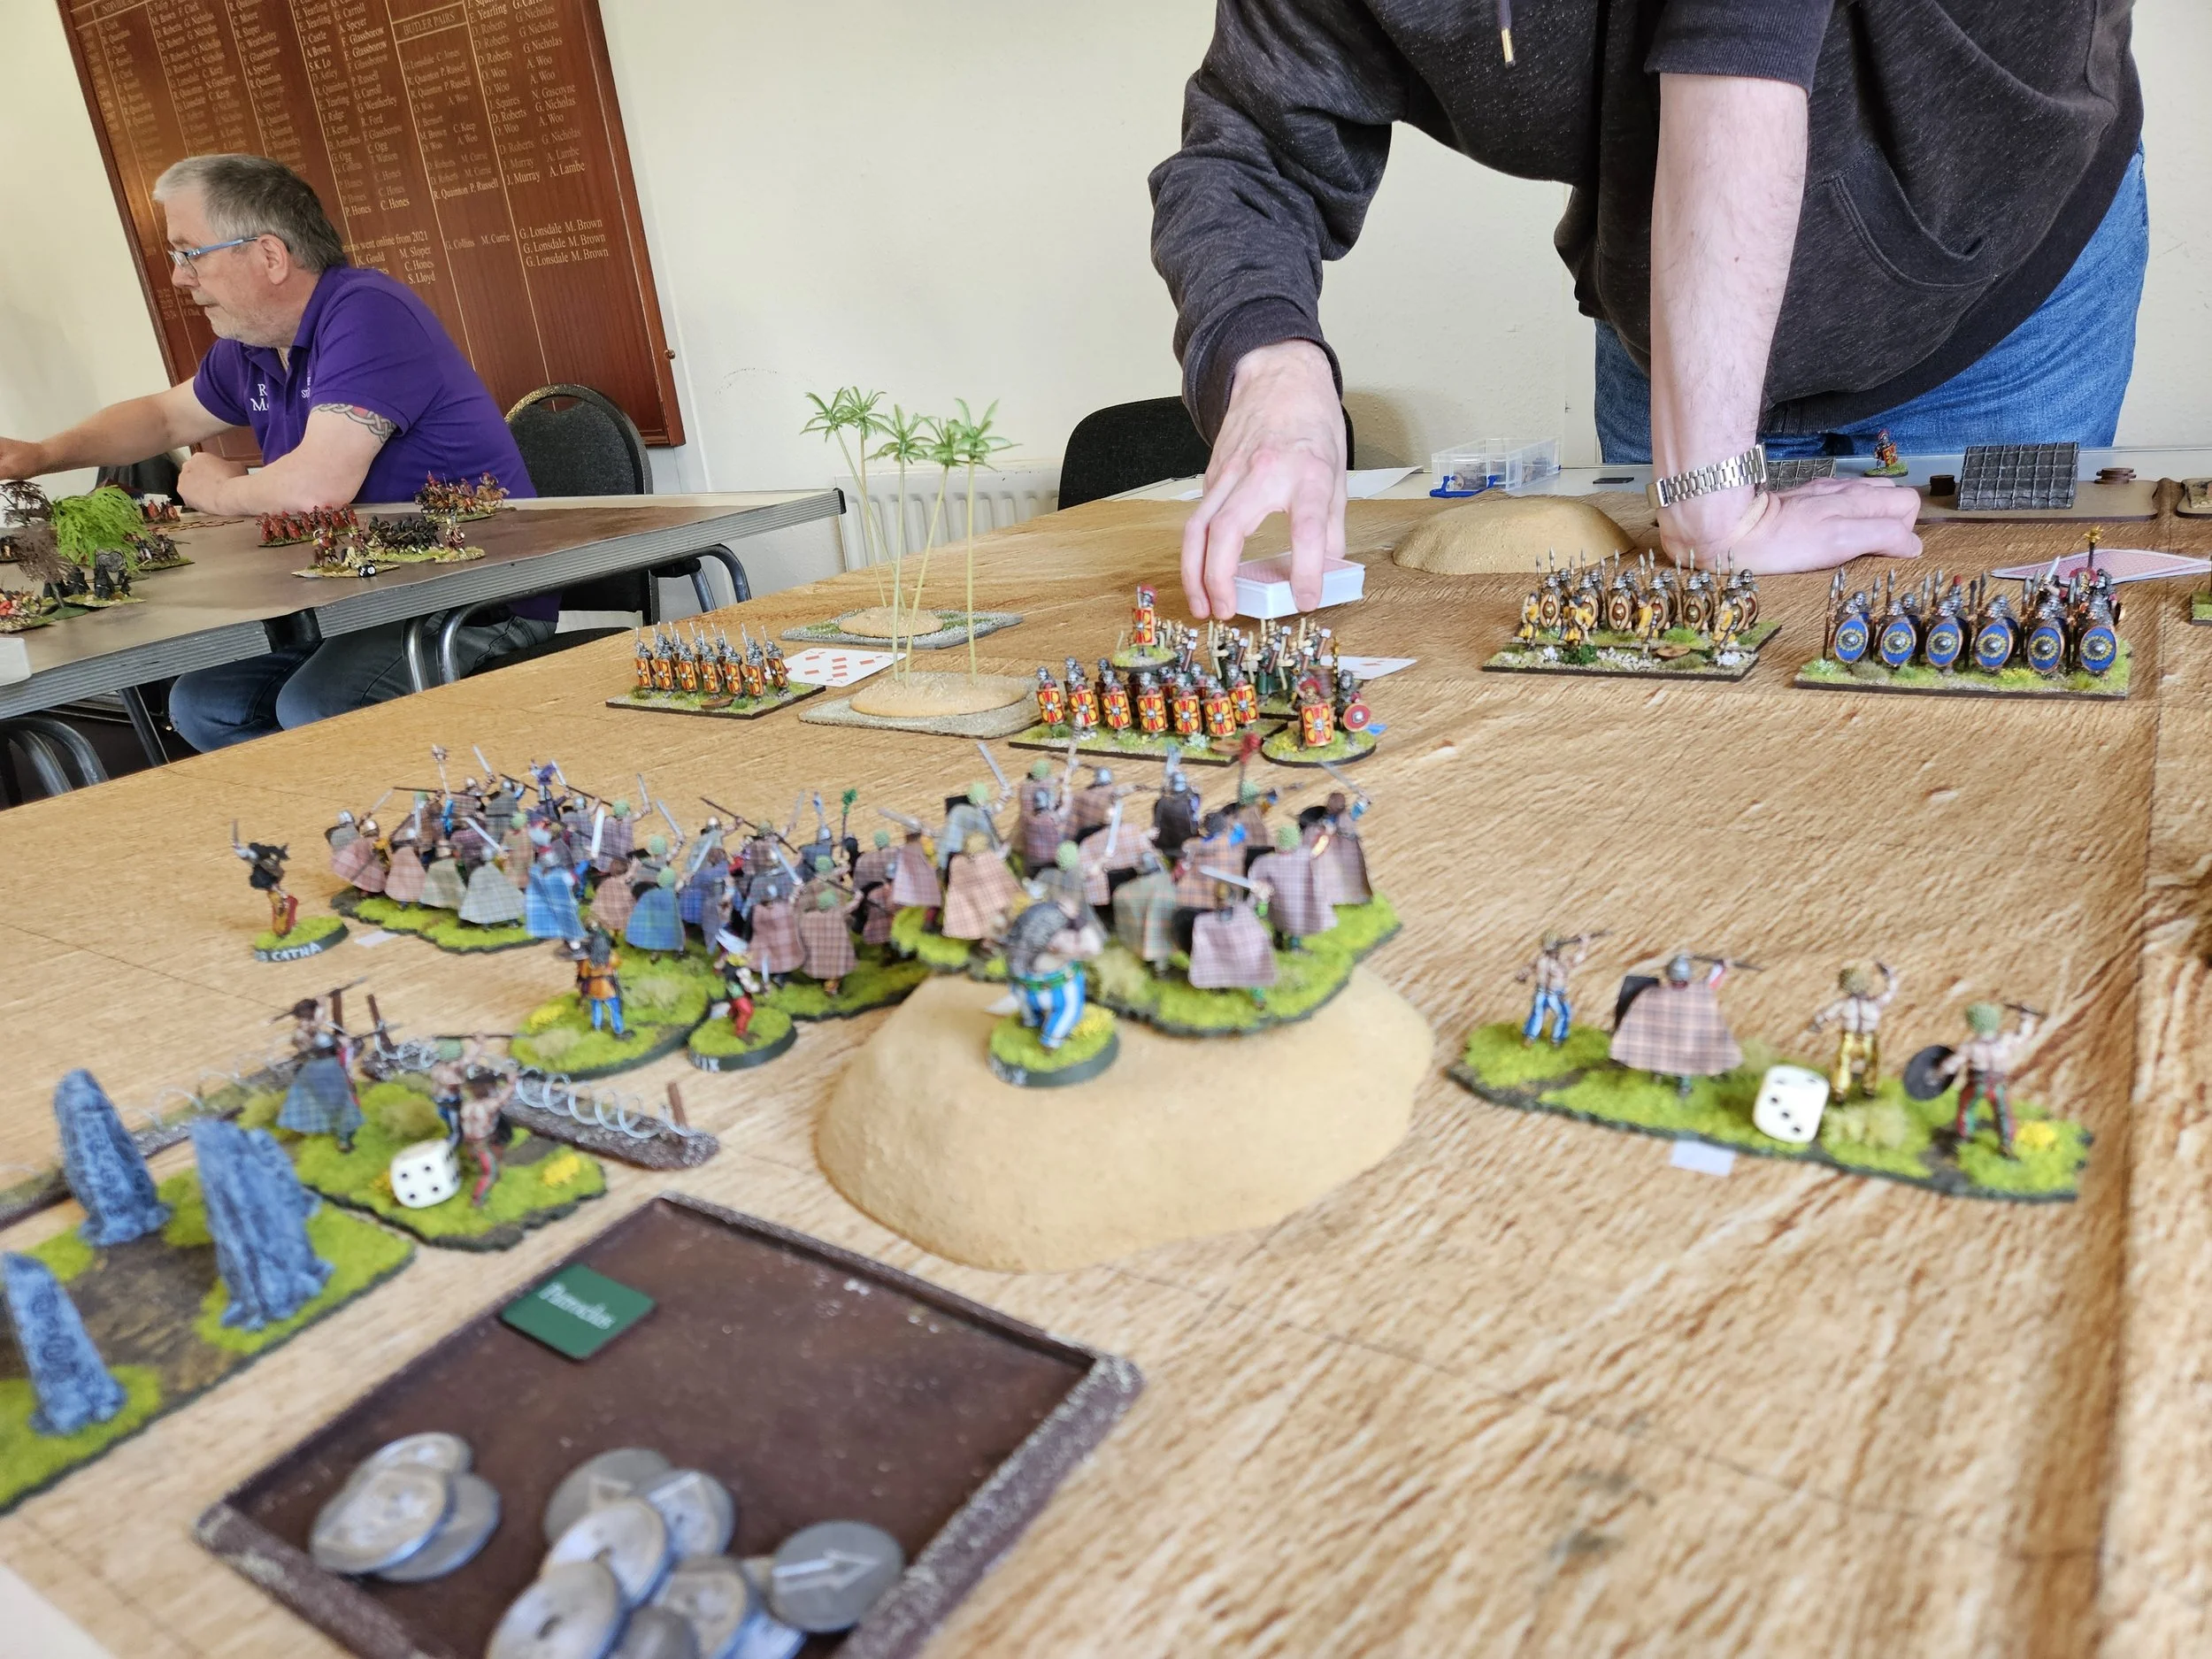
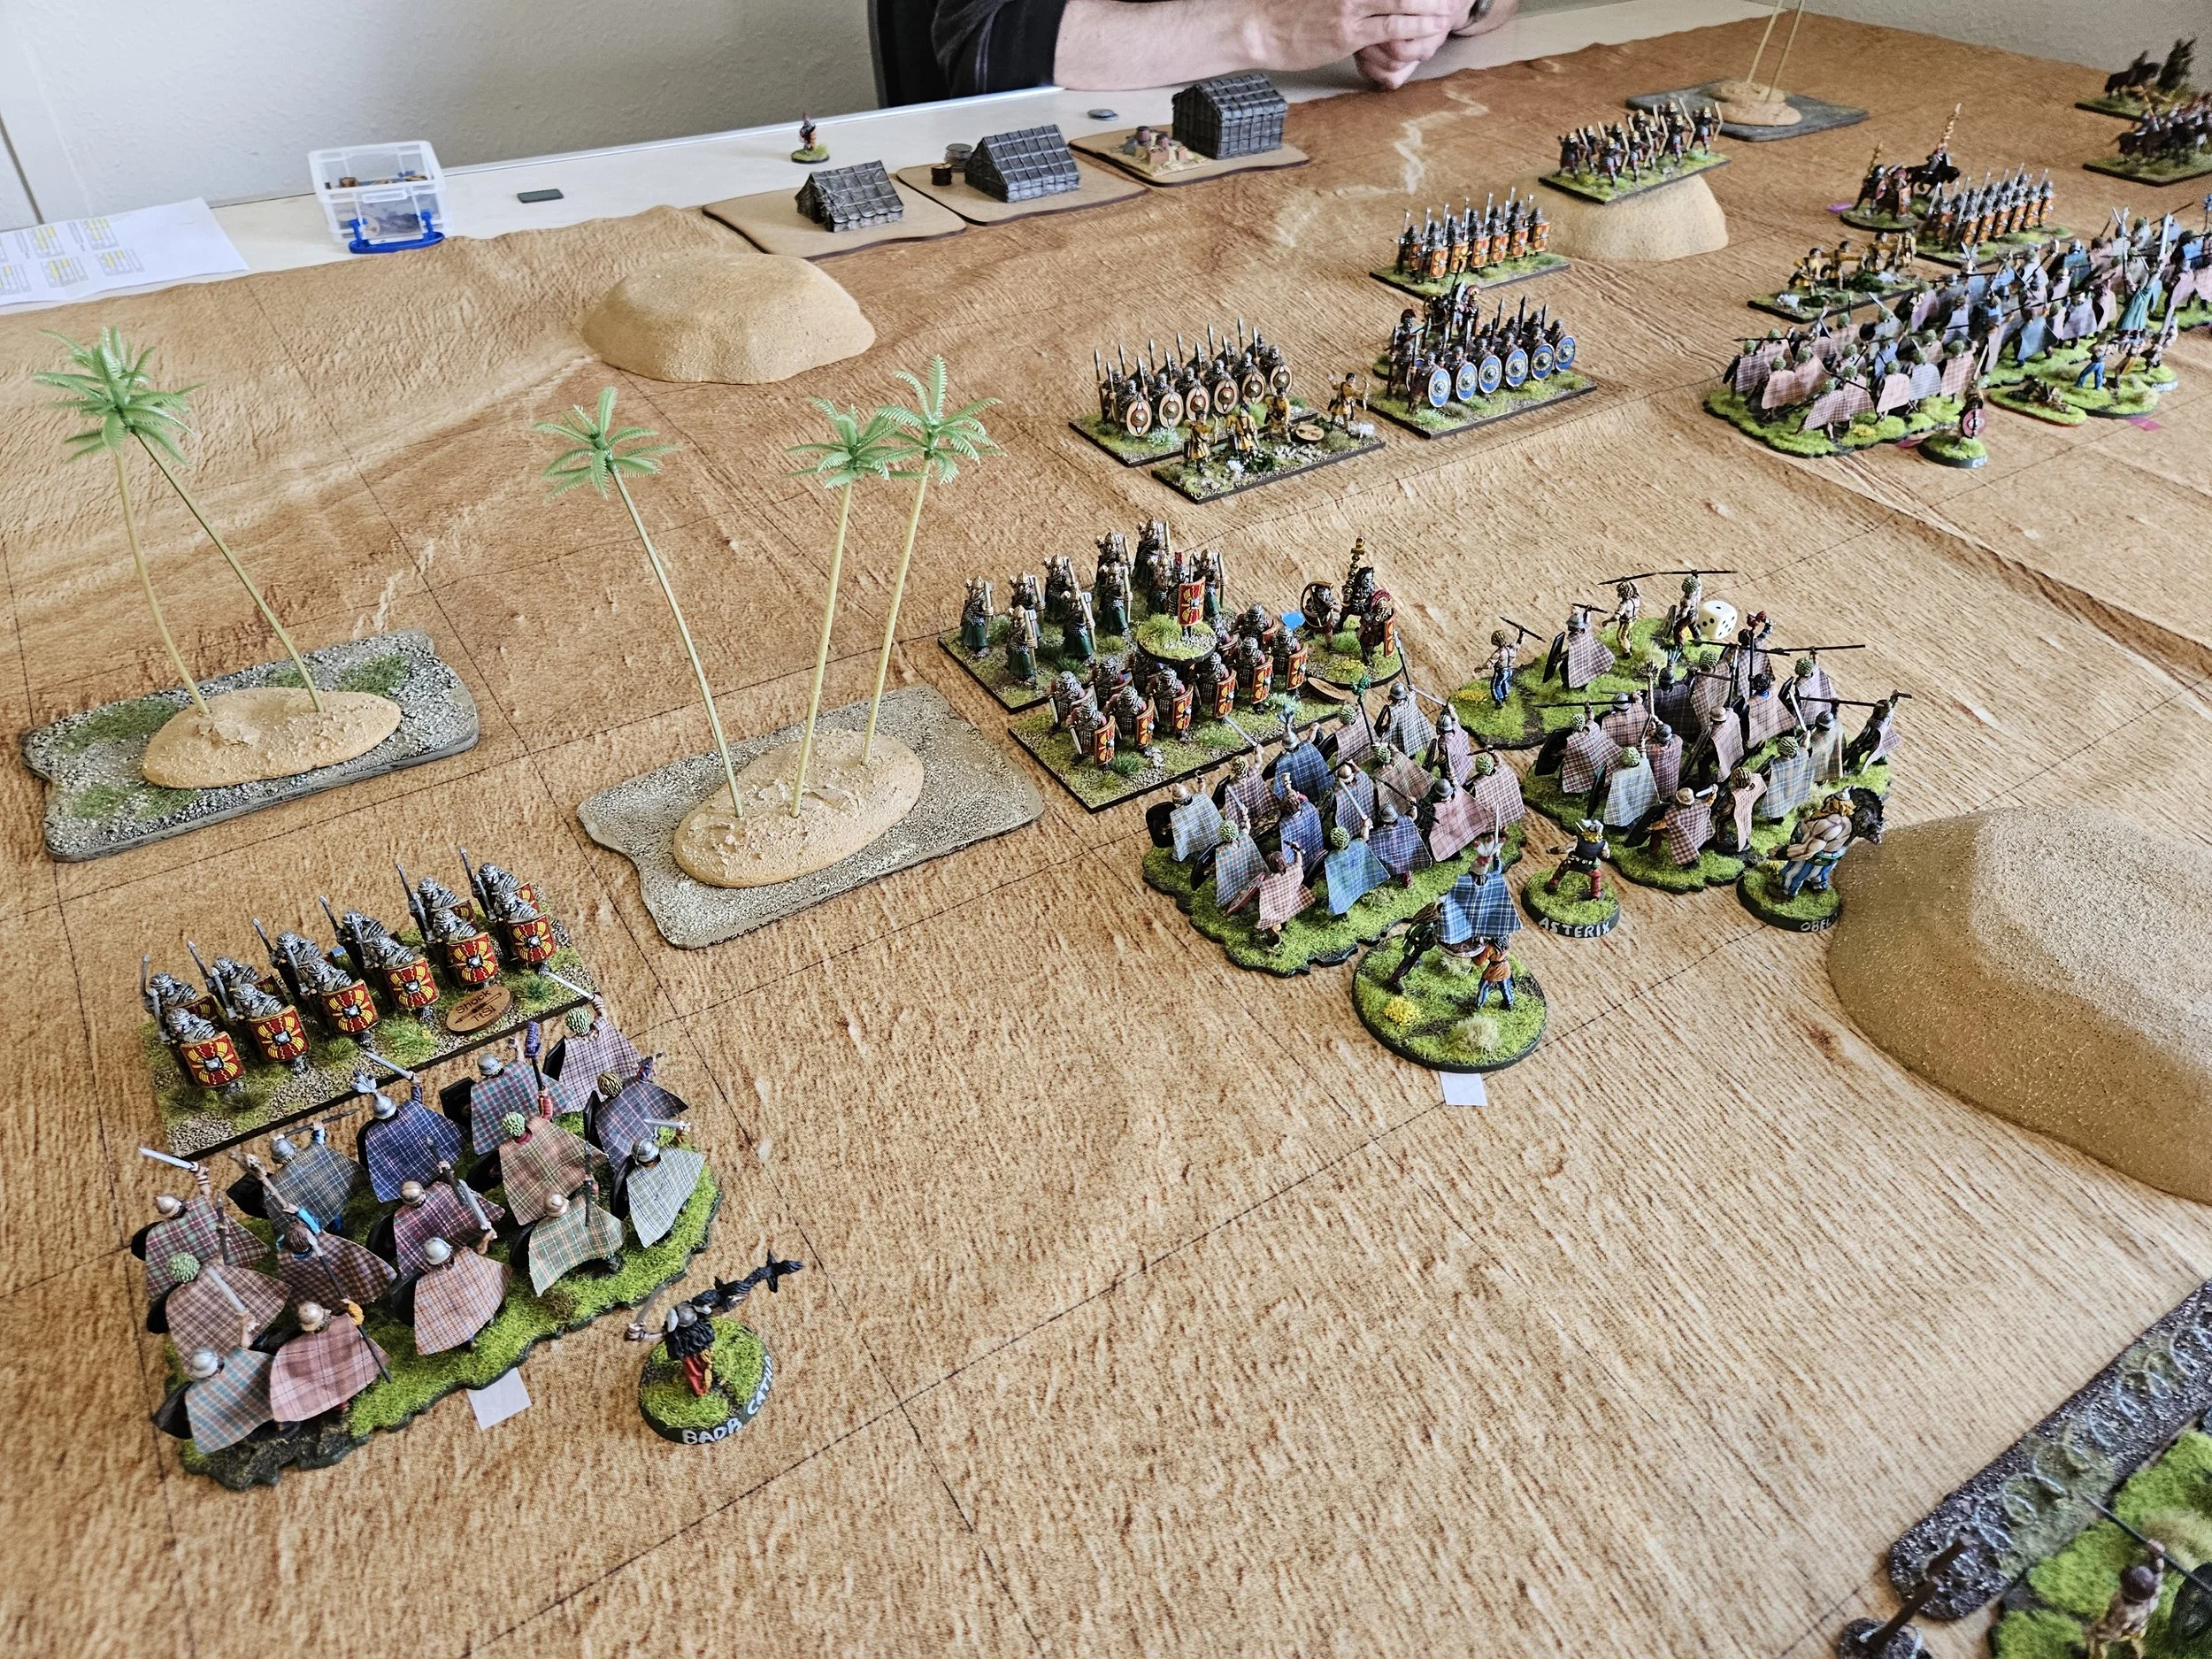
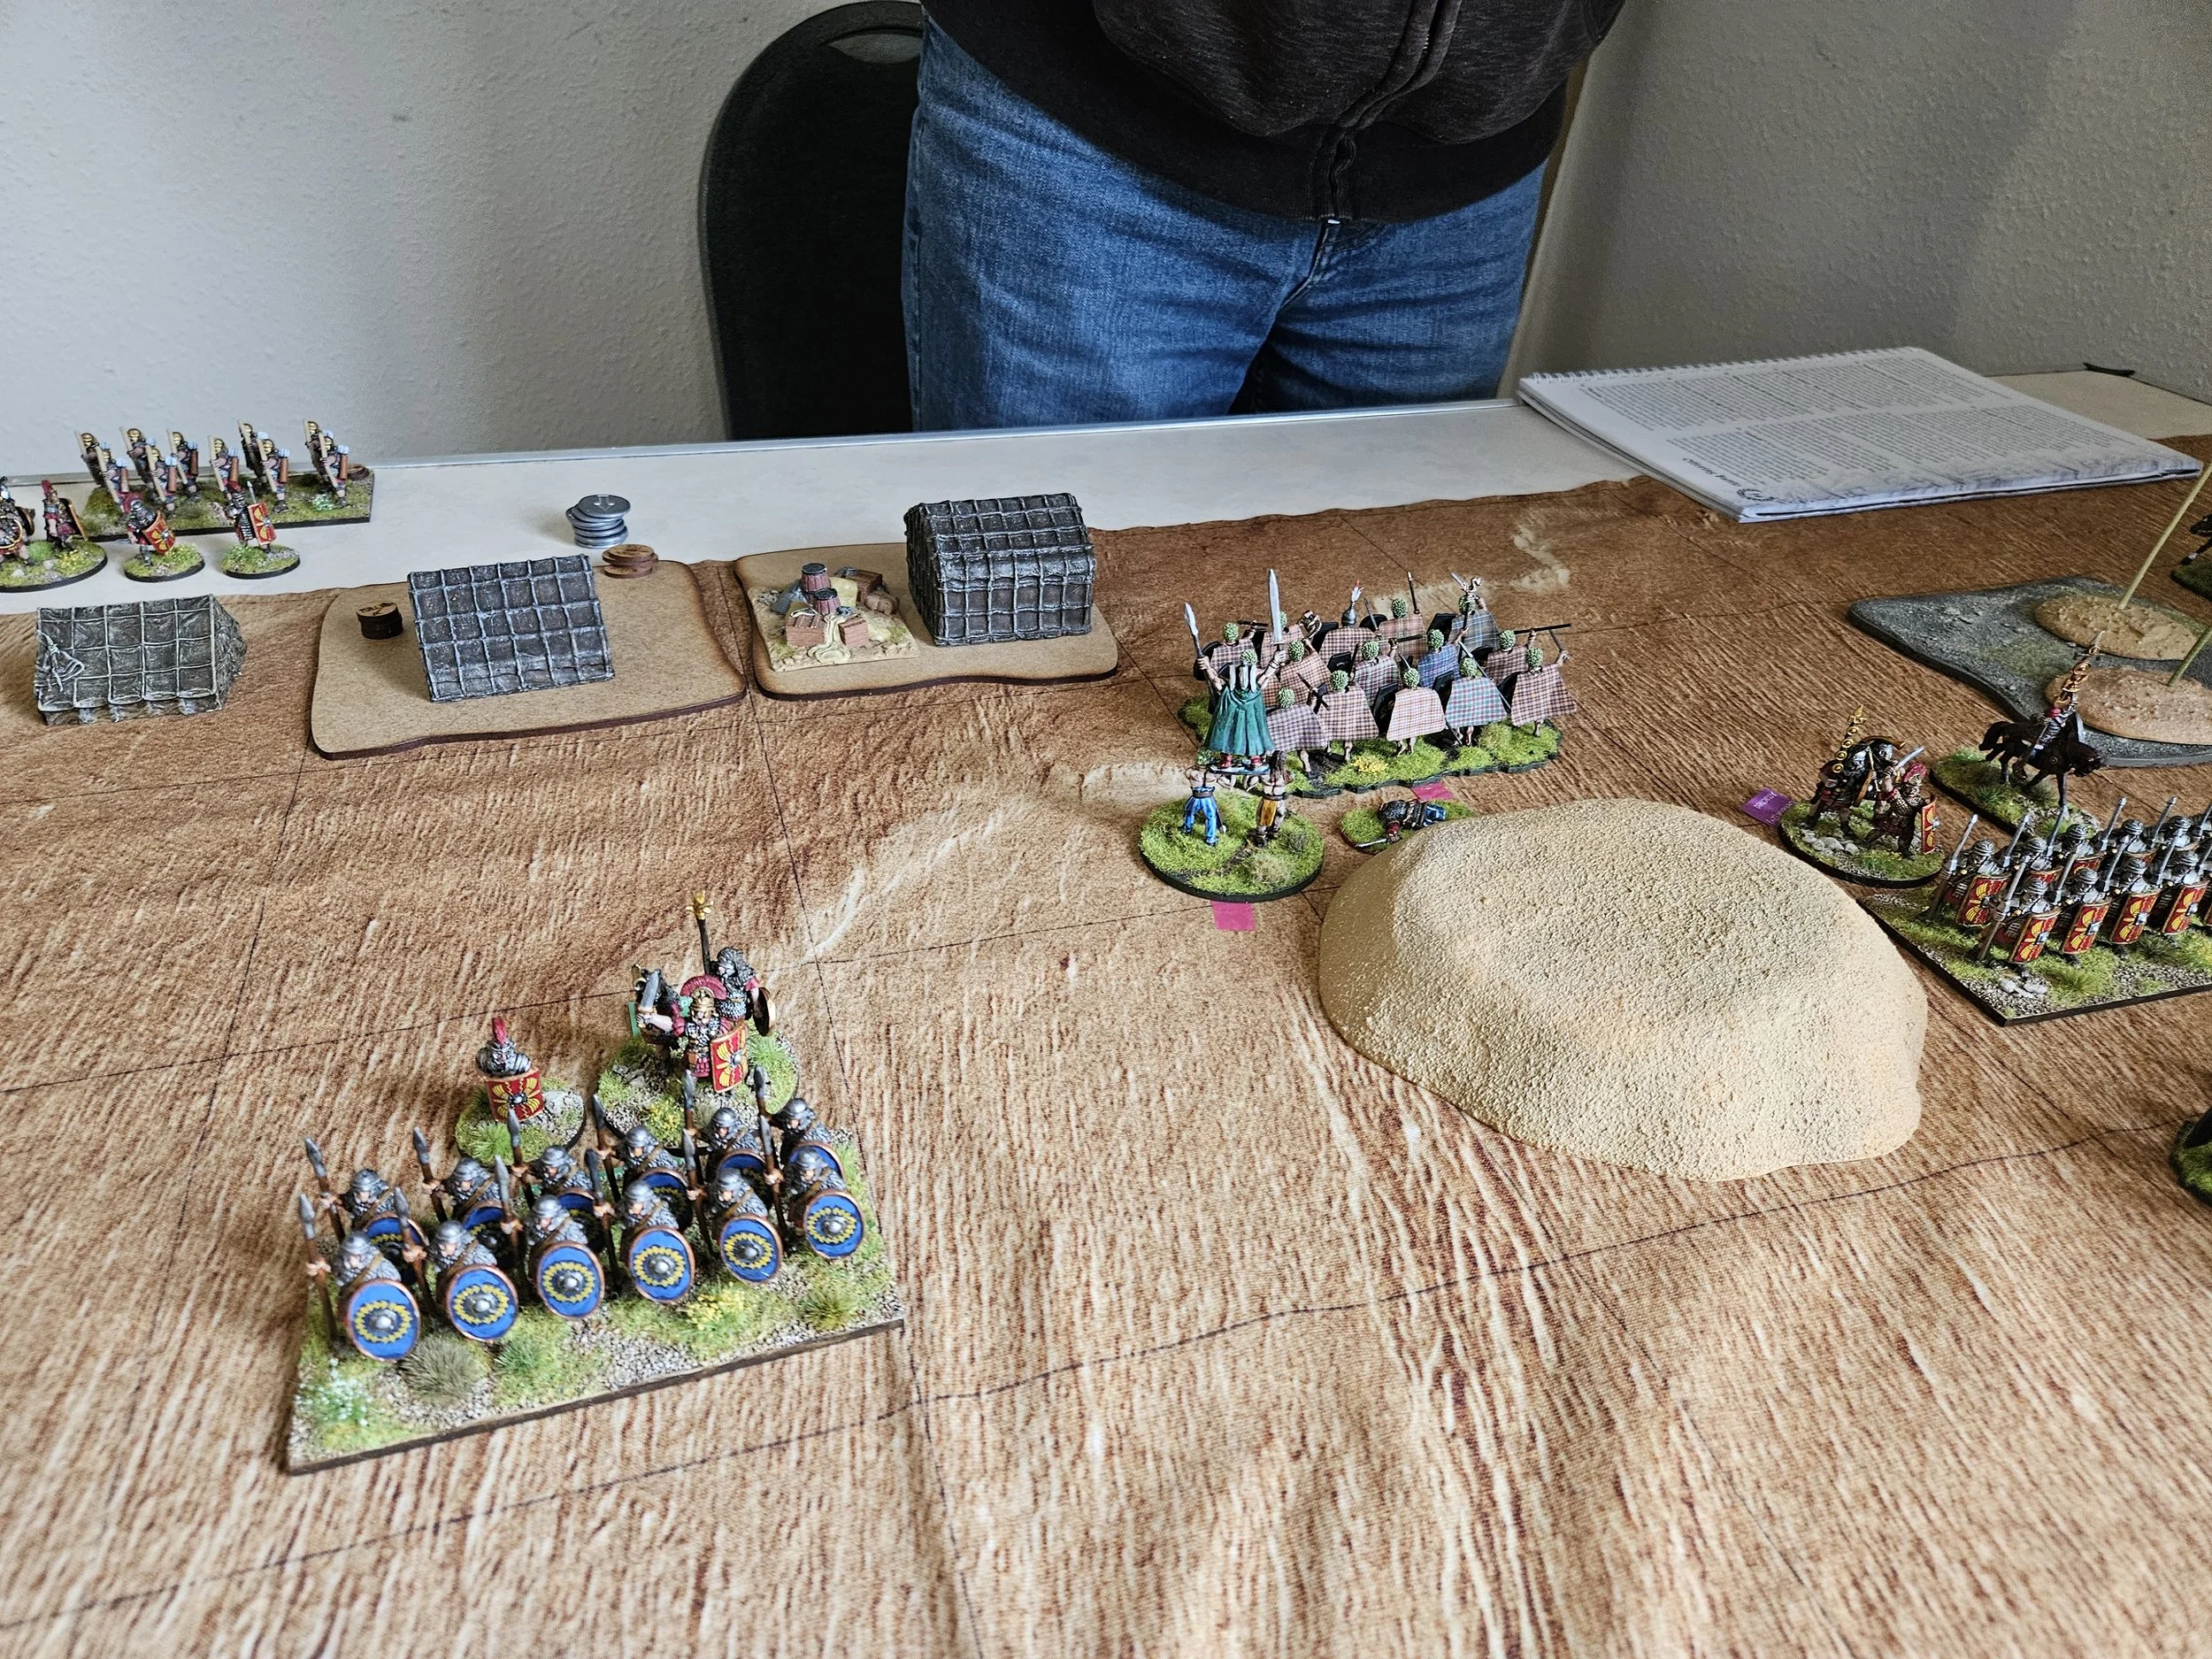
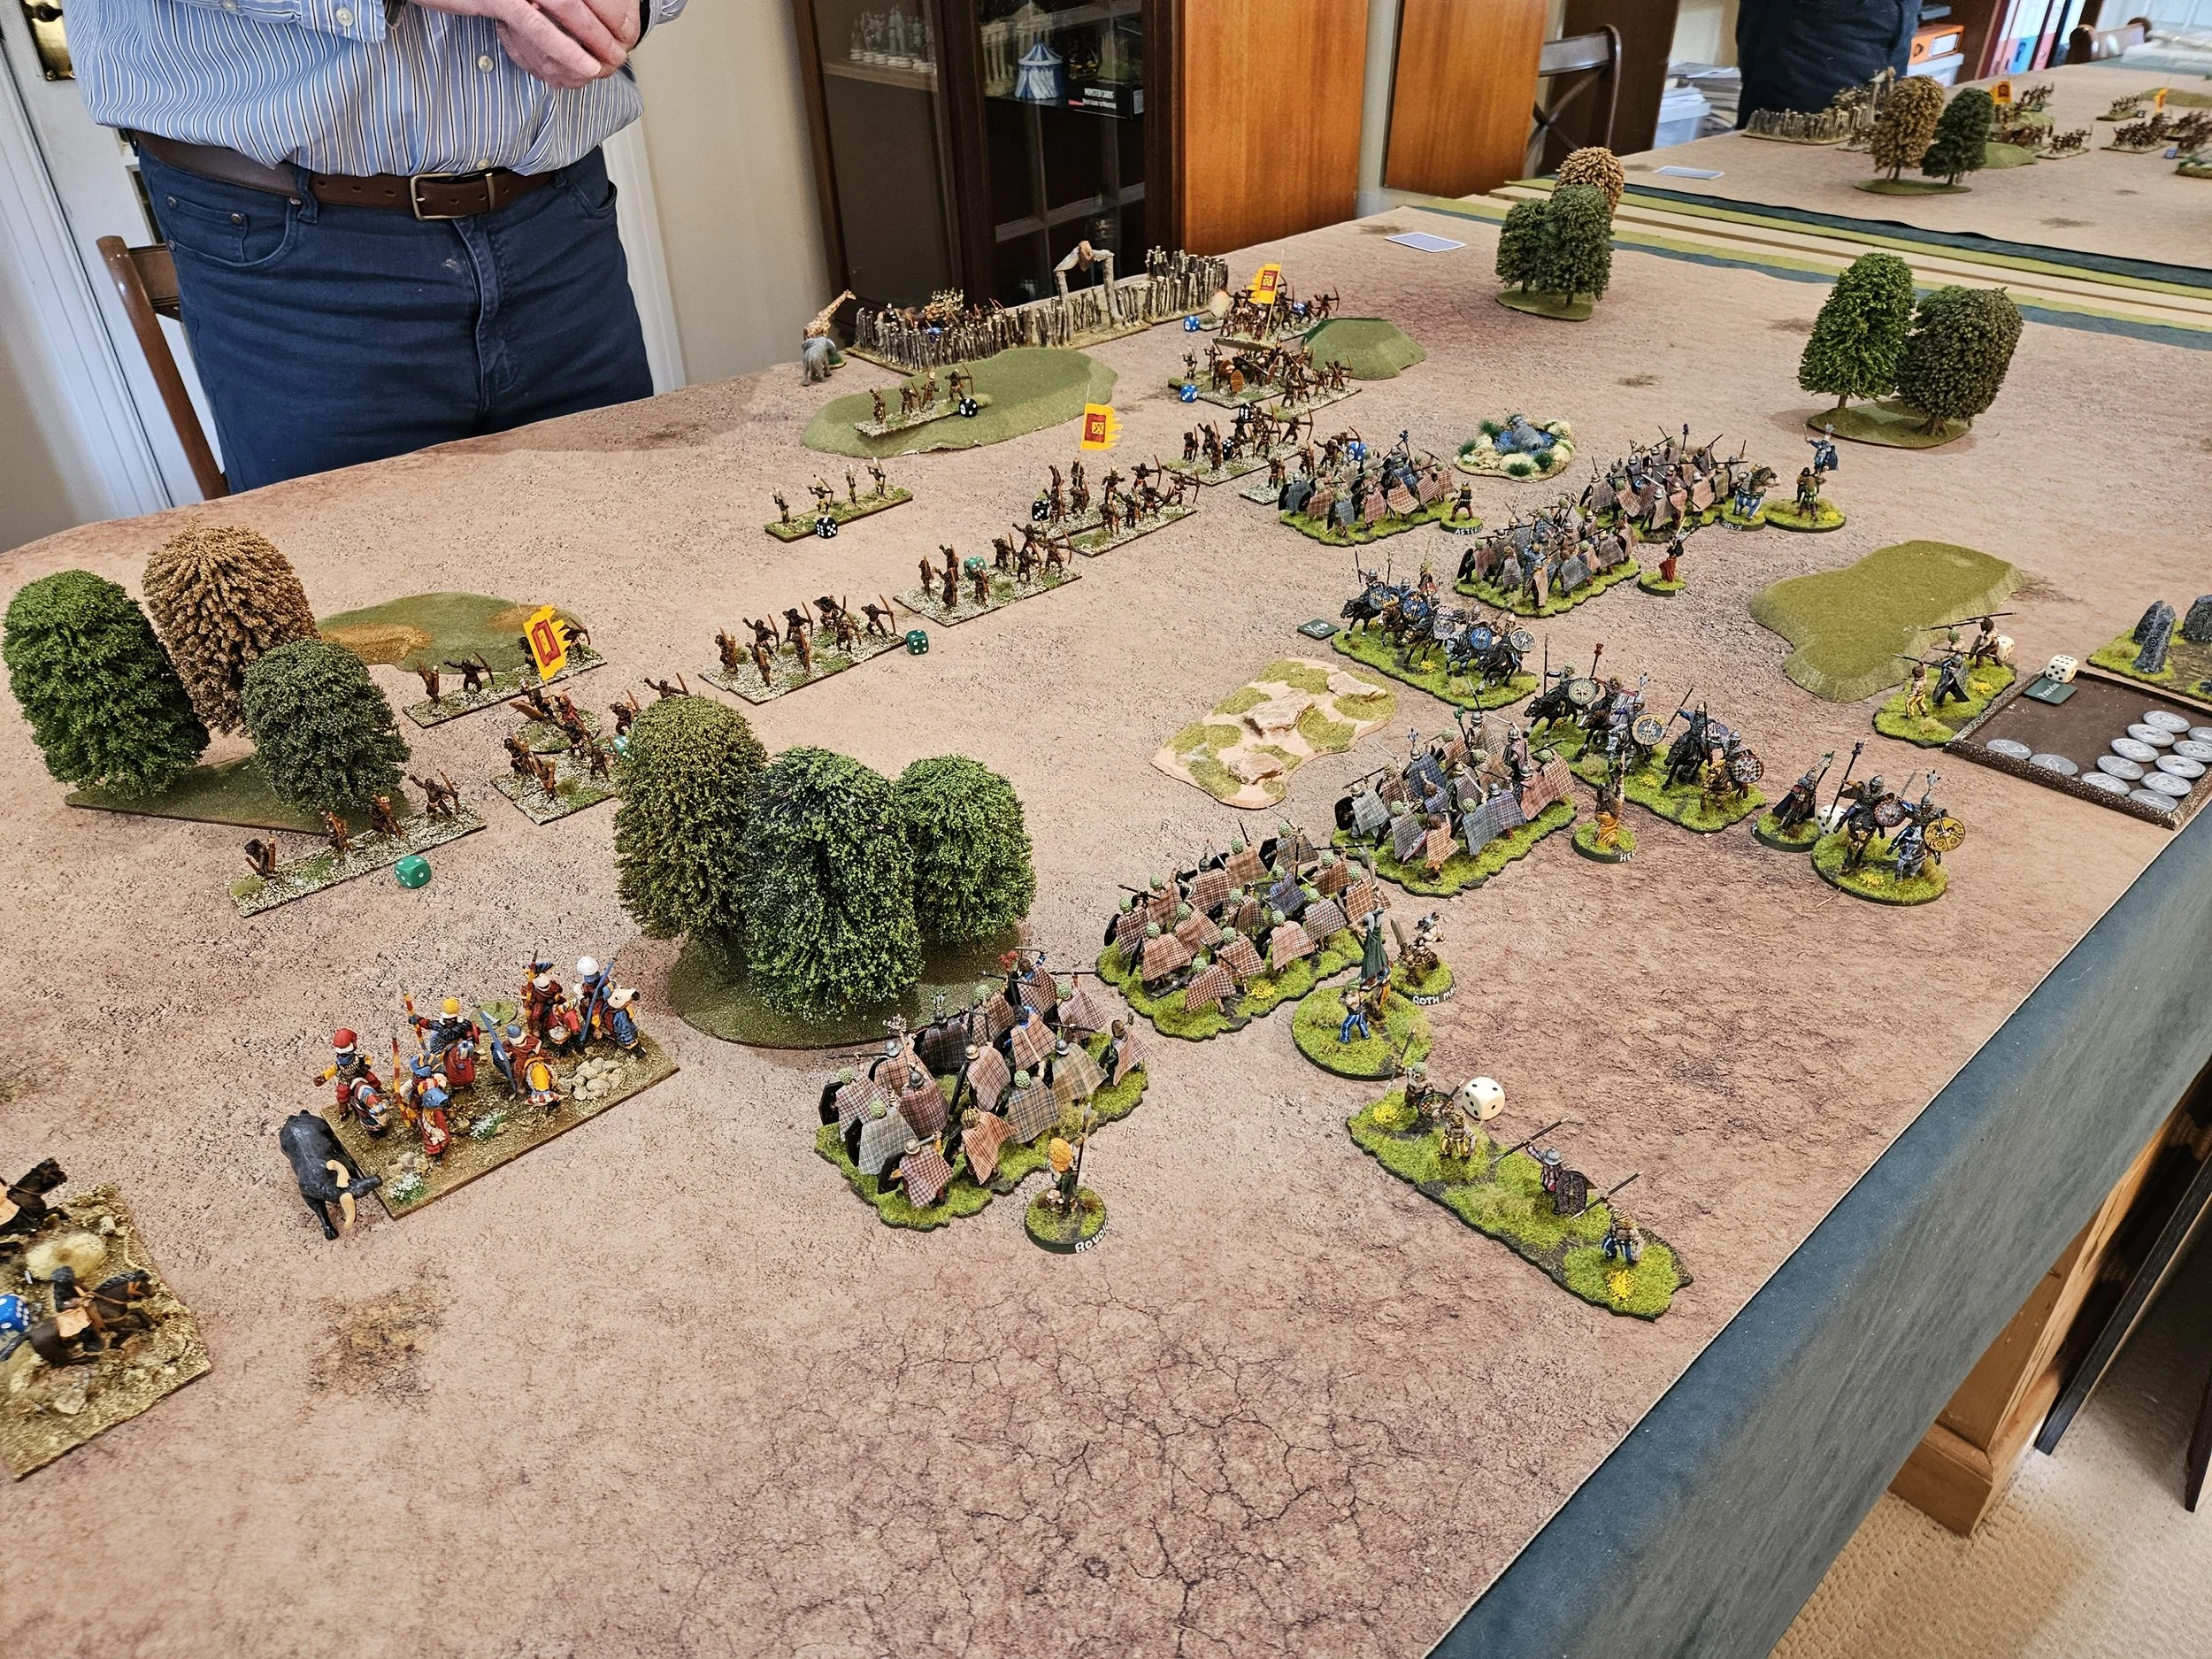
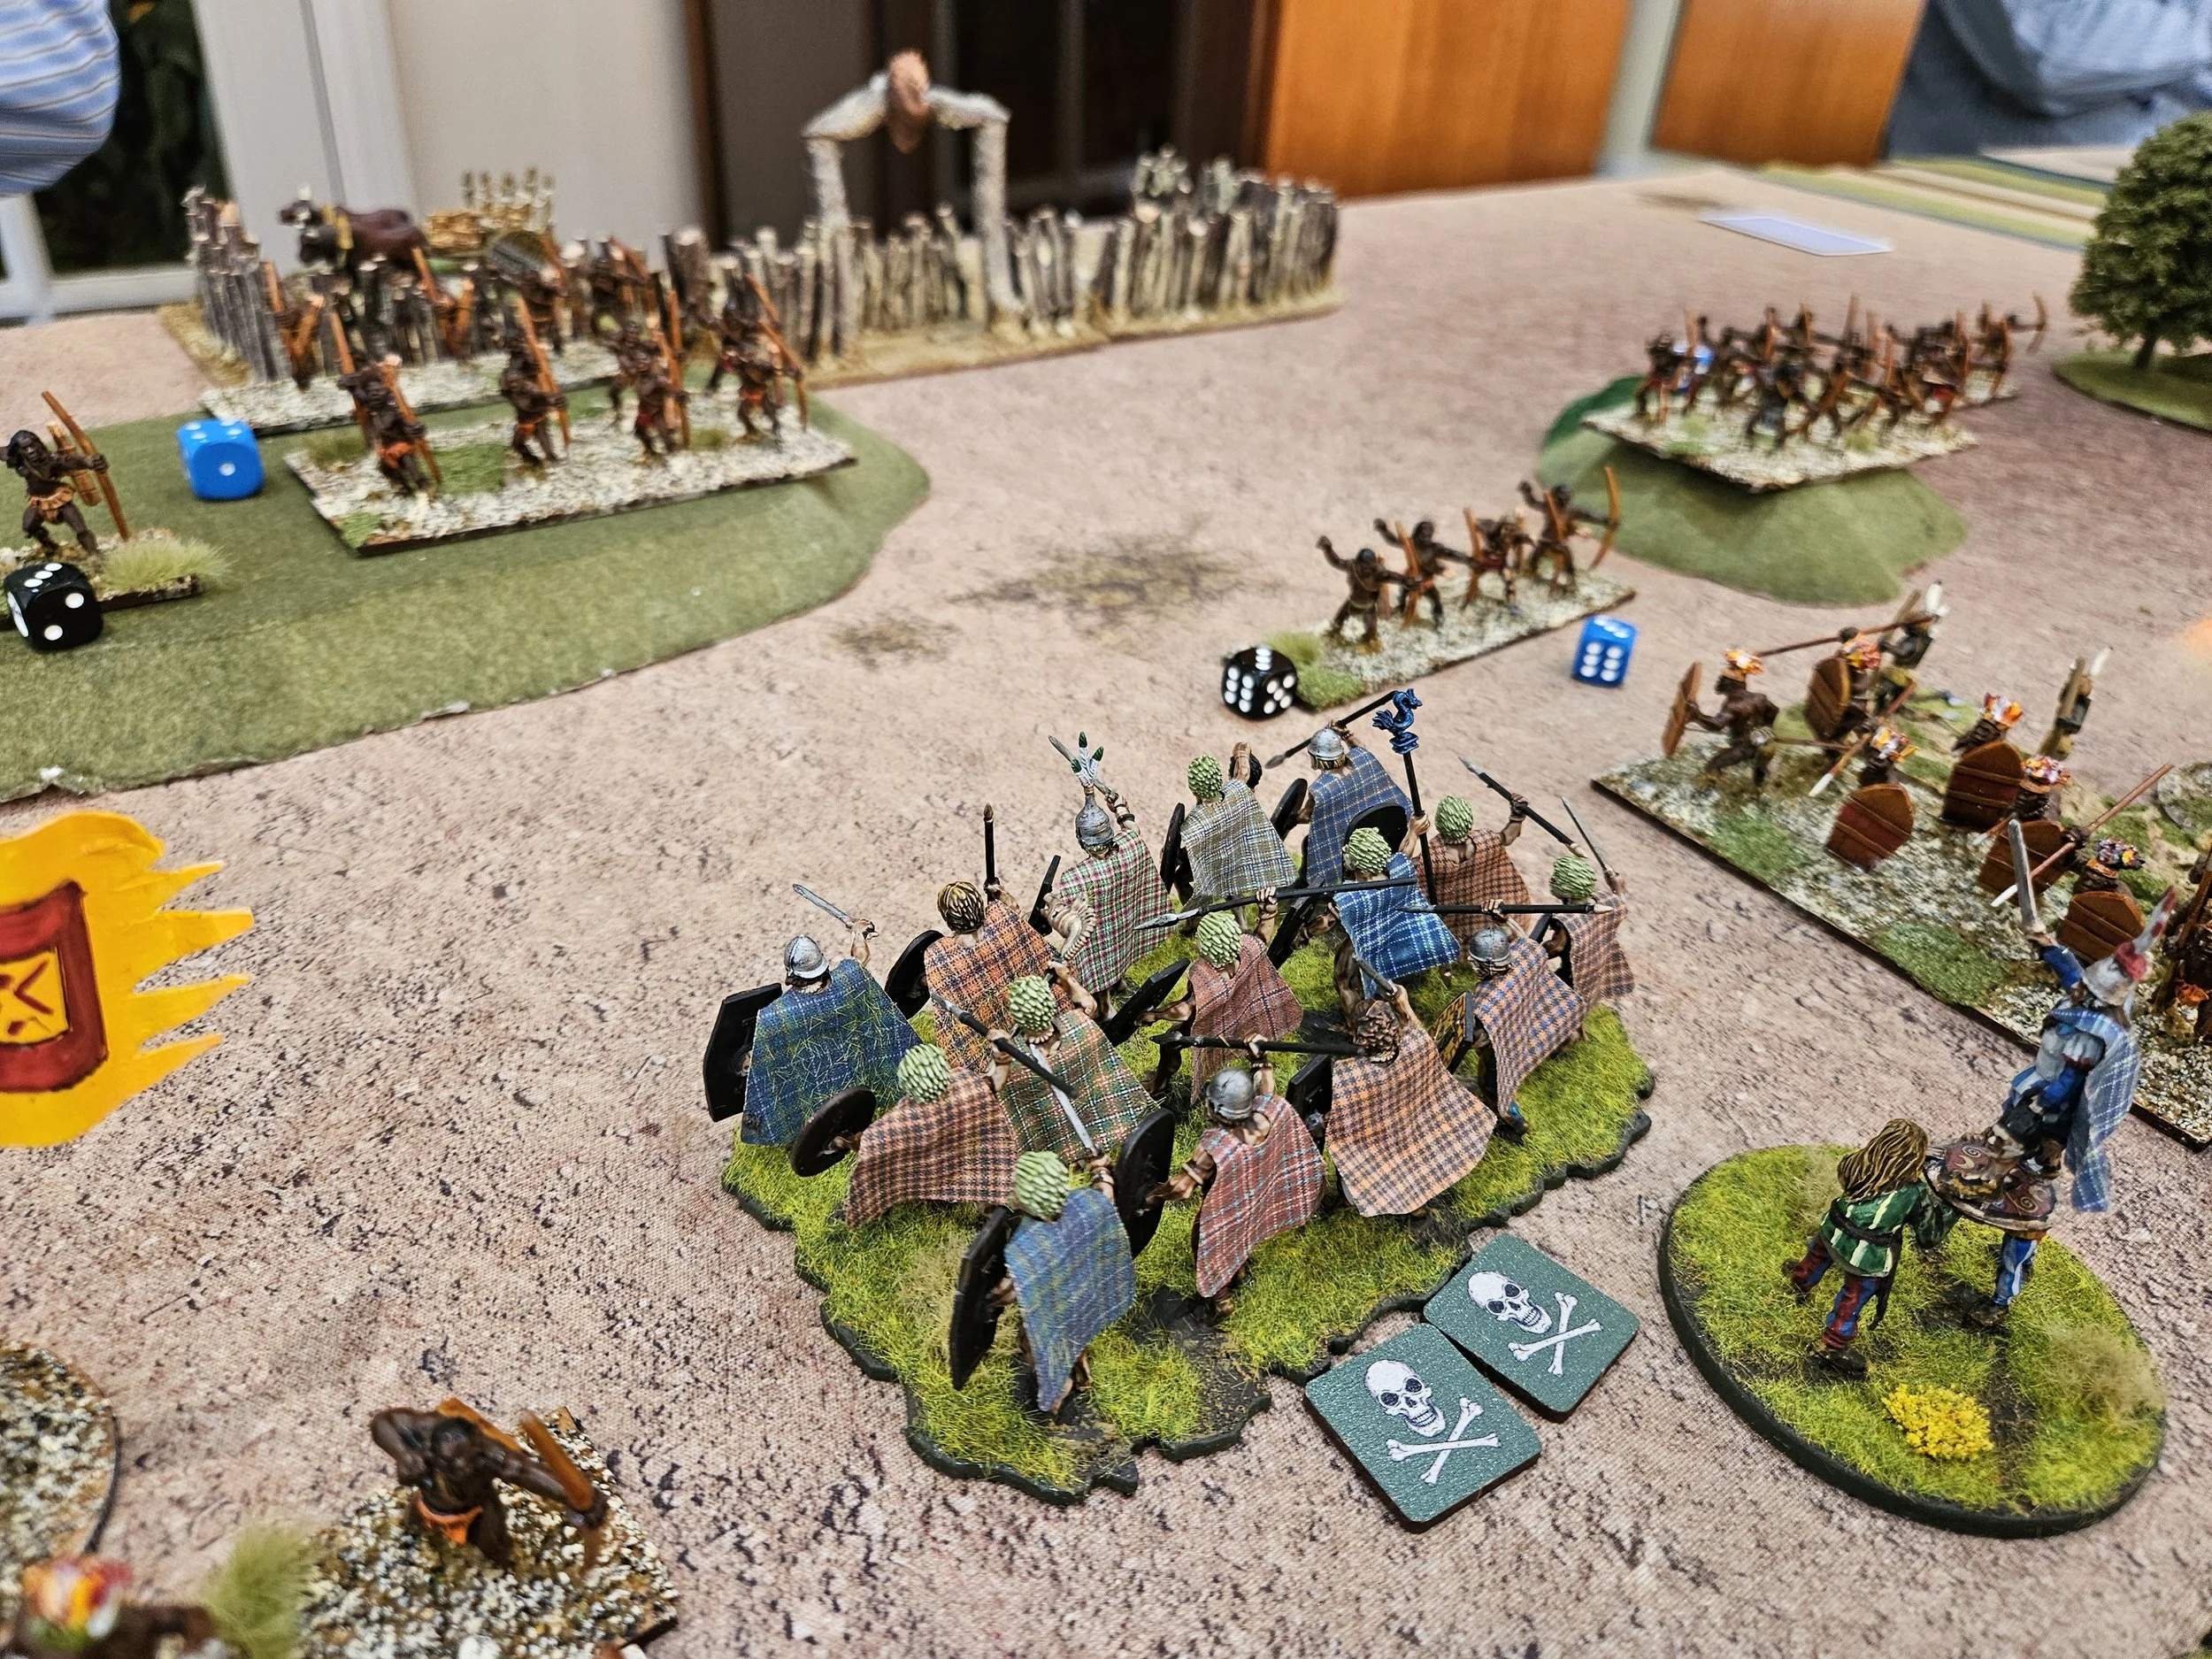
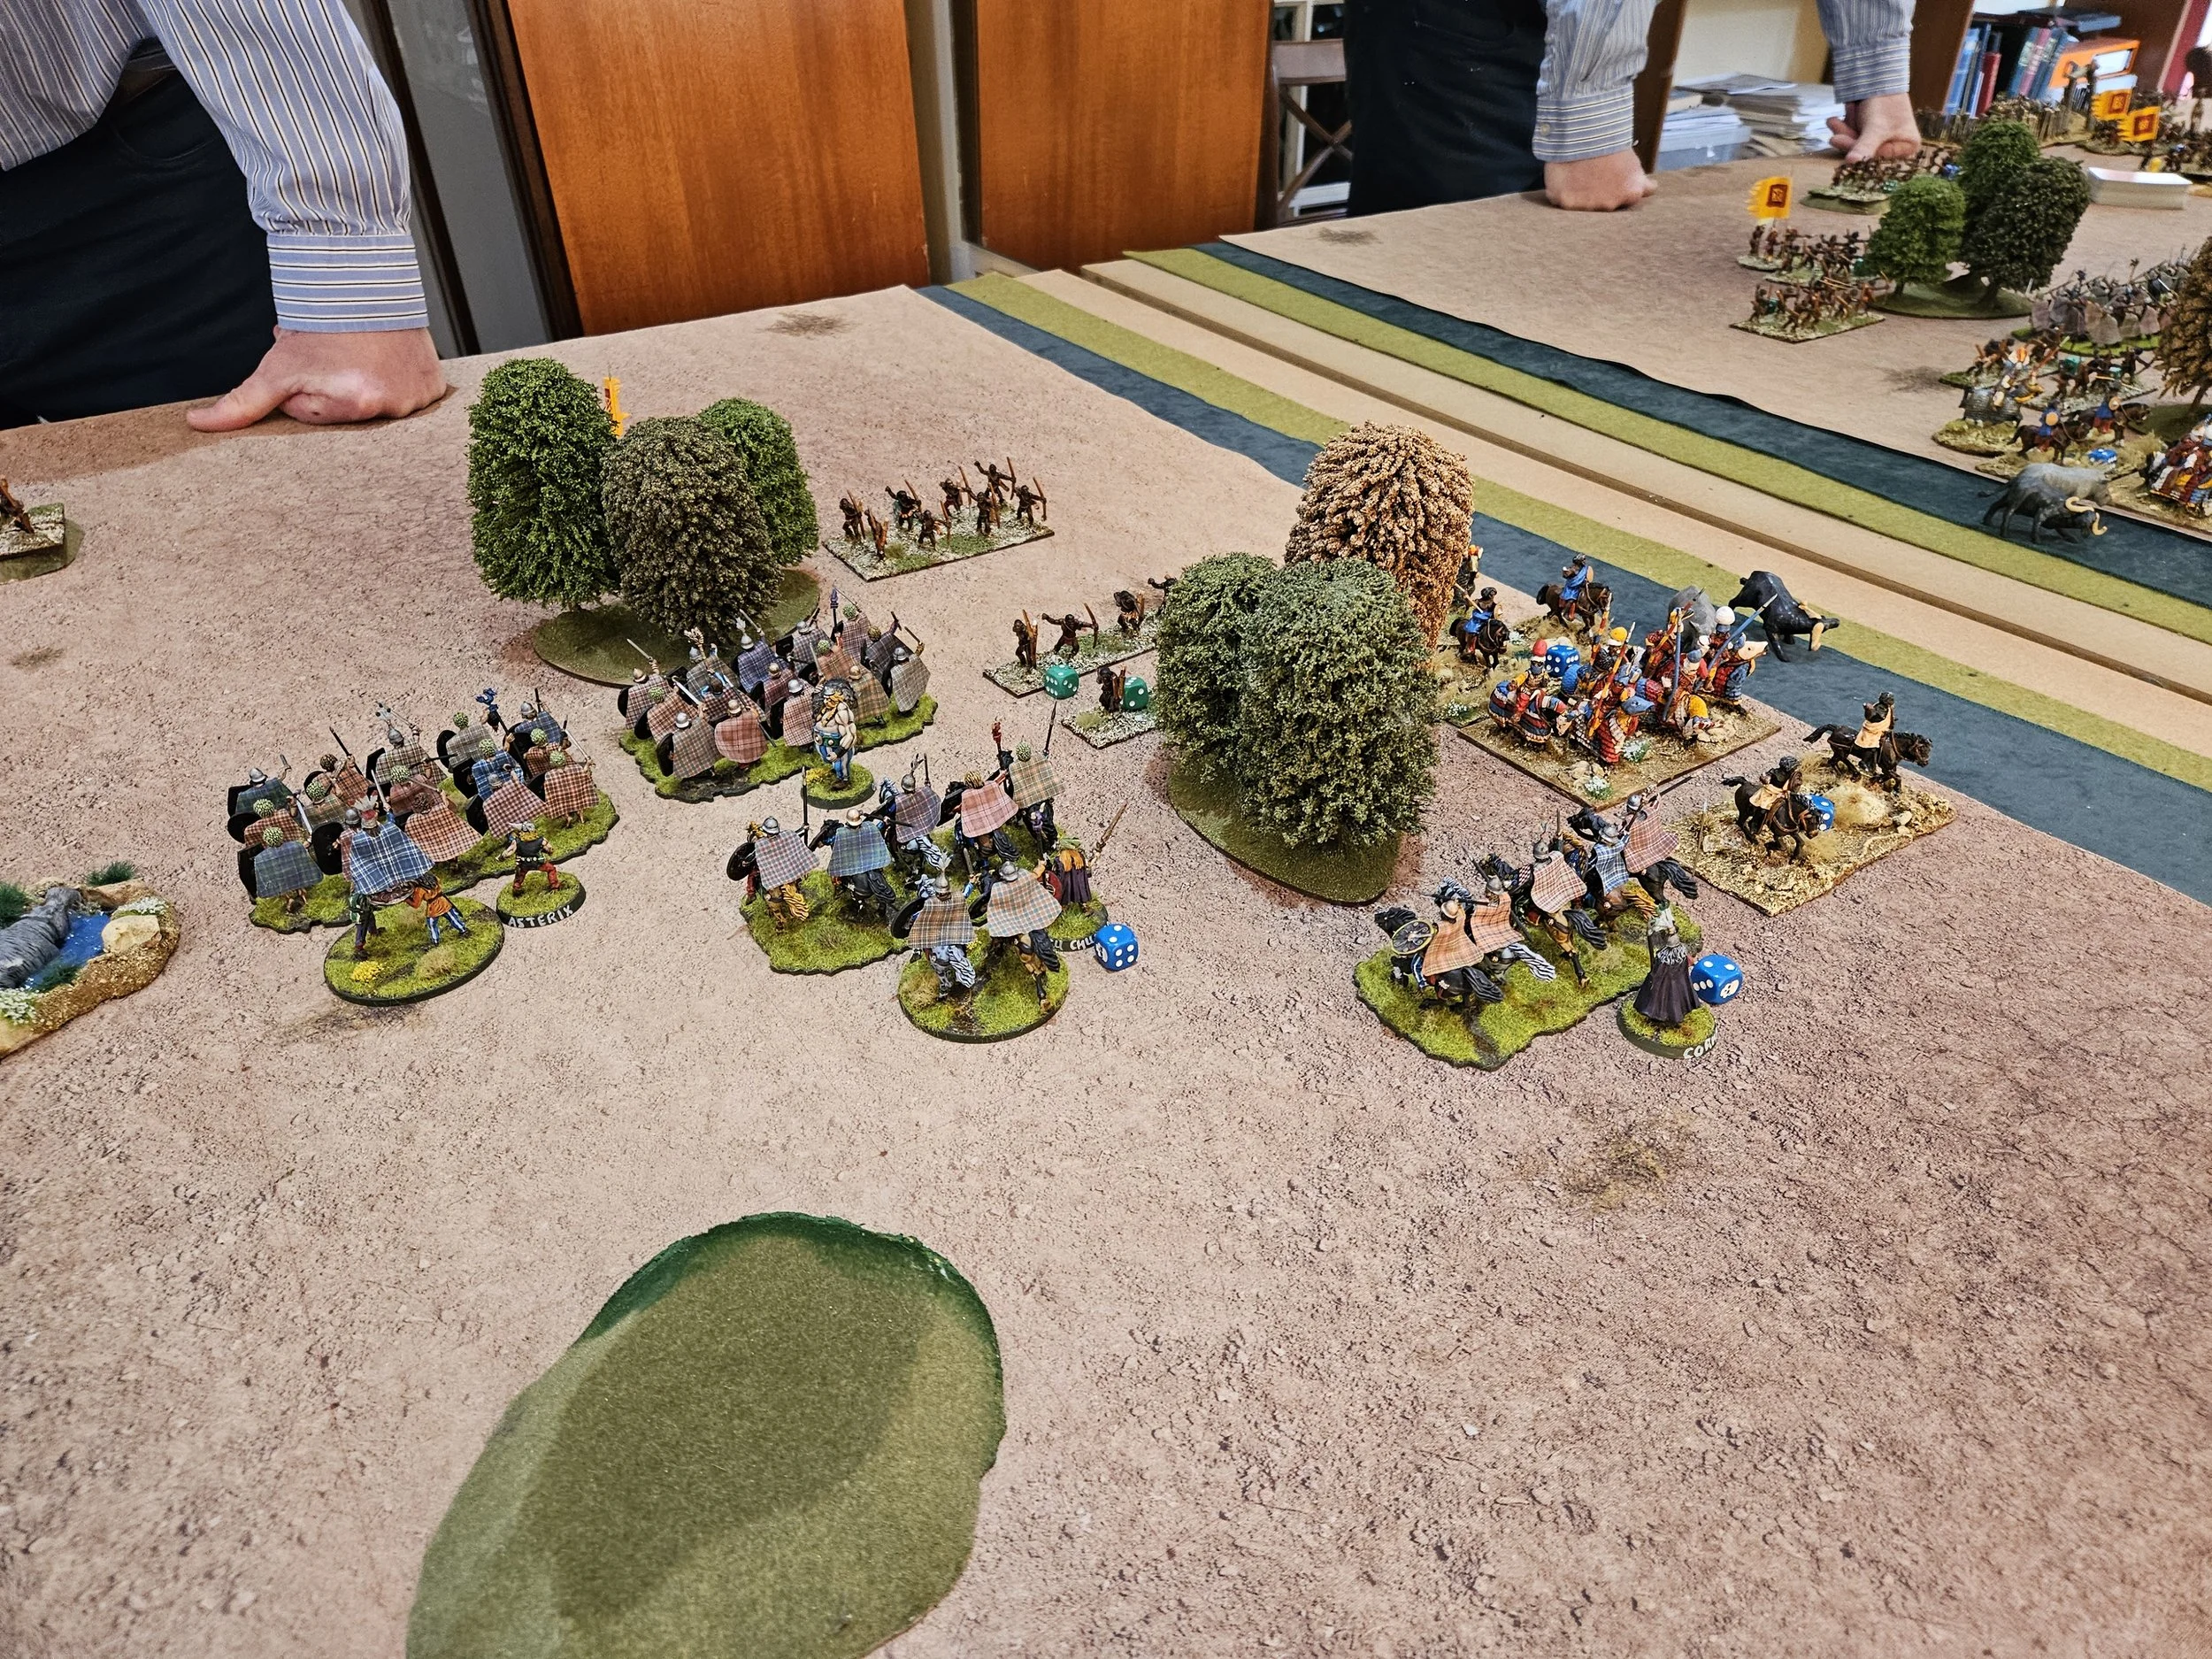
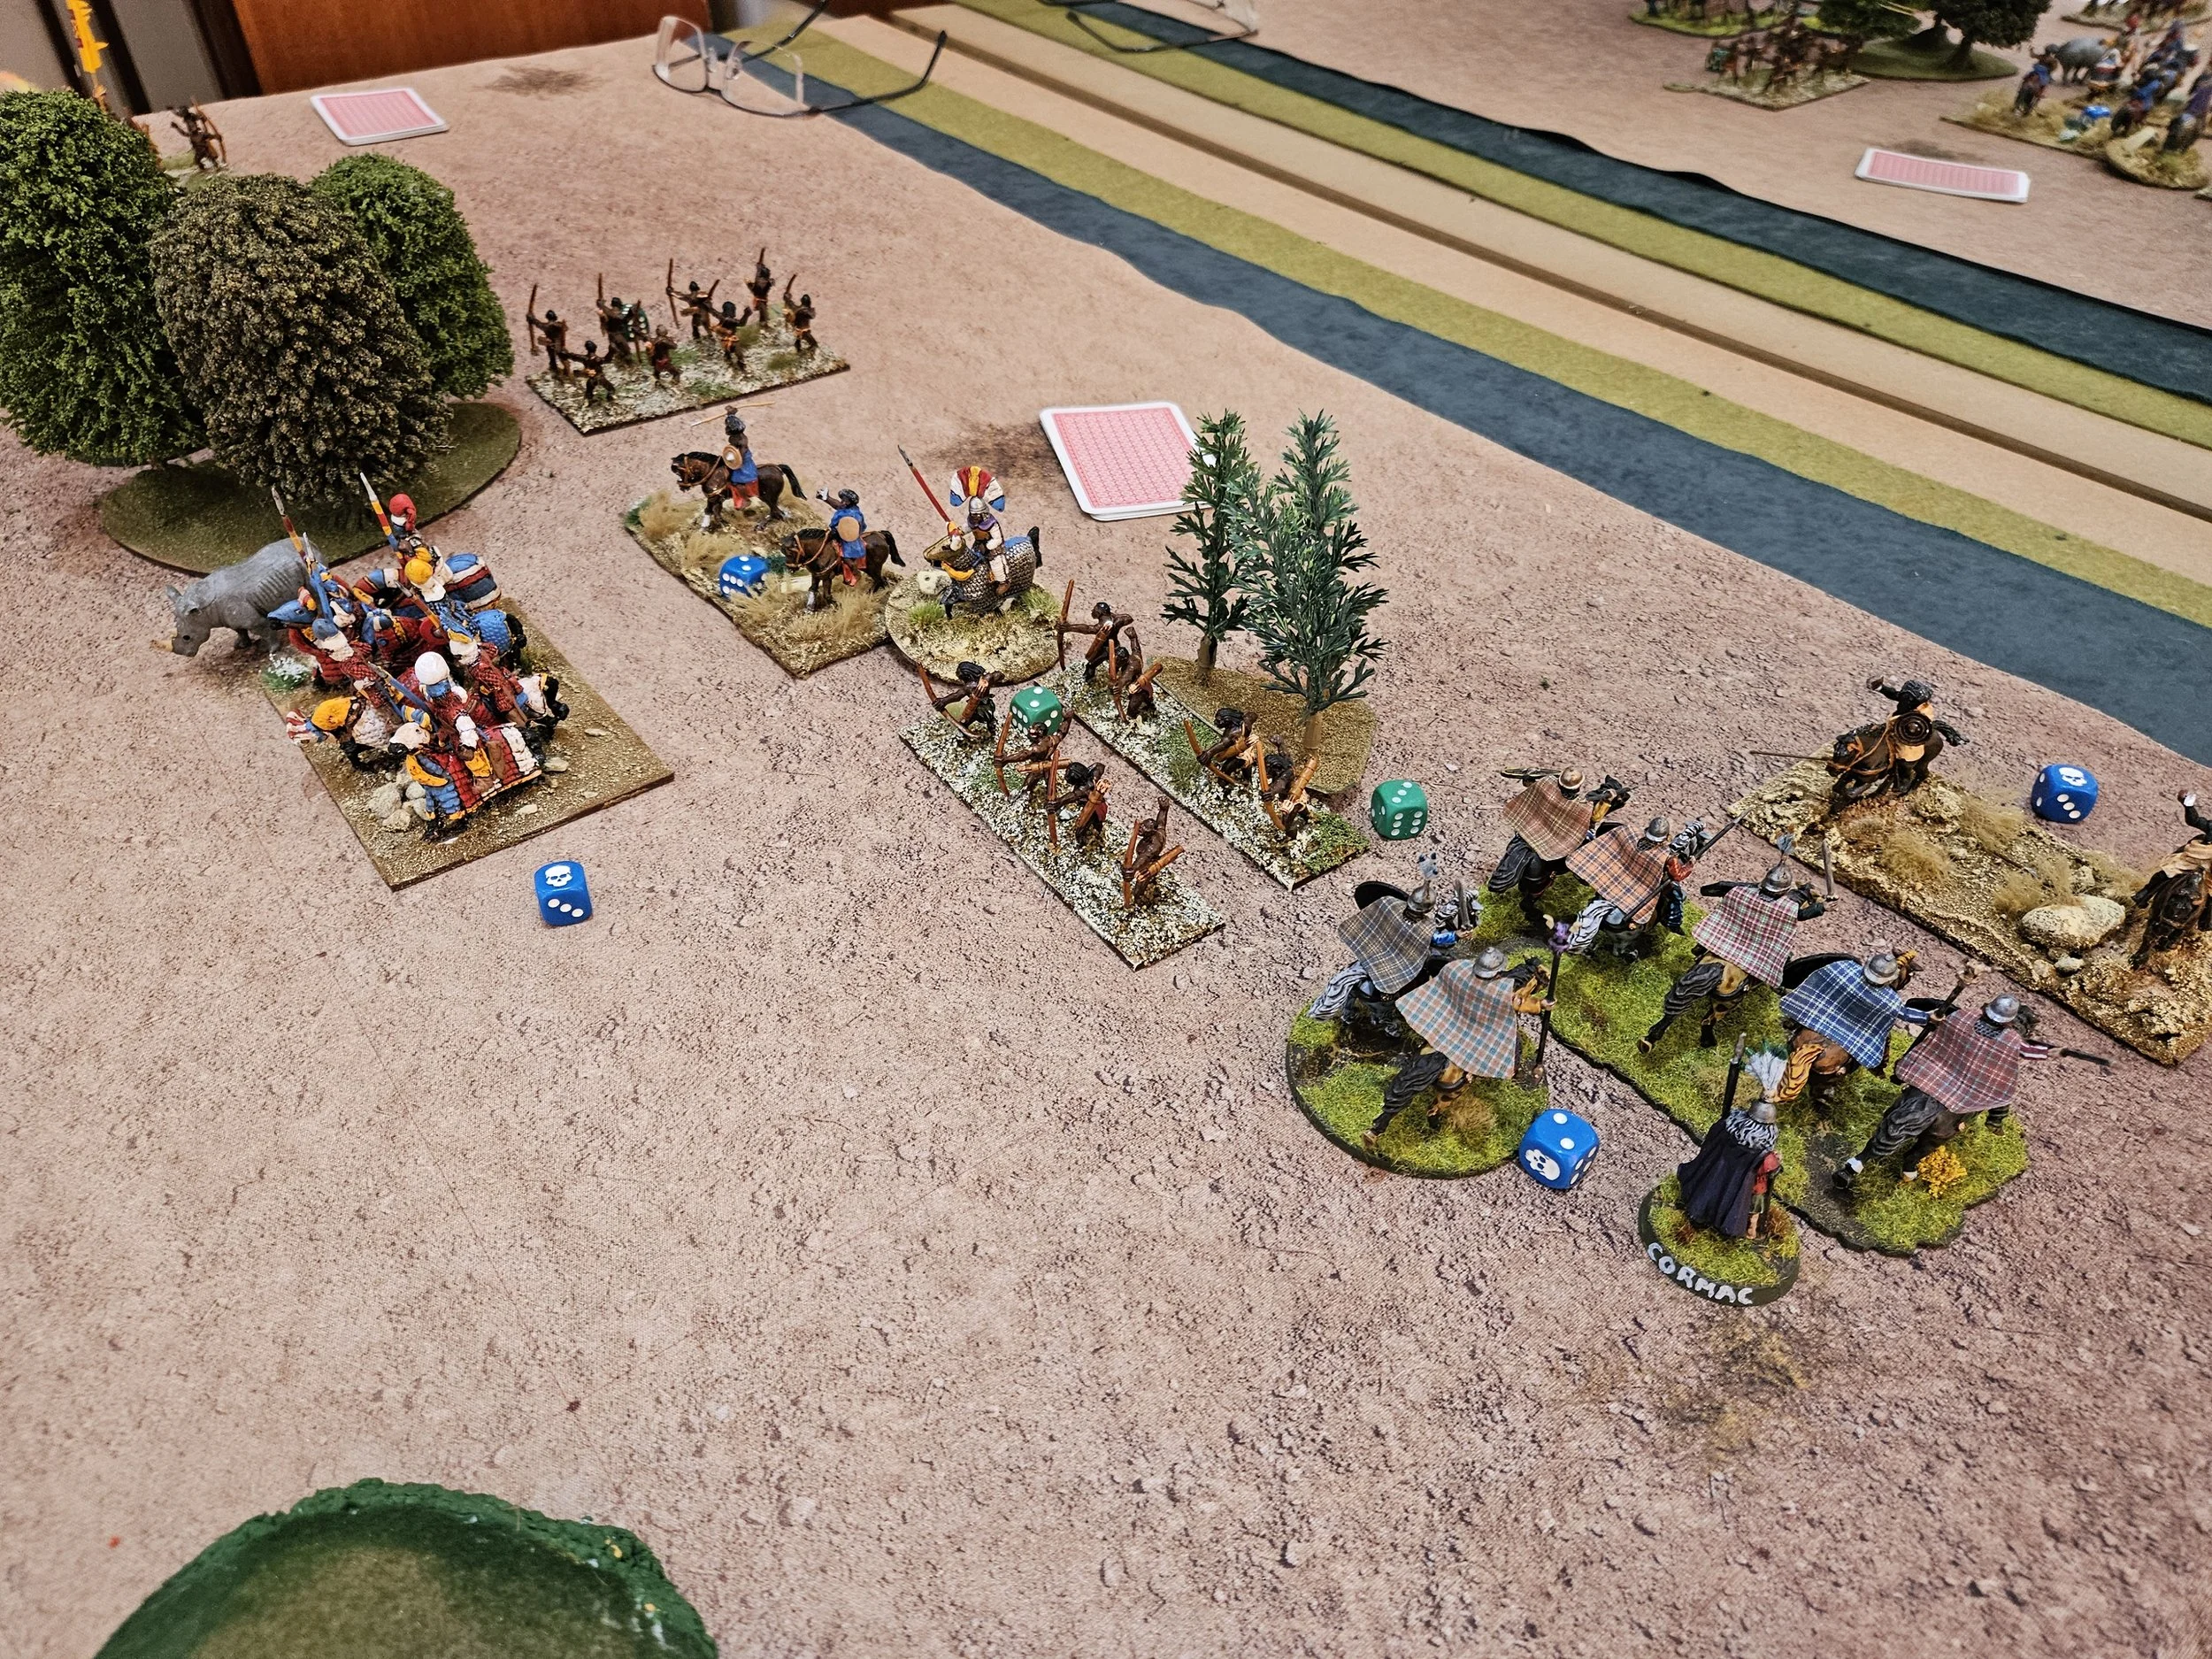
Things were not, however, going so well on the left and in the centre. In the last game, the Palmyrans had initially held back a bit, giving me a chance to develop my outflanking manoeuvre on the right. Not so in this game: the enemy shot foward and my warbands were soon under some pressure, particularly on the far left.

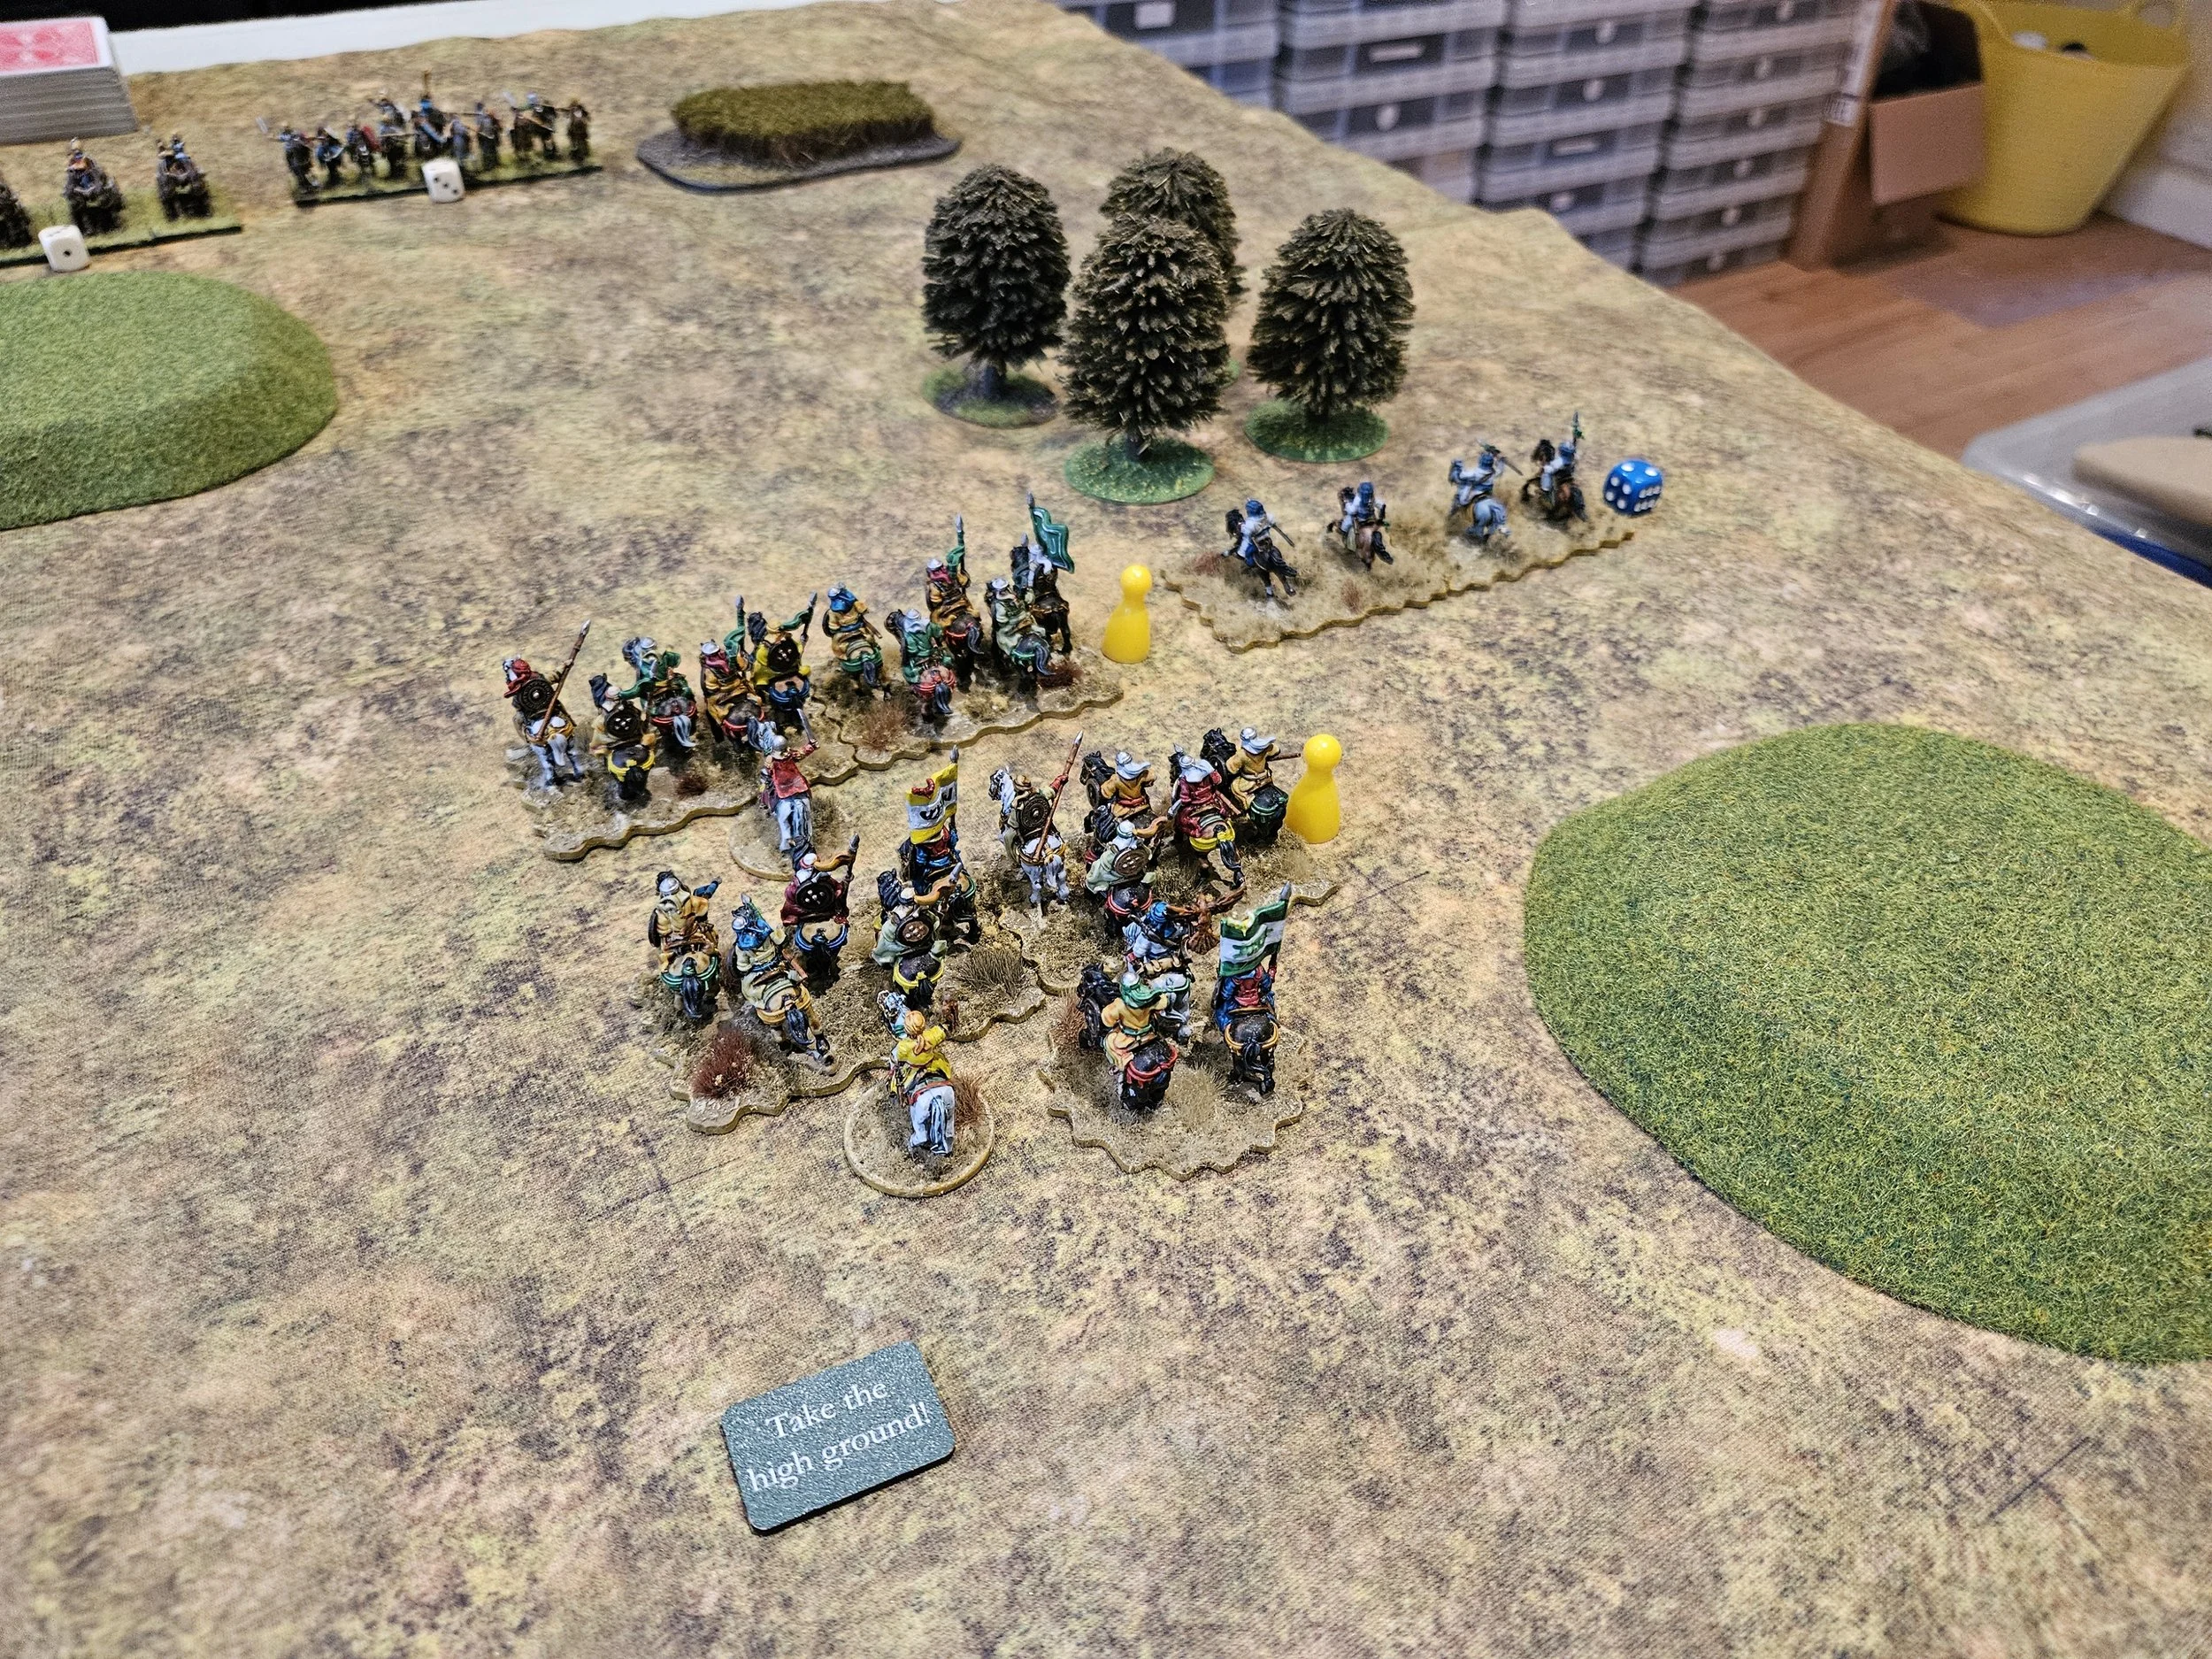
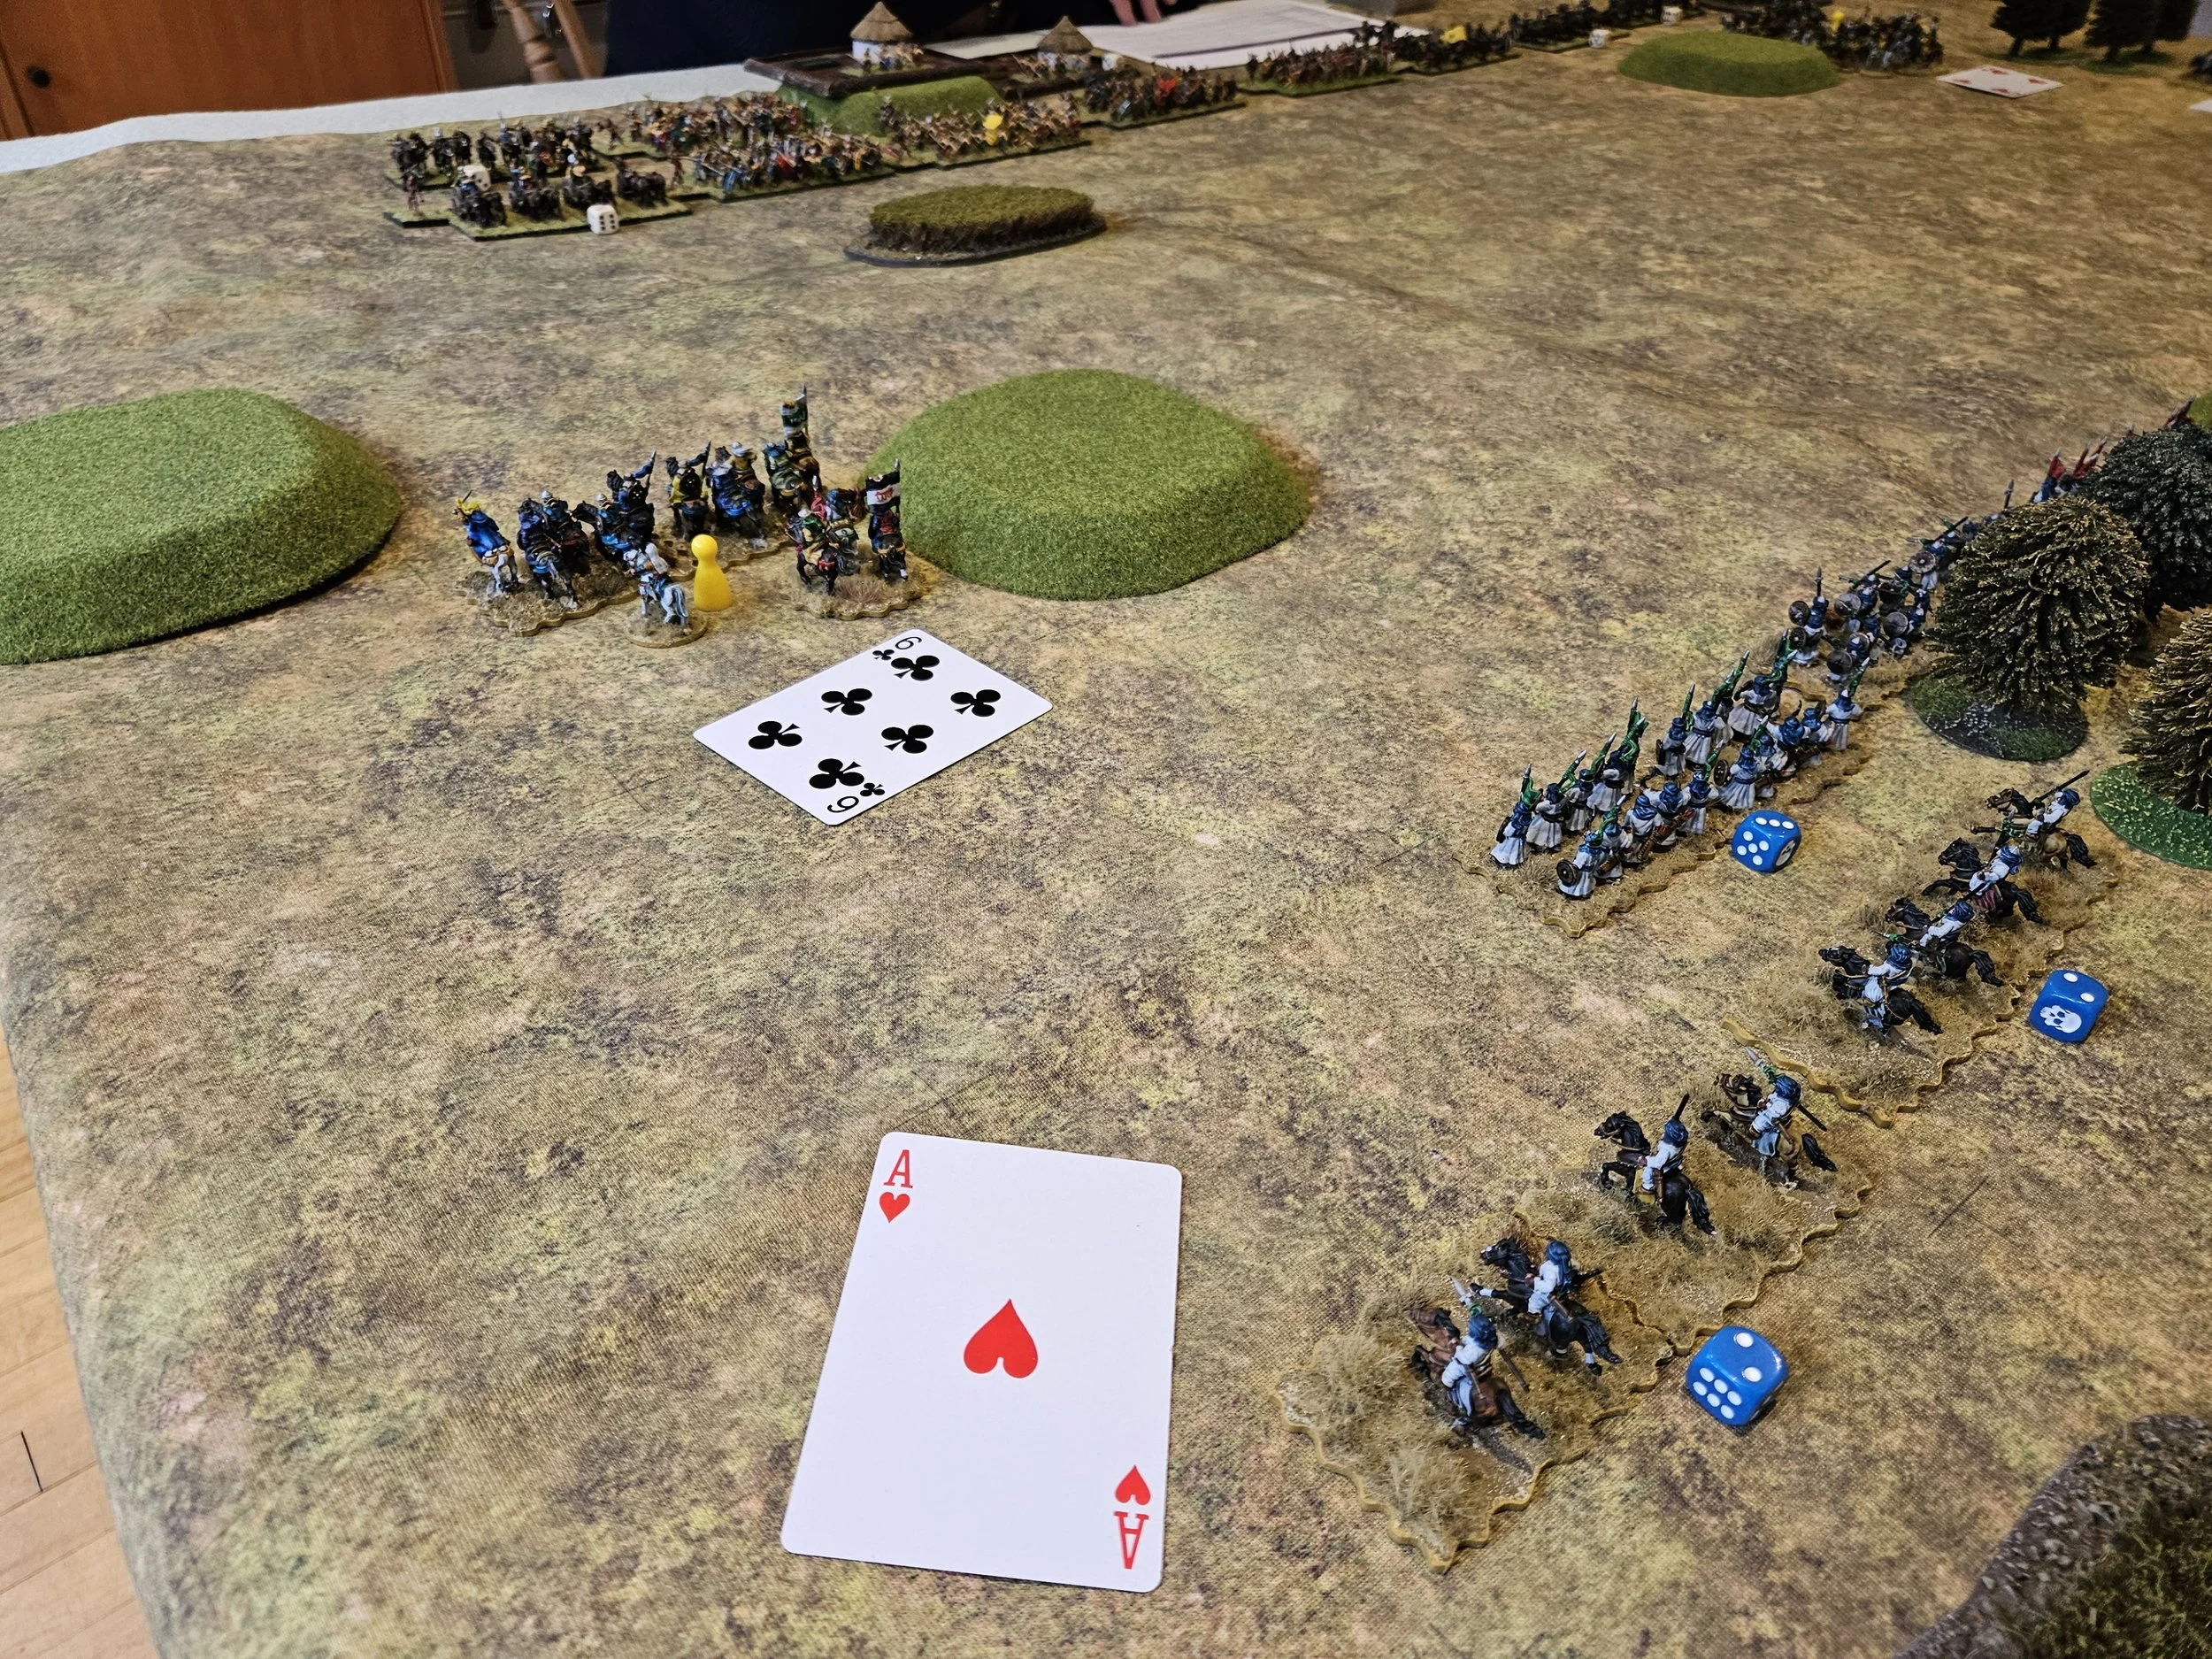
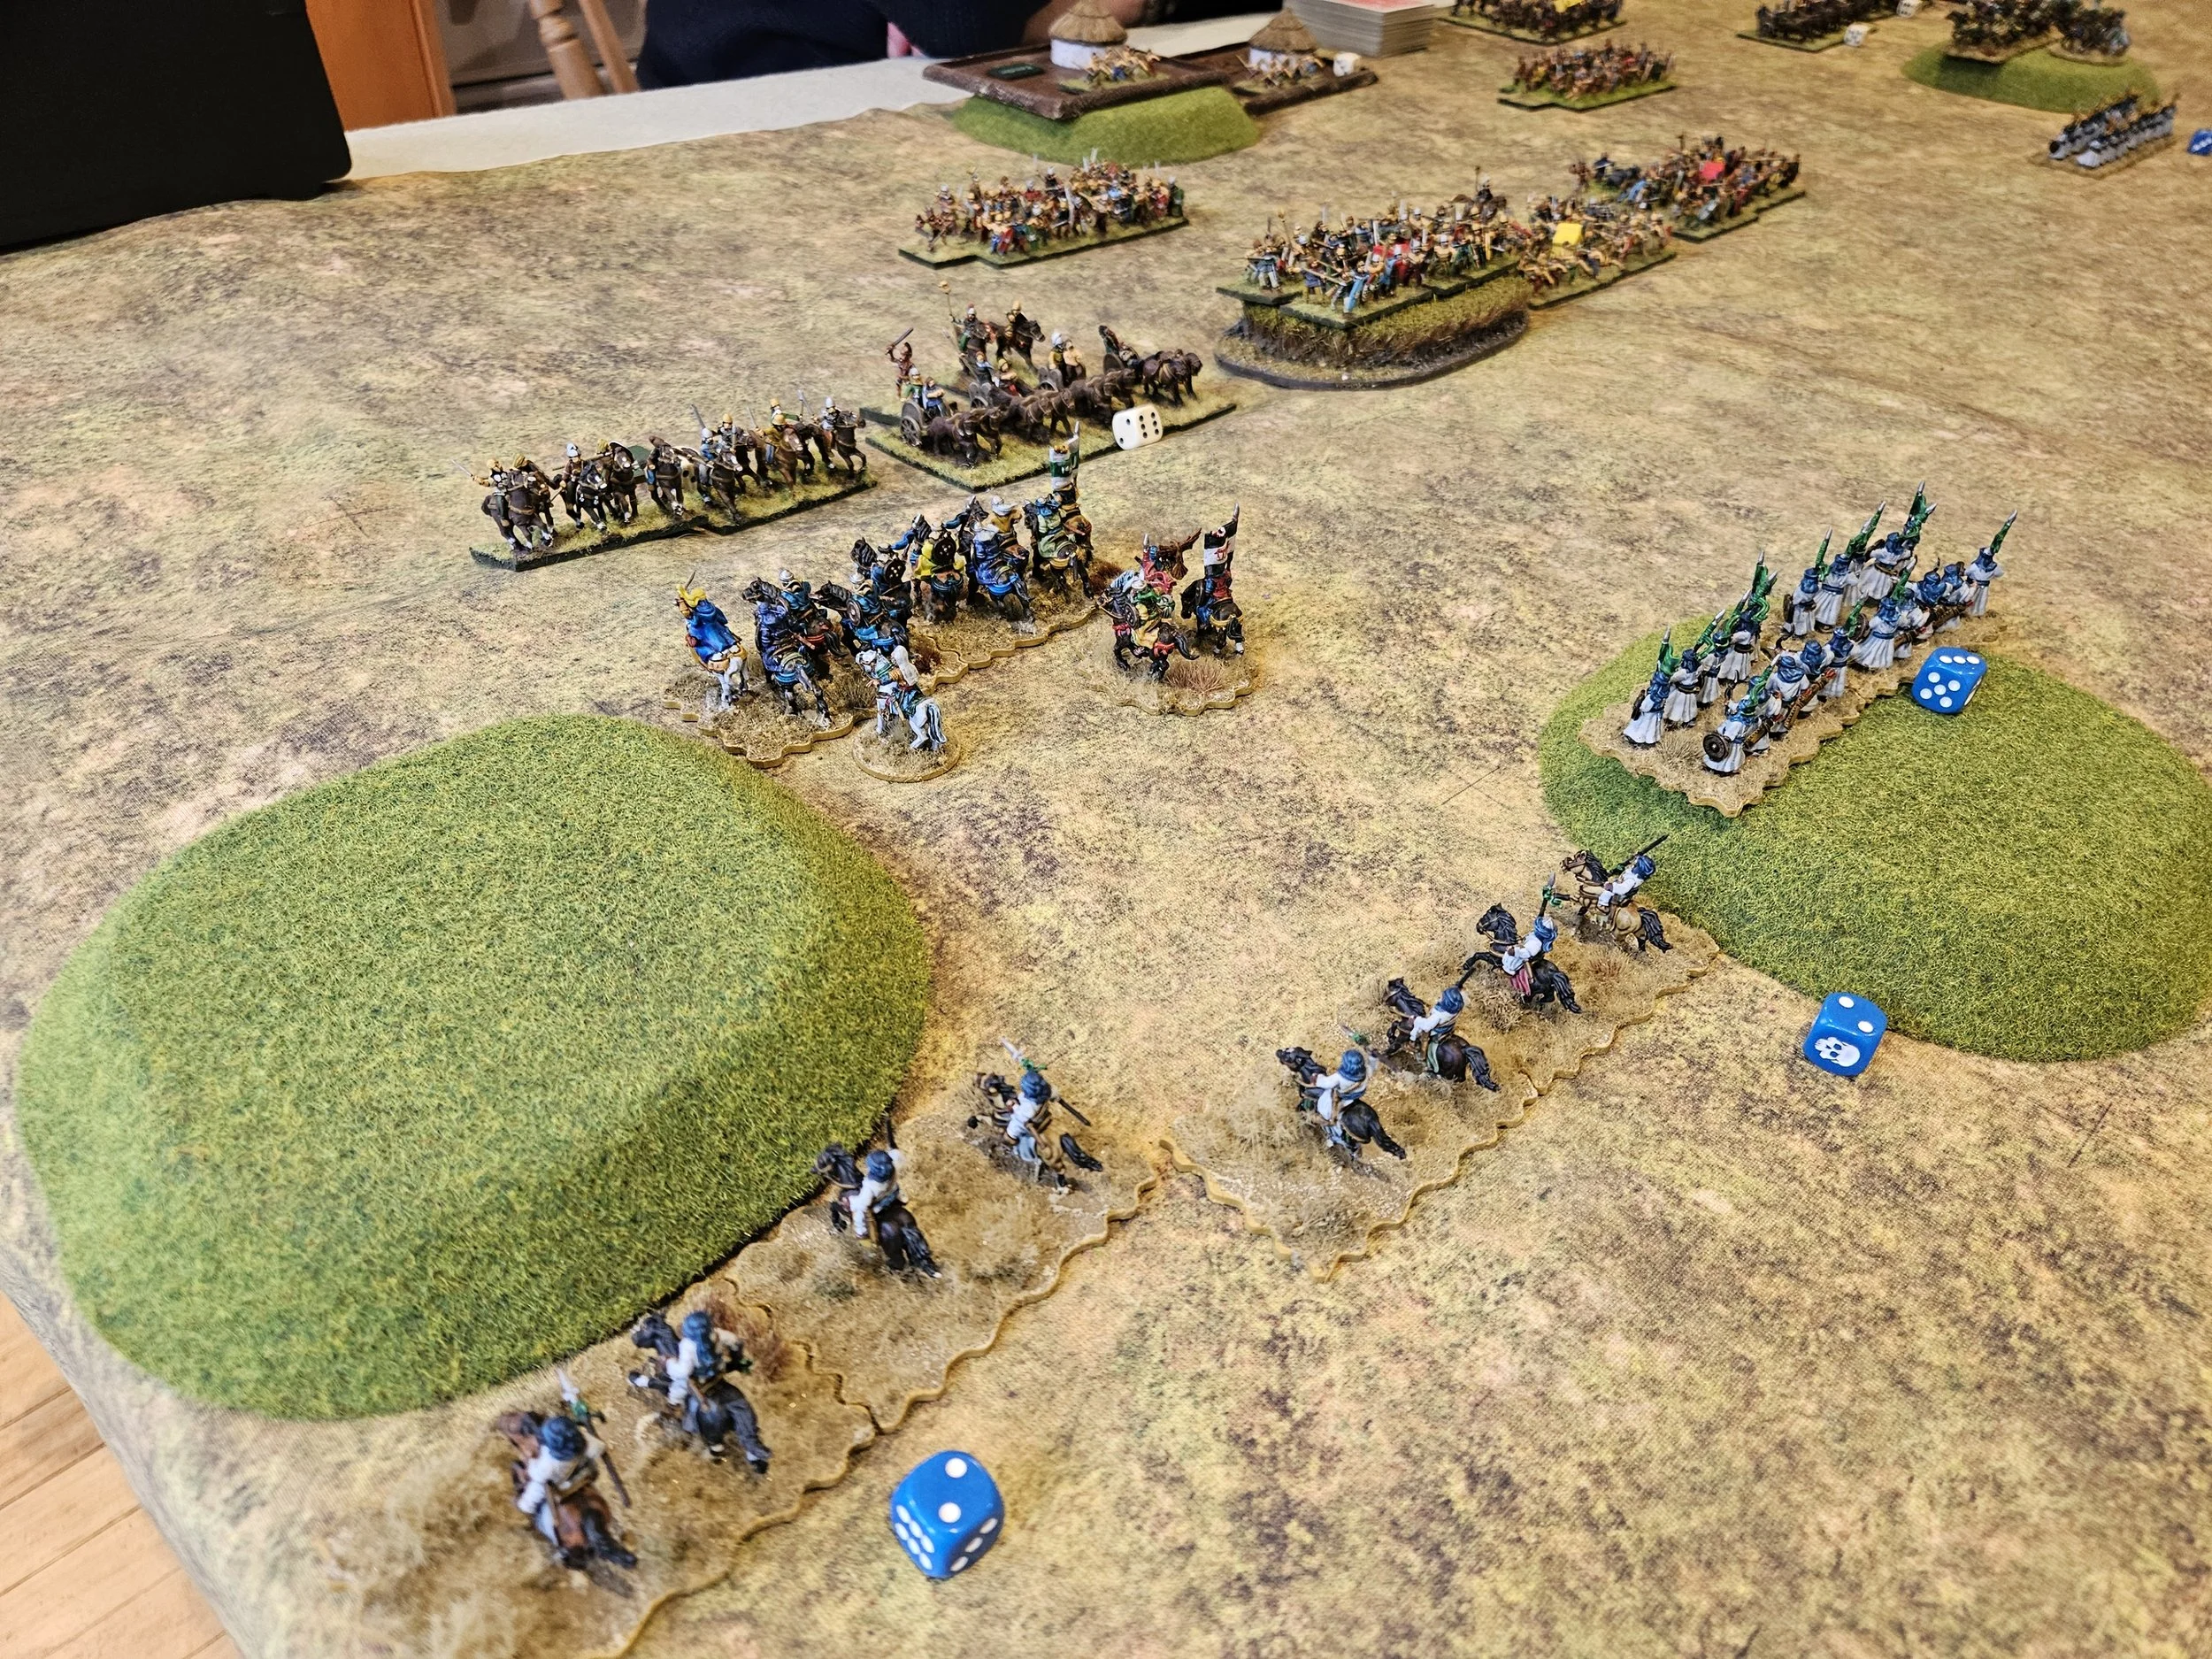
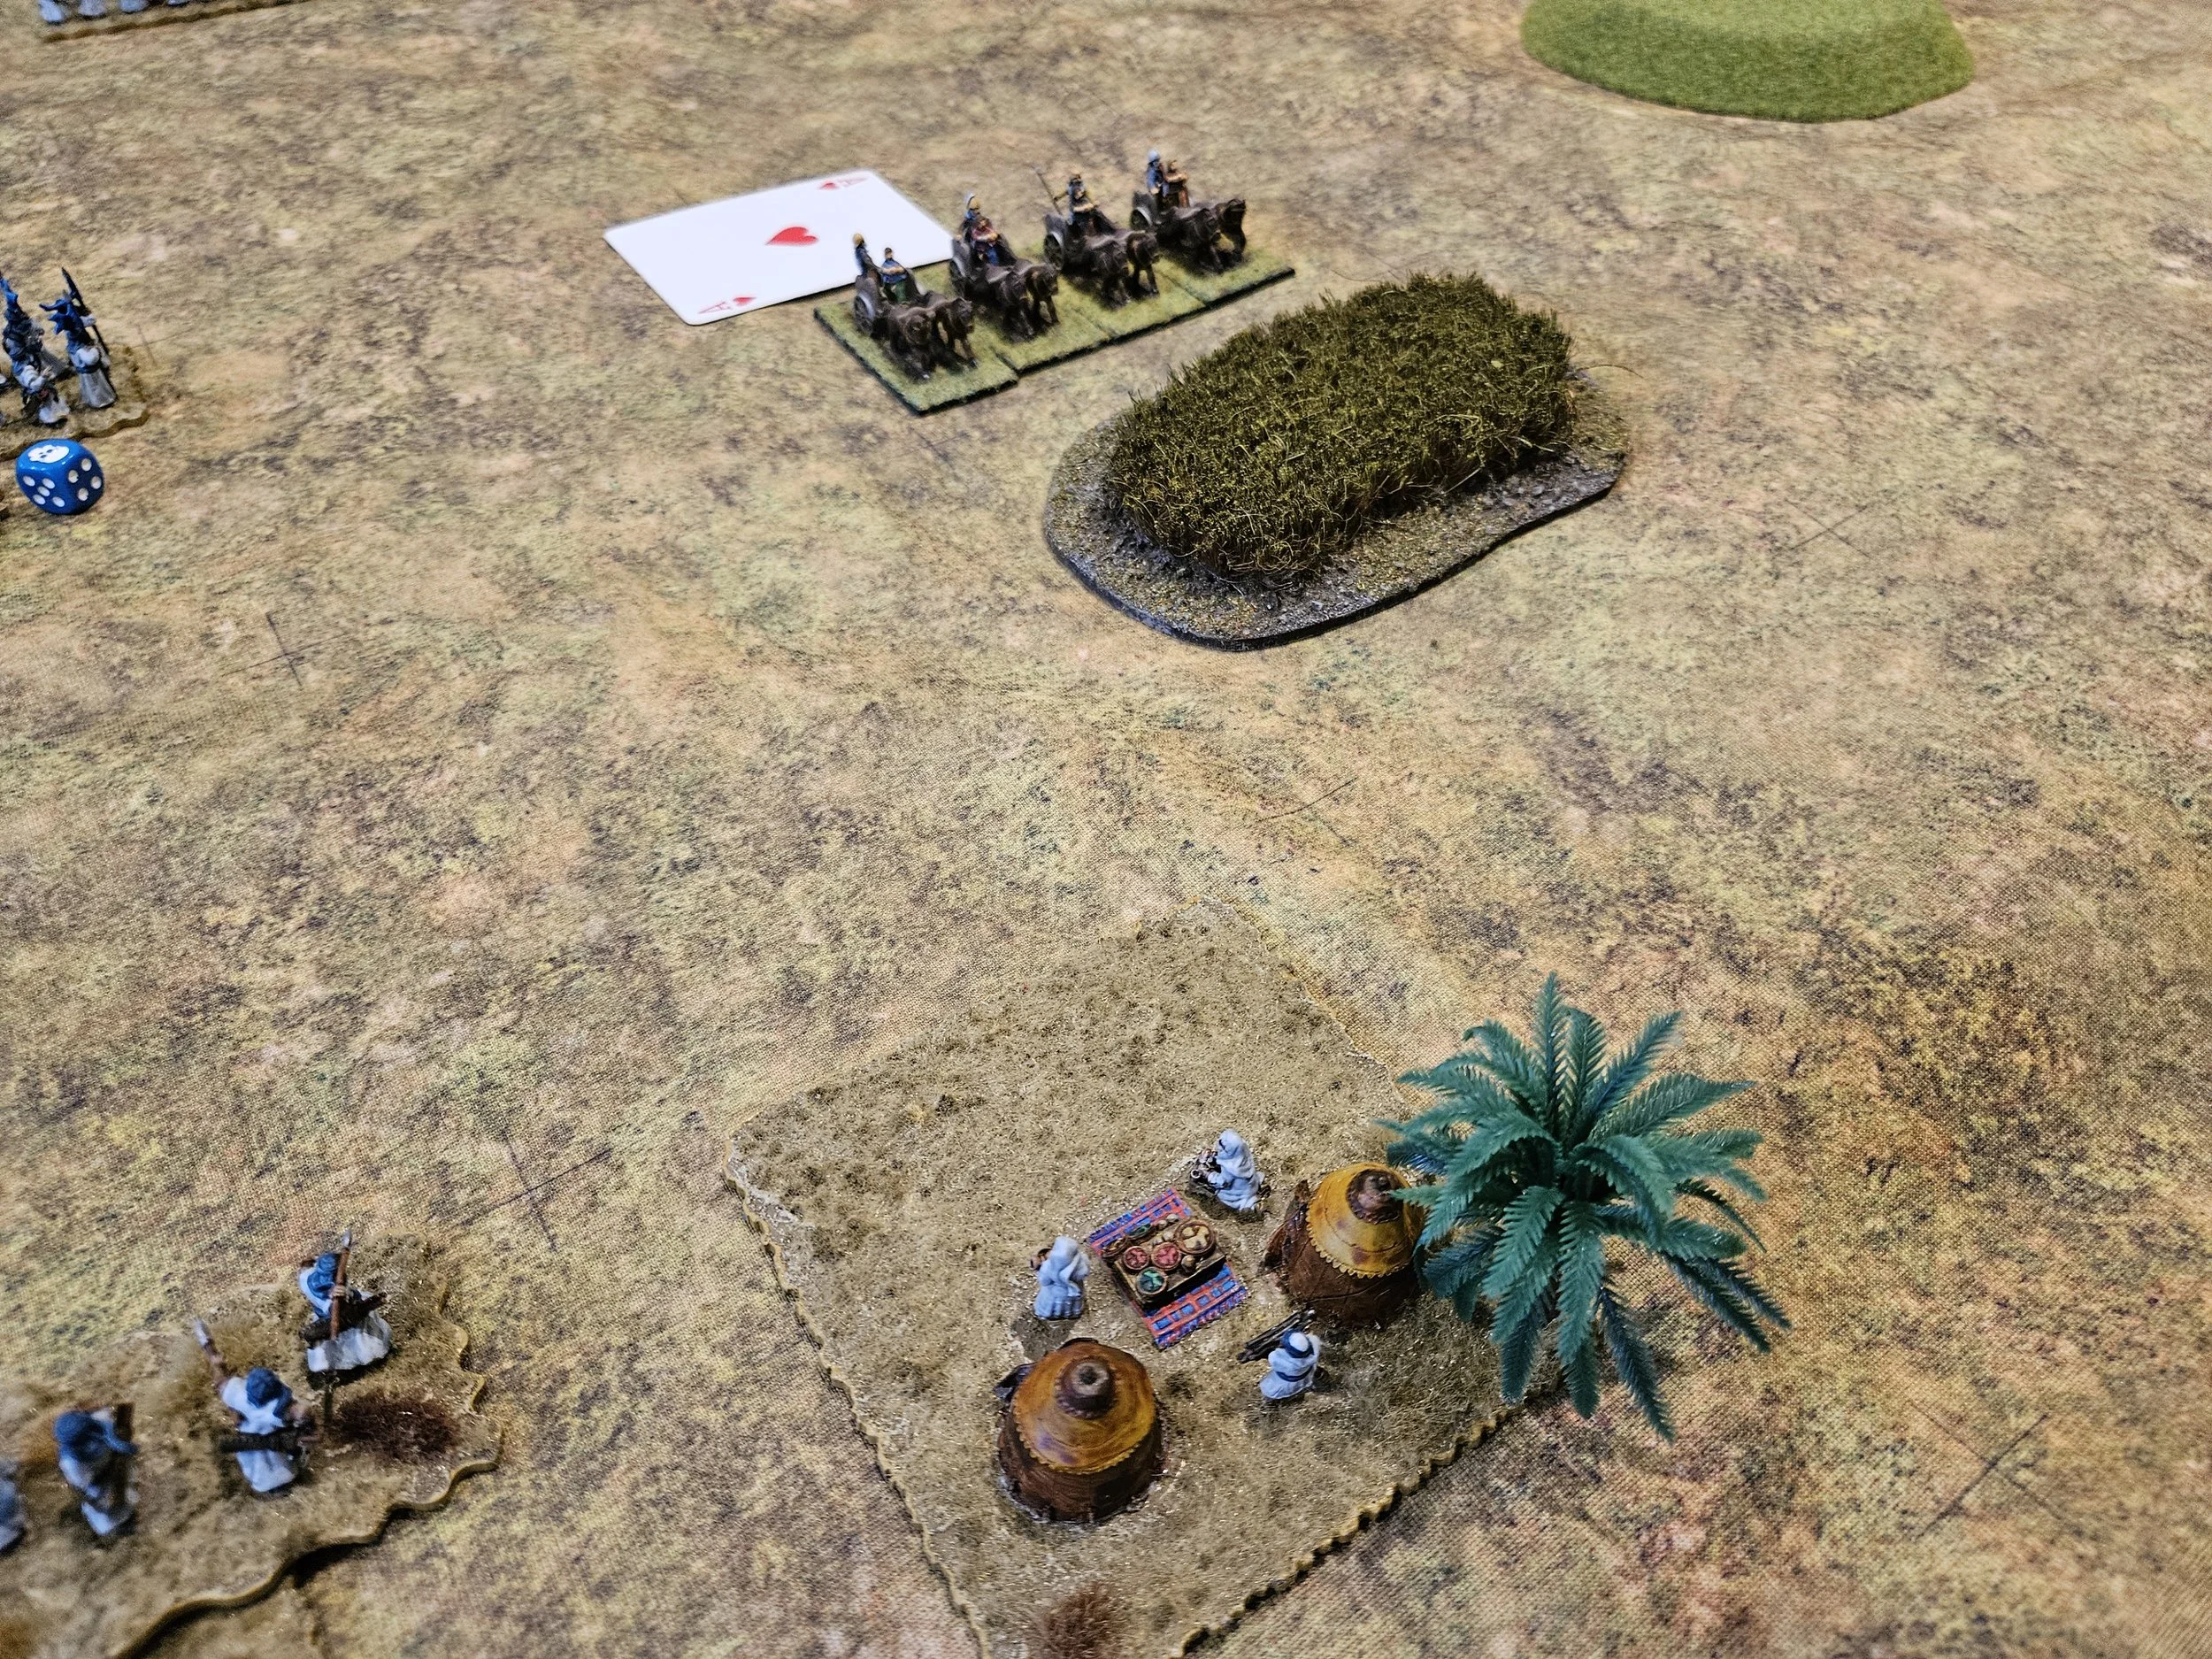
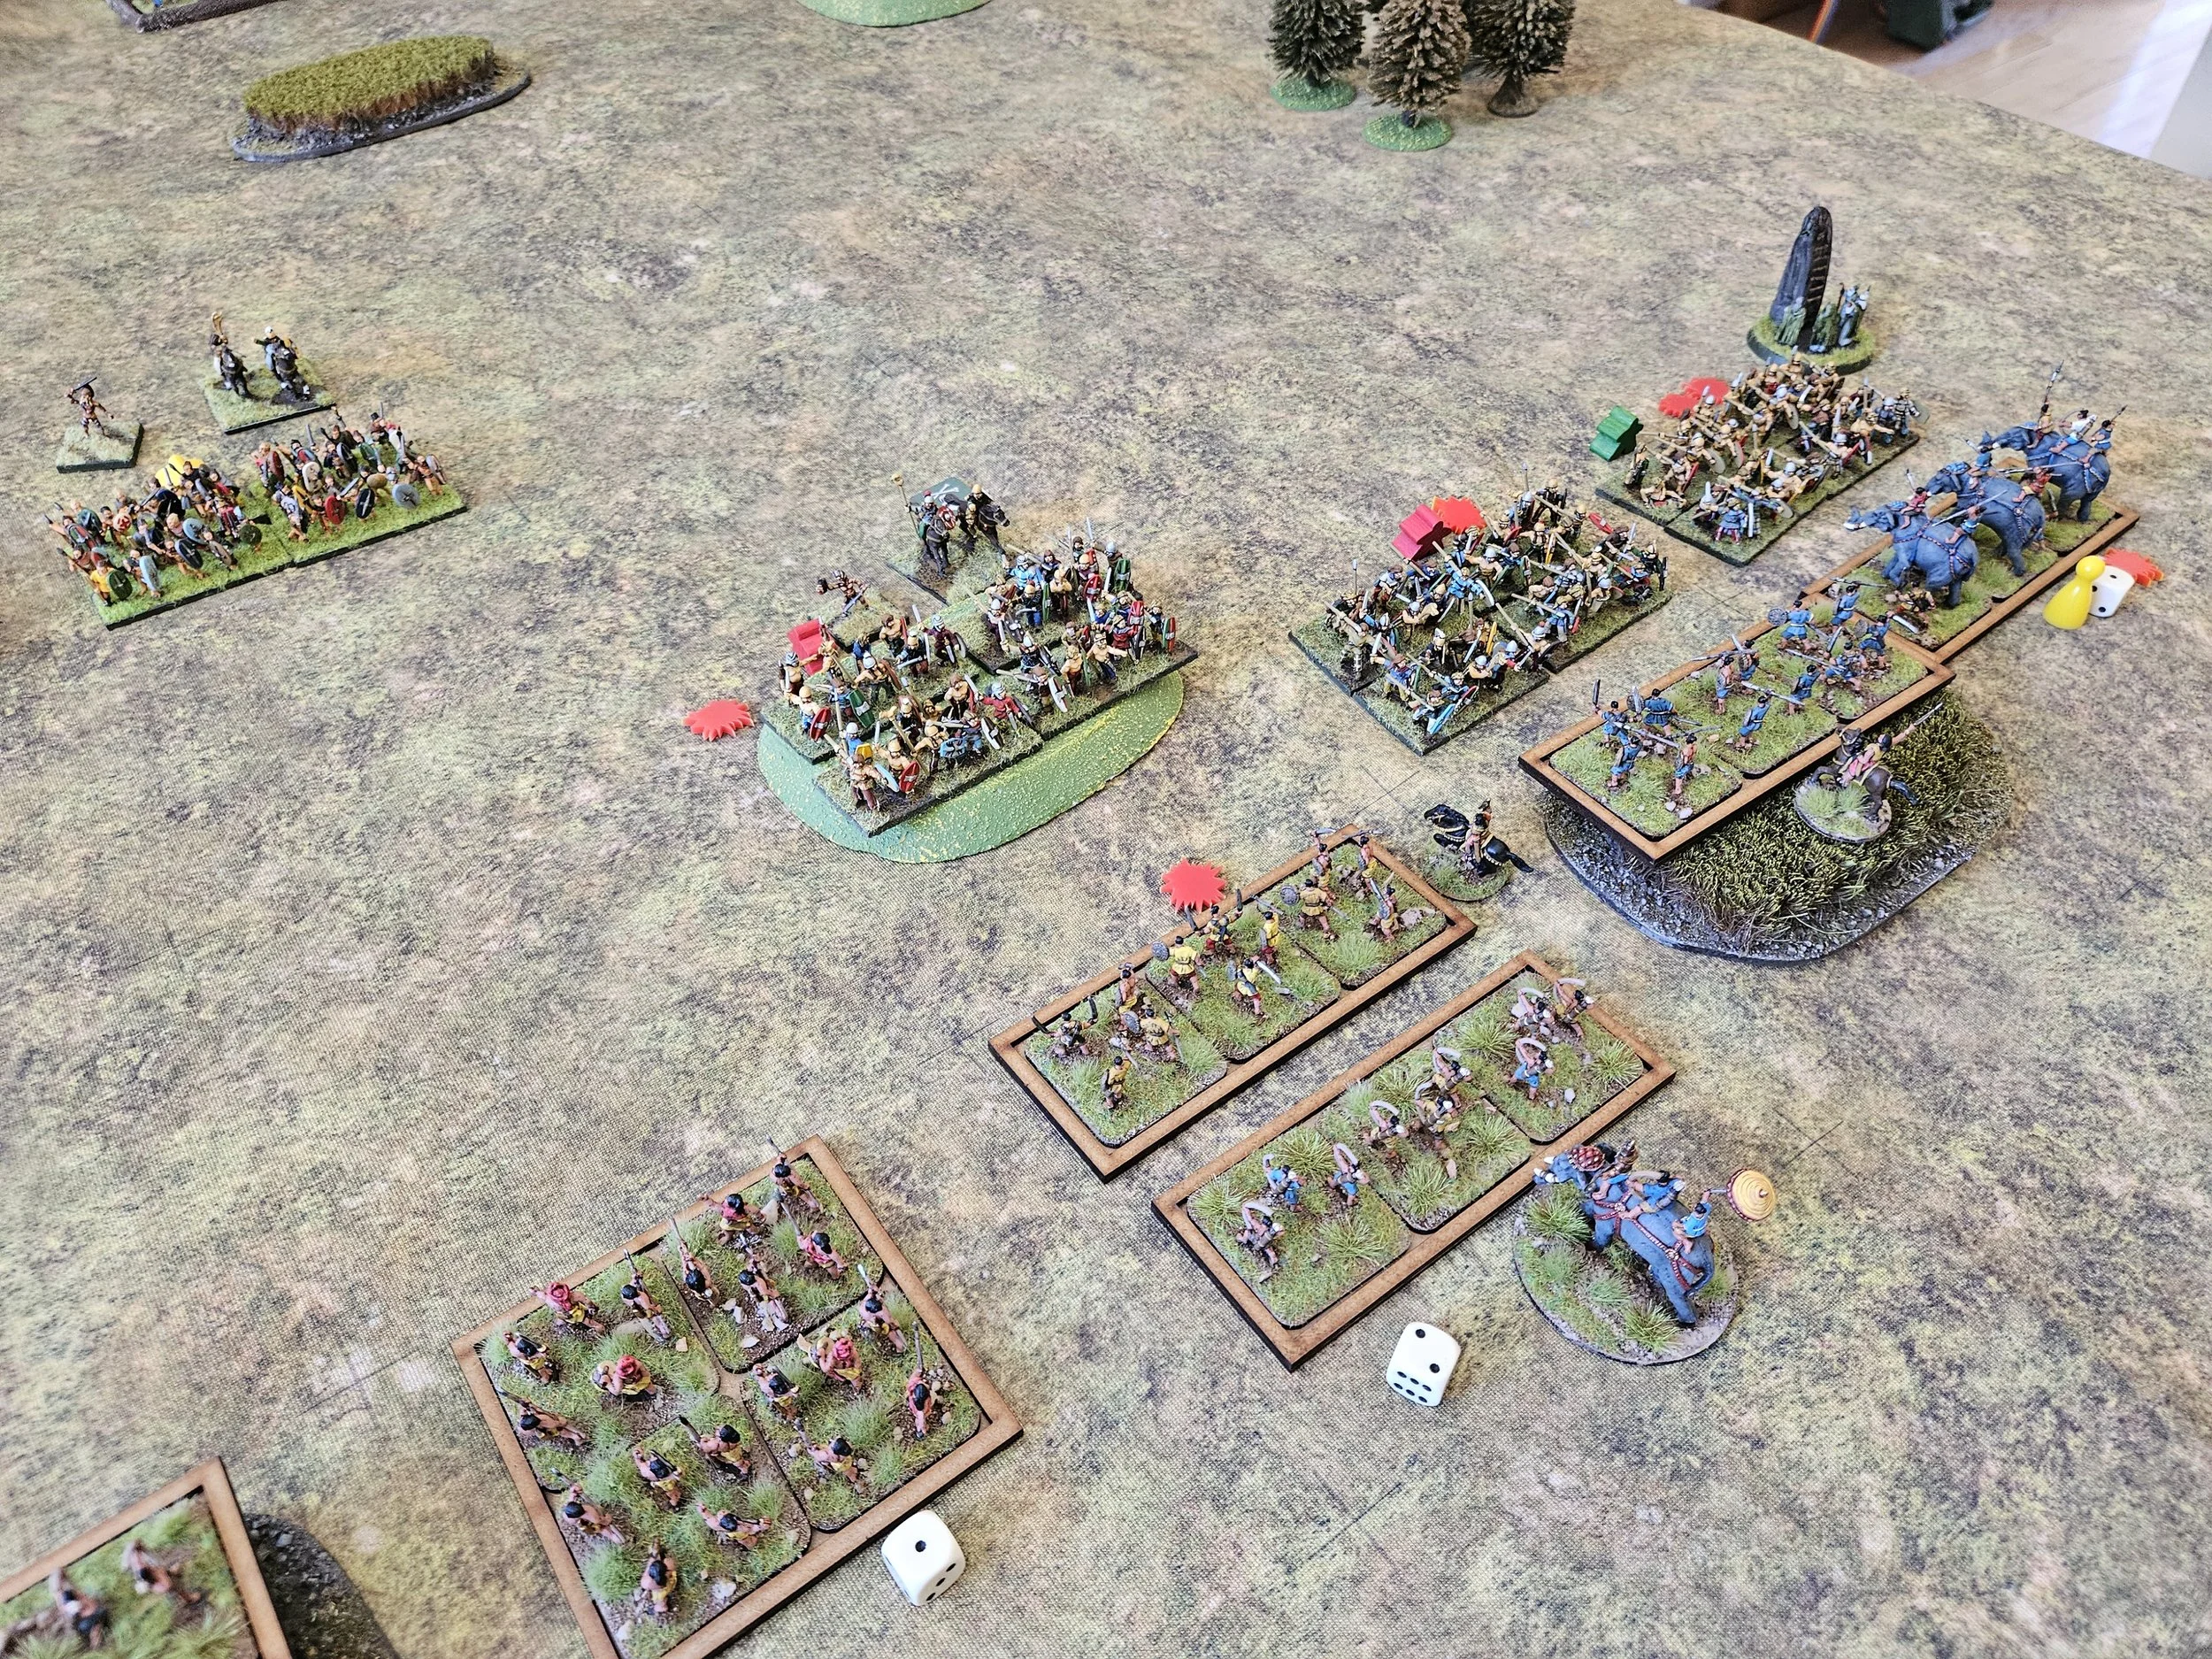
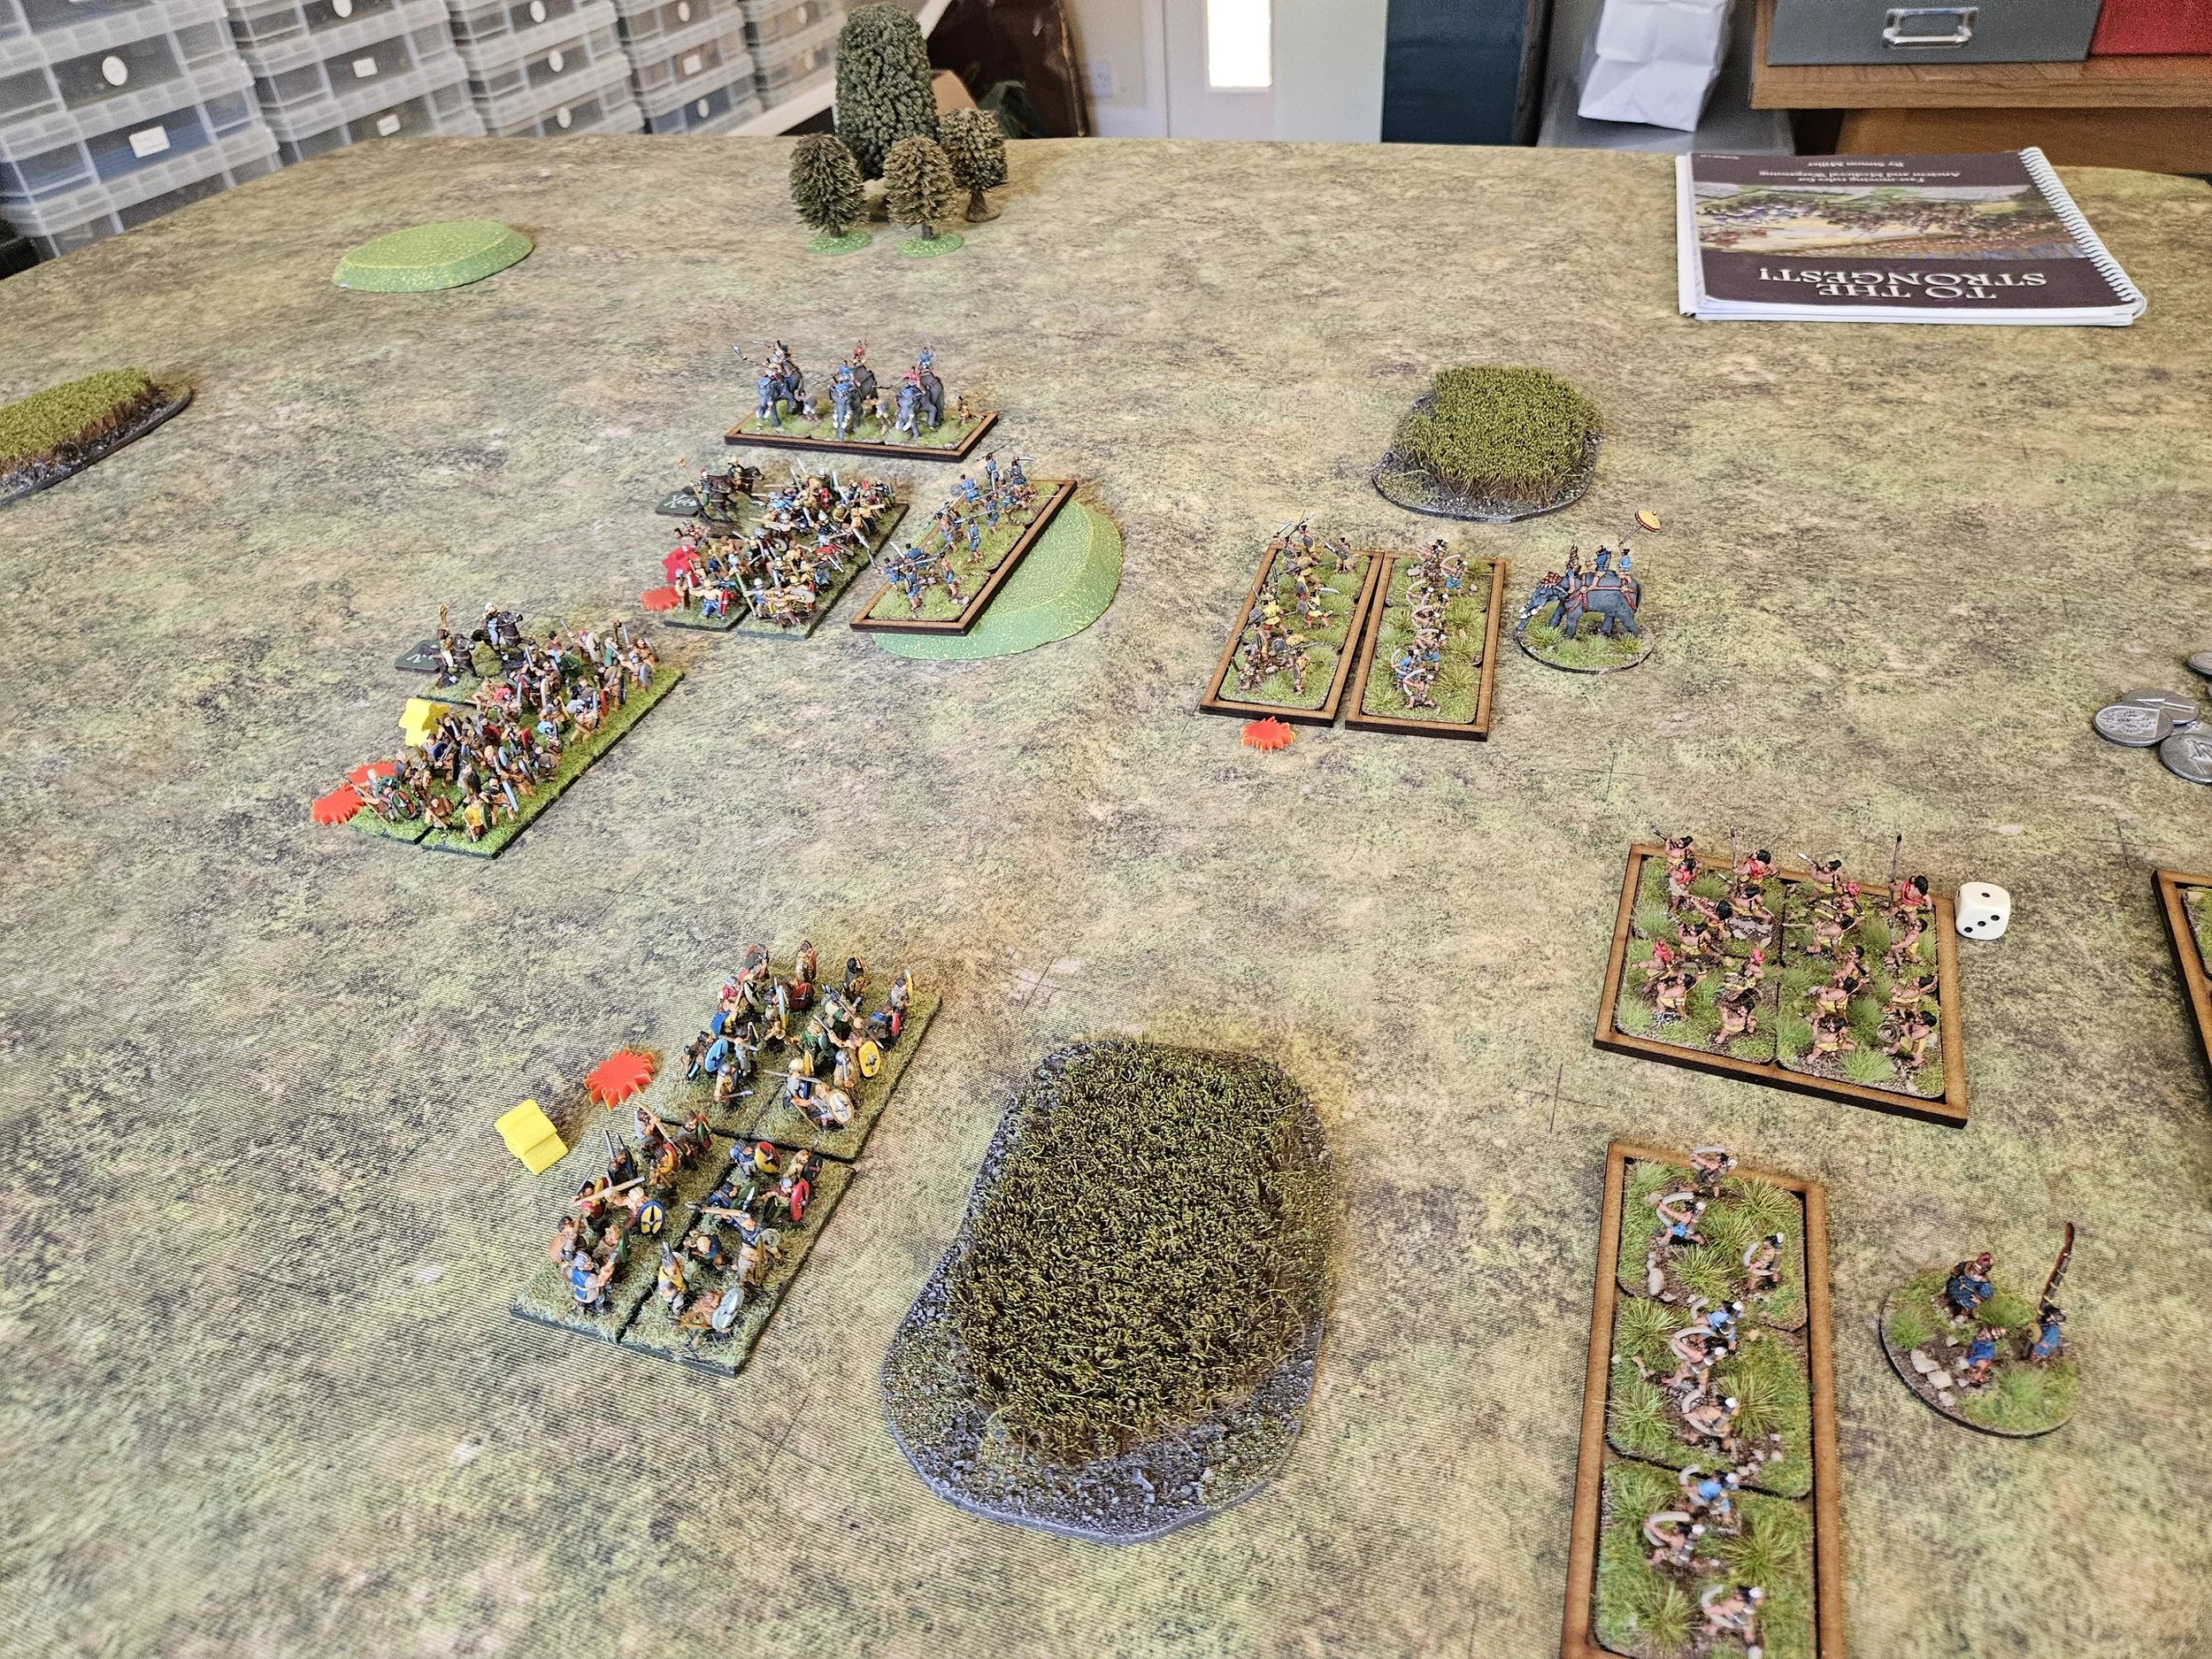
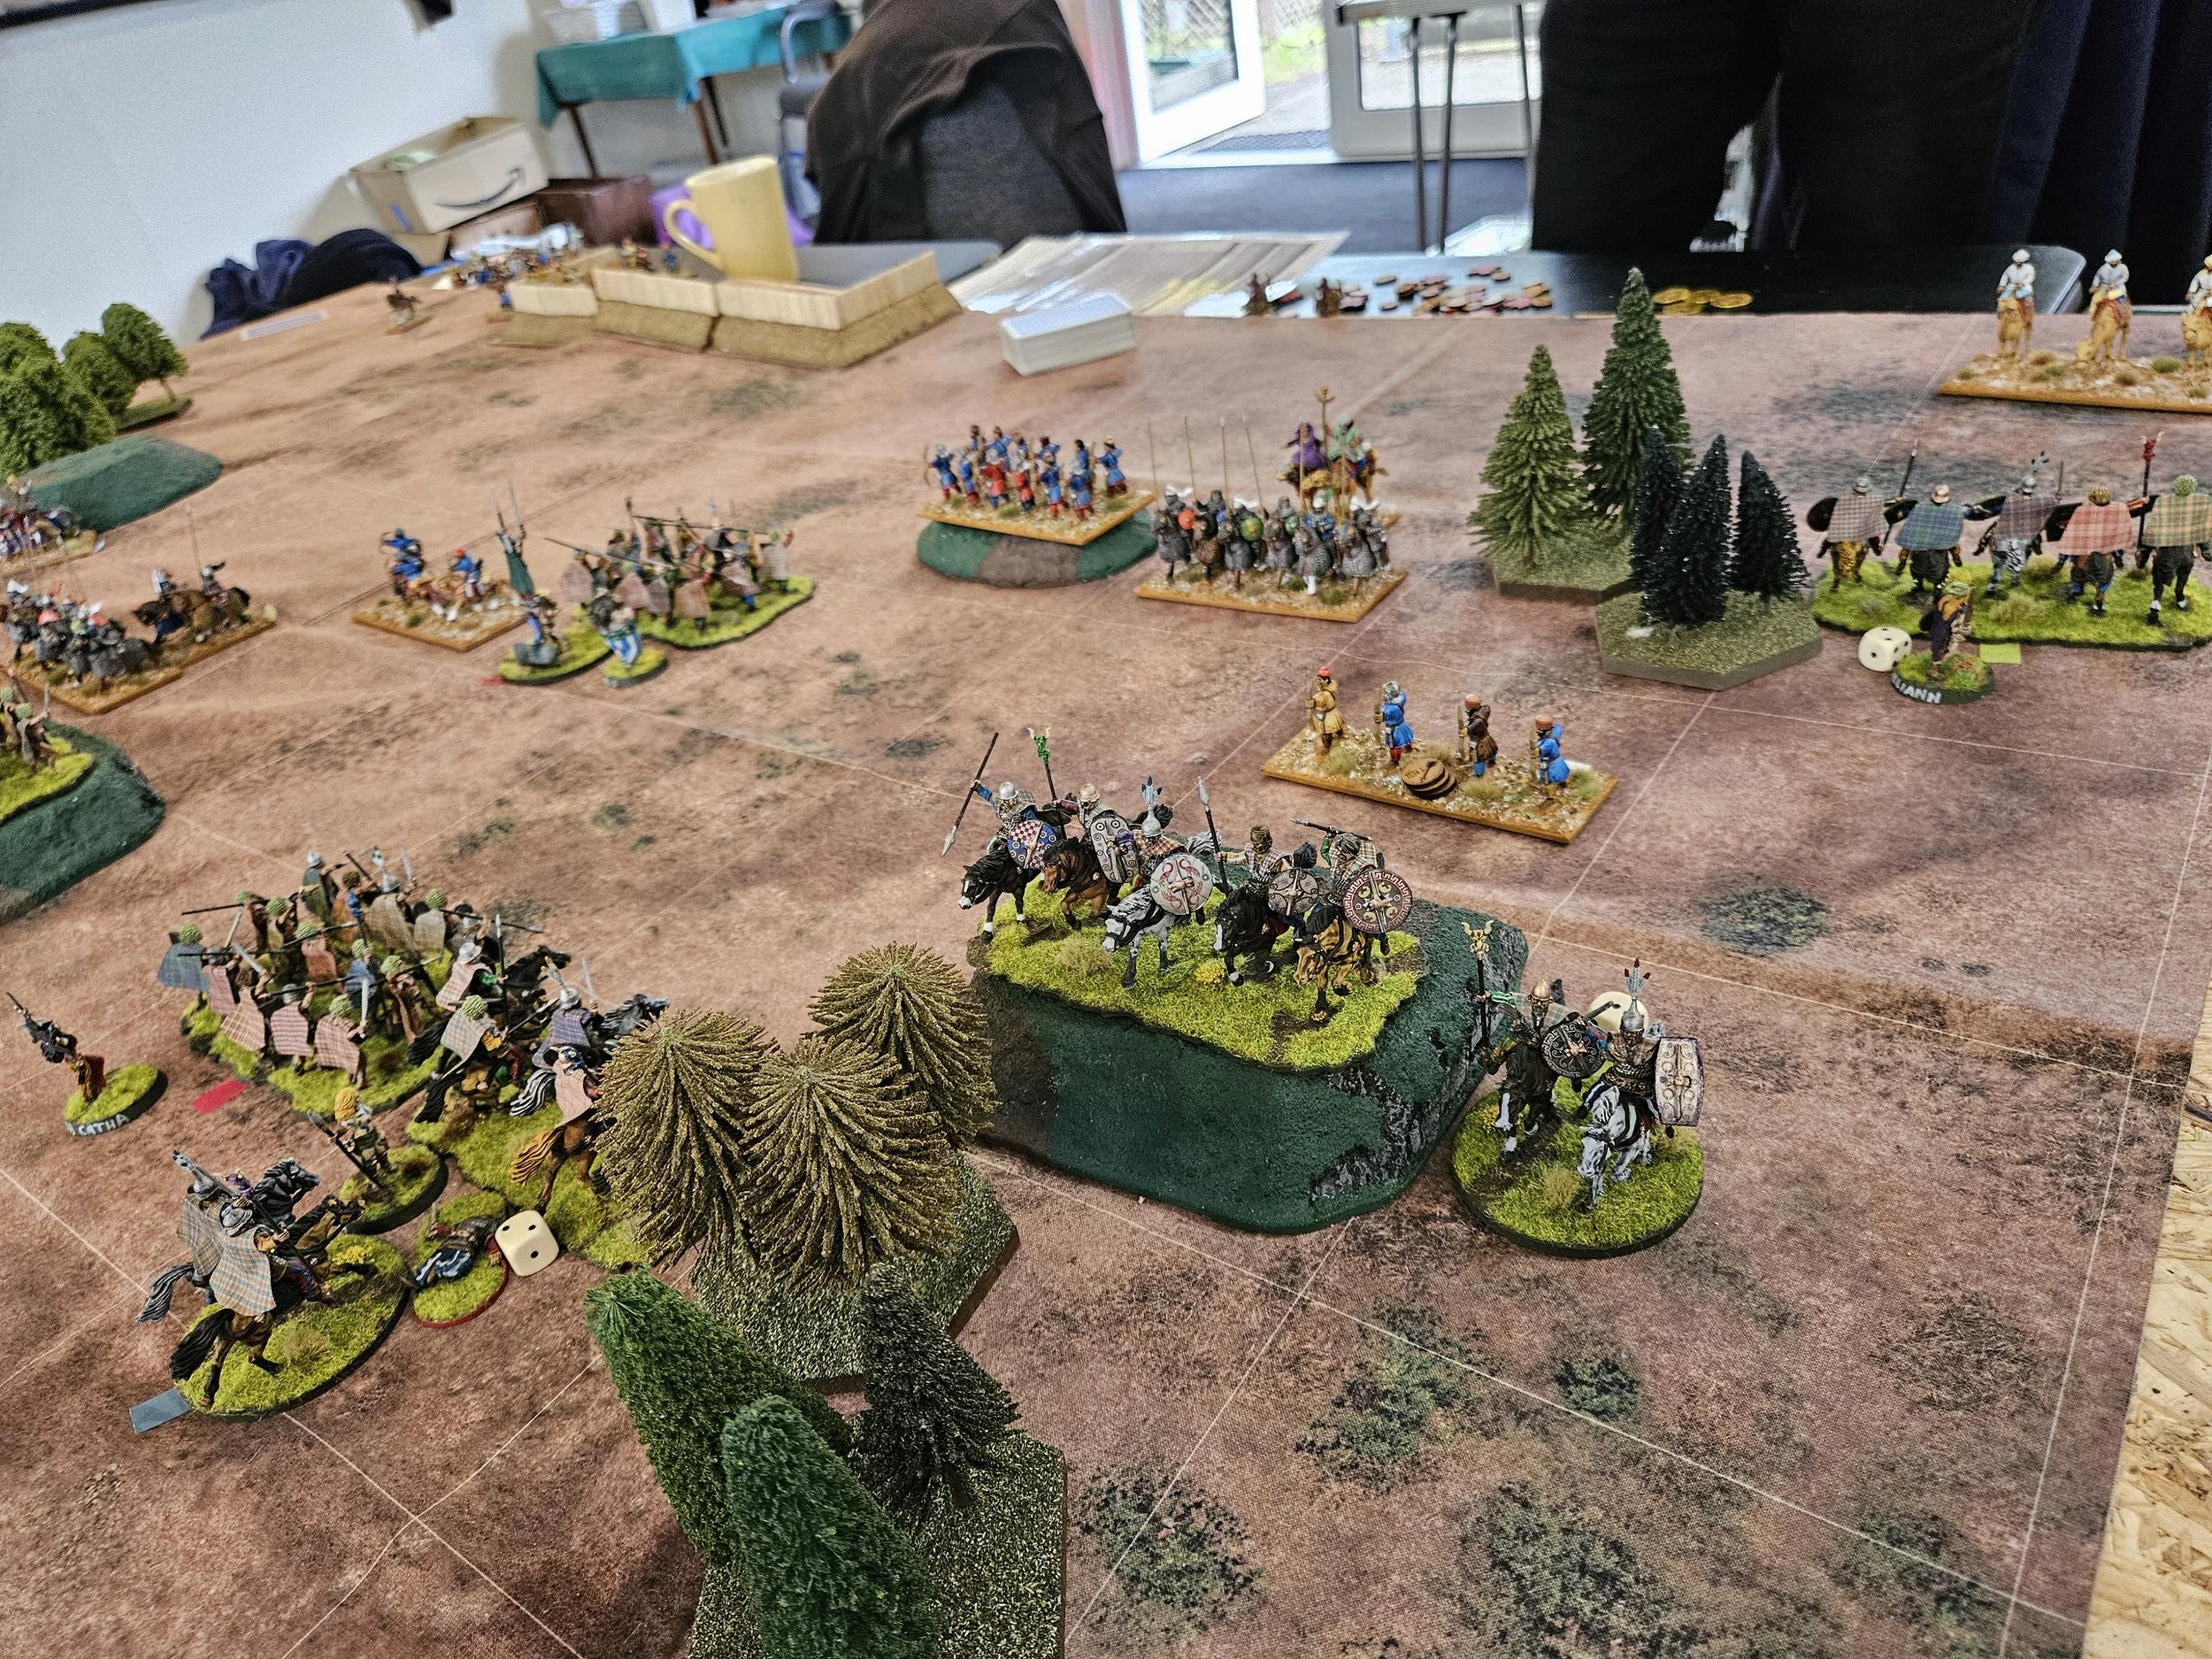
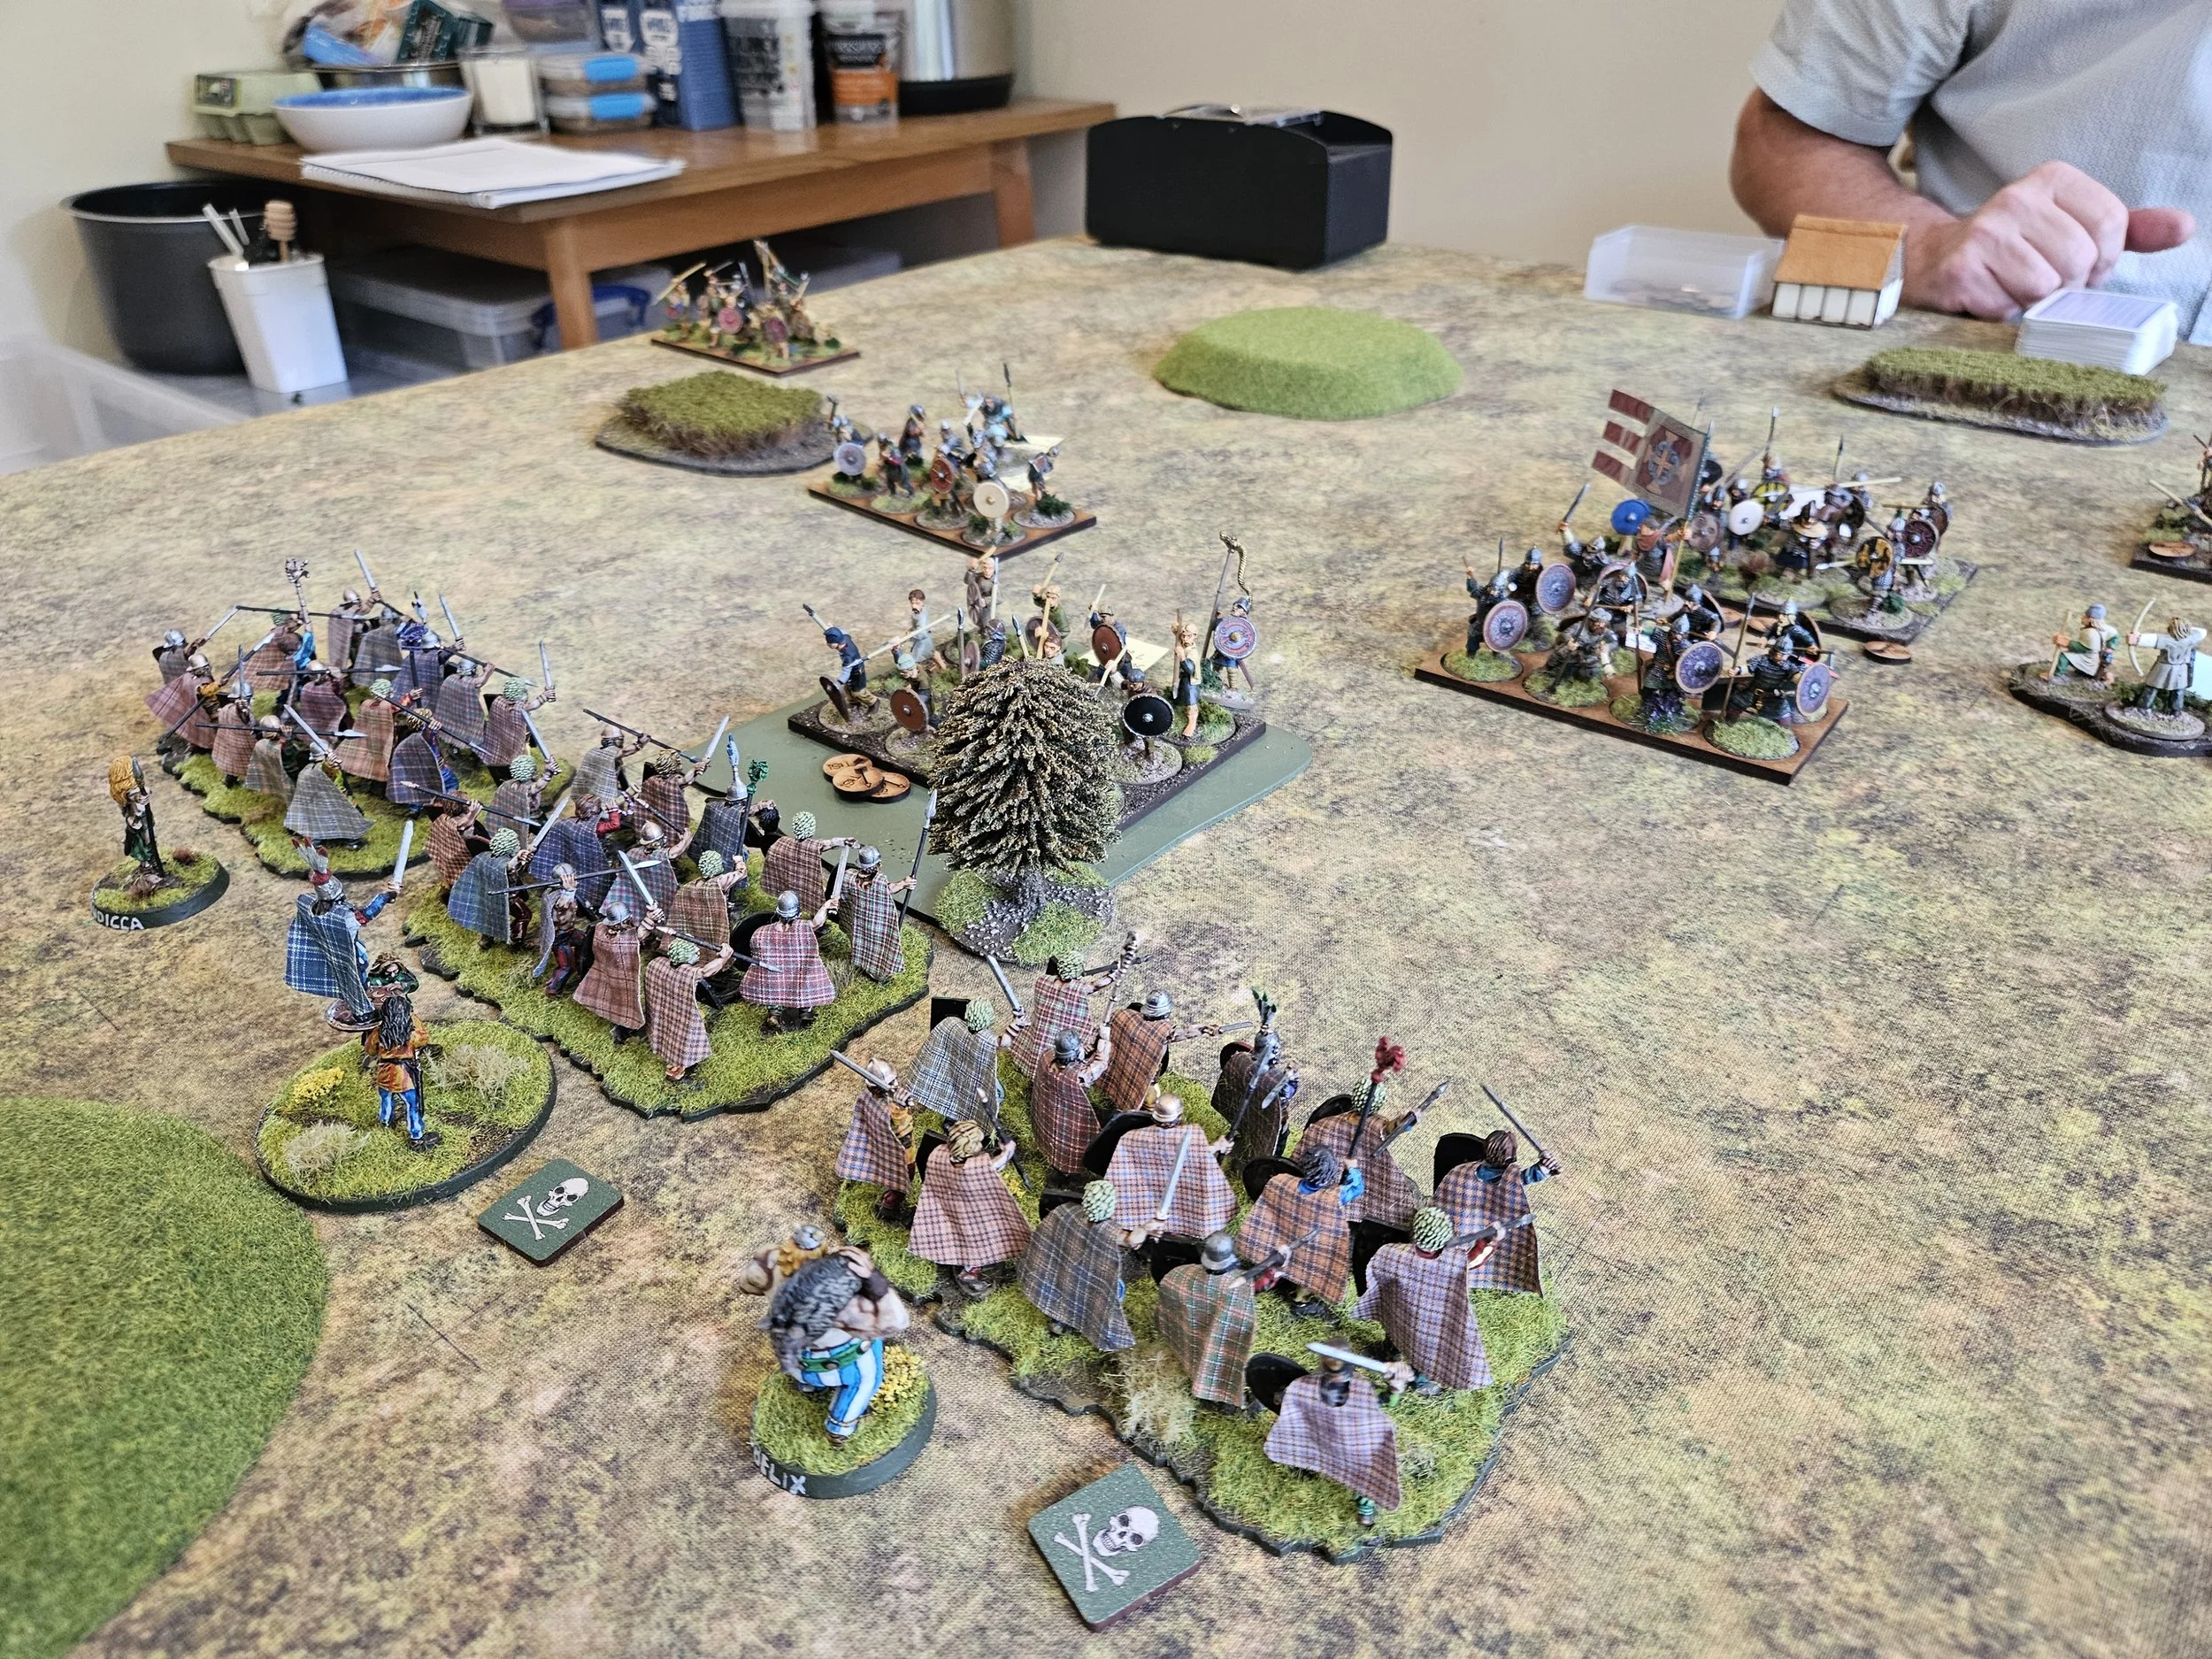
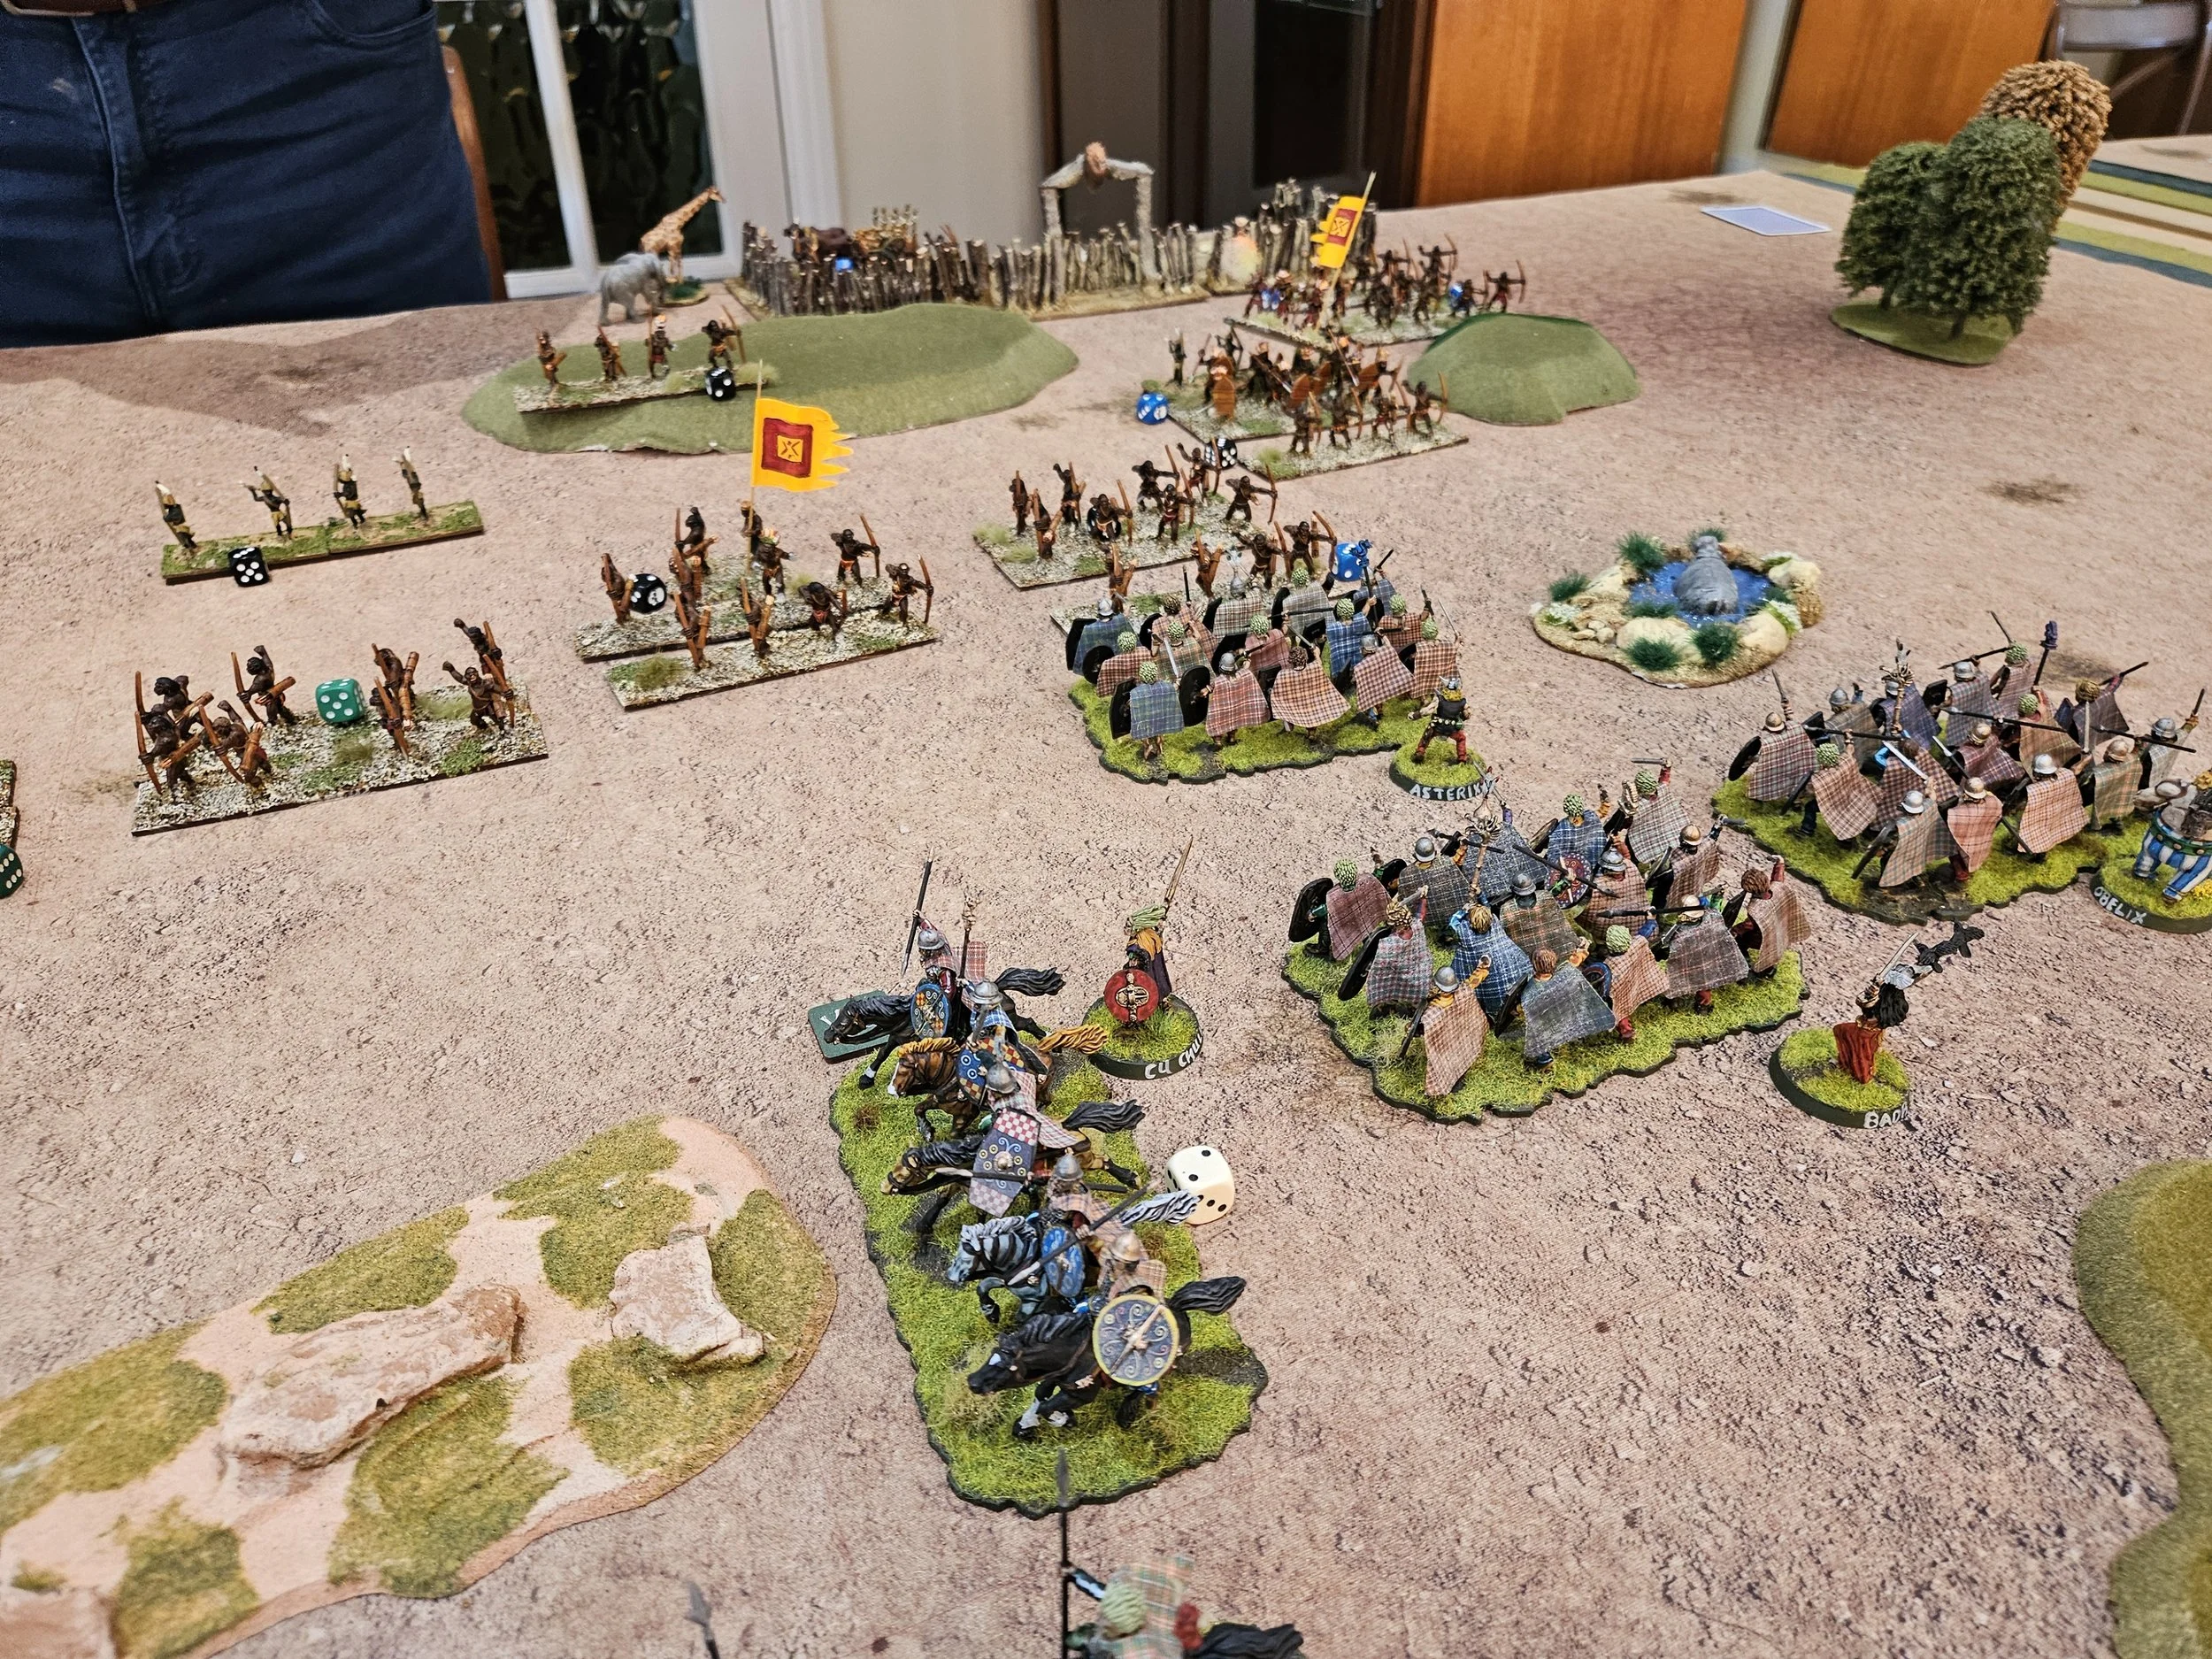
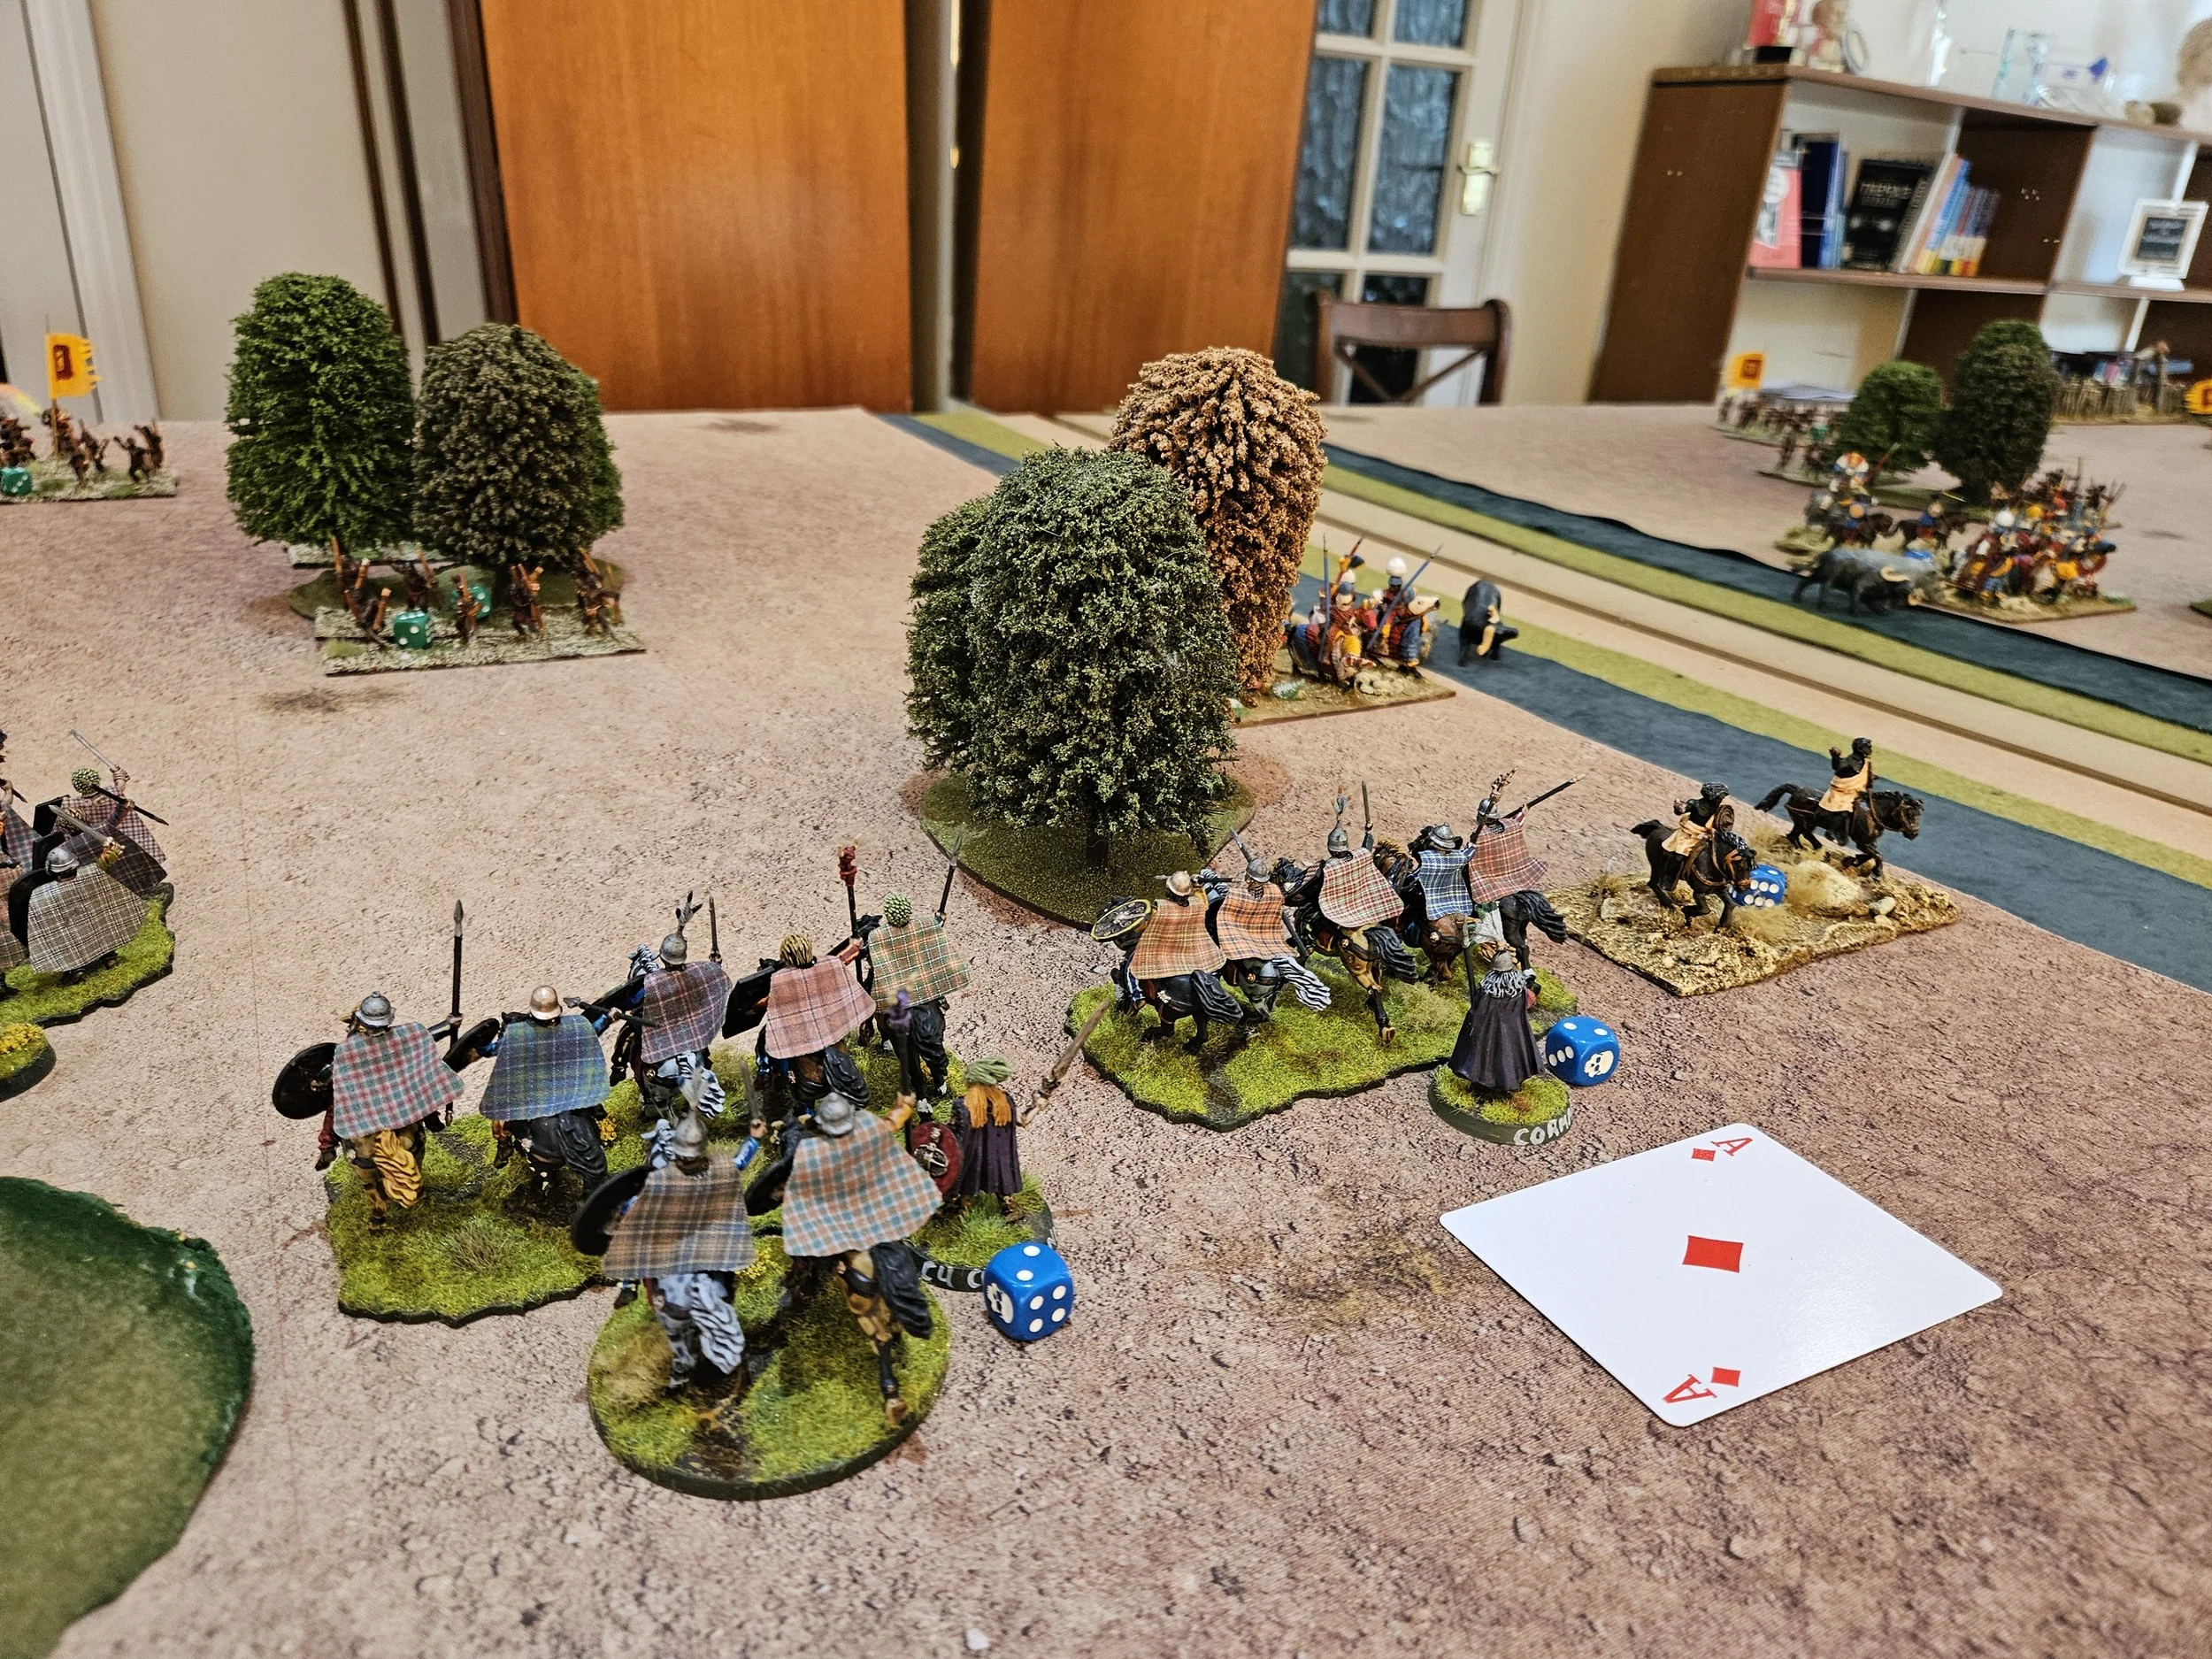
No matter: the plan was still viable, and I could now turn my cavalry and drive into the Palmyran left flank.
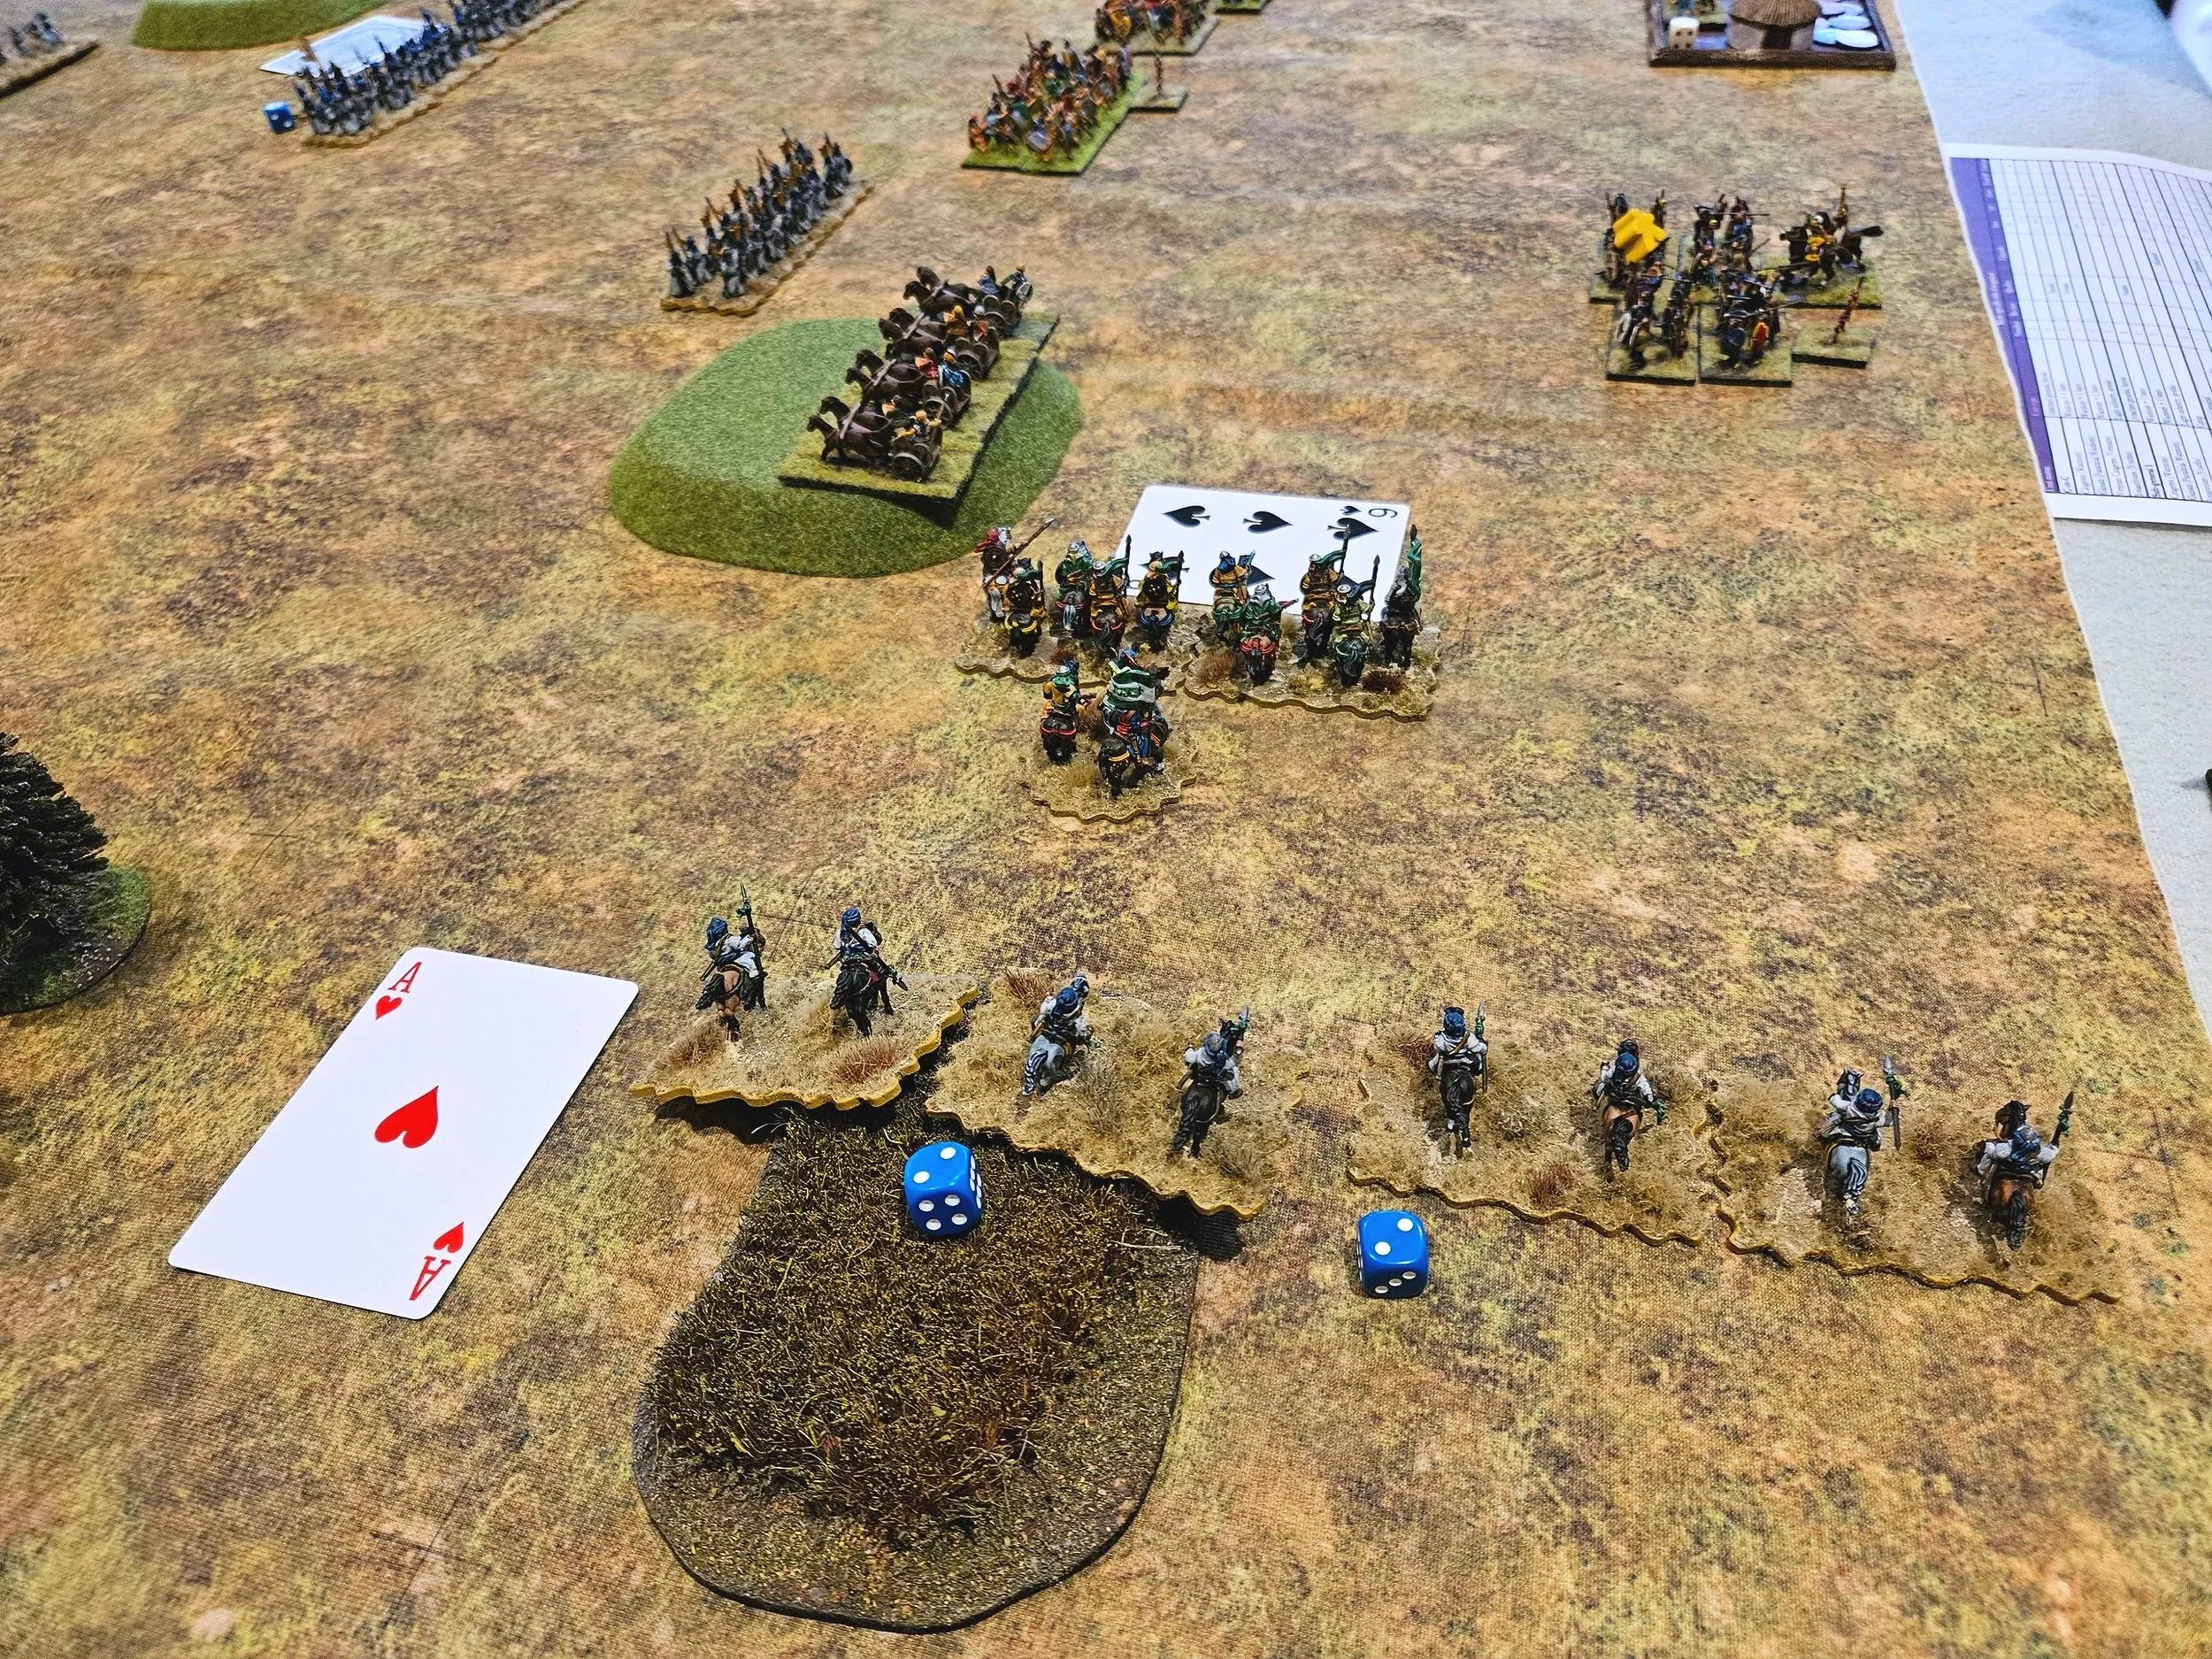
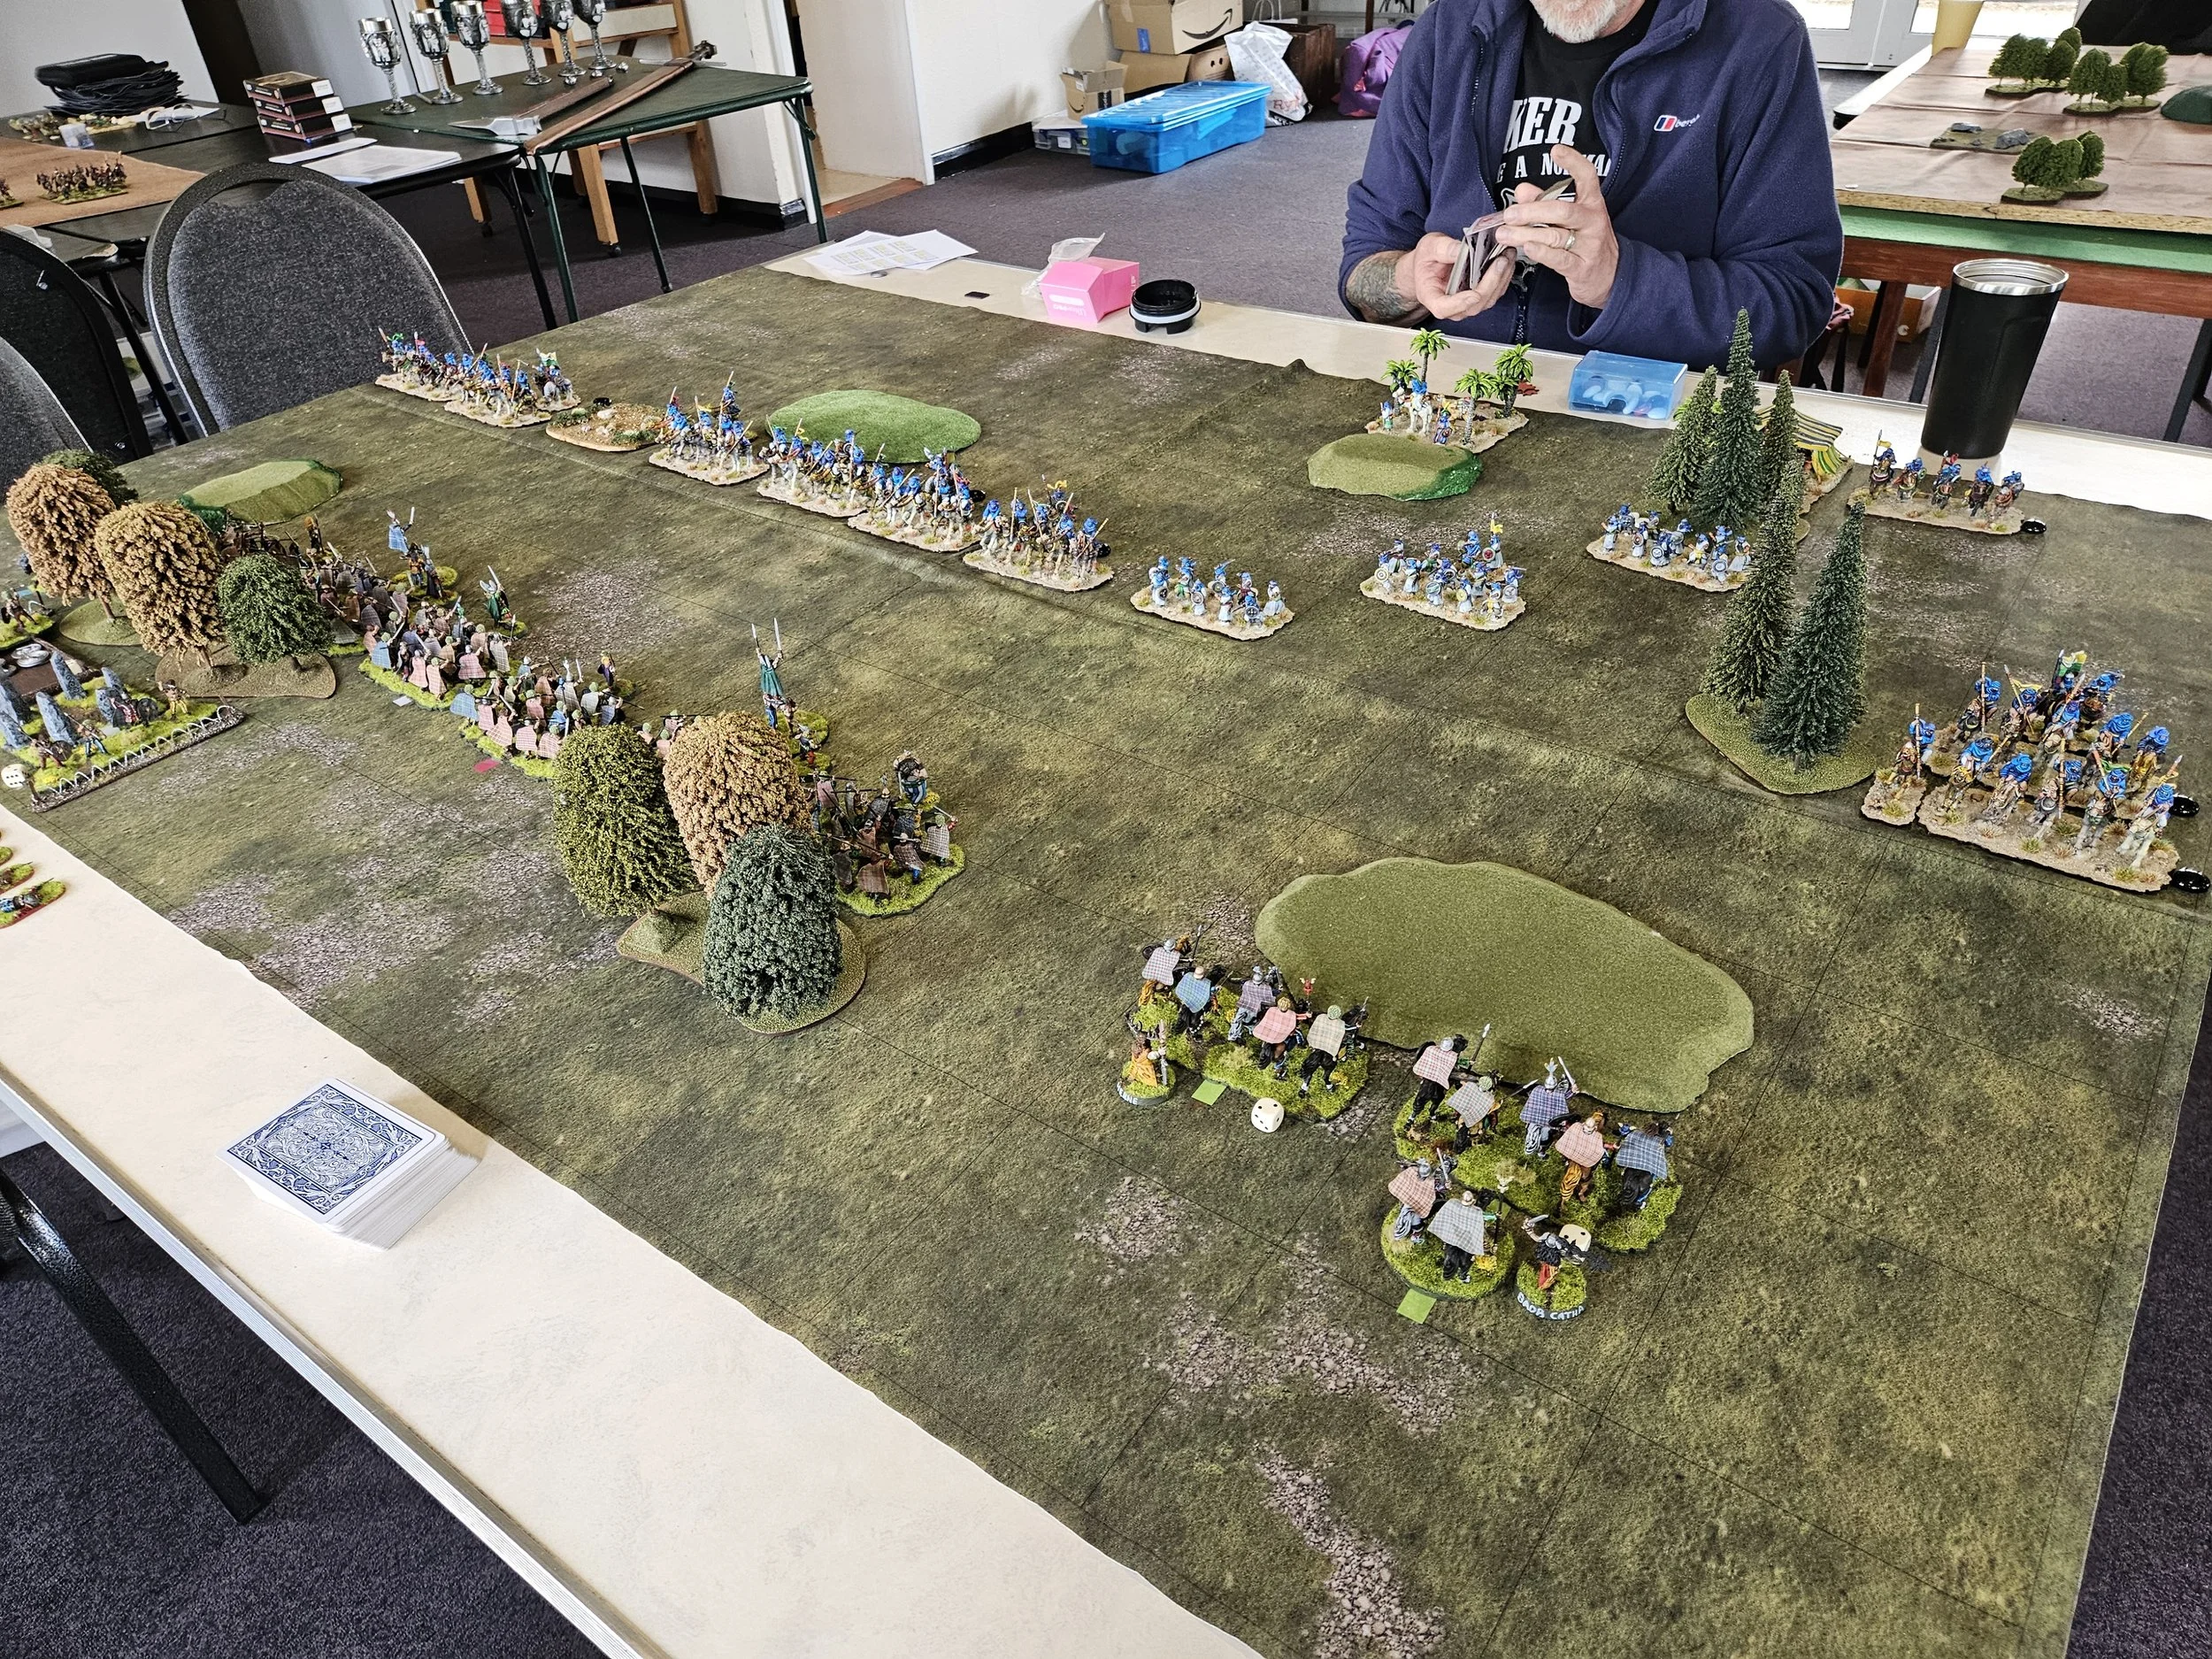
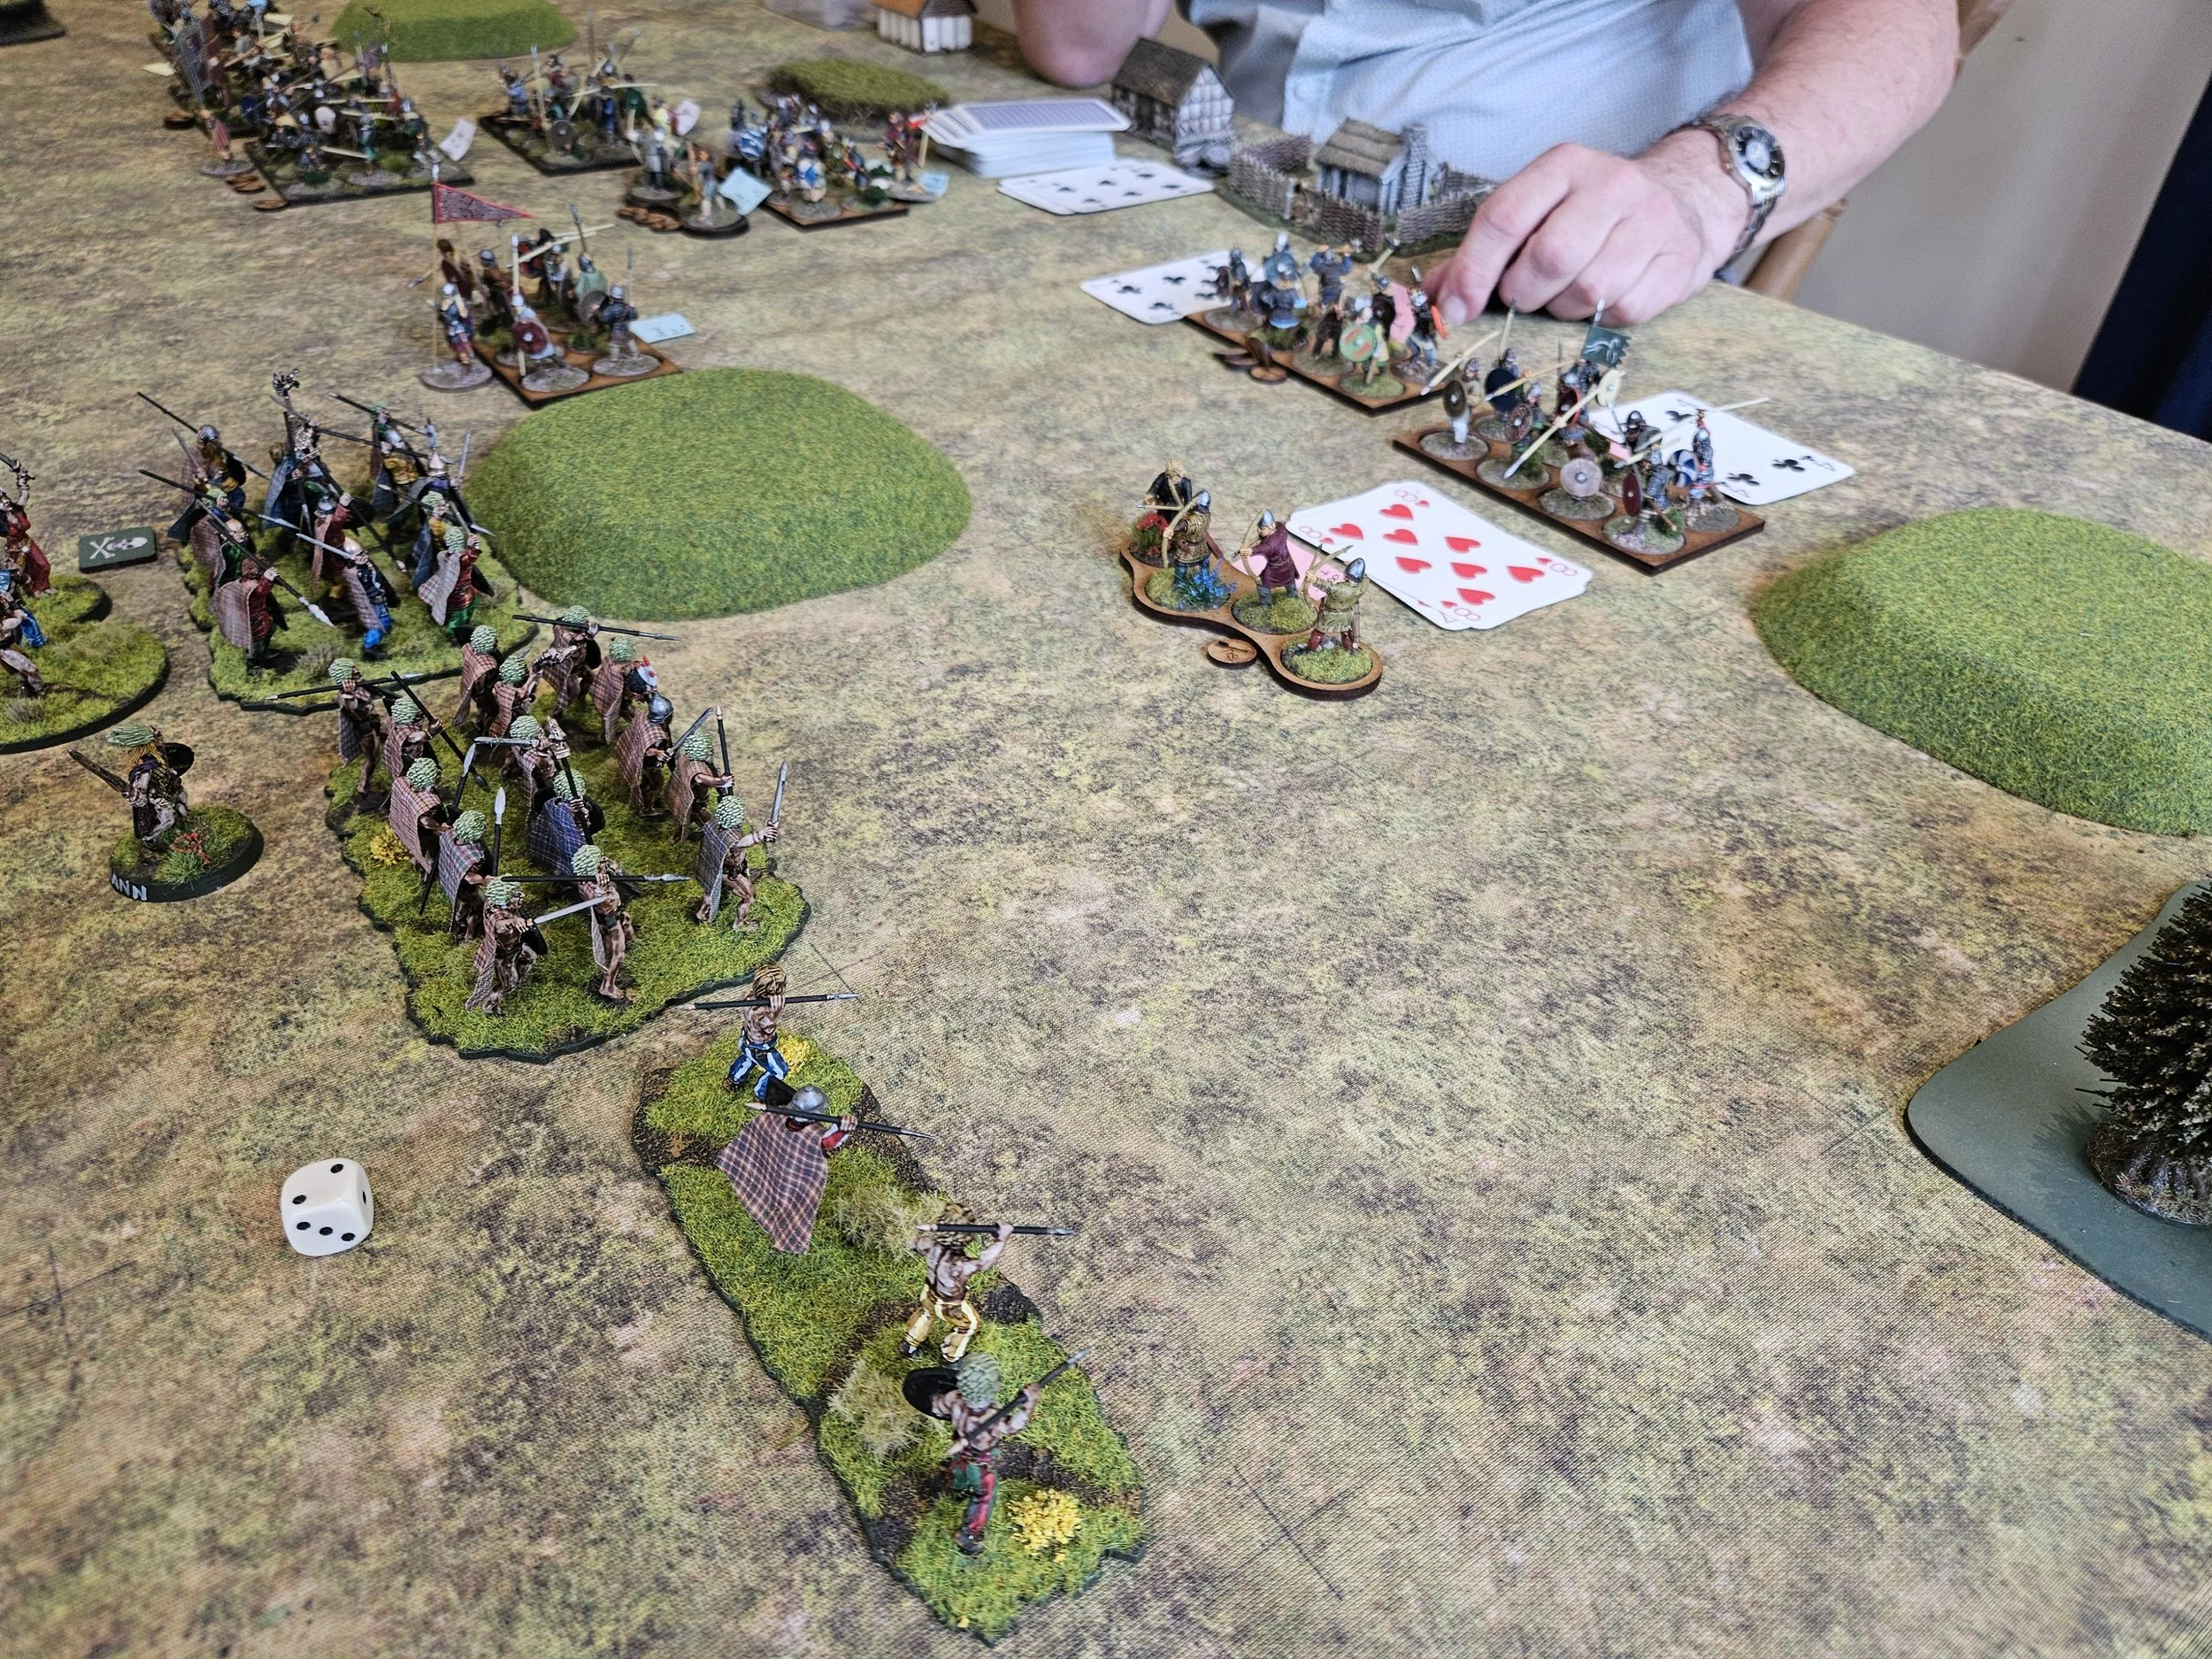
Well that’s what should have happened, but Lady Luck intervened and decided that my troops deserved a hefty kick in the fork!
Now I know that some people think that I blame the cards for every one of my defeats, but I would maintain that my luck in TTS competitions is, at best, erratic. It’s not always bad (those of you who have been paying attention will remember that in the last game I drew a 4/5/6/7 for consecutive activations giving me three flank attacks against an unwitting enemy unit) but on this occasion it was not just bad…it was the pits, man!
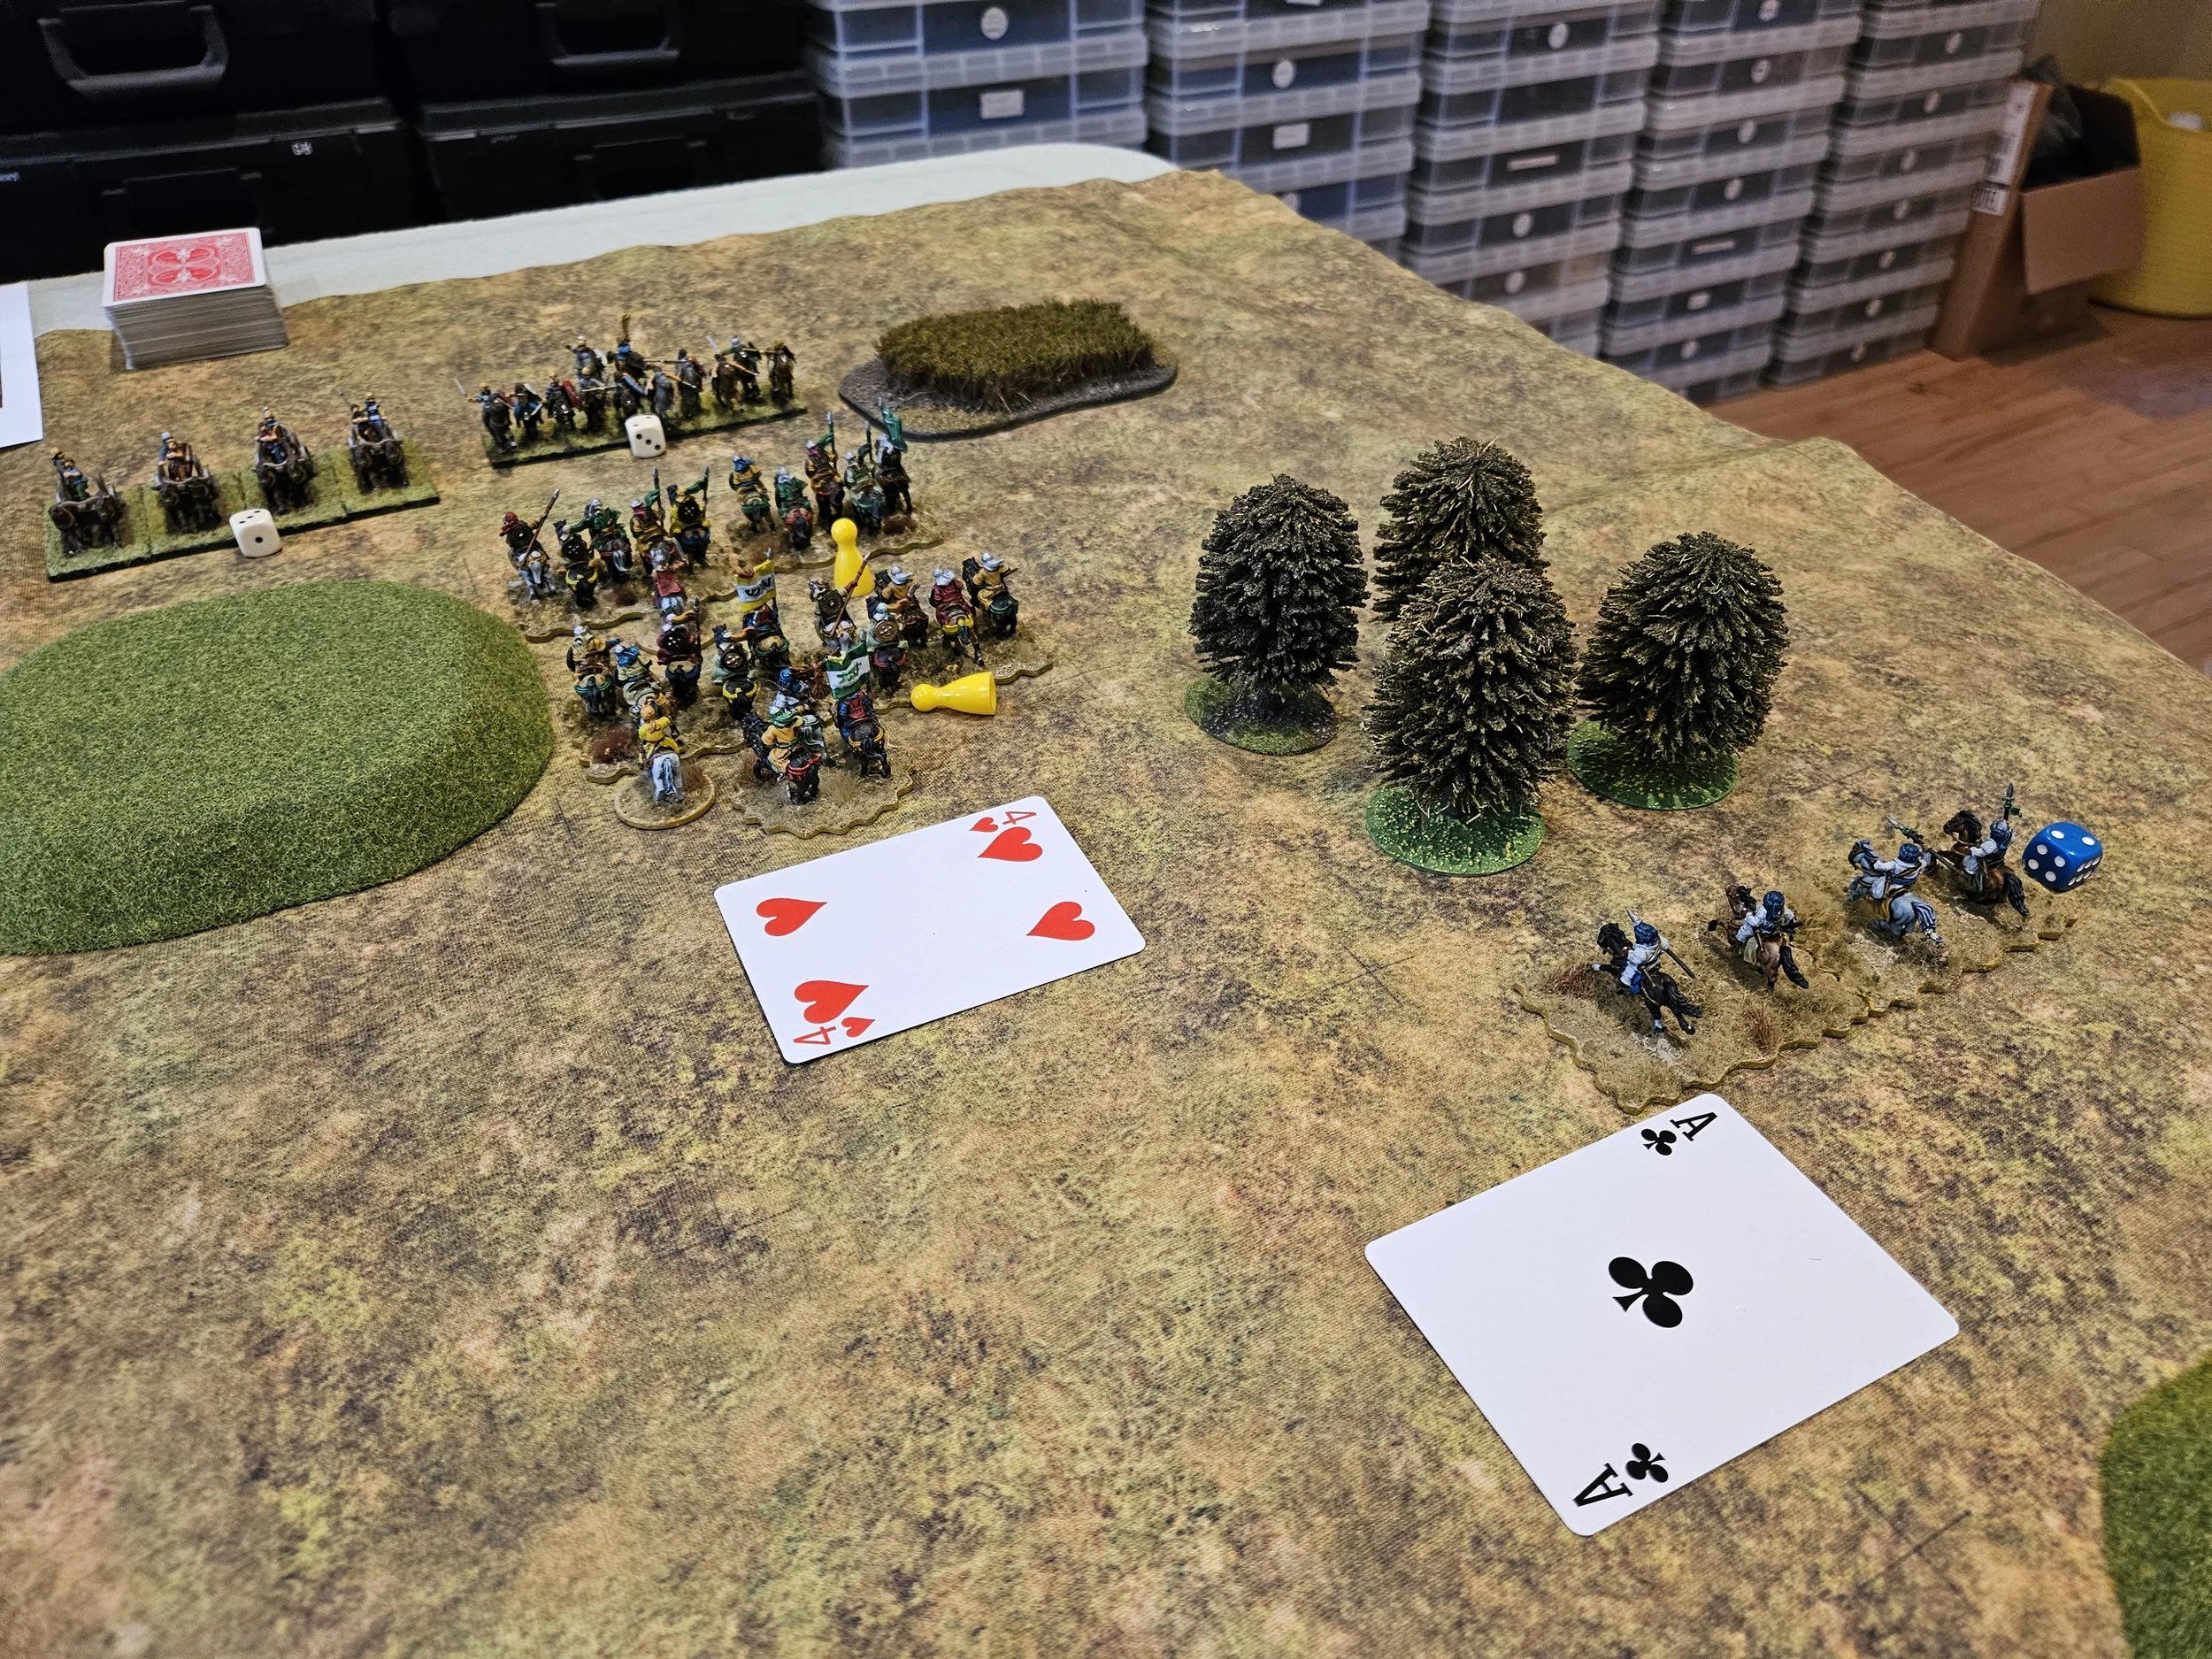
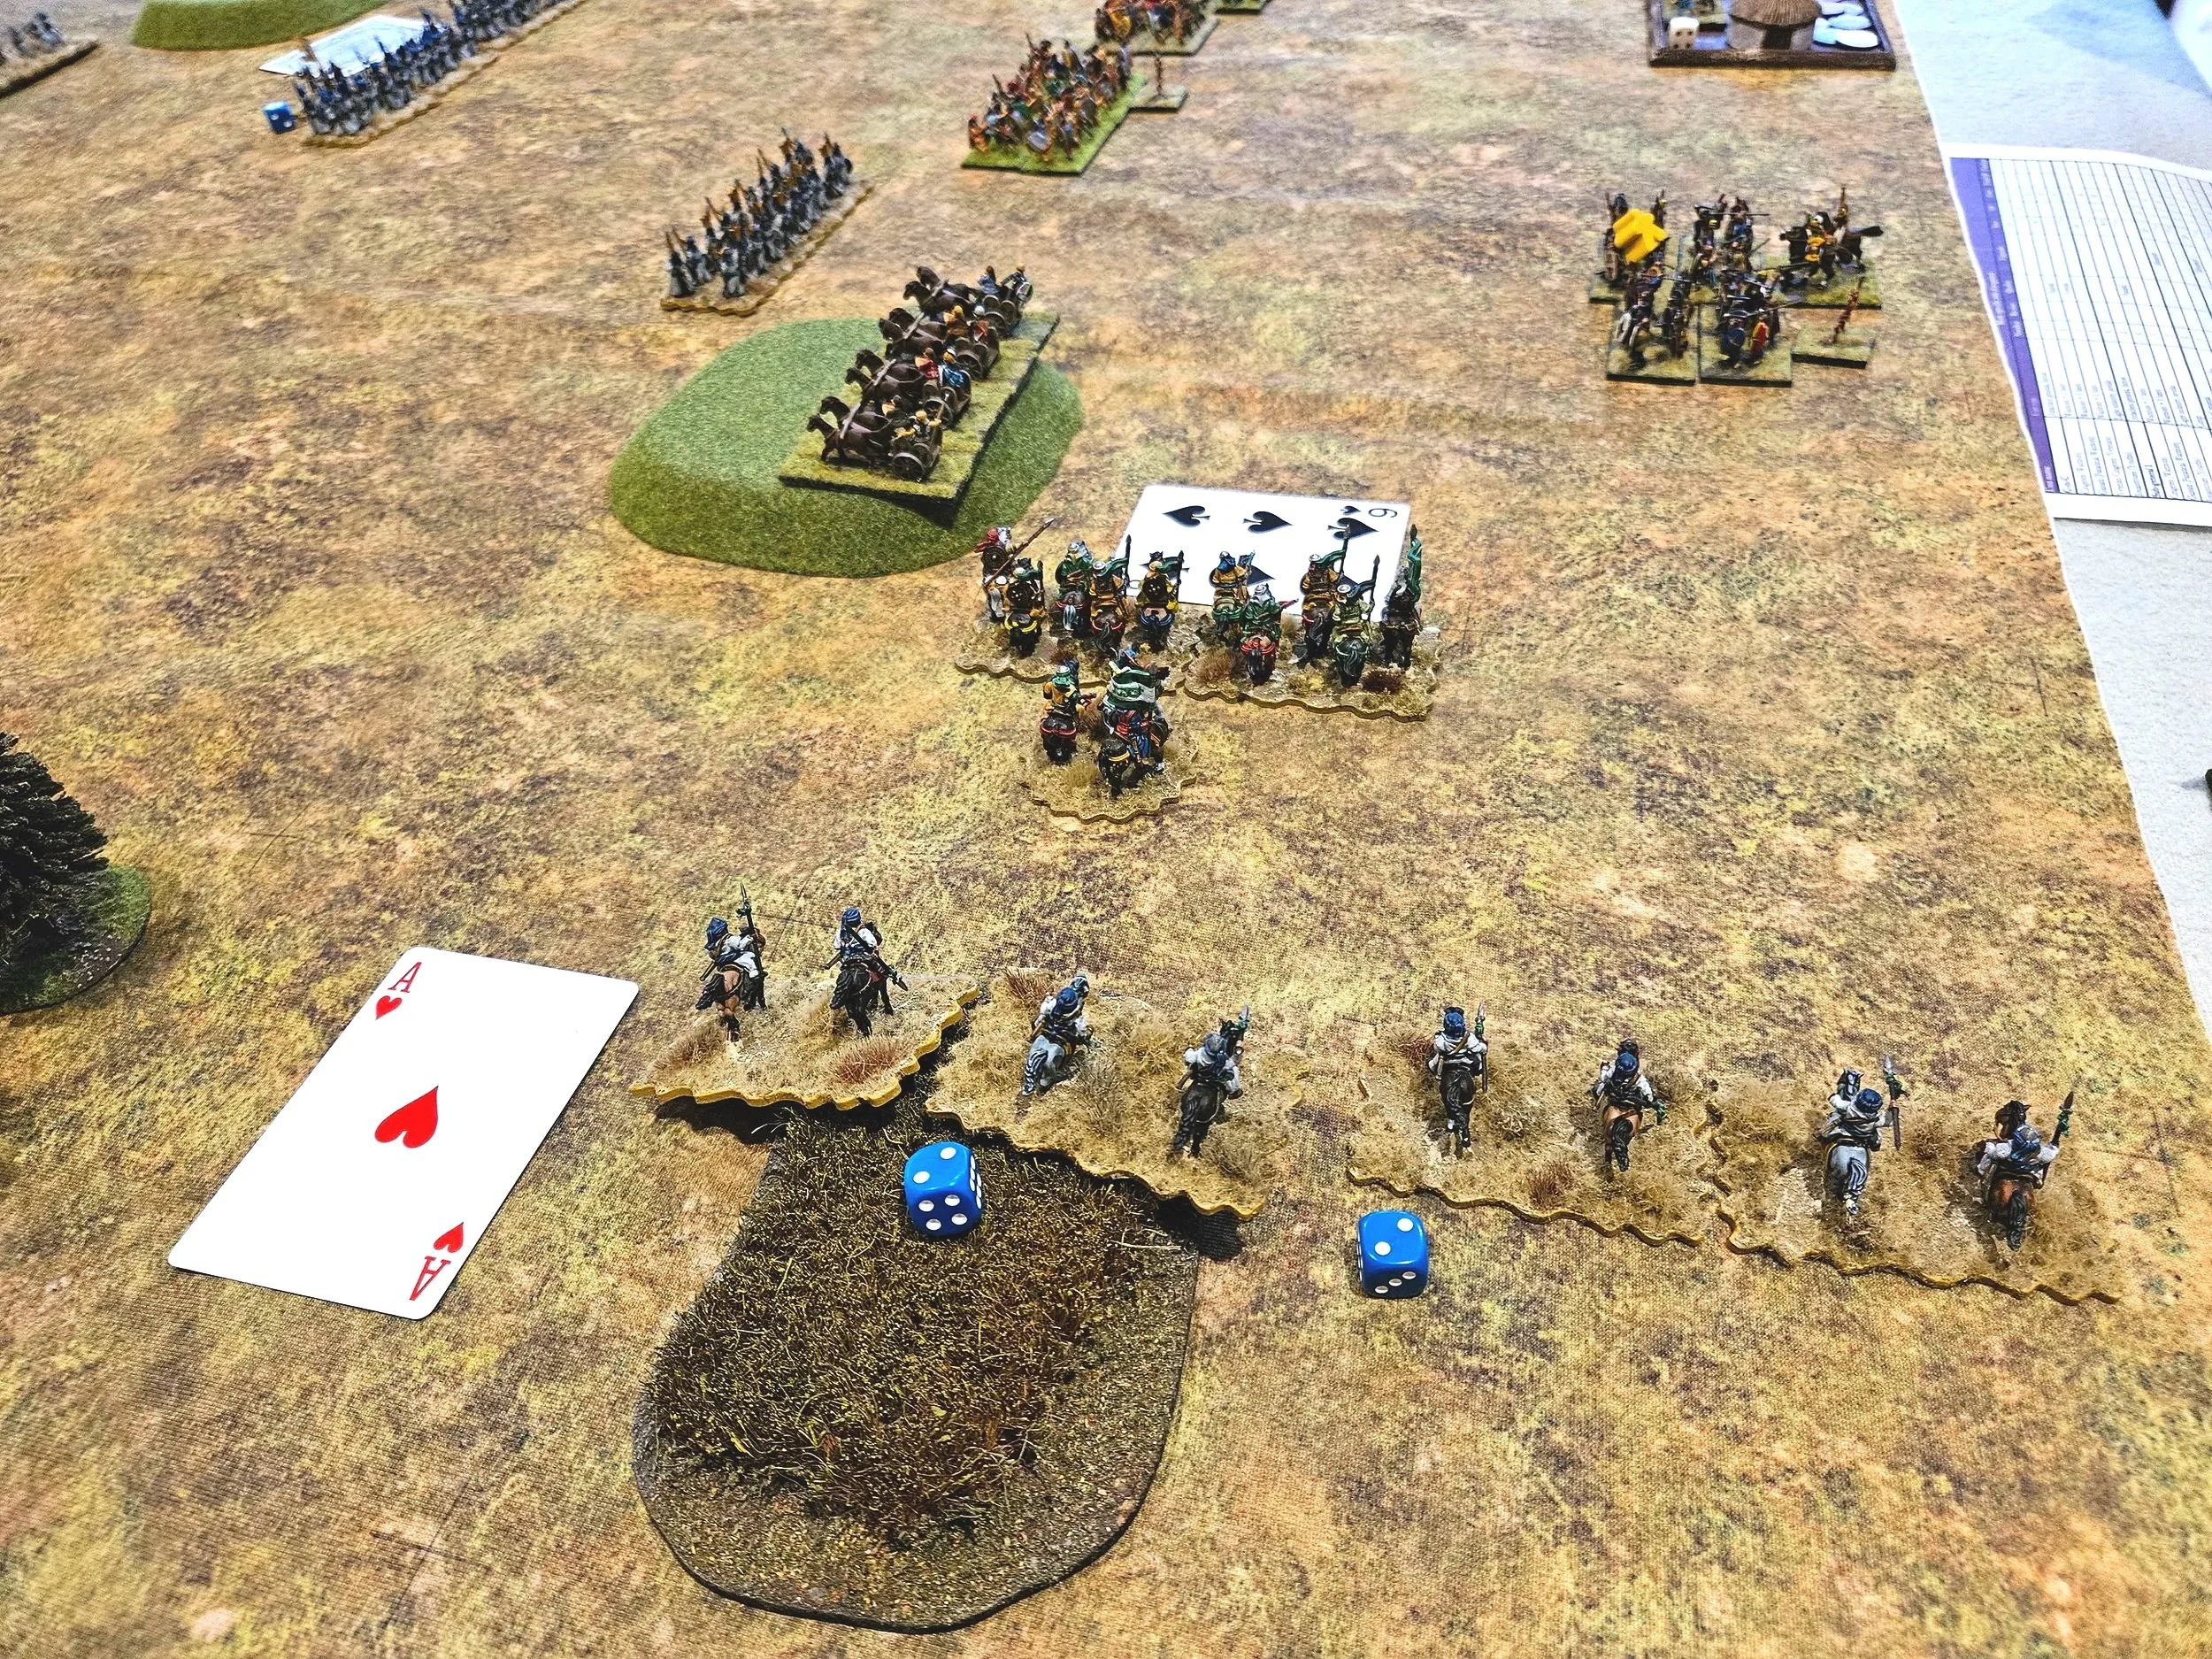
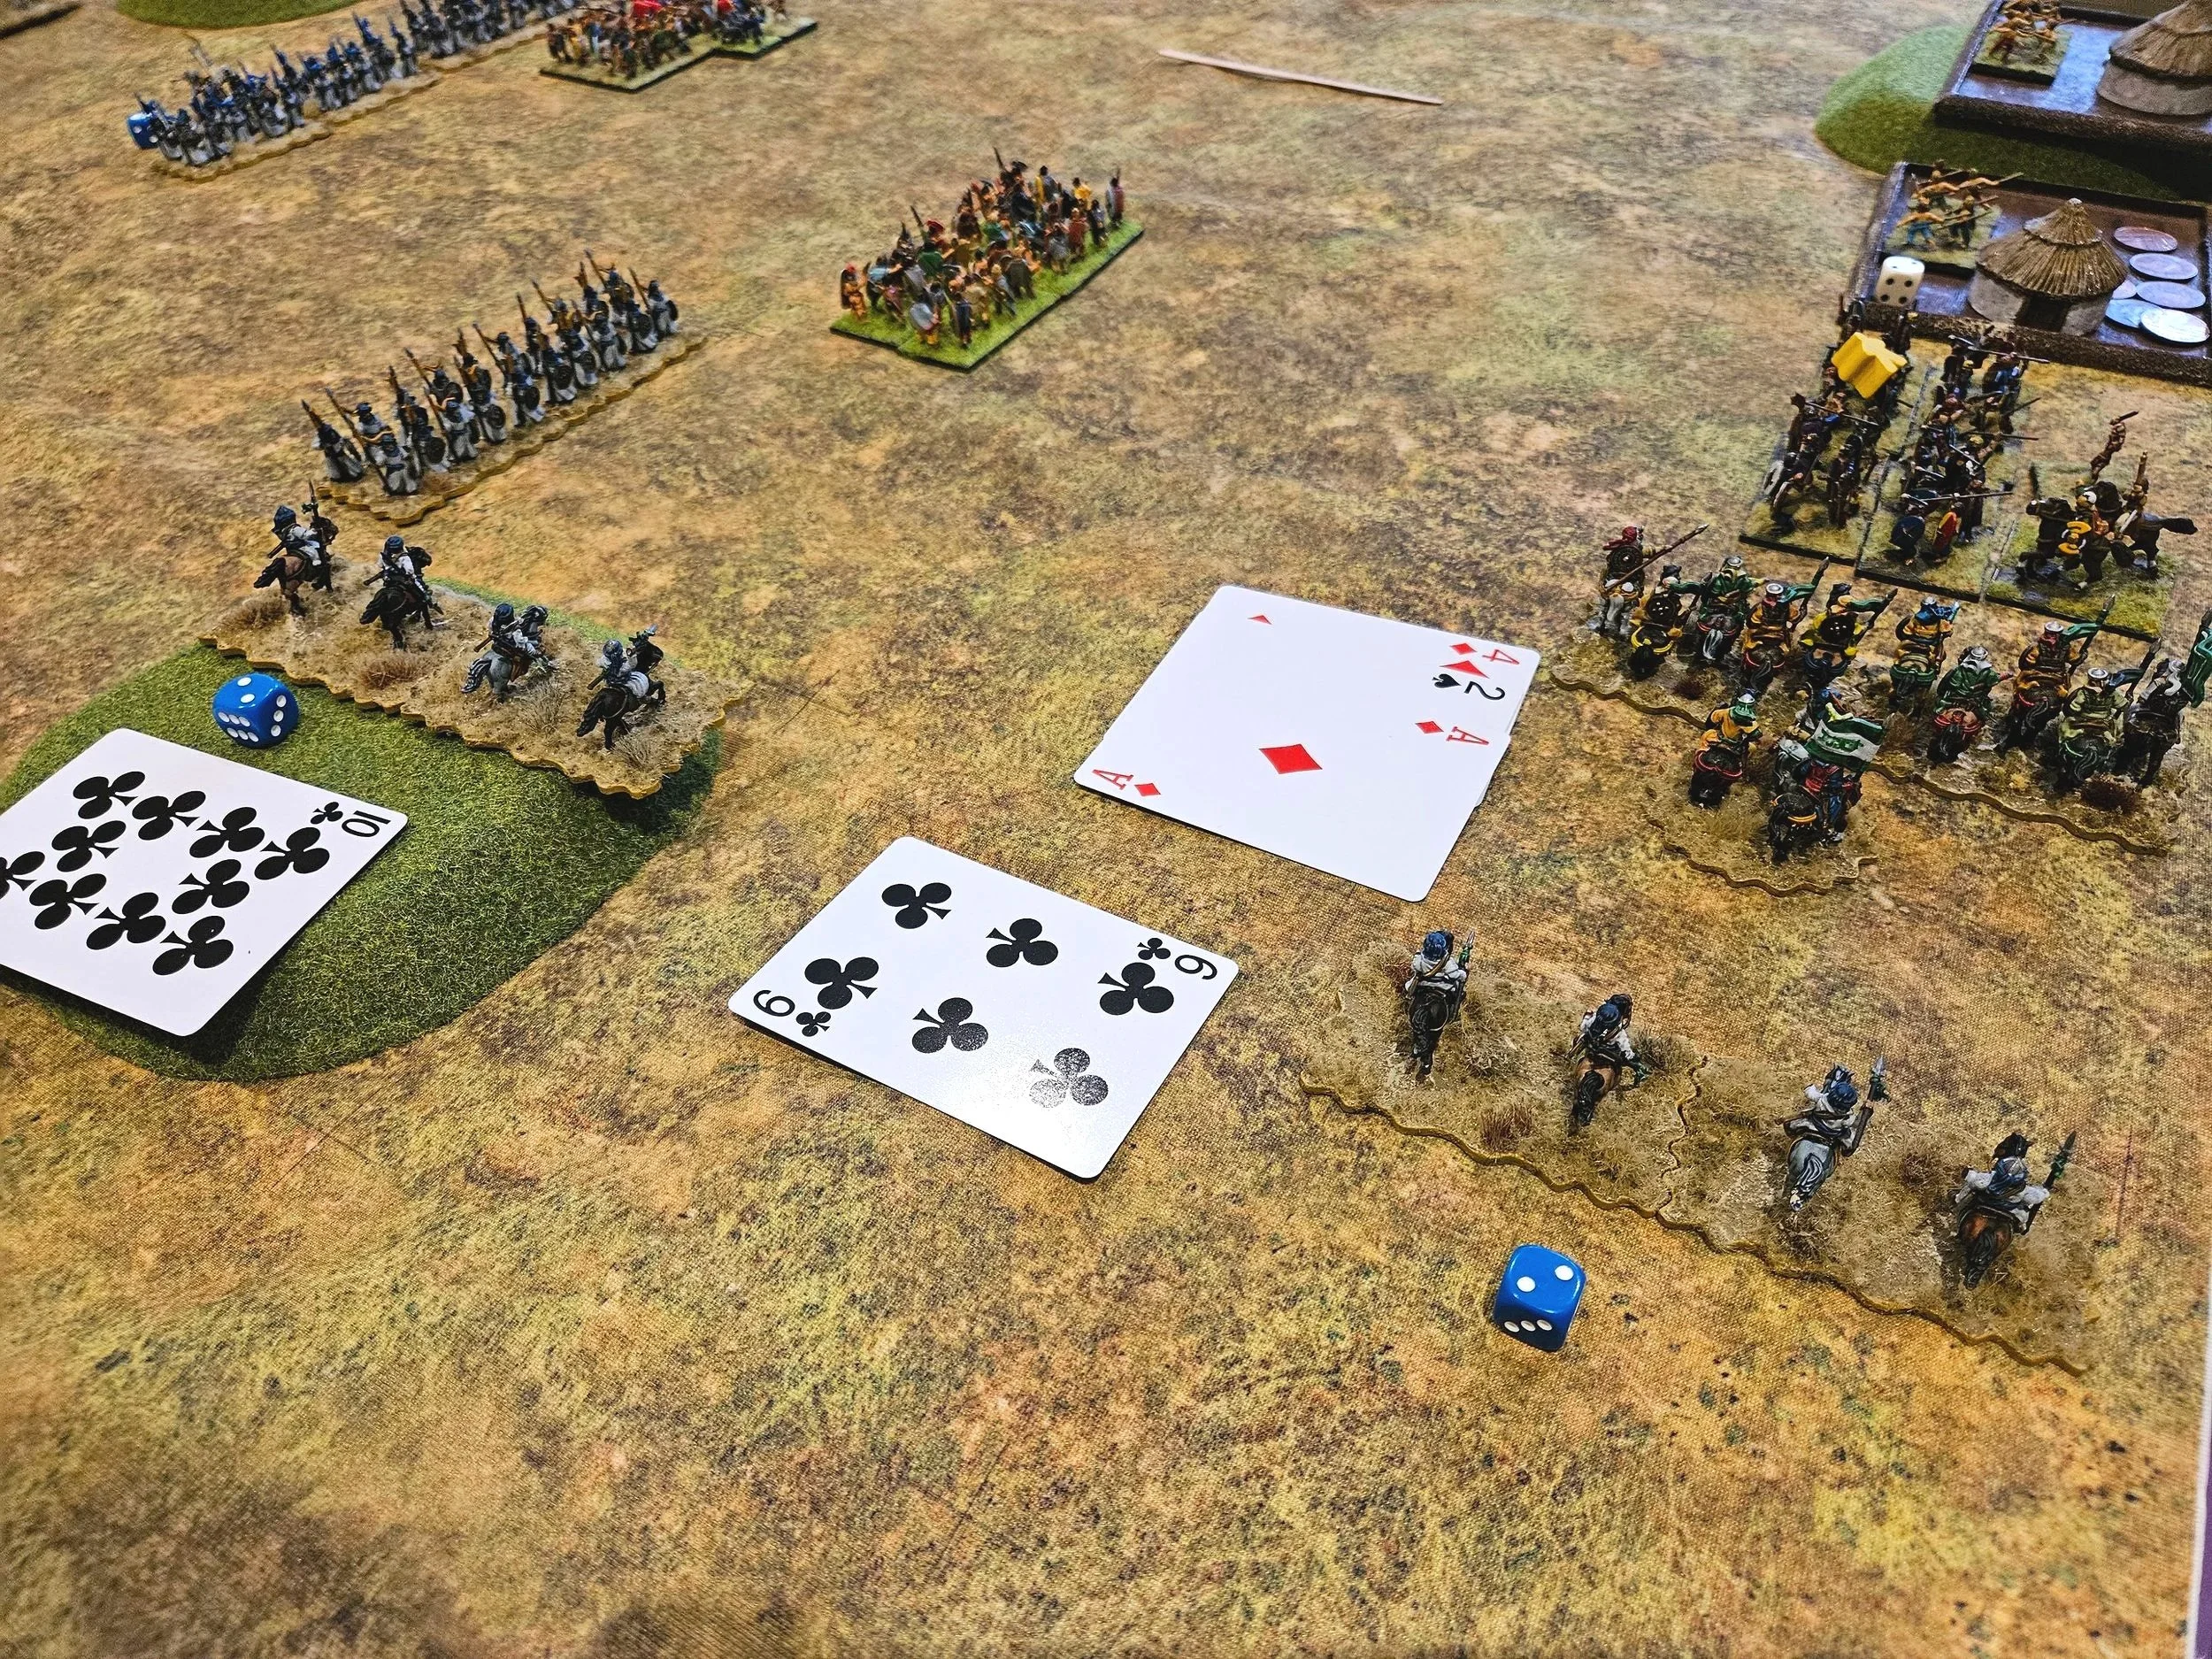
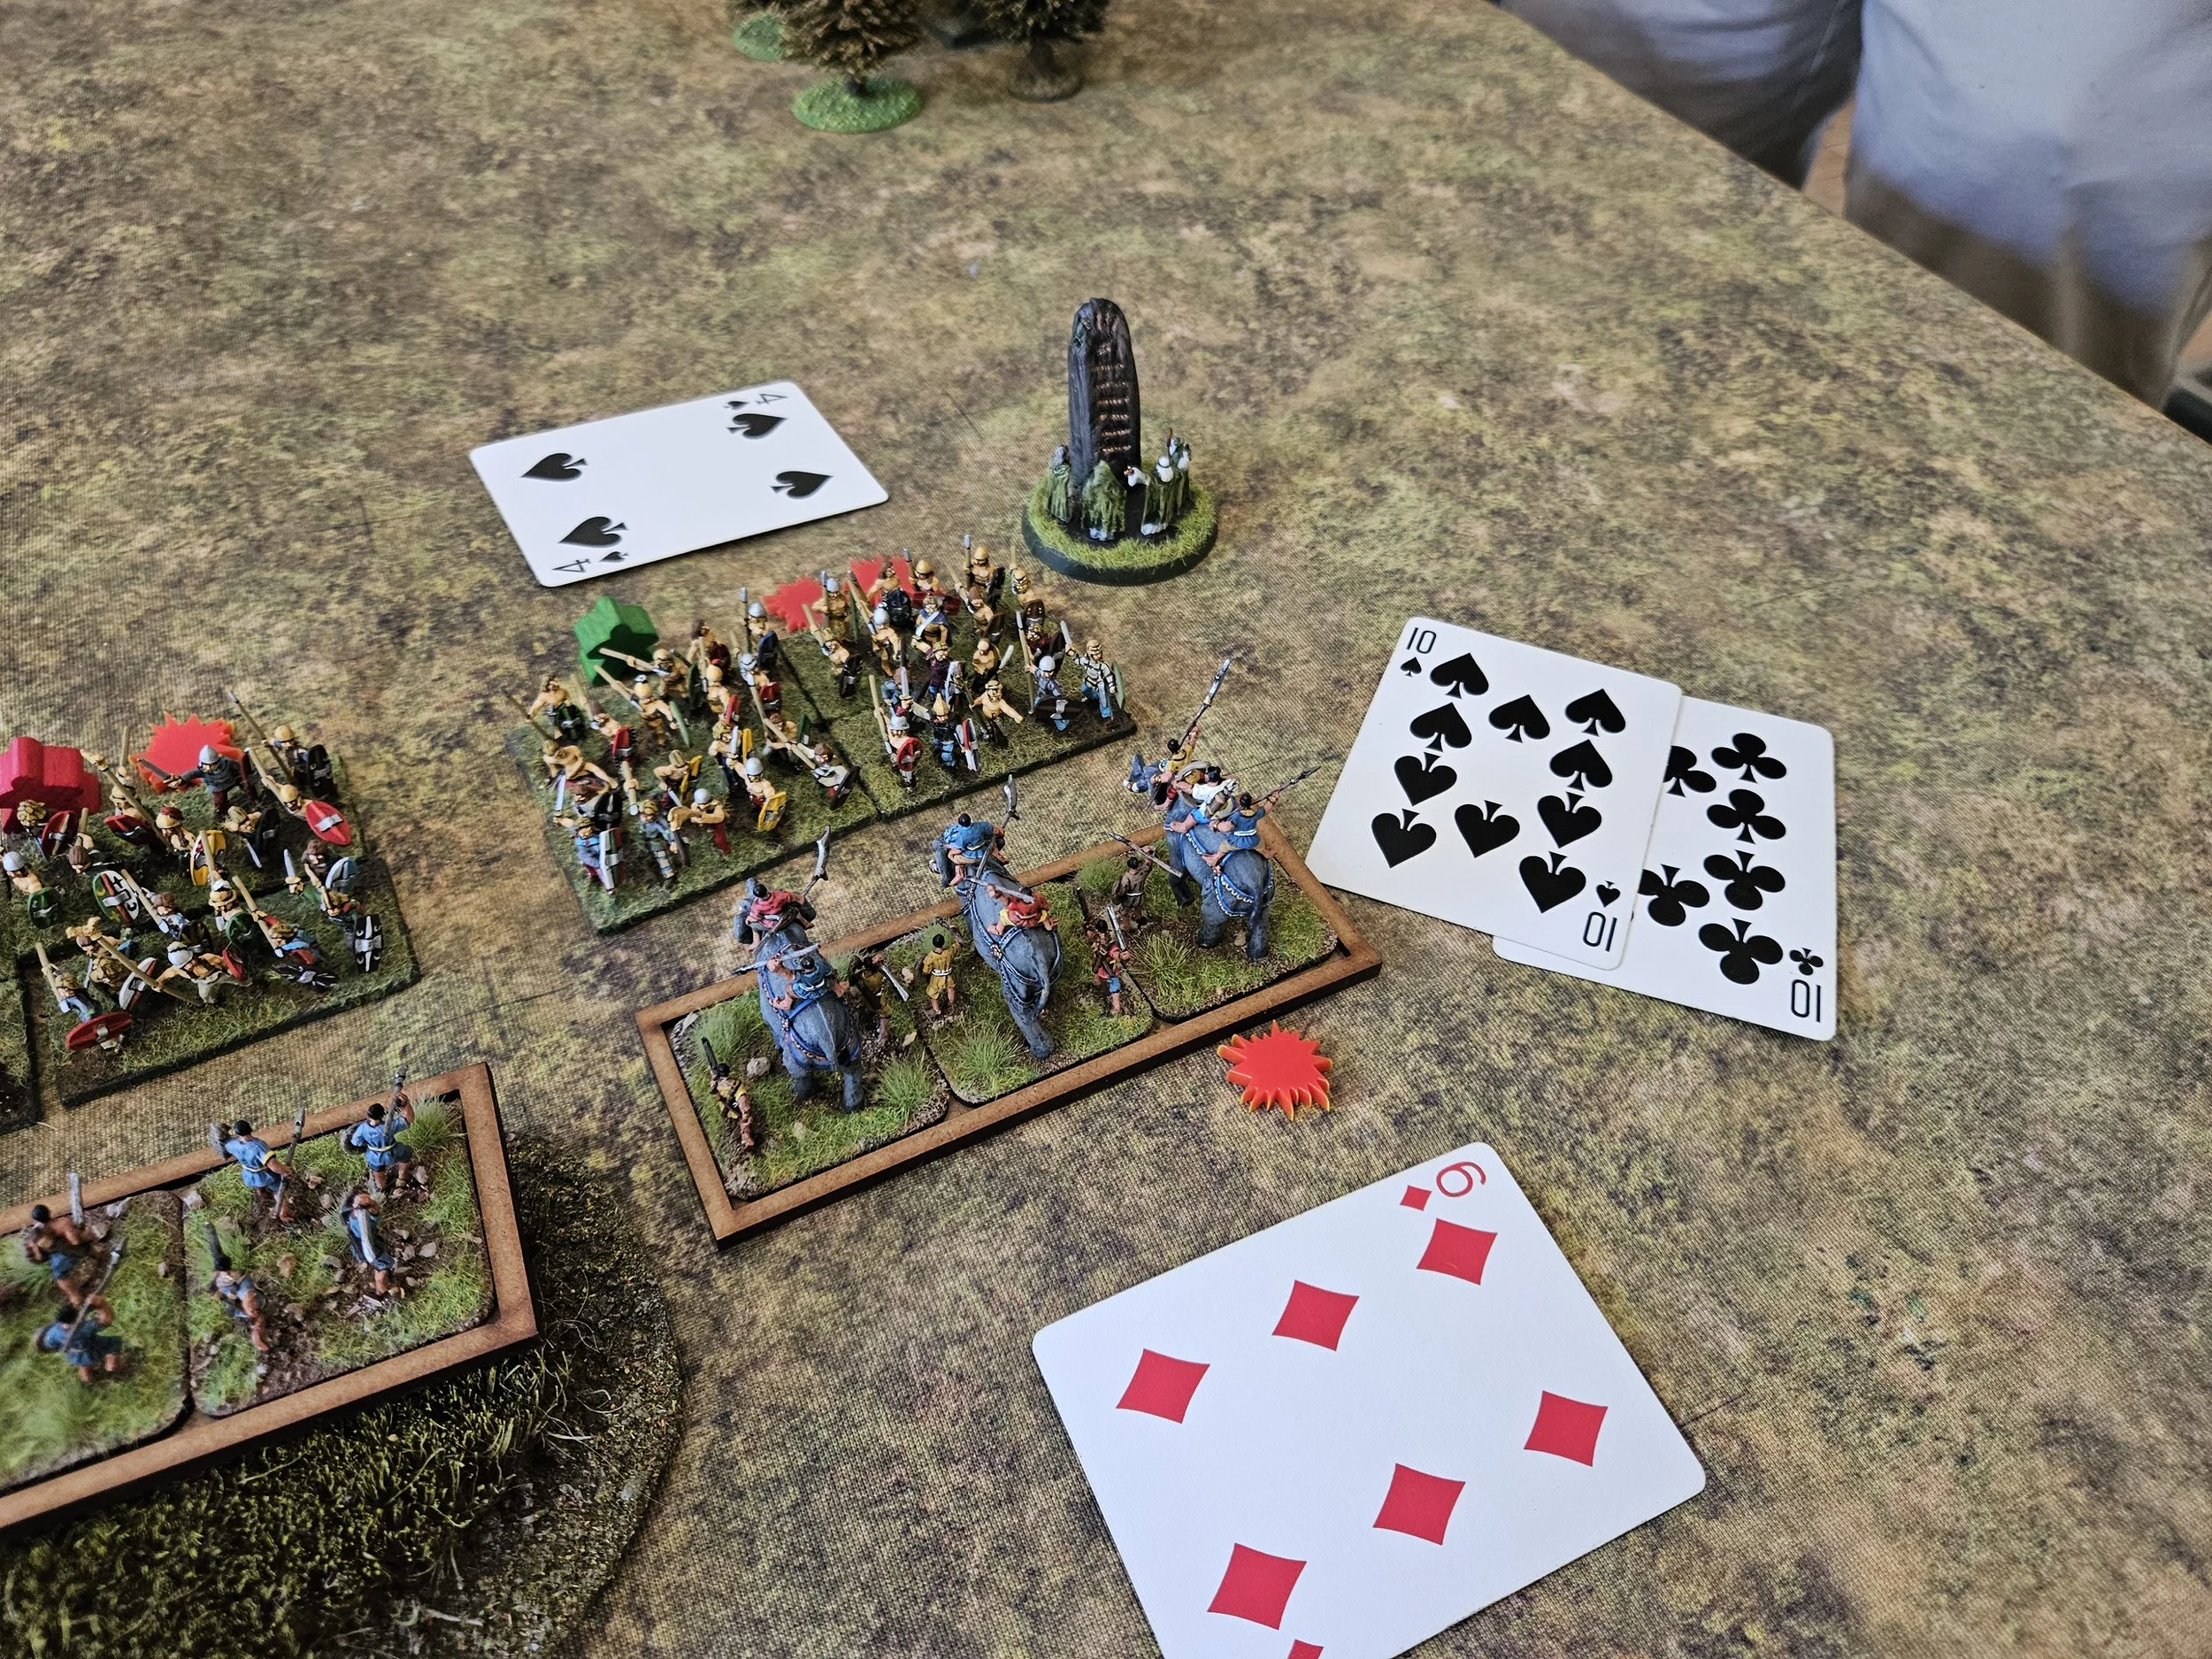
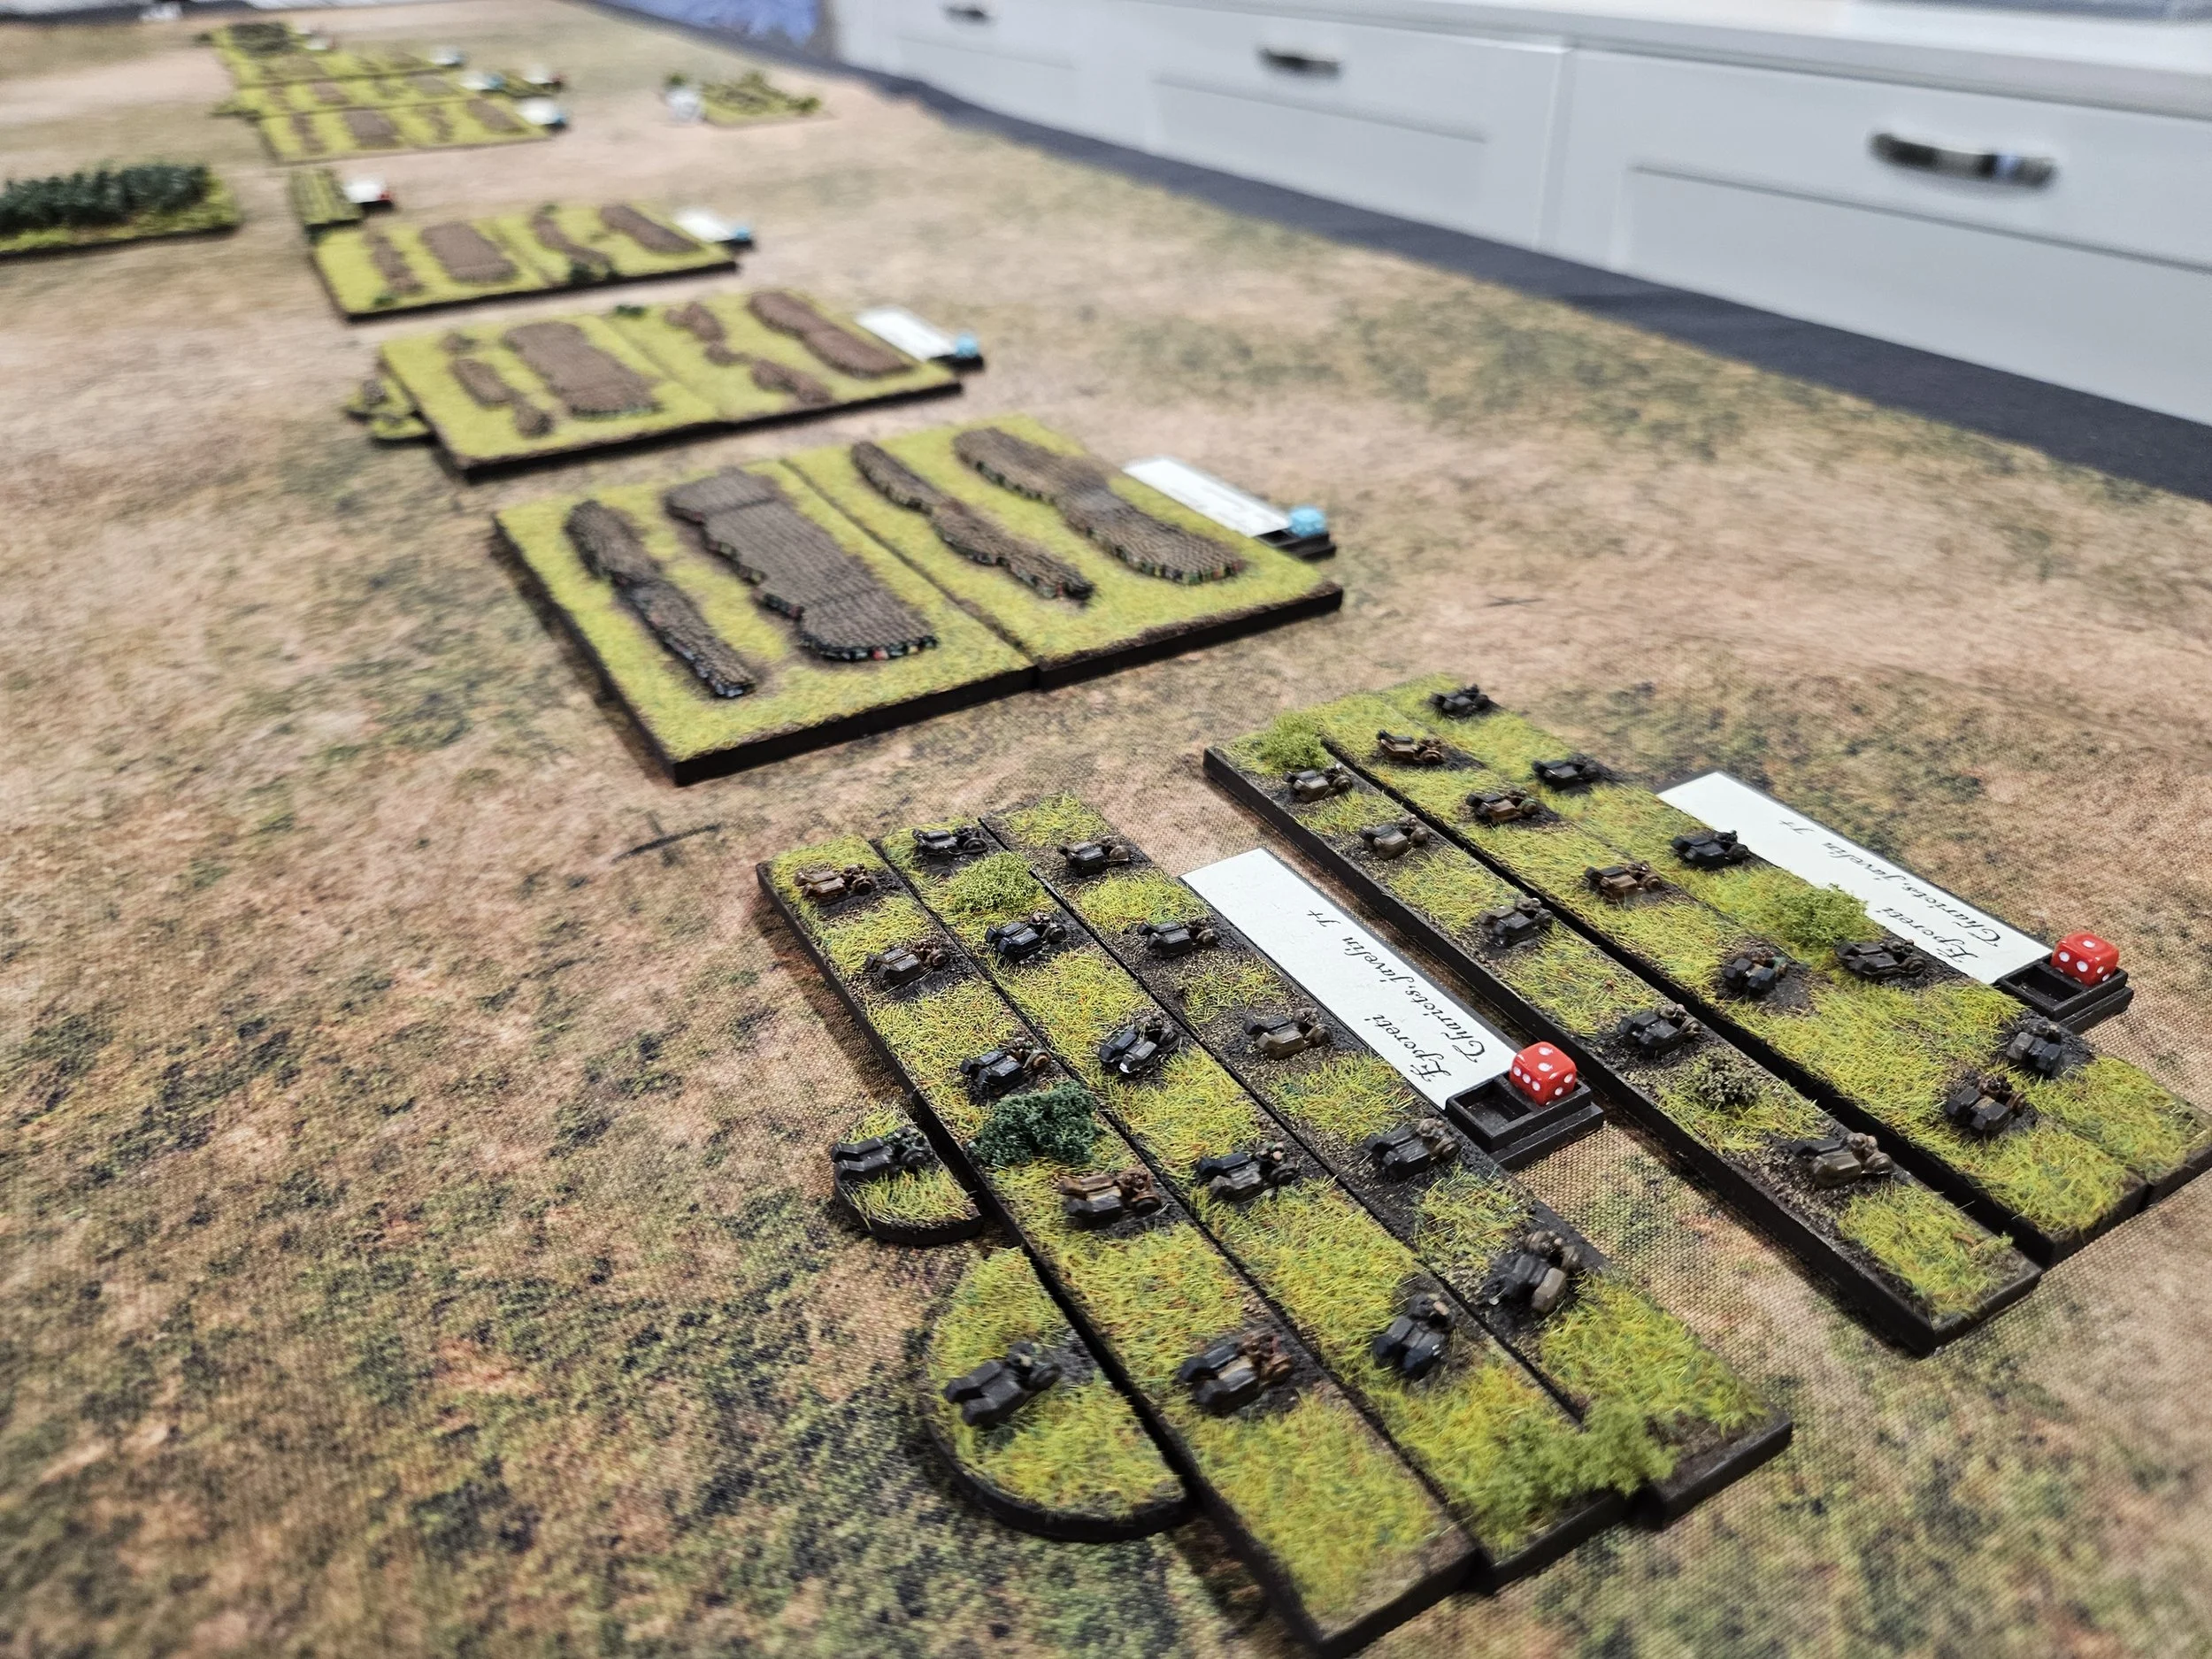
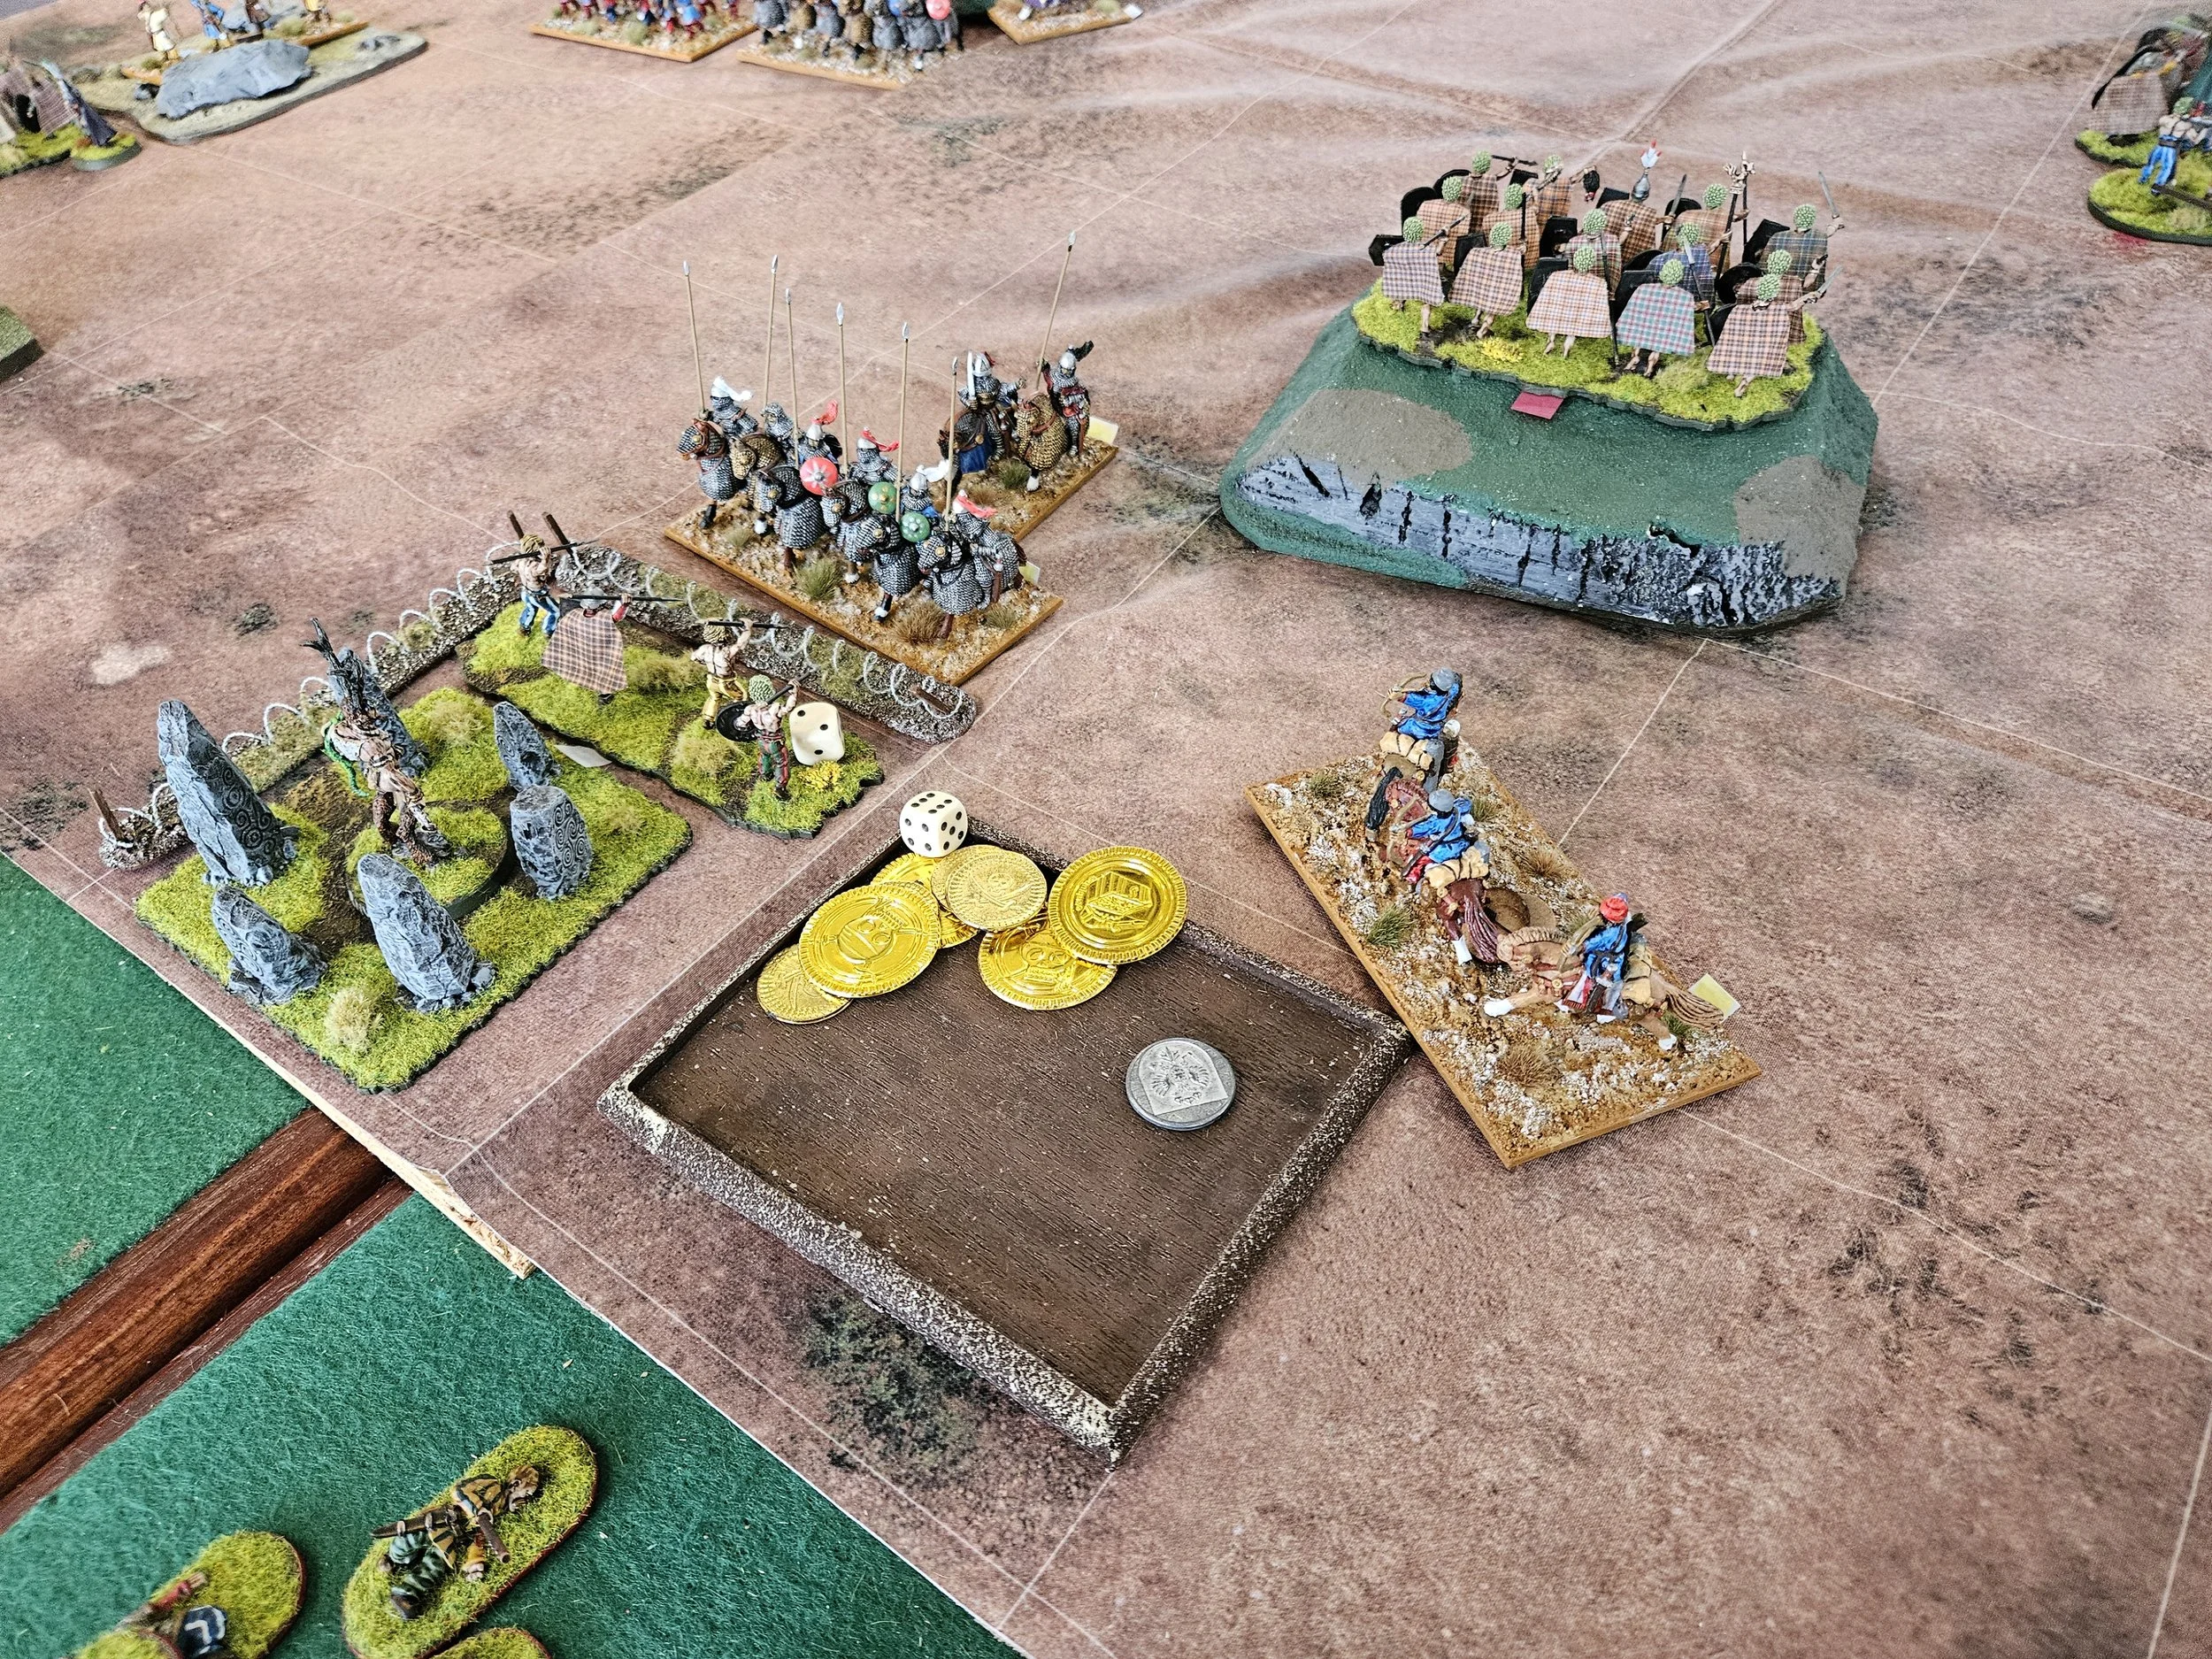
Ready to turn my cavalry and send them into the Palmyran flank, I drew seven cards in a row with none higher than a 2. Let me say that again: seven cards in a row, none higher than a two.
Don’t believe me? Here’s the evidence:


A quick reminder of the stats. That’s a probability of:
P = 16/80 × 15/79 ×14/78 × 13/77 x 12/76 × 11/75 × 10/74
Which works out to approximately: 0.00000536
So the odds are about:
0.000536%
or roughly 1 in 186,000
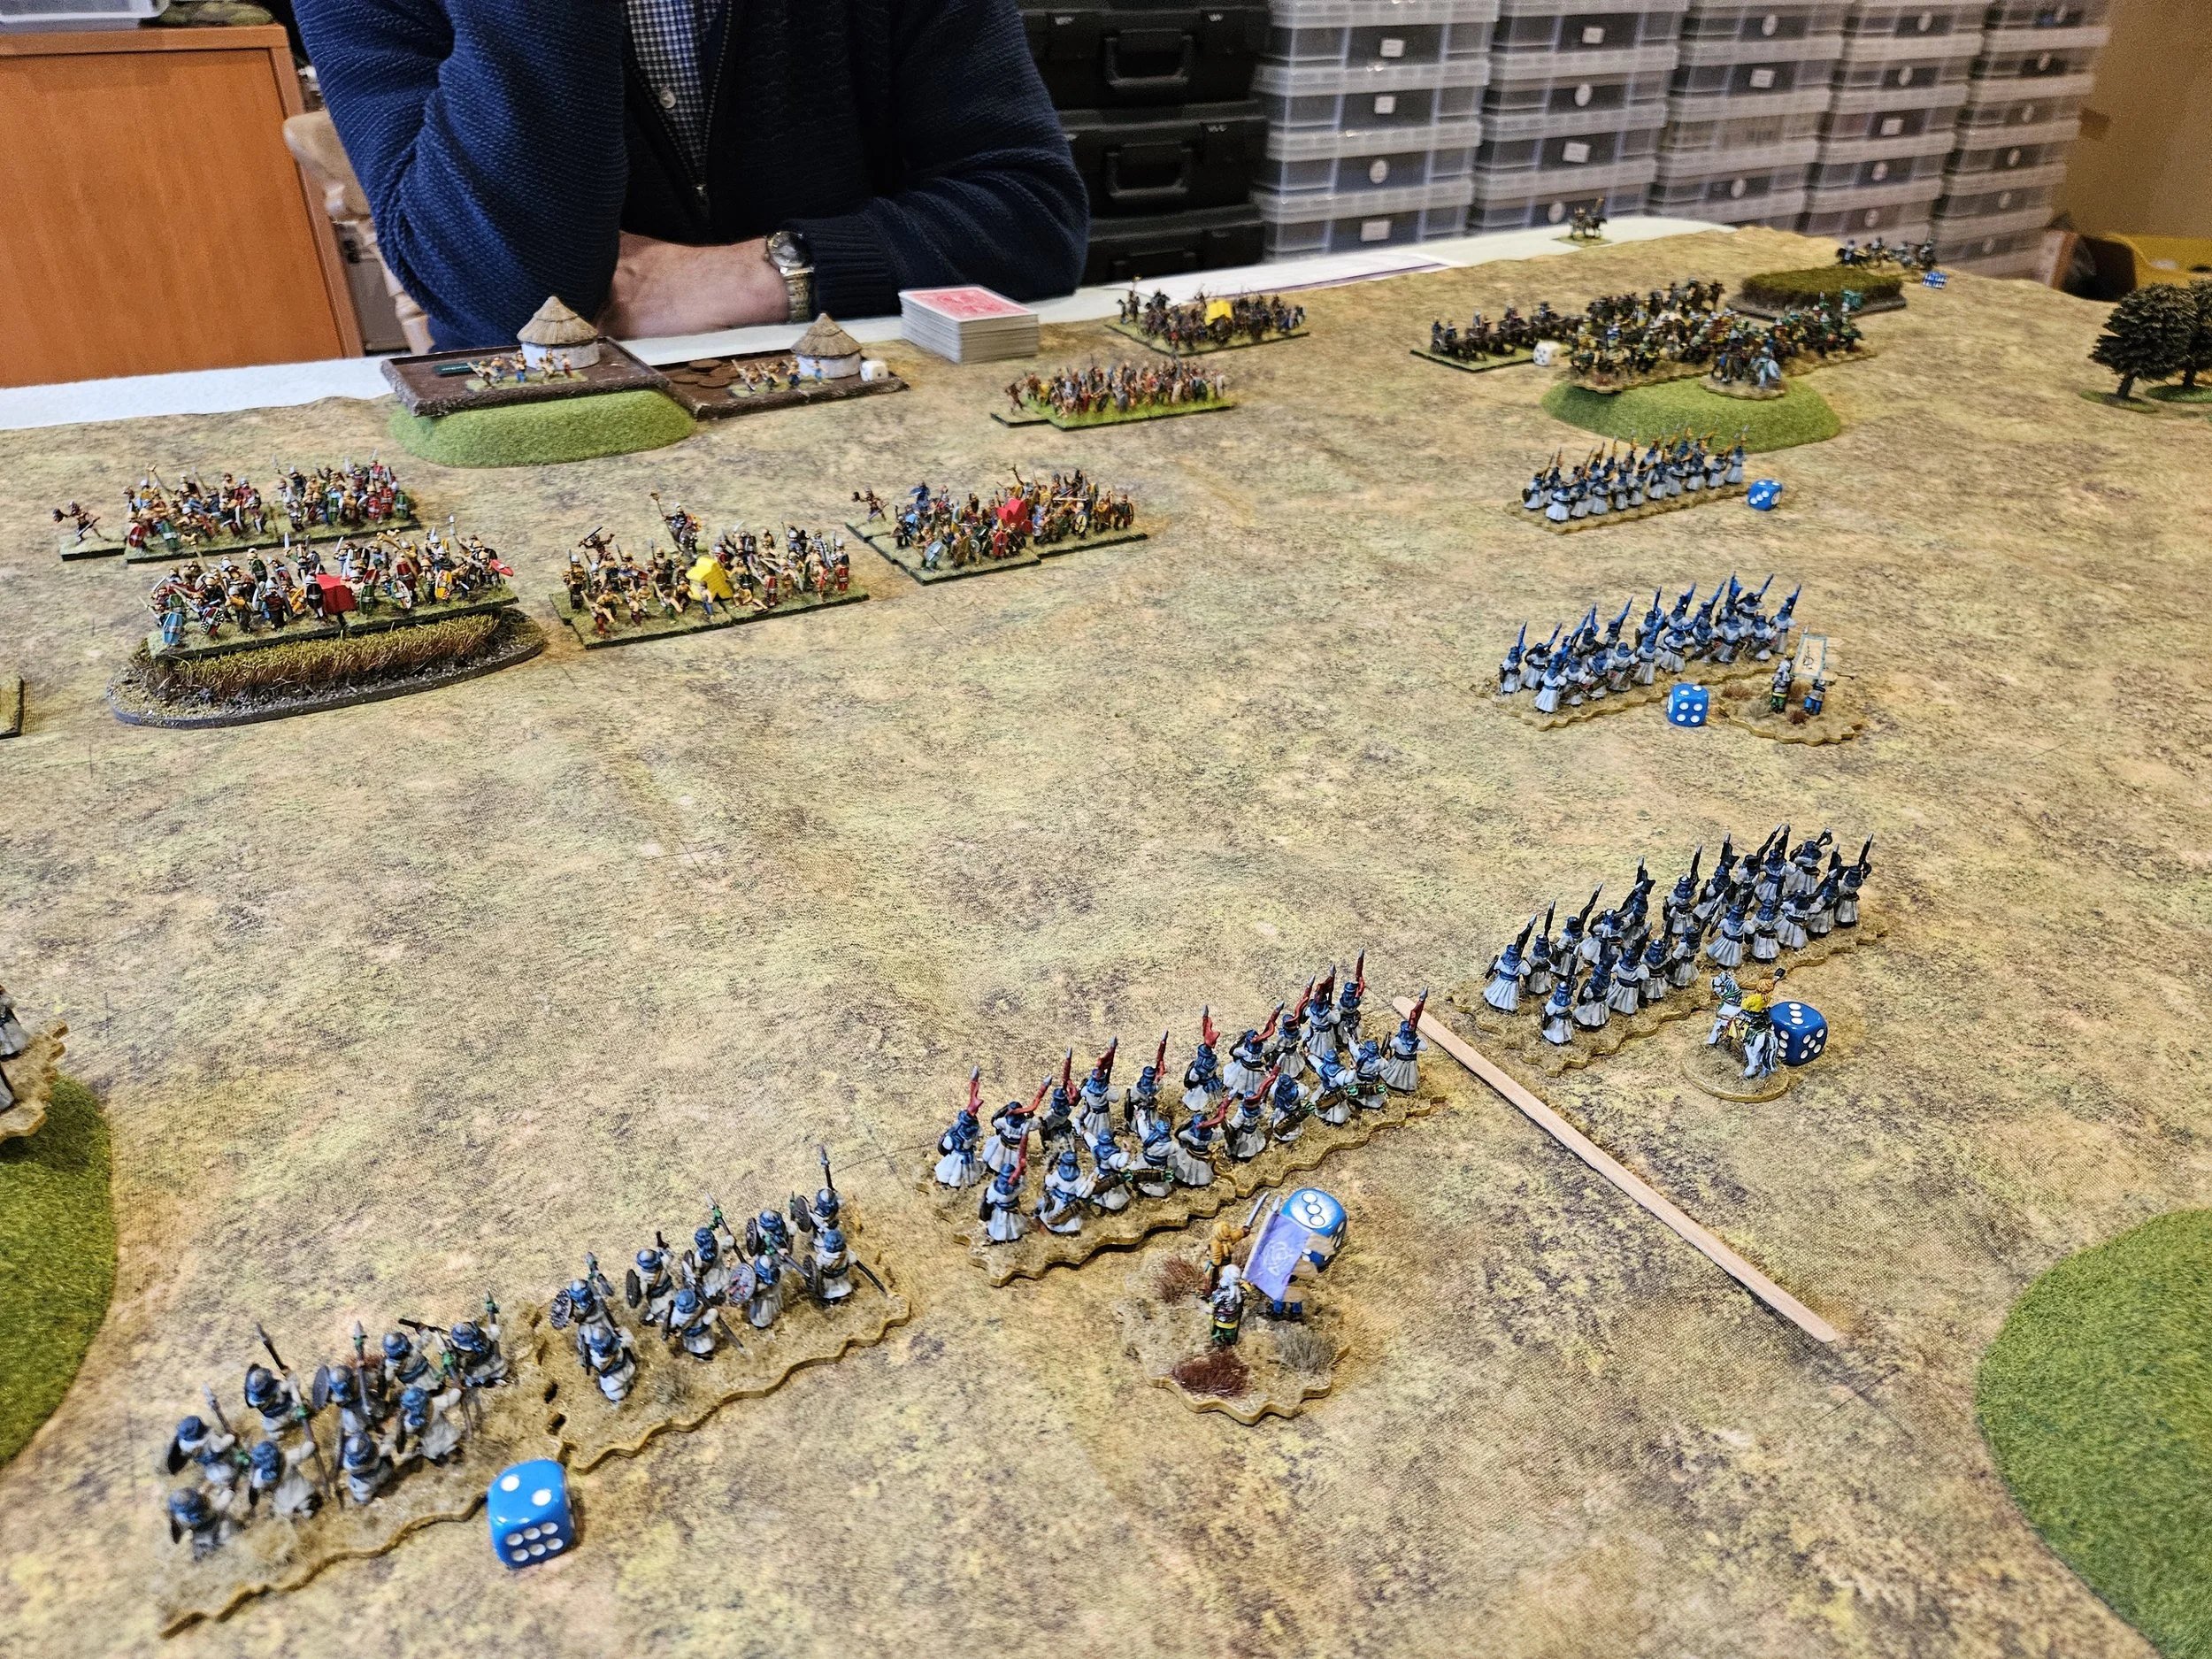
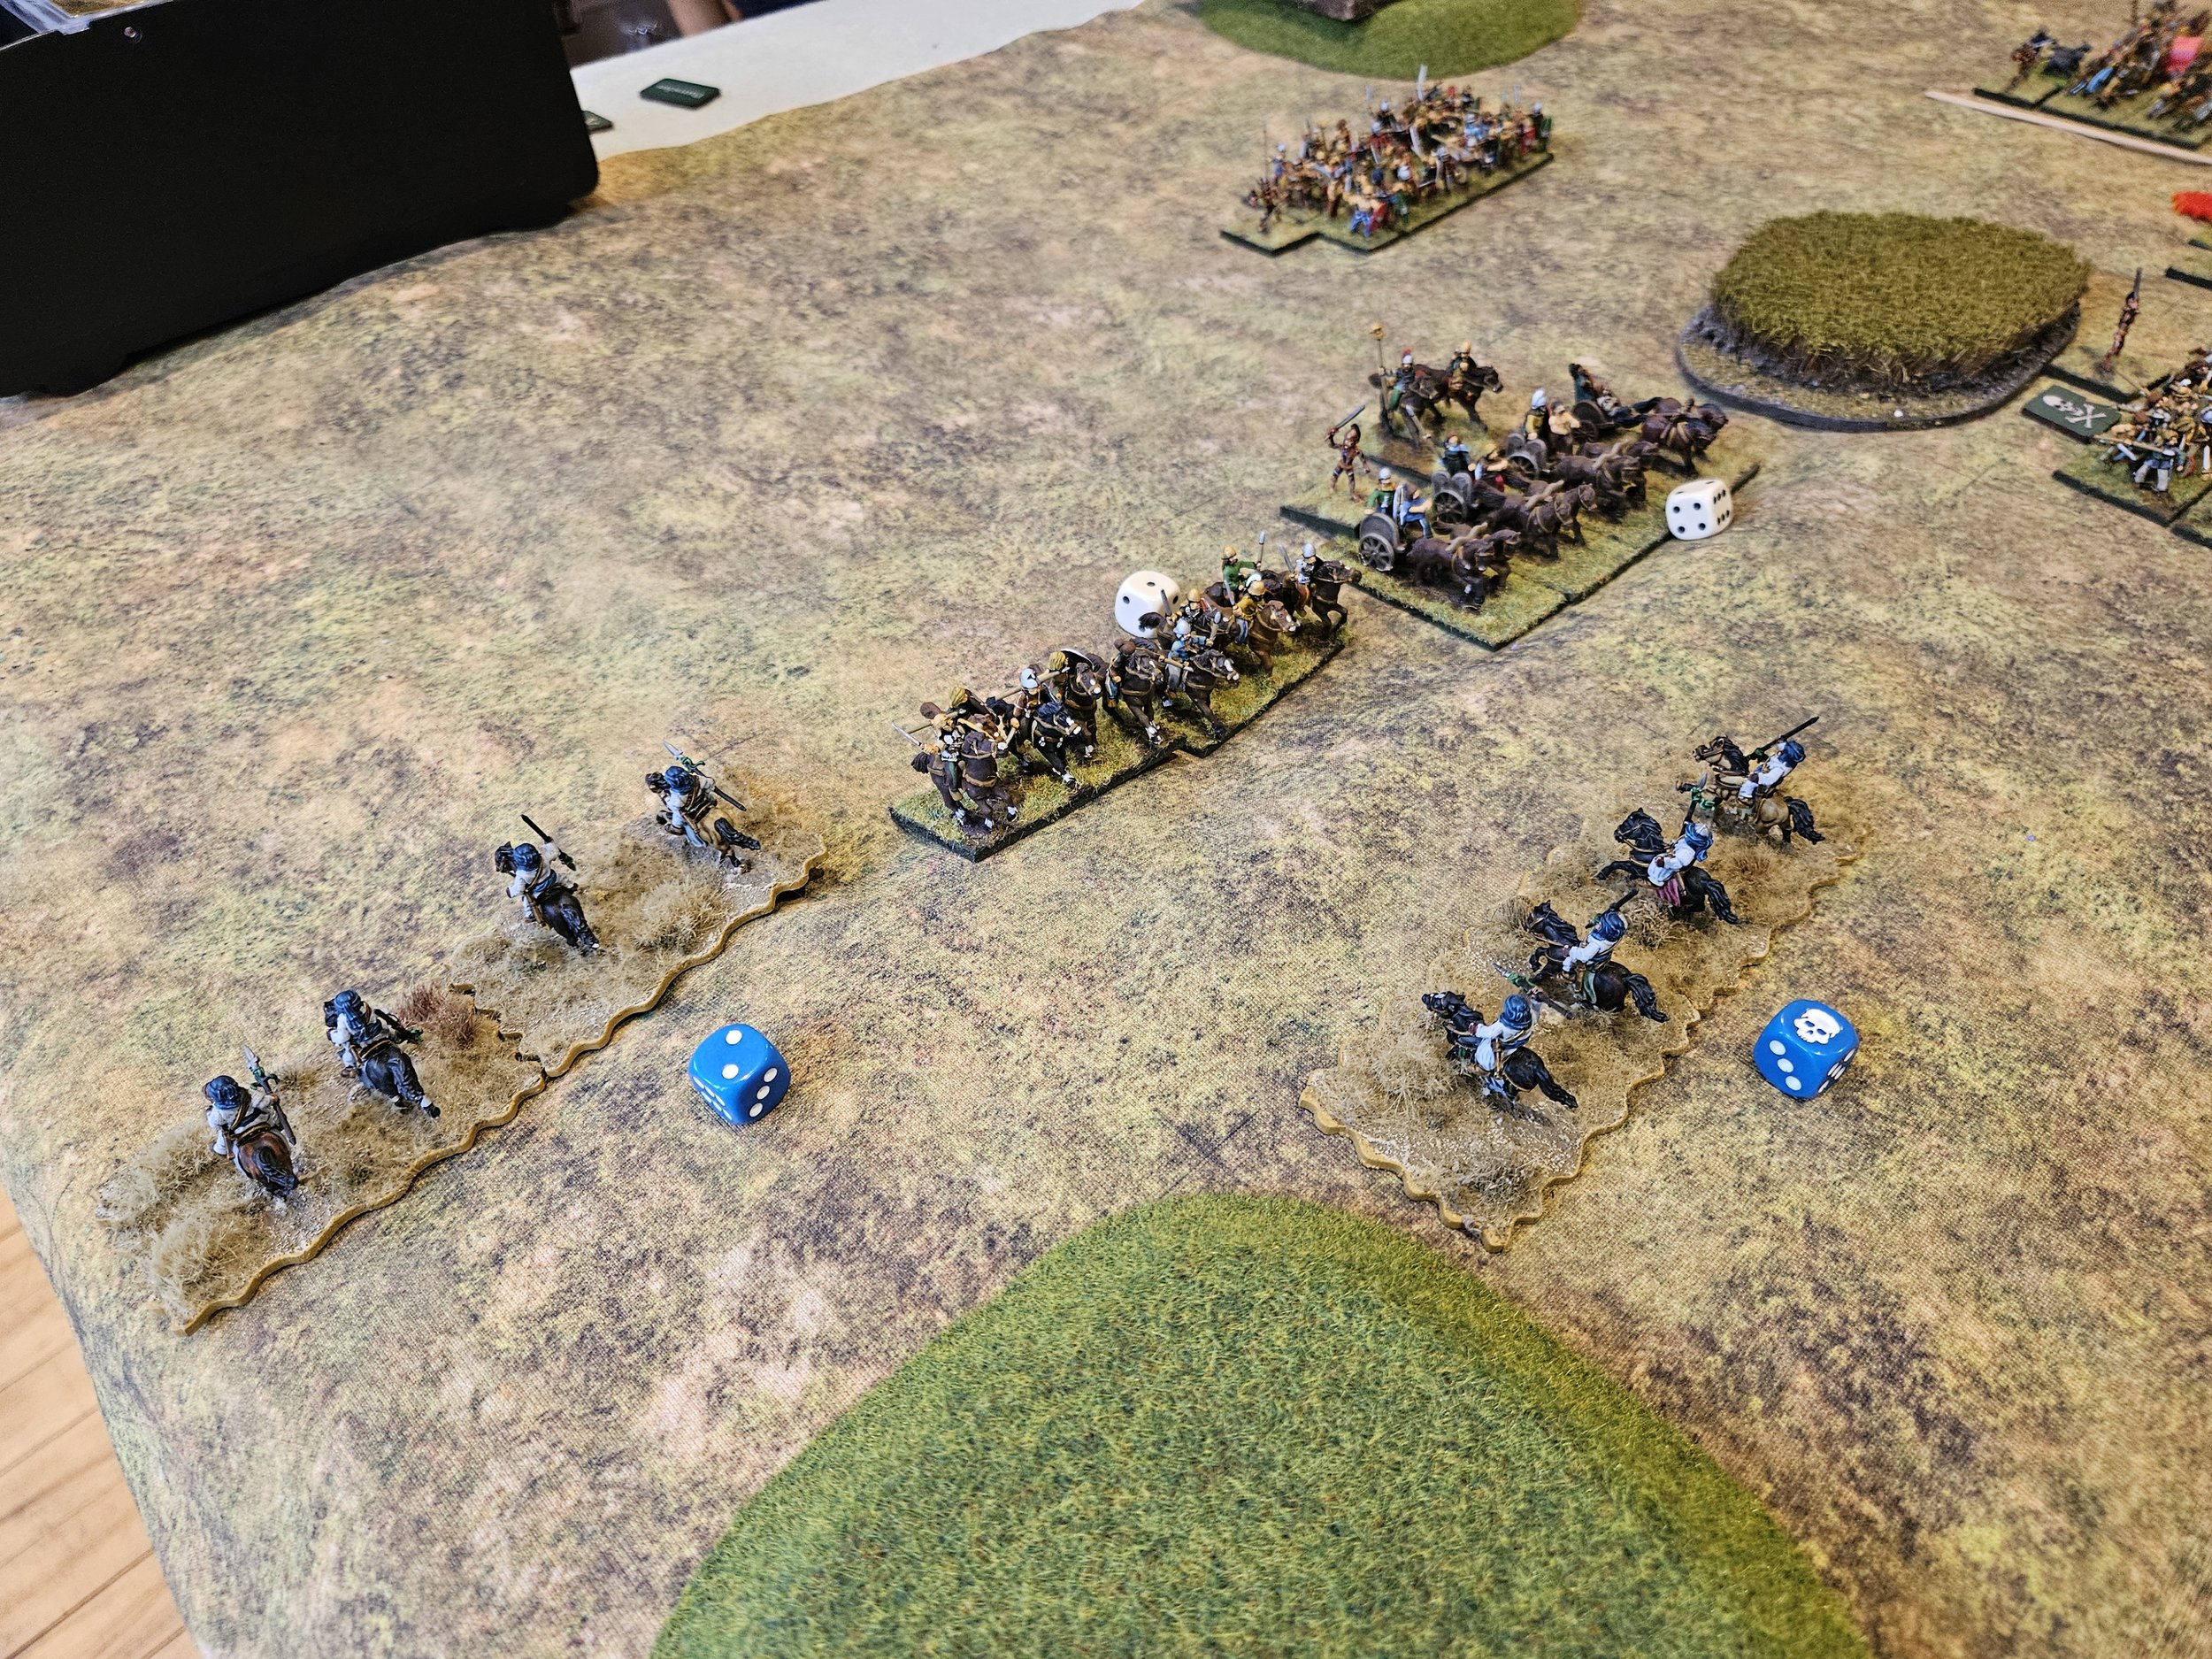
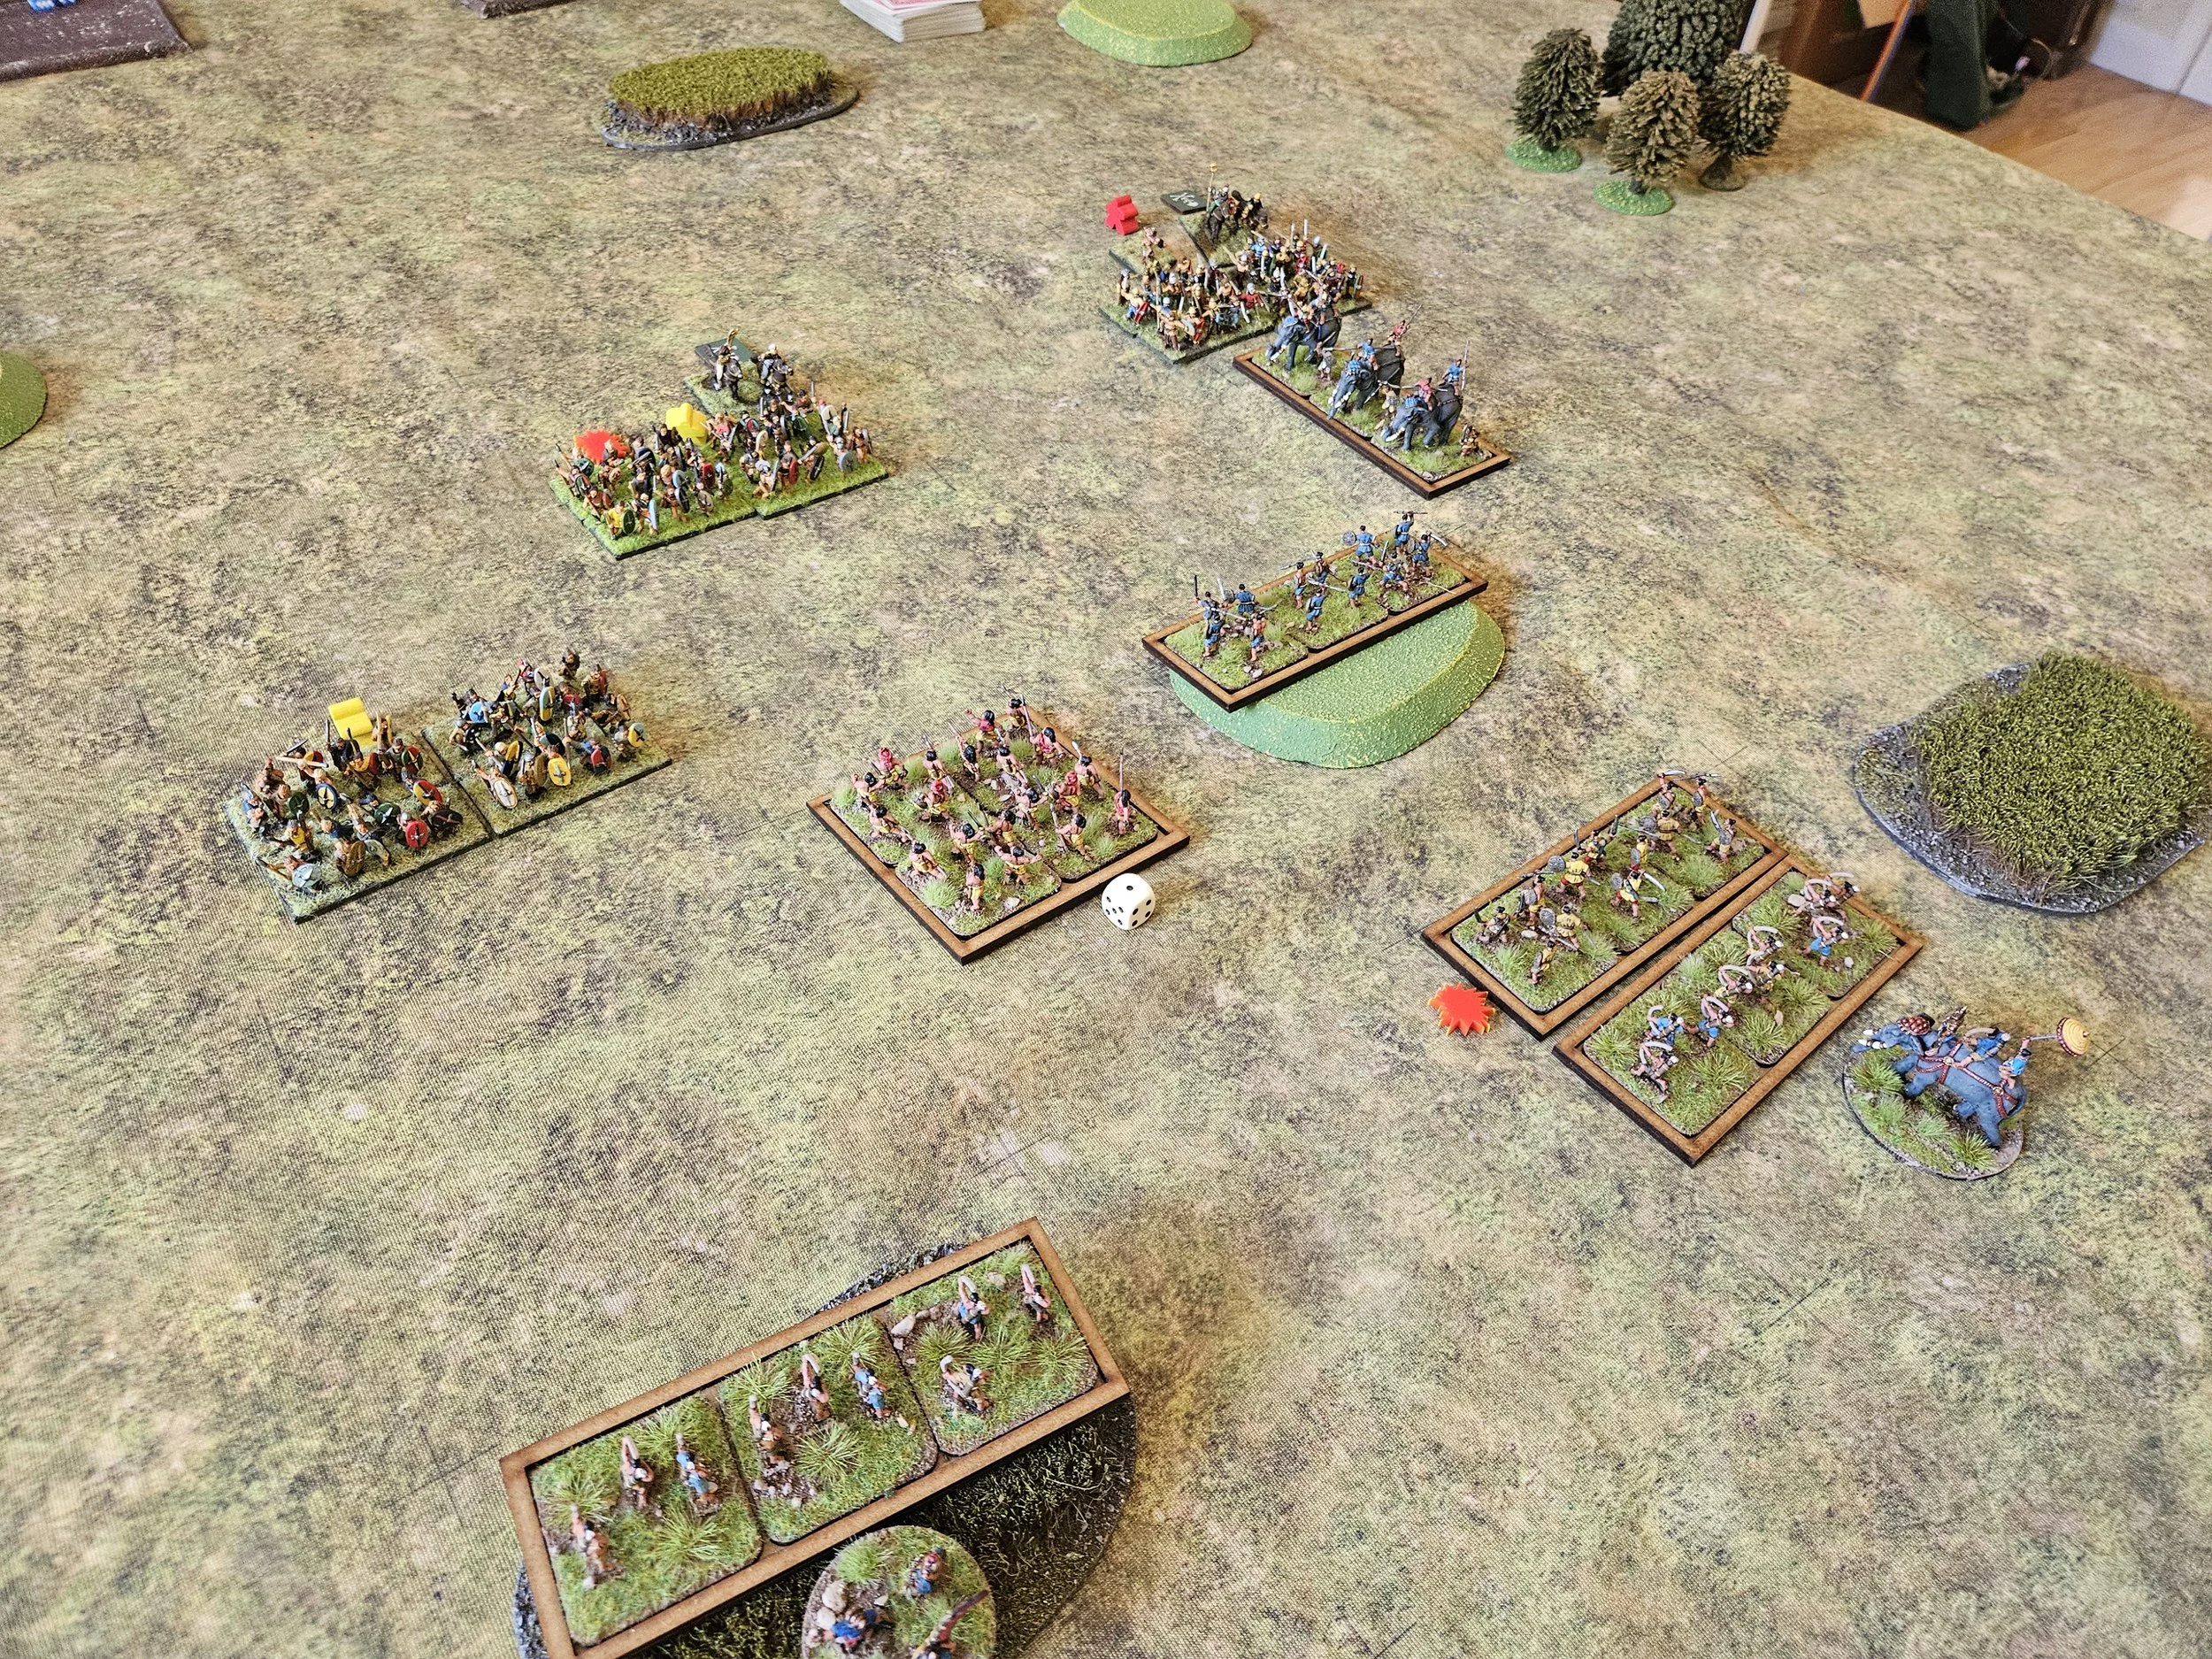
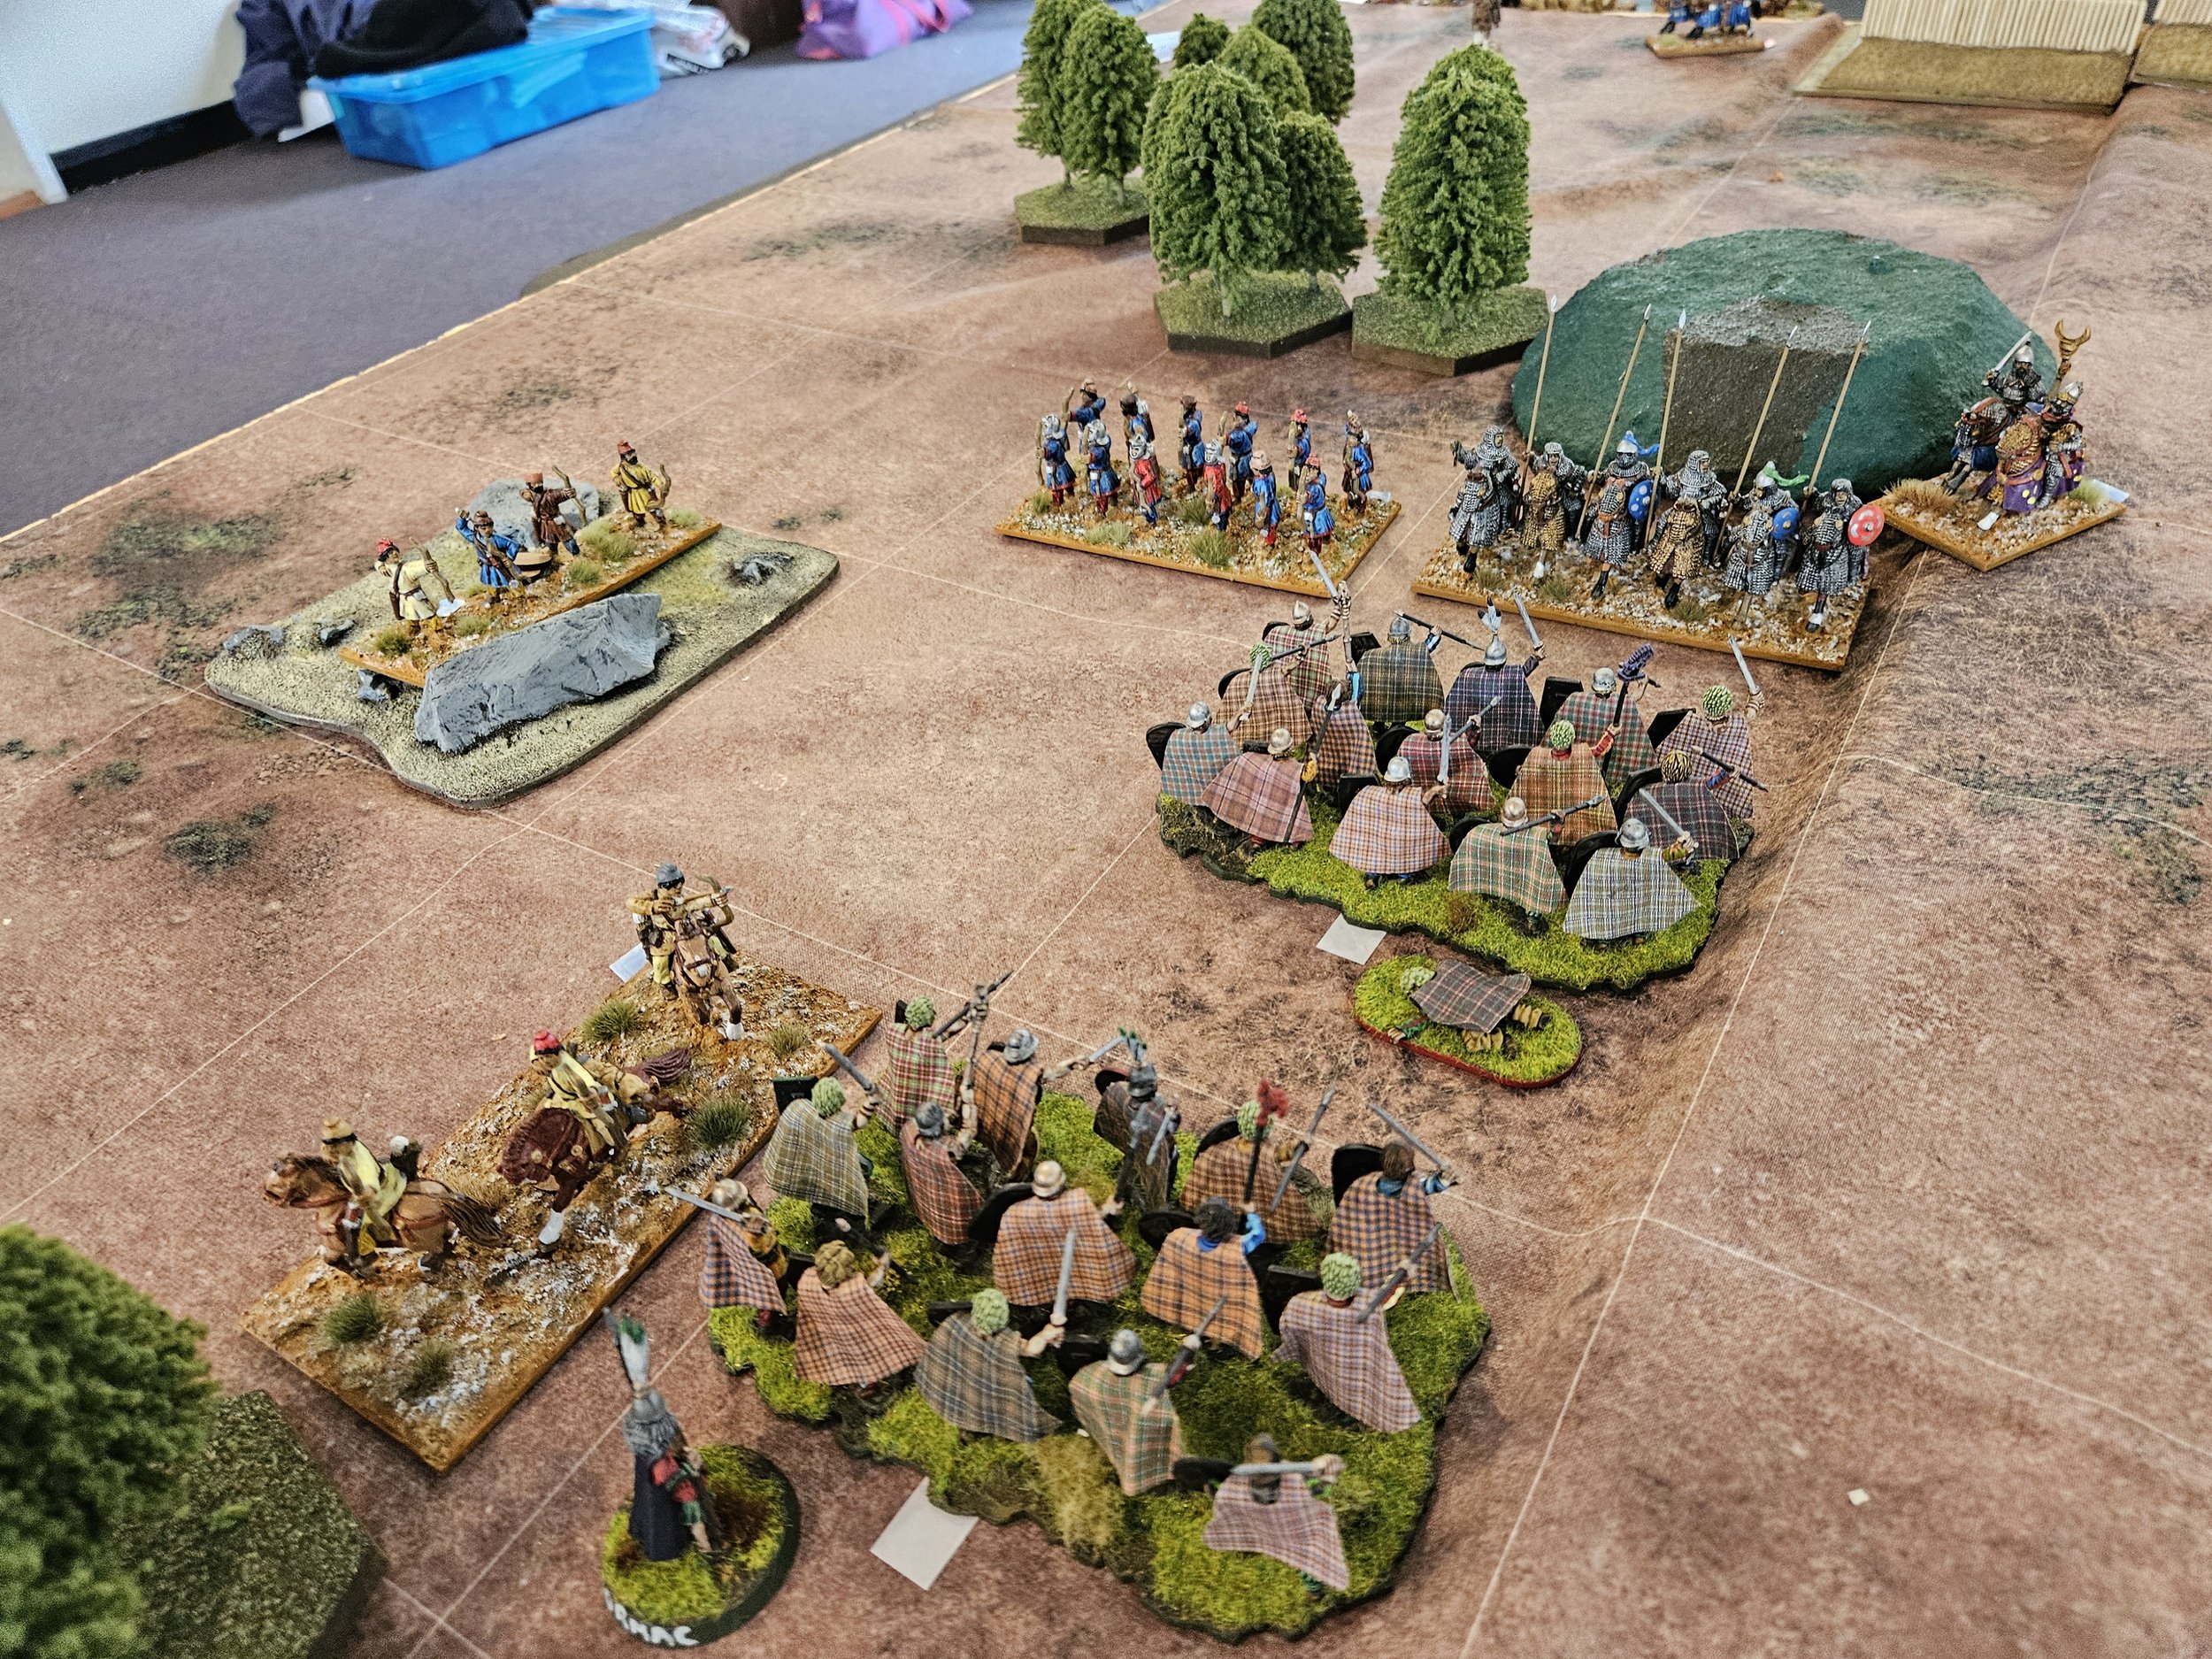
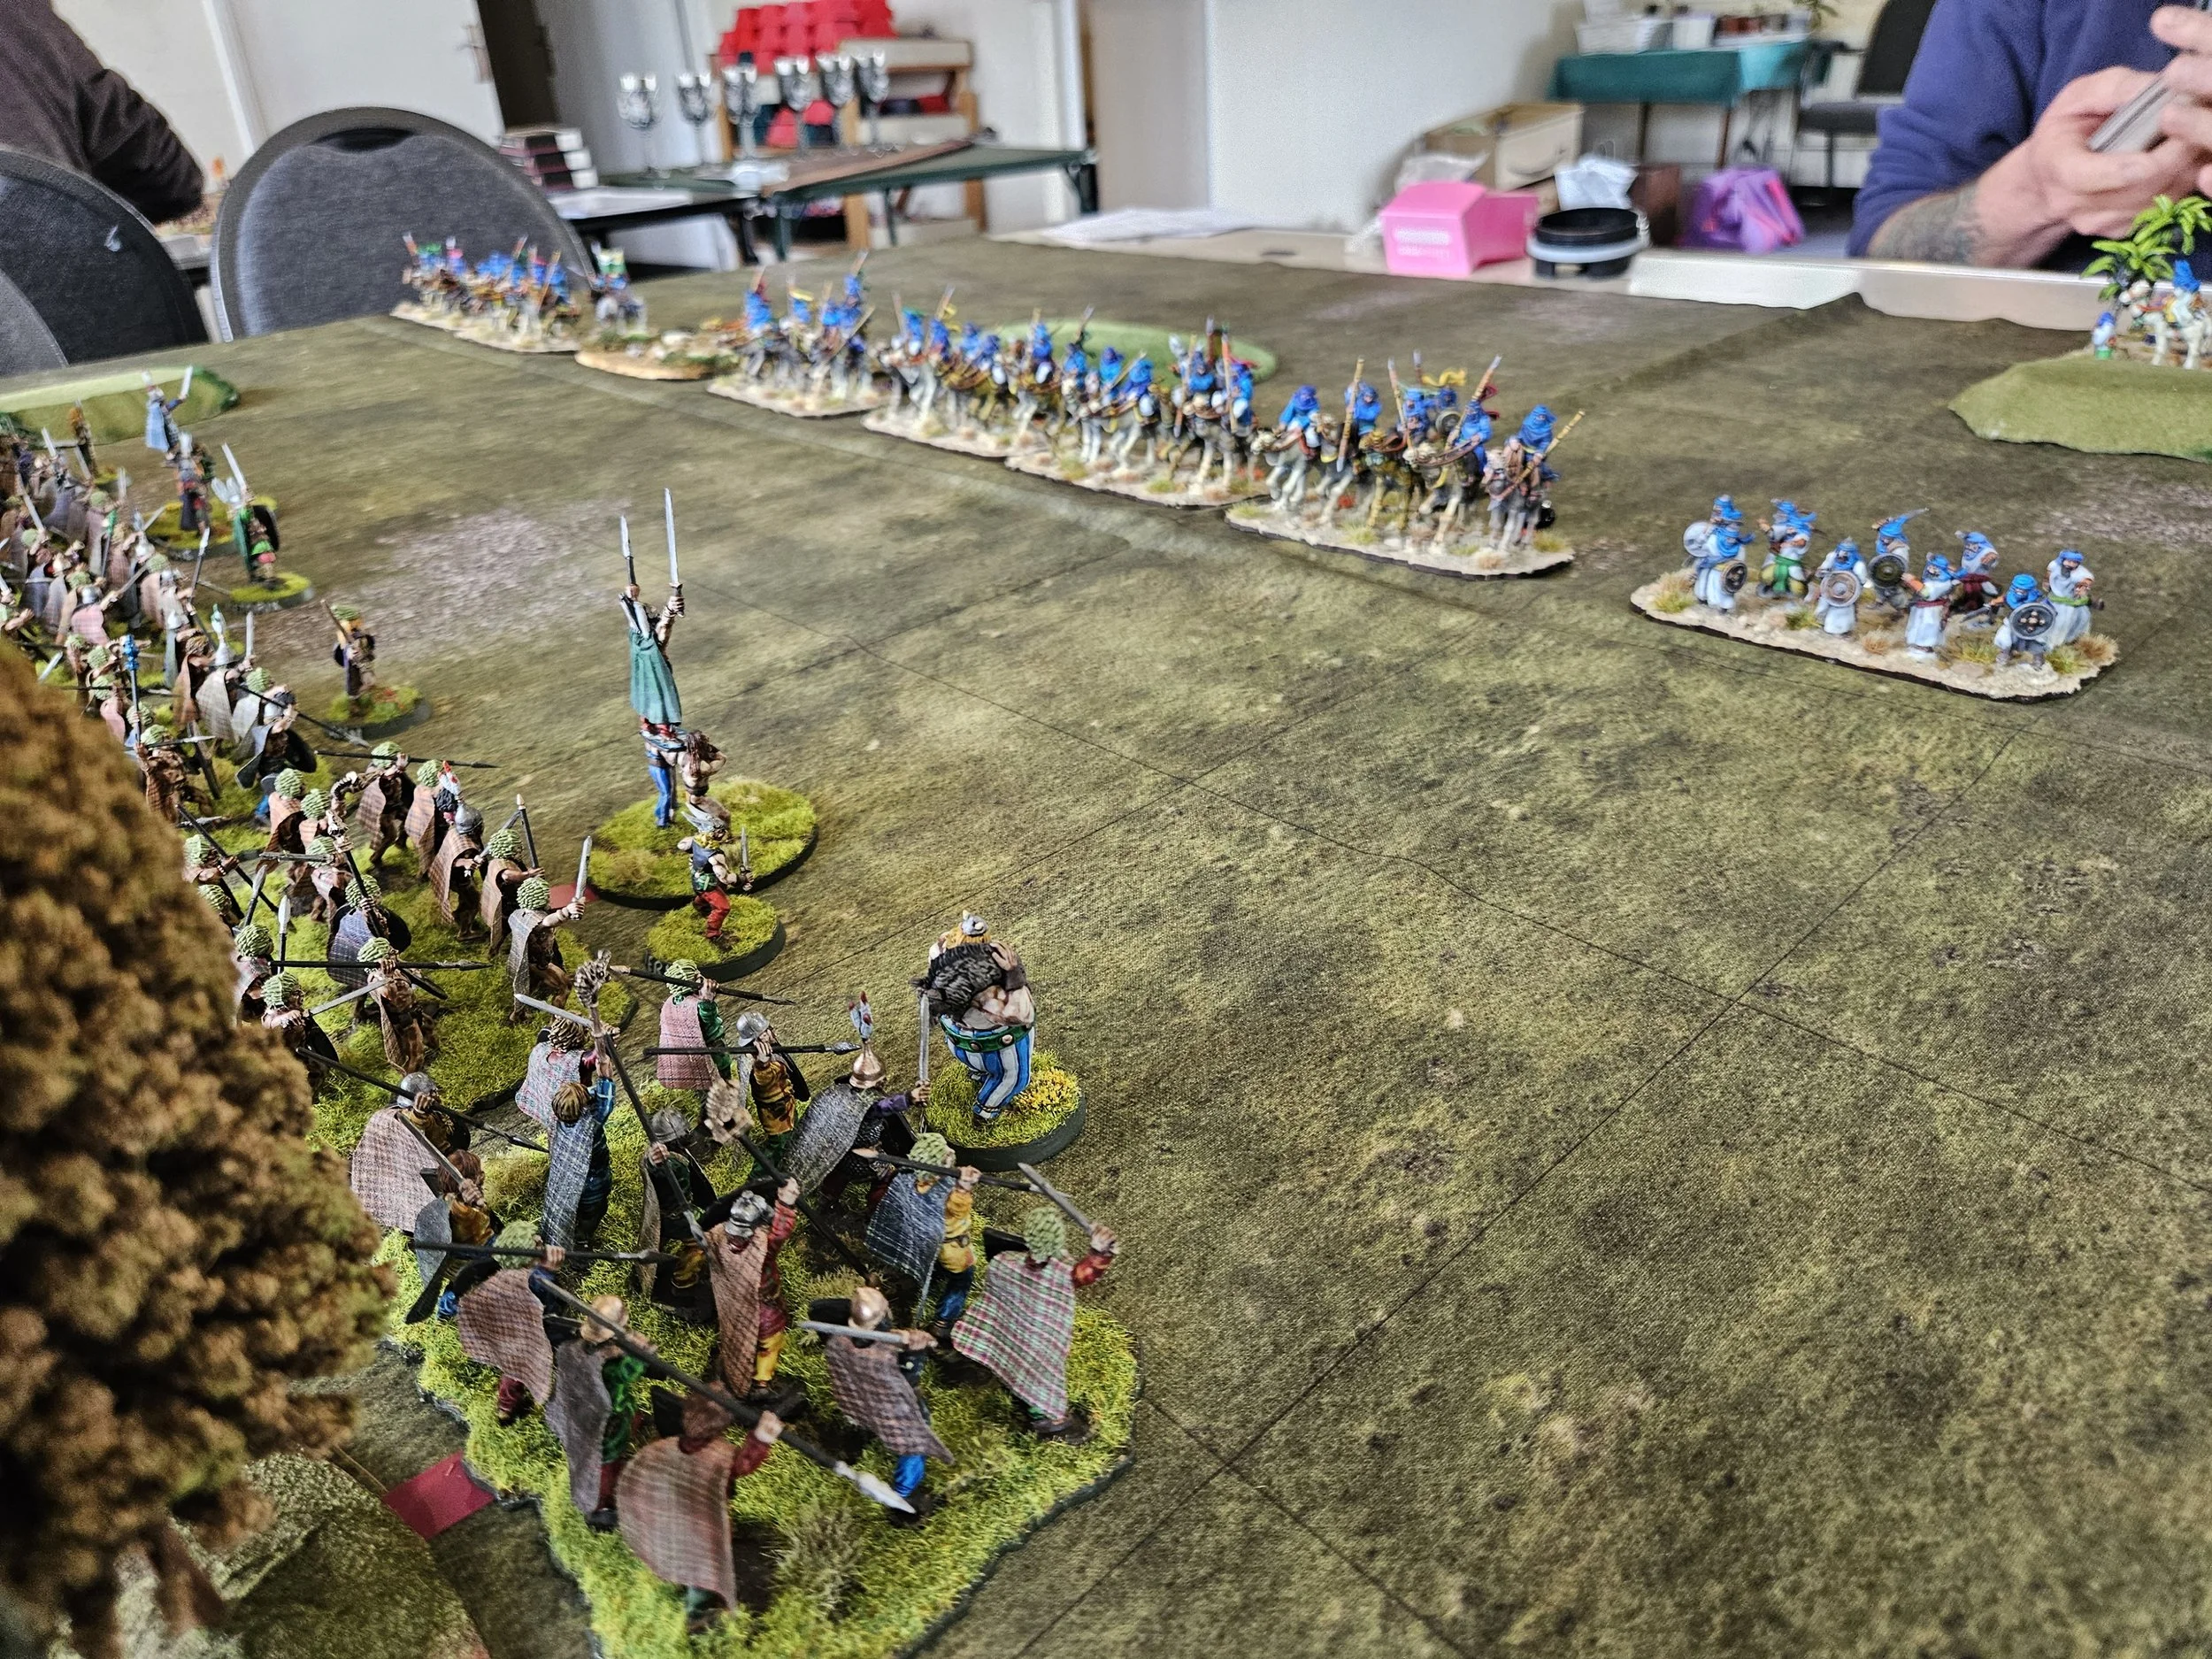
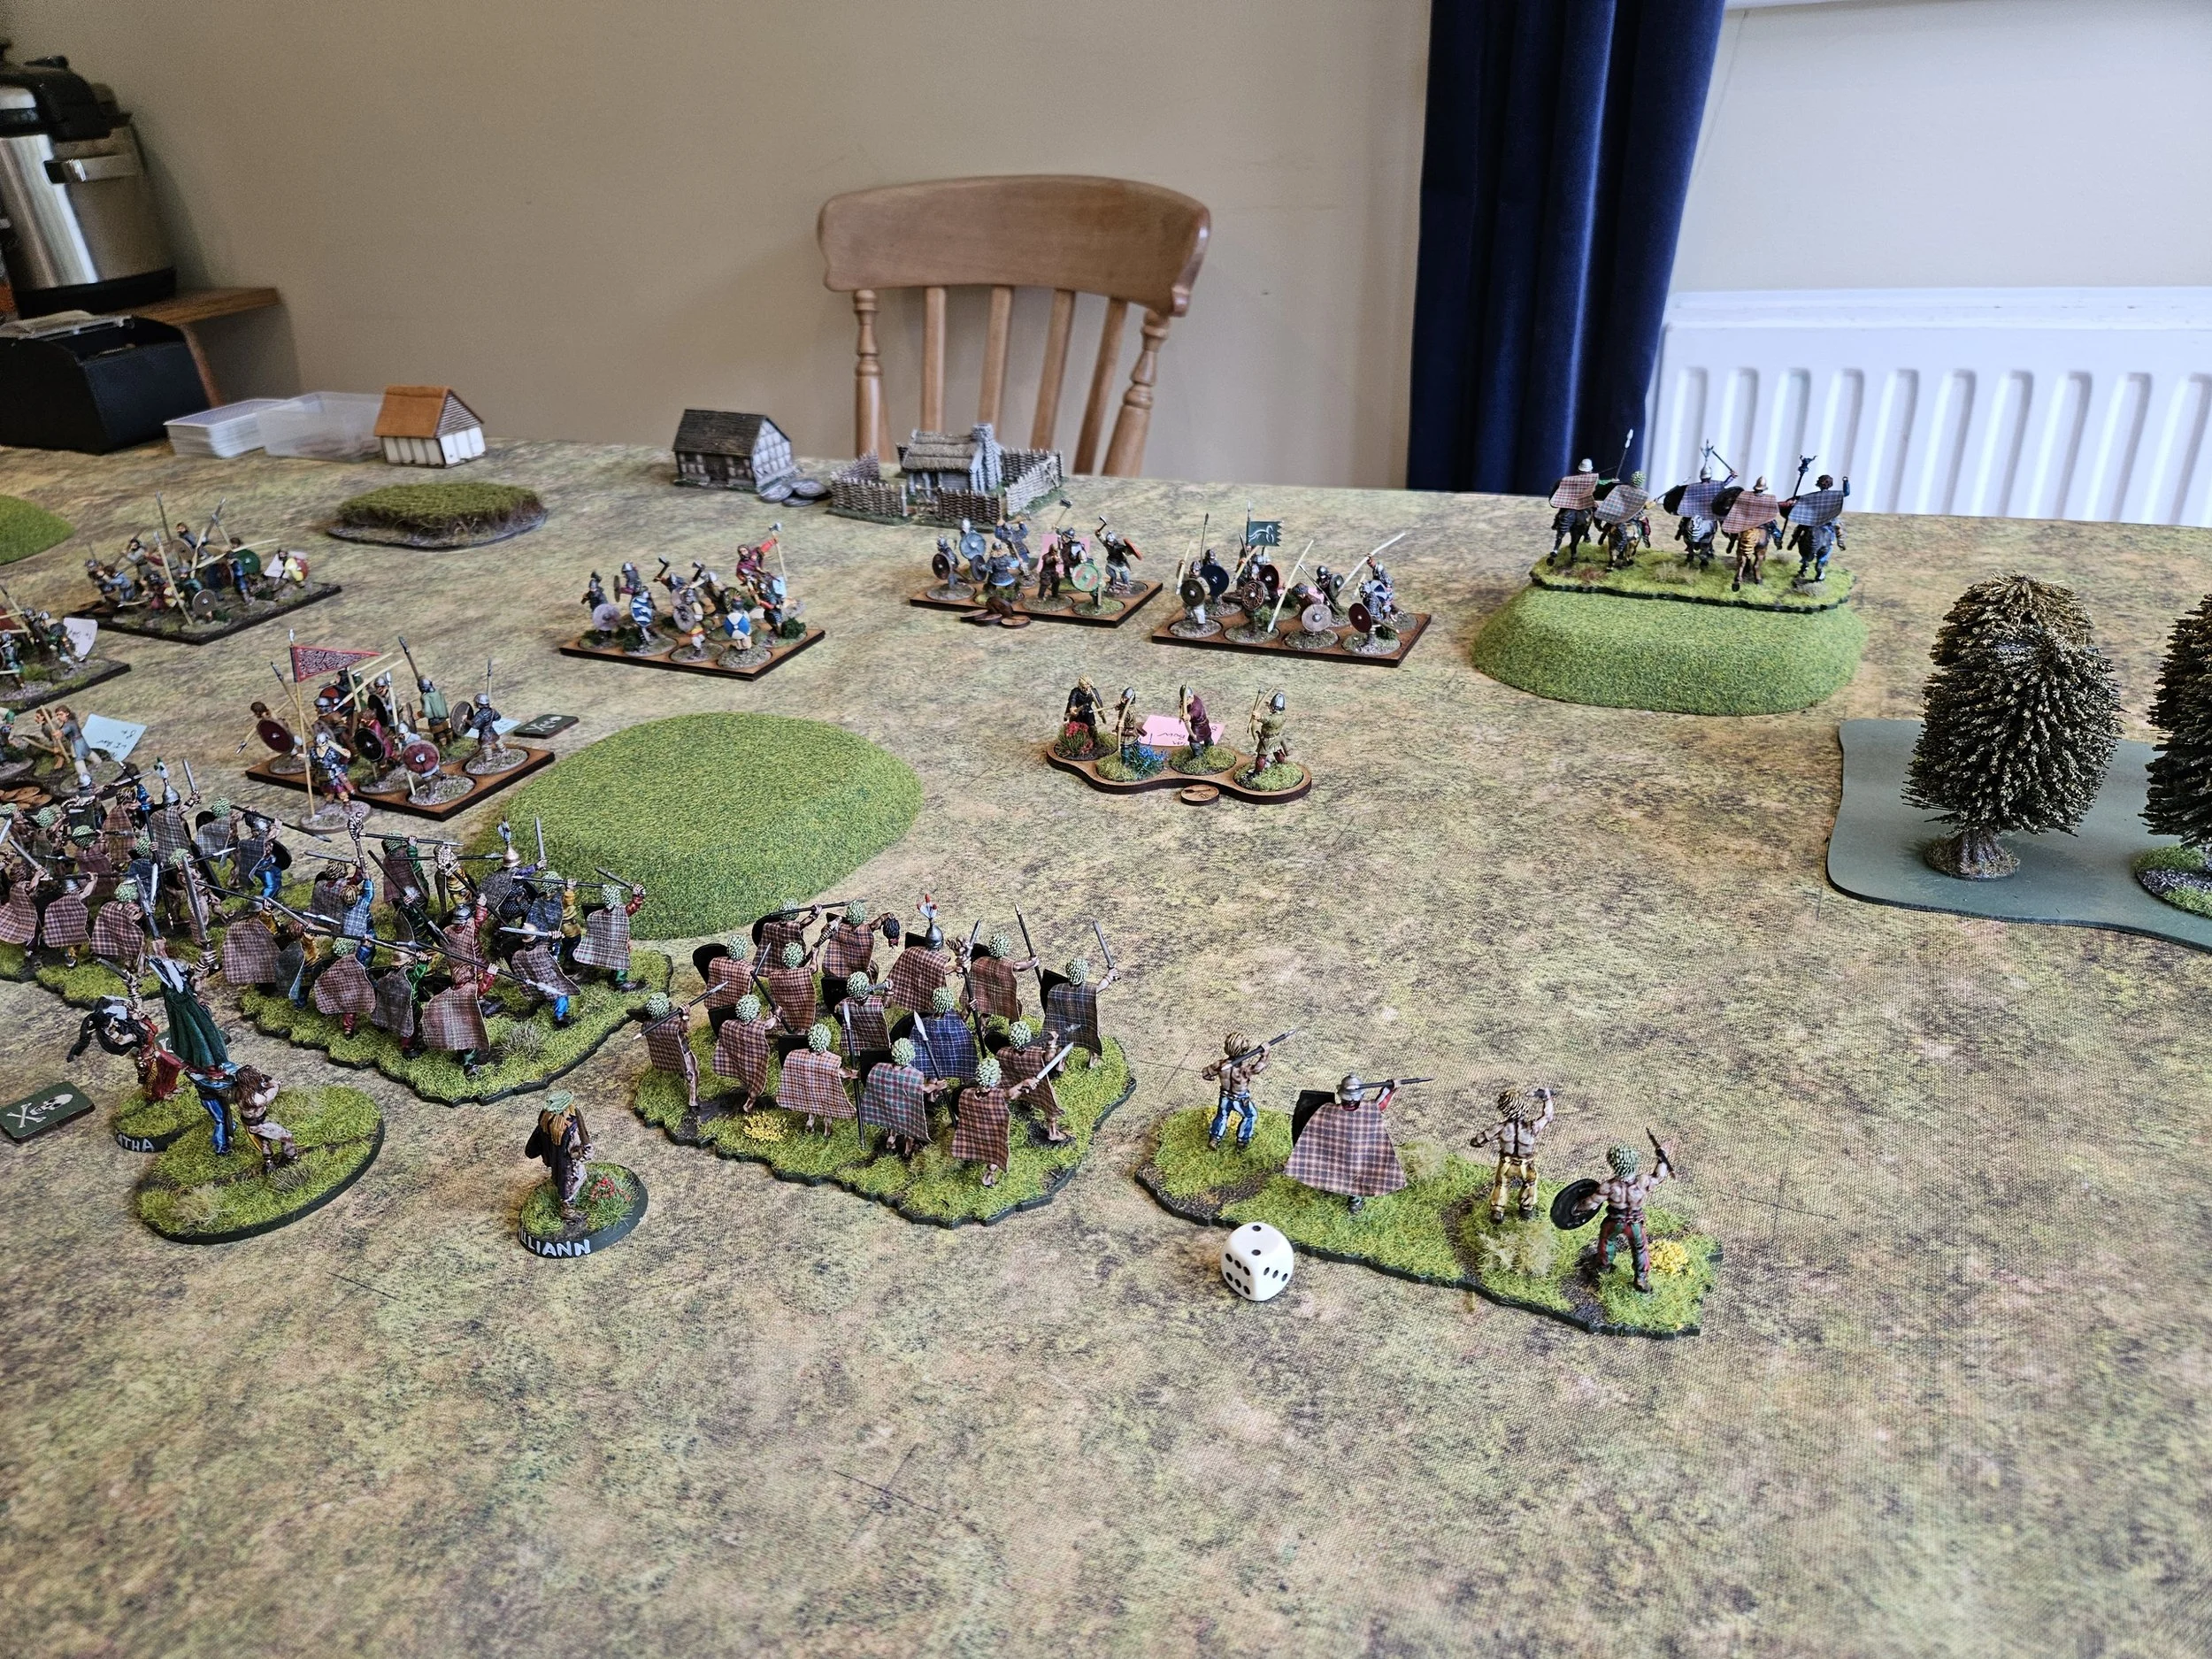
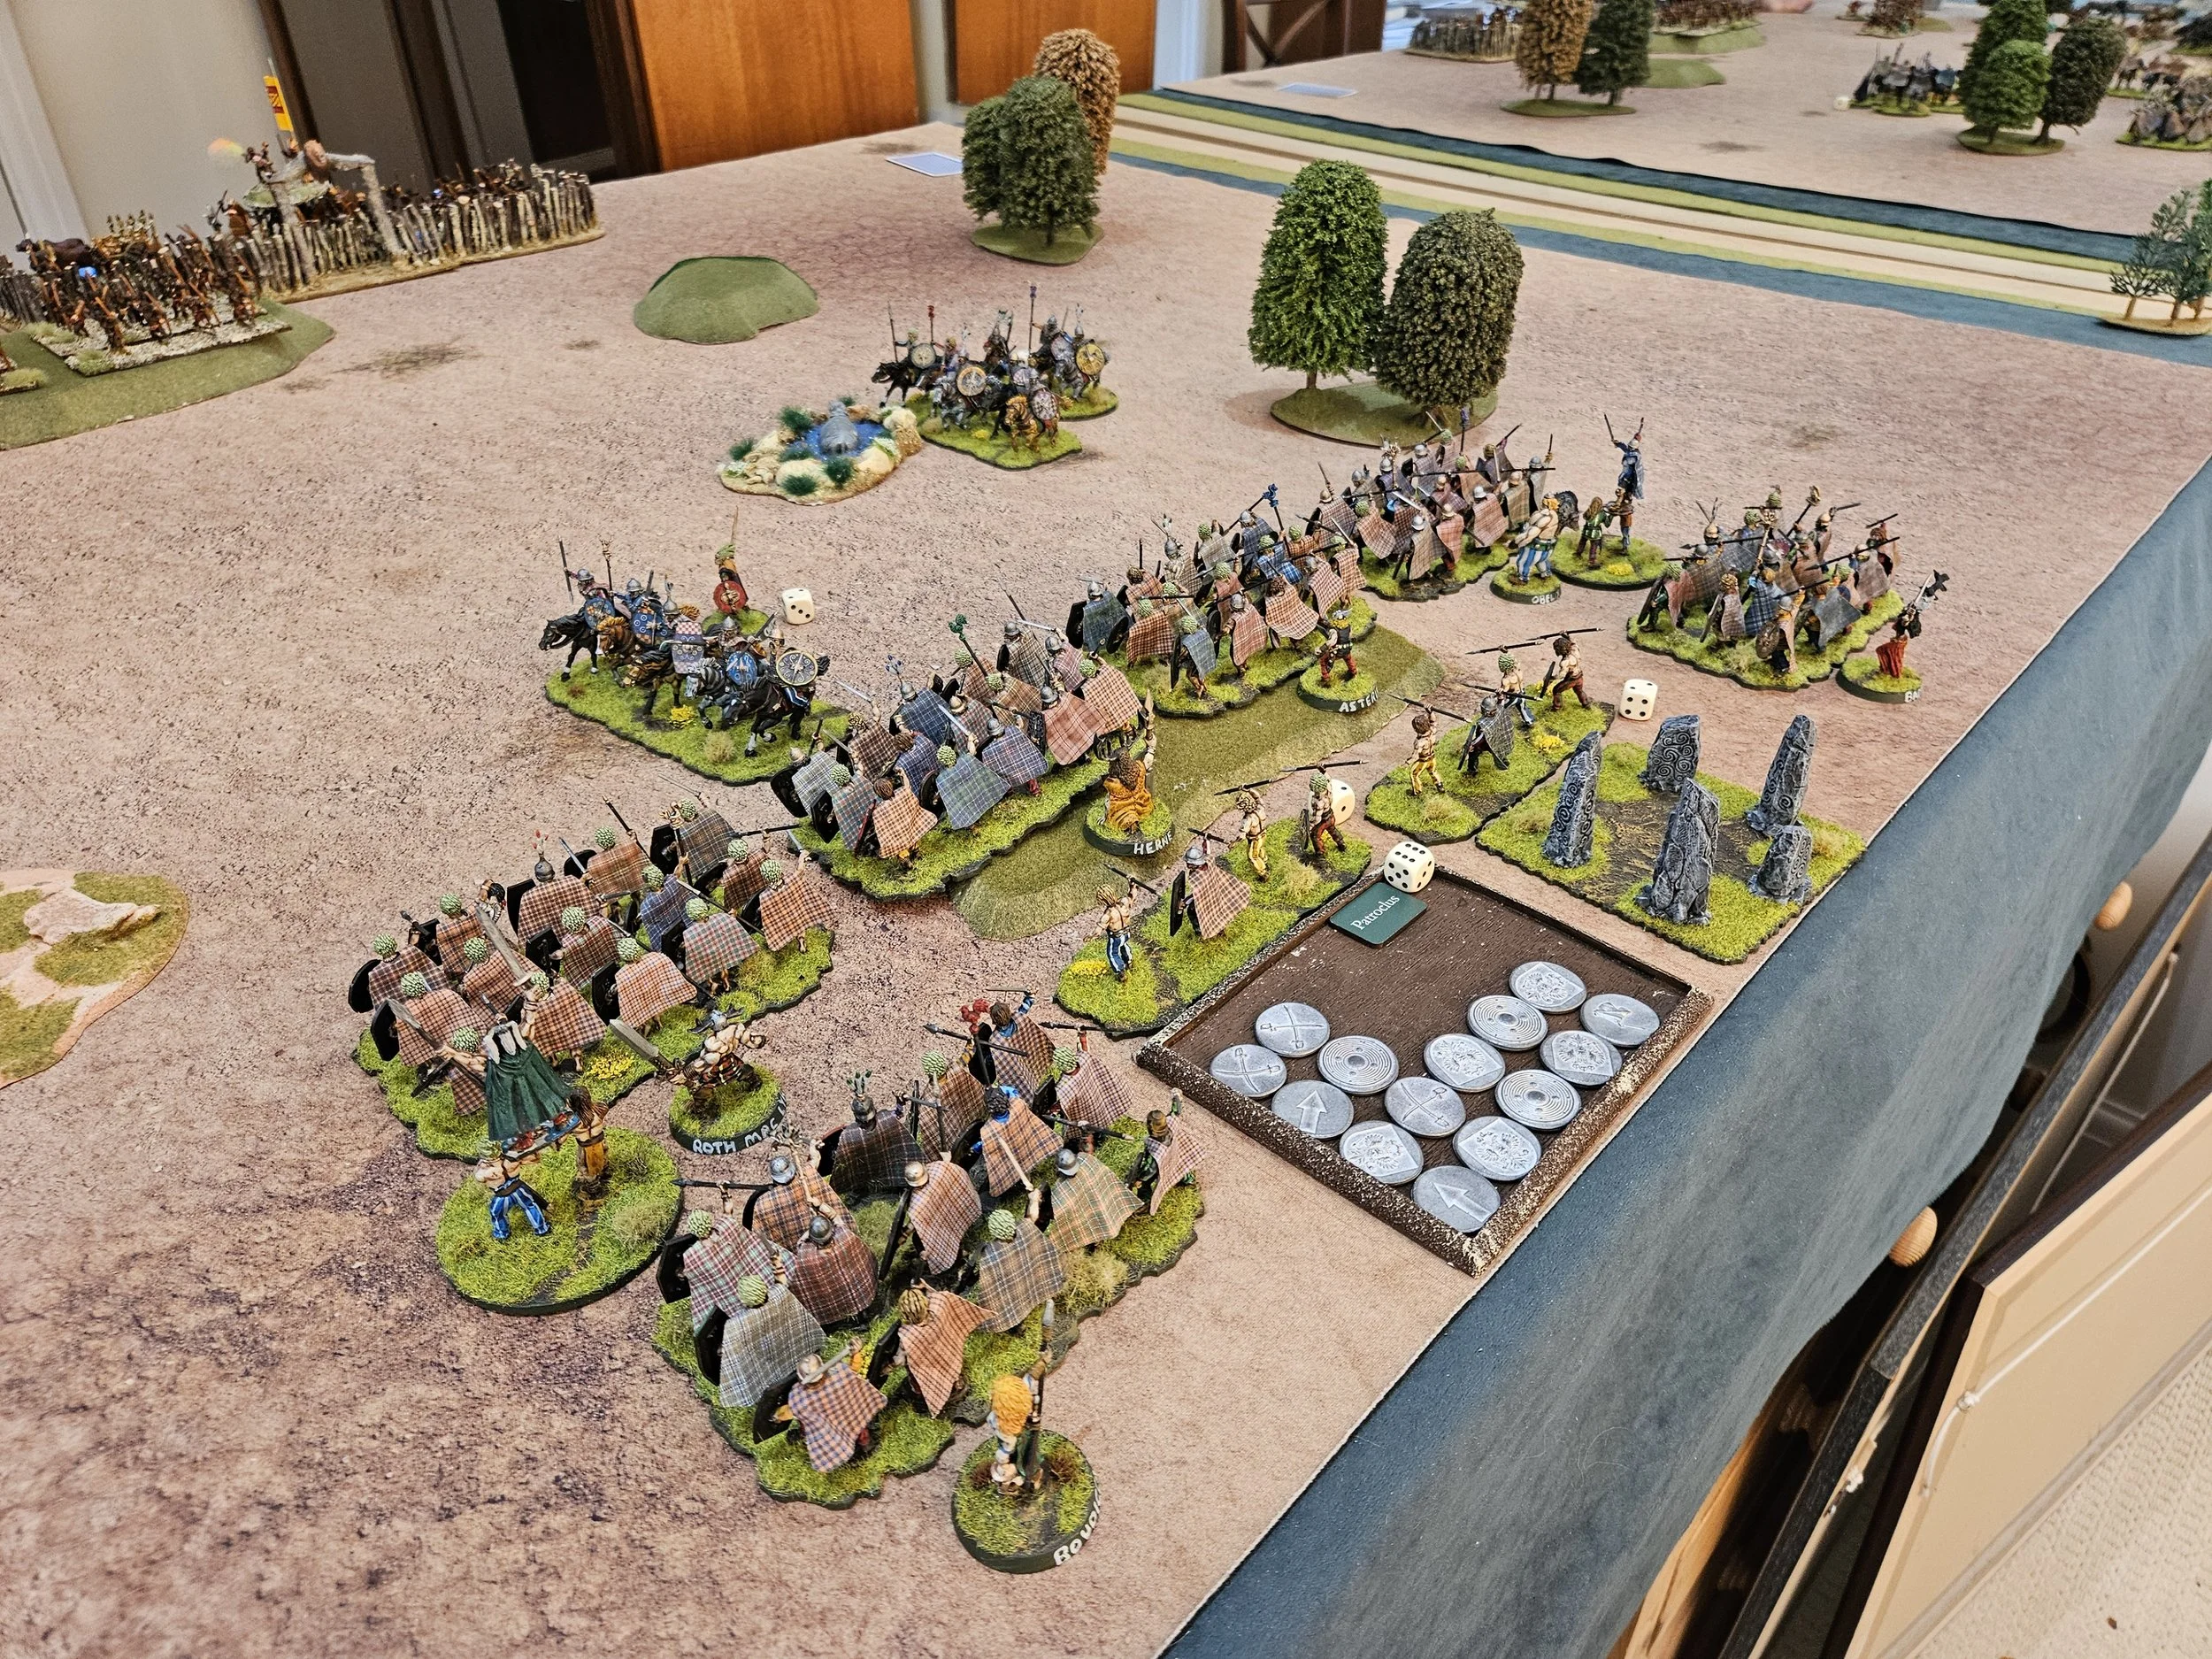
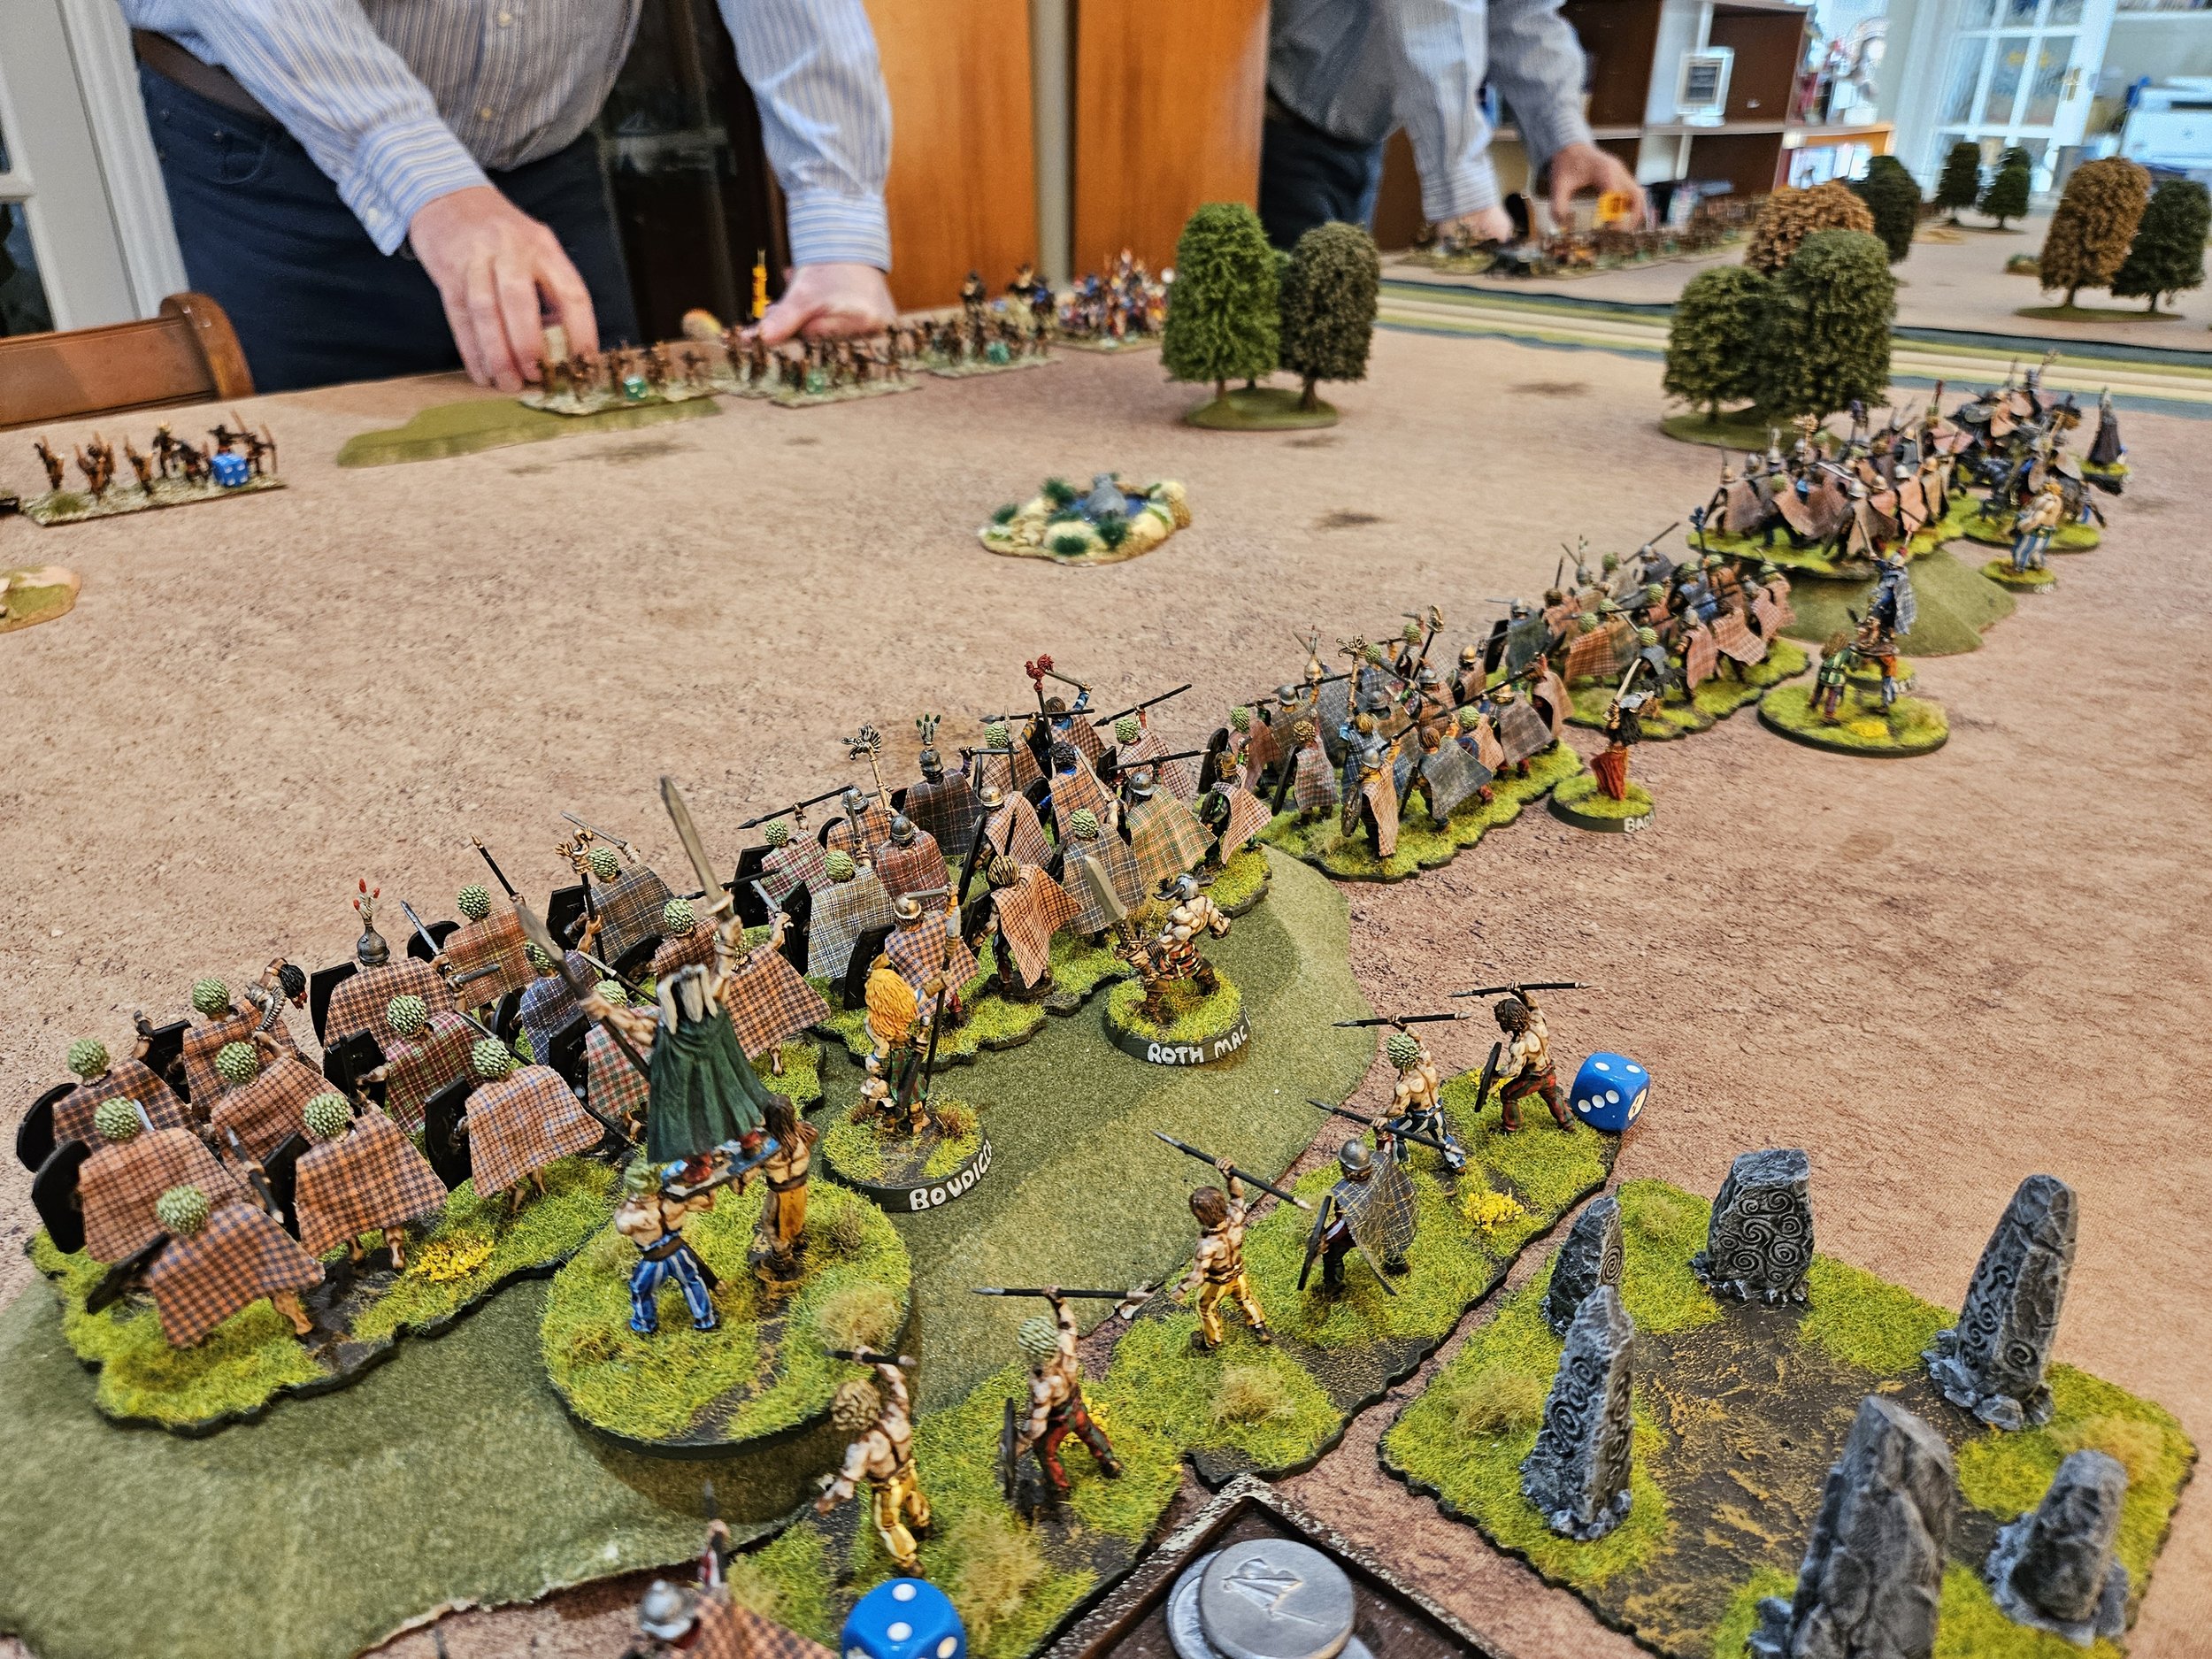
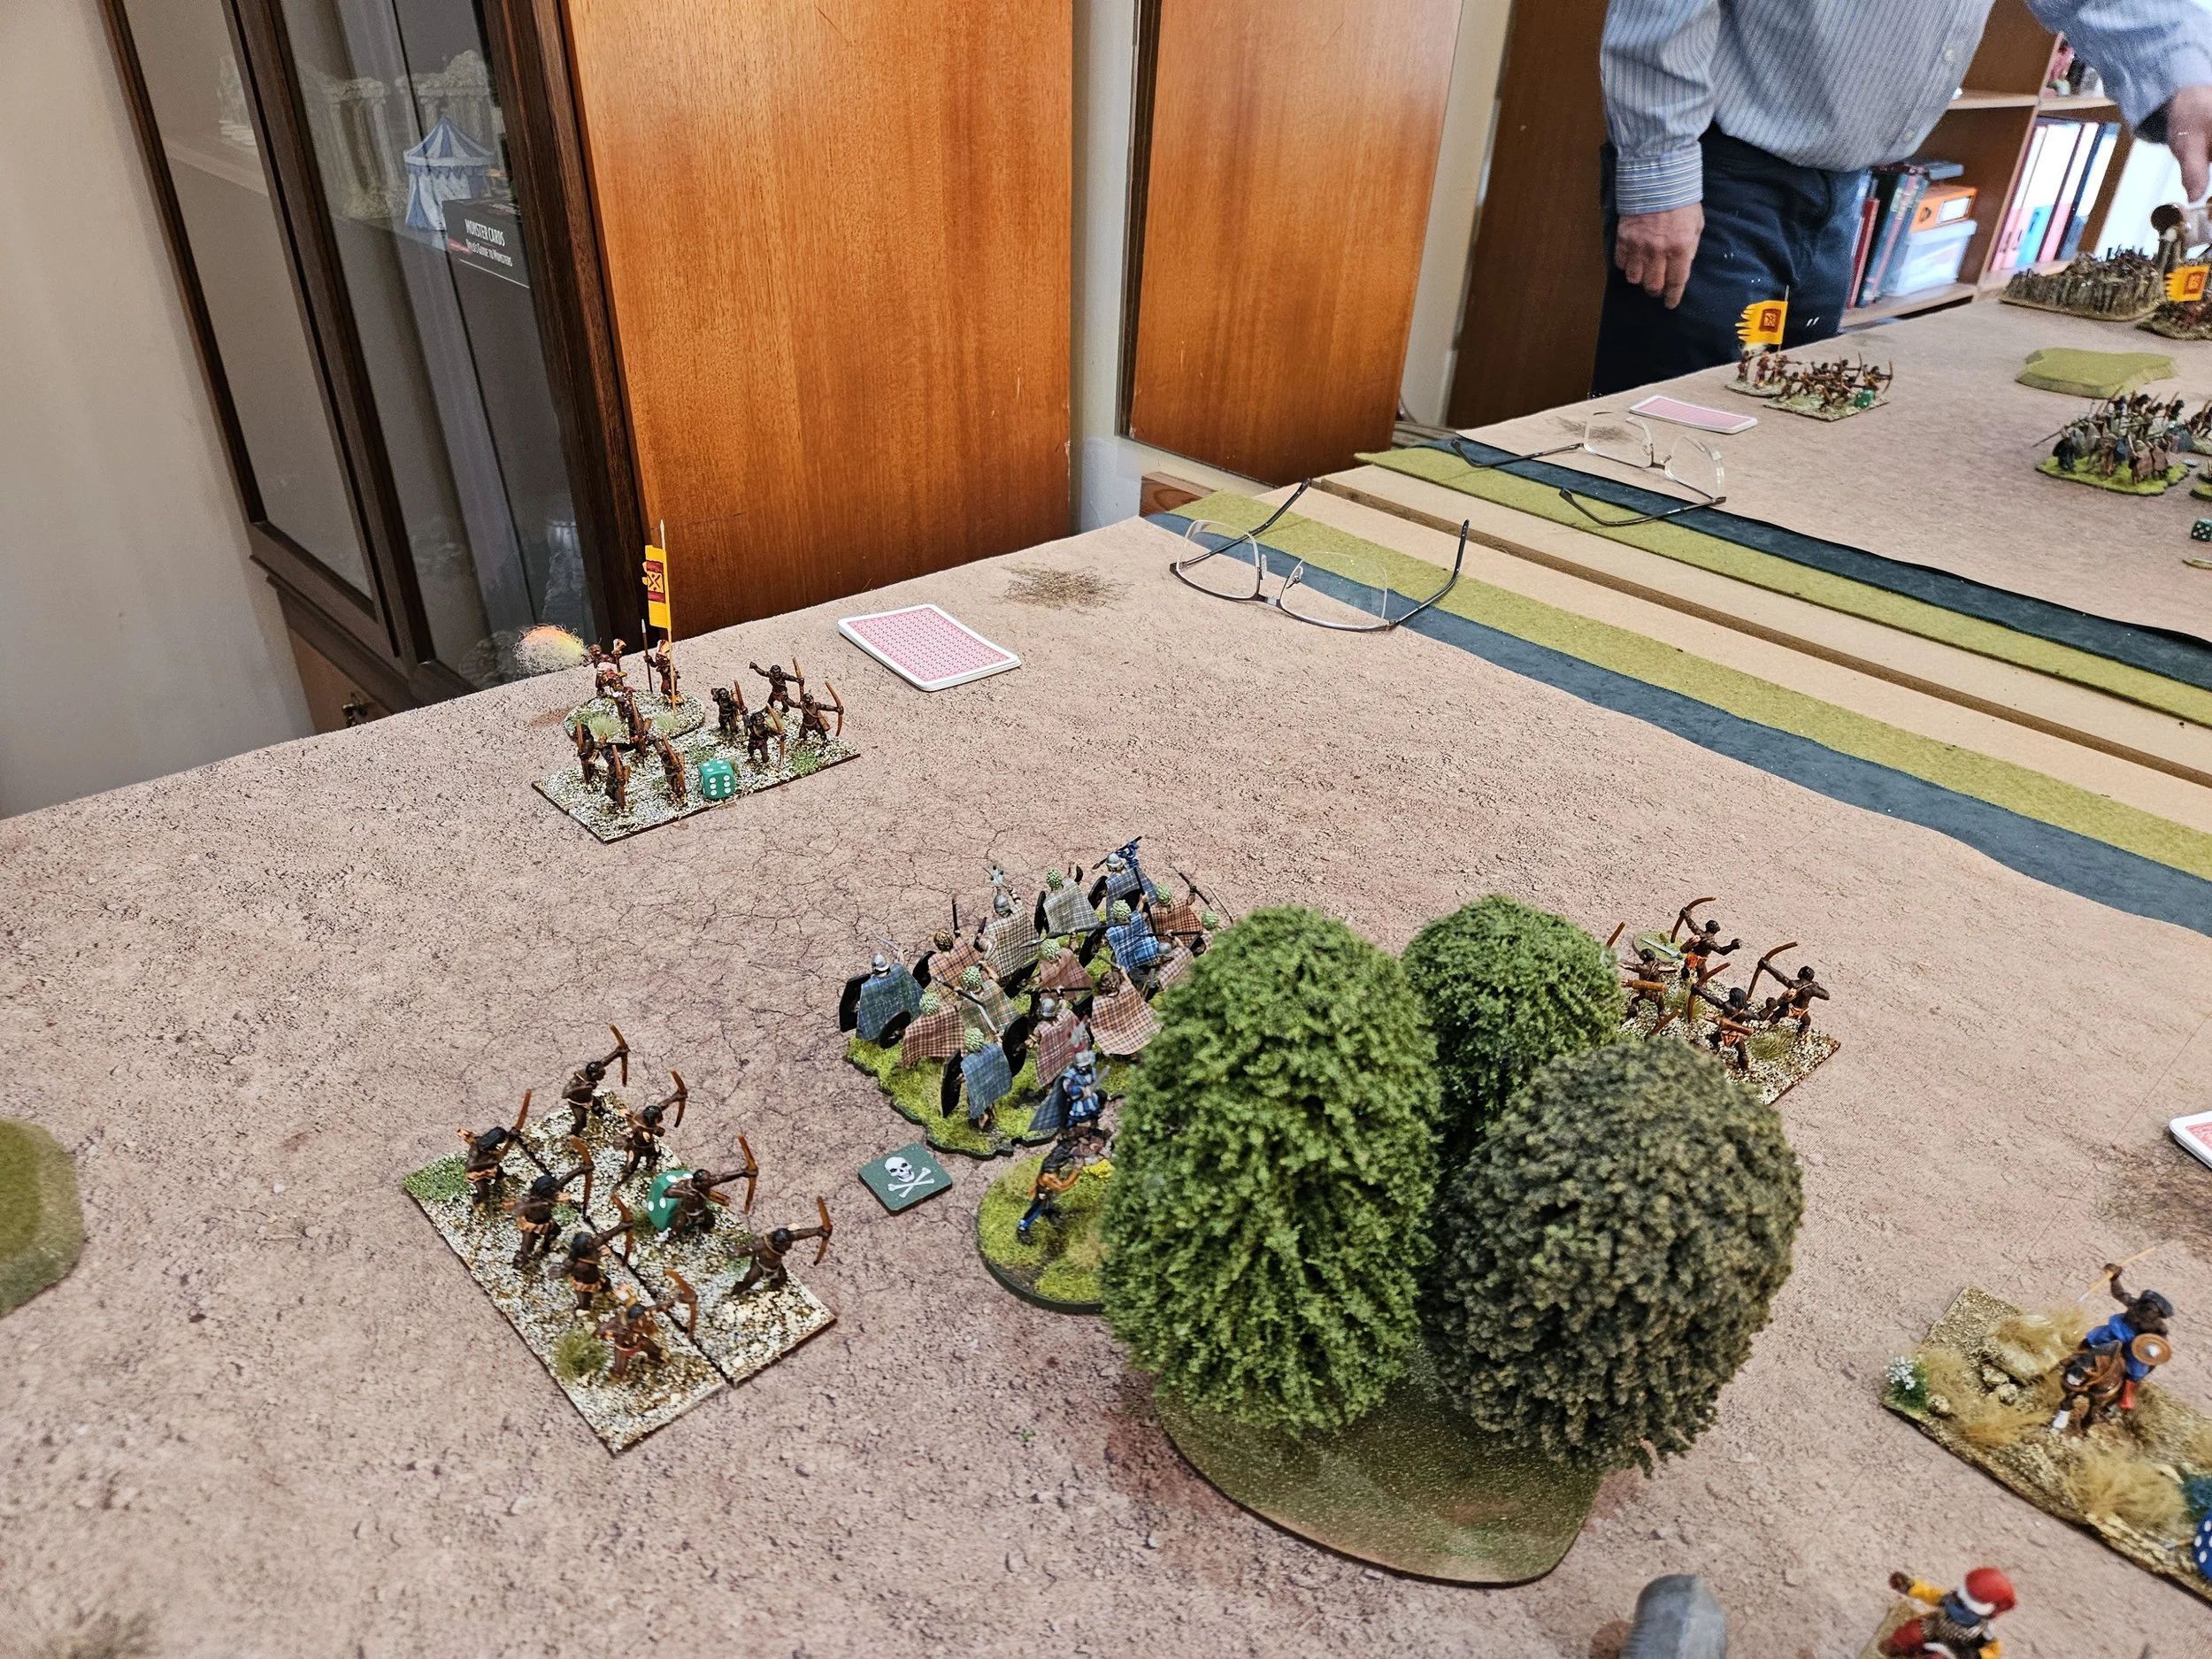
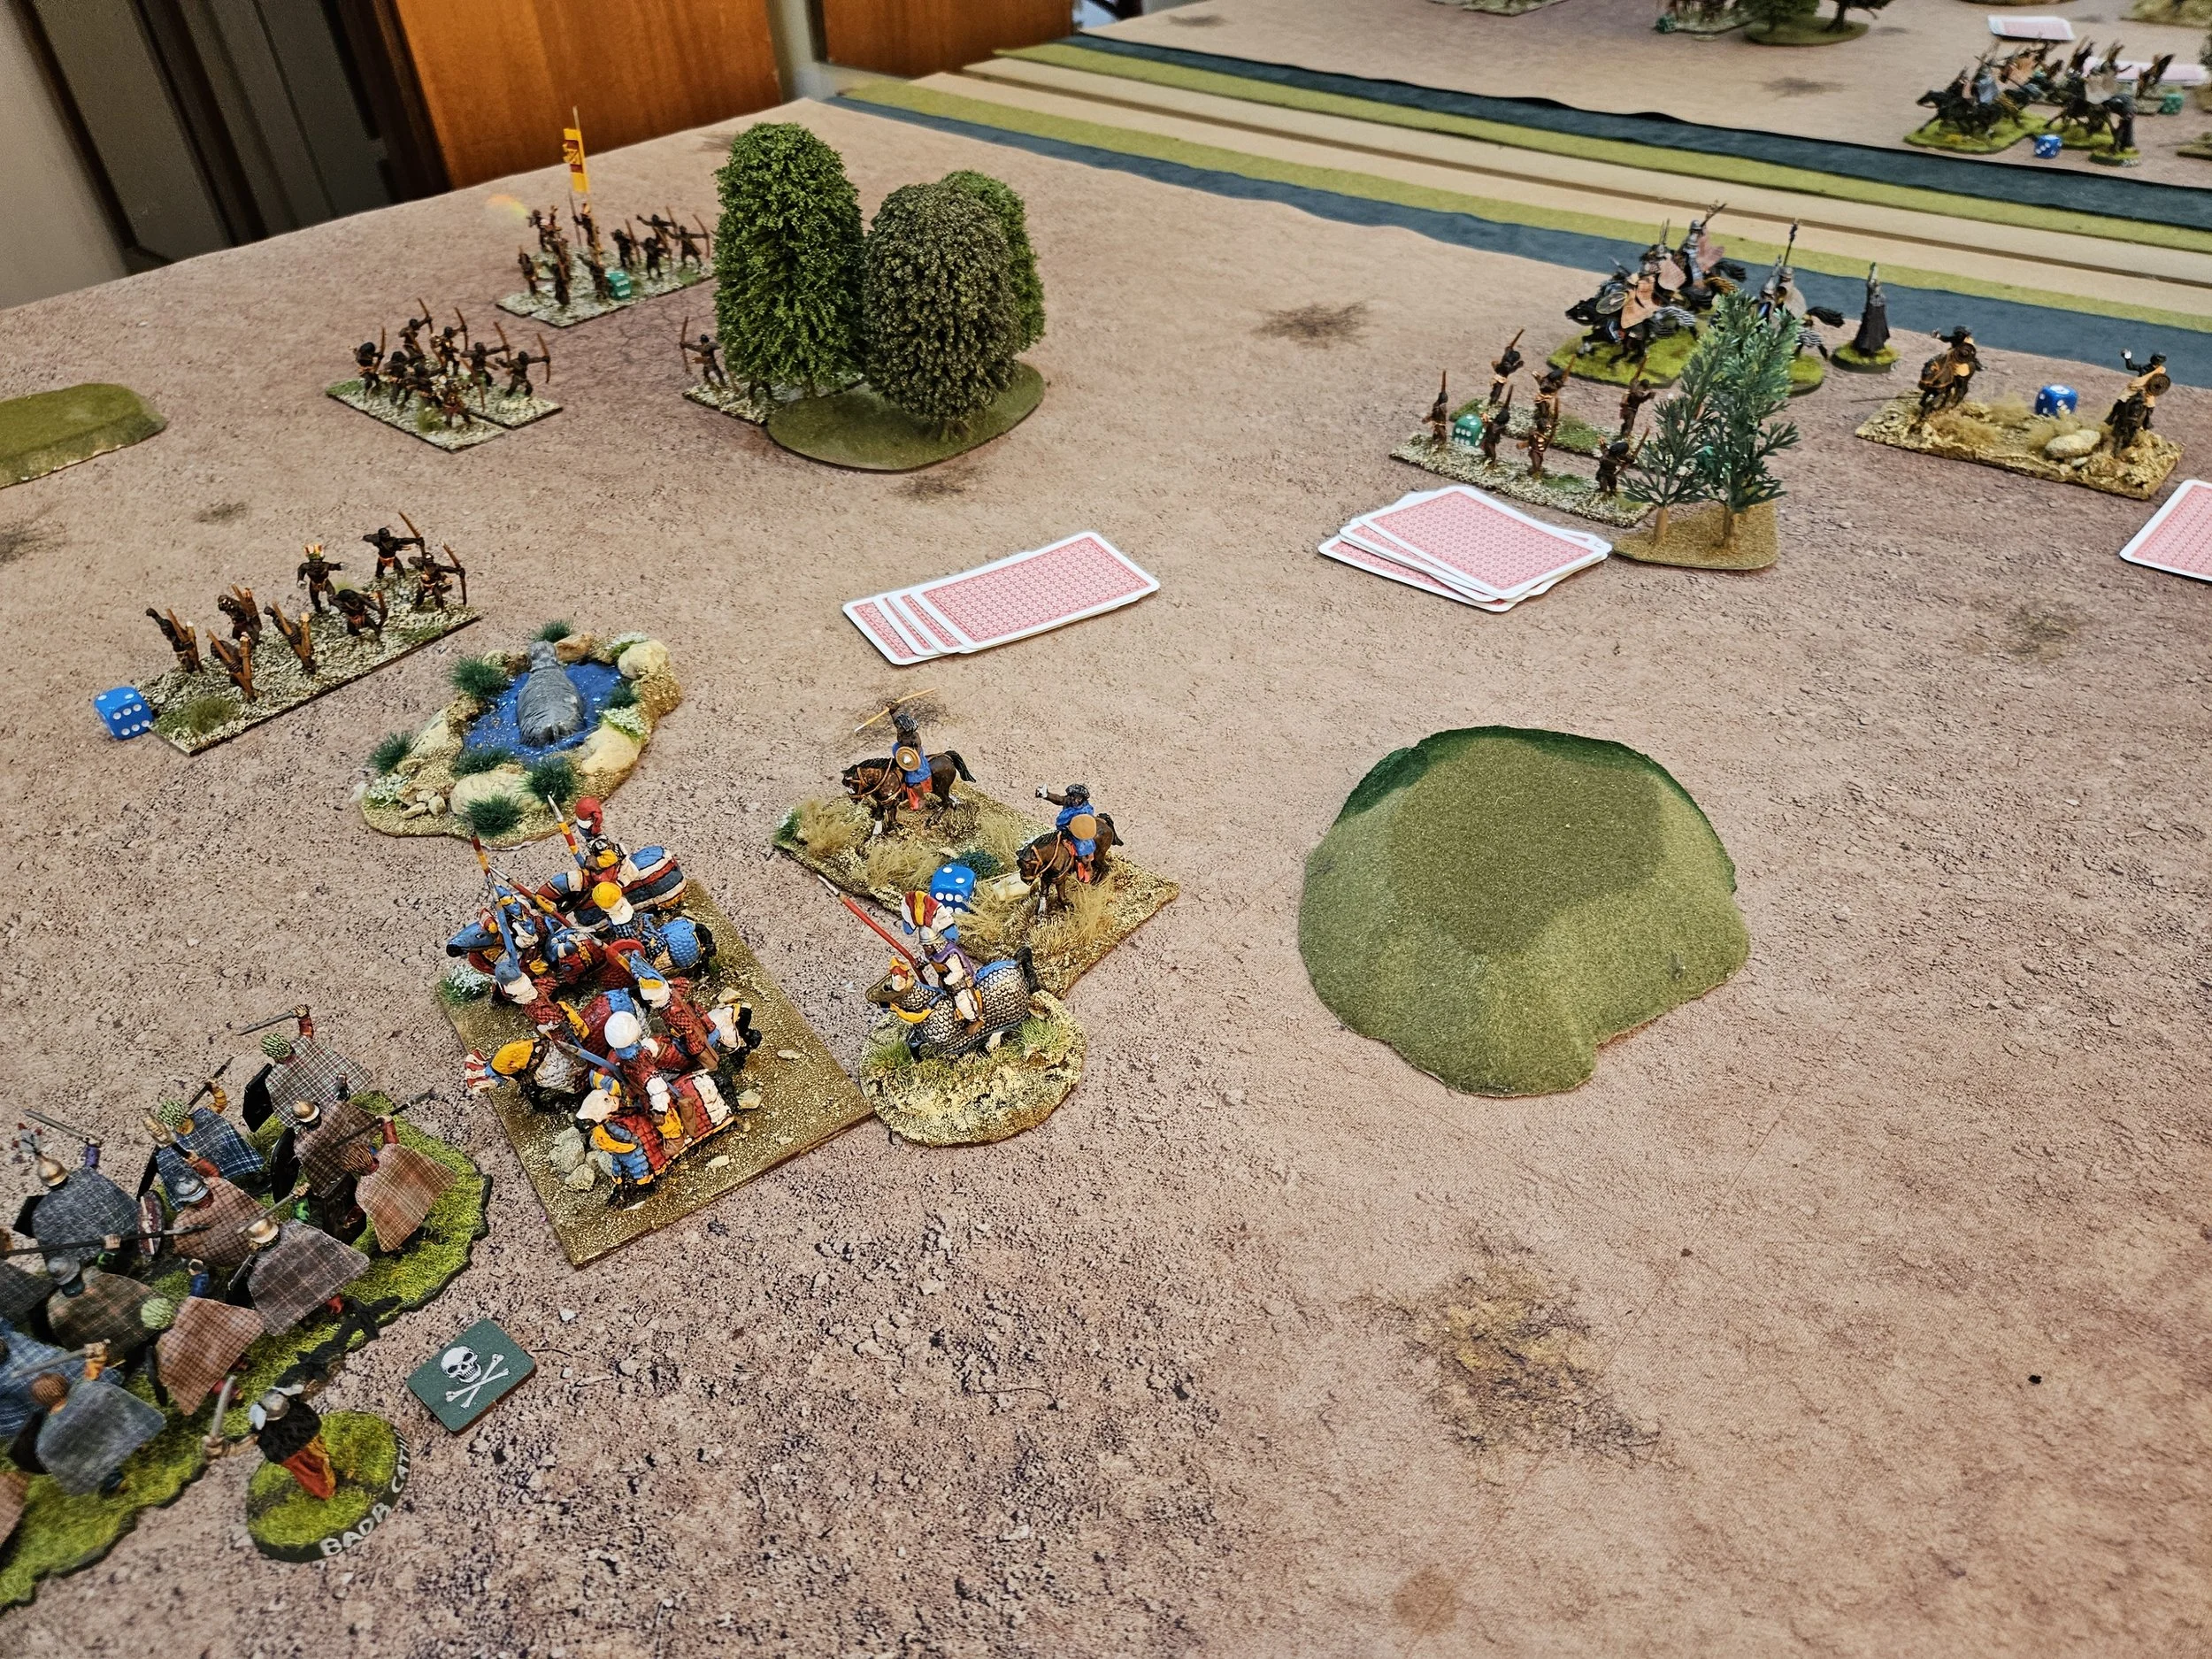
This pause in the action gave the Palmyrans time to recover from my right flank assault, consolidate, then capitalise on their success against my left and centre, and before long one of my cmaps was taken and I suffered a 69-165 defeat!


So kudos to Dillon for riding out my initial assualt and focusing on what was important: knocking my three-coin warbands and/or camps off the table. A well-taken victory for him.
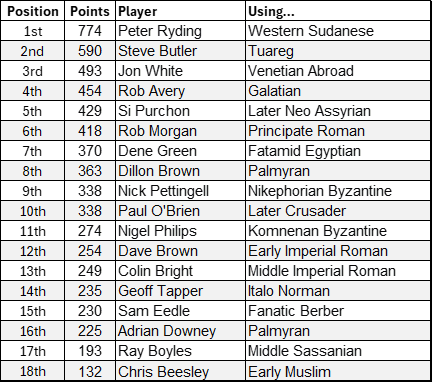
Disappointing, but my two big victories in games two and three still meant that I finished in fourth place overall in the tournament. Here are the full results:
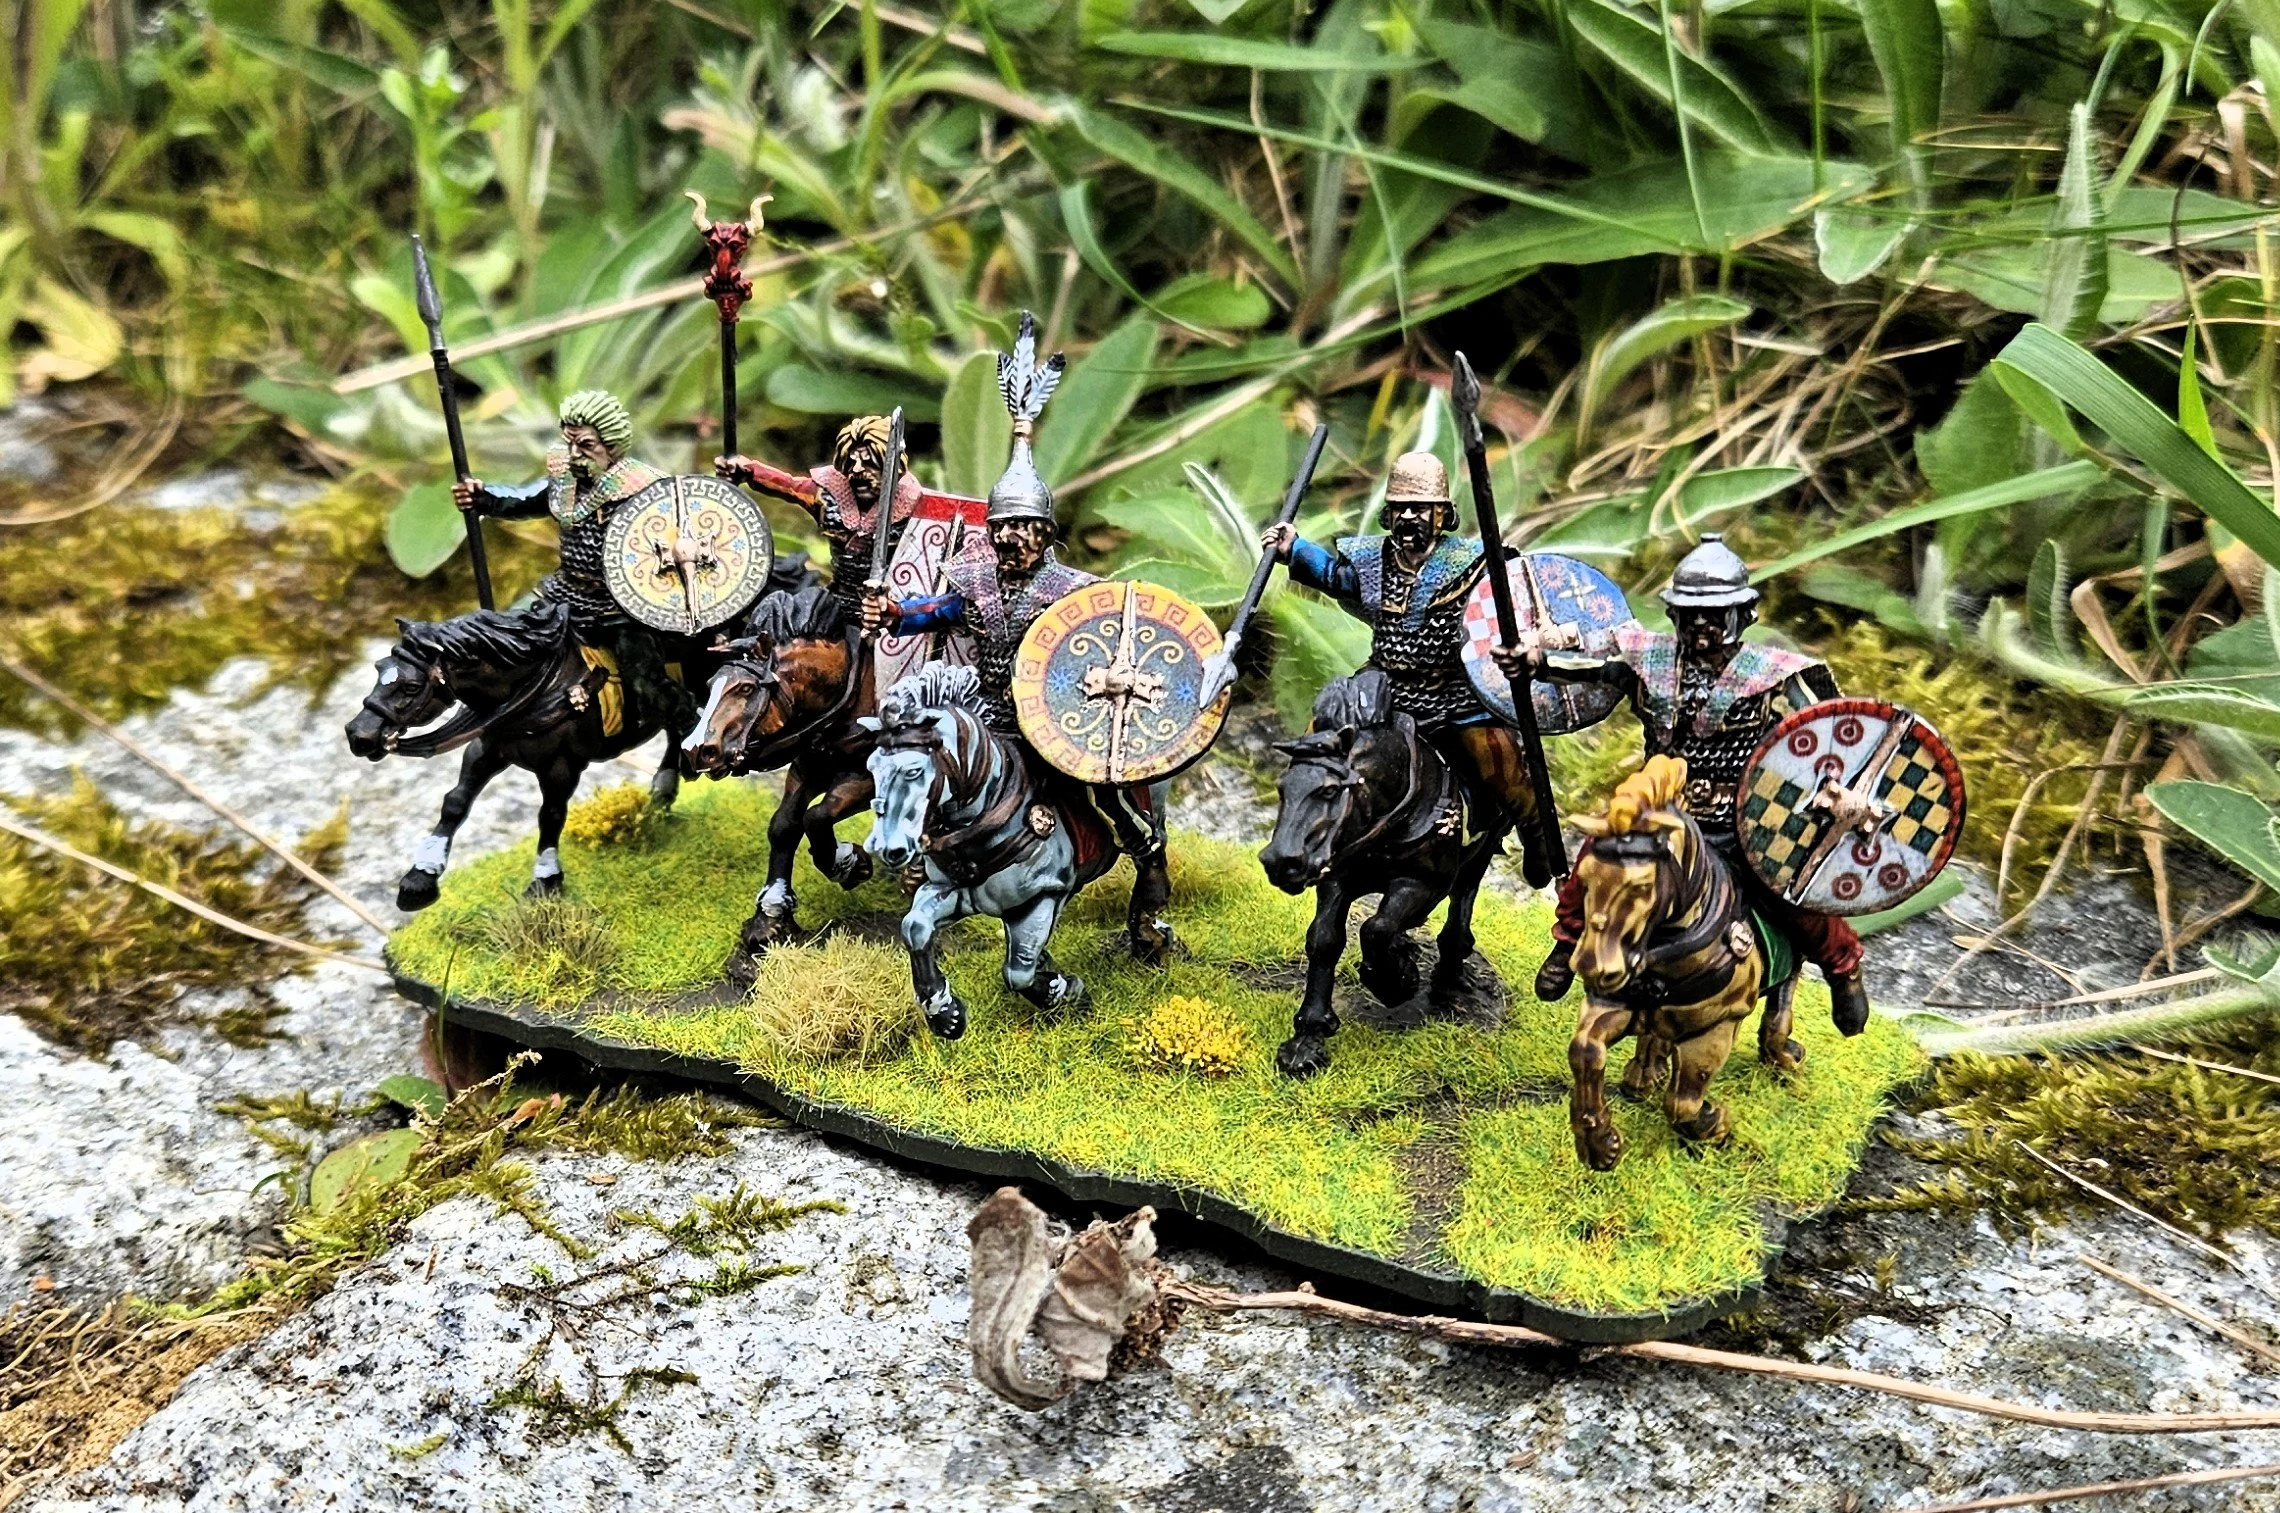
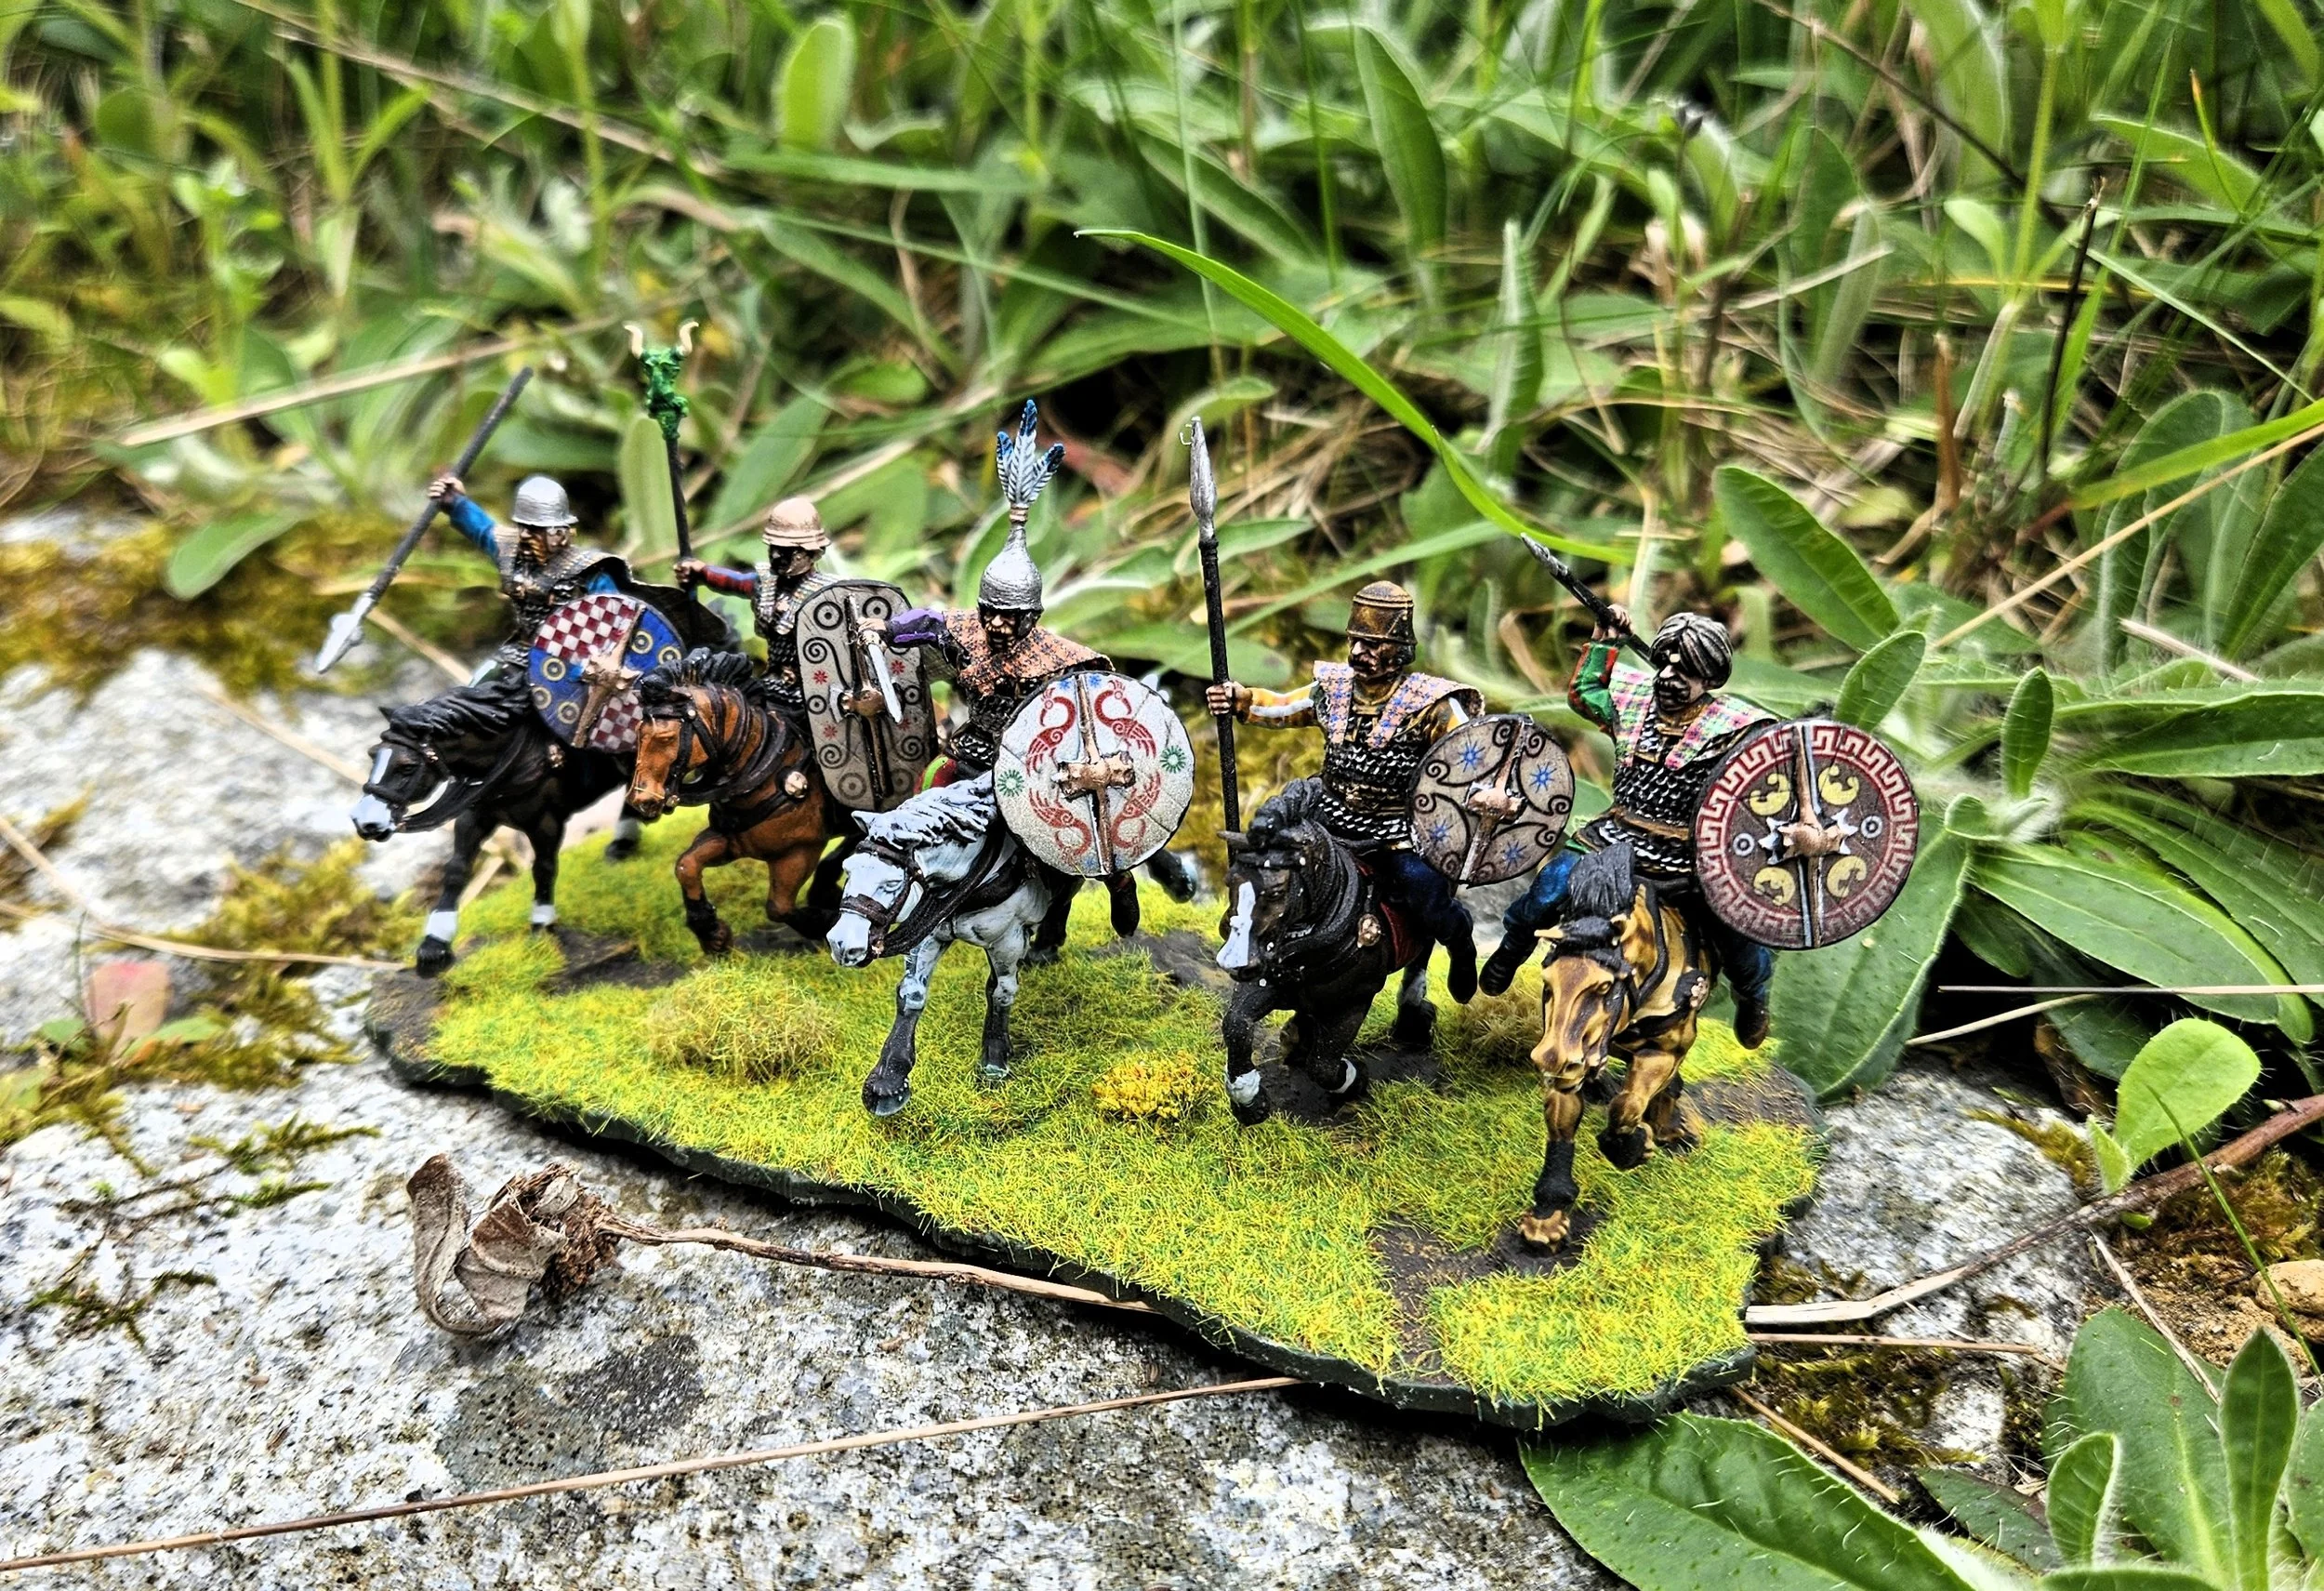
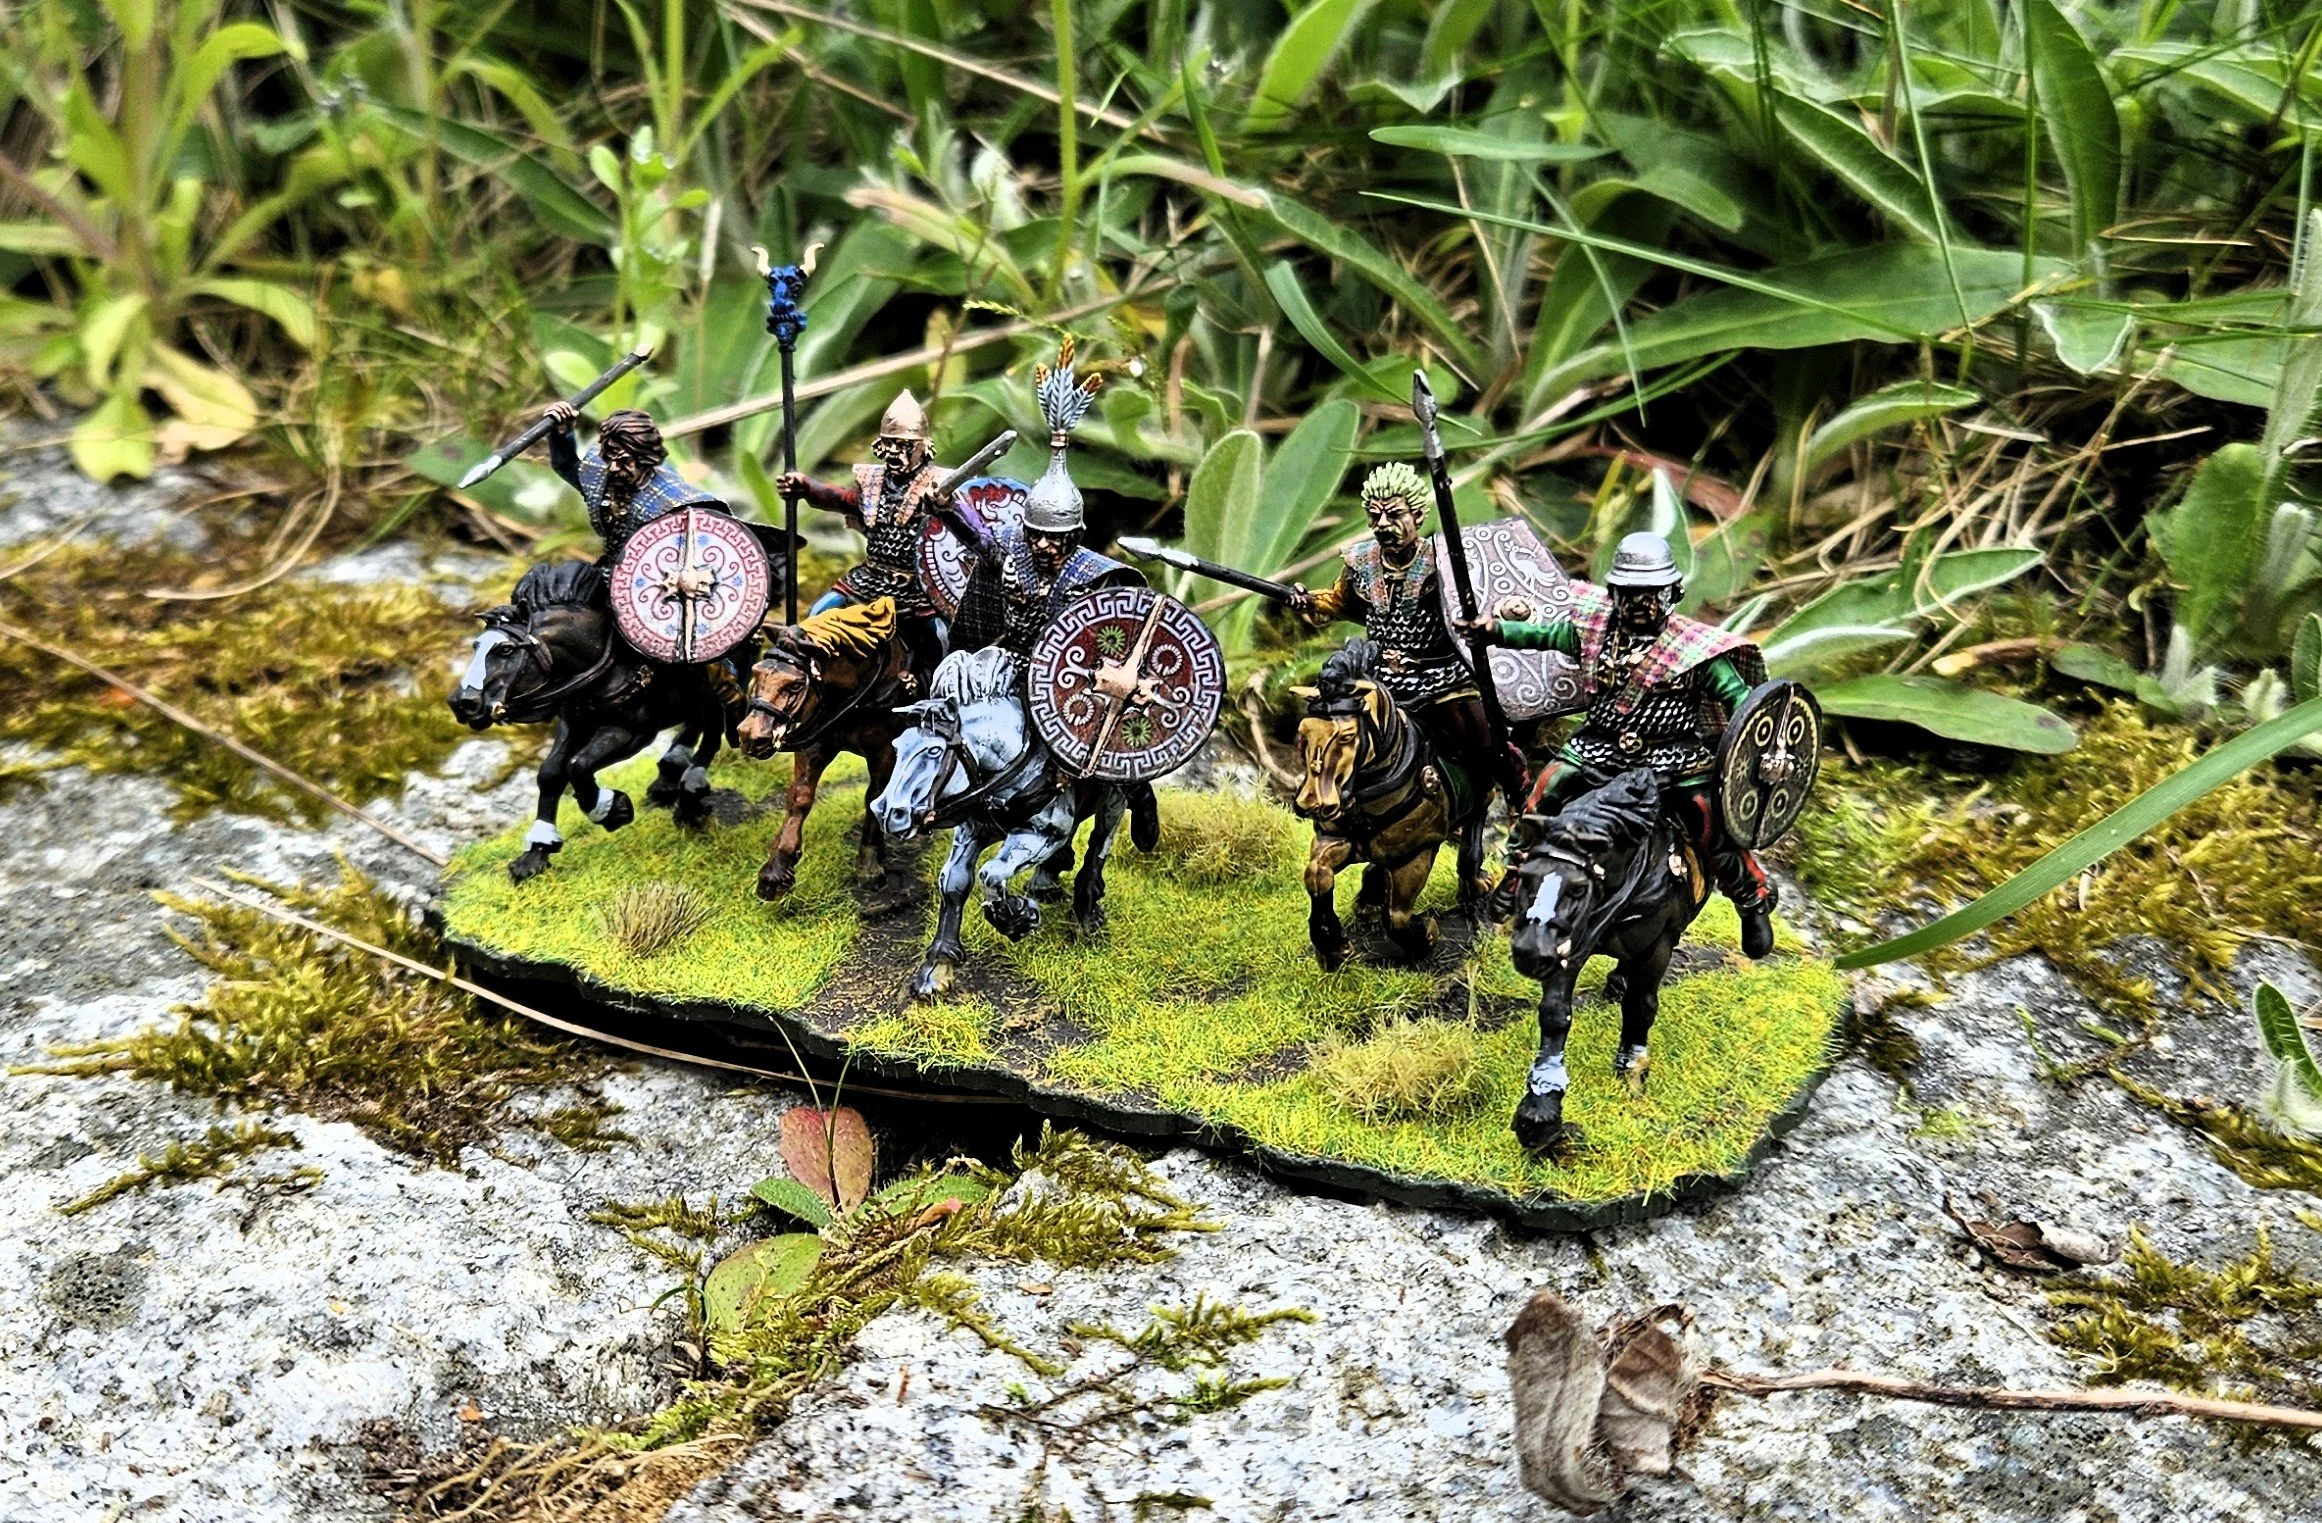
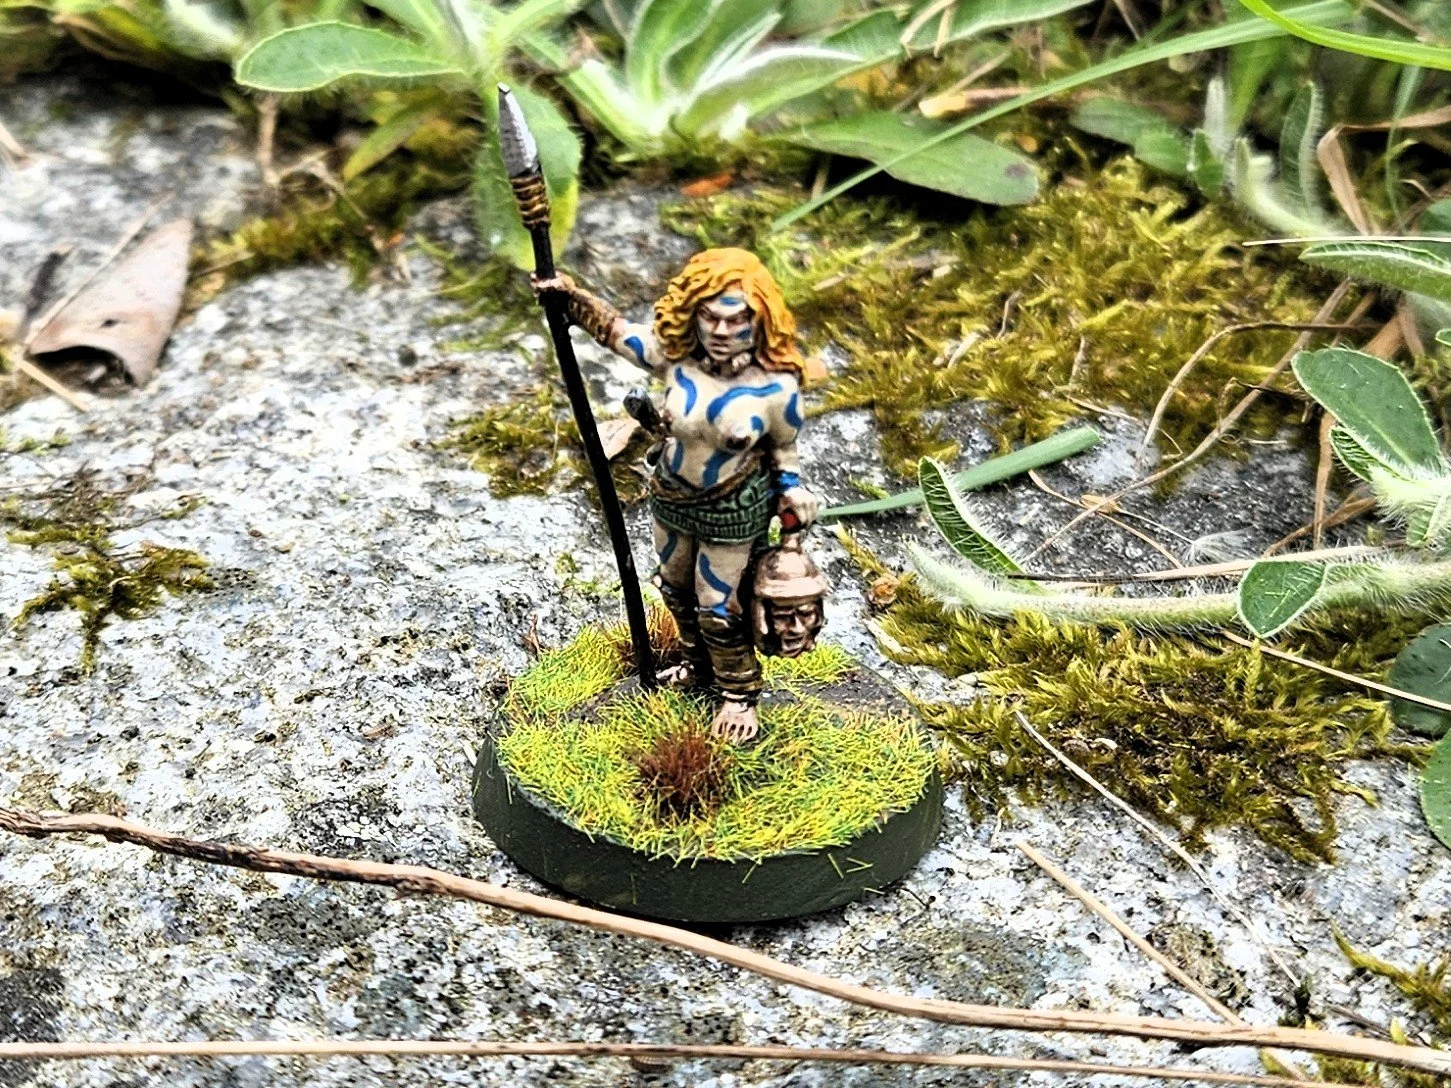
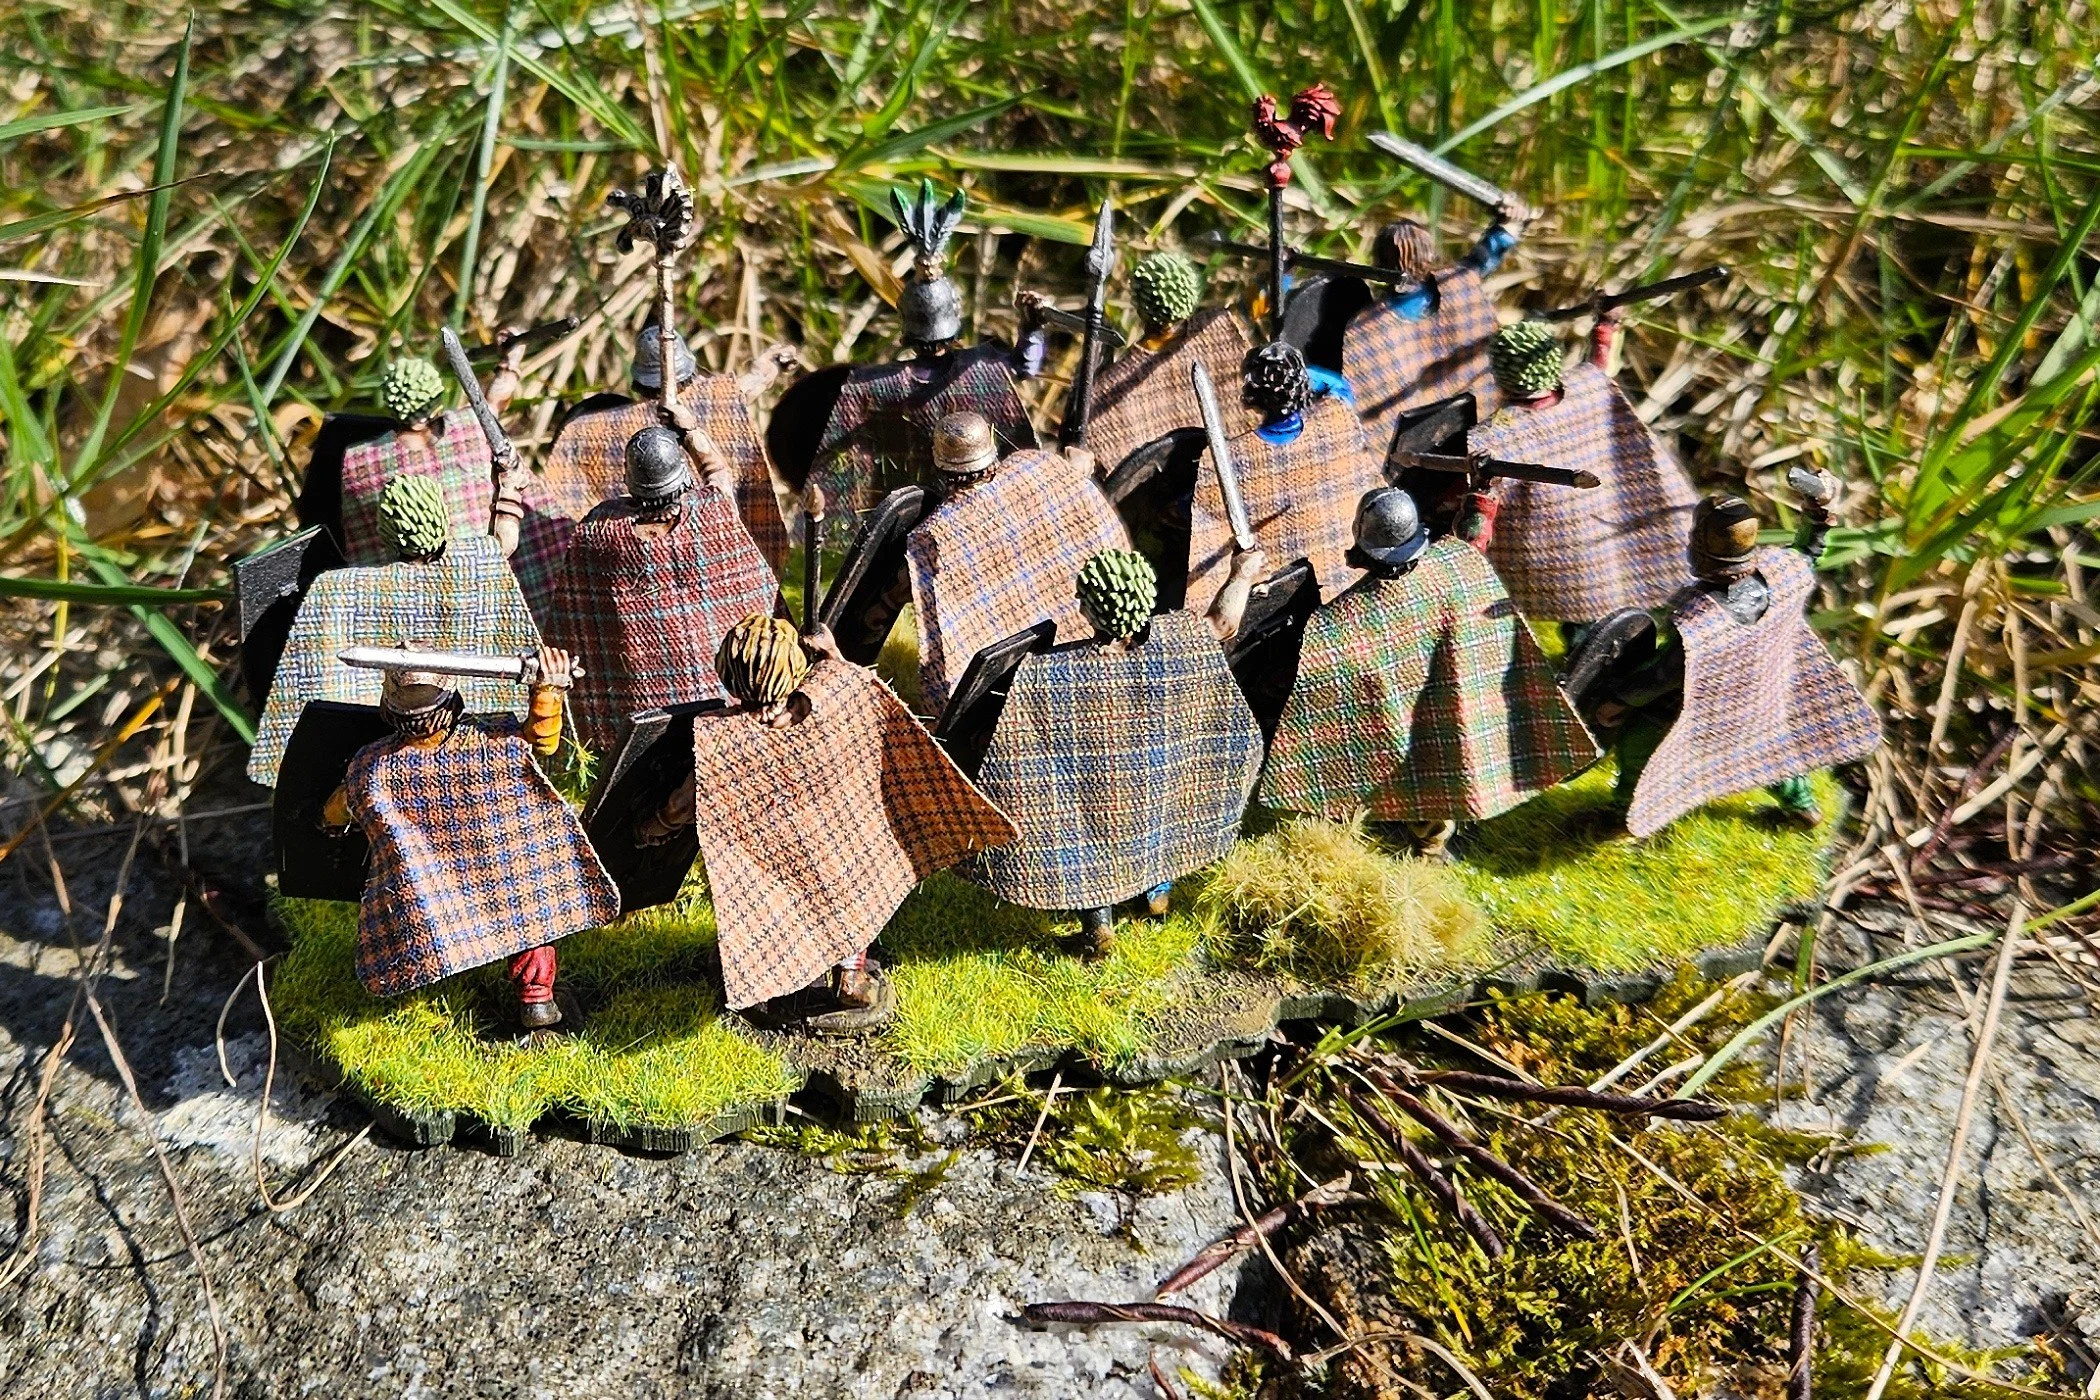
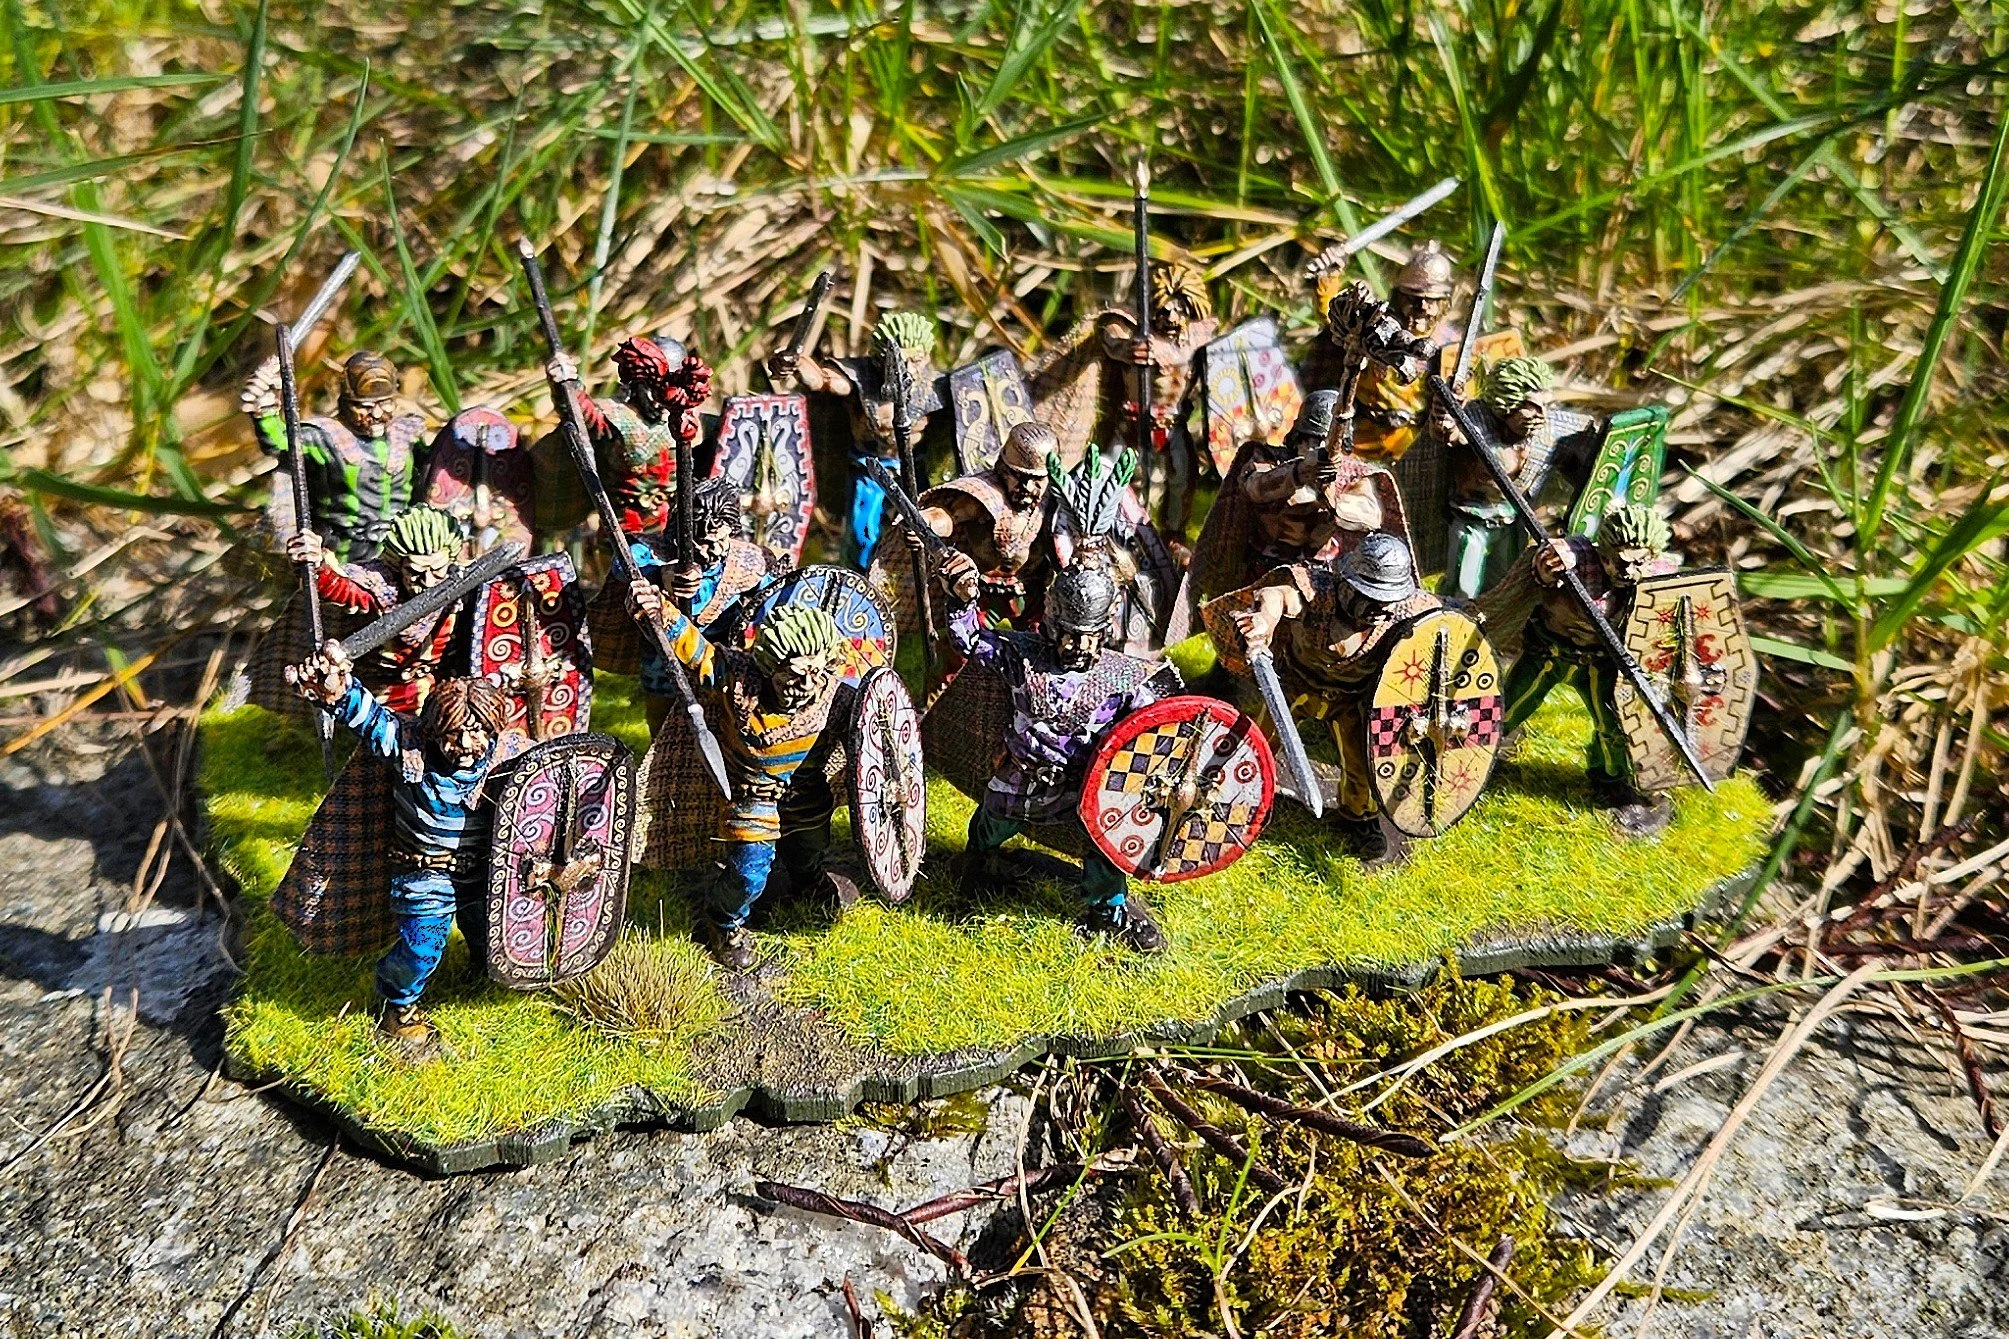
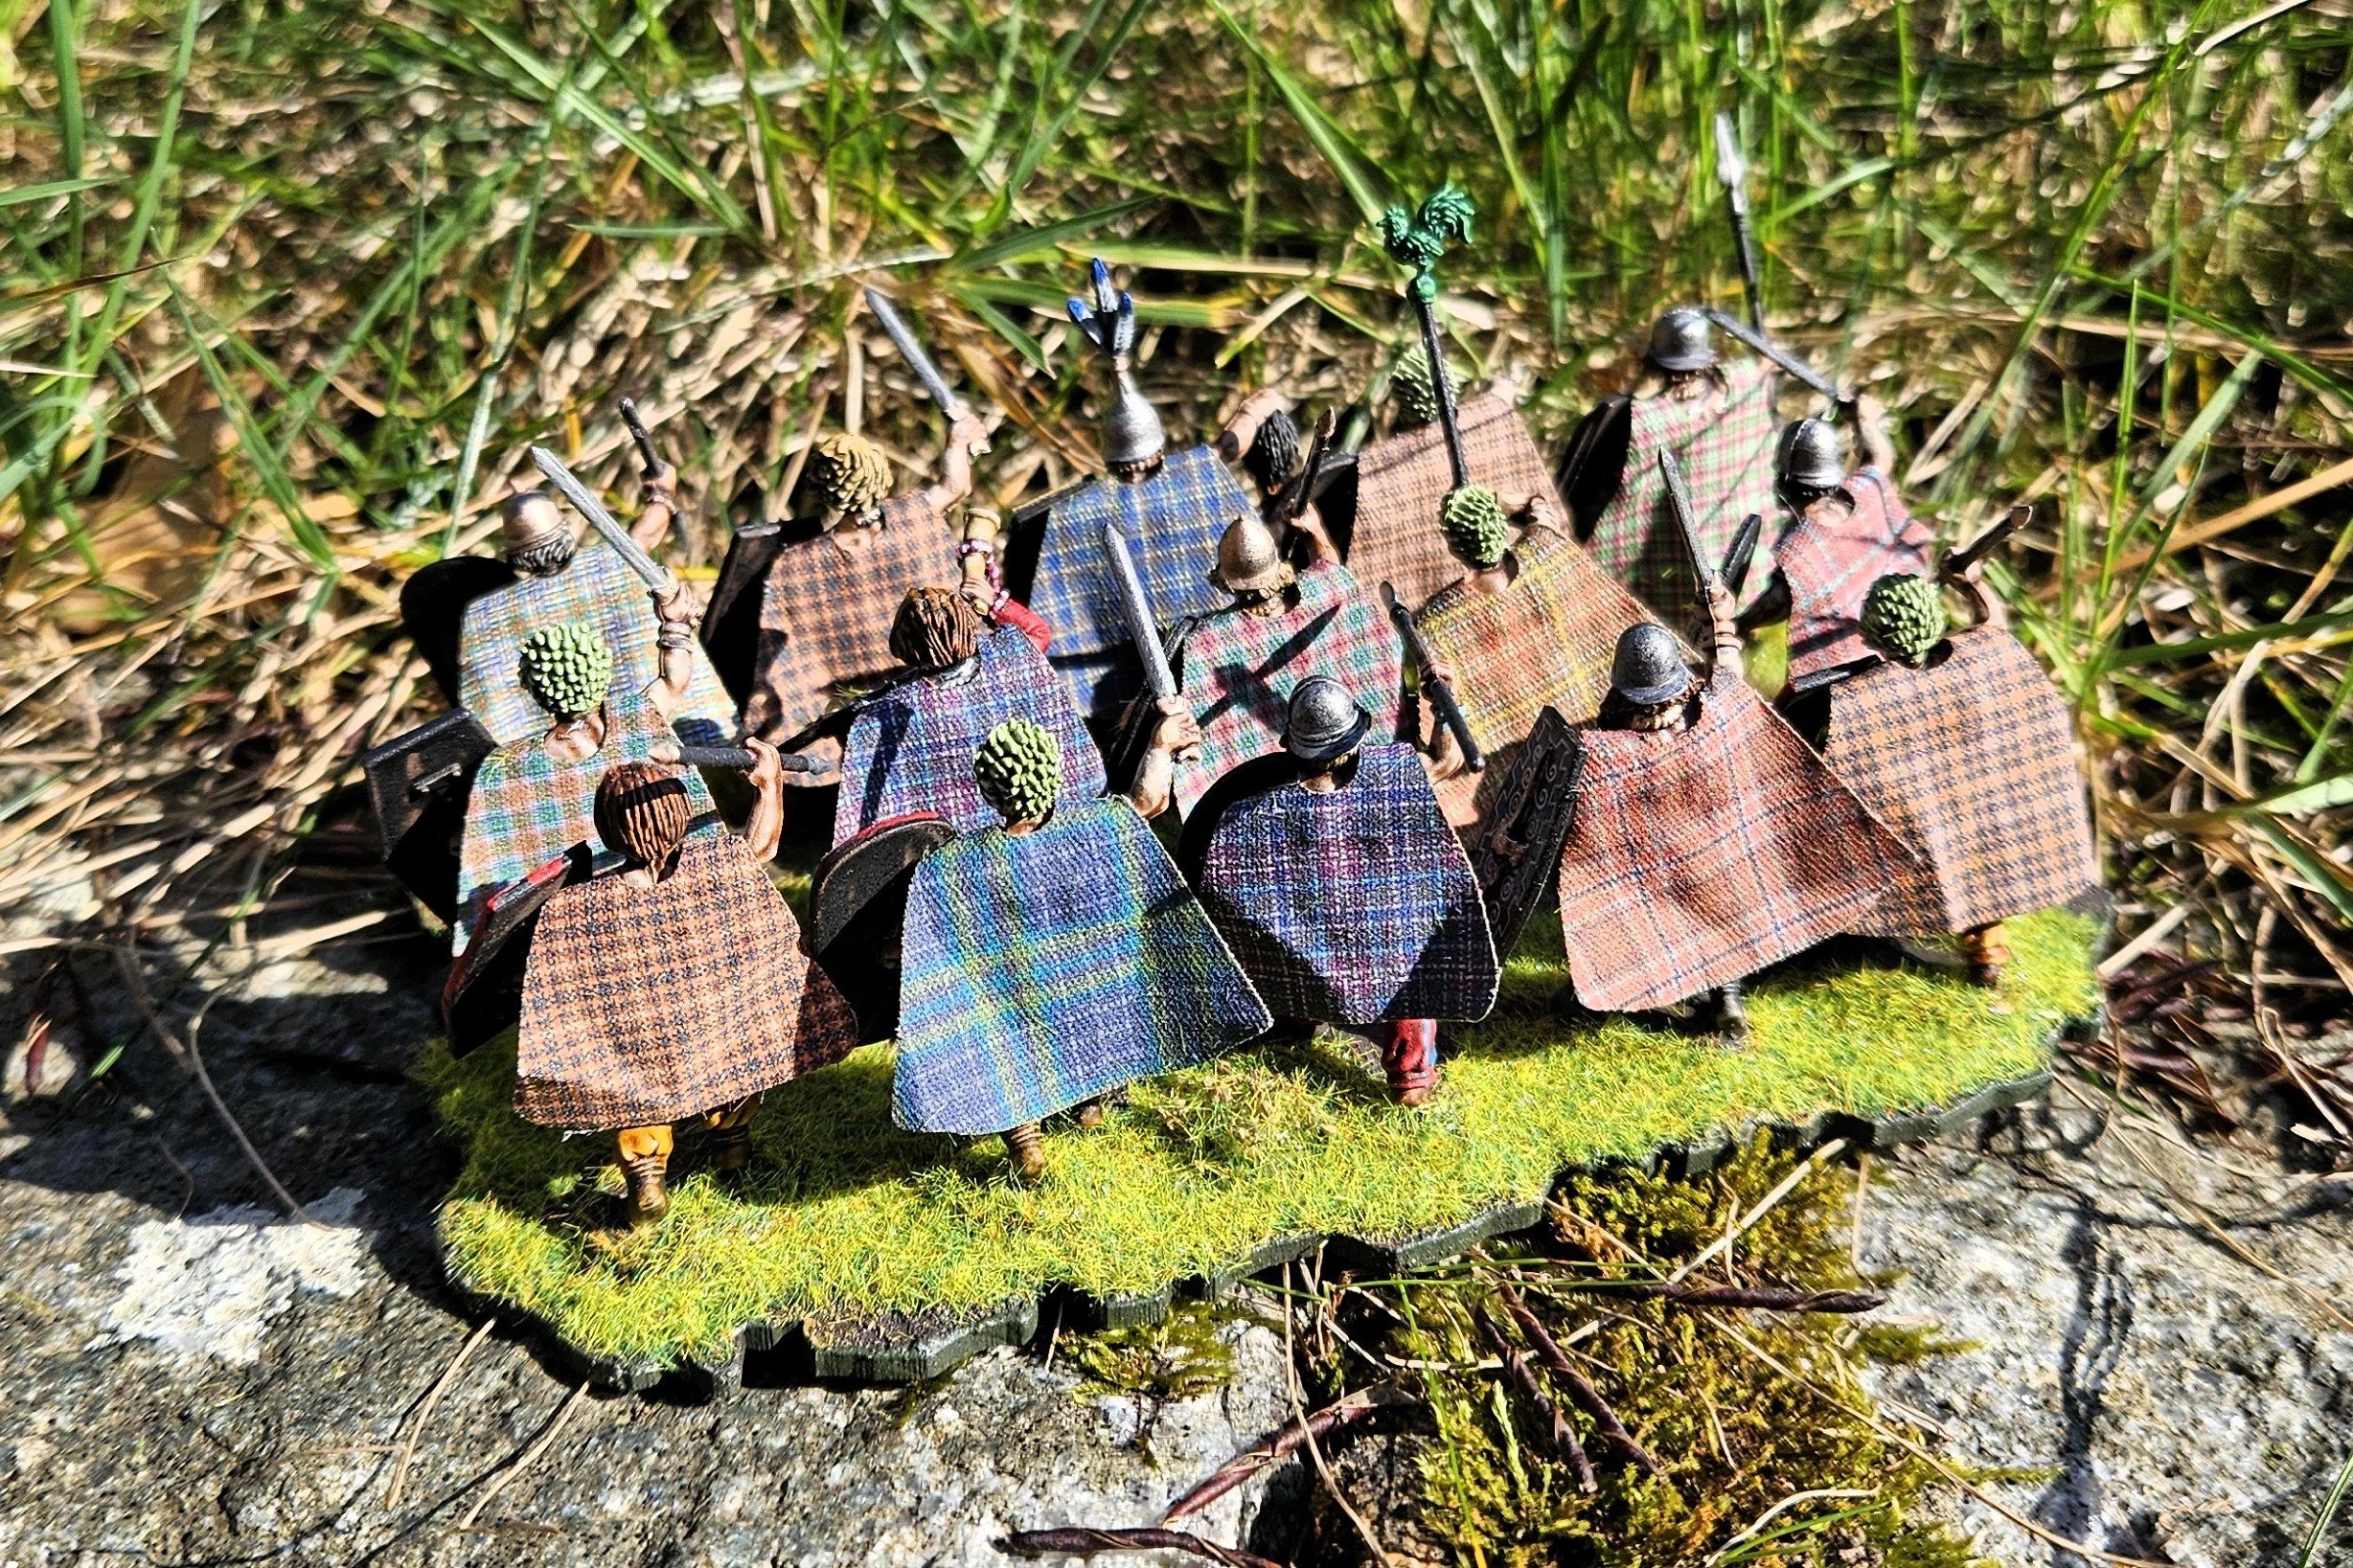
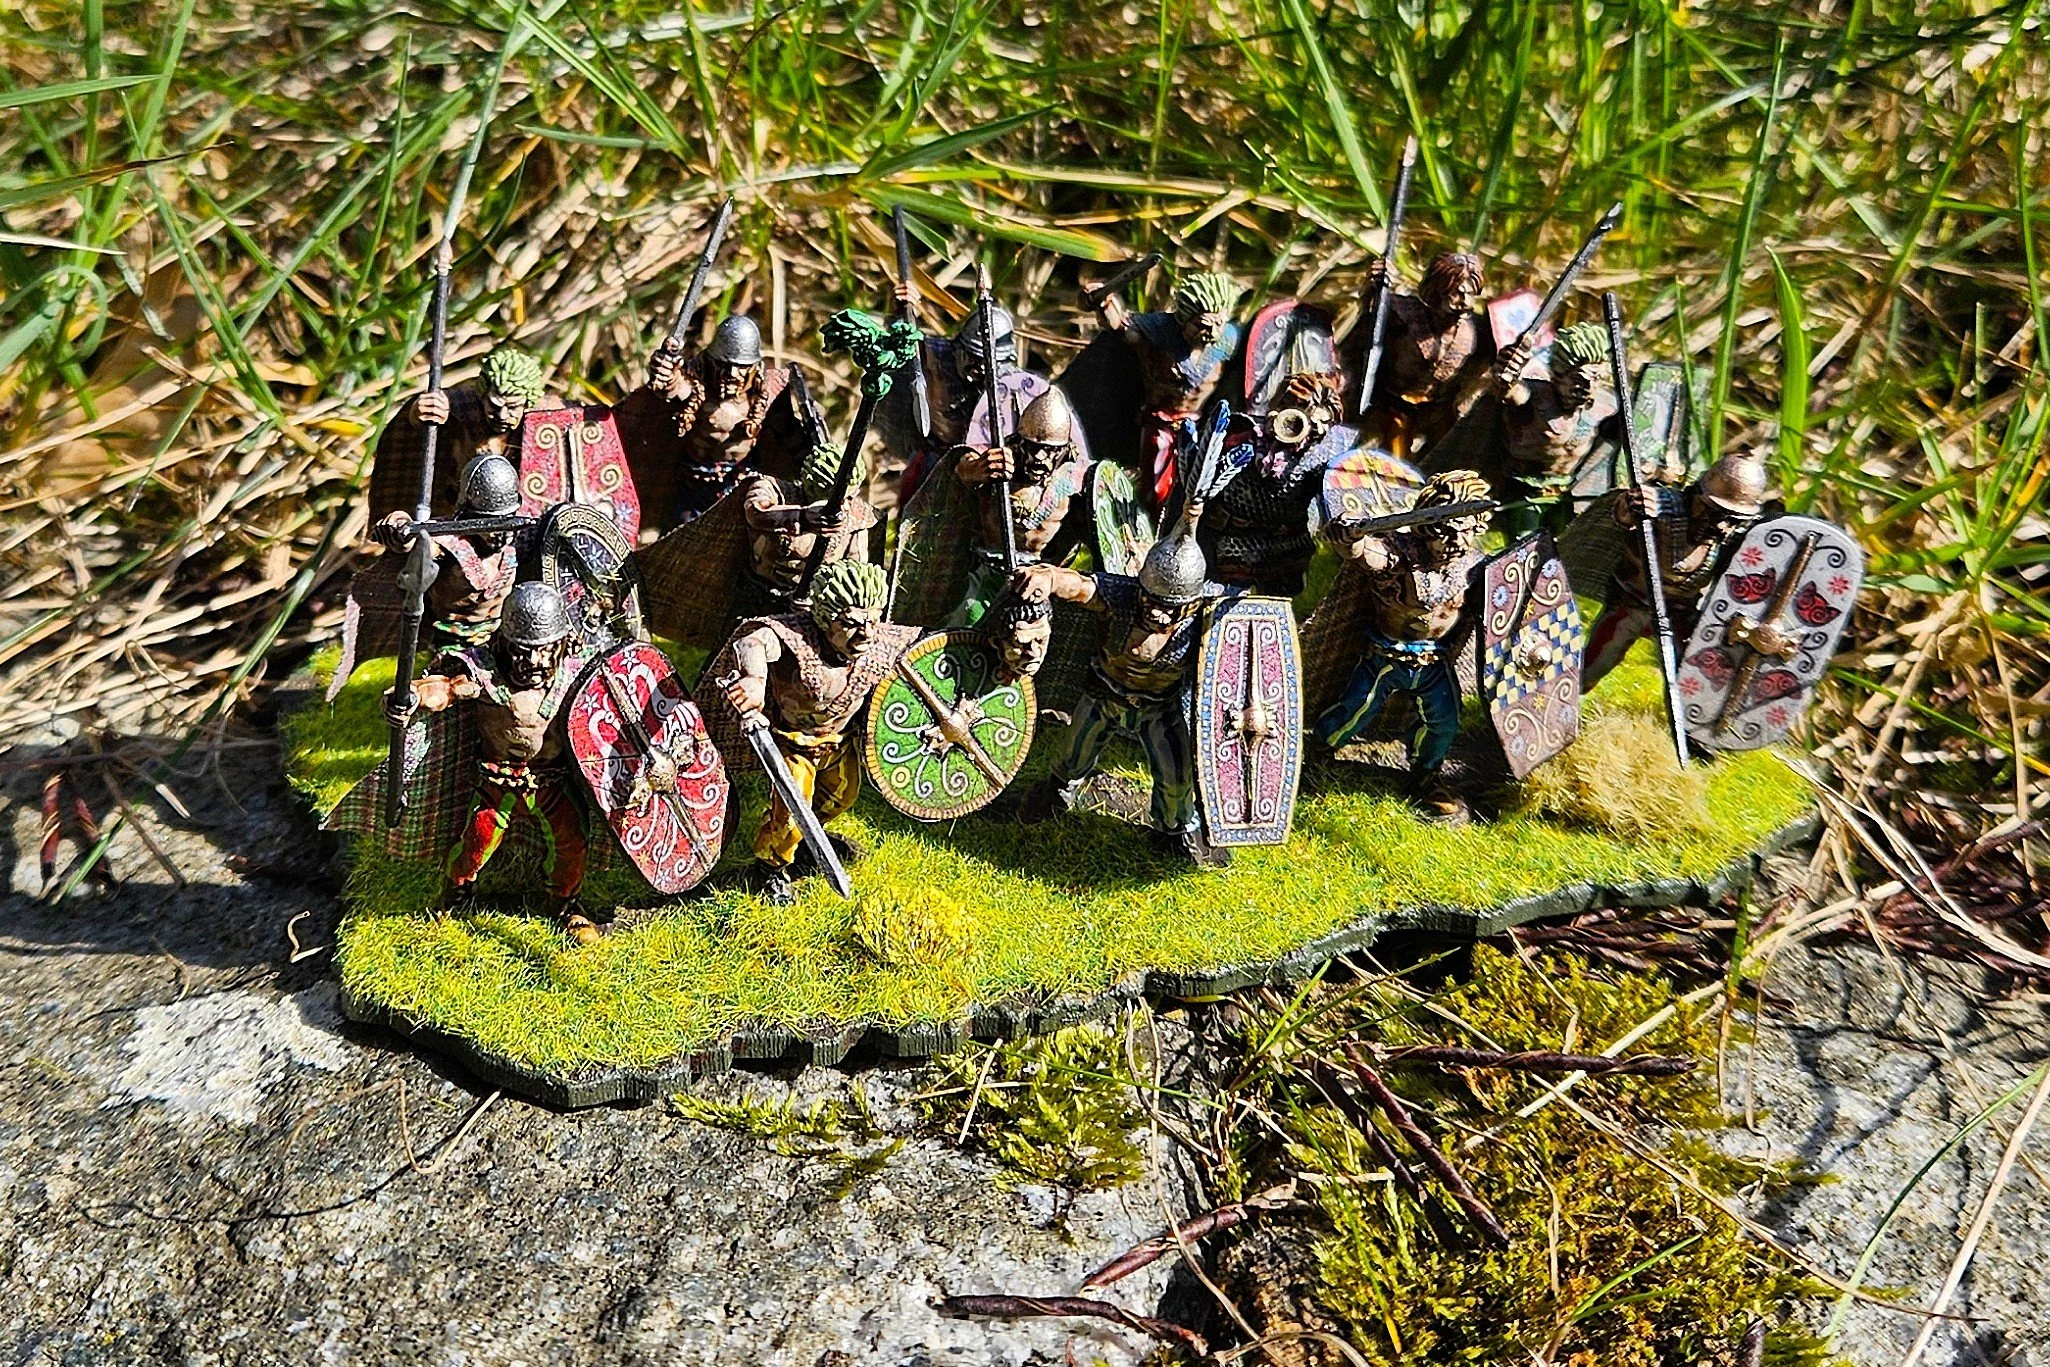
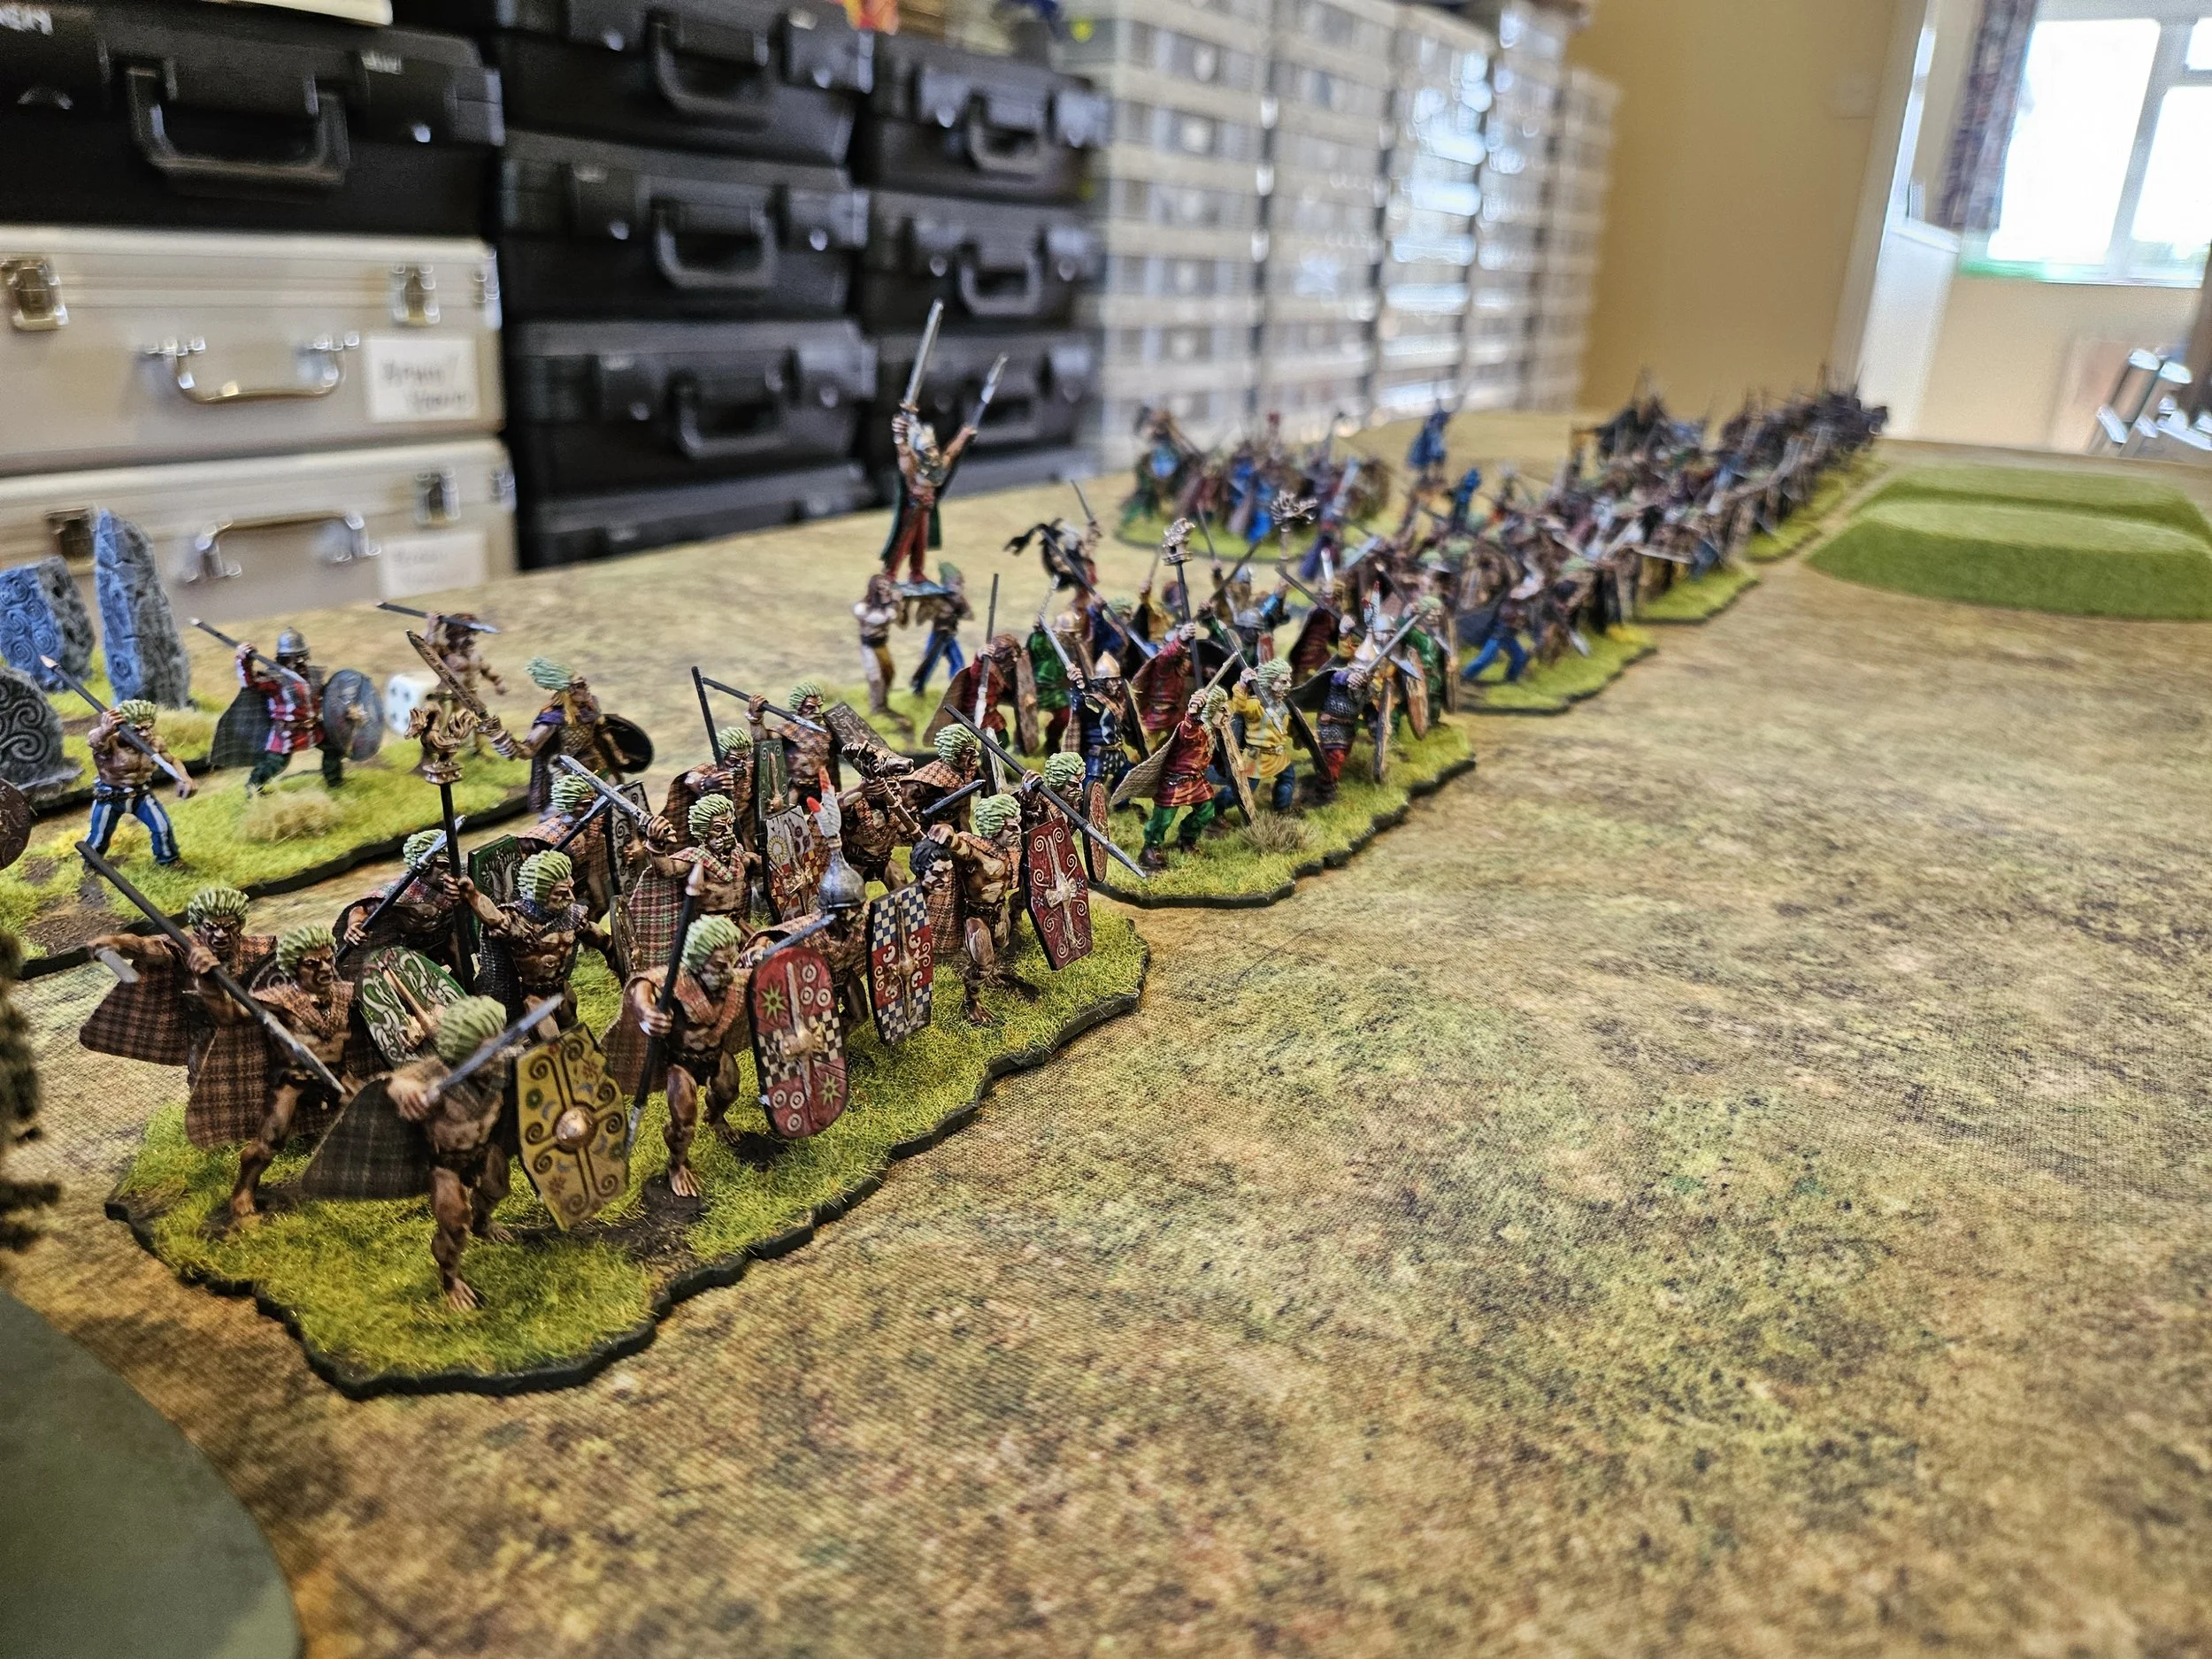
One consolation, though: my army did win the prize for the Best Presented Army, even if I did have to vote for them myself!
Thanks to Peter for organising (and congrats on another big win) and to all my opponents throughout the event. I highly recommend the TTS tournament circuit to everyone: lots of fun games in a competitive but very friendly environment. Here are the rest of the year’s fixtures:
To The Smallest (15mm): July, Cardiff
British Open at Britcon: August, Leicester
TTS at Colours: September, Newbury
TTS Open at Warfare: November, Farnborough
Two the Strongest (Doubles): December, London (TBC)


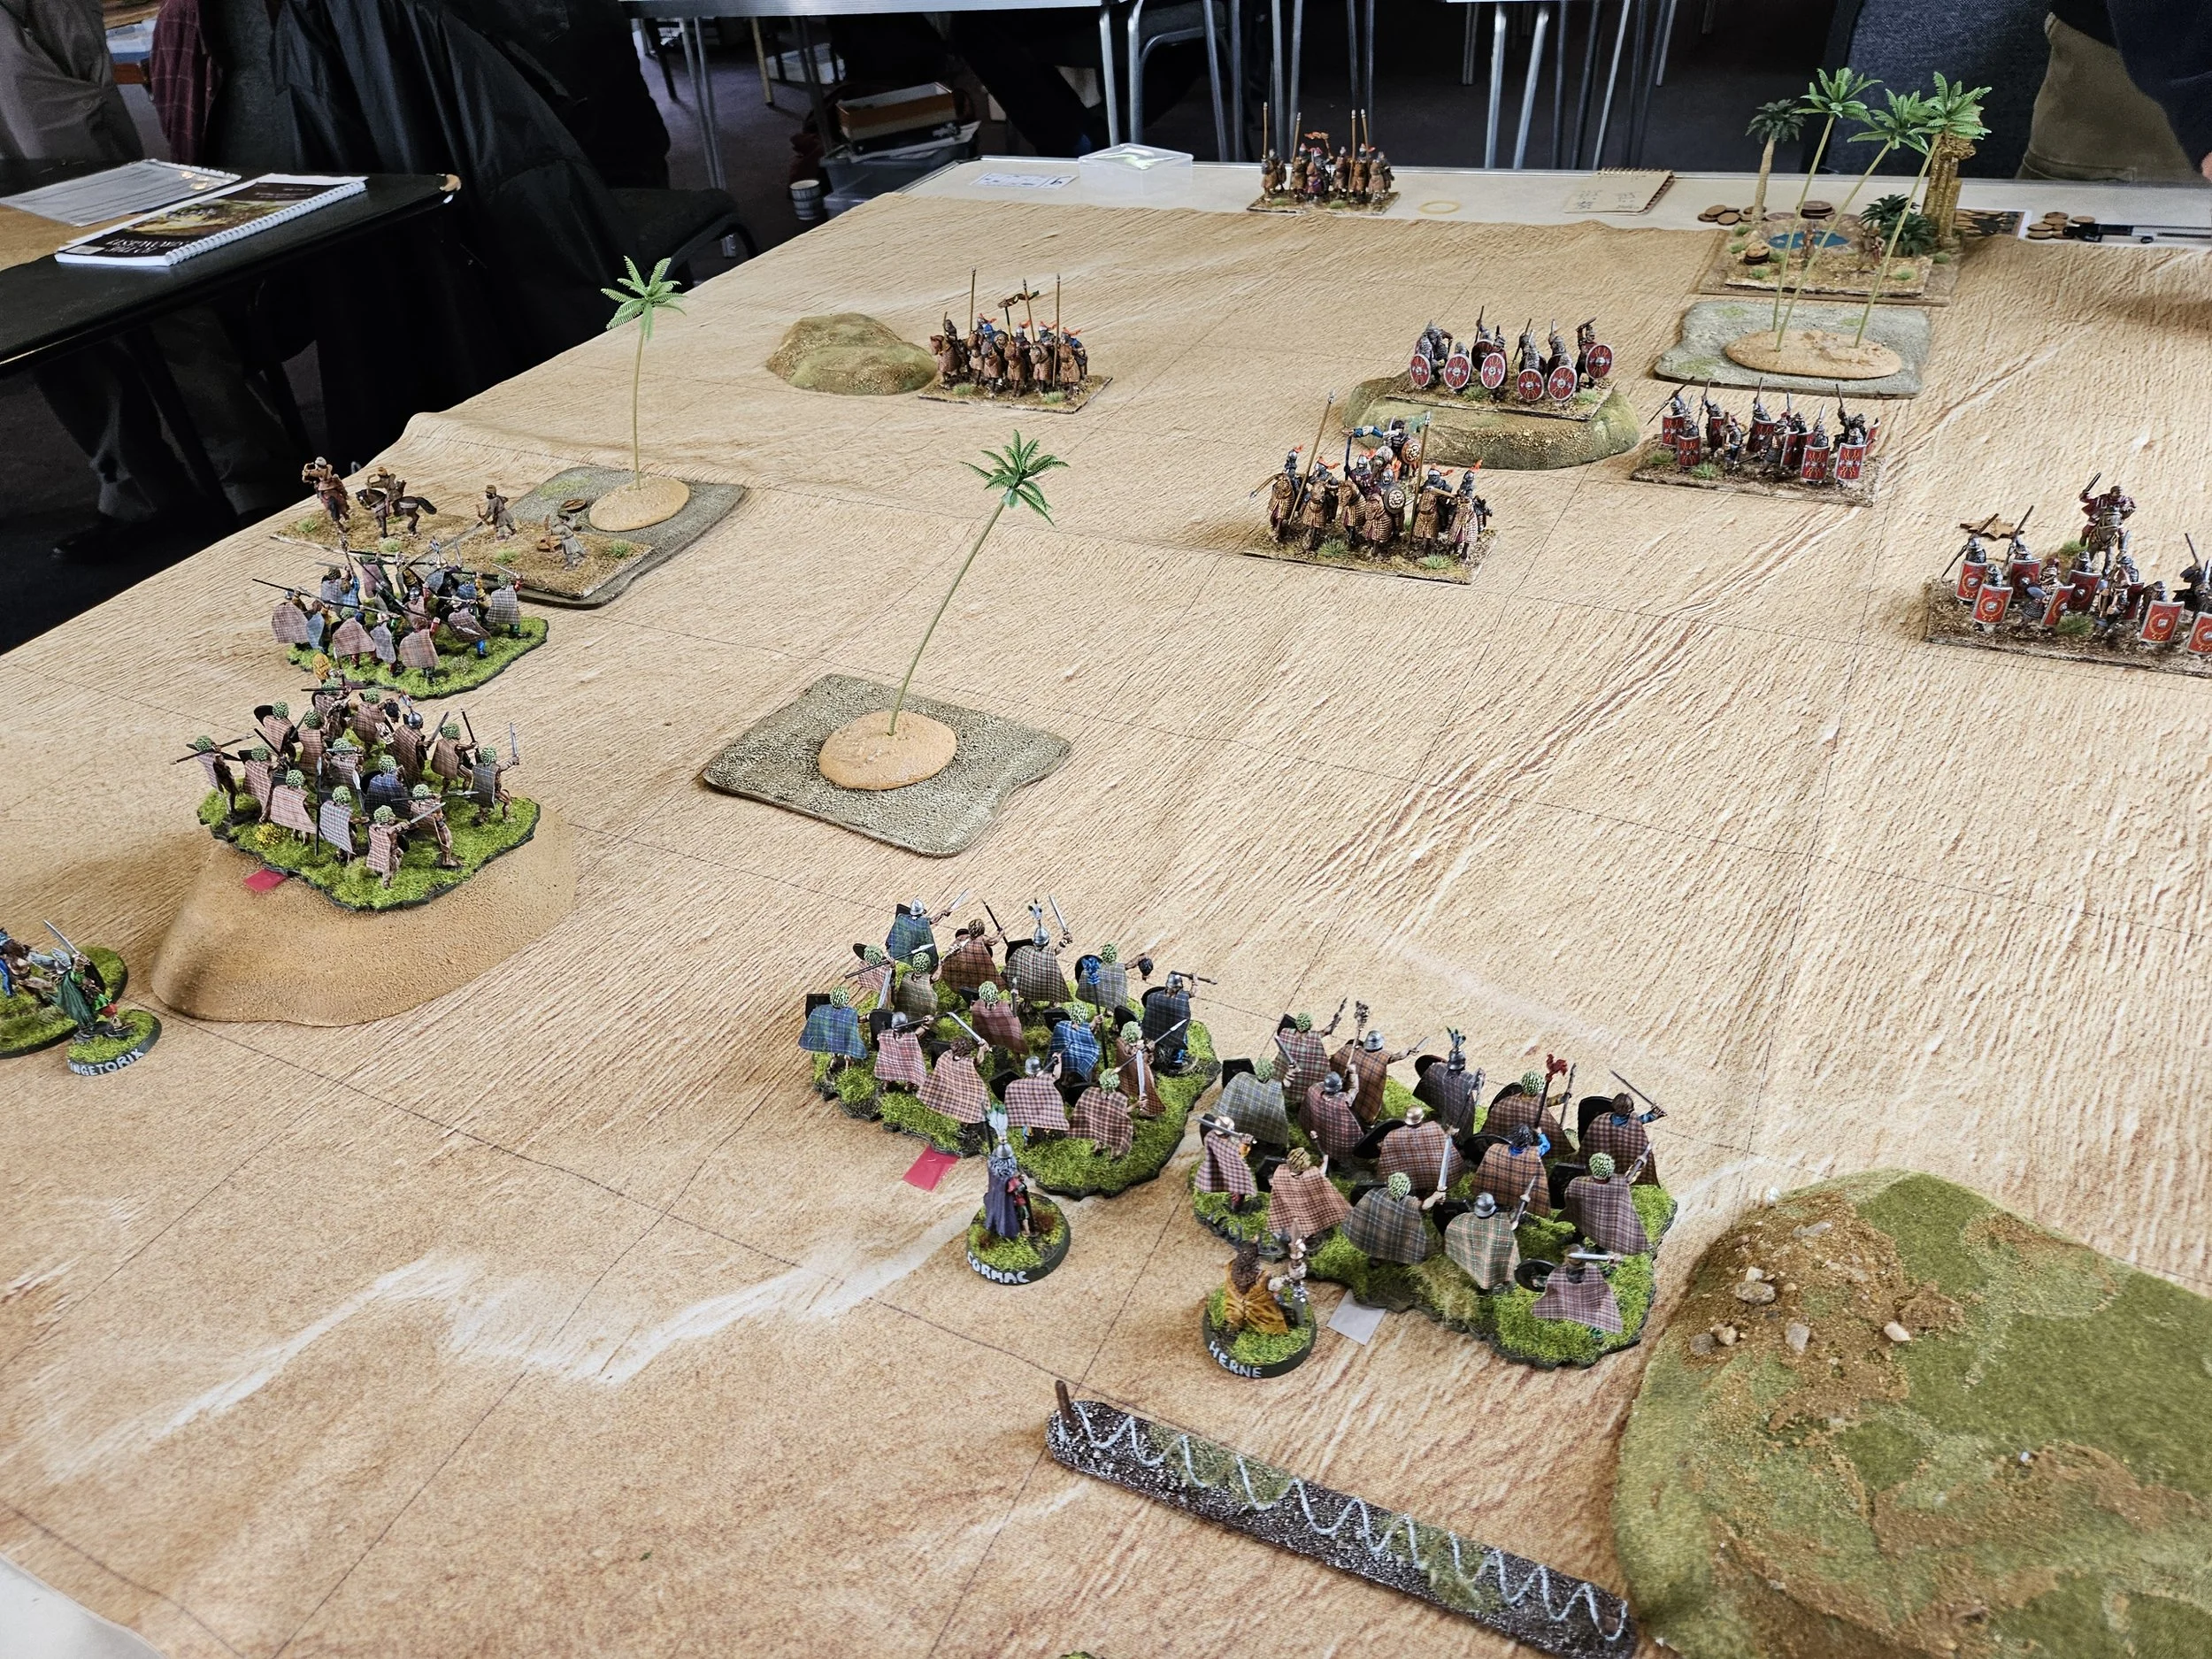


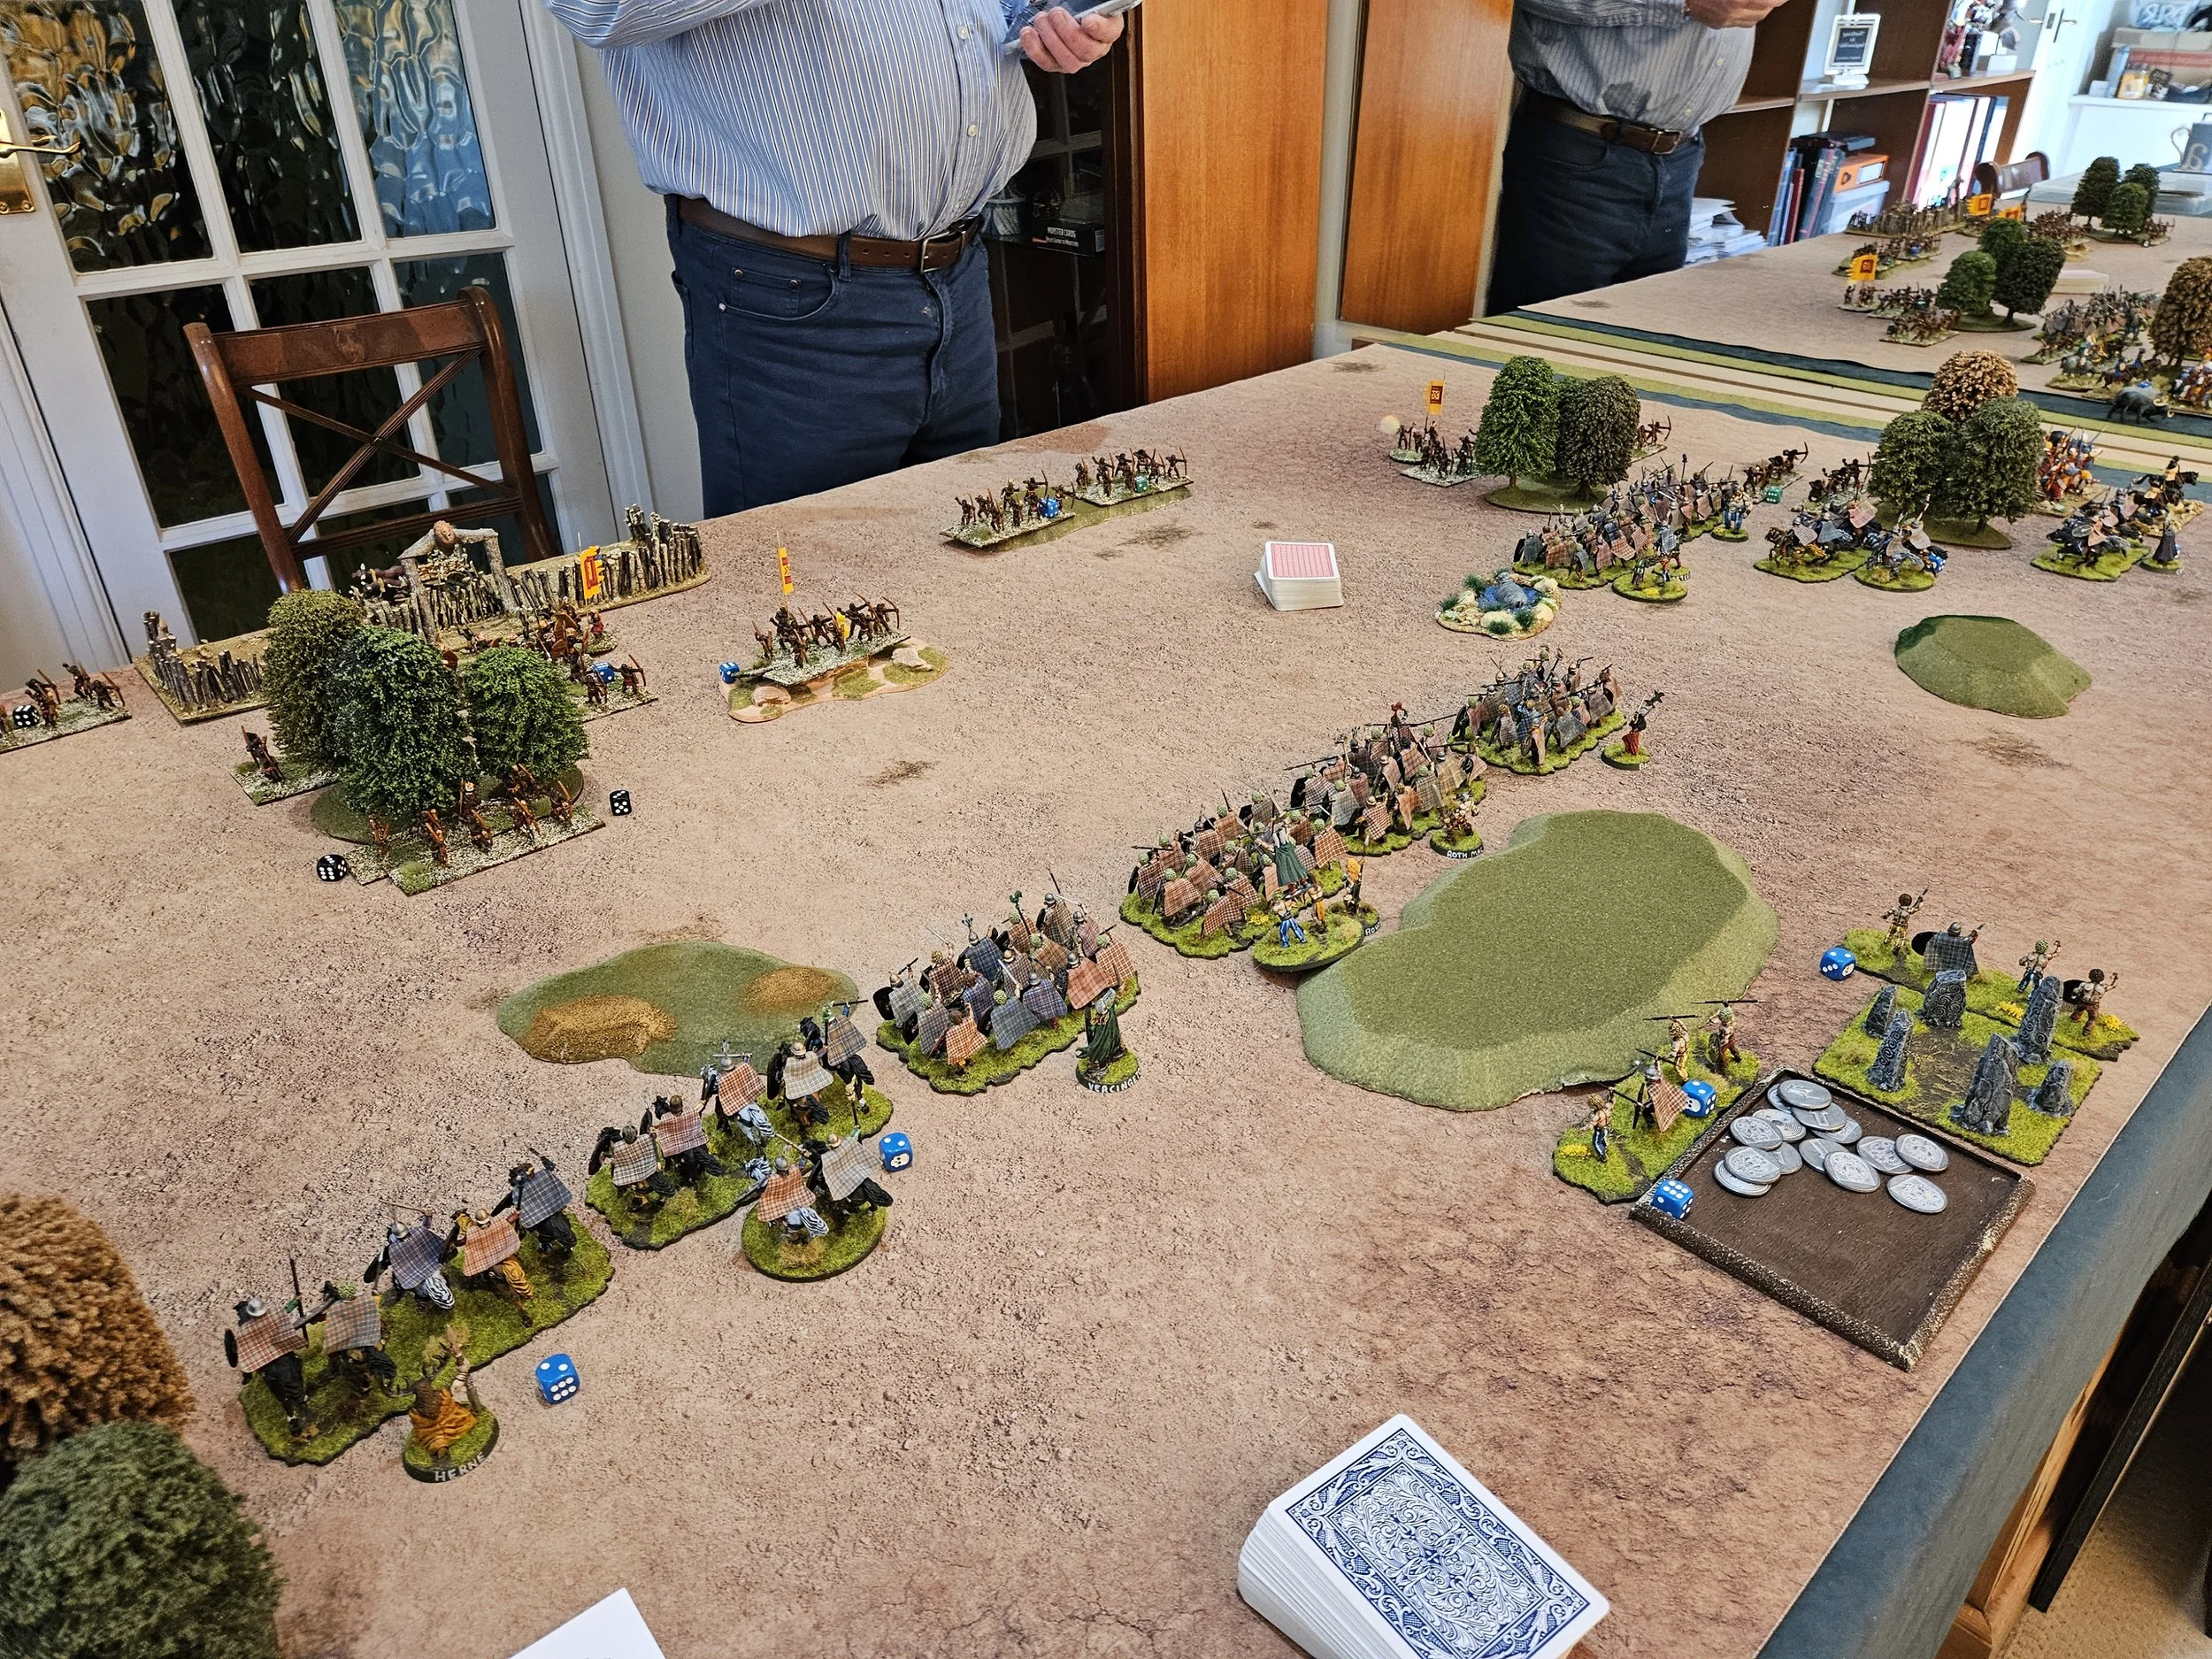


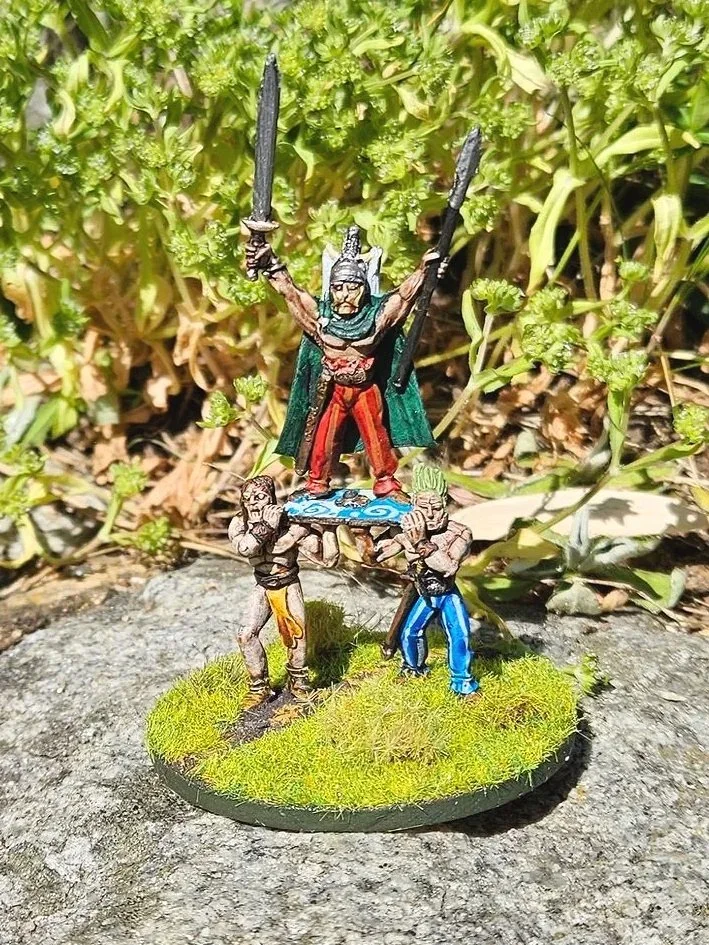
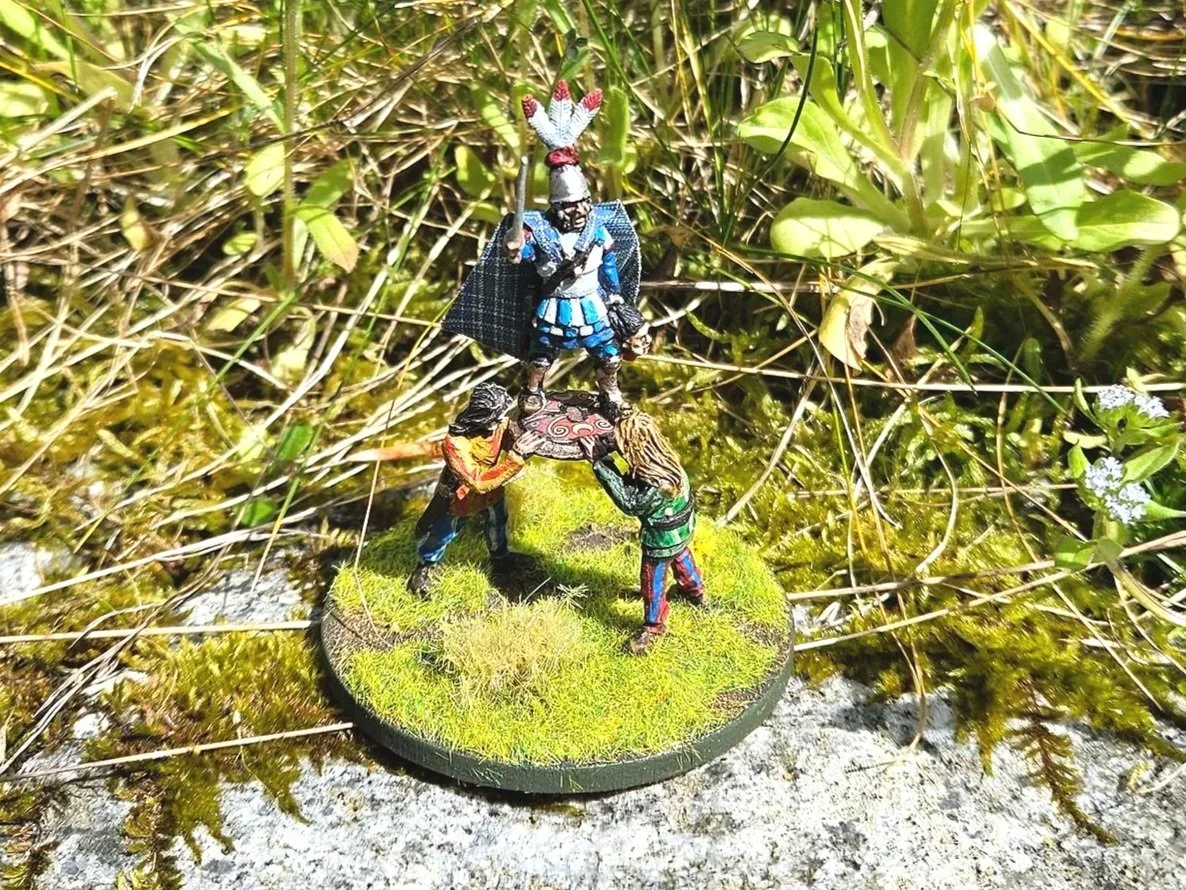

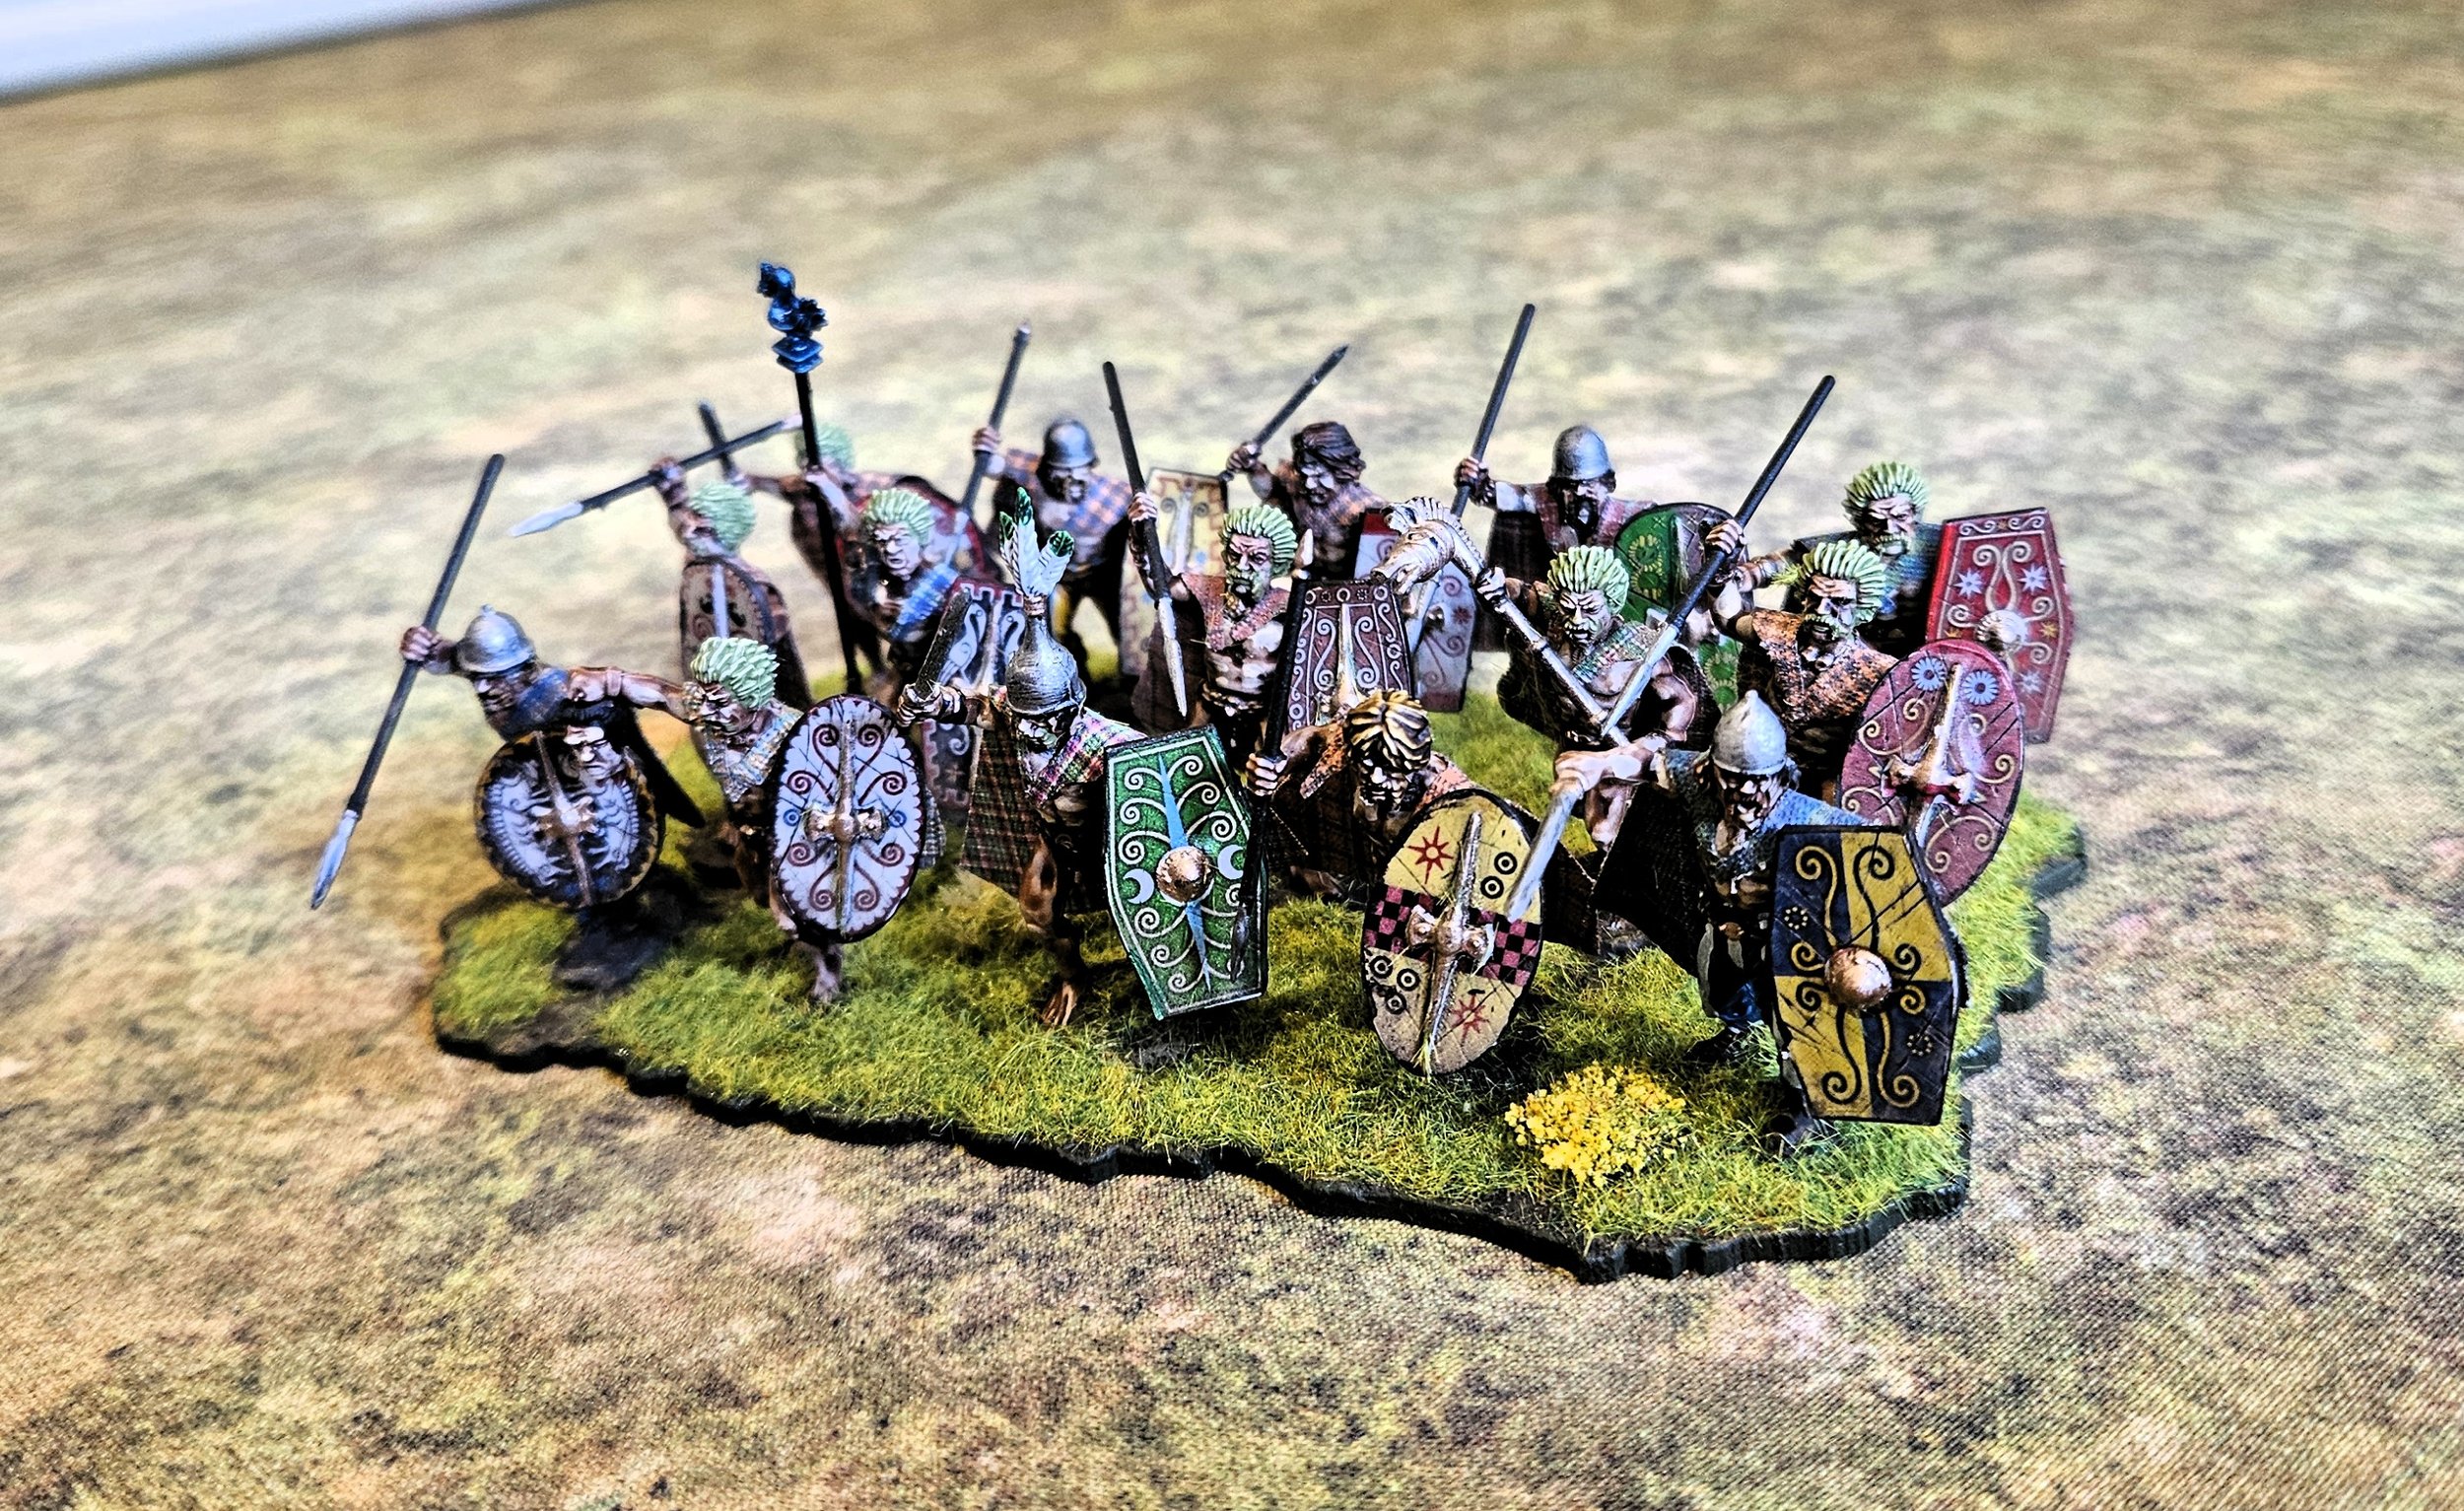
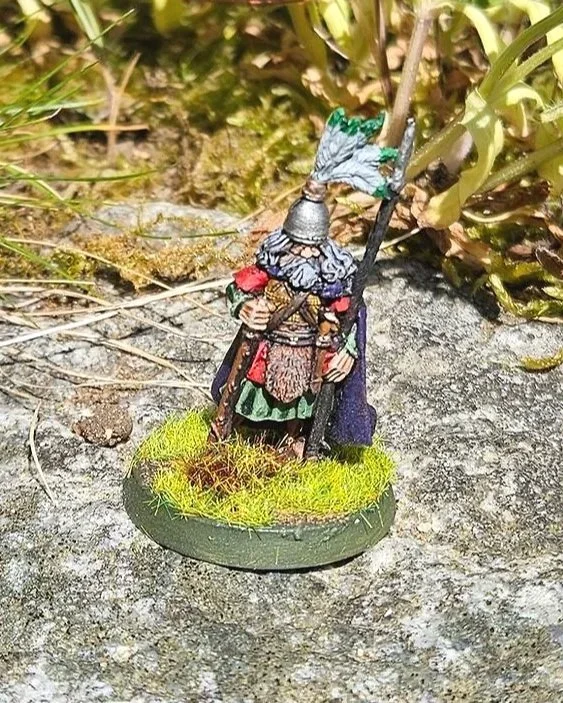
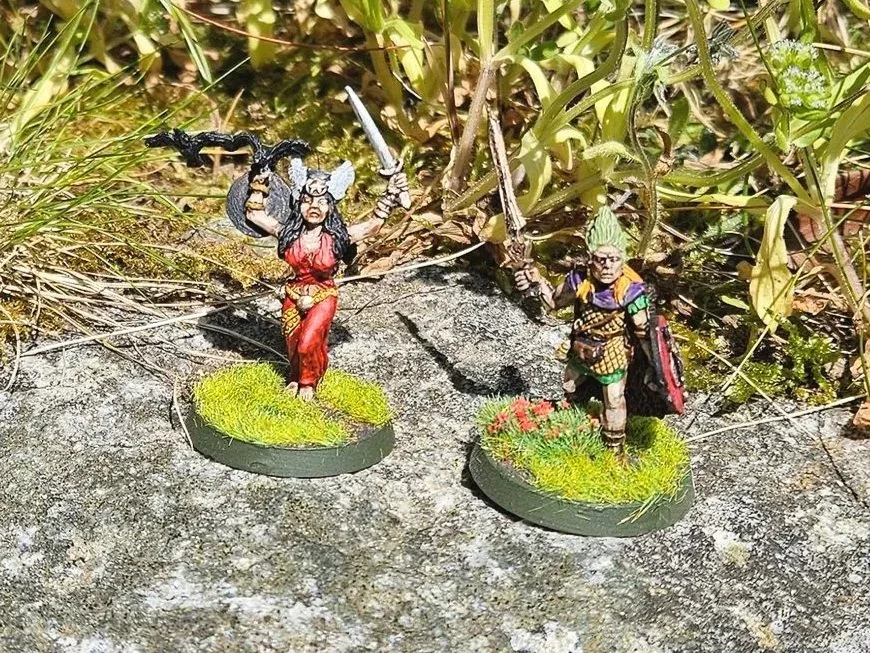
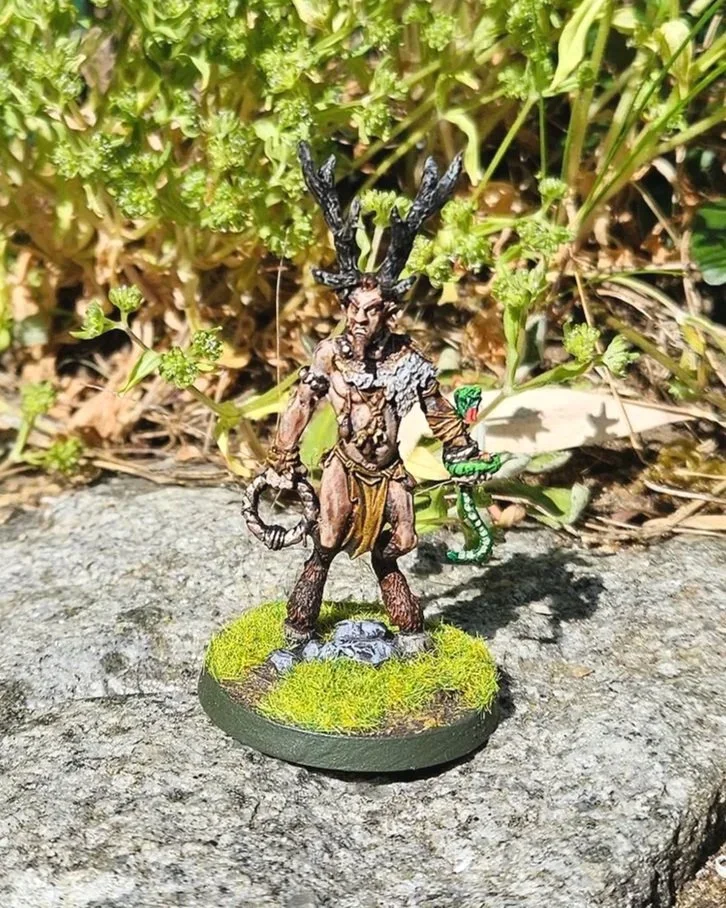
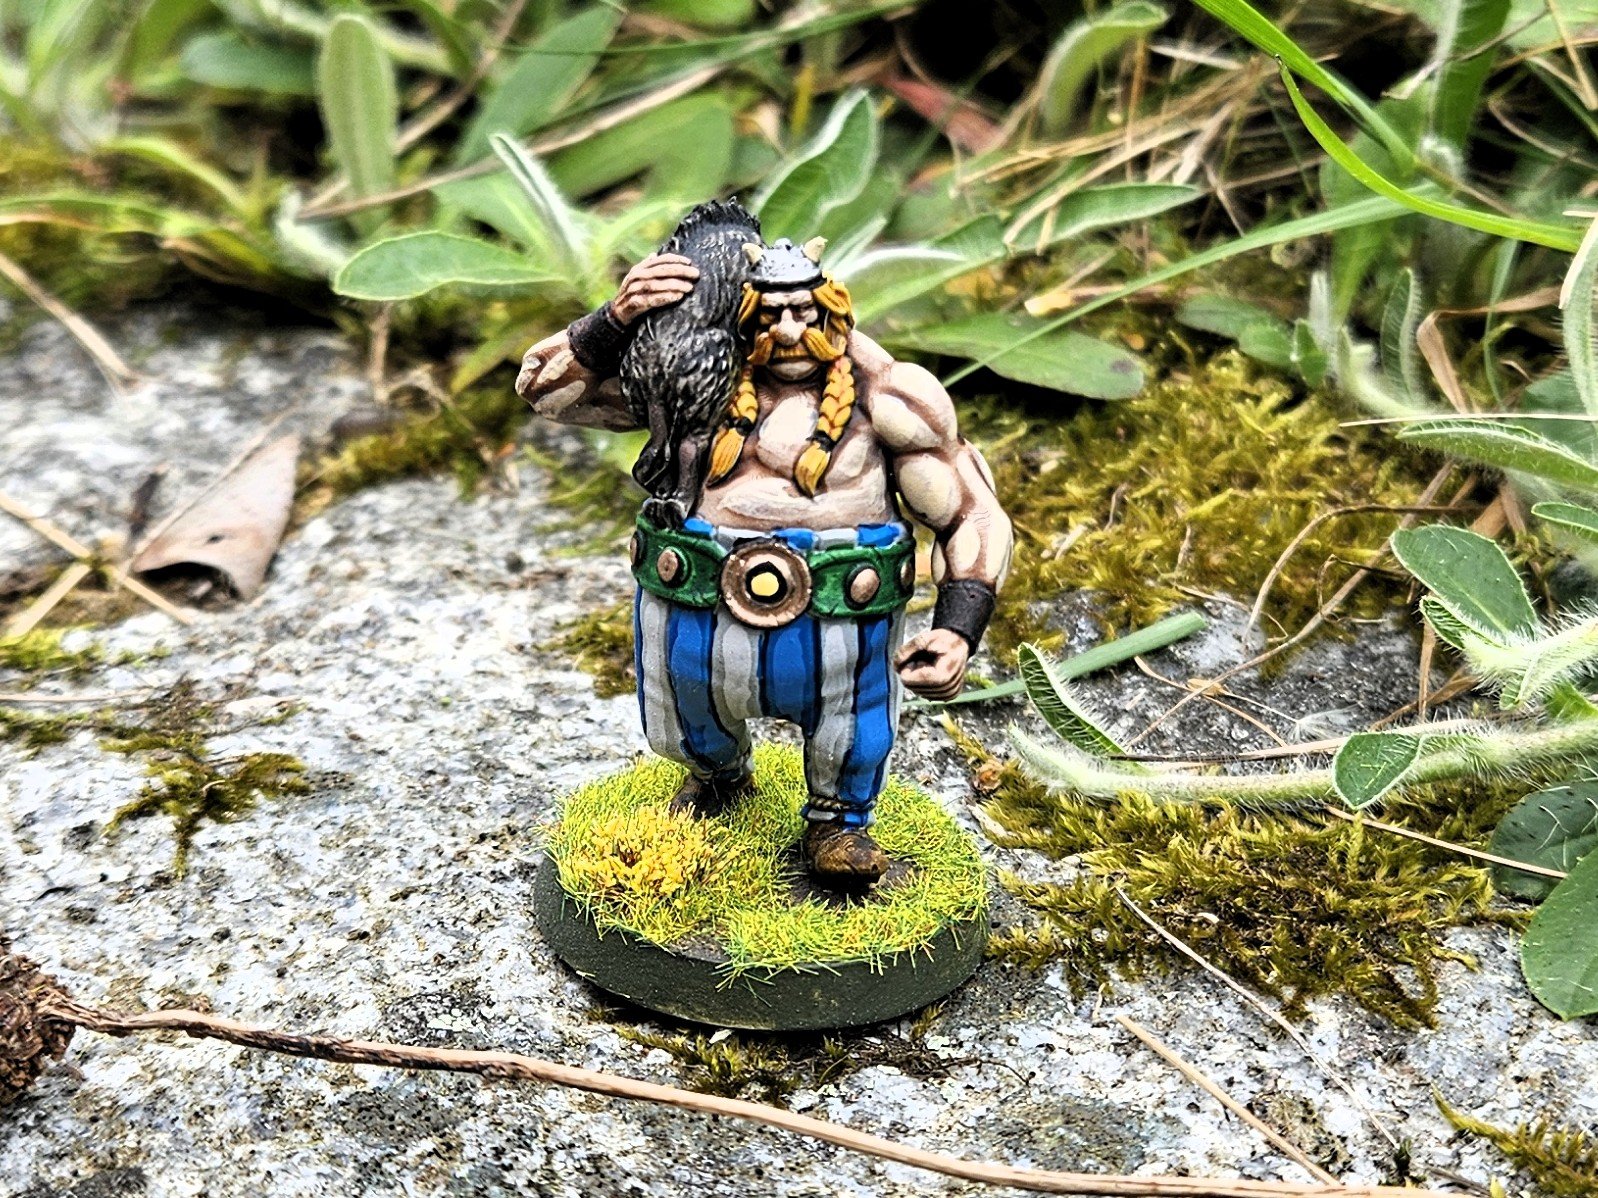
![[L to R] Asterix (AnimaGames UK); Vercingetorix (Warlord); Roth Mac Lyr and Herne (the Celtos range from Brigade Games)](https://images.squarespace-cdn.com/content/v1/5406c773e4b087d8052ef58b/1777657126341-V6S5QS8Q5O9D6KDYKOCO/a.missinghalf%2B%25282%2529.webp)