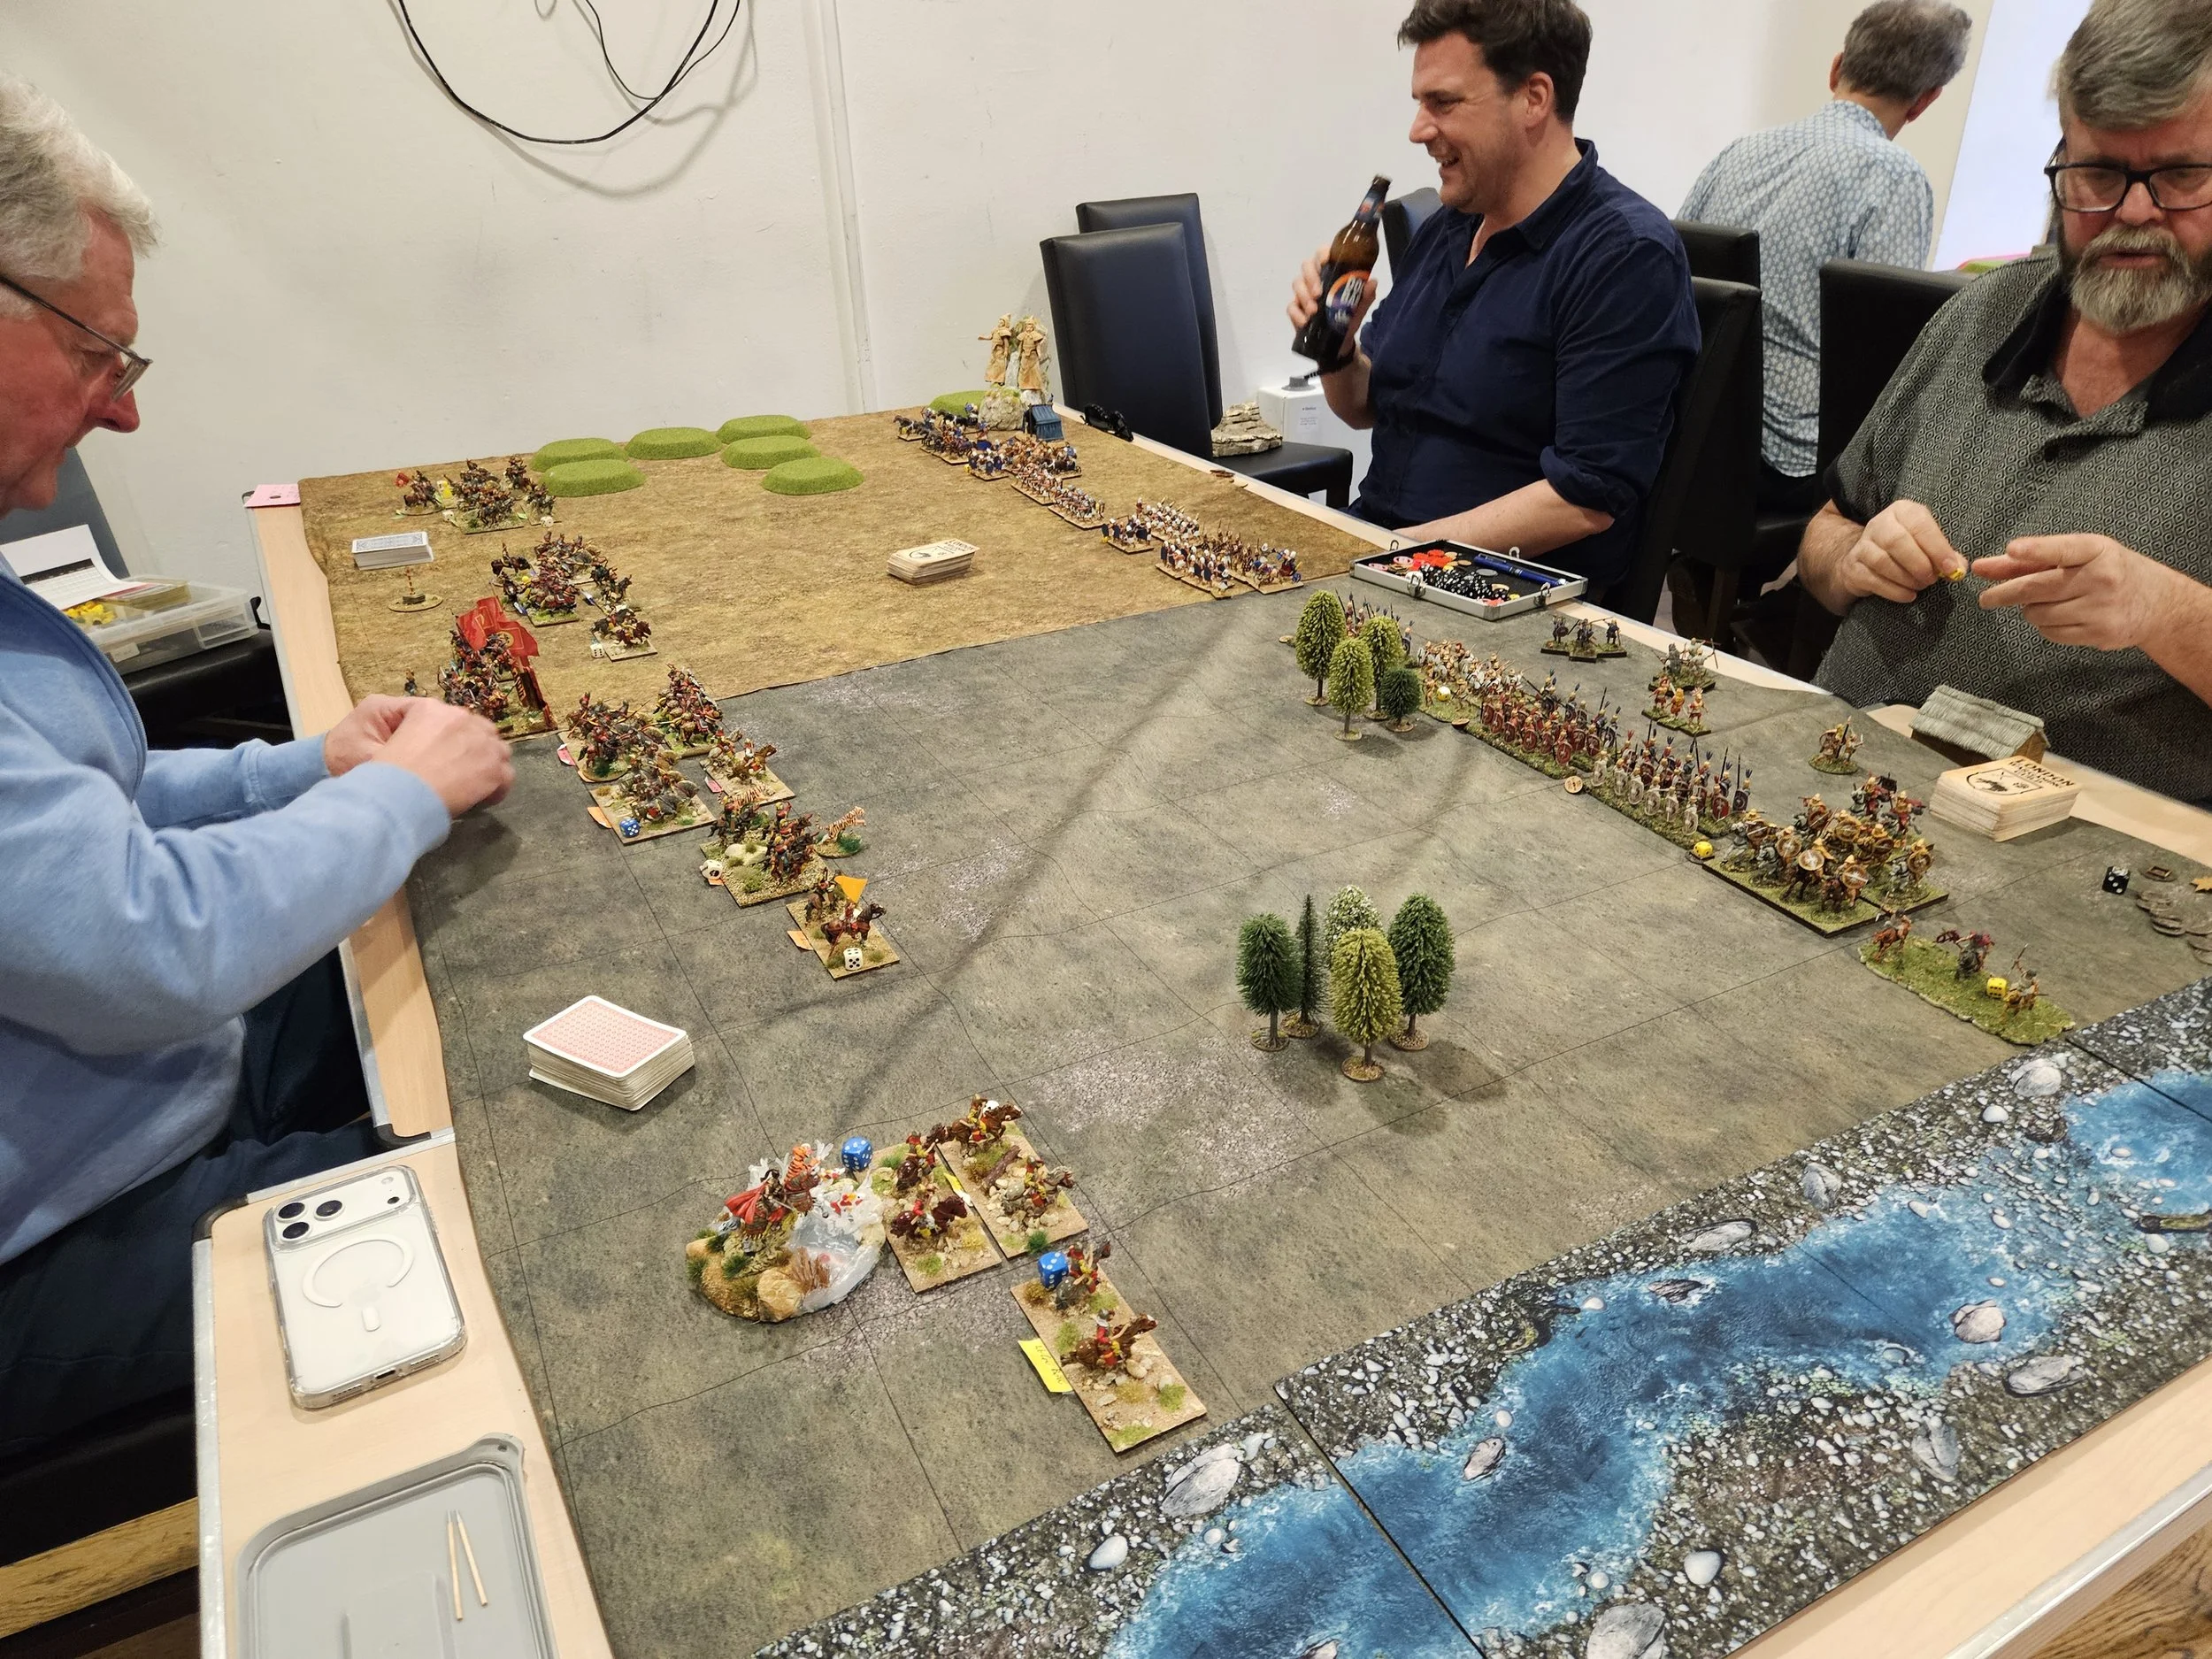
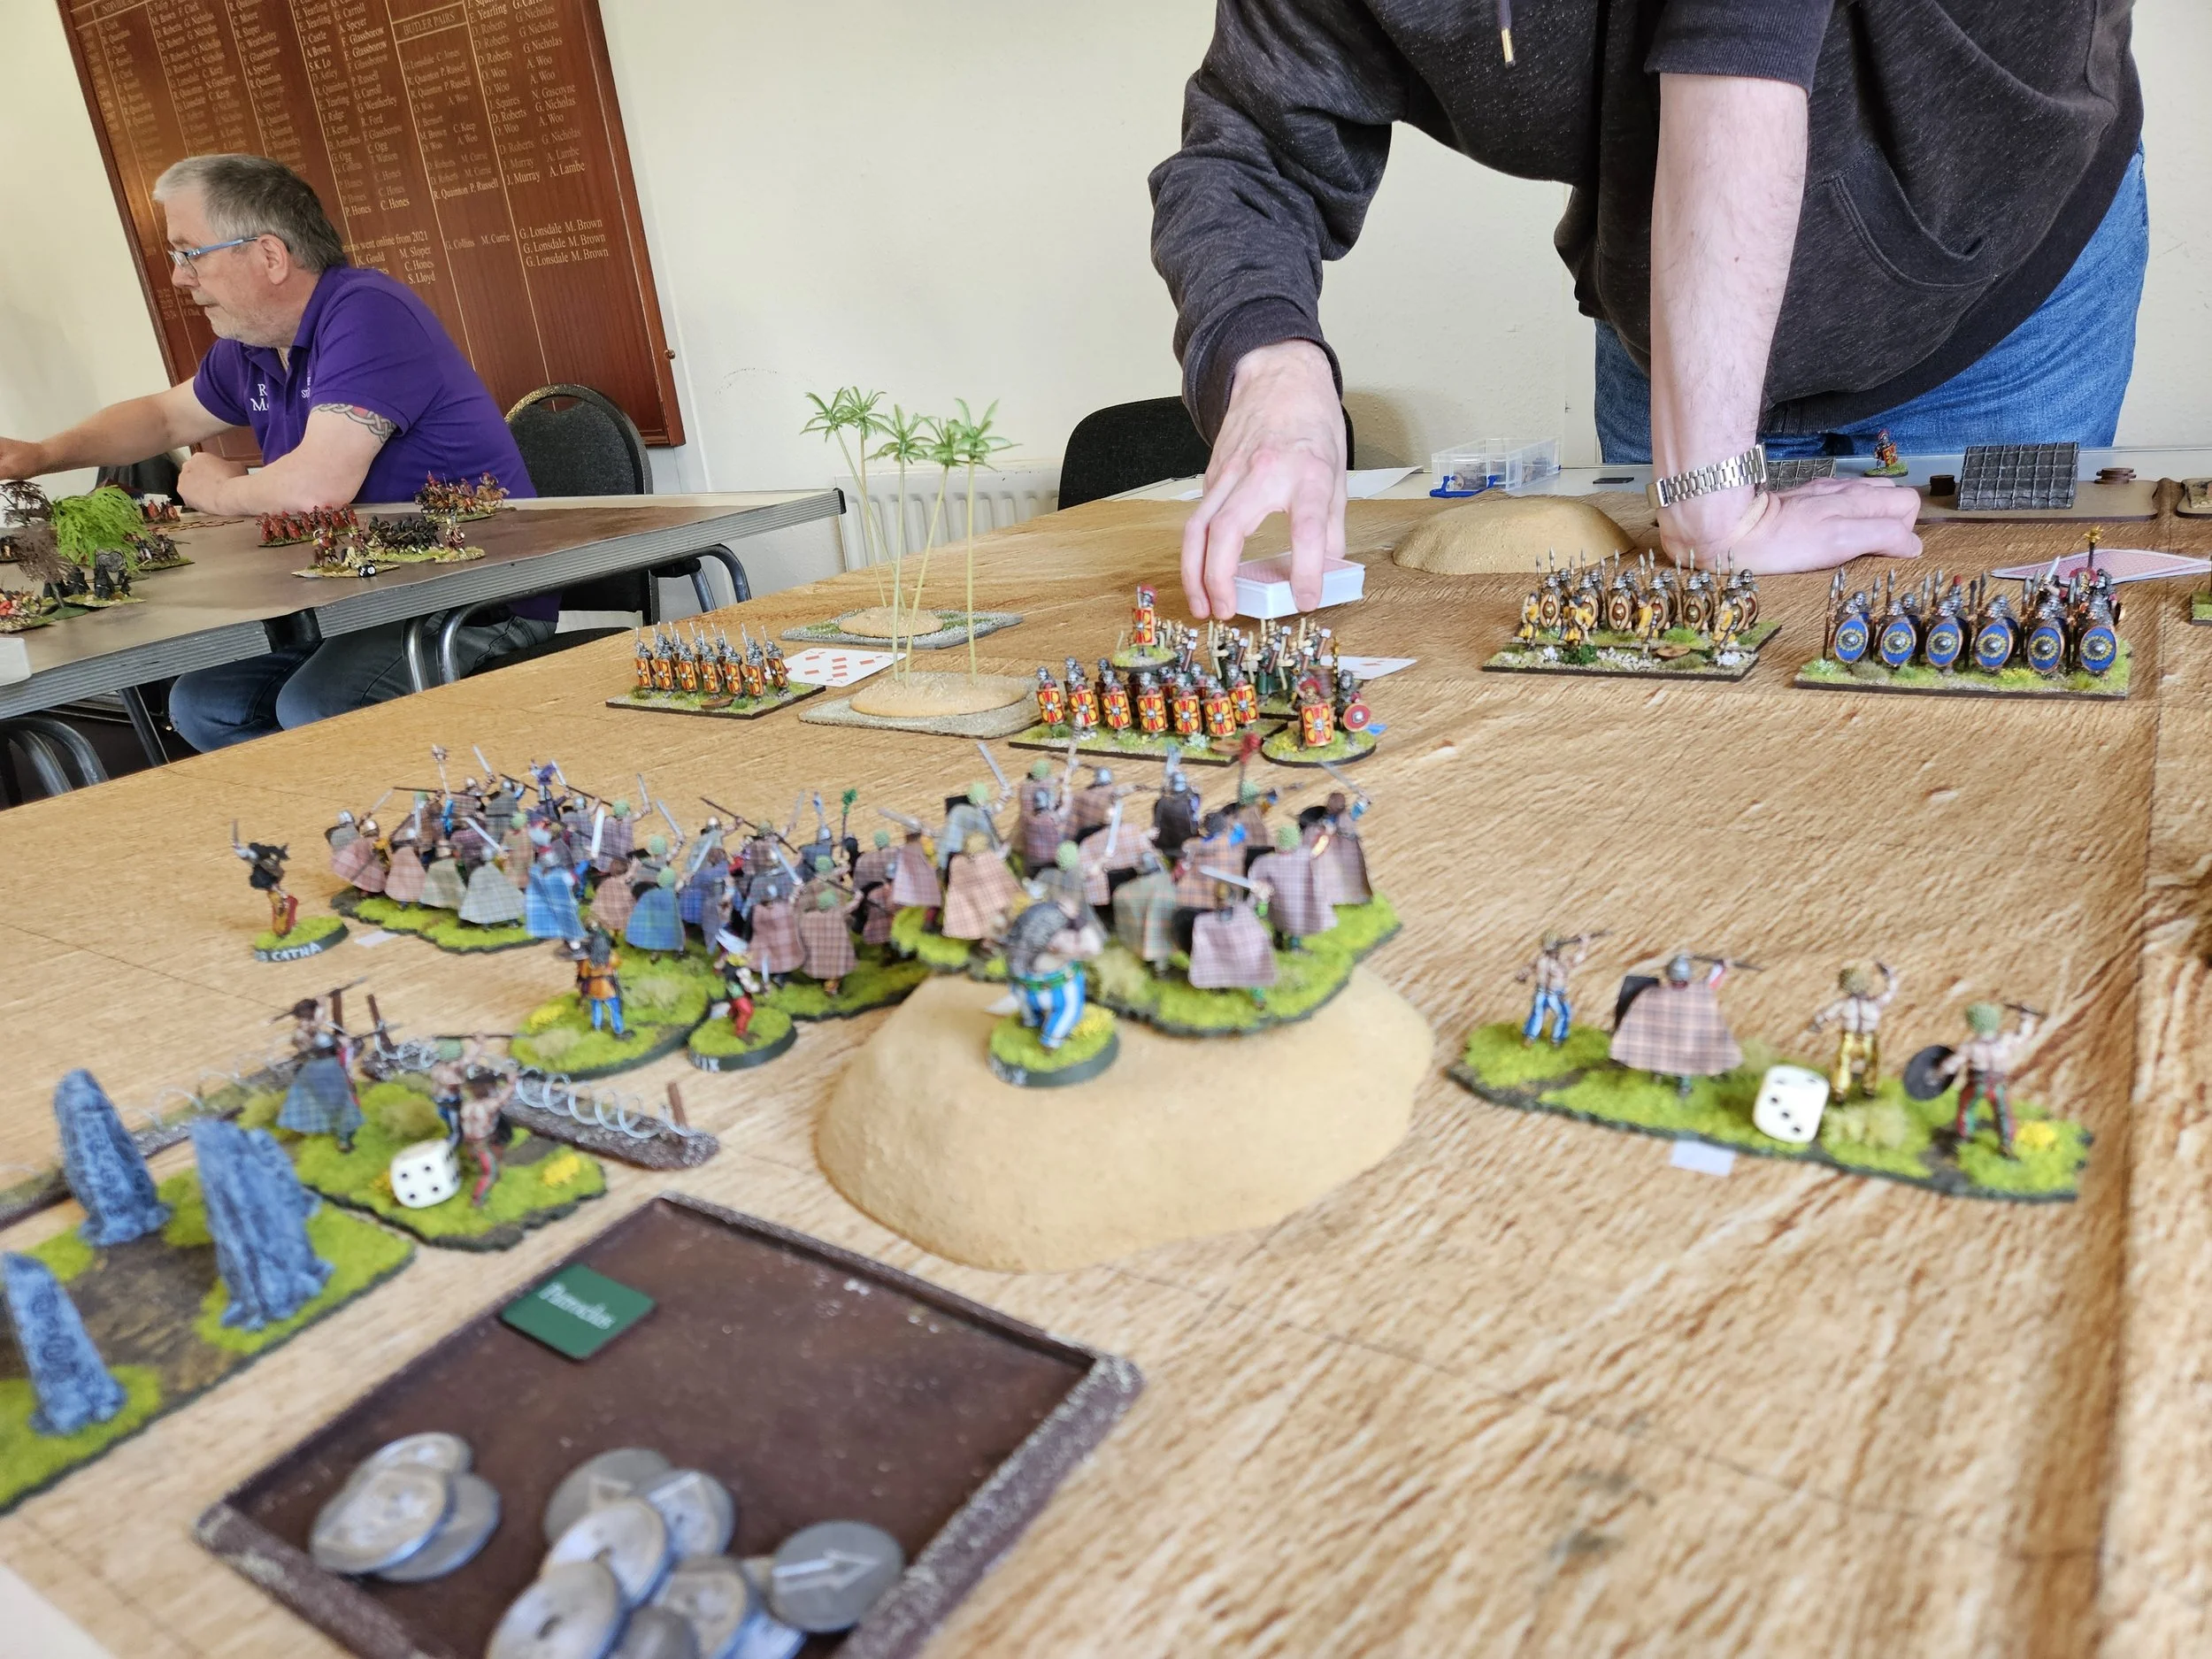
Ewelme '26 Game Two: Galatians versus Principate Romans
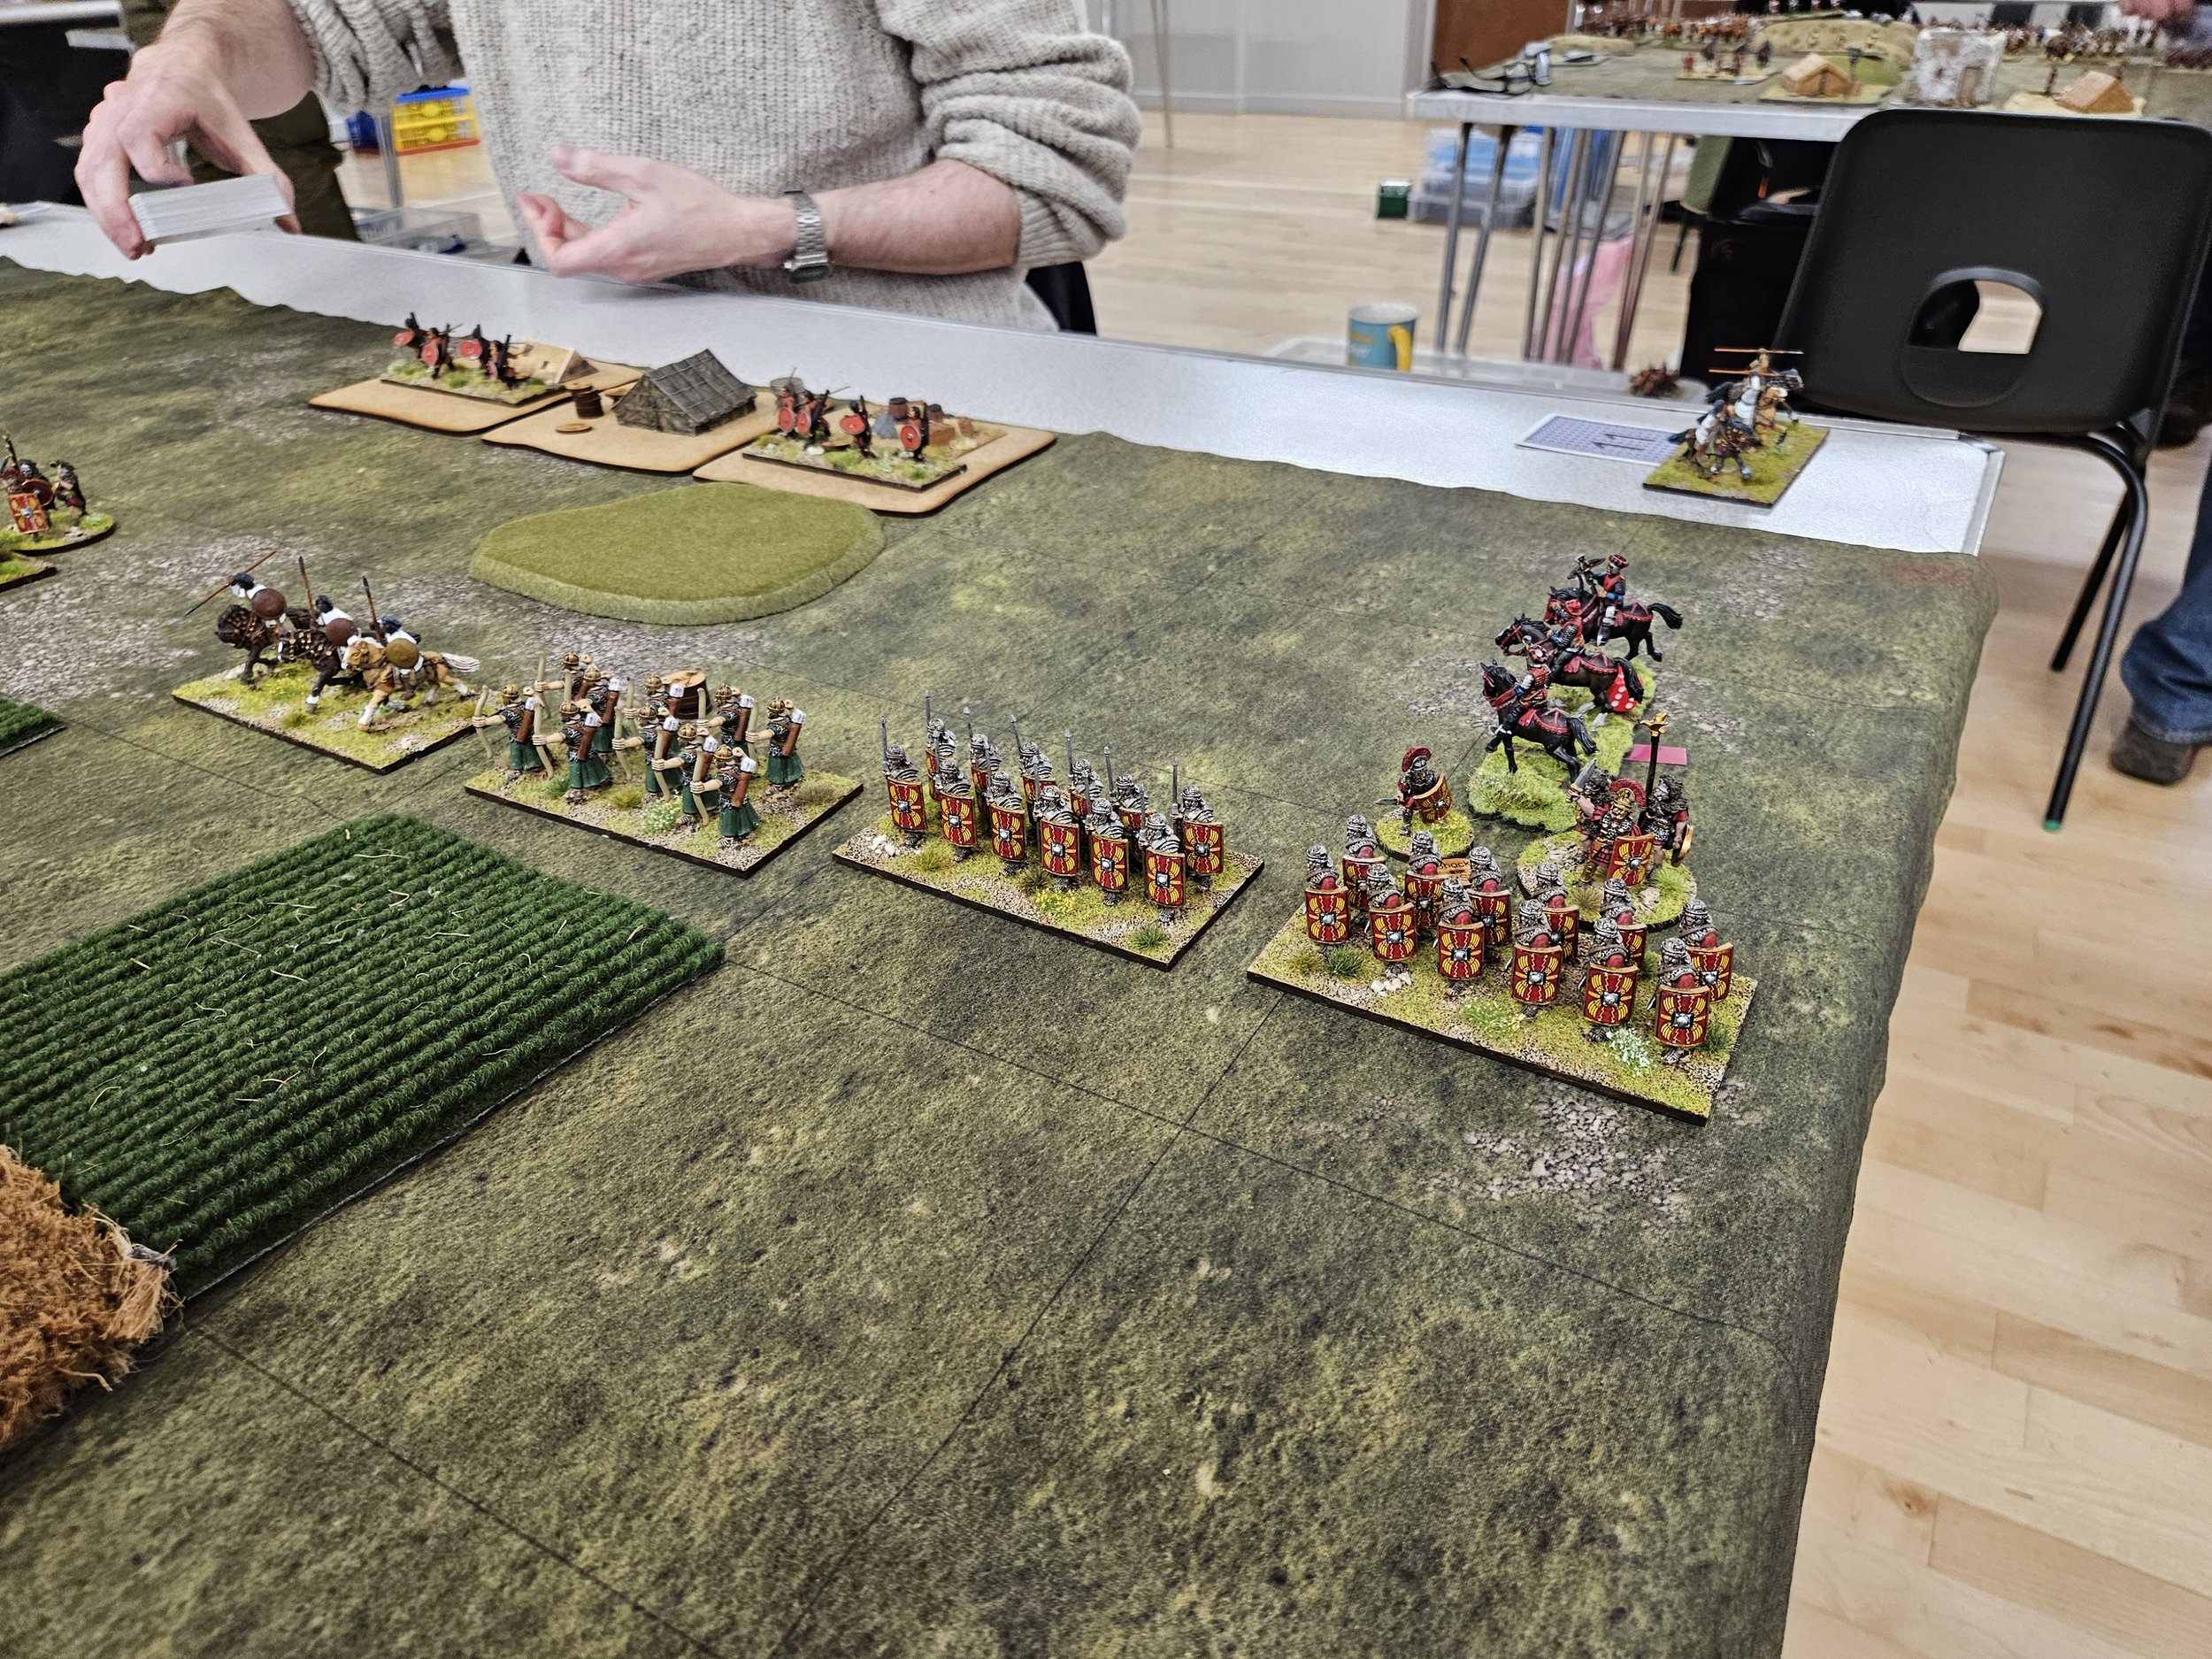
/Still reeling after my devastating loss to the Tuaregs in game one, my fourth loss in a row with the Galatians, my lads now faced a powerful Principate (Early Imperial) Roman army. I was not looking forward to this: the Roman mincing machine was built to defeat Celts!
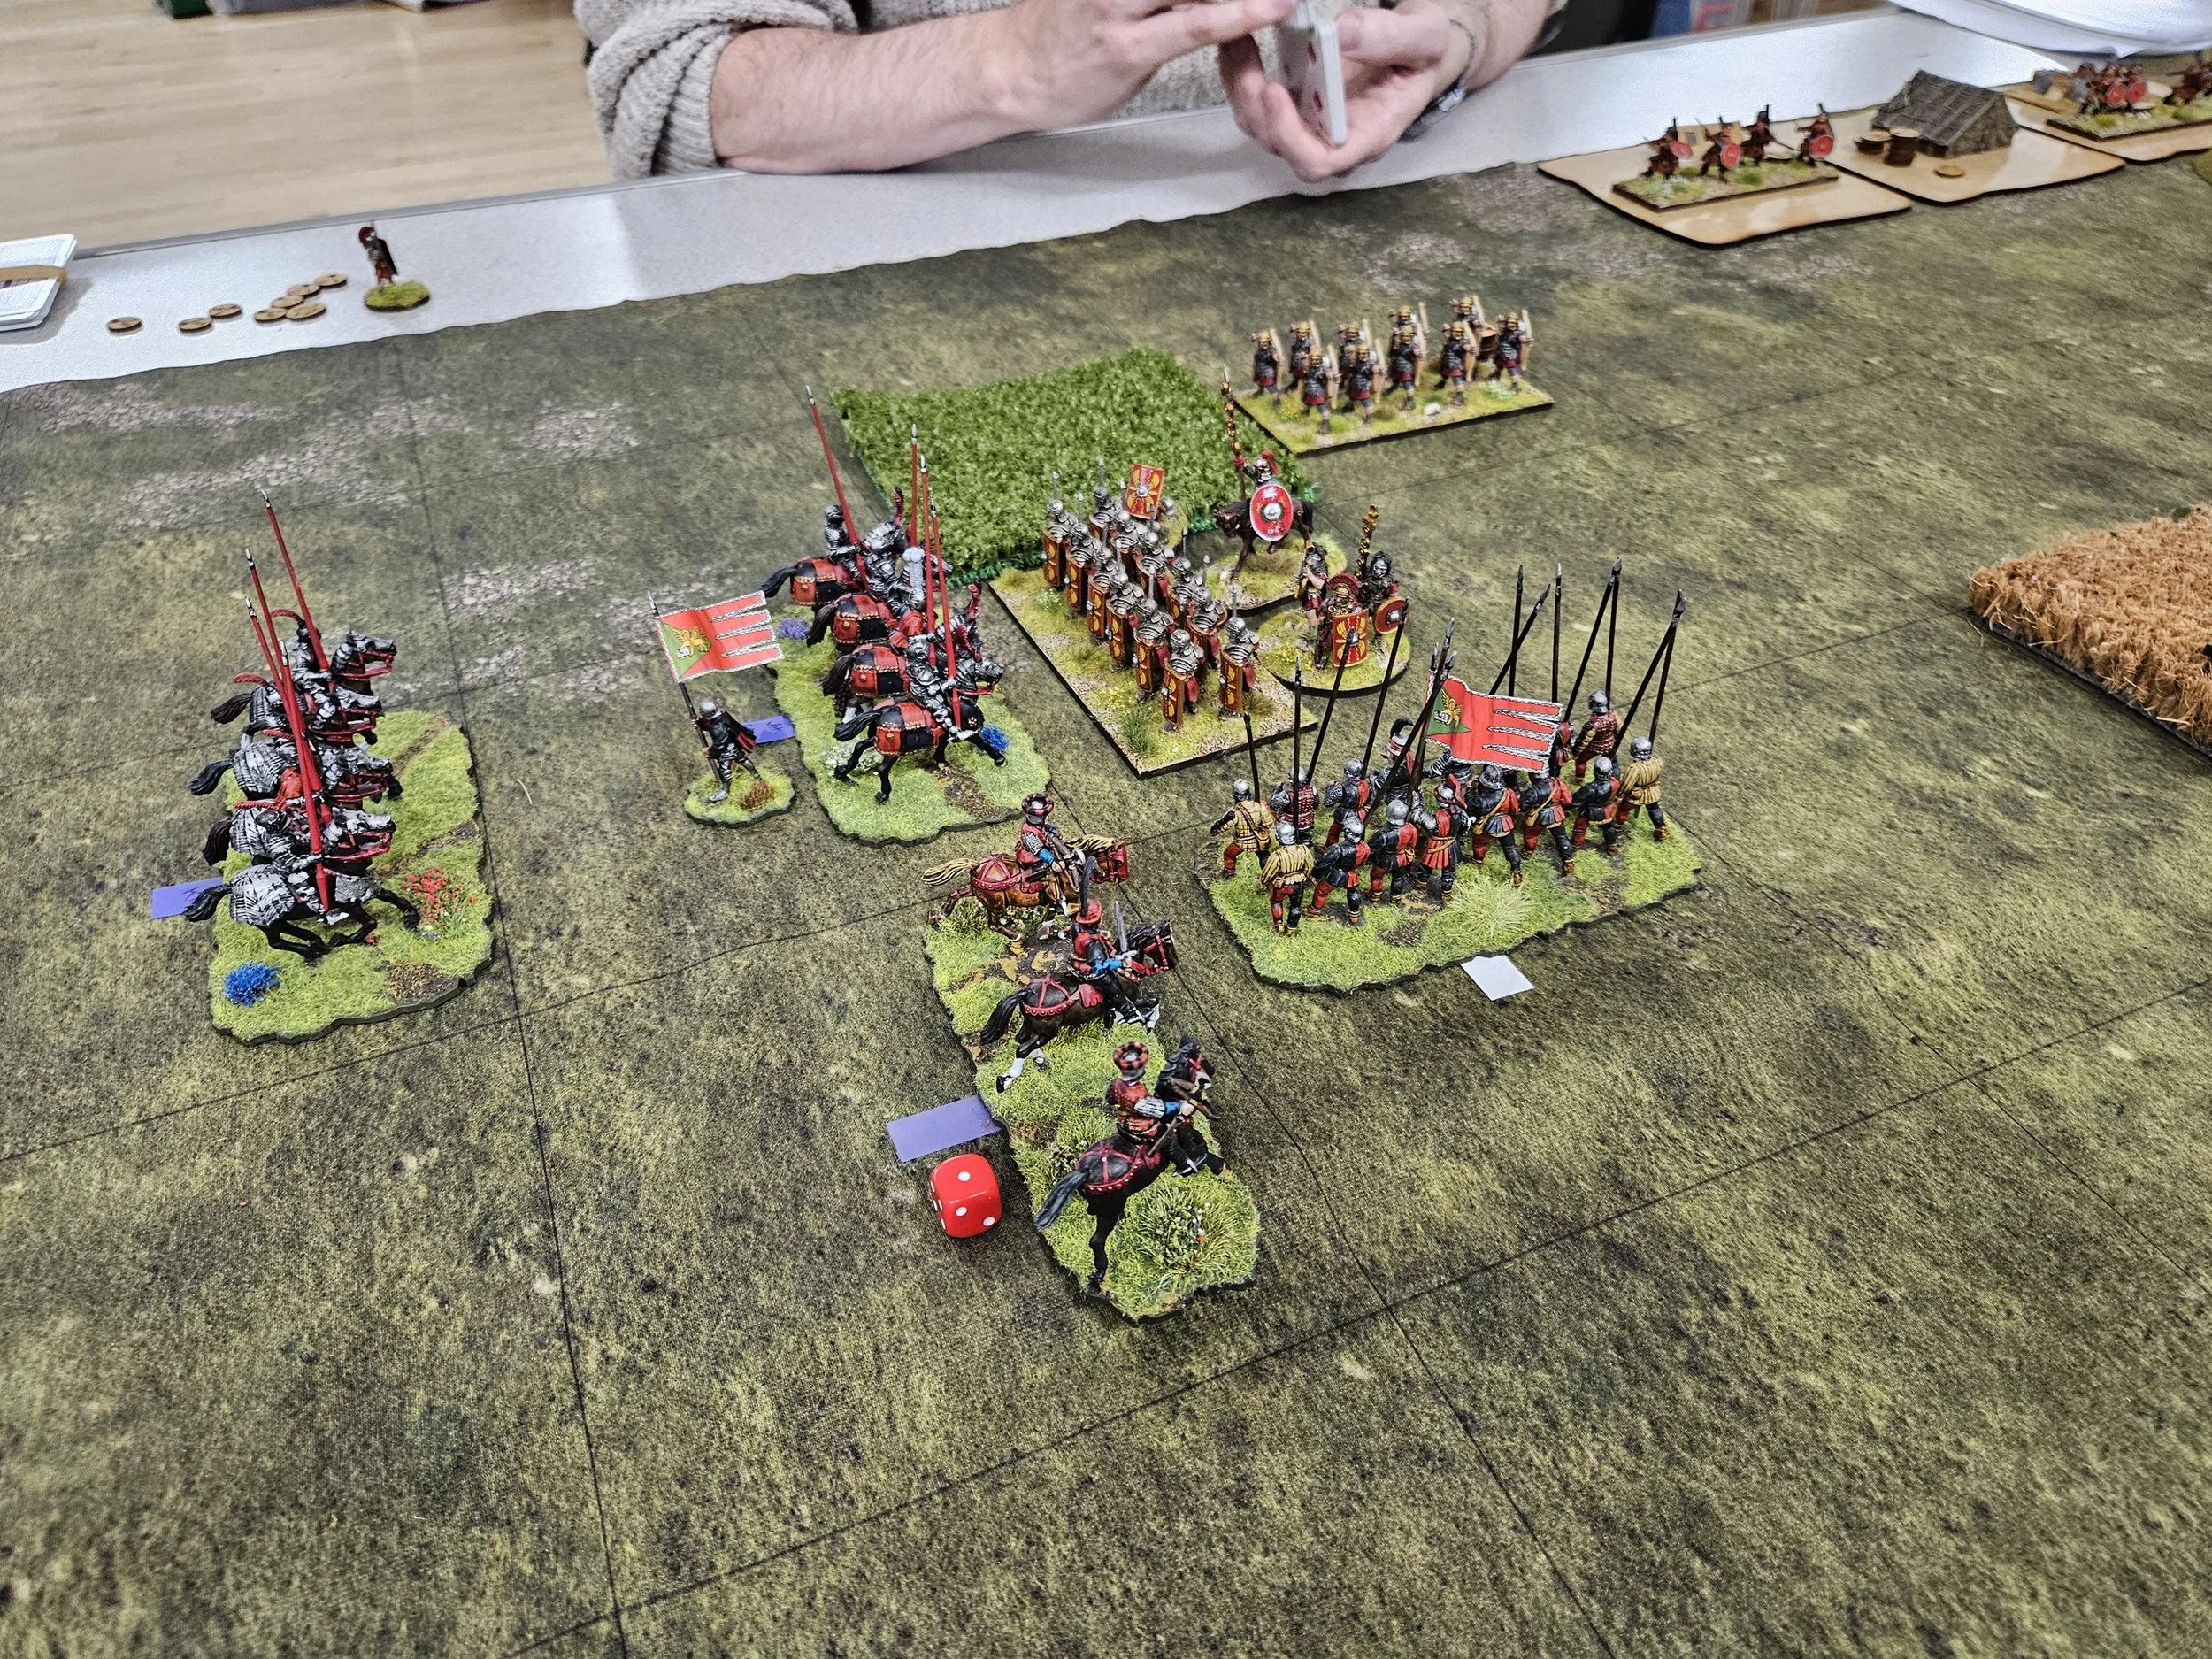
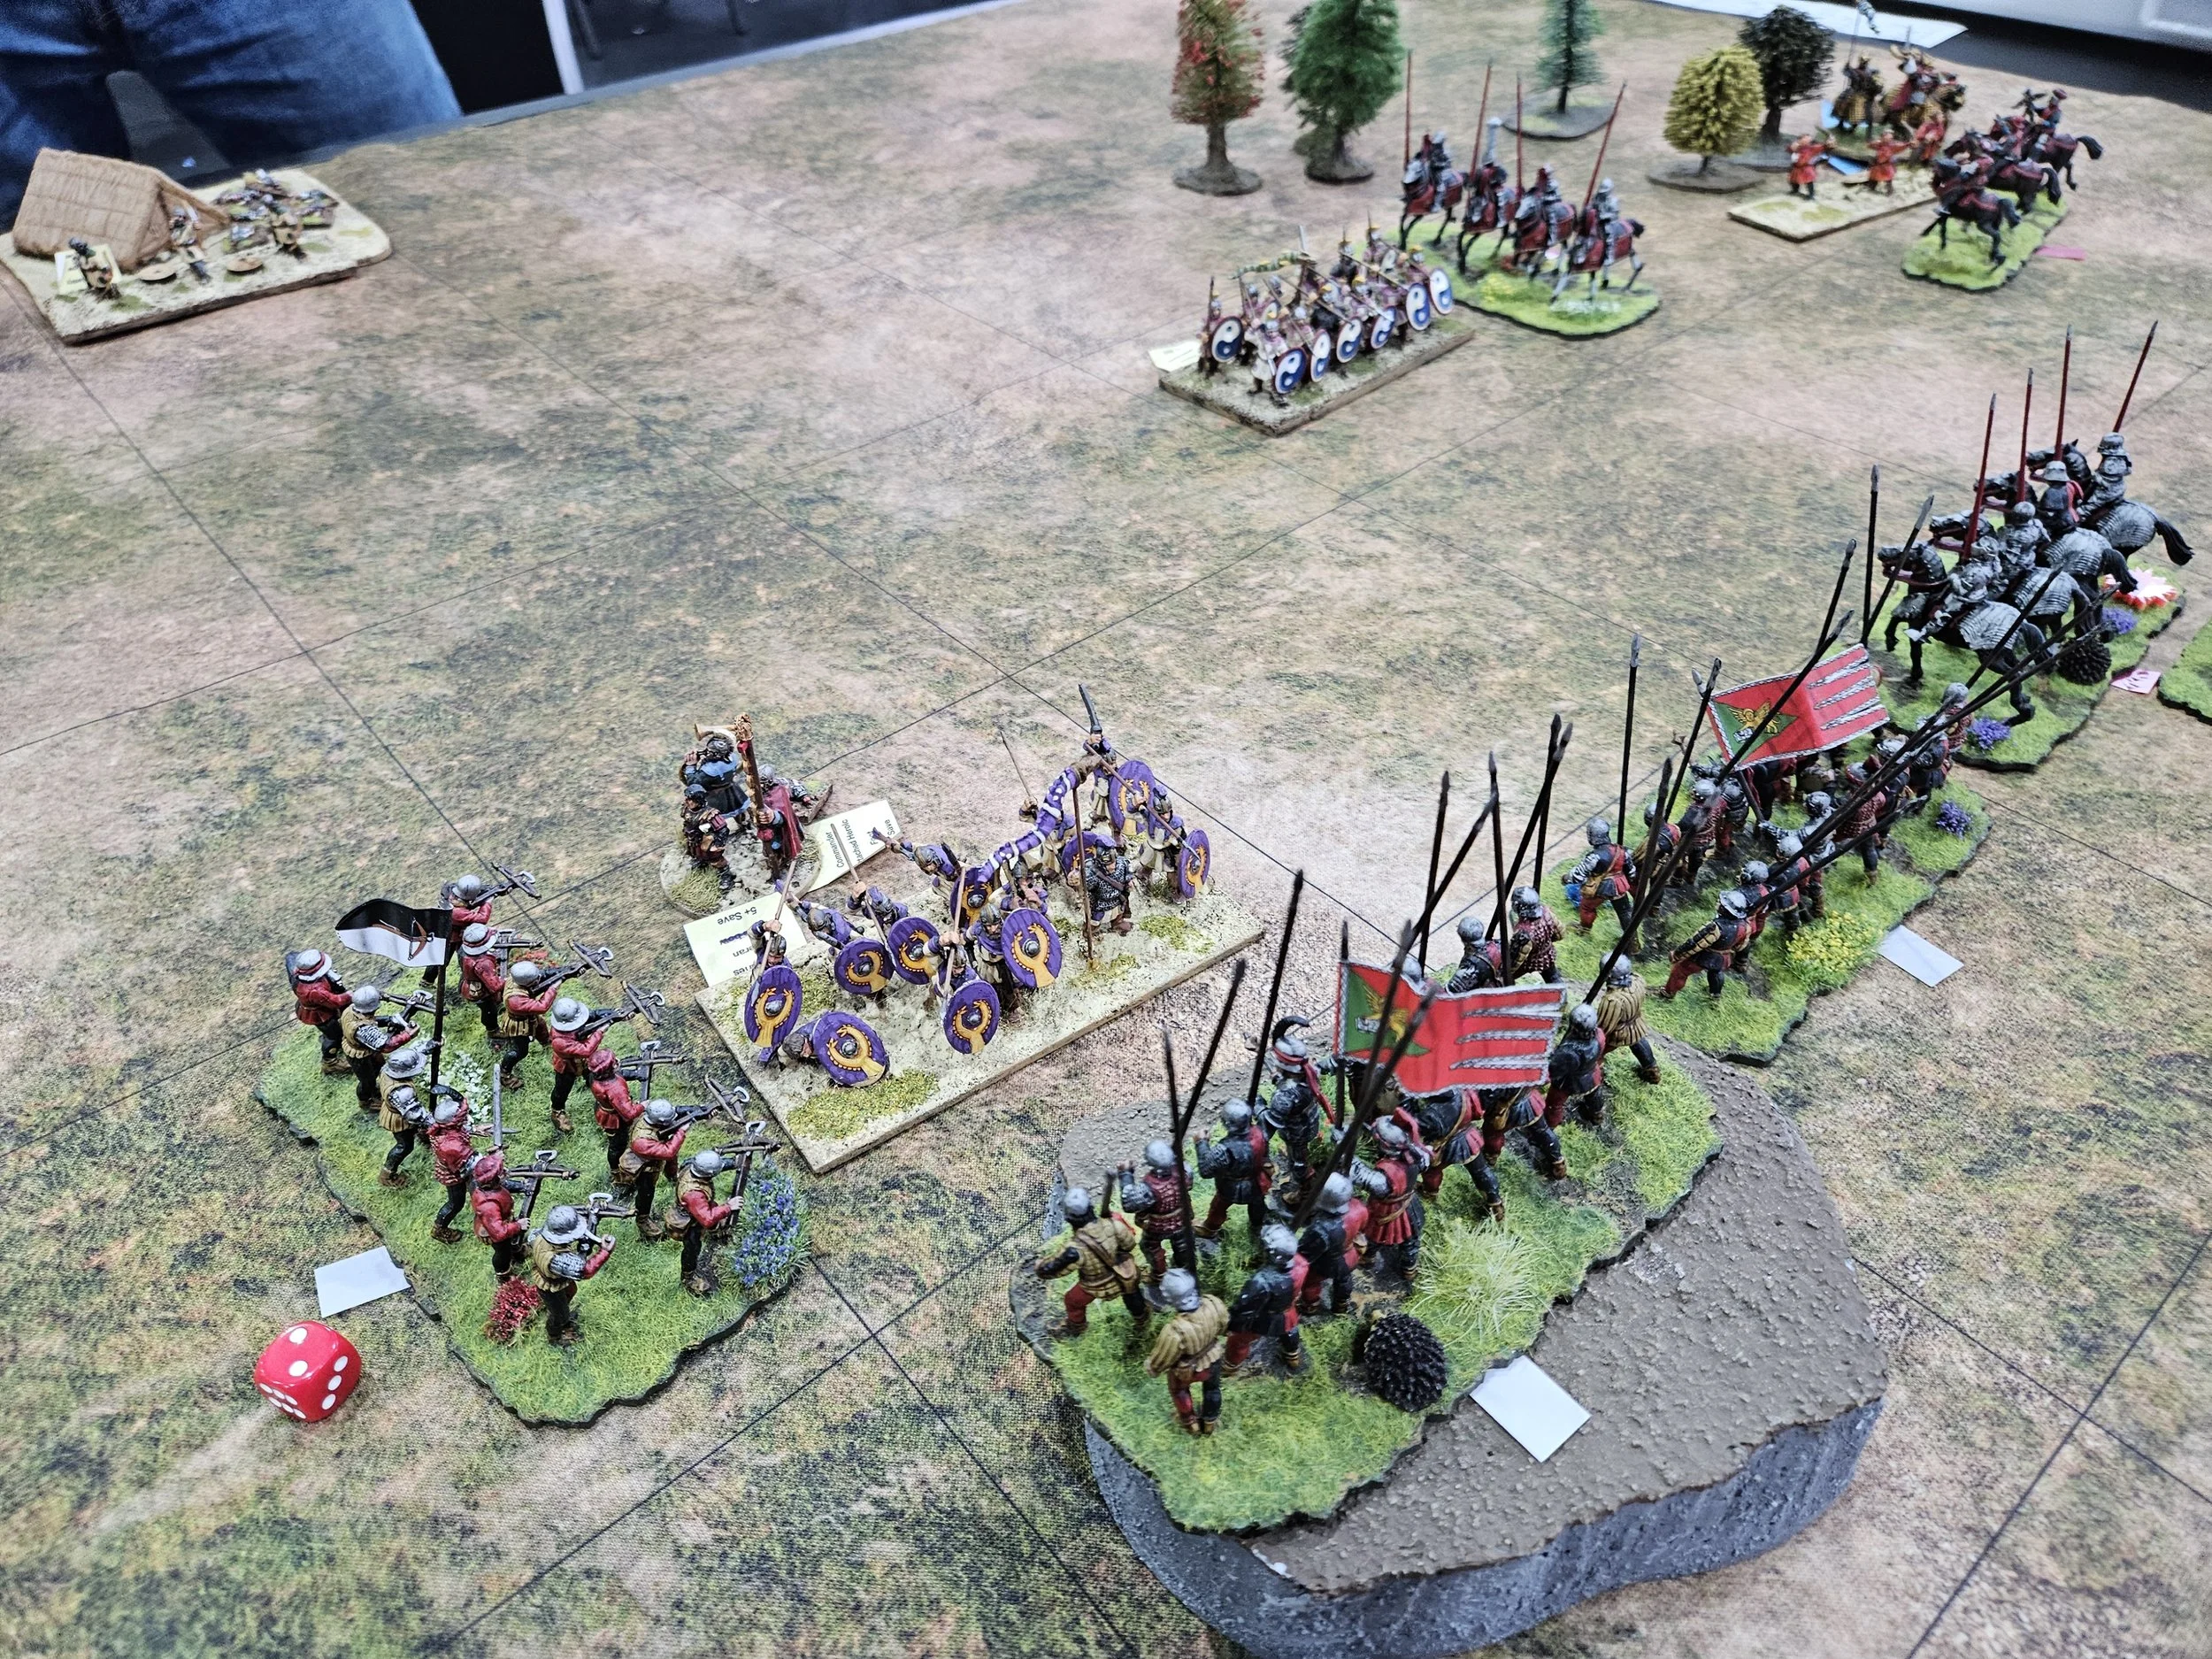
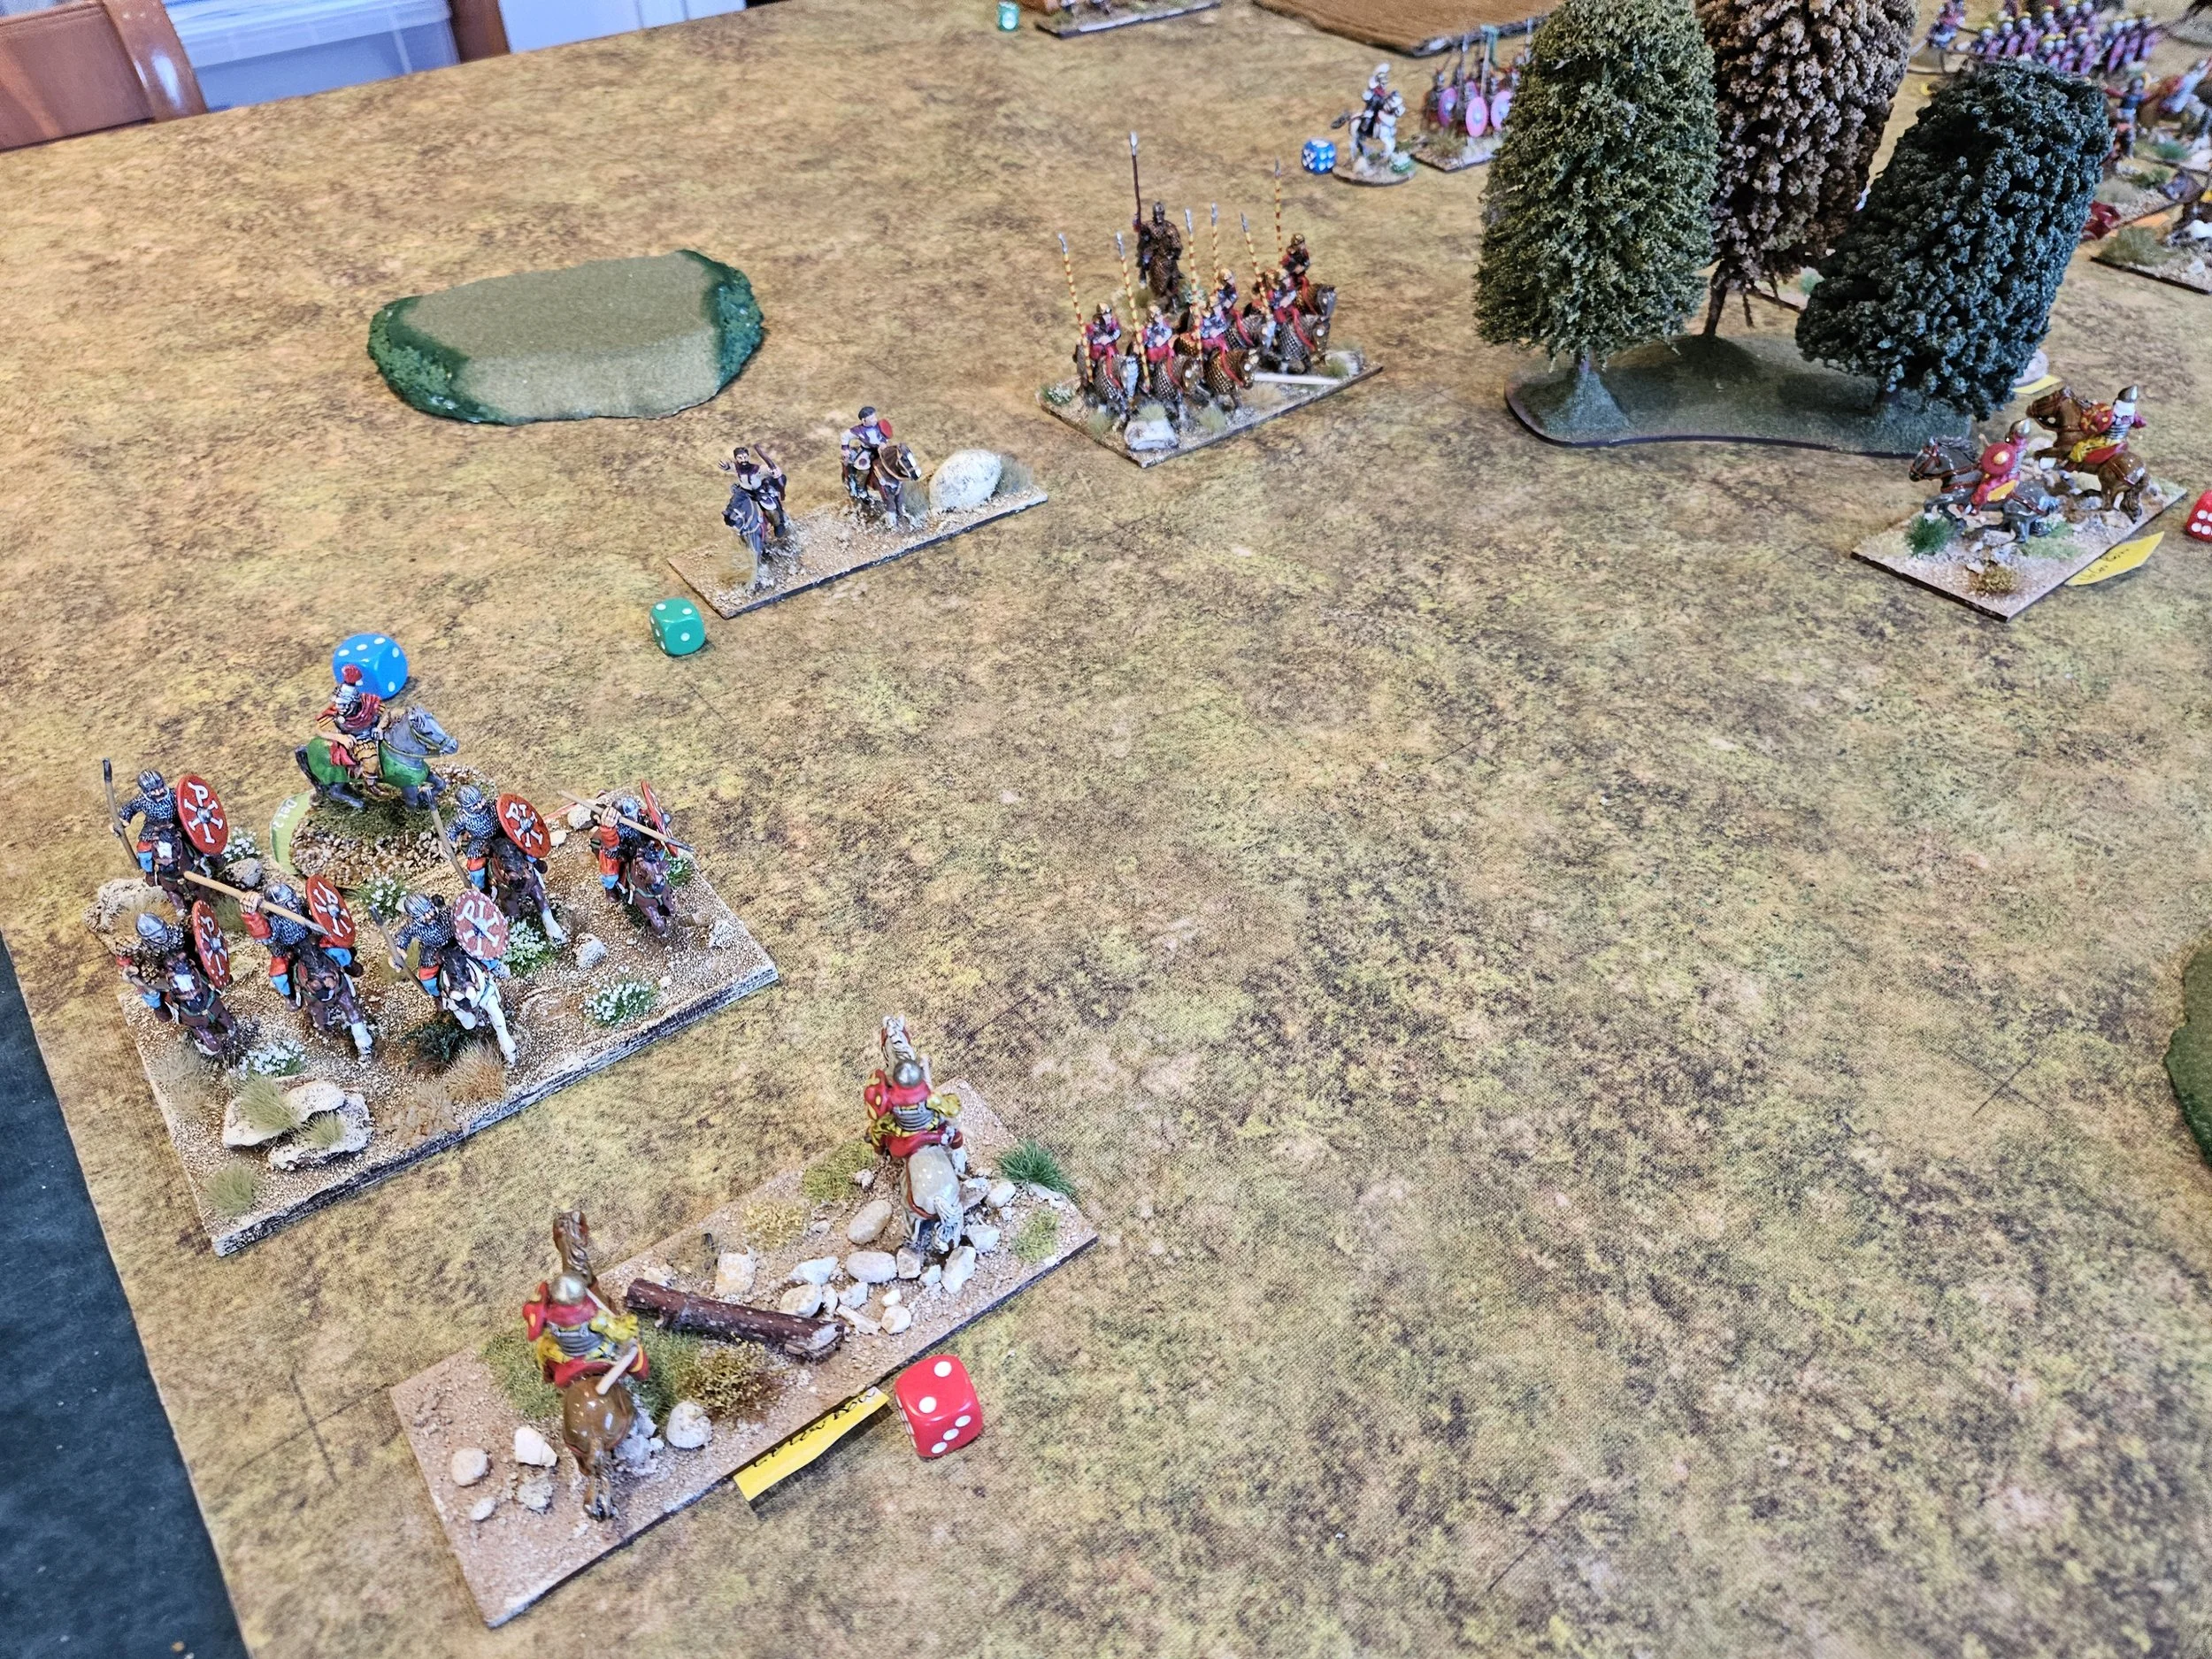
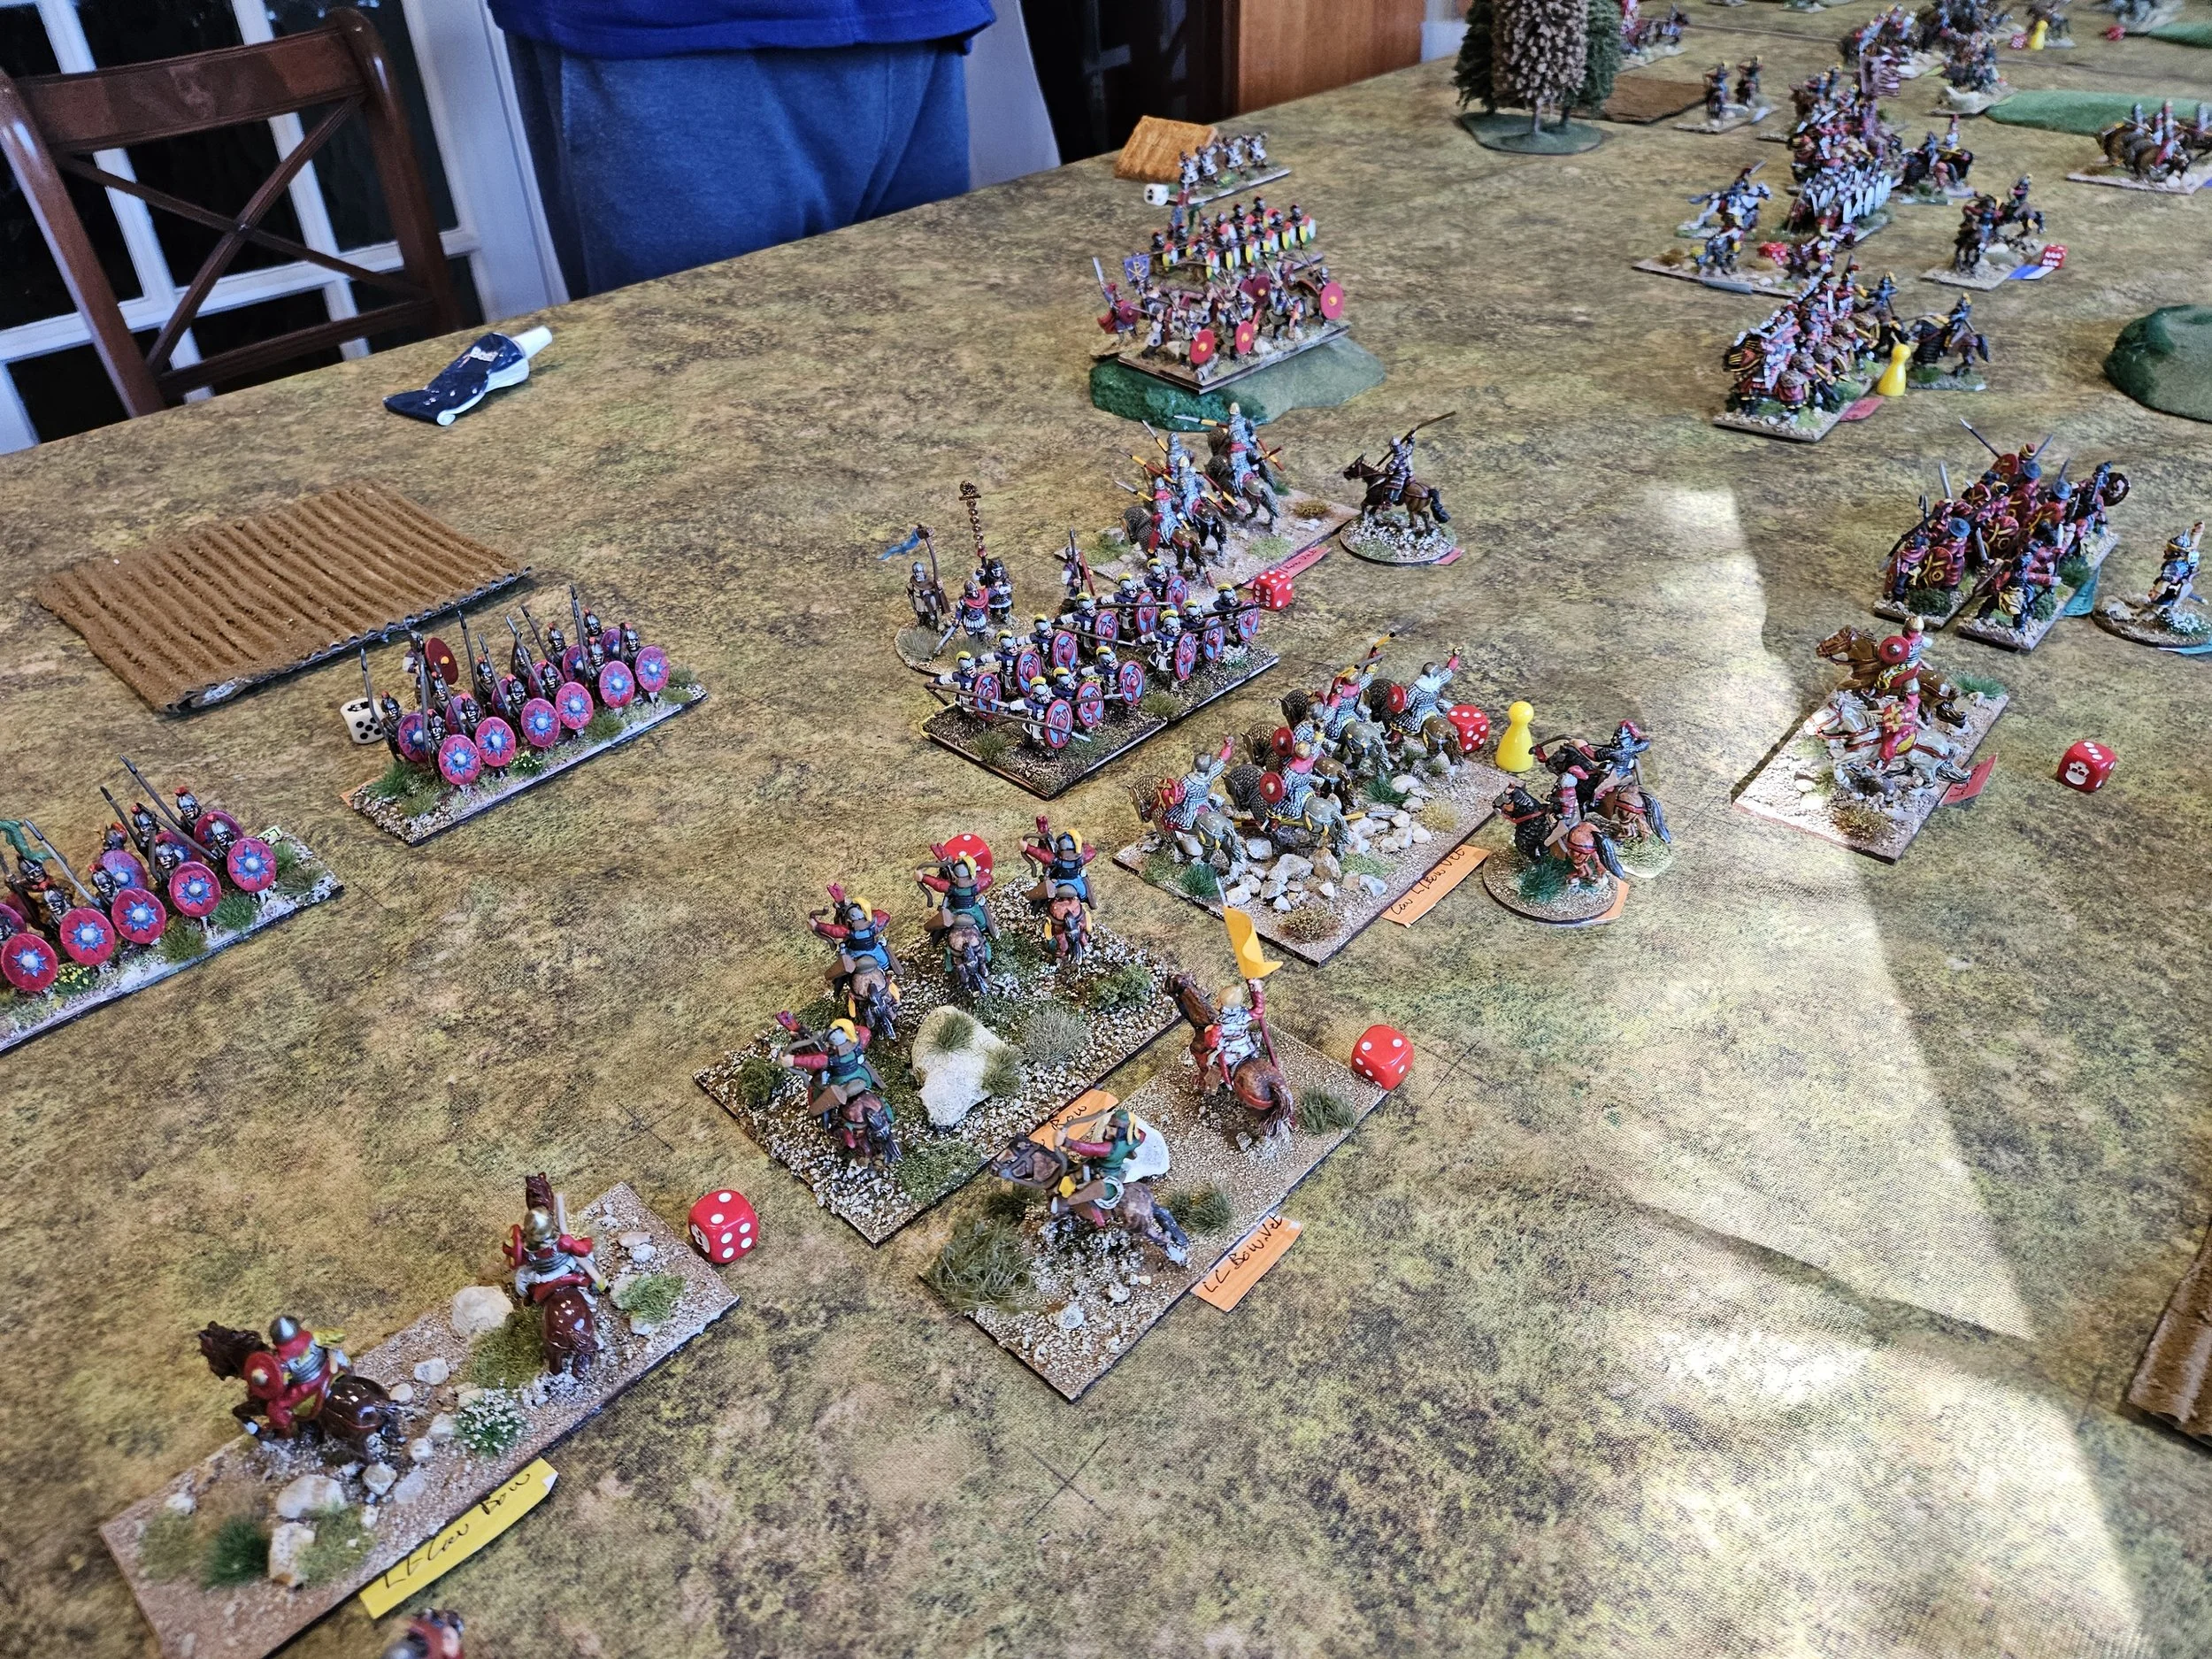
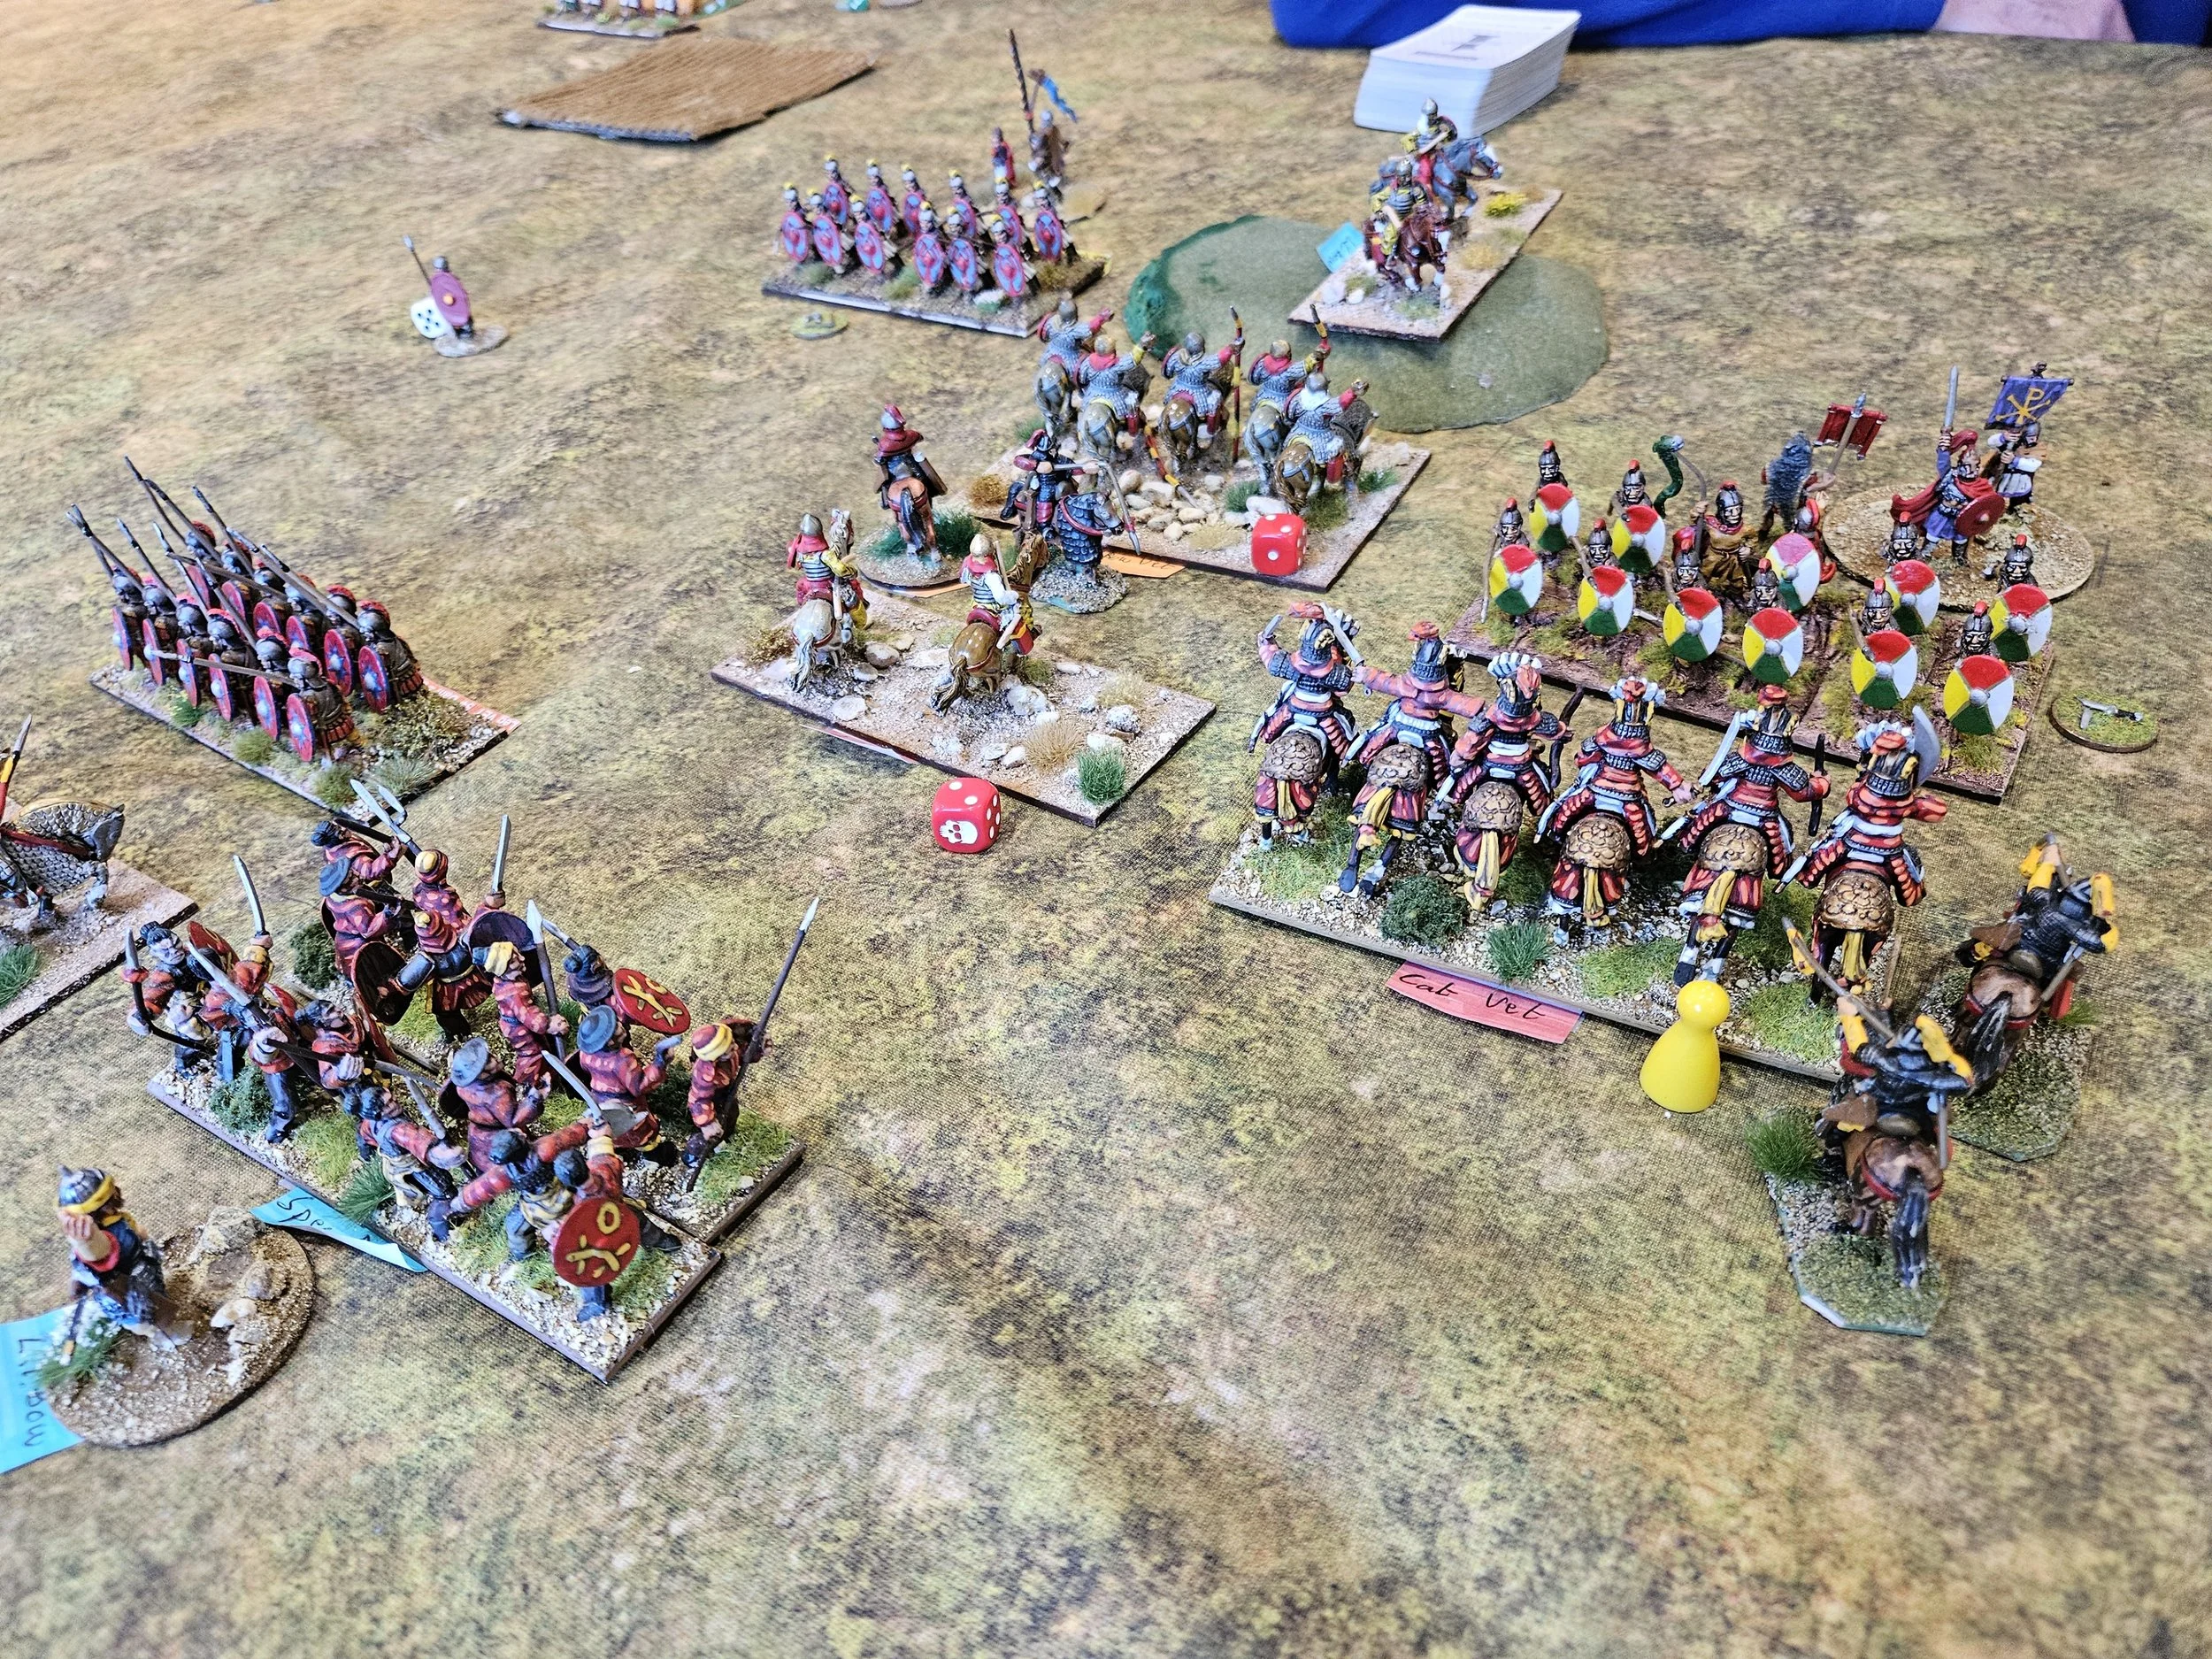
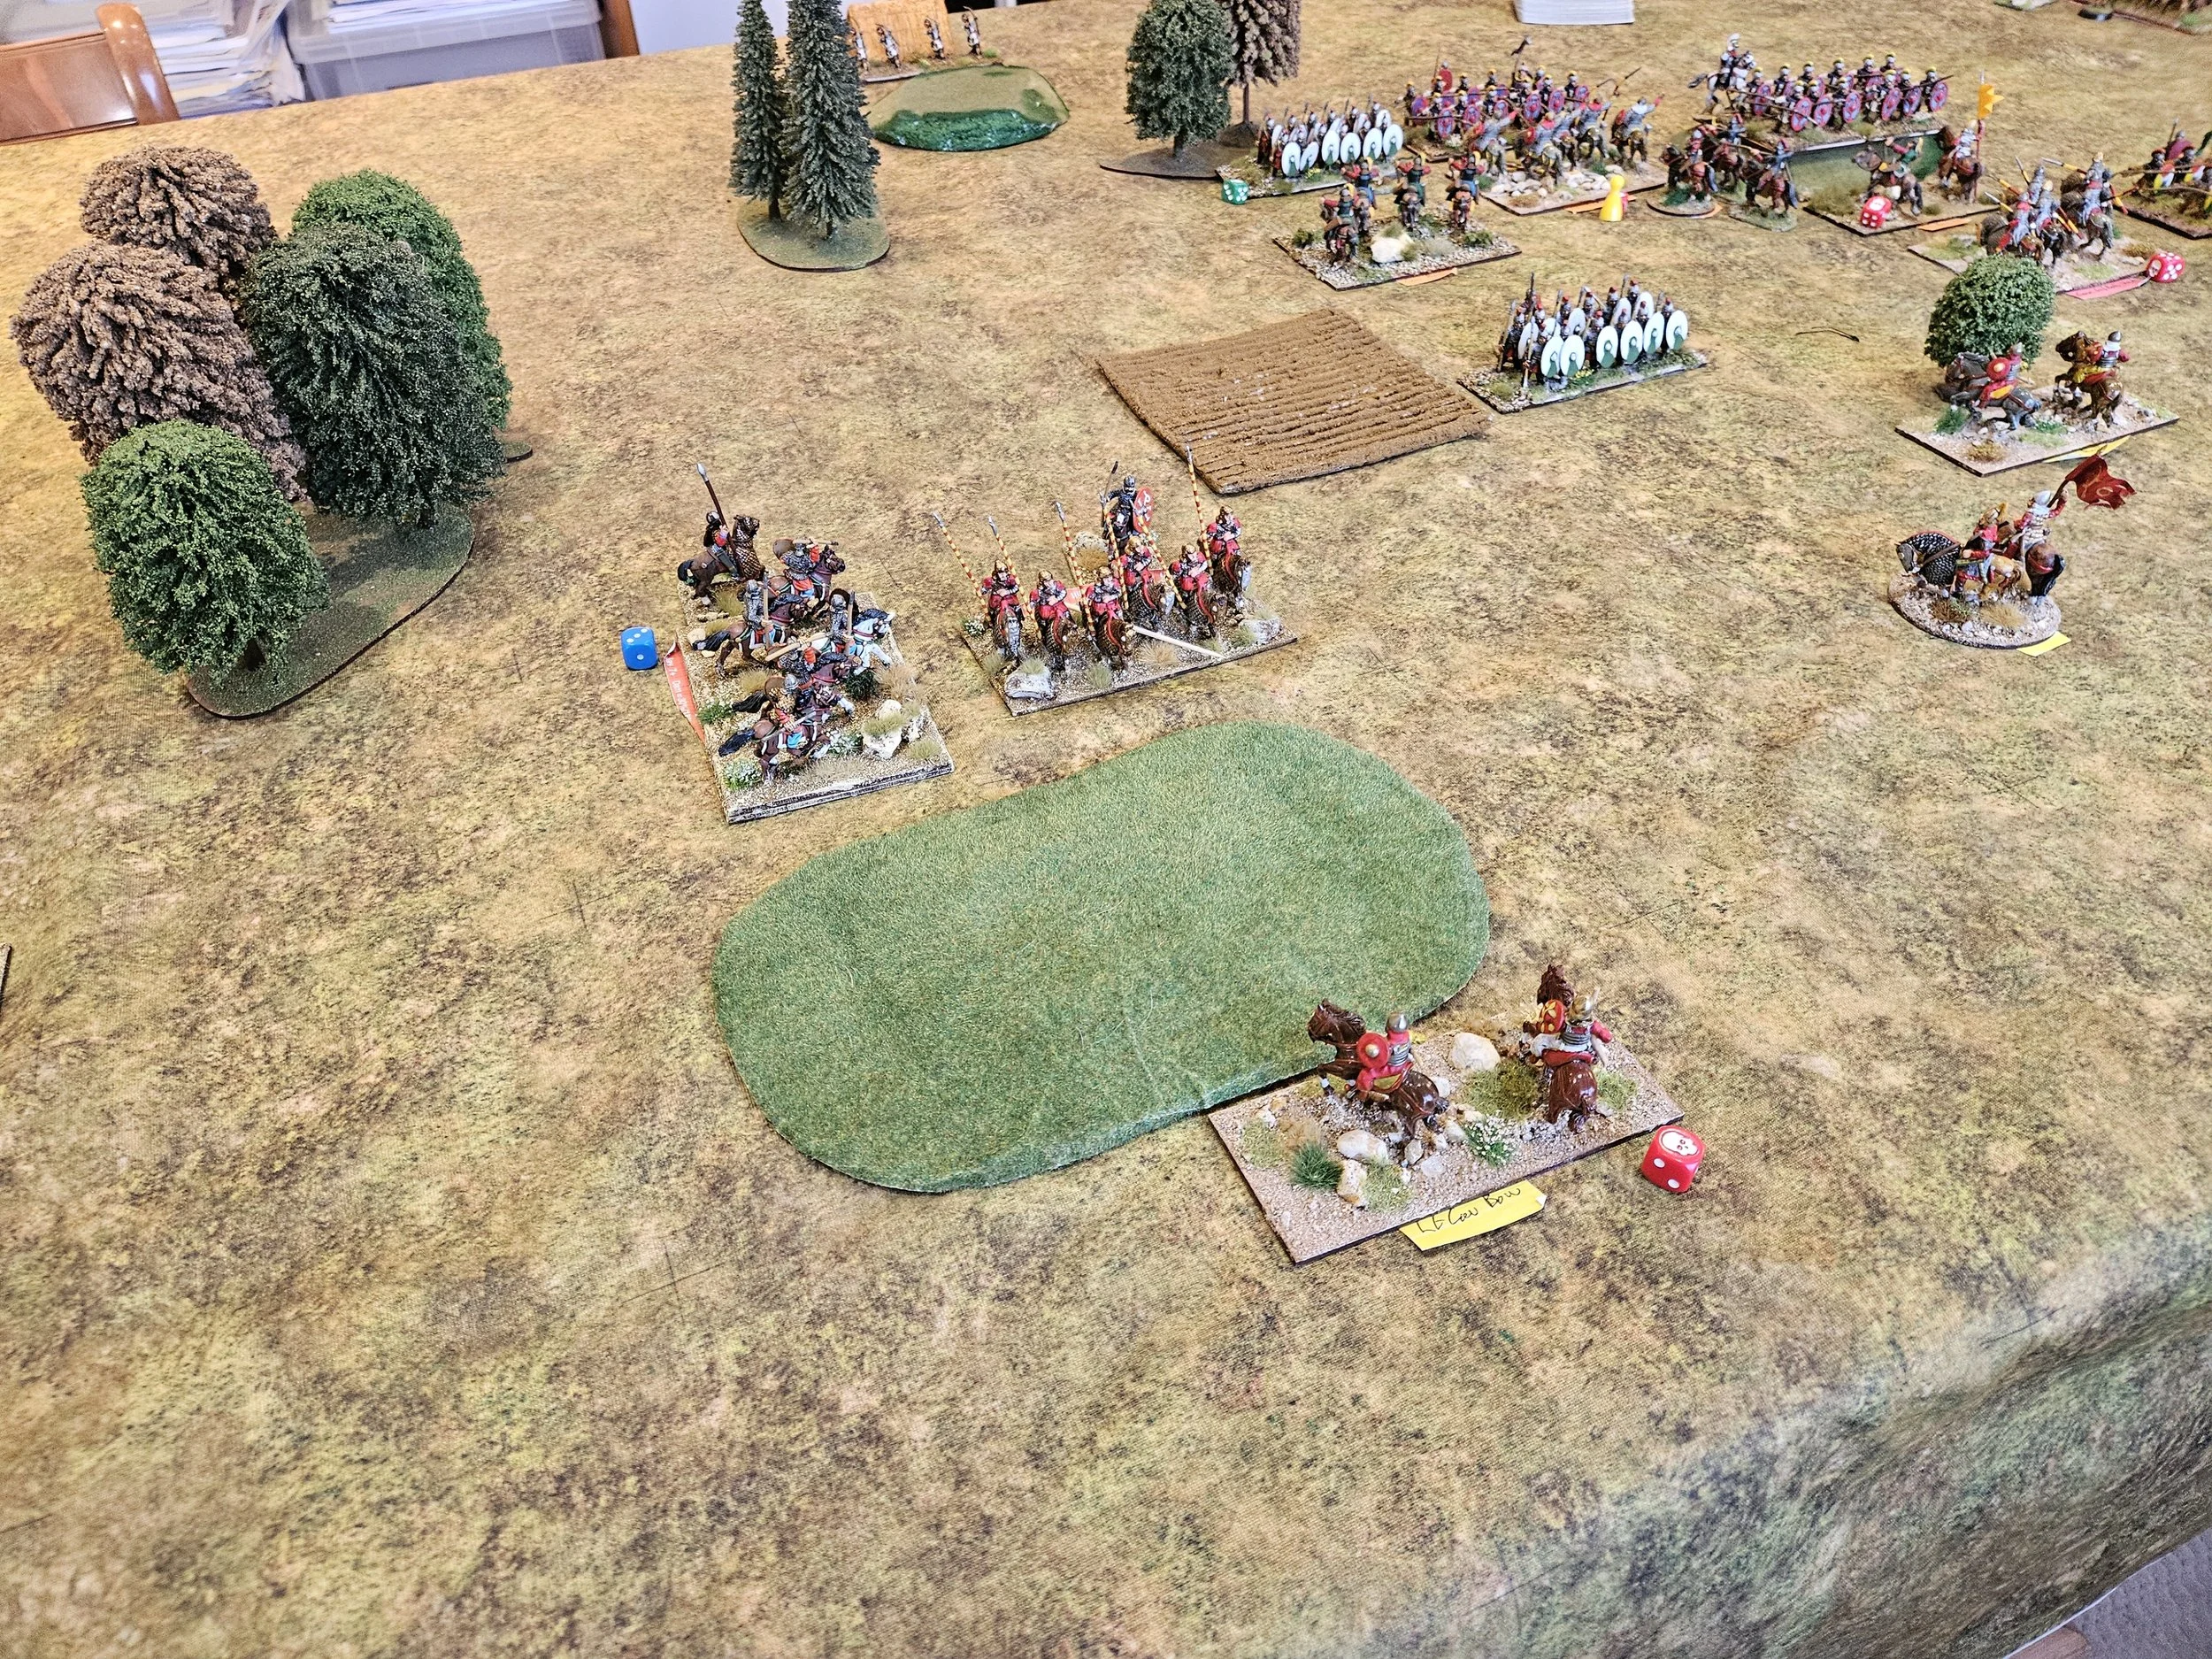
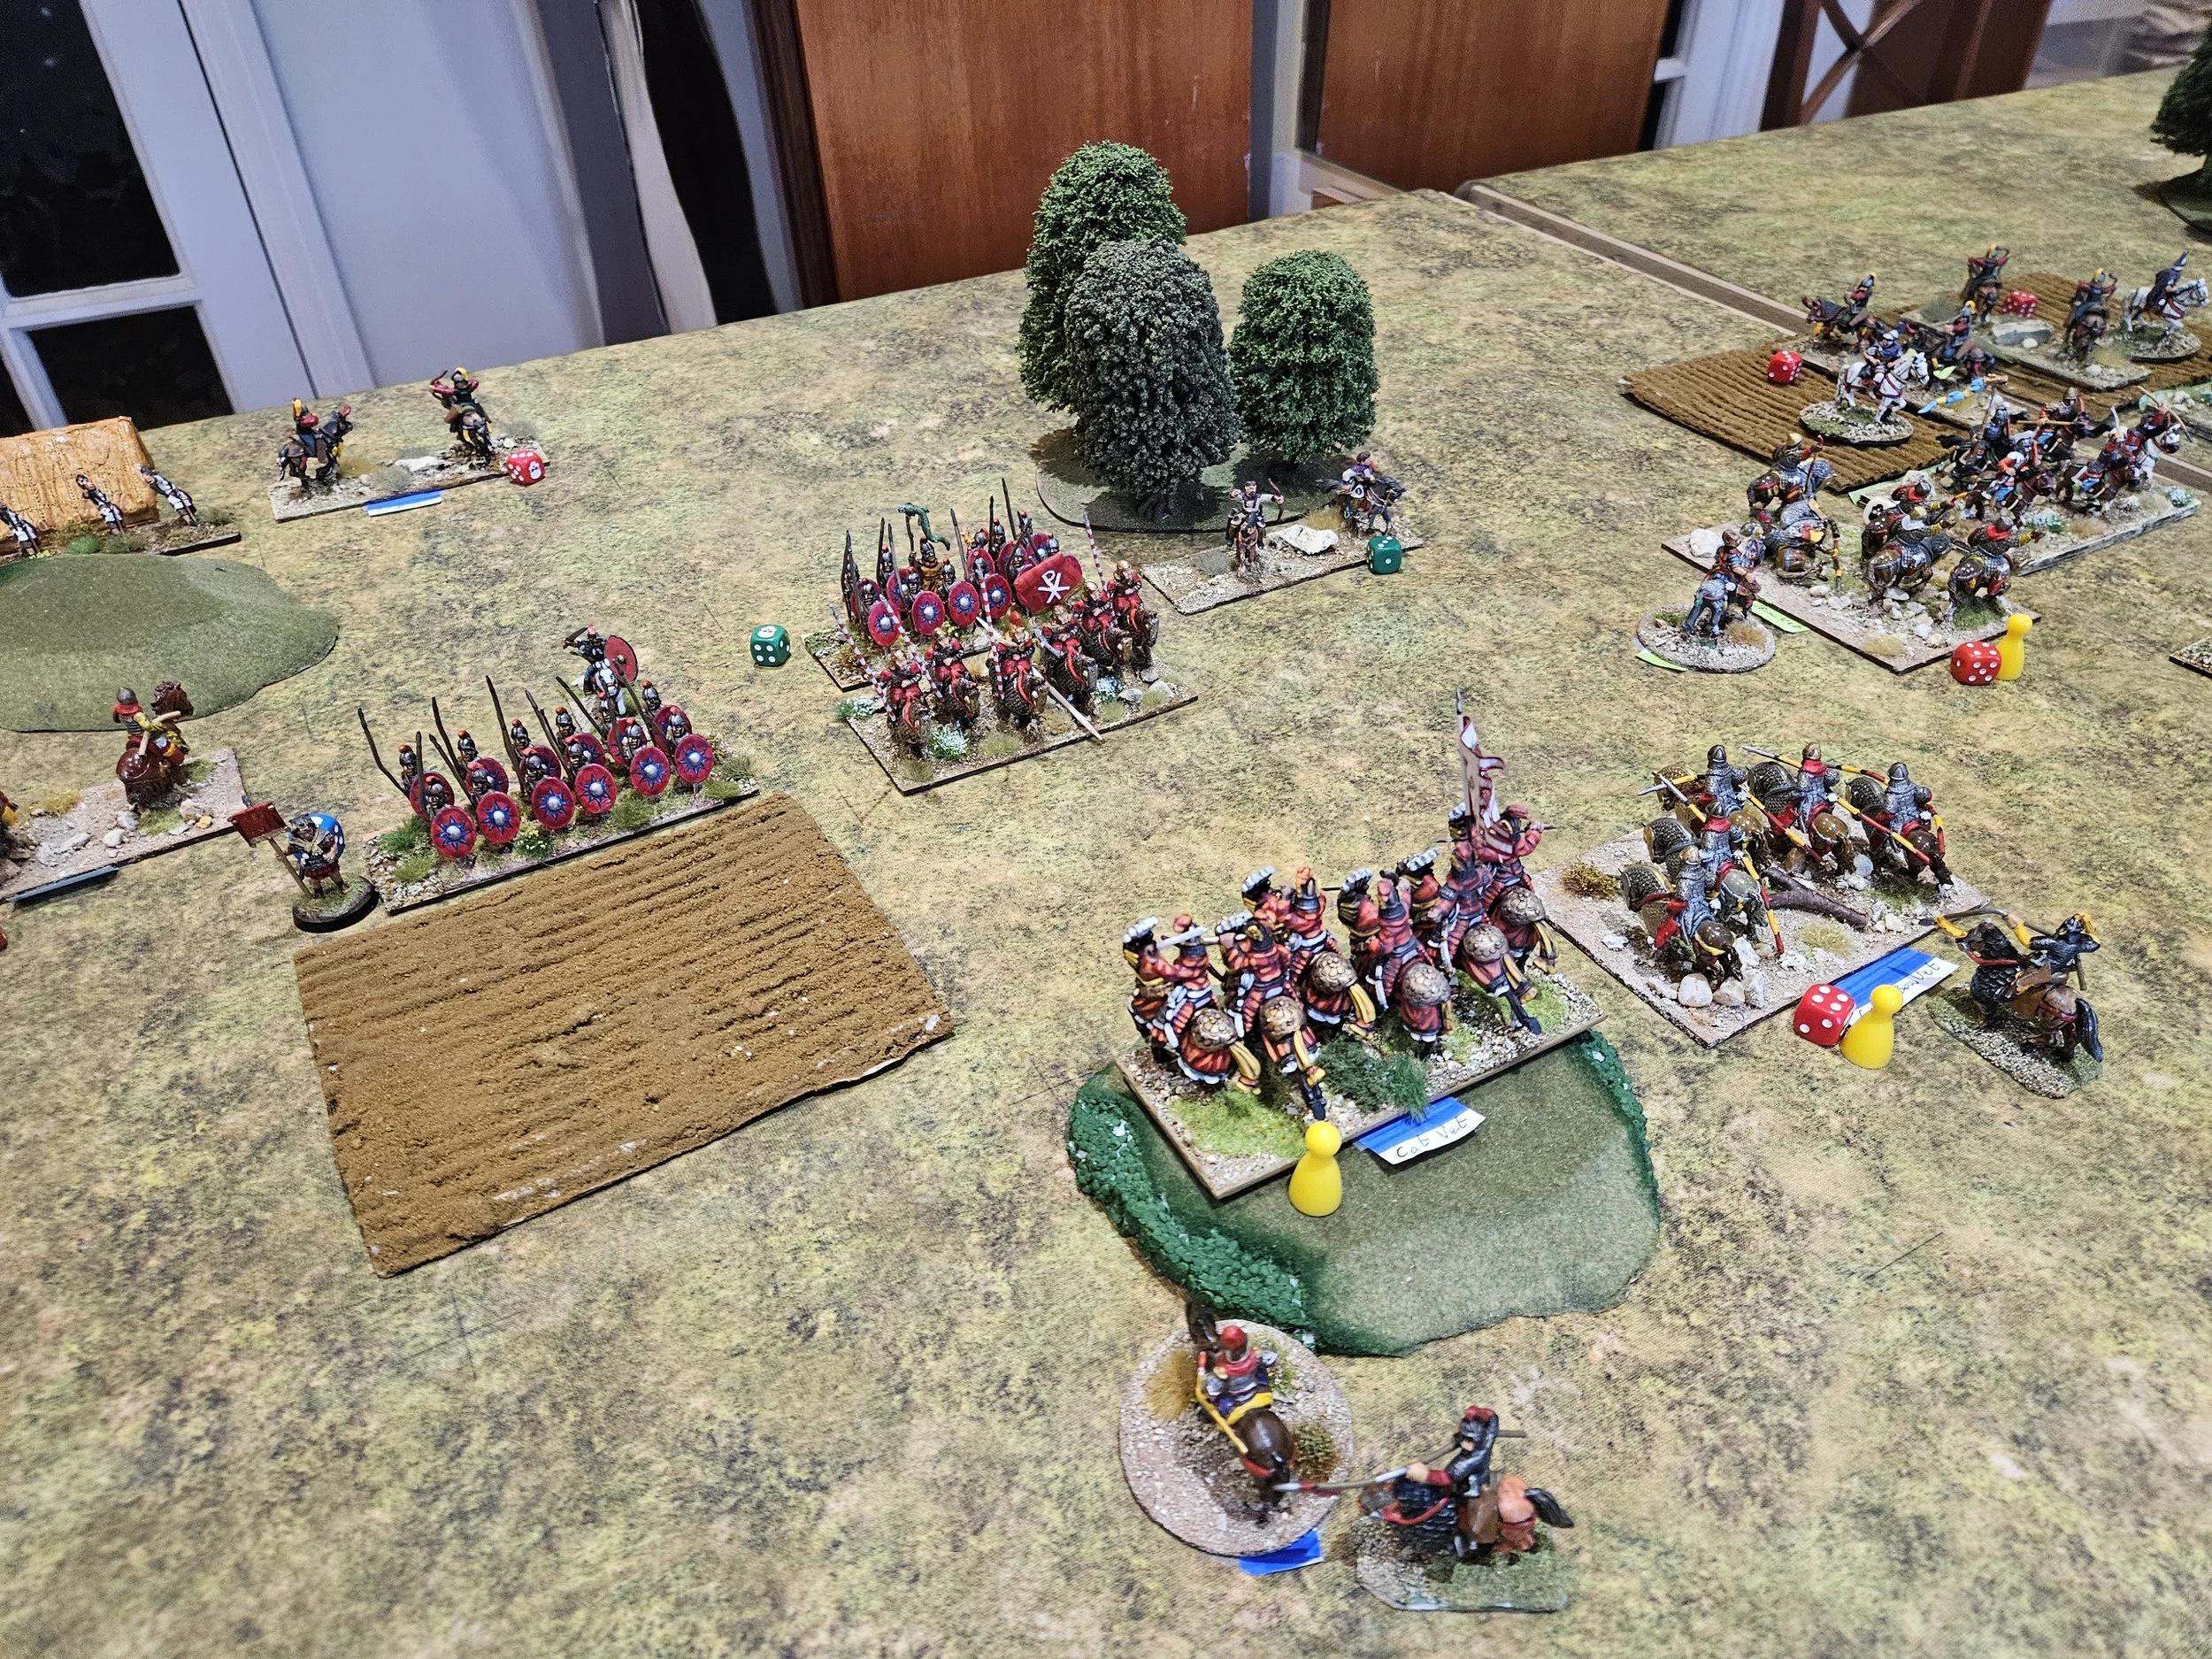
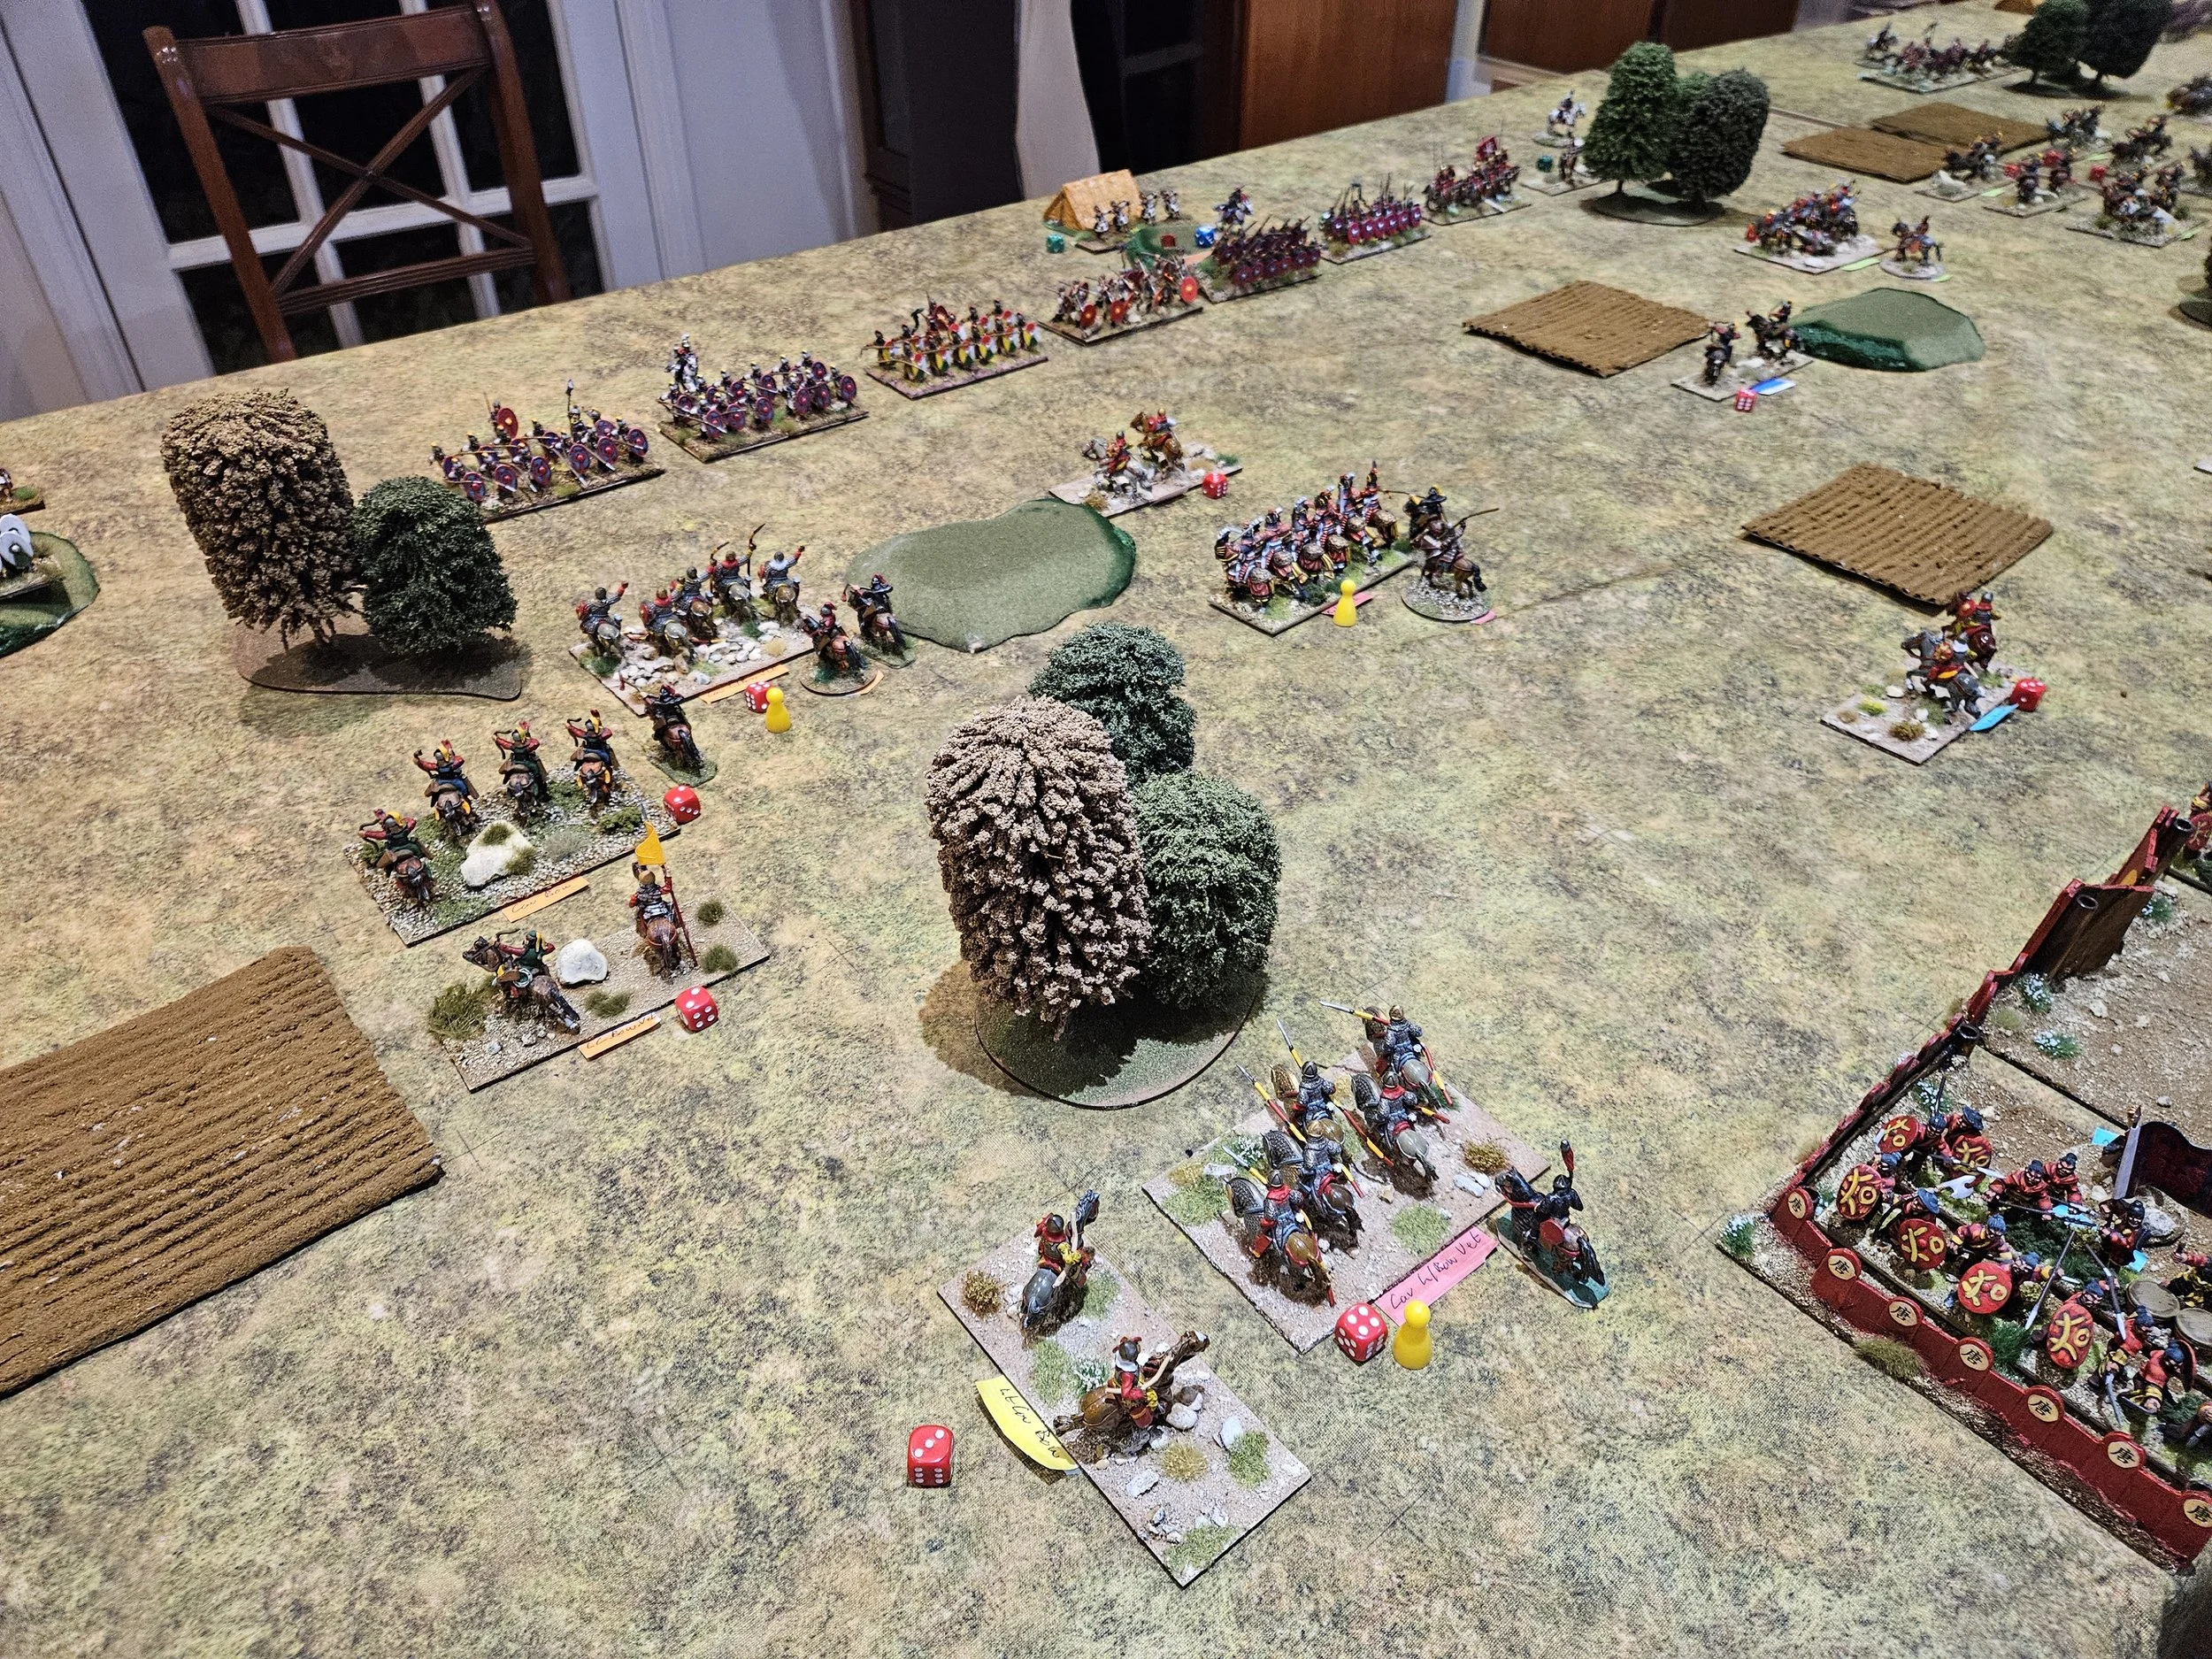
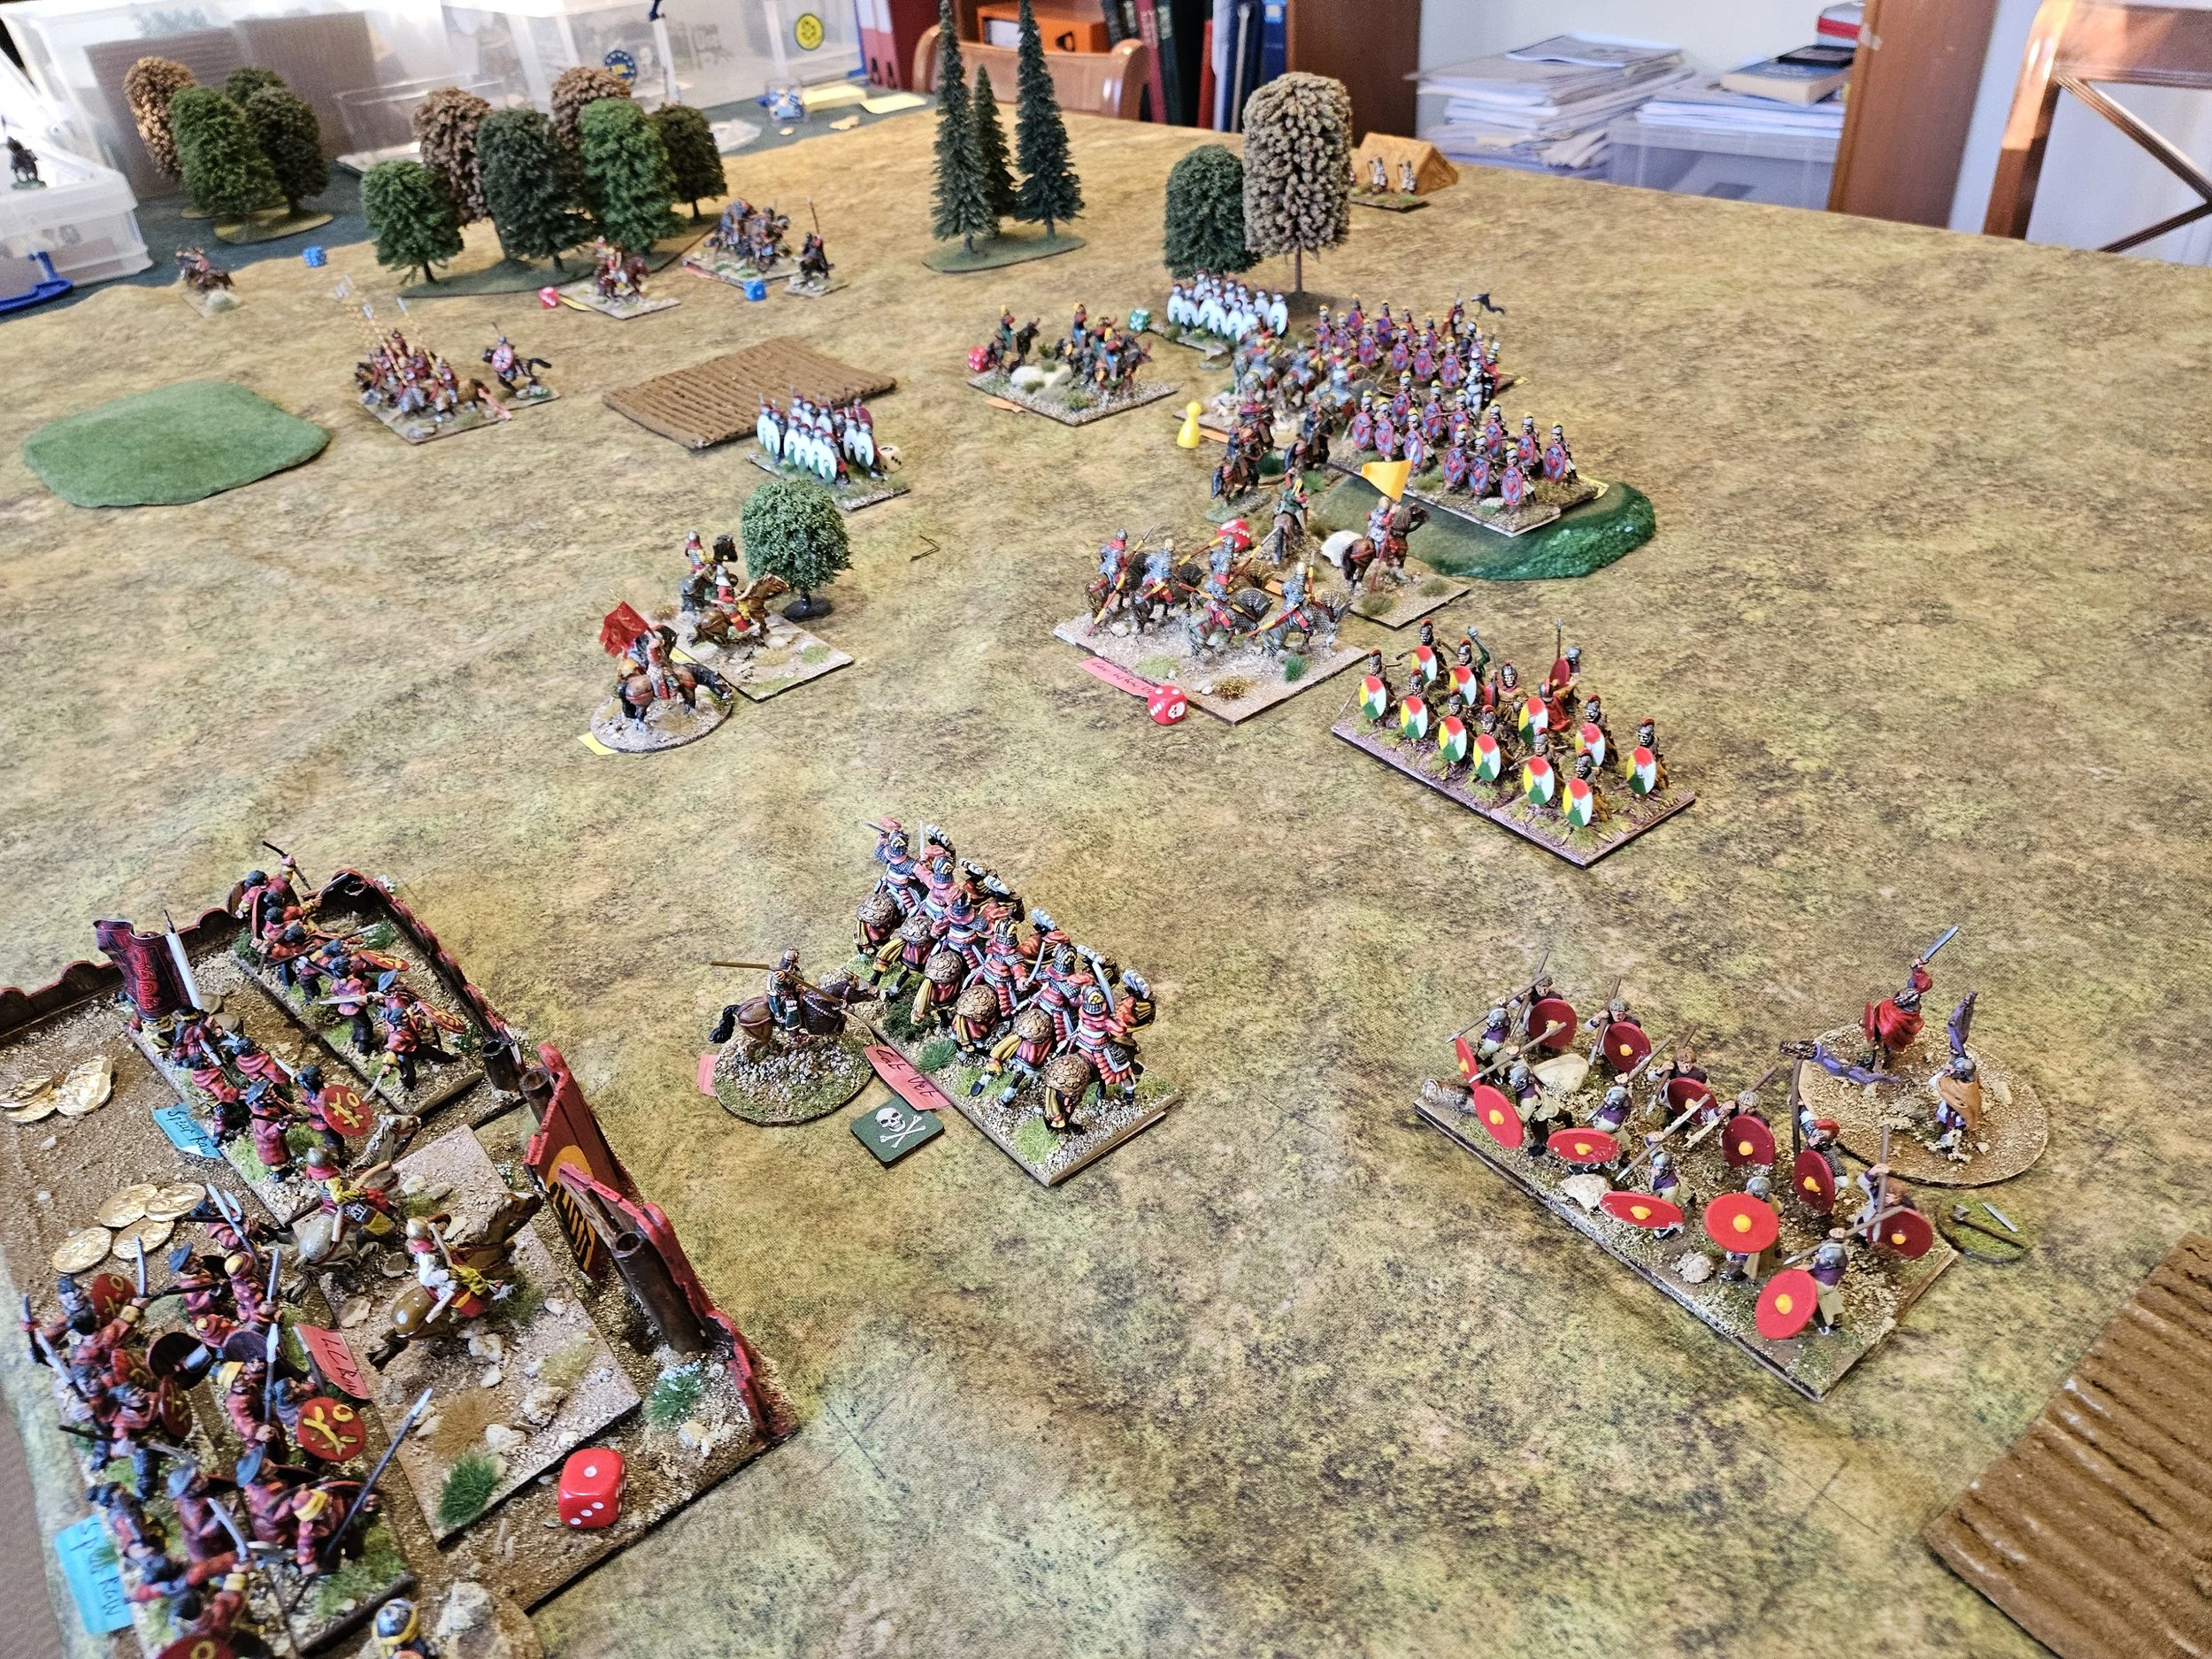
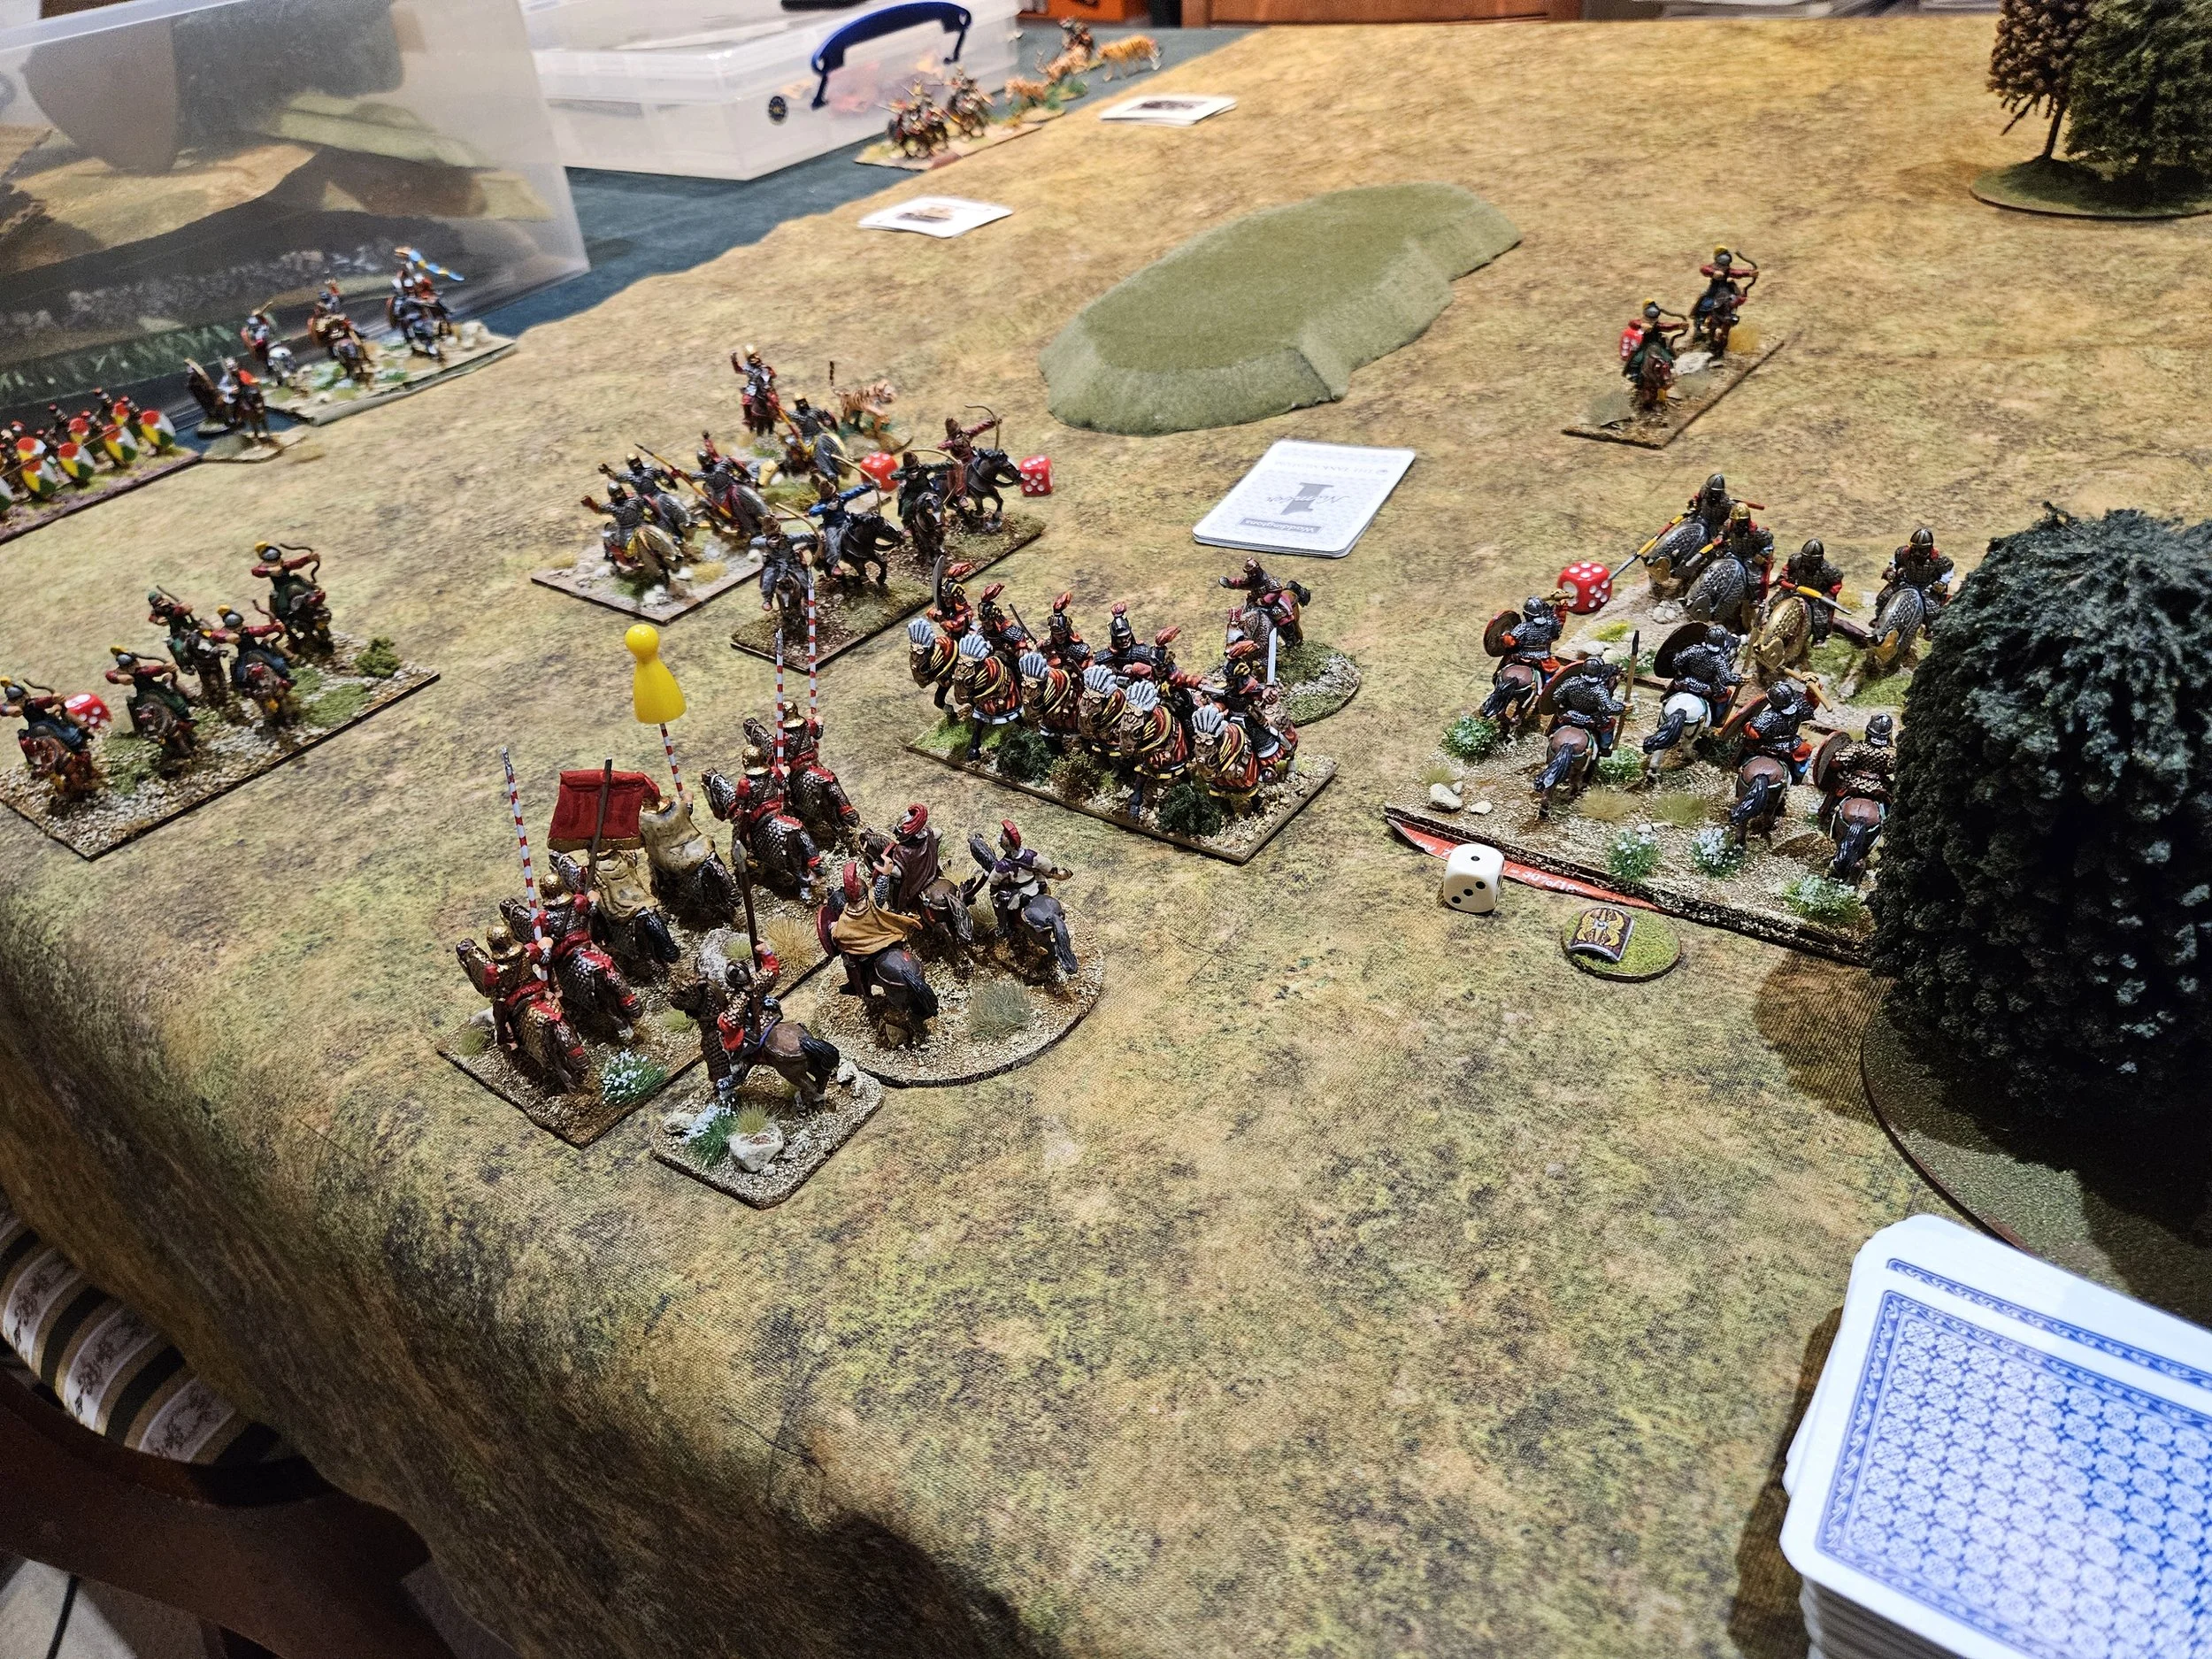
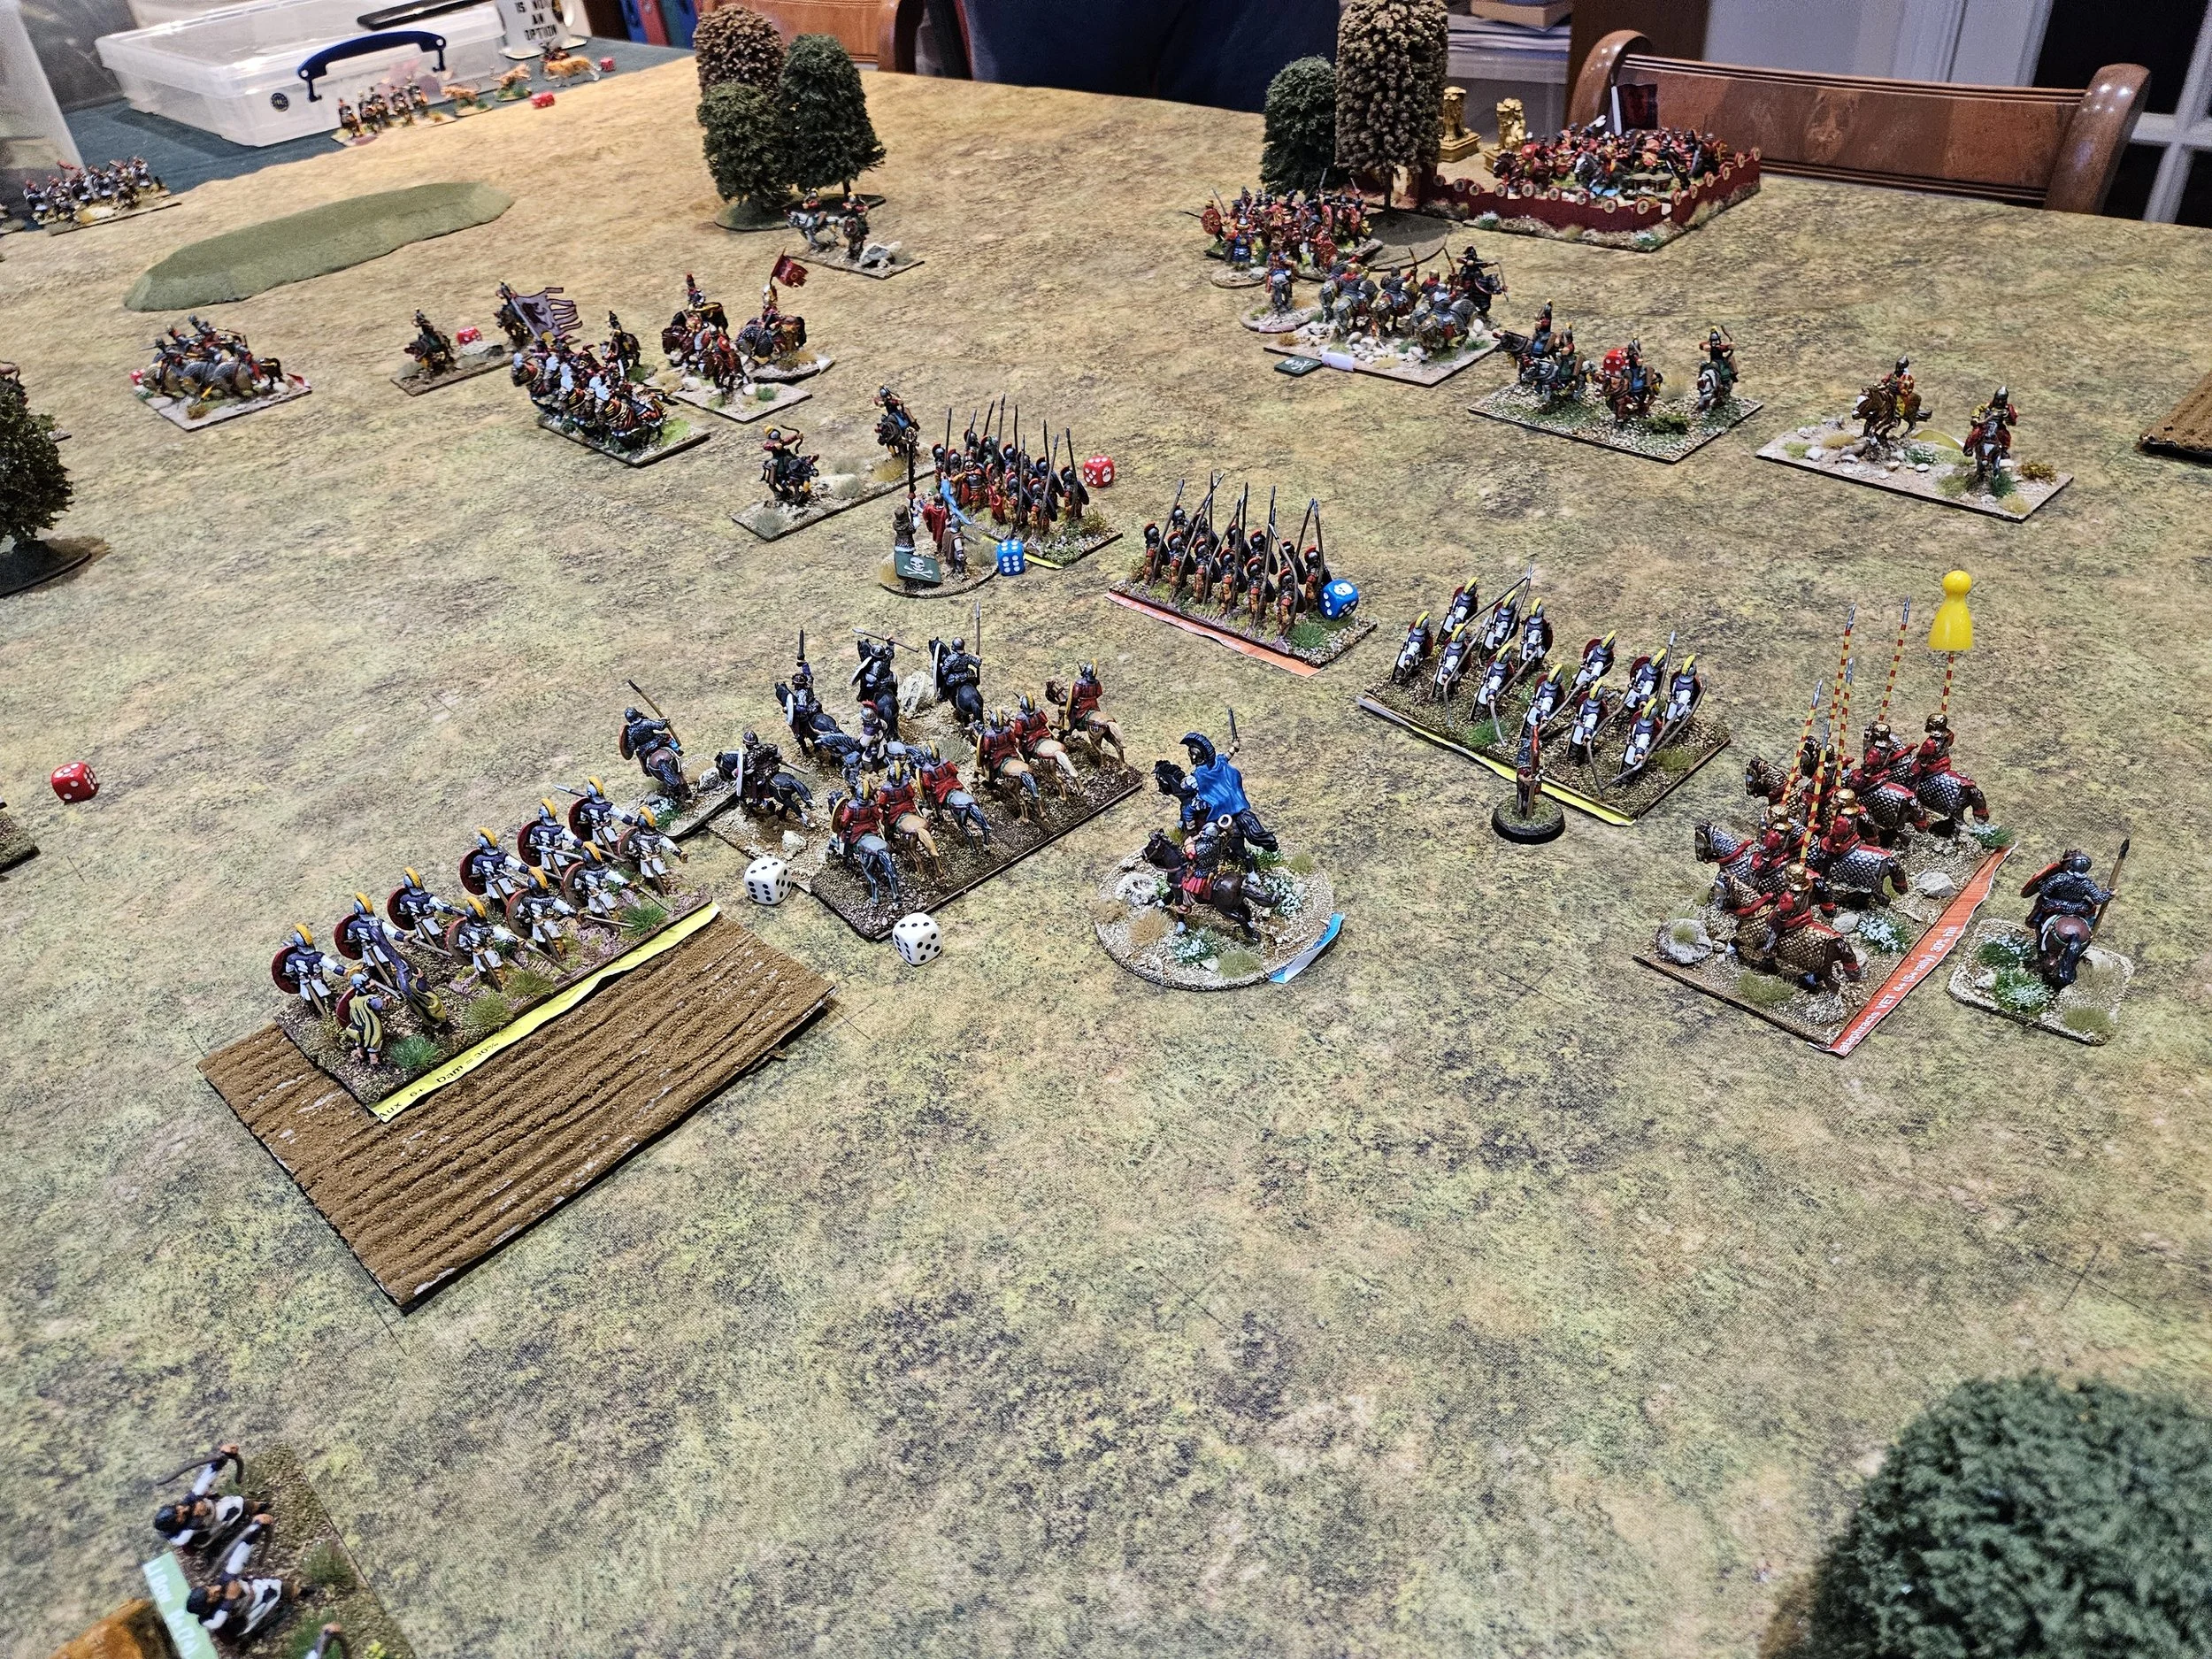
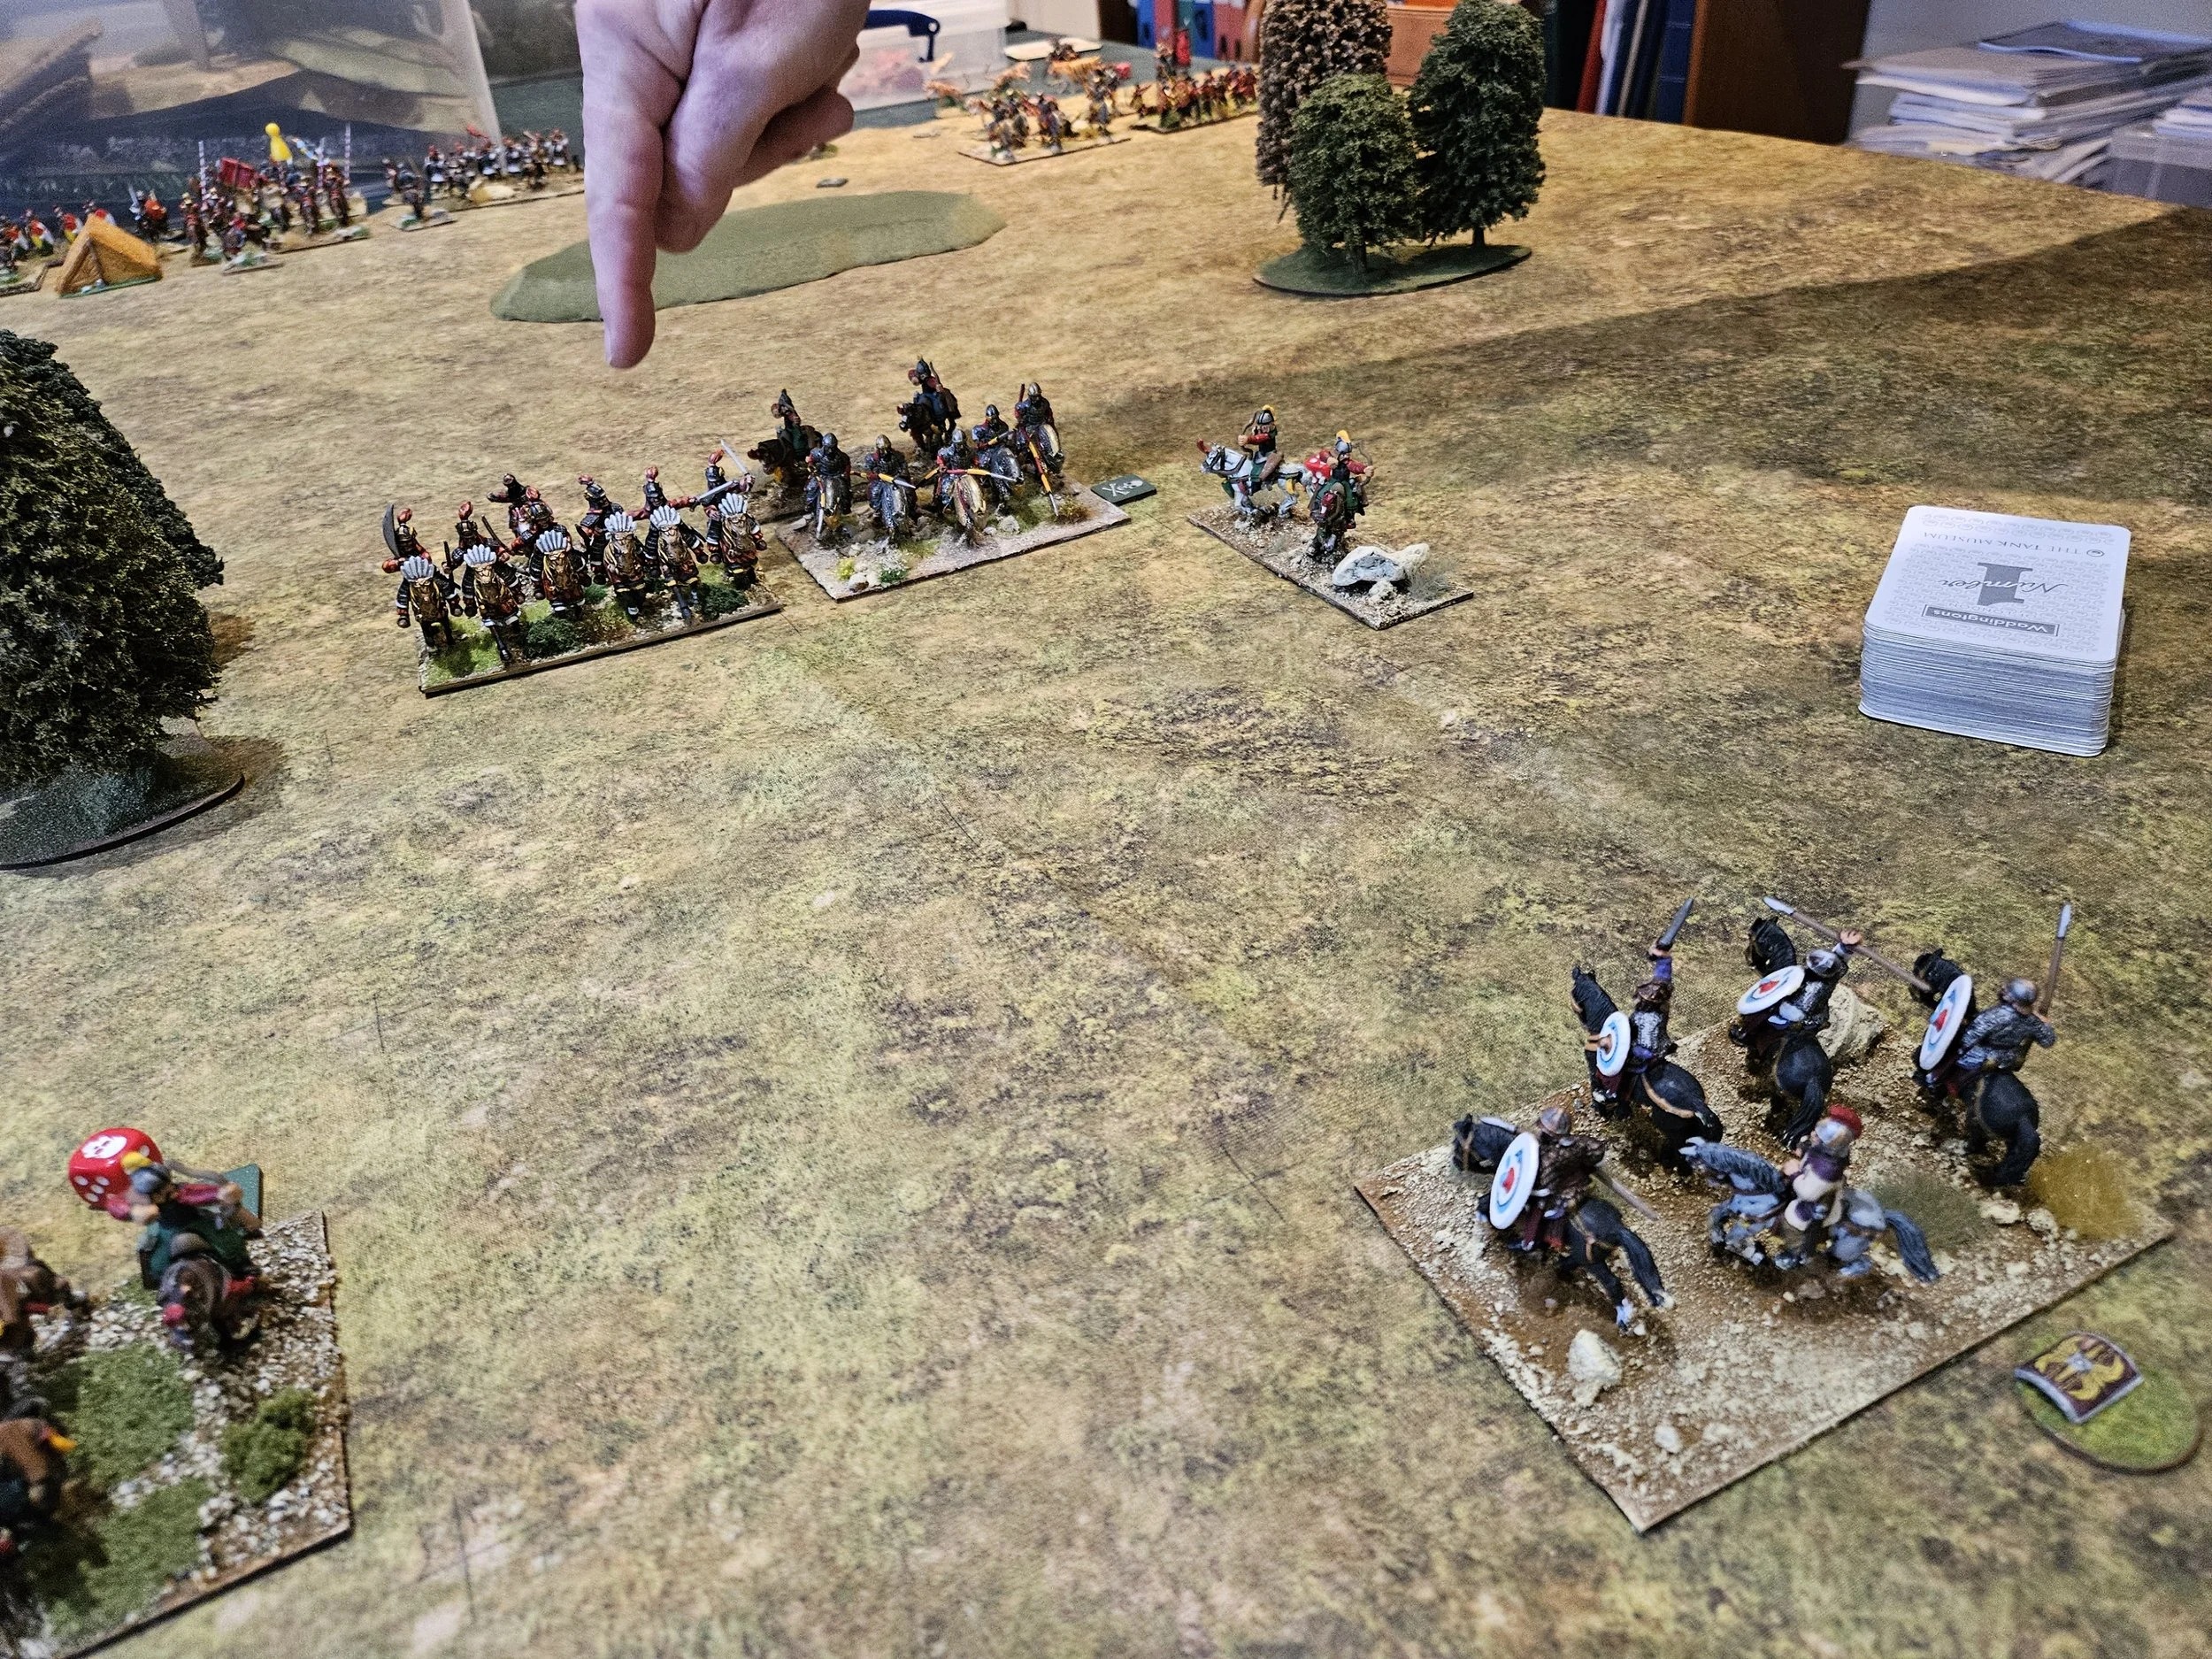
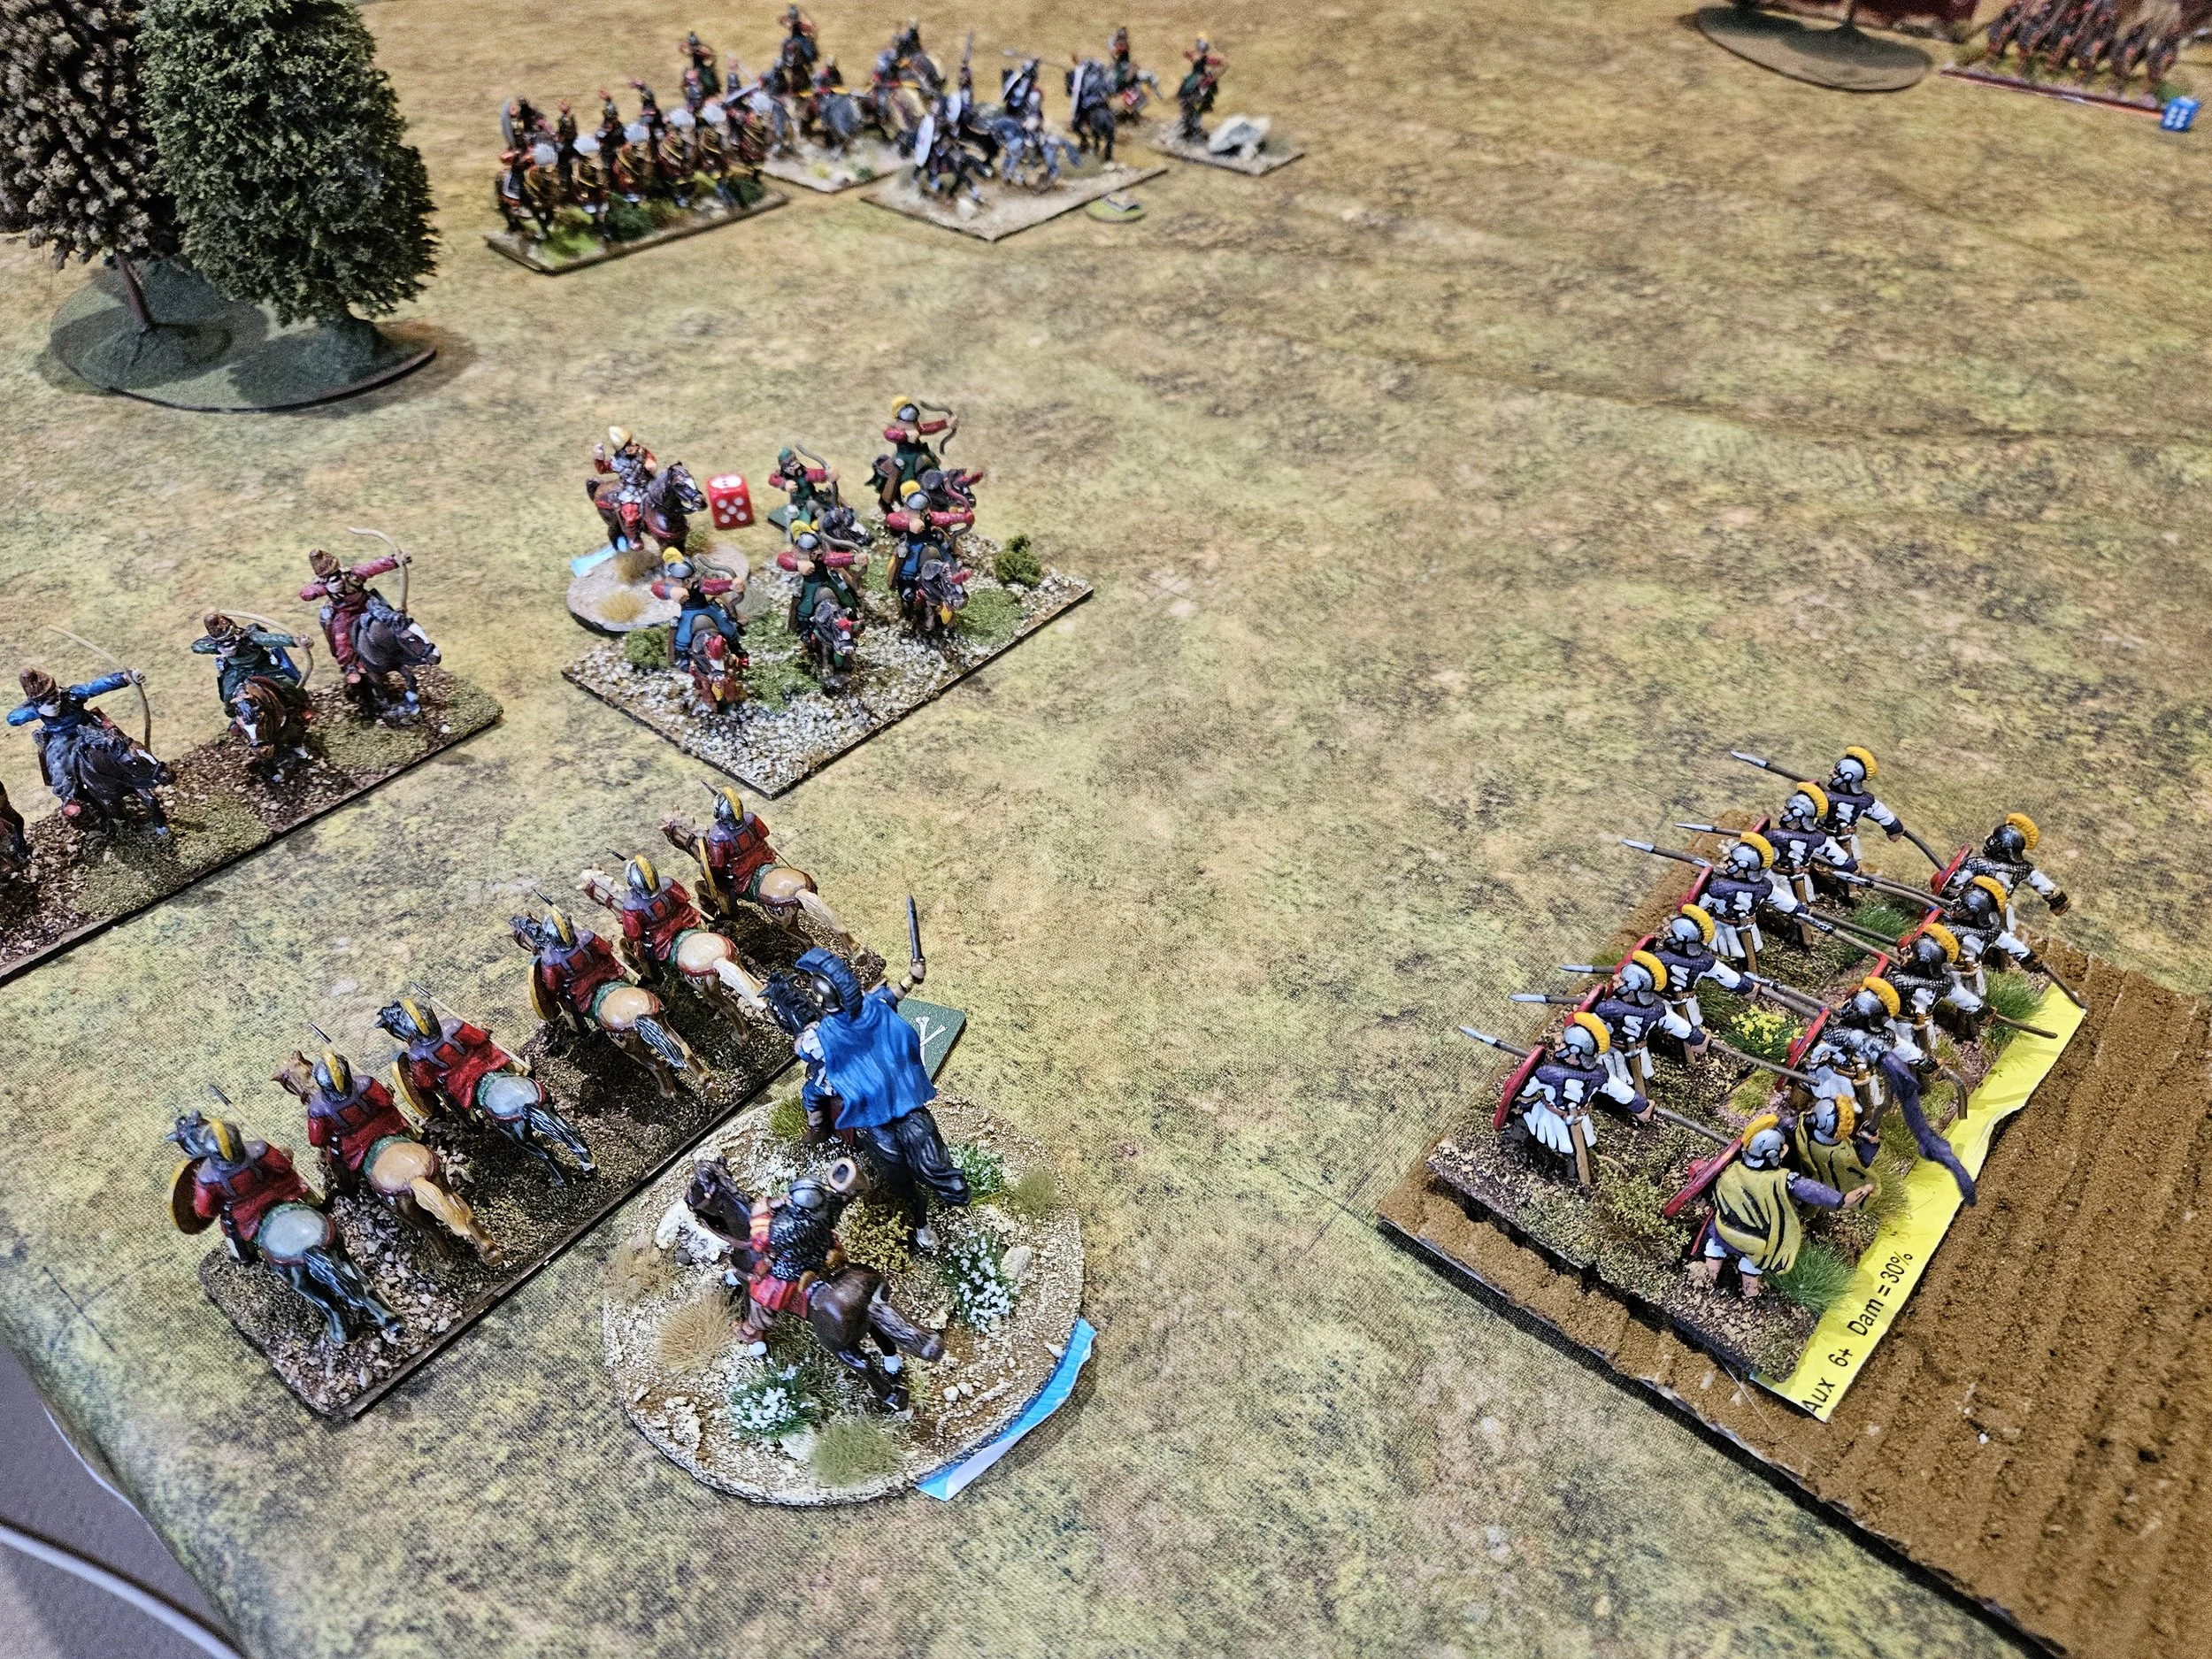
The only area where I did enjoy superiority was in terms of cavalry, so I opted to deploy all my horsemen on one wing, hoping to overwhelm their Roman equivalents as fast as possible then turn into the centre.
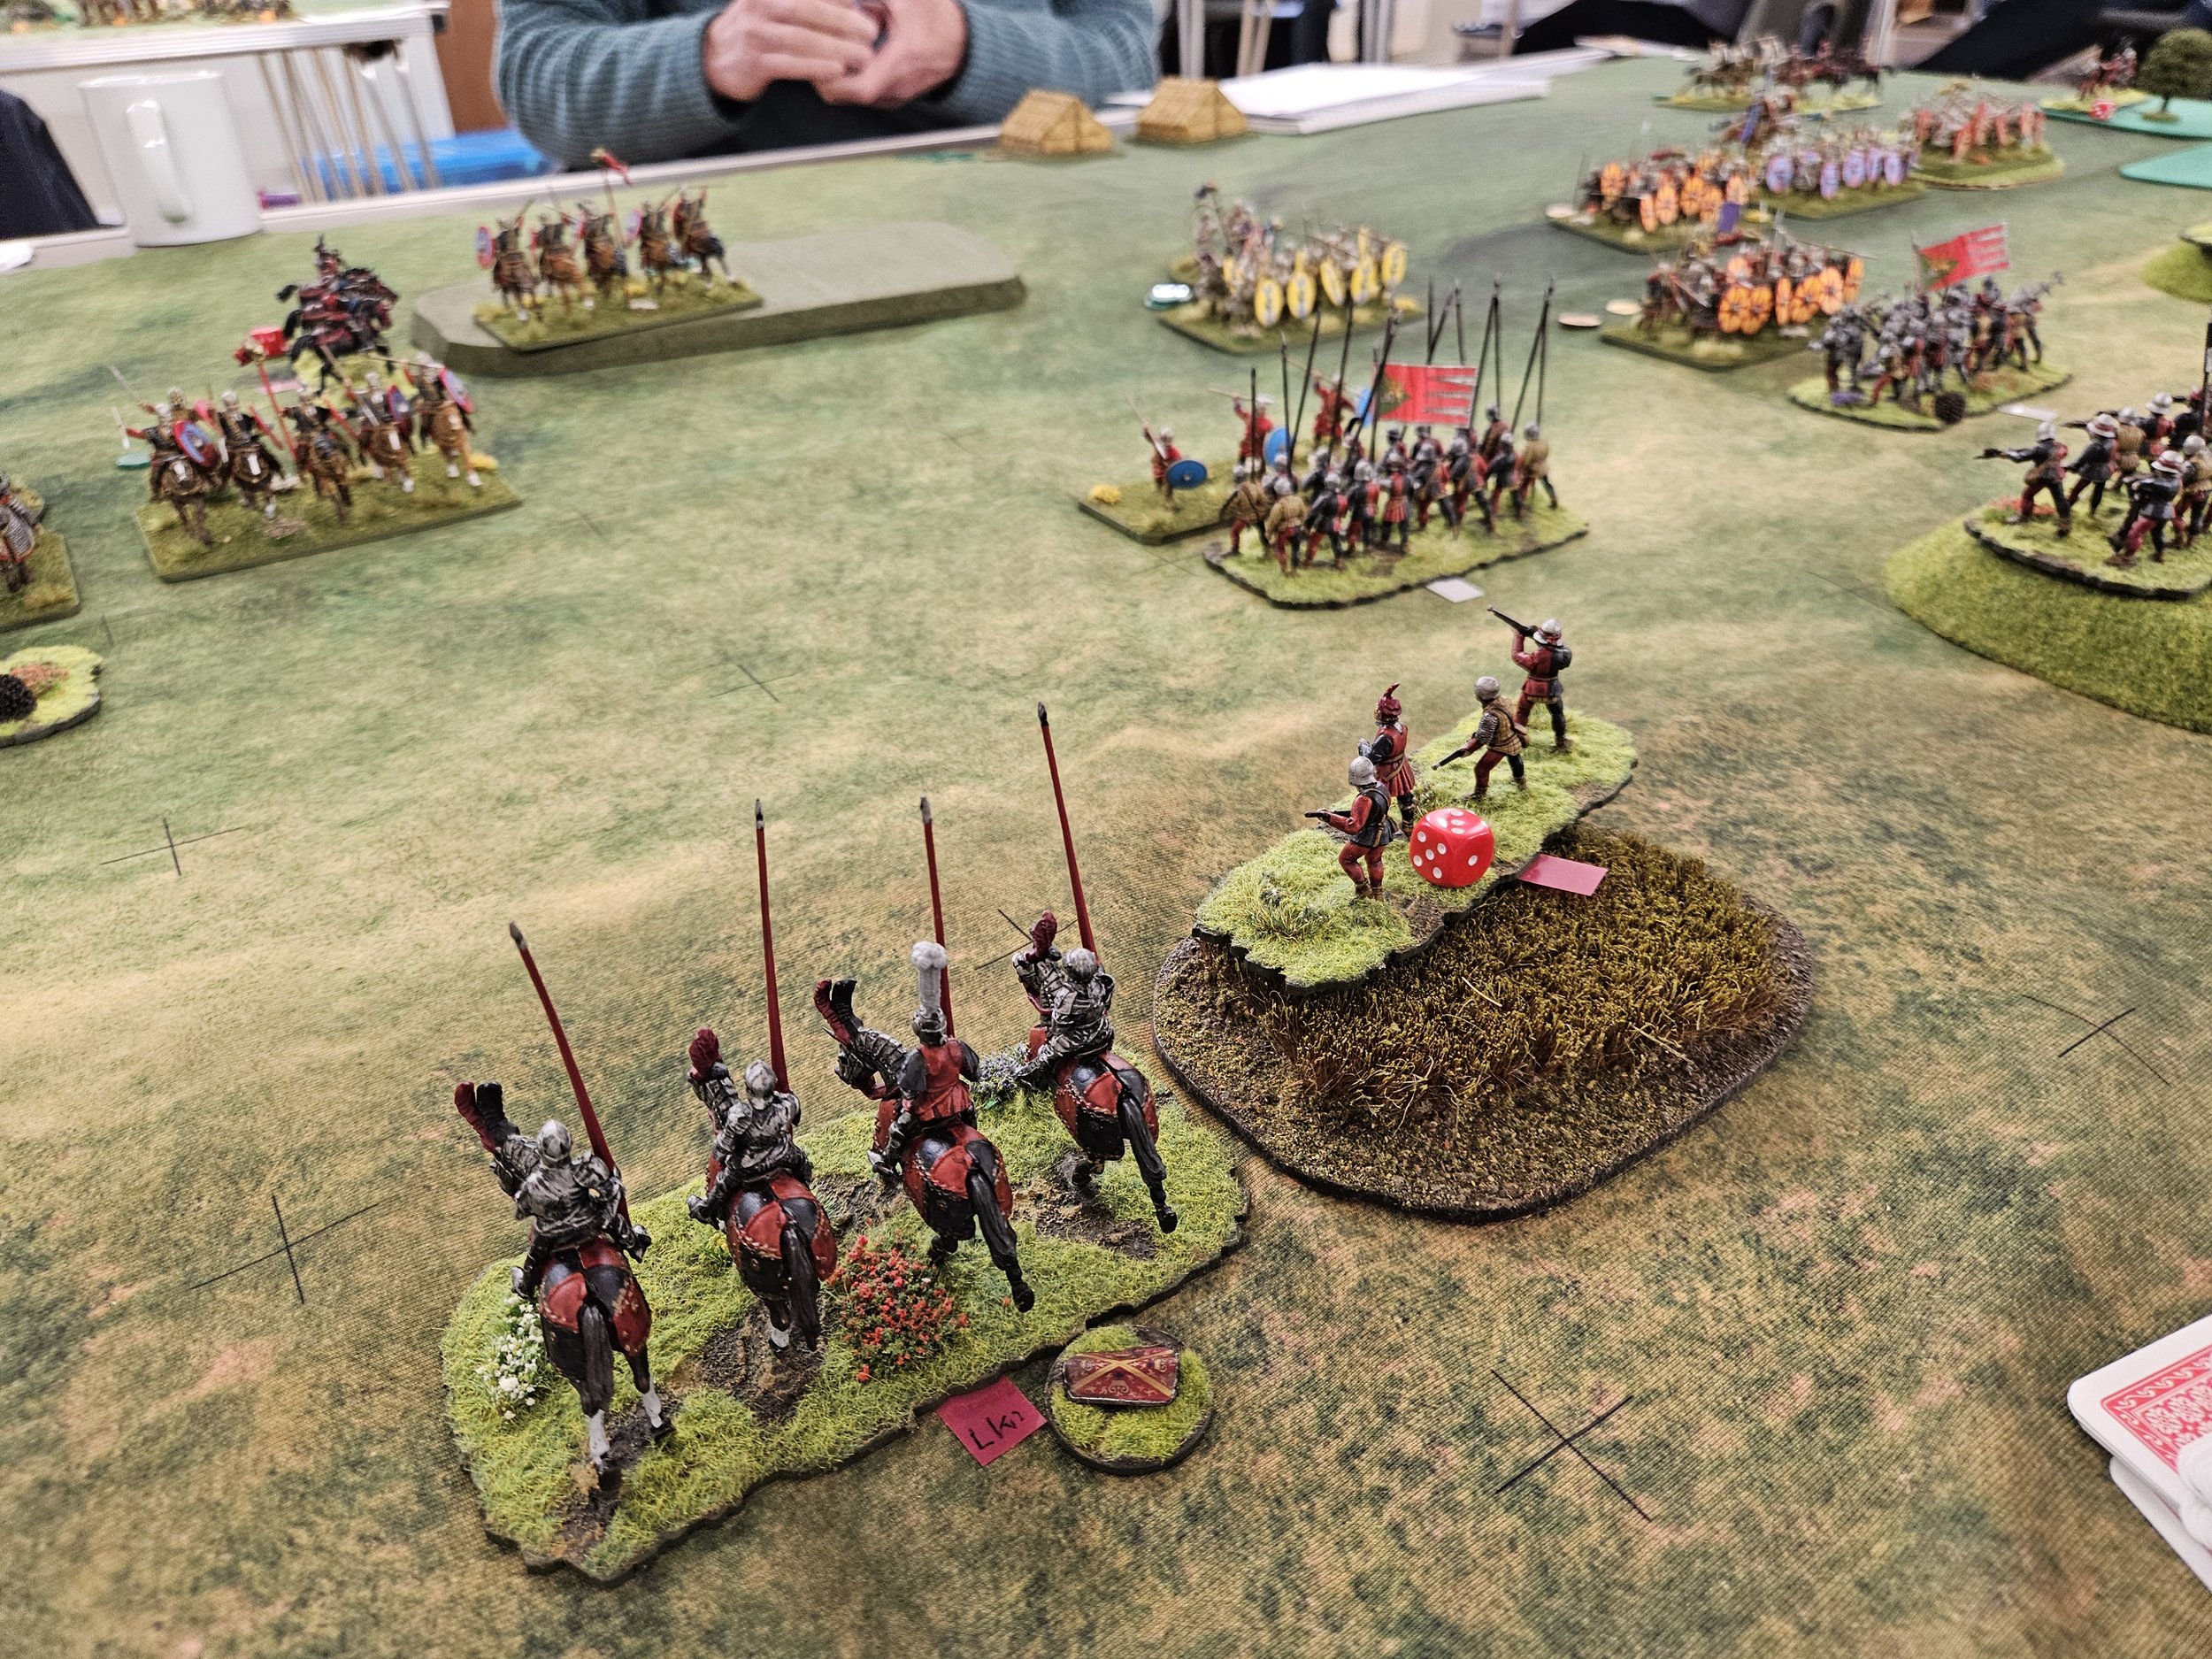
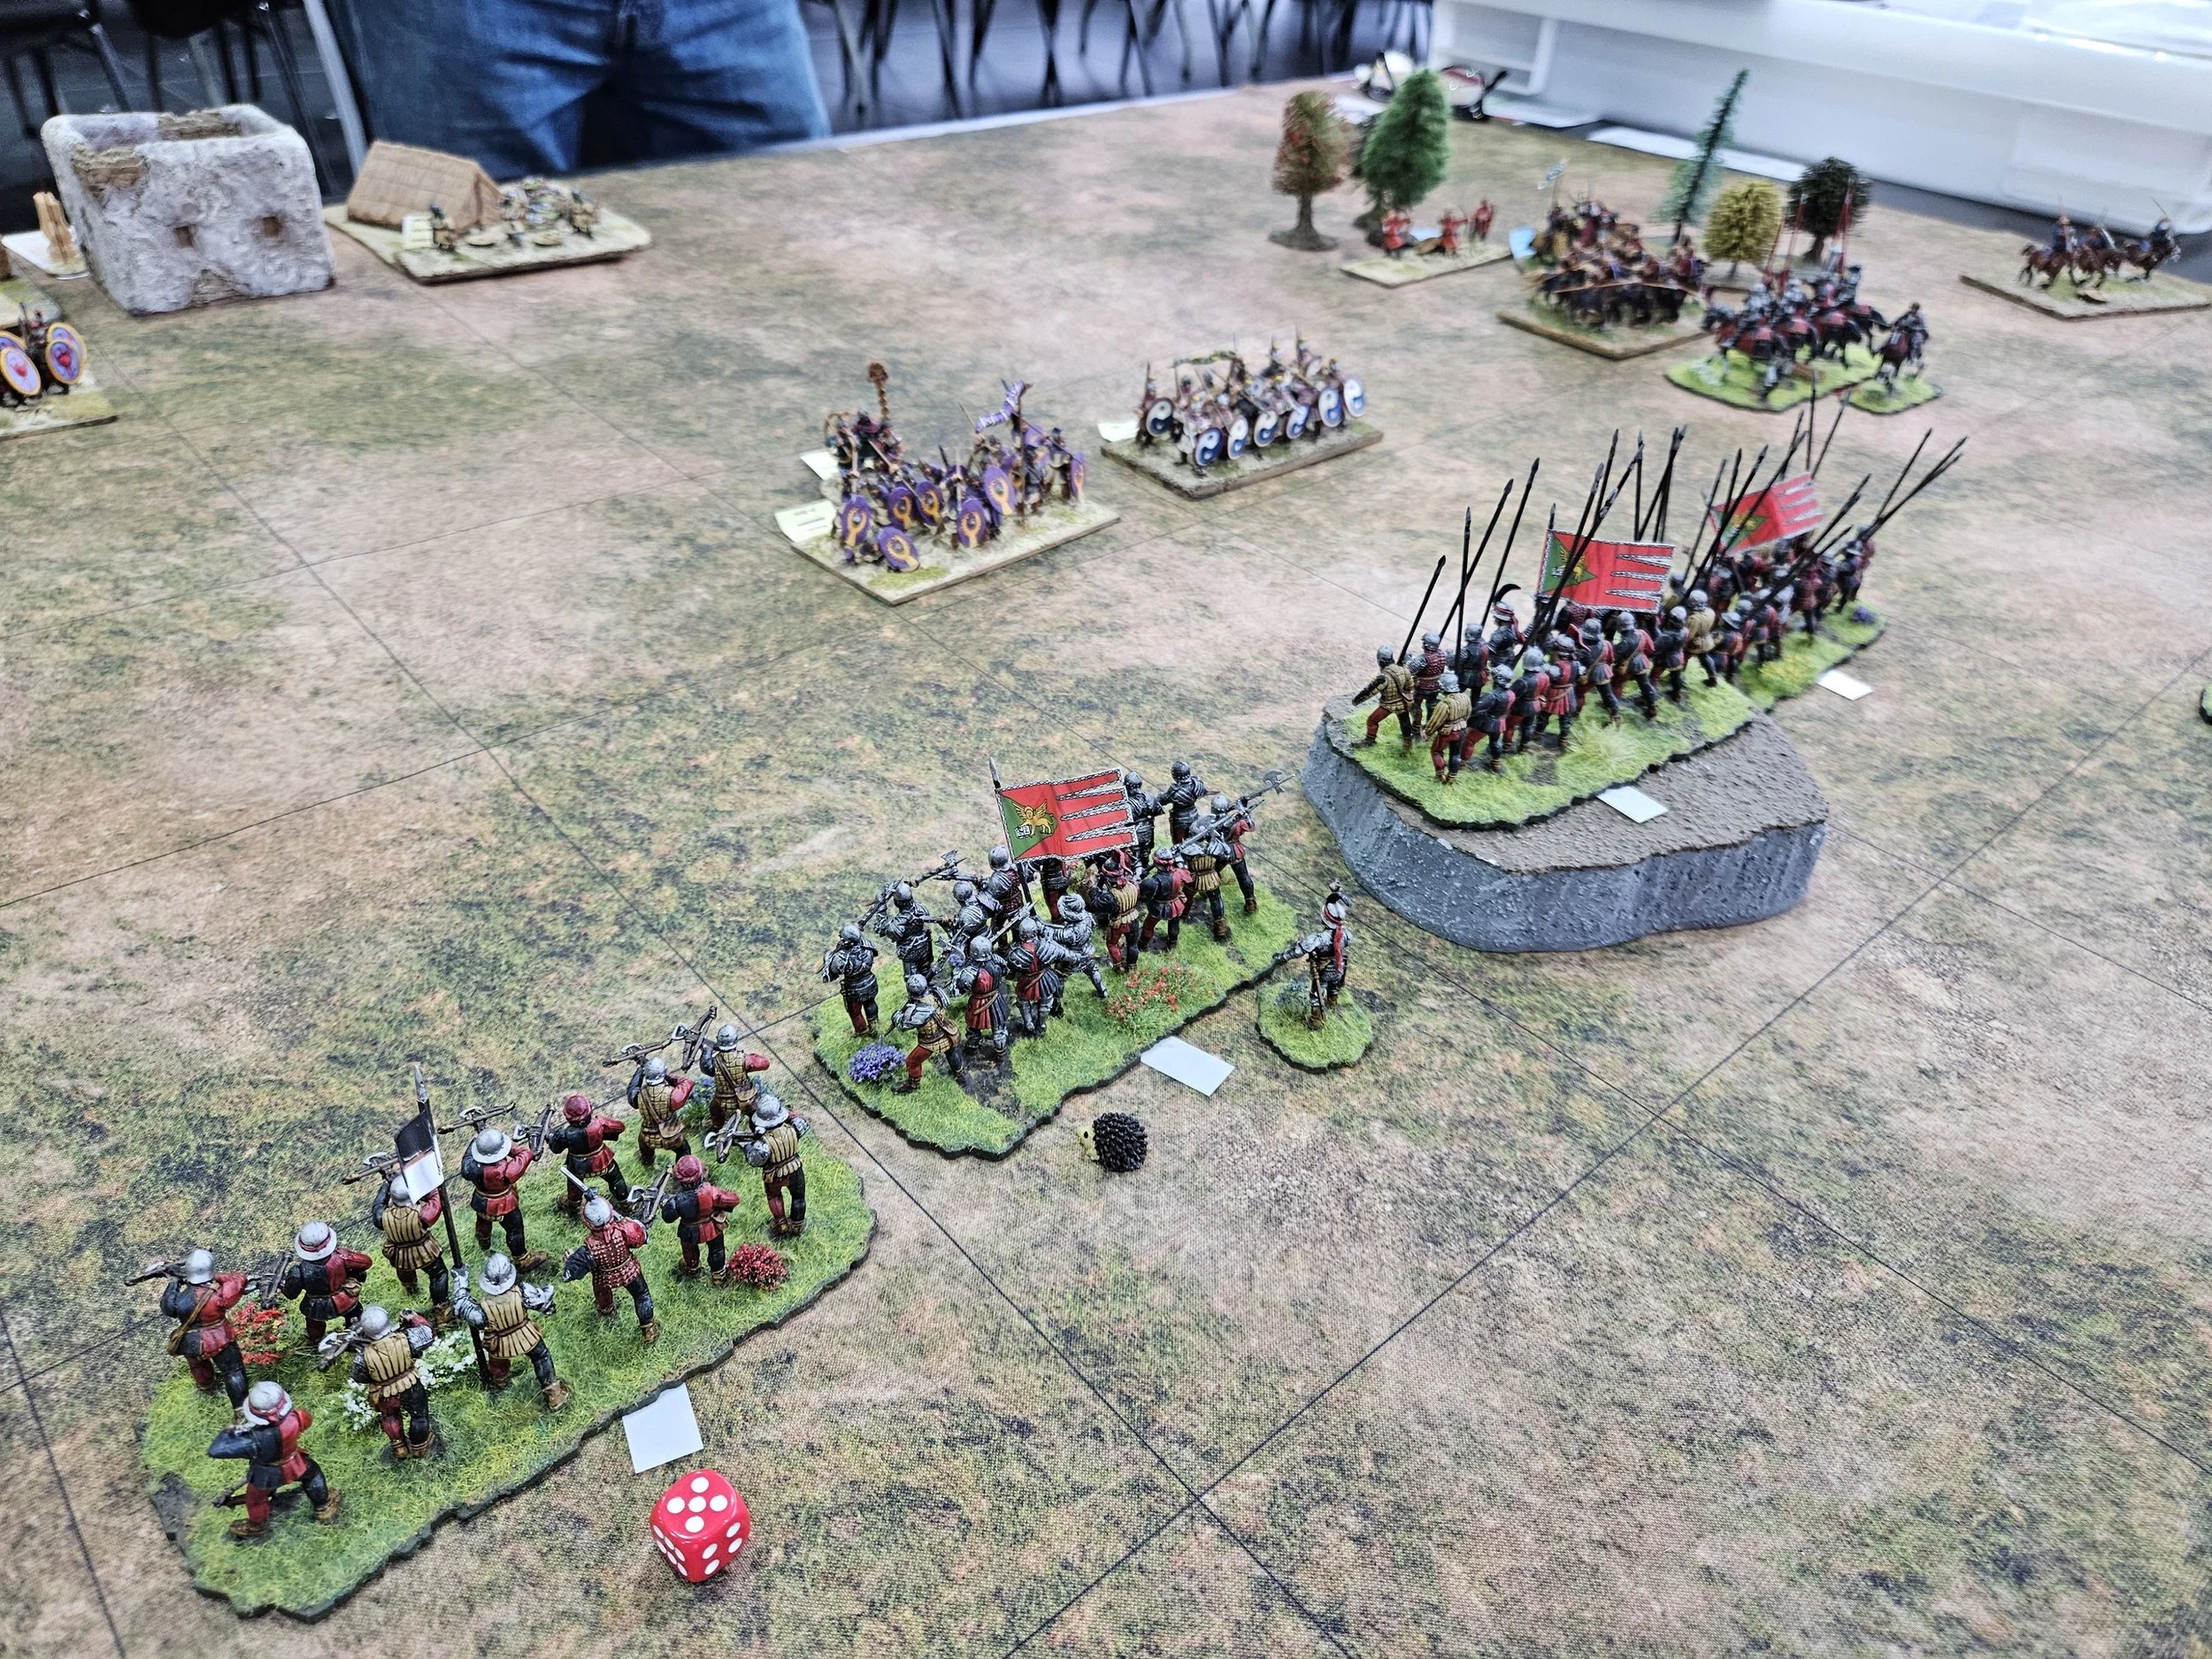
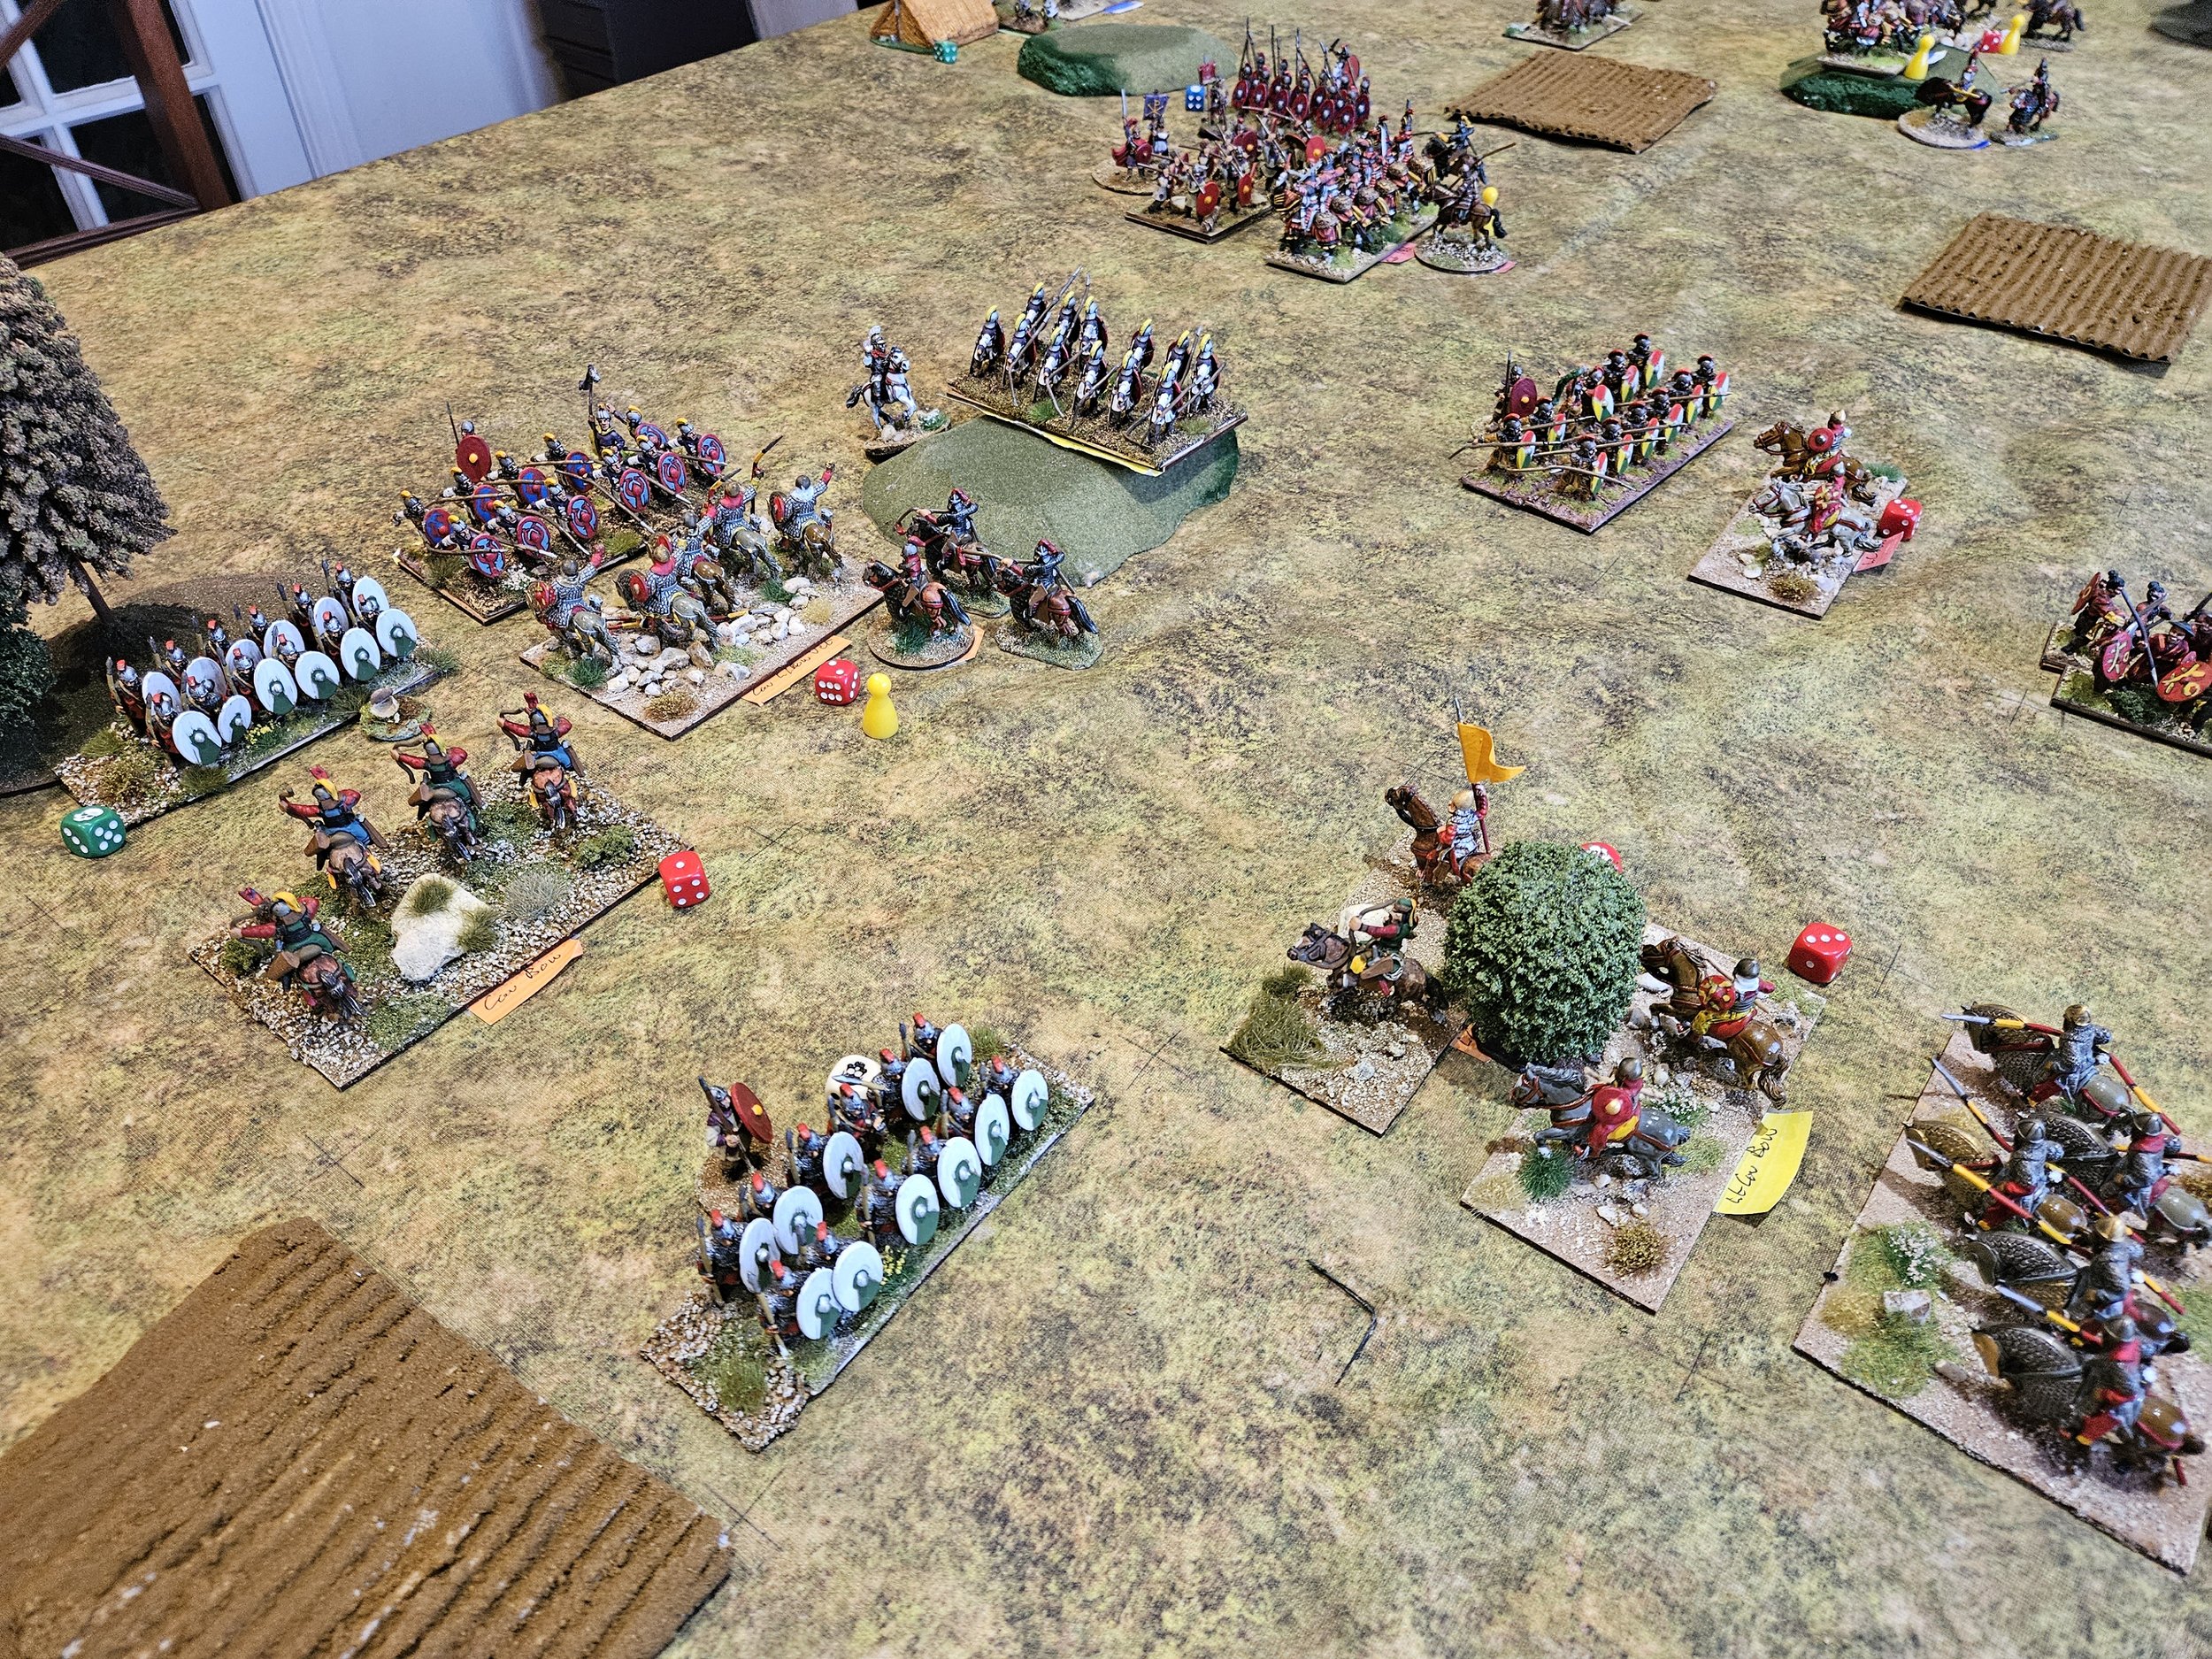
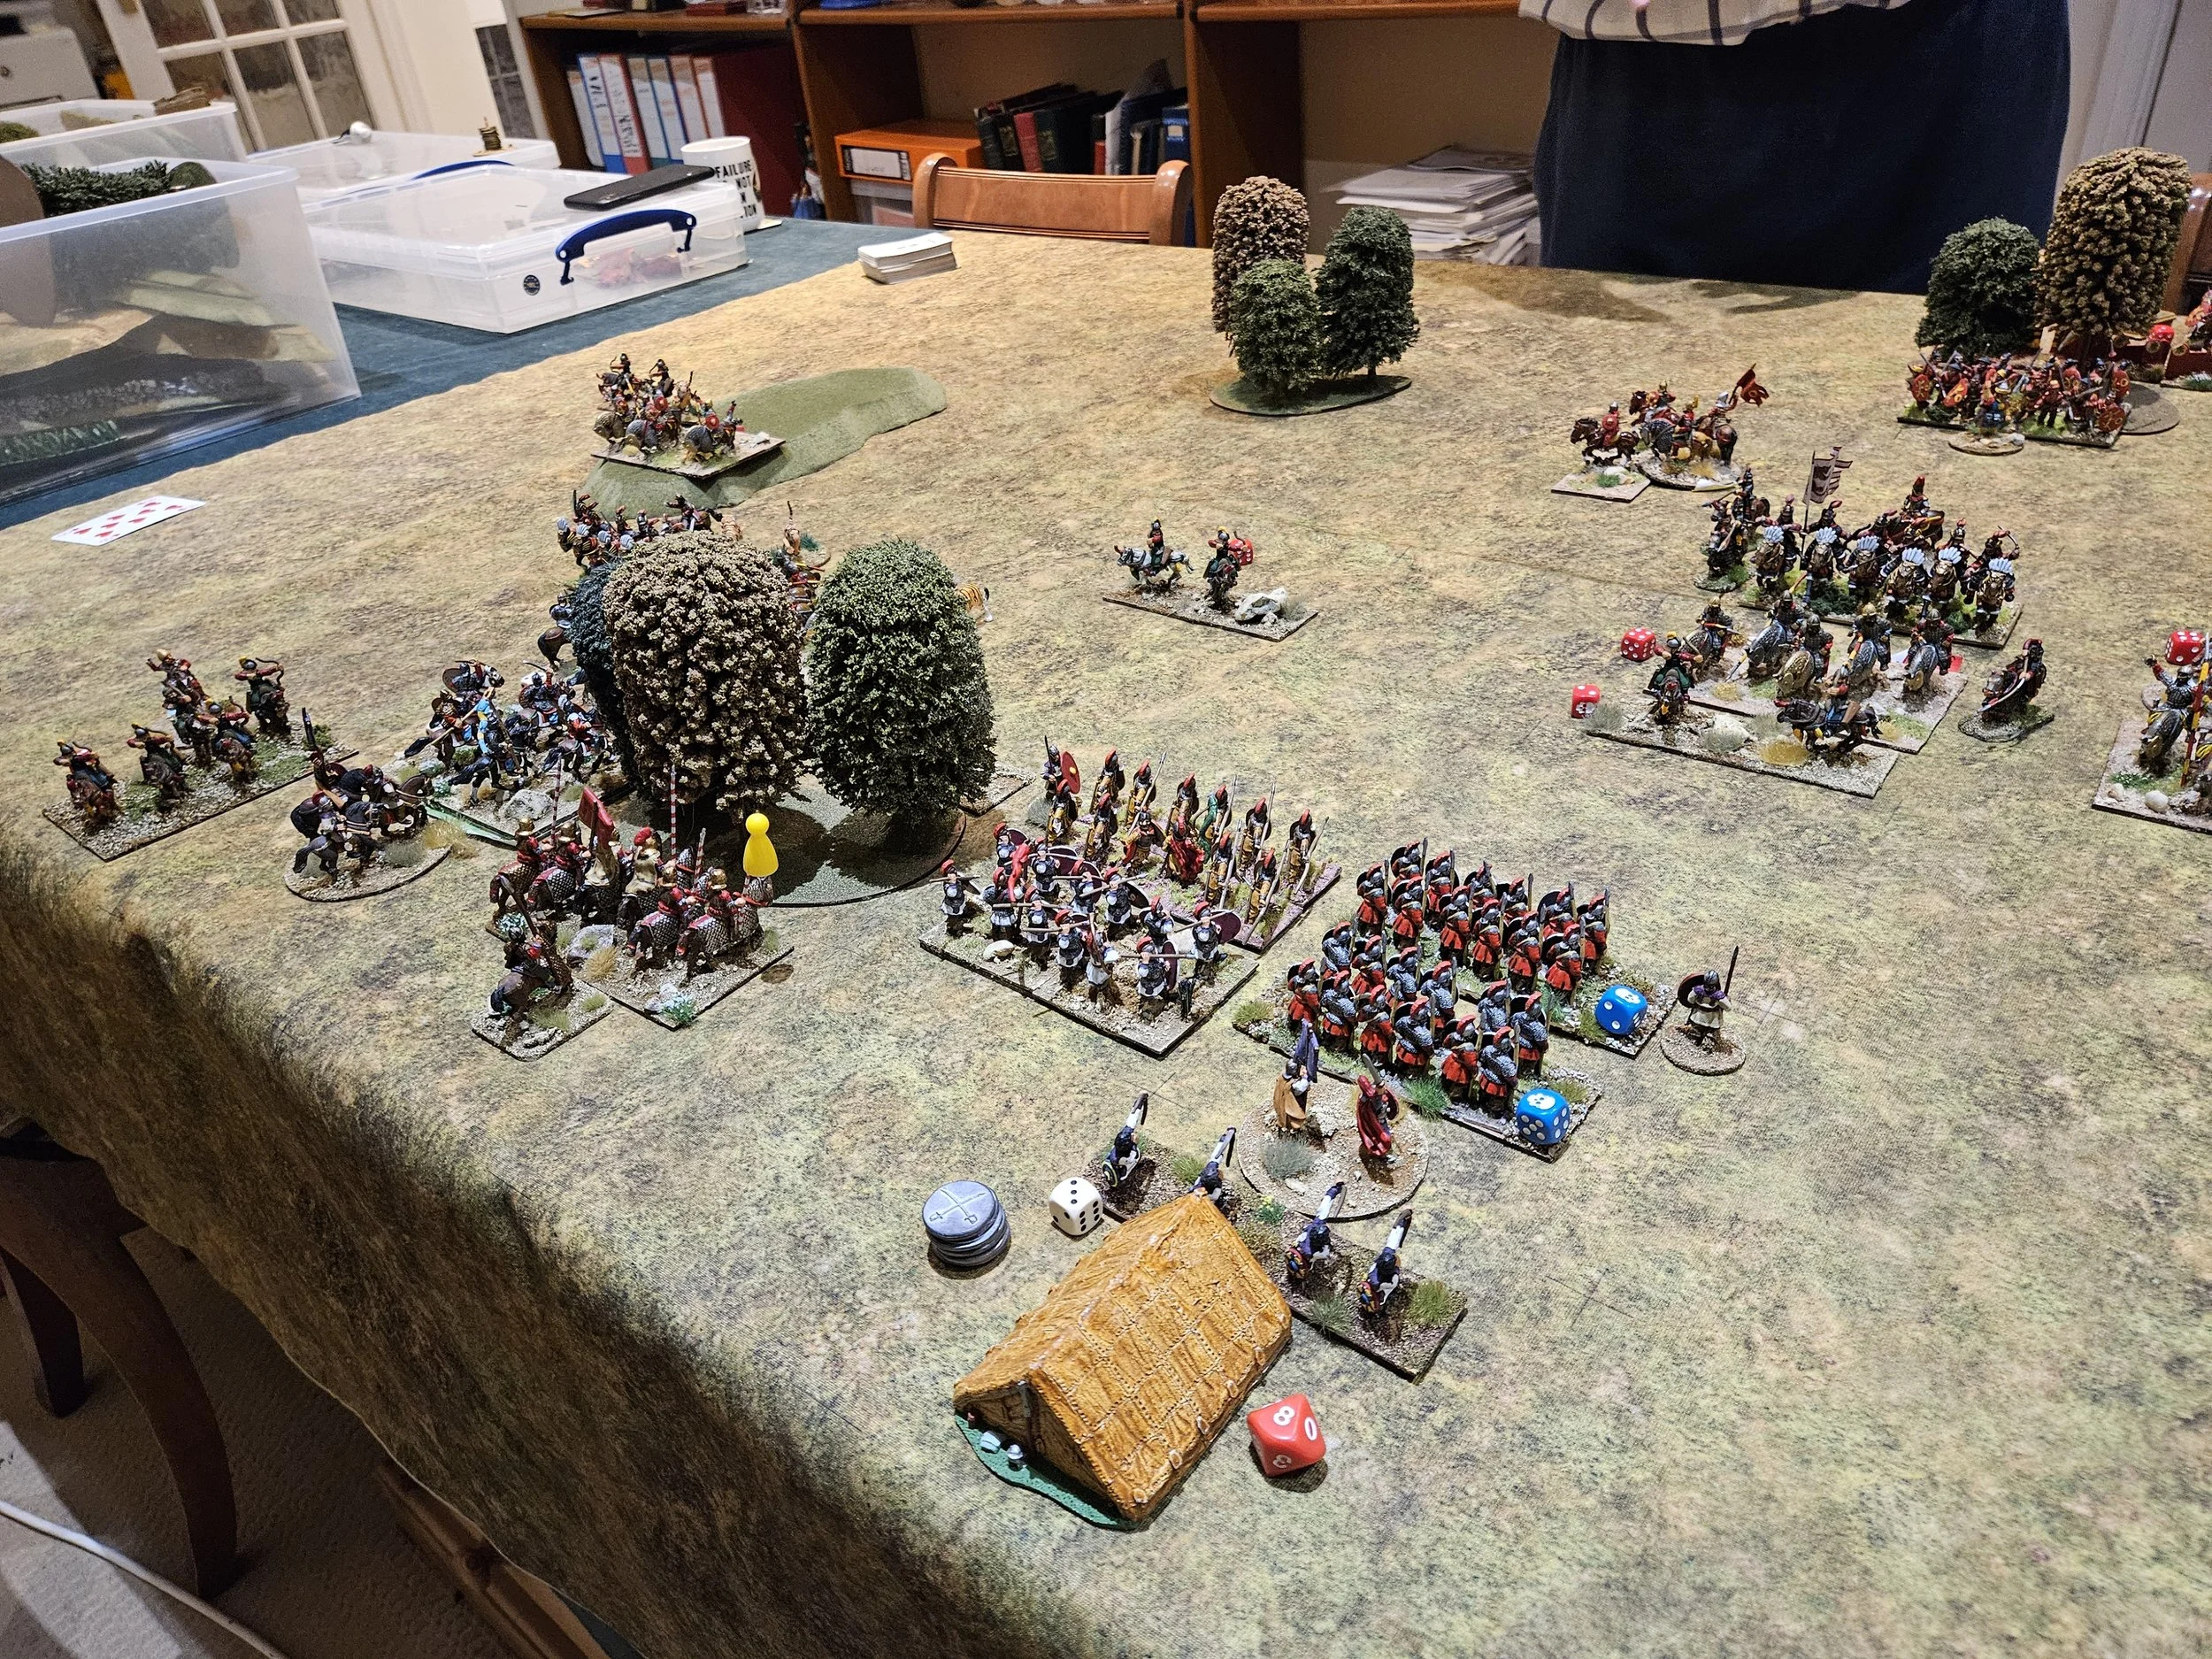
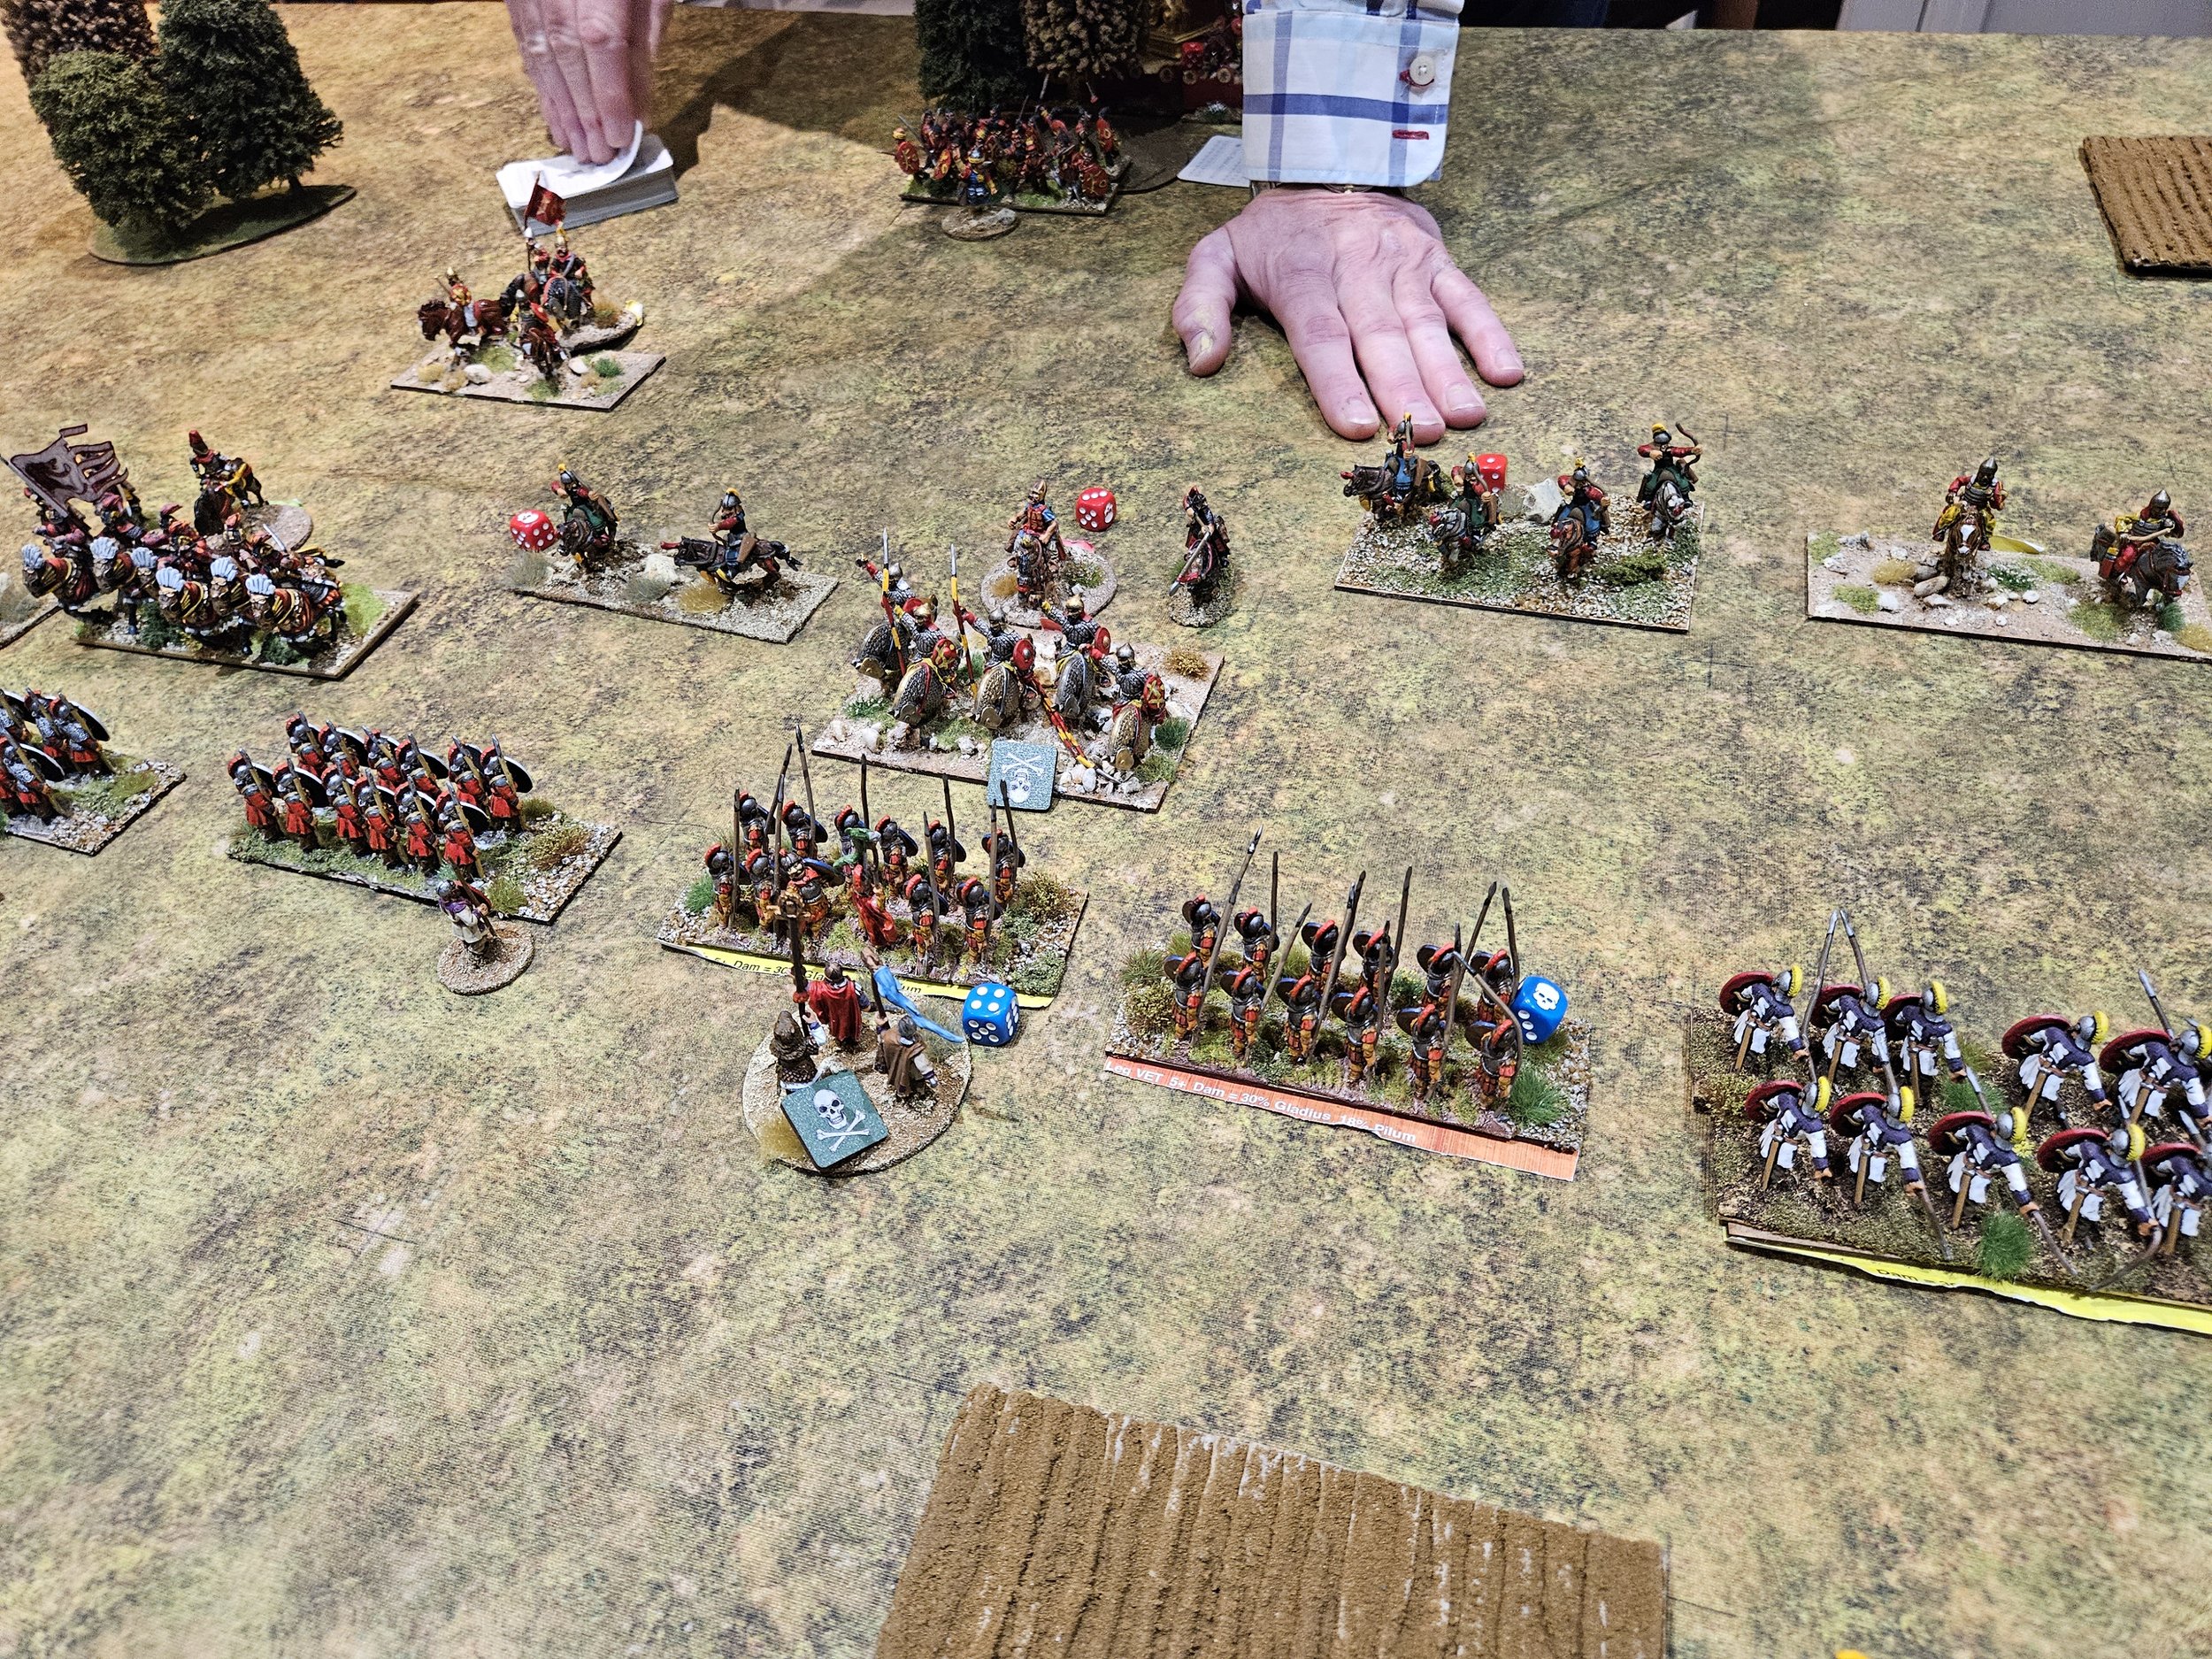
The battle began with the Roman army moving forward like space invaders.
In reply, to conform to my plan, I hung back on the left, but advanced forward on the right, my cavalry in particular shooting forward in a card-induced raggedy fashion, eager to bring their opponents to battle!
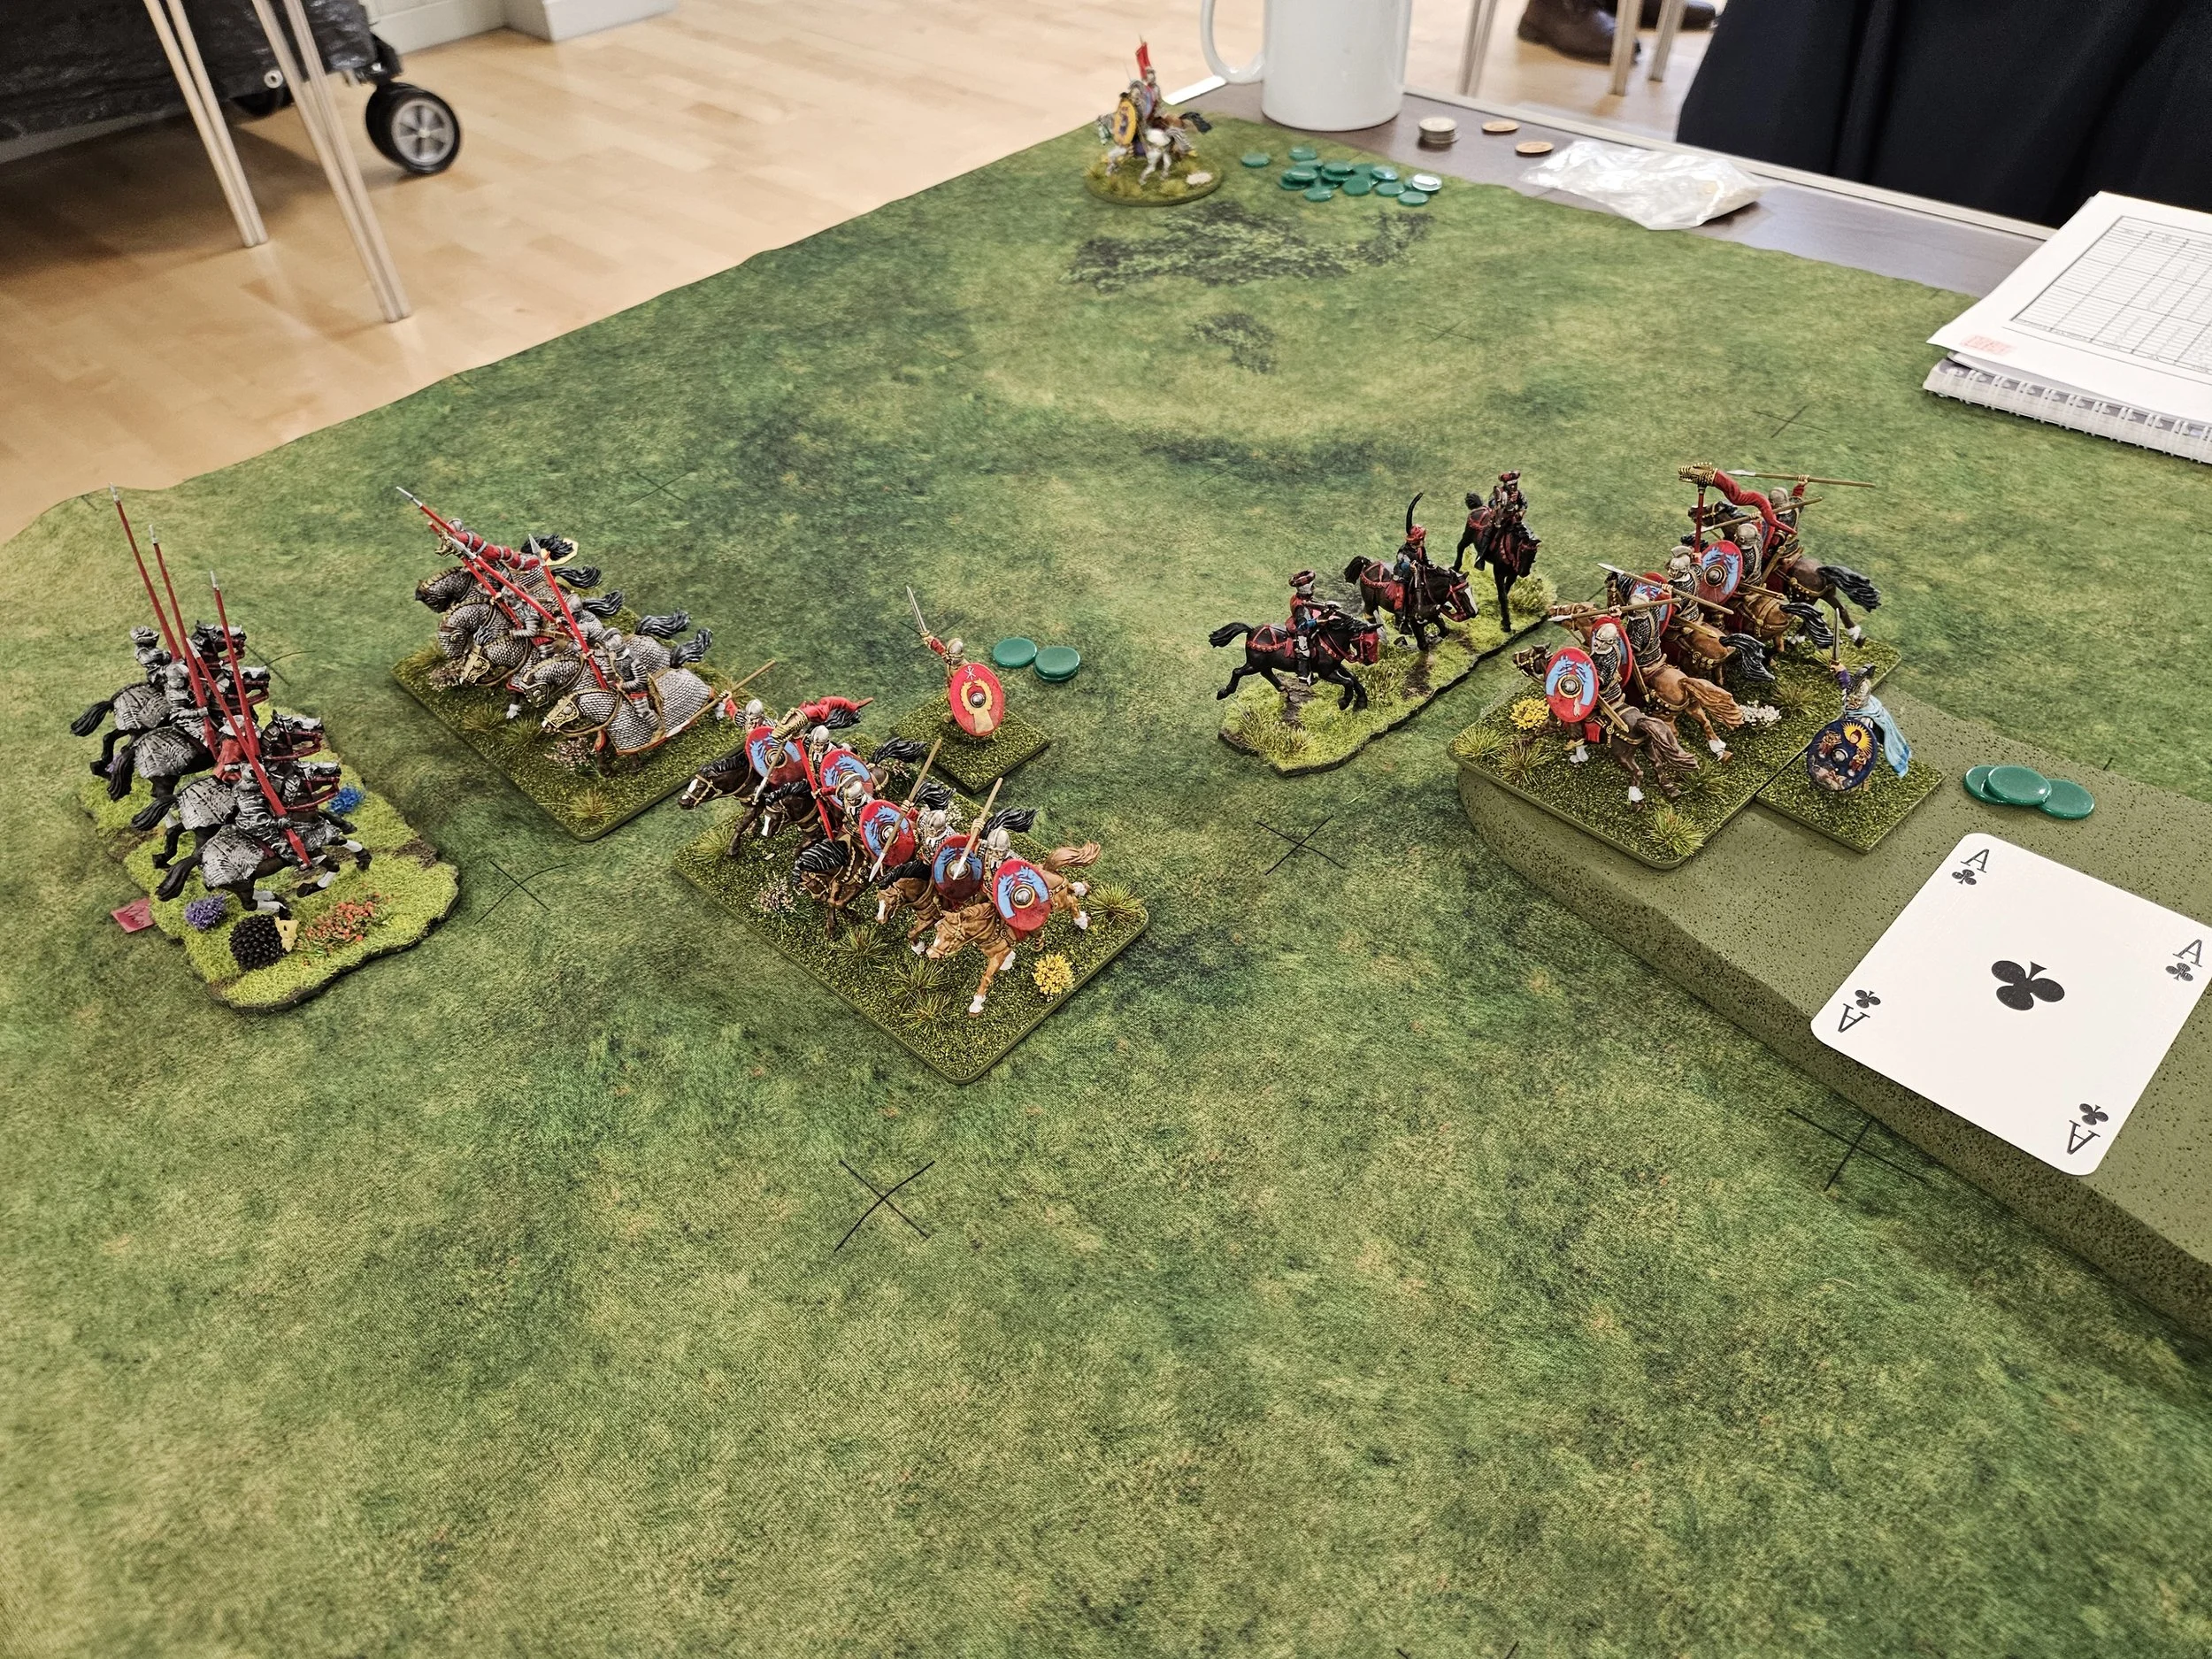
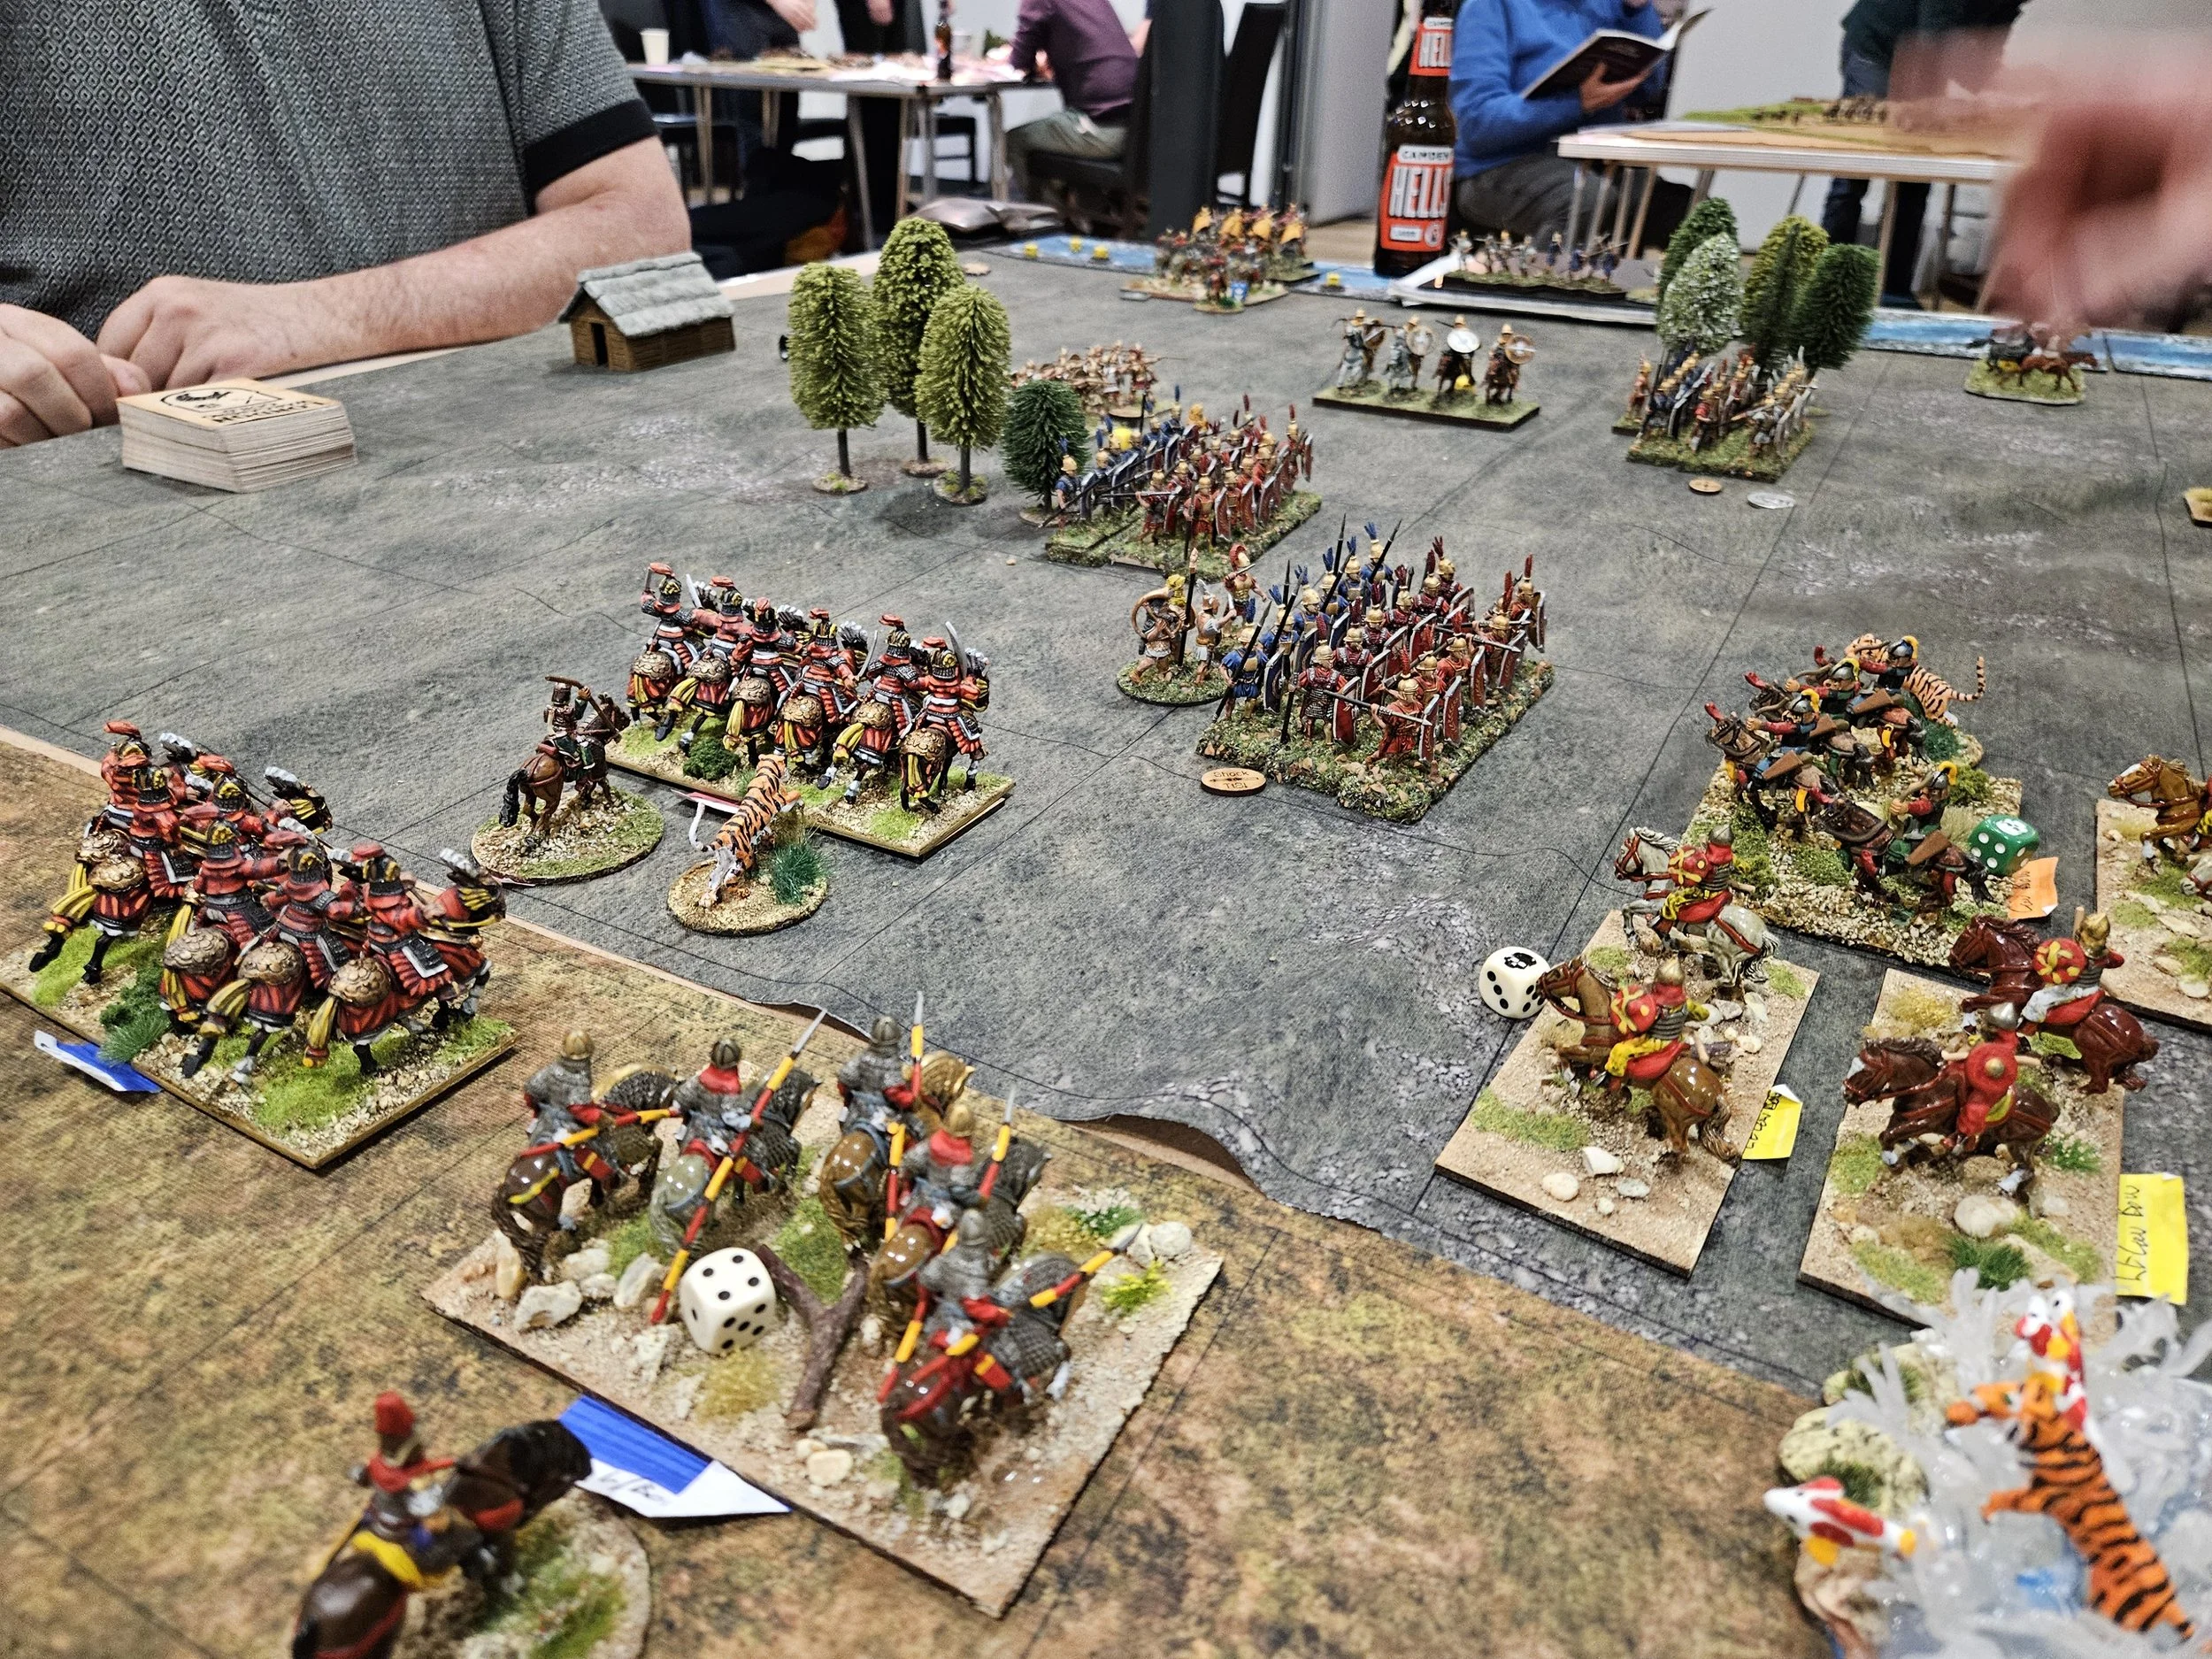
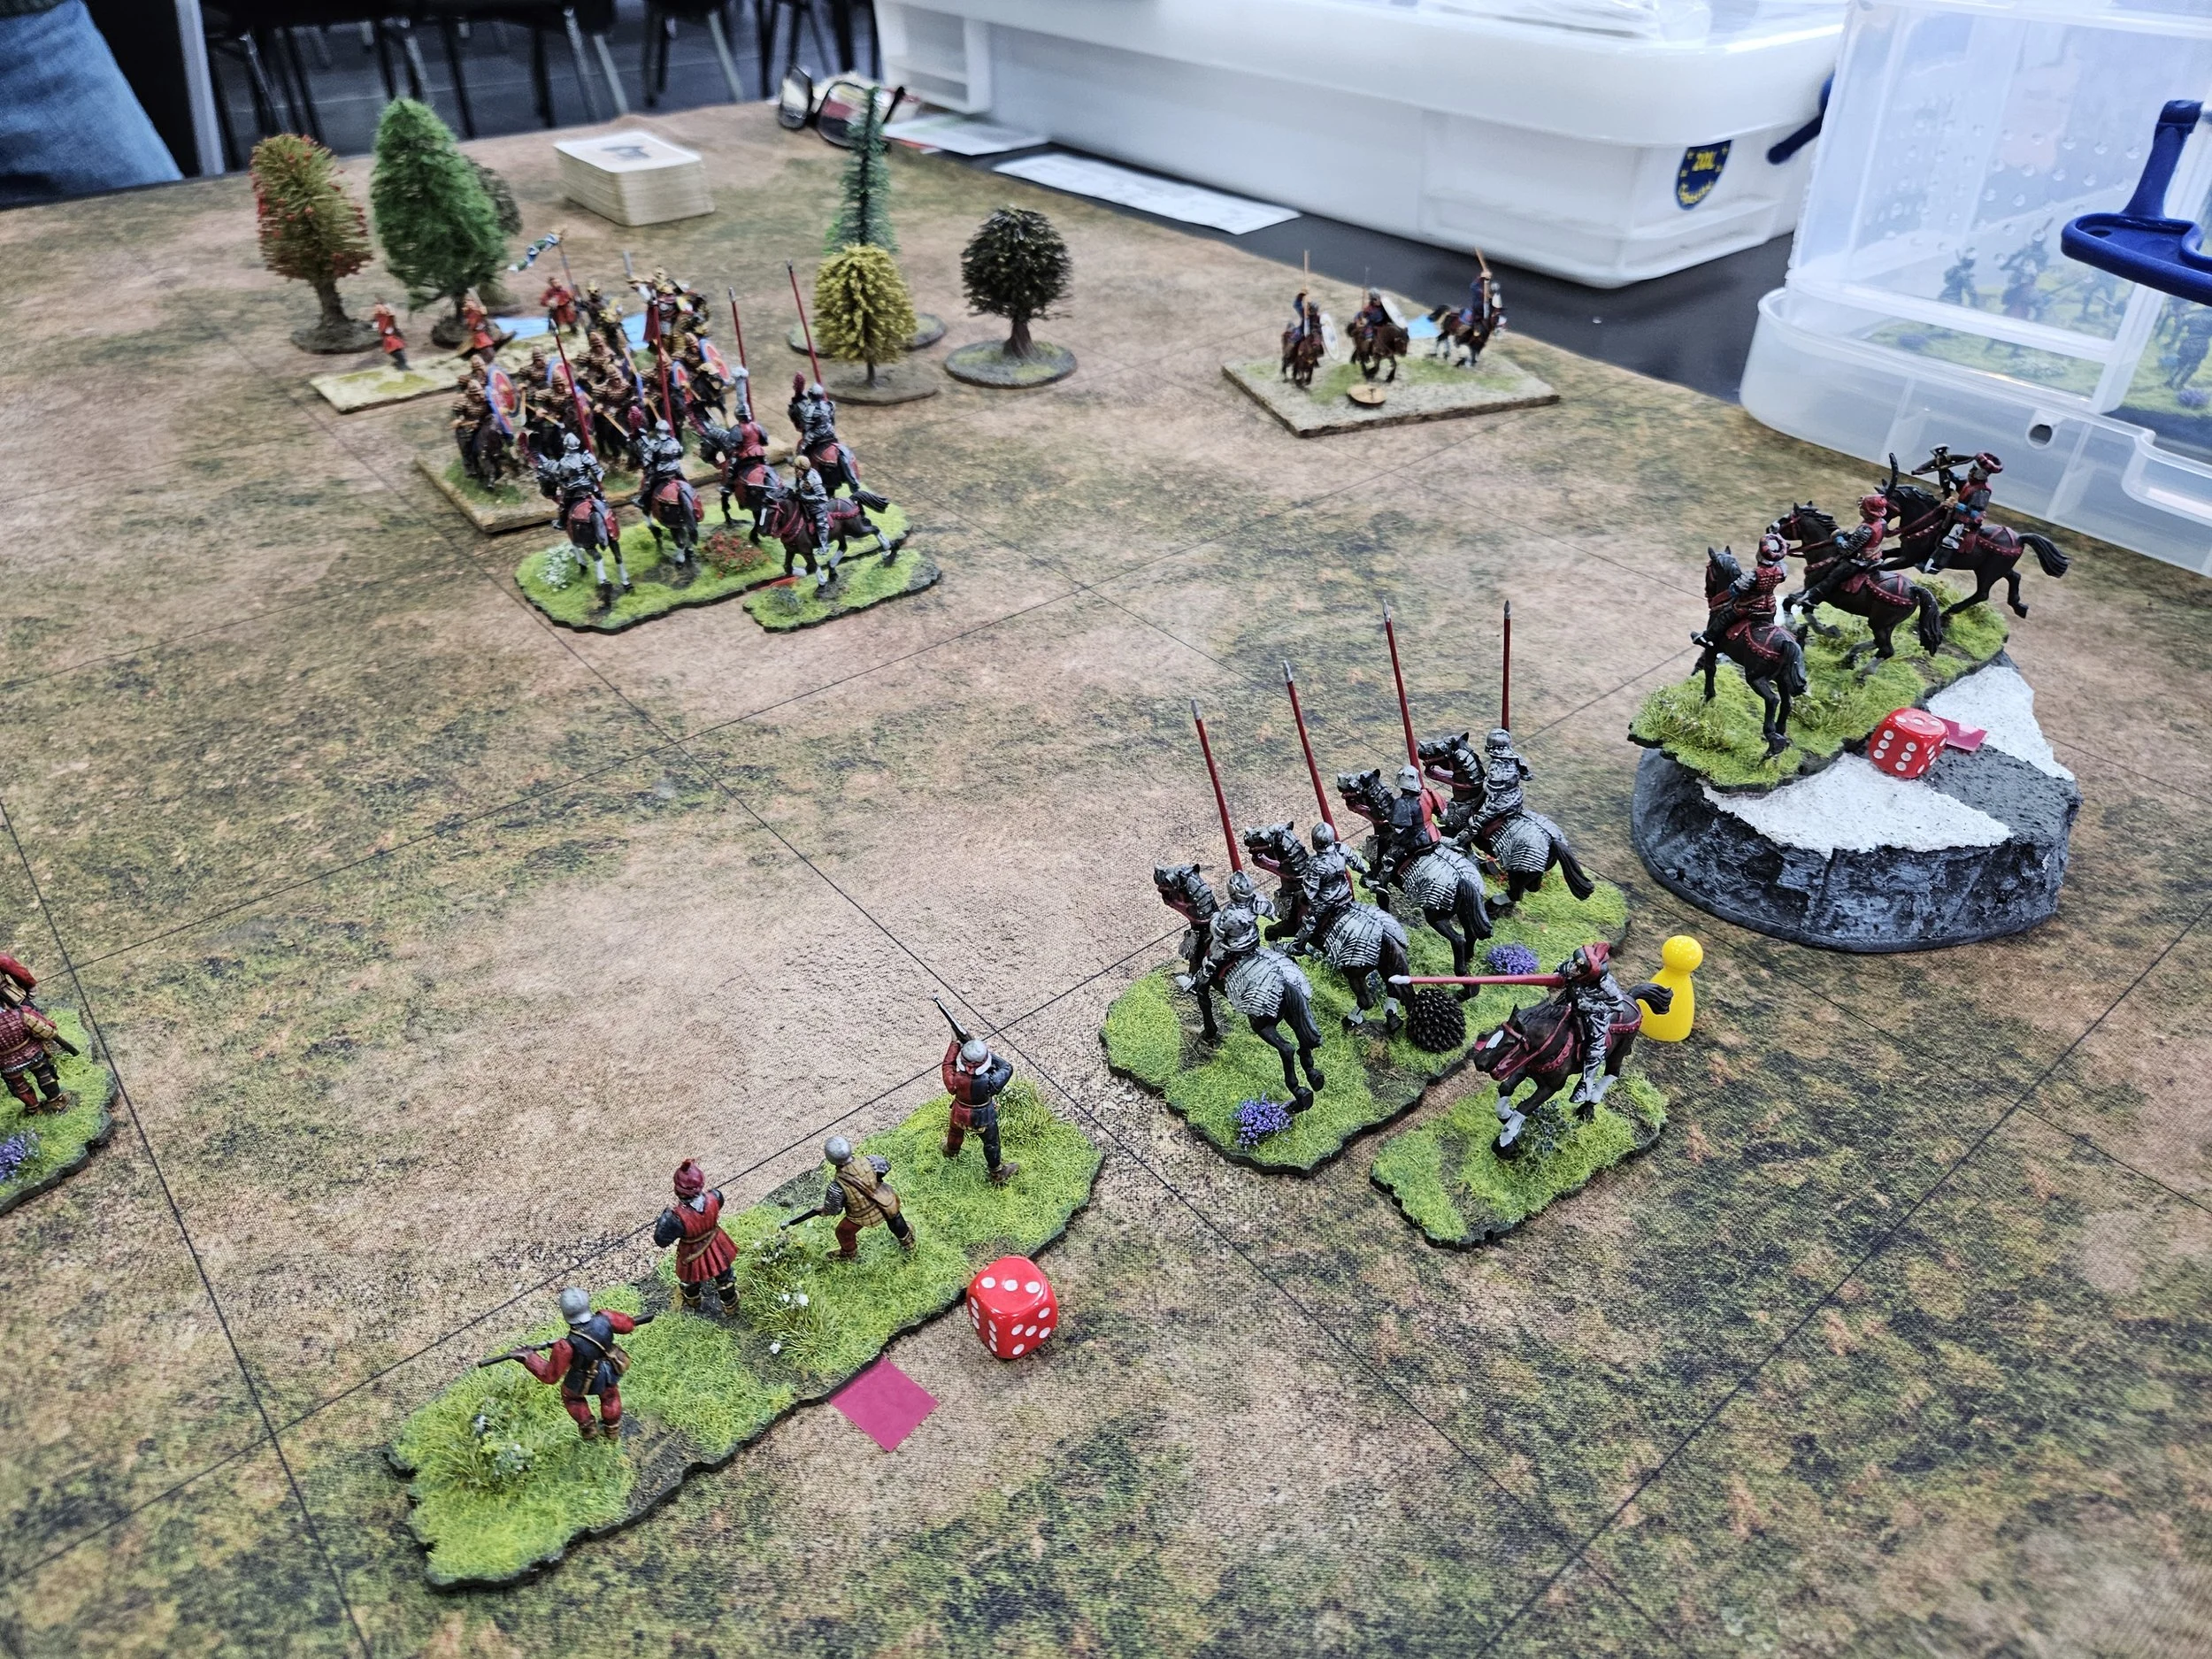
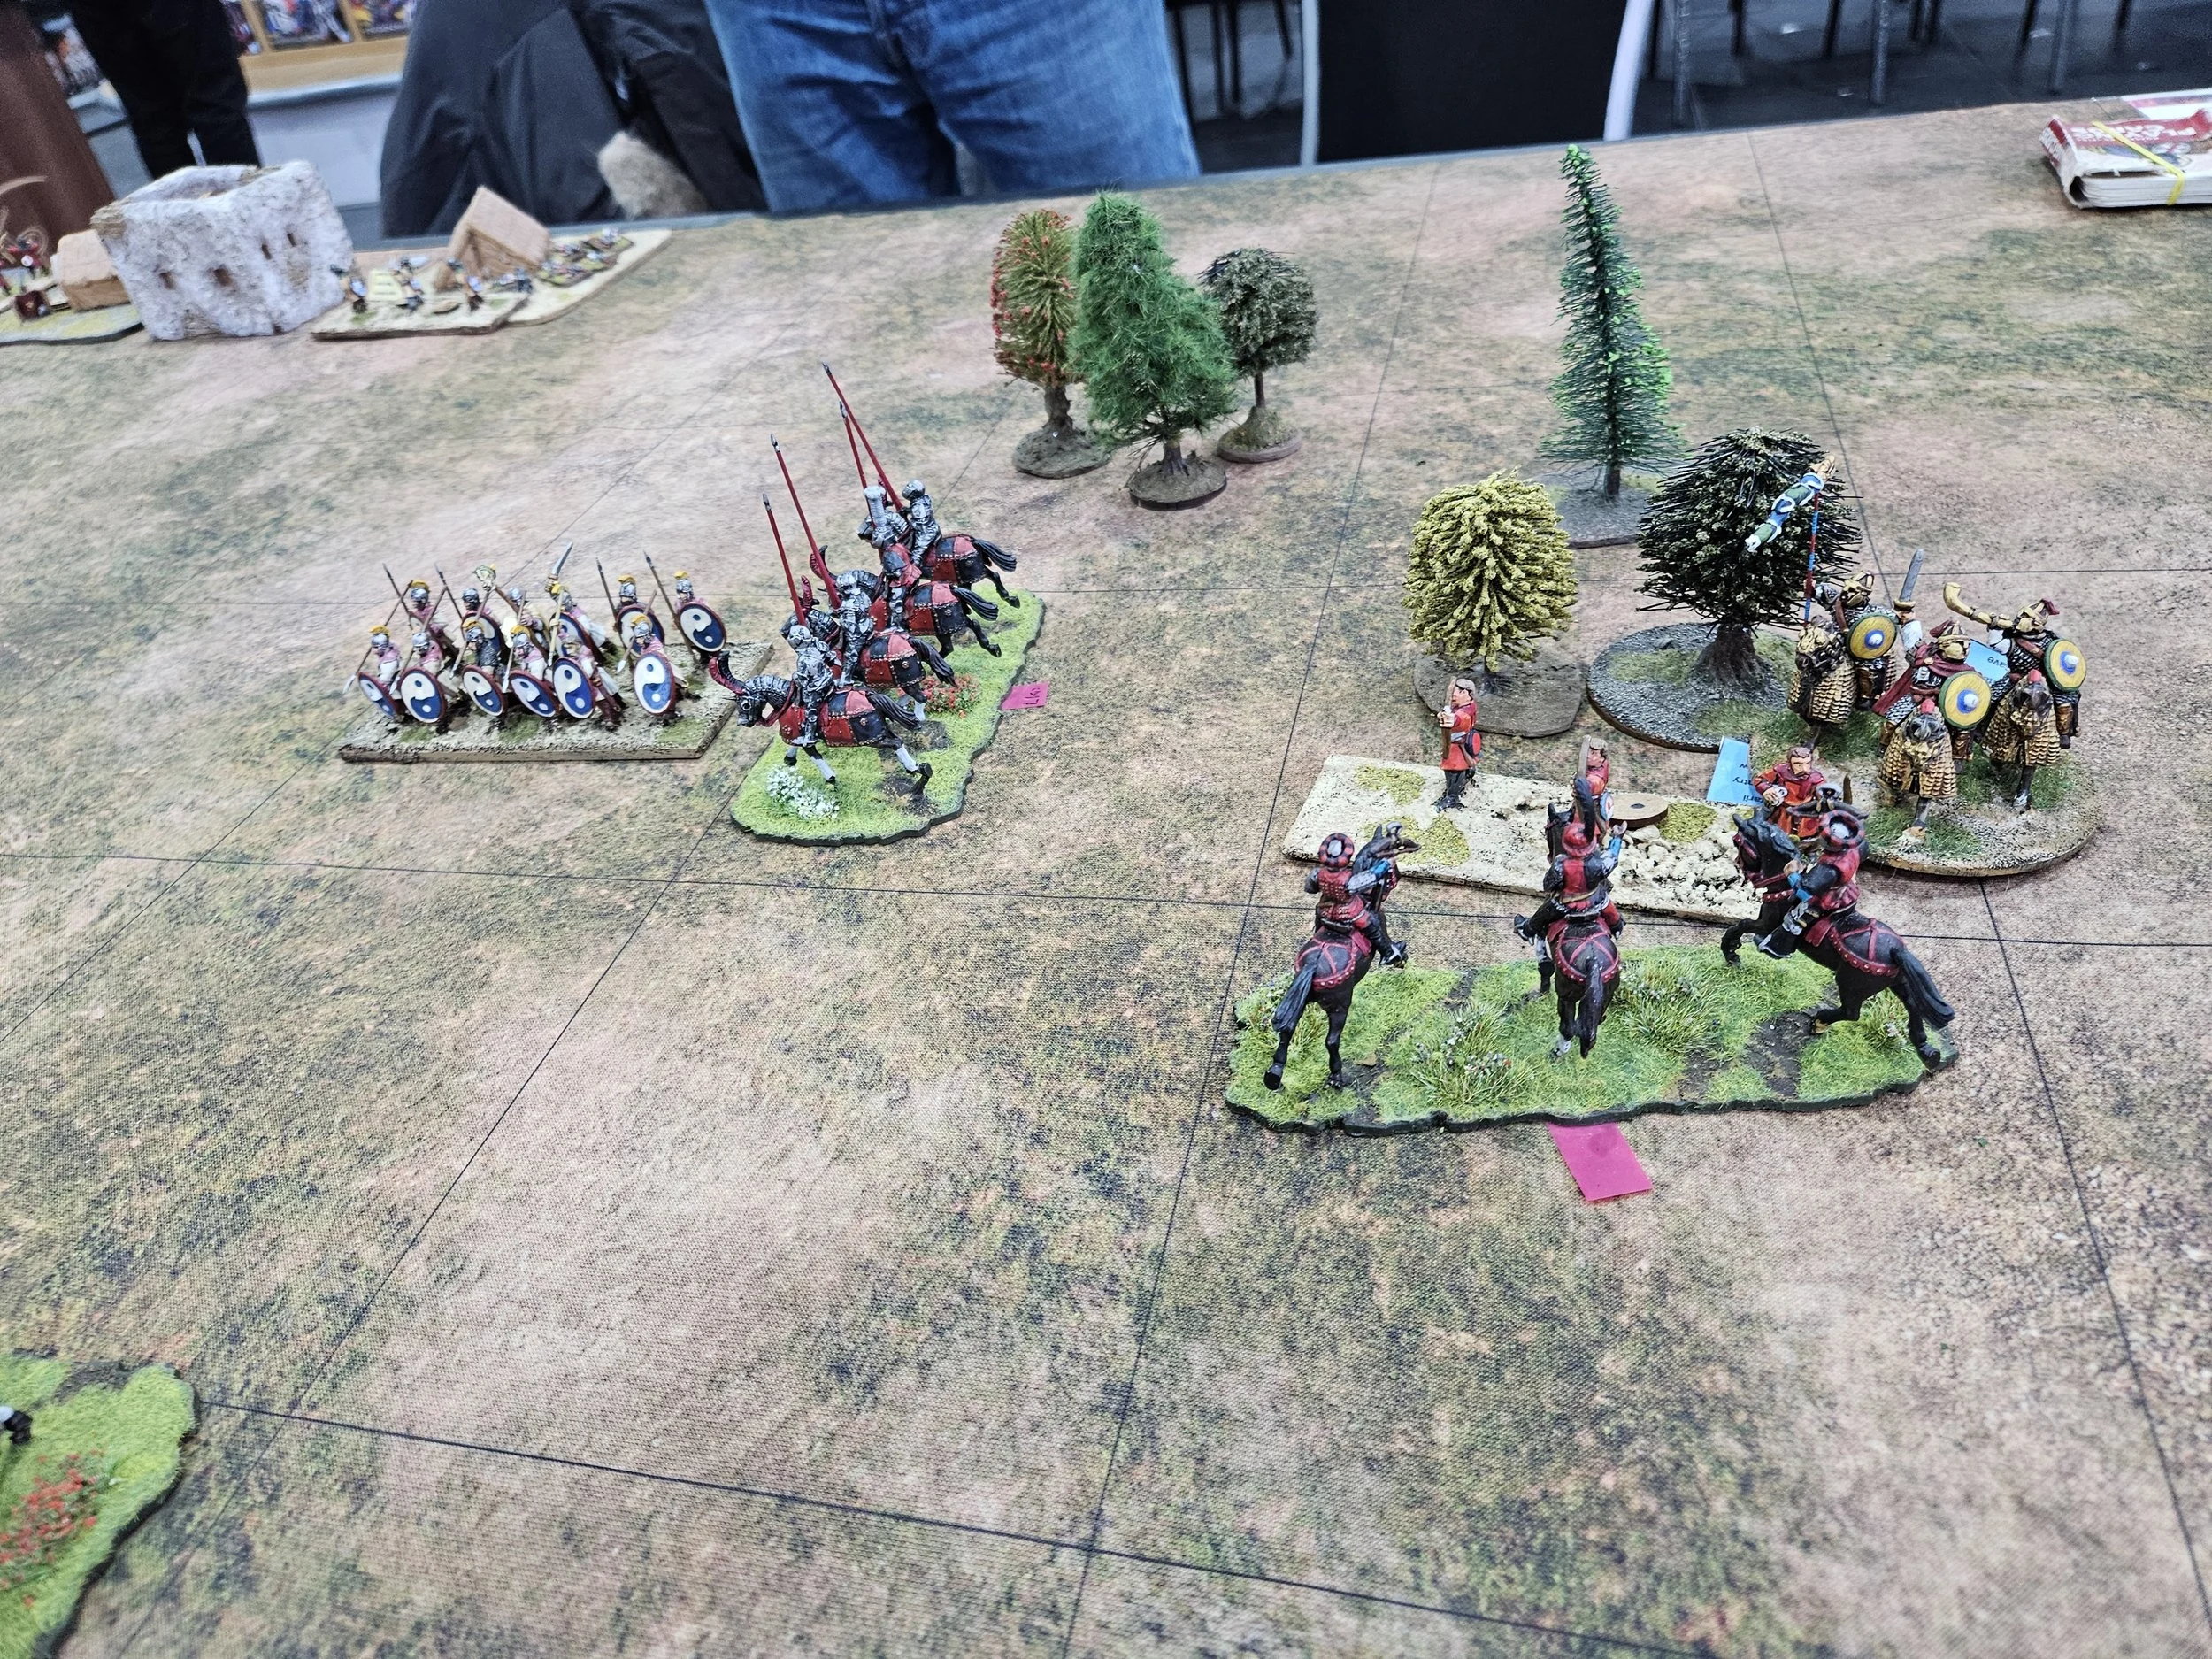
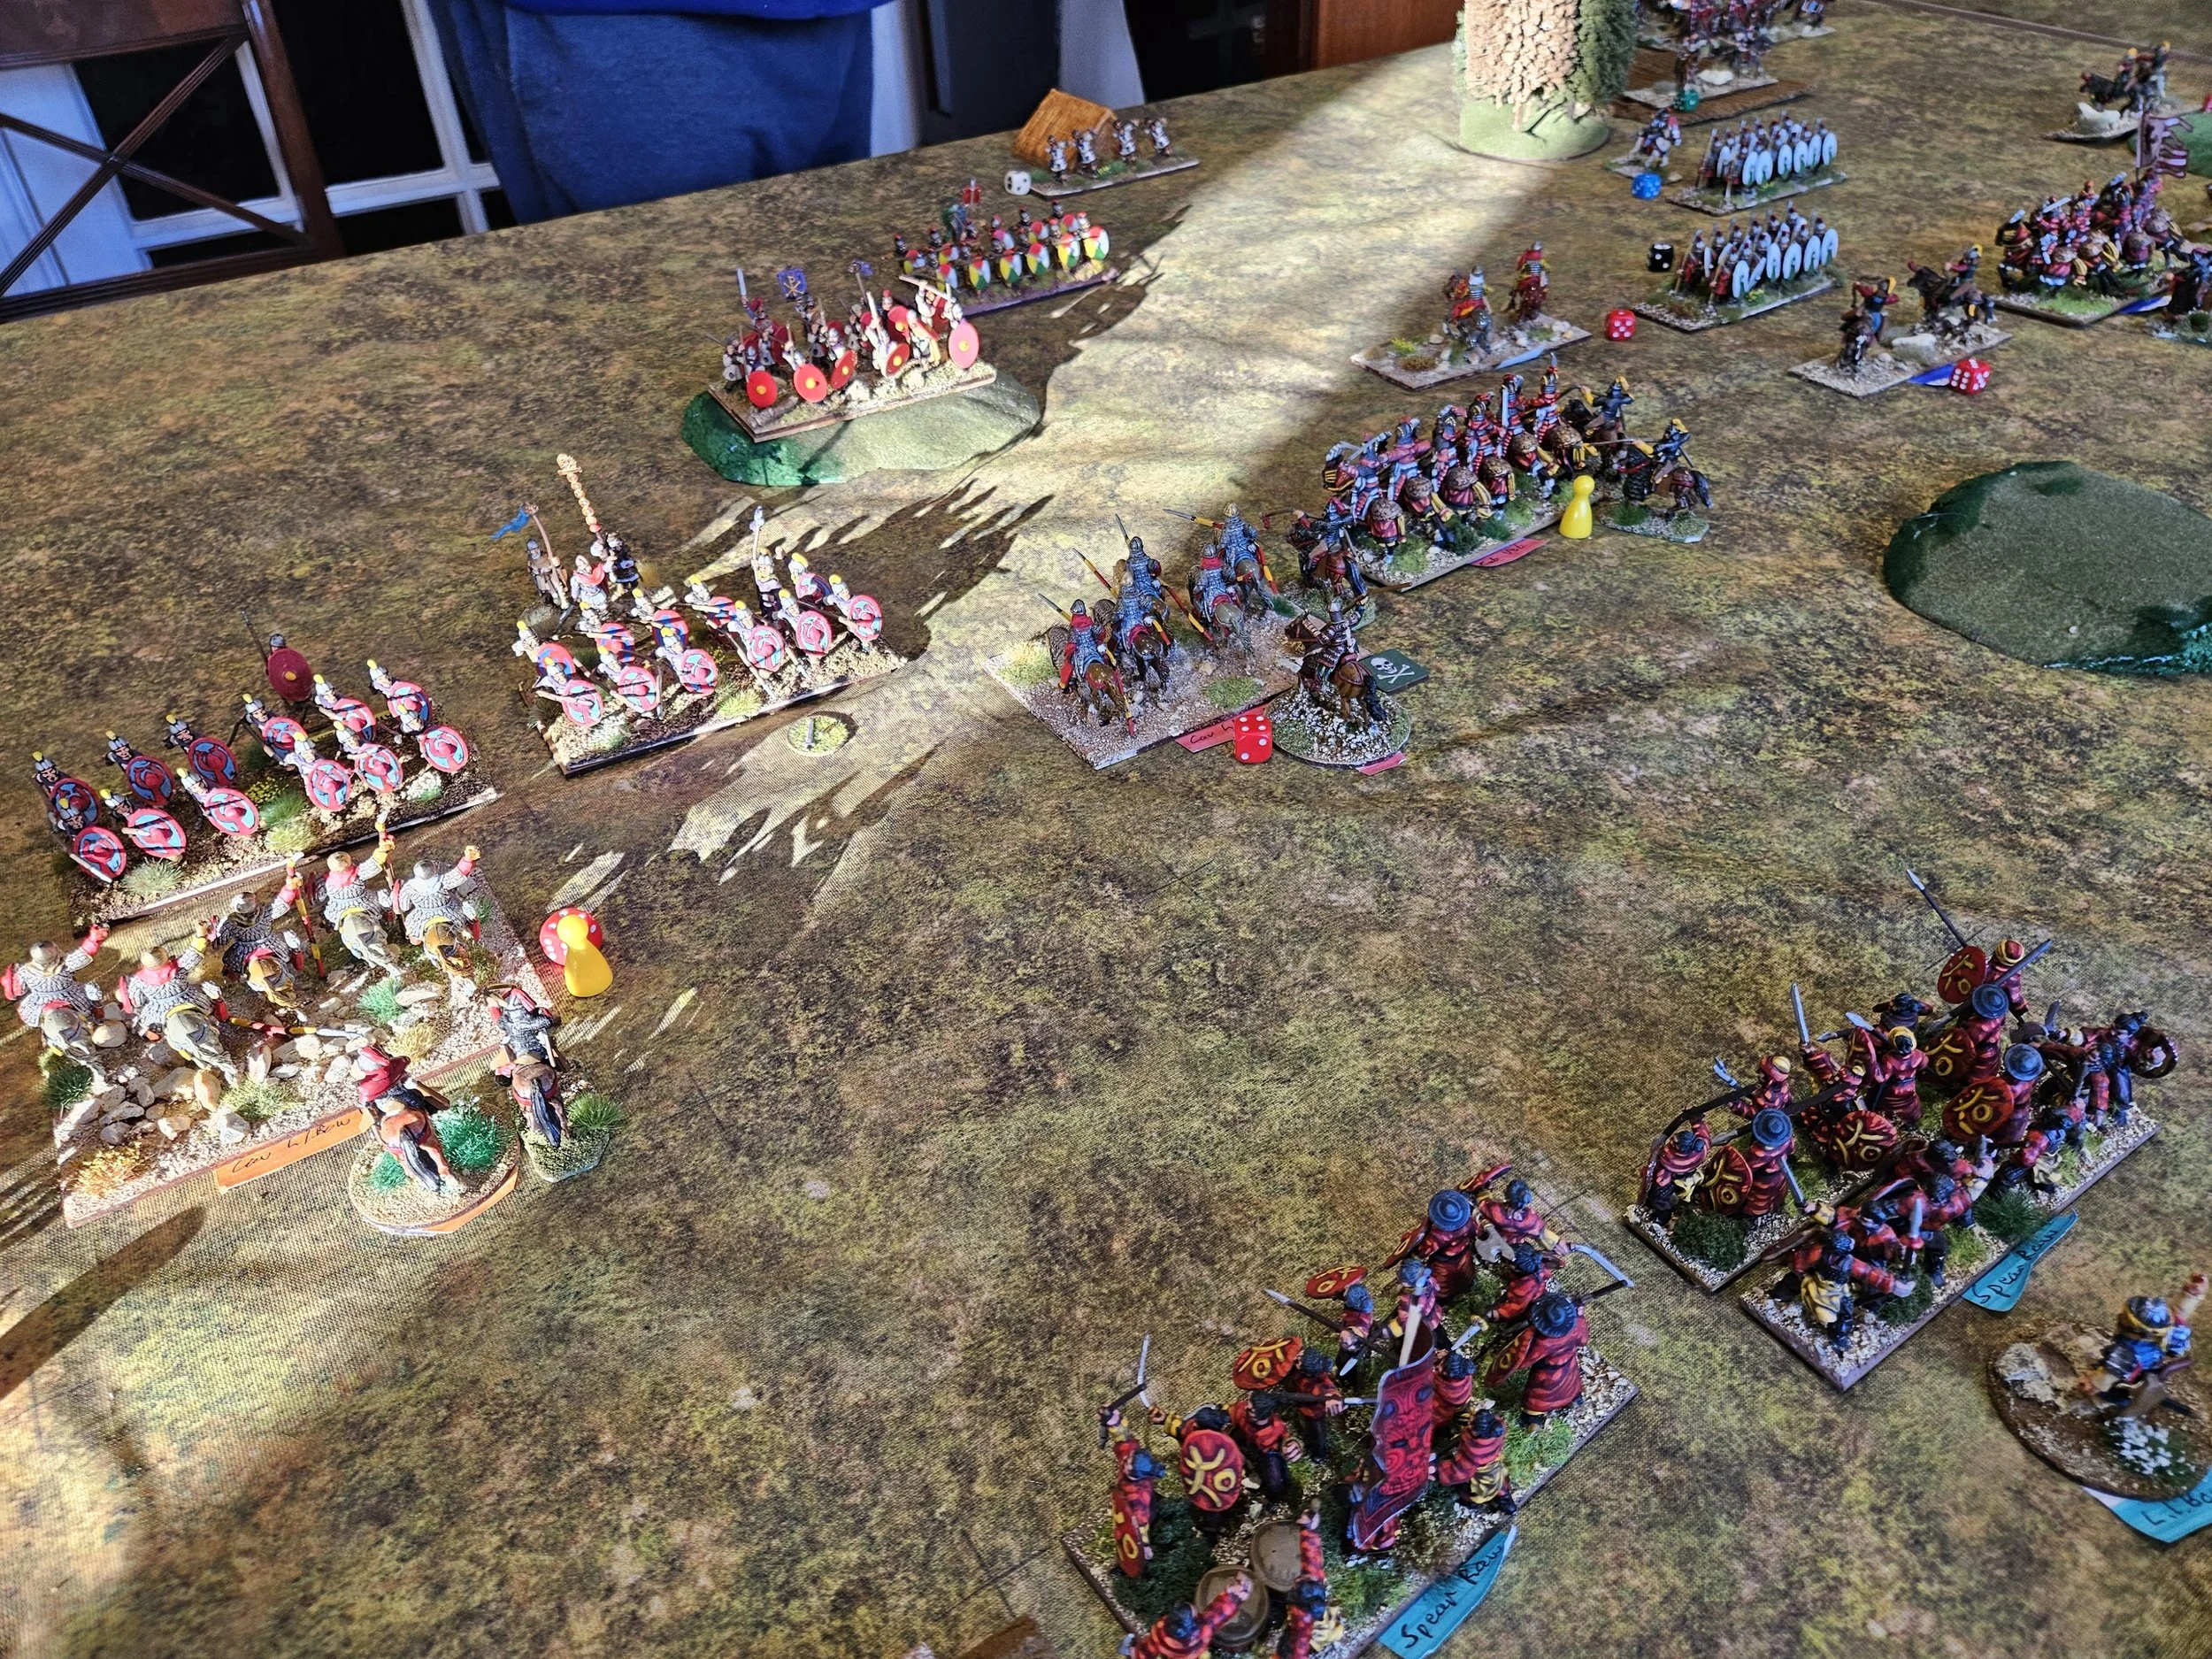
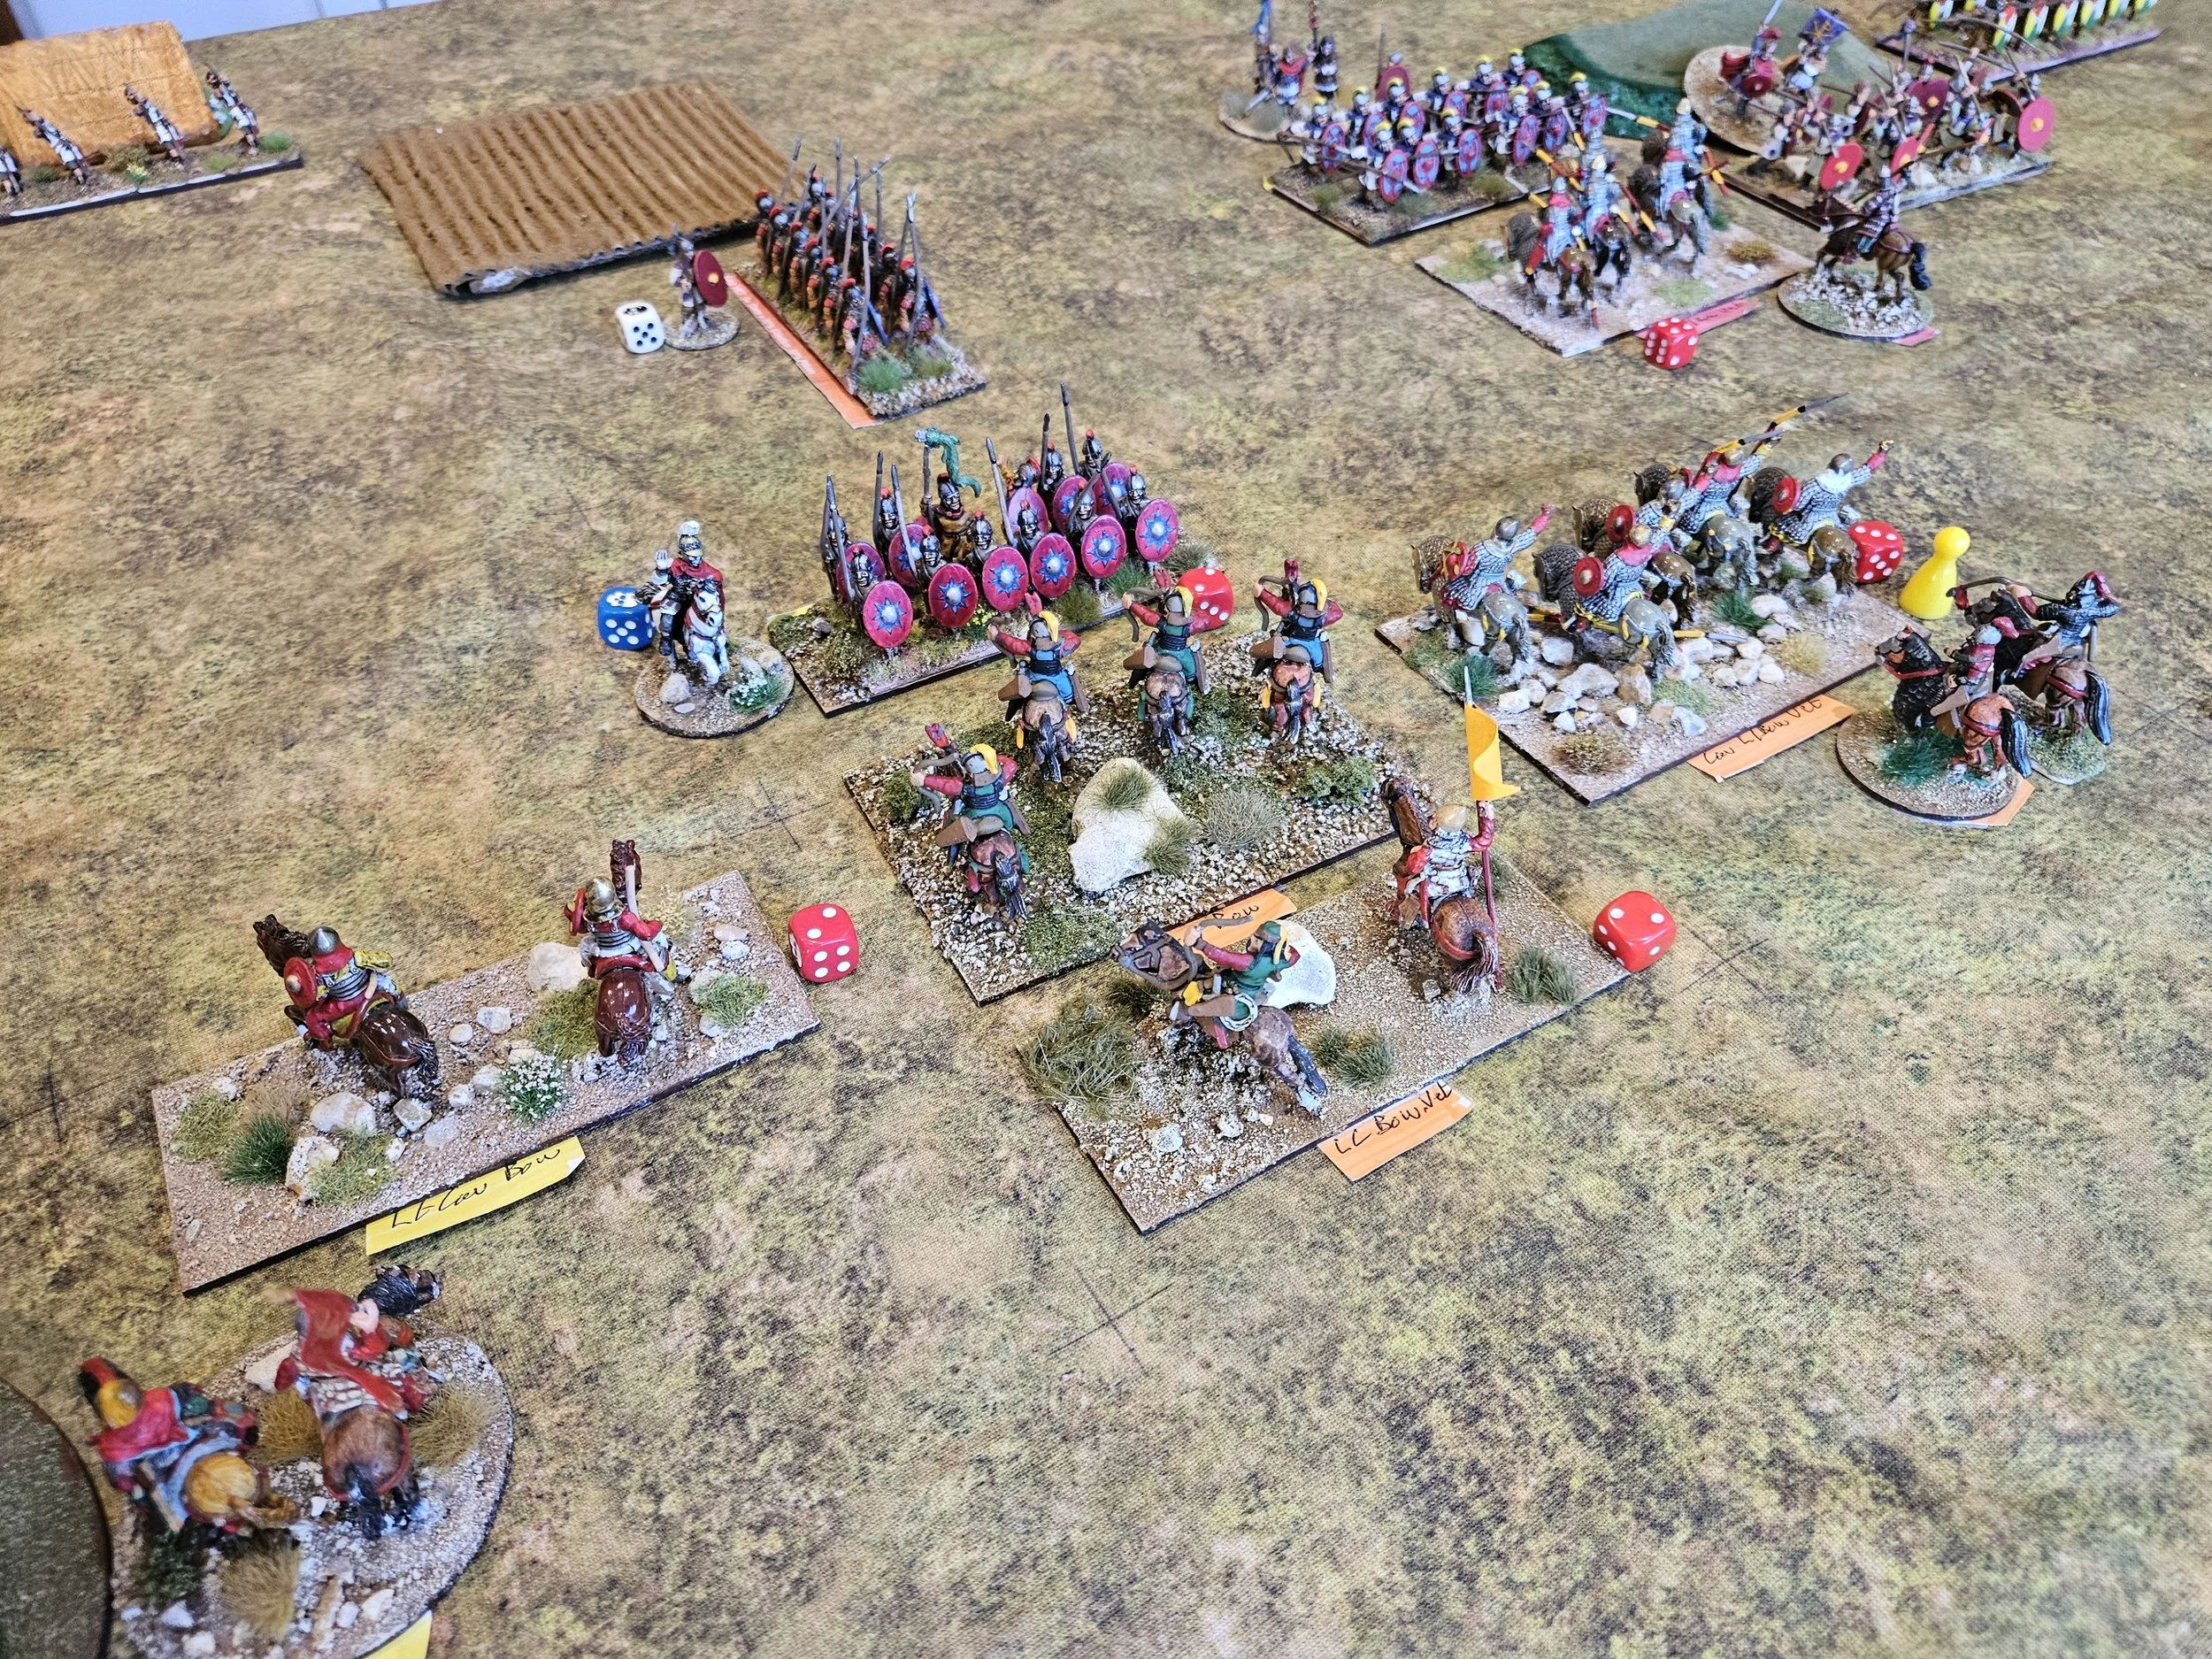
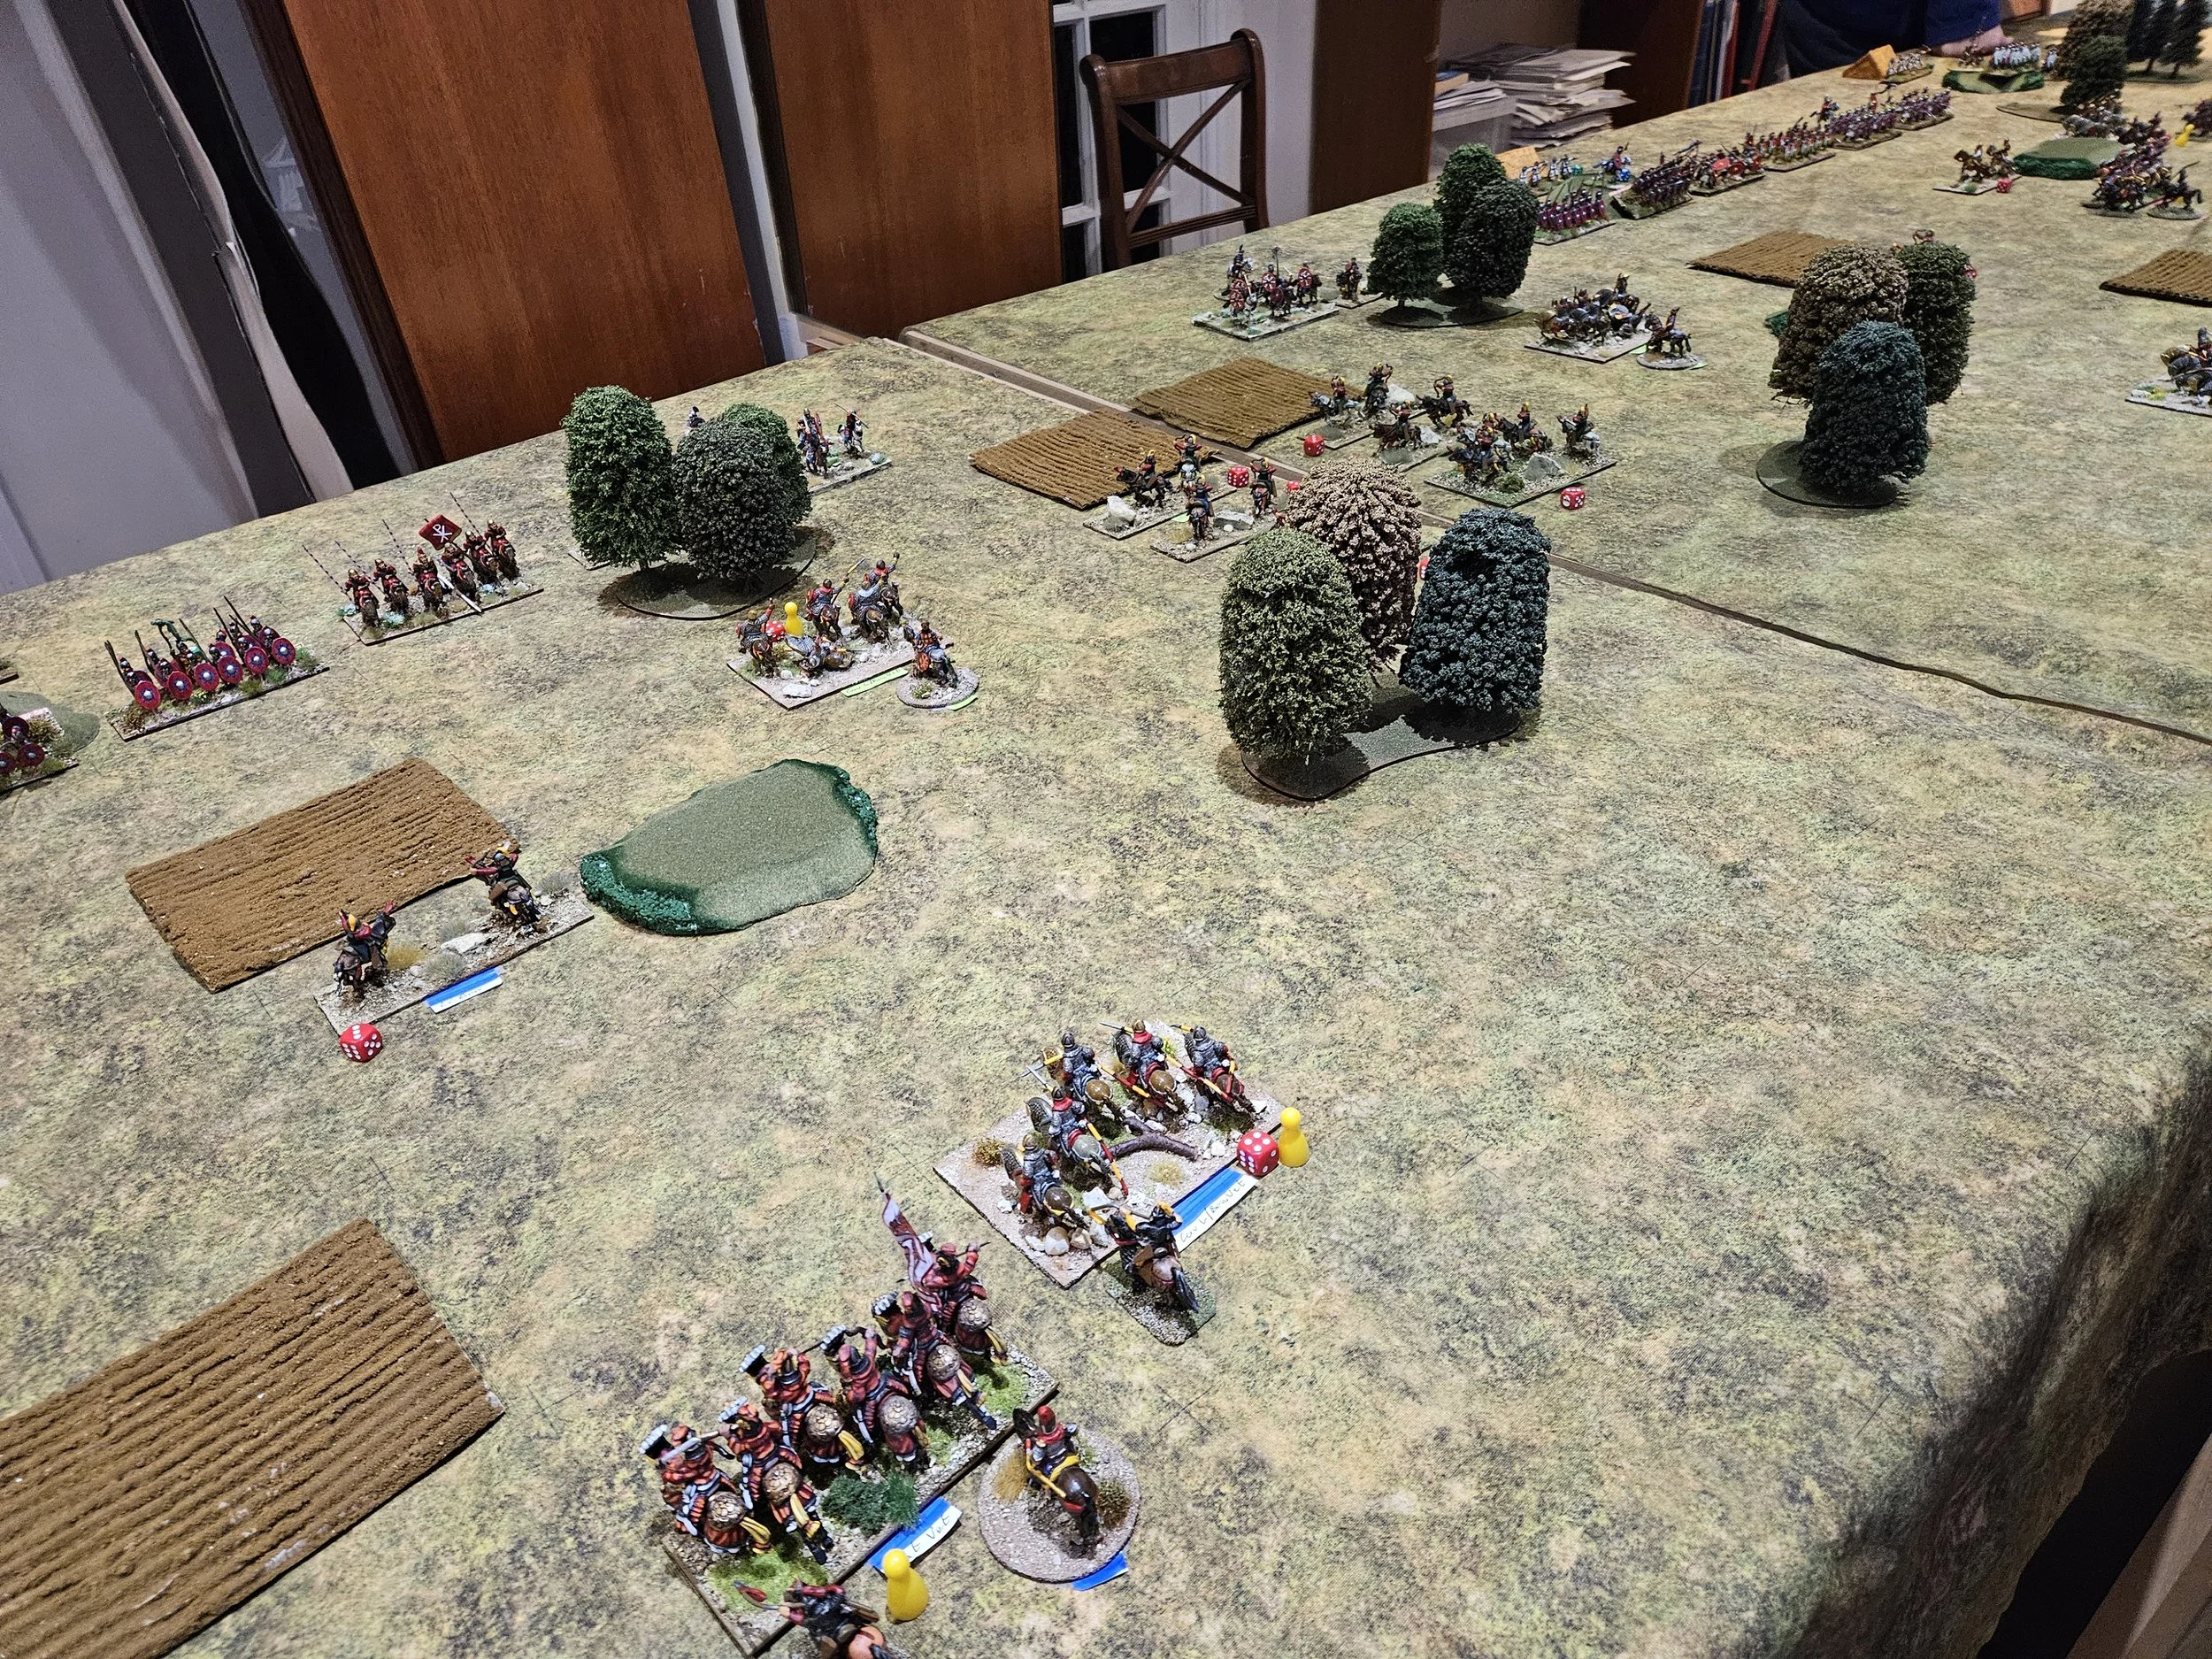
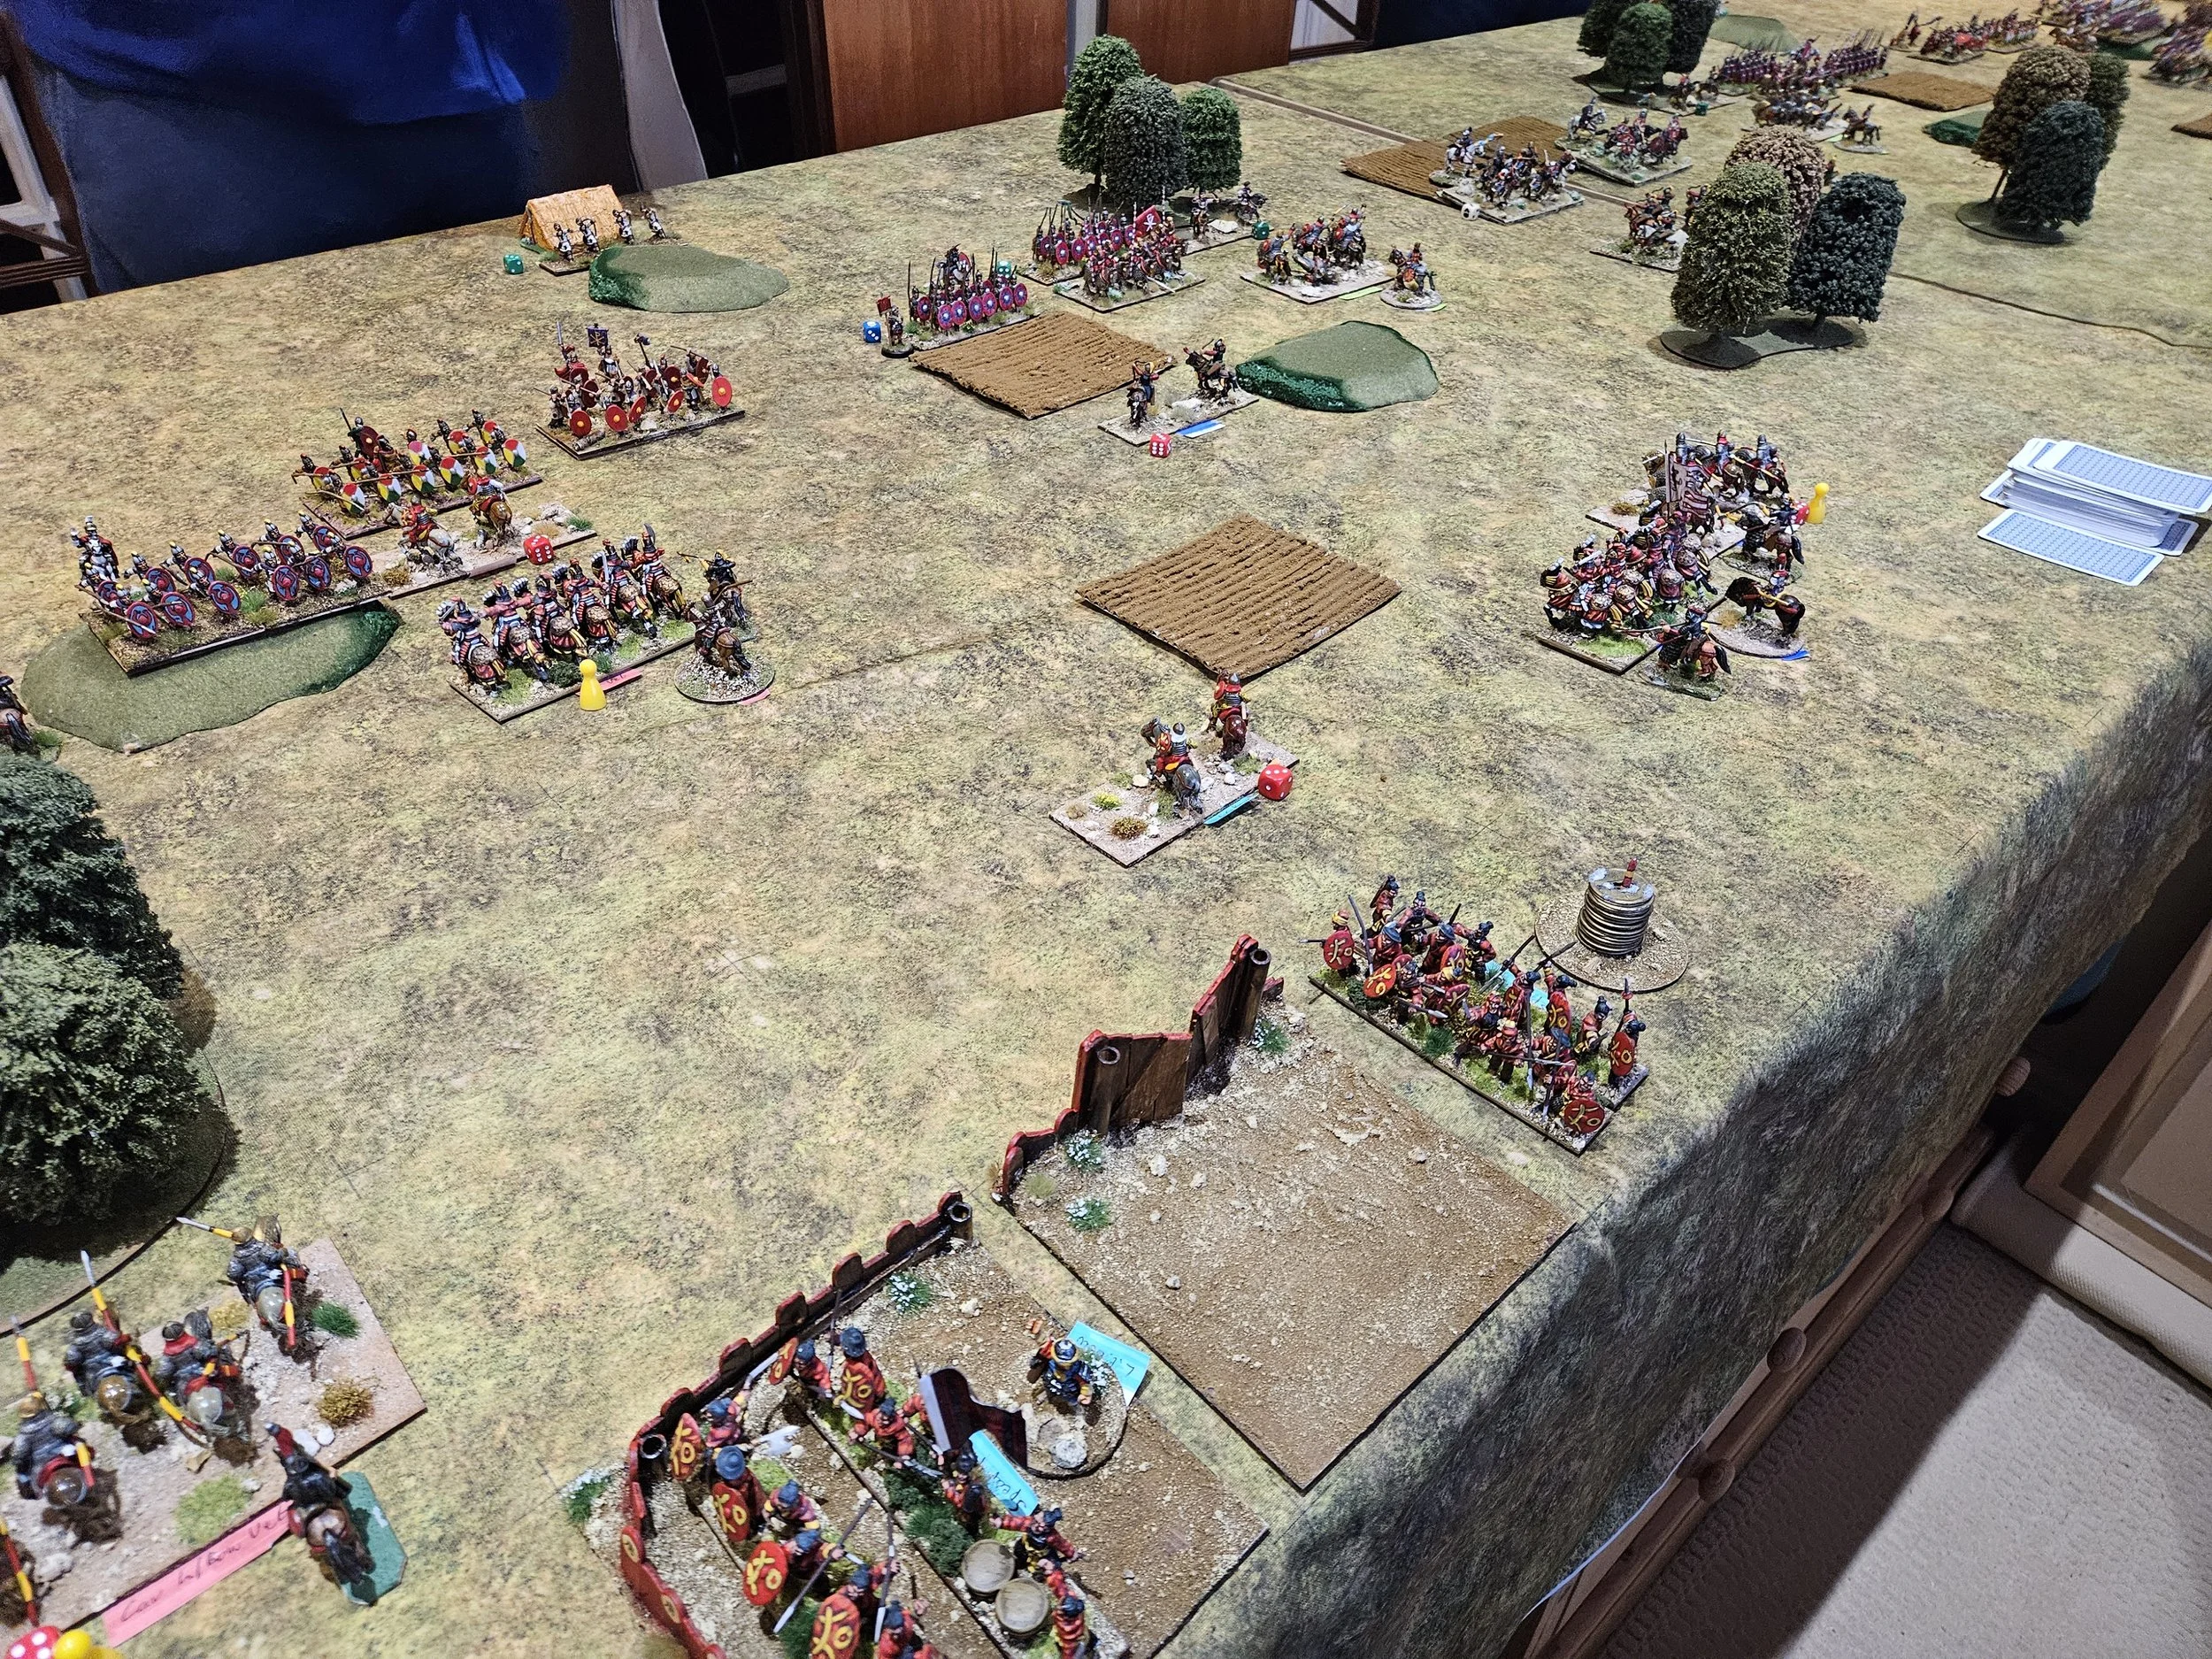
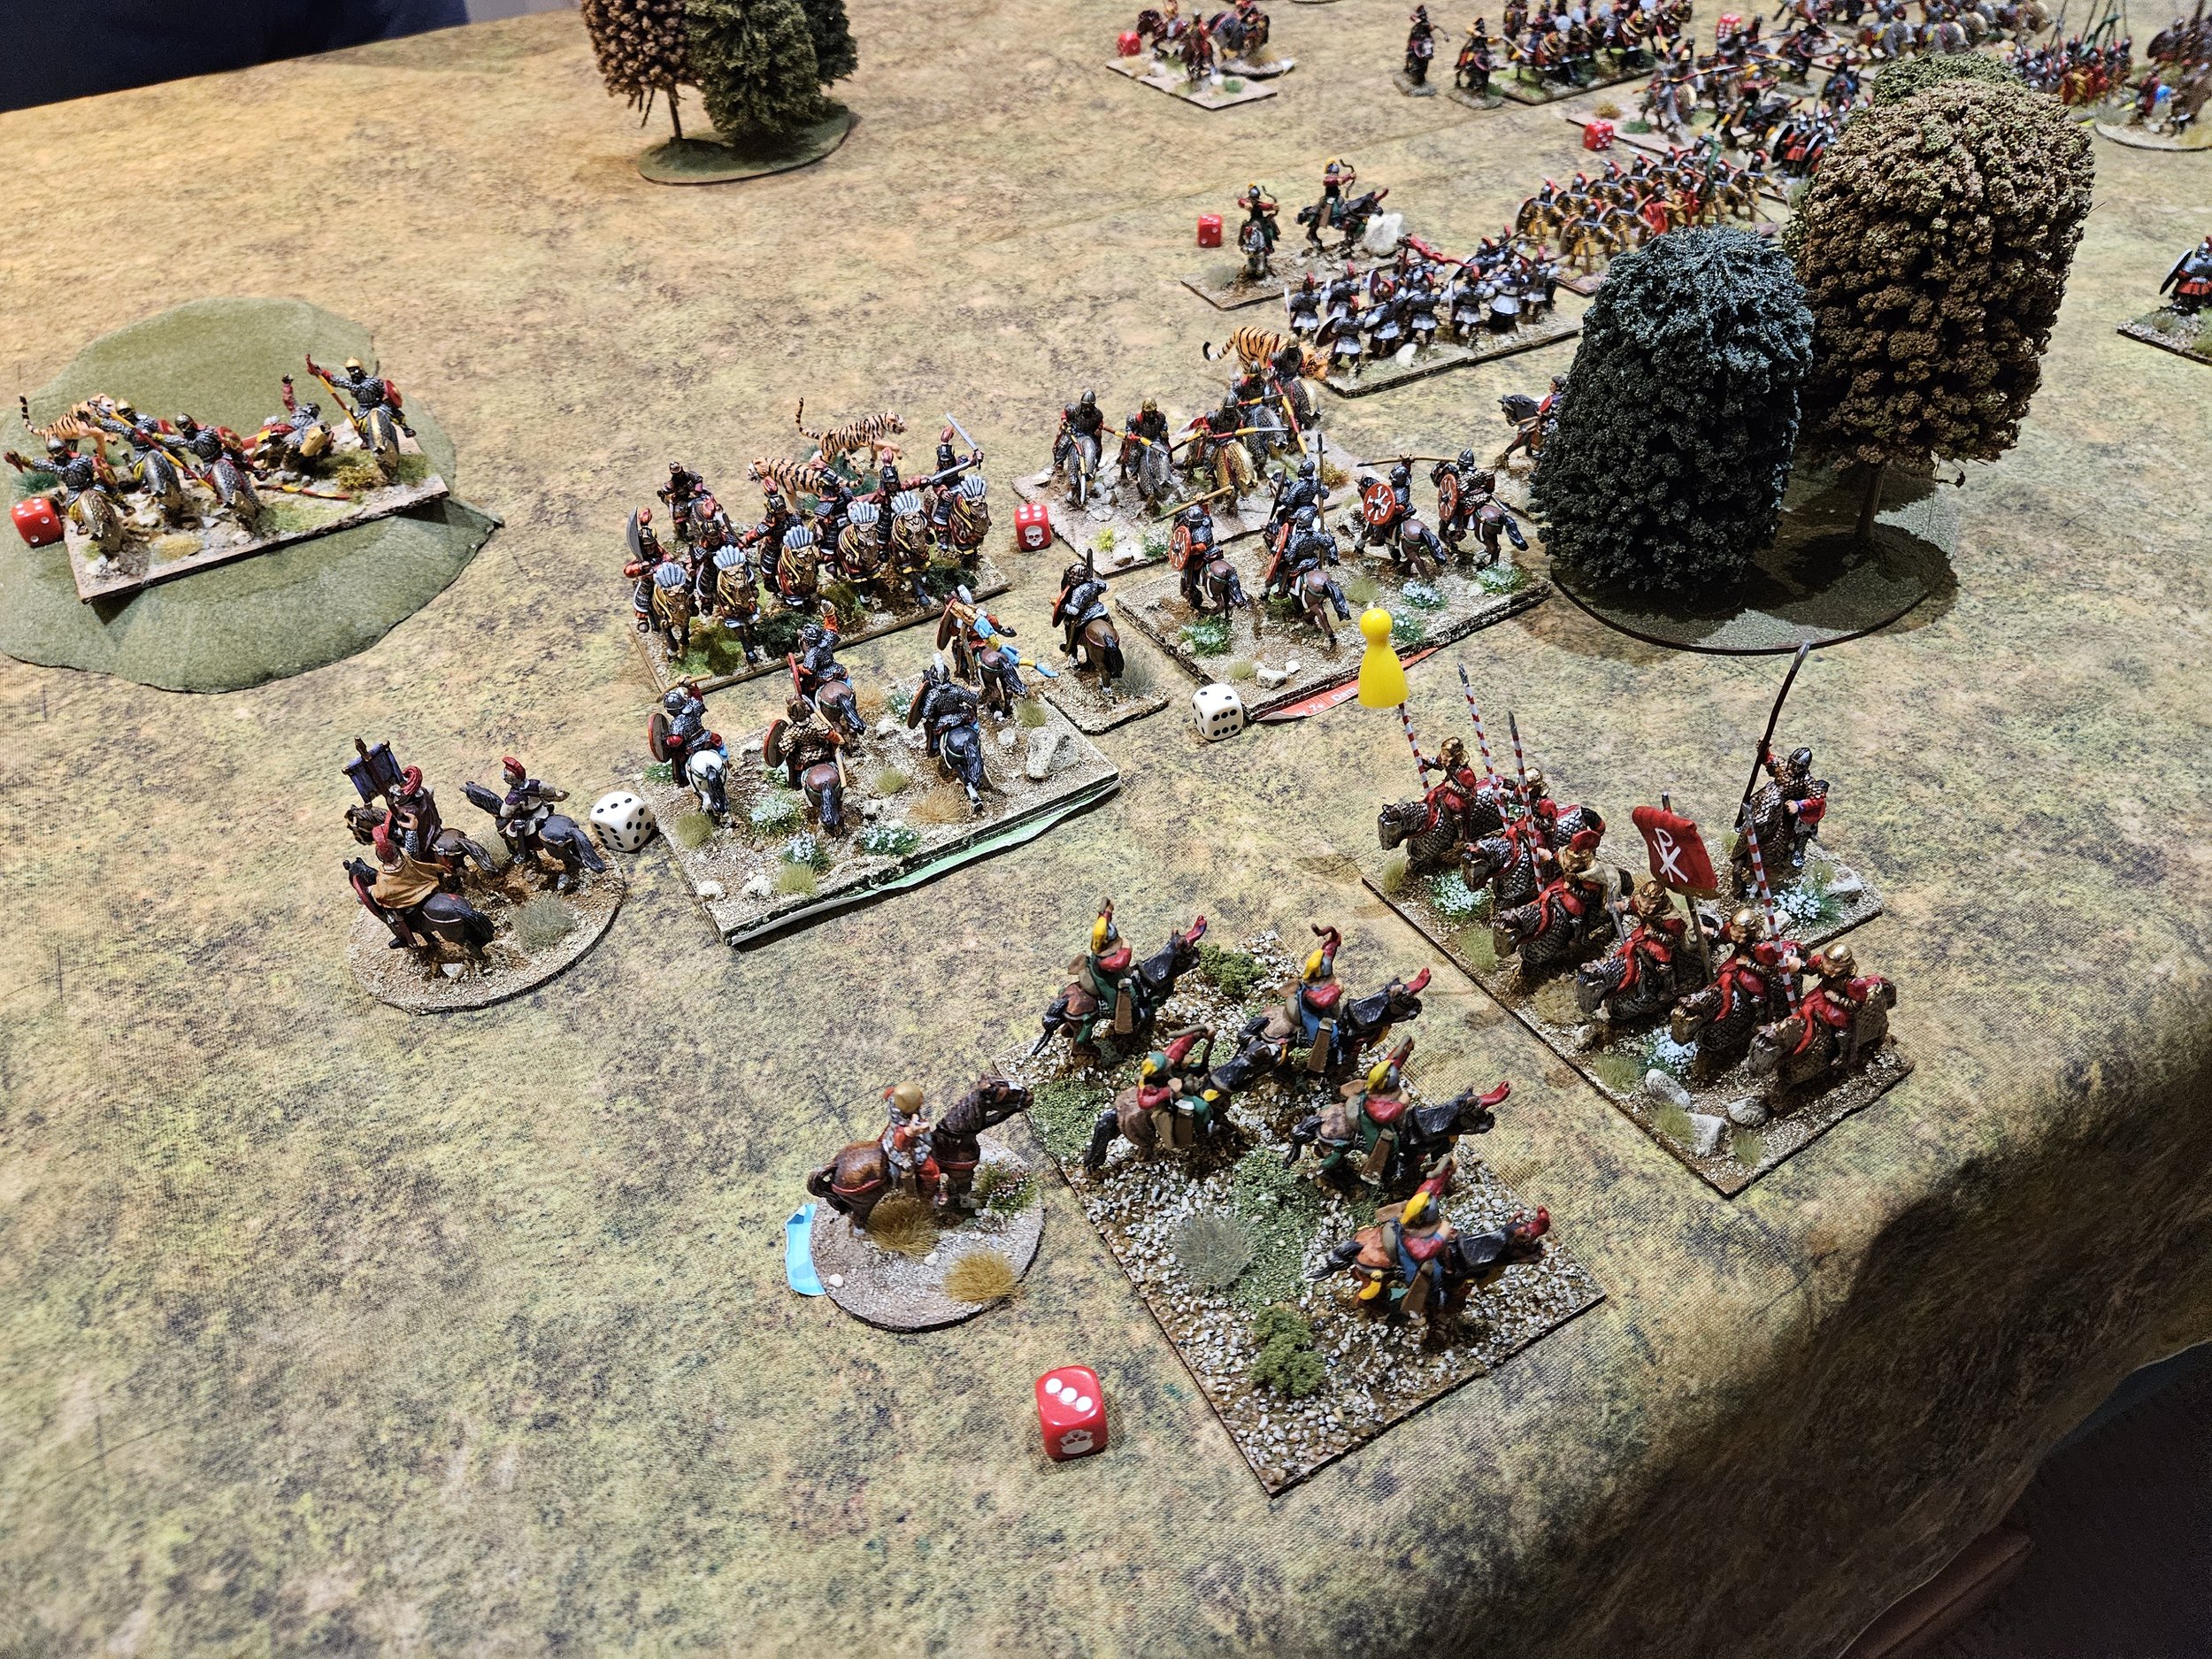
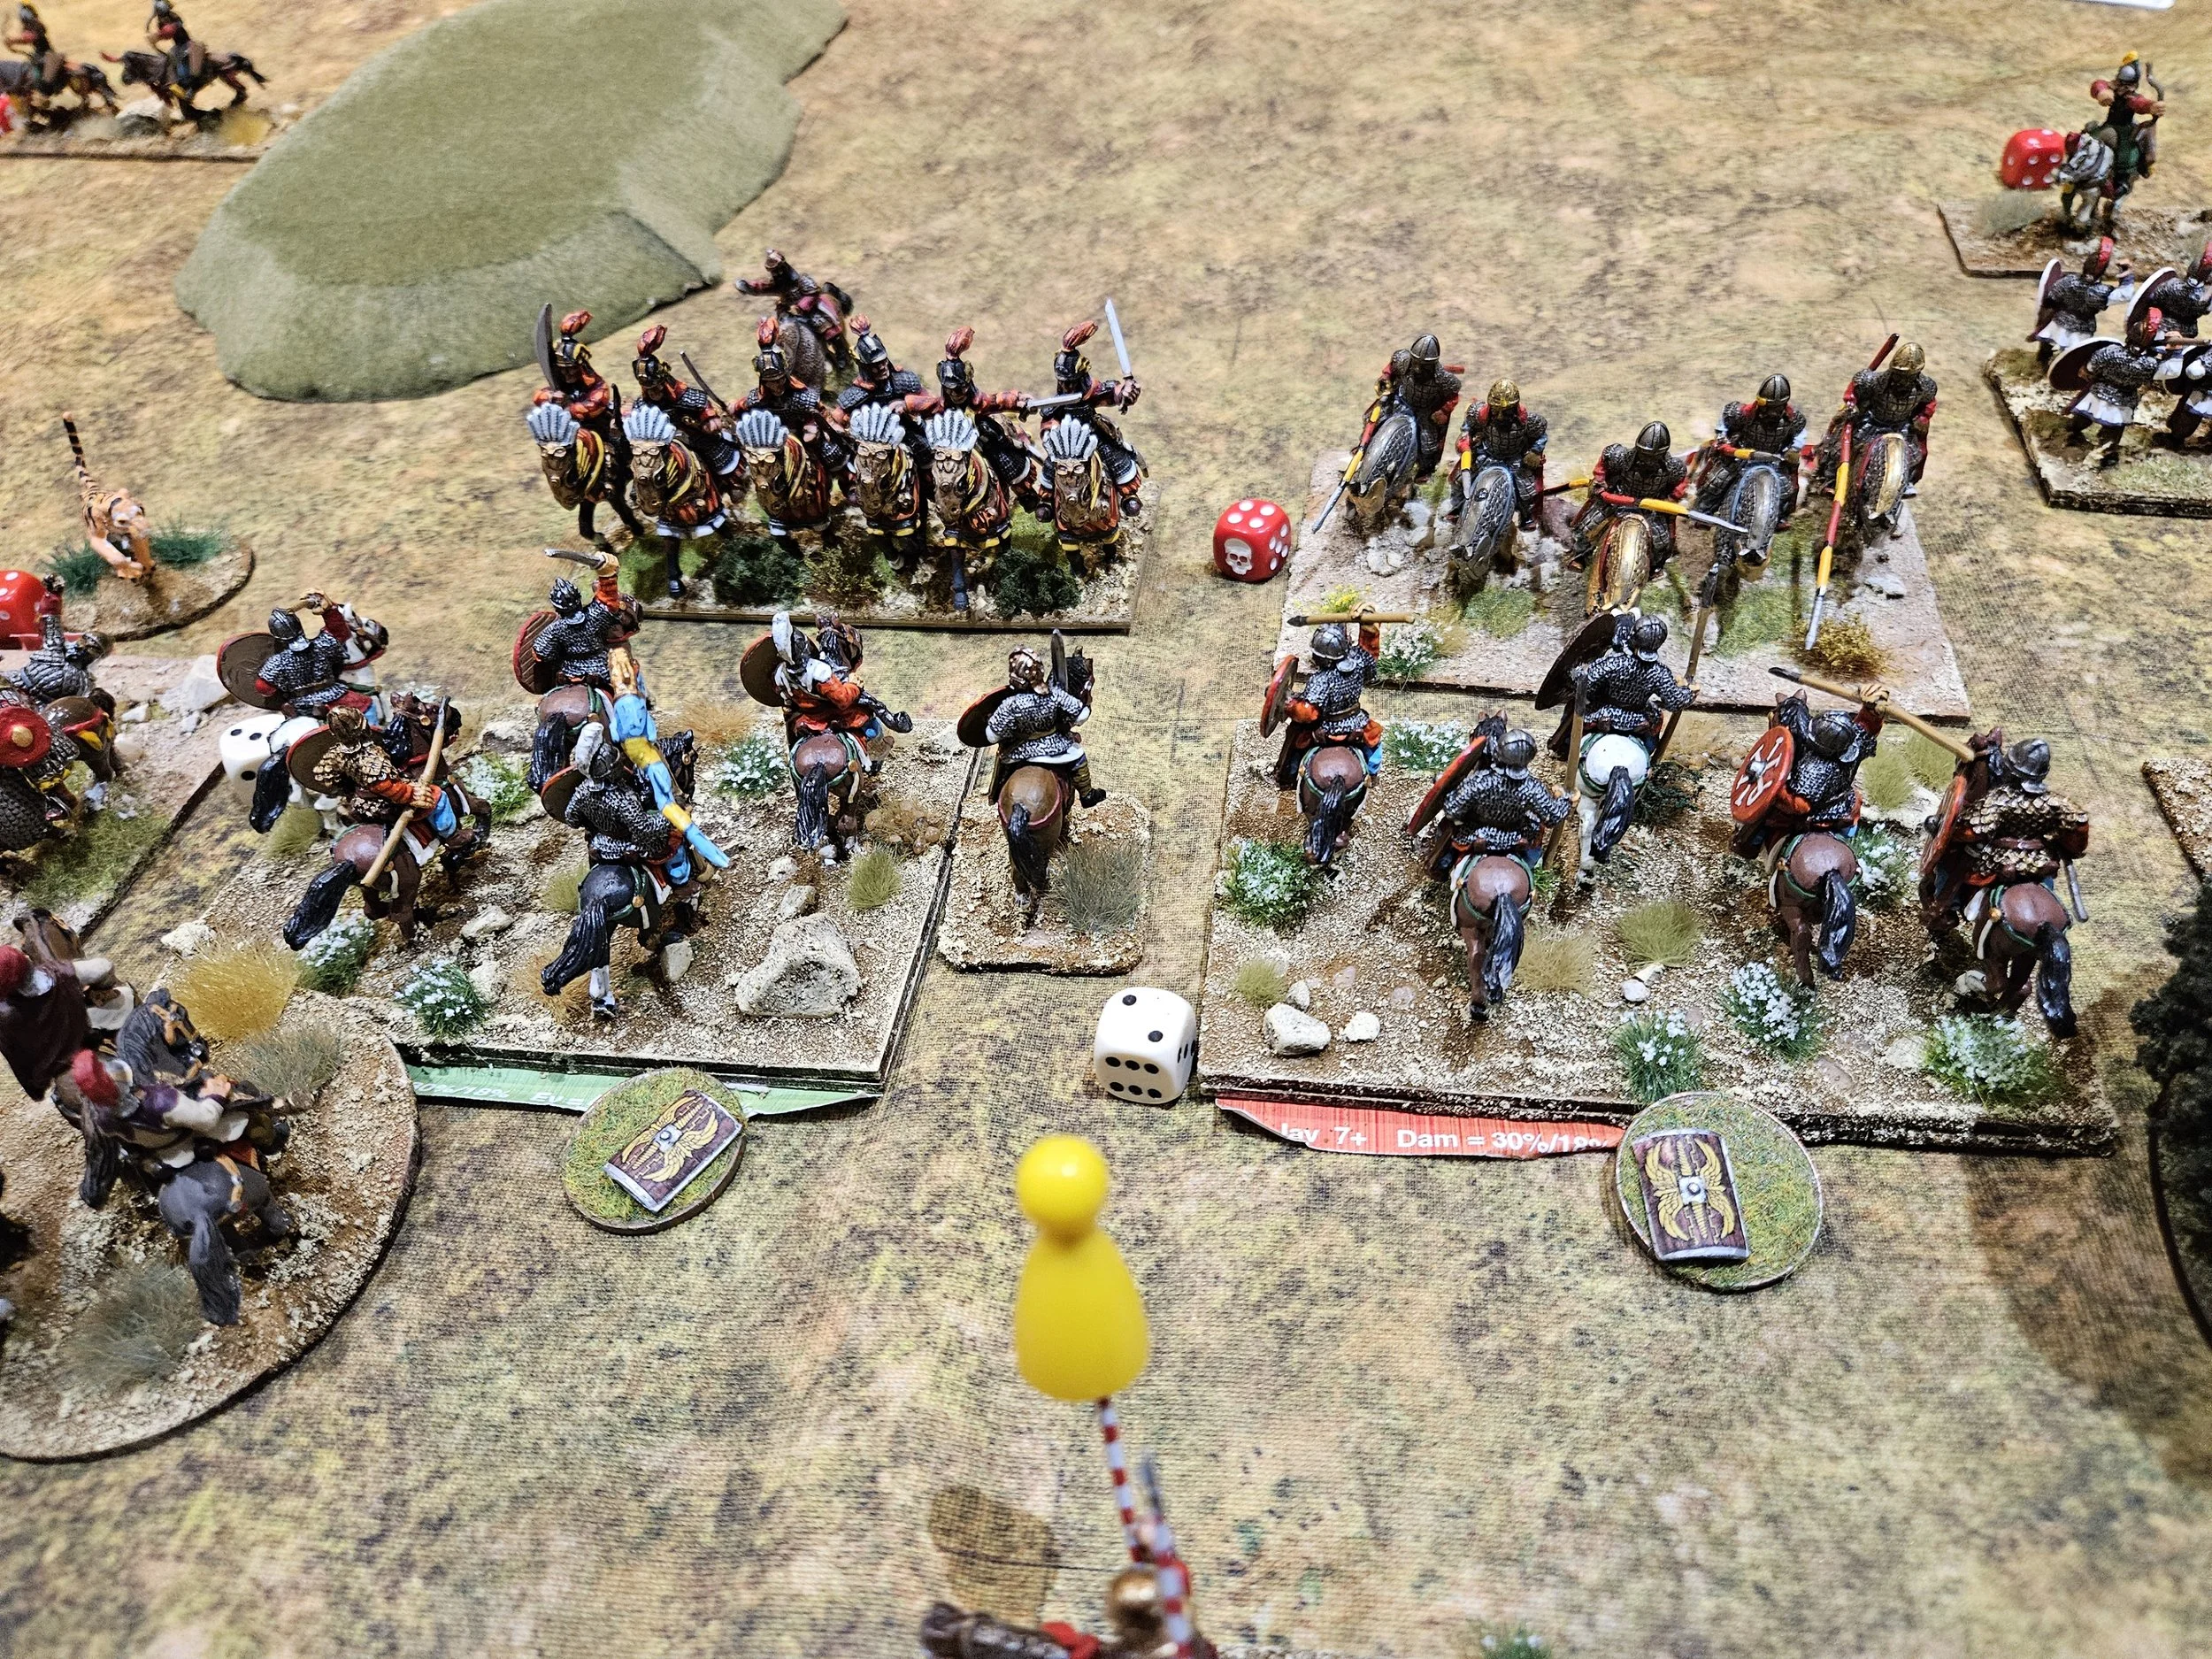
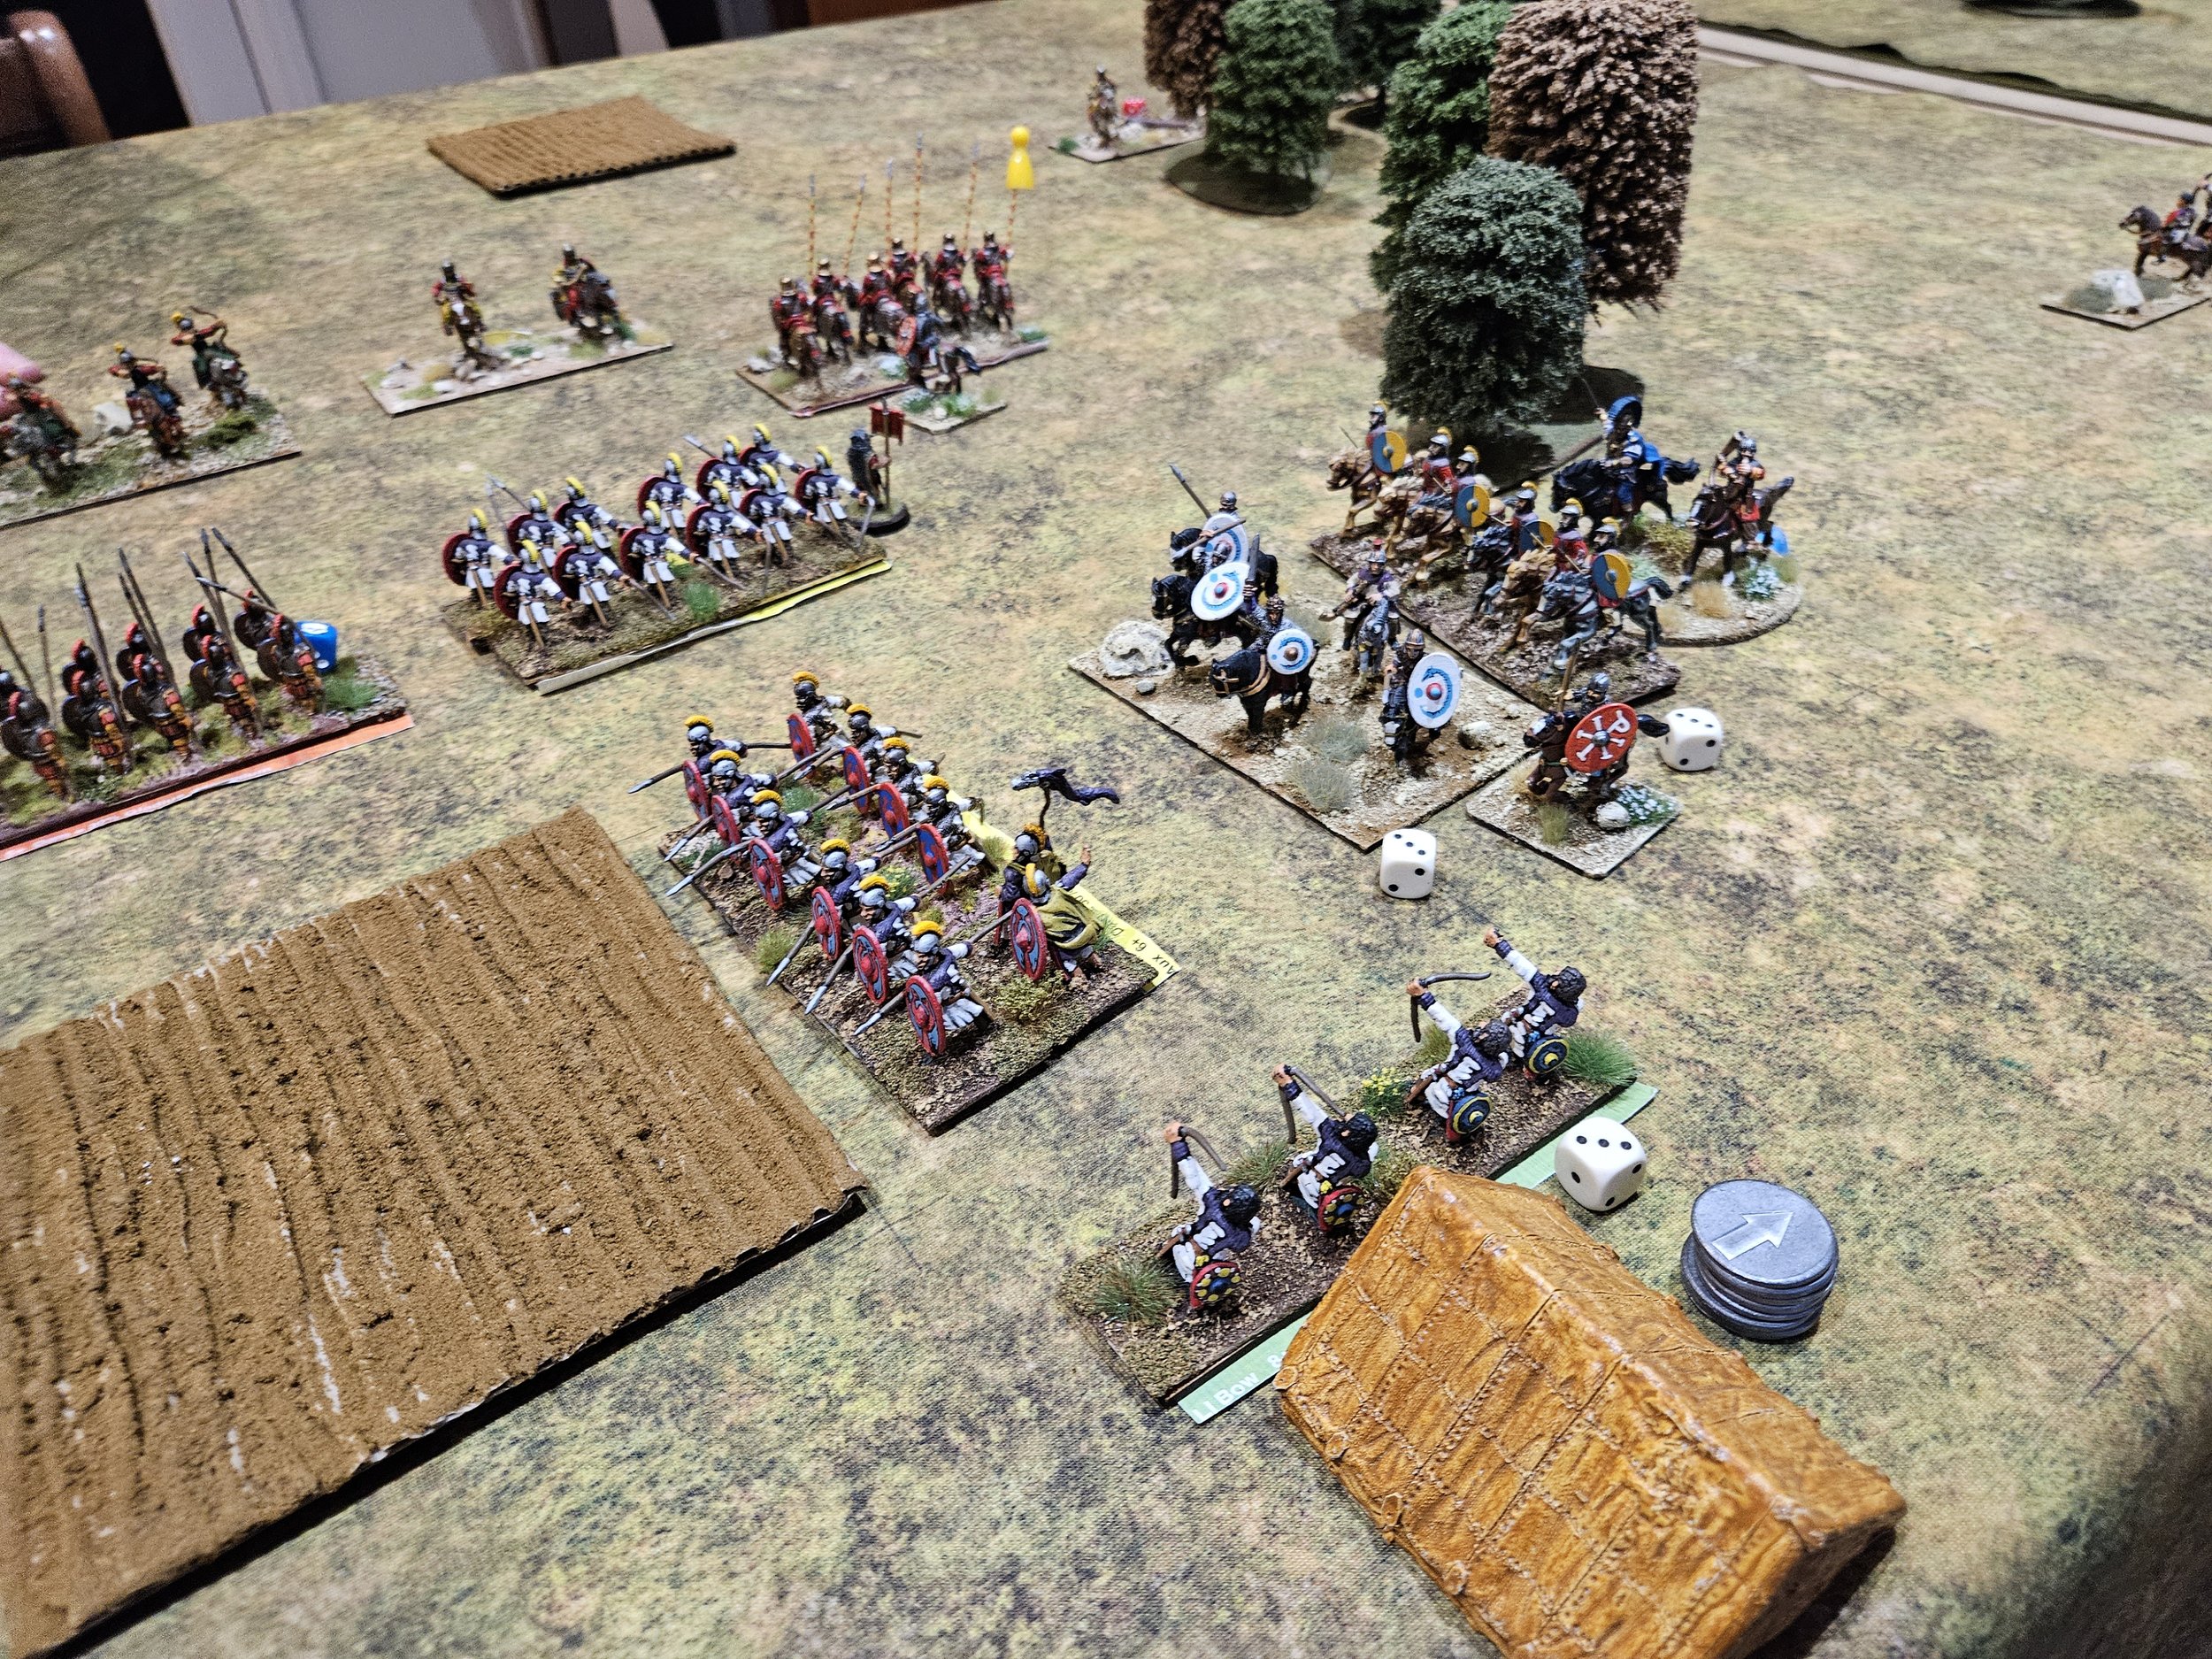
The two cavalry forces met in a thunderous clash. Despite their ragged advance, my men held firm against the initial charge before steadily driving the outnumbered Romans backwards. Yet this was no easy victory; the Roman veterans fought with grim determination and proved exceptionally difficult to break.

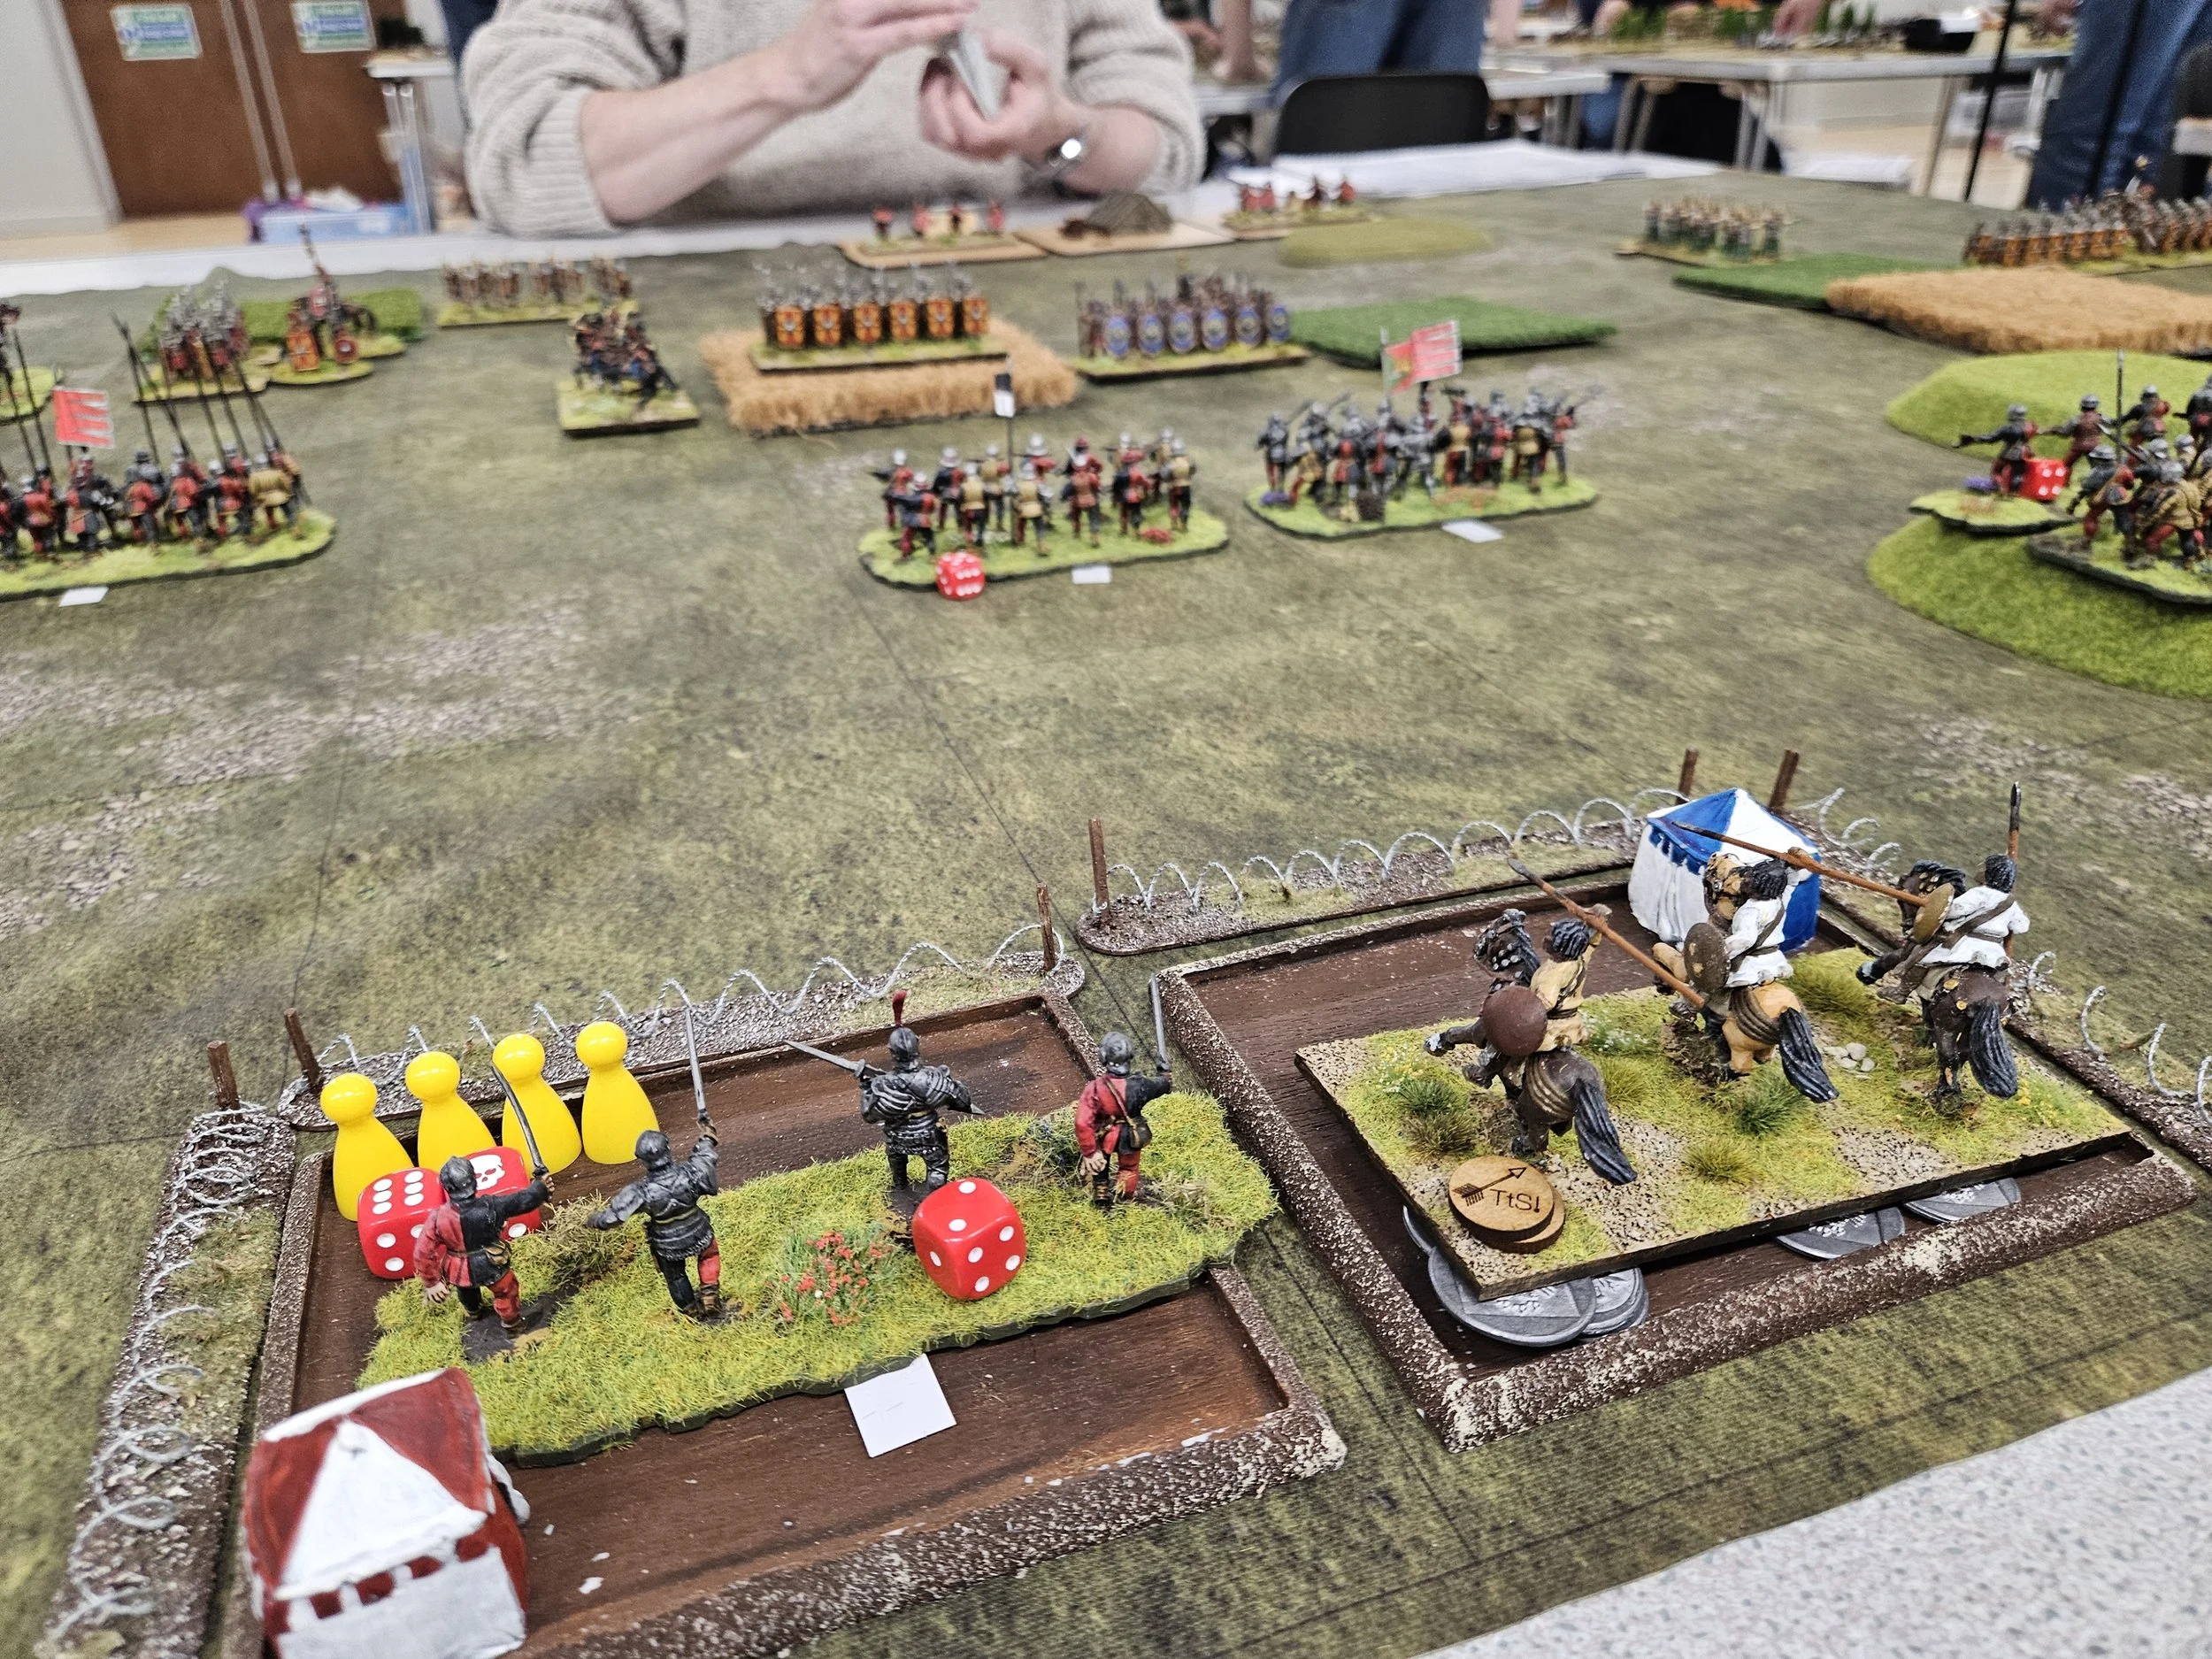
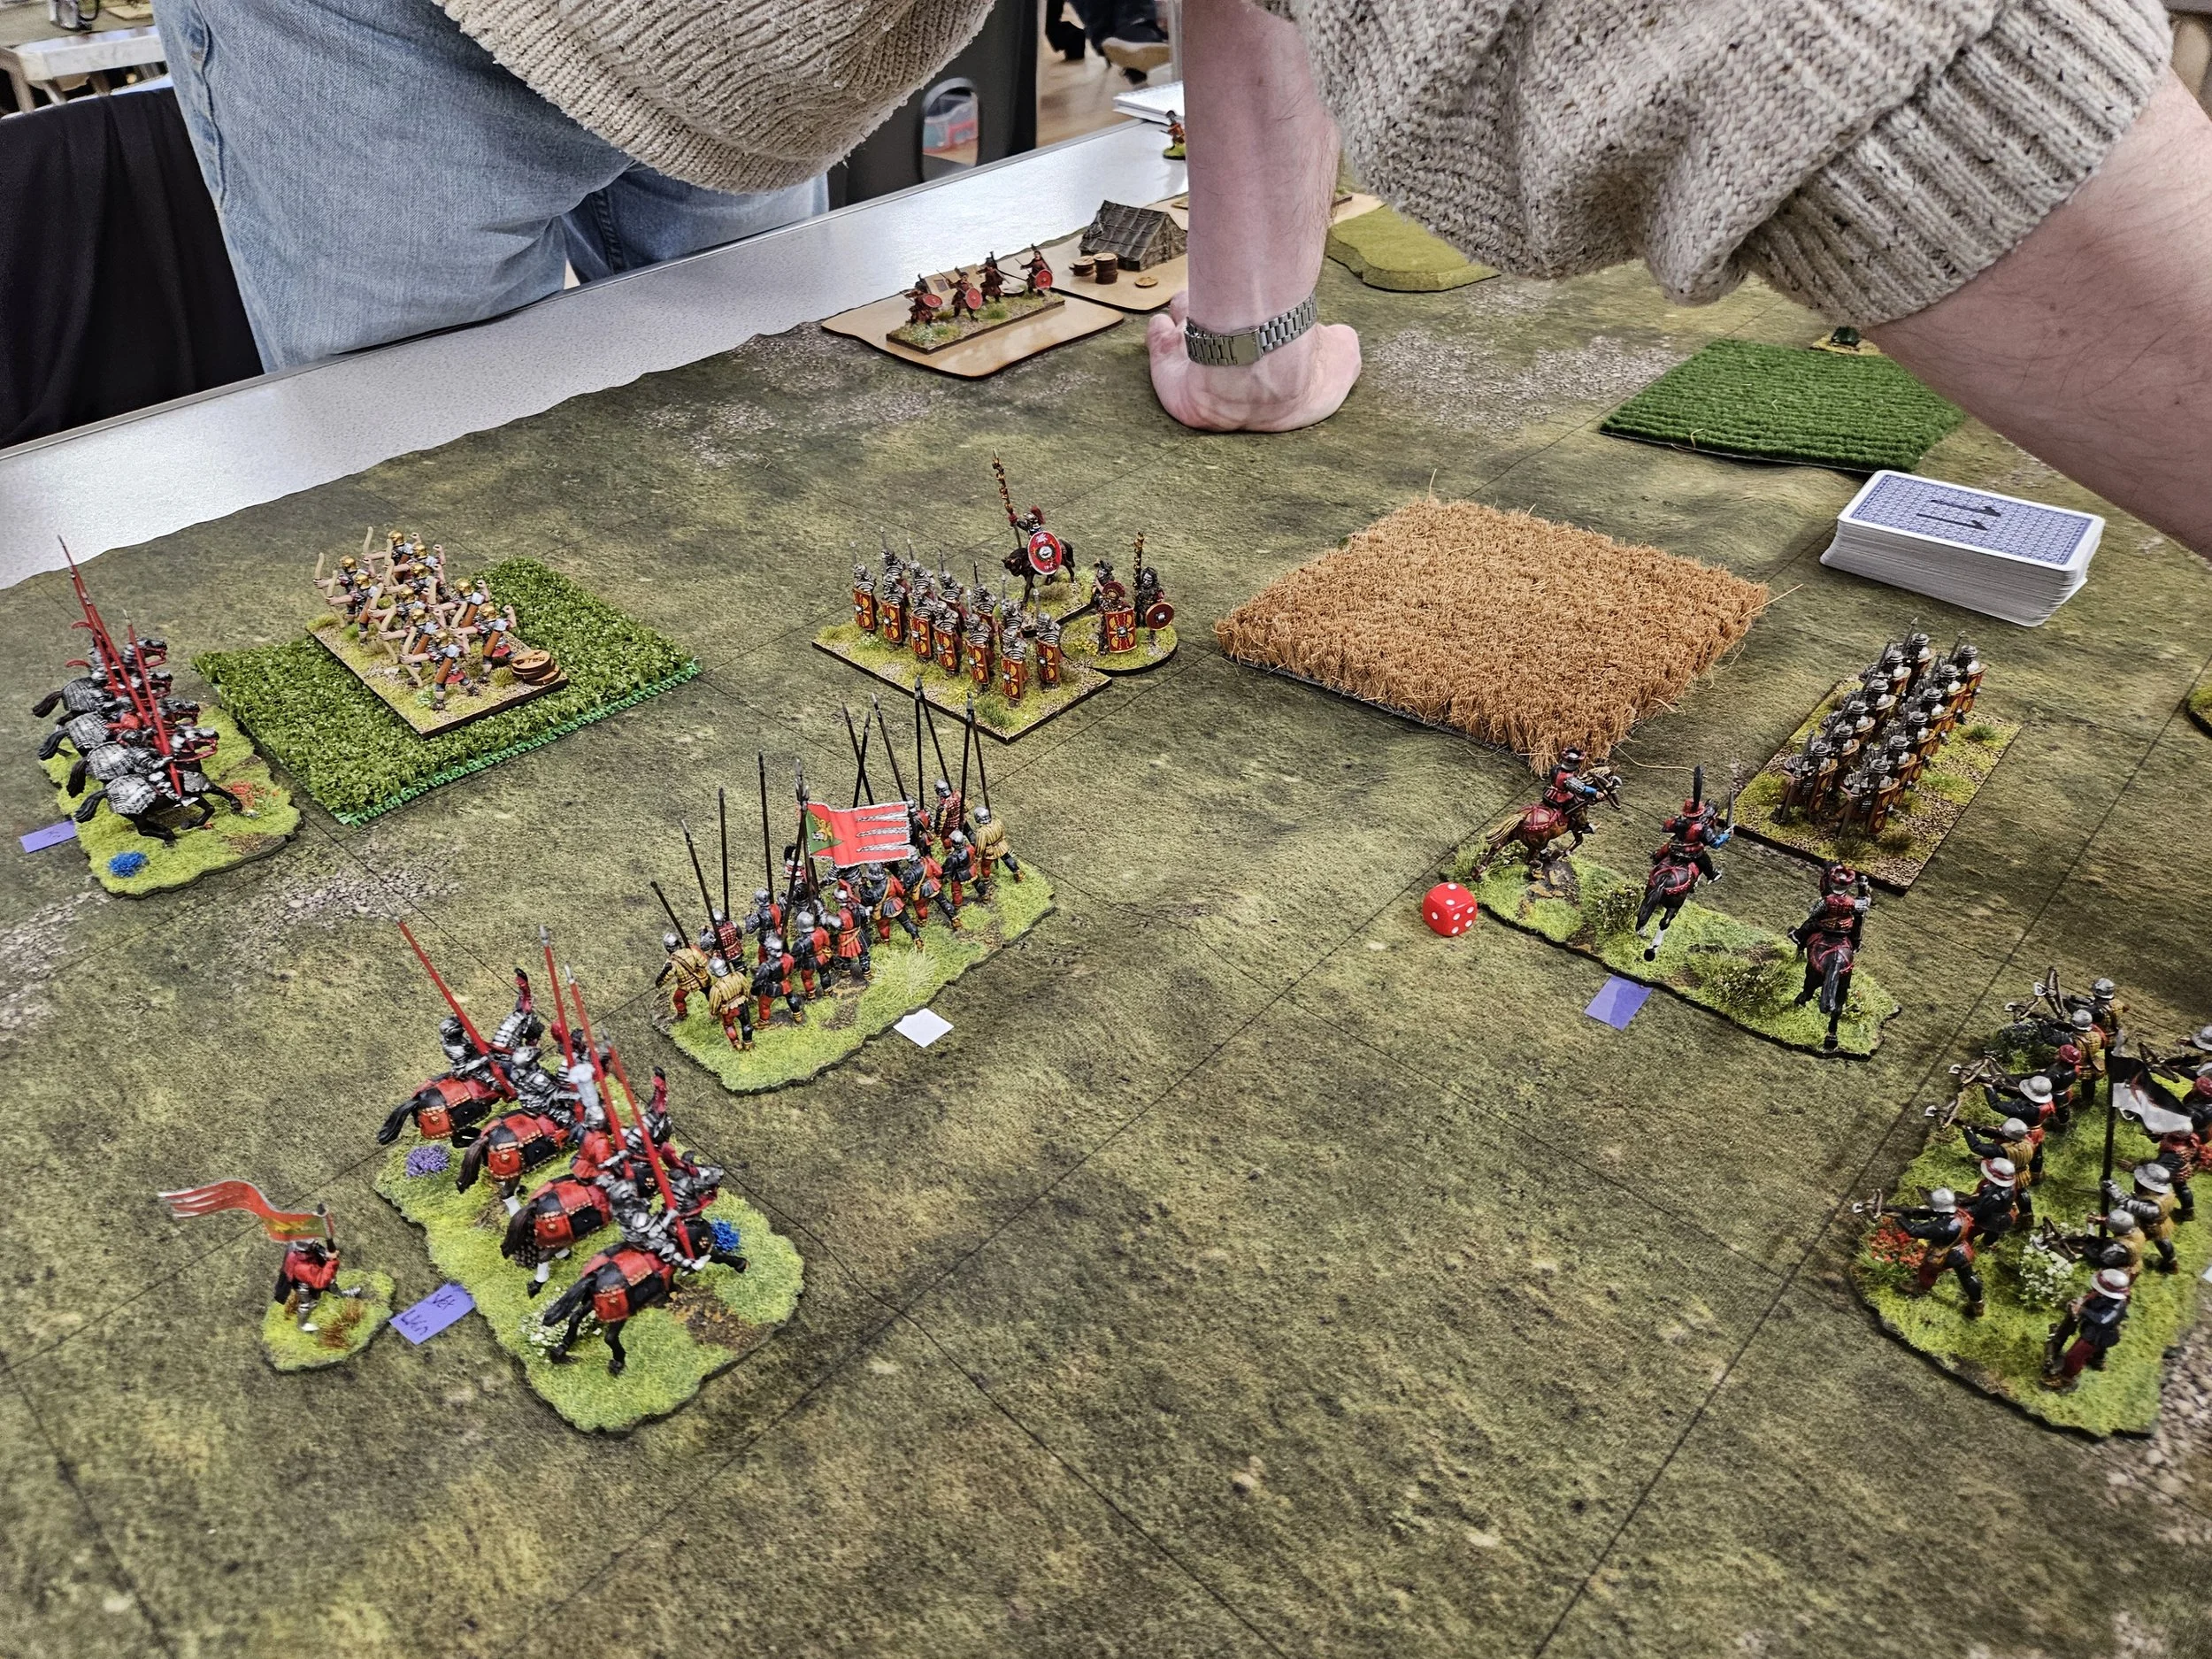
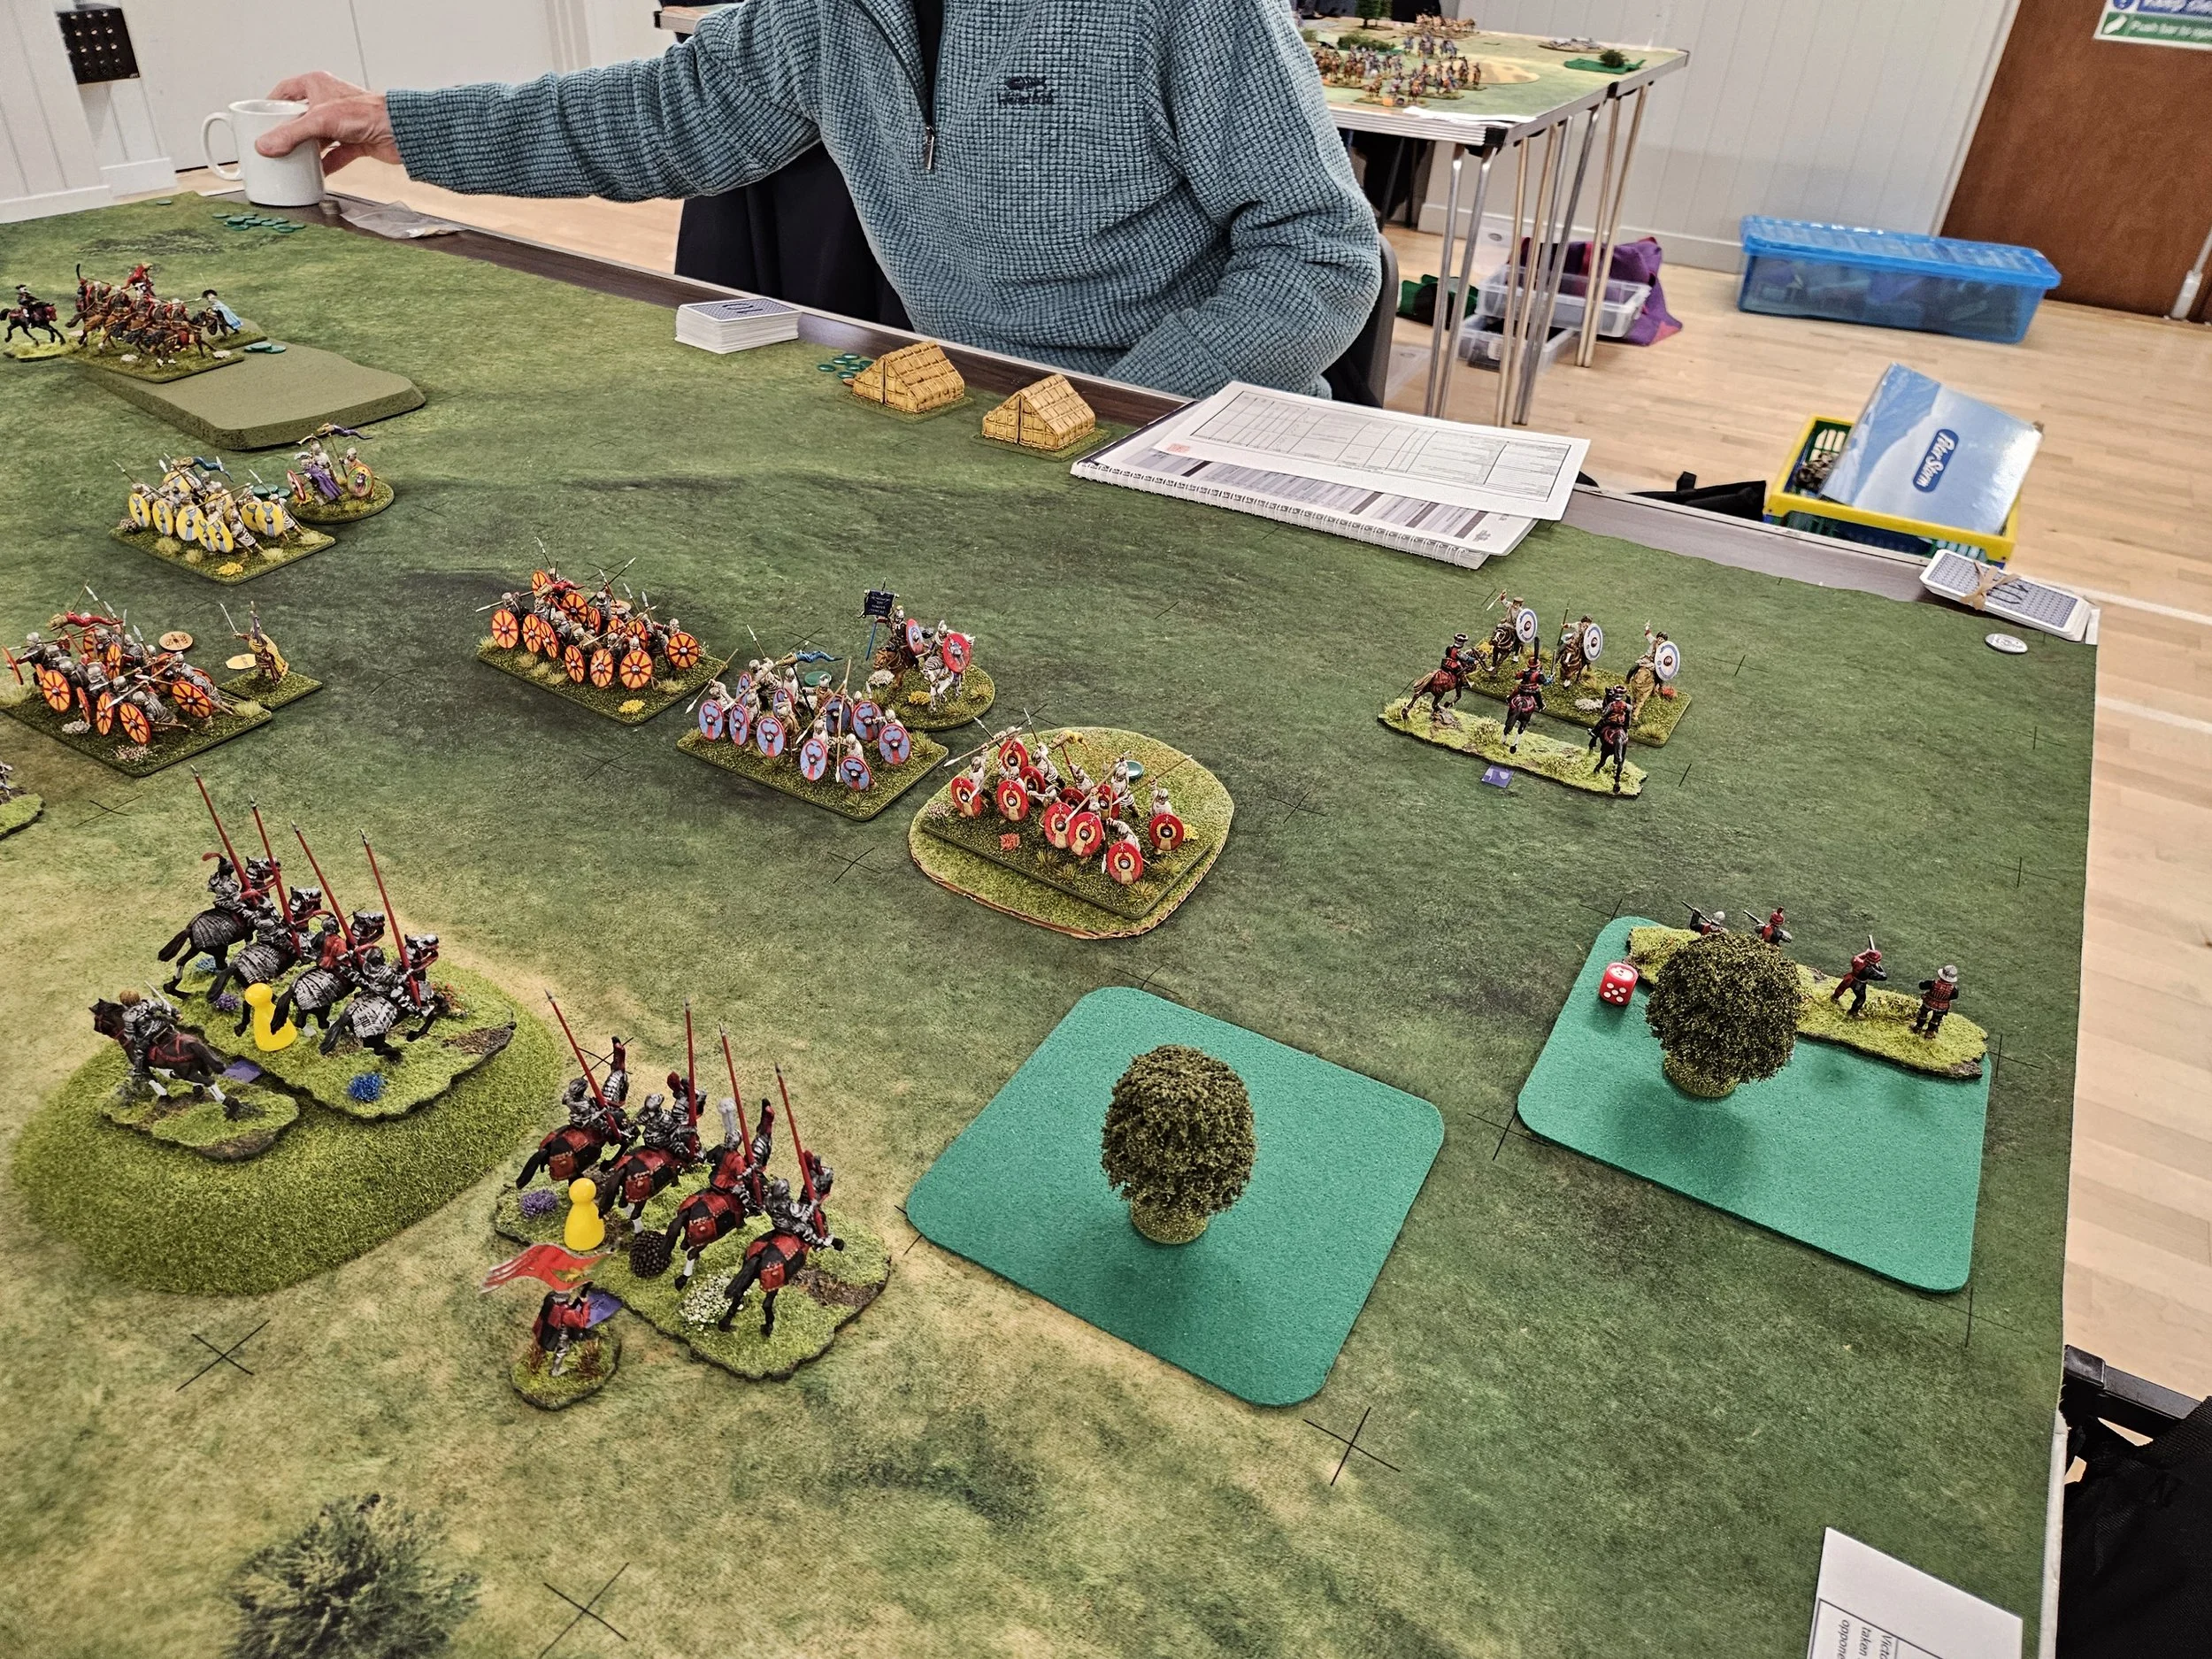
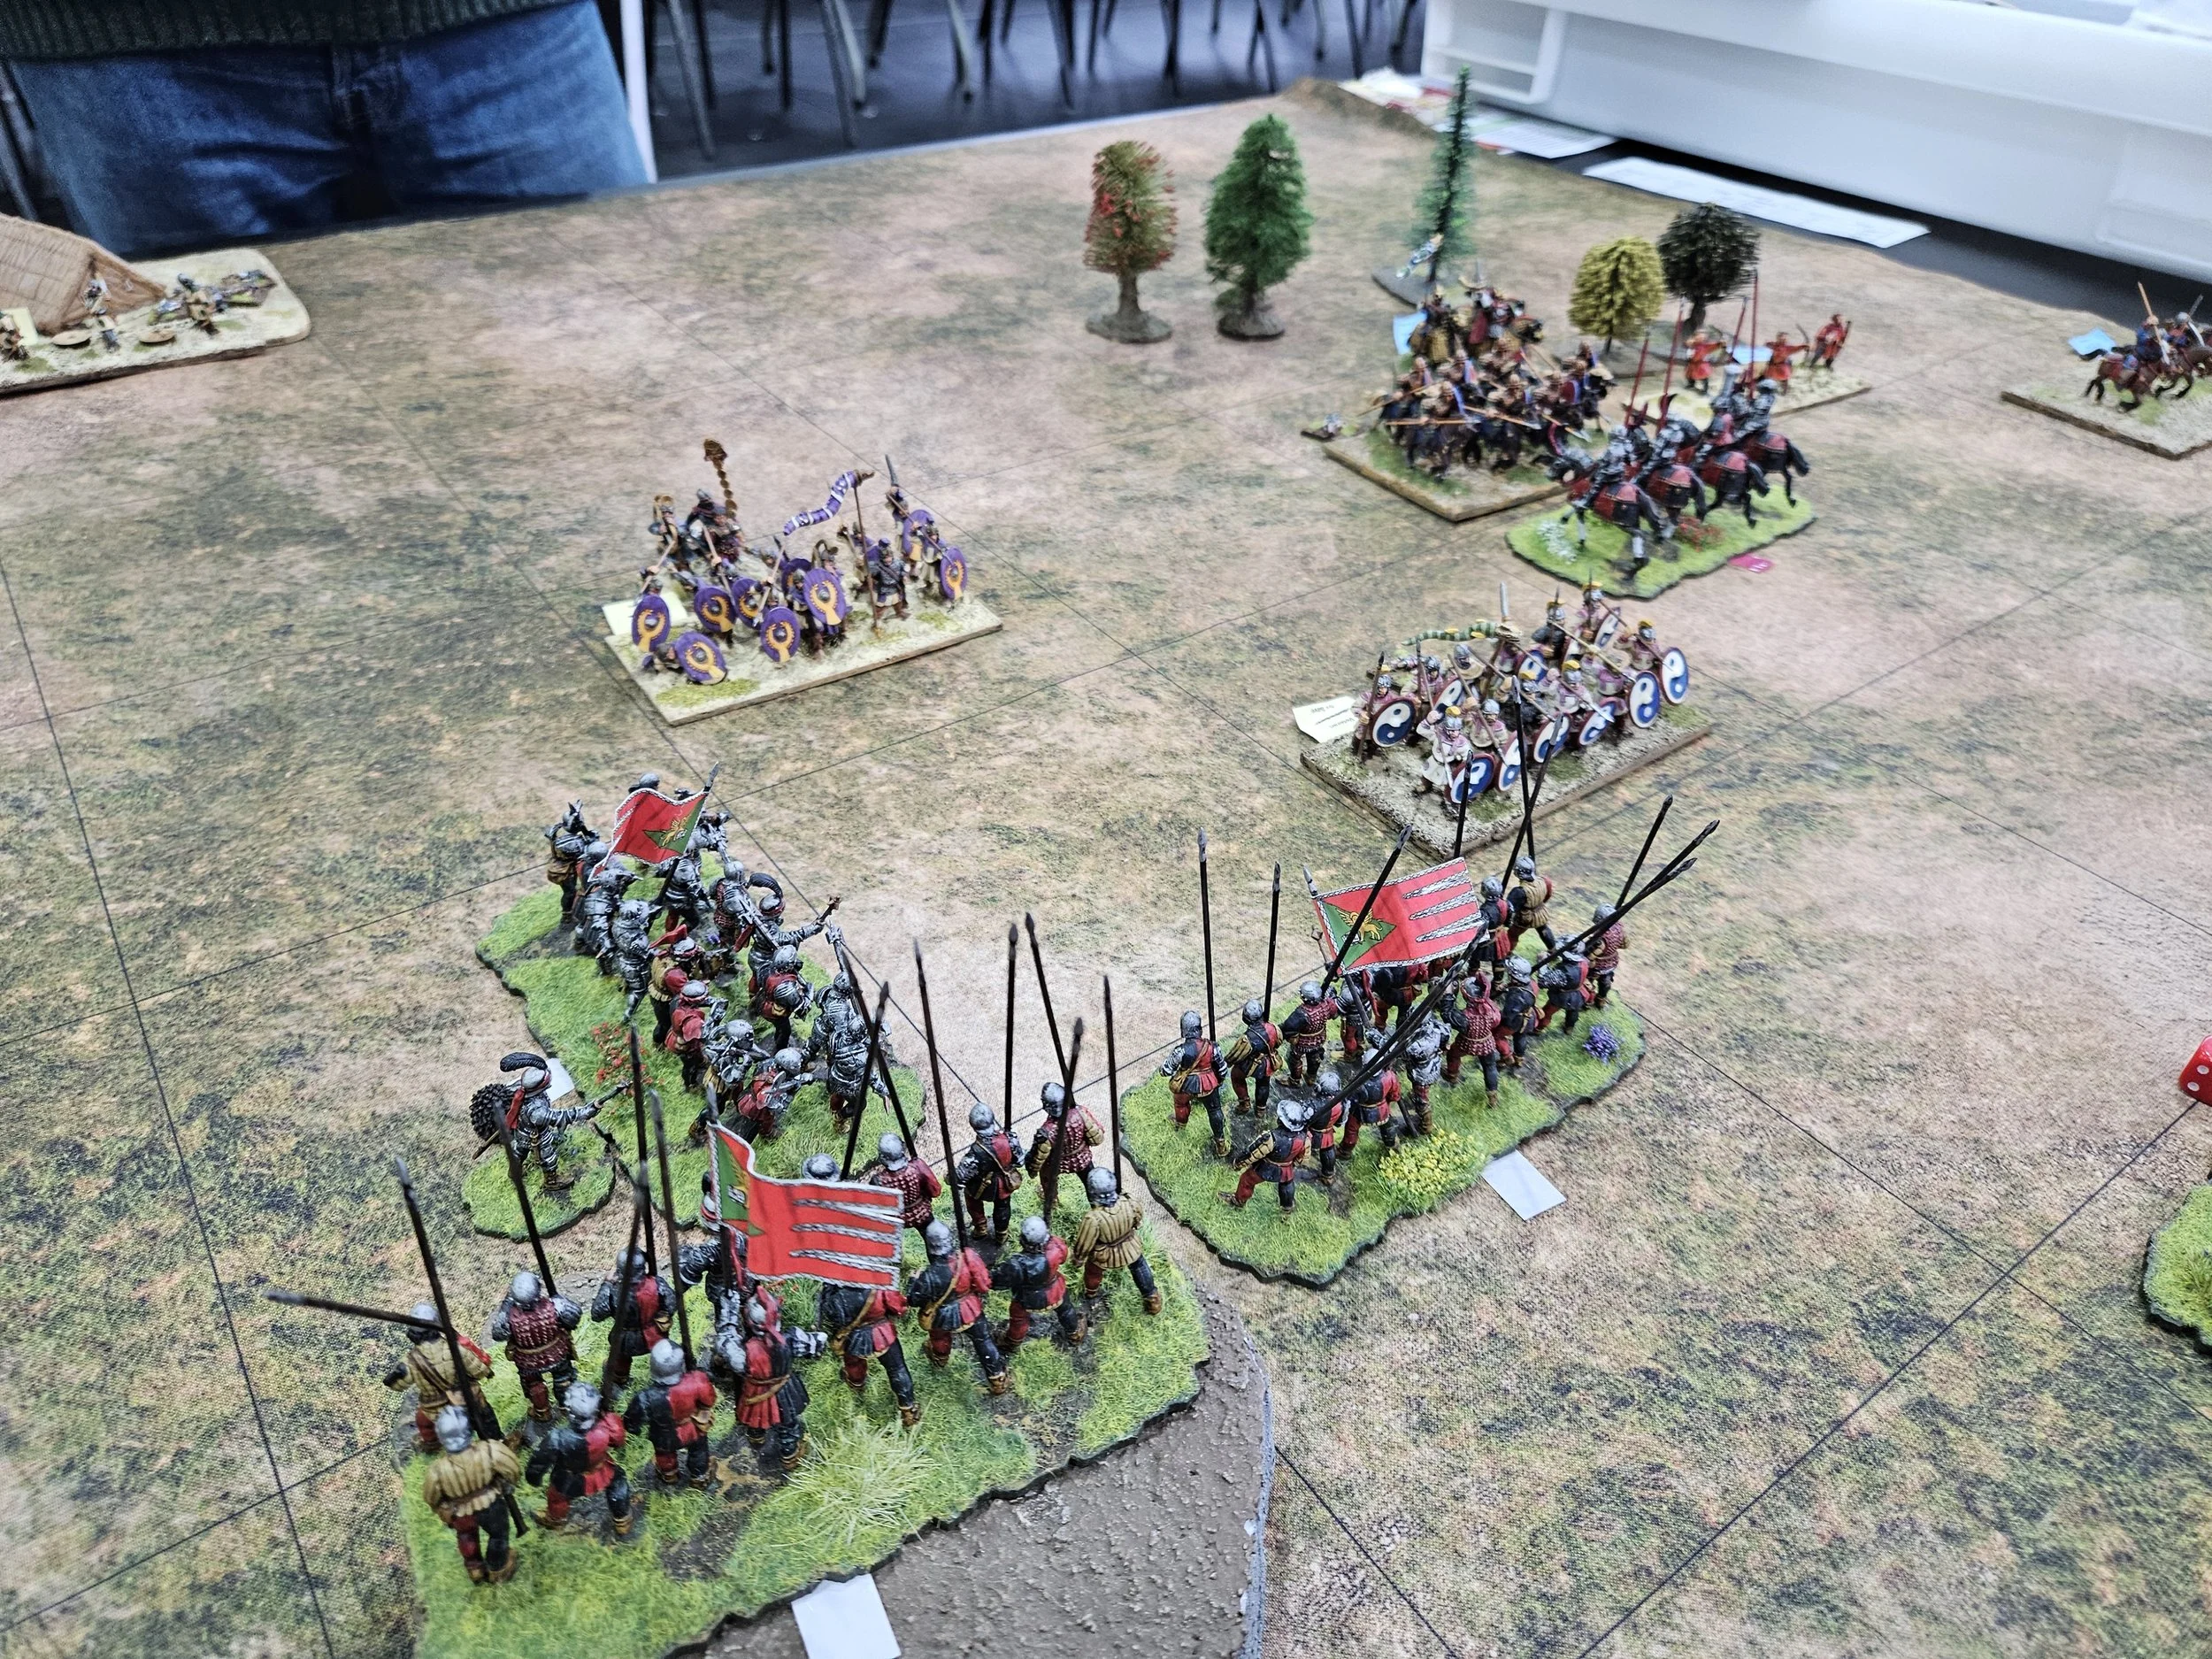
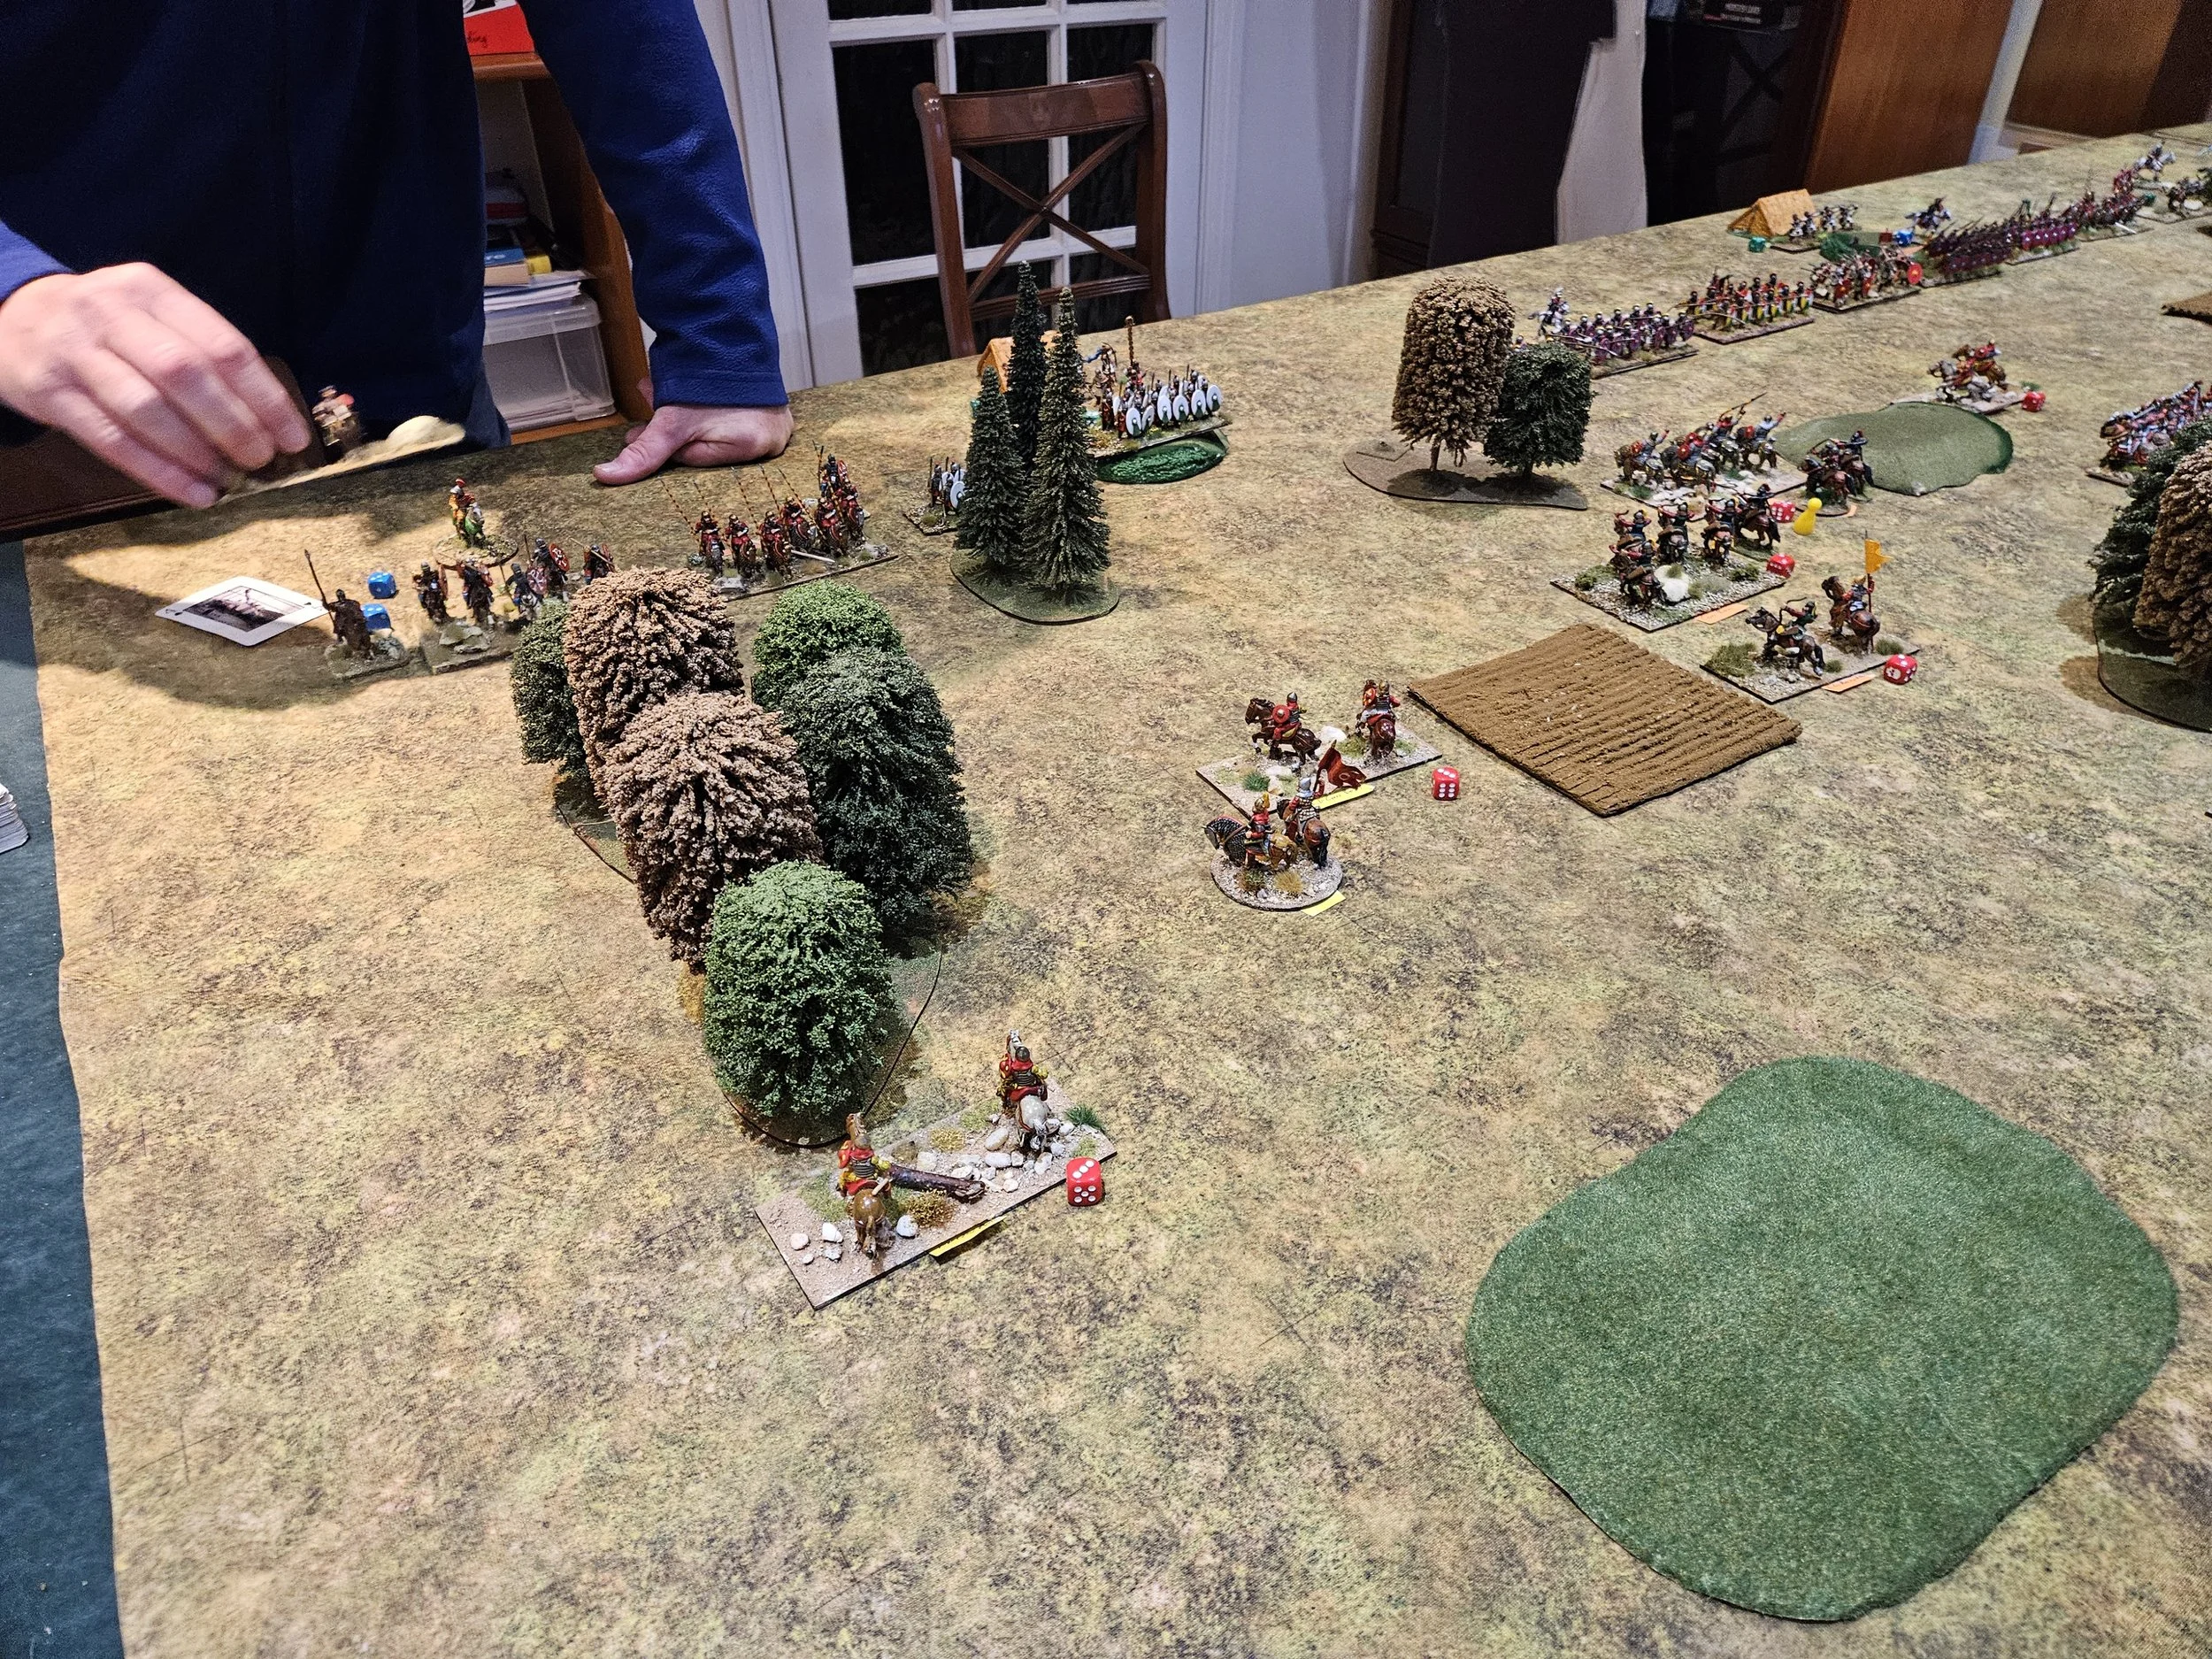
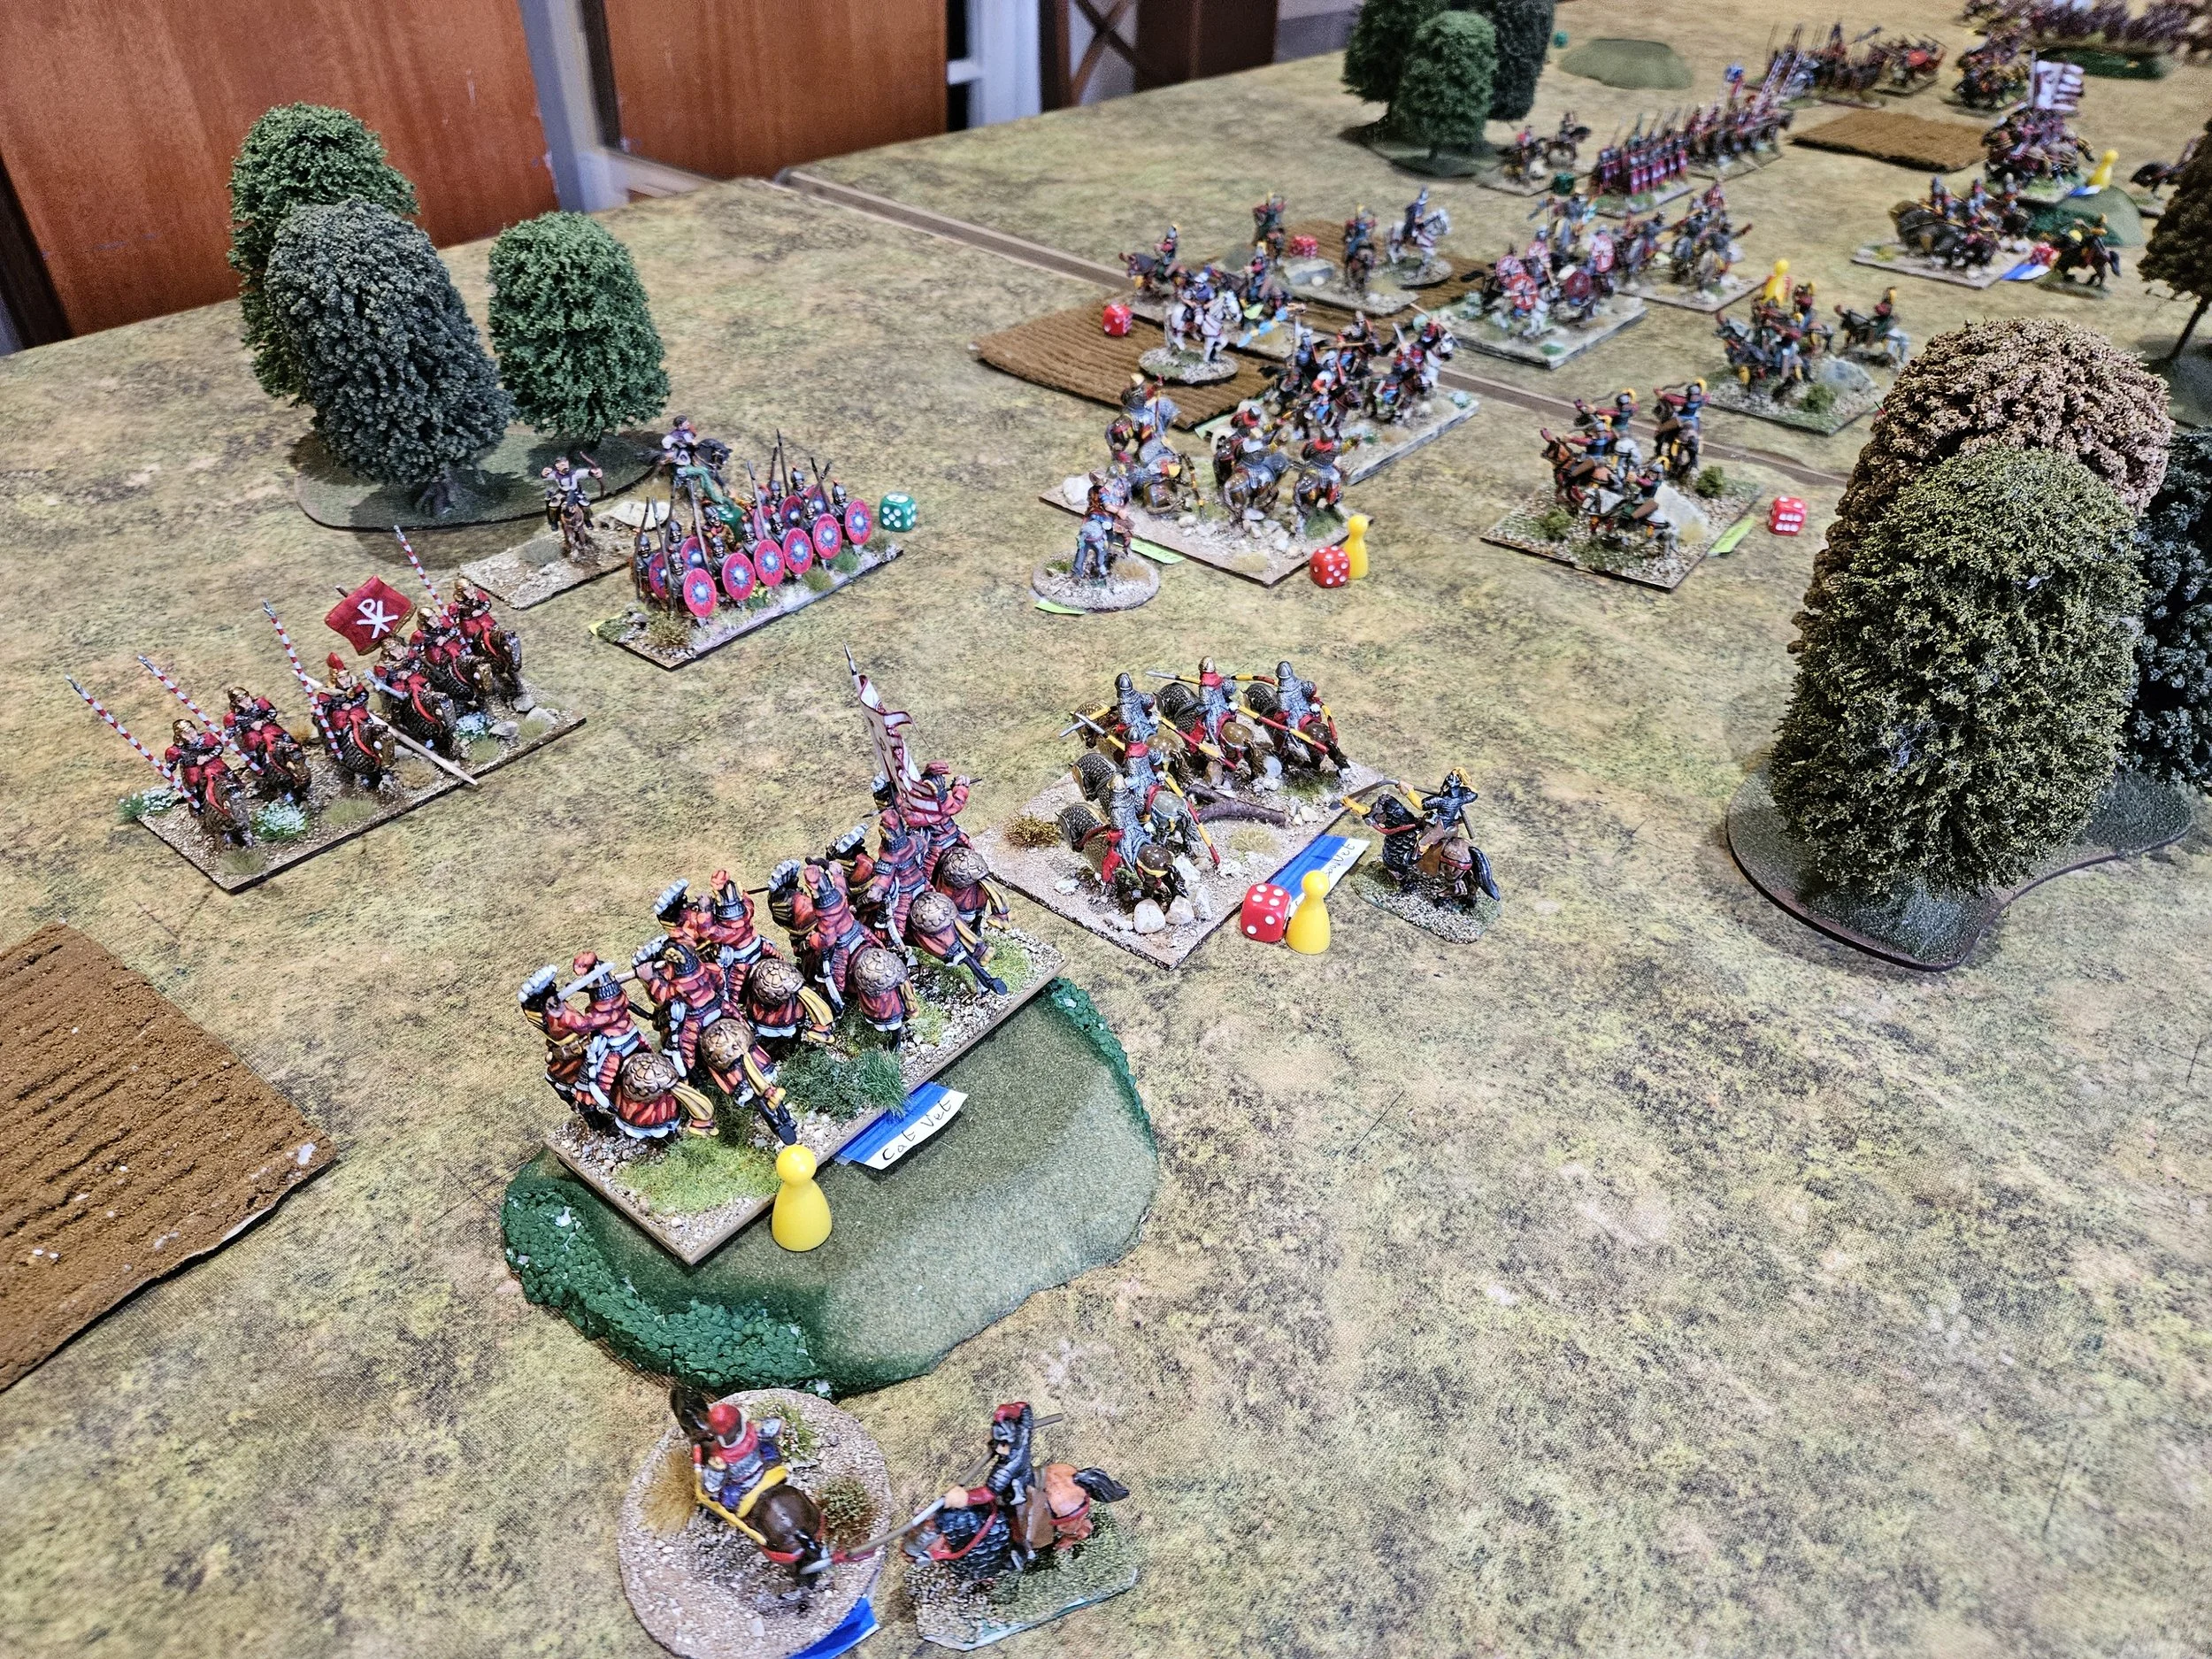
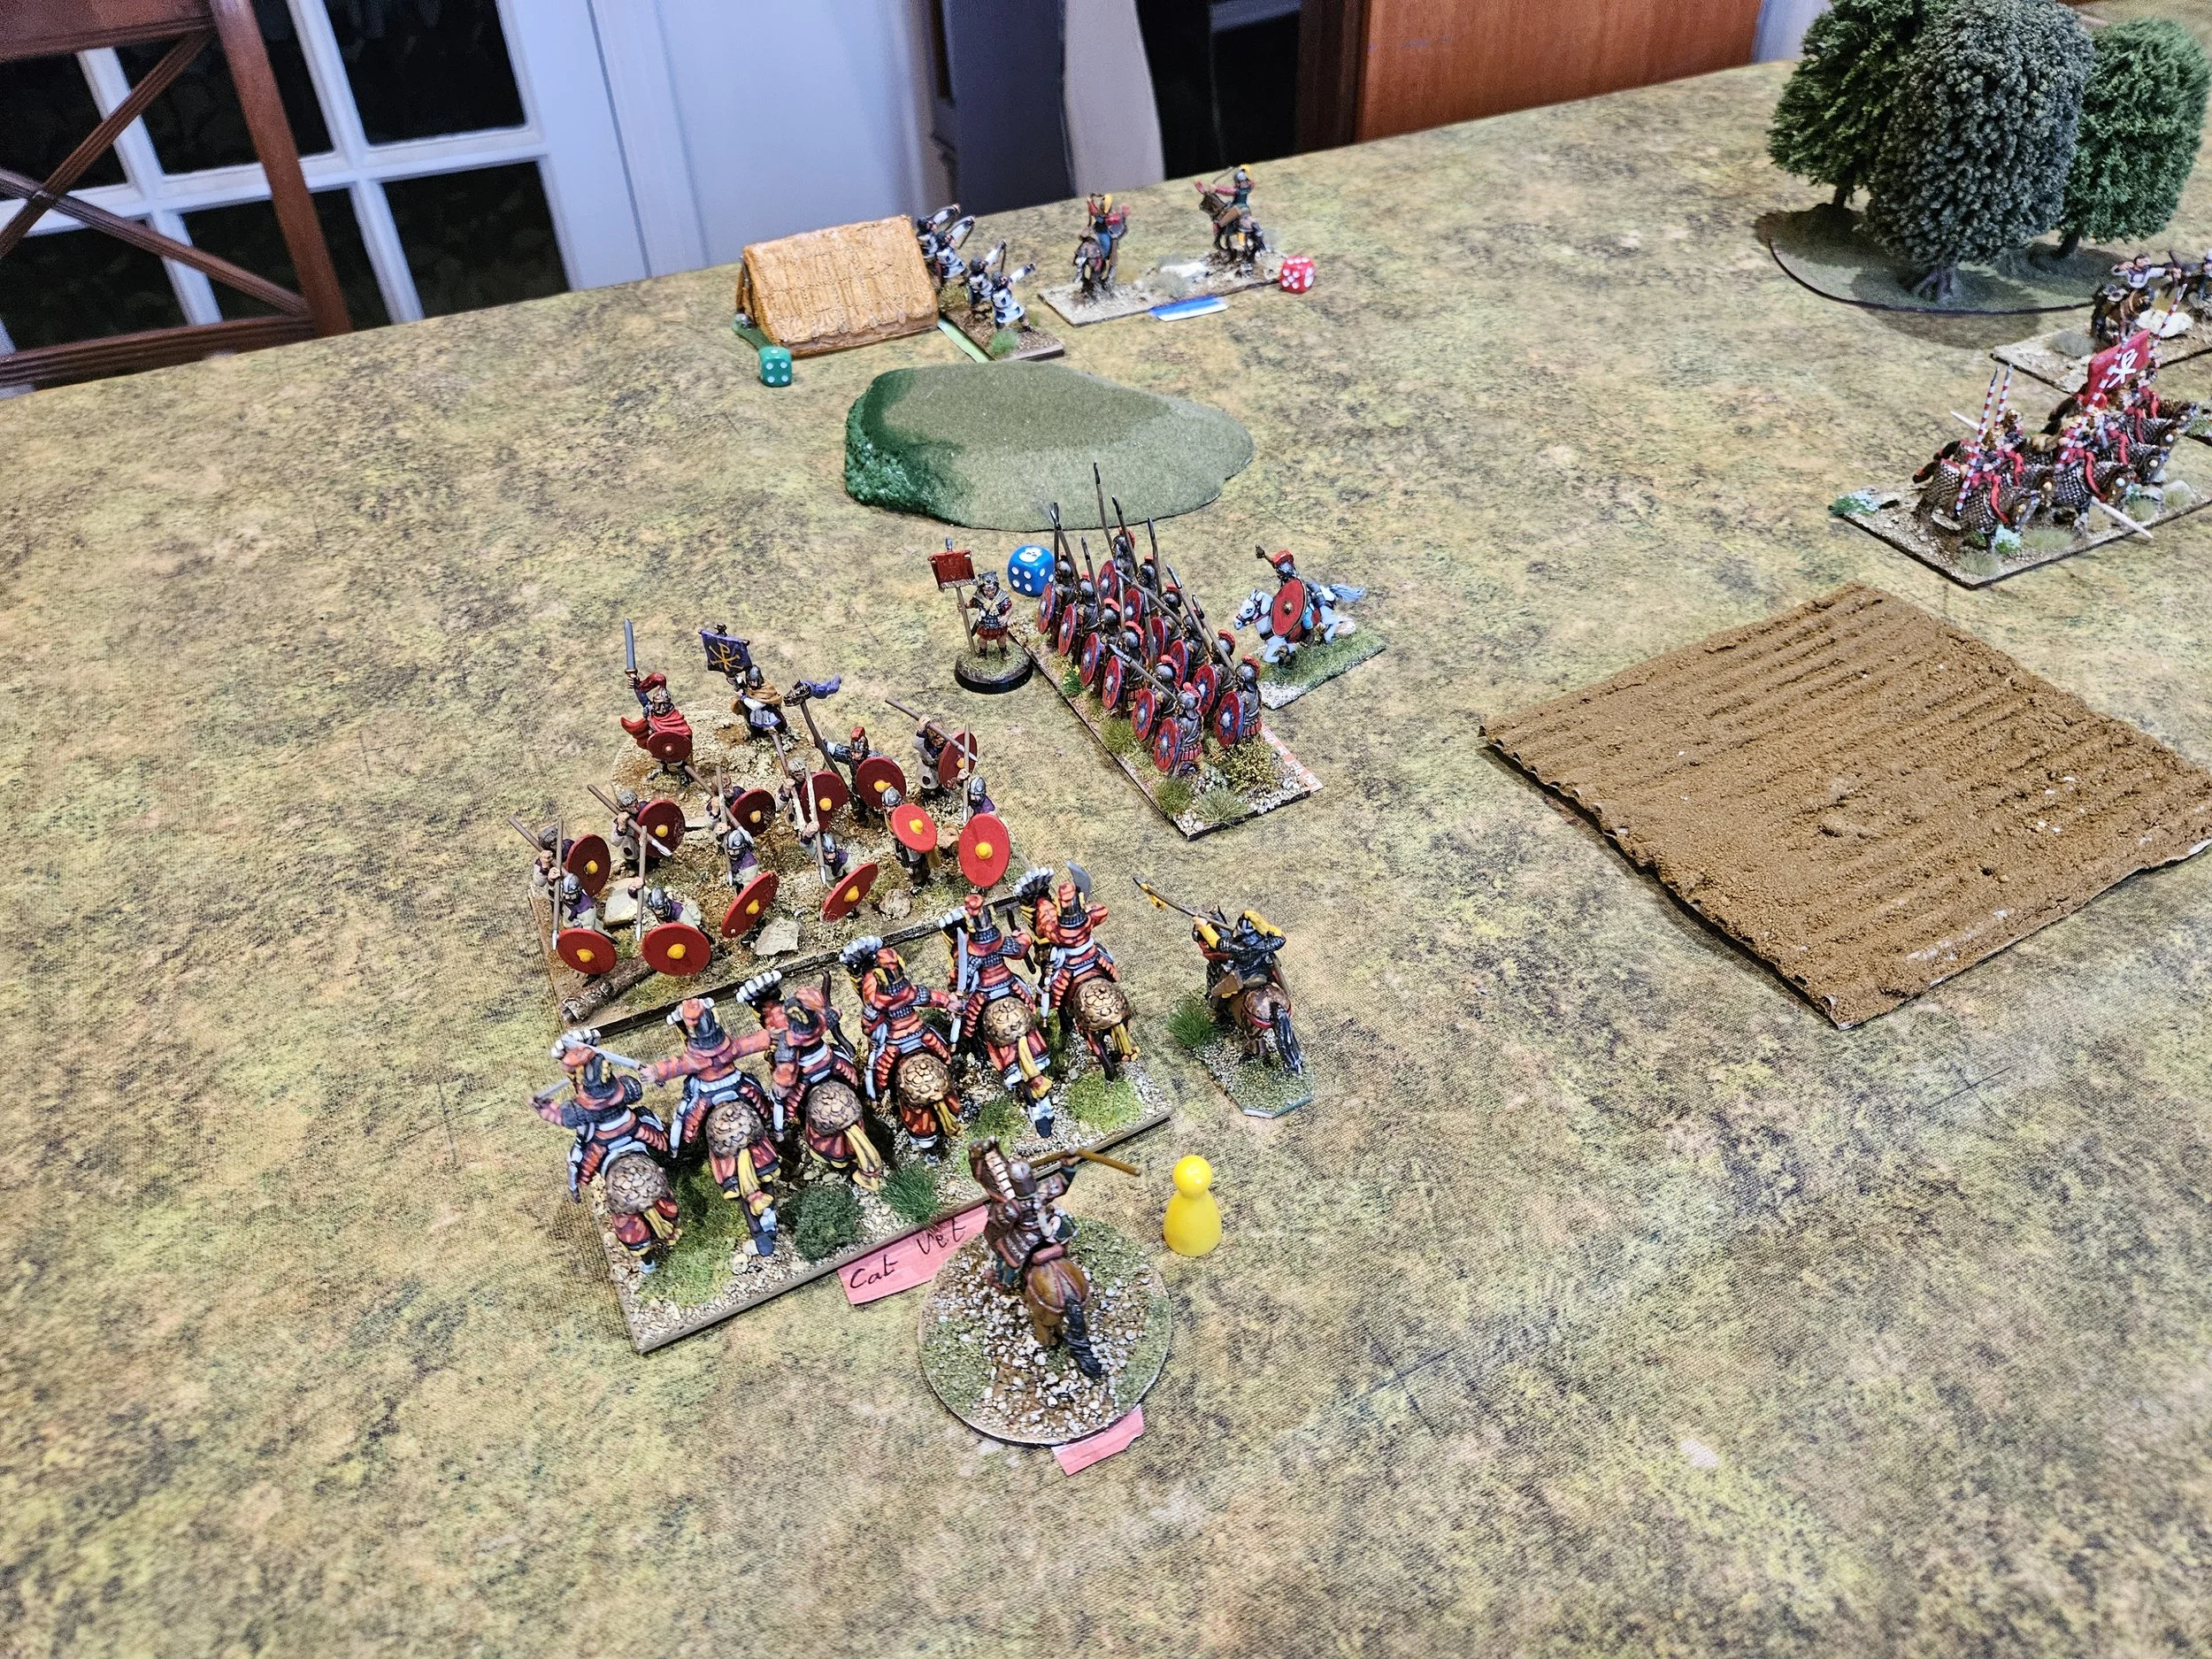
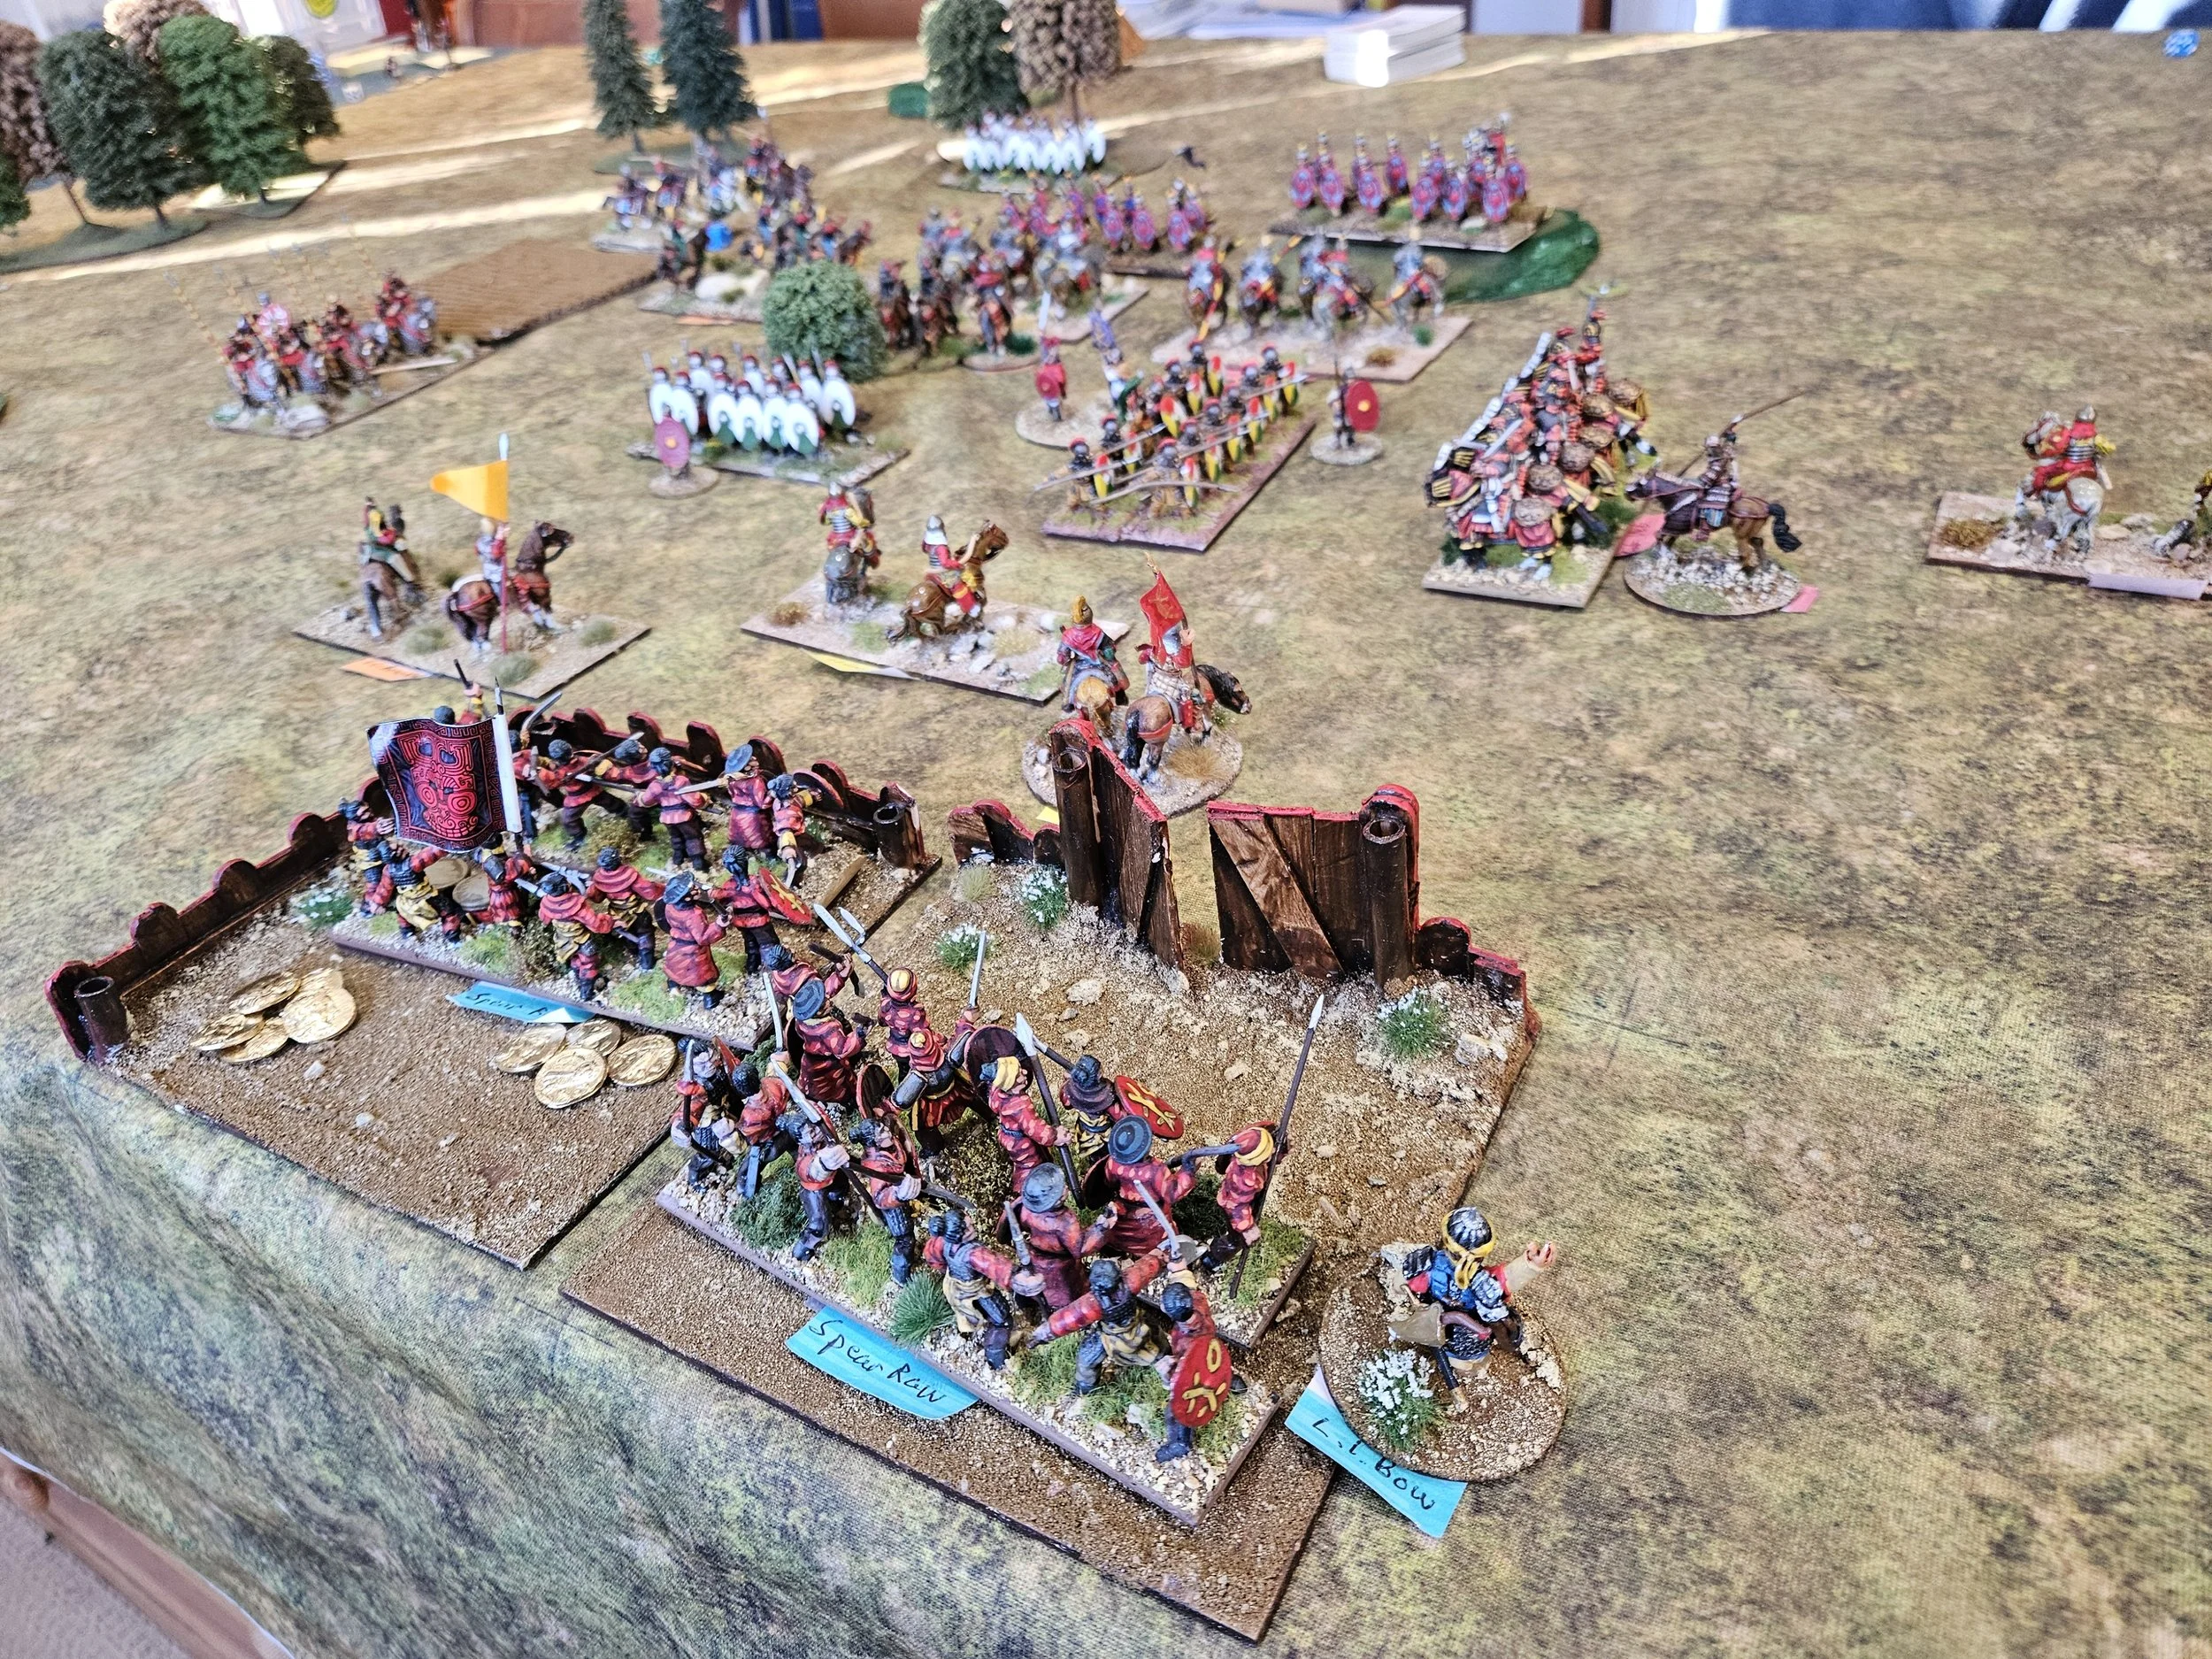
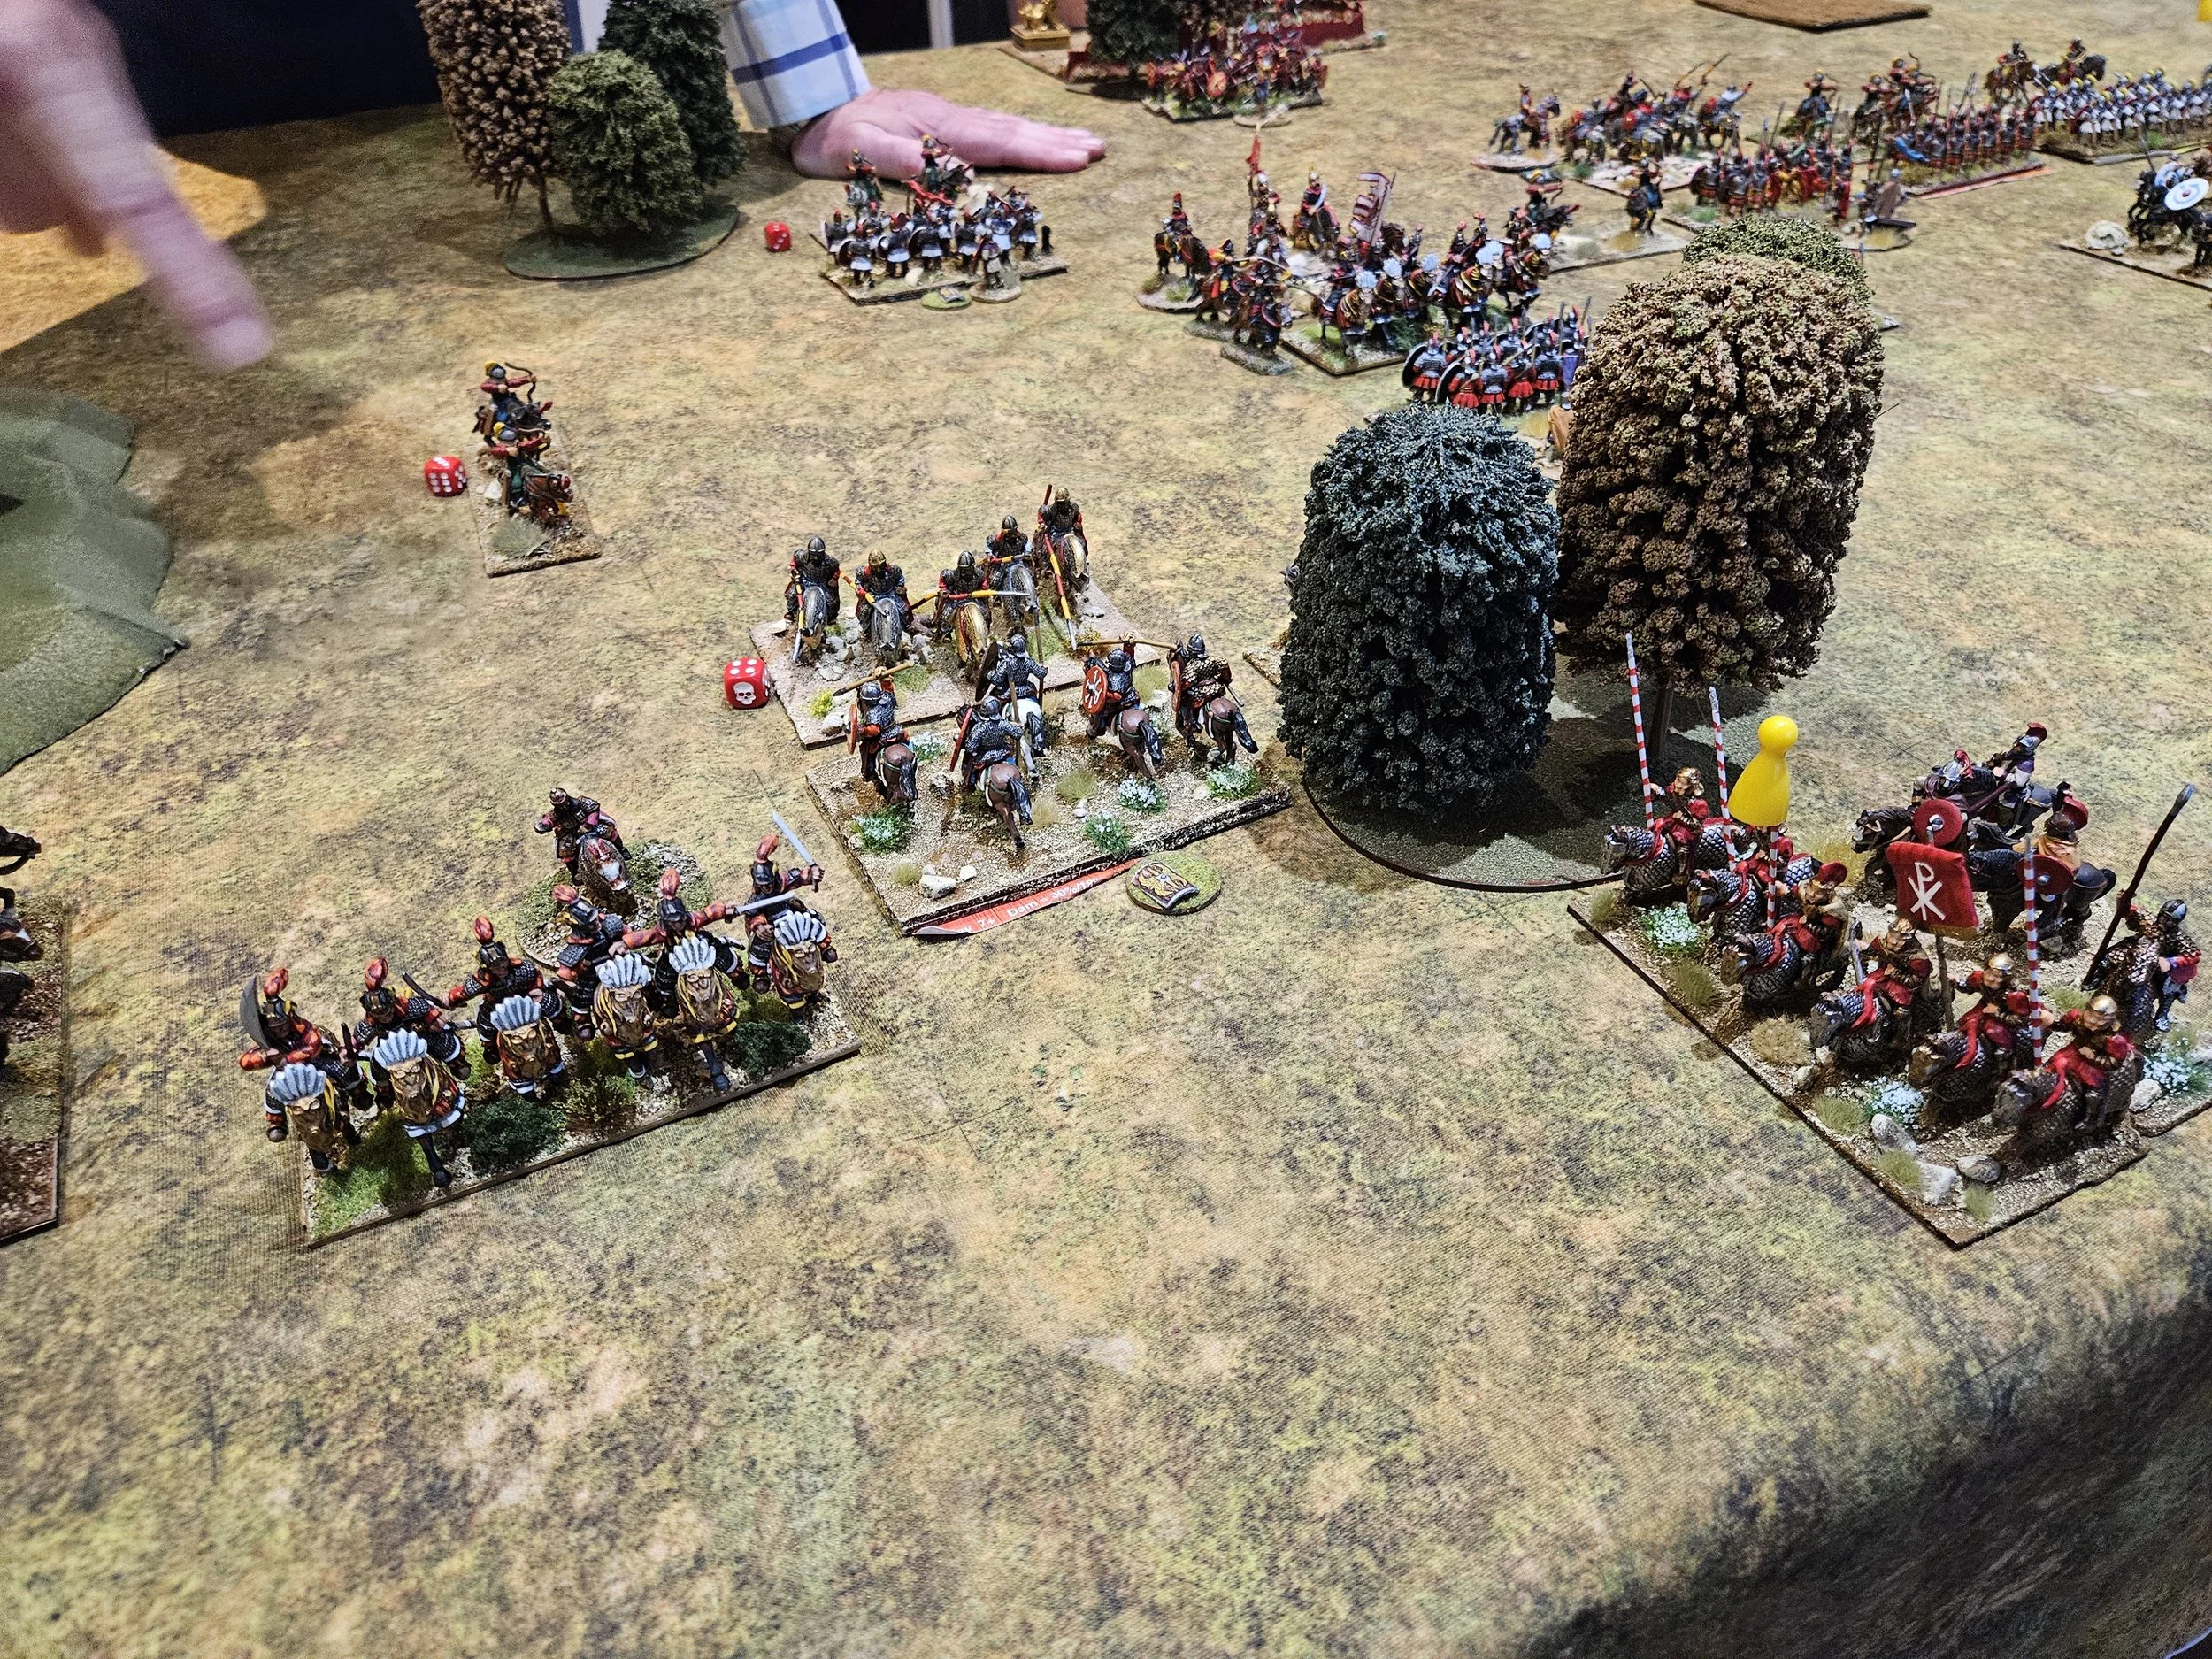
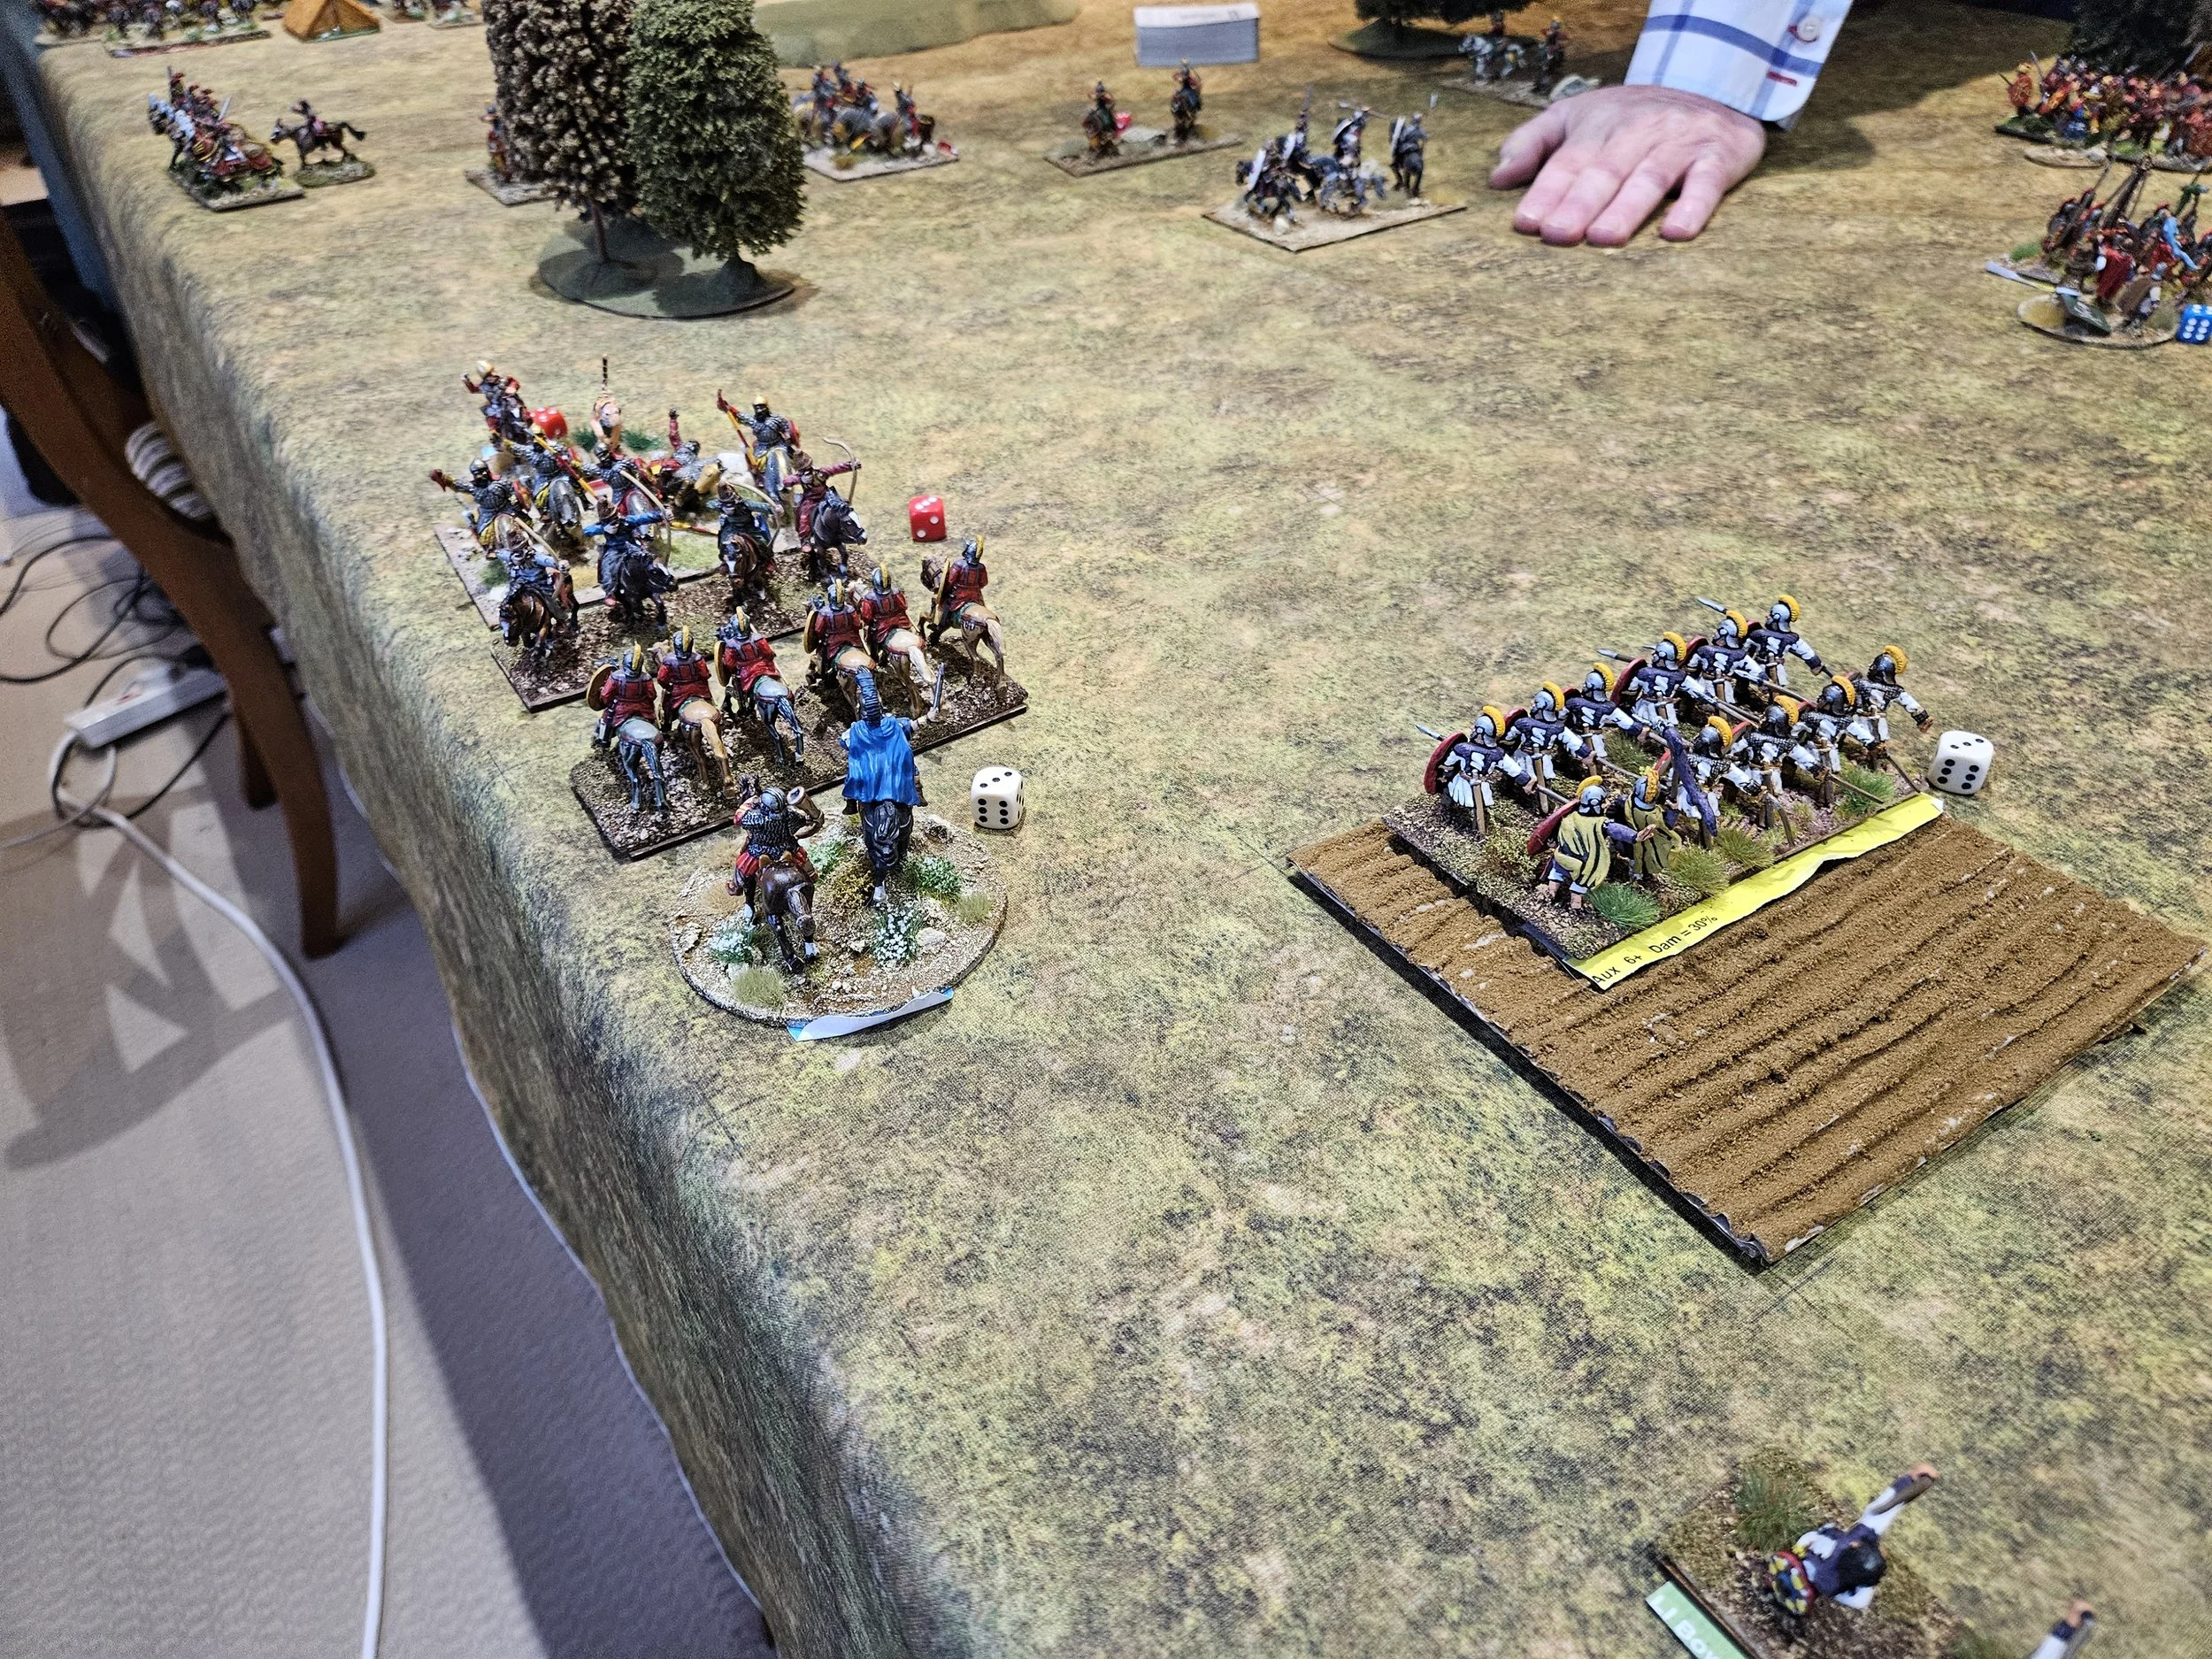
Meanwhile, back in the centre, a bit of luck with the cards (well, a bit of unluck for Dave) had seen the Roman line effectively break into two parts, each of which I could hopefully destroy before closing in on the rest.

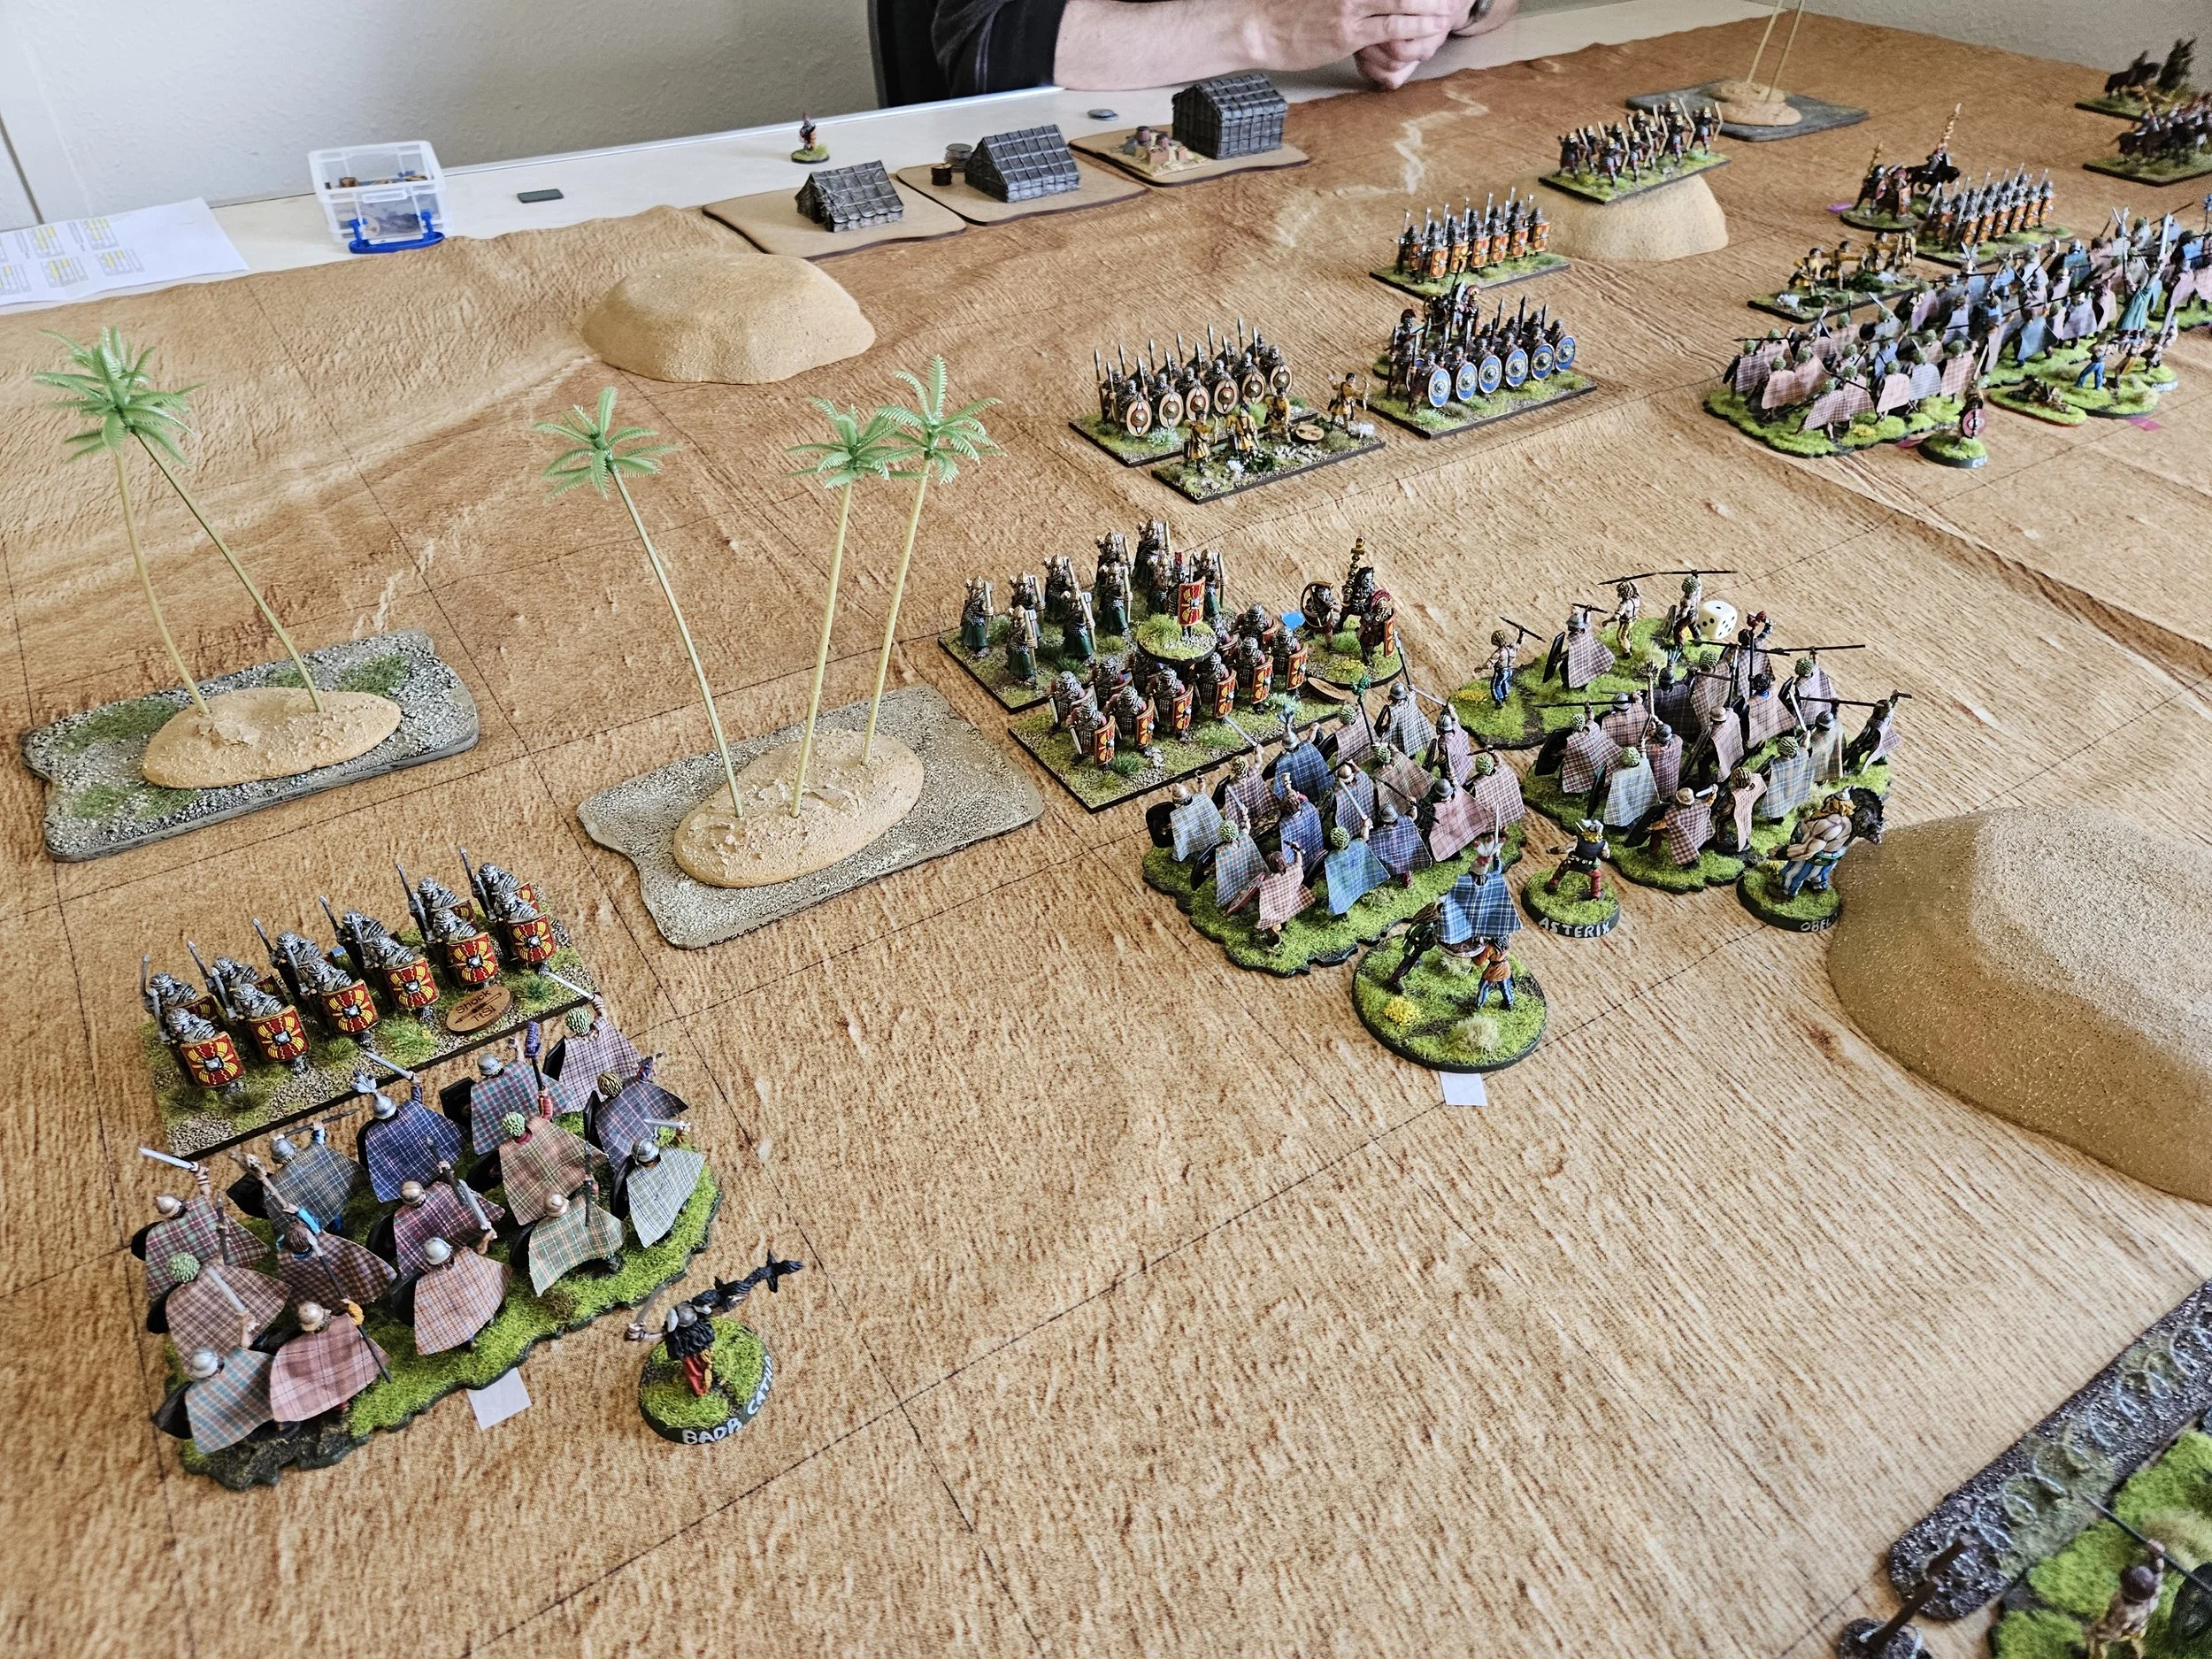

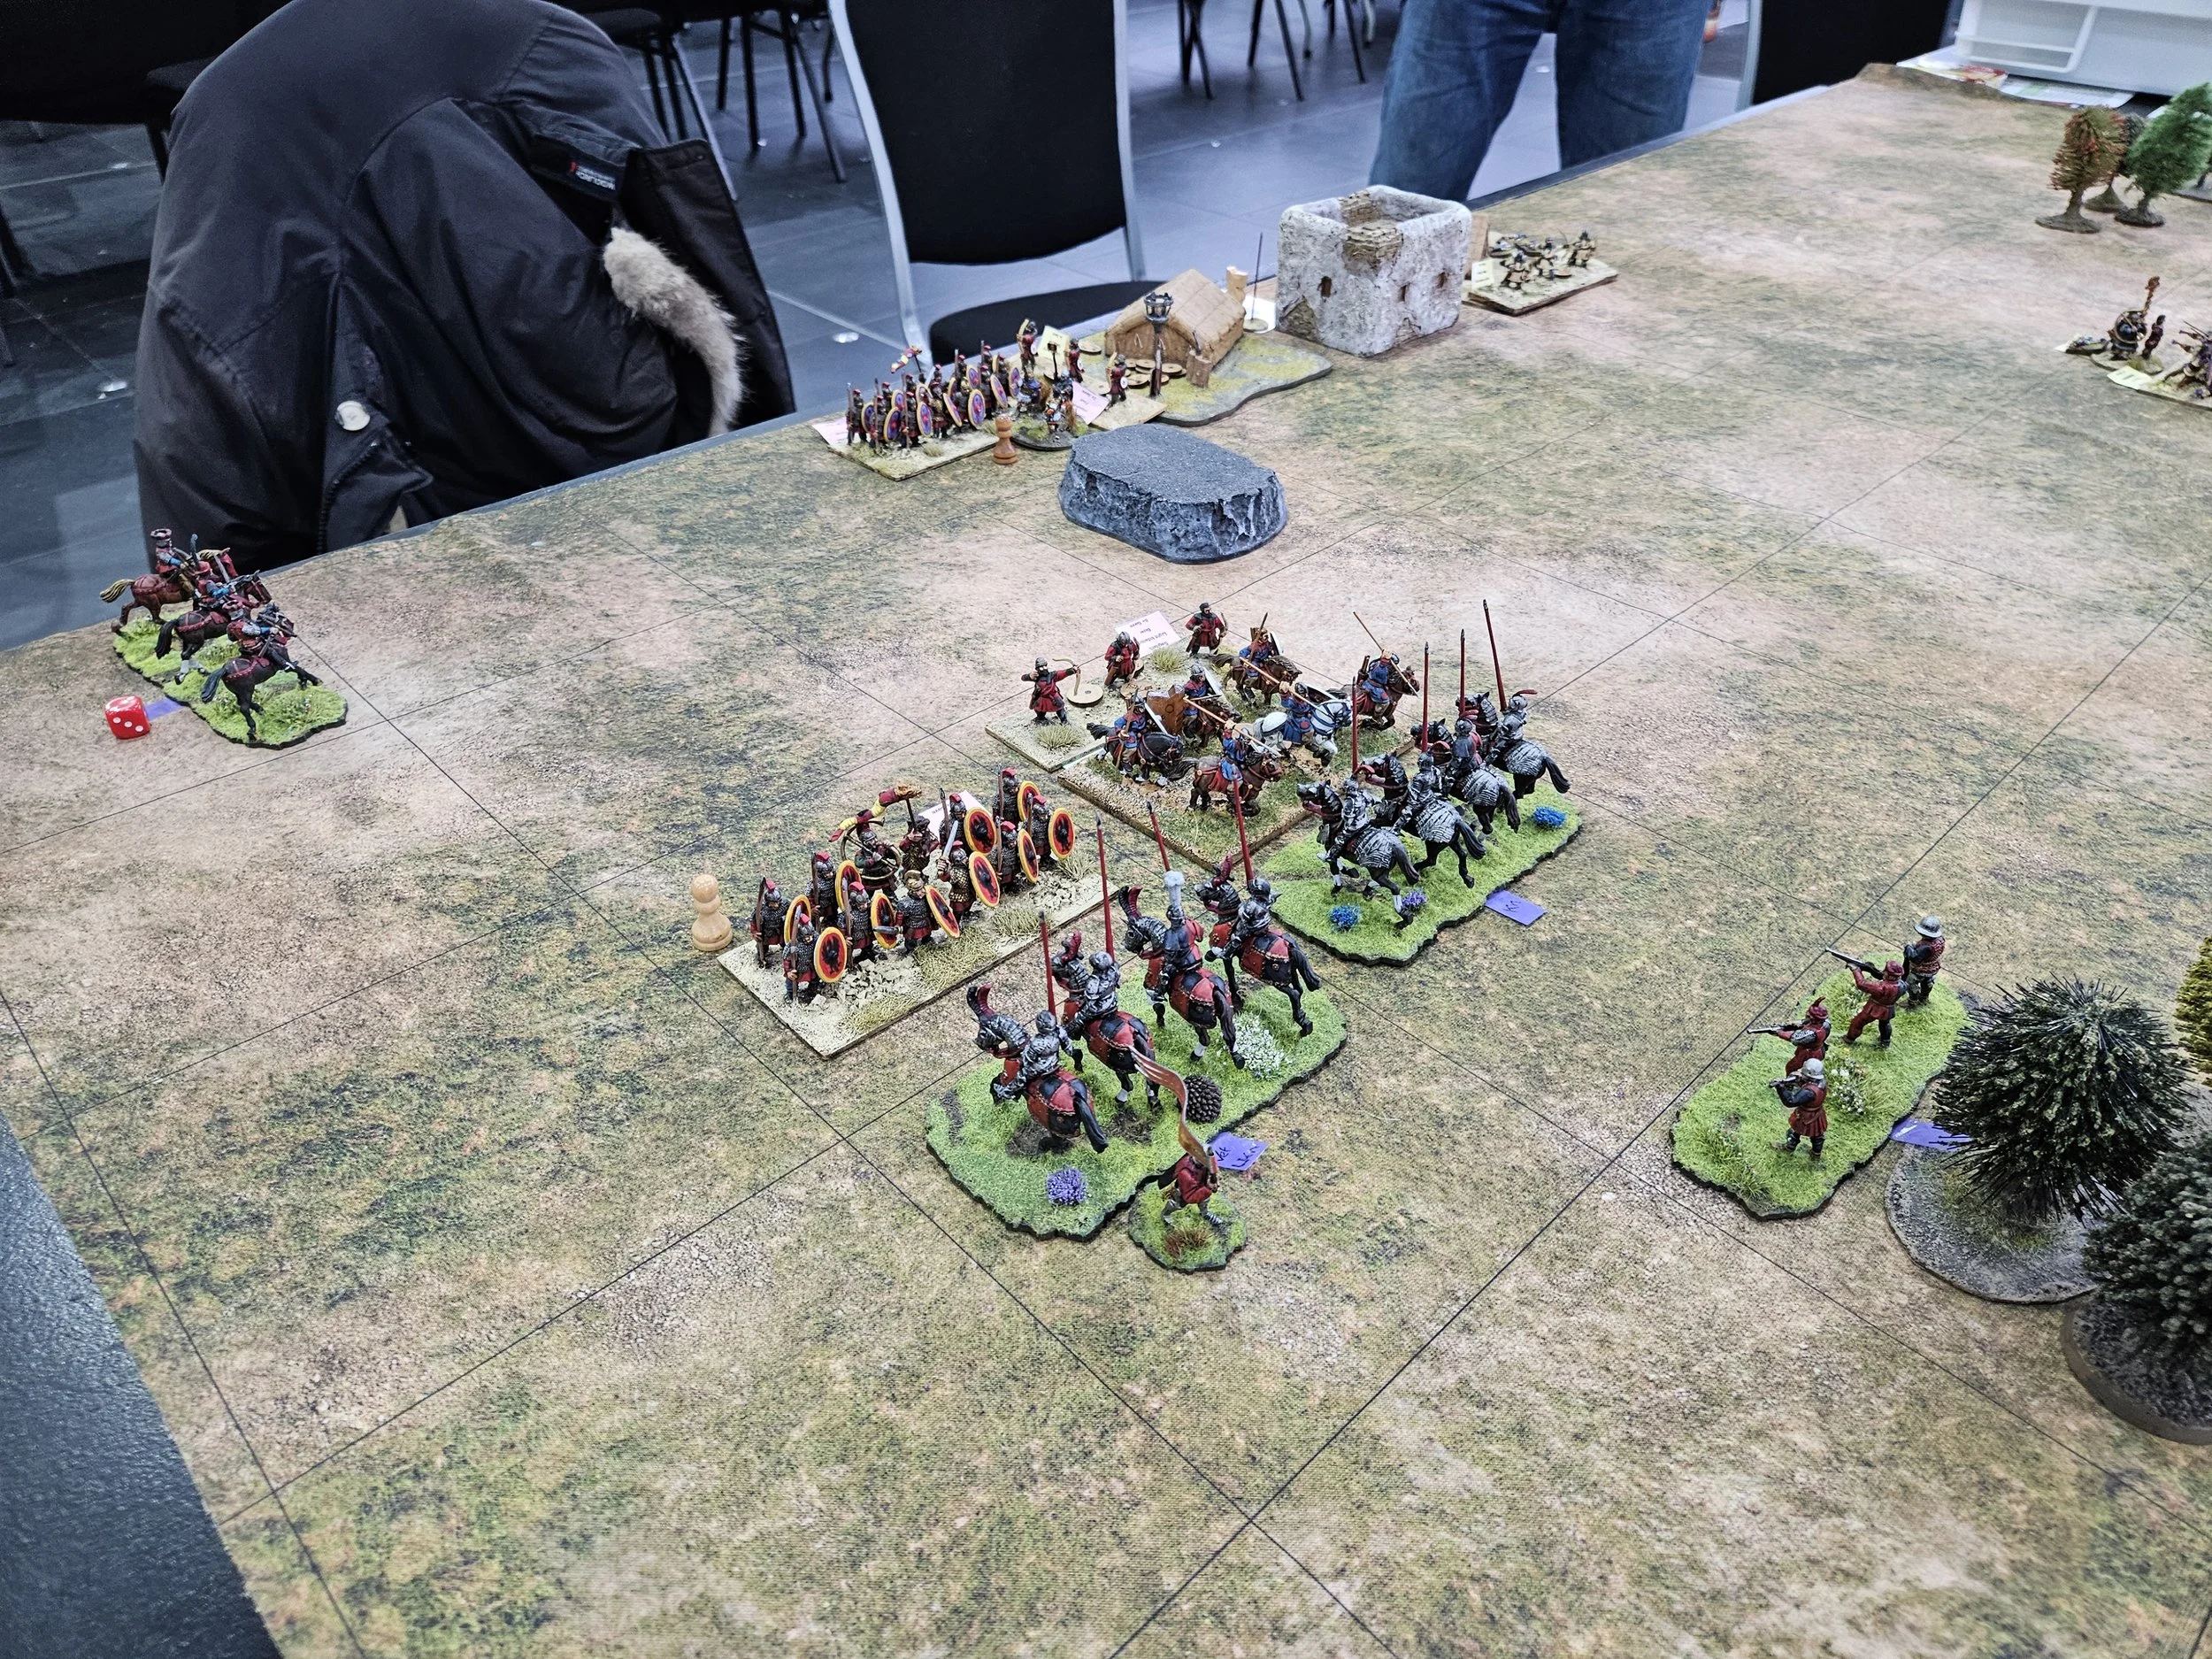
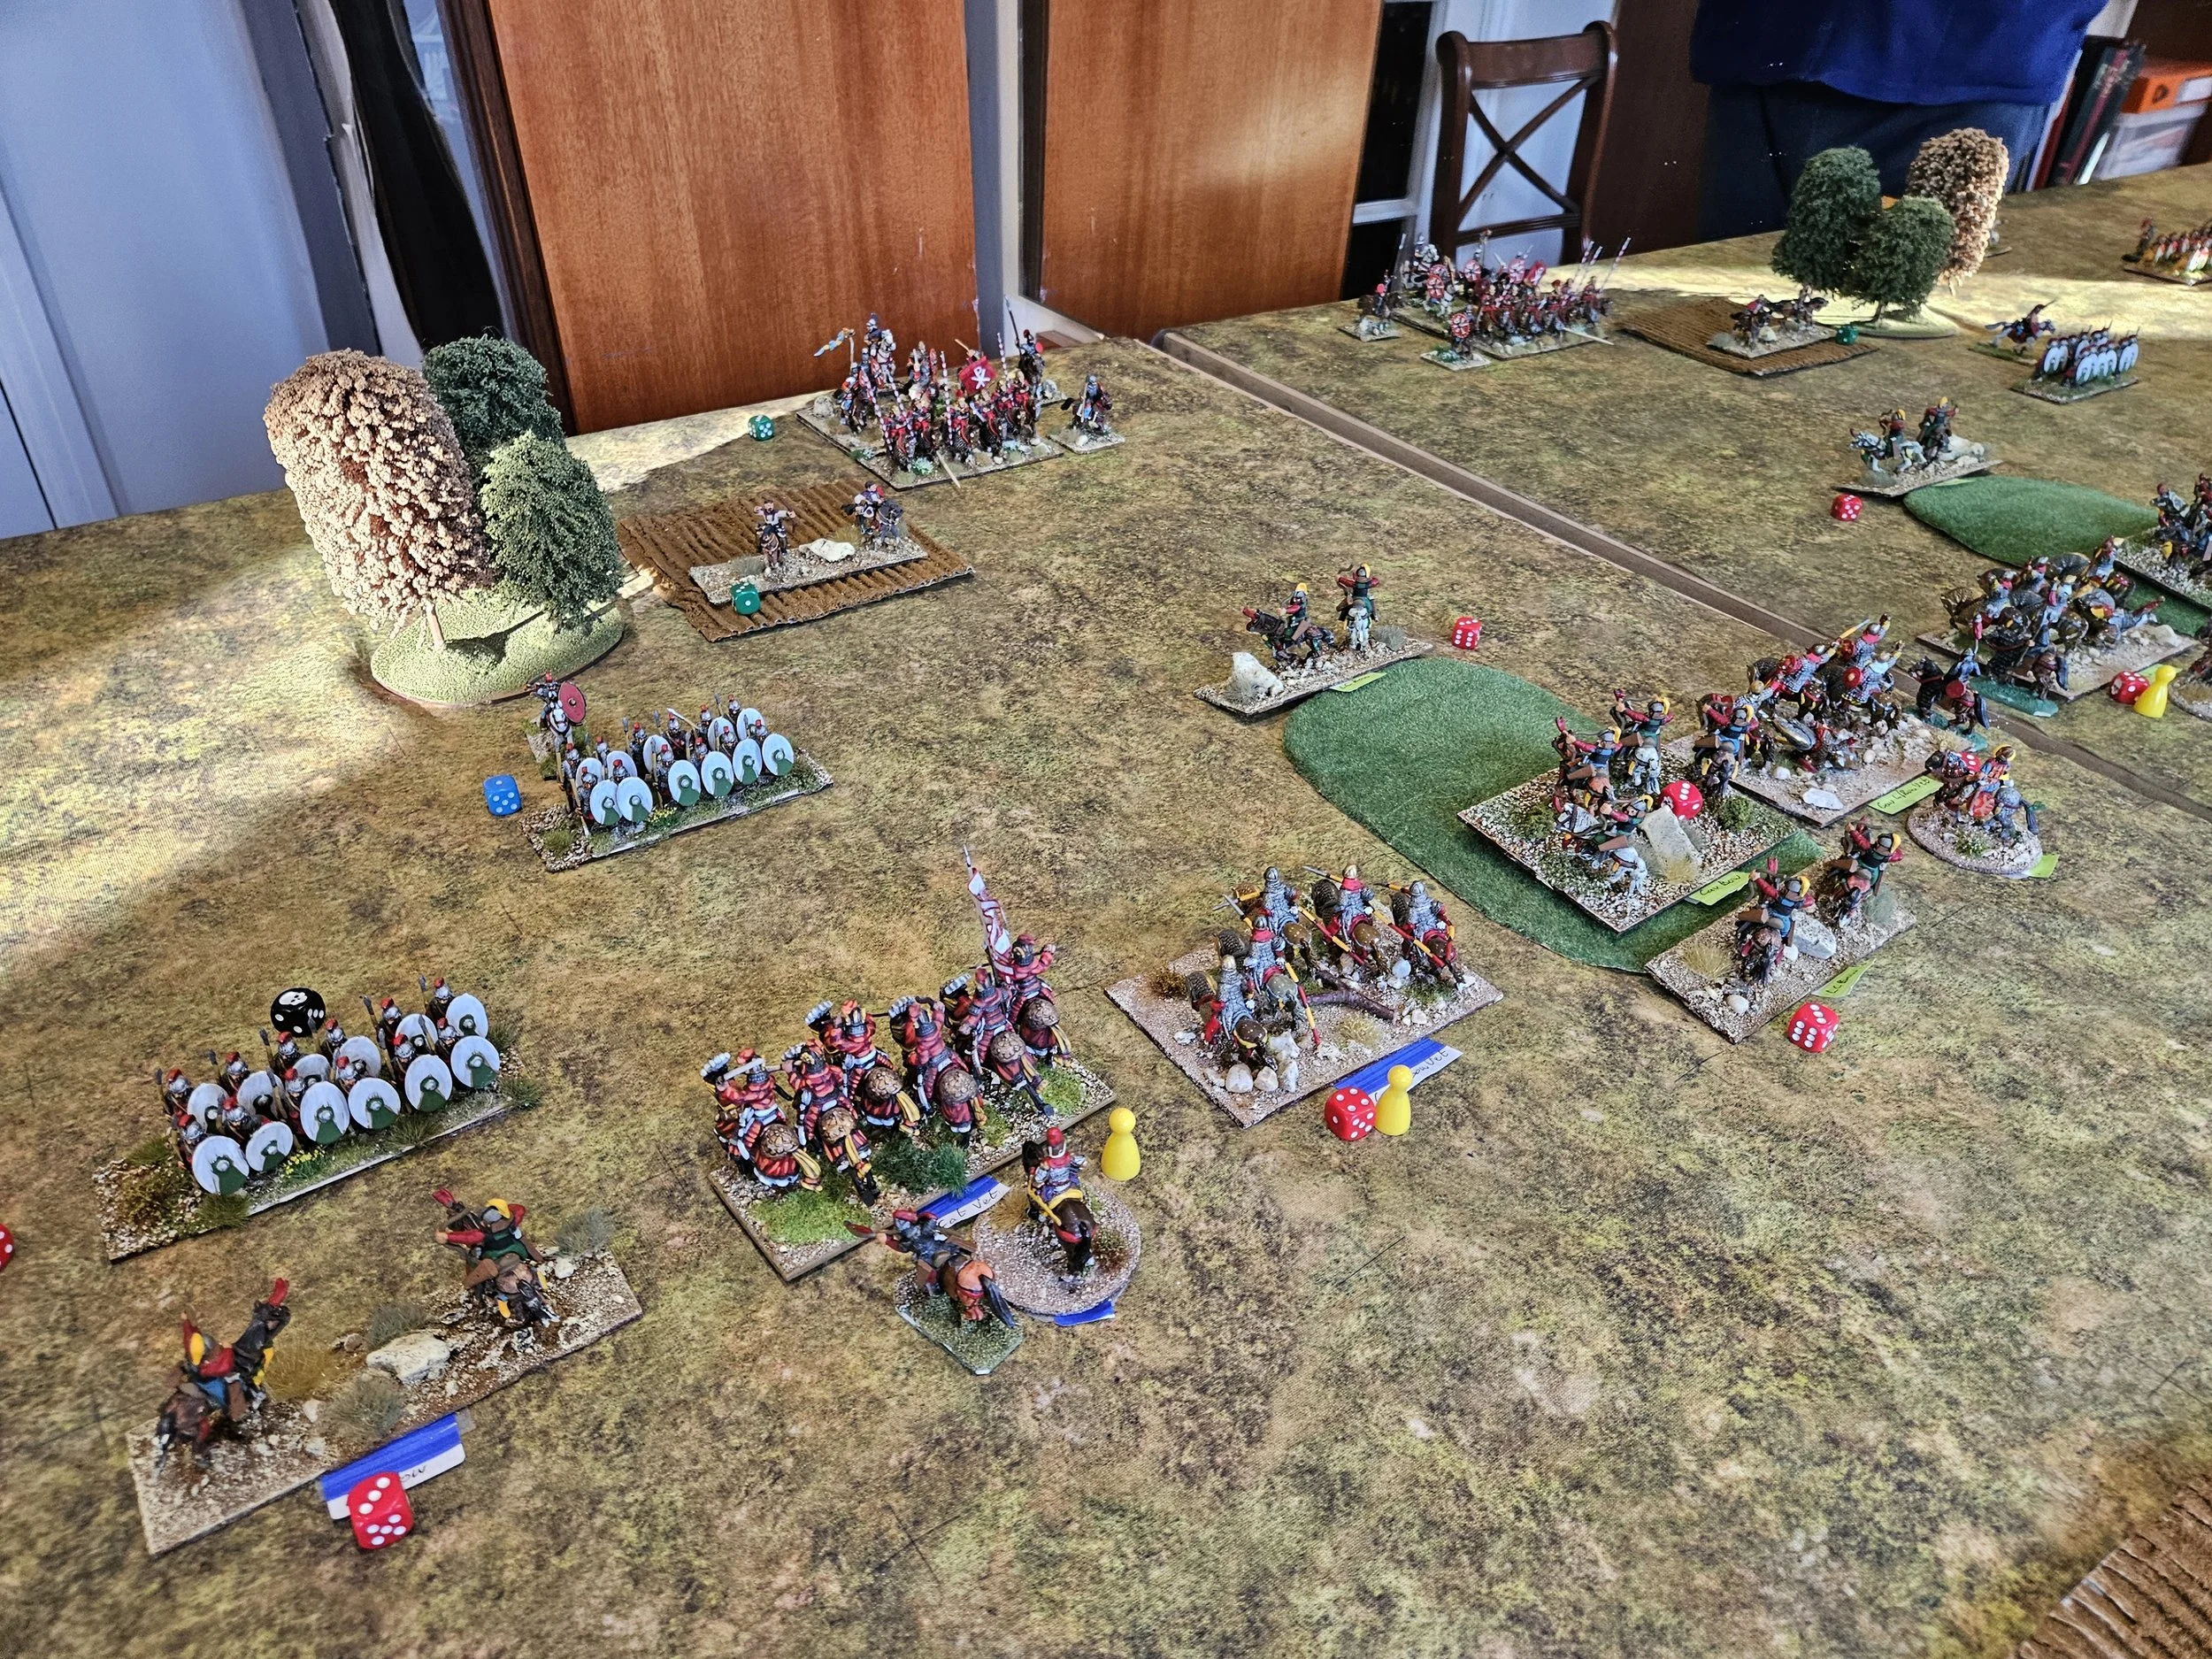
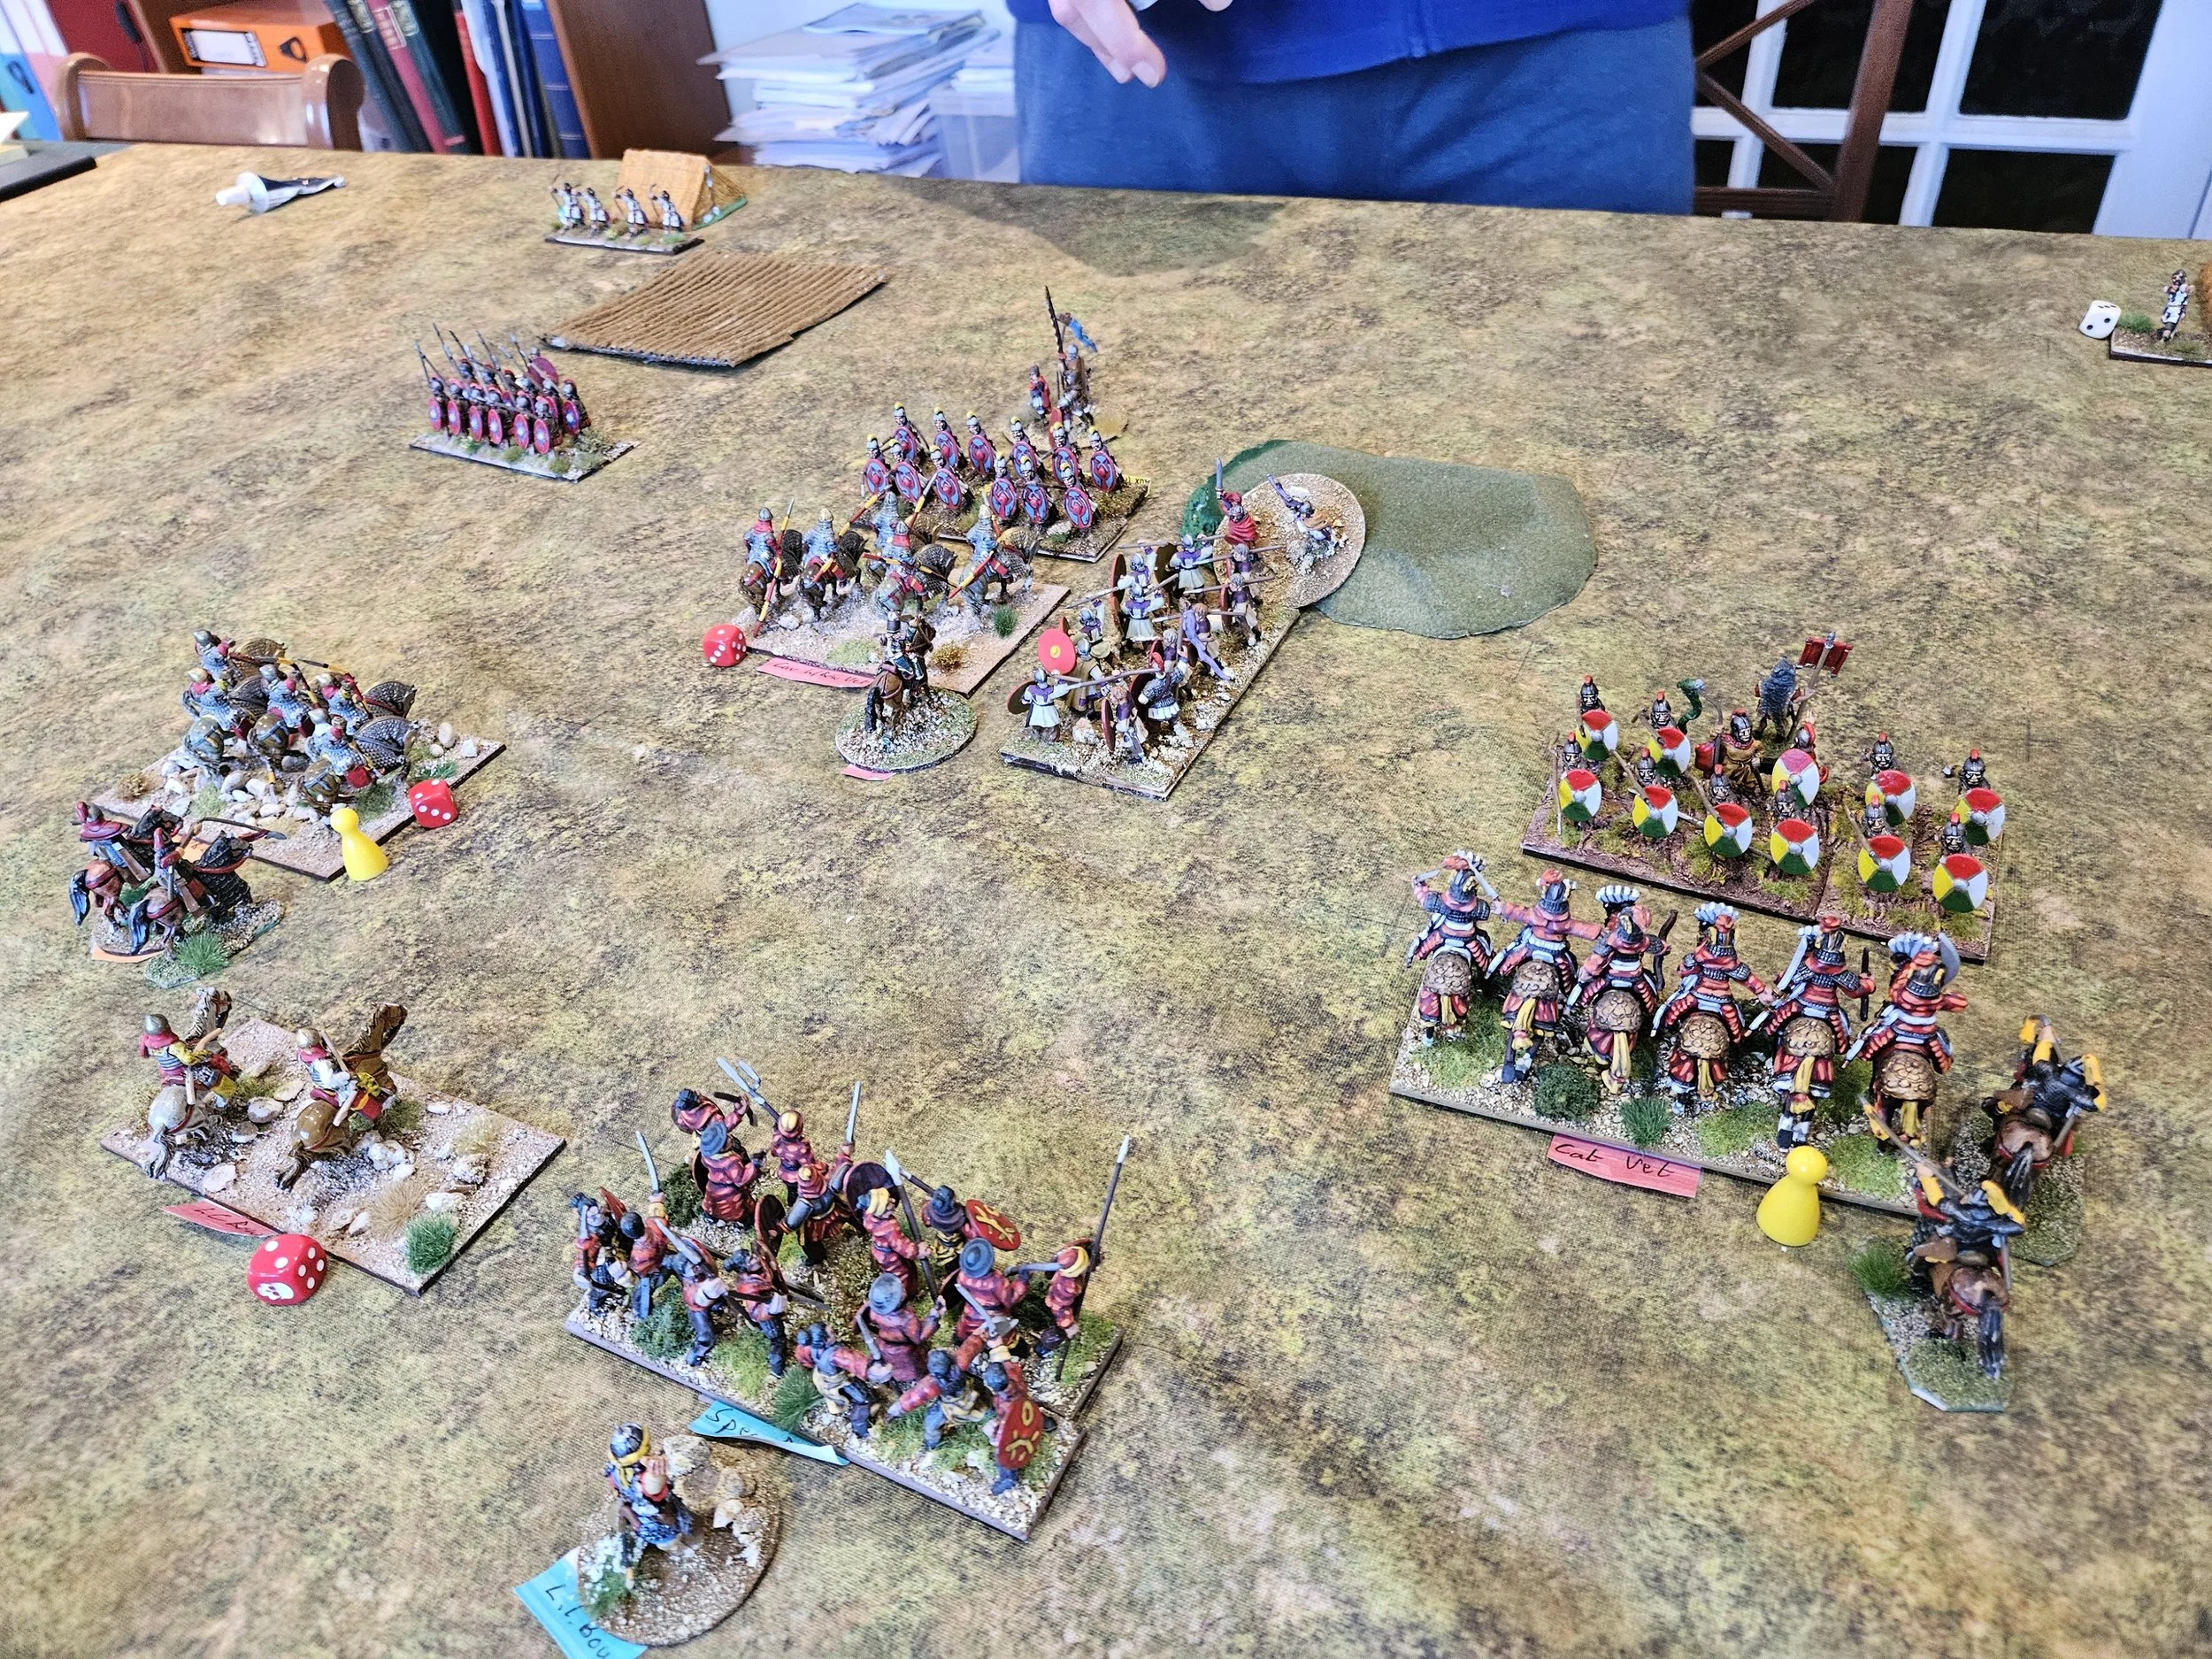
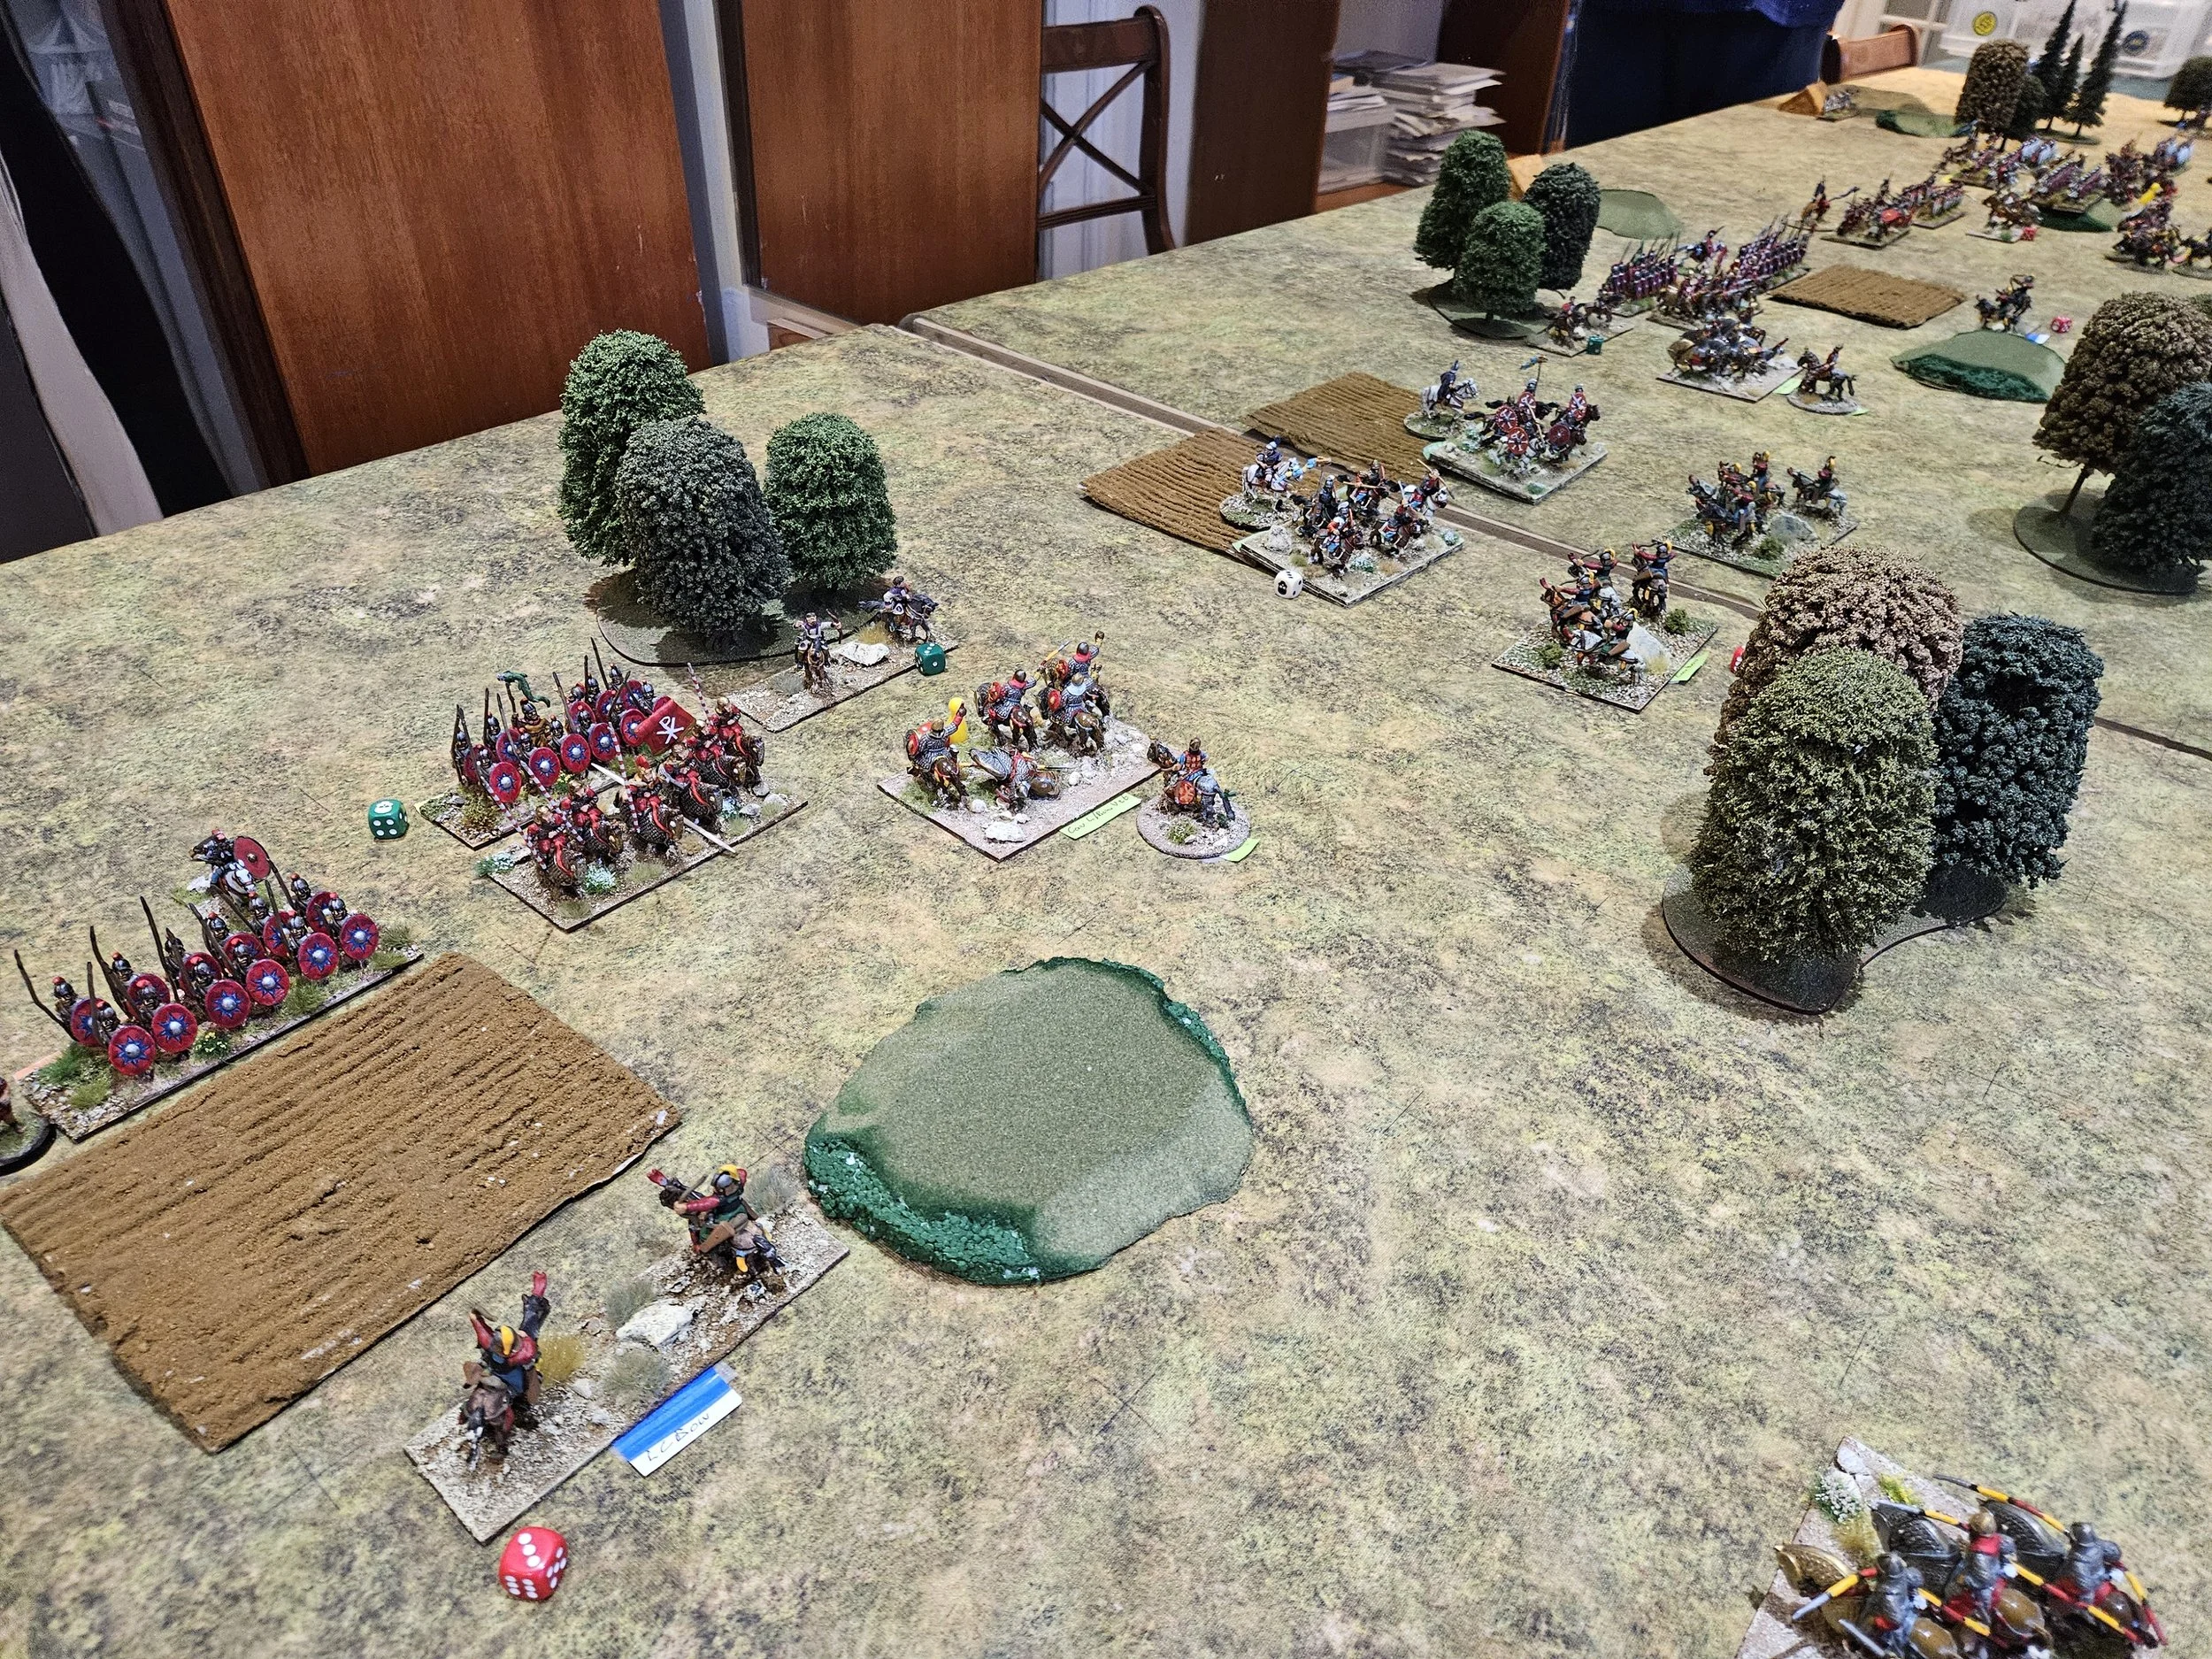
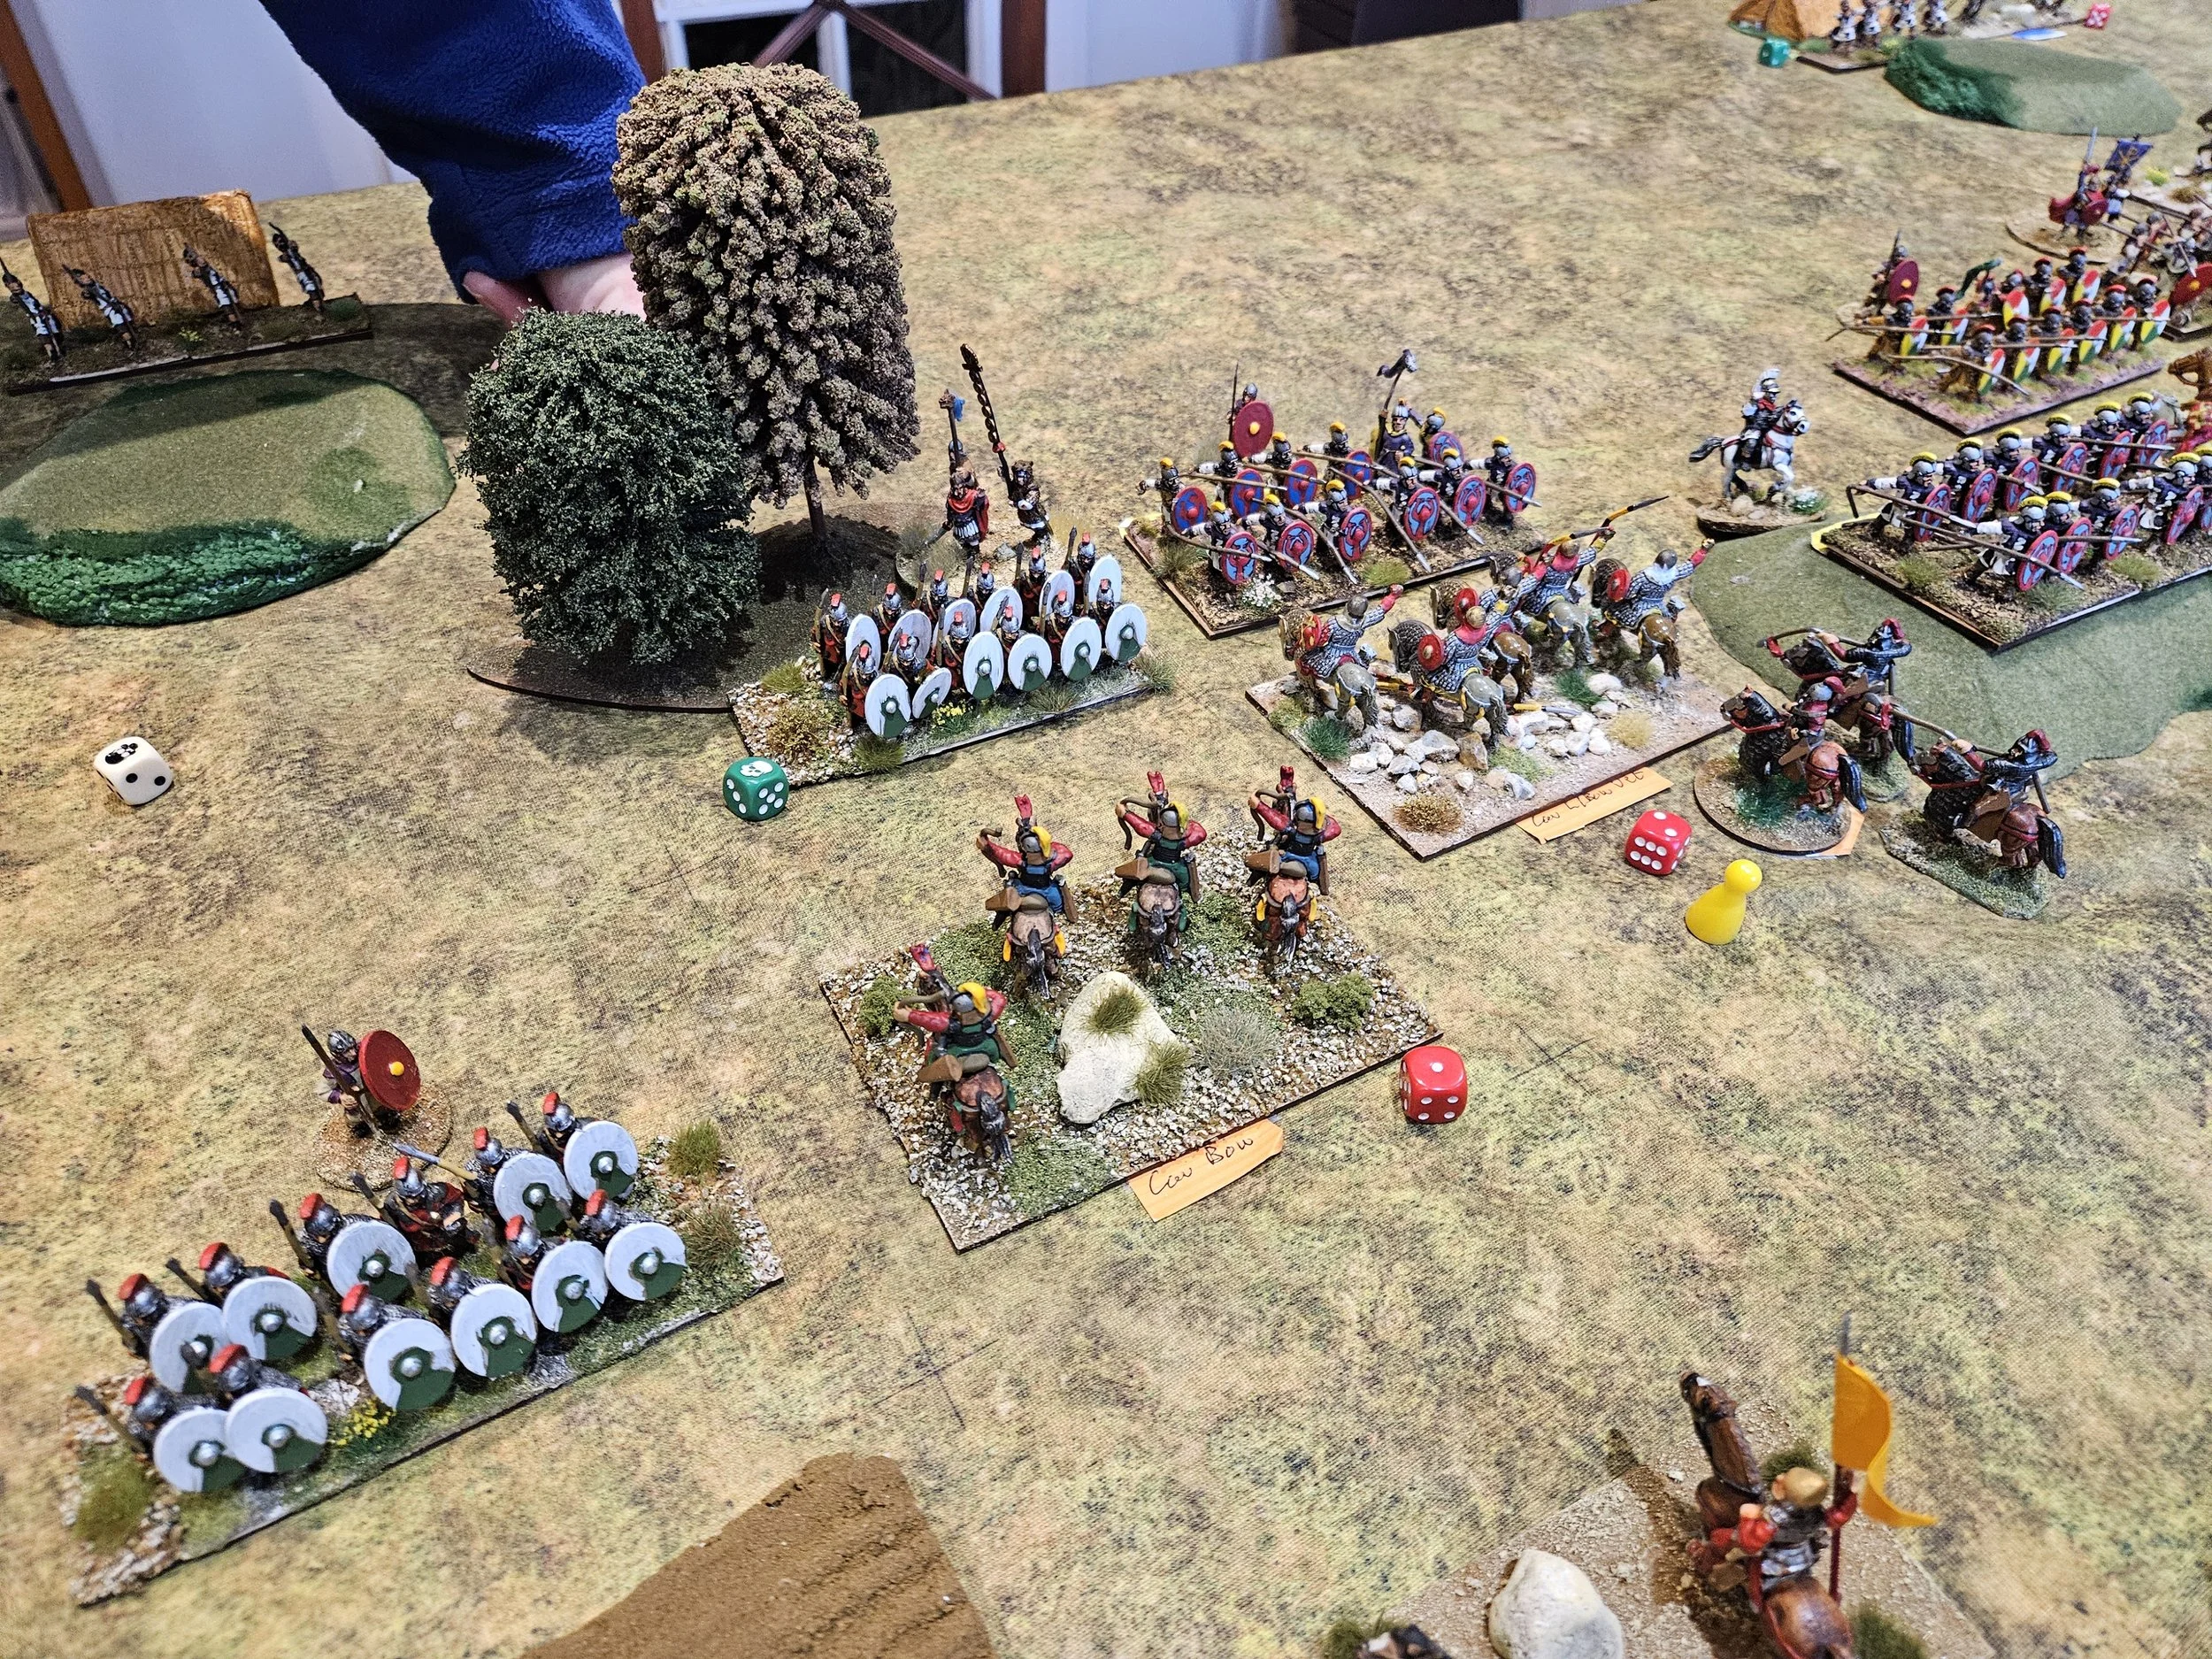
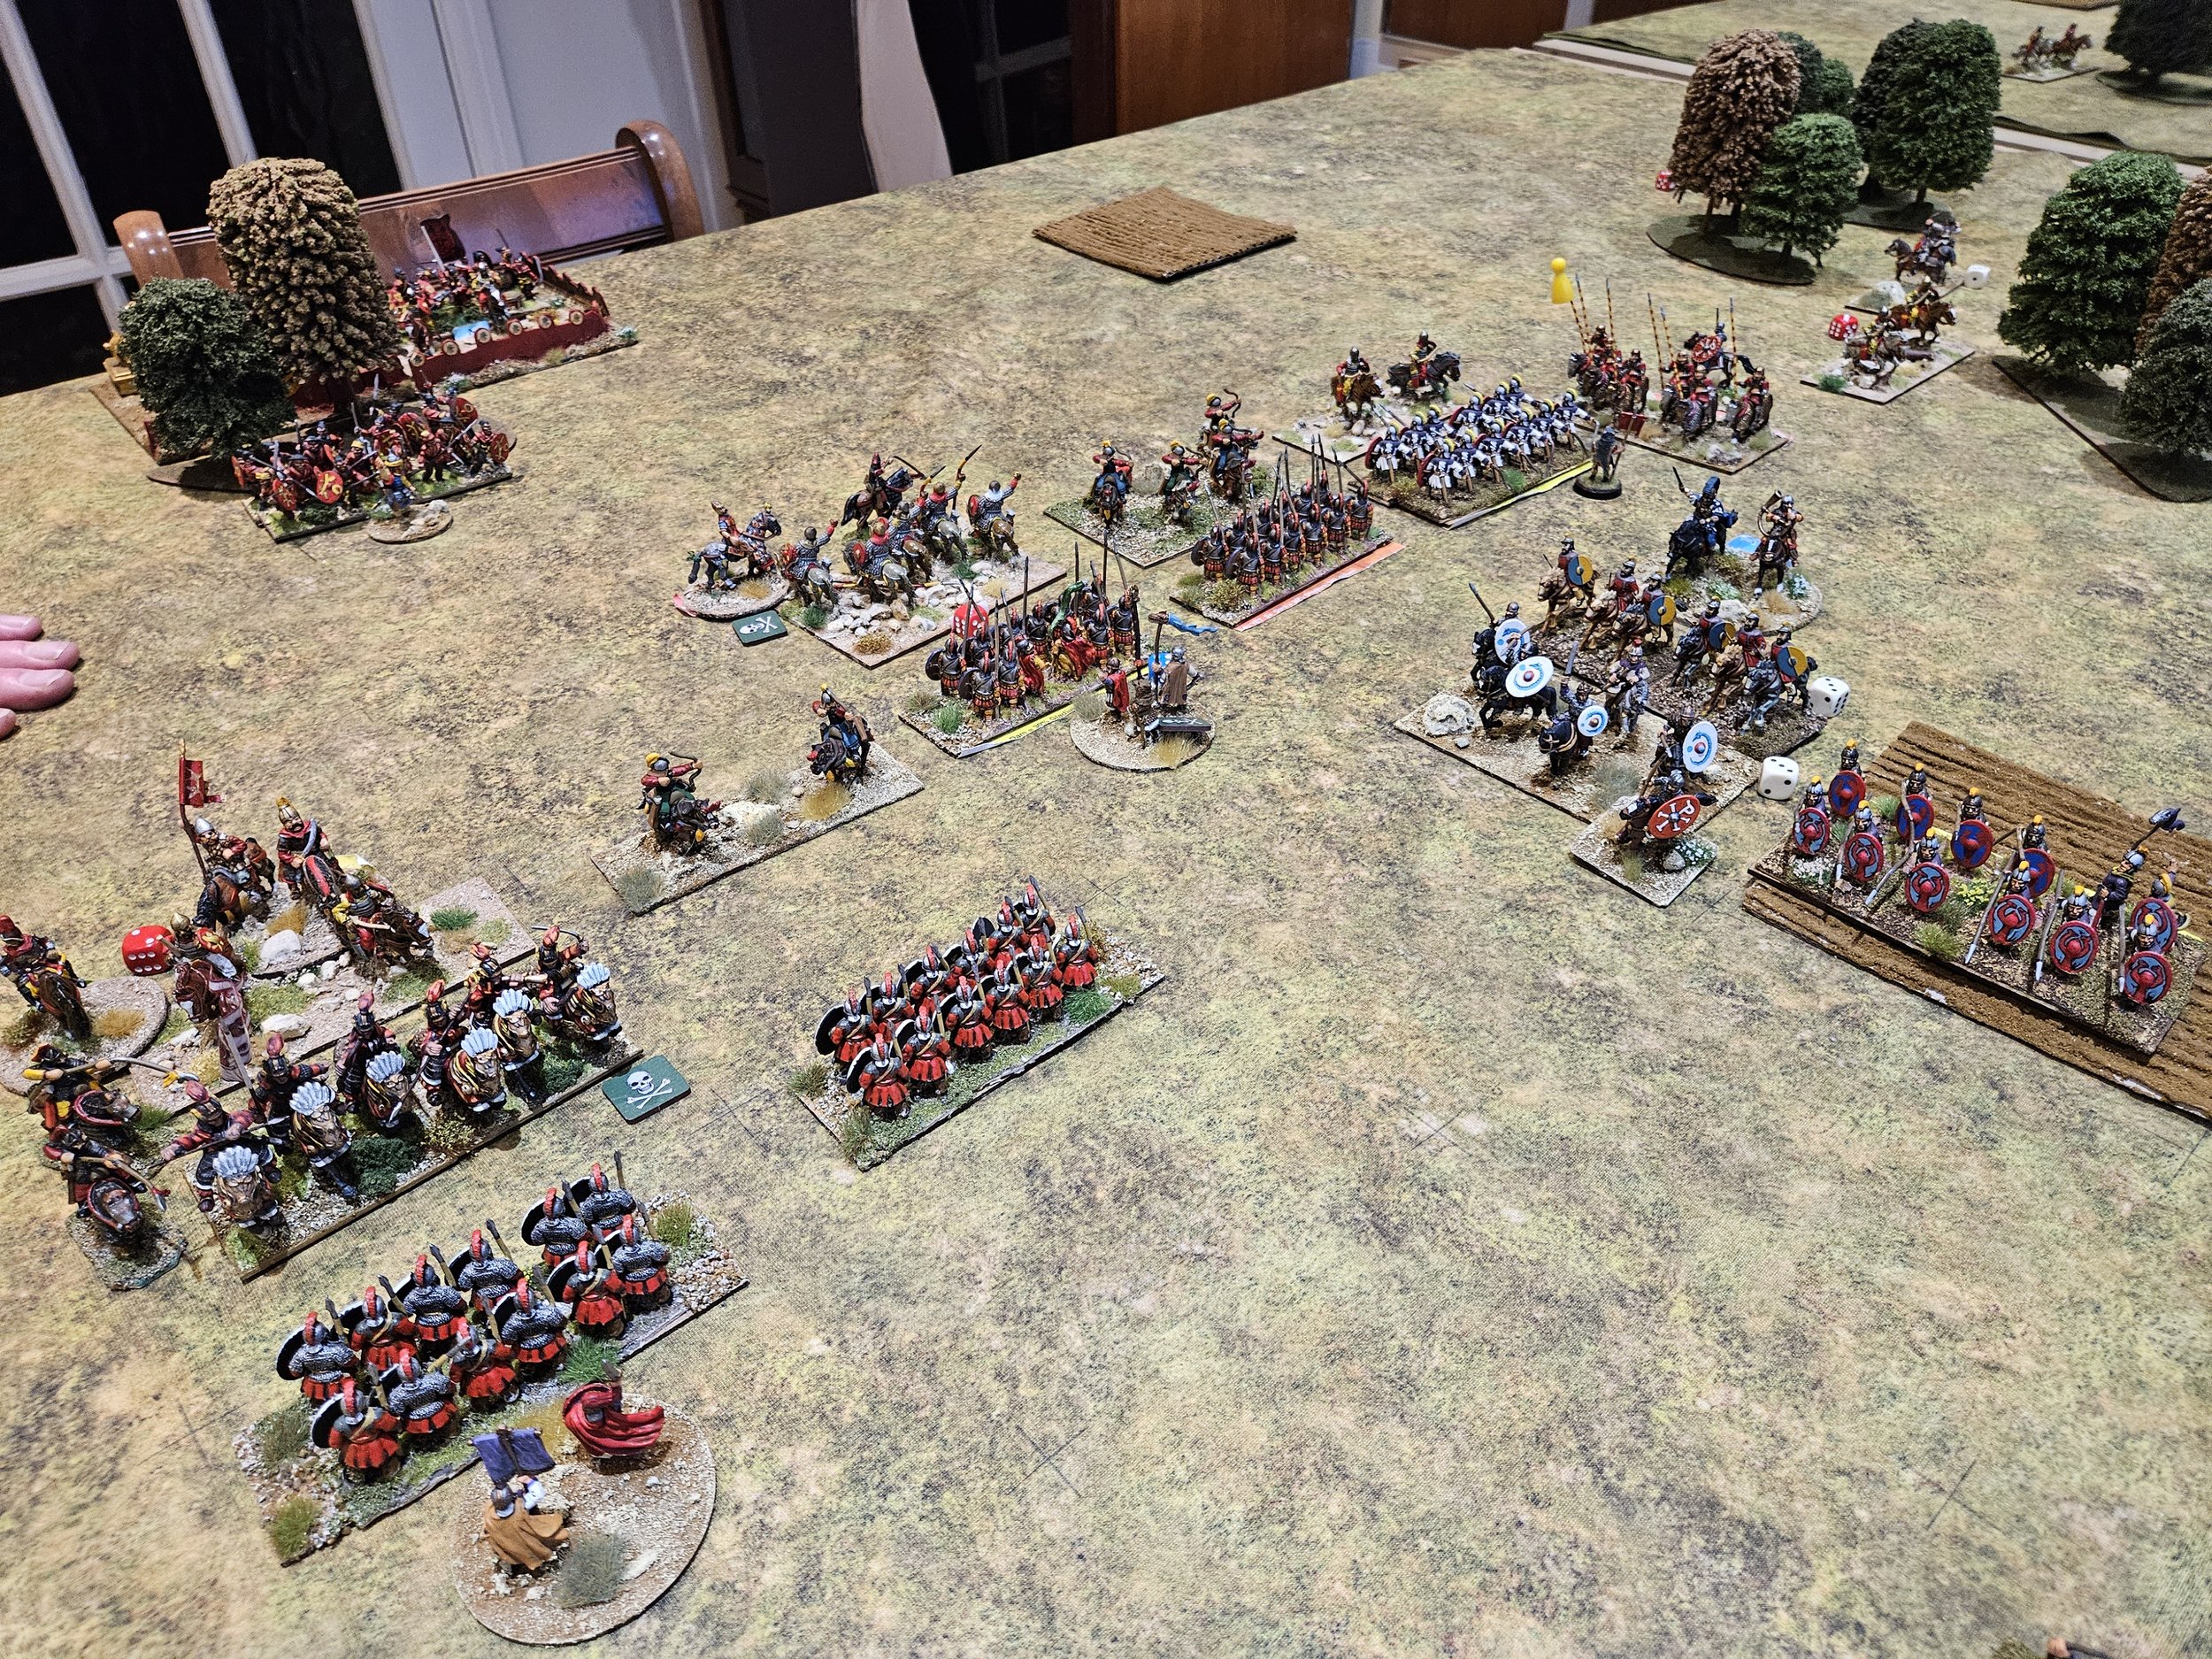
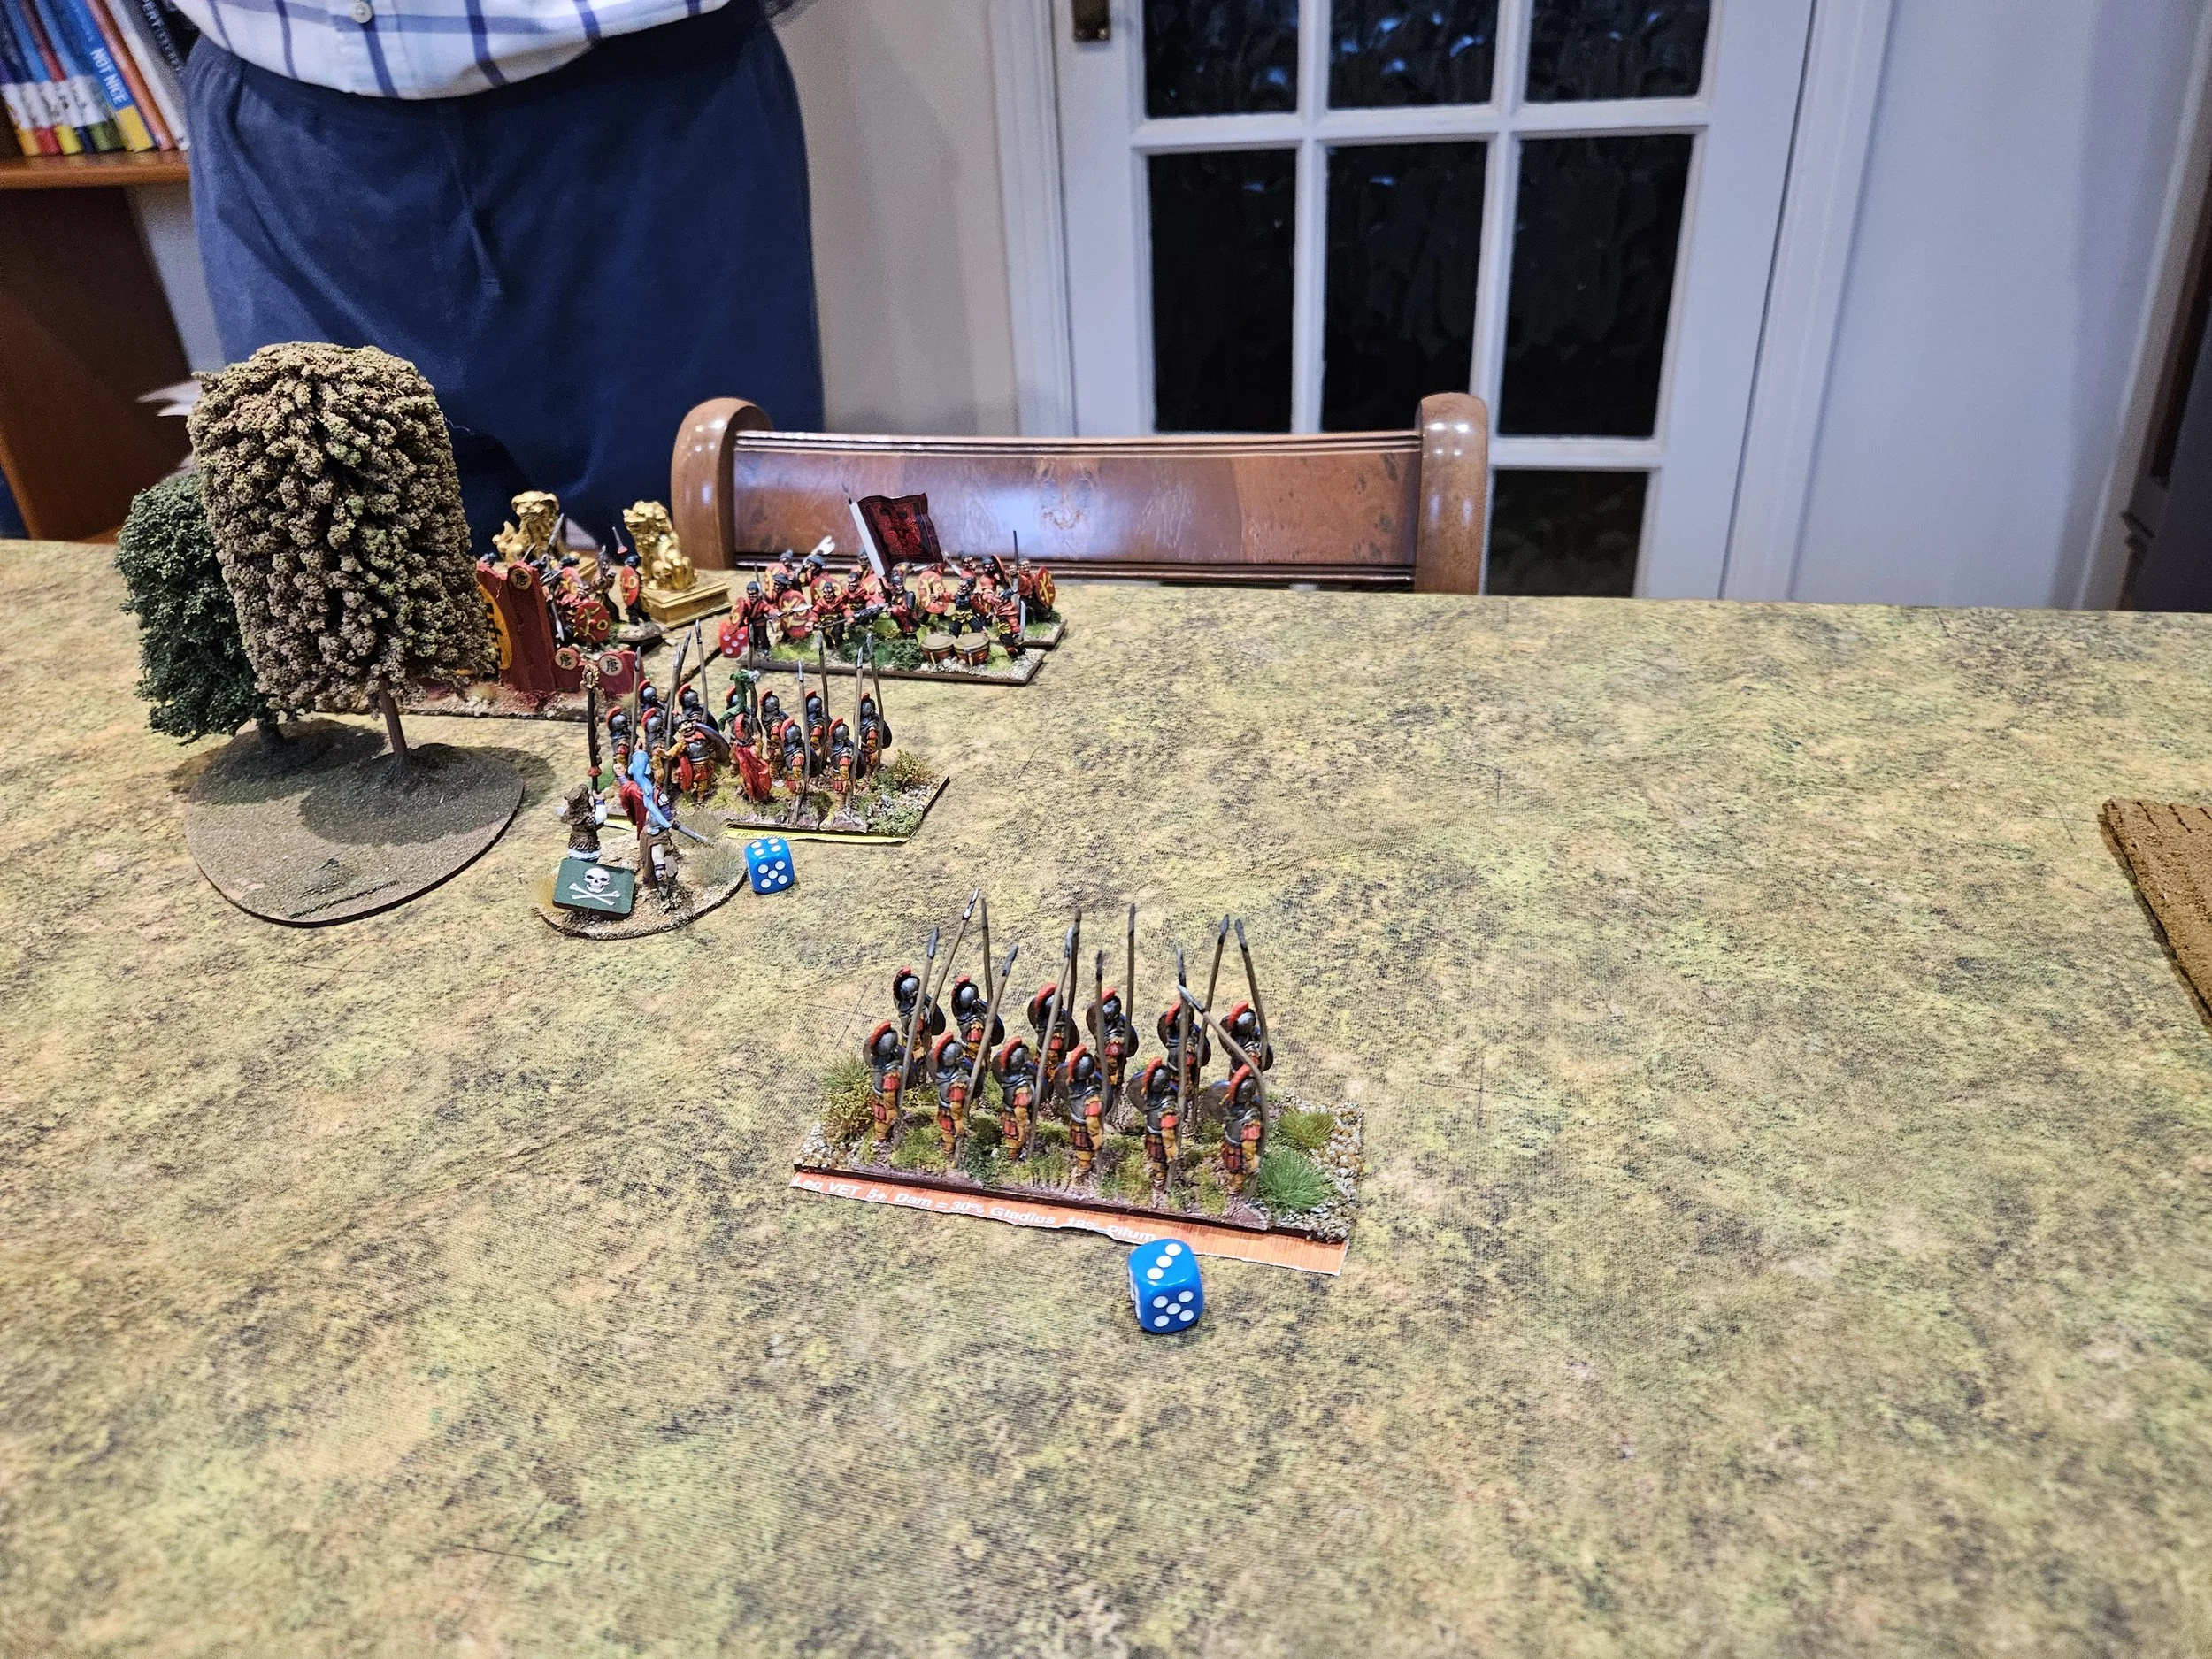
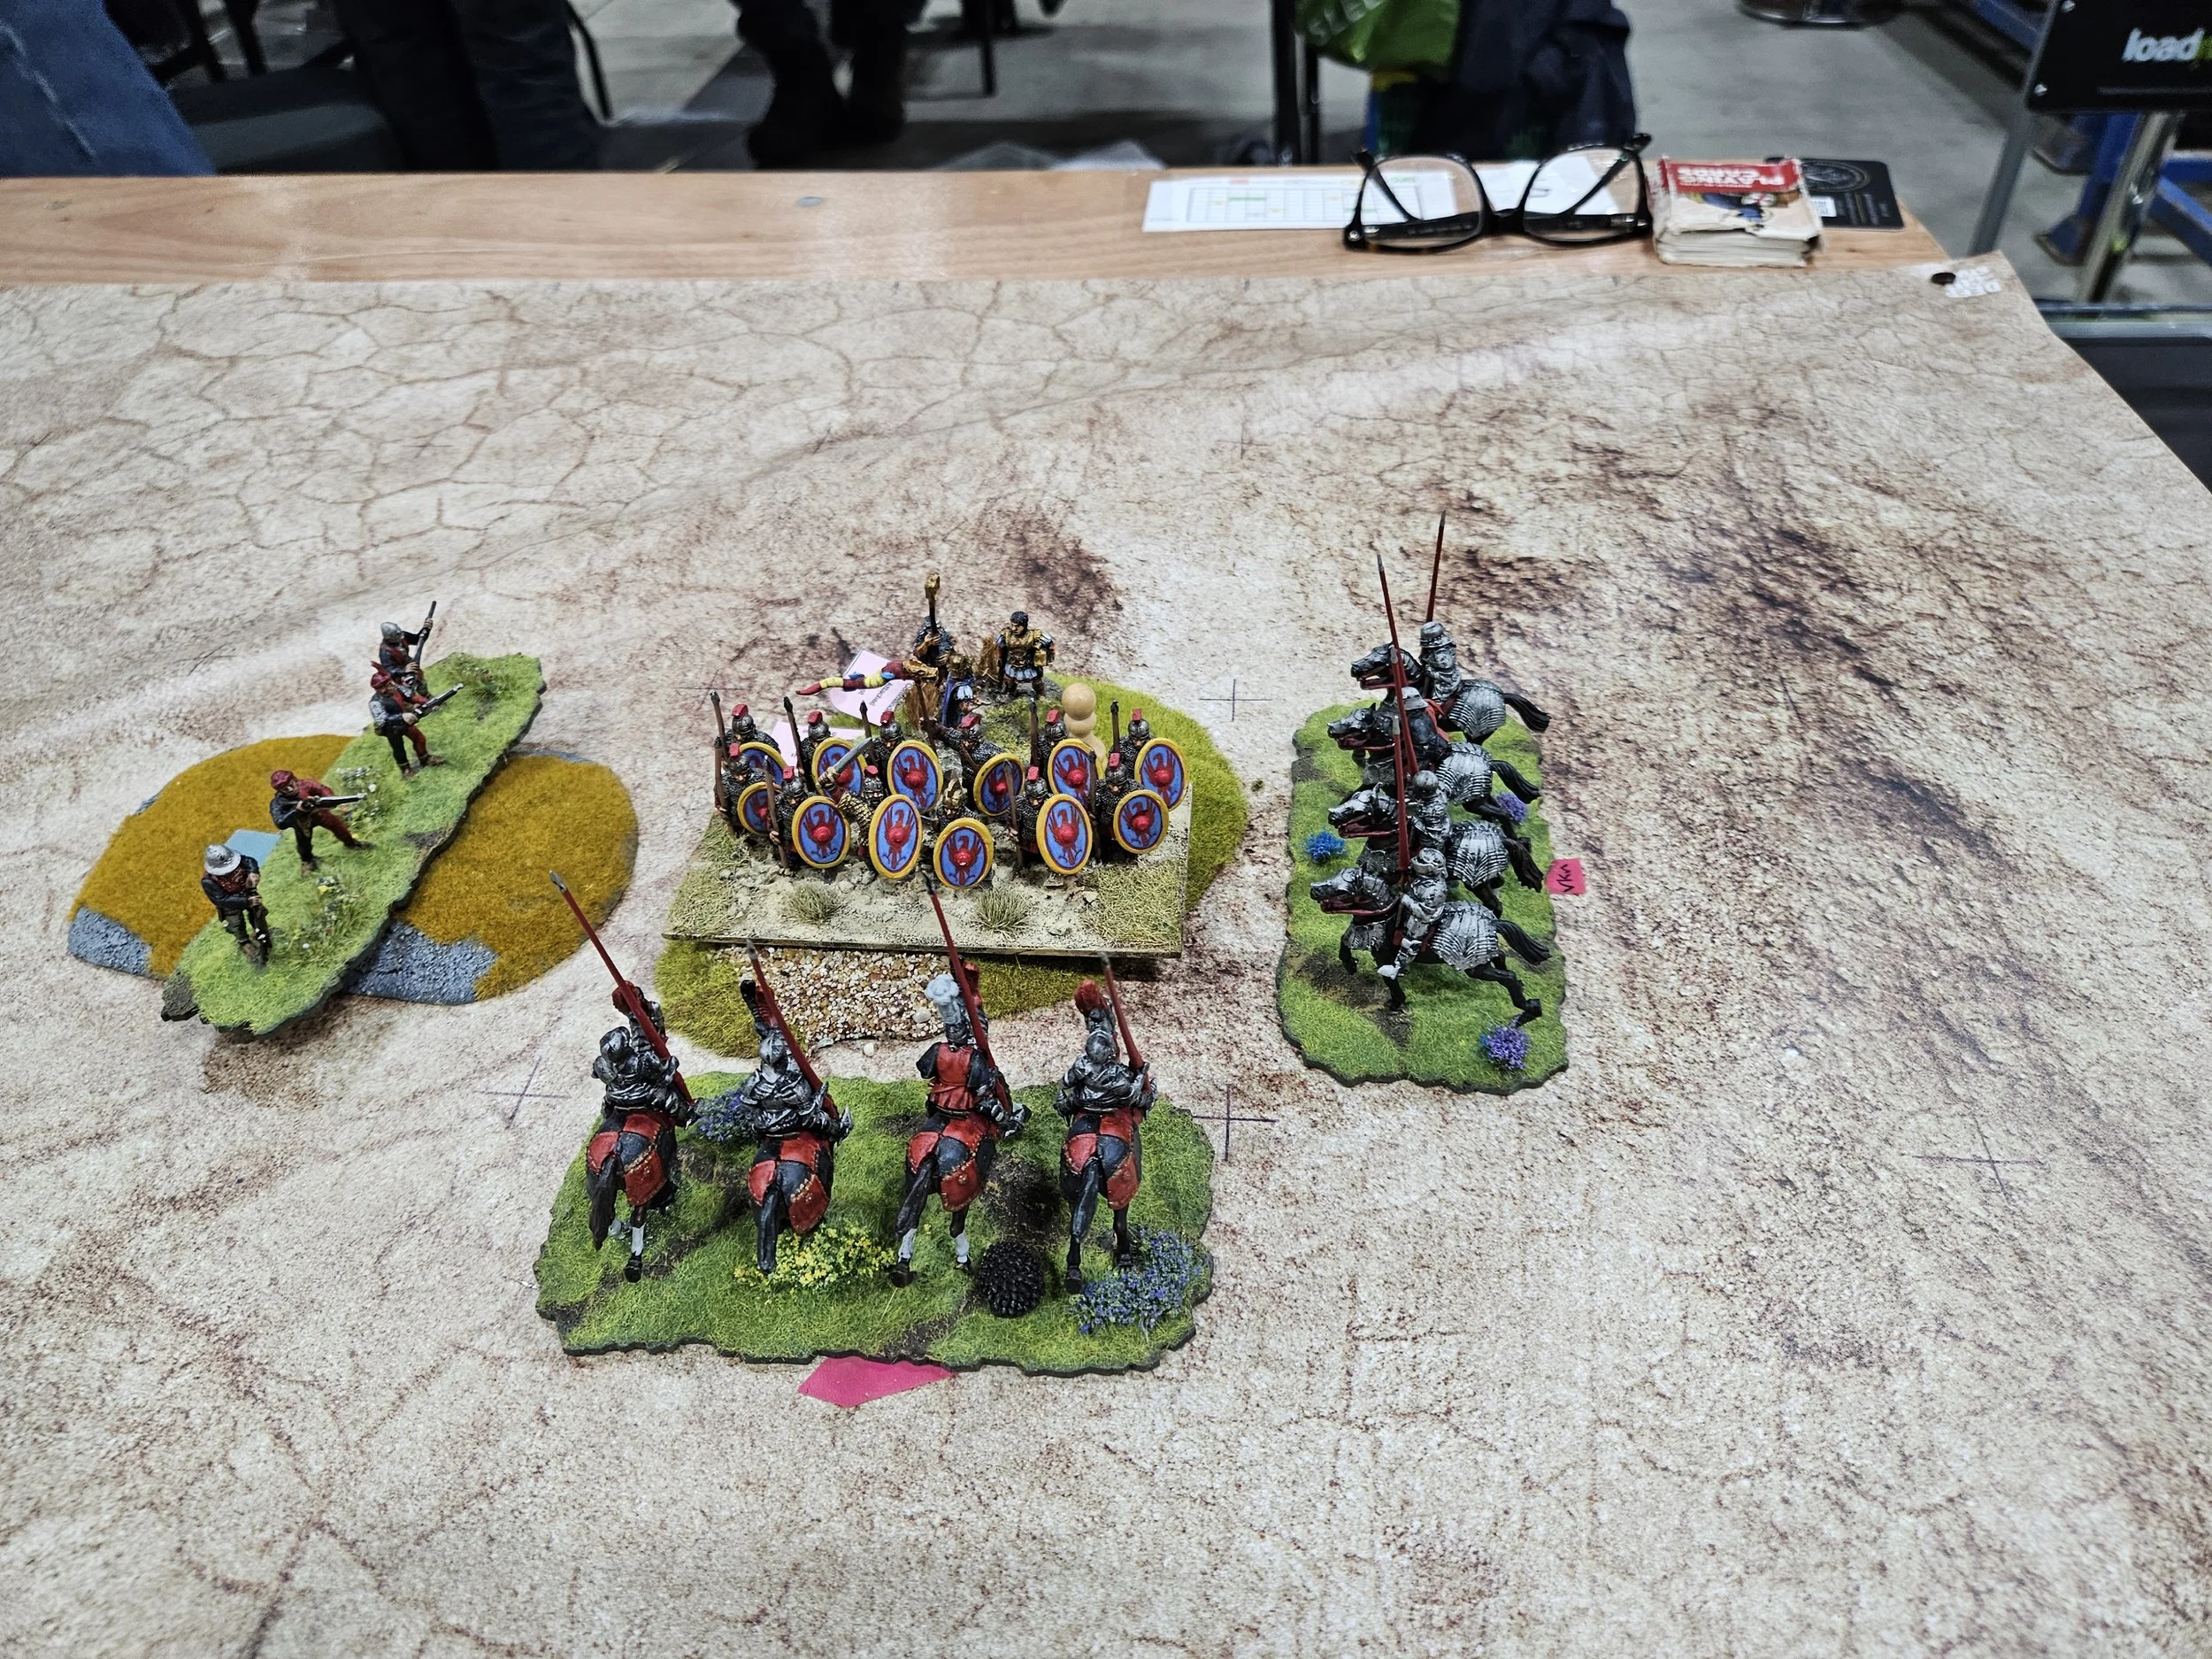
On the left, where my objective was really only to pin the enemy in place, a brutal grinding melee erupted. Much to my surprise, my warriors initially gained the upper hand, driving back a Roman Cohort and wiping out a unit of Auxilia.
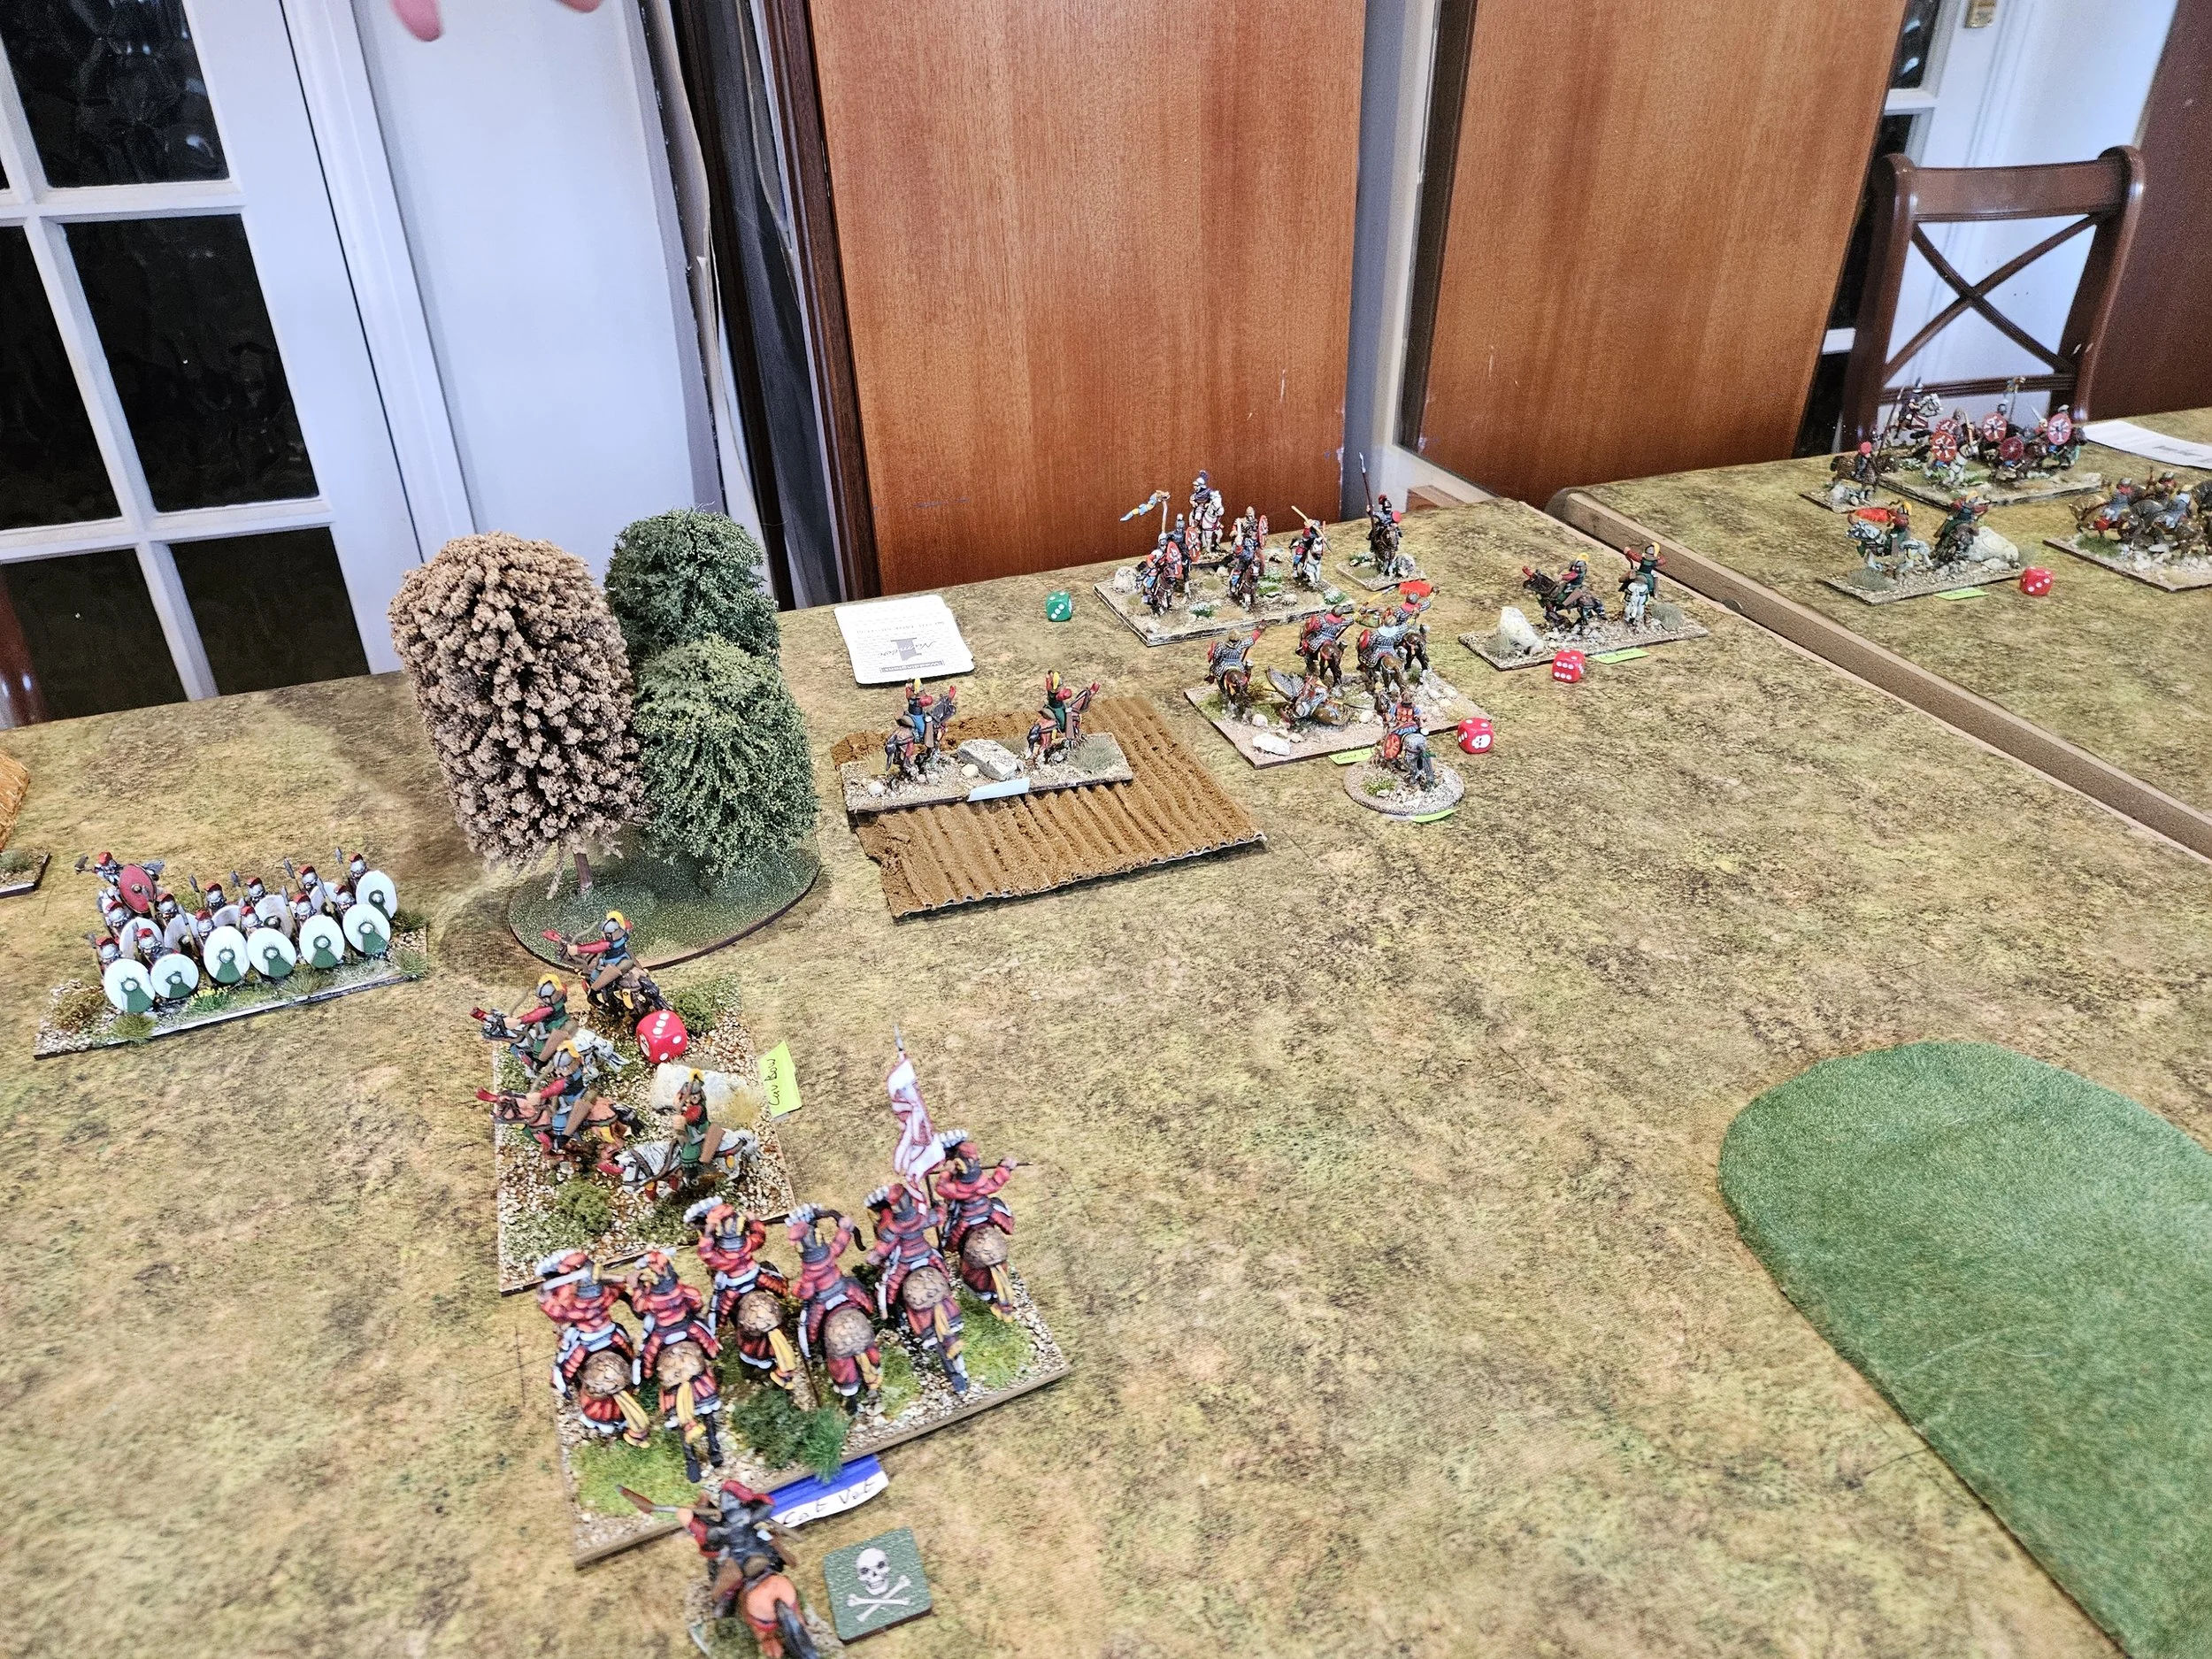
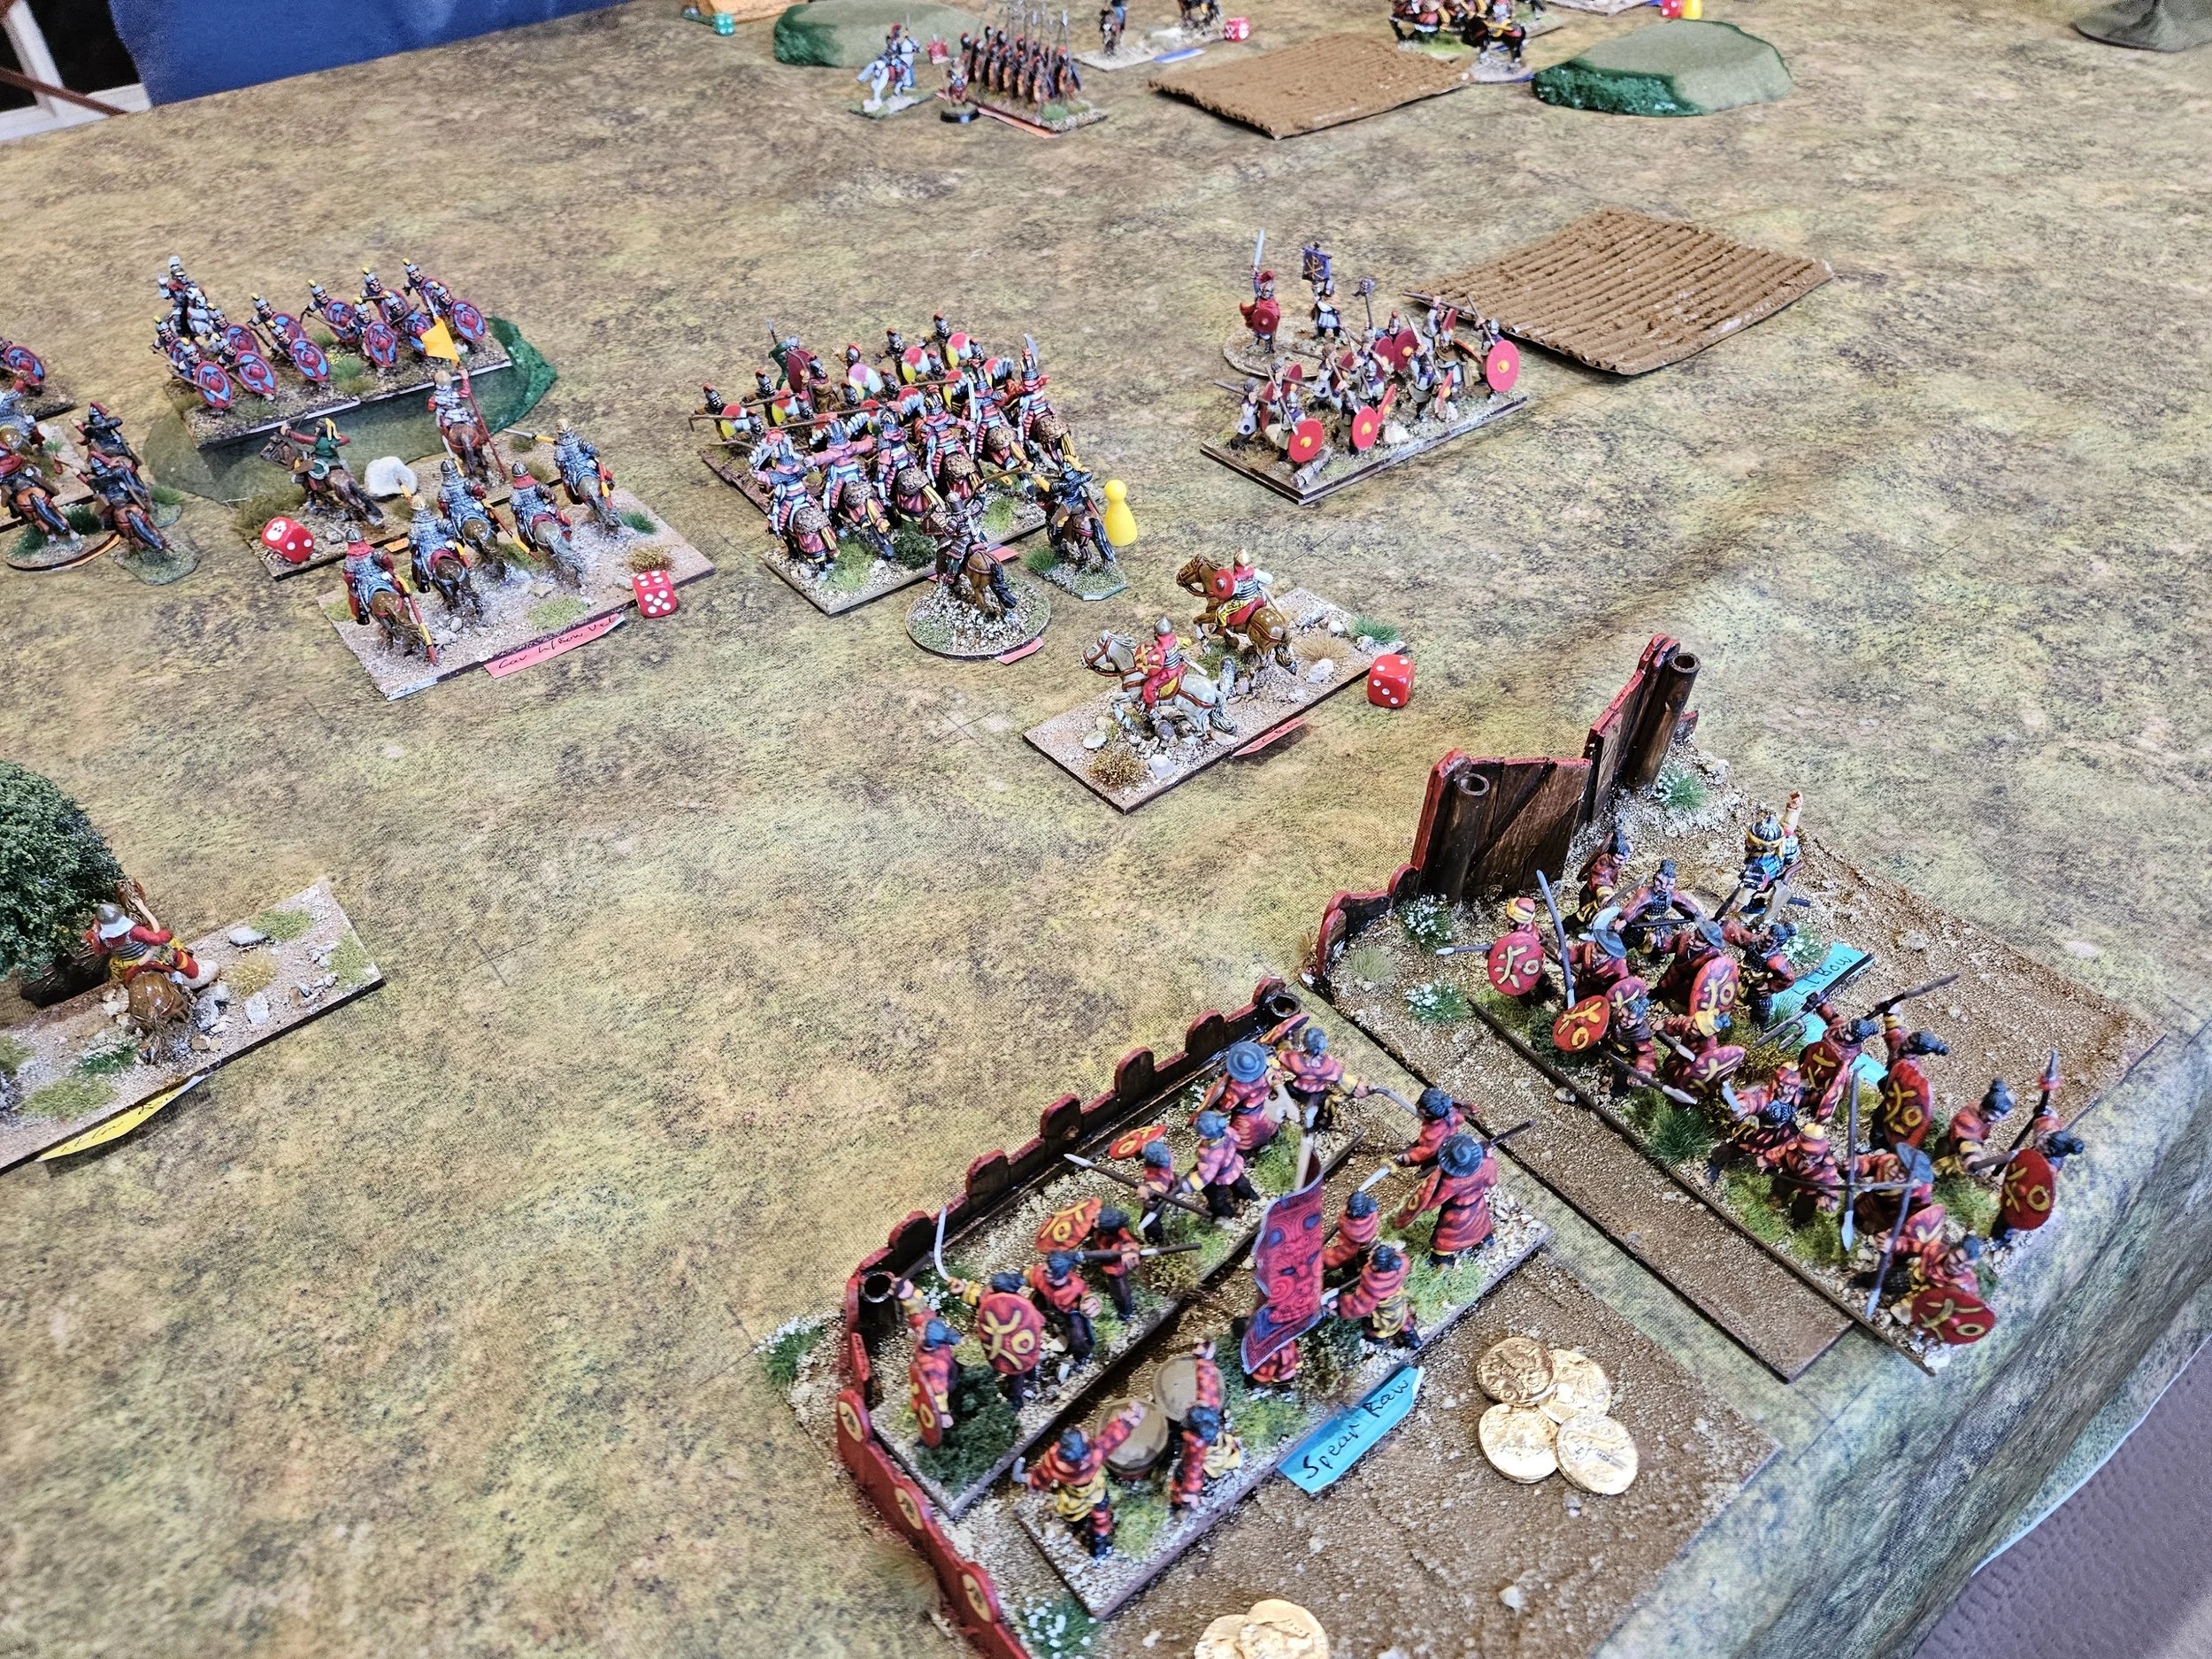
The Romans fought back hard, however, and honours were very much even by the time things were decided elsewhere on the field, although some Sagittarii were now threatening the Lights guarding the camp.
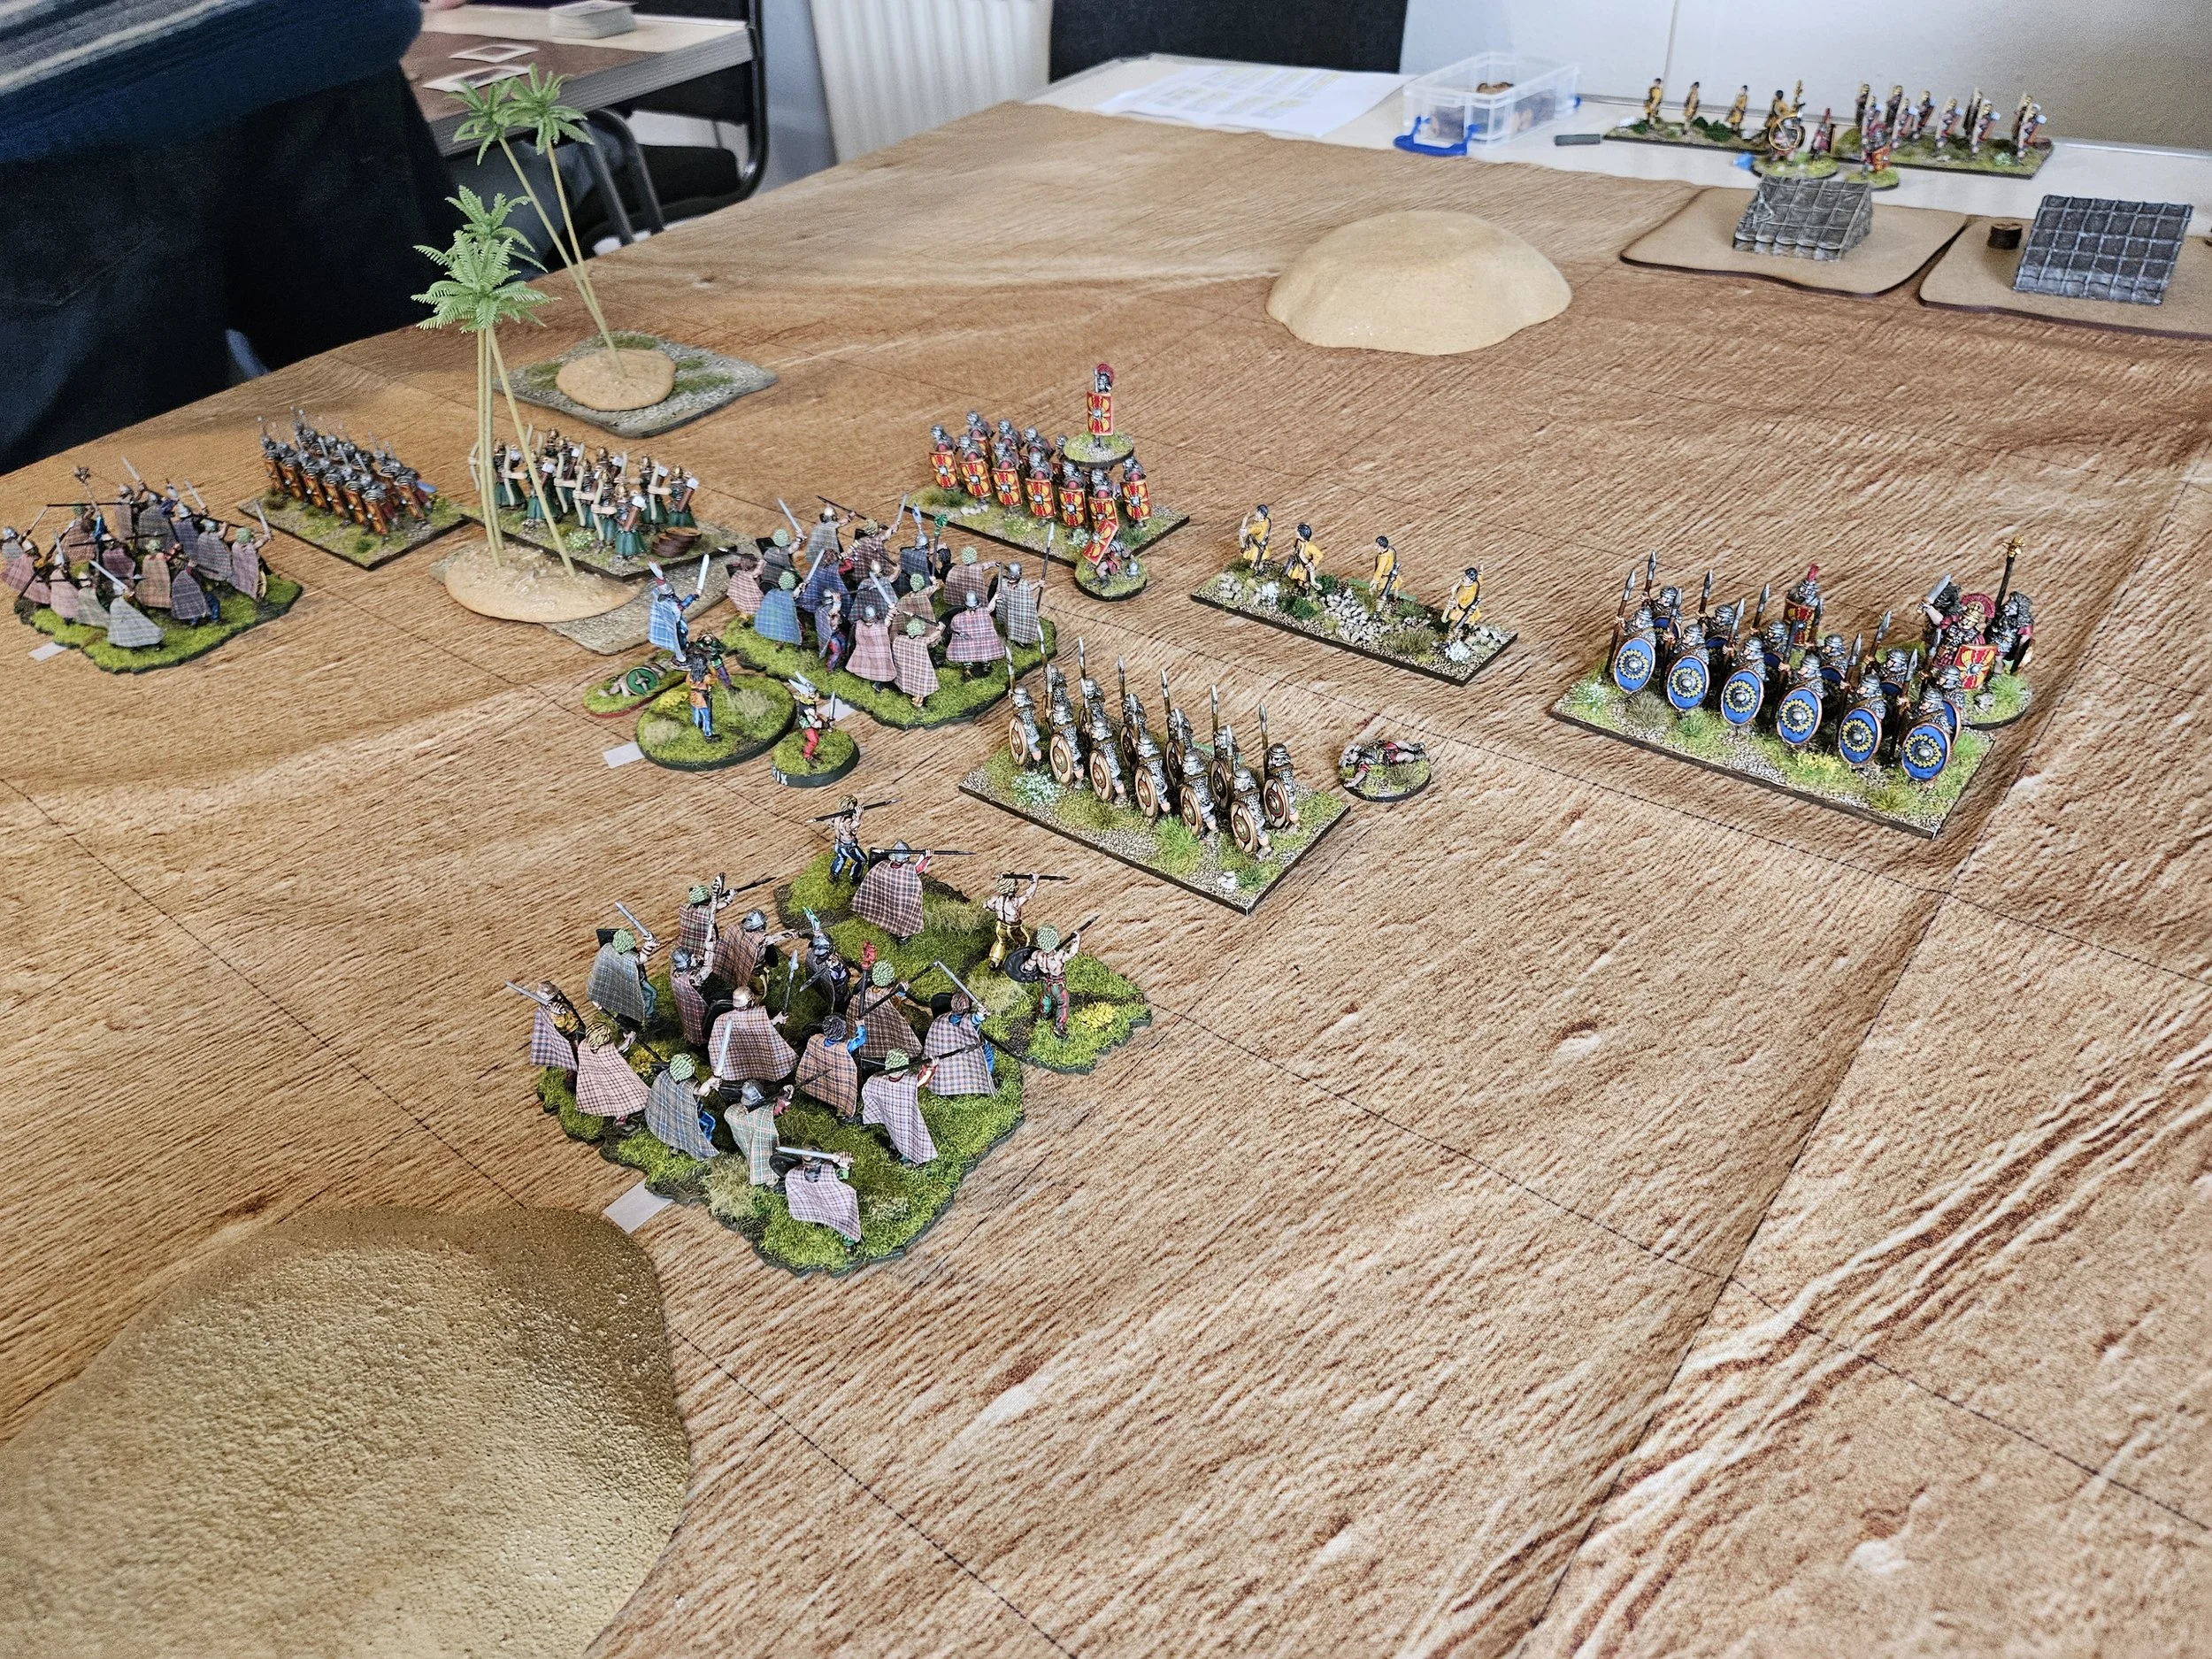

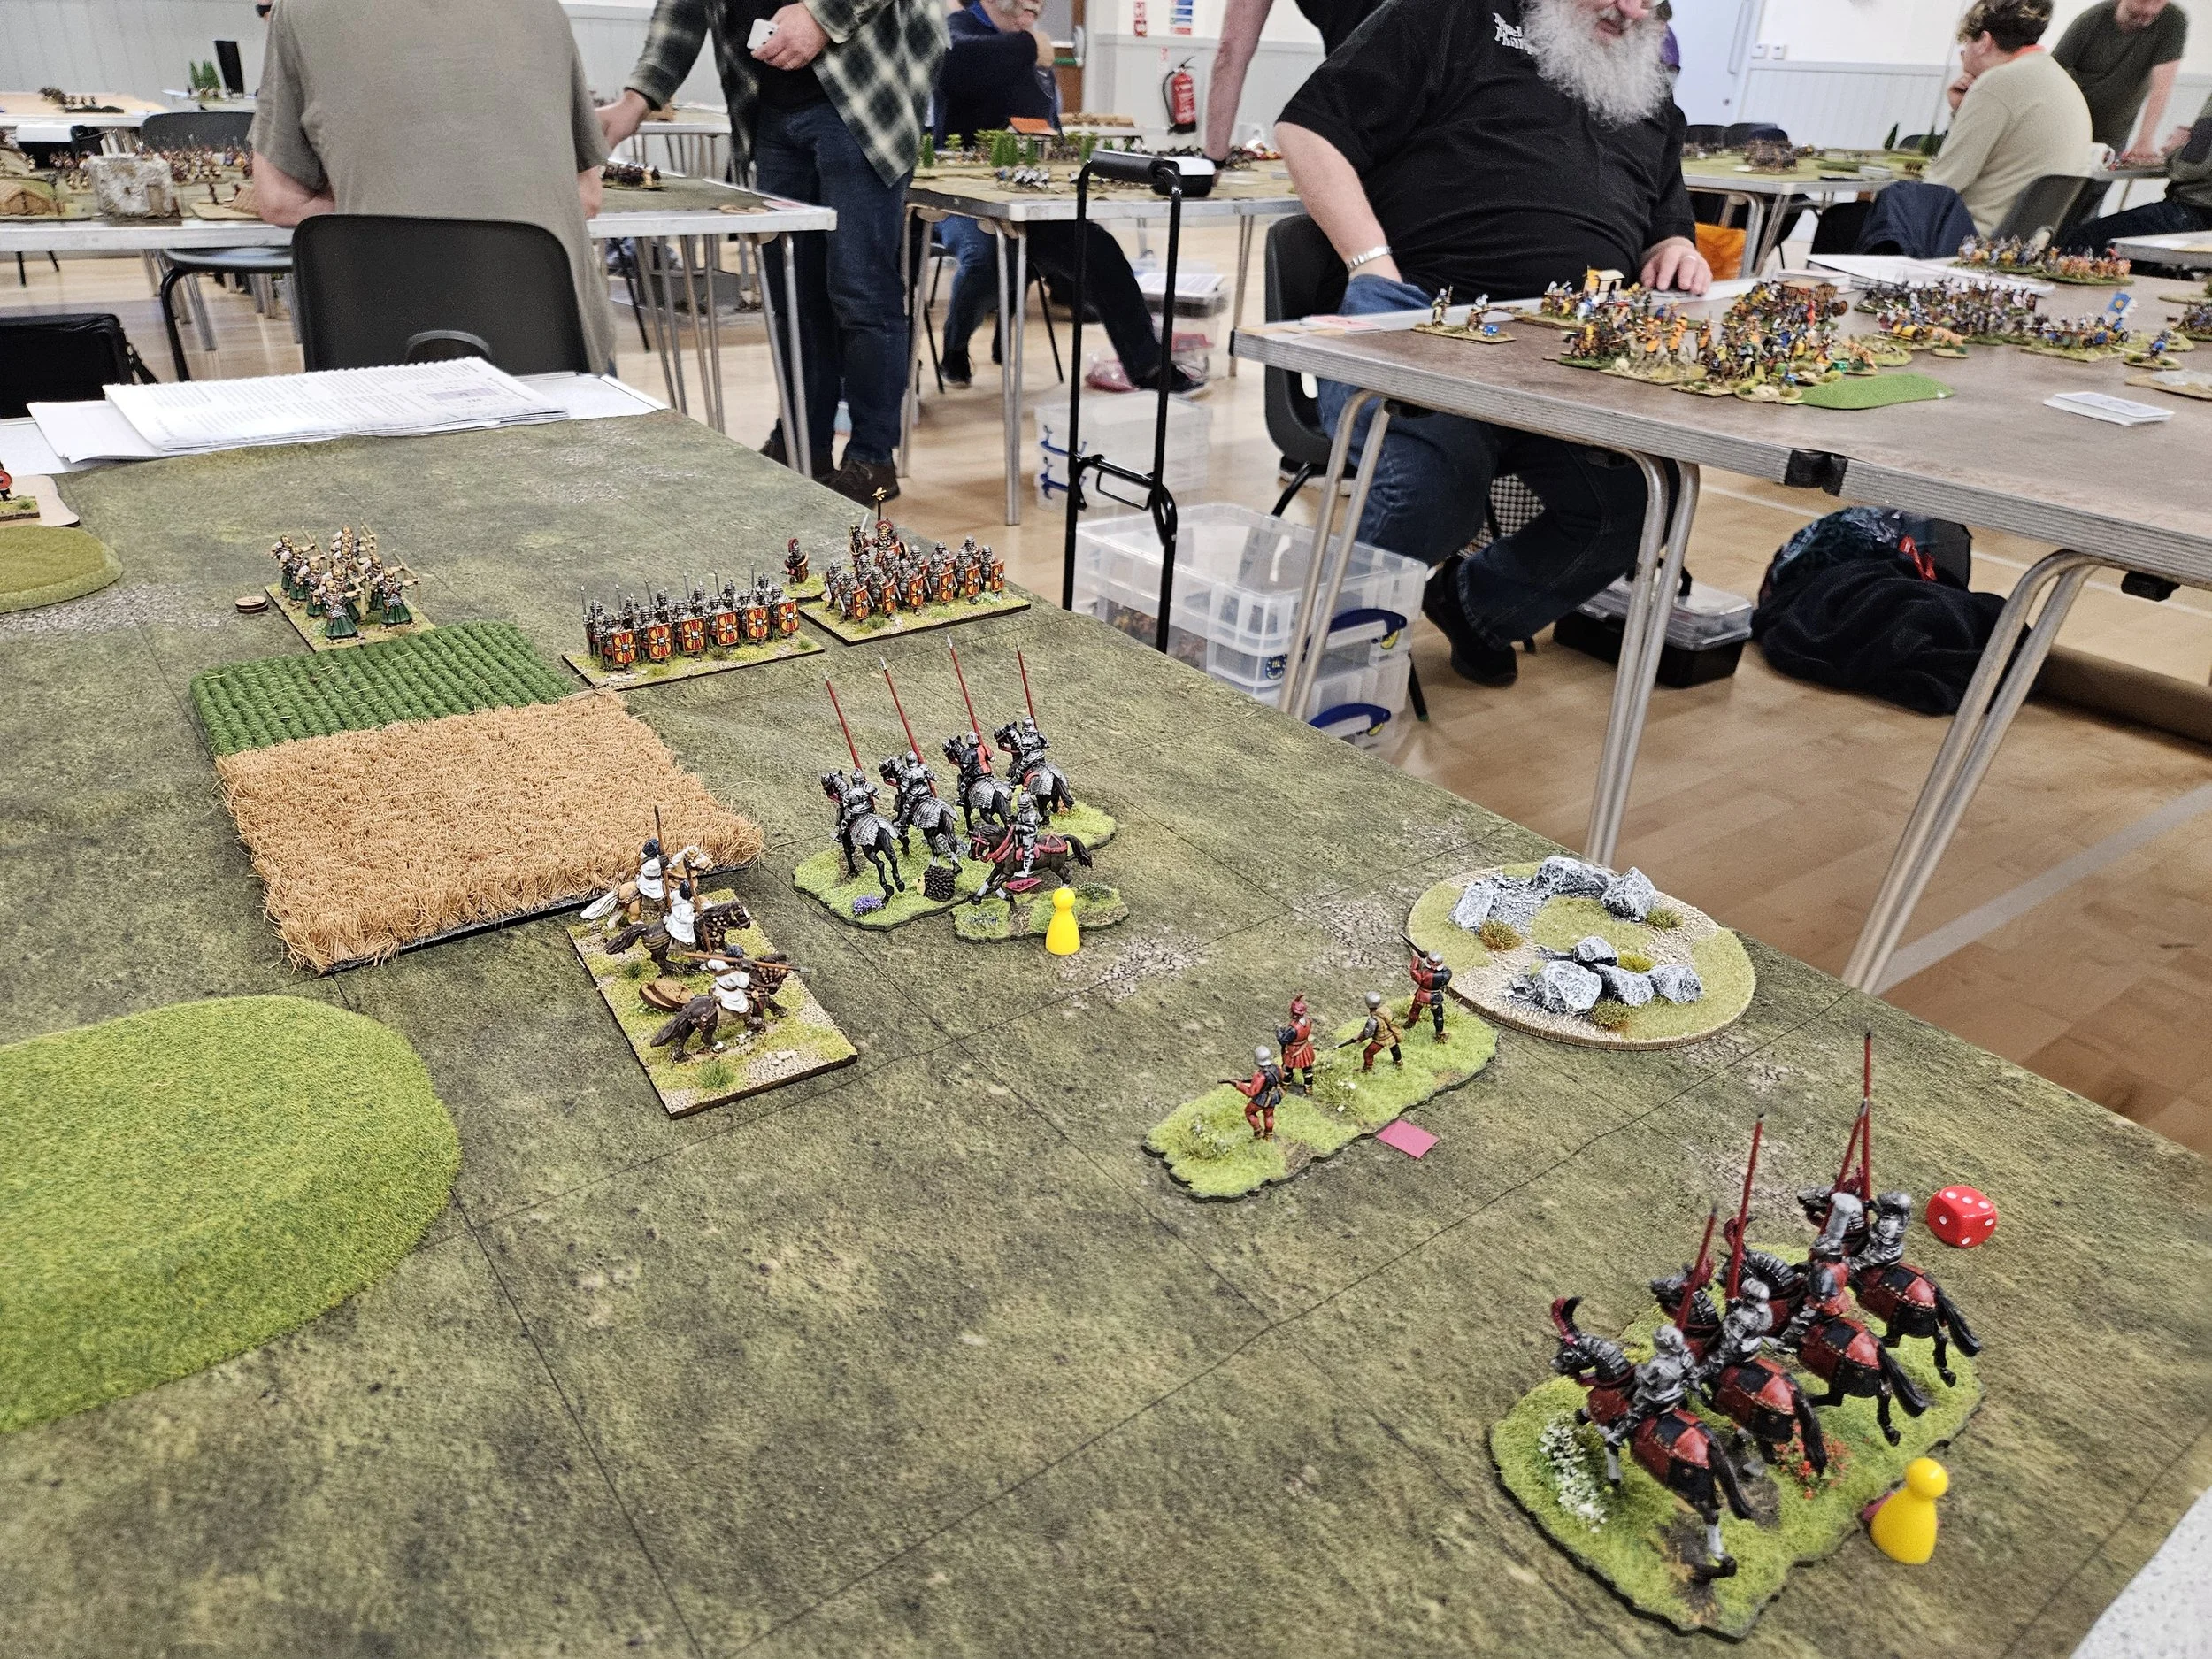
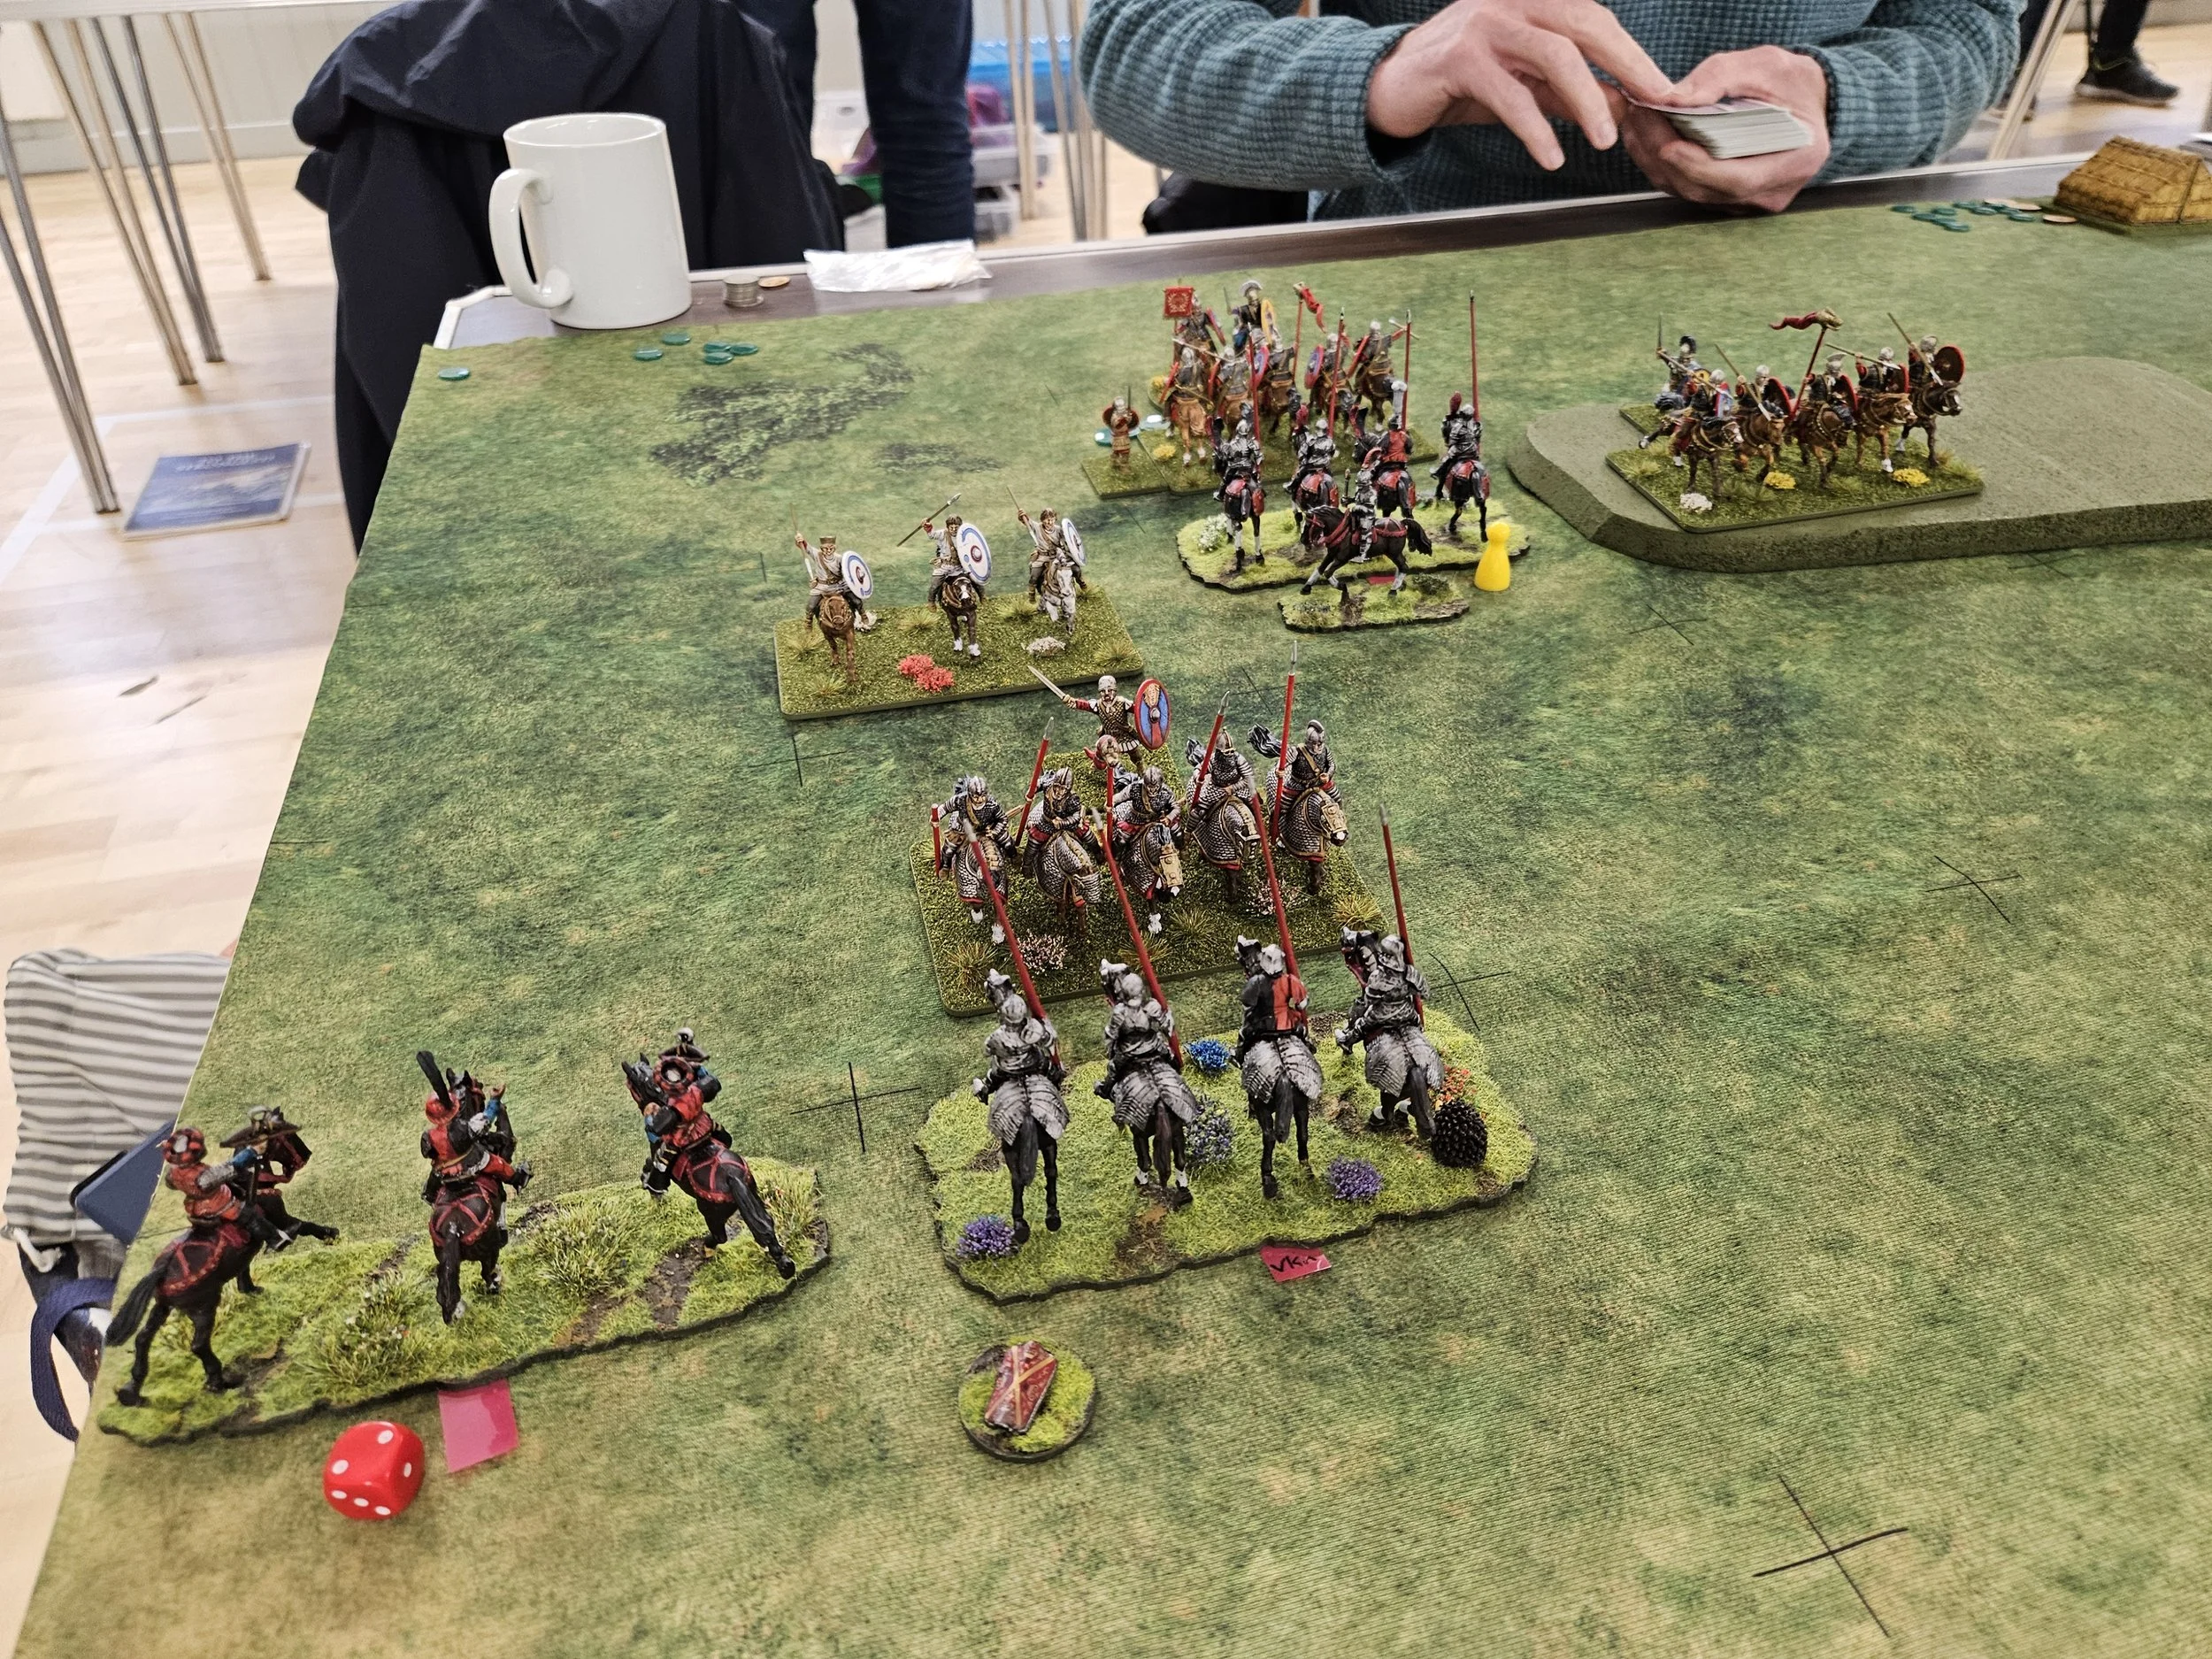
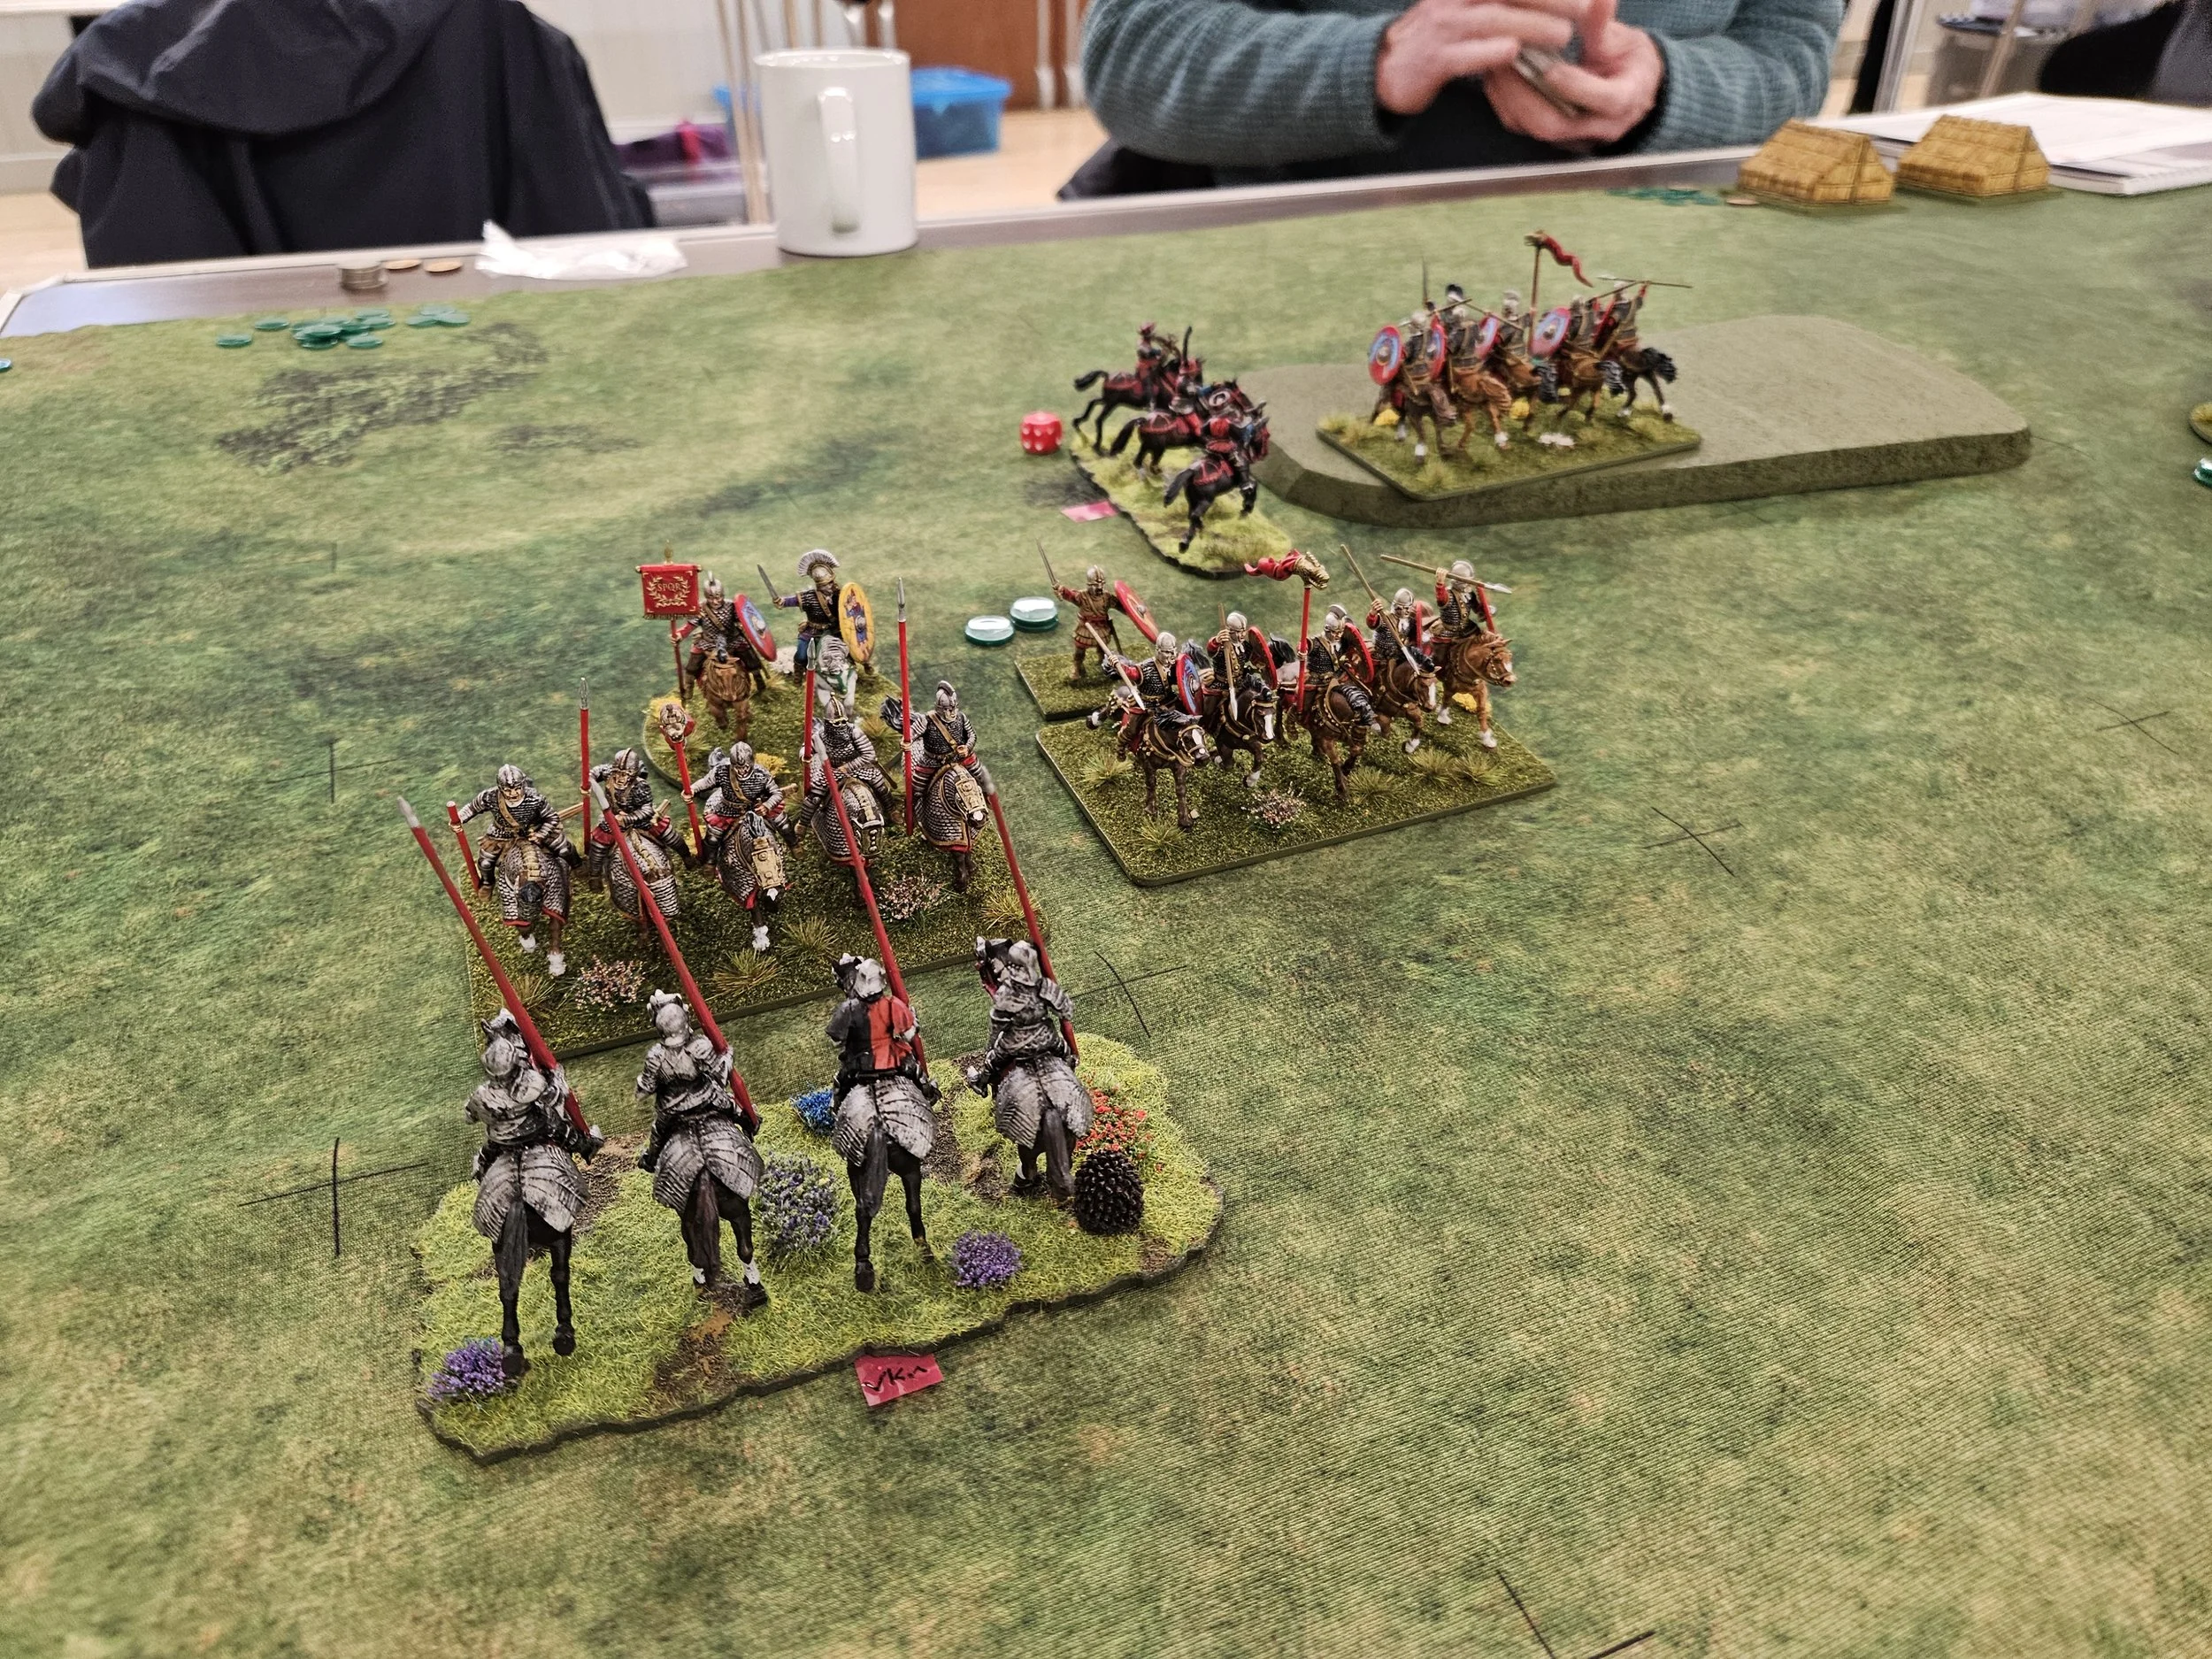
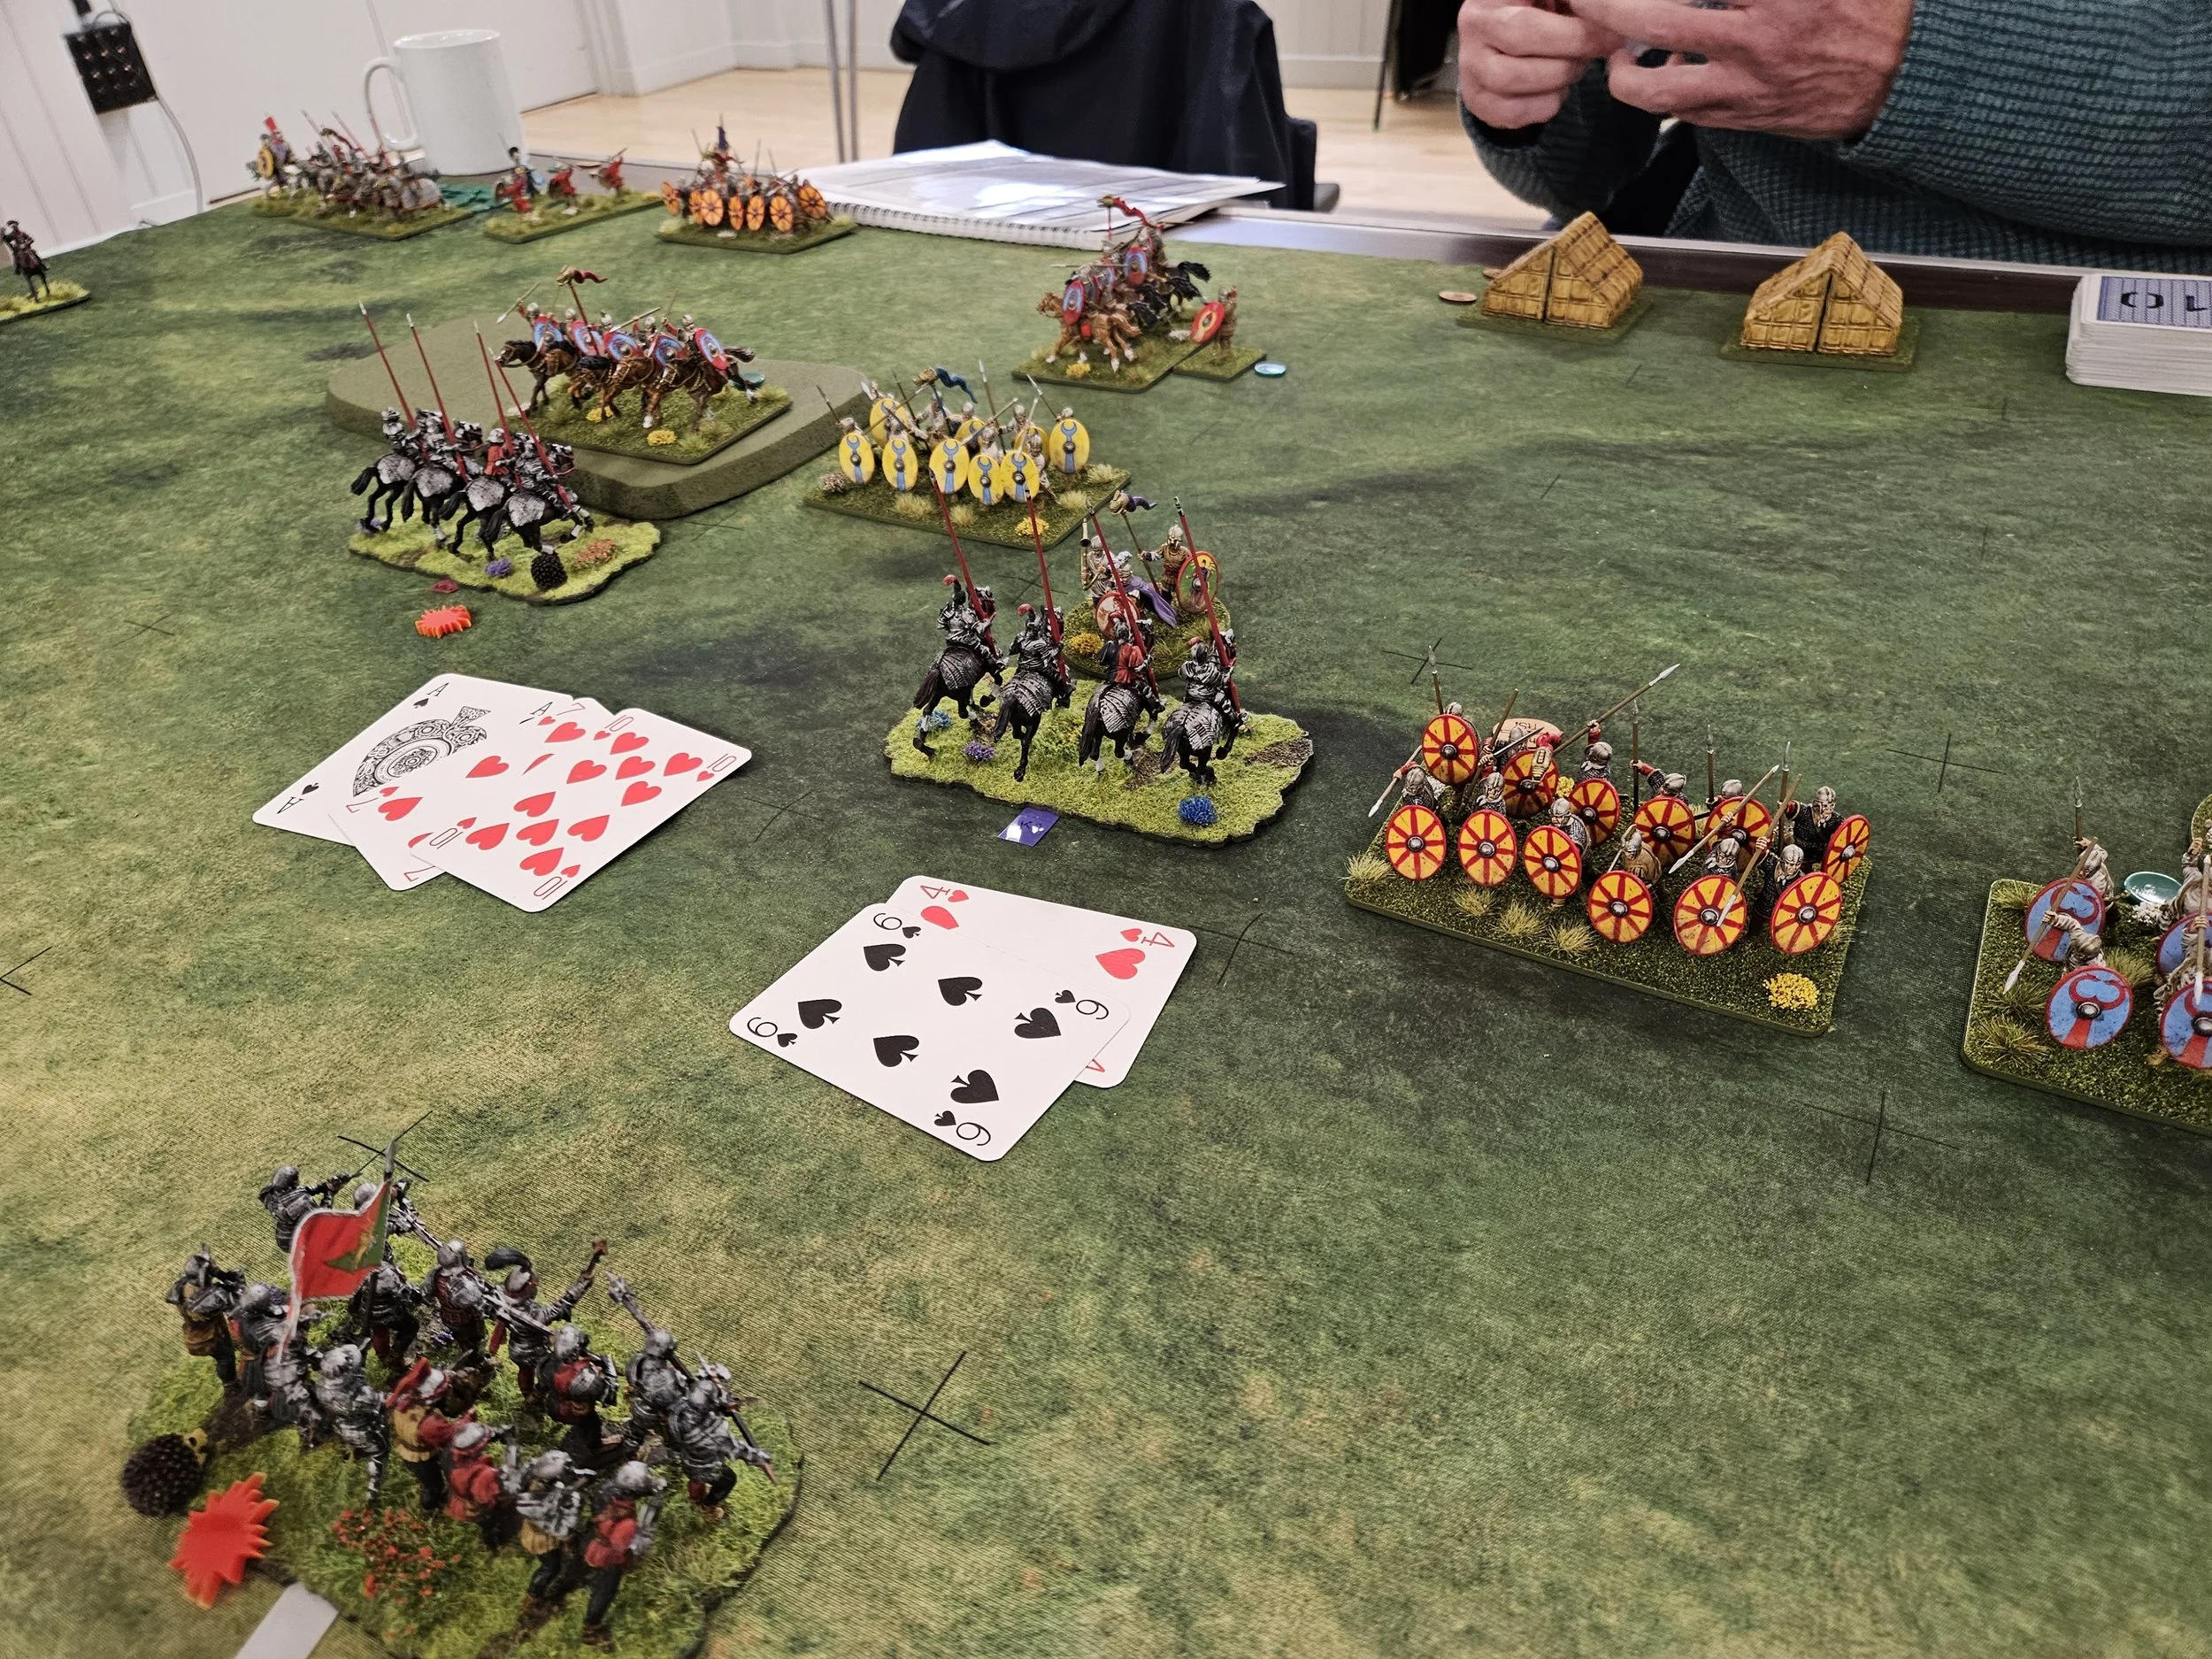
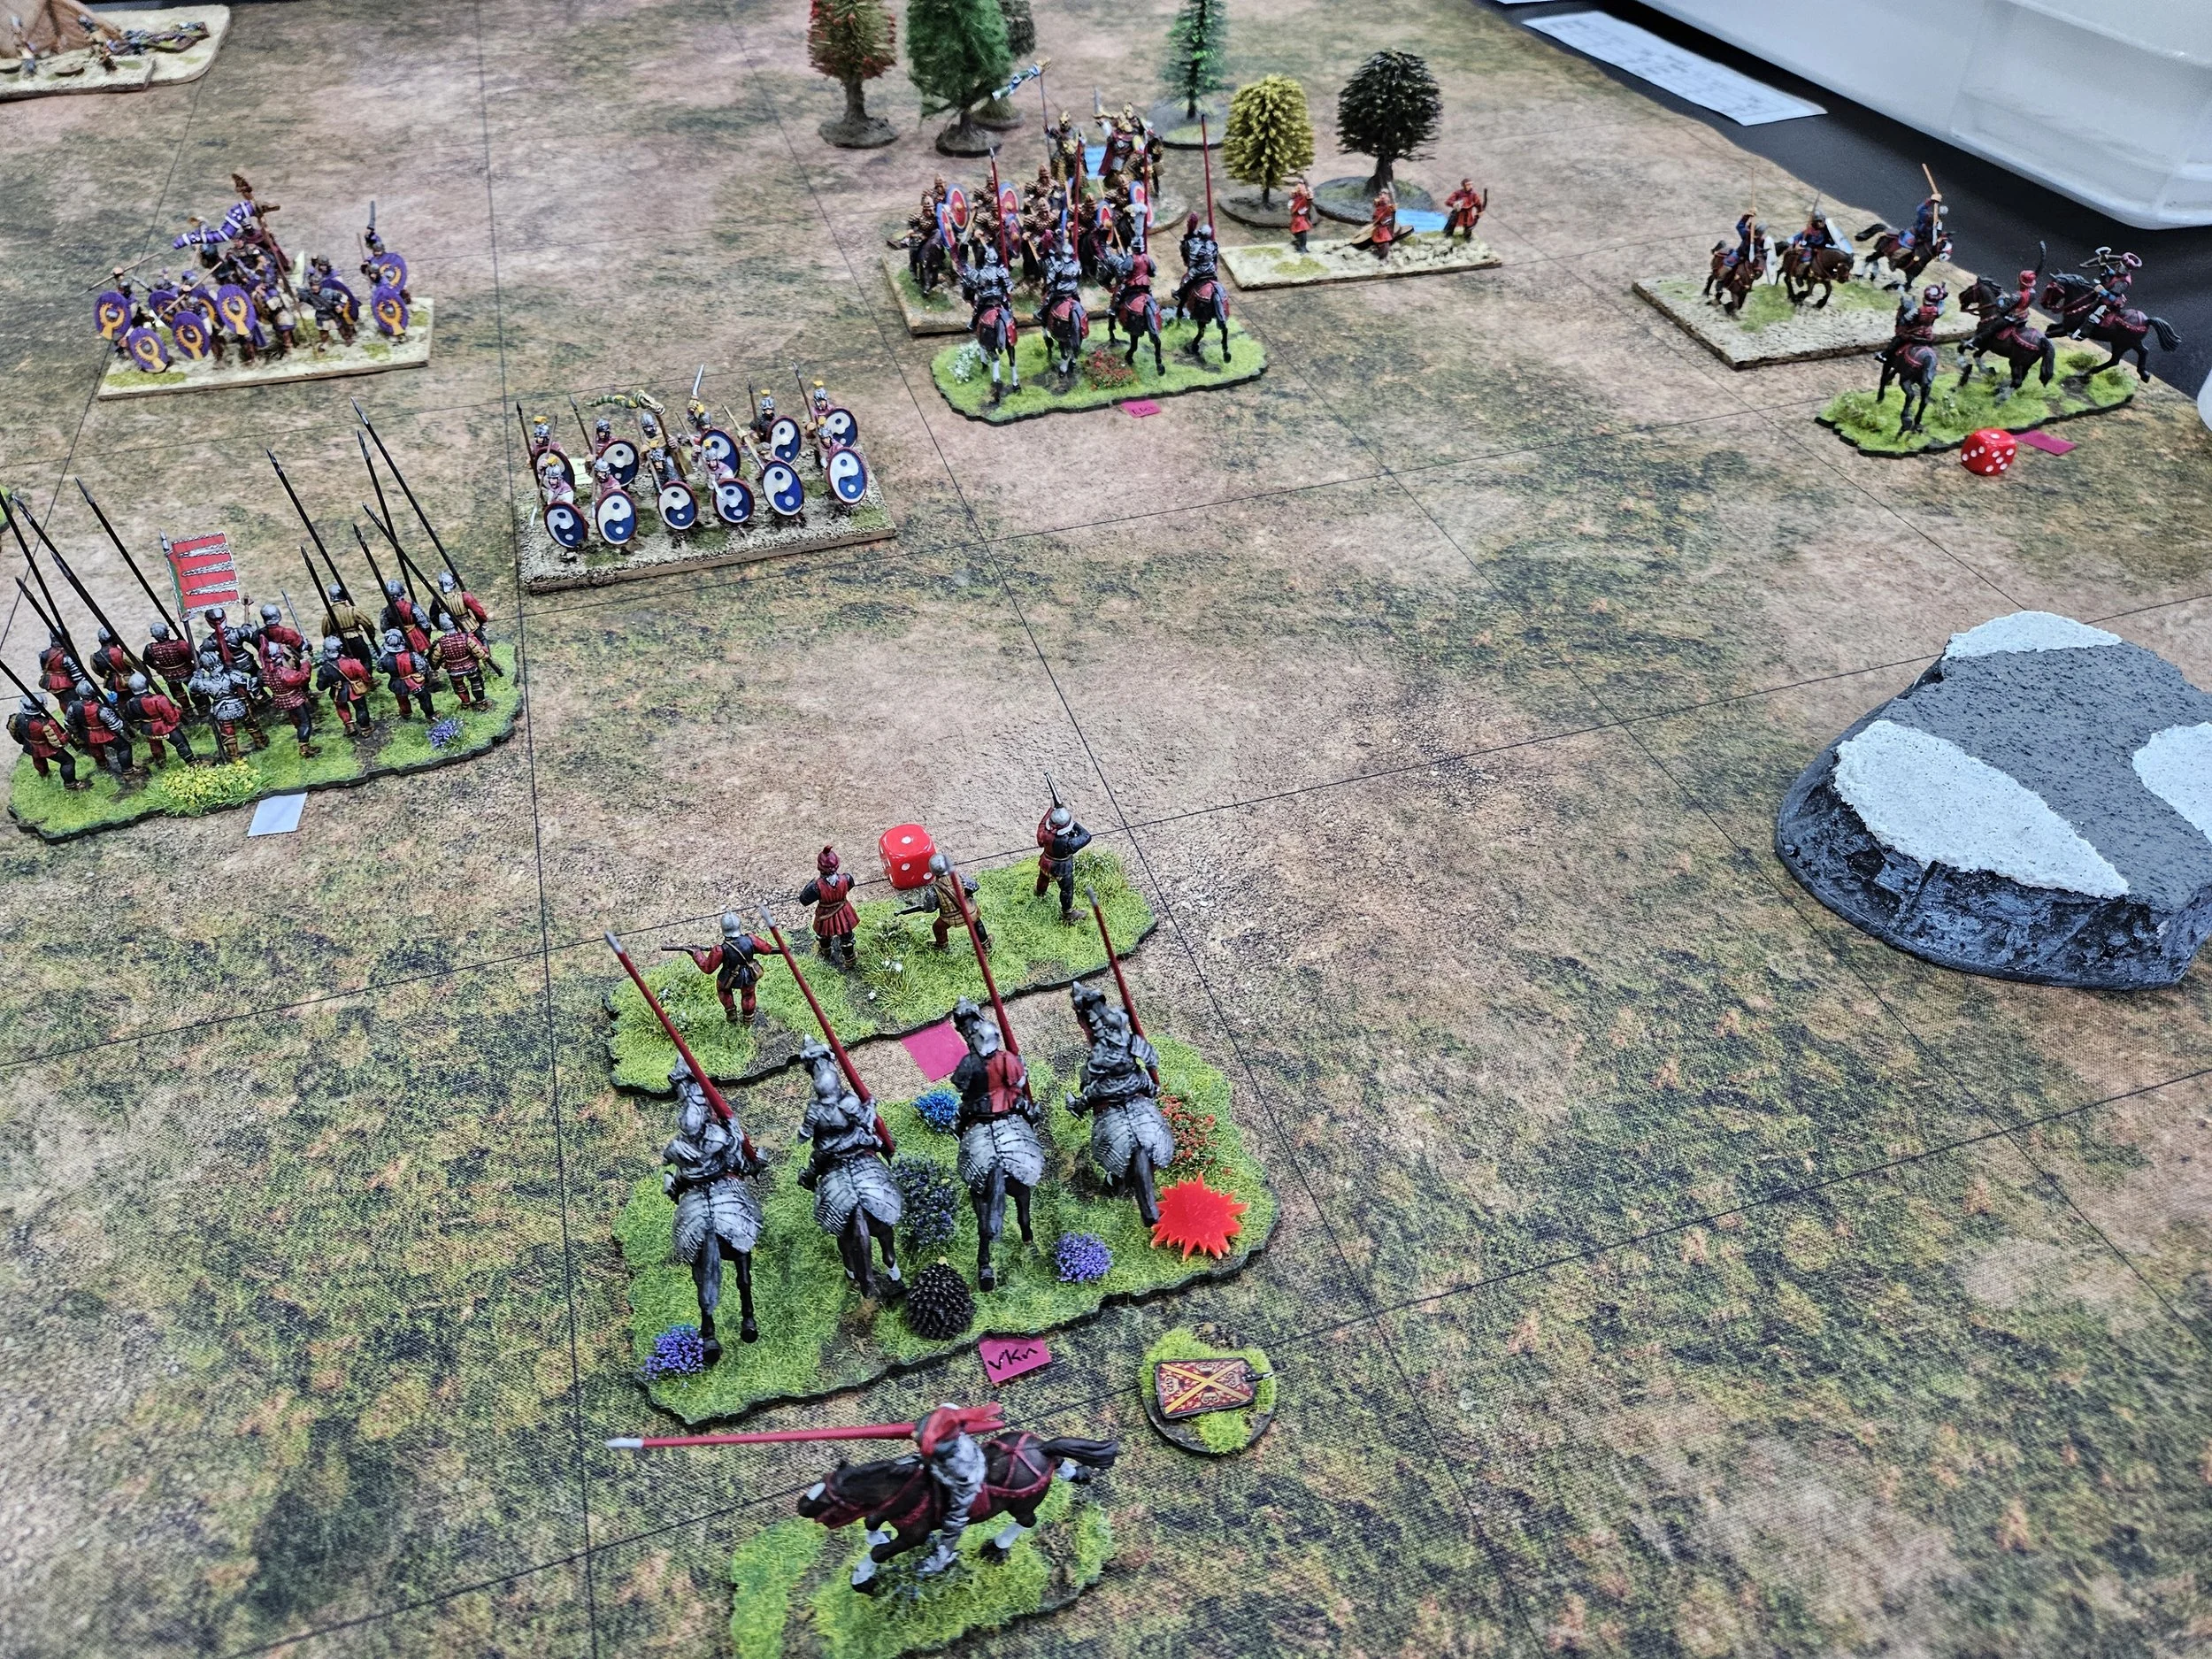
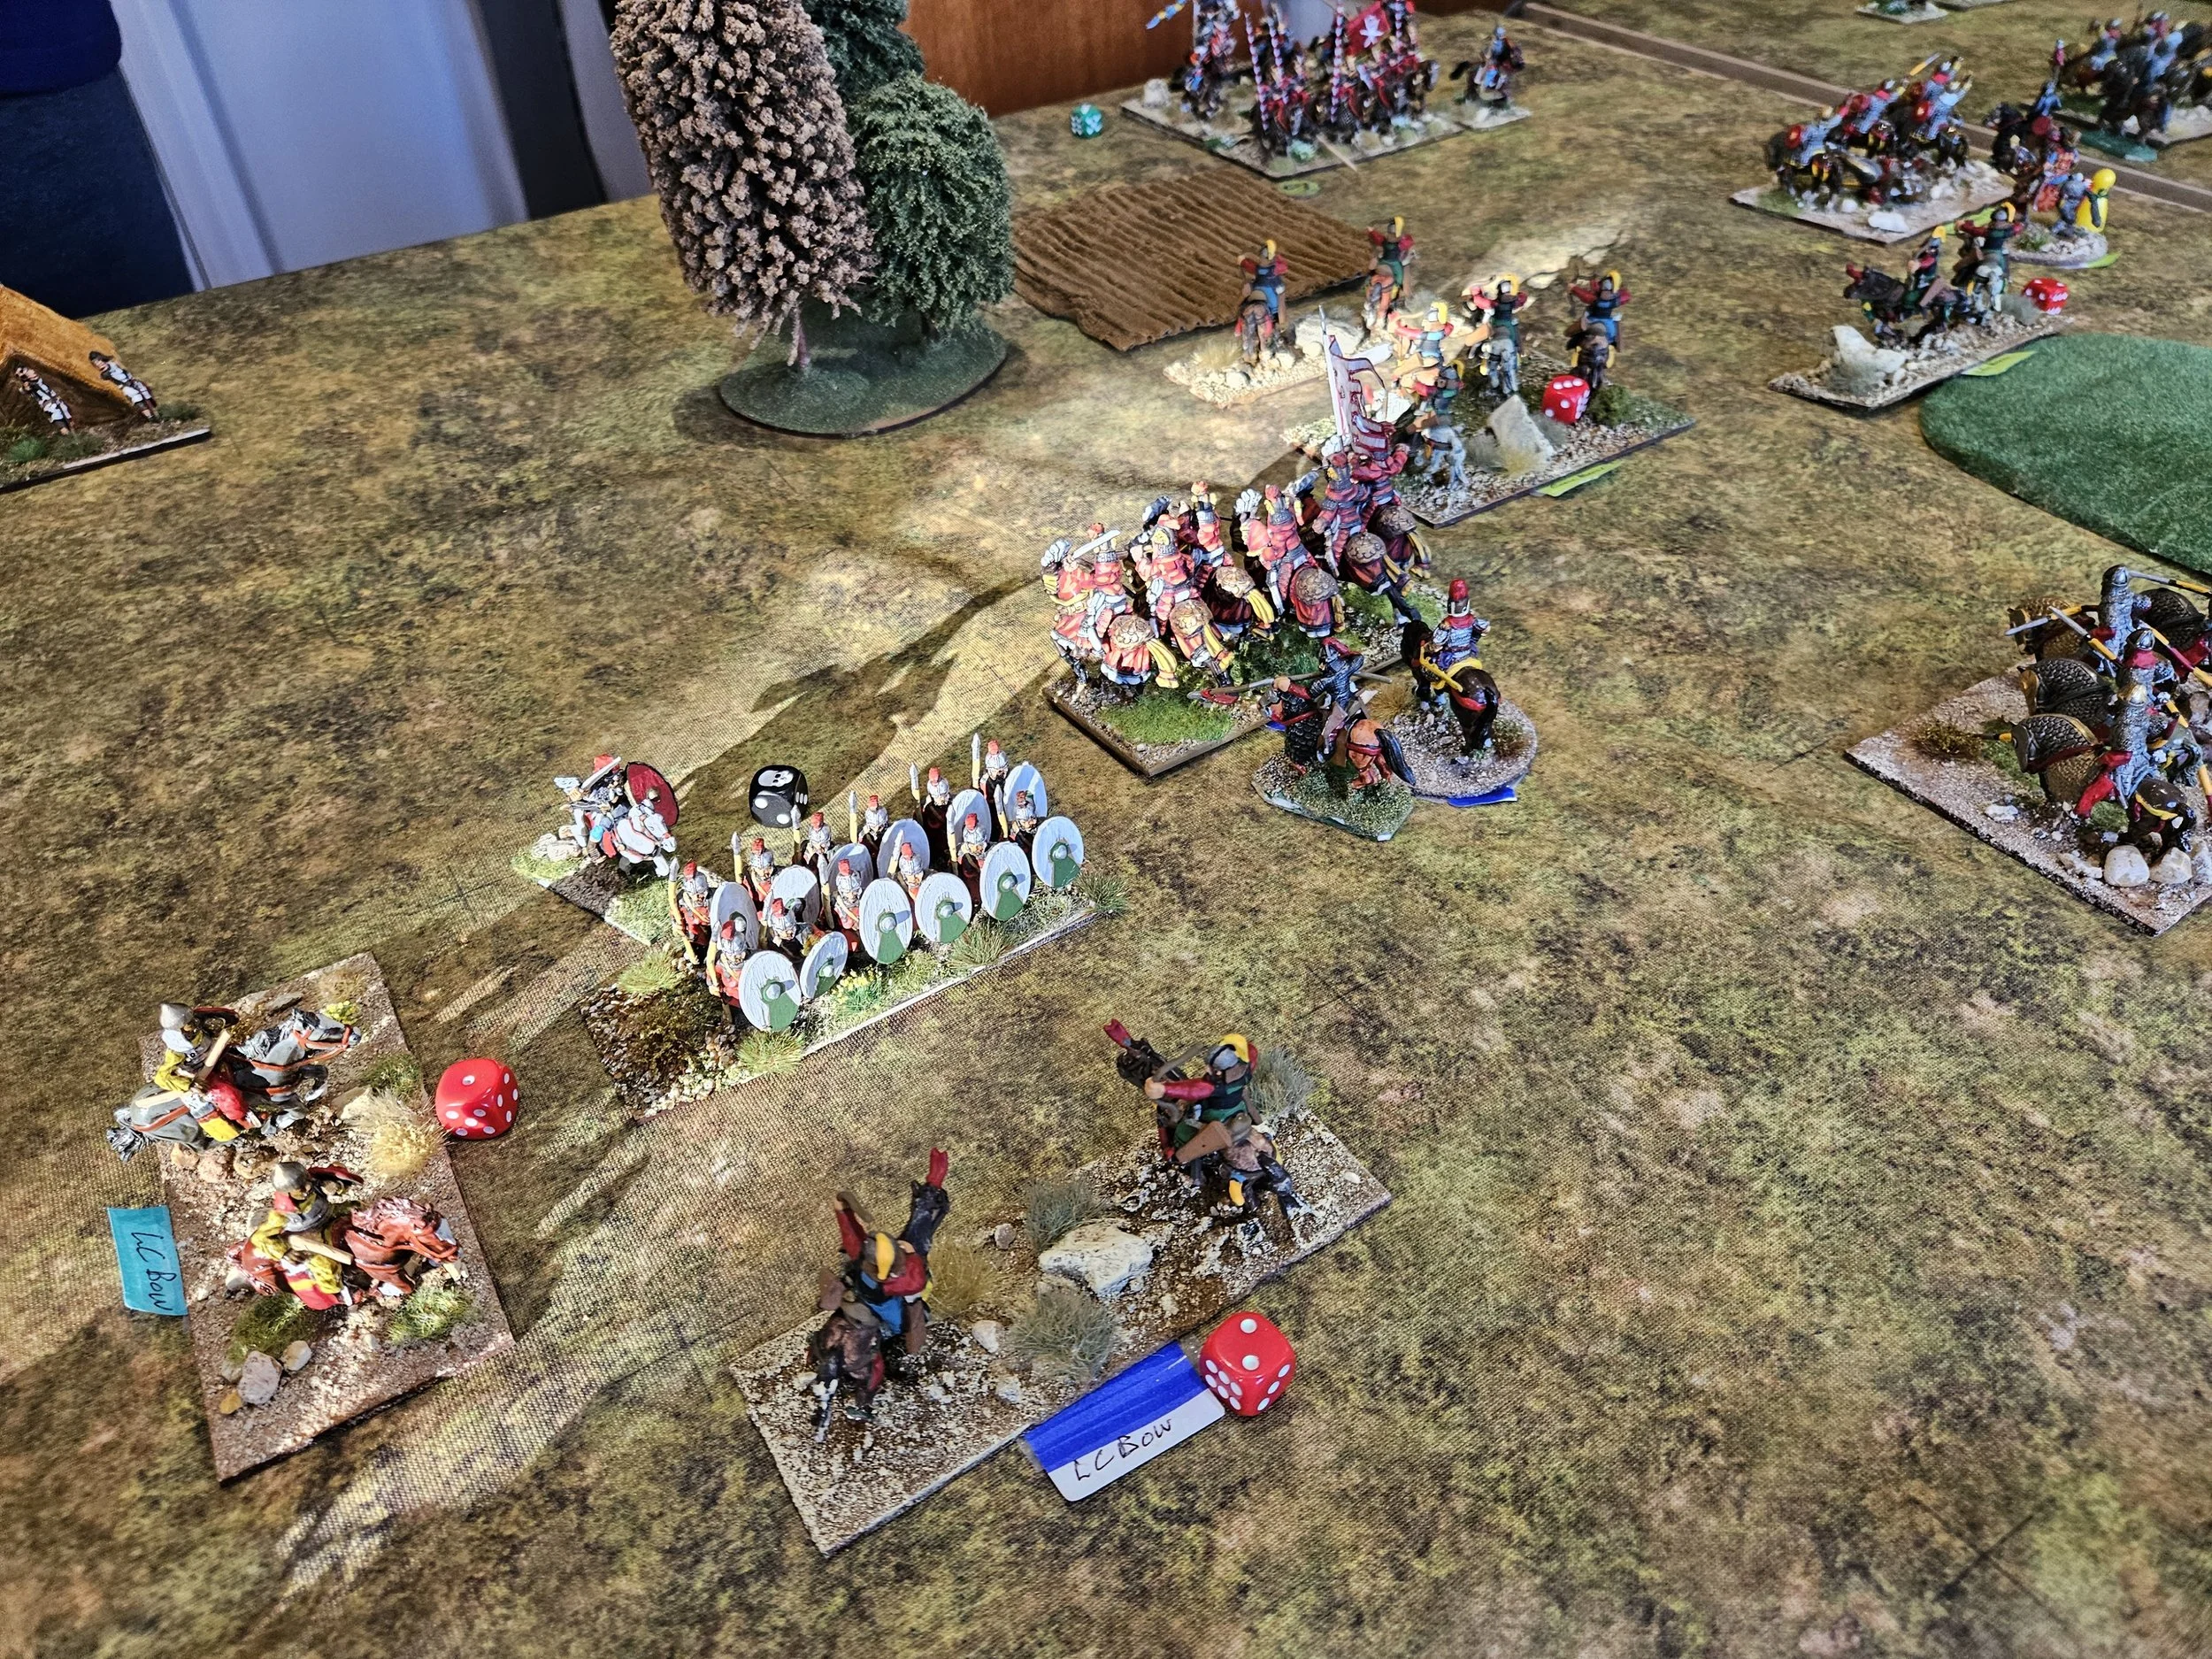
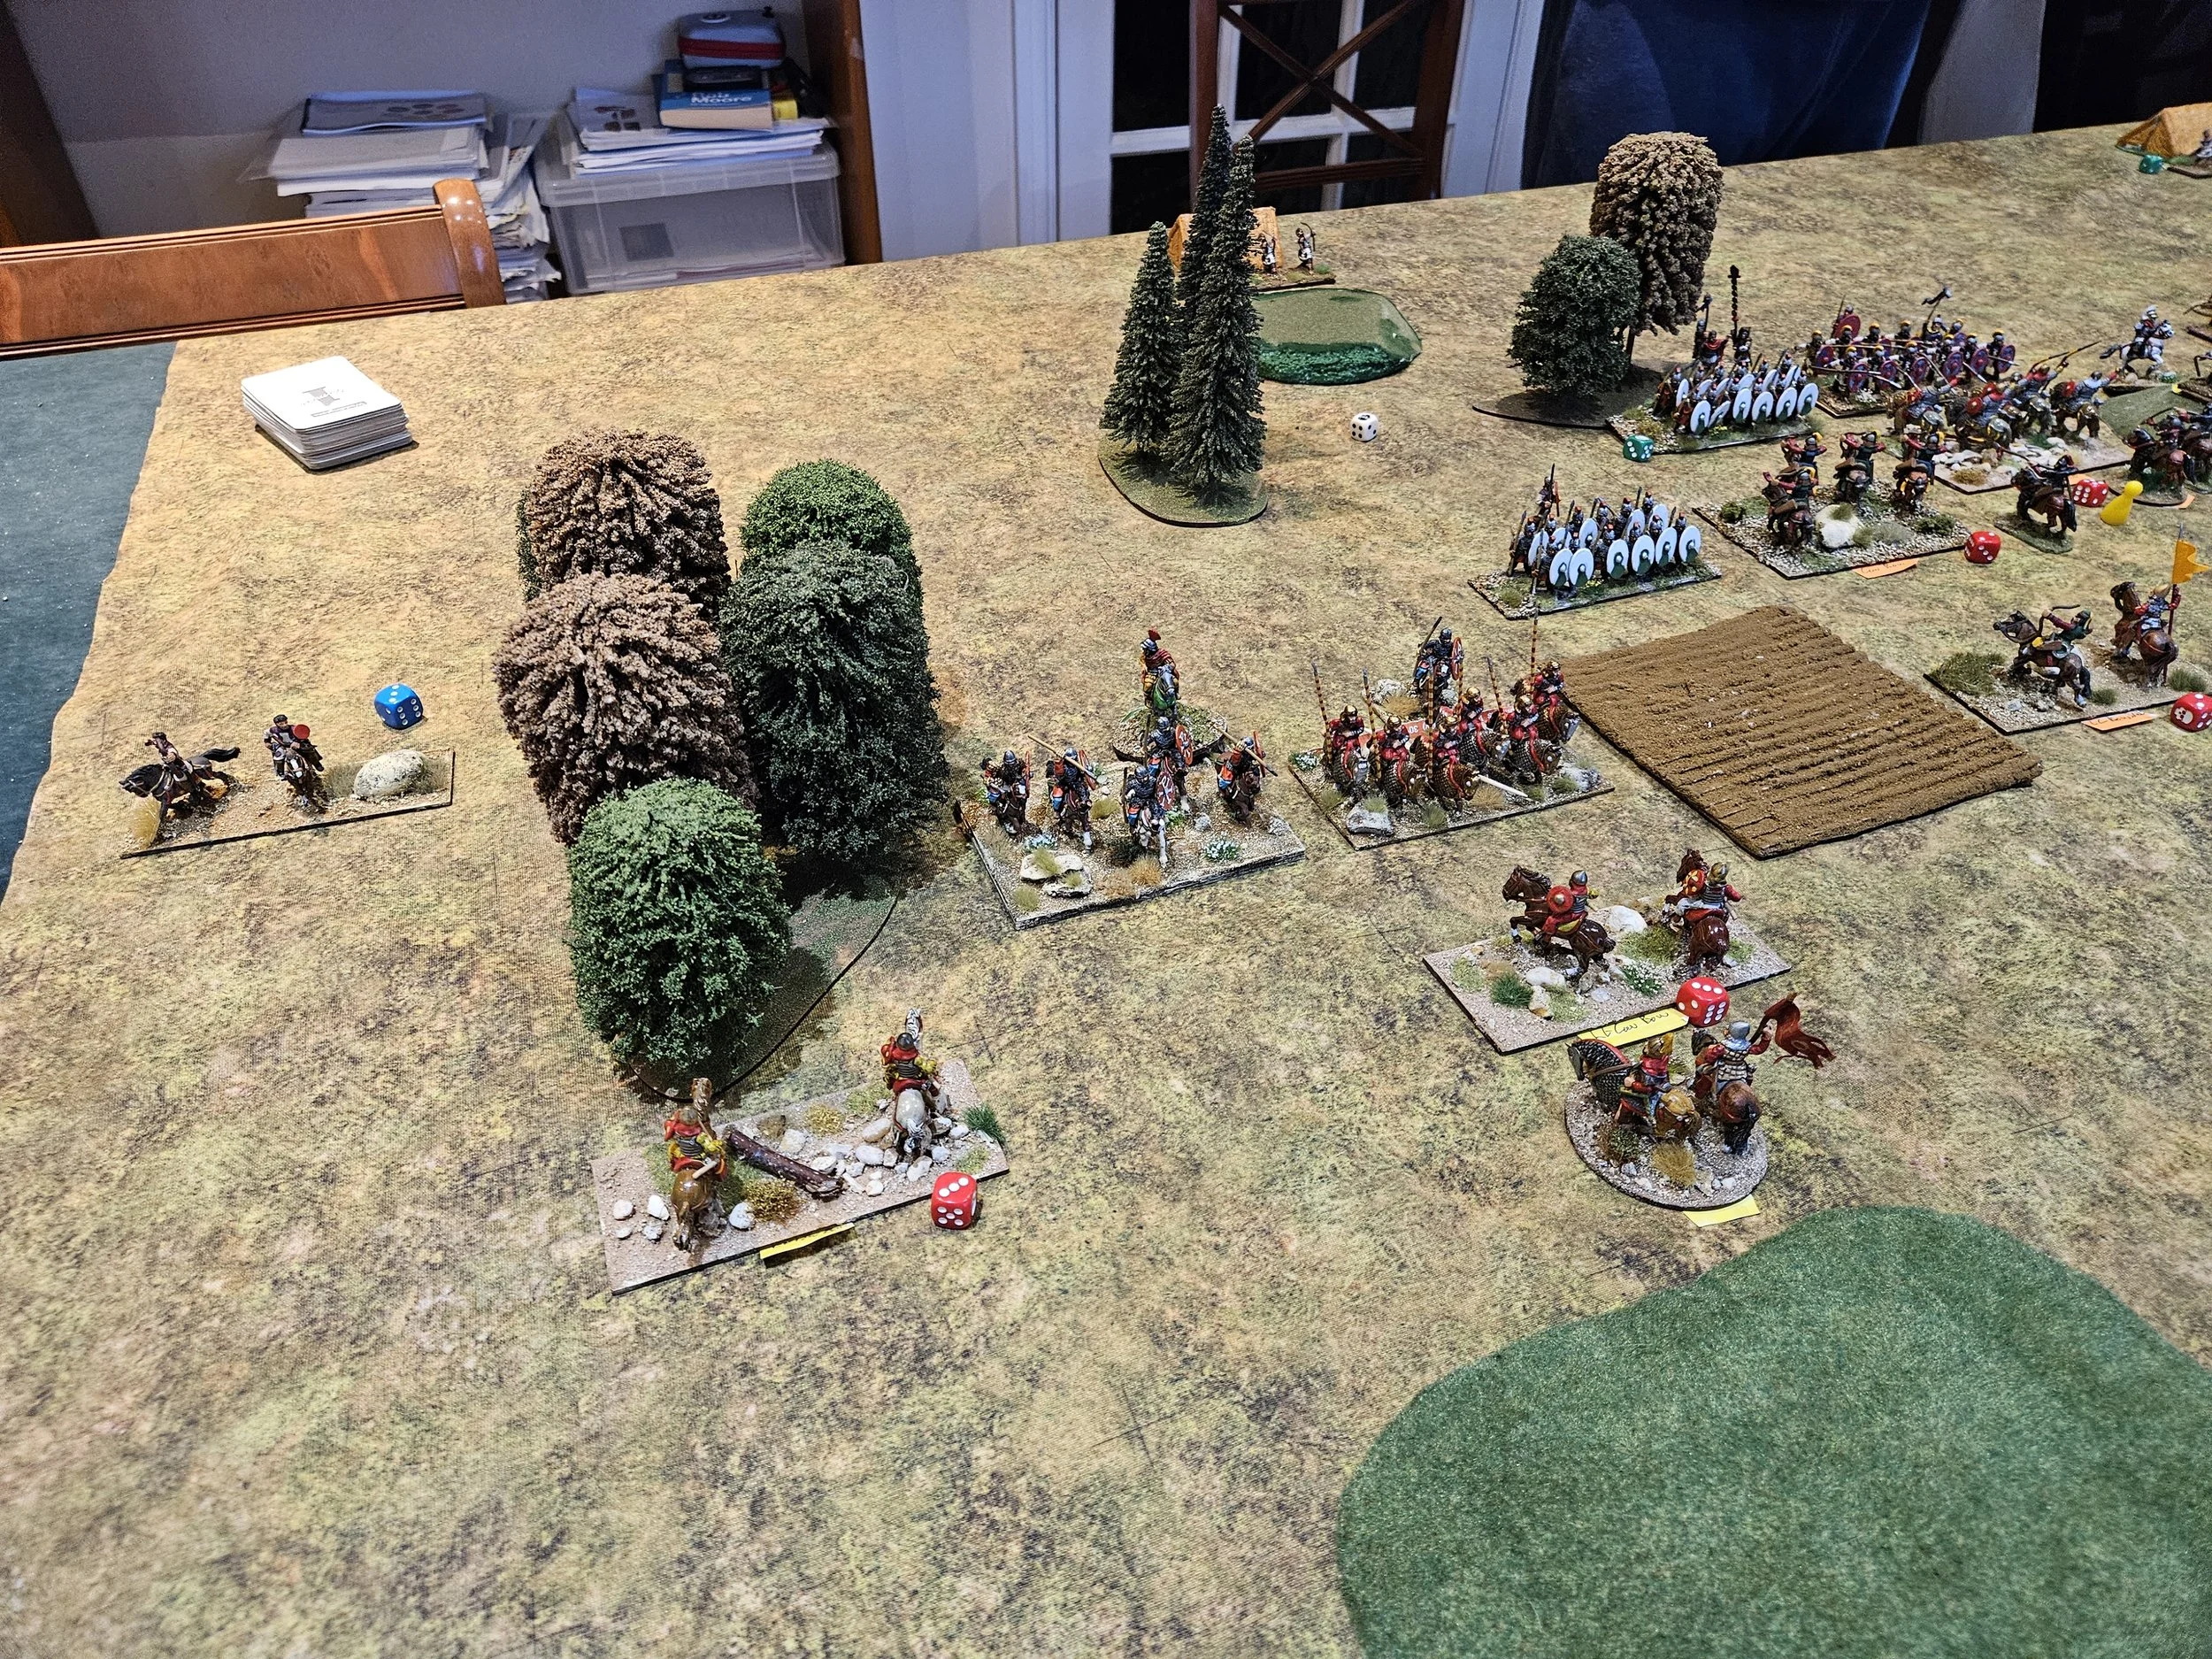
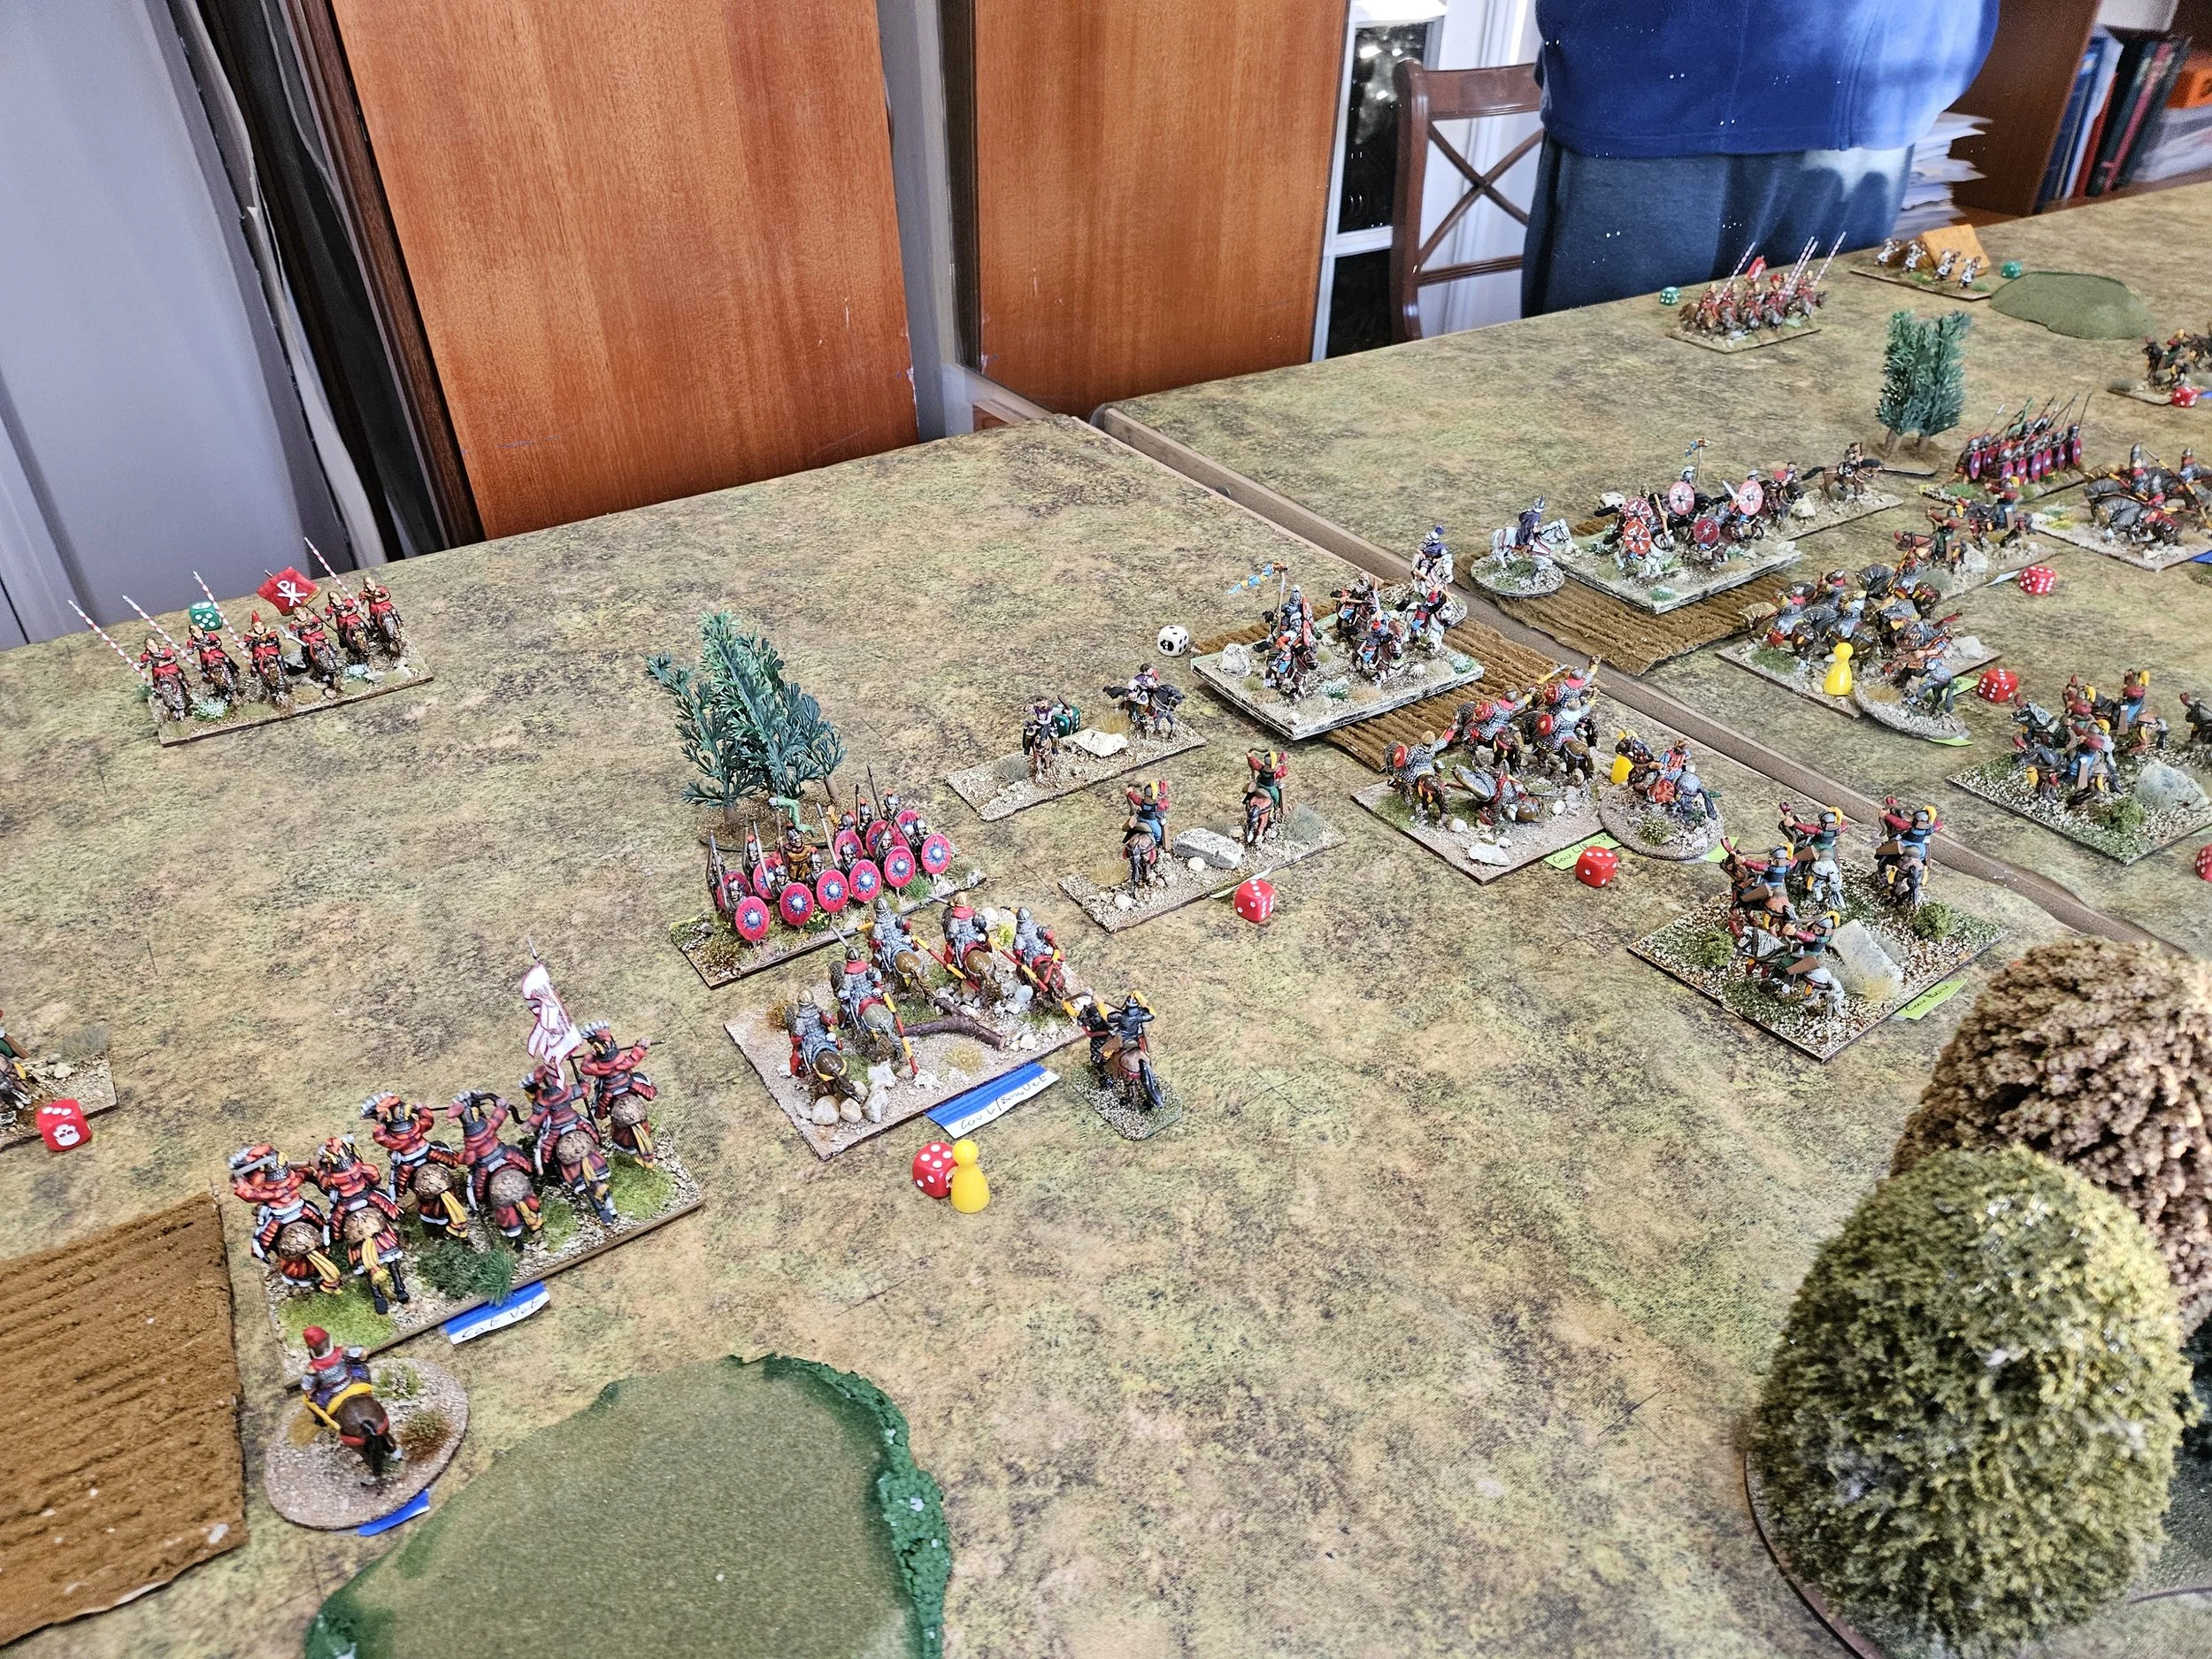
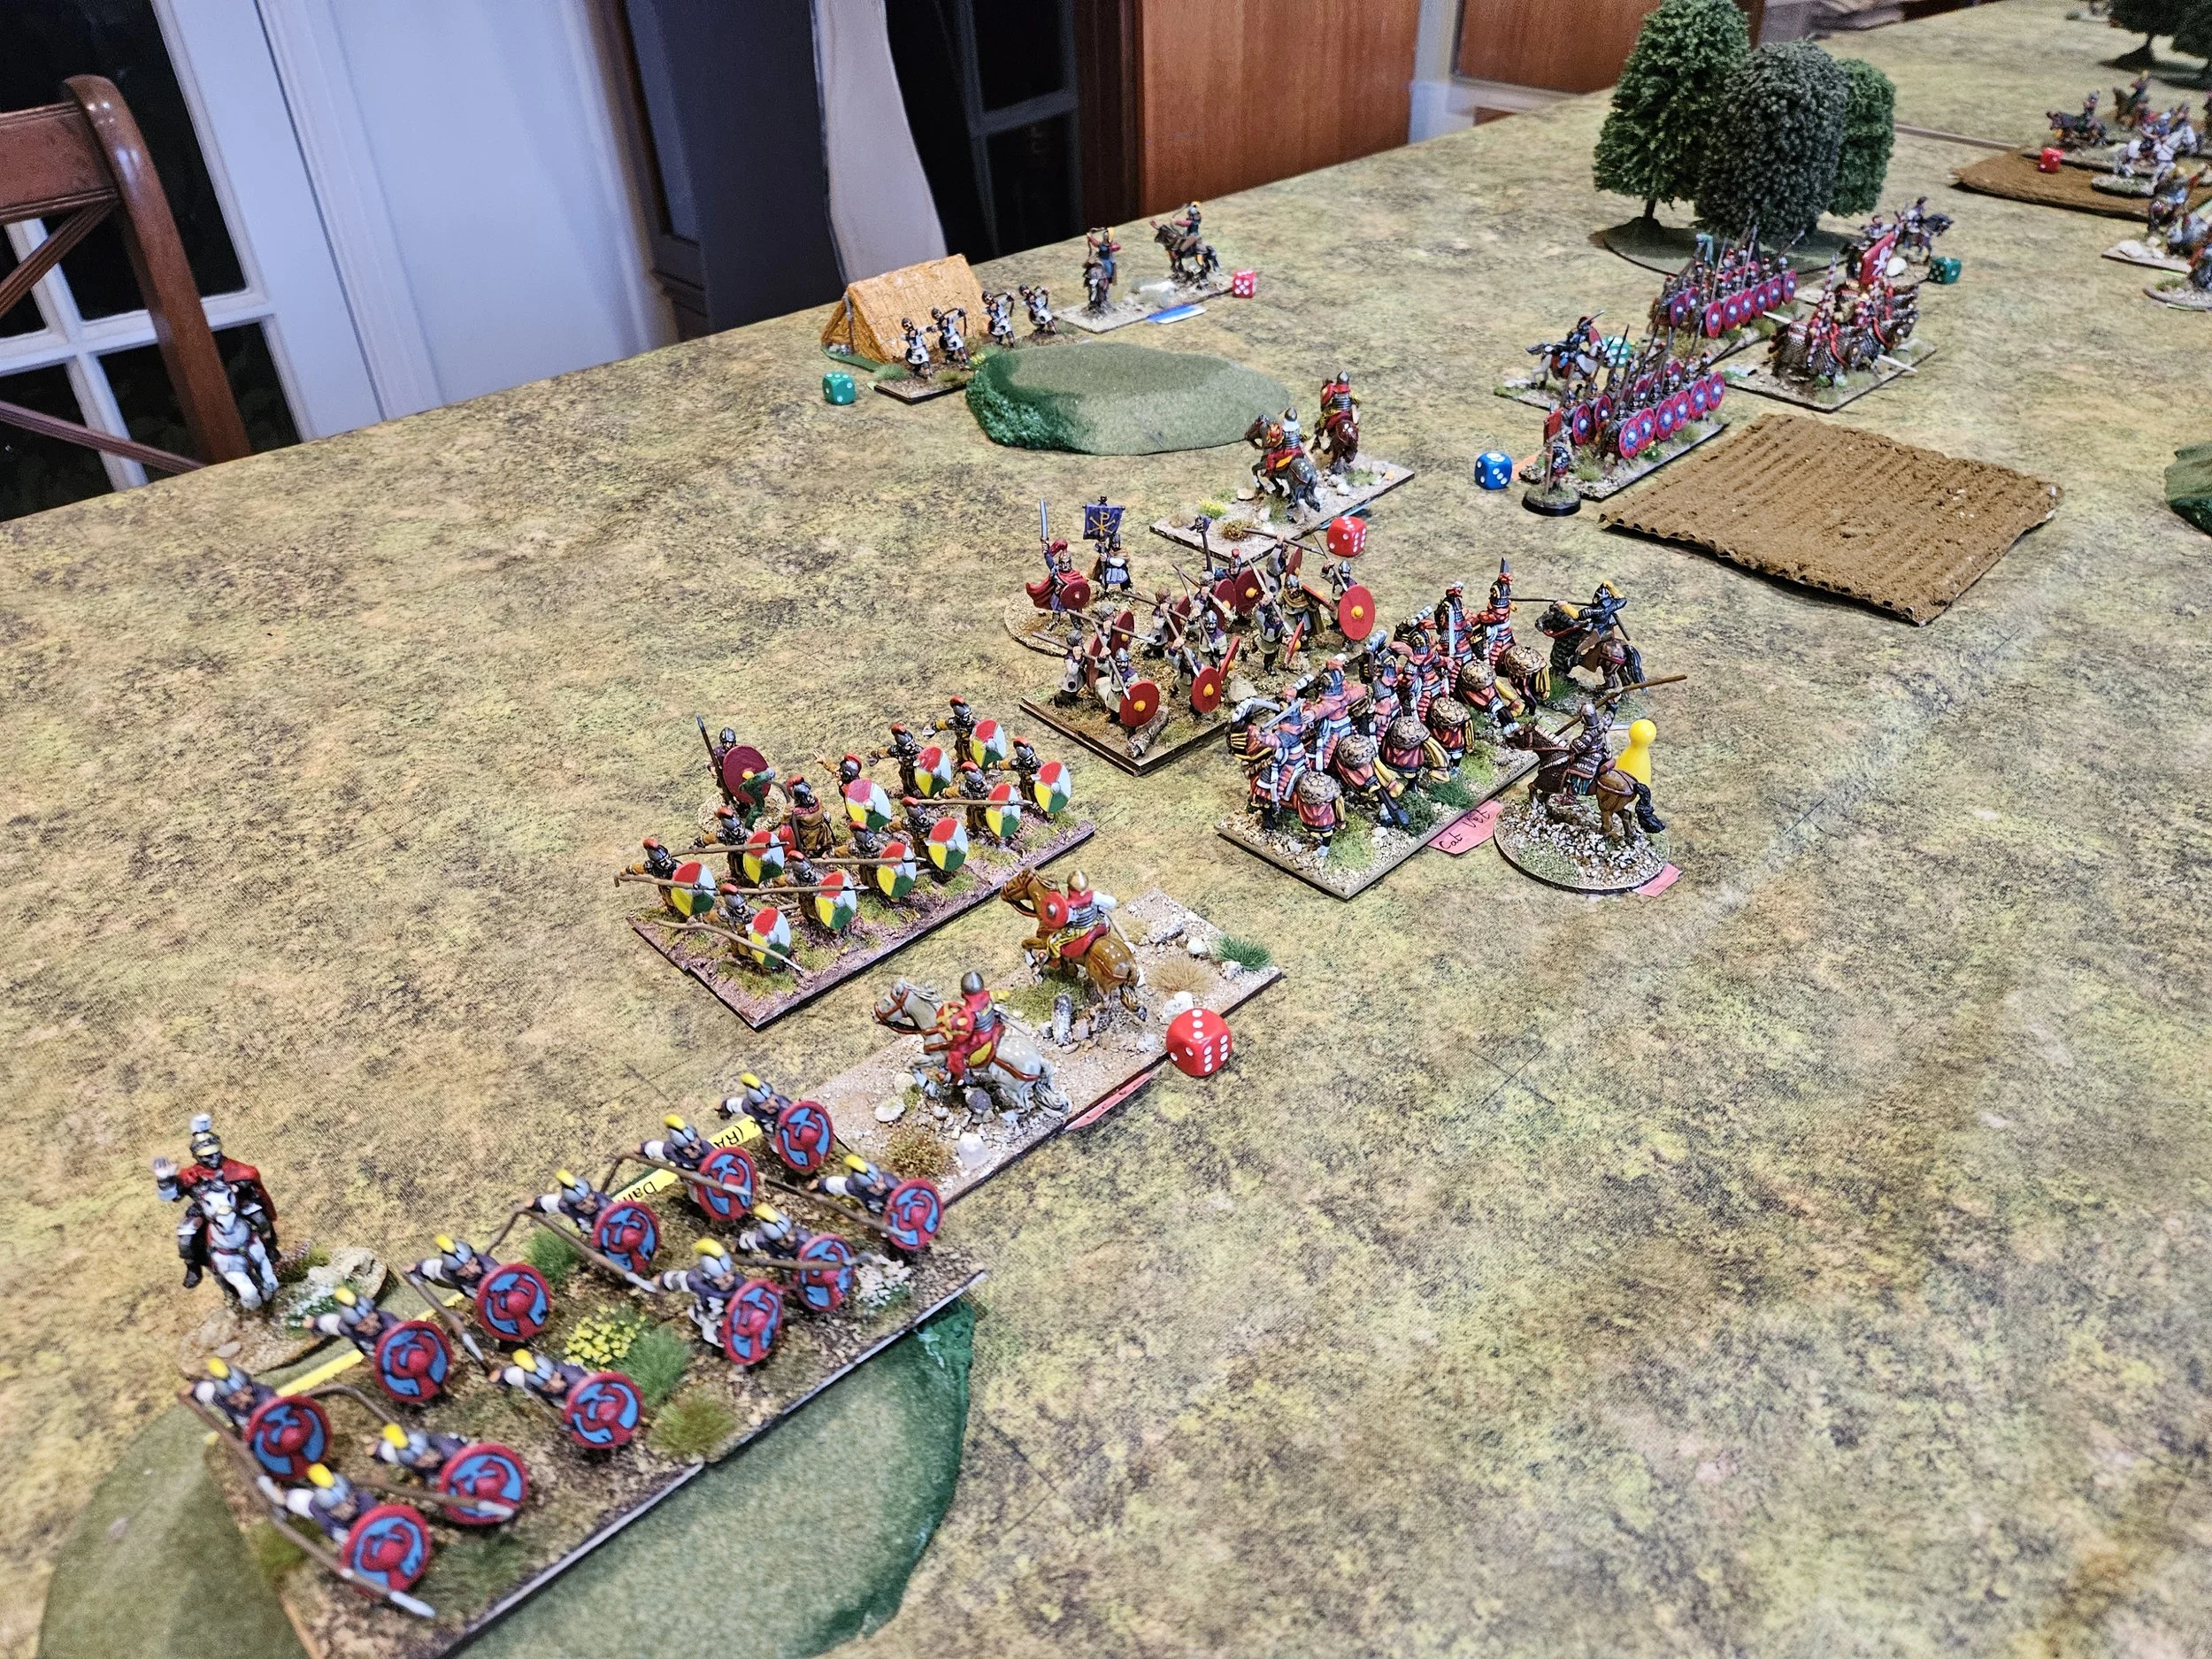
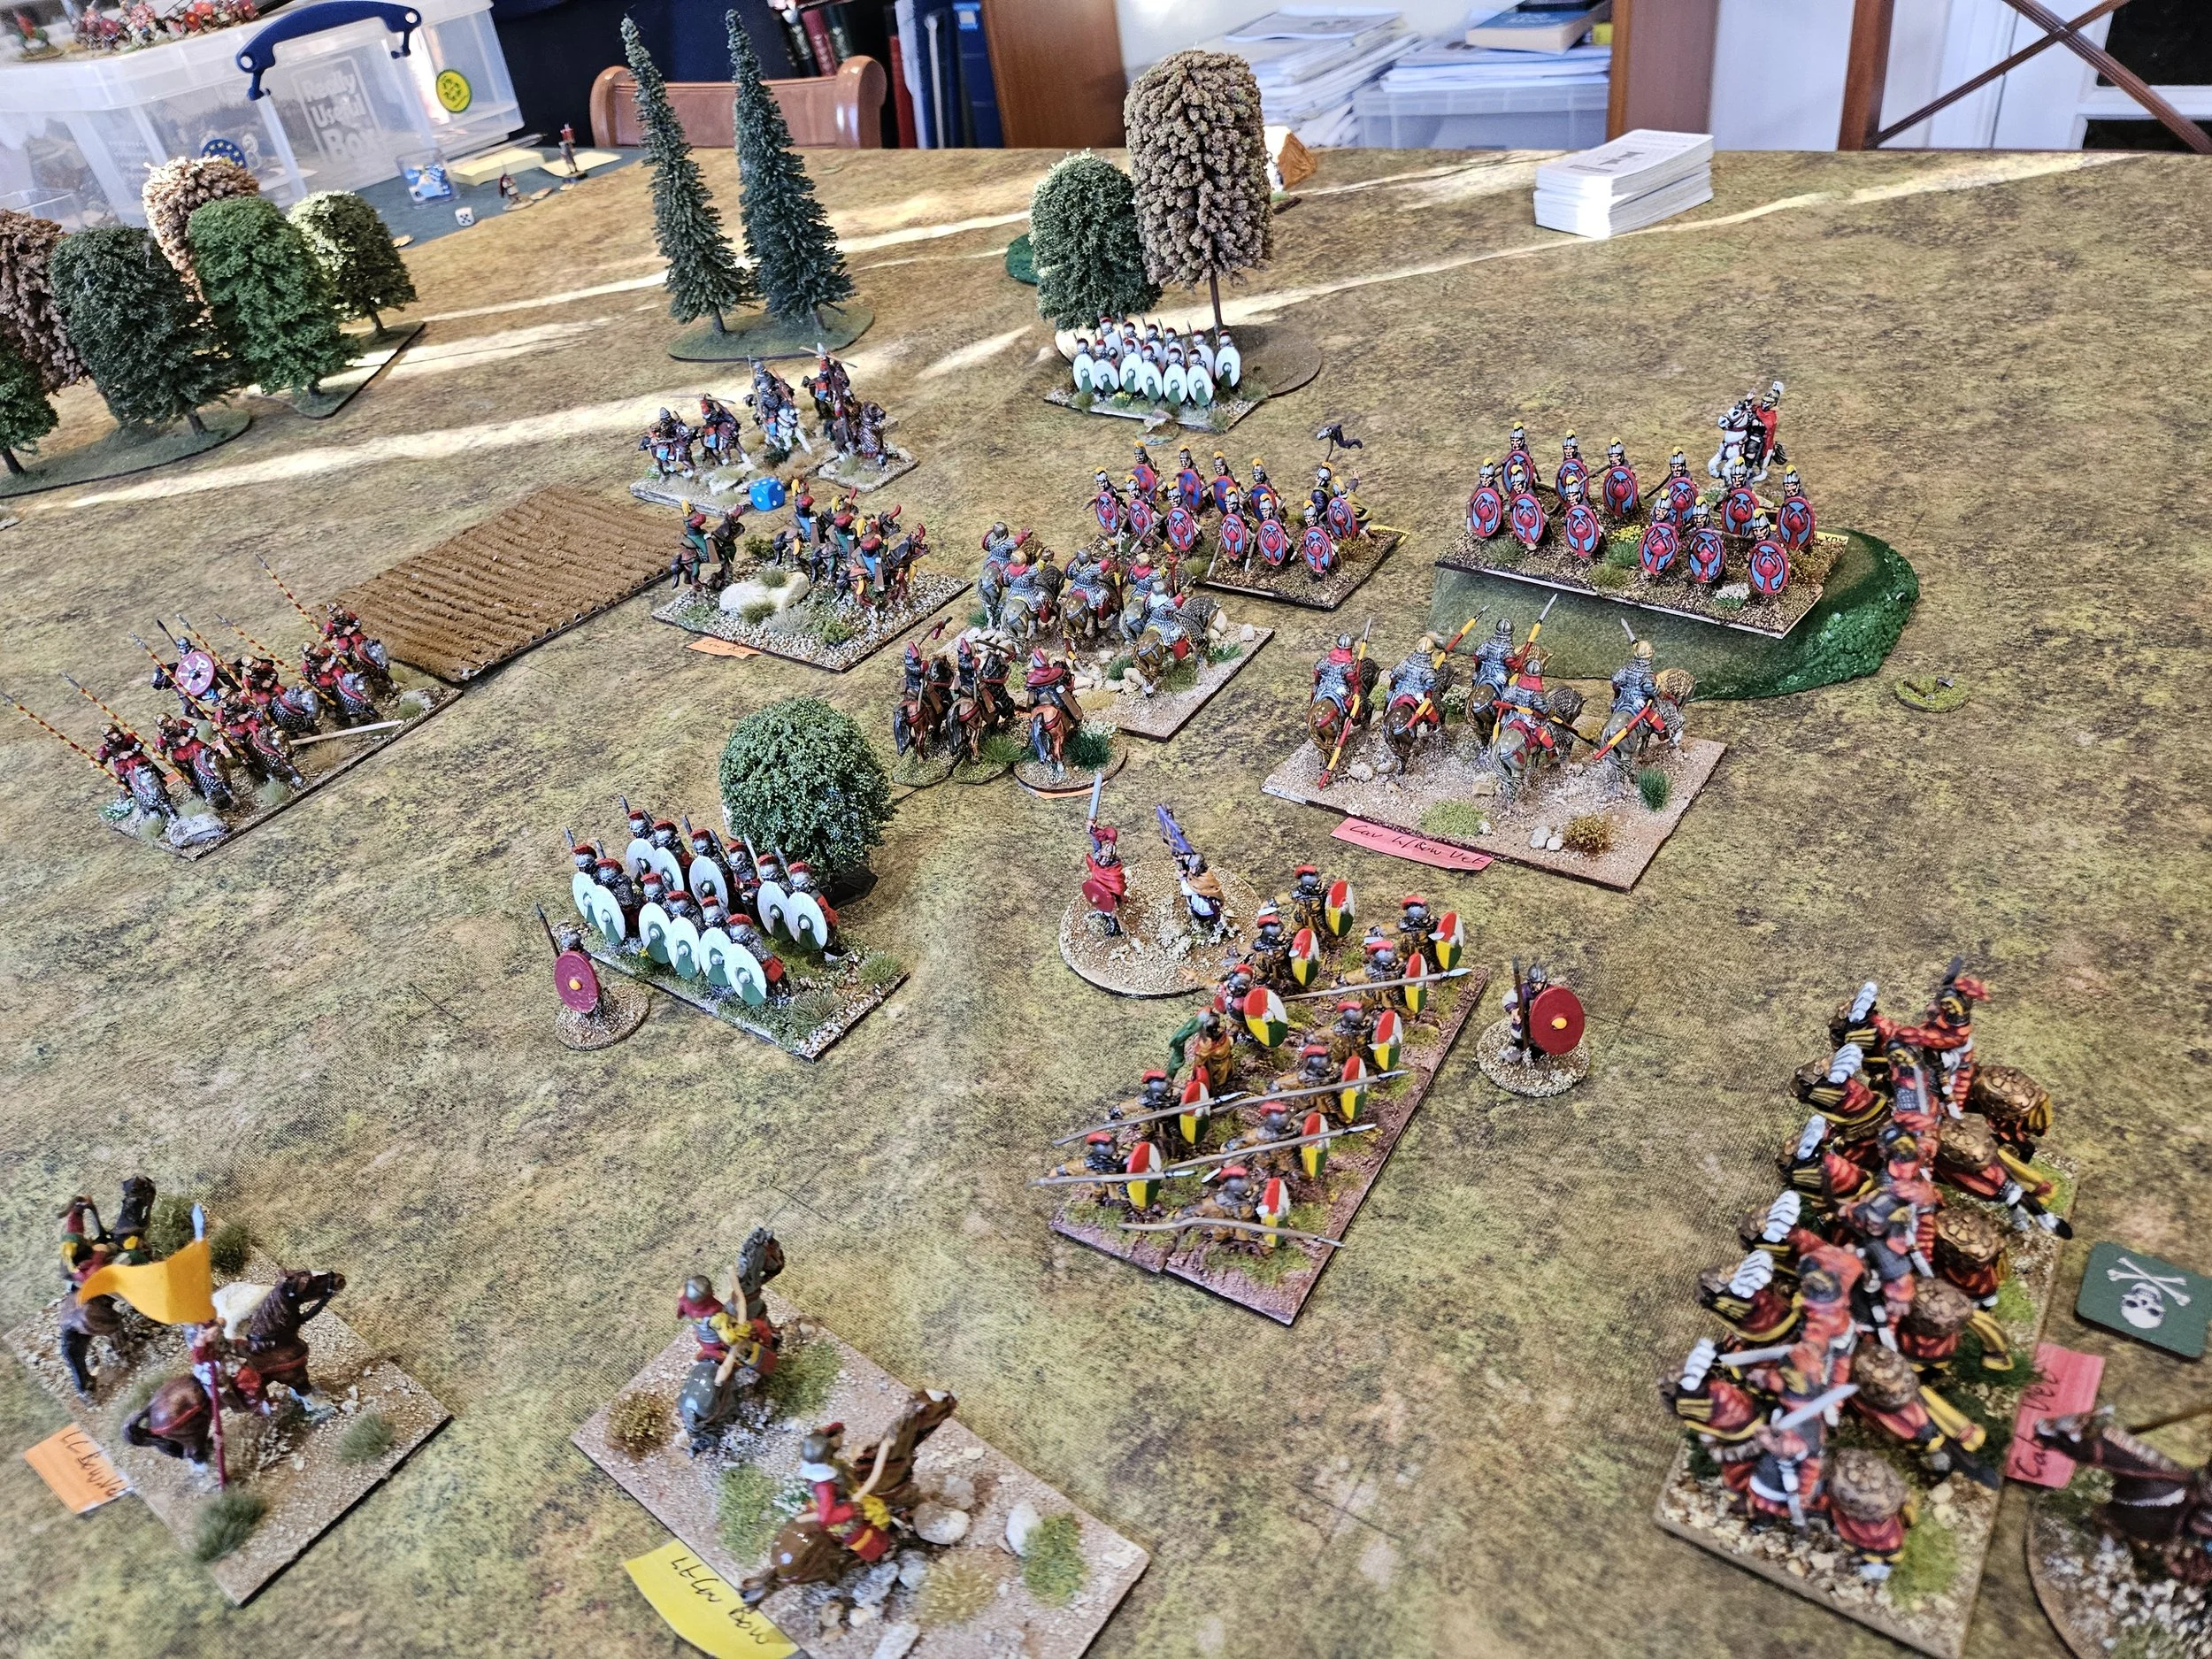
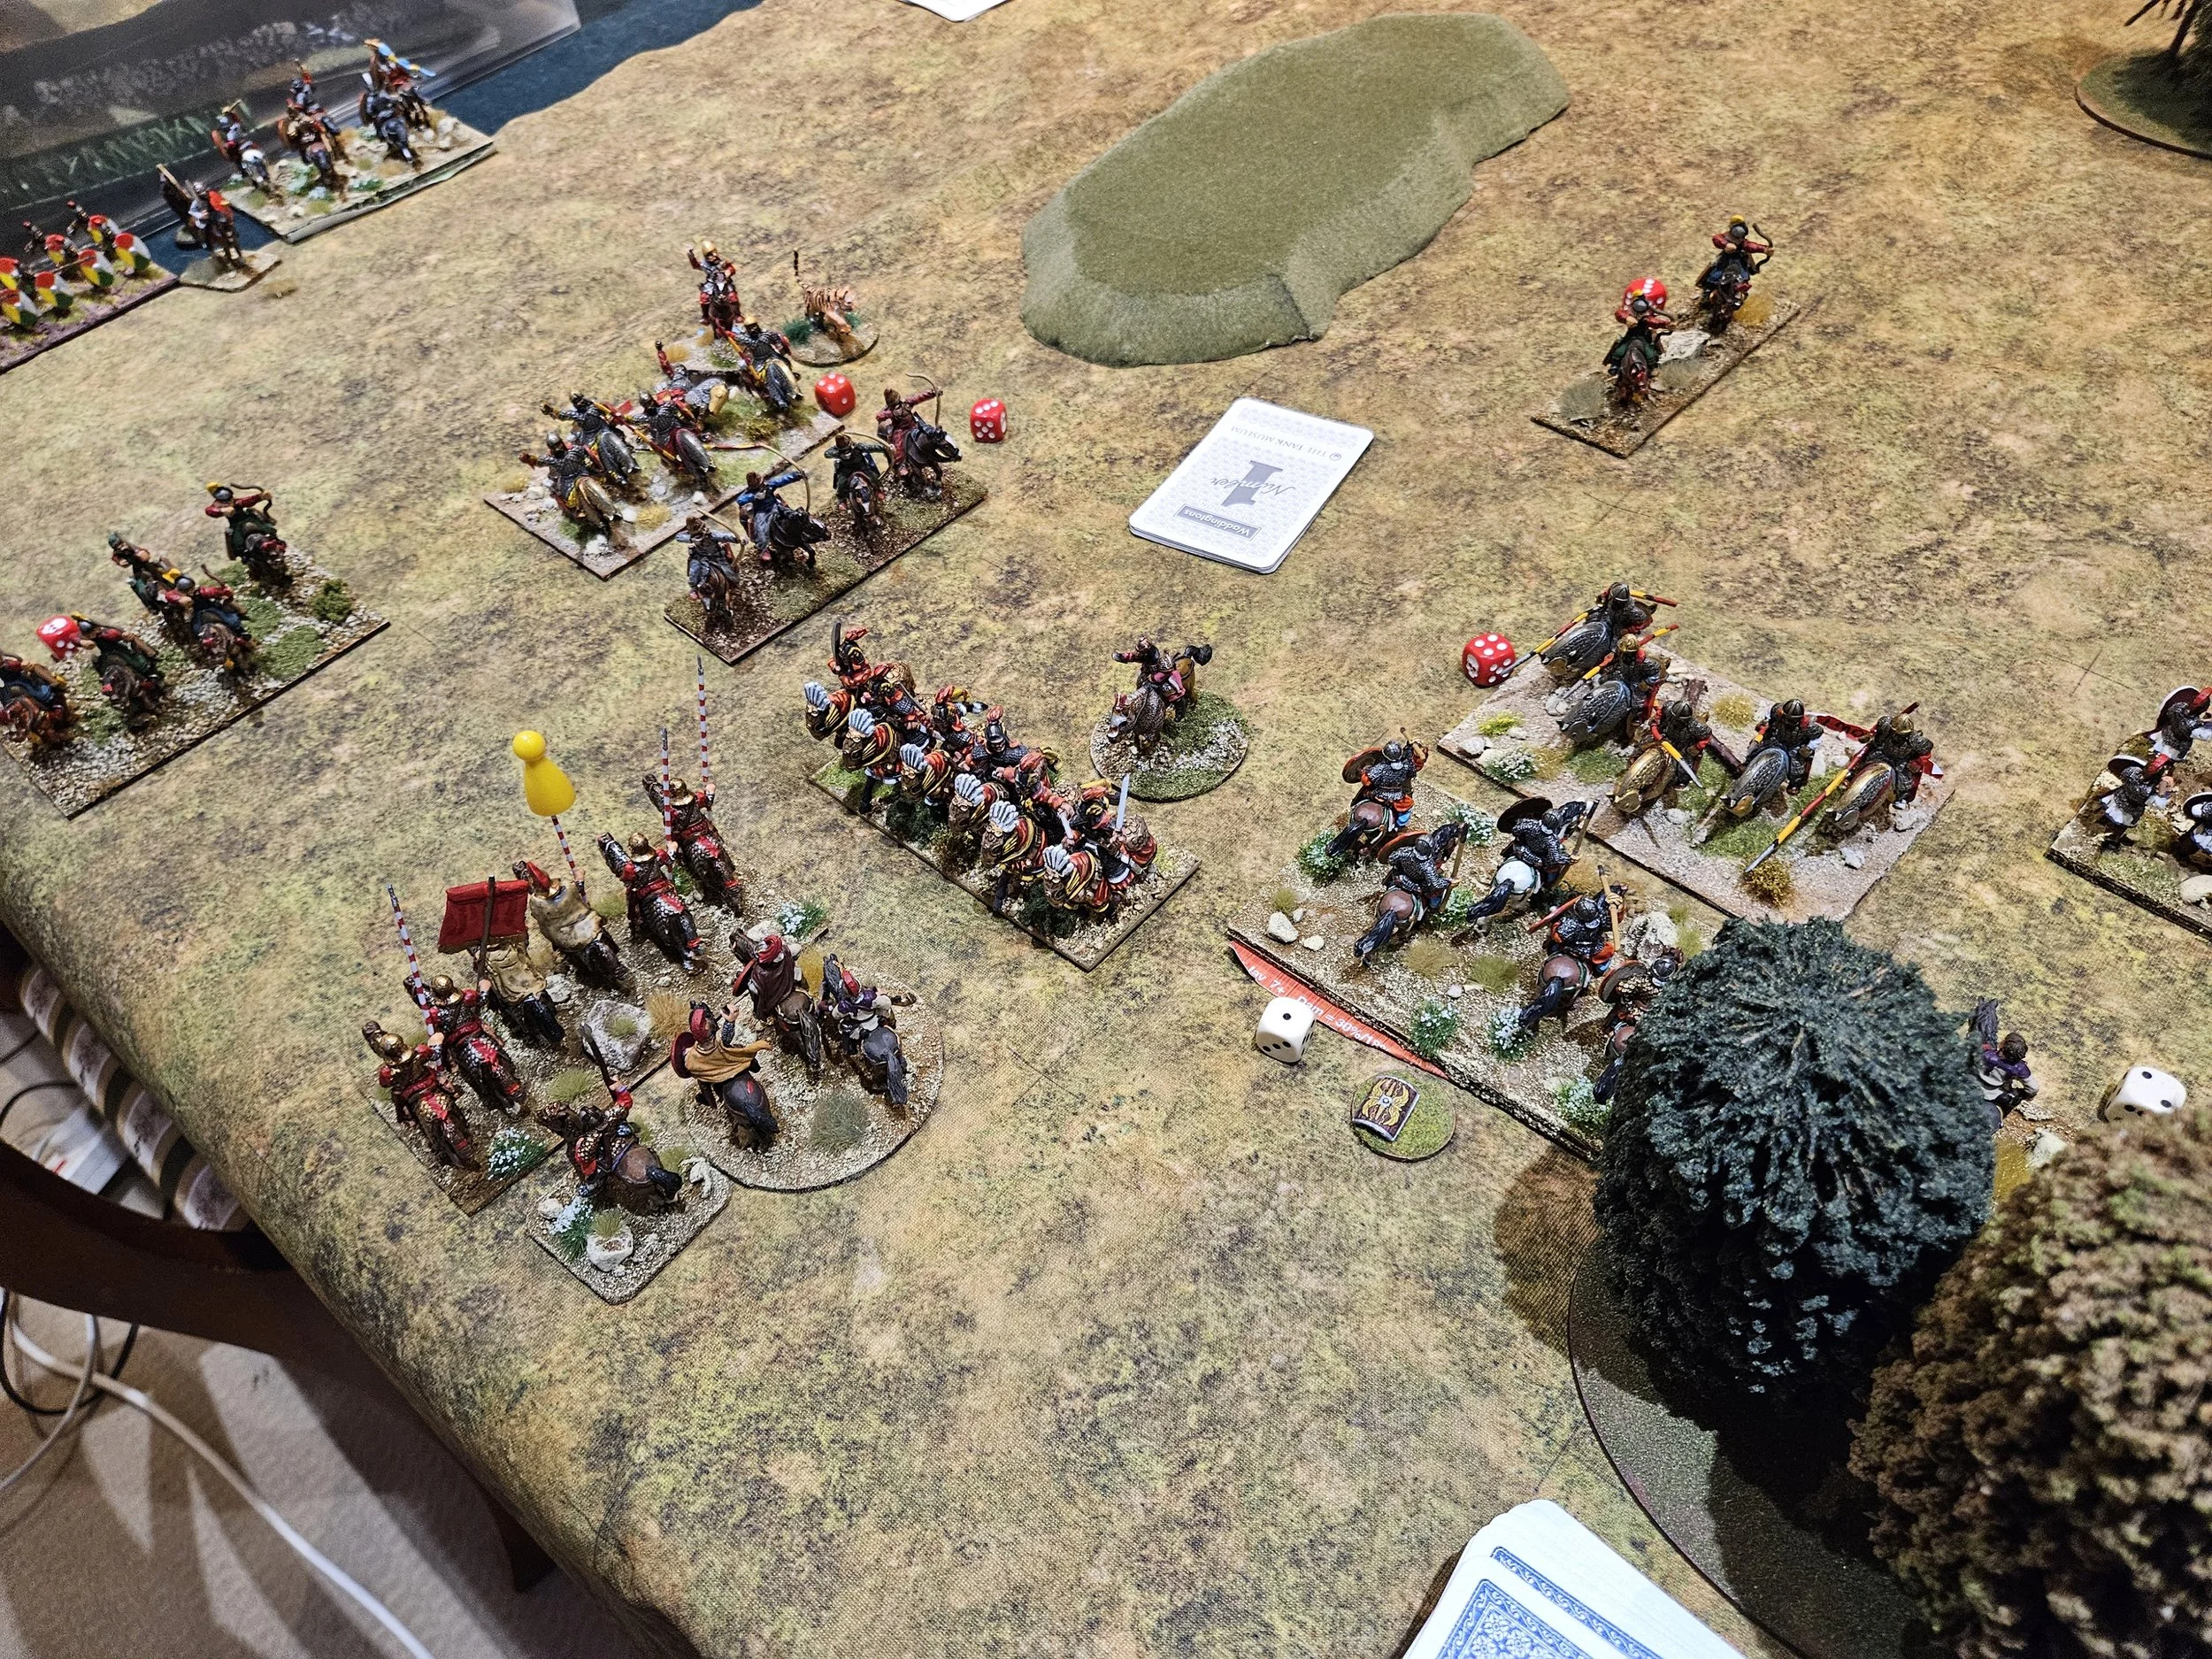
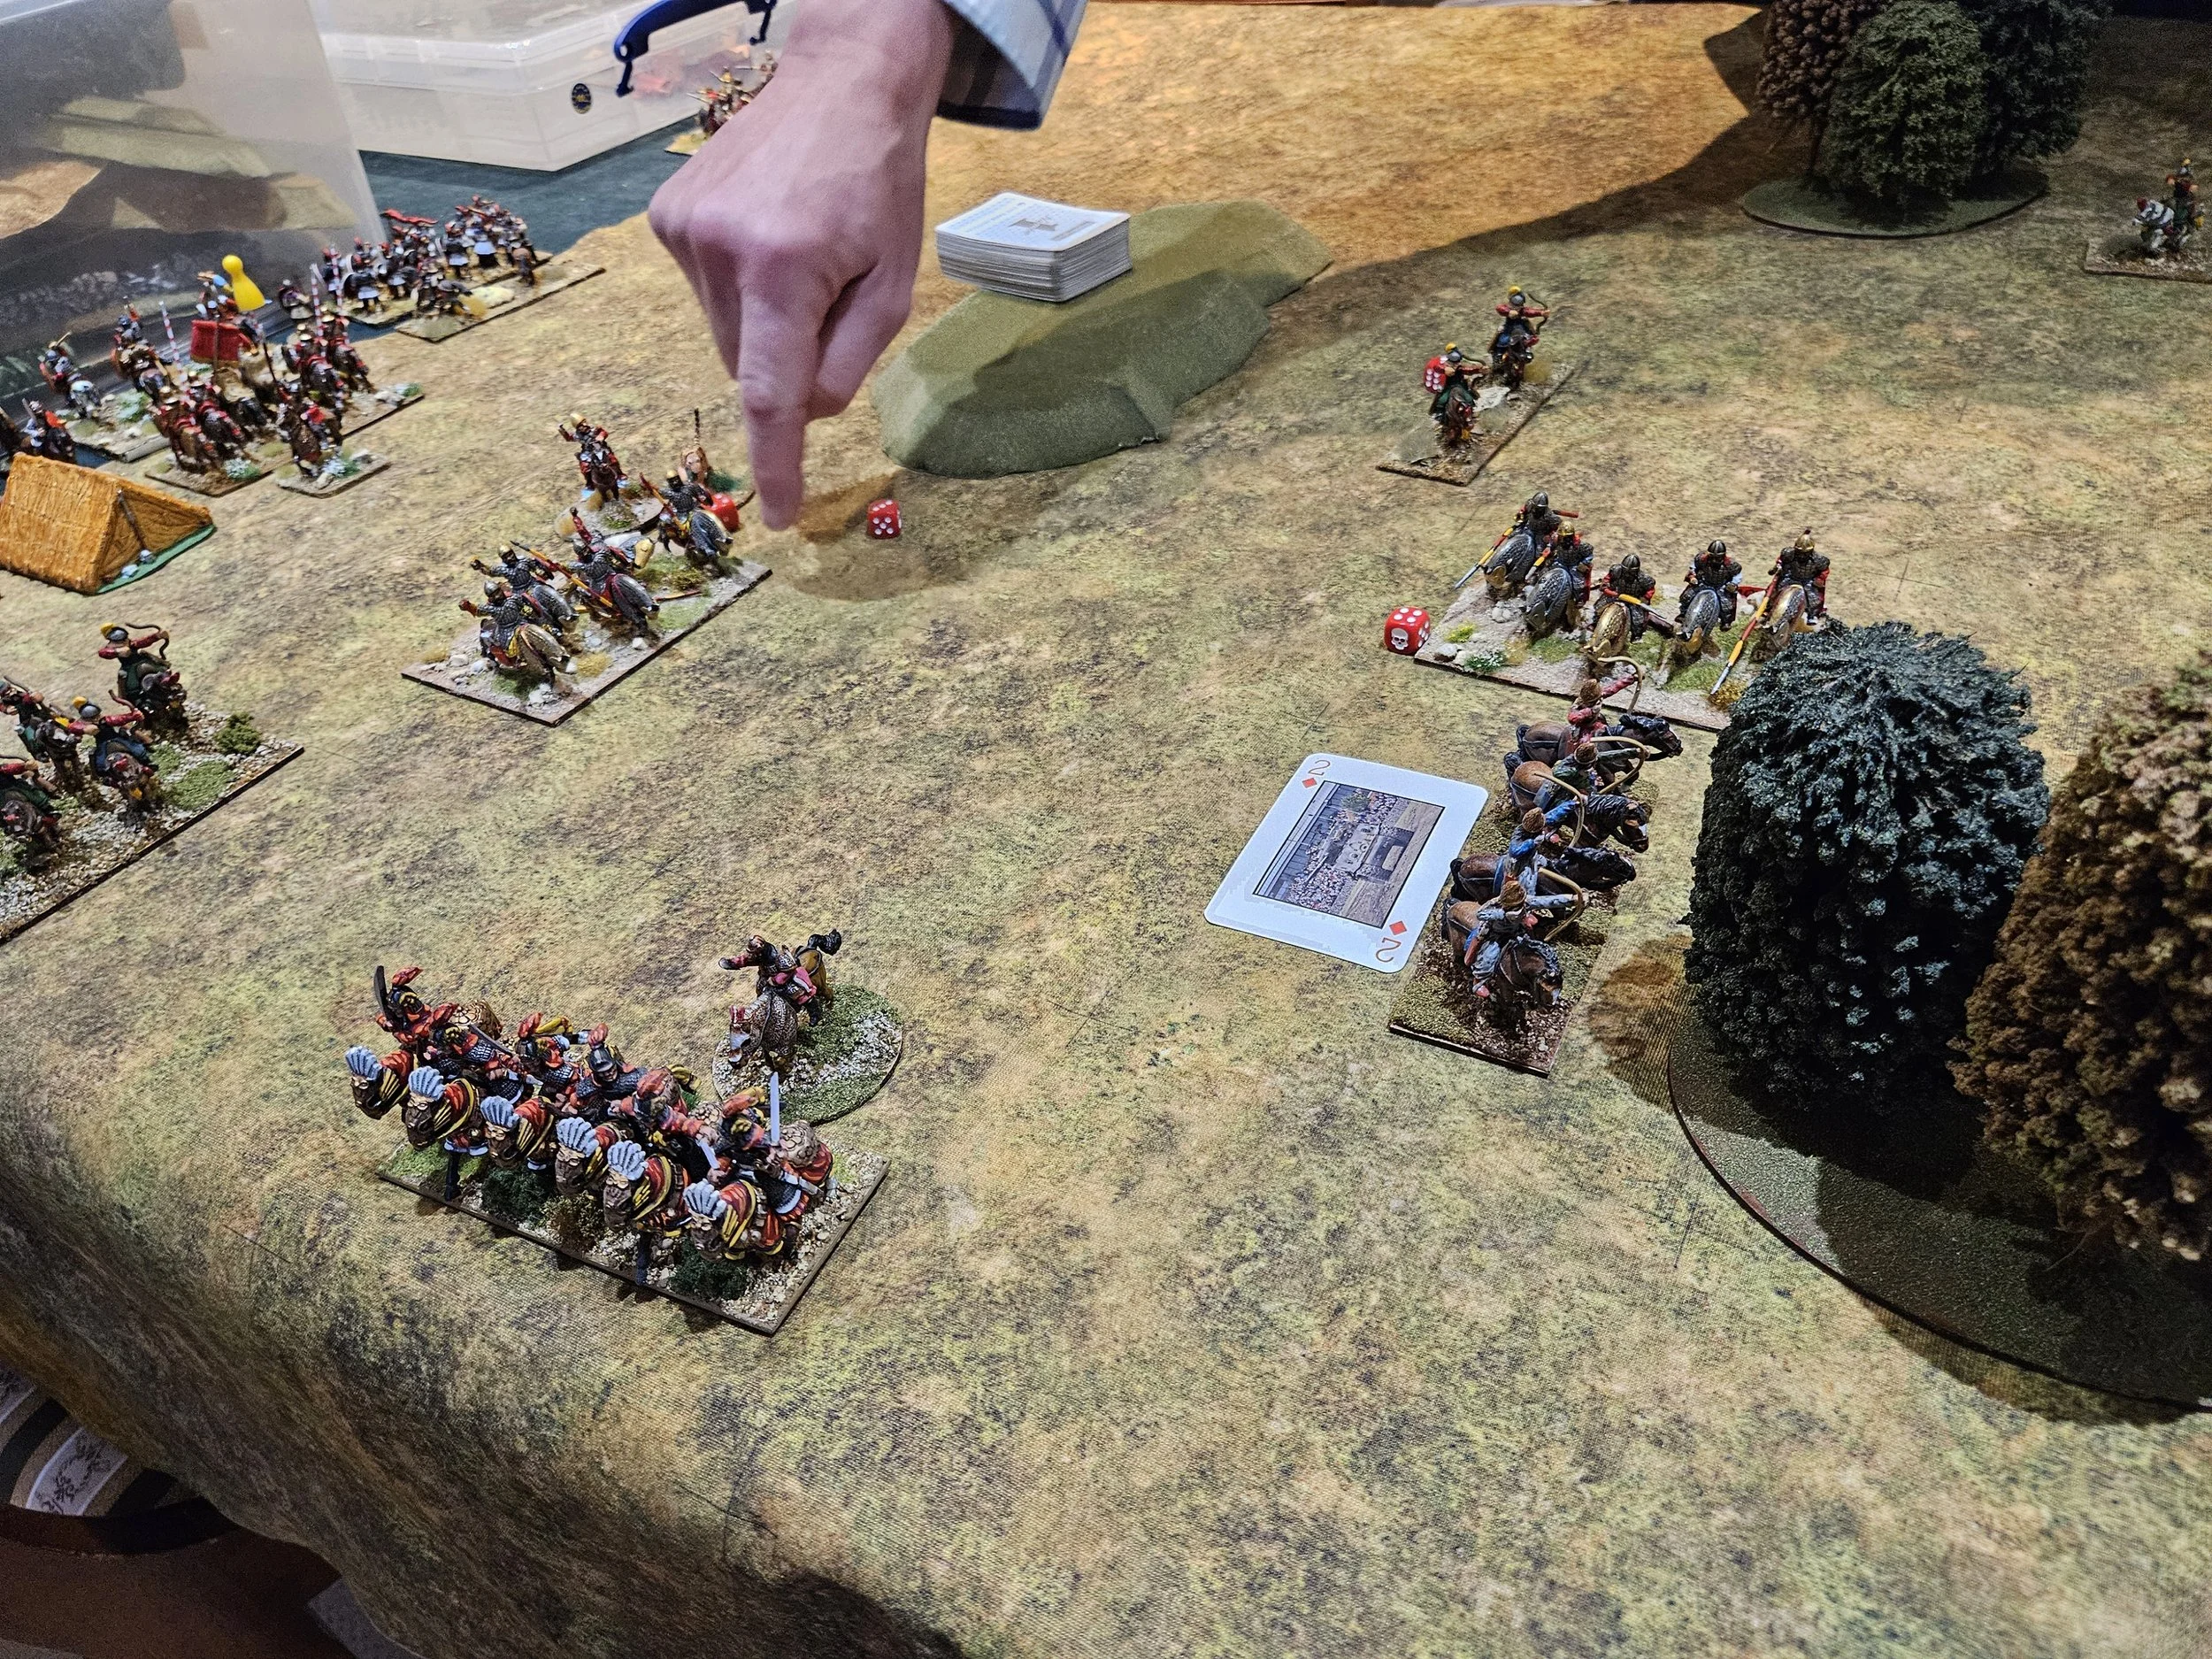
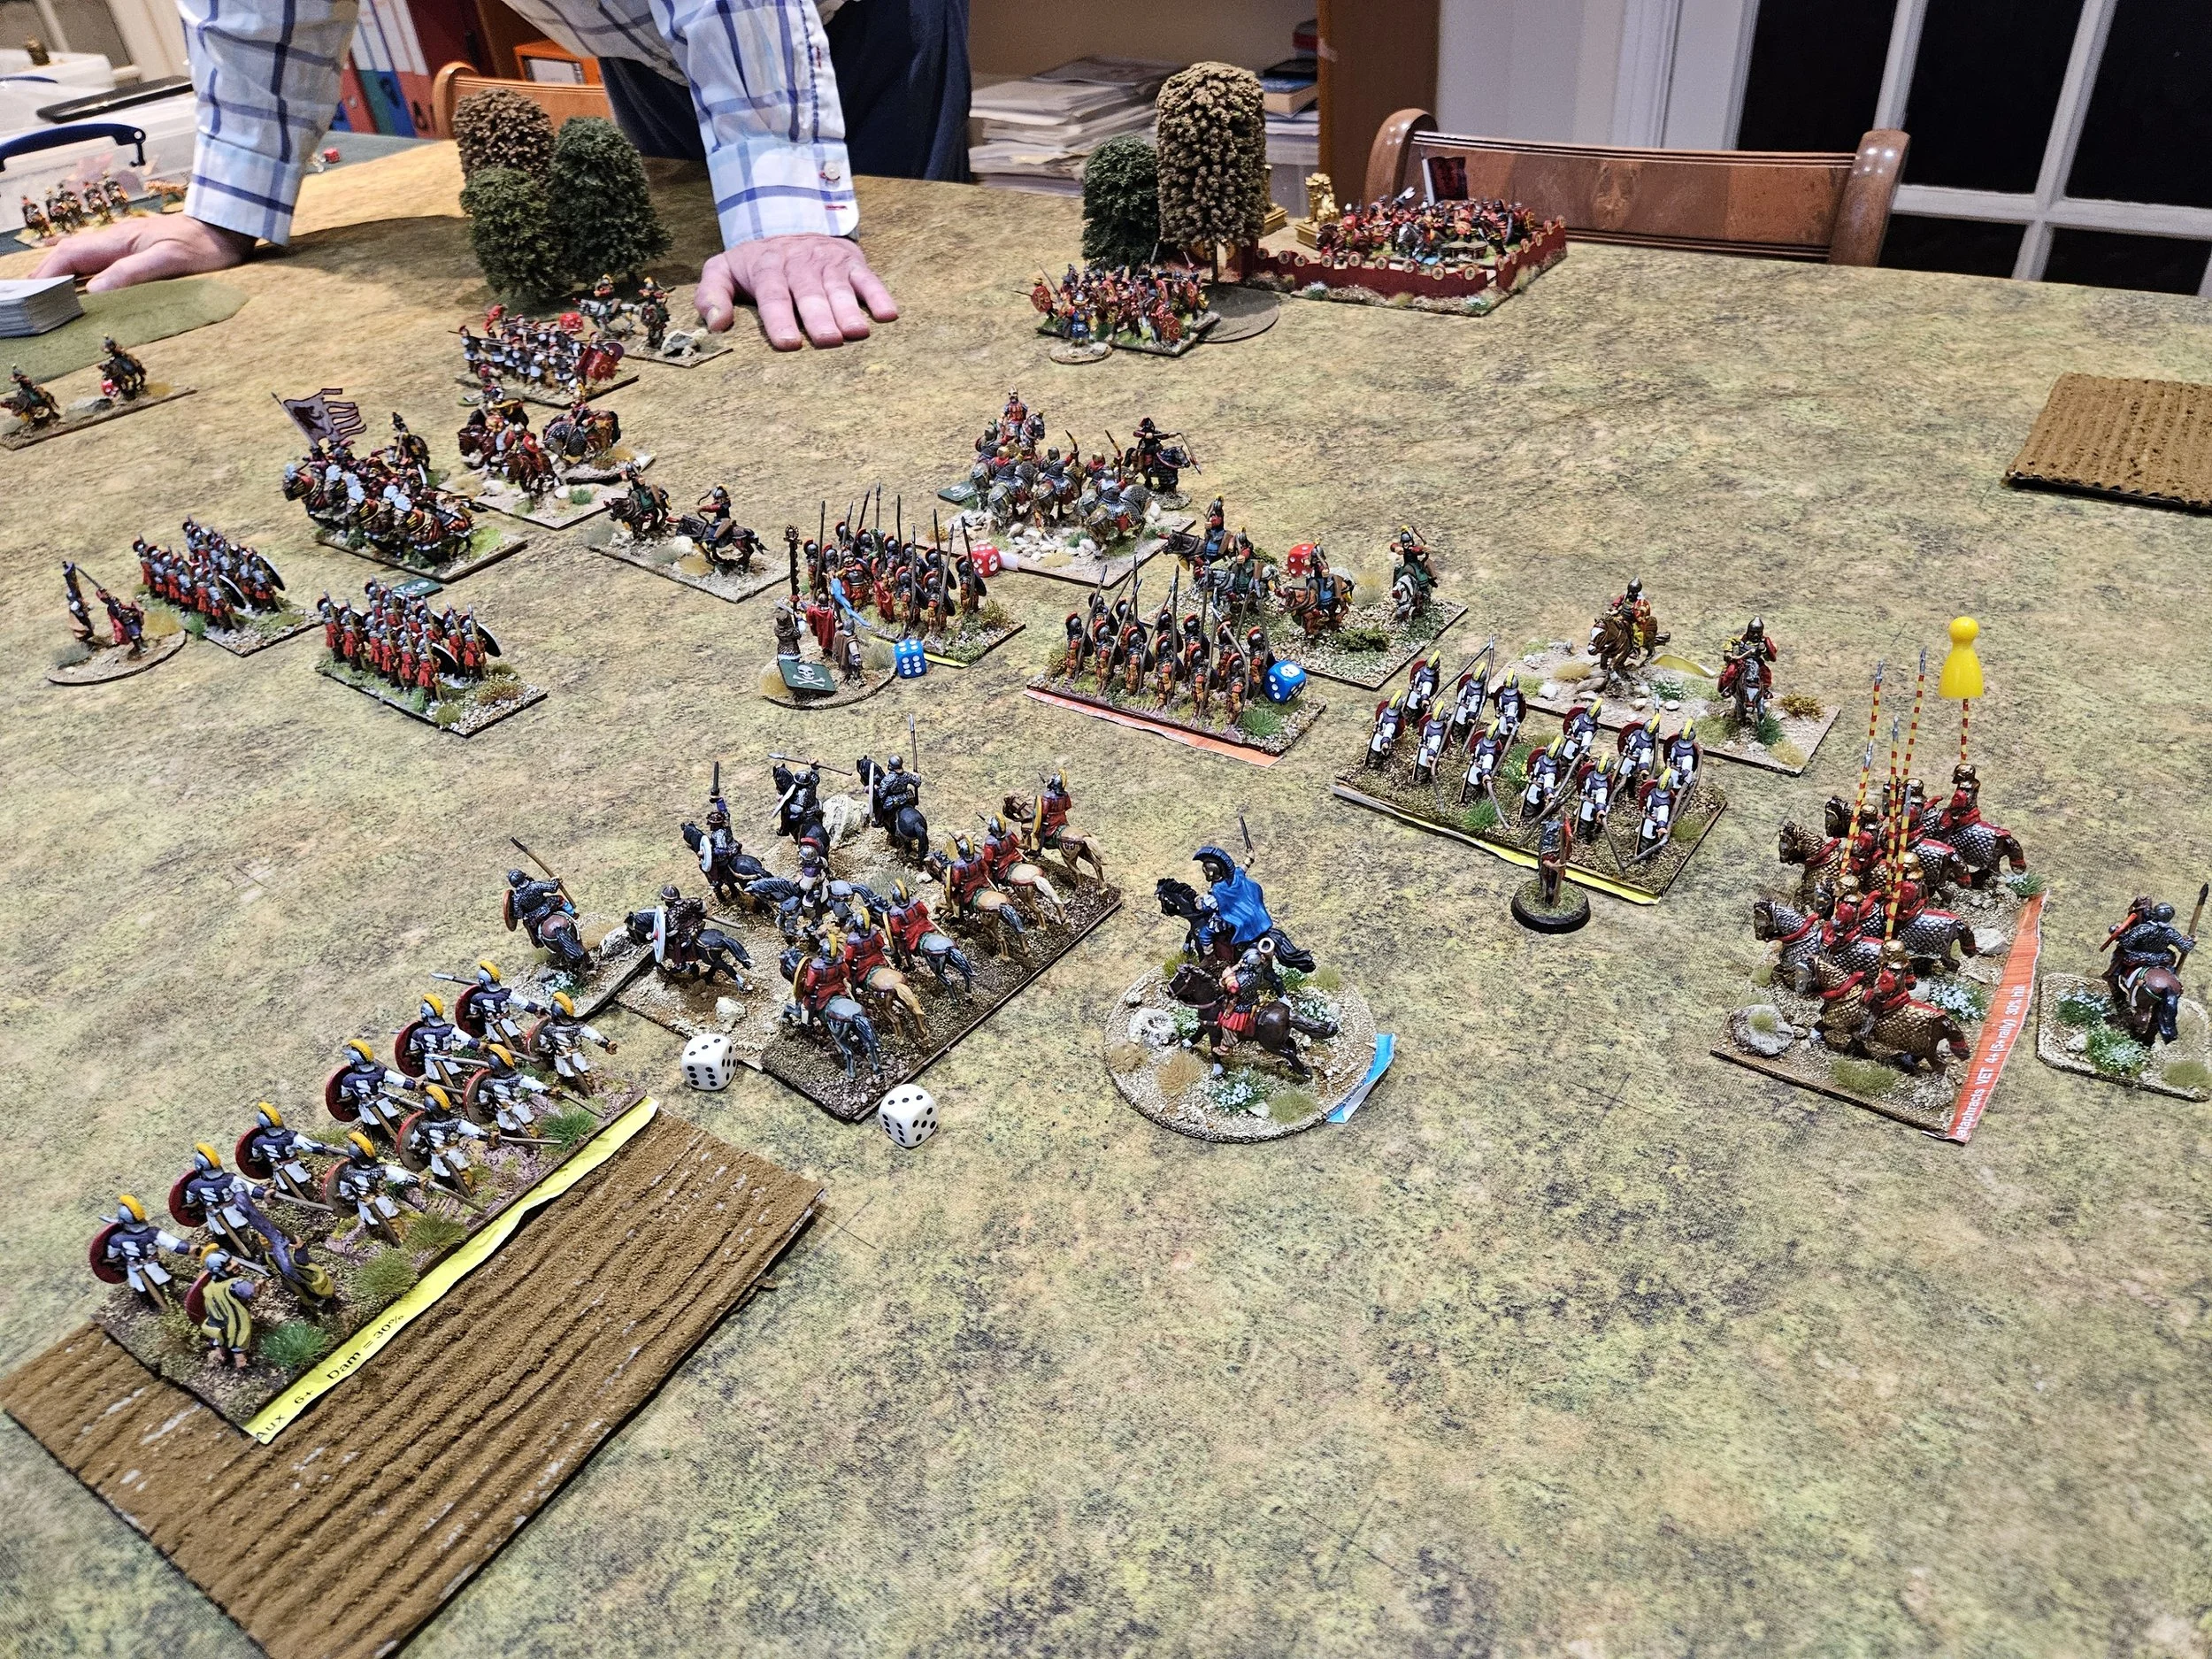
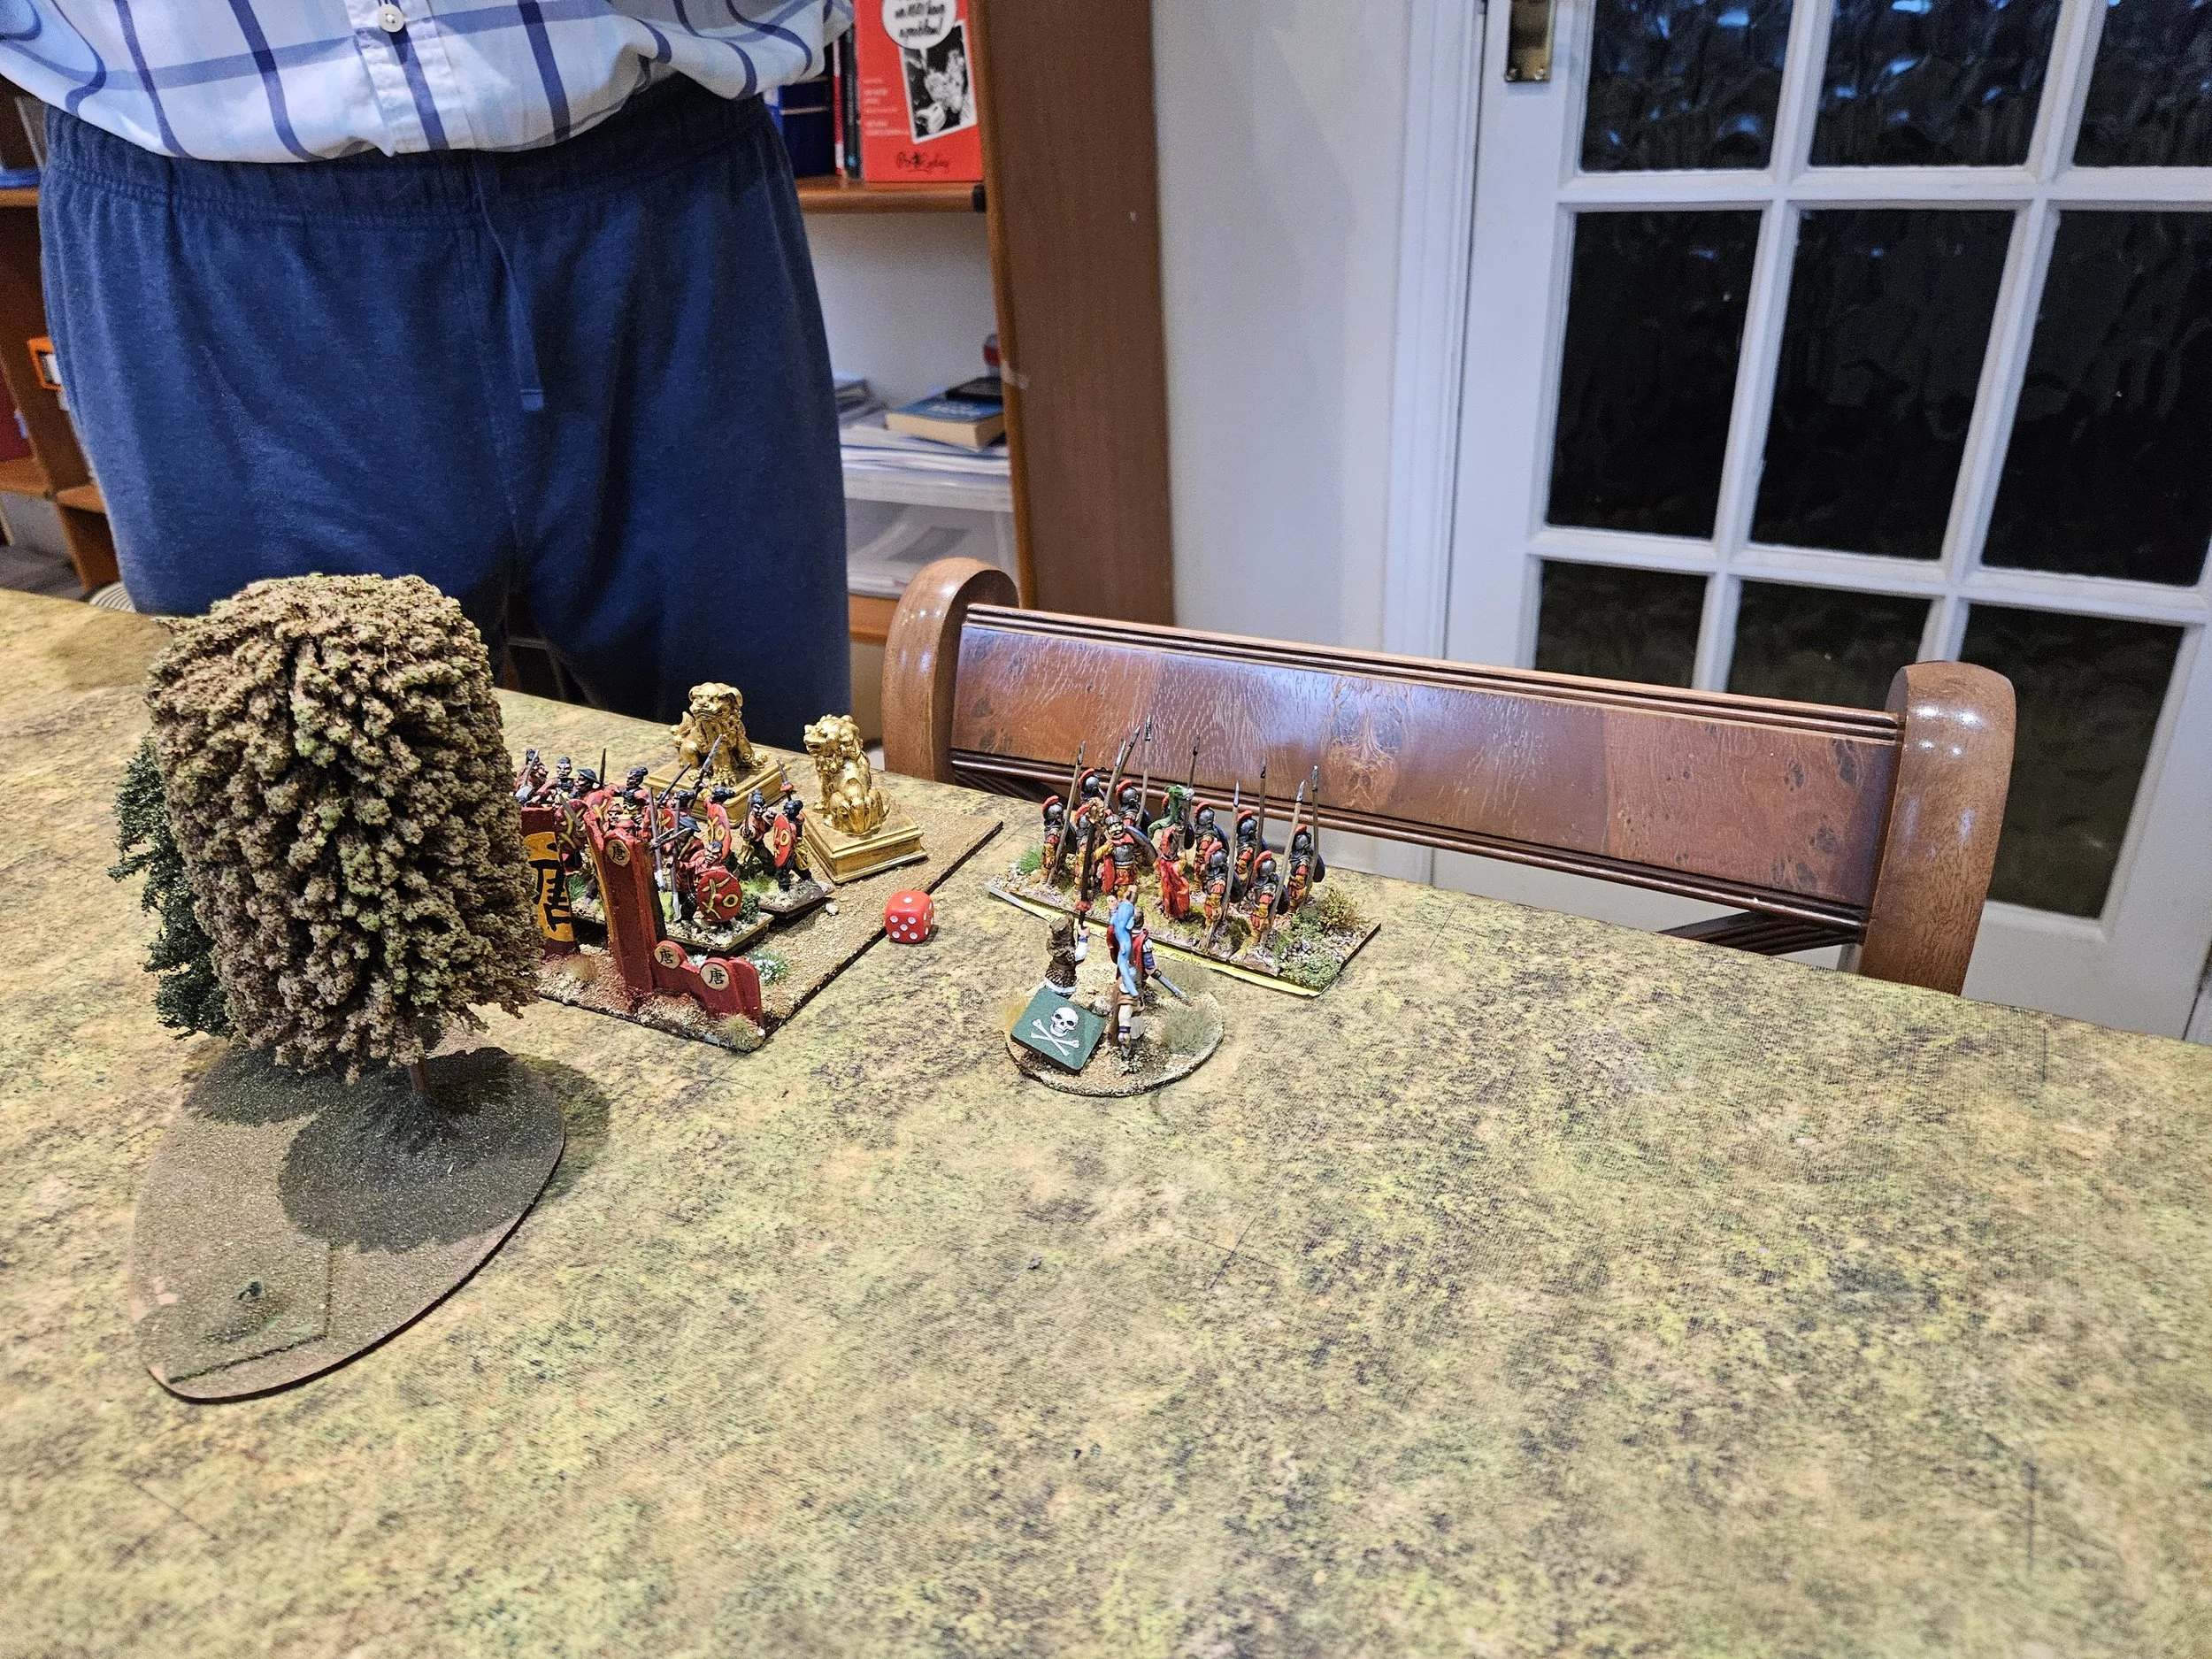
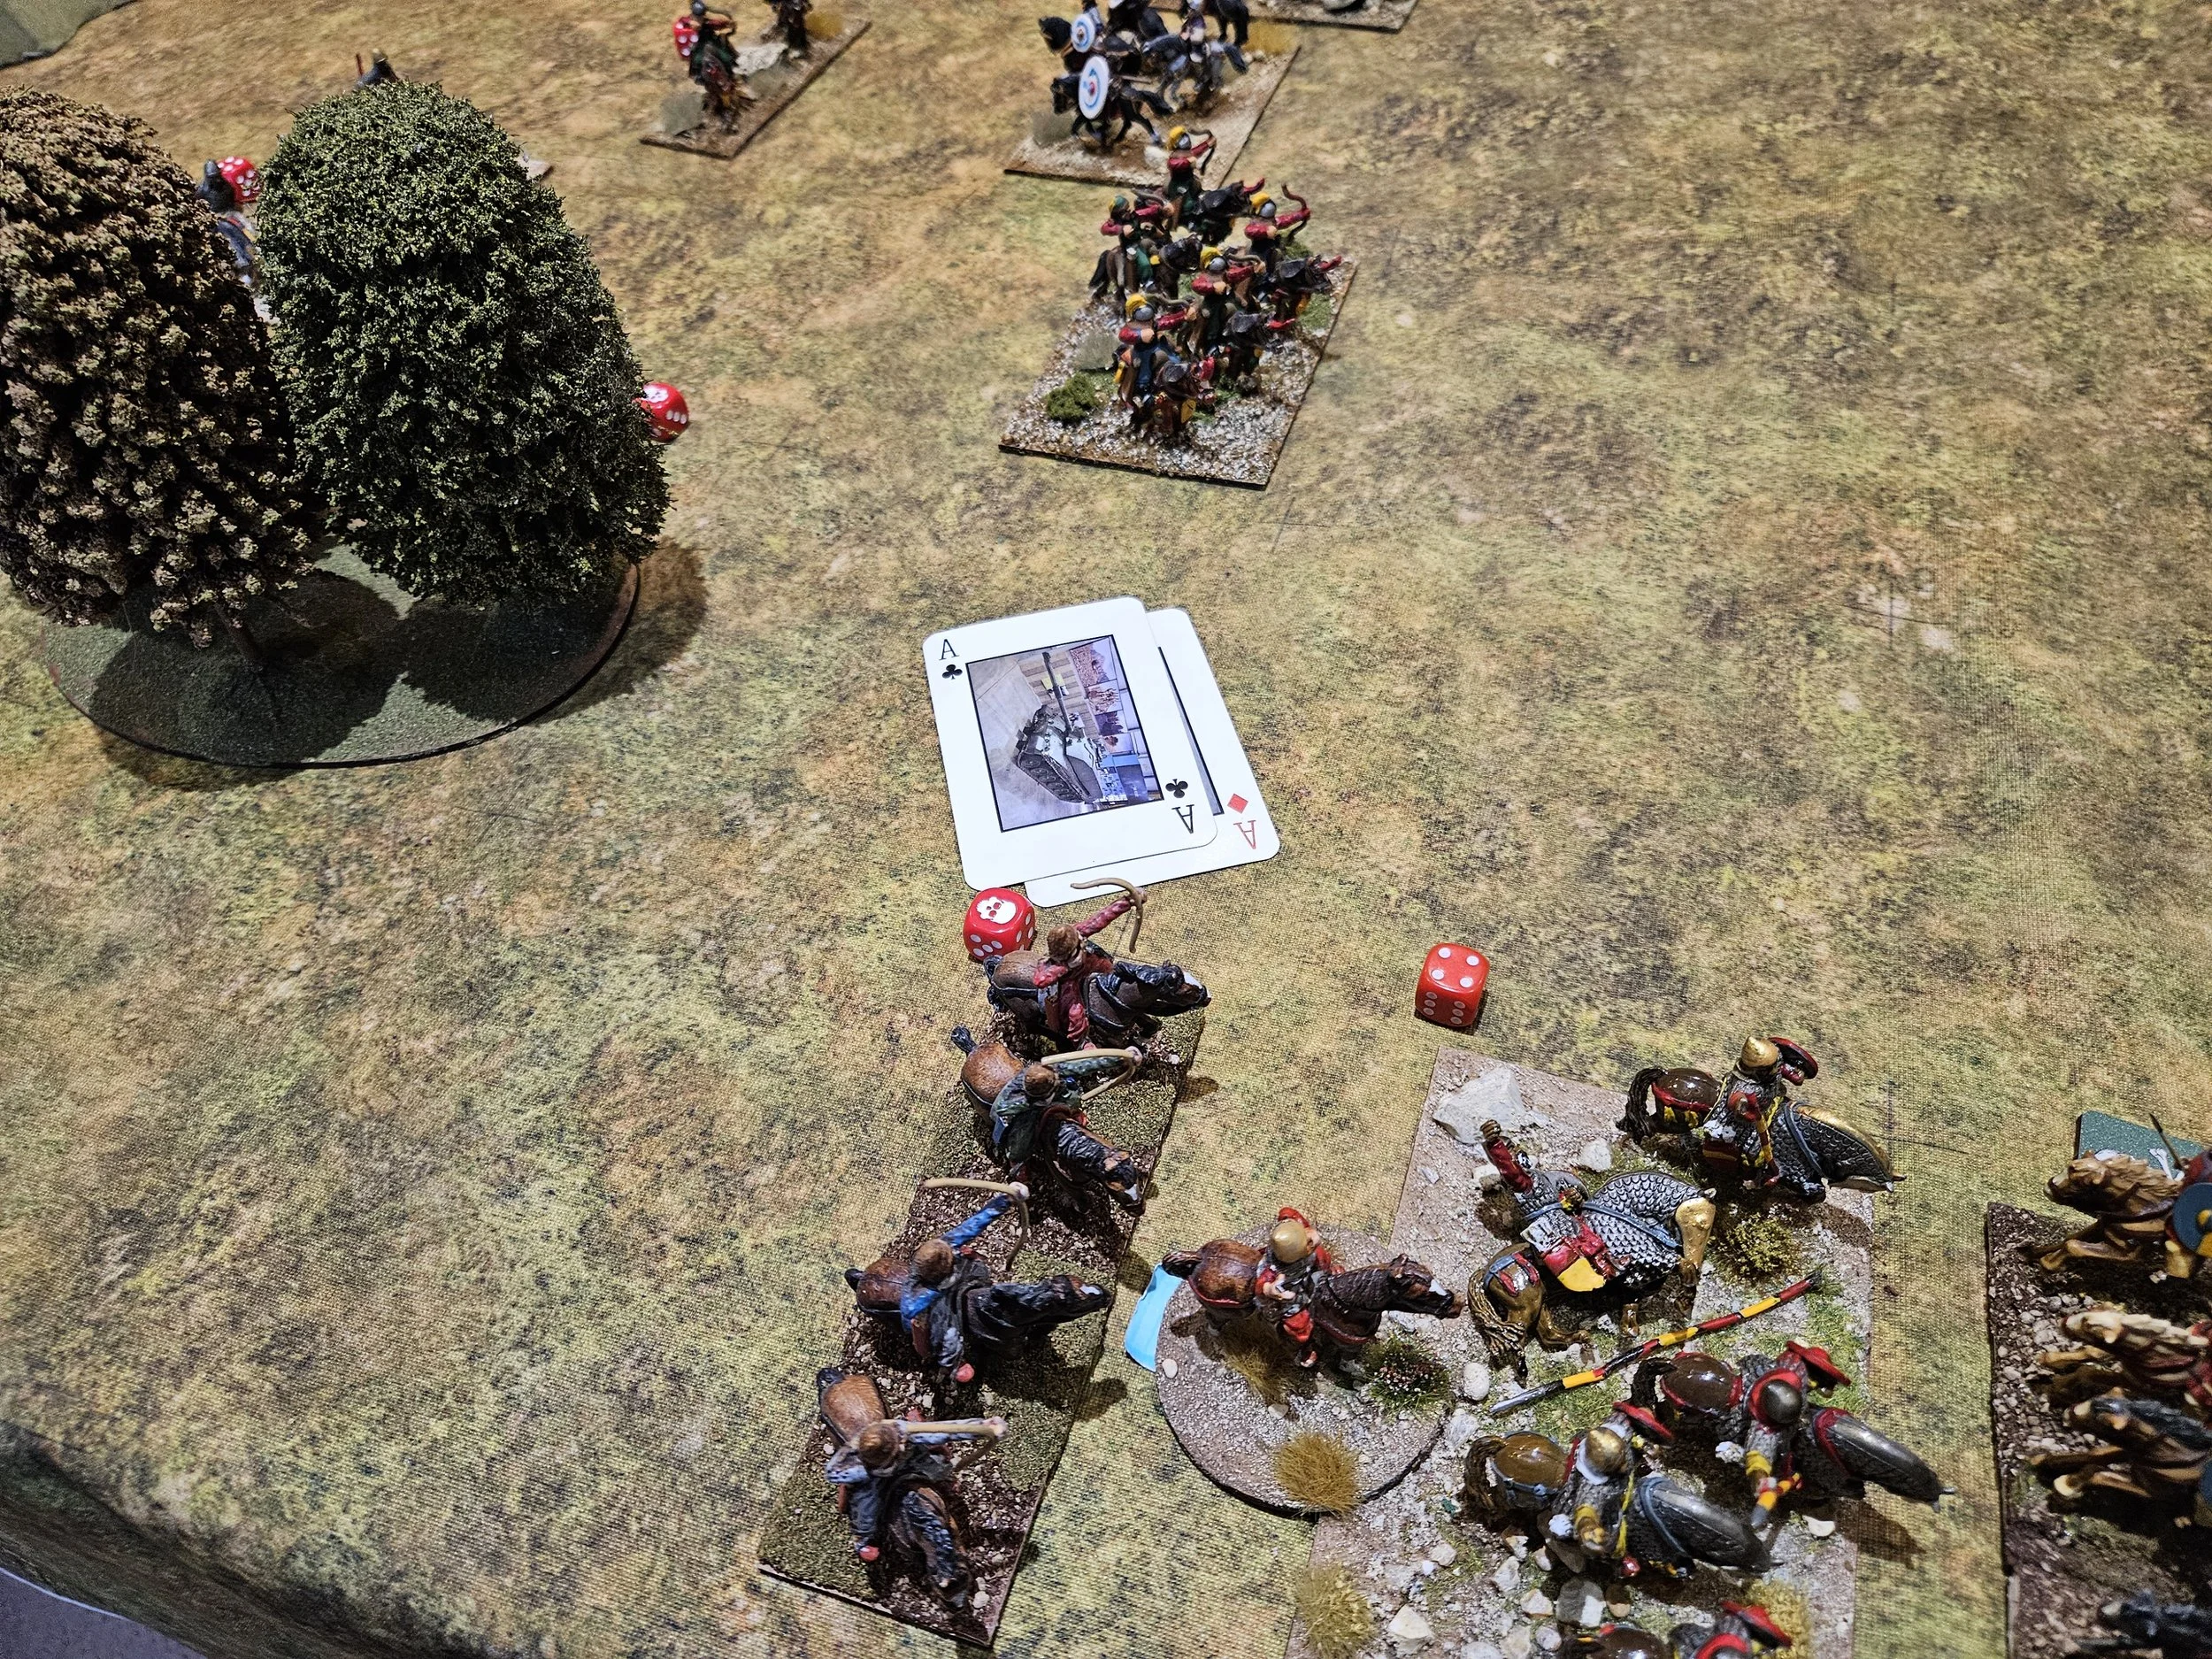
On the right, my superior numbers did indeed start to come into play, with the victorious cavalry then joining the infantry to drive back a mix of Roman Legionaries and Lights.
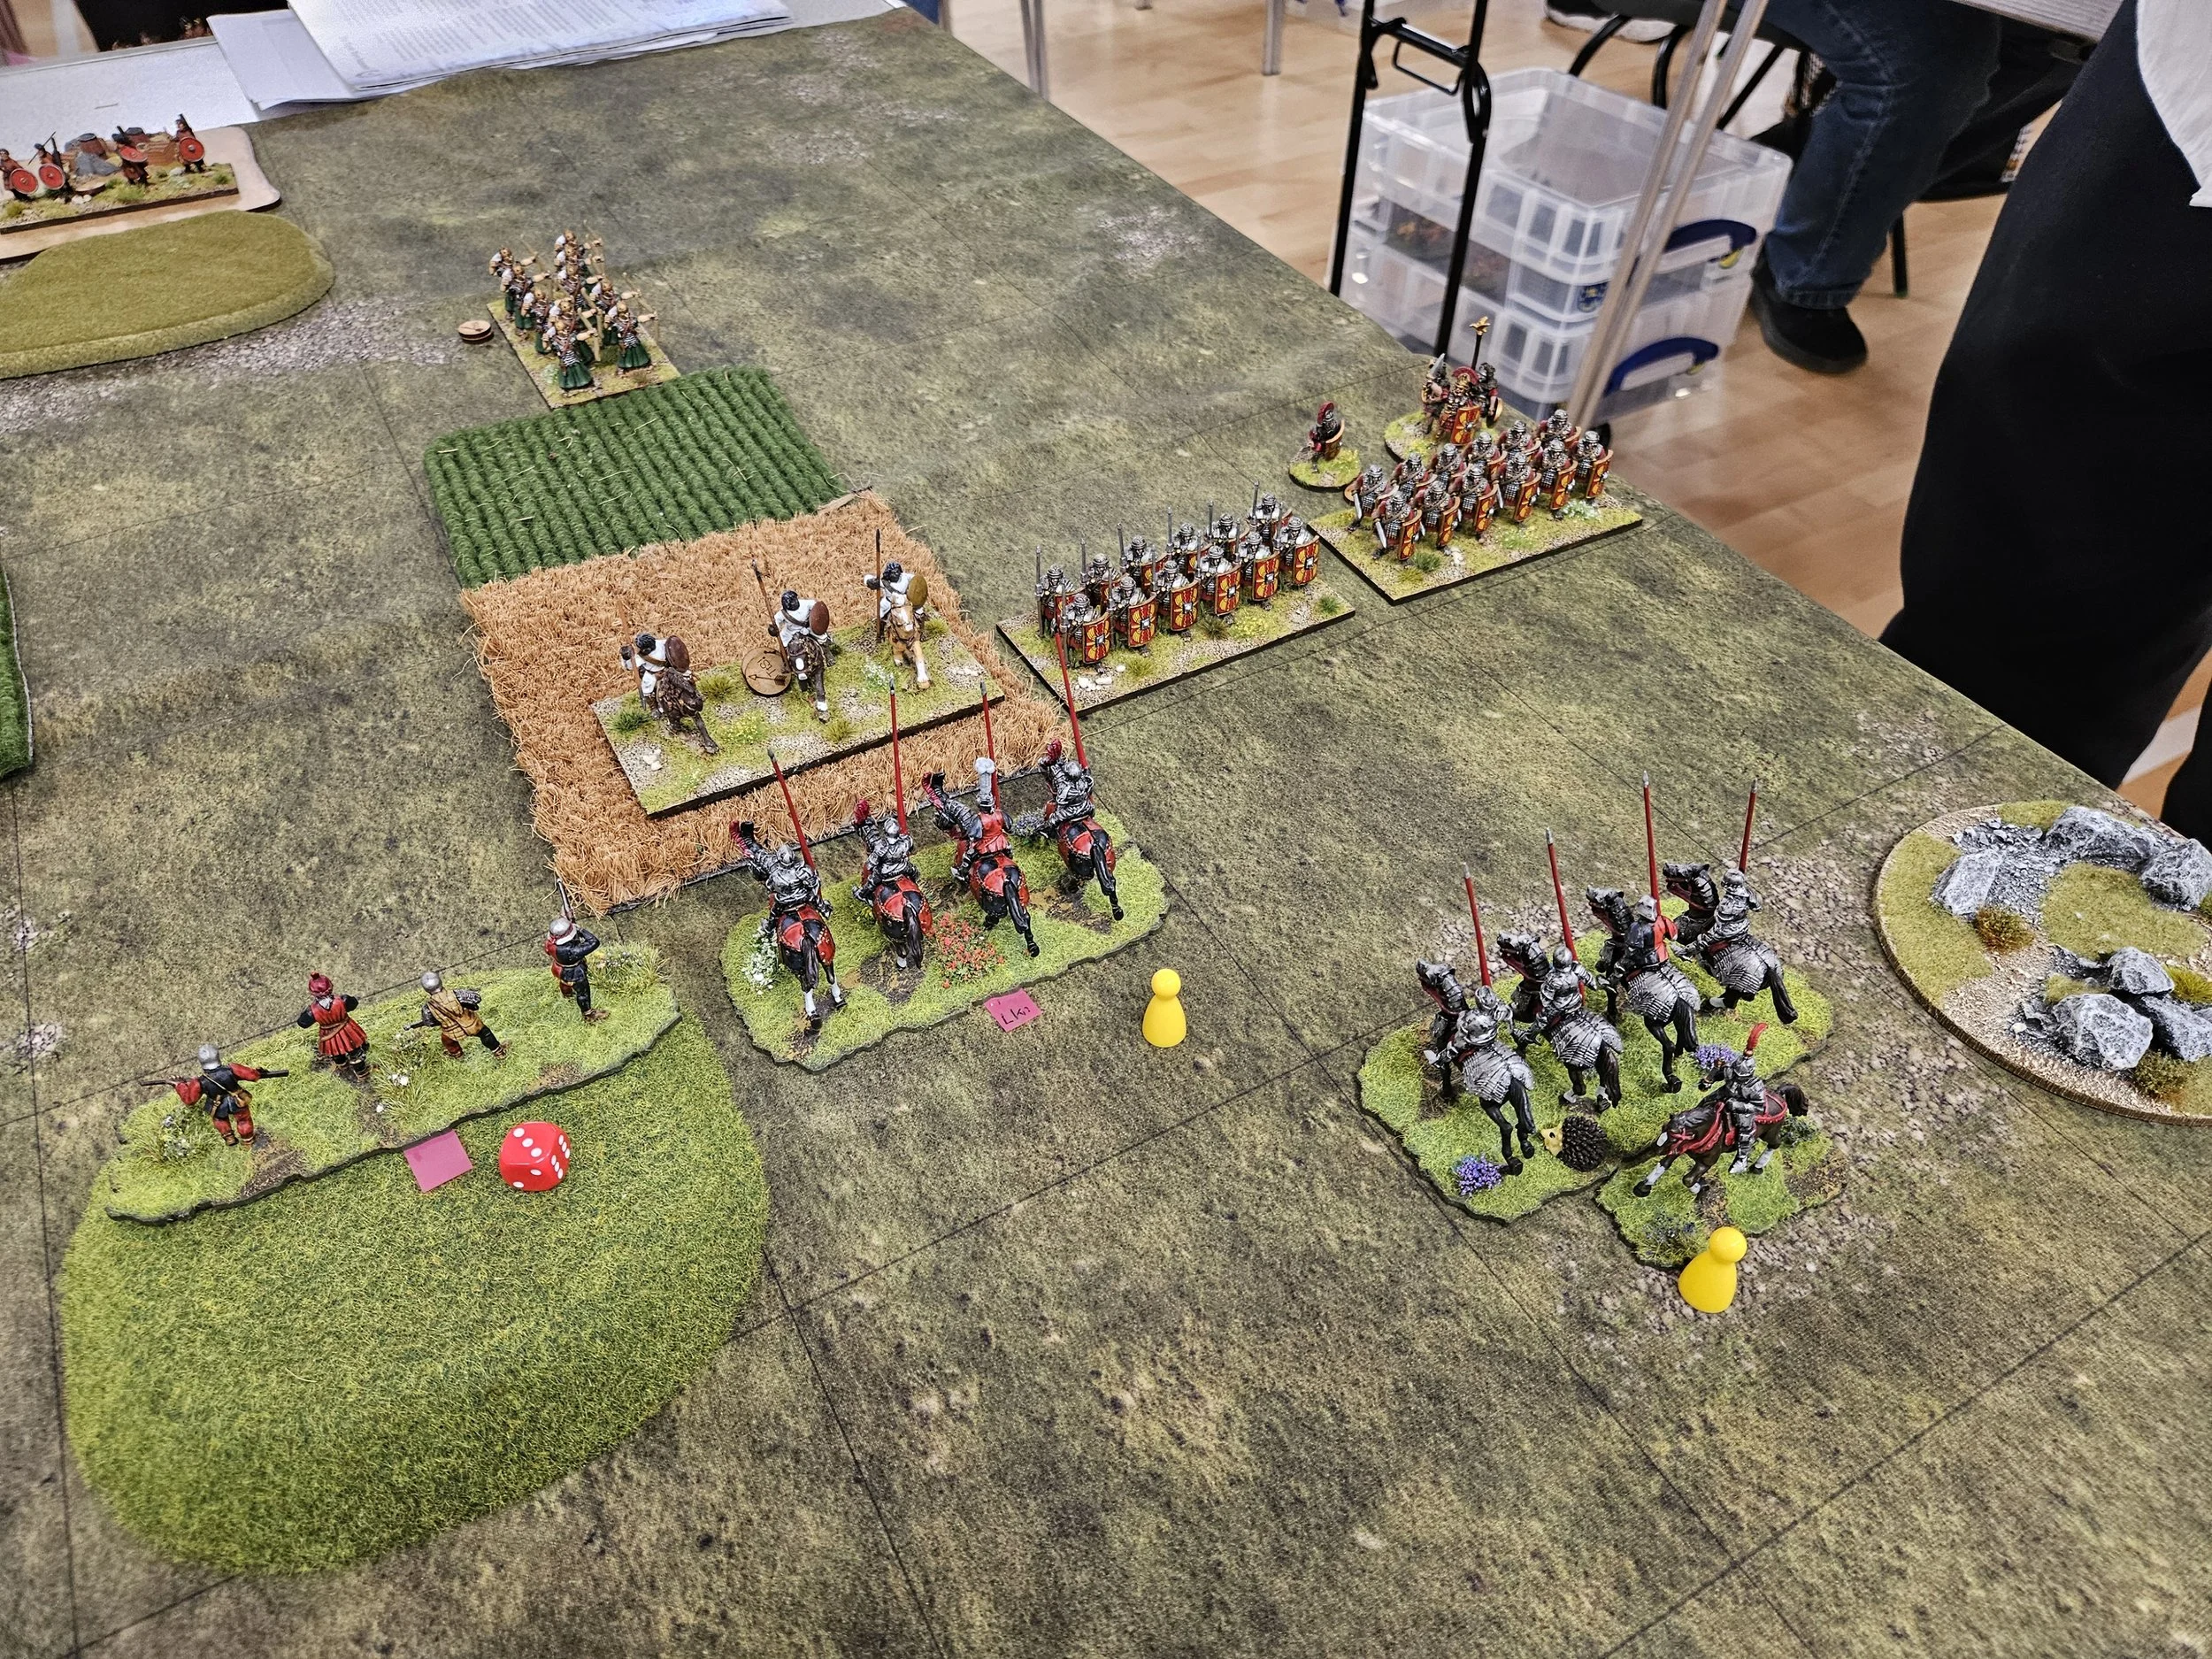
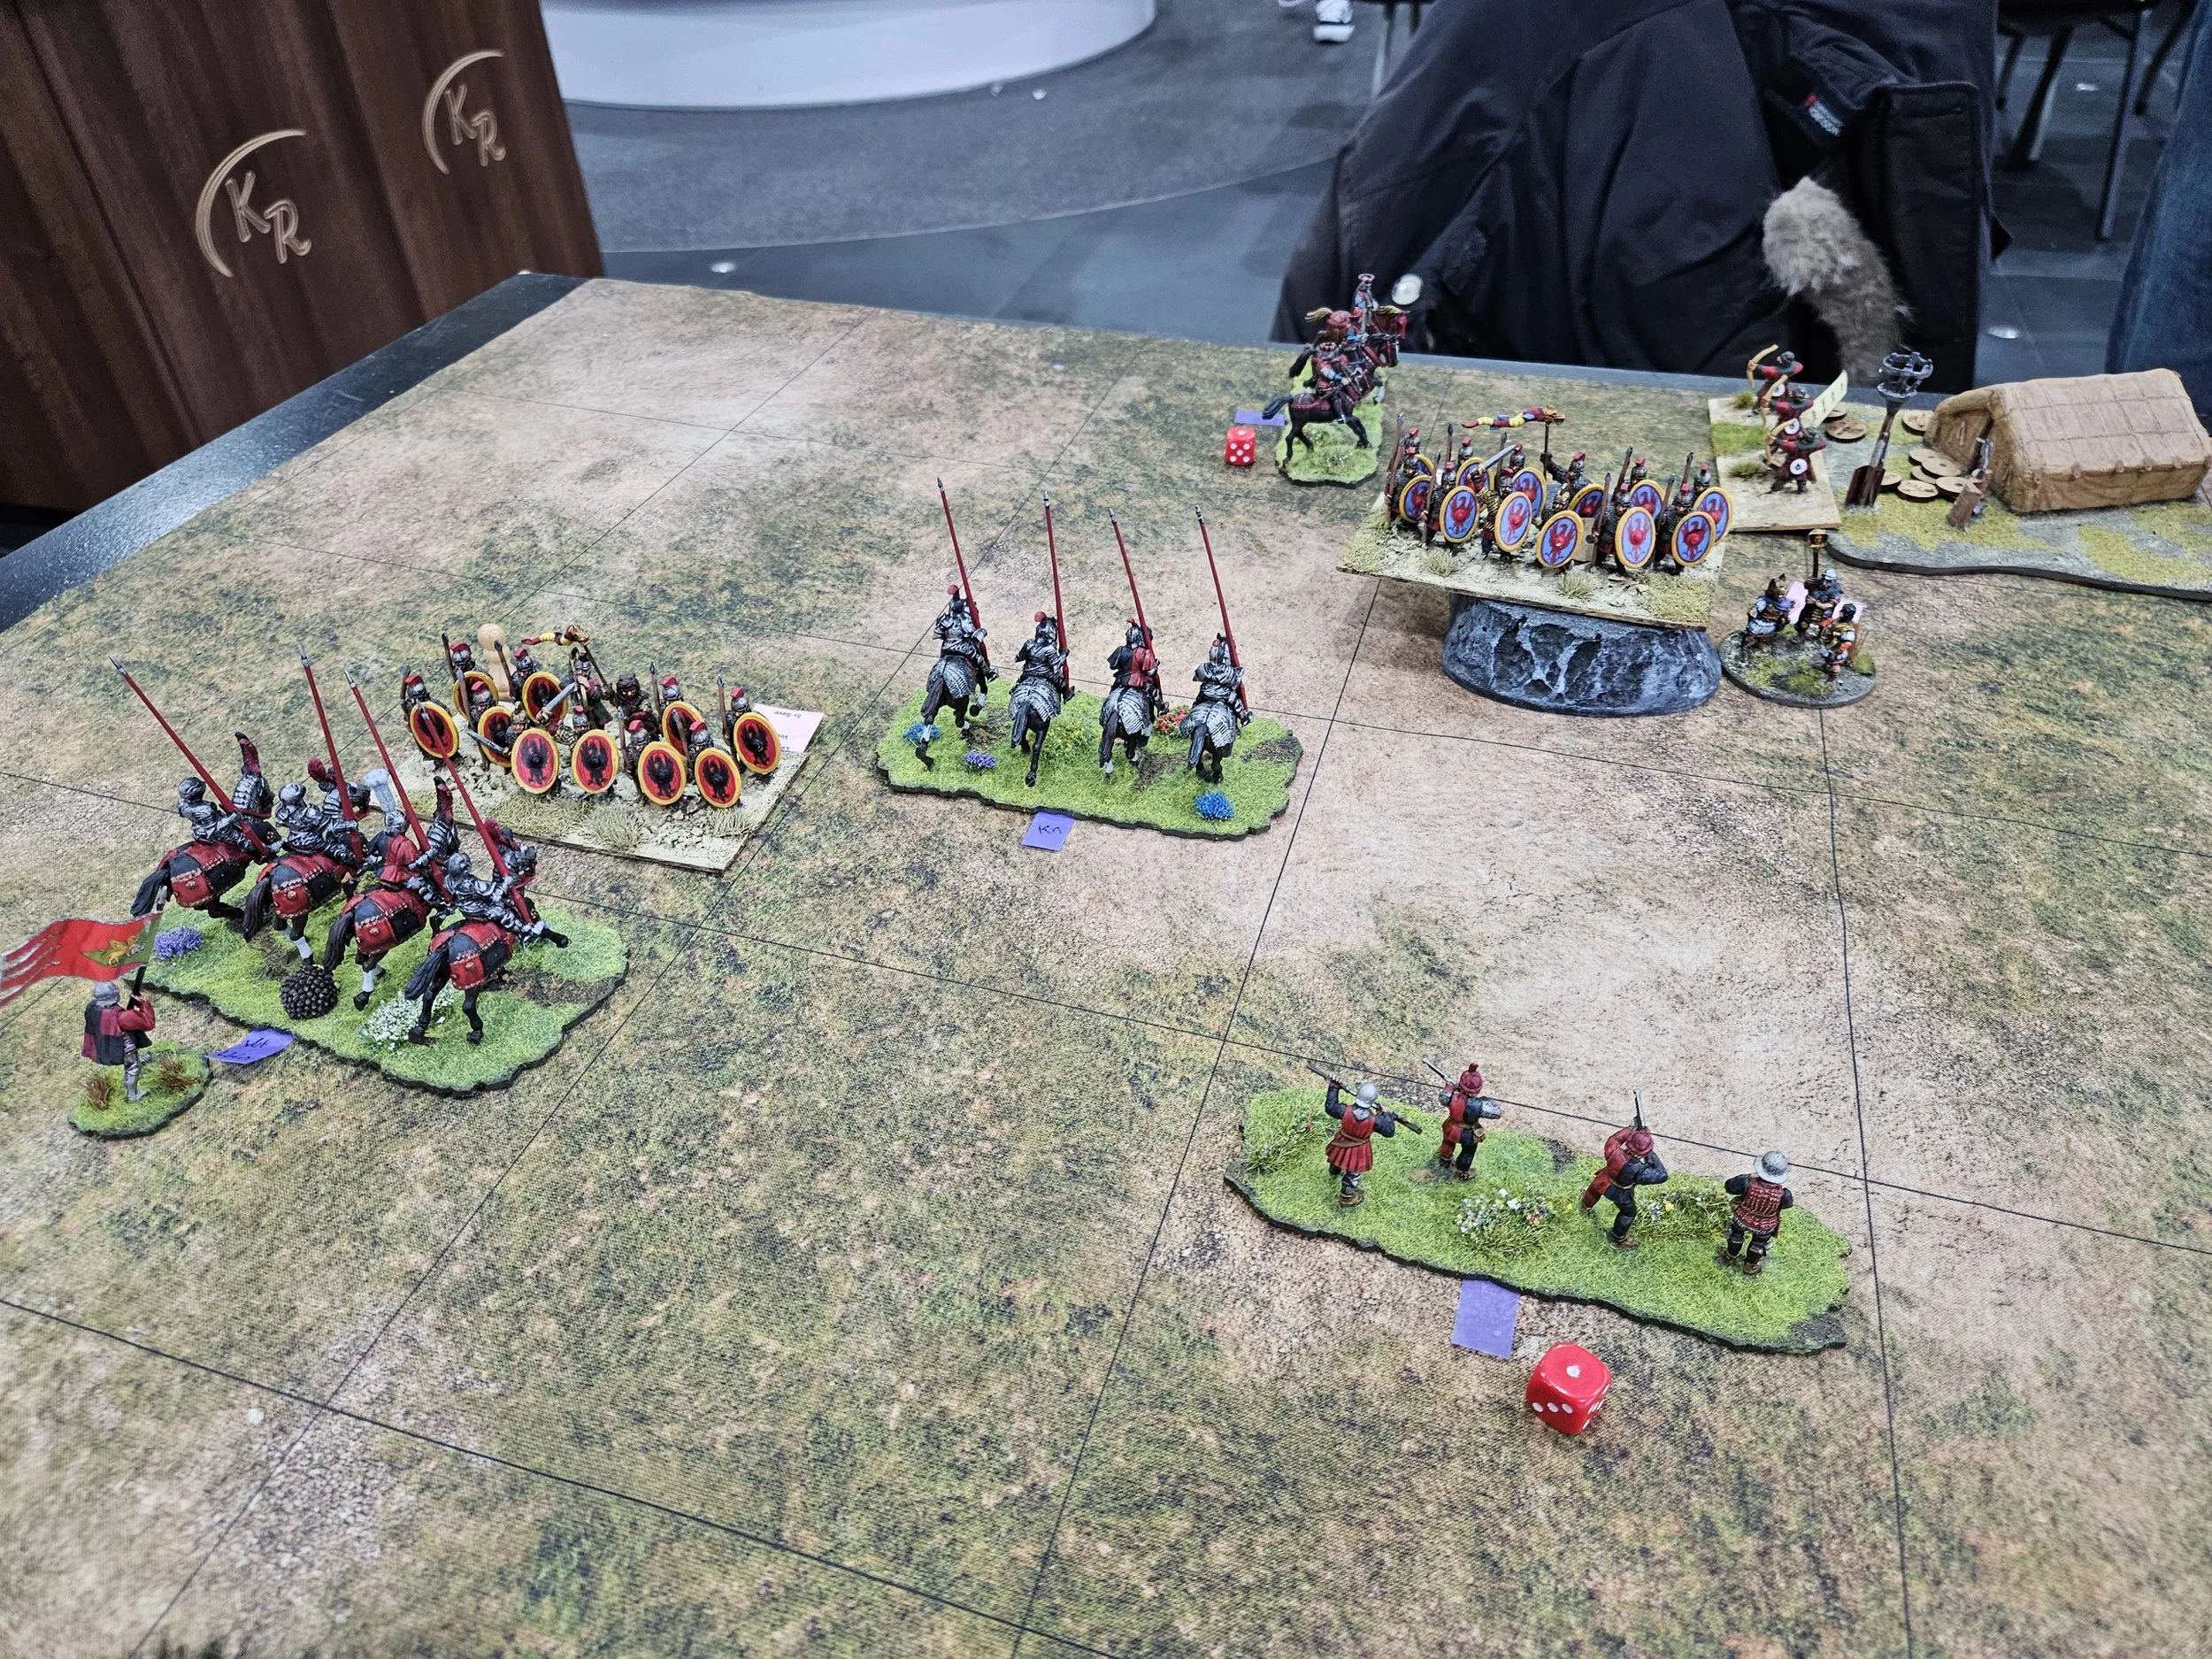
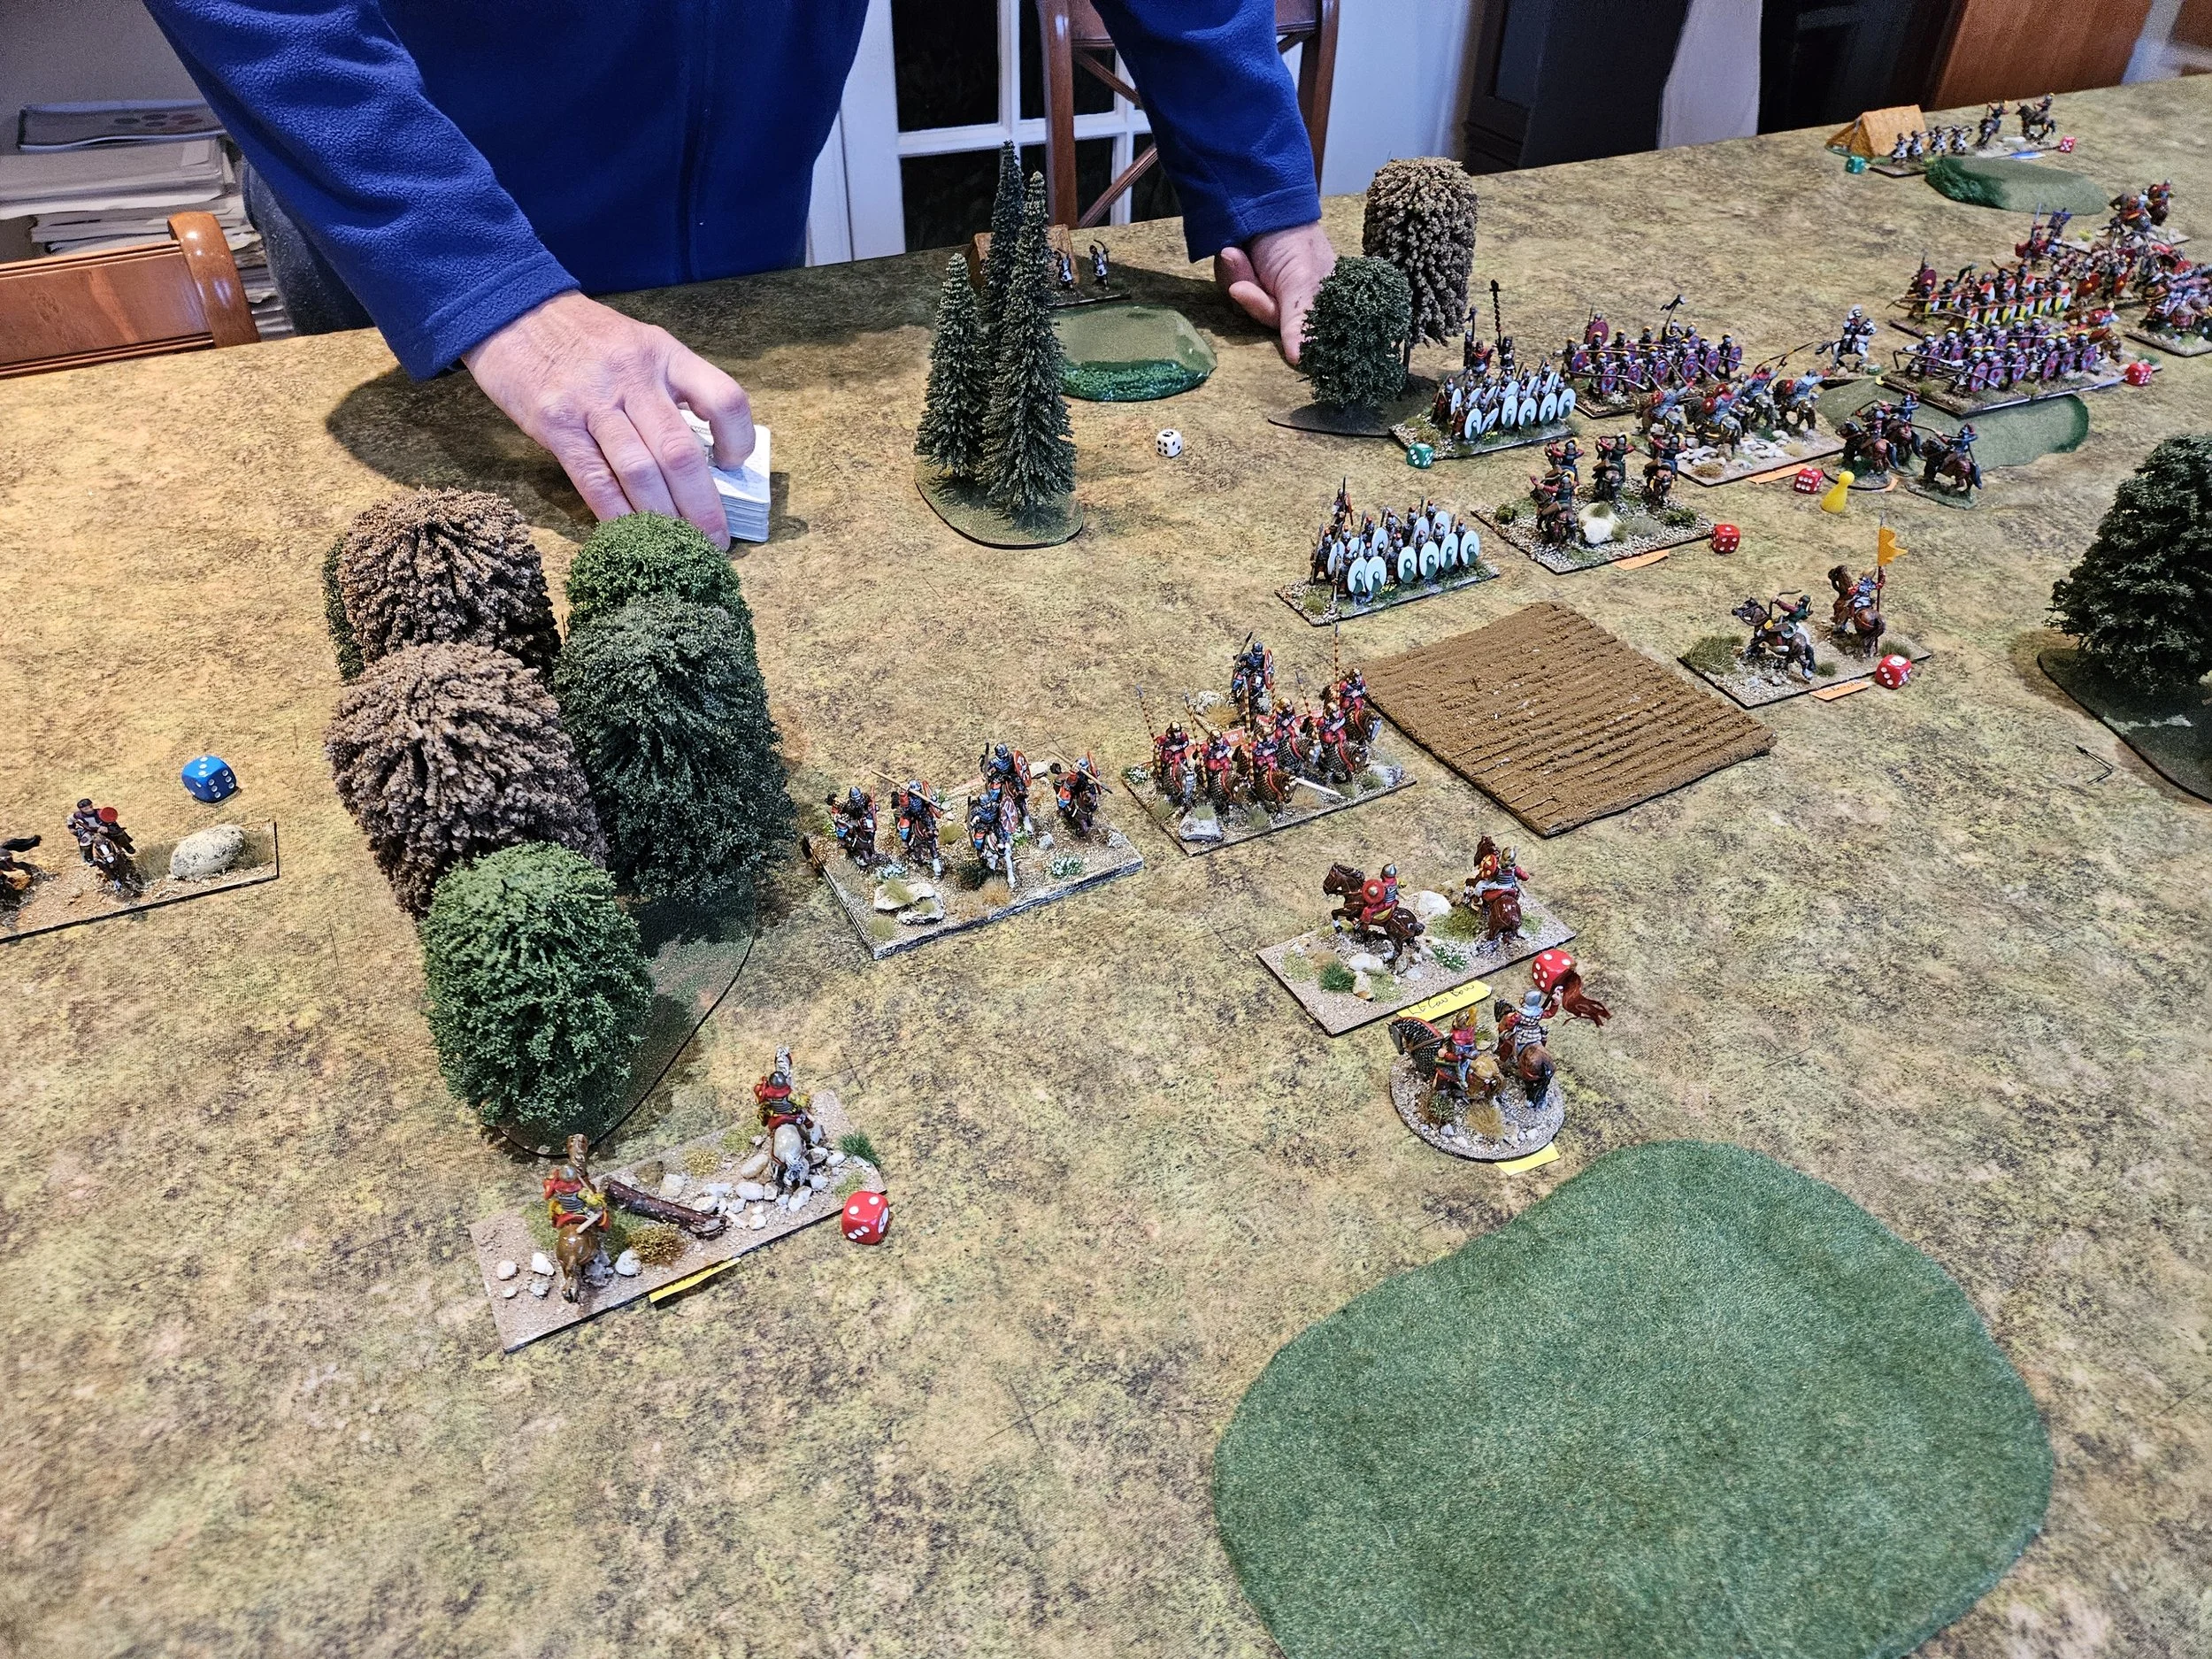
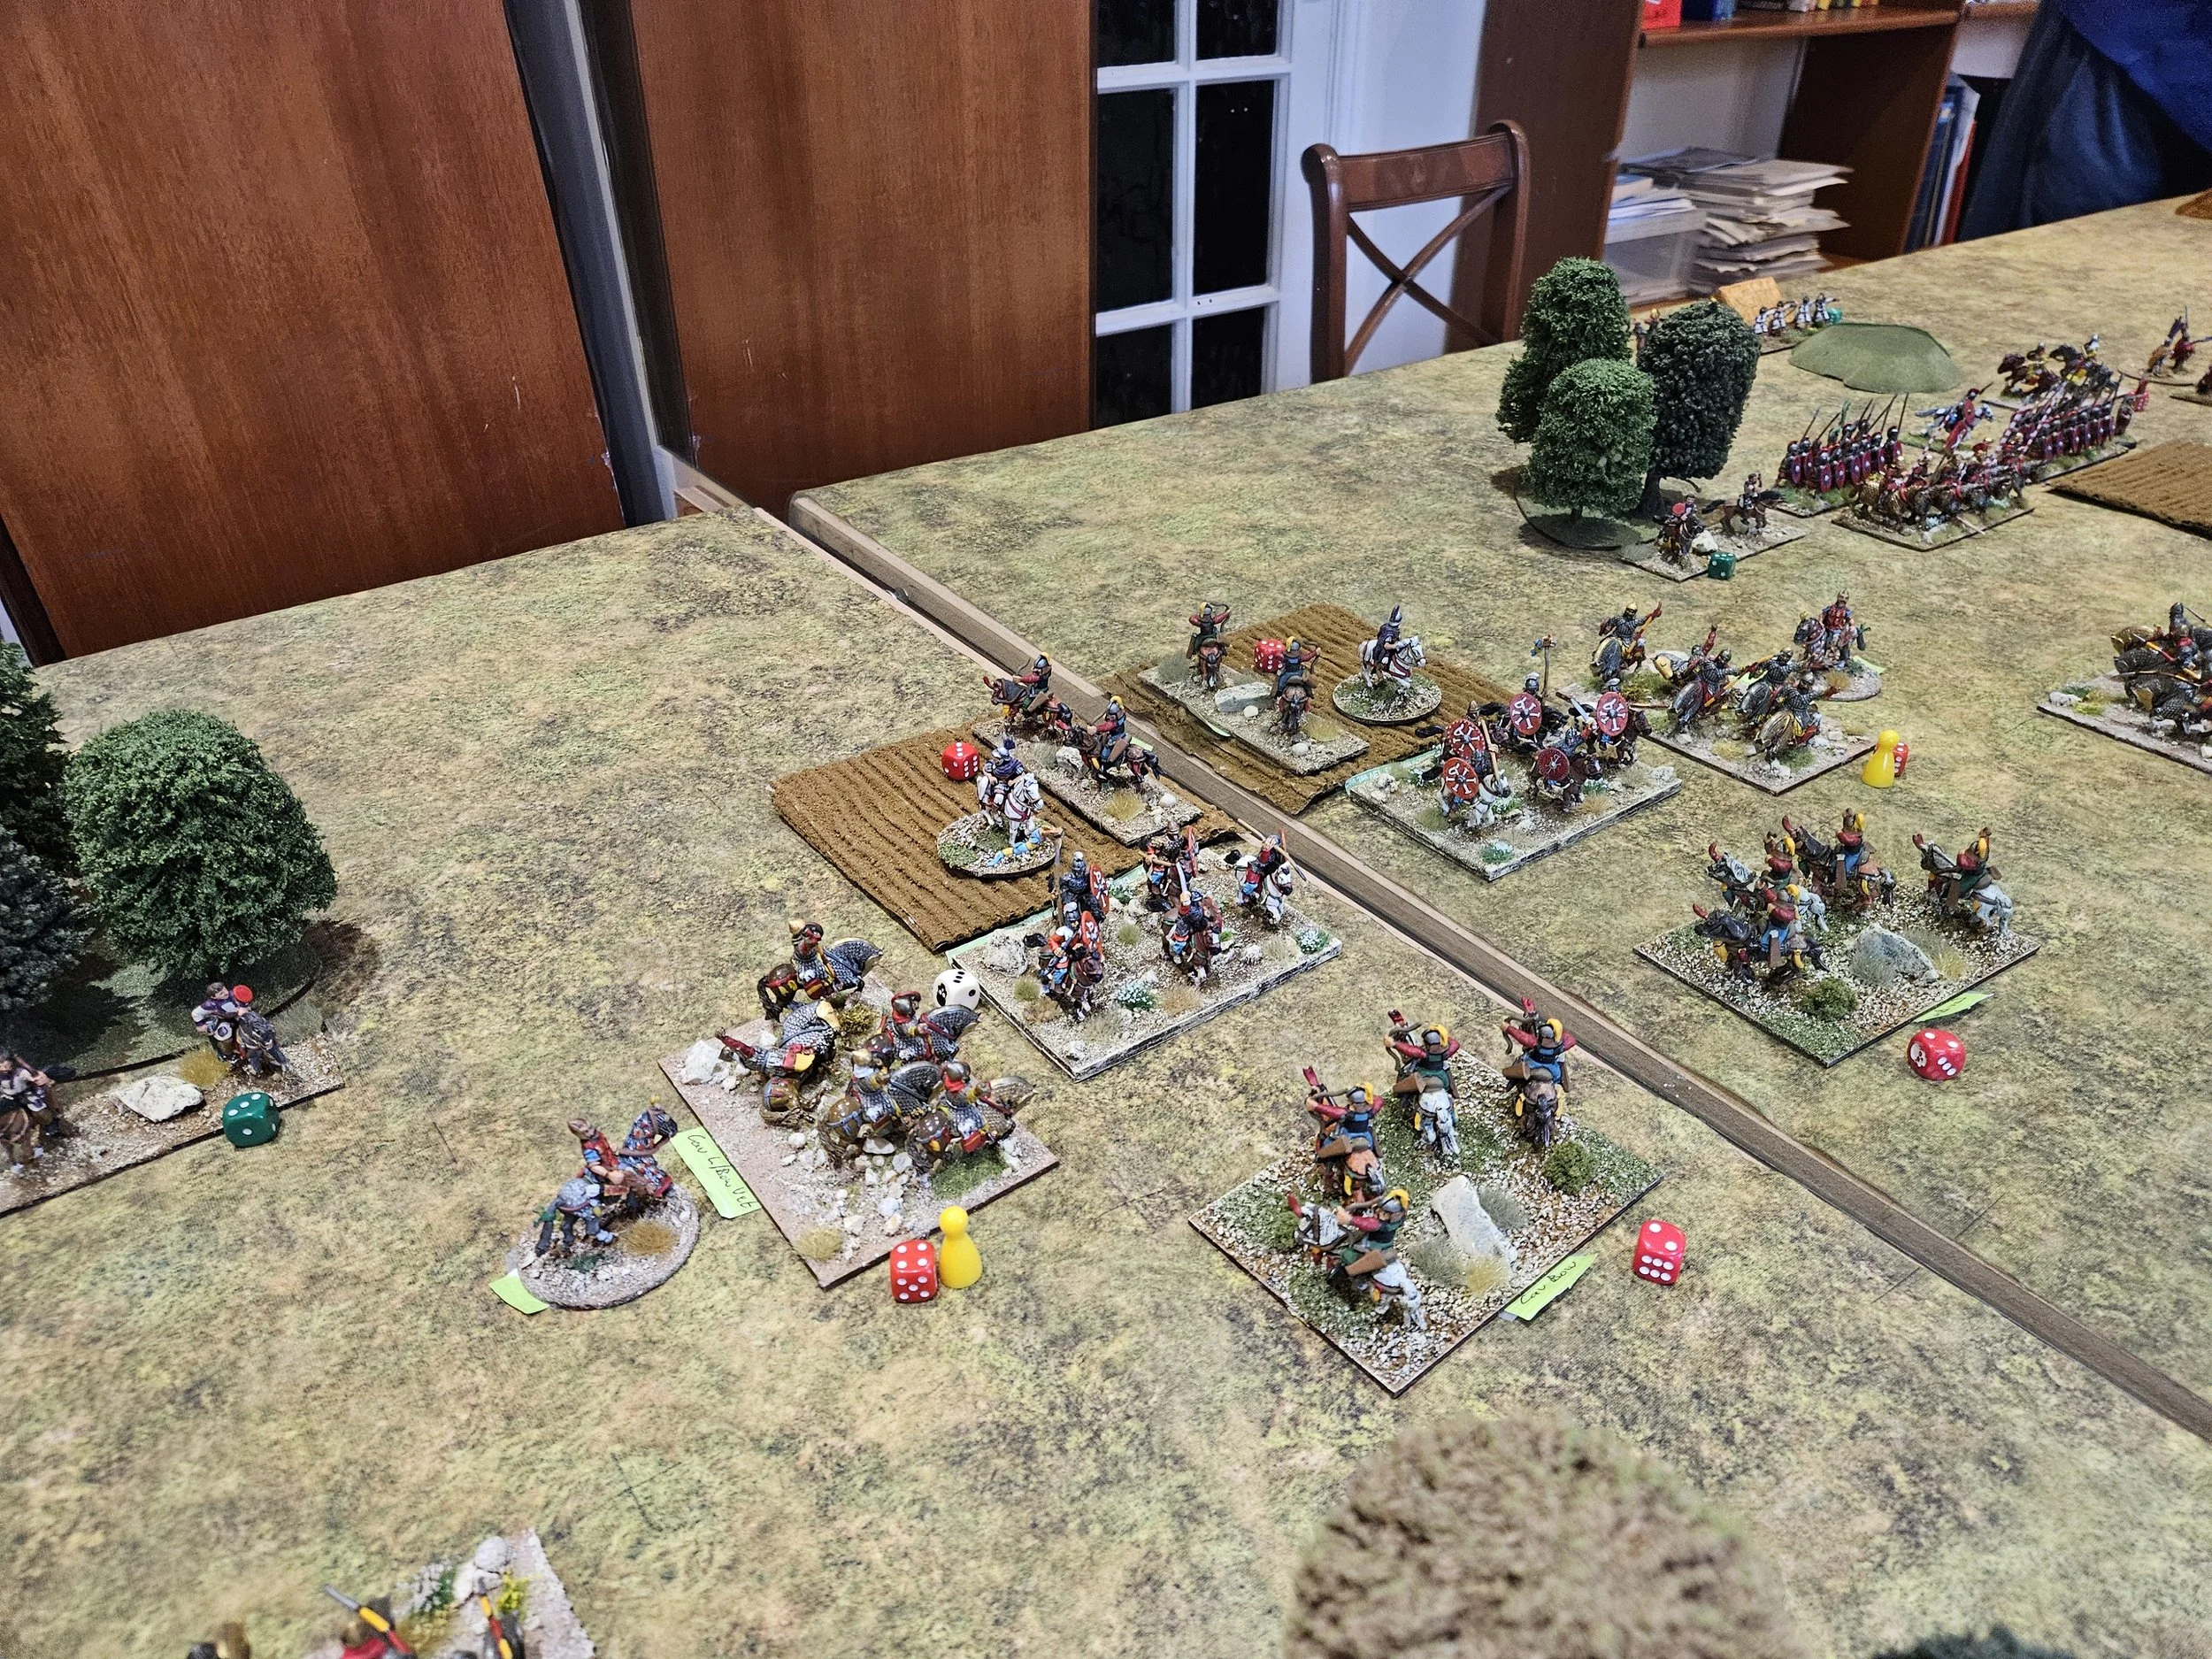
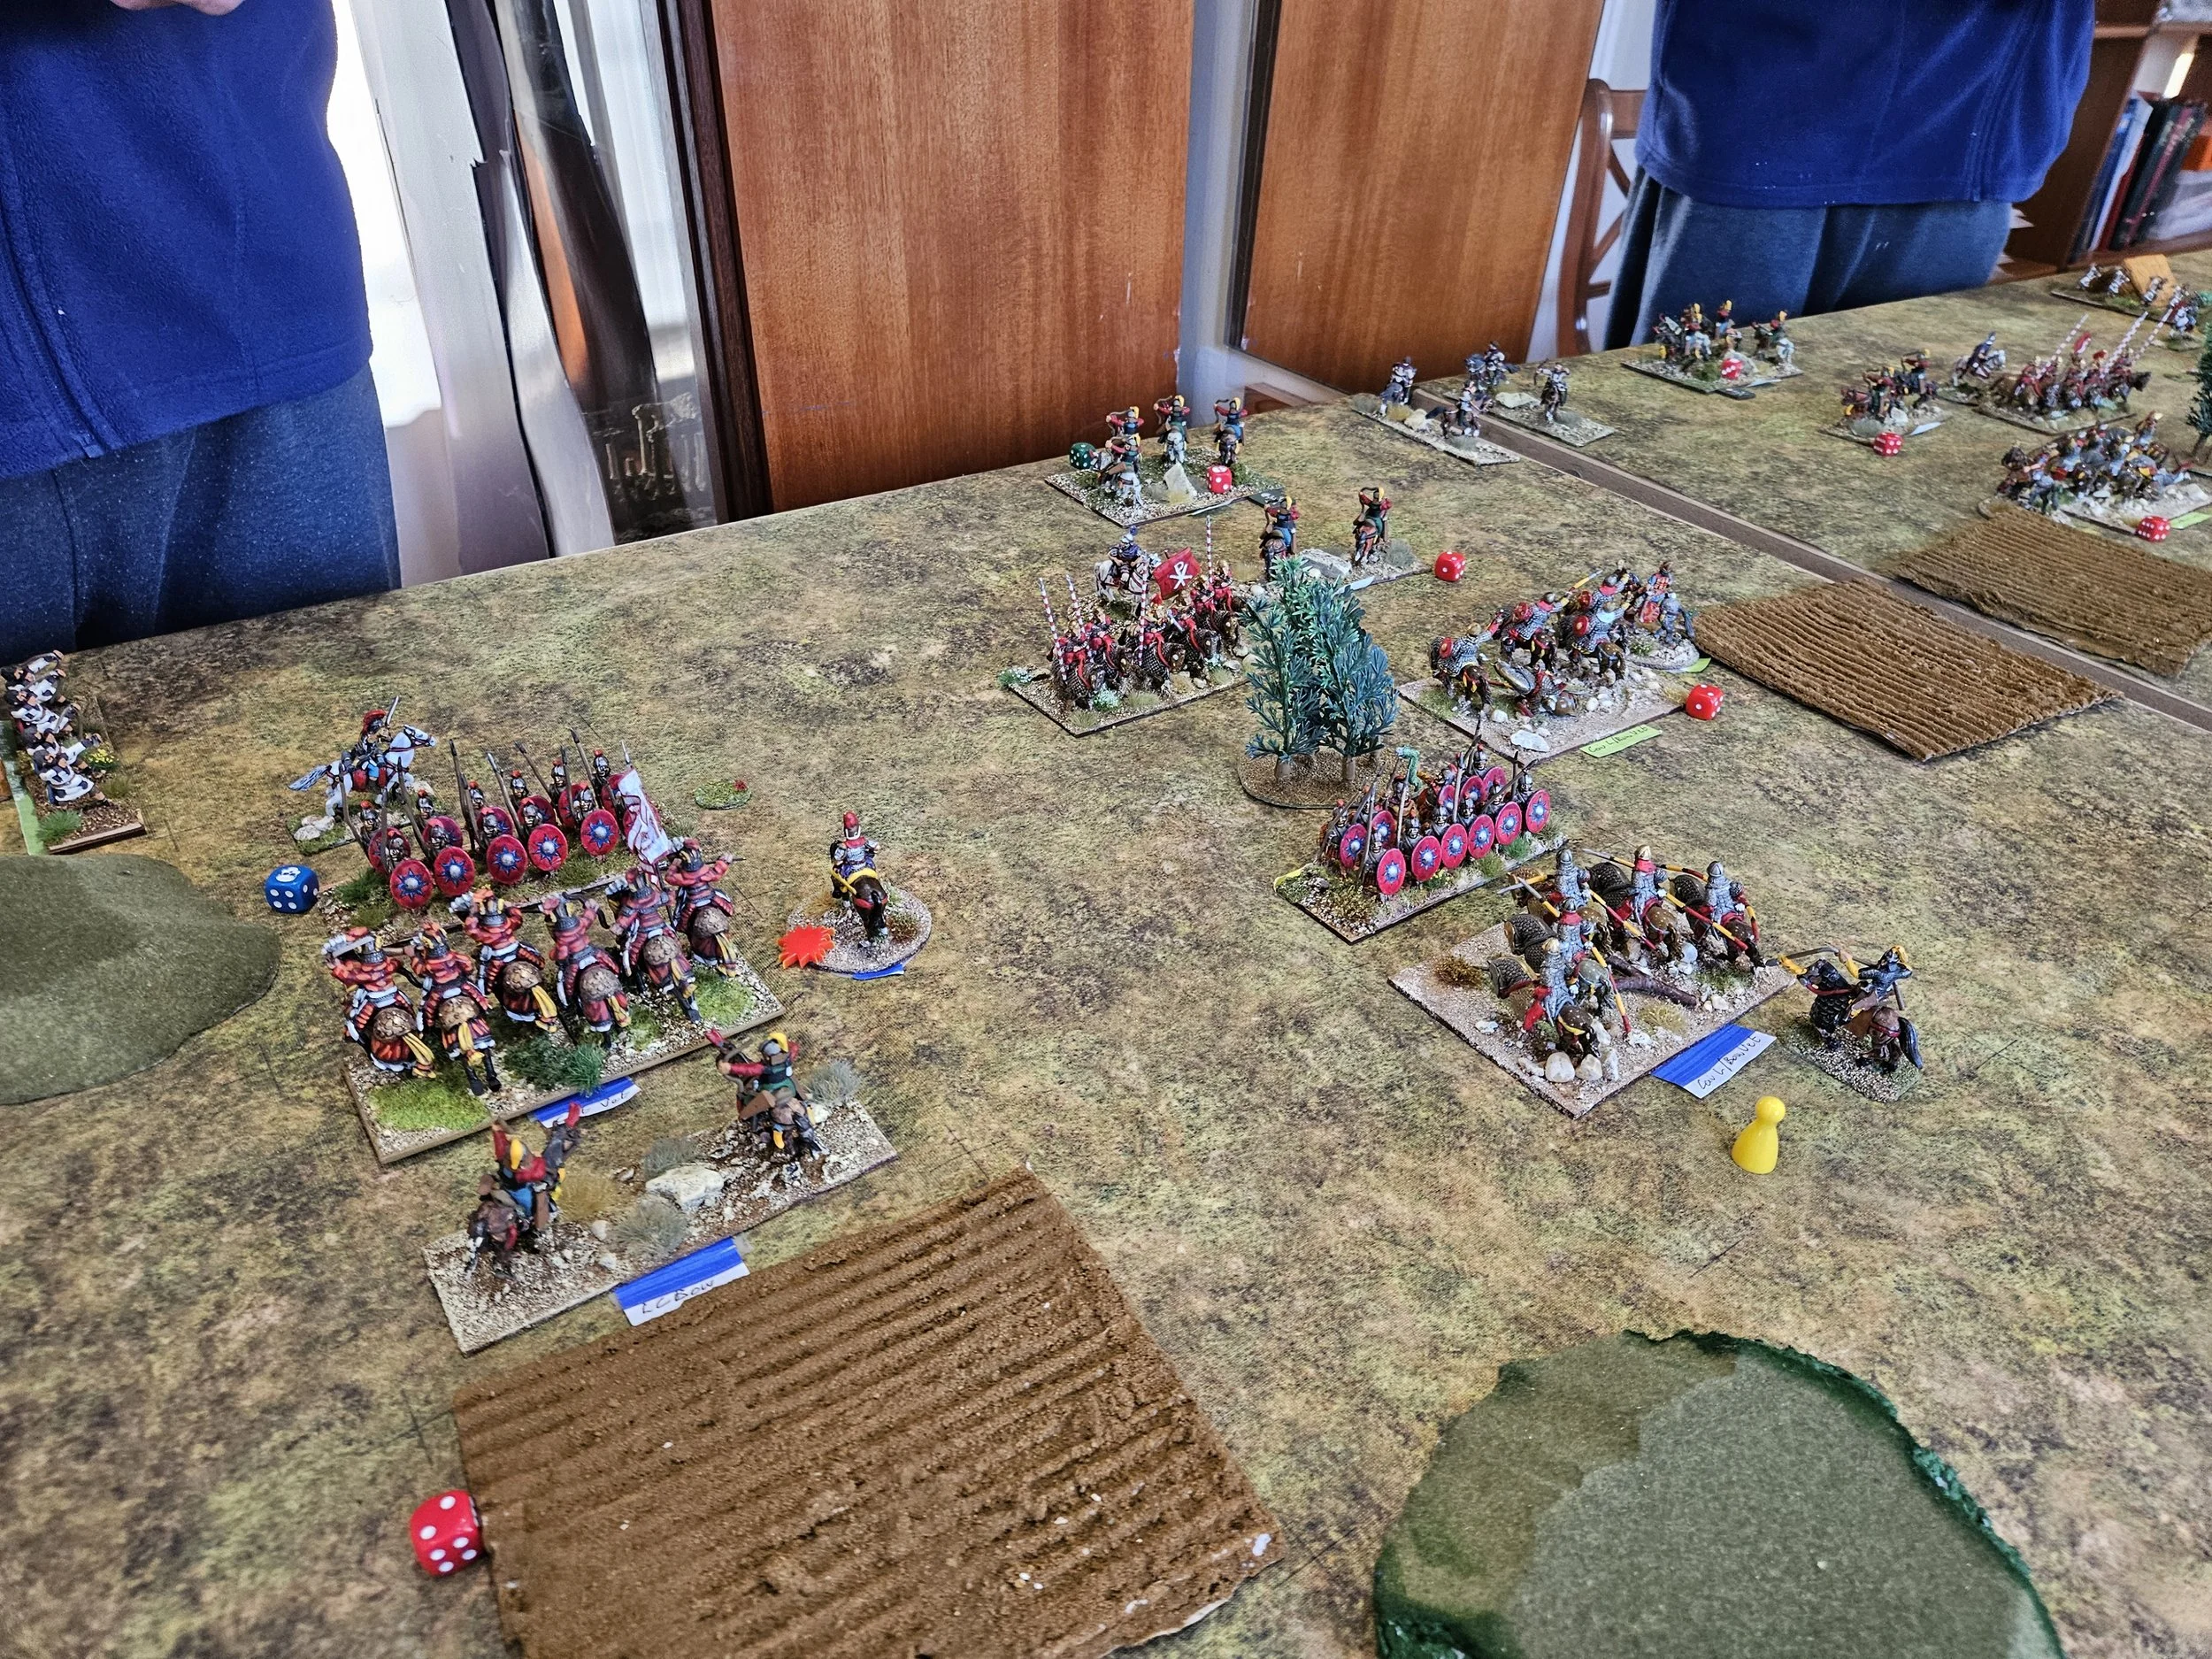
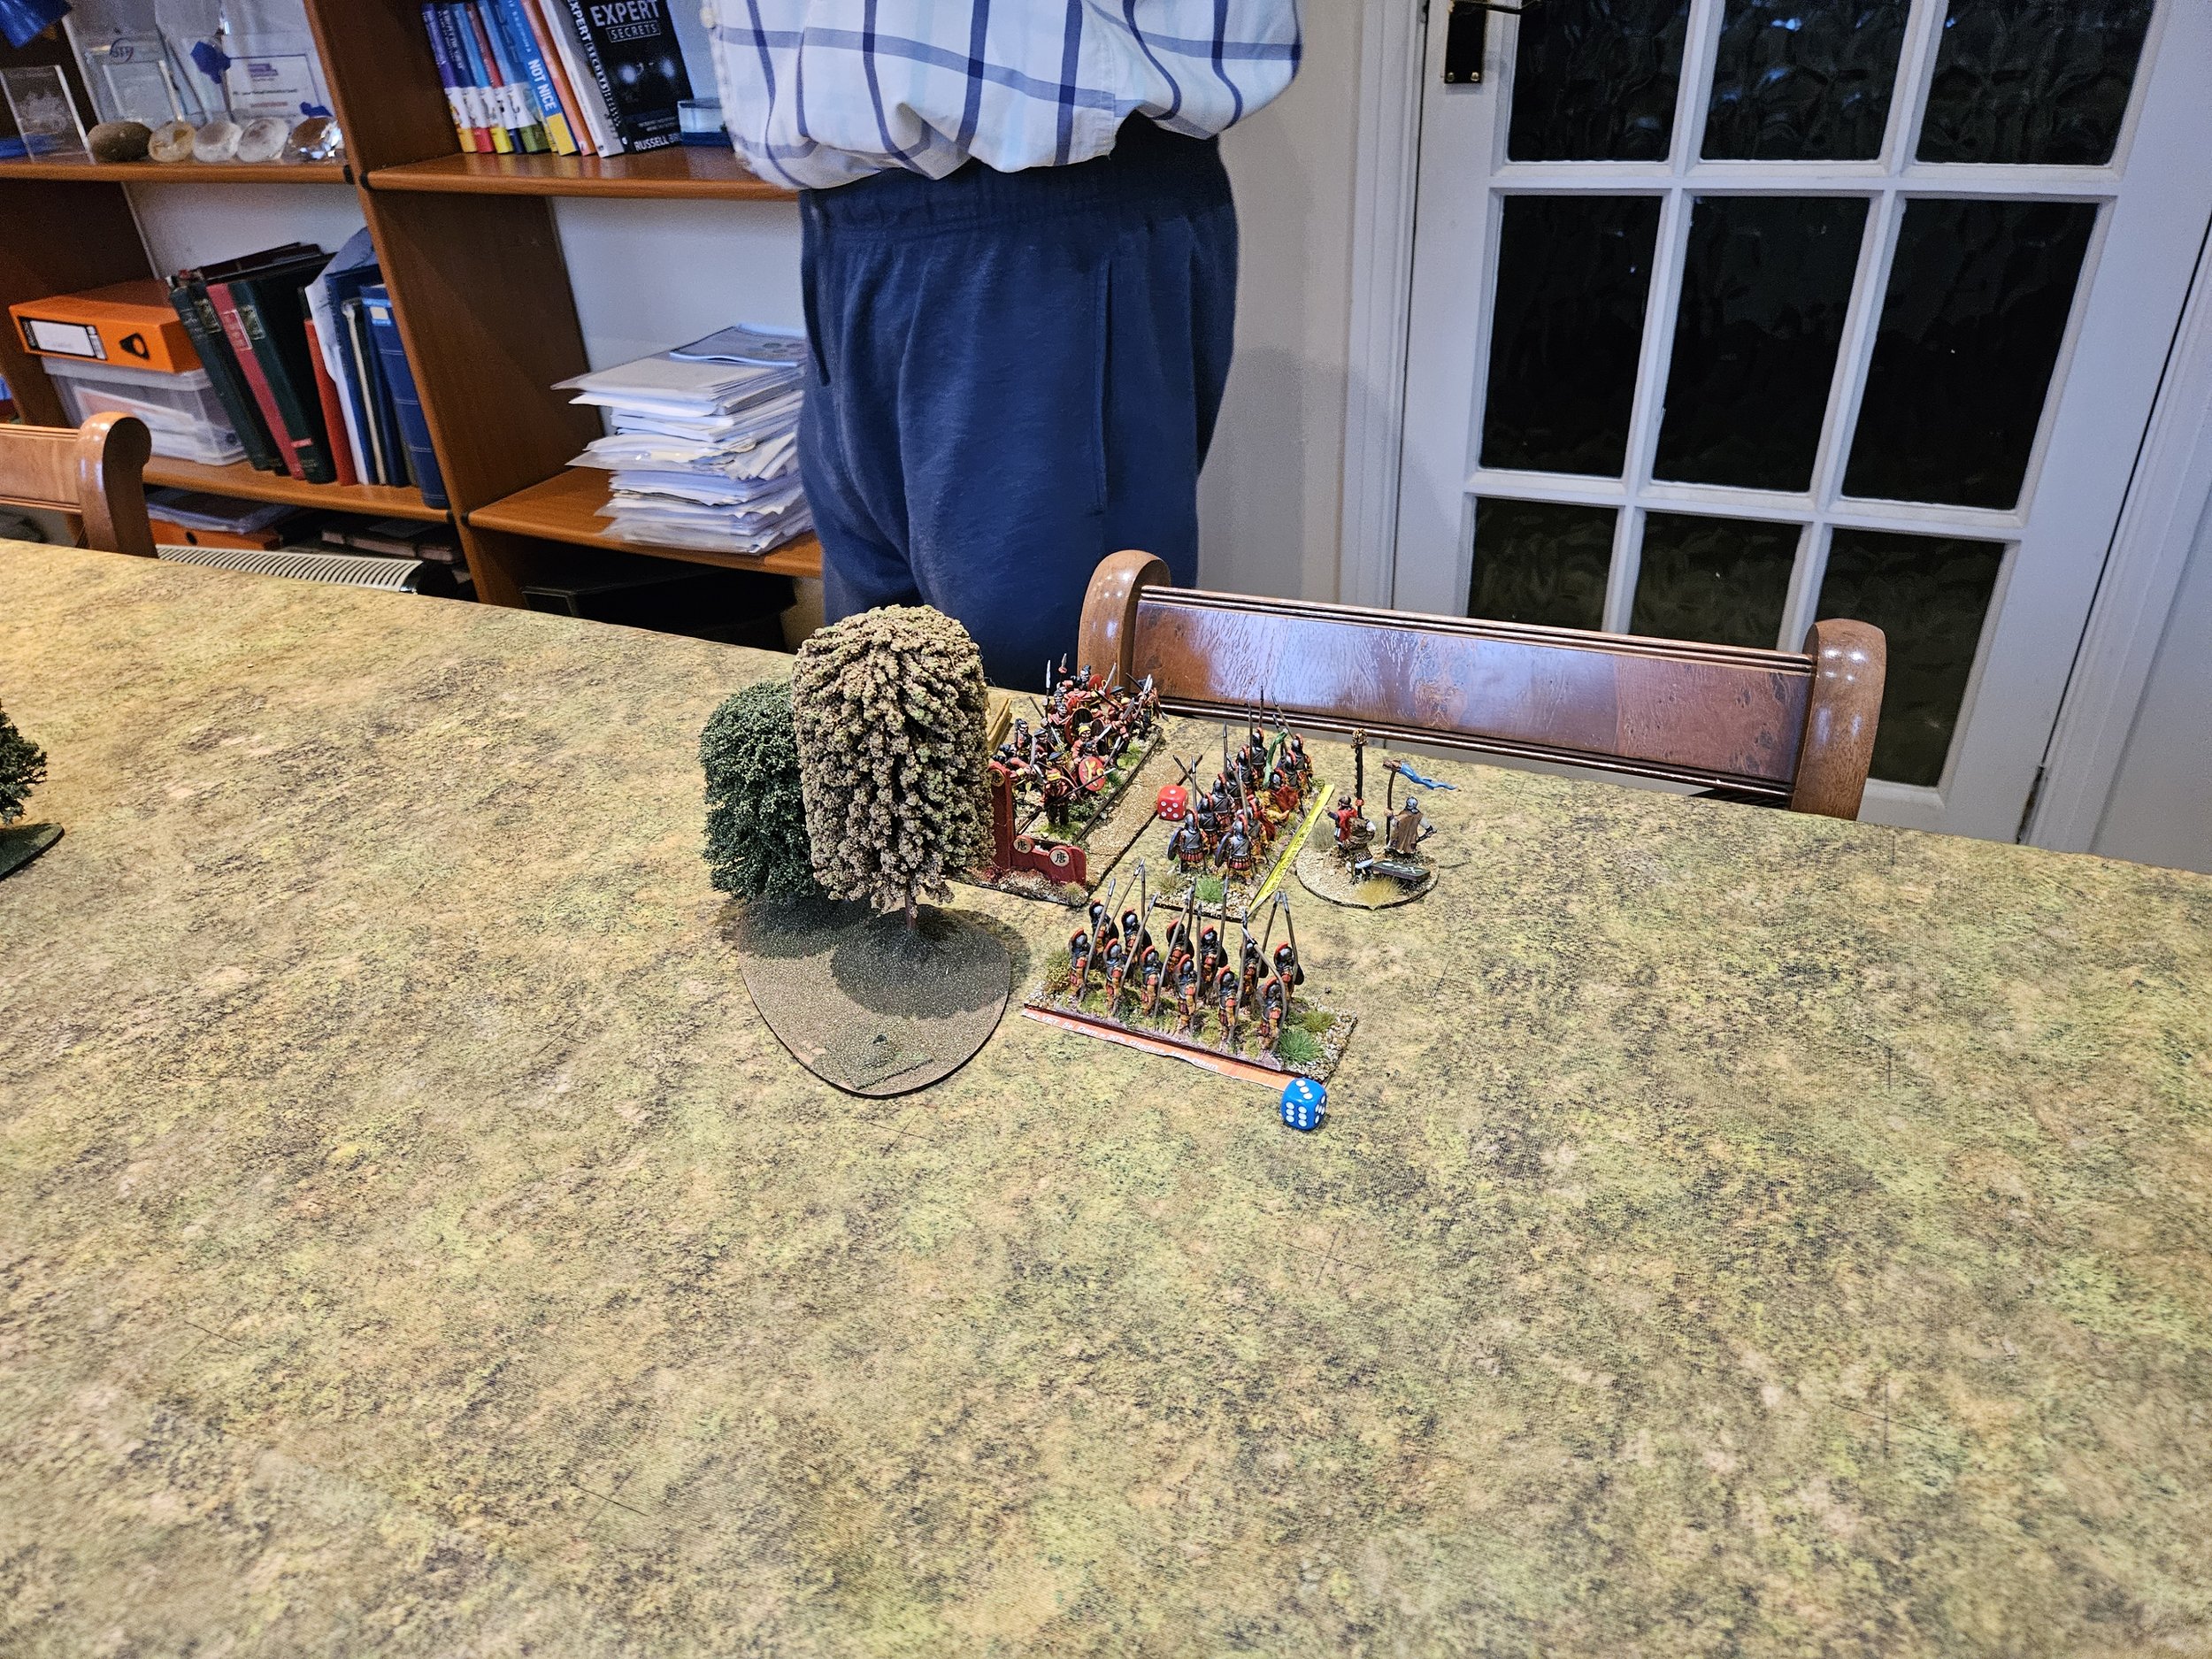
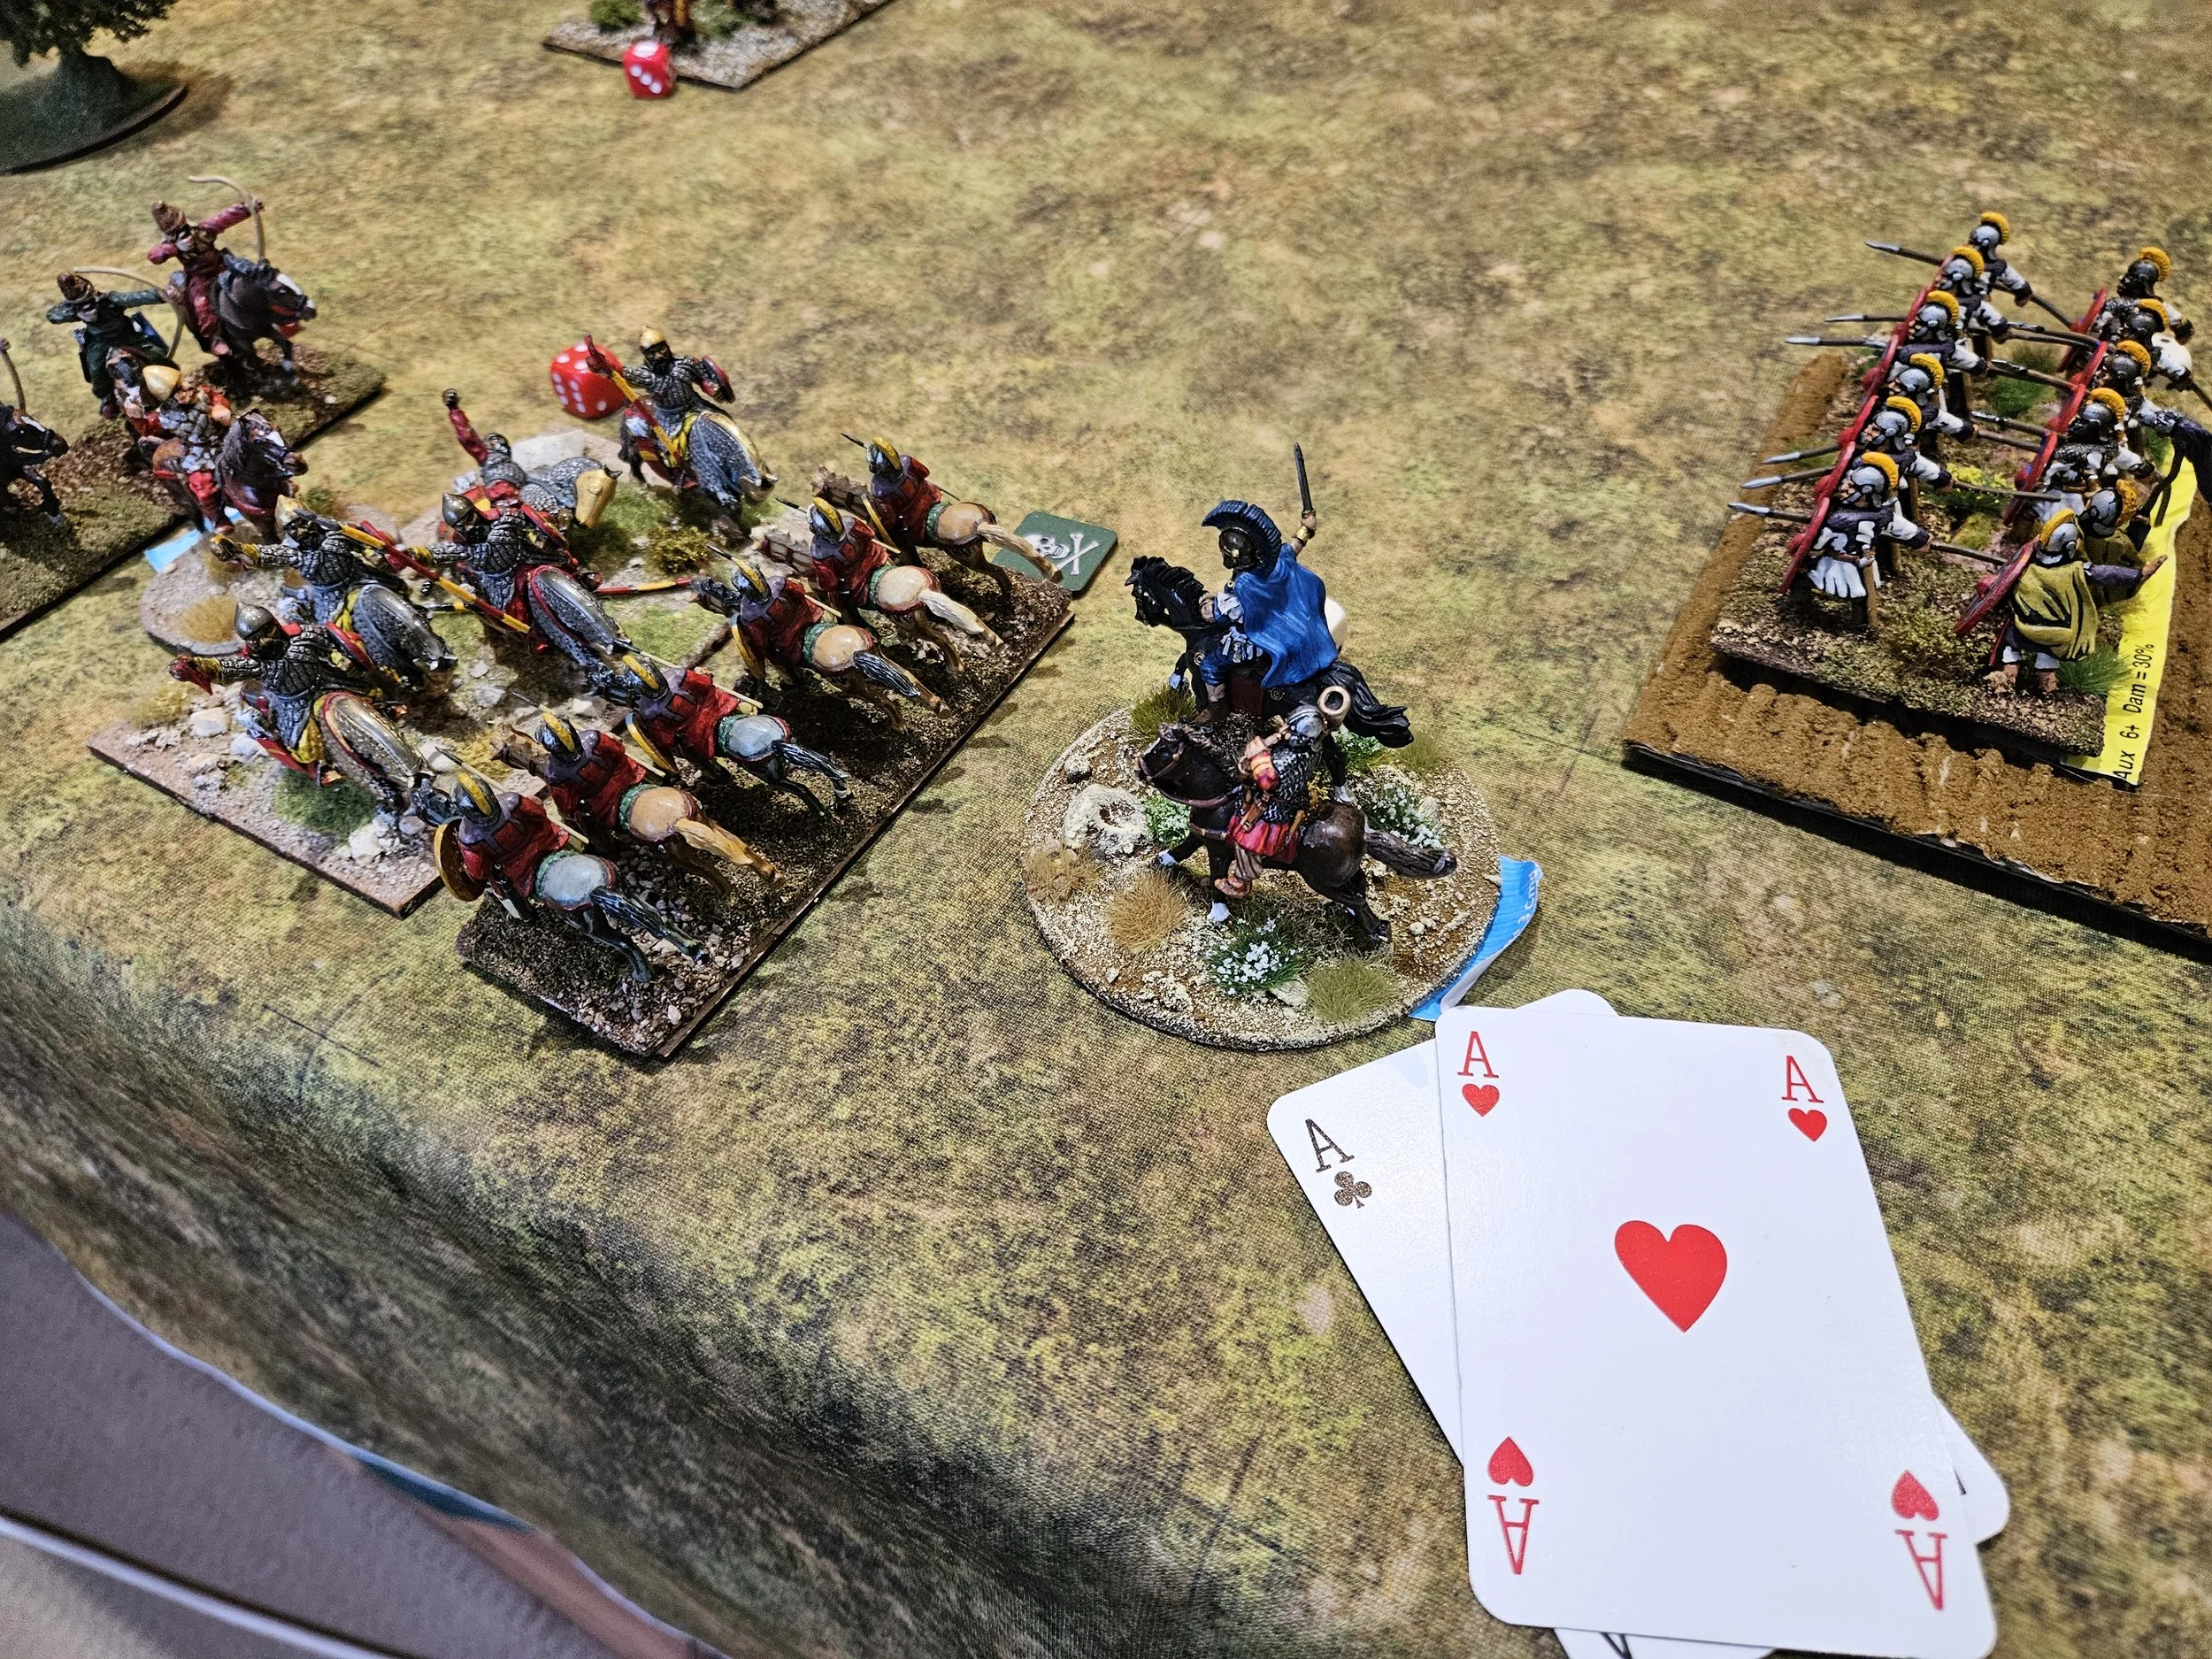
Again my infantry proved very successful in combat, one warband bursting through the enemy line and heading straight for their camp.


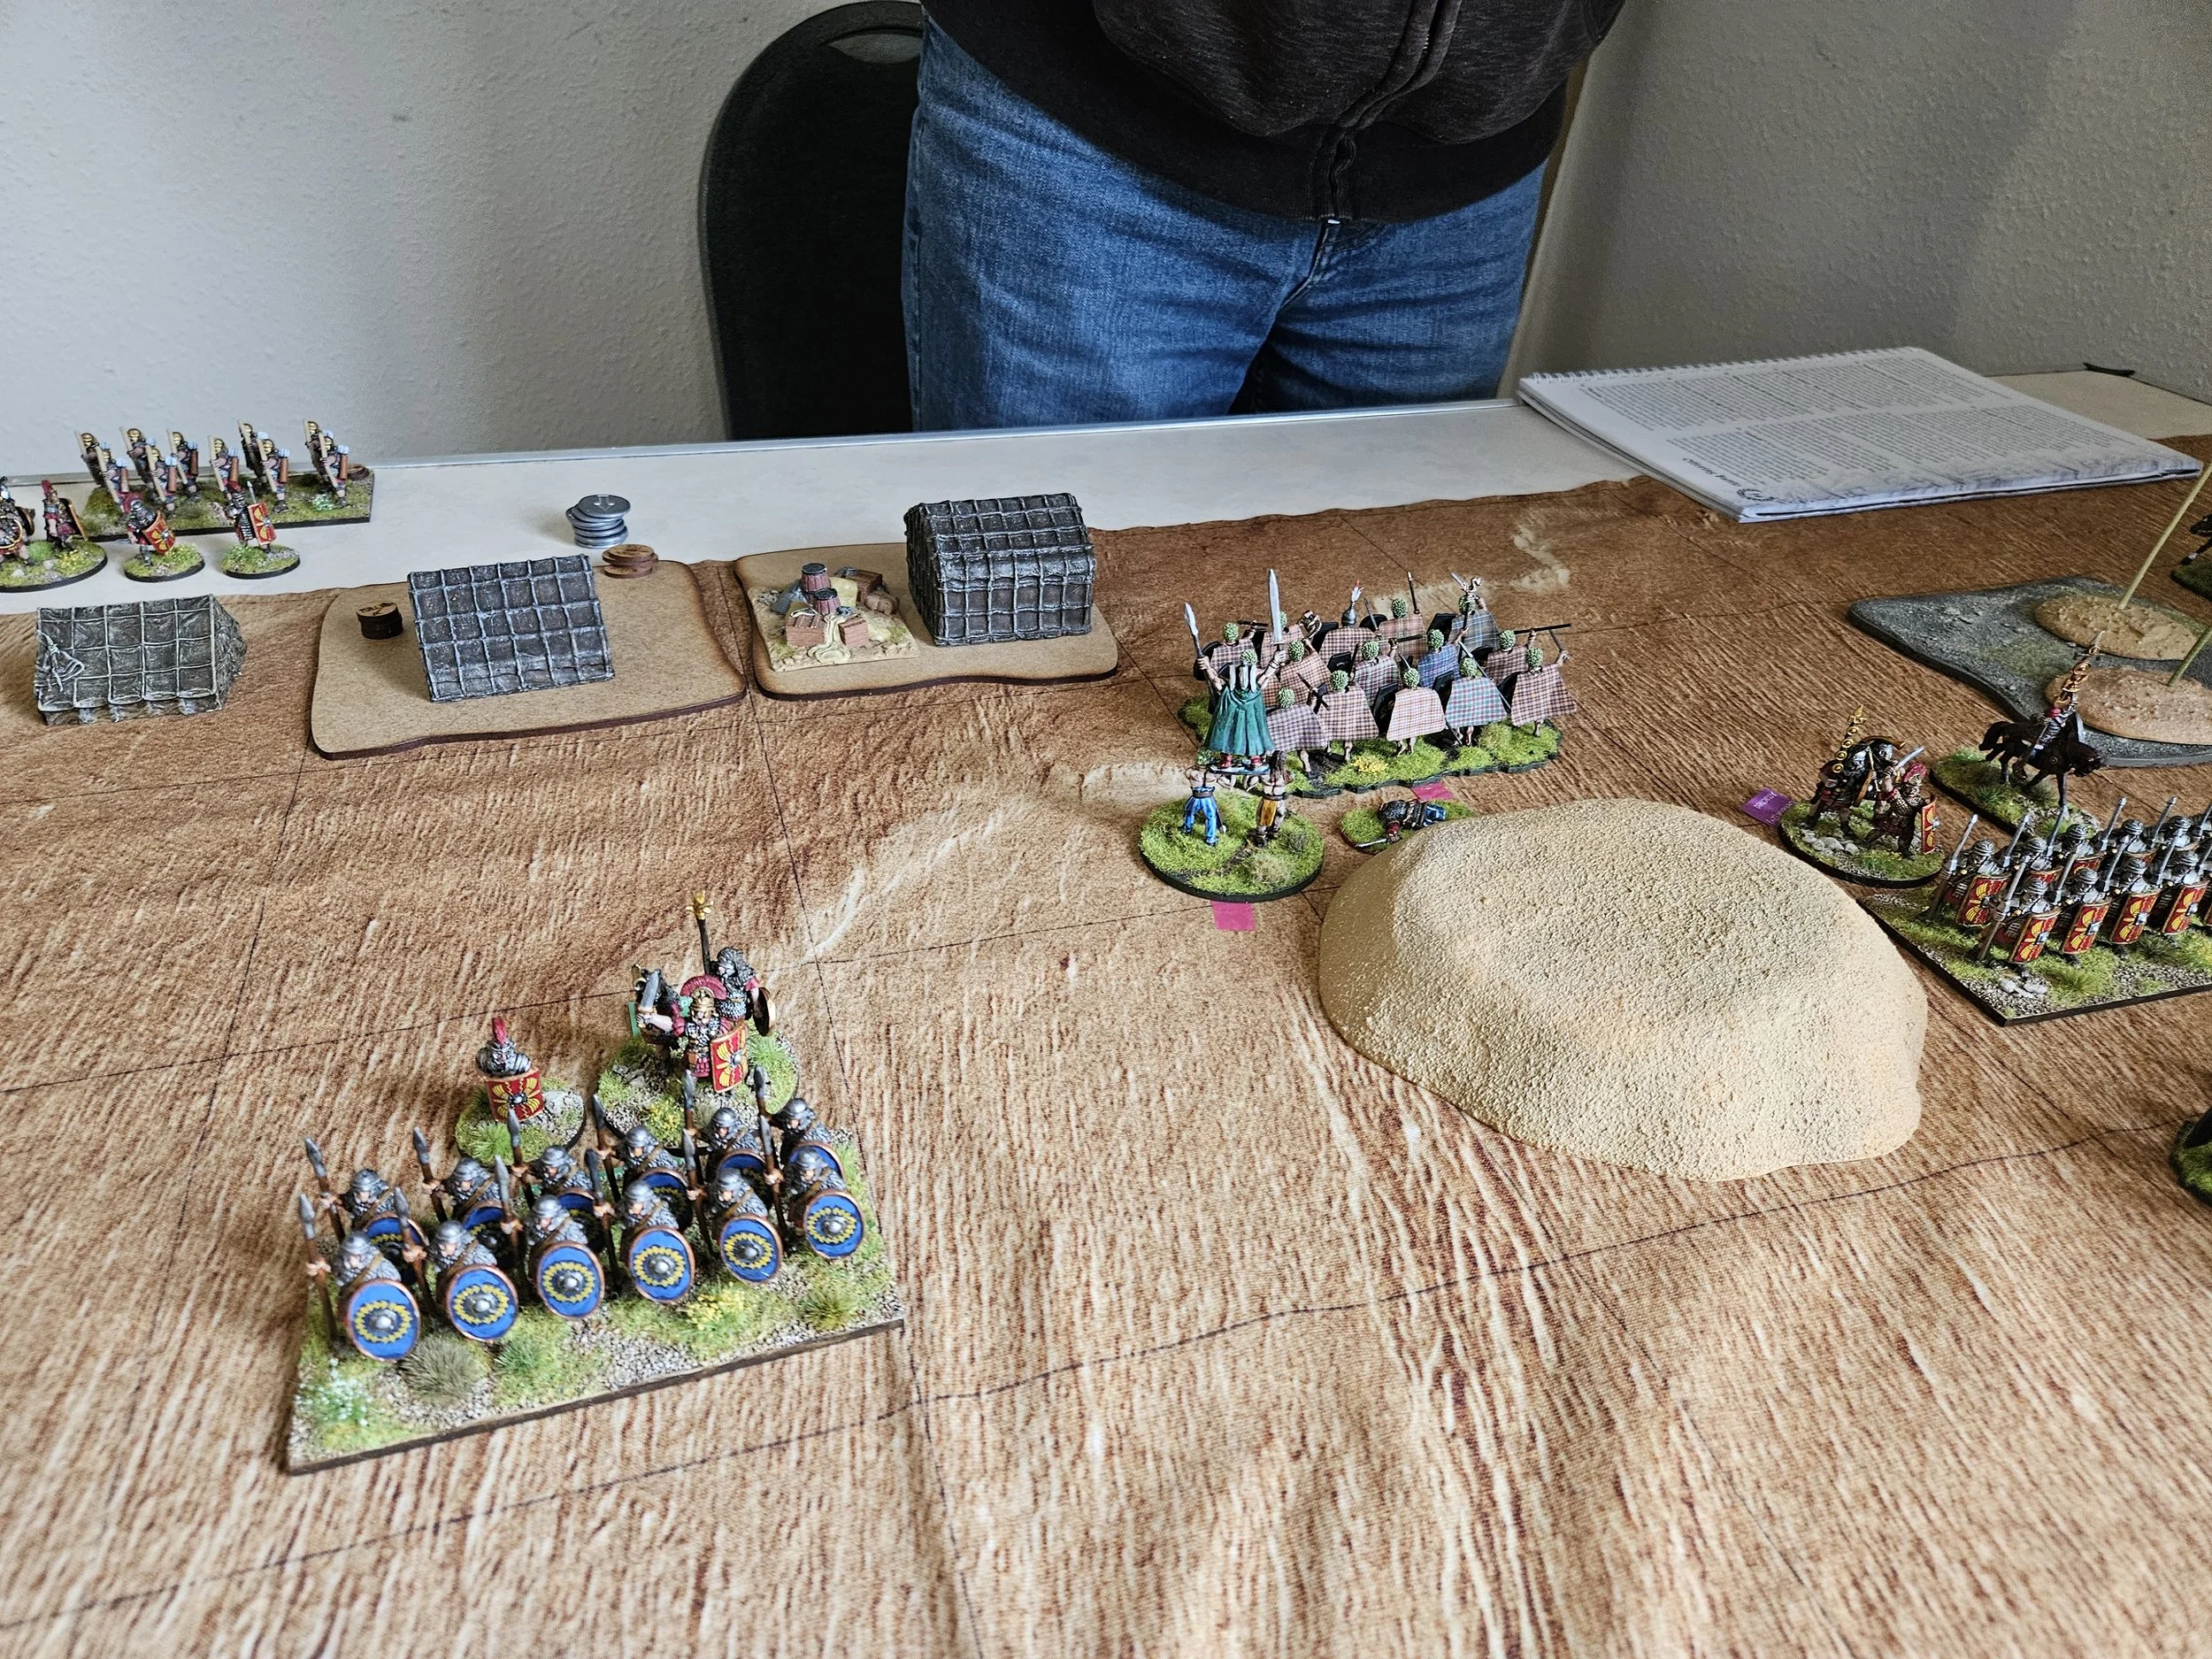

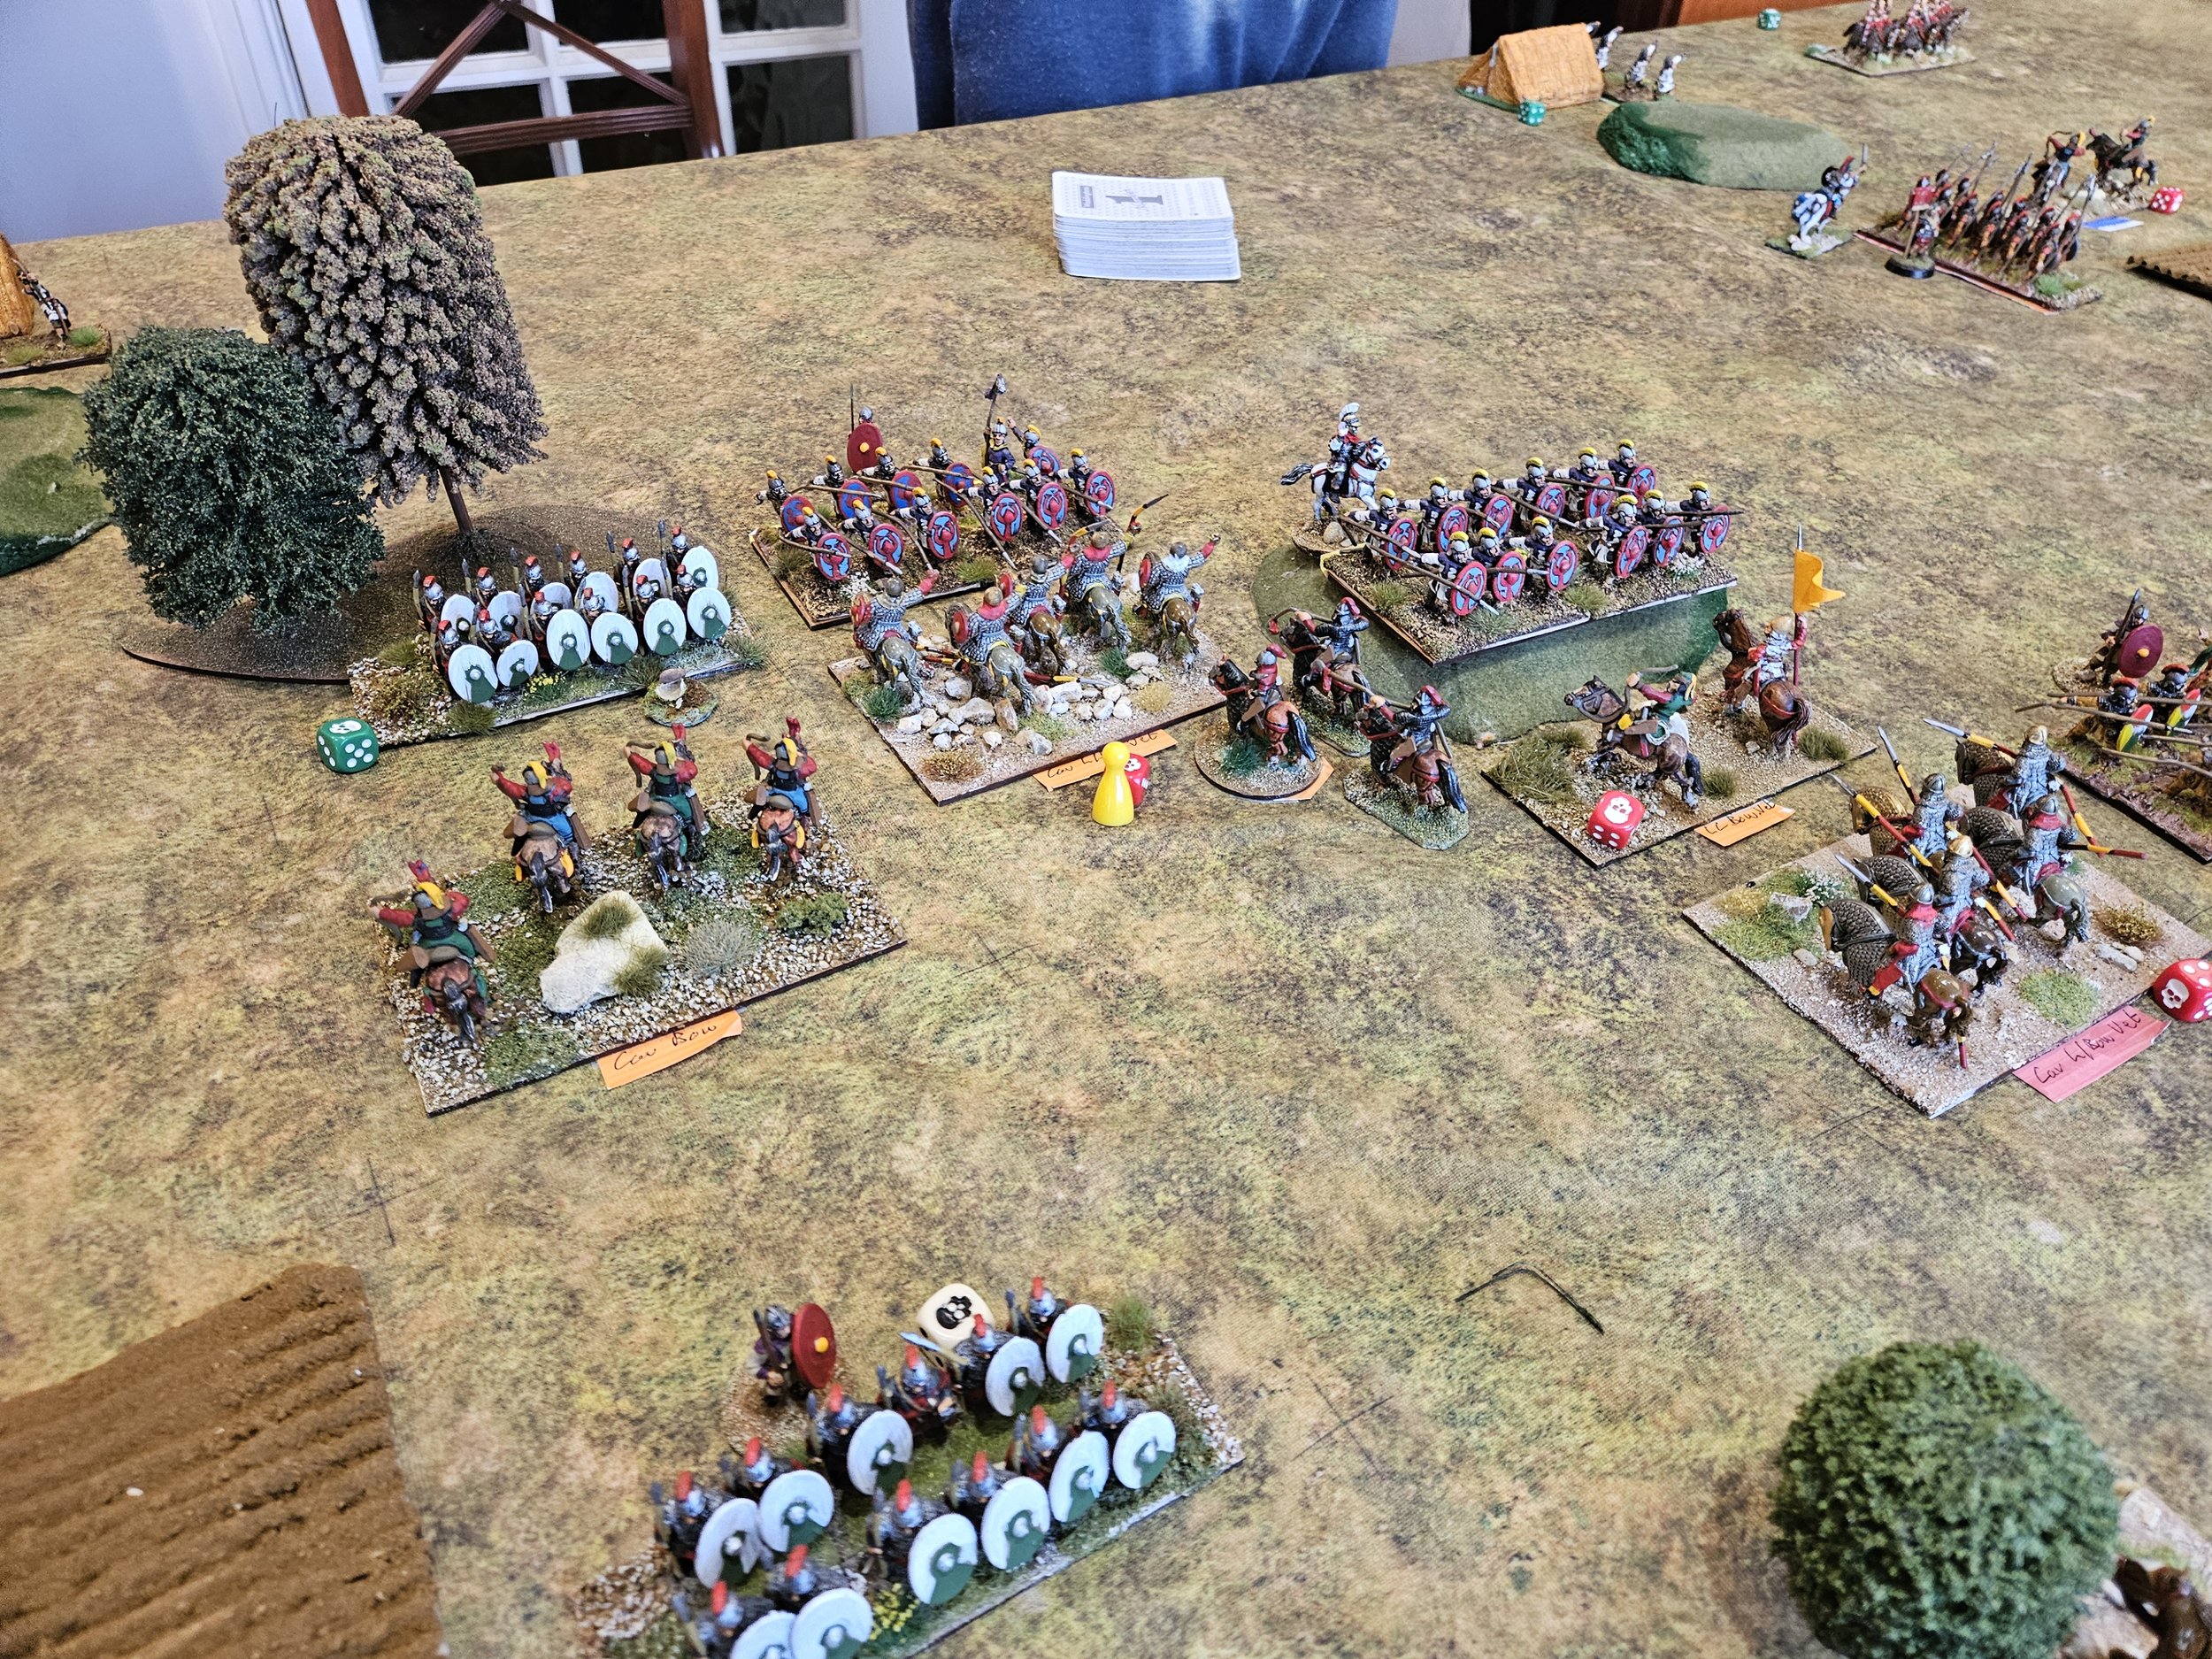
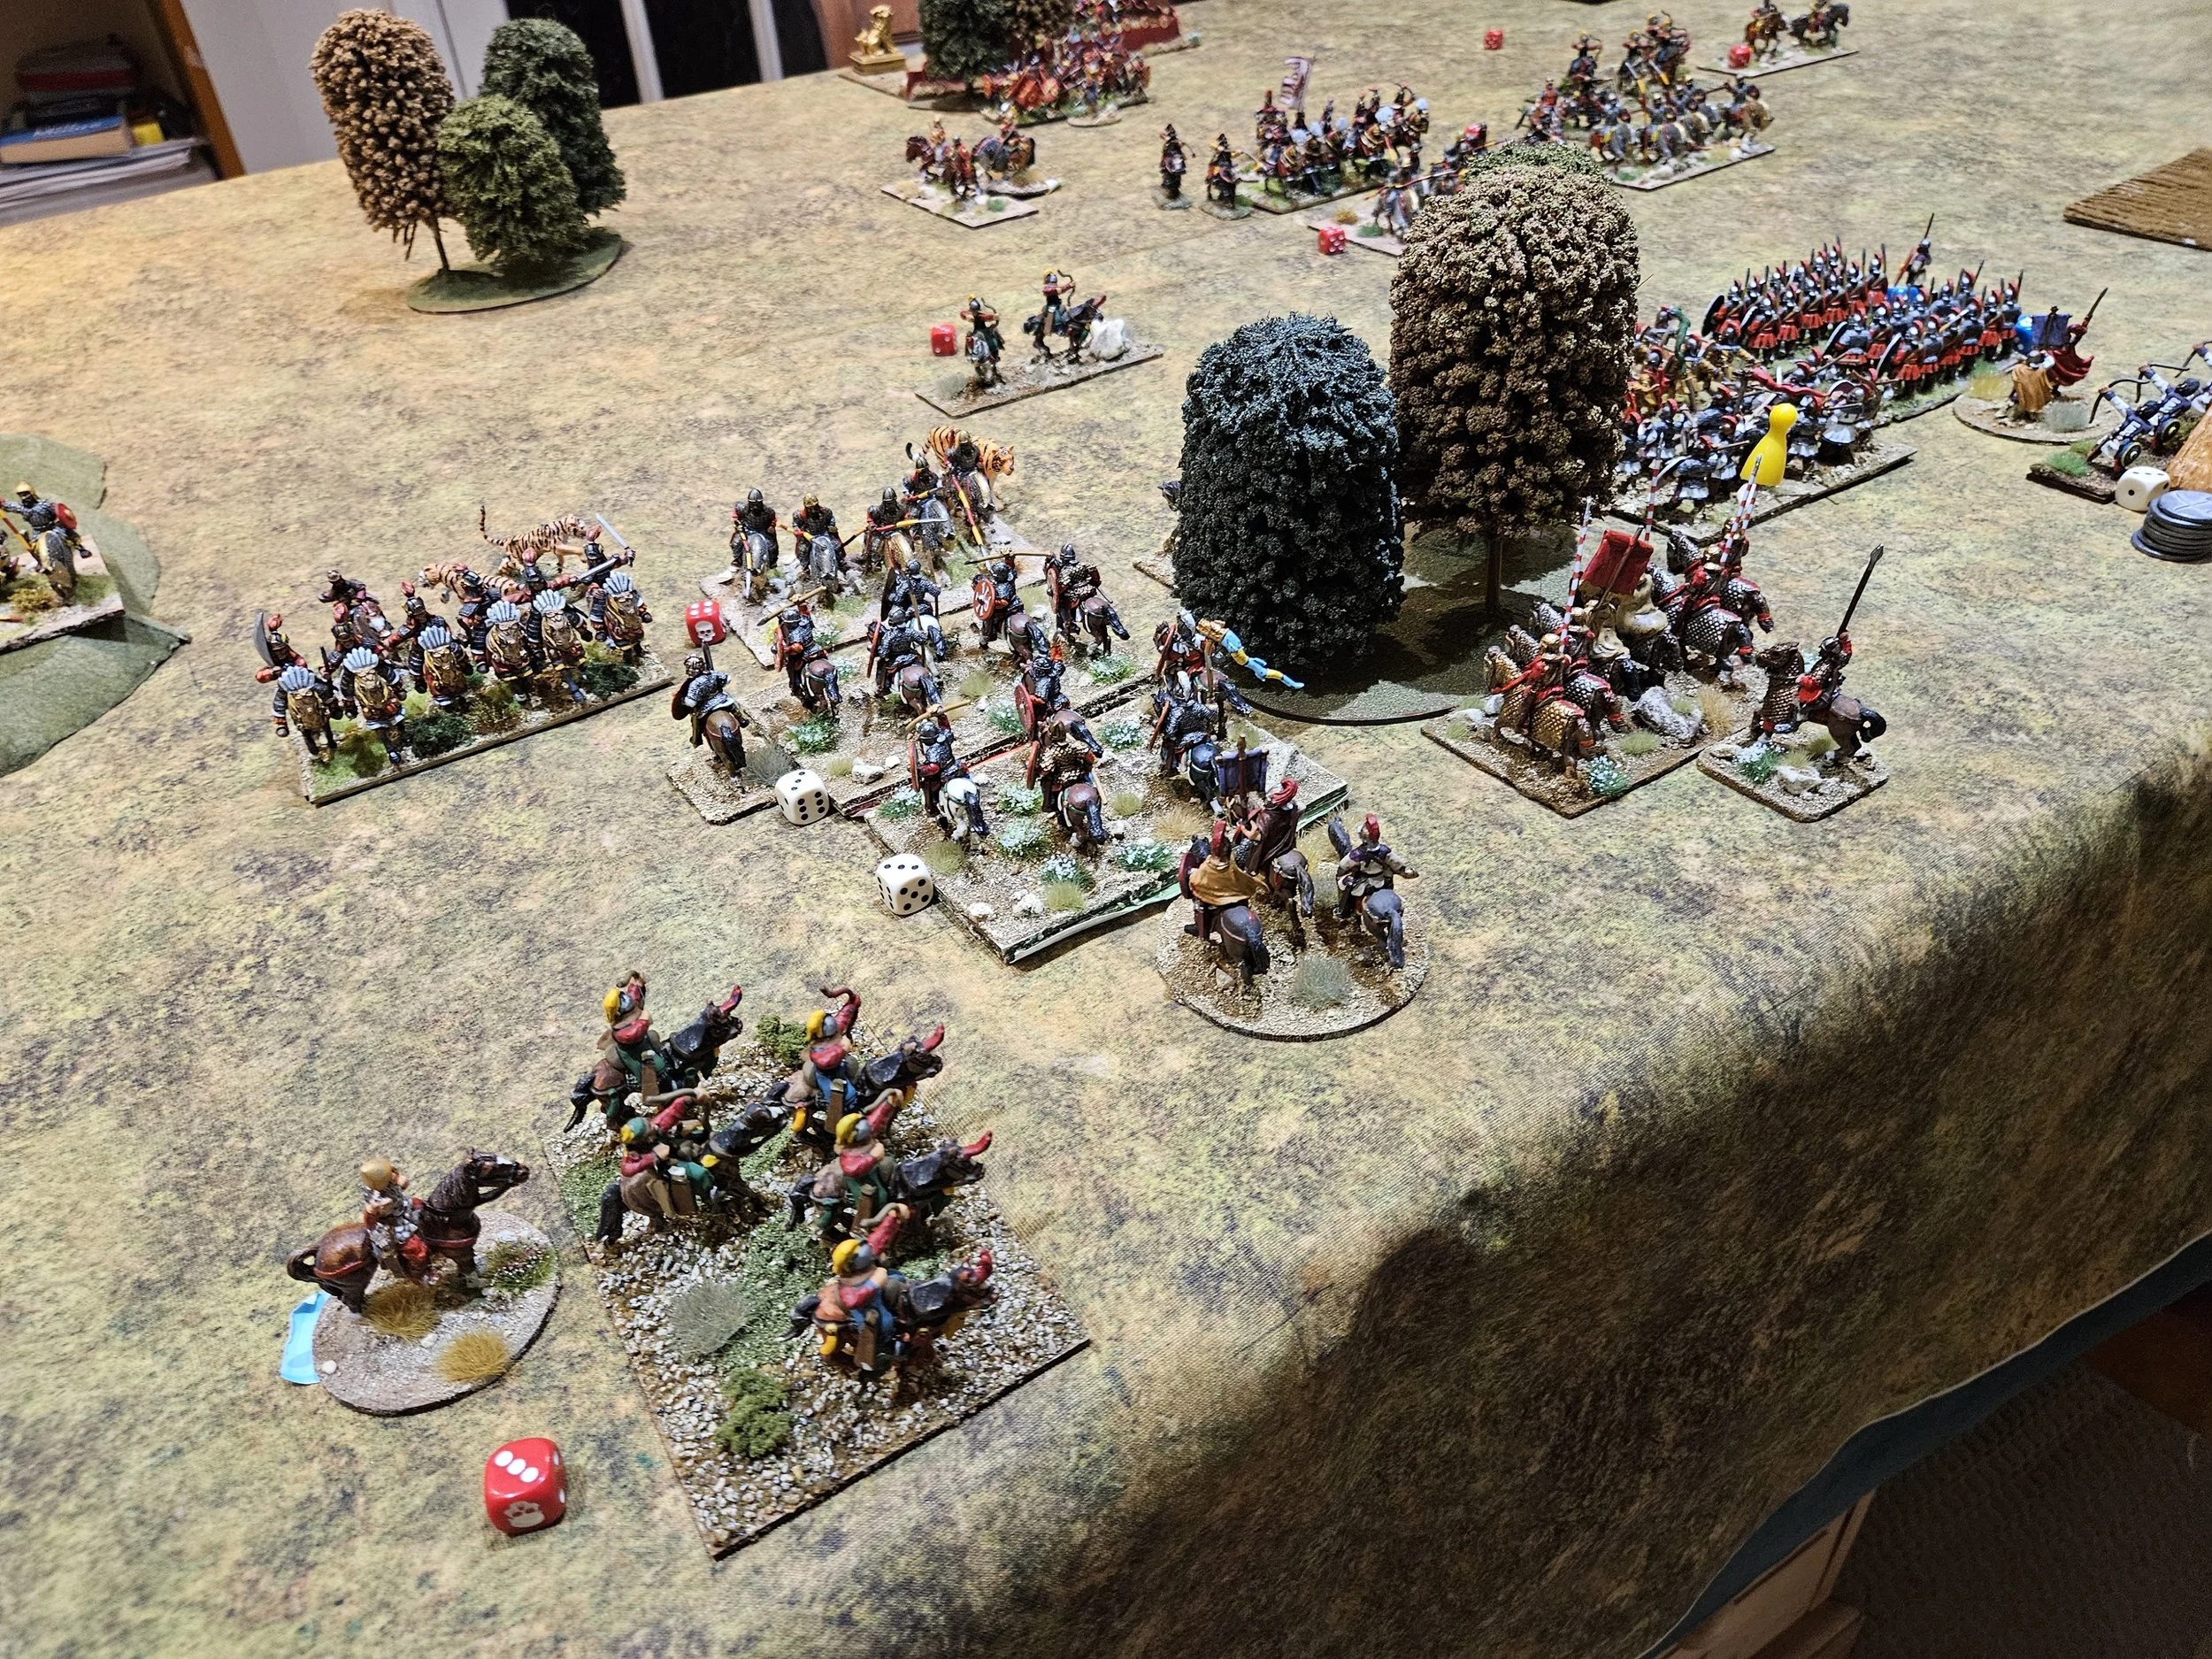
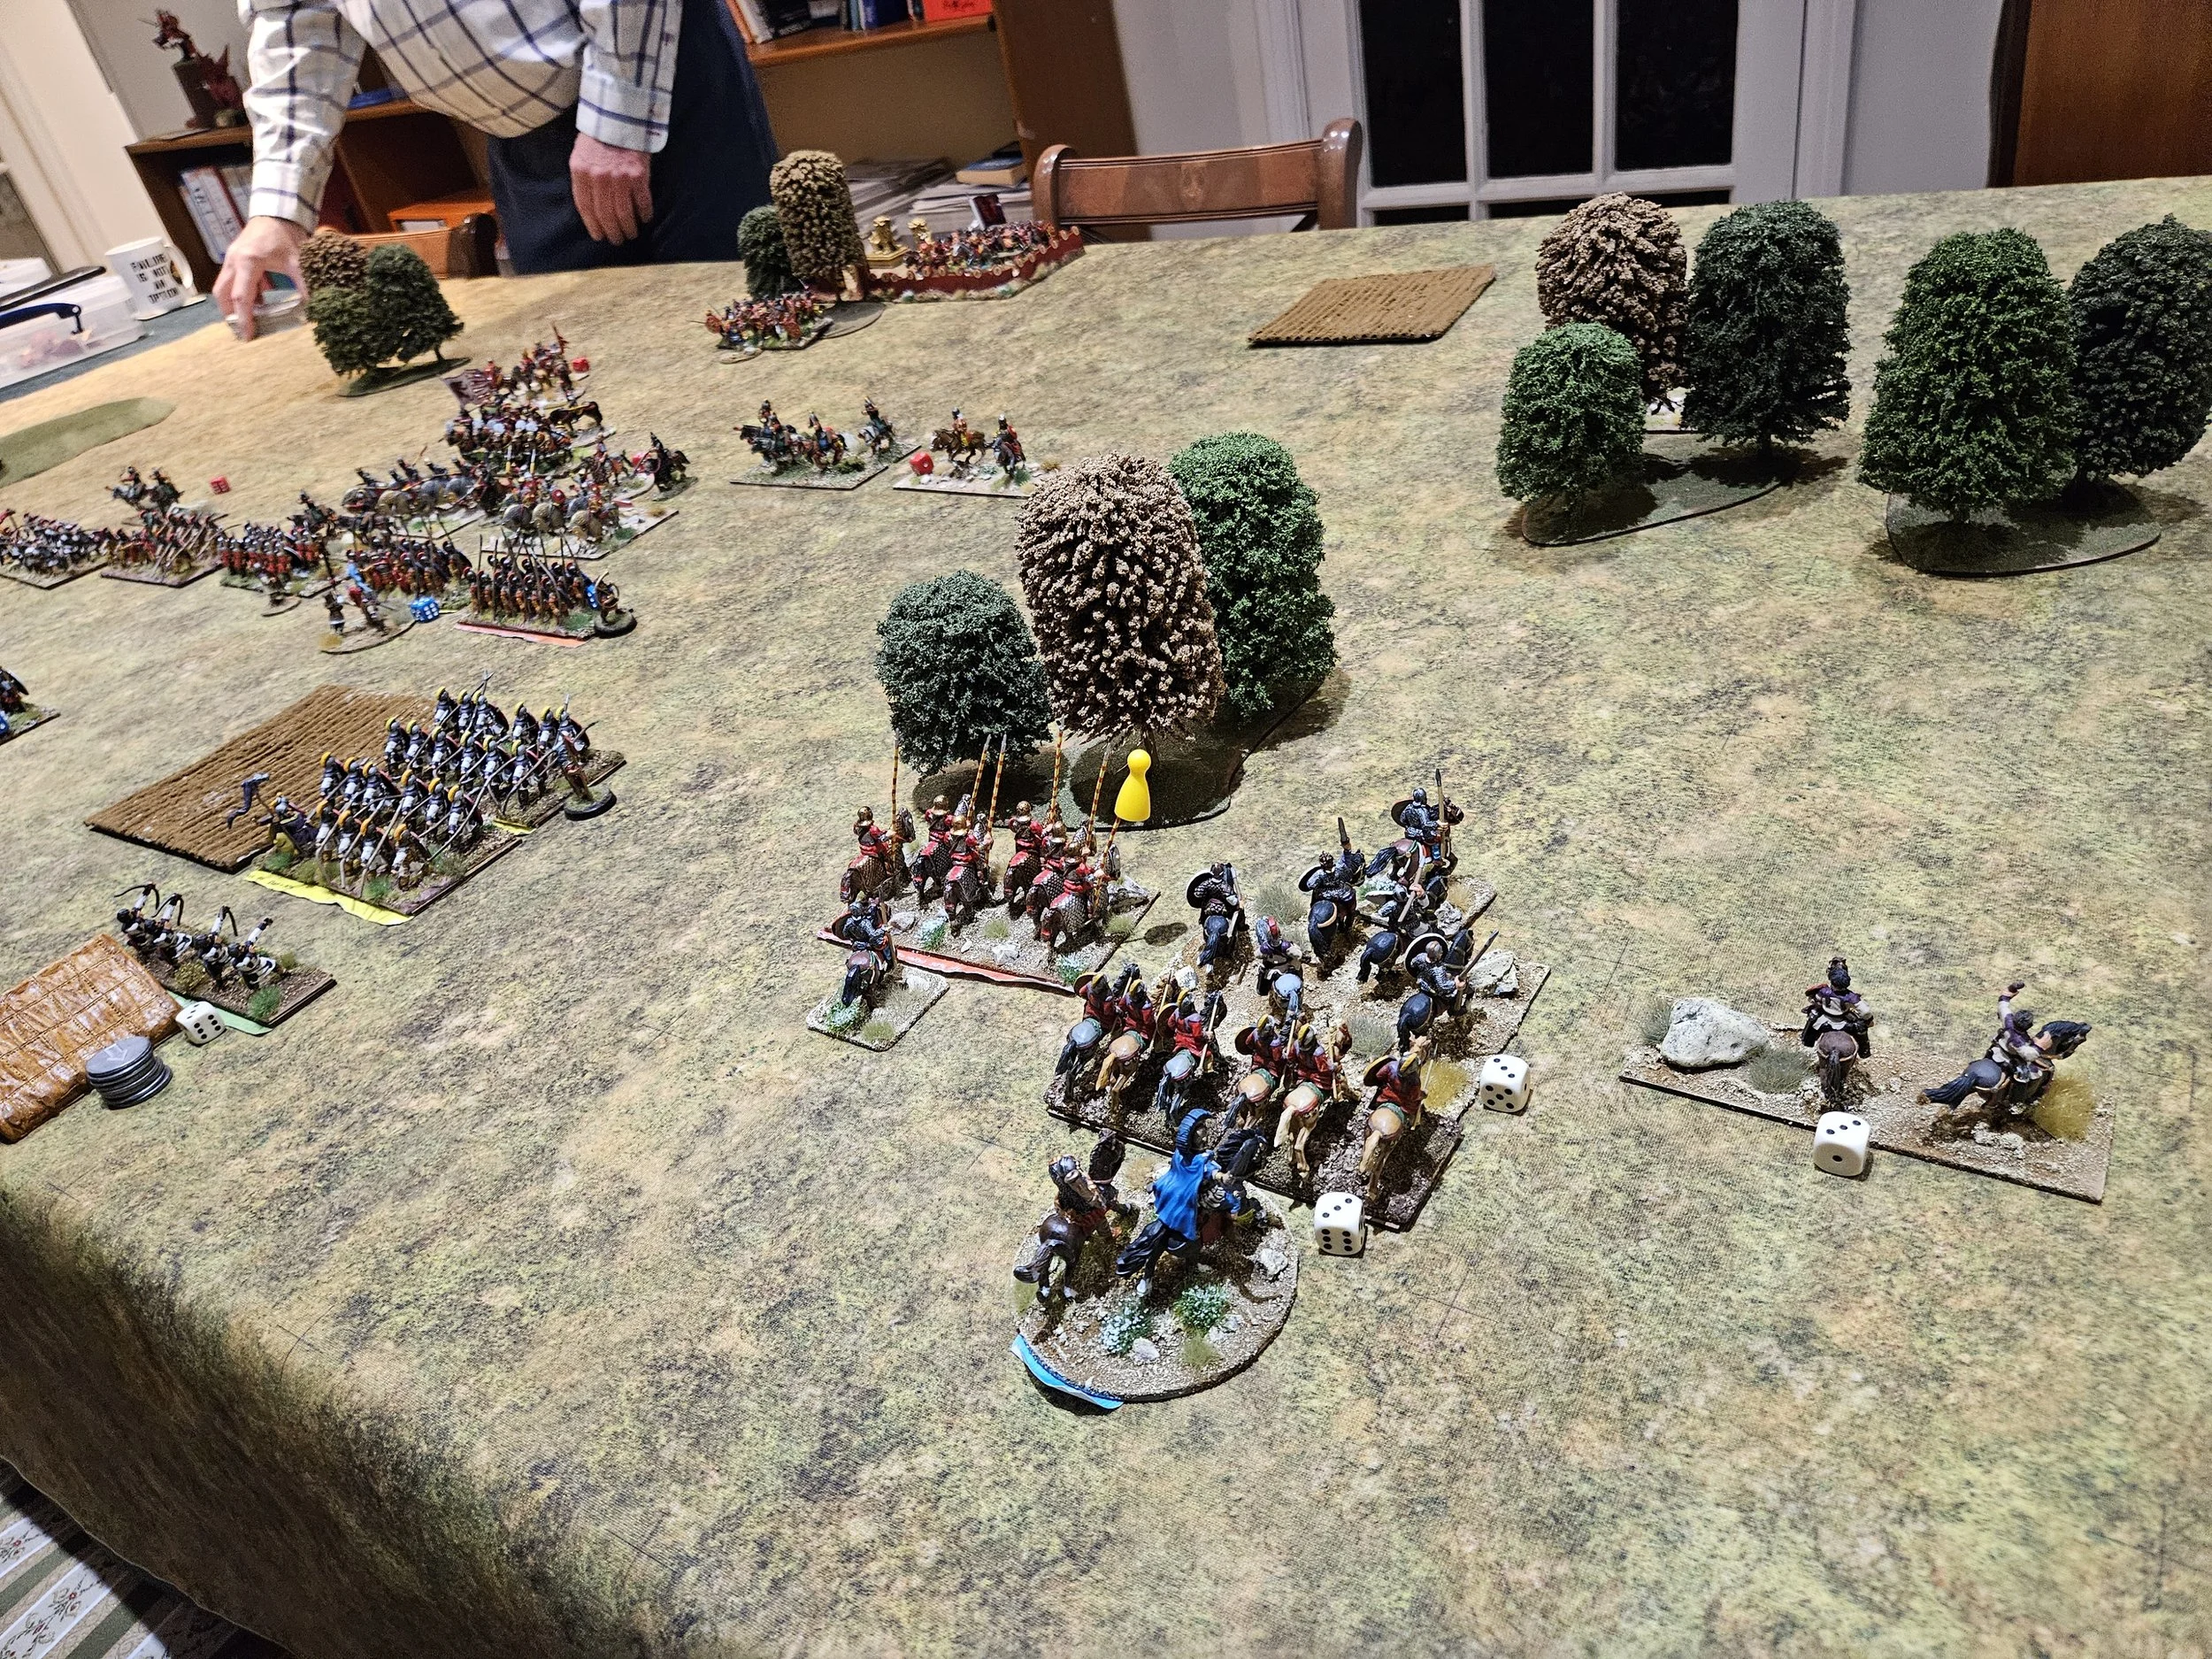
And it was this warband that won the game for the Galatians: taking the enemy camp and the Romans’ last few coins for a 168-79 victory.
So a first victory for the Galatians: a hard-fought affair as you would expect facing such a powerful opponent.
On to game three, where I would need another big win to salvage my hopes of a respectable finish!