TTS AAR: Alexander vs Darius (again)
/Neil and I had already played Alexander’s Macedonians versus Darius’ Persians twice, with honours even, so a final, decider was warranted.
It wouldn’t be an exact replay, as we didn’t have quite as much table as usual to play with, so we removed a command from each side meaning that we’d play through with about 200 points per list rather than our previous 240.
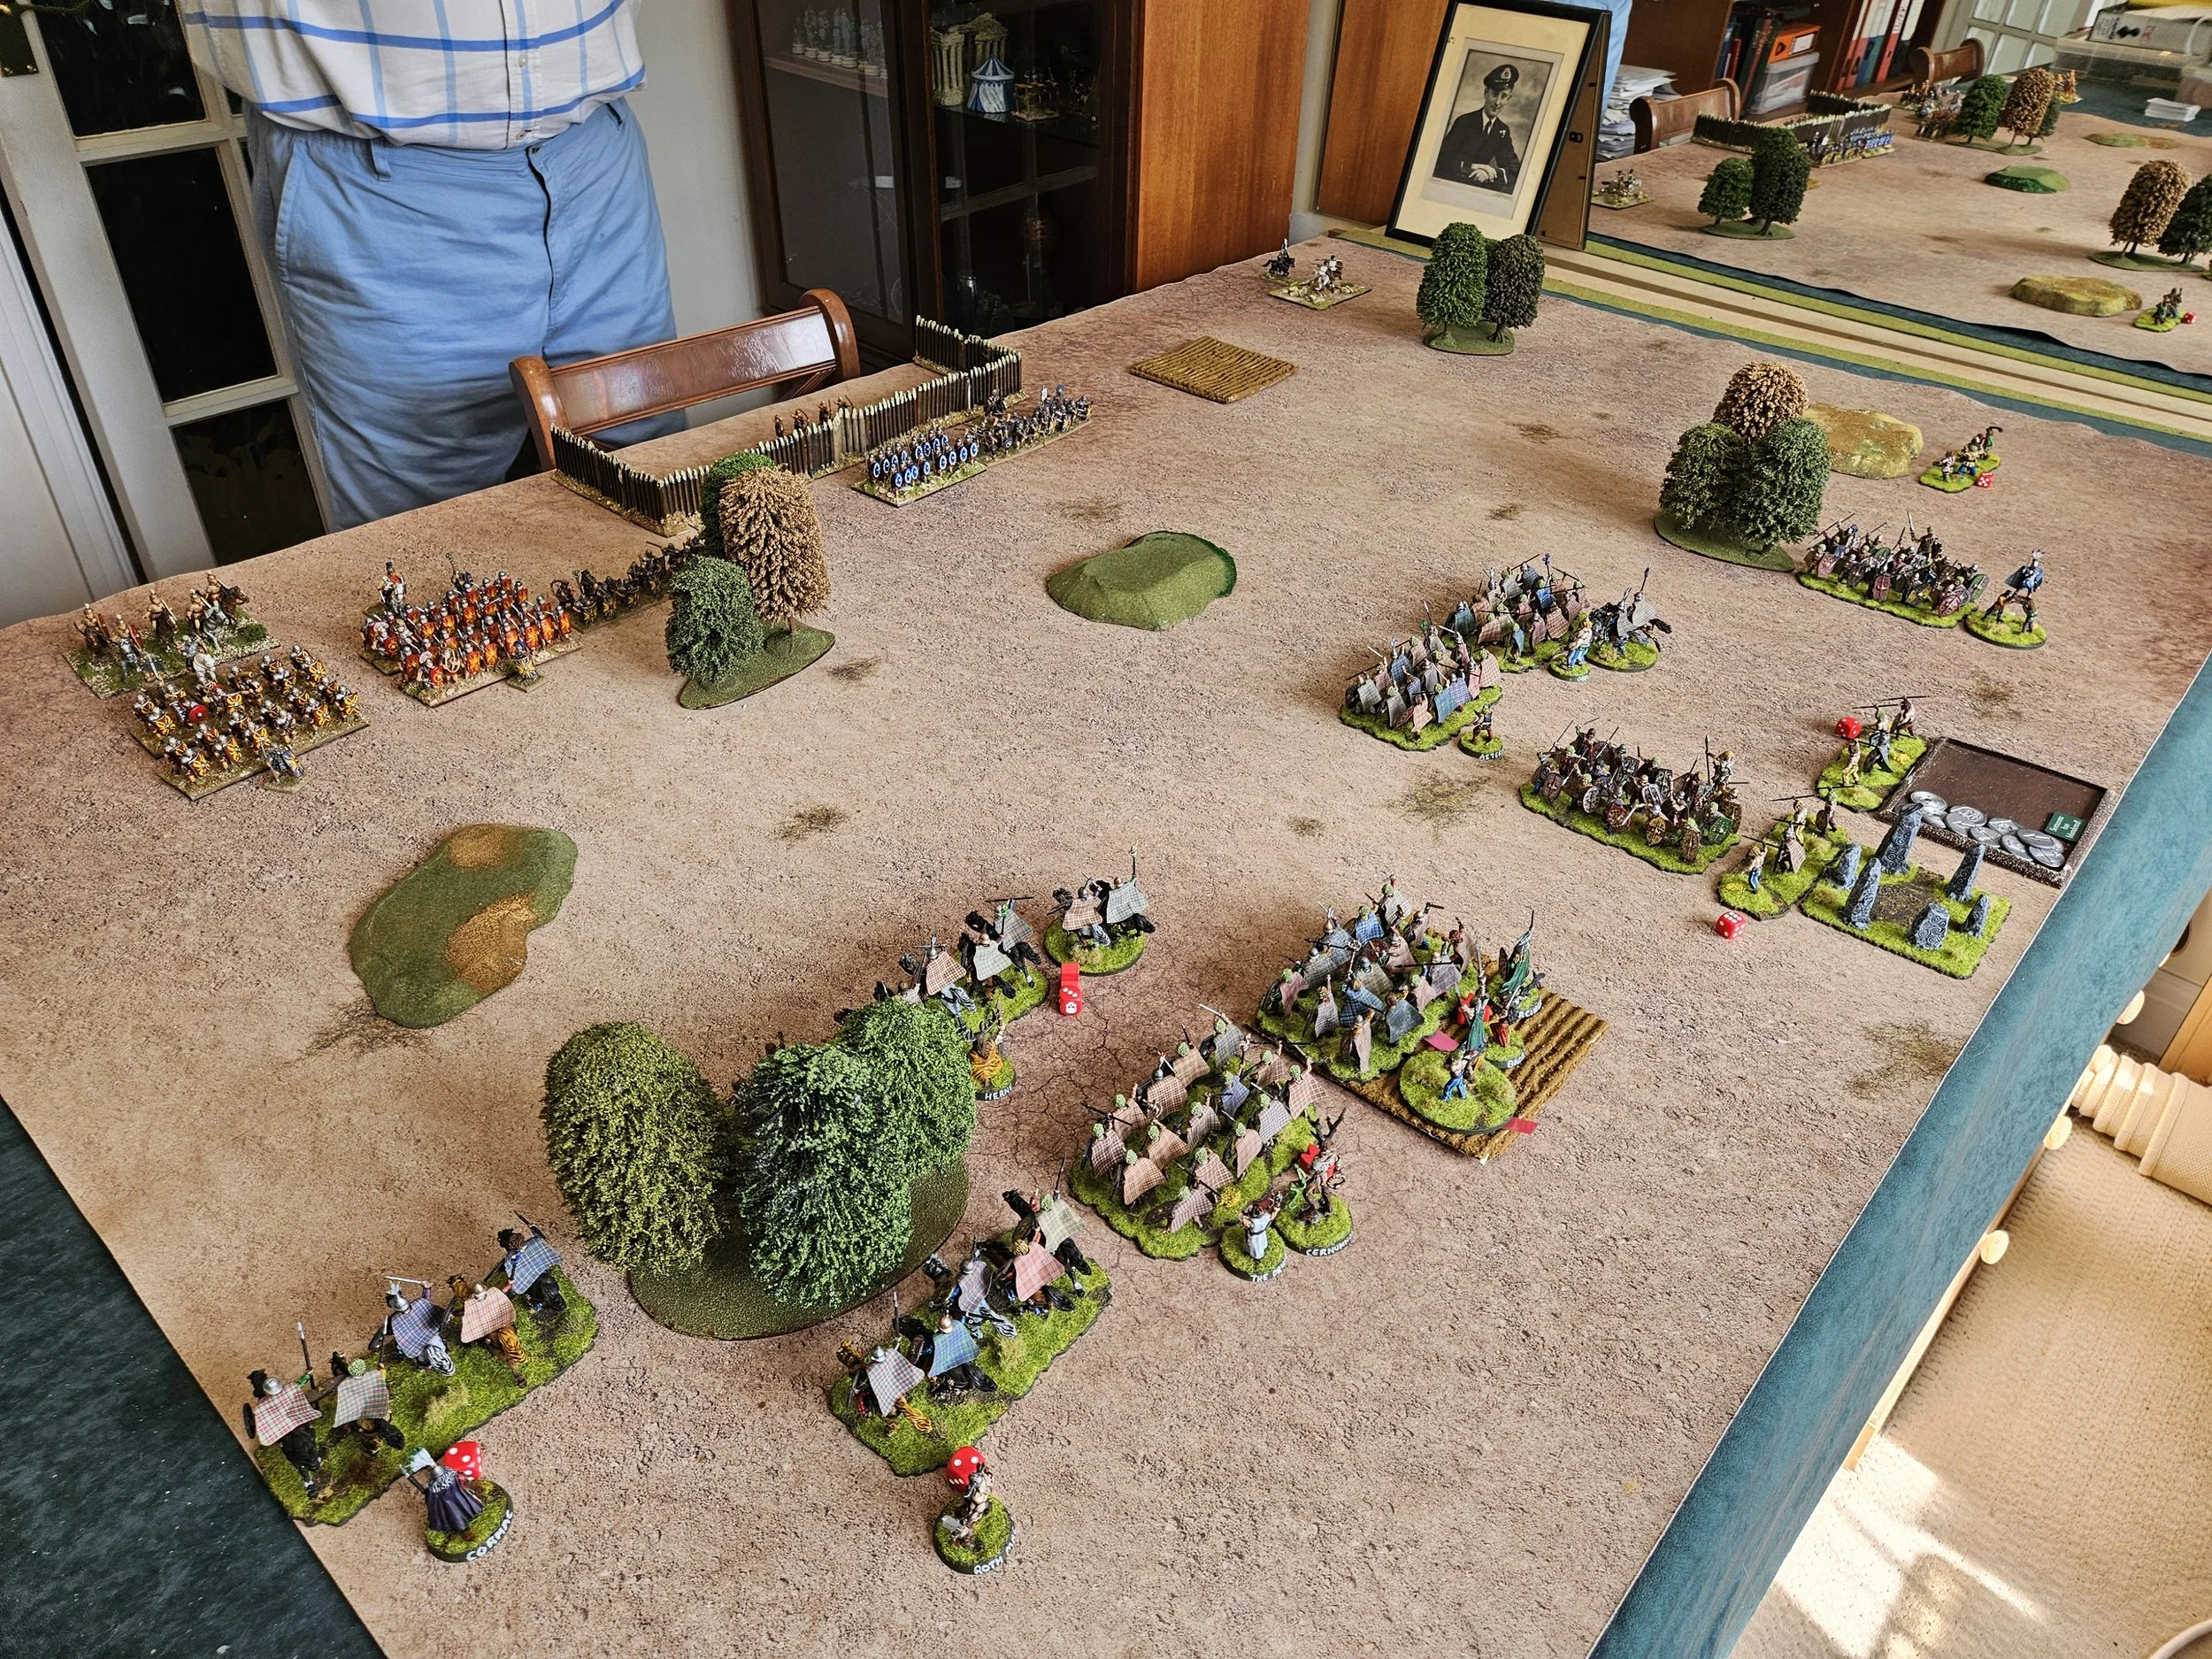
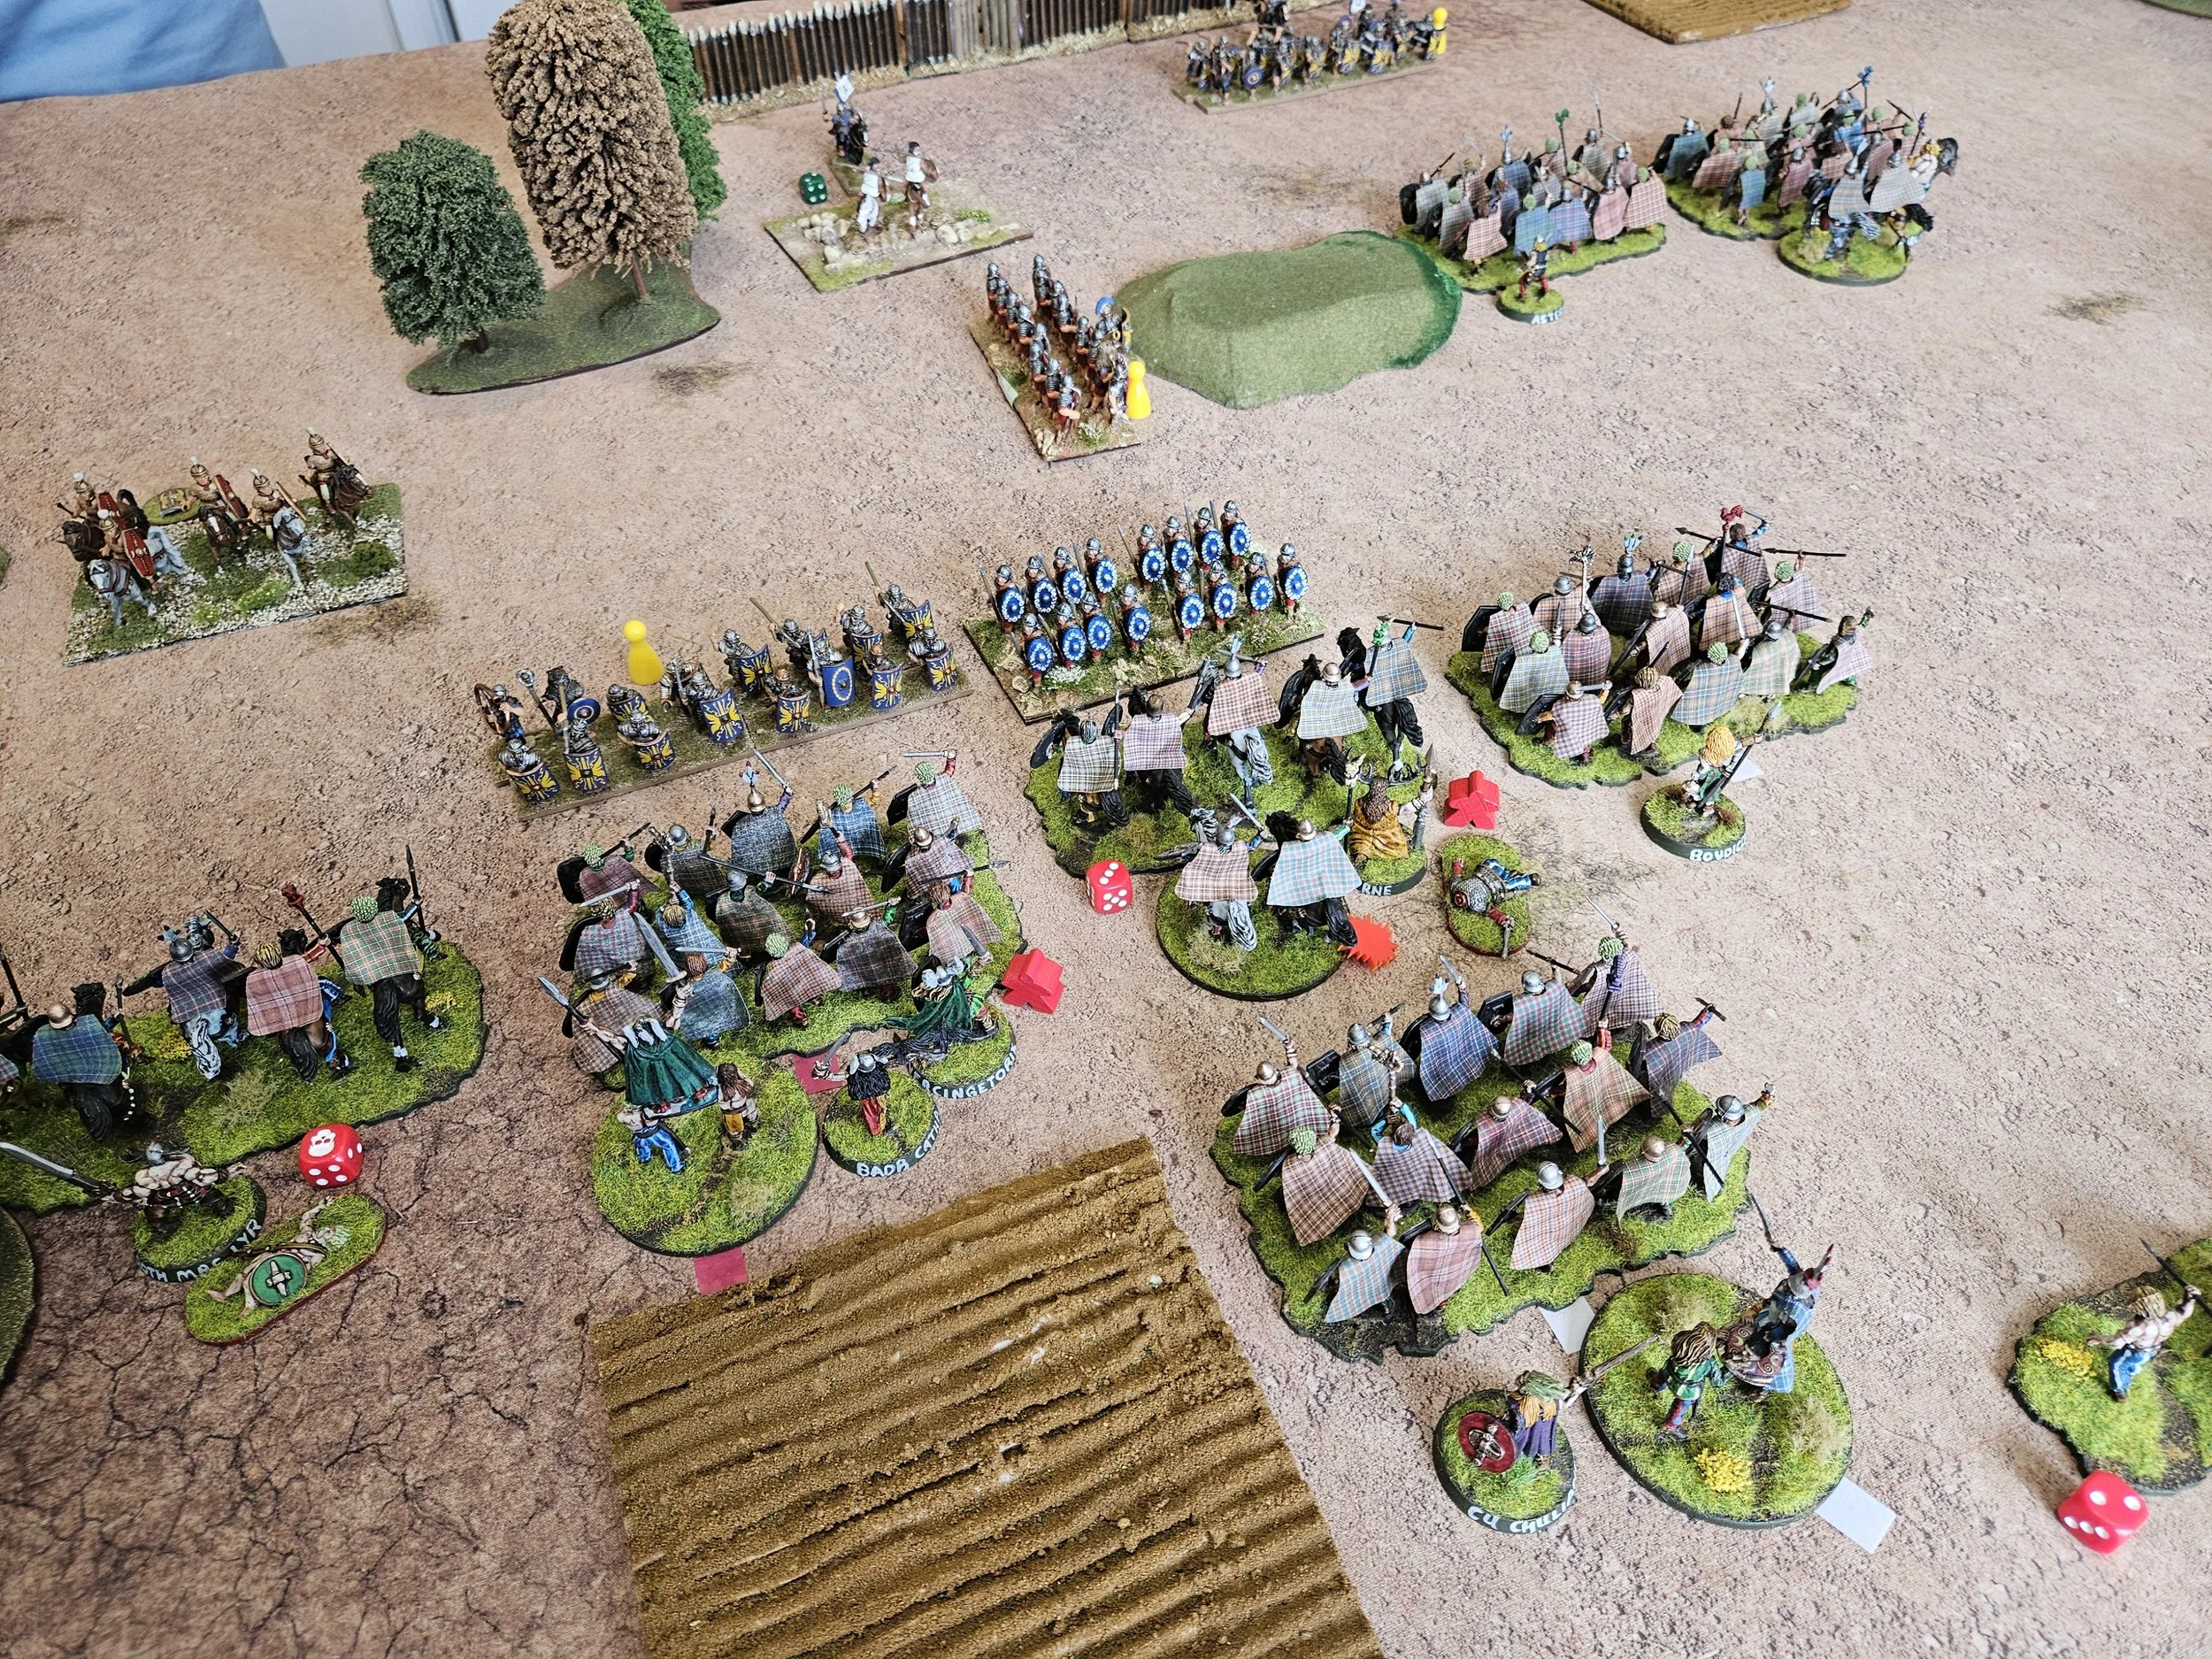
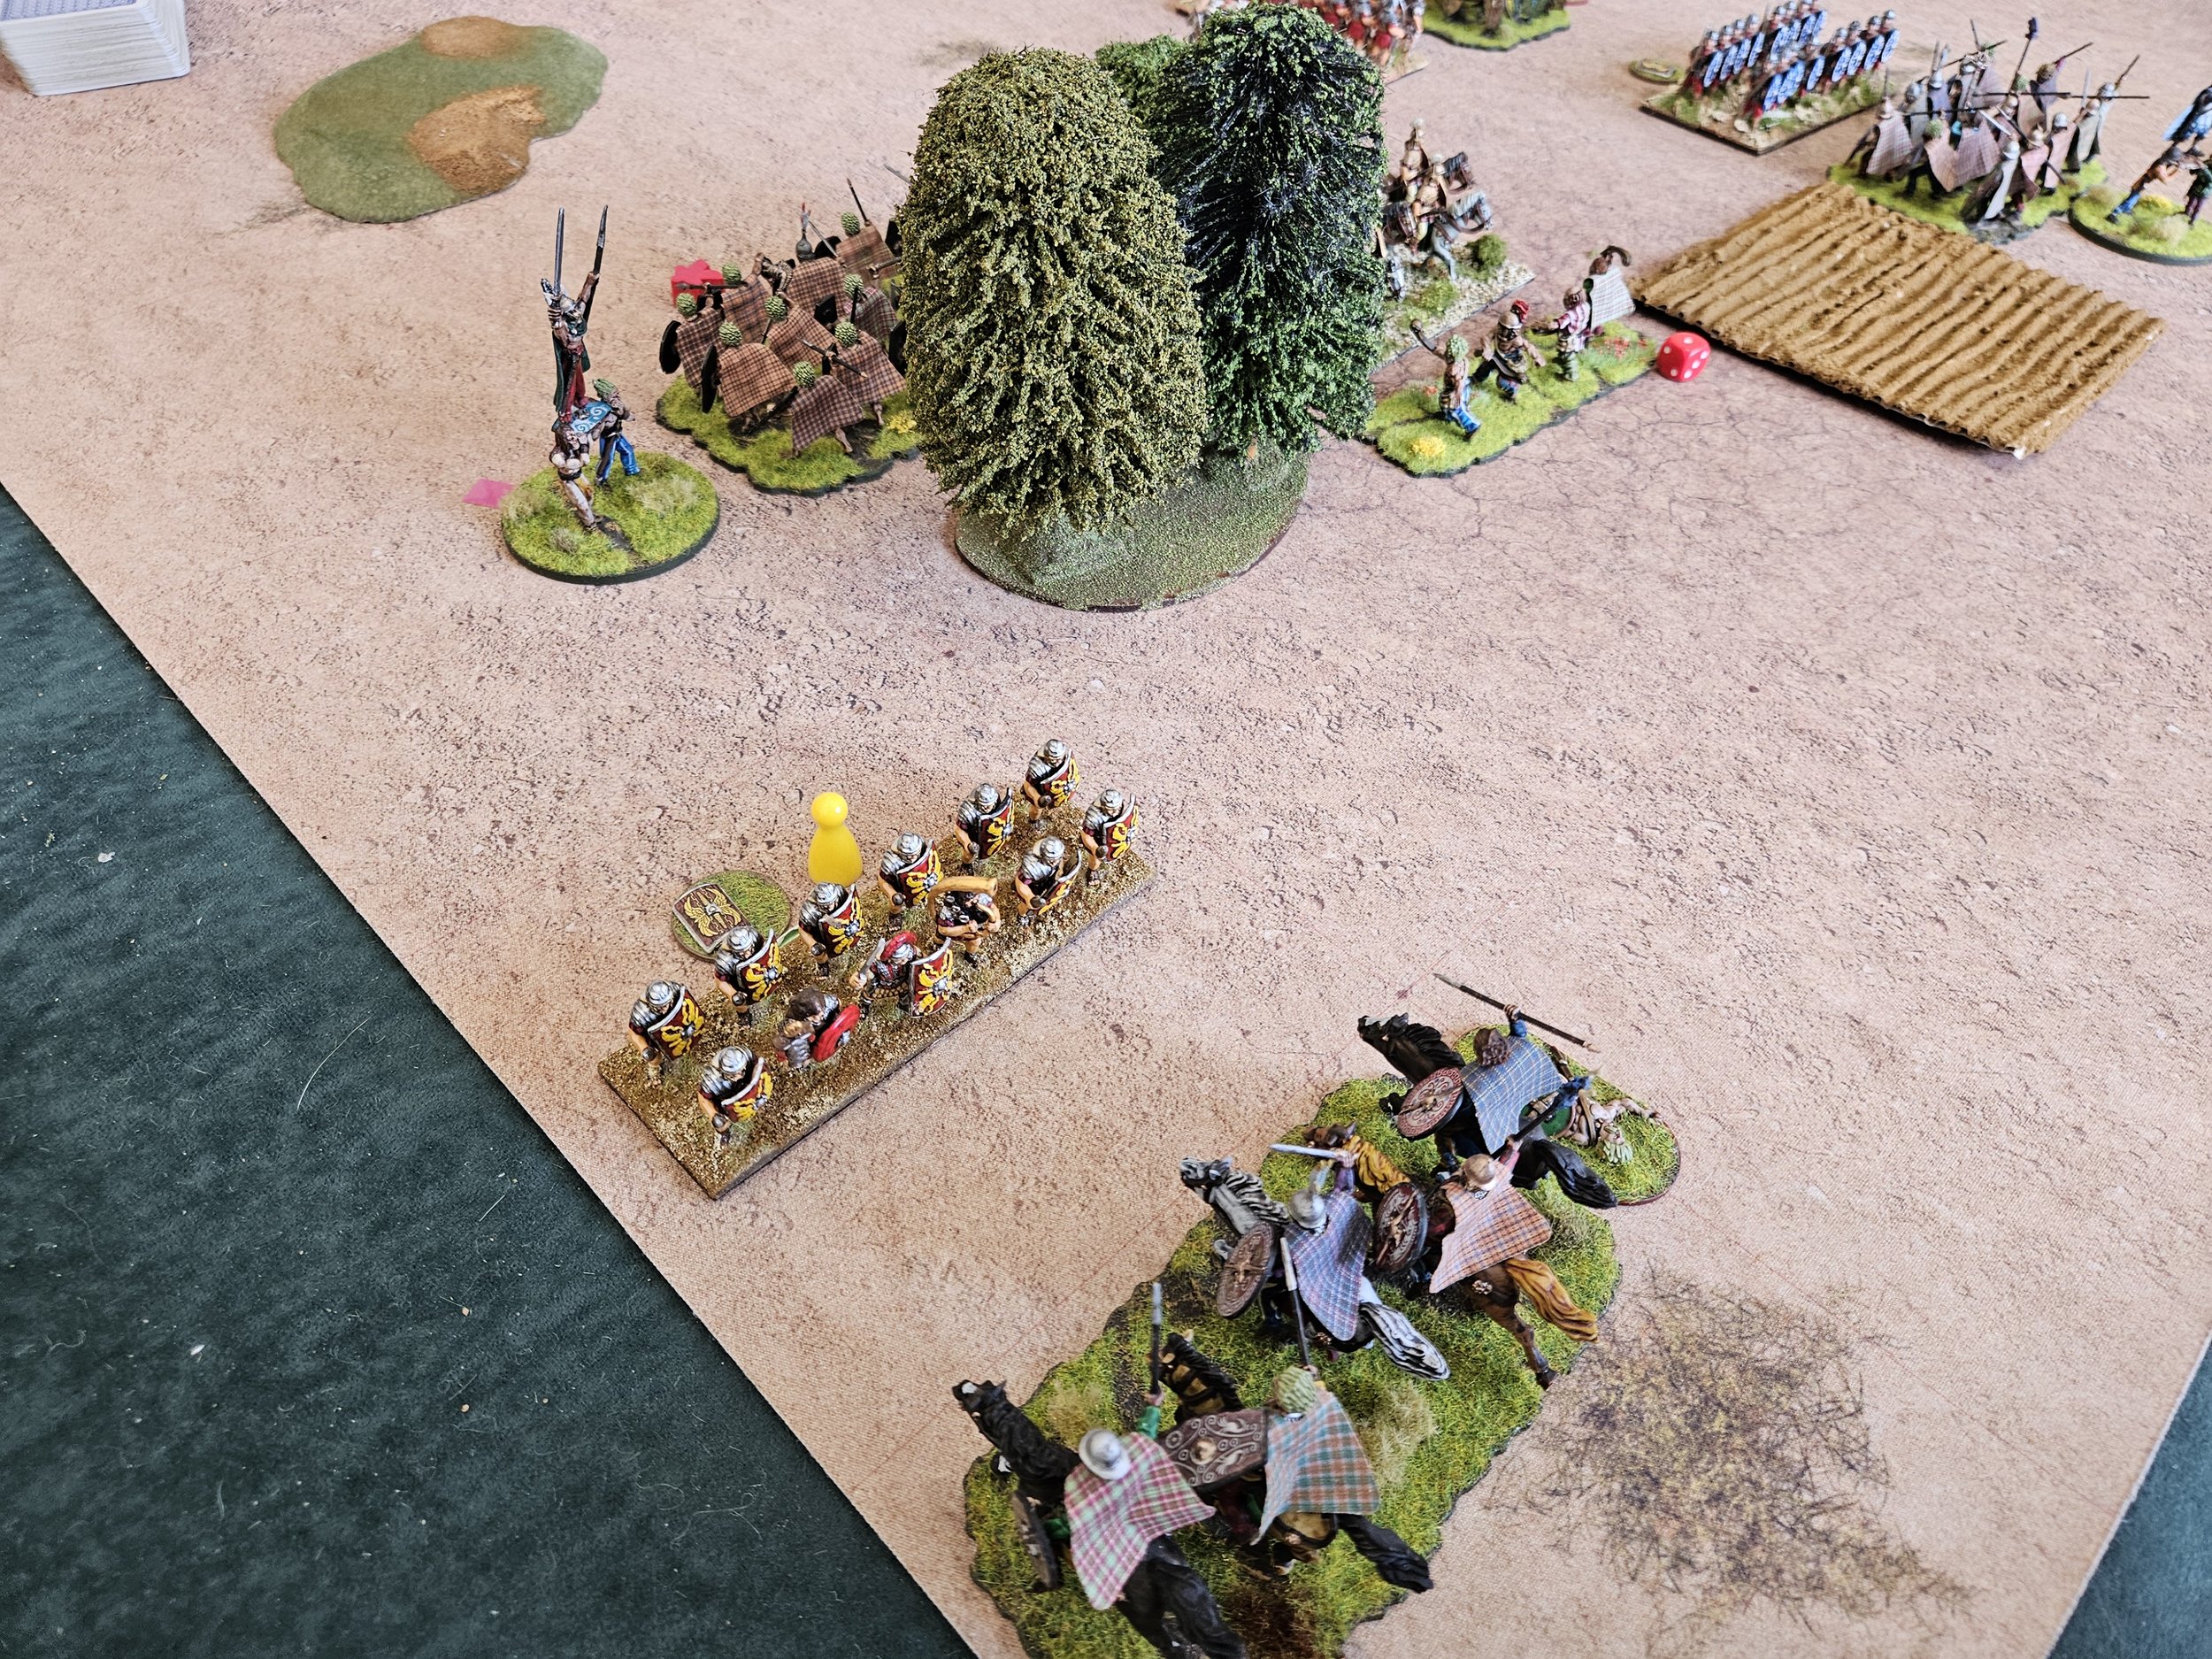
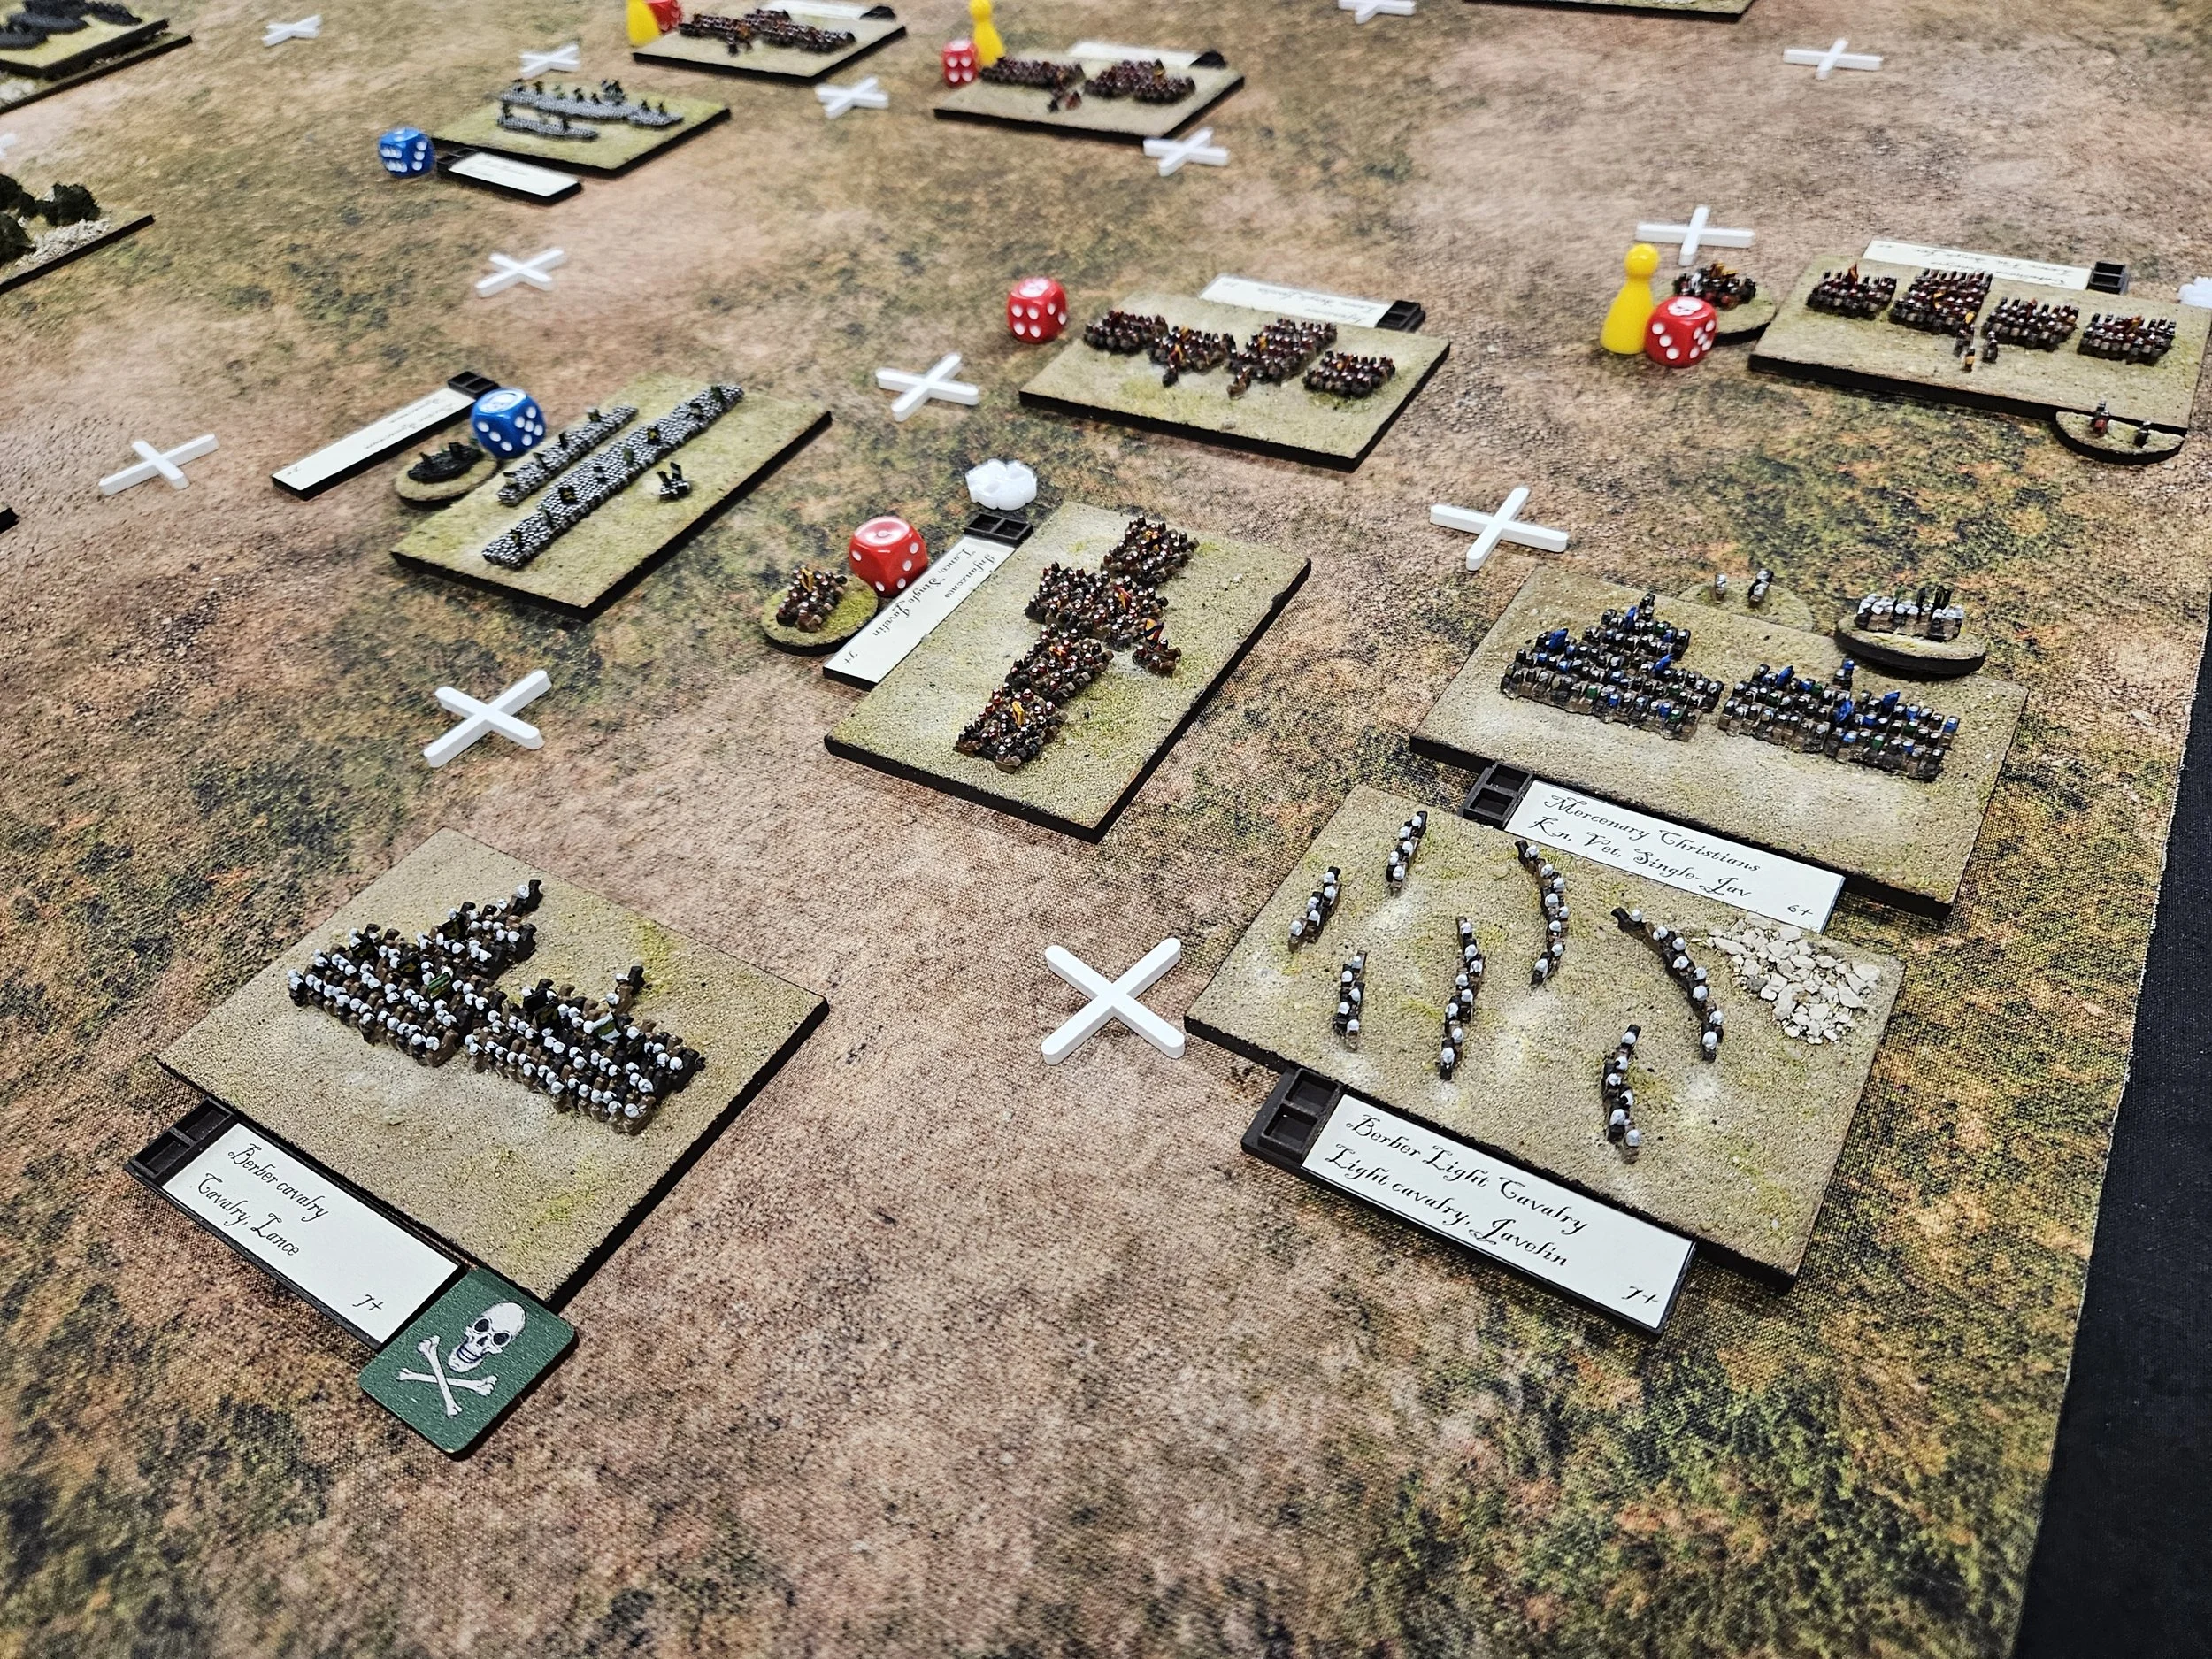
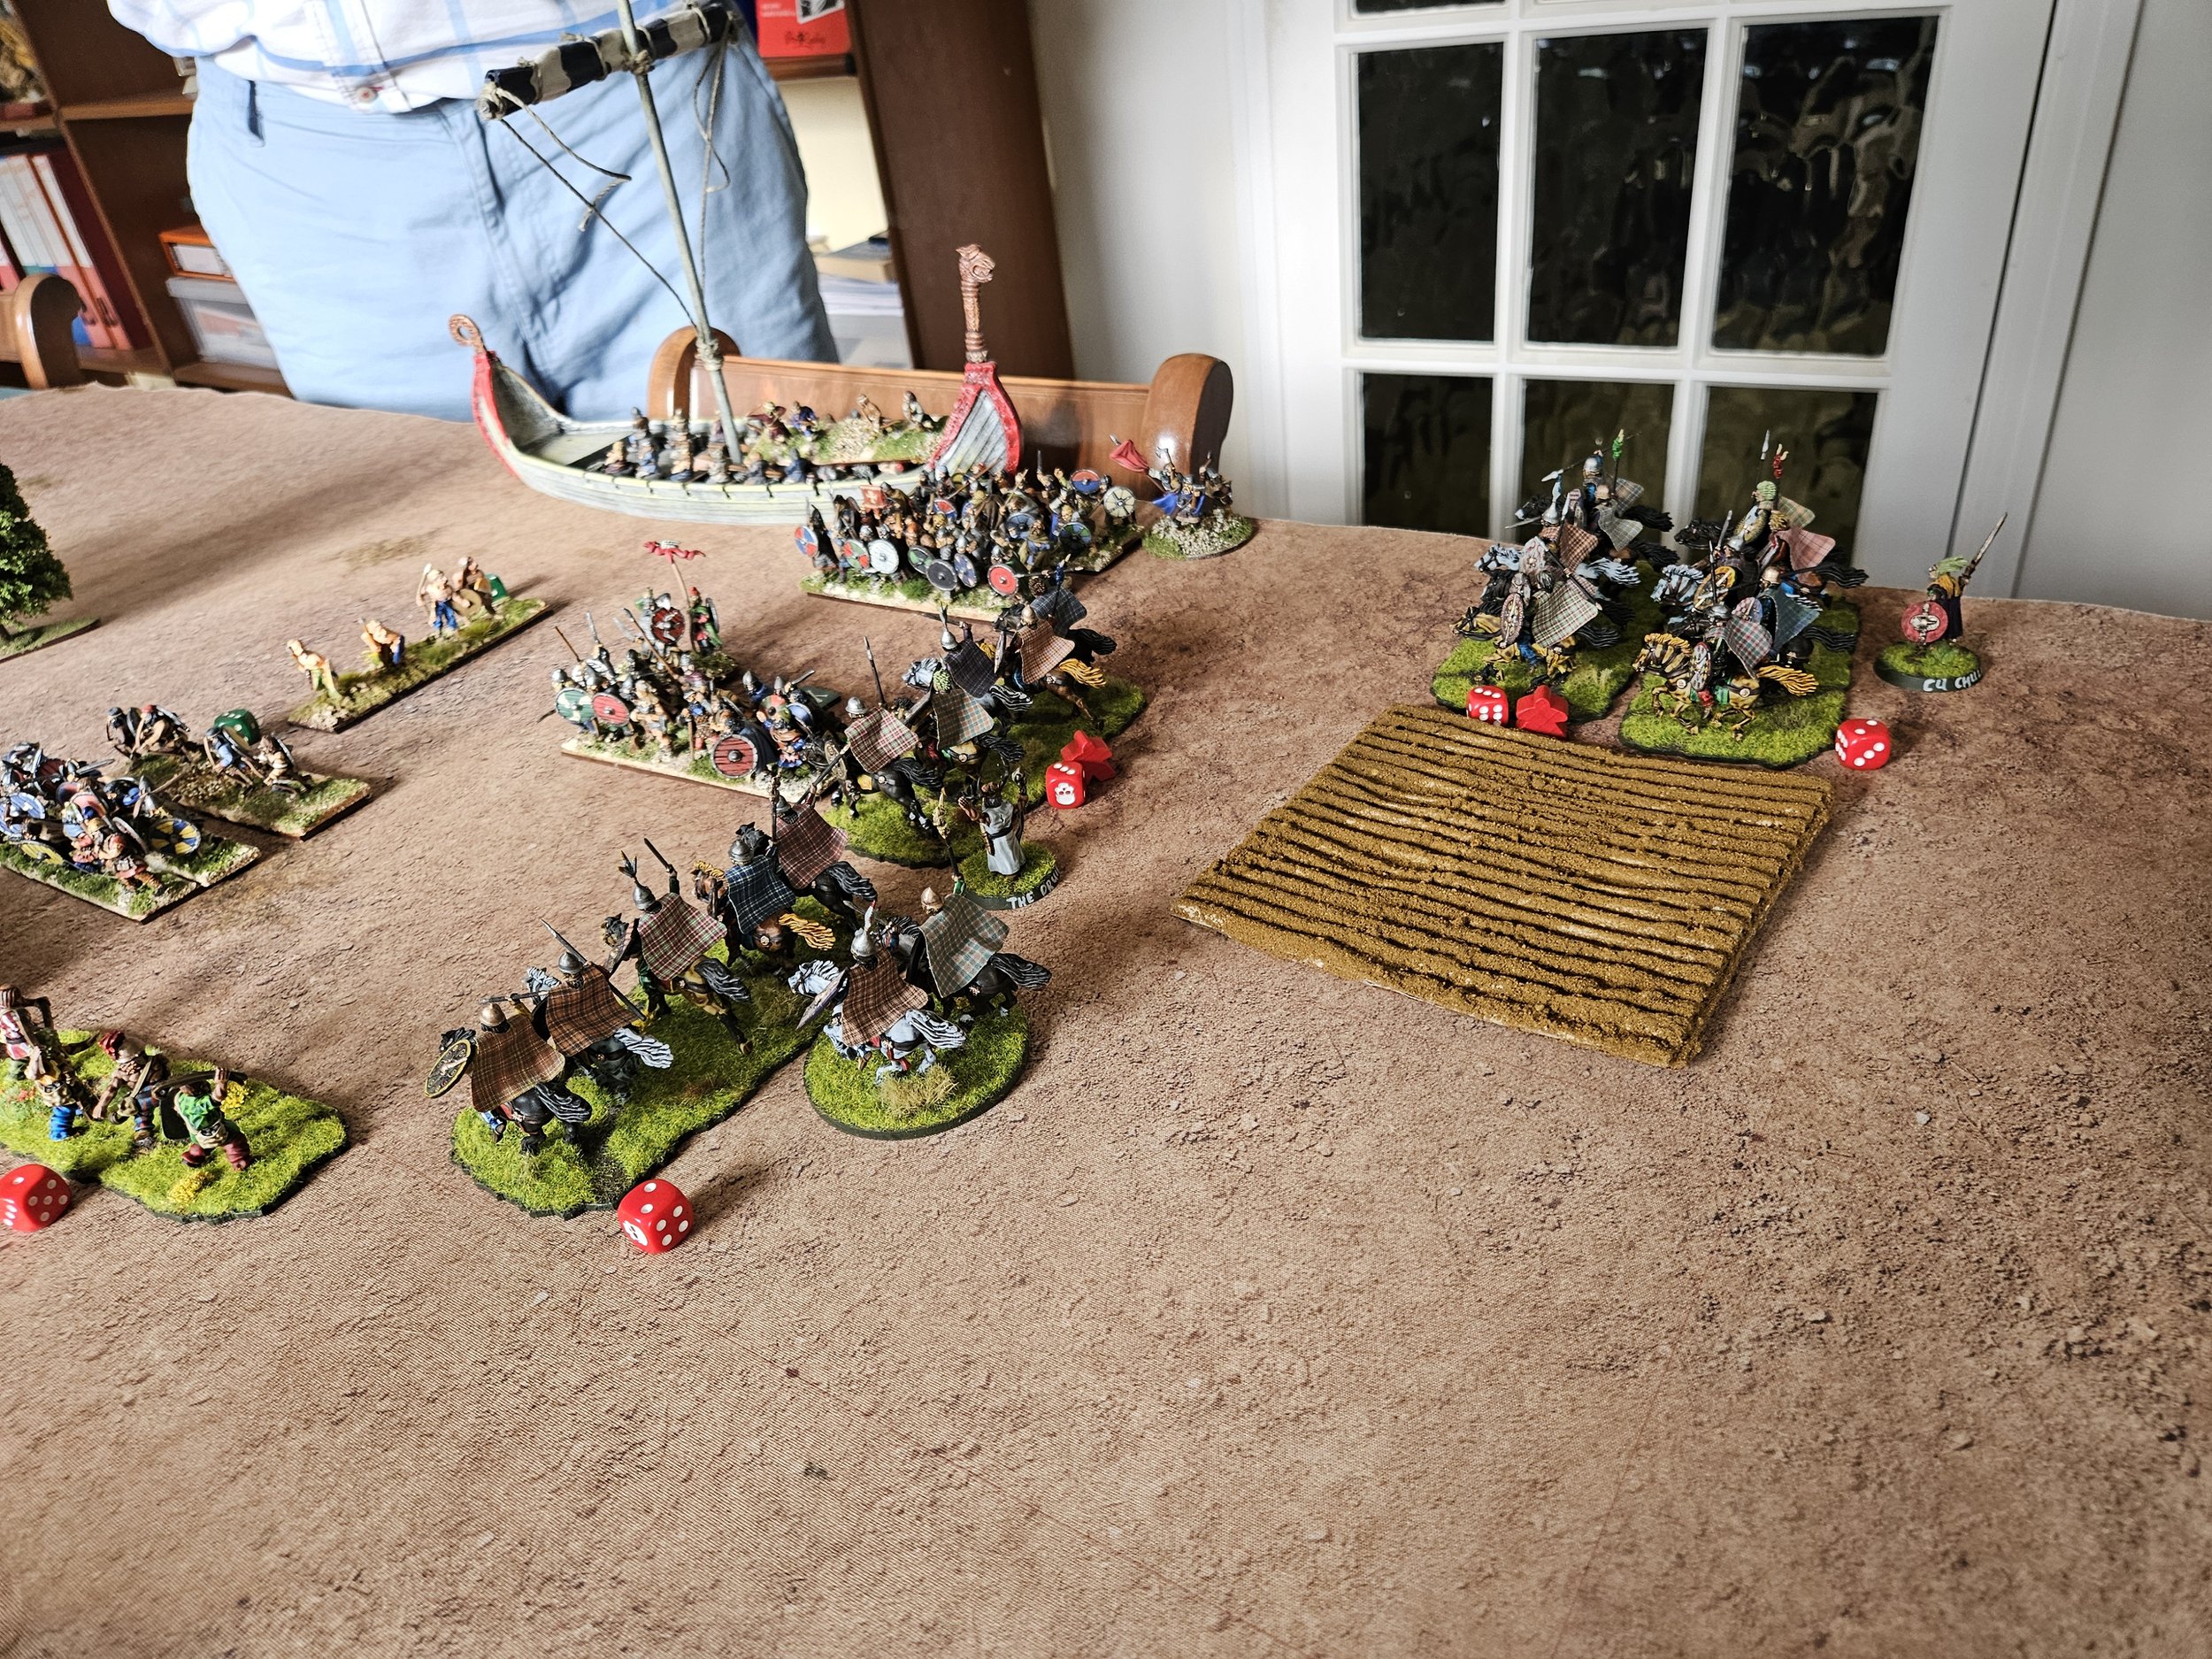
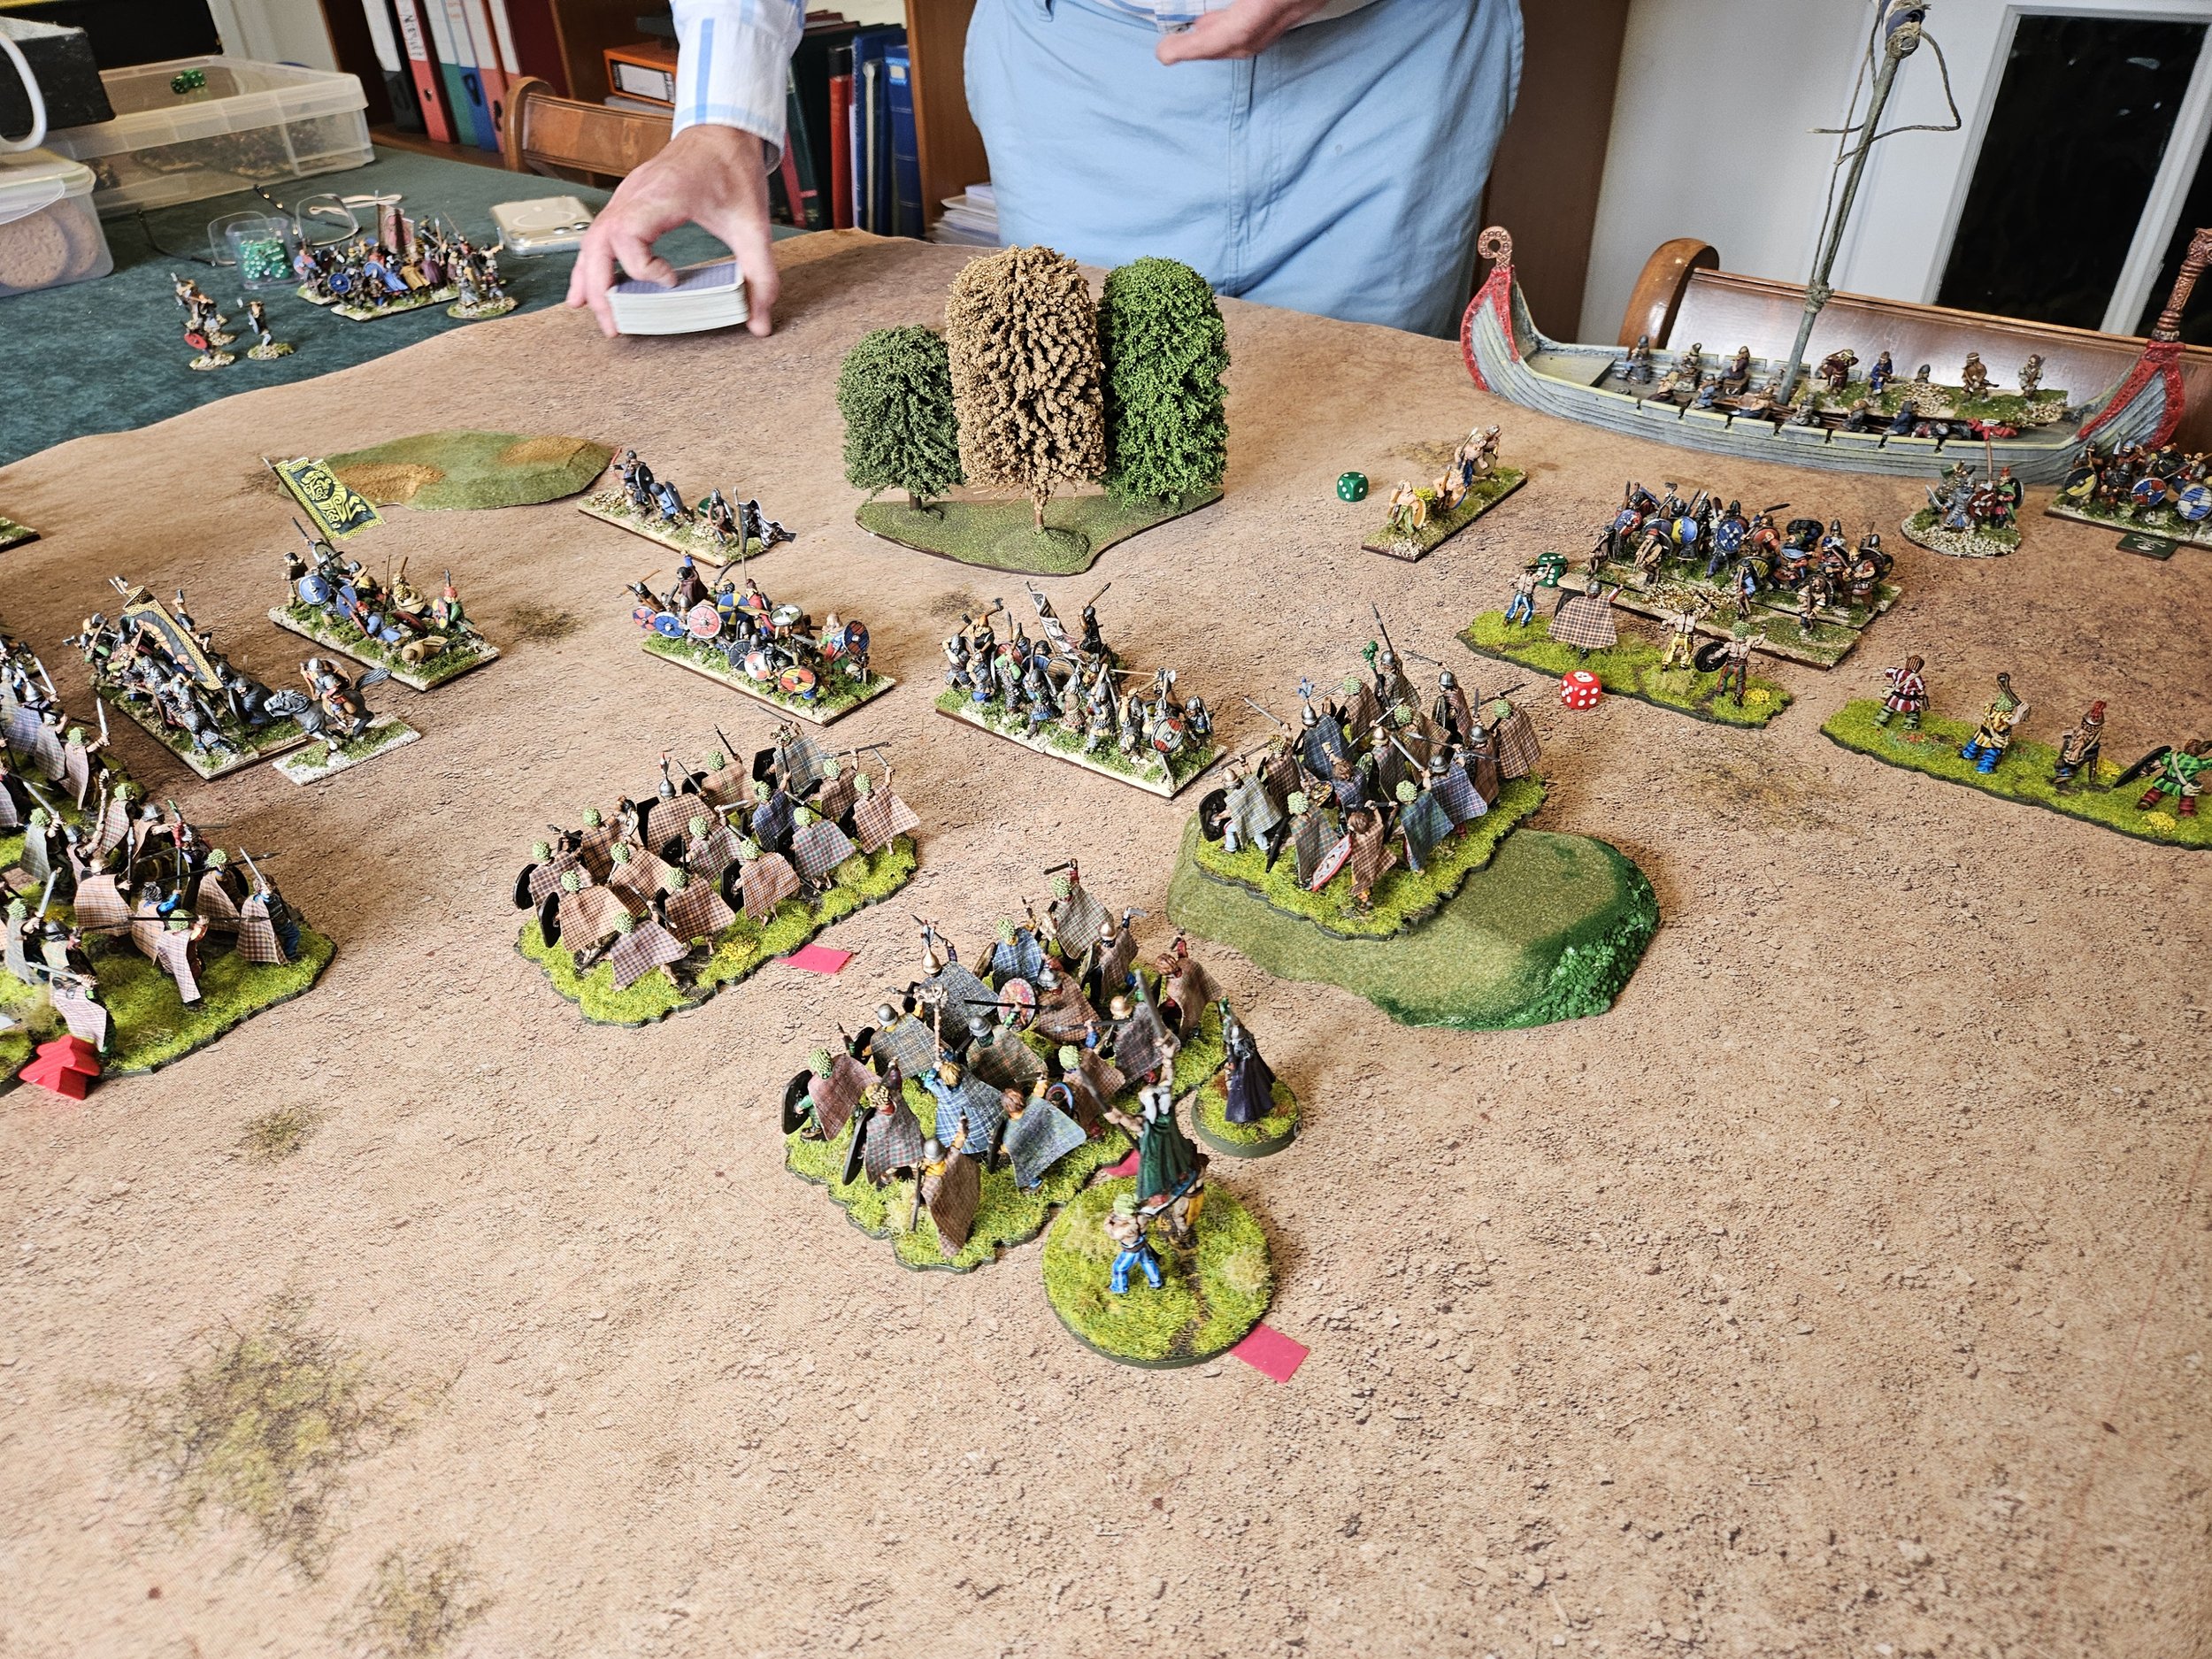
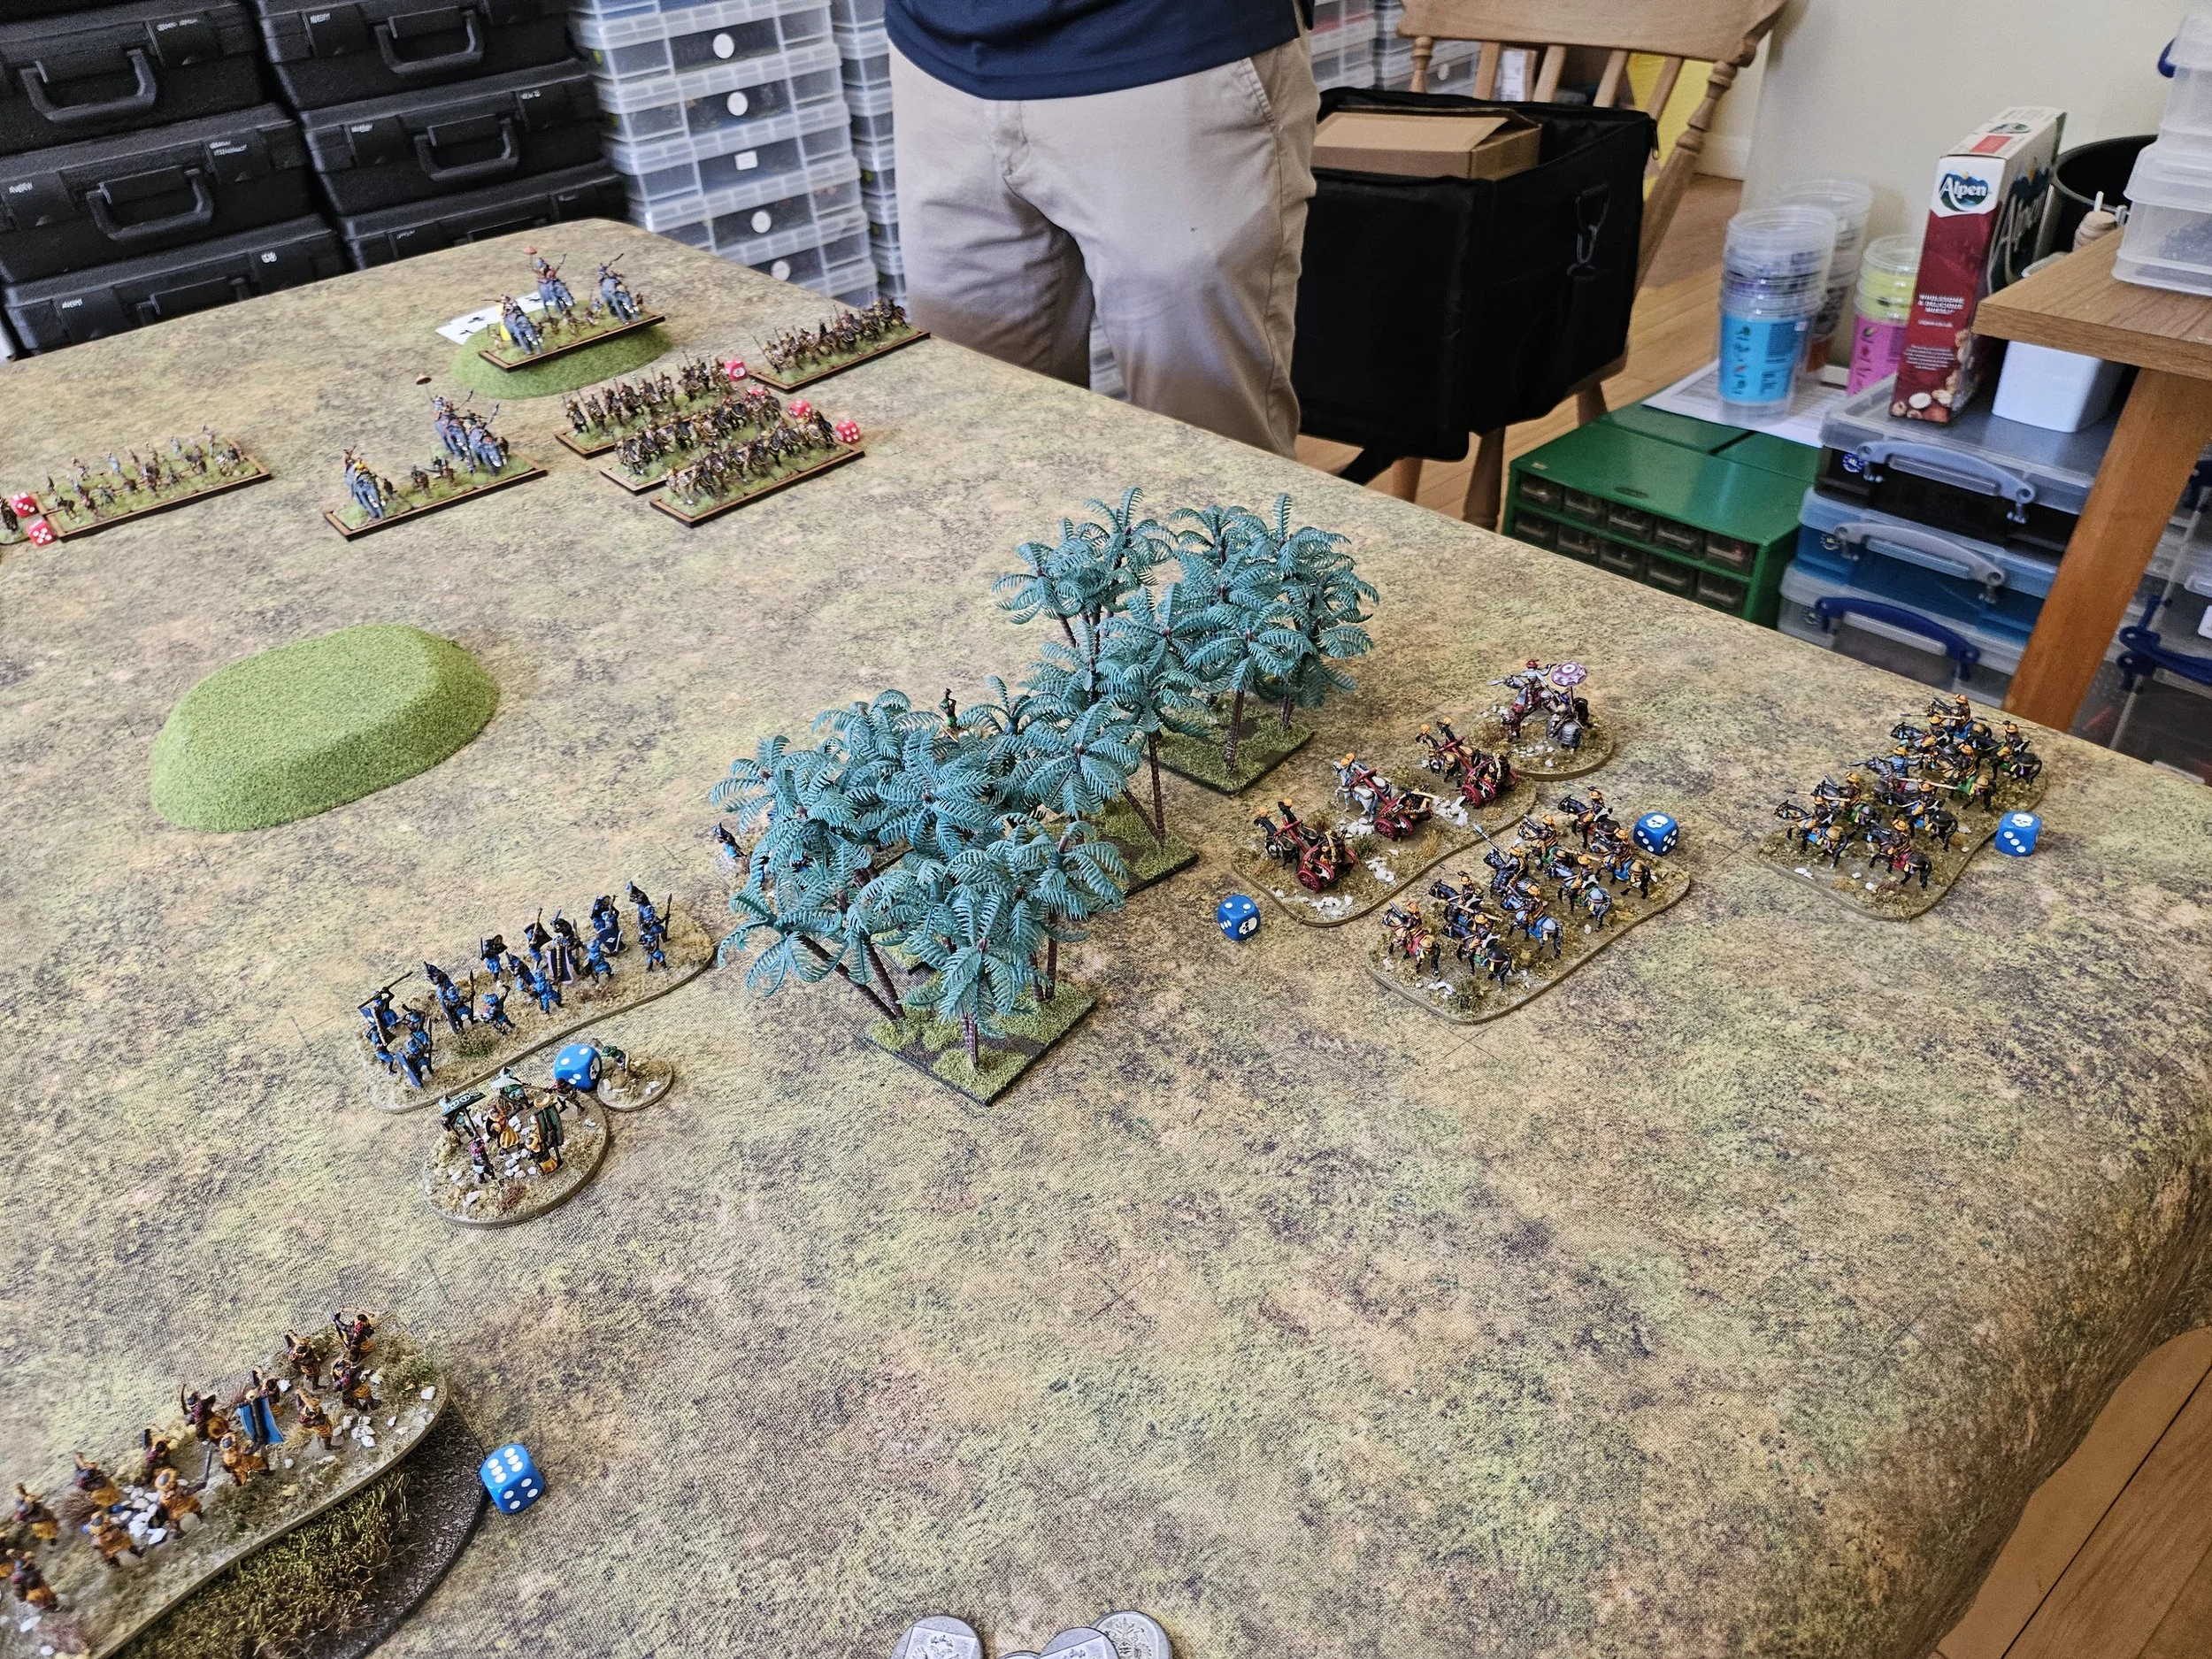
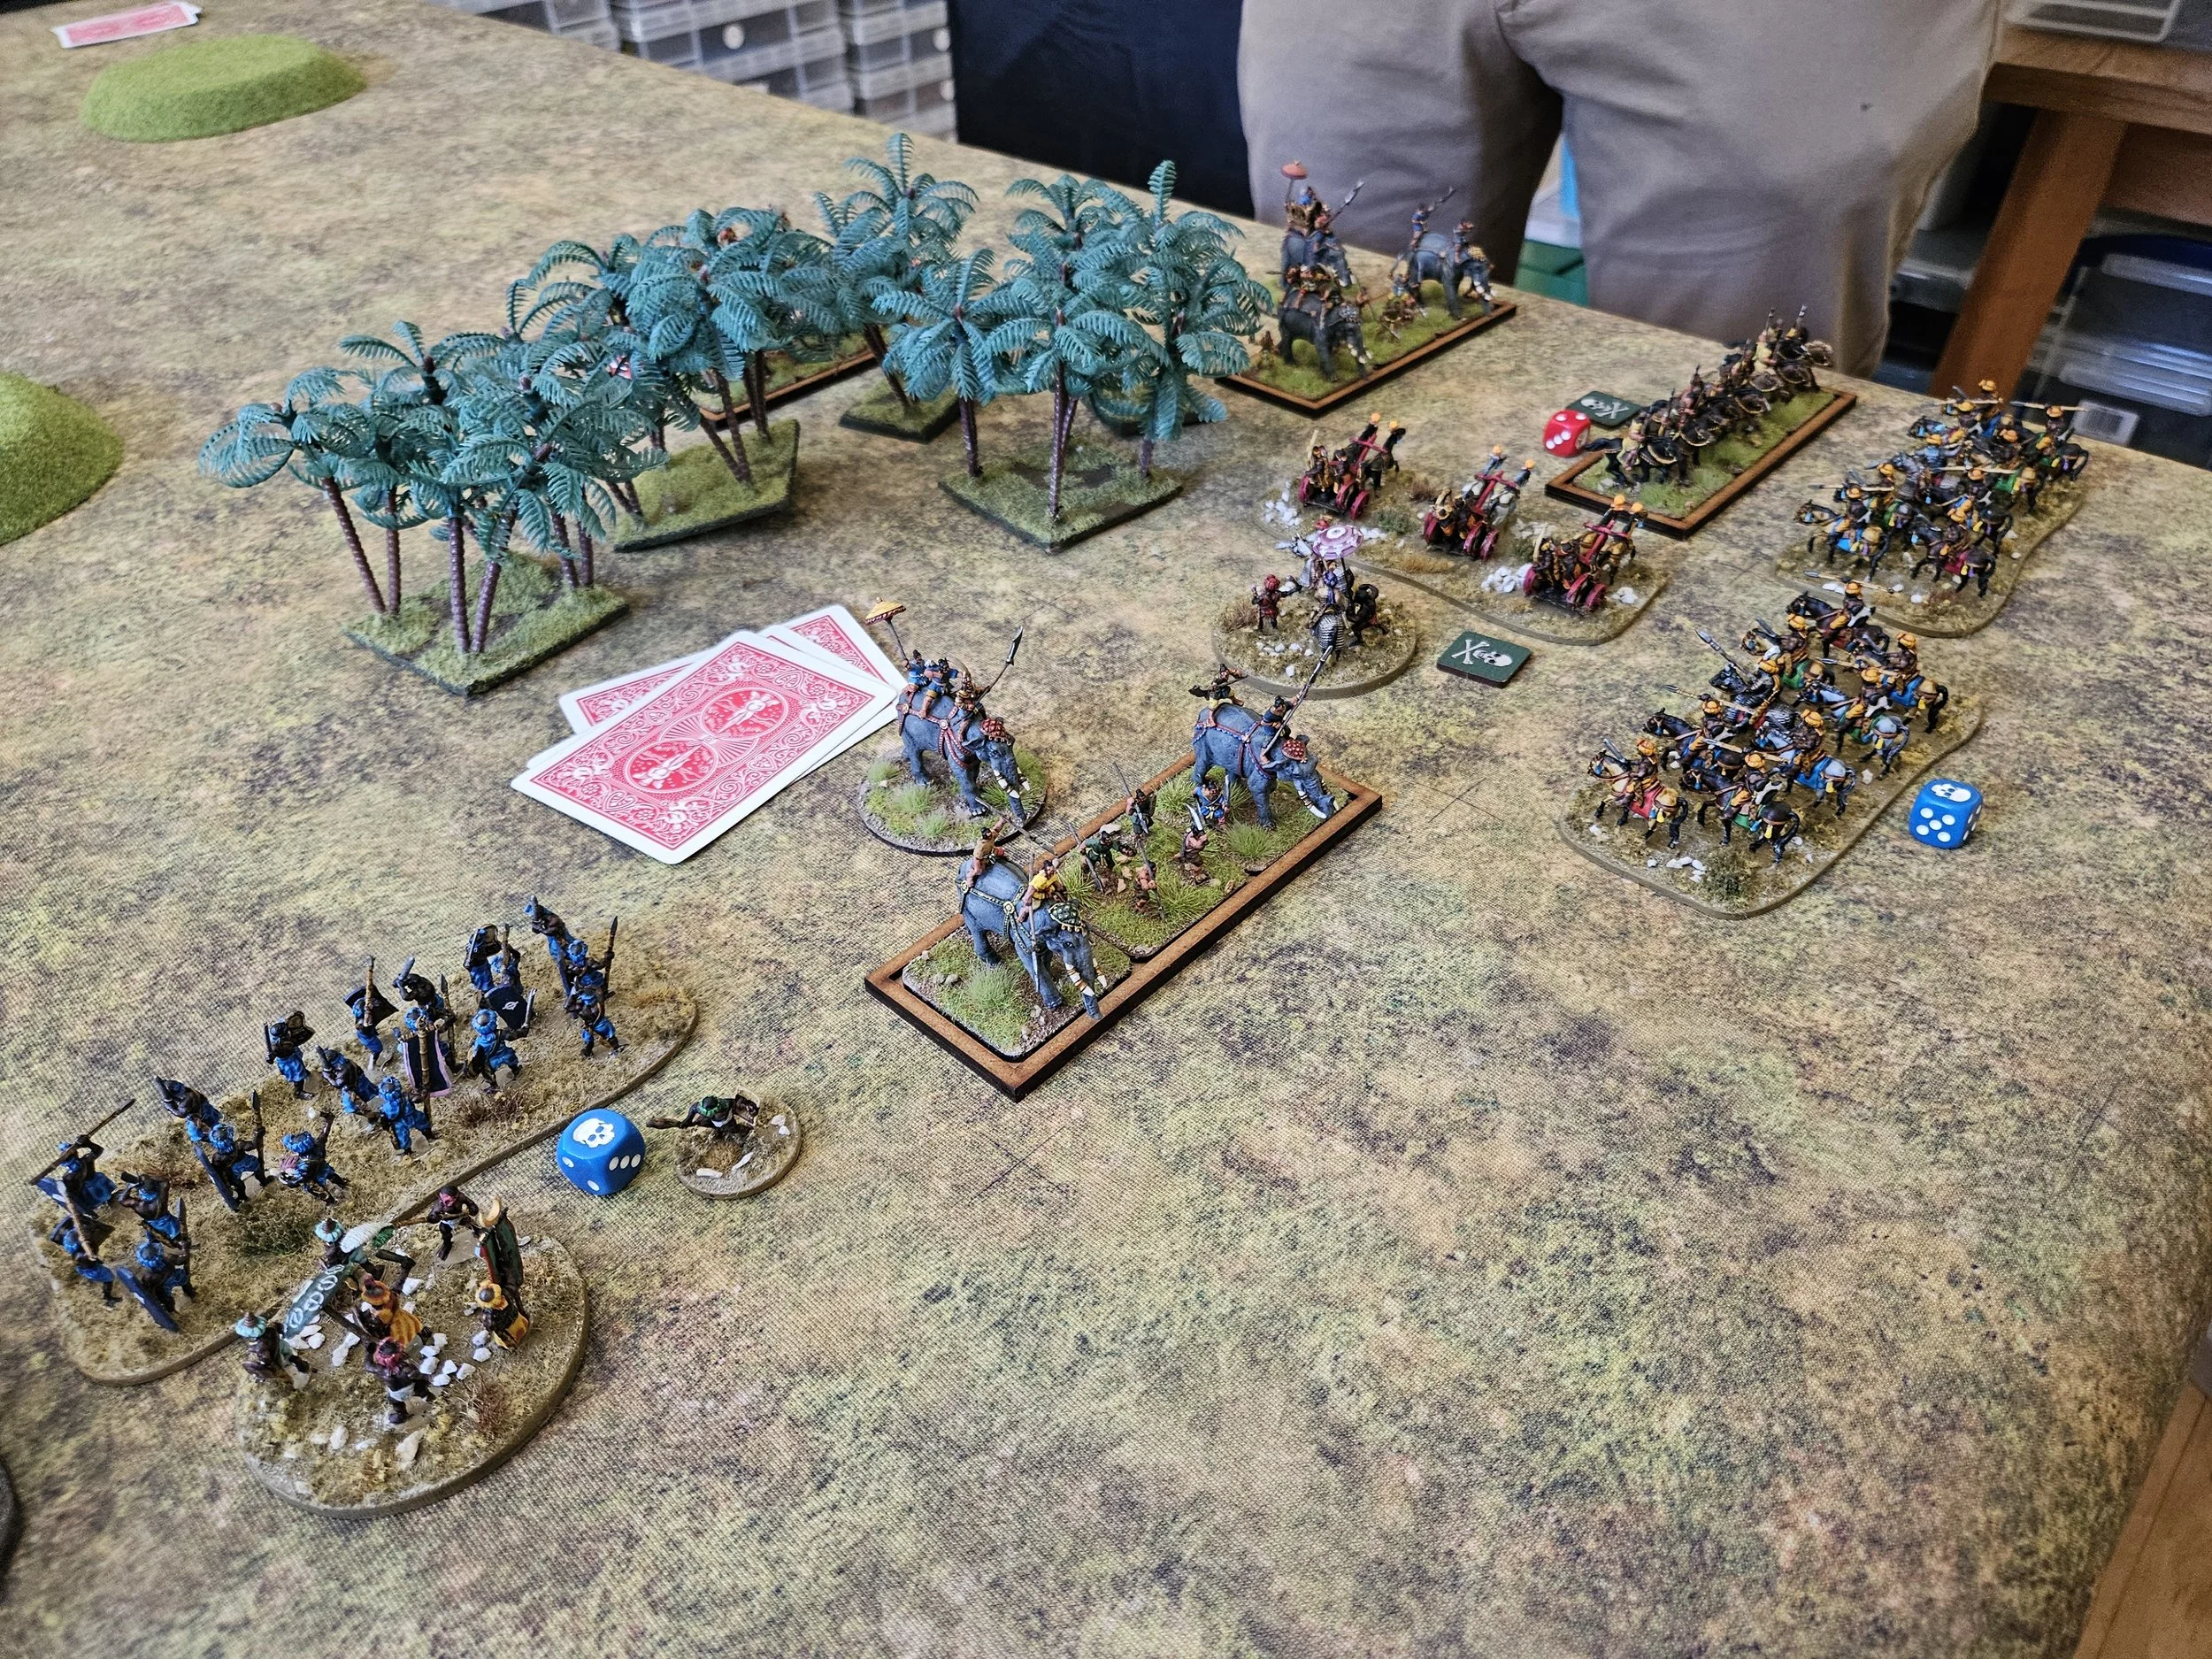
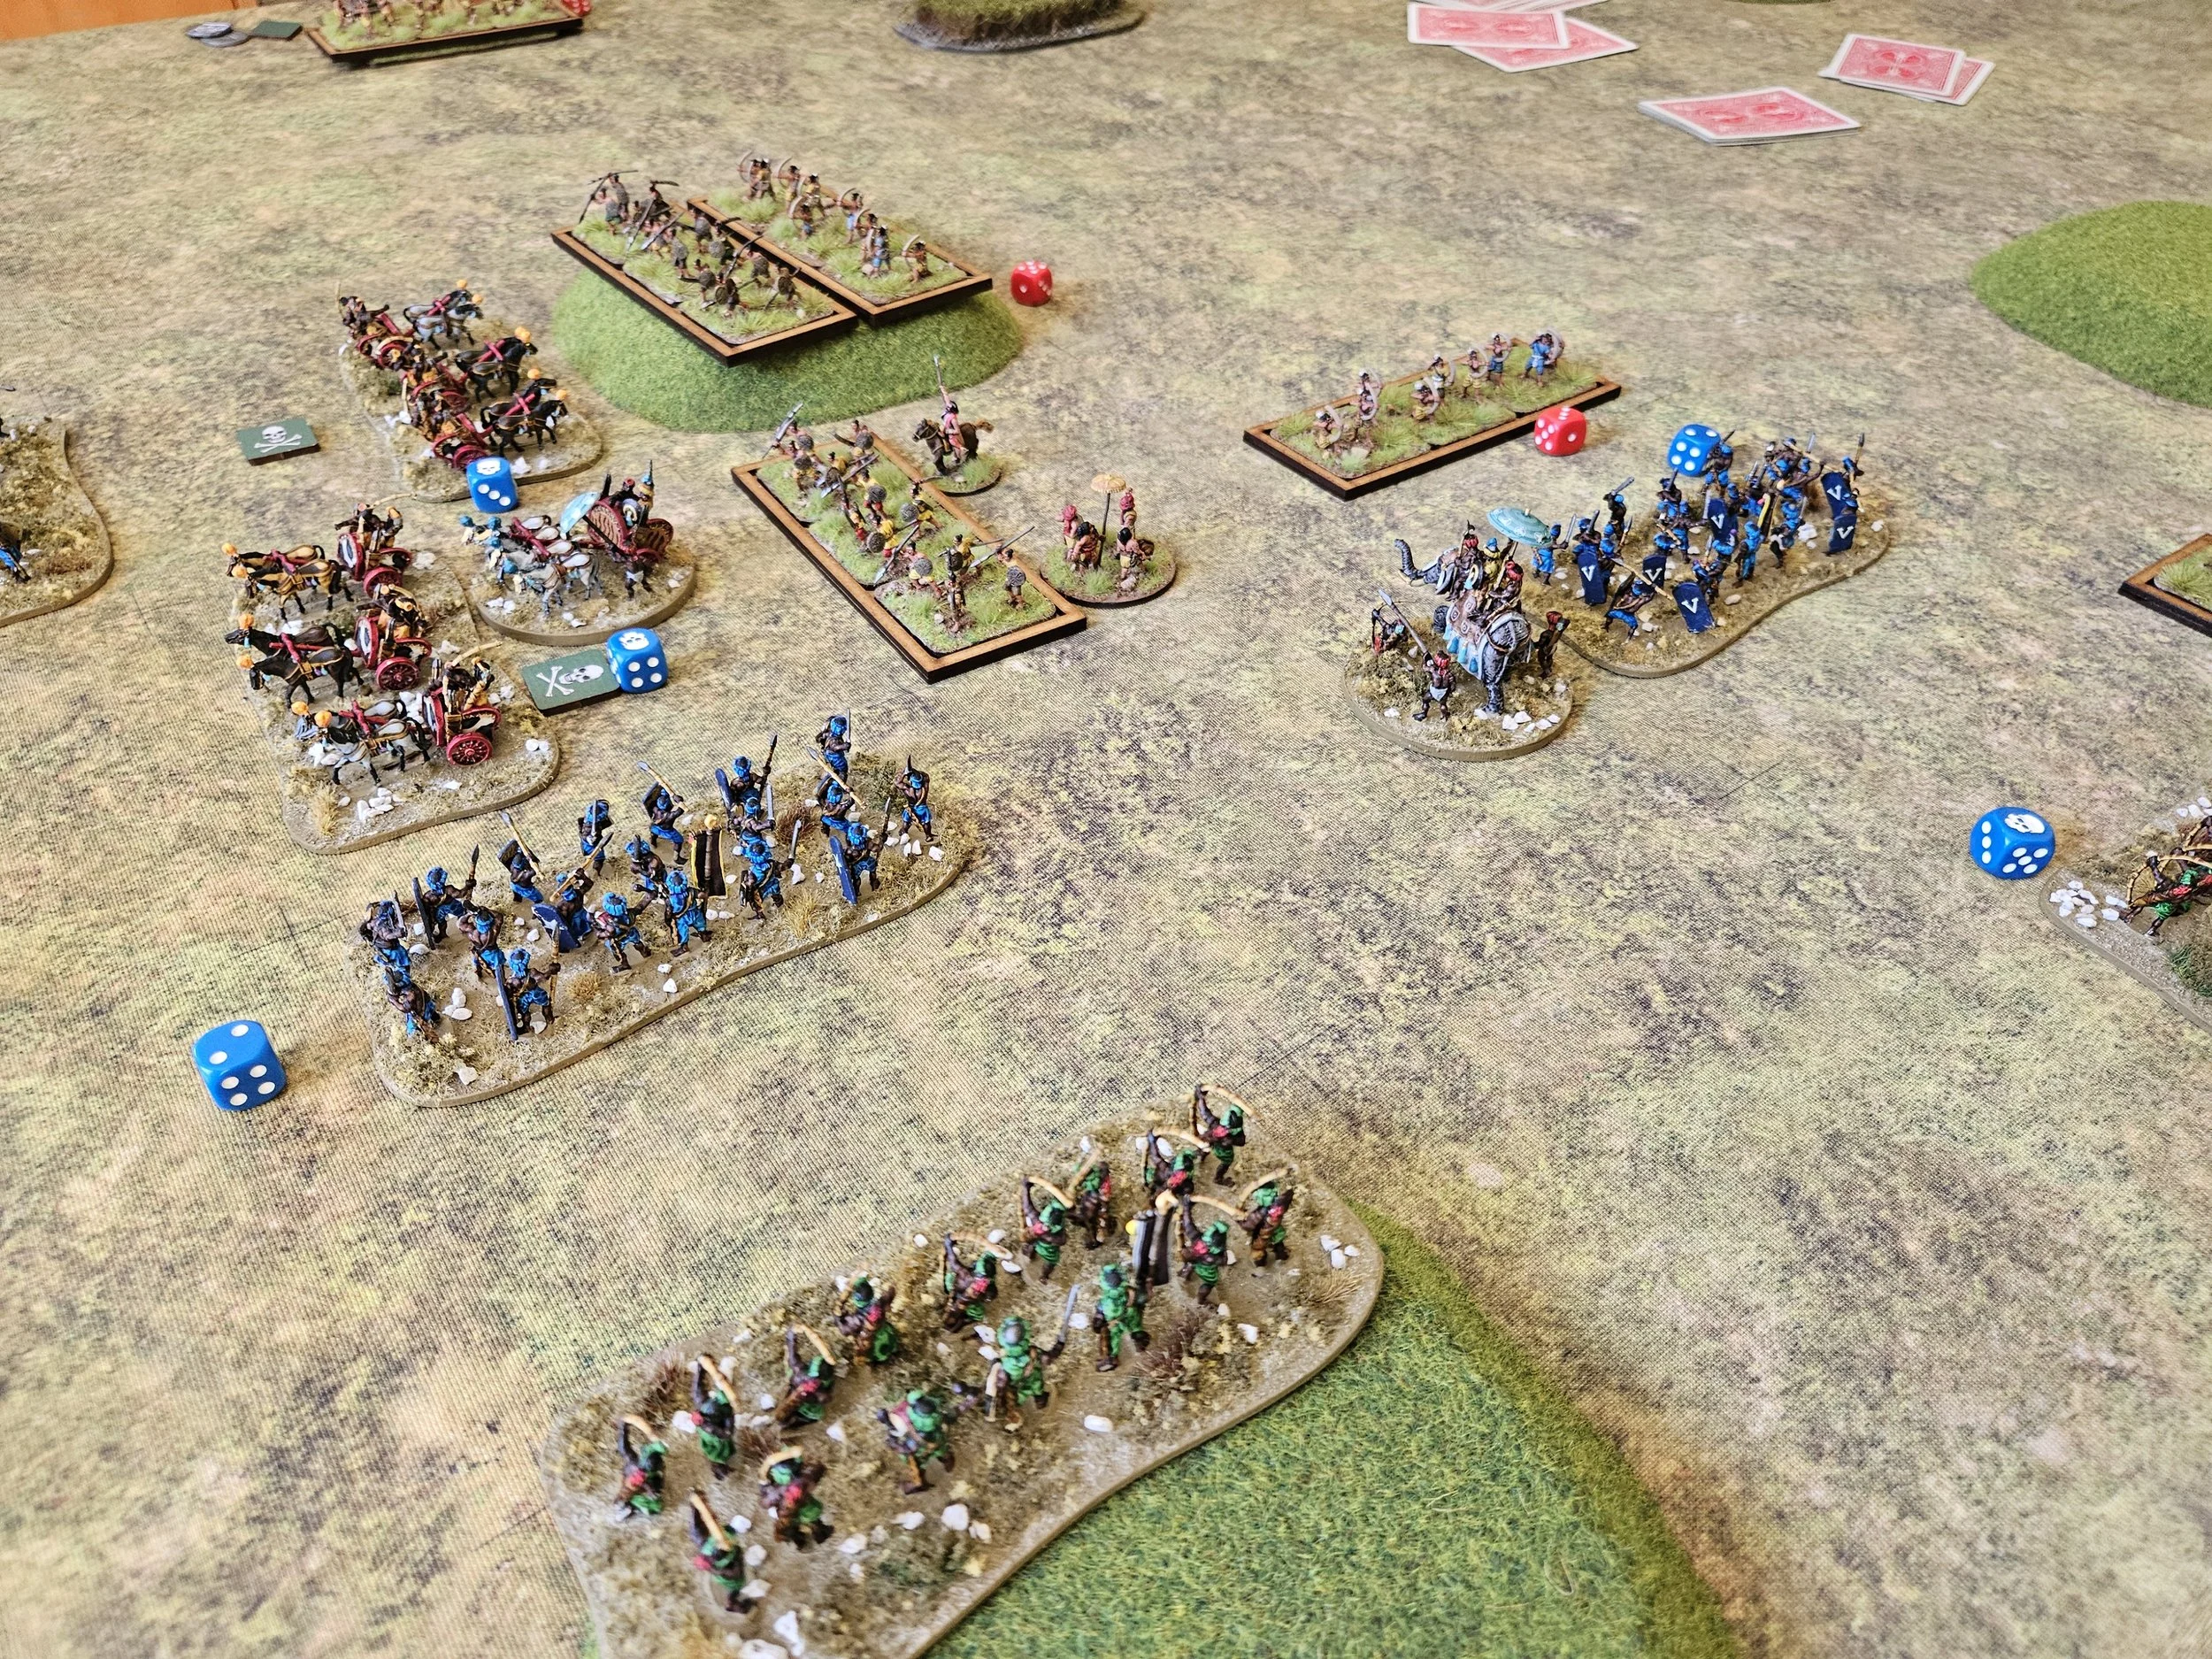
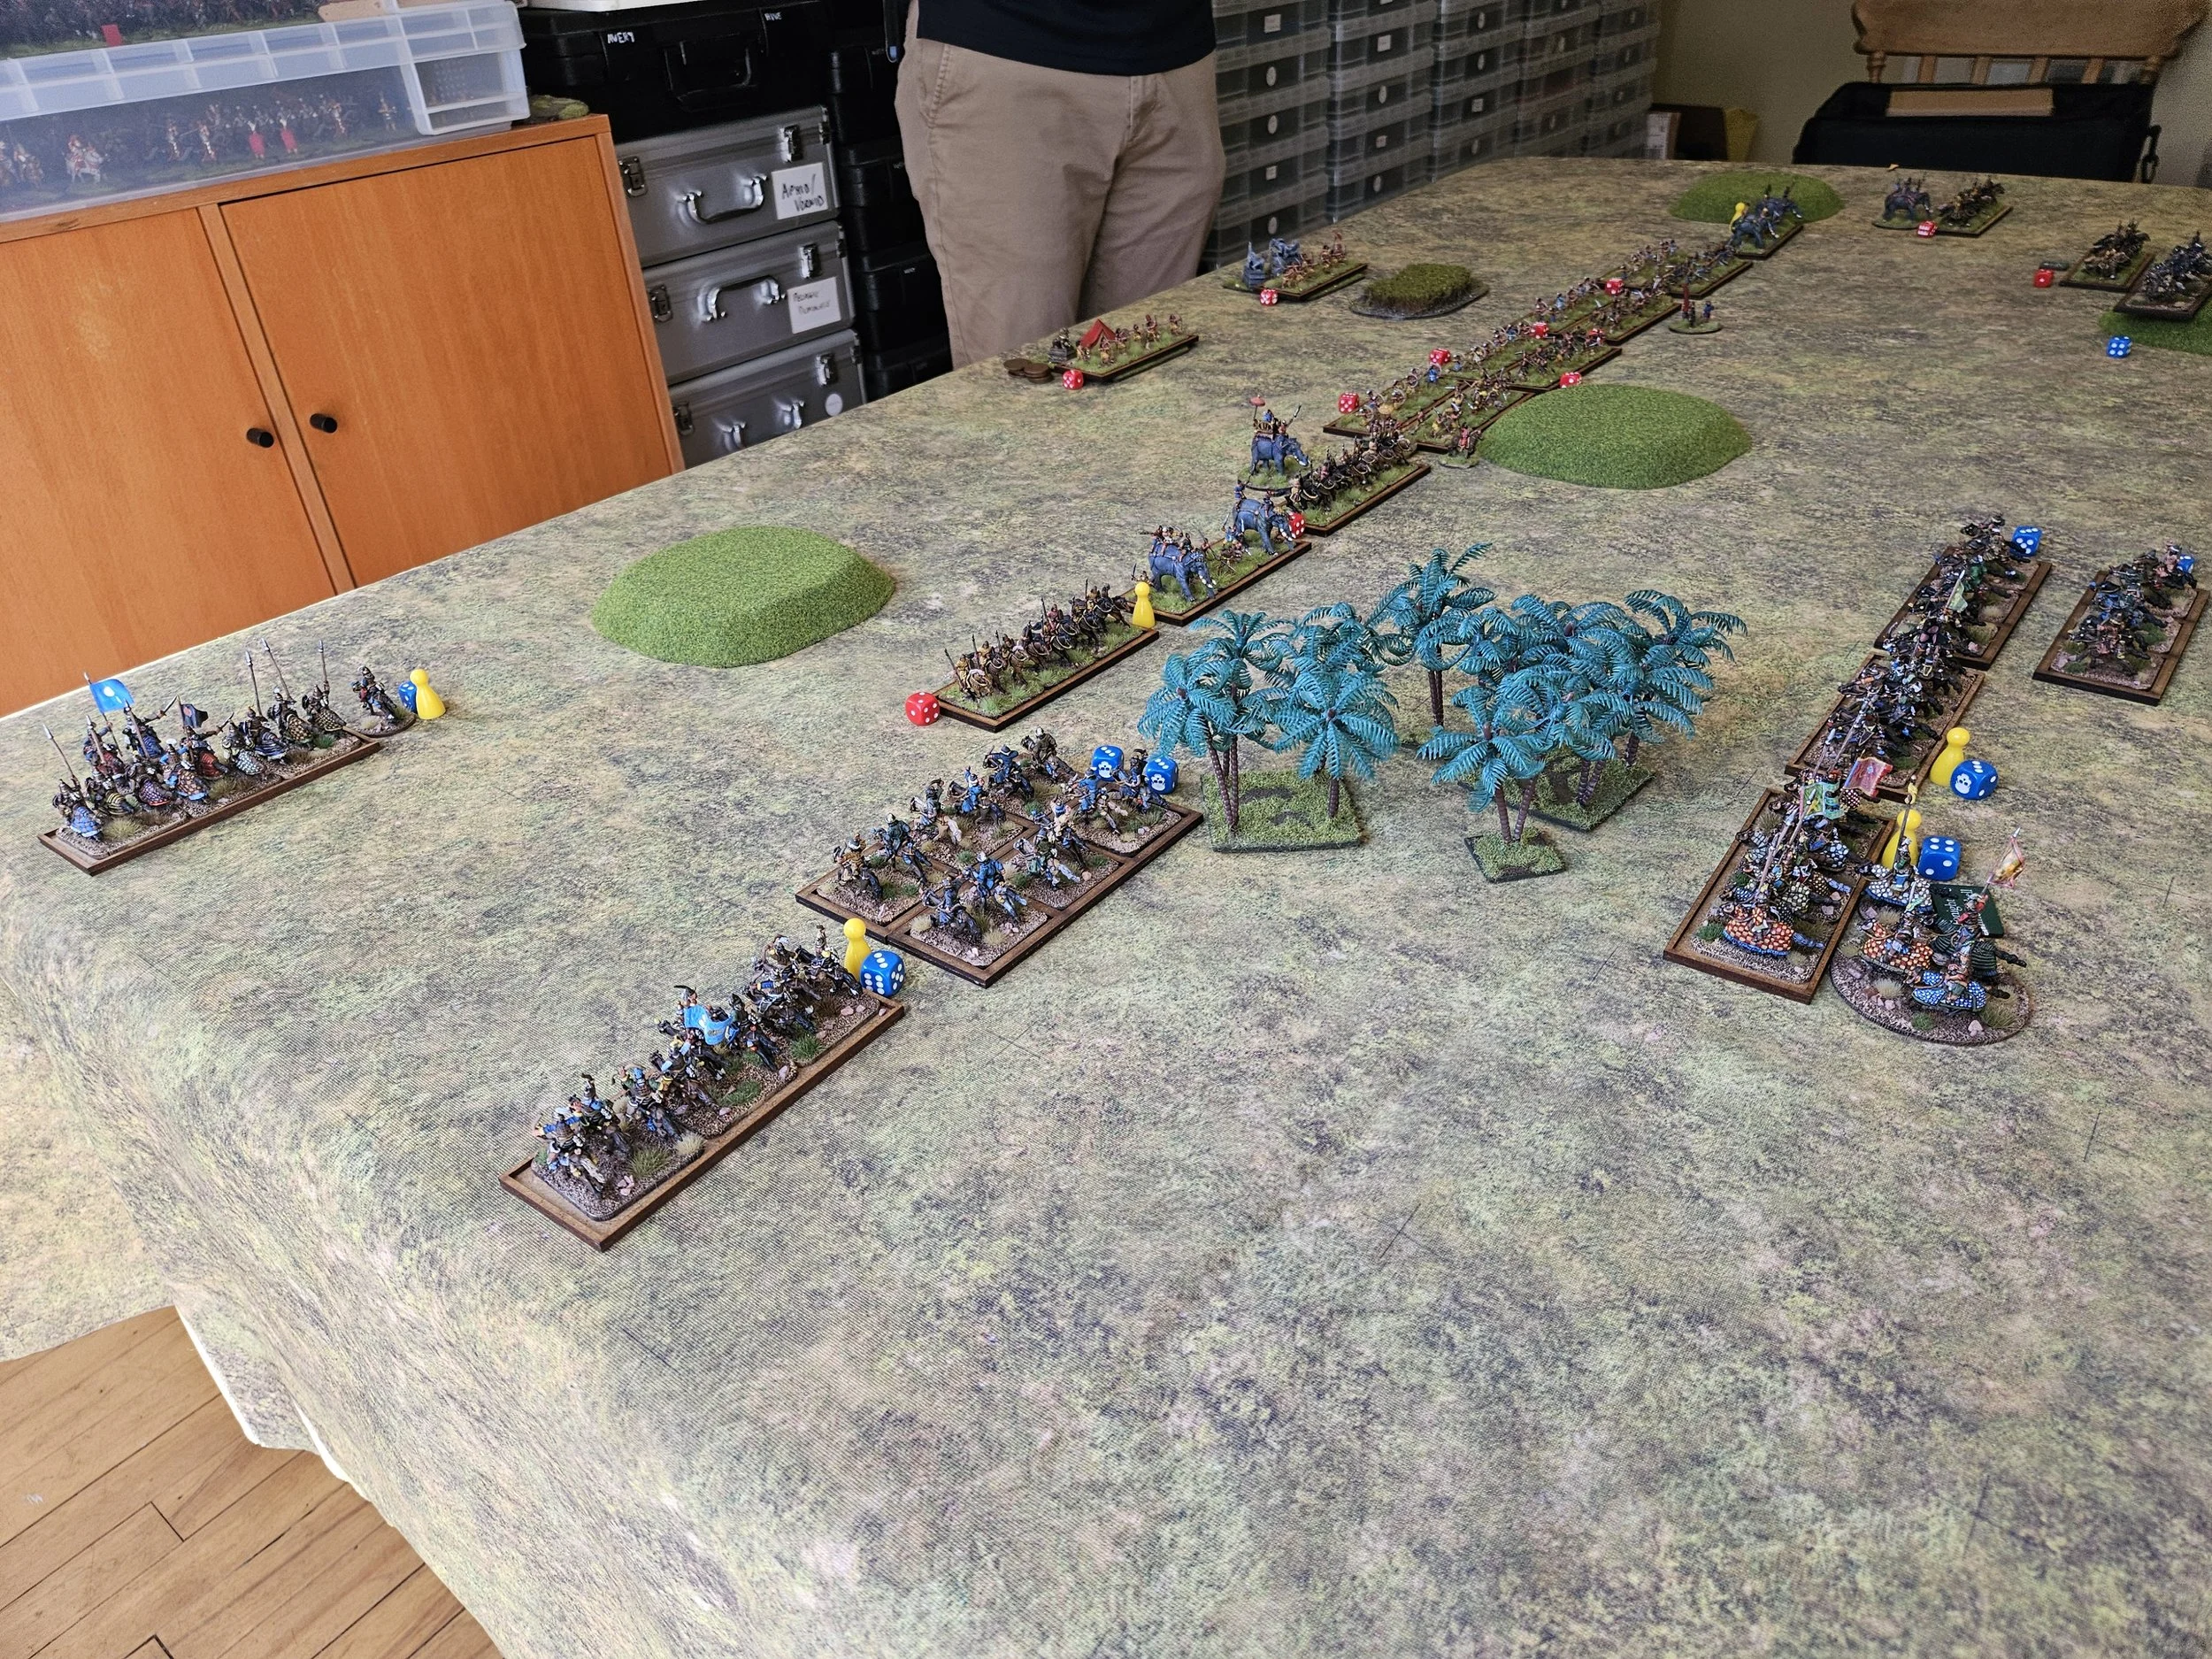
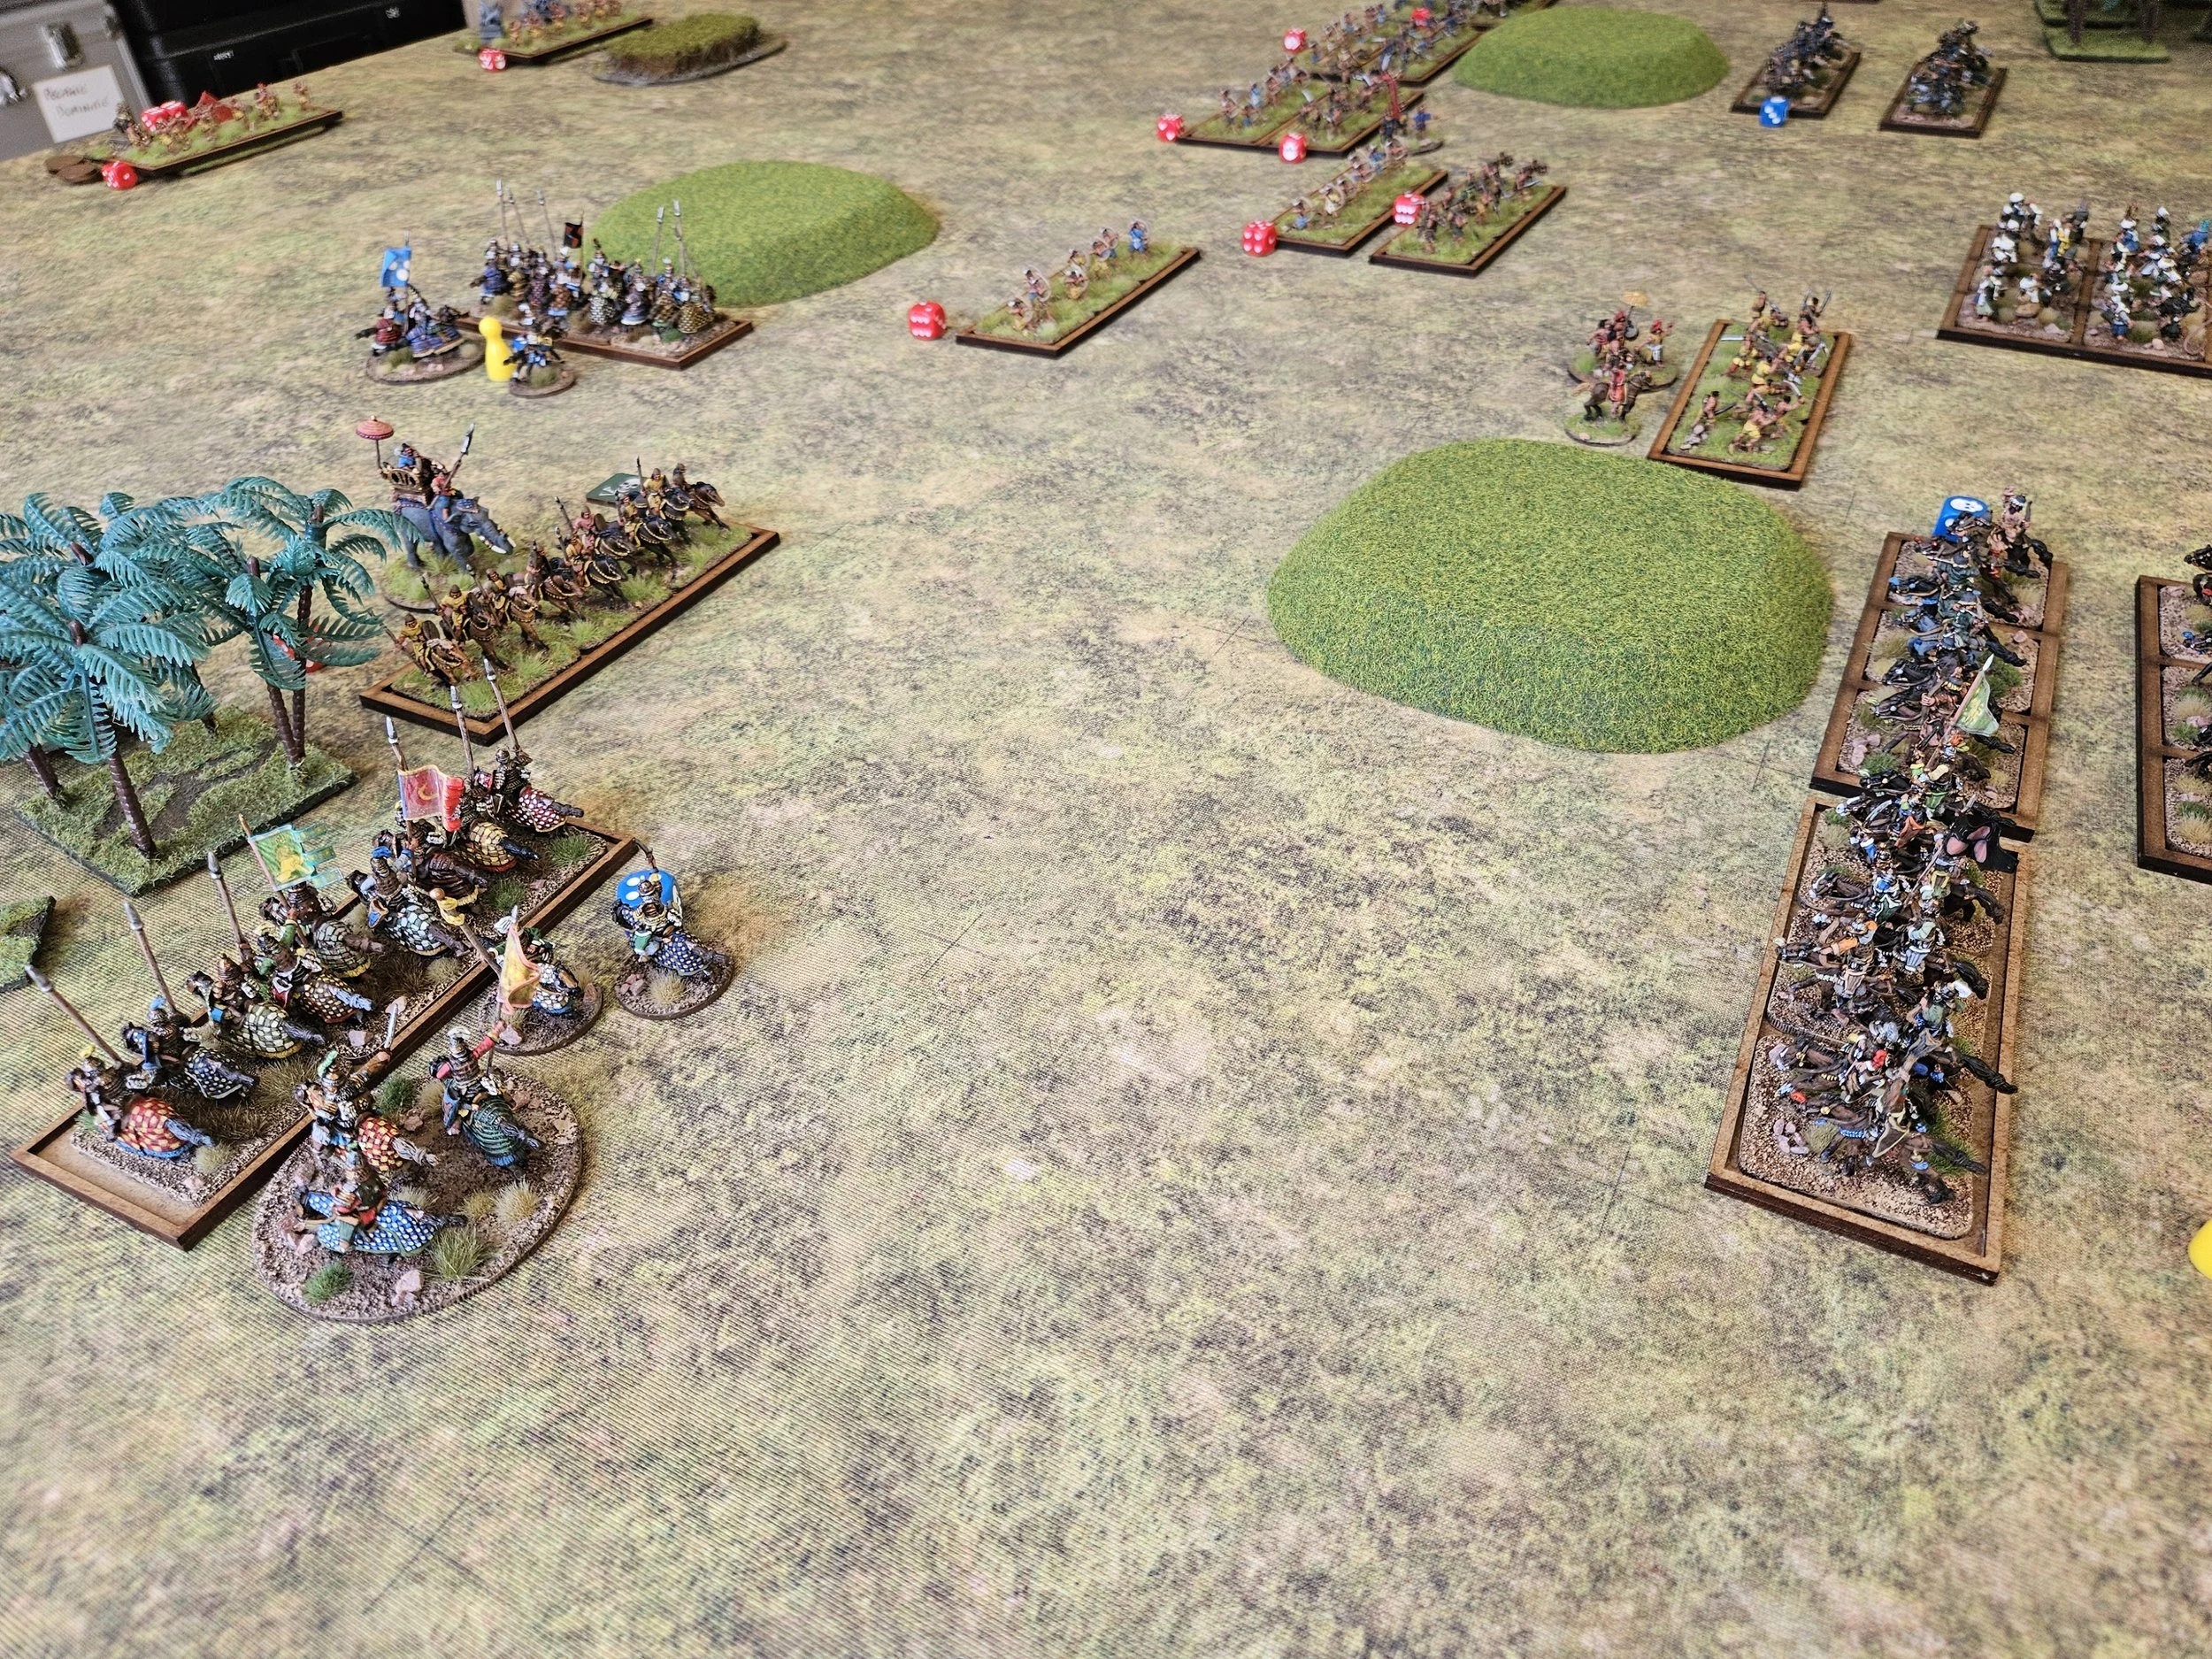
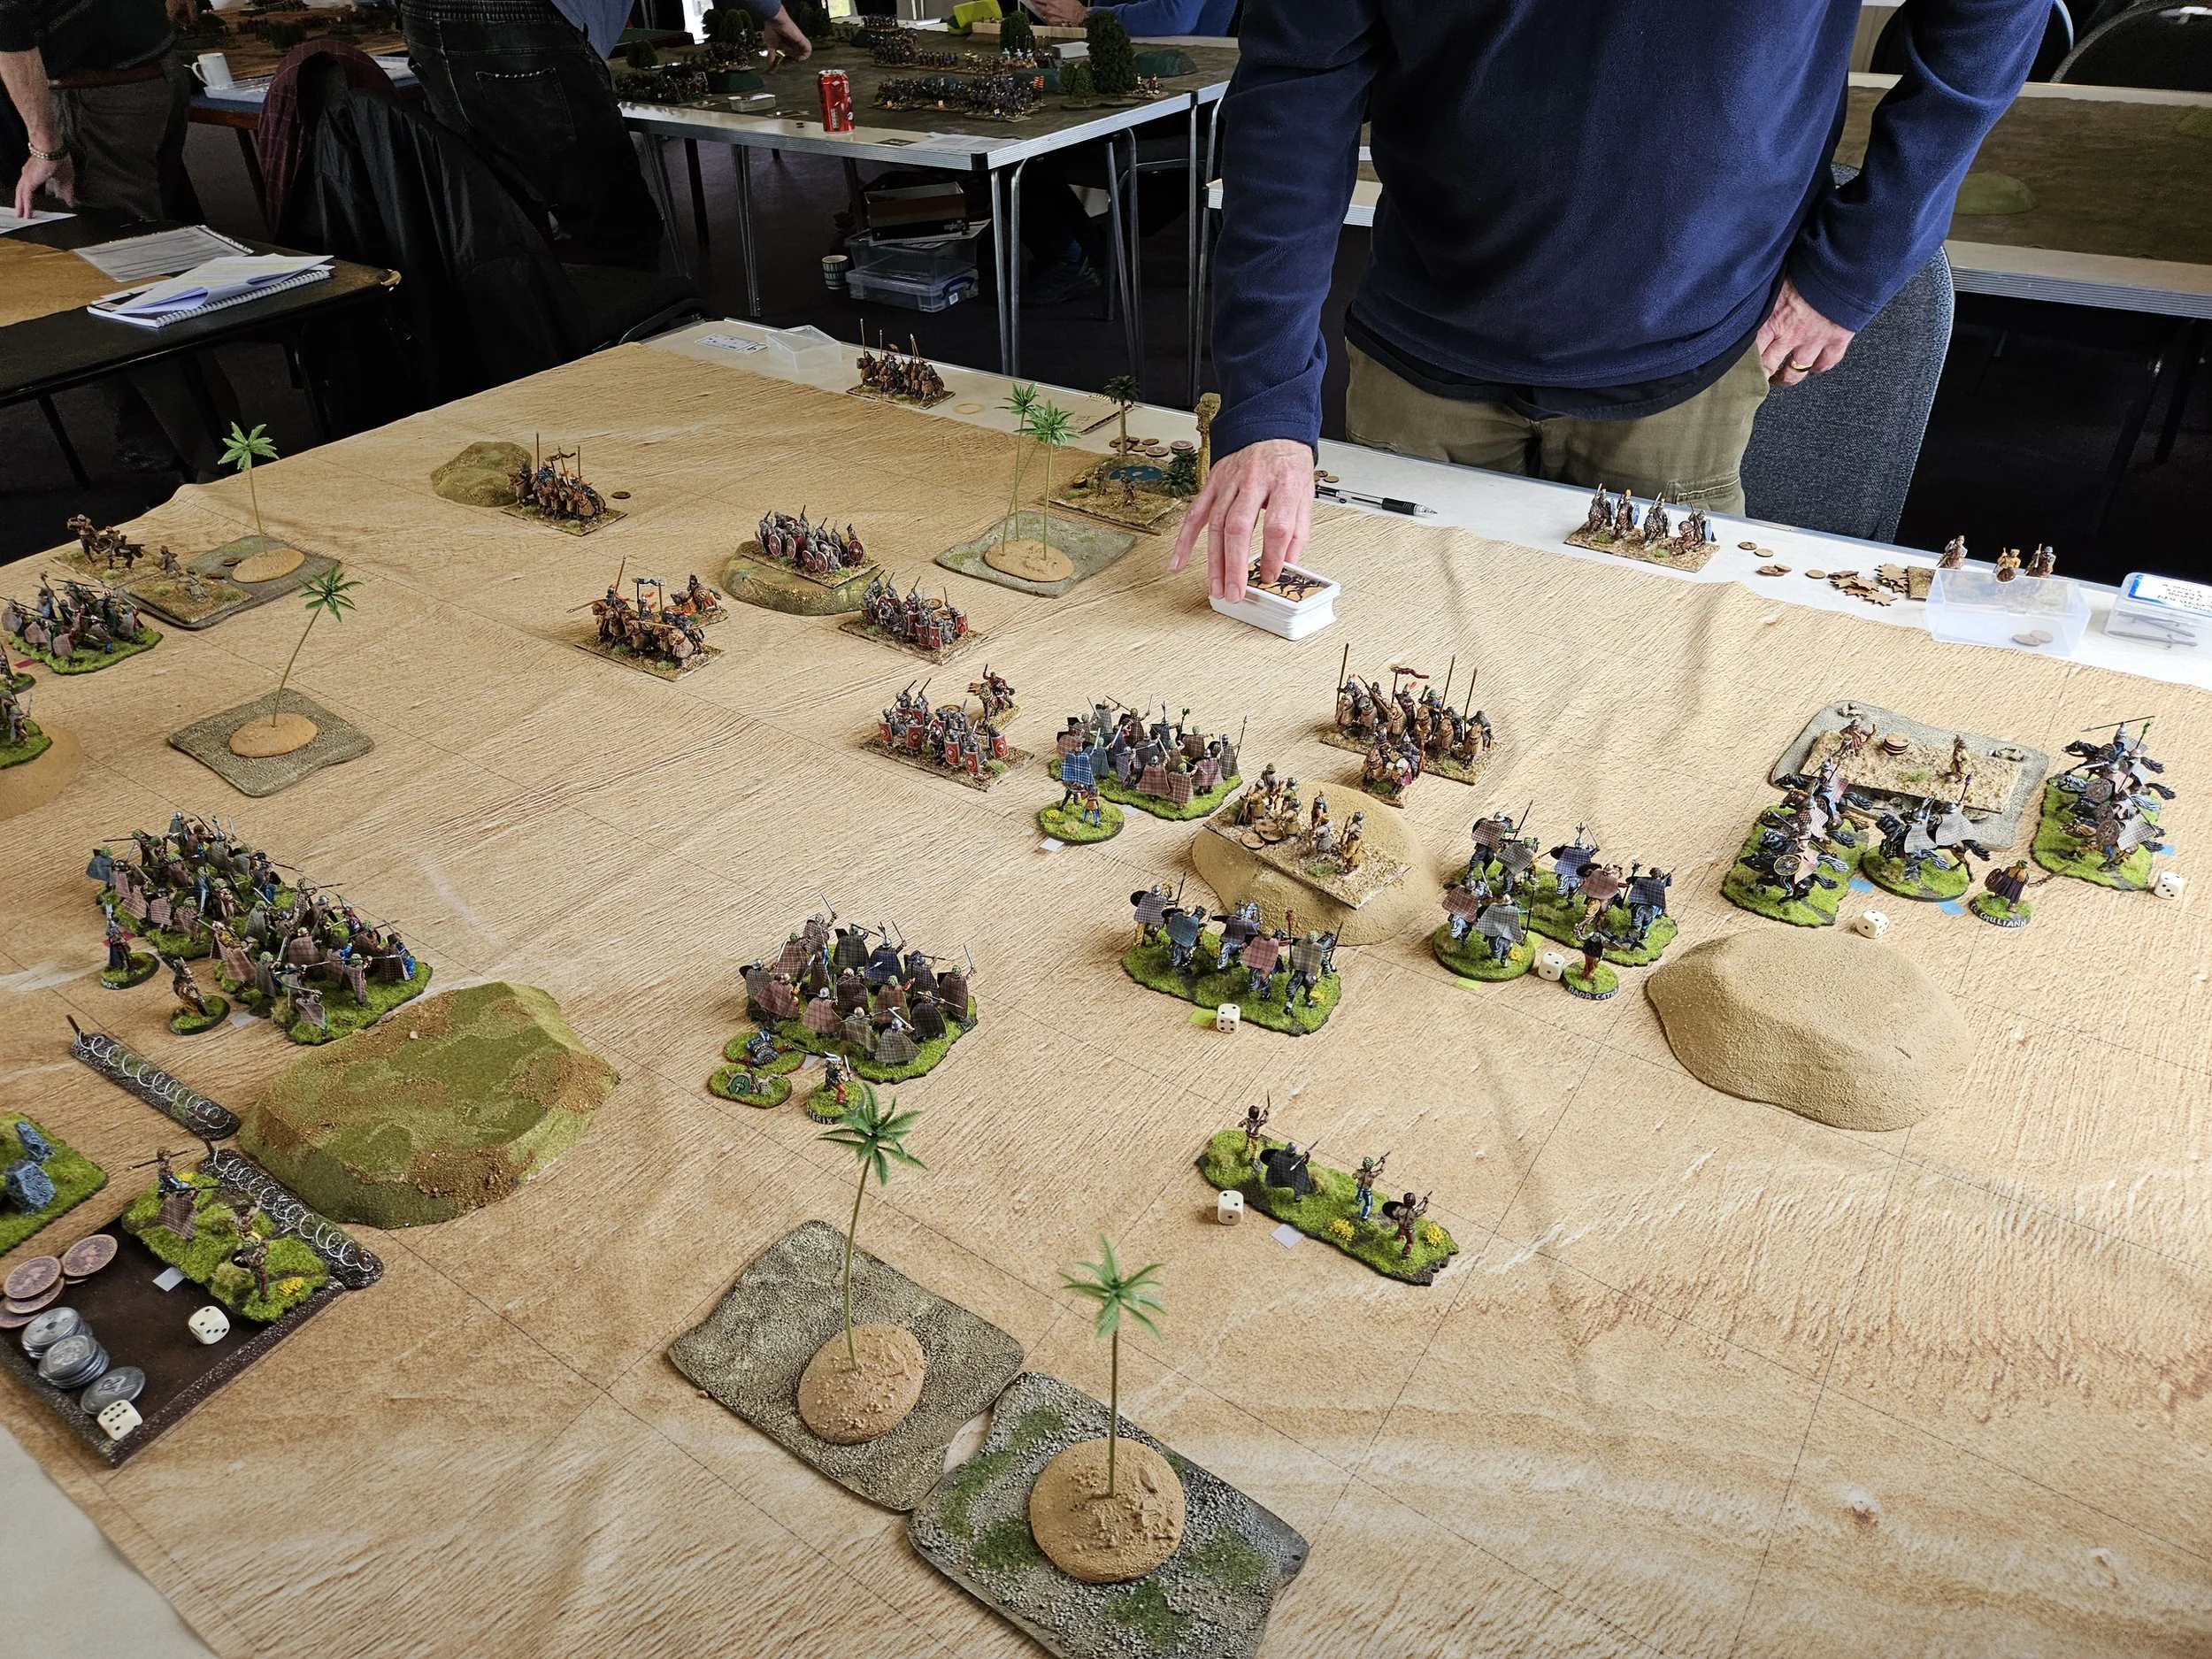
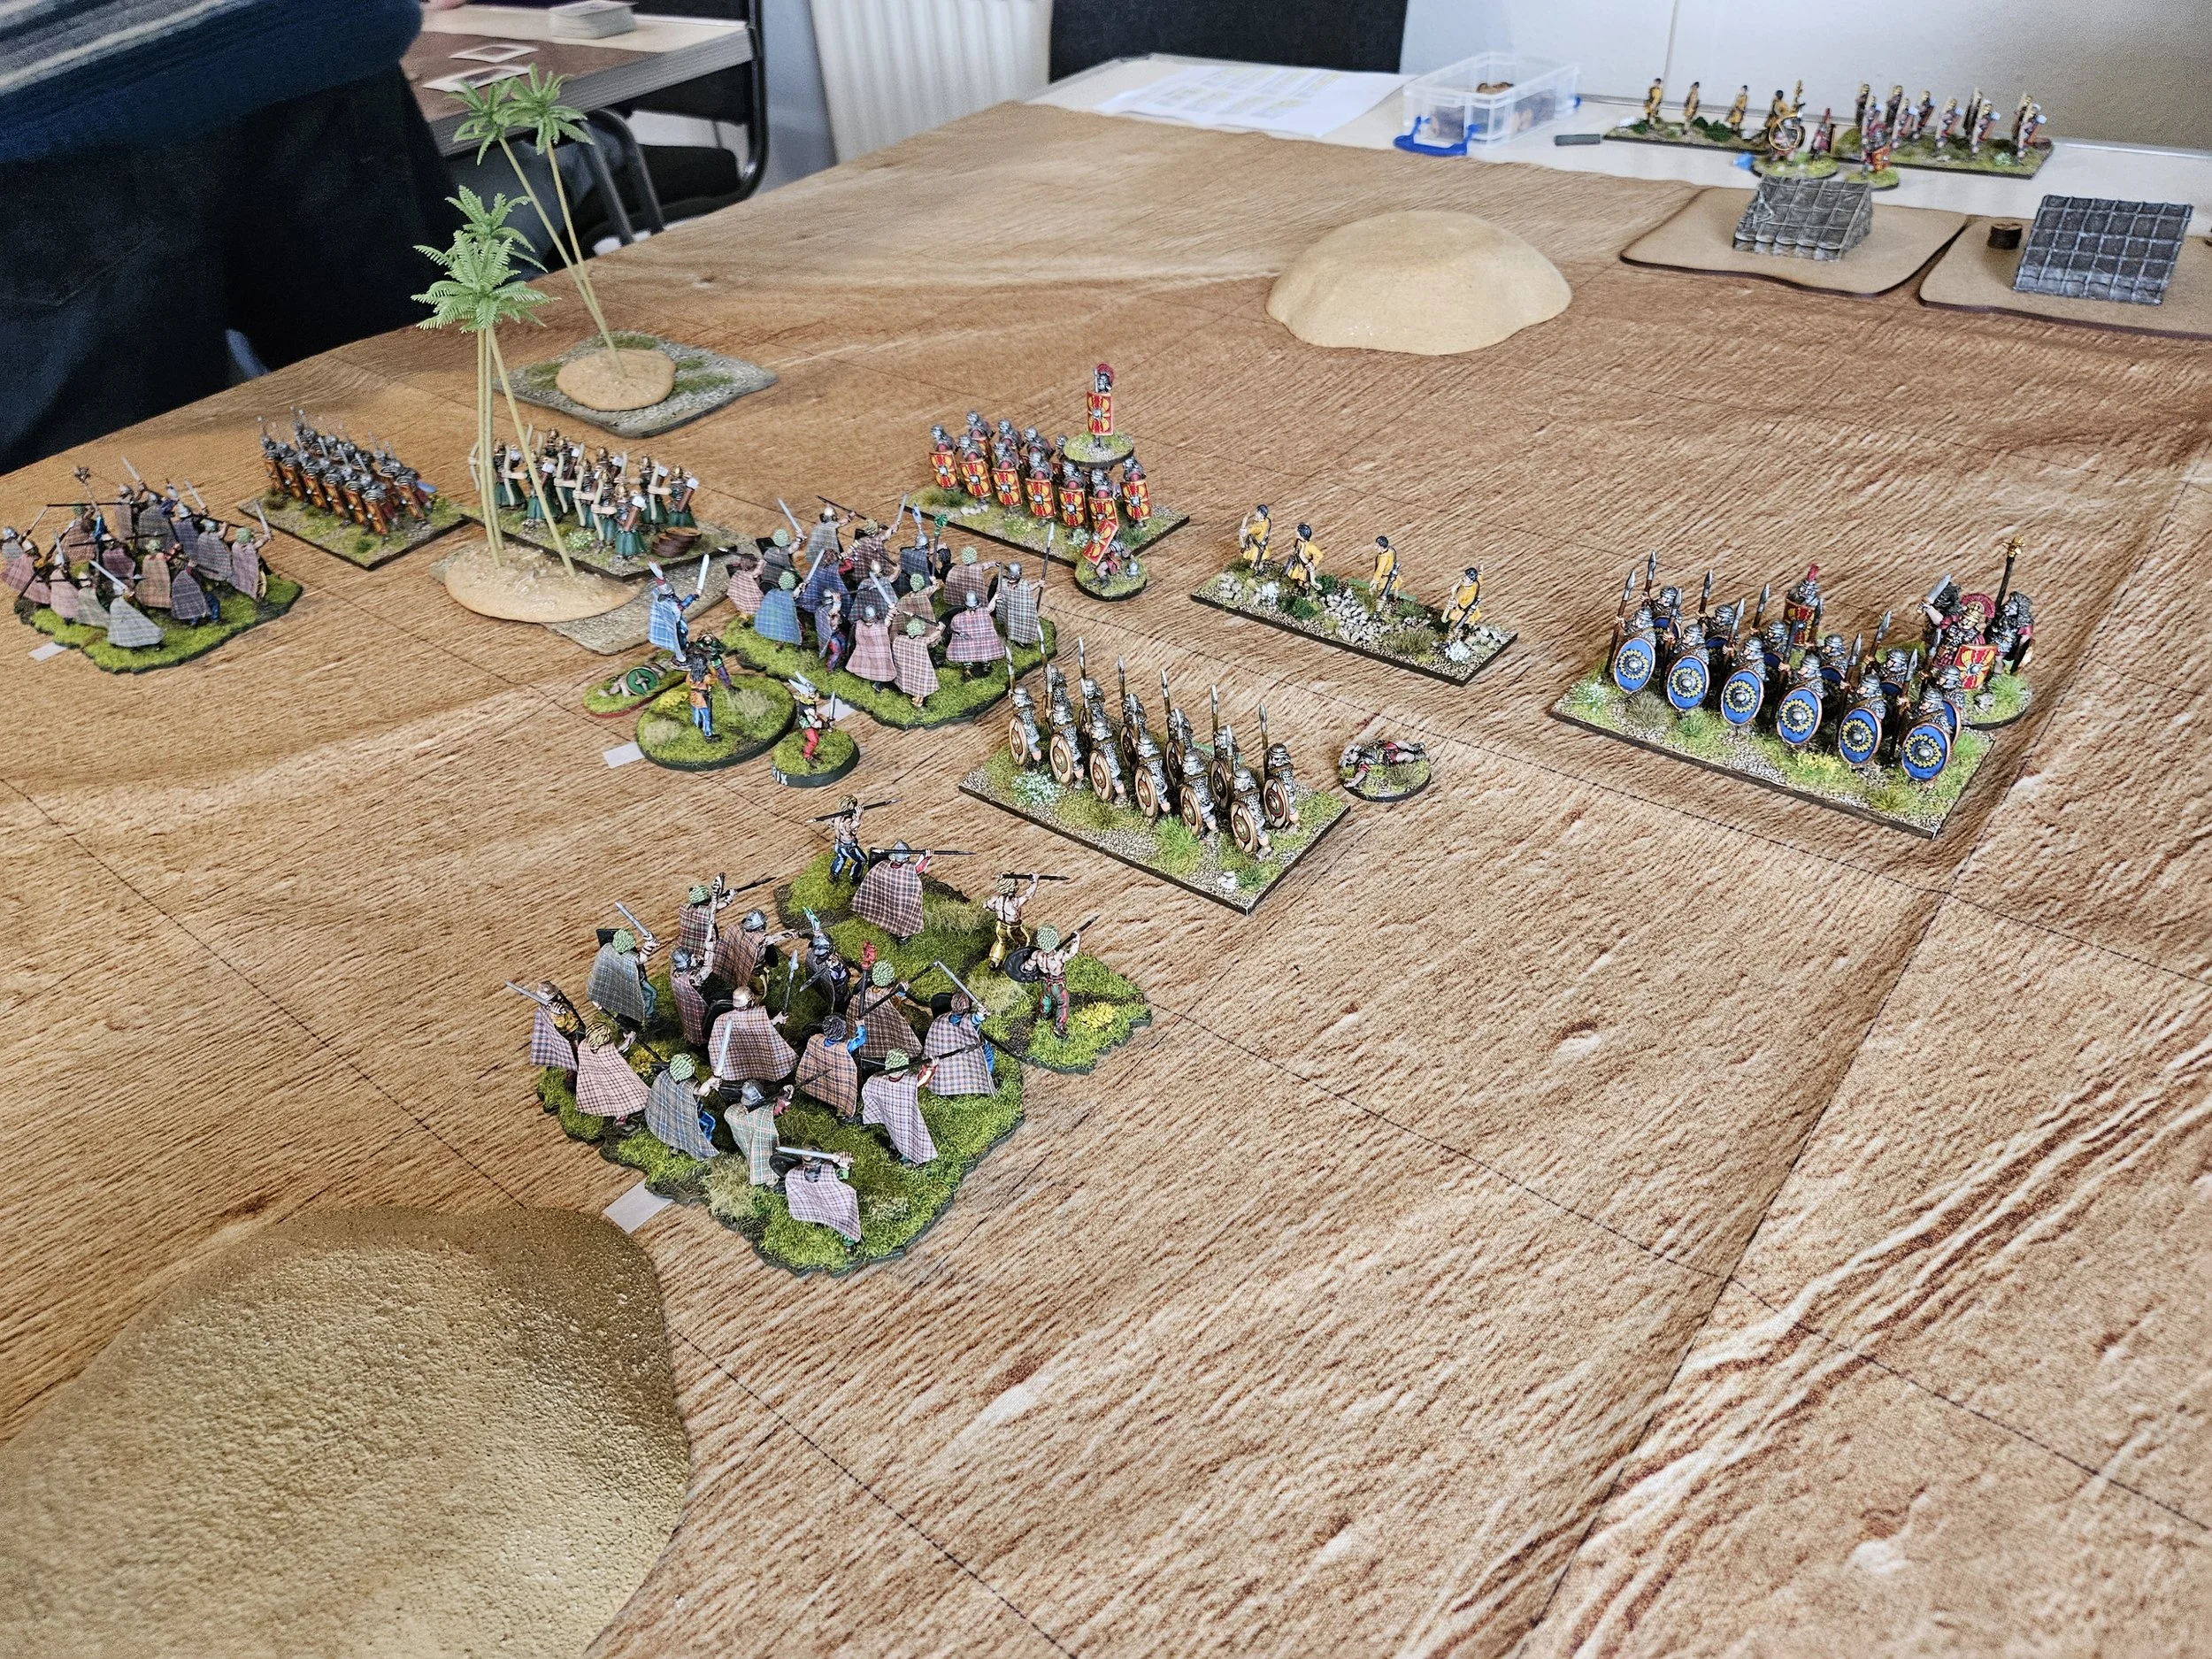
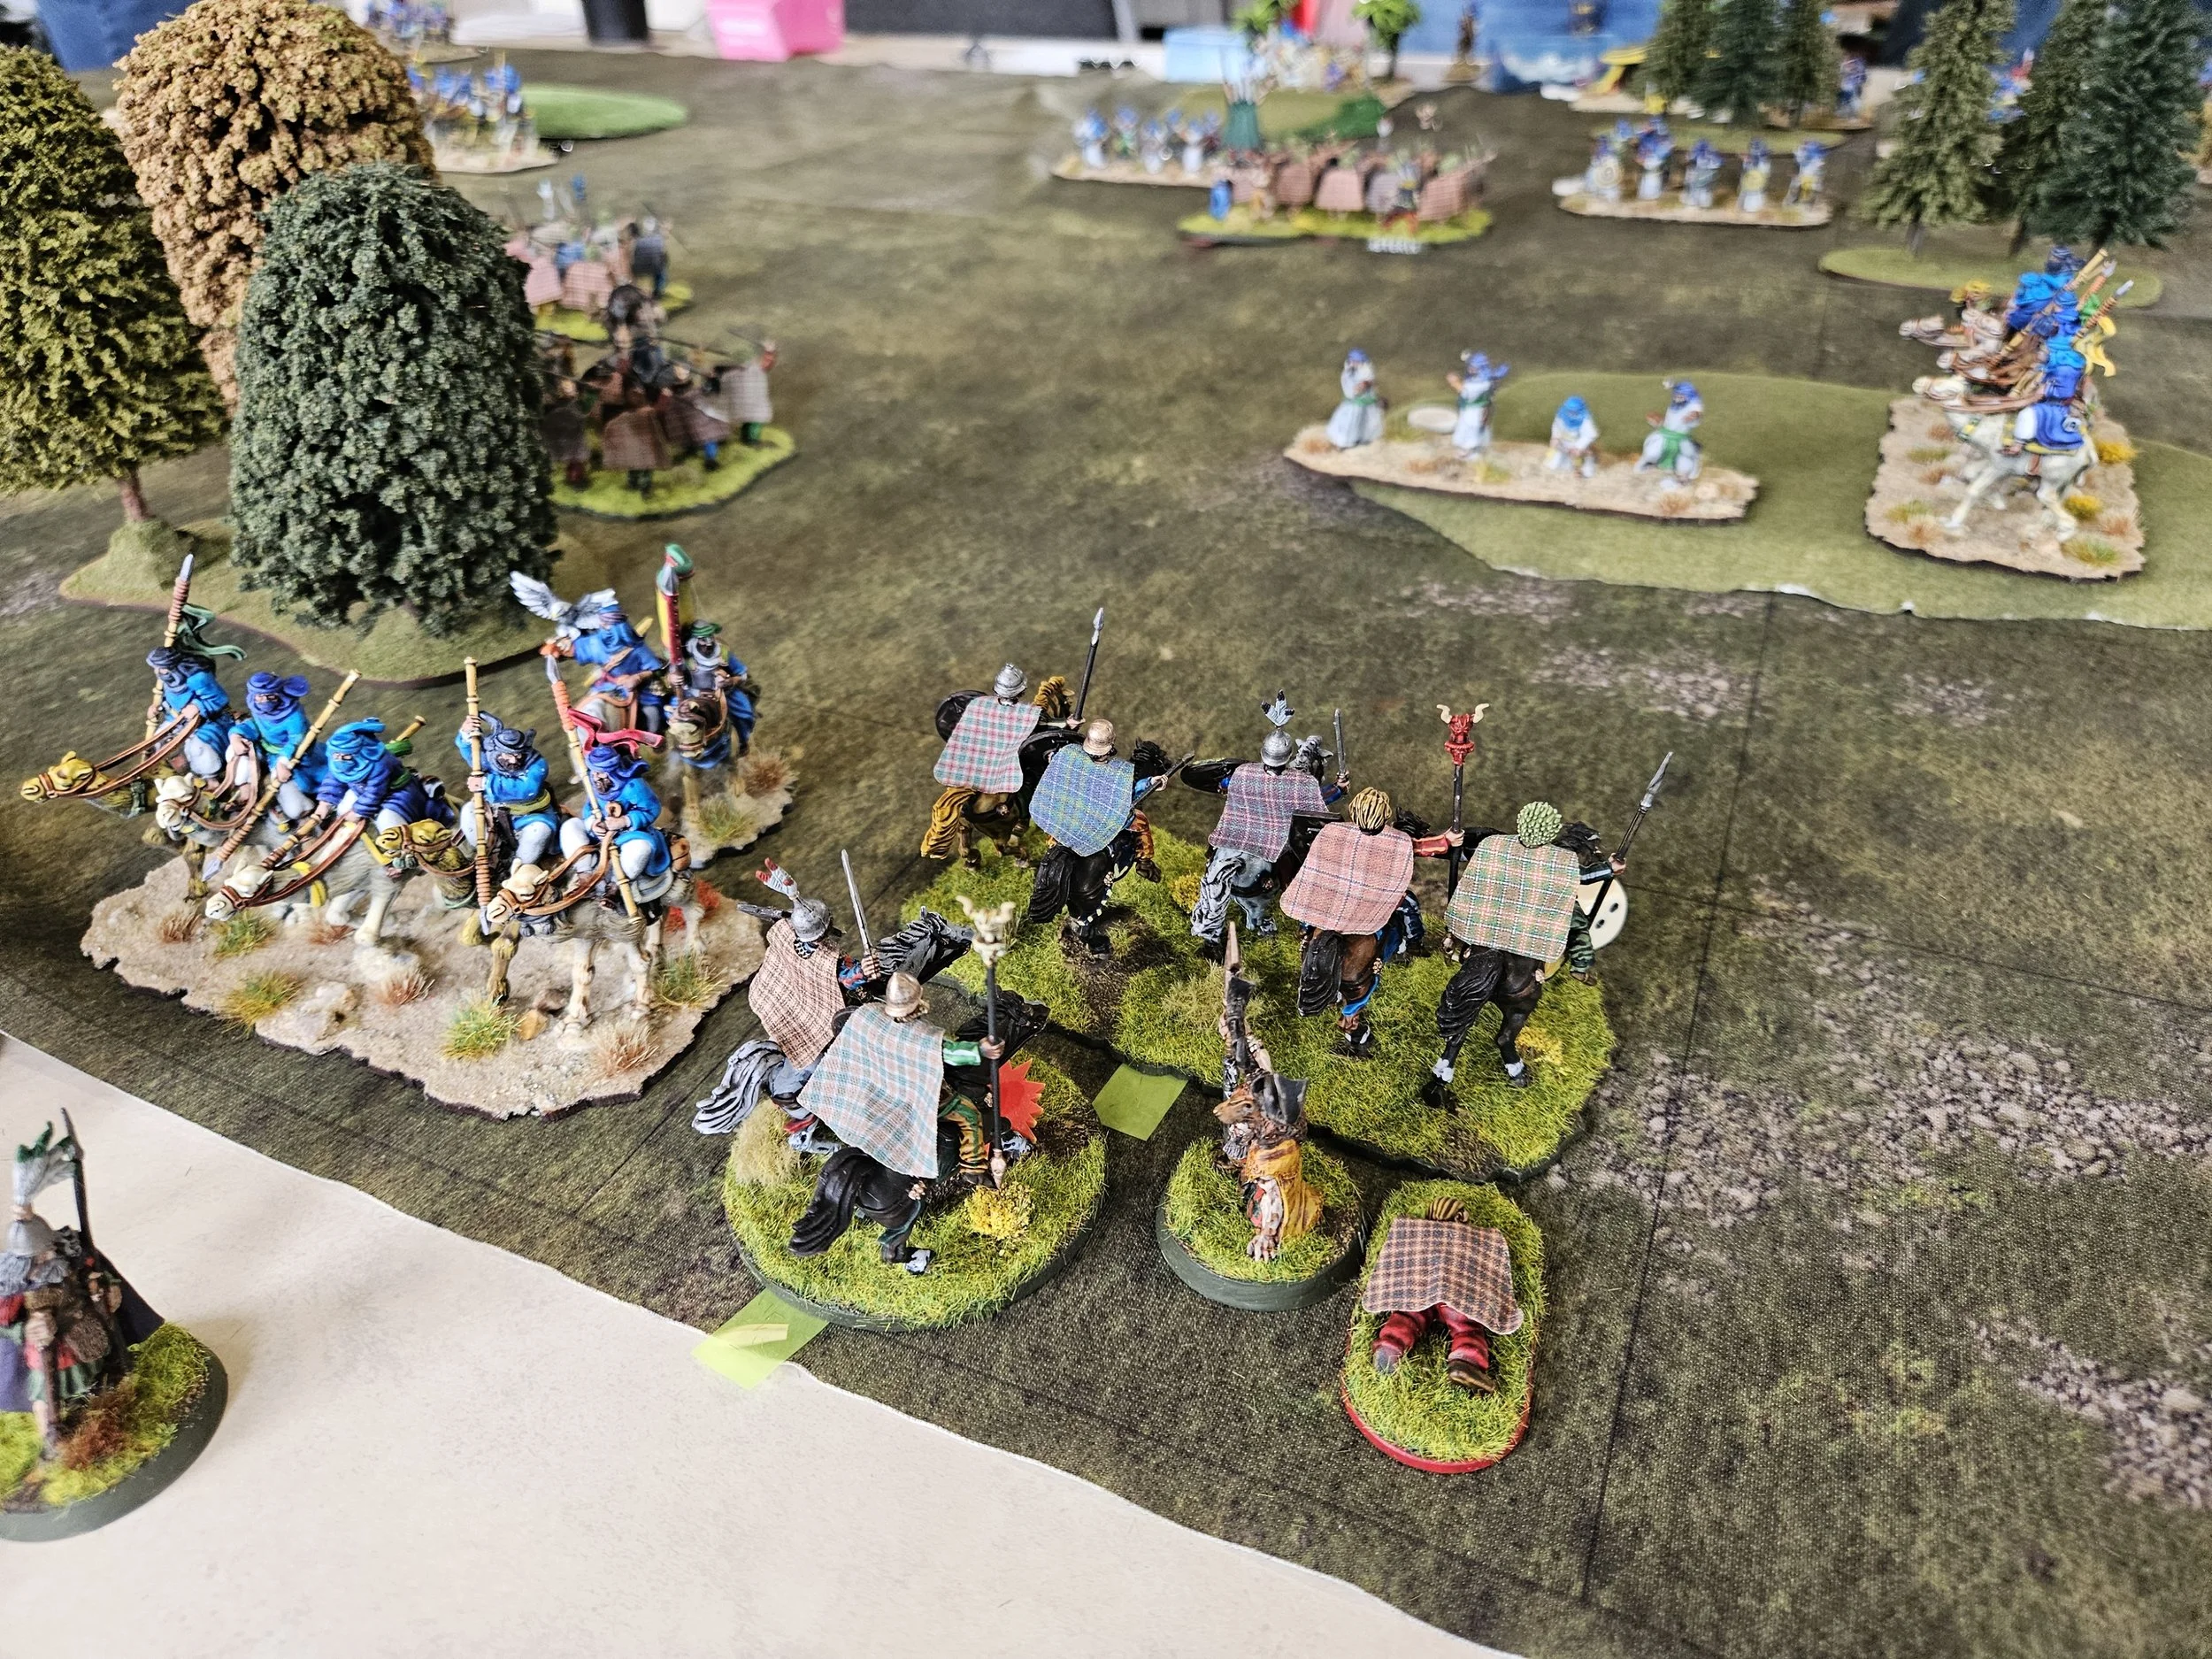
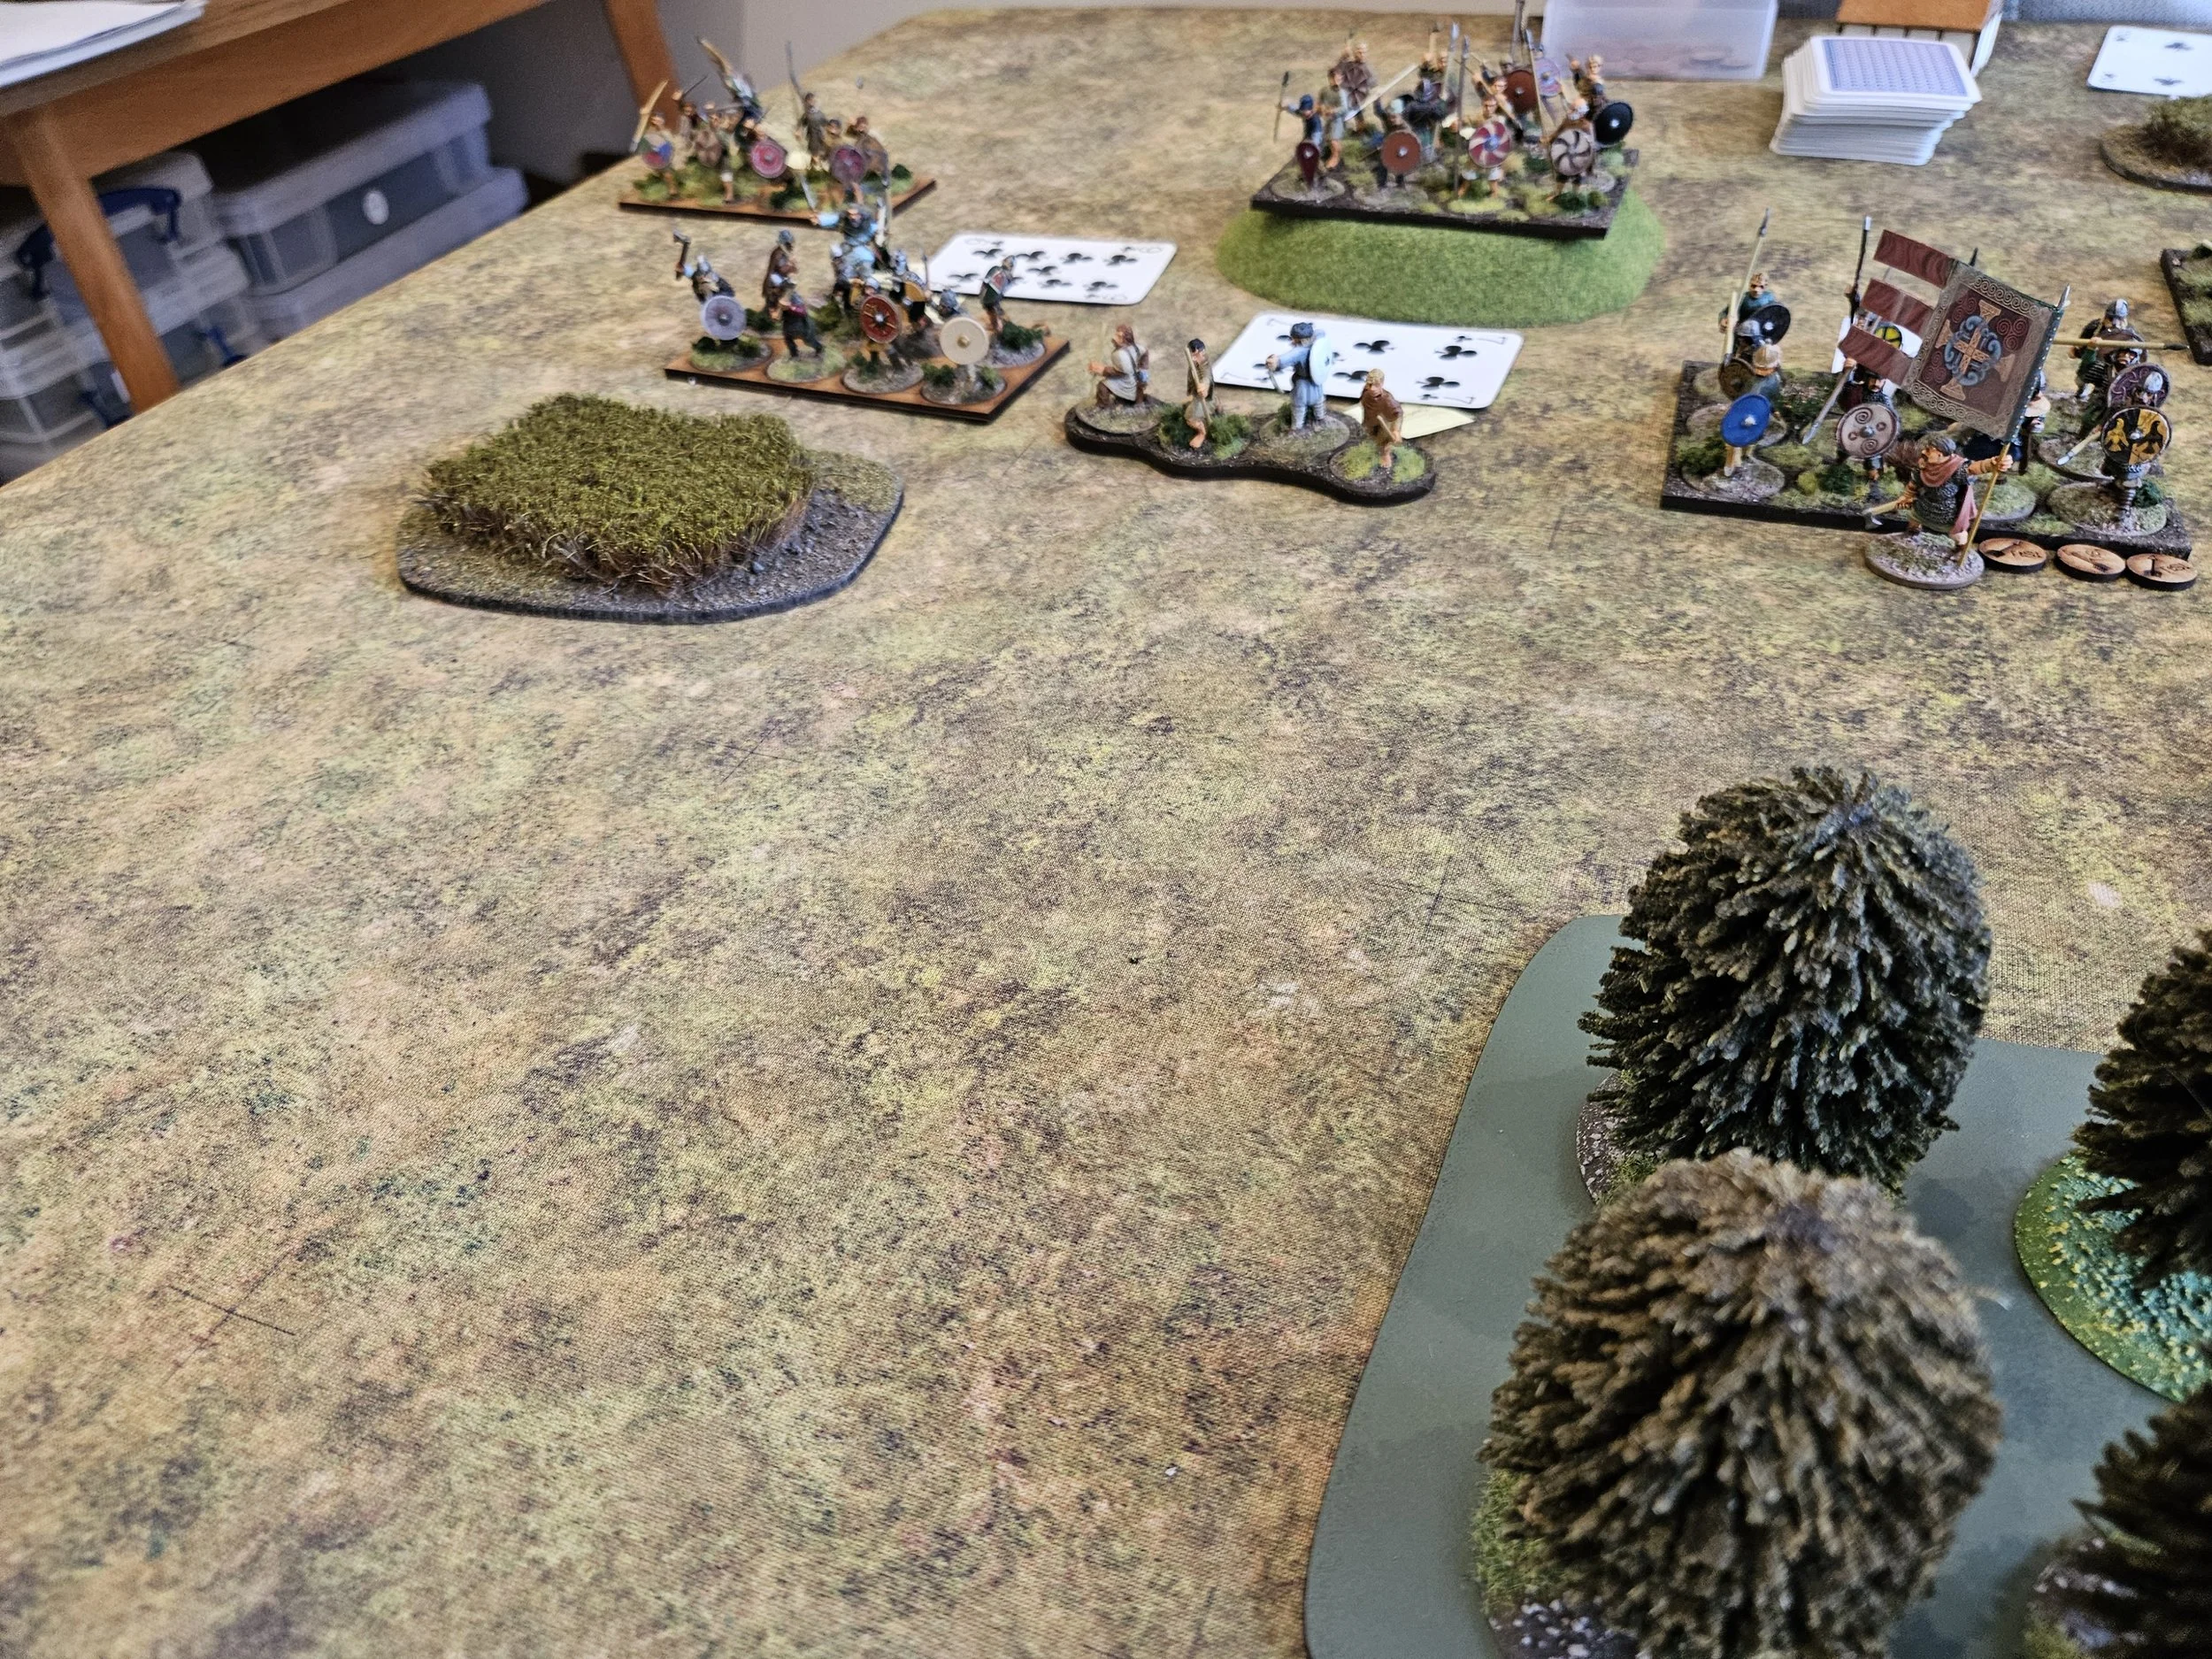
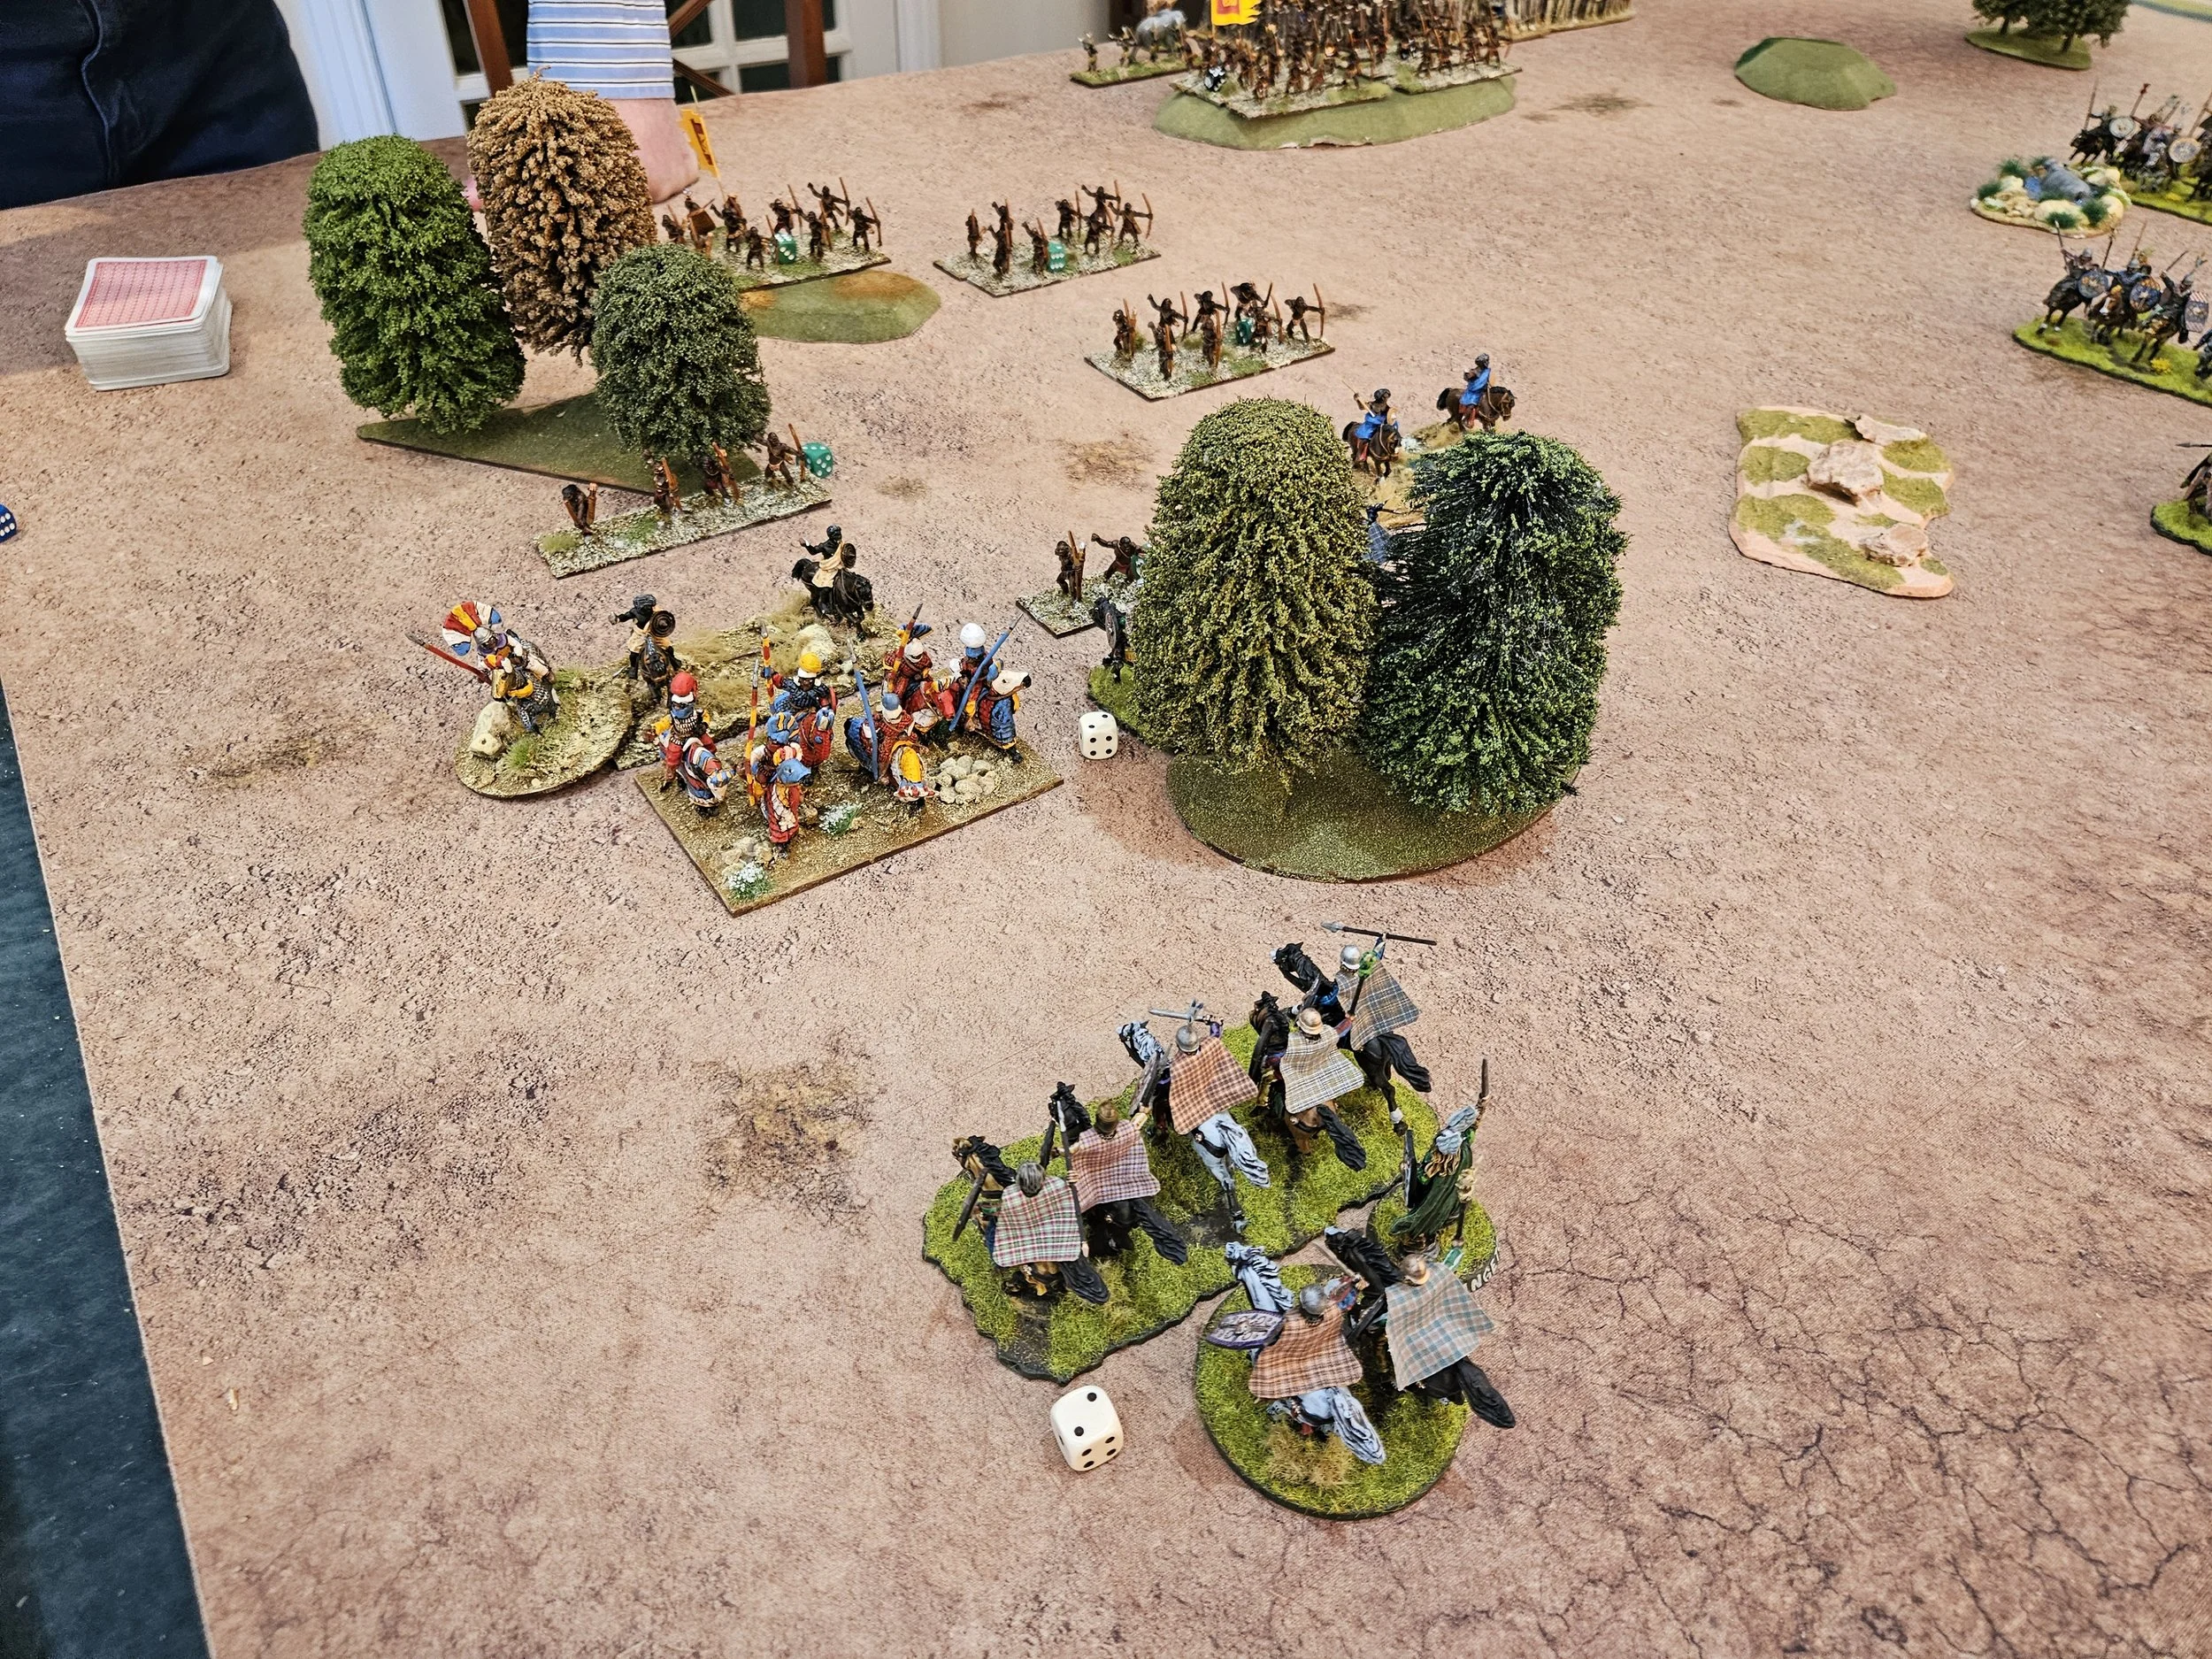
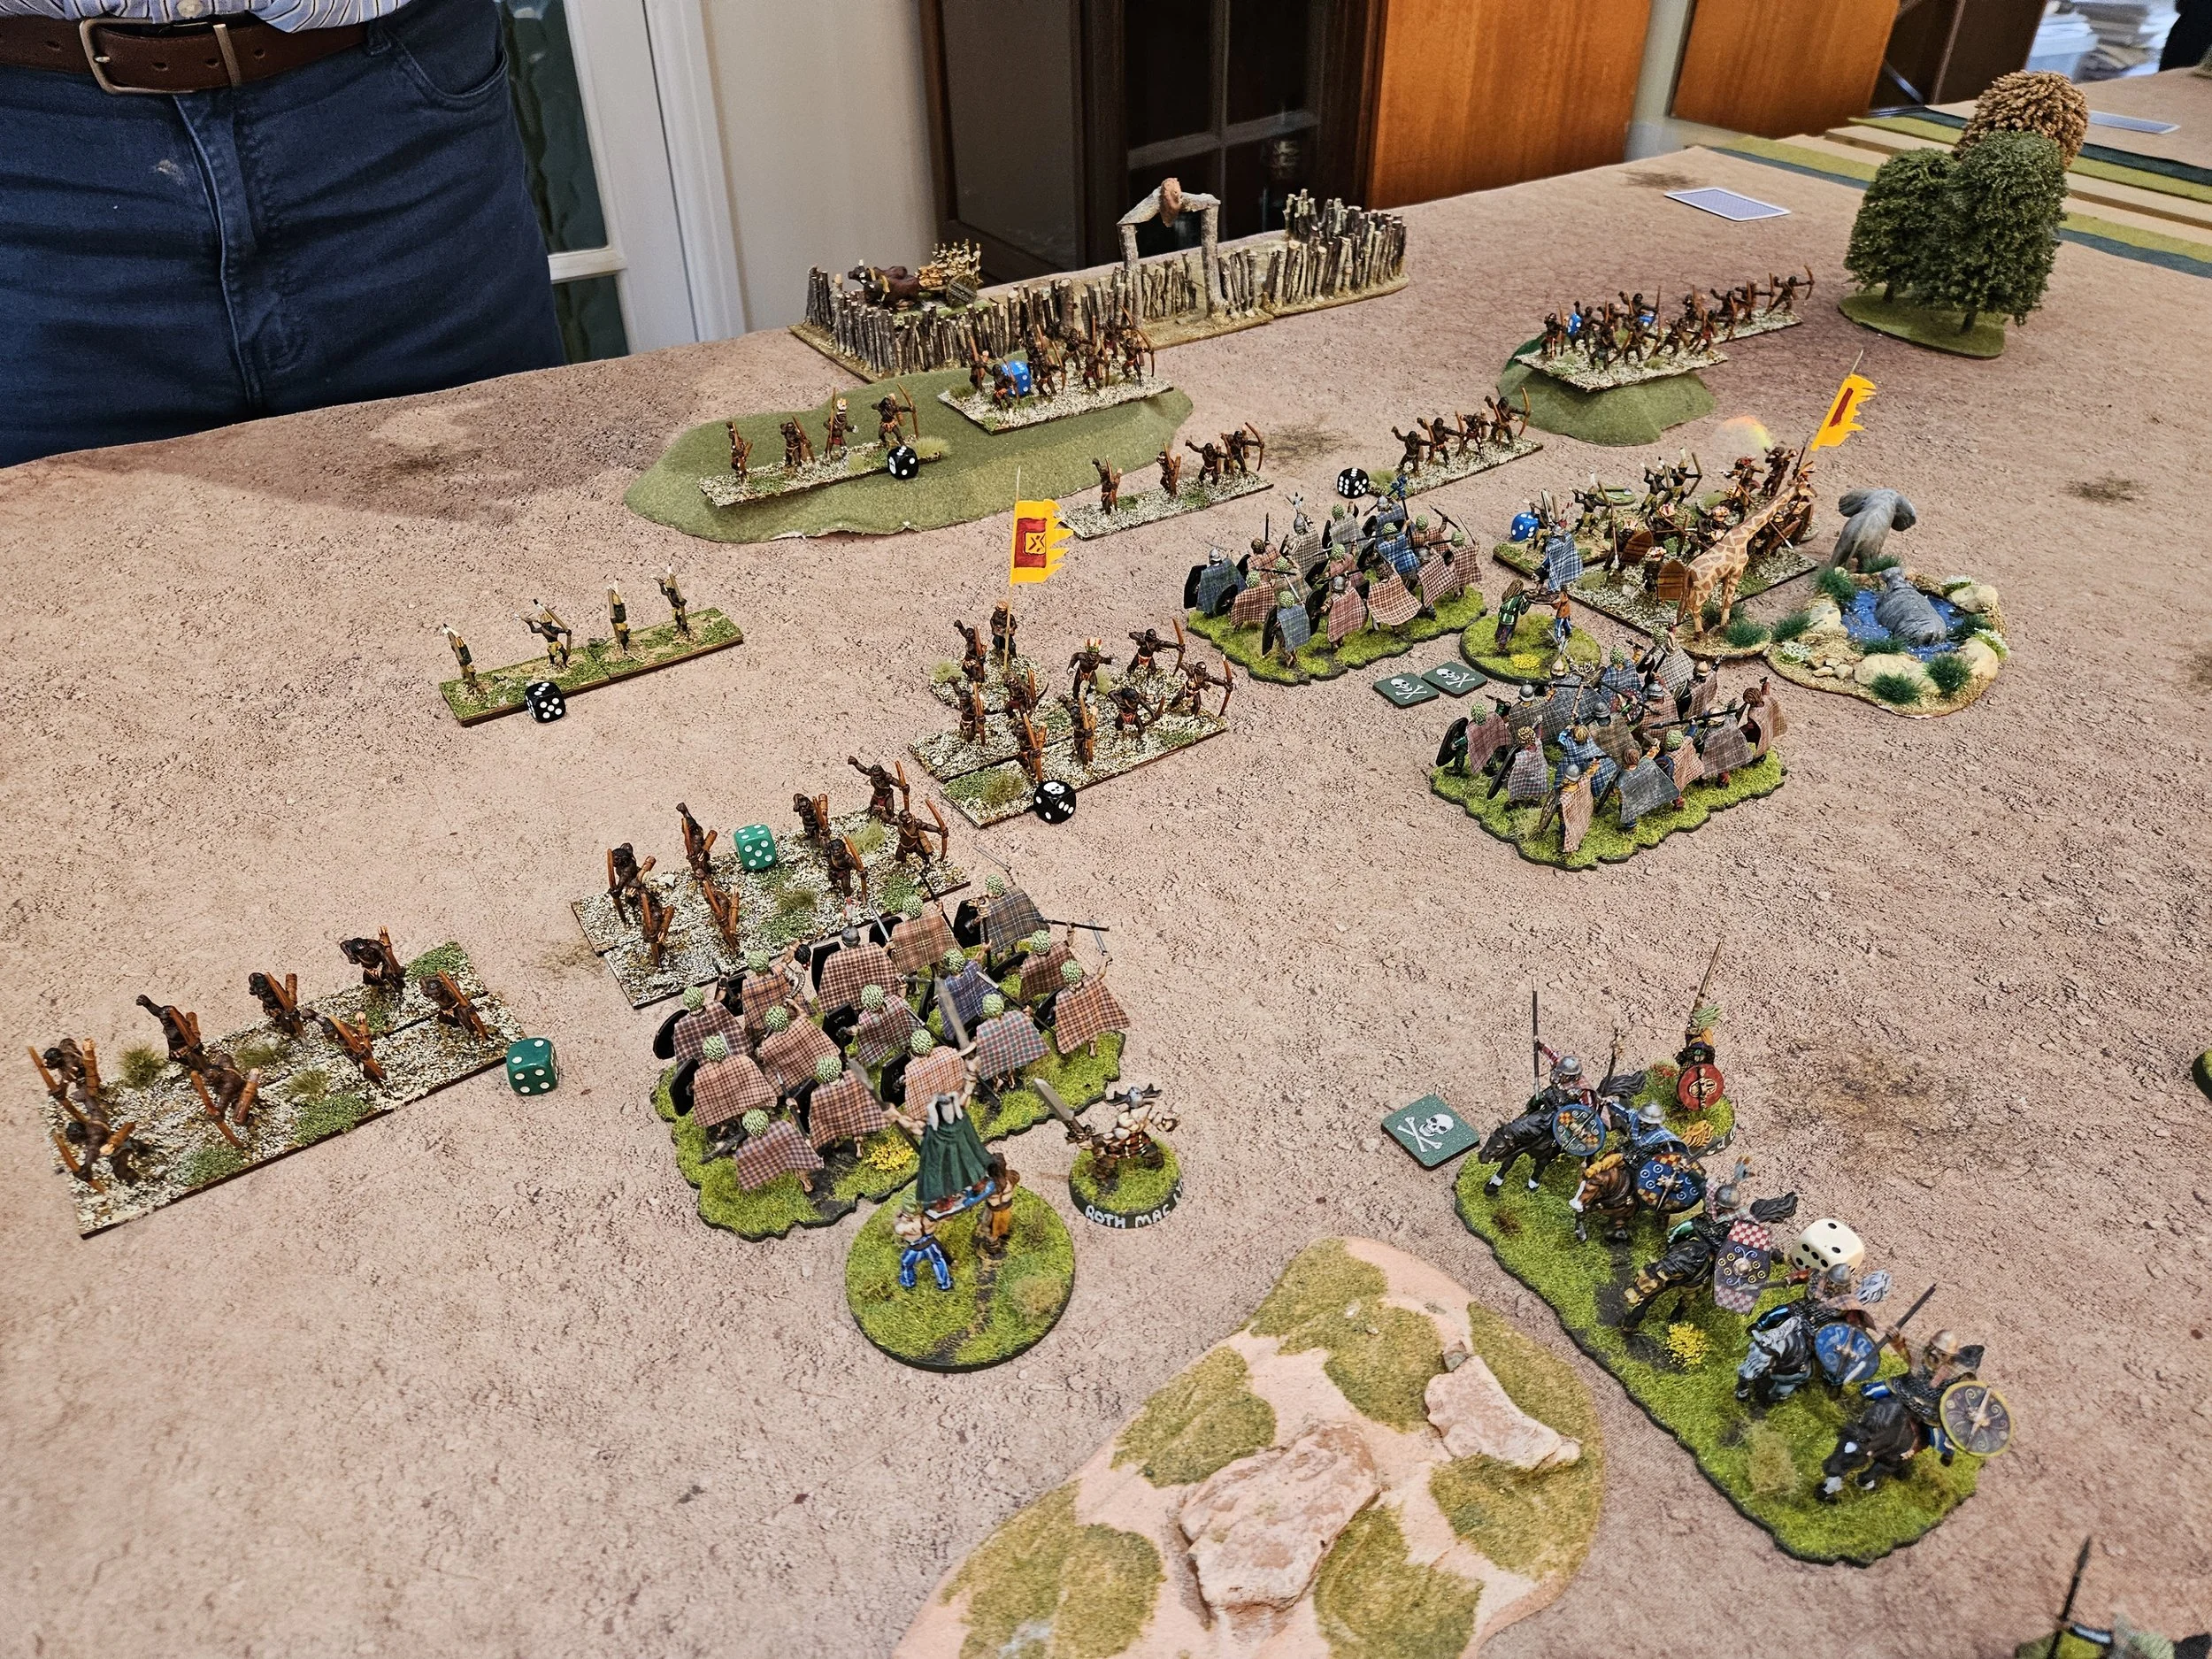
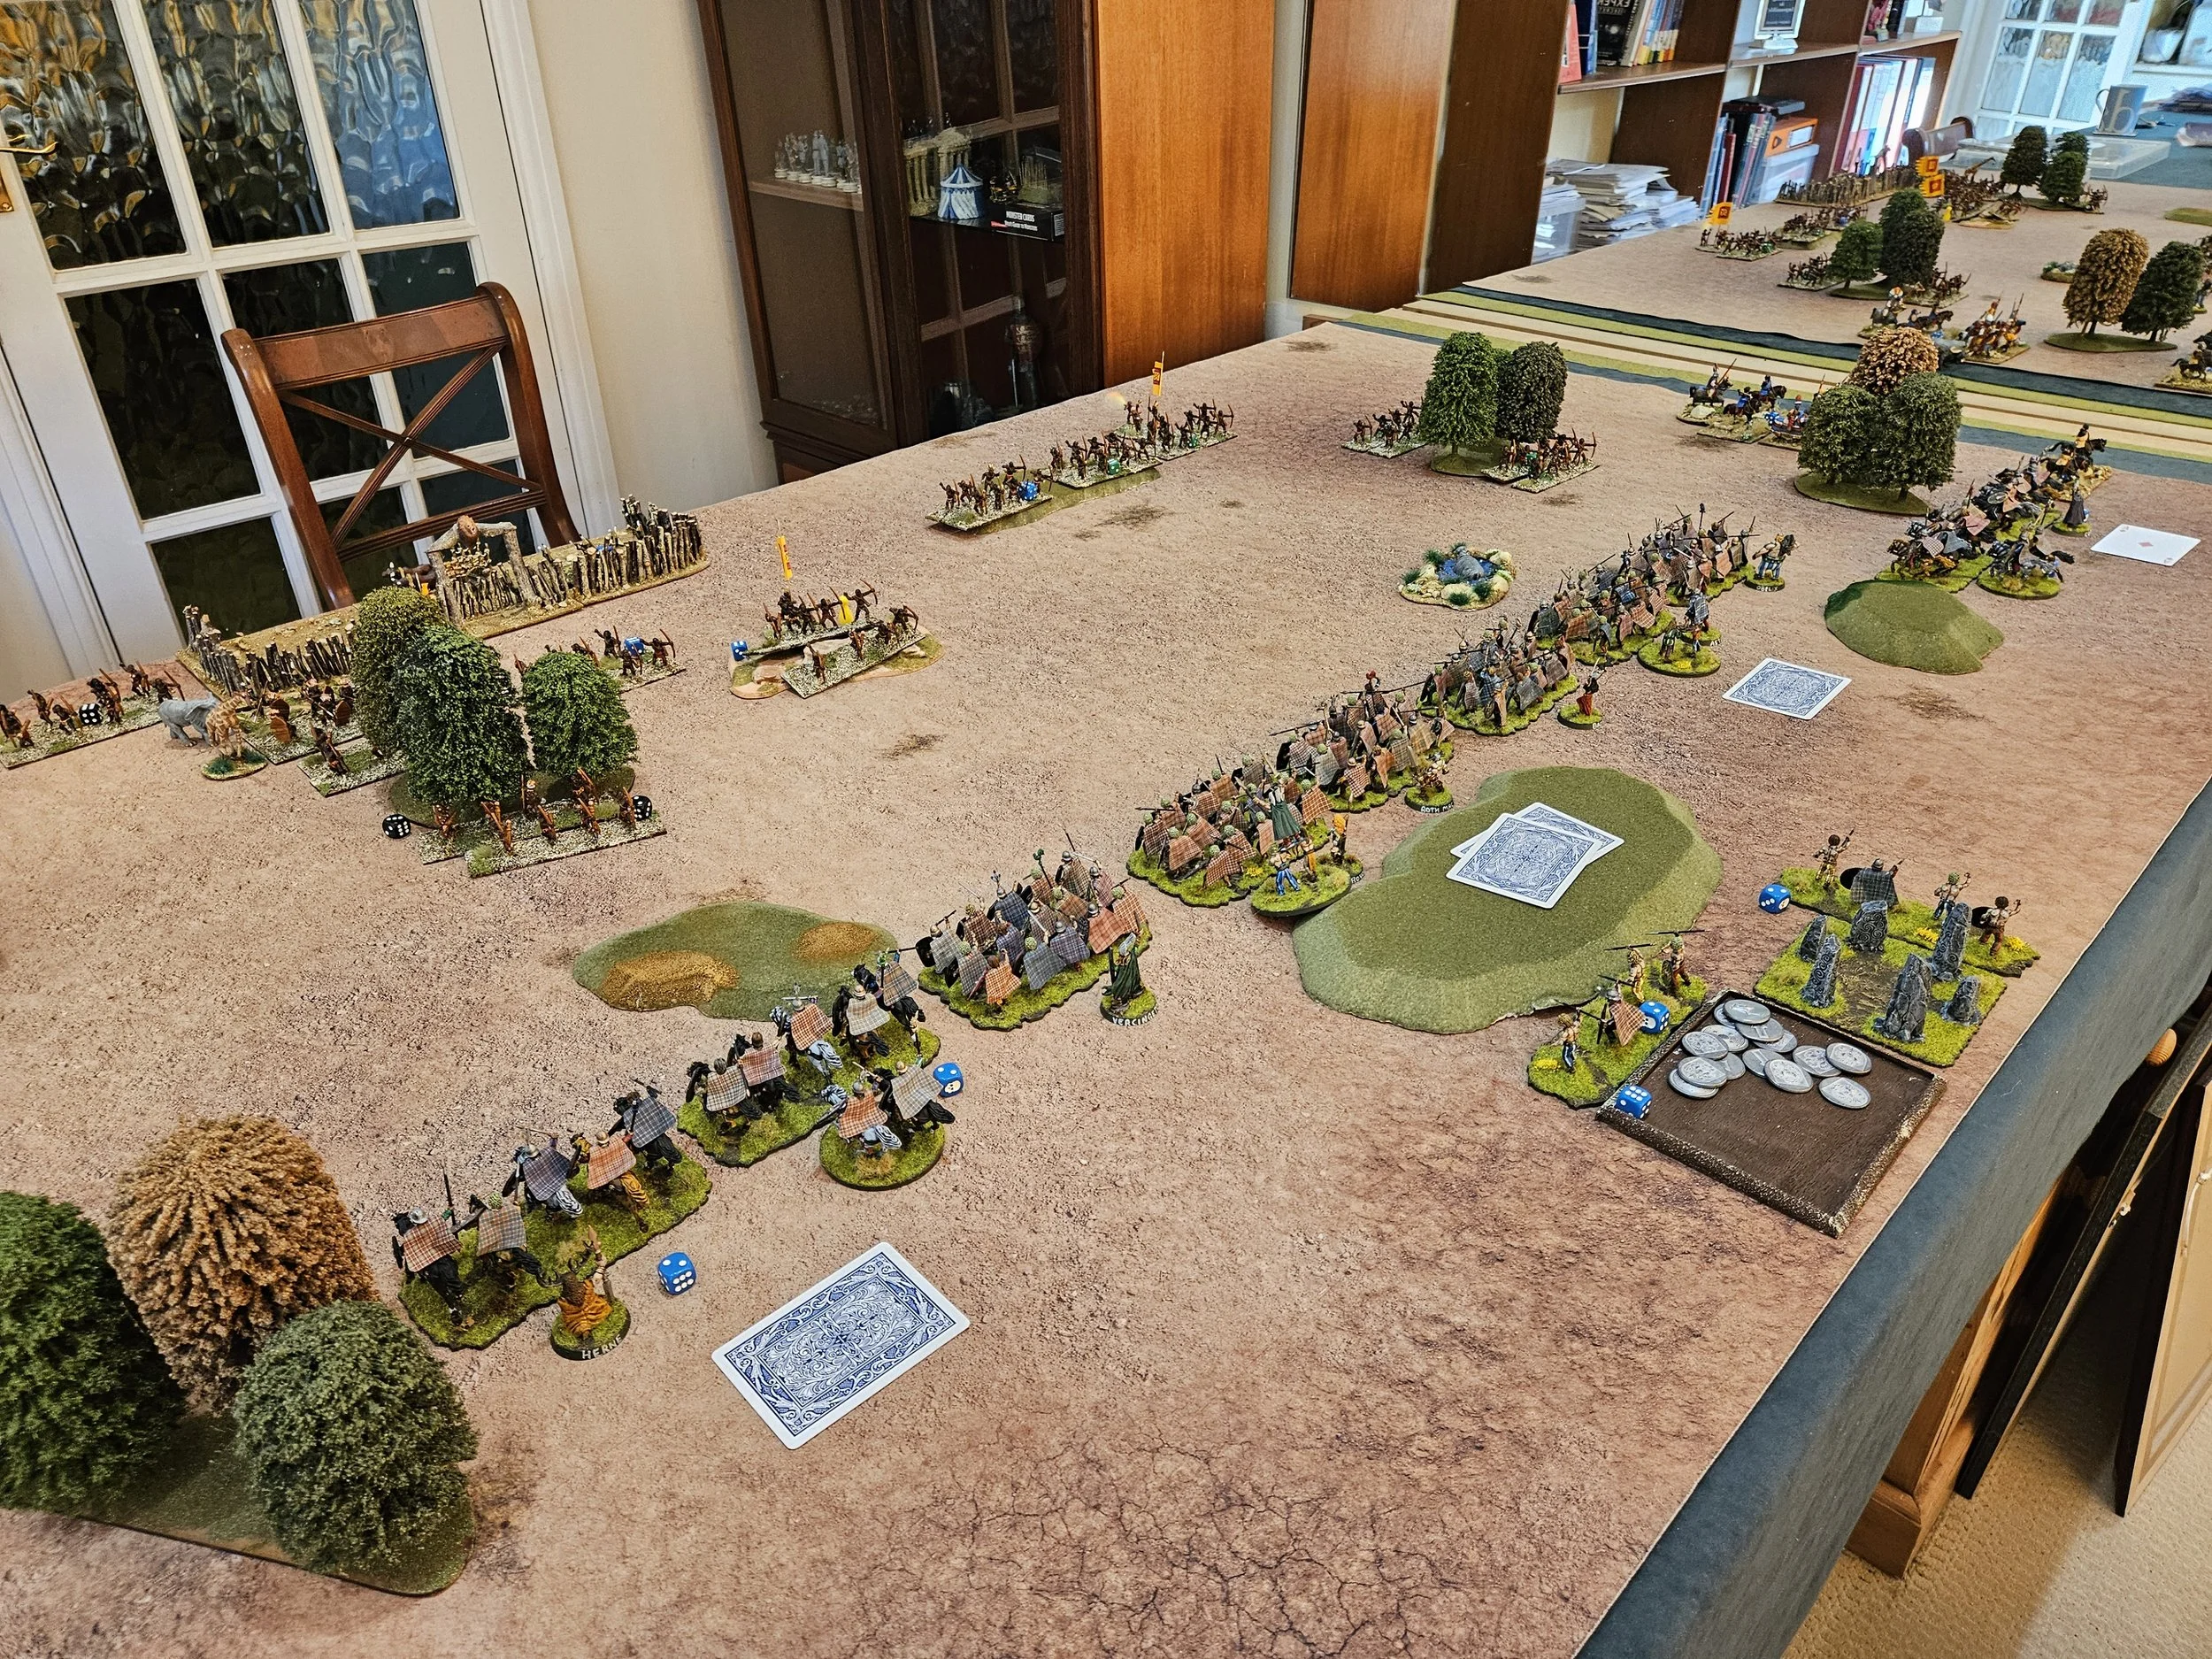
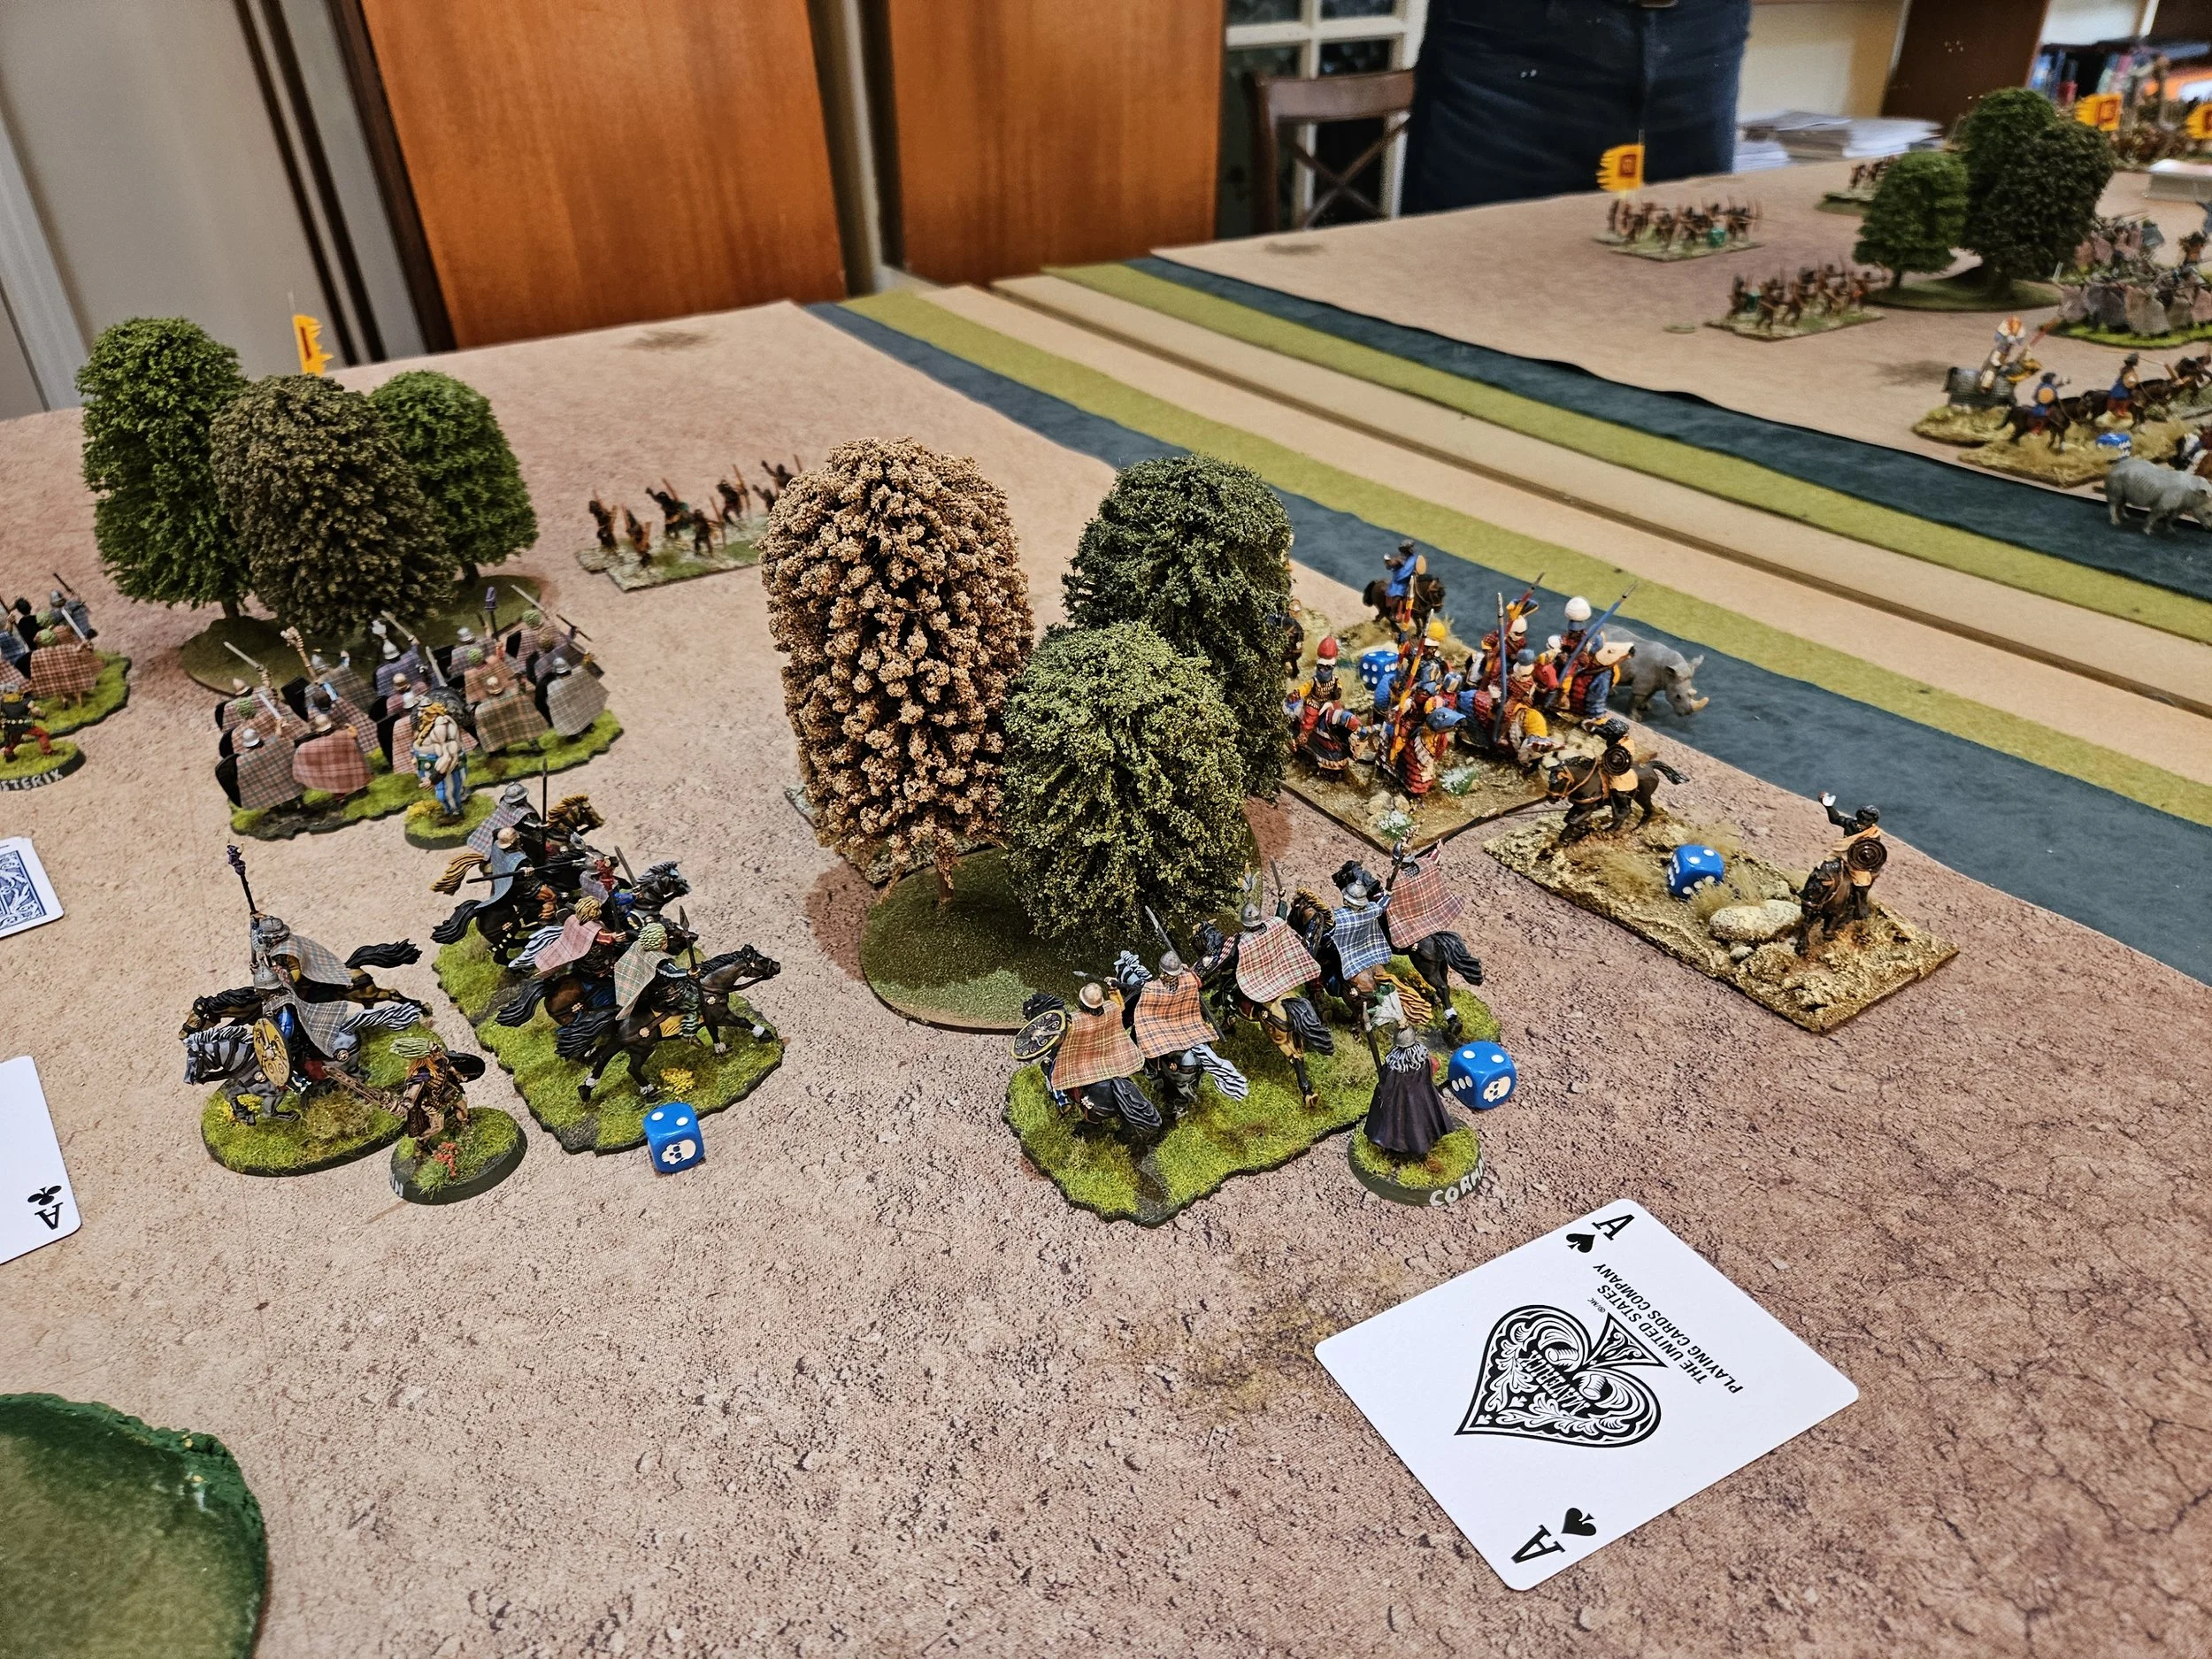
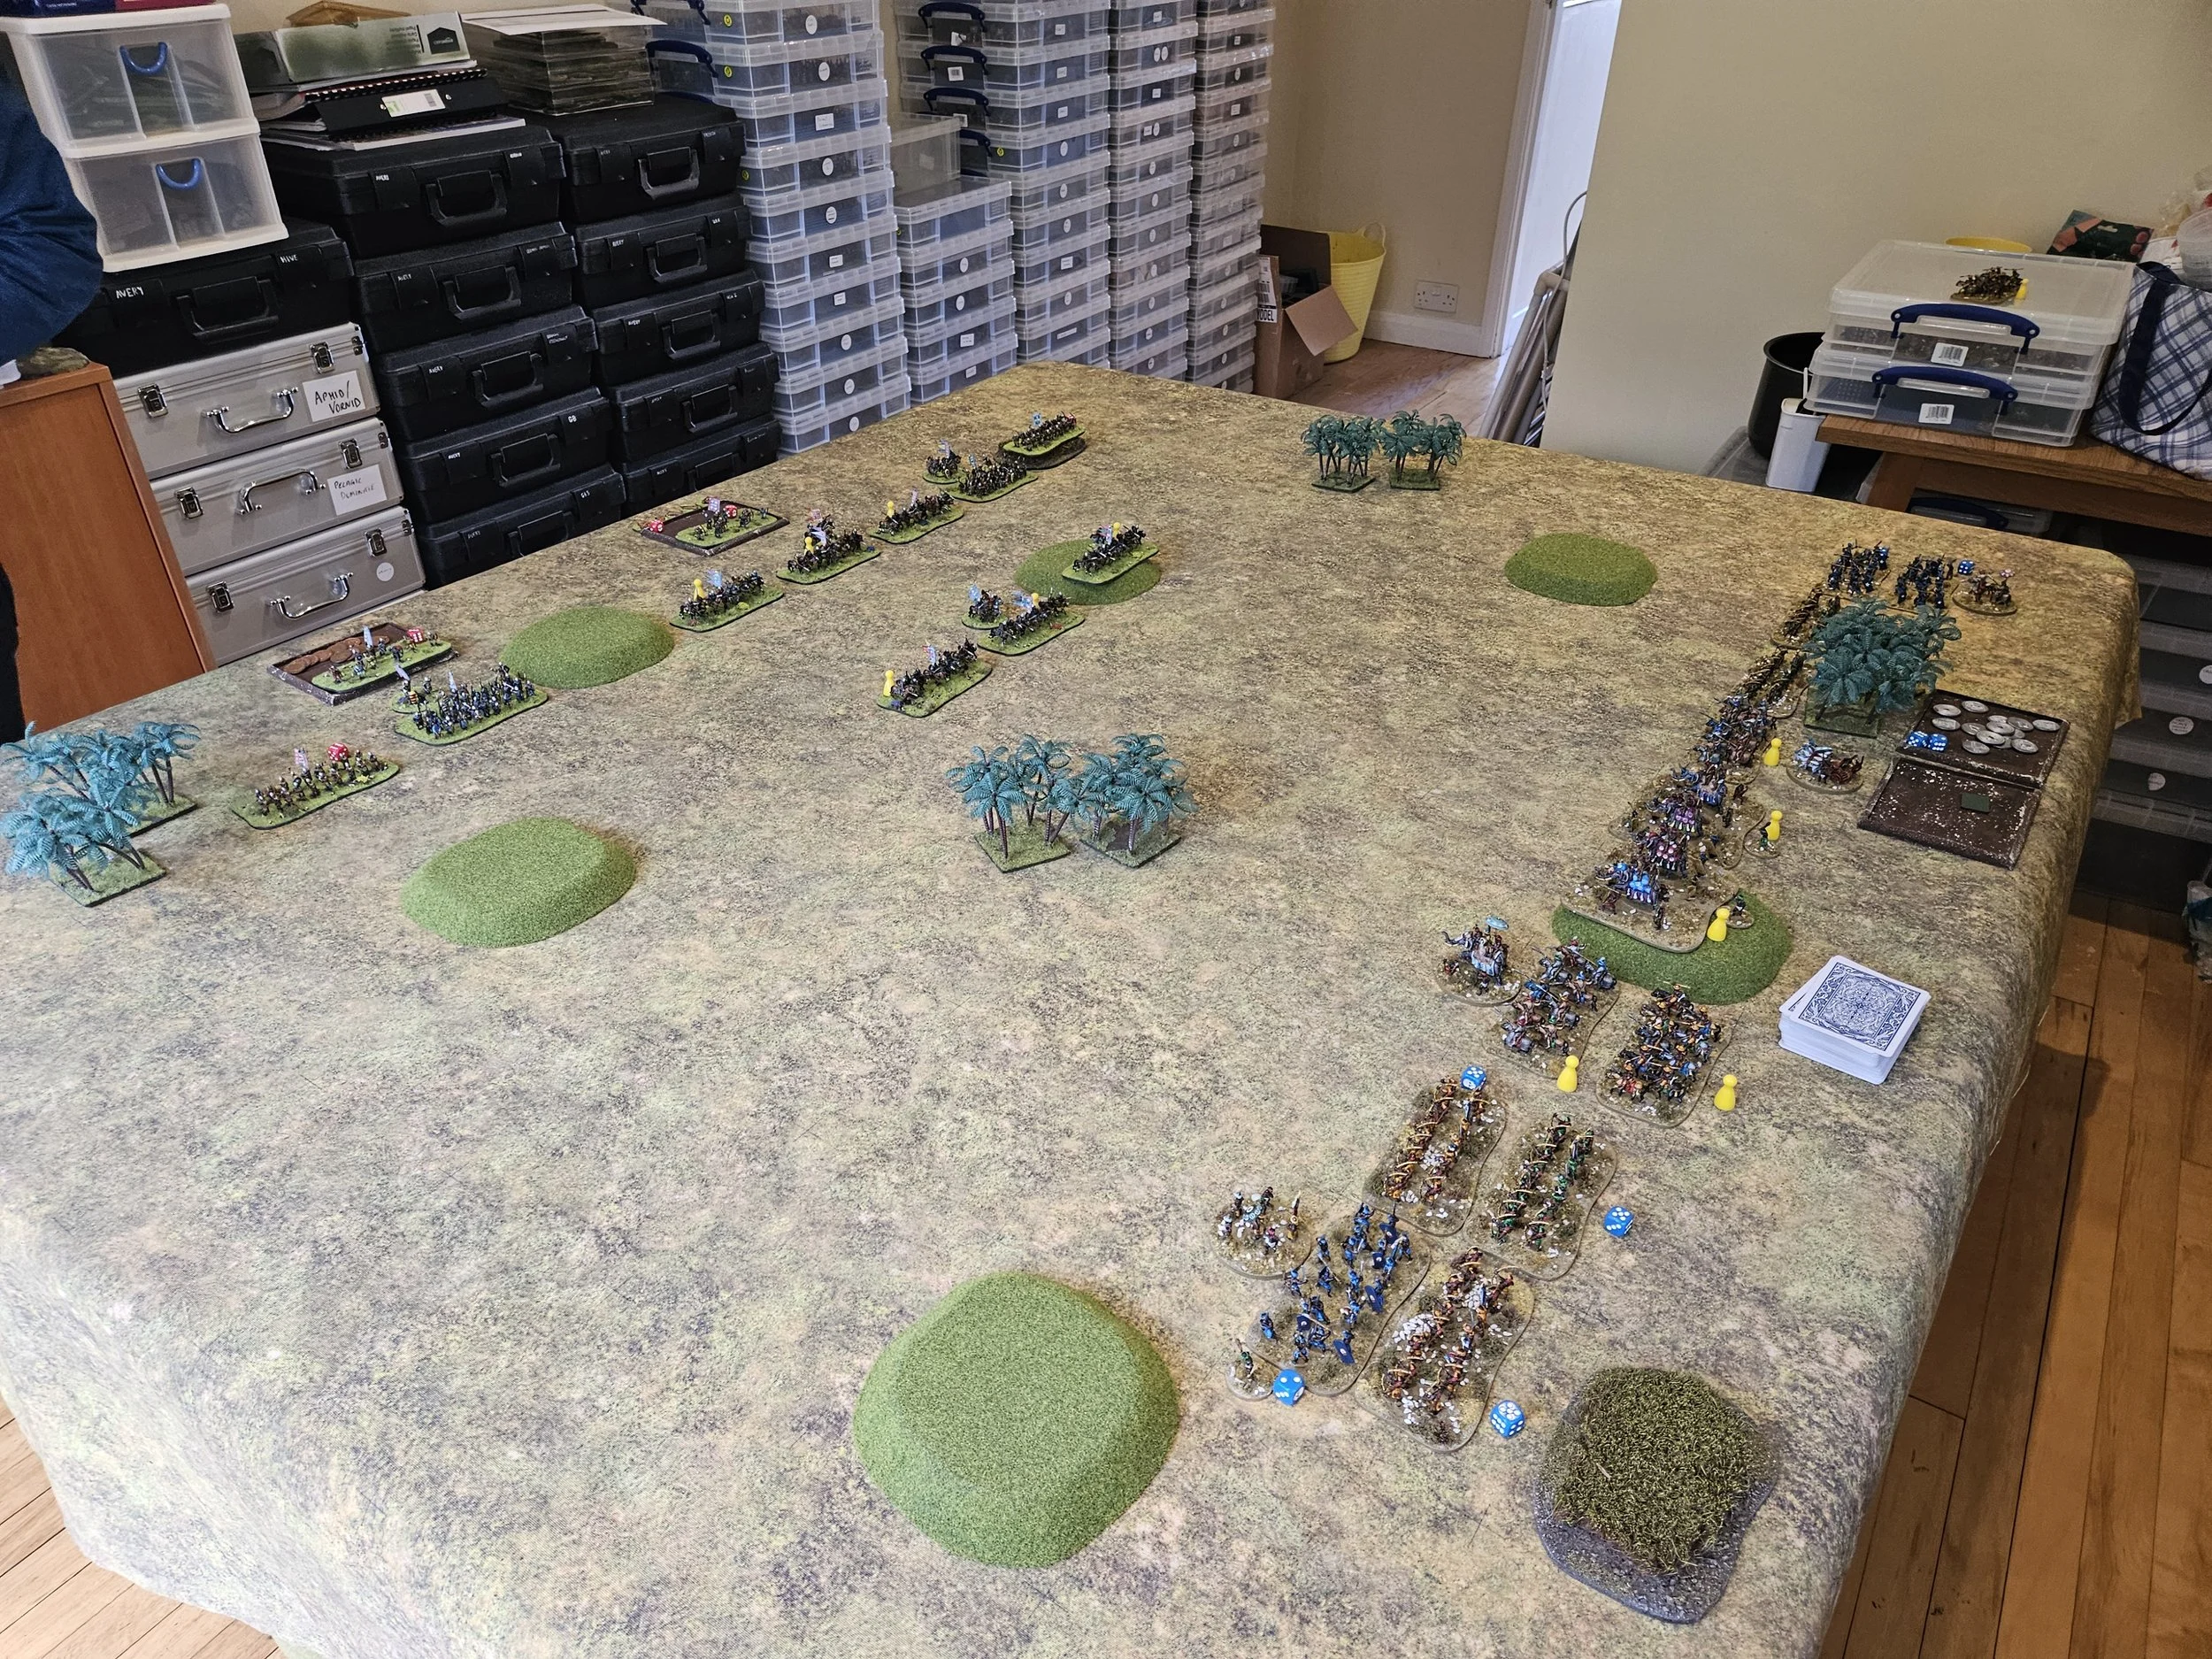
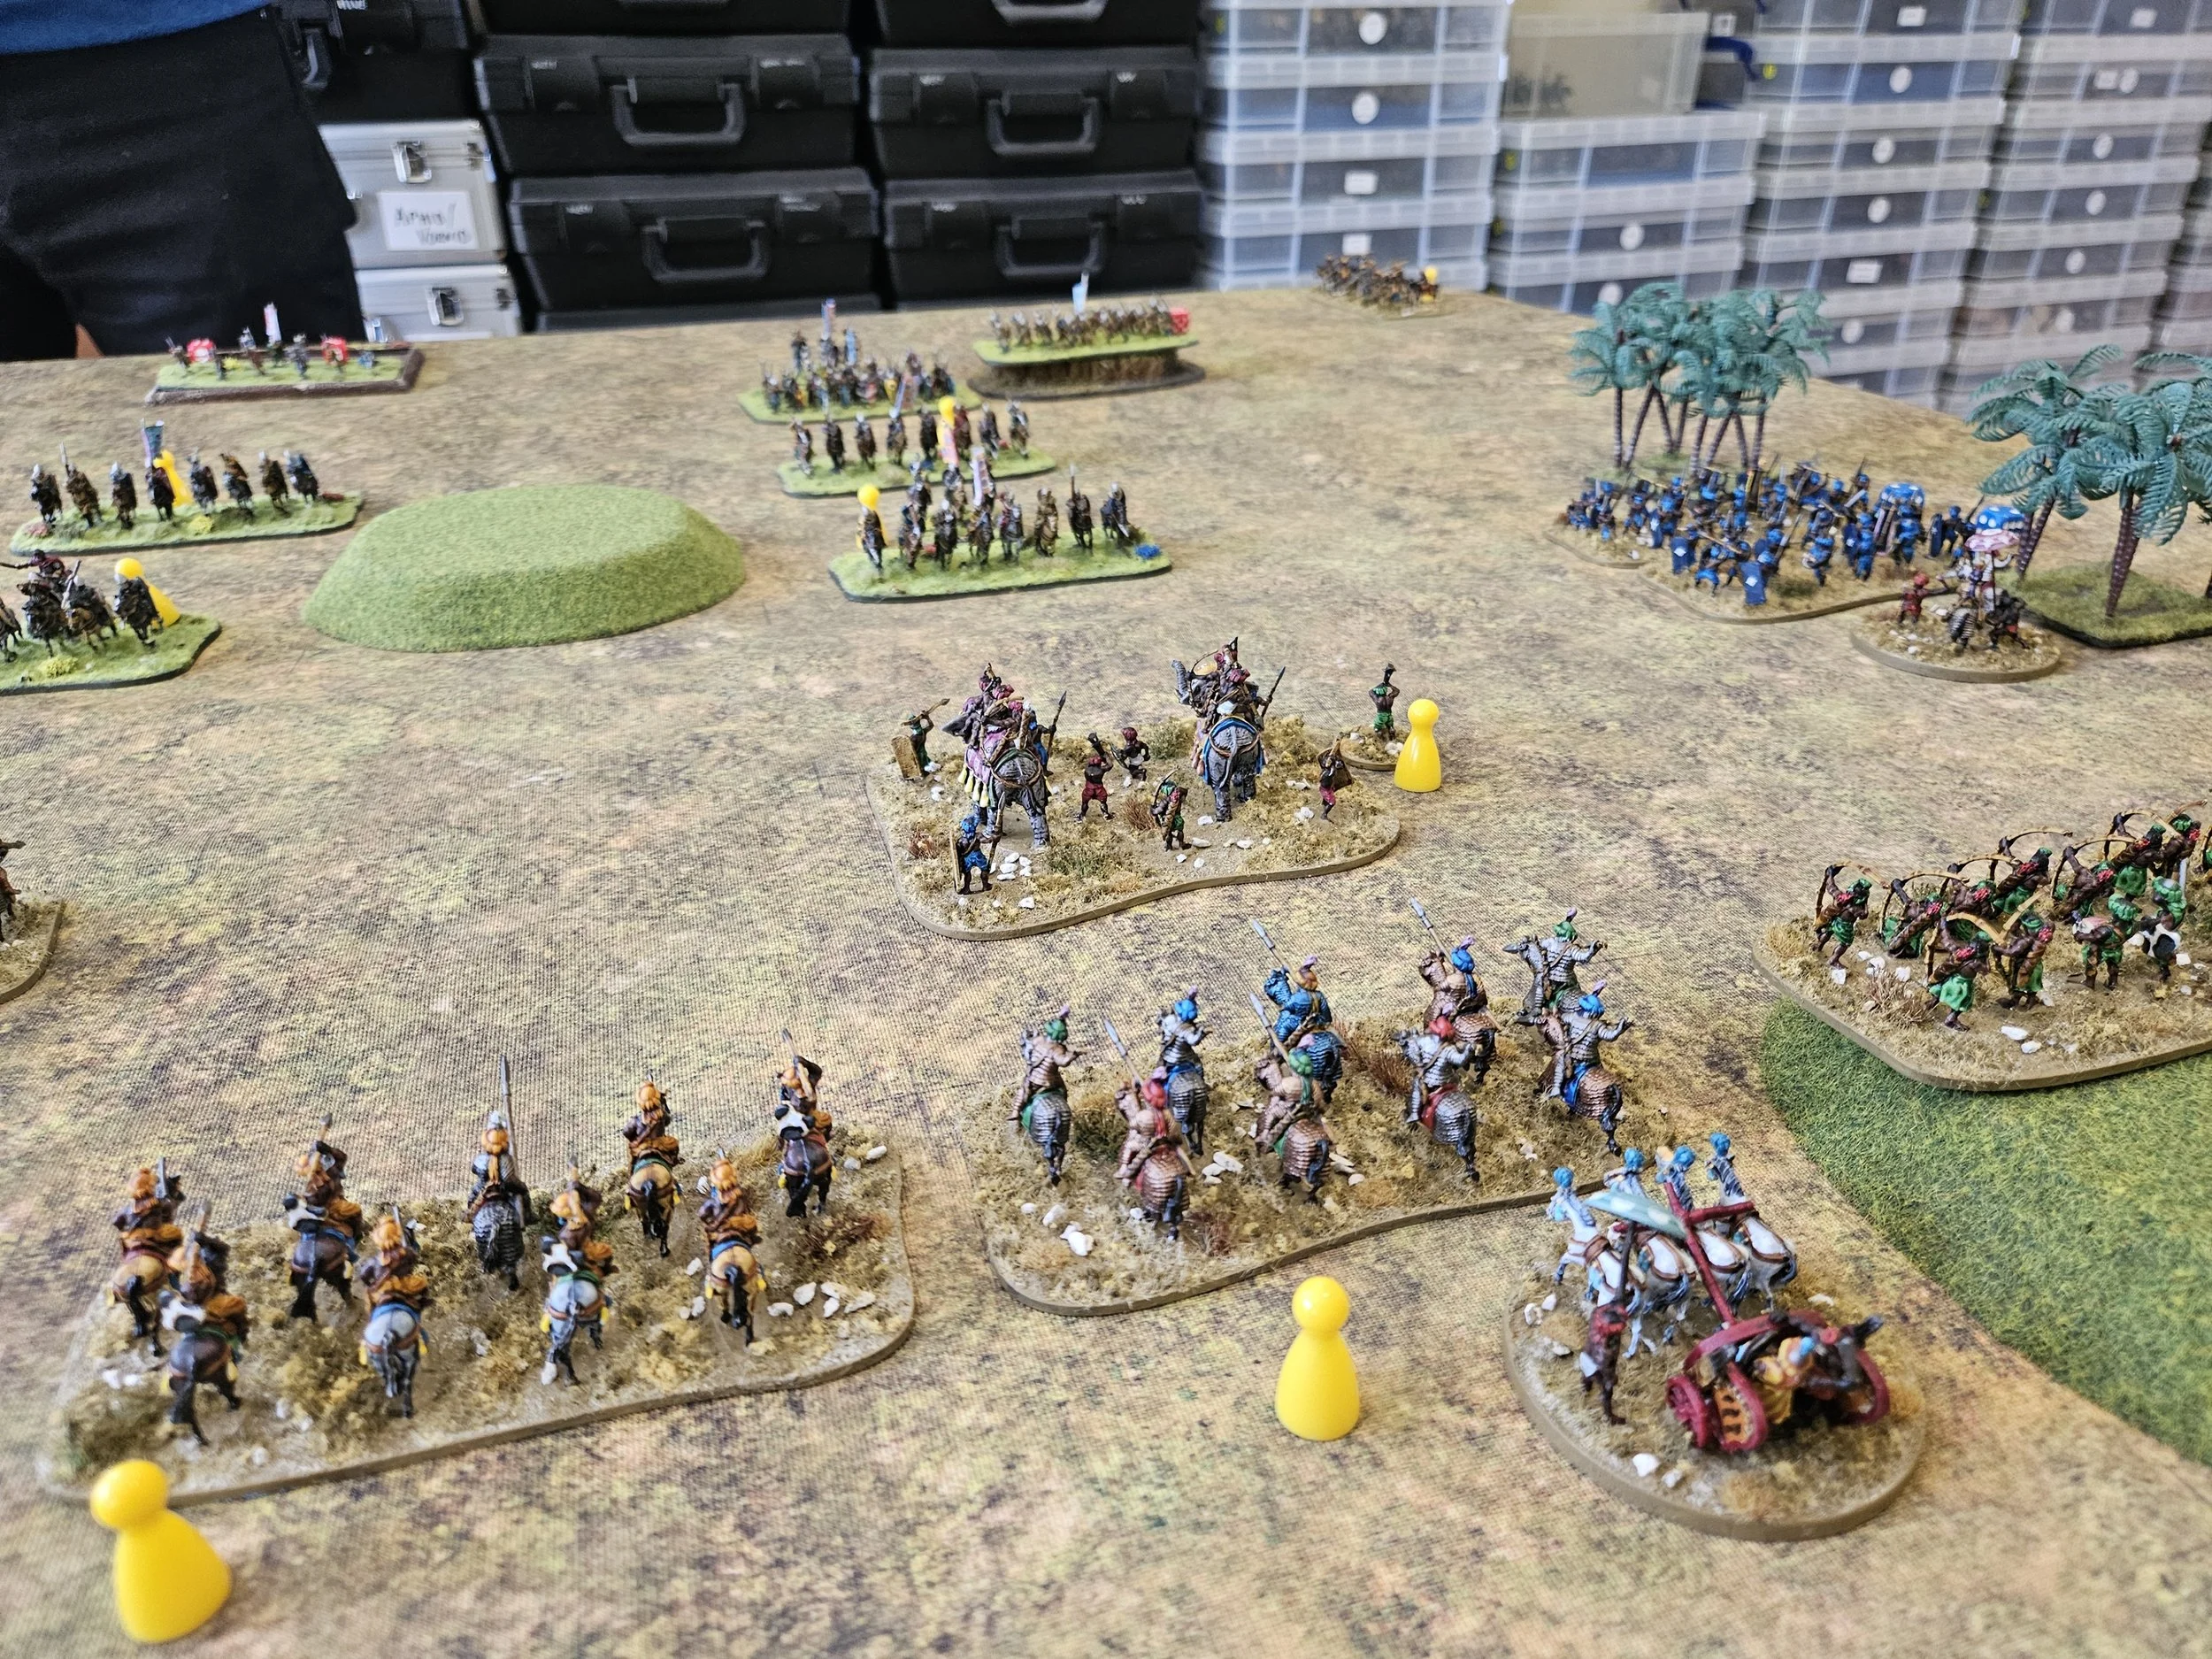
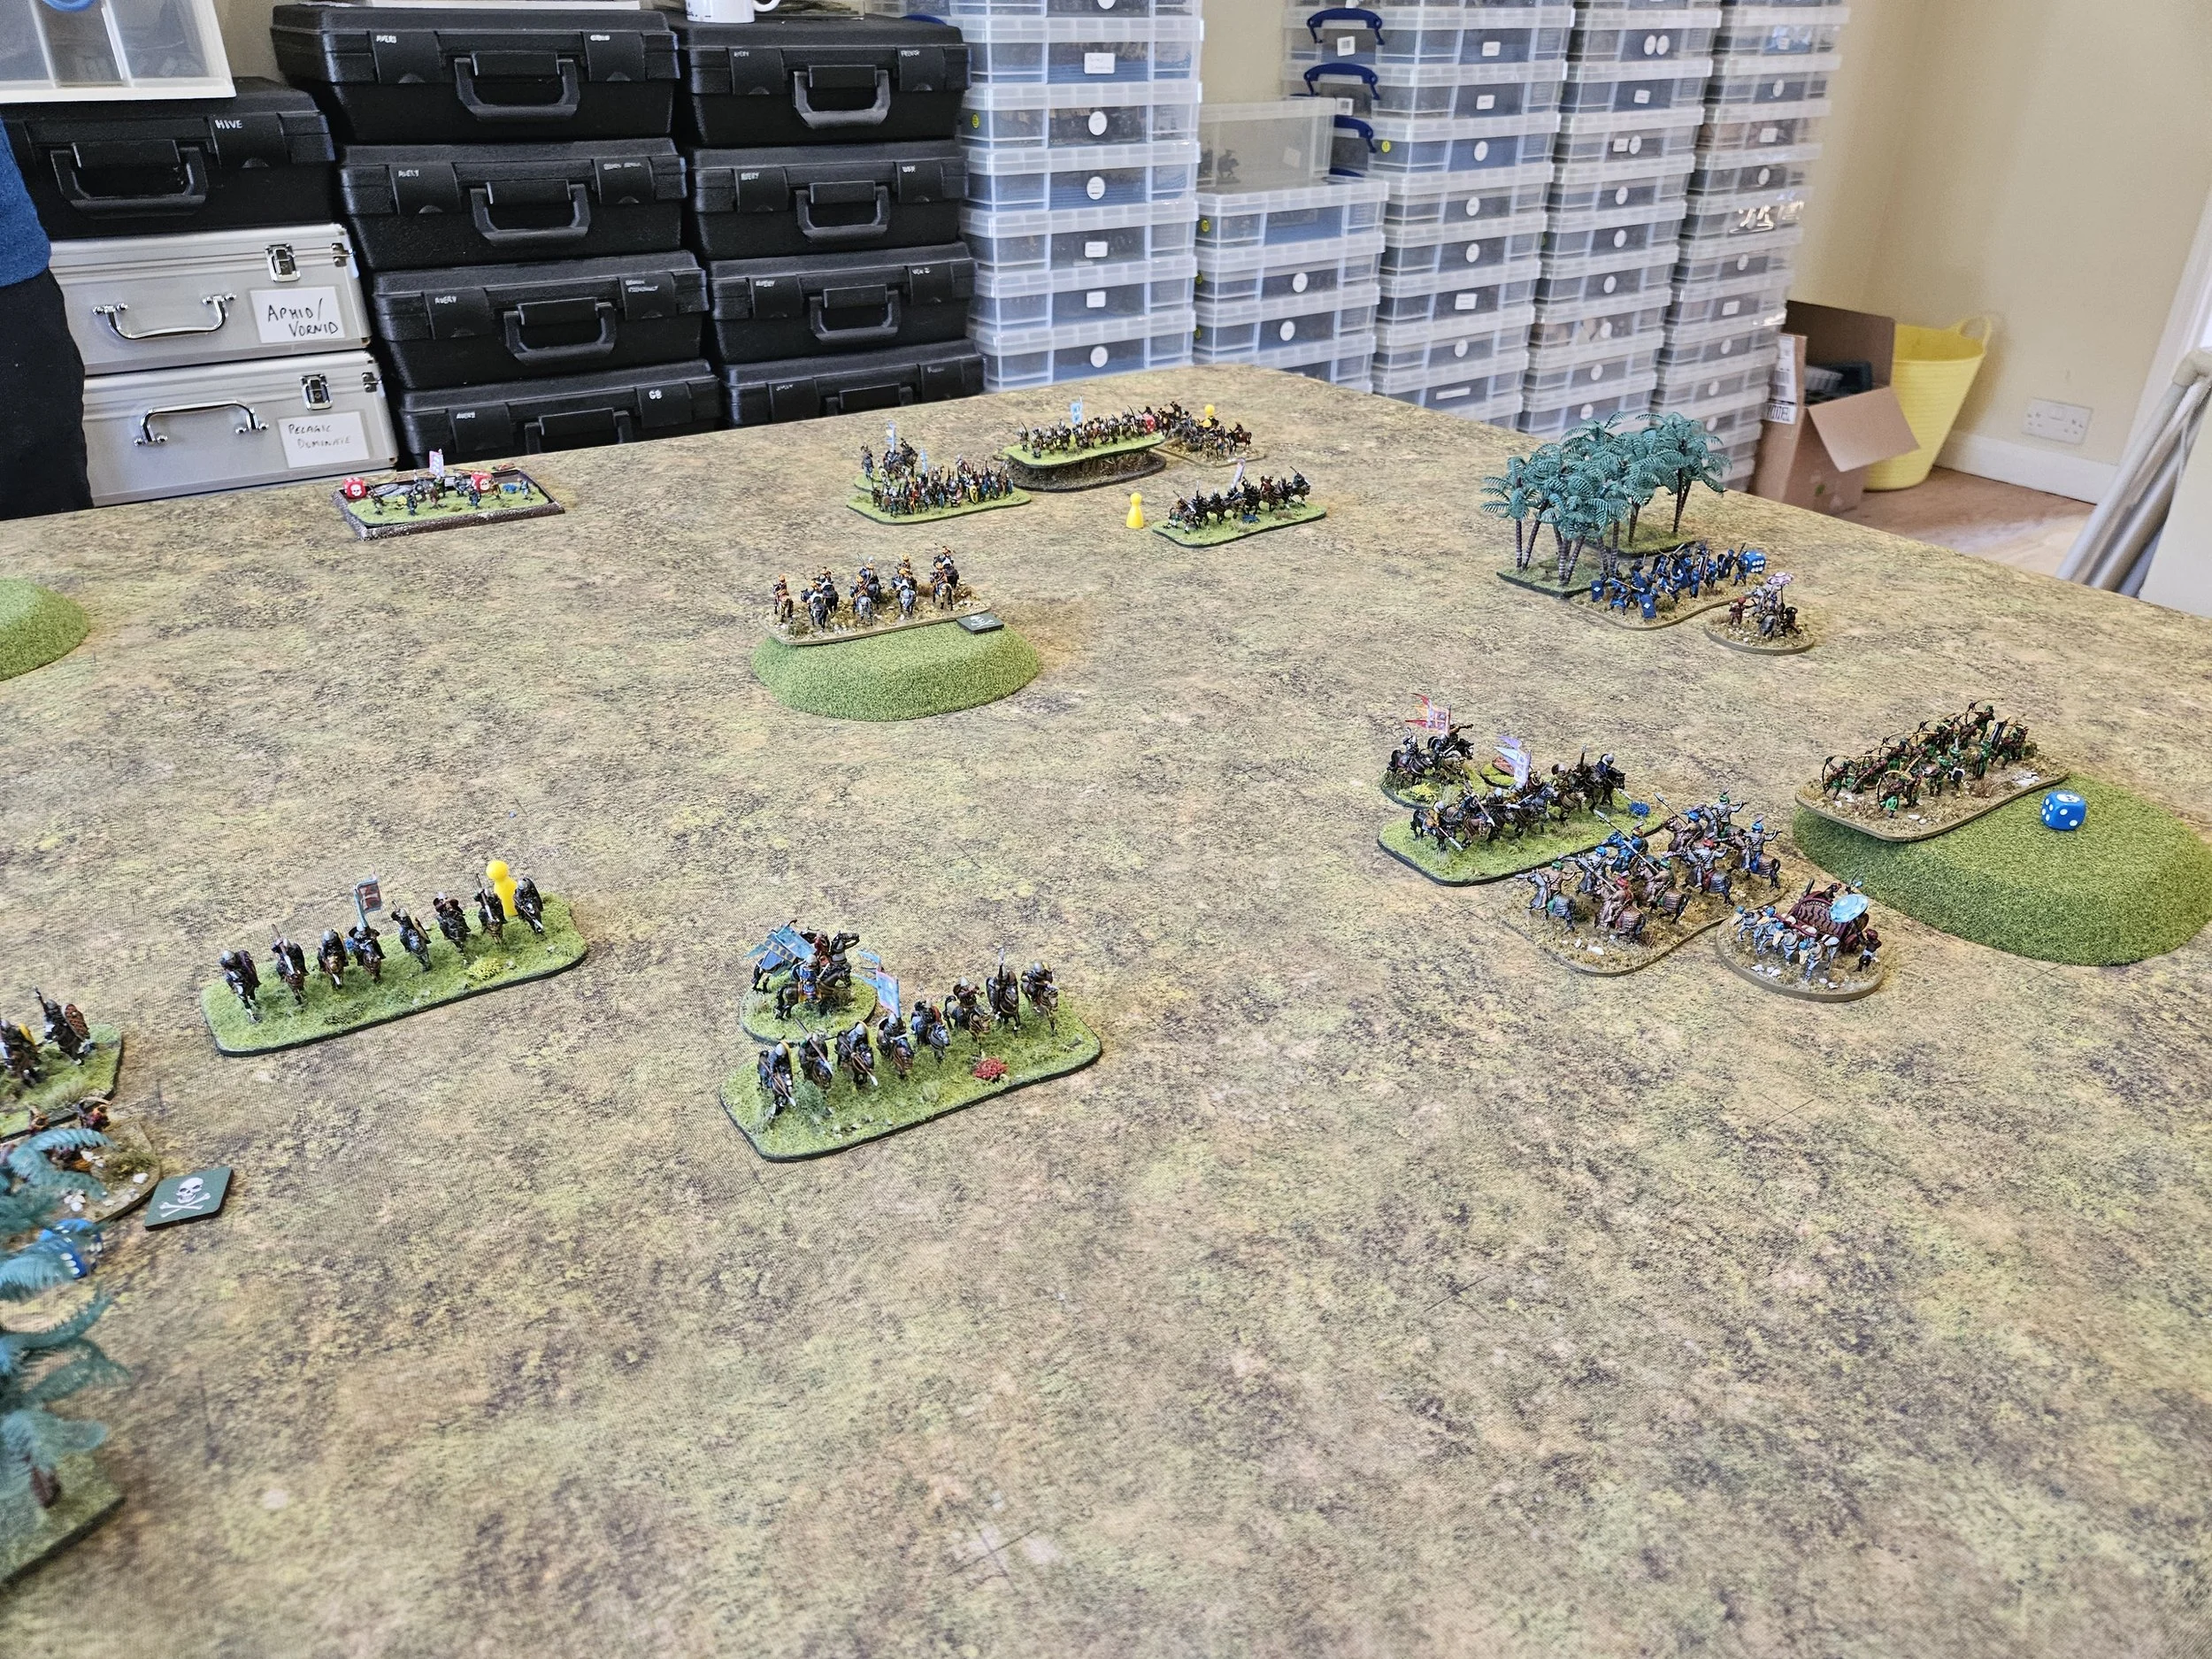
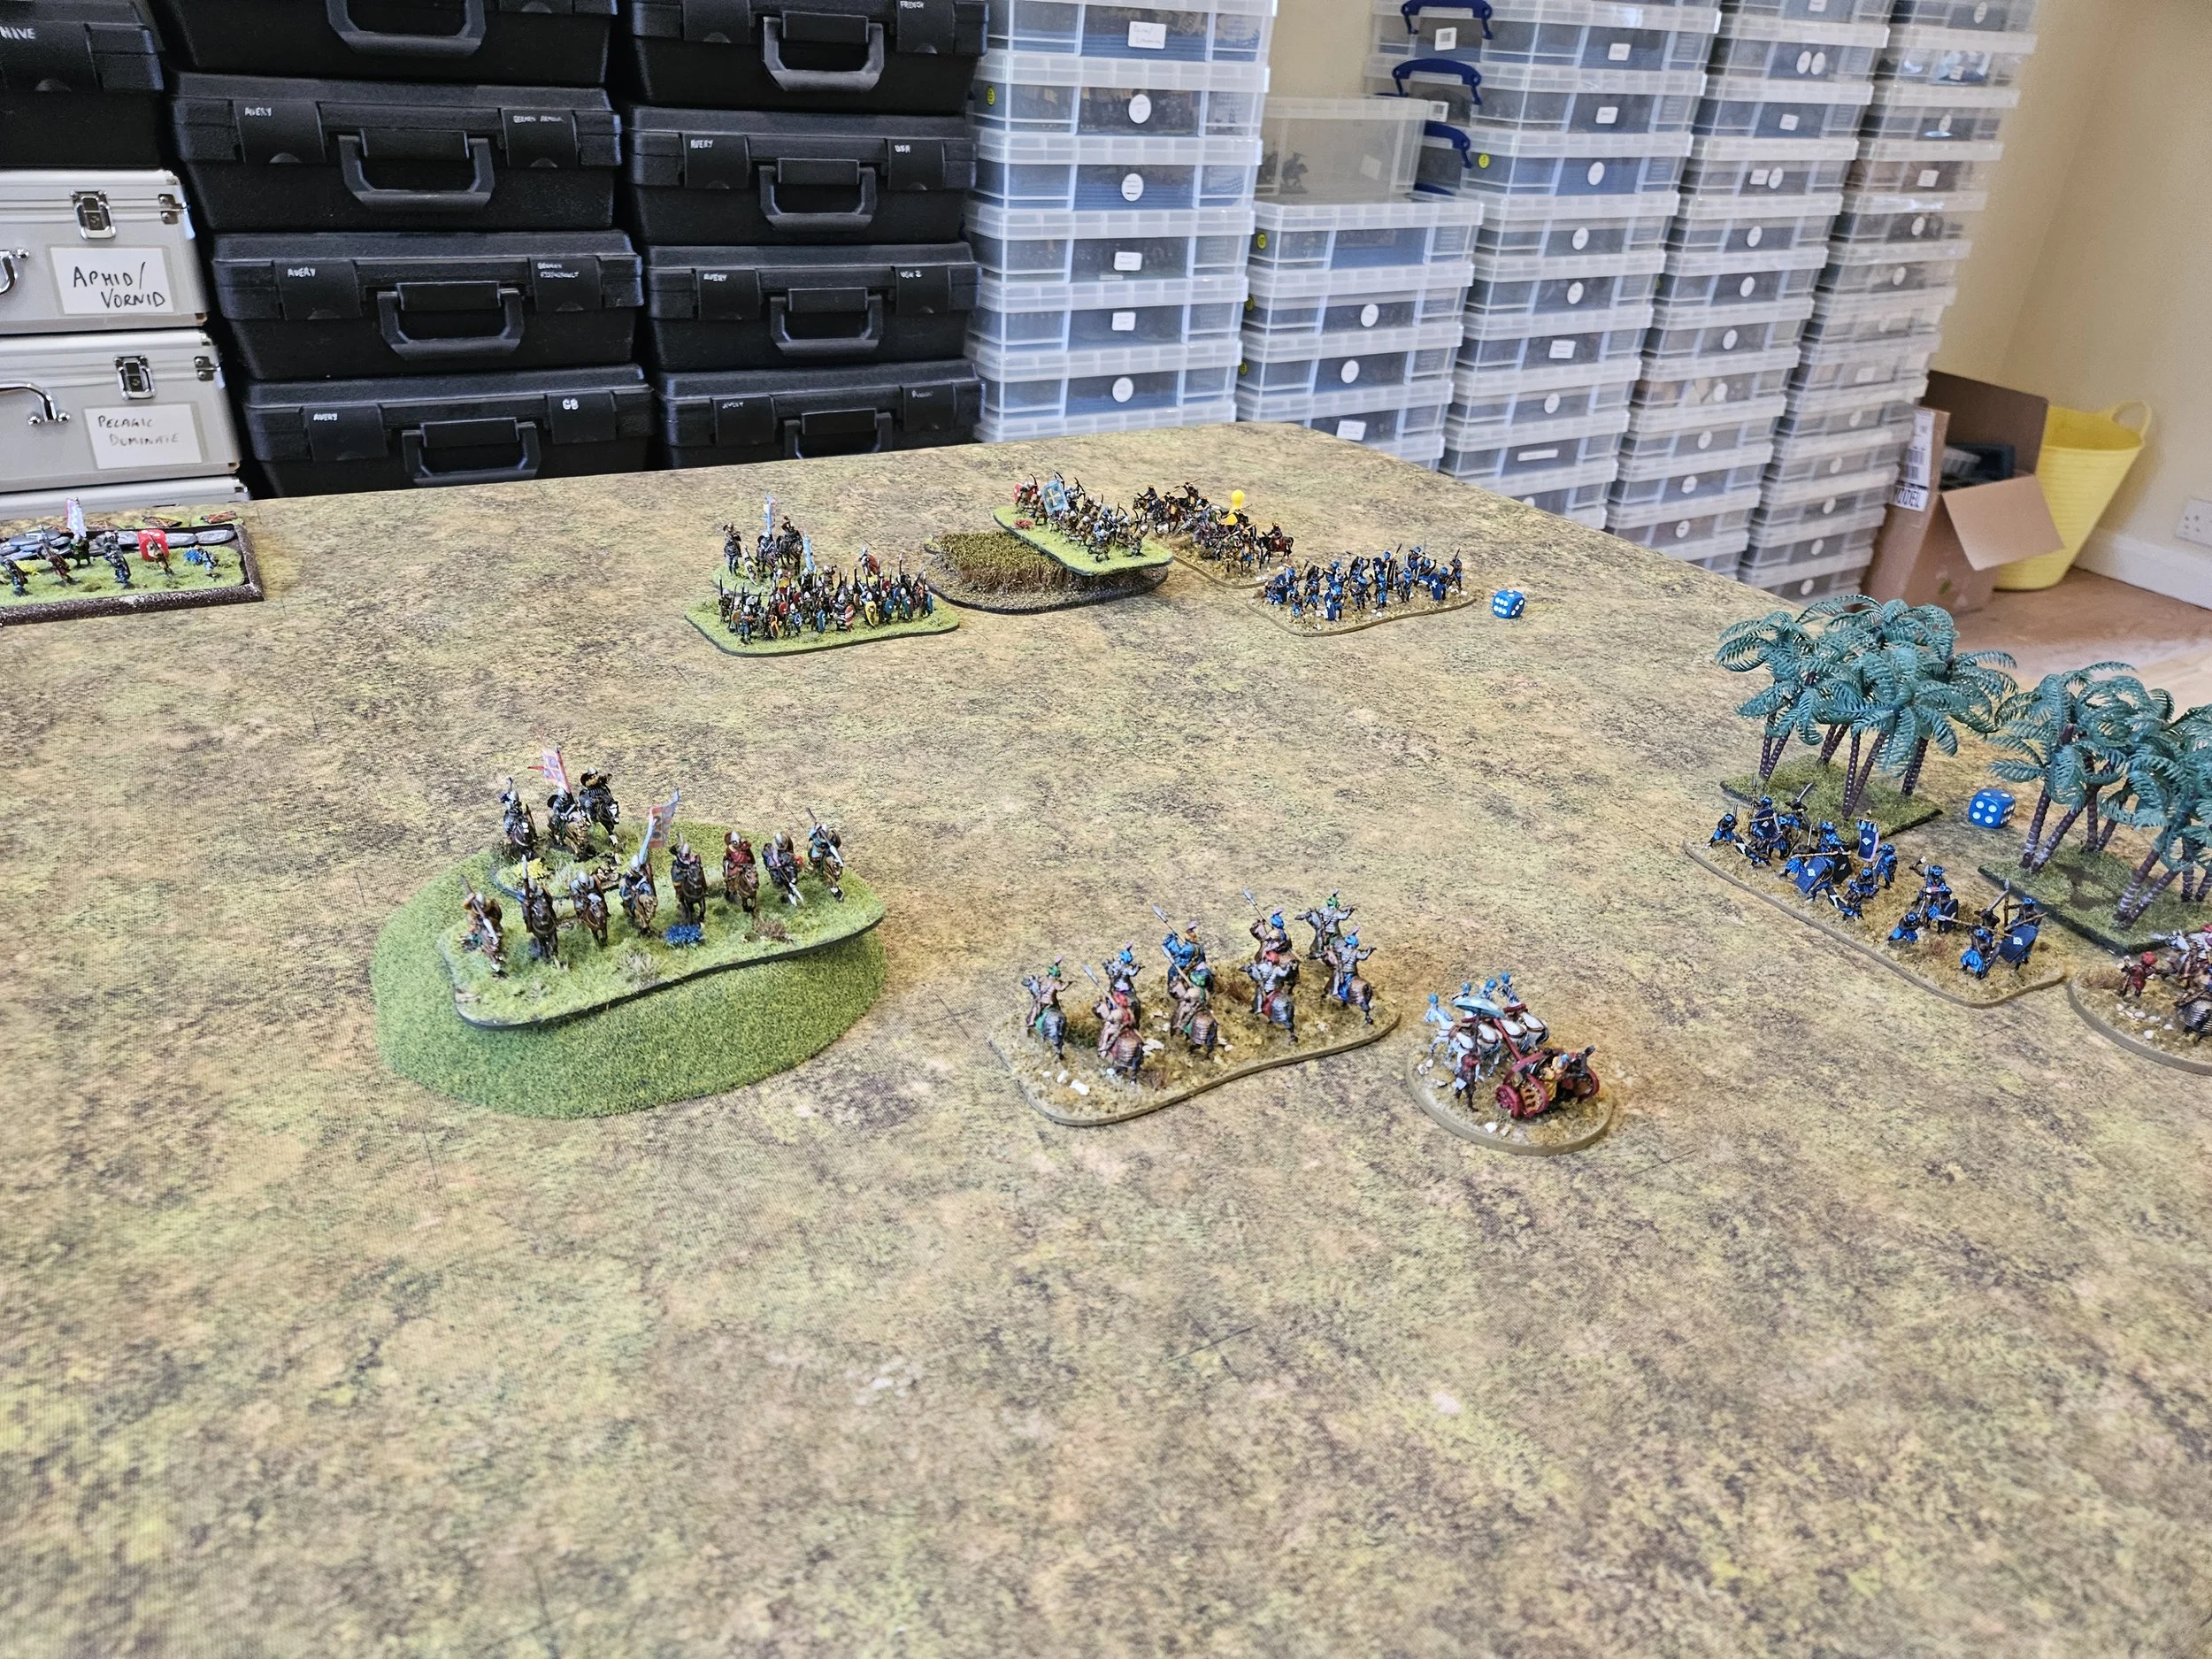
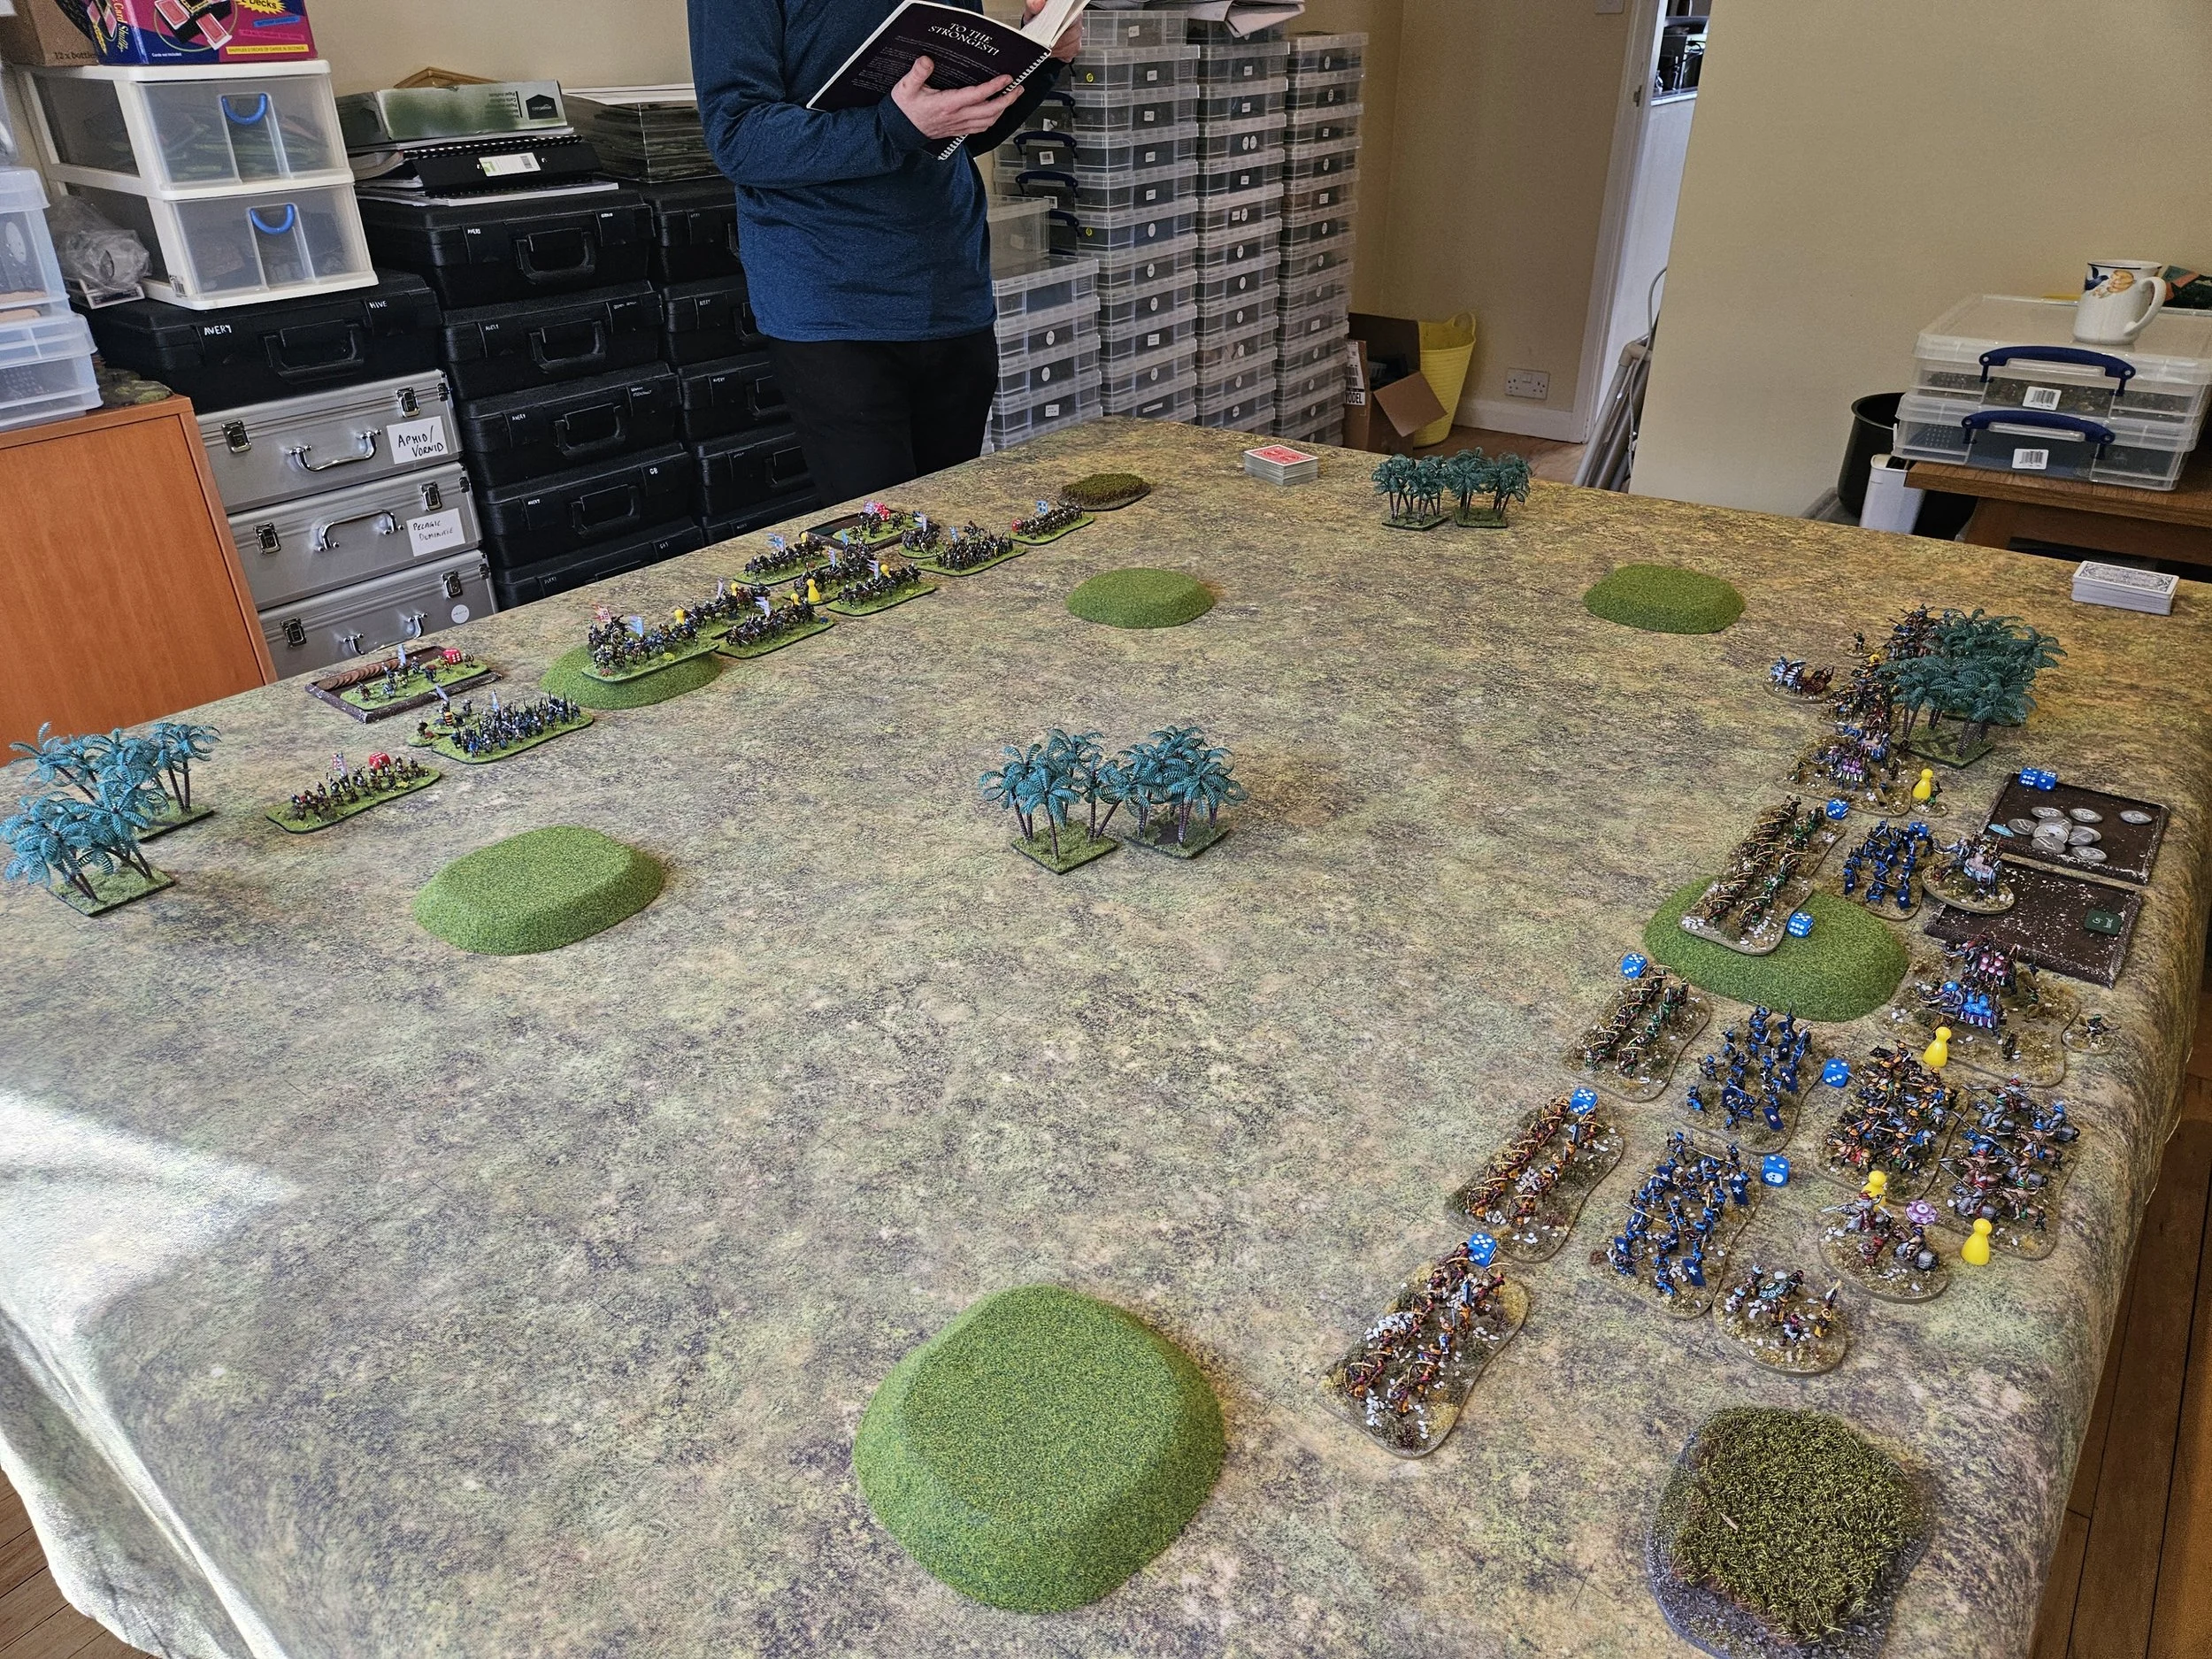
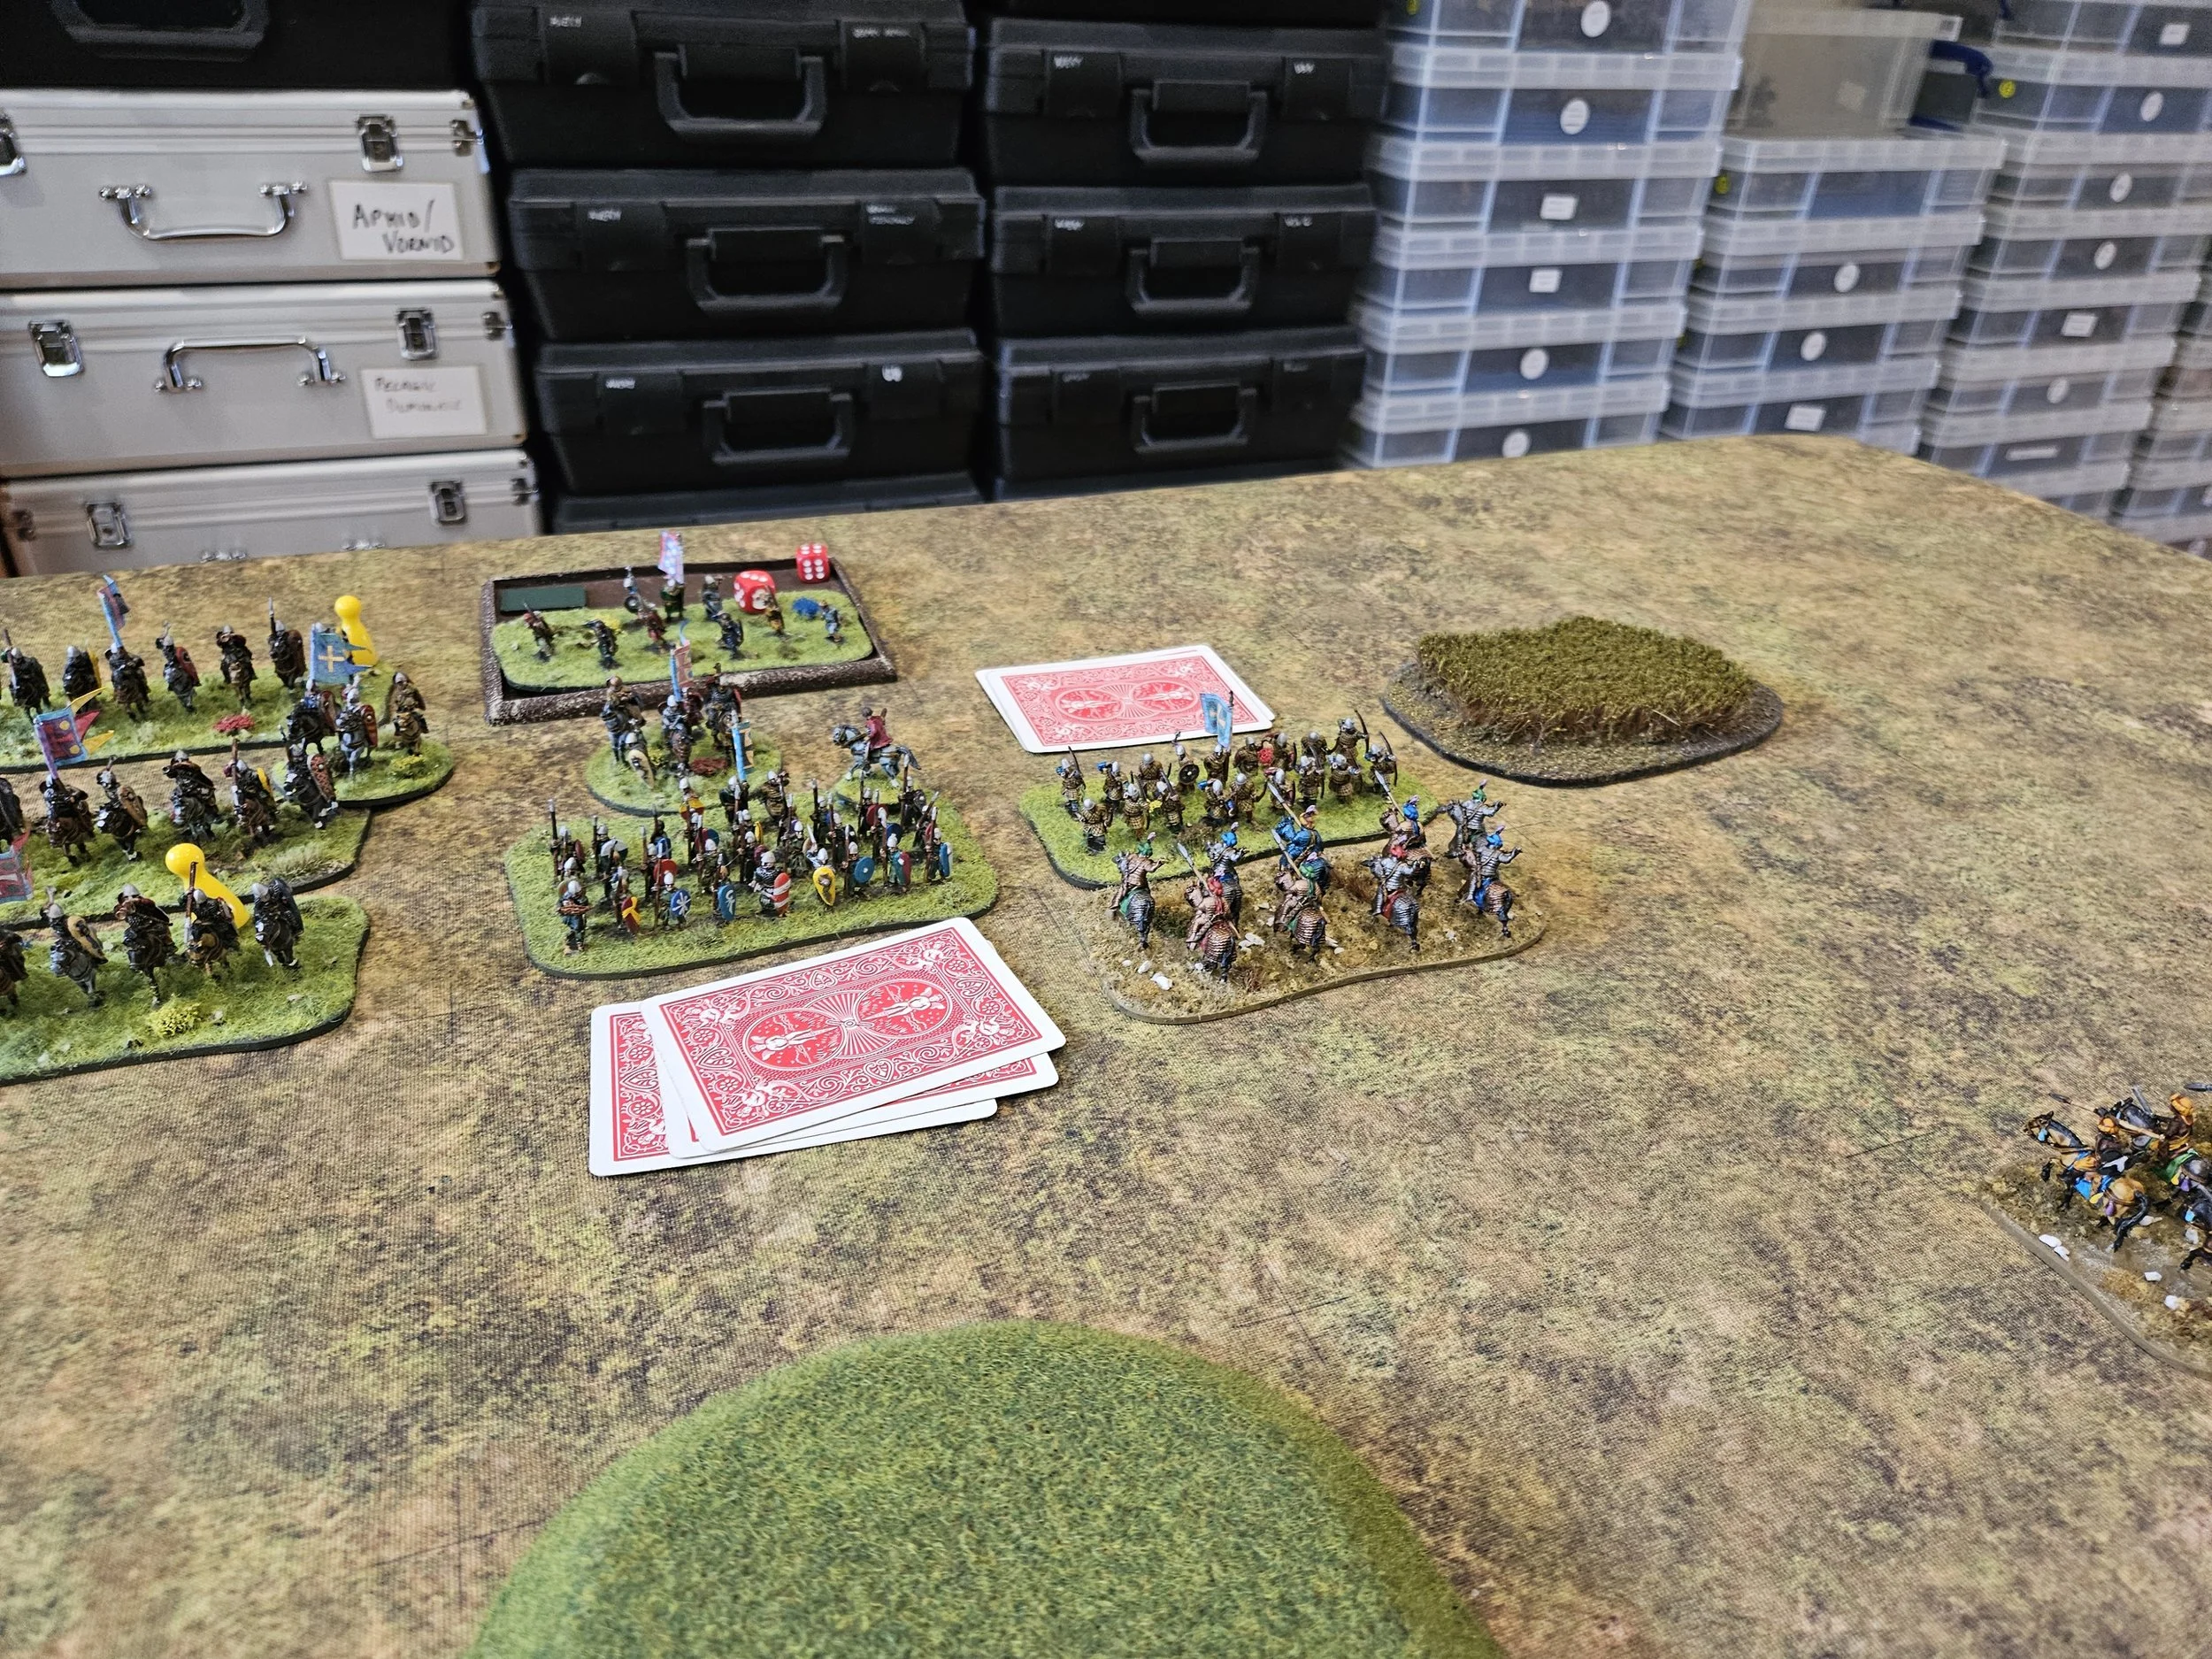
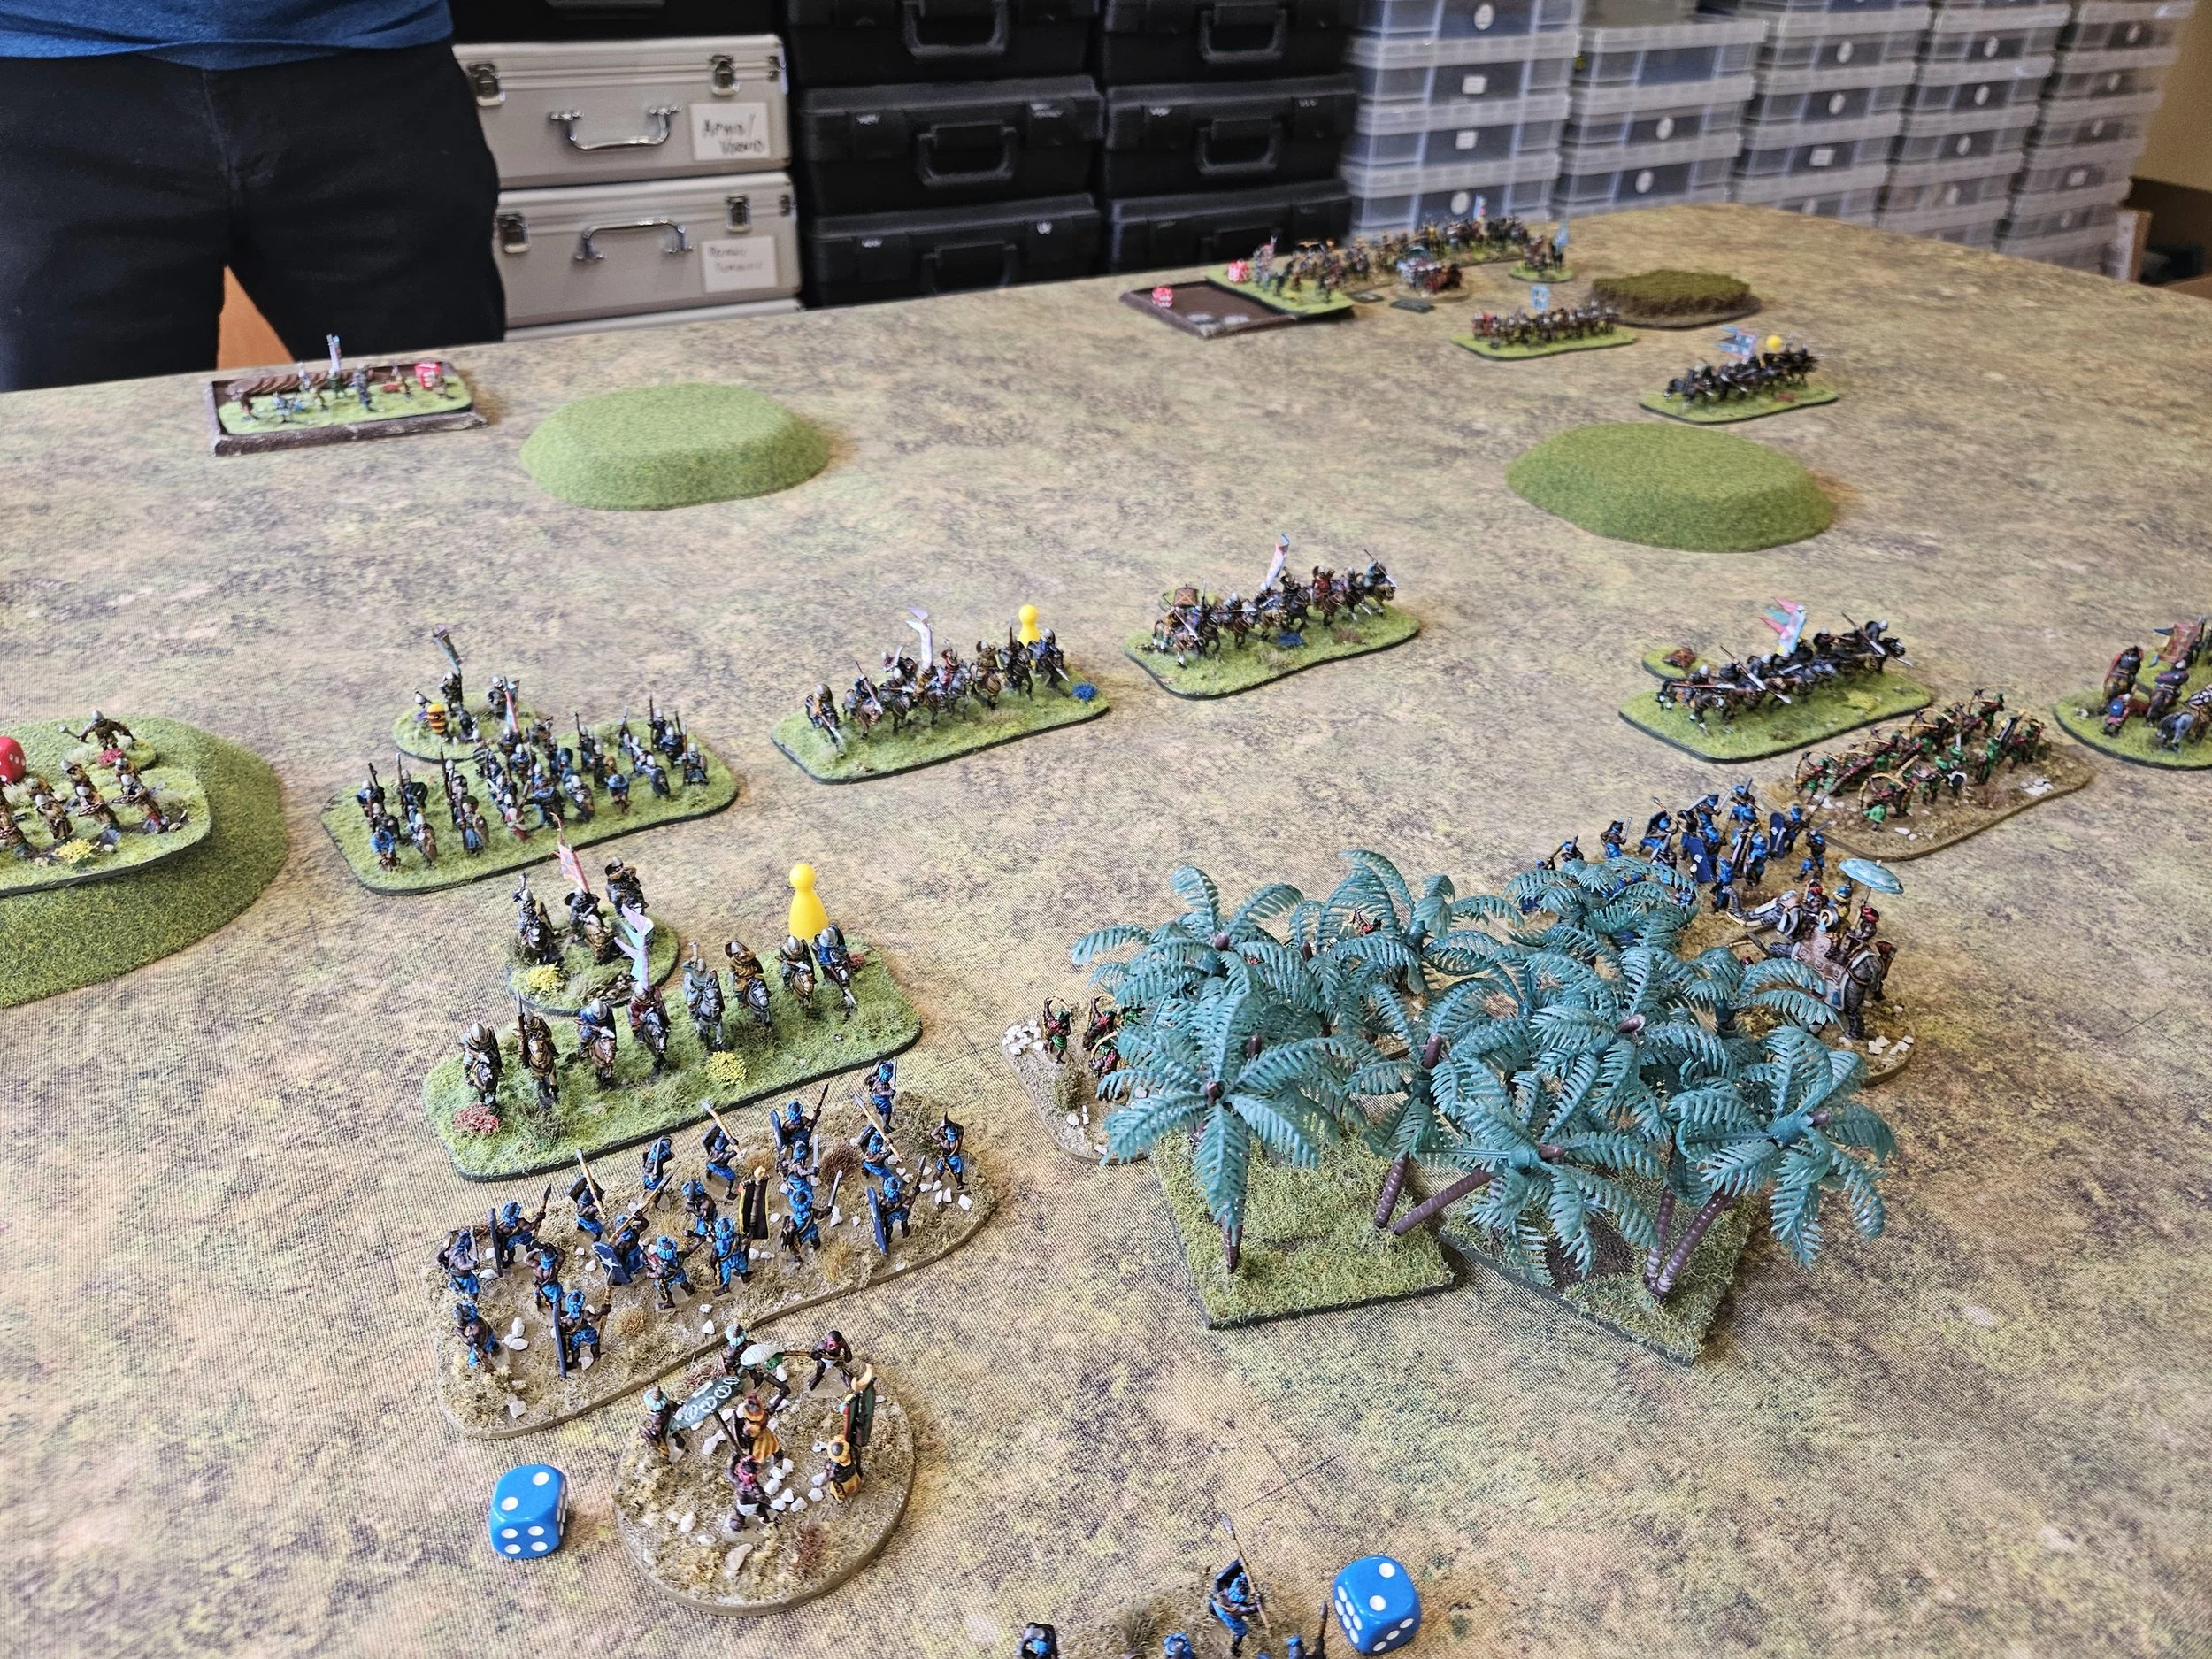
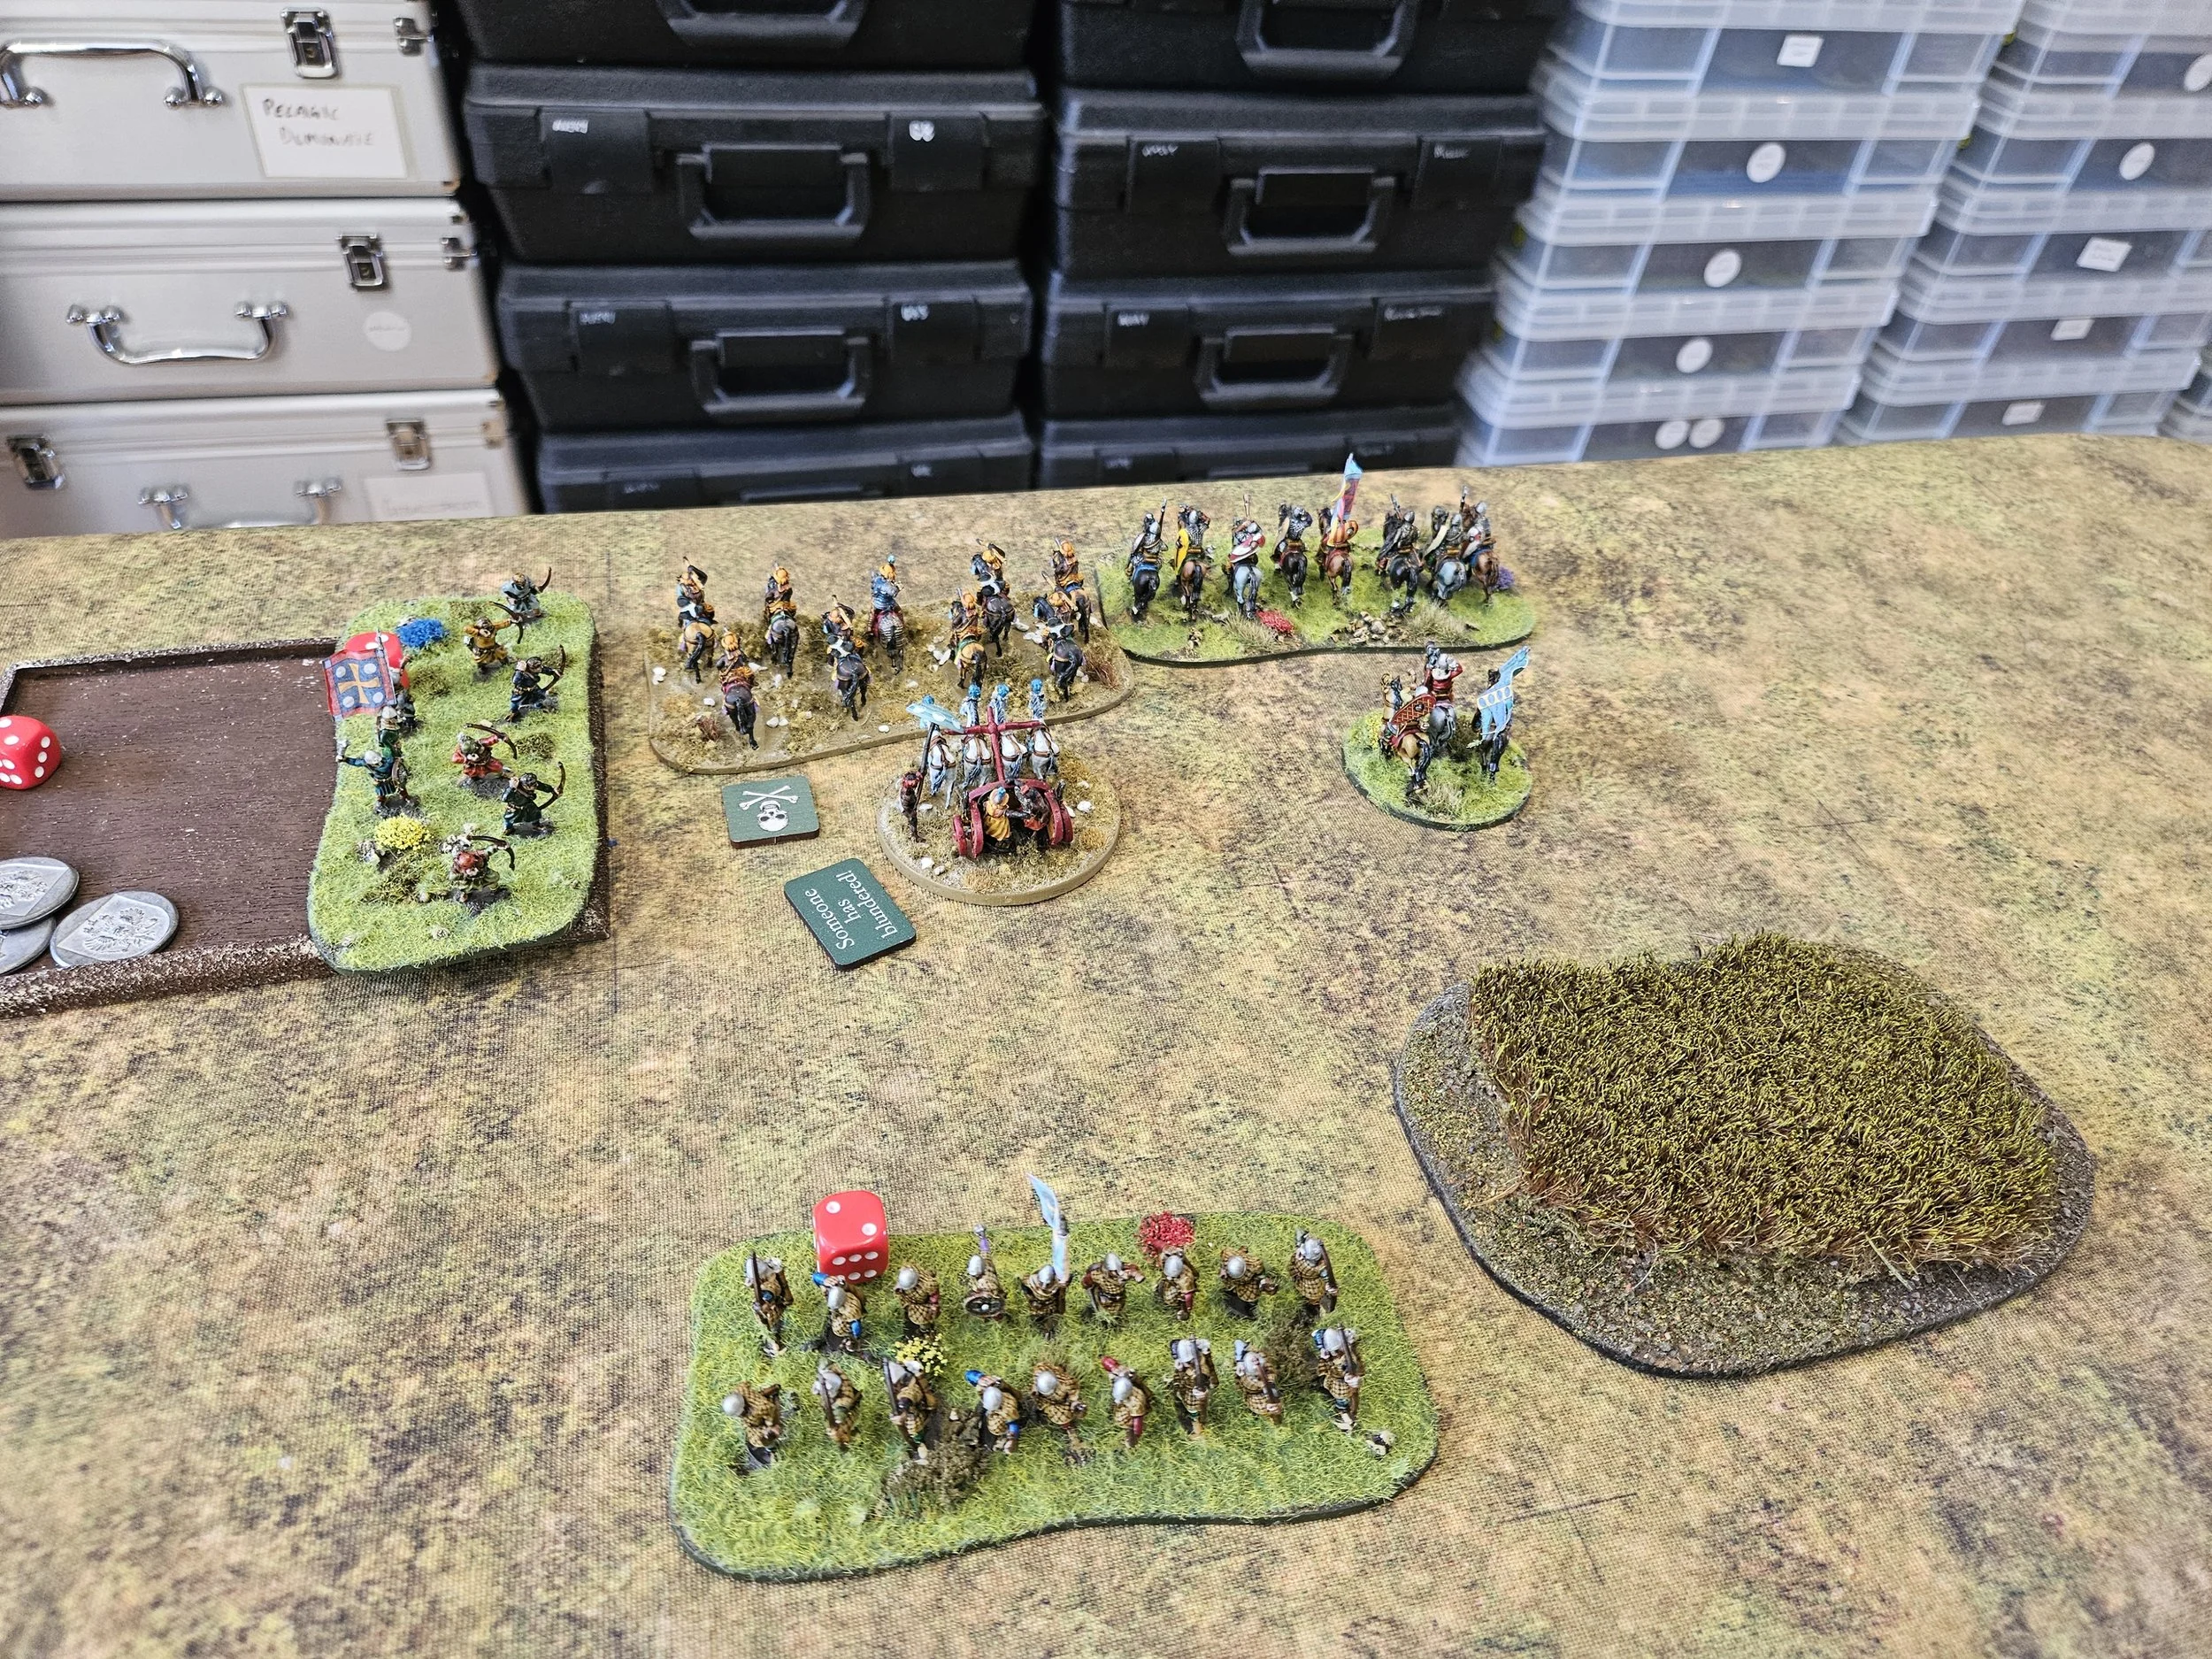
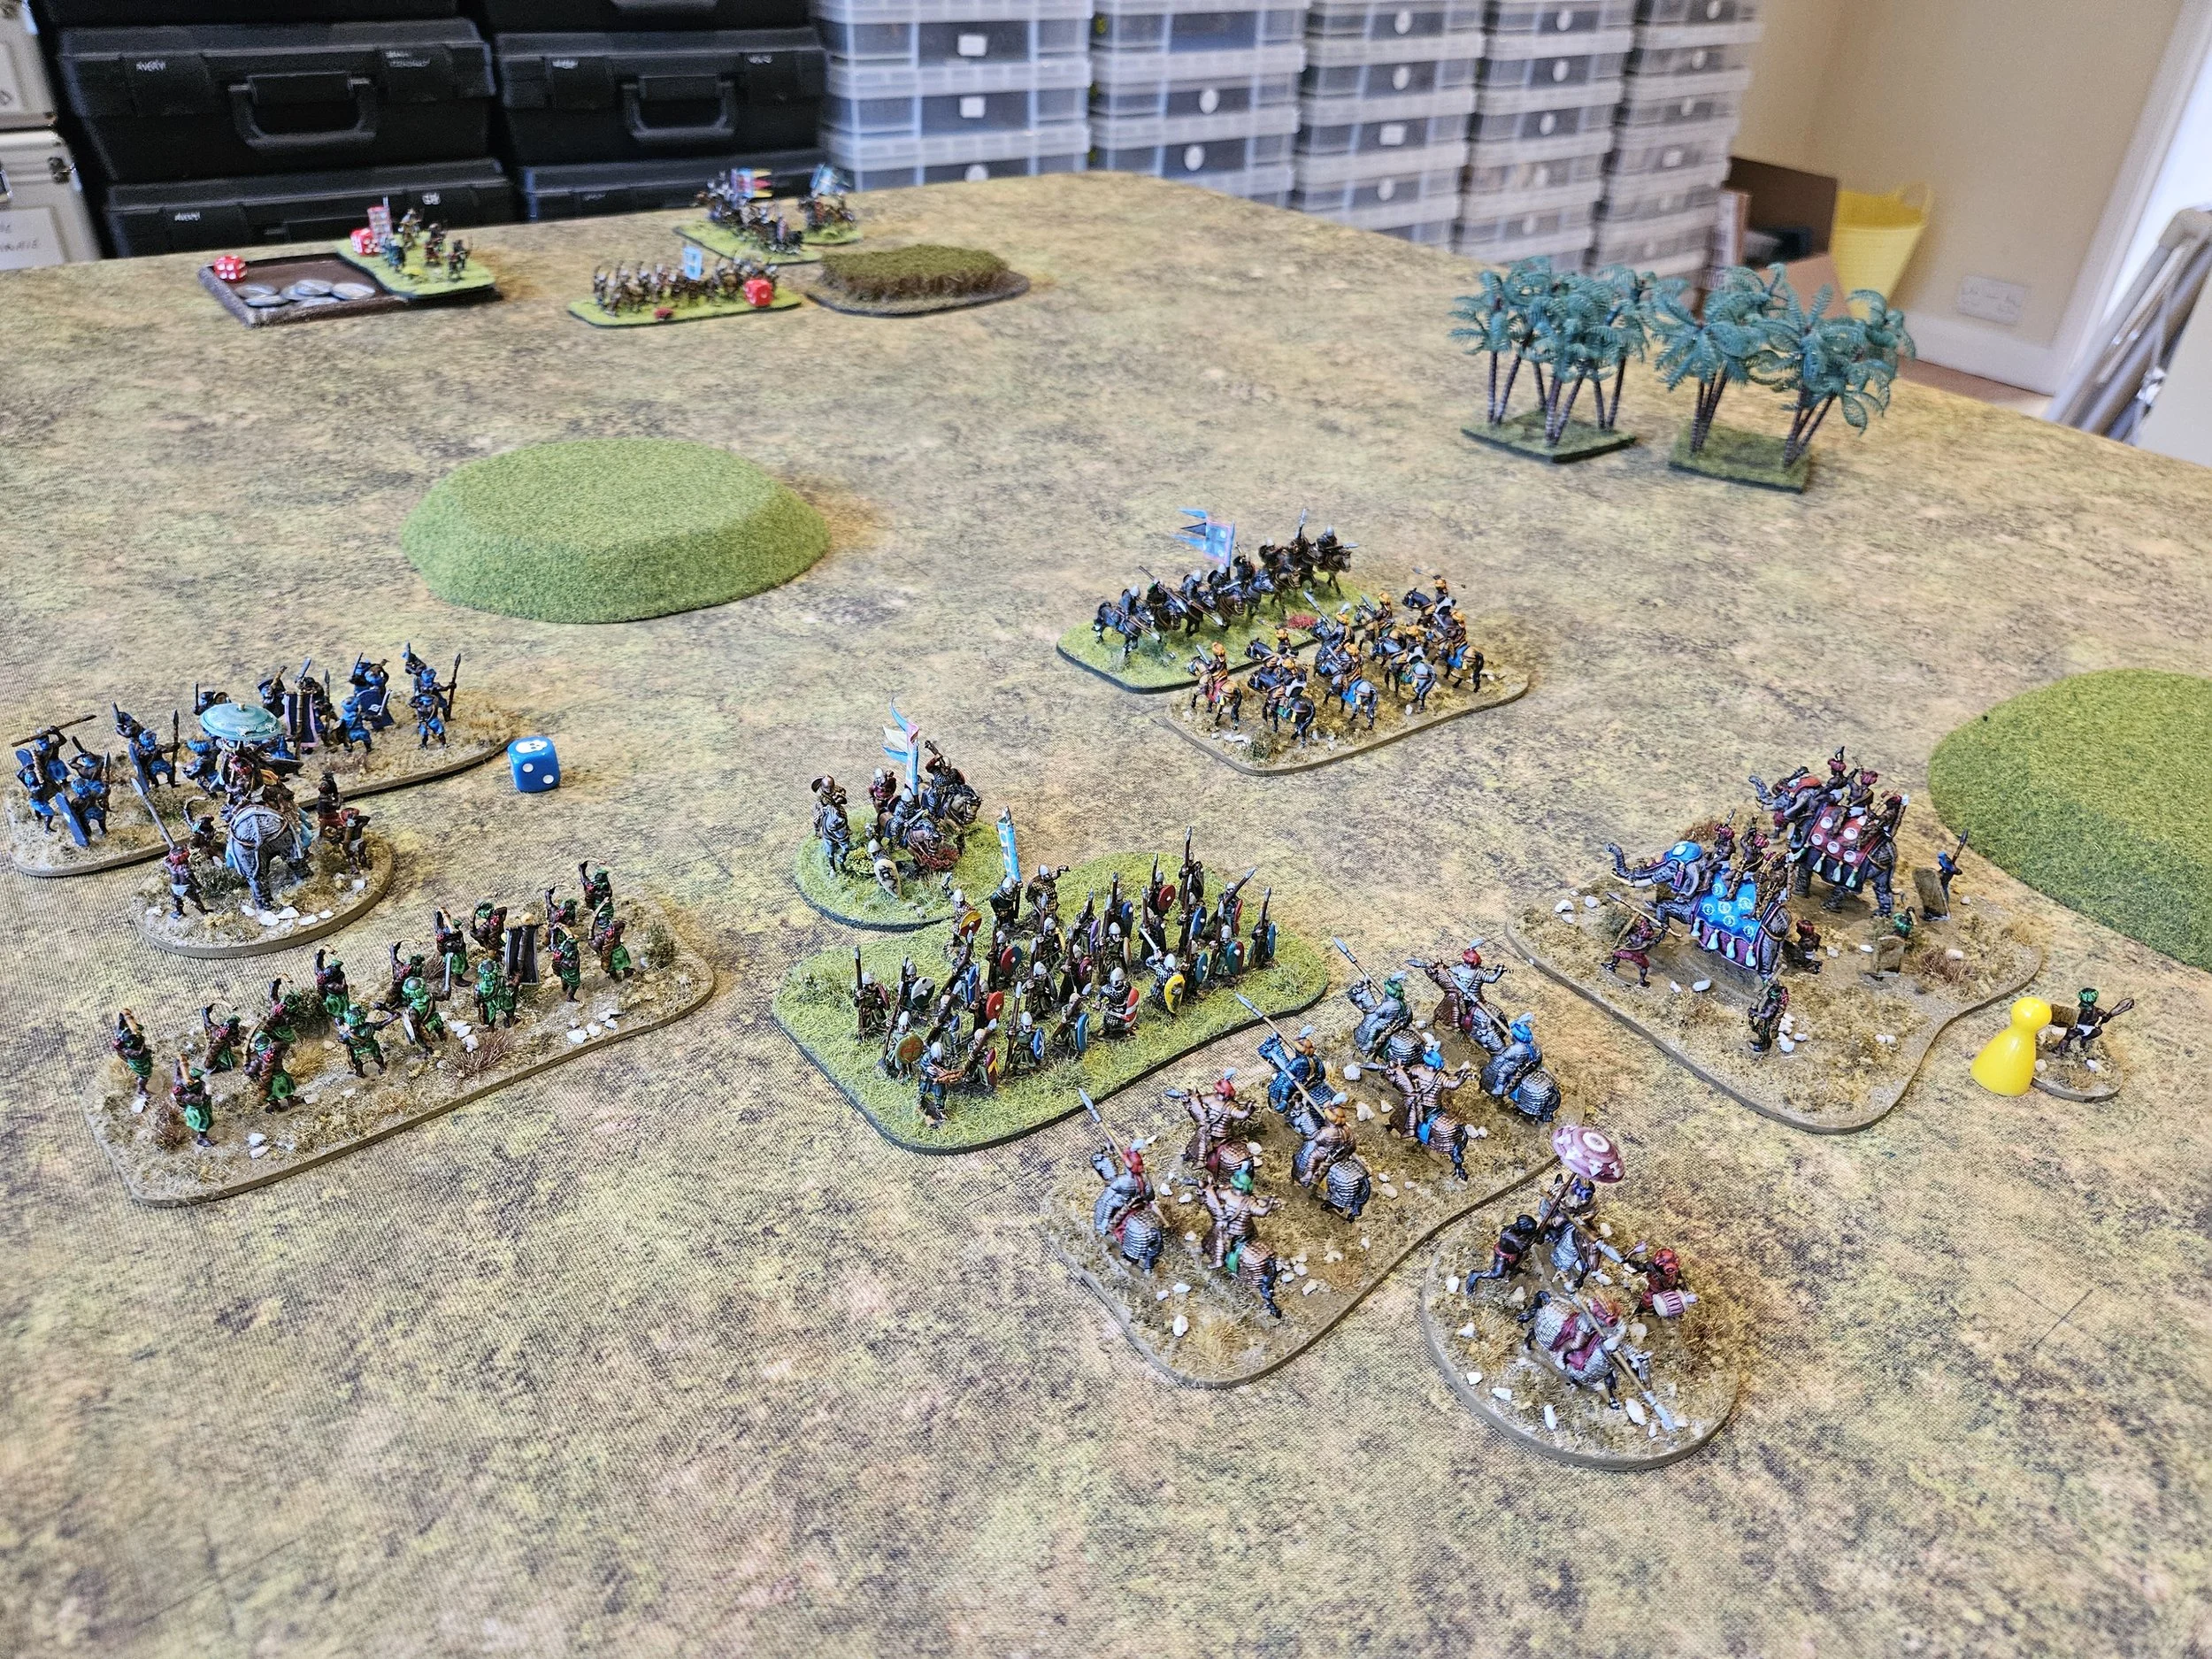
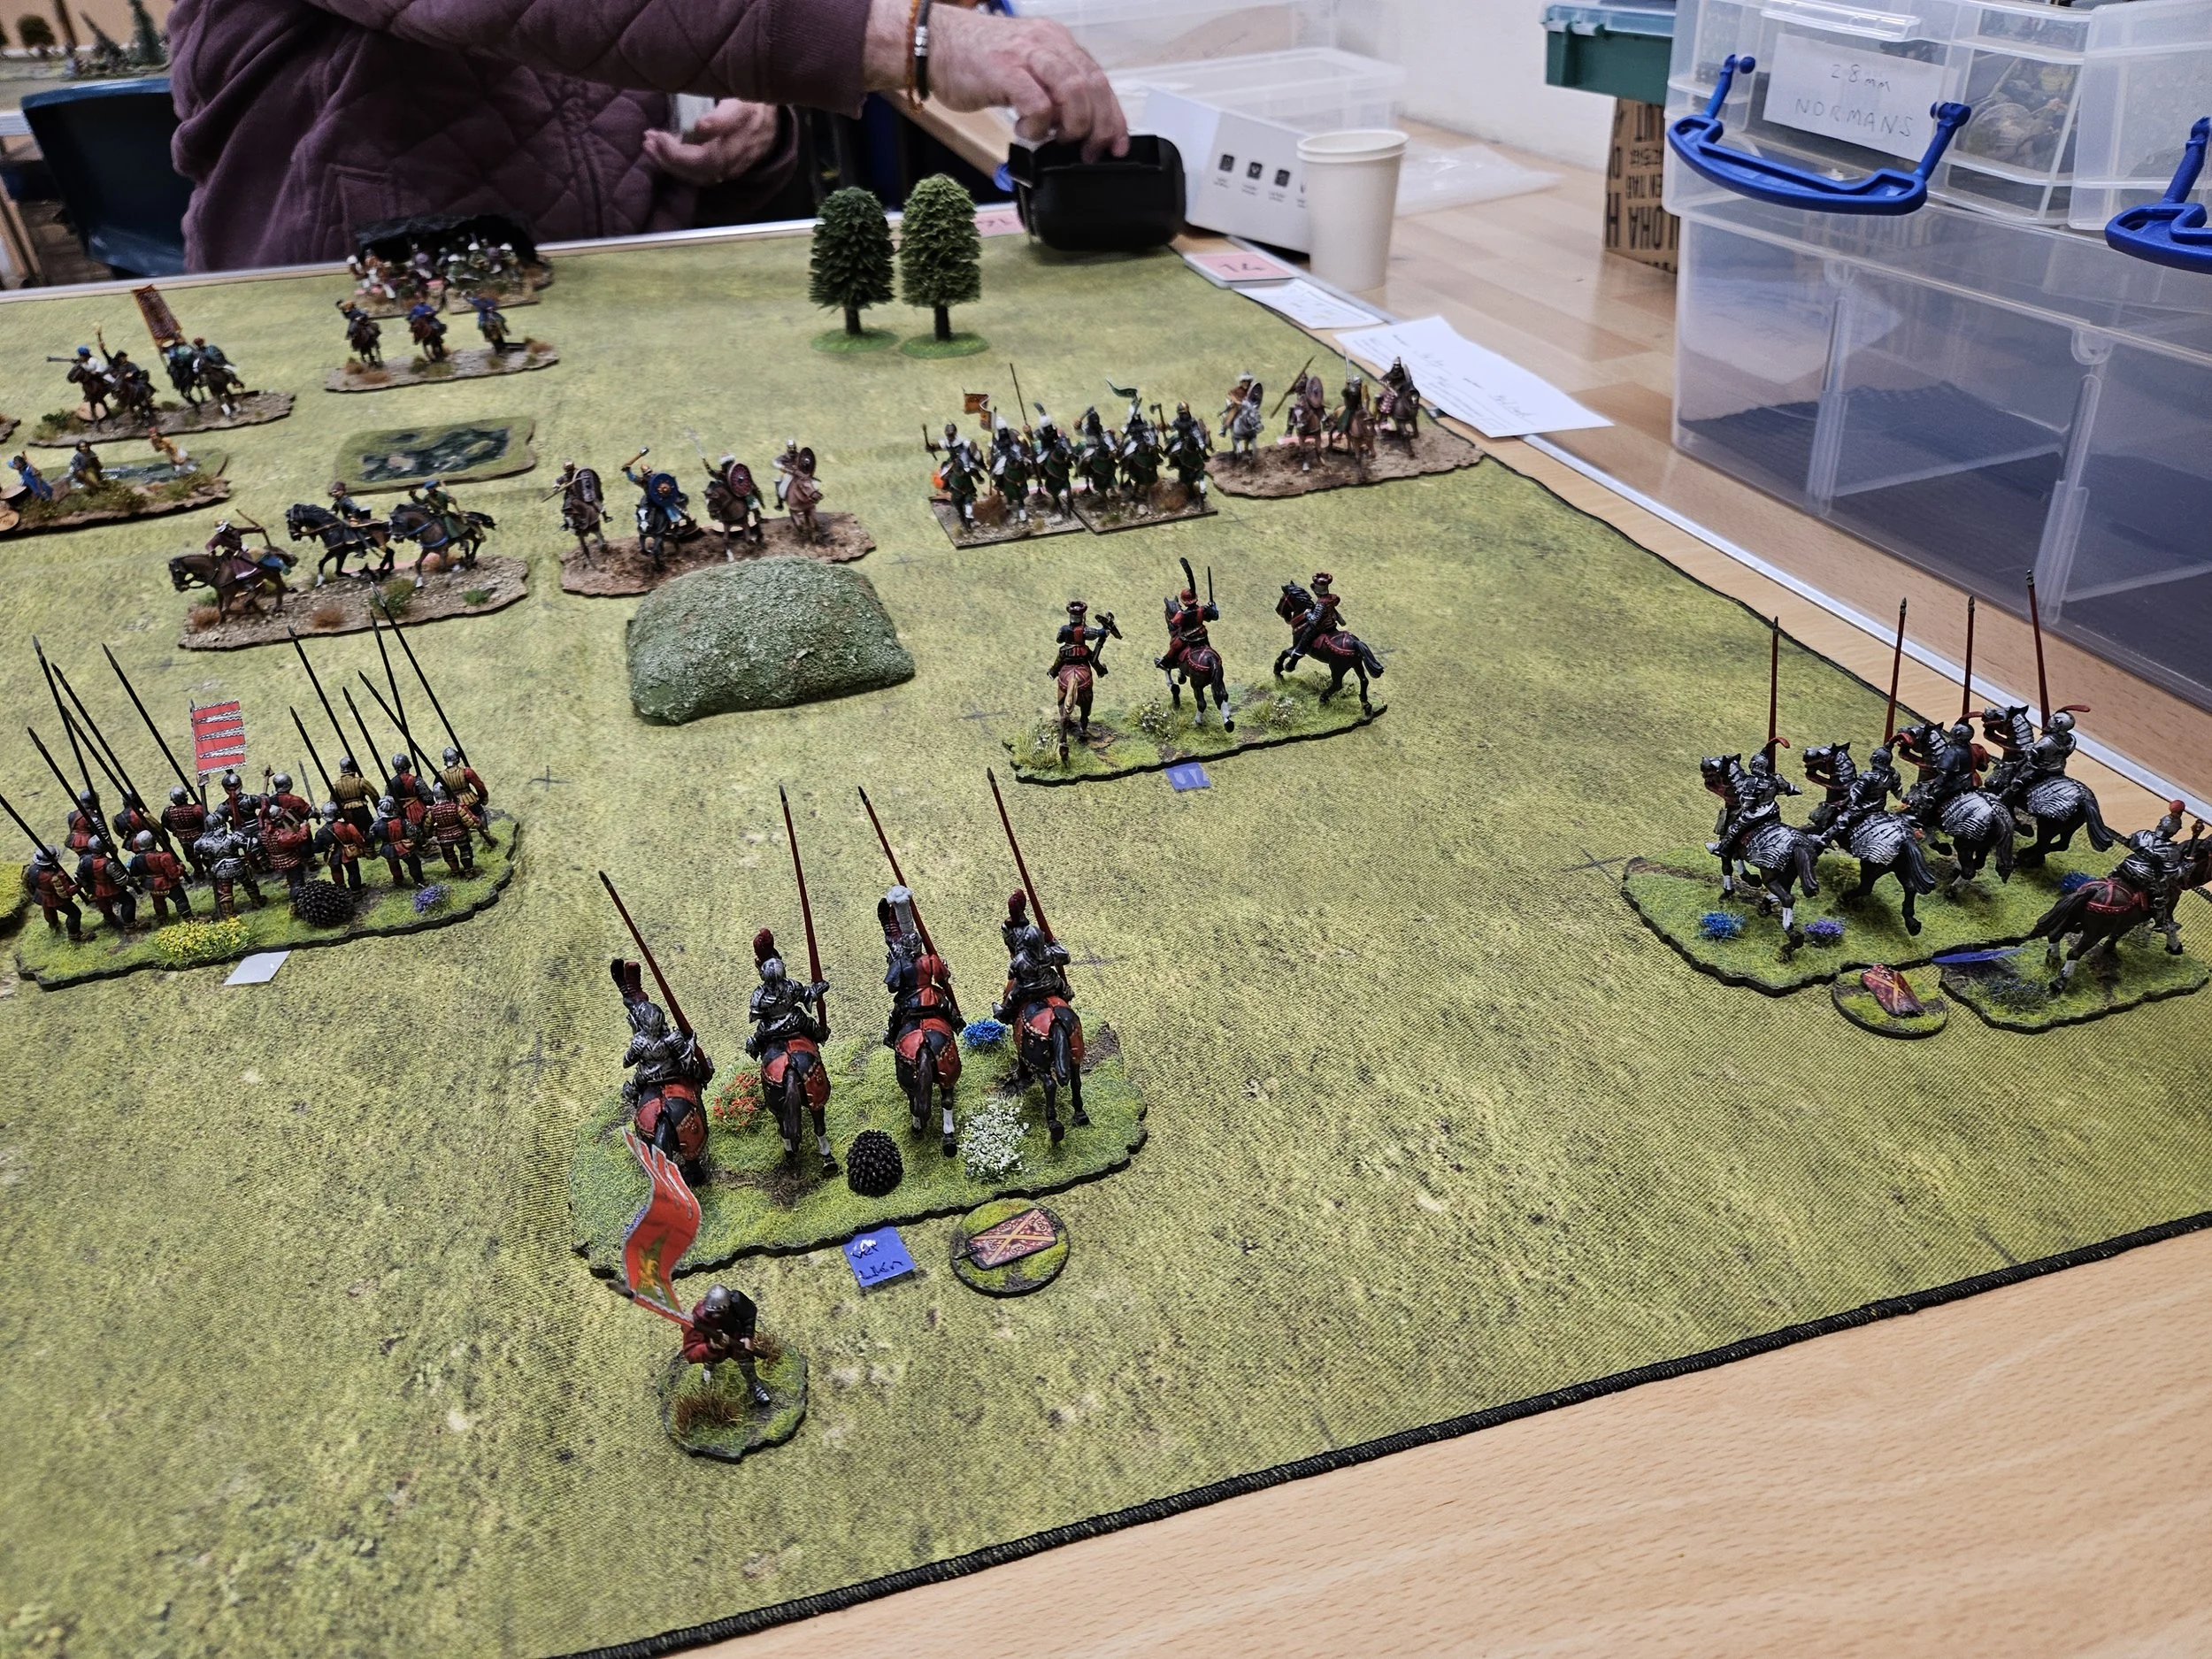
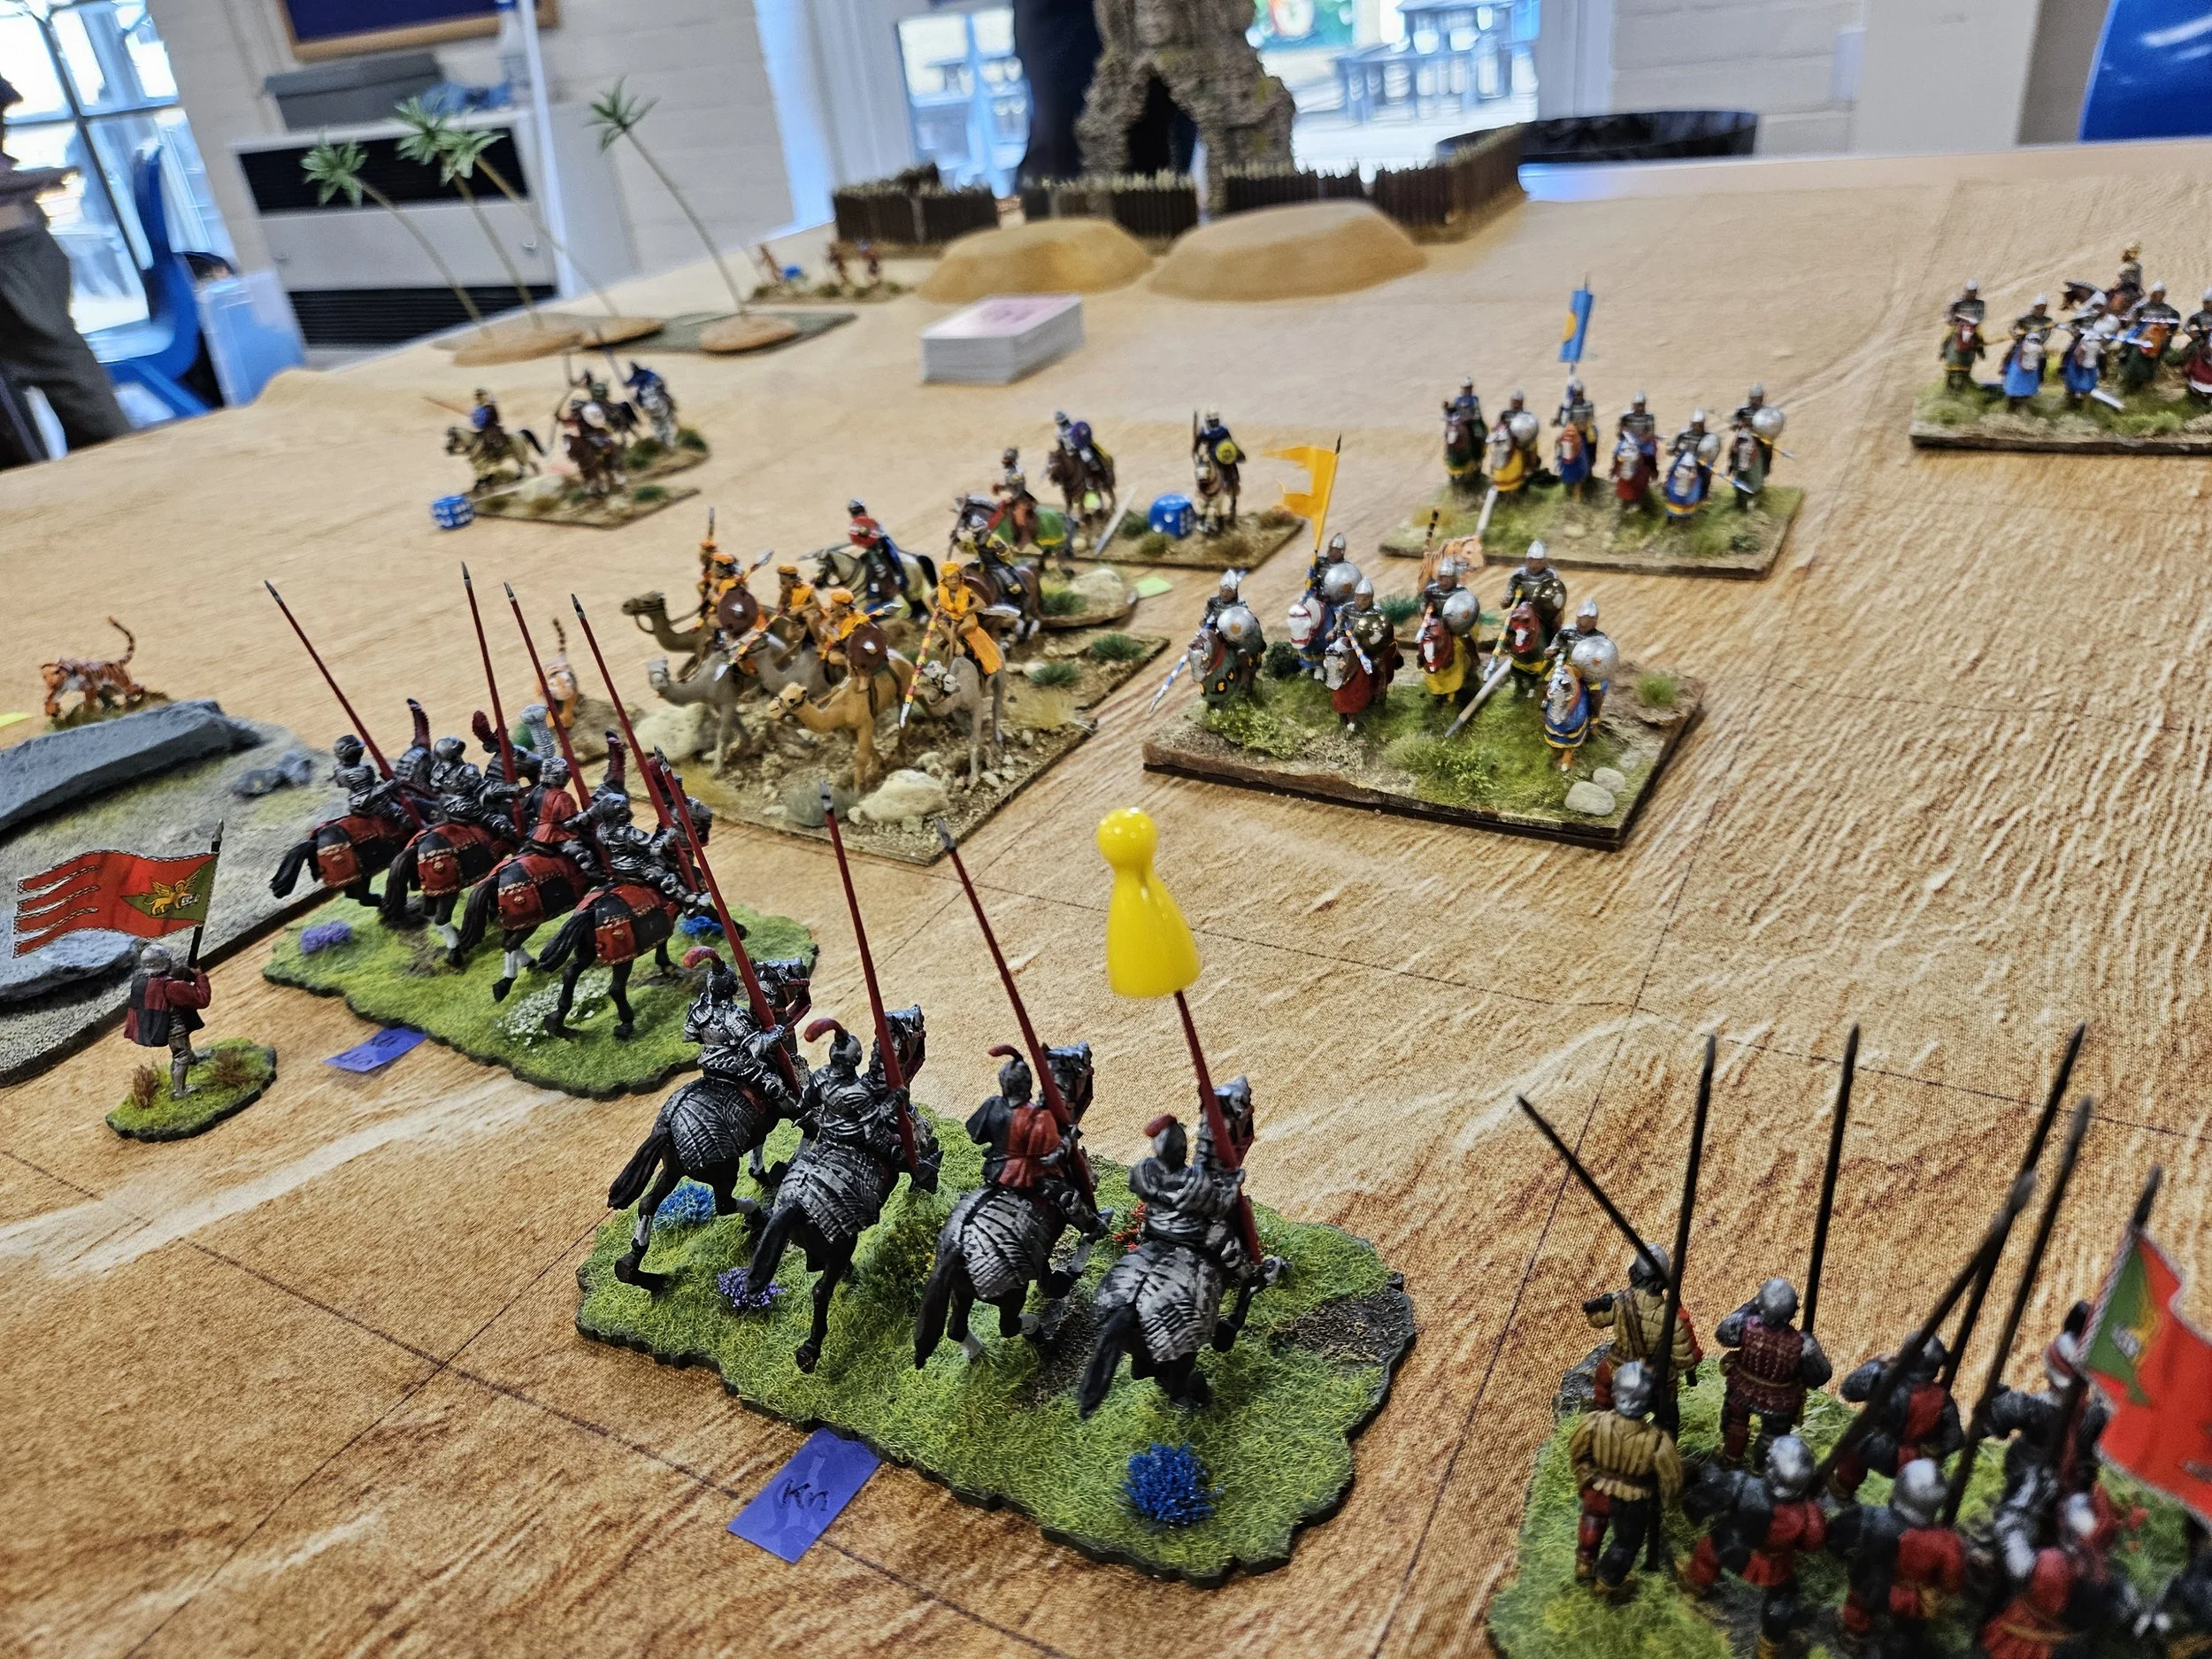
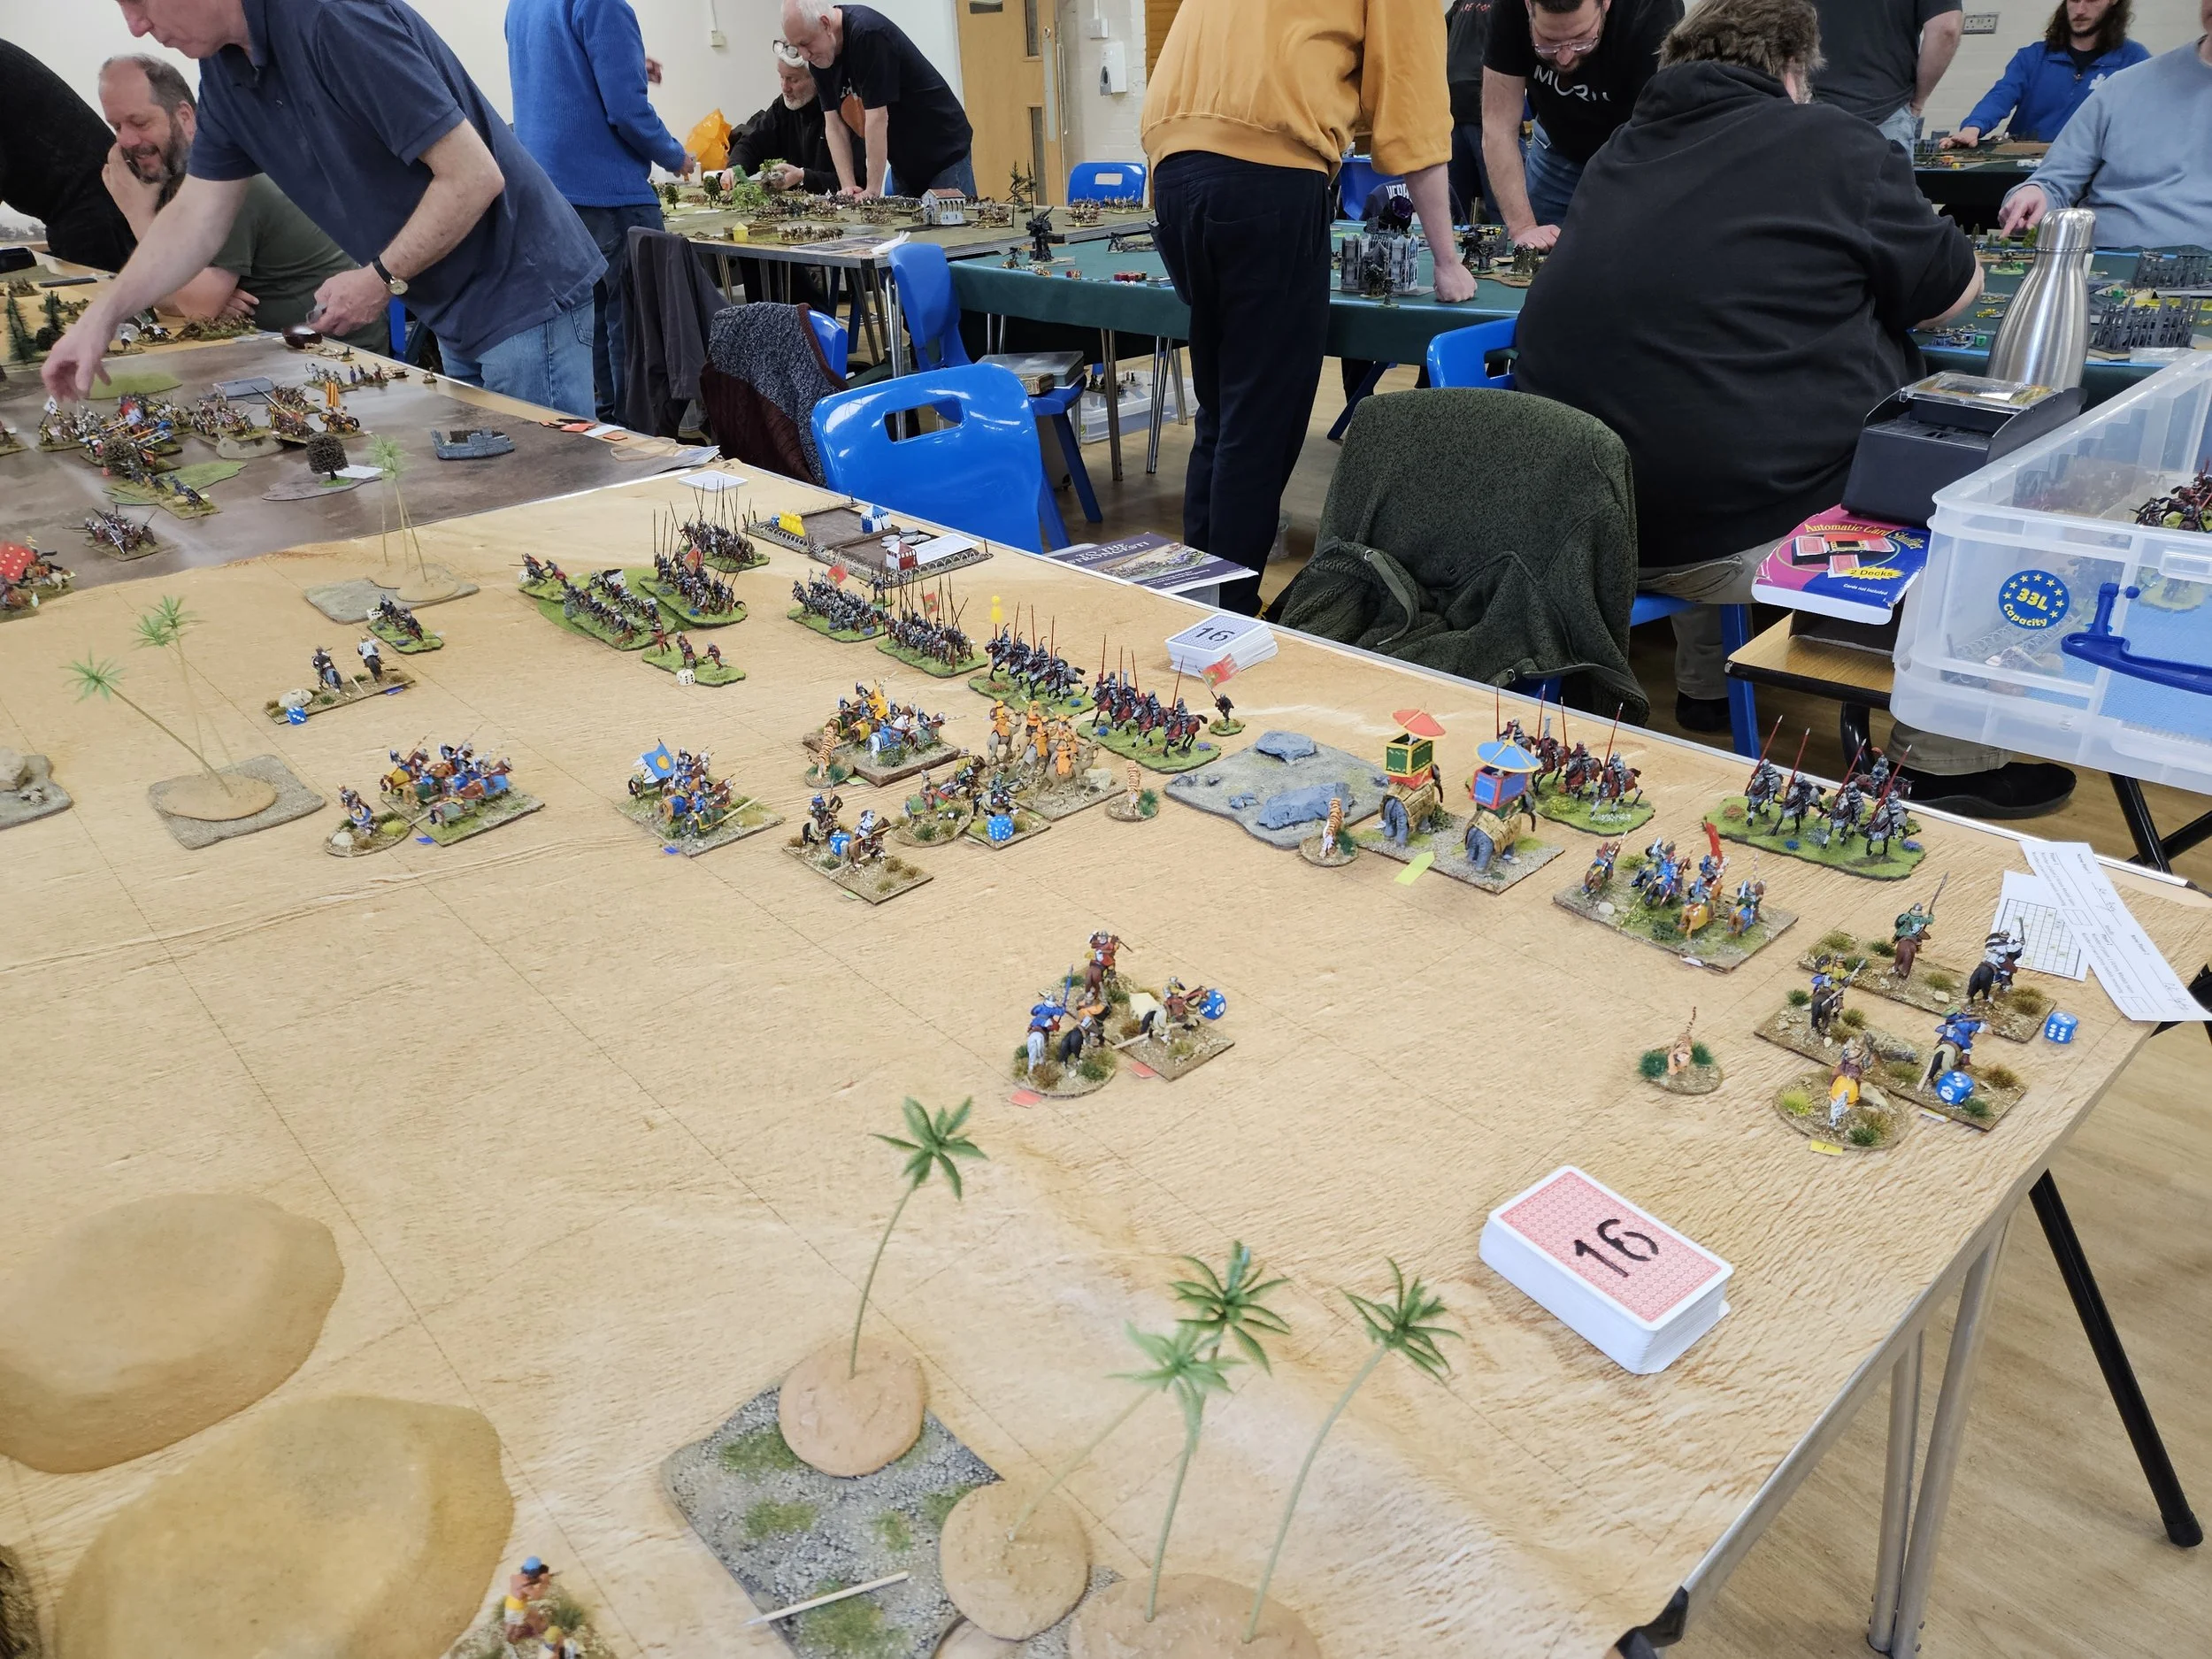
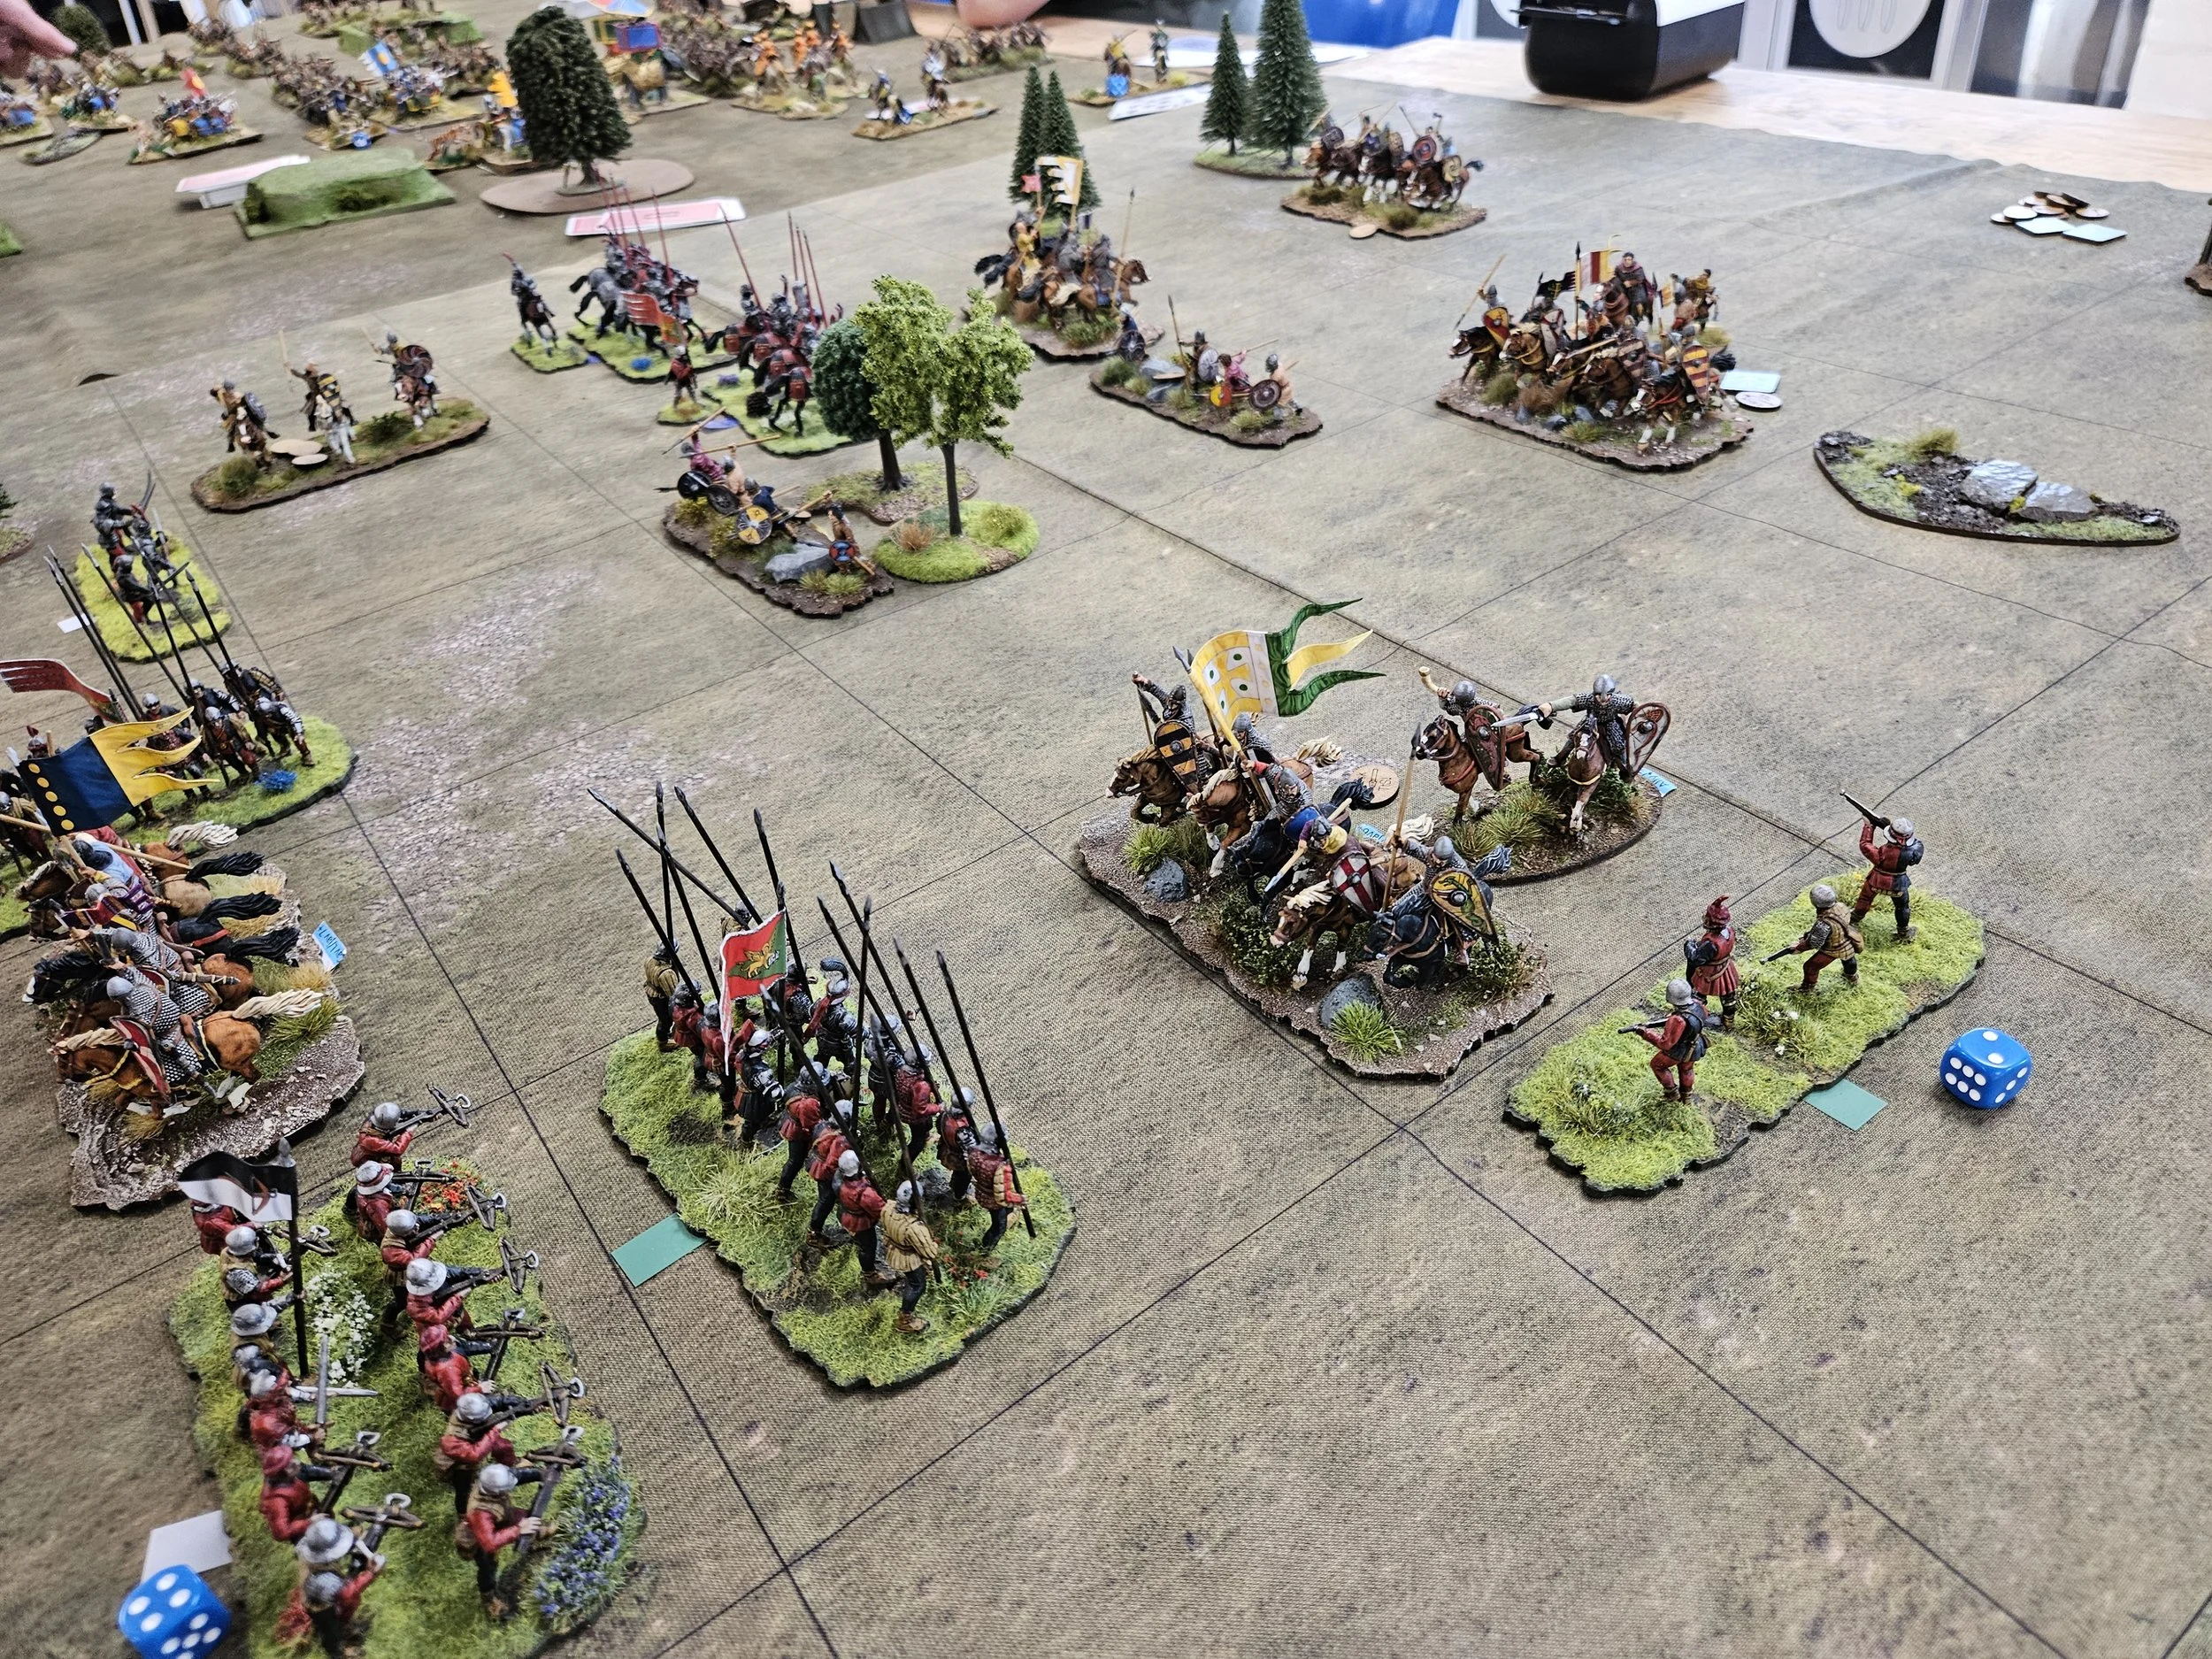
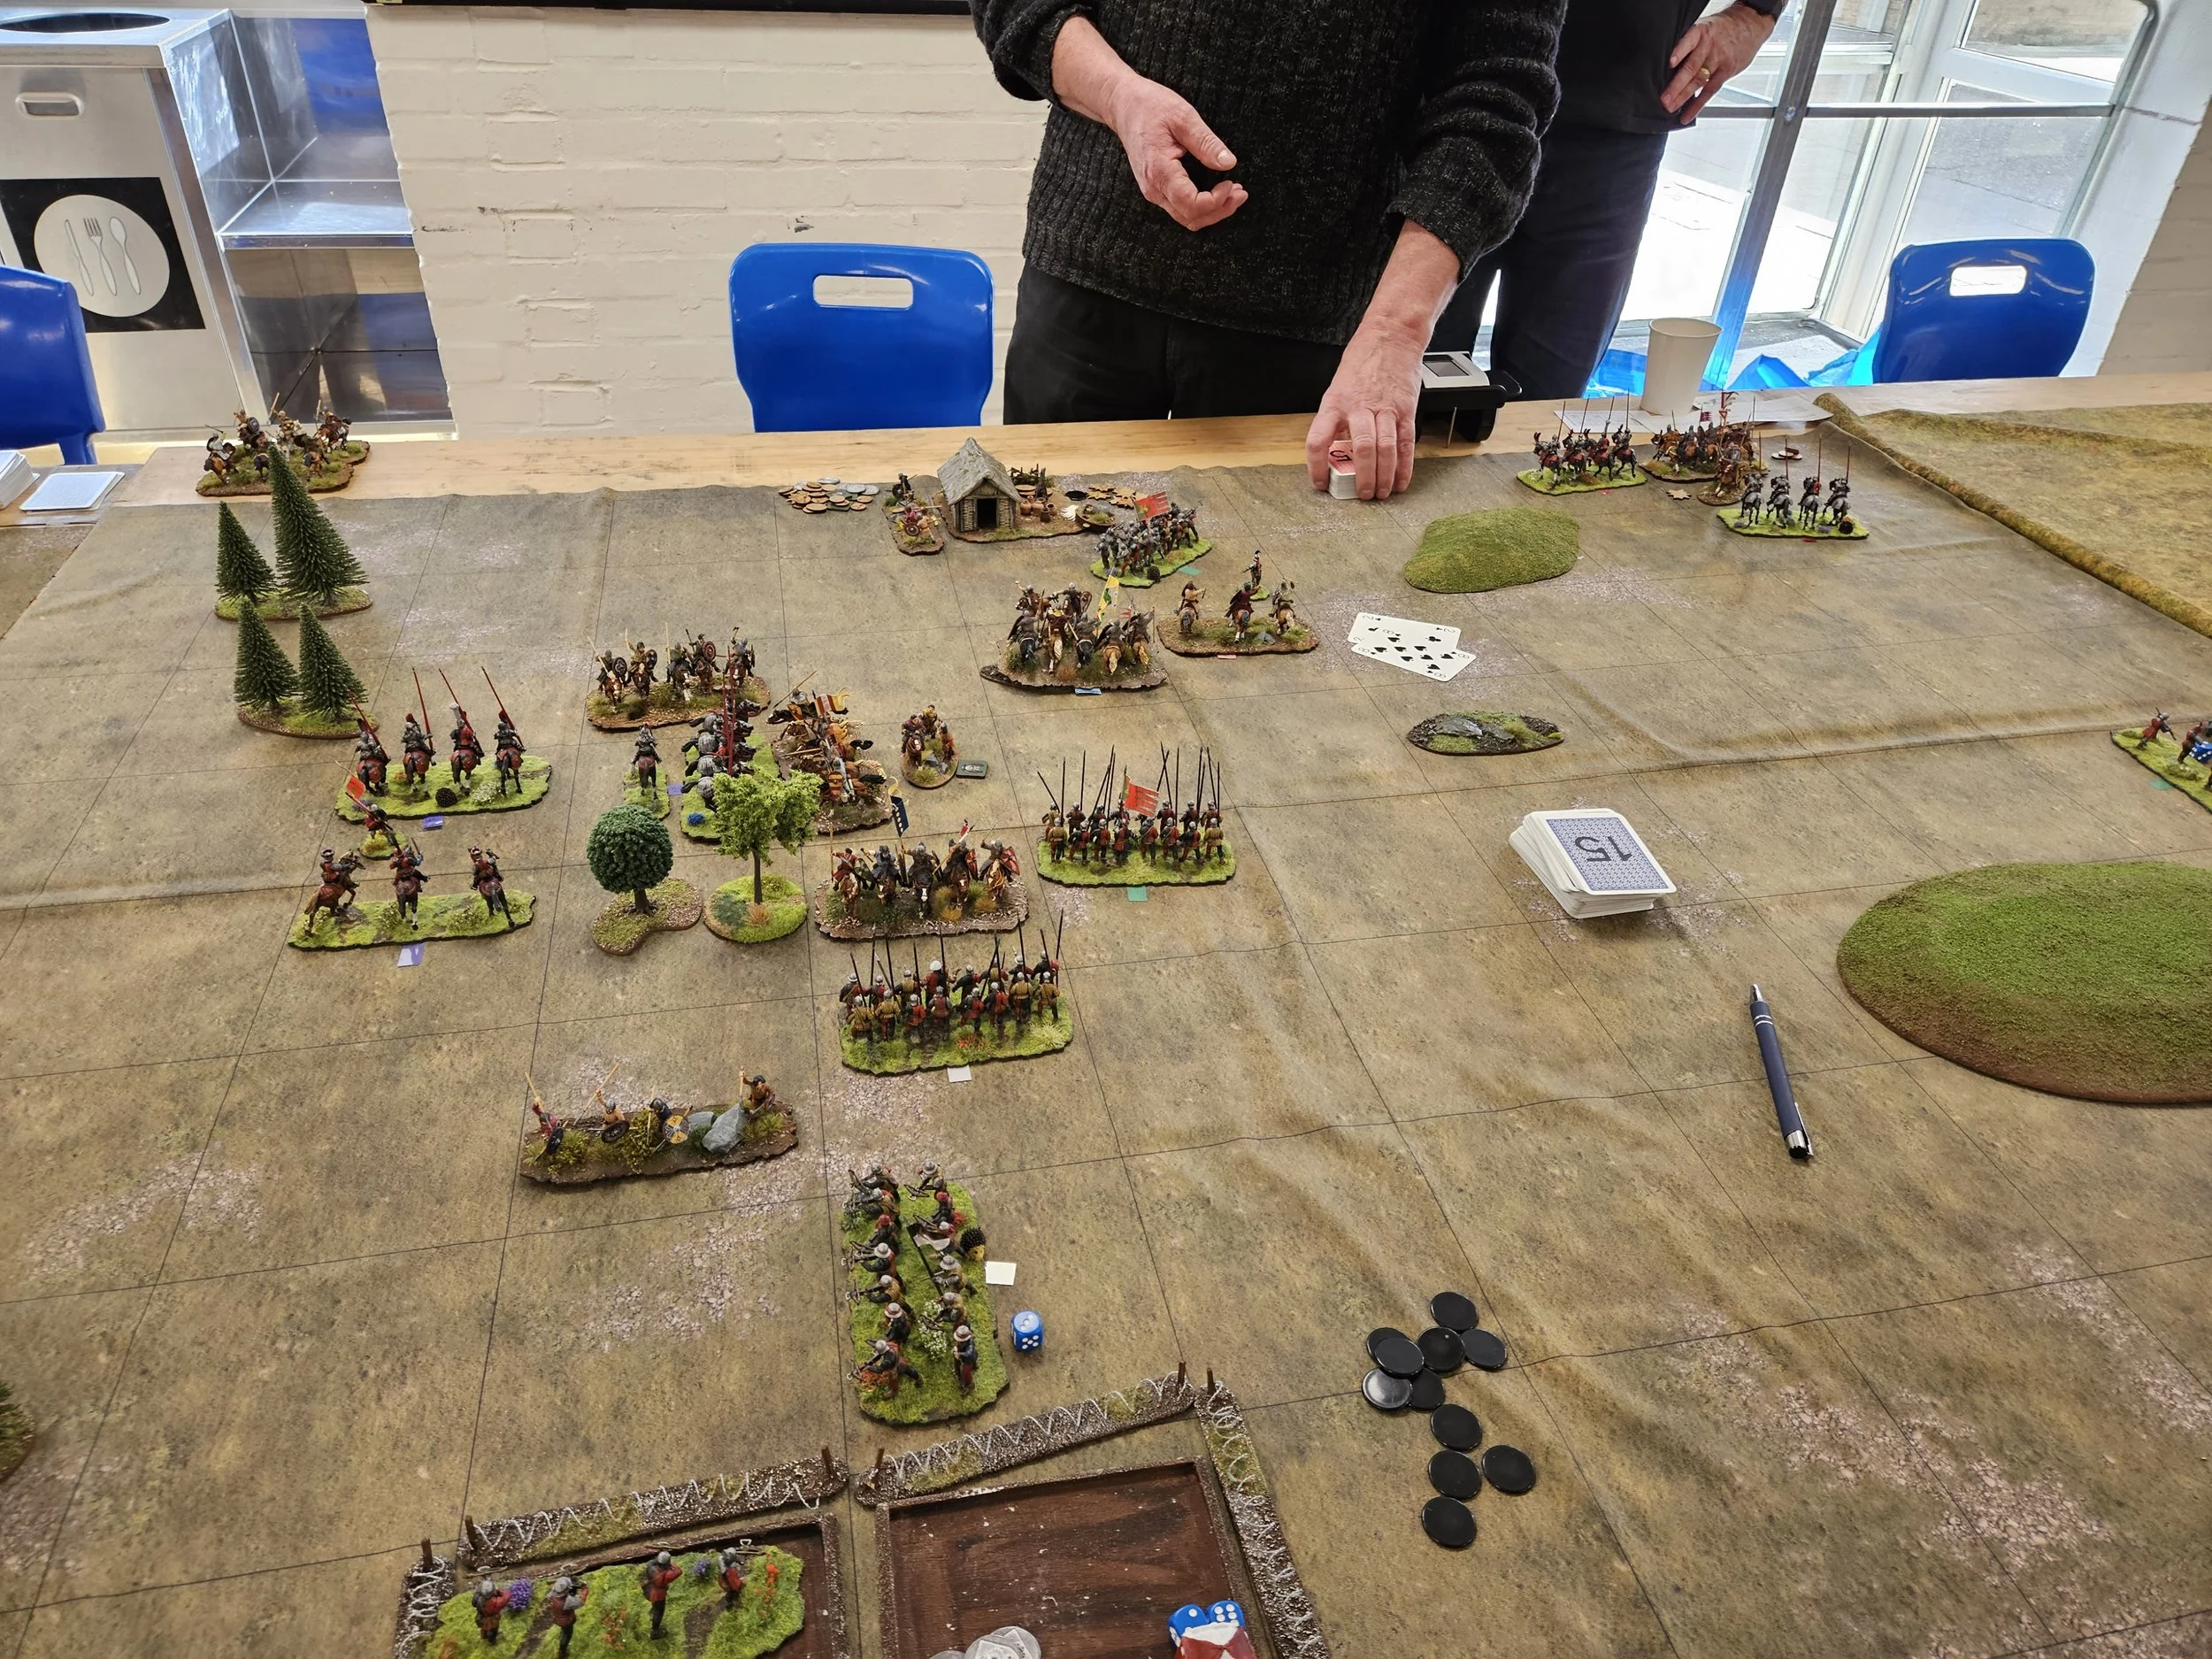
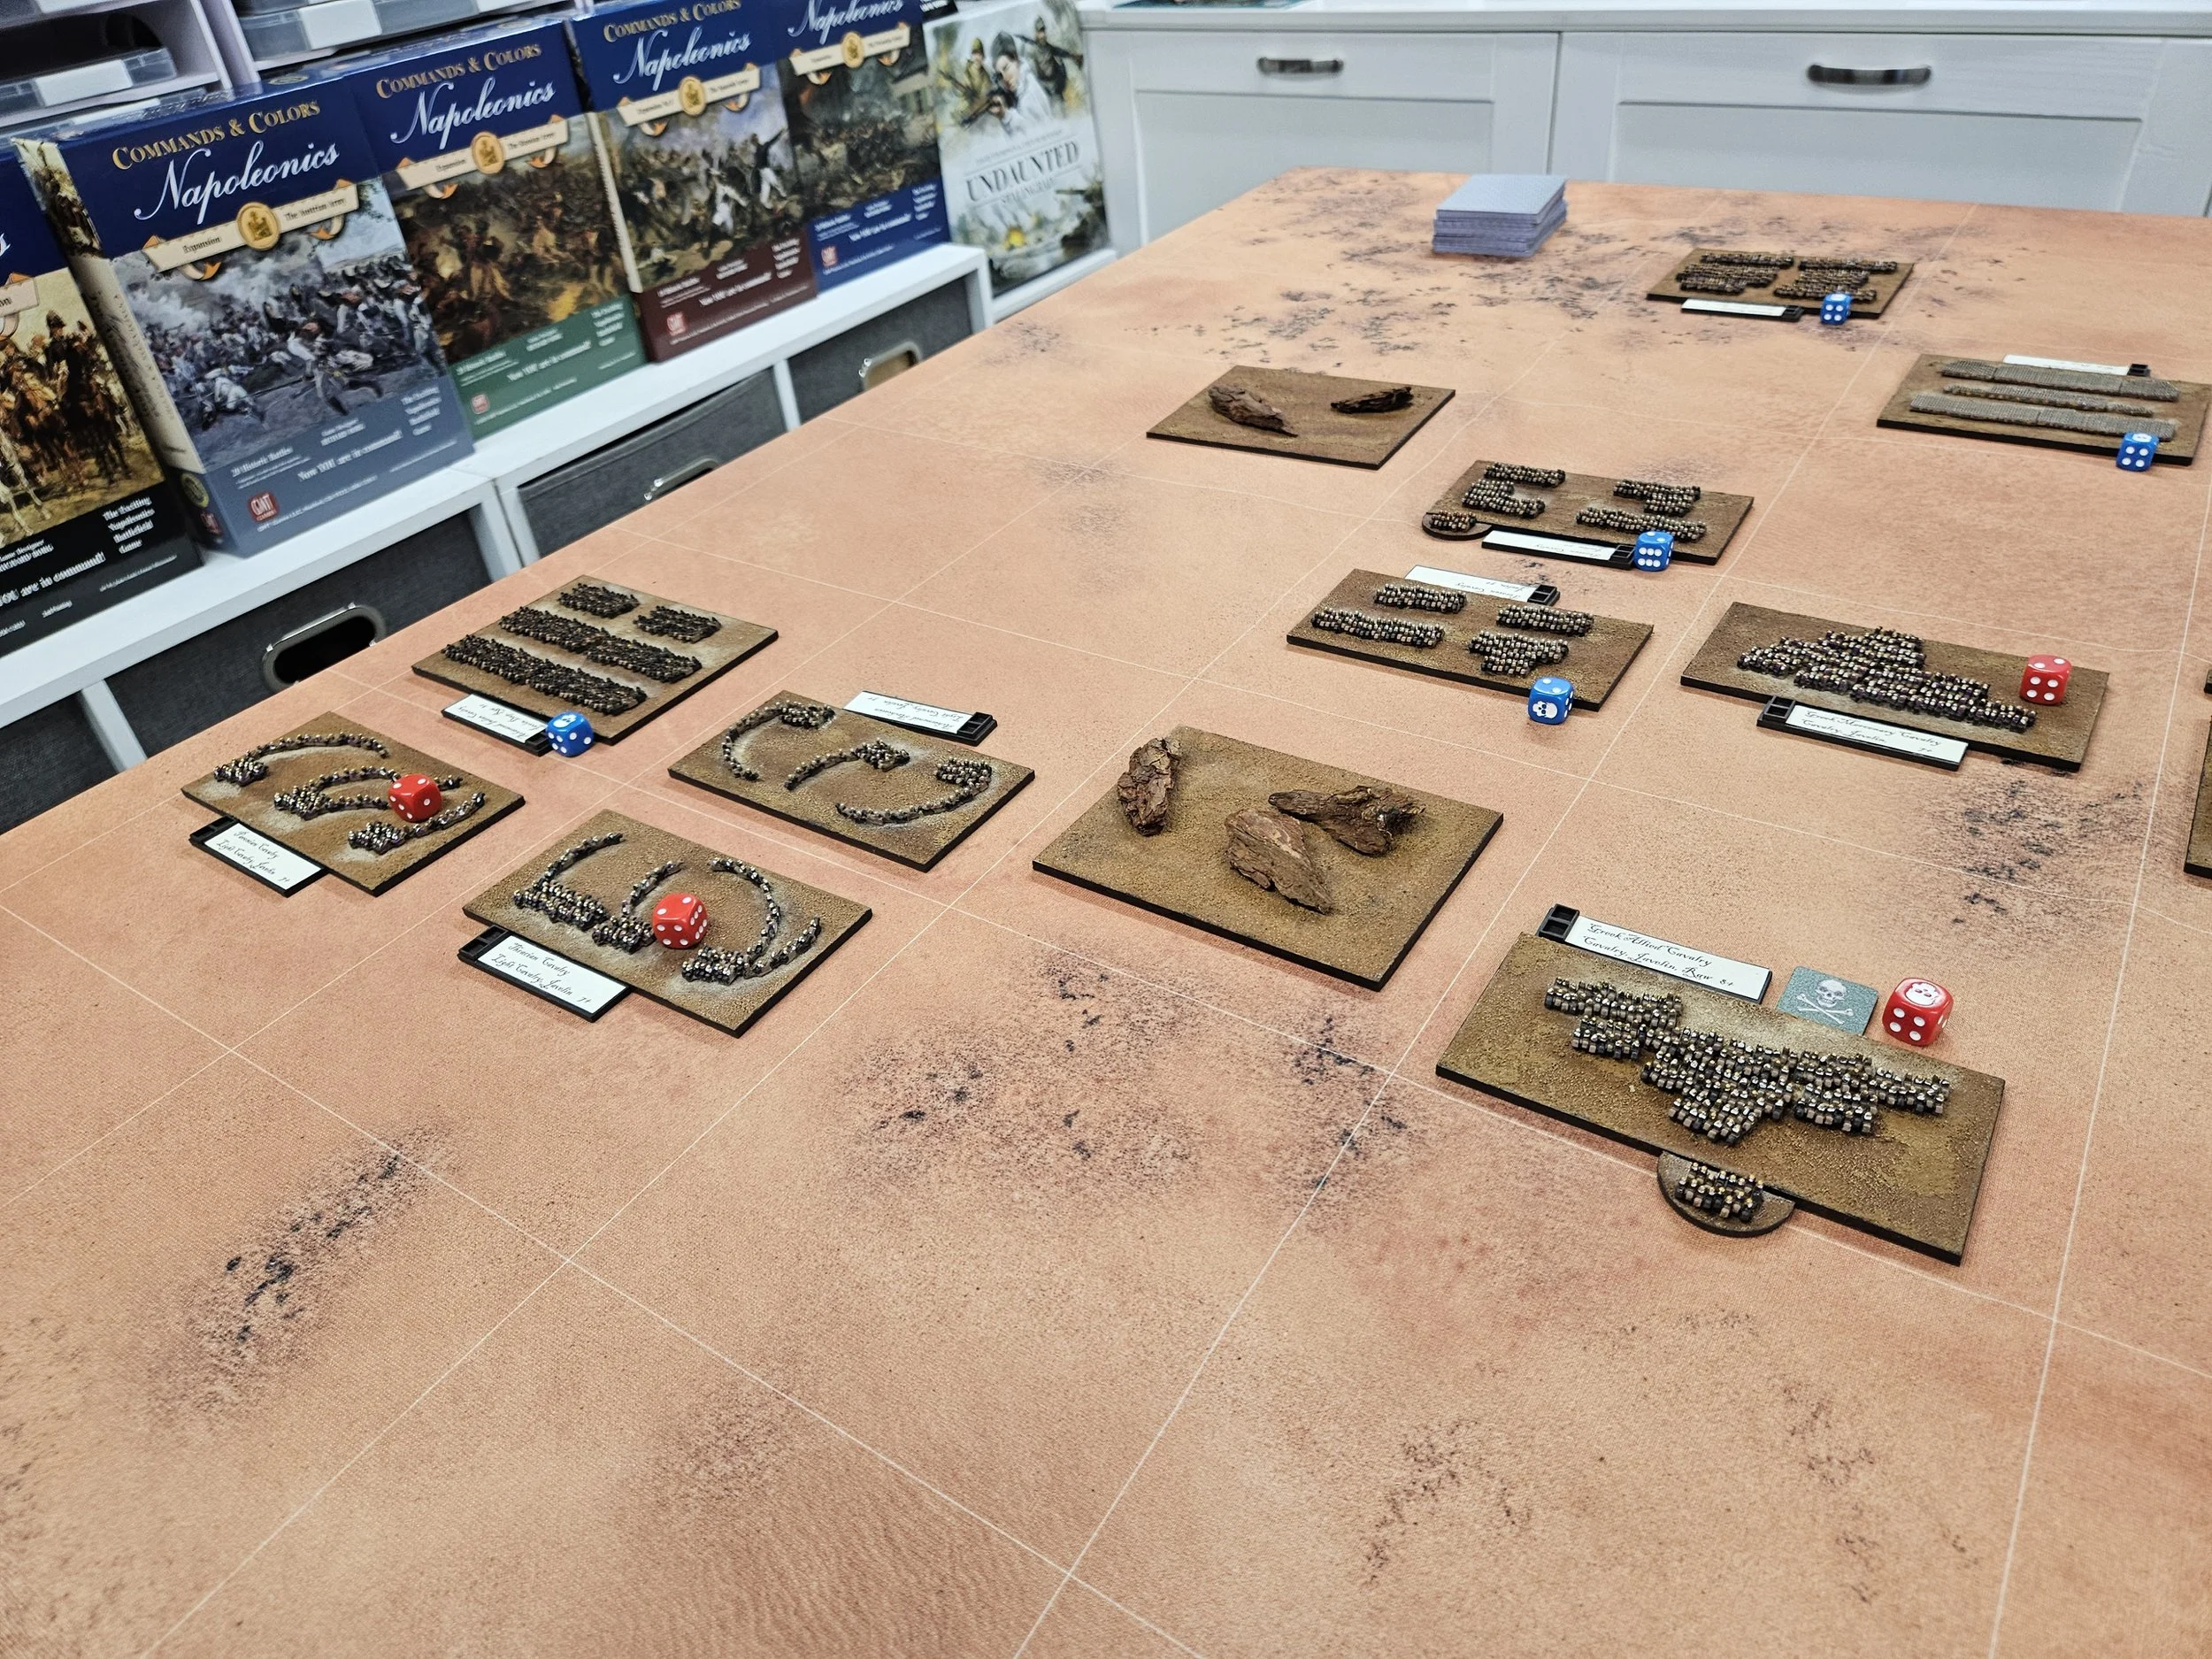
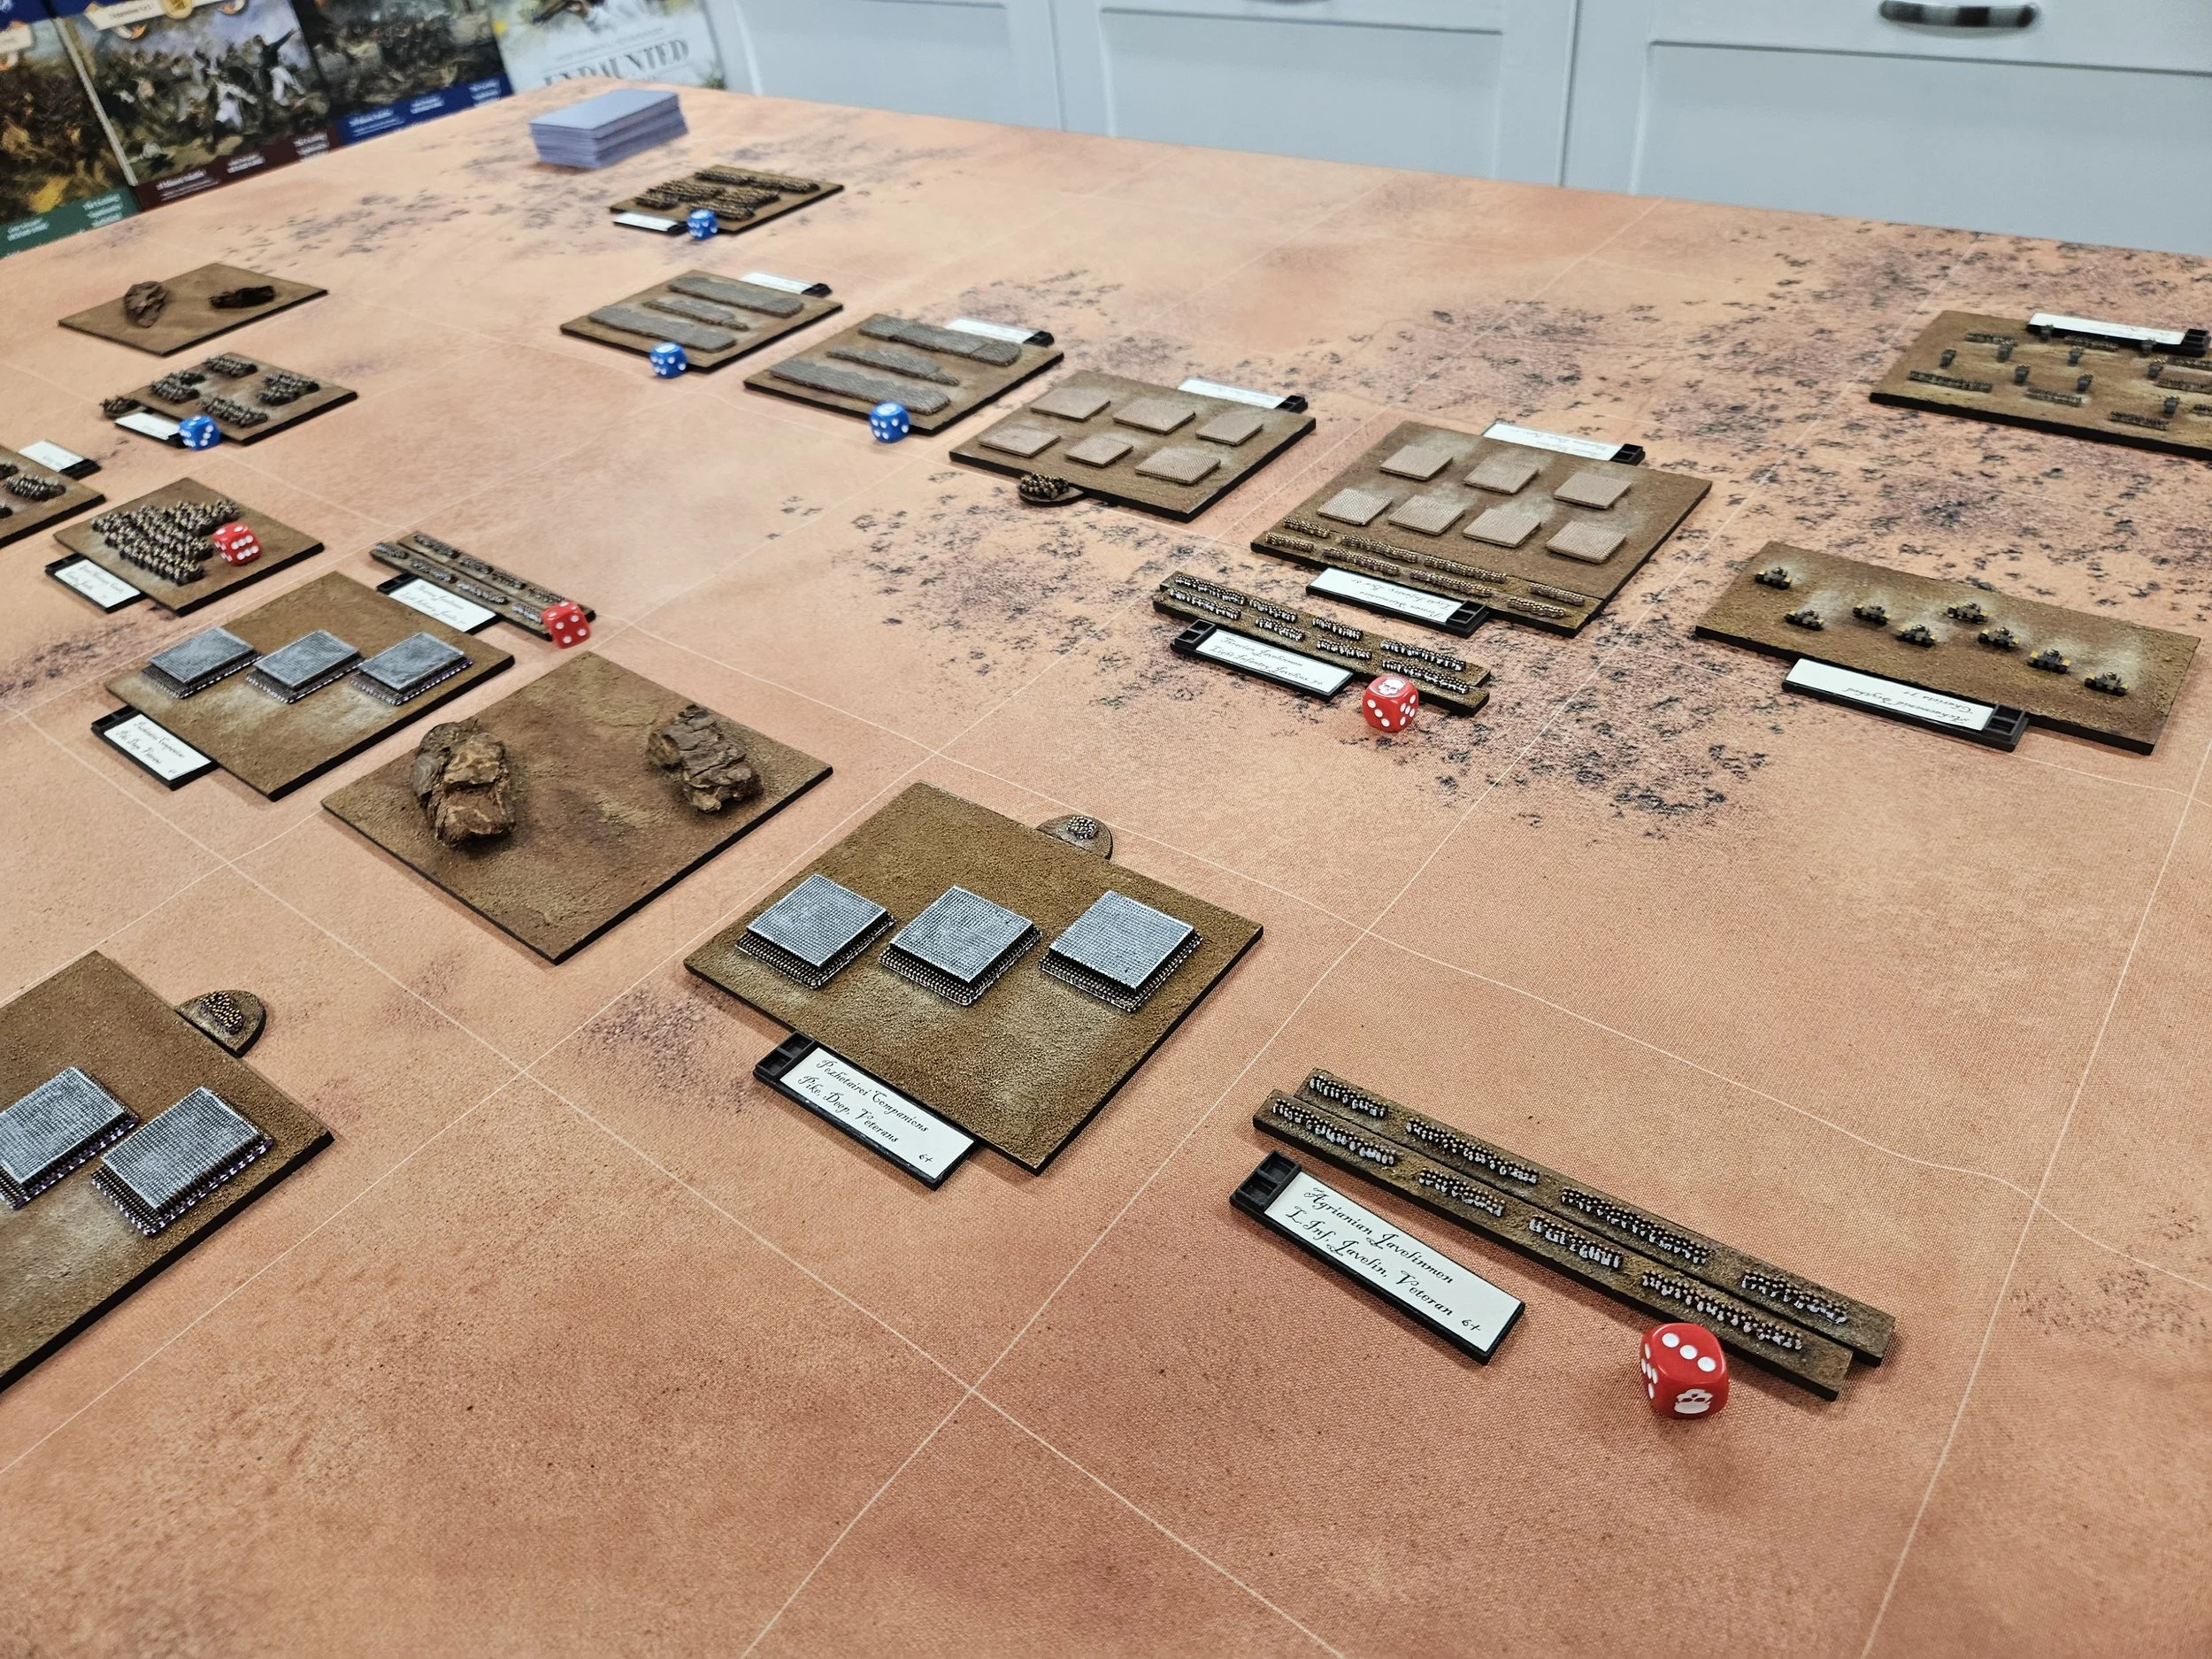
The MaccyD’s lost the deployment so set up as traditional dictated: heavy infantry in the centre, cavalry on the wings. I was very worried about my left flank where four units of generally poor quality cavalry faced six units of decent Persian horsemen, so what I needed was for Alex to punch through quickly on the other win whilst the pikemen advanced in the centre. Annoyingly, Neil picked the This Way Effendi strategy chit and used it to push the left hand infantry command back a square: something that would have huge significance later in the game.
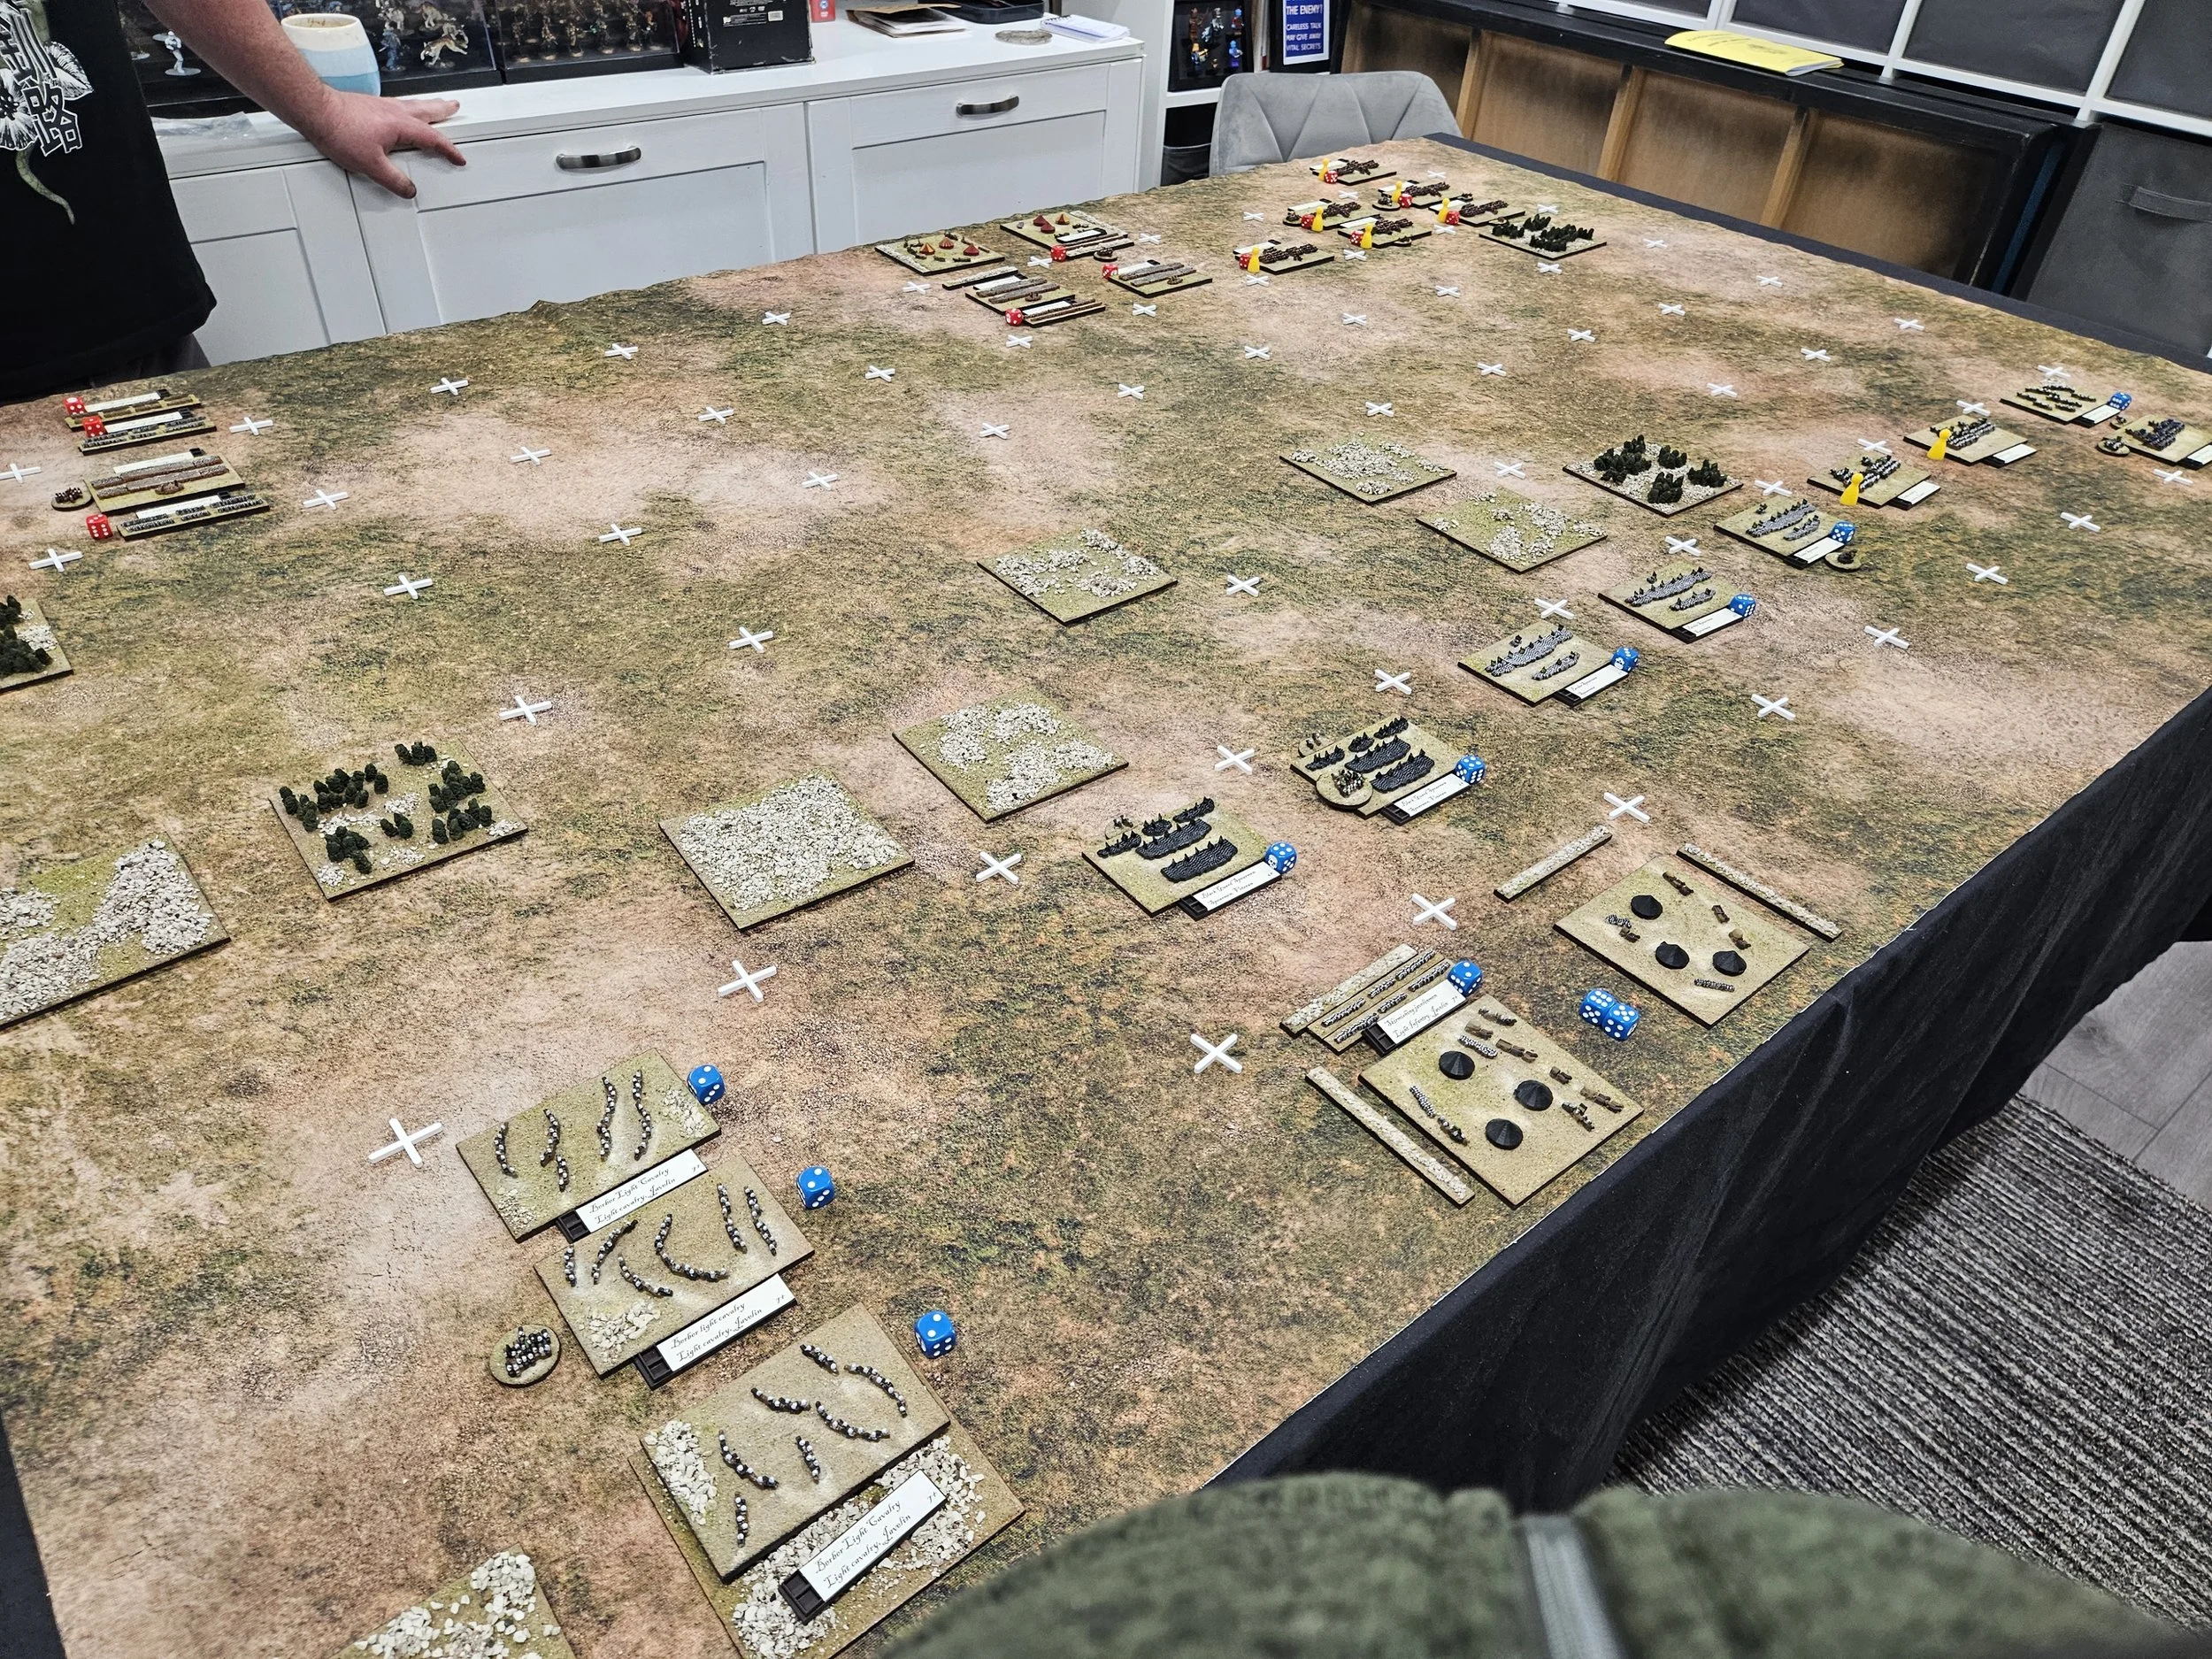
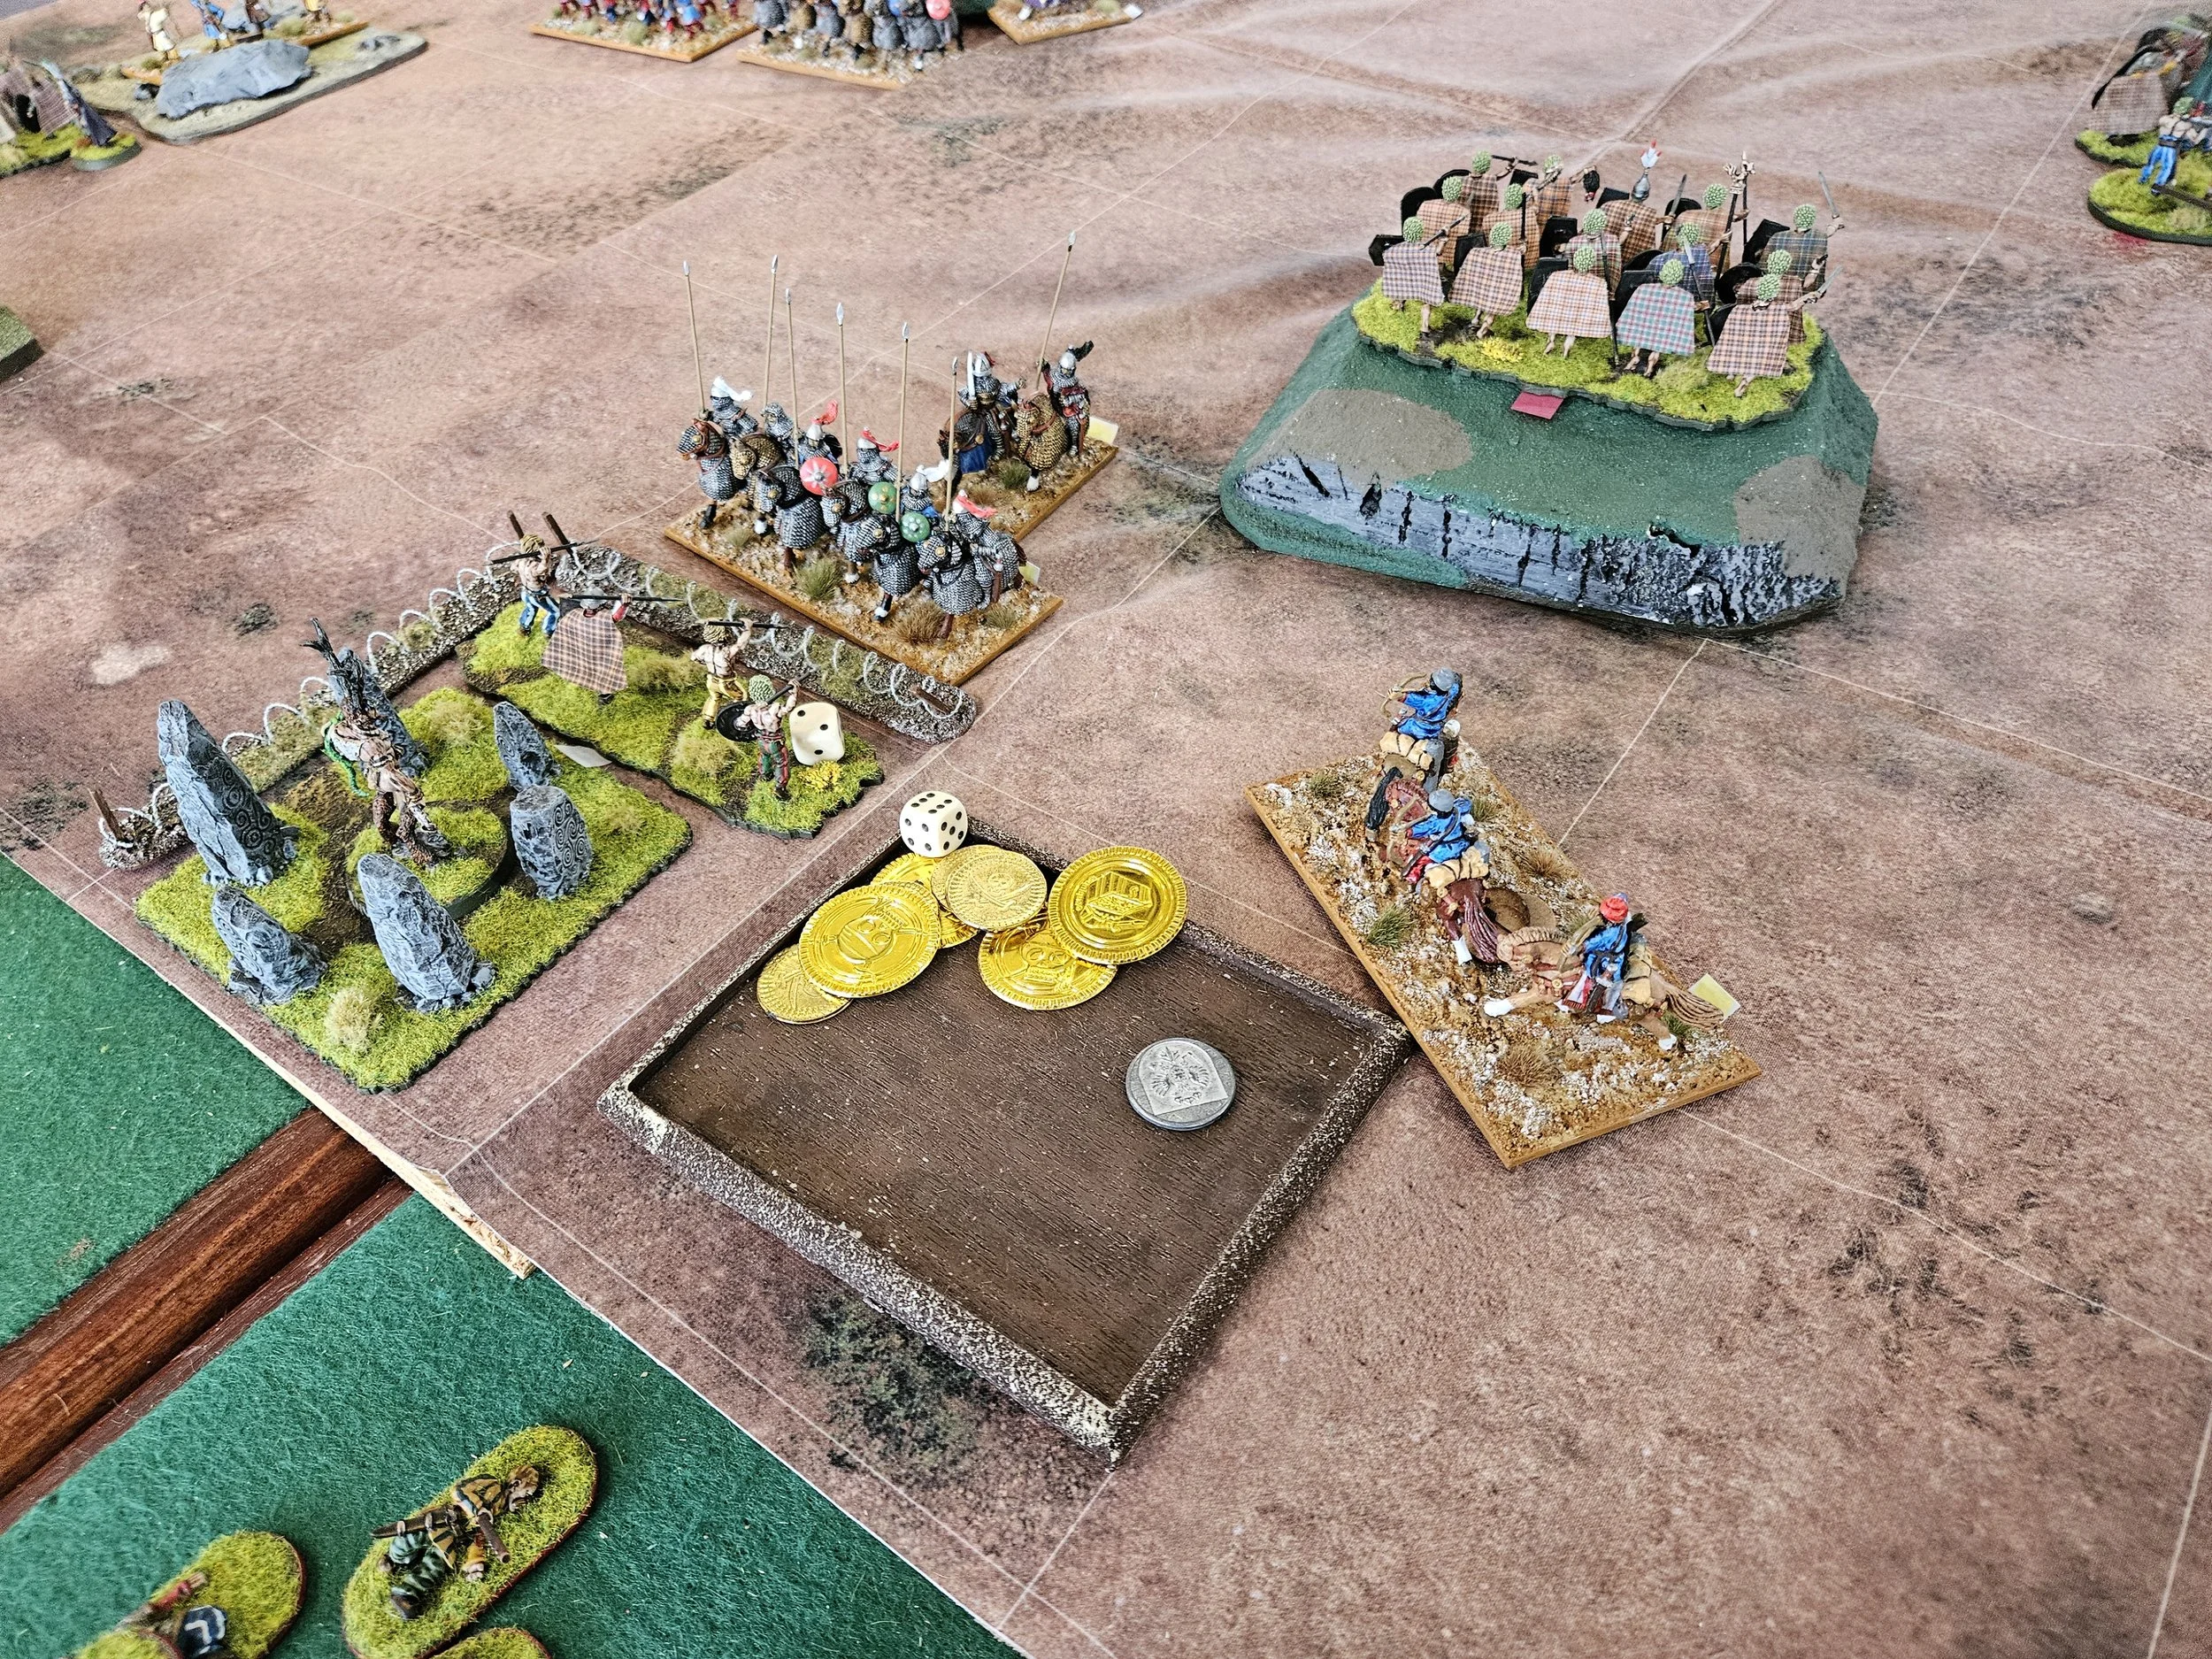
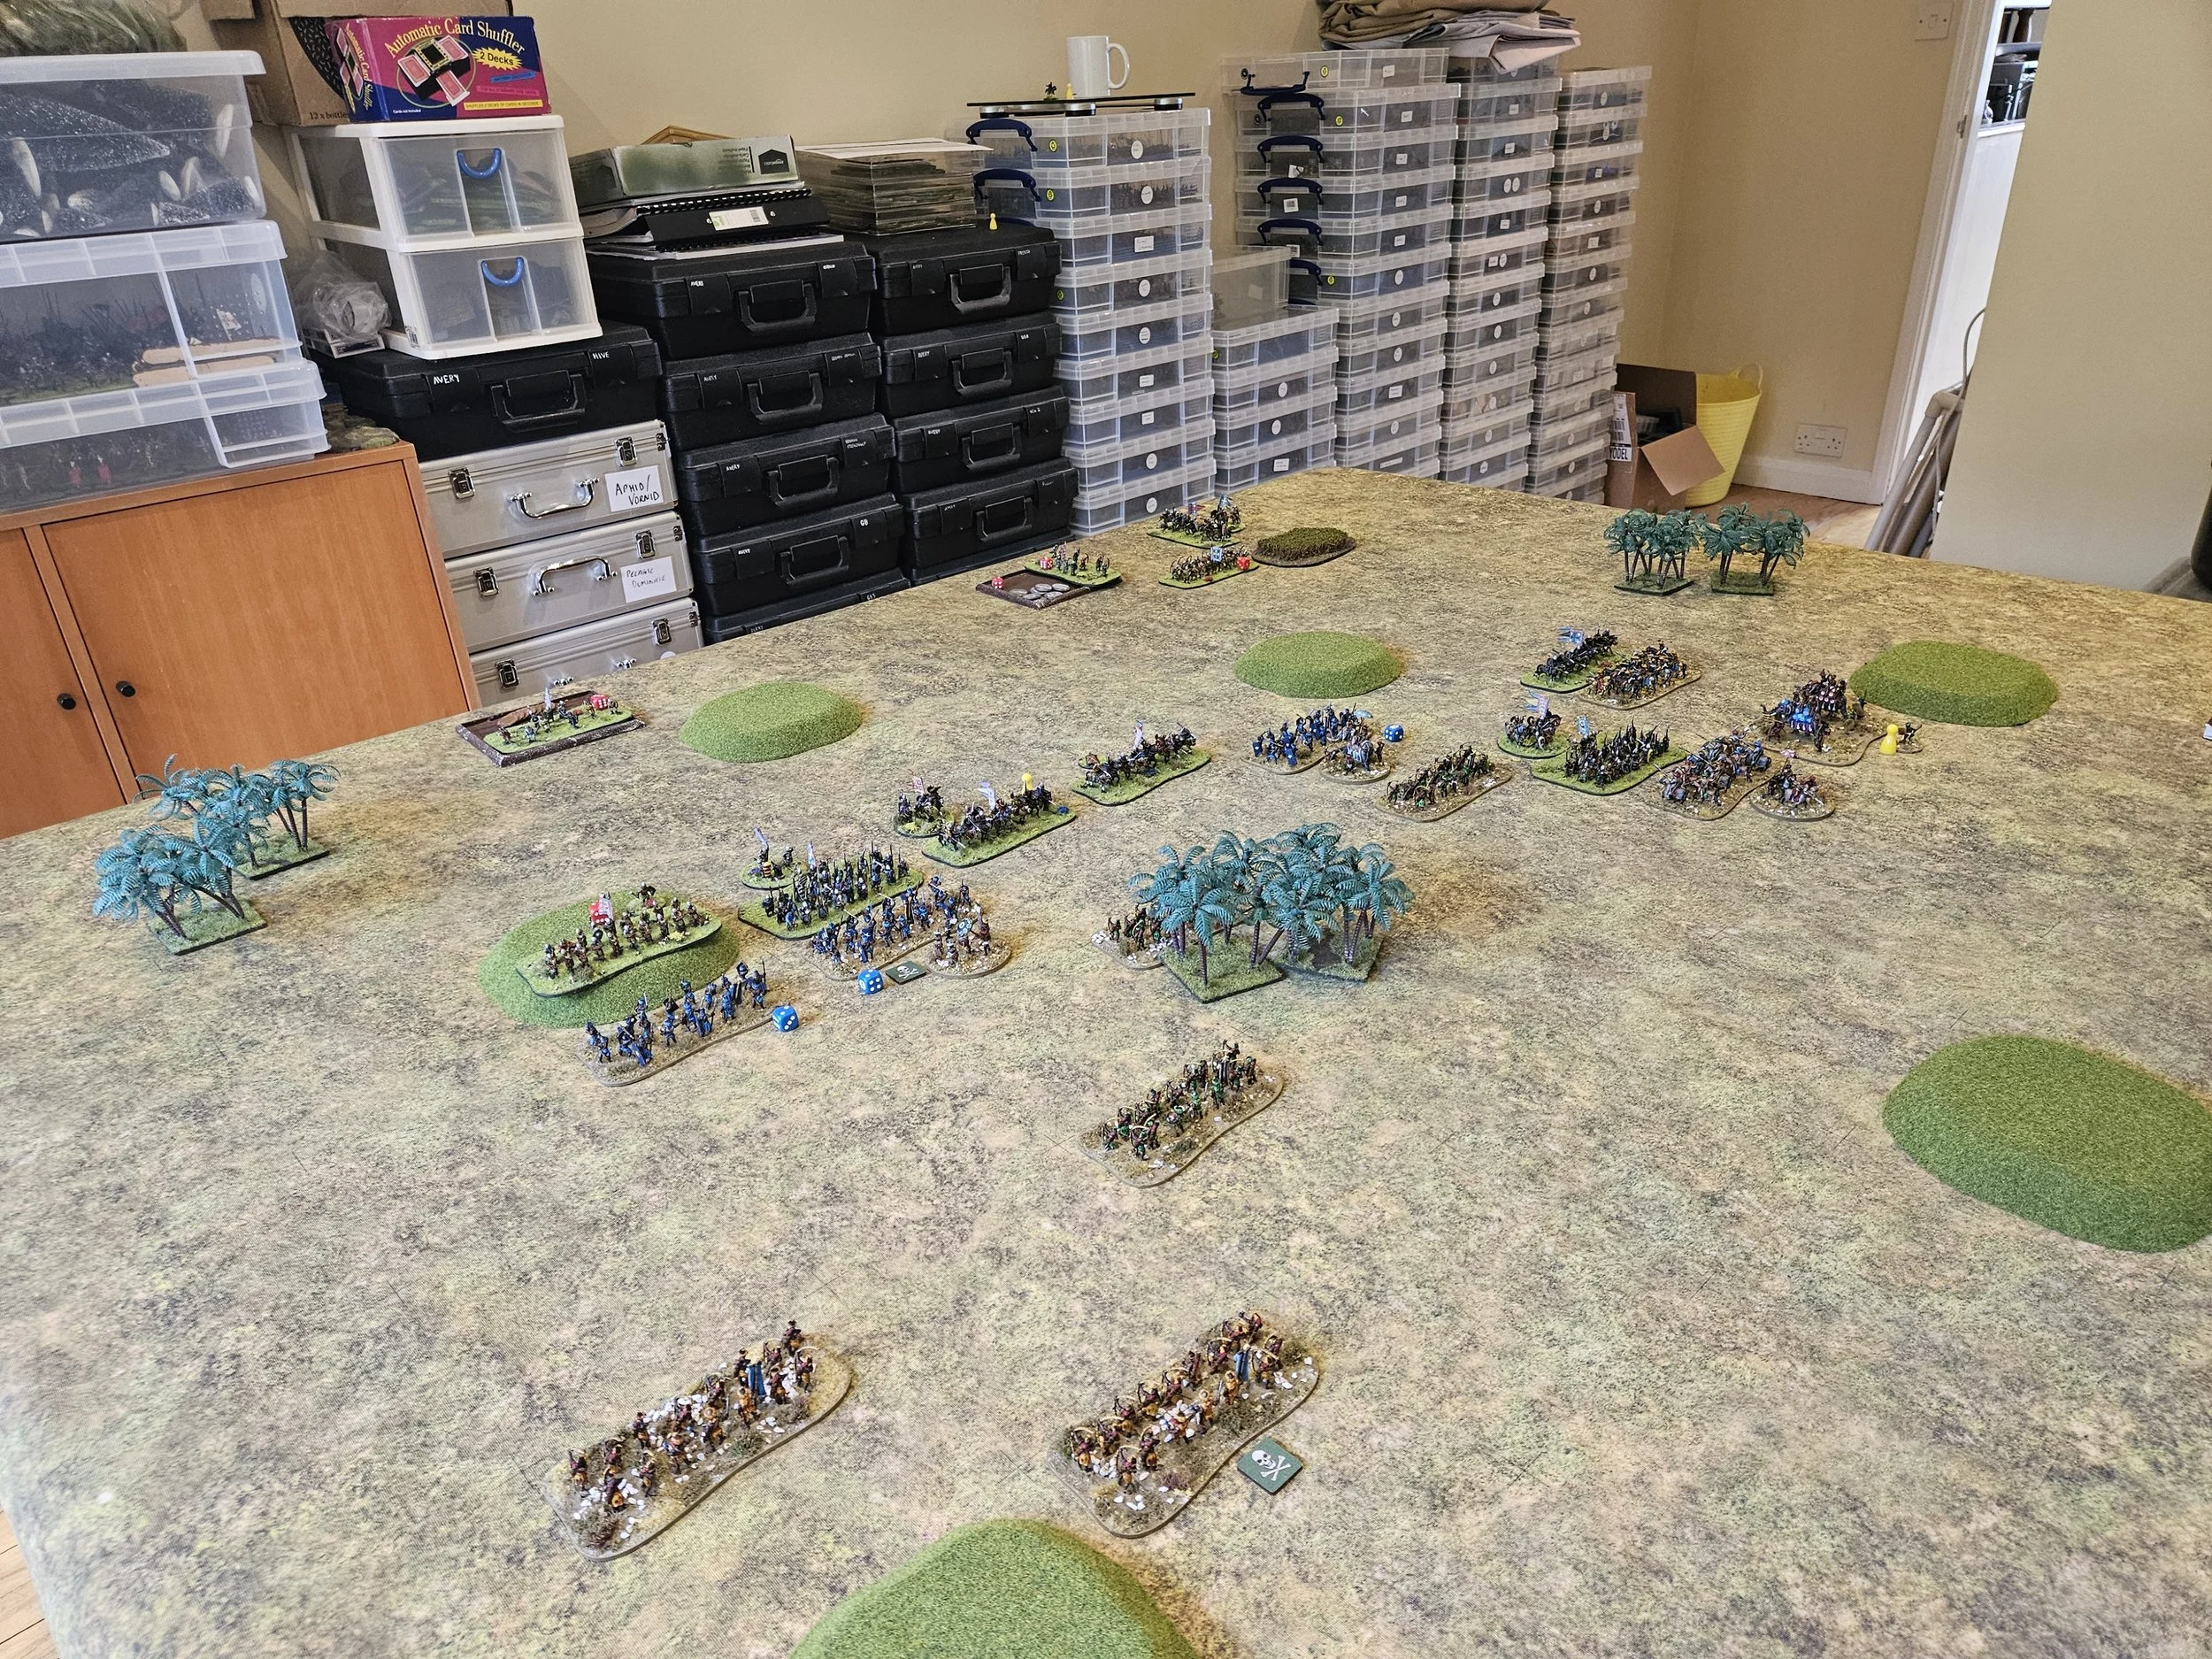
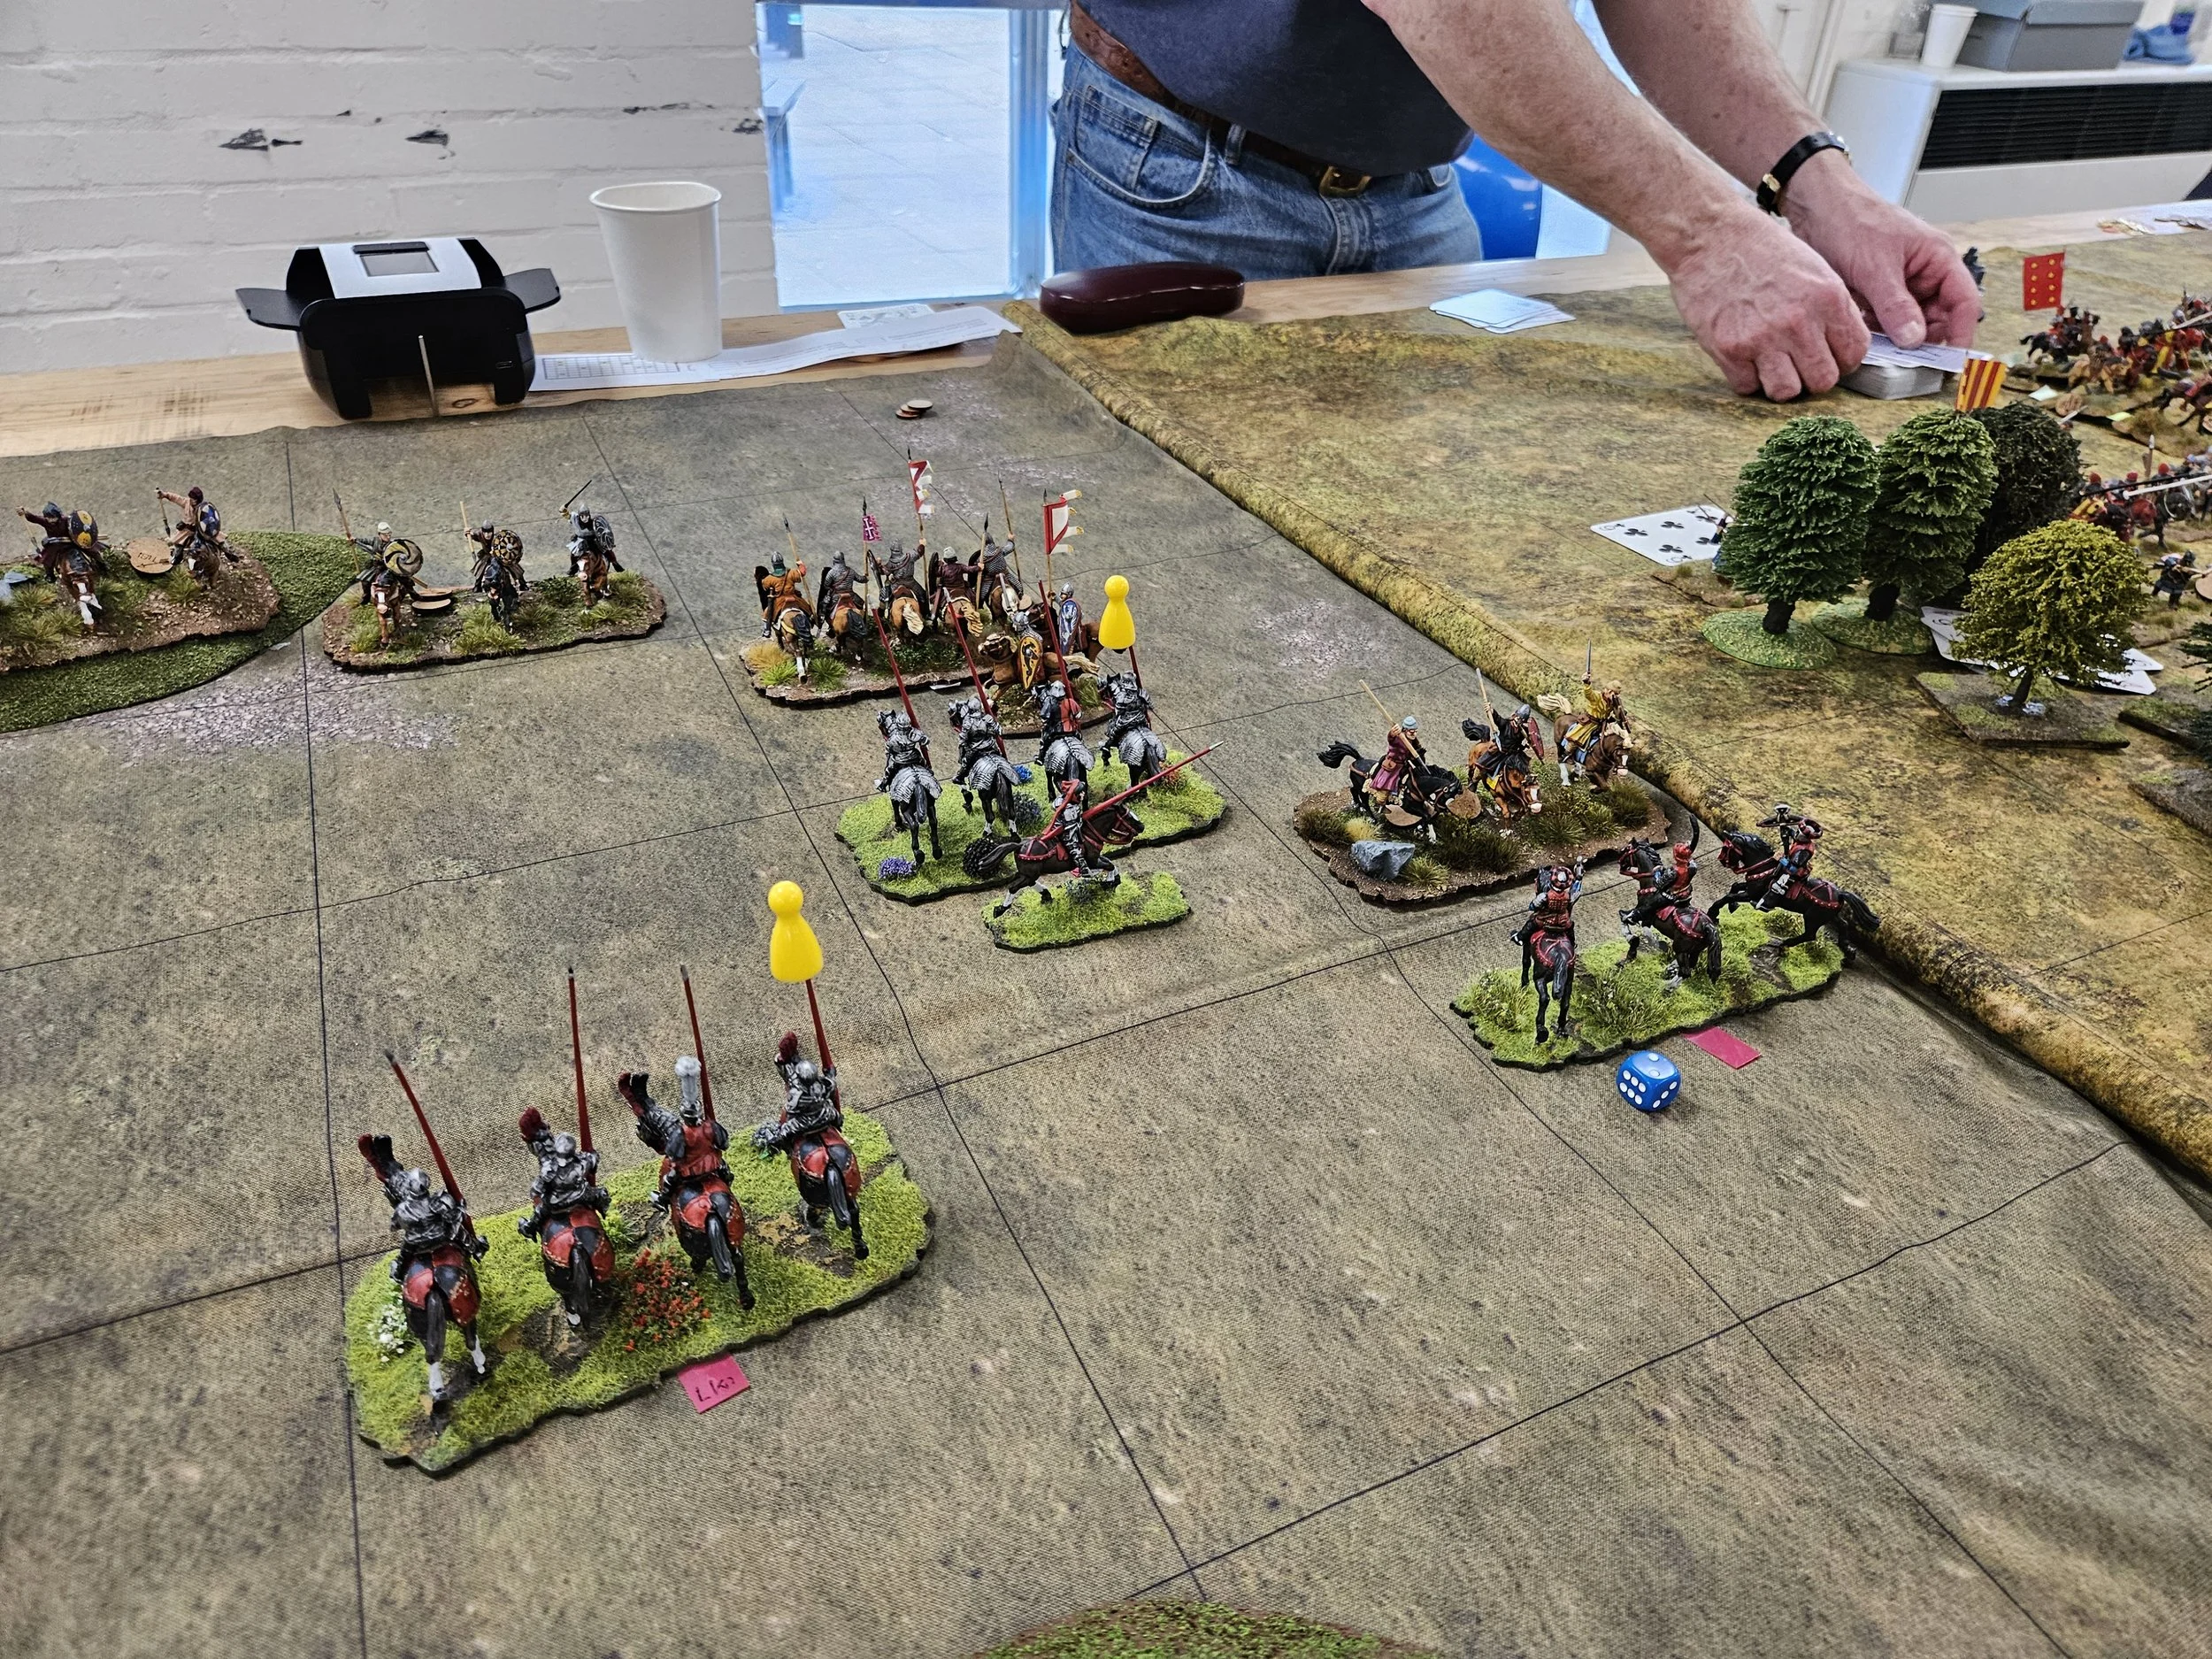
As battle commenced, I pushed forward across the line except for the left hand cavalry command which largely sat and waited for the Persians to come to them. You can see in the picture below how the left hand infantry command is still one square behind their colleagues on the right.
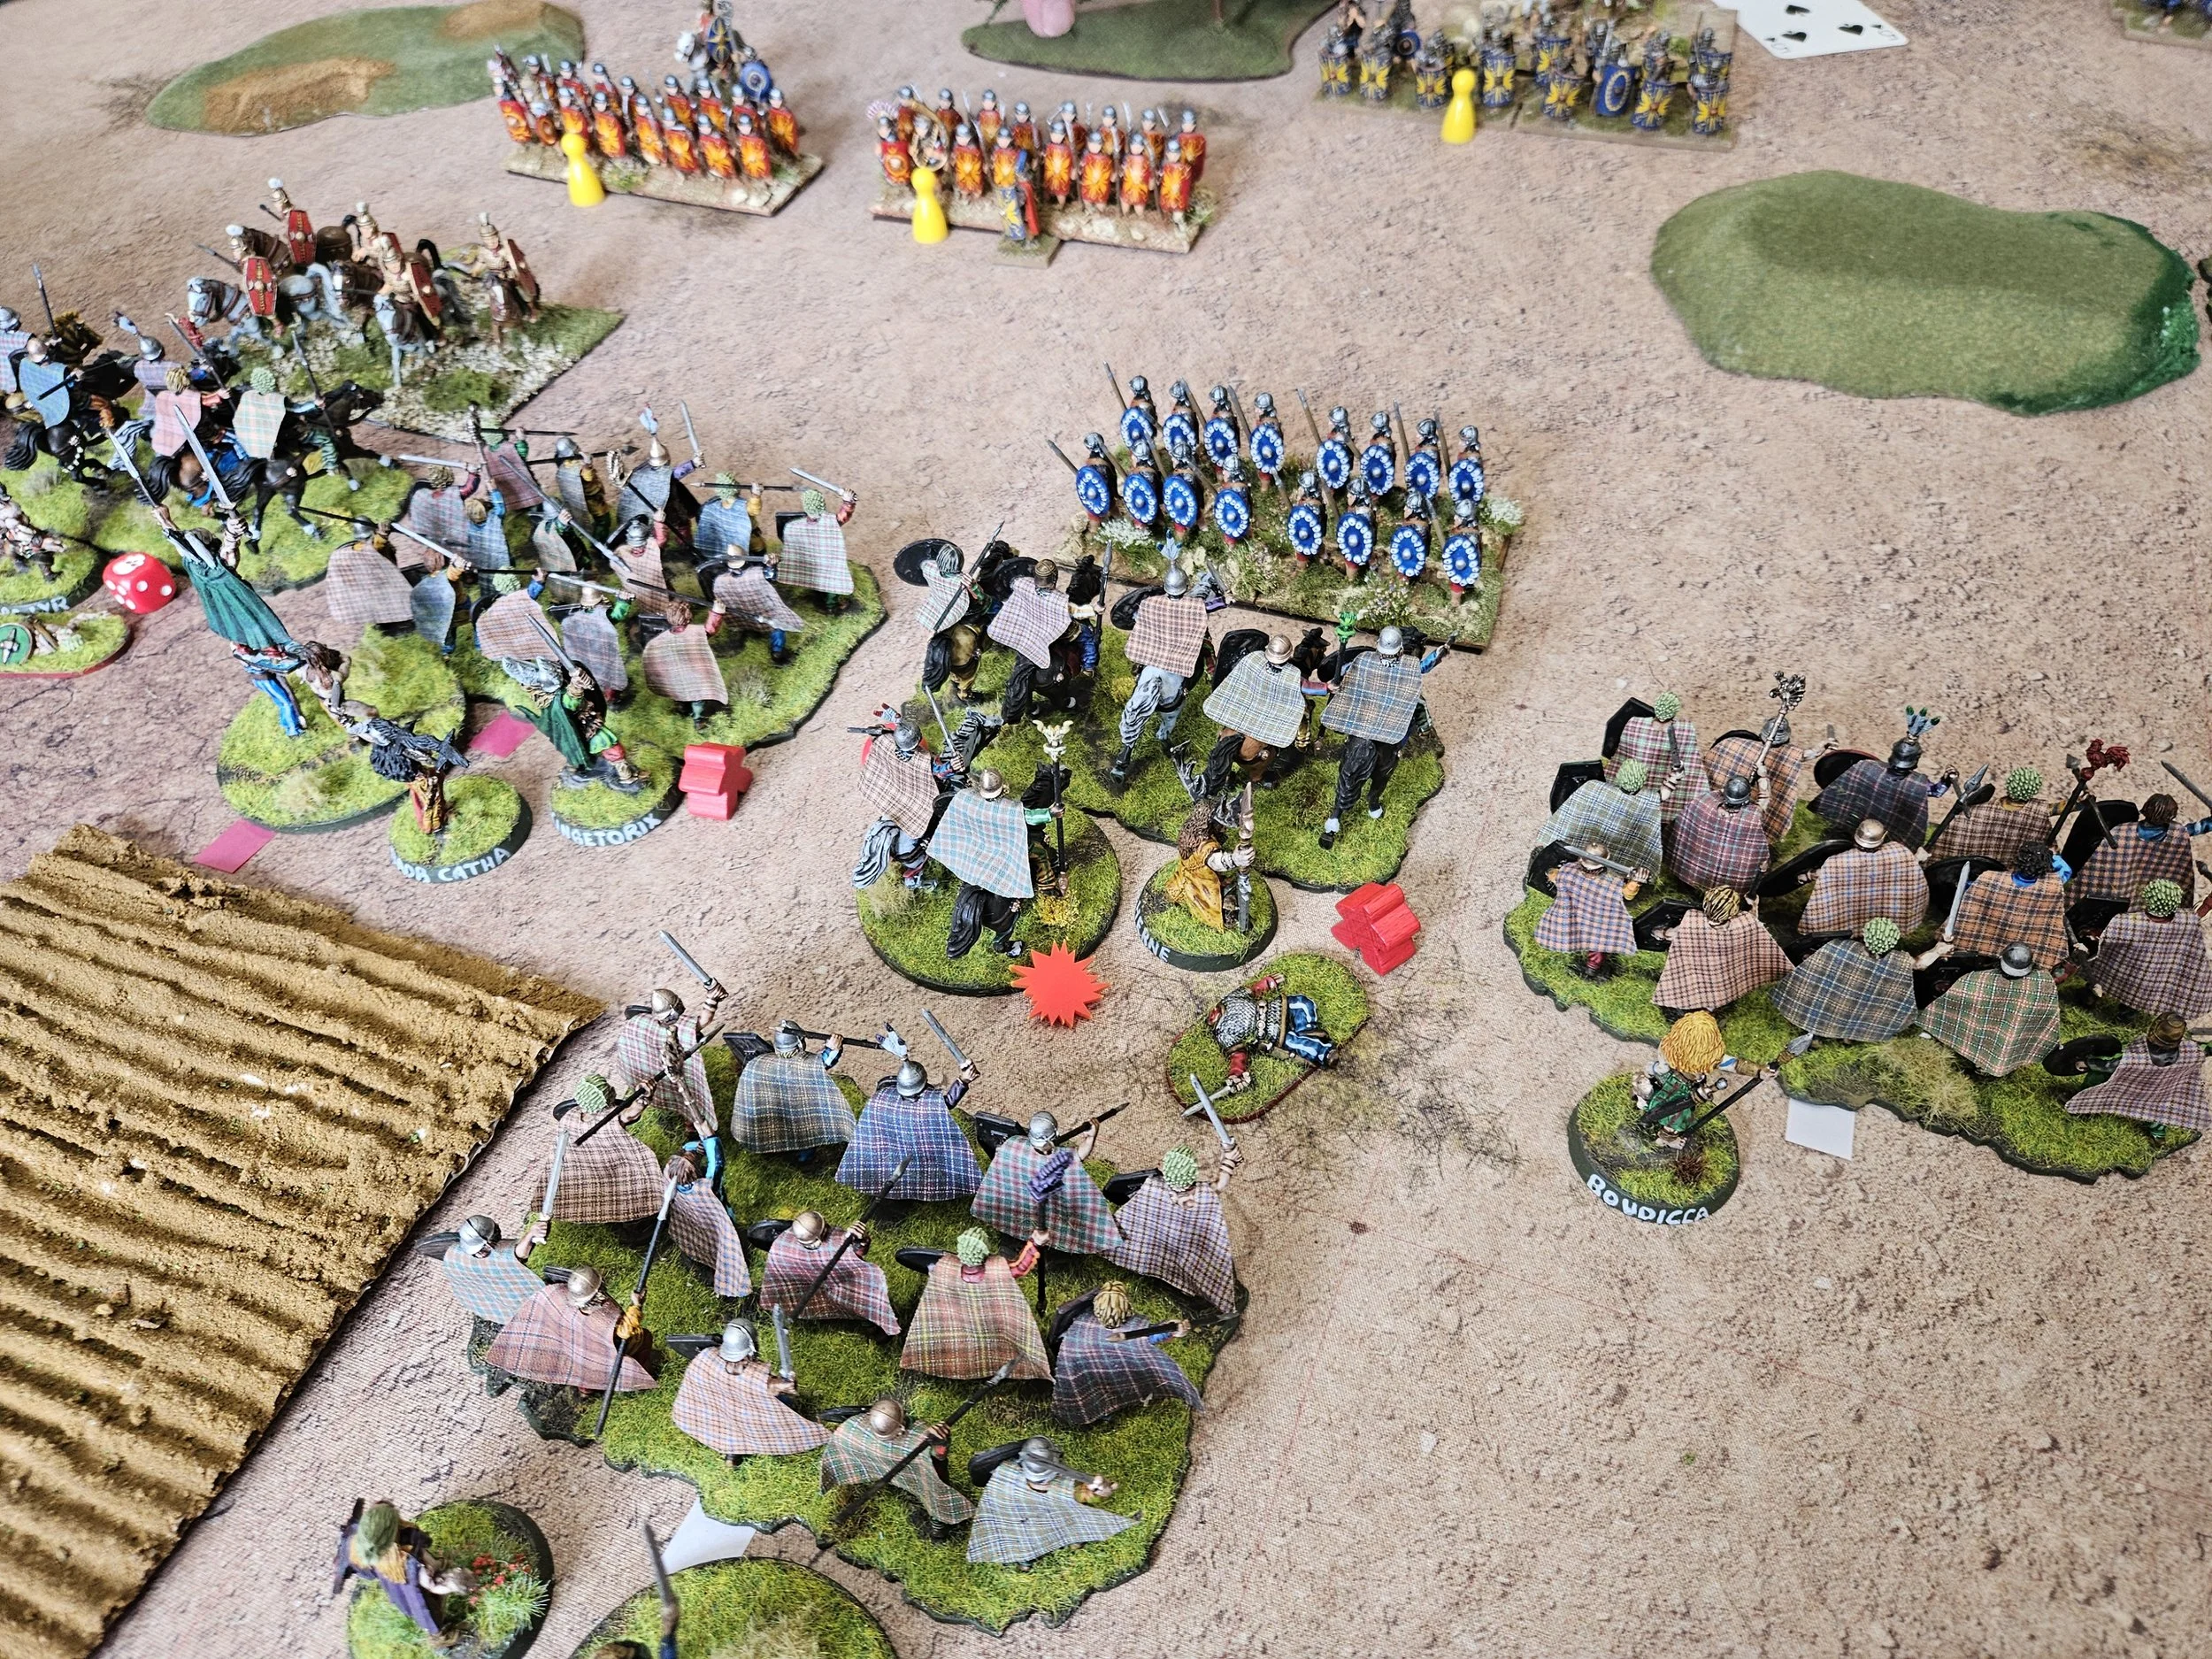
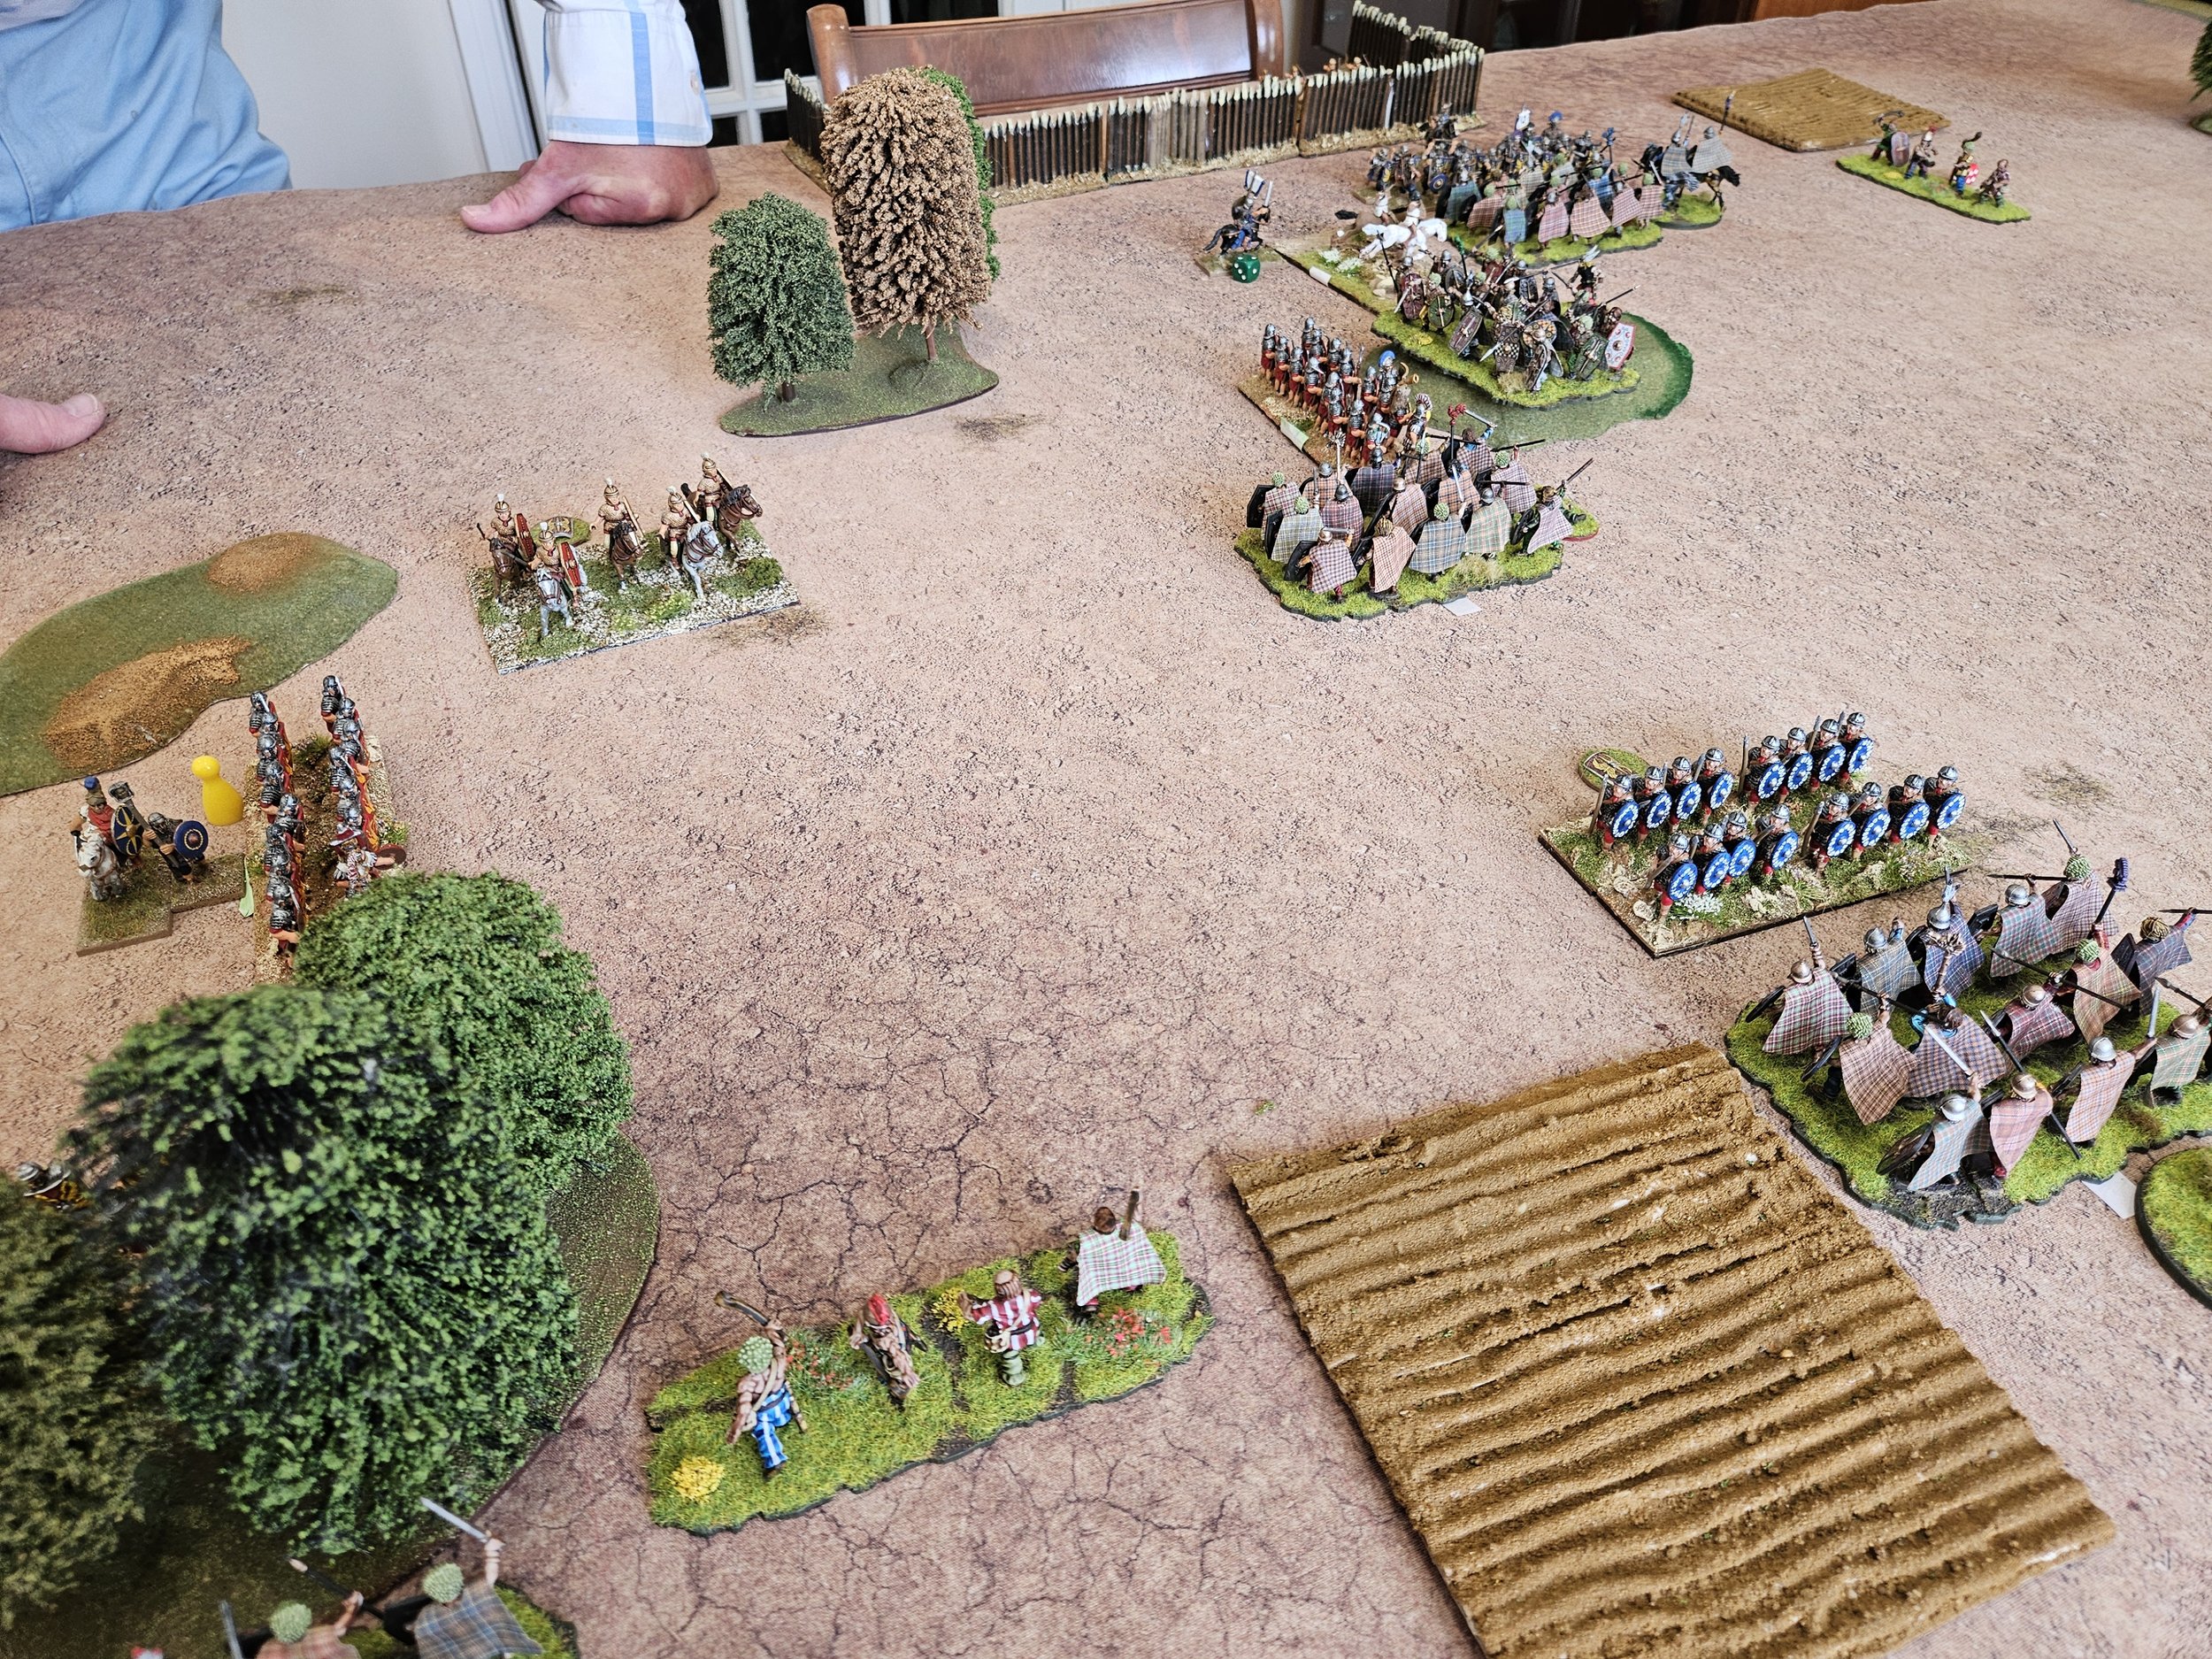
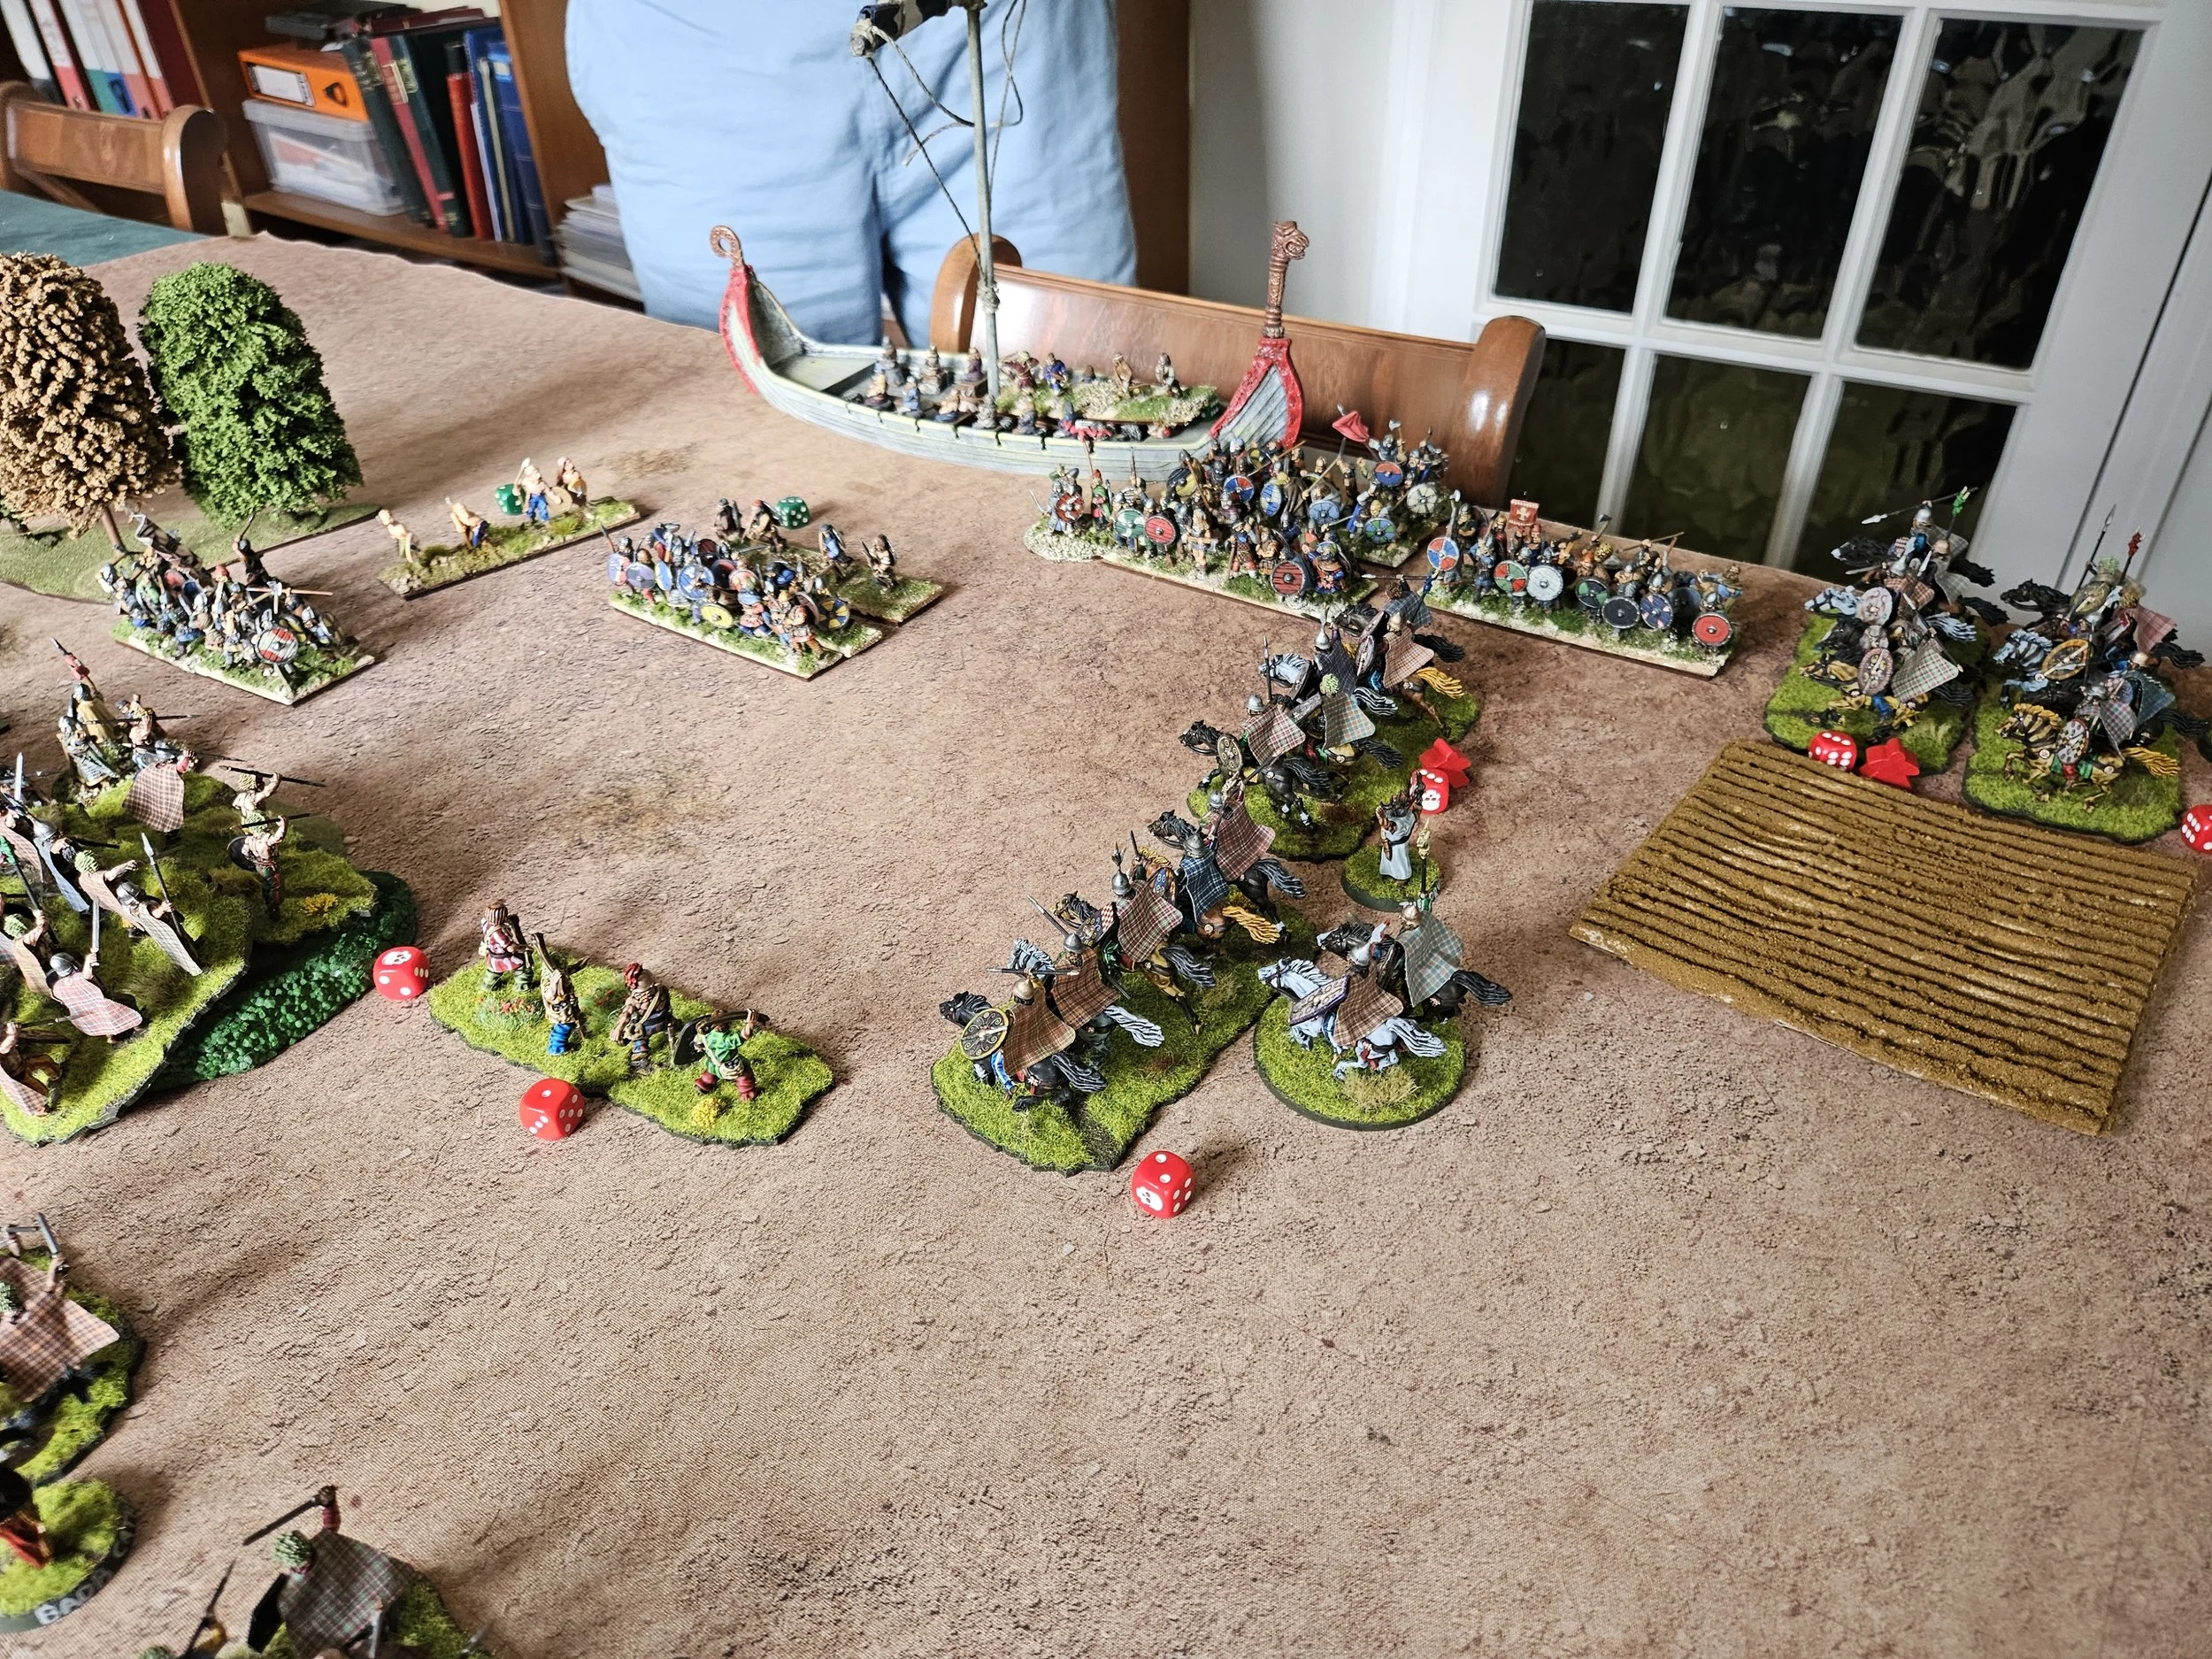
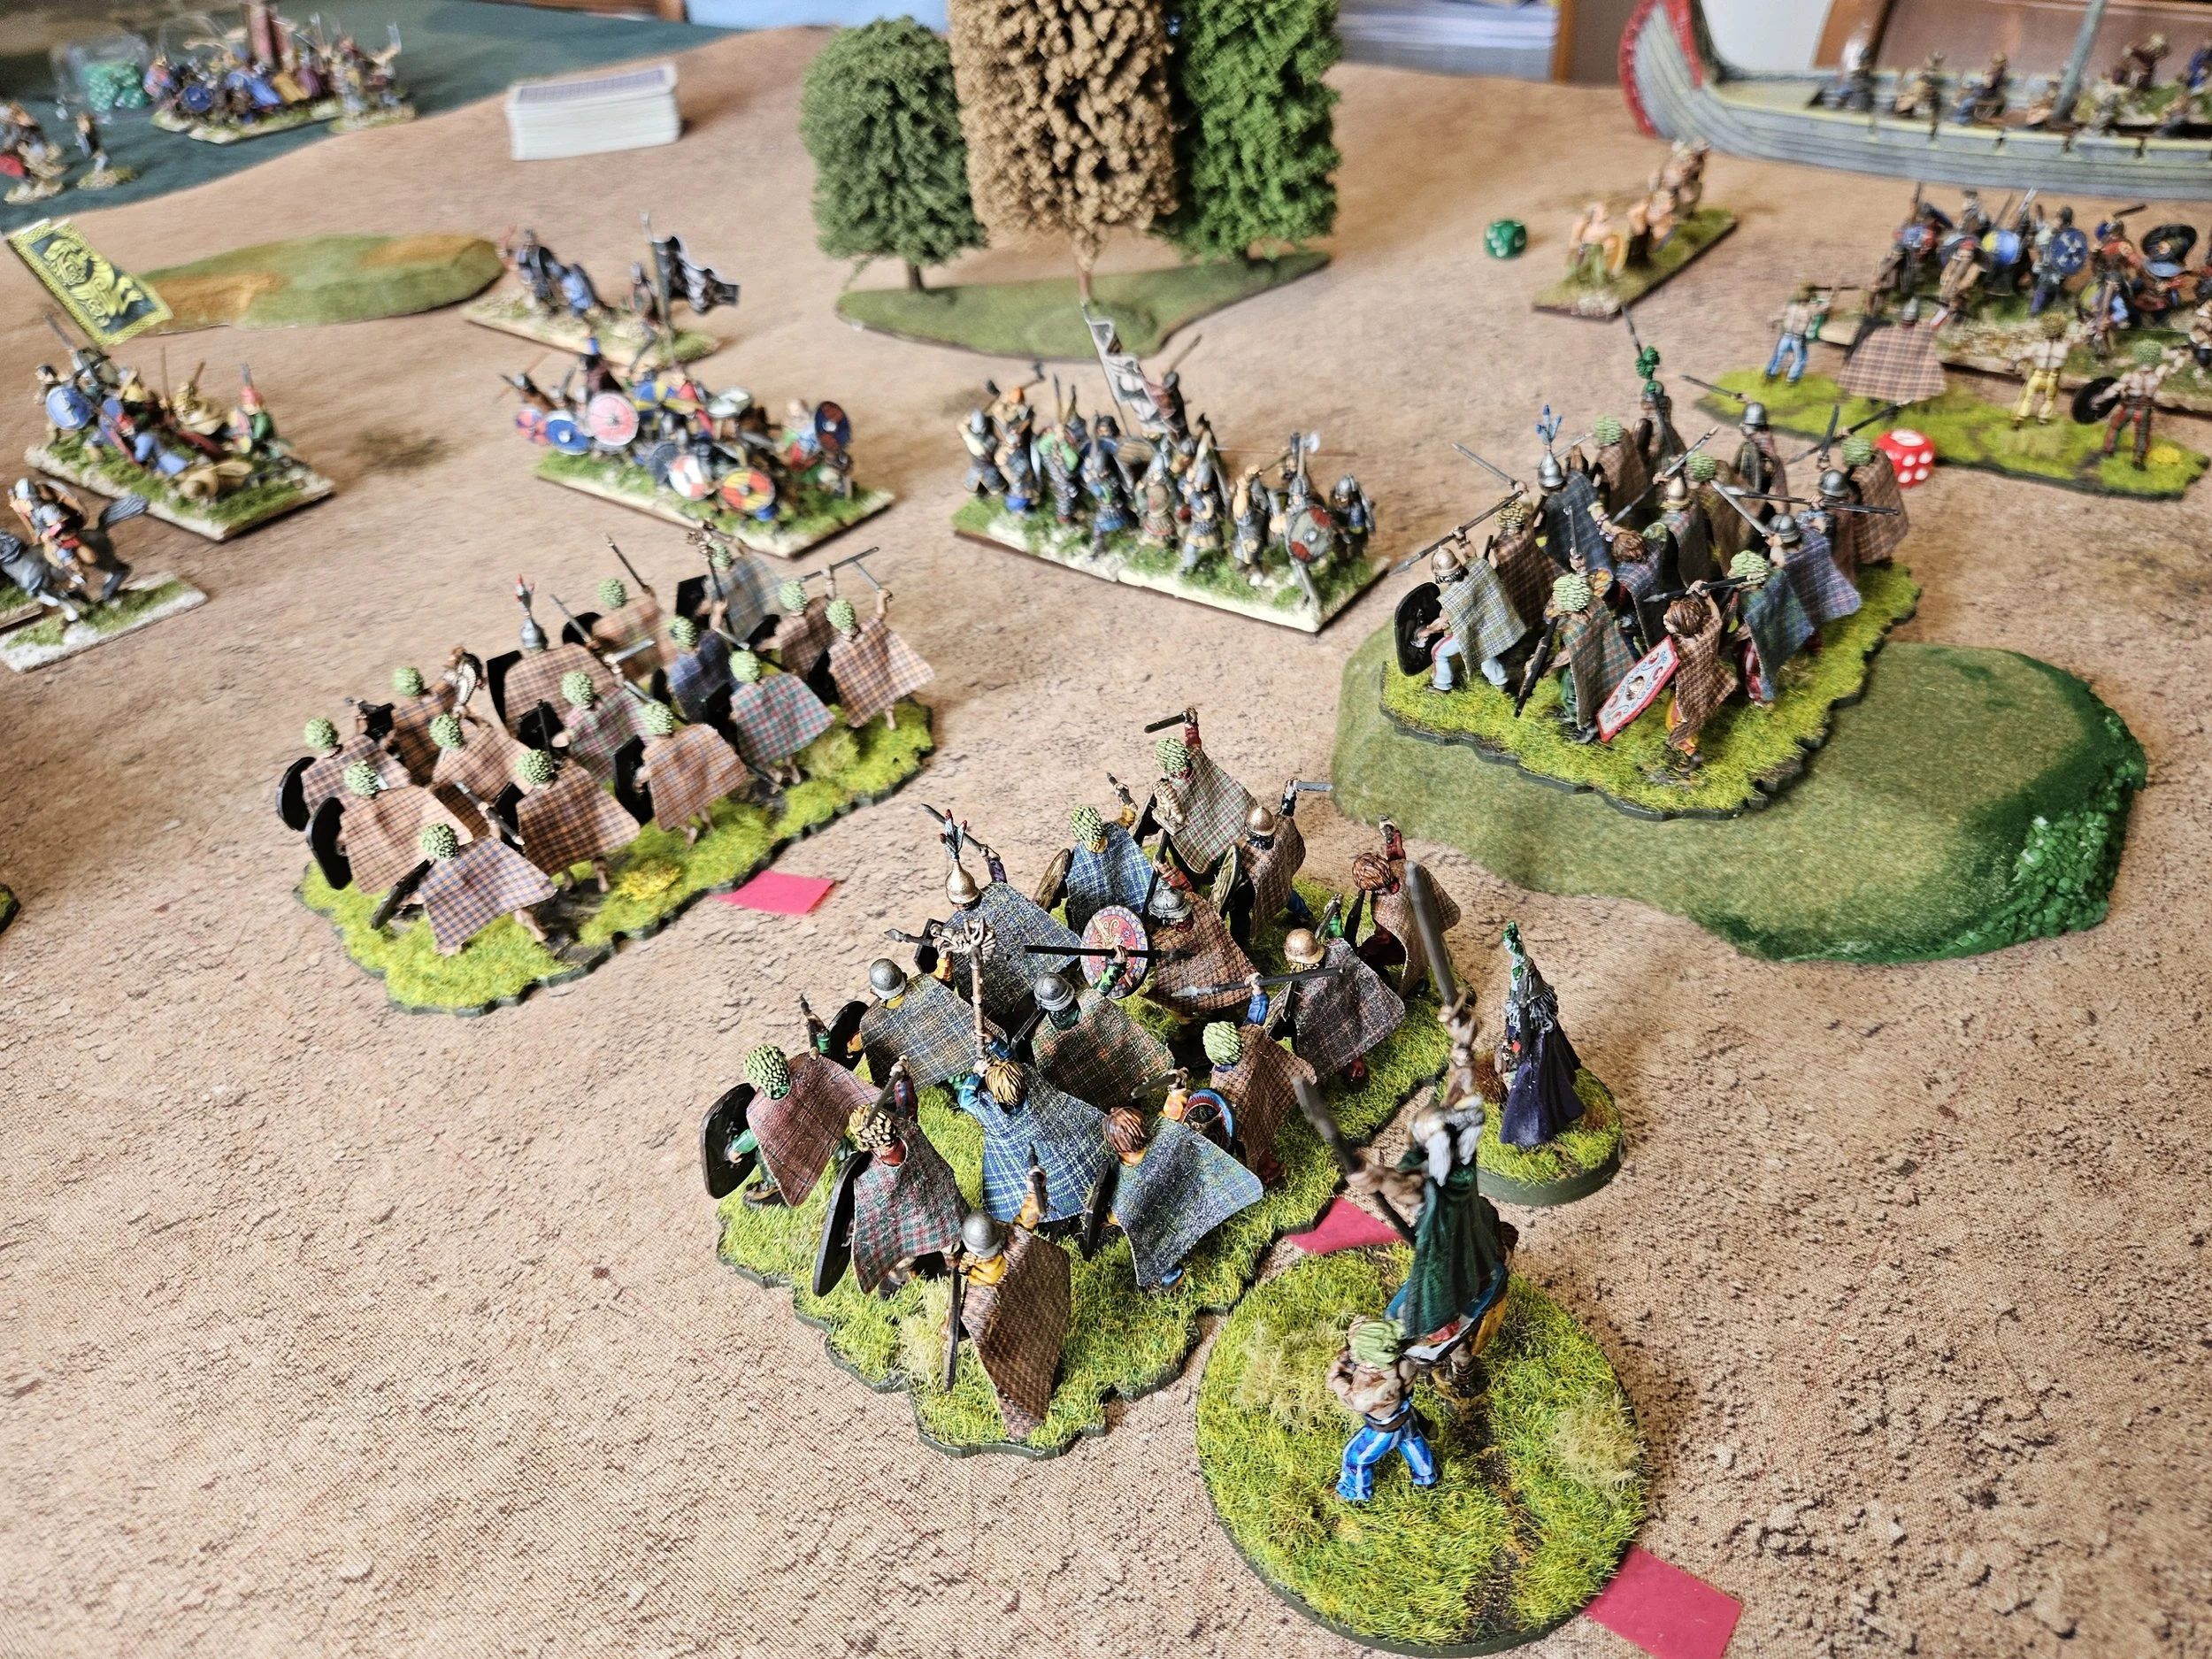
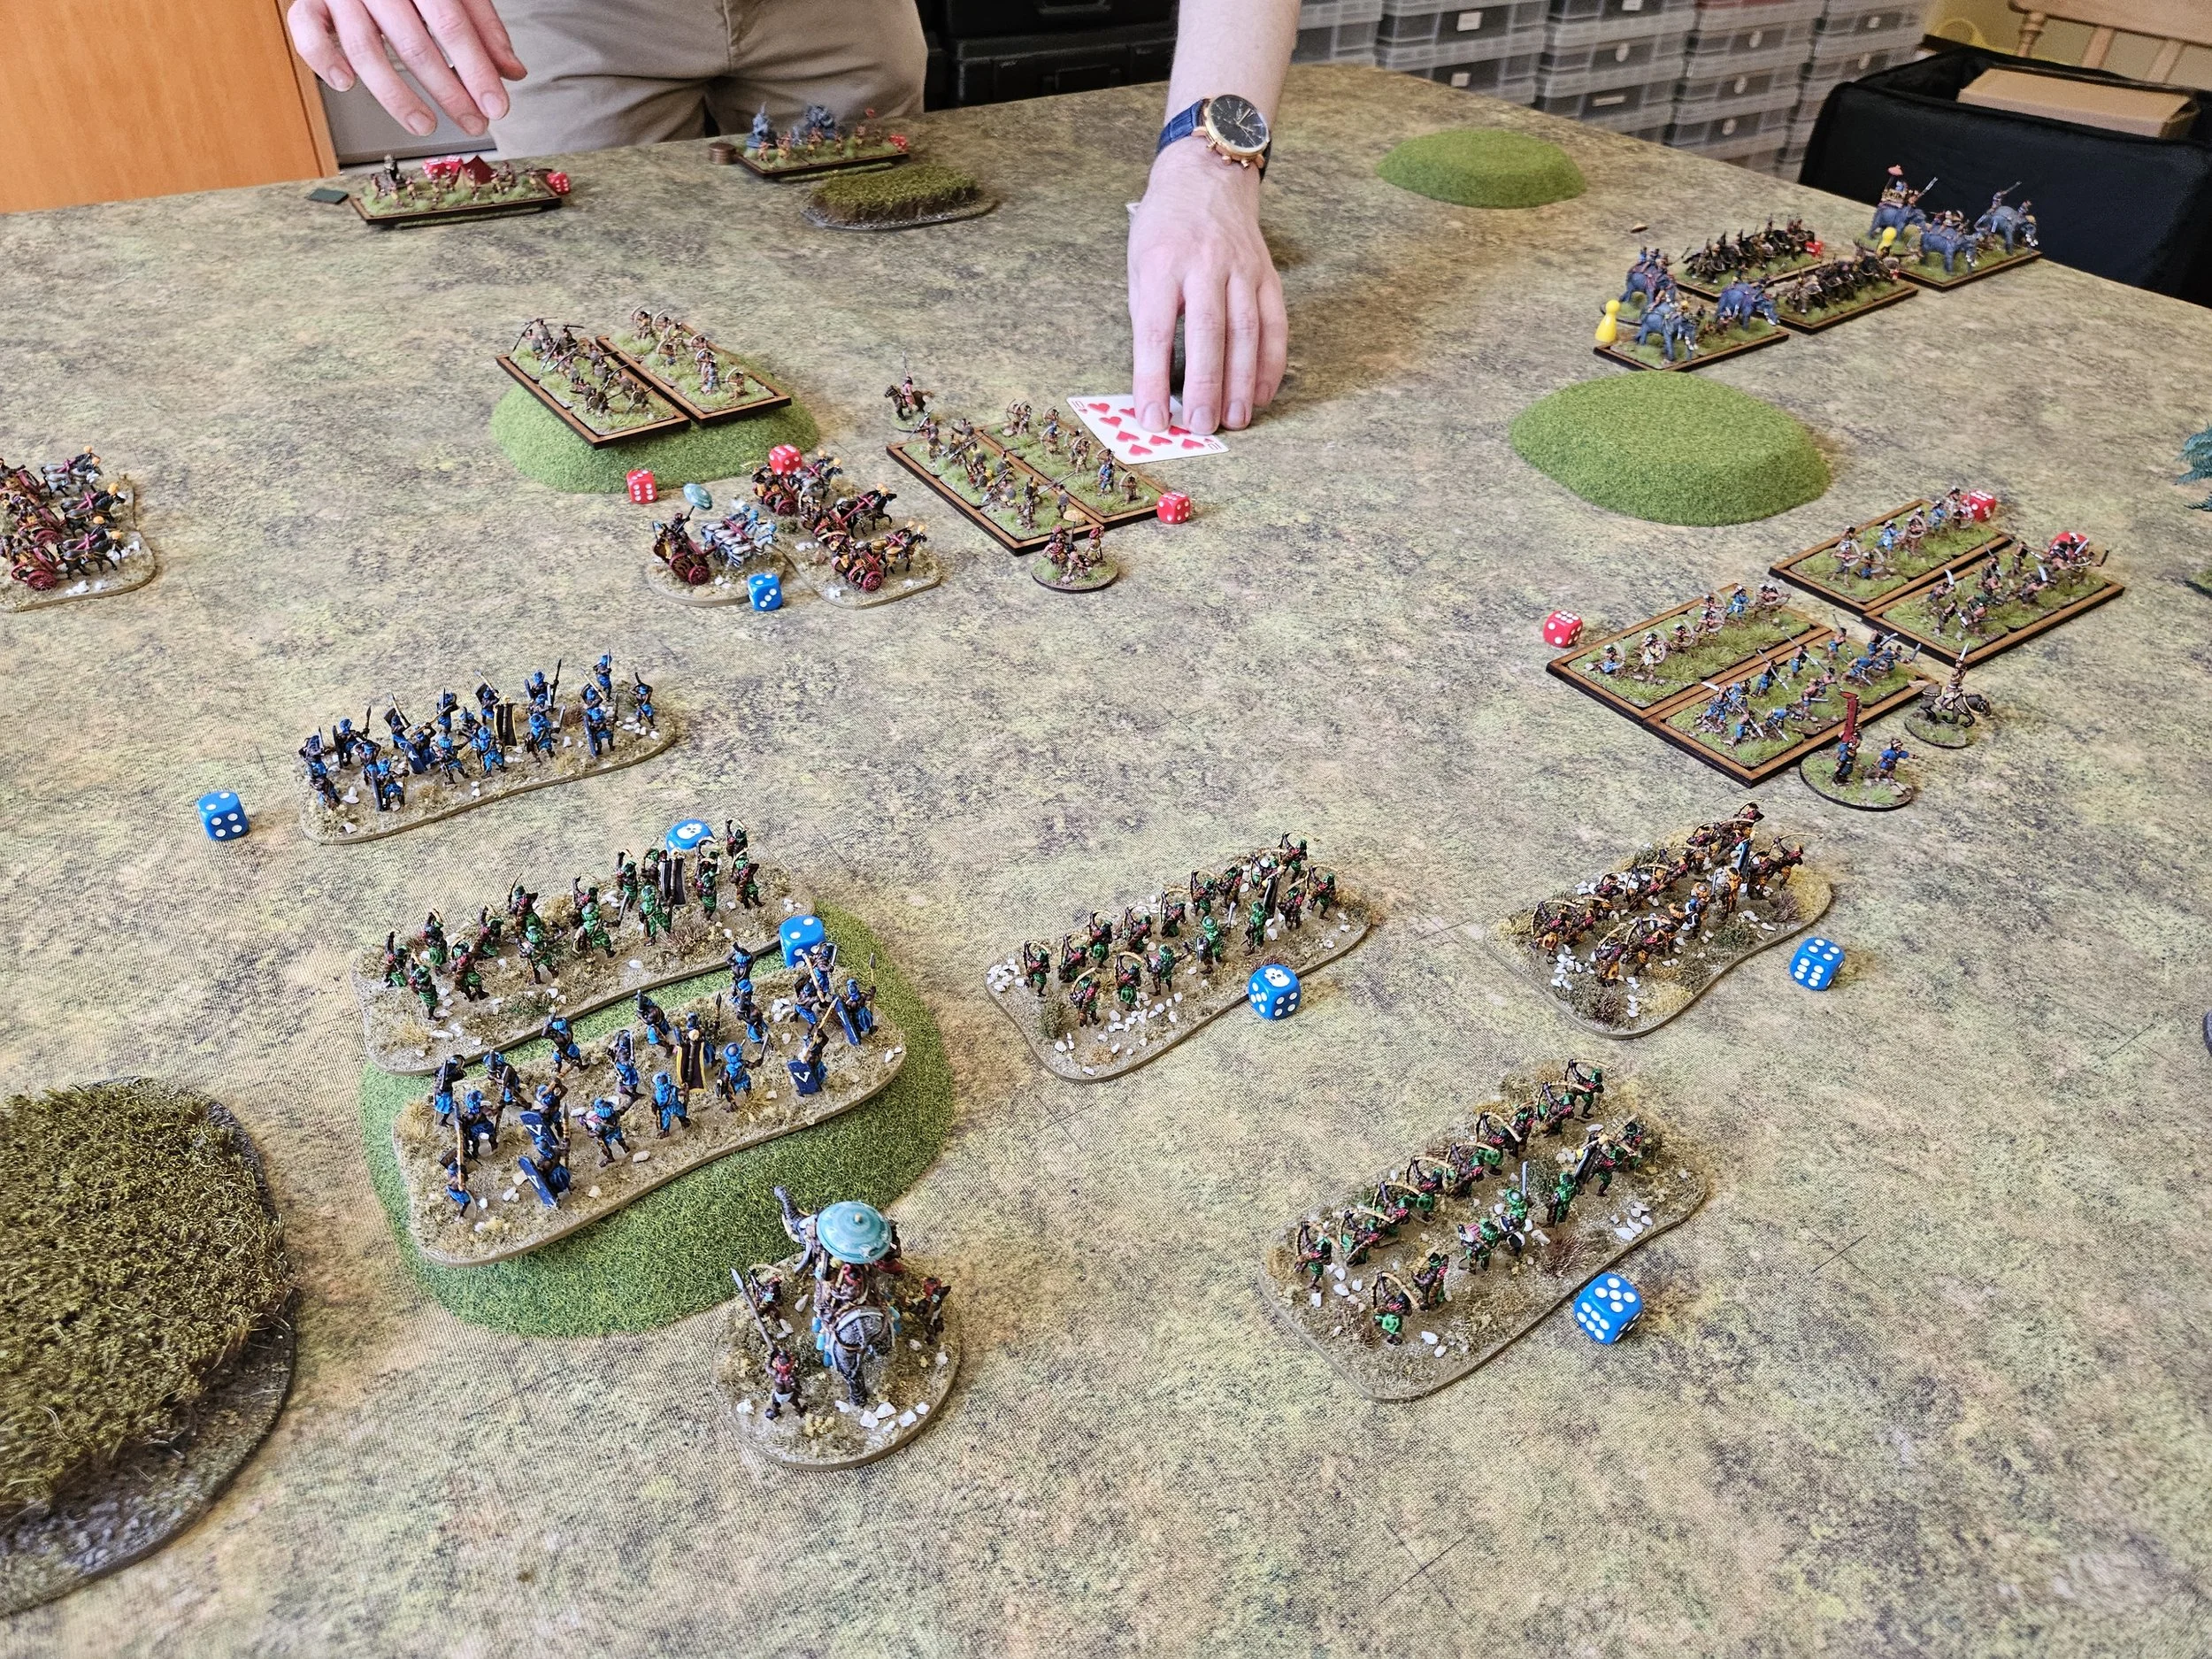
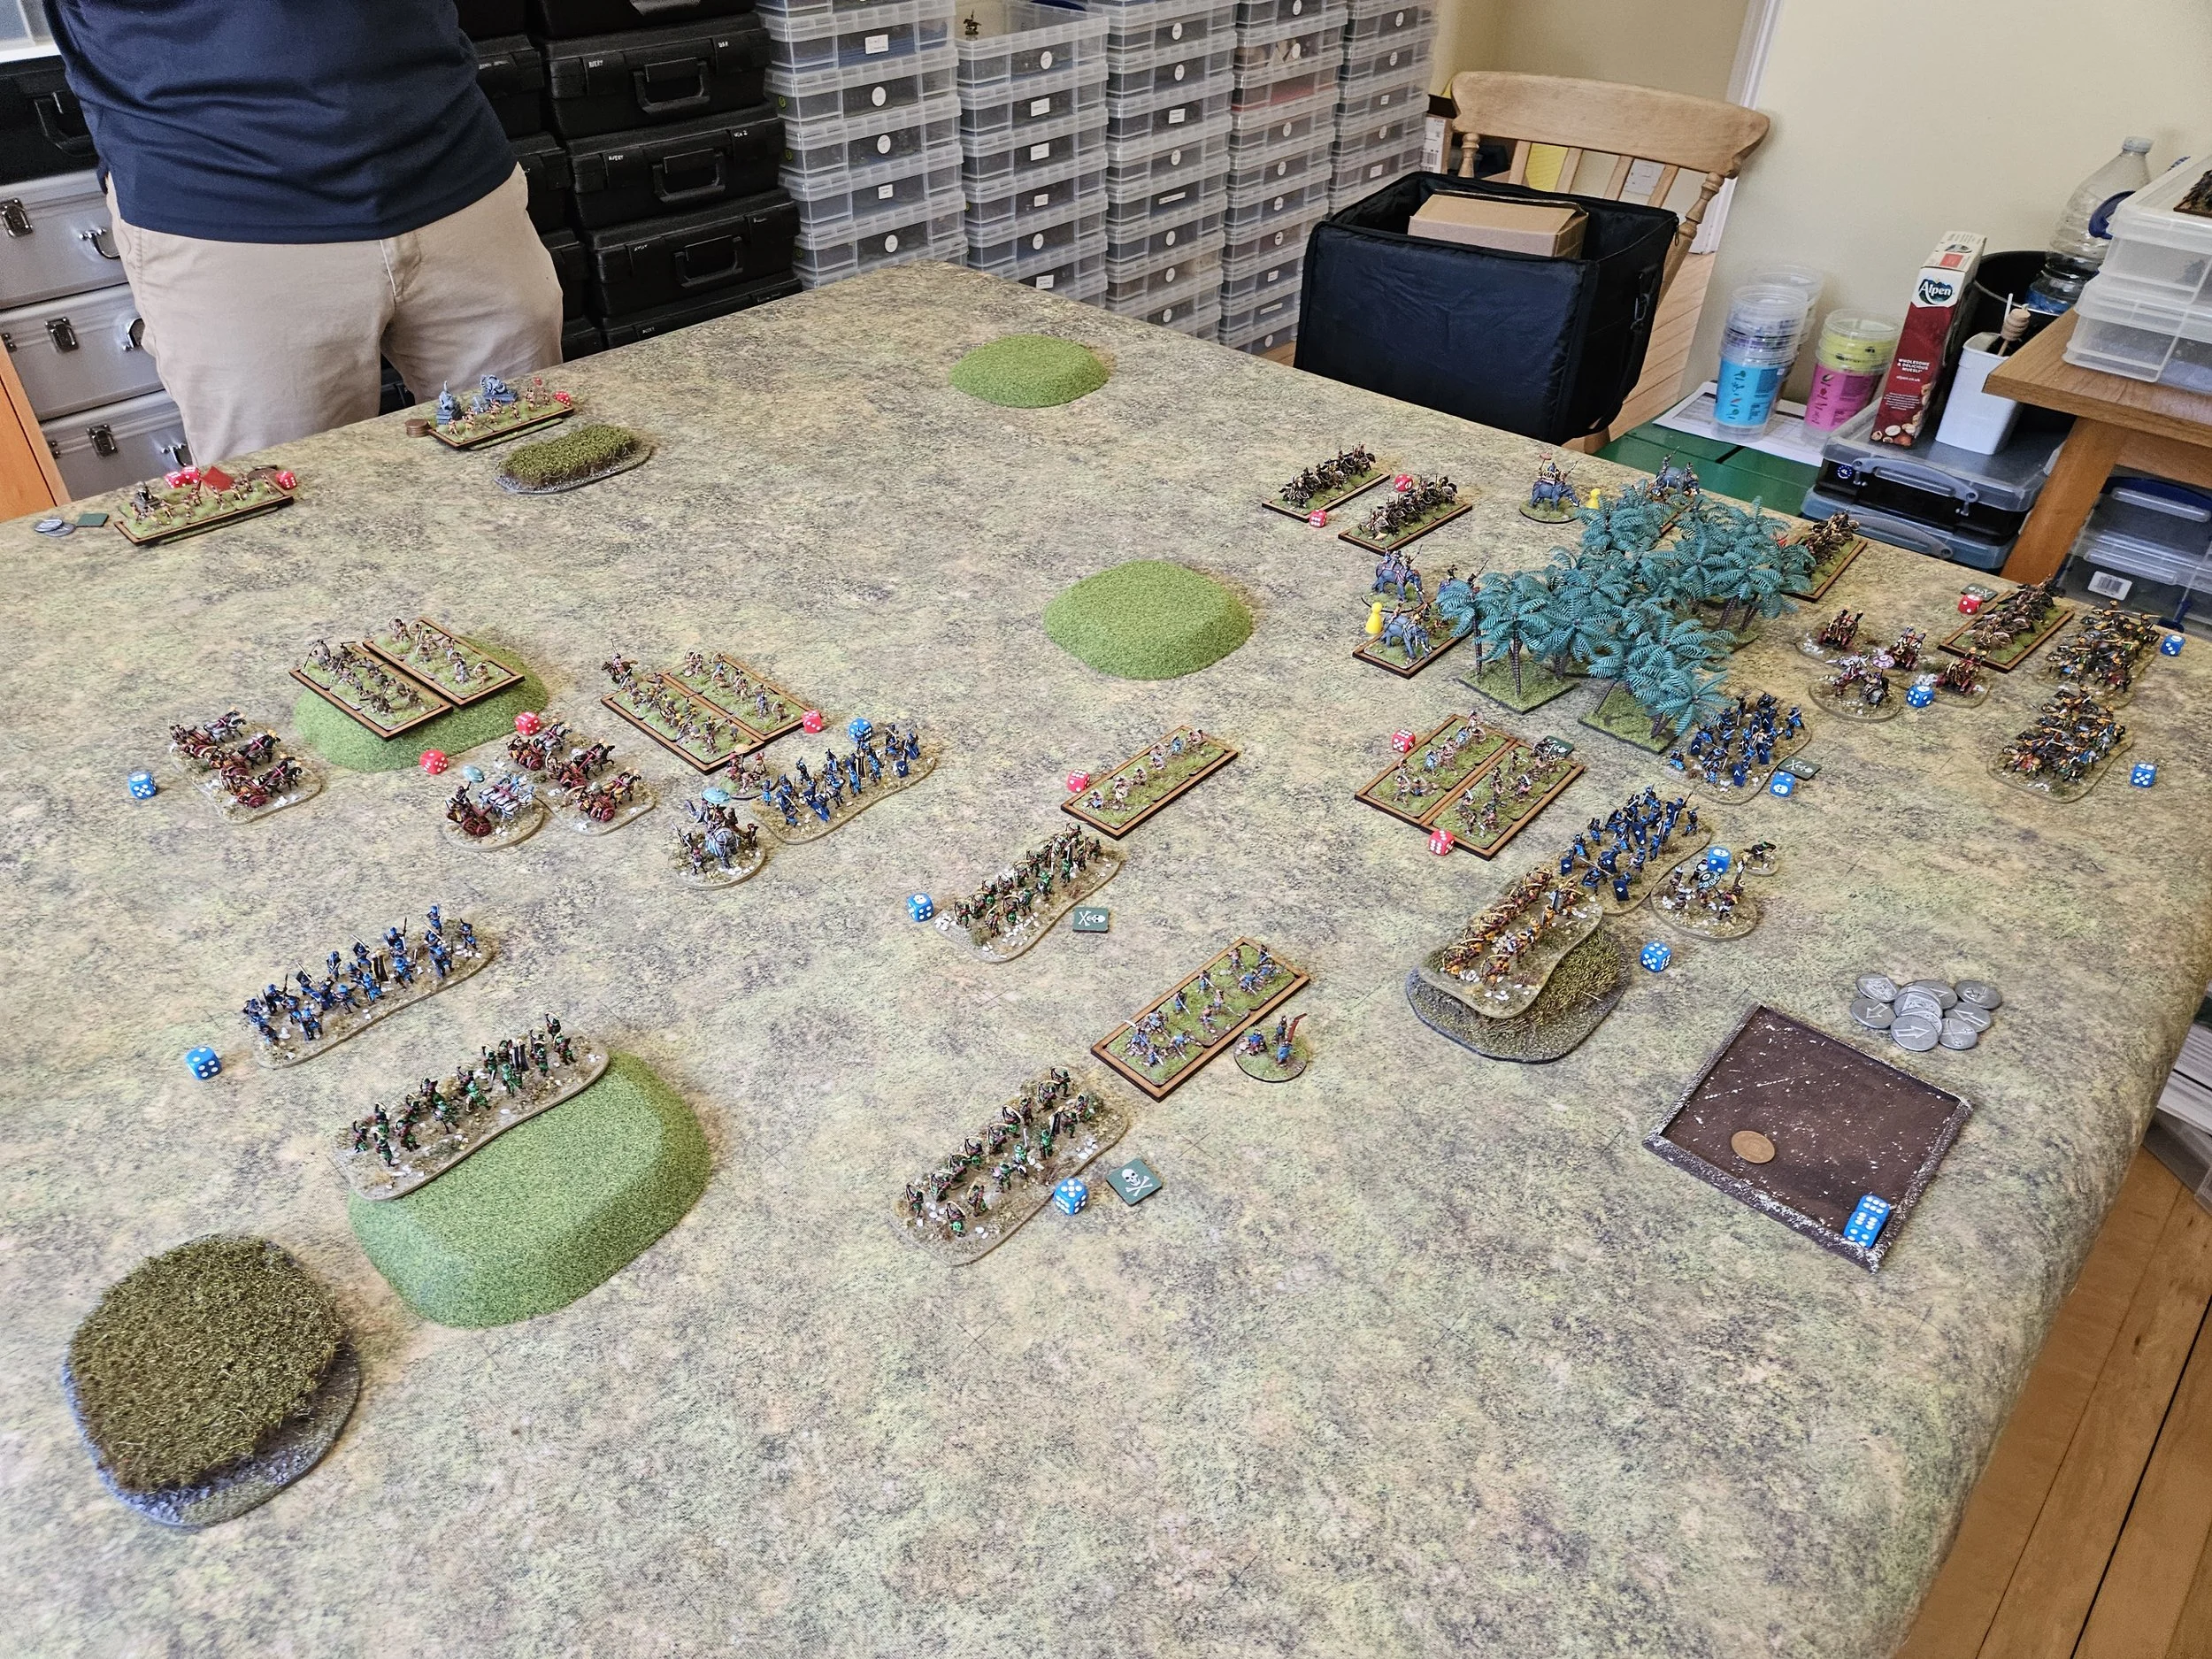
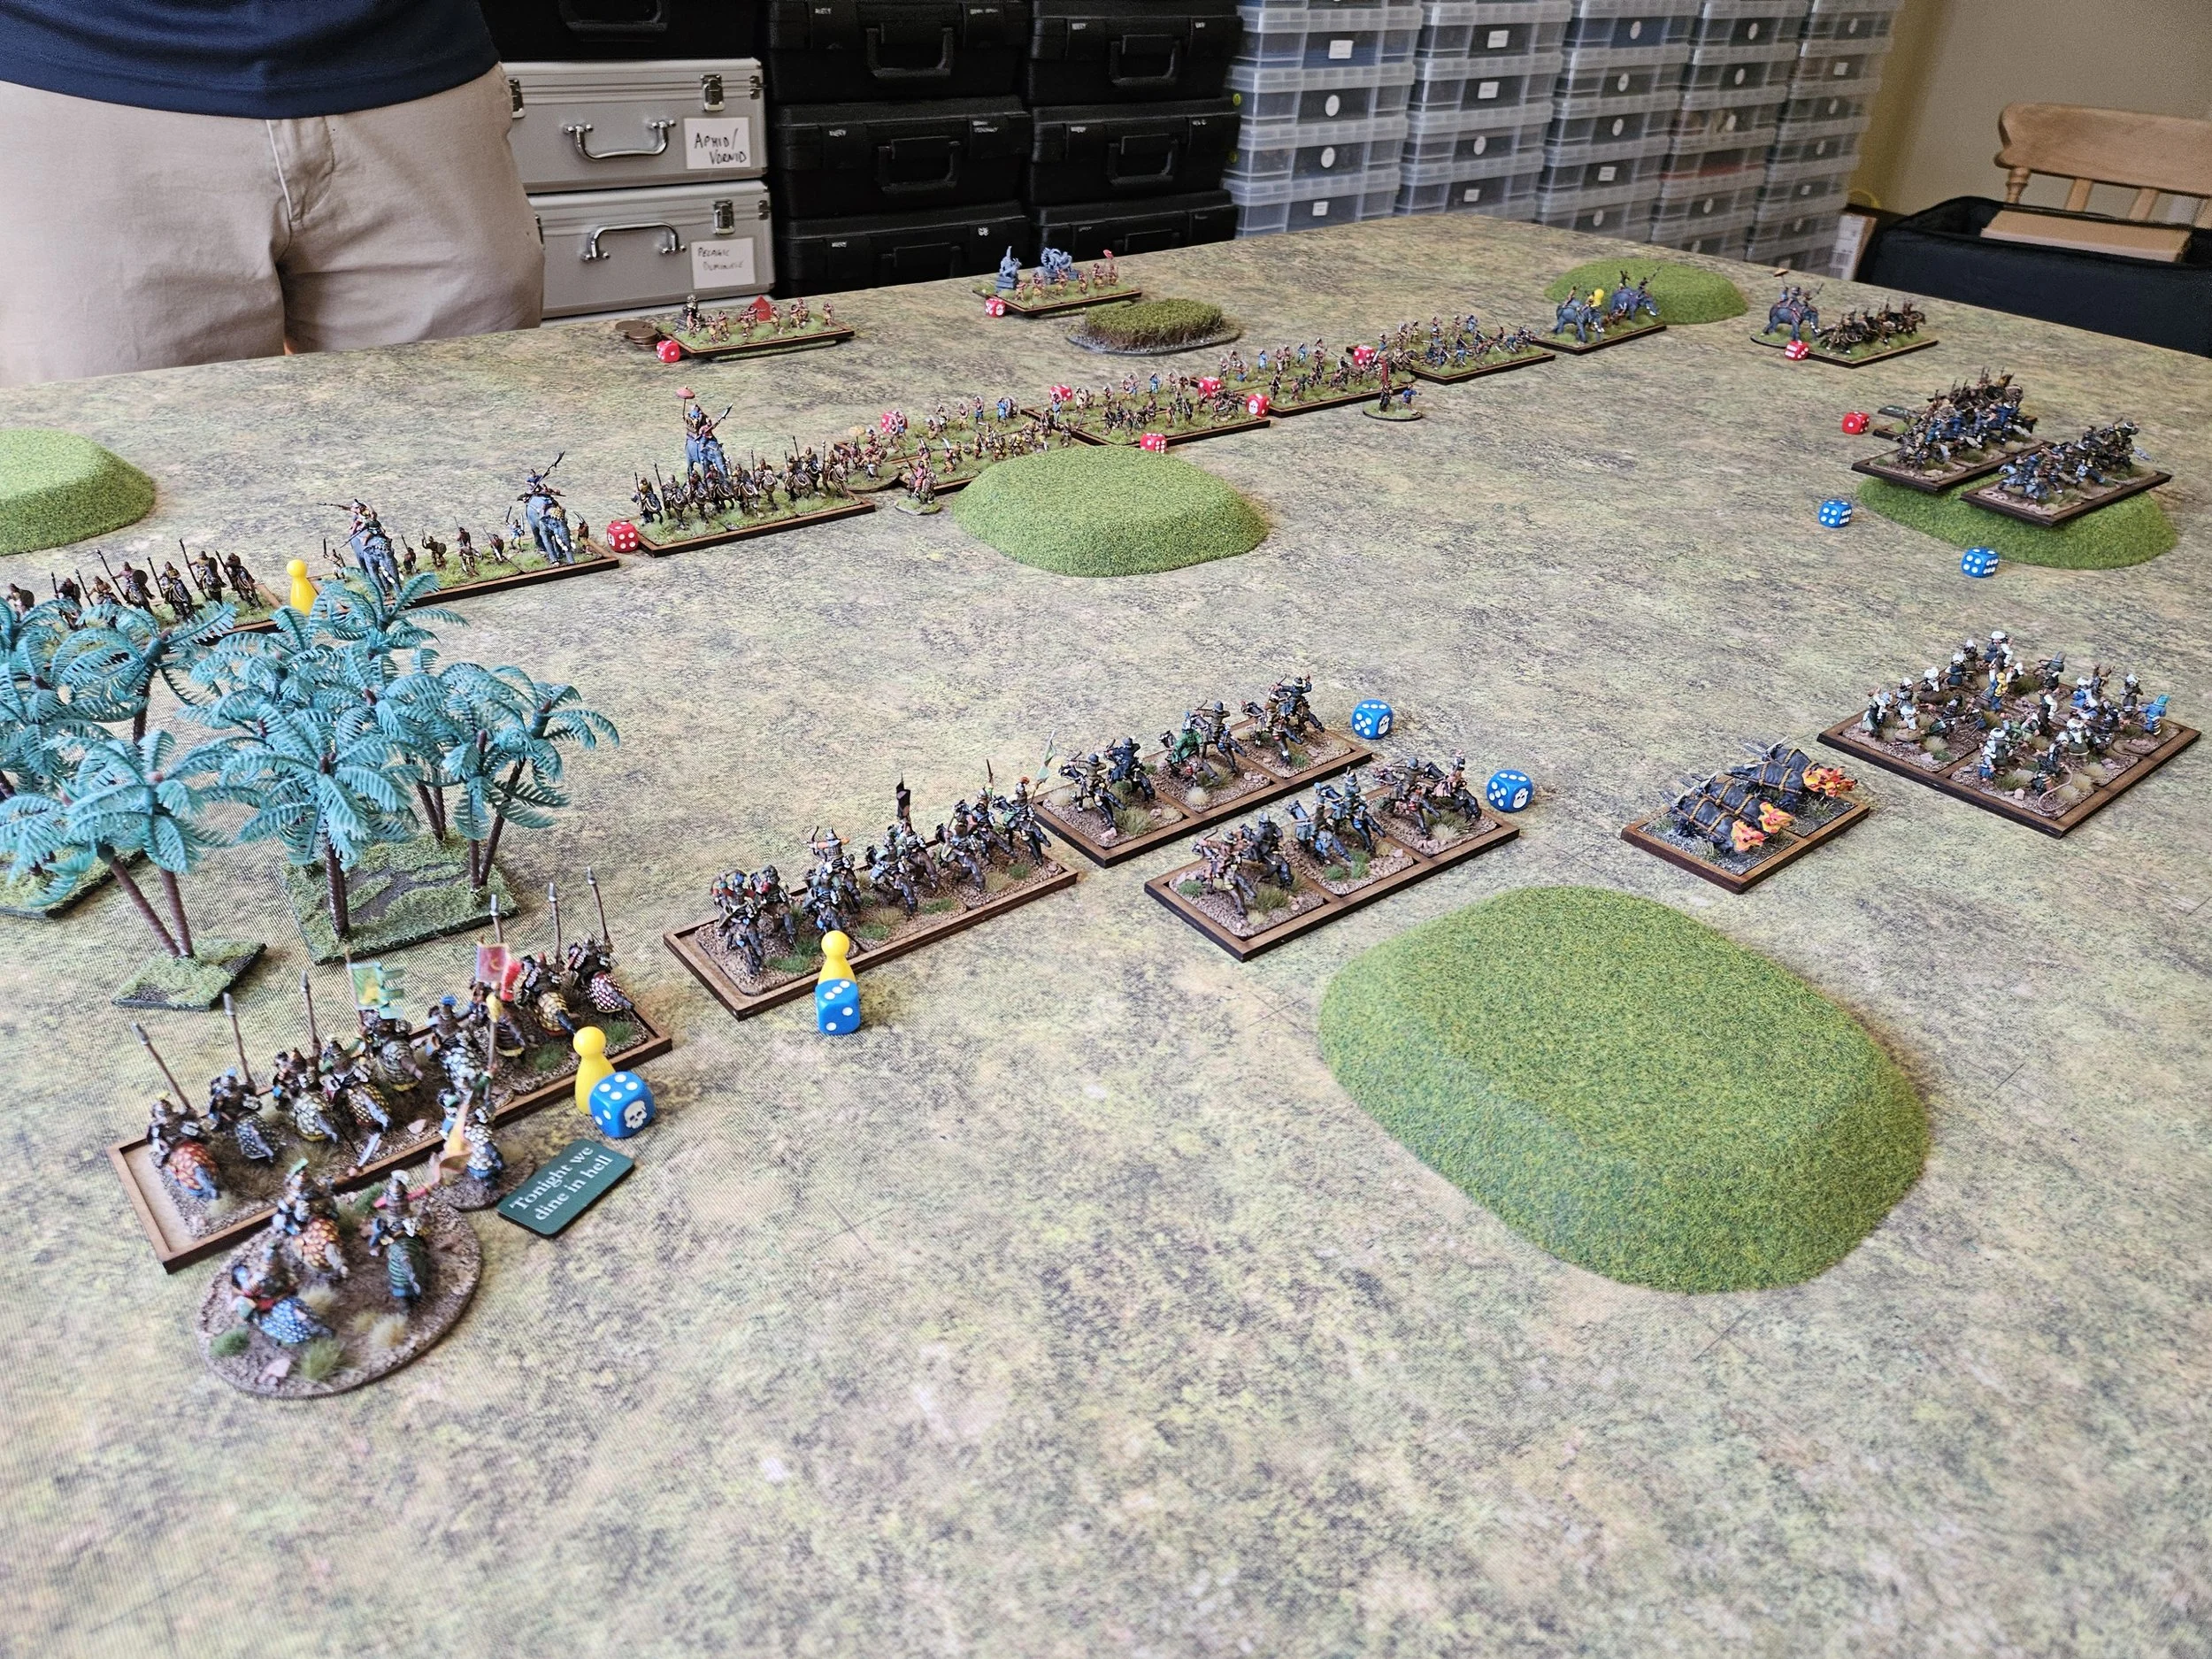
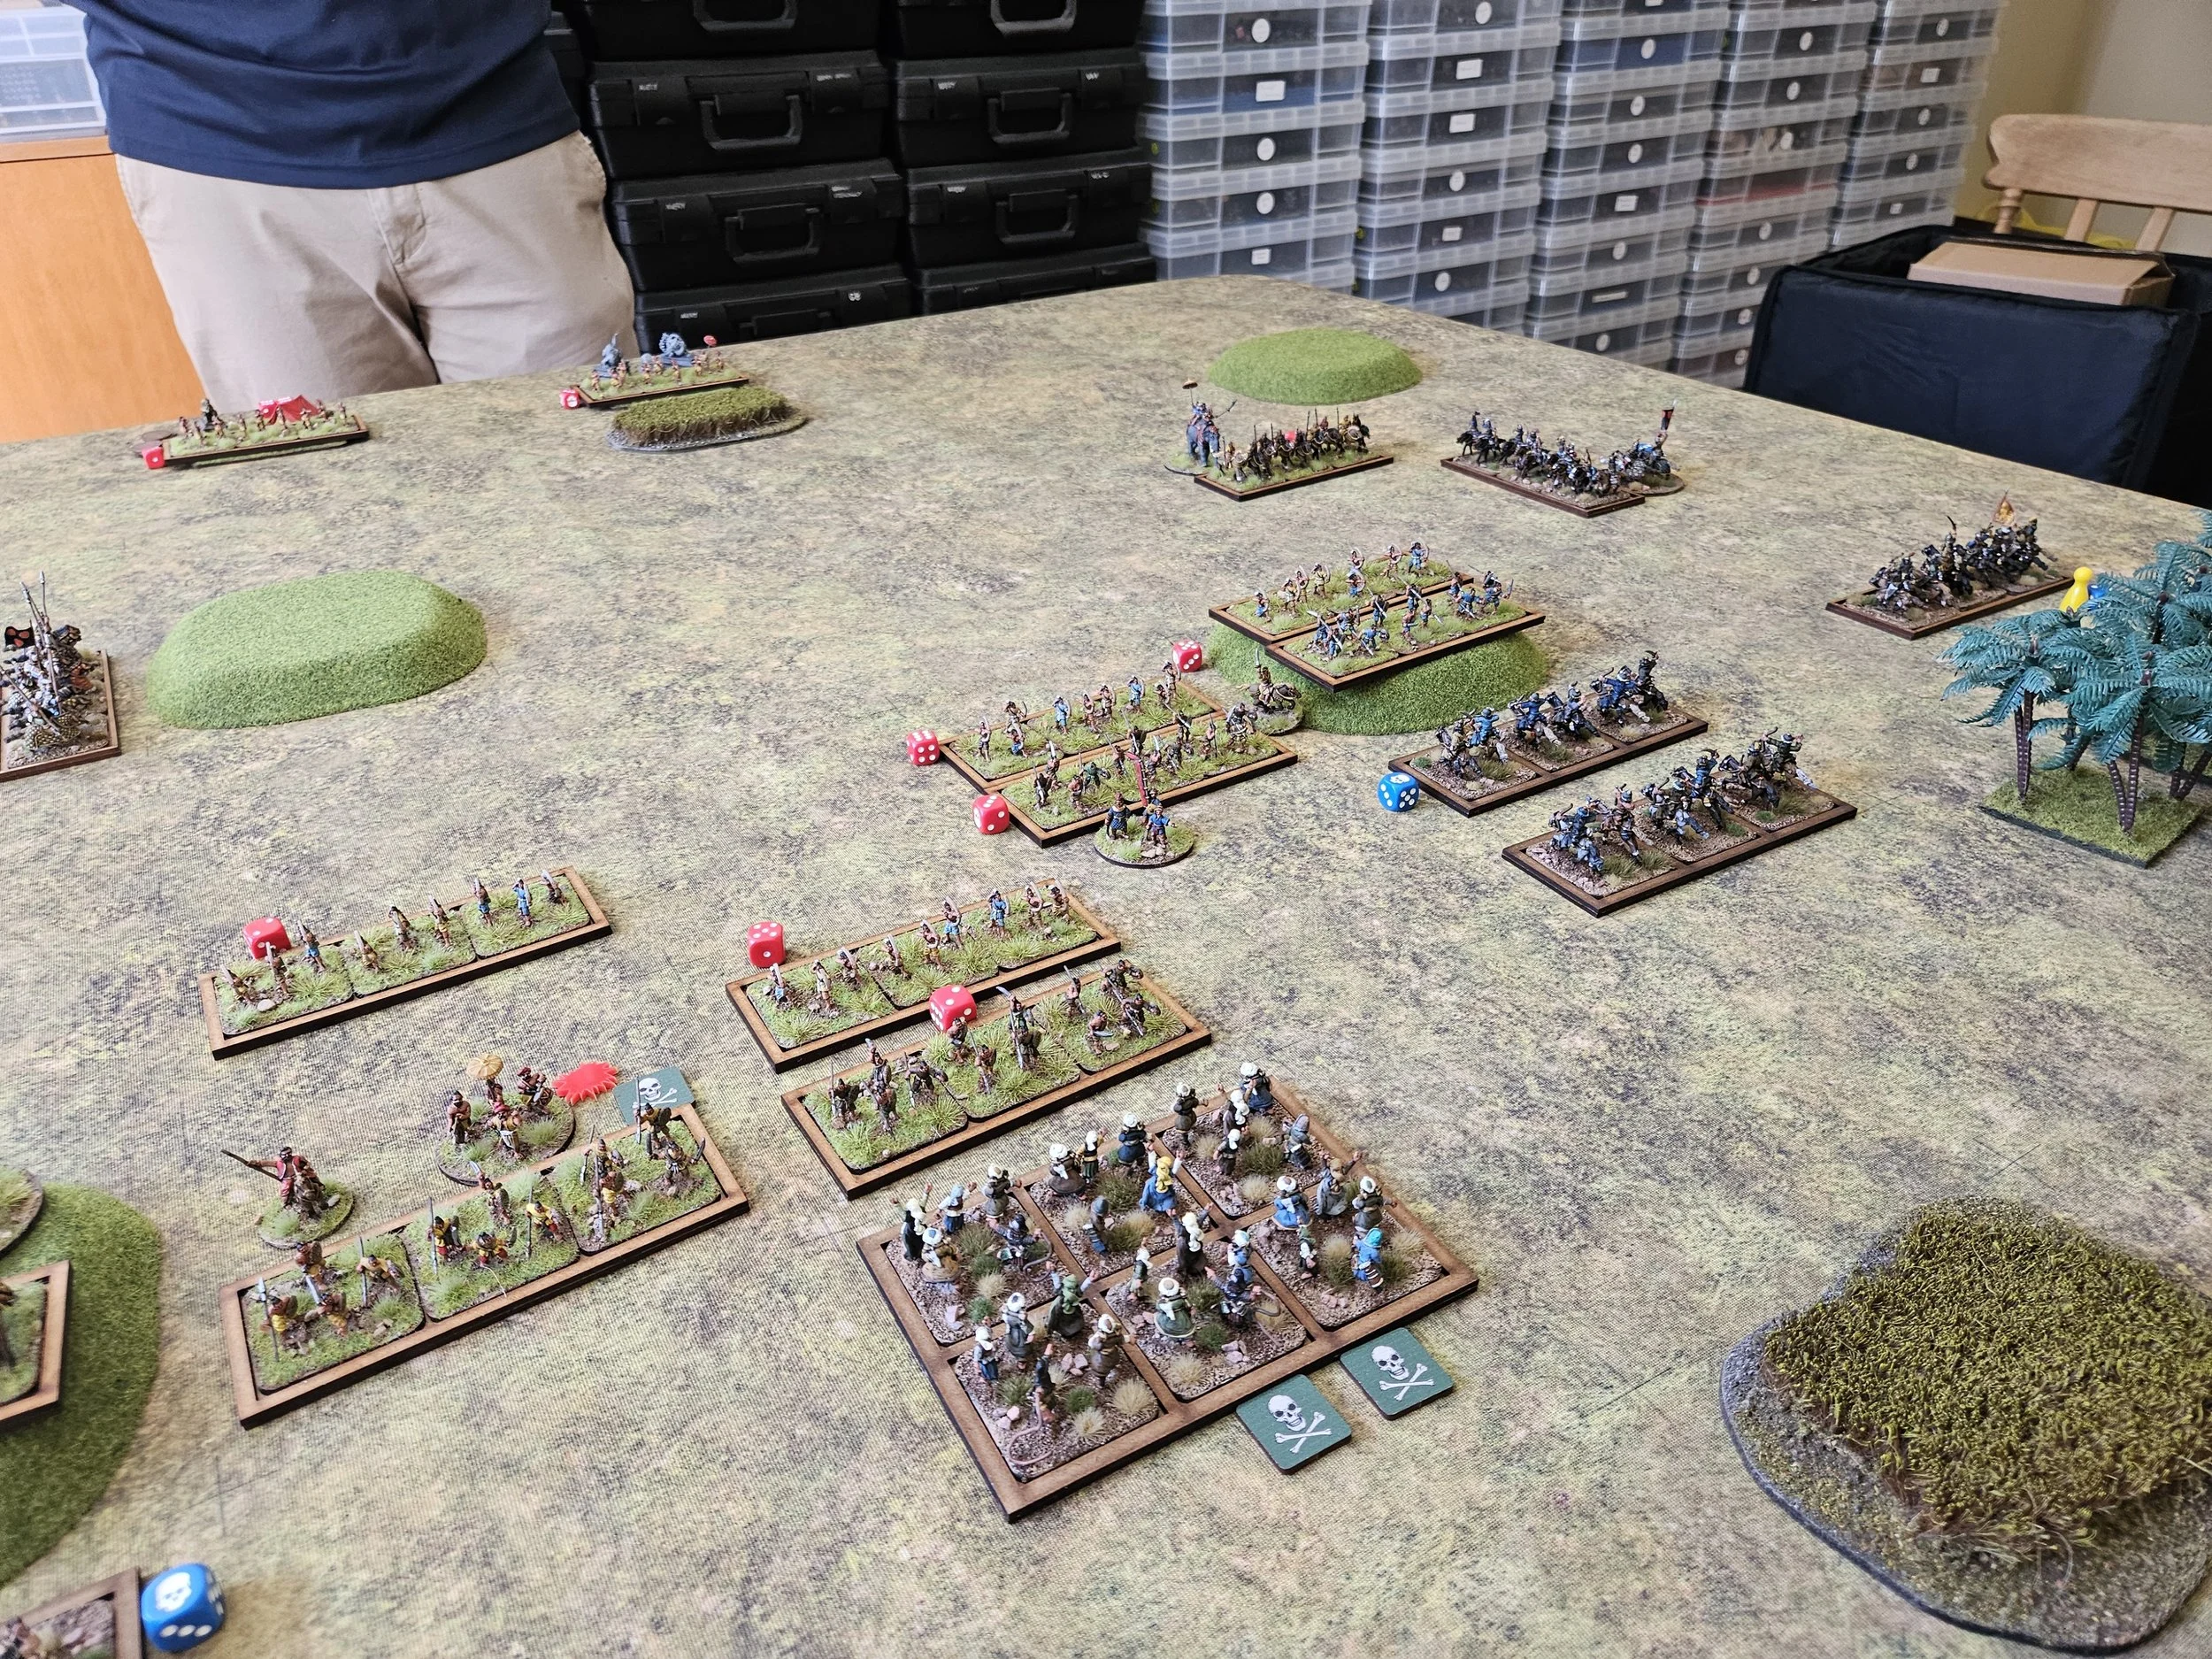
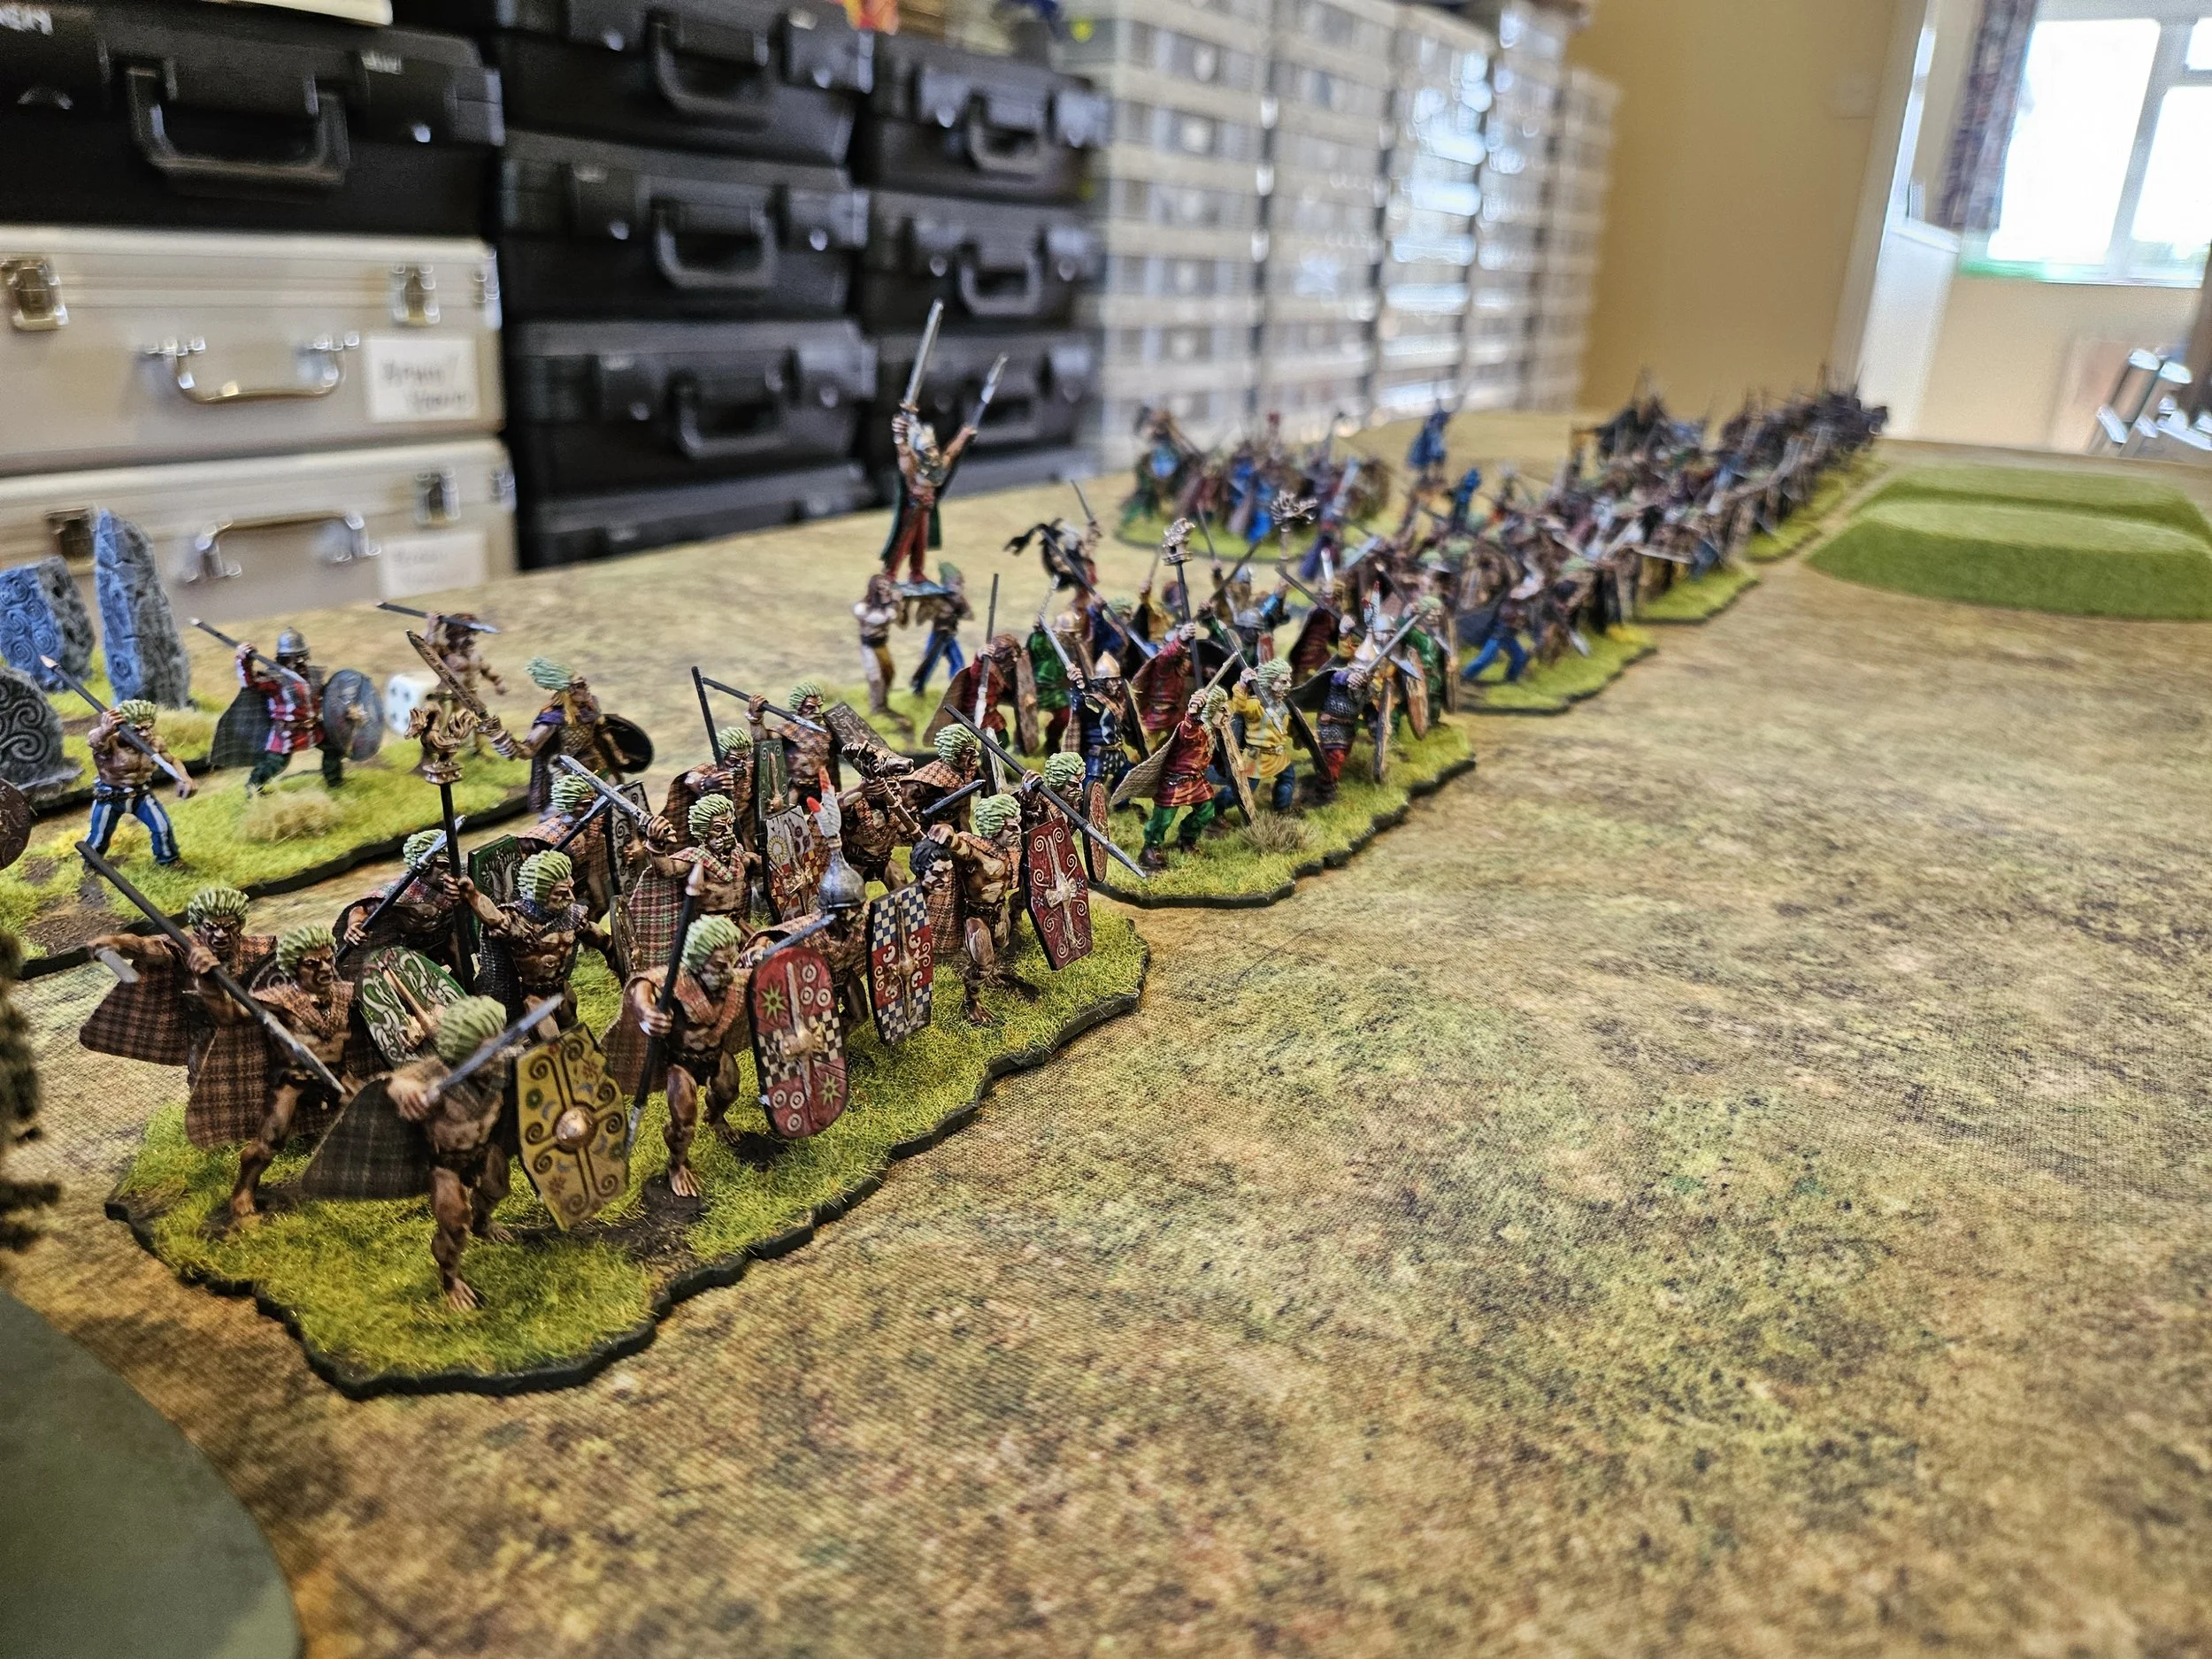
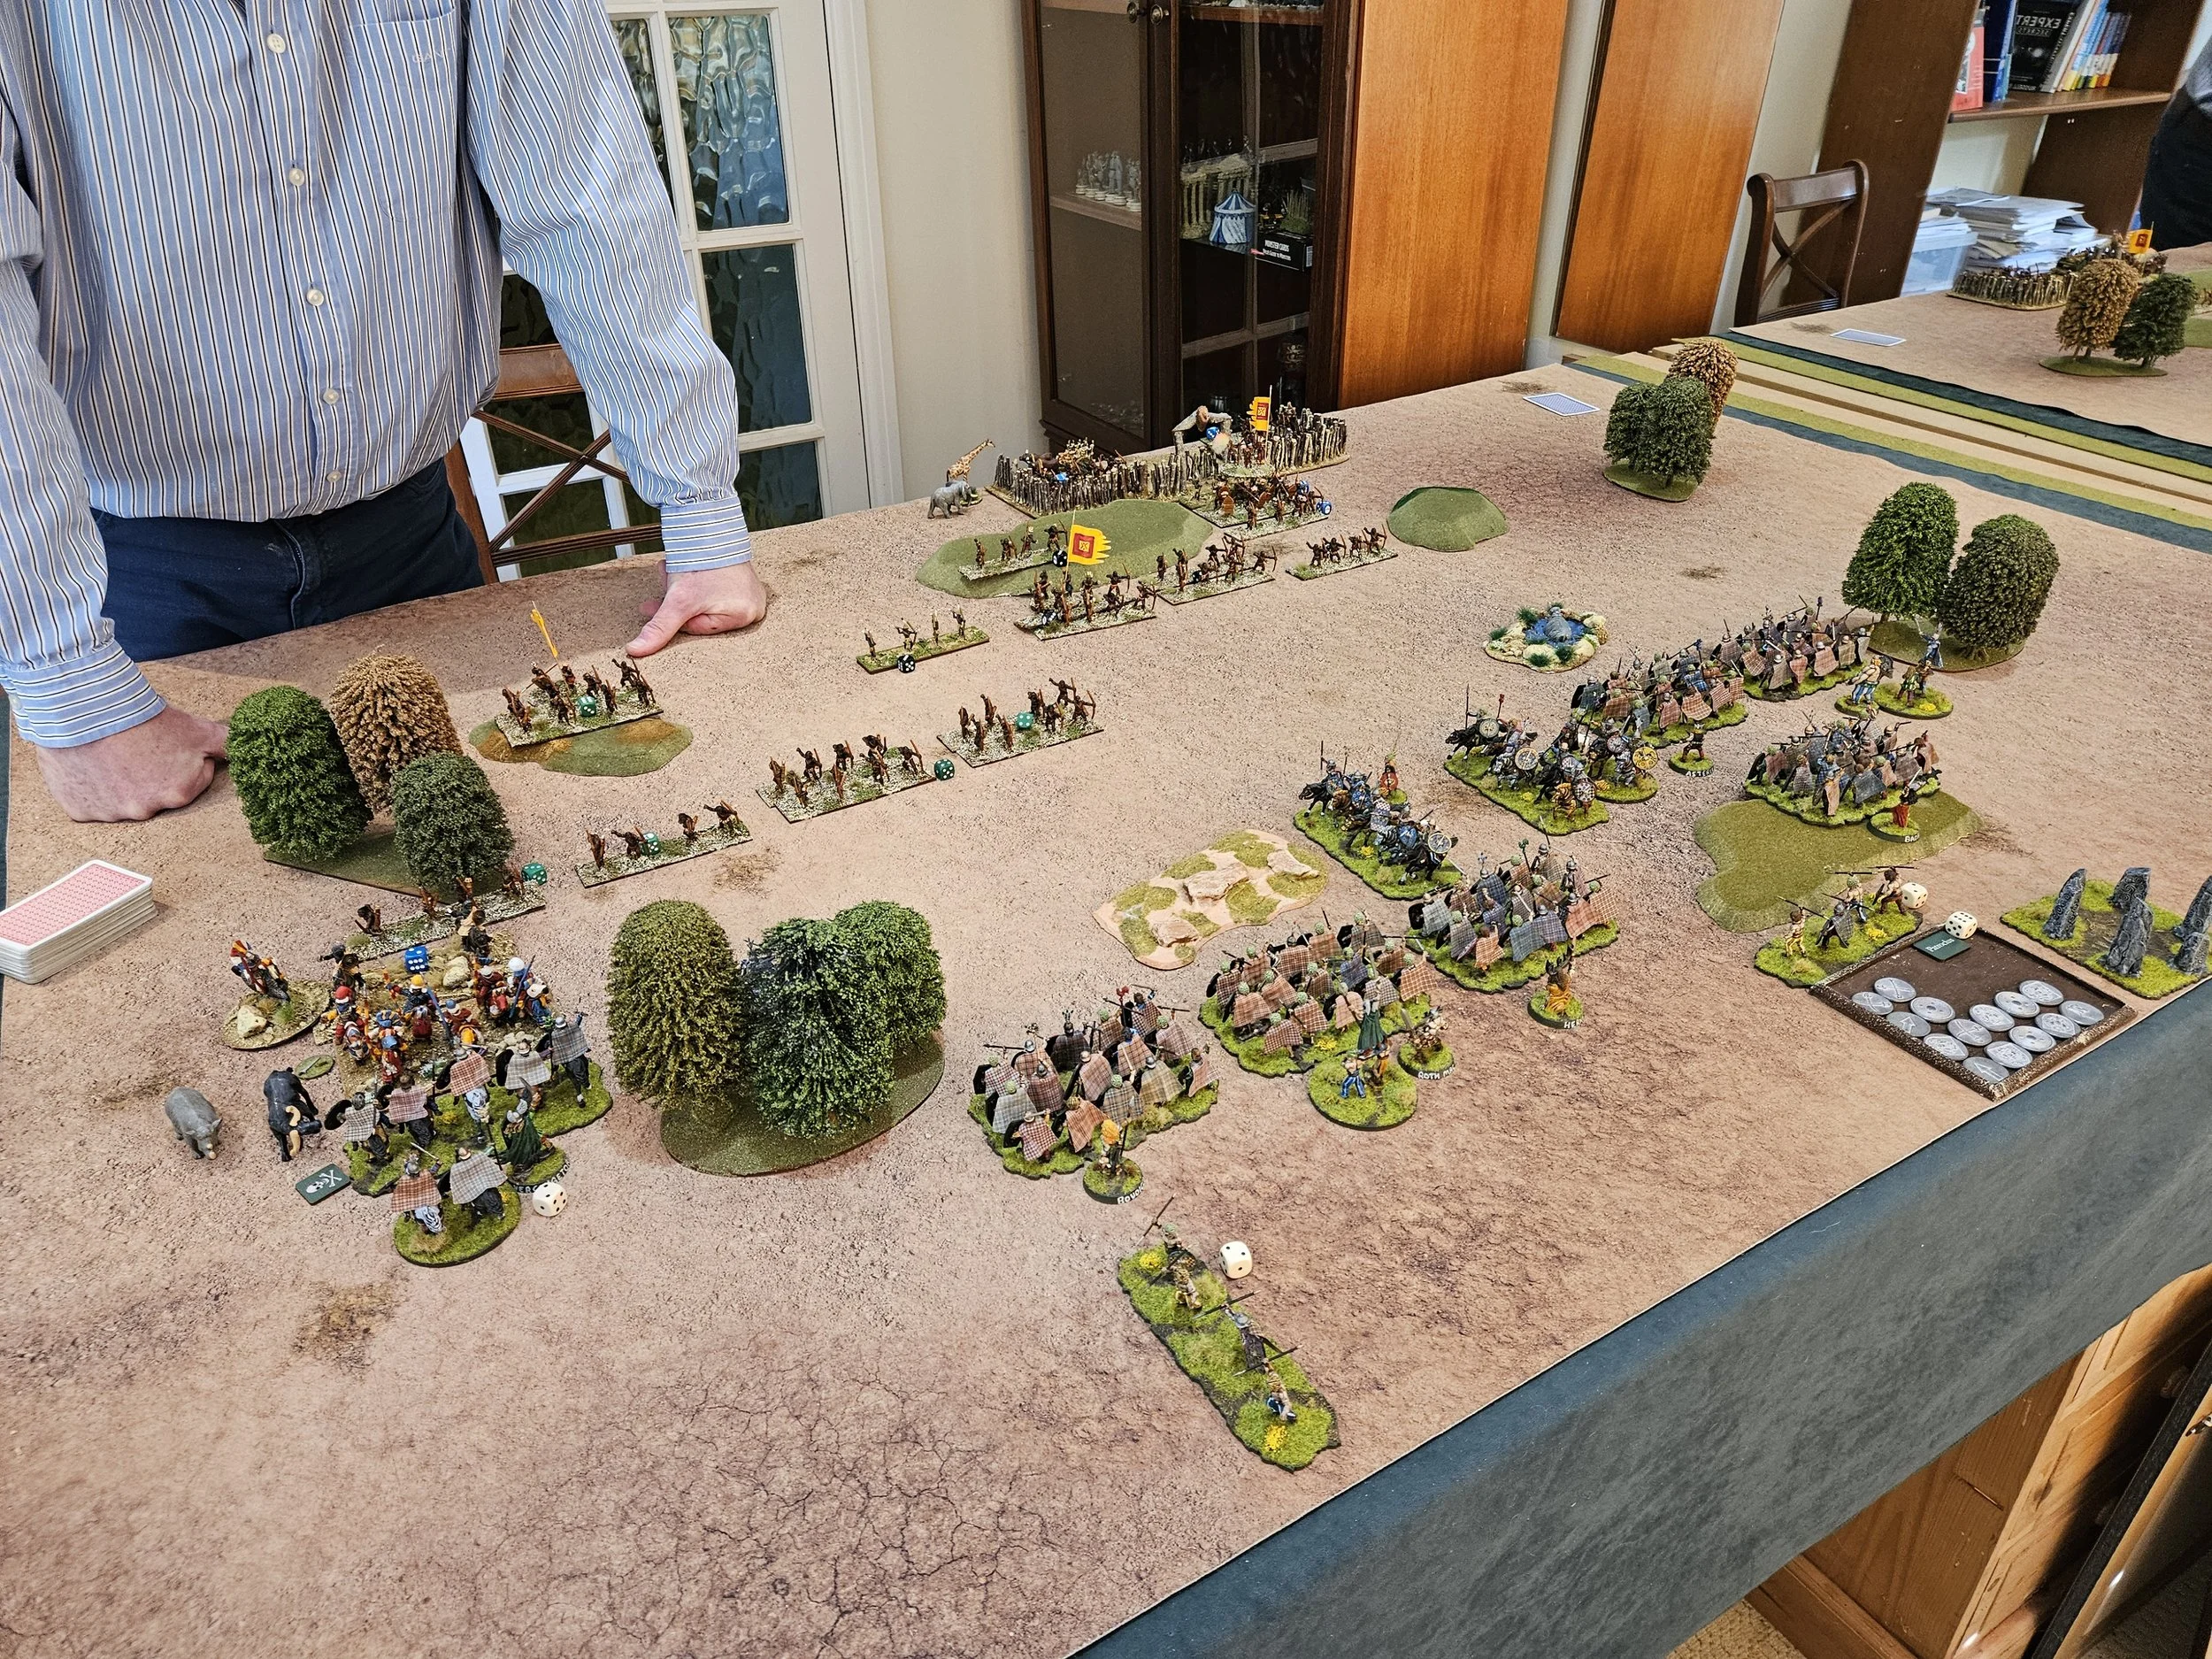
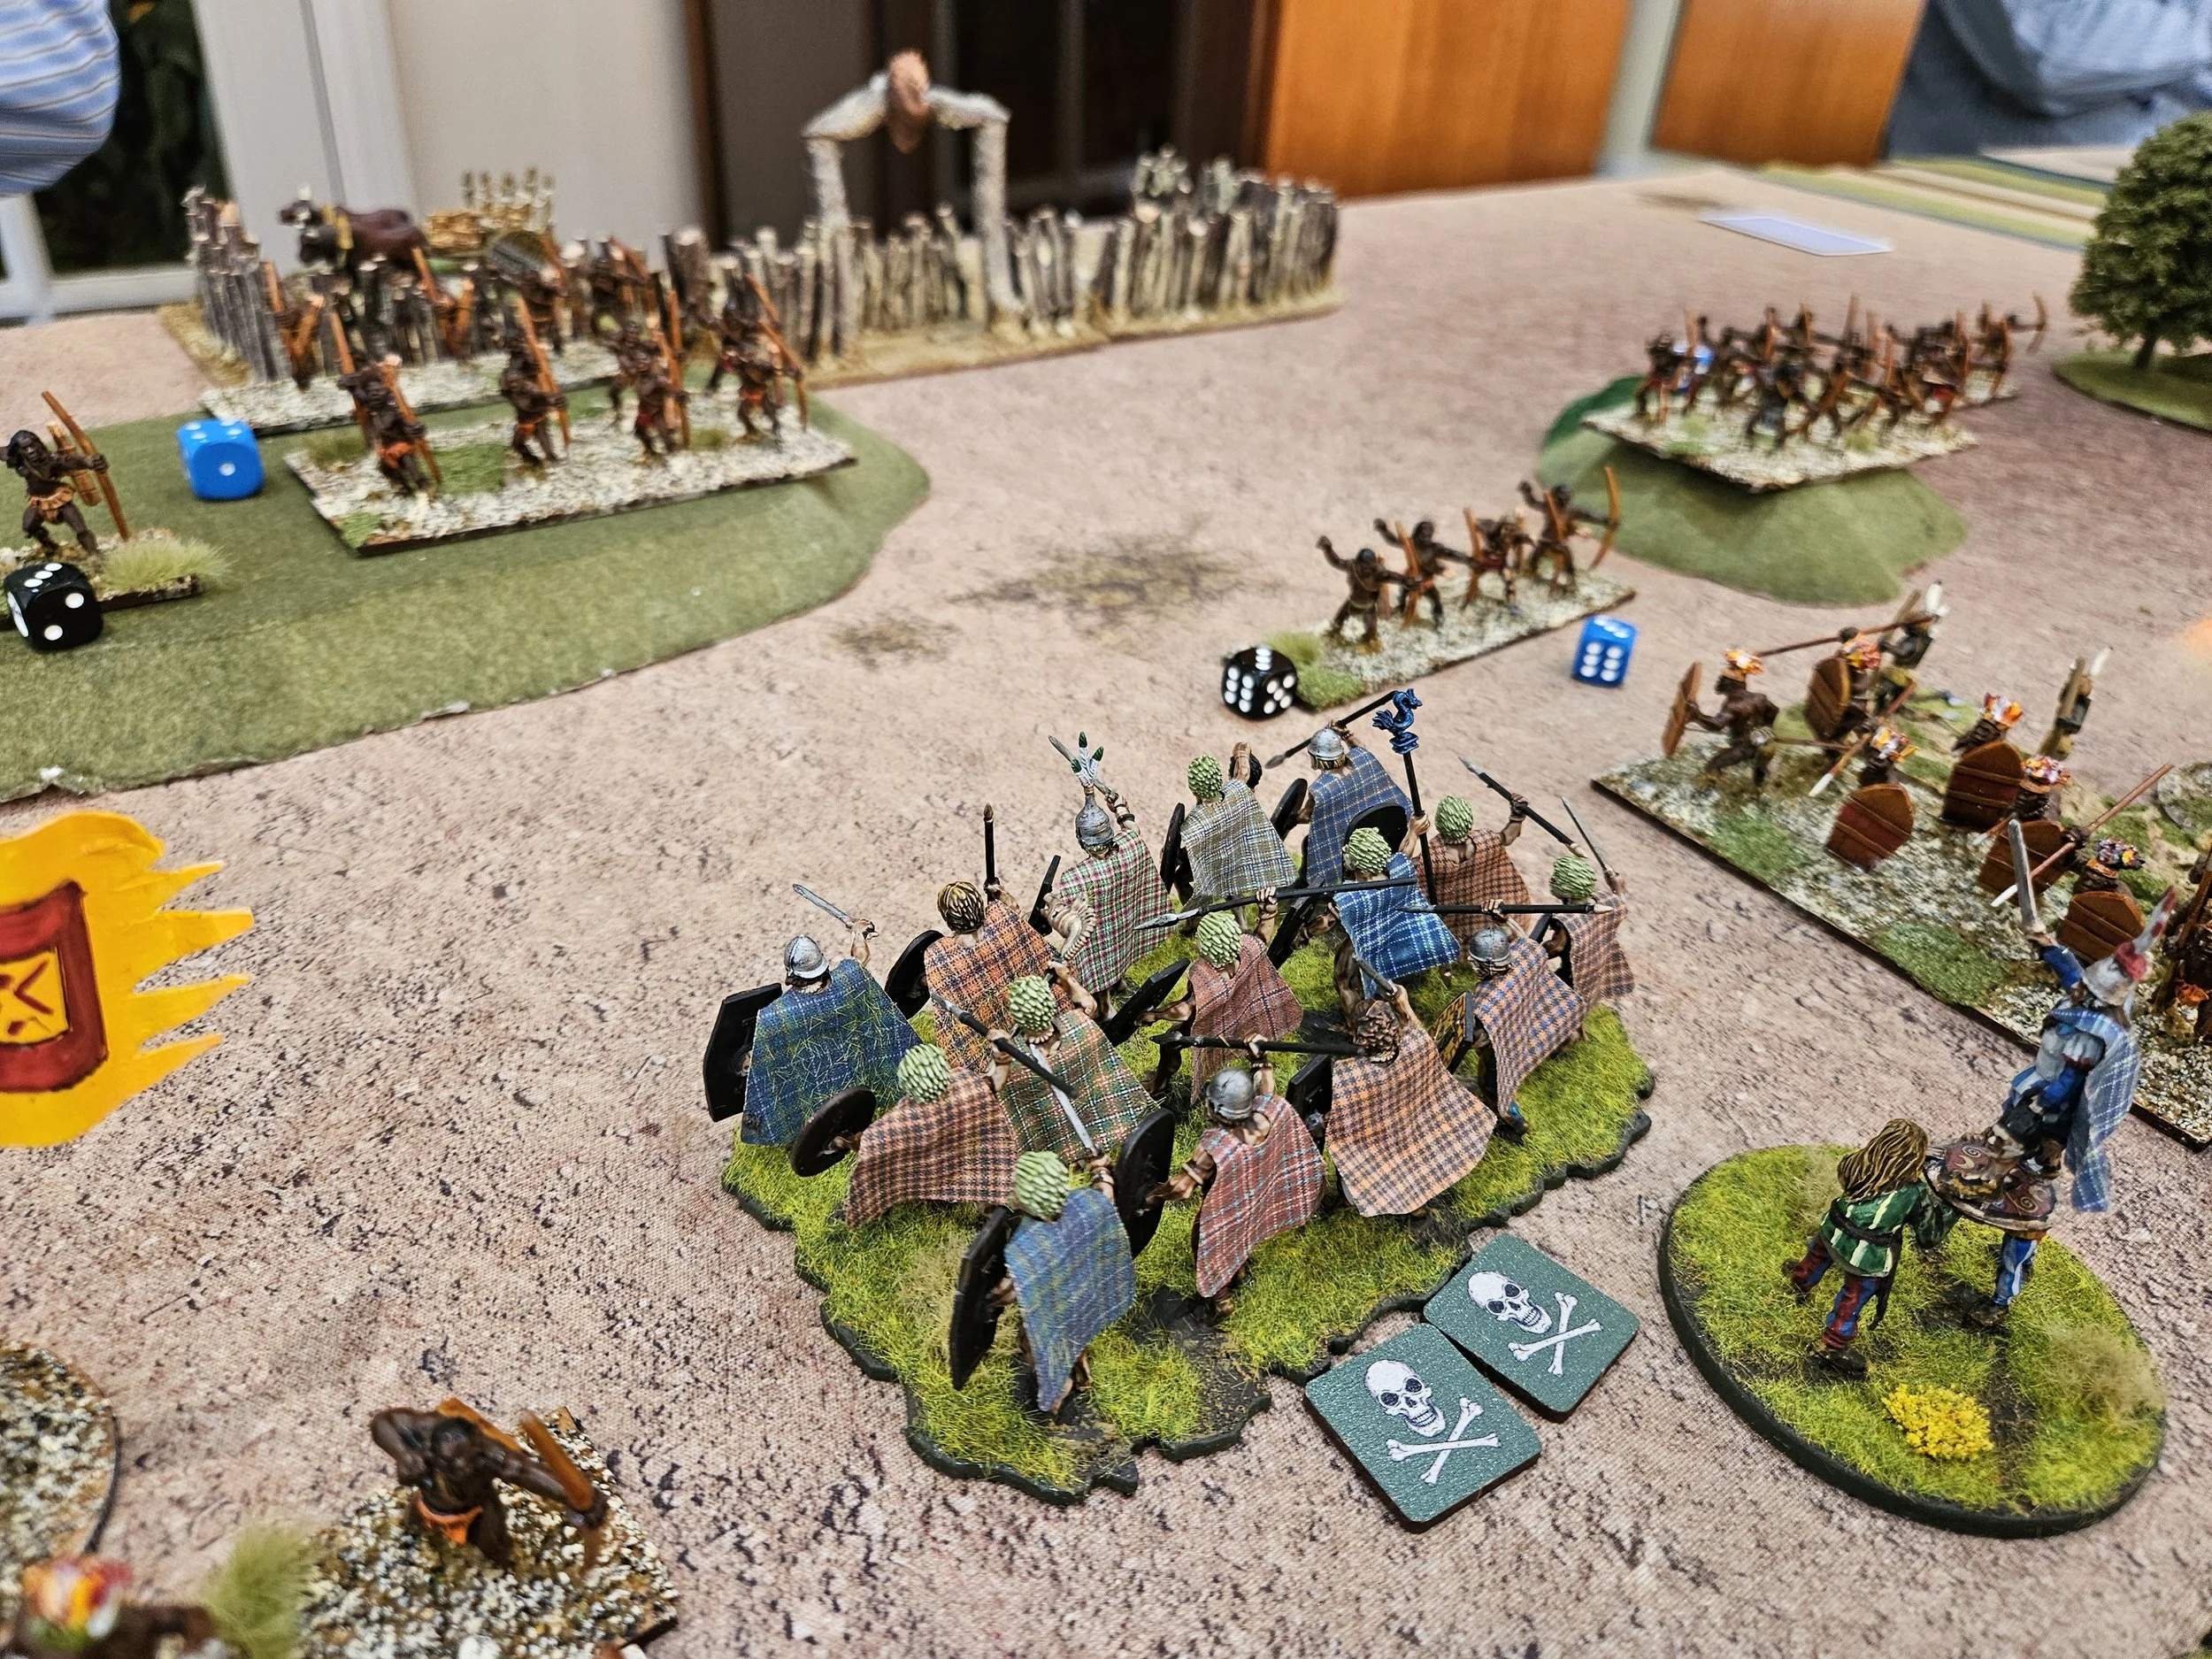
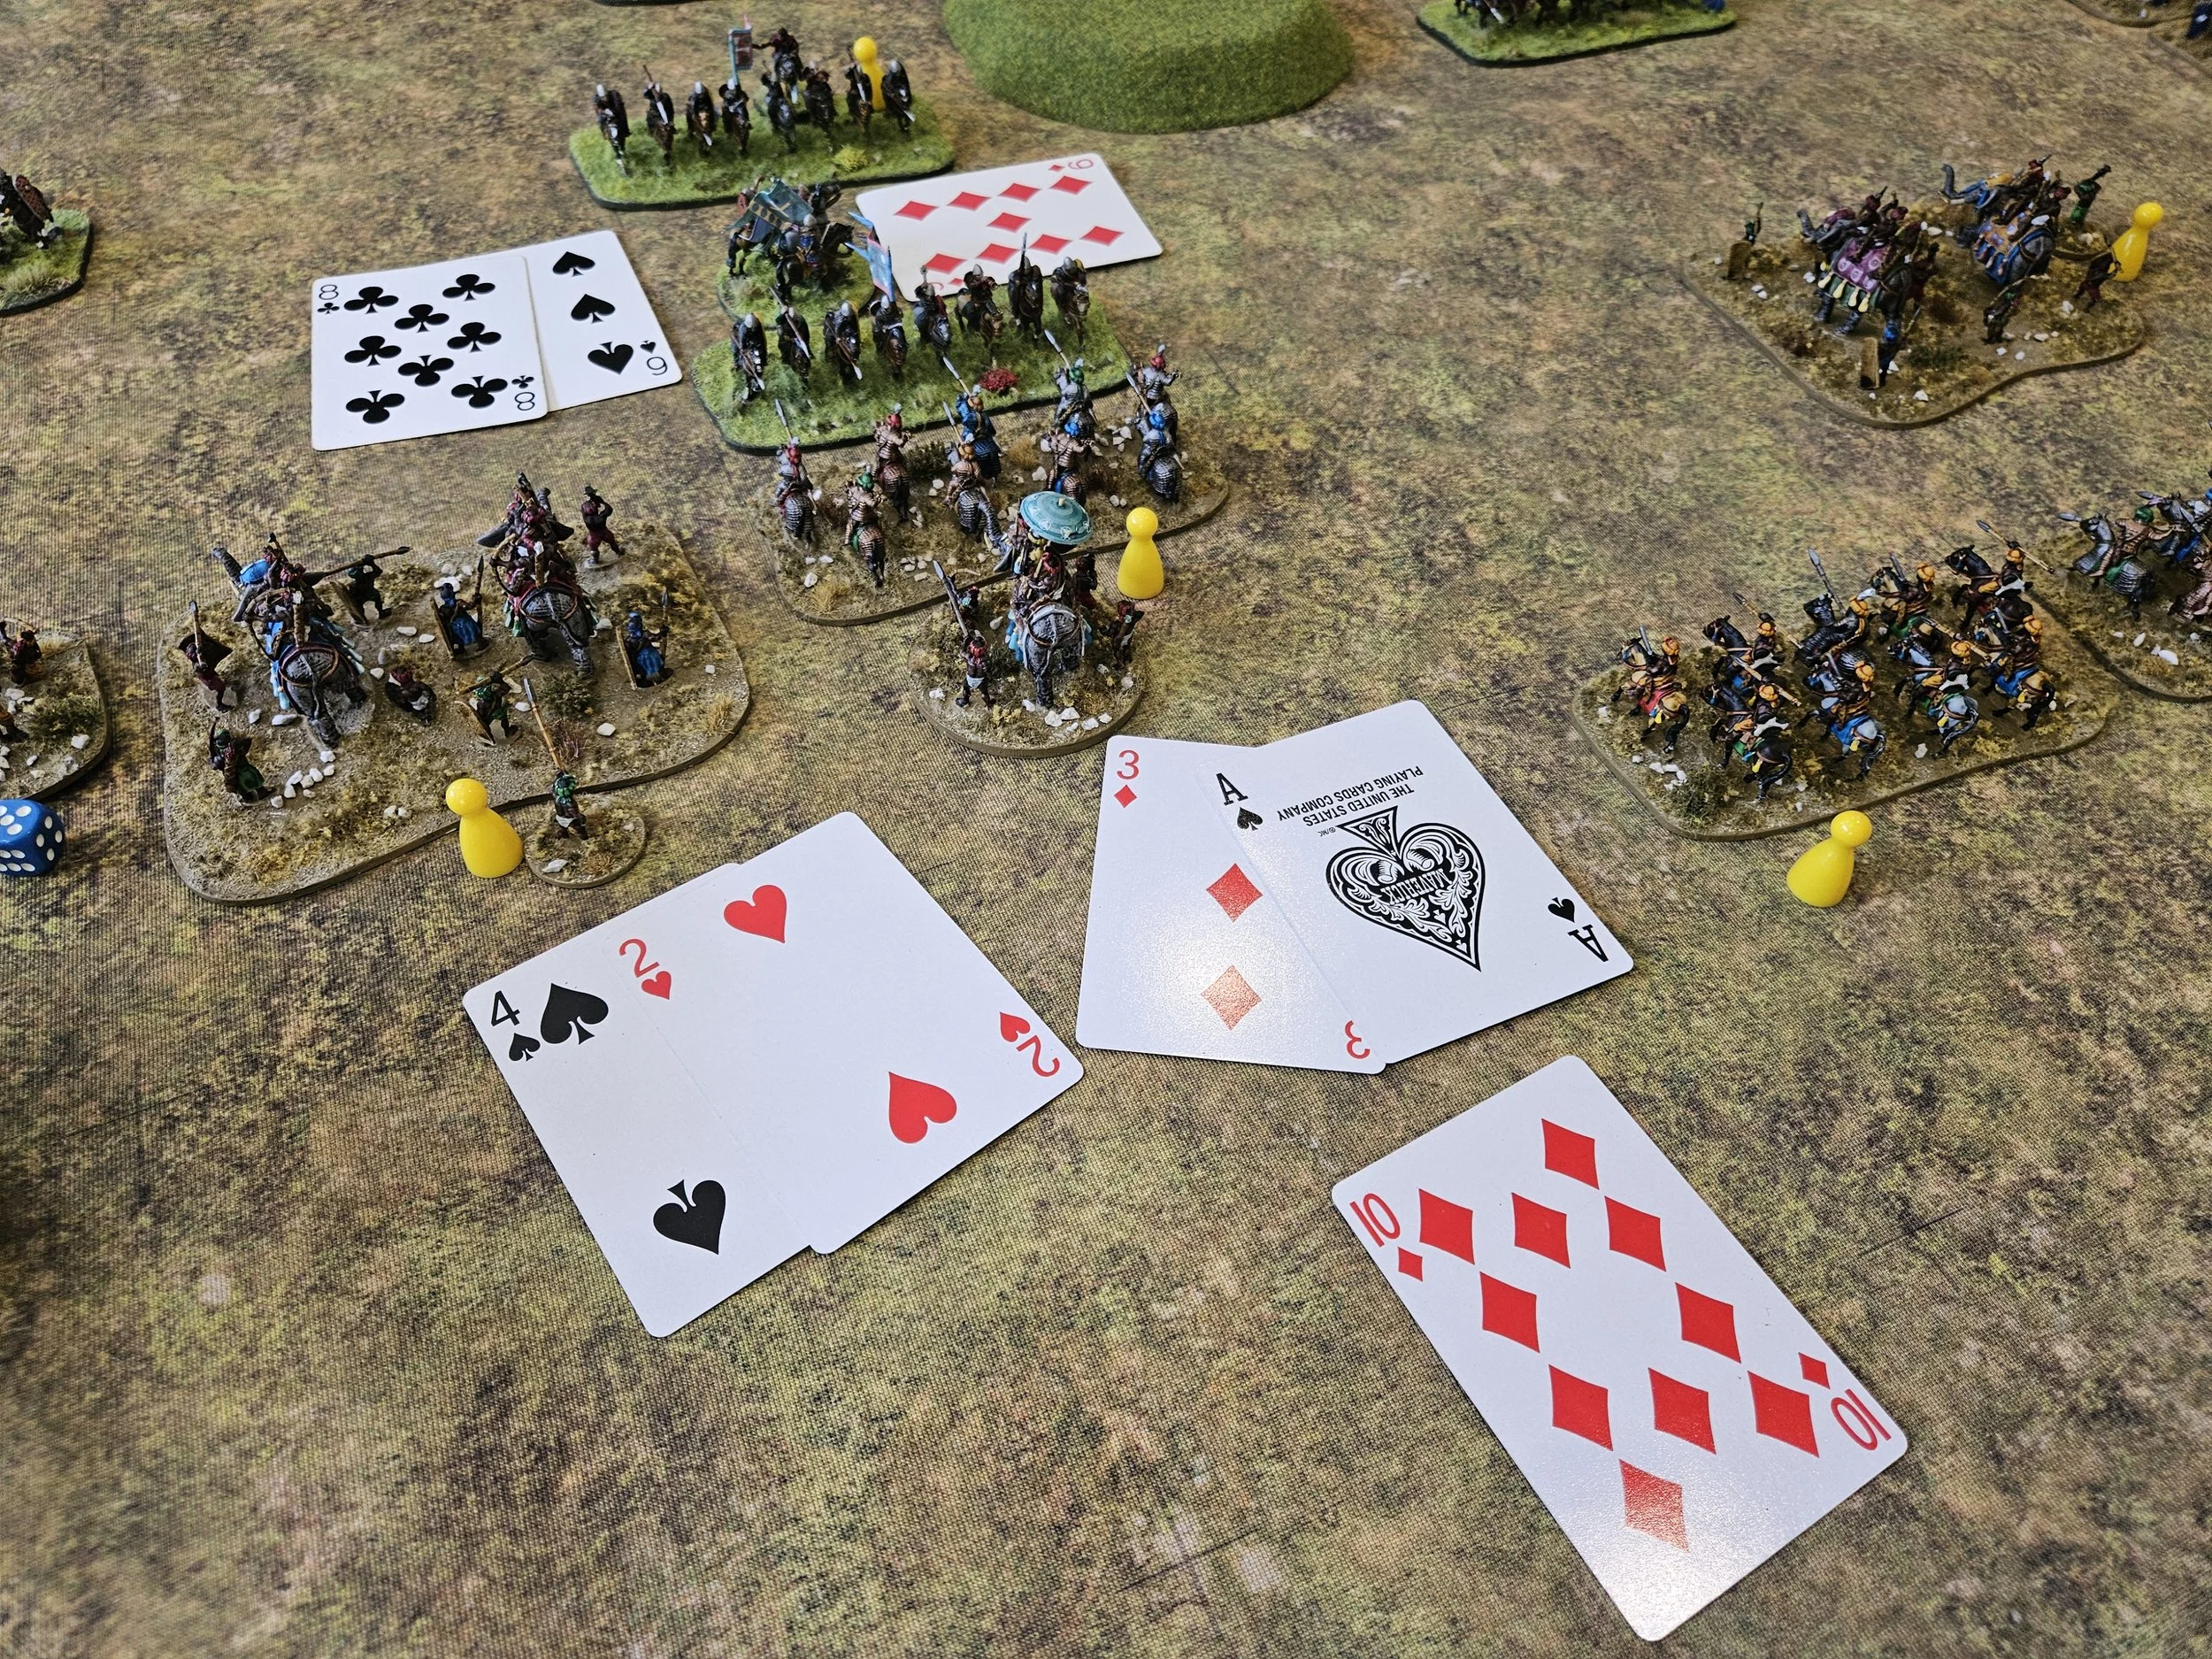
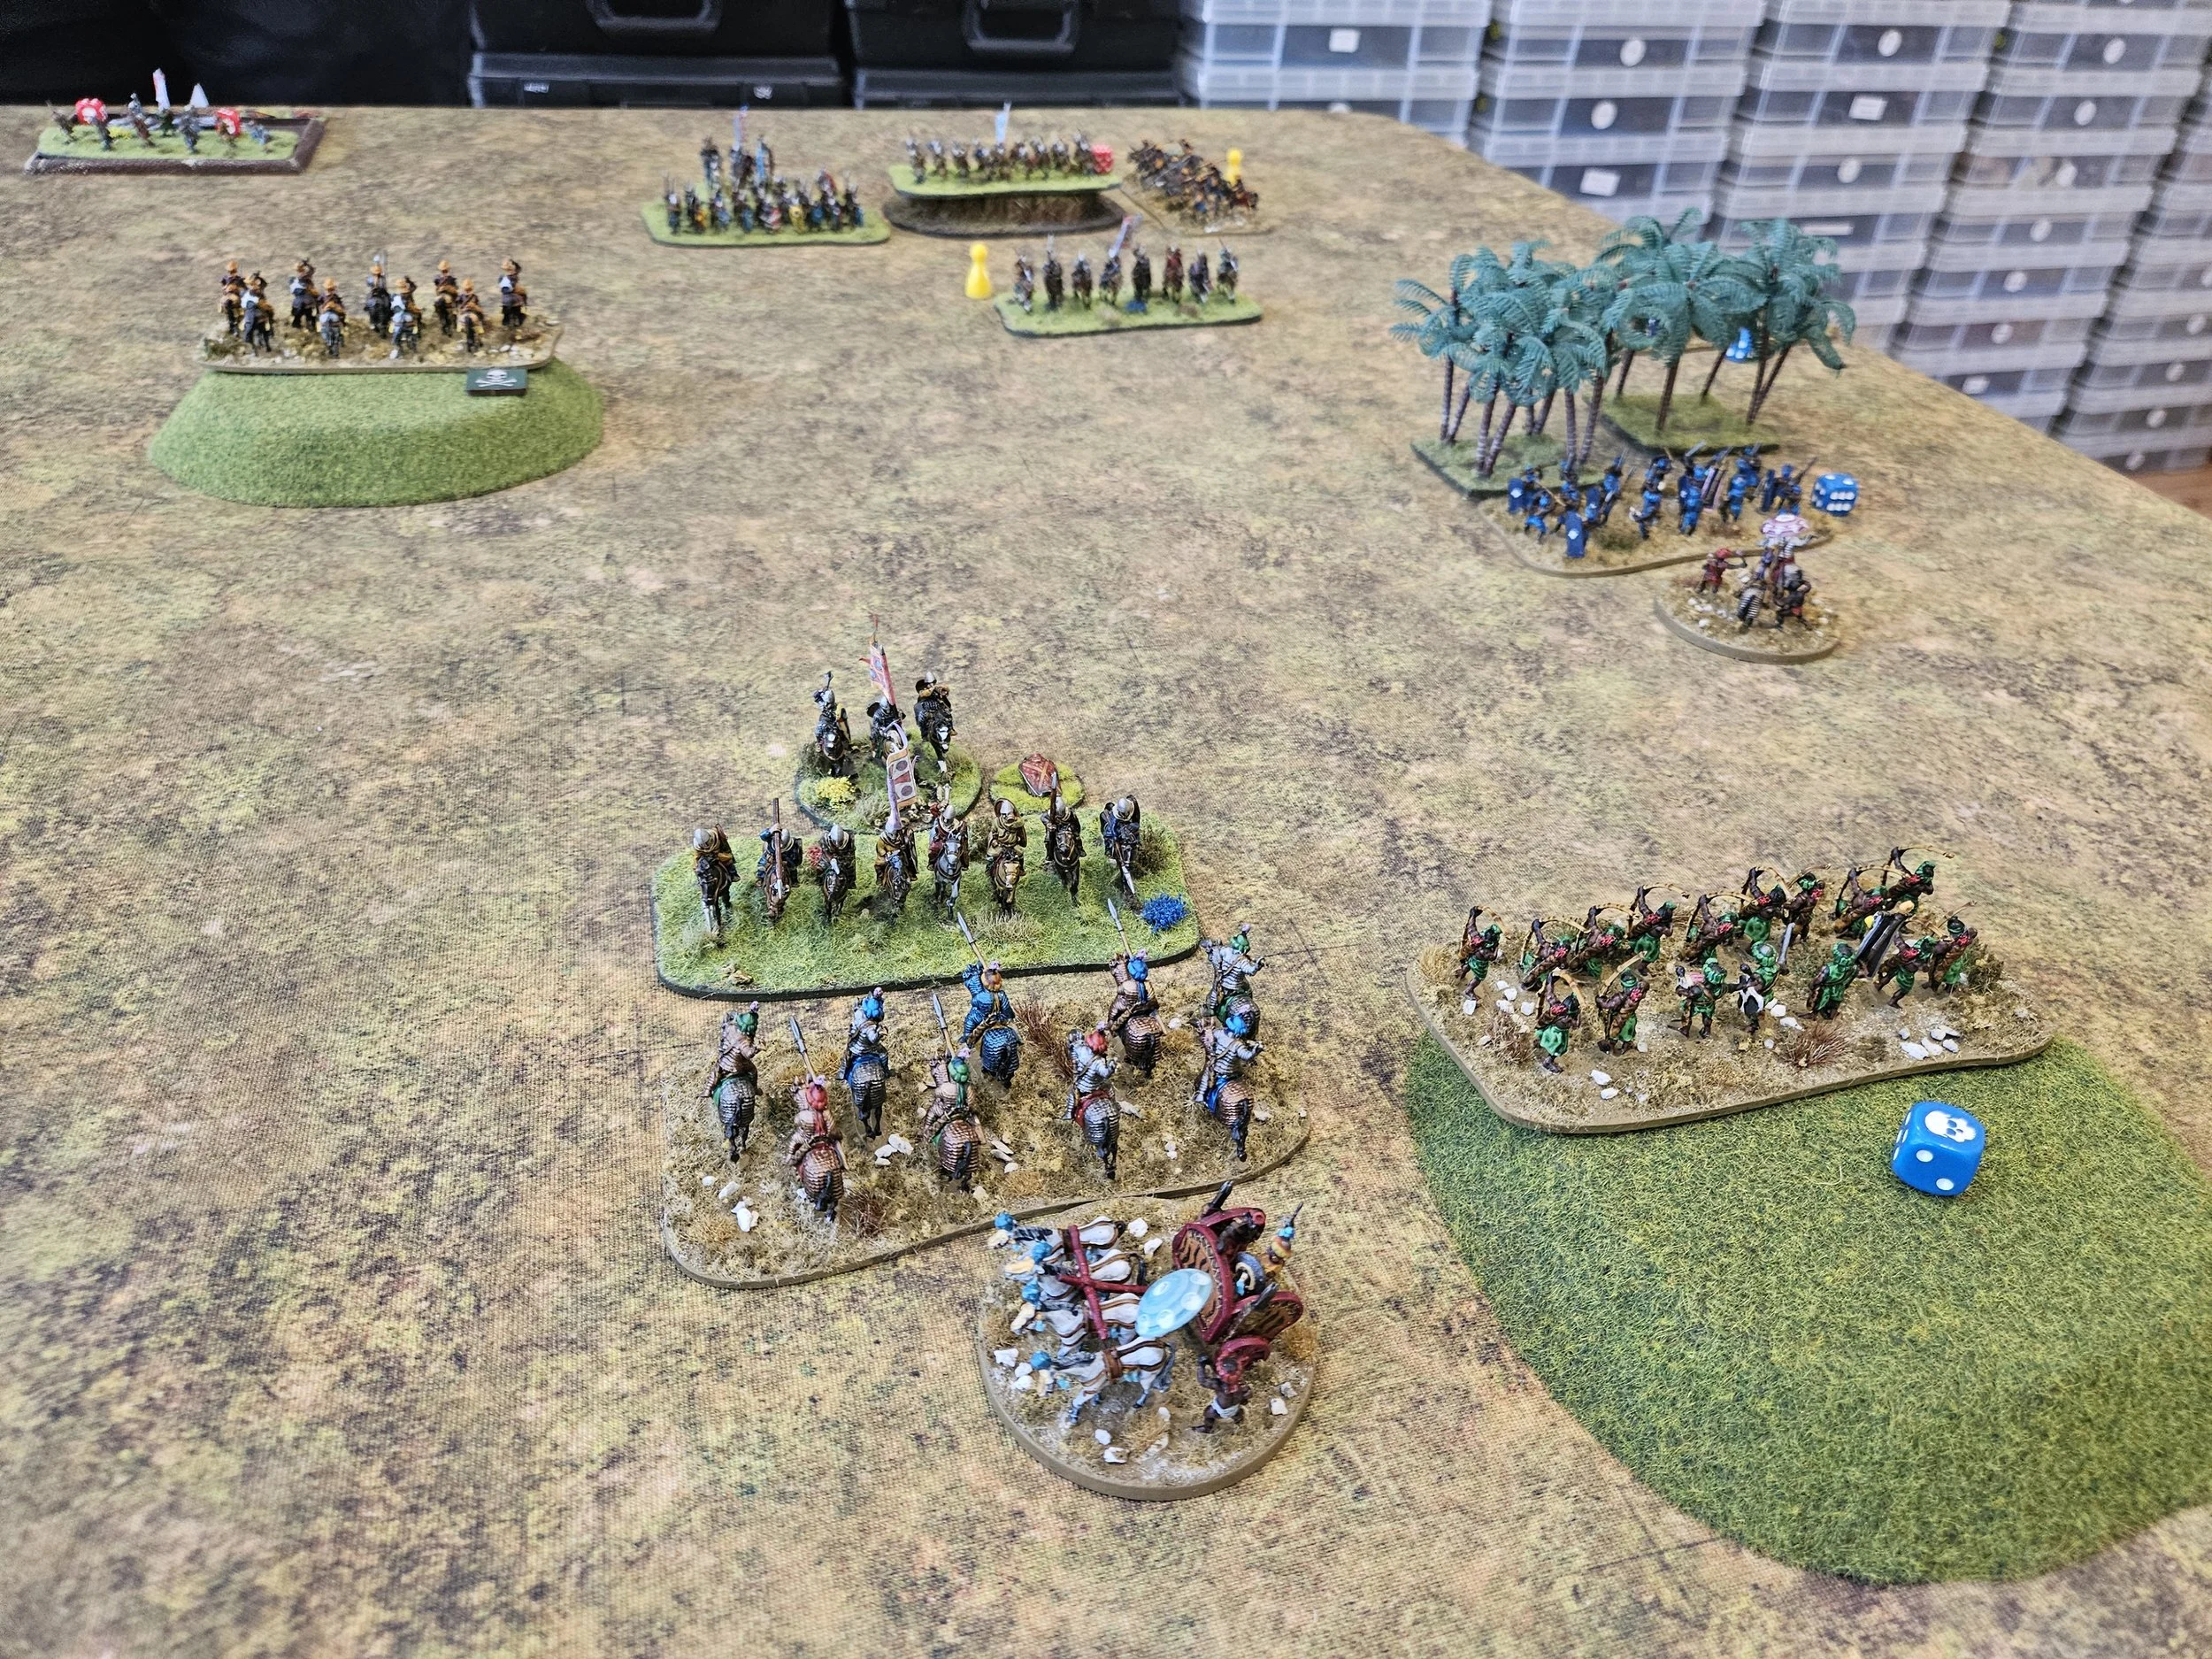
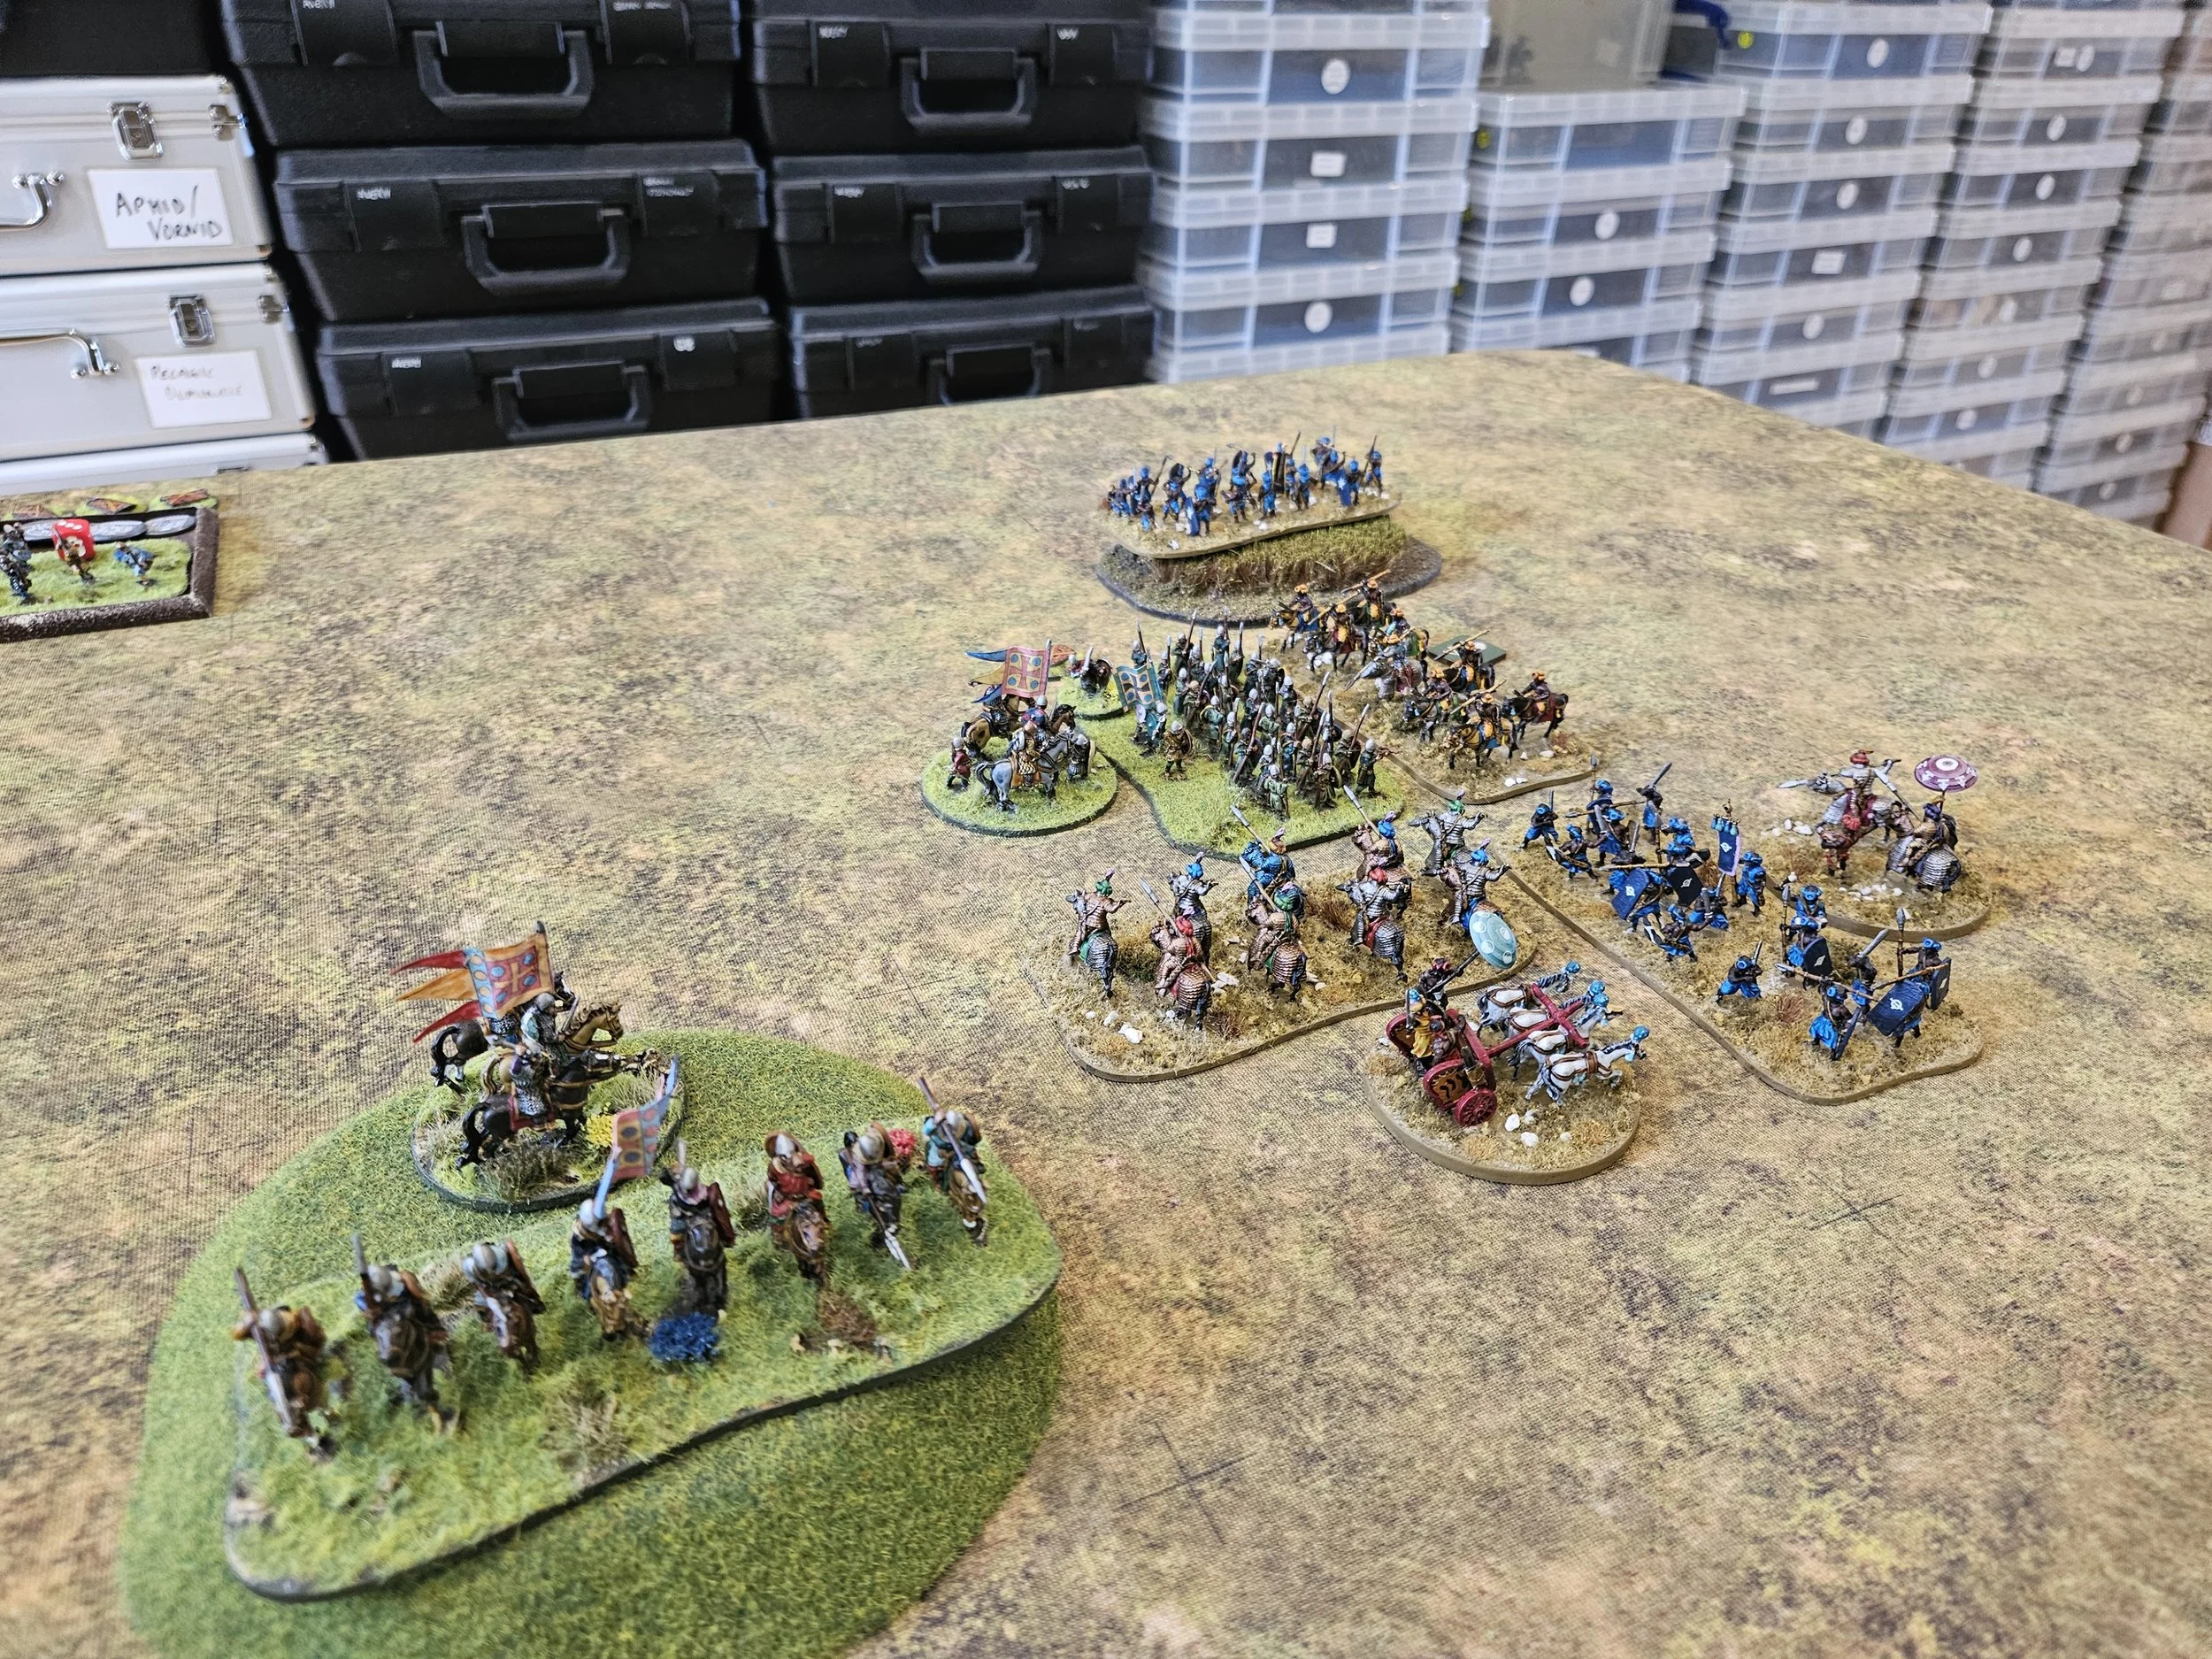
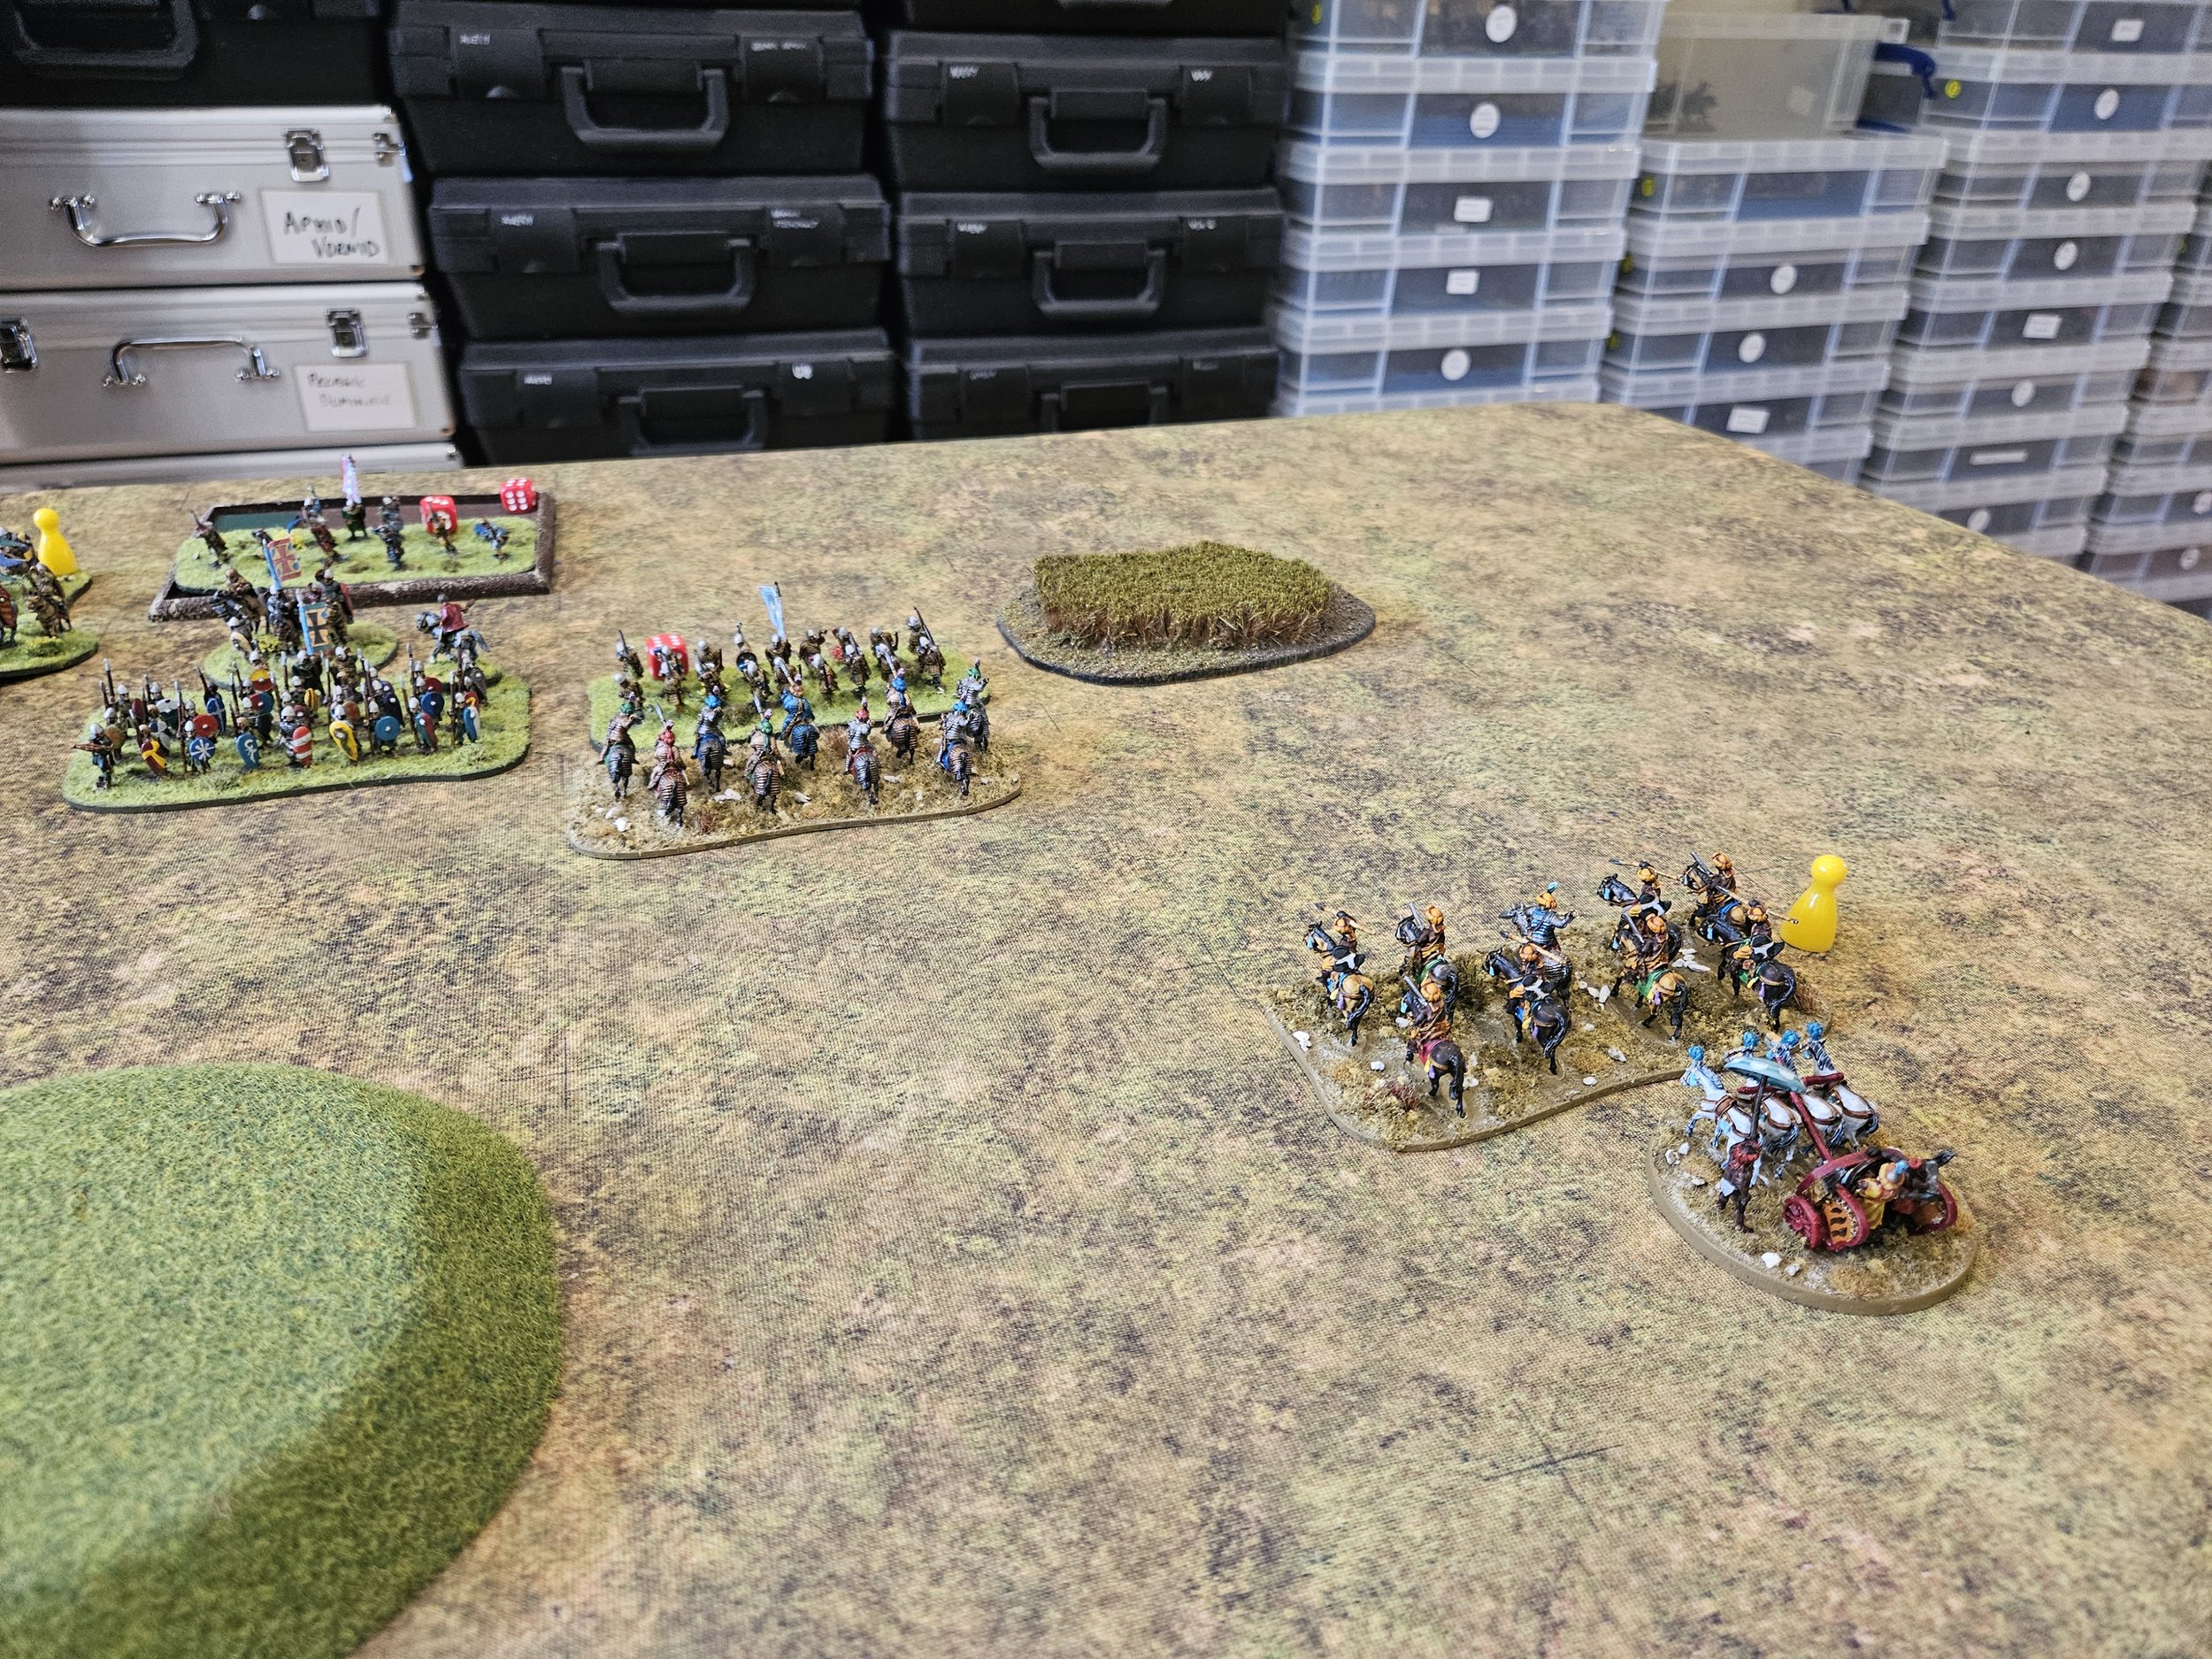
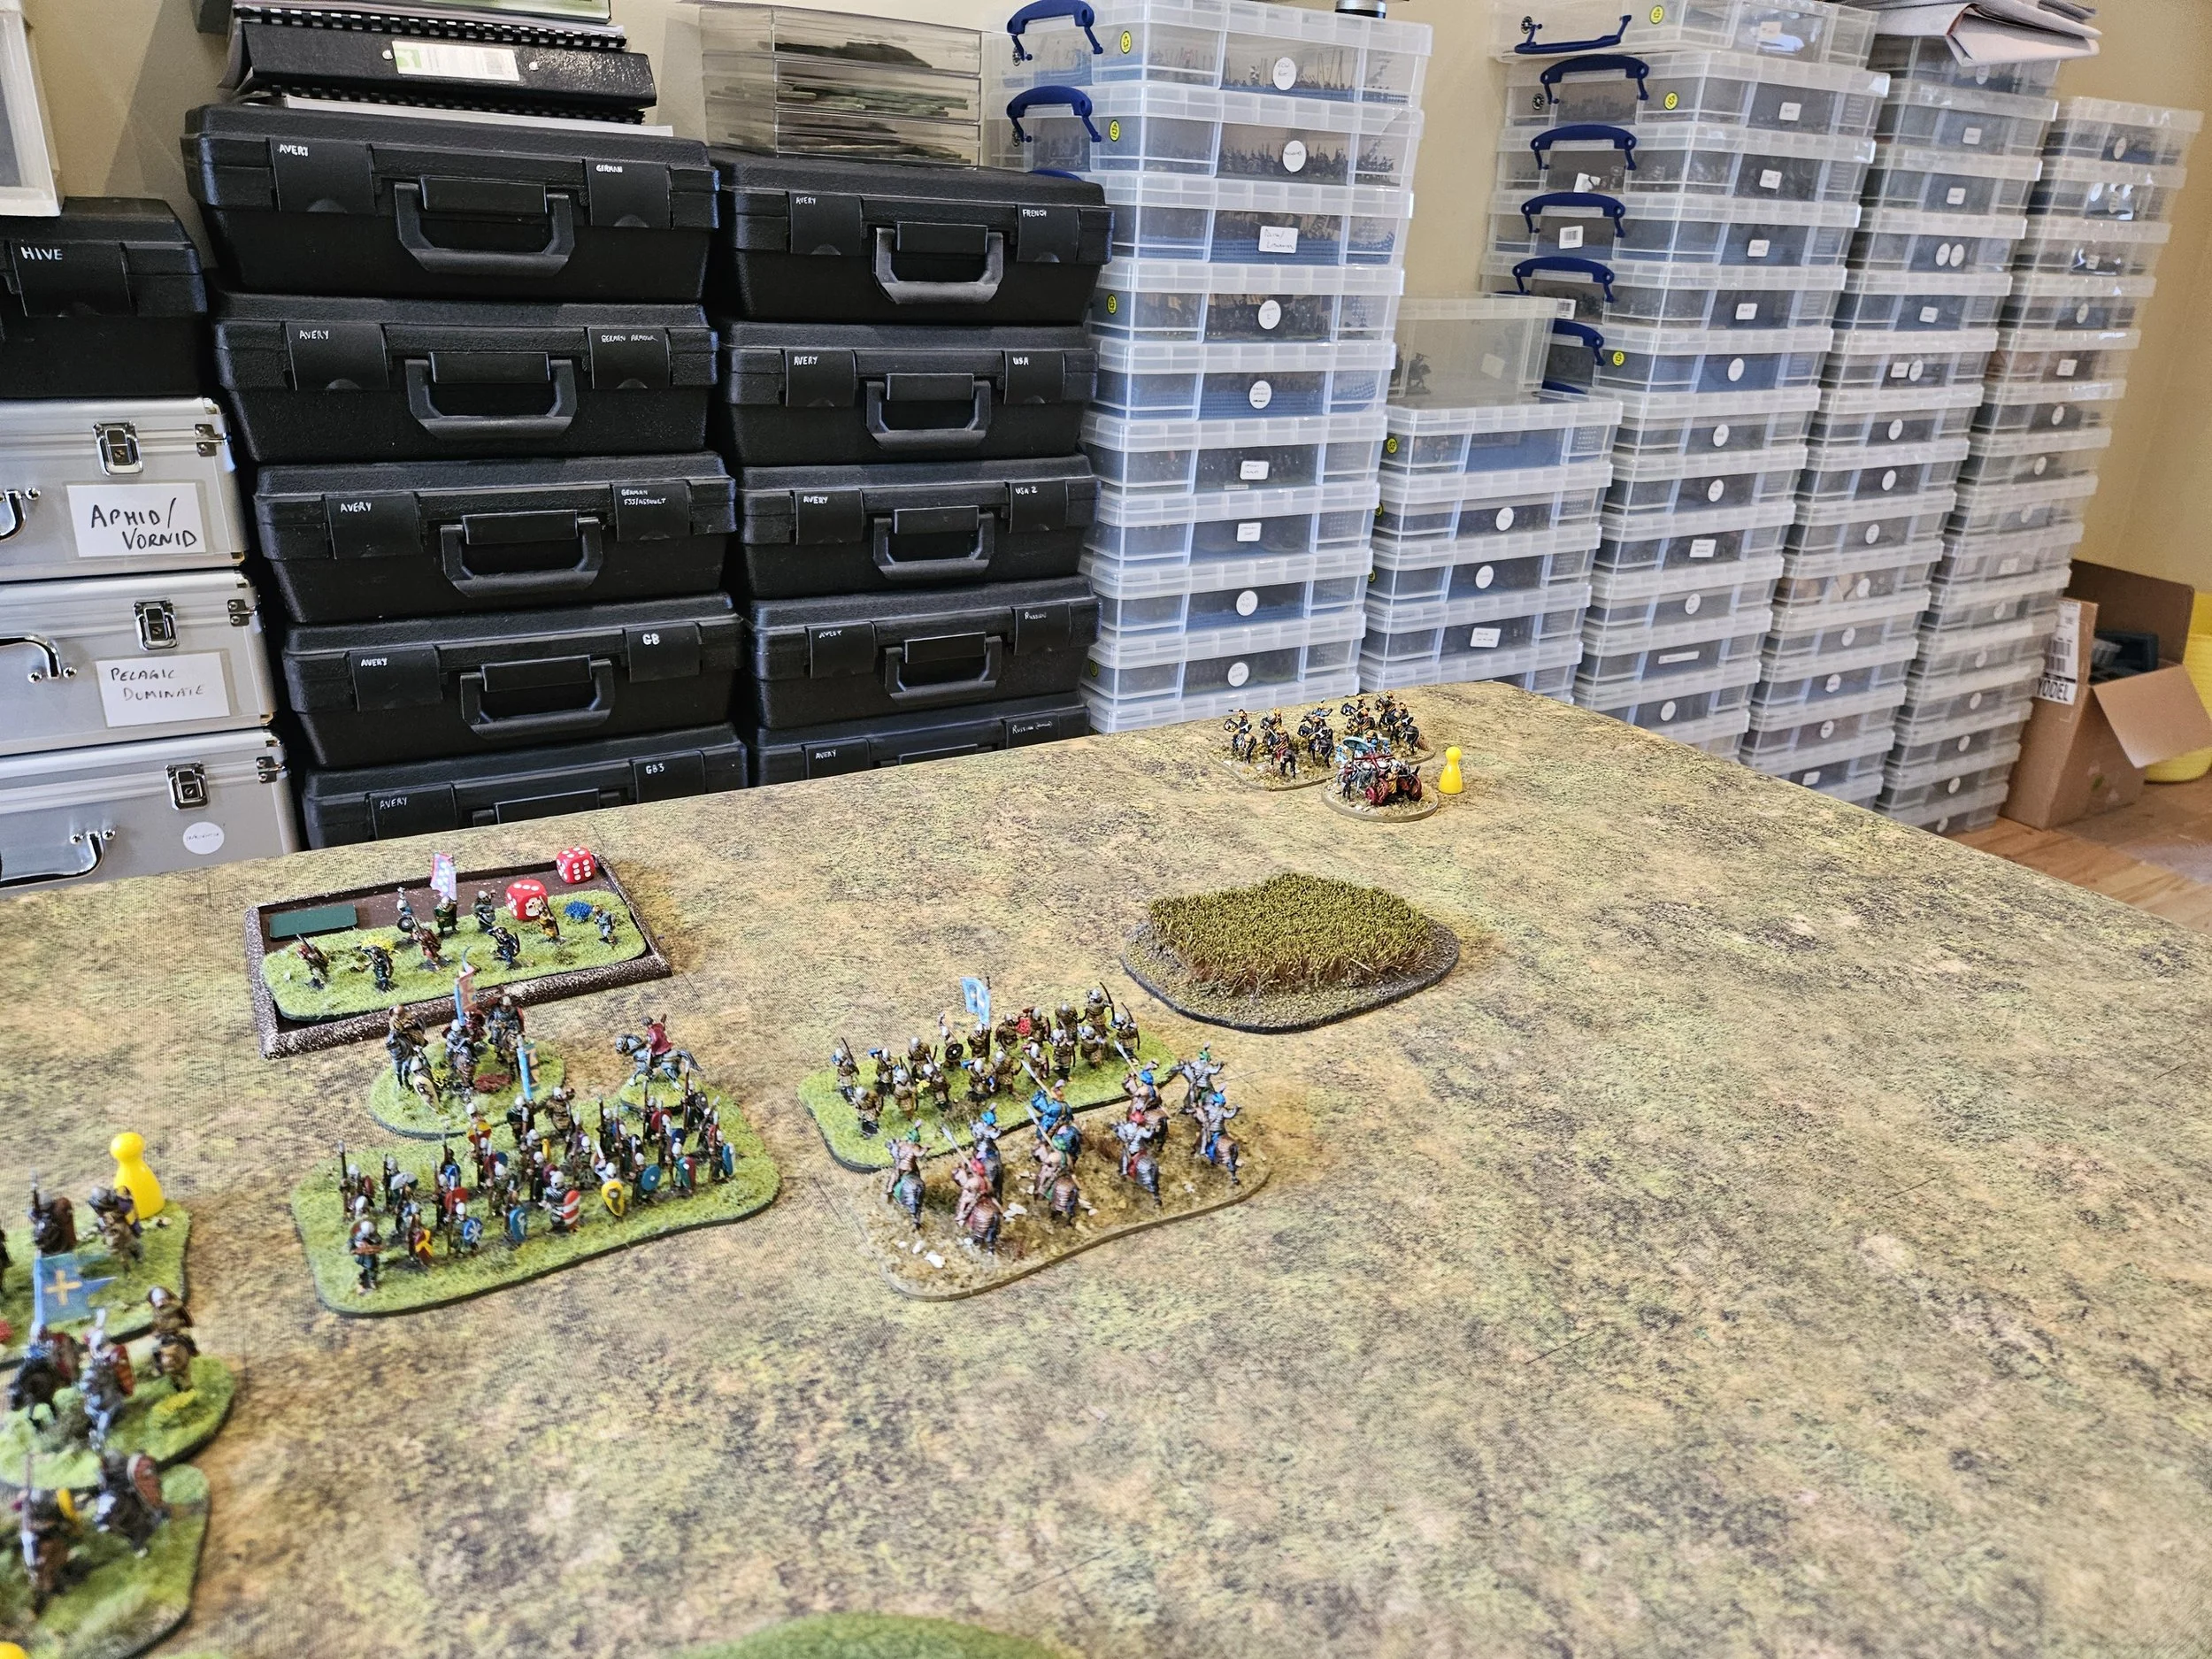
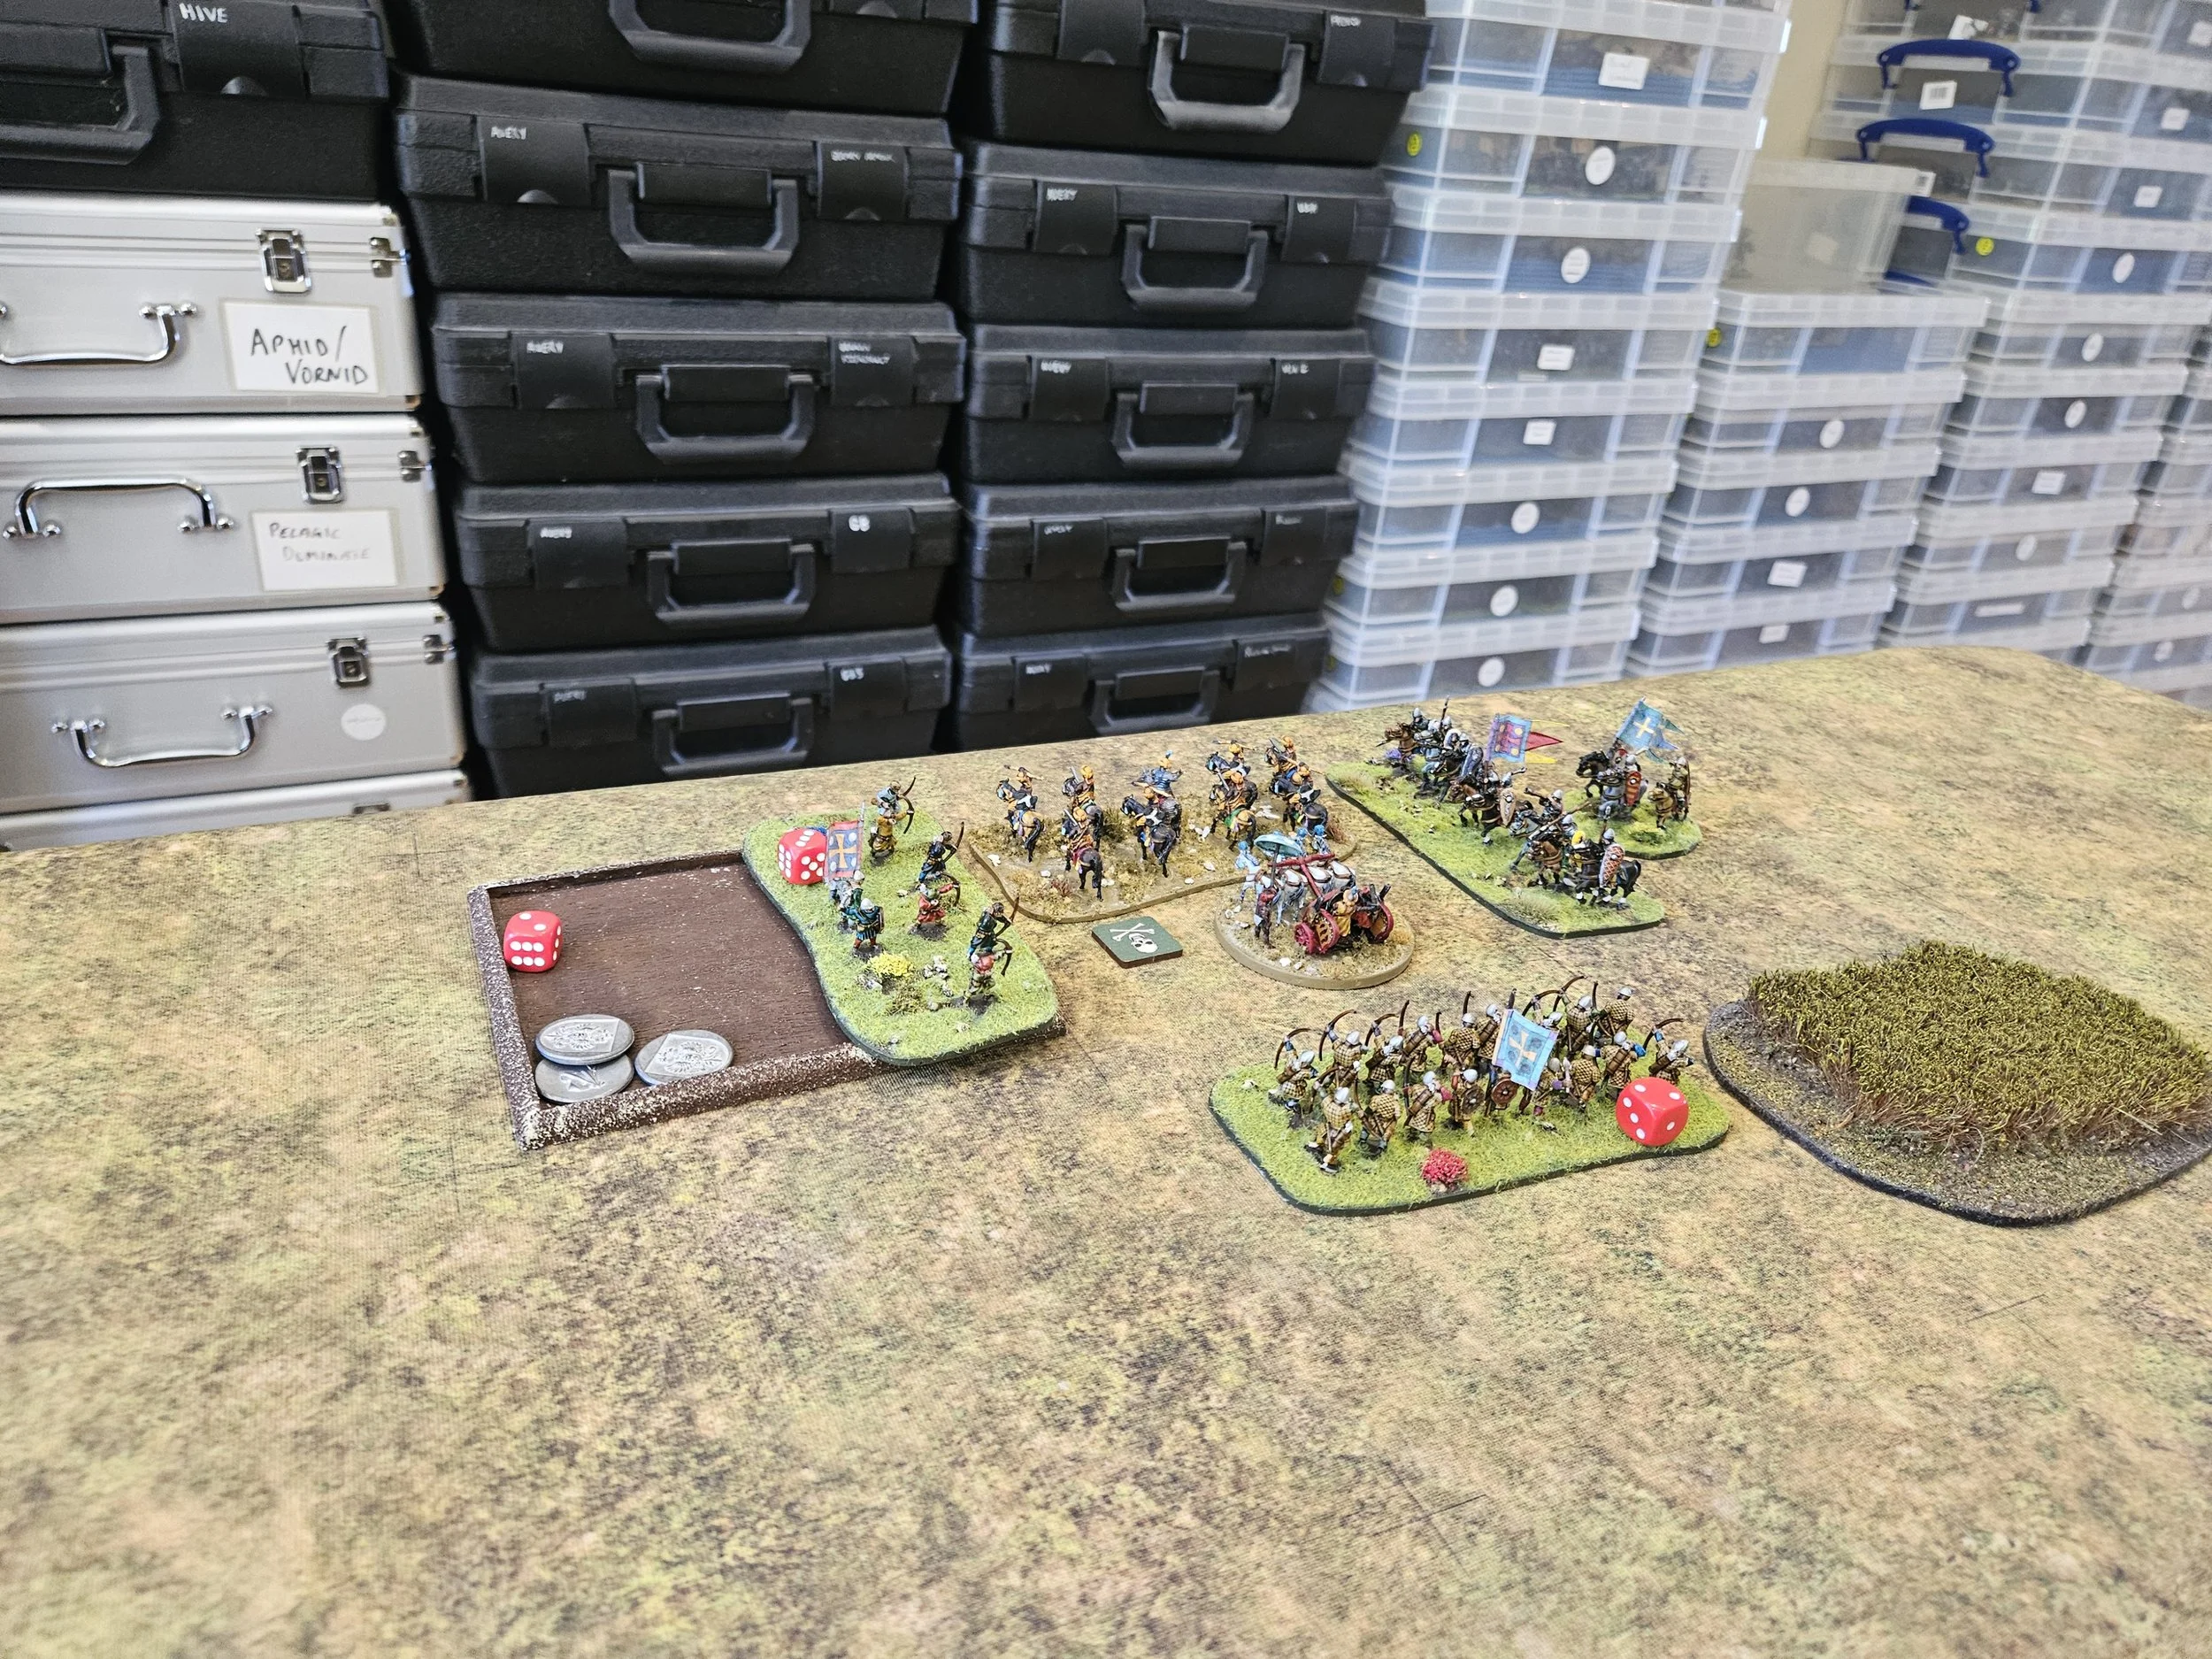
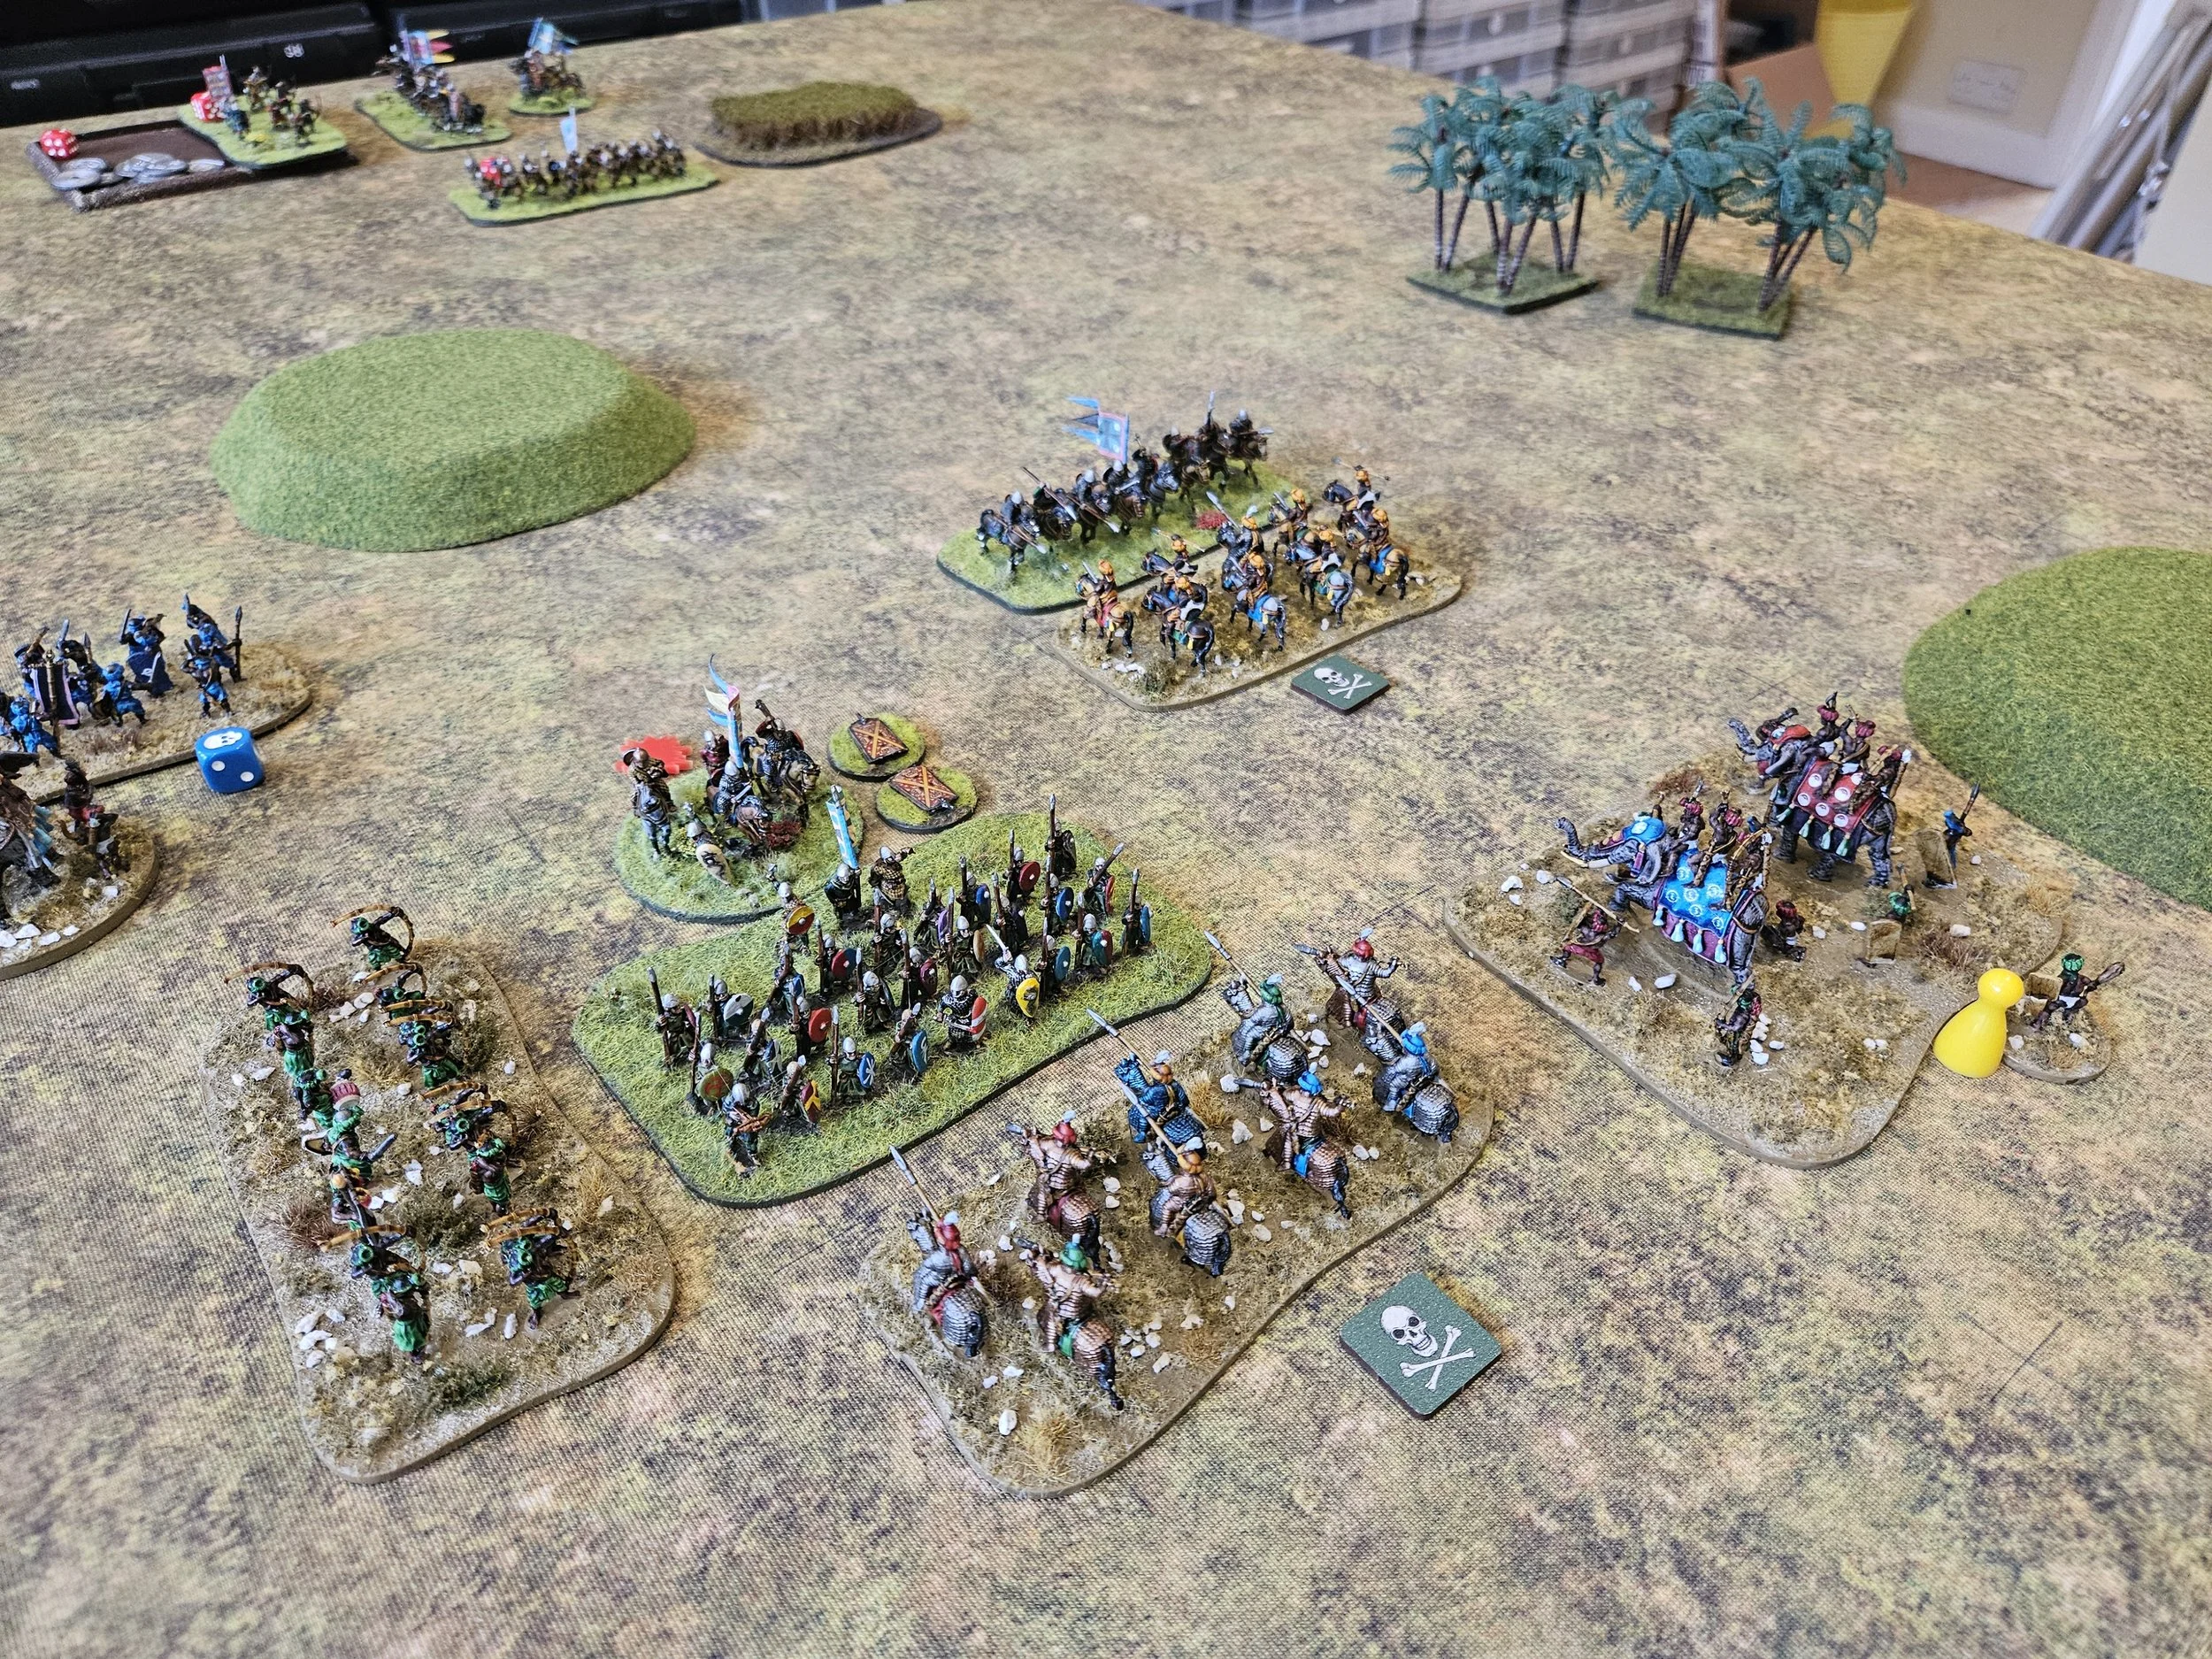
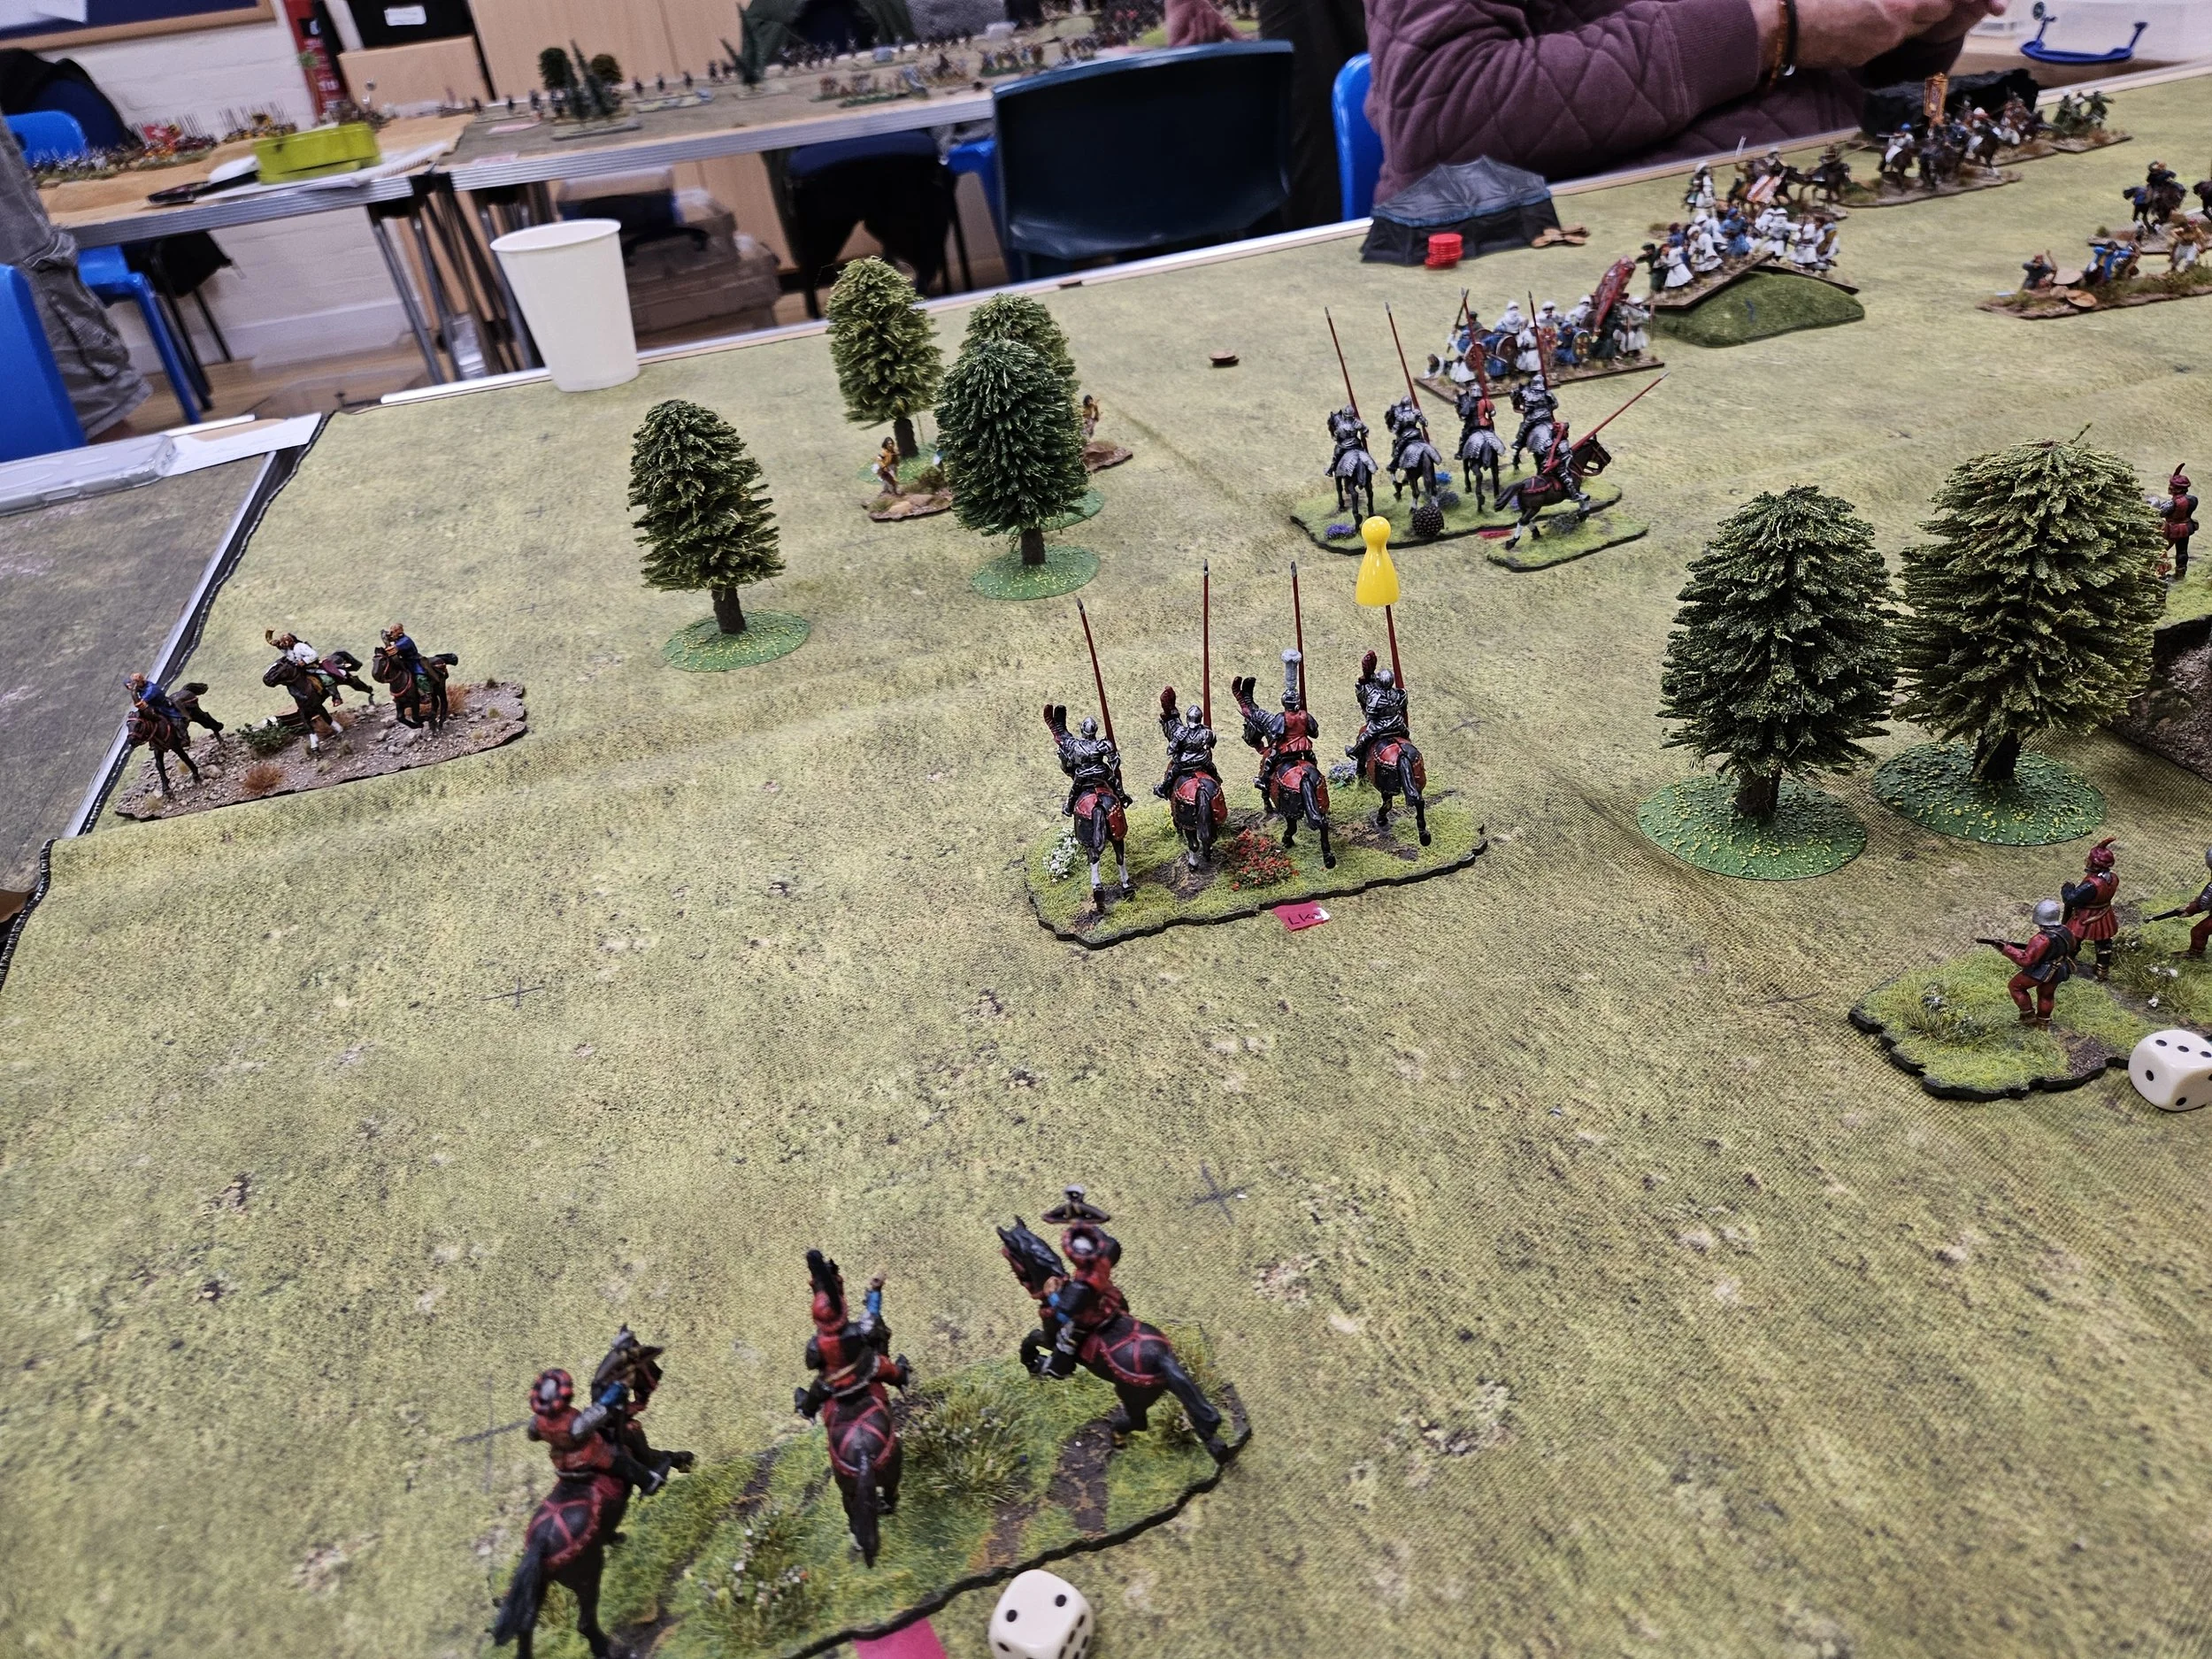
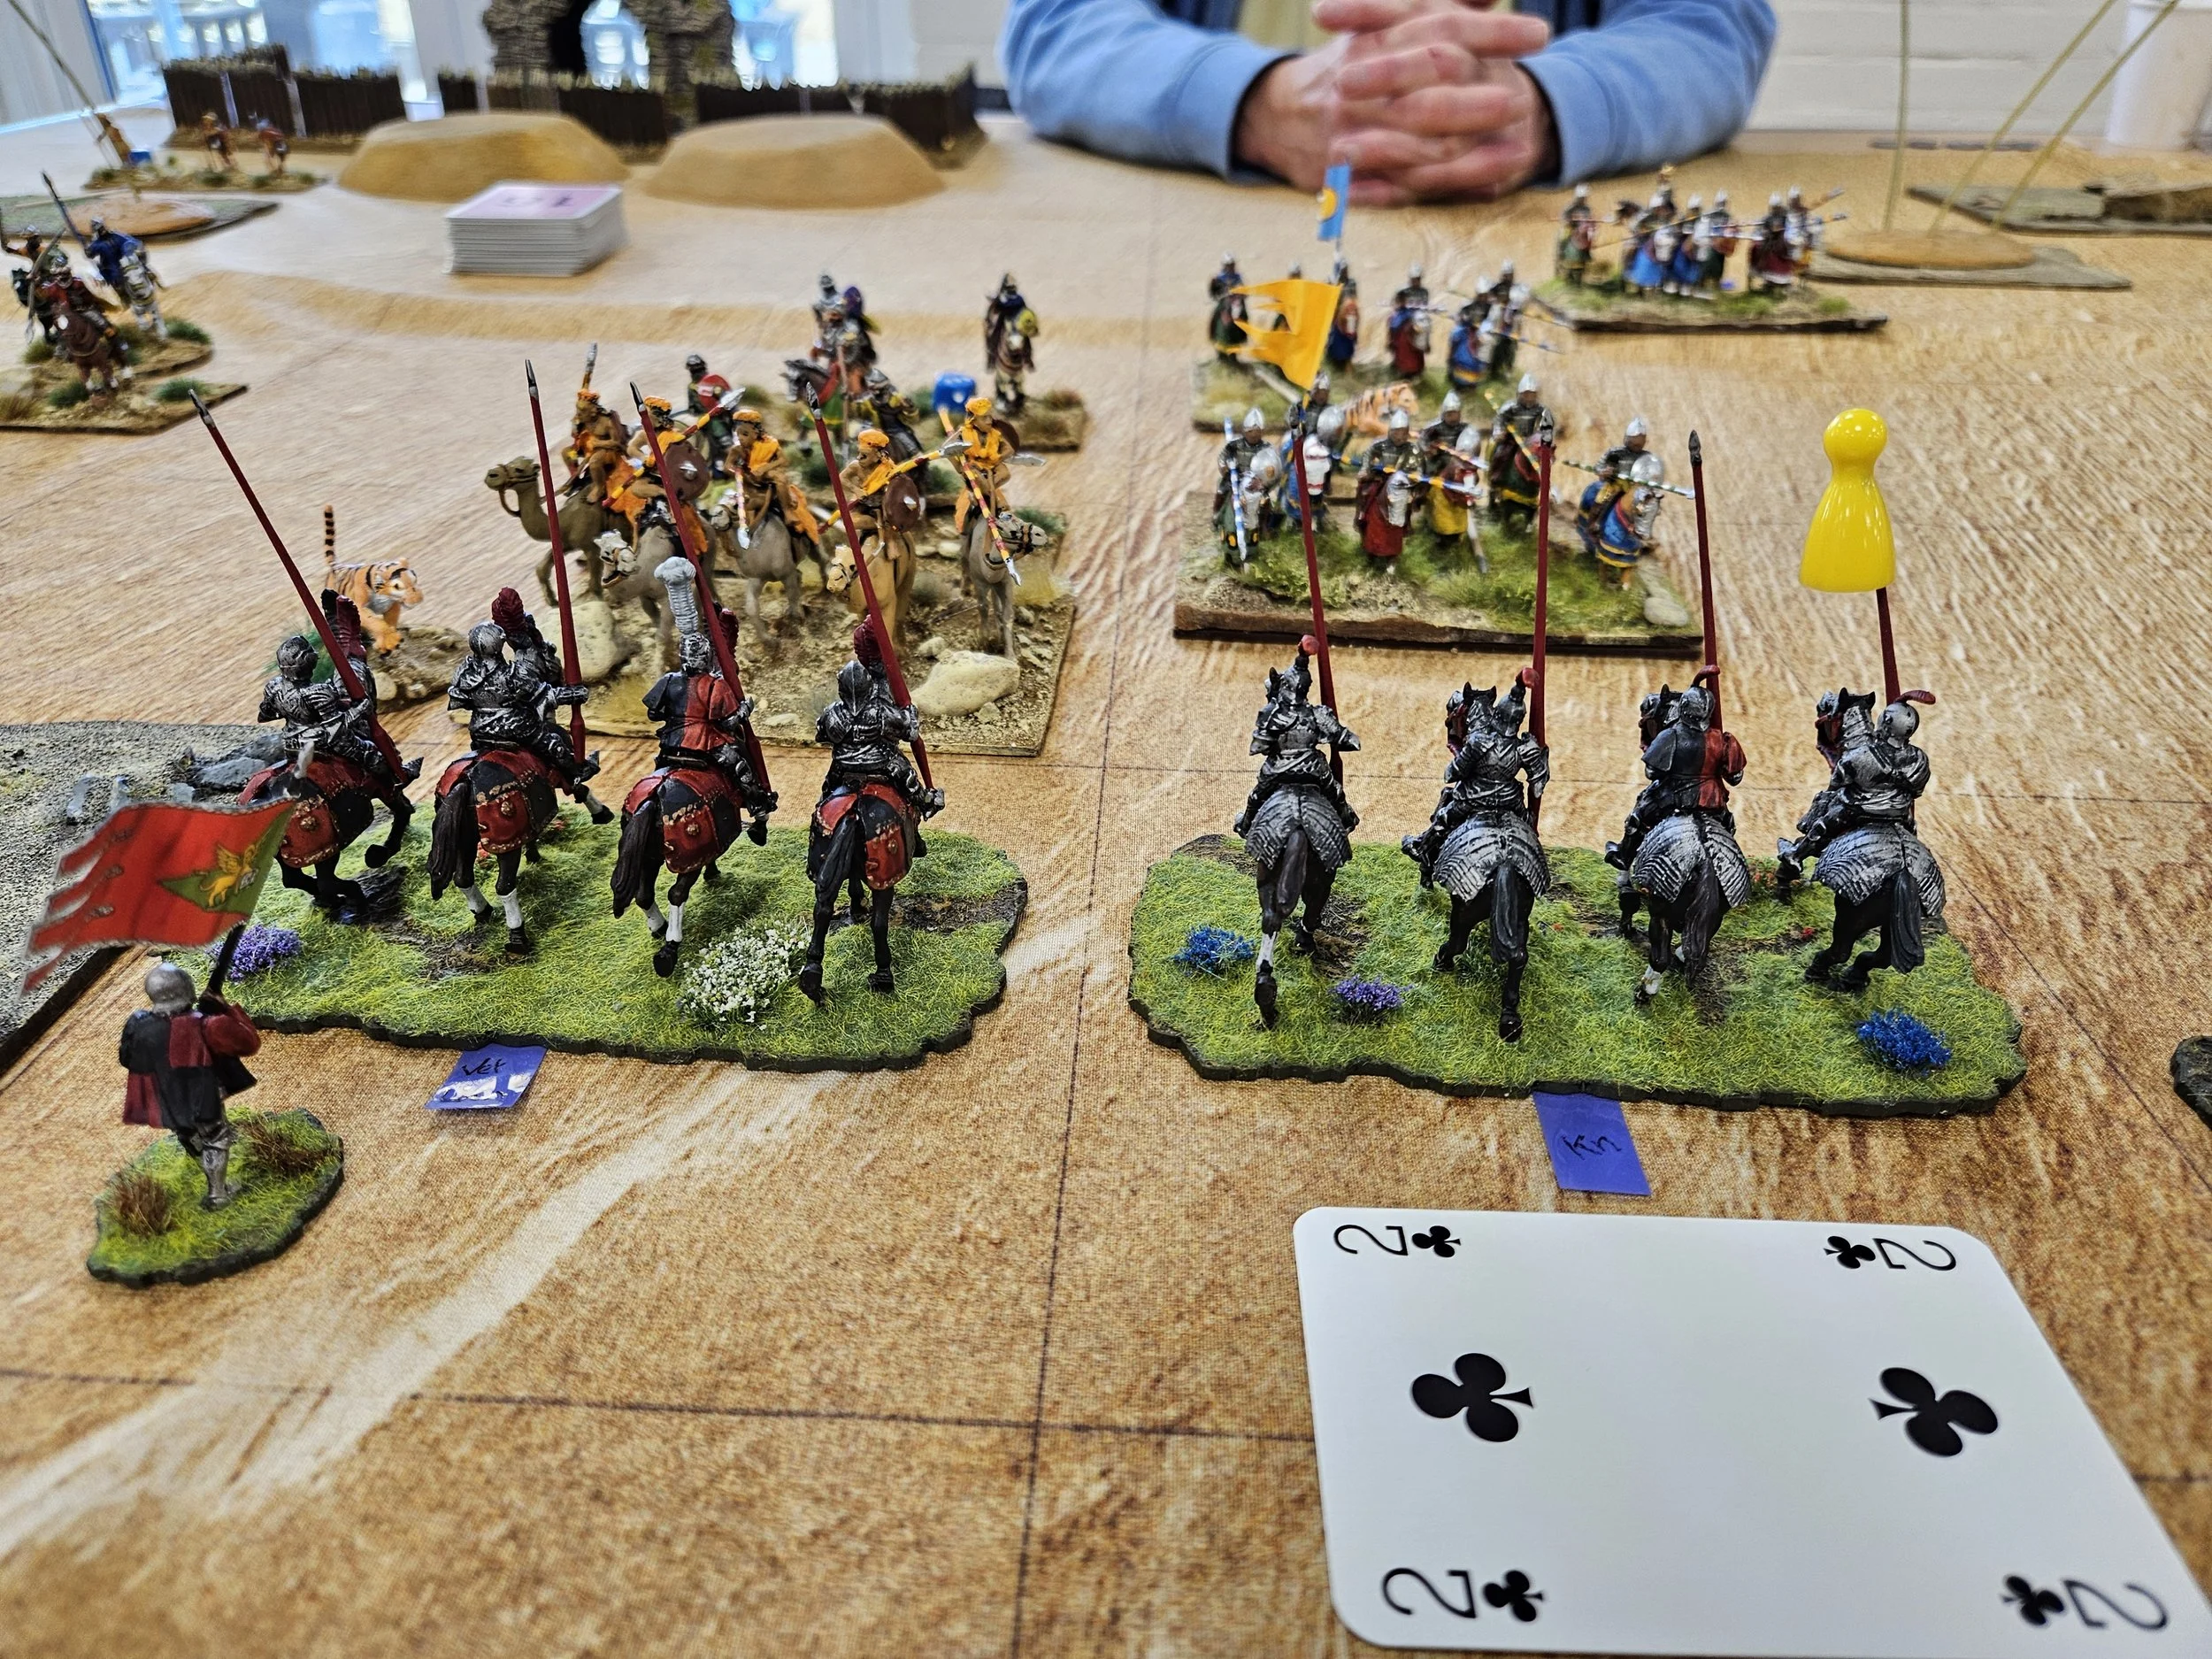
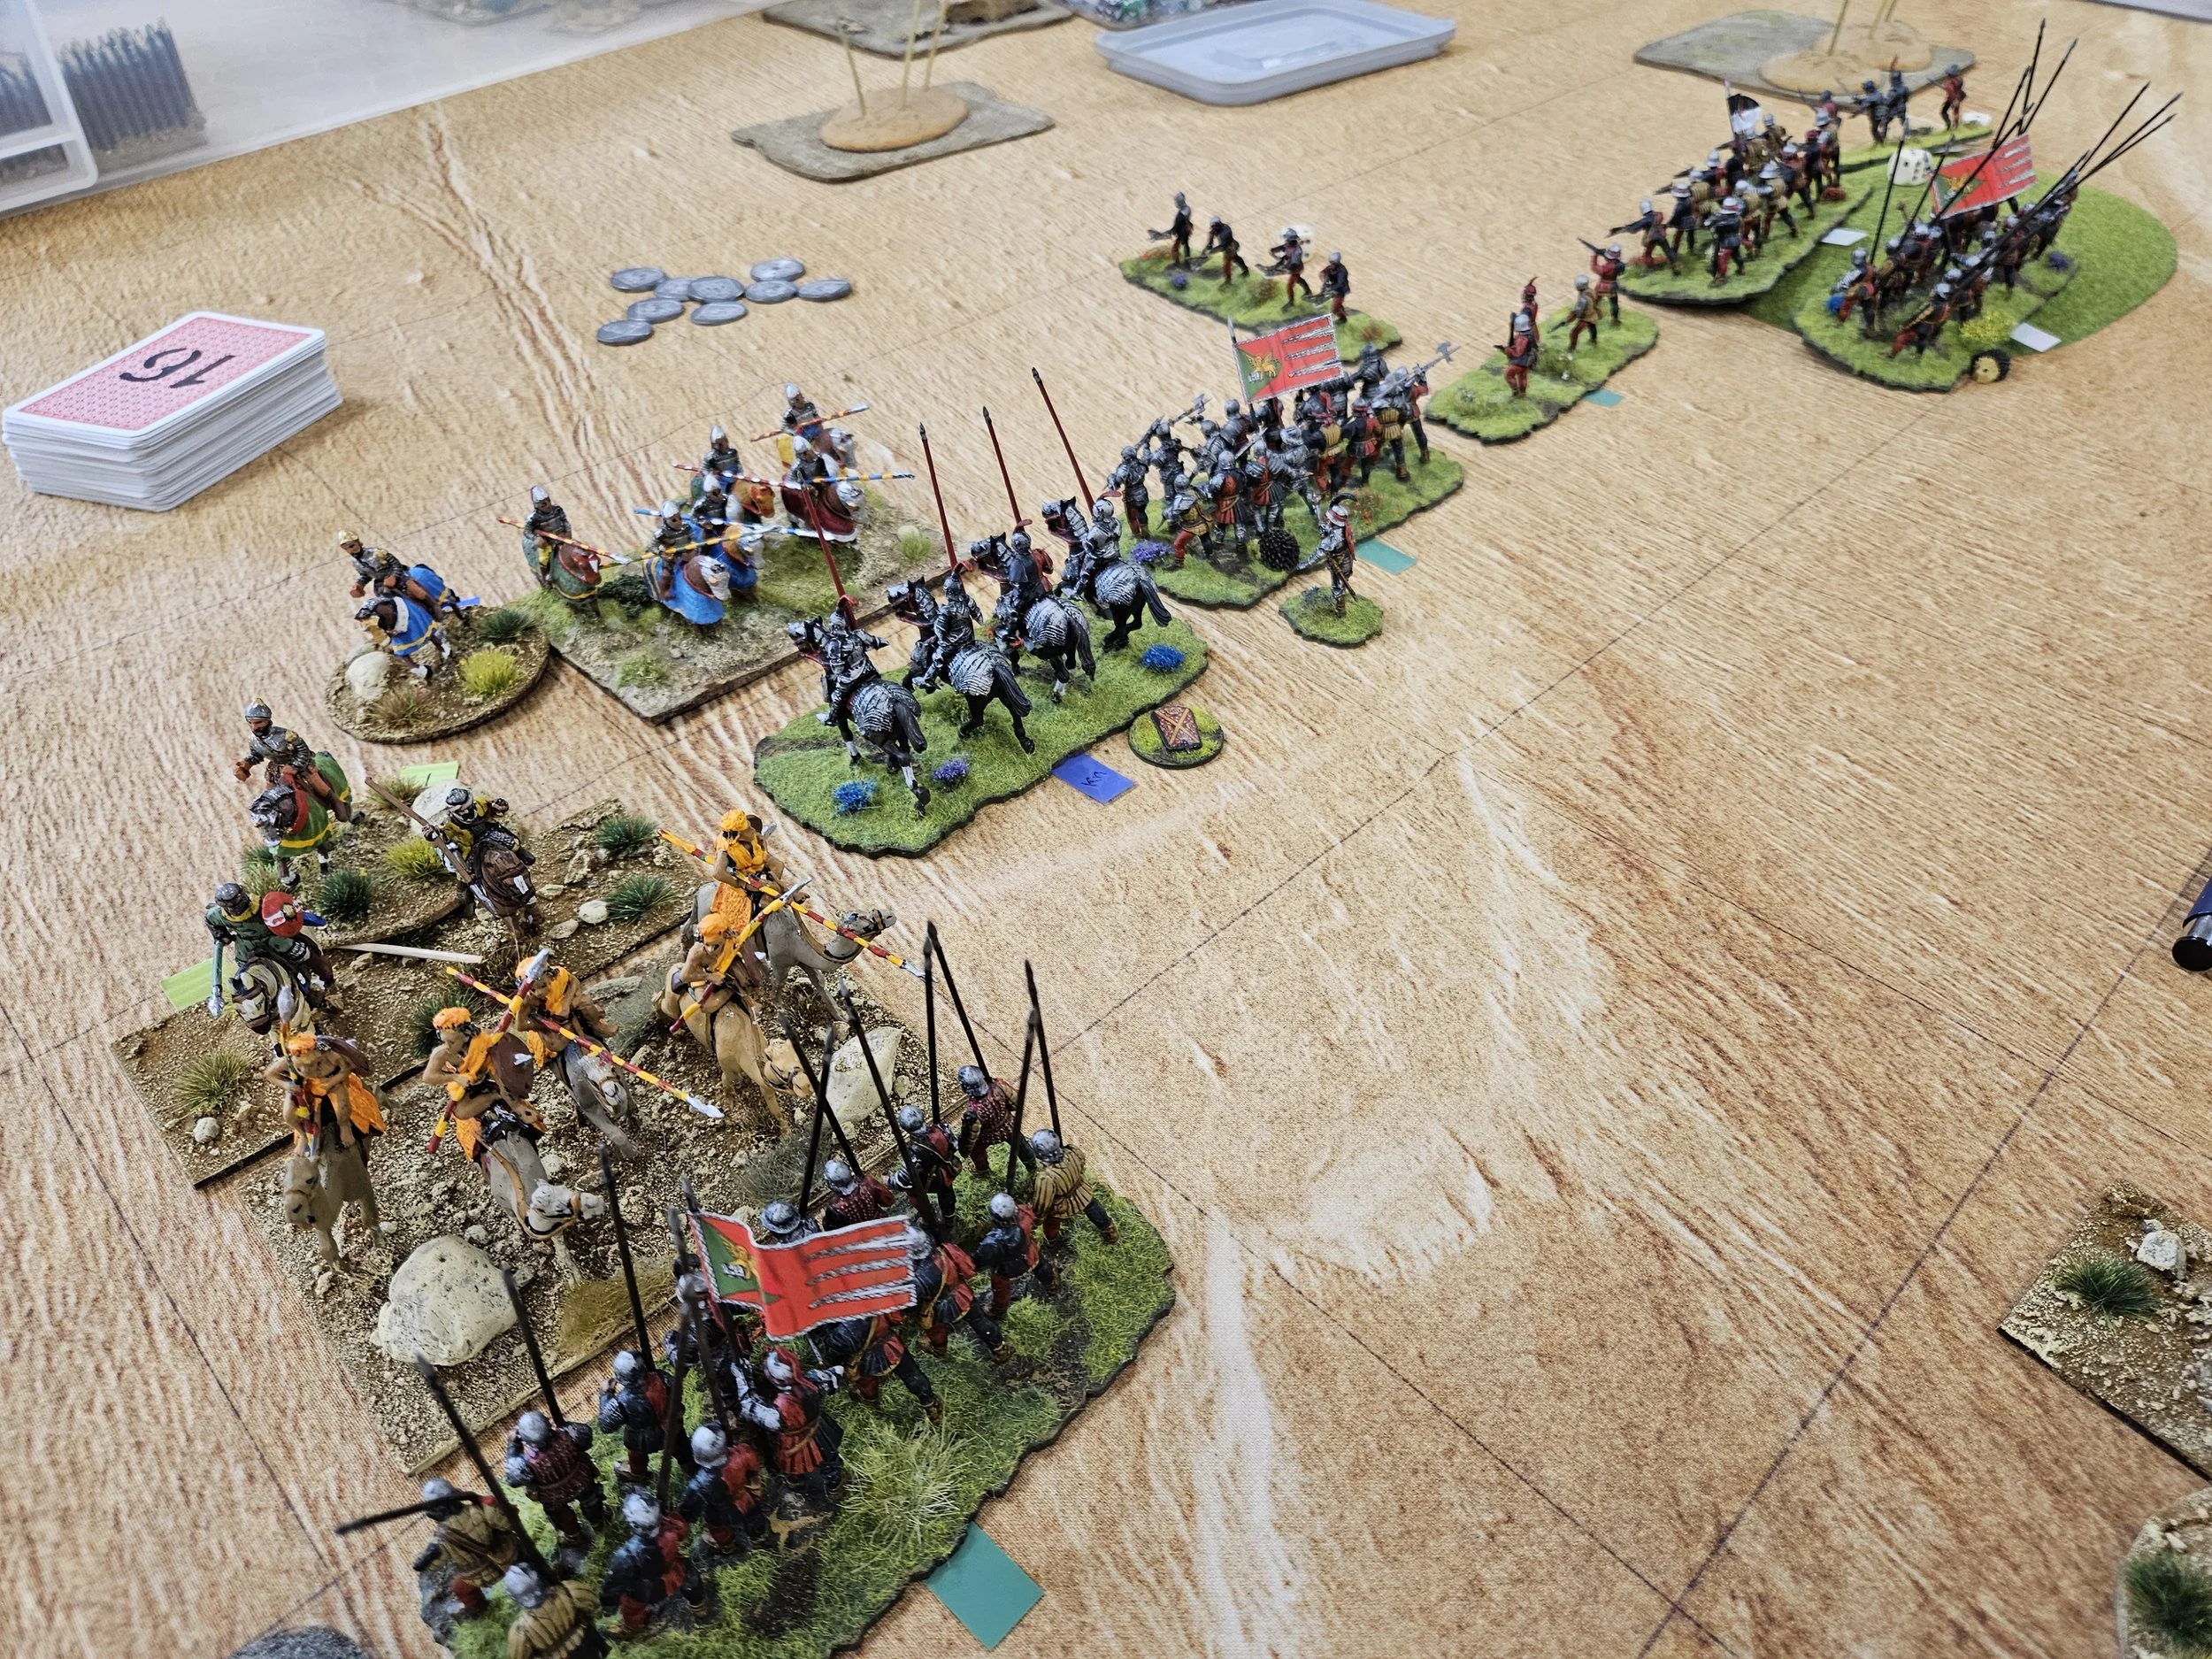
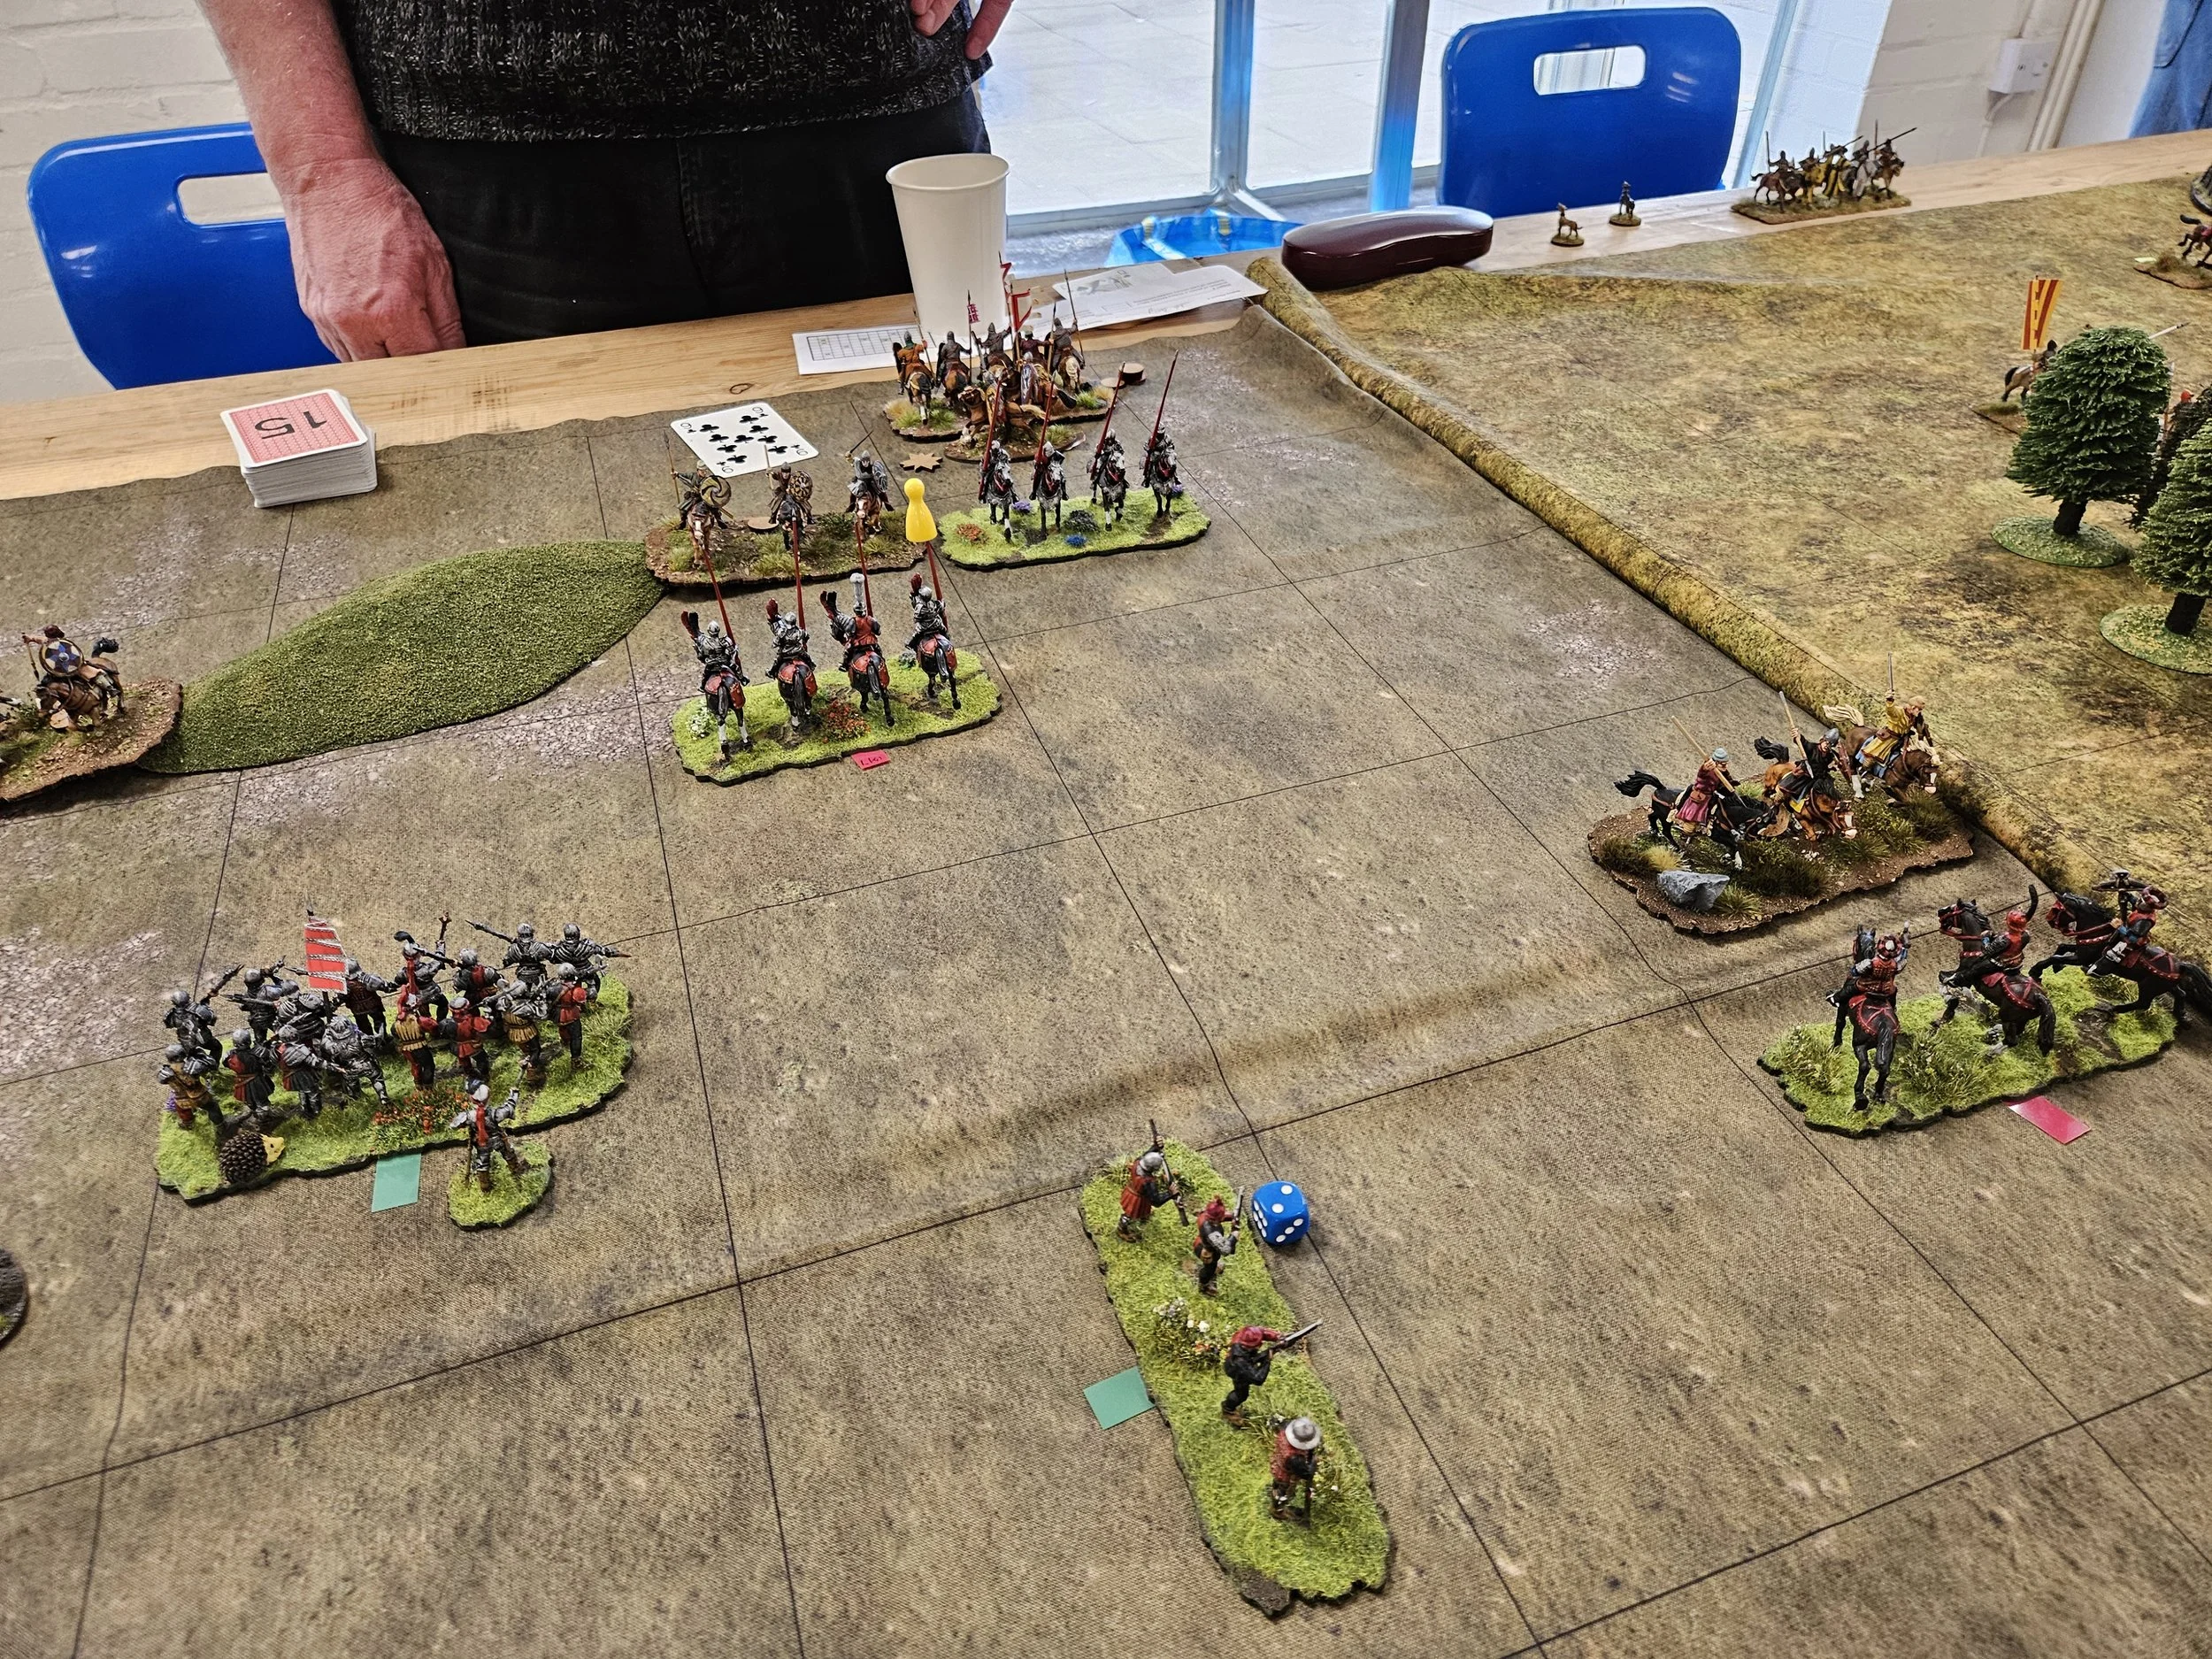
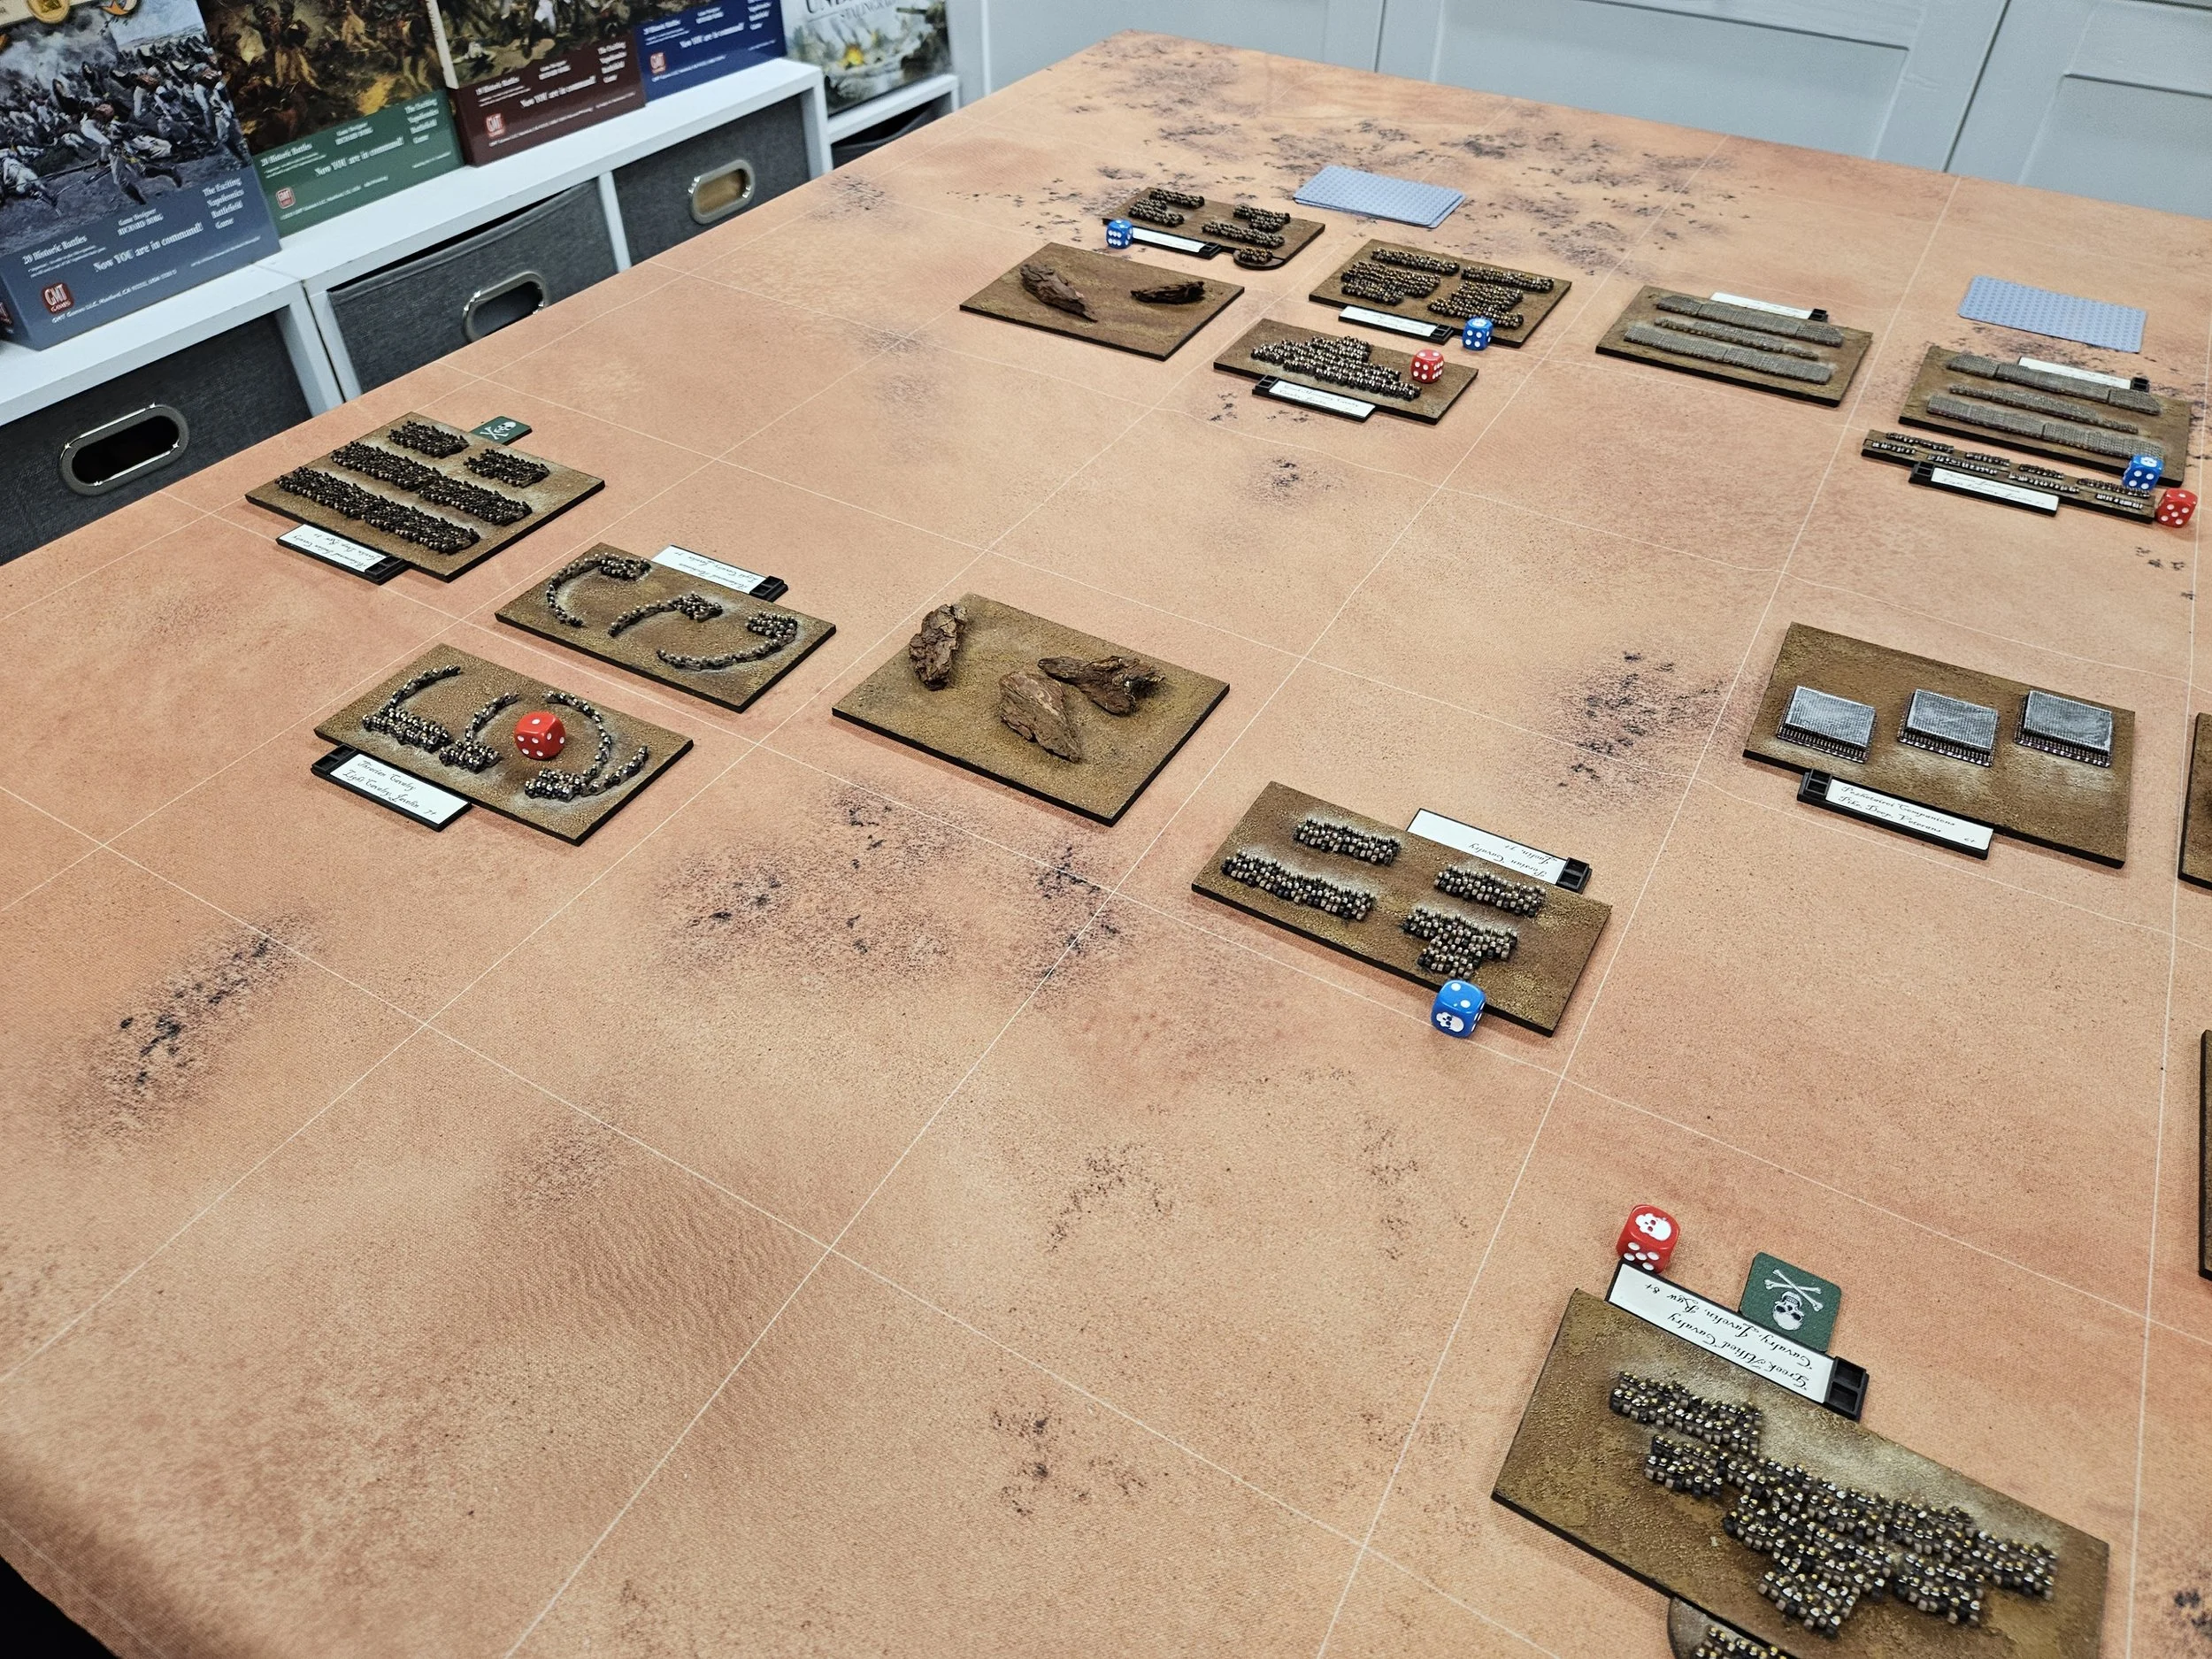
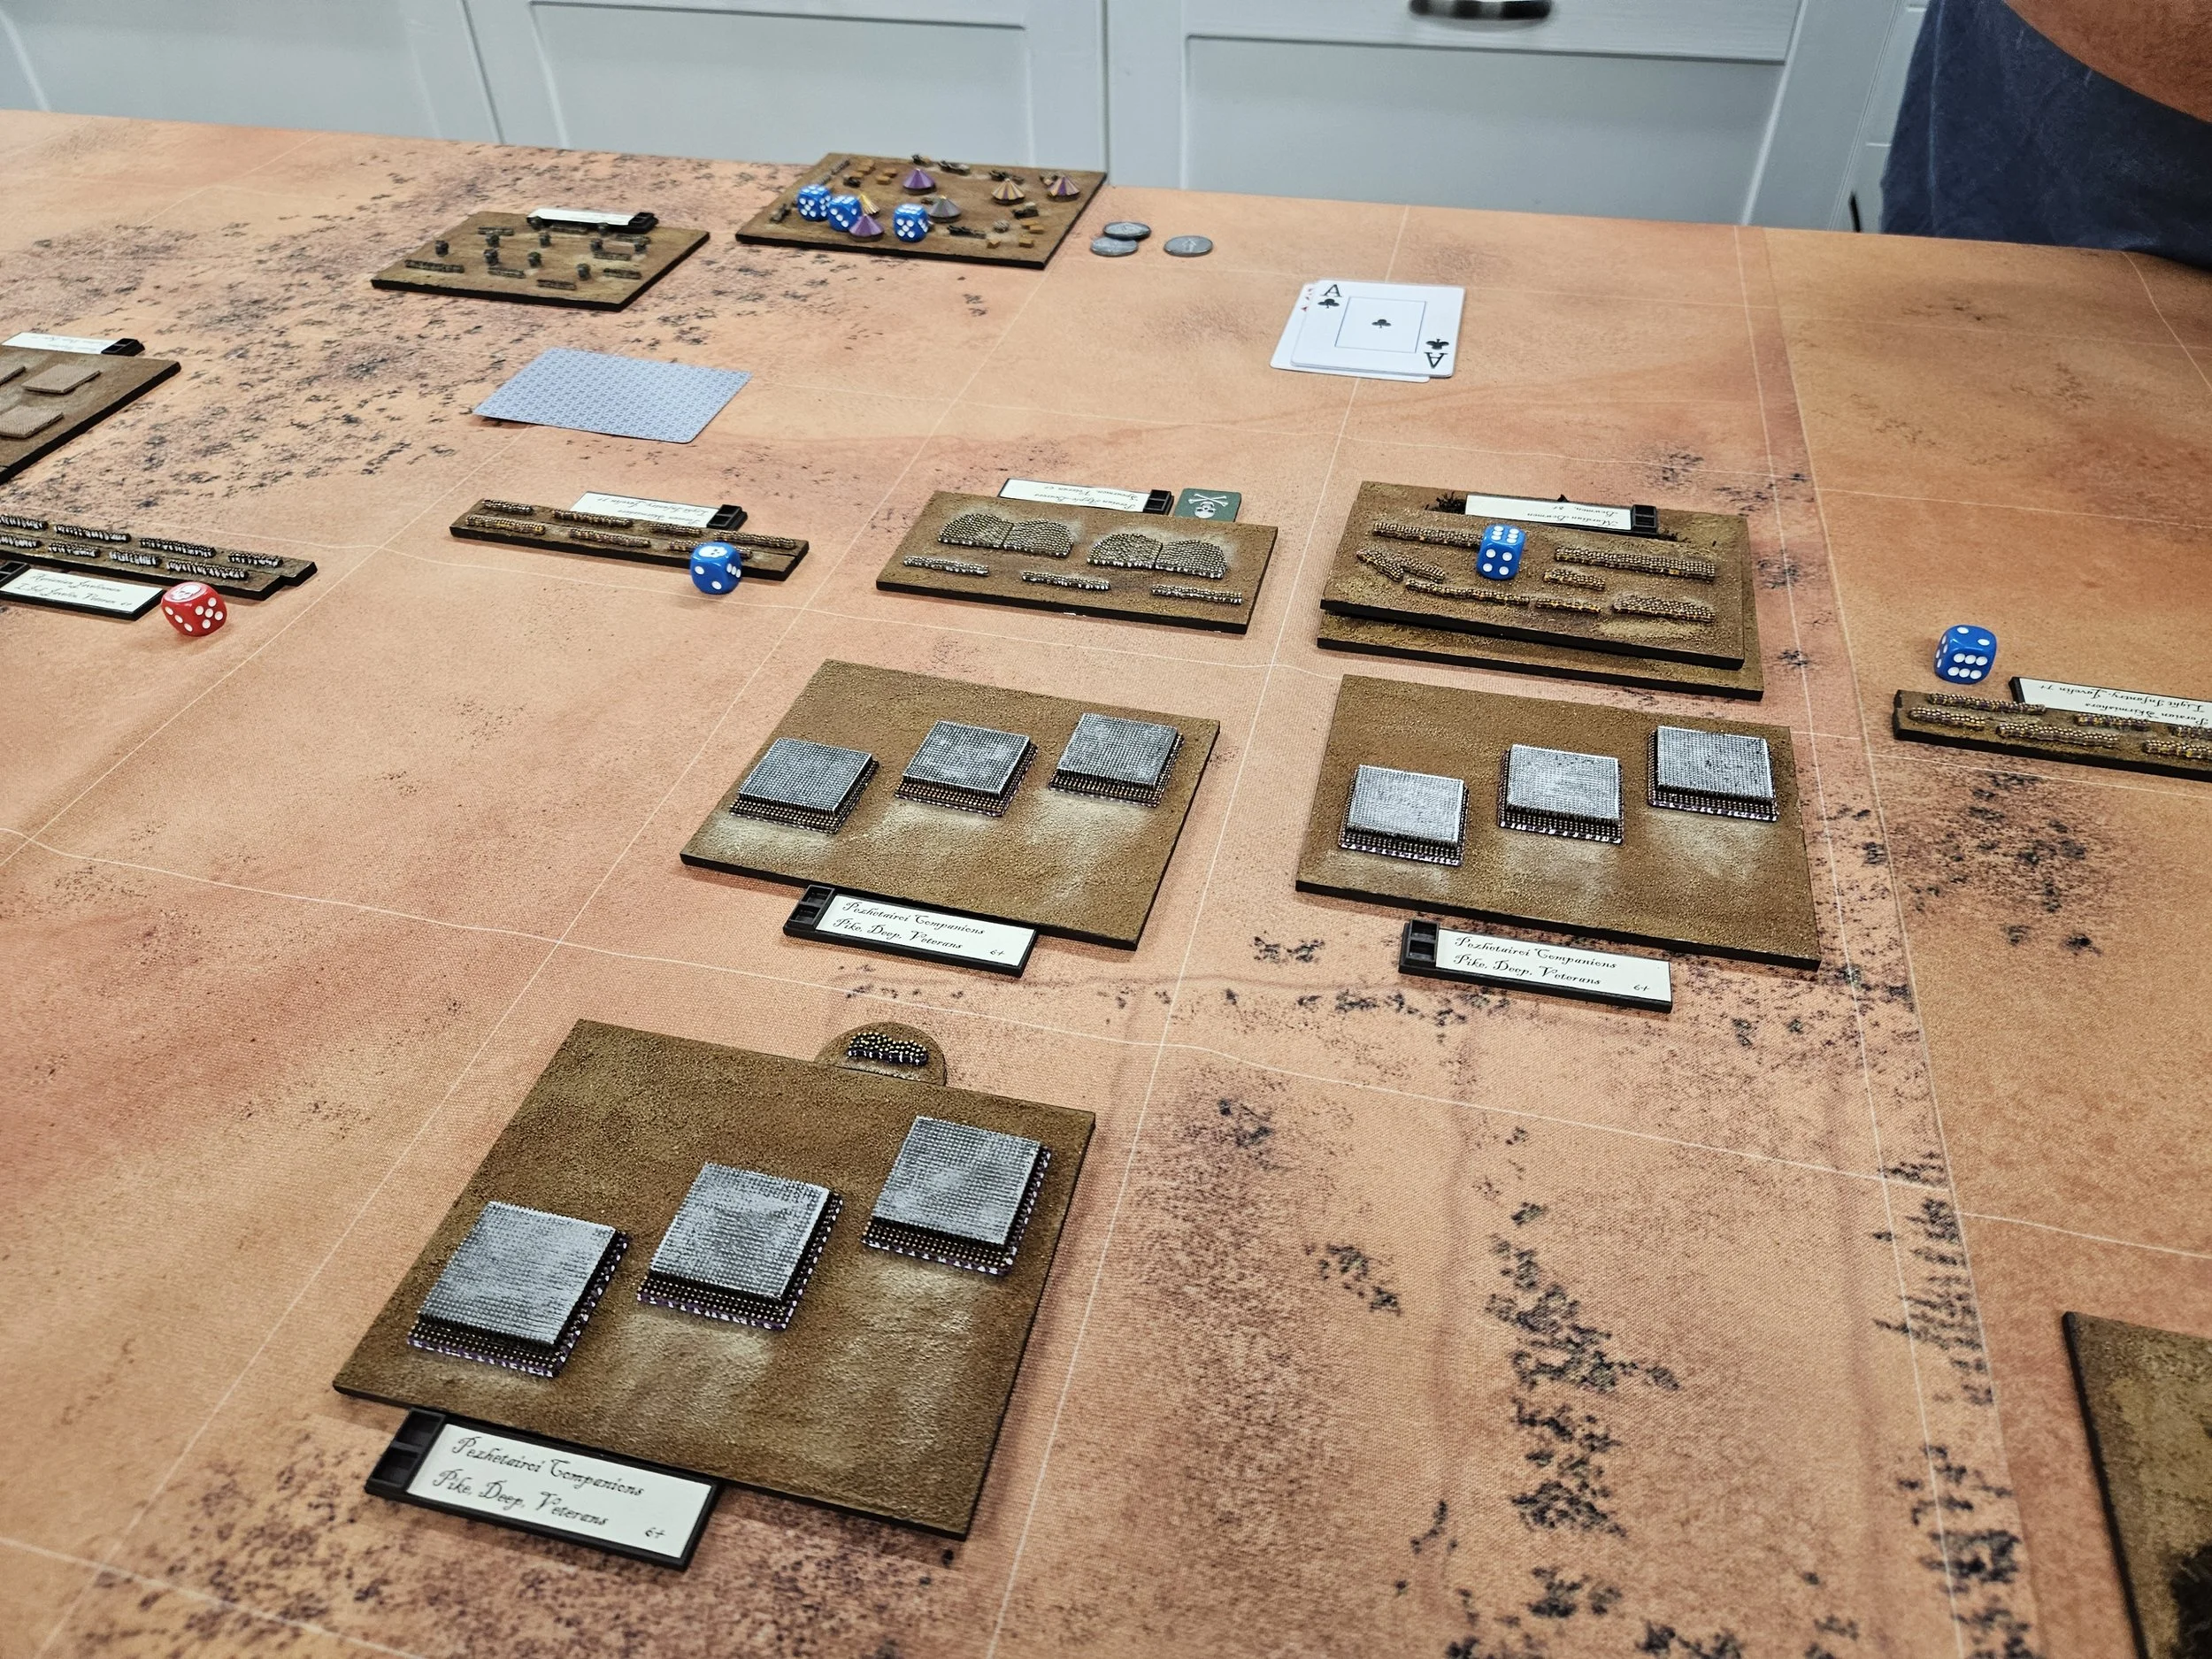
The first action was on the right flank, where Alexander and his Companions looked set to crash into the Persian cavalry led by Darius. Annoyingly, the Companions were disordered by bow fire on their final approach, so rather than dashing all before them, the combat degenerated into a grinding stalemate with neither side able to get an advantage.
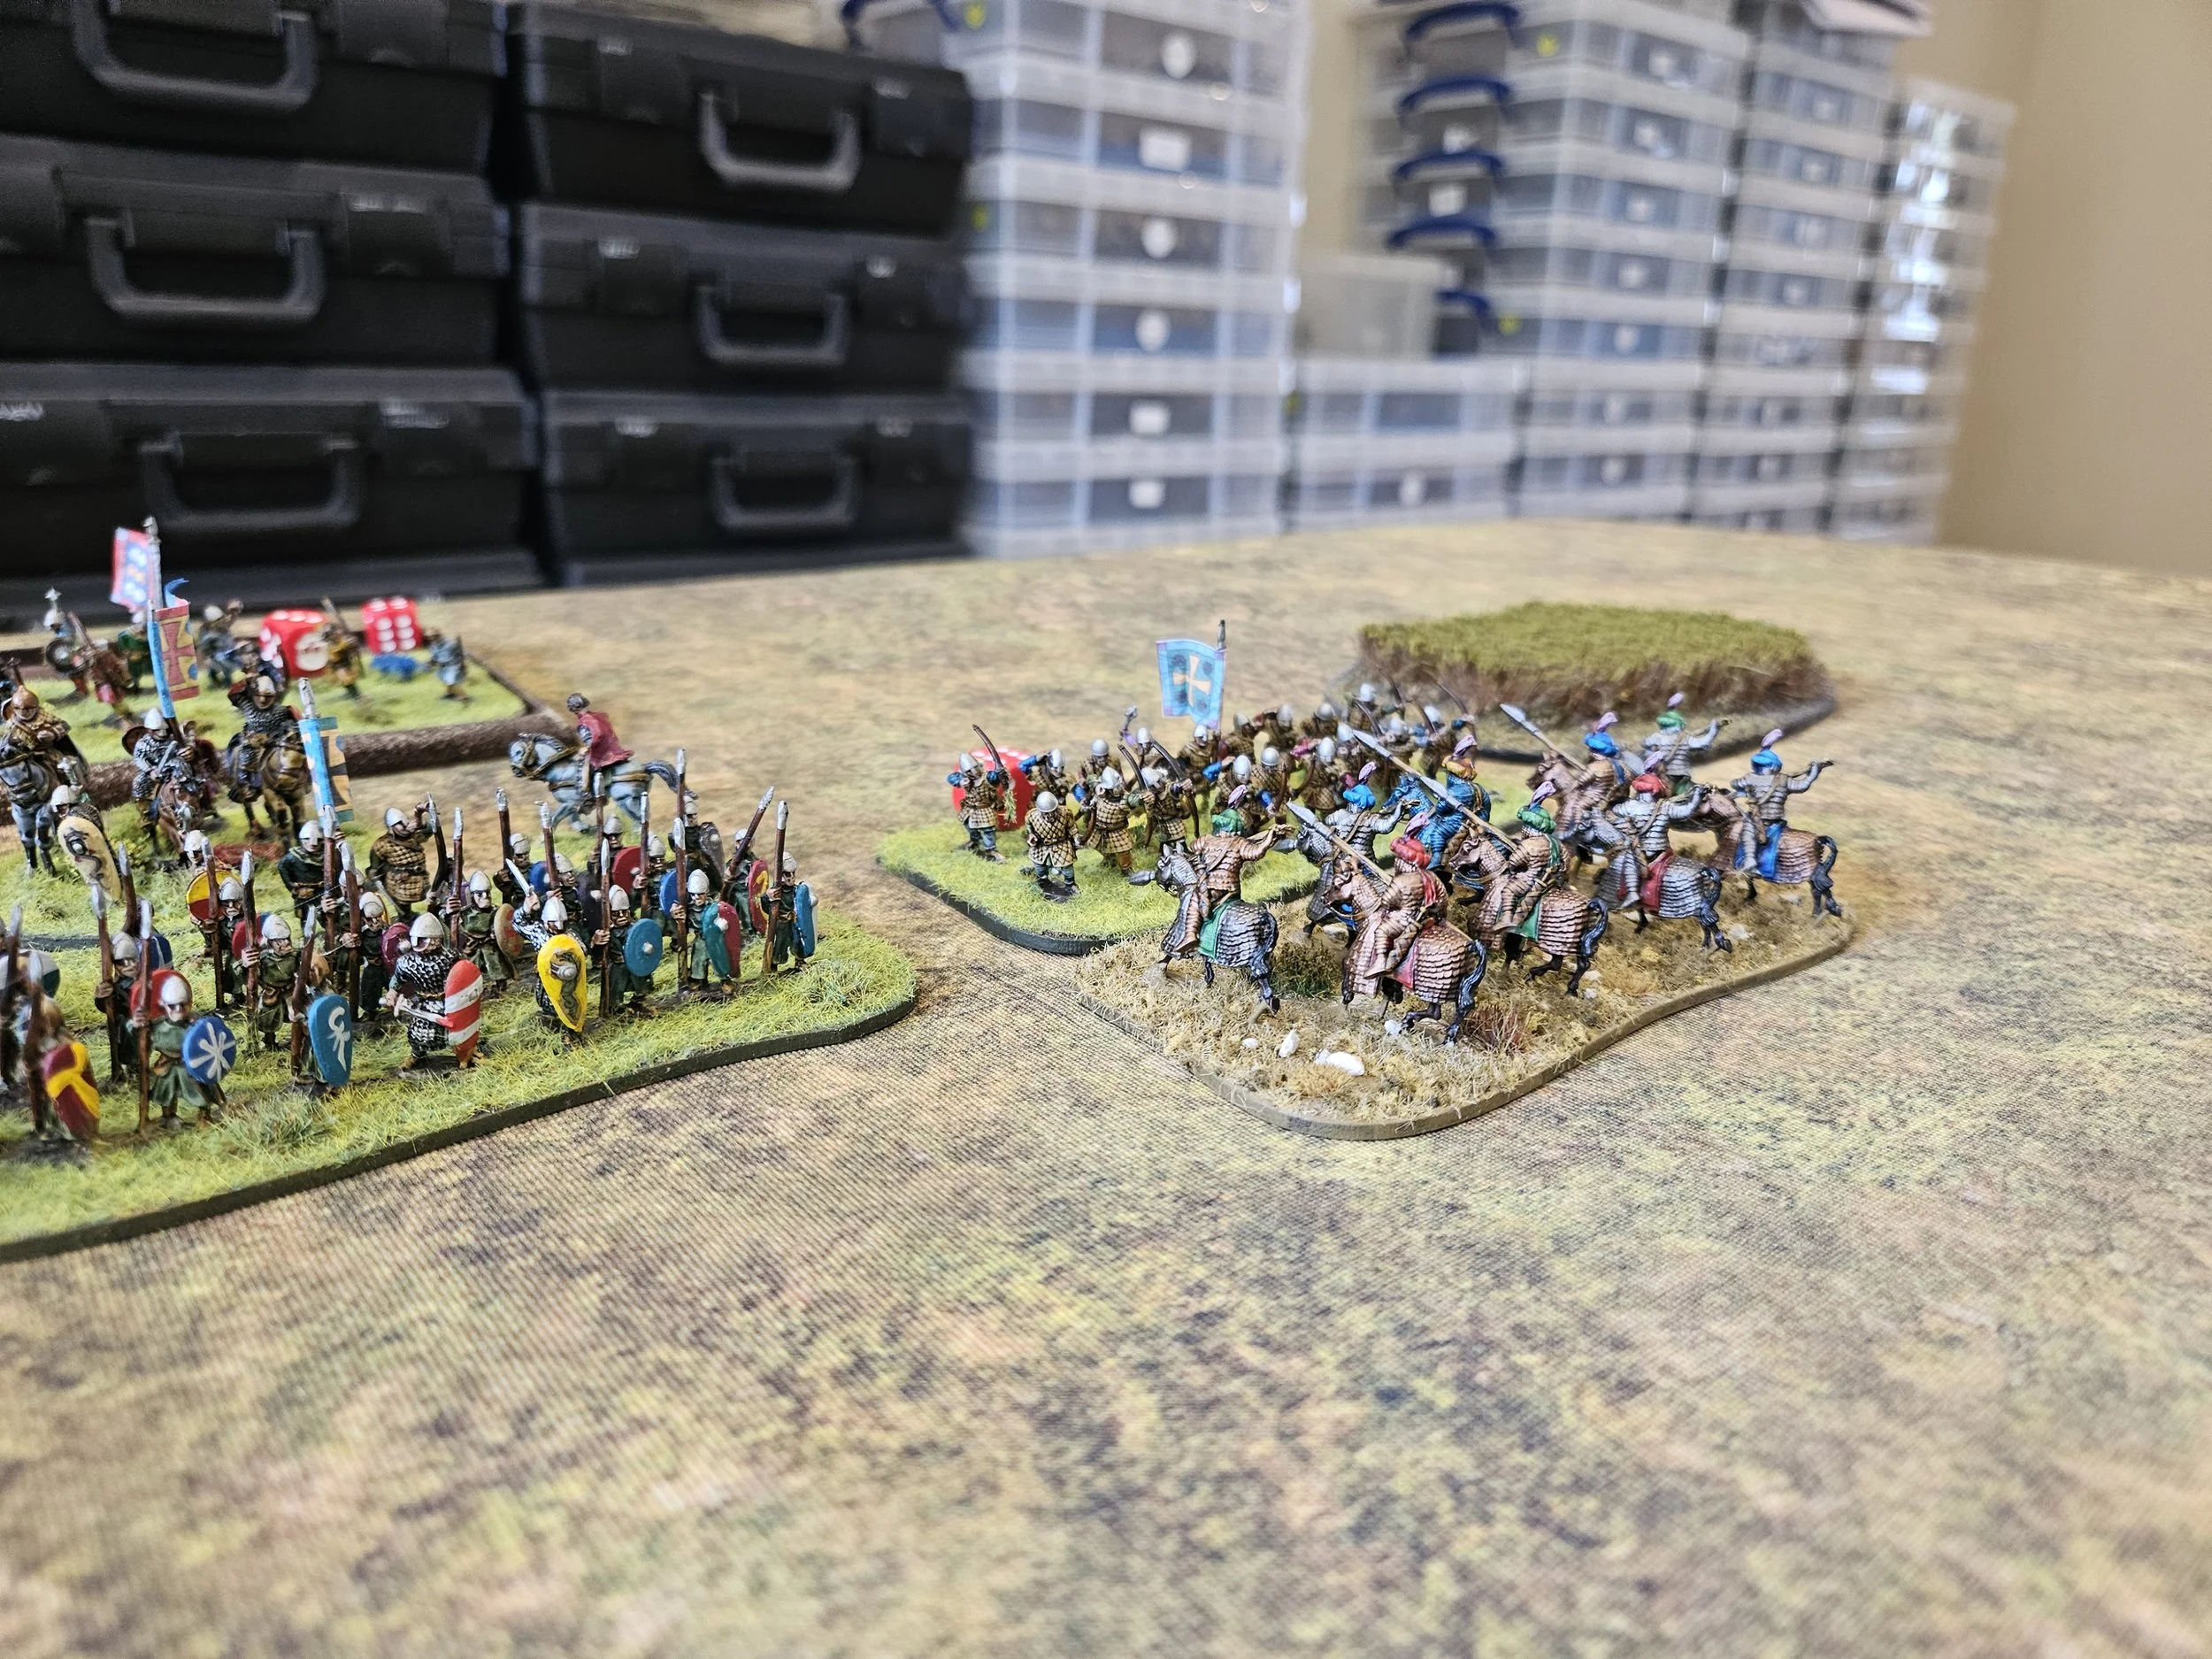
I sought to break the deadlock by having one of my right-hand pike units attack some Persian cavalry on the diagonal, which sort-of worked, but combined with another pike block being disordered by missile fire and stubbornly refusing to rally, I now had my two most powerful commands distracted from the main task of punching through to the enemy camp and the six coins it represented. I can’t even blame the heat for this tactical lapse (we were gaming during one of the recent record-breaking heatwaves) as Neil’s wargaming shed was delightfully air-conditioned!


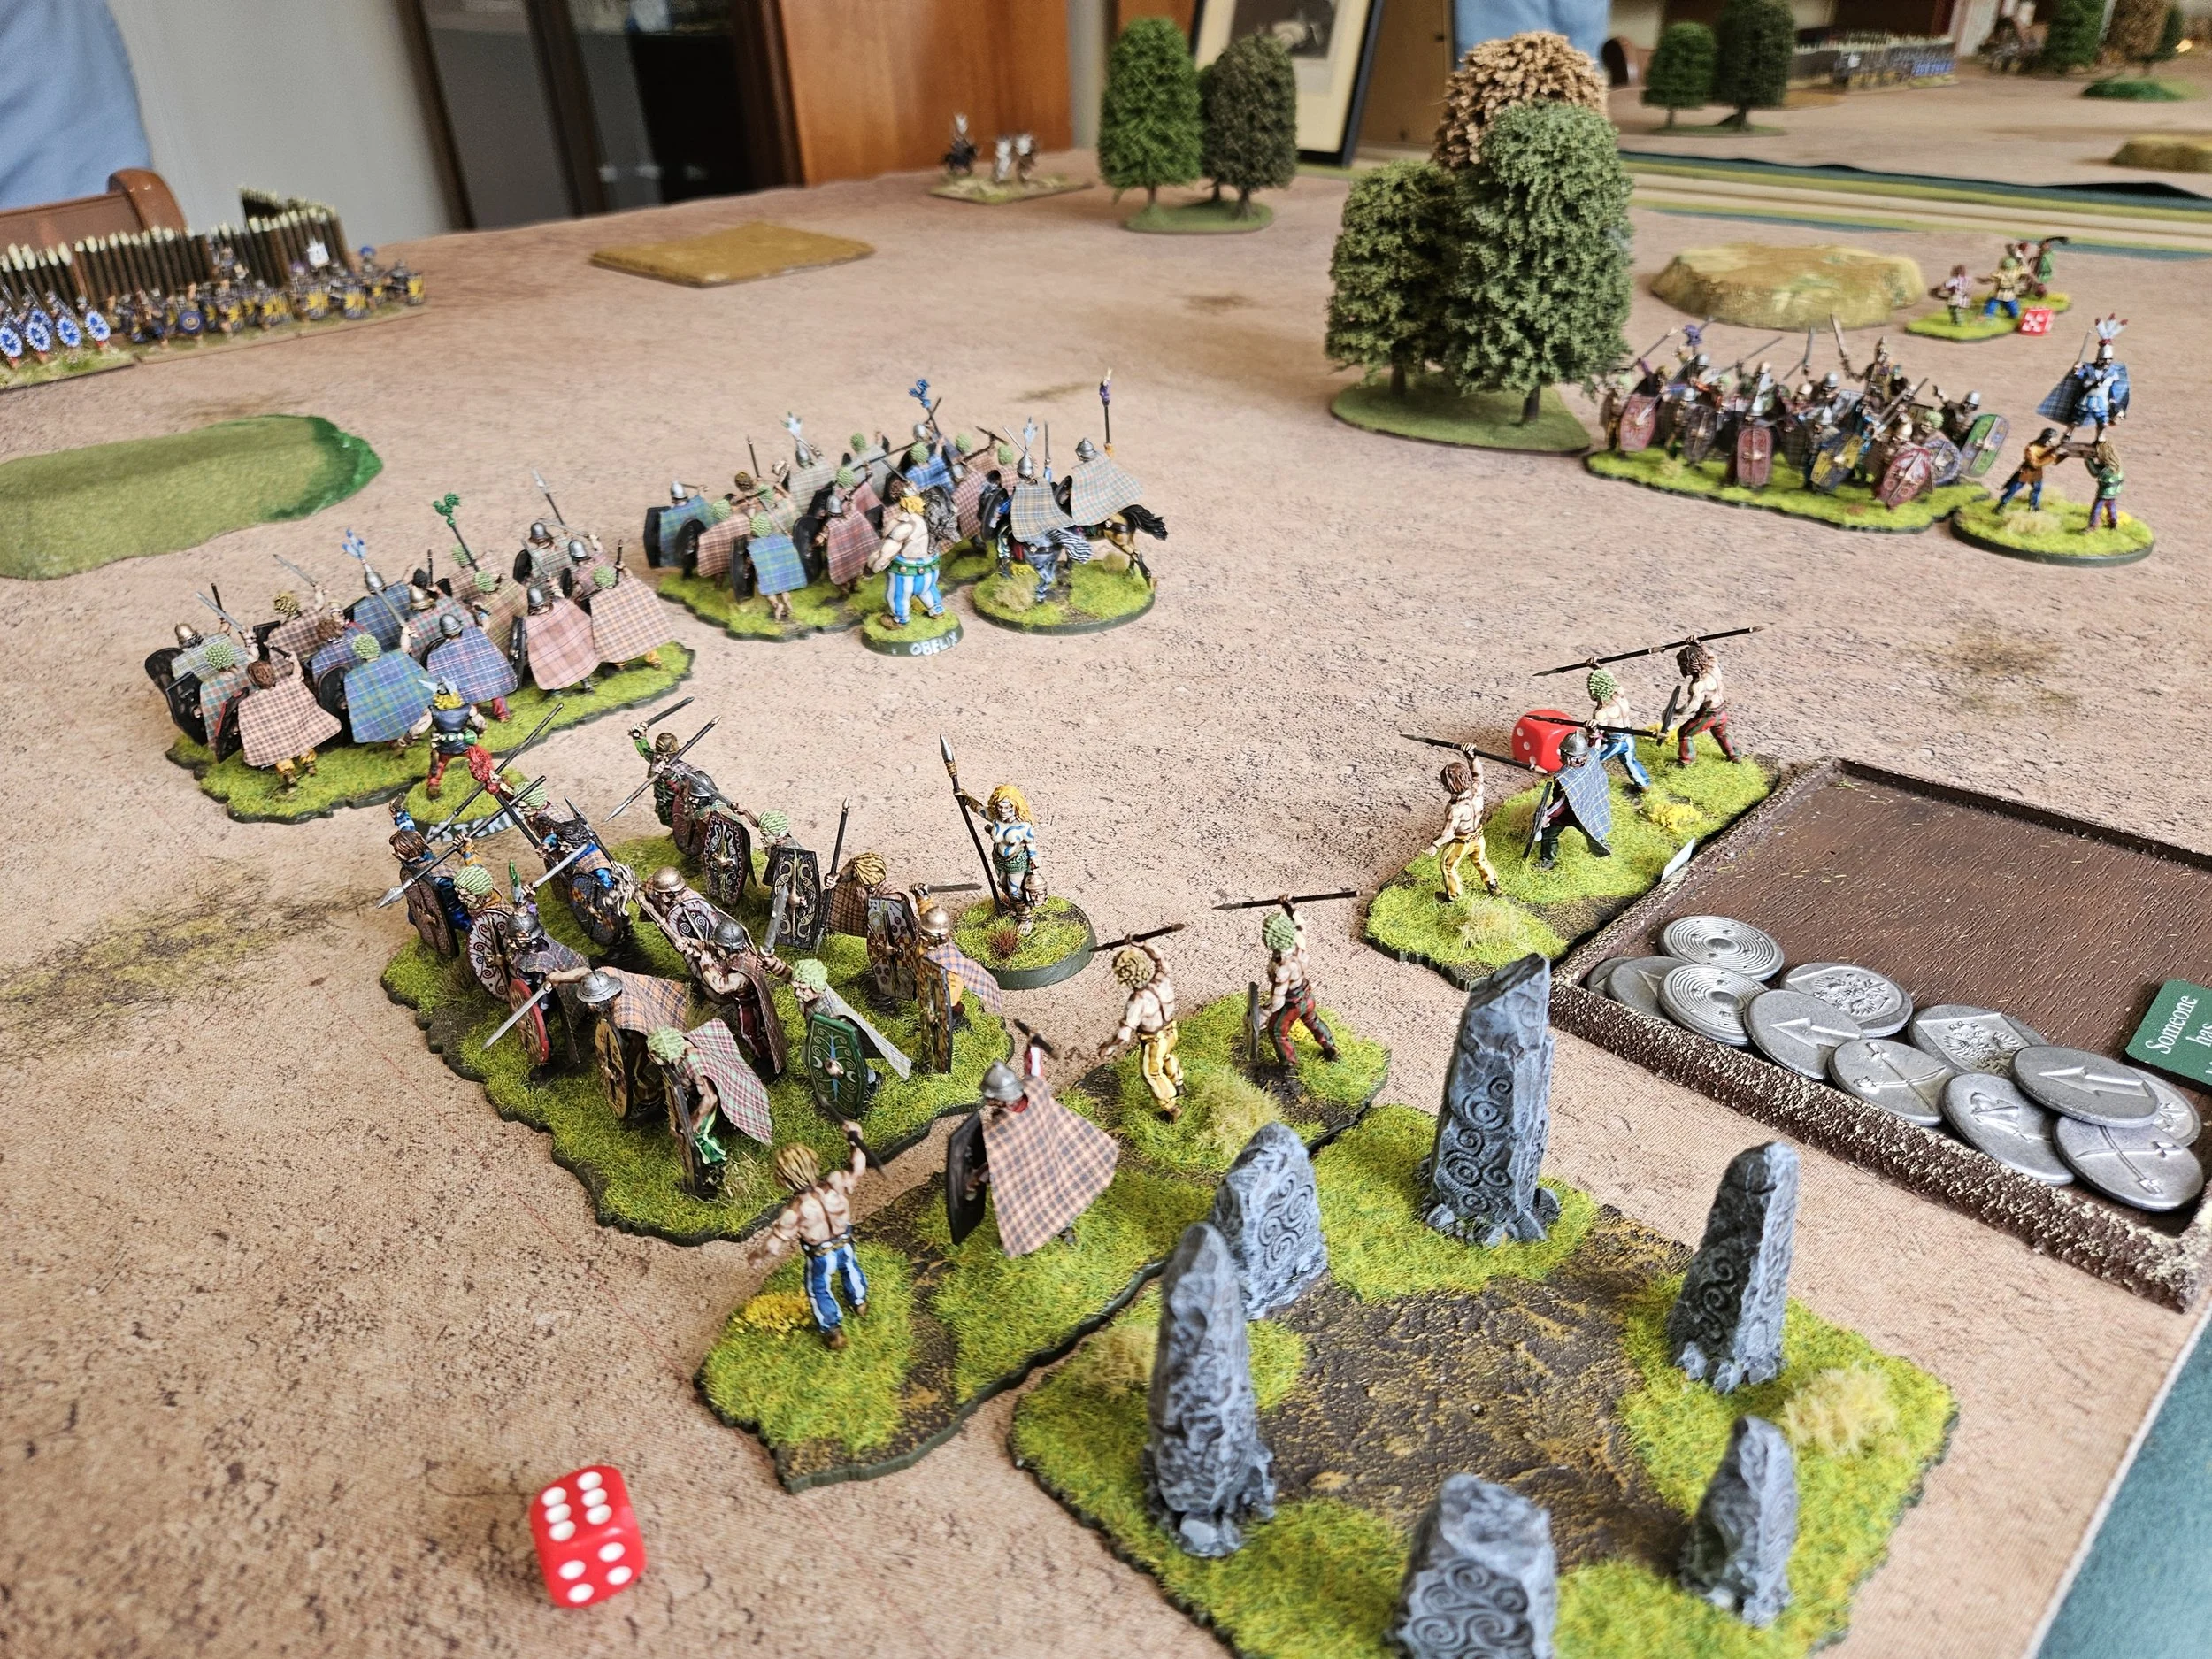
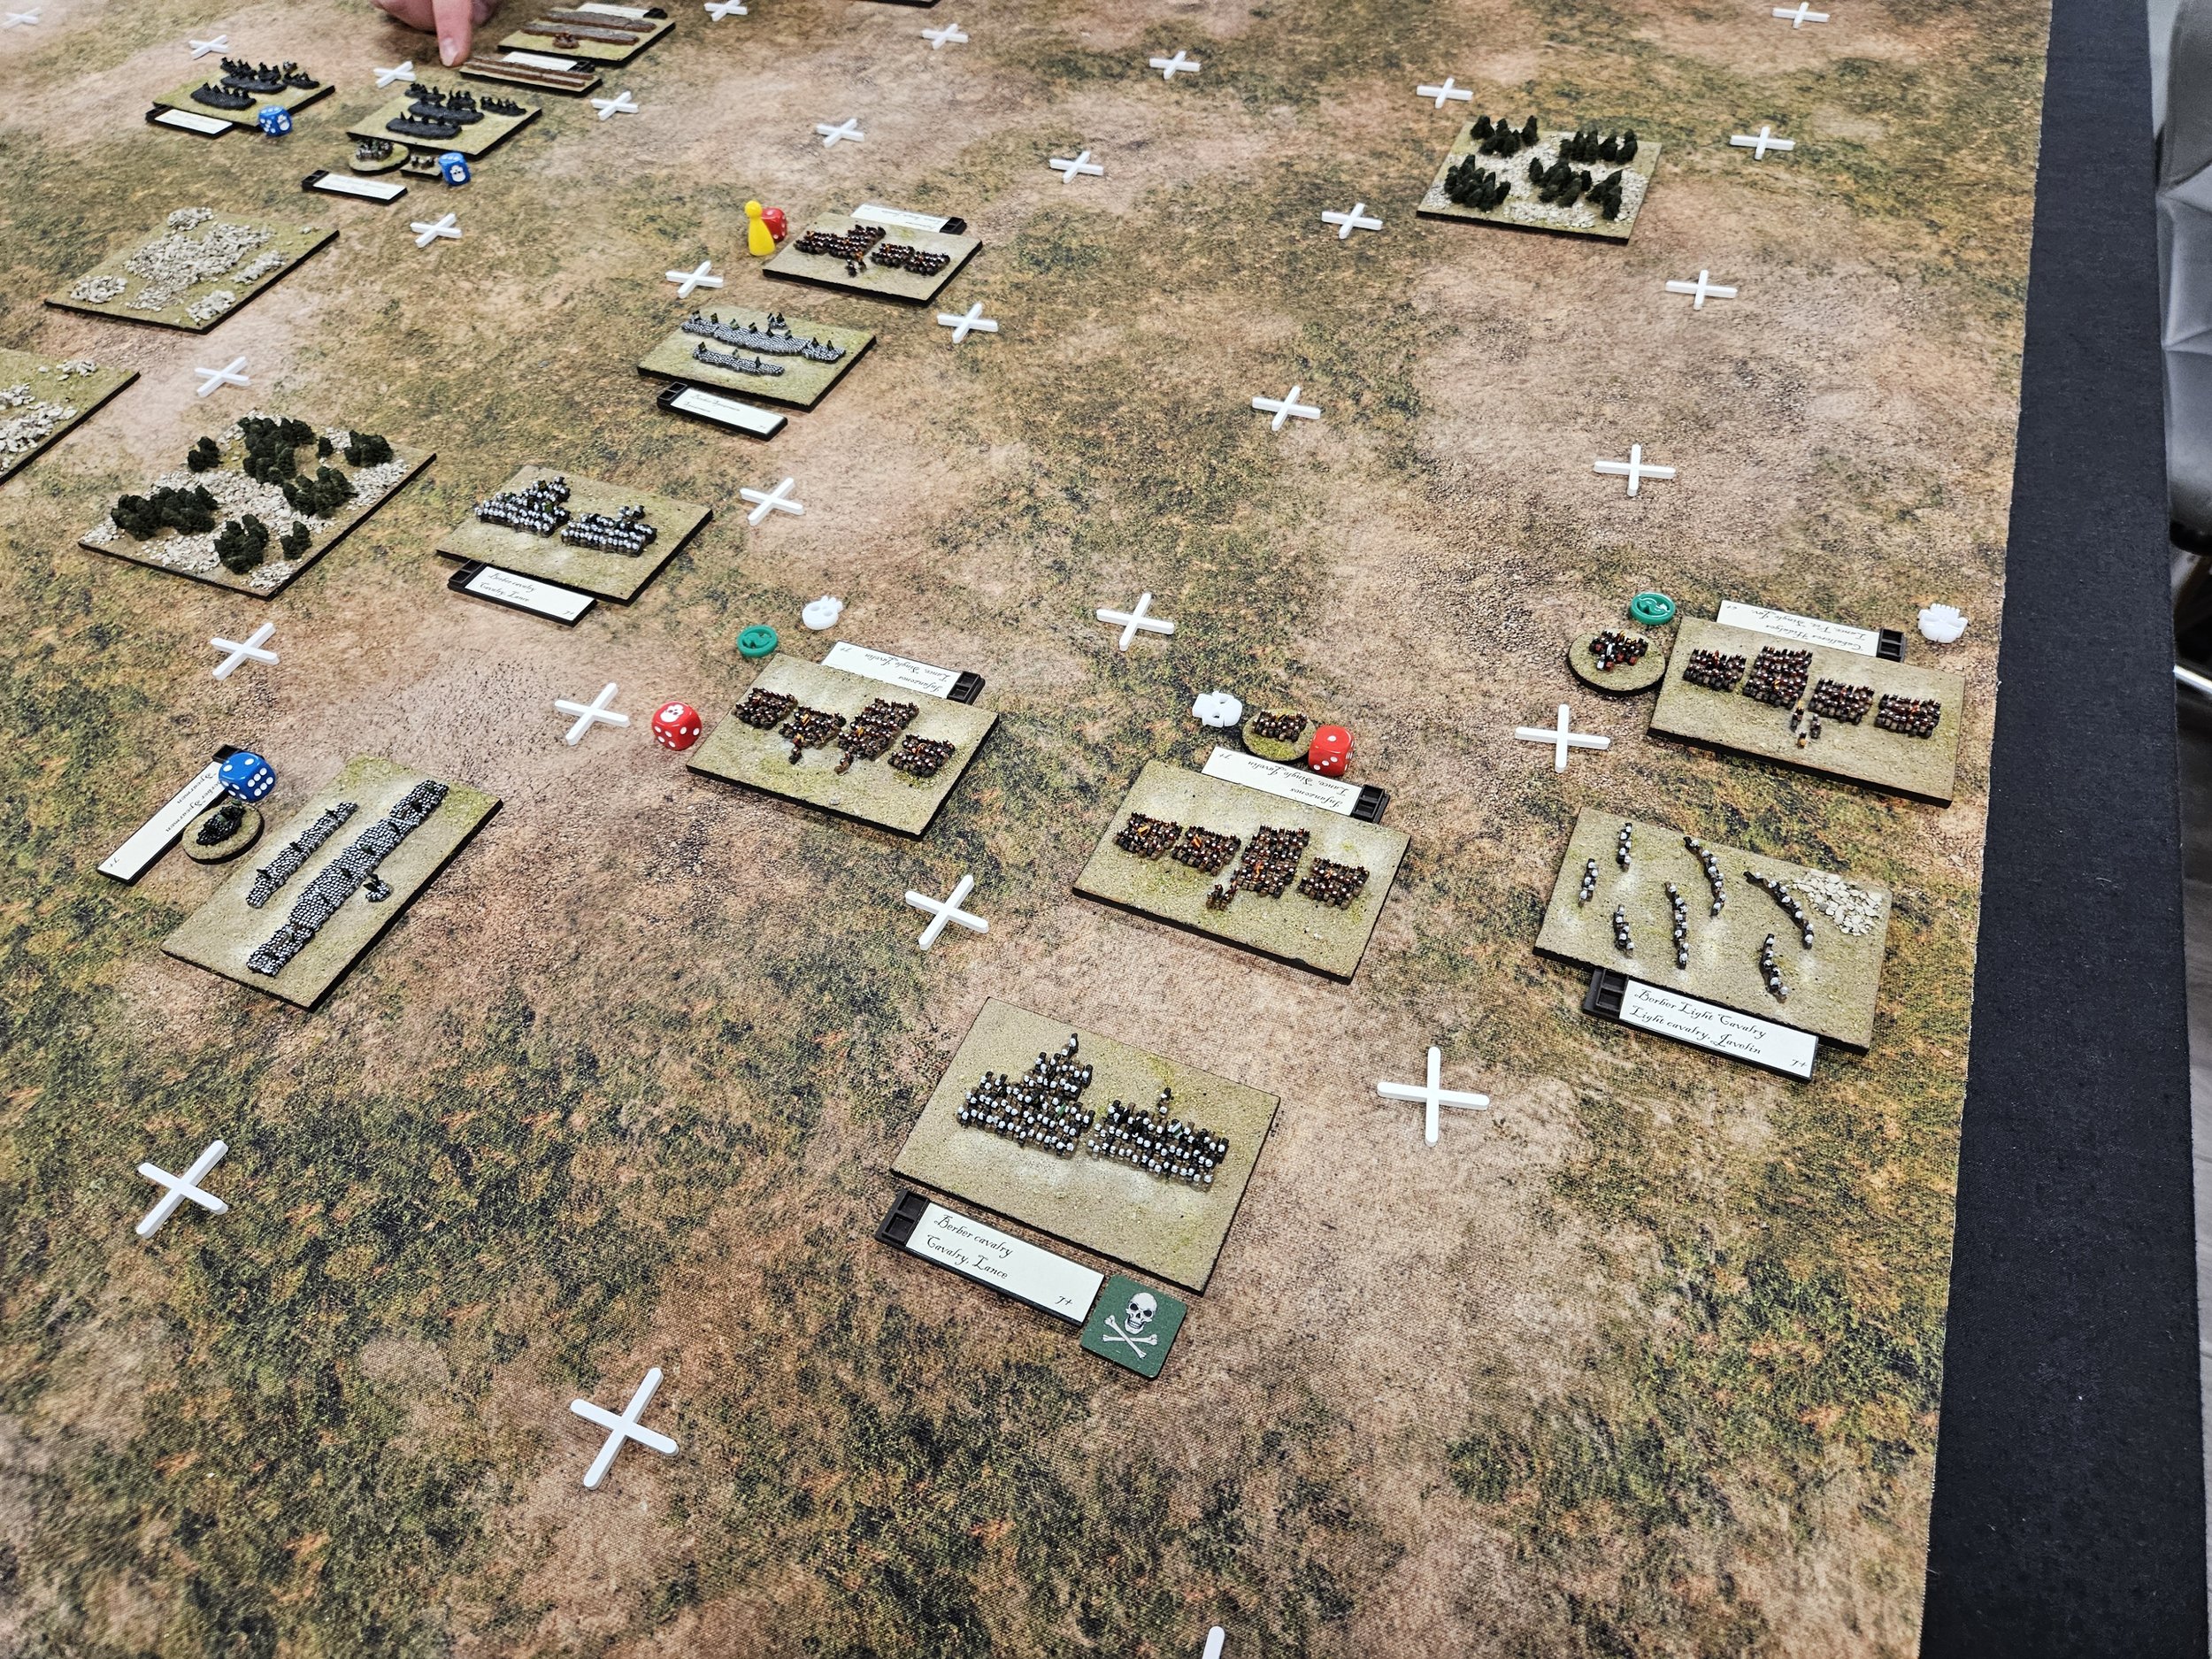
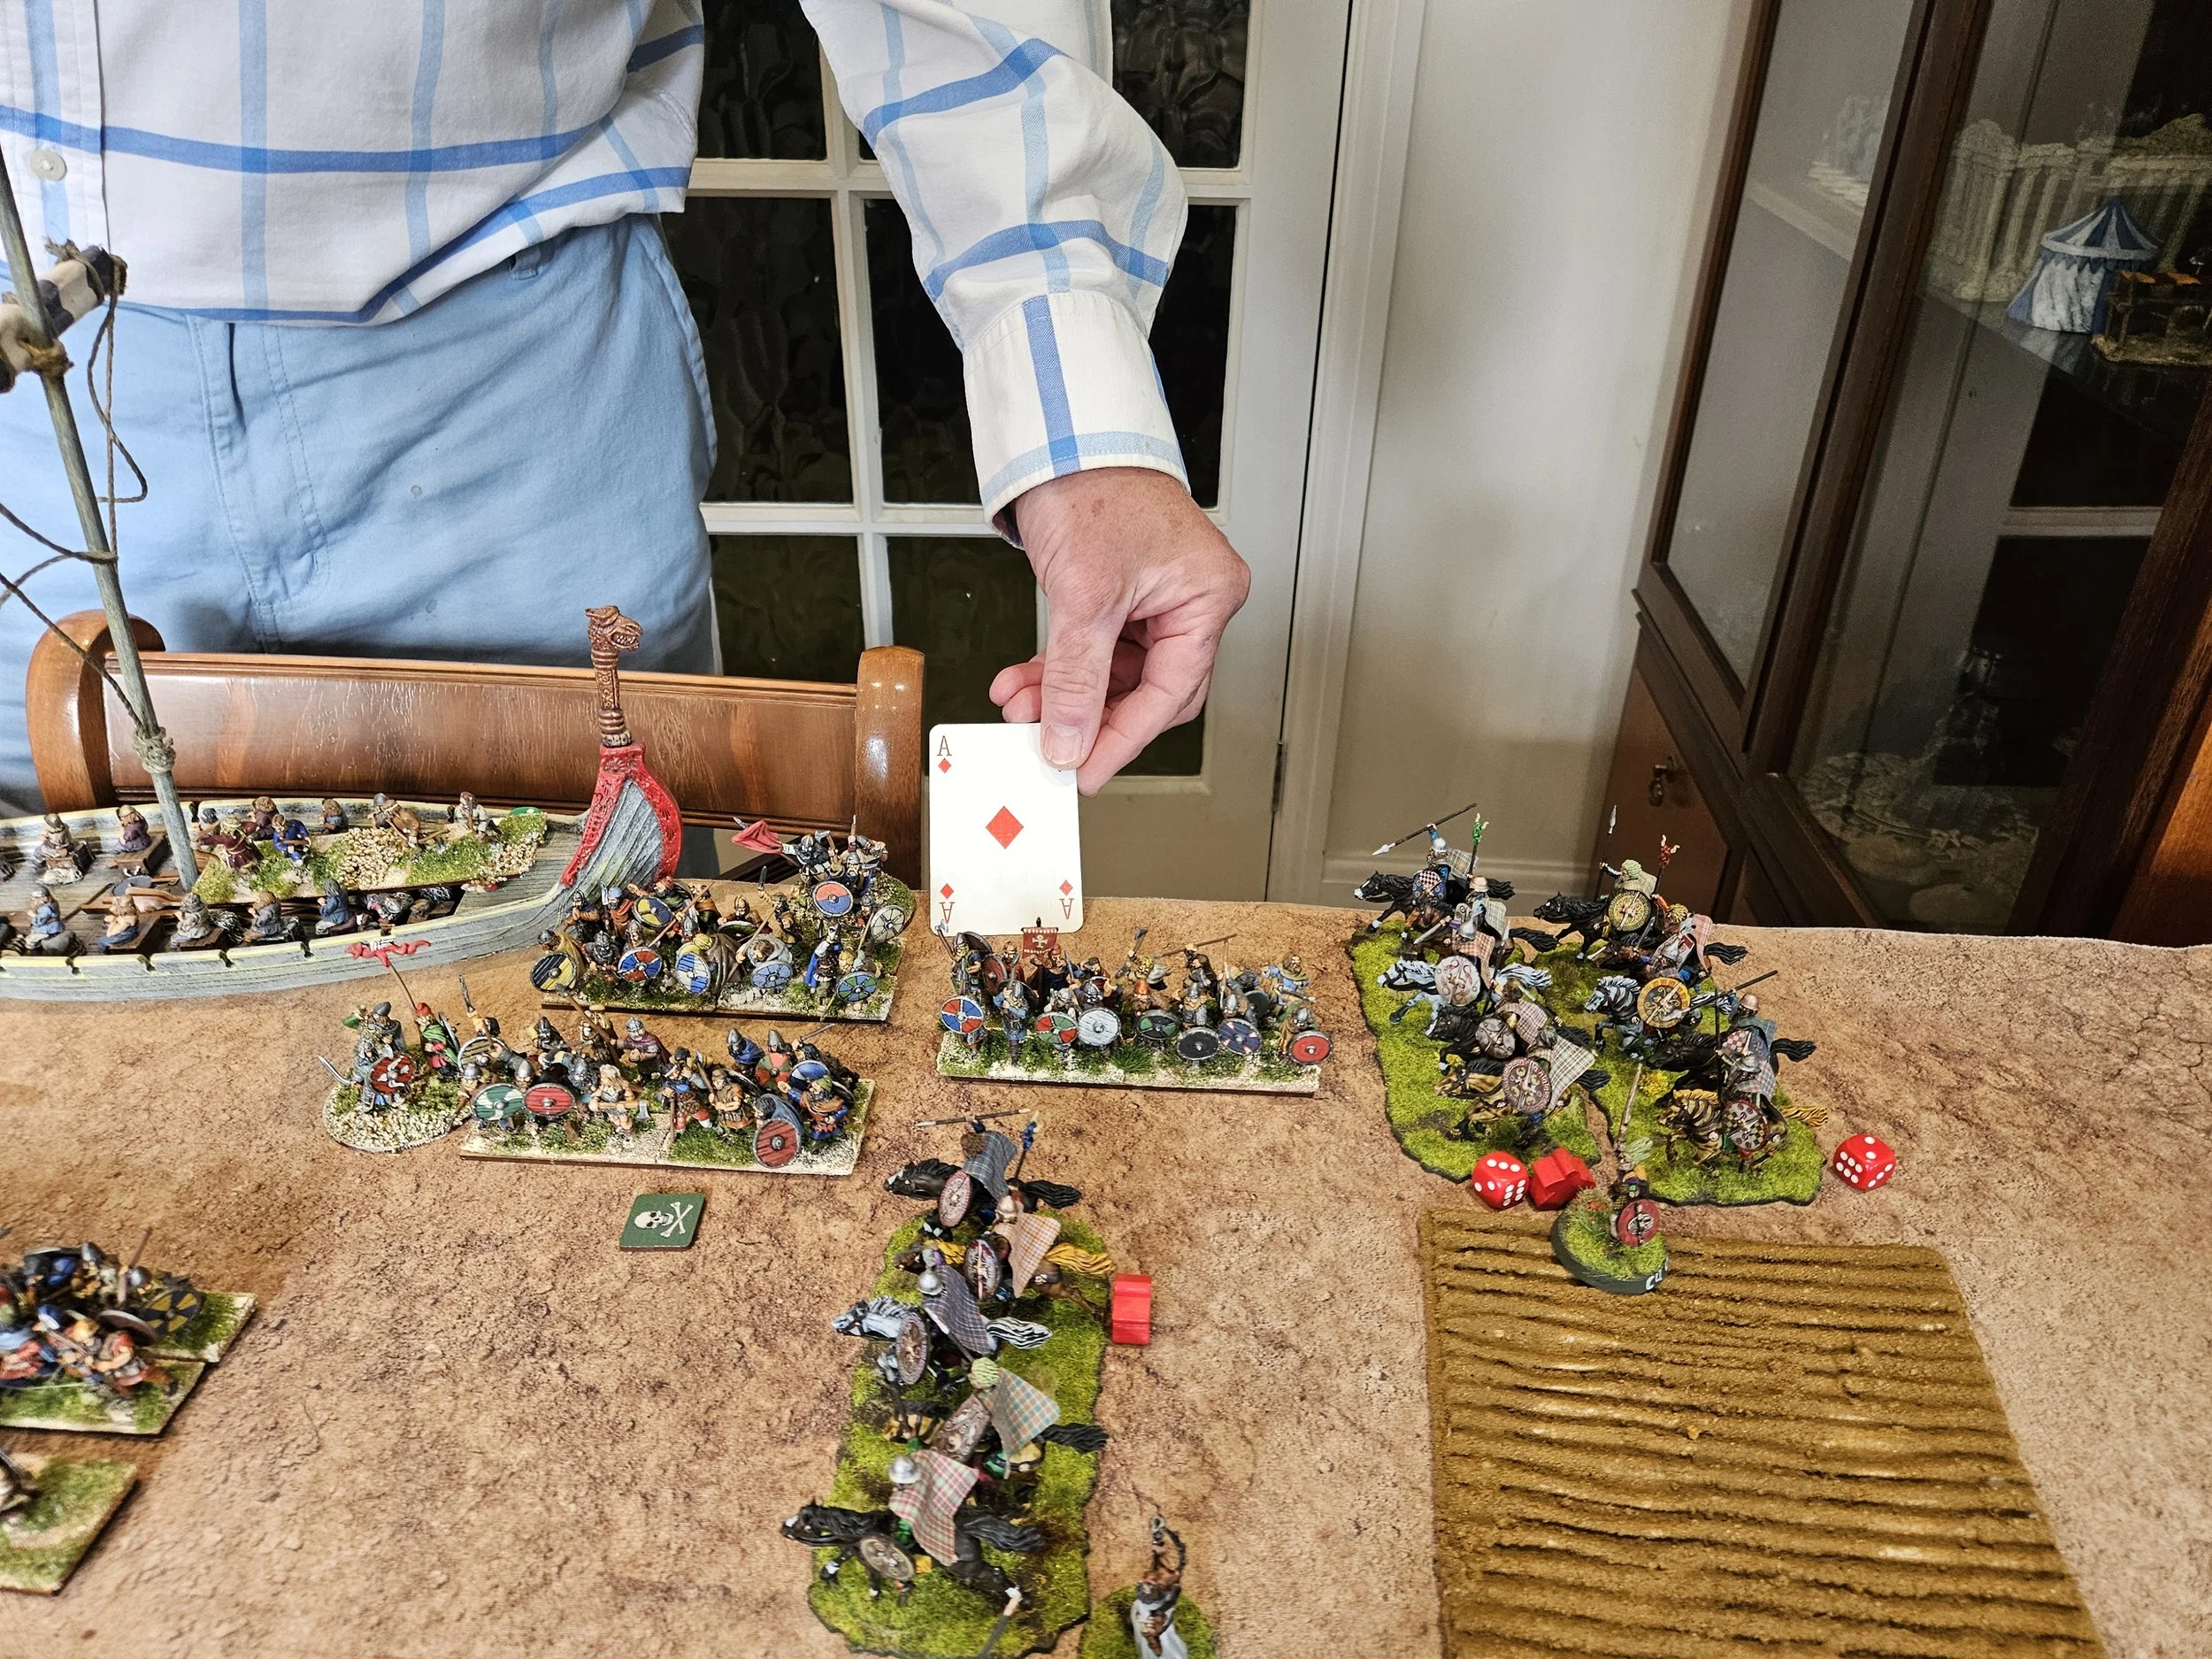
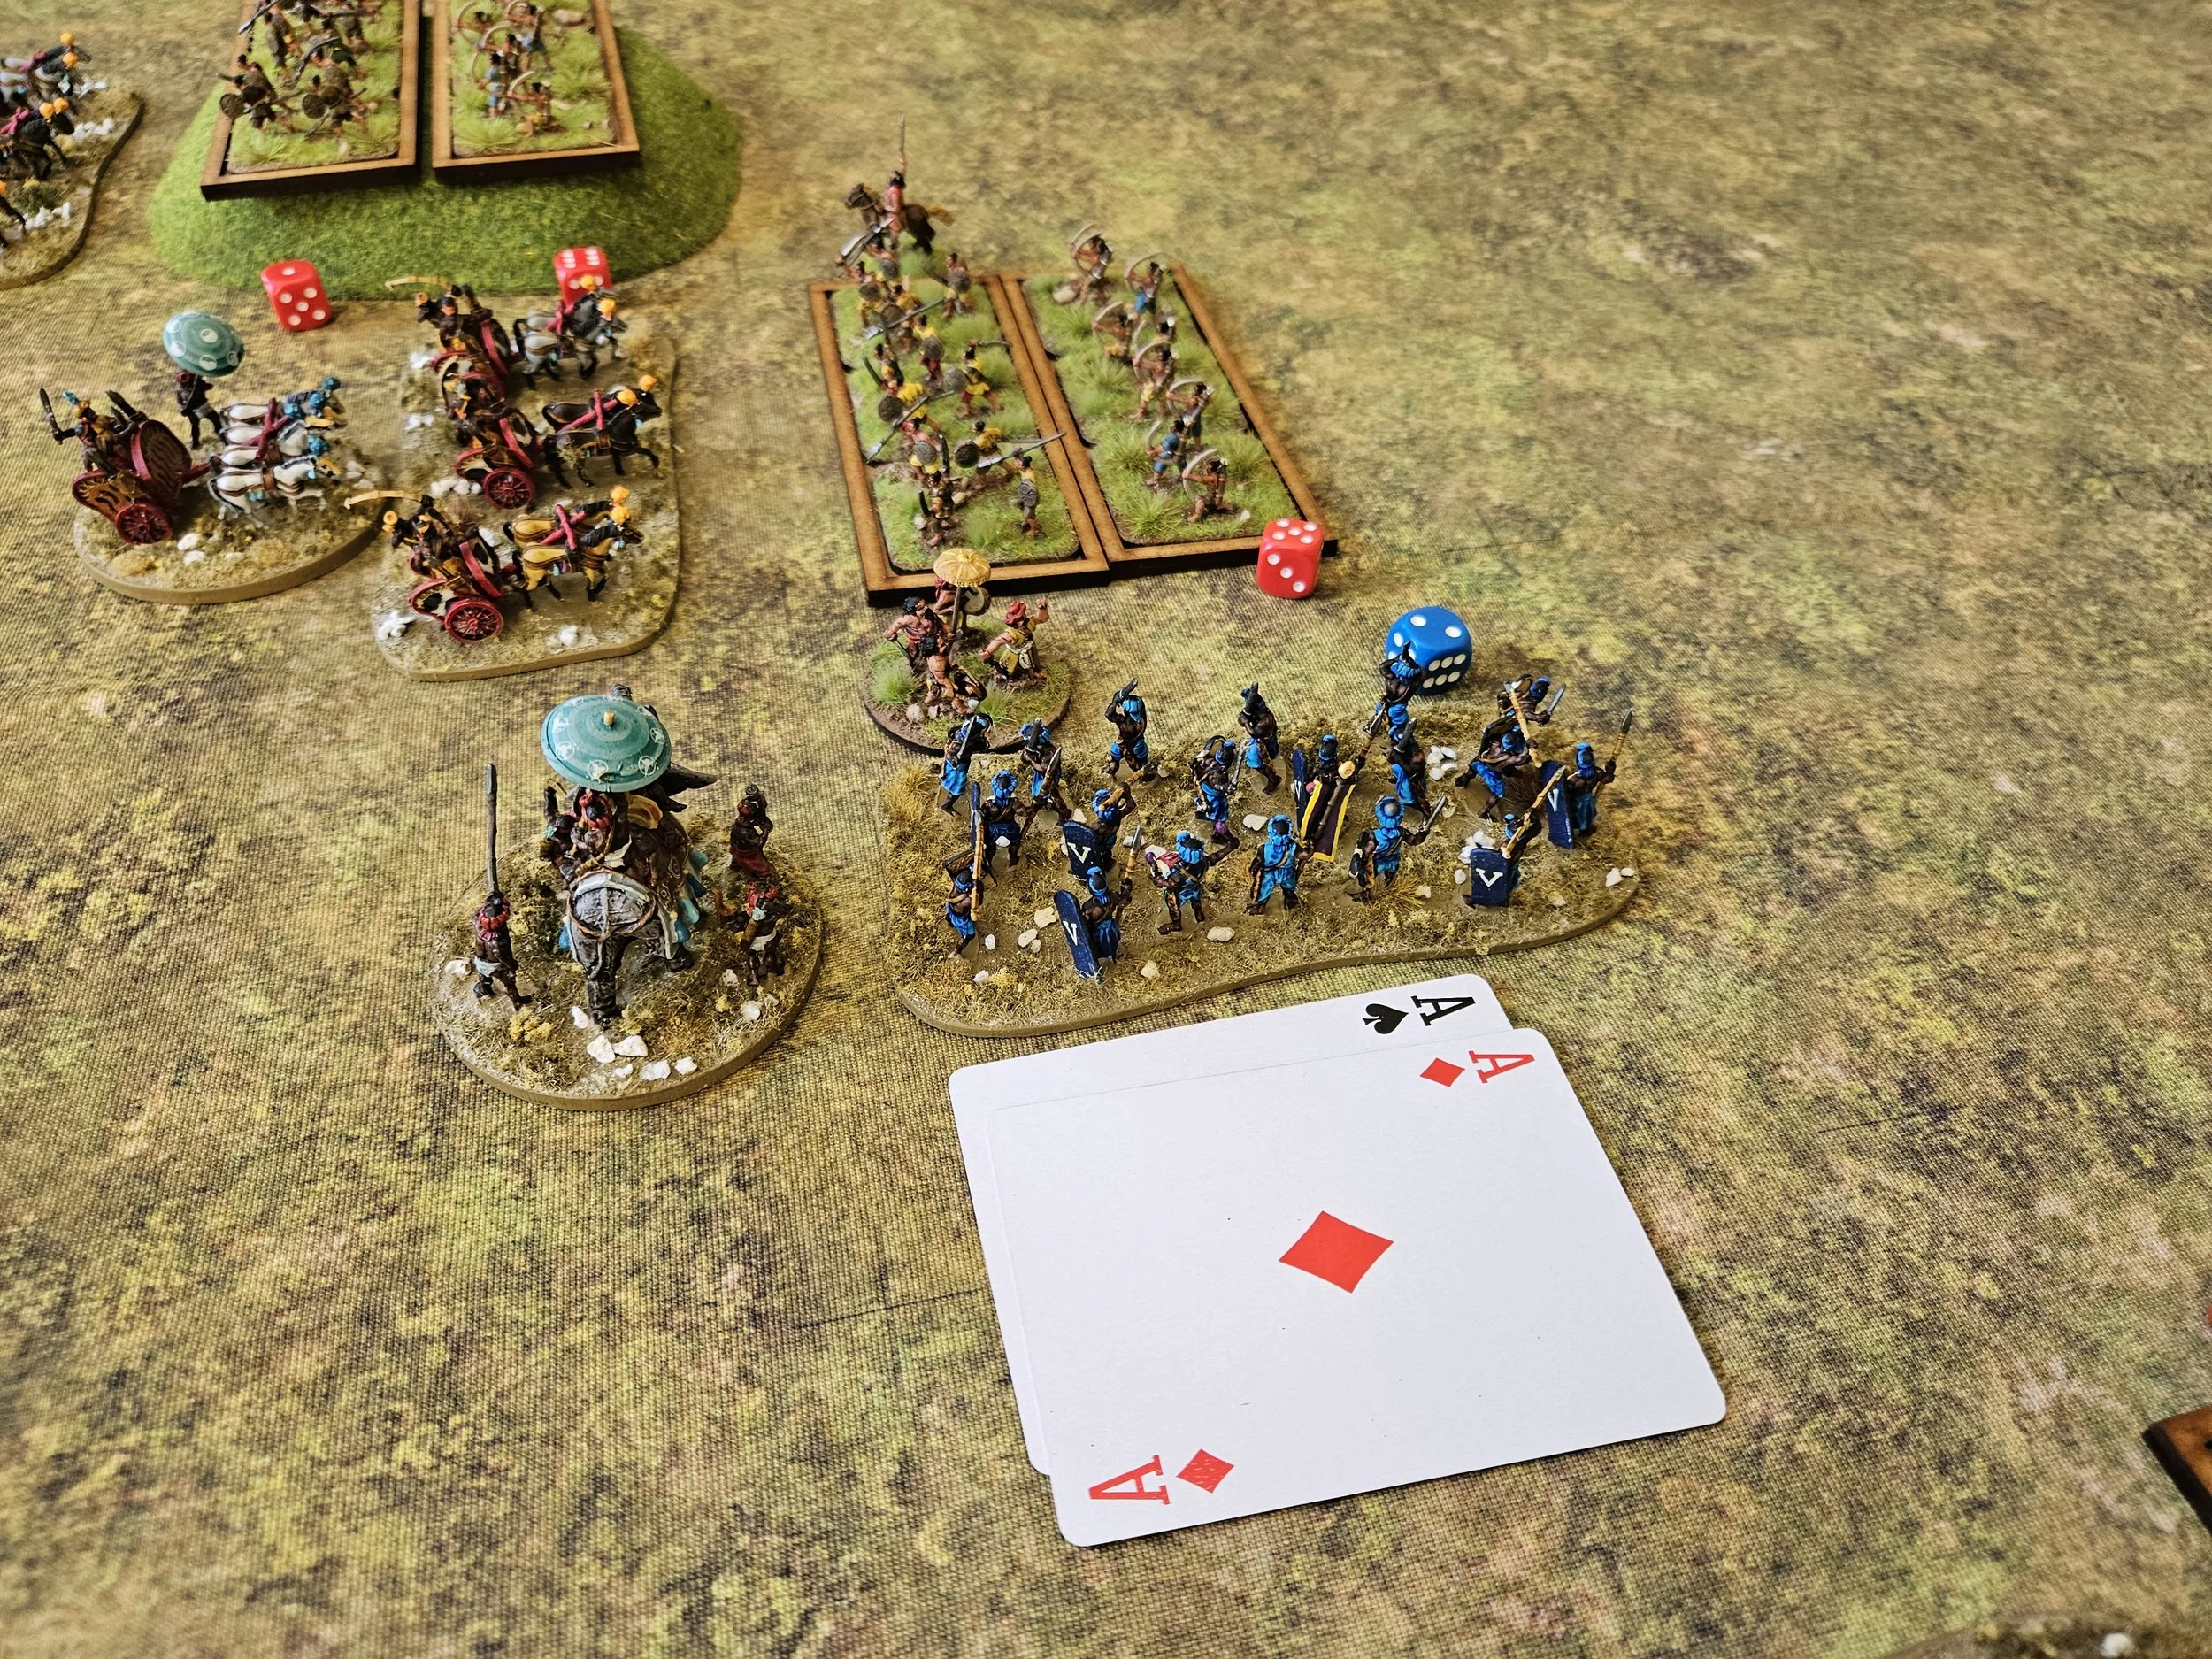
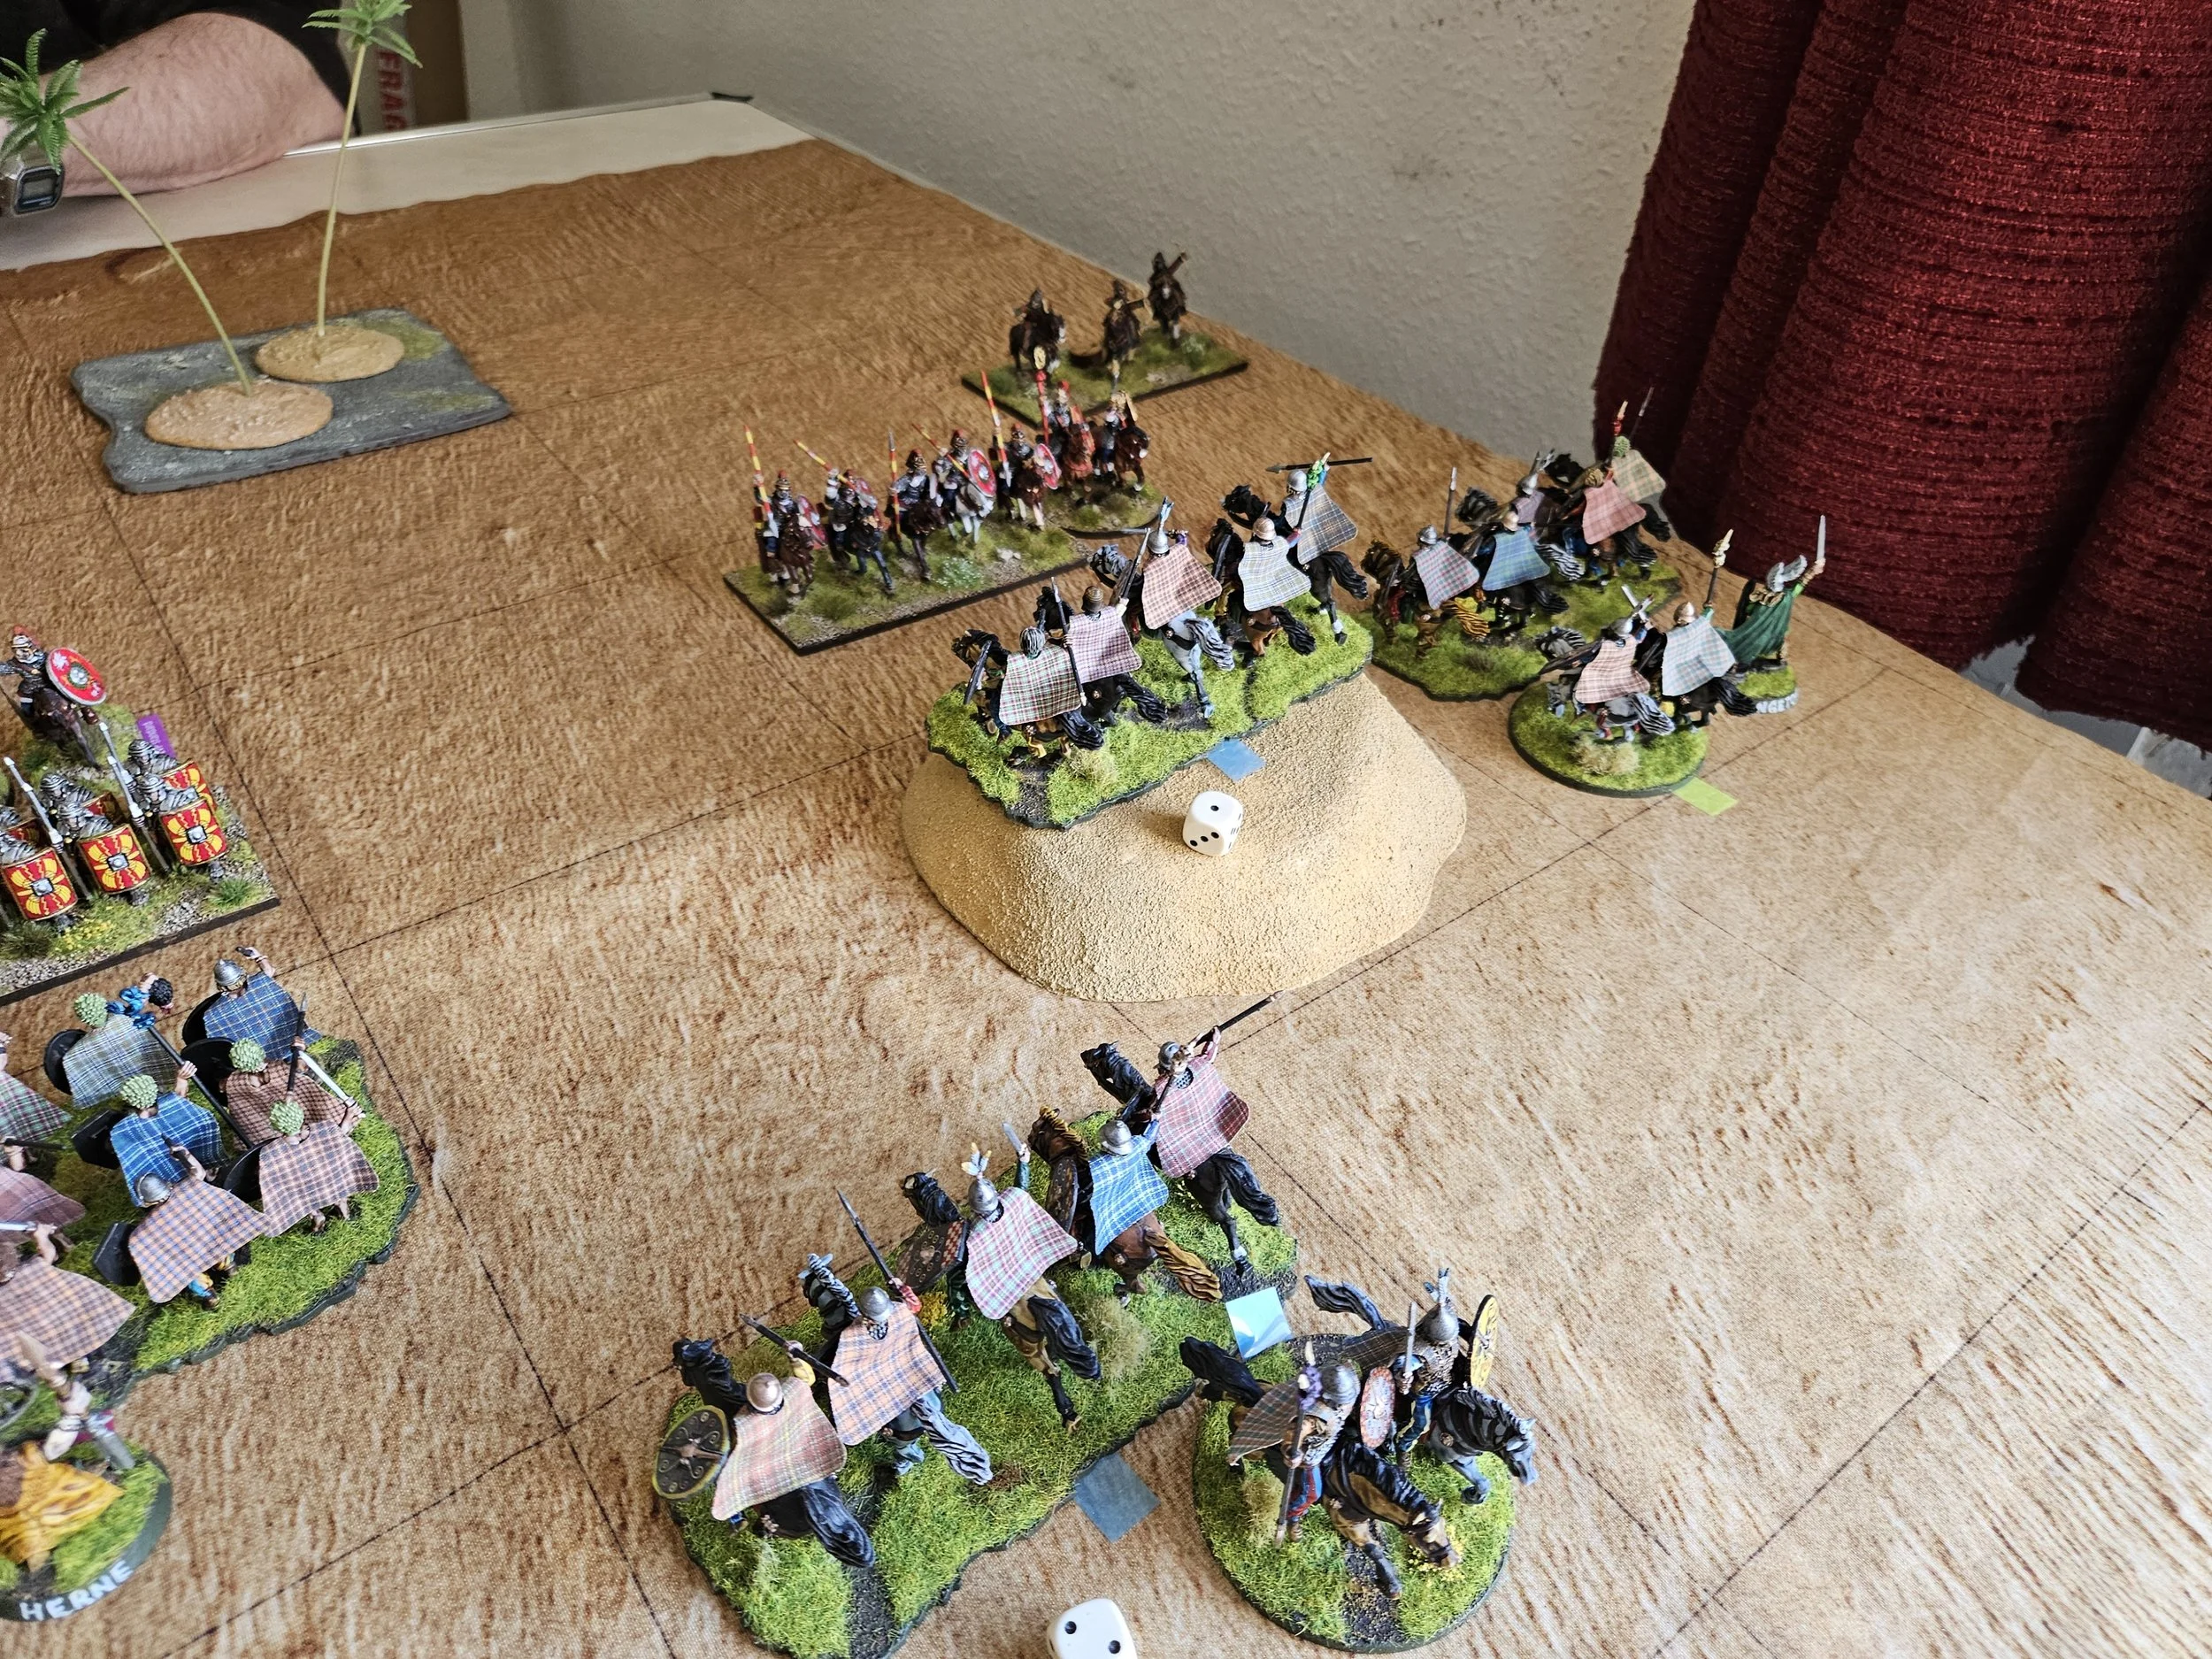
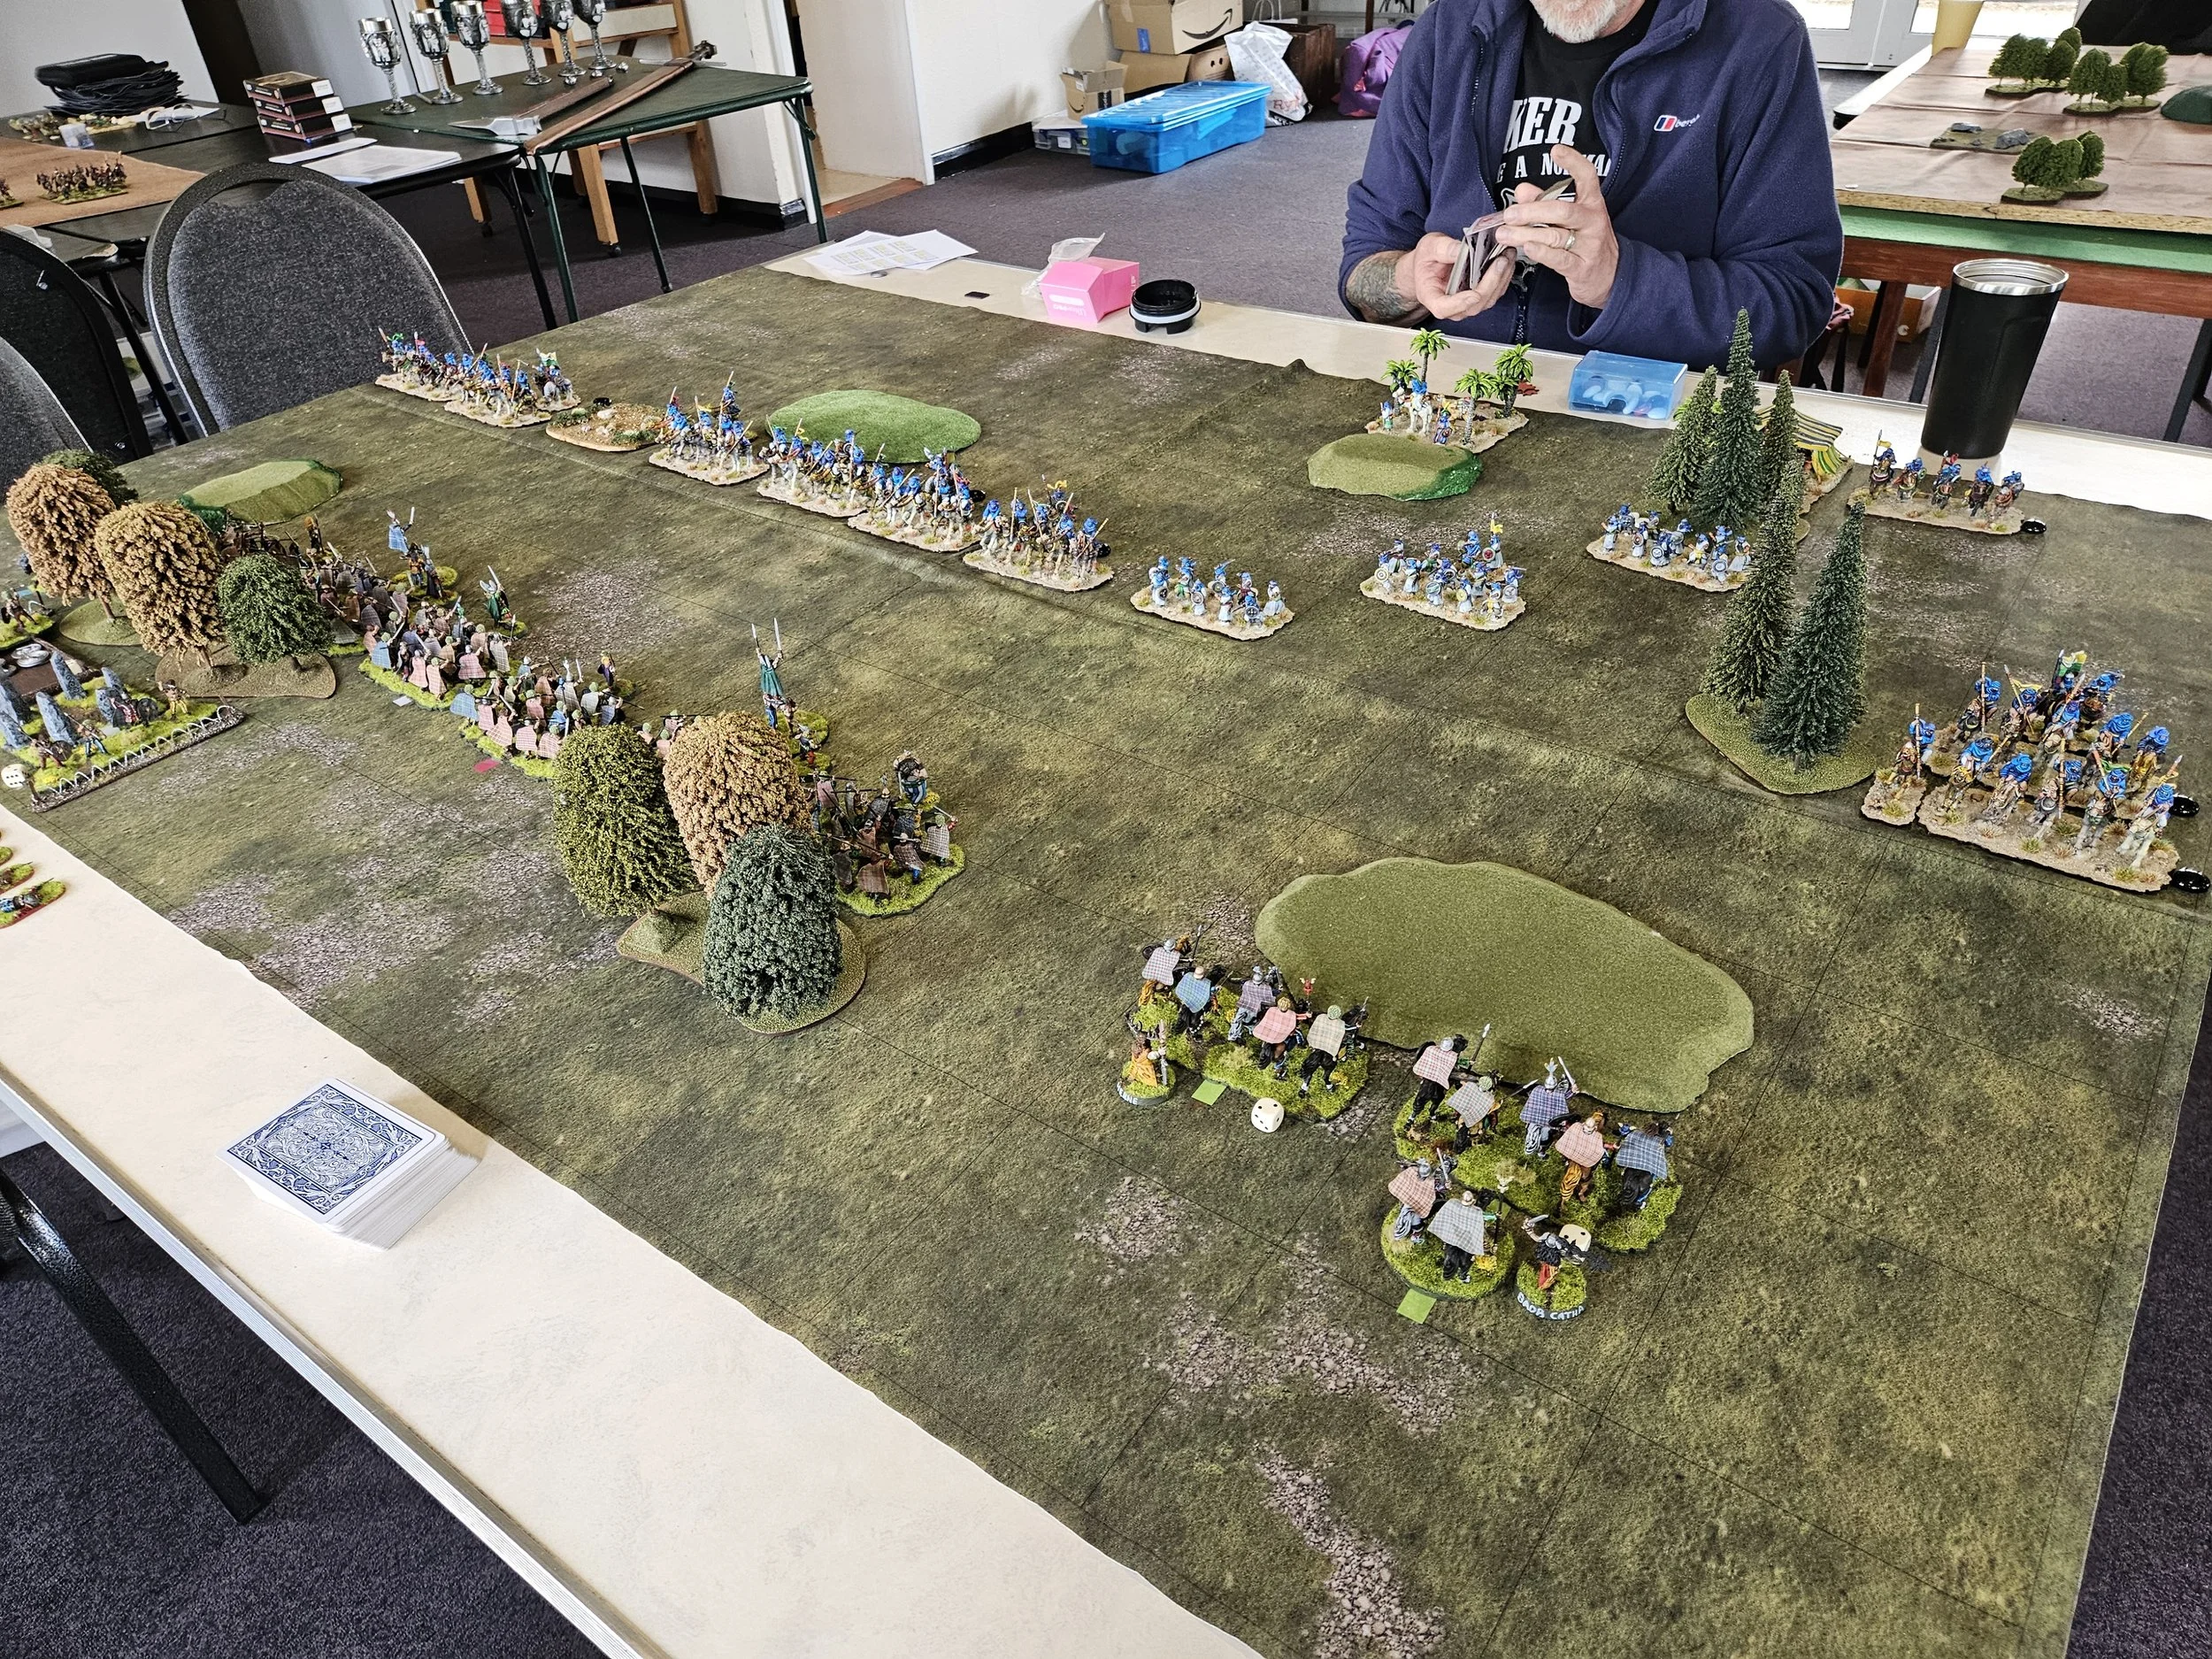
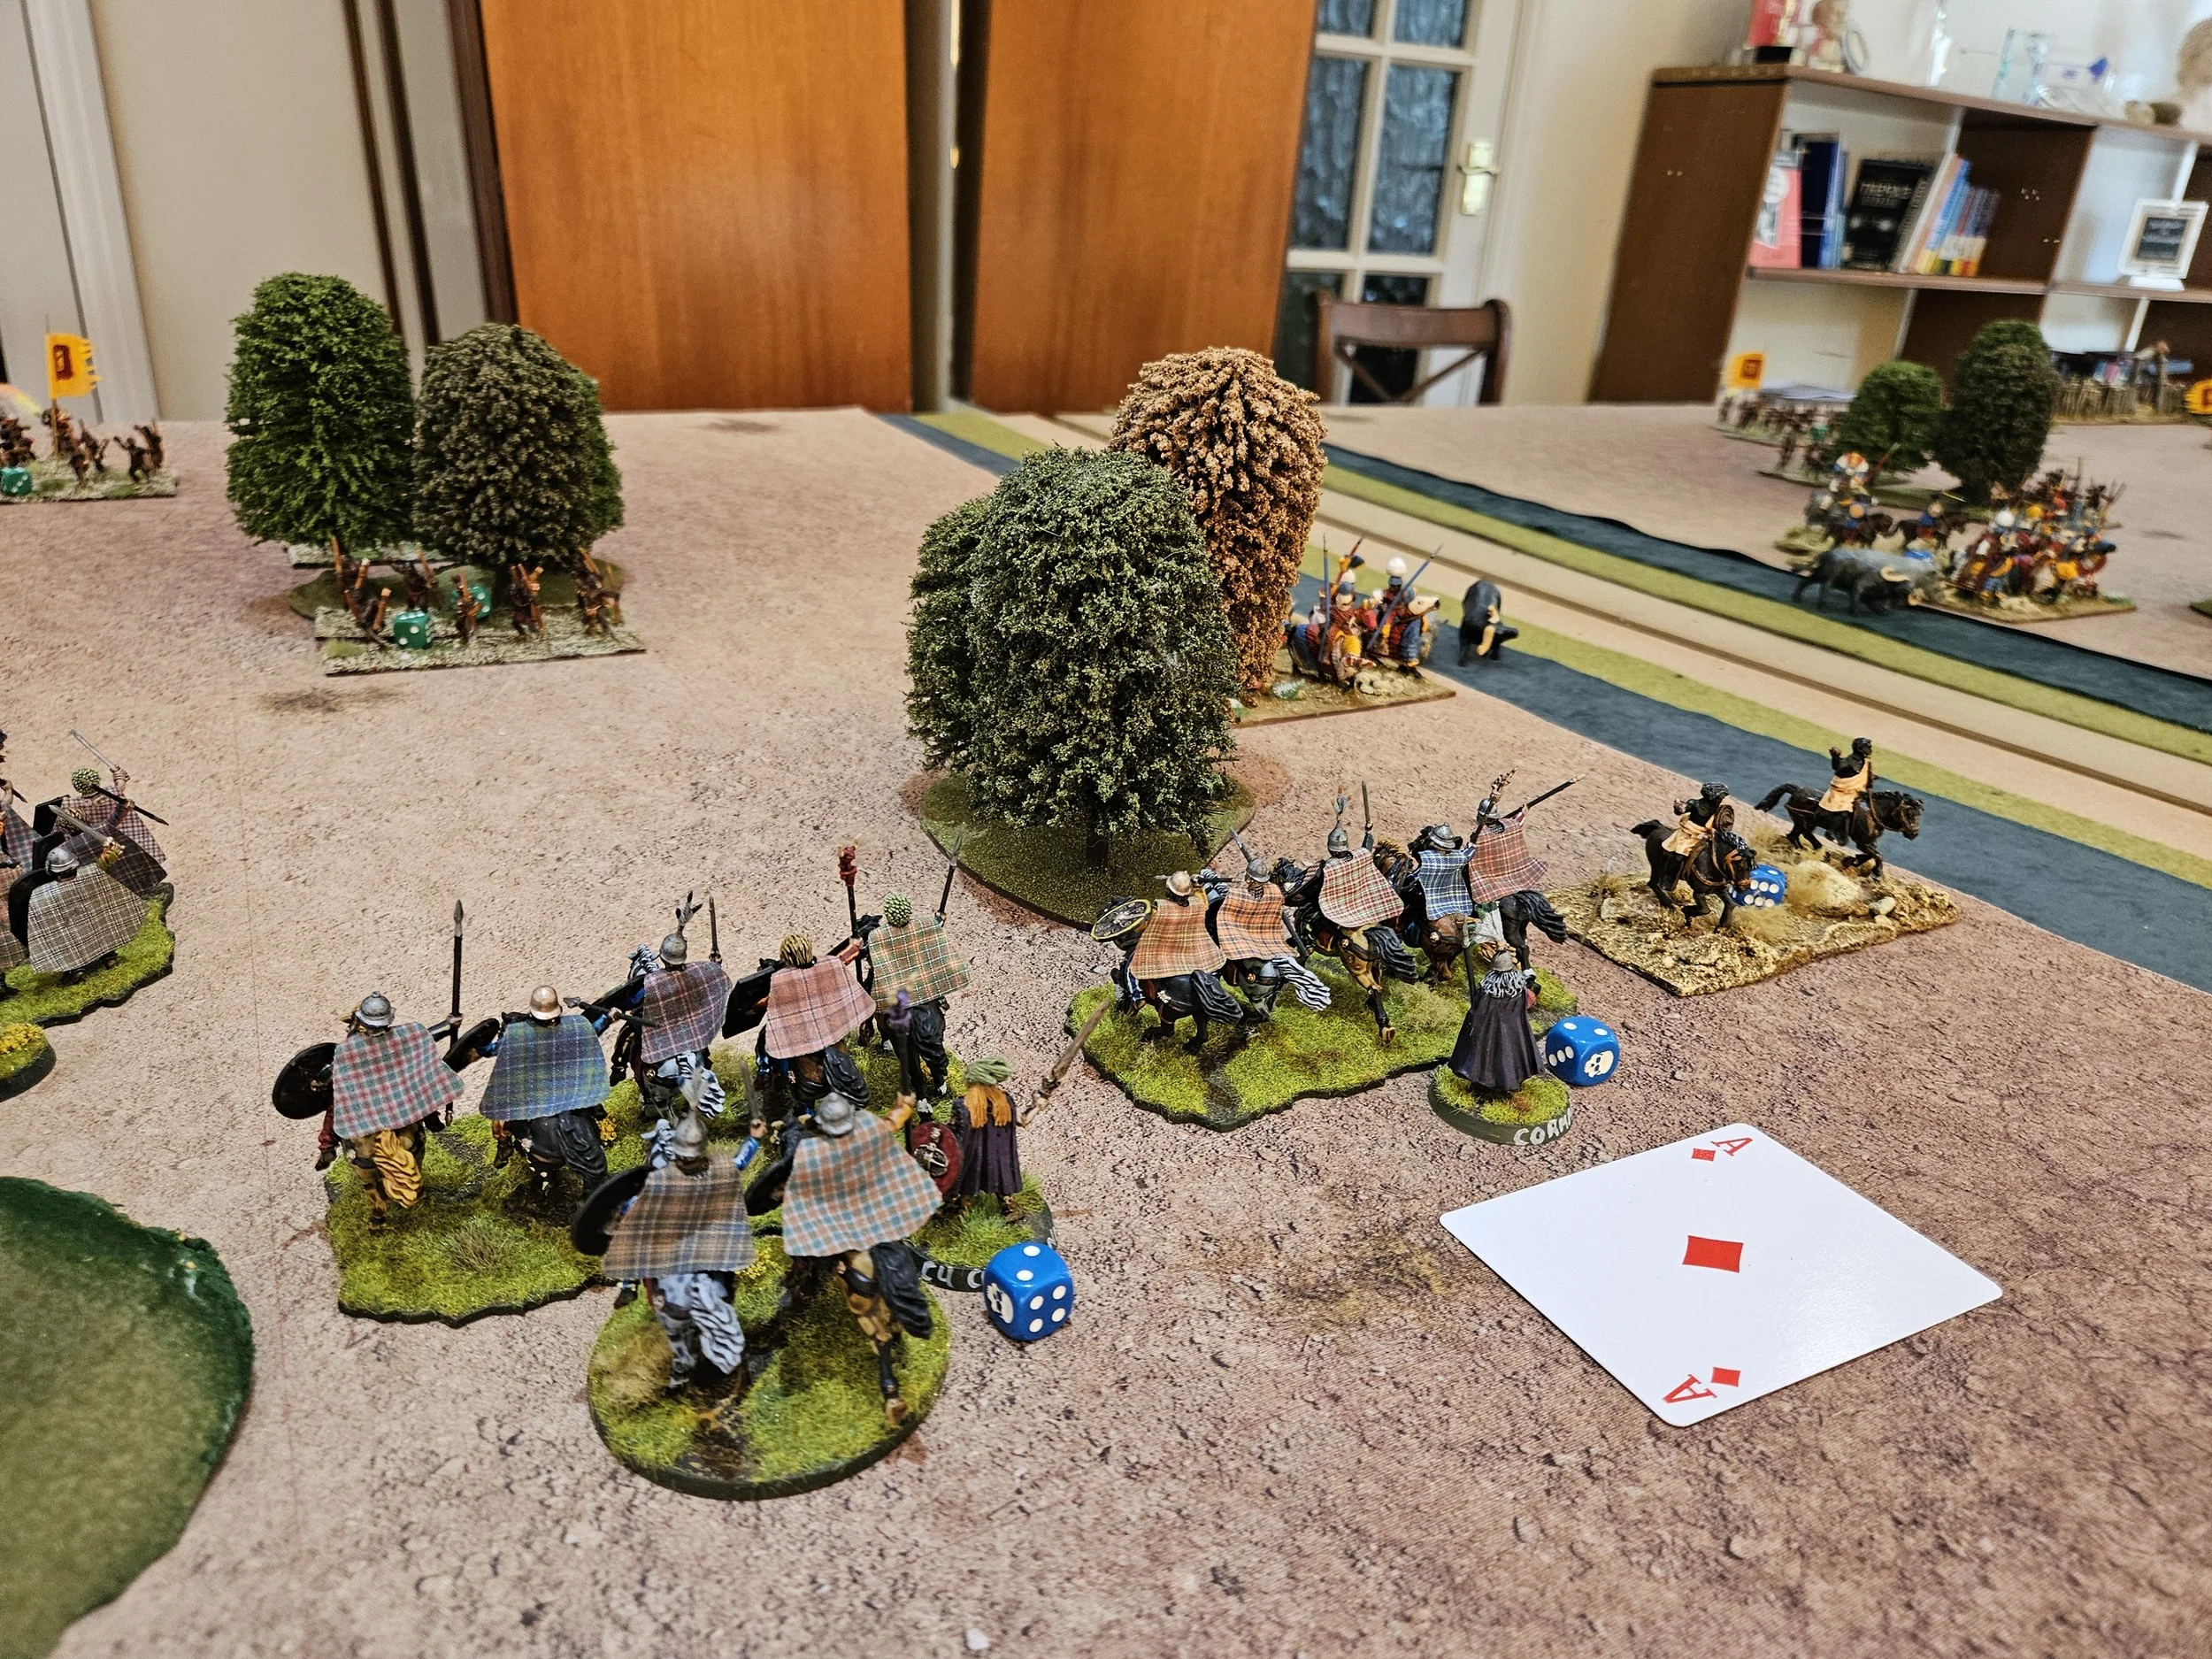
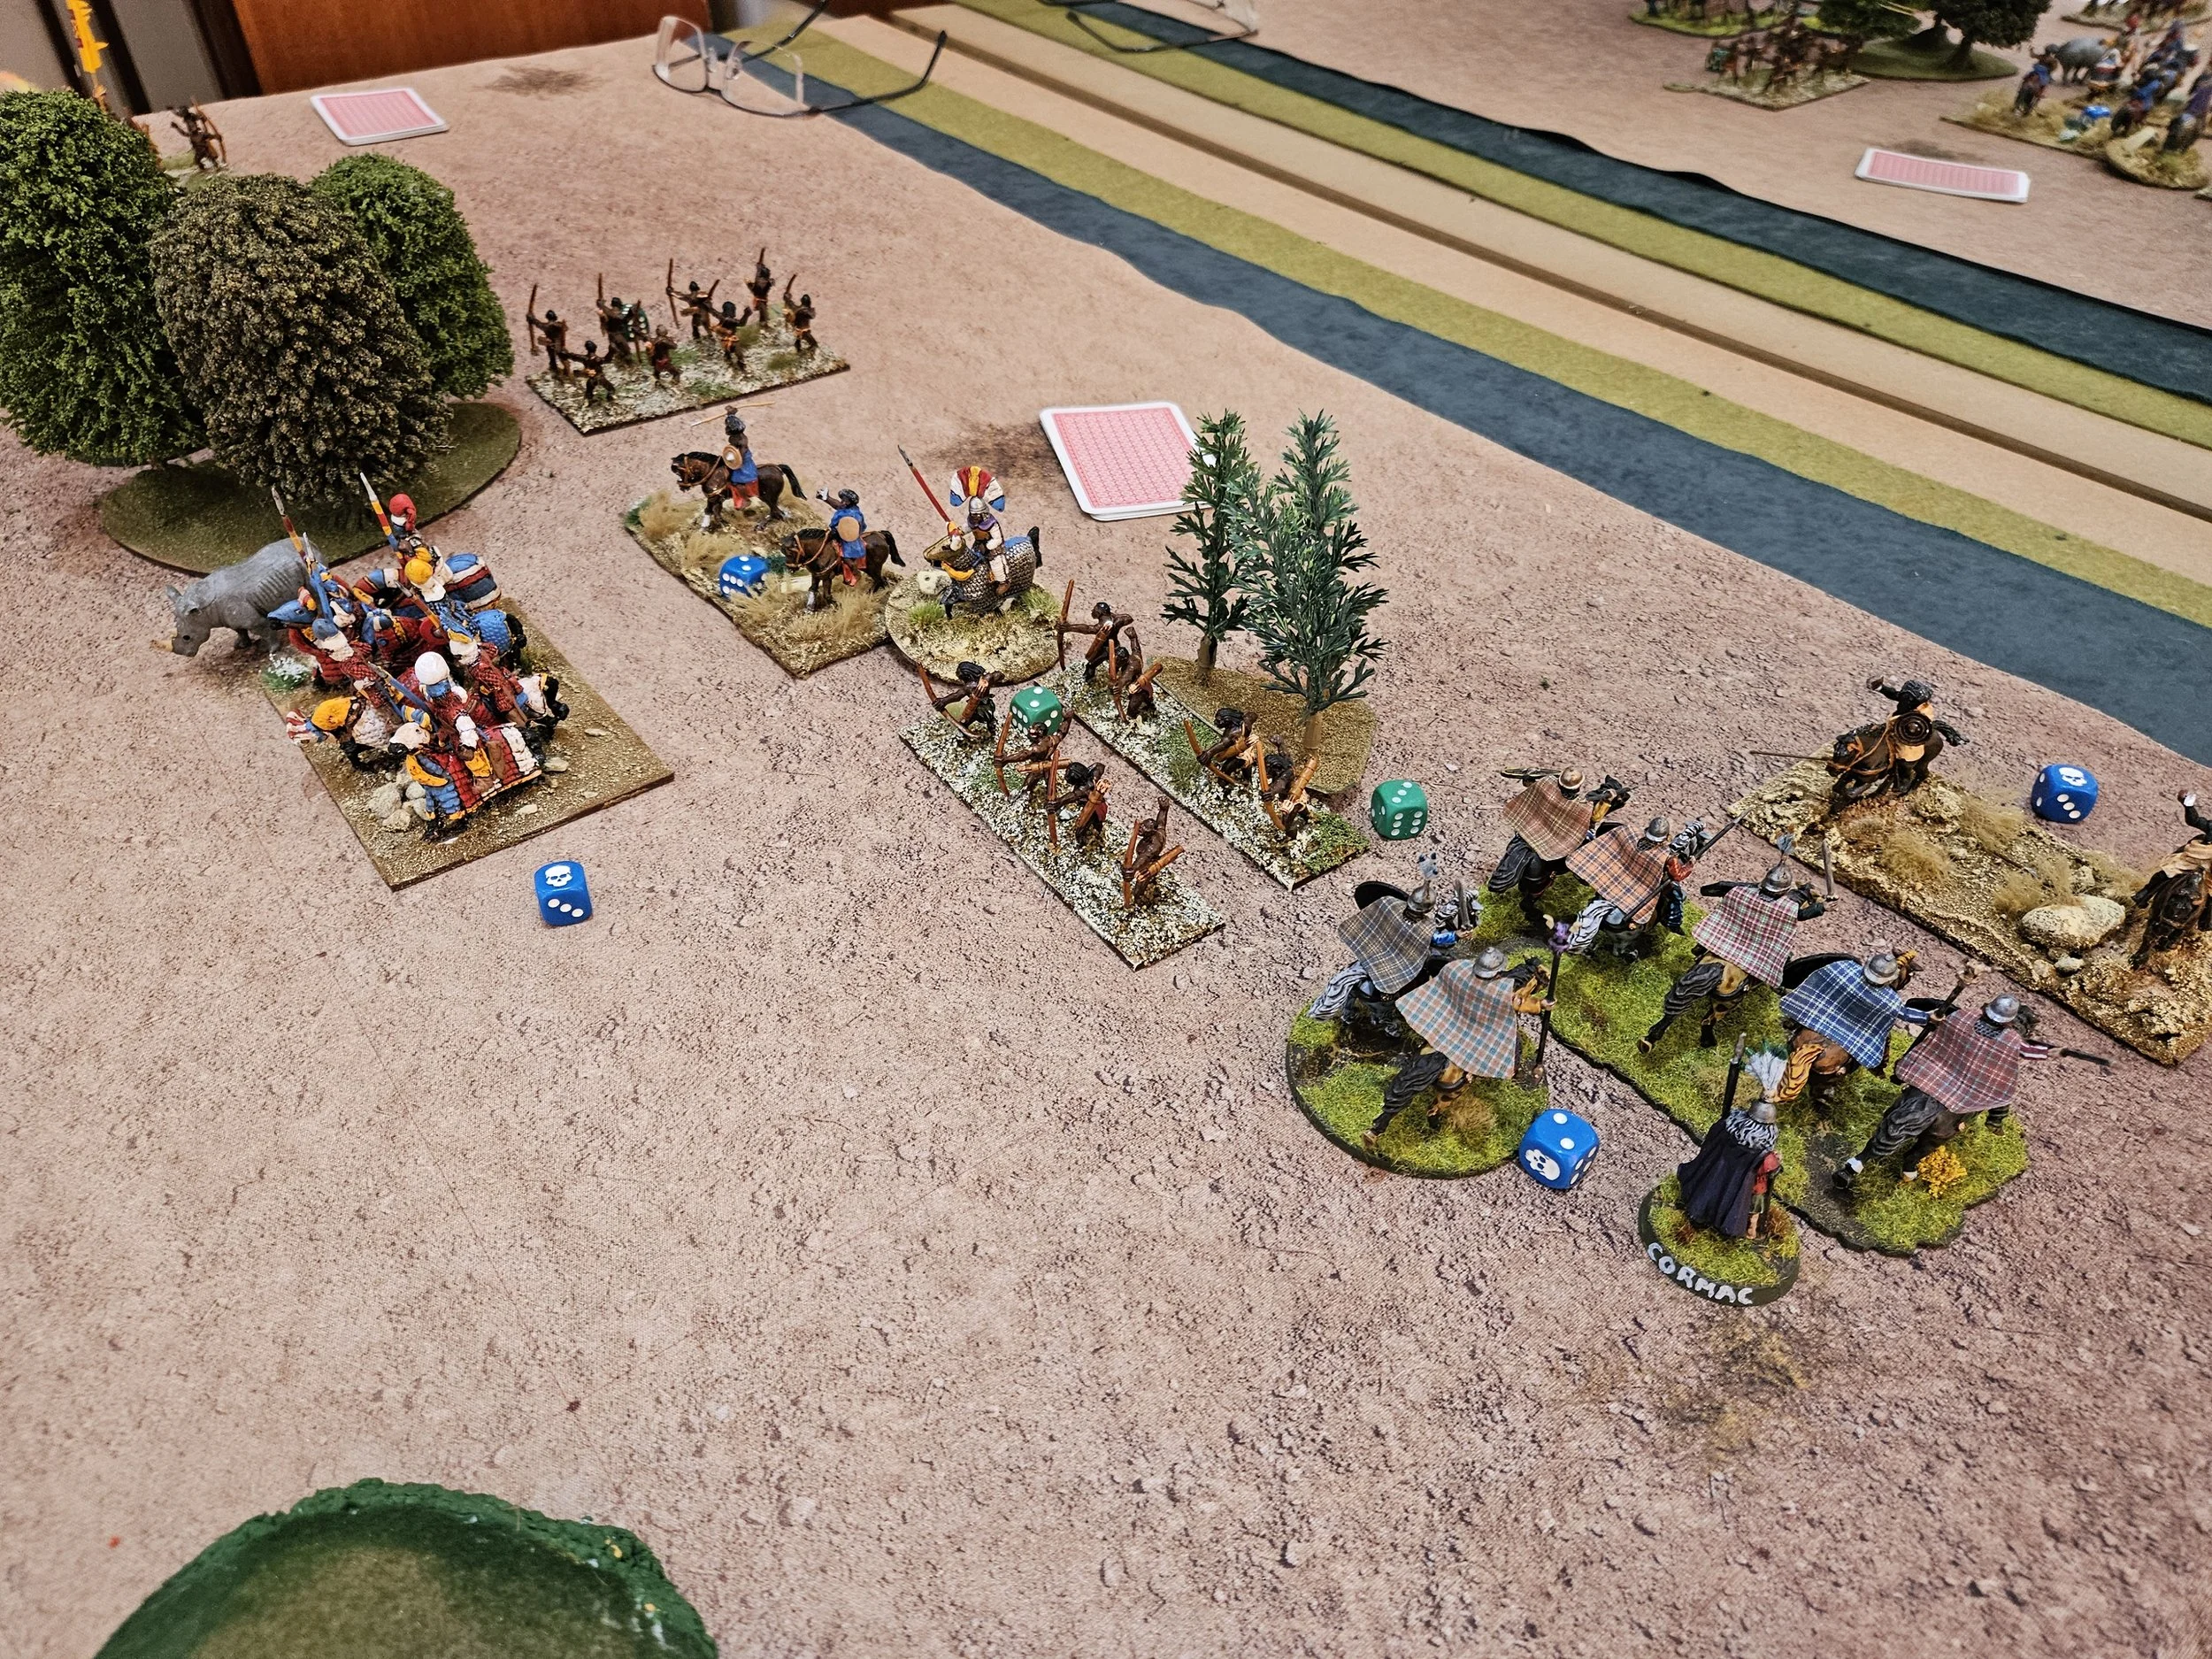
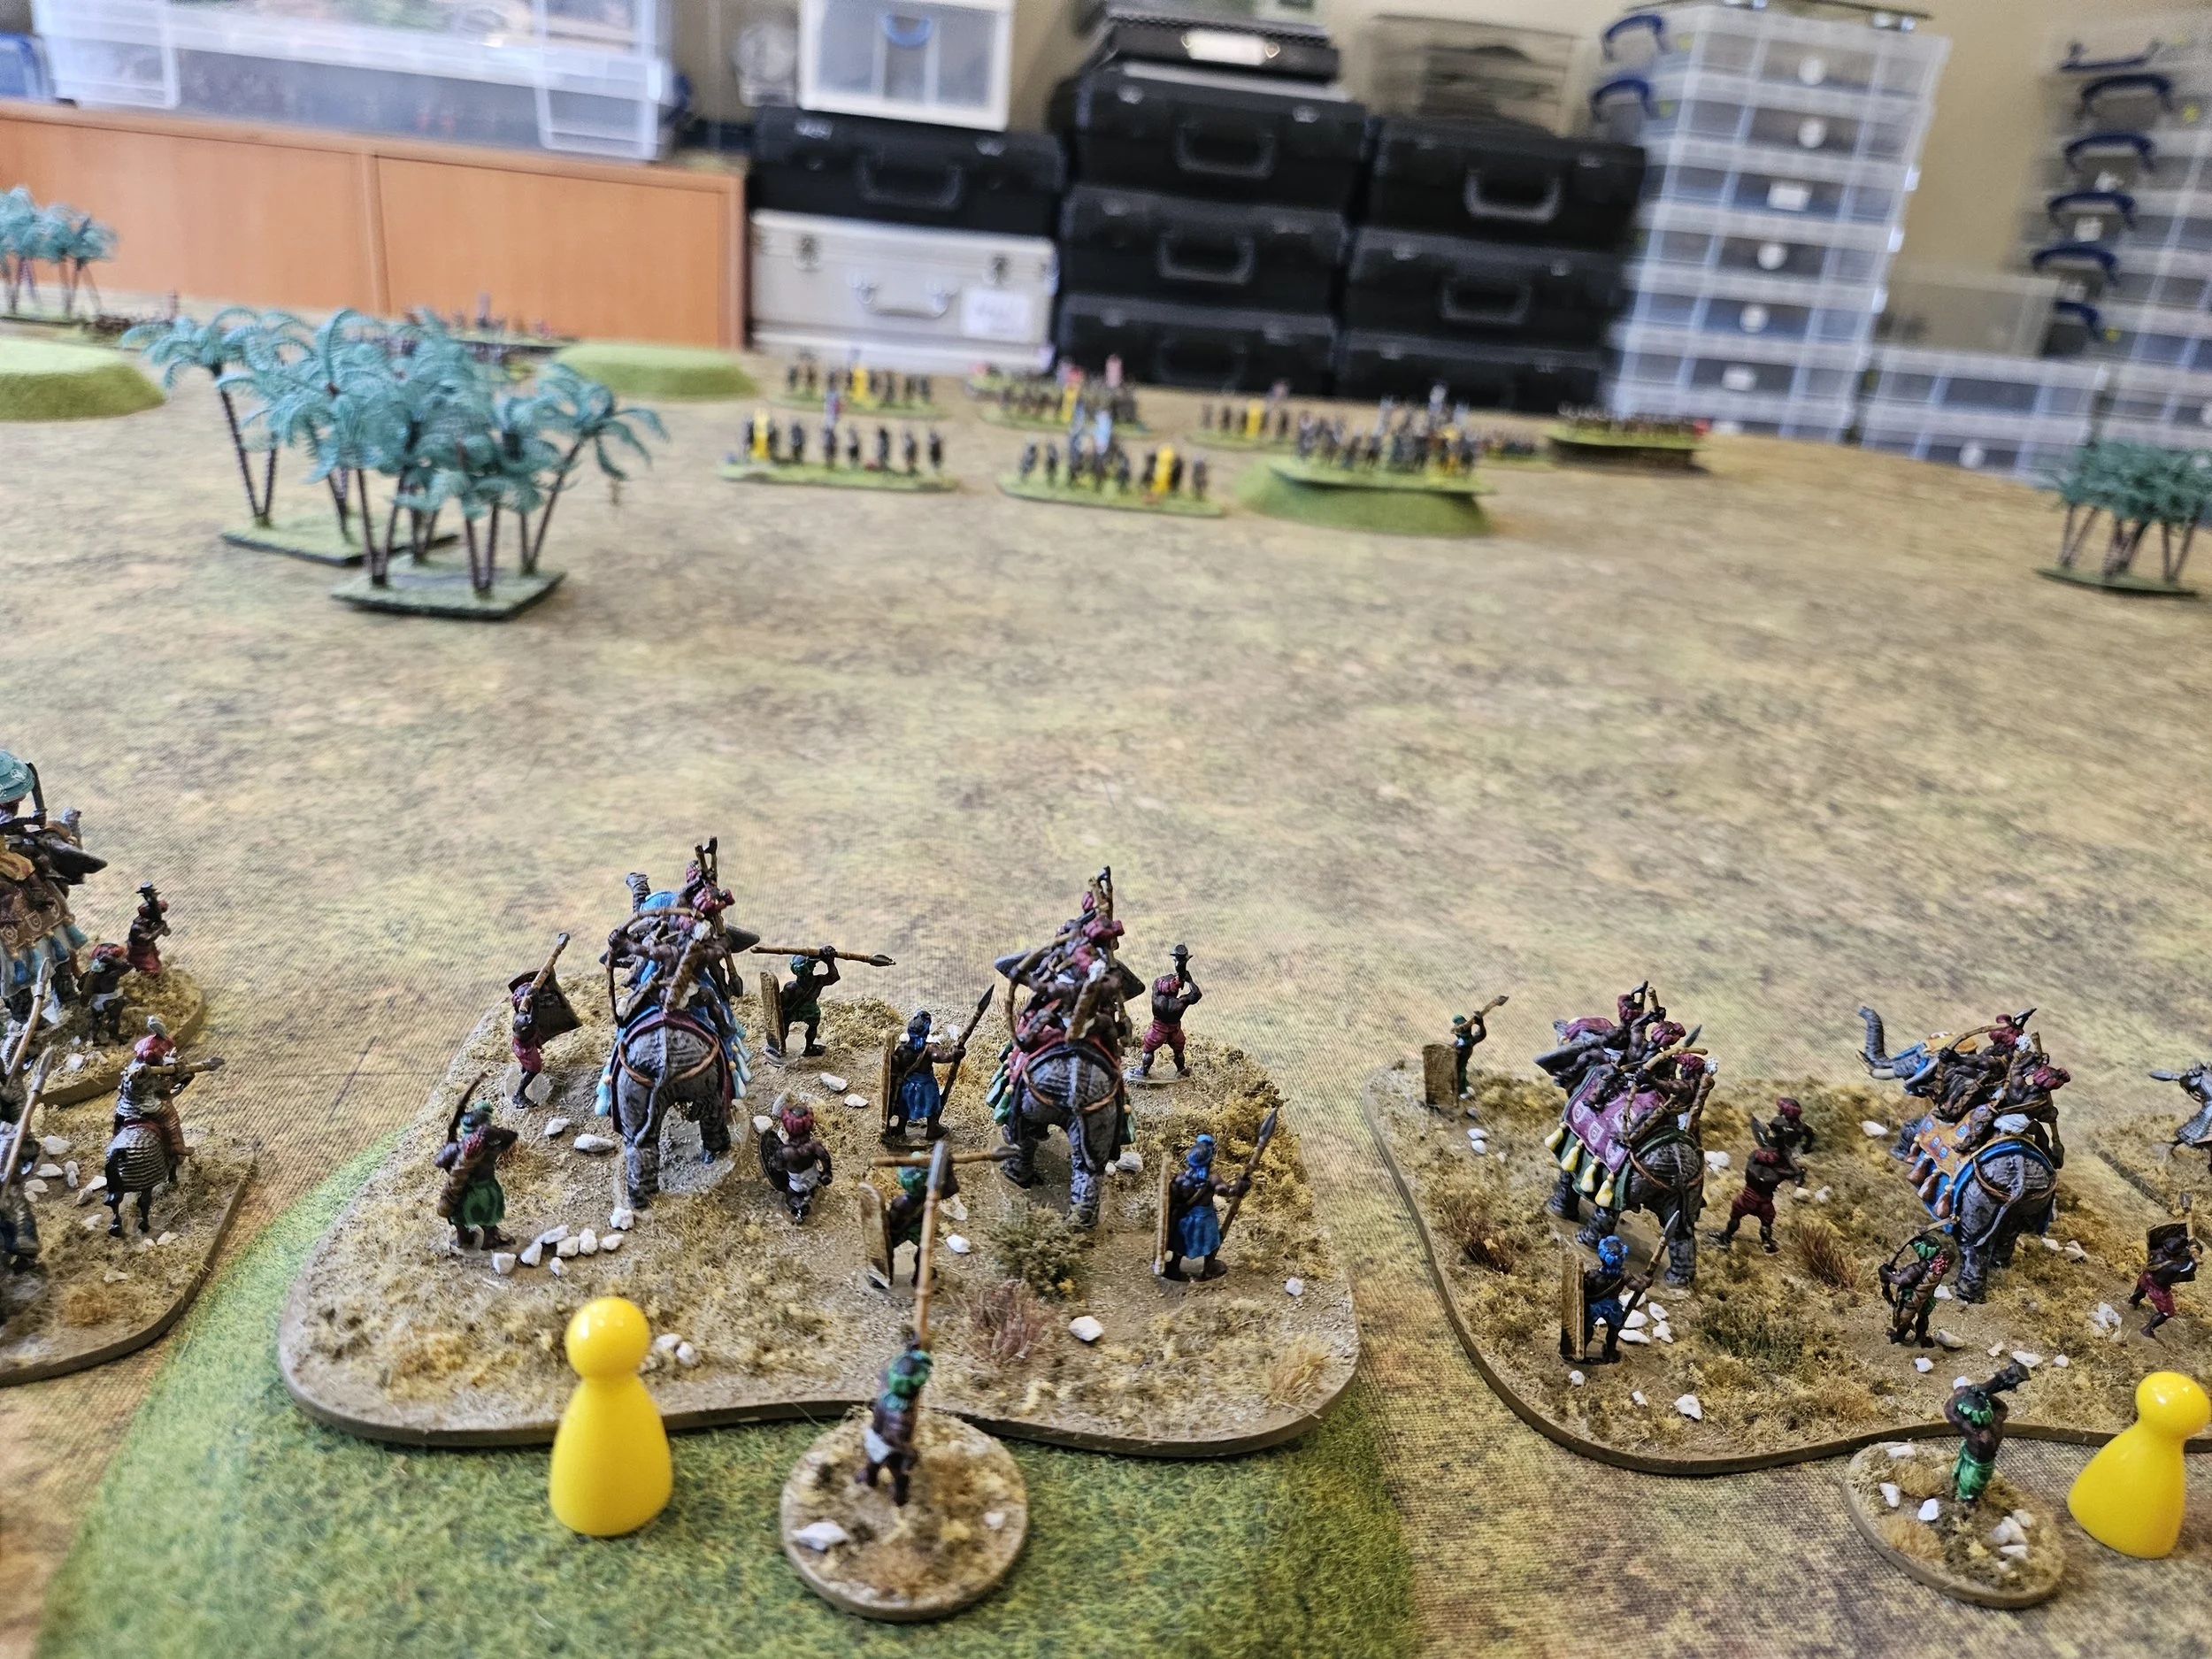
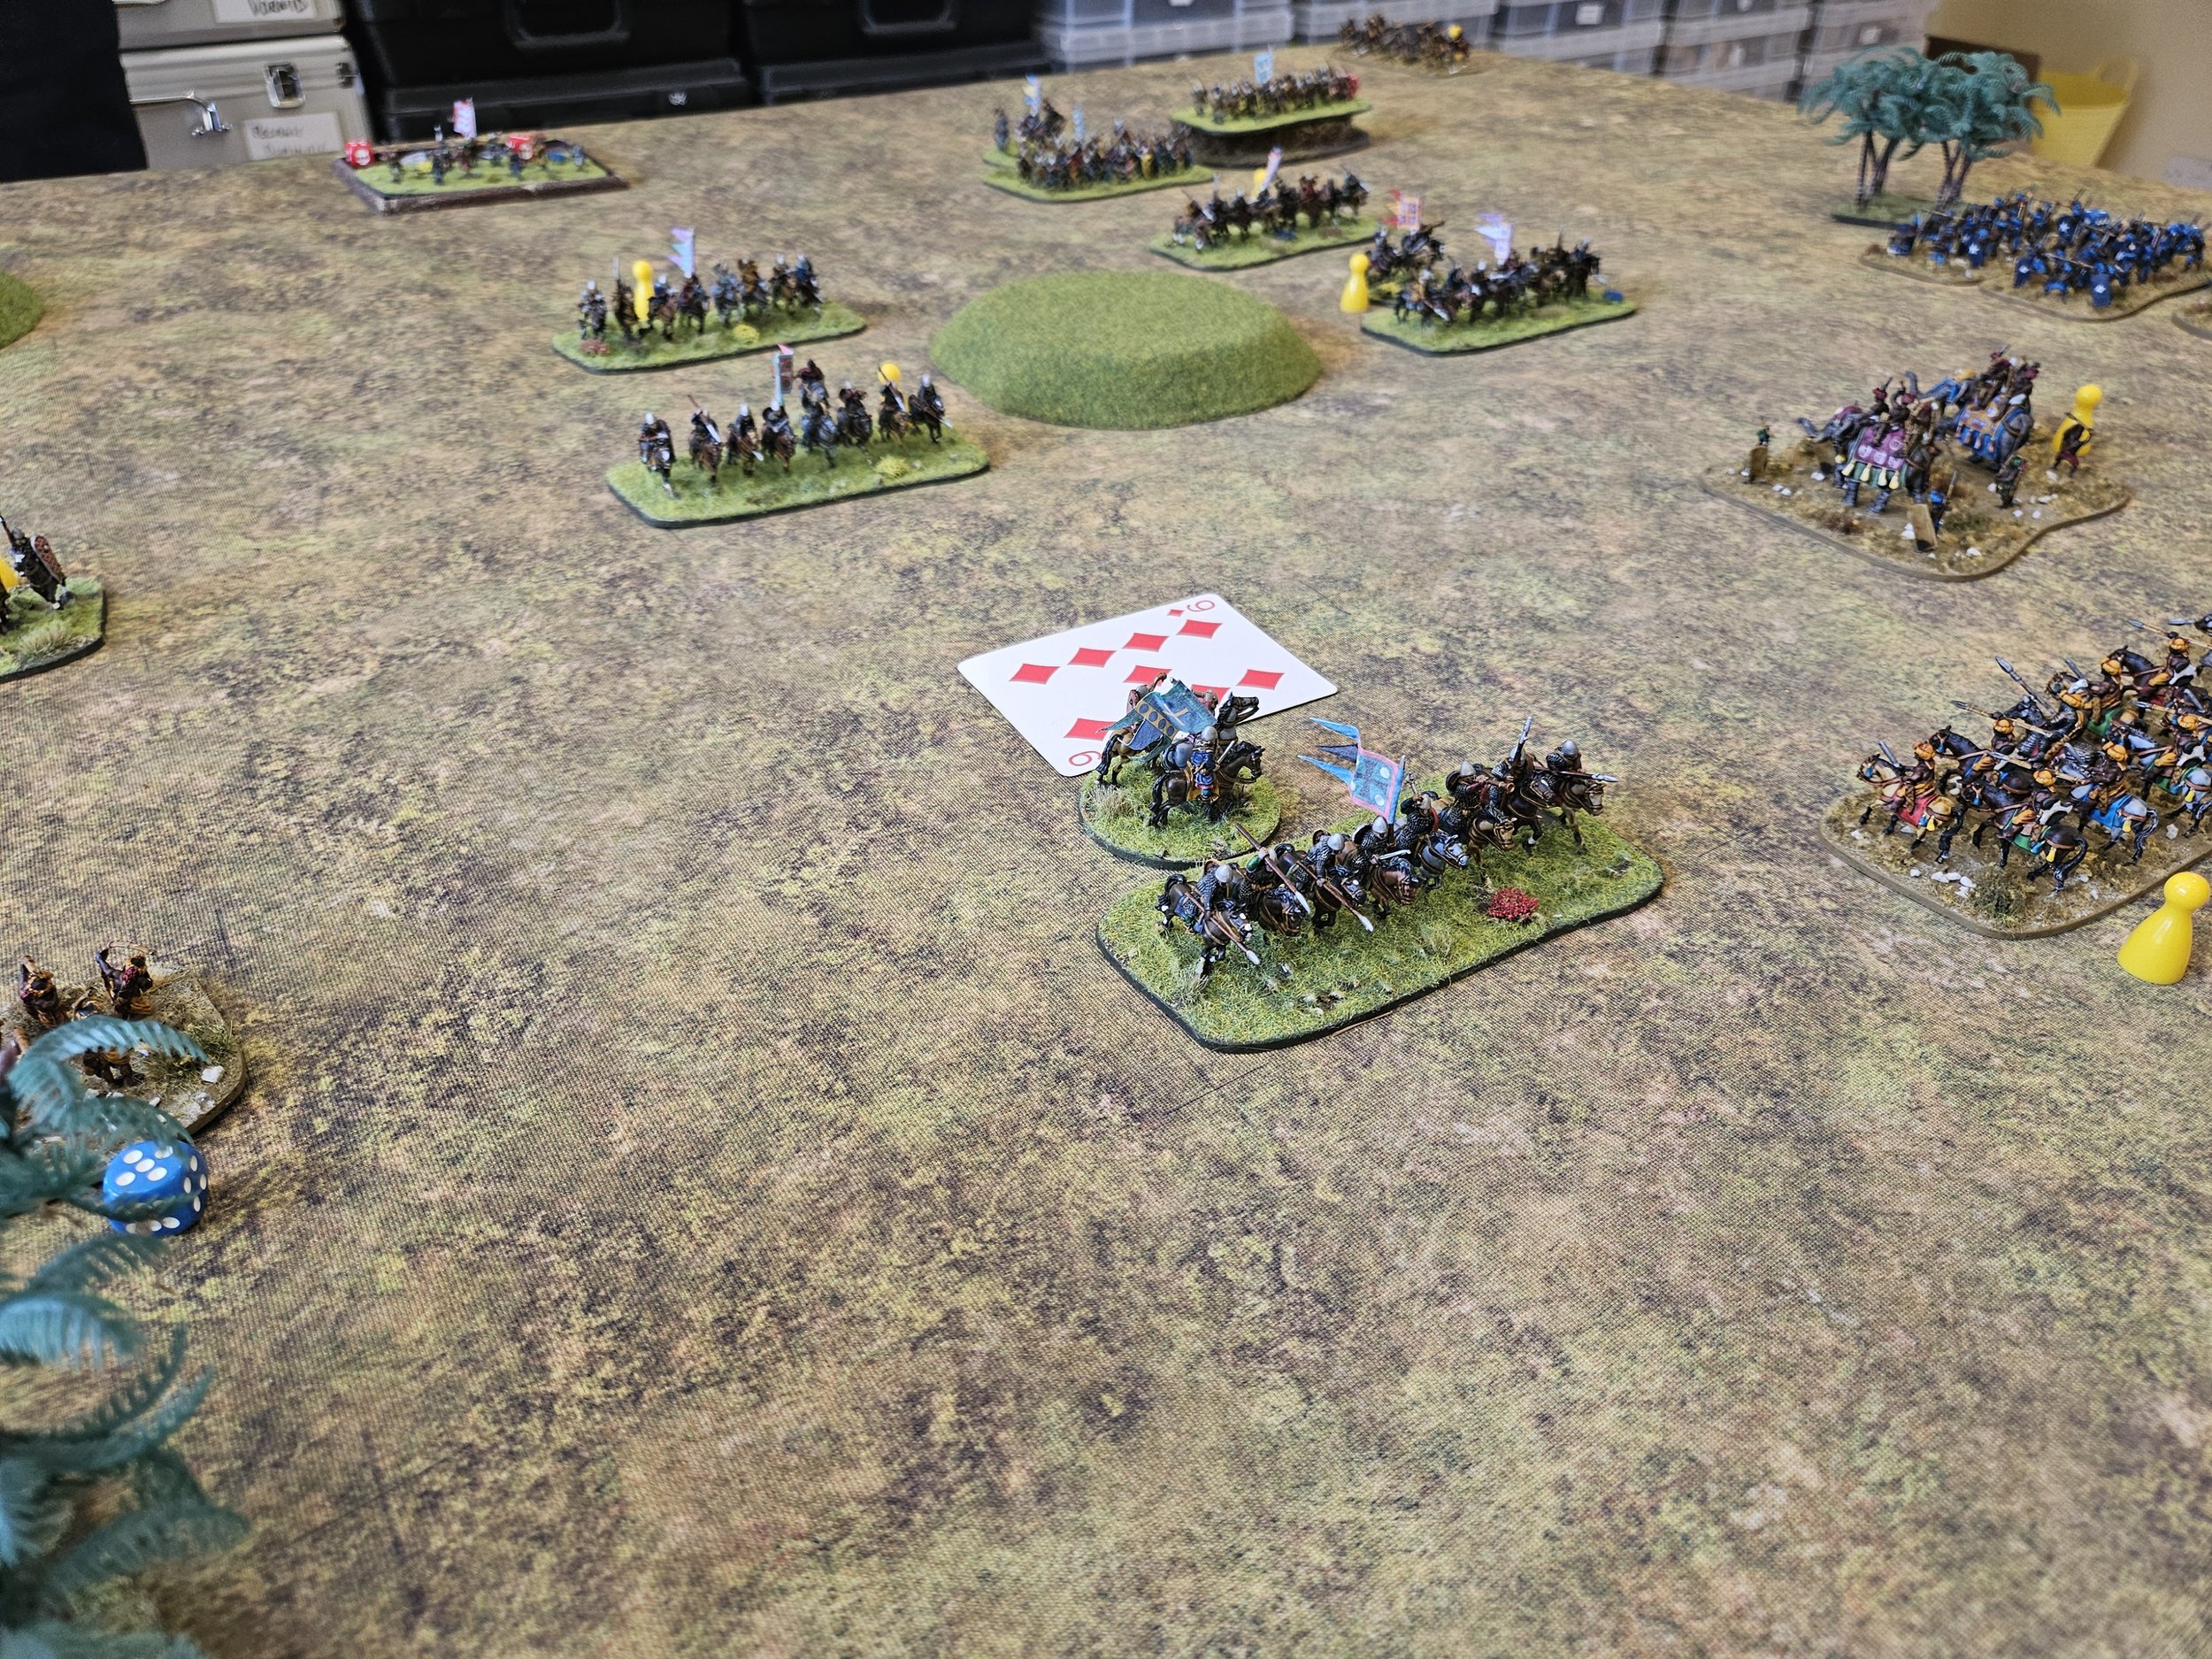
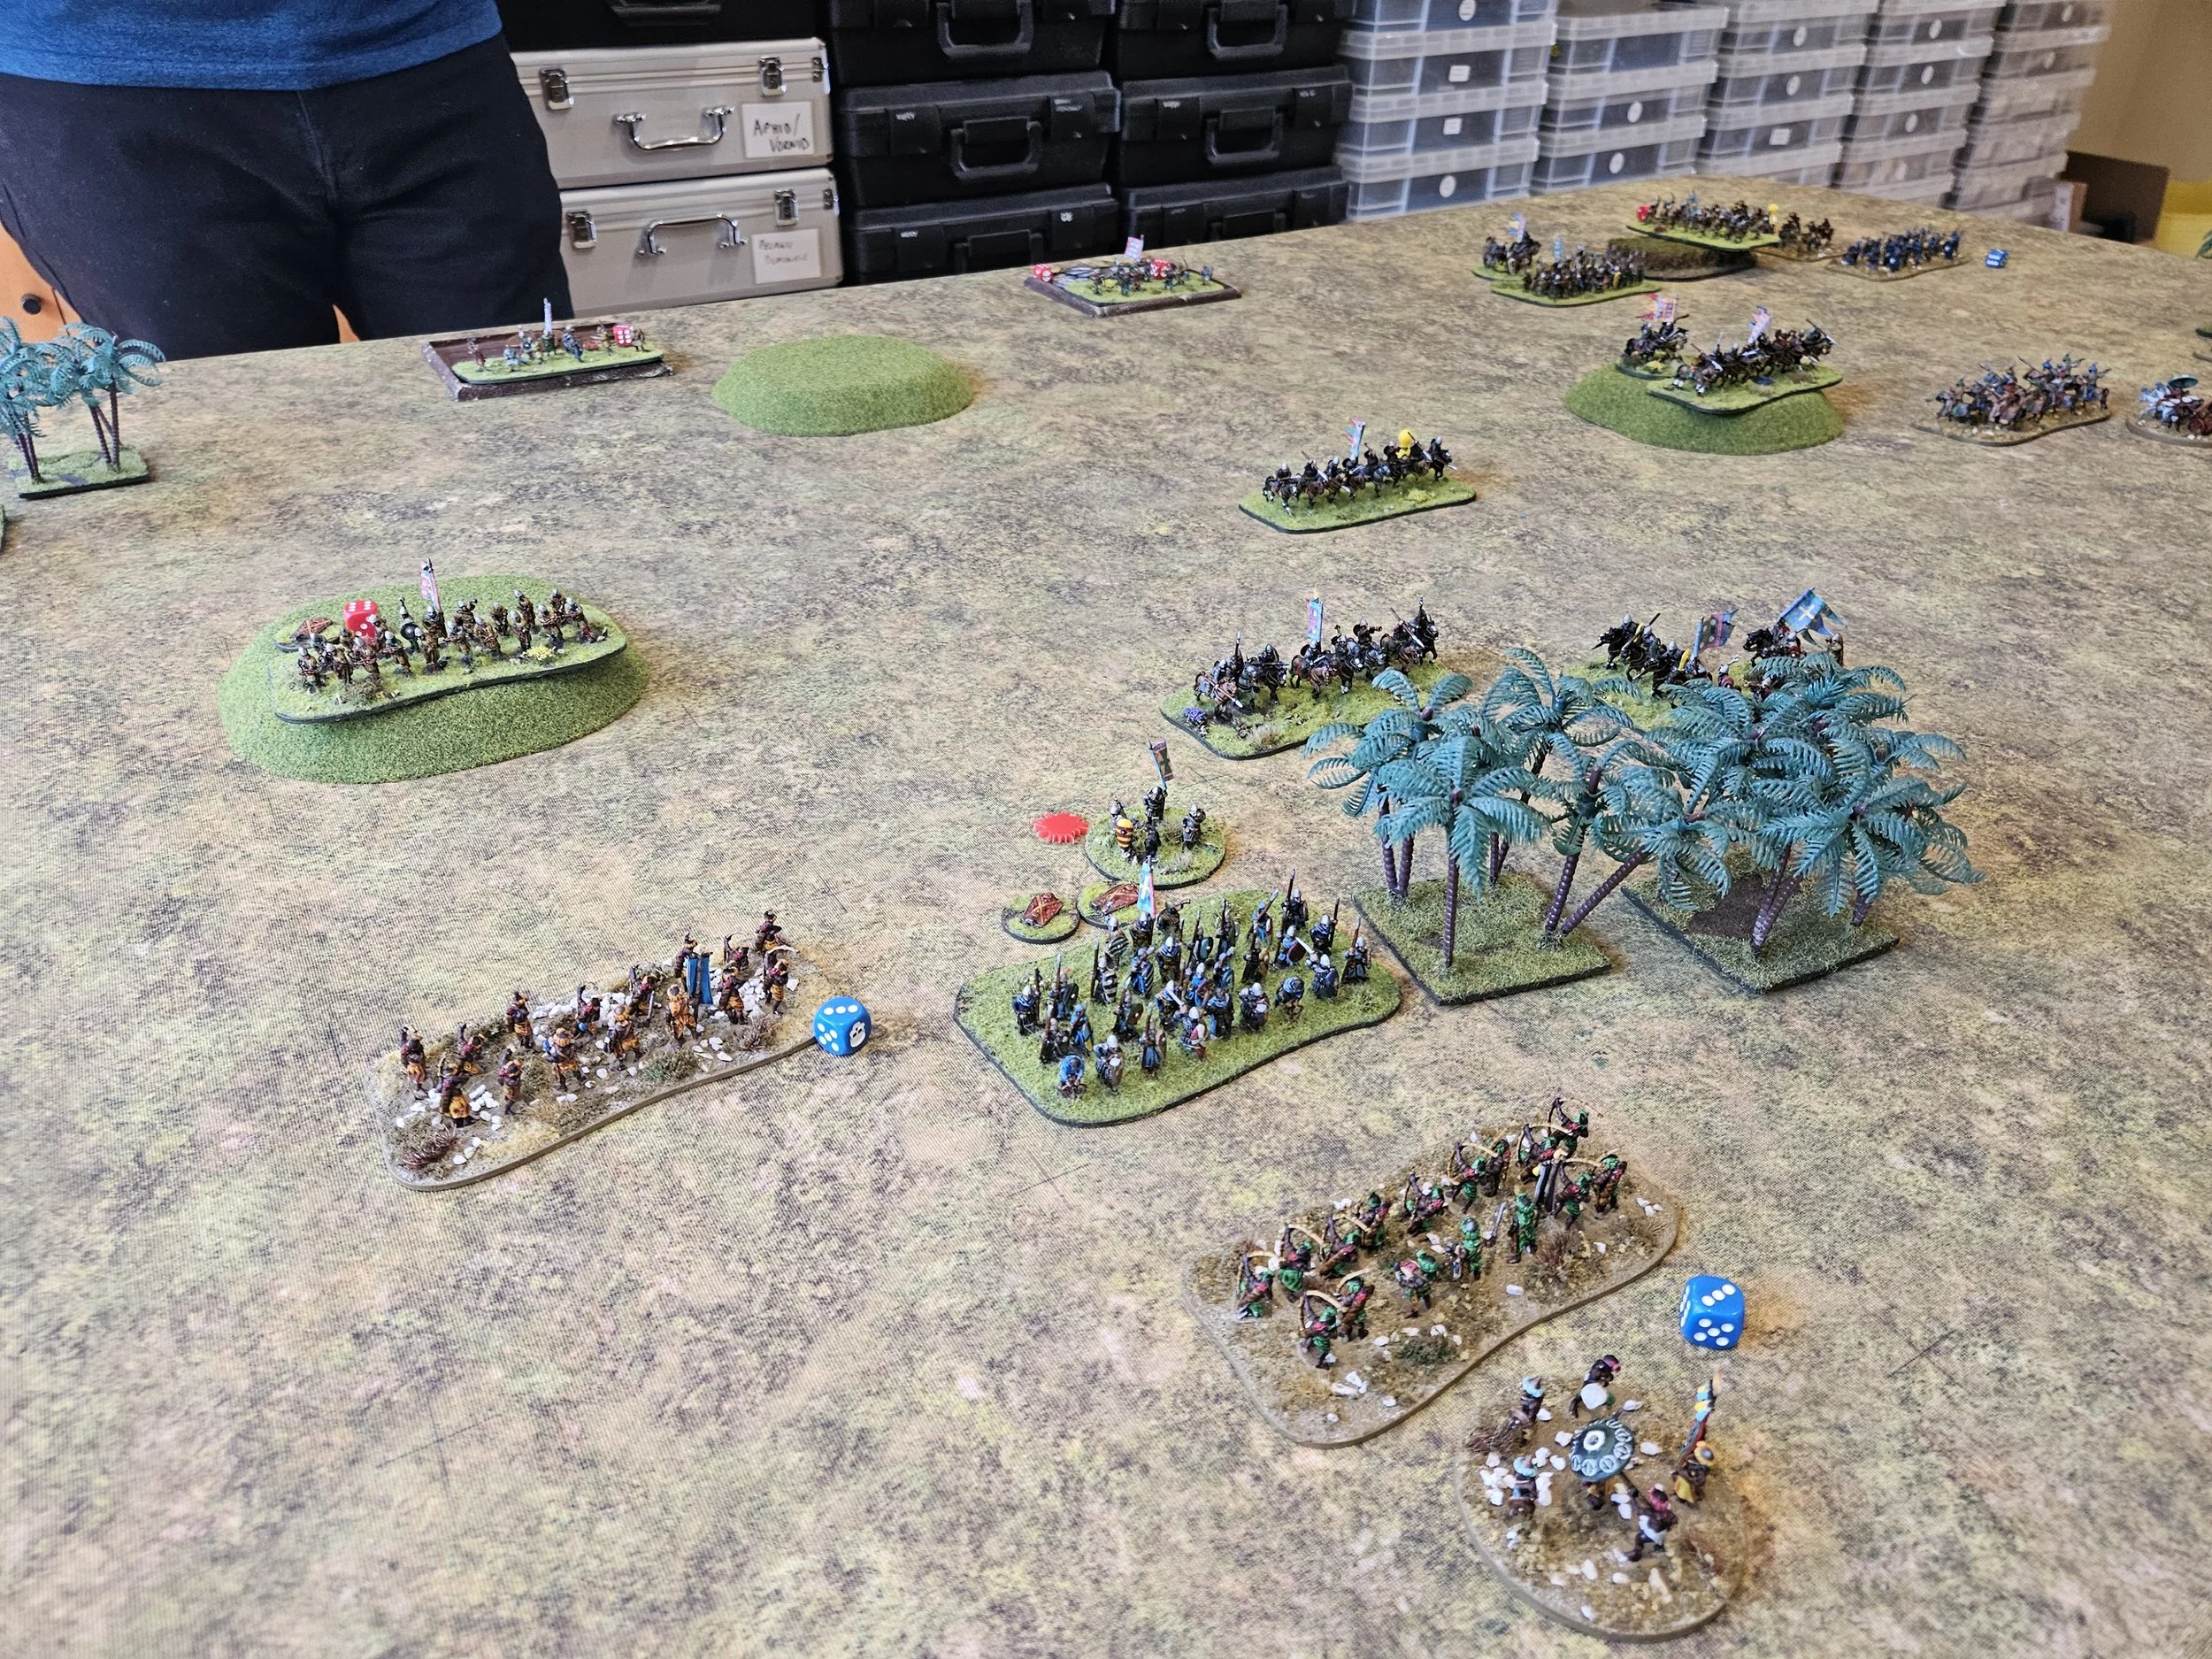
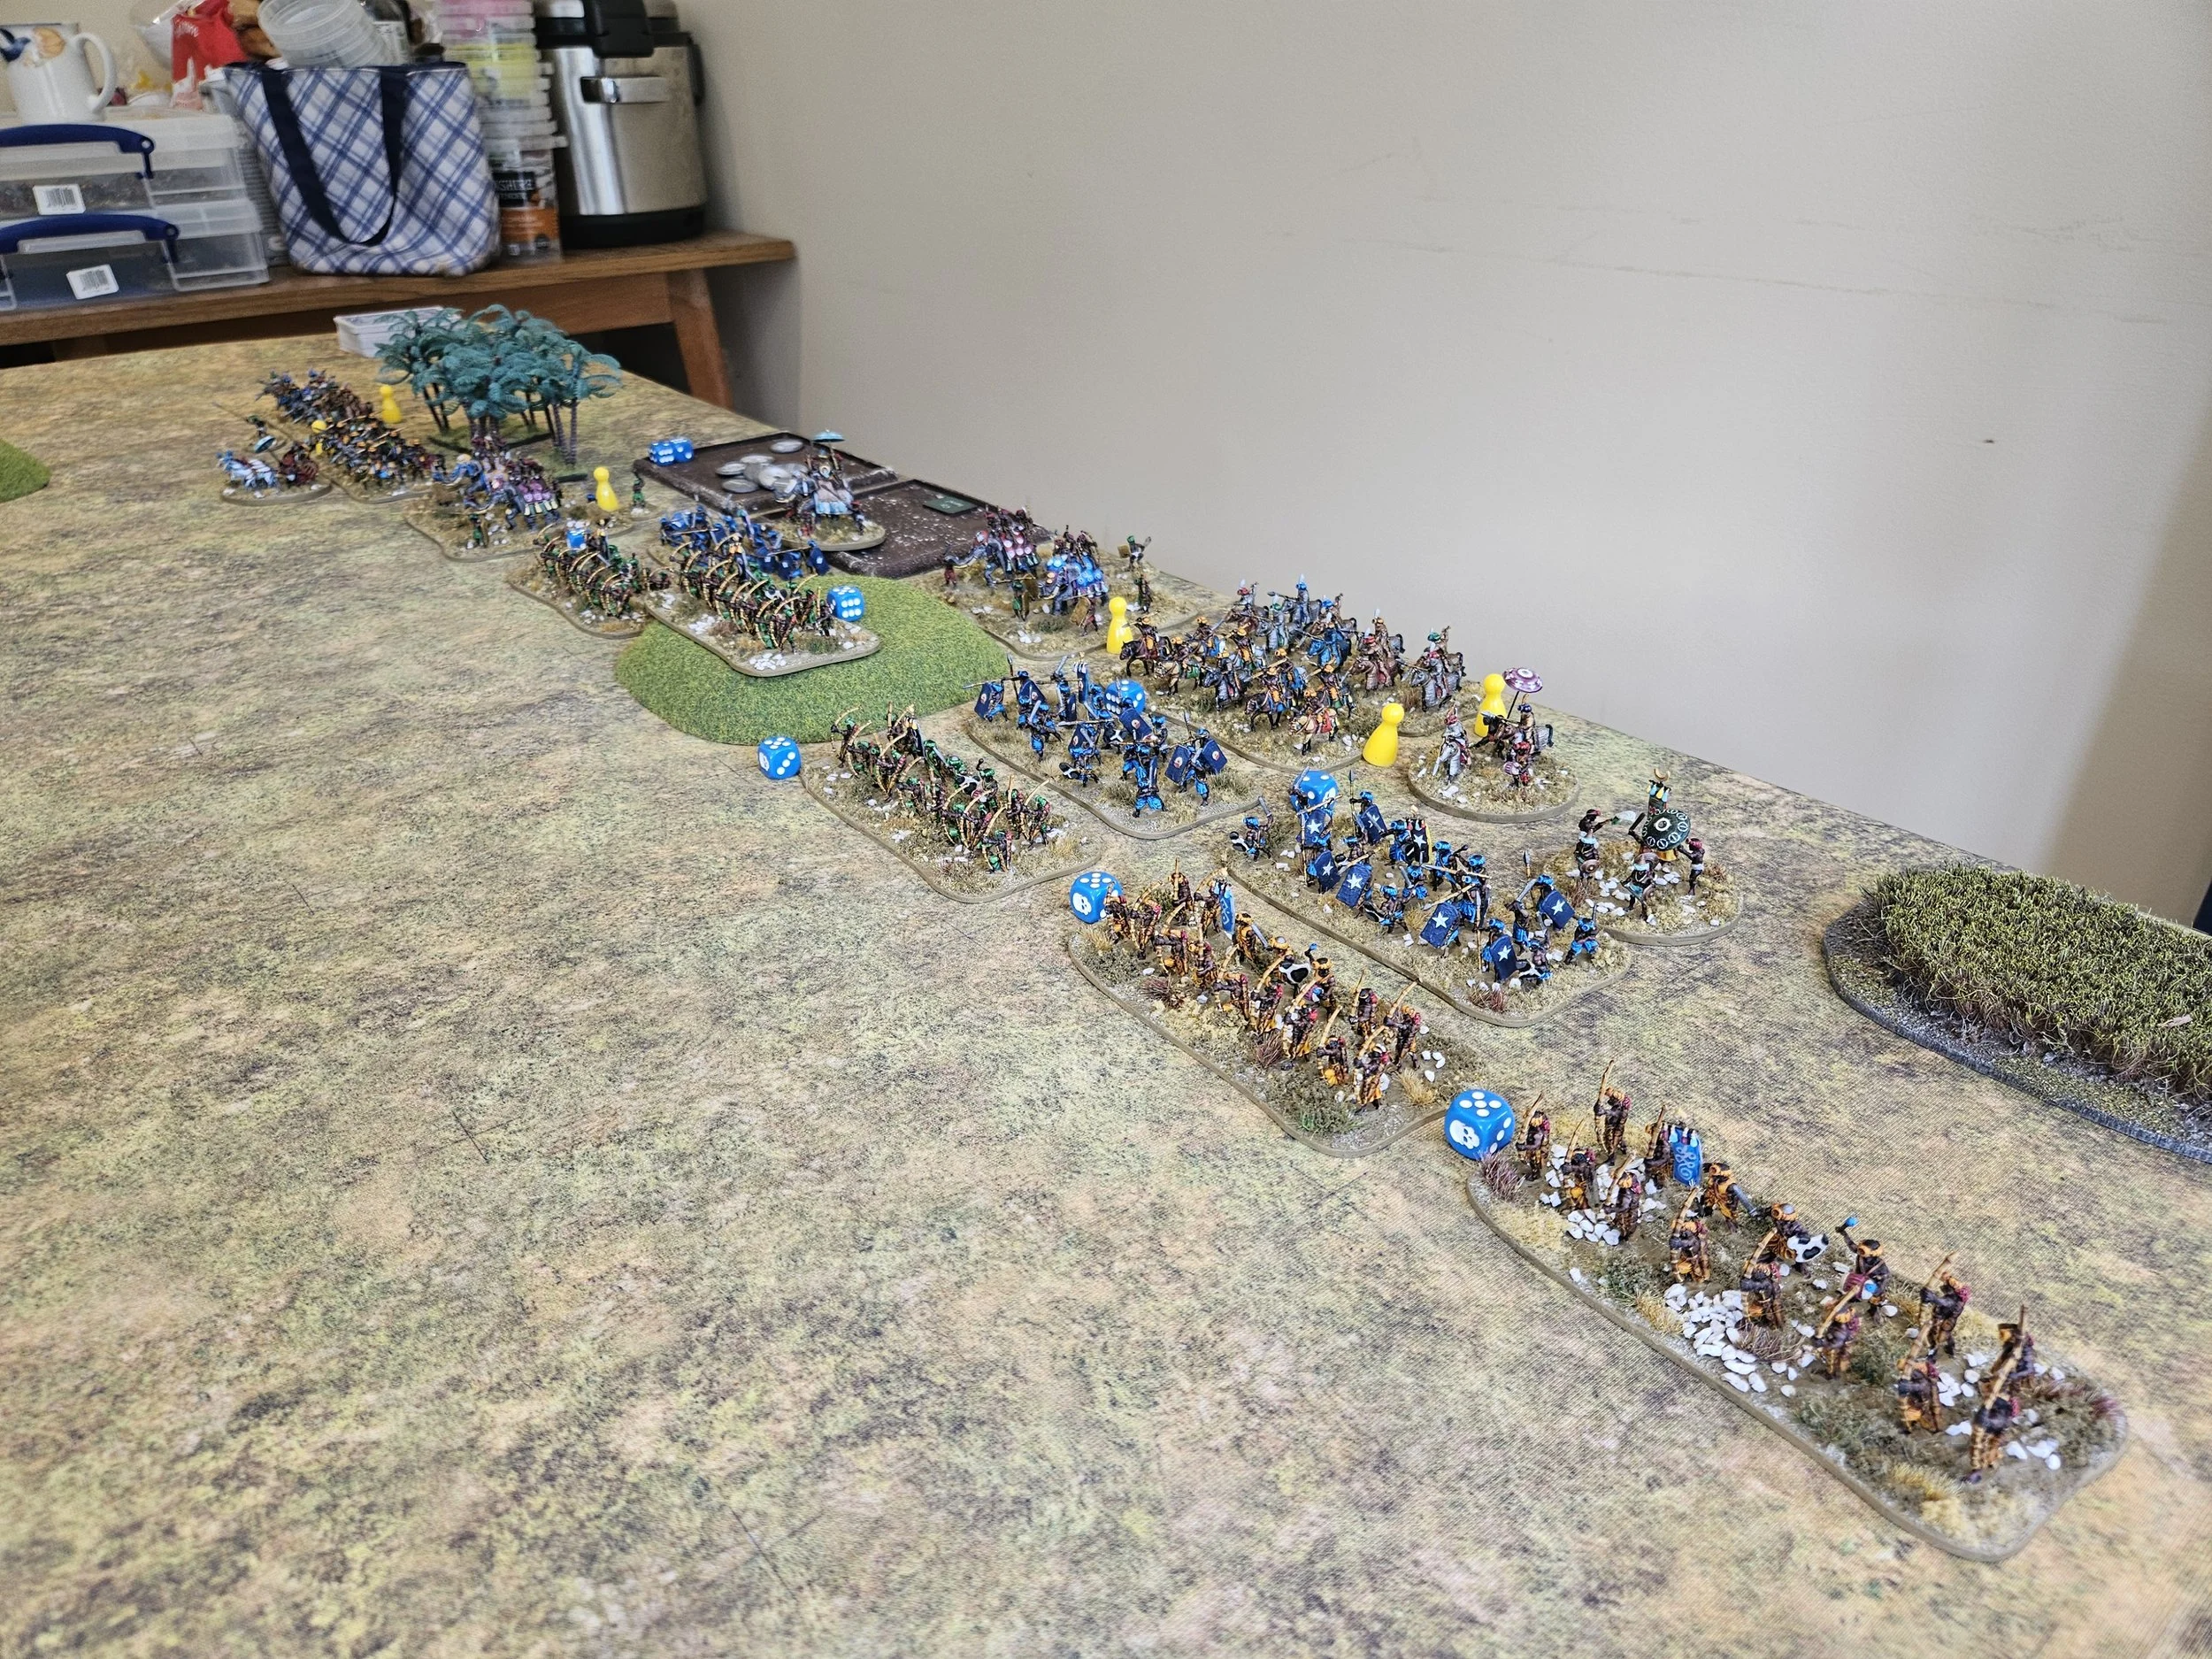
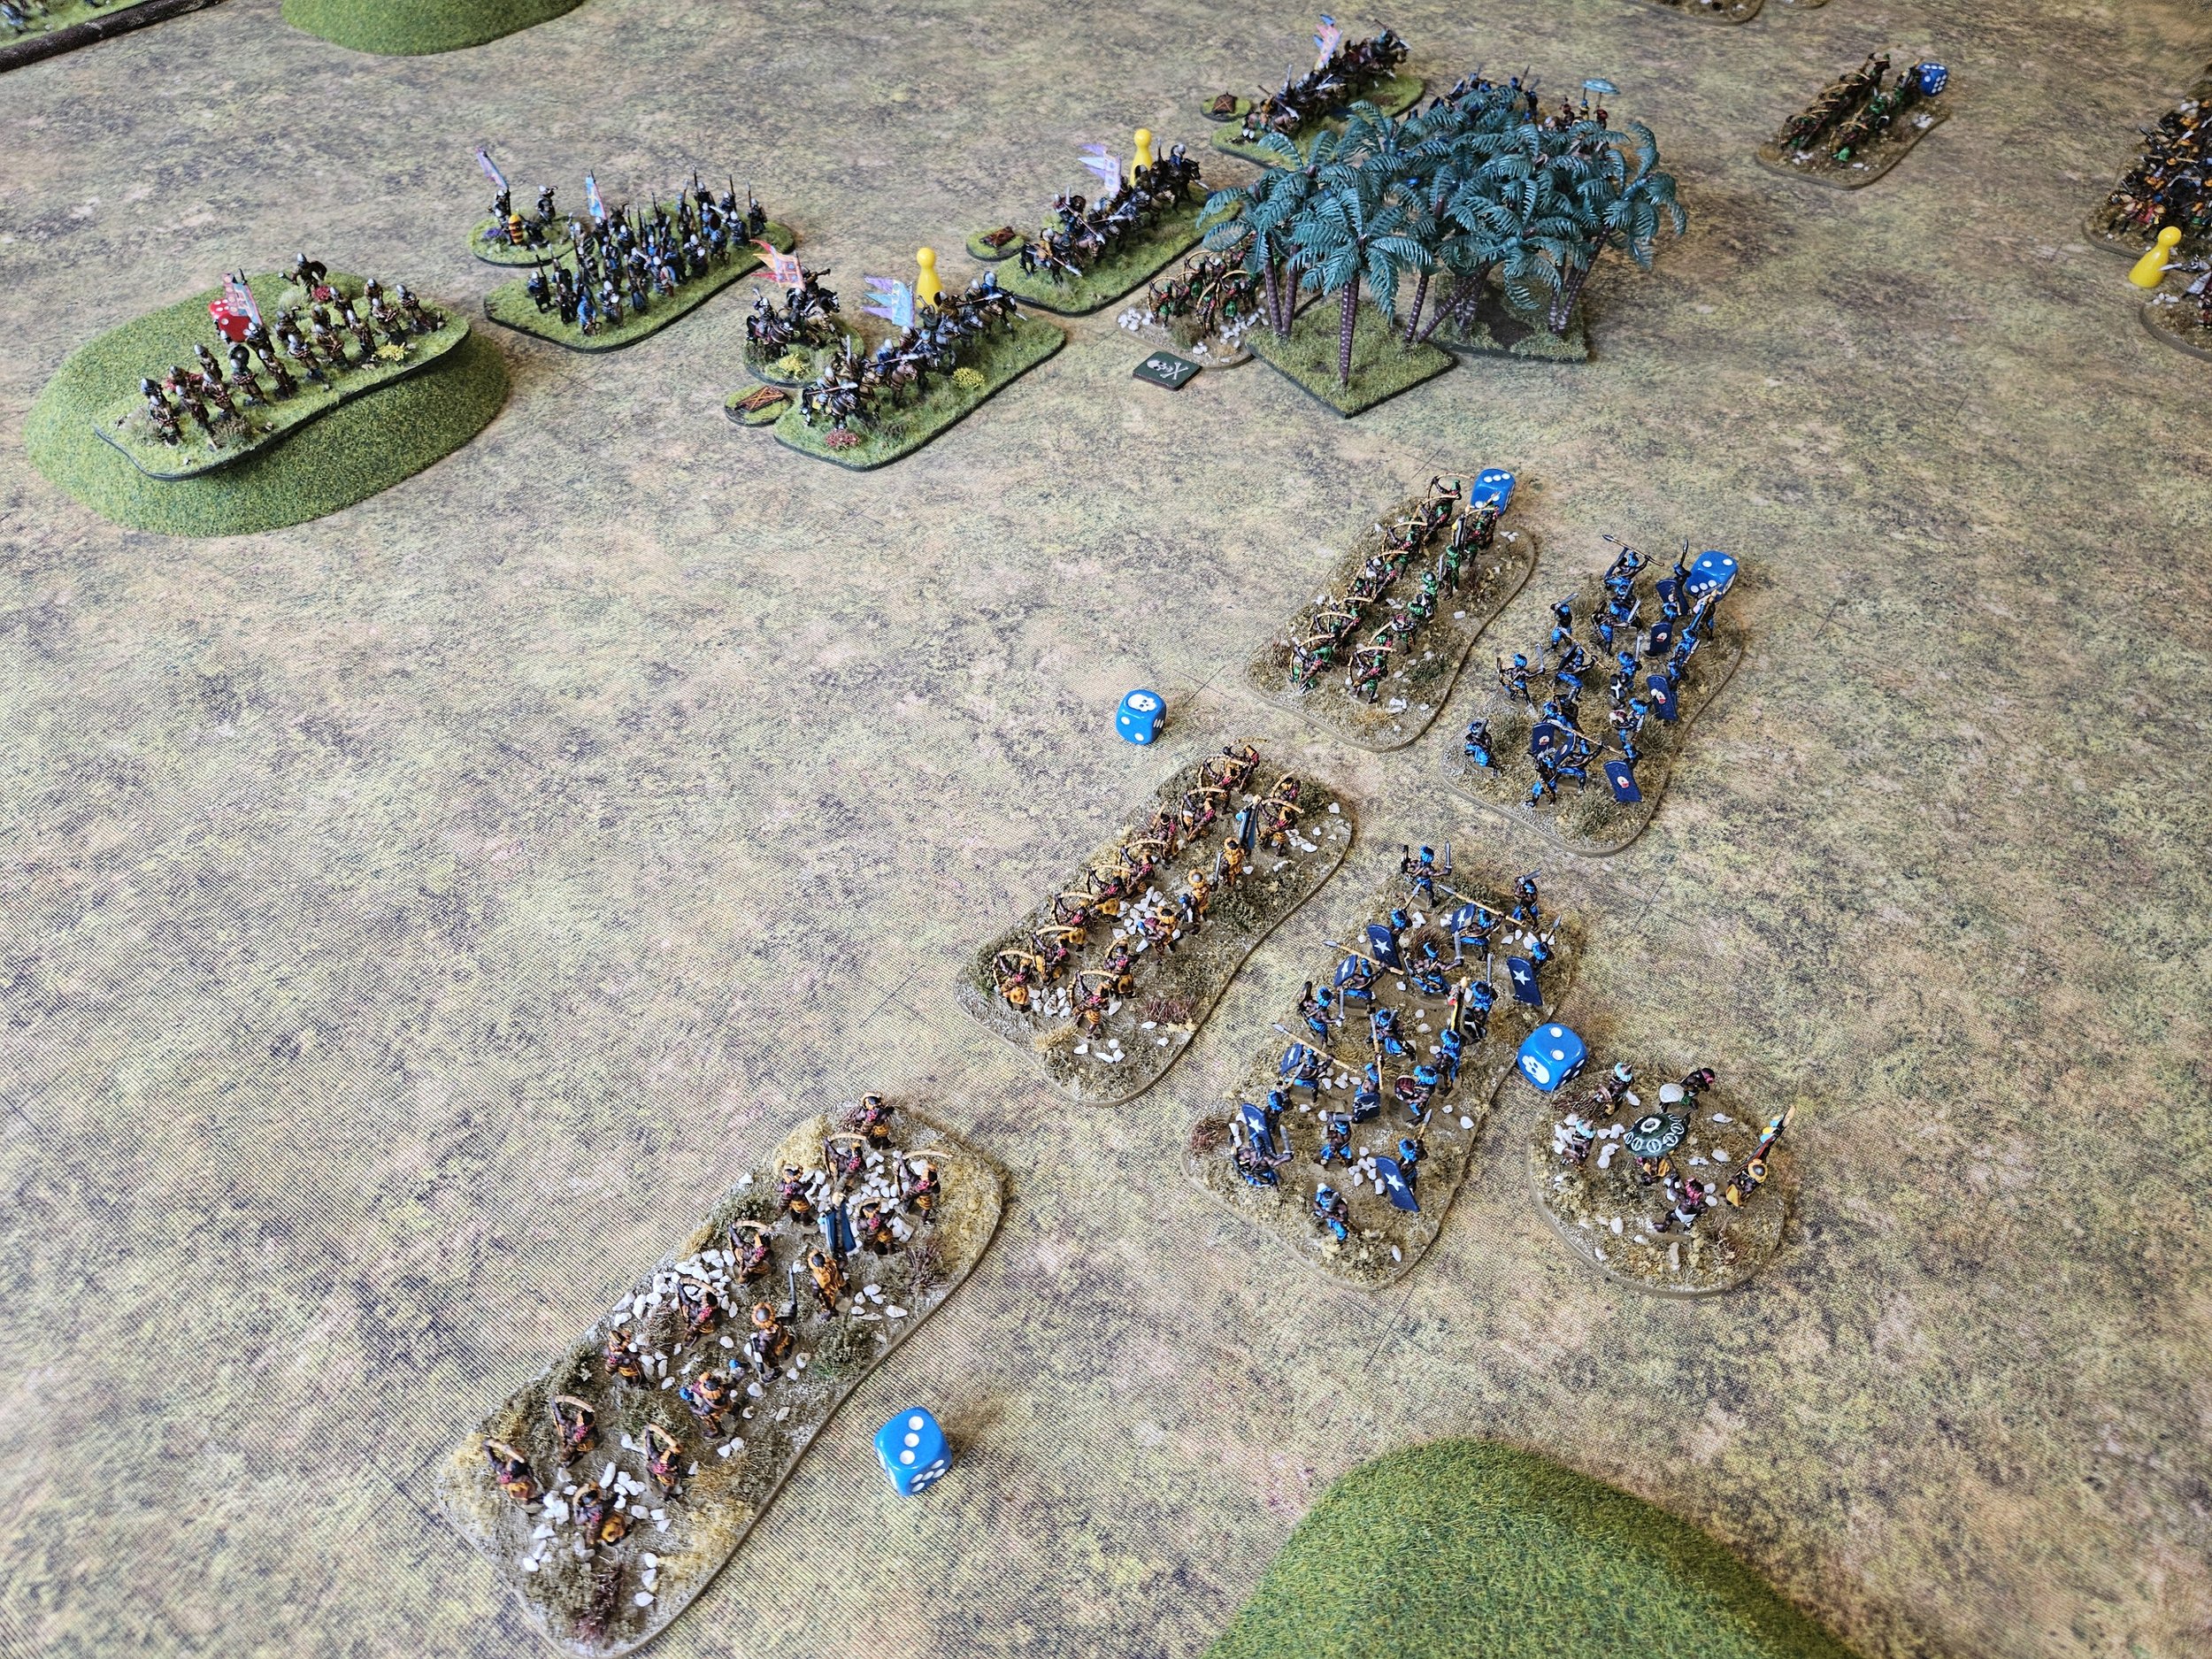
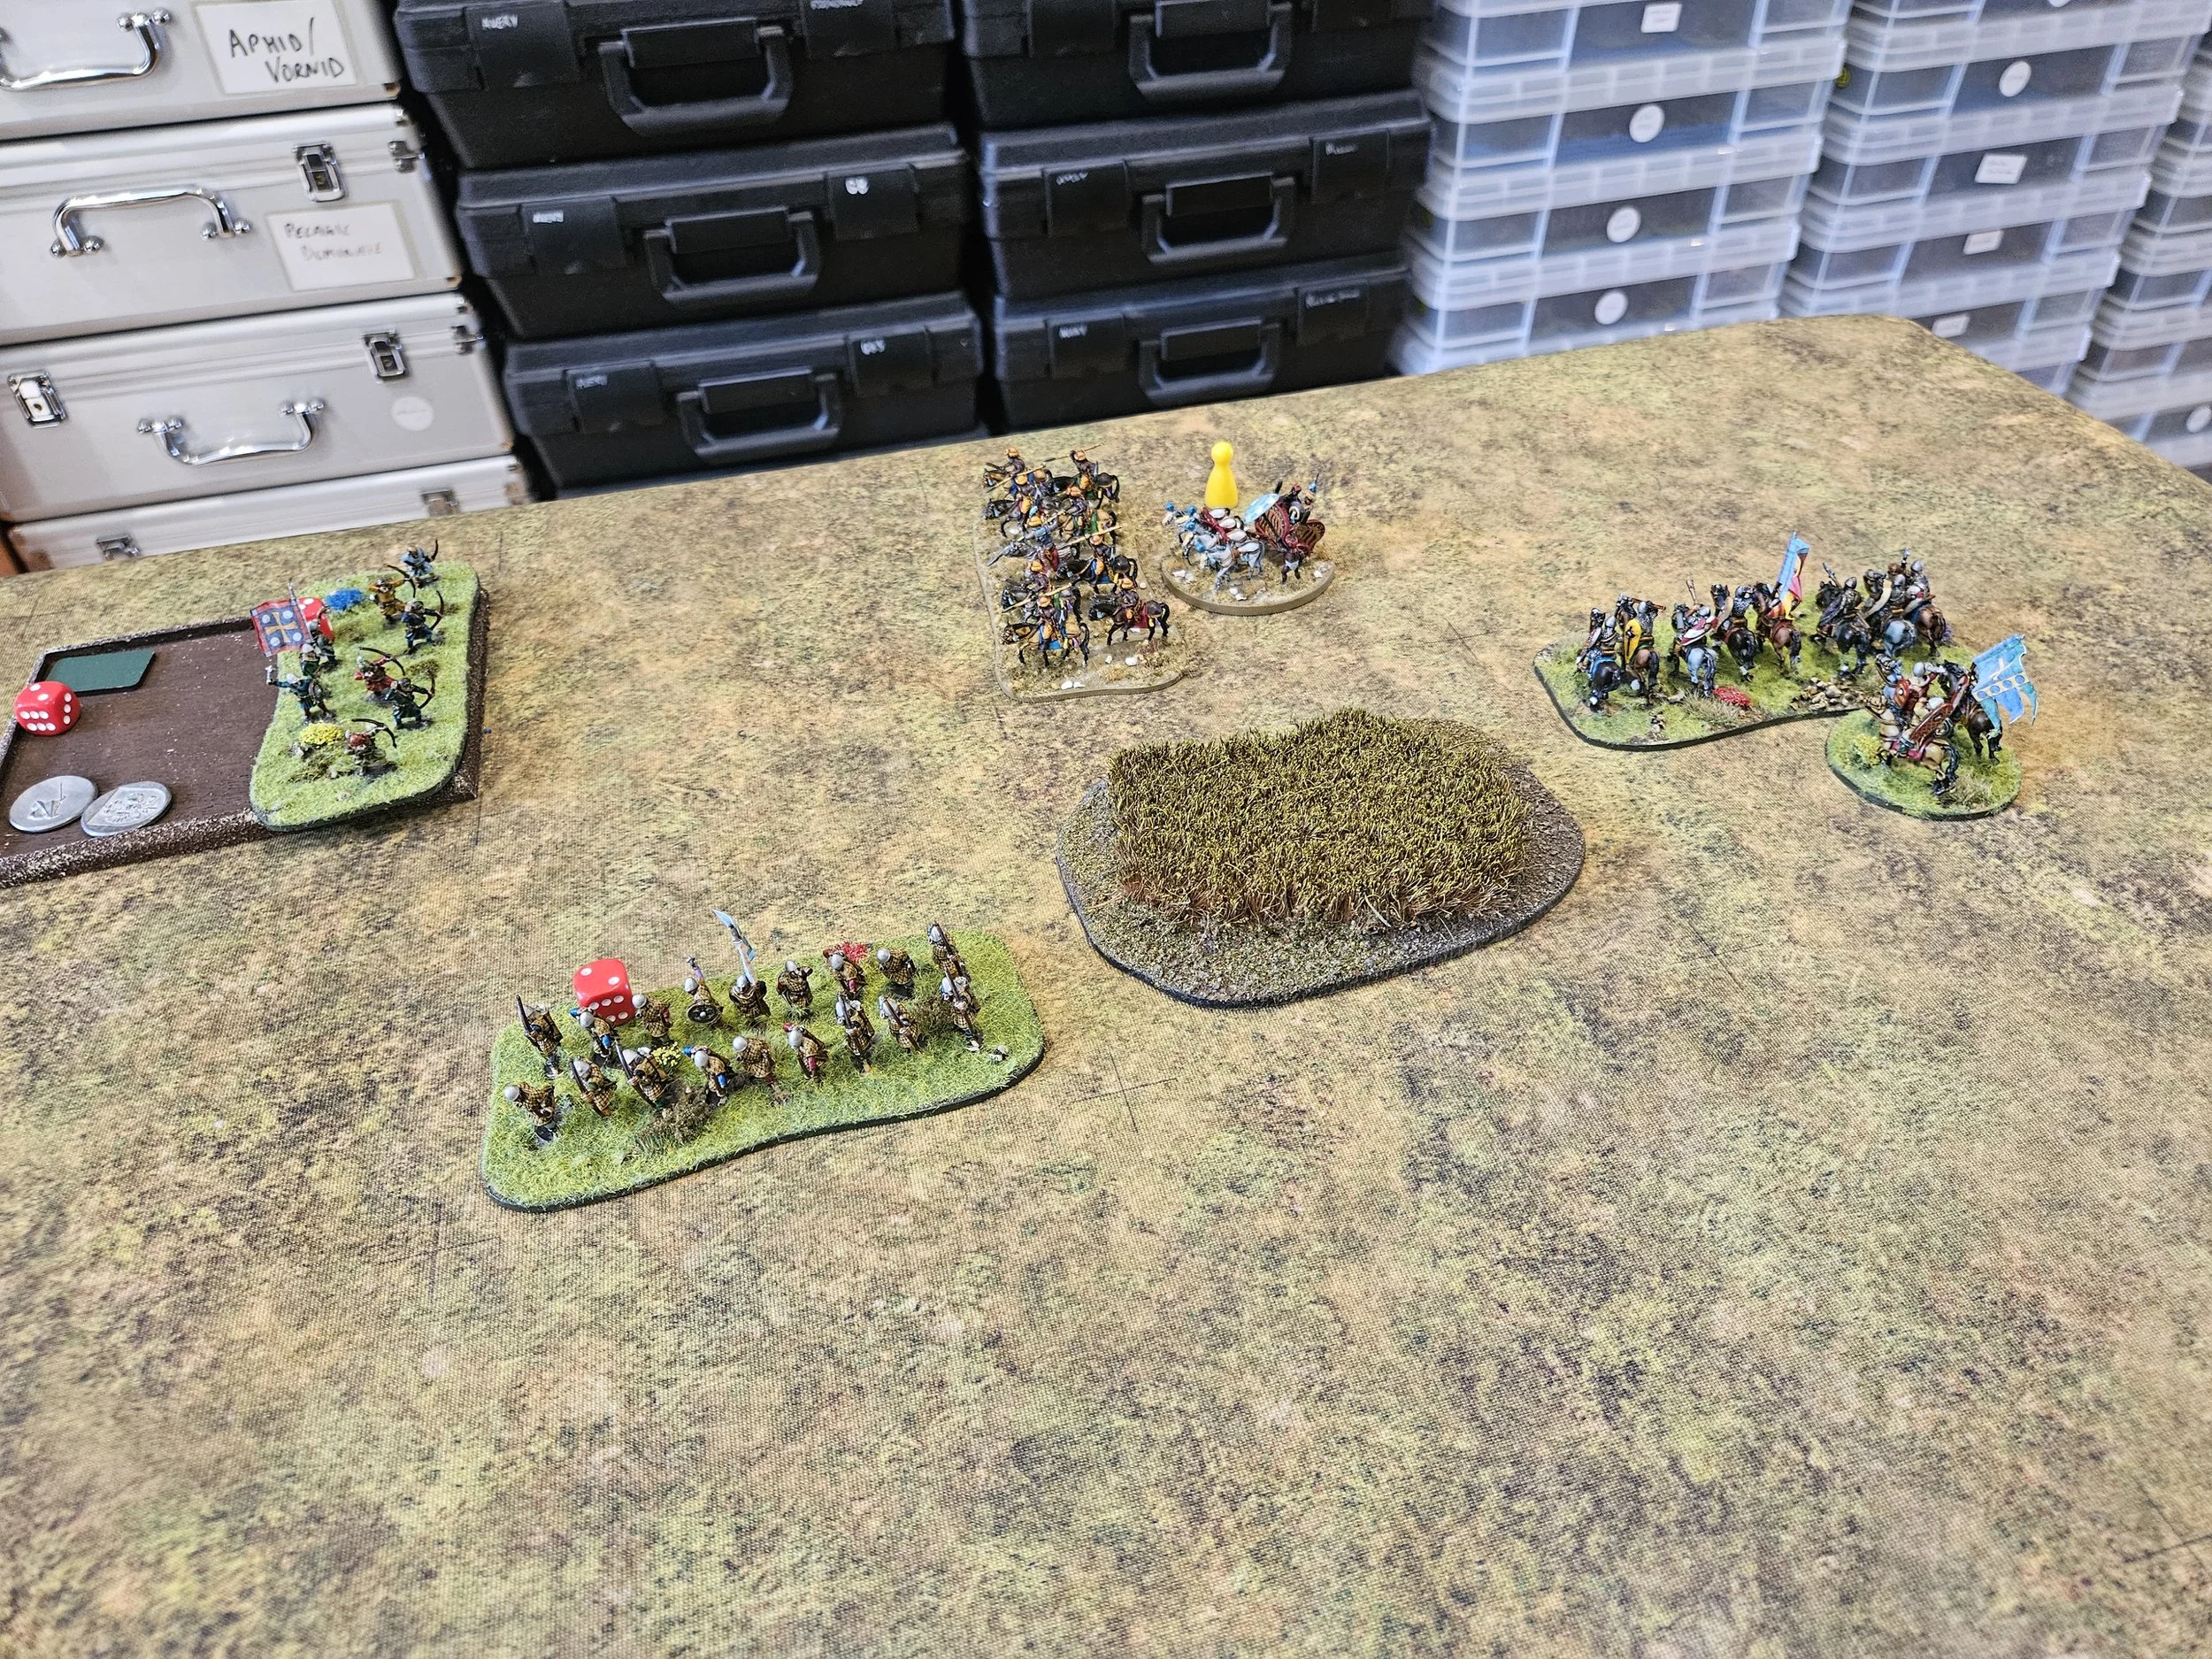
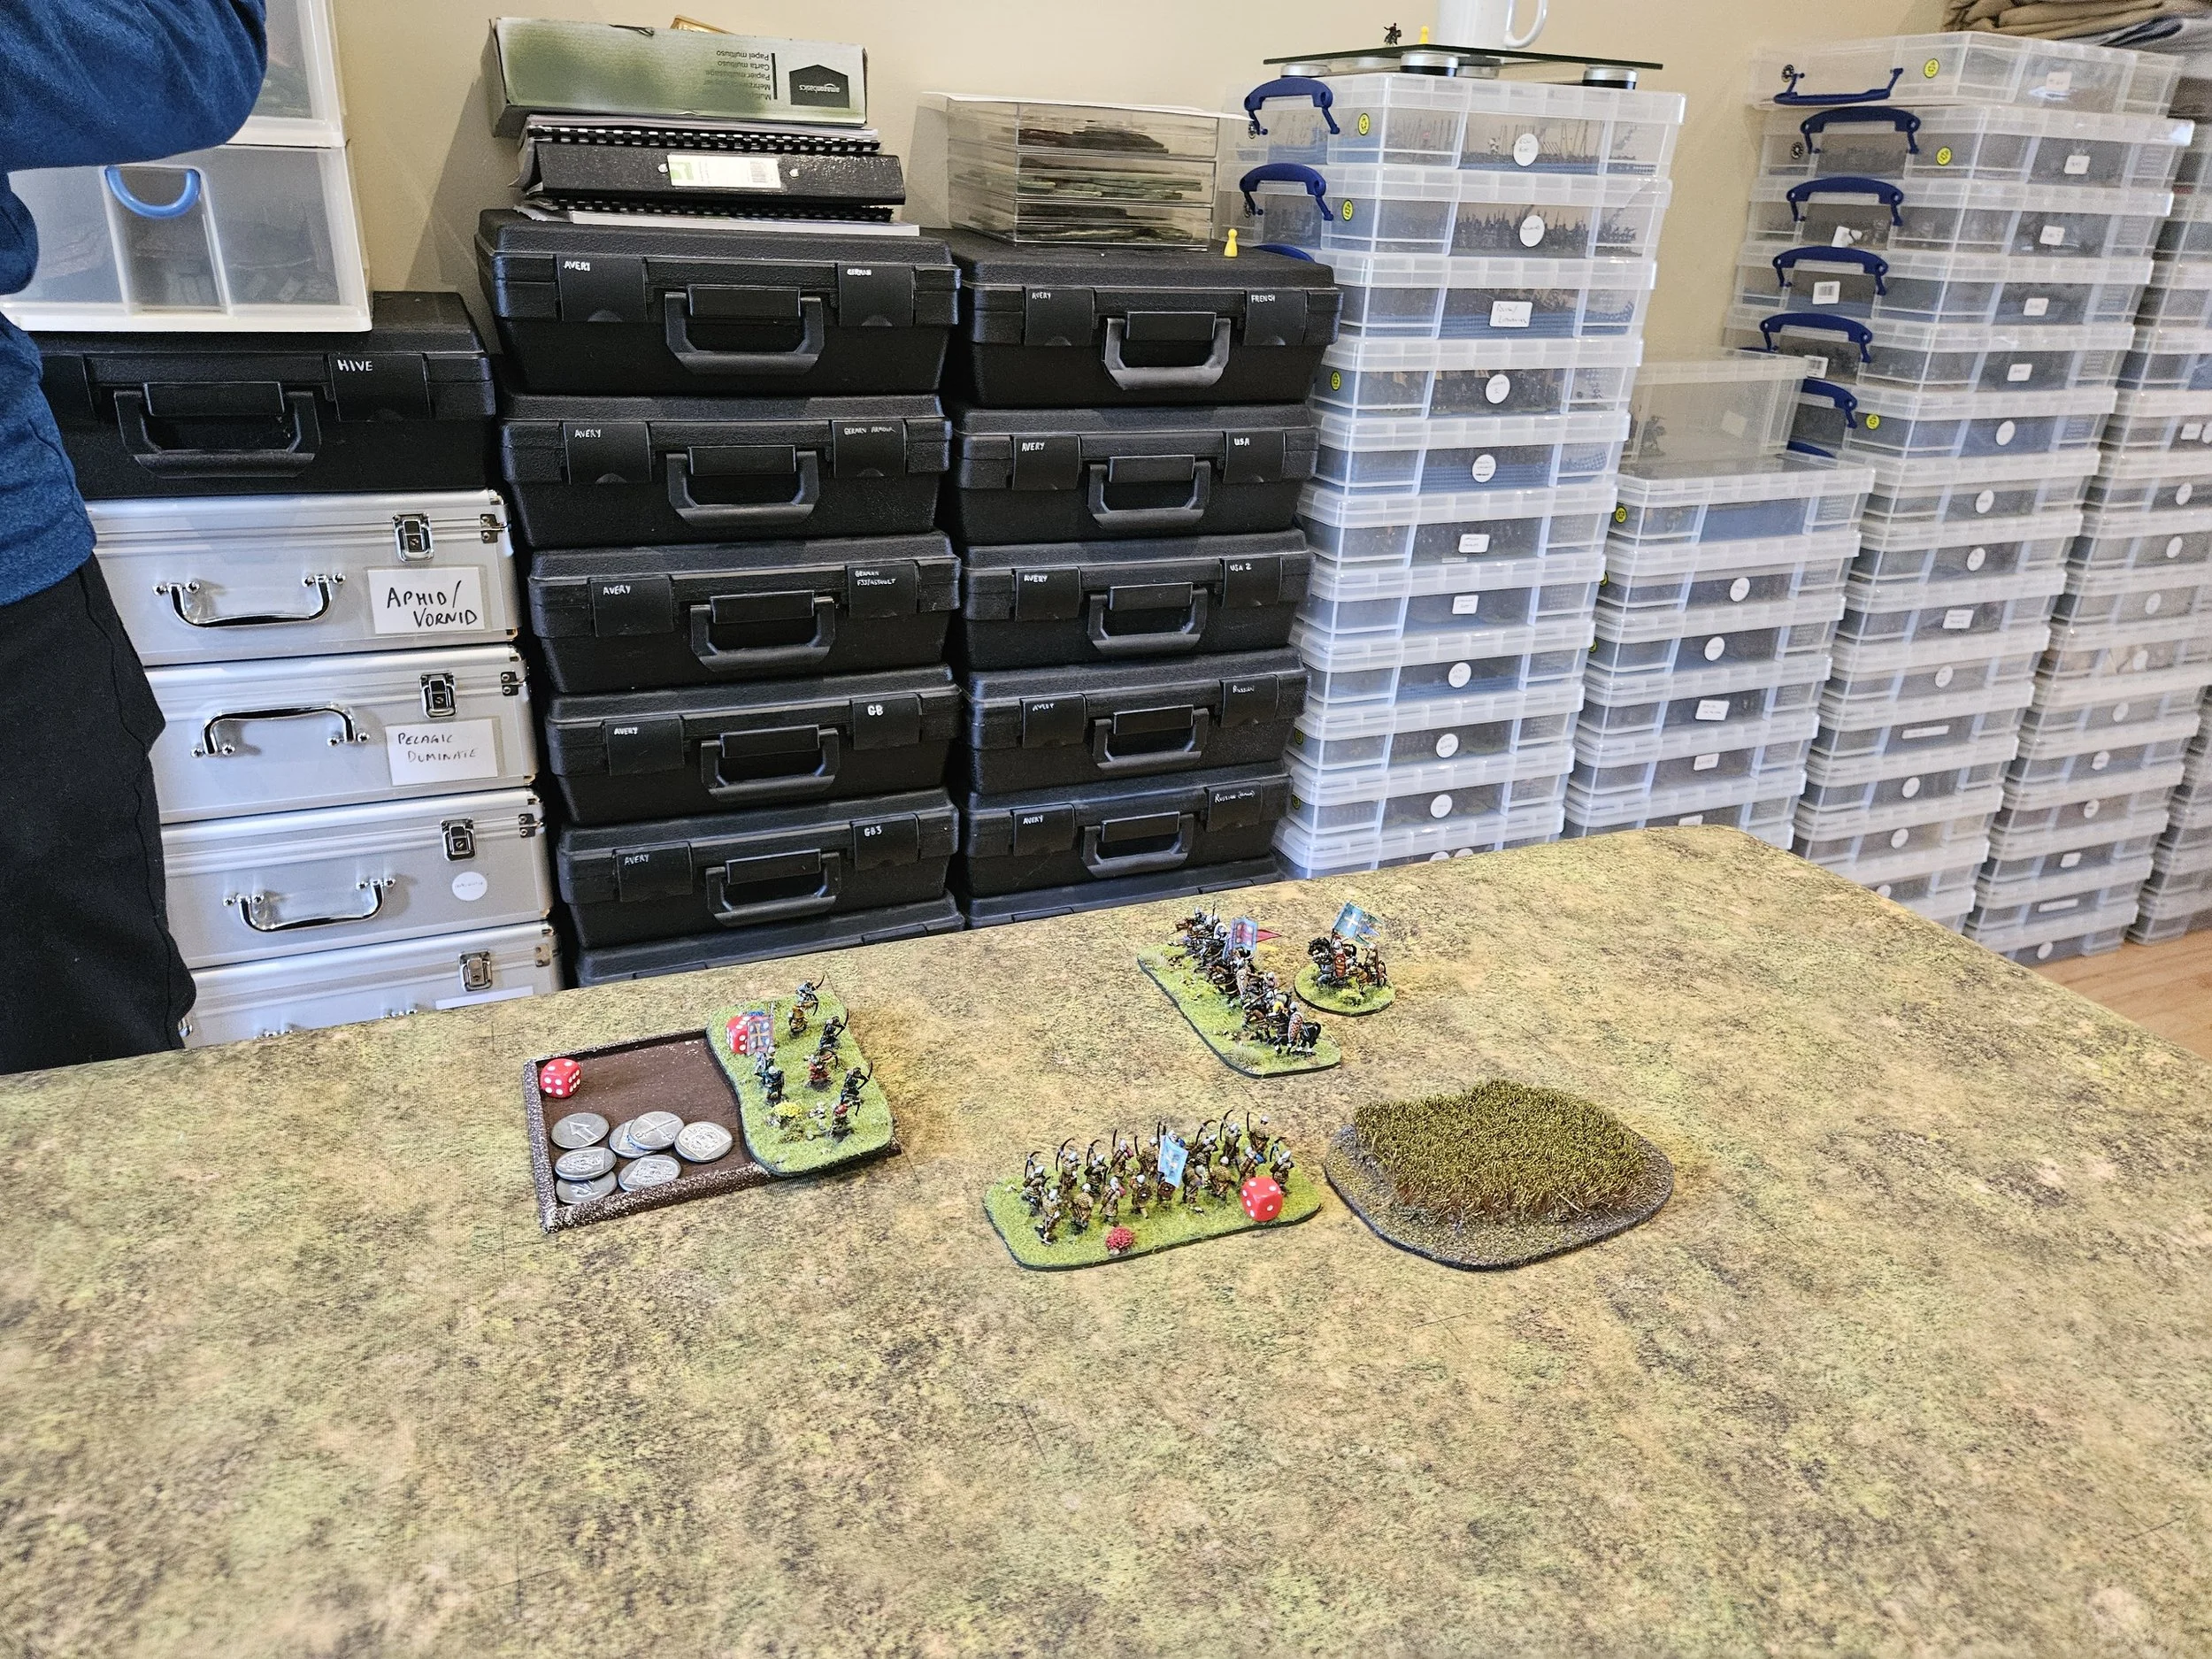
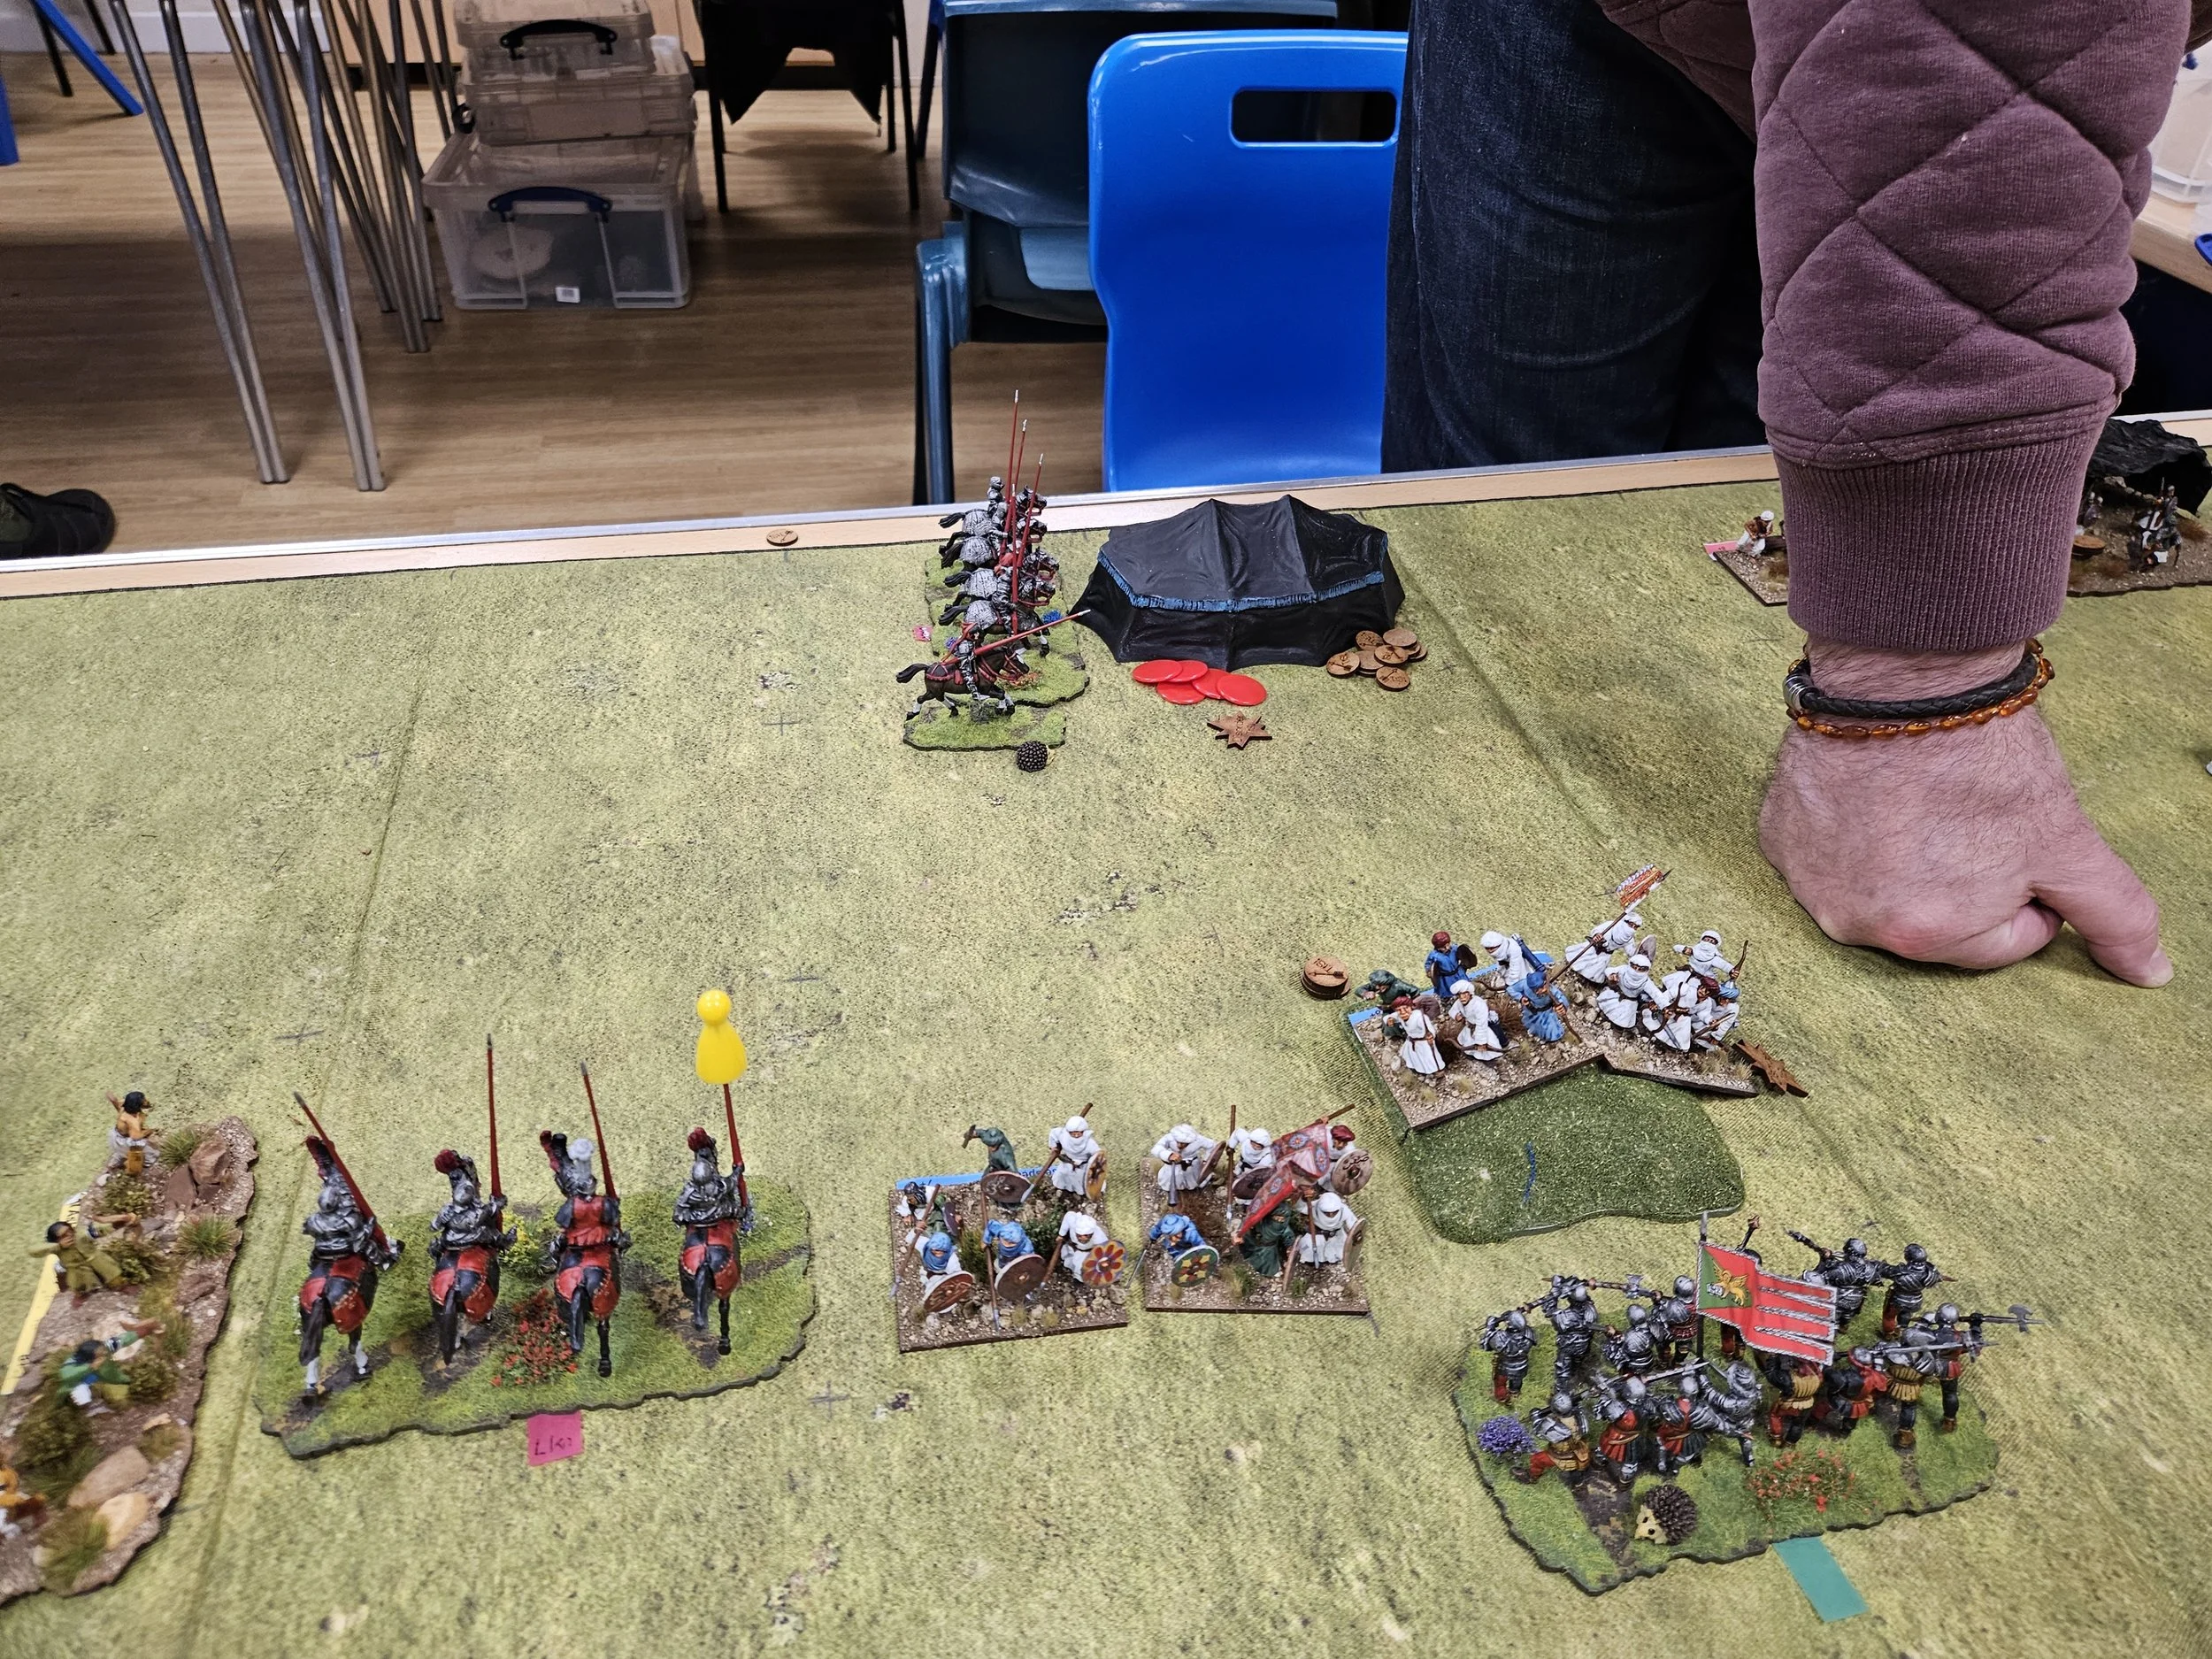
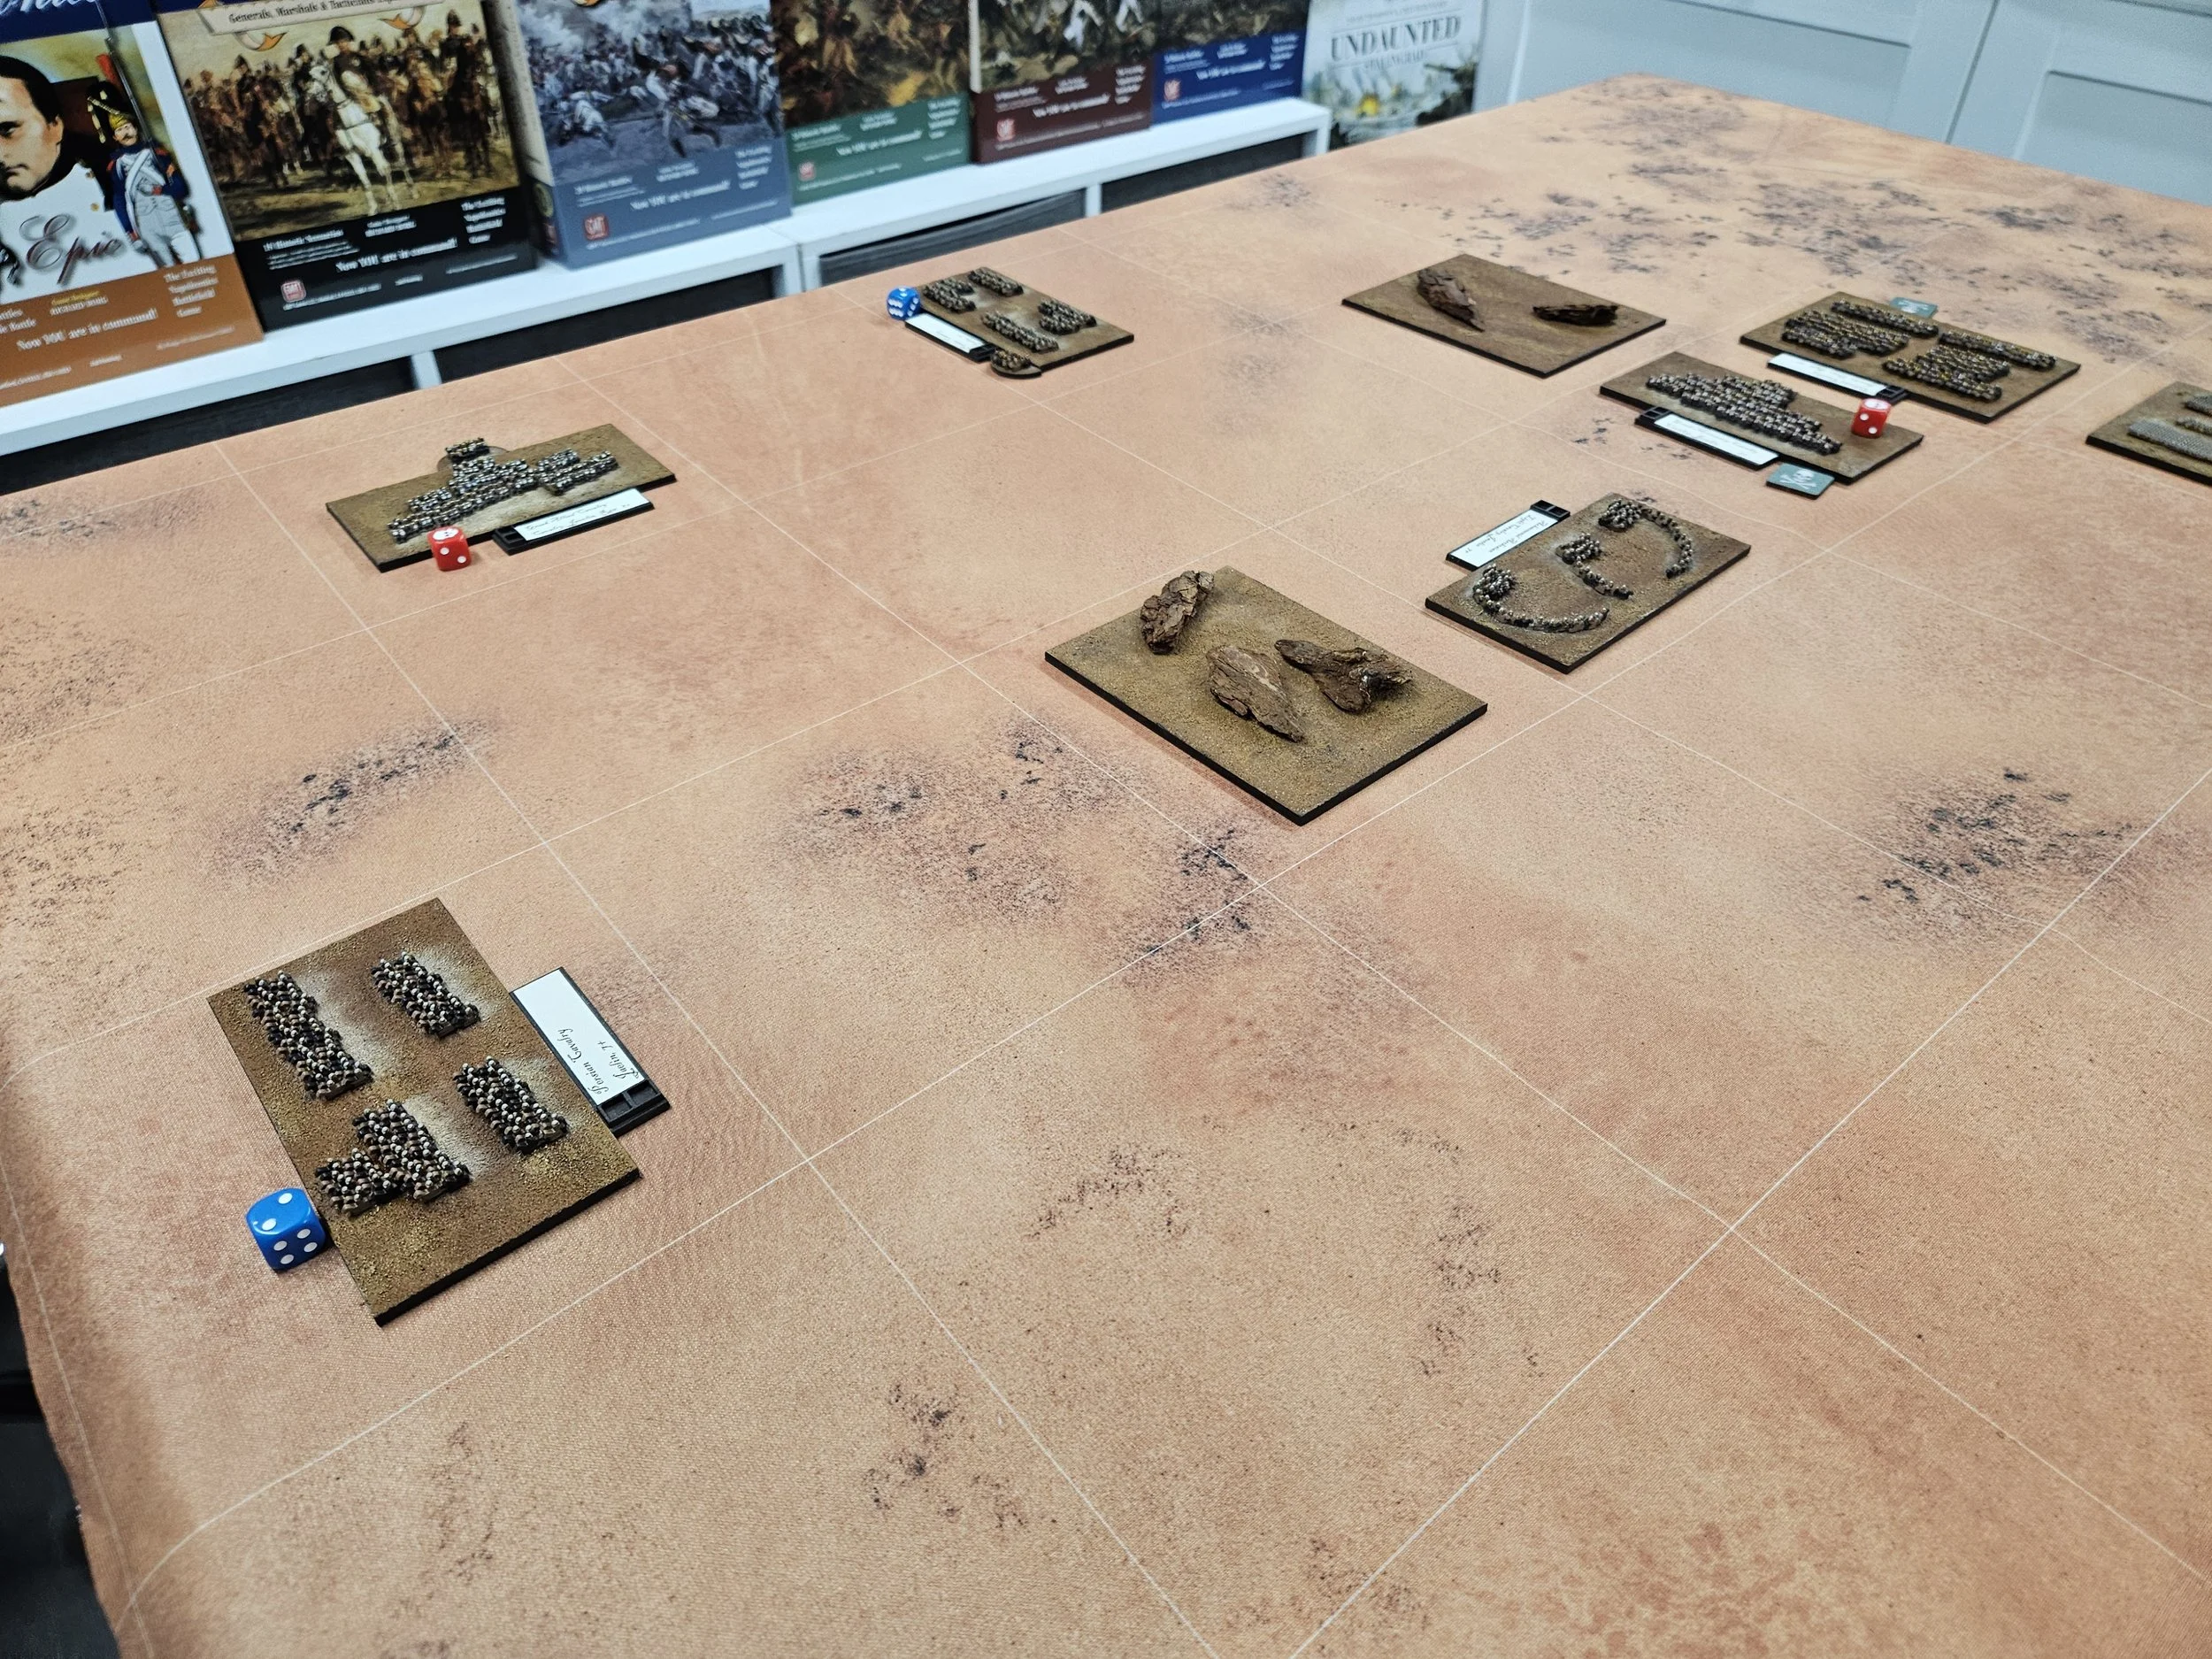
Meanwhile the Persian cavalry on the other wing had managed to get their act together (Neil did draw a lot of Aces for activation throughout the battle) and come forward.
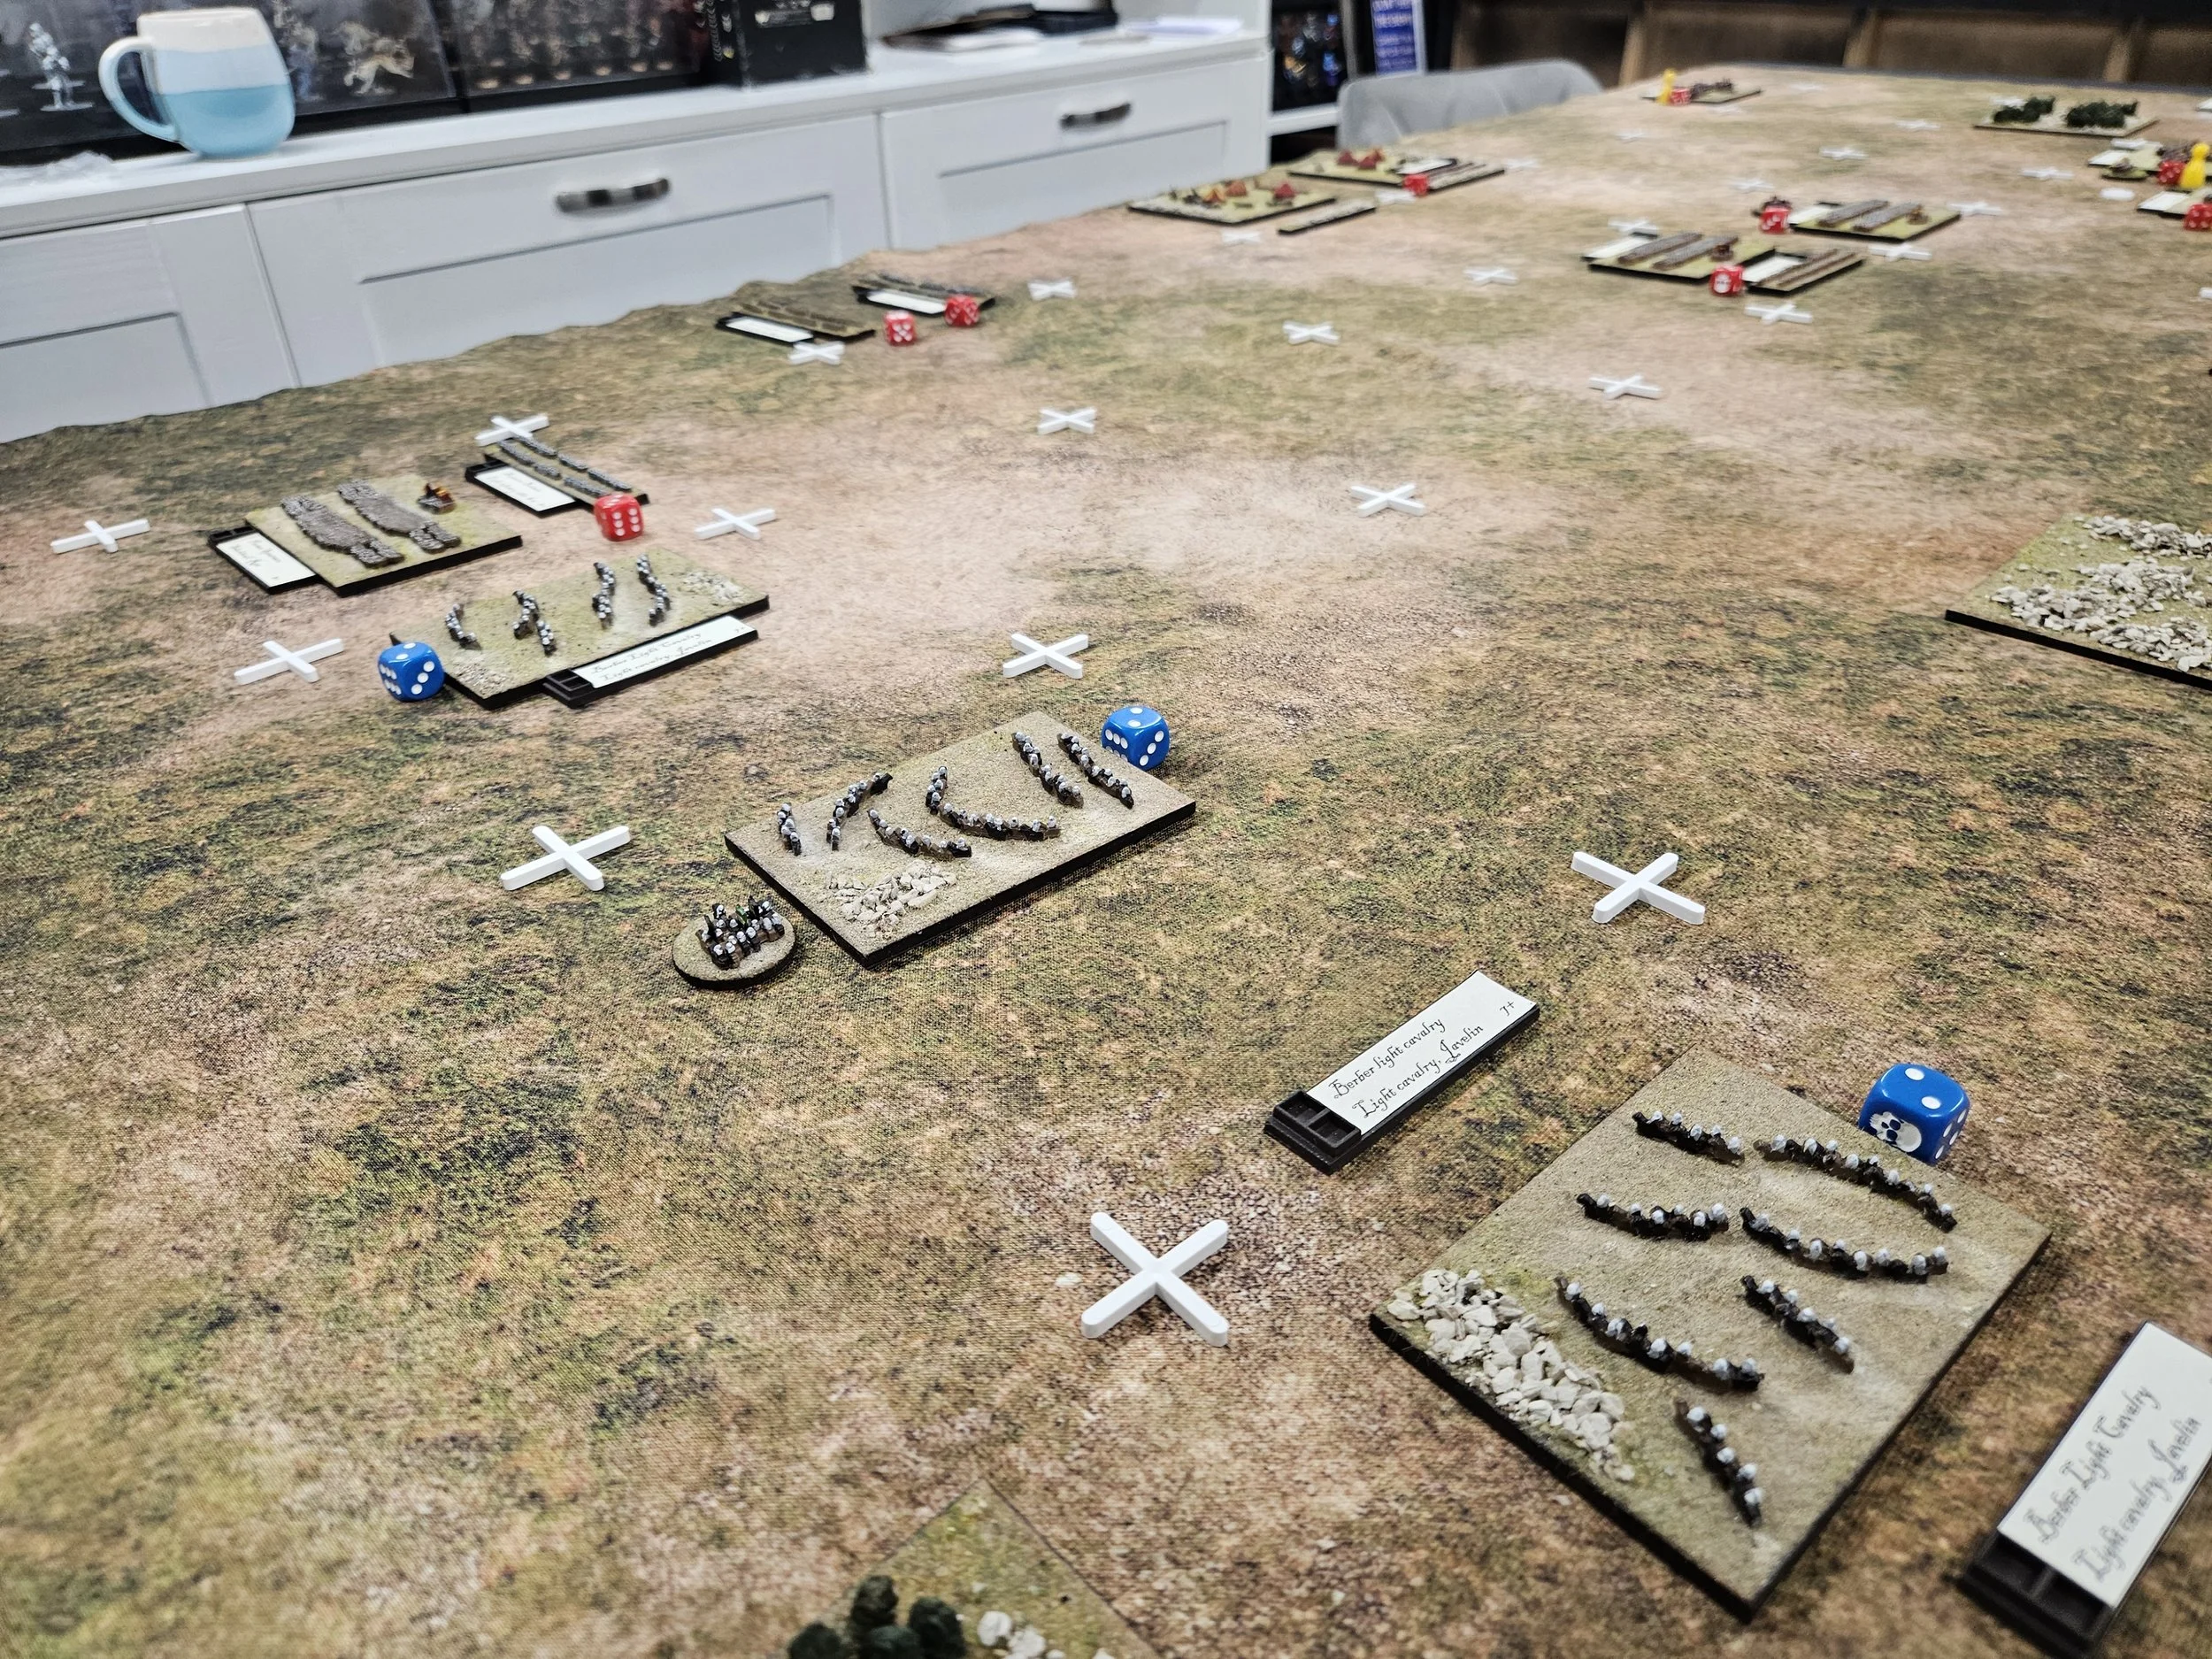
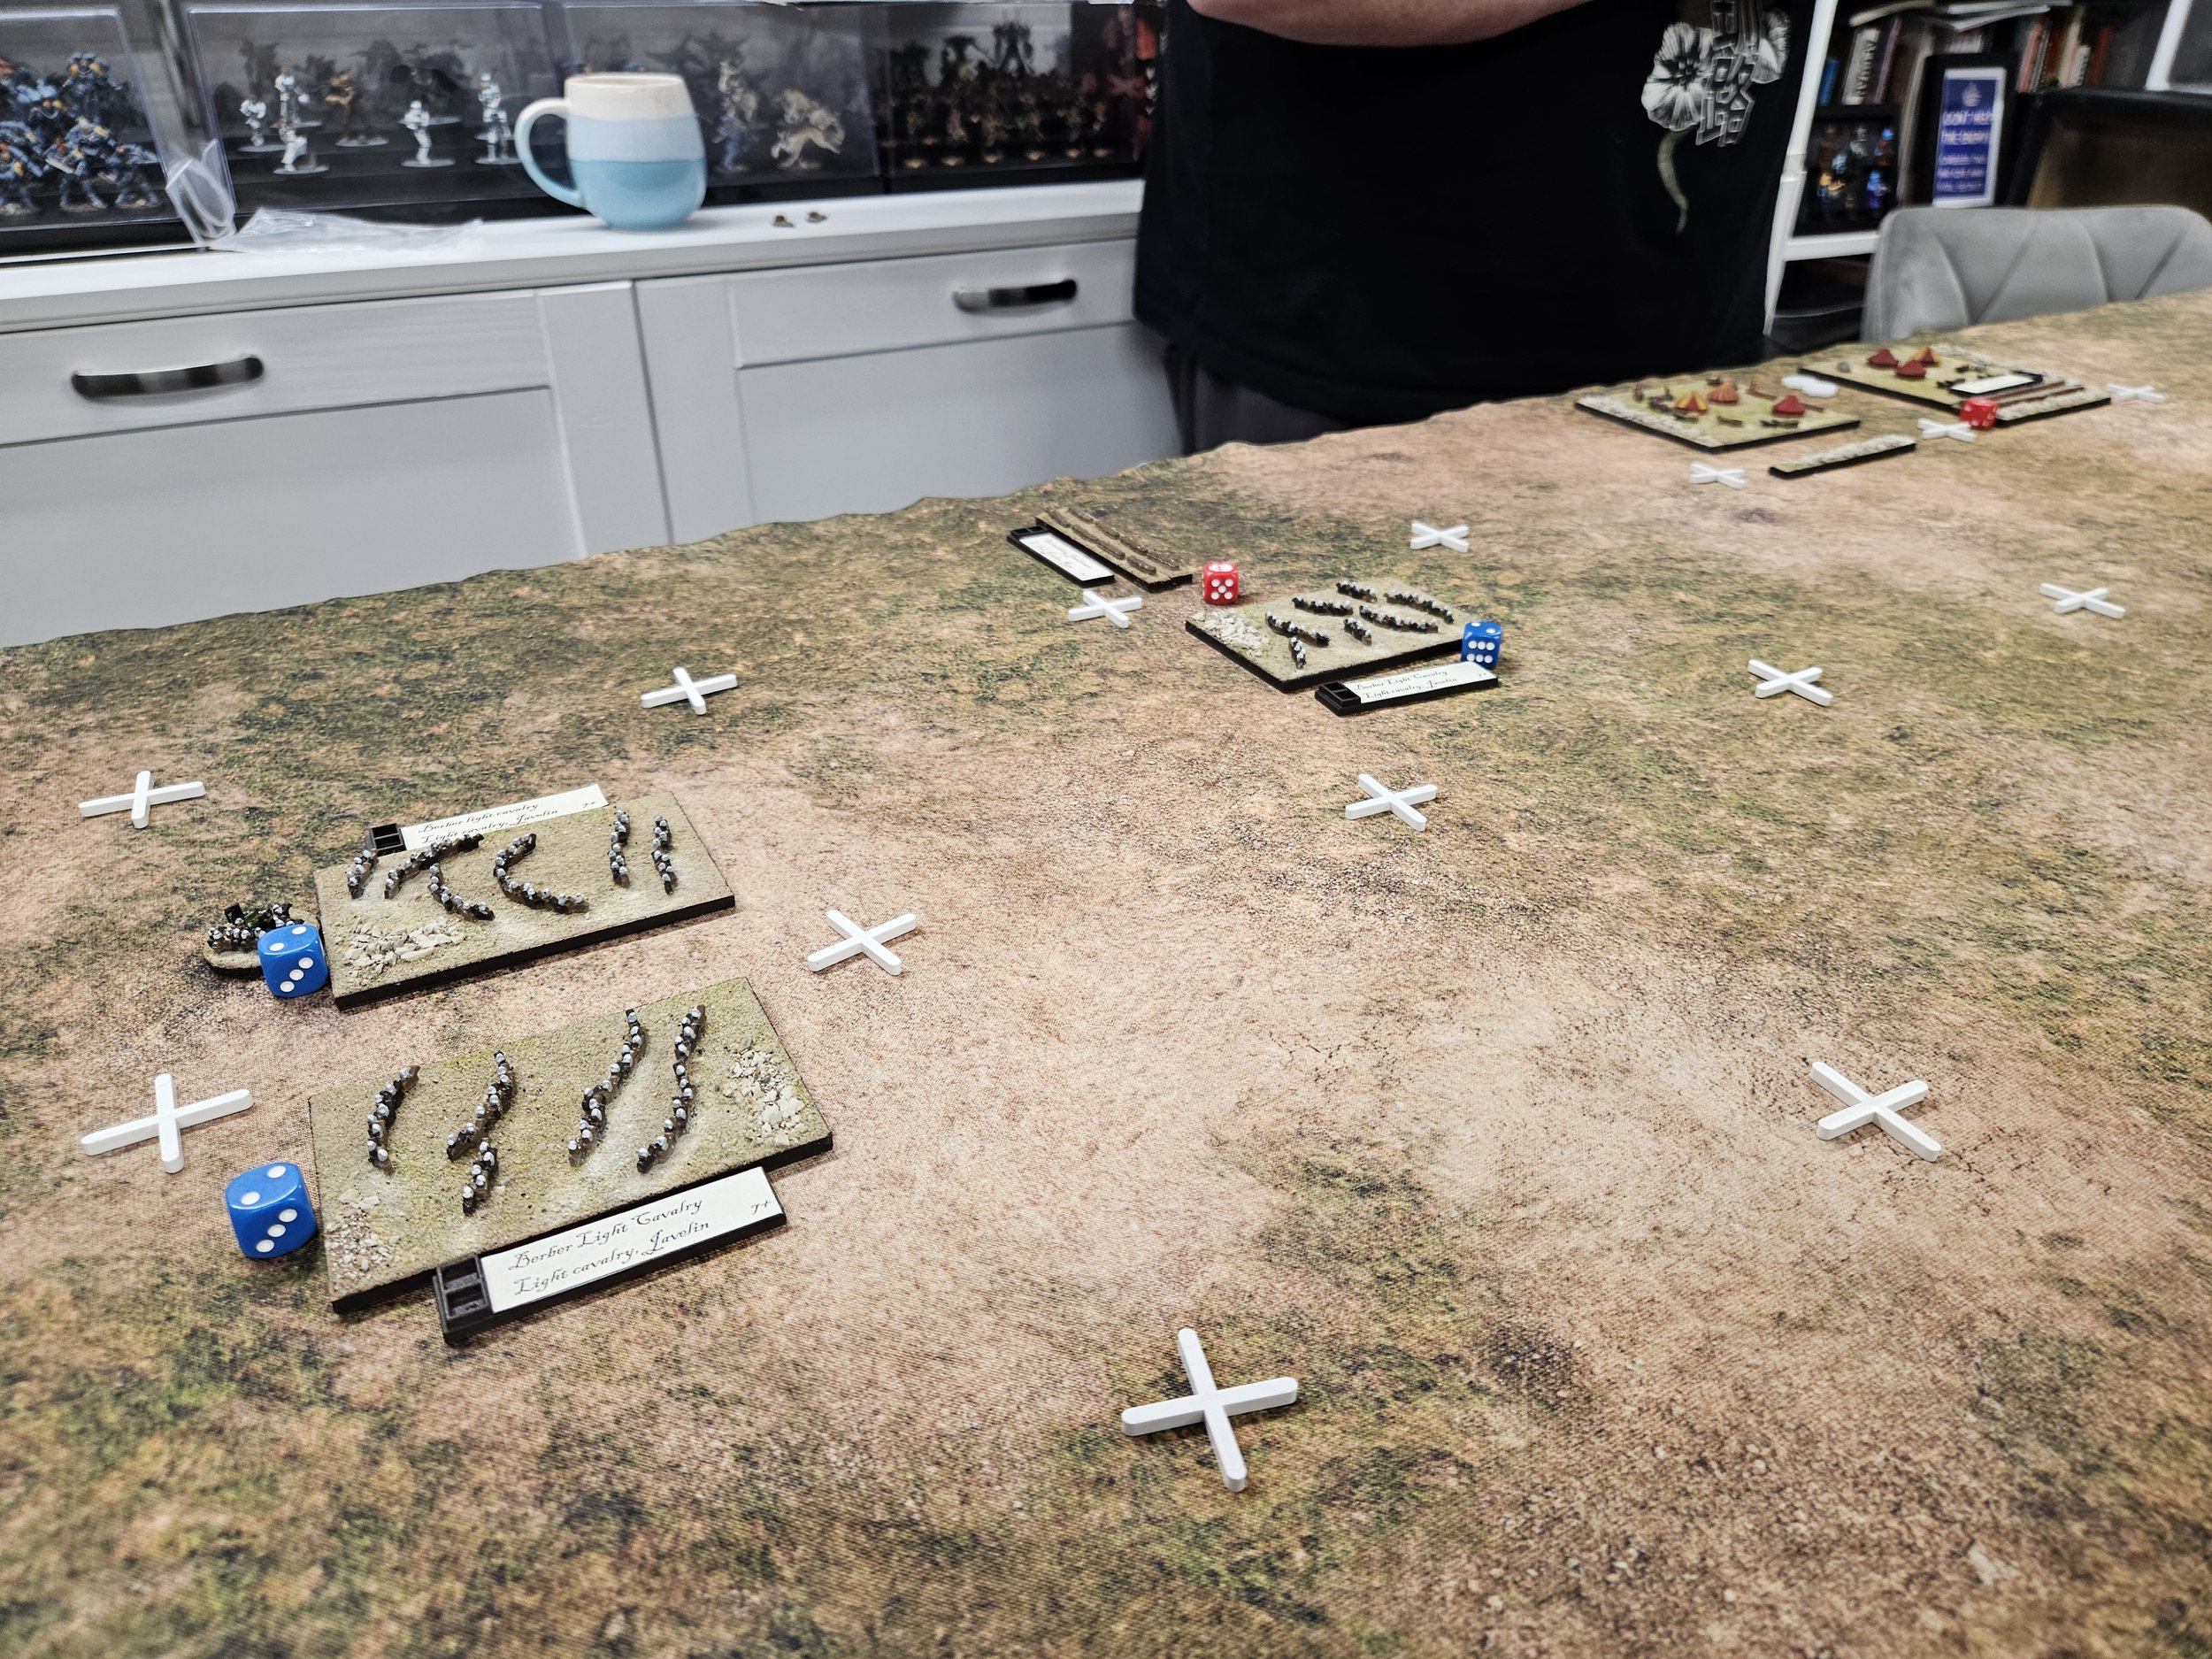
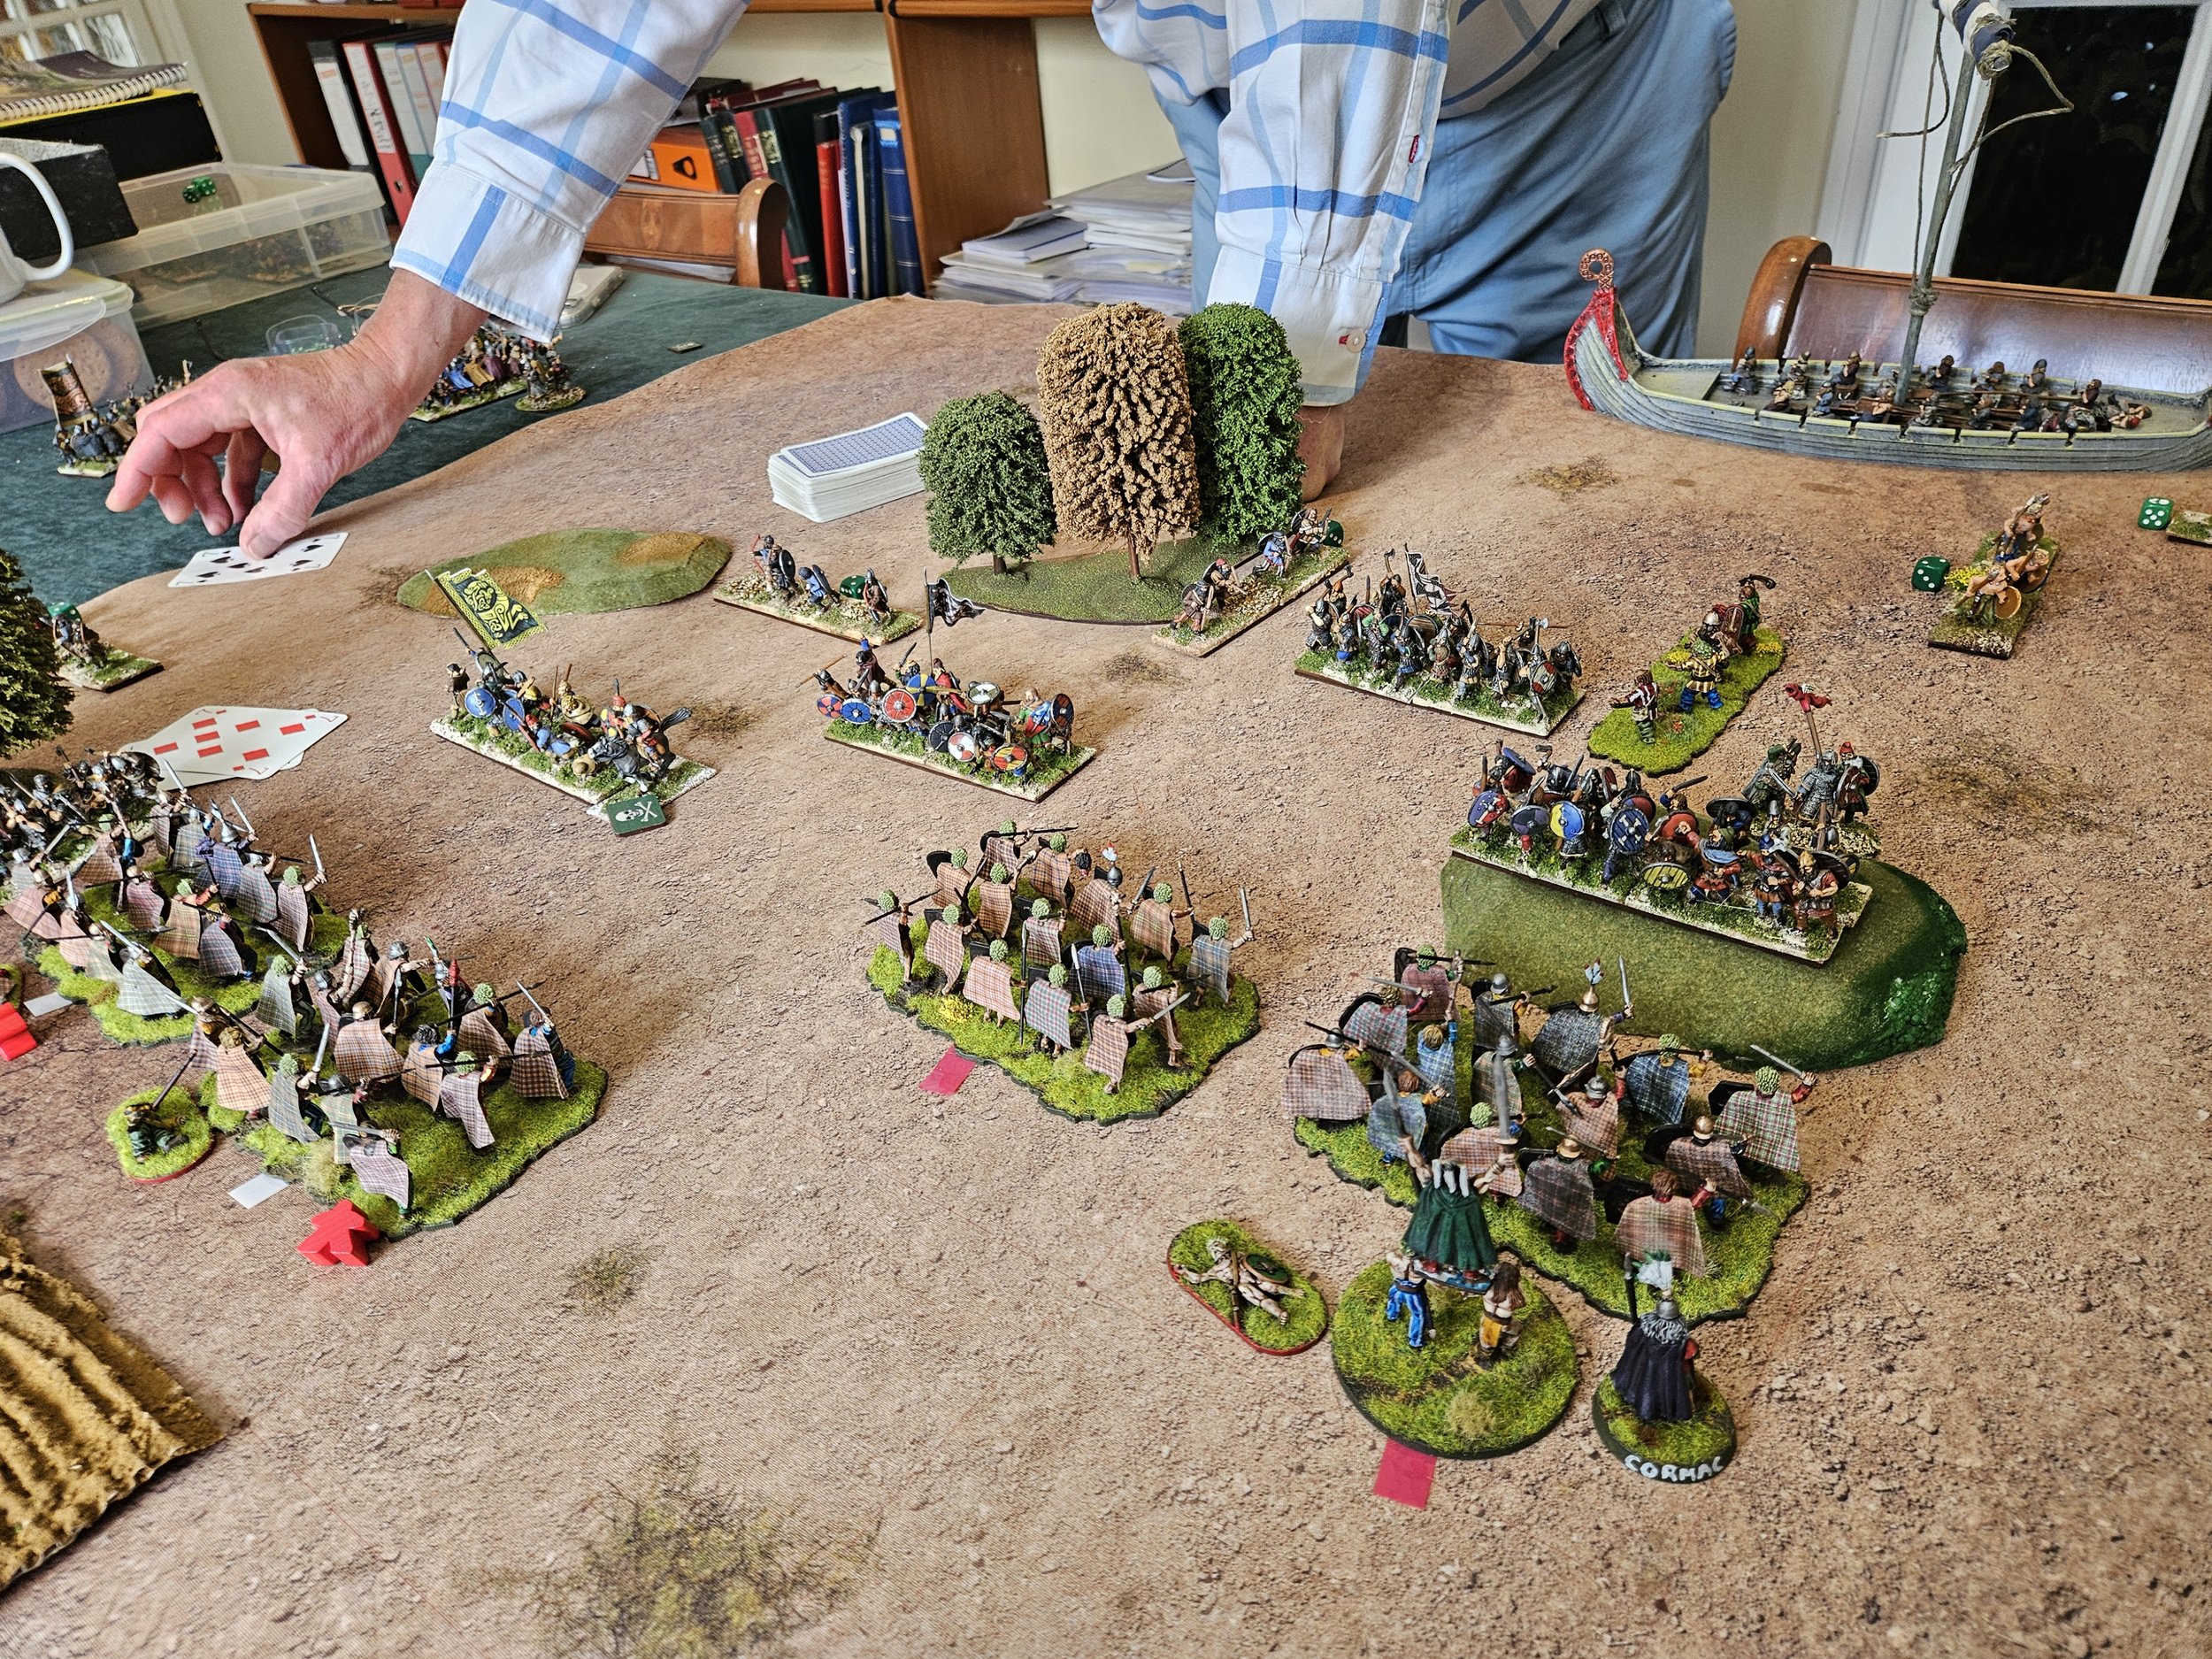
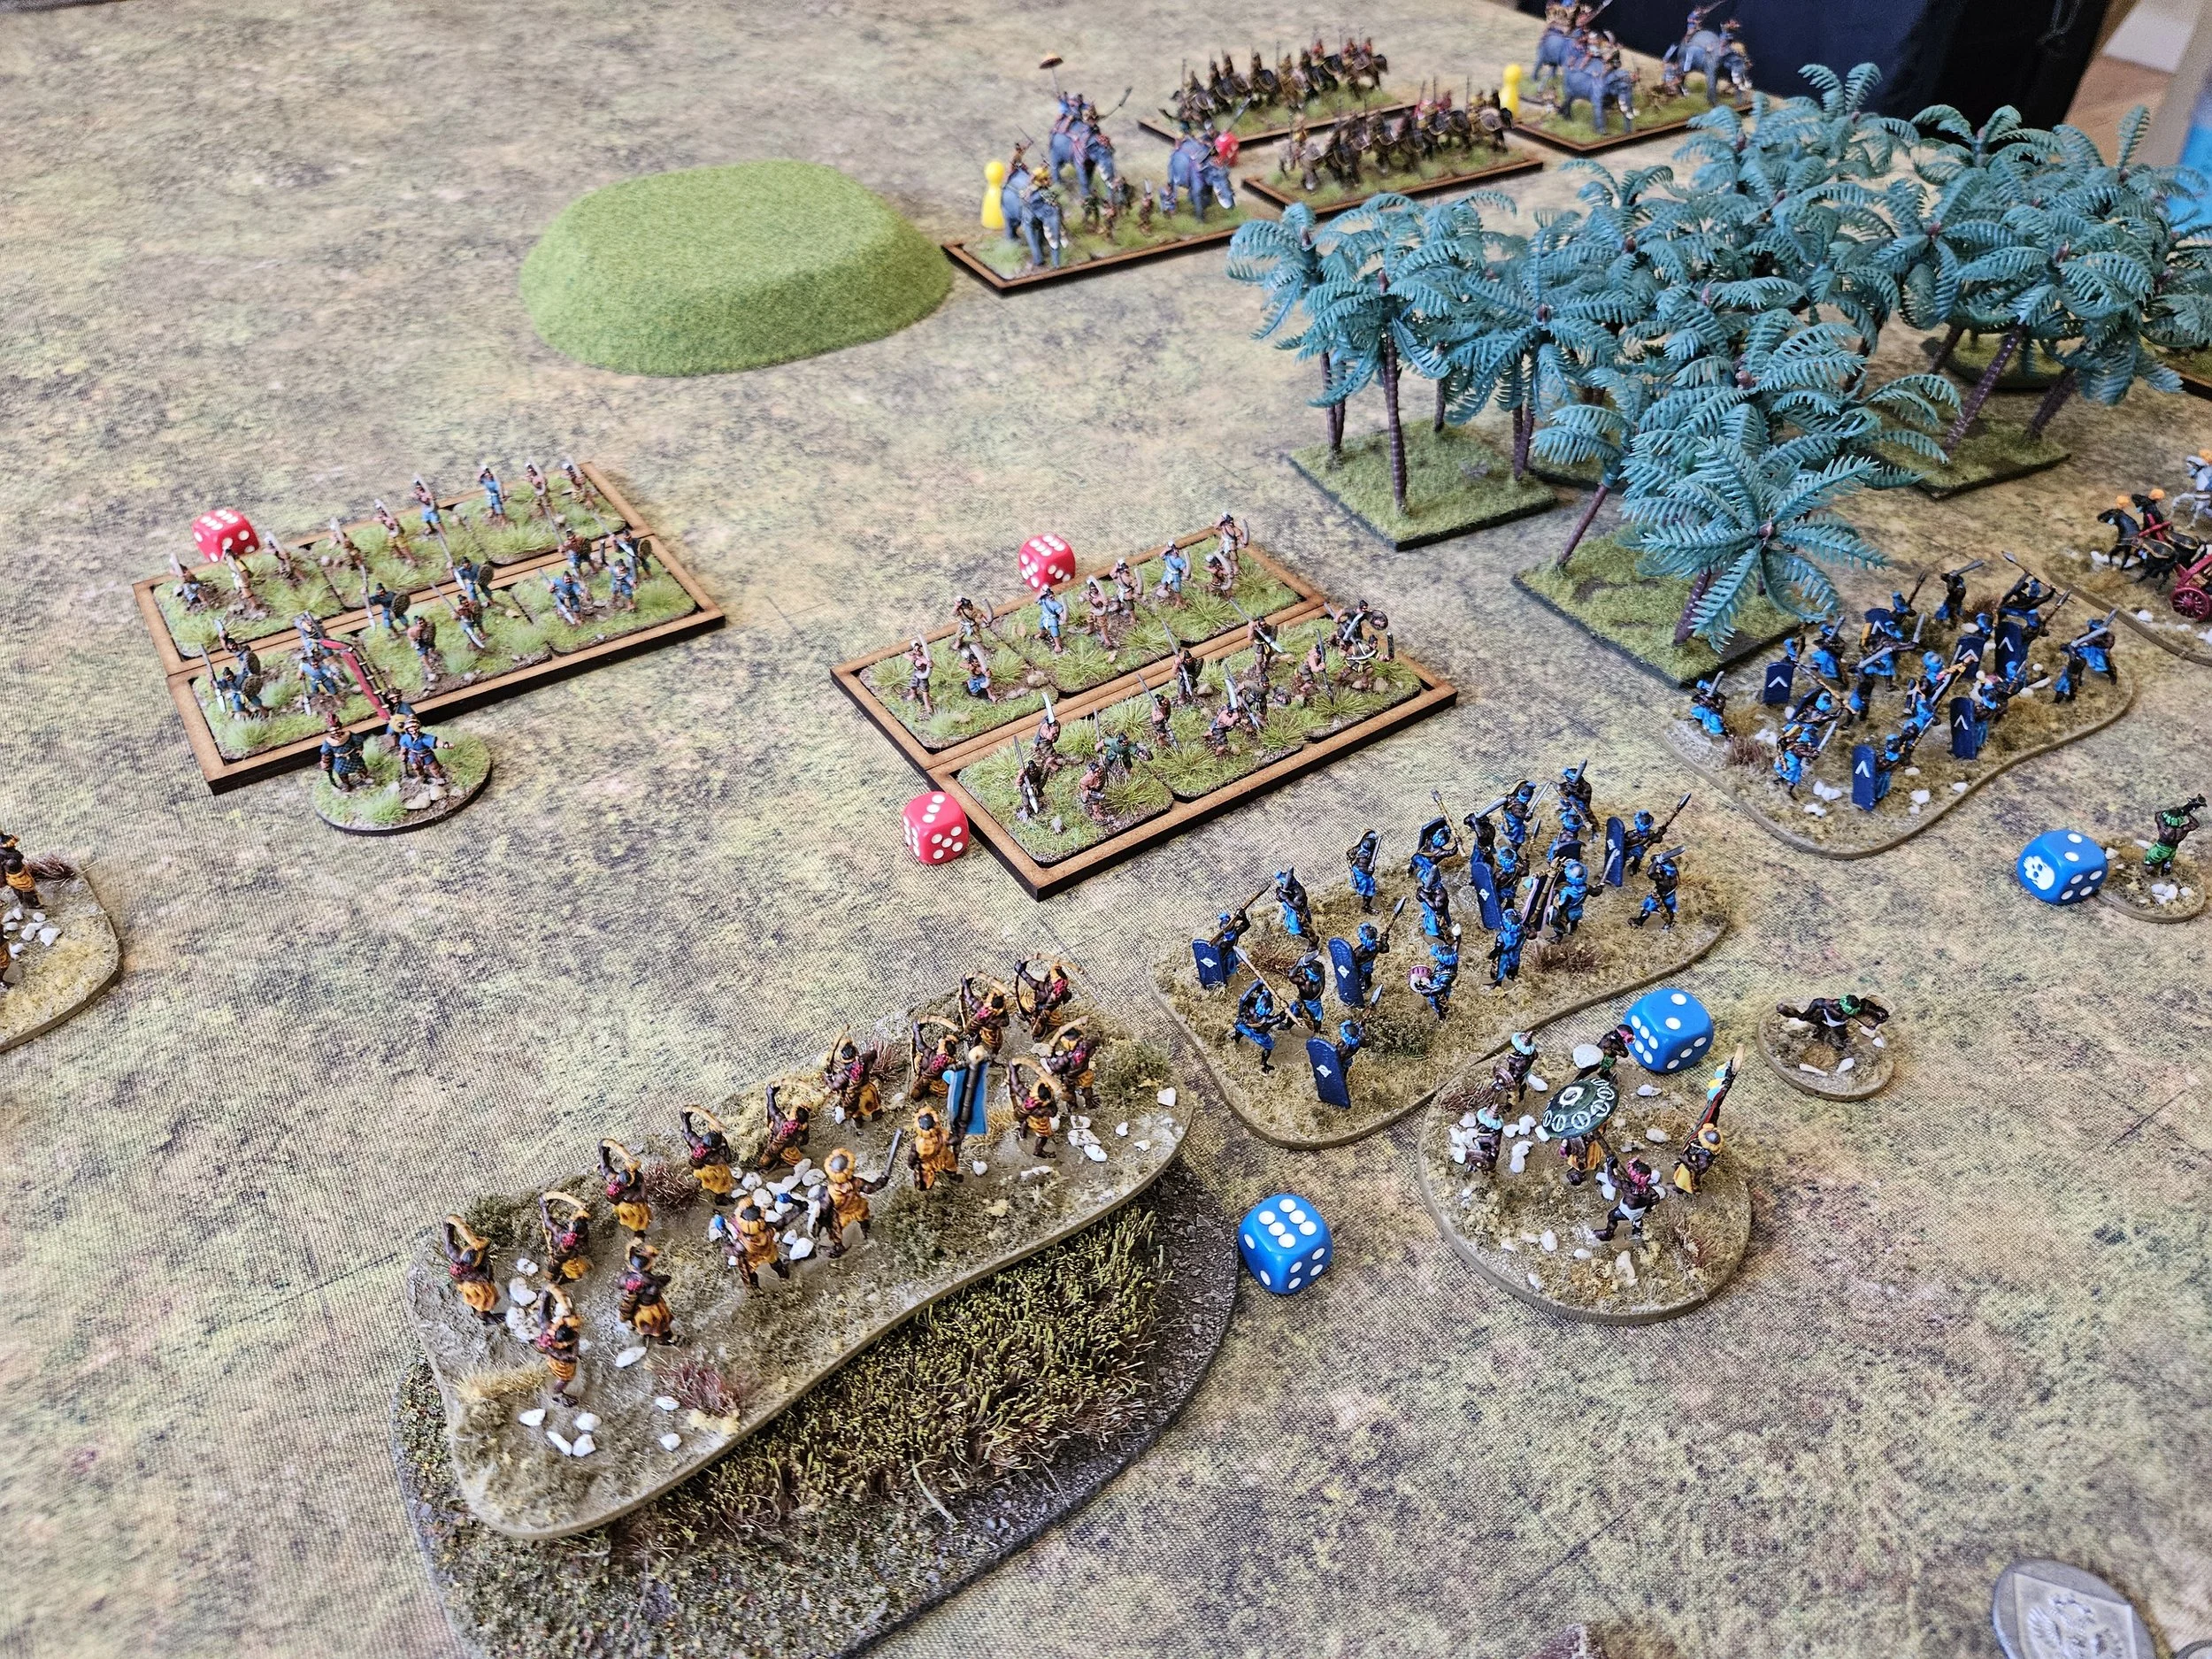
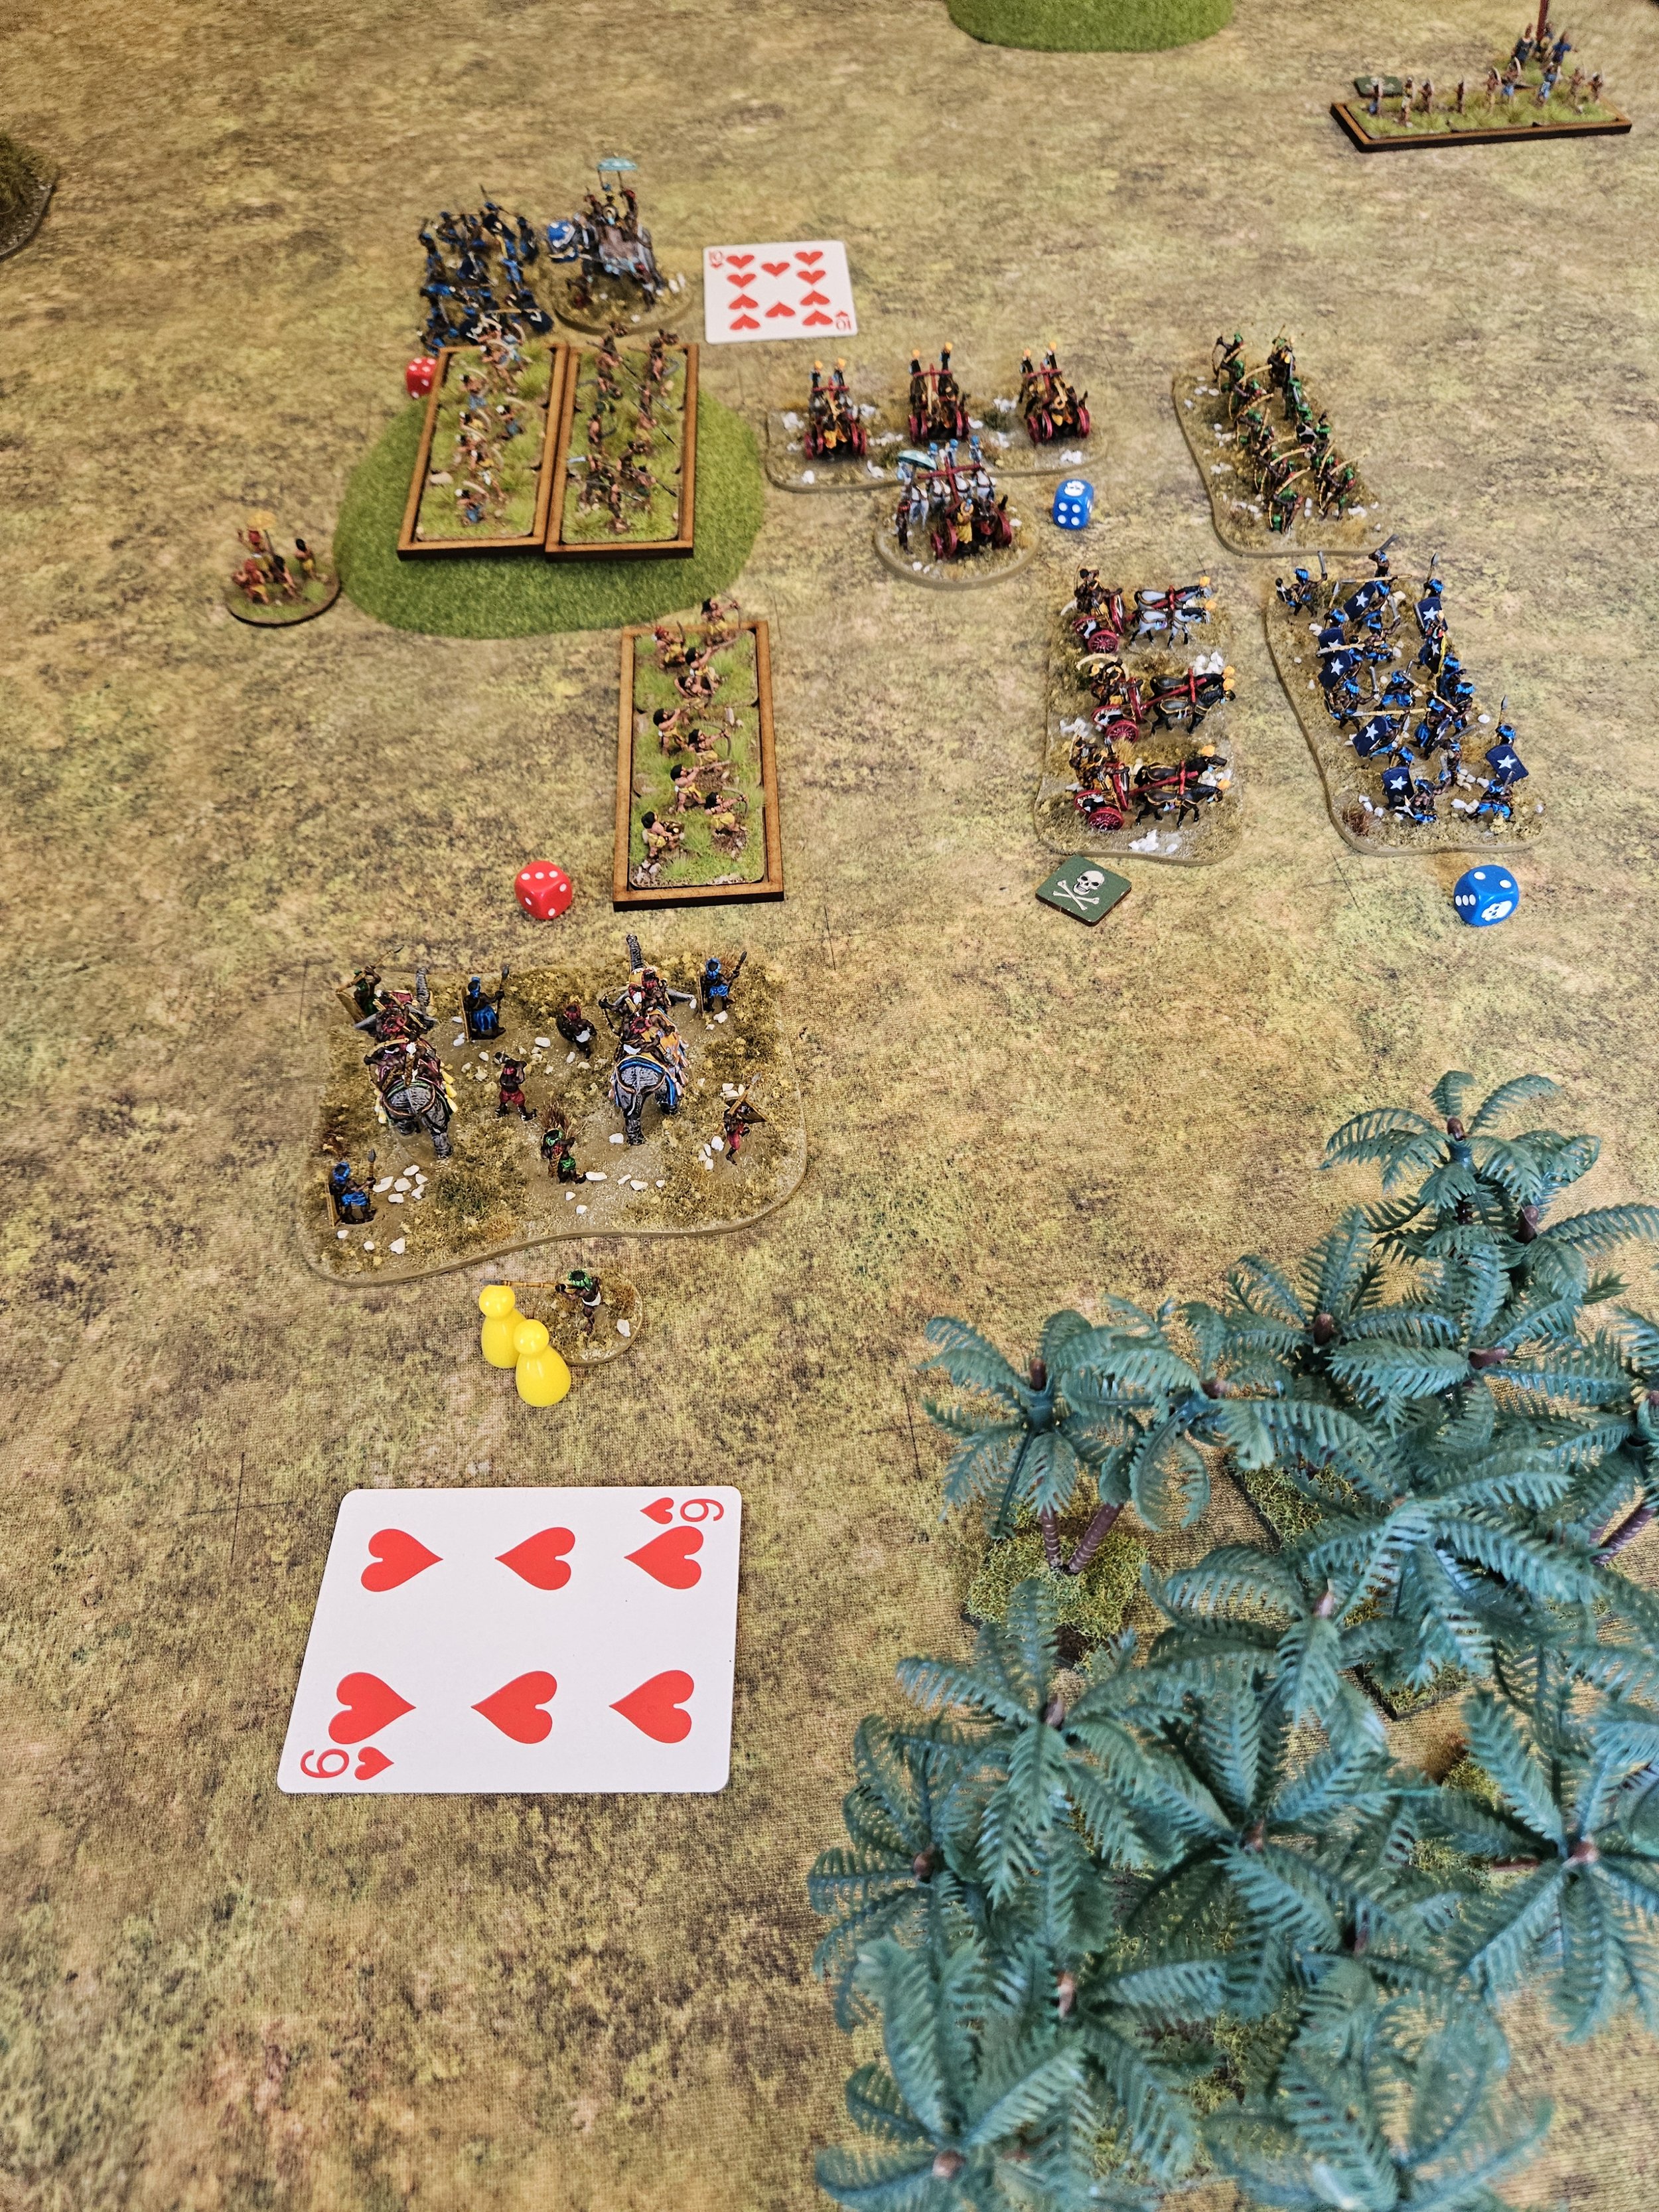
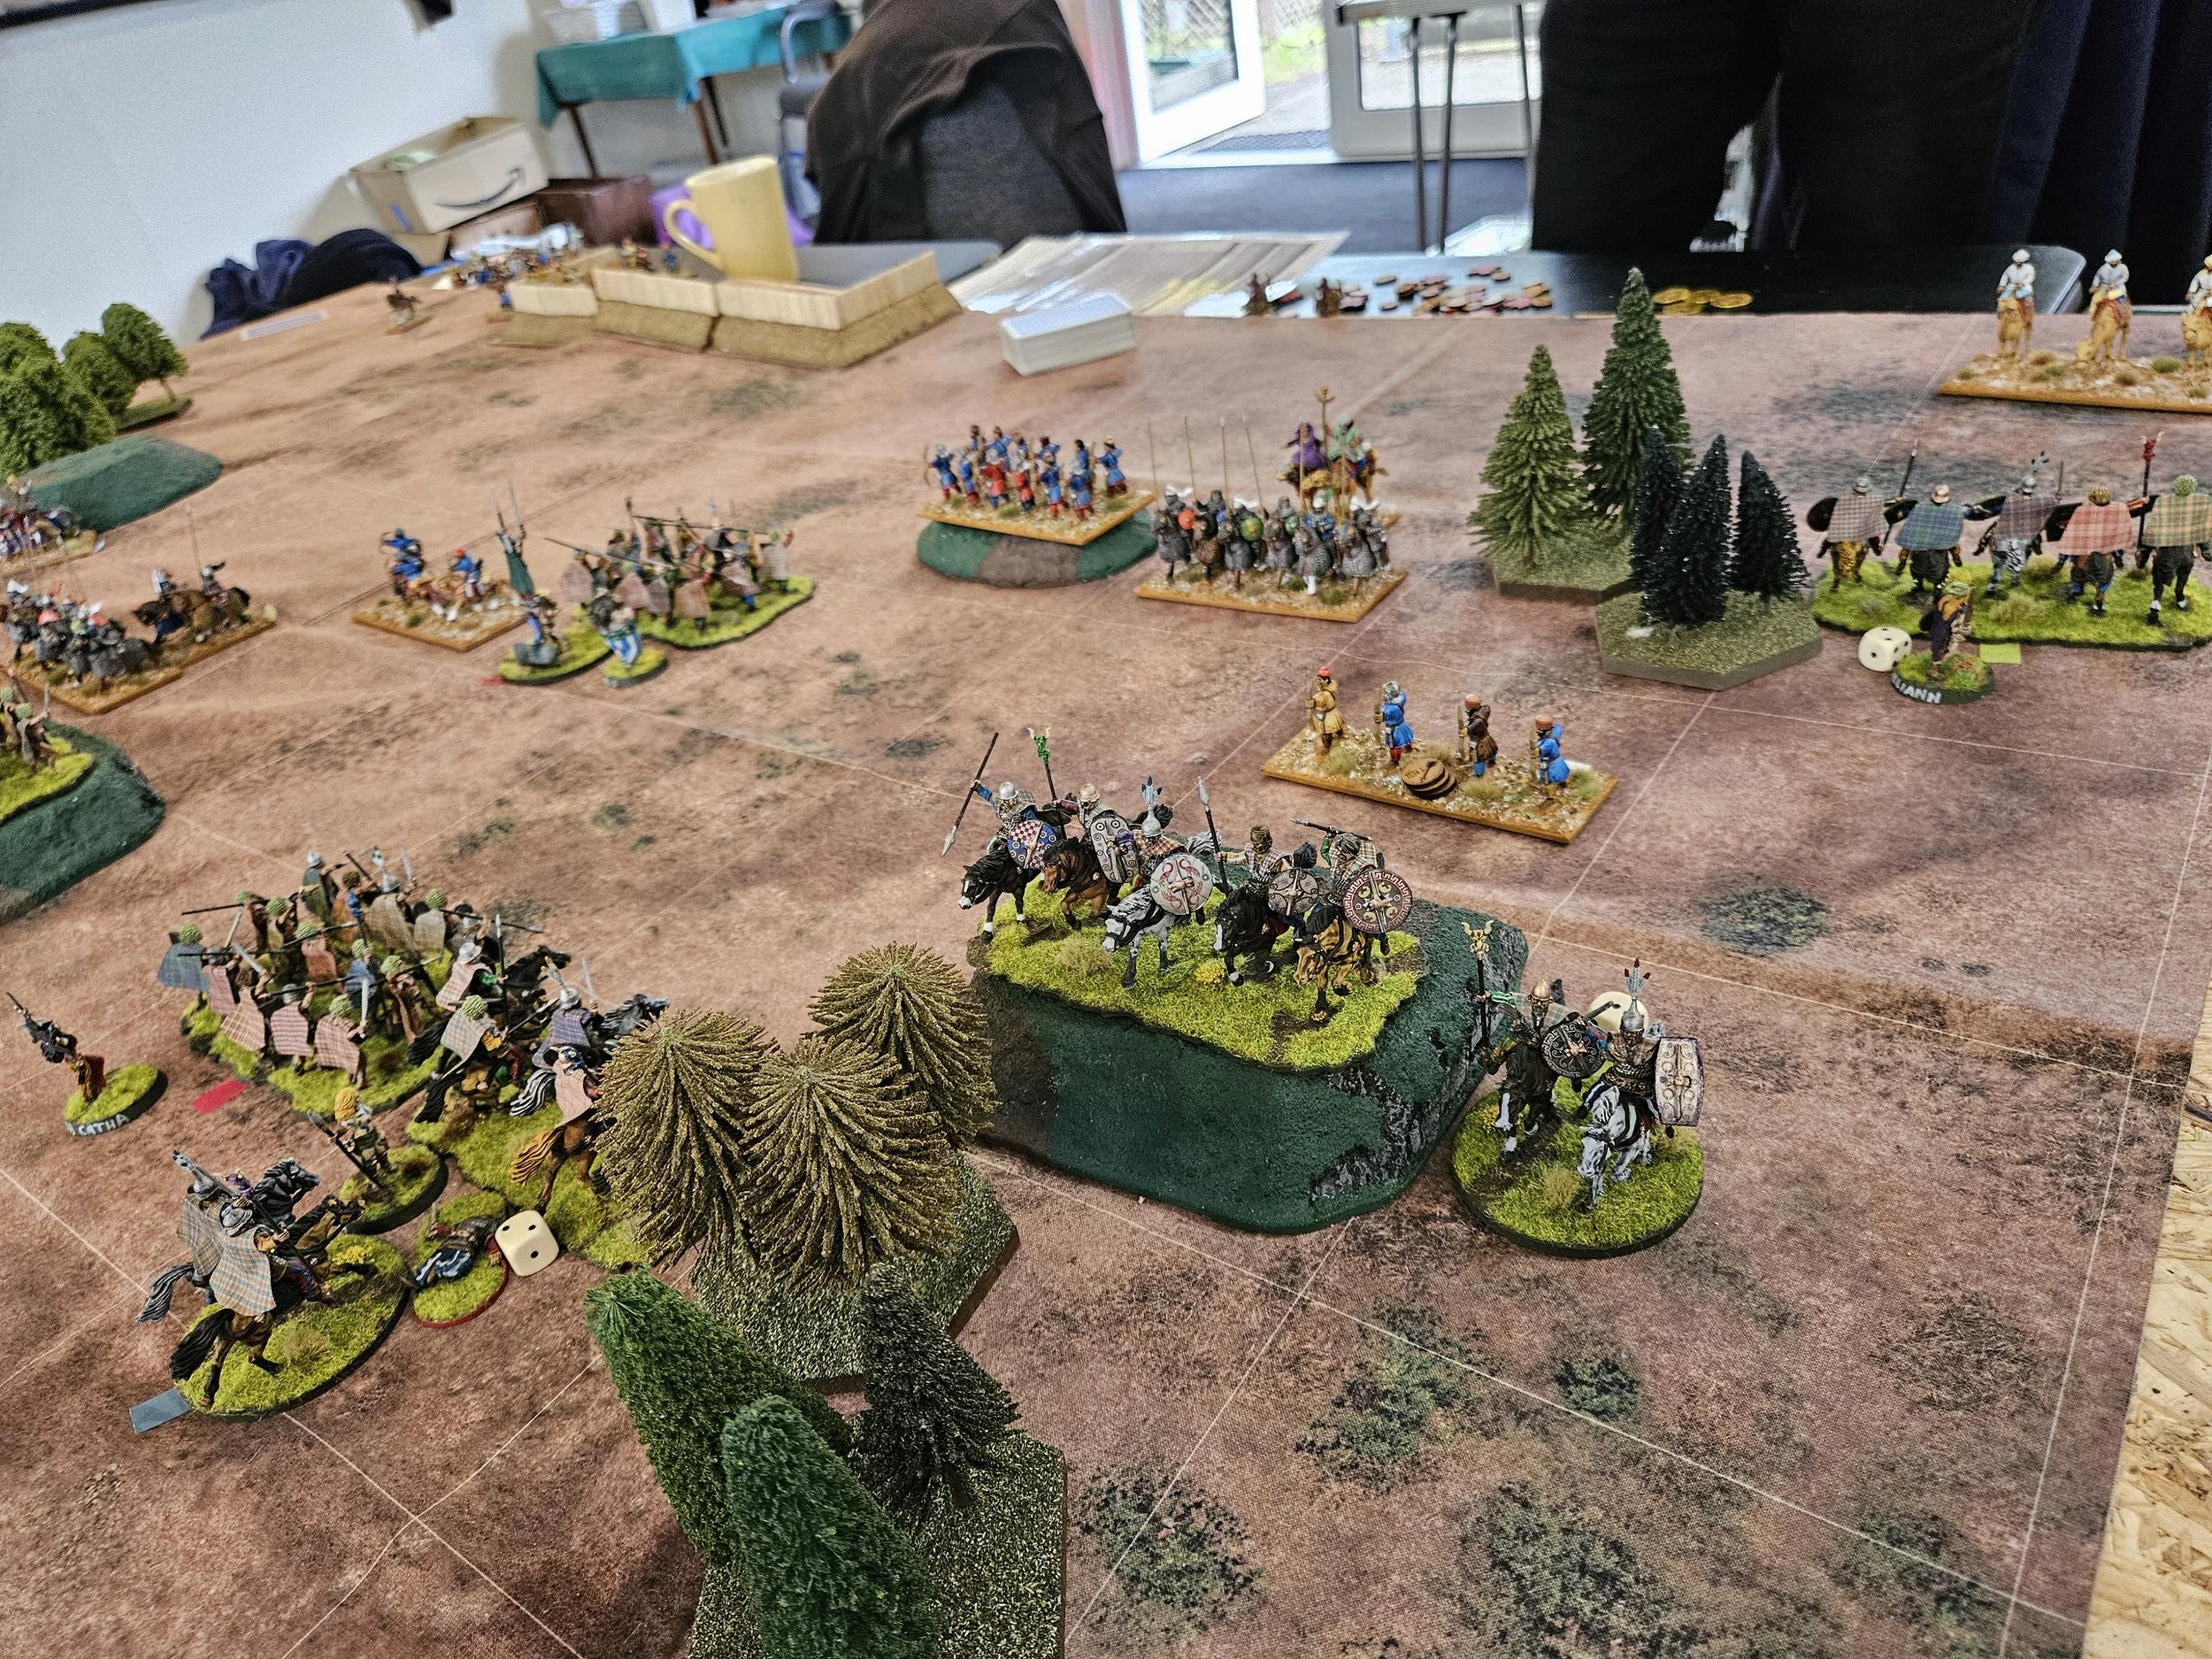
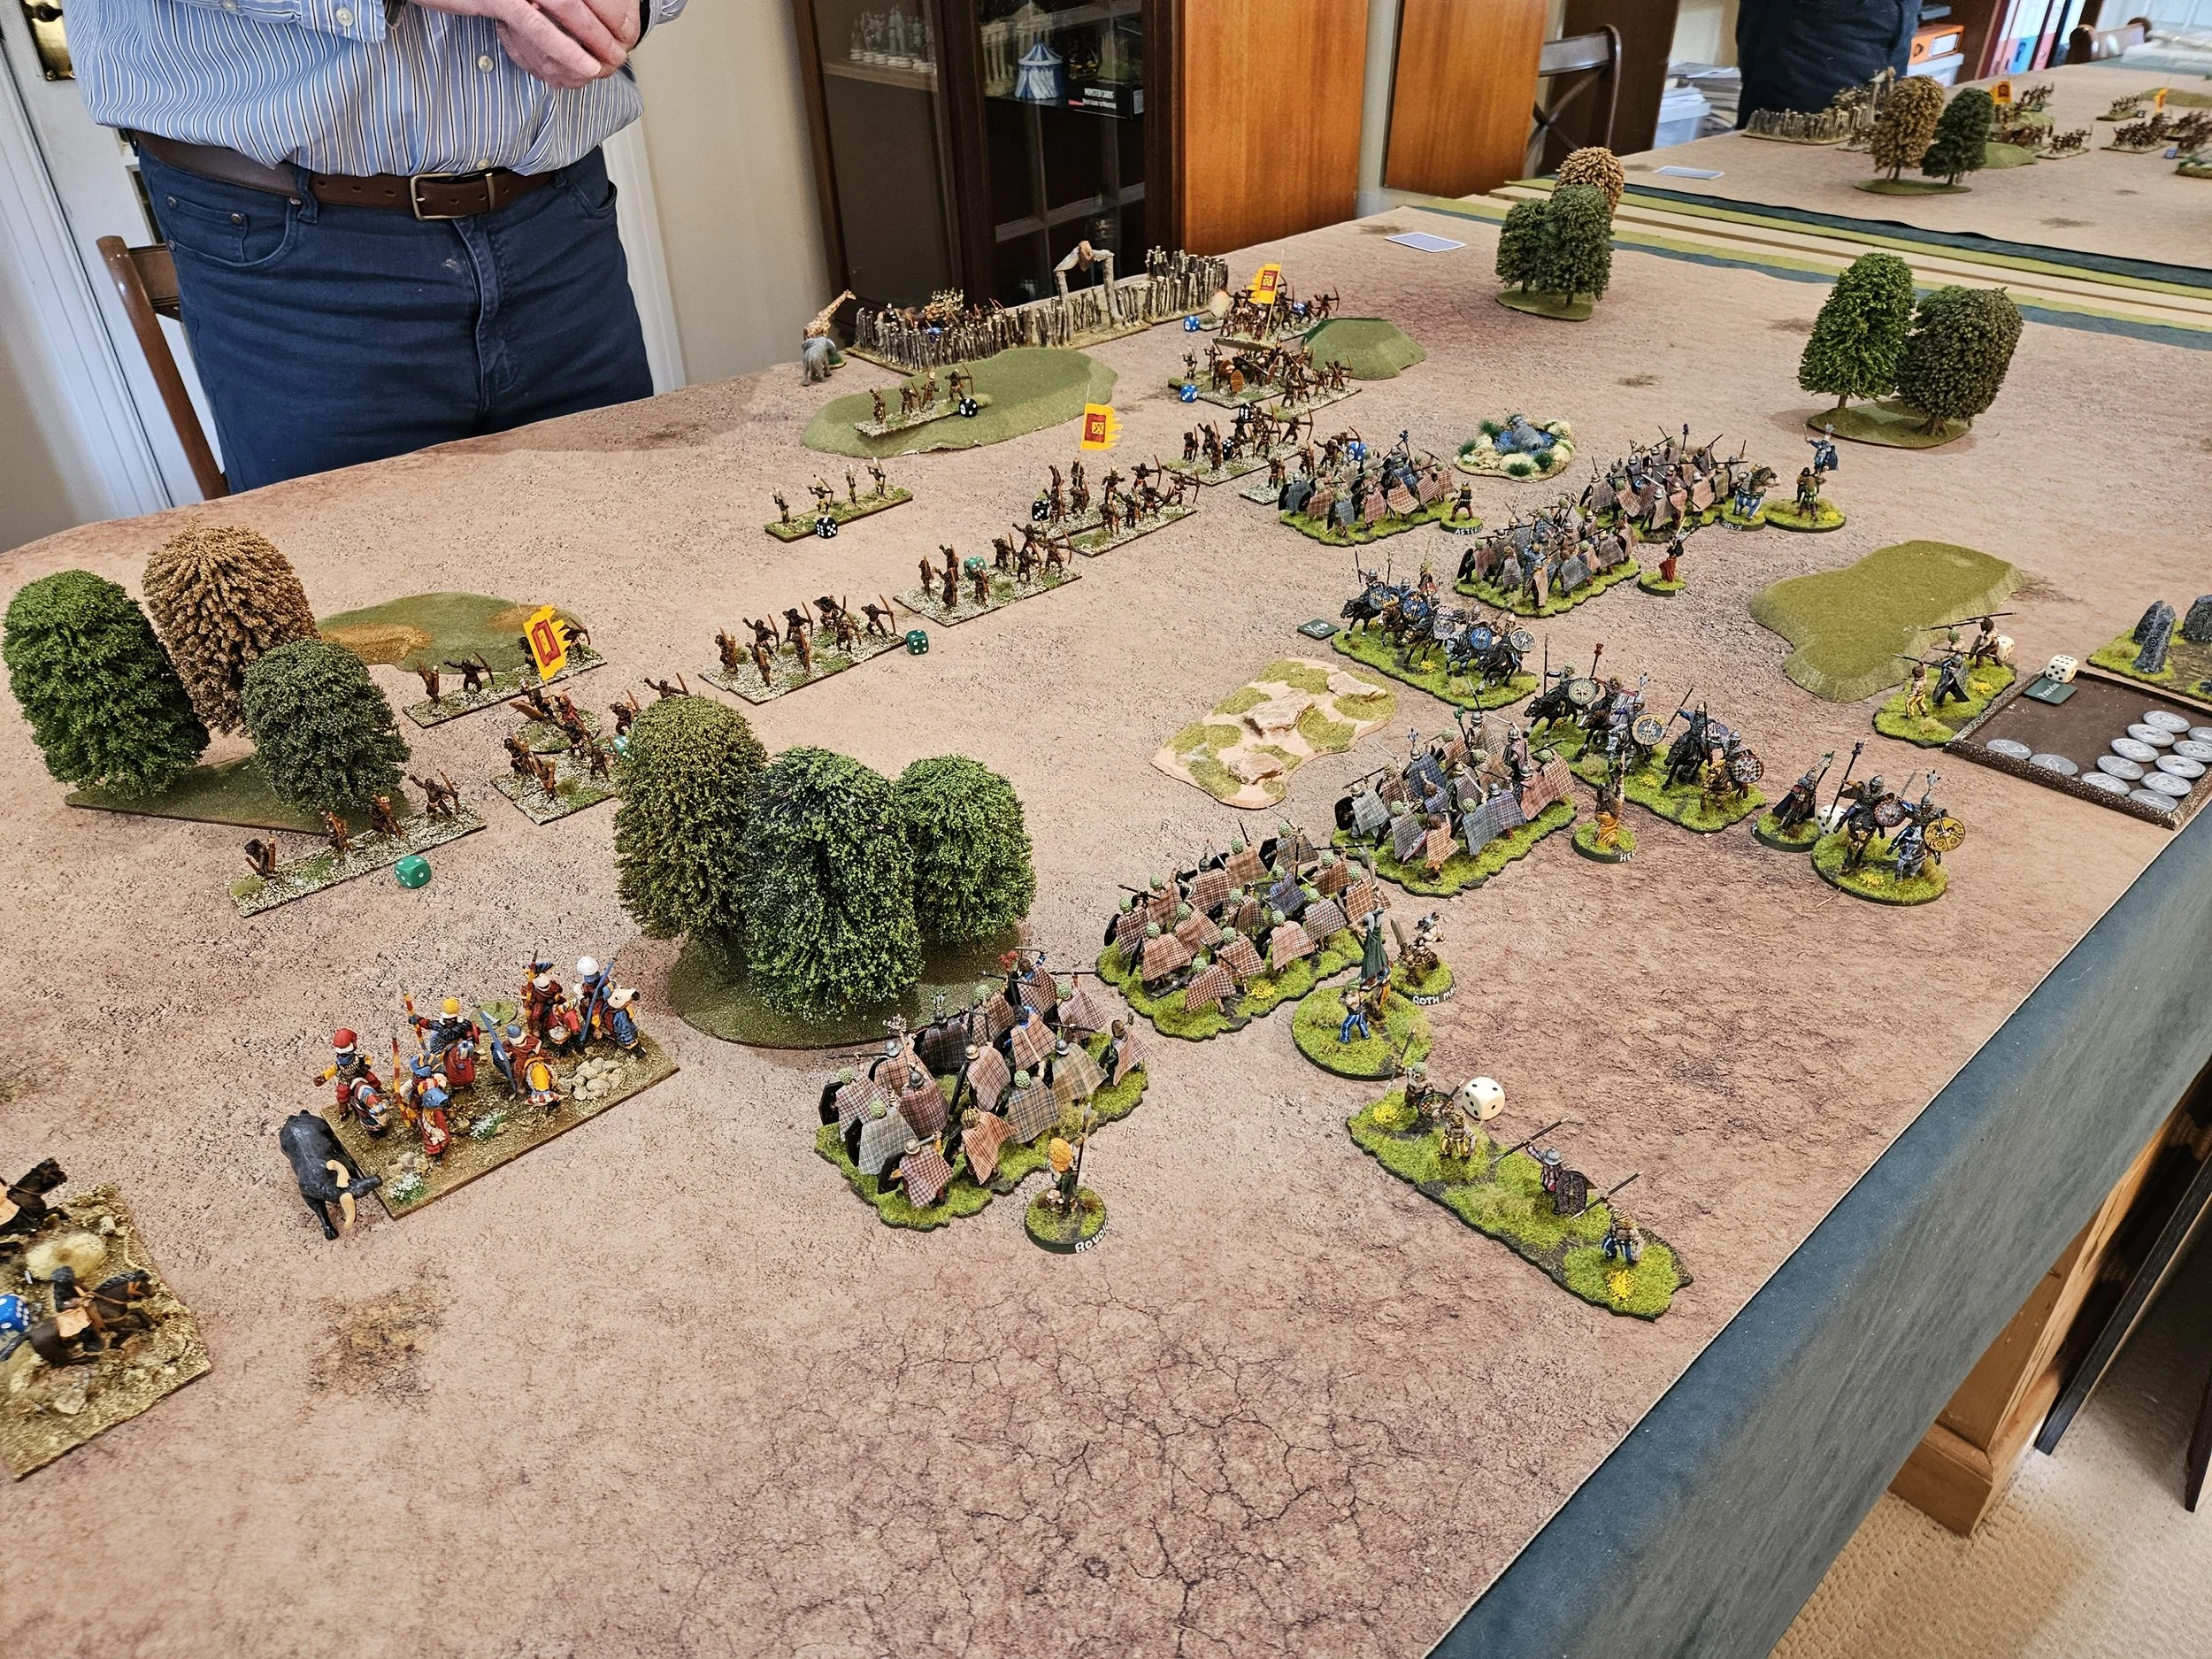
The Macedonian non-elites facing them put up a very brave fight, but six decent versus four poor is a fairly foregone conclusion, and things were soon looking very bloody for my horsemen: the only good thing being that Neil seemed to want to finish them all off rather than heading into the centre to threaten the flanks of the infantry there.
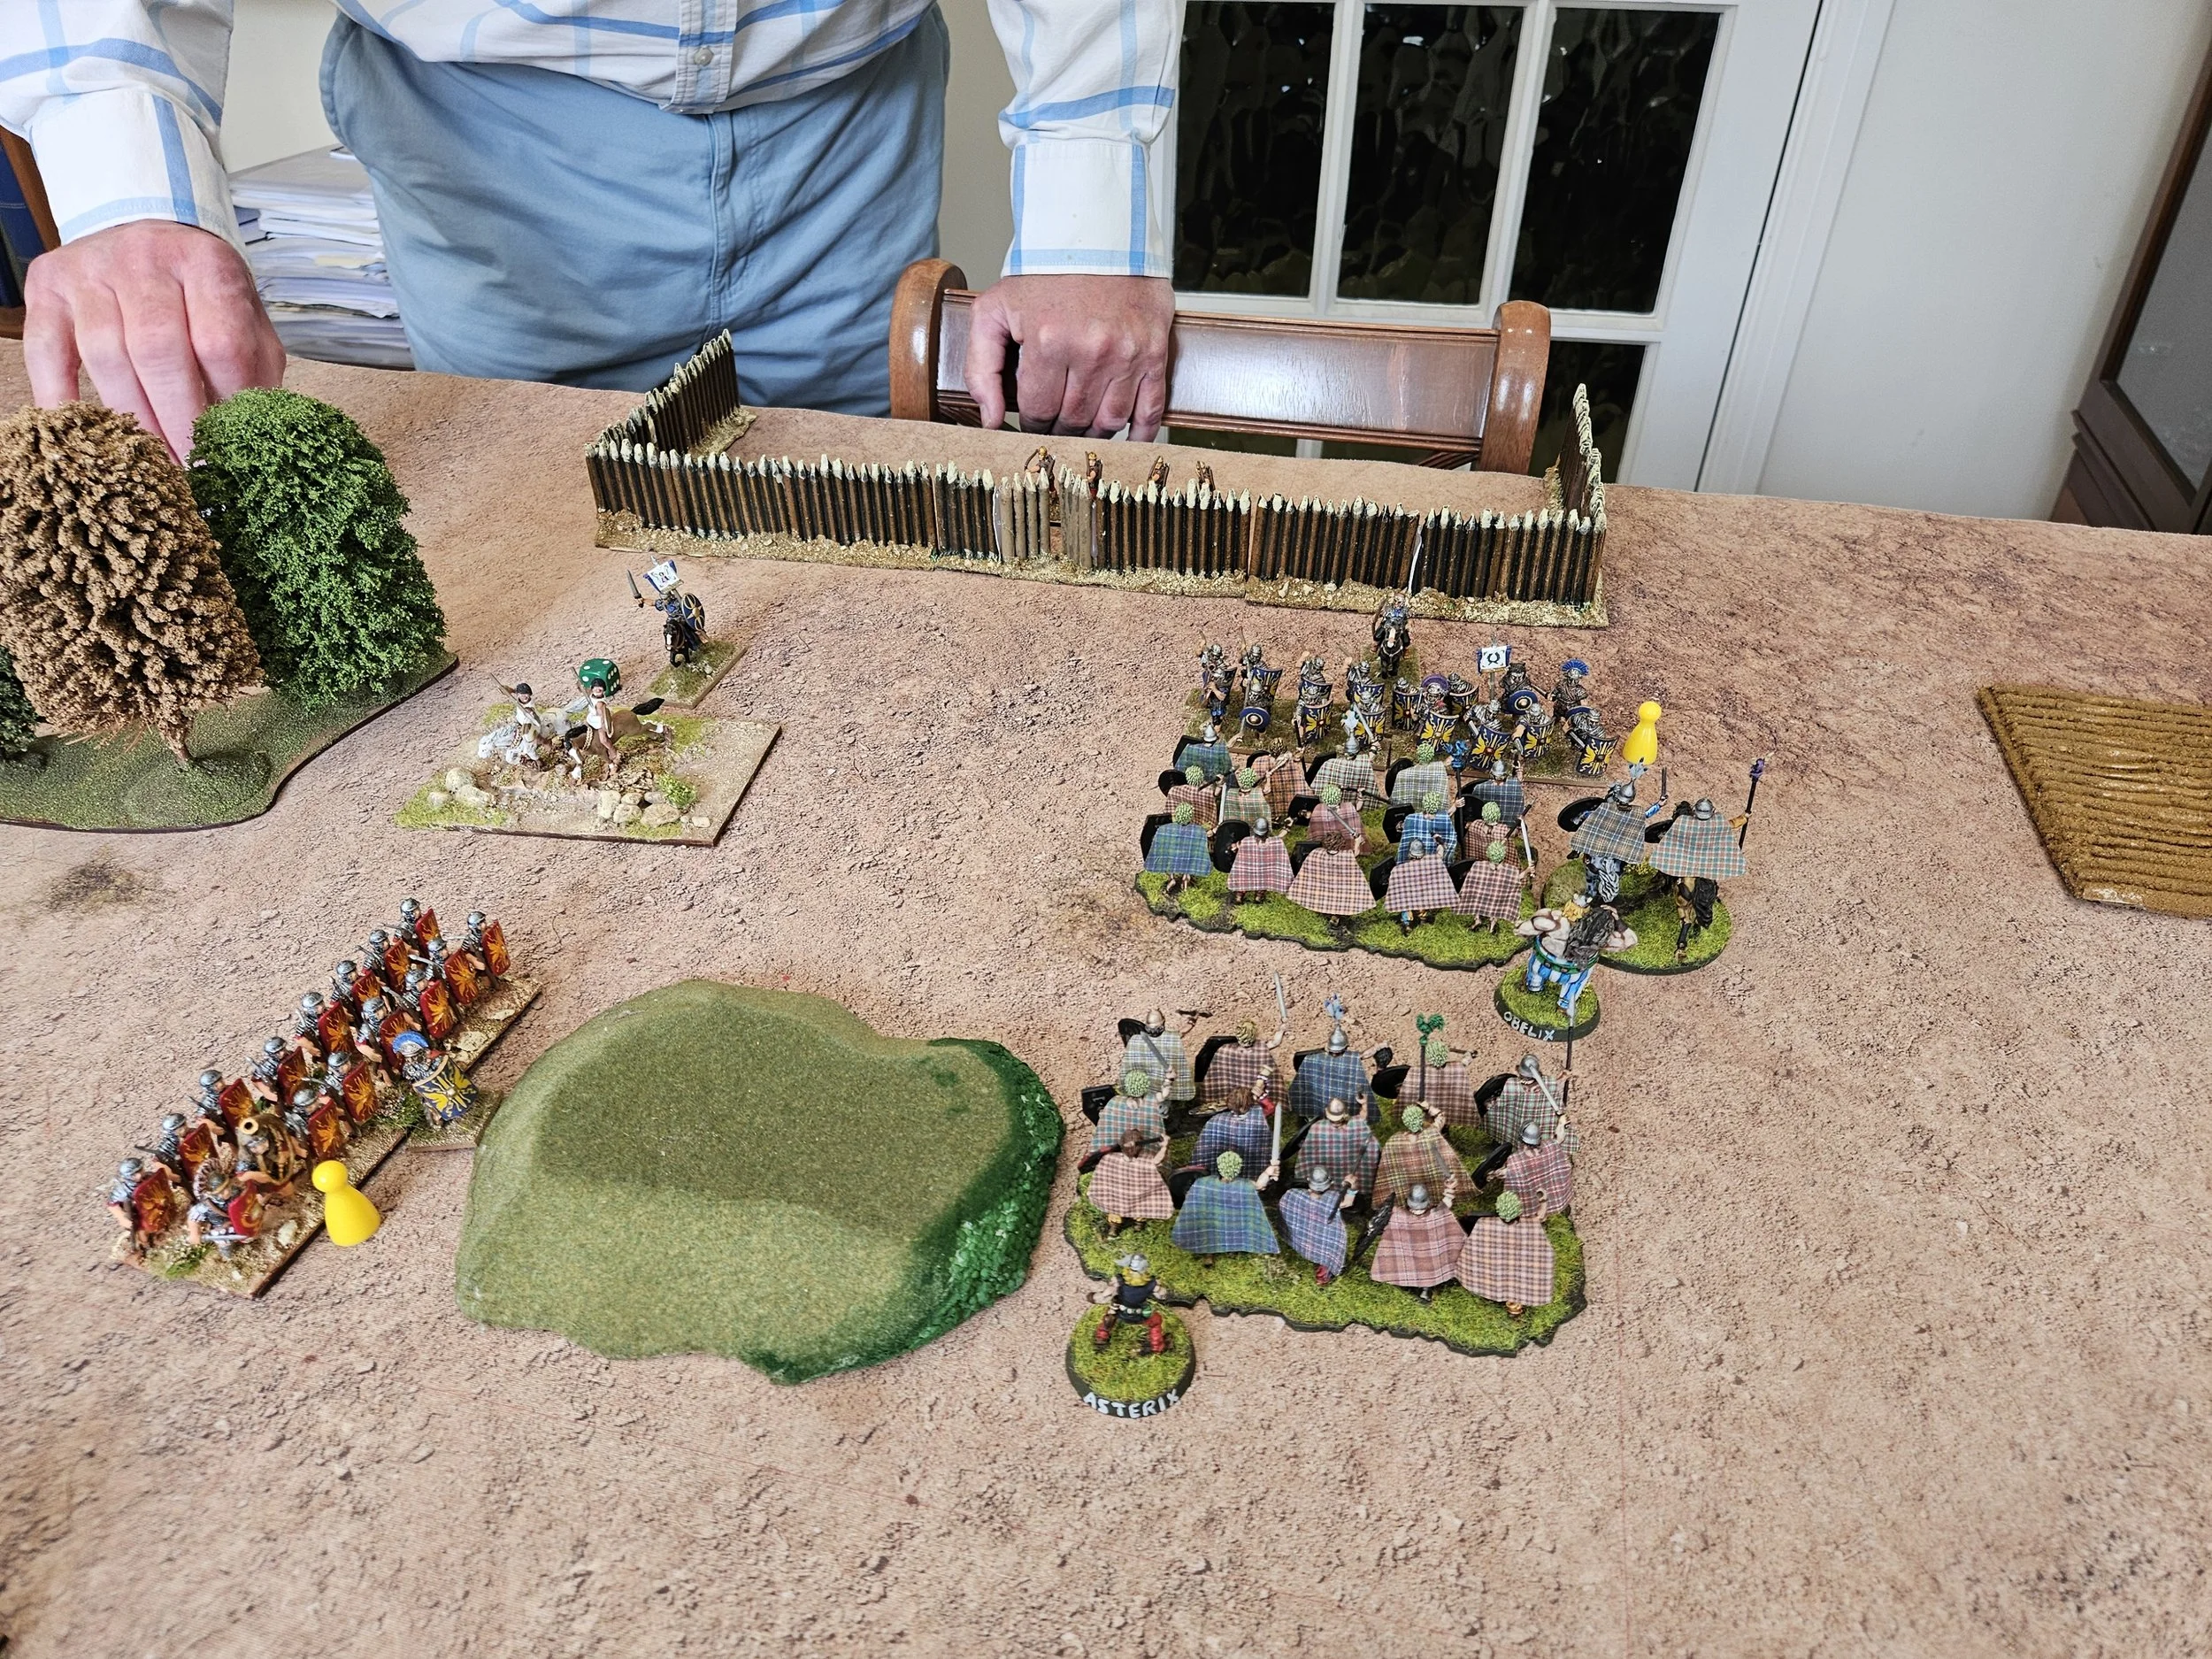
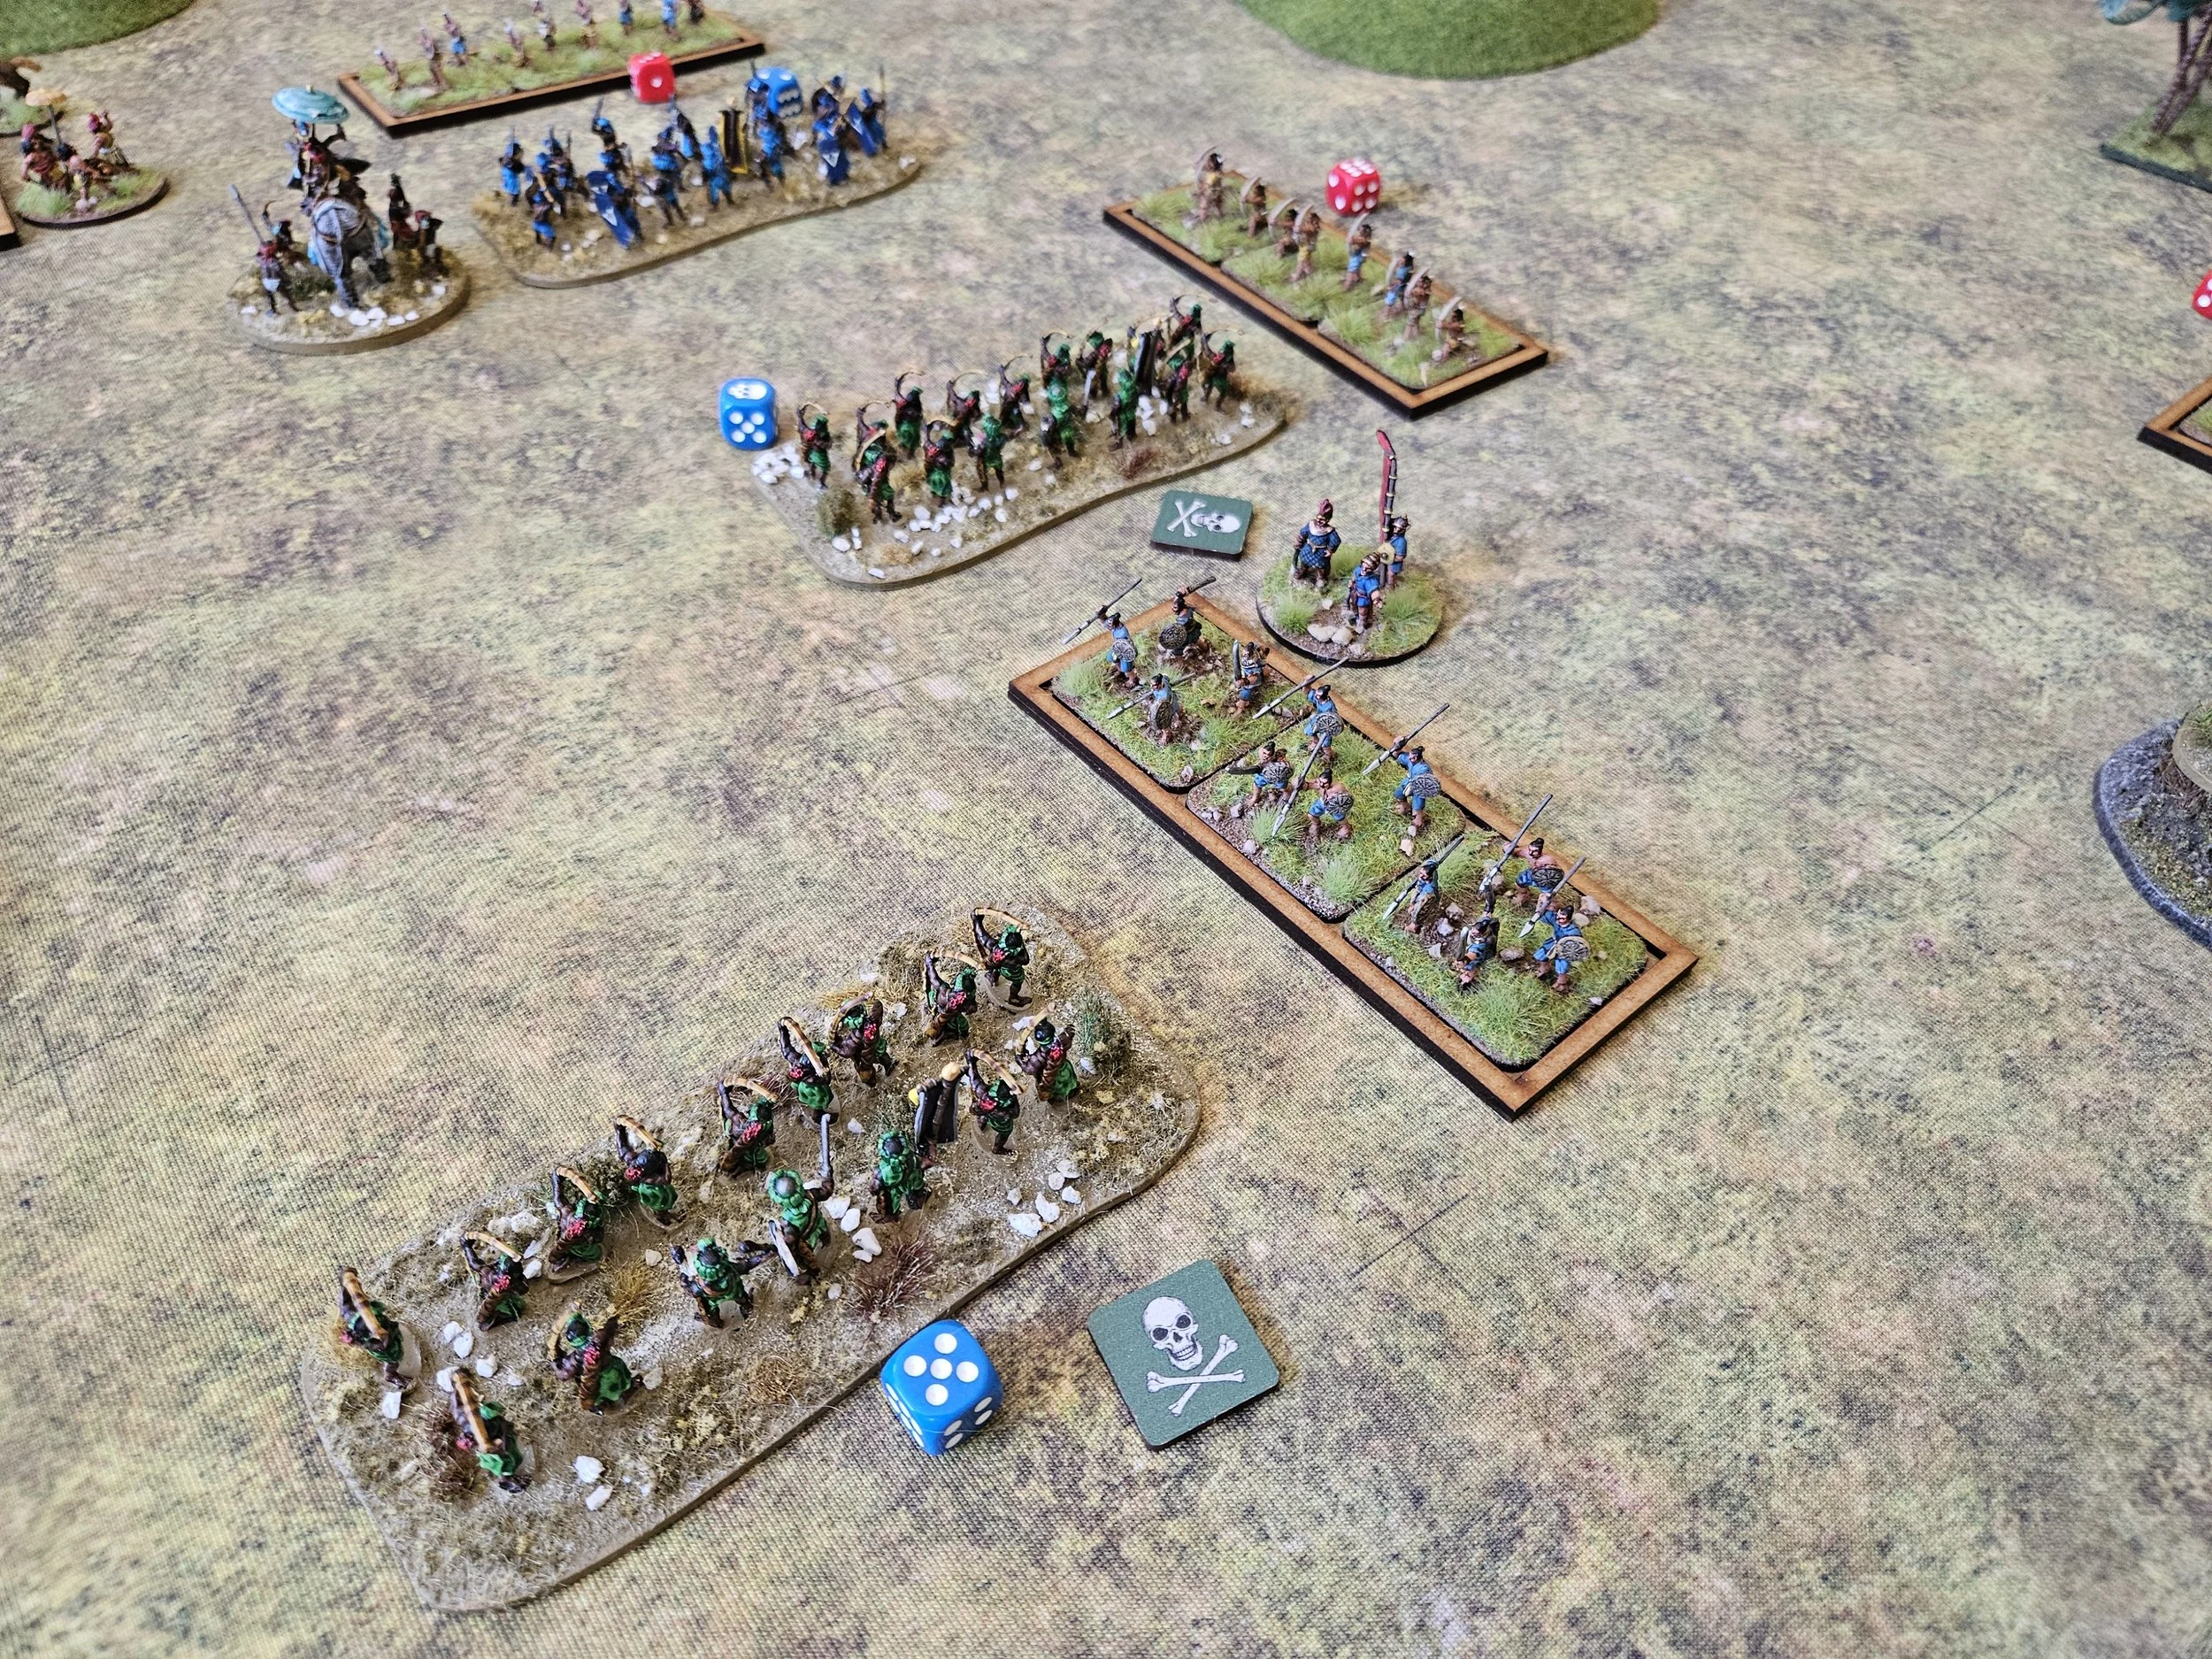
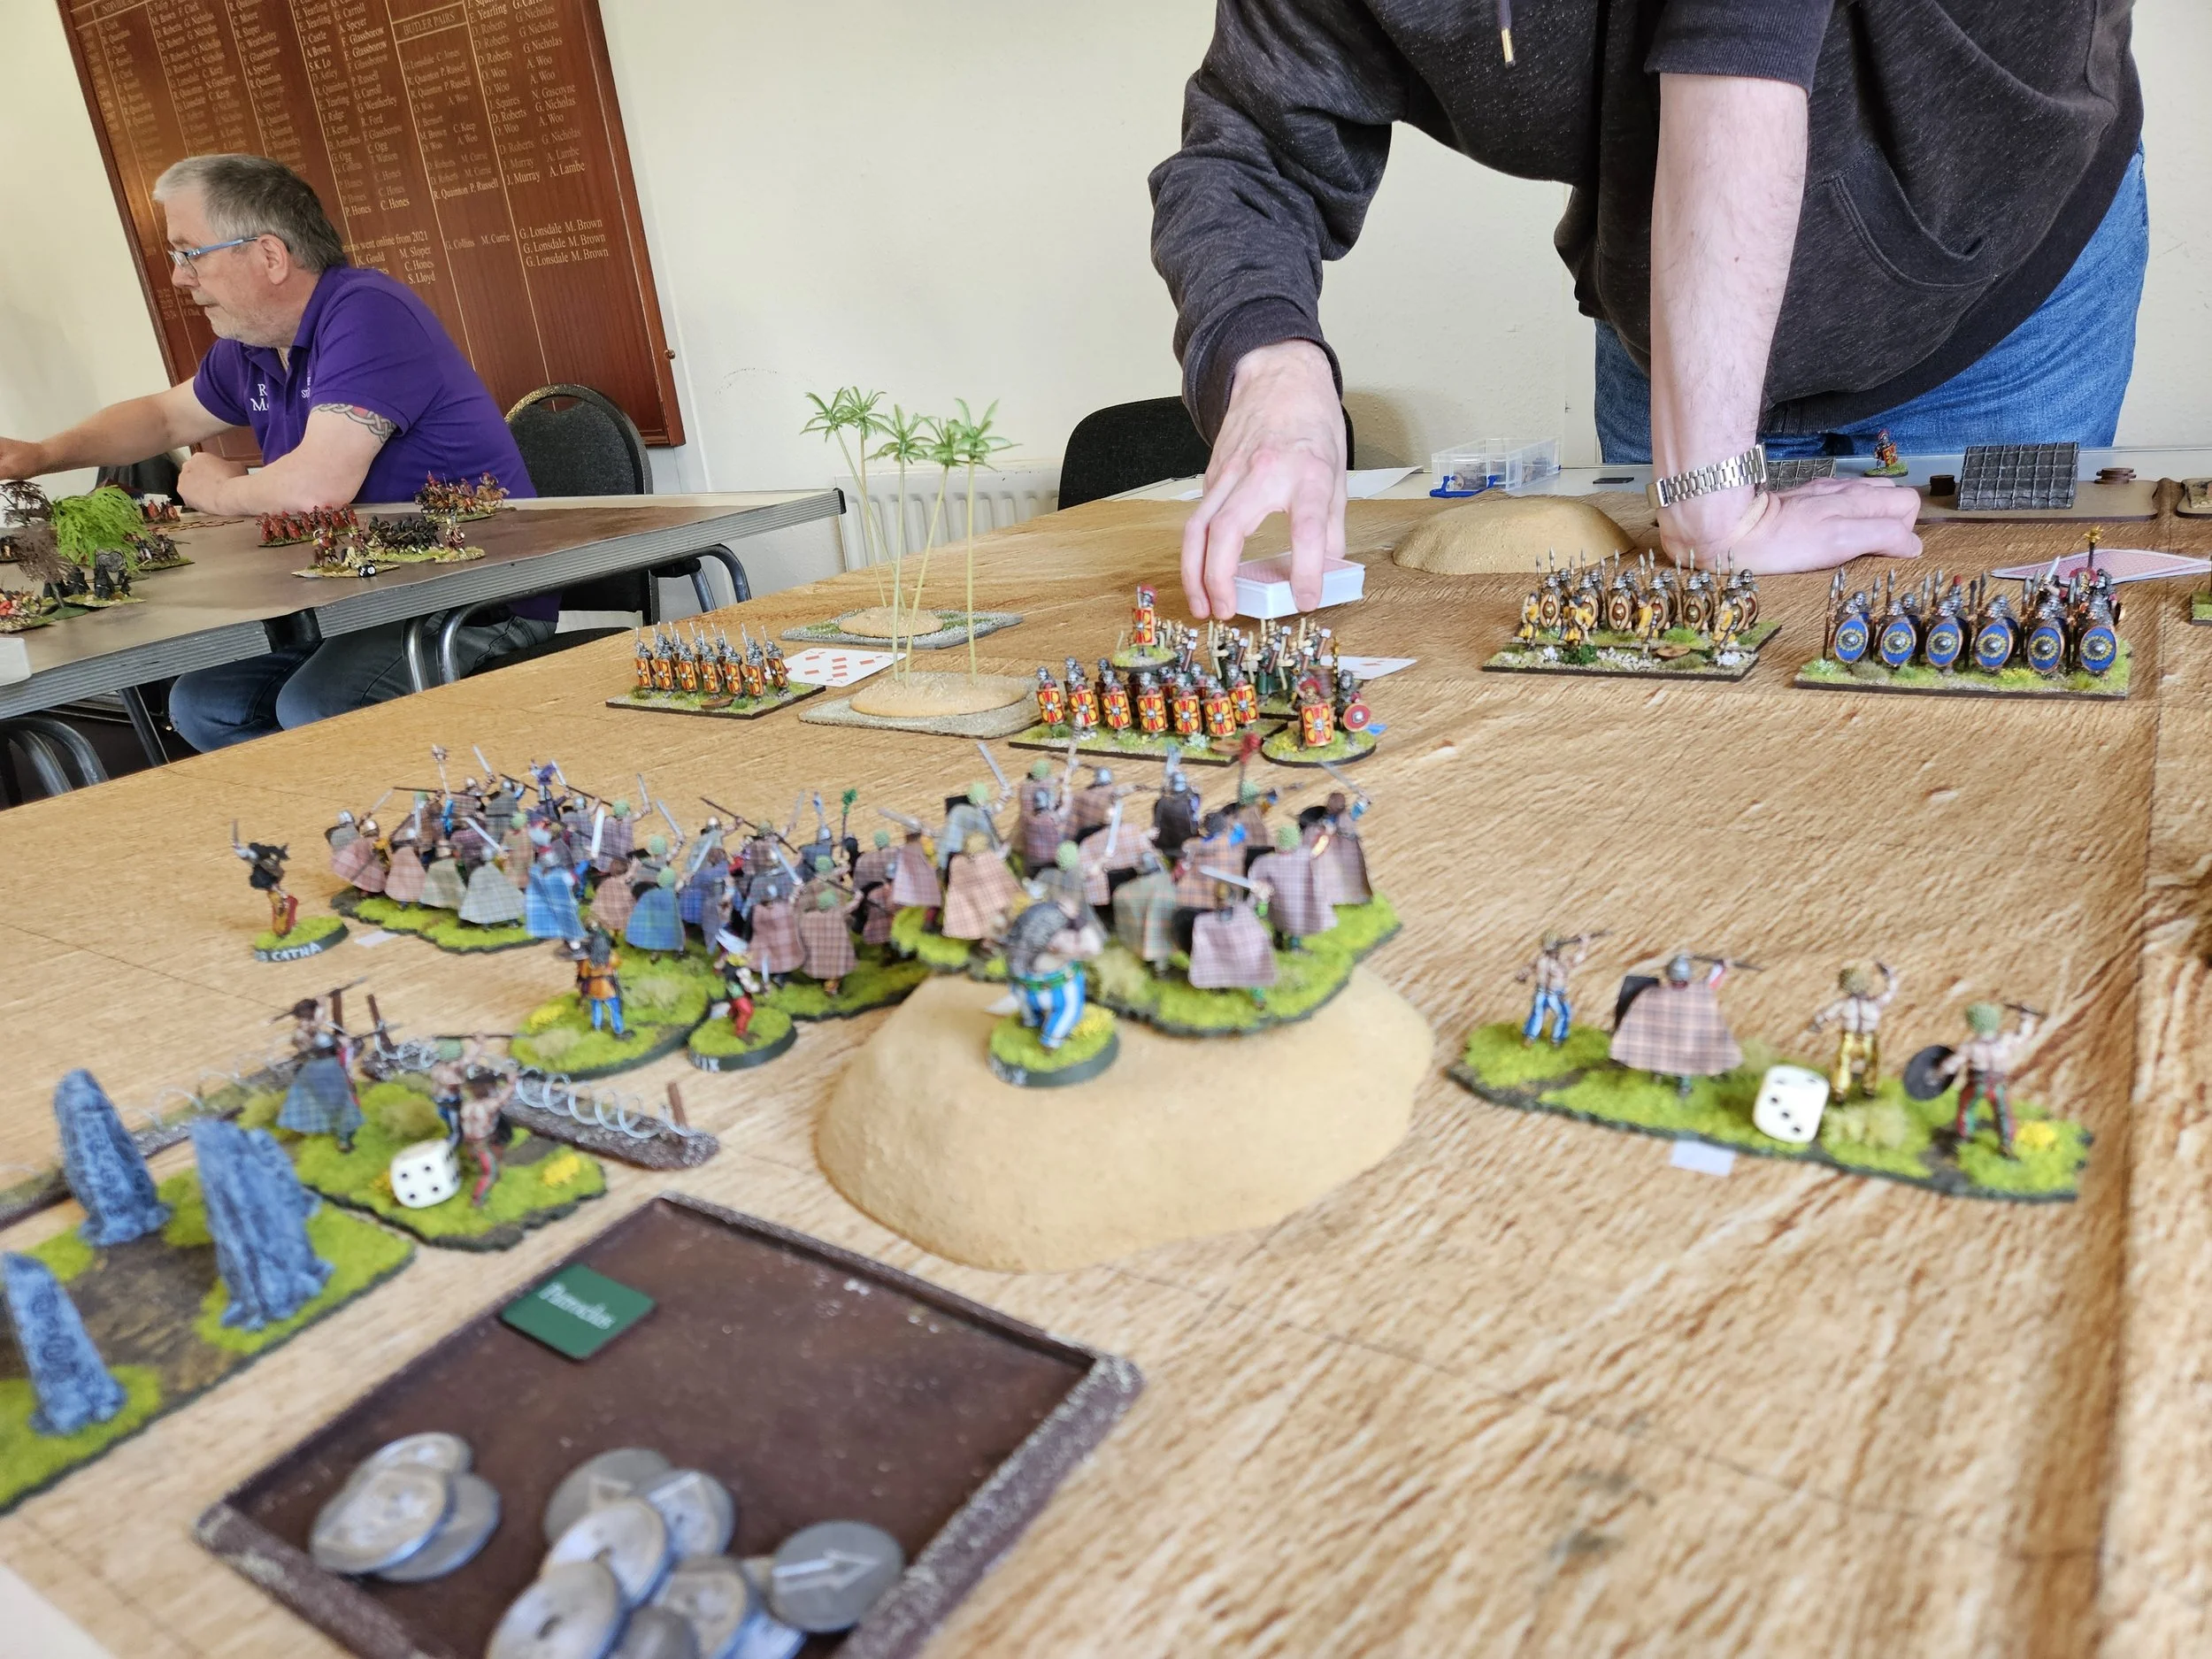
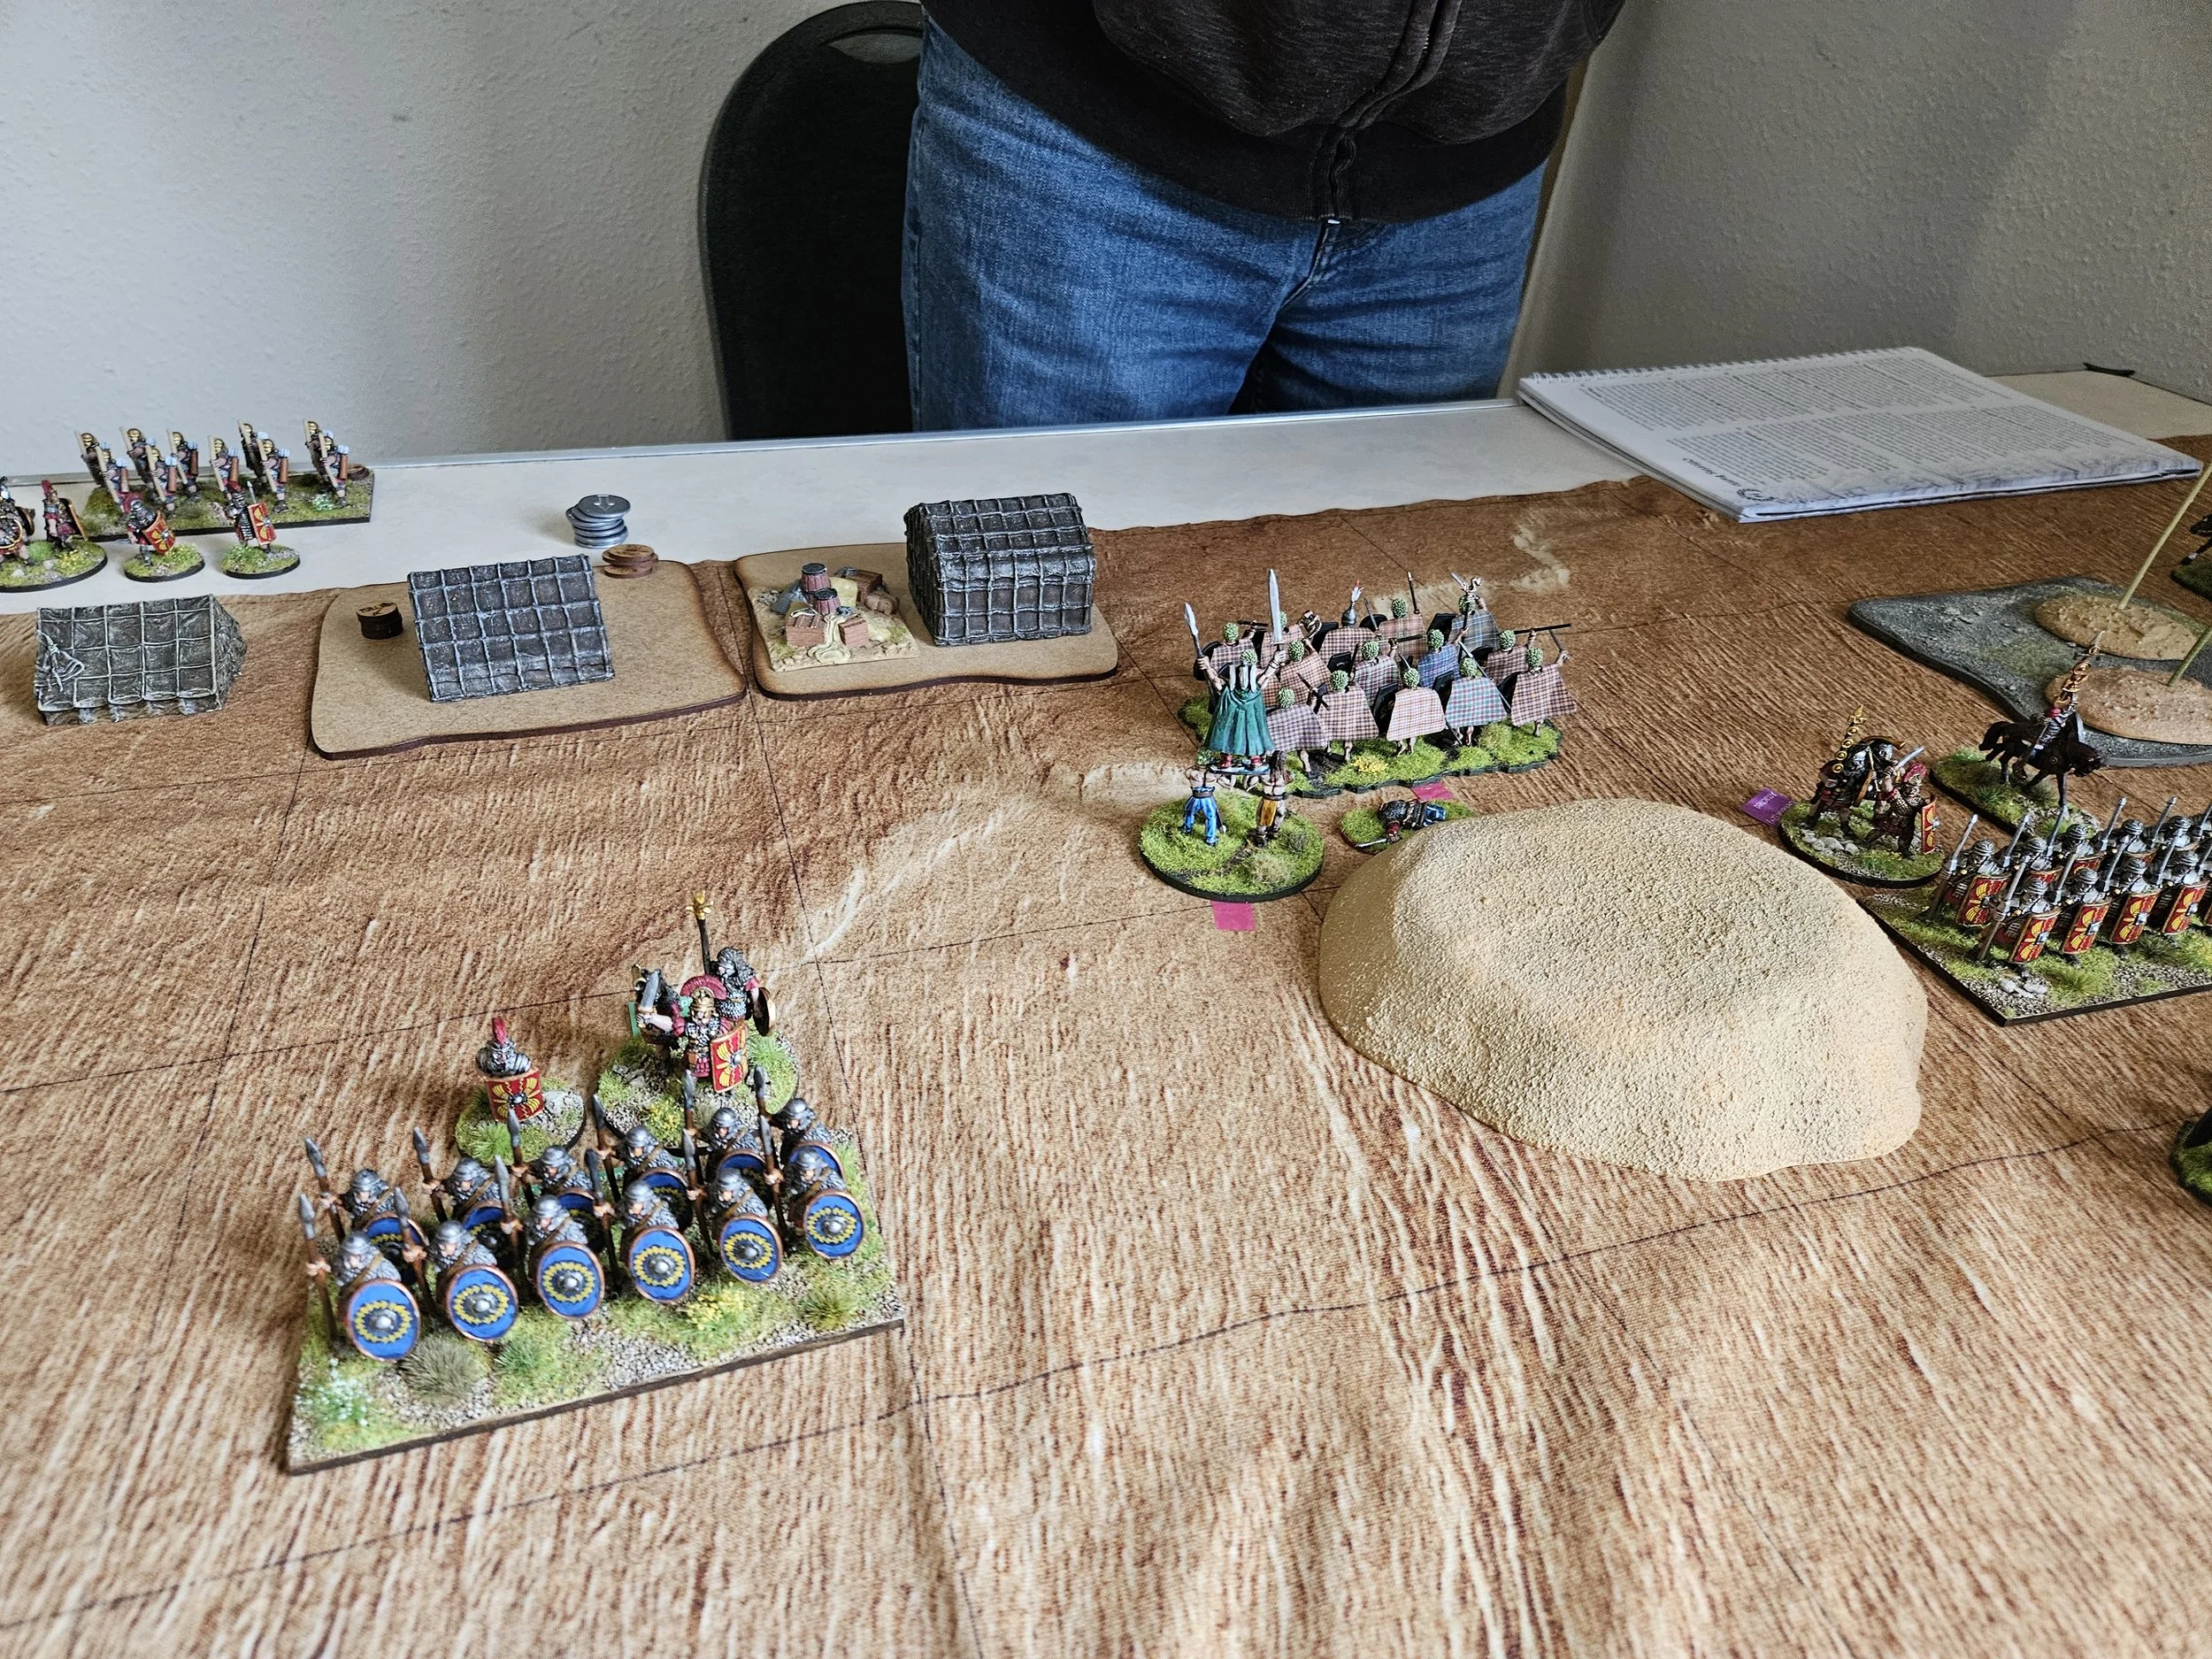
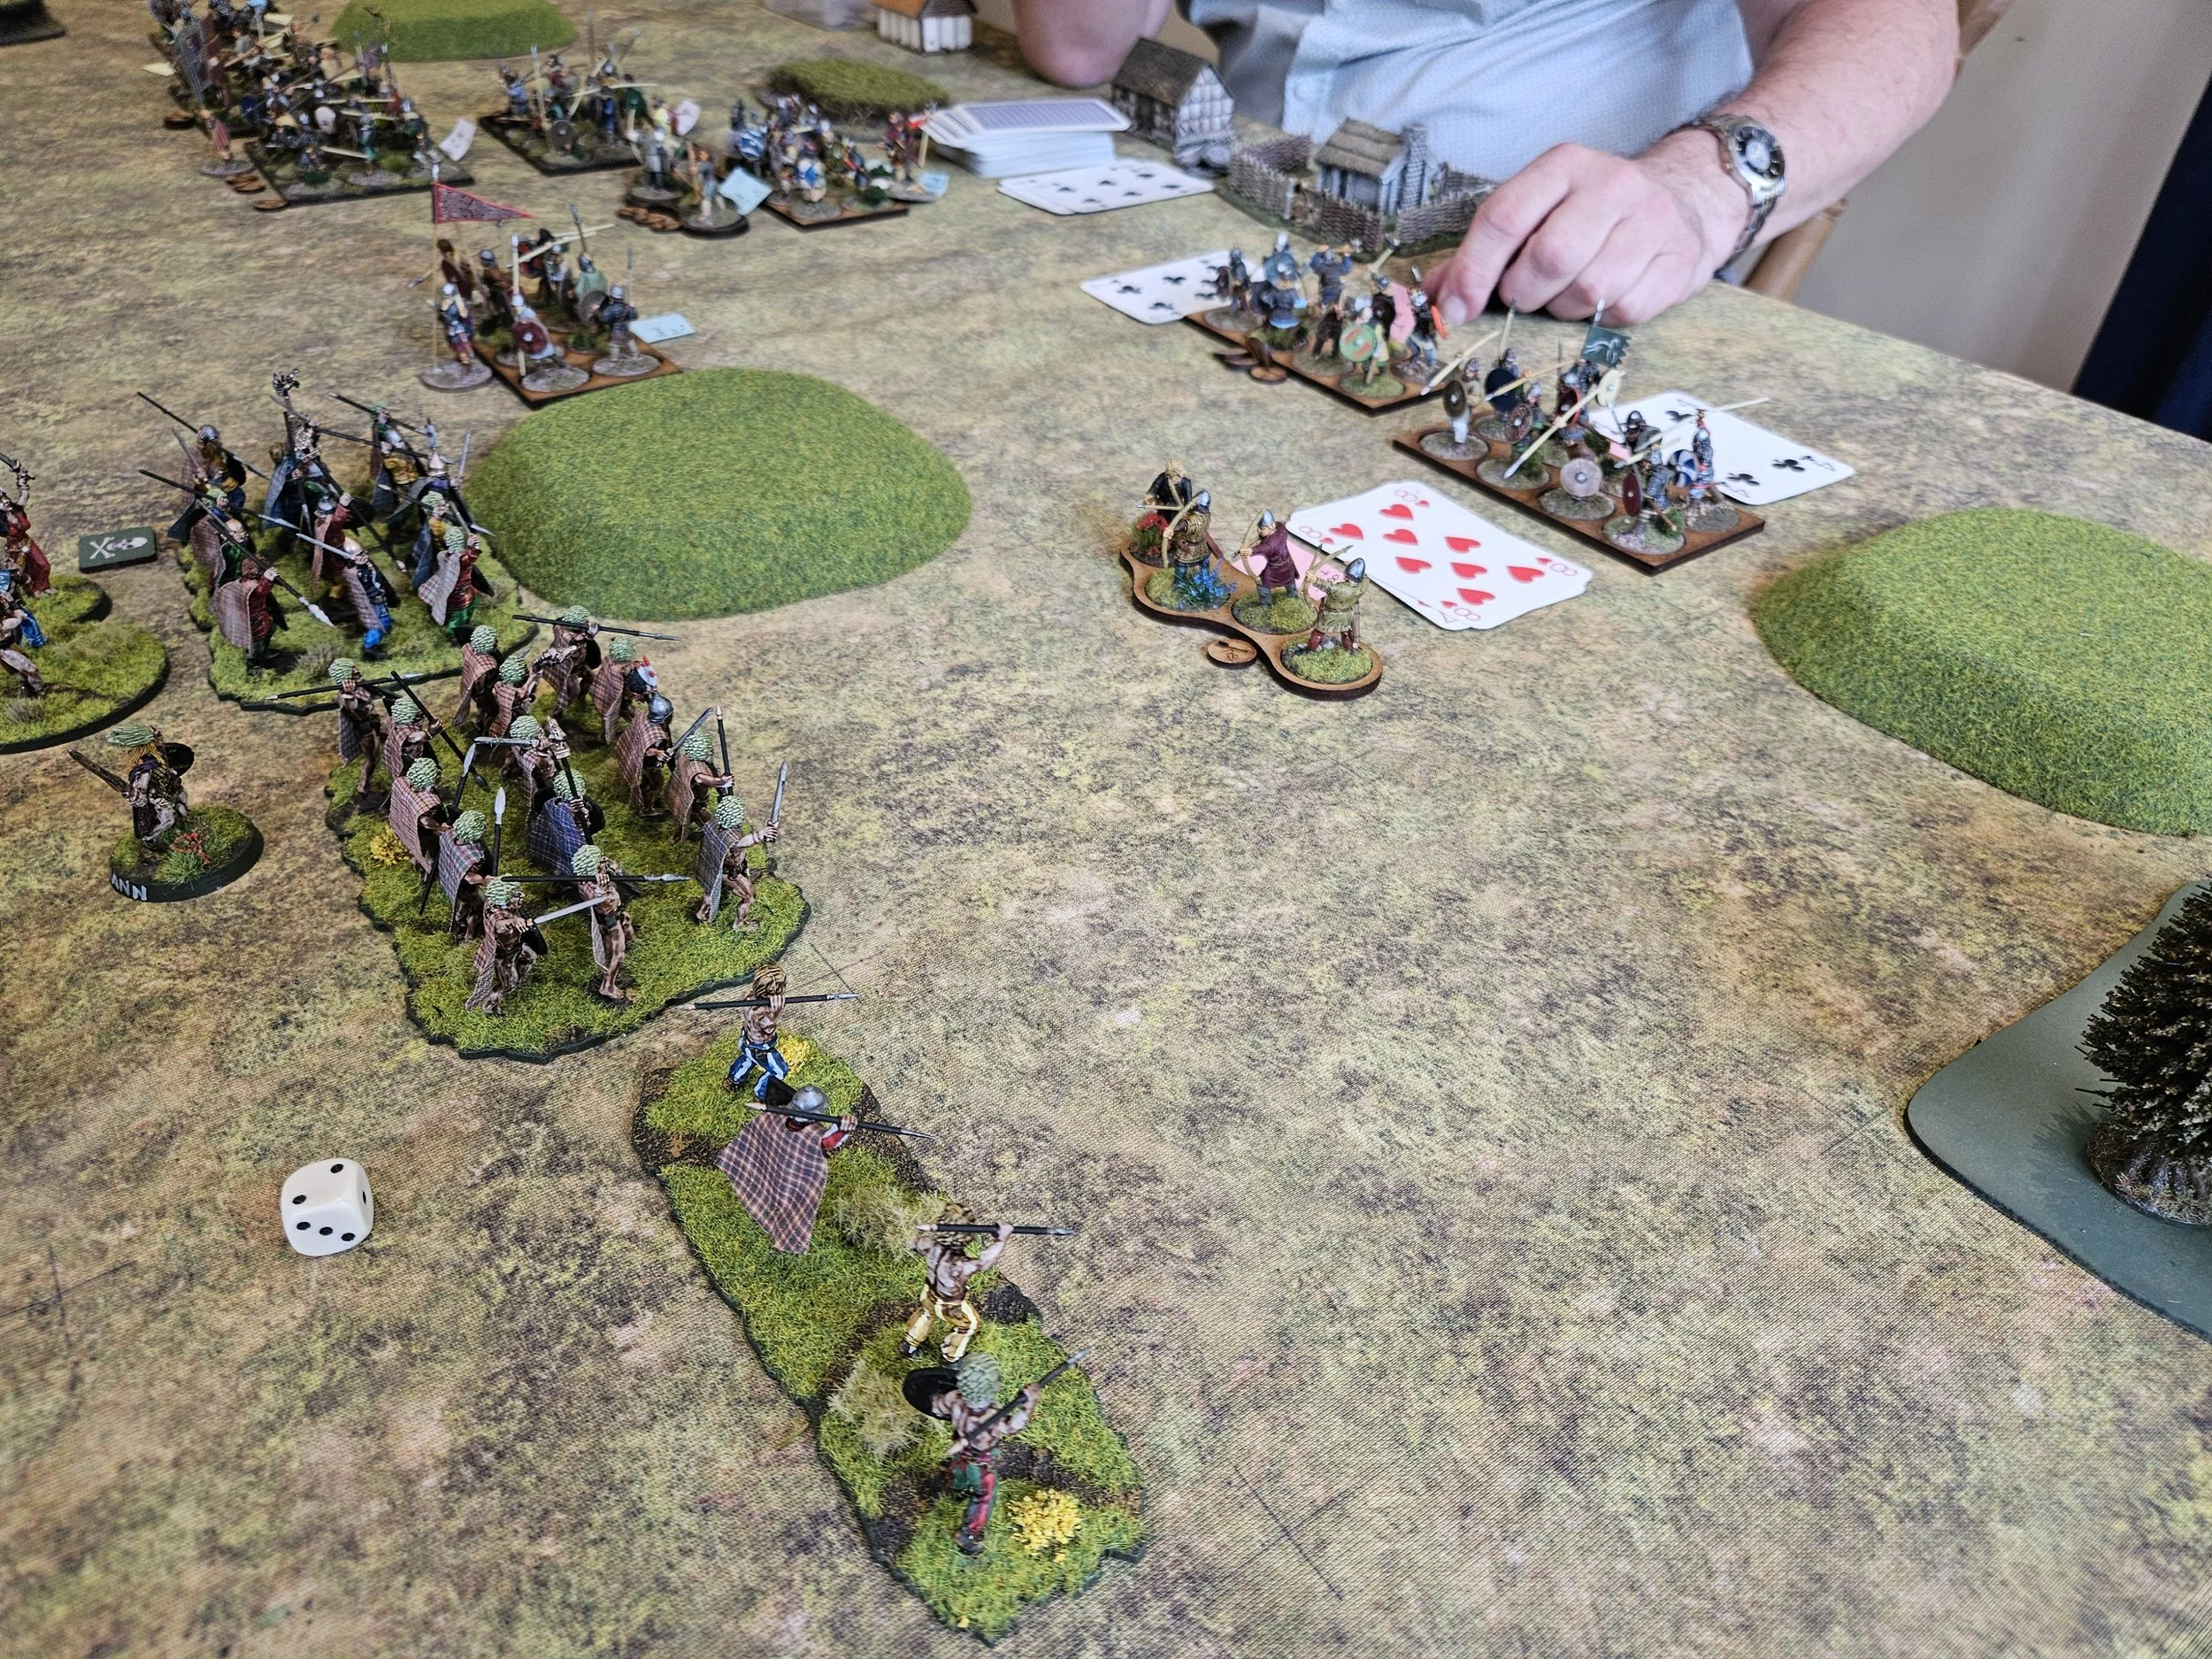
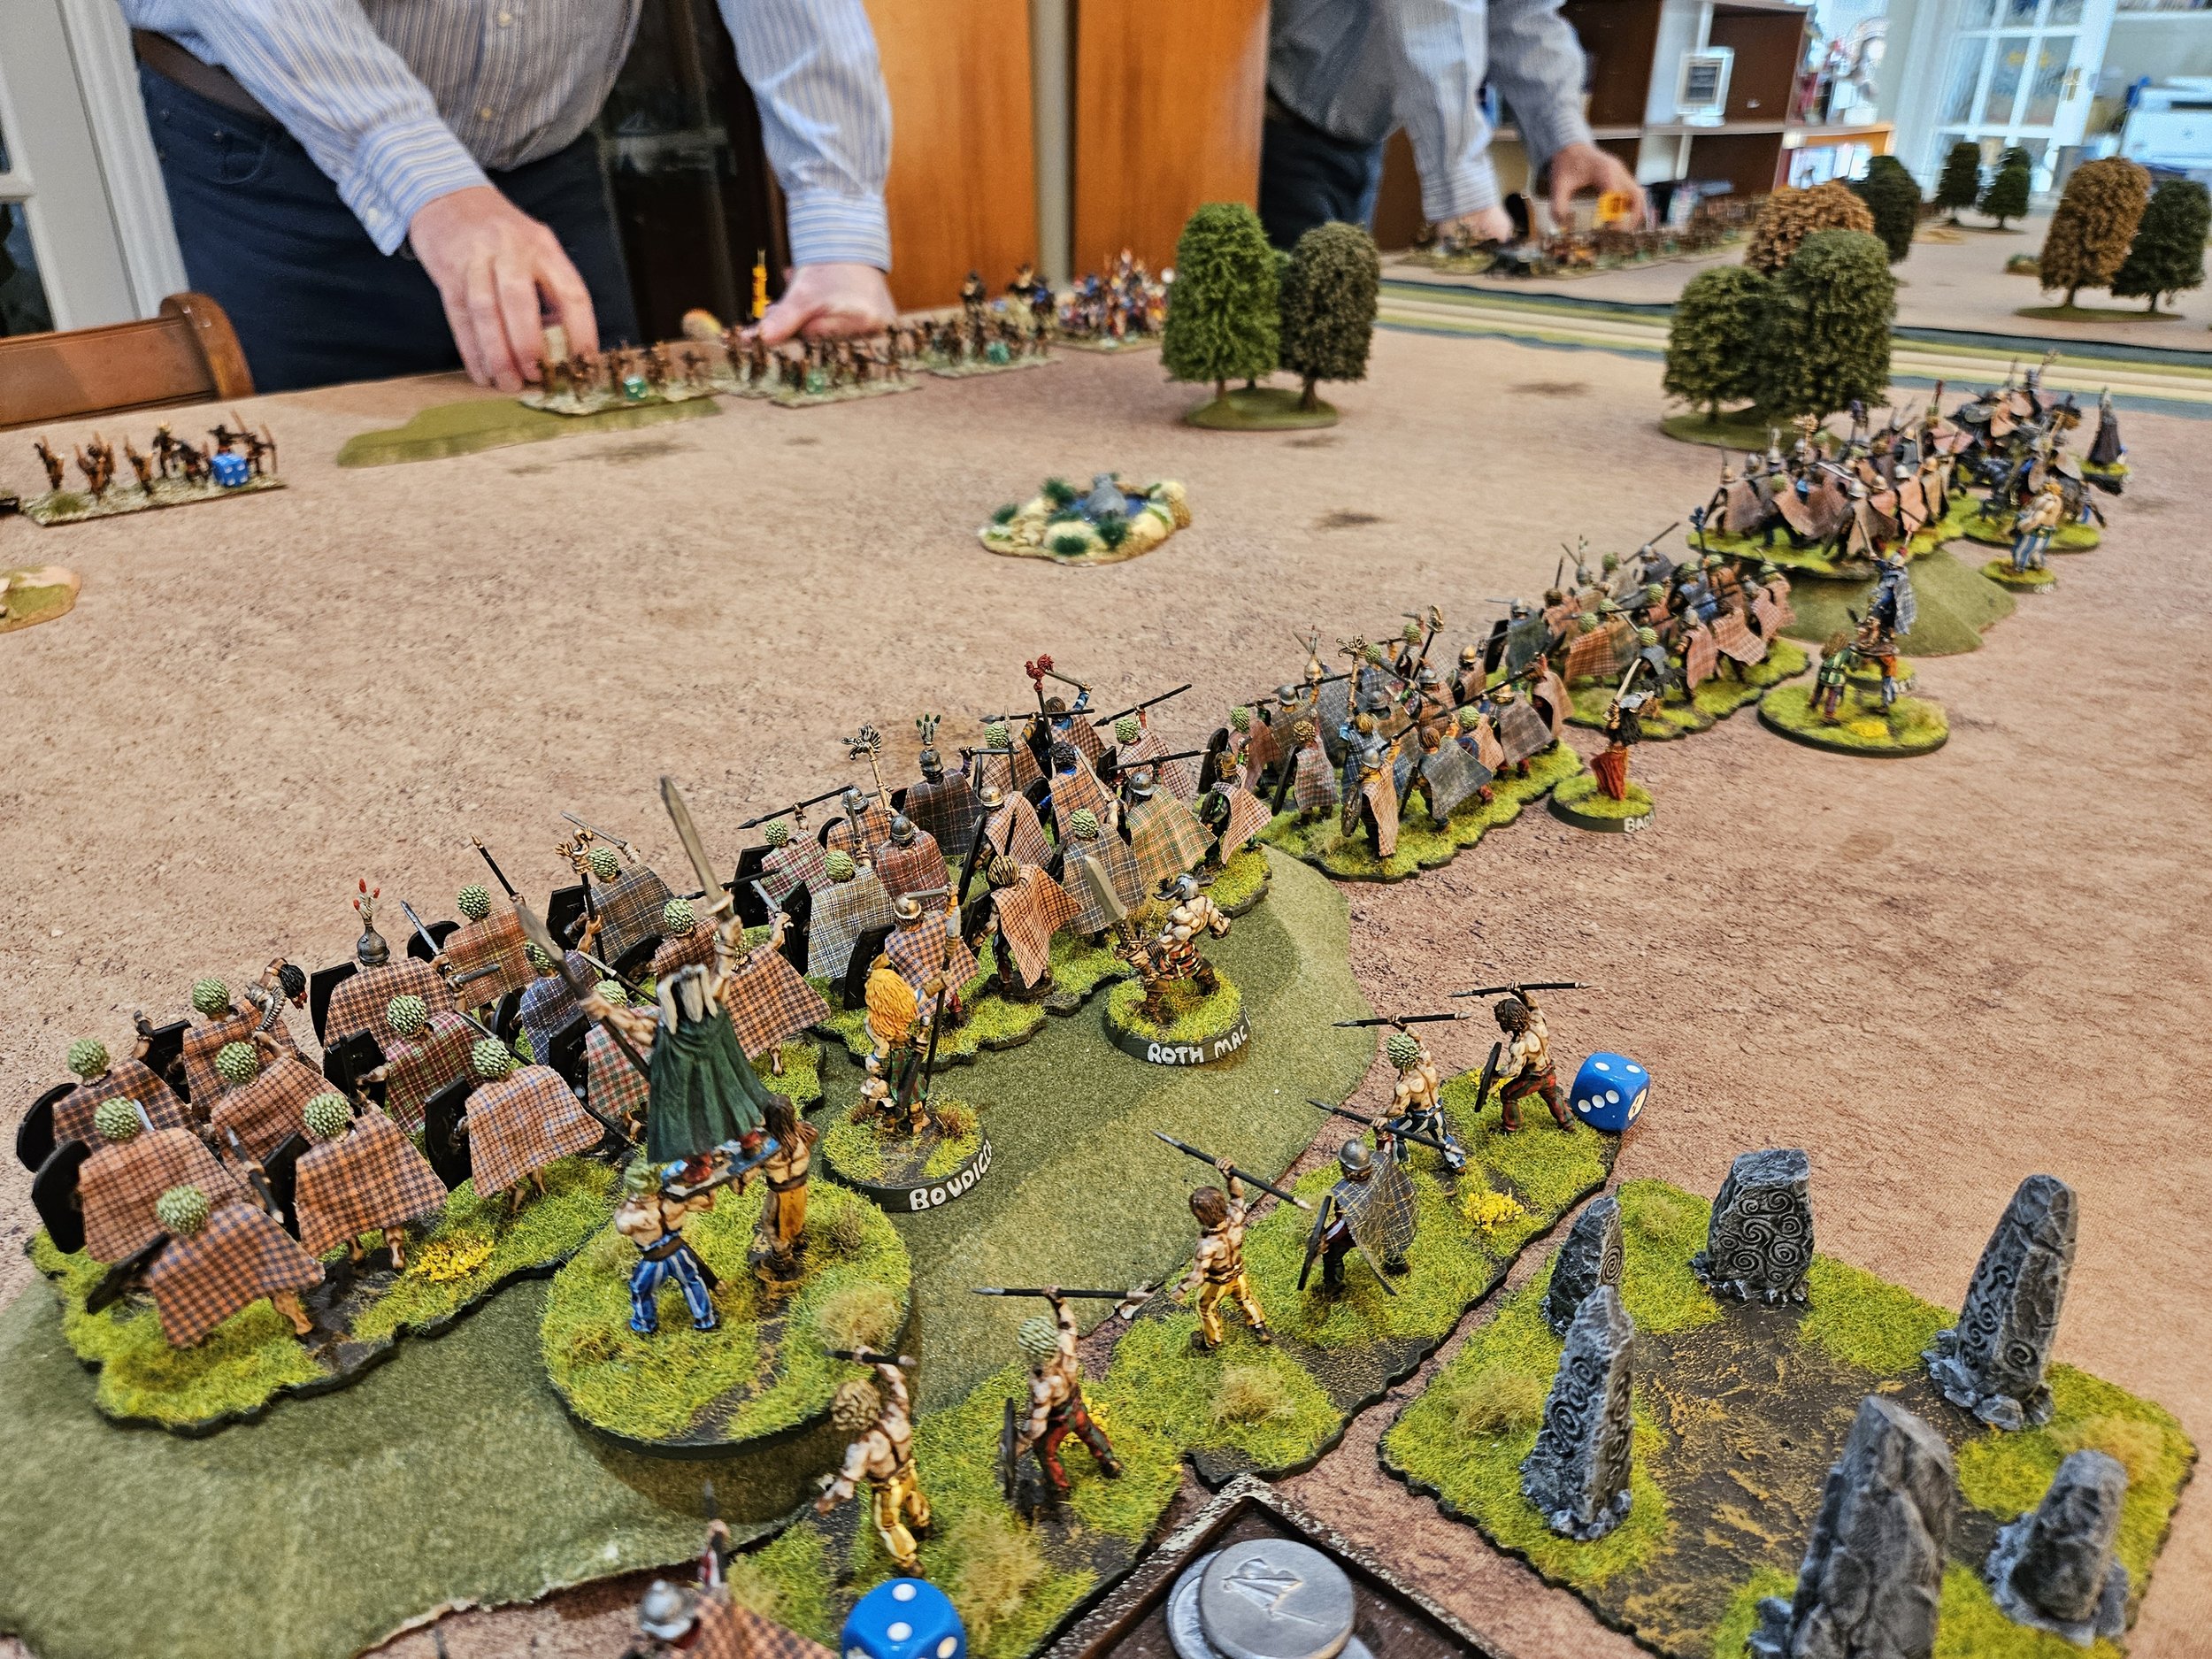
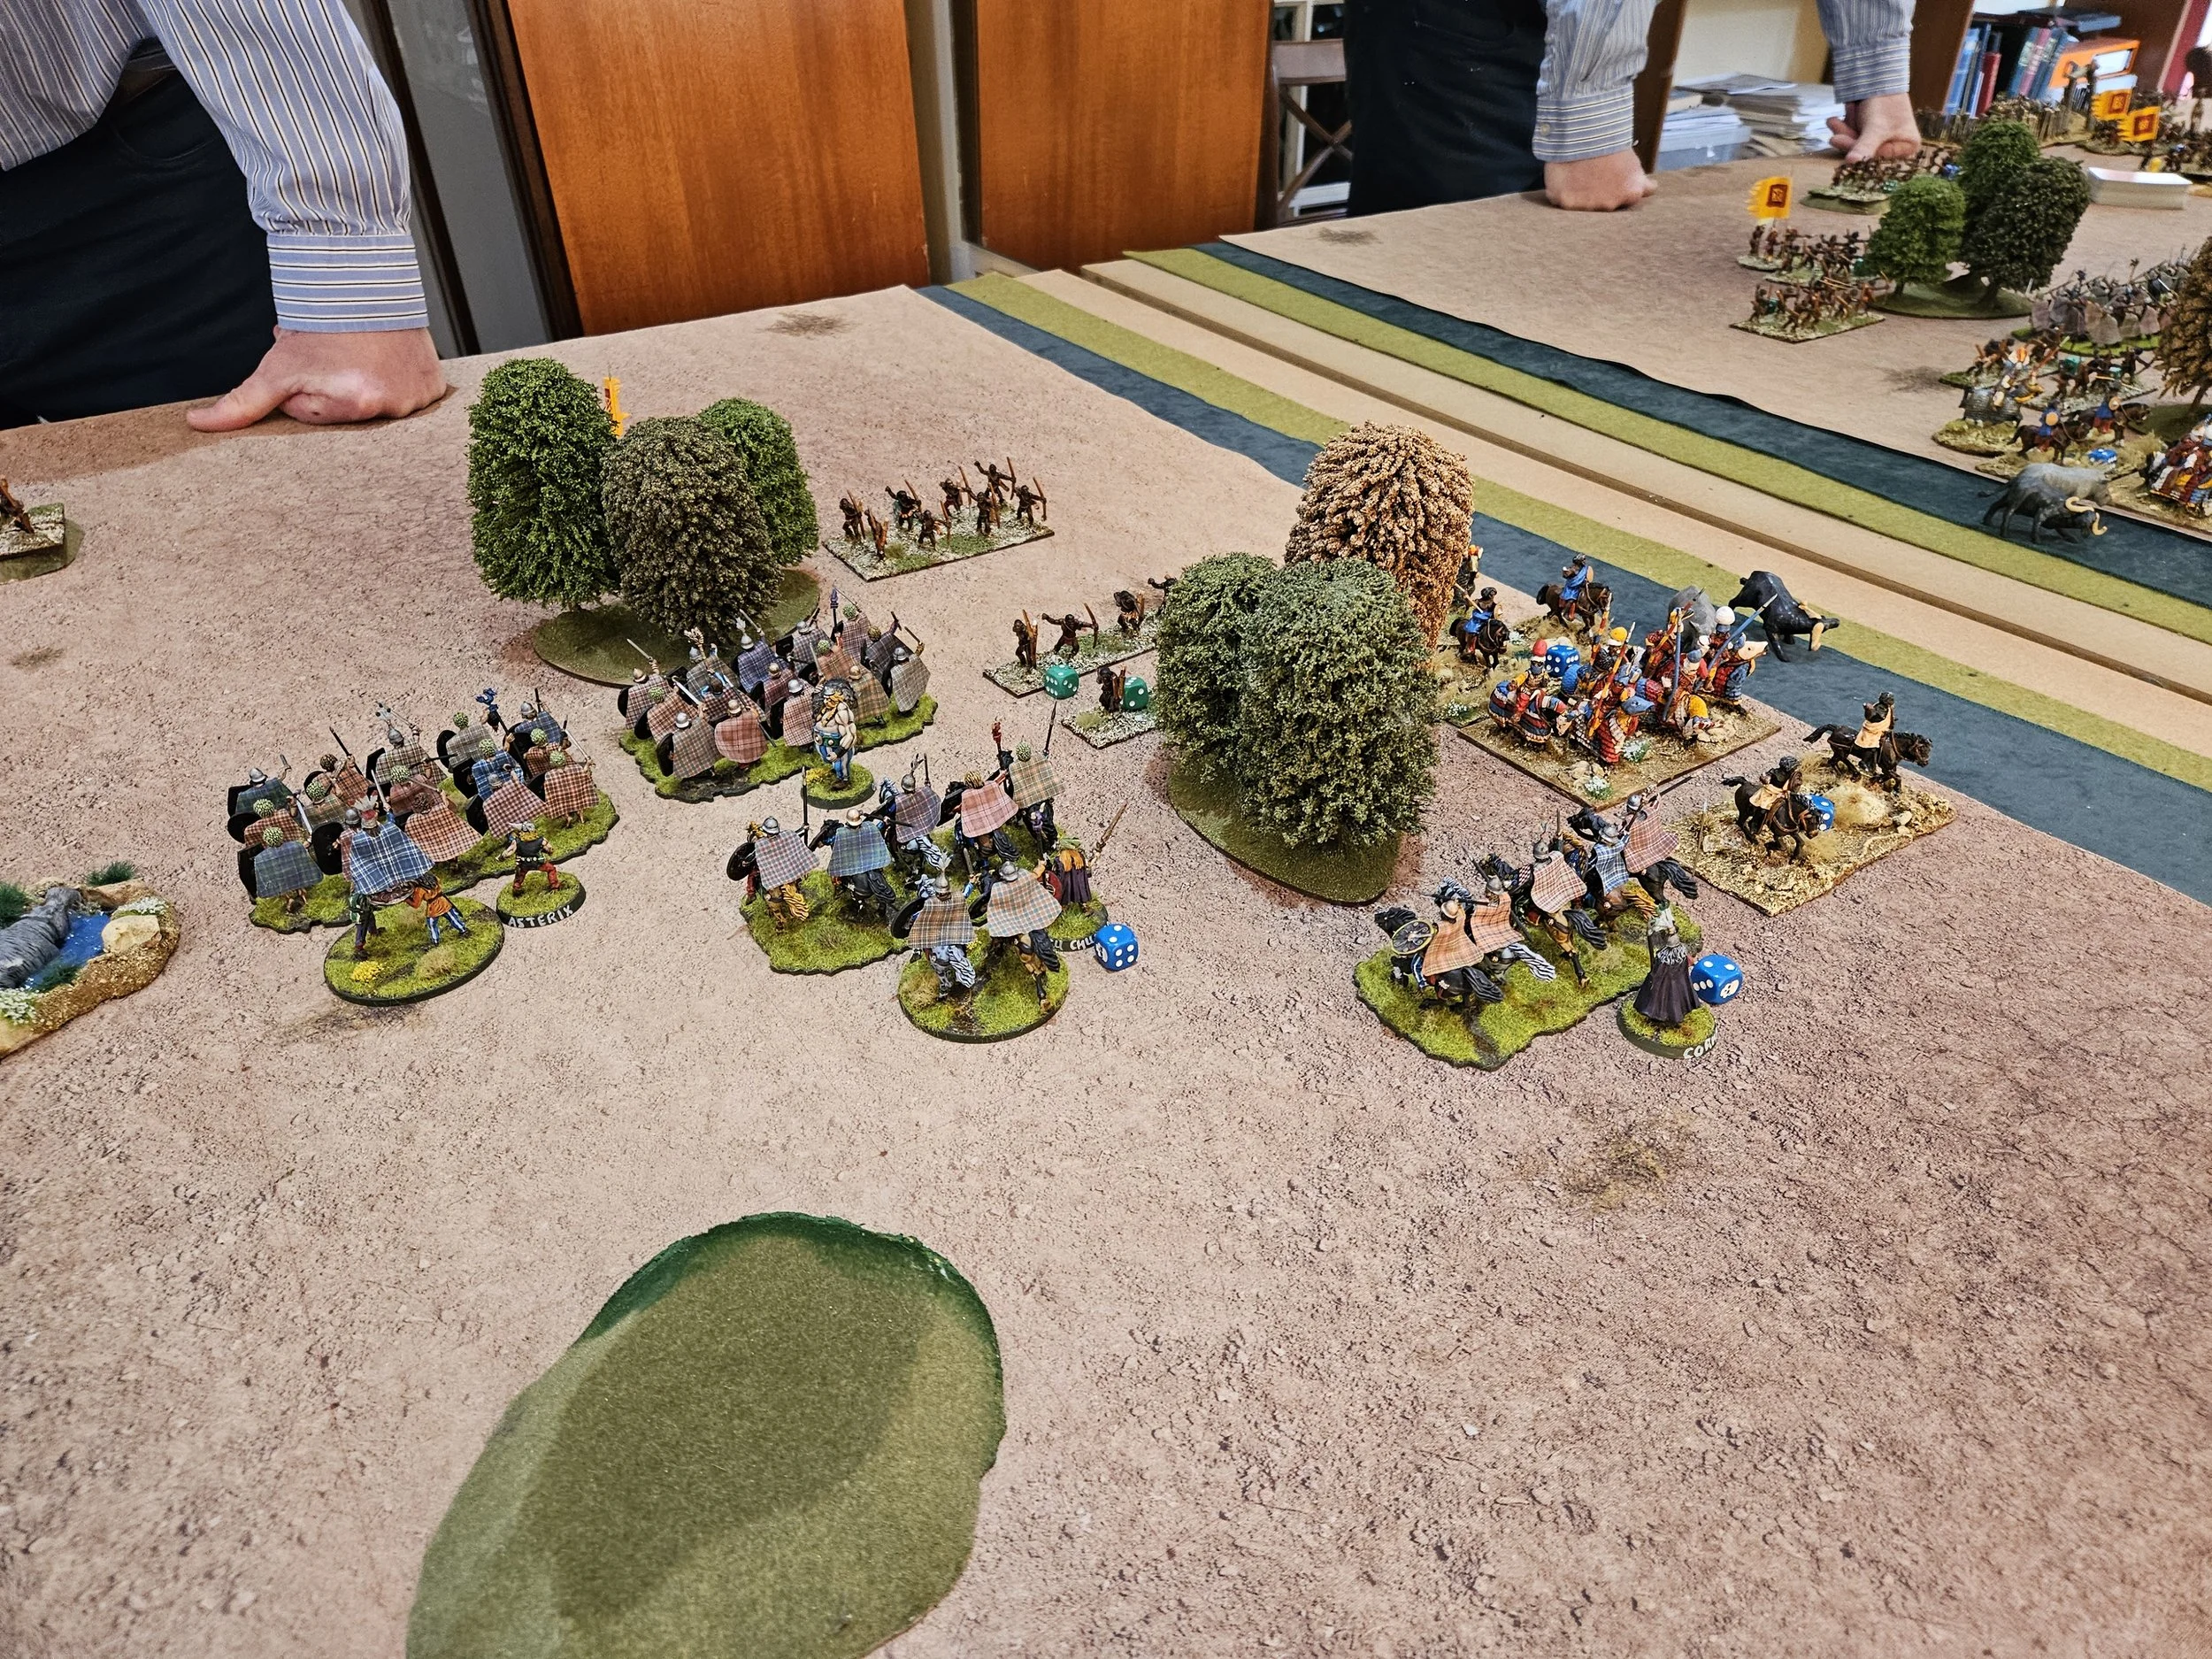
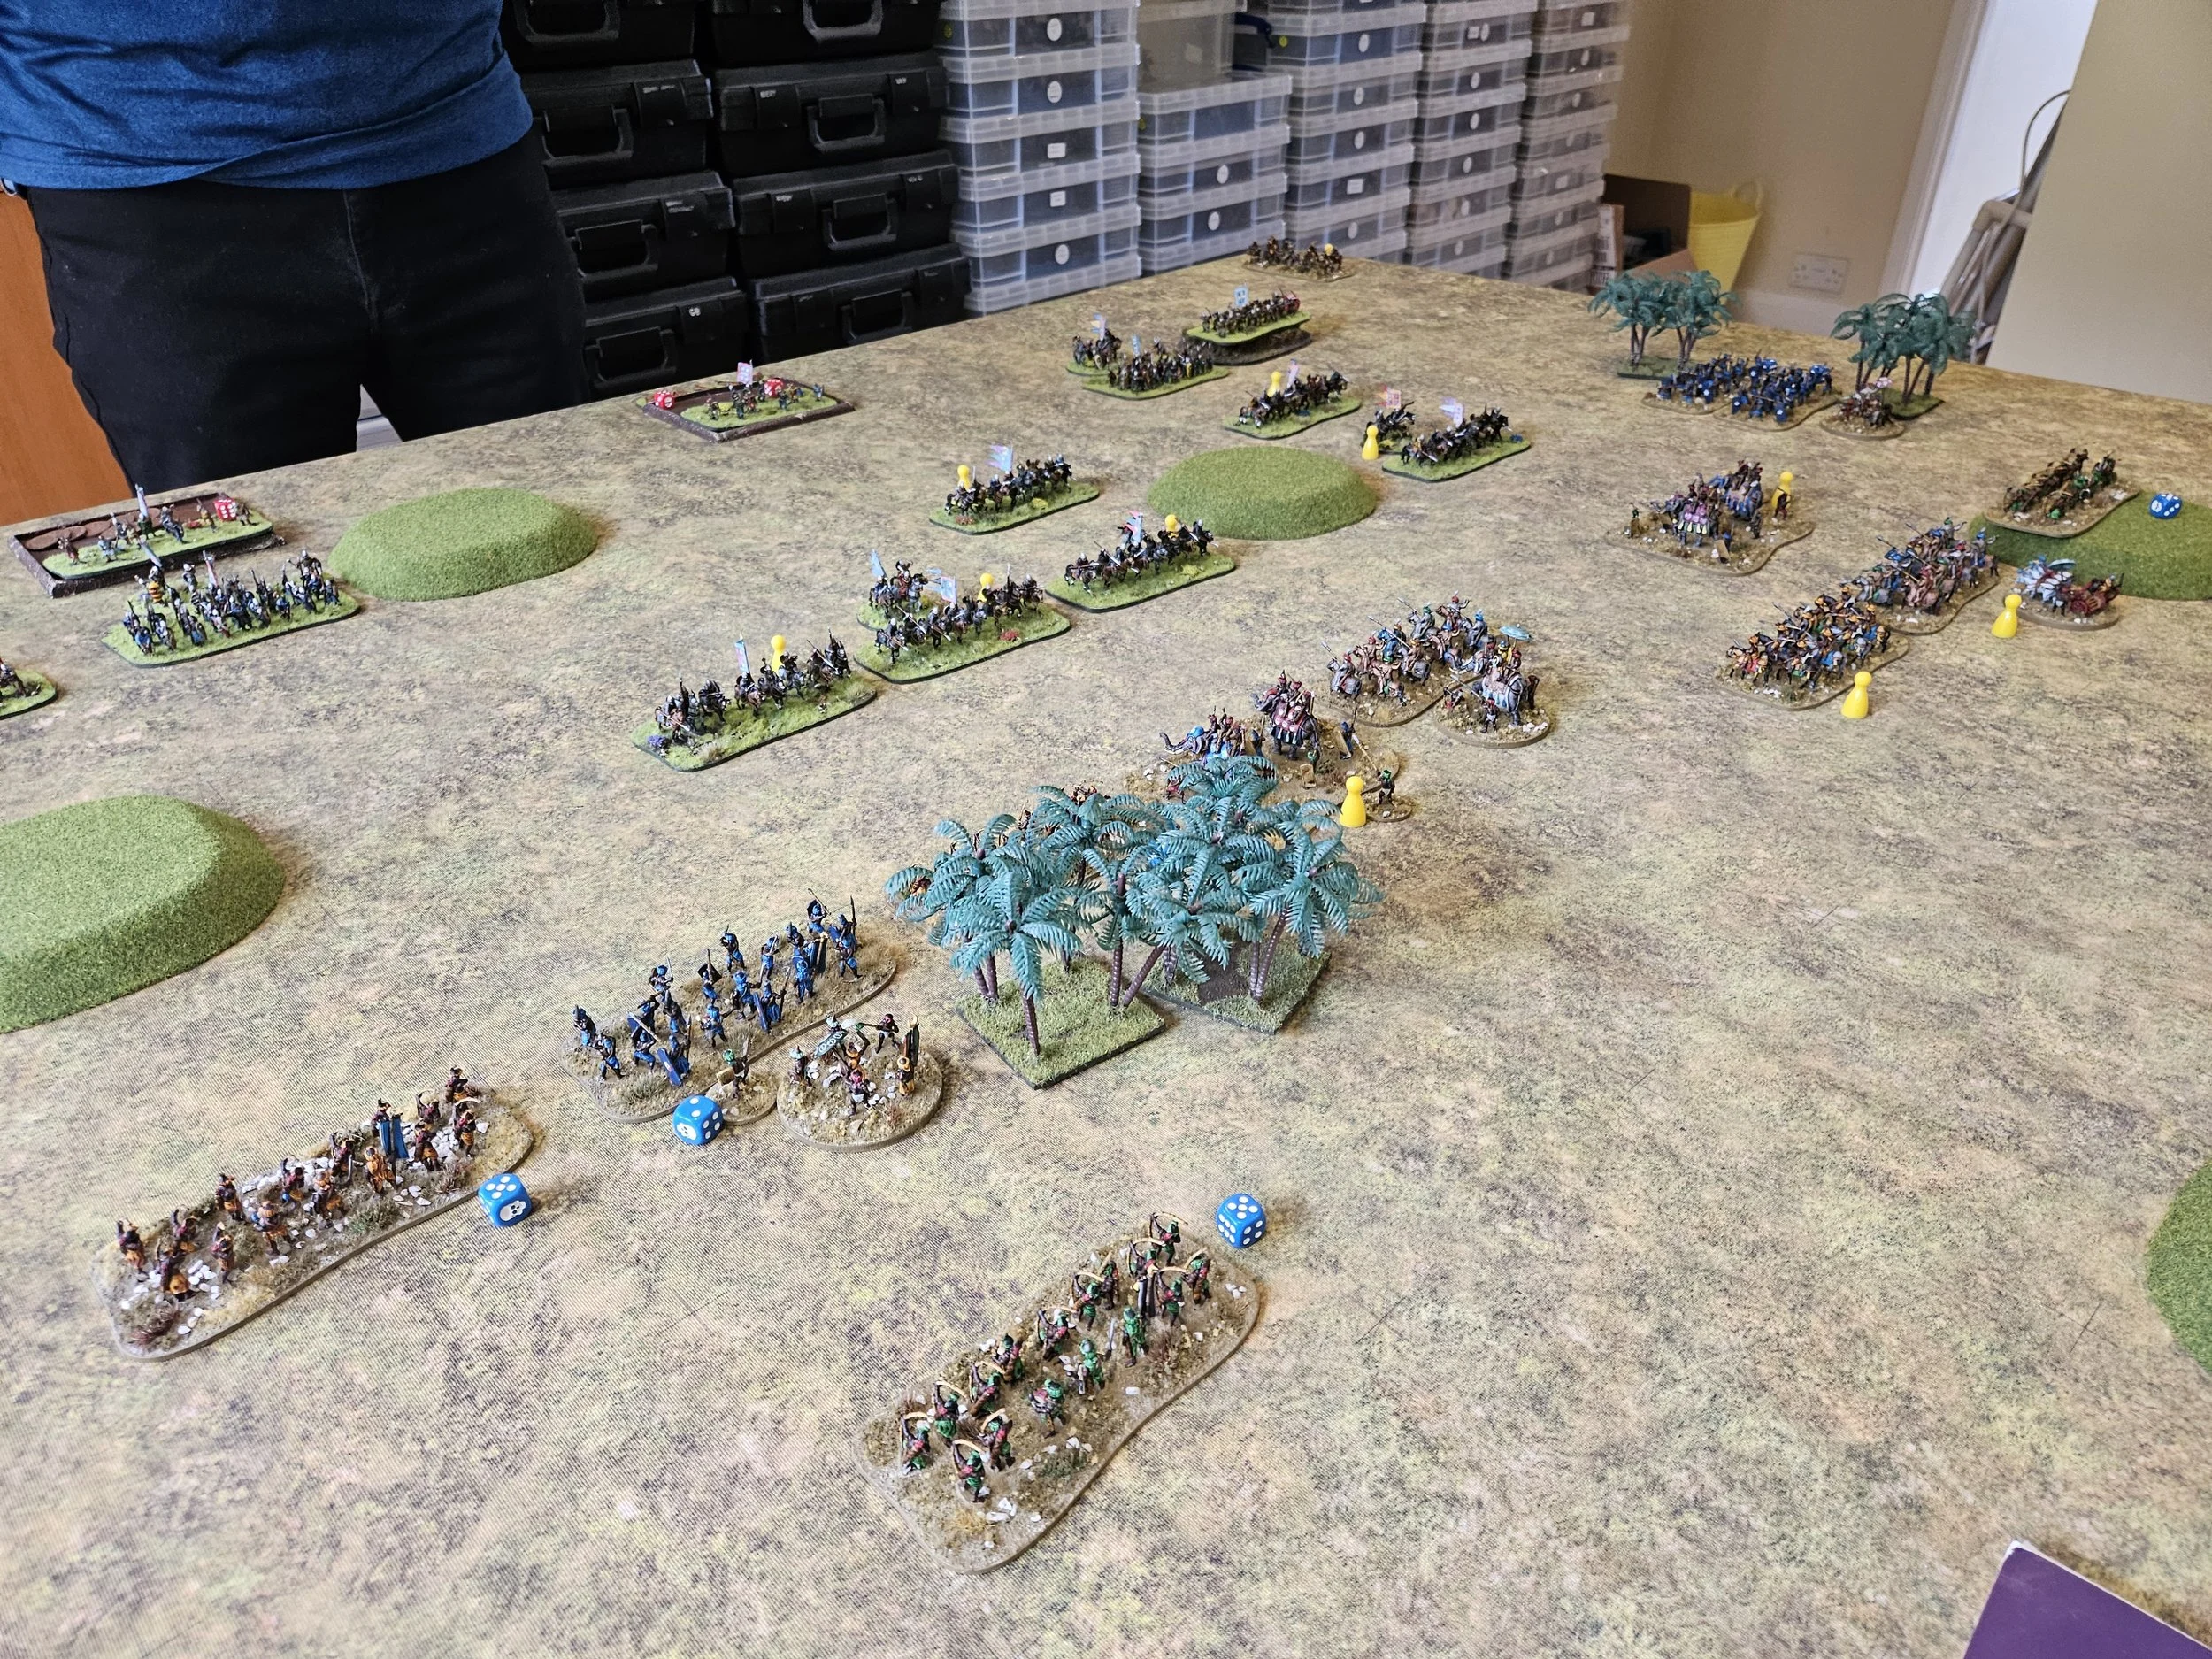
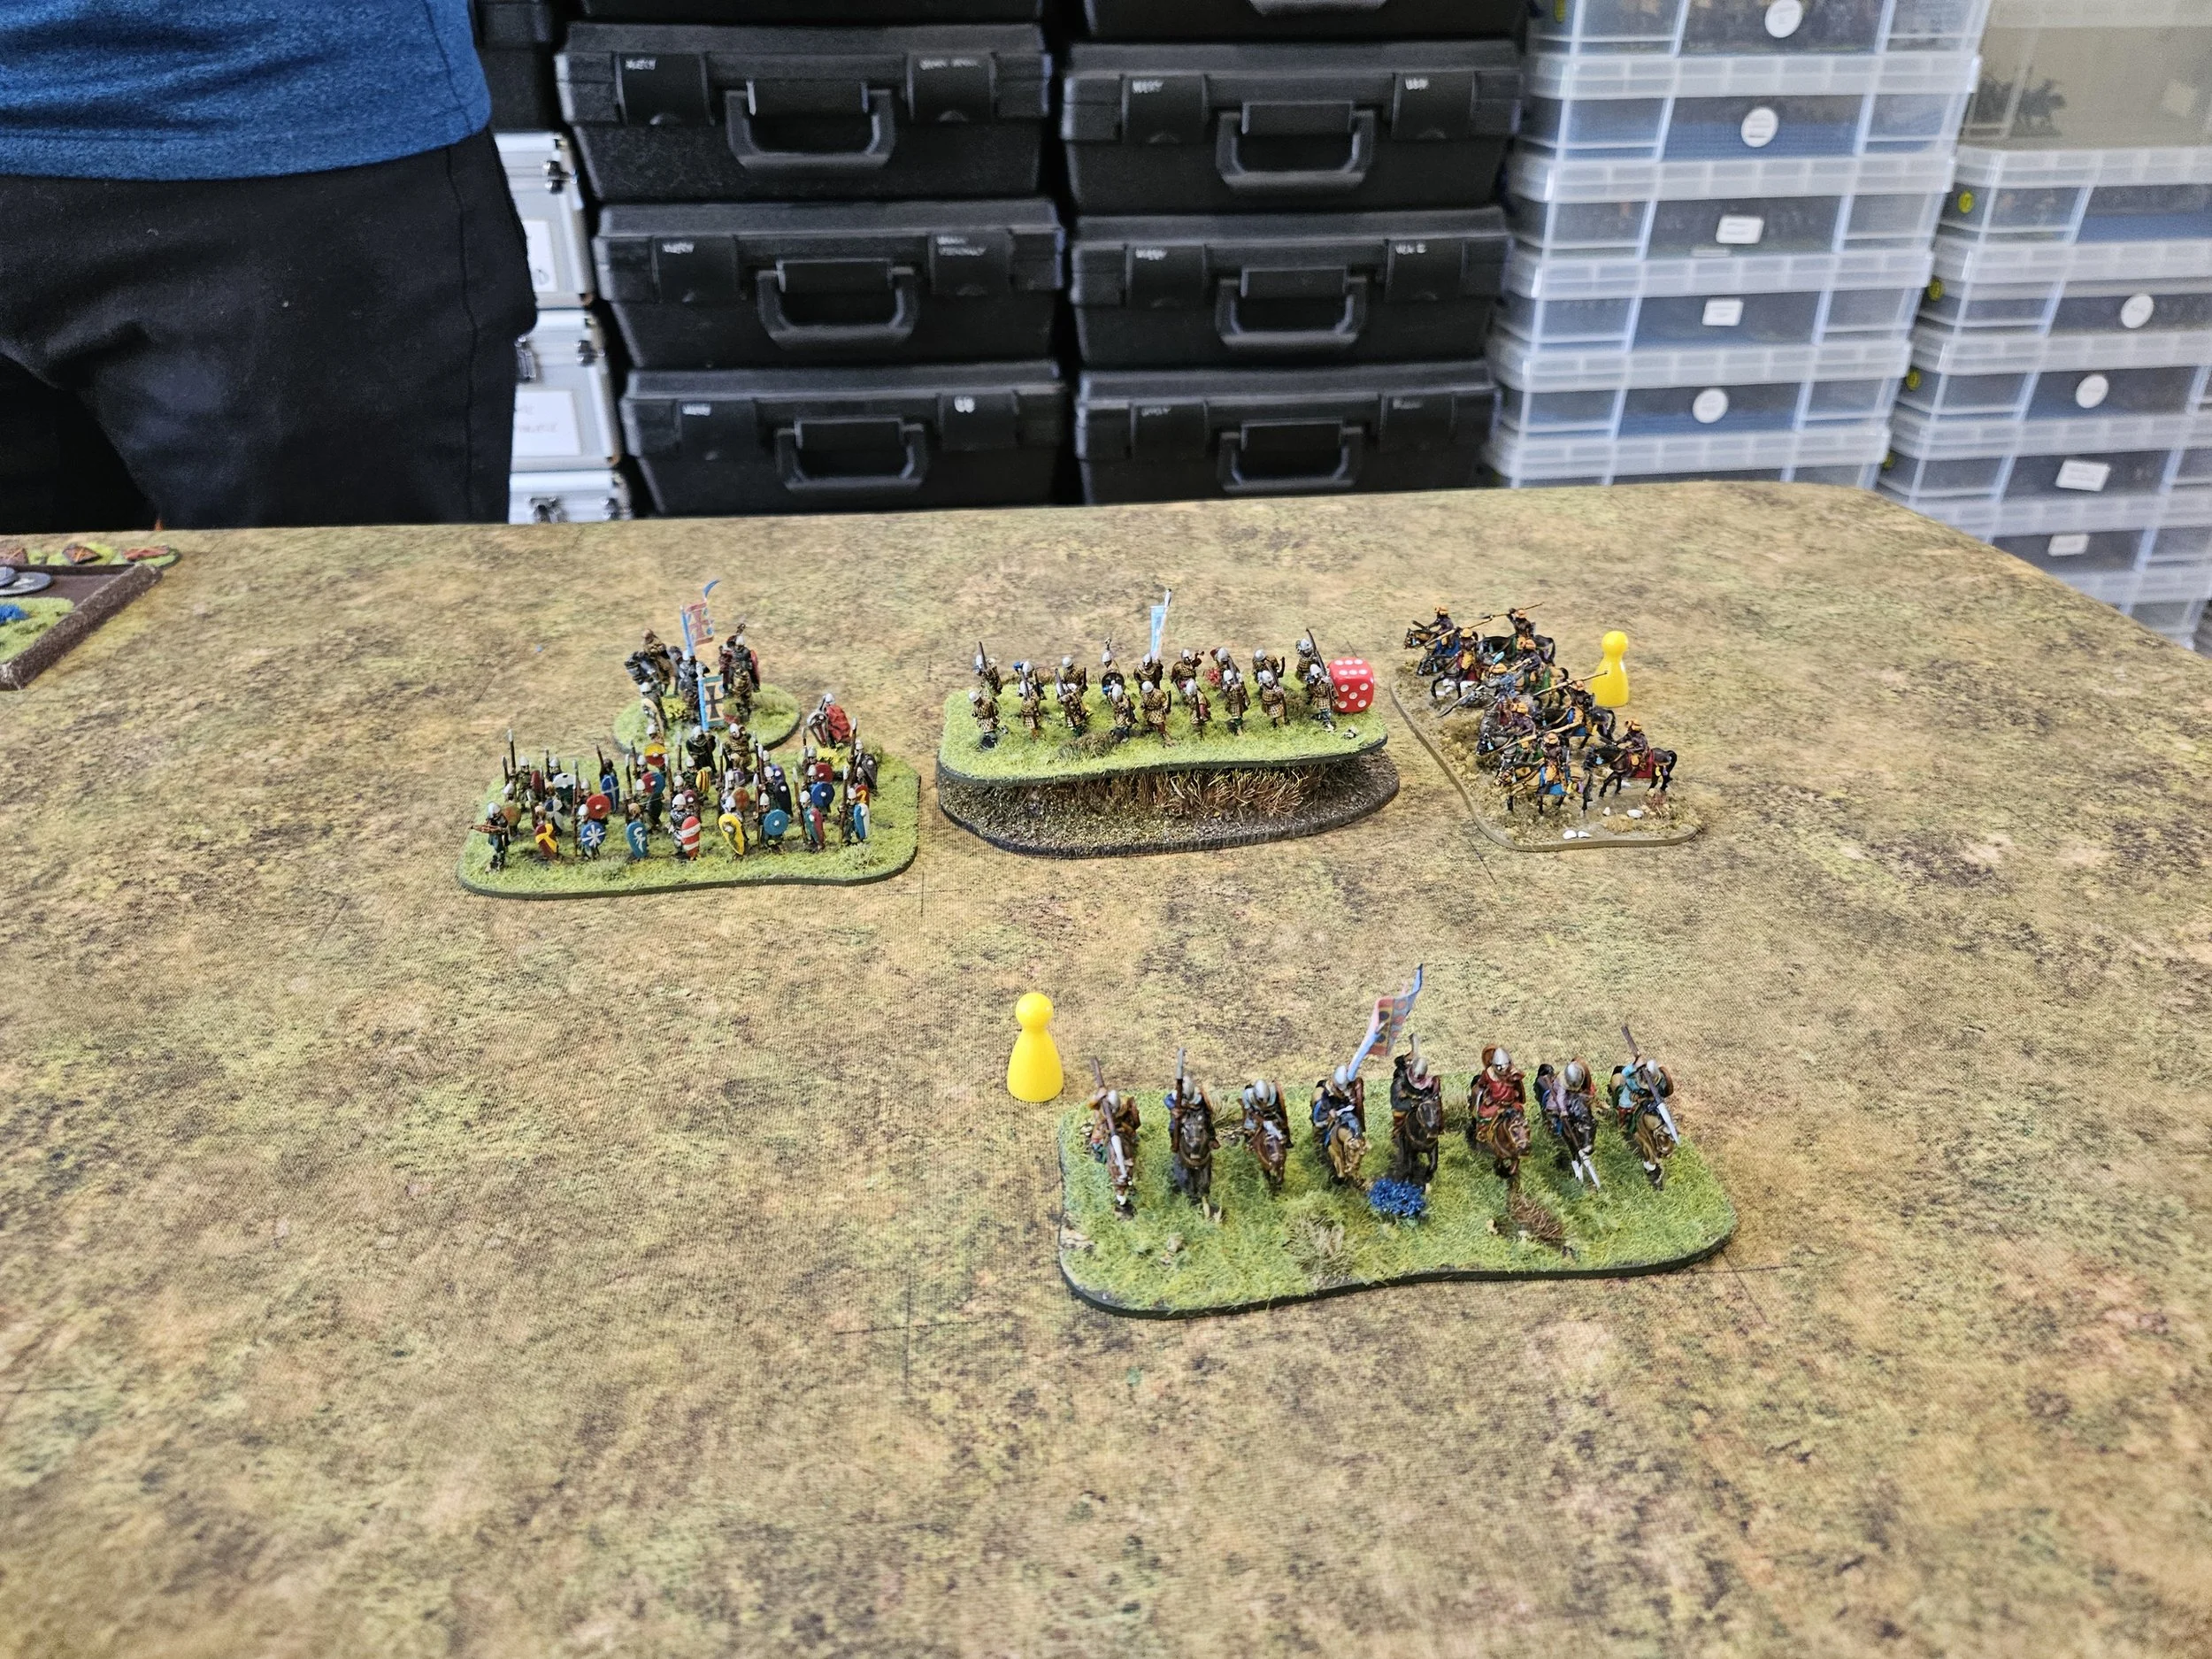
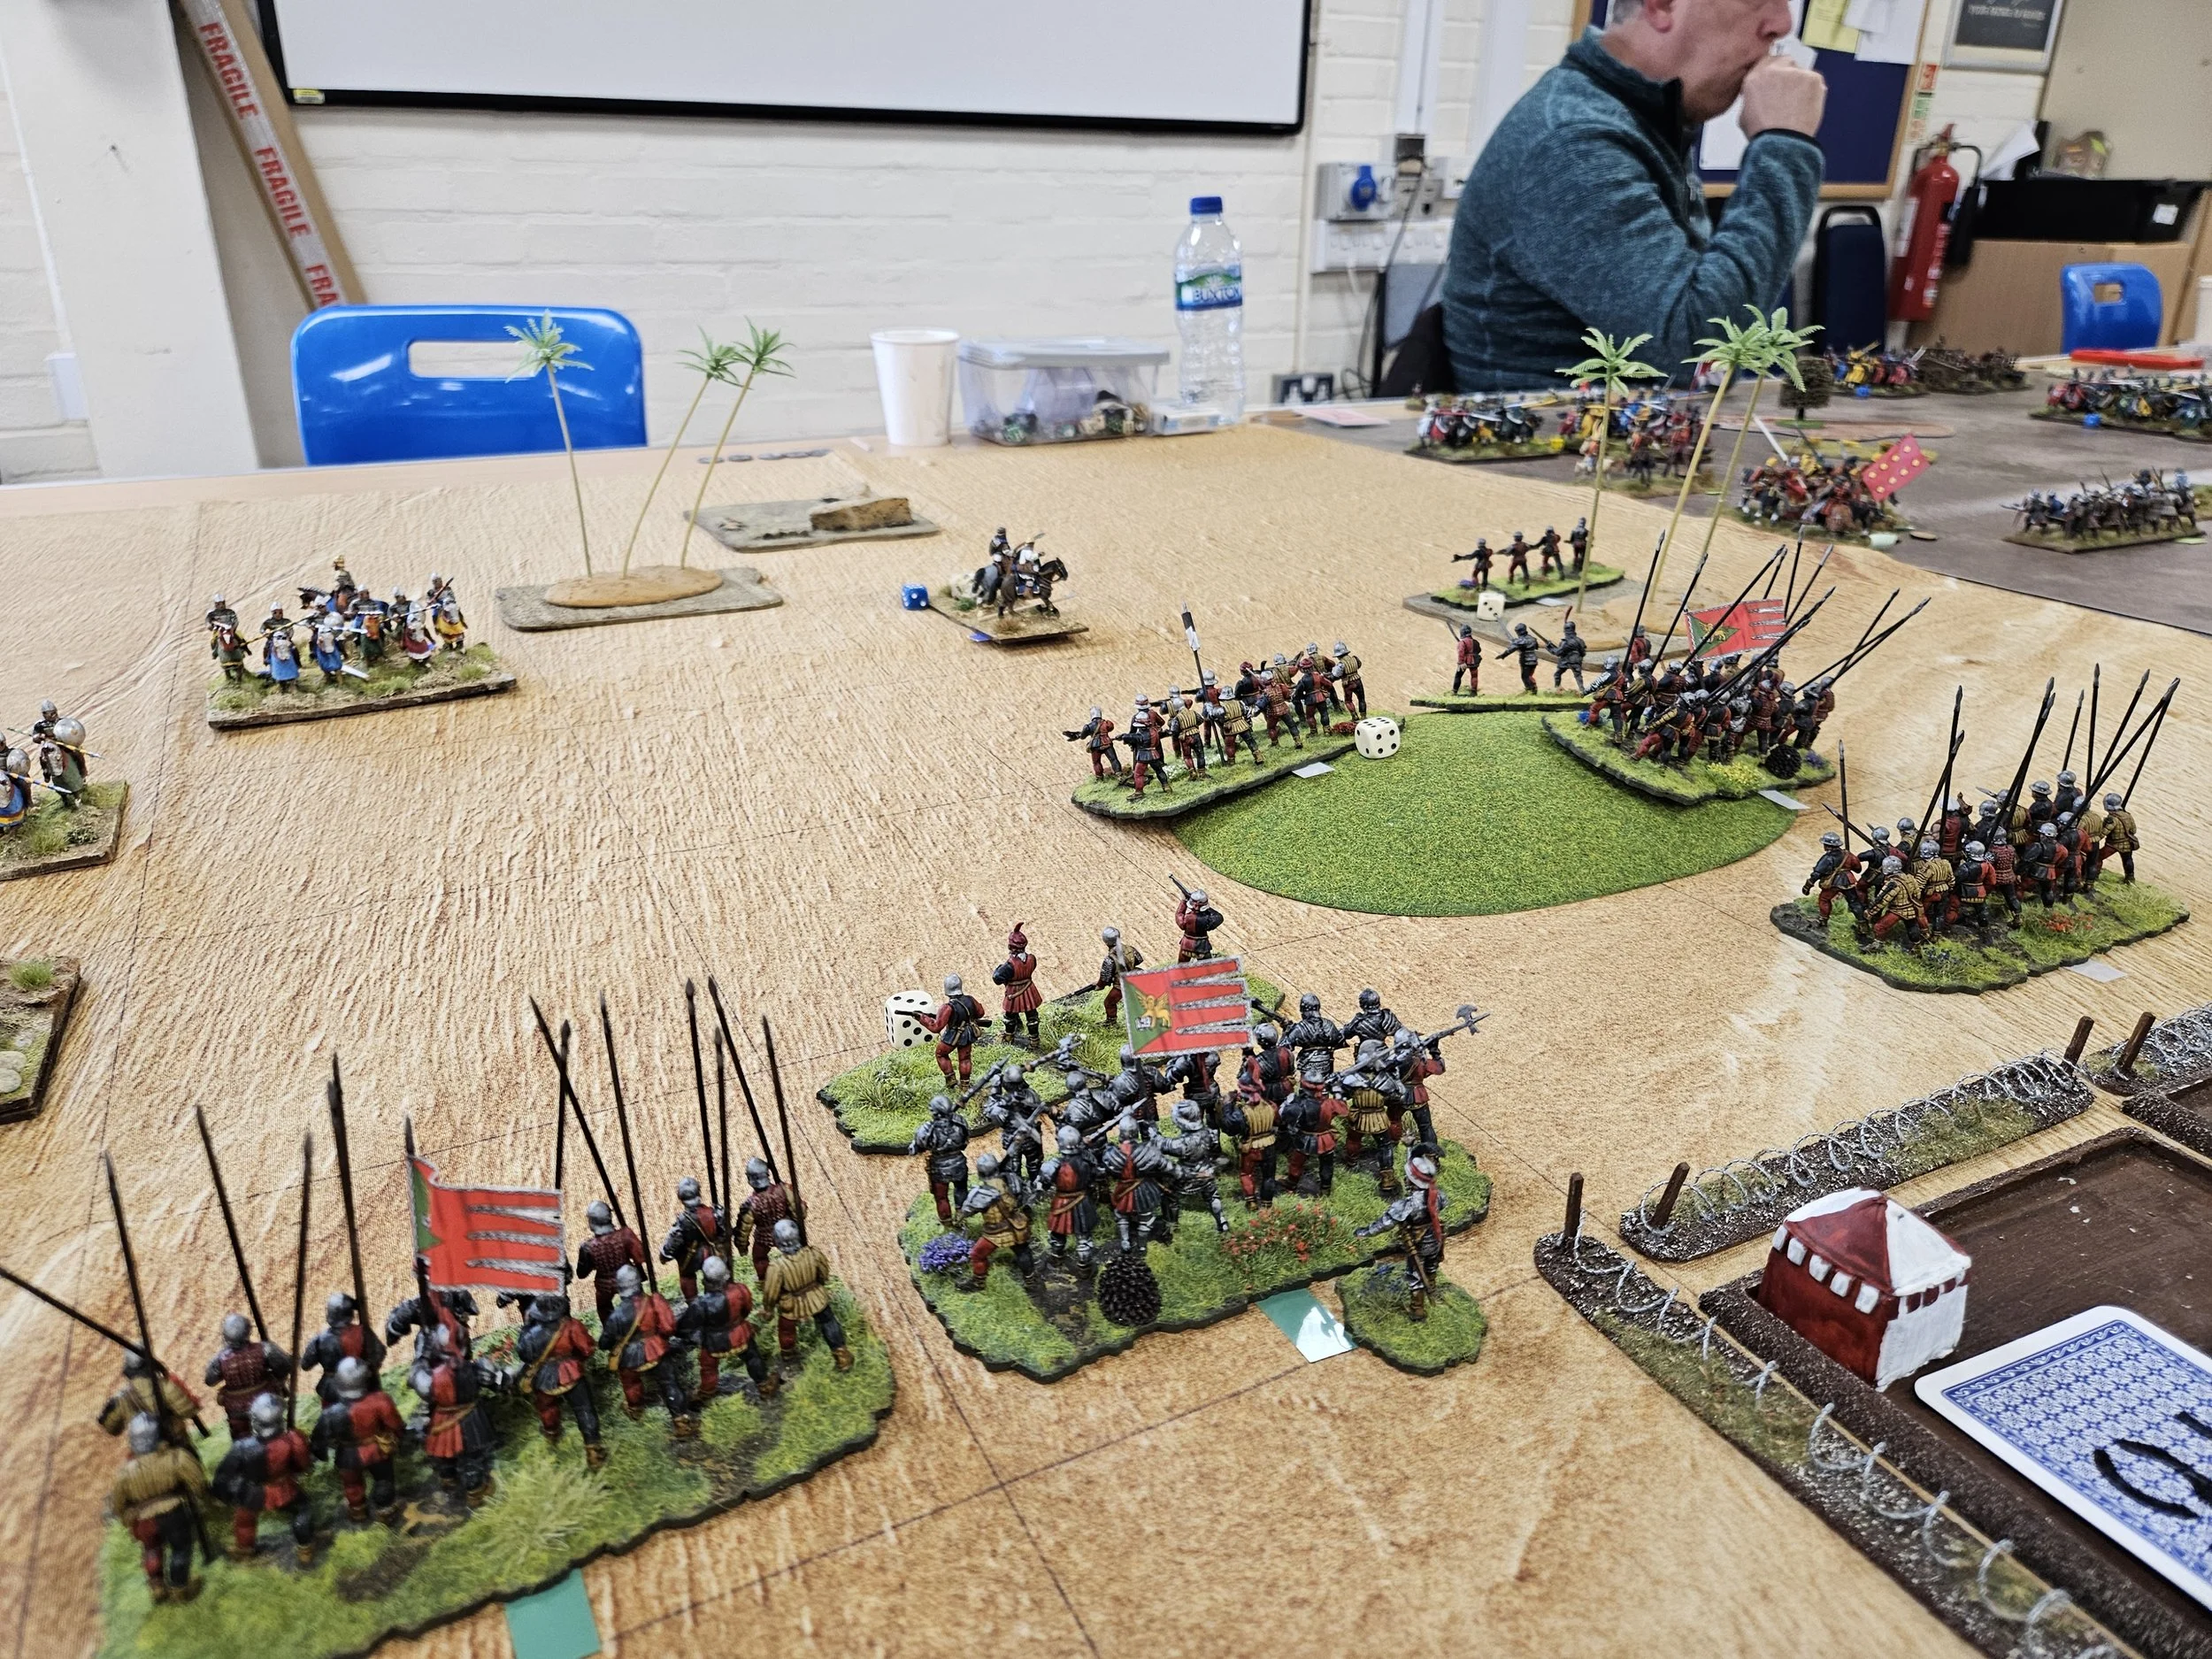
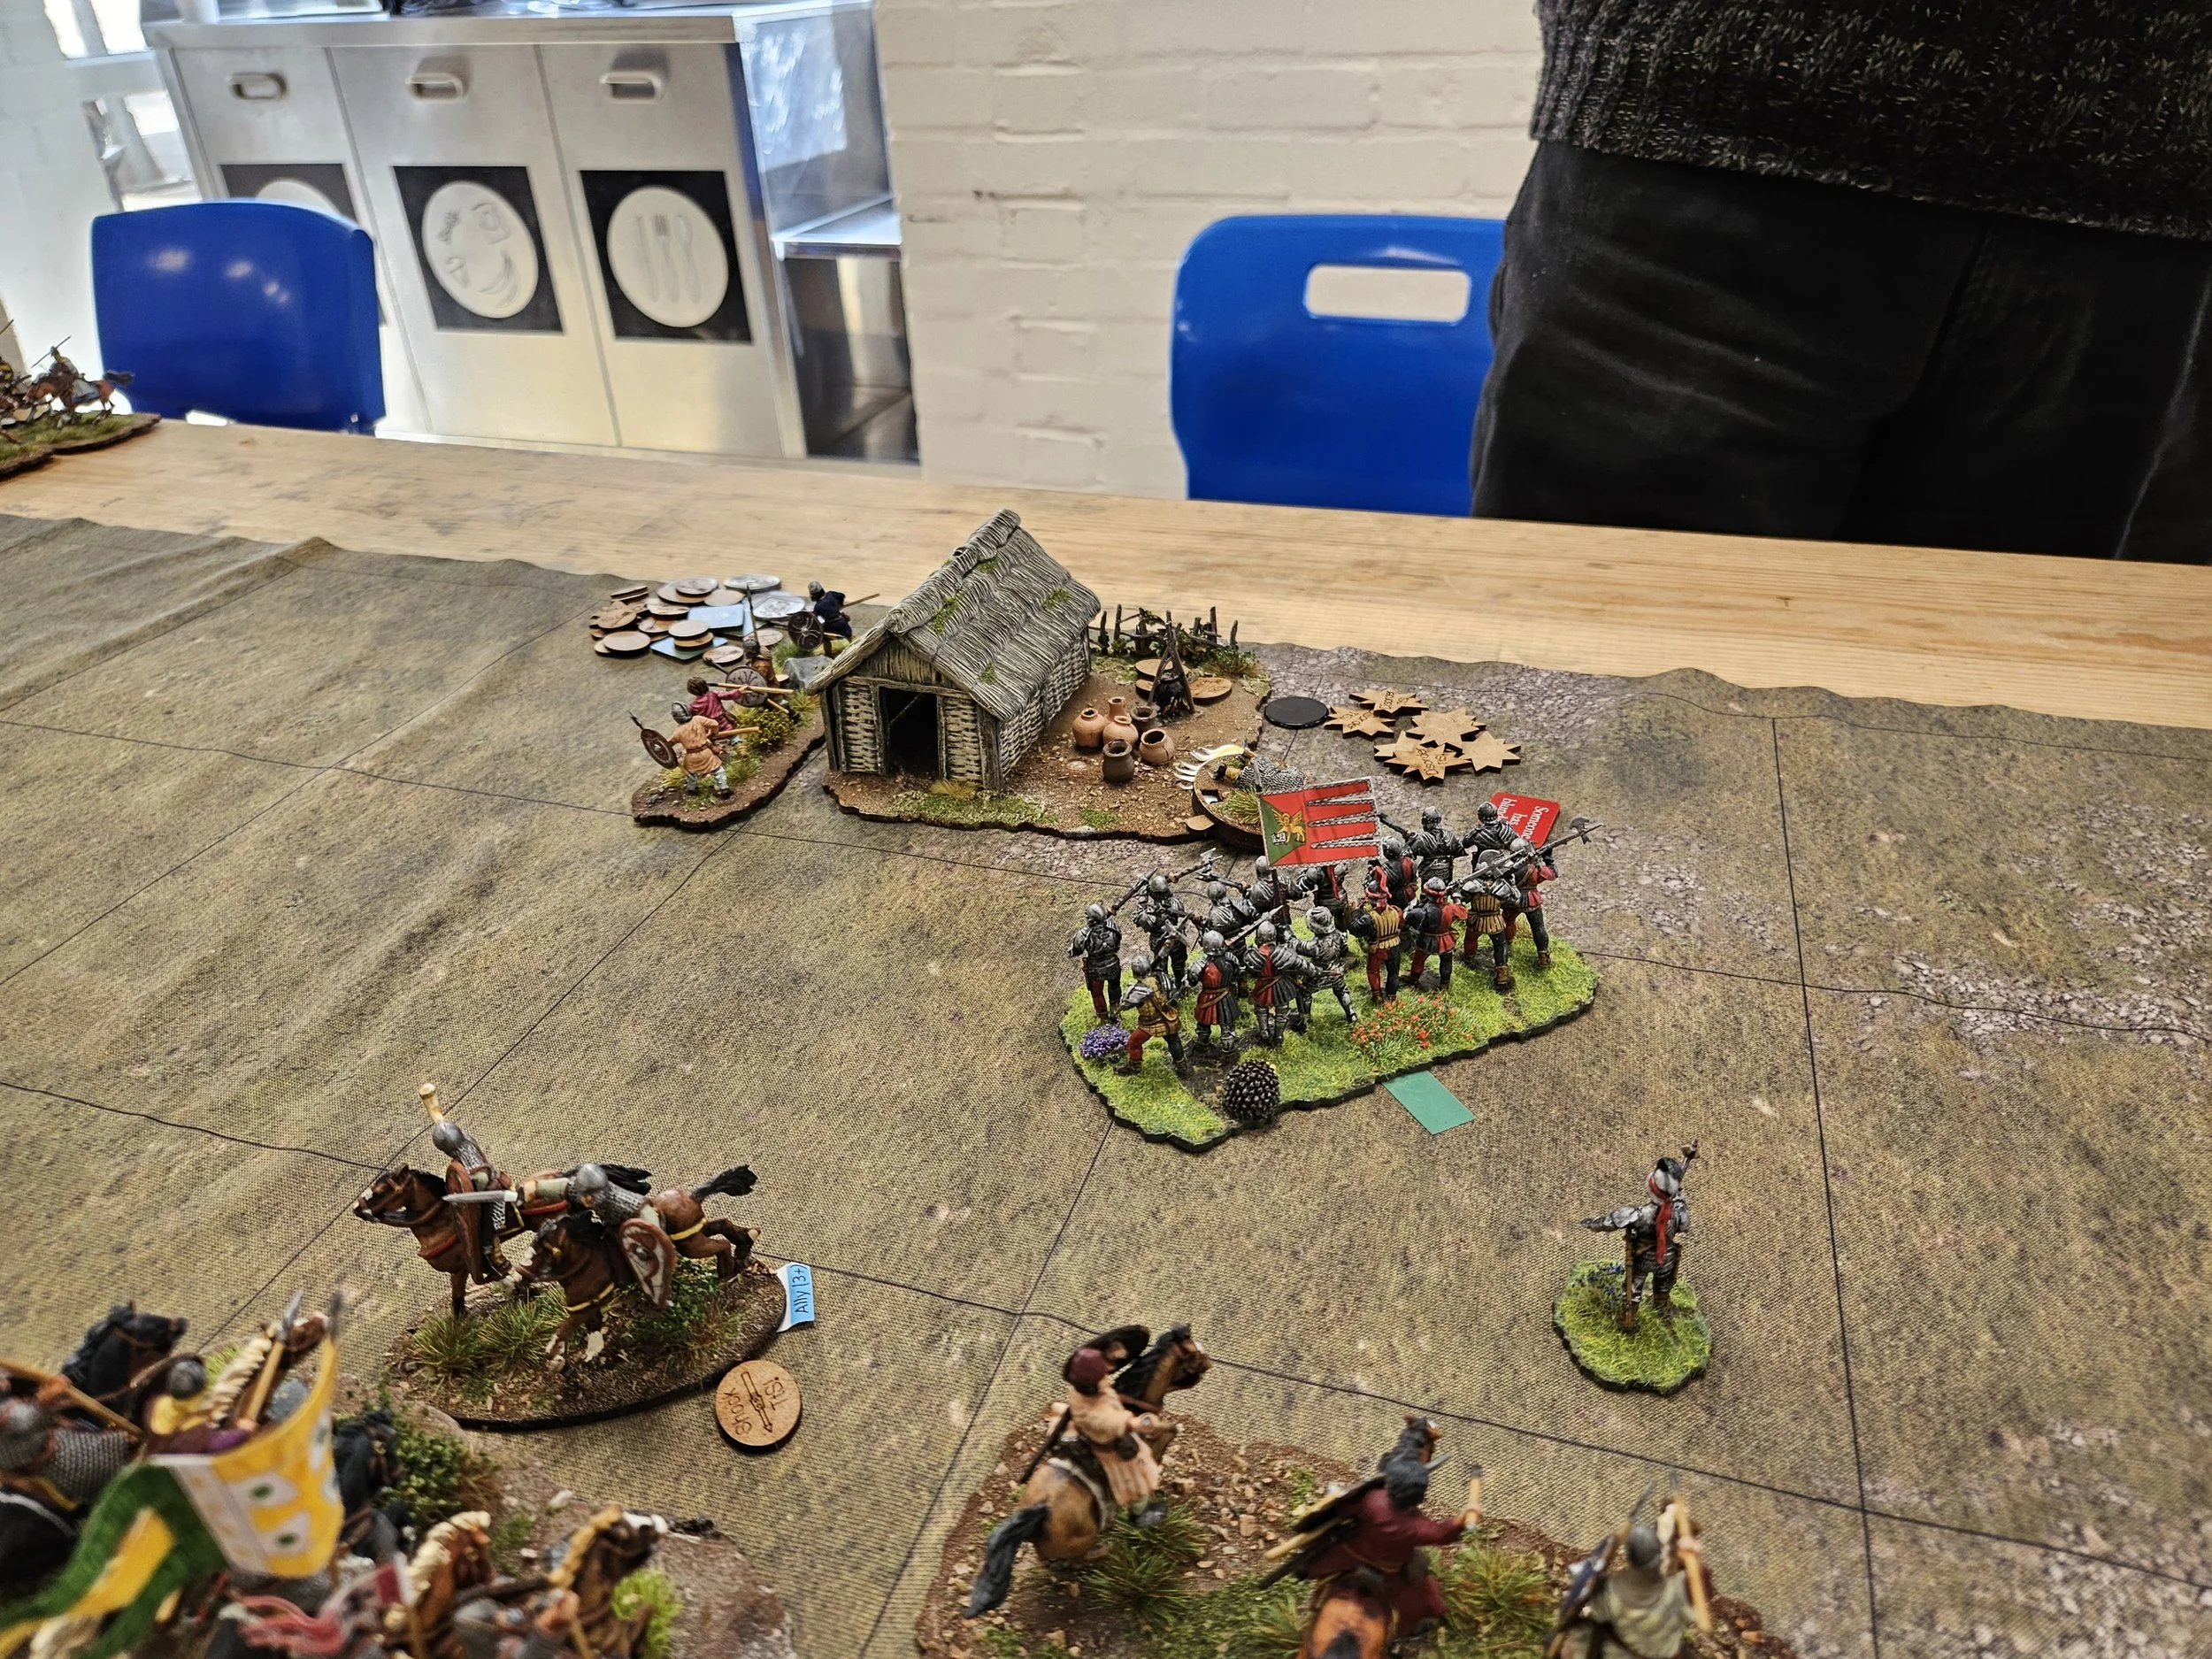
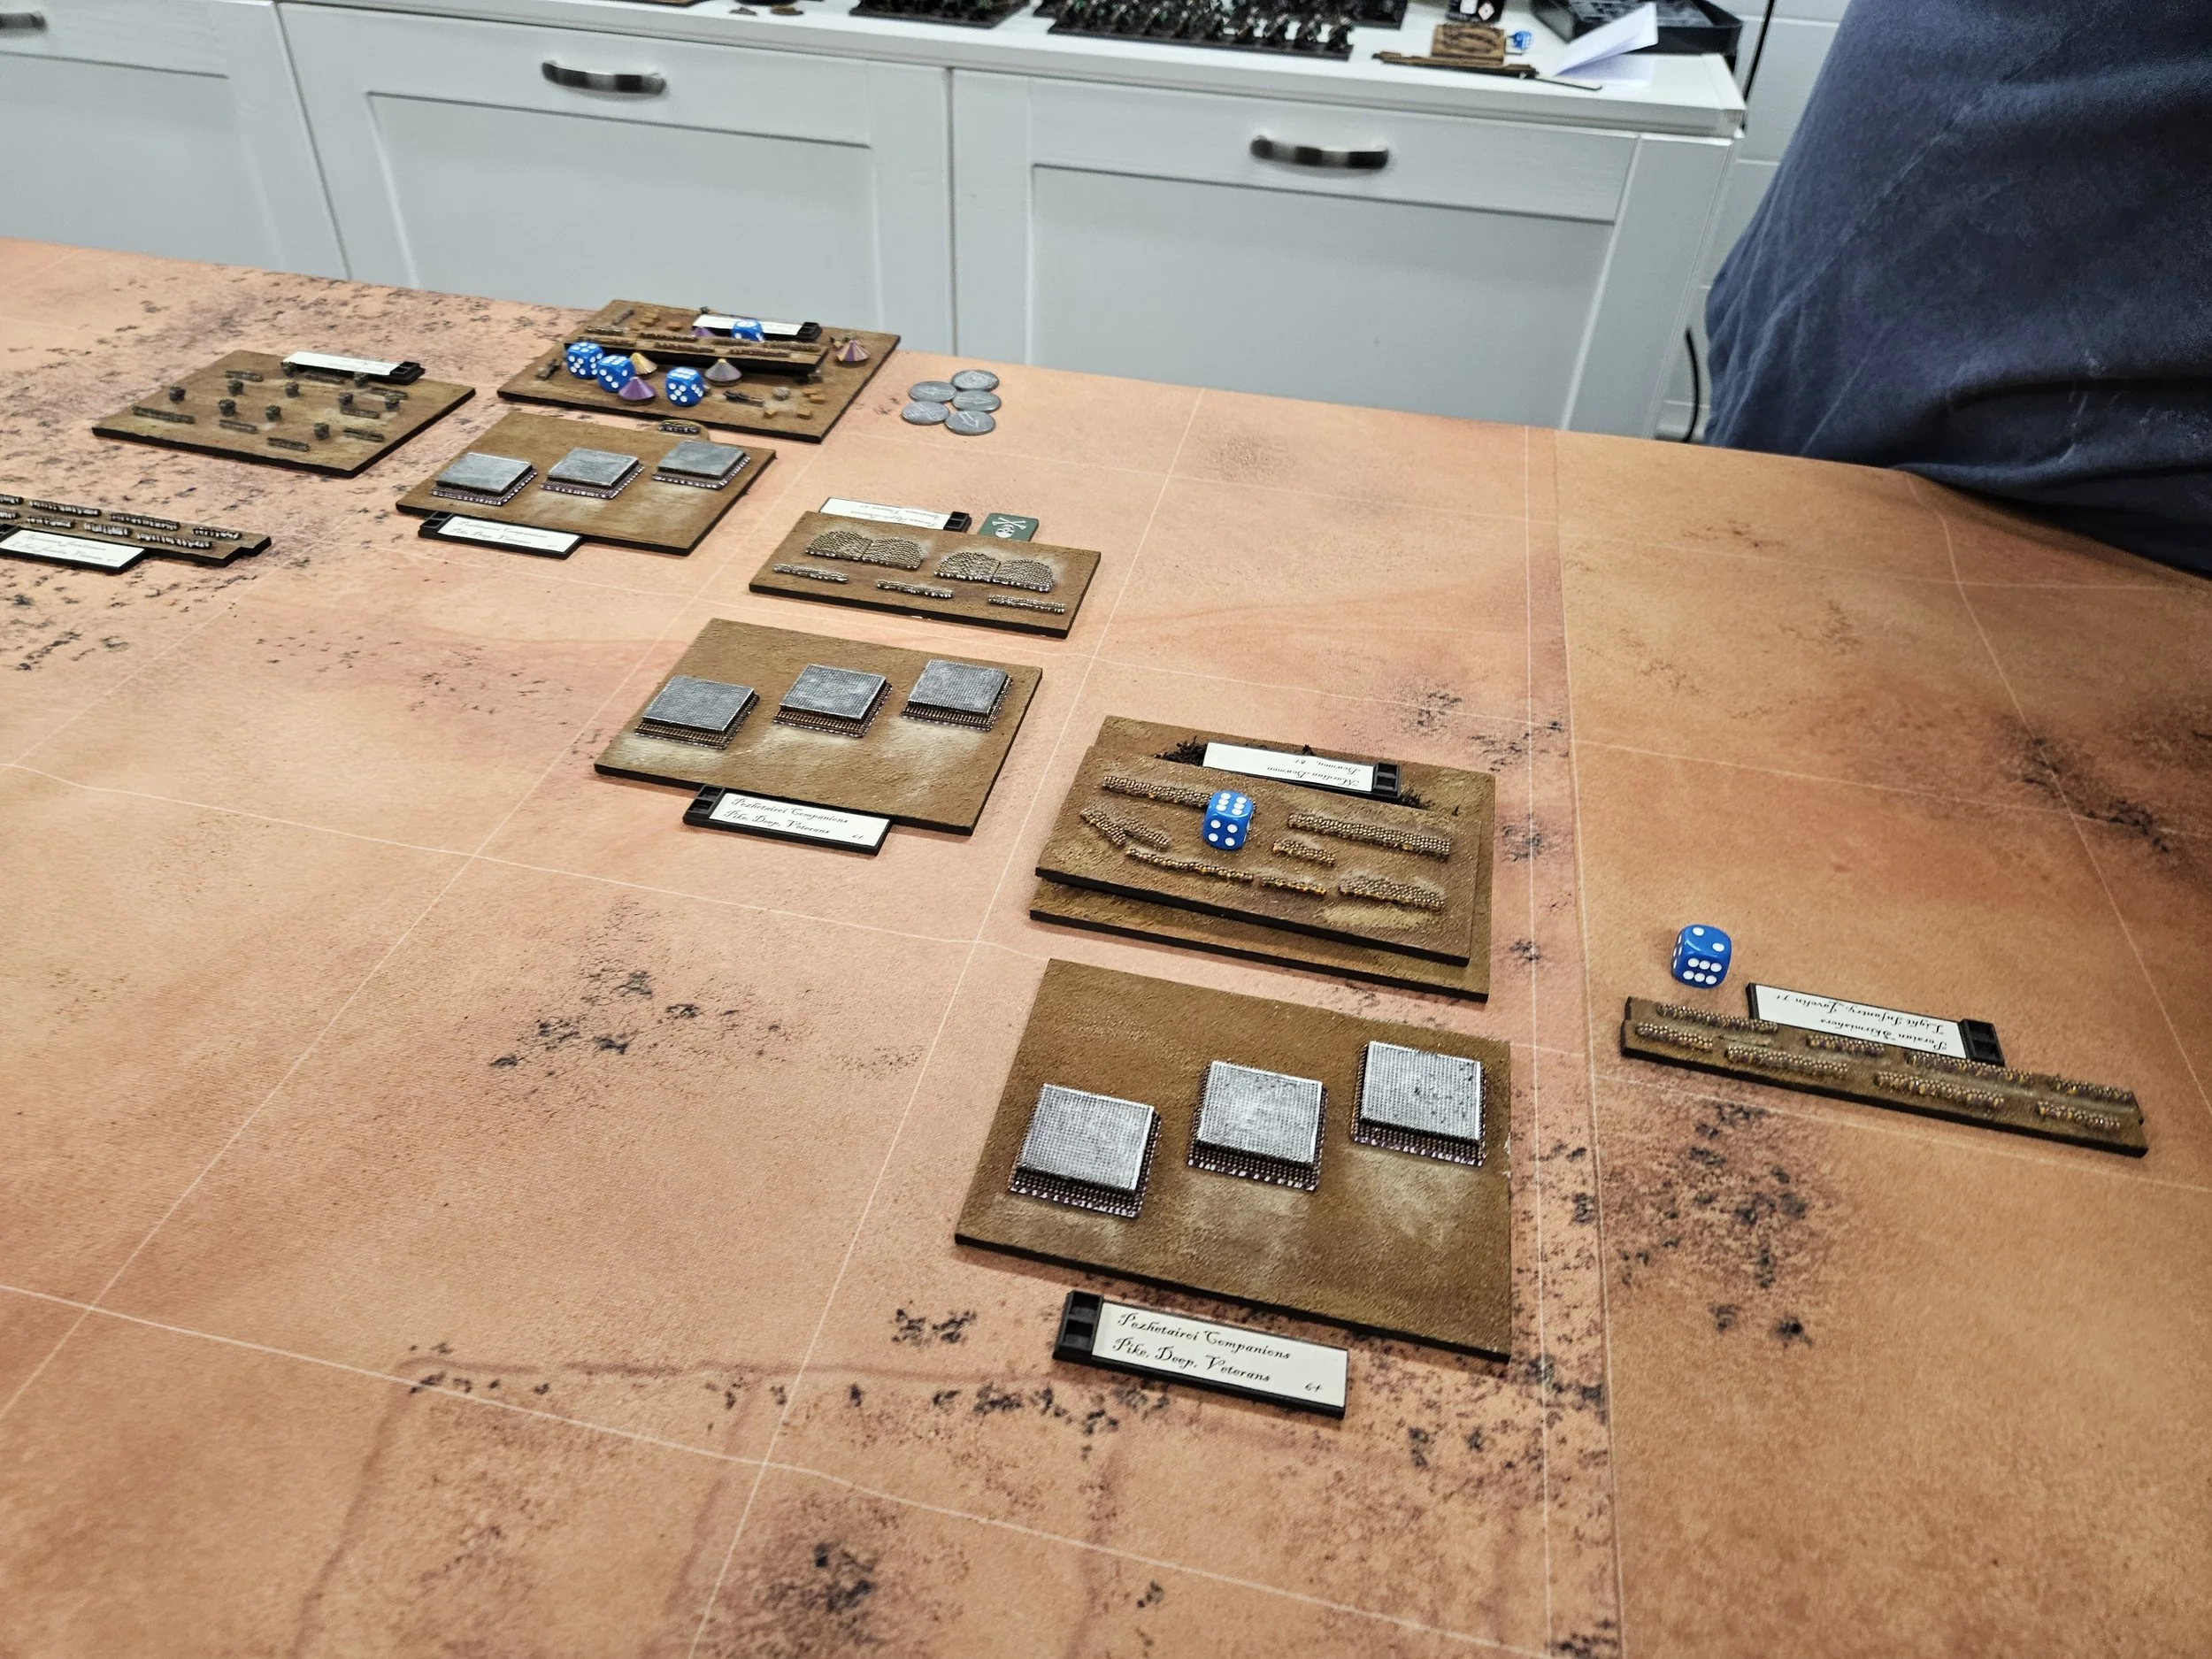
I now rather belatedly woke up to the fact that as my flanks were both crumbling, I really needed my heavy infantry to stop messing around and get forward and get stuck in, especially as I had been well ahead on coins through clearing off a load of Persian lights but was now, with the collapse of my cavalry commands, just about back to parity.
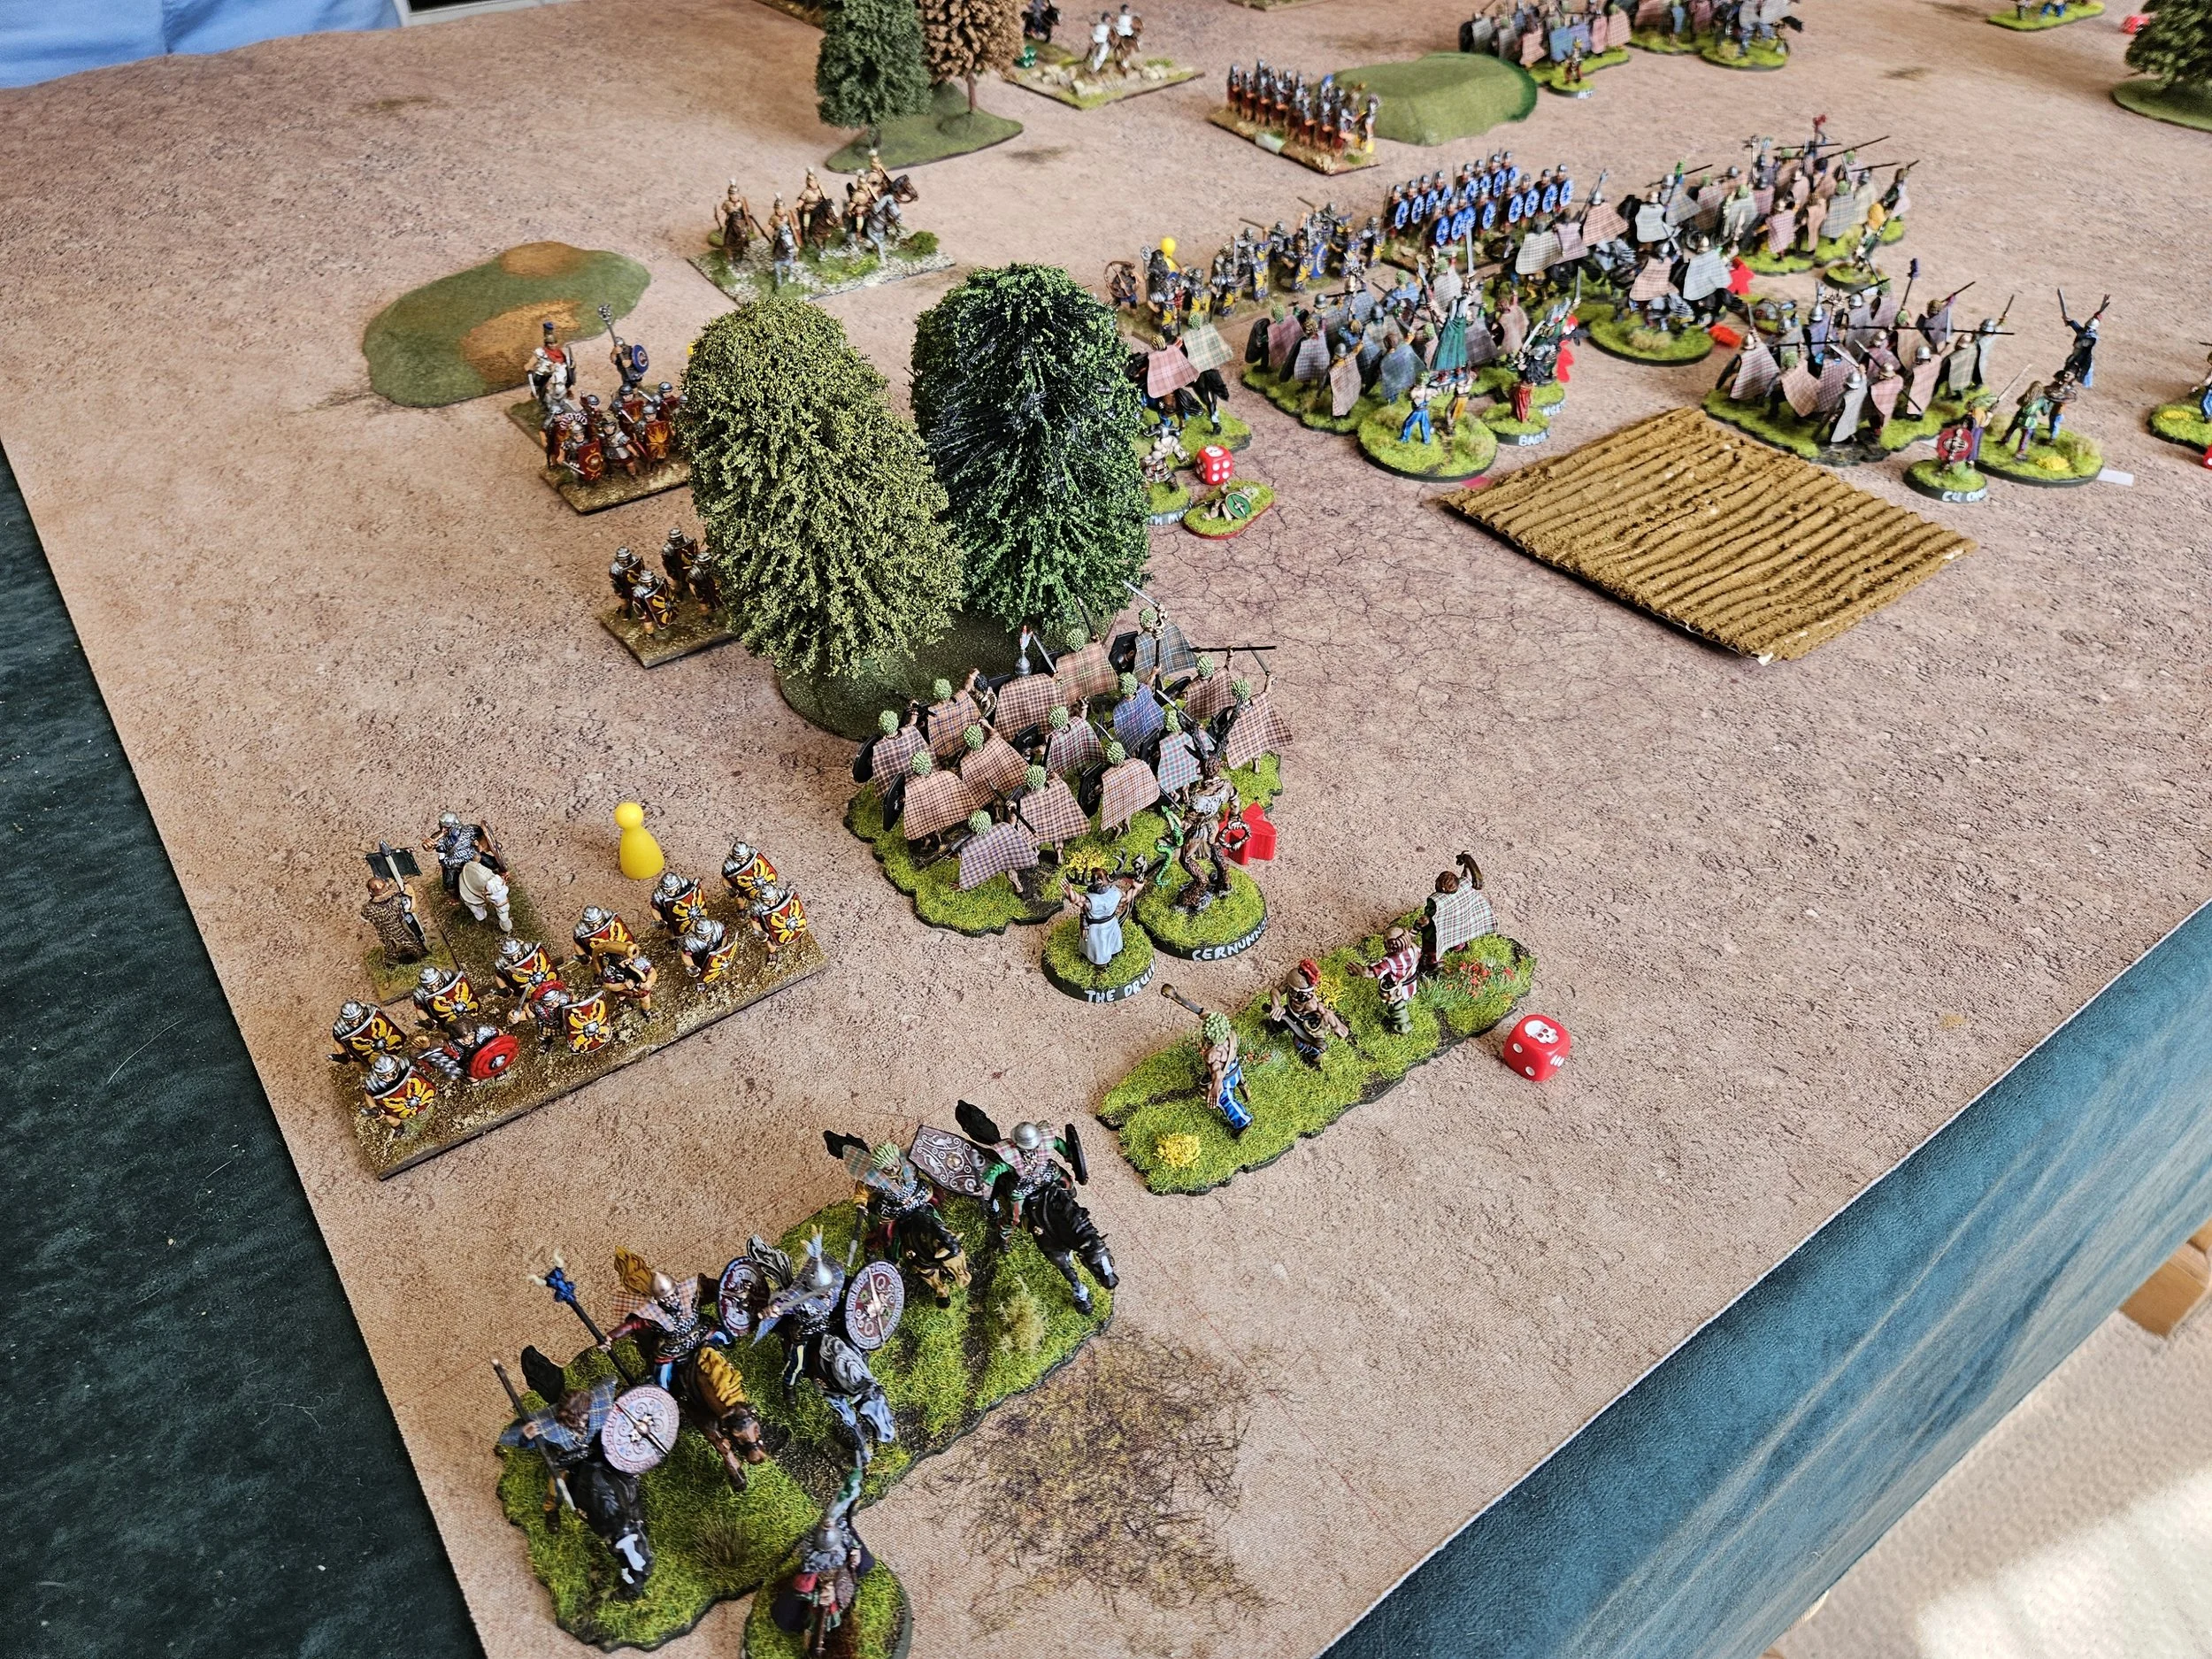
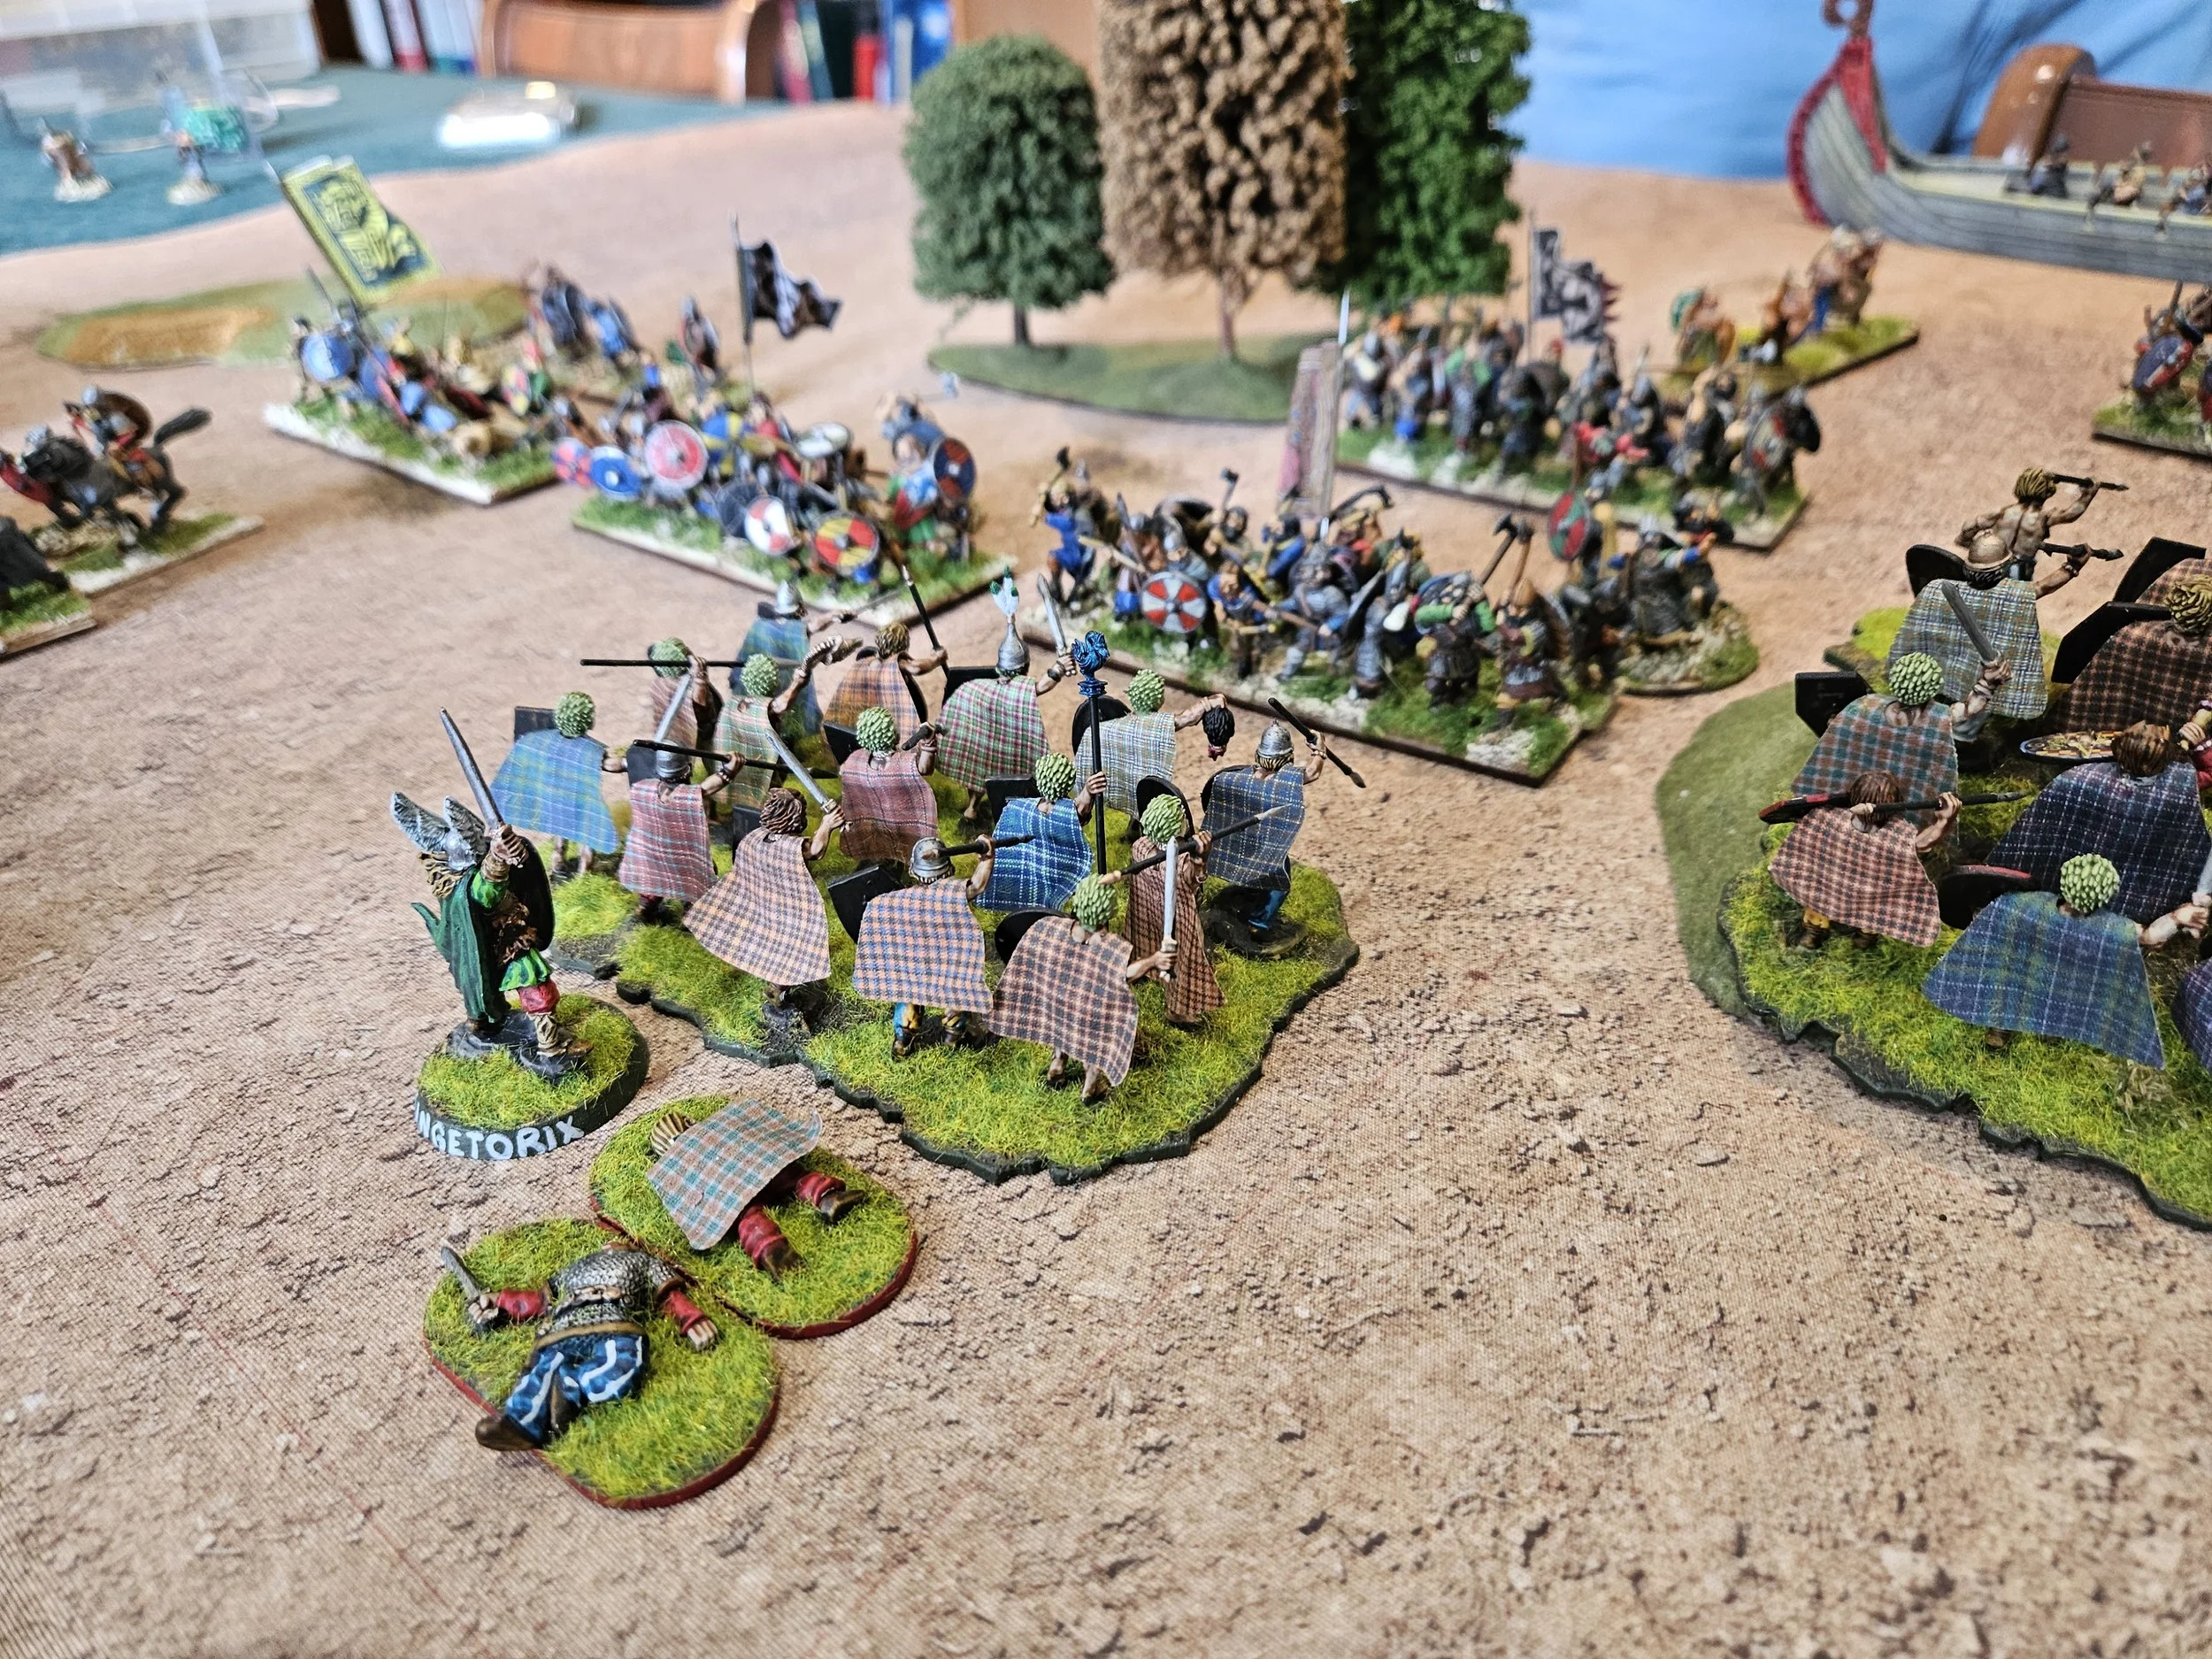
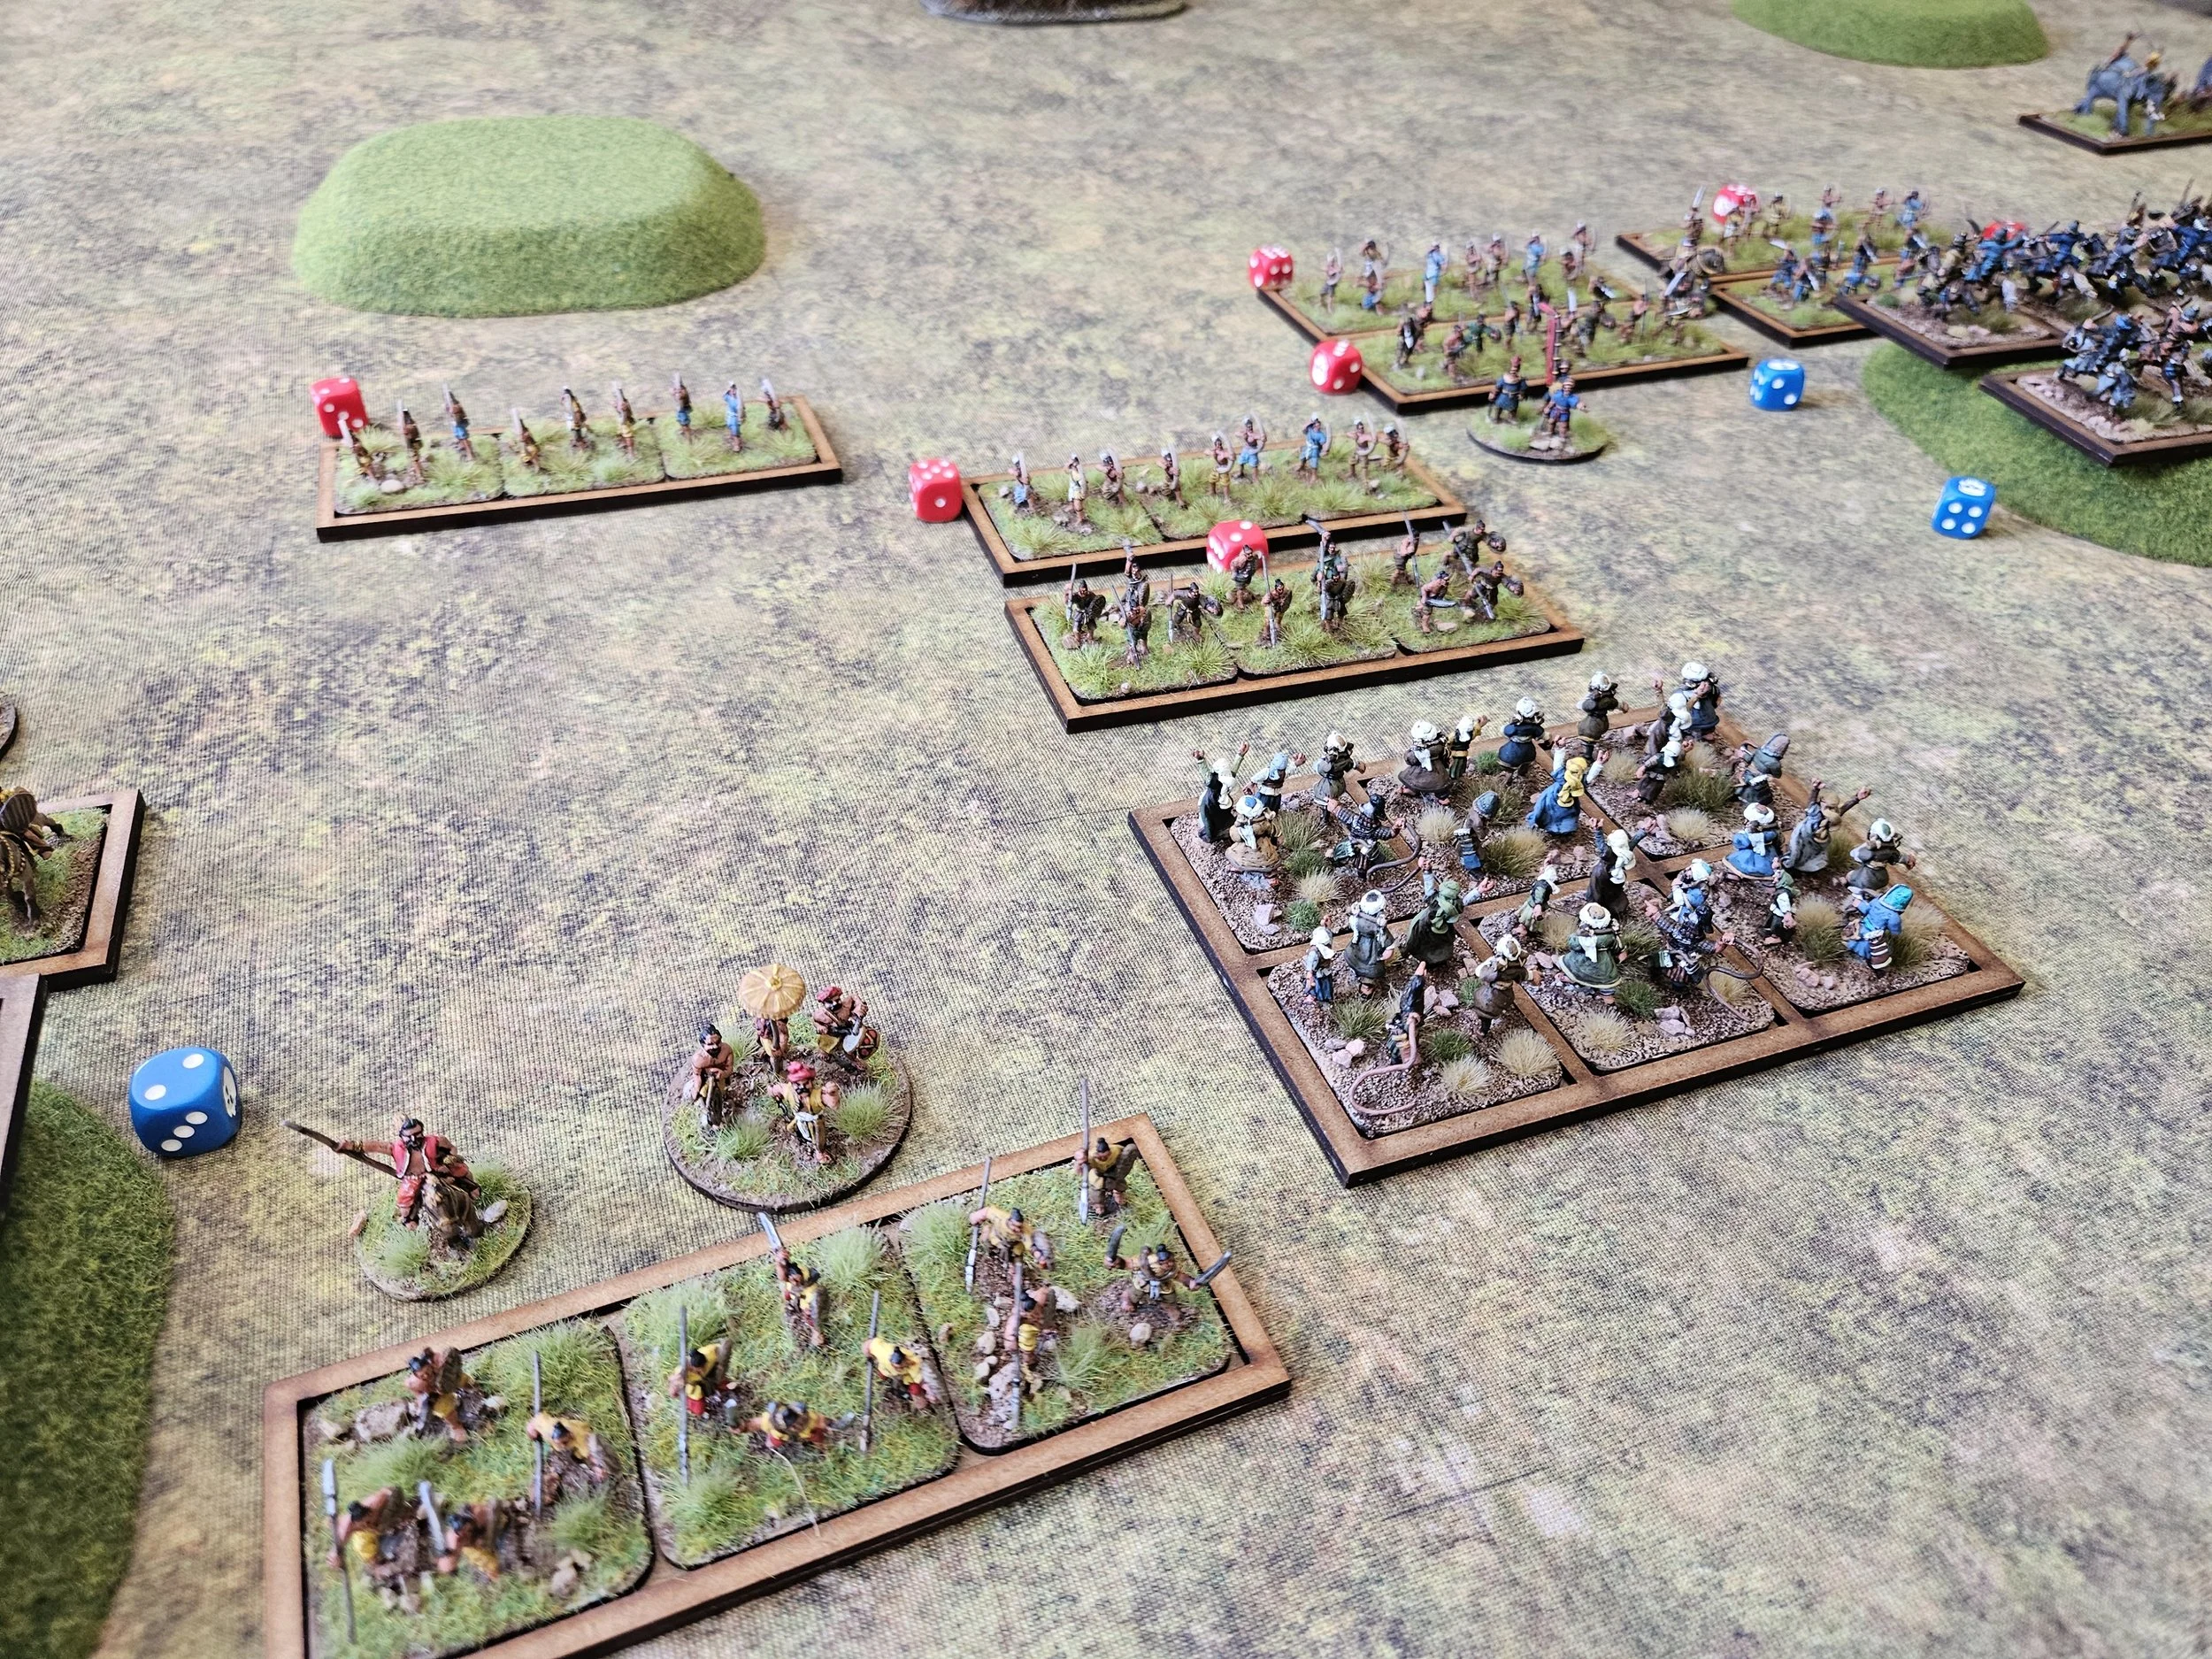
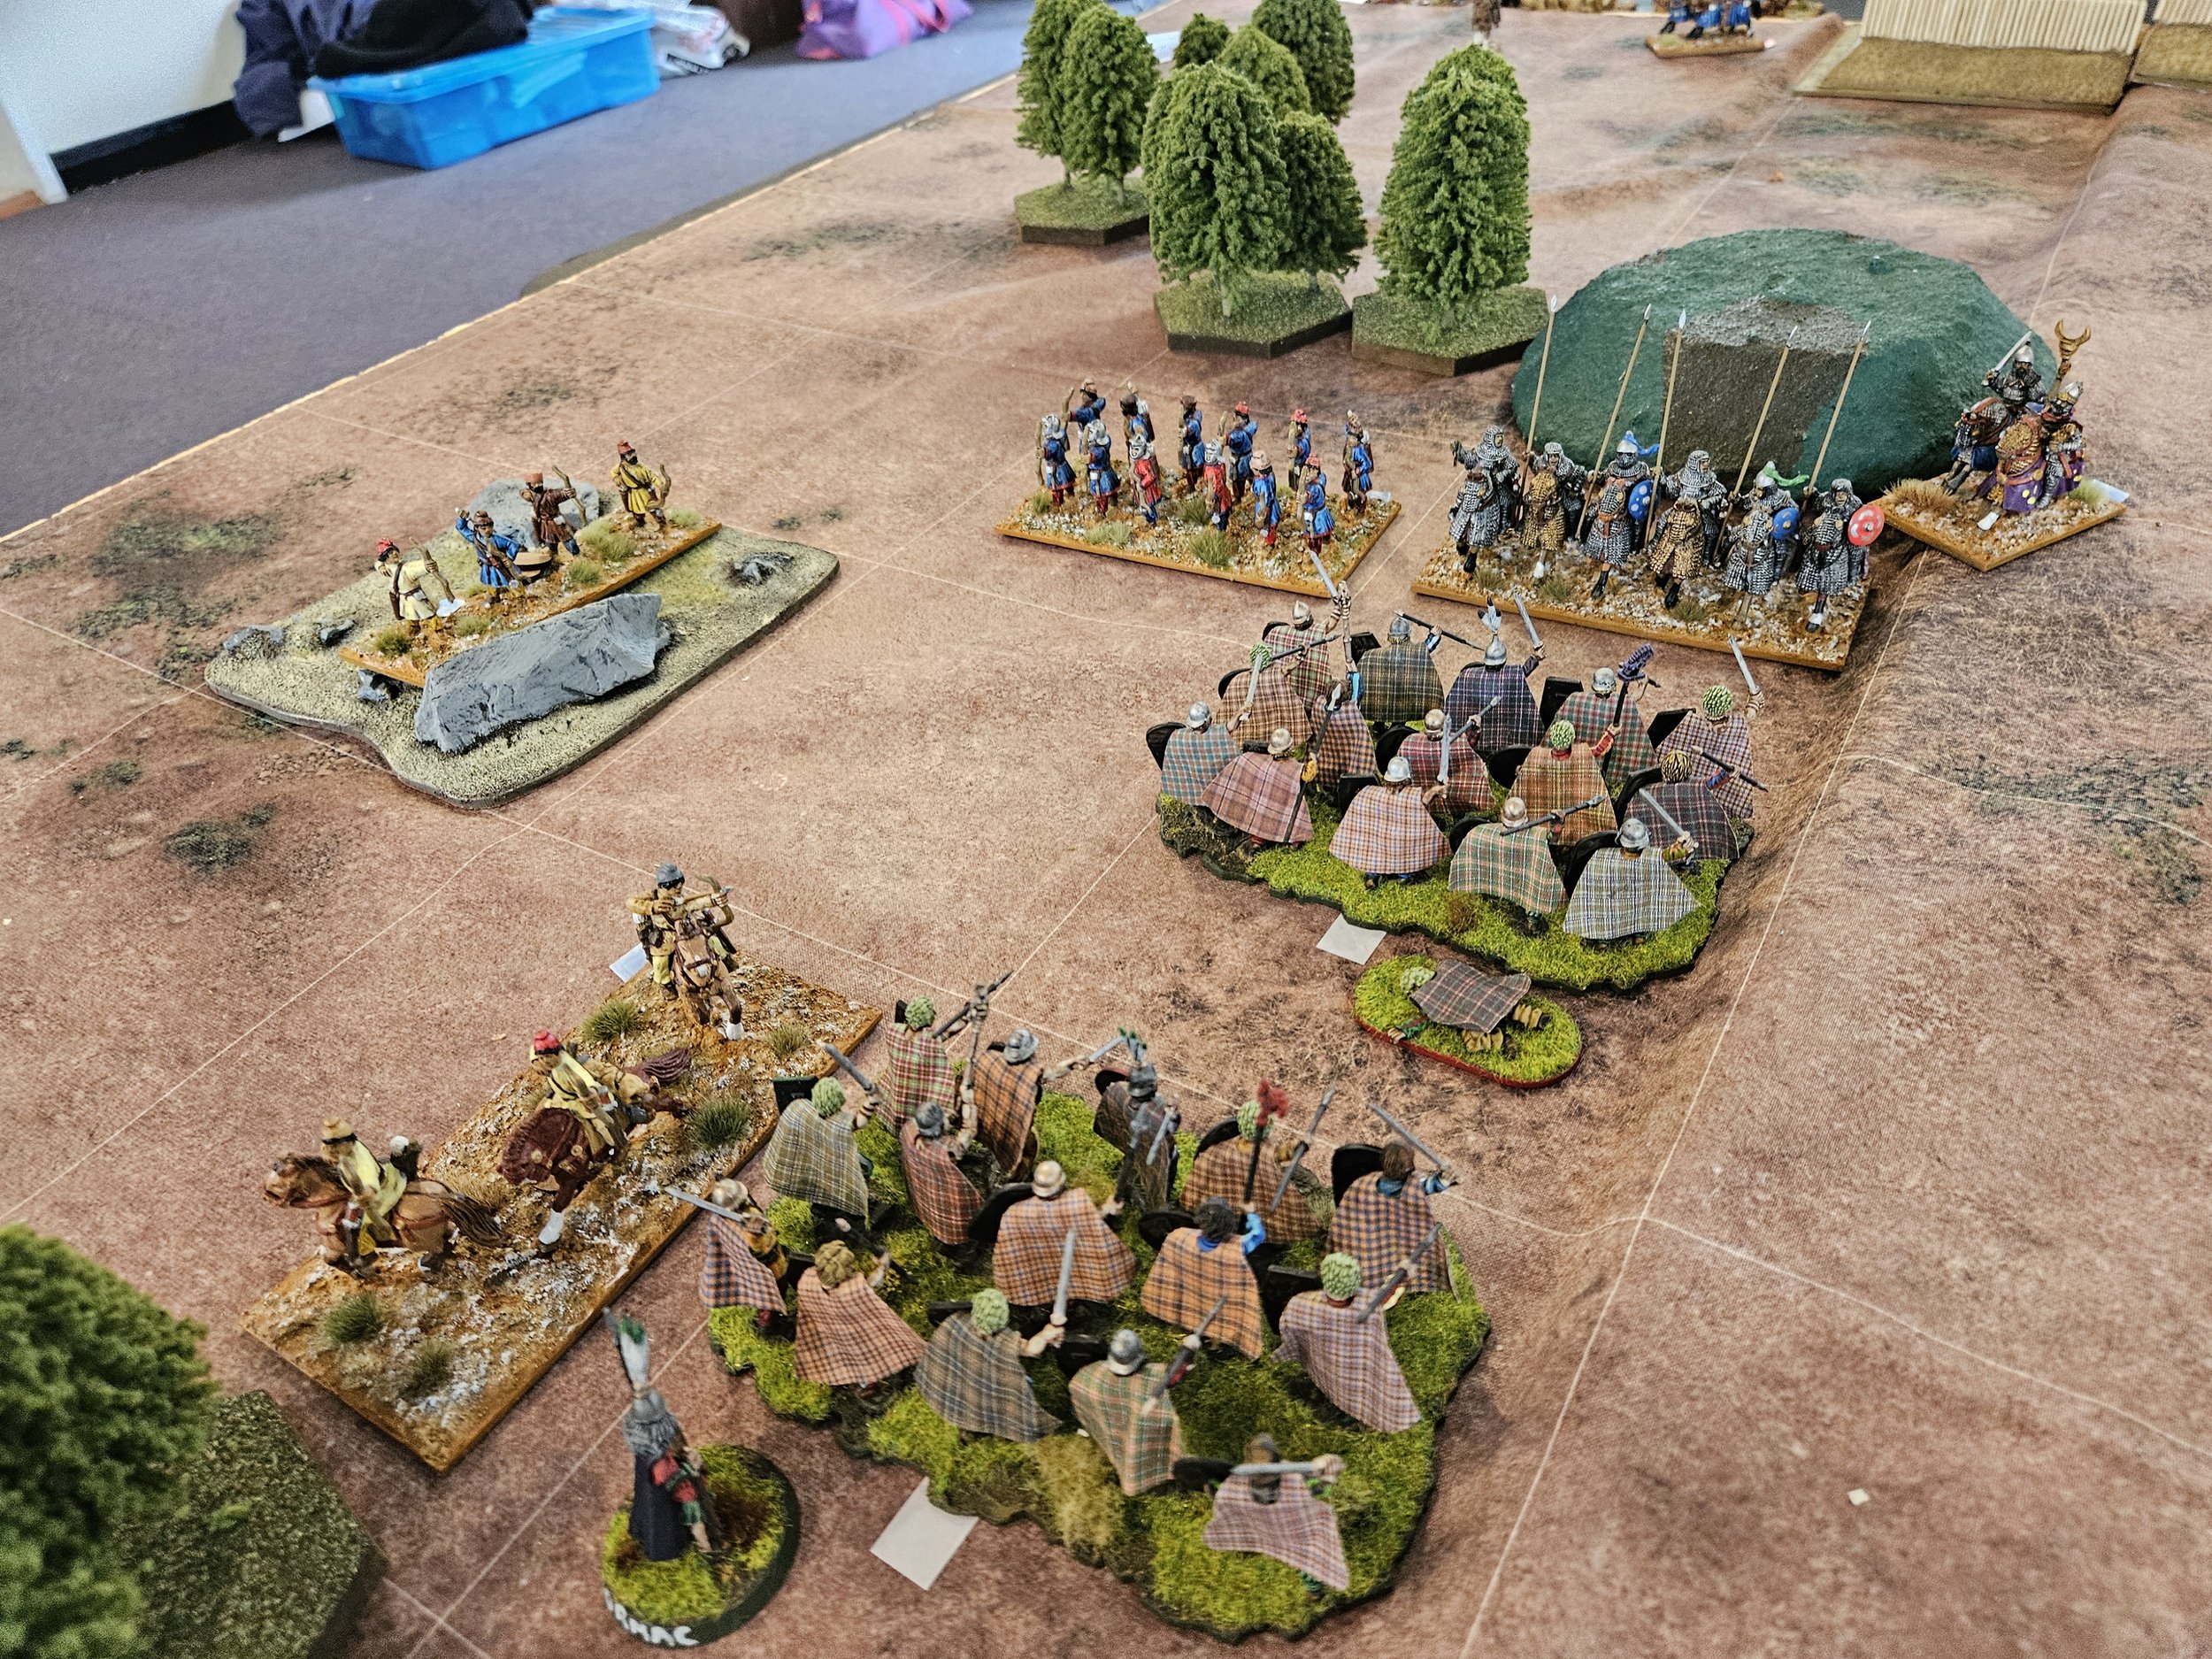
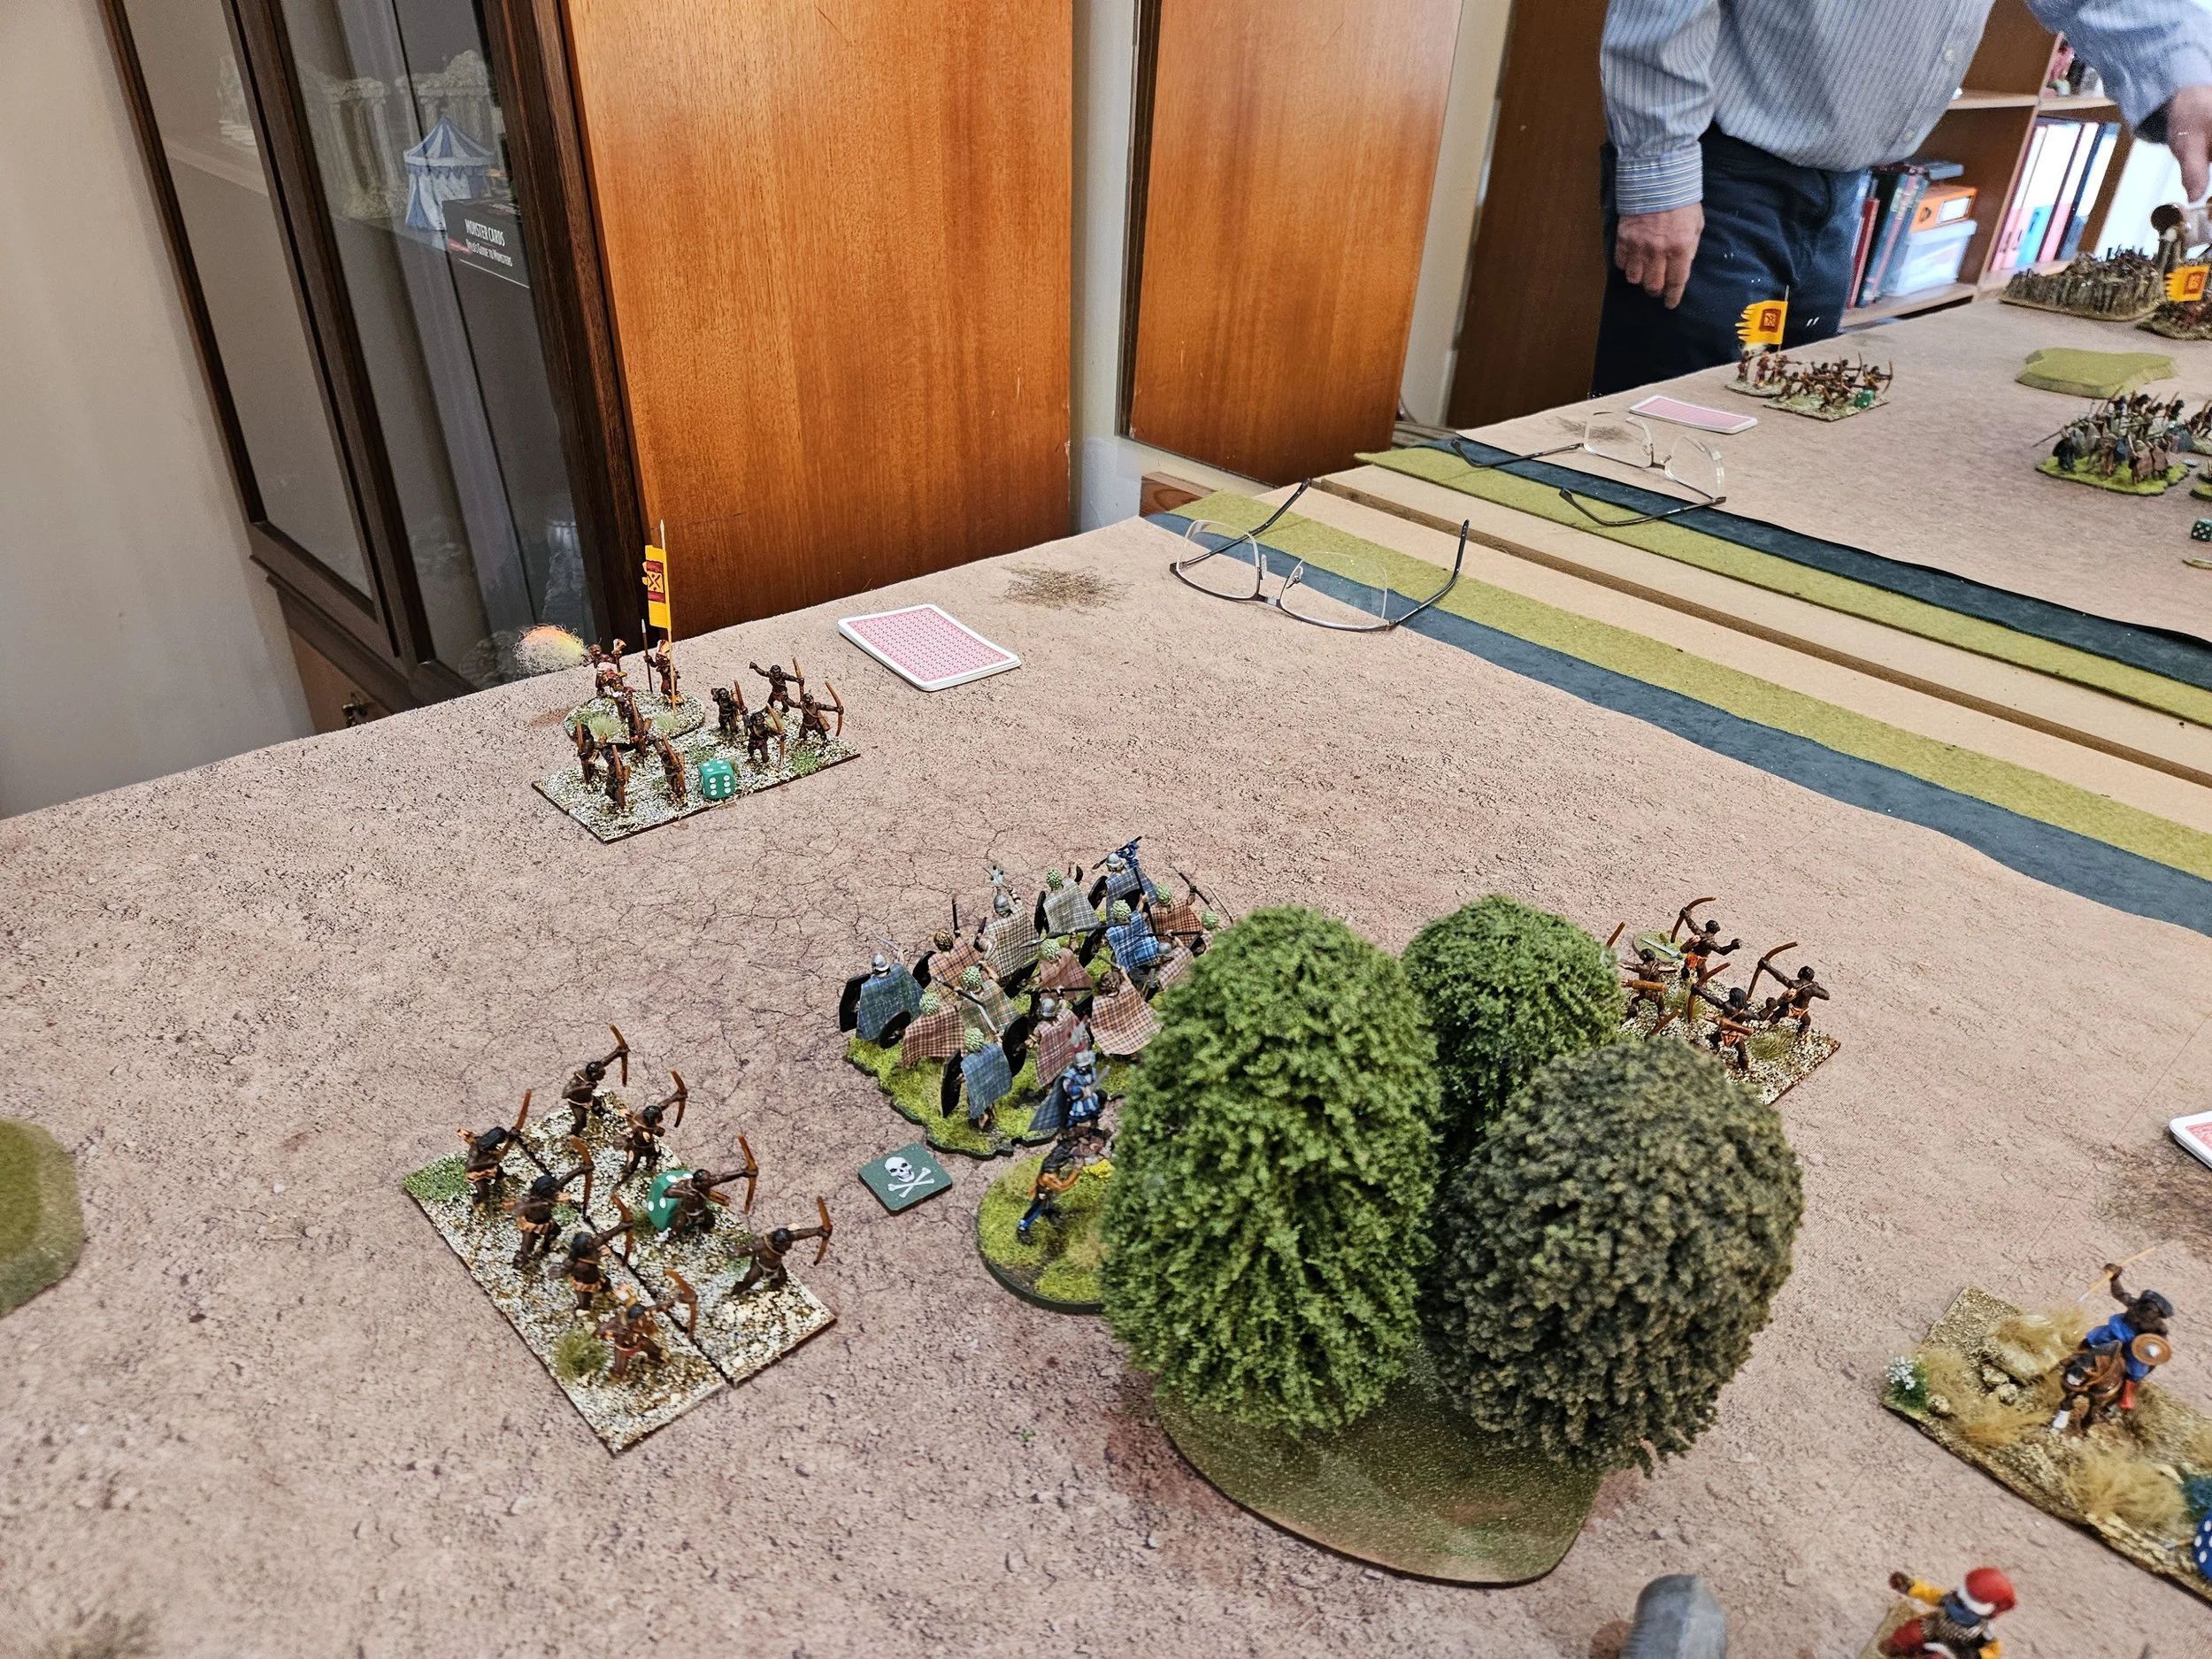
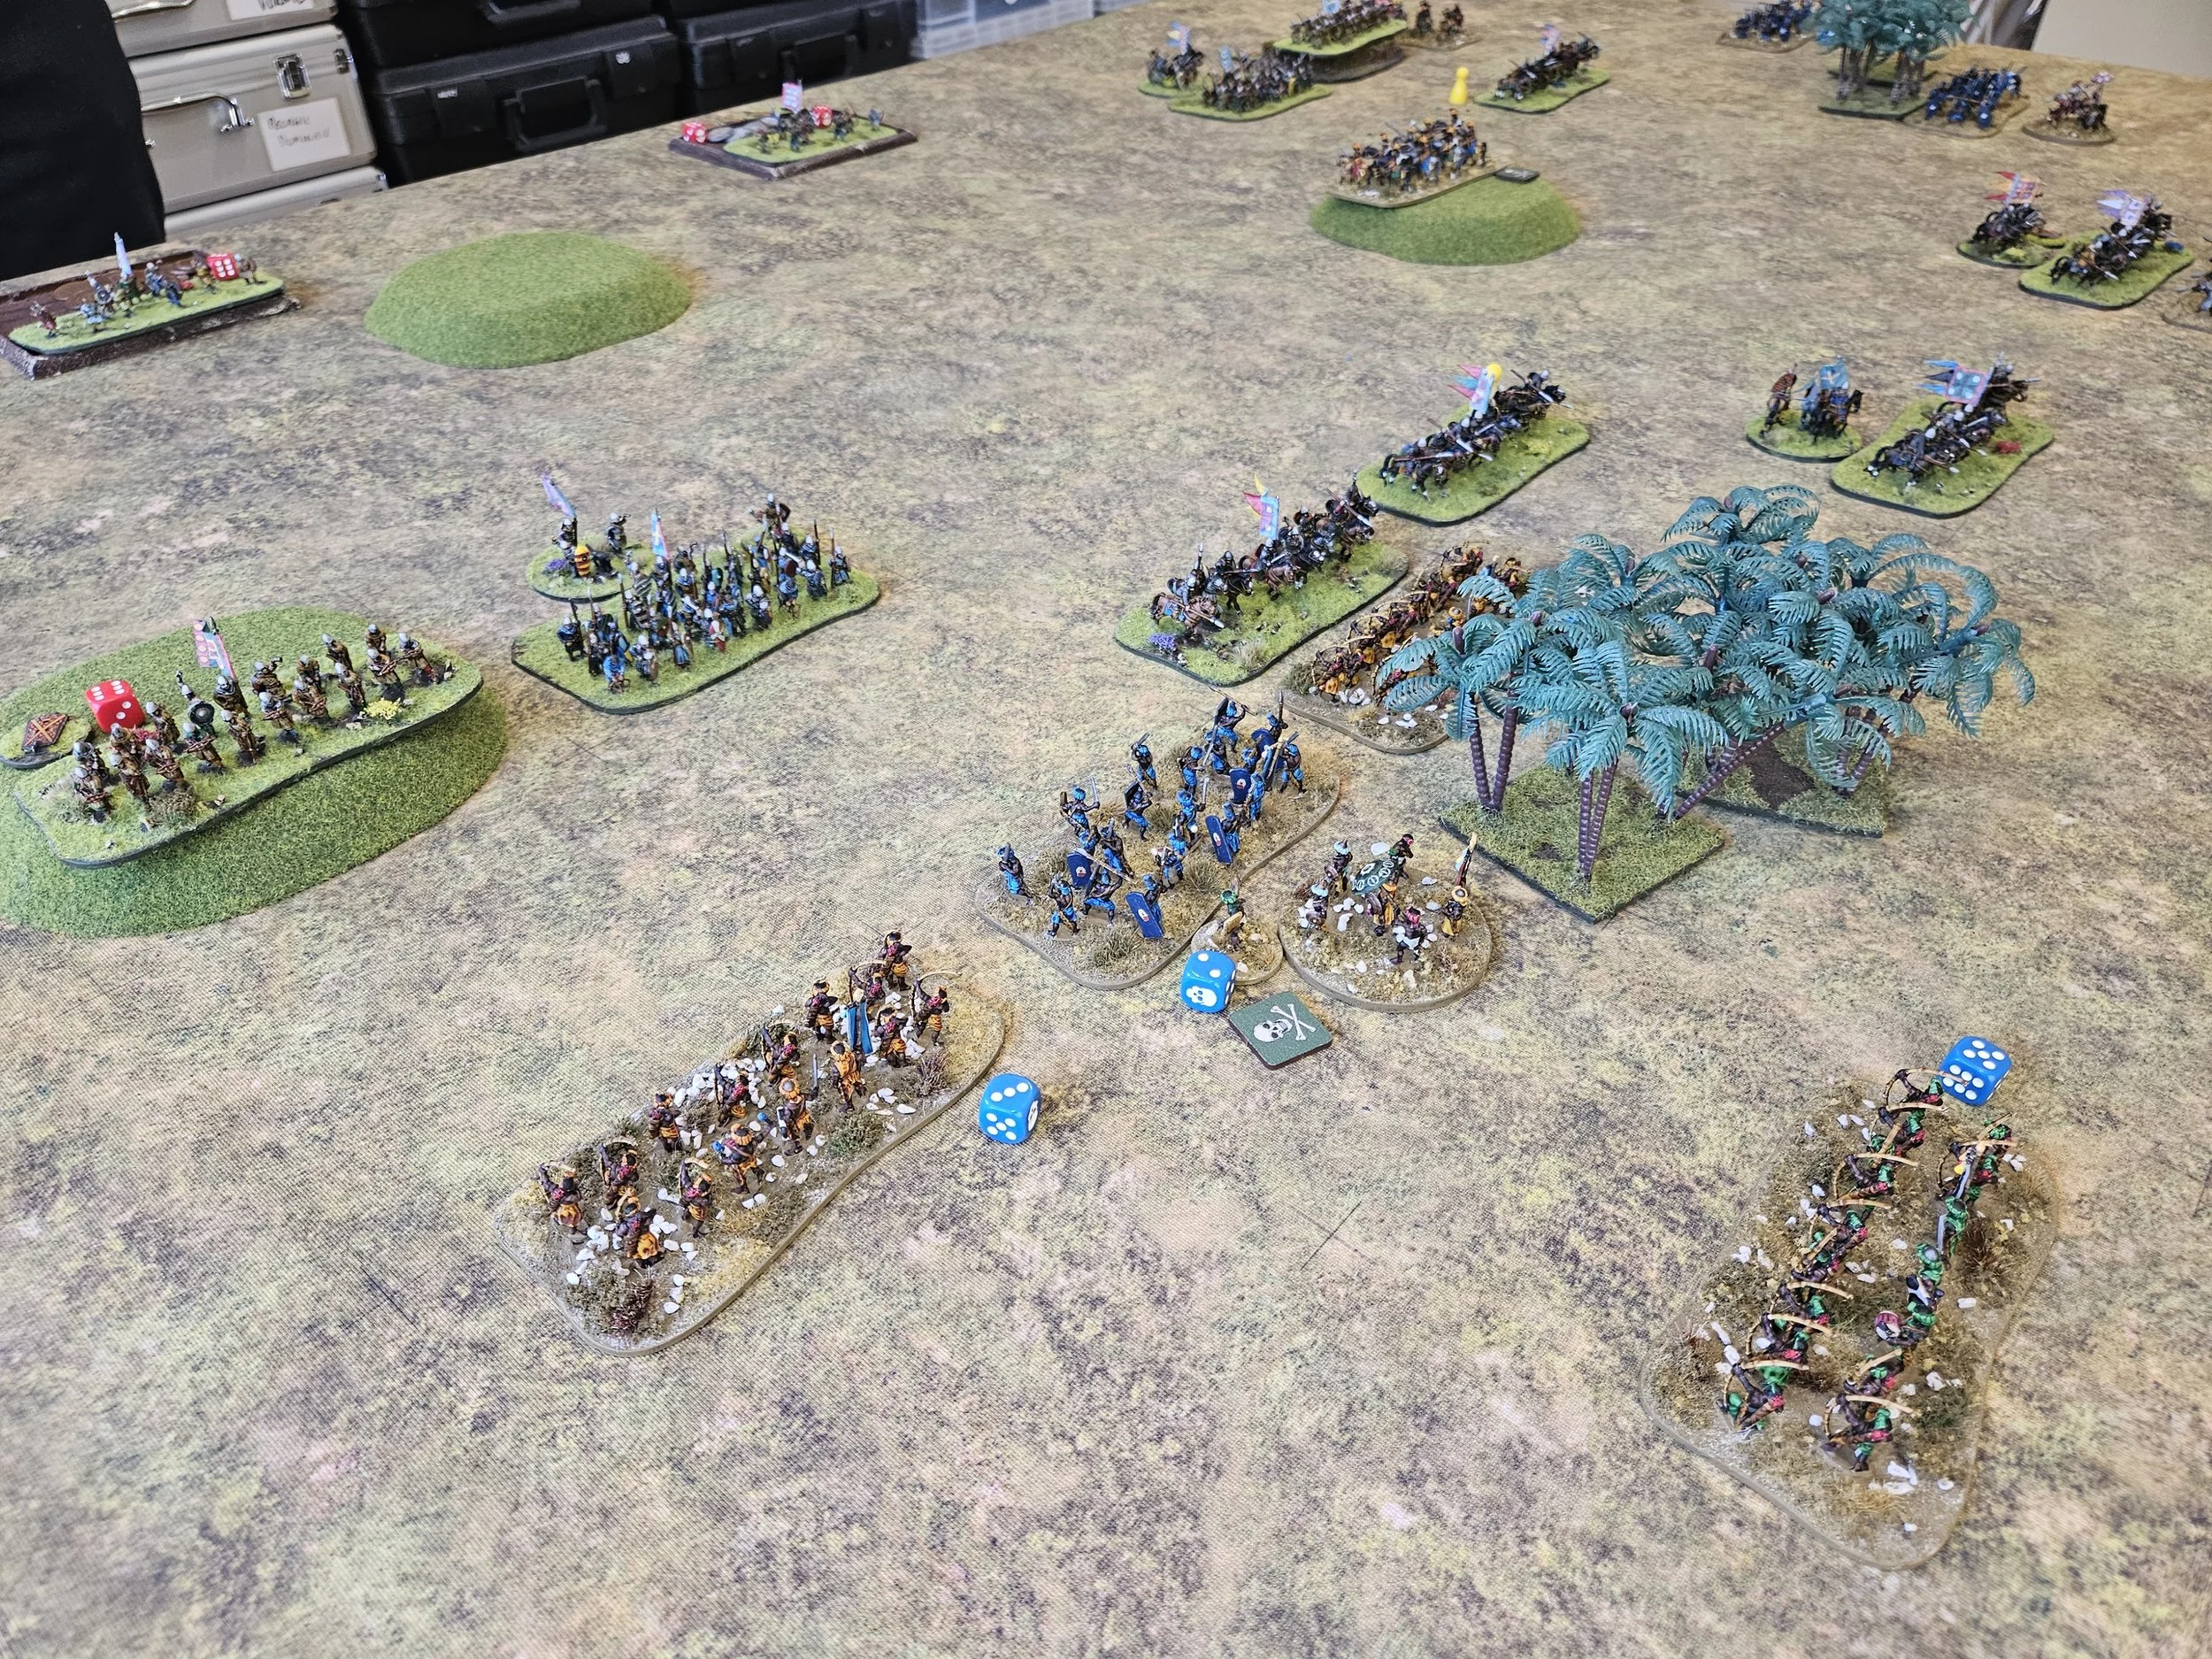
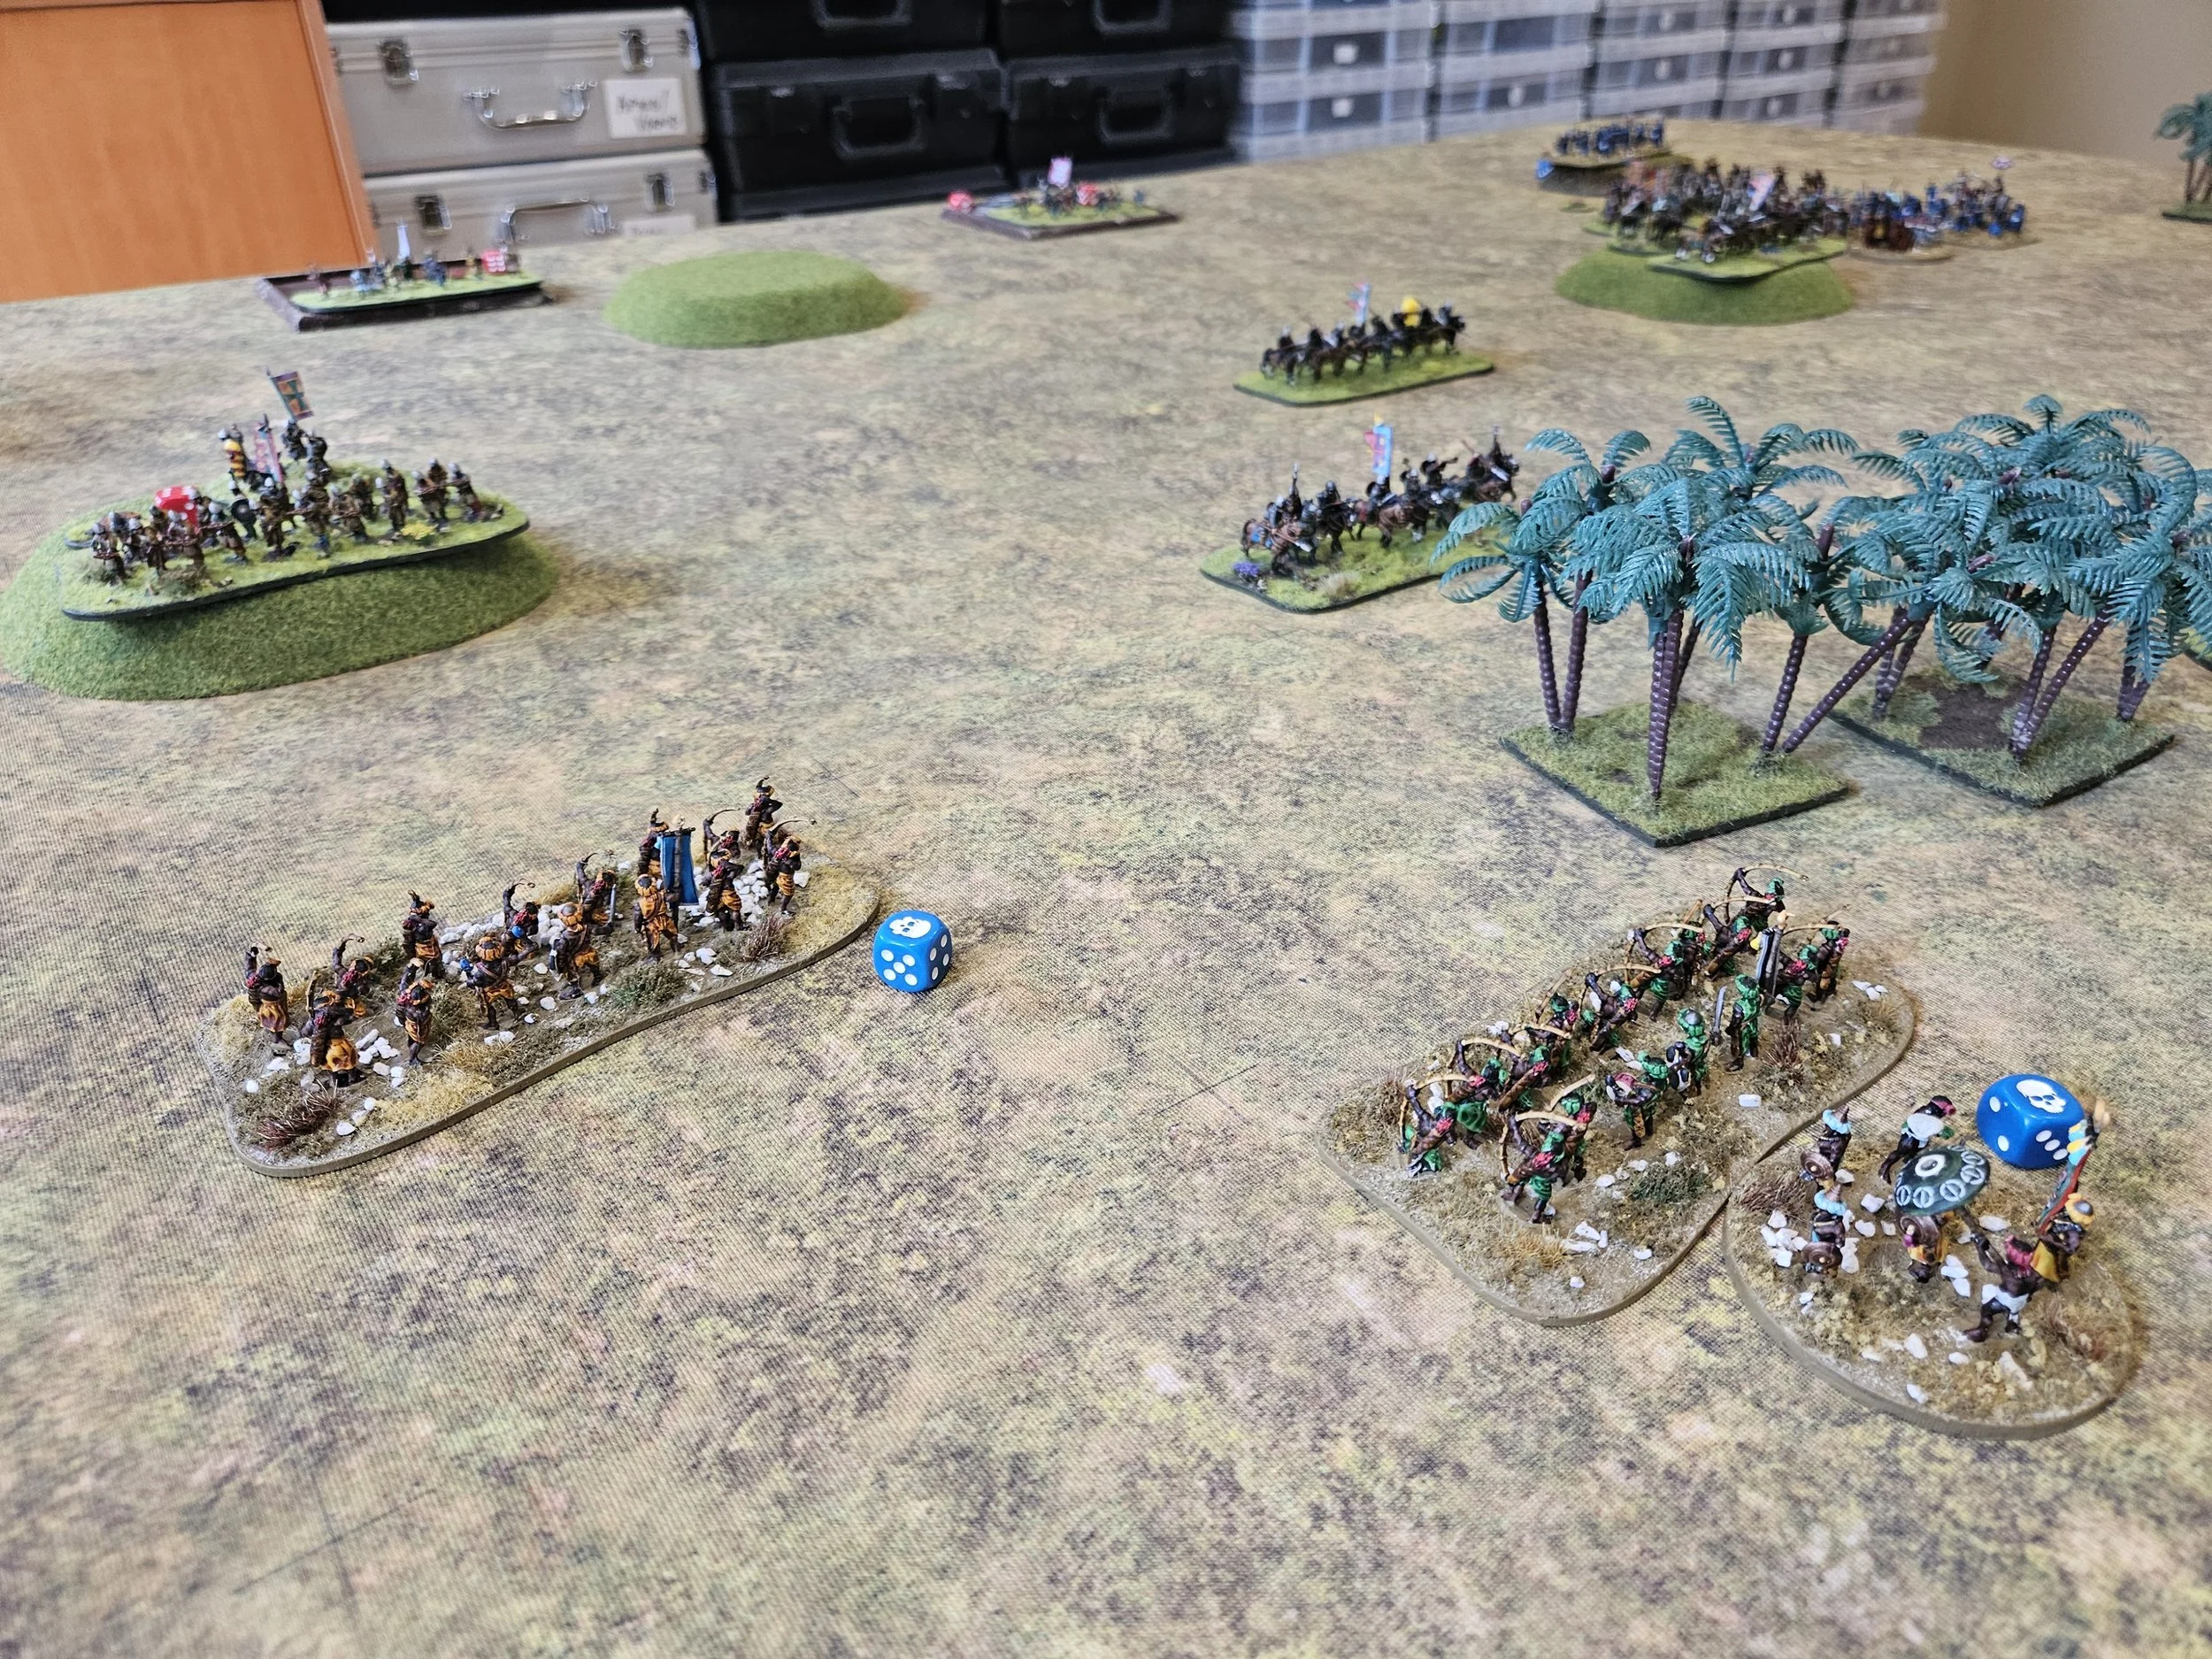
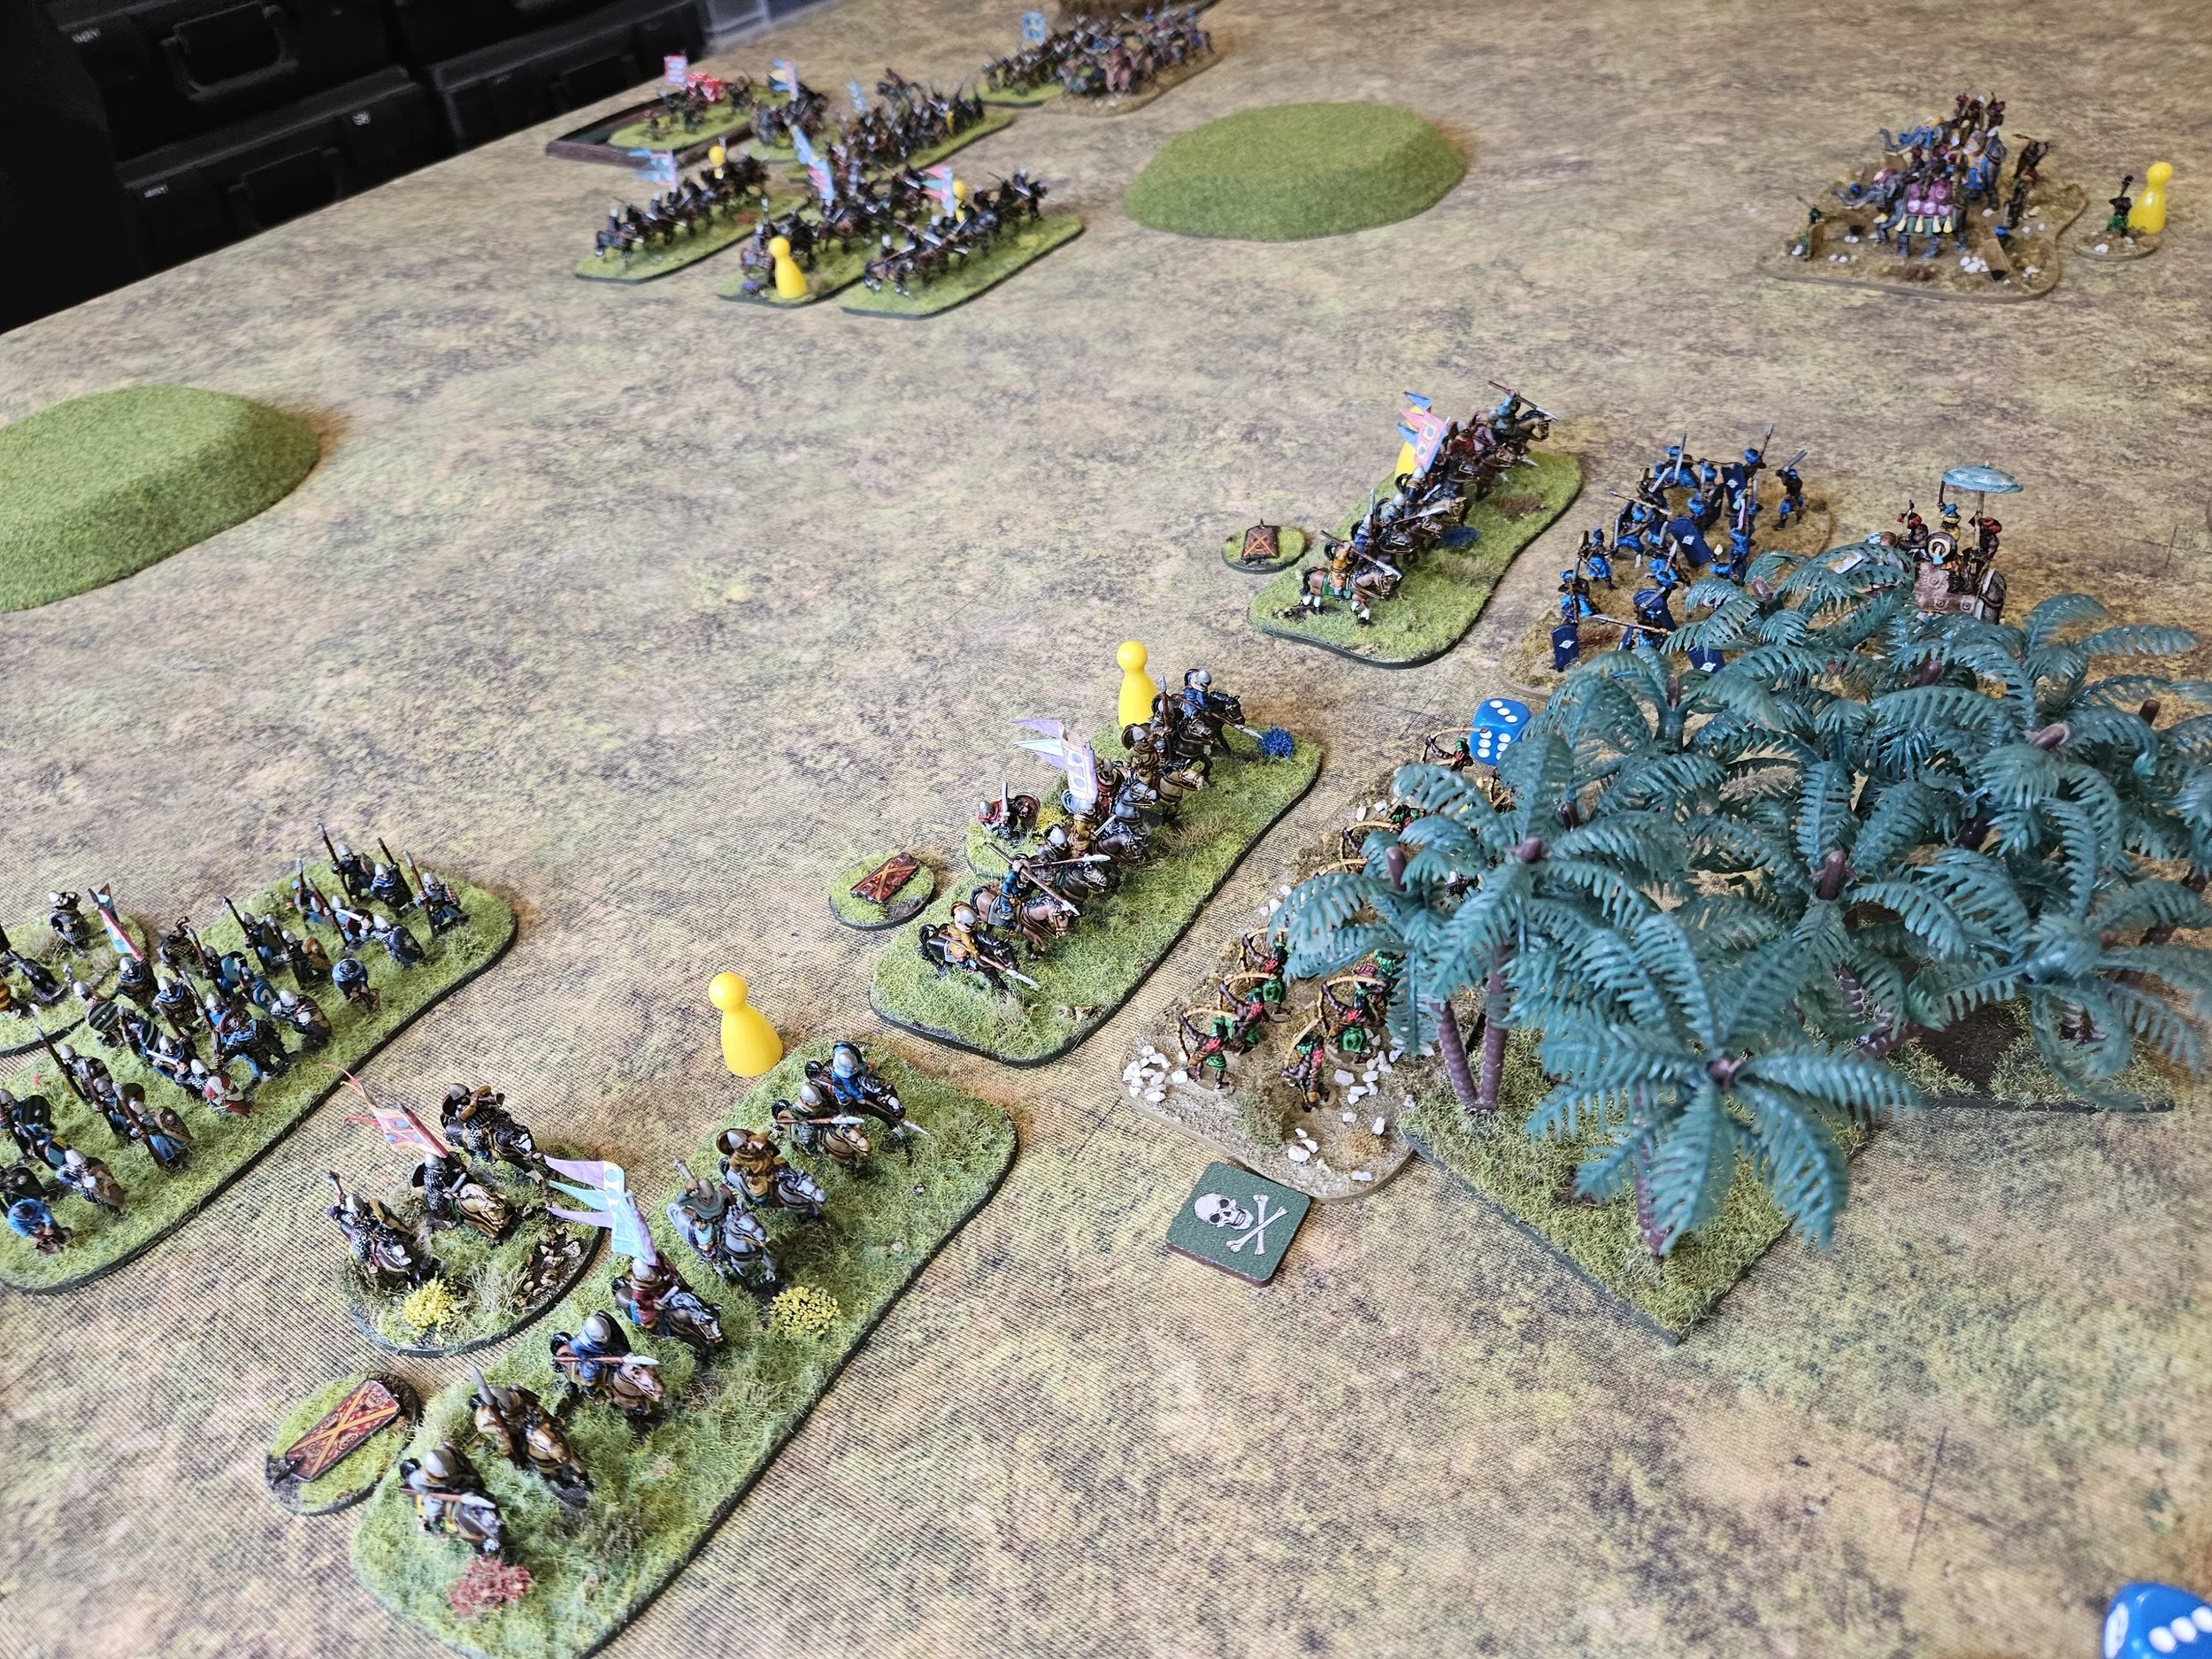
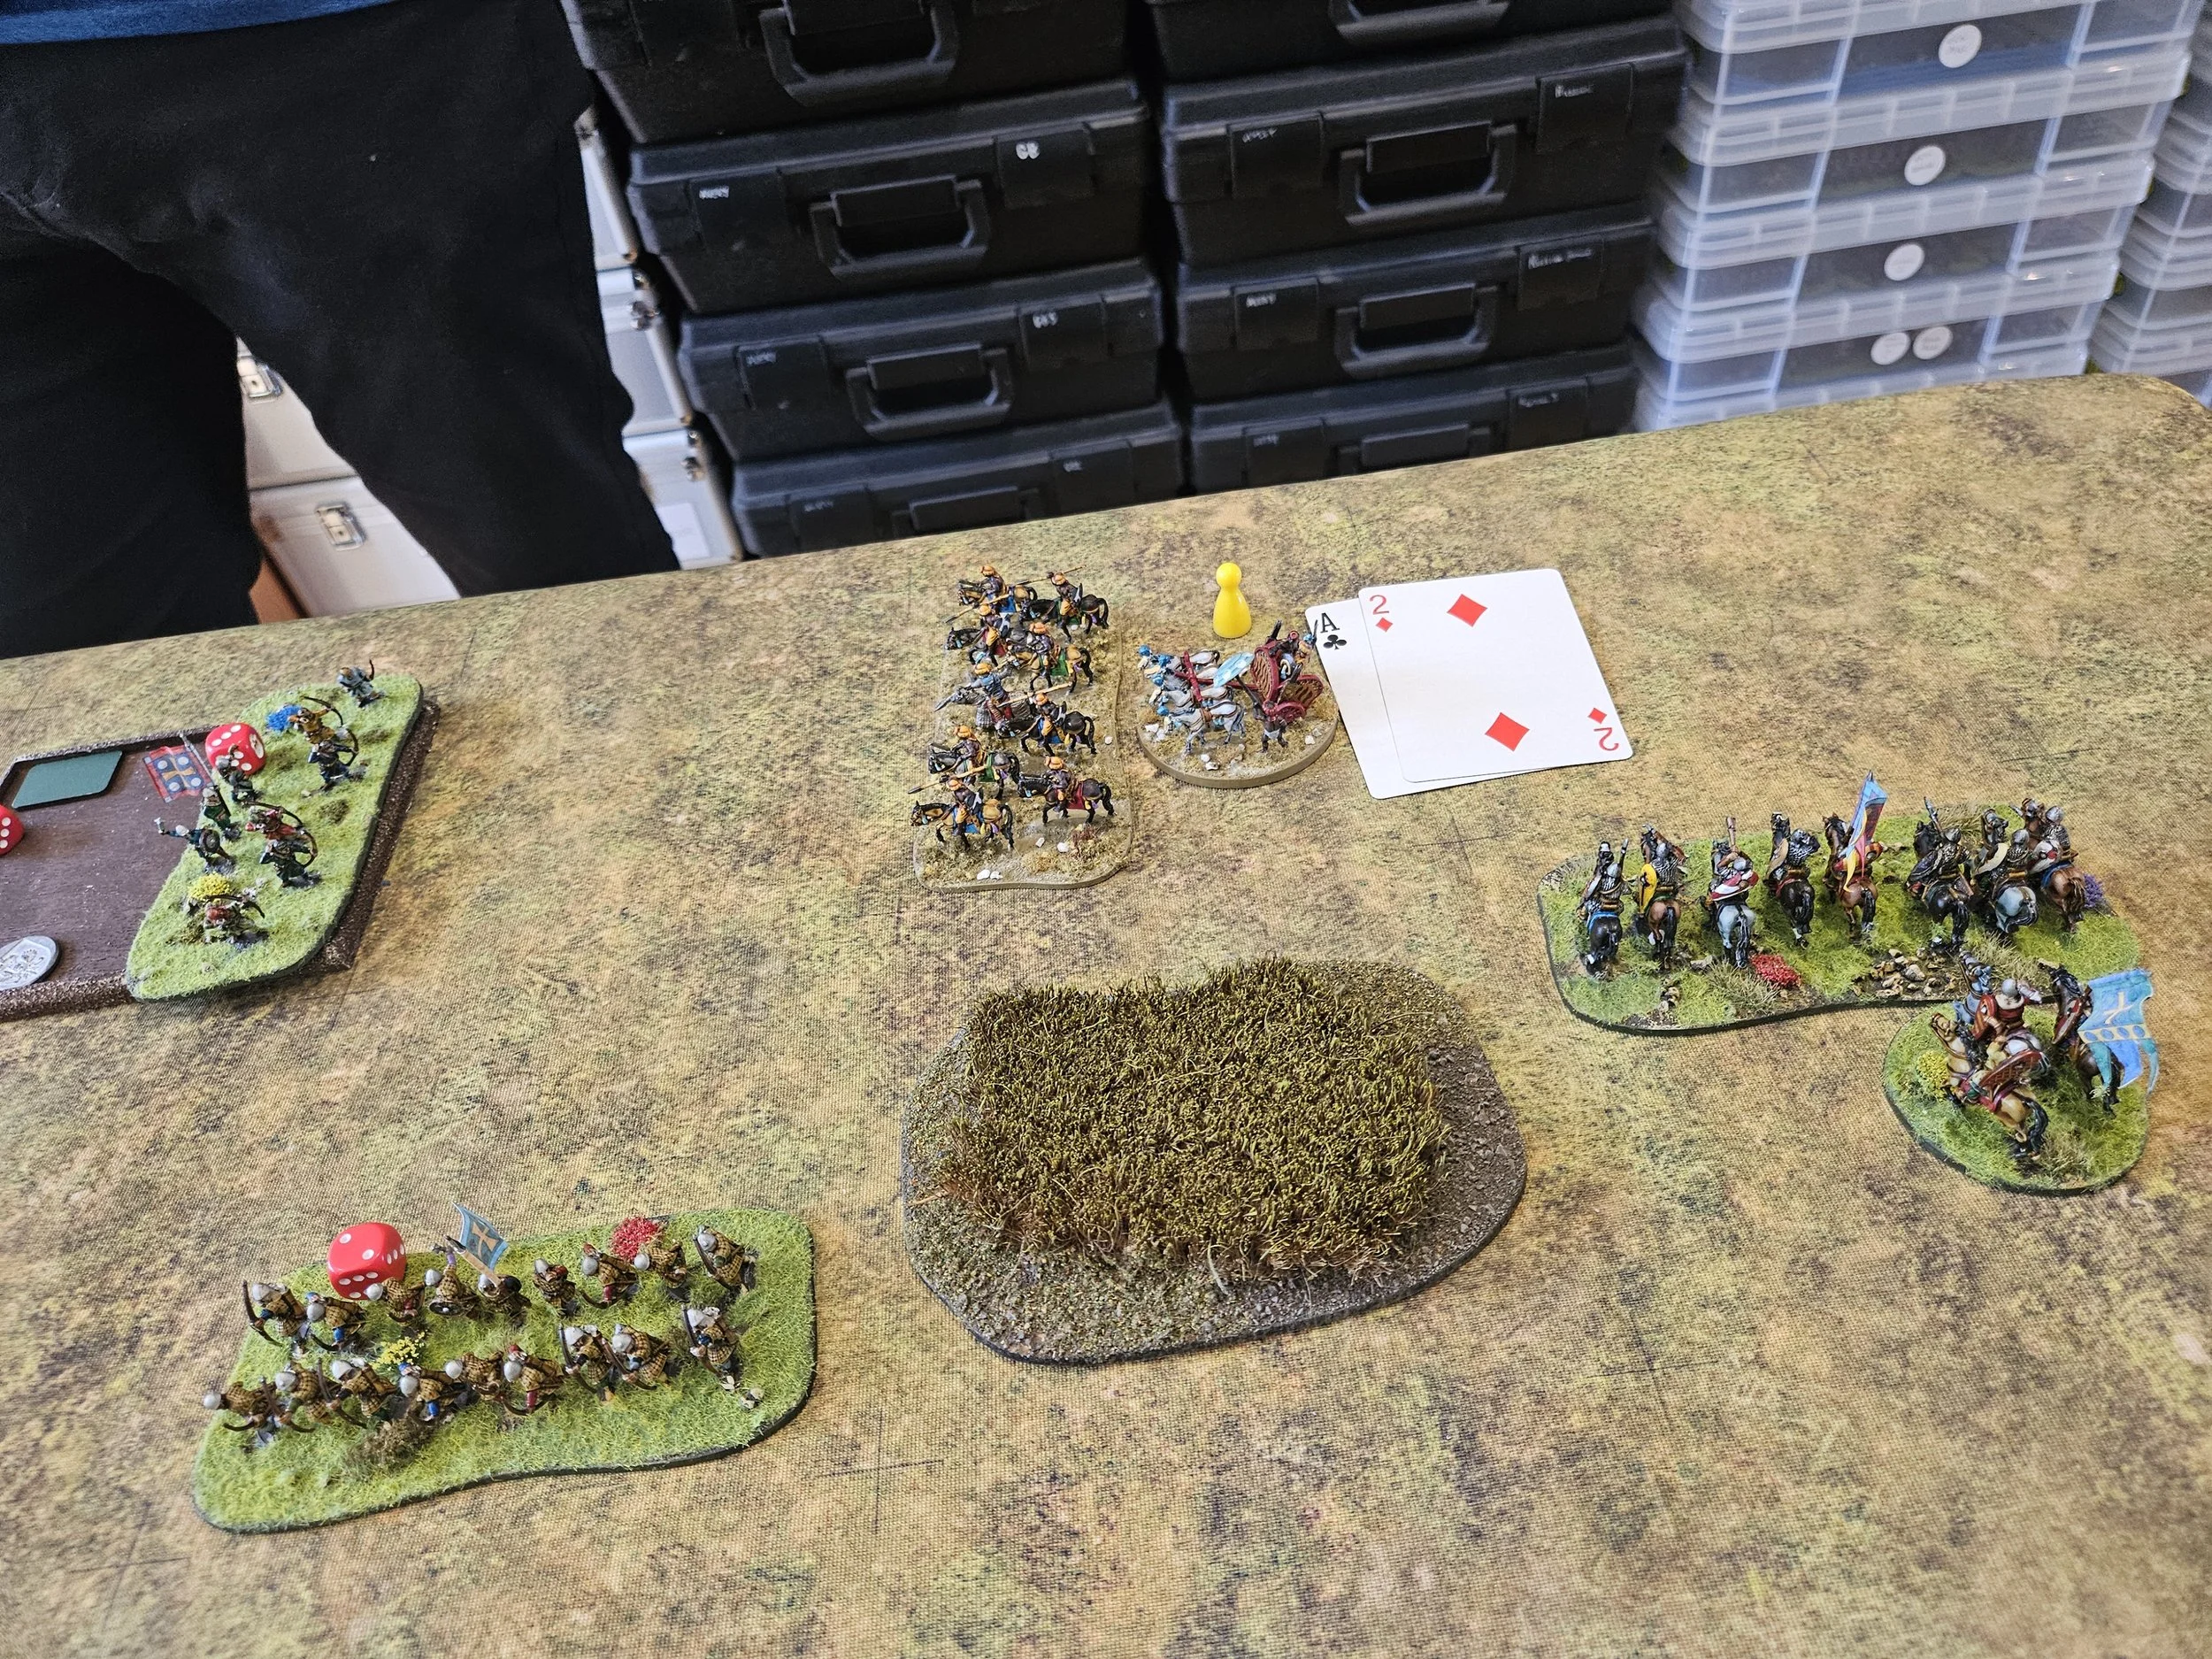
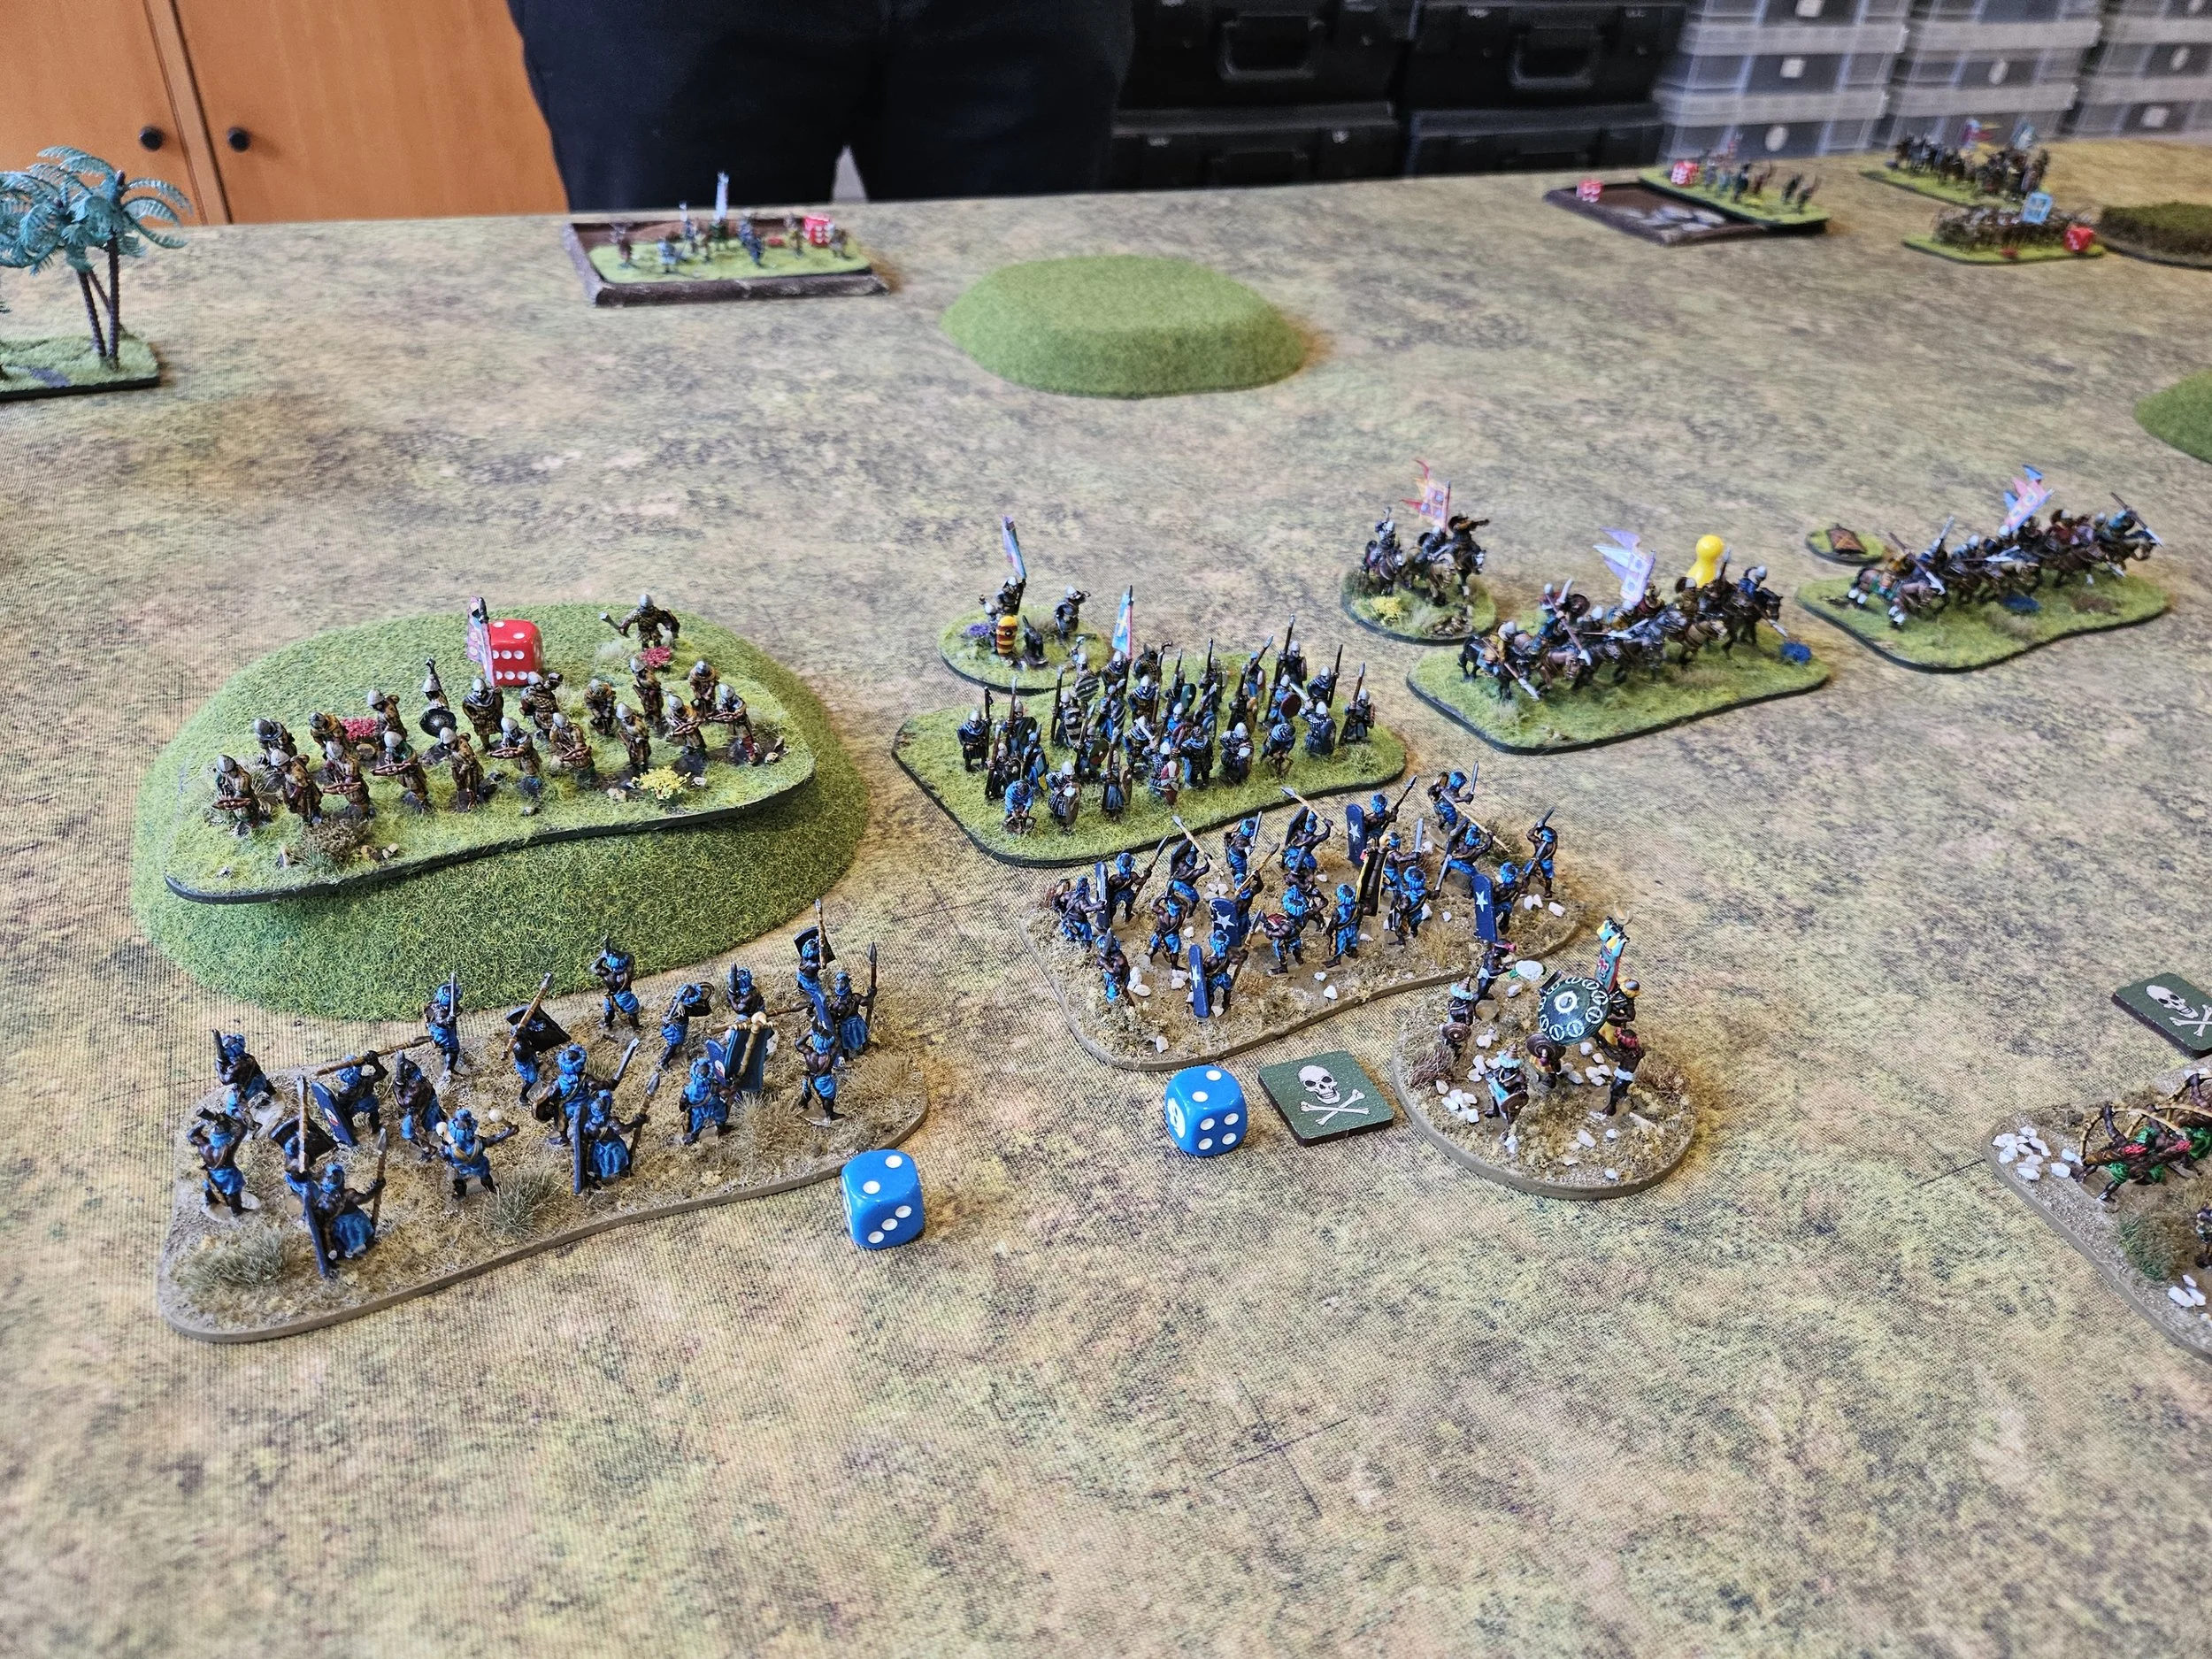
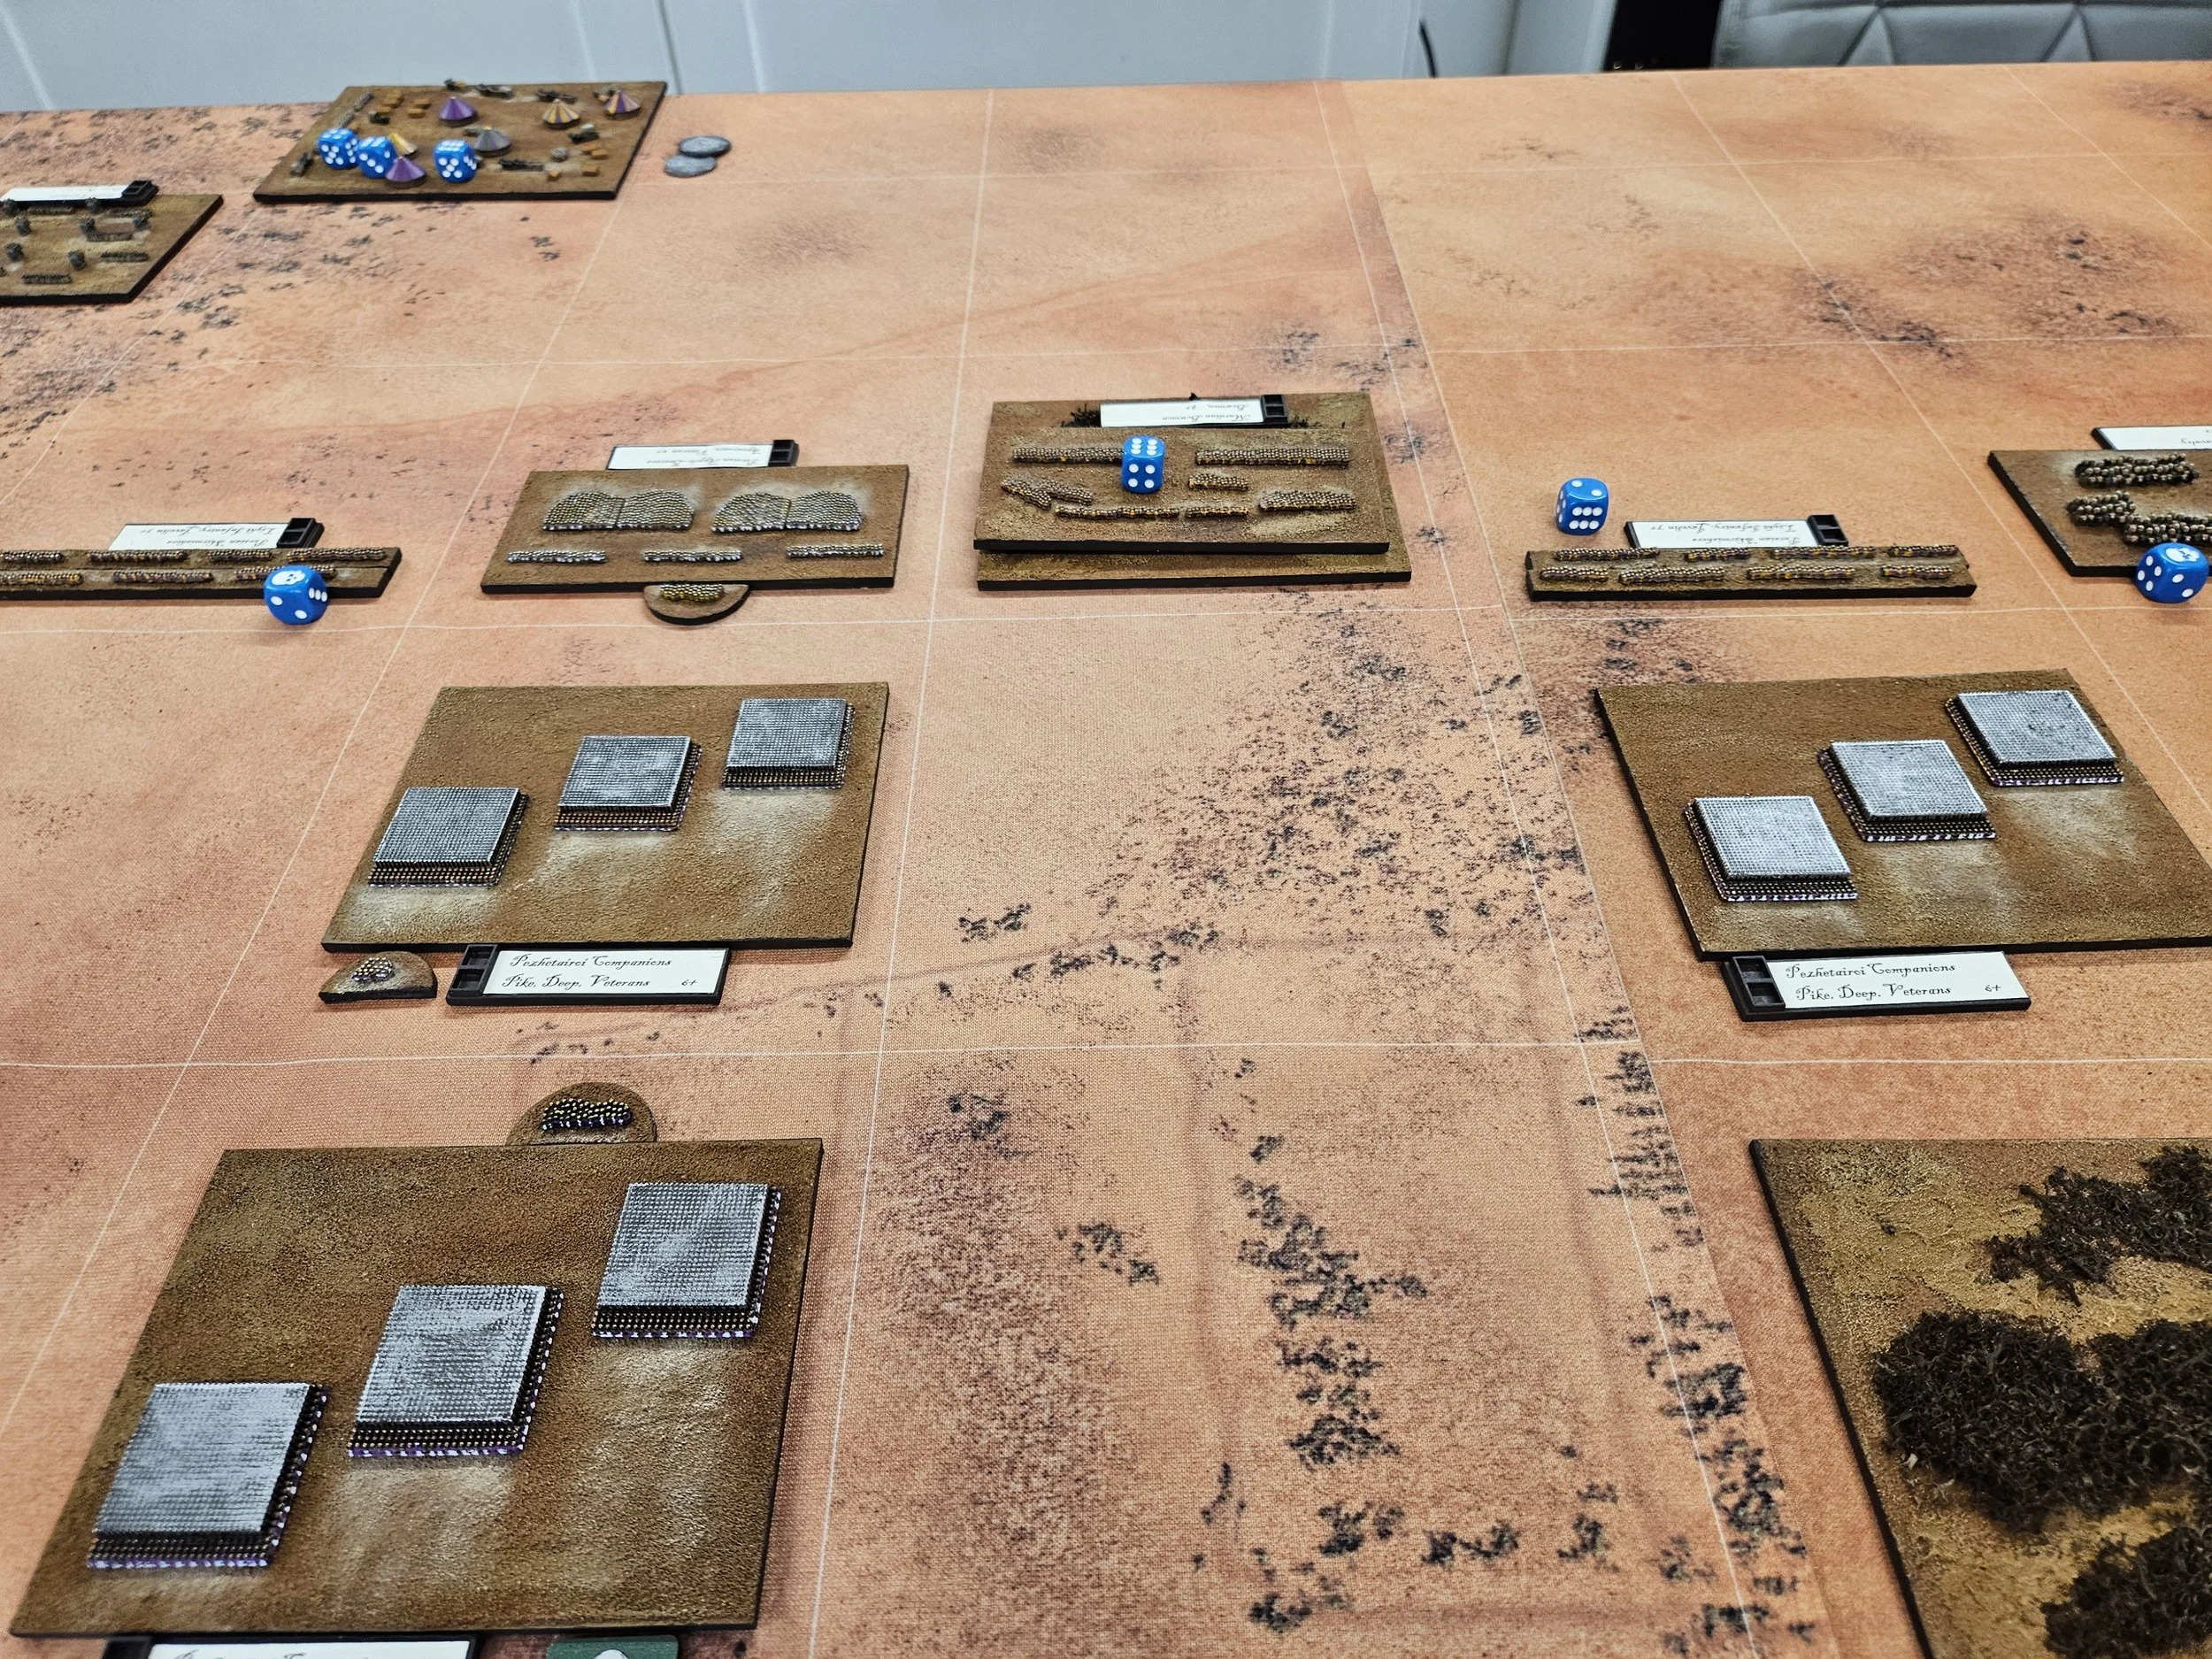
This is where the significance of that This Way Effendi strategem comes into play. With my right hand infantry command still trying to re-orientate the axis of its attack back onto the enemy camp, I needed my left hand infantry command to quickly wipe out the Persian mobs and lesser troops in front of them: not a problem provided you are far enough up the table to get at them!
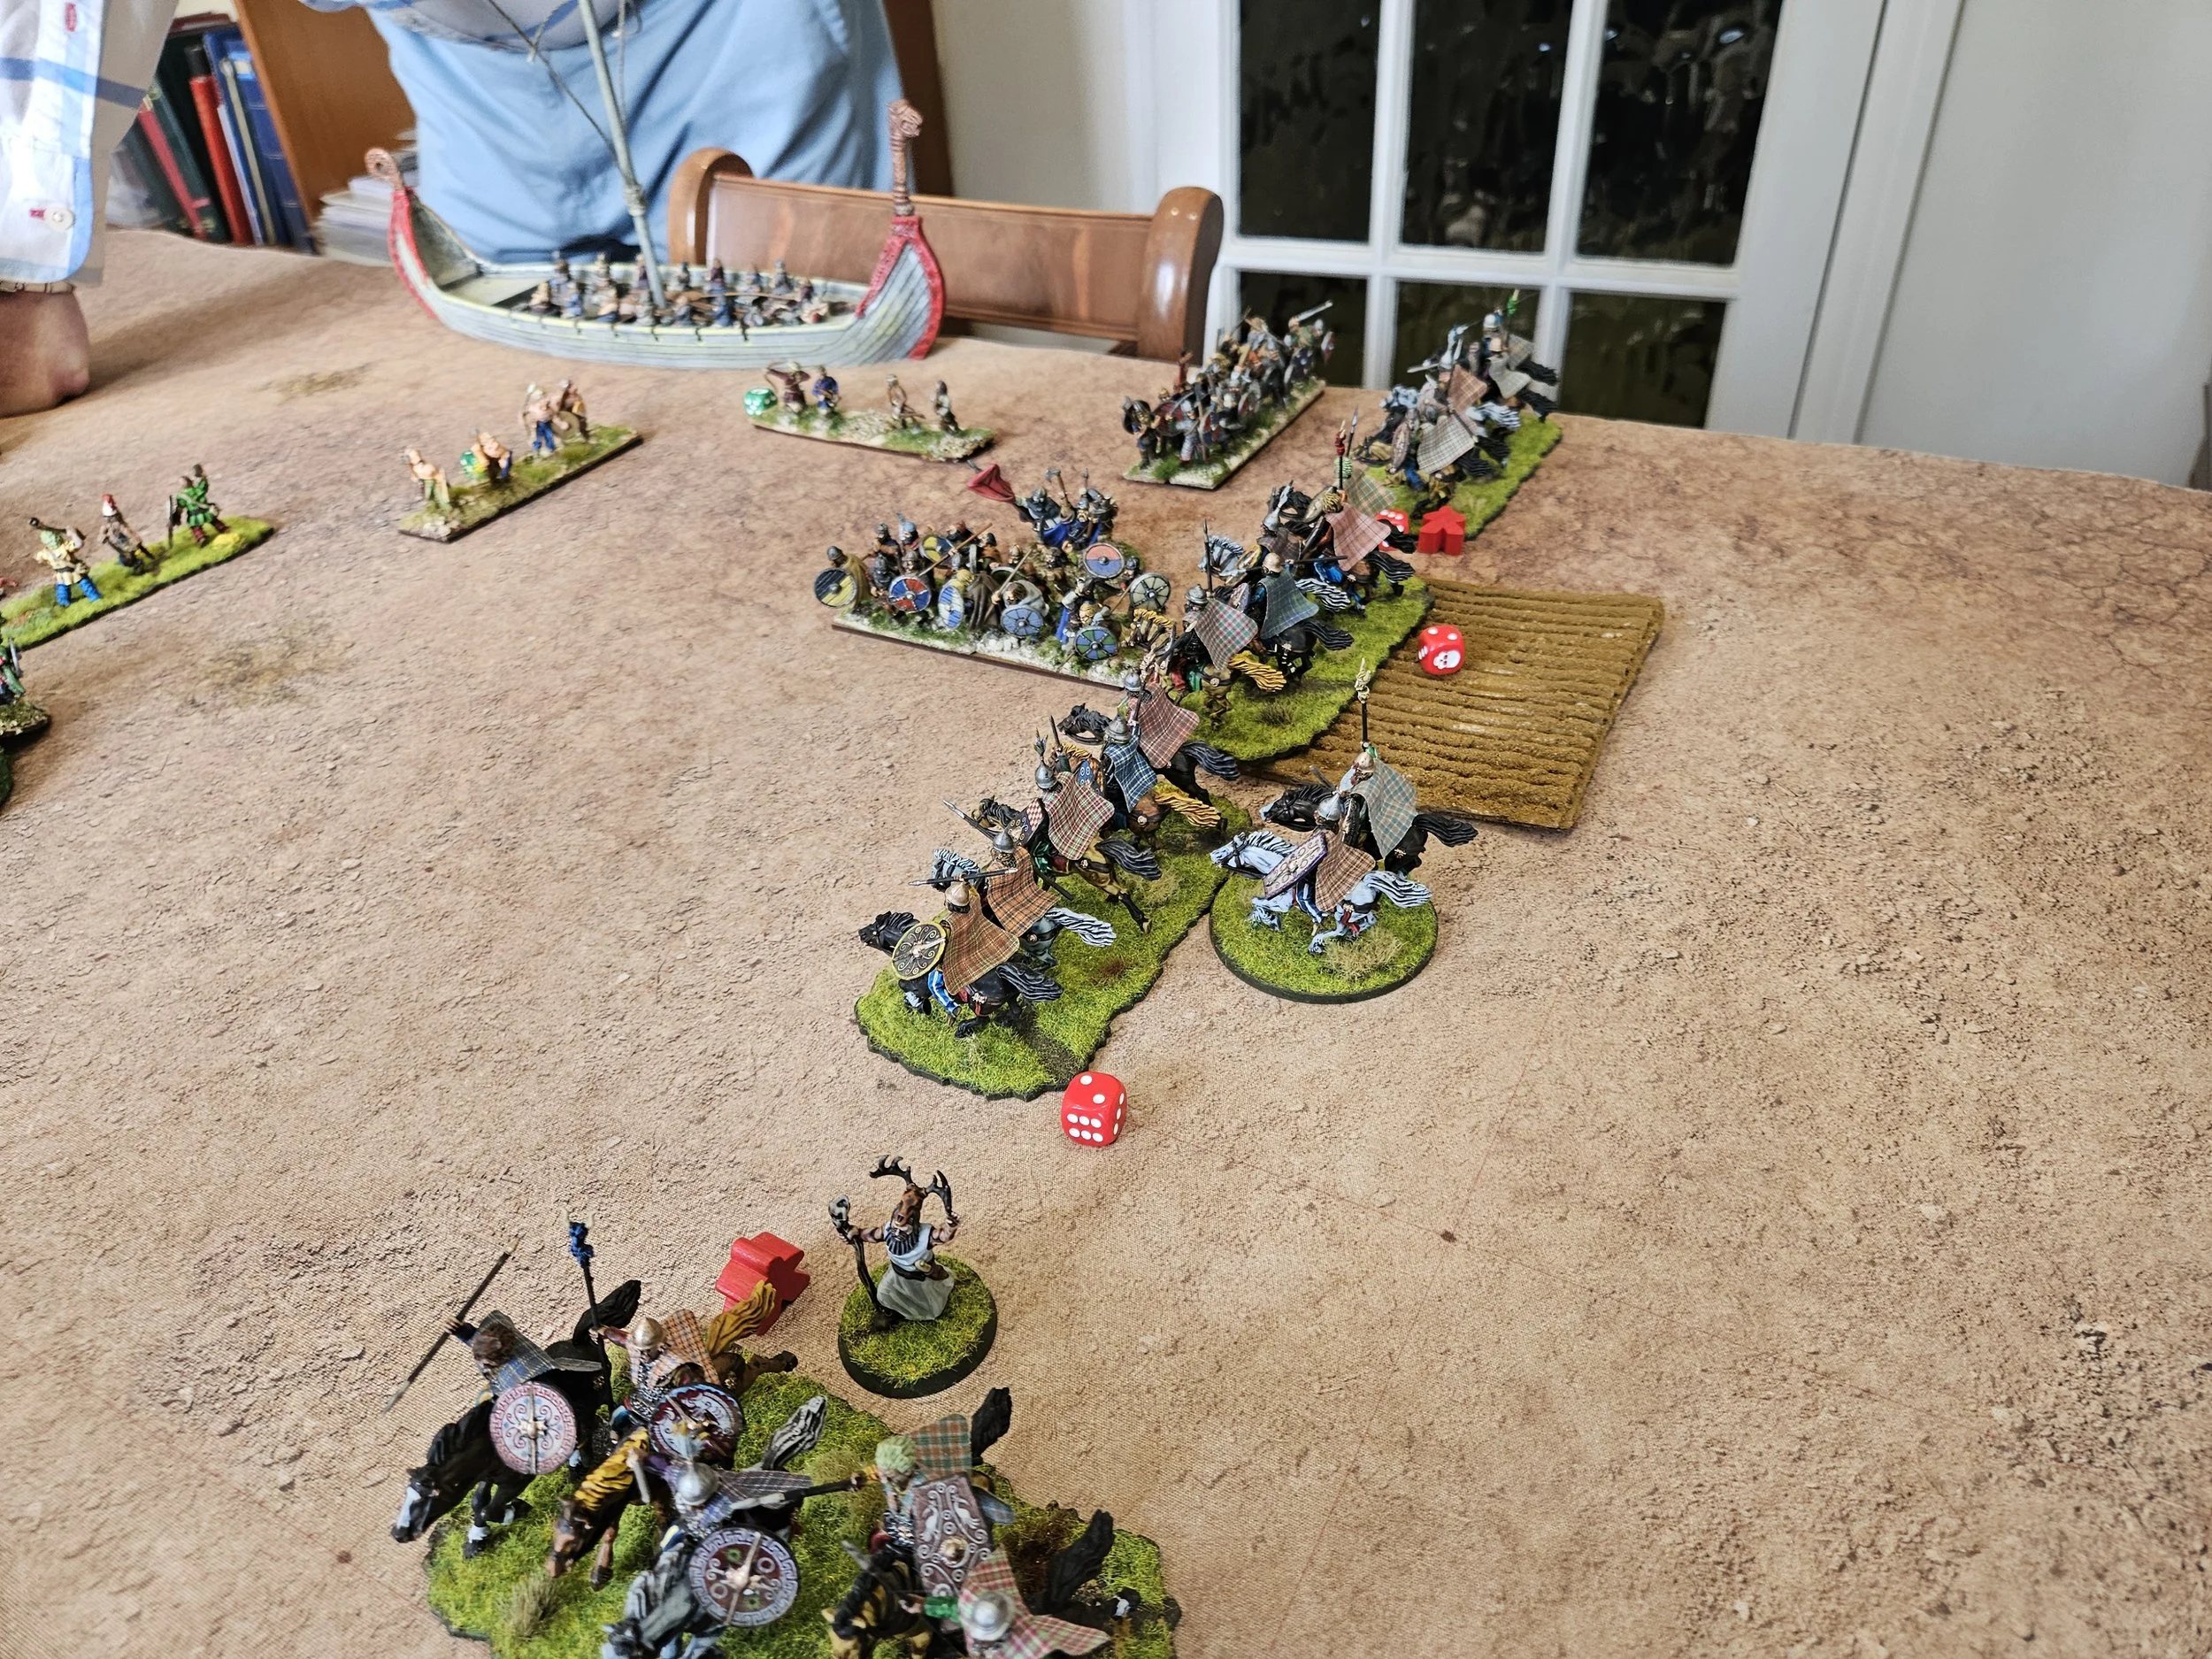
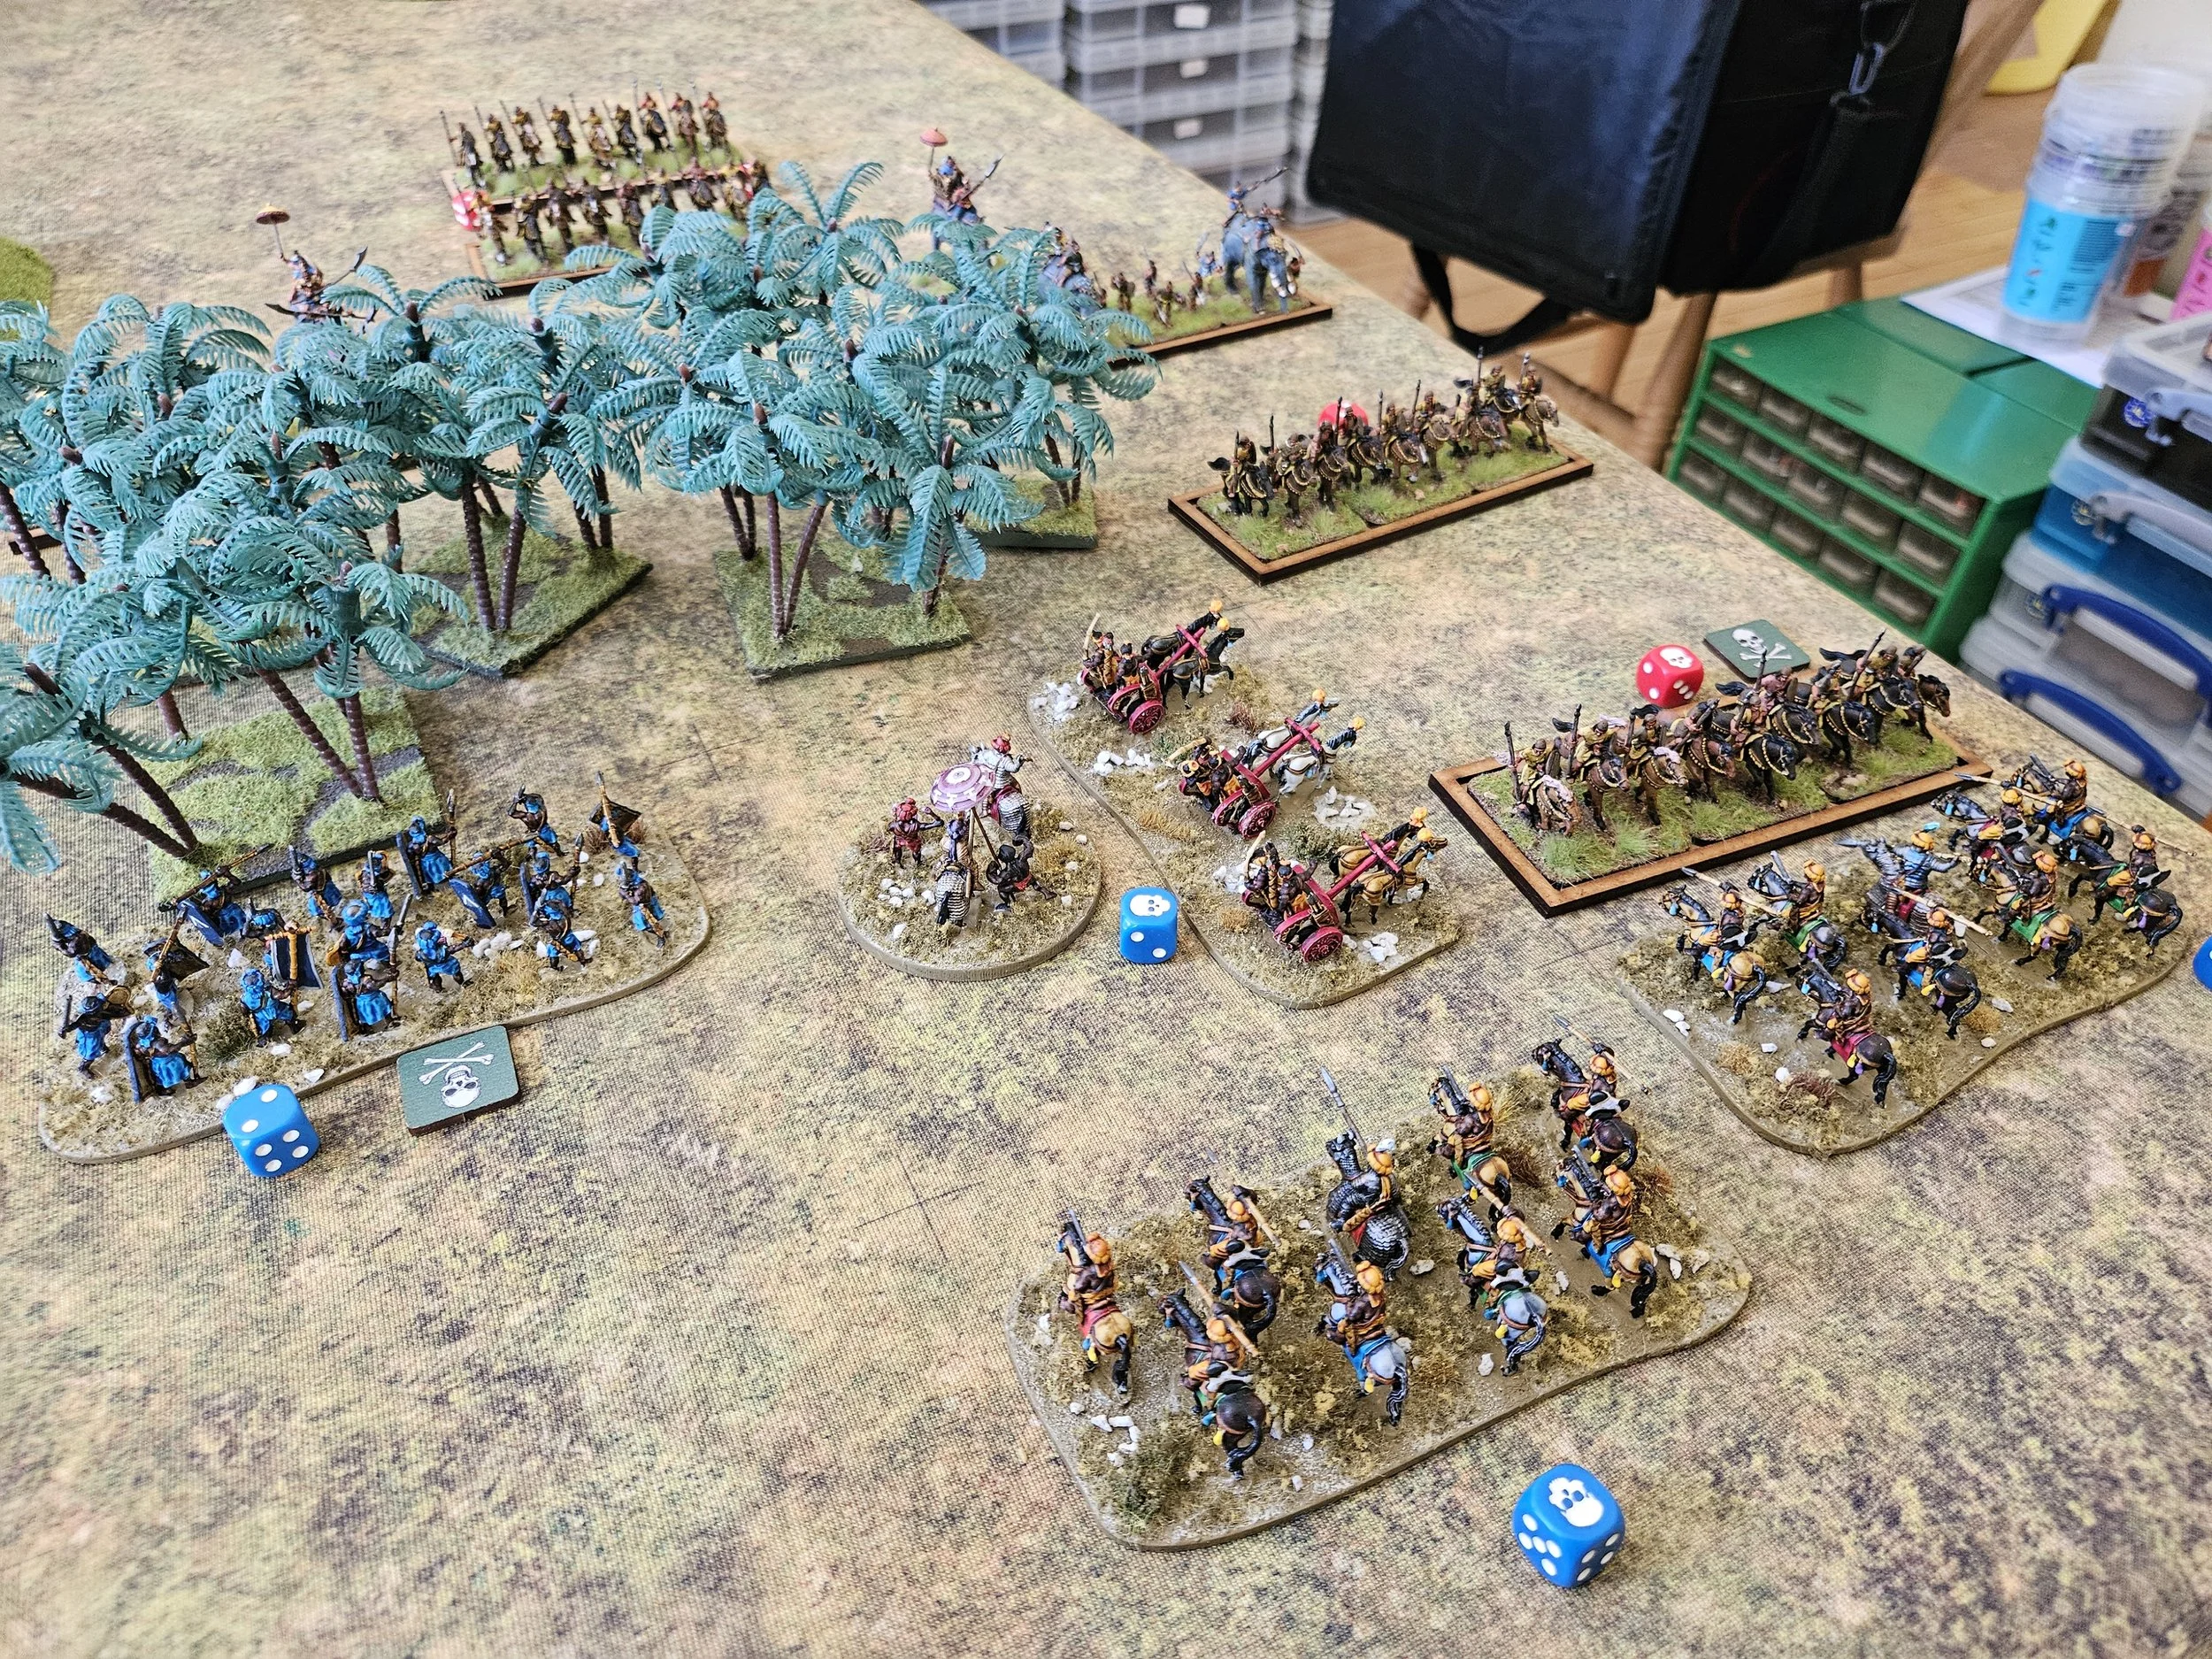
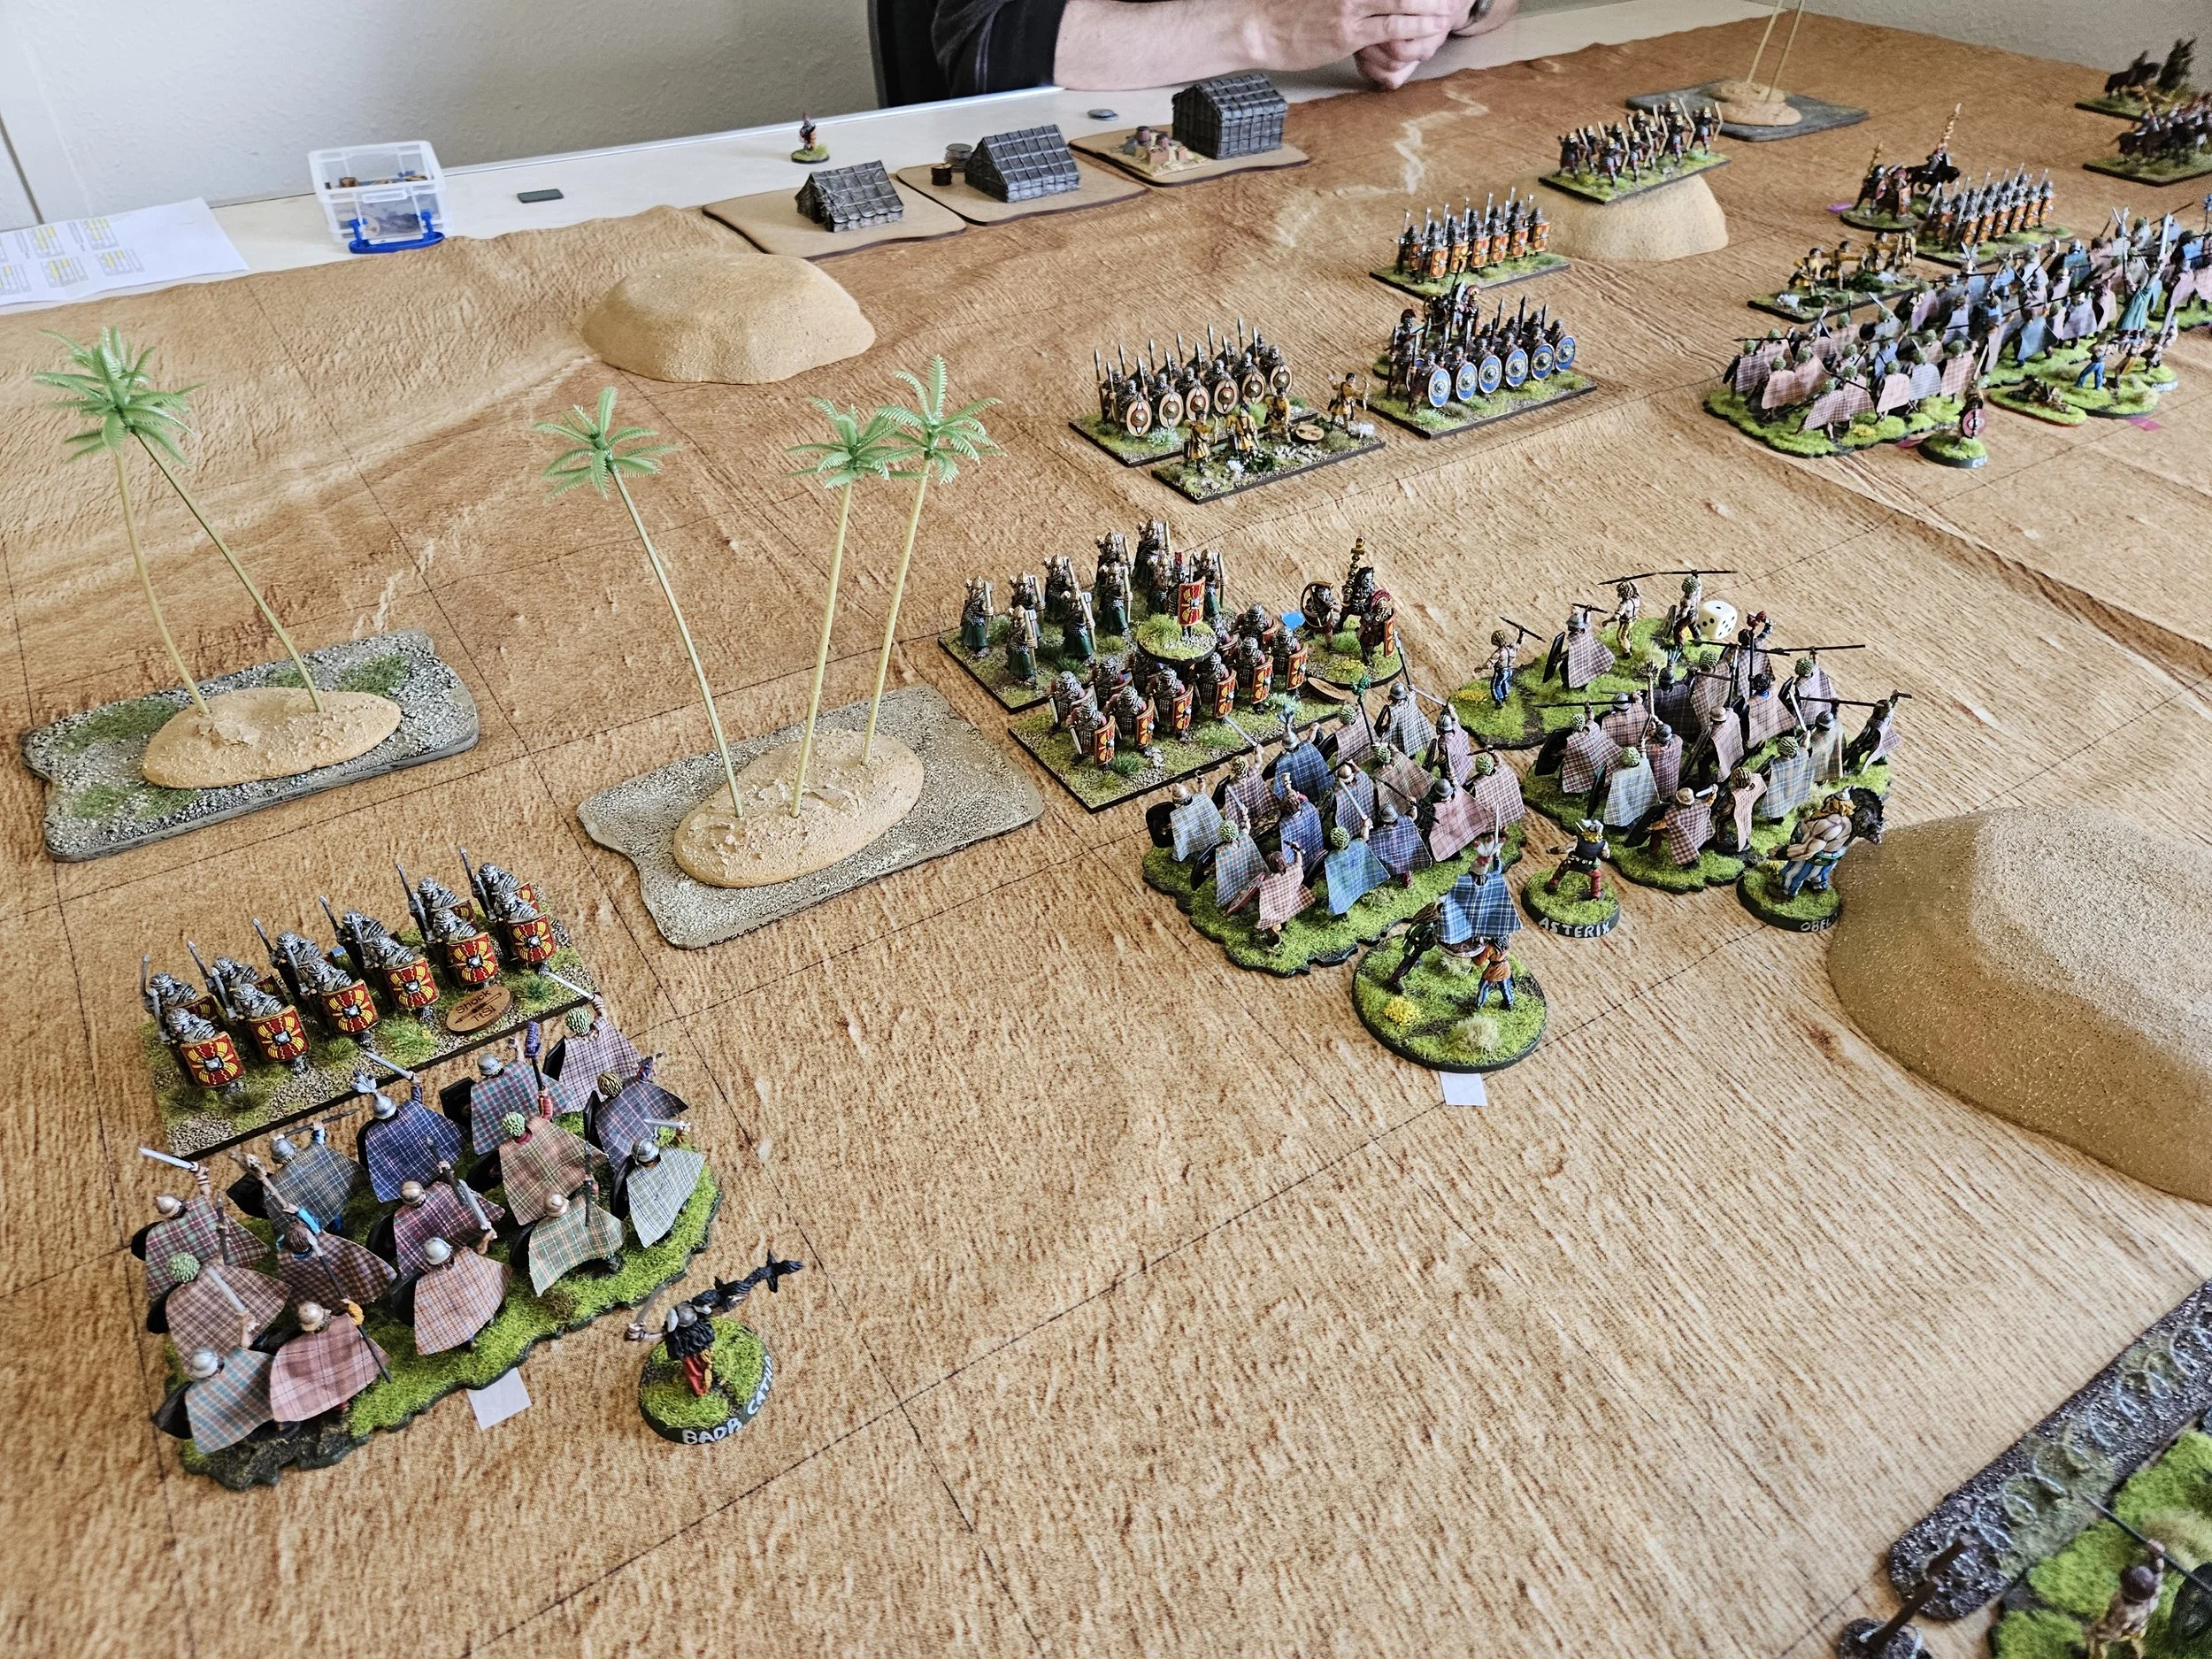
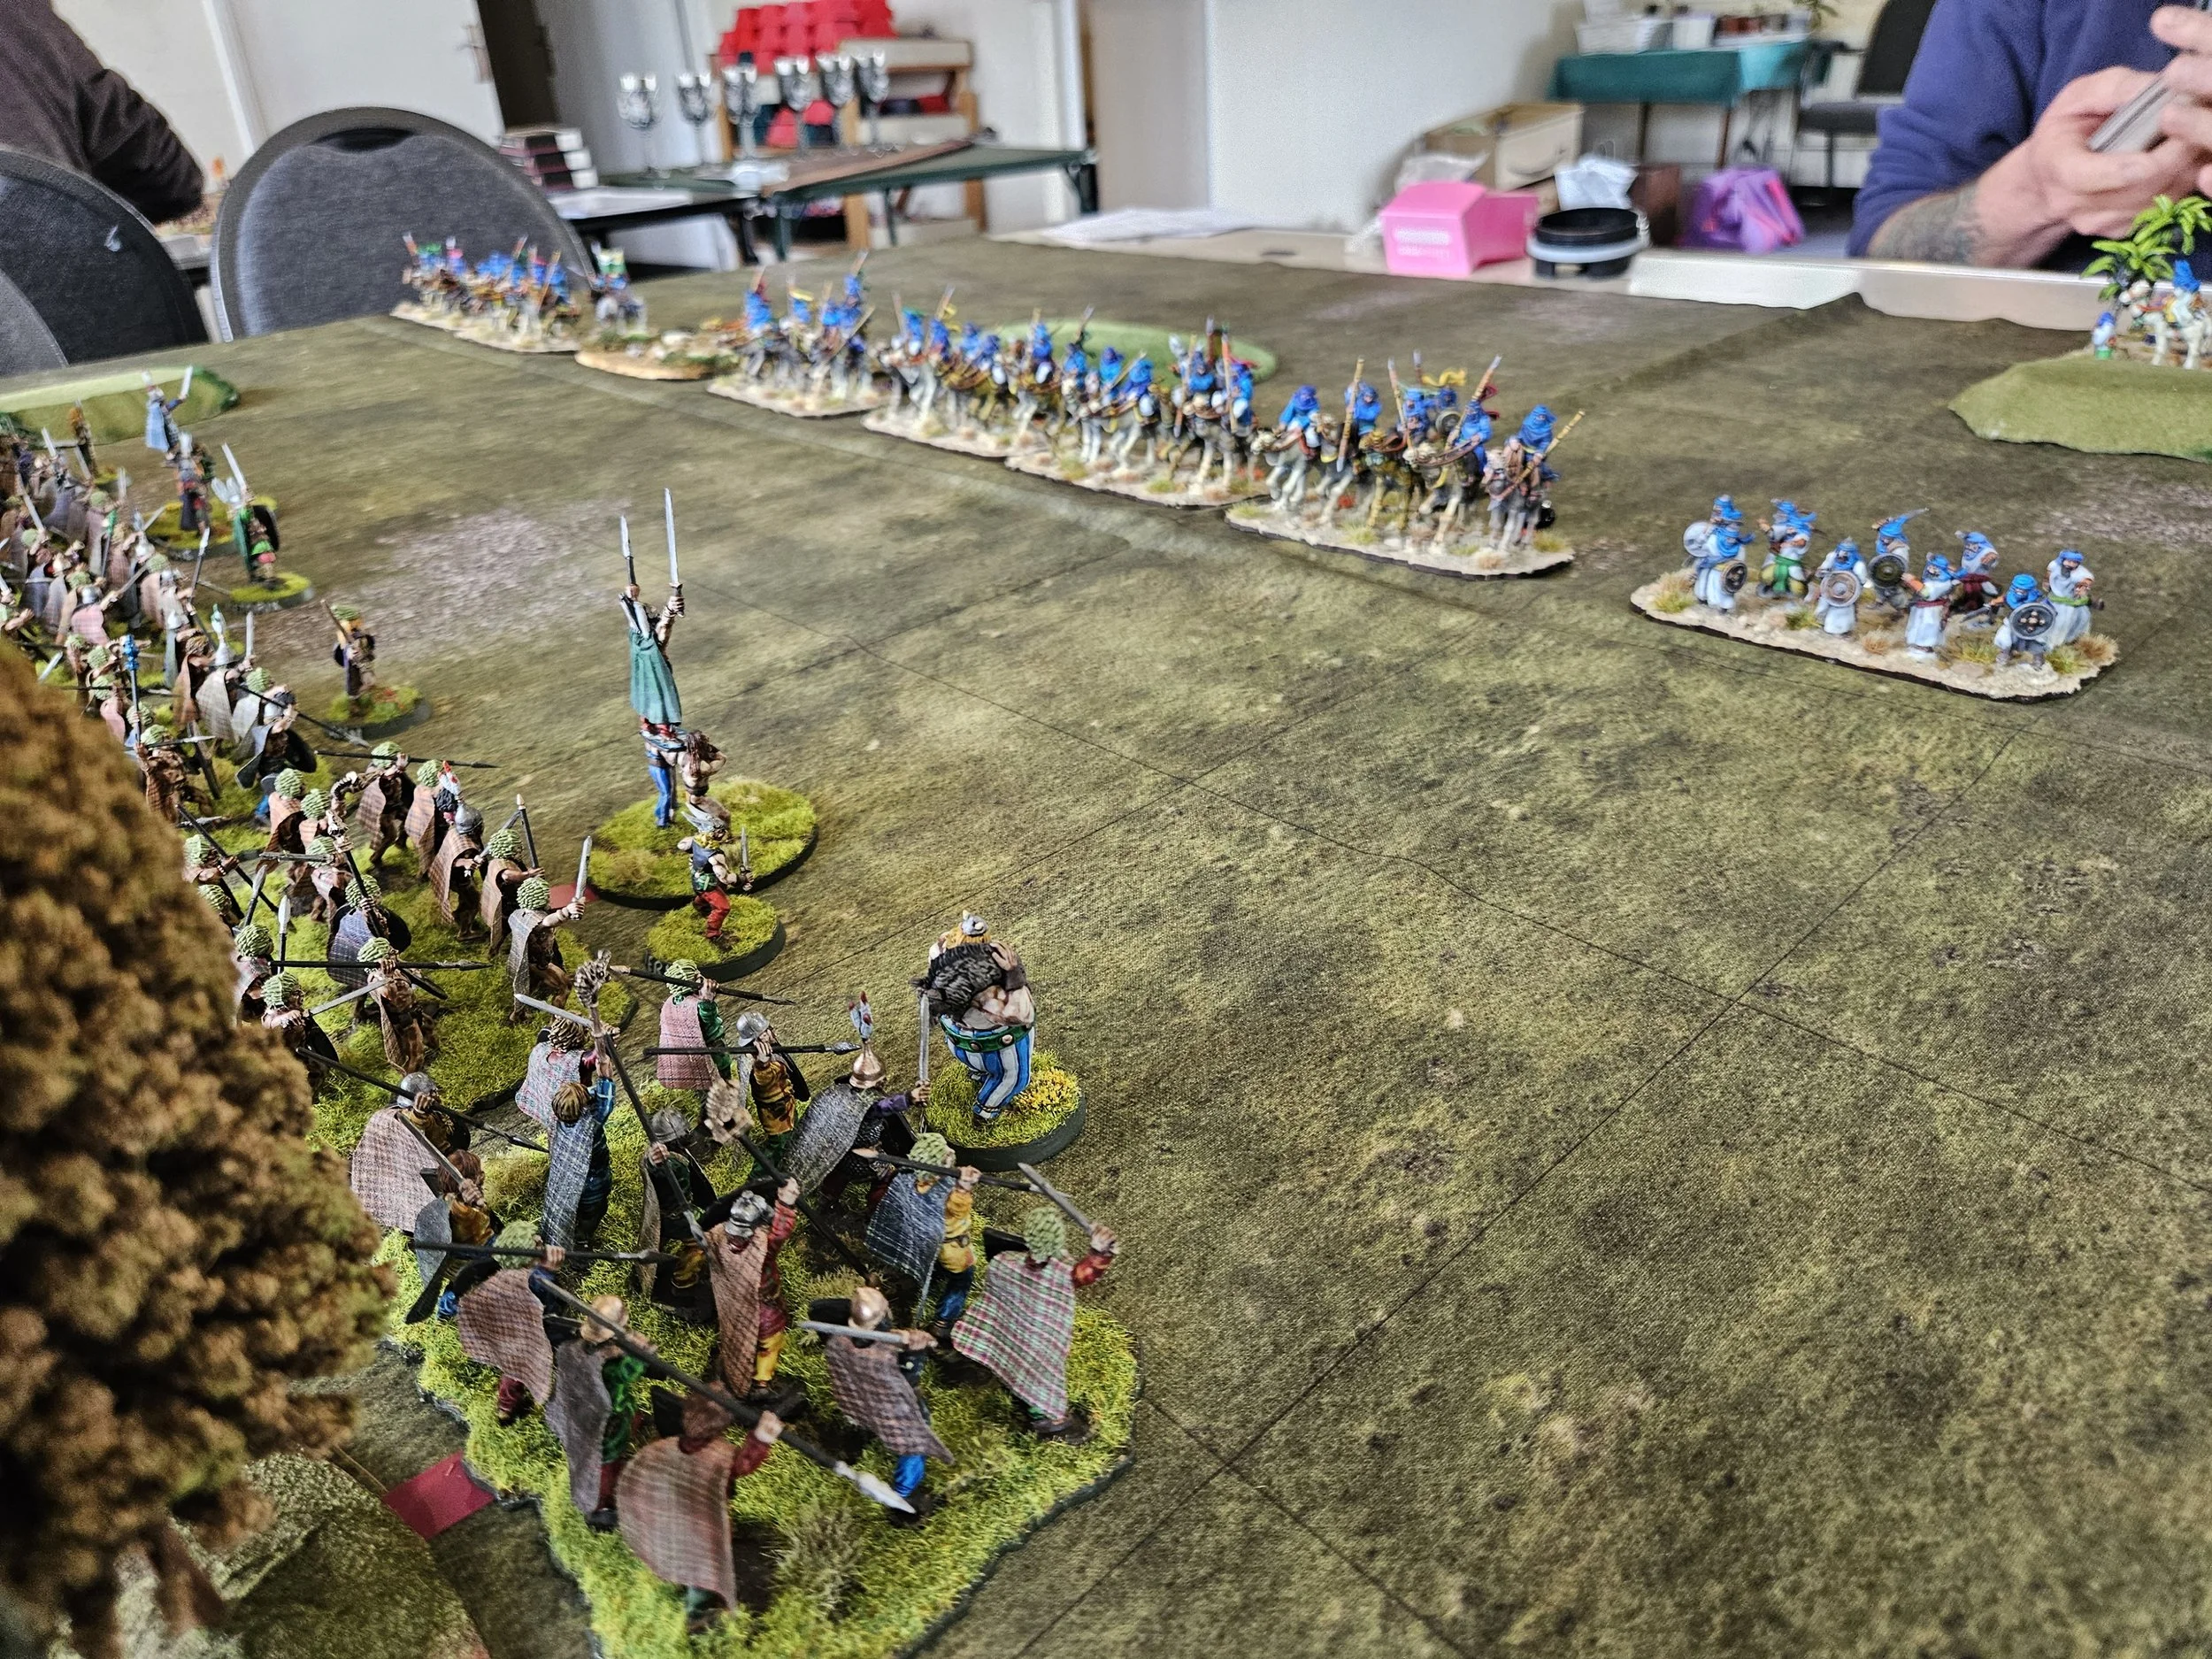
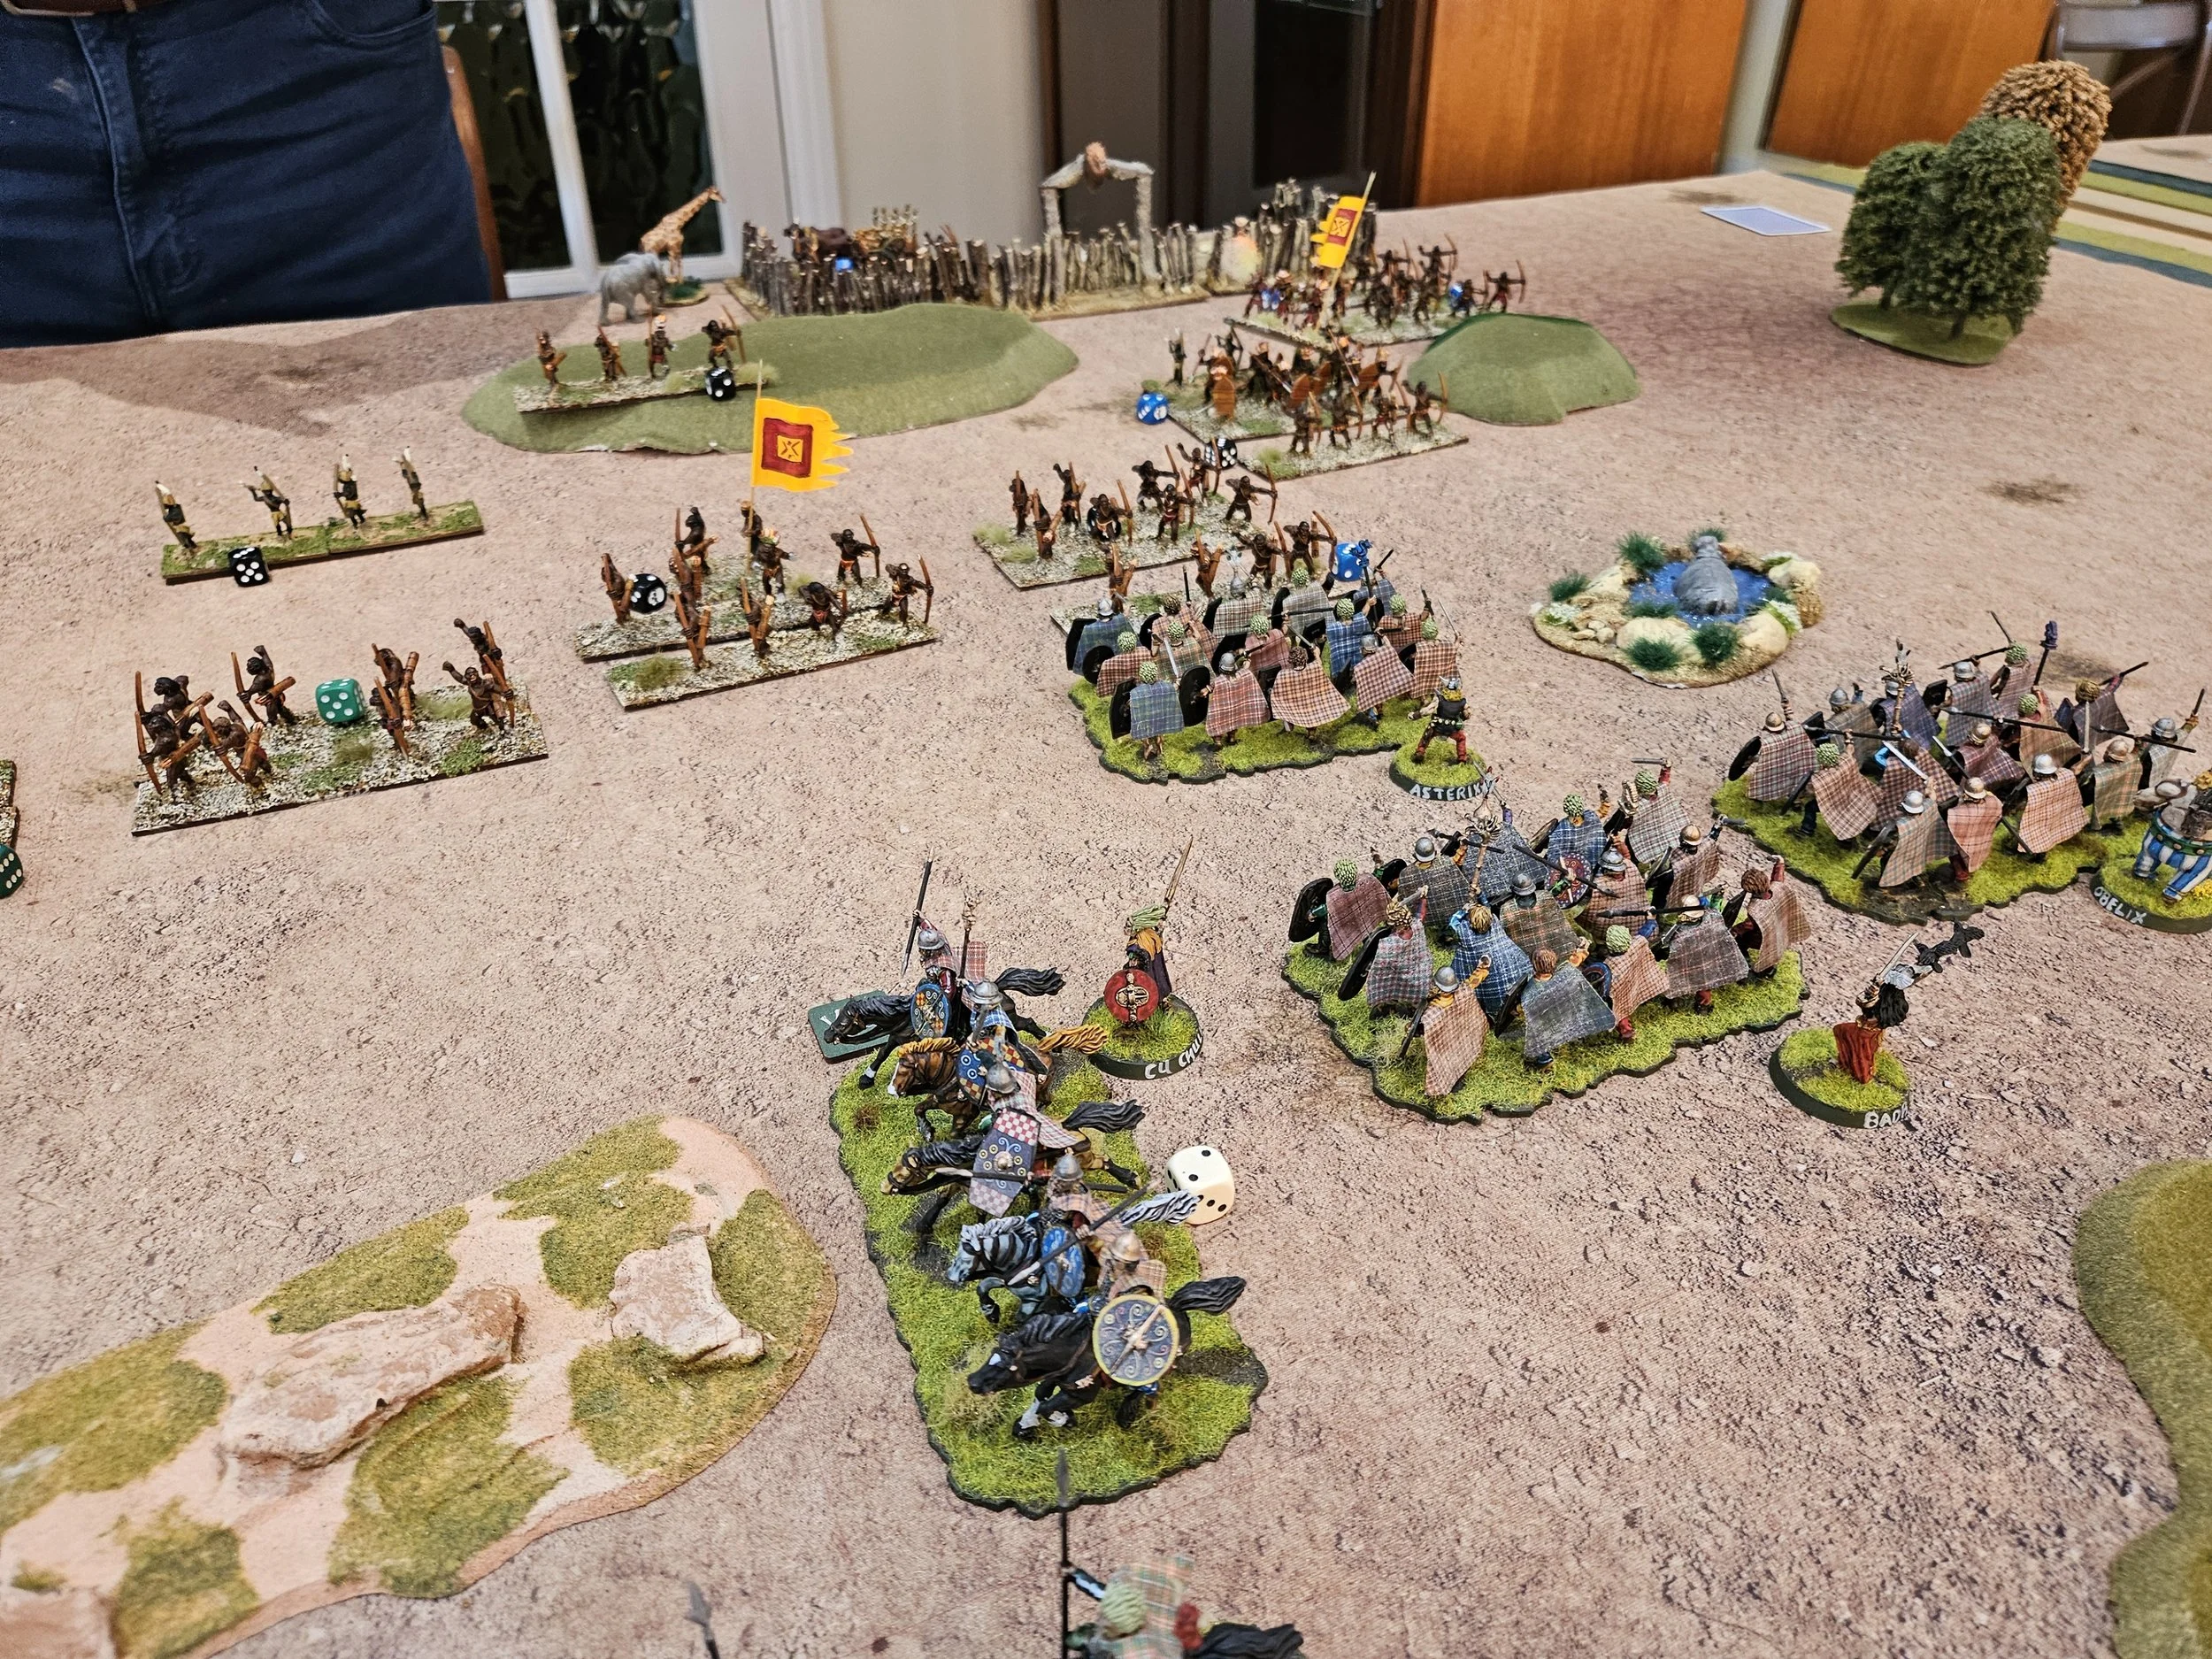
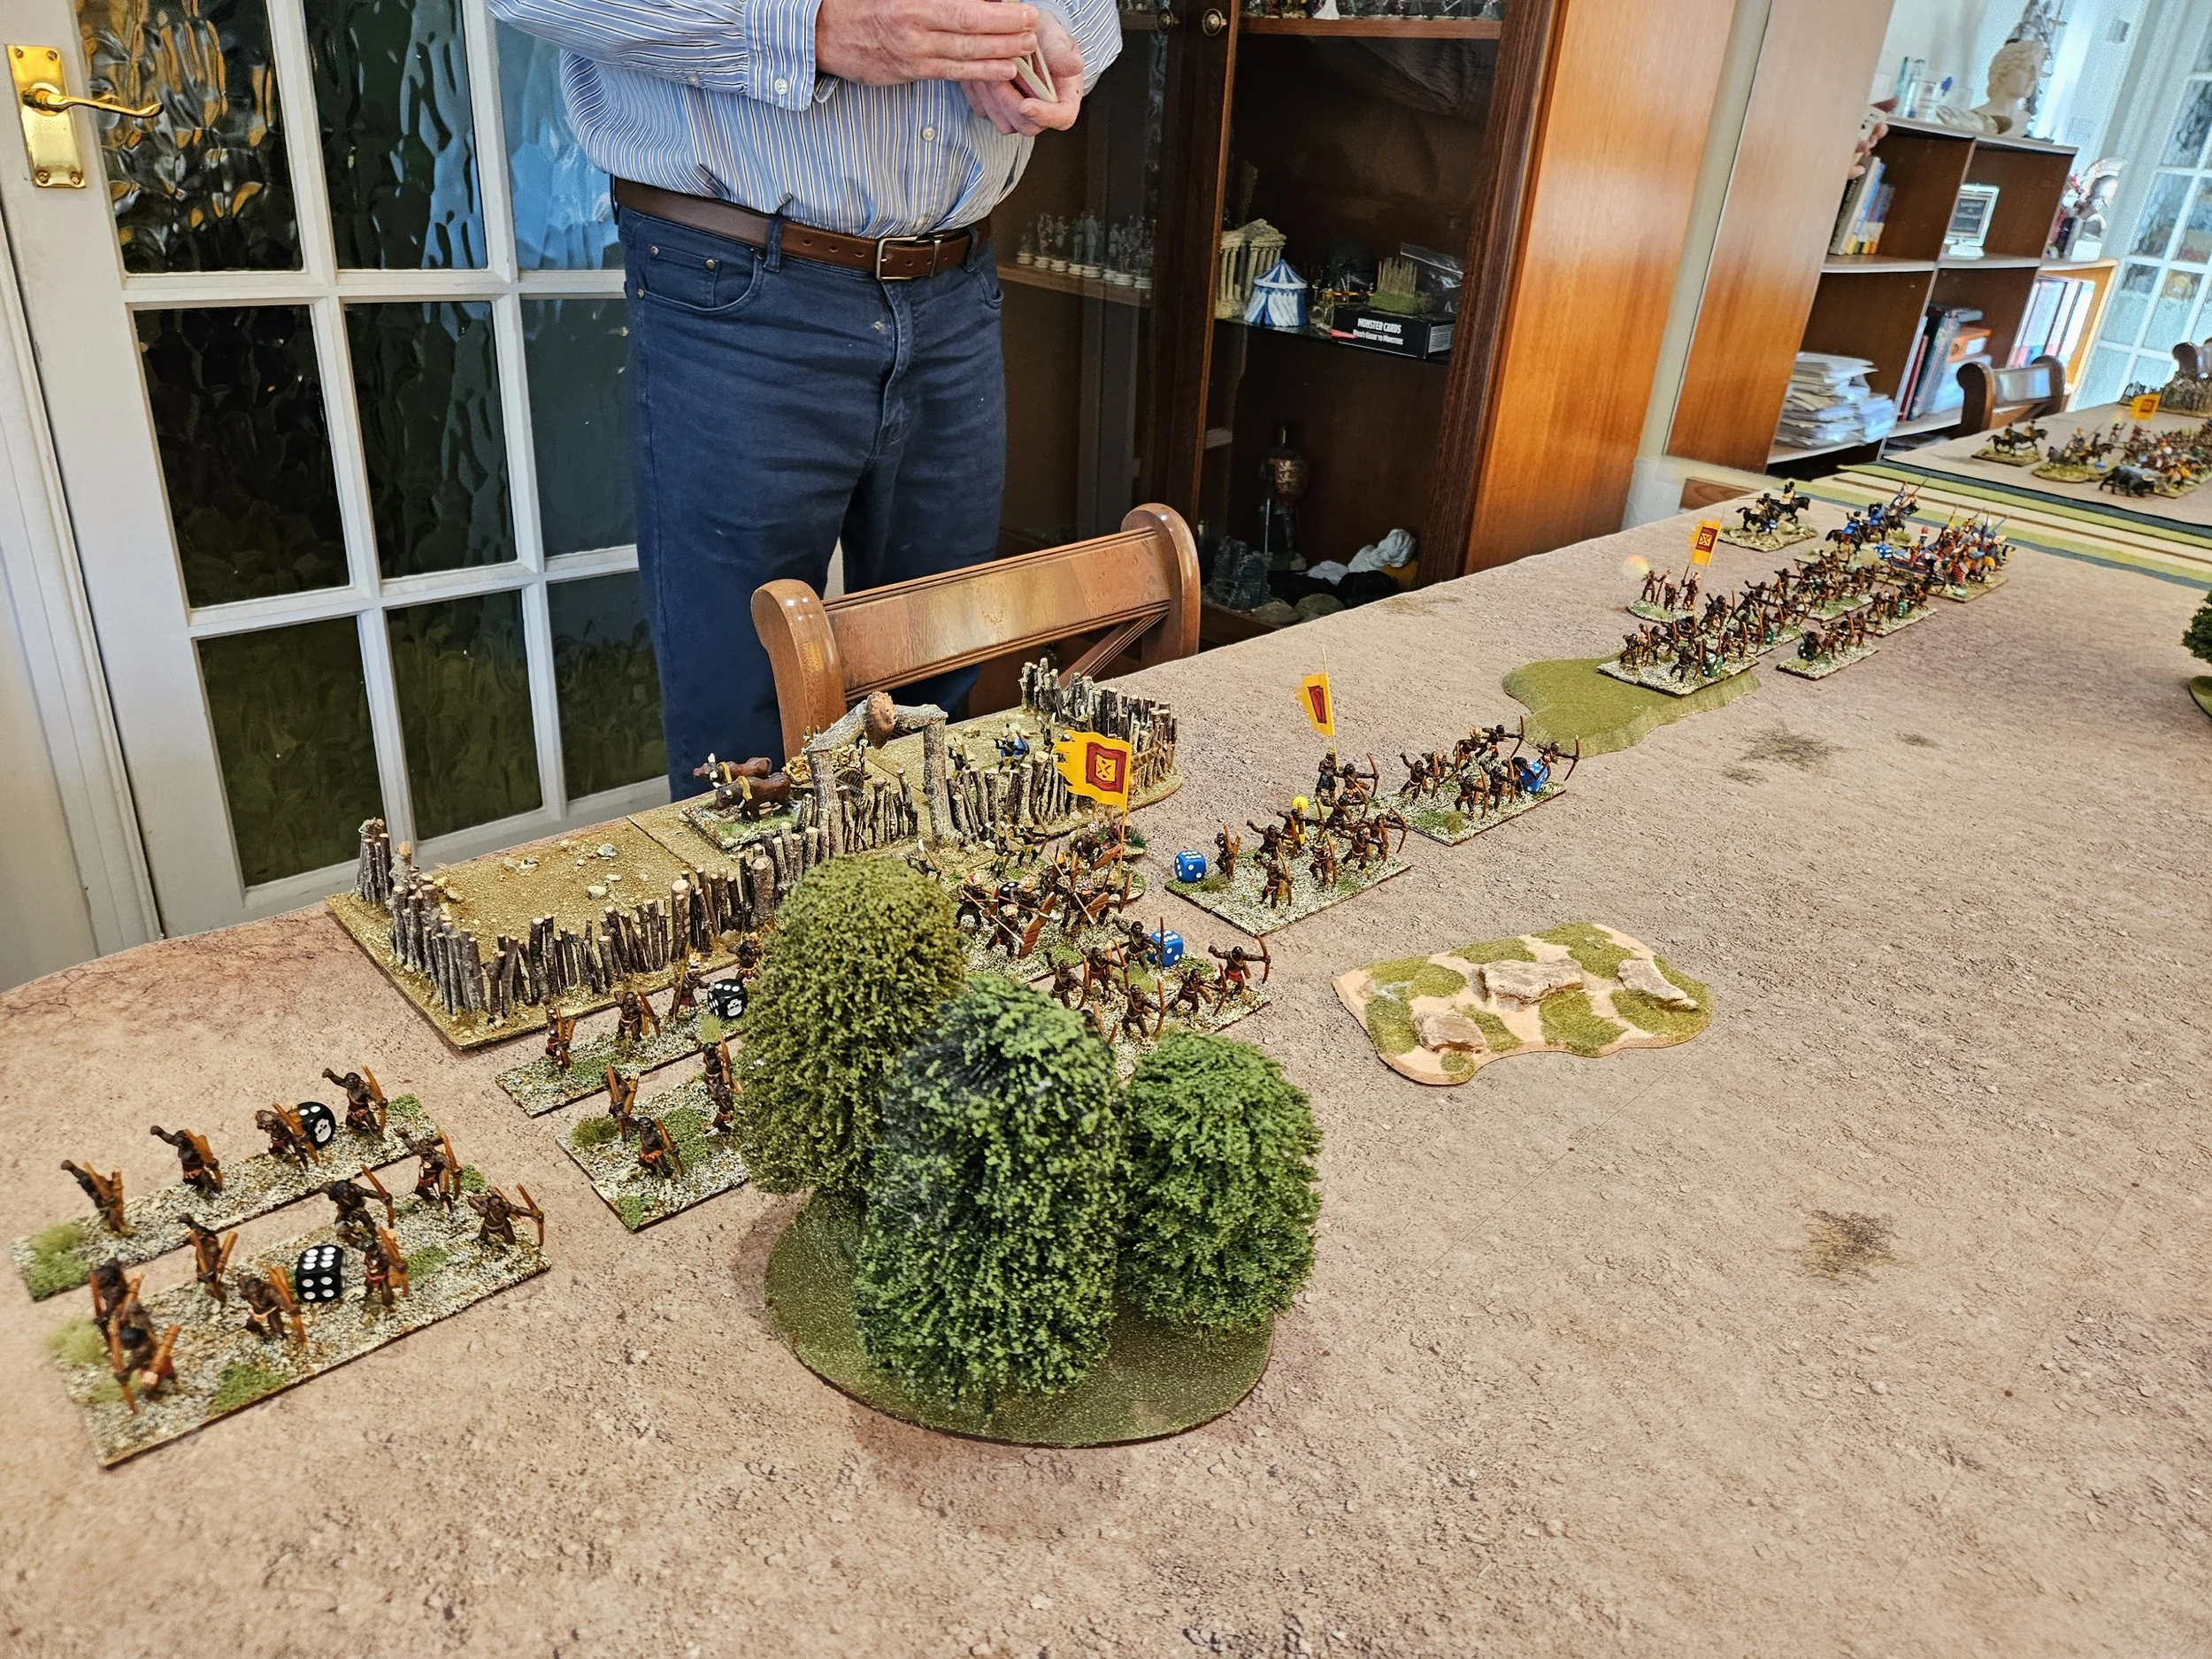
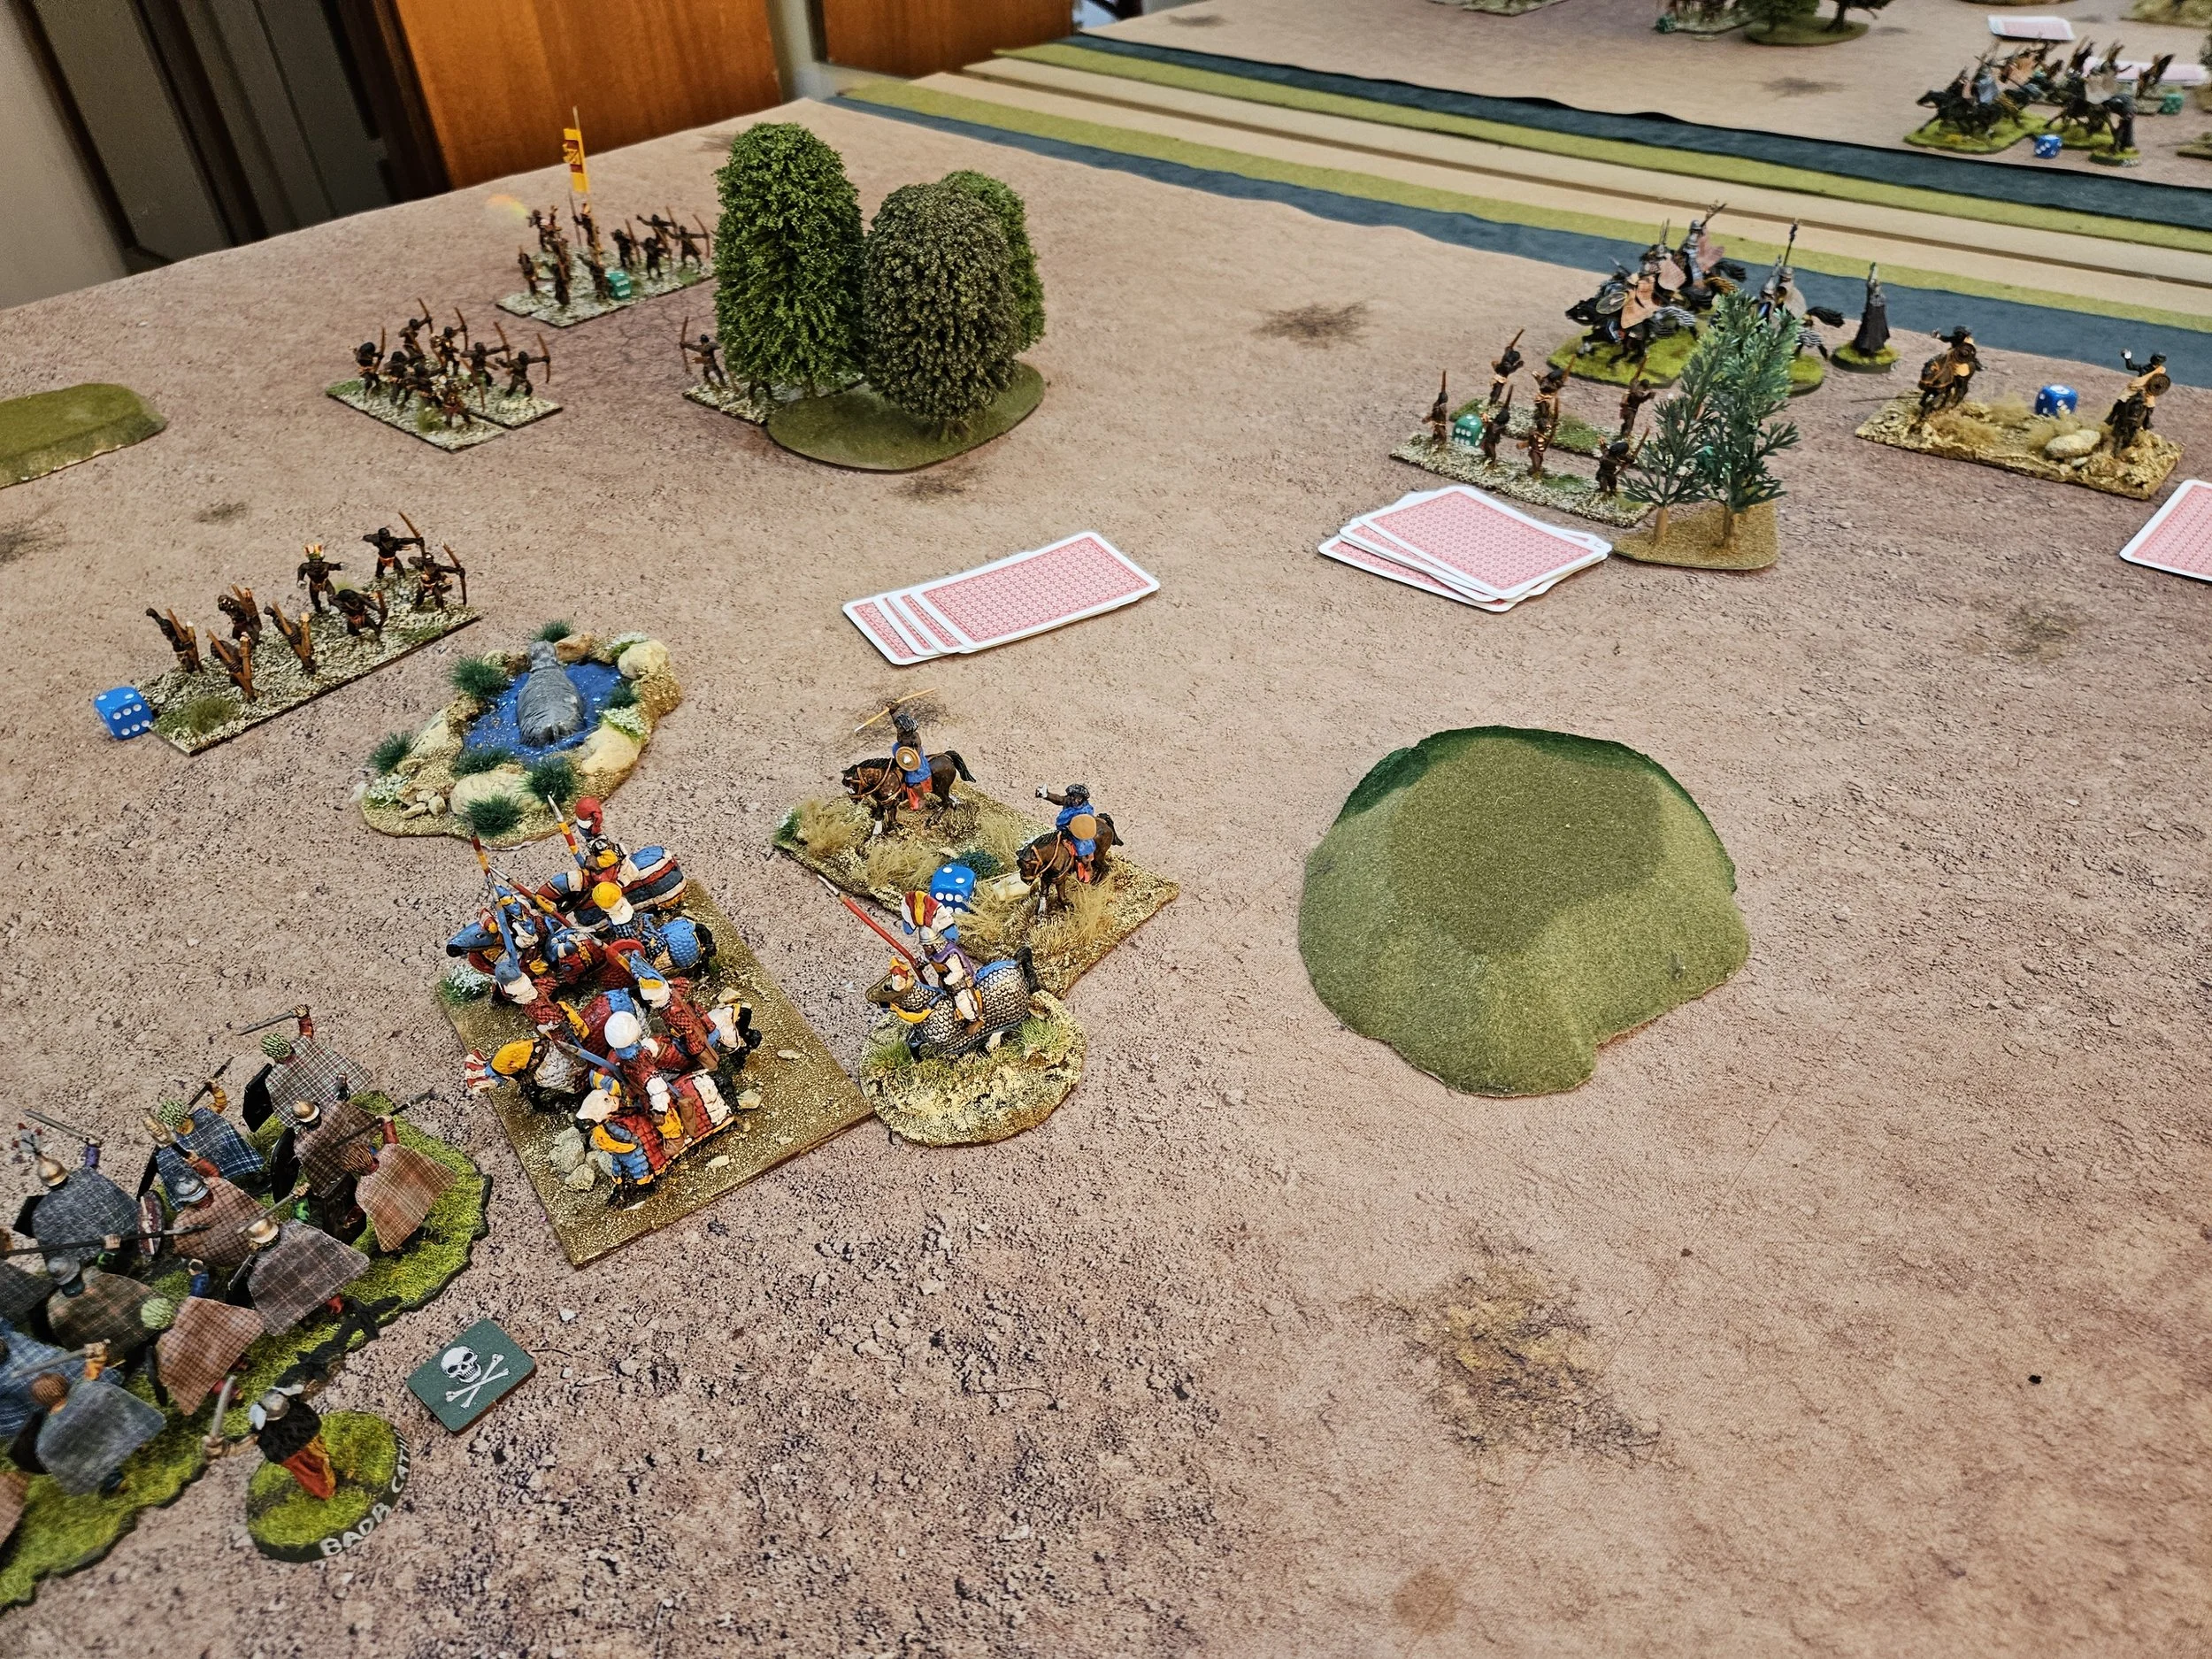
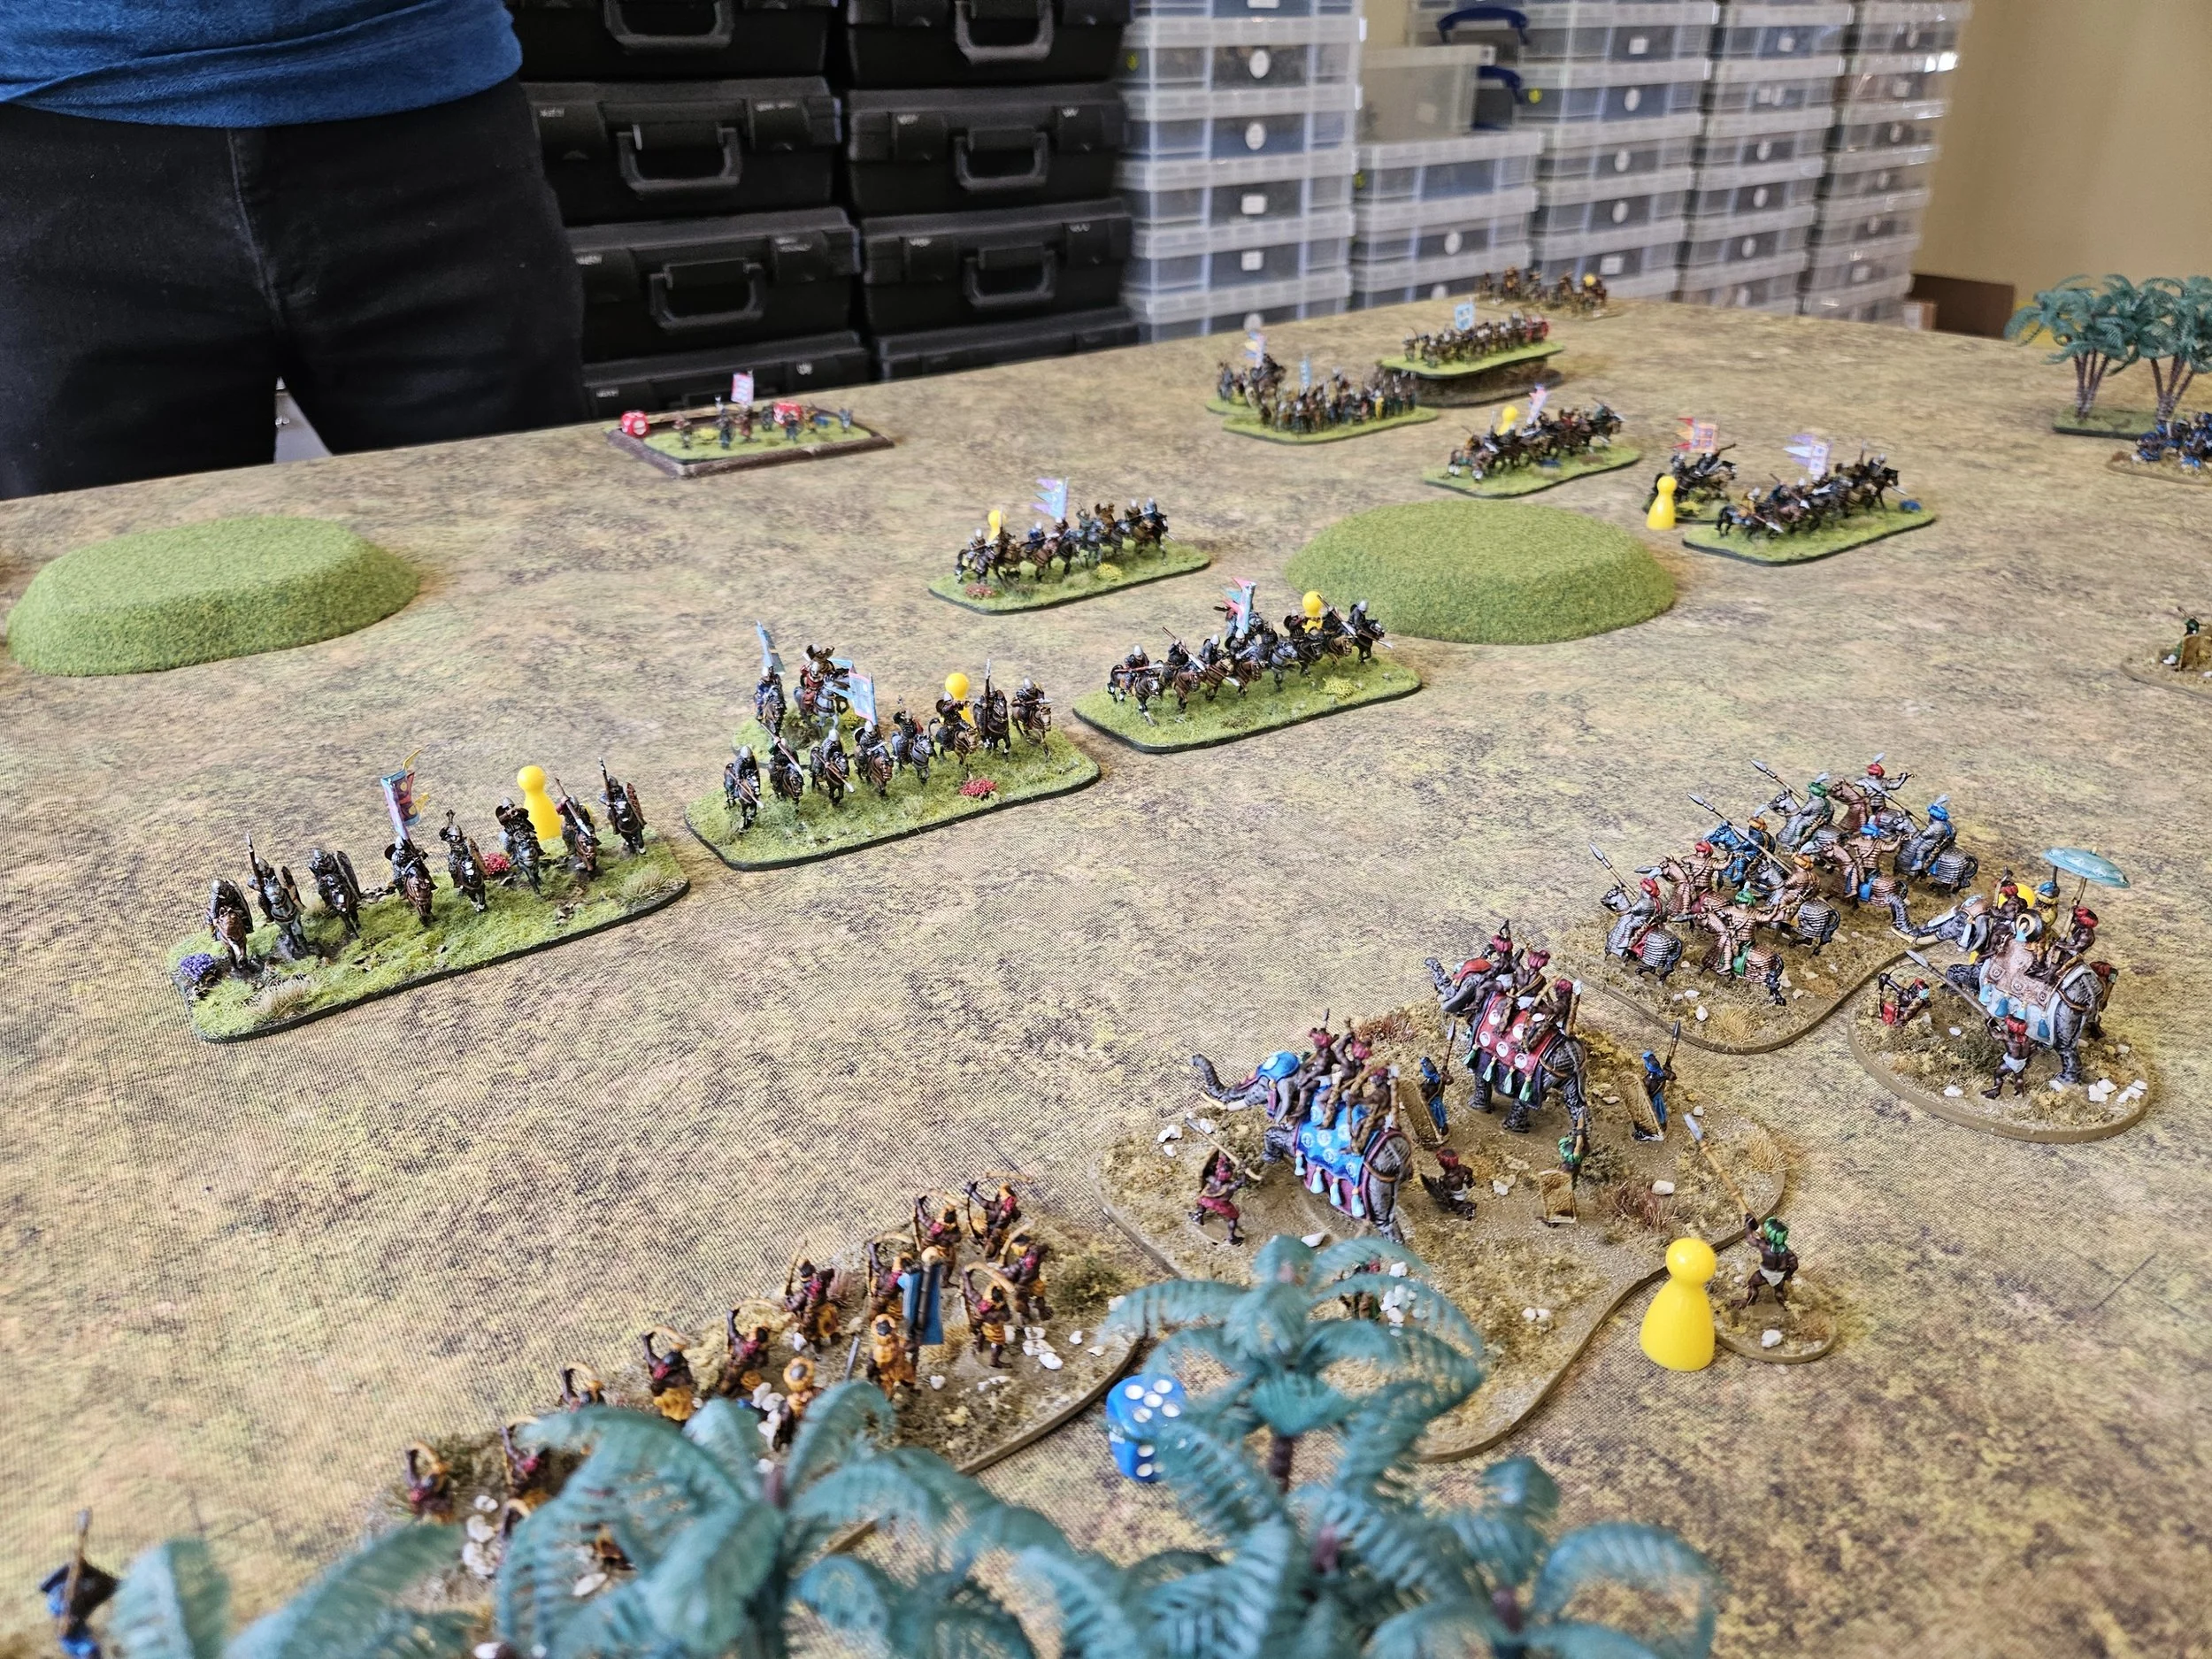
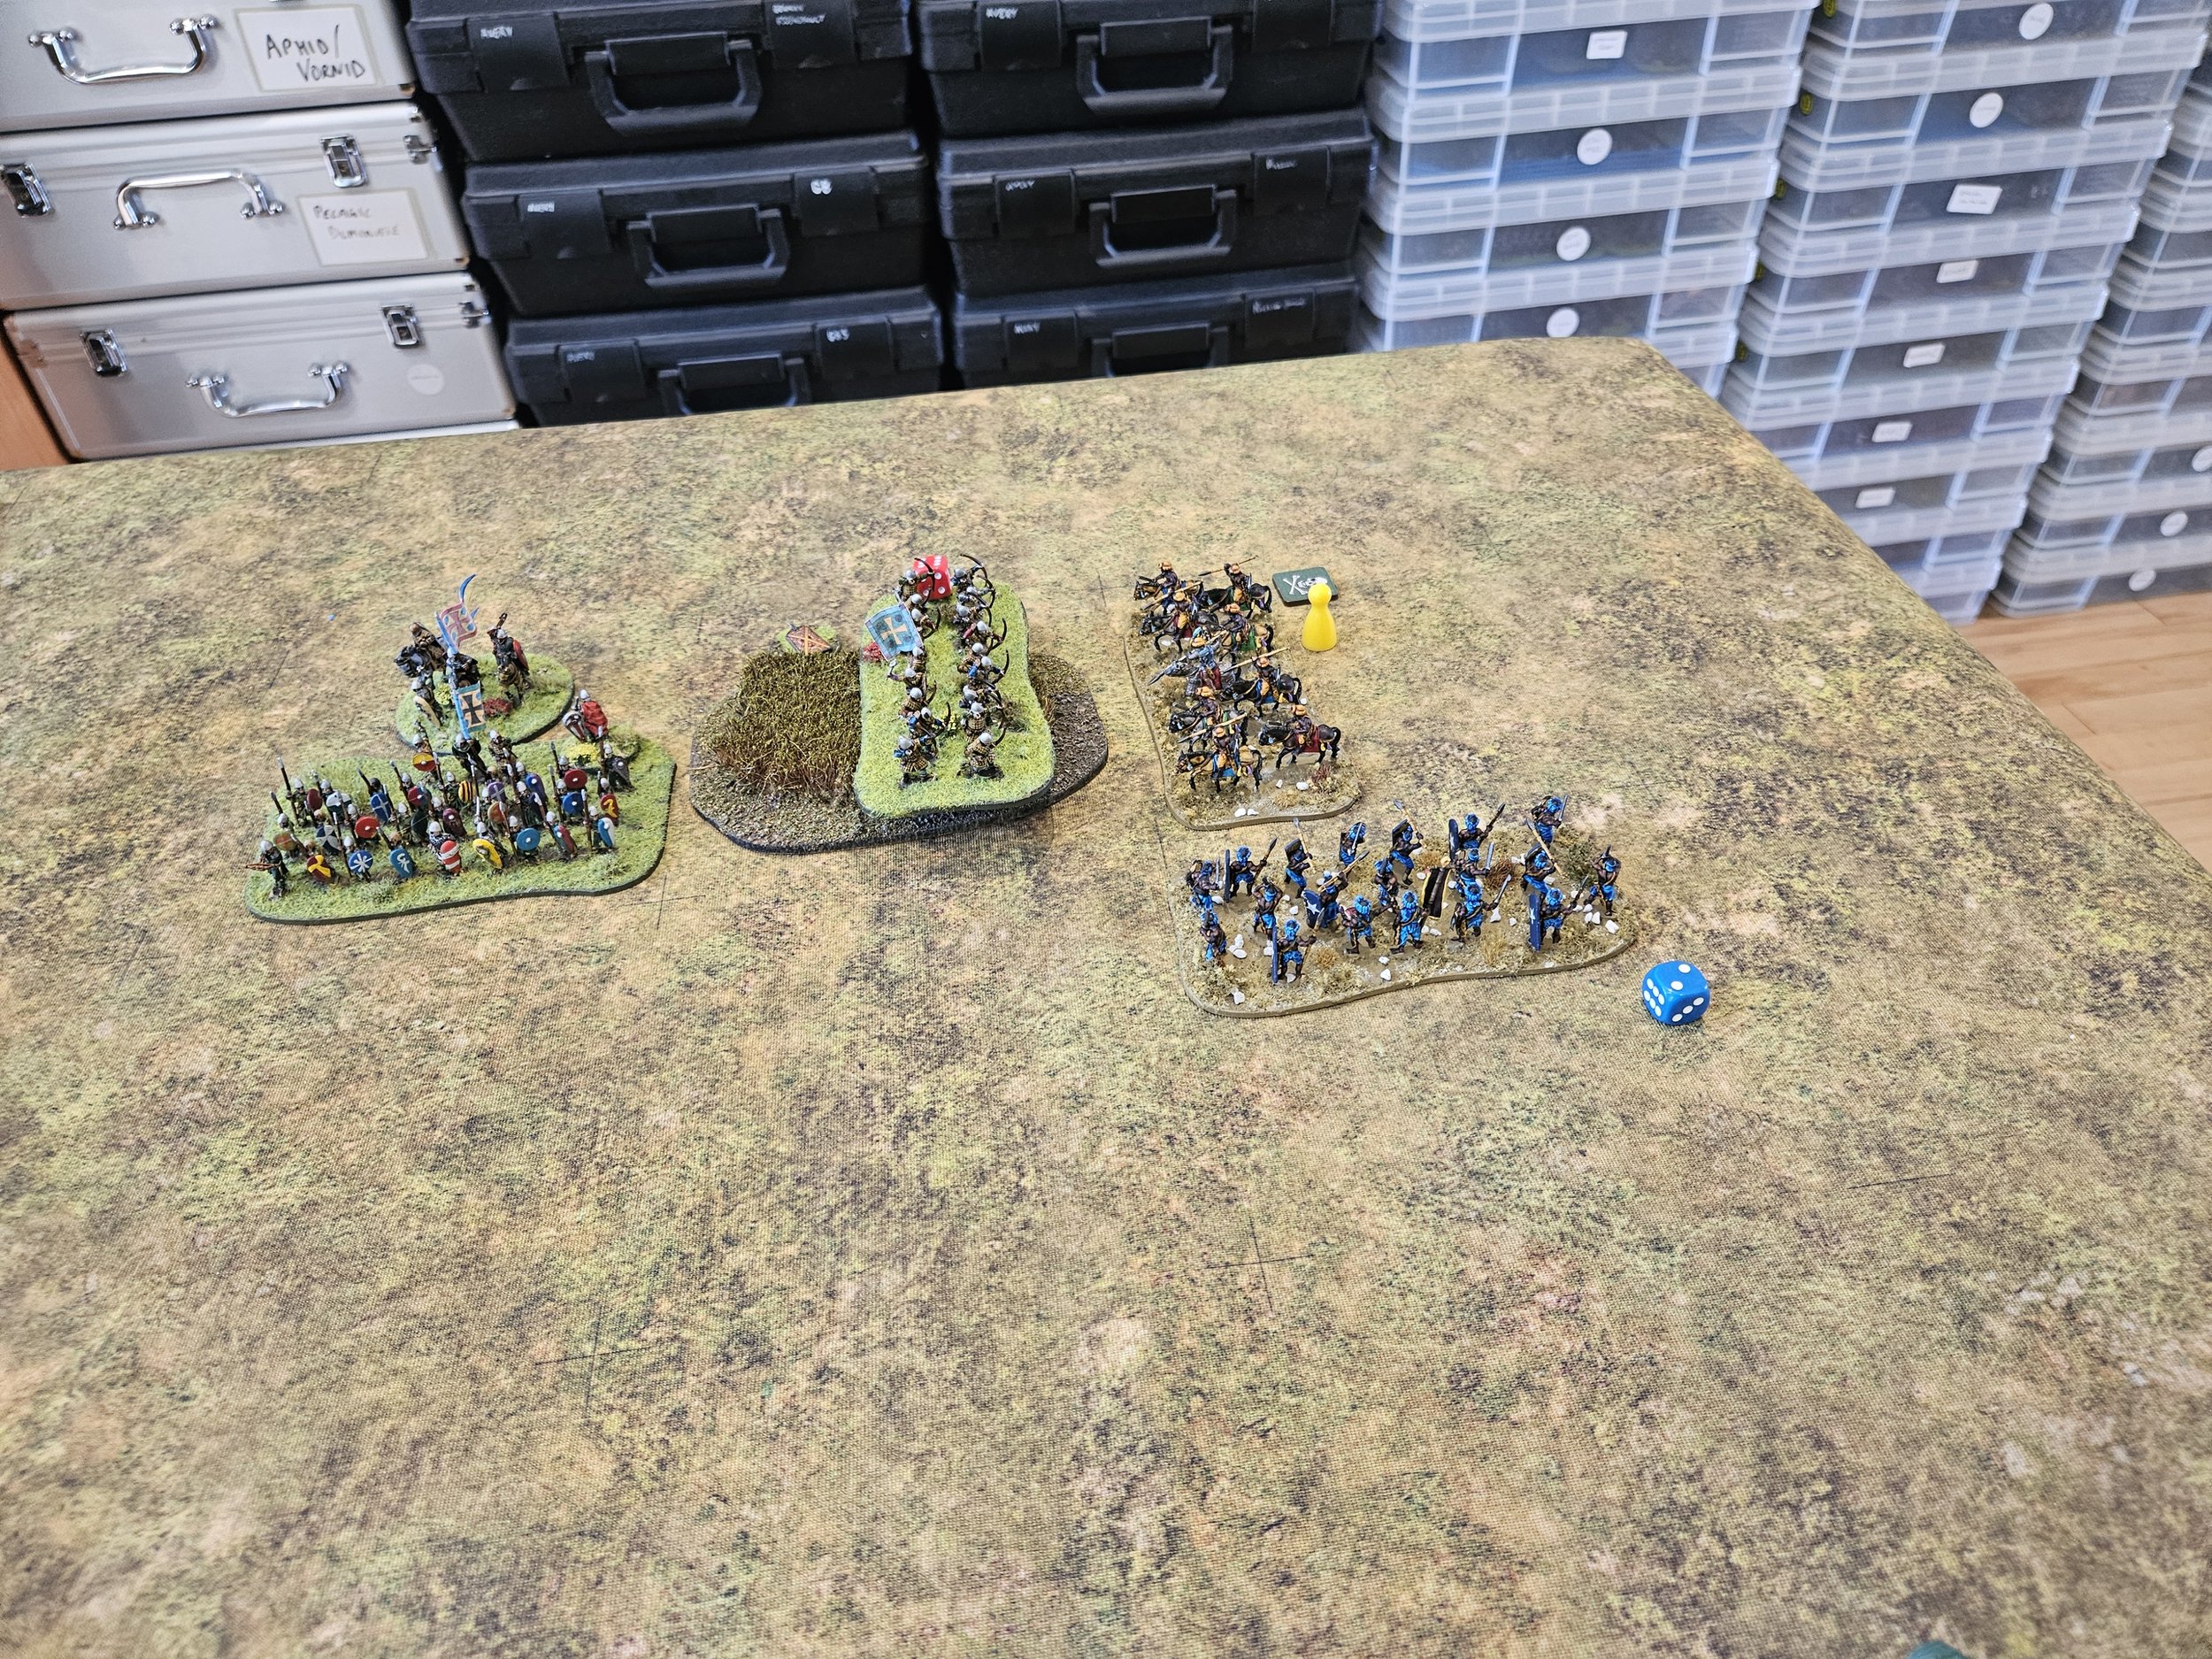
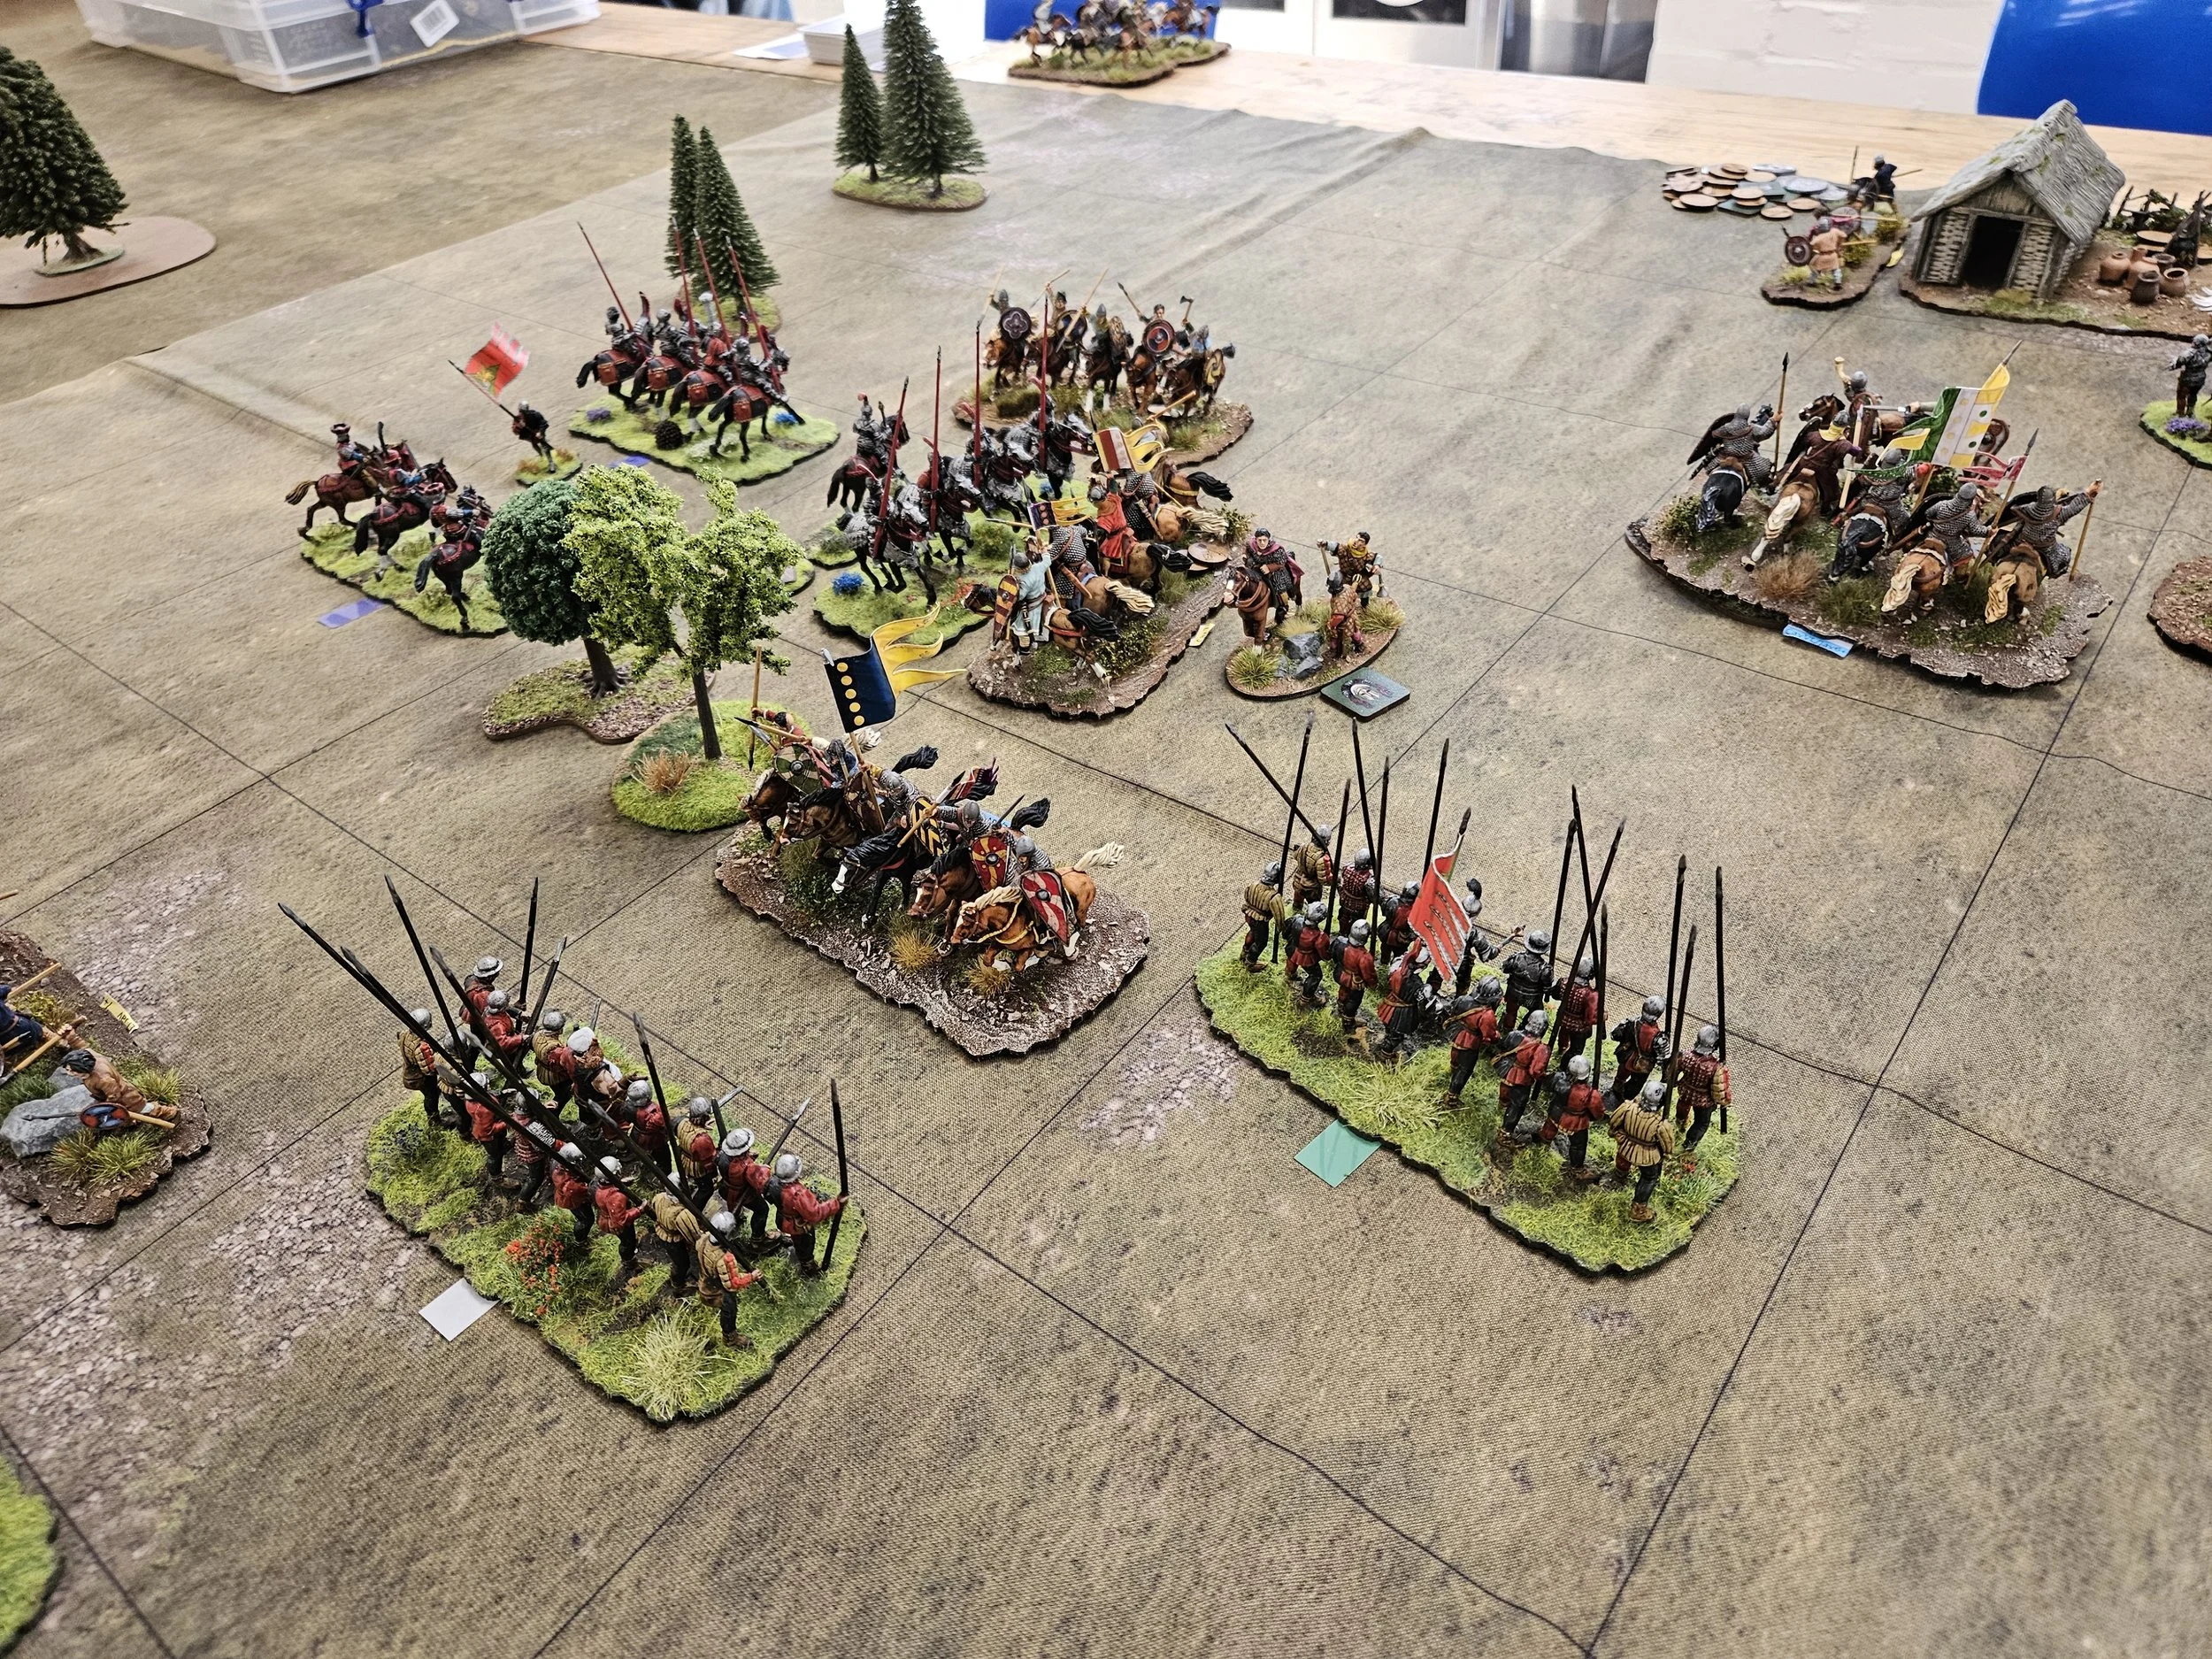
In short, Neil was now holding the troops facing my left hand infantry command back and retreating those now facing my right hand infantry command, meaning that although my pikemen would win every melee they fought, they just couldn’t fight enough of them to deal the Persians a mortal blow…and I was rapidly running out of coins as my two cavalry commands crumbled!


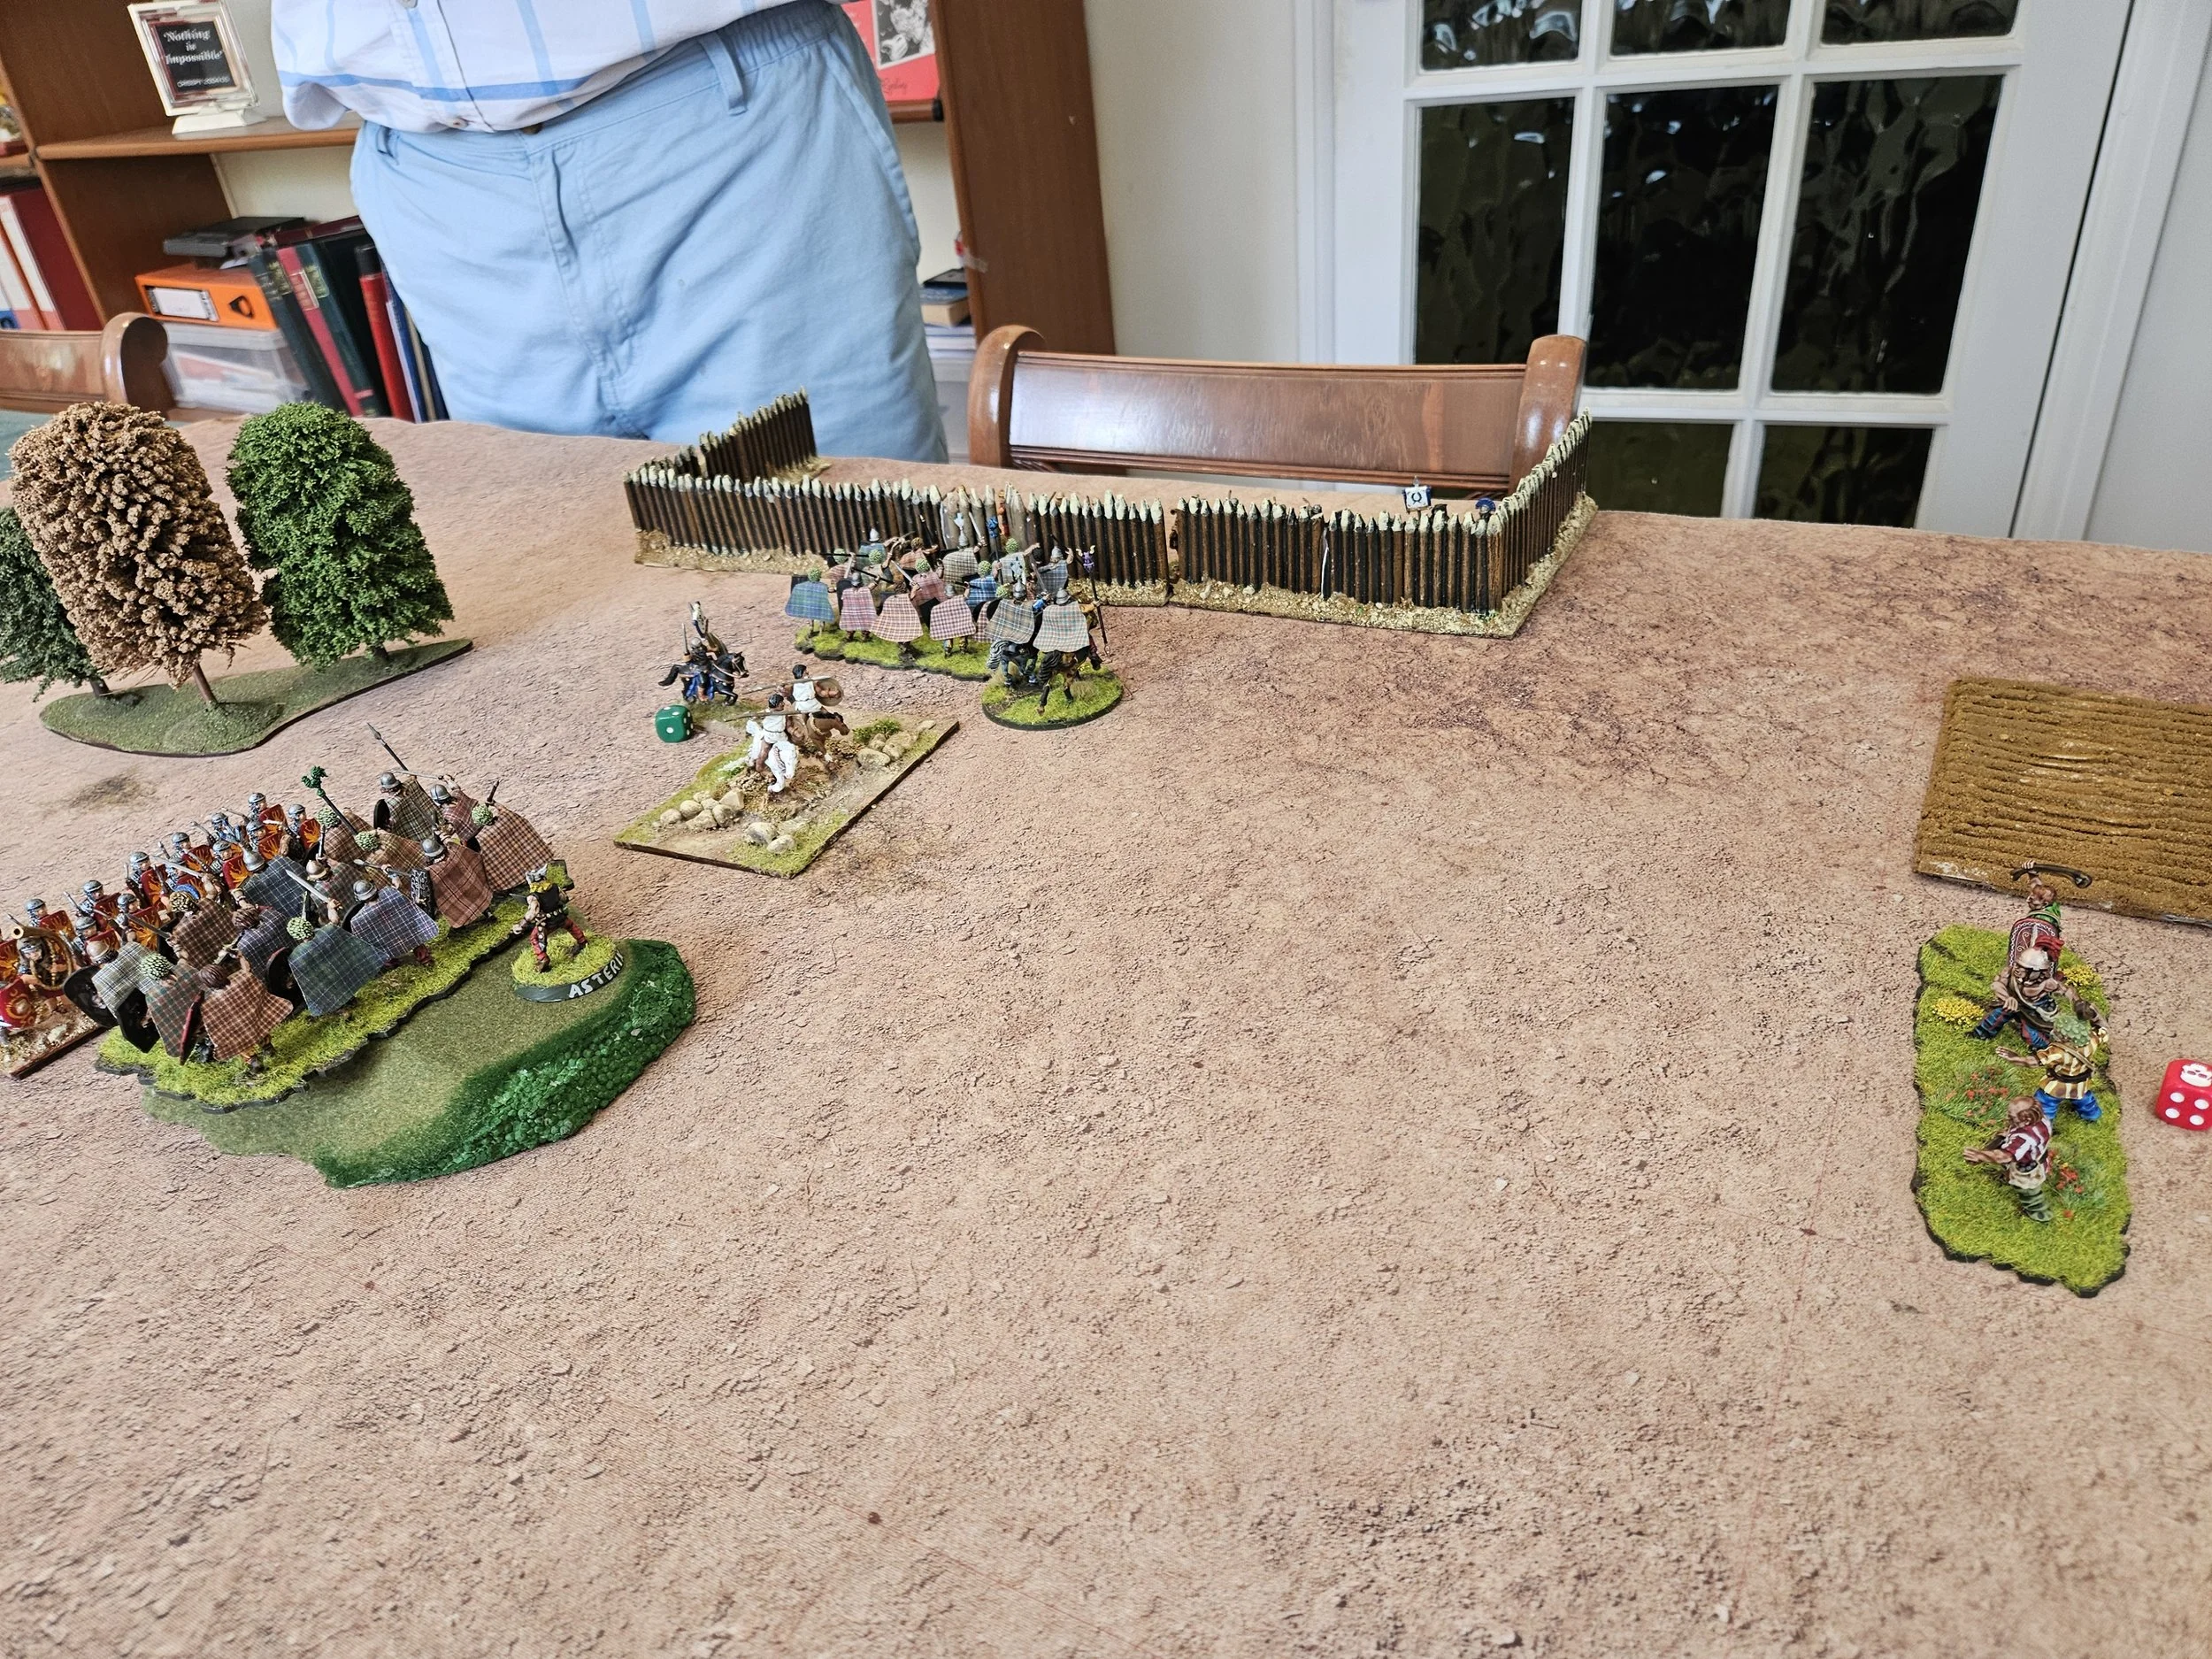
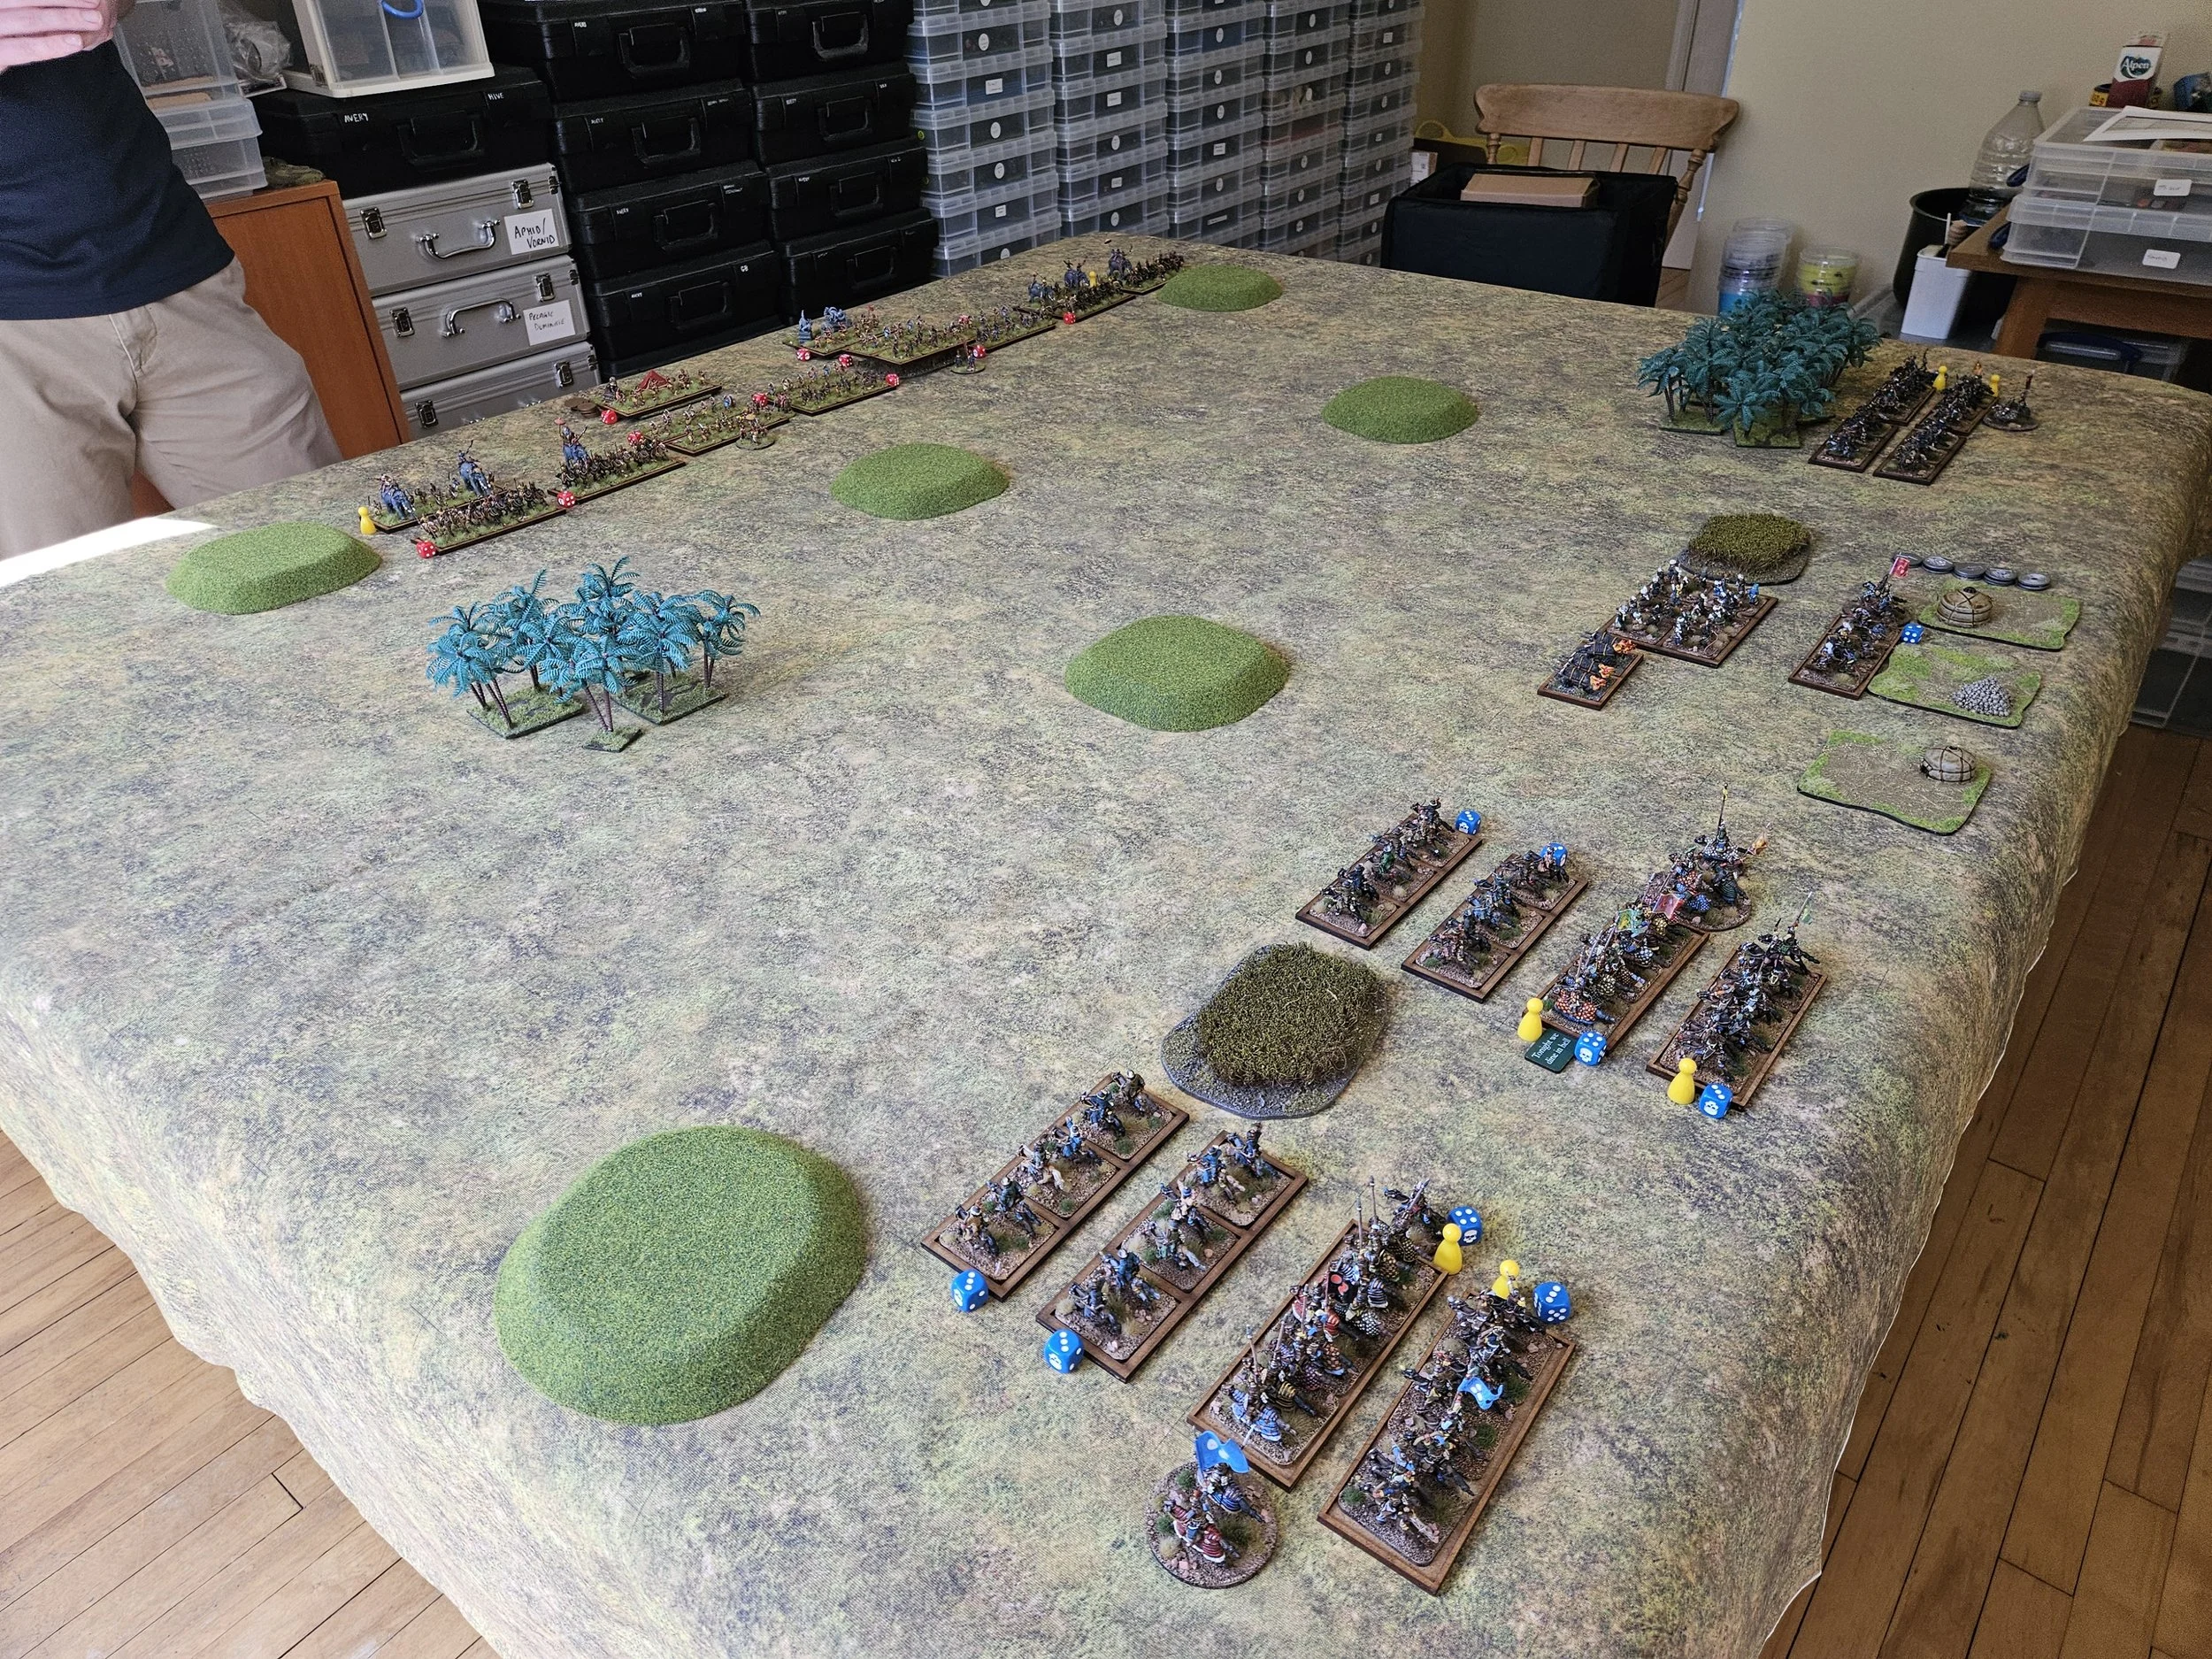
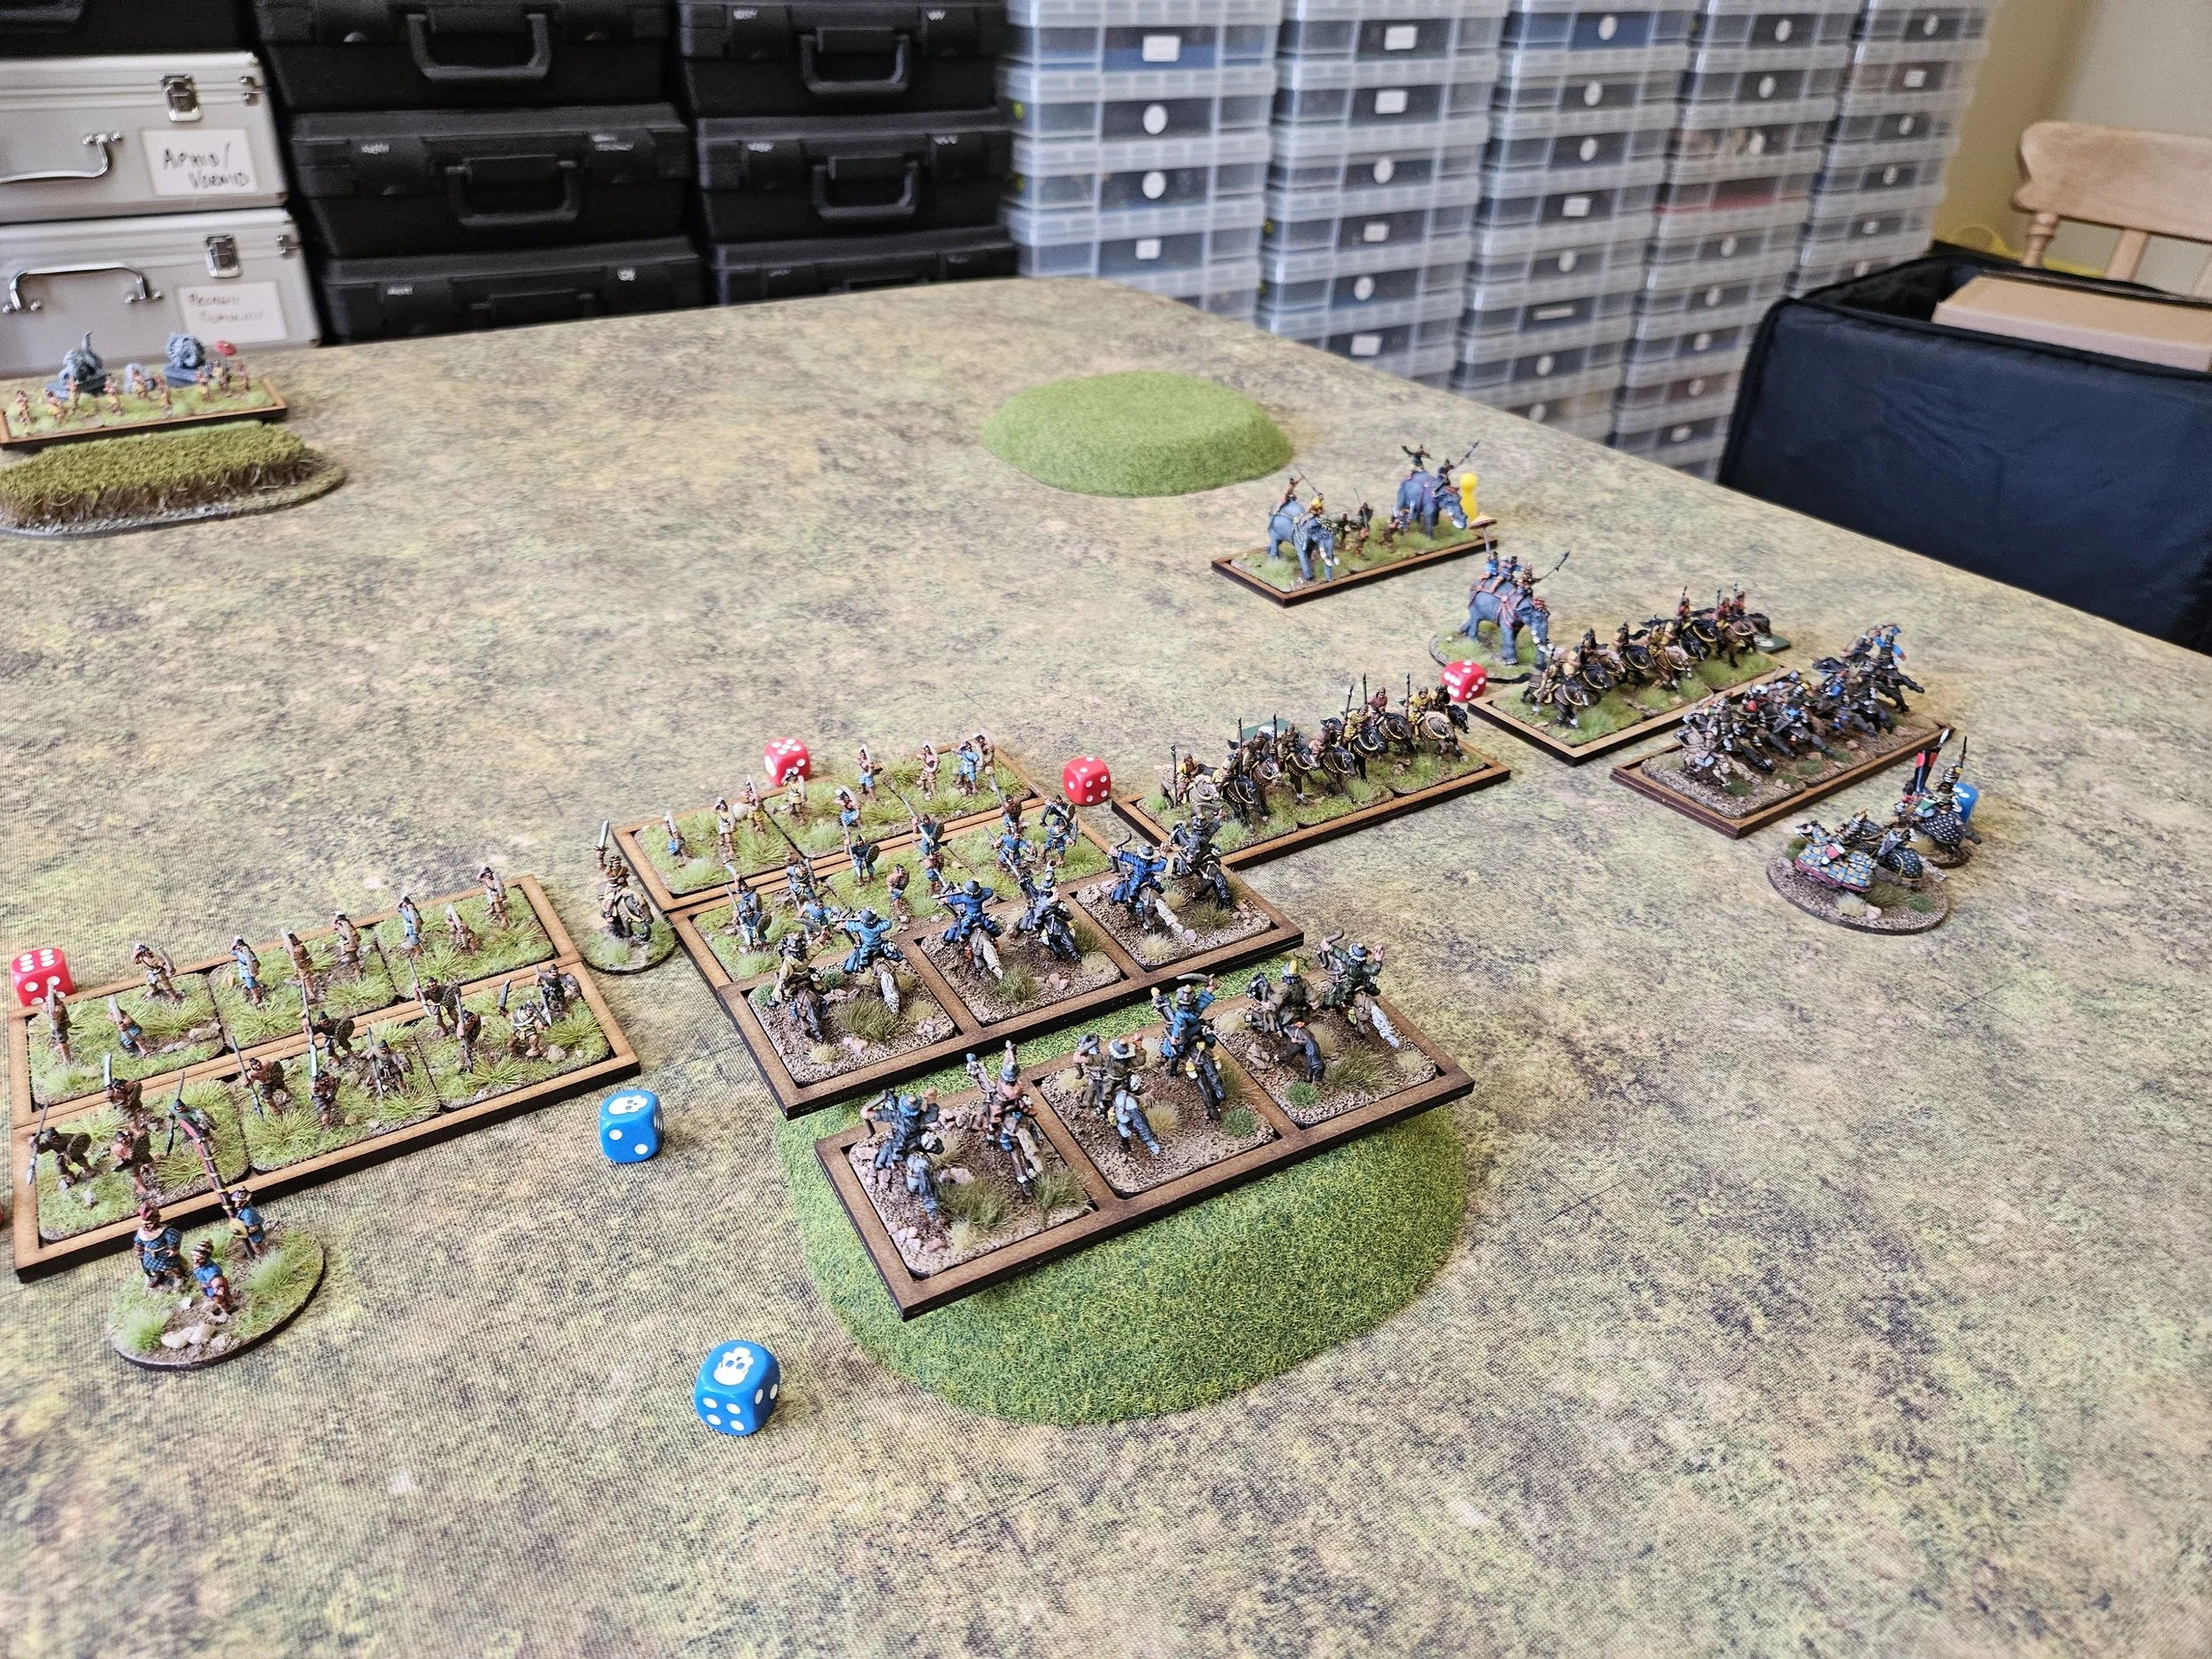
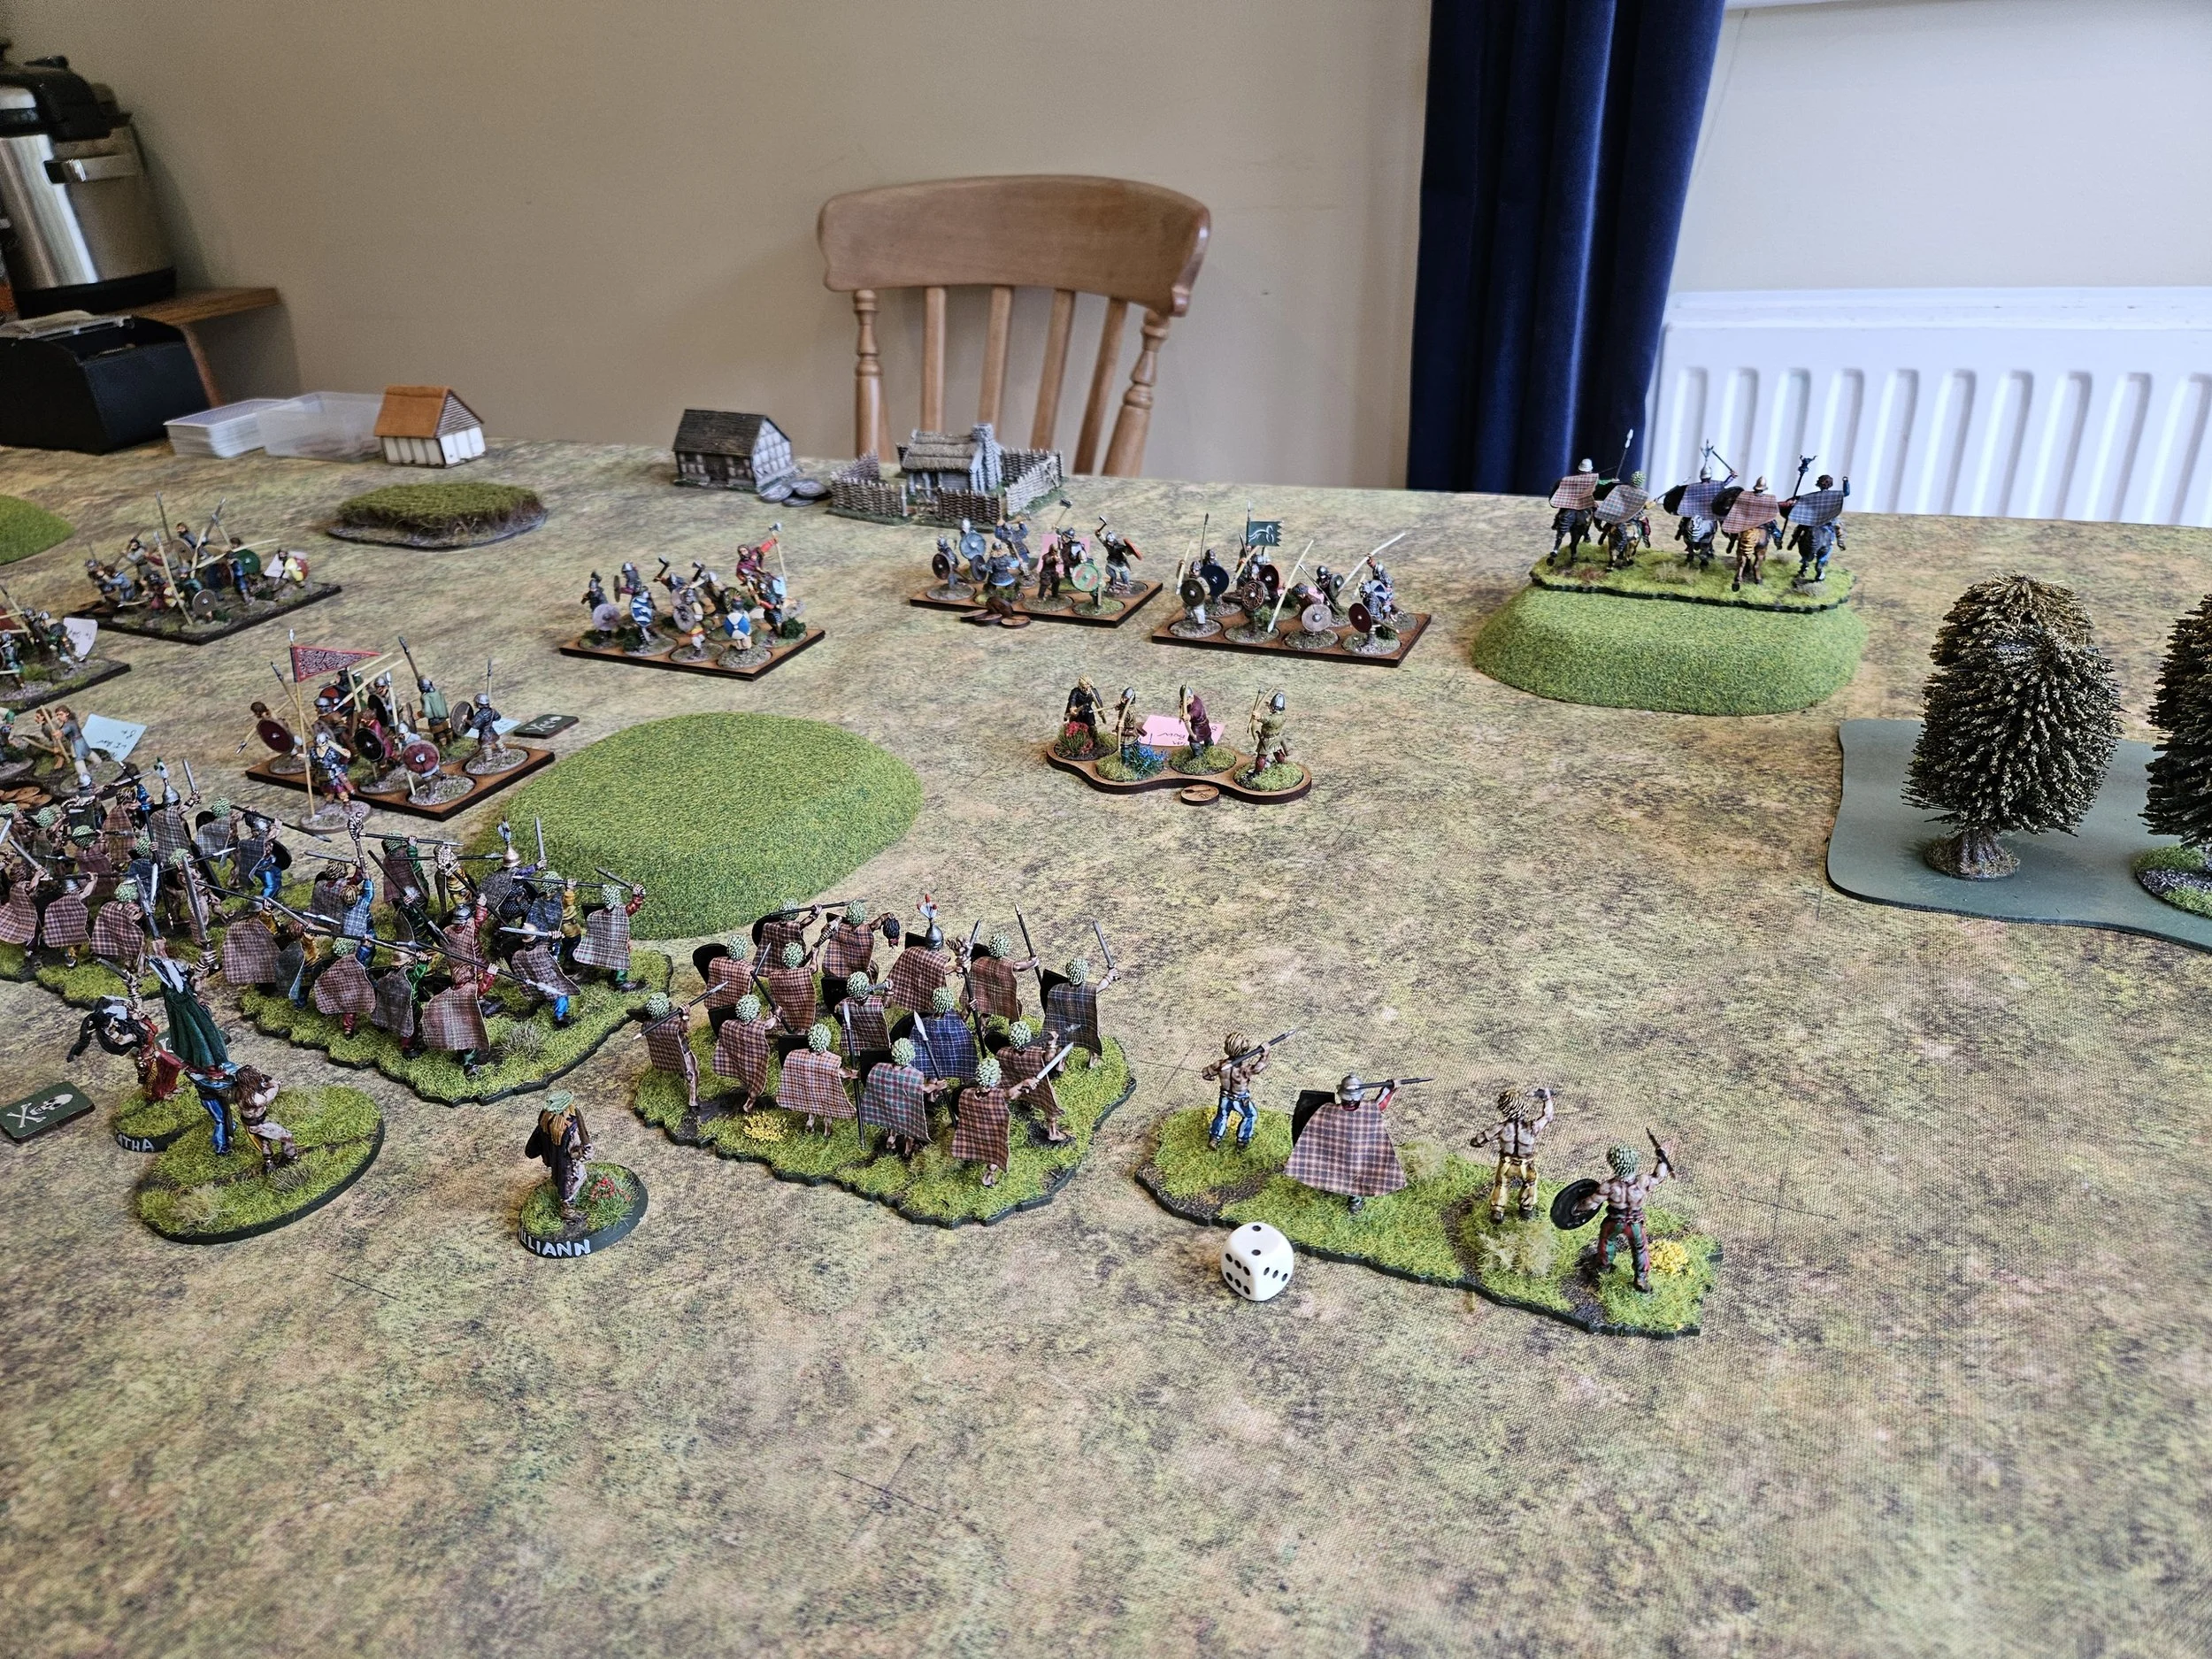
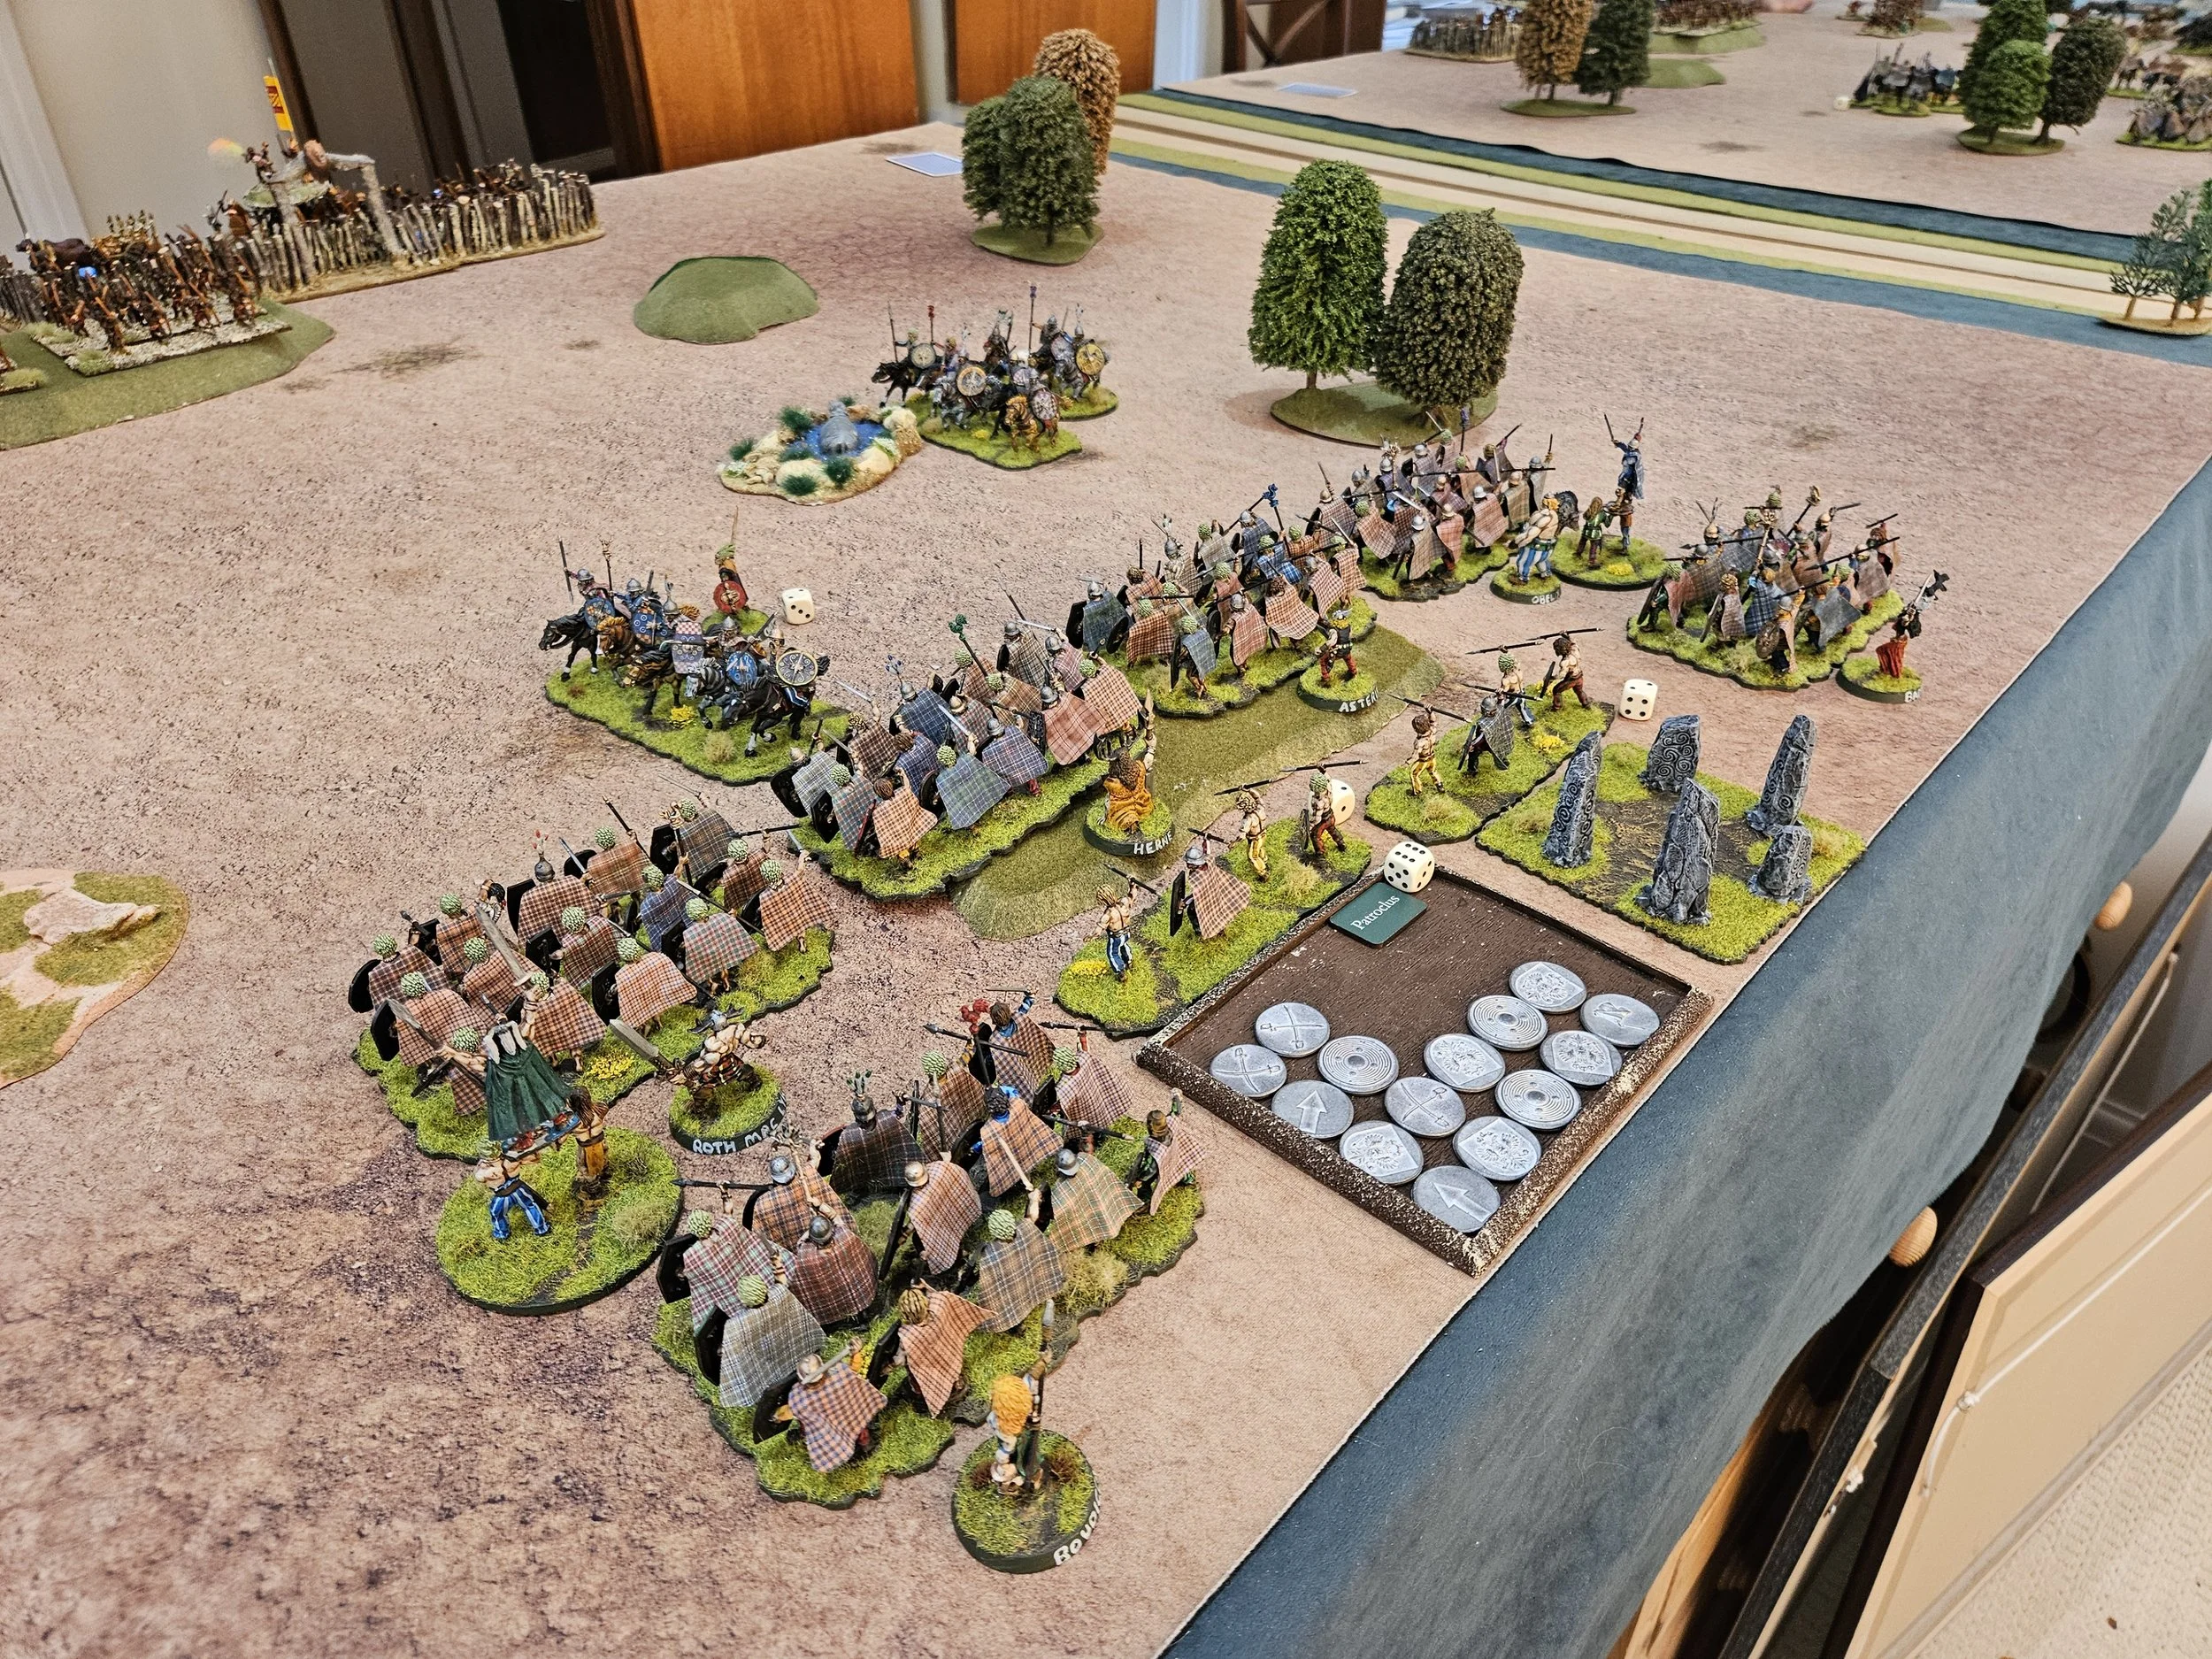
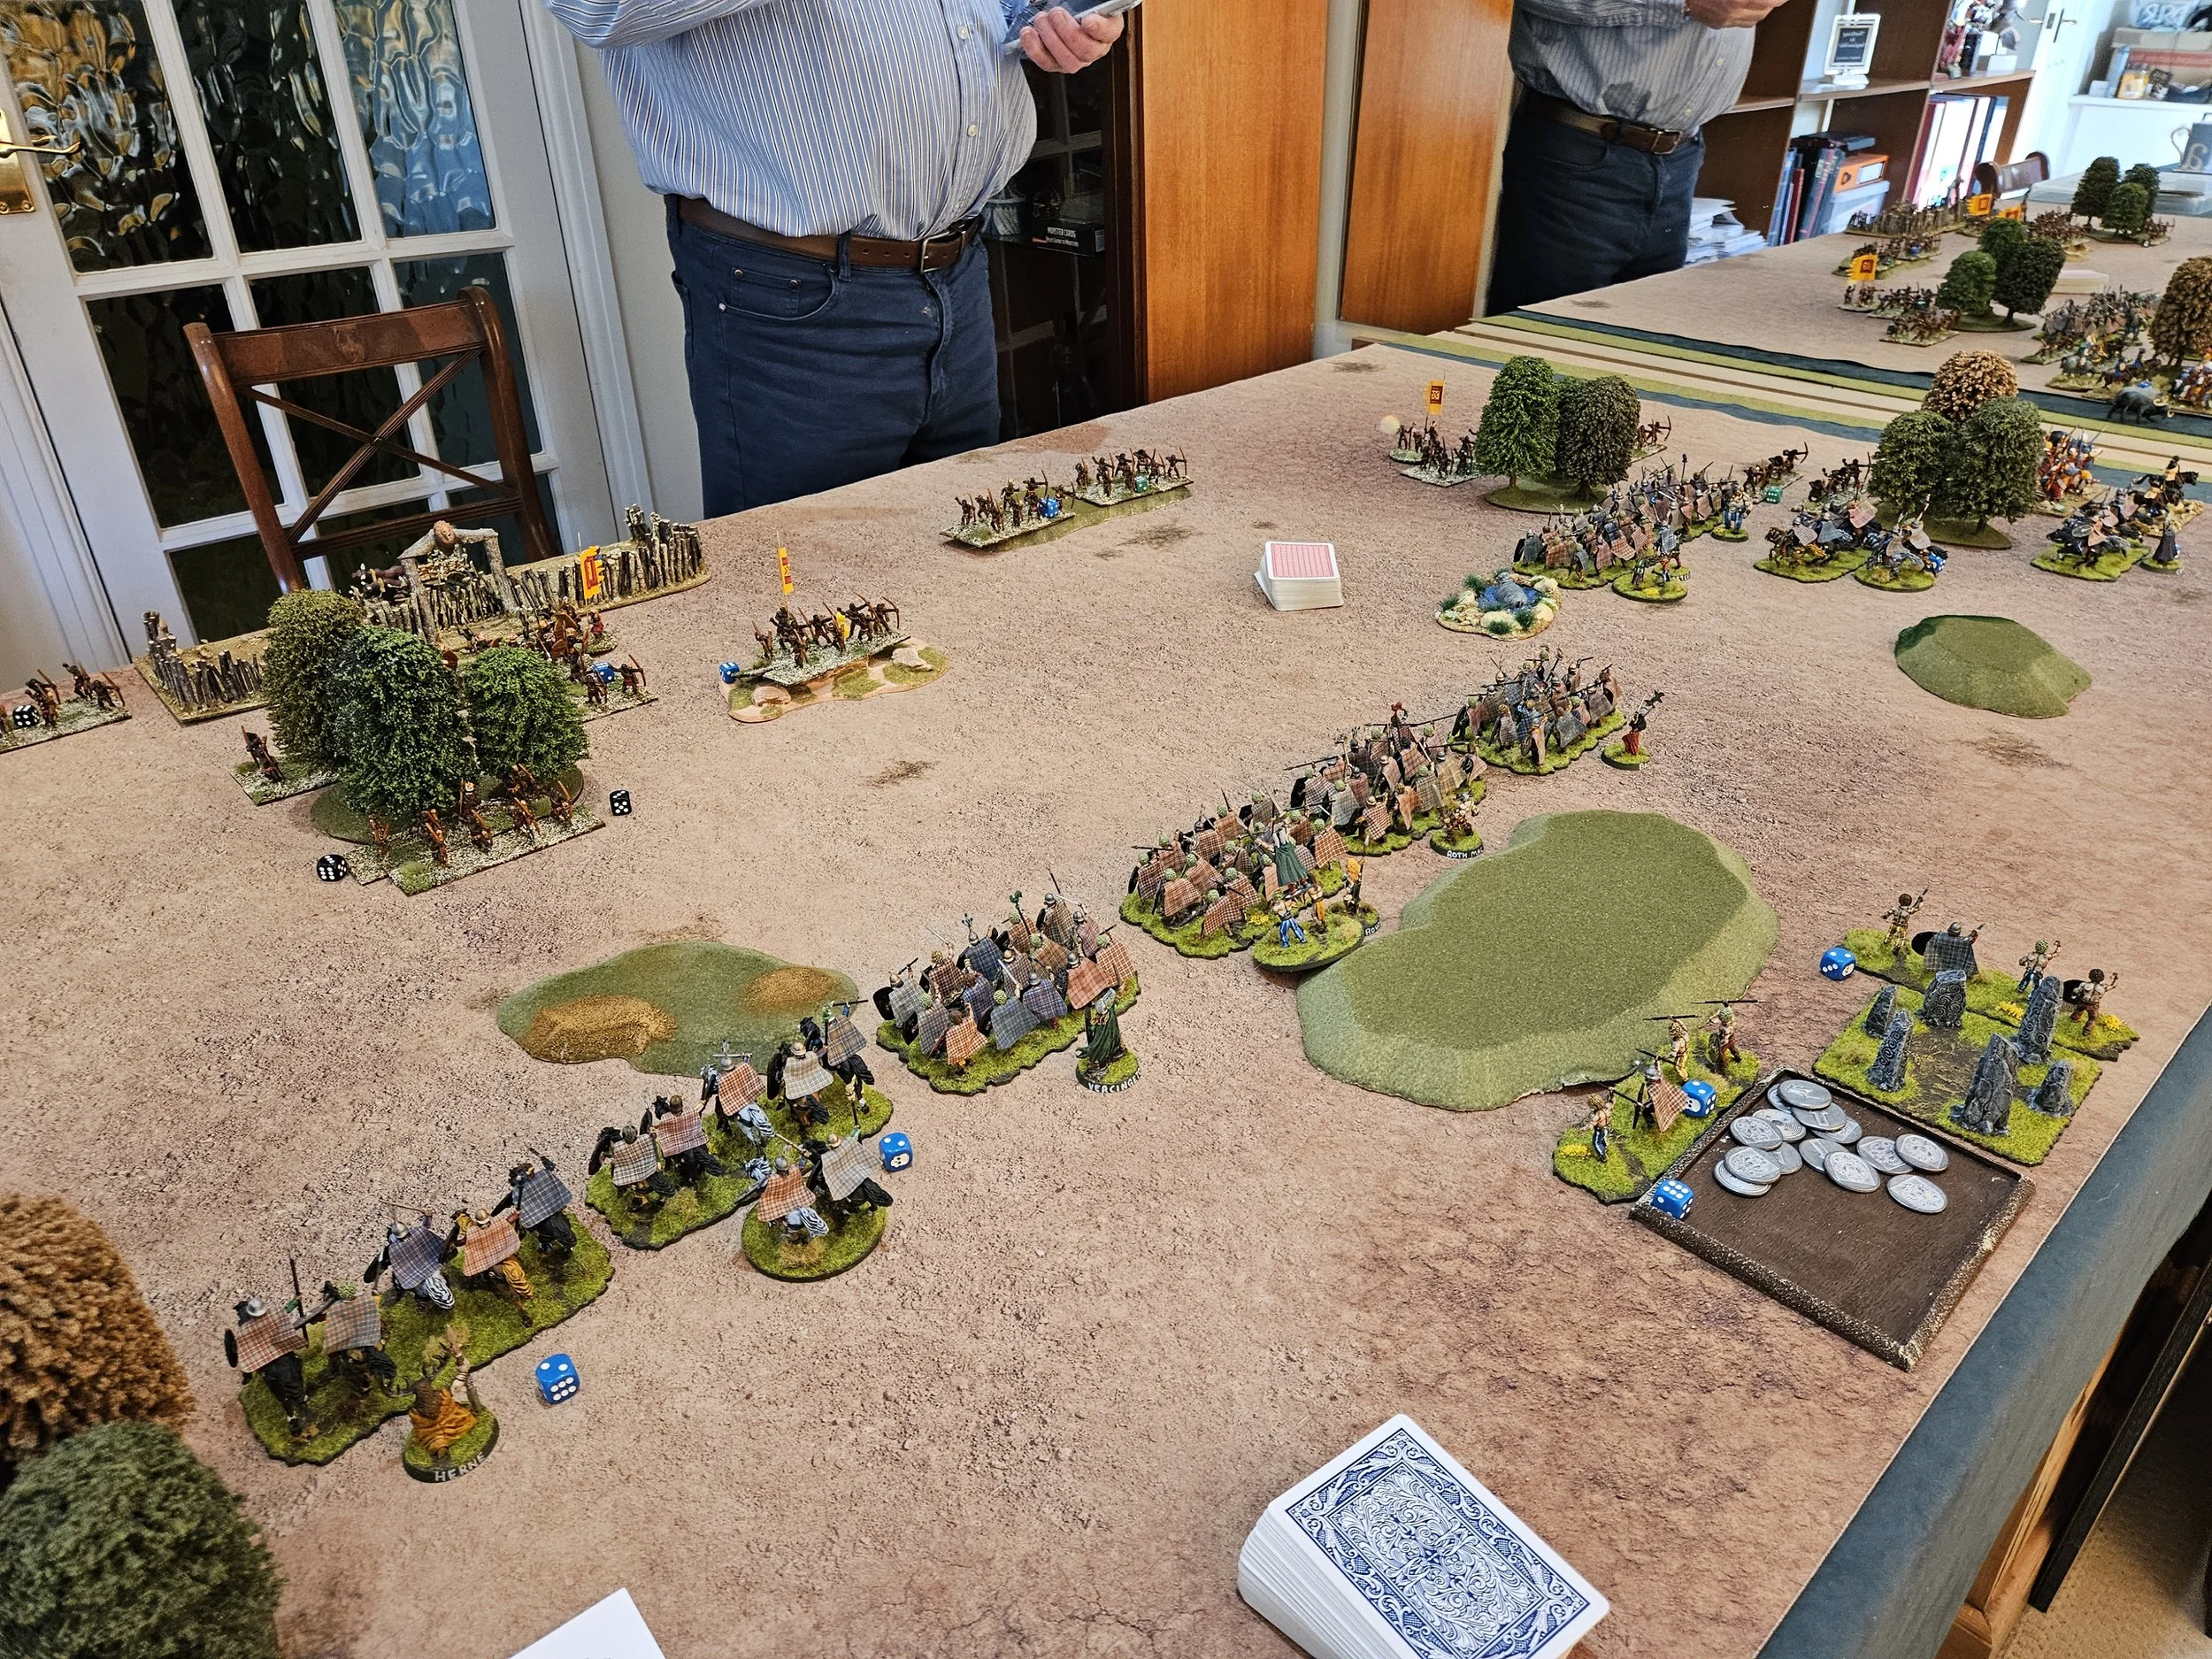
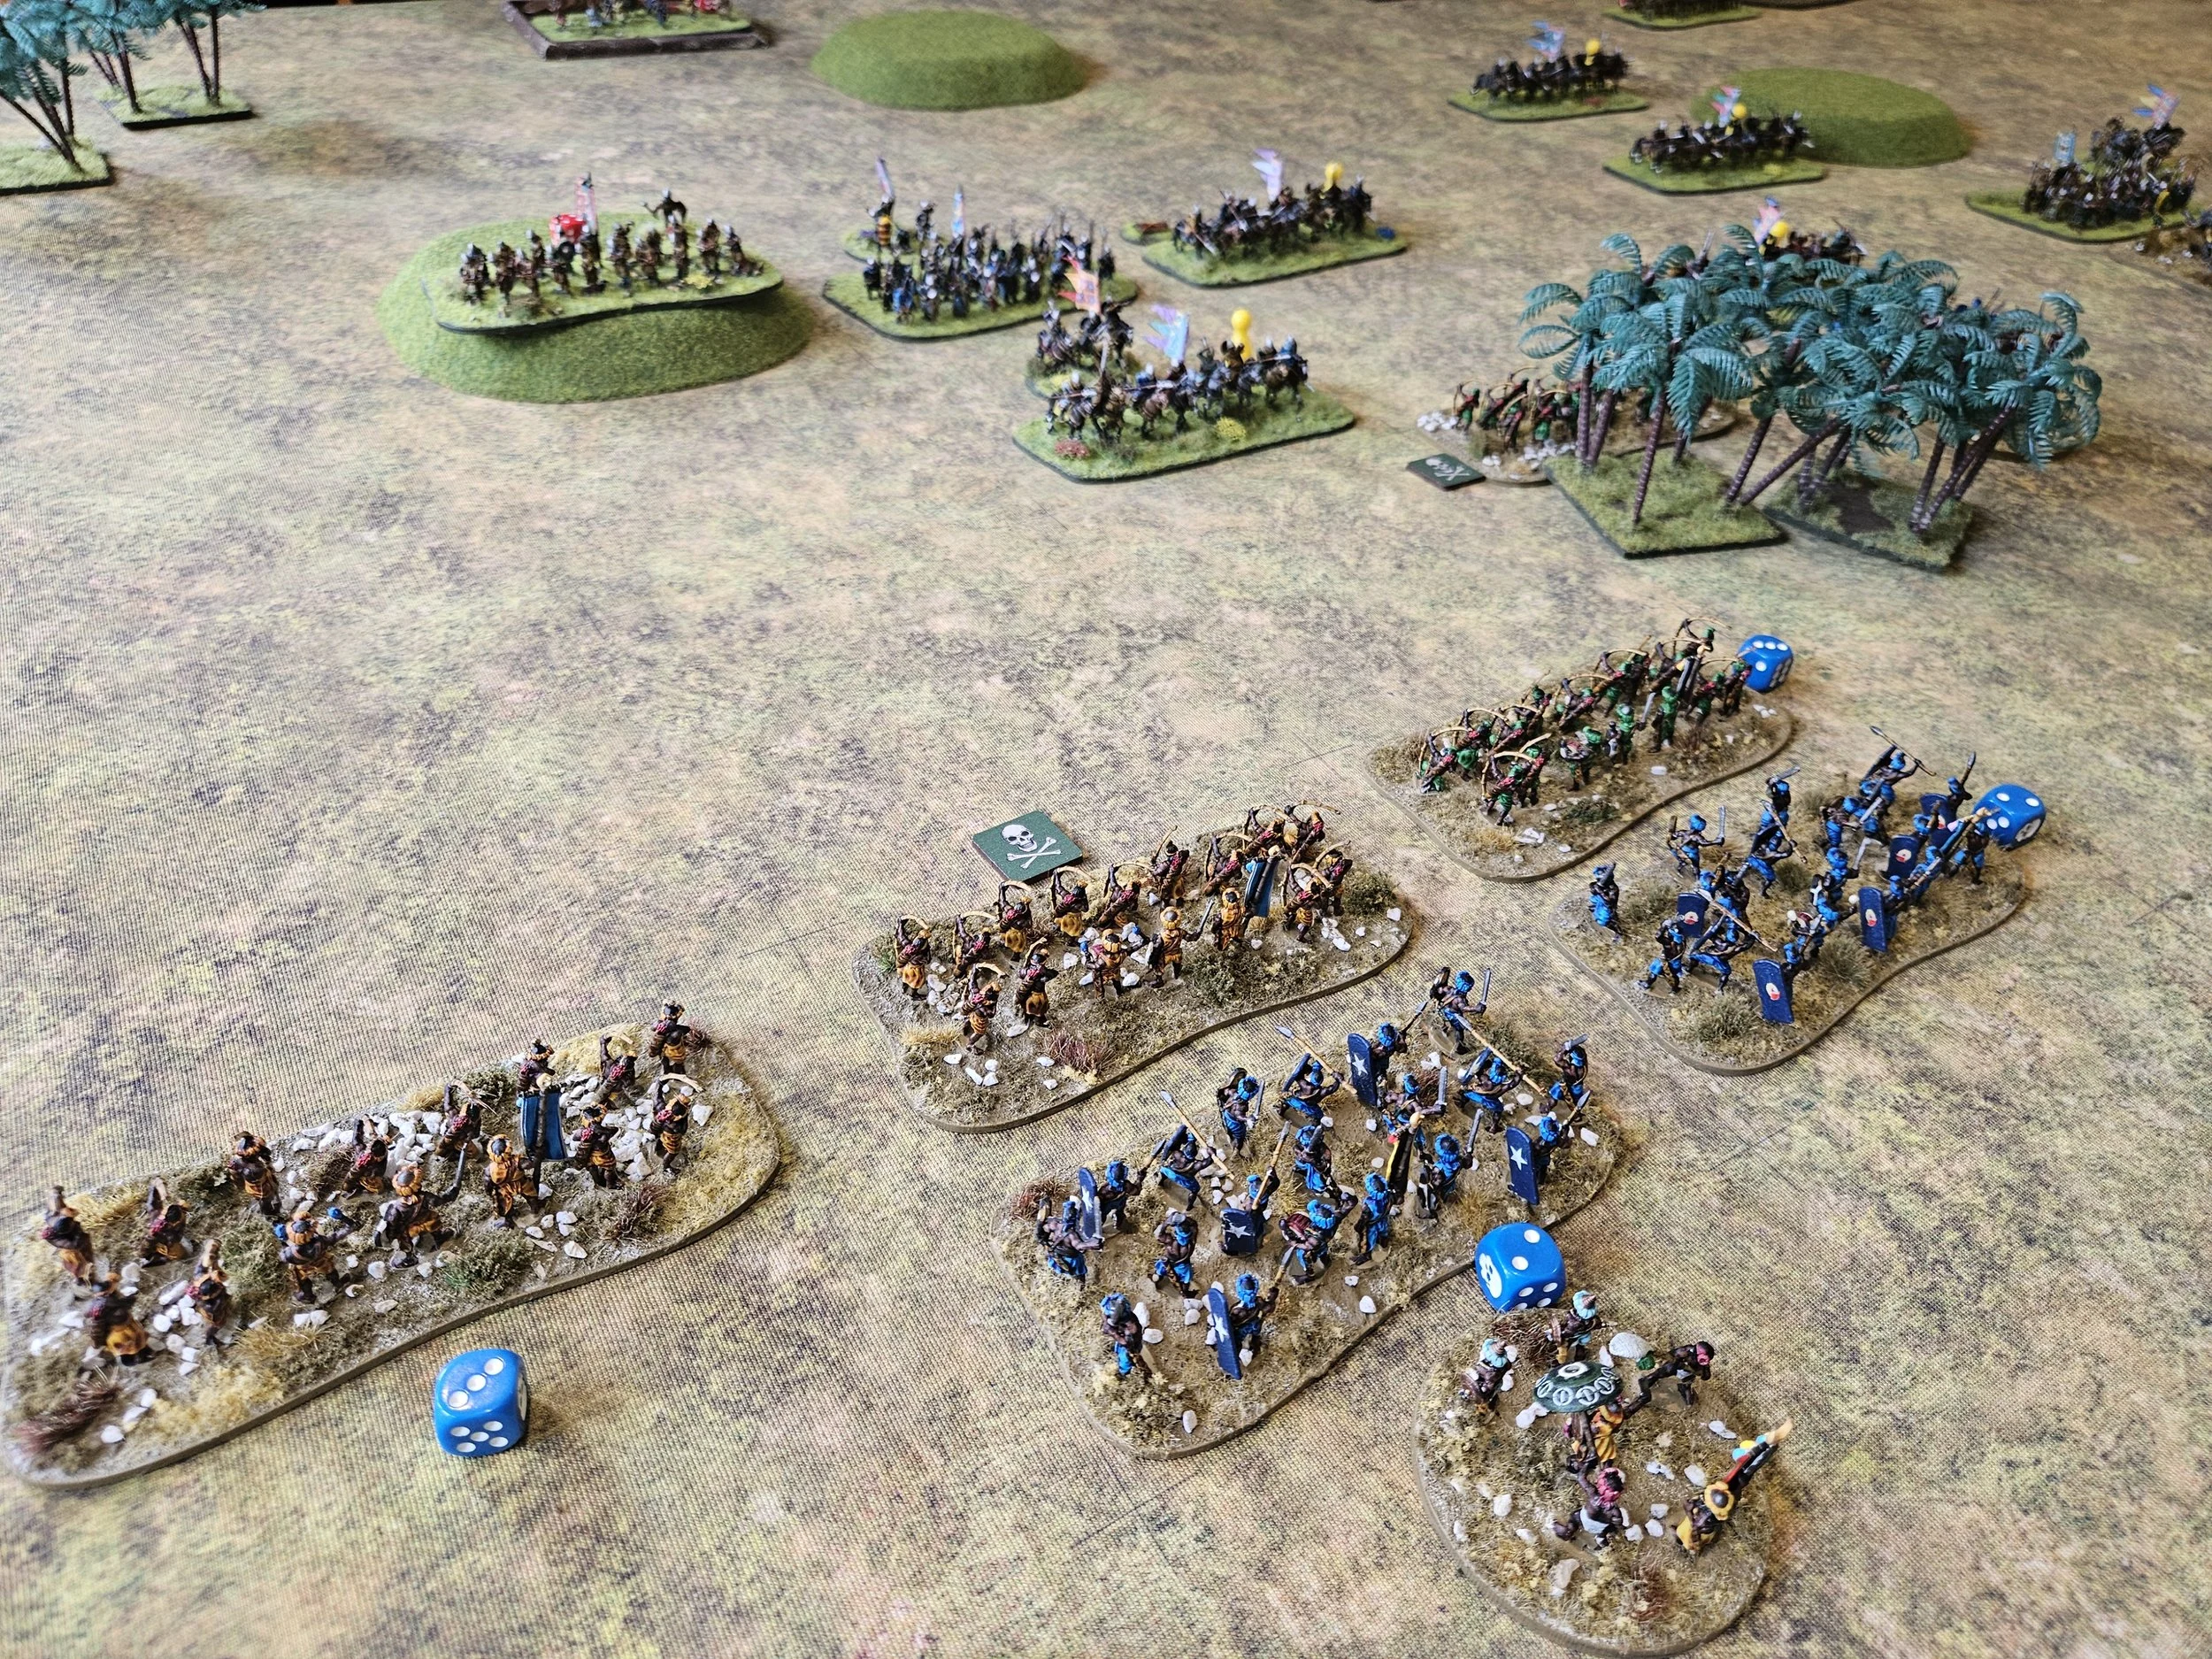
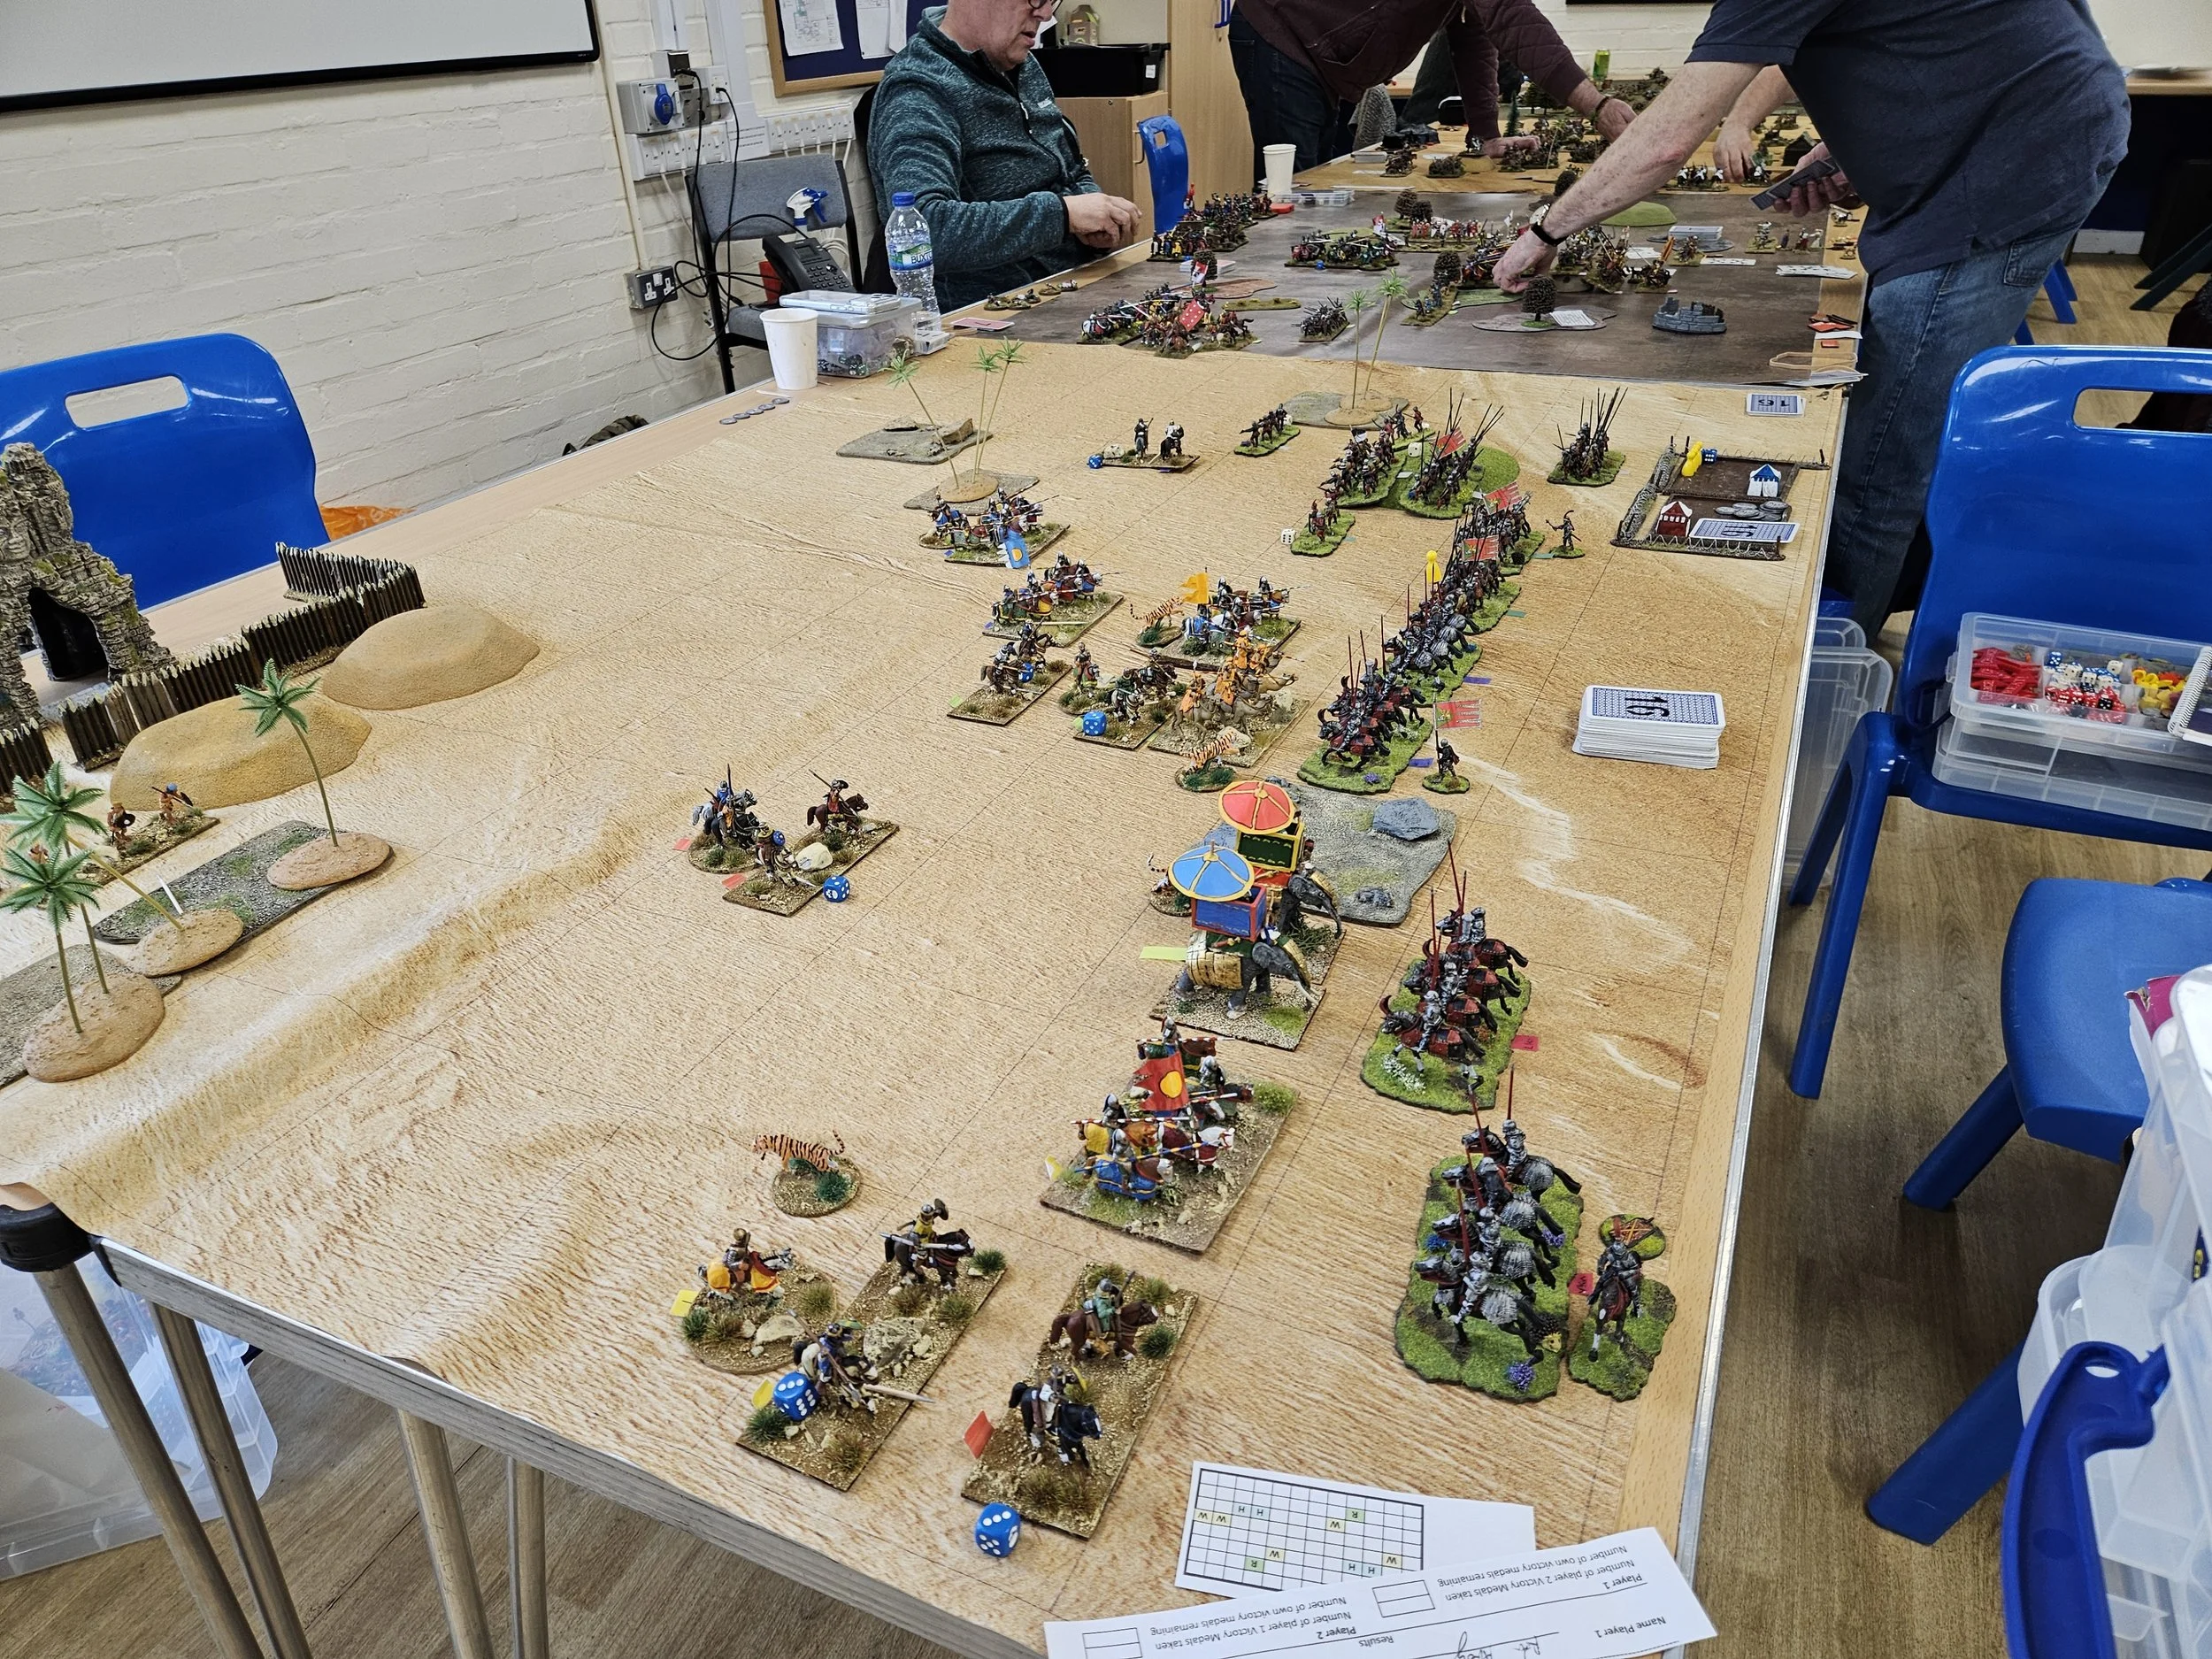
It was now the climax of the battle. From the vast number of victory coins we had started with, we both both down to our final few. Alexander had been forced off the table as the Companions he commanded were routed and, under the new Even Stronger amends, he was too far from any other Macedonian unit to transfer, but all I needed to do was to take out one more Persian unit or take the Persian camp to win, and the initiative was mine.
Could I do it?
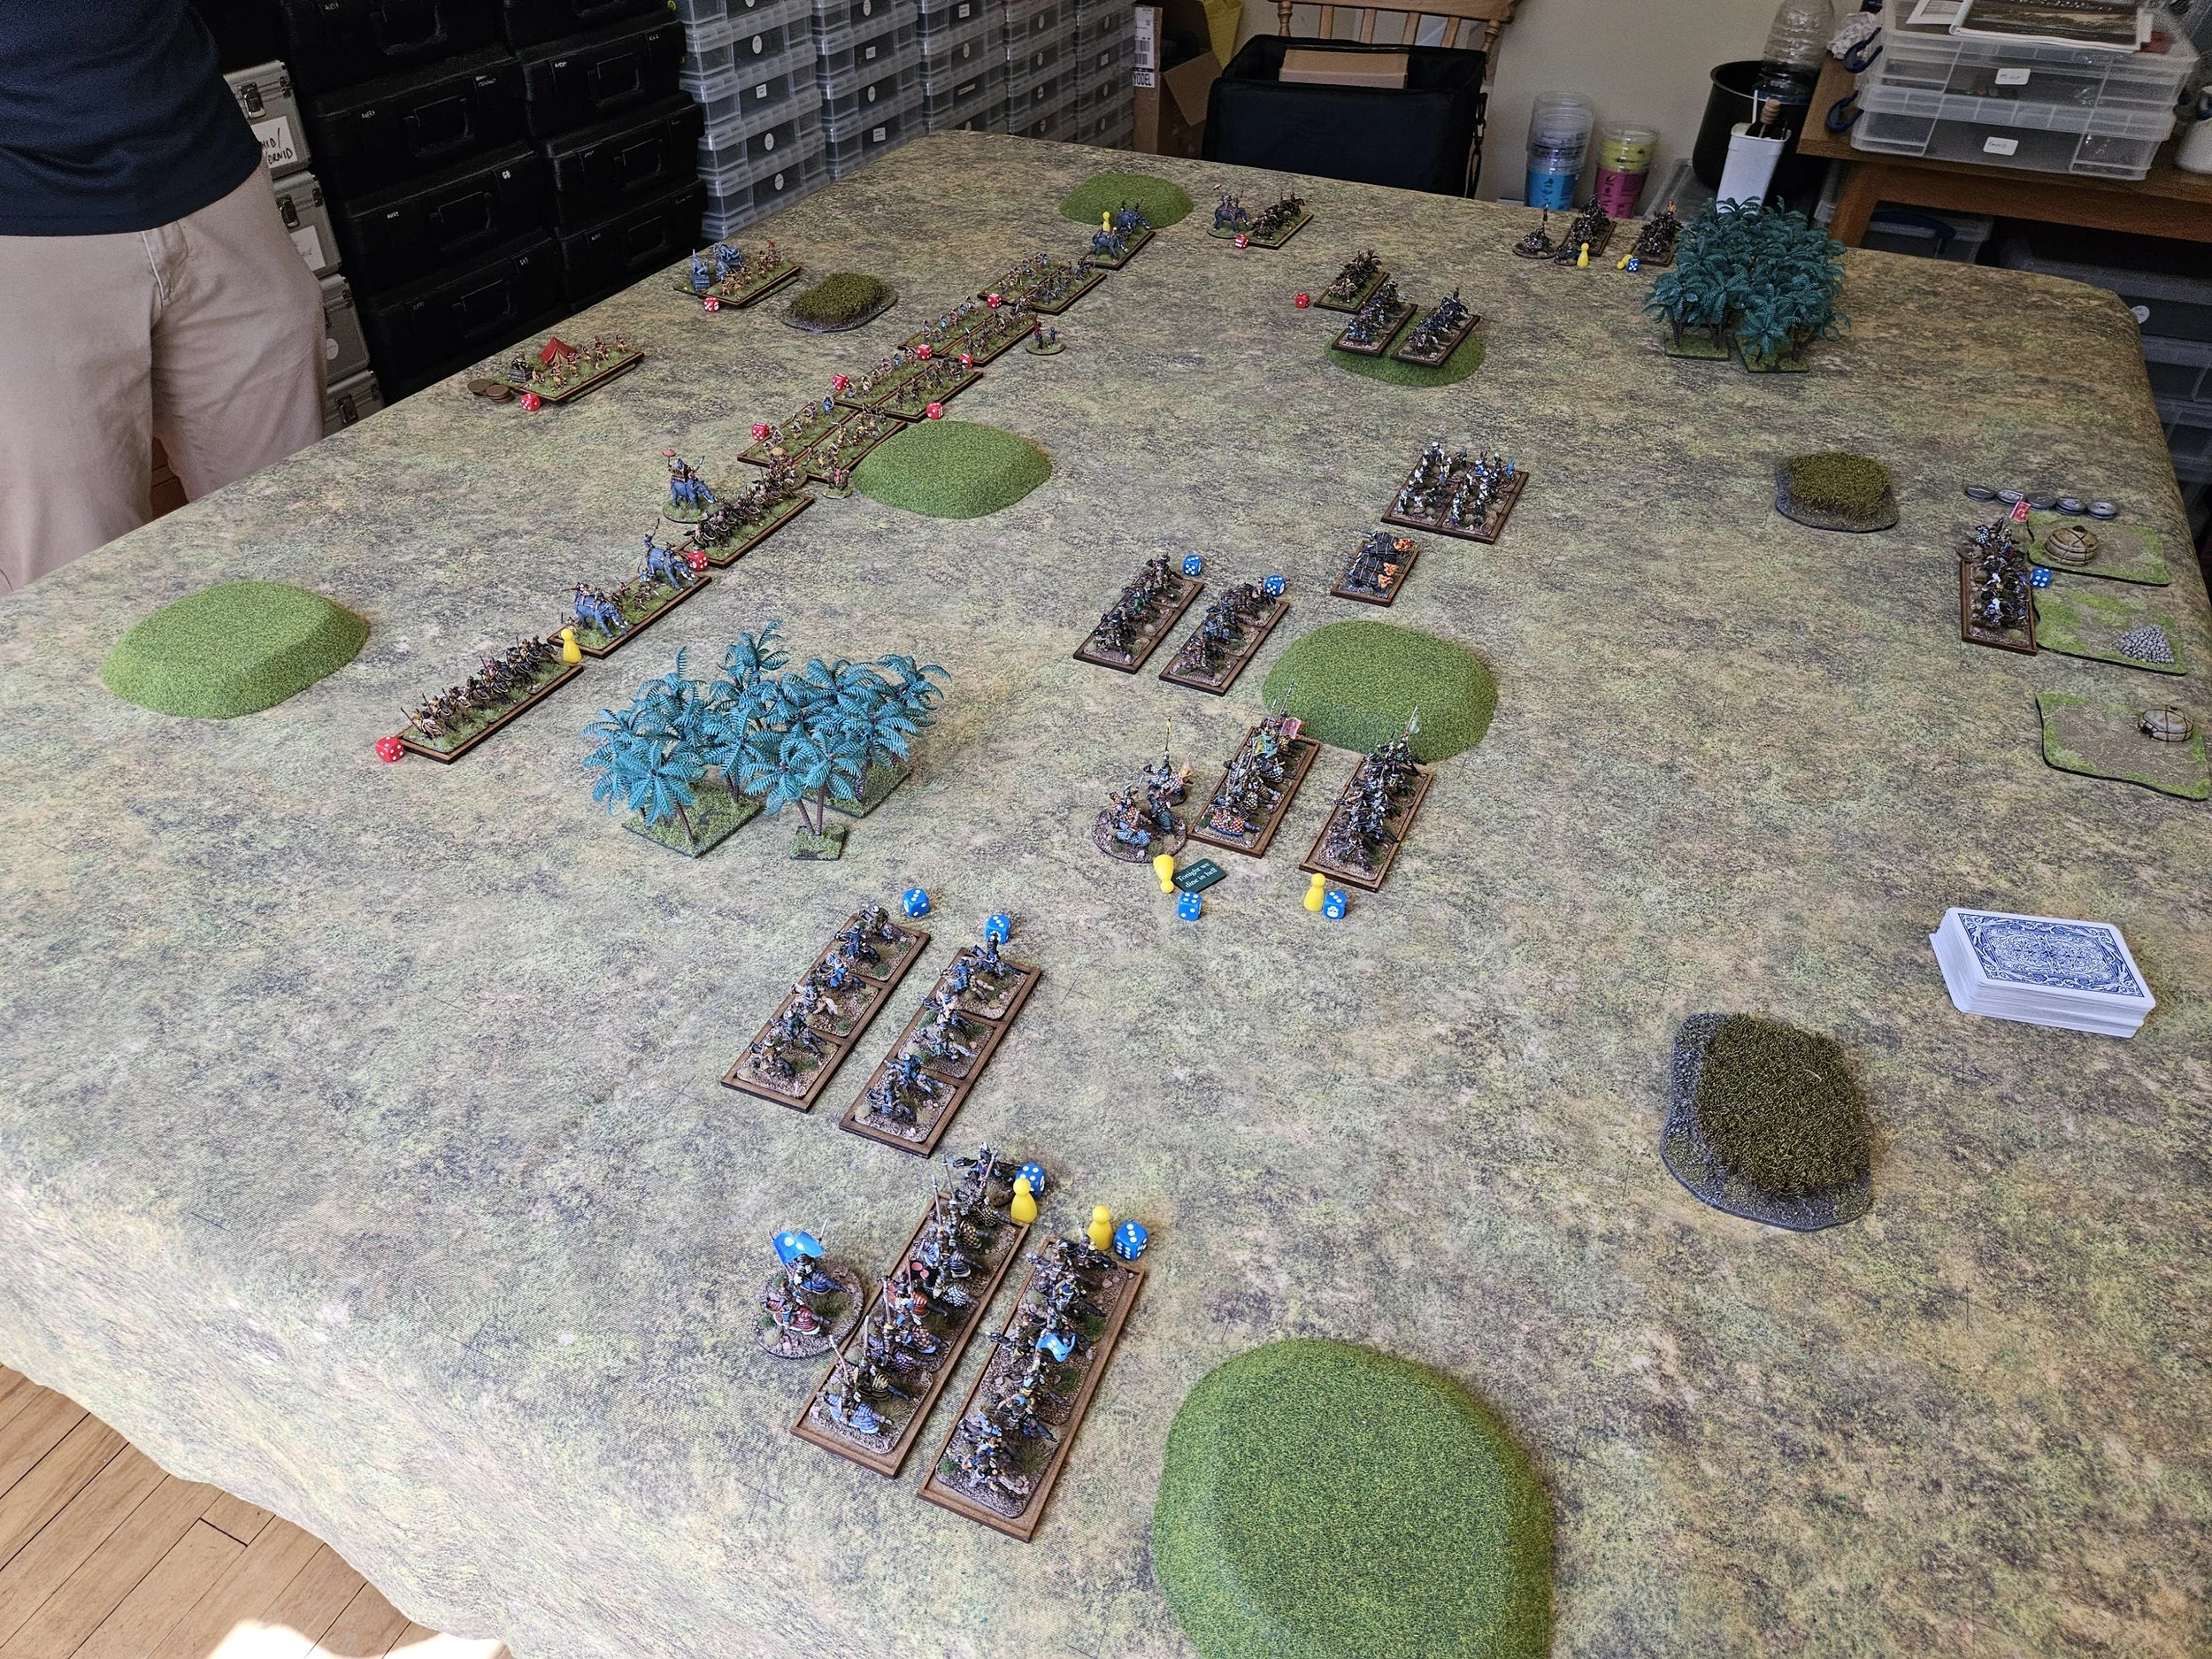
No, I couldn’t, and could only watch as Neil finally managed to kill the last unit in my left hand cavalry command (which had been hanging on for dear life) and take my last four coins. Victory for the Persians!
So why did the Macedonians lose despite their initial success in clearing away all the Persian light?
Partly due to Alexander’s strong cavalry command having a very bad day, but mostly because I failed to get my heavy infantry stuck in early enough for them to win the day…and that was partly because I allowed myself to take my eyes off the main prize and partly due to Neil’s use of This Way Effendi at the start of the game and then his retreats in the centre as I pushed fowards in the battle’s final moments.
An excellent game of TTS!