FK&P AAR: Scots versus Swedes!
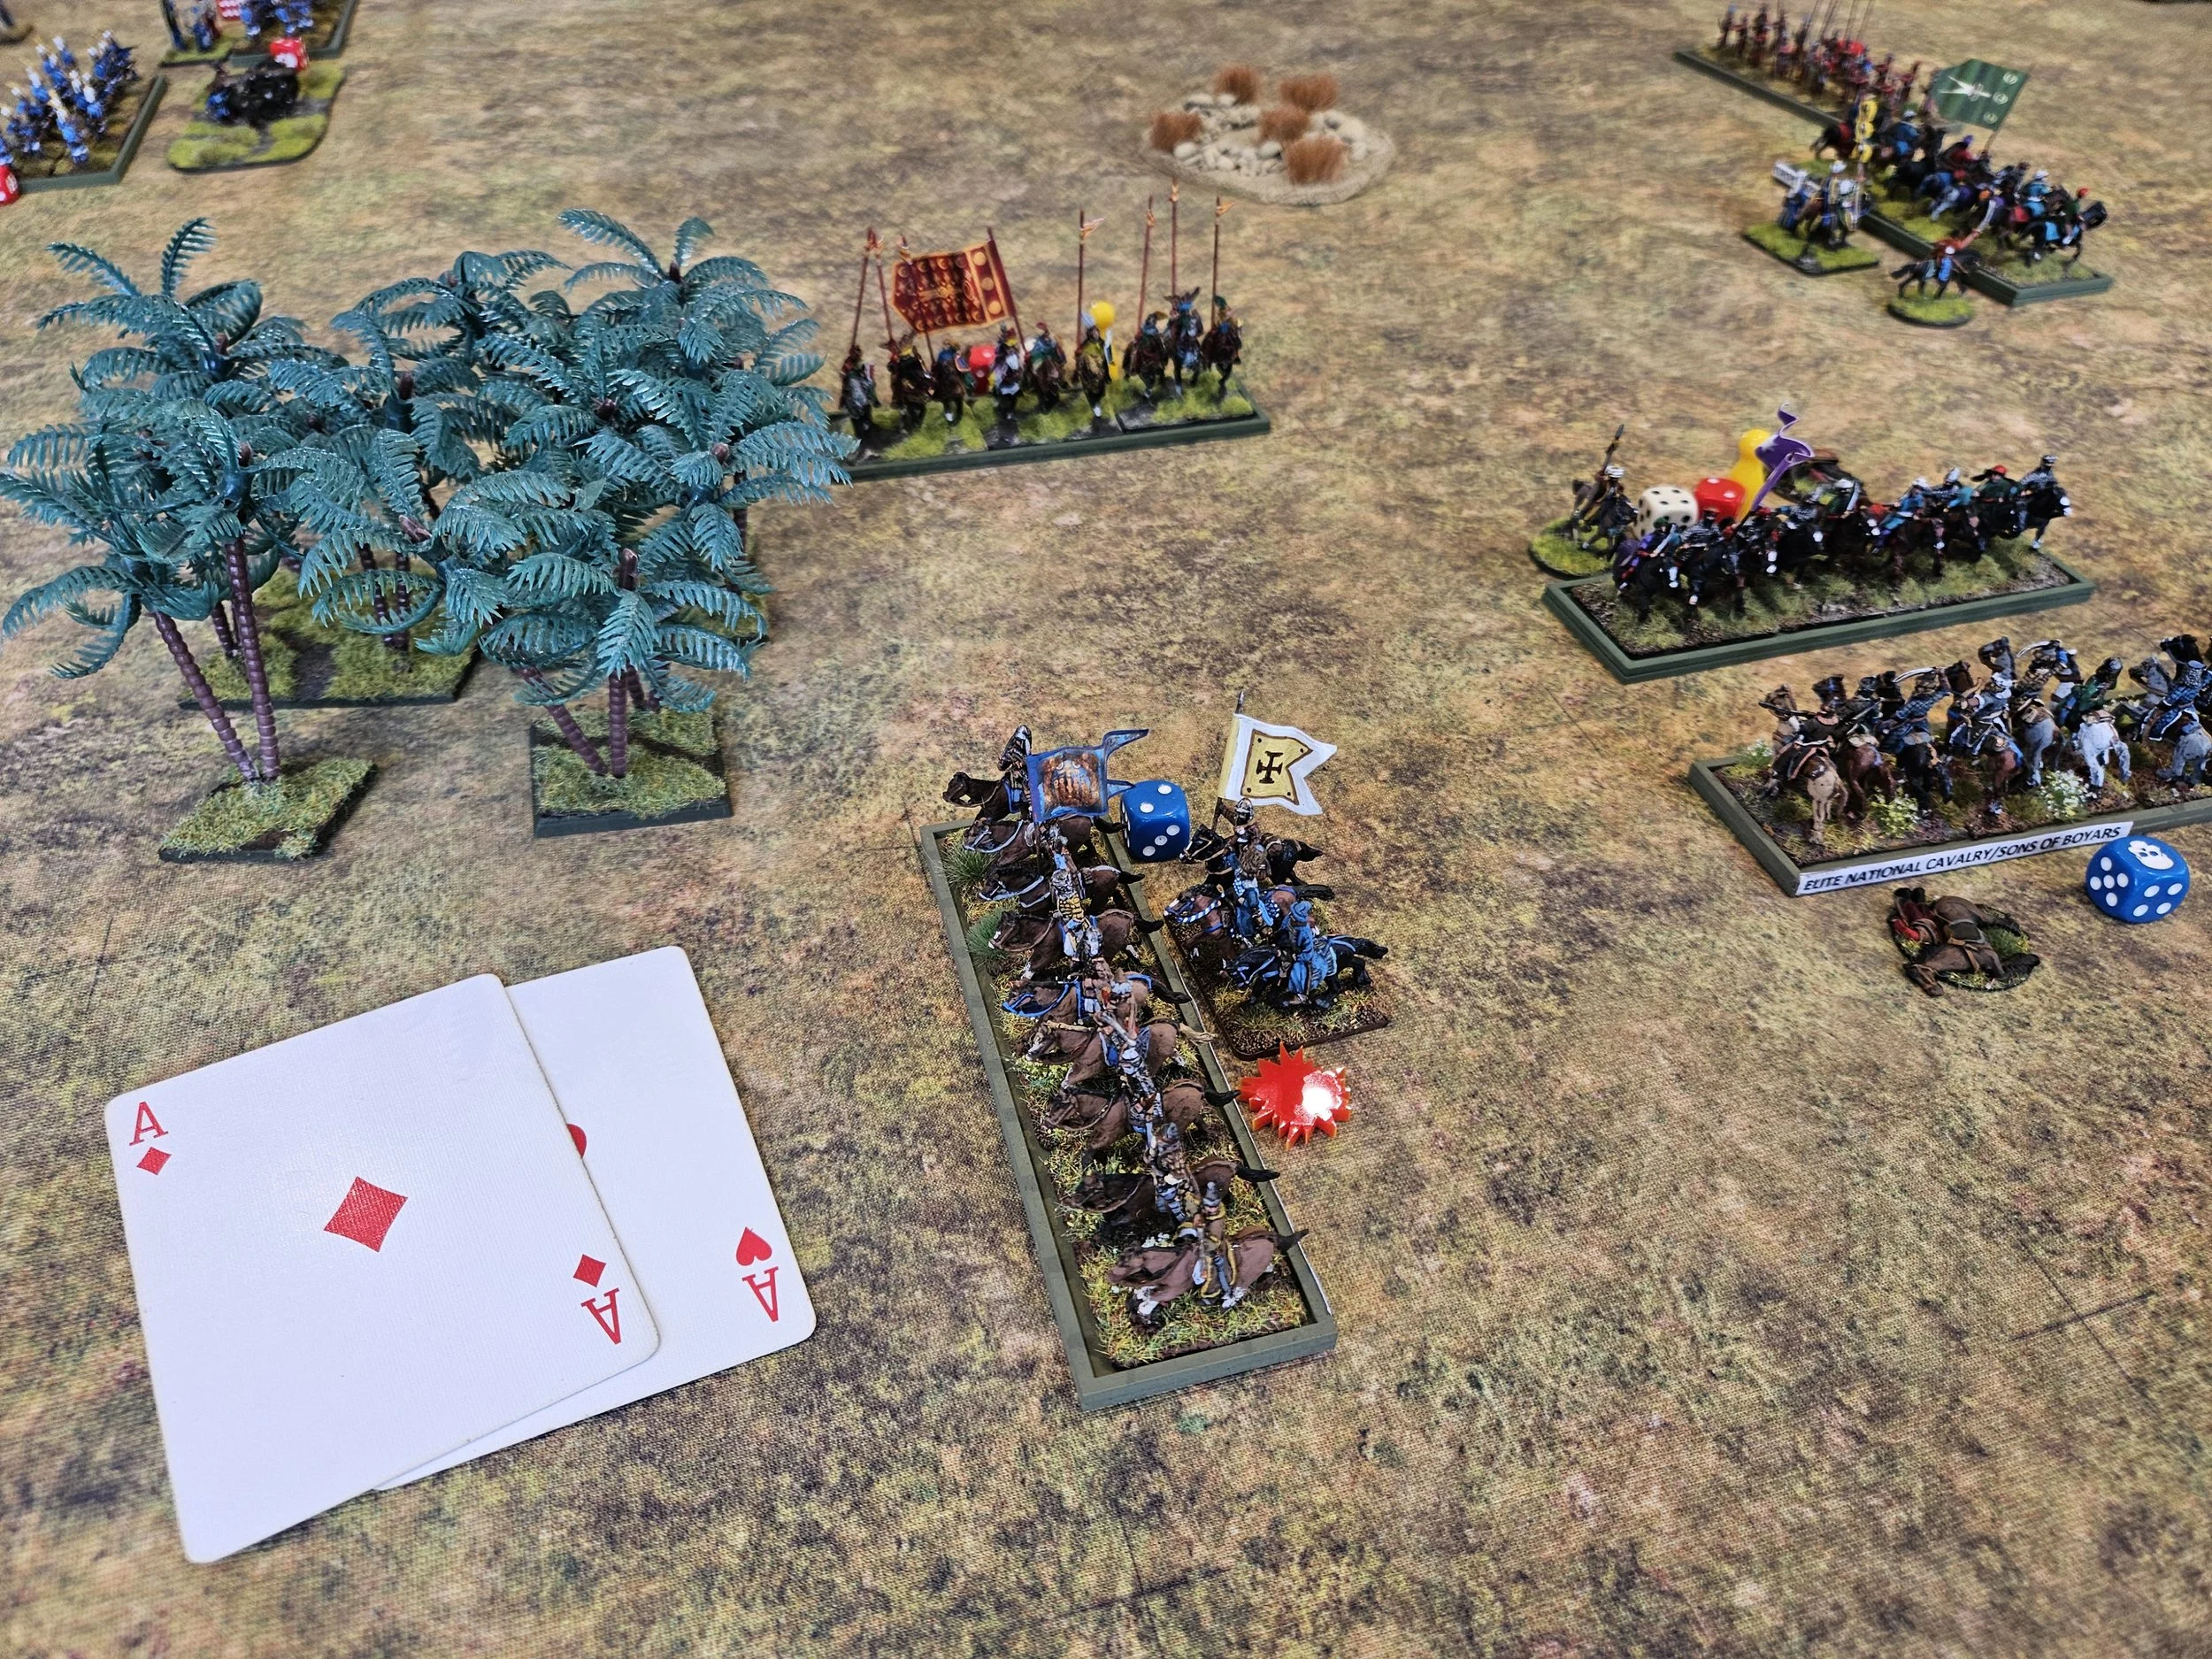
/John and I both fancied a game of For King & Parliament, but couldn’t decide what to play. I definitely wanted to play my Scots Covenantor force, but also wanted to get some of my lesser used units onto the table as well. The solution was to fight a very unhistorical and ungeographical battle between the Scots Covenantors and a Swedish army from about the same period!
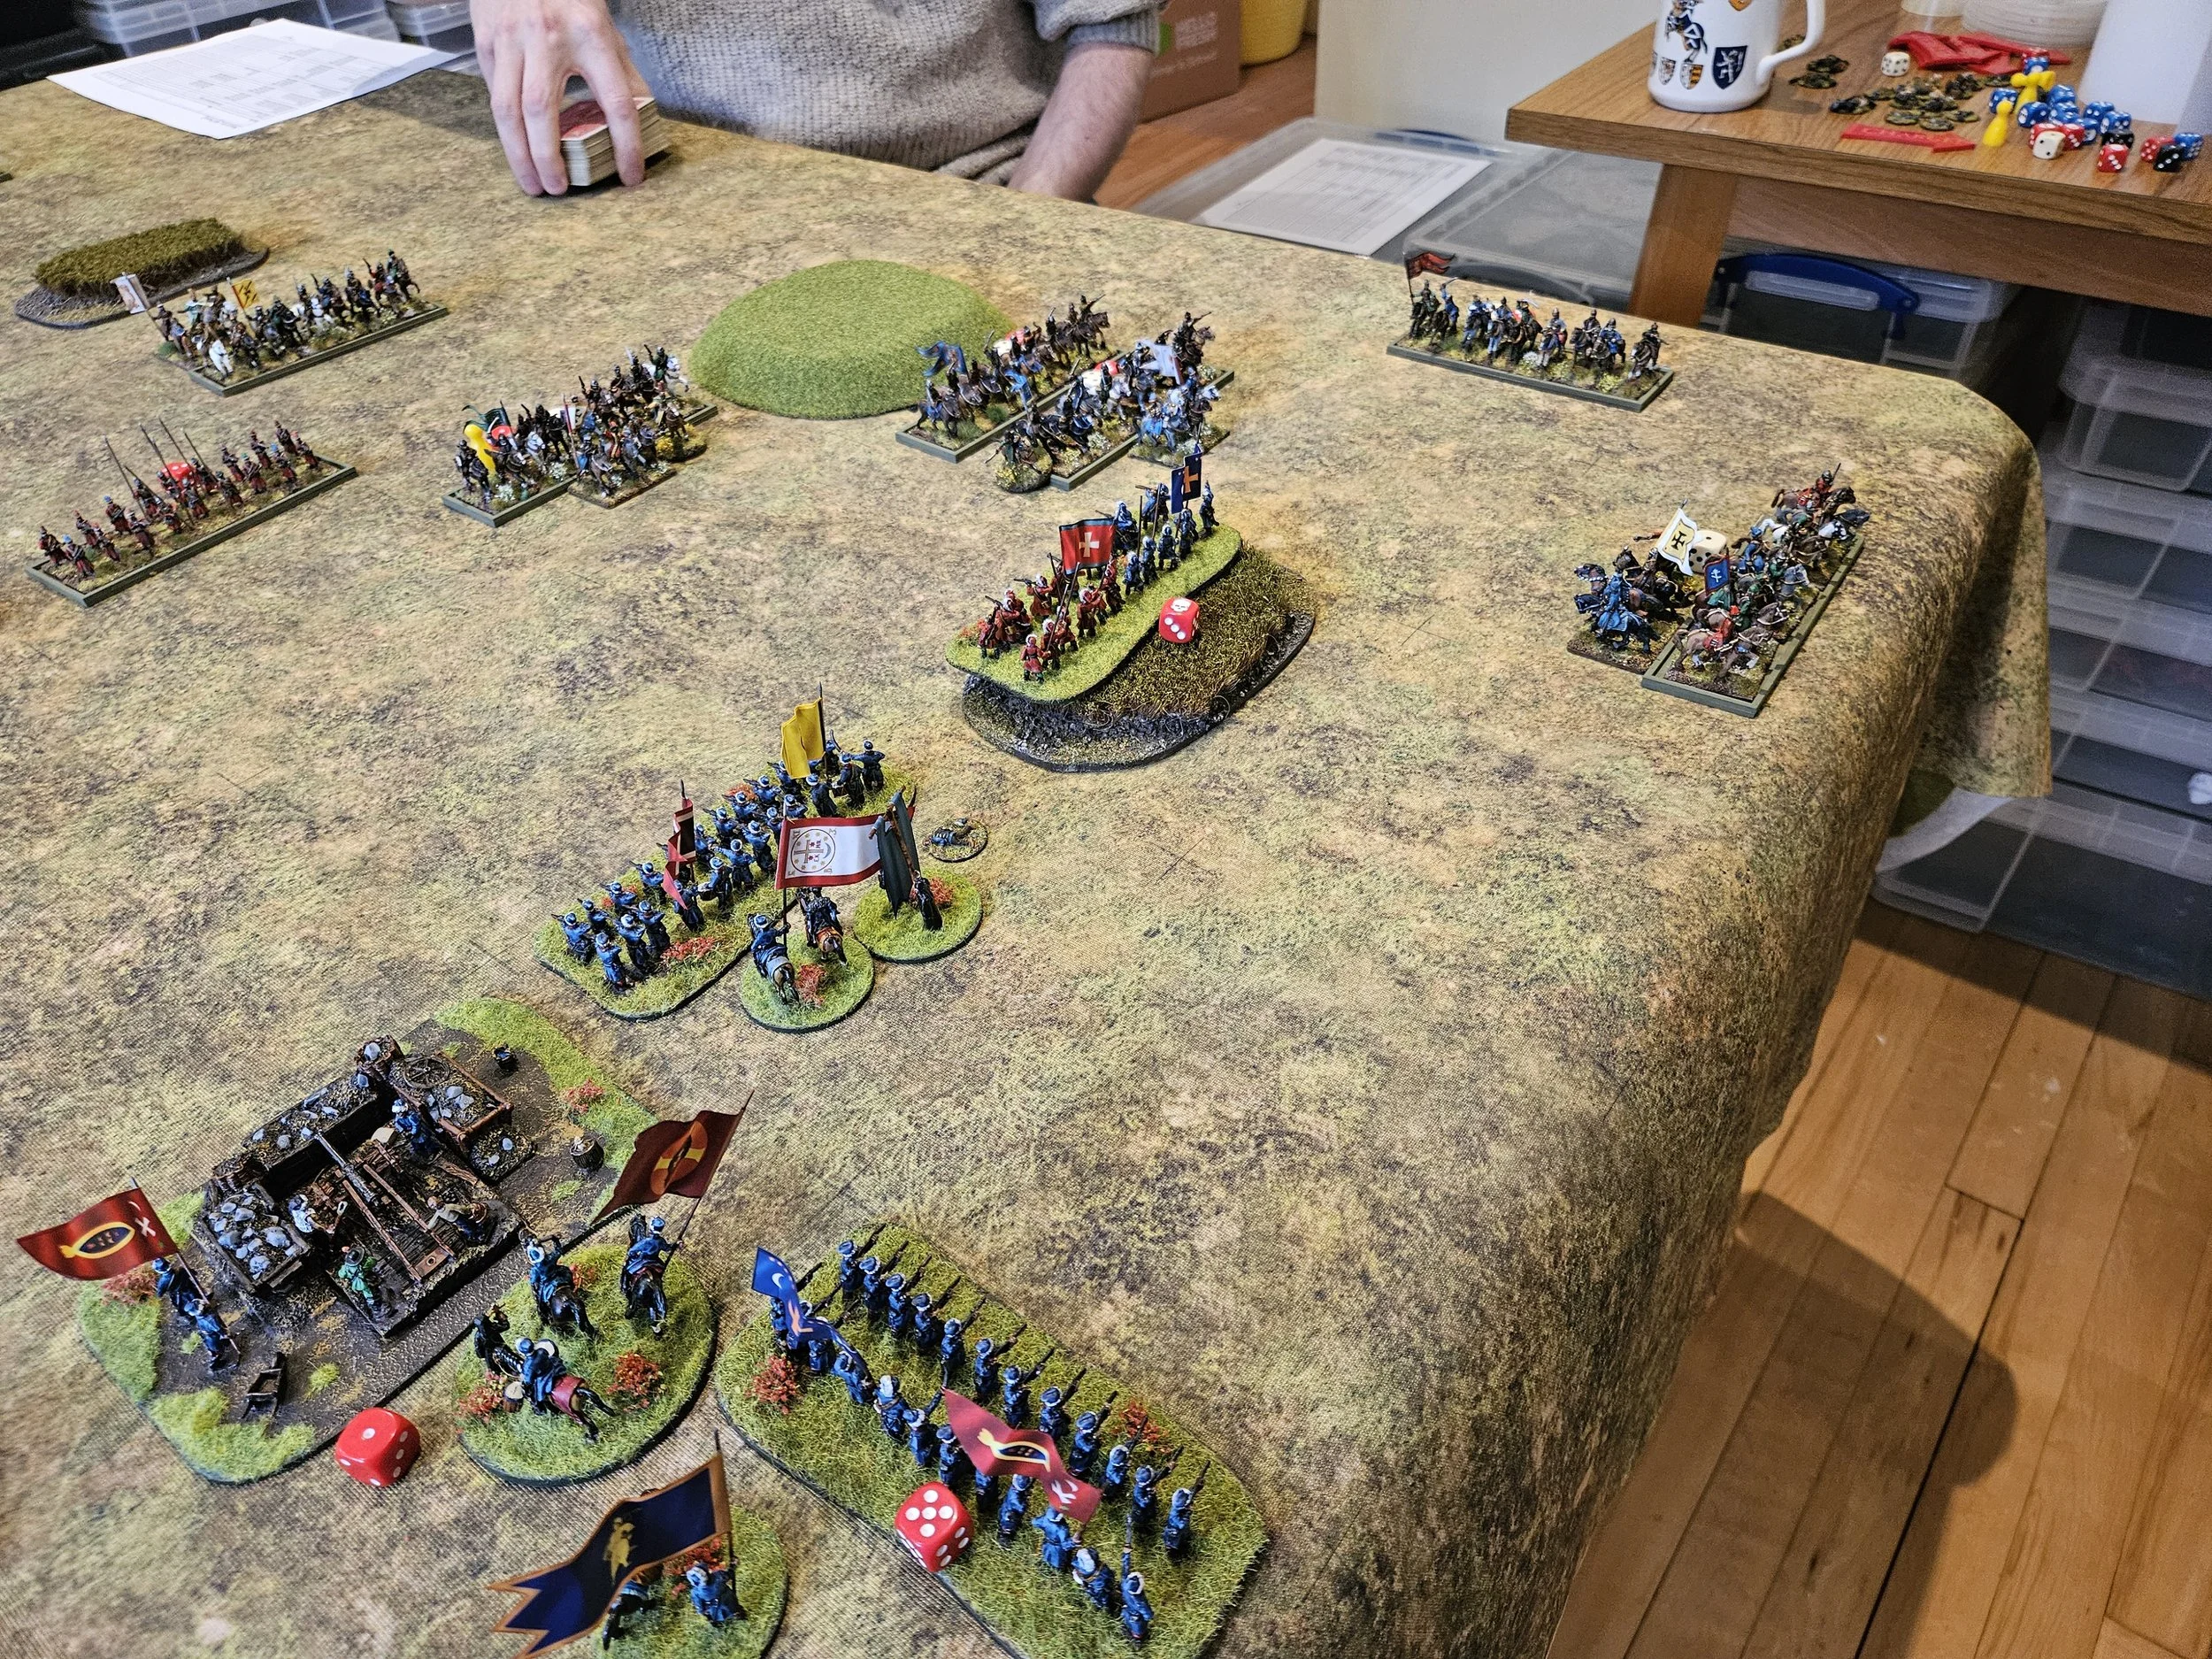
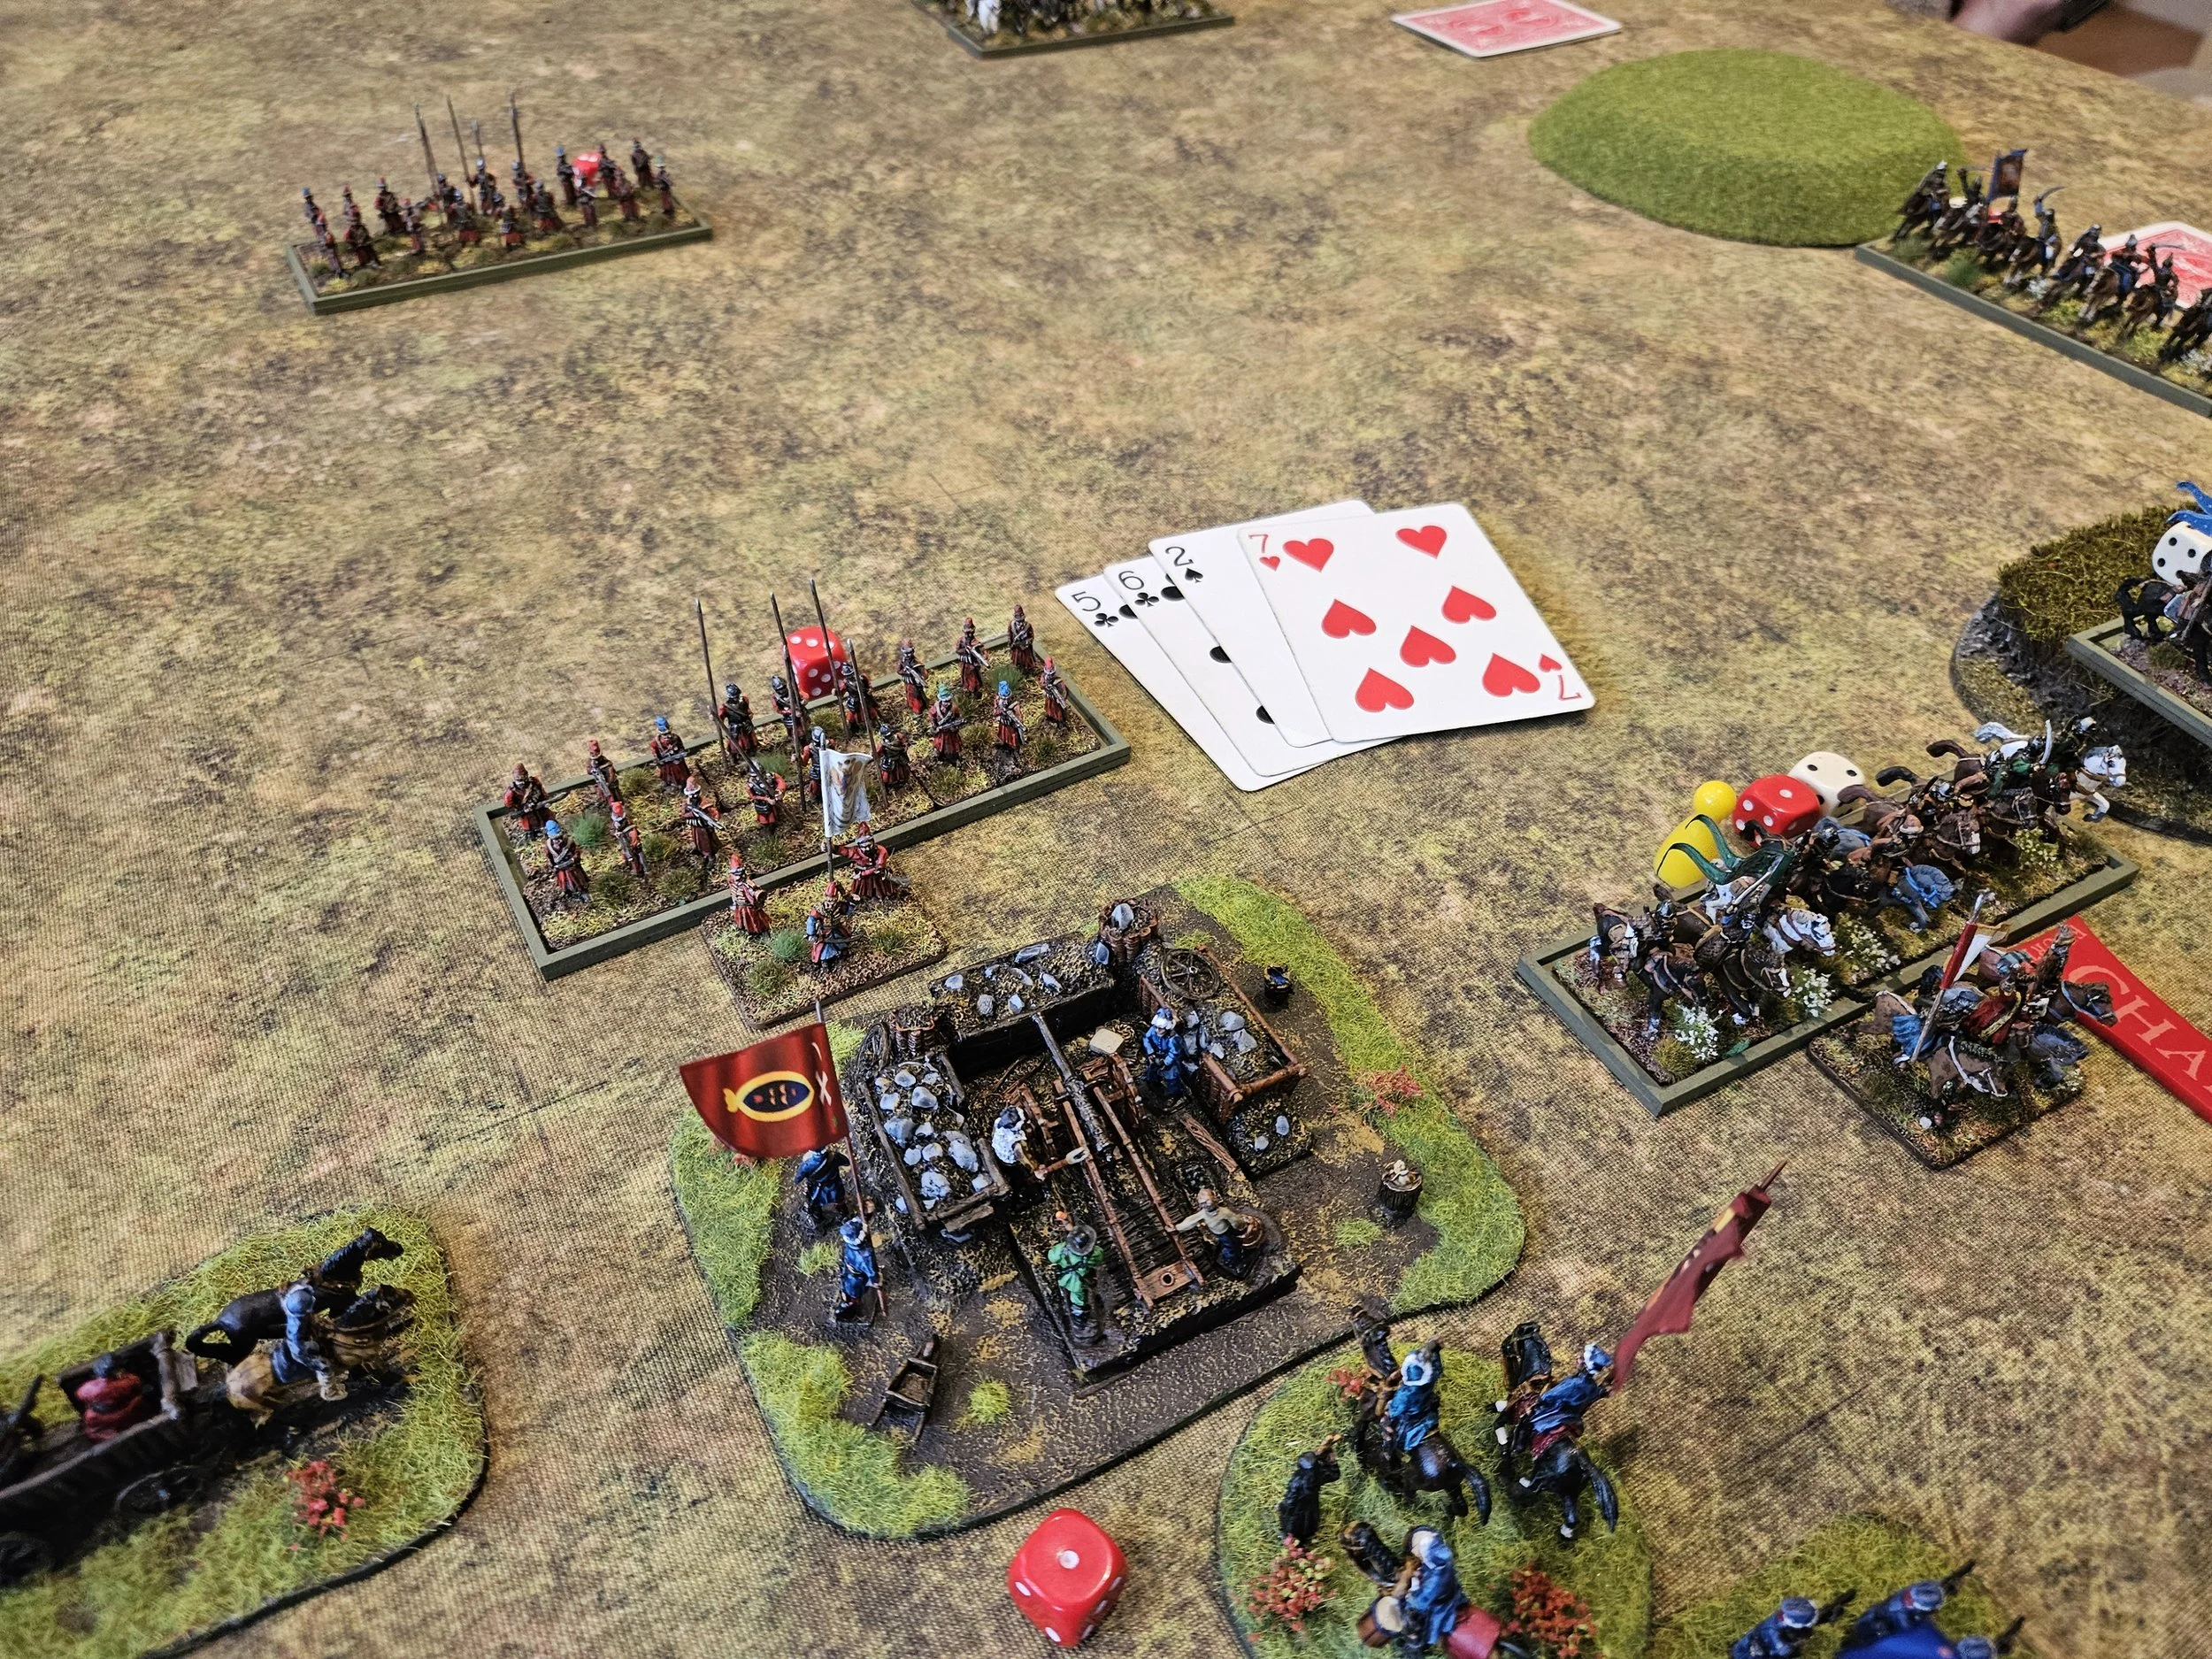
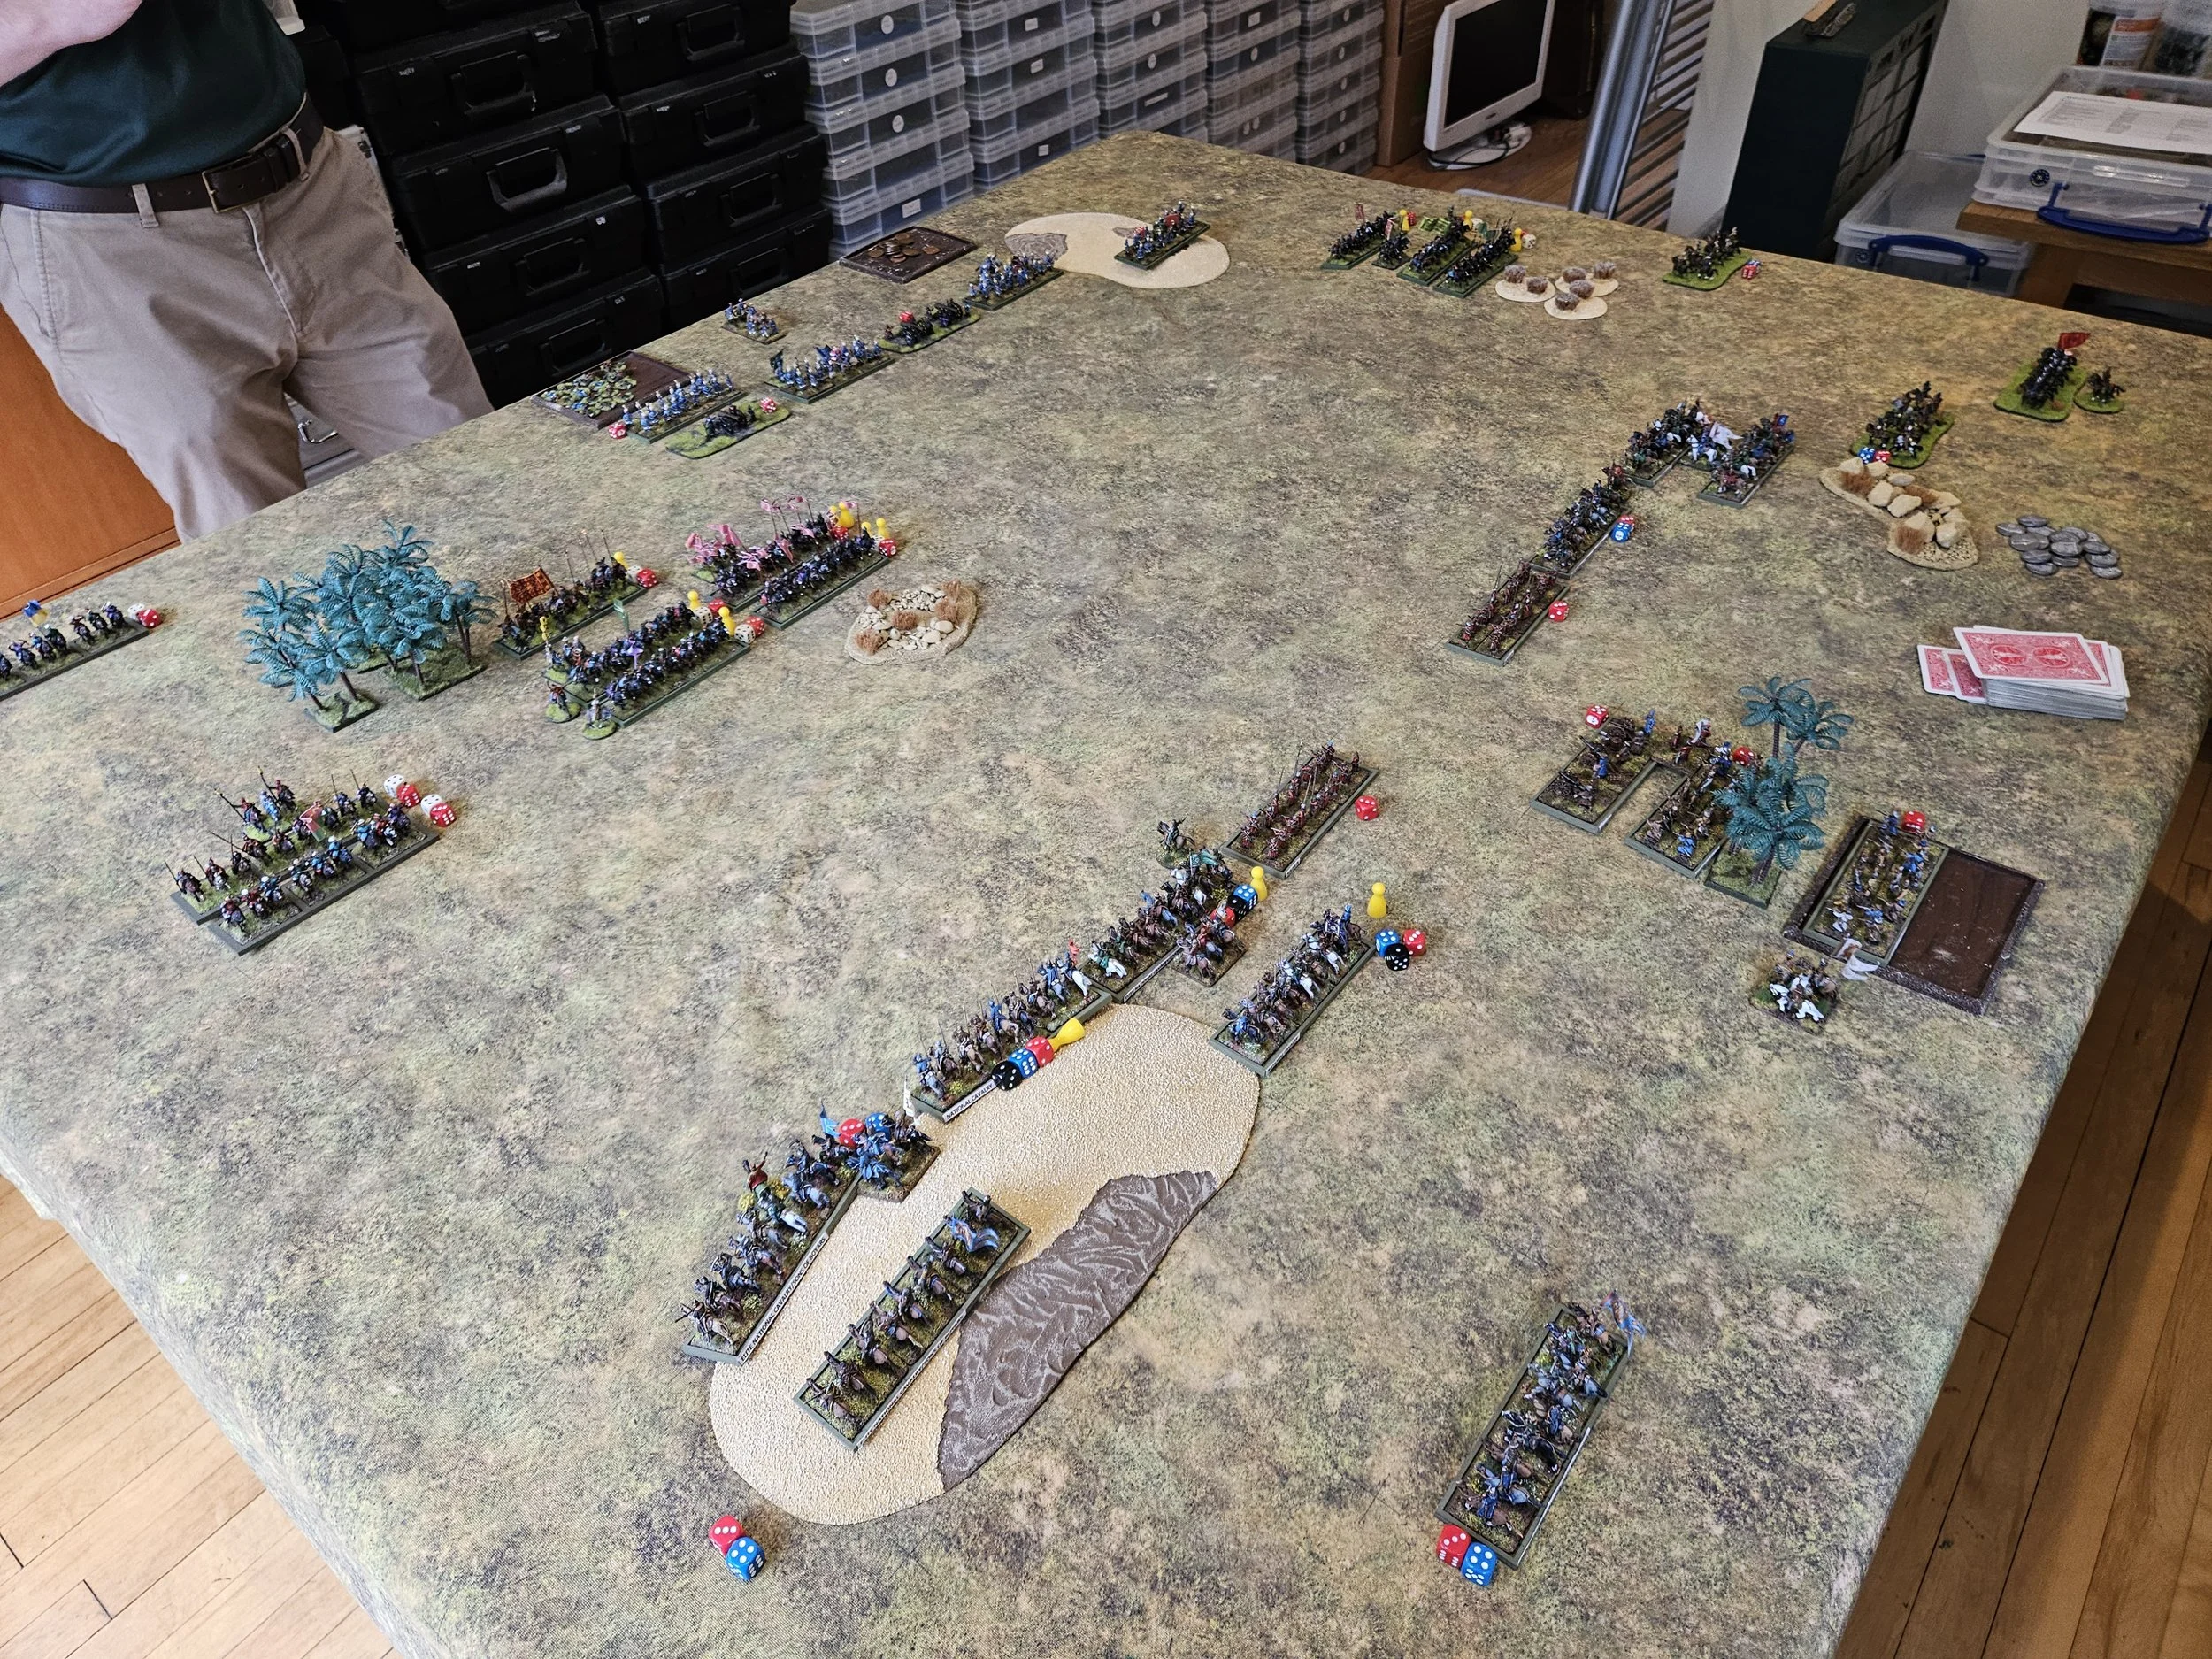
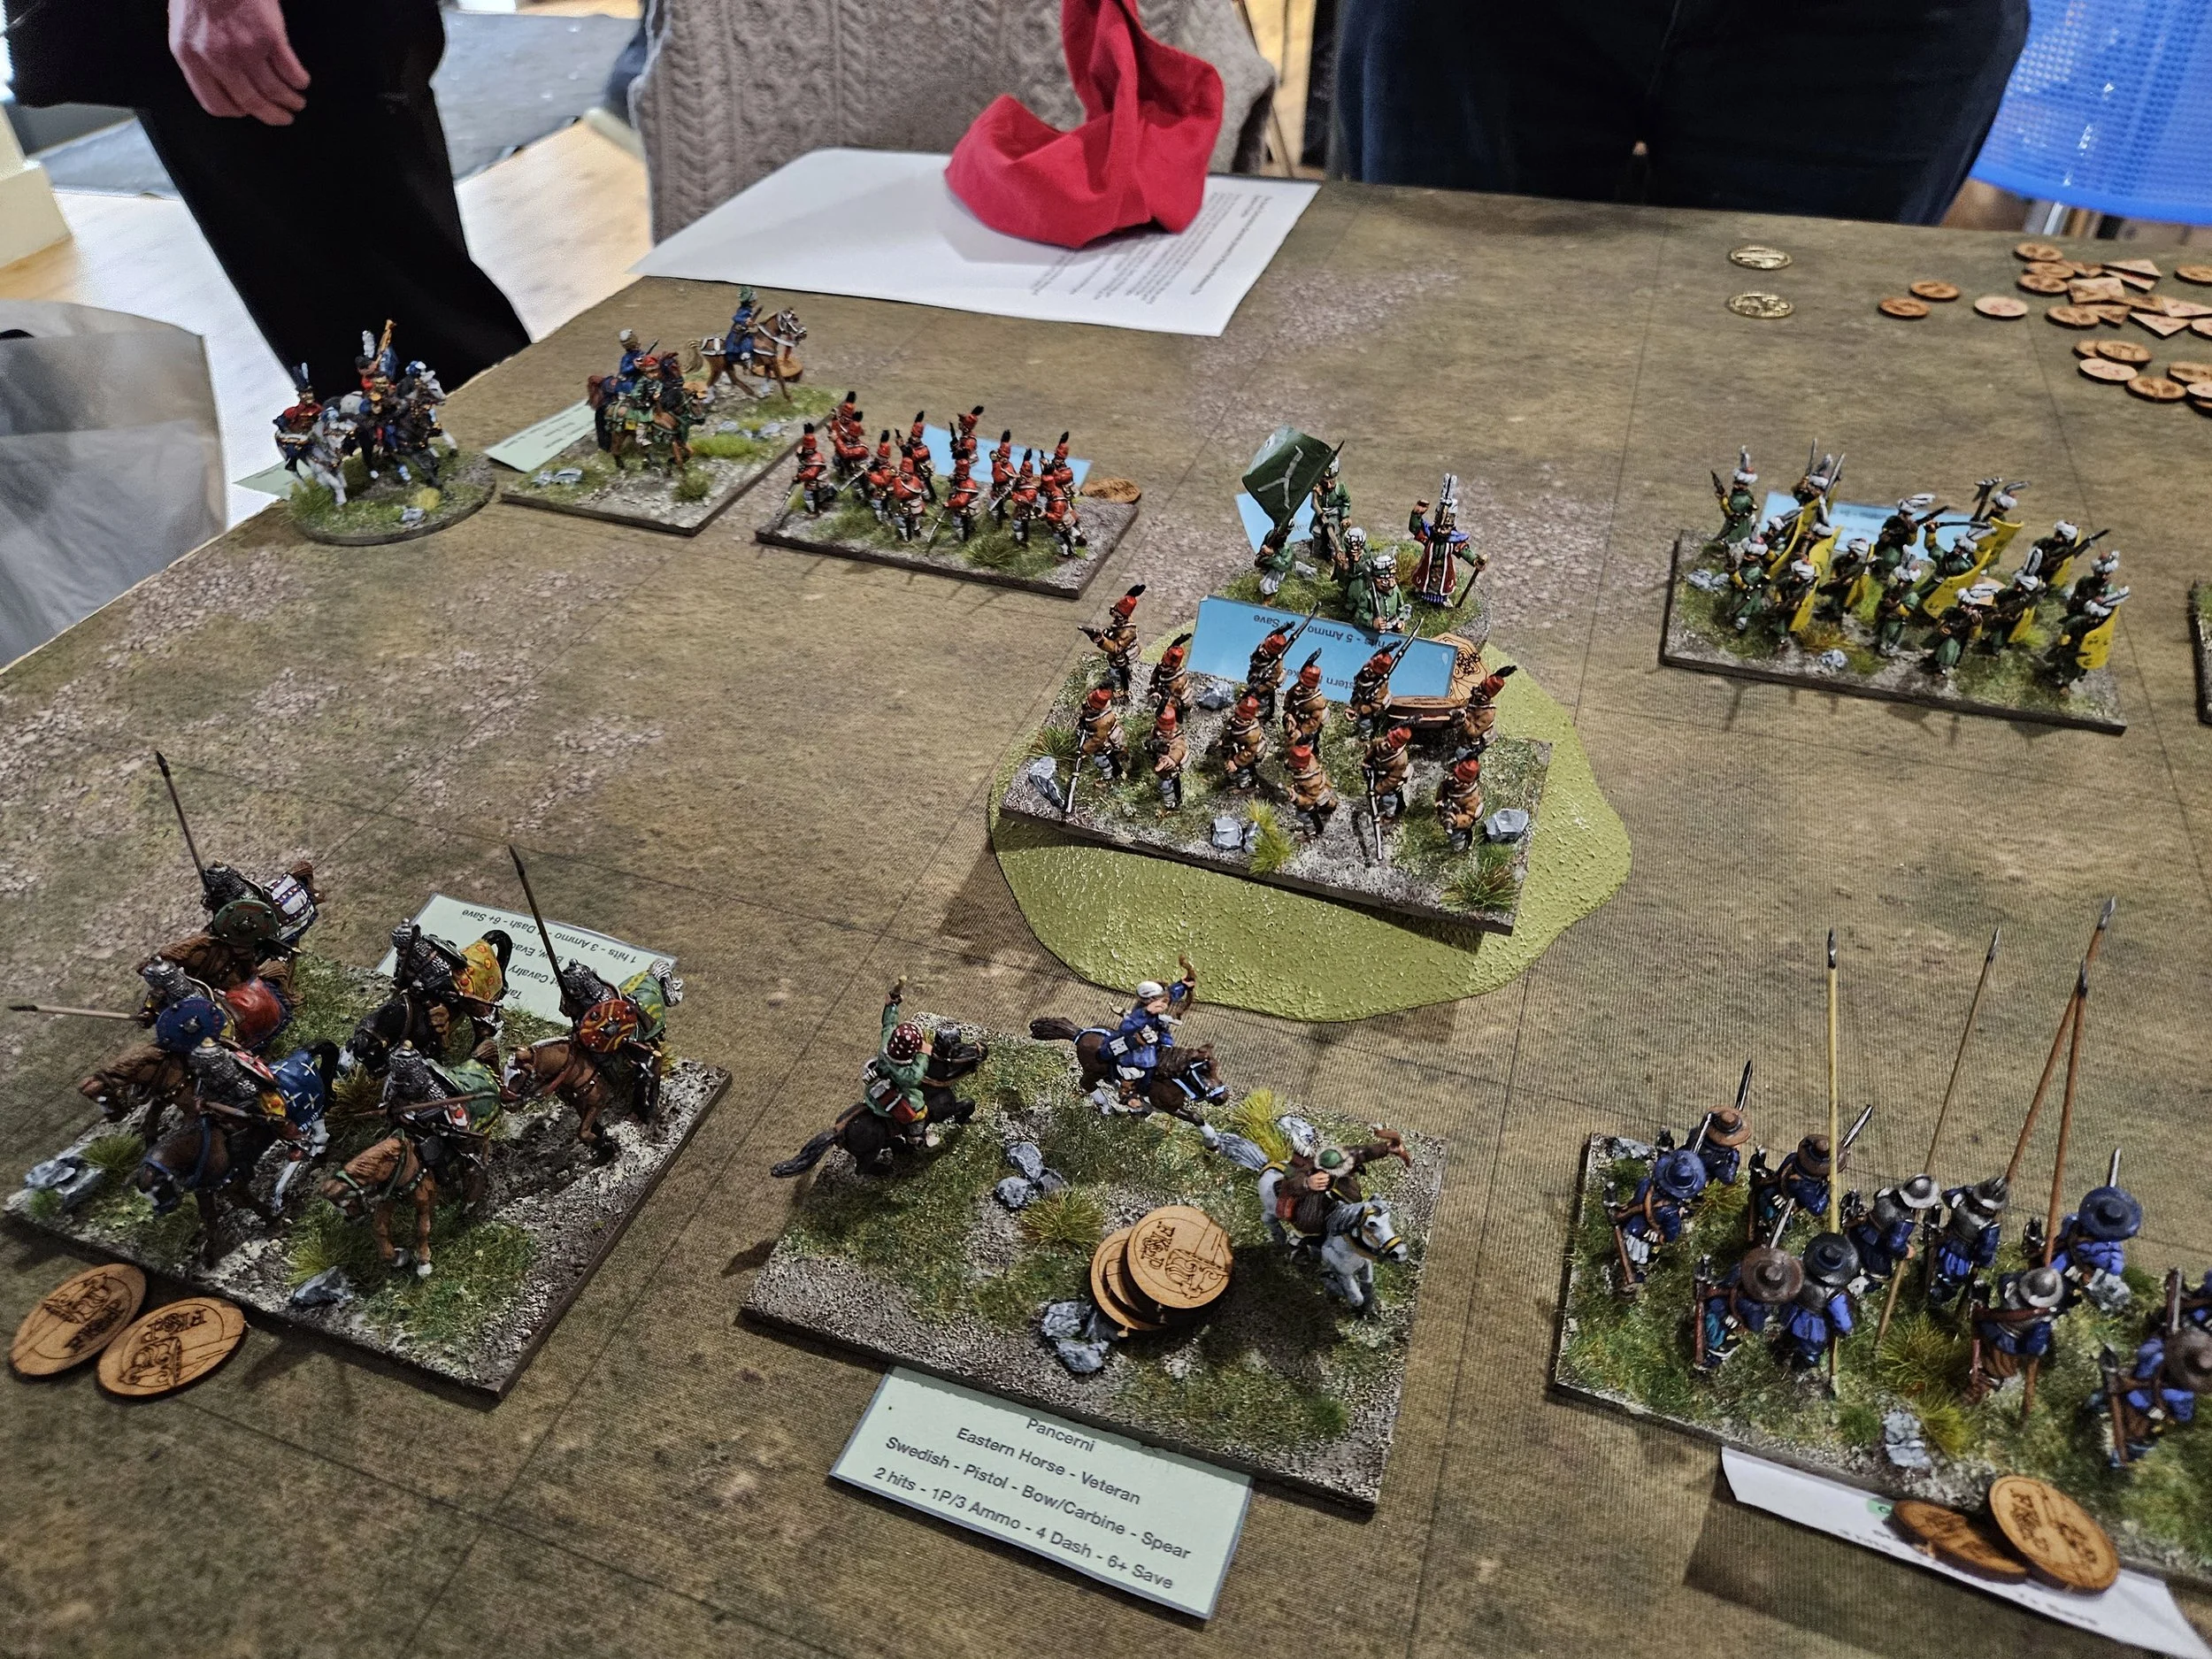
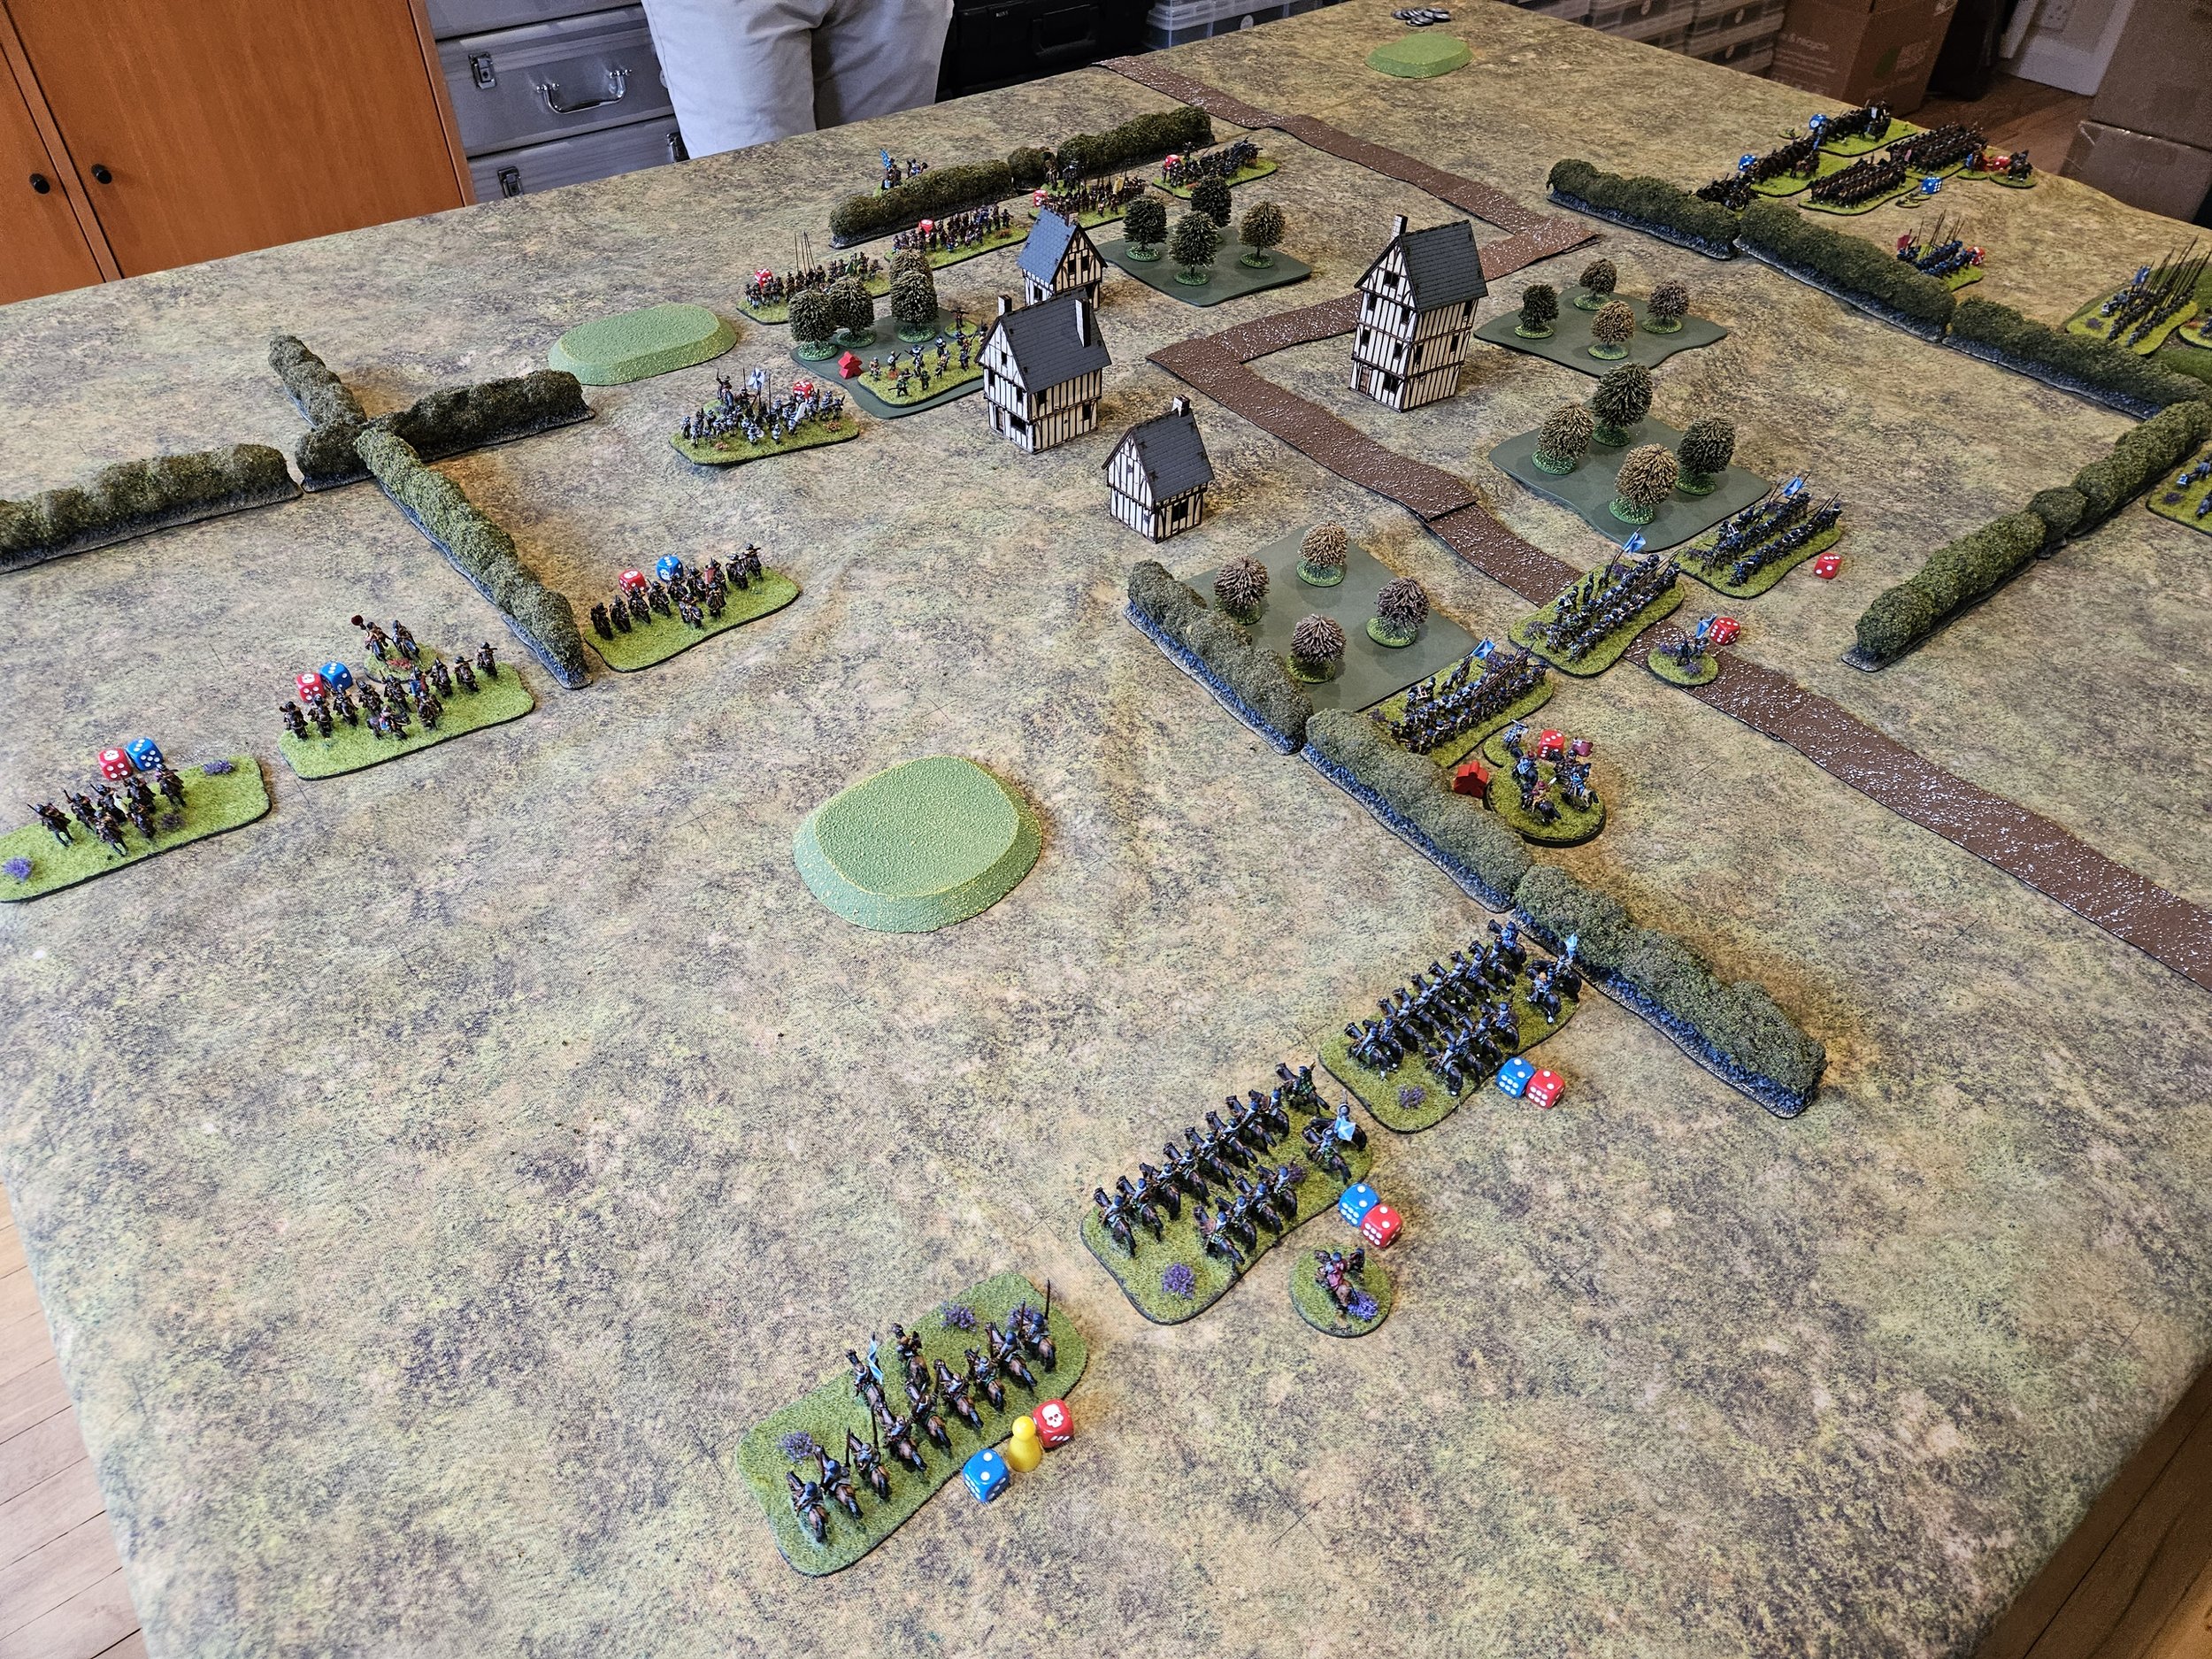
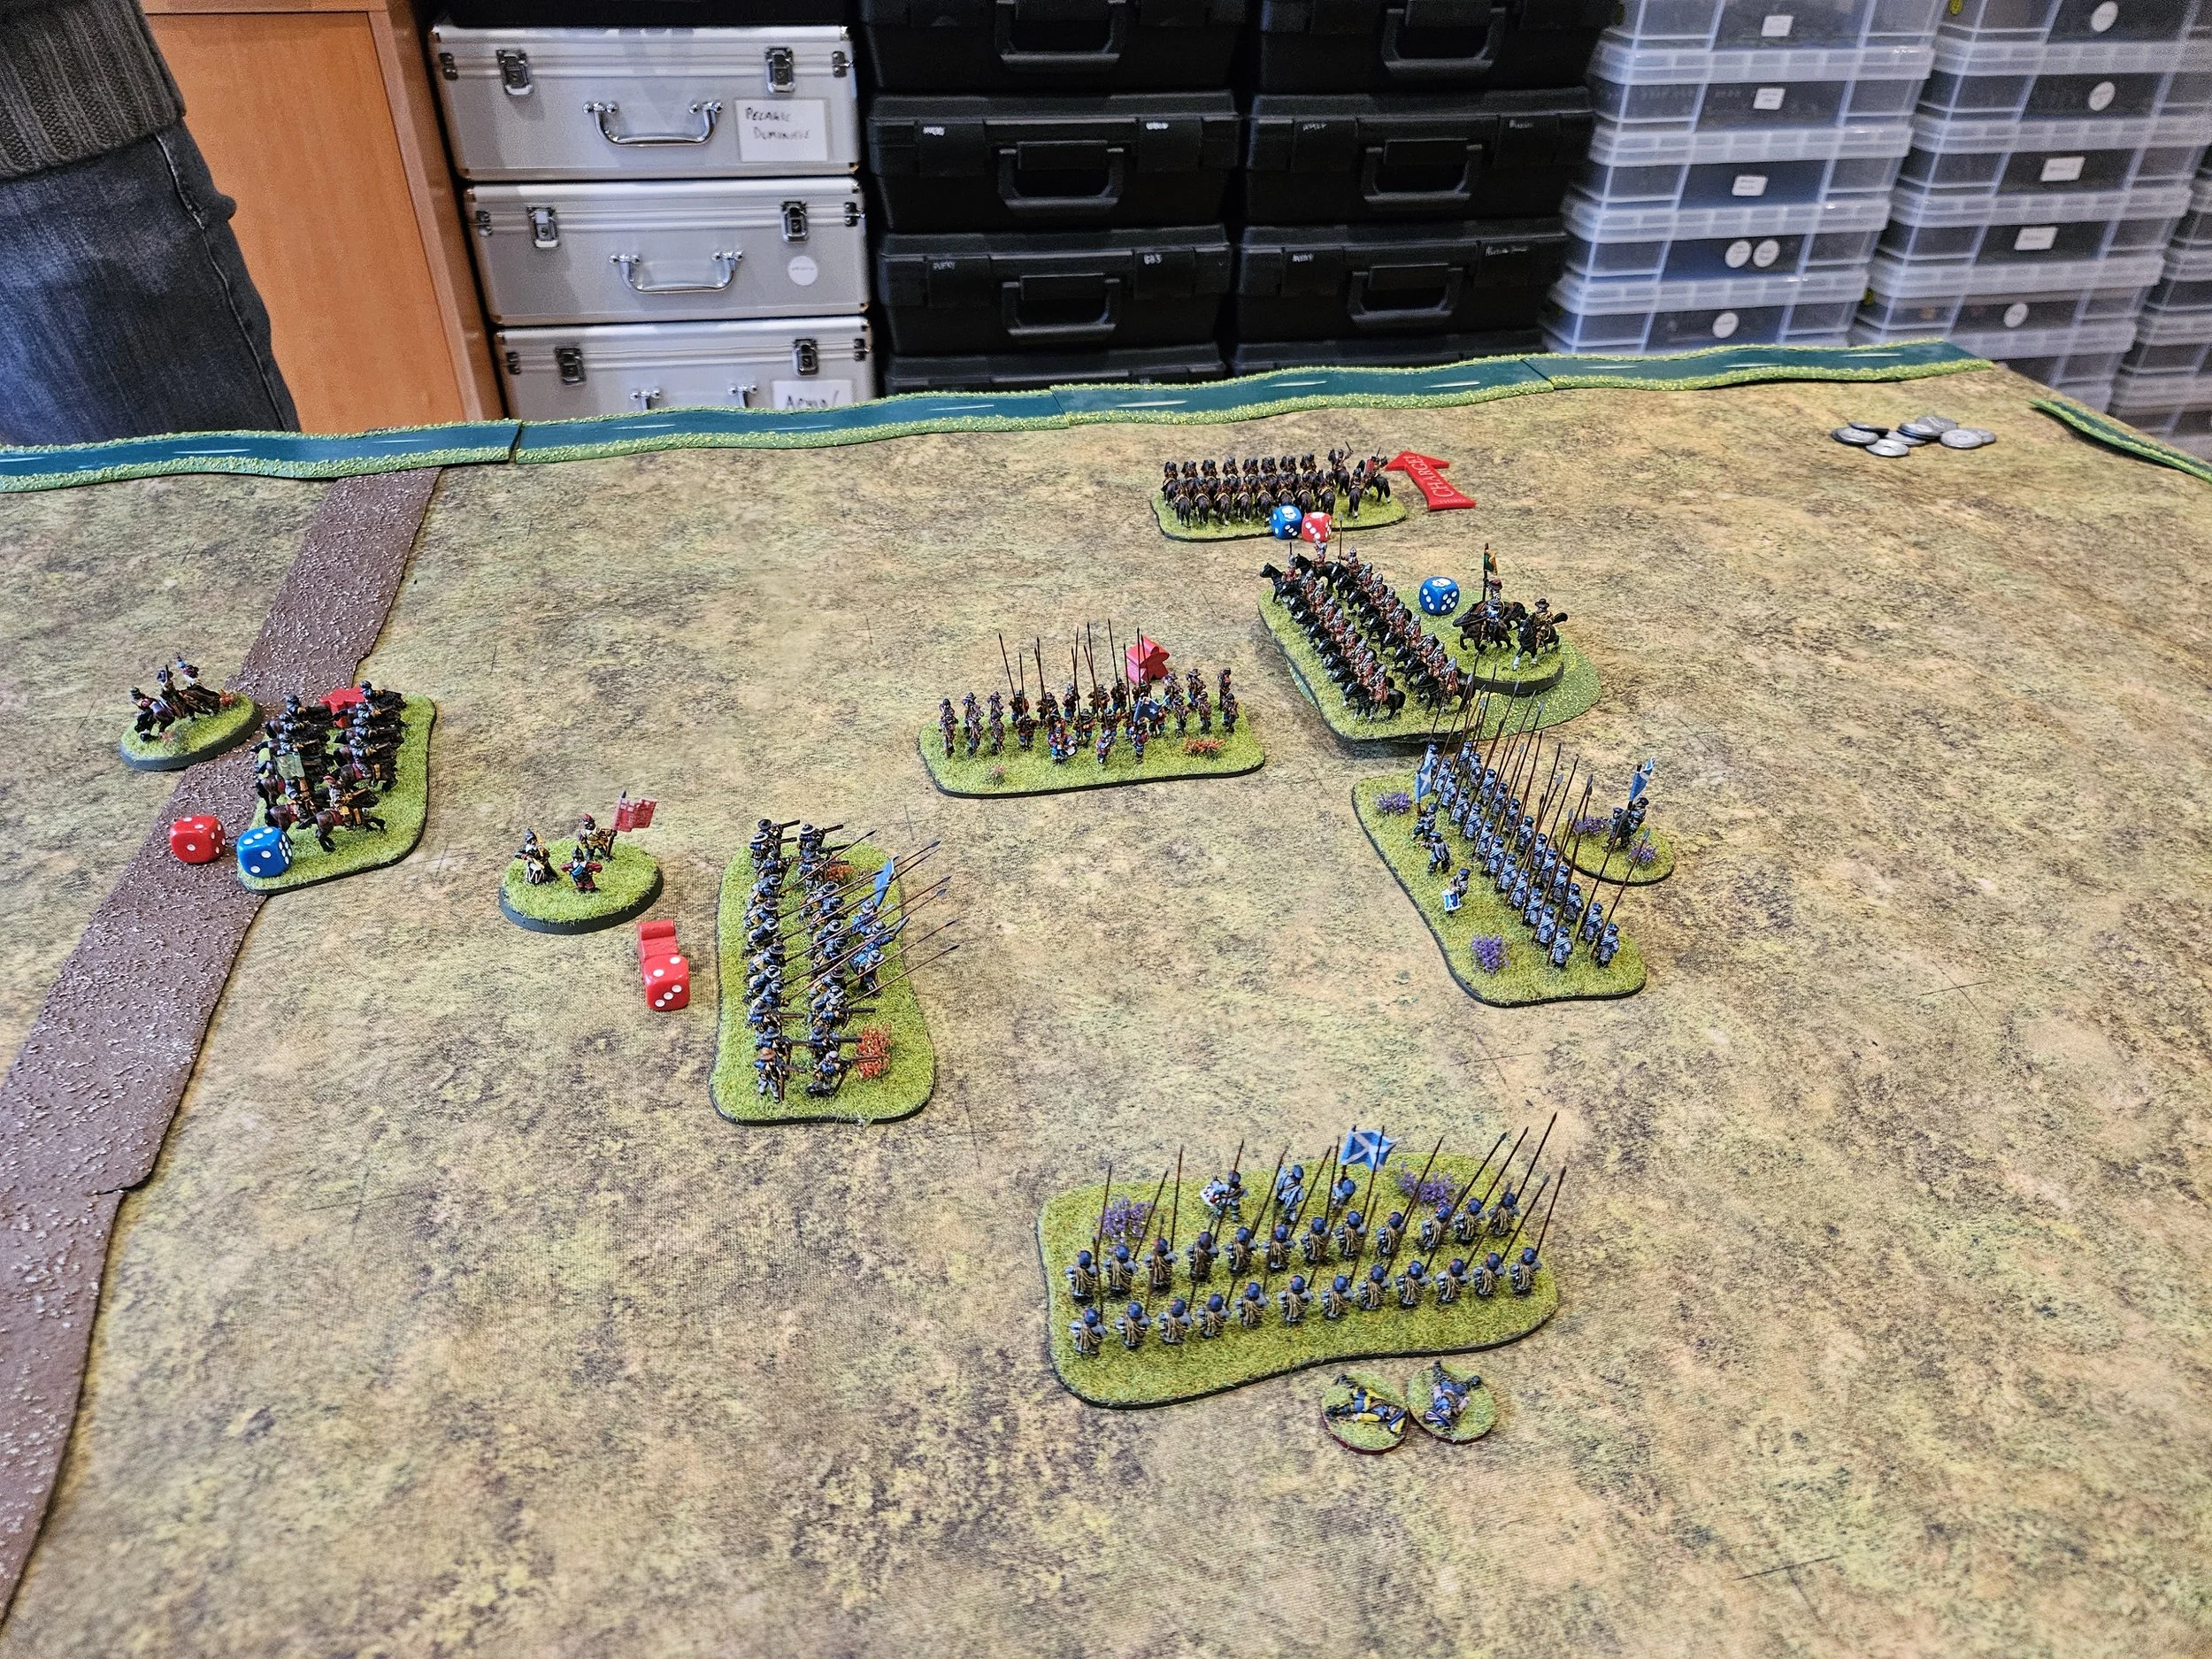
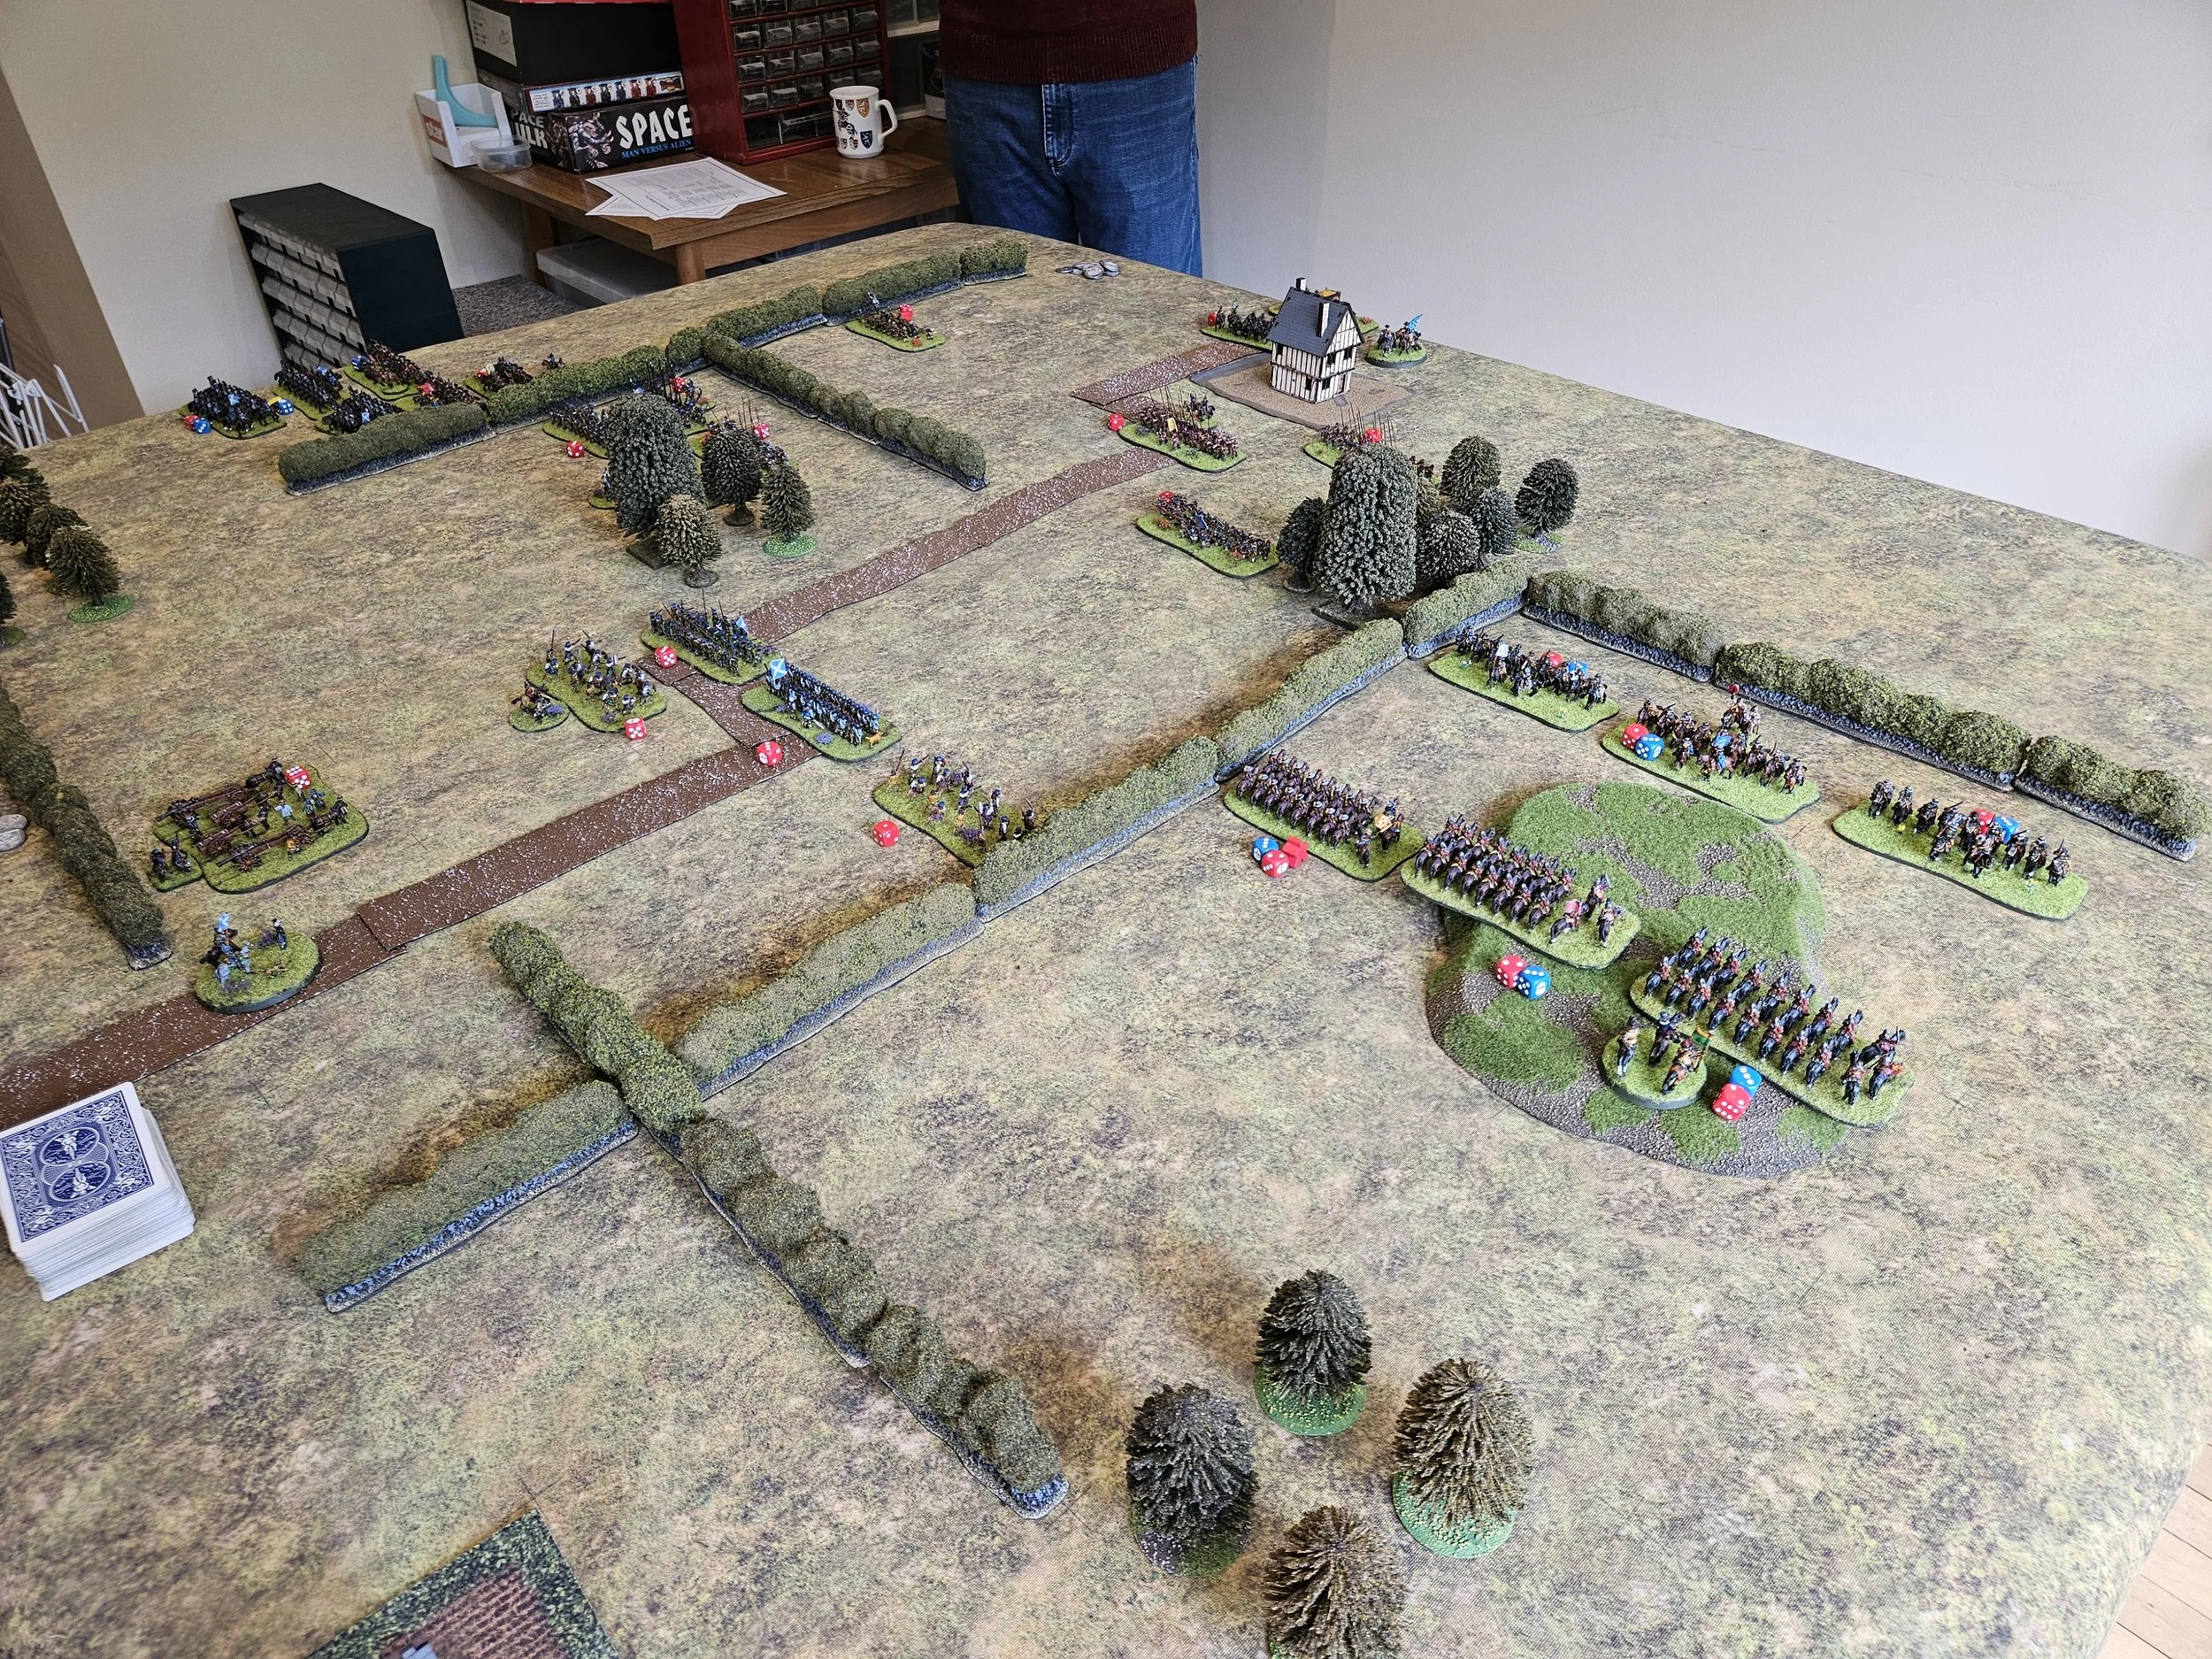
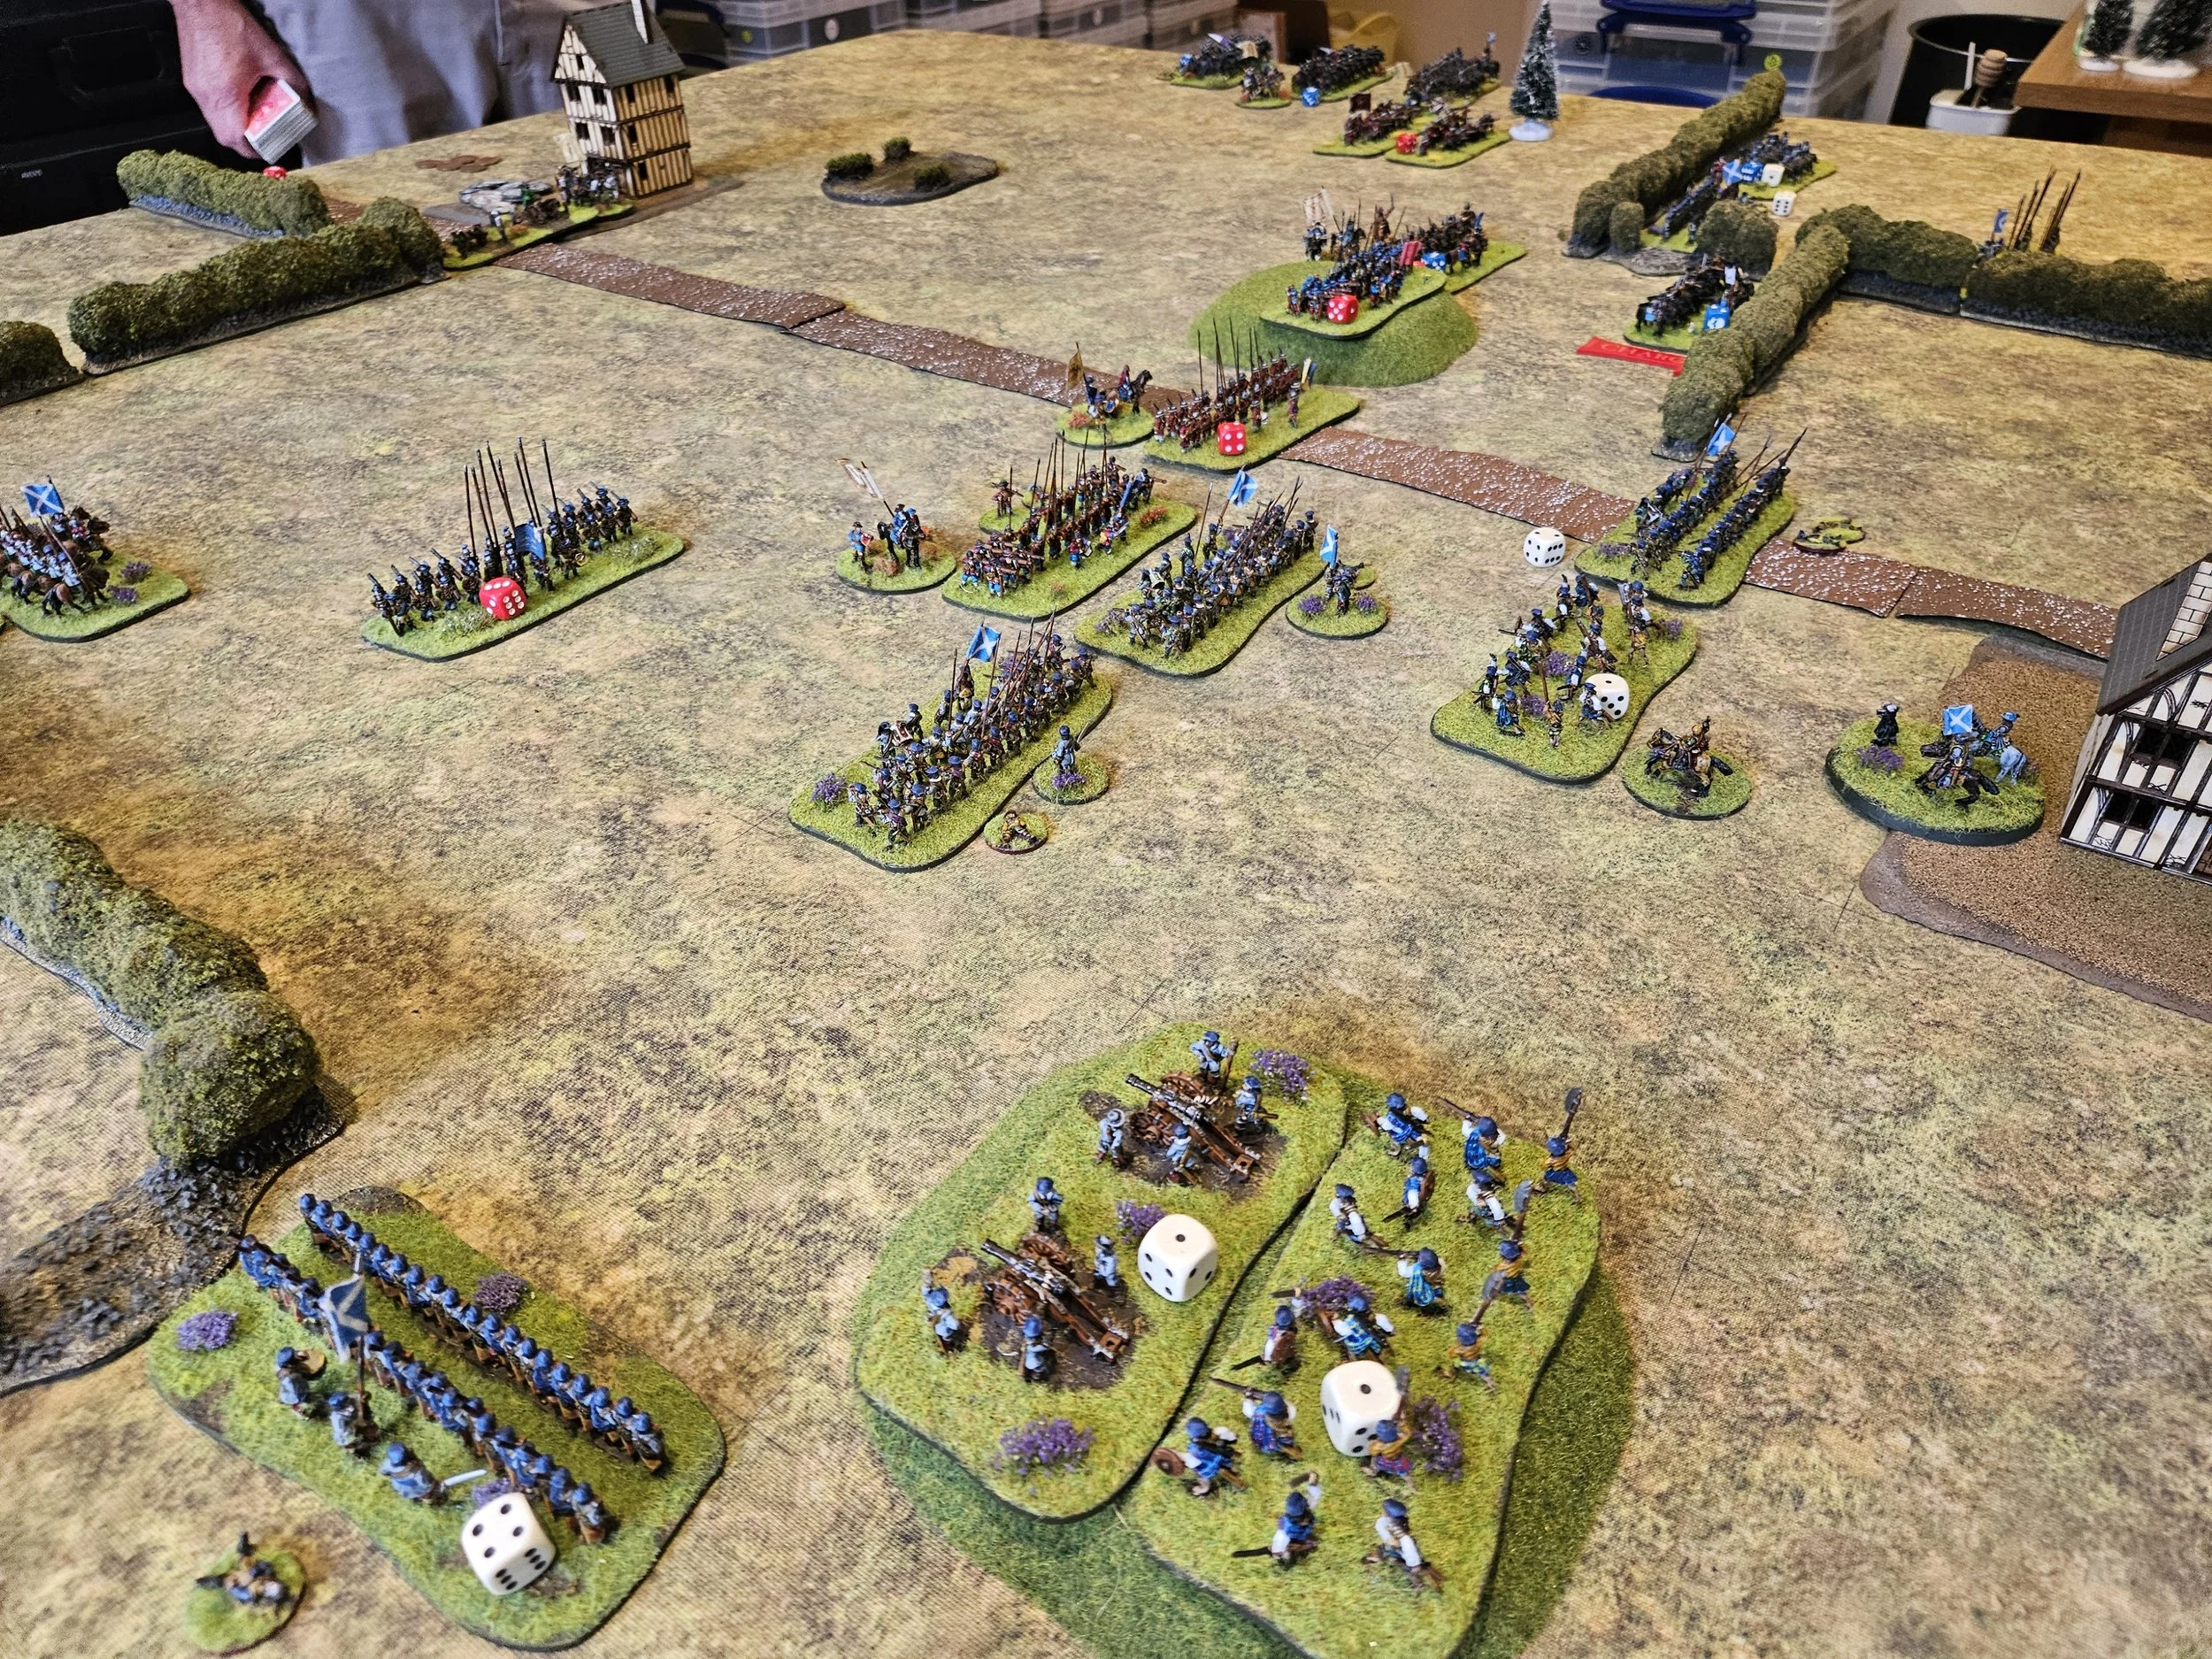
View from behind the Swedish Lines
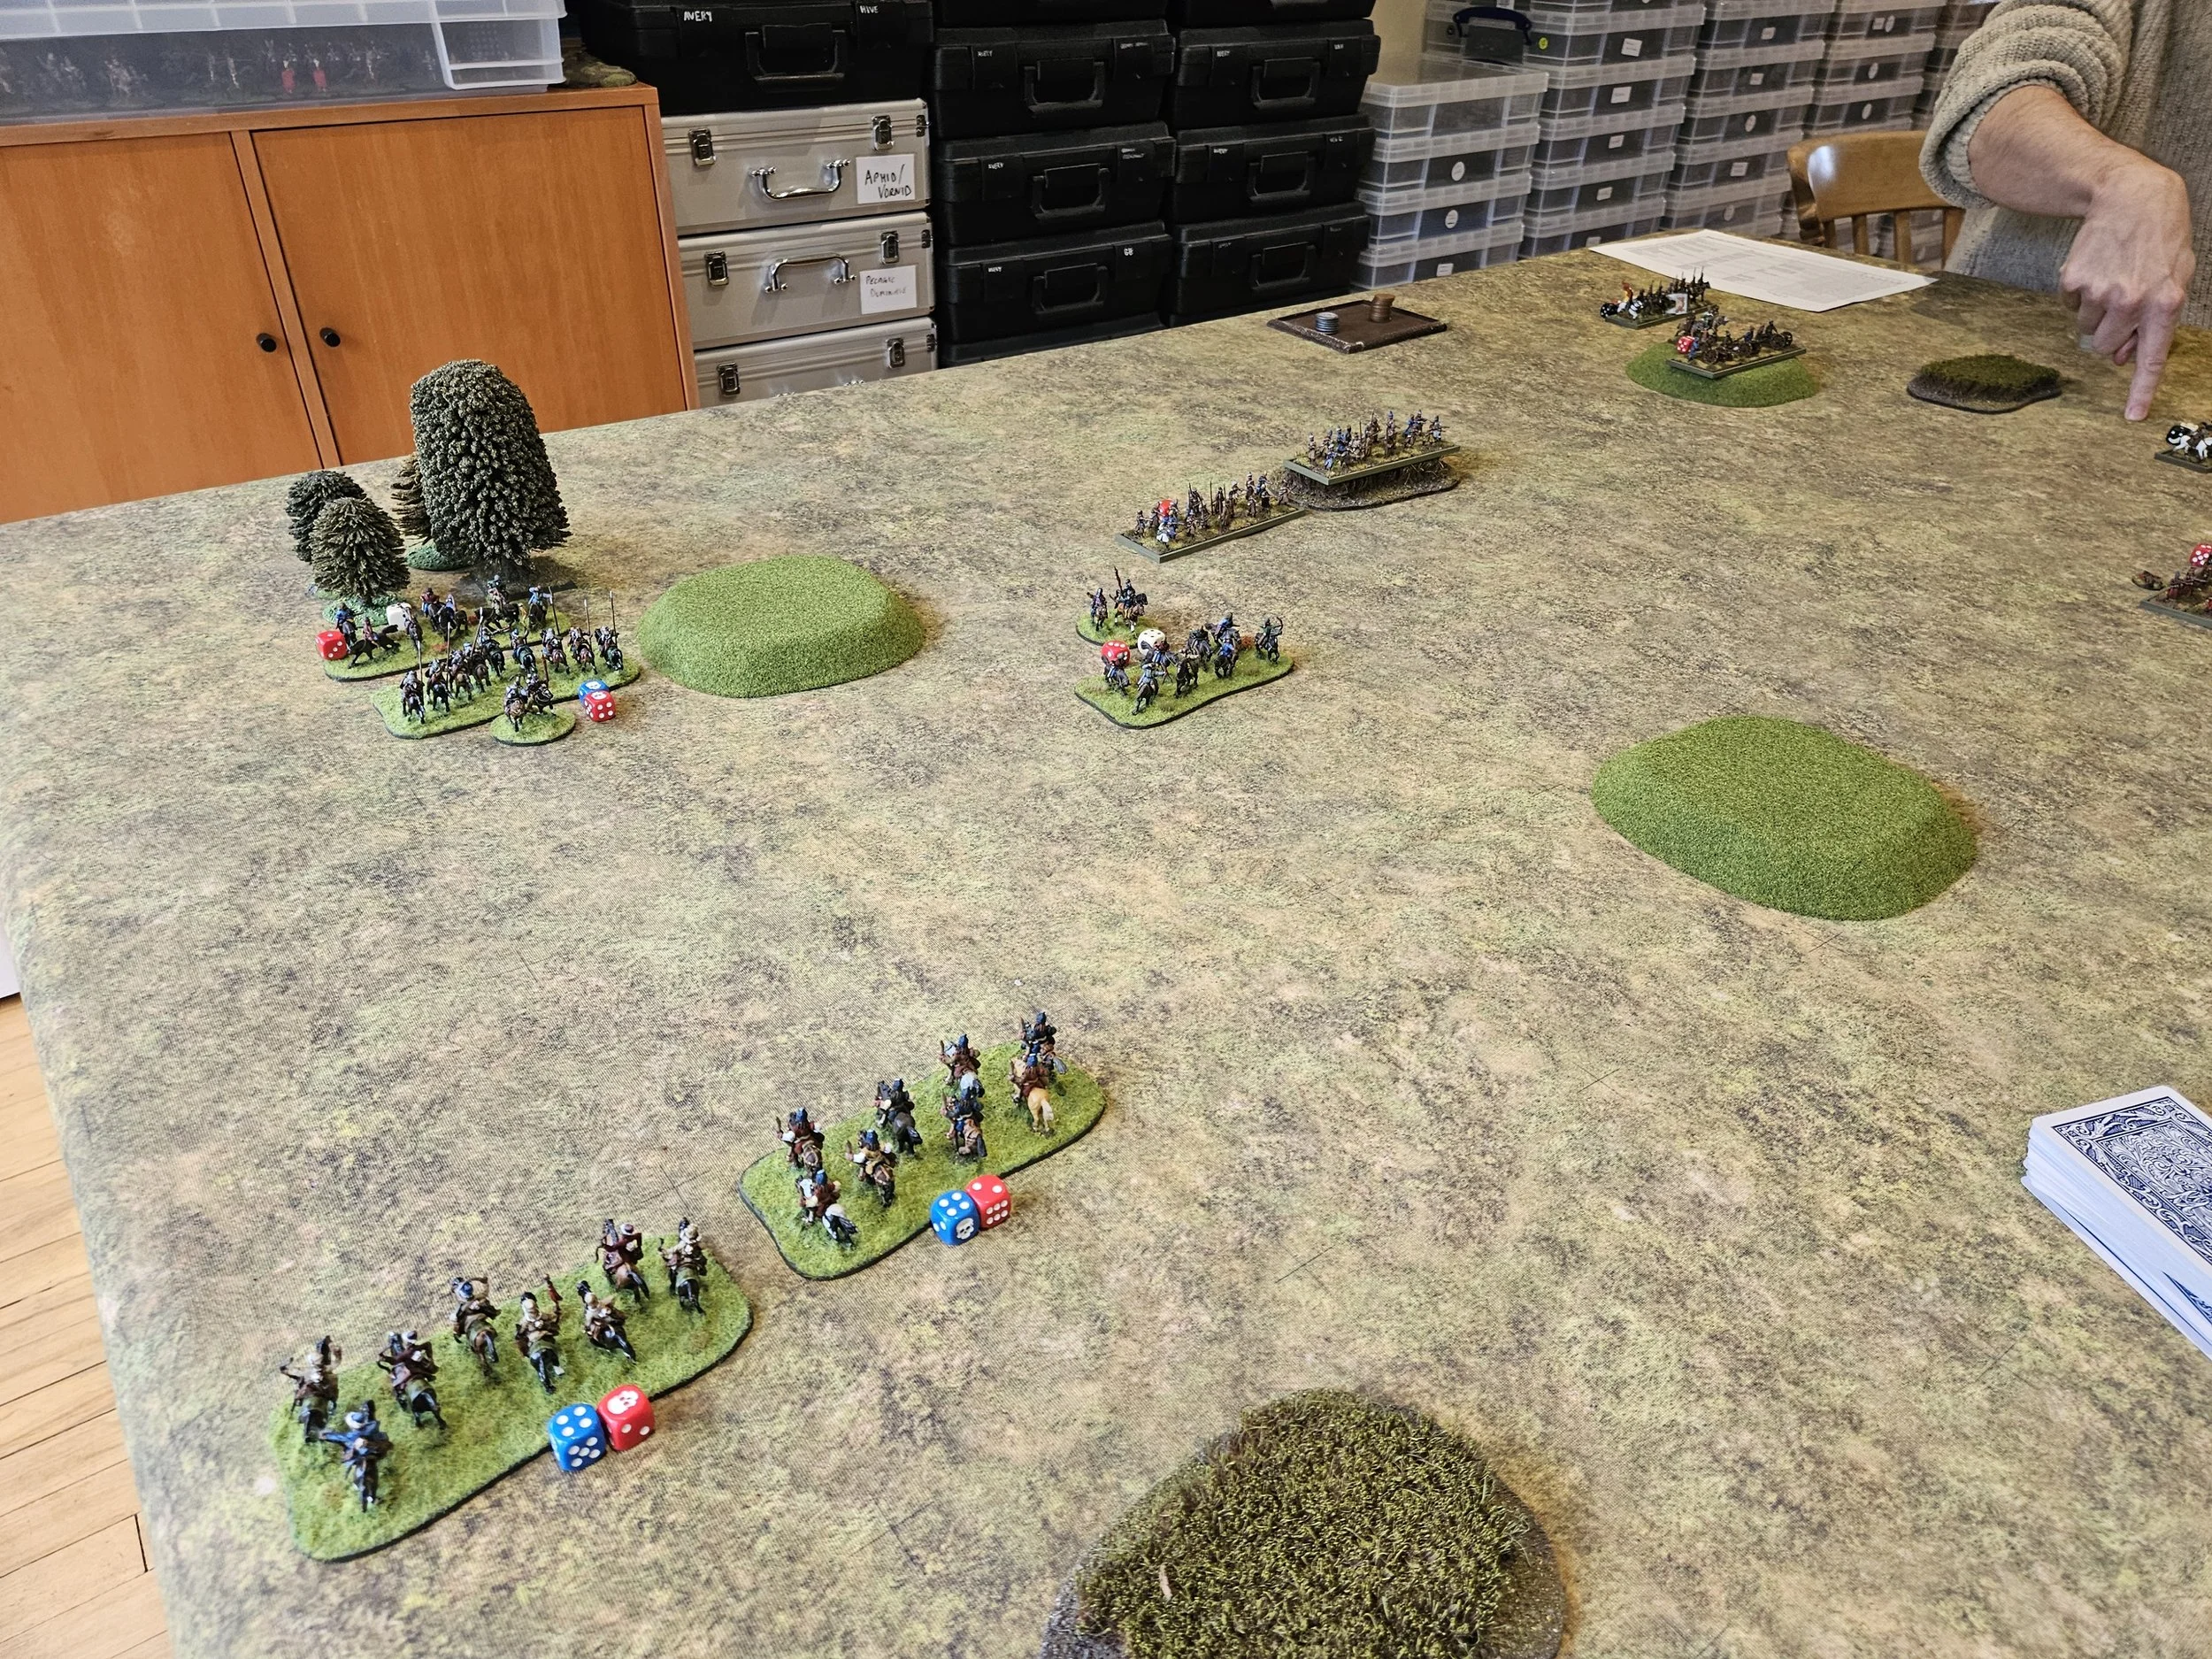
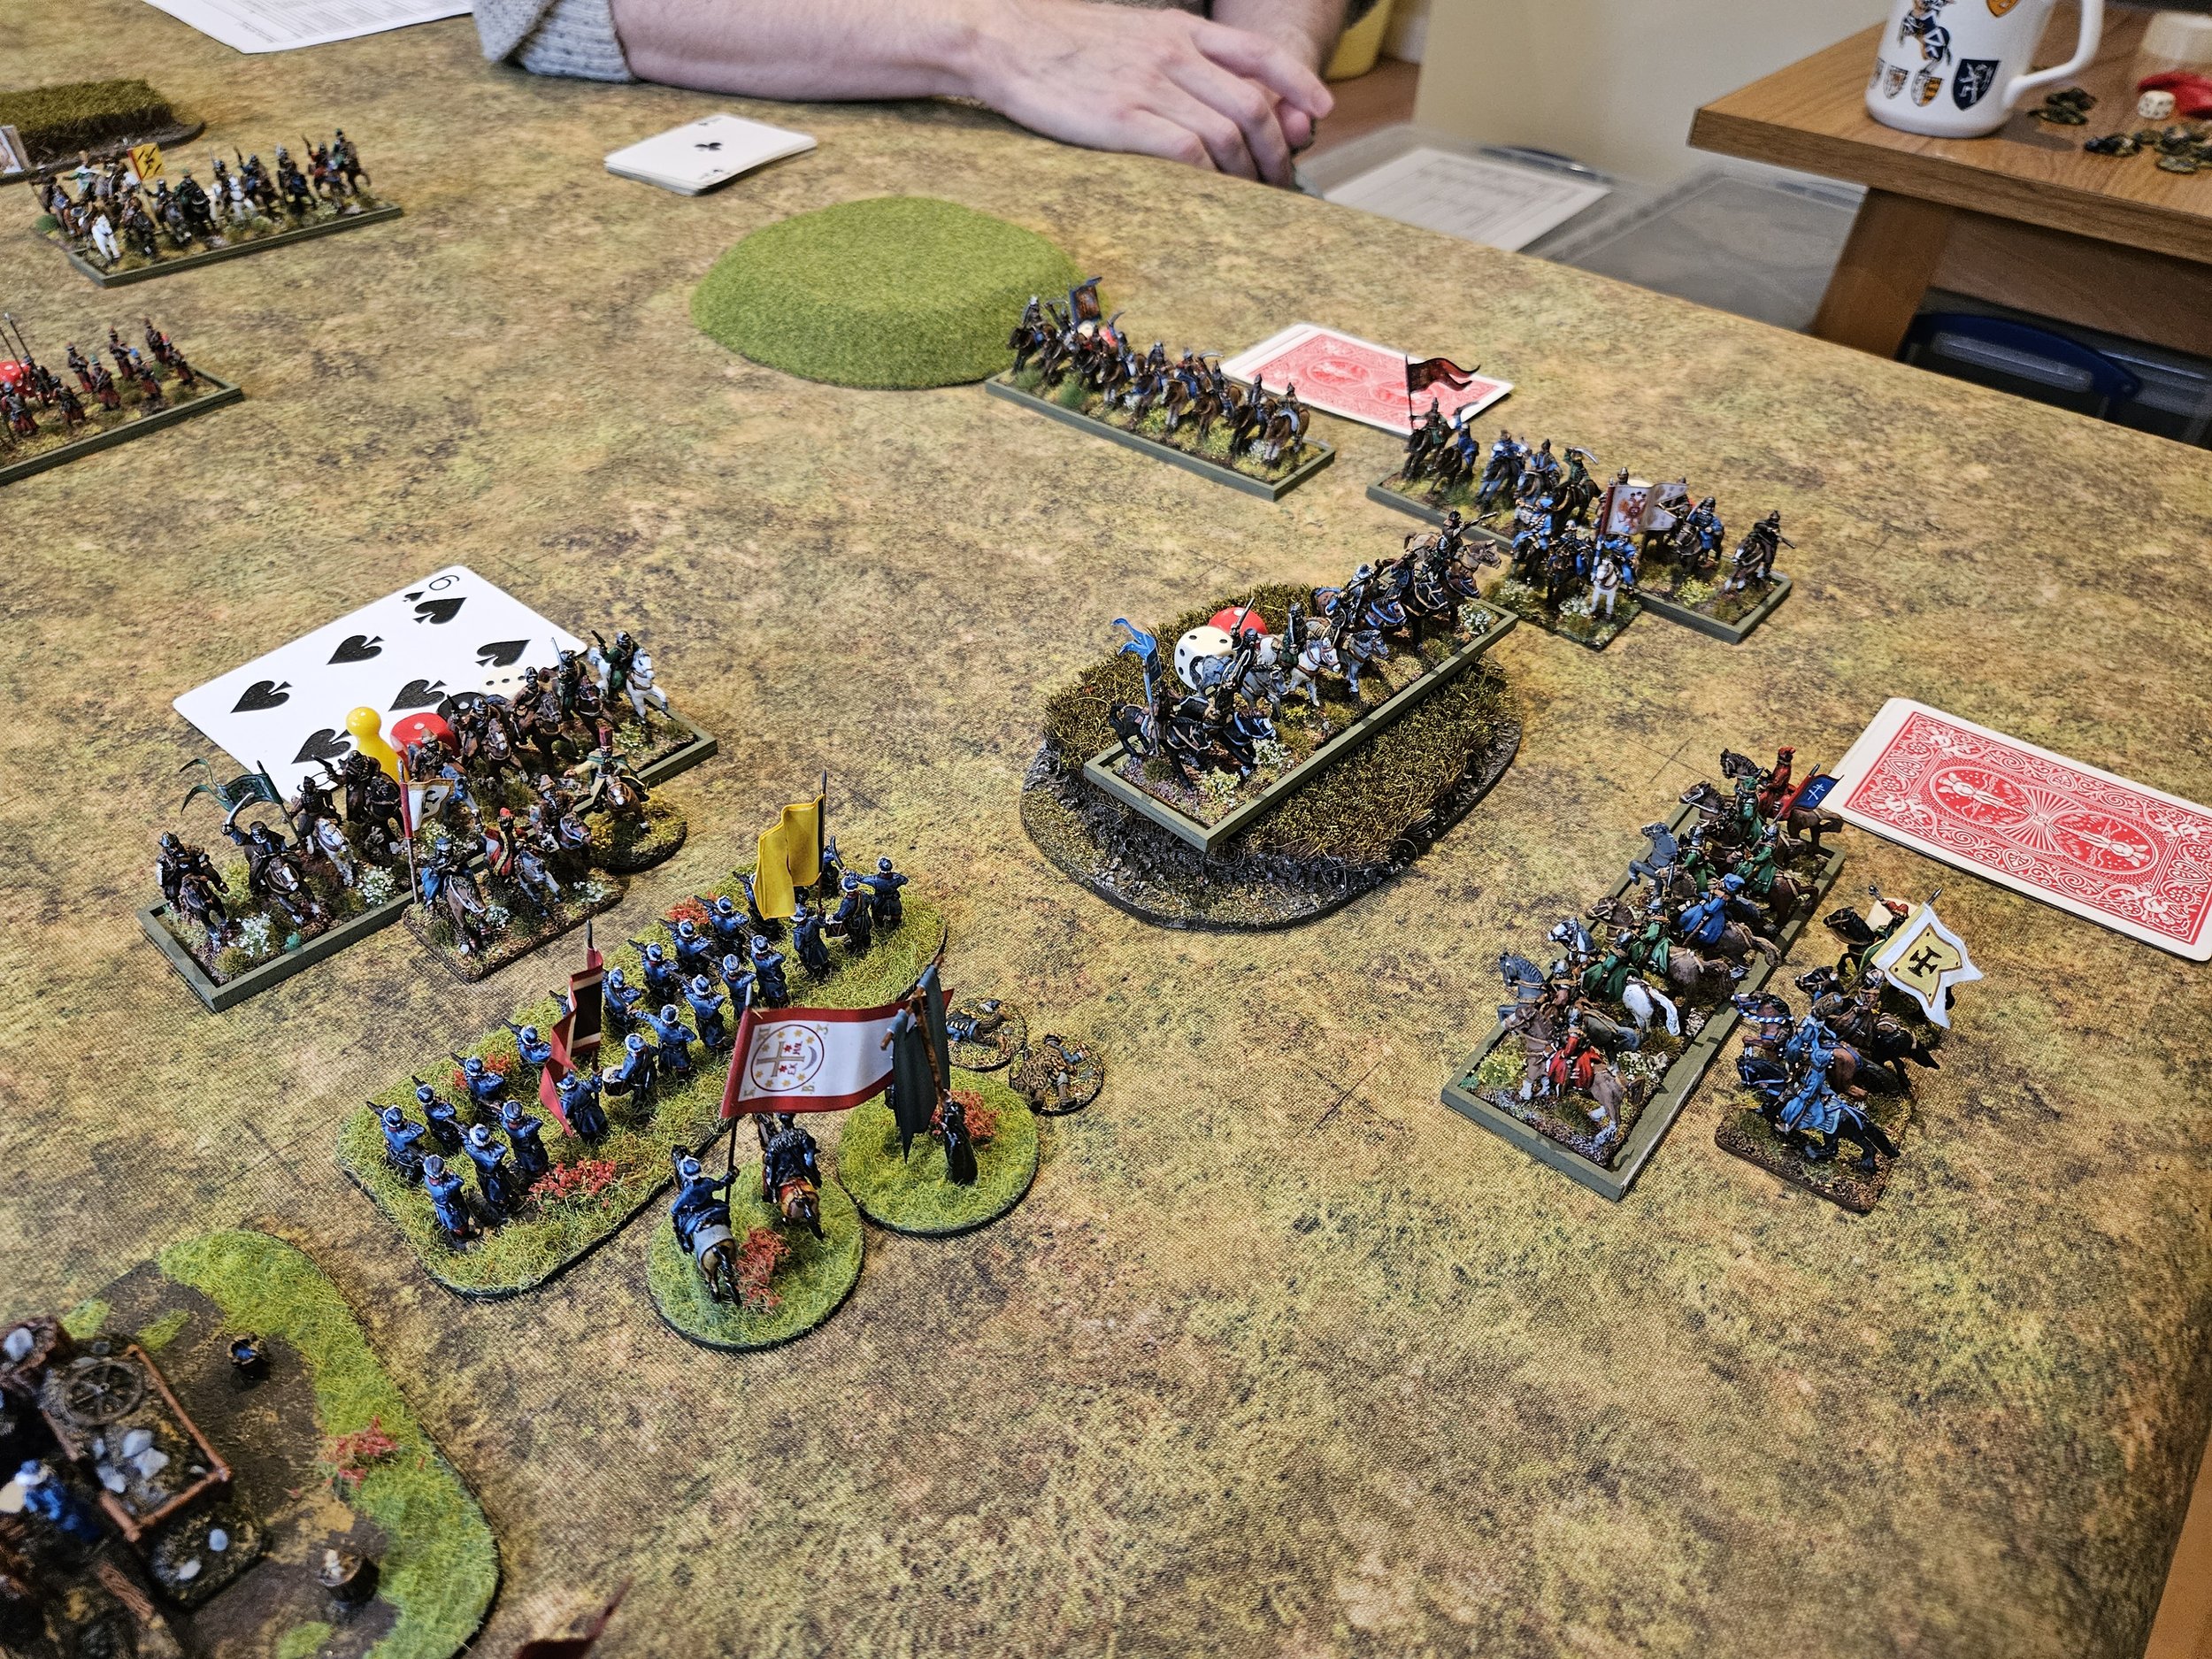
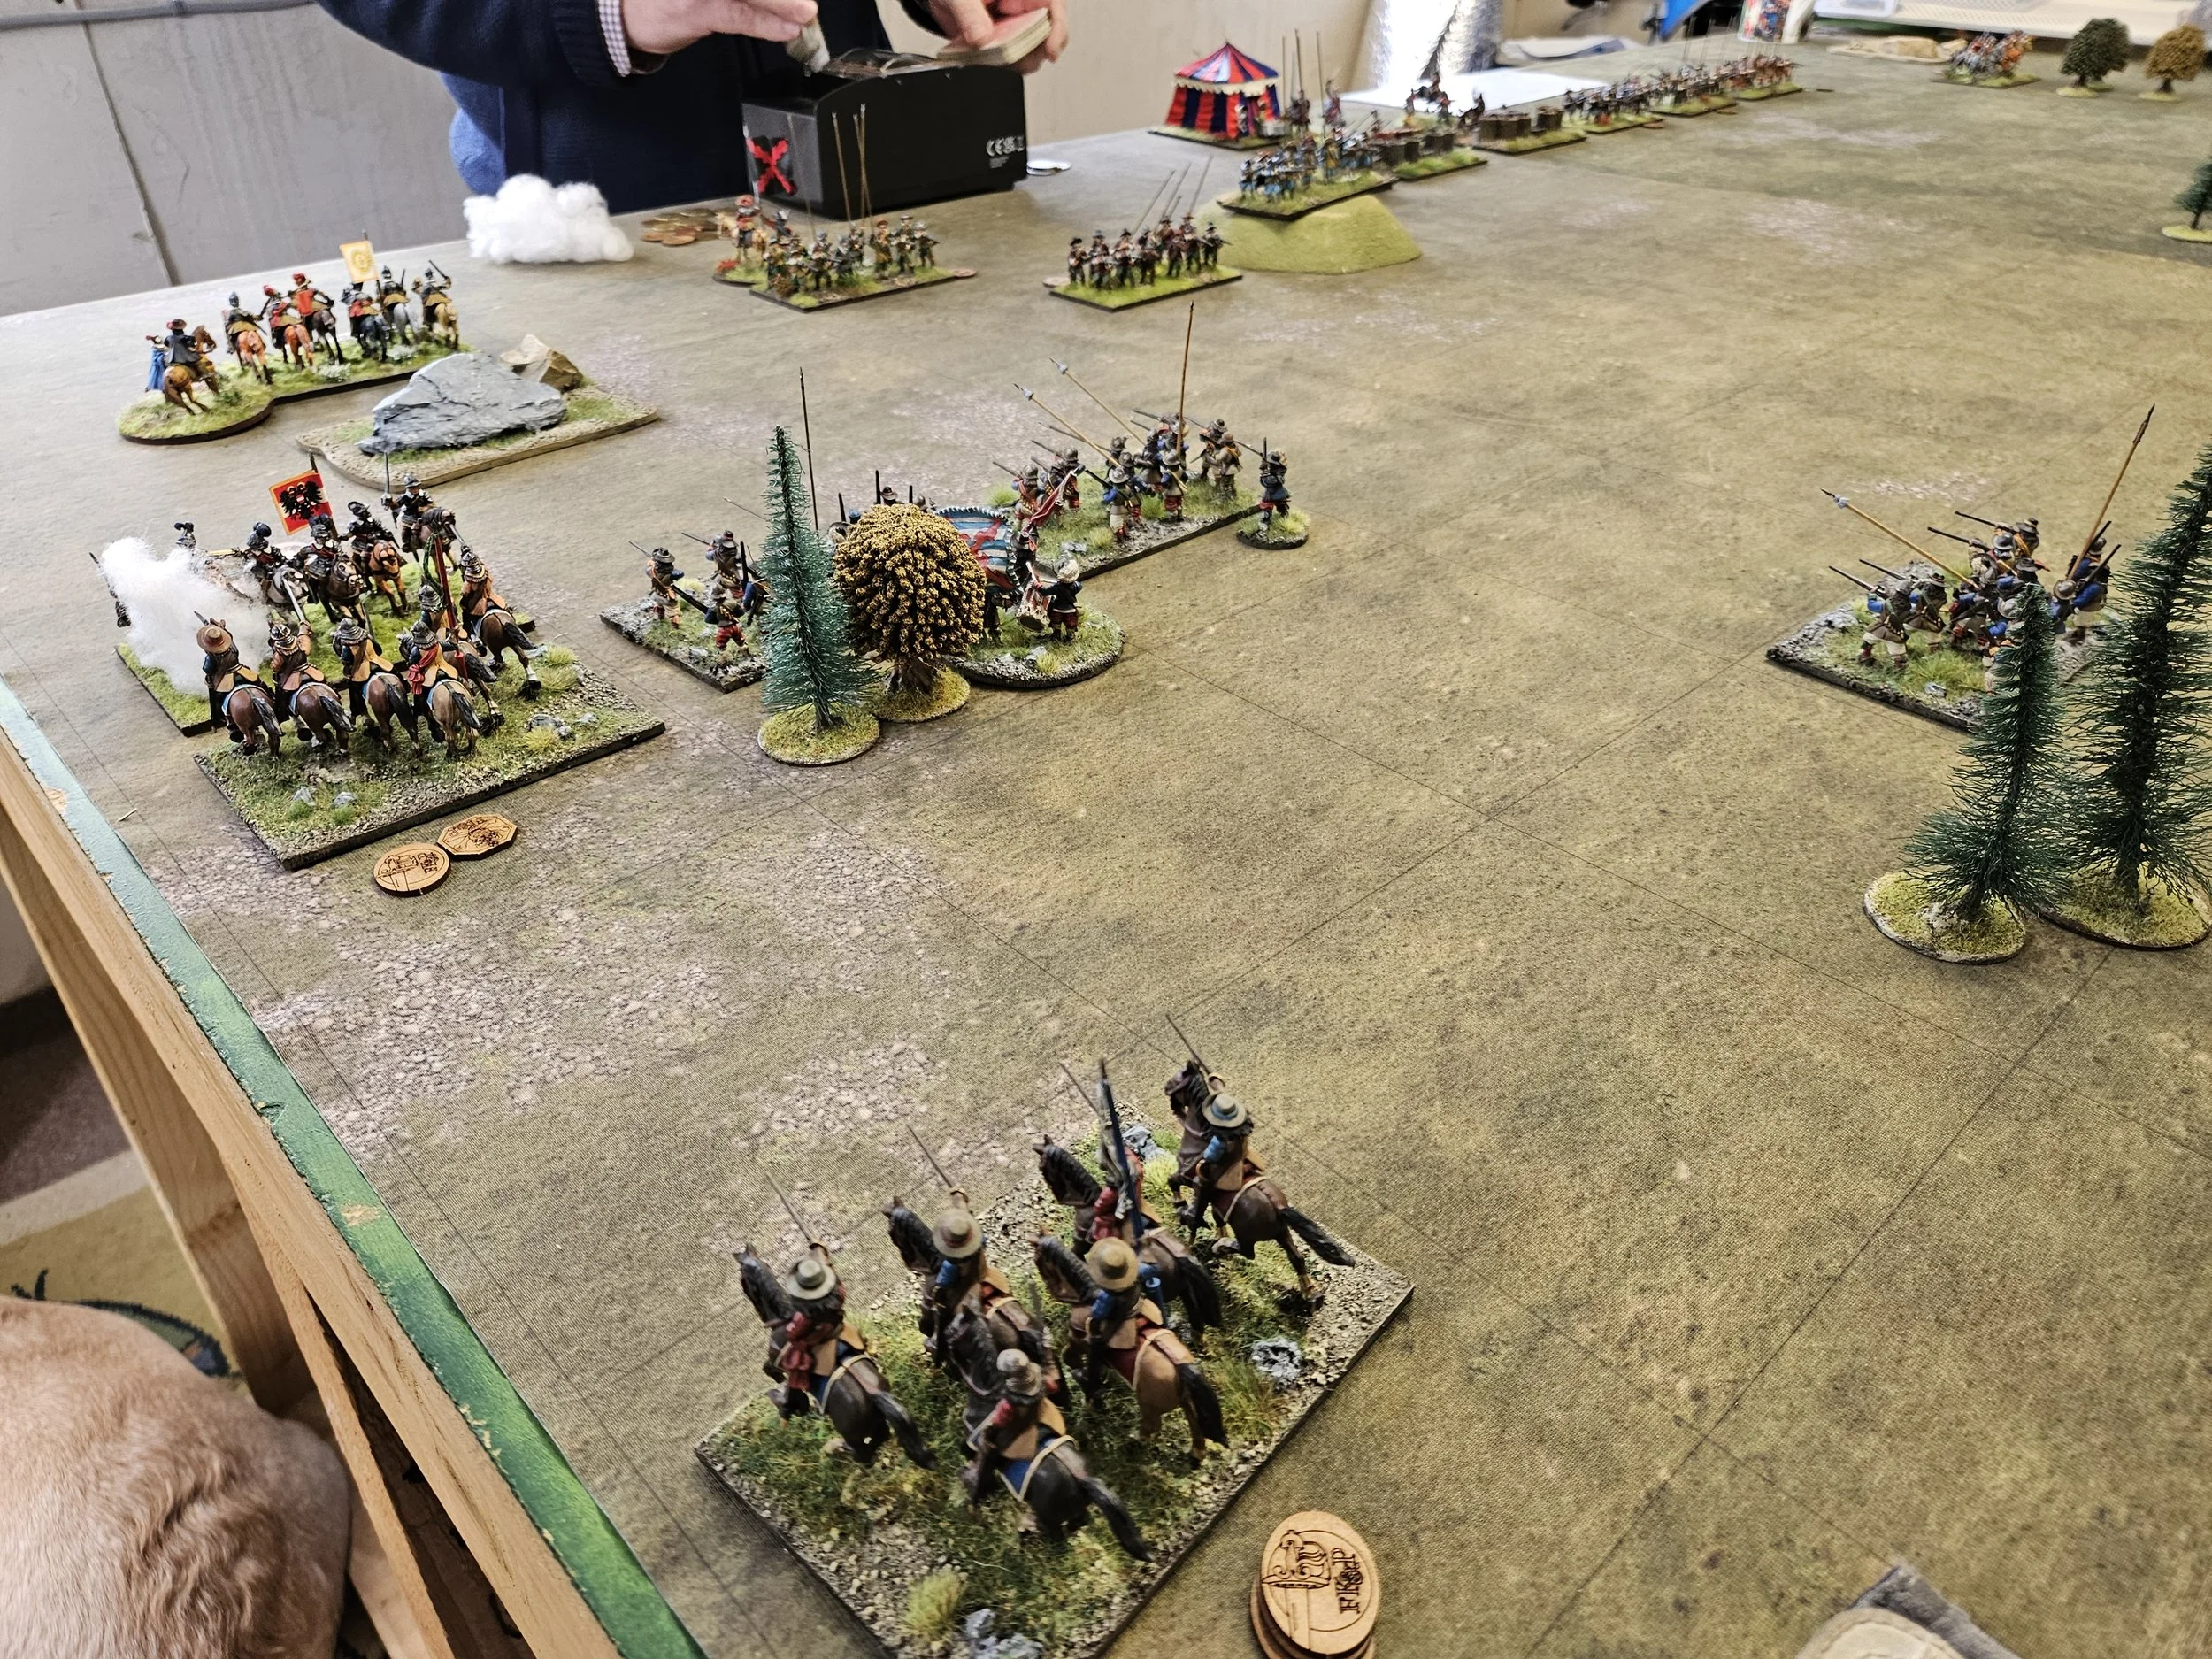
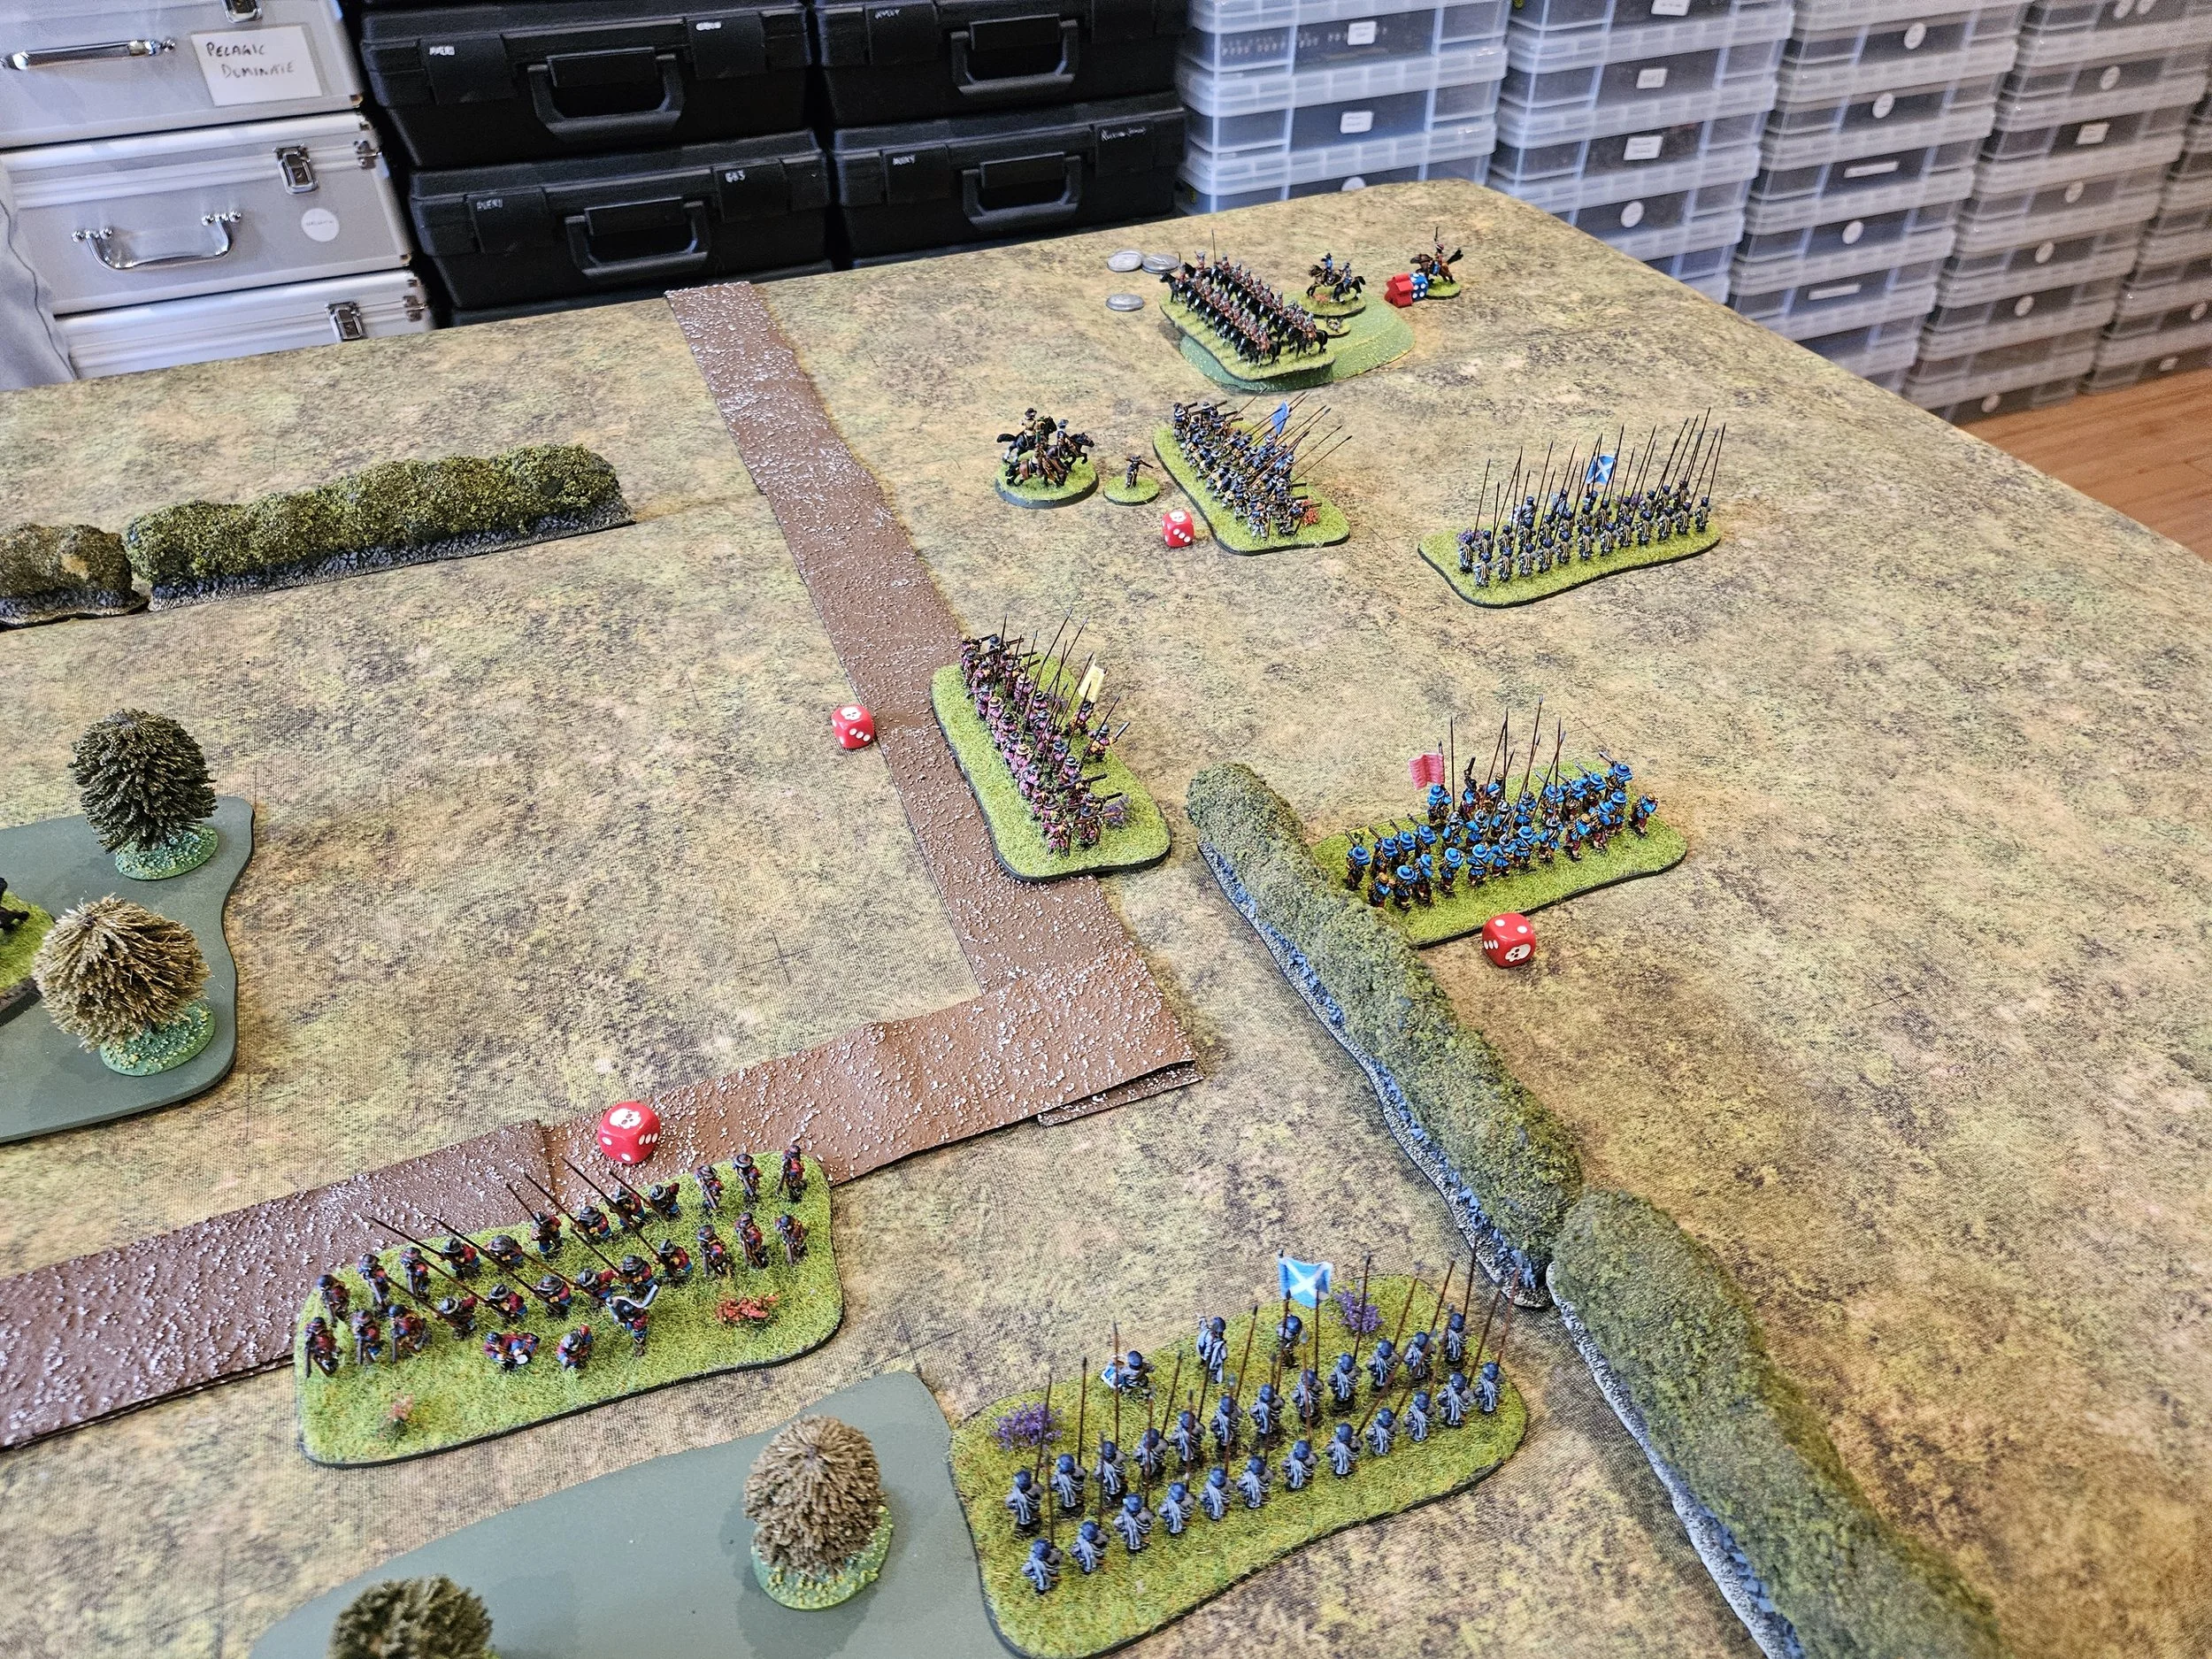
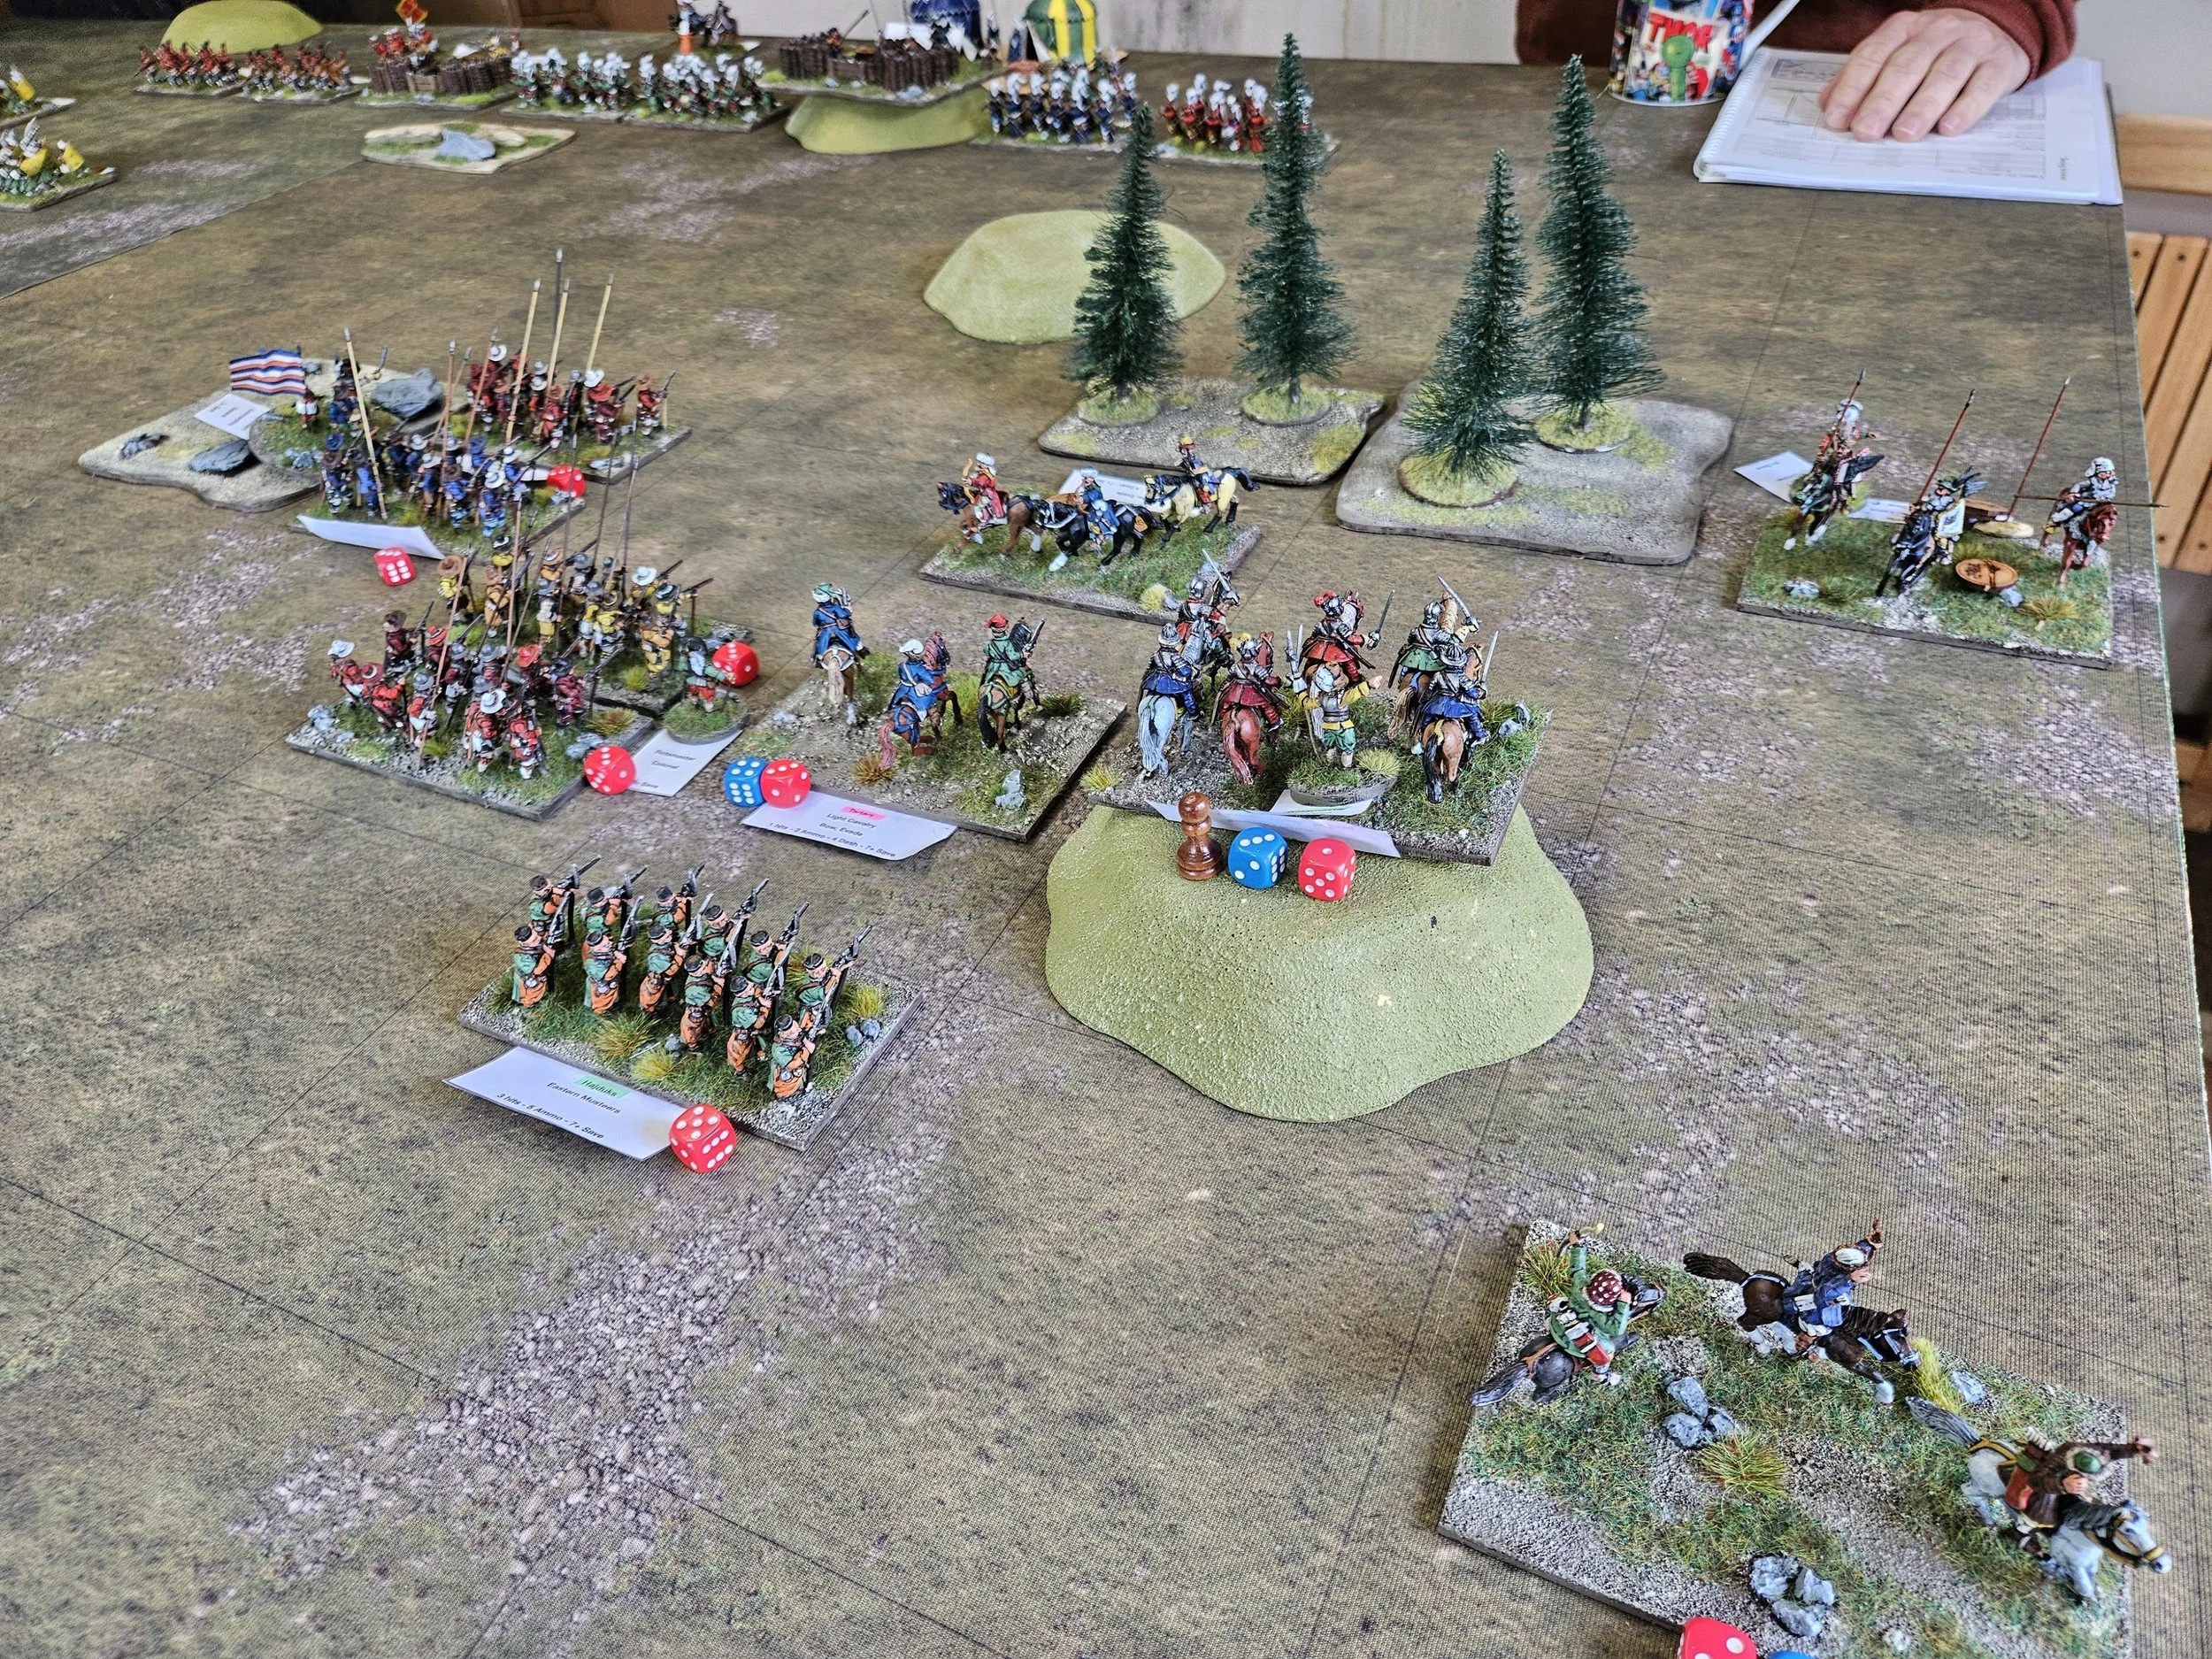
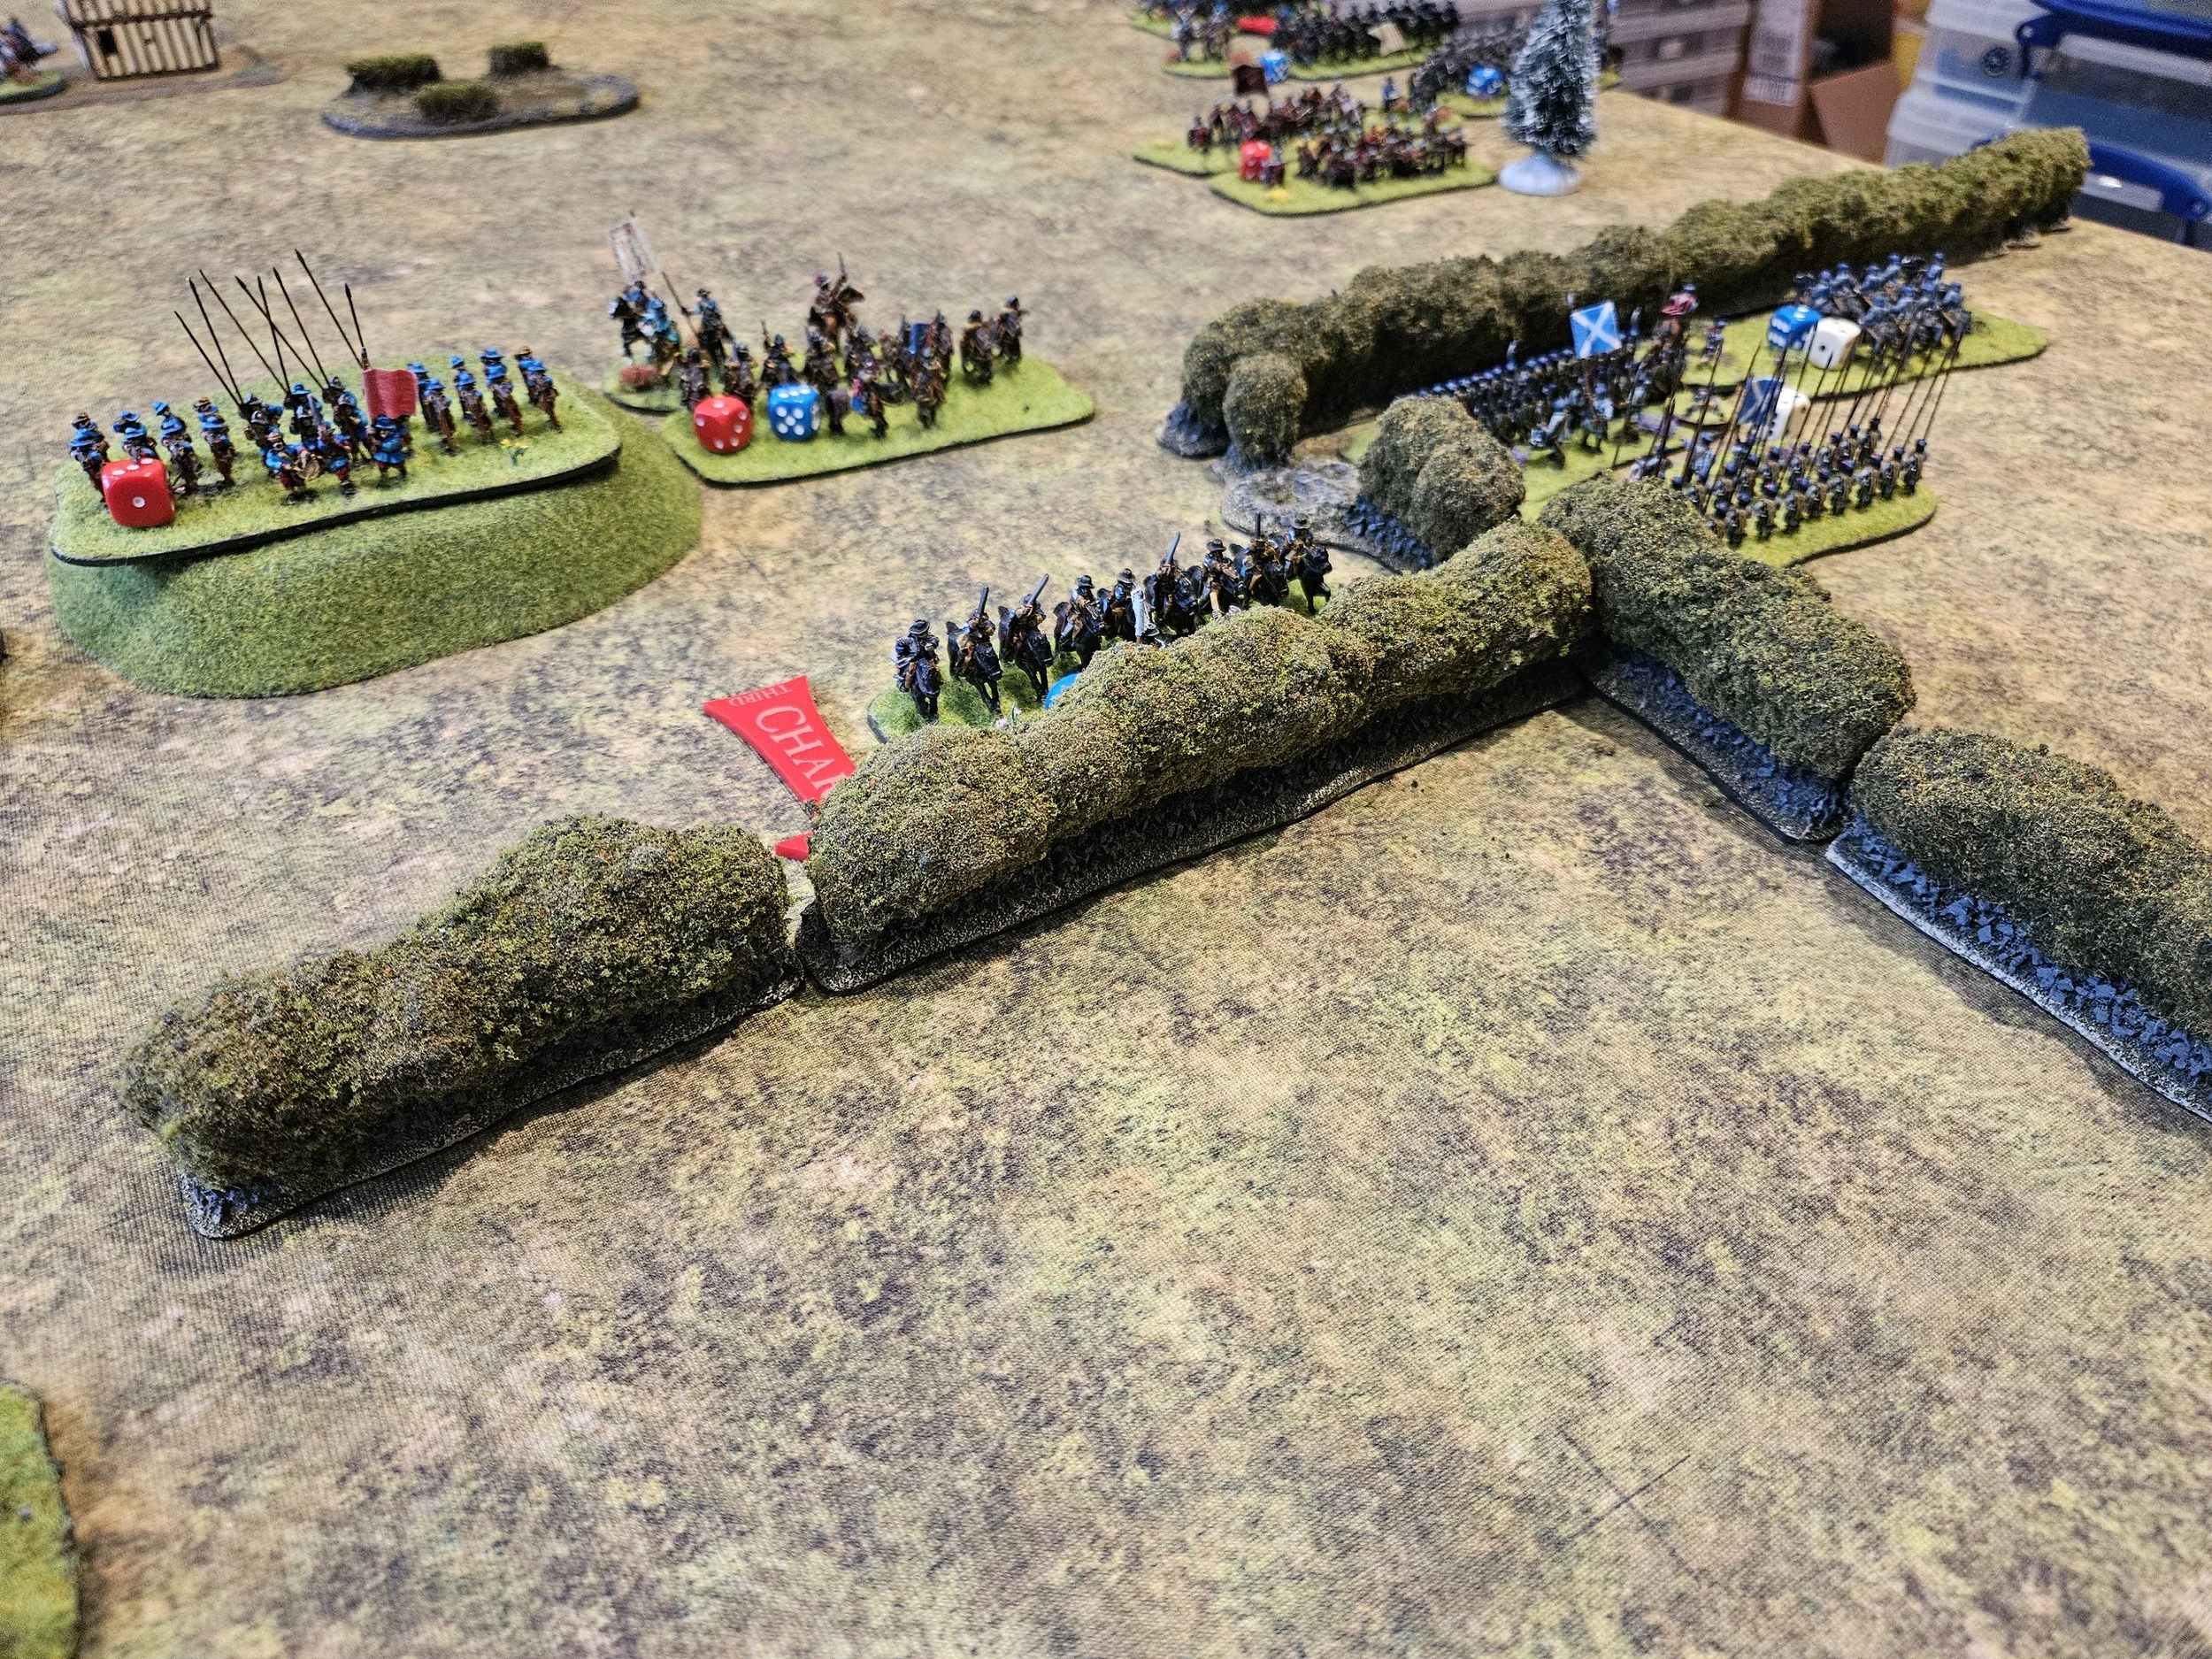
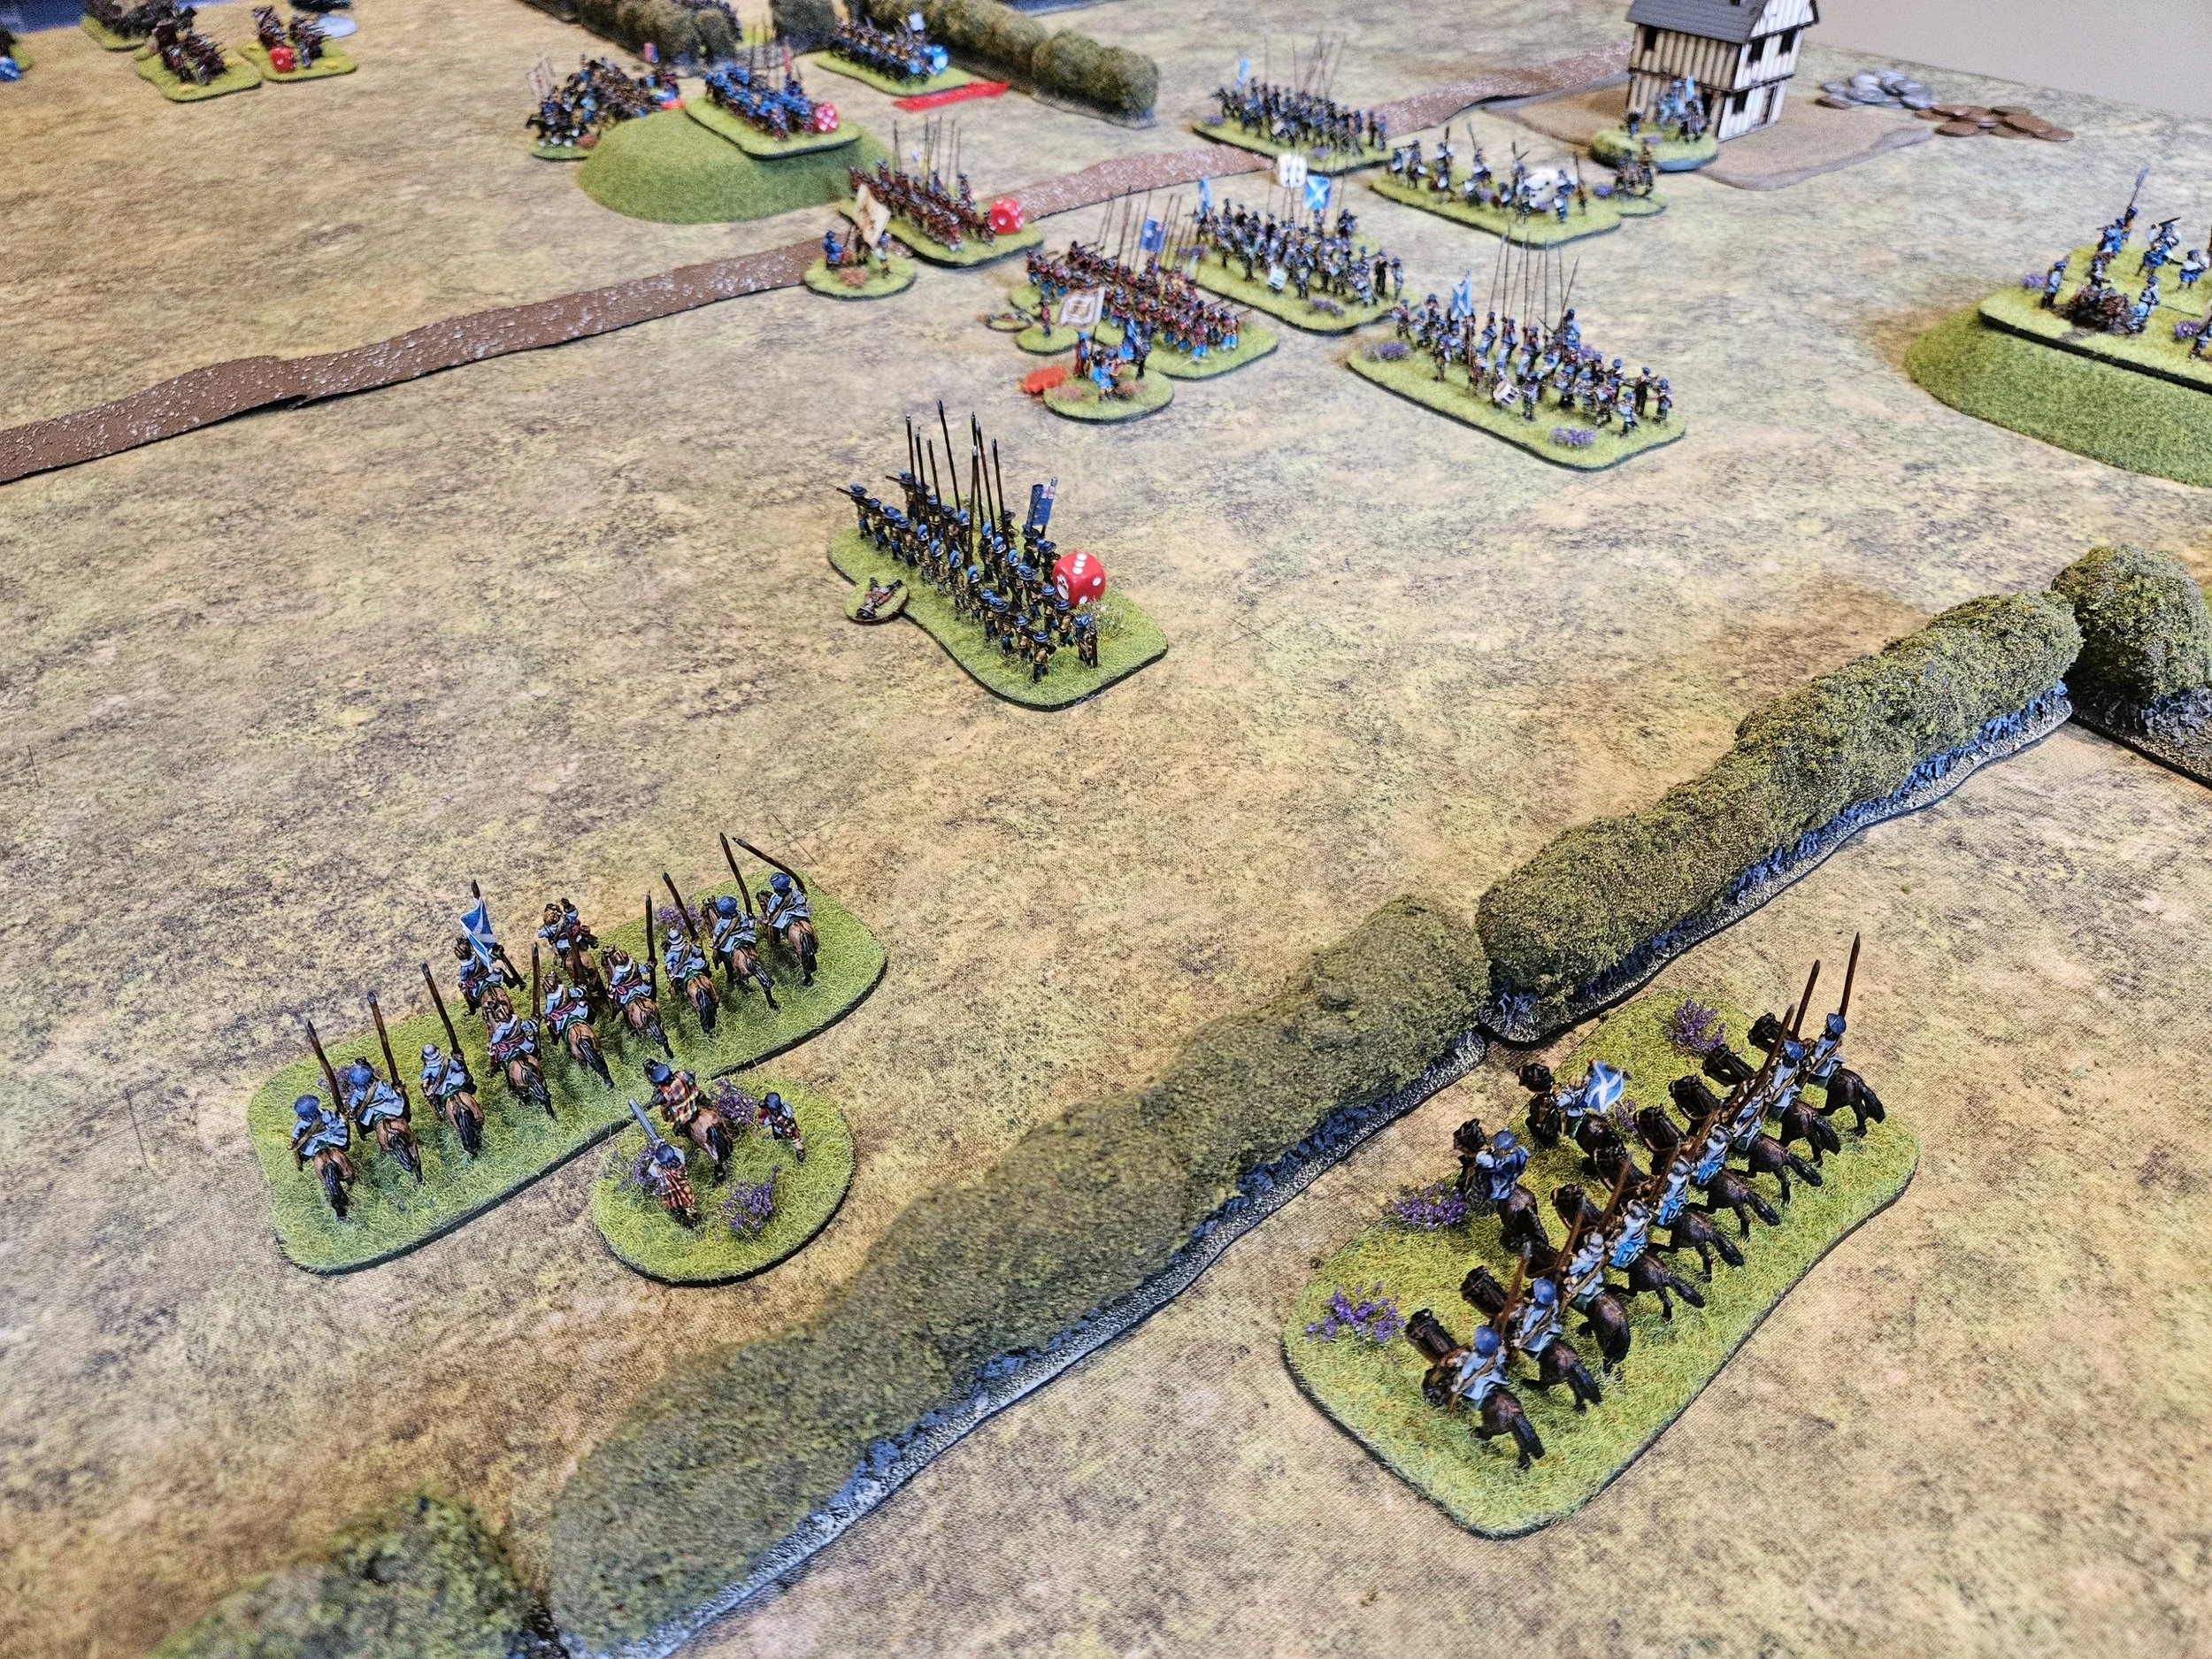
View from behind the Scottish Lines
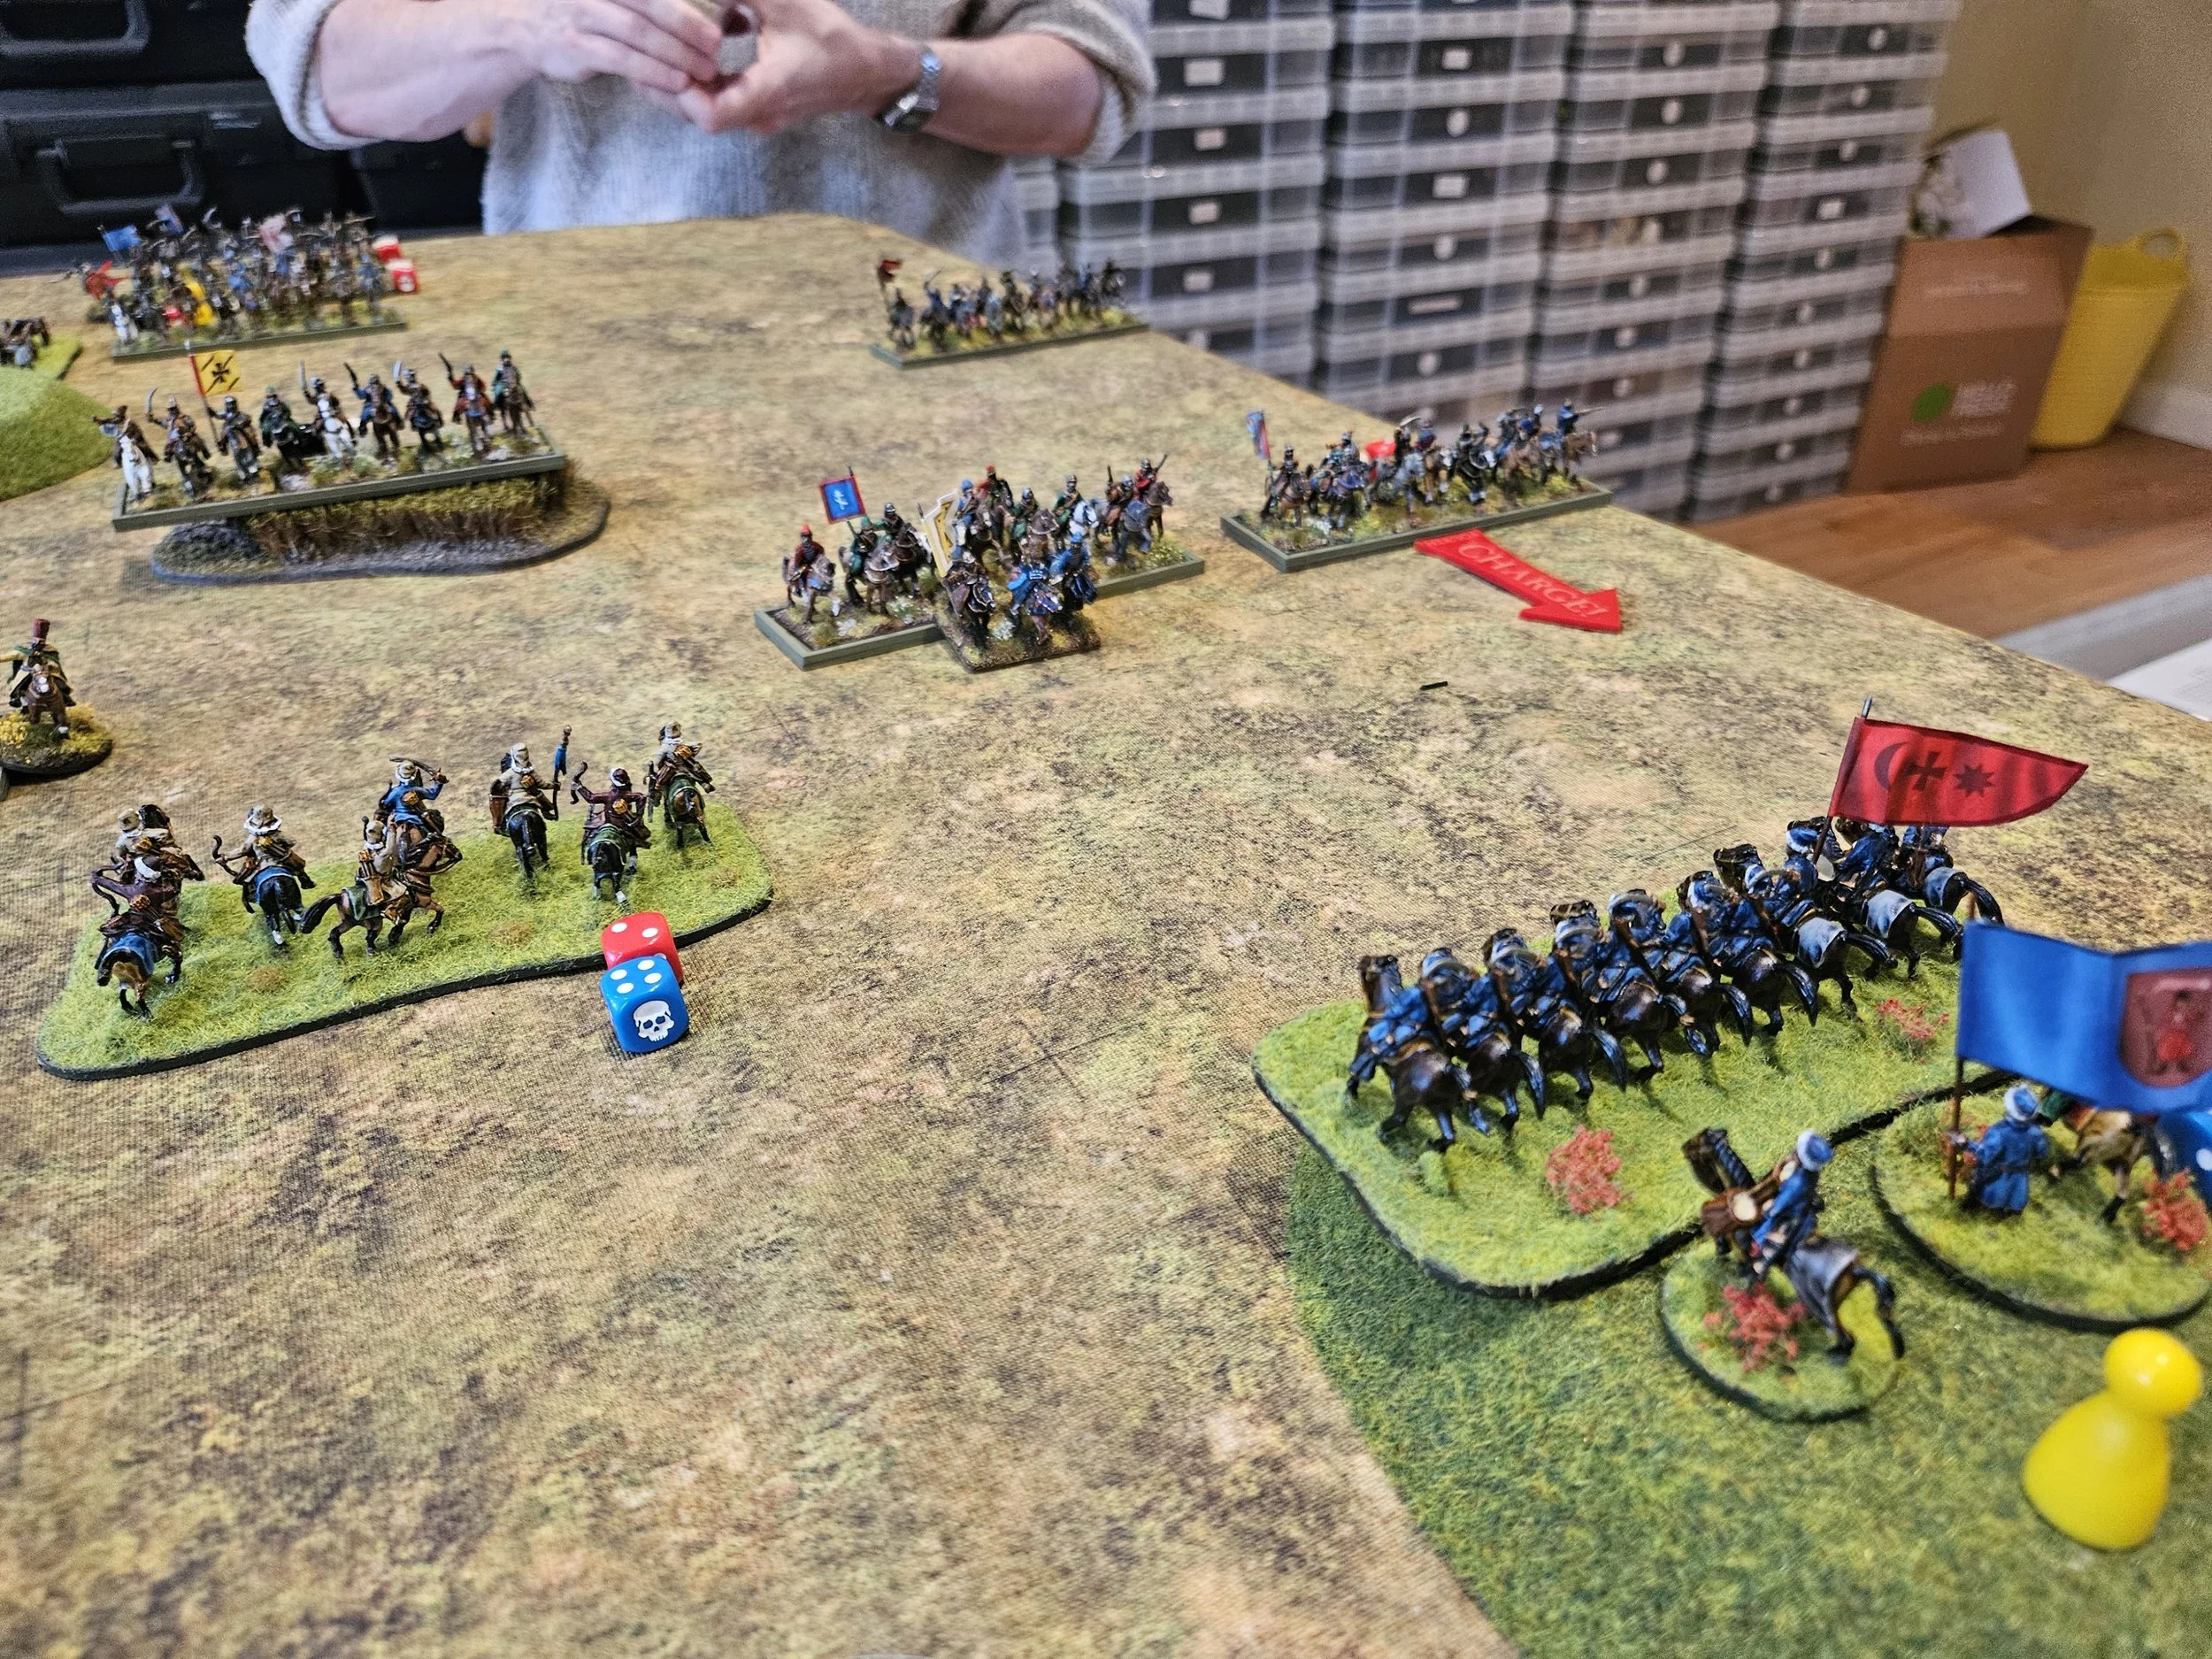
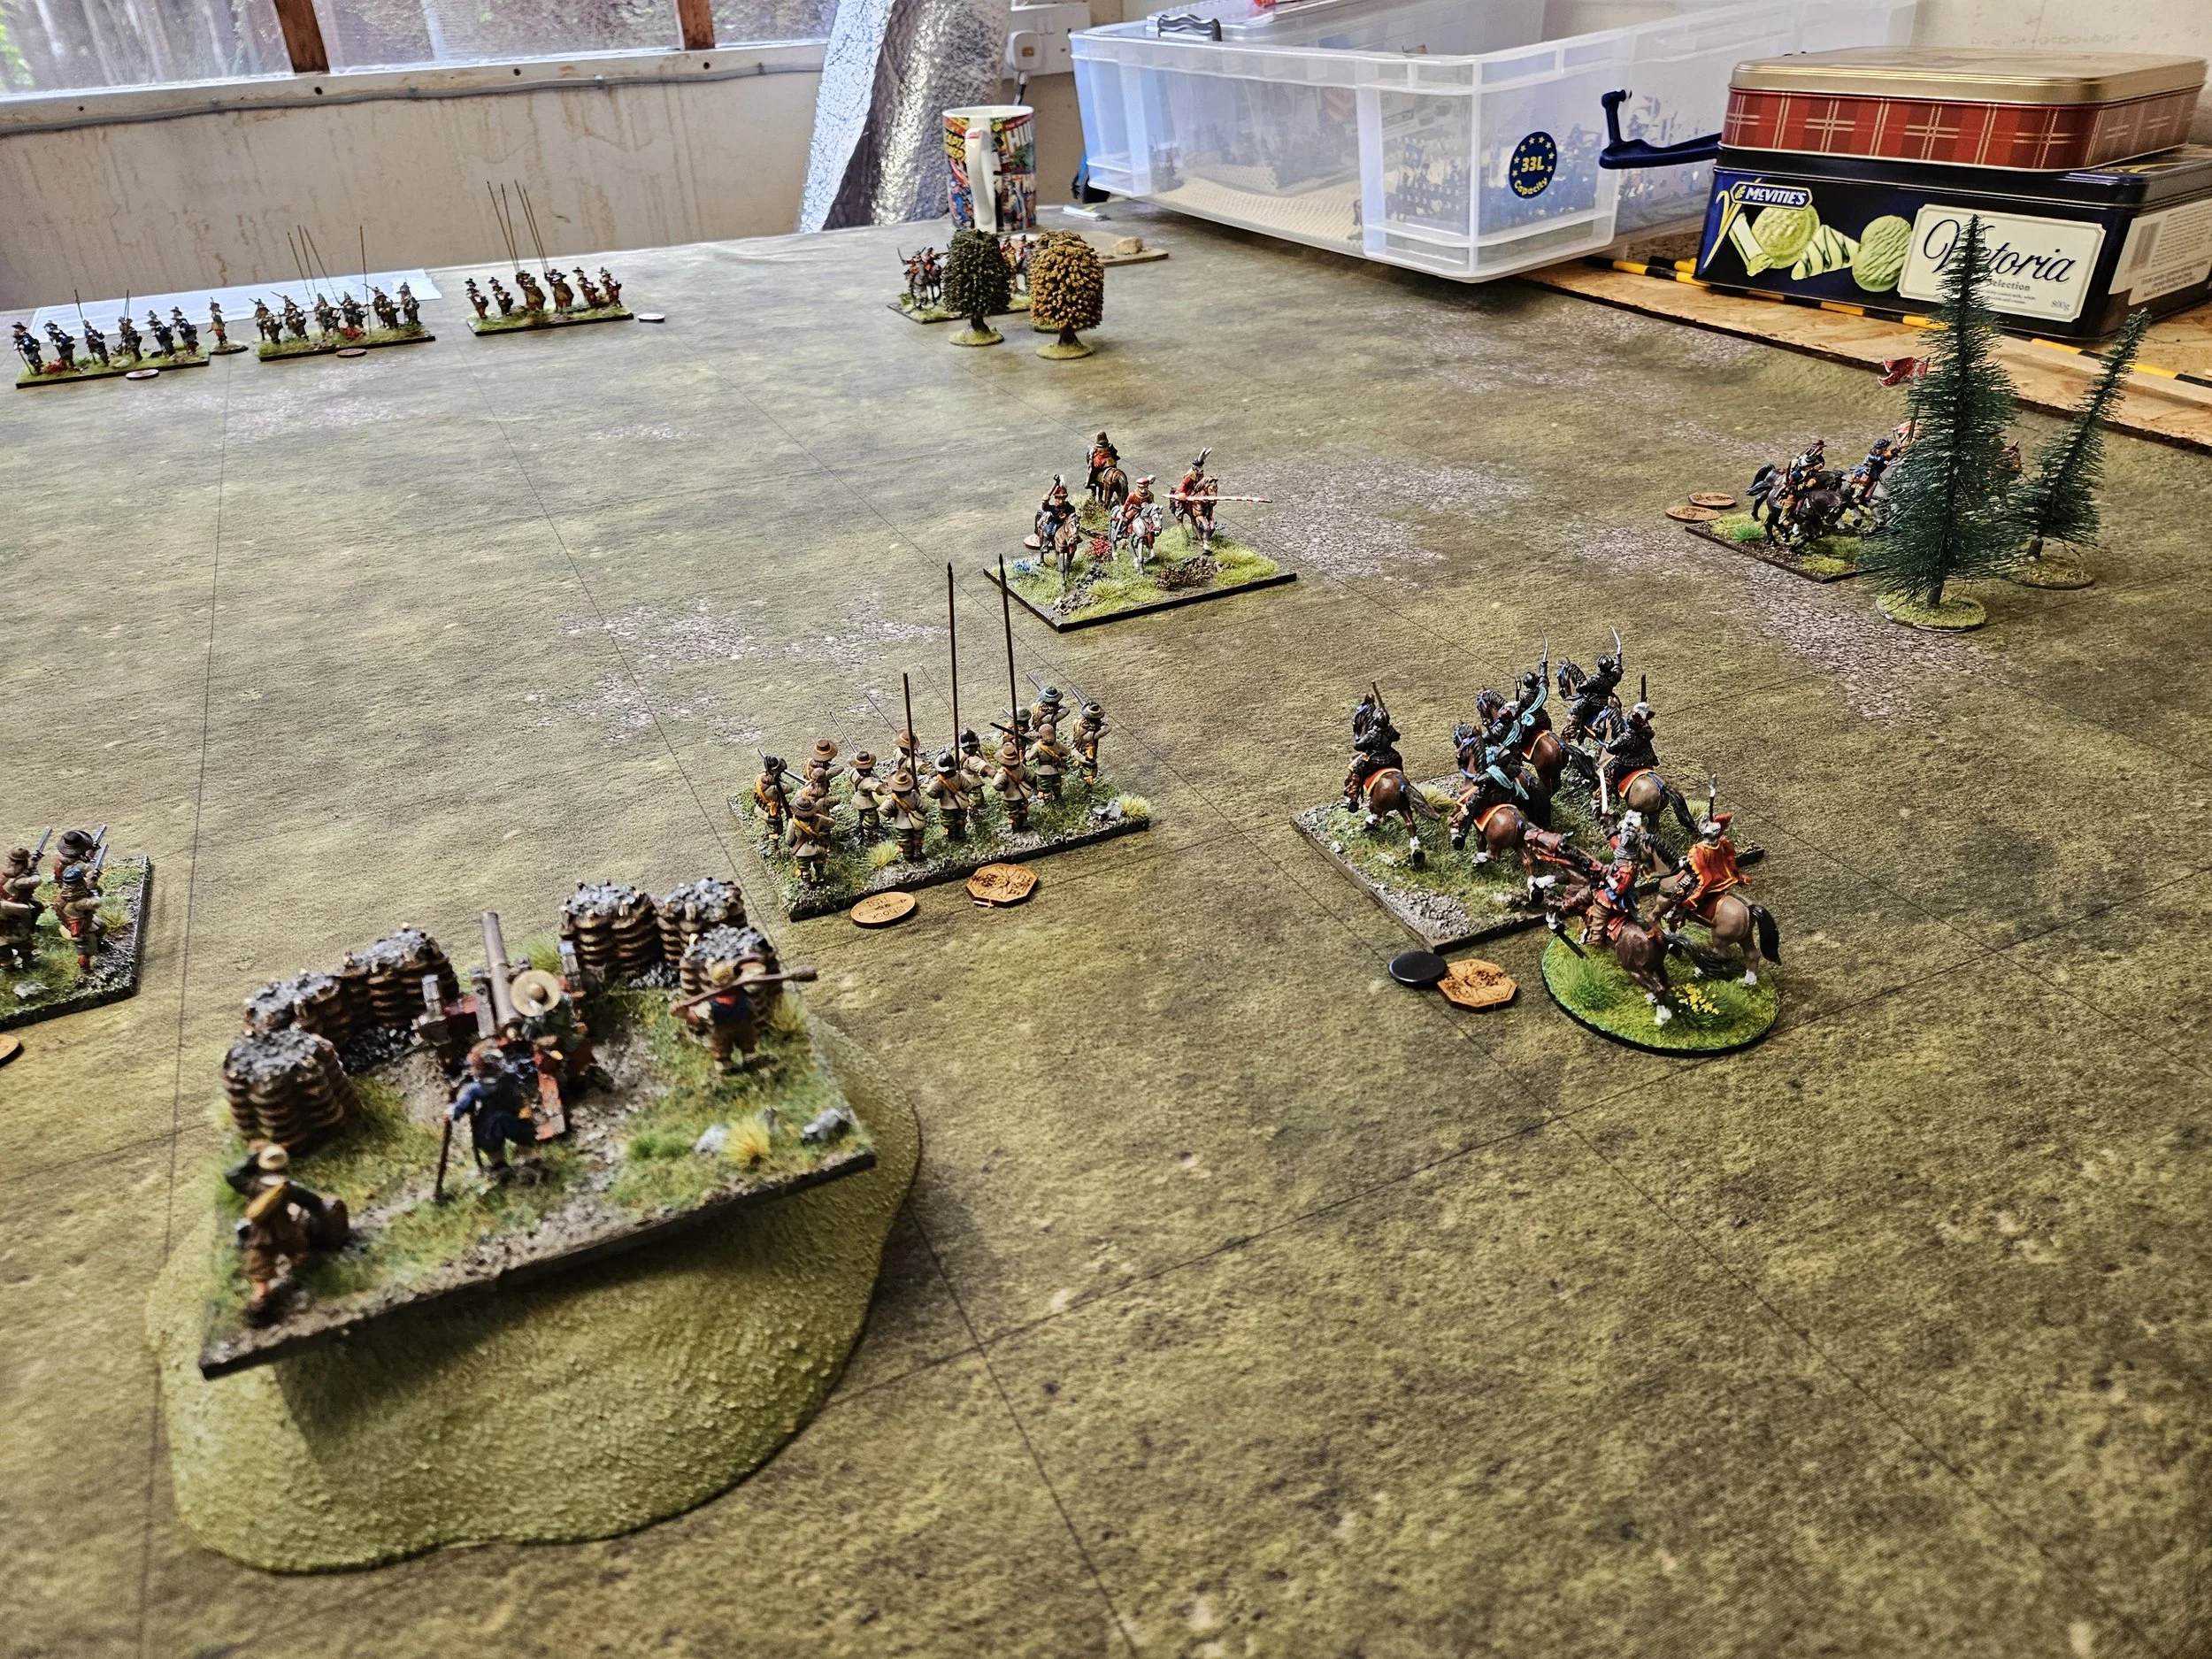
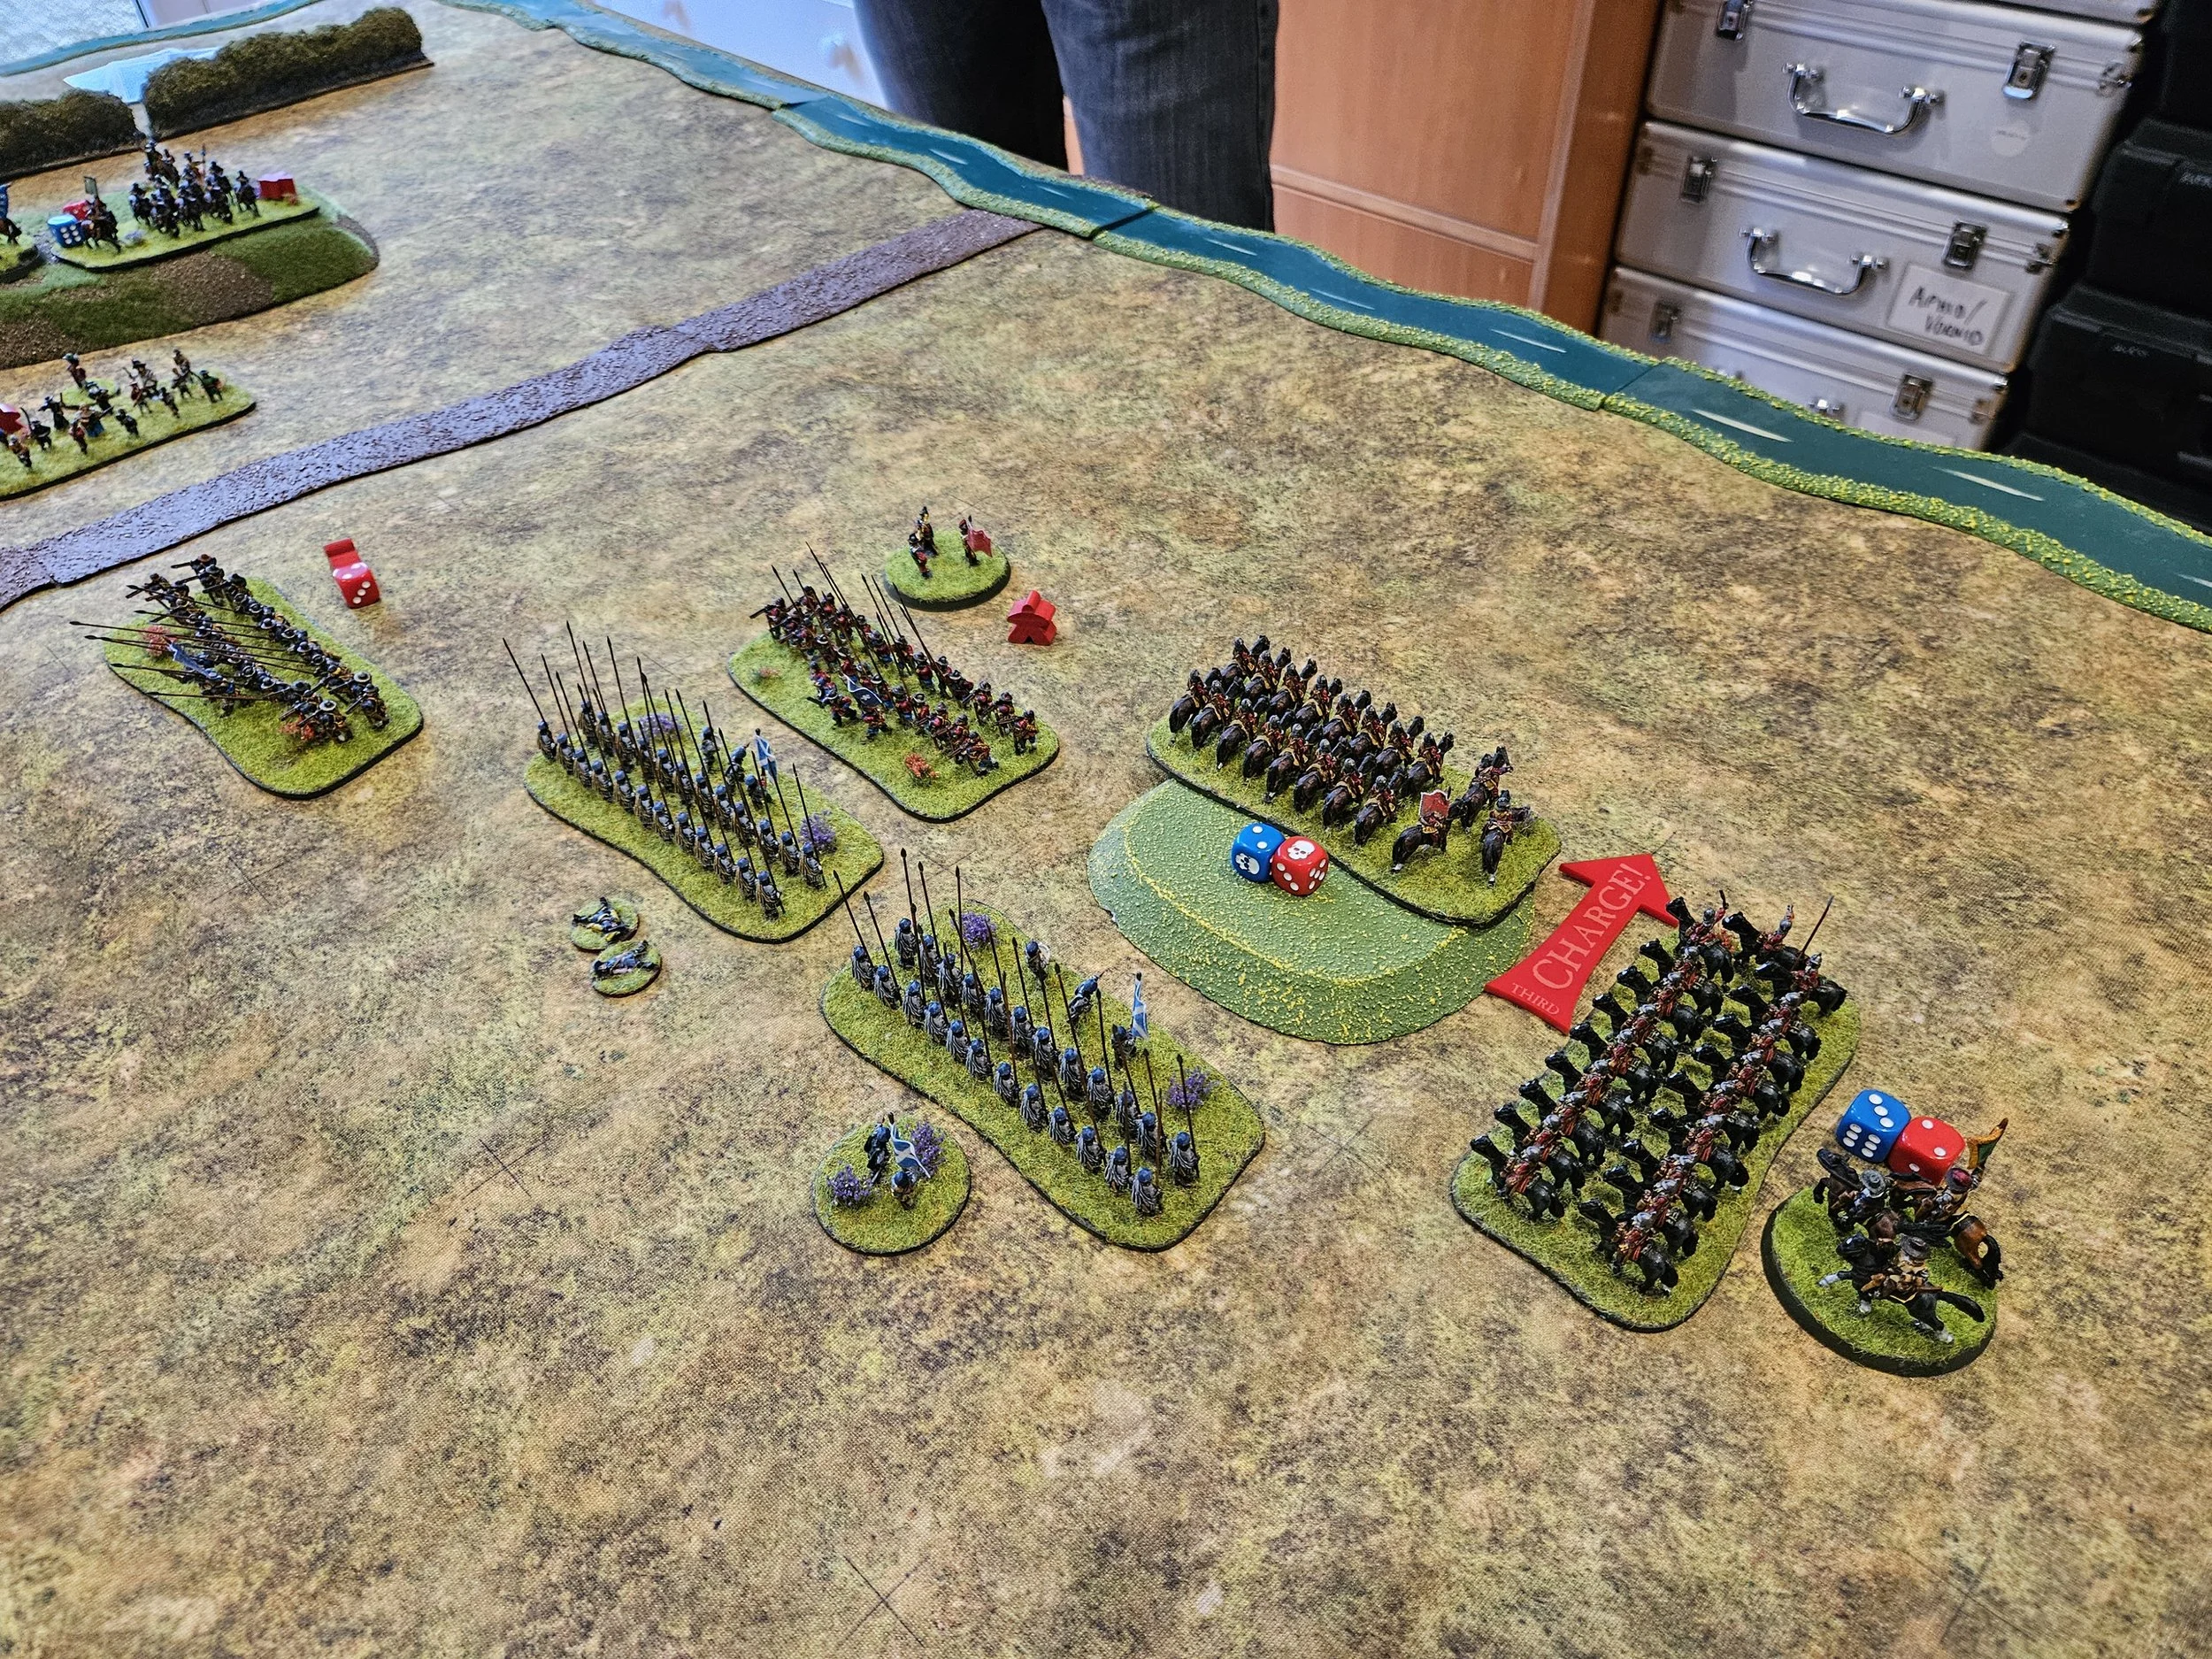
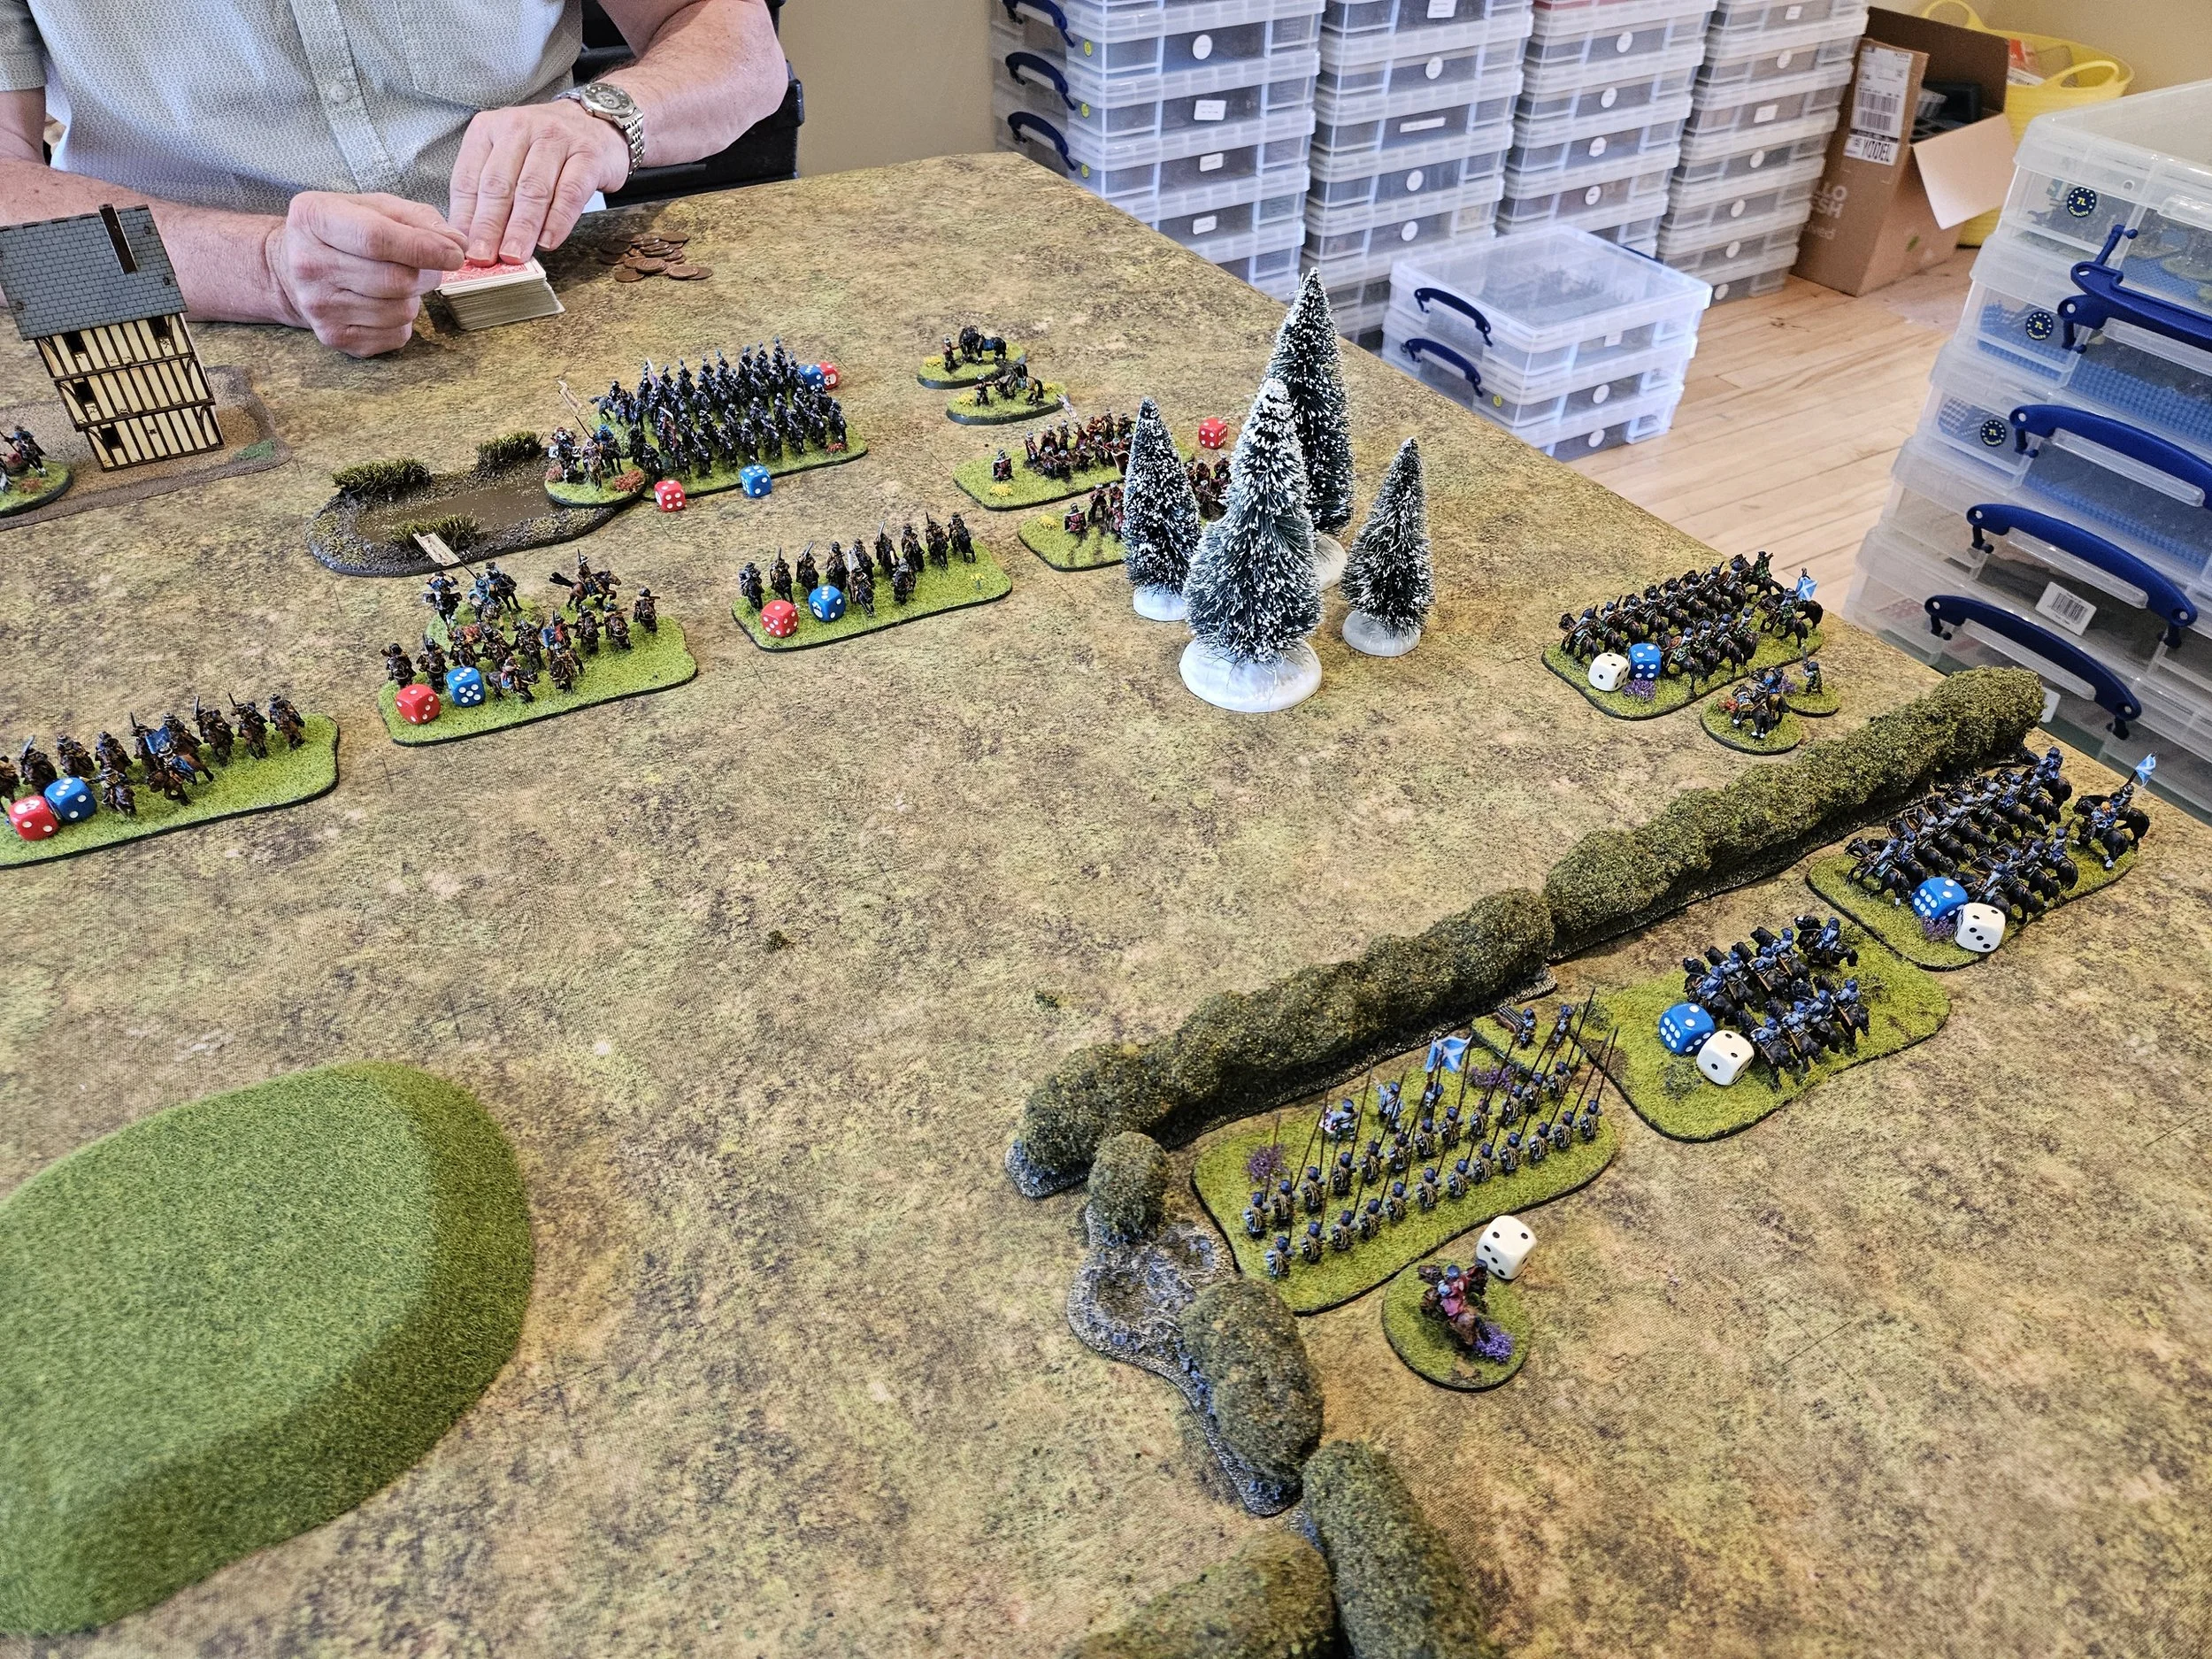
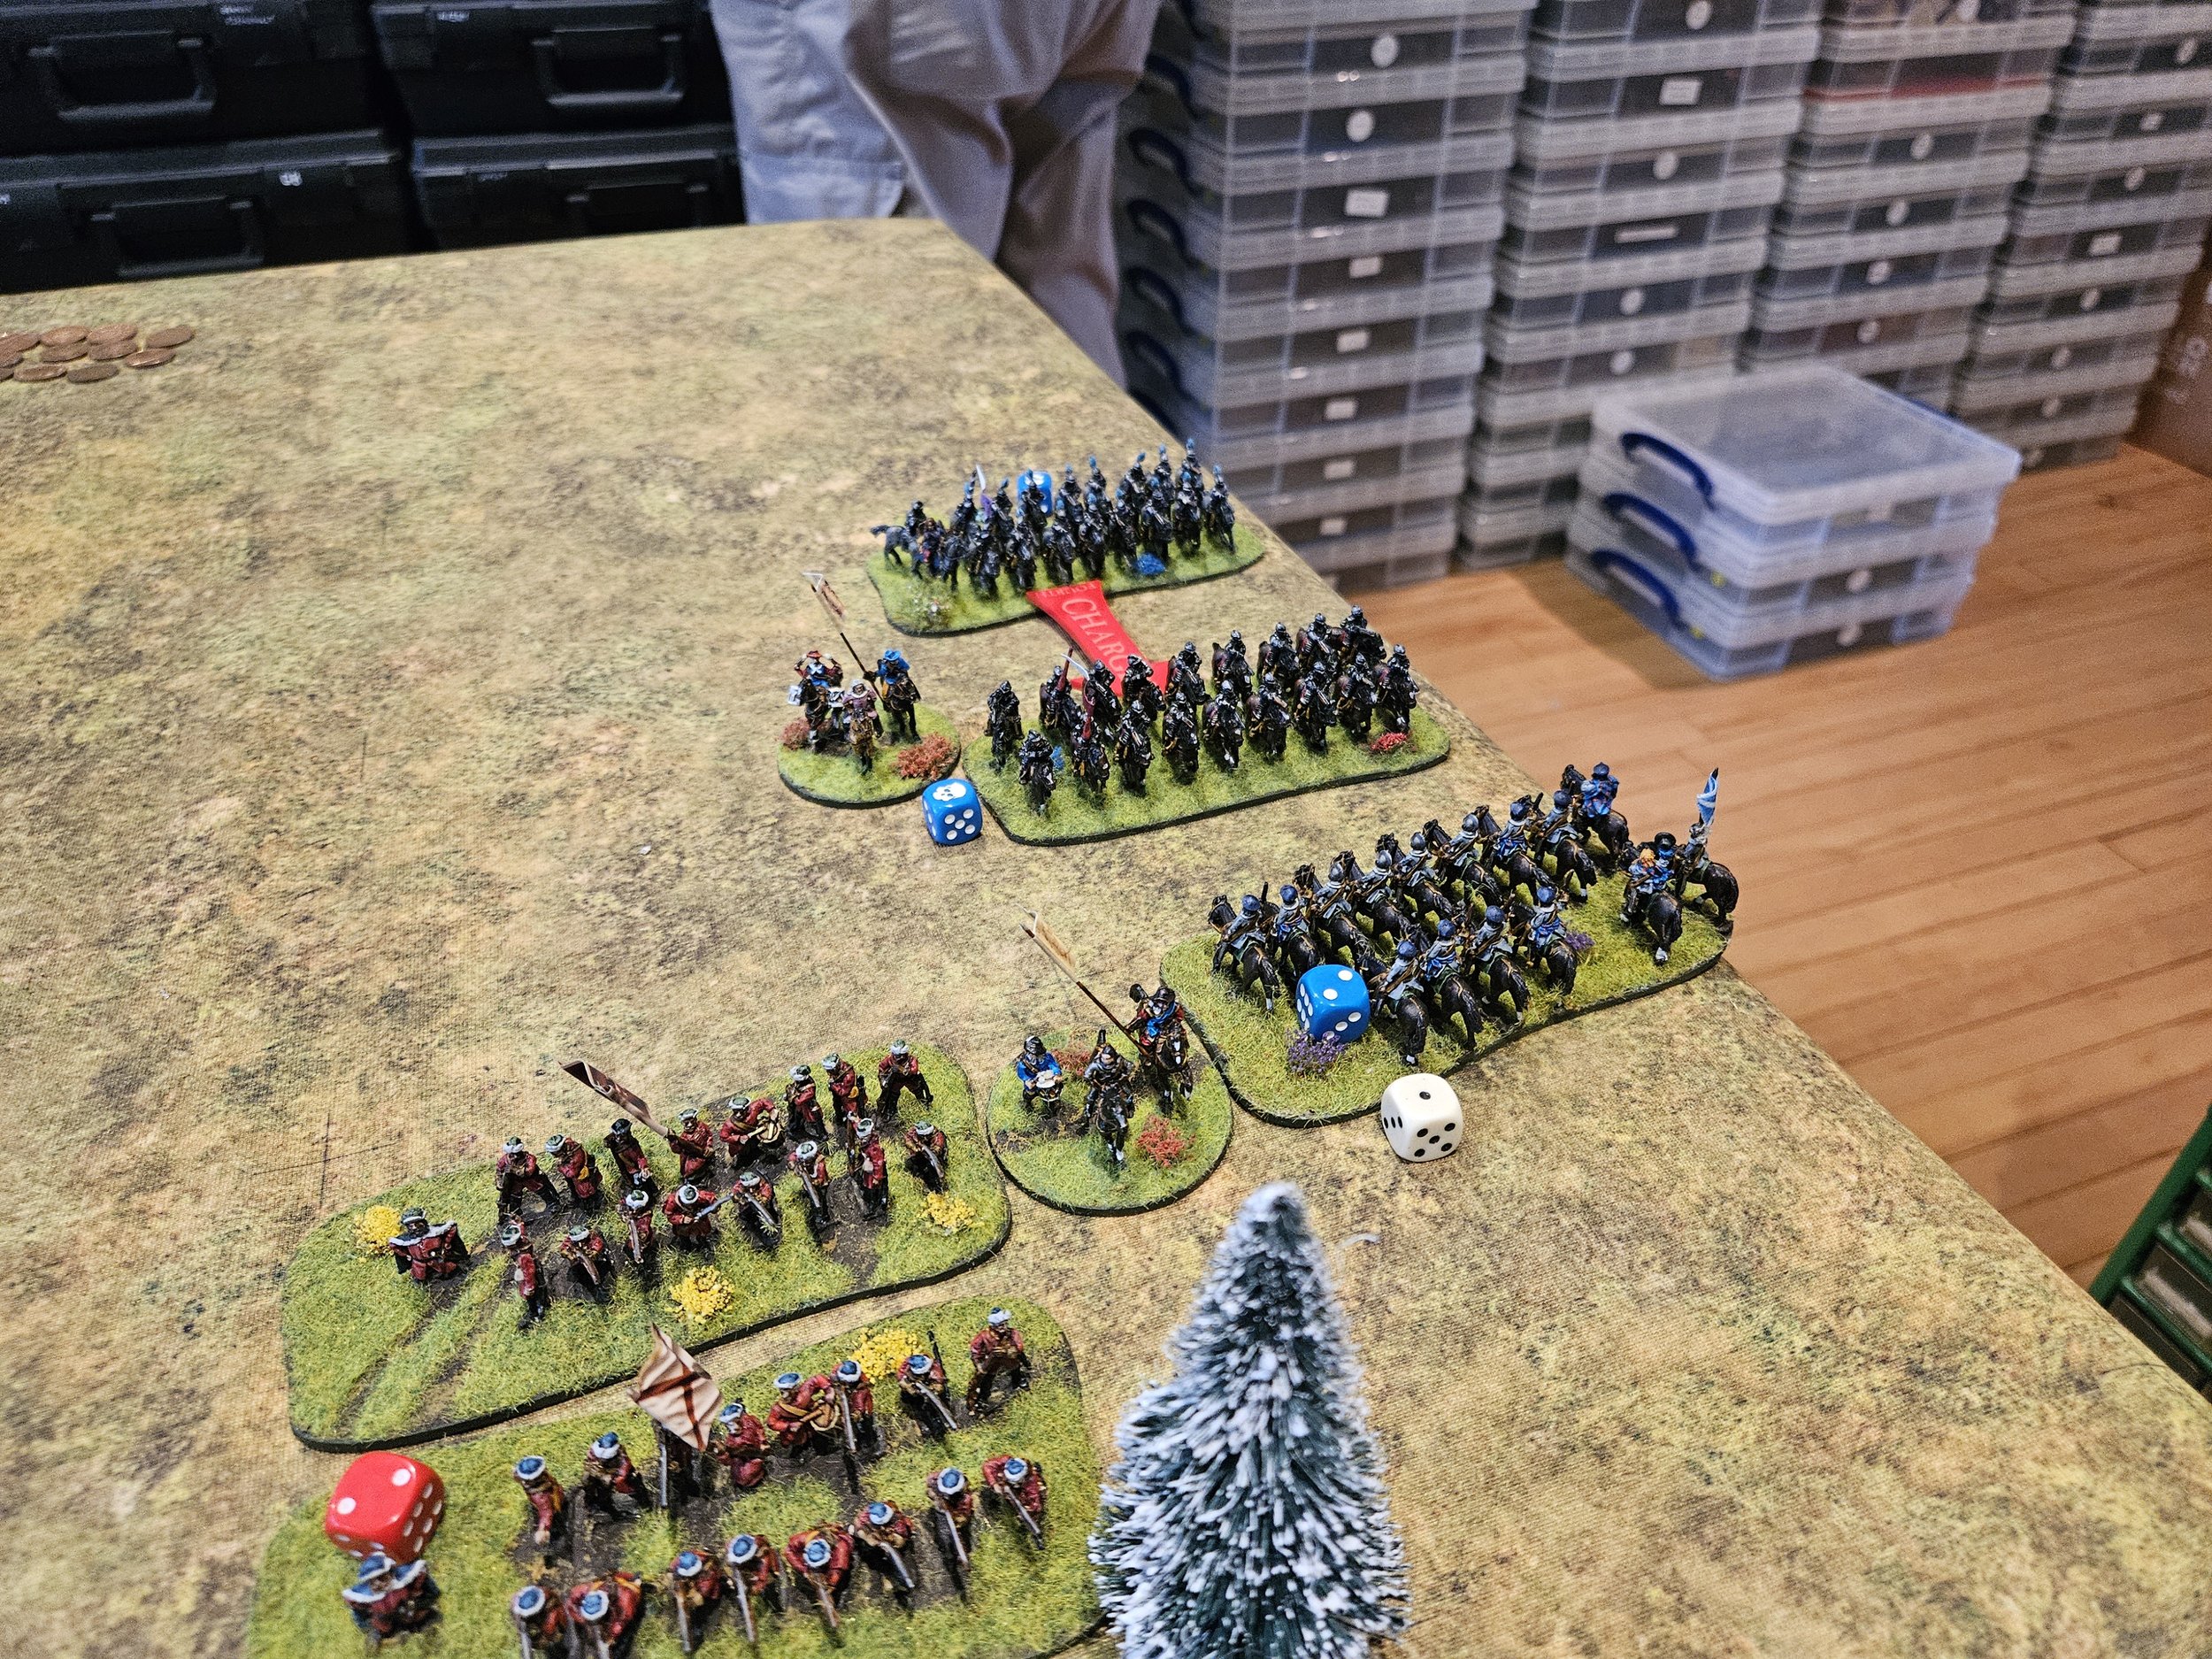
The battle opened with both sides advancing strongly forward. The Swedes had vastly superior numbers of cavalry concentrated on the wings, and their infantry in two lines in the centre.
The Scots had matched the Swedes in terms of cavalry deployment i.e. some on either wing, but there were far fewer of them and their horses were all poor mounts. They had about as many ‘line’ infantry as the Swedes, but positioned in one long line in the centre. Finally, there was a brigade of Highlanders on the left, and we’d be using the enhanced Highlander rules from the Celtic handbook.
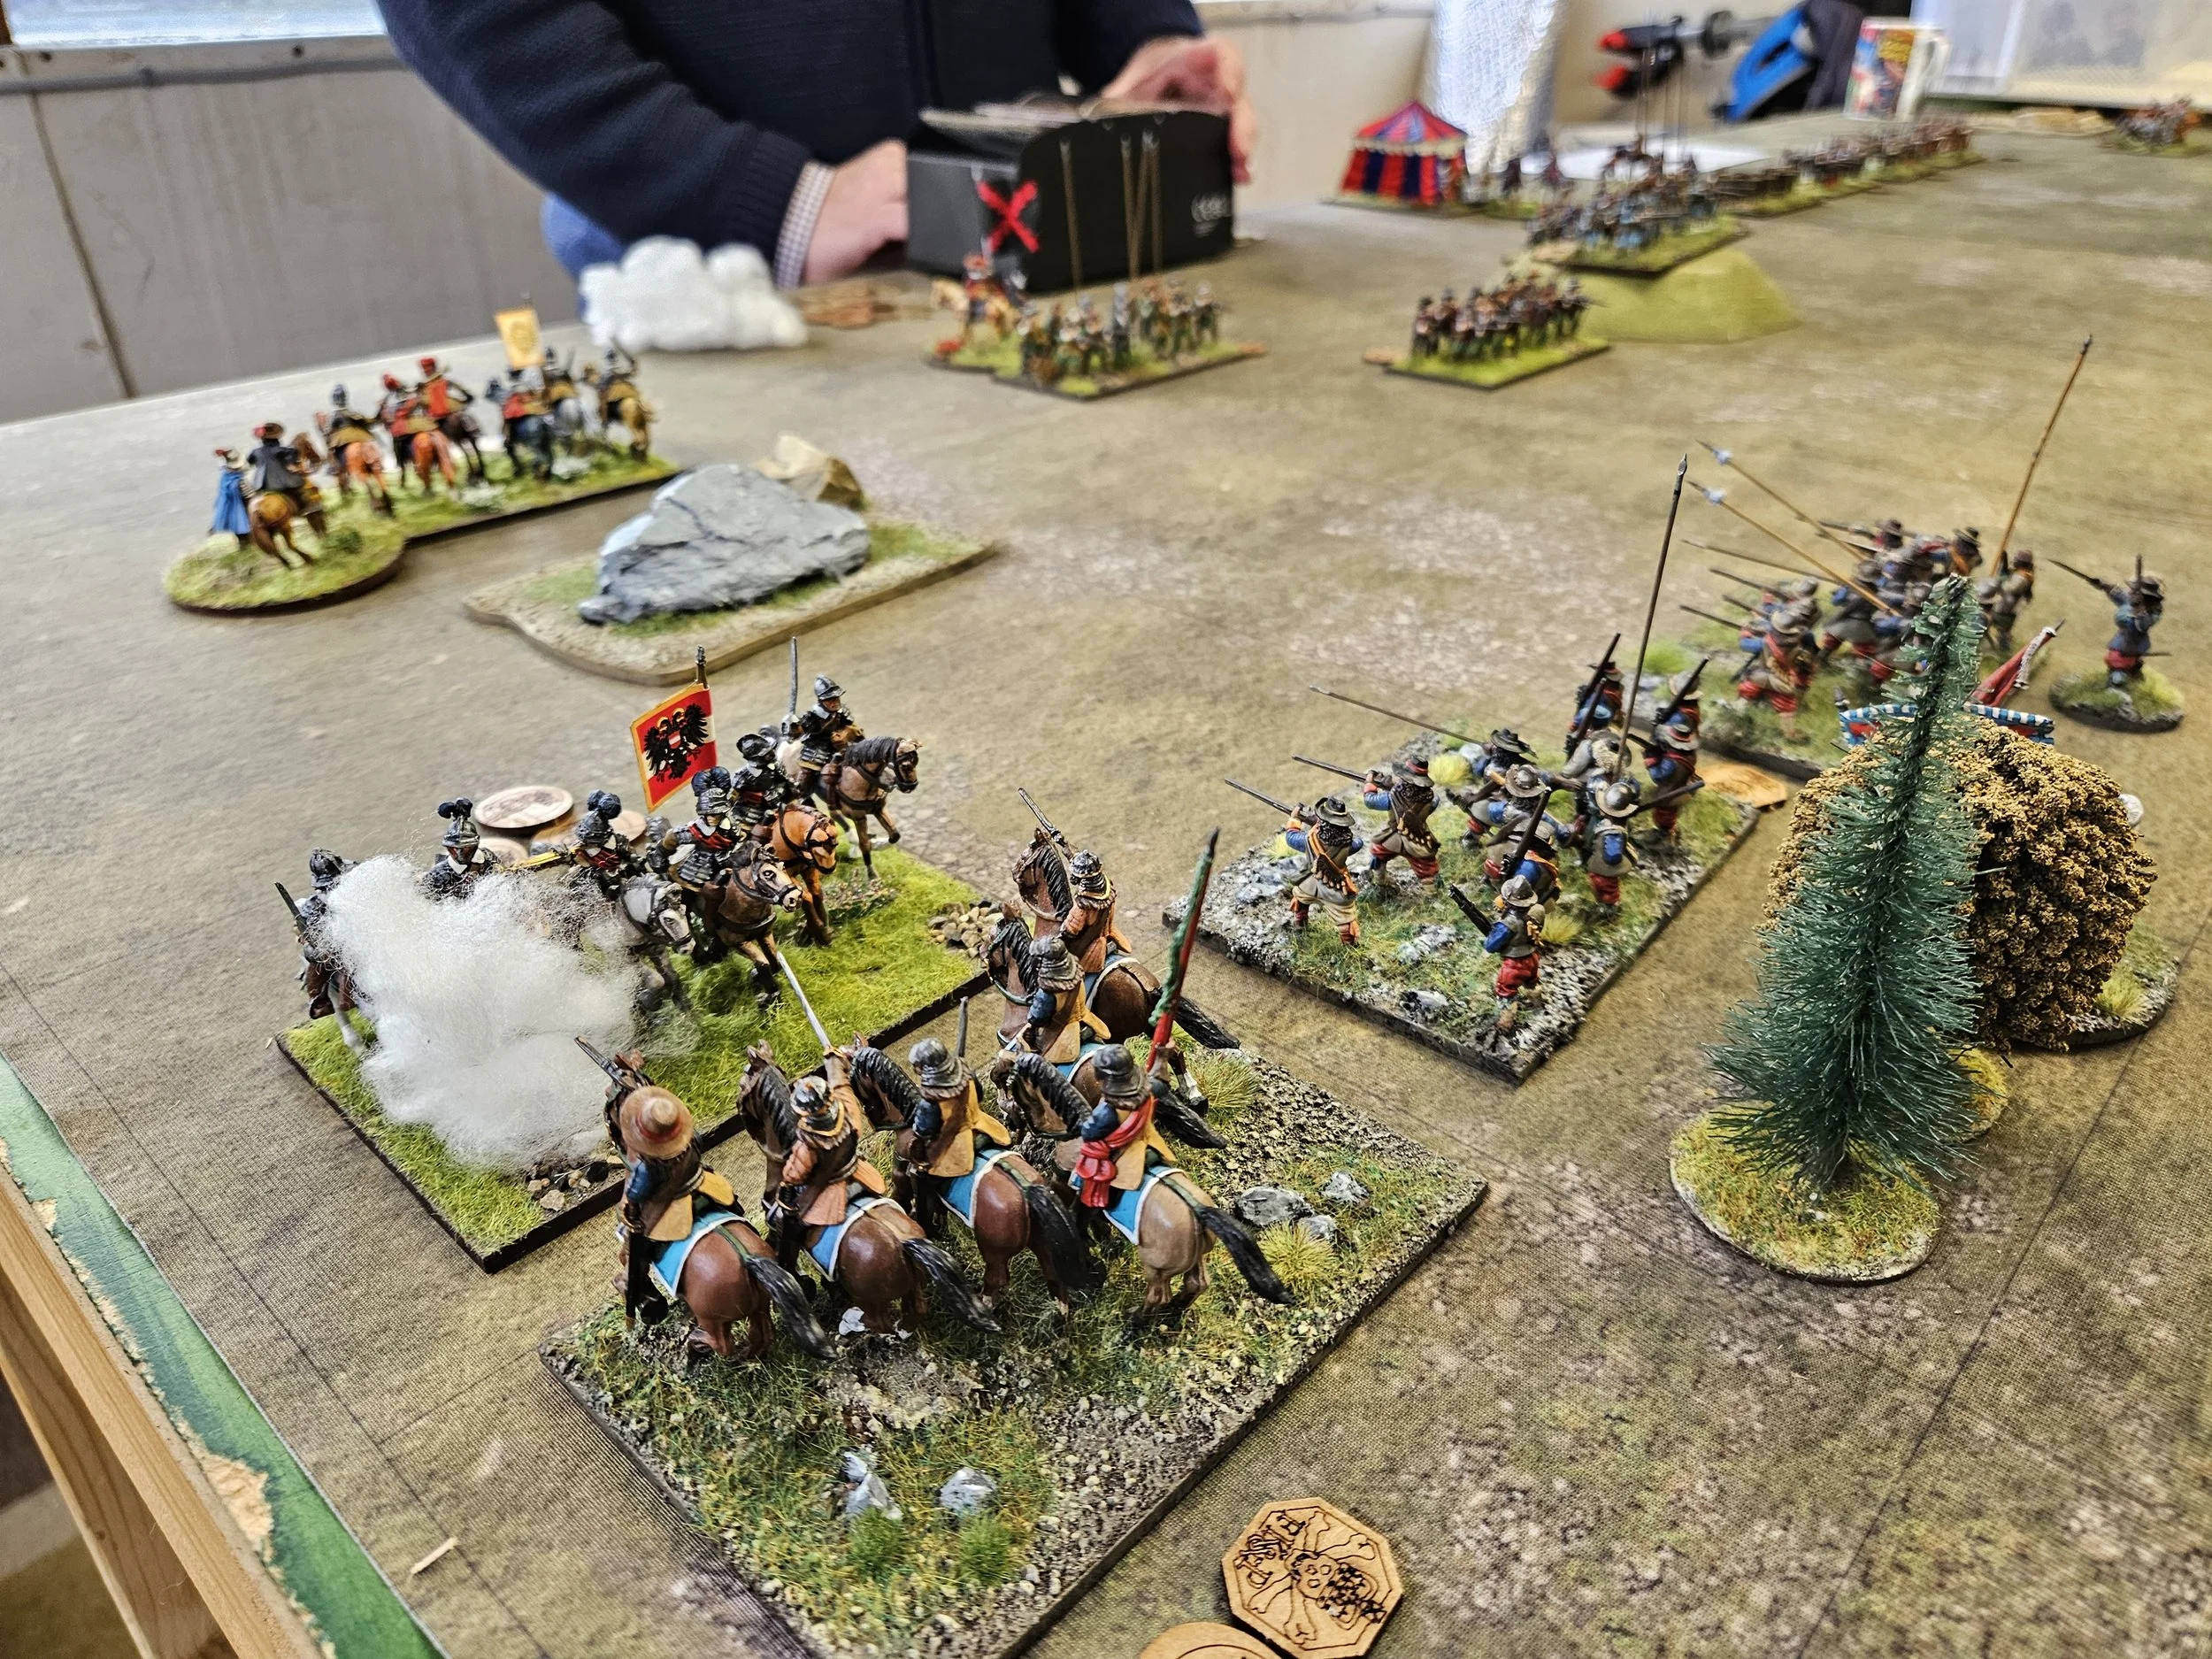
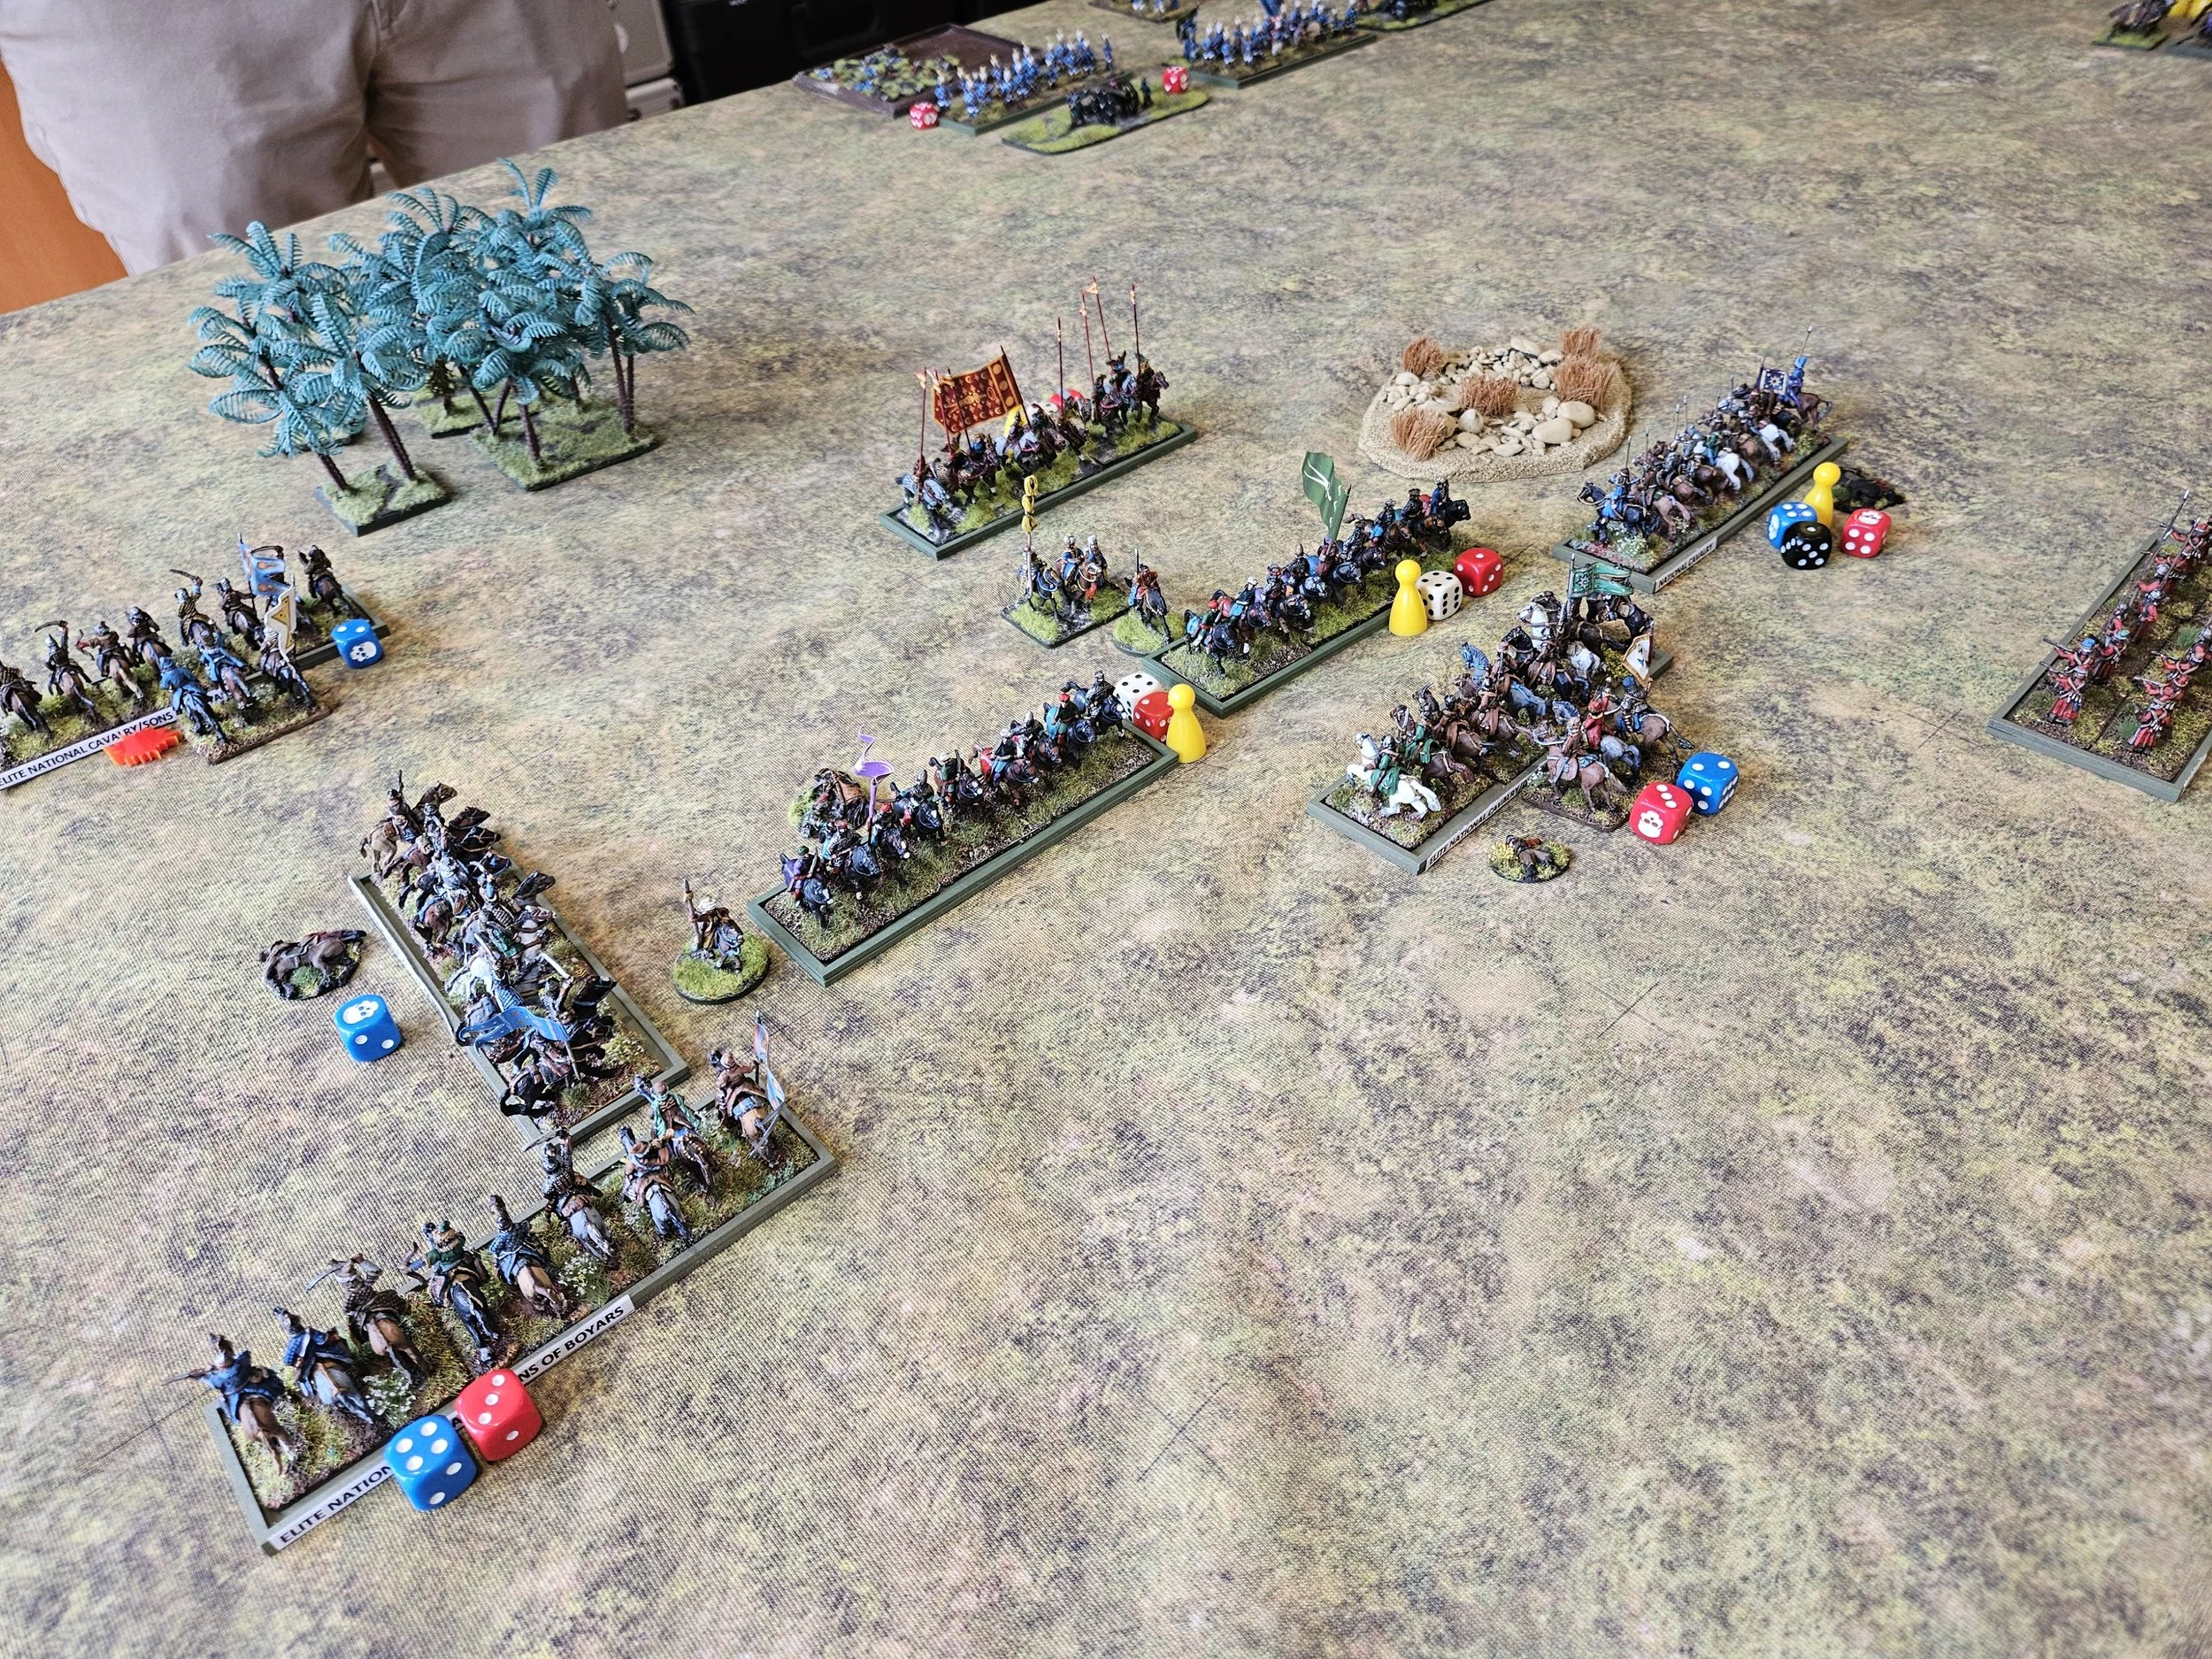
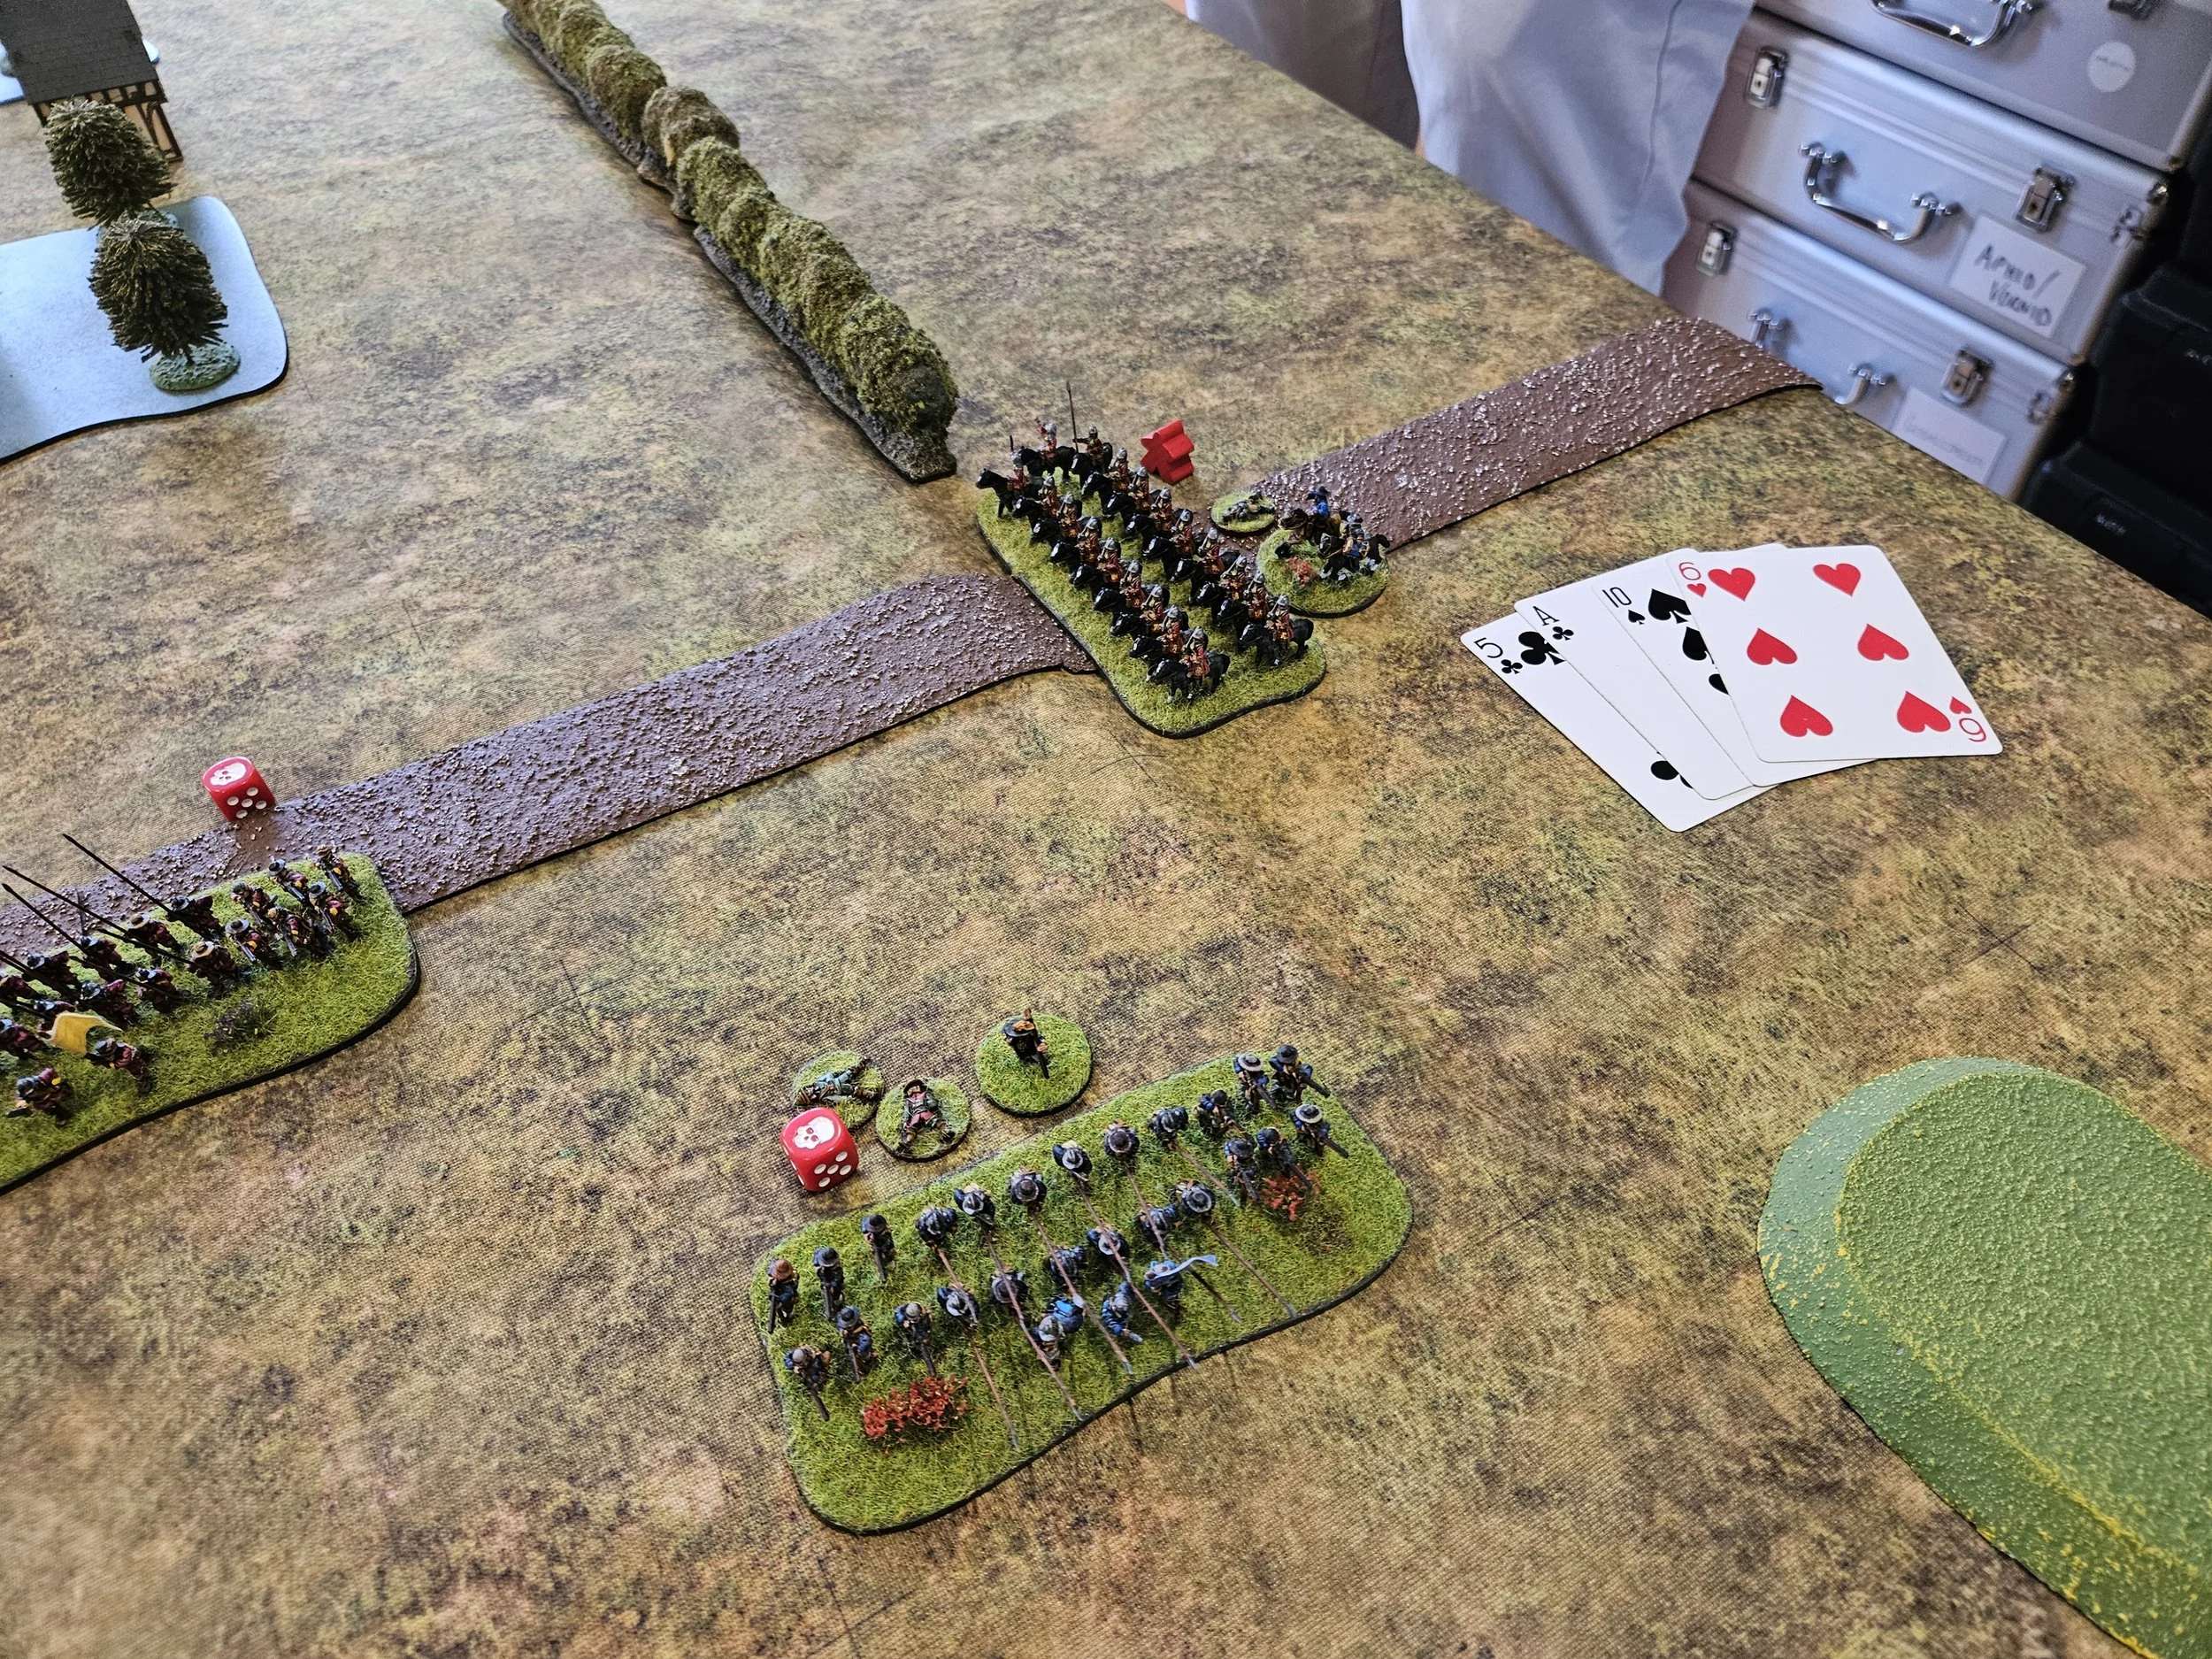
The action began on the left, where one unit of Swedish horse (literally and as a description!) had got overexcited and pulled forward in fron tof its colleagues. This was too good an opportunity for the nearby Scottish lancers to resist, and they hopped the hedge in front of them and engaged.
The resultant melee took most of the rest of the game to ressolve but, somewhat surprisingly, ended in victory for the Scots lancers and, although their horses were badly blown, the survivors headed (slowly!) into the centre of the field to see what damage they could do there.


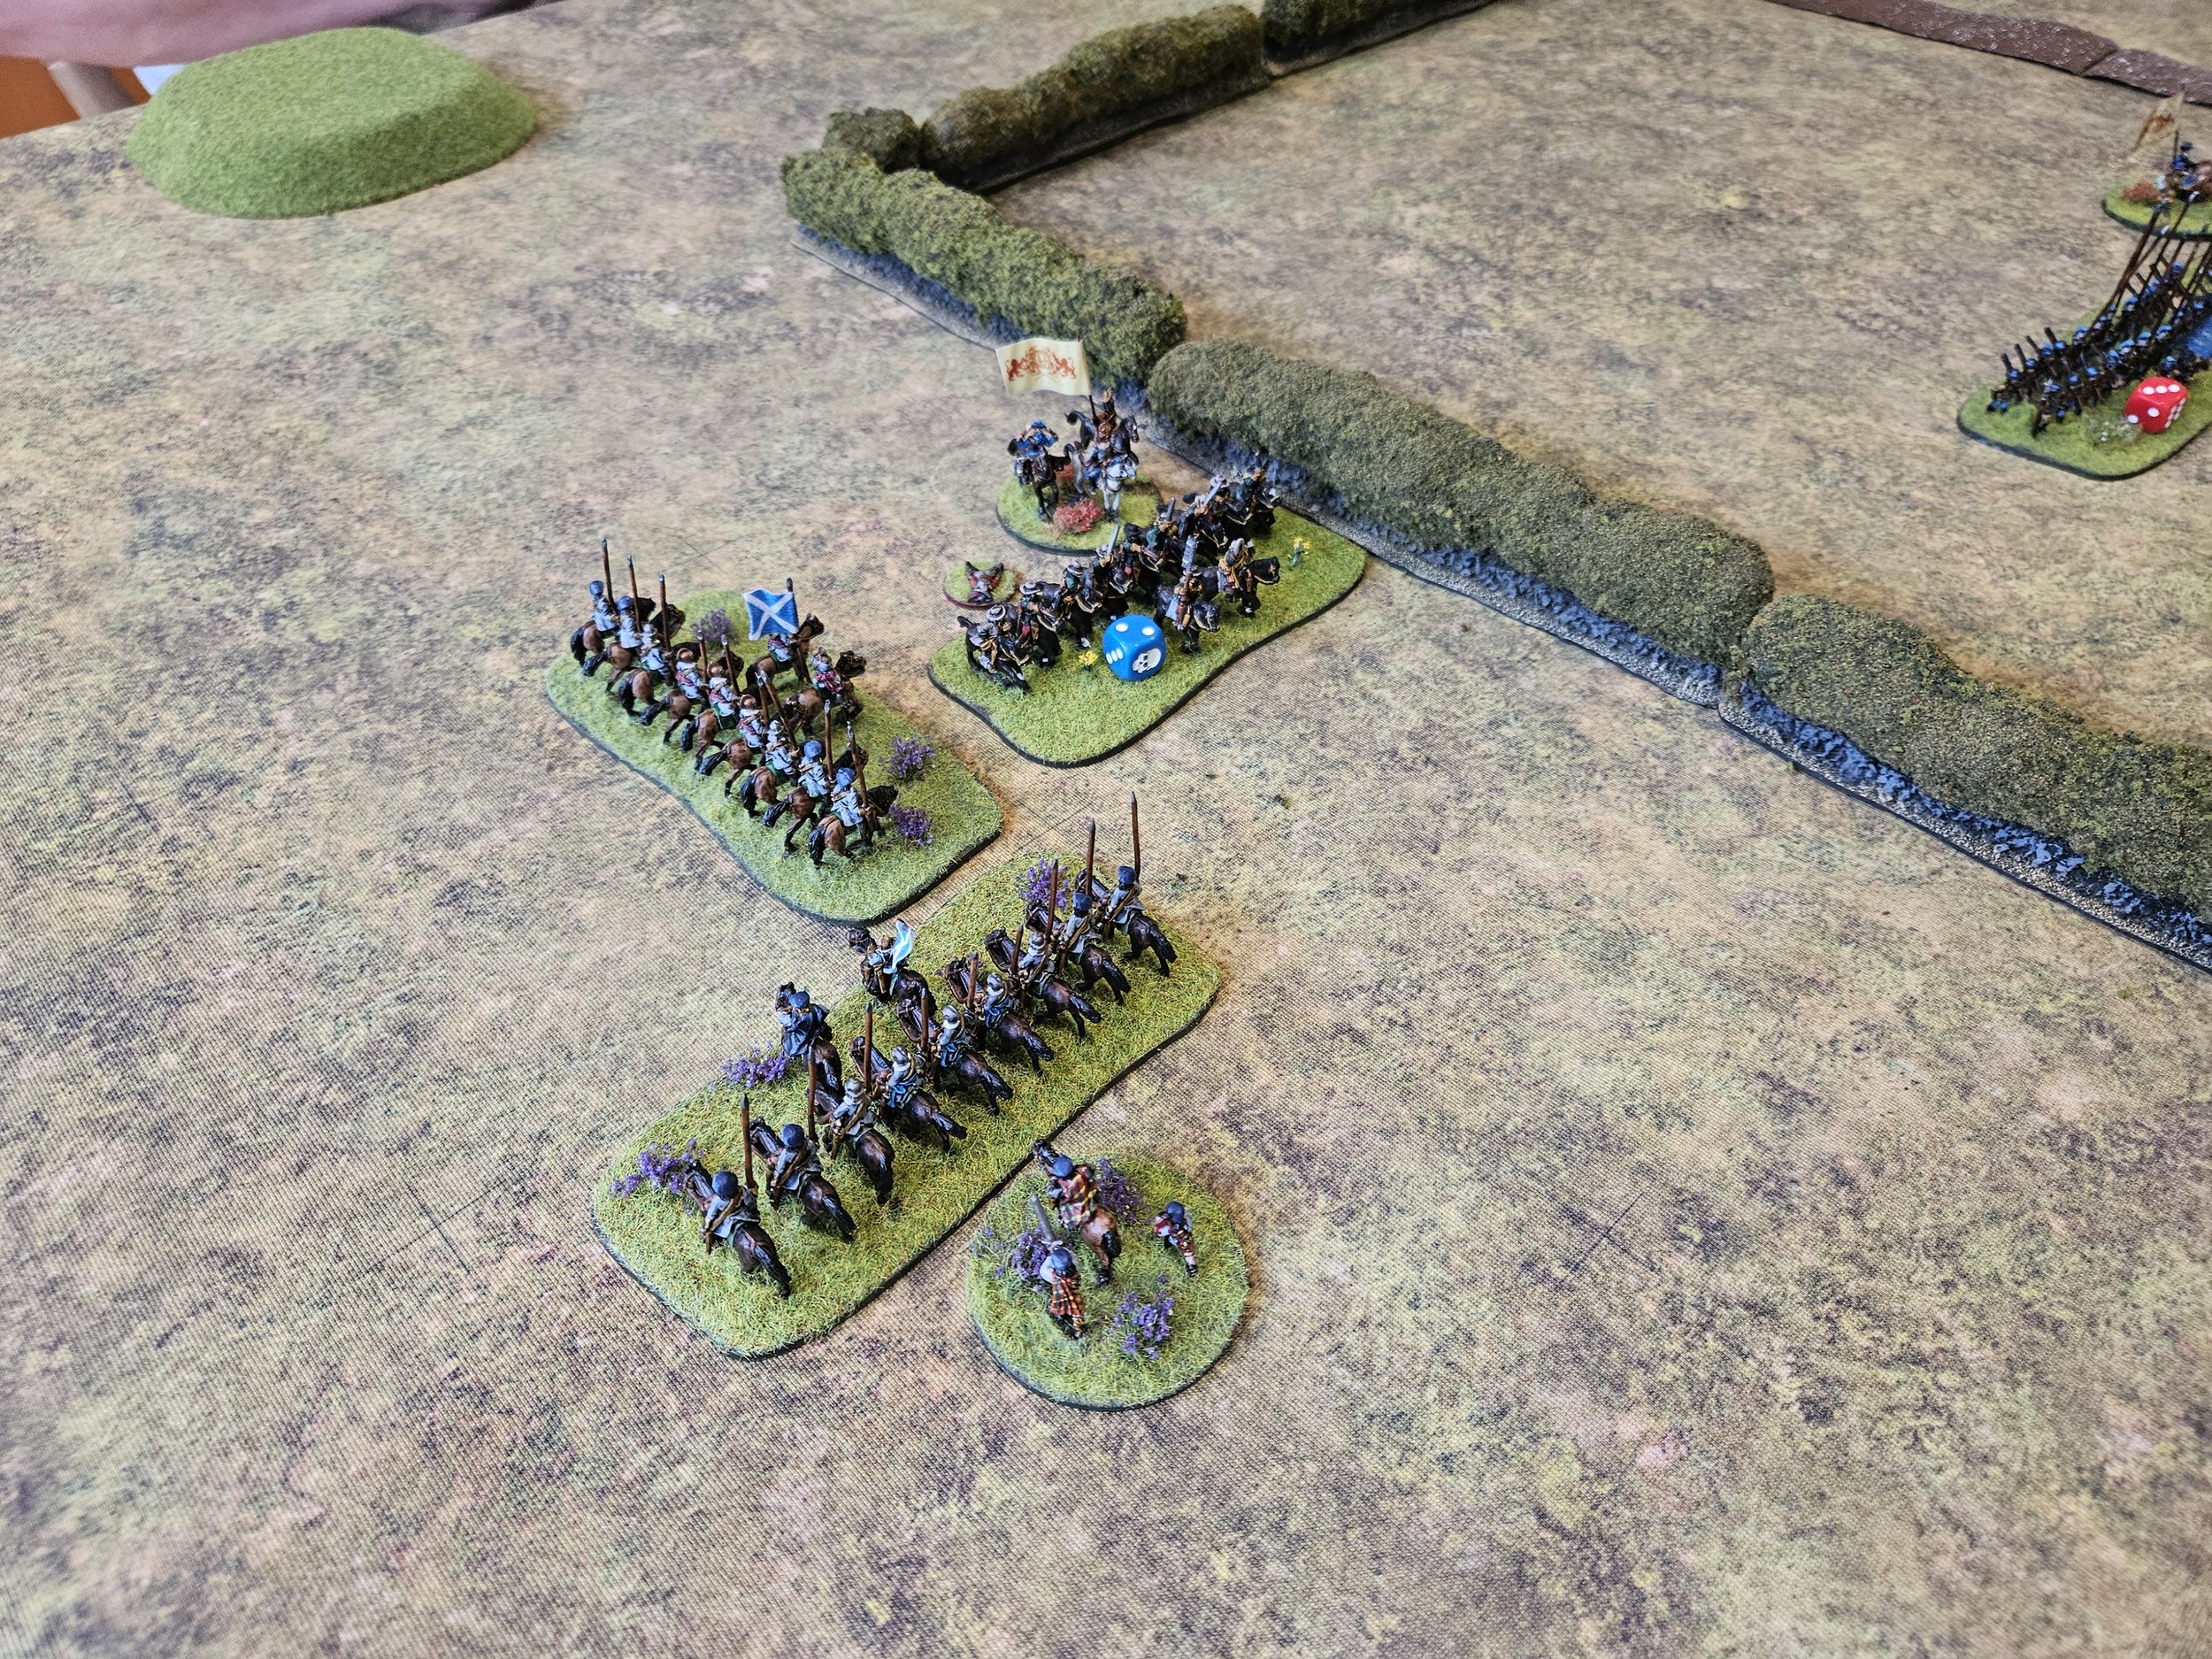
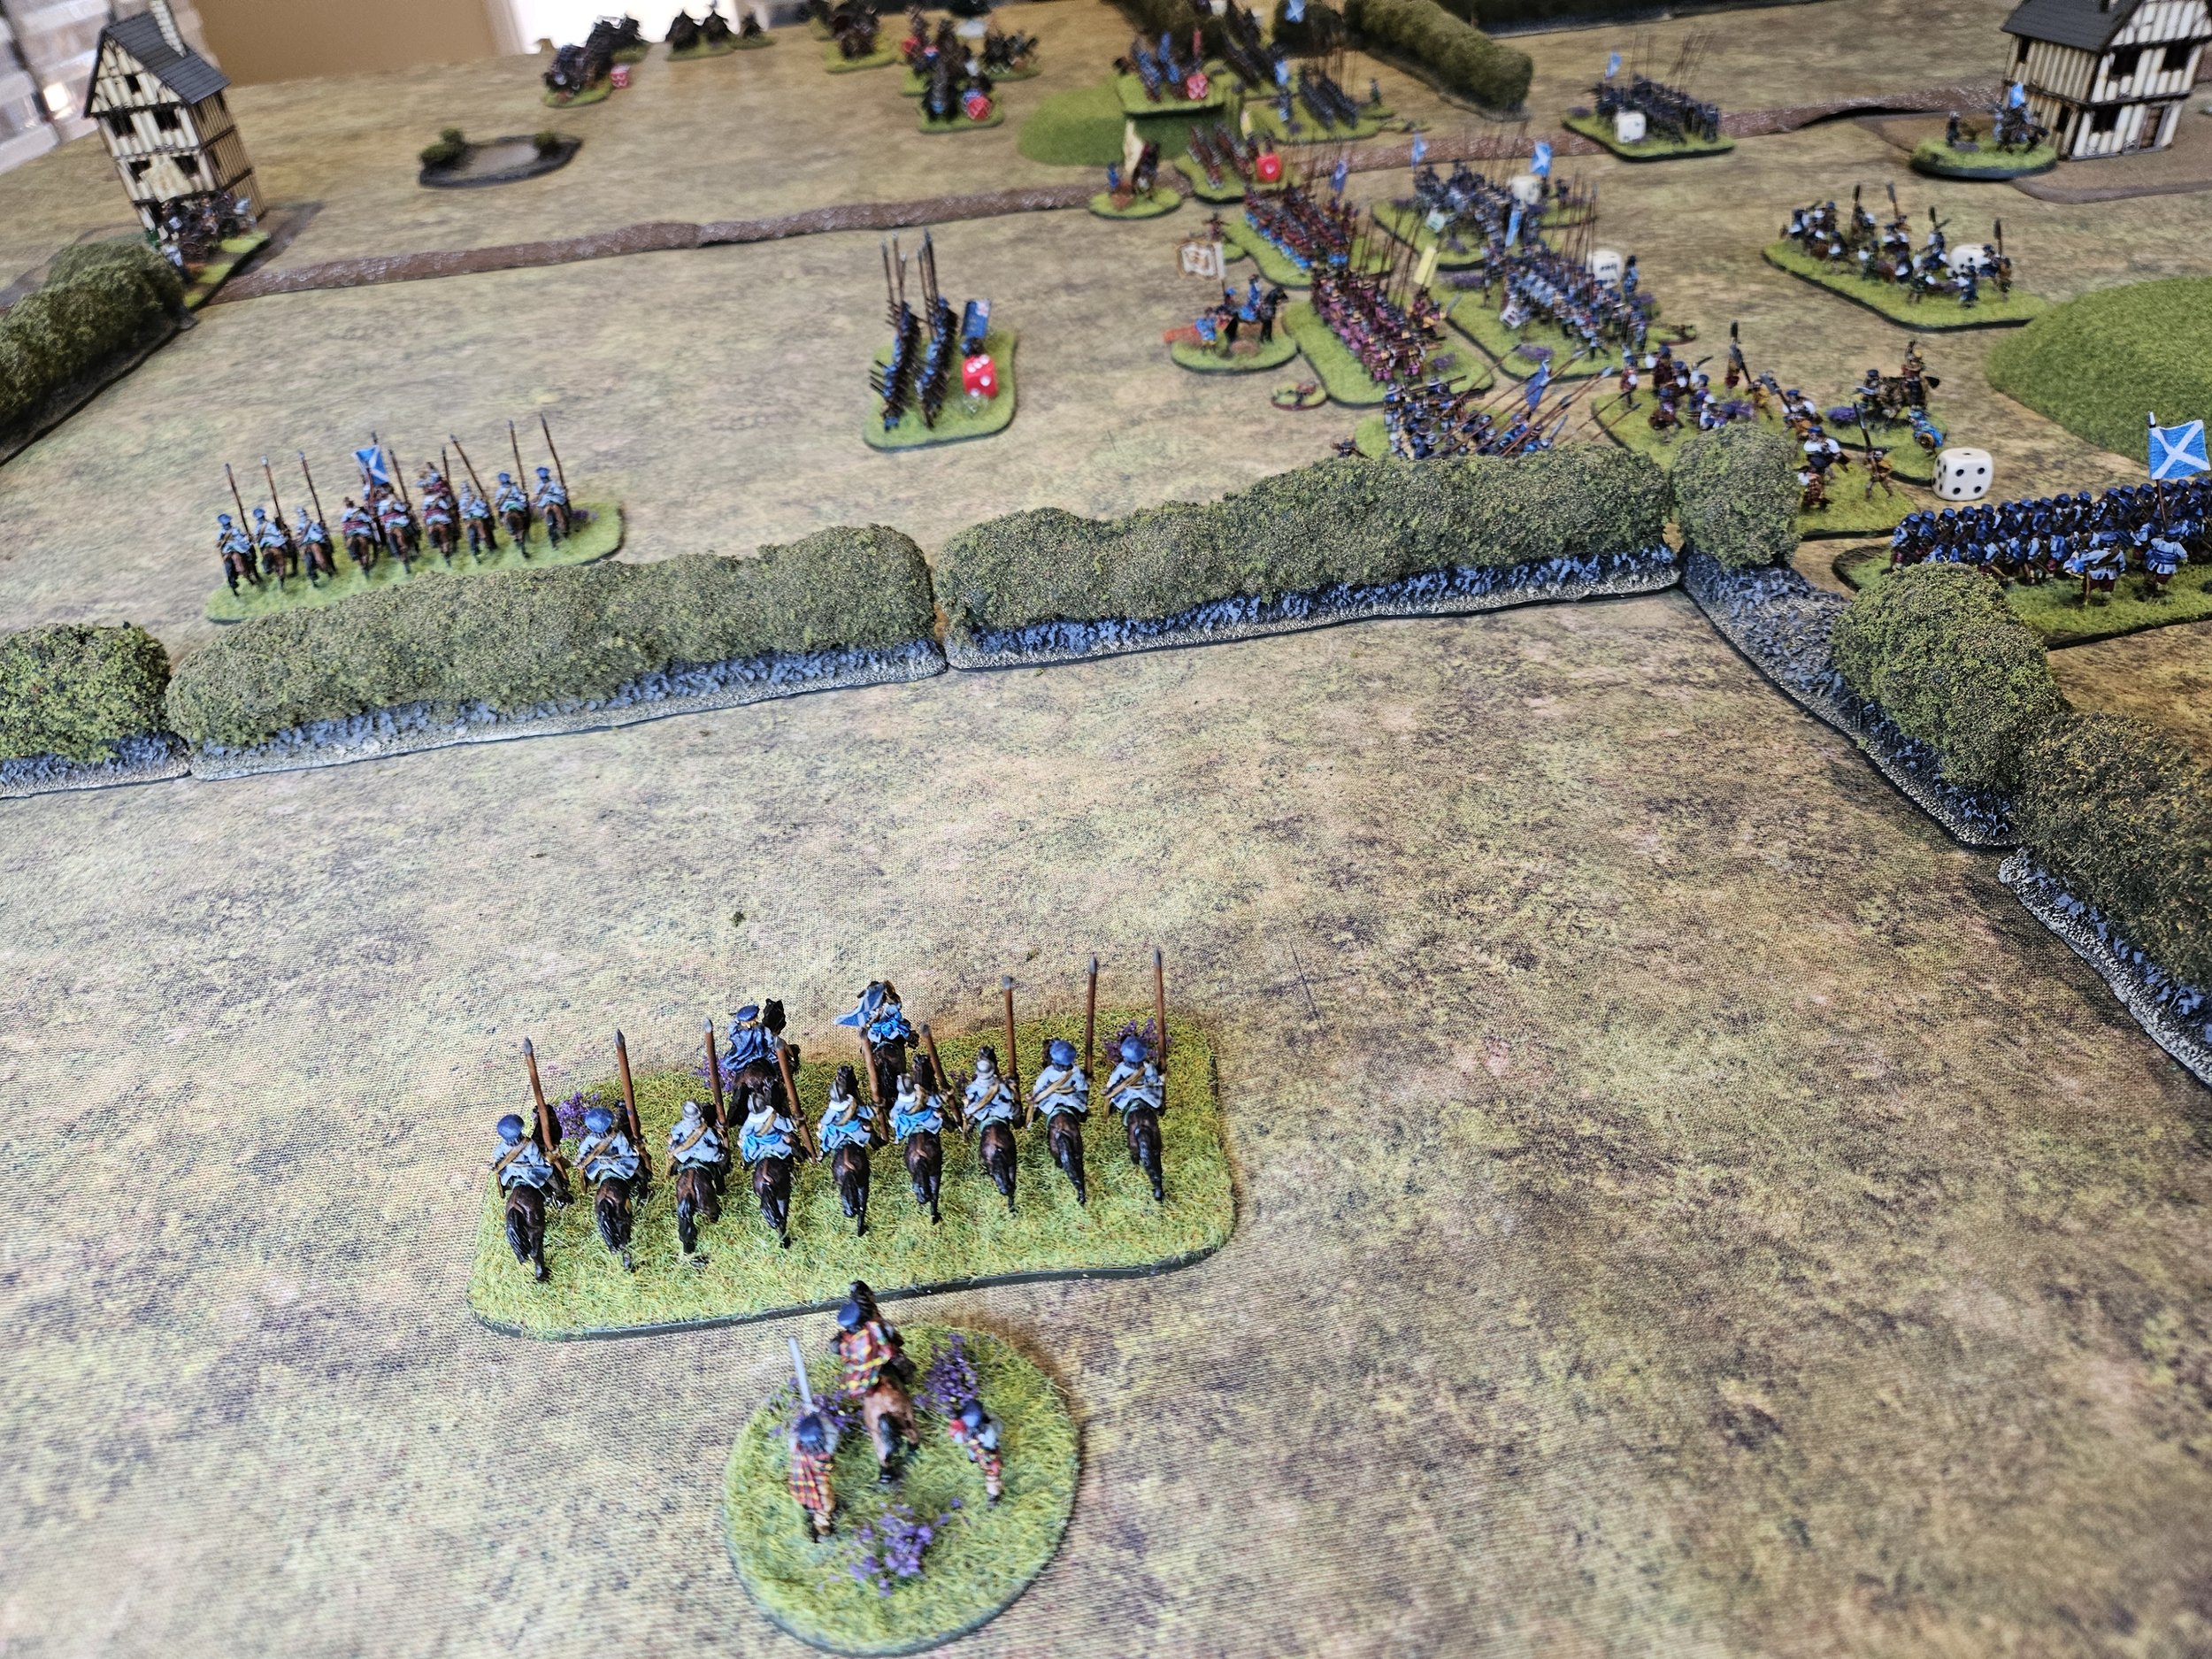

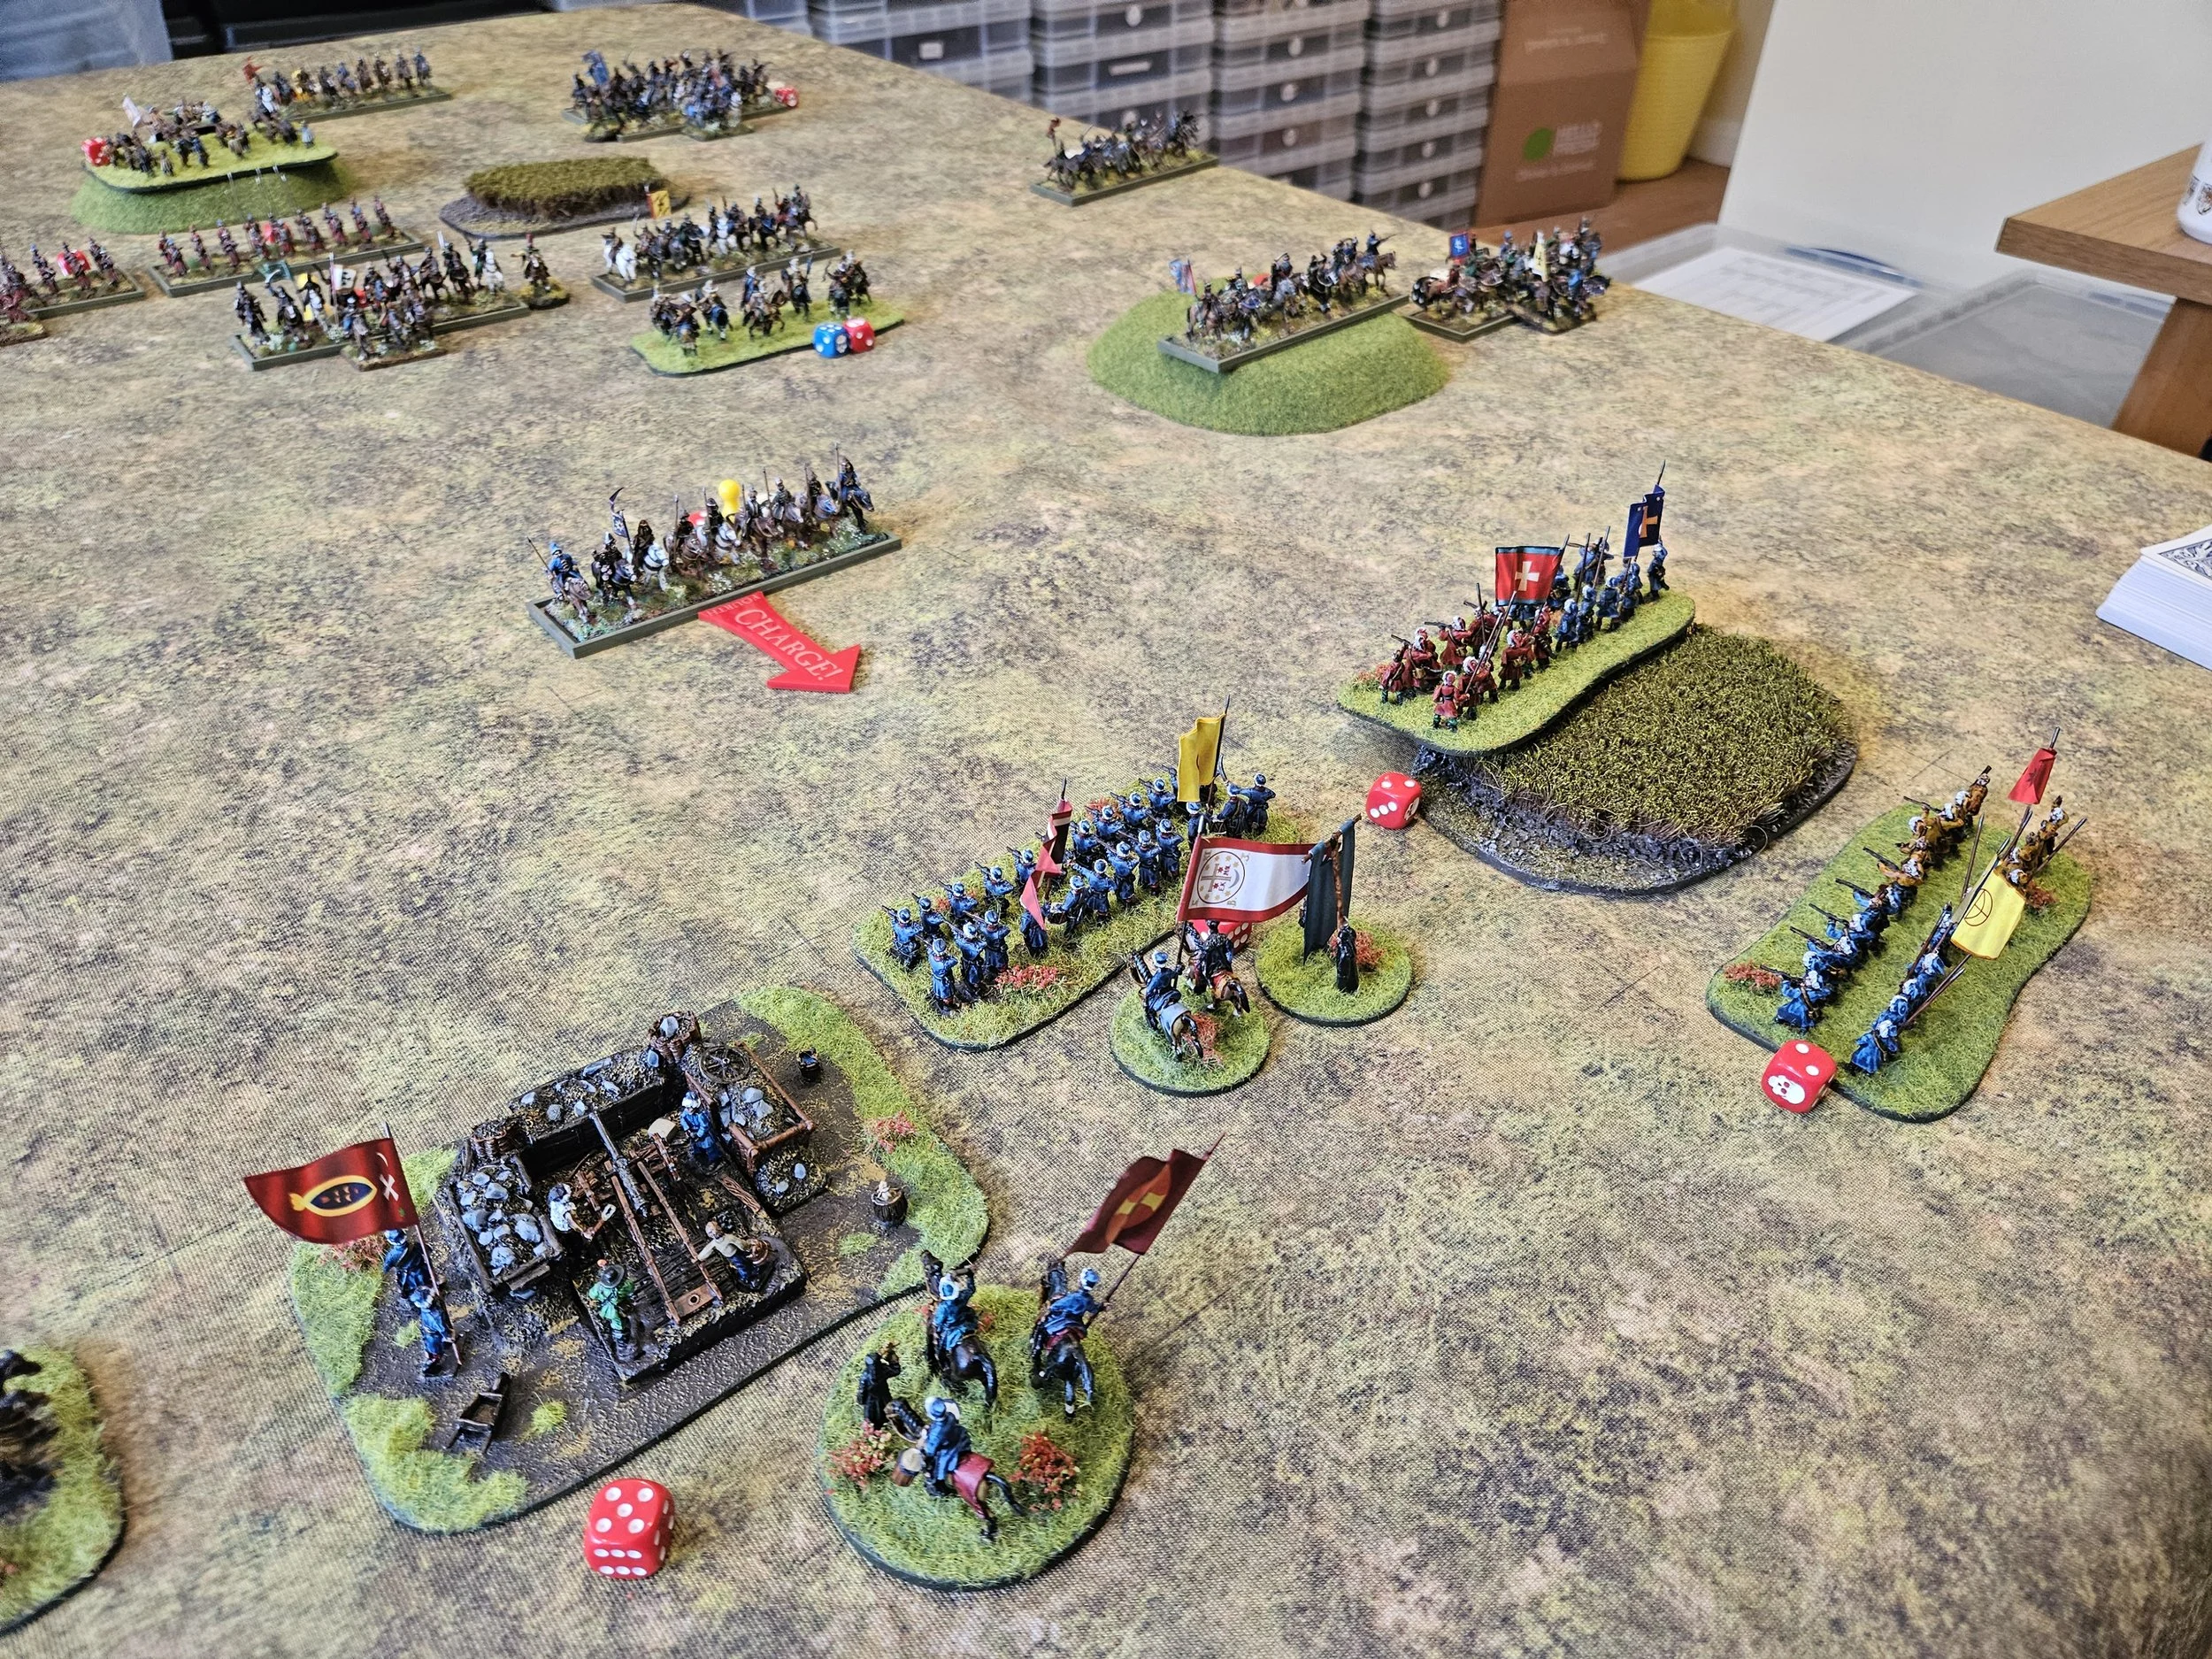
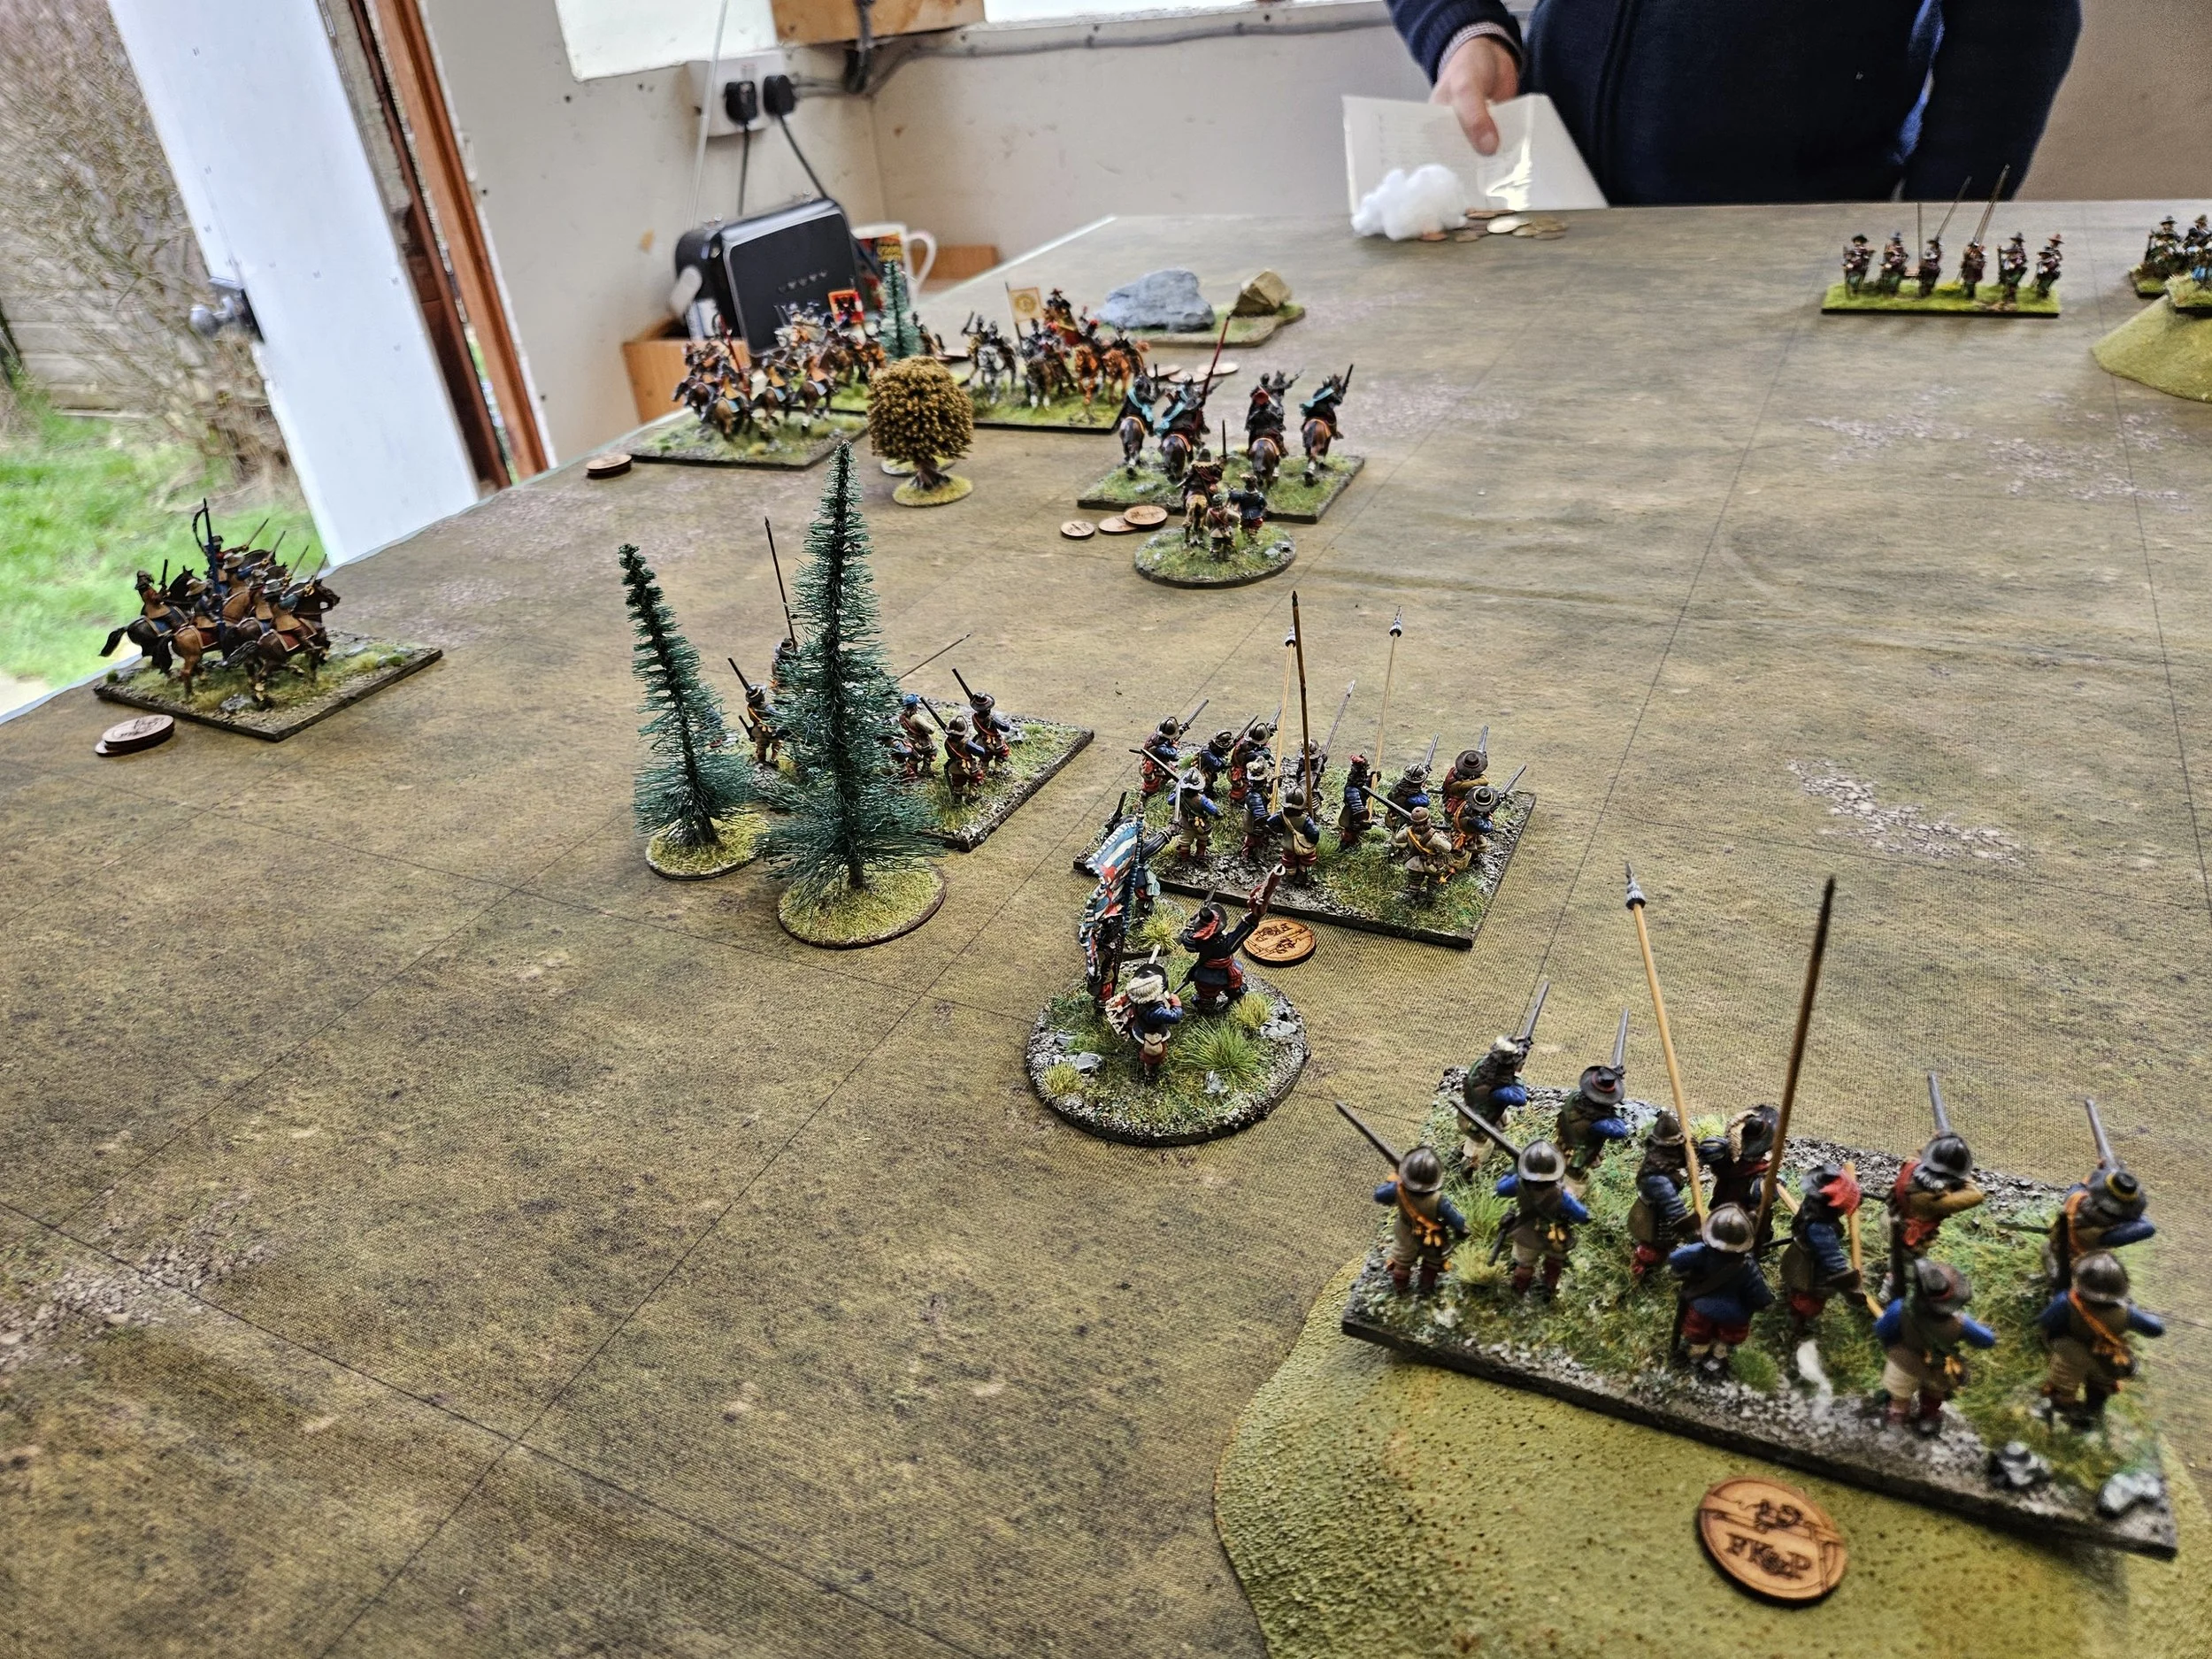
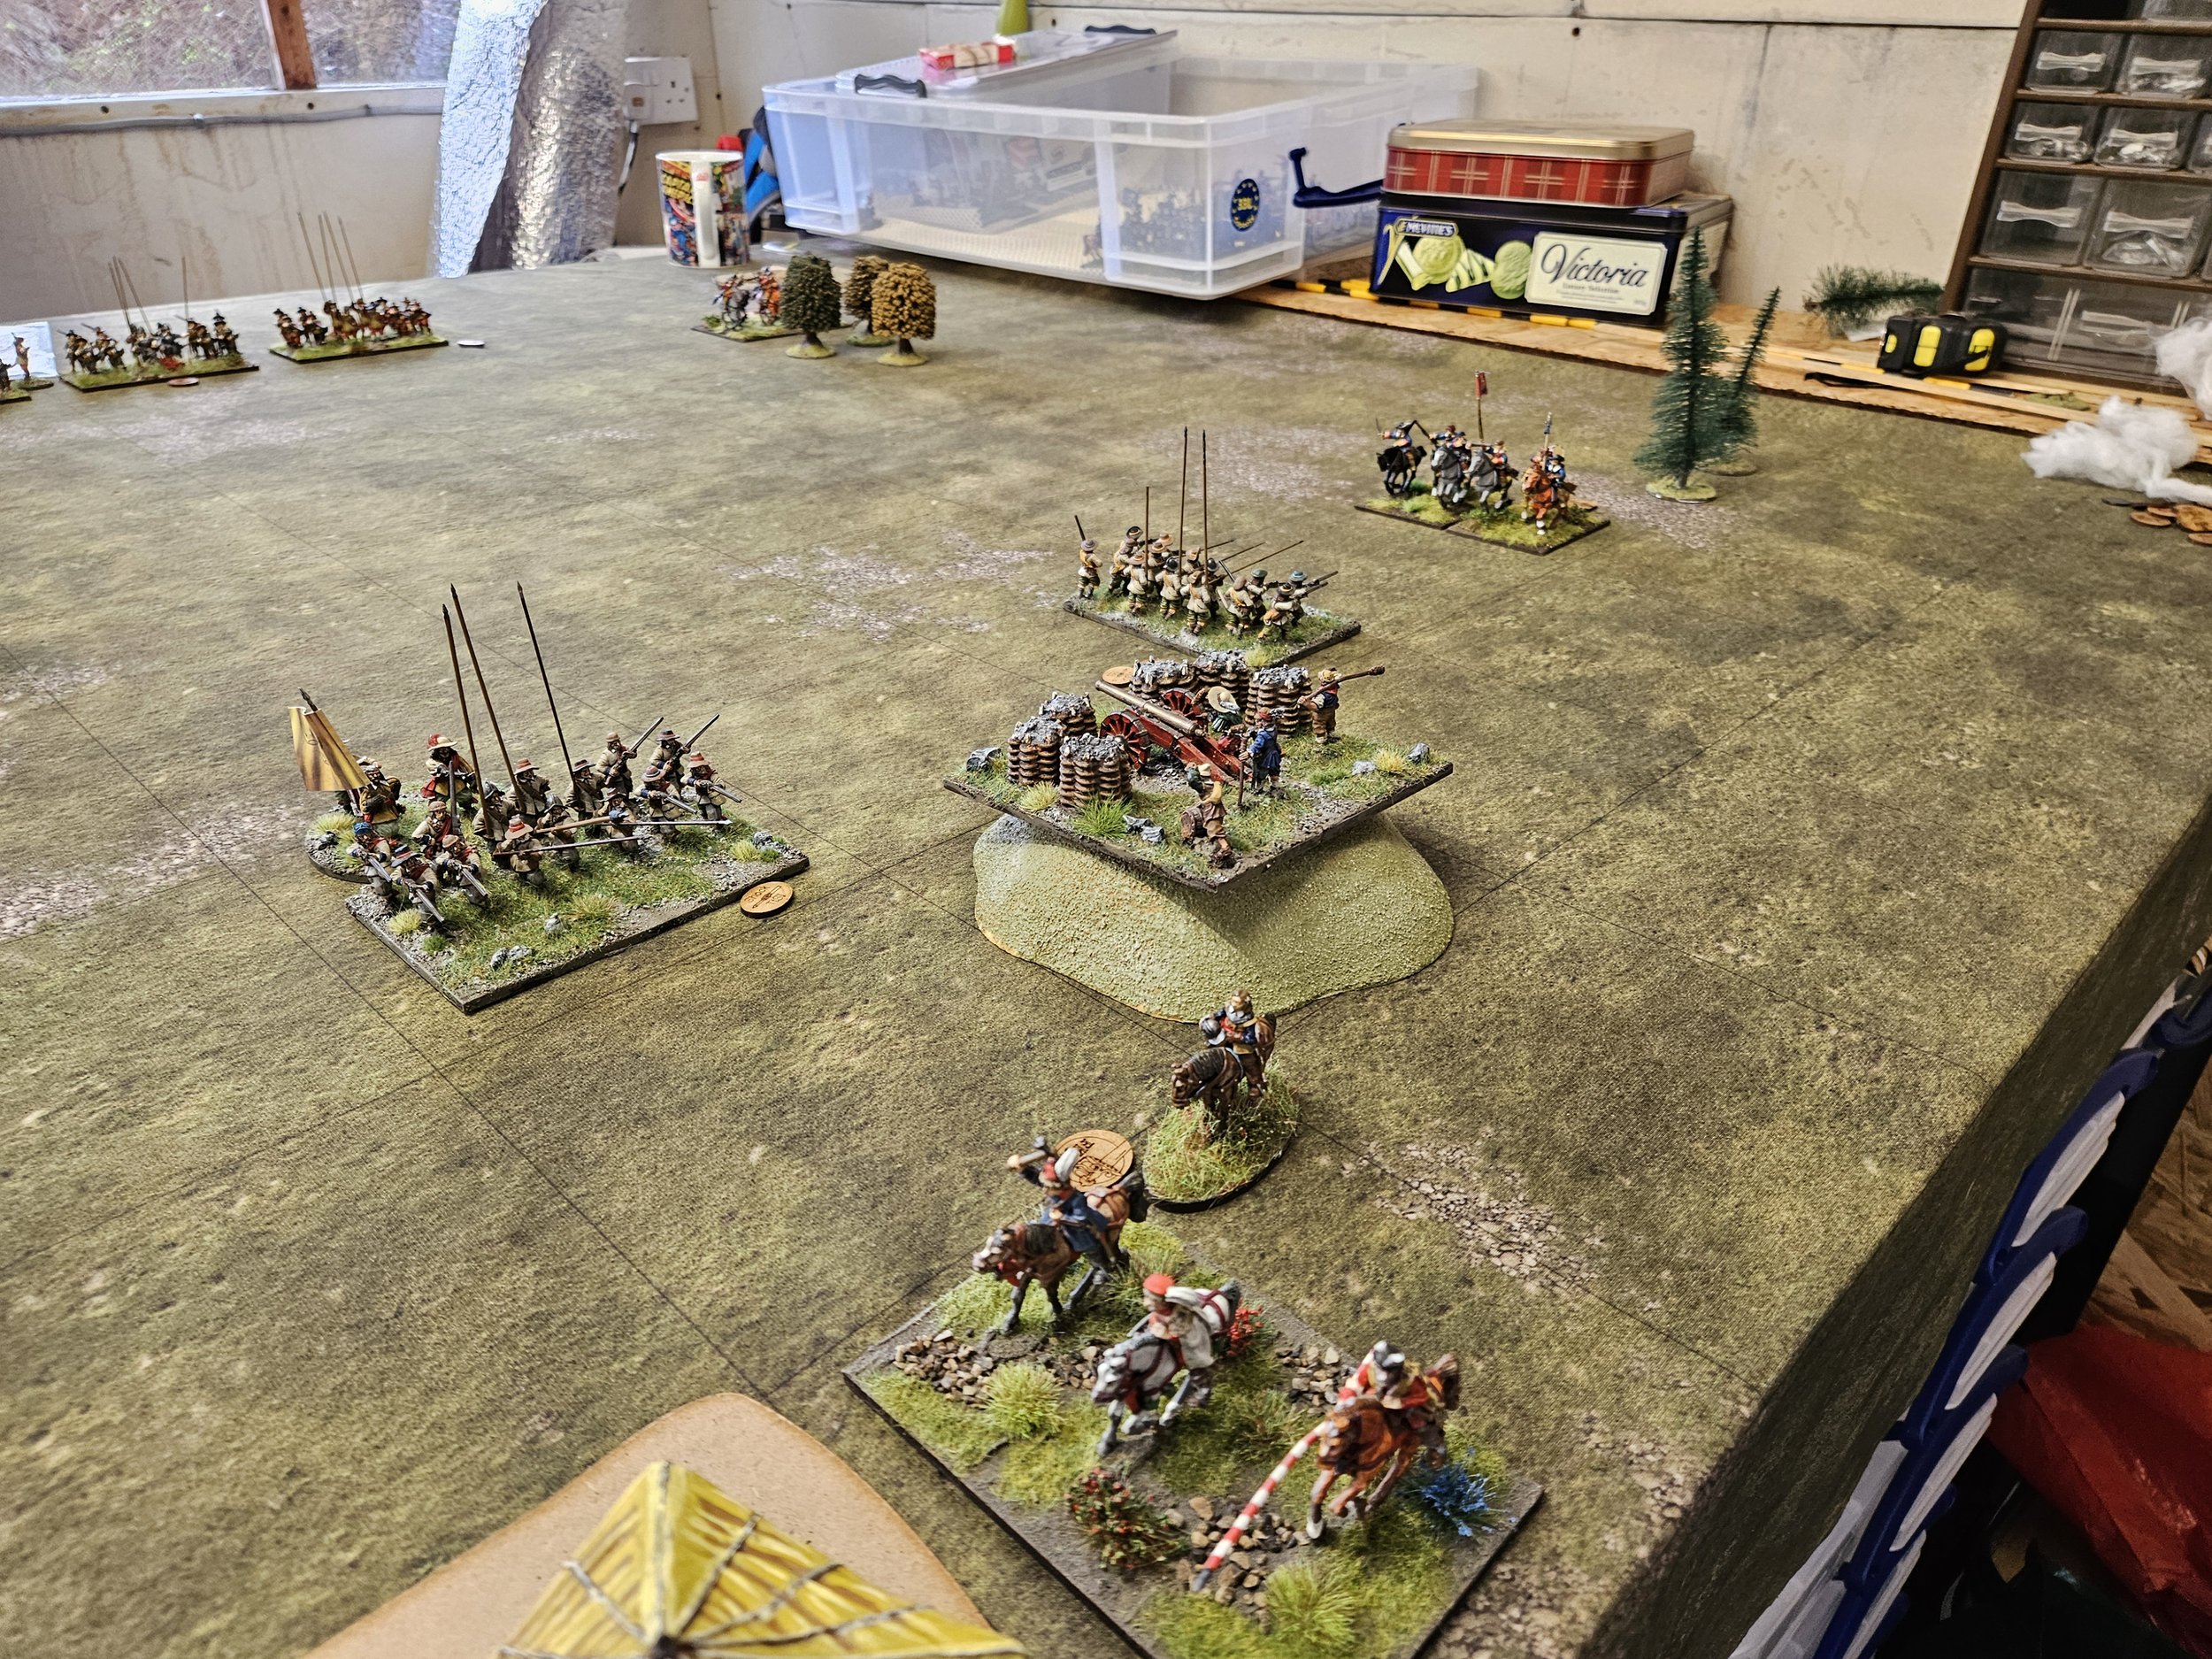
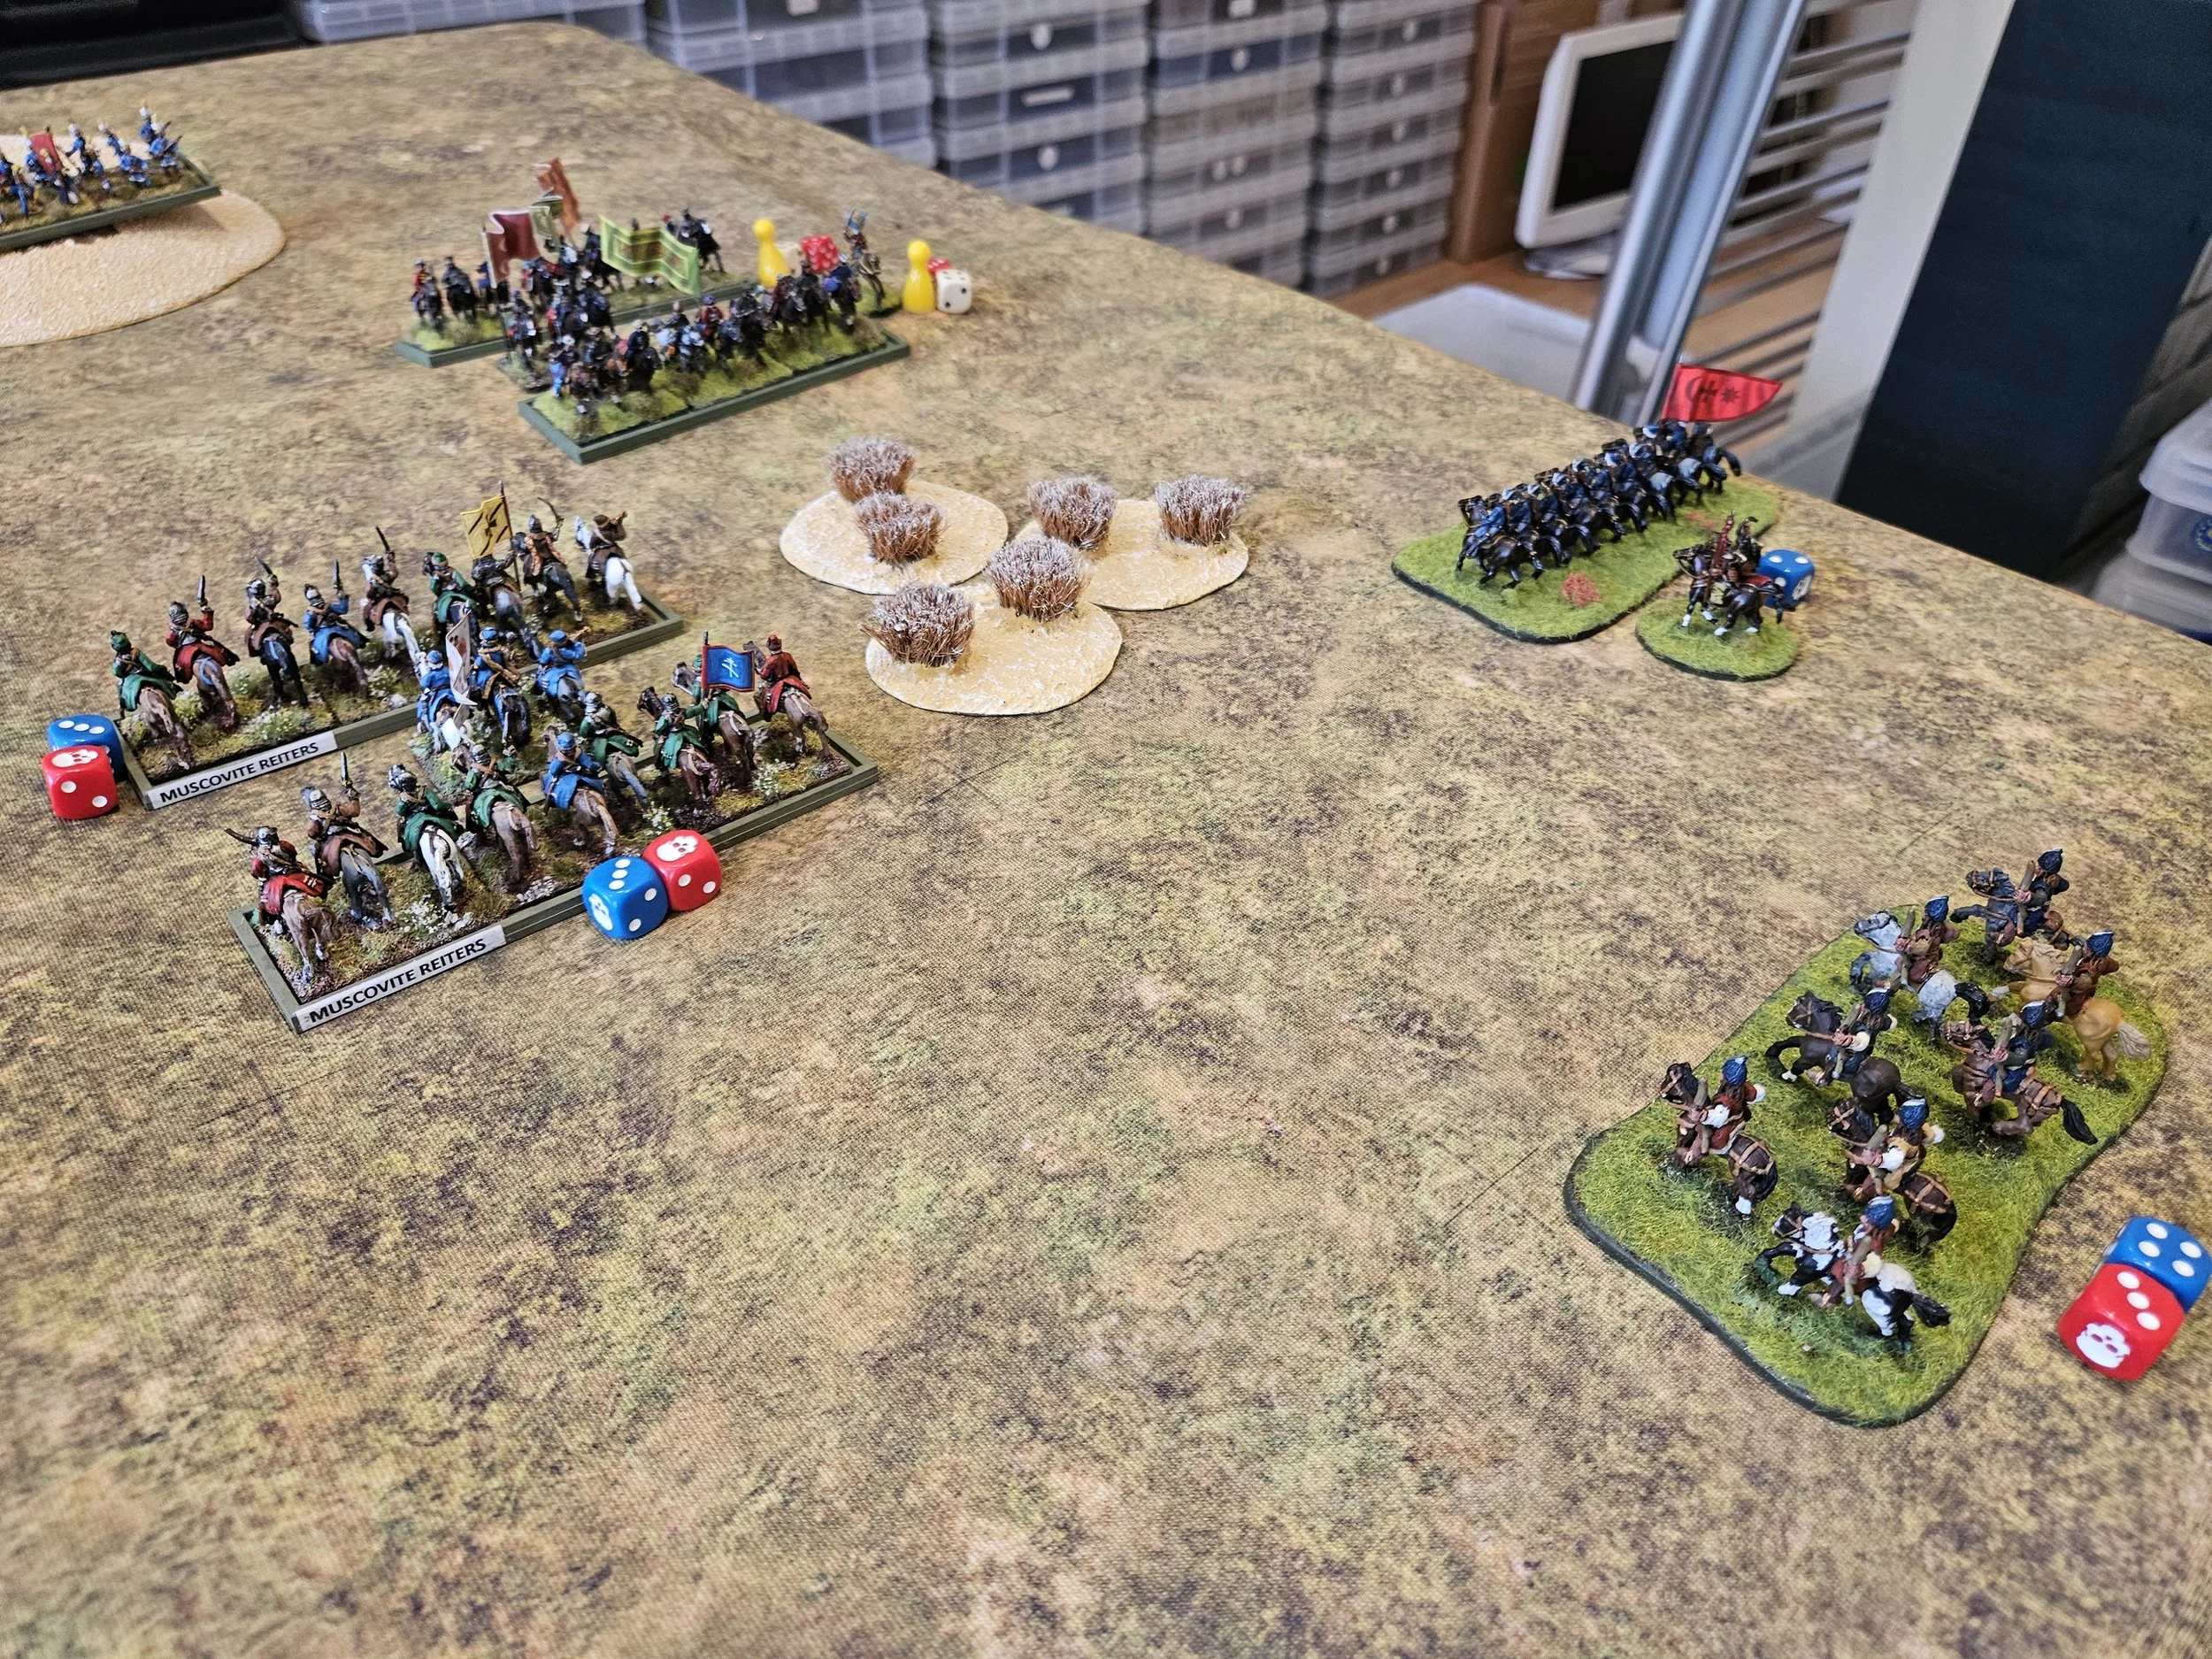
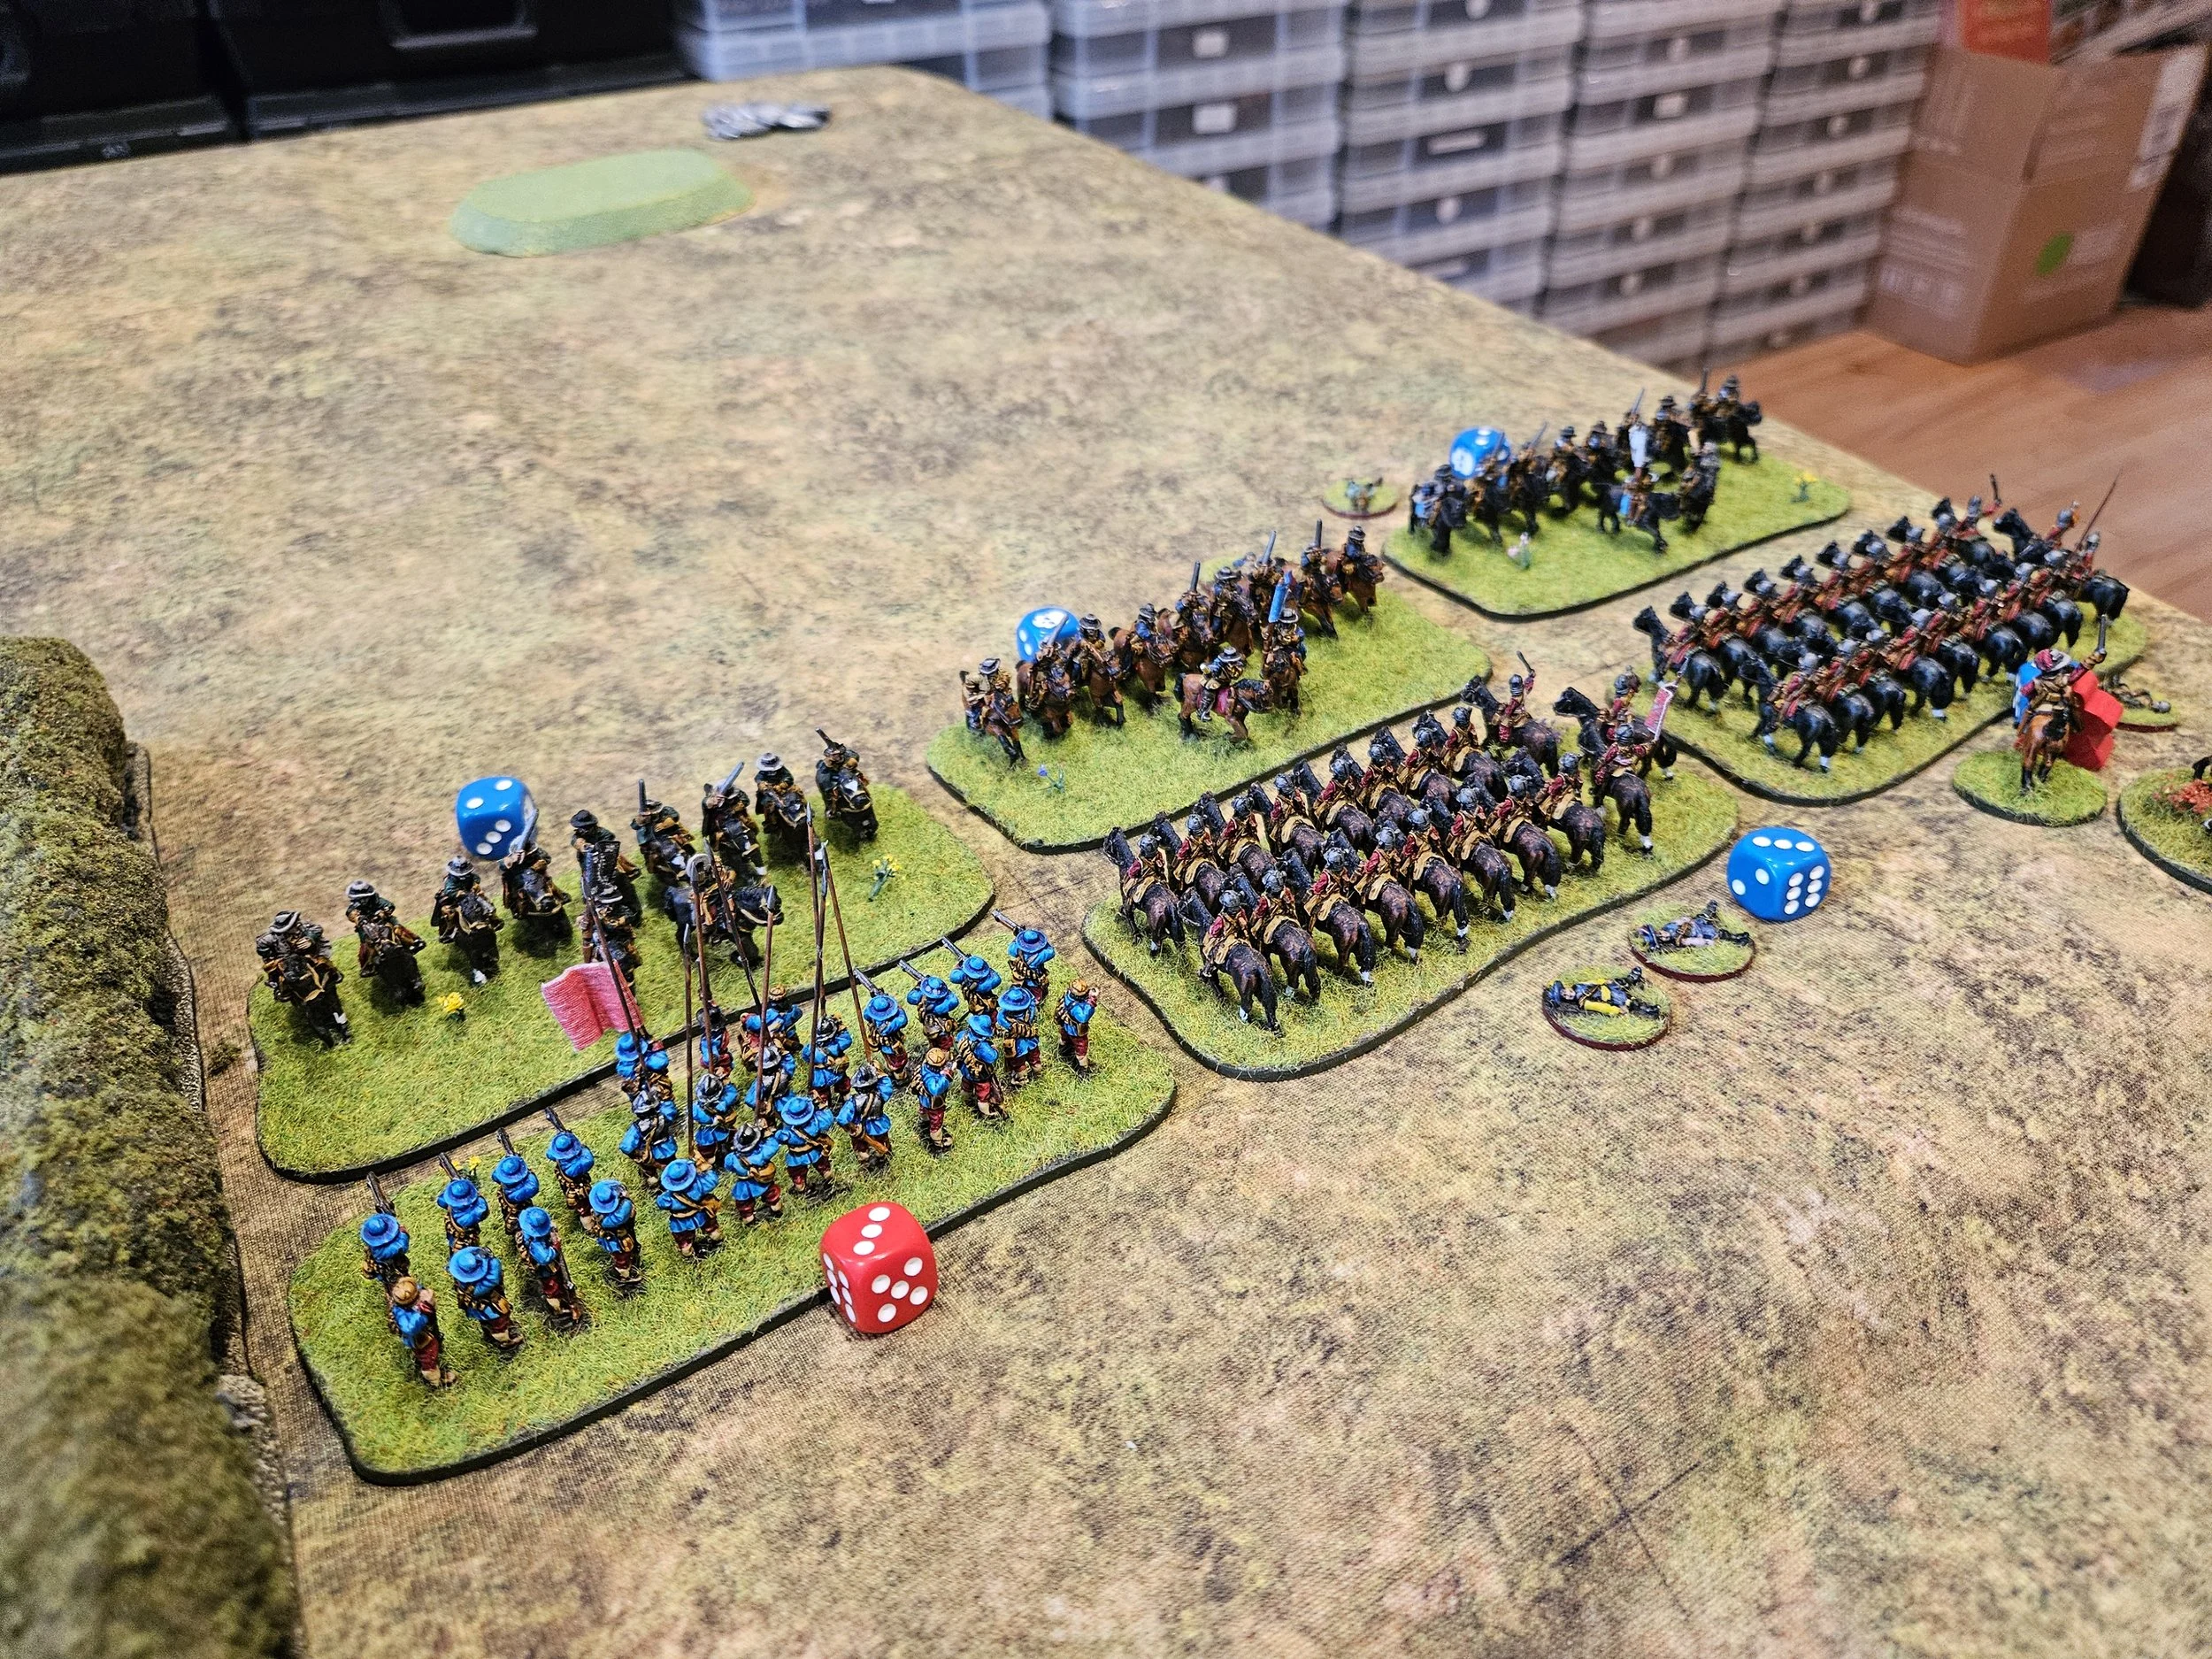
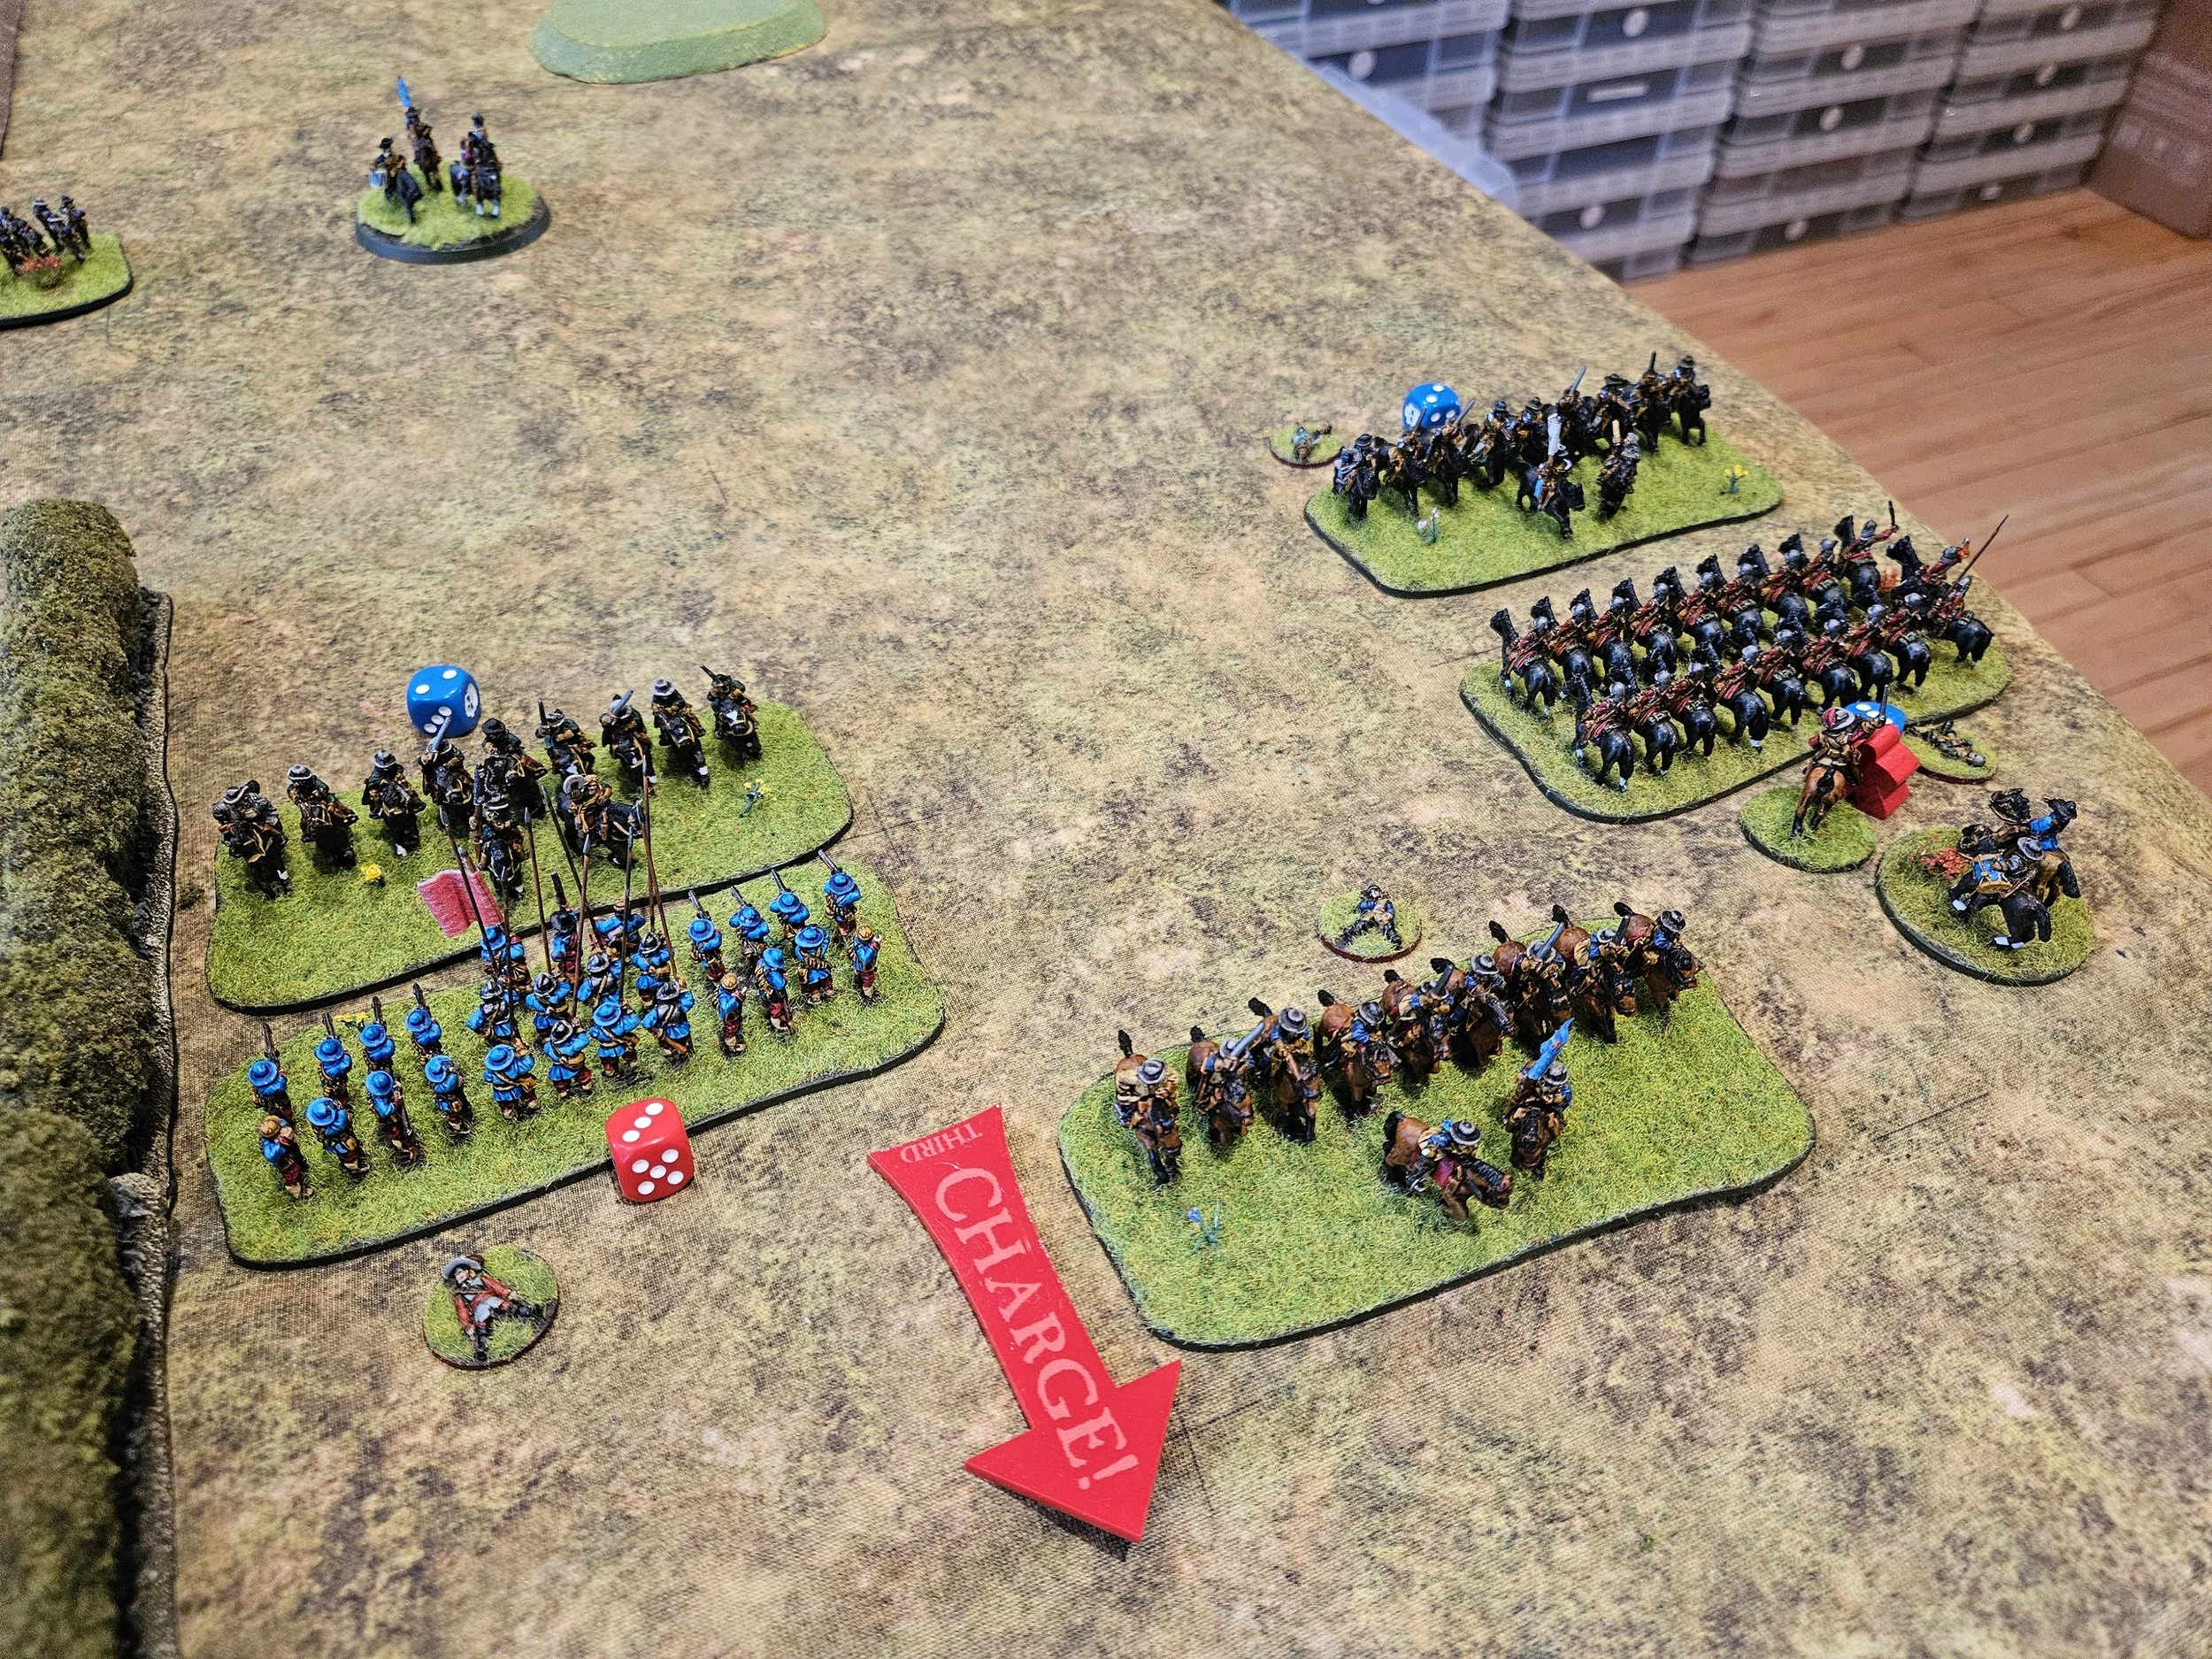
On the right wing, the terrain was much heavier: a hedge and nearby grove of trees forming a bit of a bottleneck. The Scots used their Pistoliers and some supporting infantry to hold up the Swedes: a bold advance isolating the Swedish dragoons from their horseholders and causing the Swedish Cuirassiers some trouble.
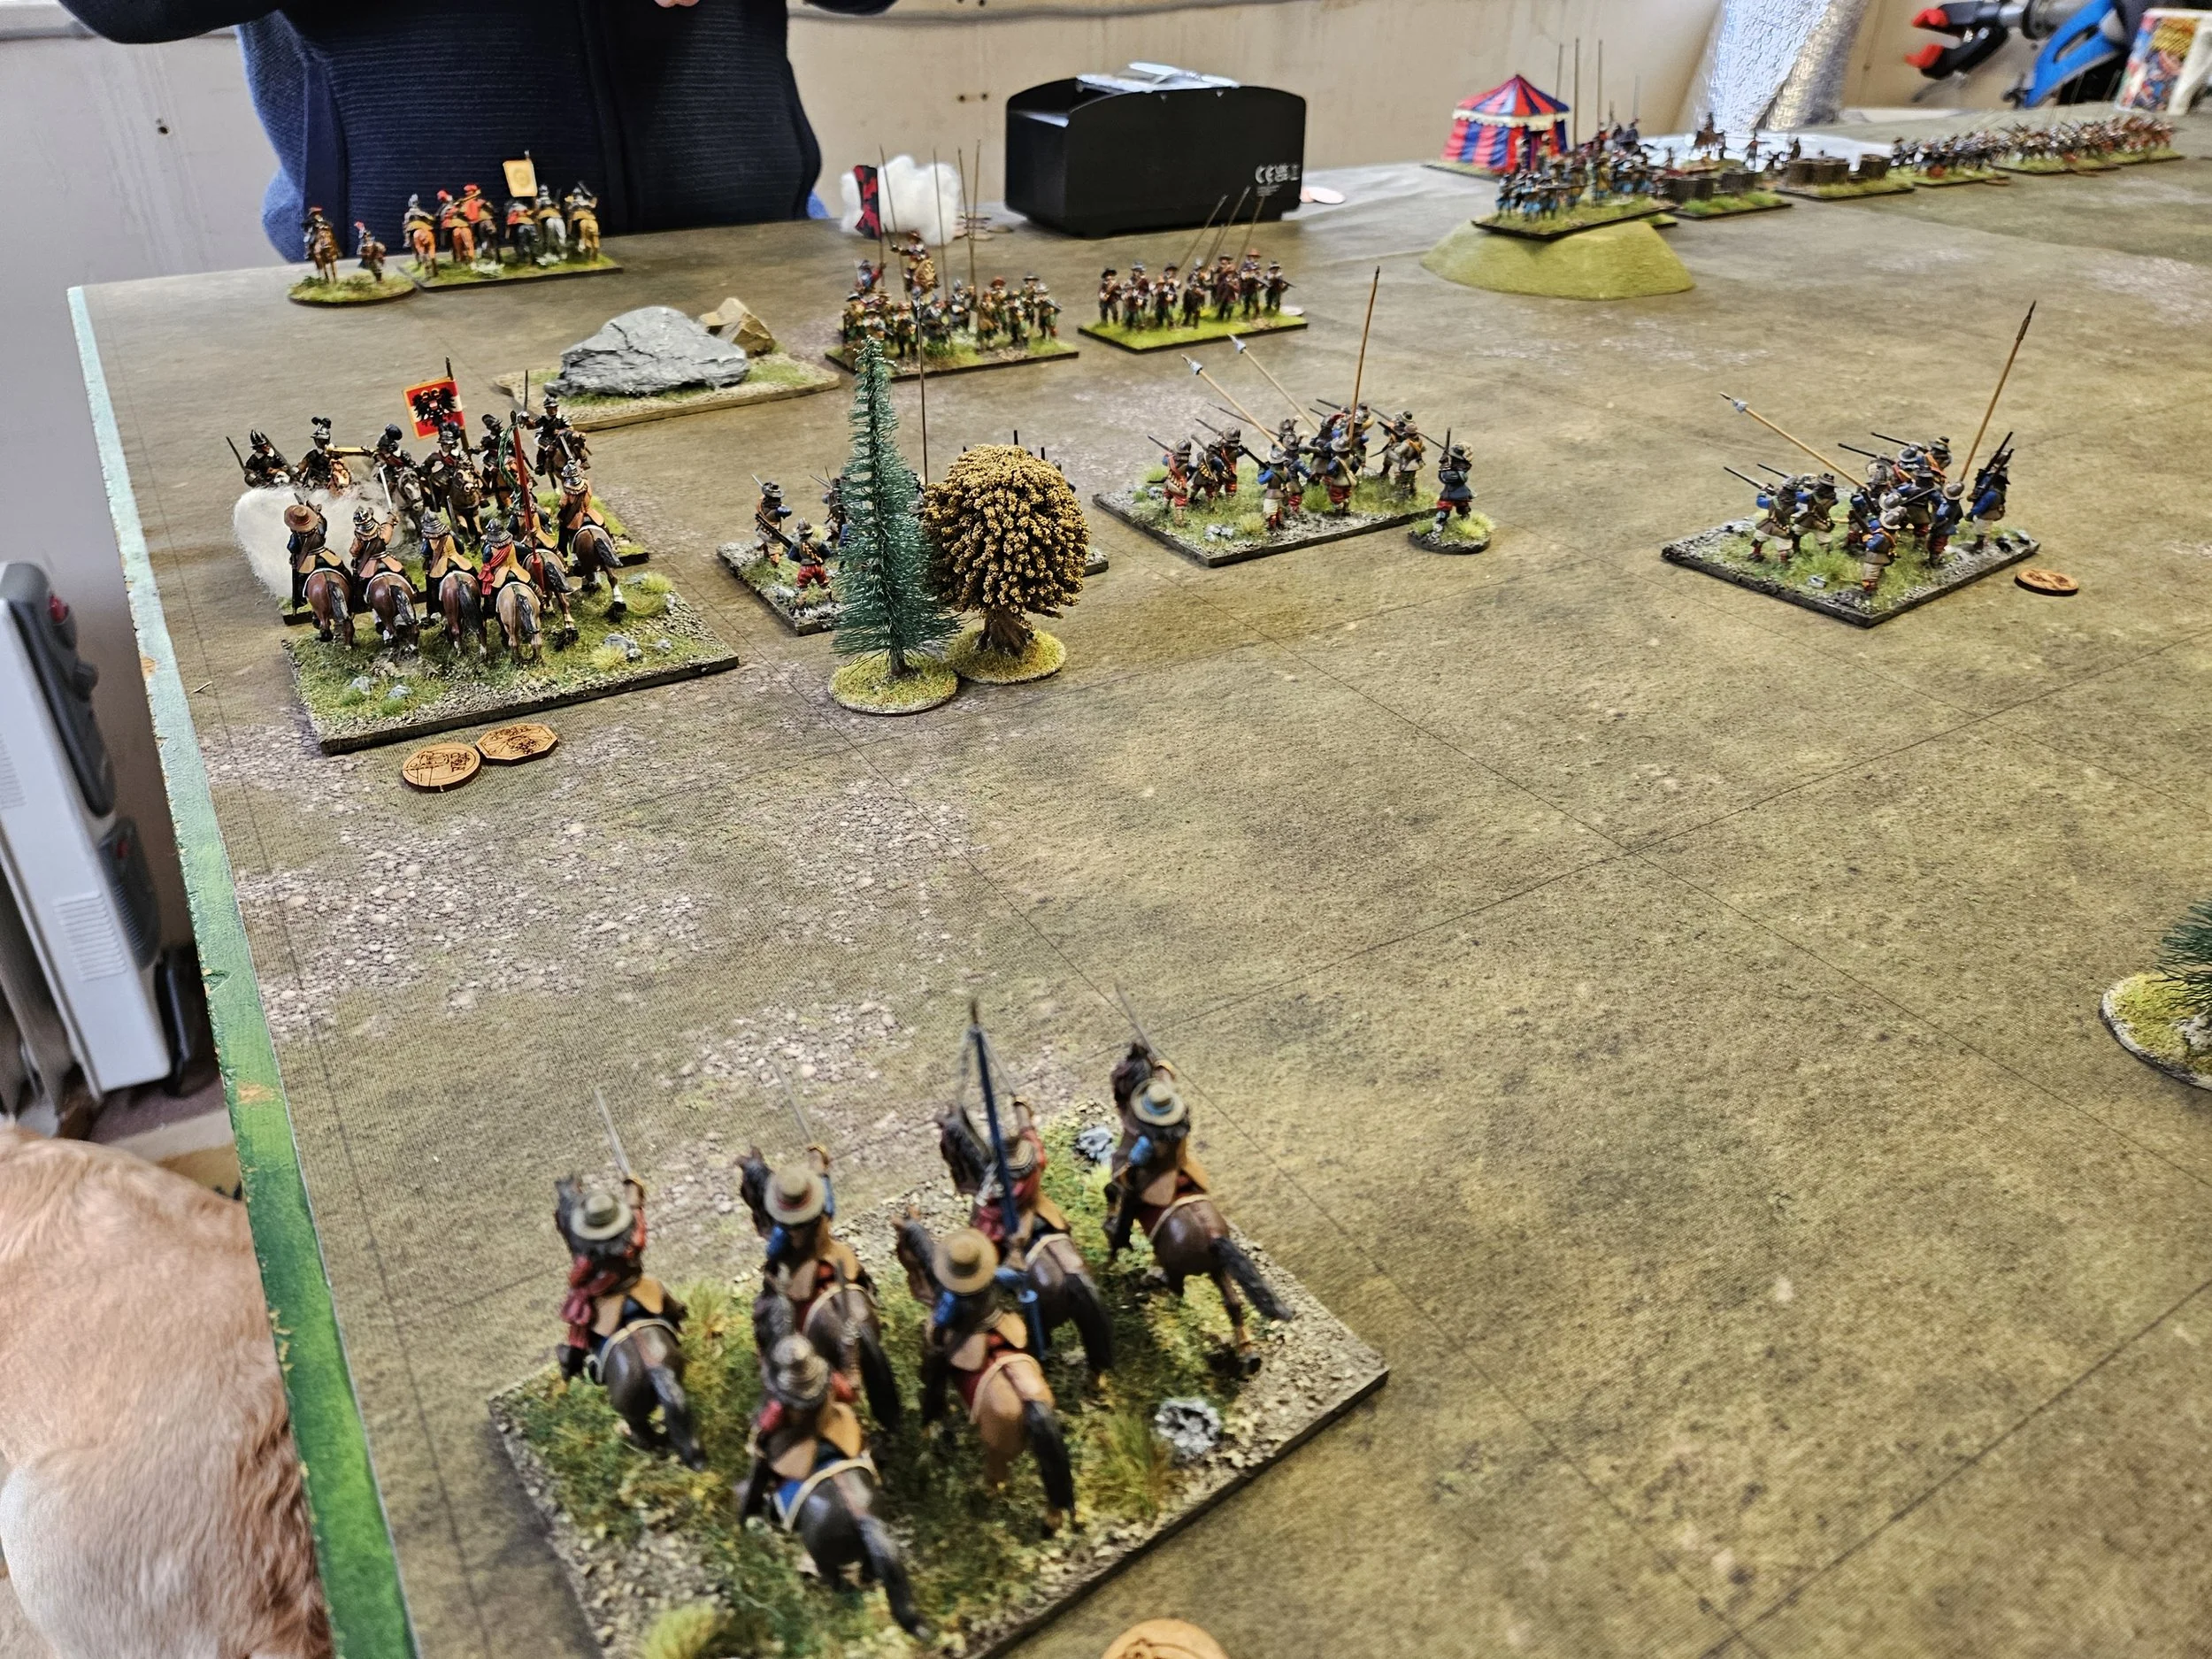
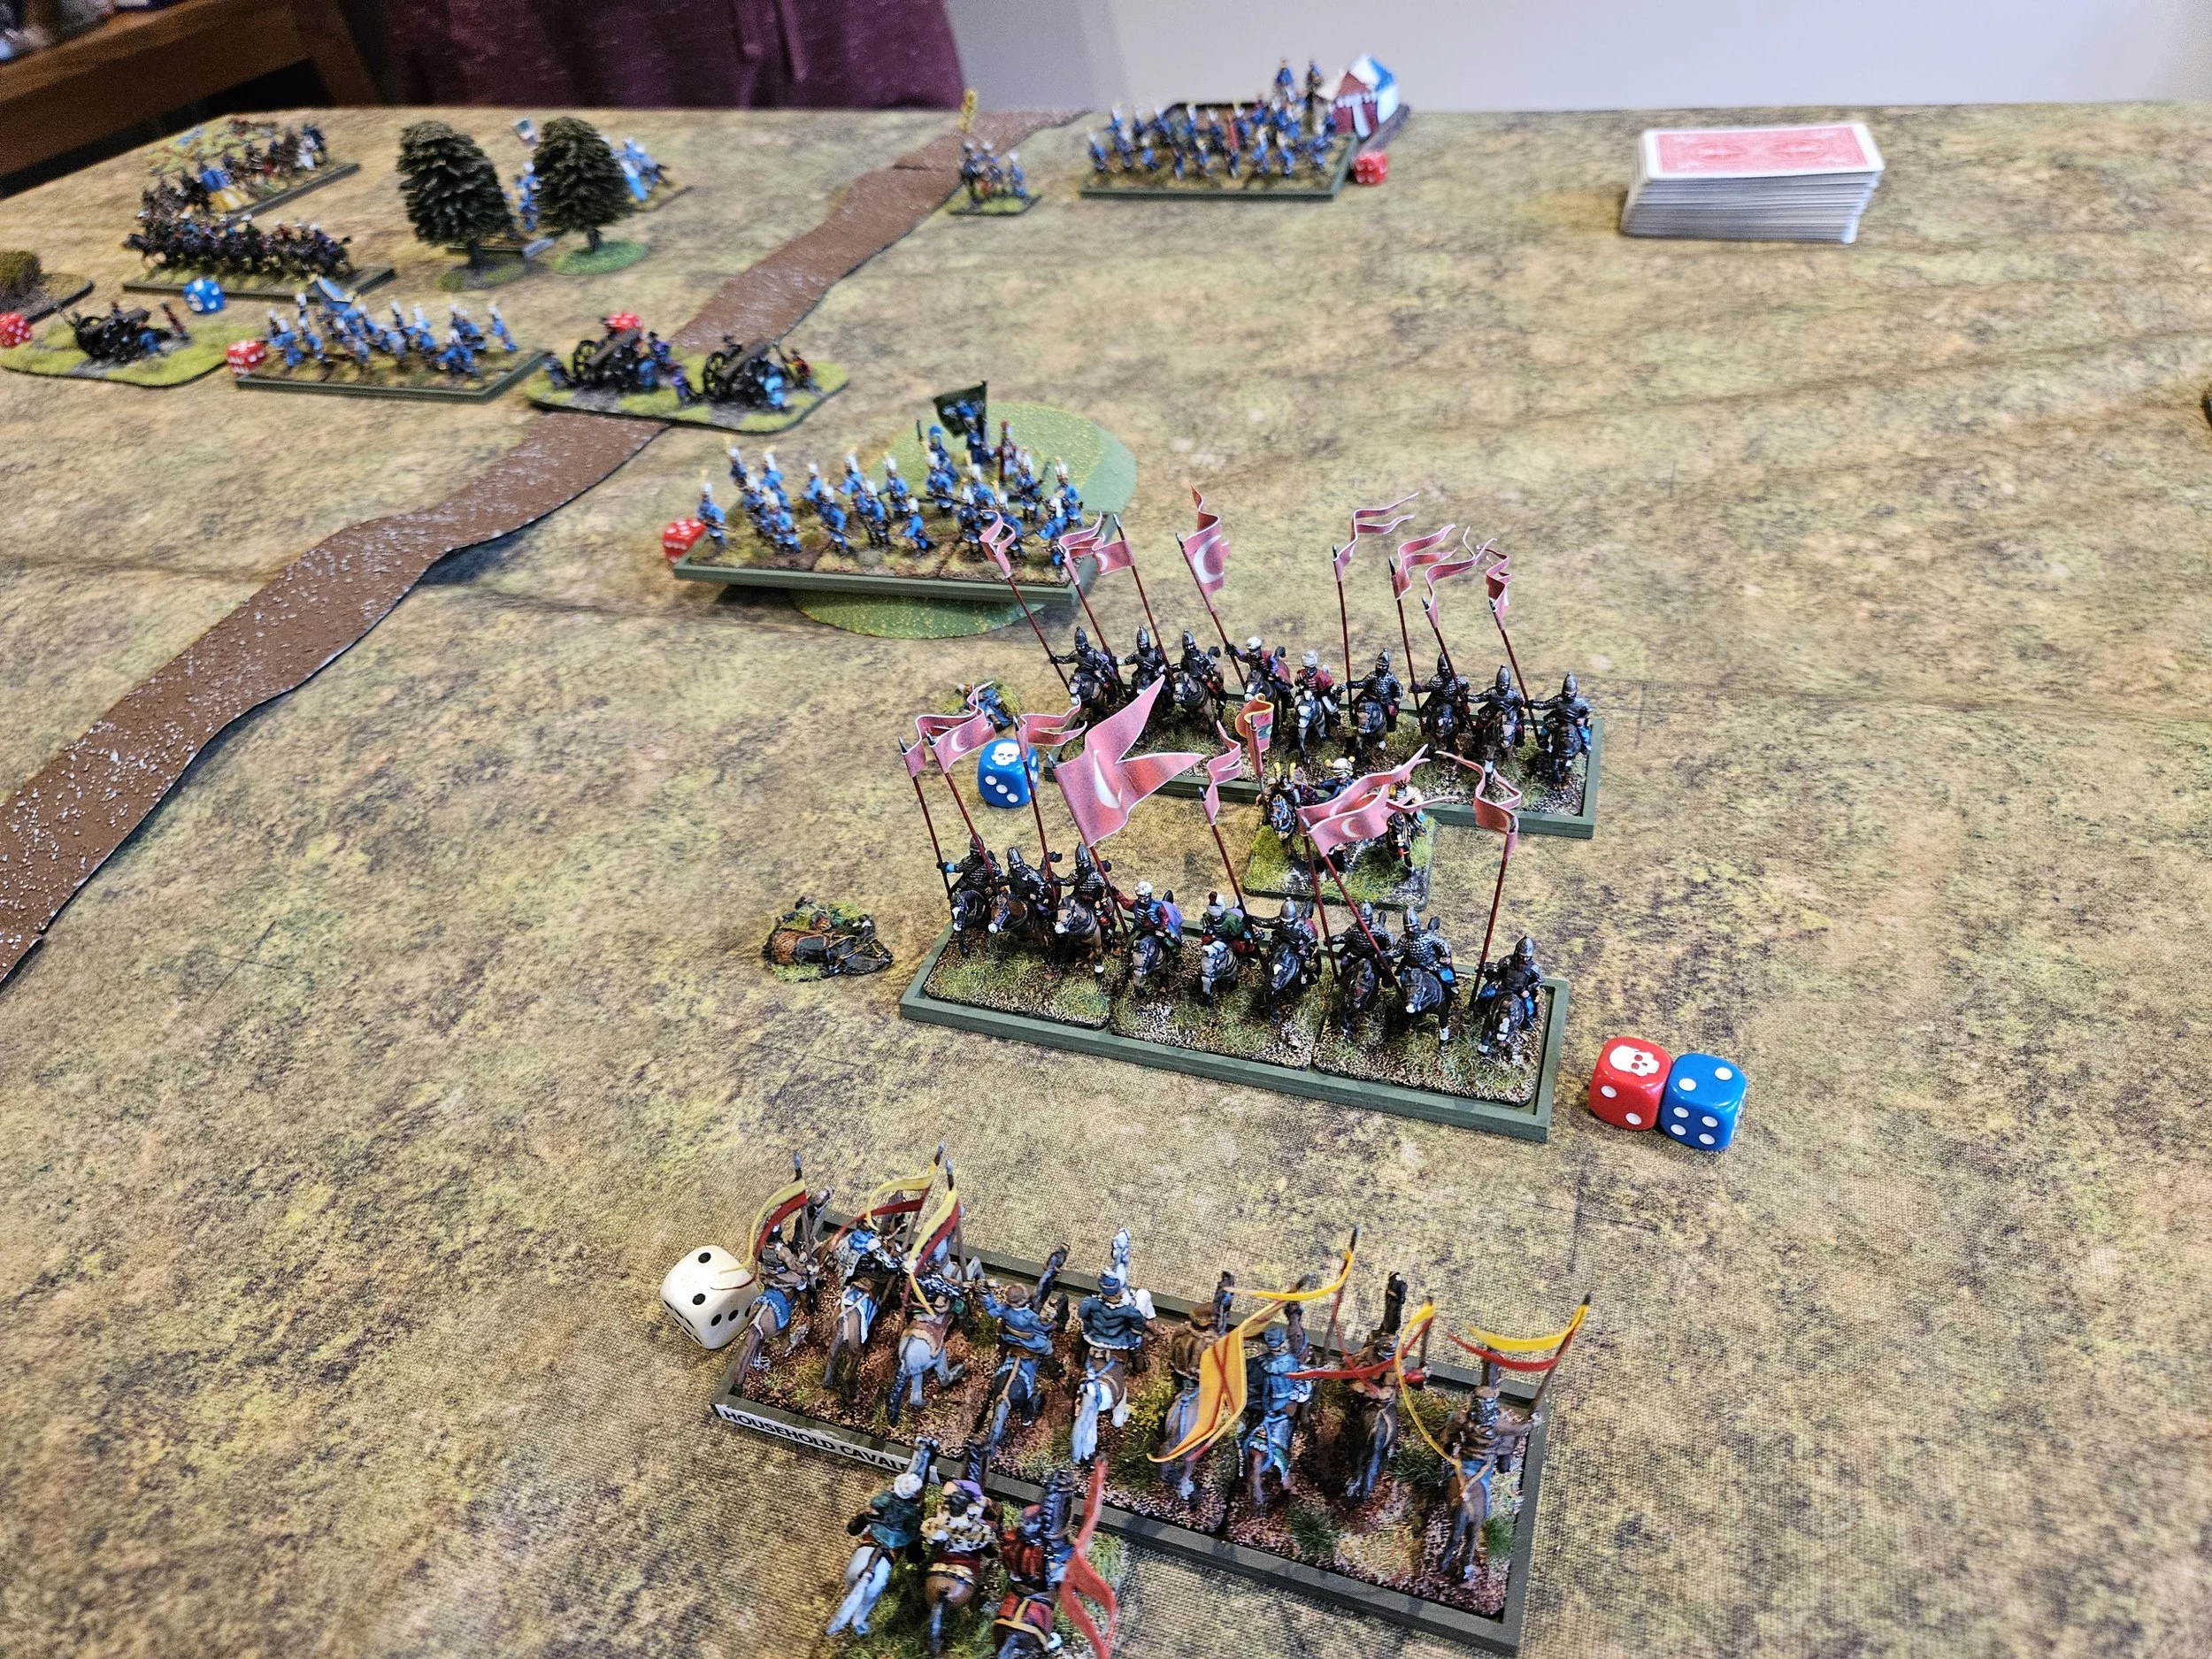
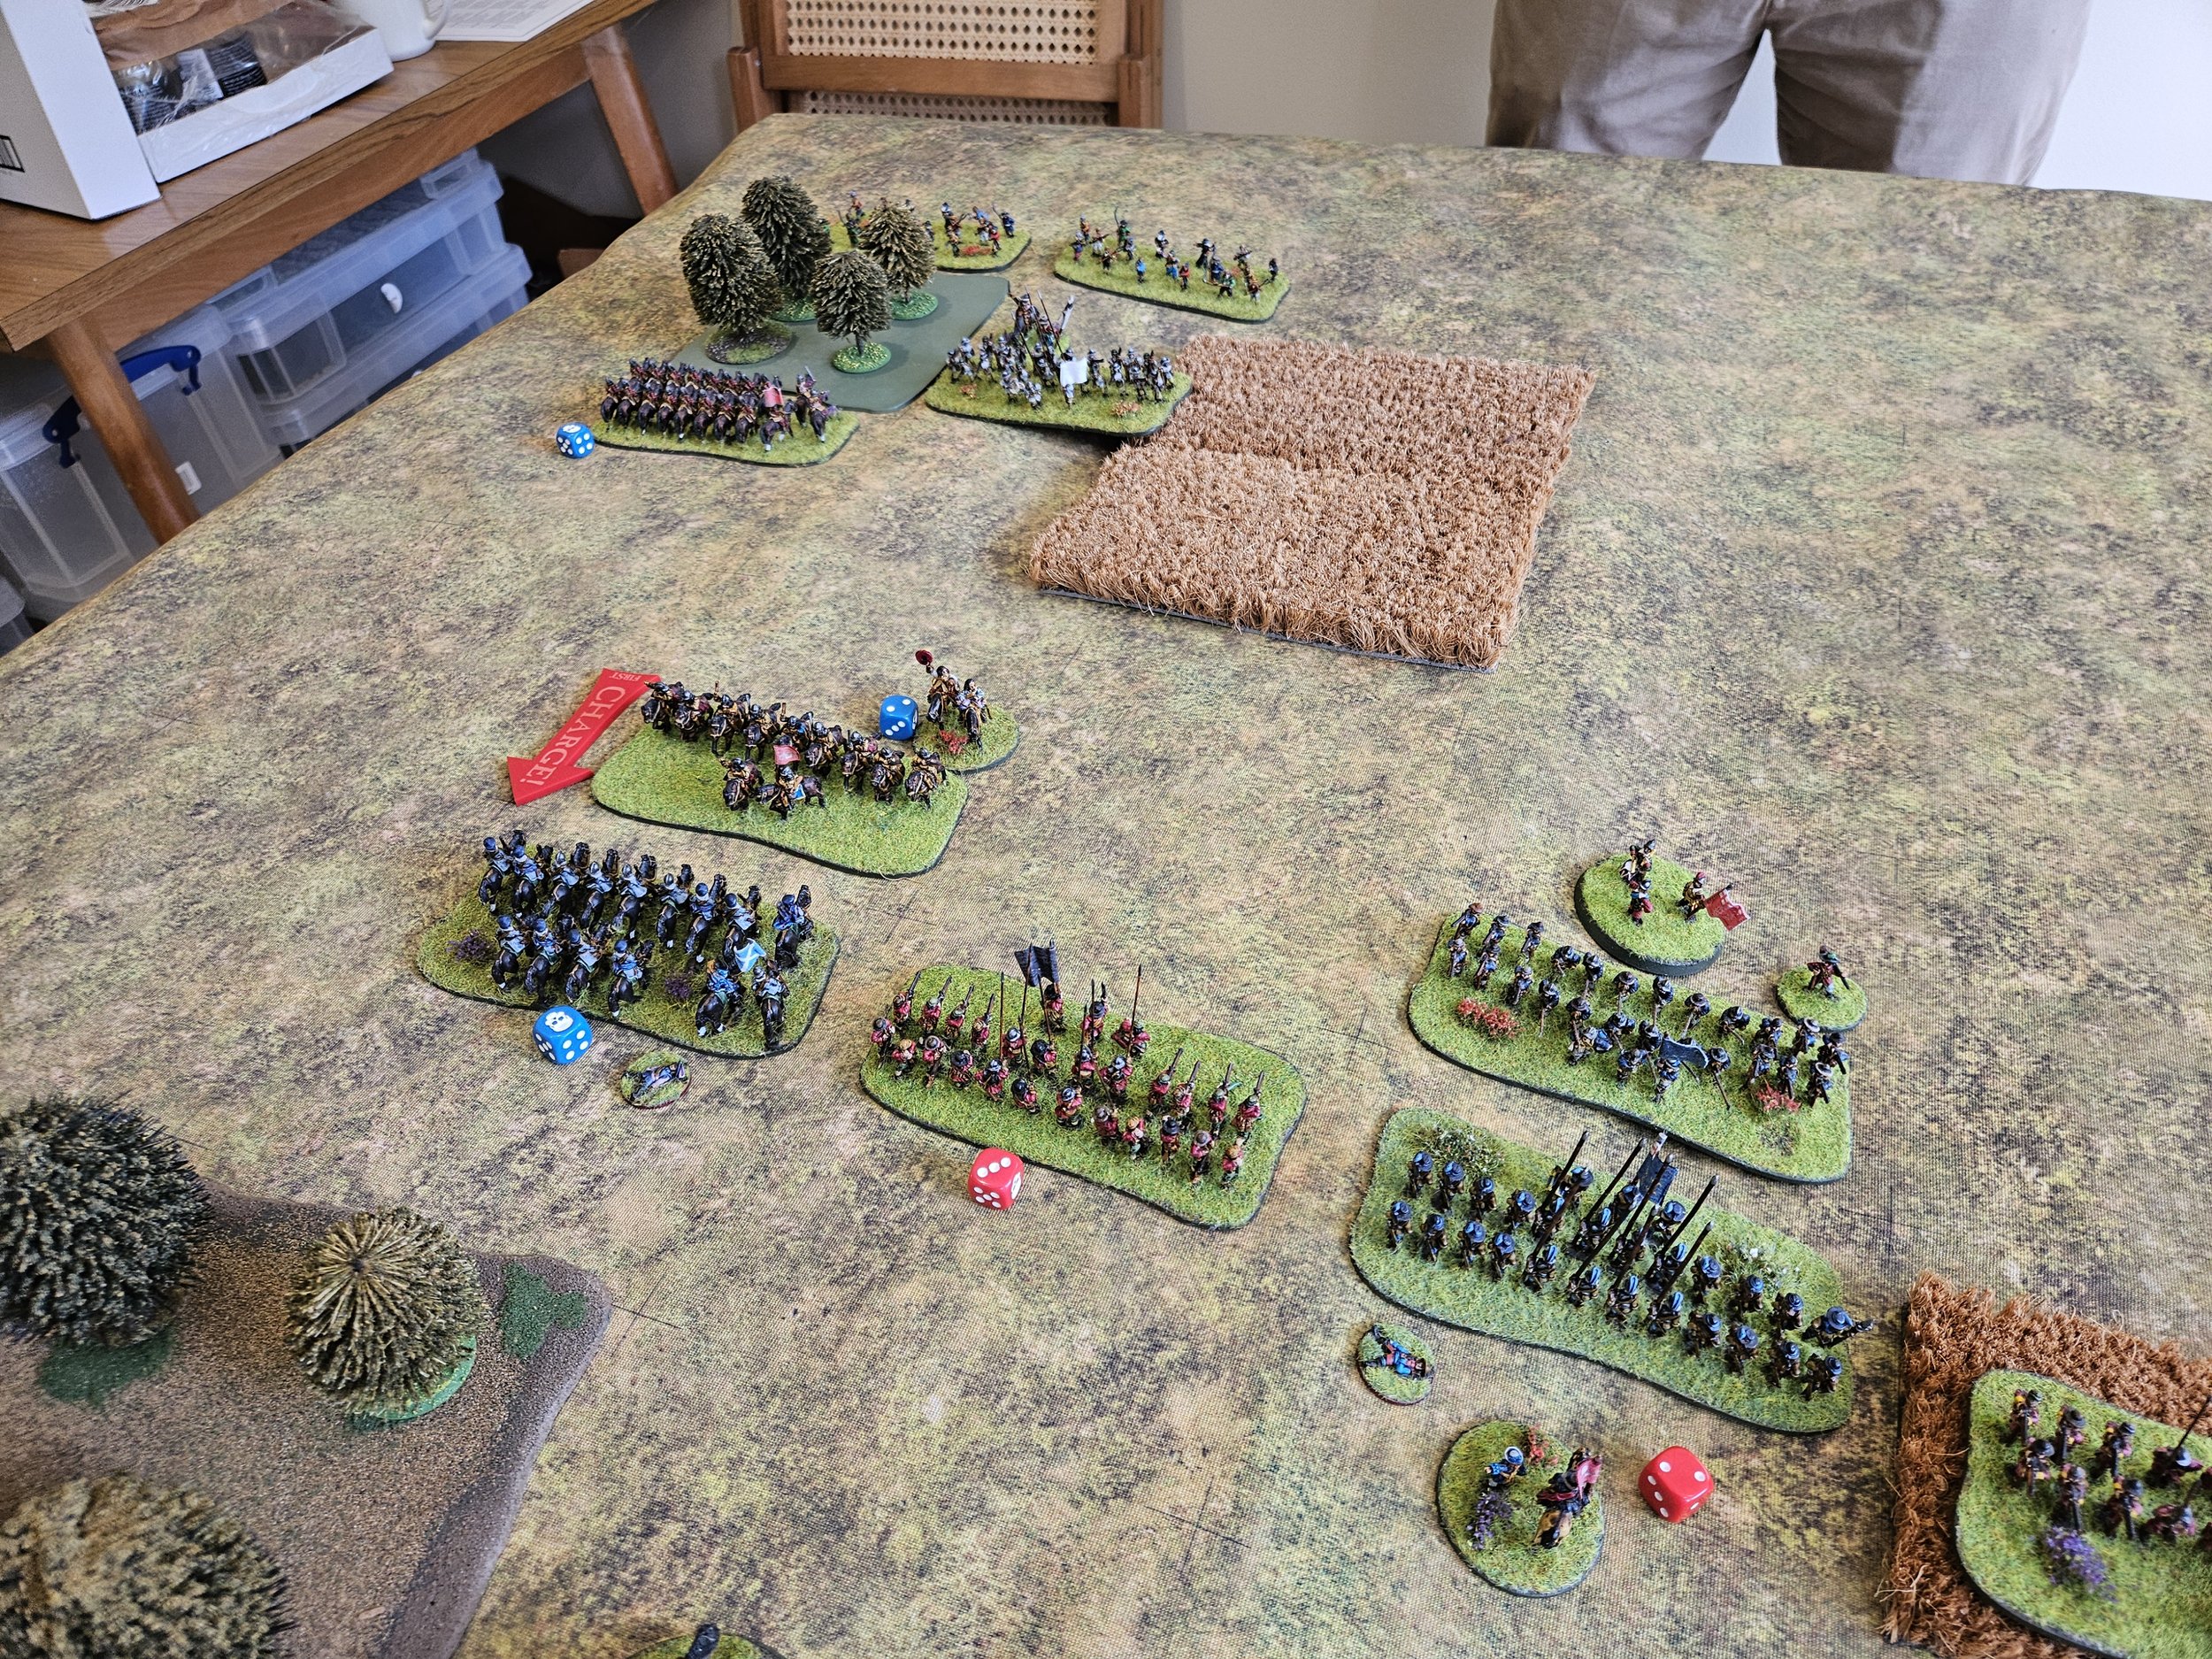
Although the Scots horsemen would effectively hold up the Cuirassiers for the whole game, the rest of the Swedish horse did eventually manage to break through the Scottish infantry, but with casualties heavy on both sides.


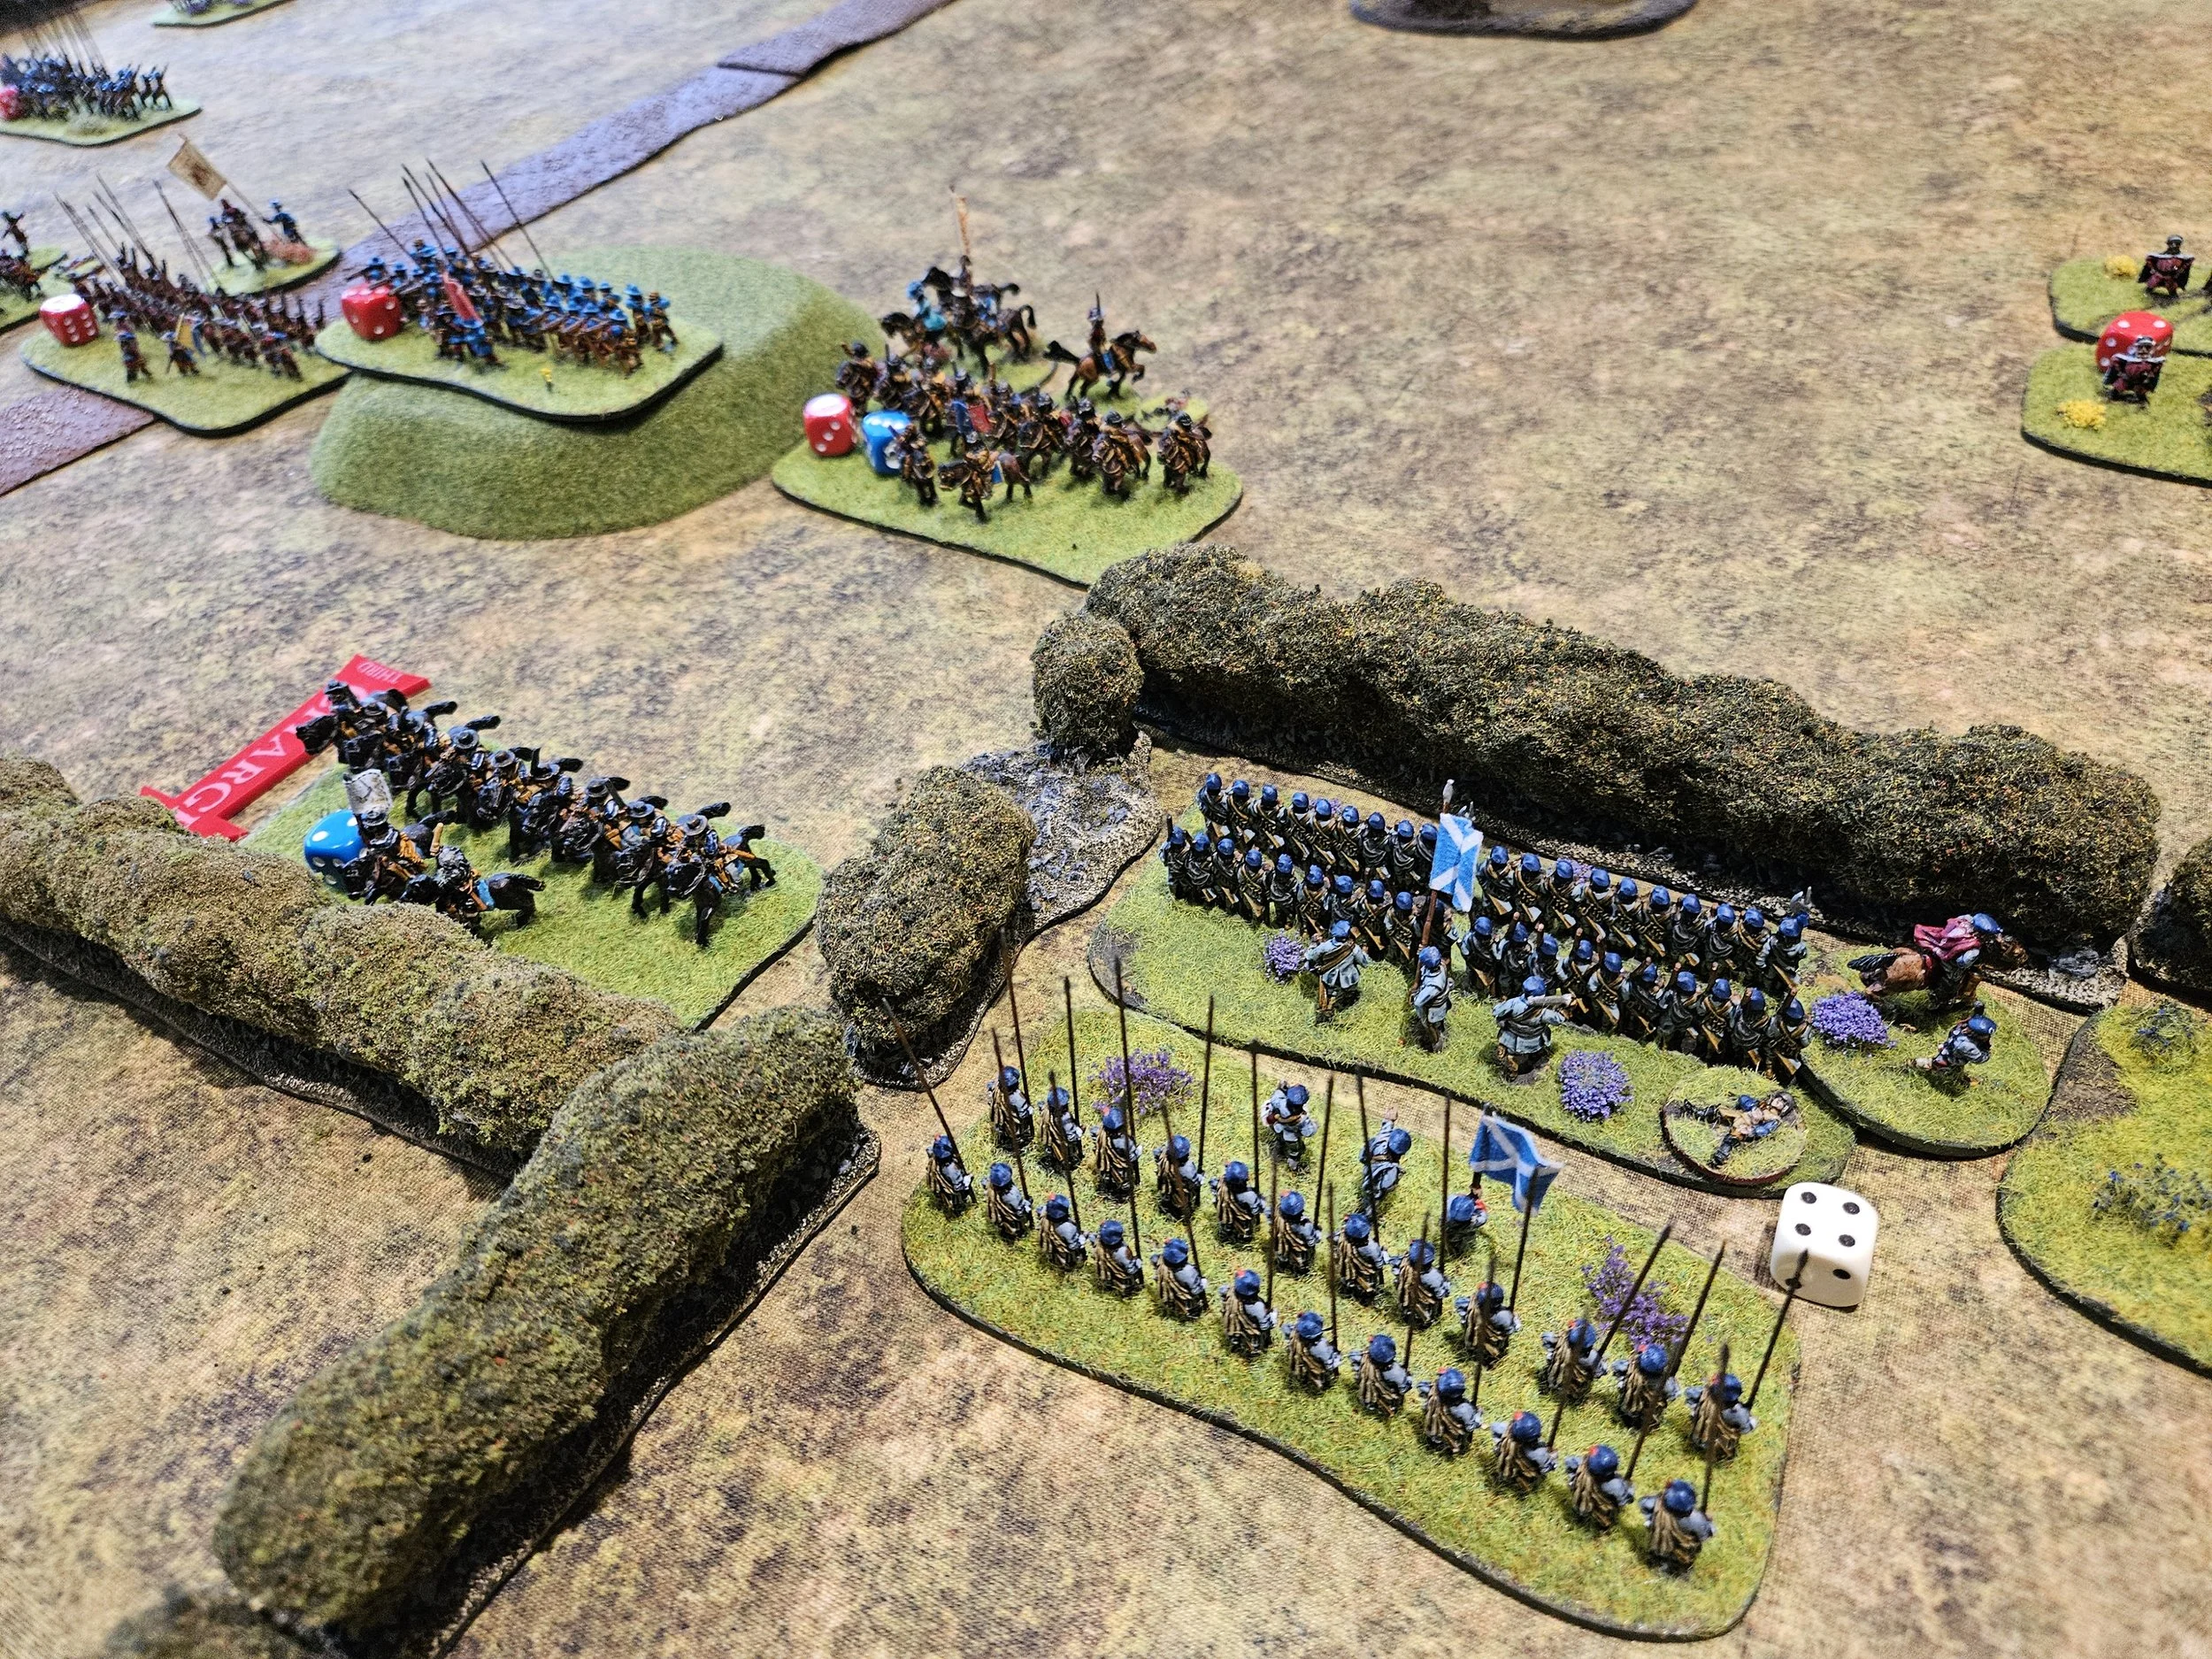


So with the clashes on the left ending in favour of the Scots, and the clashes on the right ending really honours even with the Swedes having a slight positional advantage, the battle would be decided in the centre.
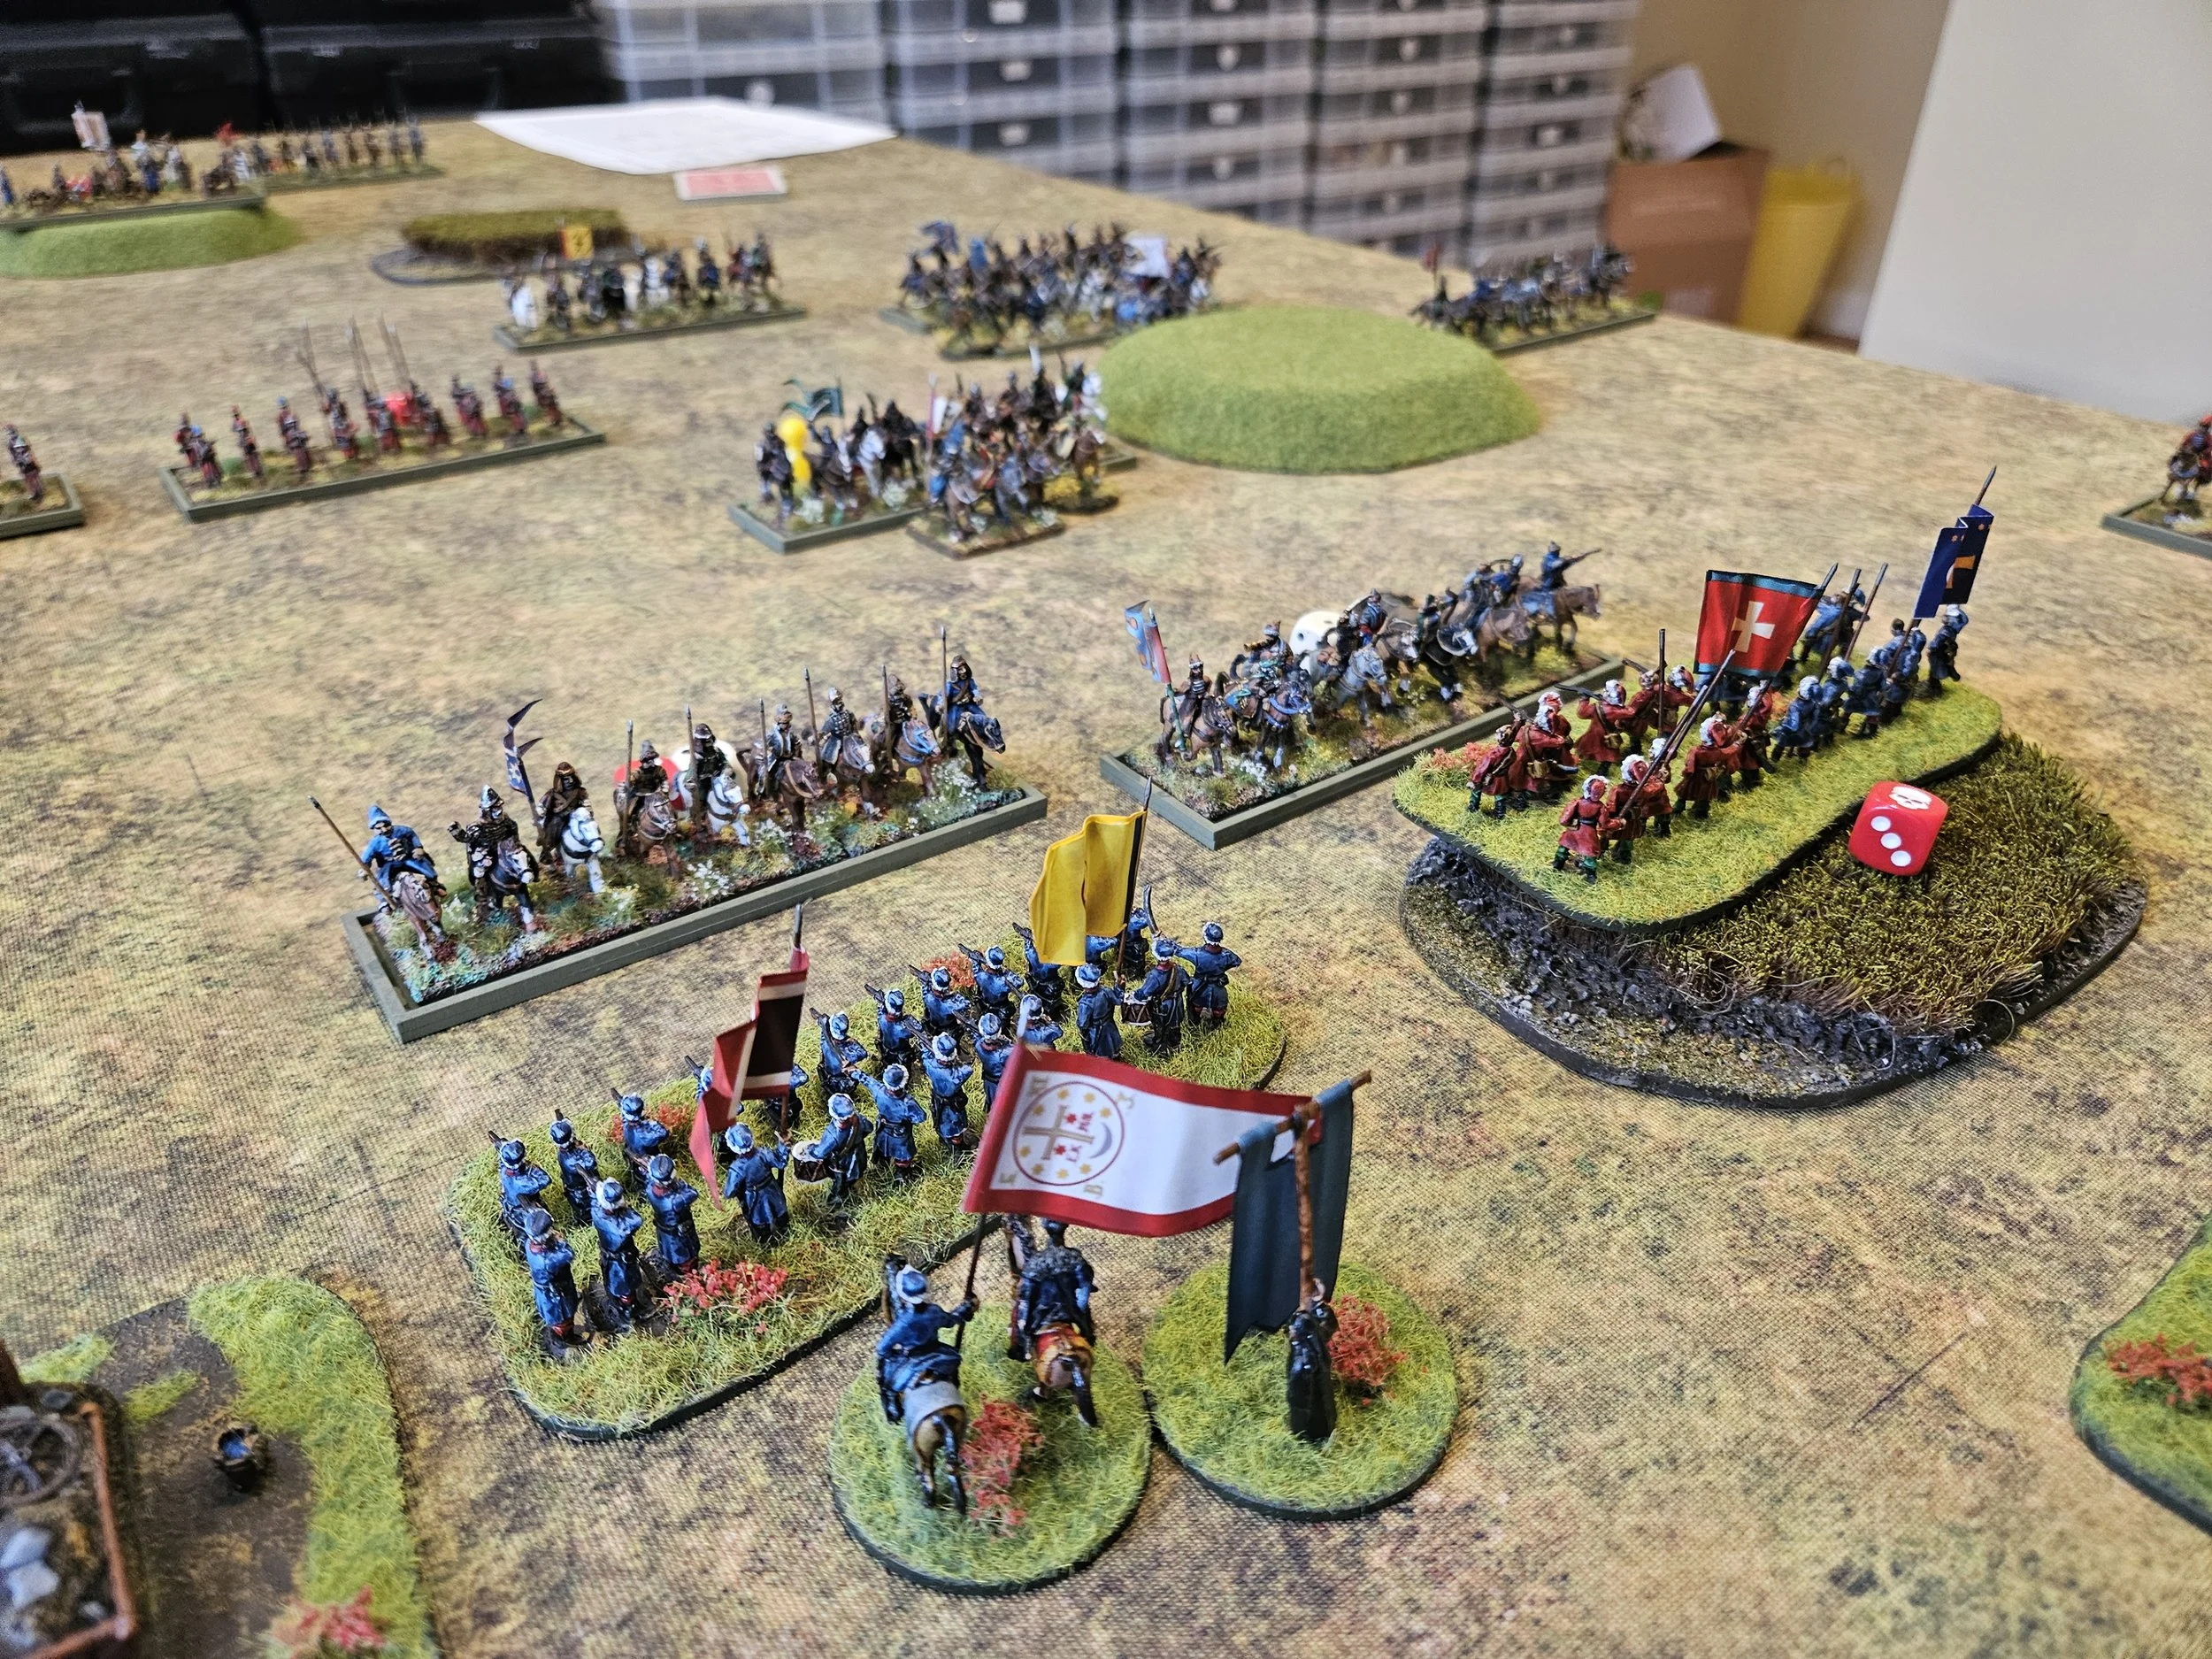
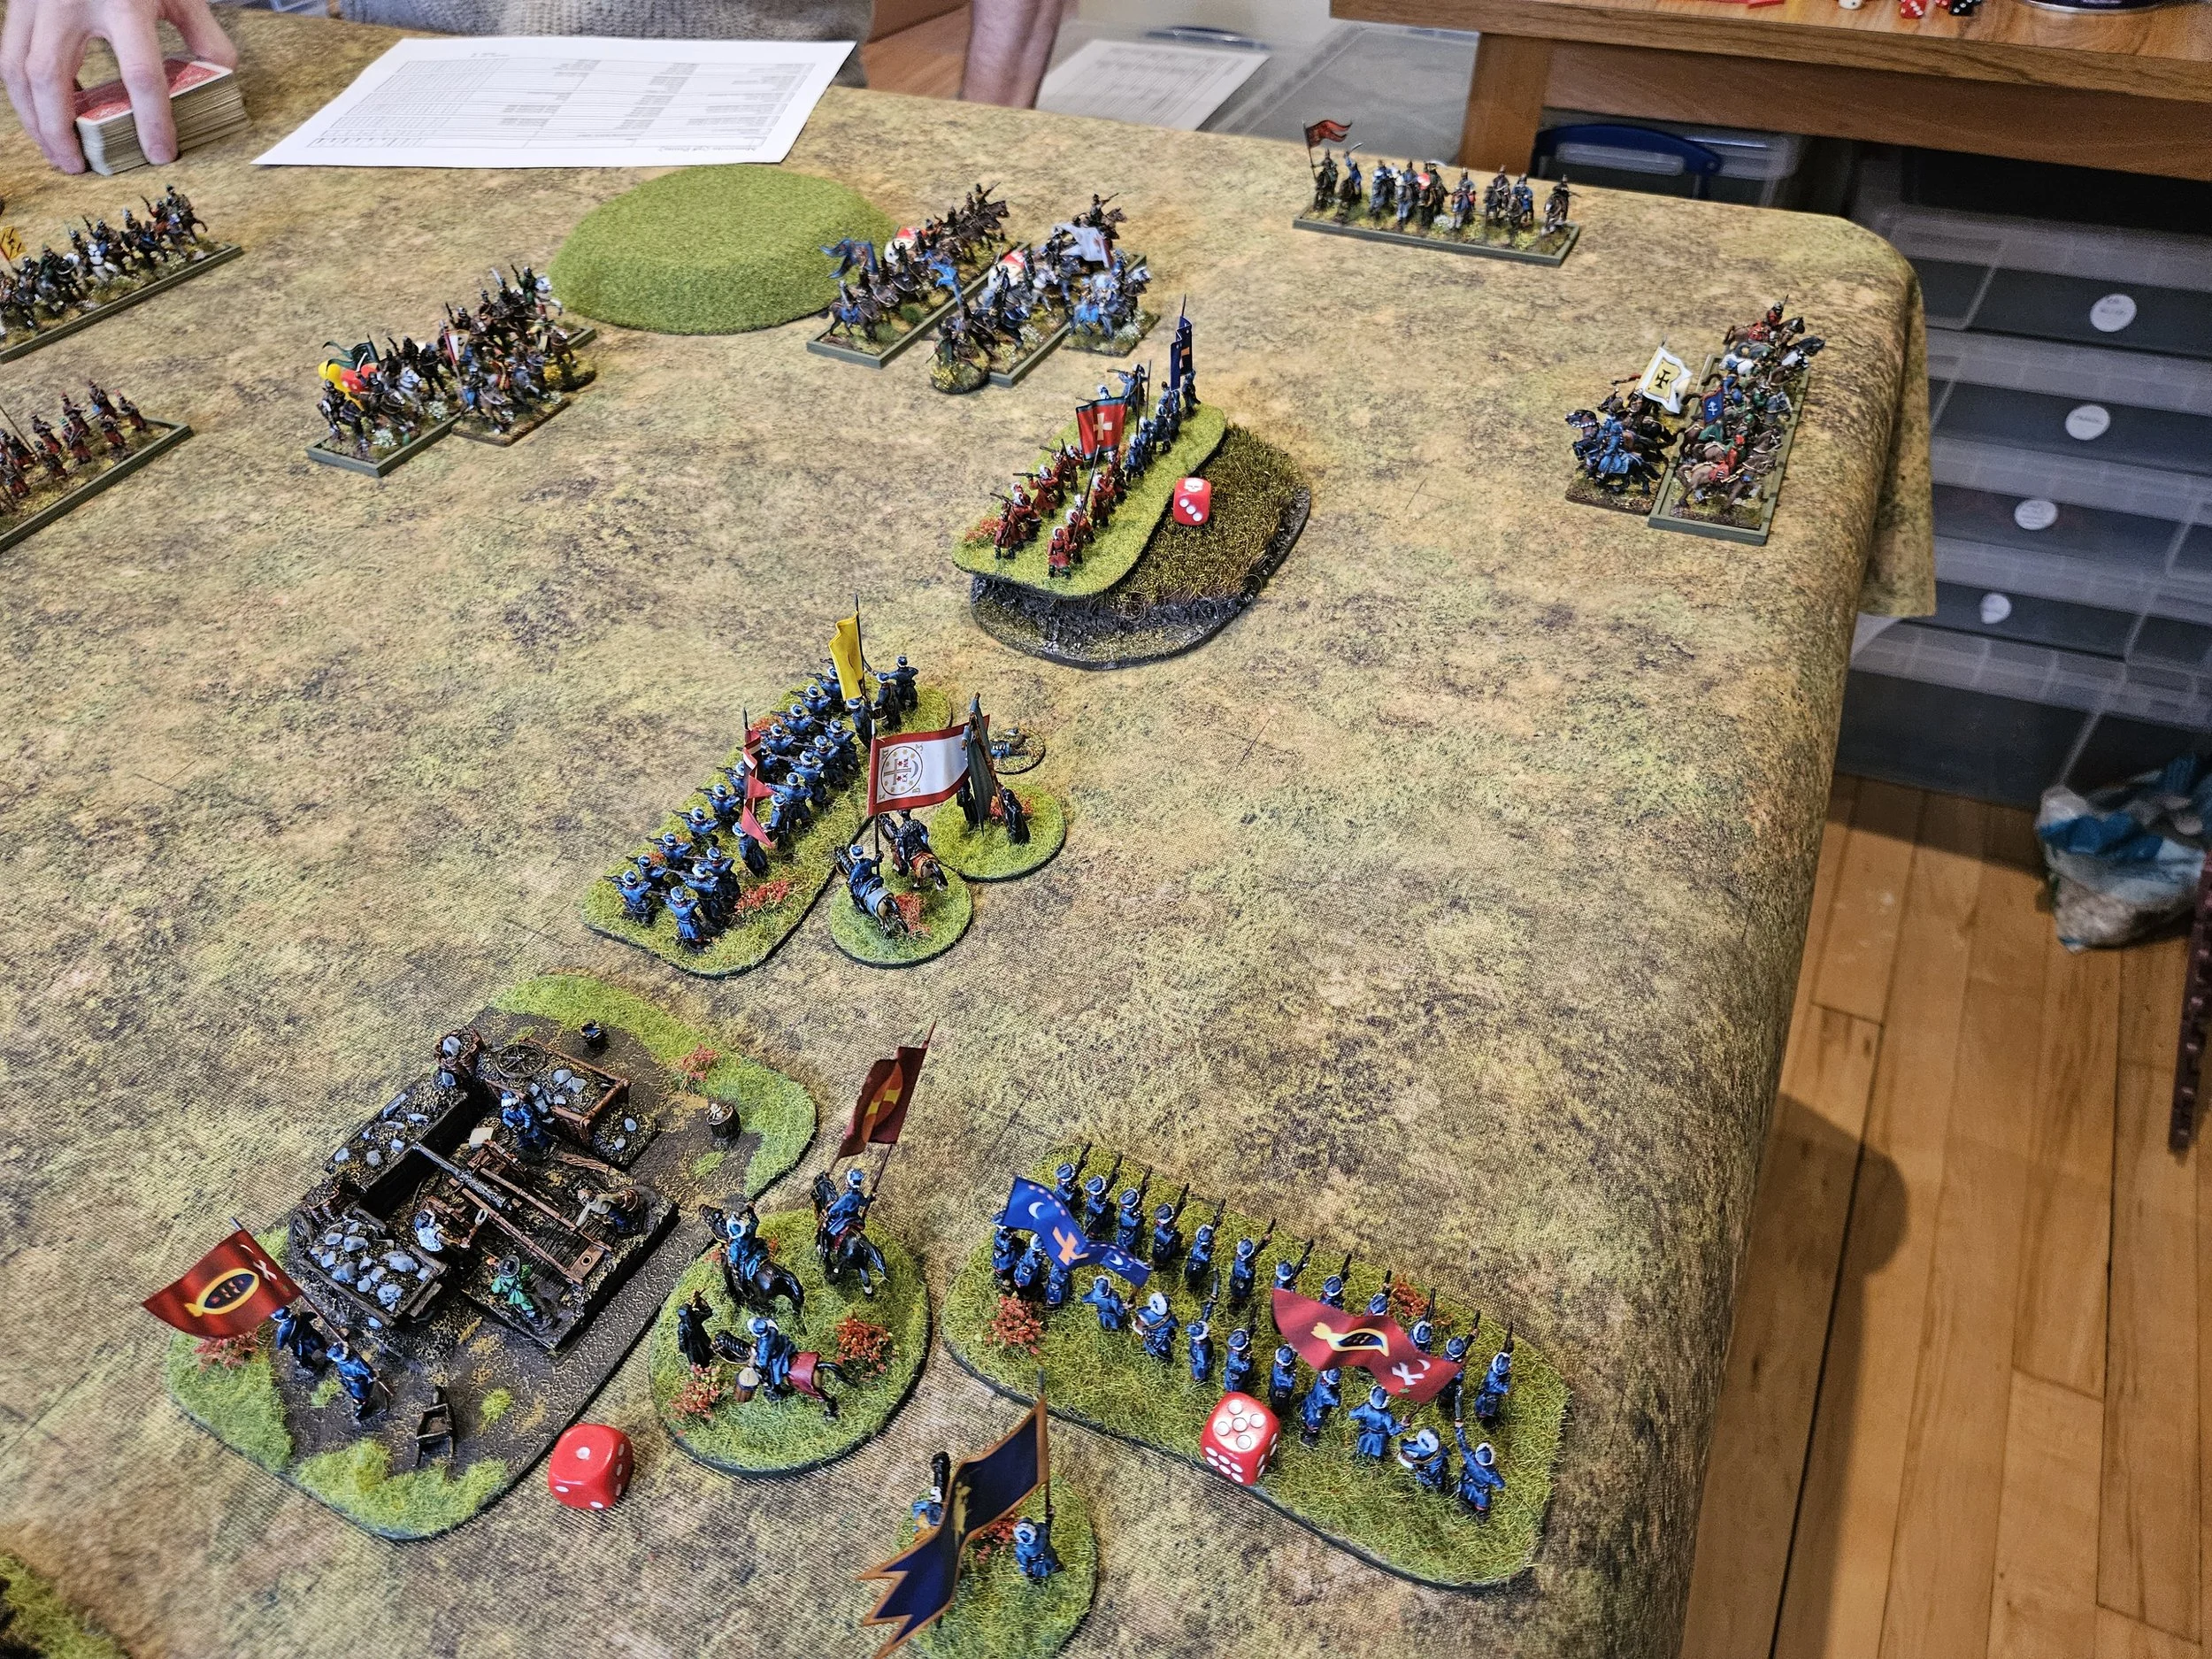
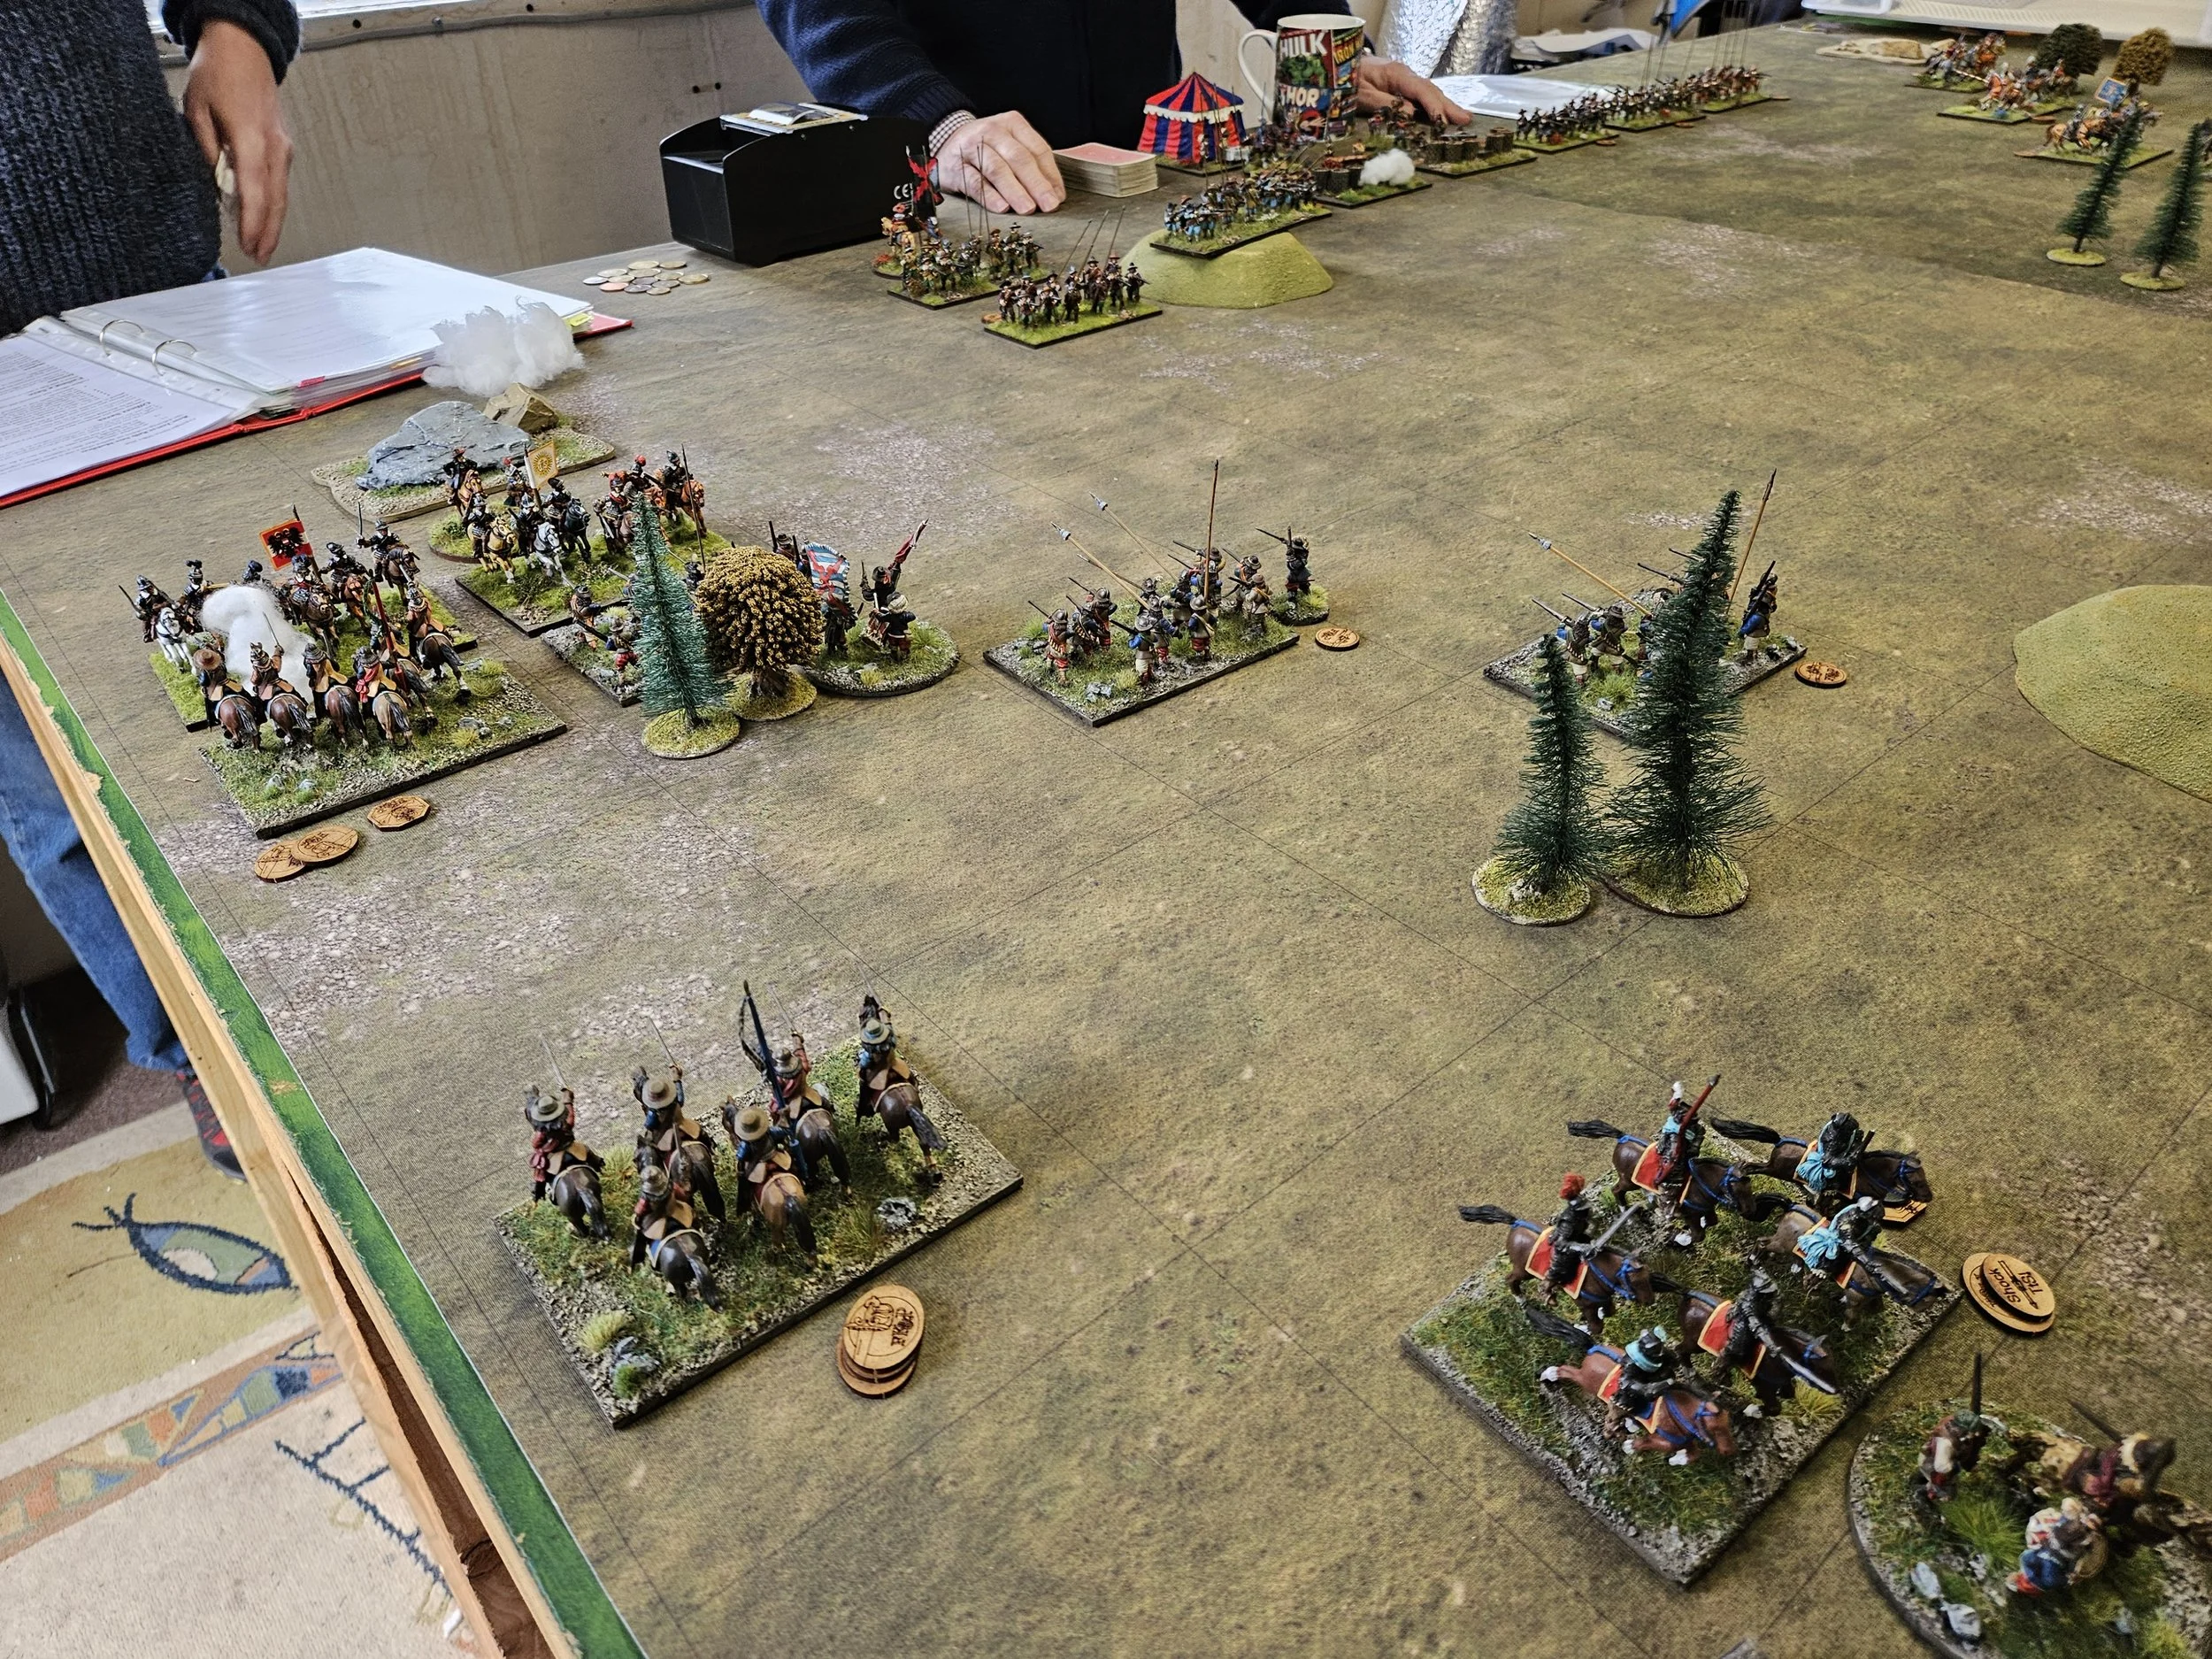
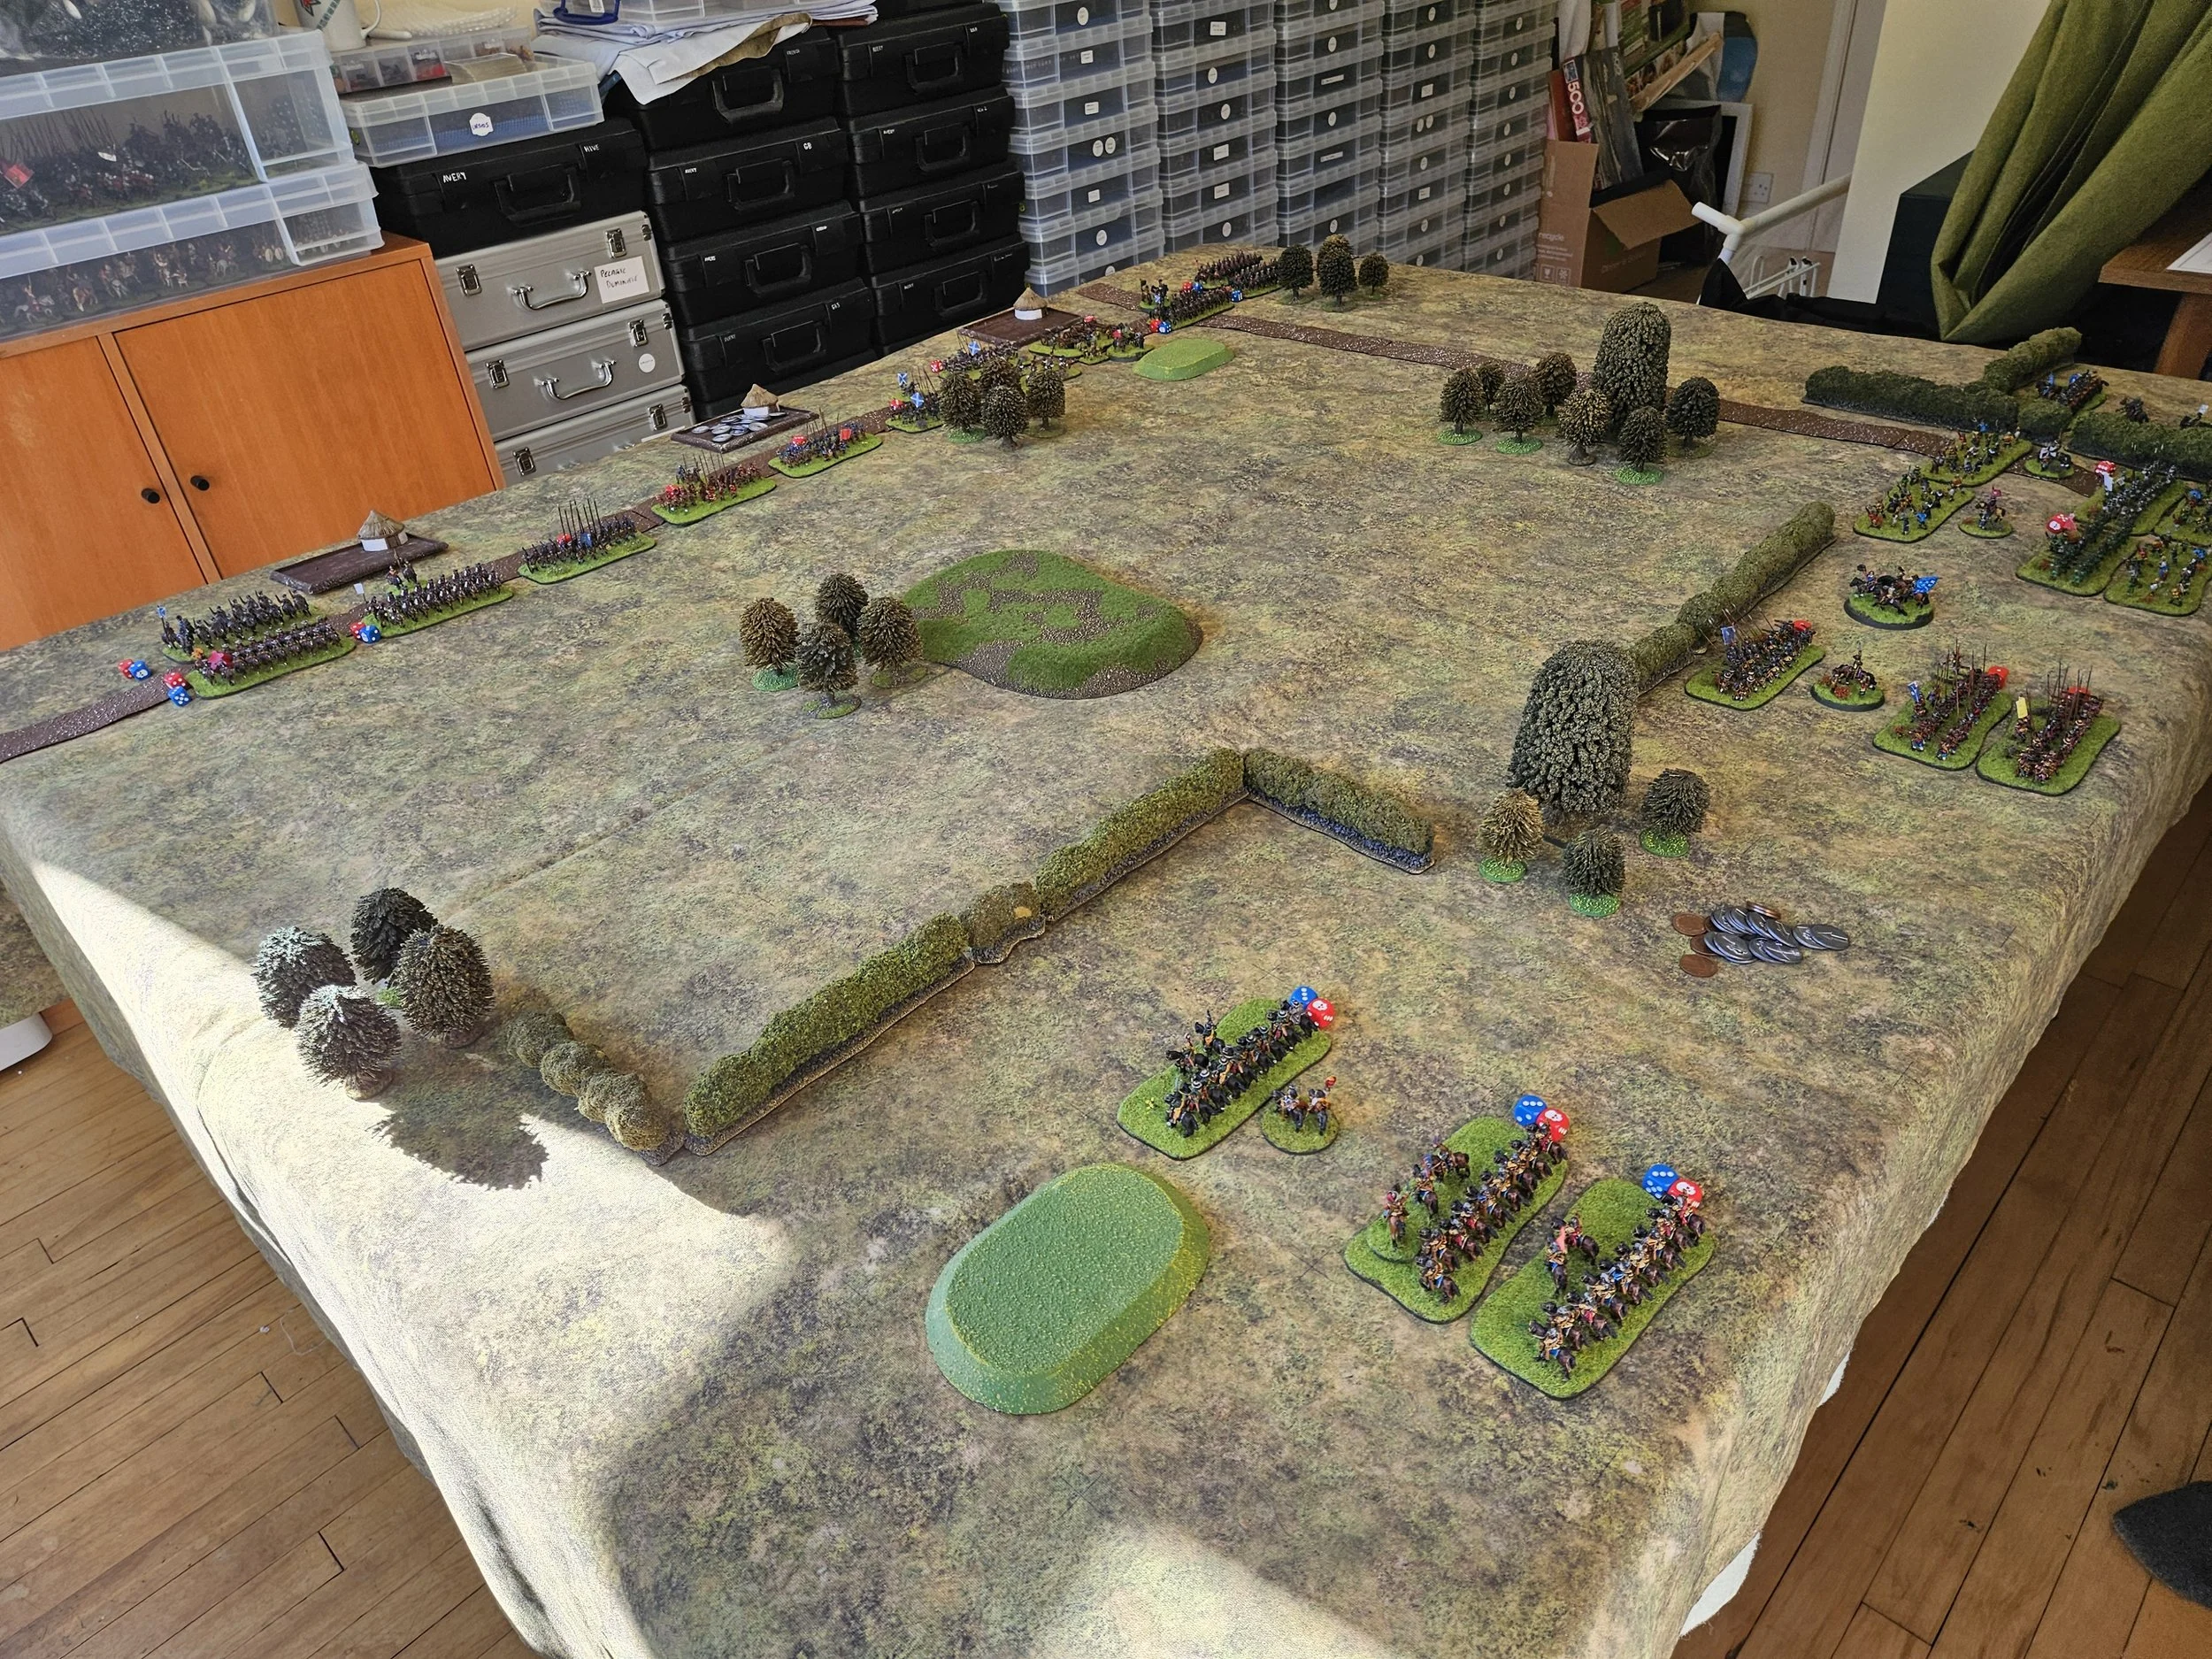
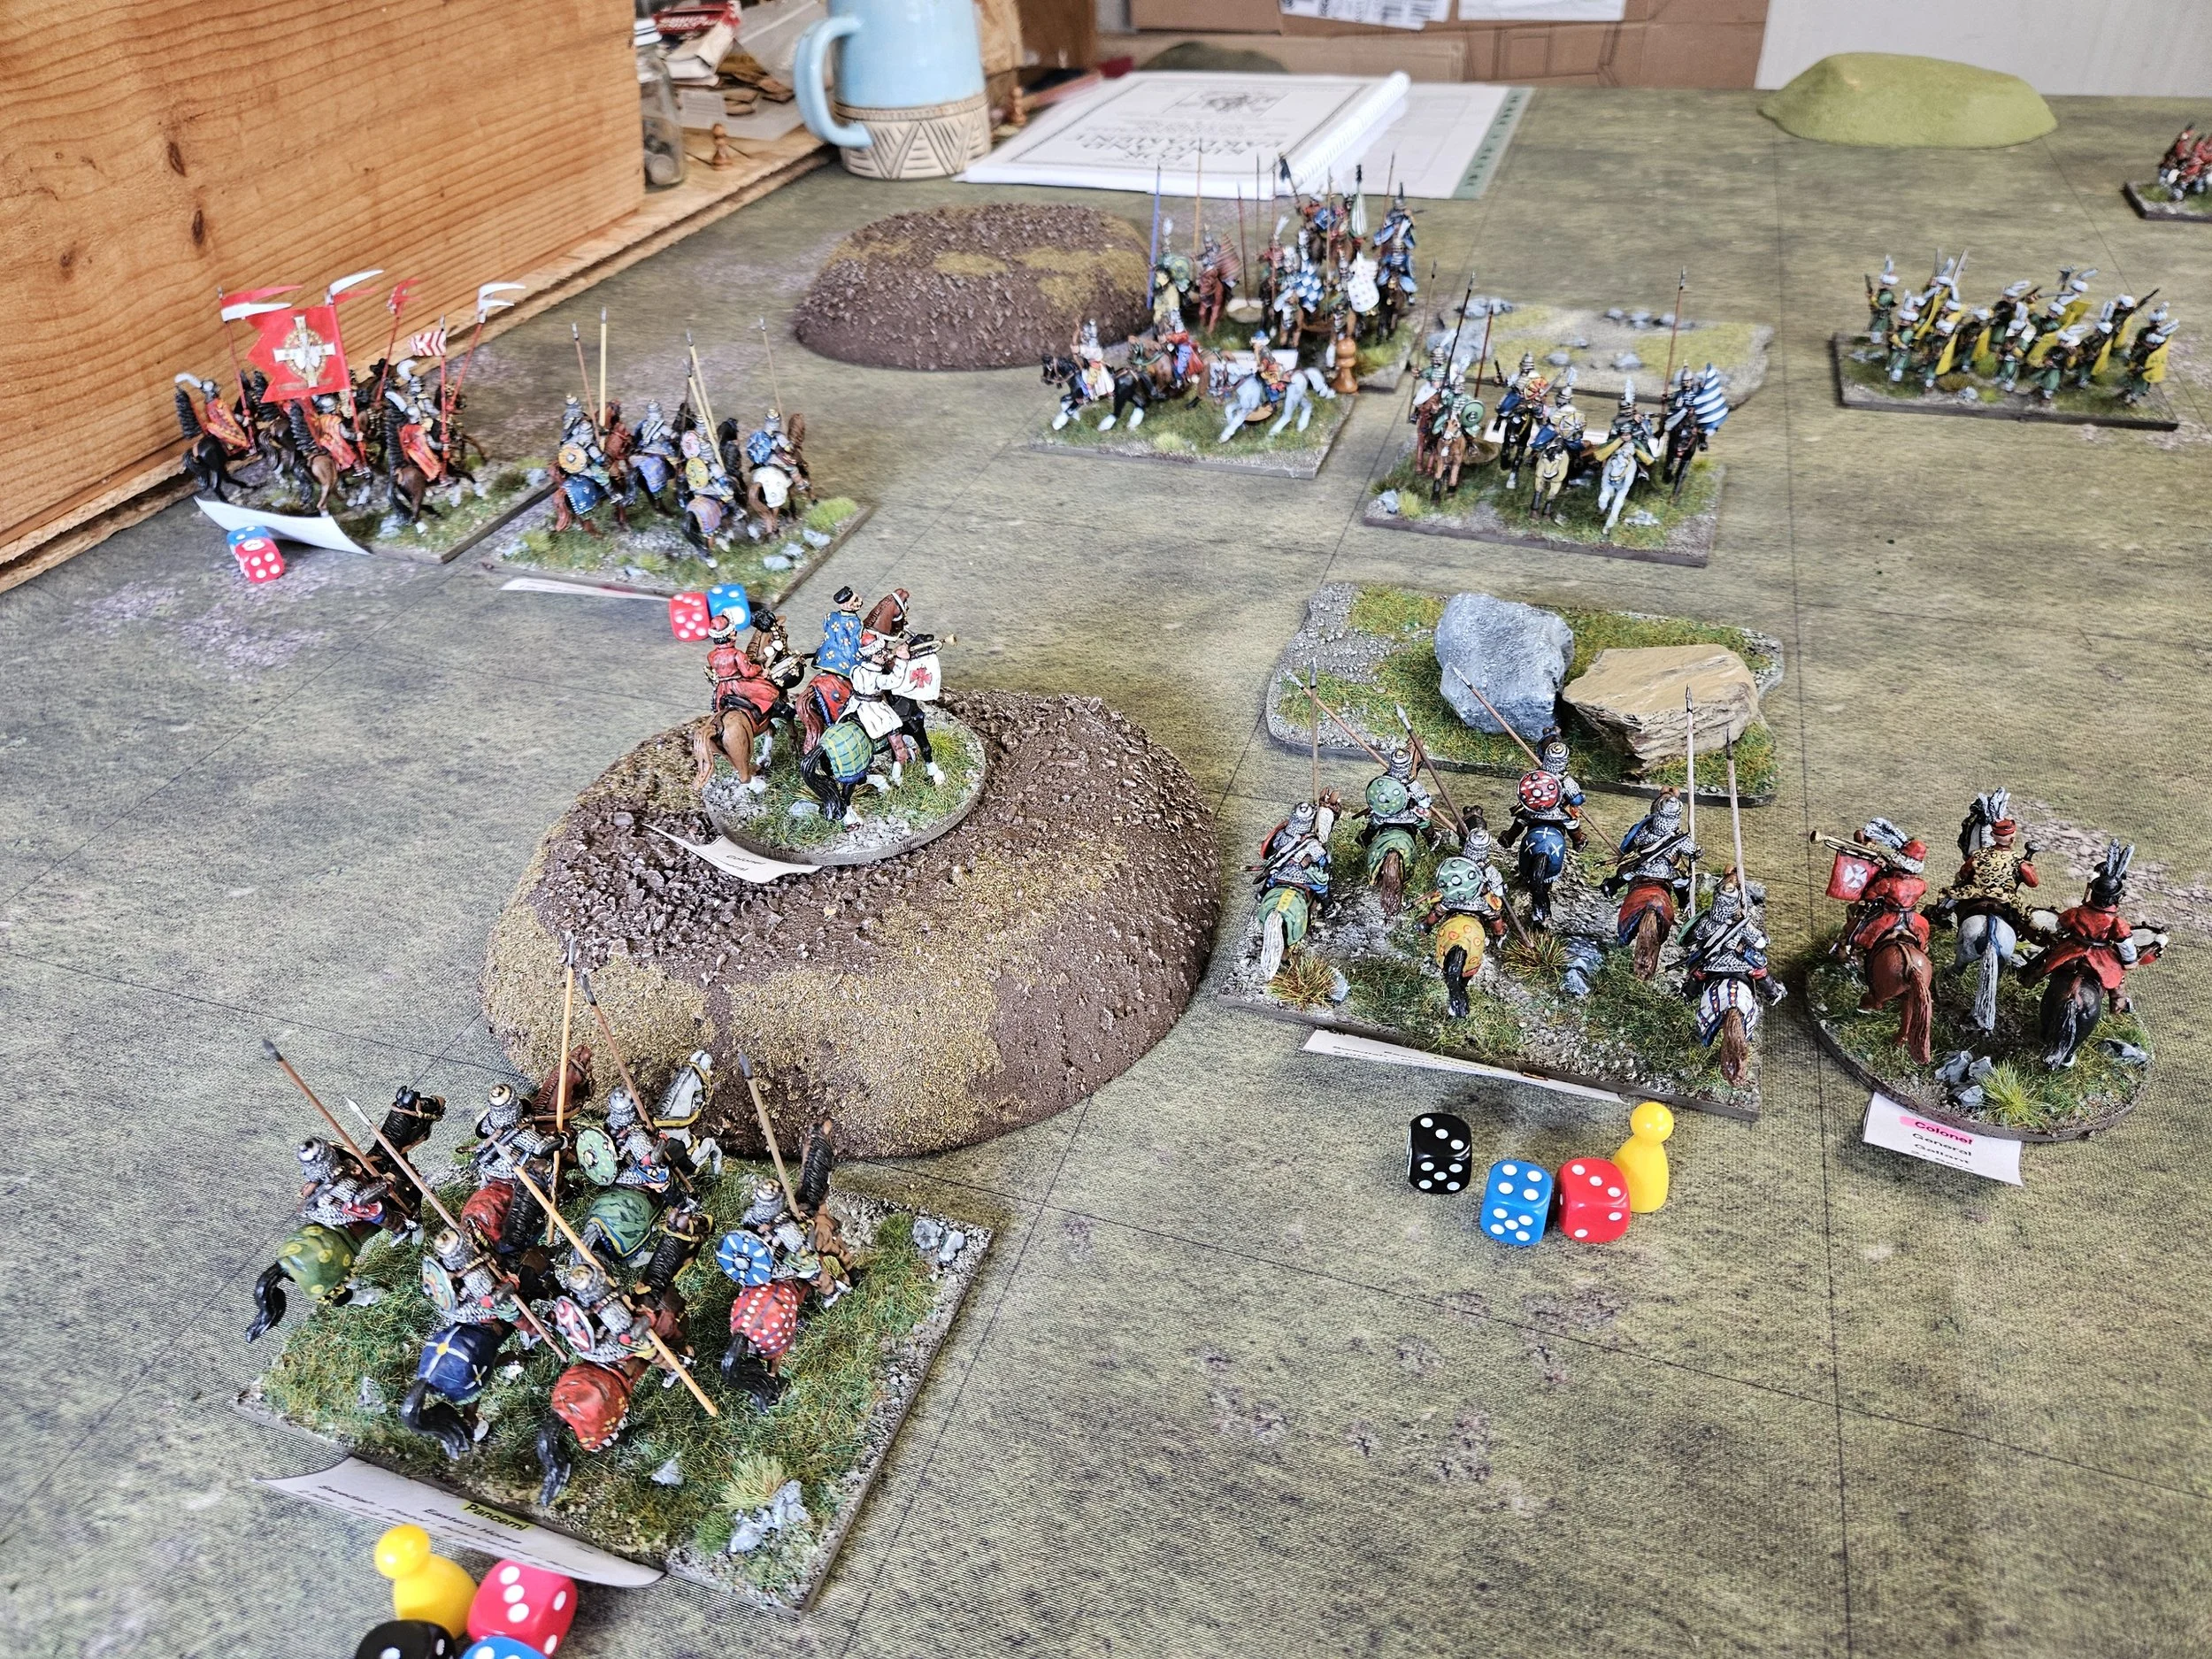
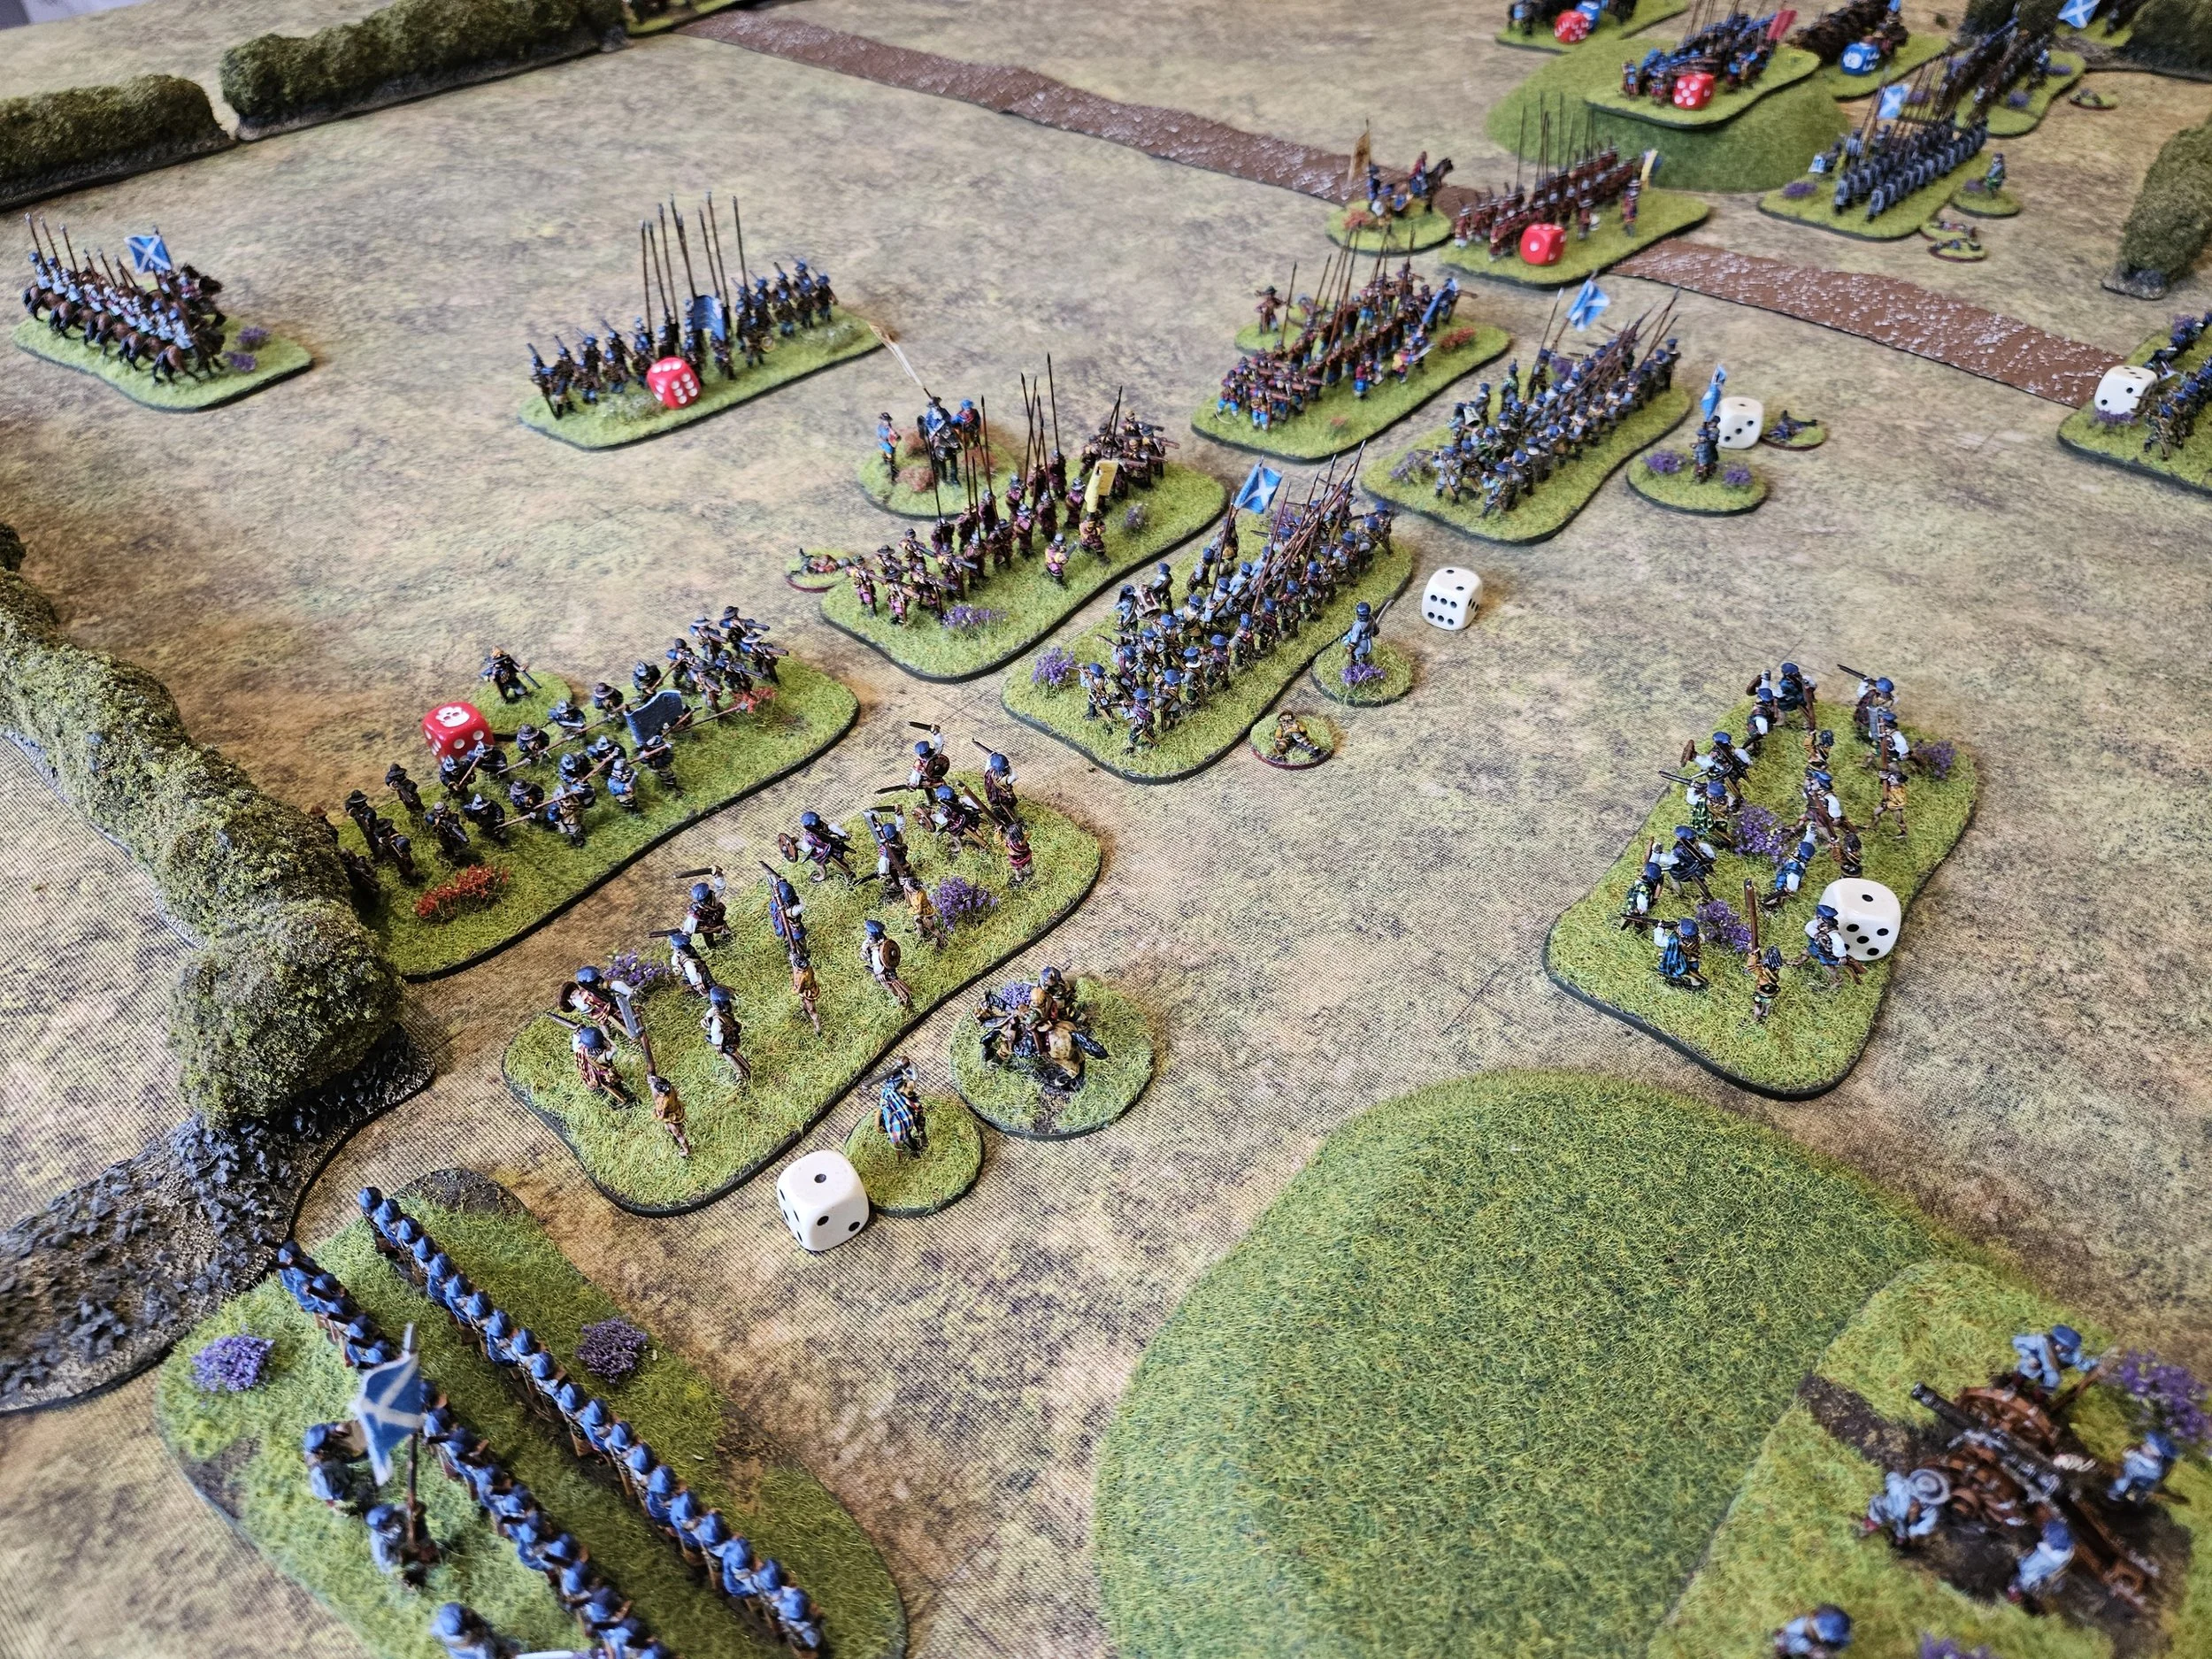
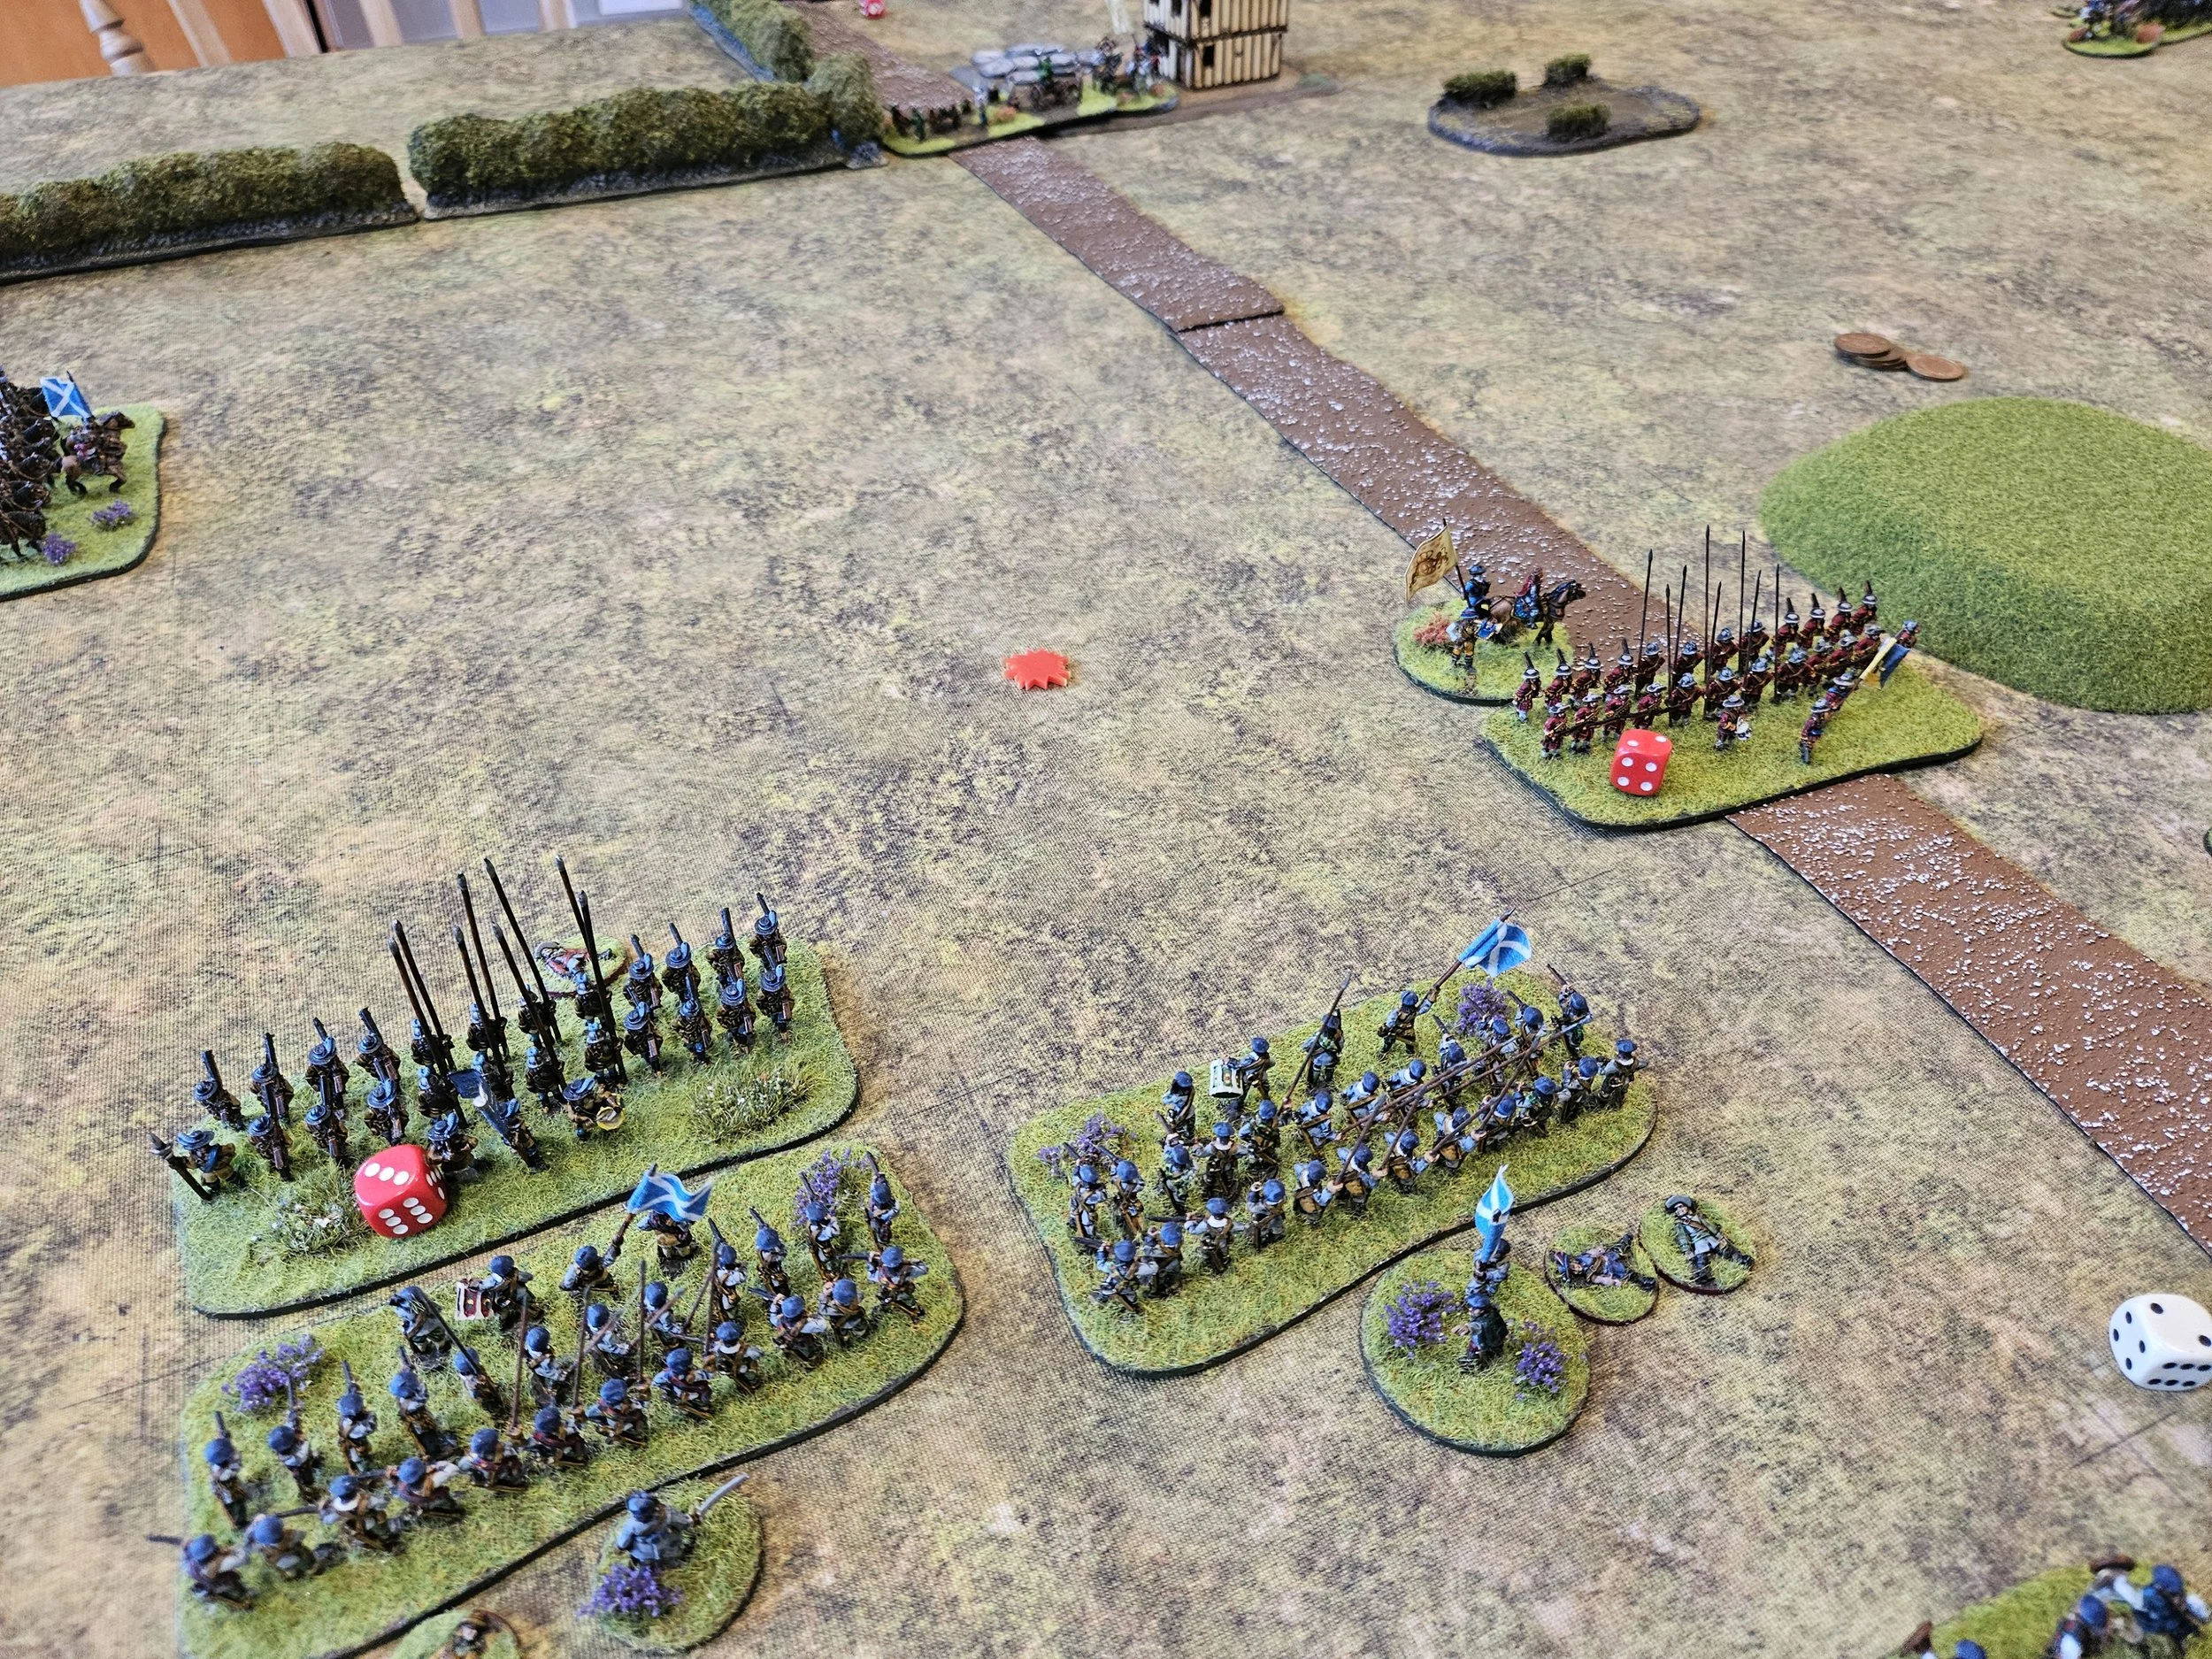
Here the Swedes had again advanced strongly, and soon the first line of Swedish infantry and the Scottish pike and shot units were engaged in a furious melee. The Swedes of their first line were pike-heavy, so favoured charging in against the Scots who were happy to hold back and double-fire as much as possible.
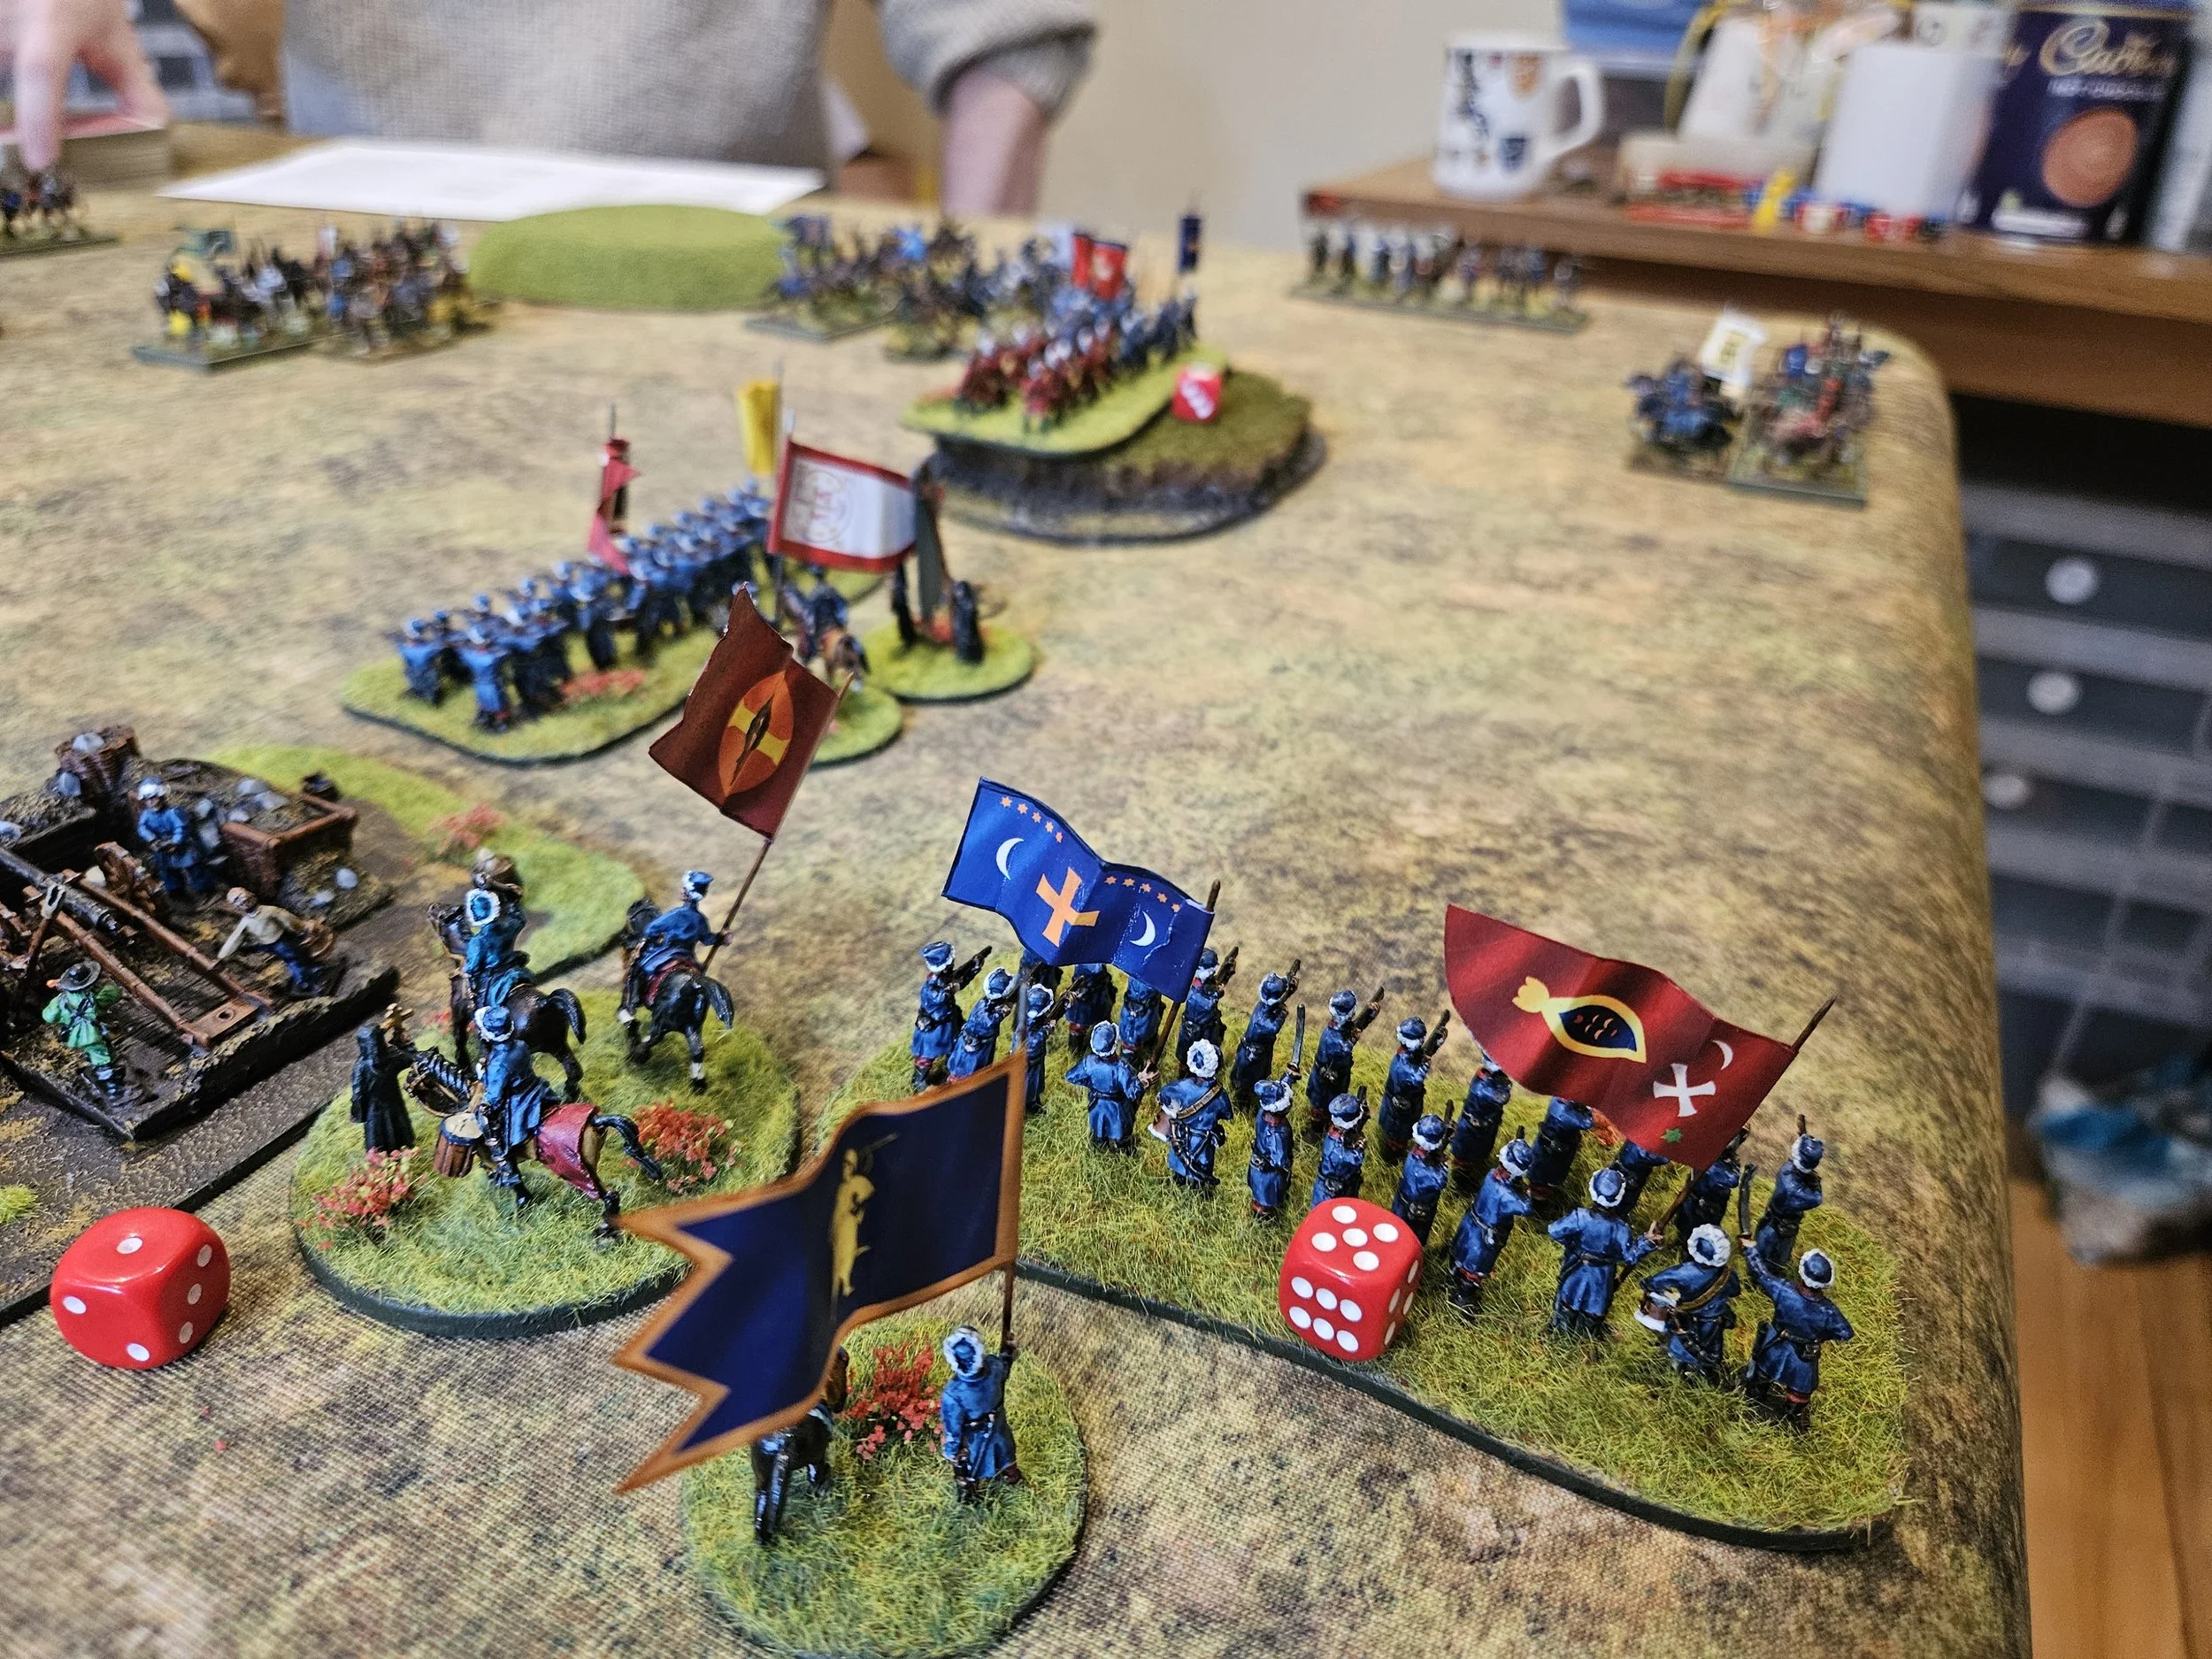
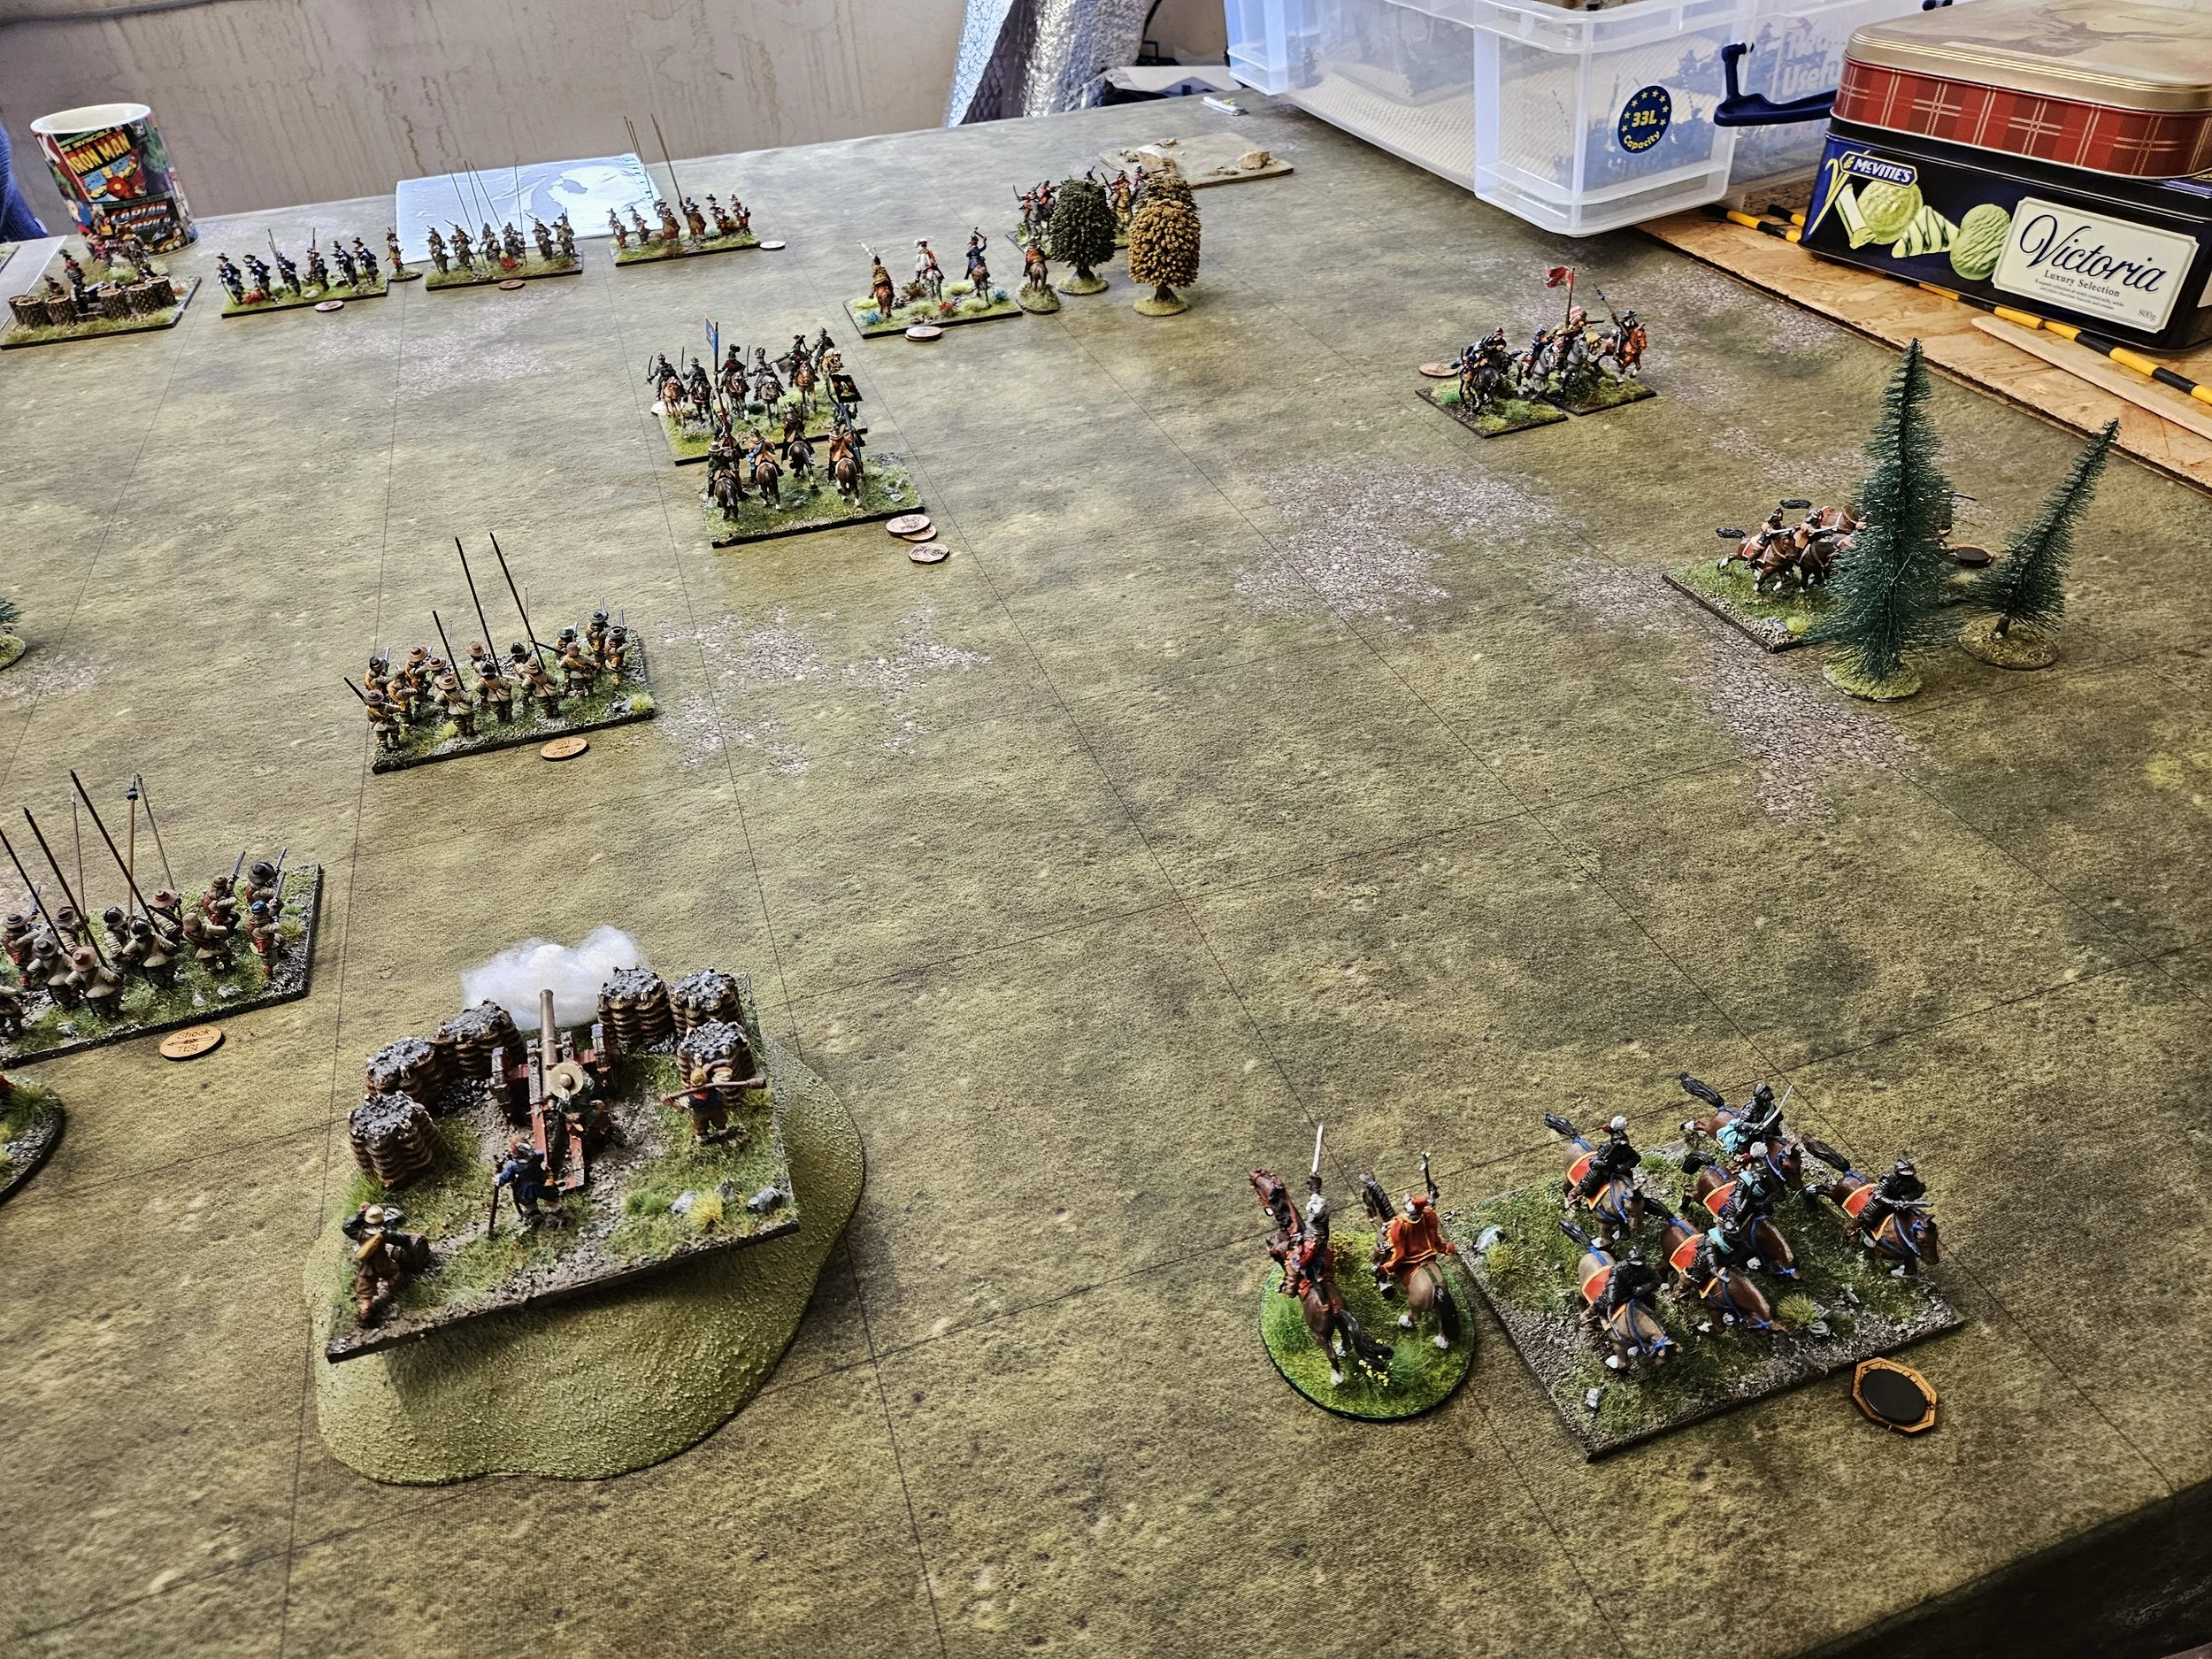
A Scottish battalia to the left broke, but fortunately there were commanded shot and highlanders to plug the gap.


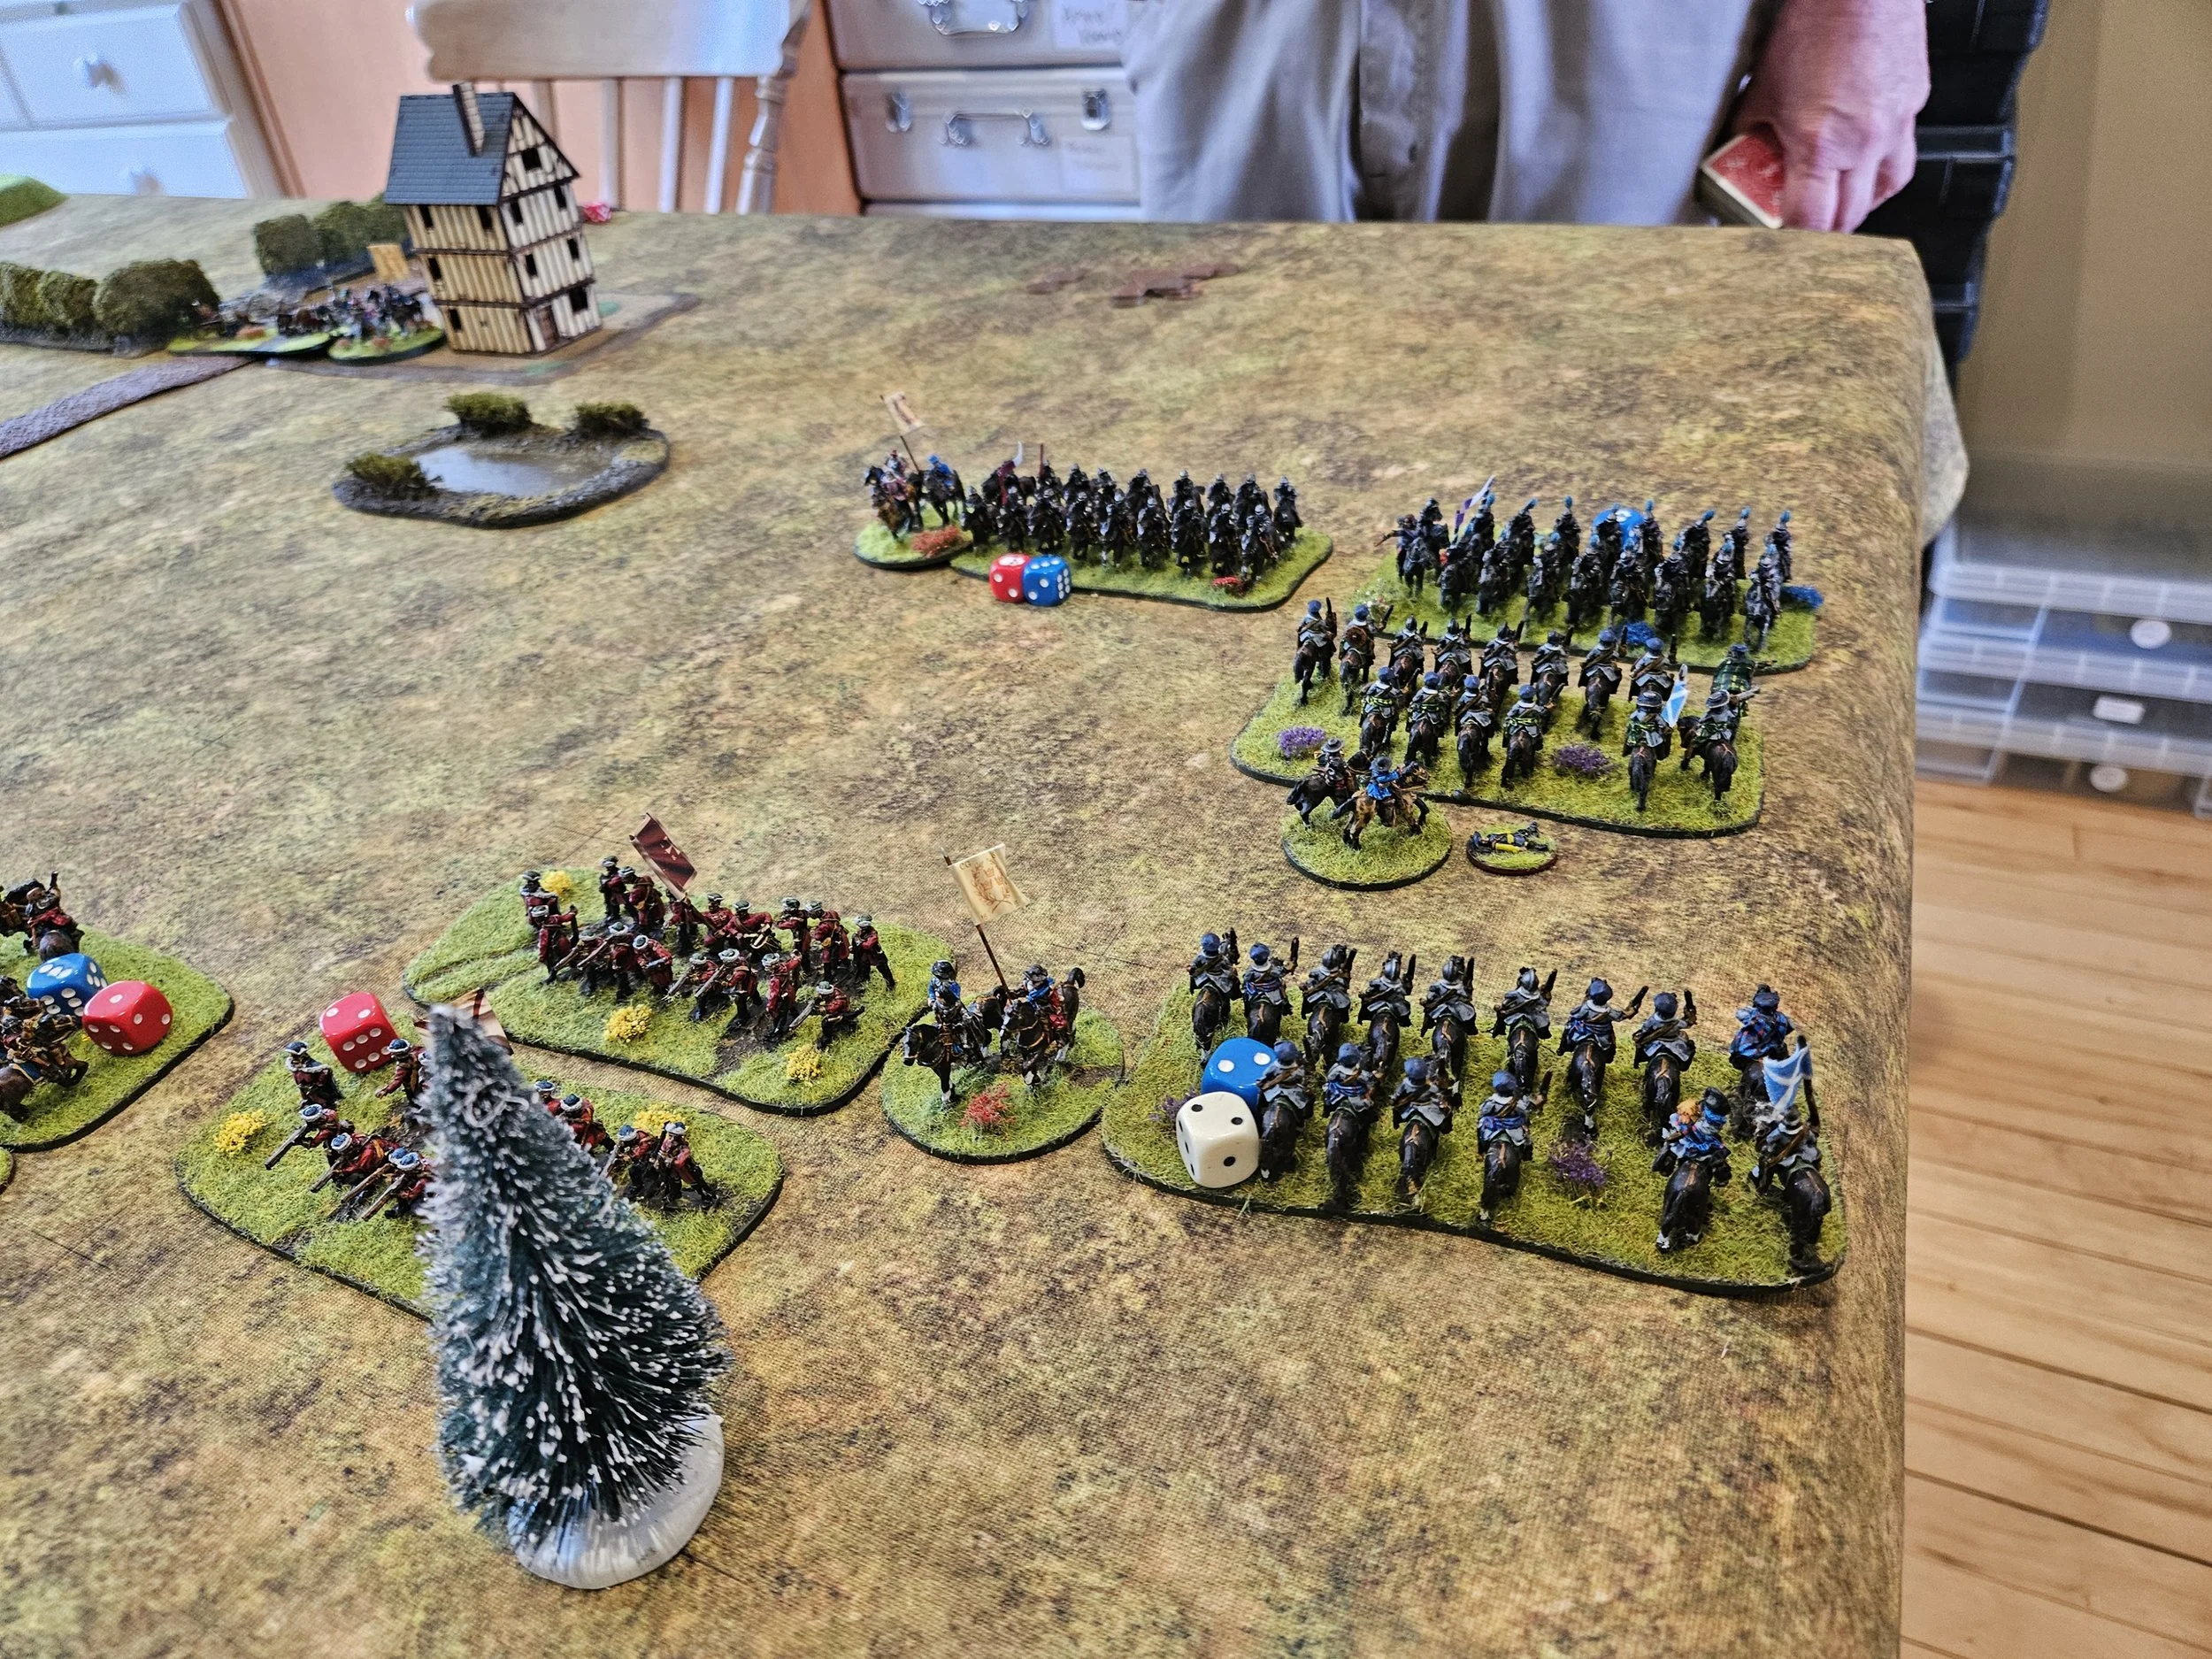
The Scots were now fully committed, at which point the Swedes brought up their second line. Rolling volleys crashed across the infantry, punctuated with fierce charges into melee. The action swayed backwards and forwards as battalia were gradually worn down.


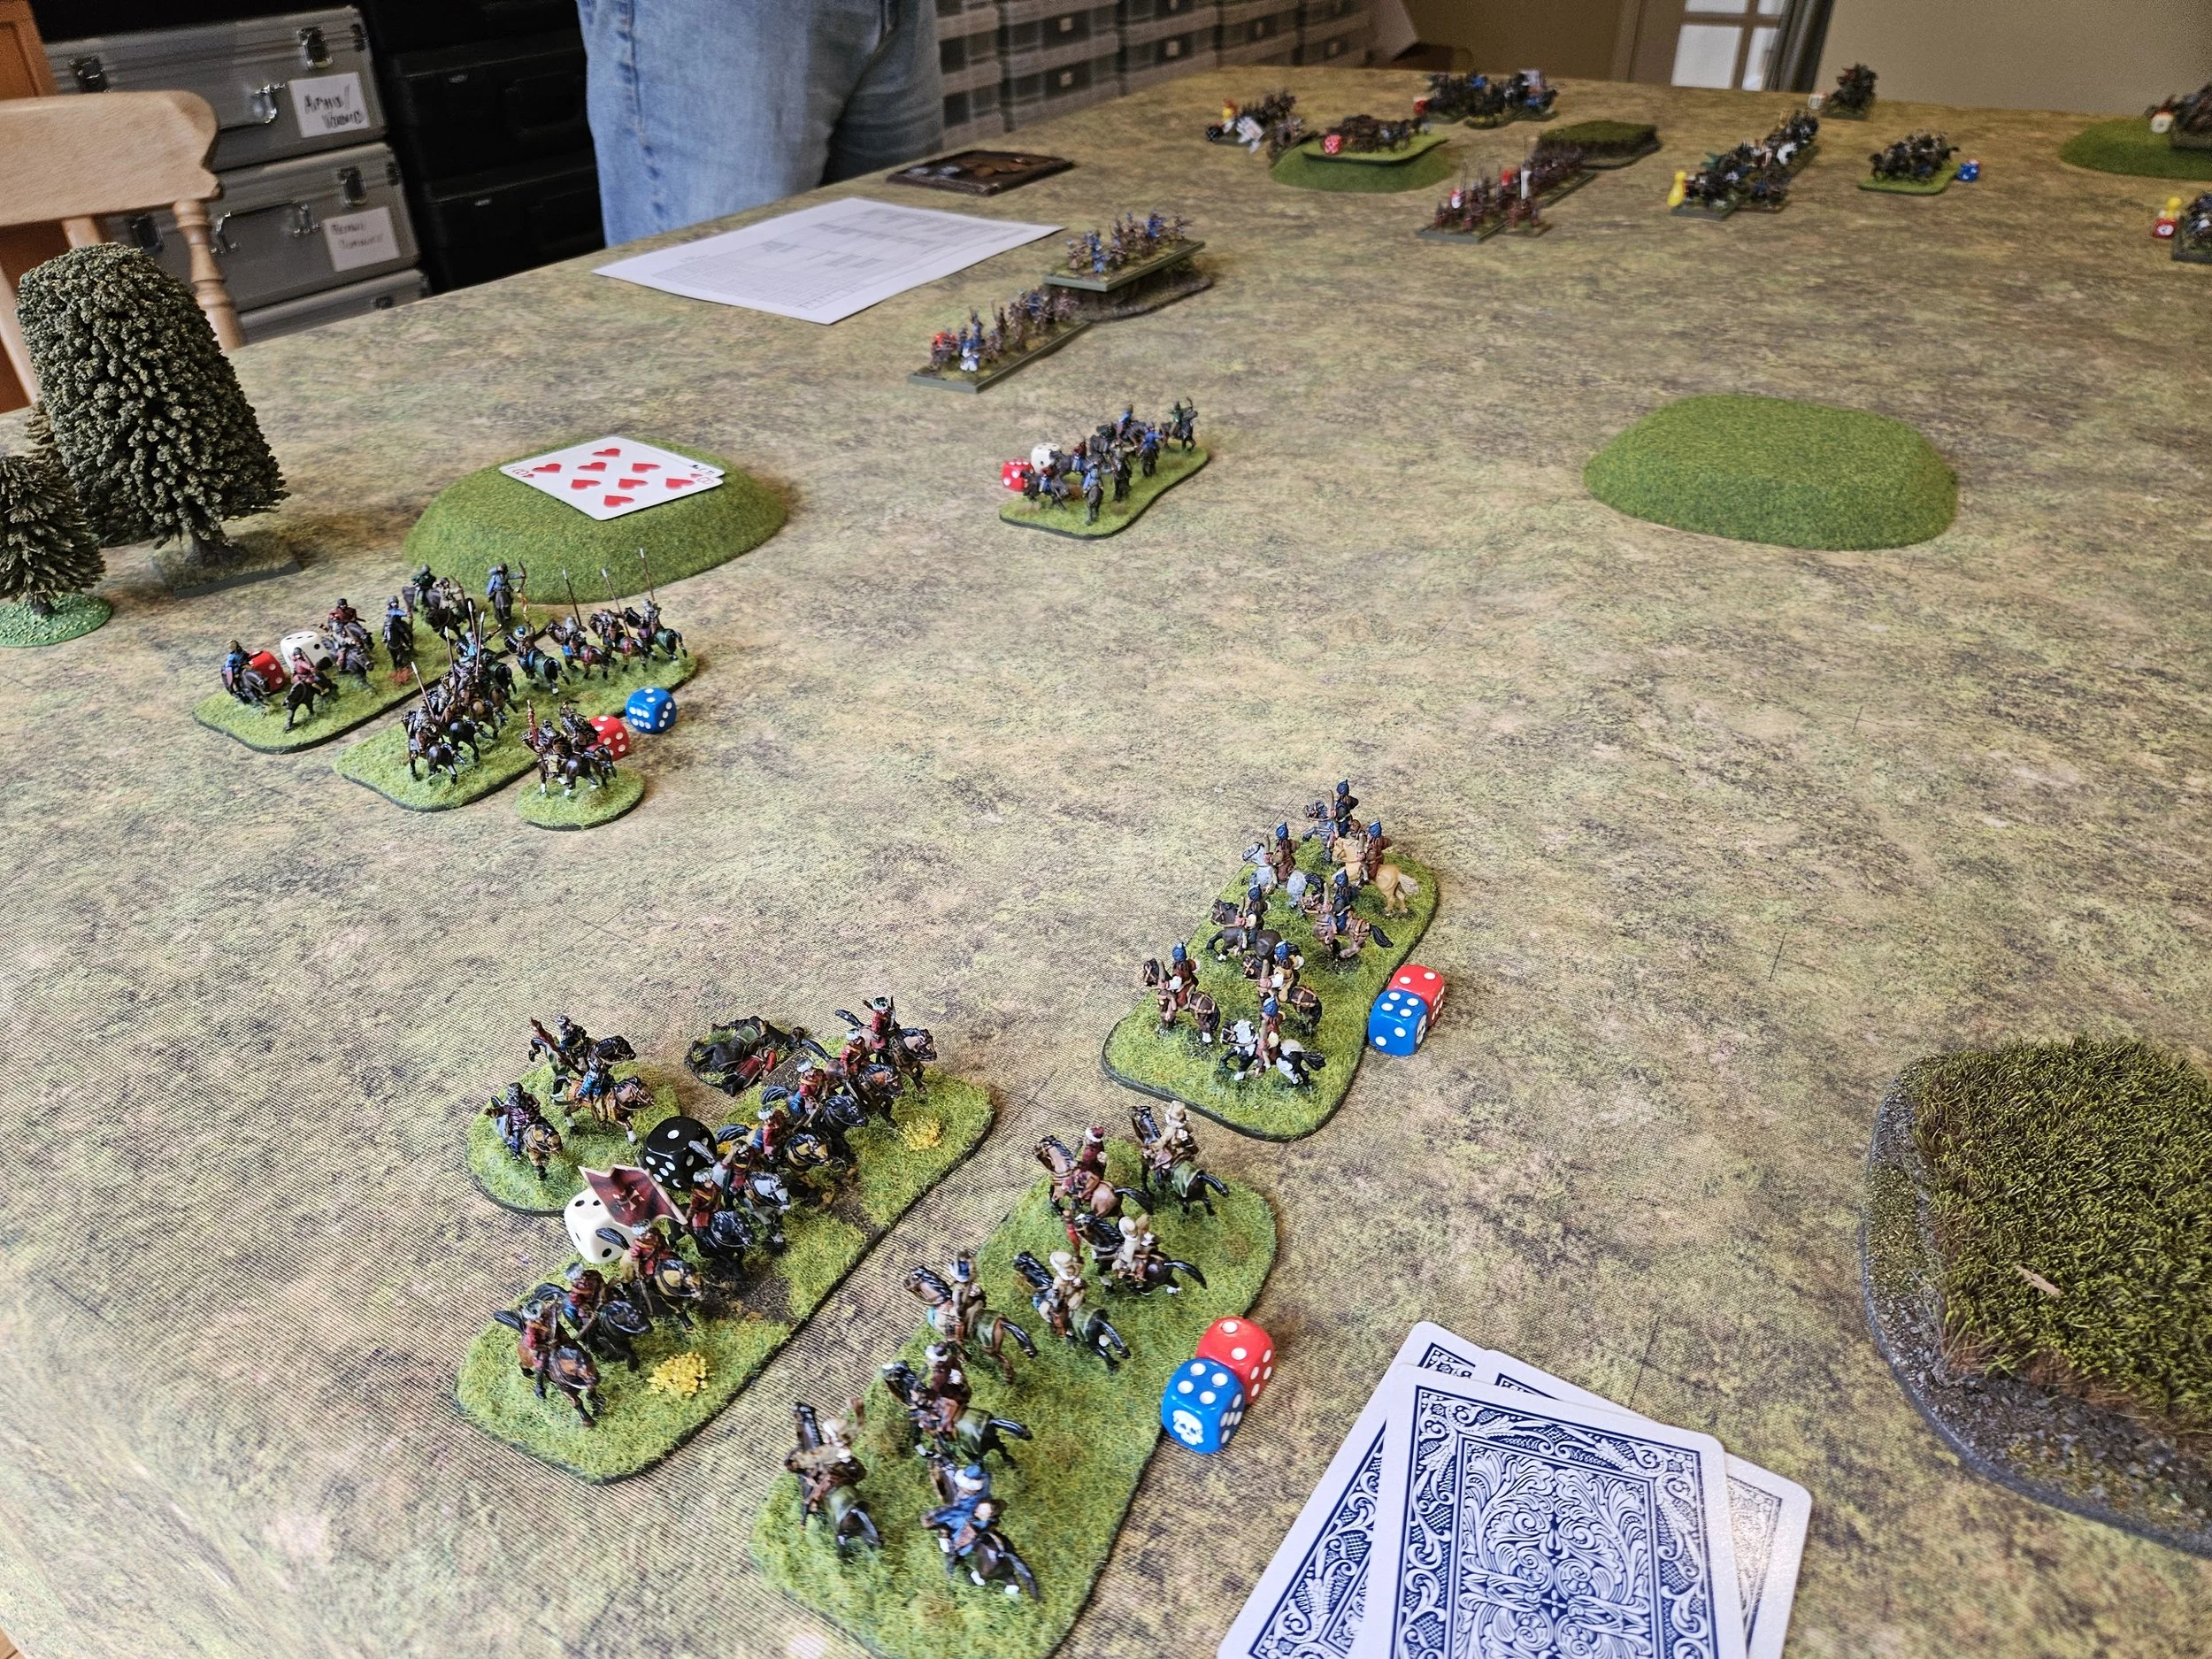
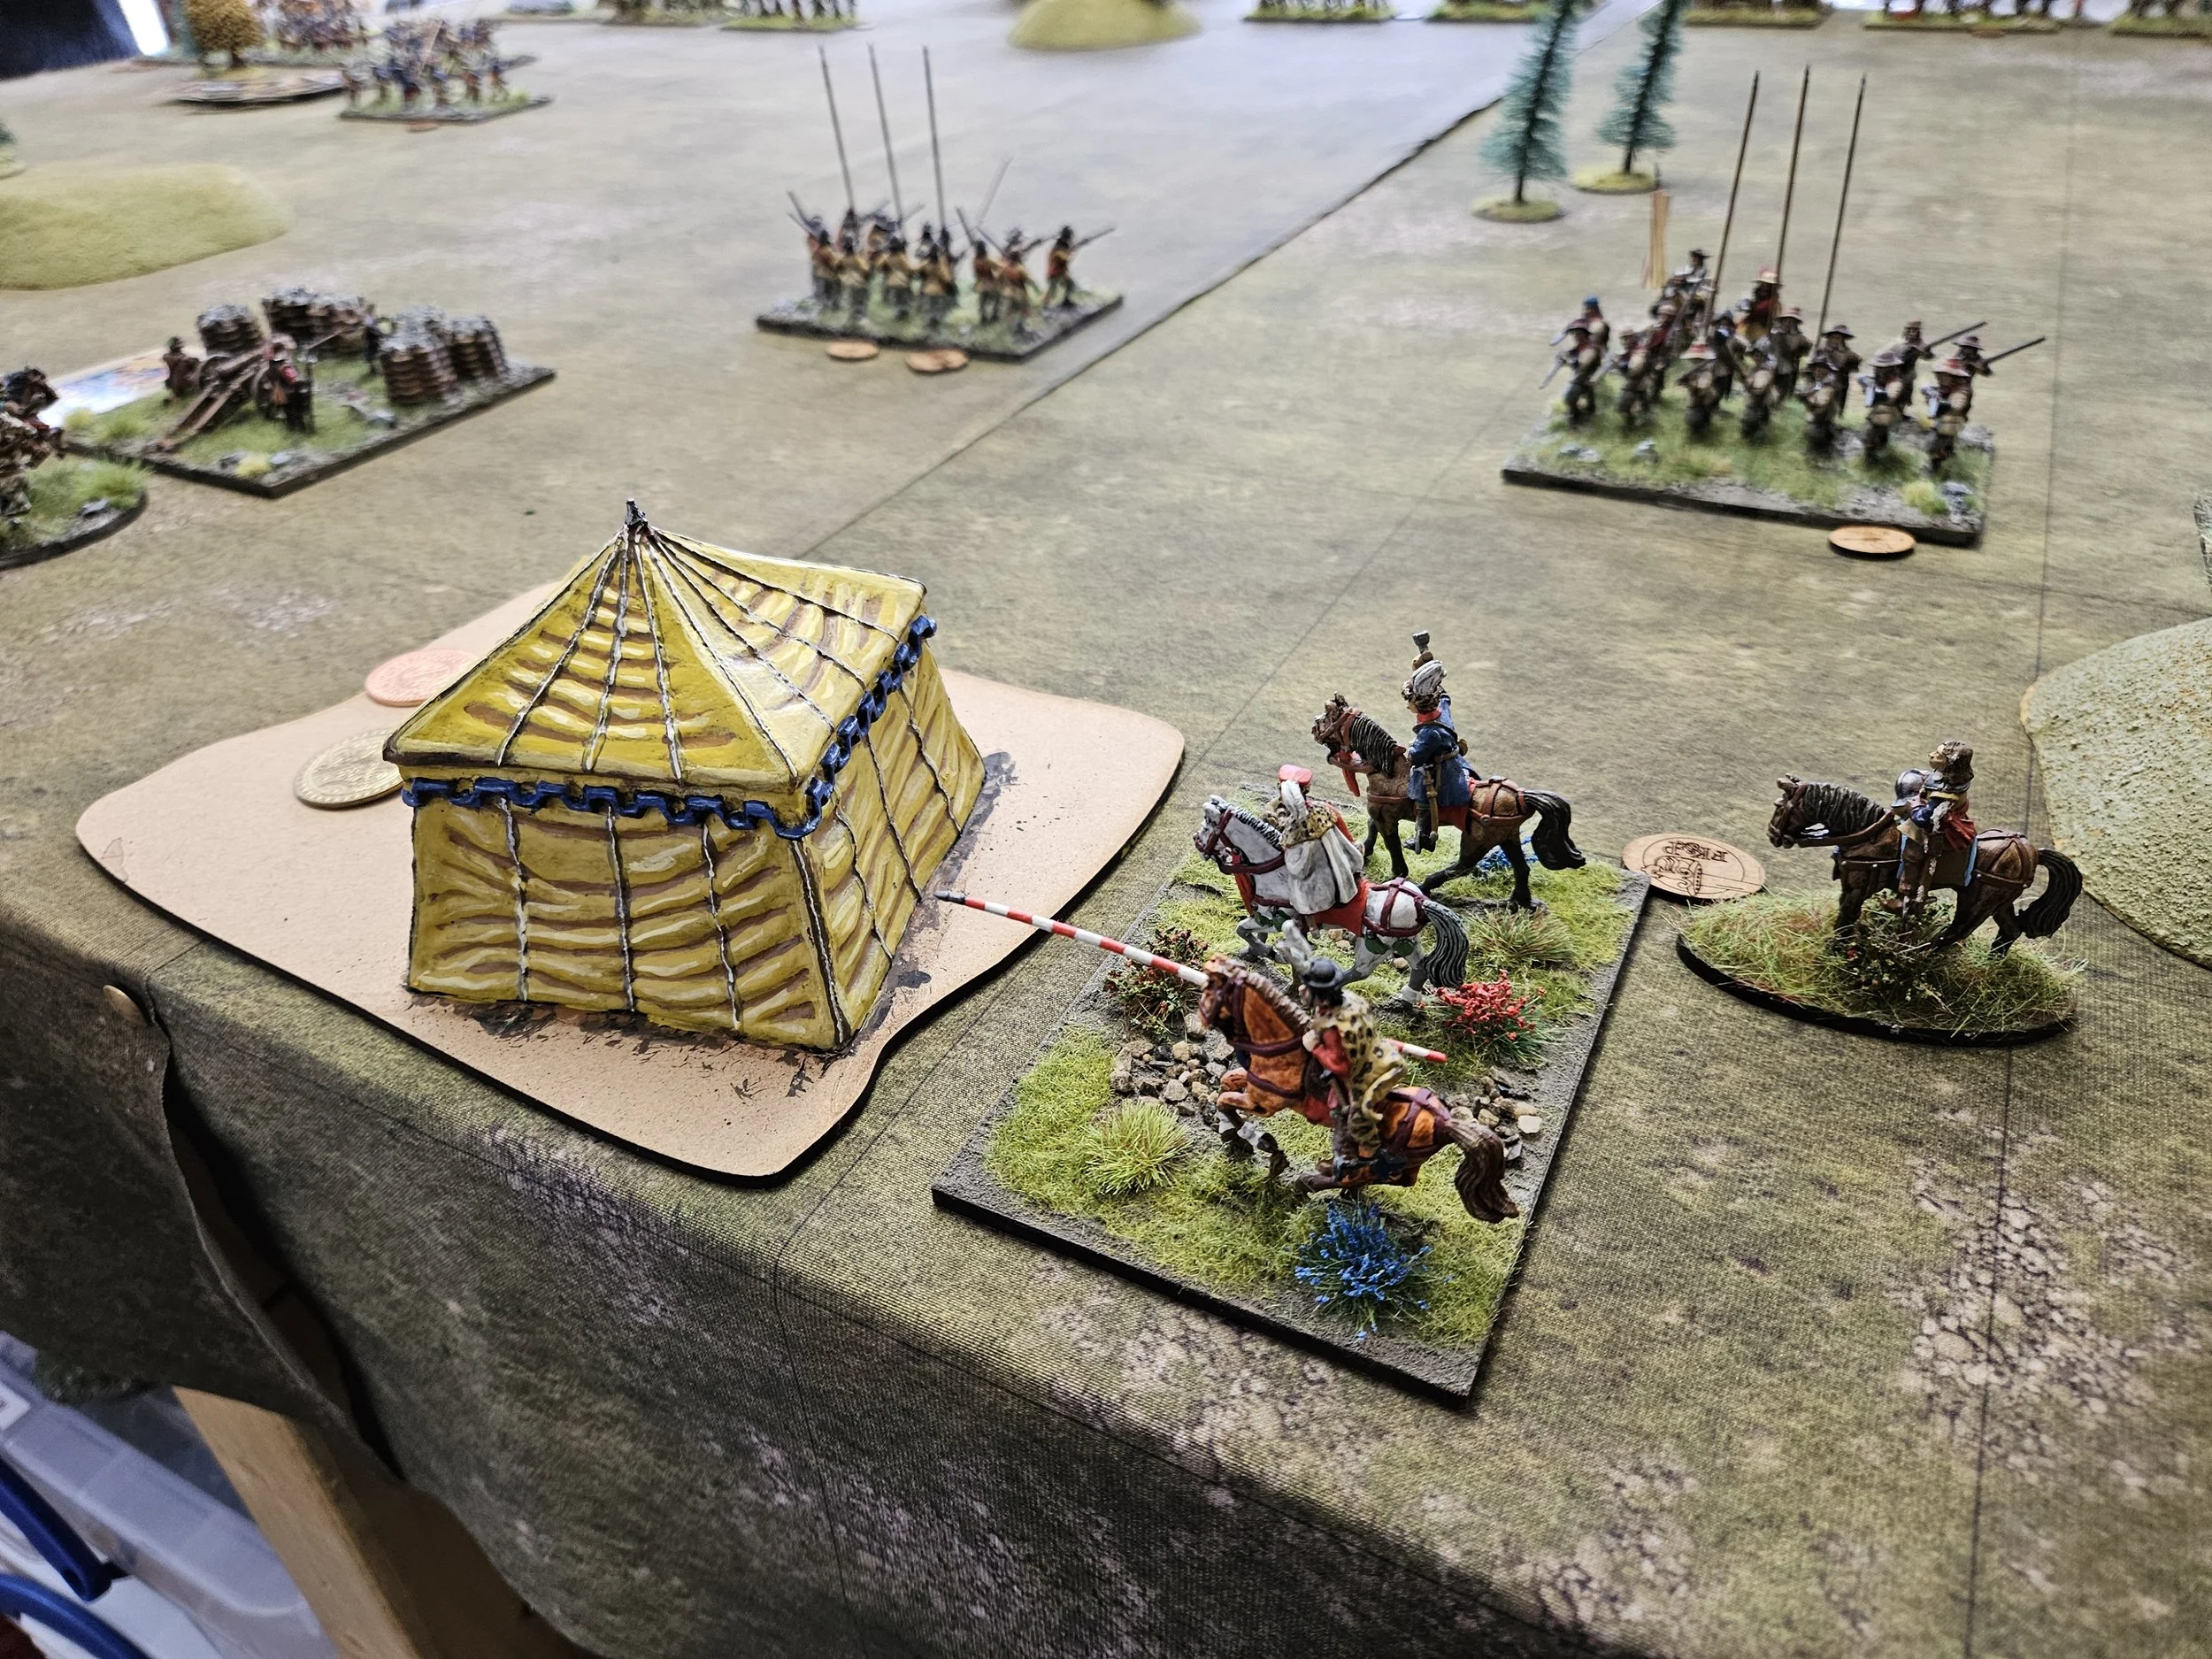
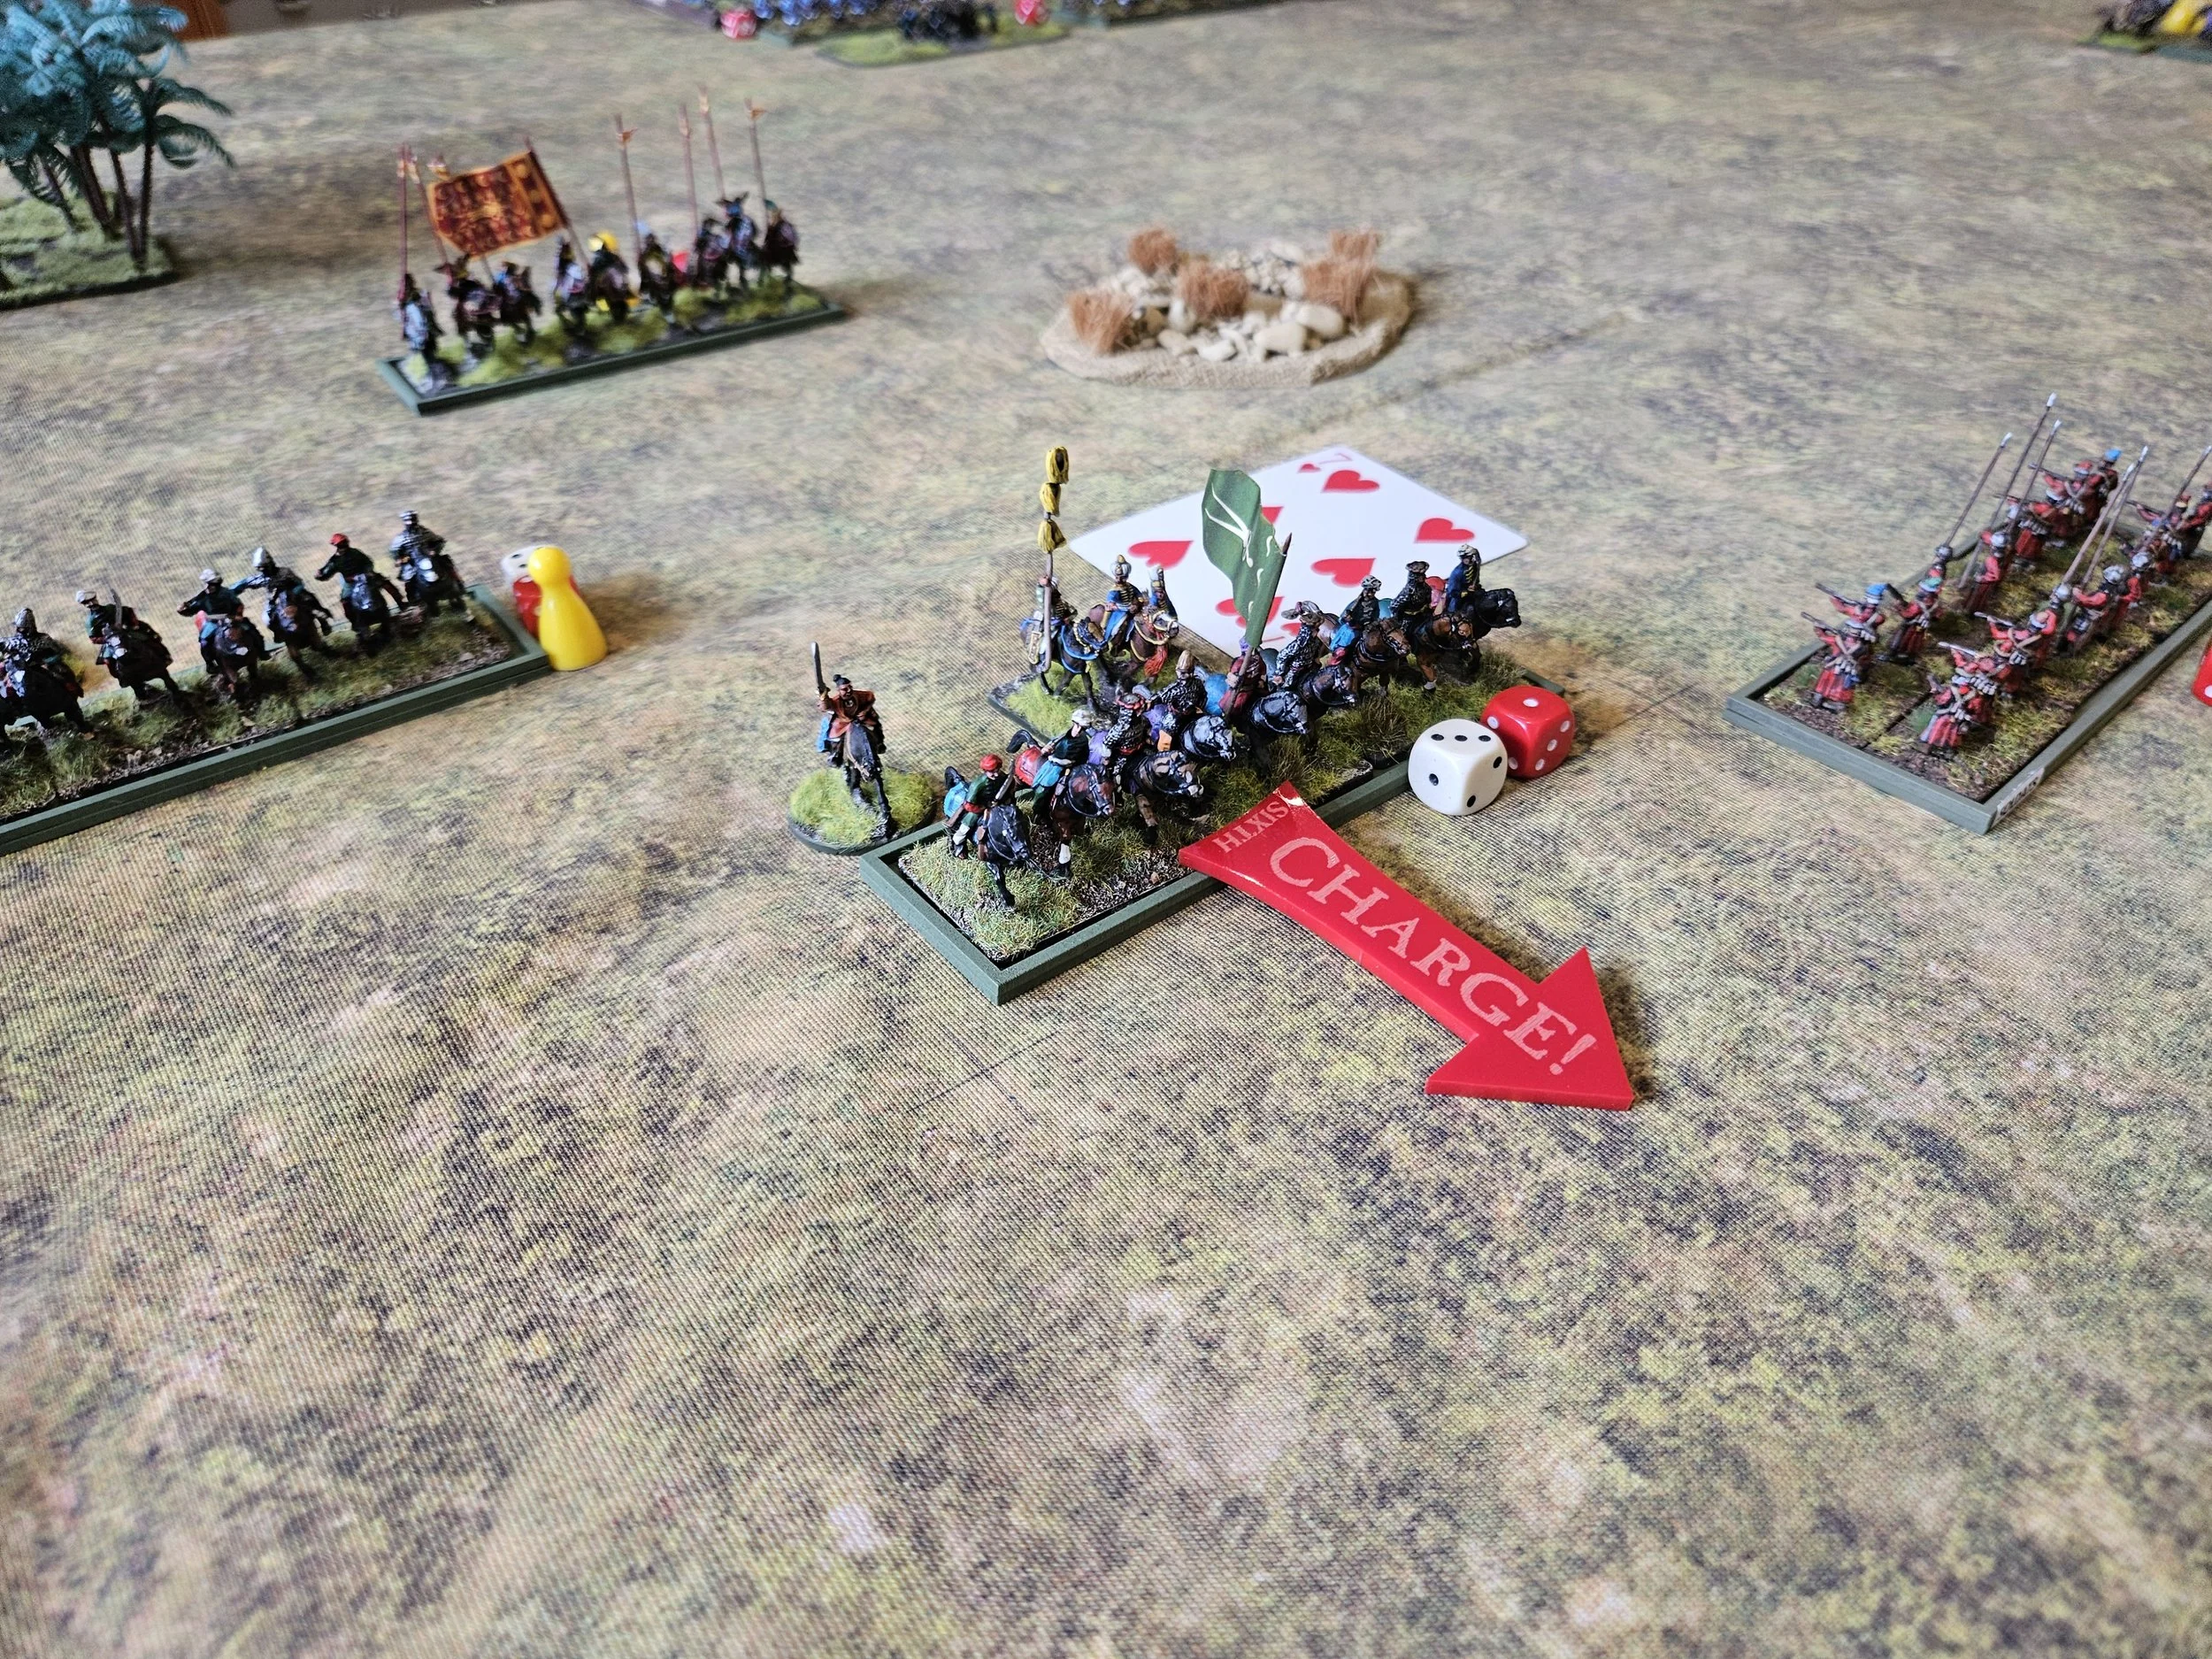
Either side could have won the centre, but it was the Swedes who actually gave way first, especially as their troops could see the remains of the Scottish lancers ambling slowly towards their rear, their tired ponies puffing and blowing as their riders flailed fruitlessly at their flanks.
First one Swedish battalia gave way, then another, until suddenly the centre looked almost empty of fighting men. The day belonged to the Scots!

An epic battle which, right until the very end, could have gone either way. The Swedish cavalry had actually broken through the right hand side of the Scottish line, but had been held up for long enough for their infantry to be beaten in the centre, despite the fact that the pike-heavy “Swedish” infantry (as opposed to the “German” standard infantry) had proved very effective in melee.
Plaudits to the Scottish cavalry on both wings who, despite being mounted on little better than nags, managed to give their opponents a very bloody nose, and to the Scottish infantry, who held on just long enough to win the day.
A great game.