FK&P AAR: Transylvanians vs Swedes - The Re-Match

As we still had plenty of time left after our last game (Transylvanians vs Swedish, a narrow victory for me) Si and I decided to play again.

I offered a change of sides, but Si said that now that he’d taken the Swedes for a test run, he’d like to use them again “for real” this time. That was fine by me, so we re-set the table and both re-deployed.

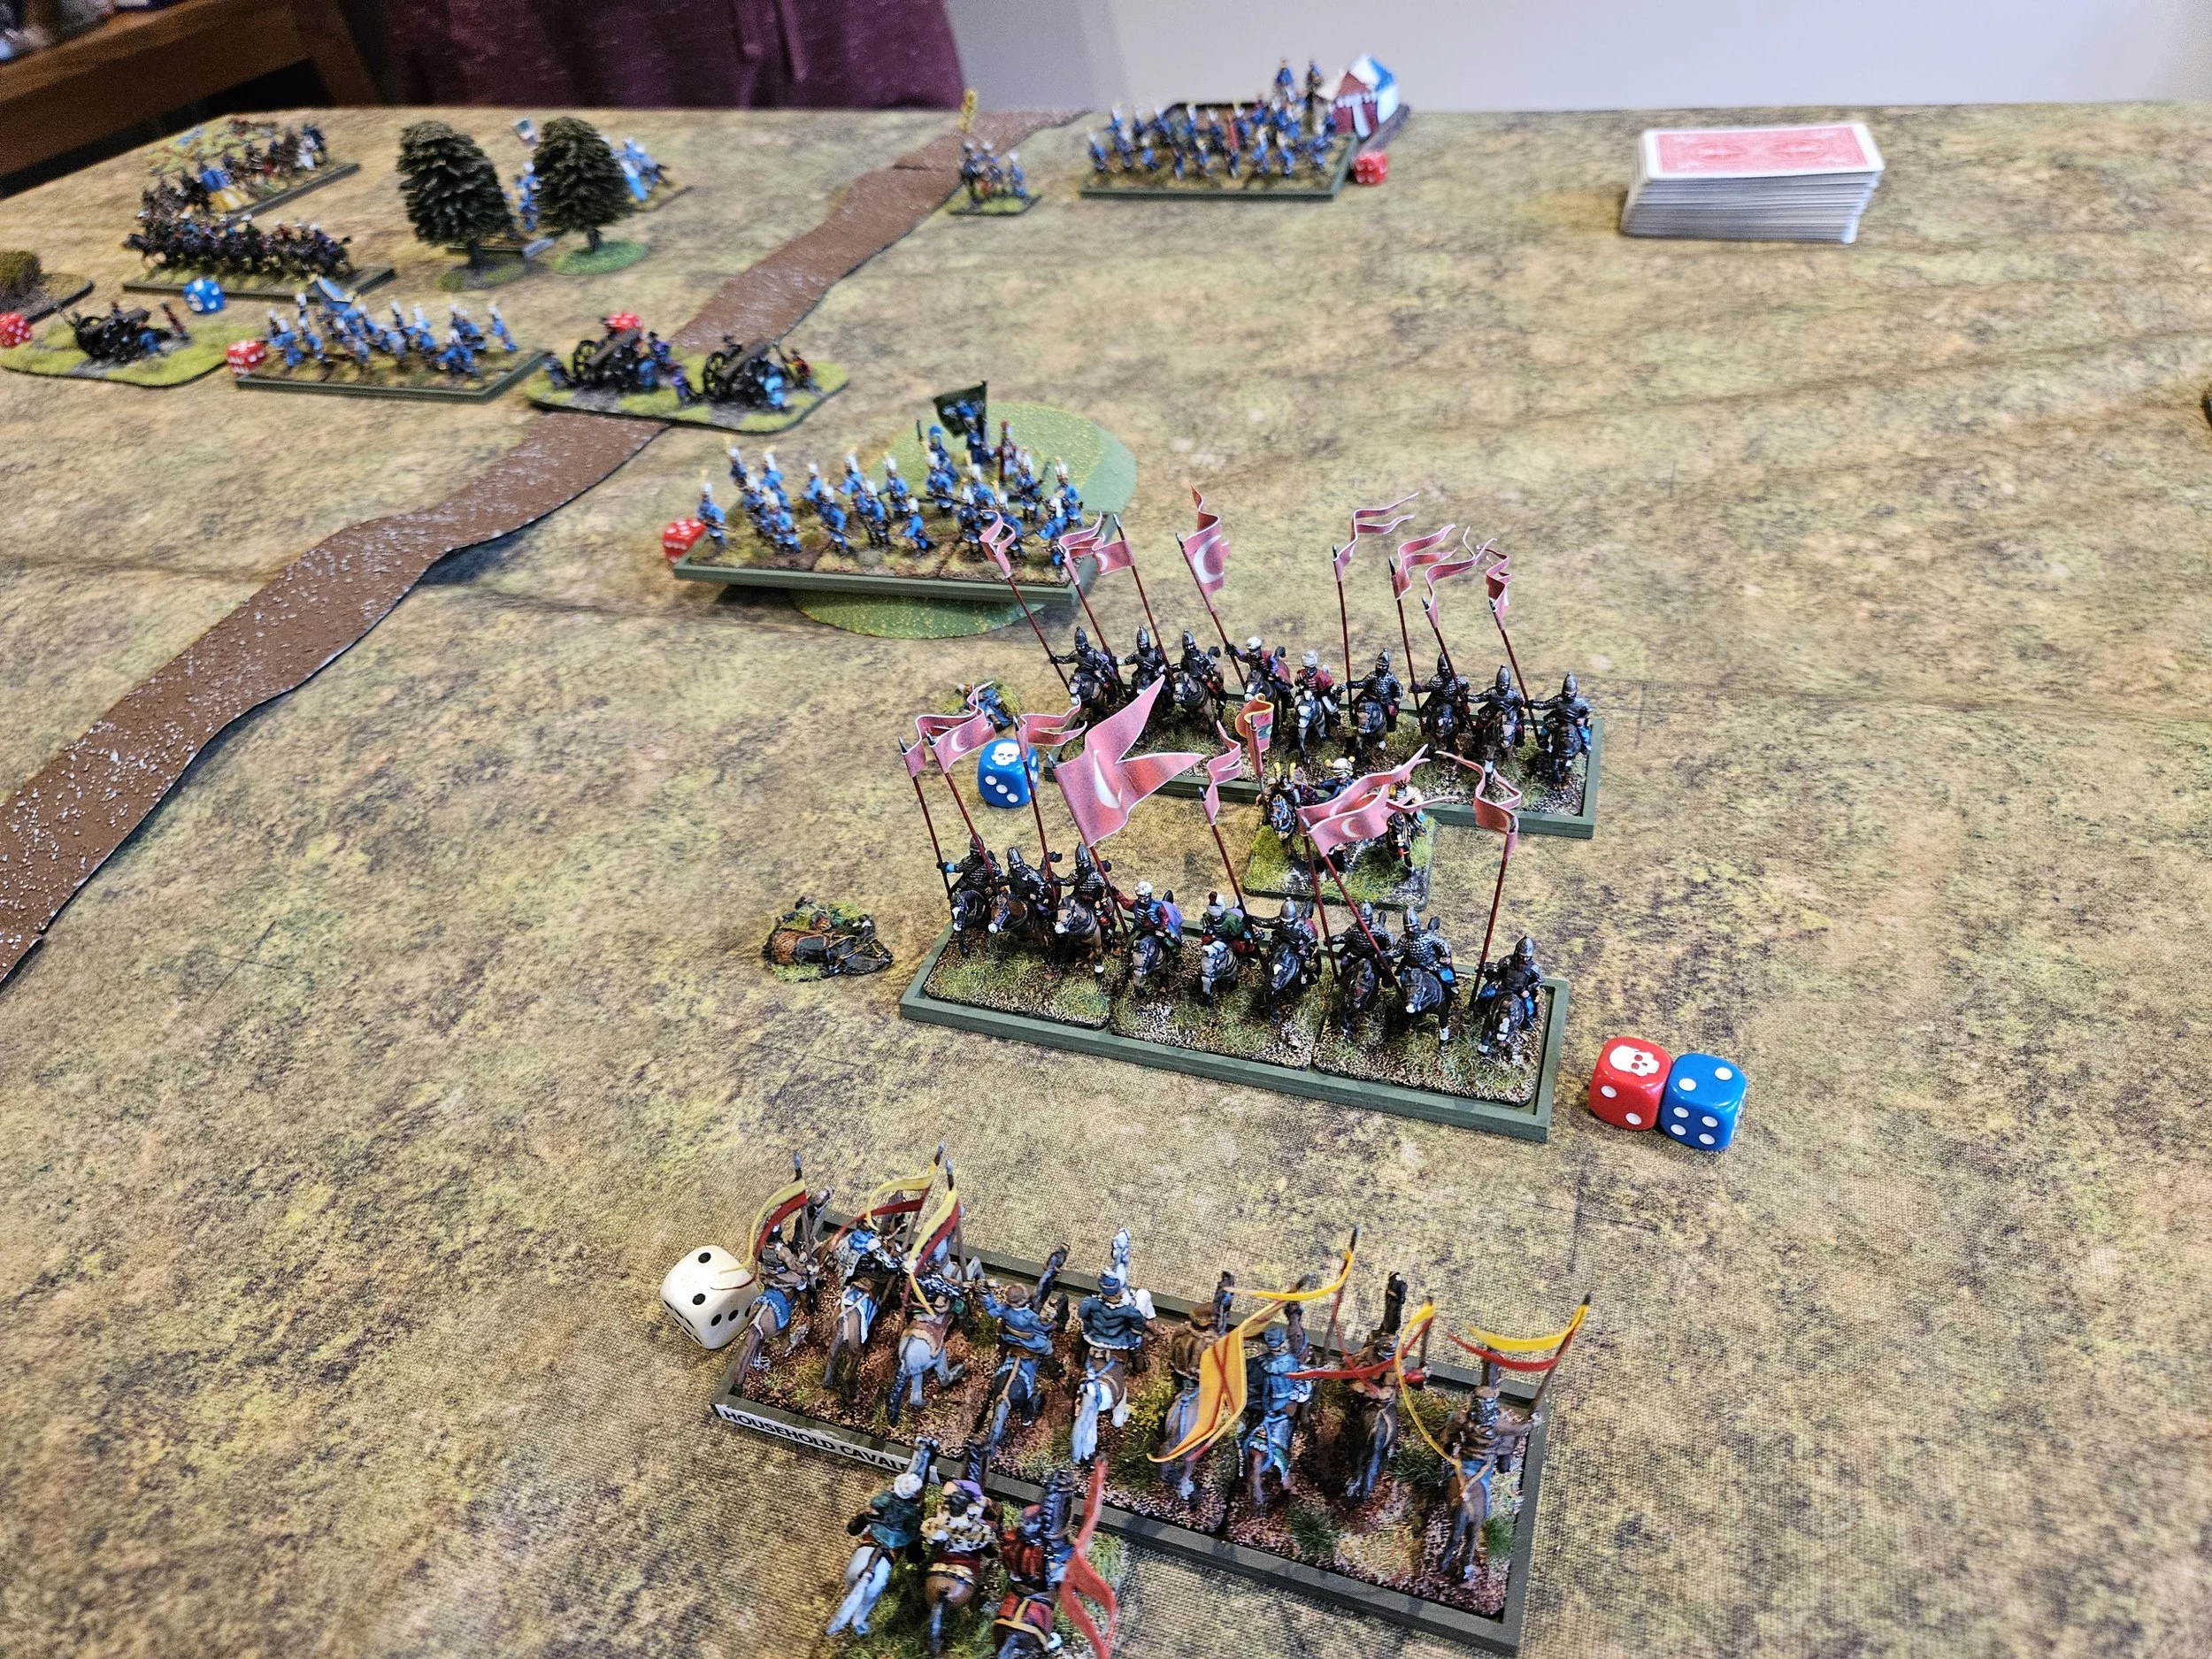
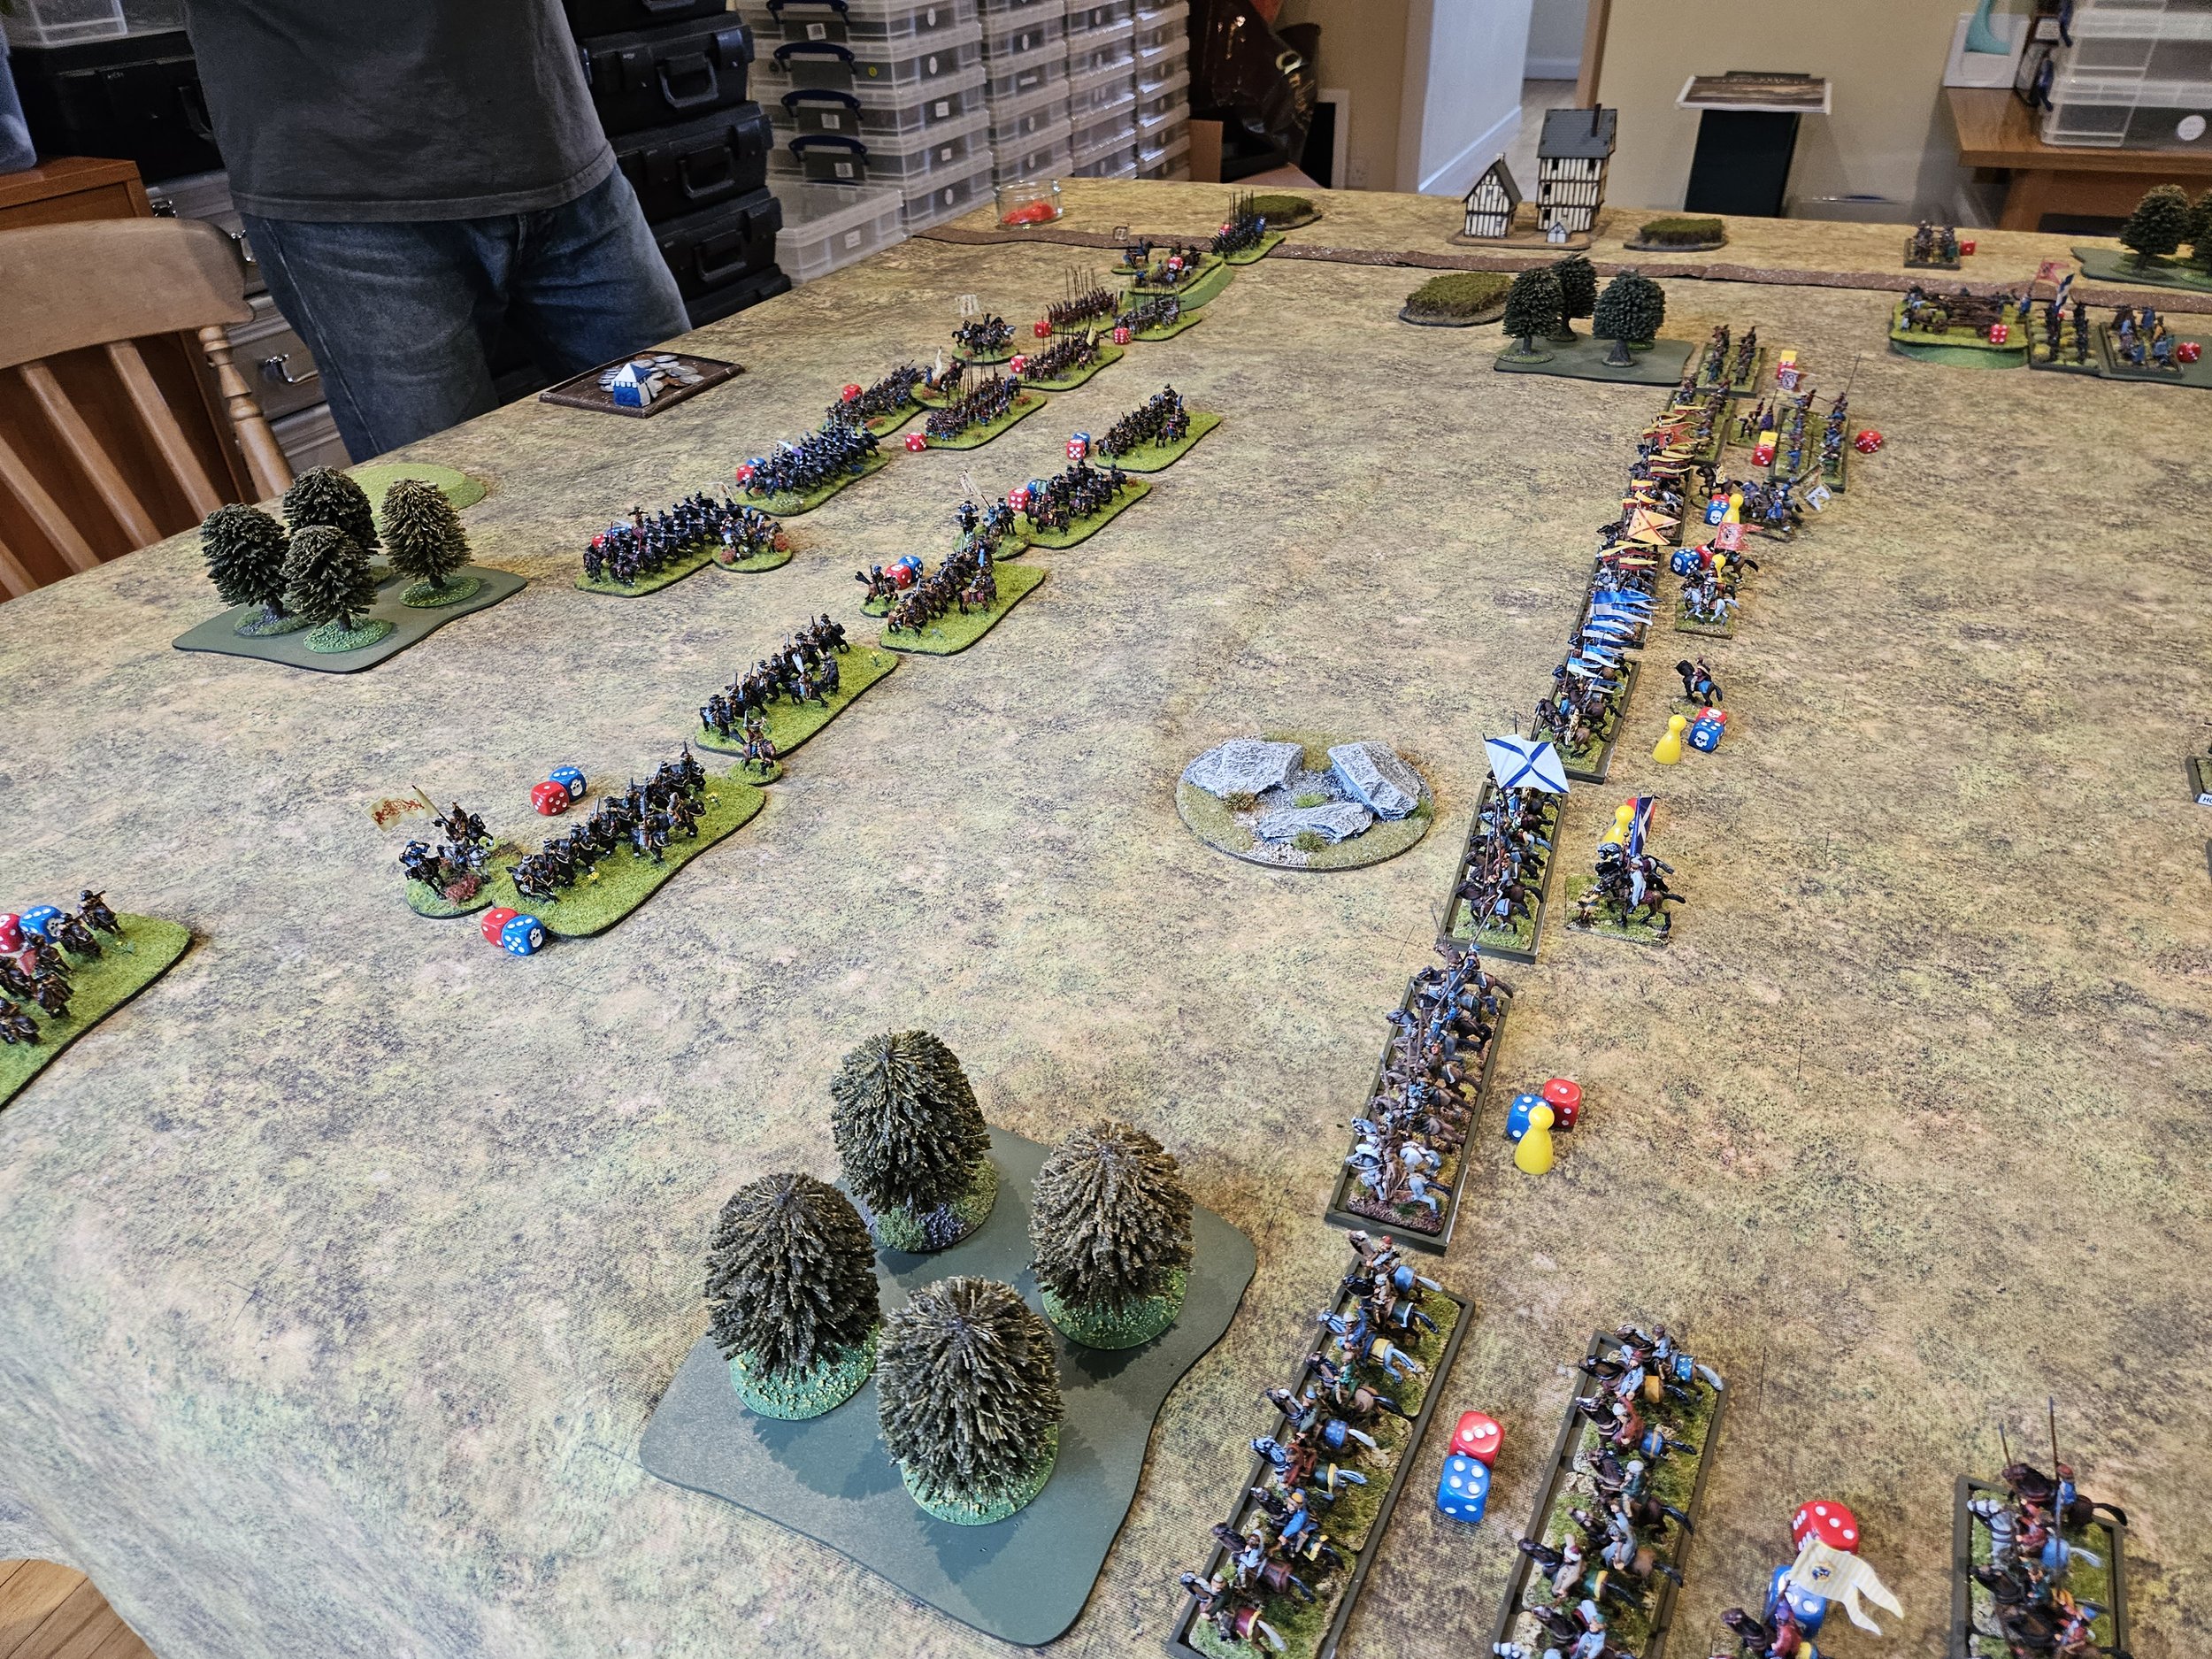
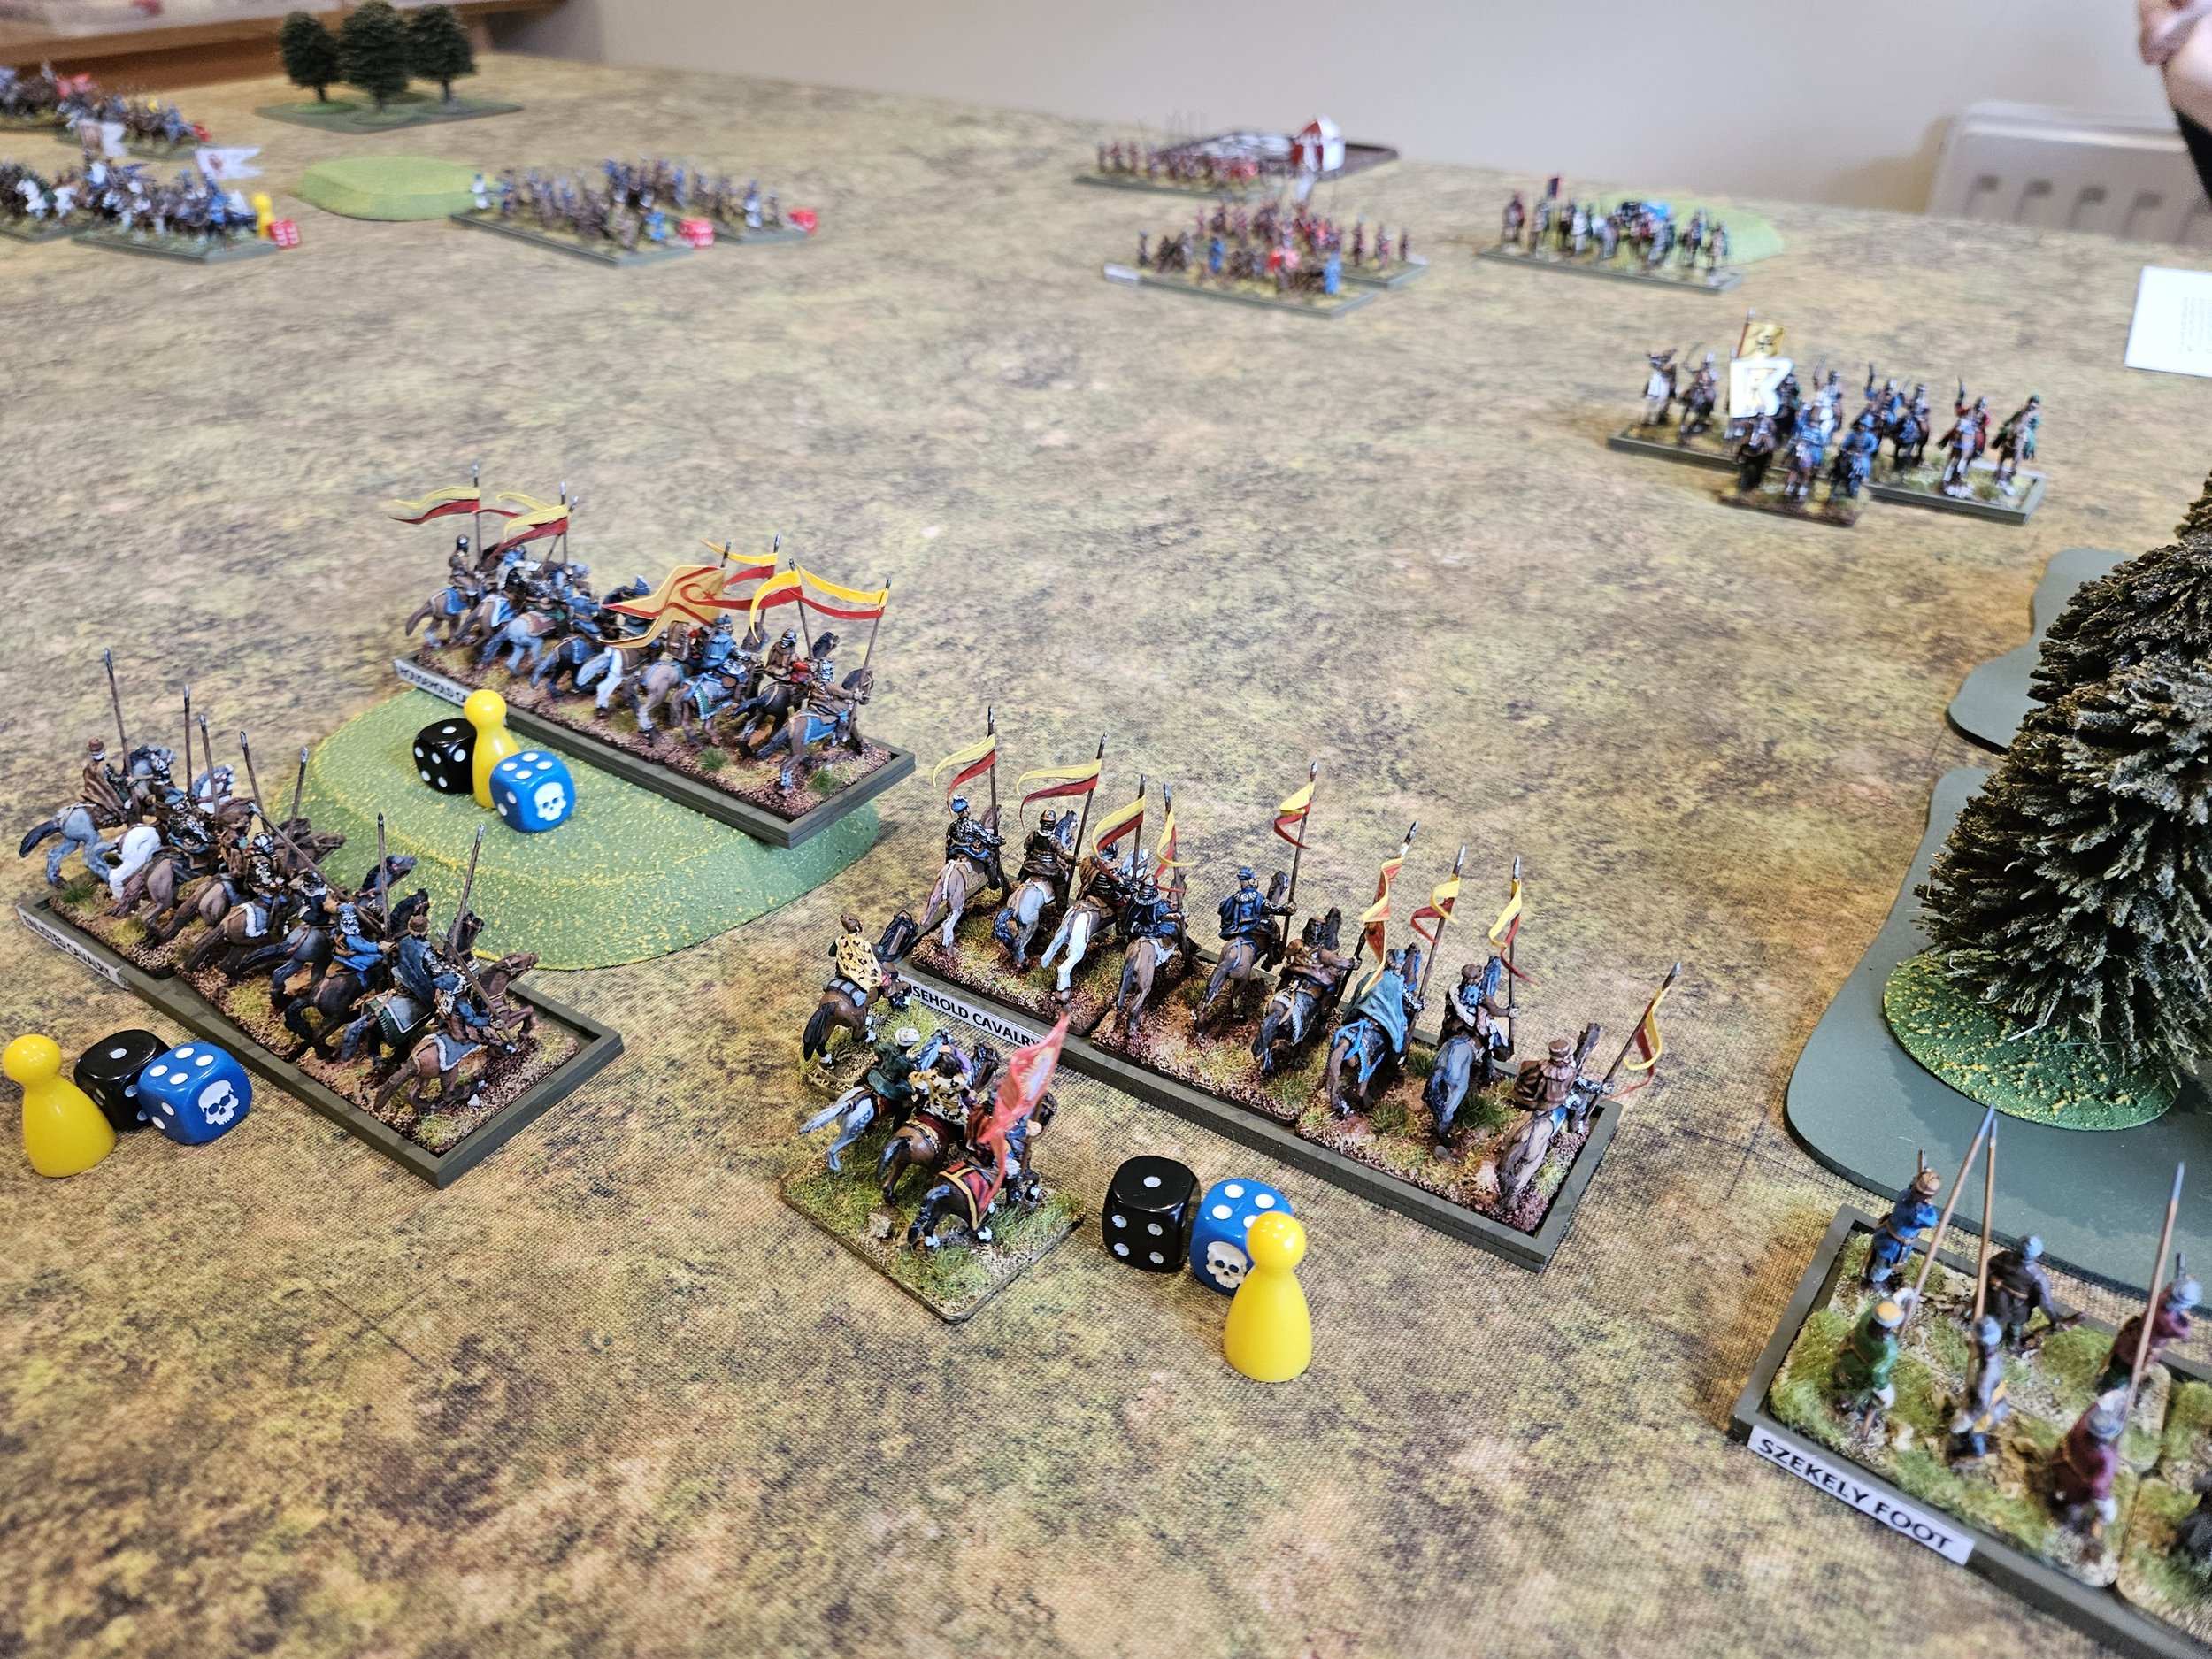
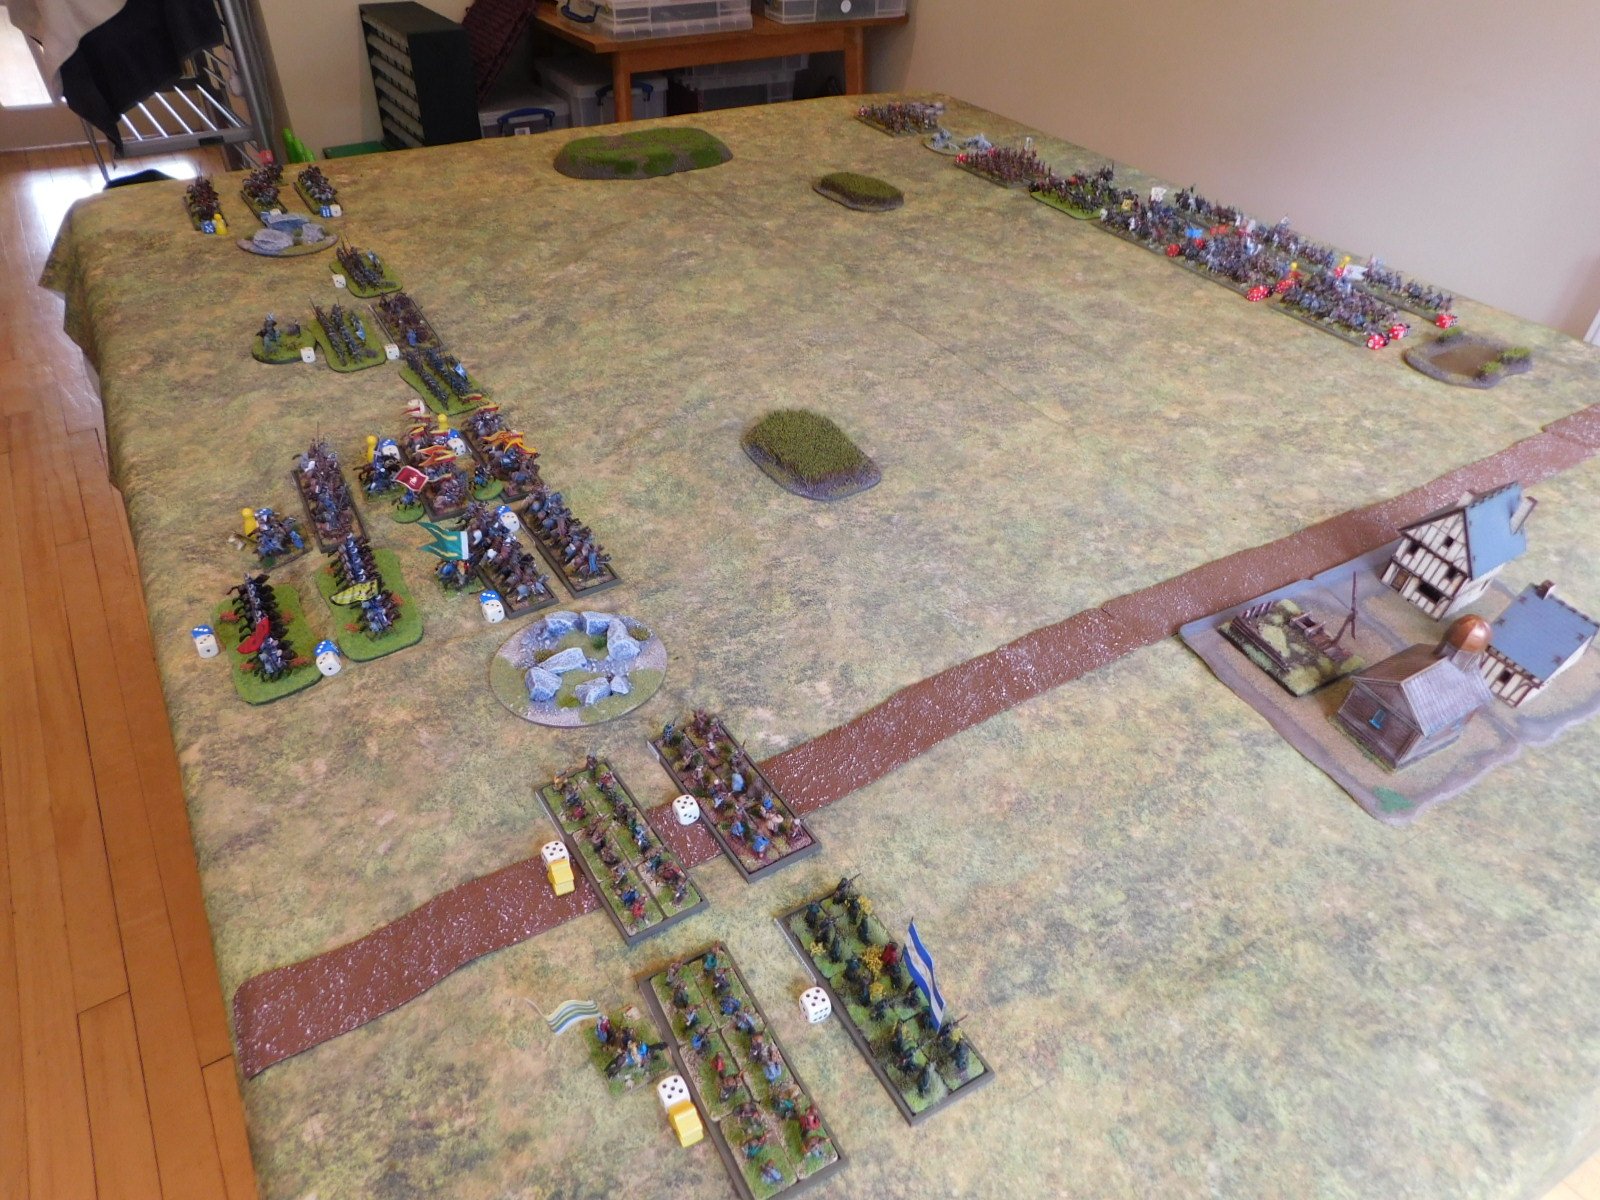
Both sides placed their infantry facing the small village on the far side of the picture, above. I faced my Elite National Cavalry off against the Swedish Cuirassiers and cavalry in the centre, with my light horse on the left wing hopefully enough to slow down or stop more Swedish cavalry facing them.

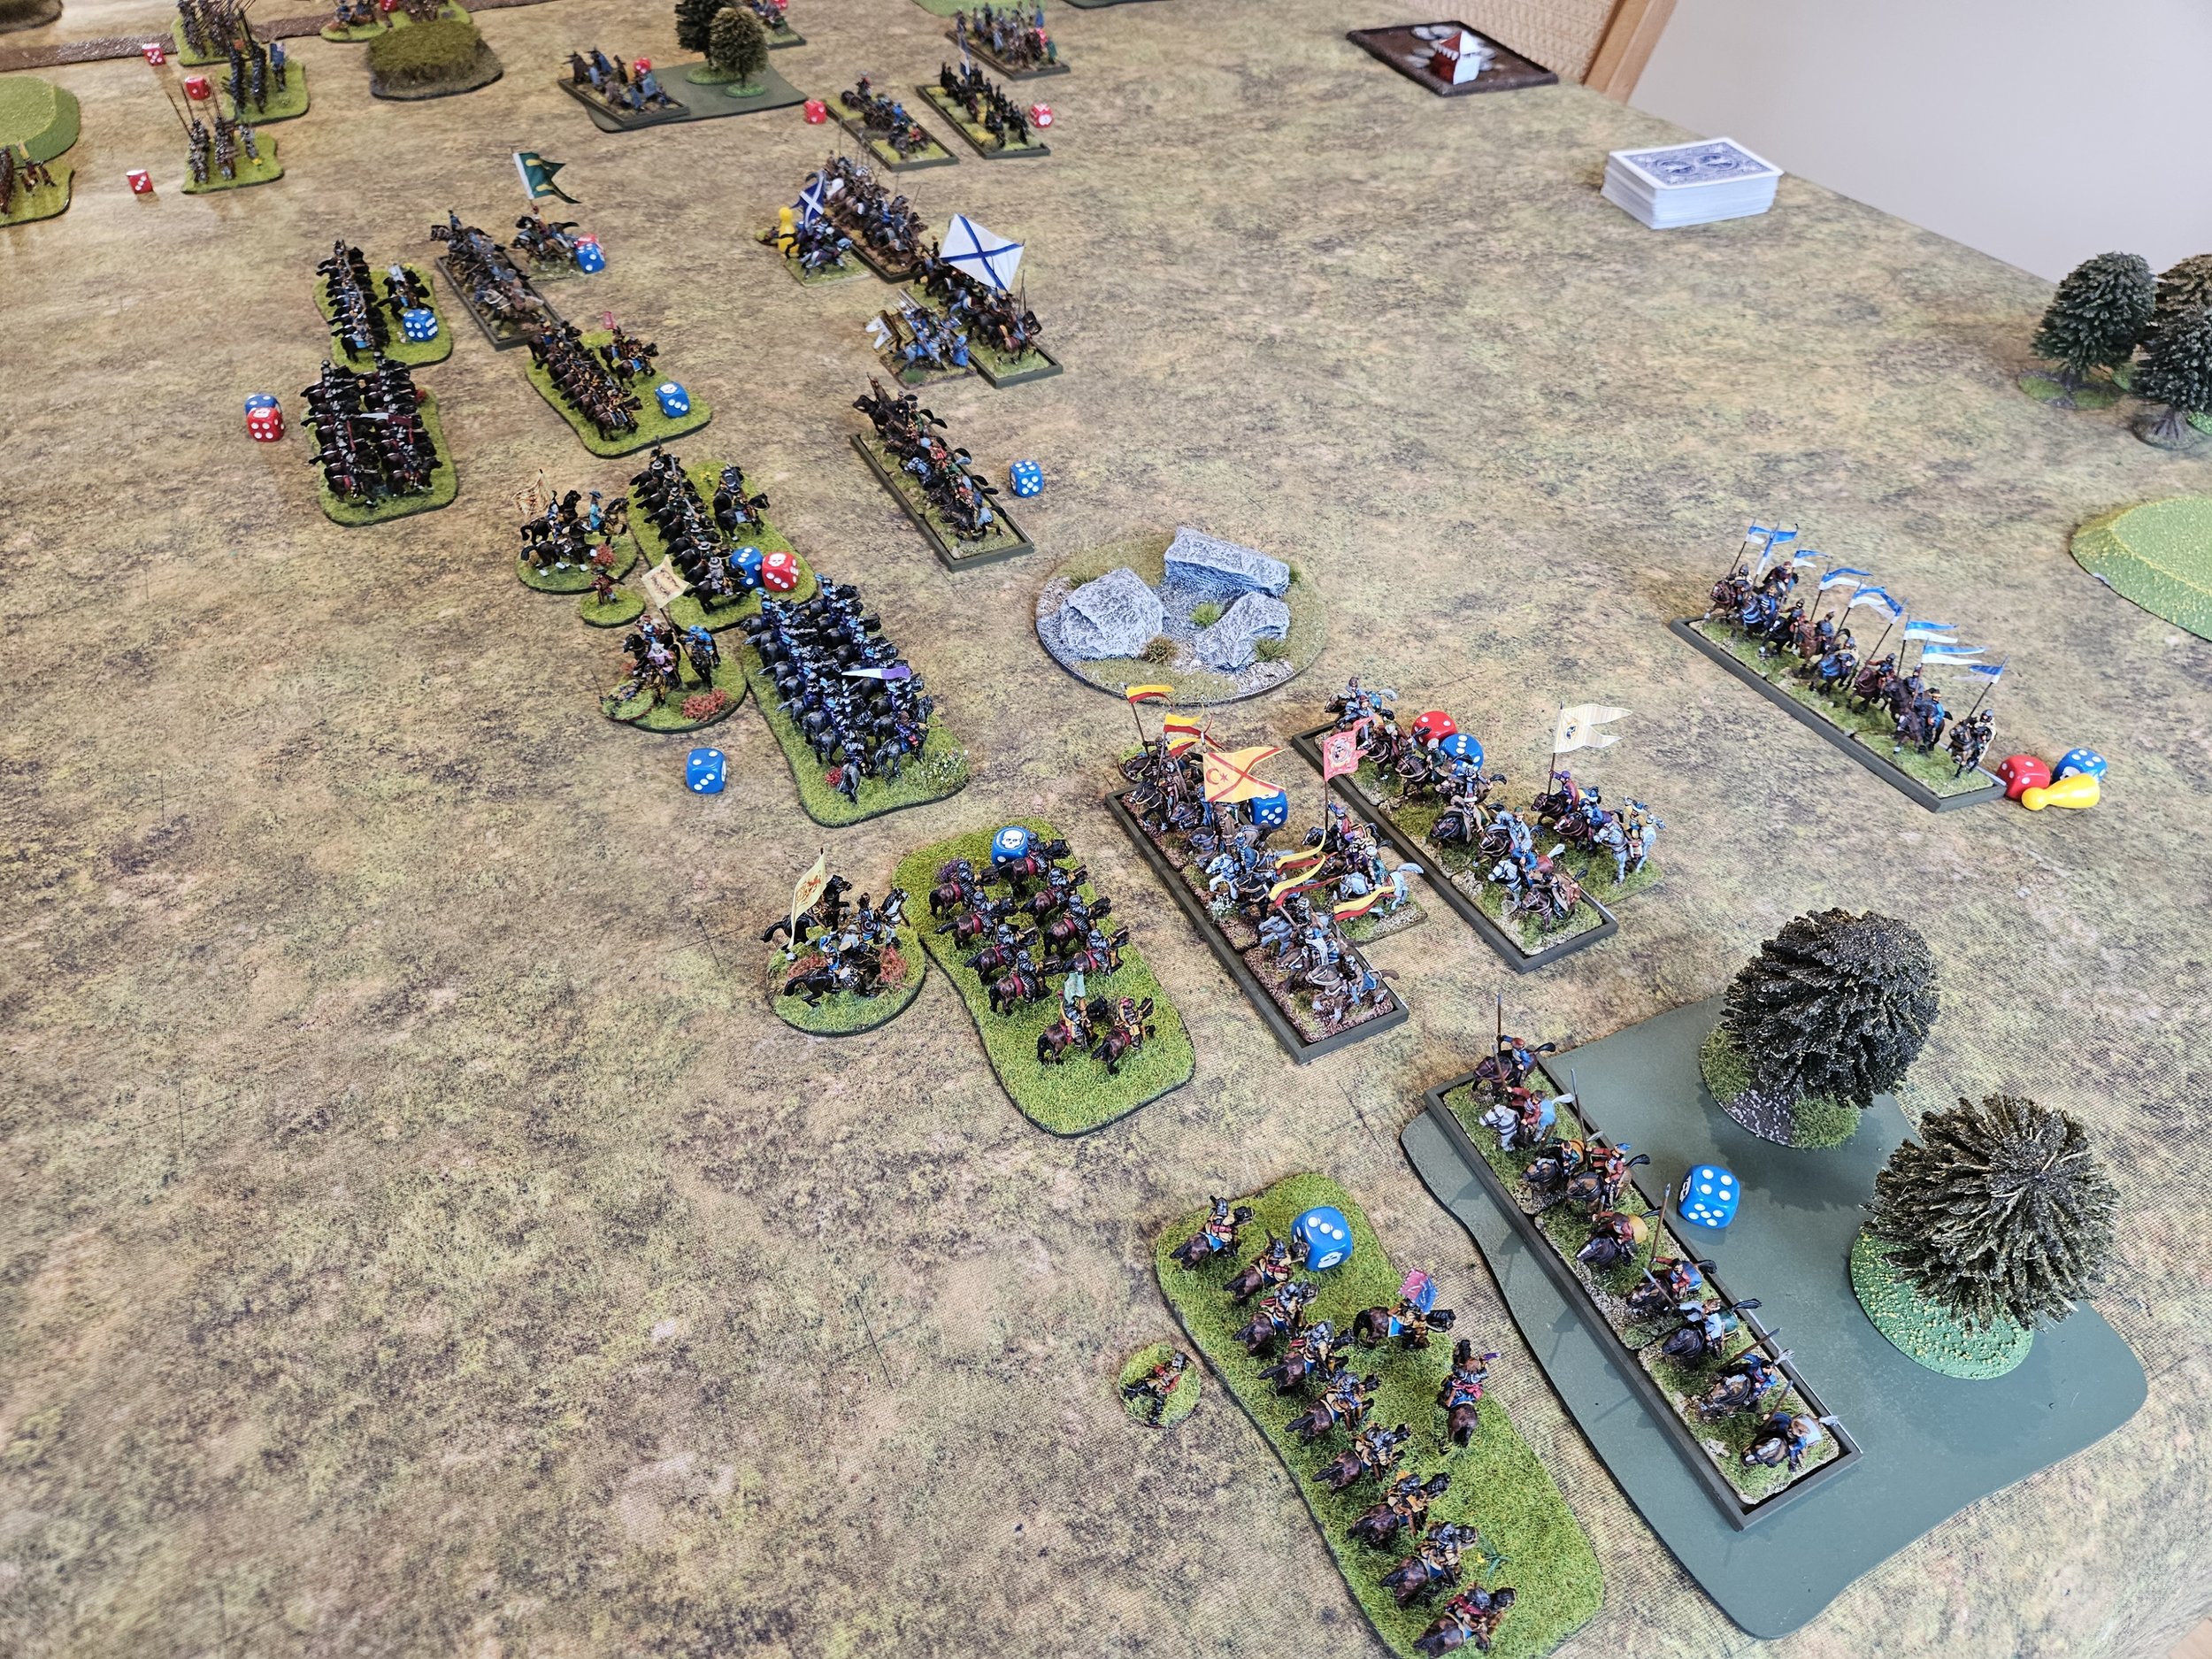
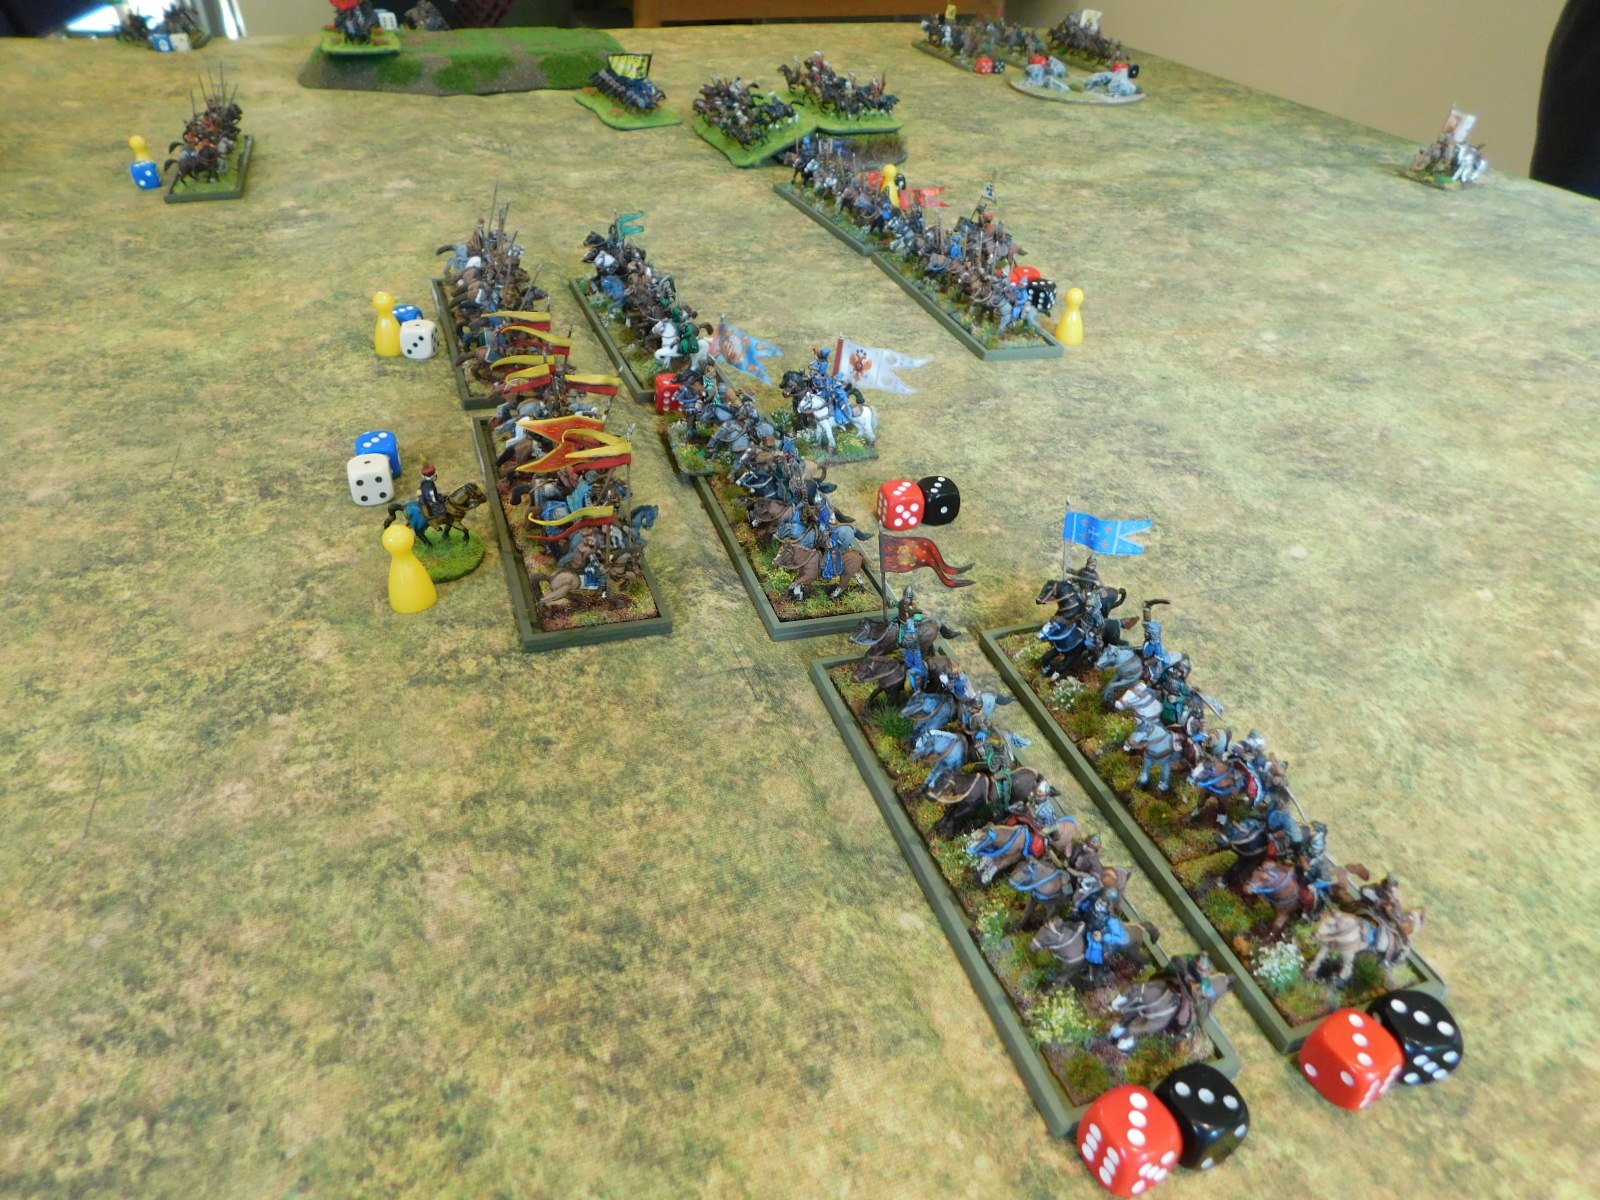
An advance by both sides rapidly saw the two battle lines come together in the centre and on my left in a series of cavalry melees that swung backwards and forwards in terms of advantage for both sides.

Although I managed to hold the left flank, my center had to give ground and soon all I could see was my own horse thundering back towards me!

Fortunately I had troops available on my left to bring into the centre as reinforcements, and the battle broke up into a series of individual melees as units that had disposed of one enemy looked for another opponent to engage. In the confusion, one of my light horse units also managed to sneak through and take the Swedish camp, a much needed boost to my fortunes at that point!
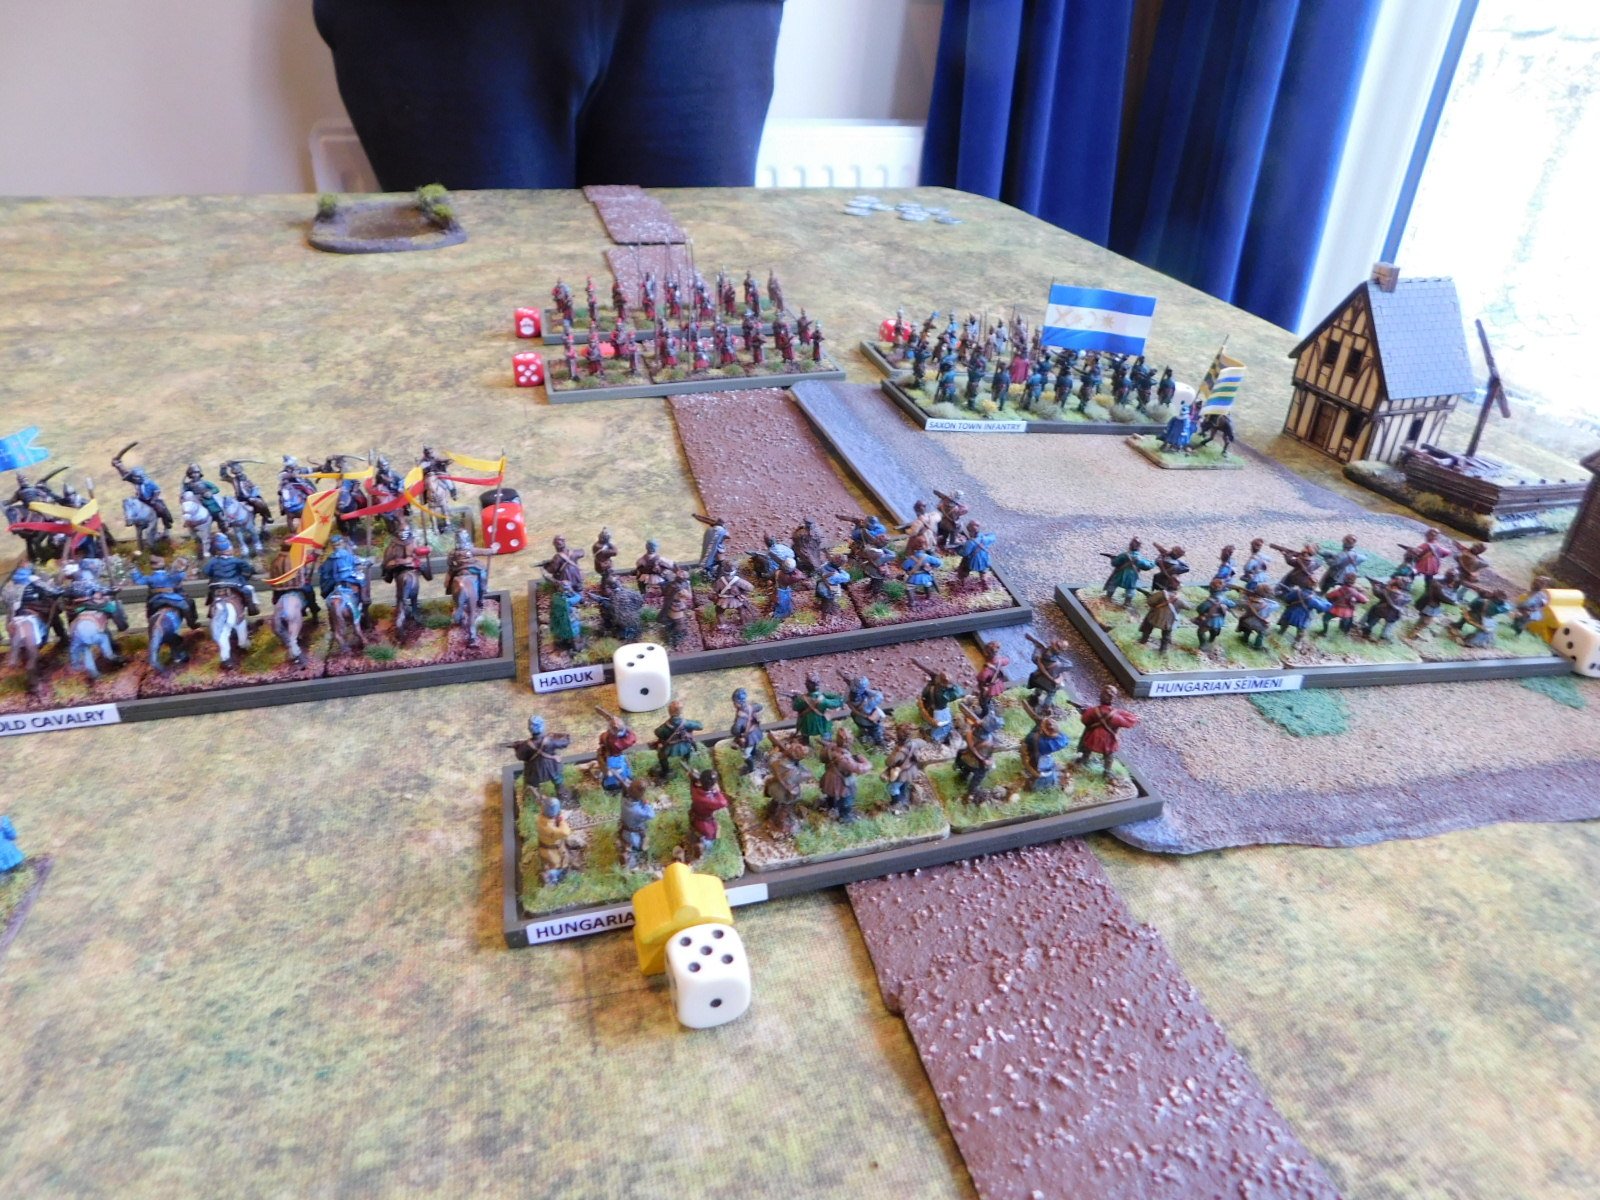
Meanwhile the two infantry lines had slowly advanced towards each other and begun exchanging long range fire, with the Transylvanian militia troops getting the worst of the deal.

At this point I stopped taking photographs as it was neck and neck as to who would run out of victory medals first. In the event, it was me: giving Si and the Swedish a narrow victory.

A cracking couple of games decided by very narrow margins.

FK&P AAR: Transylvanians vs Swedes

Friend Si coming round for a gaming session provided the perfect excuse to get my new 17th century Cuirassiers onto the table.

Si would field the Swedes (with said Cuirassiers) and I would play the Transylvanians:

The Swedes

The Transylvanians

My plan was to hold his superior infantry on my right whilst my better cavalry rolled over his centre and his right.

Originally I had planned to sweep my light cavalry around the left, but realising that he could block that move with his horse, my first action was to try and reposition my lights so that I could use them either as general reinforcements or to bolster up my right. You can see them moving across the rear of the battlefield in the pictures above, and here’s an even better shot:

Grand tactics!

The two main battle lines then came together with a crash, with the Transylvanians definitely getting the advantage as their elite cavalry went in. The Swedes reeled backwards, apart from one unit of Cuirassiers that stubbornly refused to give way, and a period of jostling backwards and forwards ensued.

This continued until the relentless pressure from the Transylvanian horse finally proved too much for the Swedes to bear, and their centre began to crumple (their right had given way much earlier).

Meanwhile, there had not been a lot of activity on my right flank: my infantry had indeed advanced forward and then stopped to hold the ground, but the Swedes had been too busy elsewhere to worry about them.

Just as the Swedes thought they might have to do something on their left, their centre finally gave way and the game was mine.

FK&P AAR: Muscovites vs Transylvanians

With my Transylvanians having lost the first game by only one Victory Medal, it was time to swap sides for a re-match: this time I would take the Muscovites, with Bevan playing the Transylvanians.

As you can see in the picture, above, both sides have deployed very traditionally: infantry in the centre, cavalry on each wing. You’ll also see that my horse on my left flank considerably outnumber their mounted opponents, so my plan was very much to punch through there and then roll the Transylvanian line up.

With that in mind, I opened the game by advancing forward on the left as hard and fast as I could.

As you can see in the bottom two pictures above, on the far left, left of the woods, I didn’t manage to punch through the enemy lights quite how I had hoped, but did manage to open up a bit of space just to the right of the woods. The question now became whether I could exploit this advantage!

Meanwhile, elsewhere on the field, the two battle lines had generally come together, with a series of fierce melees taking place:

Now was the time for my troops on the left to curl inwards and roll up the Transylvanian line: something I really needed them to do as they represented a good proportion of my fighting strength, and my lesser-quality centre wouldn’t hold for ever!

Above you can see a couple of pictures showing how I was trying to get my horse back into the action: but they do seem to have an awful lot of ground to cover!

And all that ground proved my downfall, with my centre and right flank giving way before I could get the cavalry back into the game.

Regular readers will know that I lost the first game in this two-battle series by one Victory Medal…and so it was again in this game! If I had survived one more turn in the centre/on the right then my cavalry would have made it back into the action in time to win the game for me, but victory evaded me by the smallest of margins as one unit too many fled the field.

So that was four games with Bevan in two days…and four defeats. Ouch! But, as Michael Jordan once said:

“I’ve failed over and over and over again in my life and that is why I succeed.”

Good to know that I’m secretly a success at this wargaming thing!

Very secretly!


If you've enjoyed this post, please do consider "buying me a coffee" : you can be sure that all proceeds will be channelled back into wargaming, leading to even more content for you to enjoy!

FK&P AAR: Transylvanians vs Muscovites

Time for another game of the eastern Europe variant of For King & Parliament: my Transylvanians would take on Bevan’s Muscovites.

Transylvanians

Muscovites

This was a cracking game where the action swayed backwards and forwards across the field.

In summary, the Transylvanian elite National Cavalry (the chaps with the yellow and red lance pennants) charged forwards right of centre of the field and swept all before them: smashing enemy units from the field with ease!

On my left flank, however, the mass of Transylvanian light horse were comprehensively butchered by Muscovite heavy cavalry, who steam-roller-ed over them with barely any effort at all.

In the centre, the two sides came together as the actions above were taking place and, unfortunately, my troops got the worst of it and slowly began to give ground.

Honours were even, with both sides hemorrhaging victory medals, until the very last moments of the game, with the Muscovites just taking the win 16:15!

As I said above: a cracking game…with the charge of the Transylvanian elite National Horse being one of those moments that will go down in gaming history!

Here the battle in pictures:


If you've enjoyed this post, please do consider "buying me a coffee" : you can be sure that all proceeds will be channelled back into wargaming, leading to even more content for you to enjoy!

FK&P AAR: Transylvanian Double Act

I recently spent a bit of time properly marking up my 17th Century “eastern front” Transylvanian and Muscovite armies: by “marking up” I mean putting identifiers on each unit that allows me to remember which are which! That done, it was time to get them onto the tabletop.

The Transylvanians were a bit of a mish-mash. Their core Household troops (heavies and lights) were supported some more light cavalry and two brigades of infantry, one of foreign Commanded Shot and one of Szekley Pike & Shot (represented by Scots!).

The Muscovites were similar: a core National Cavalry and foreign Reiters supported by a brigade of Tartar horse-archer allies, with two brigades of foot, one Cossack, one Soldat (foreign-trained foot).

Game One

Our first game was very short. My opponent, Kavan, had forgotten how important it is in For King & Parliament not to lose your commanding general (as valuable as a couple of camps in To The Strongest) and blithely sent his CinC forward with the first wave of attackers.

The Transylvanian Household Cavalry were, however, having an exceptional day: their first charge smashed the squadron of enemy cavalry led by the Muscovite CinC from the field (meaning that Kavan lost about half his Victory Coins in one go) and then charging again to KO a second unit as well.

Combined with losses elsewhere on the field, this was enough to break the Muscovite morale and send them fleeing back to “the first throne” in some disarray!

Game Two

As the first game had been so quick, we decided to re-set the sides and play again, but this time with the Muscovite CinC safely at the back of his troops rather than leading from the front!

Two key differences in this game. Firstly, the Transylvanian infantry had to fight for possession of the small town on their right flank; and secondly the Transylvanian Household Cavalry didn’t achieve the same success on their initial charges as last time.

This meant that the heavier Muscovite cavalry had time to drive back the Transylvanian light horse, particularly on the Transylvanian left wing, and then curl around to threaten that entire flank.

A combination of steady foot and charging horse put the town into Muscovite hands and that, plus the combination of lost light units and the usual battlefield attrition in the centre, meant that the Transylvanians were gradually ground down and, after a series of reverses in the centre, were forced to retreat.

Aftermath

Two great games of For King & Parliament/Eastern Front Edition and honours even with one win for each side.

Success for the Transylvanians has to come from understanding how to make the significant numbers of light horse work. I didn’t manage it in either game really (the first game was the Household cavalry’s show!) so something to work on for next time!

FK&P AAR: Cossacks & Transylvanians versus Muscovites

After the Cossacks got so badly hammered last time out against a Muscovite army, it was time to reinforce them with some Transylvanians: the Cossacks would provide the war wagons and foot, the Transylvanians some fairly decent cavalry.

The Muscovites were, again, mostly Sons of Boyars or Reiter cavalry supported by two small brigades of infantry.

View from behind the Muscovite line

Muscovites

Transylvanians & Cossacks

Muscovite Reiters

Elite Transylvanian Cavalry

As the battle began, both sides advanced forward smartly, with the terrain meaning that the game divided into three sectors: my left flank, the centre and my right flank.

On My Left

On my left, some scummy looking Border Guards had appeared in front of me: the perfect target for the Transylvanians!

Apparently not, as rather than running over them like a badly dressed speedbump, my horsemen got impaled on their pikes. This flank then turned into an uneasy stalemate as horse and foot units milled around charging each other with little effect. The battle would be decided elsewhere!

On the Right Flank

On my right flank, I had some Transylvanian Enlisted Light Cavalry supported by two Haiduk units sheltering in the woods.

The plan was to send the light cavalry forward to soften up the three units of Reiters coming towards me so that the Haiduks could wipe them out from safe amongst the trees.

This did not work: the light horse were swept away almost immediately, and then the Haiduks were charged from the flanks and front and, despite the bonuses for being in cover, were swept away as well. The final unit of Haiduks did hold out for some turns, but eventually succumbed, leaving my centre now vulnerable to flank attacks.

Meanwhile in the Centre…

Meanwhile in the centre, the main body of Muscovite Reiters steamed towards my line: a mixed line of raw Moloitsy short-pike-and-shot and tabor war wagons.

My tabor fired valiantly away with both their light guns and musketry, but because I only had two of them rather than my usual four, I couldn’t get the concentrated fire I needed to halt the enemy Reiters heading towards me.

The Moloitsy were charged and gave way, leaving the tabor as islands of resistance amongst a swirling sea of Muscovite horsemen.

By this stage, I was also getting very short of victory medals…

The End

As my right wing collapsed, the loss of one unit too many caused my army as a whole to collapse: the Muscovites had won the day!

This wasn’t a hammering, I hasten to add: the Muscovites had been losing units as well, but it the Cossacks and Transylvanians who crumbled first!

Another great game, through, even if the Muscovites are currently proving unstoppable!